I won’t regale you with the tale of trying to fuel said blowtorch because it’s an epic tragedy to rival those of the Greeks. However, at LAST the correct butane was obtained and I held FIRE in my hands. It’s dangerous really. I’m incredibly clumsy. But hey, I’ve wanted one for years, and I was not disappointed.
You don’t actually need a blowtorch for this recipe, but I think everyone should have one so we can compare notes.
So moving on from my pyromaniac tendencies…my mum’s lemon meringue pie takes some beating. And by that, I mean, nobody has beaten it. Ever. I have a separate stomach that’s just for lemon meringue pie.
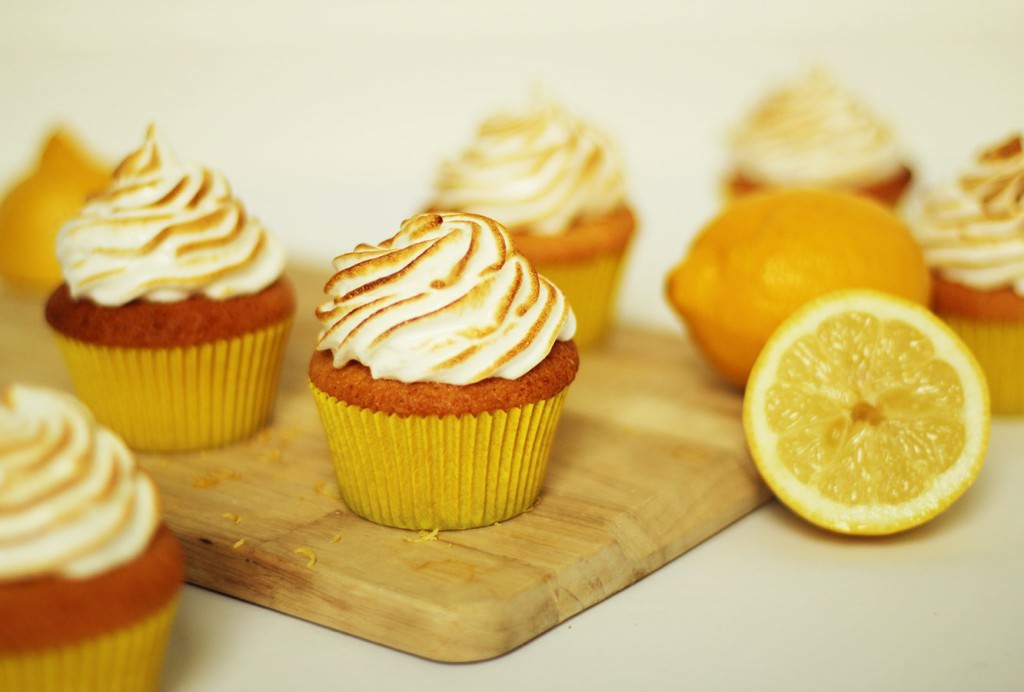
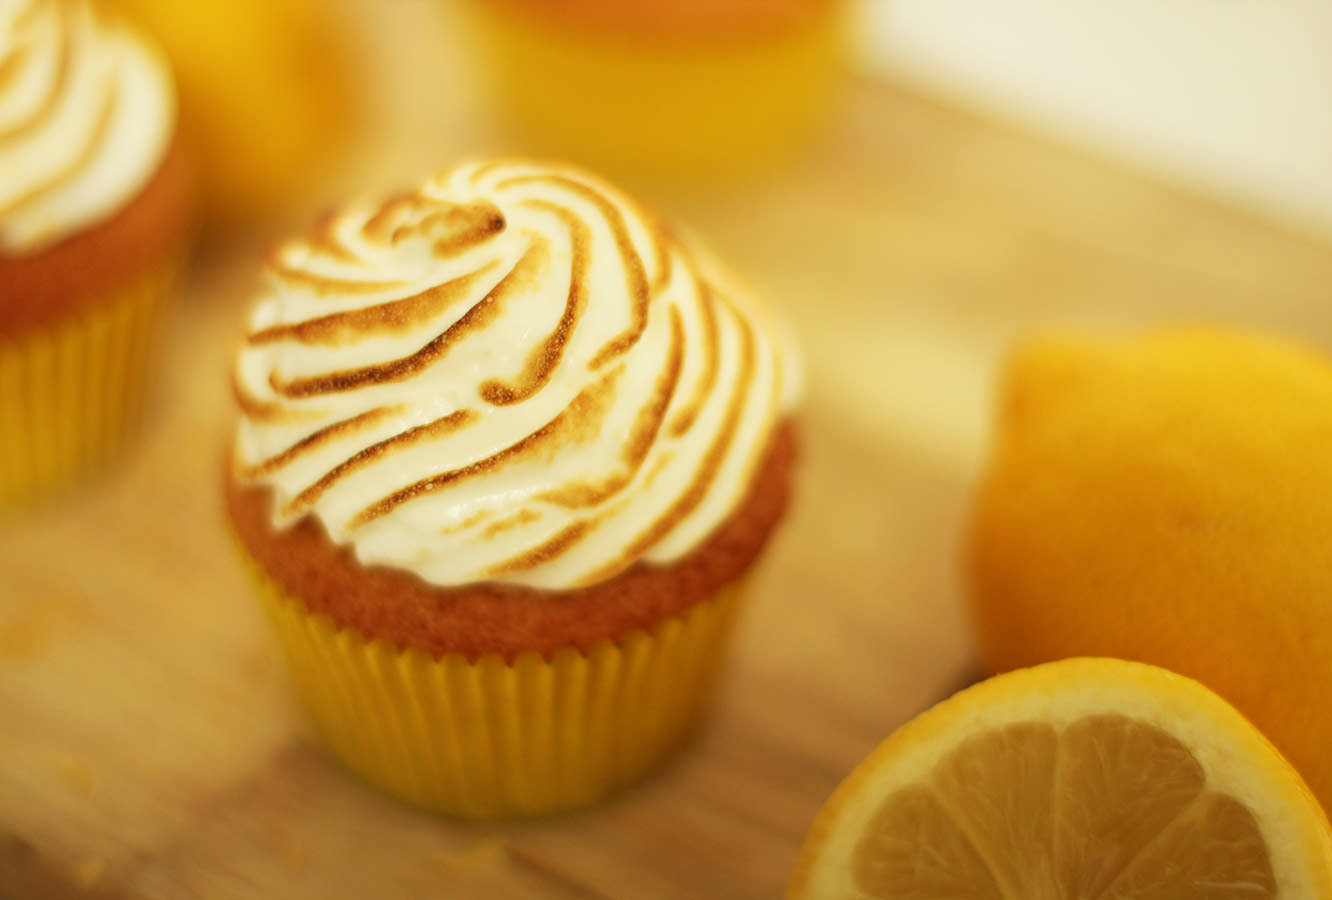
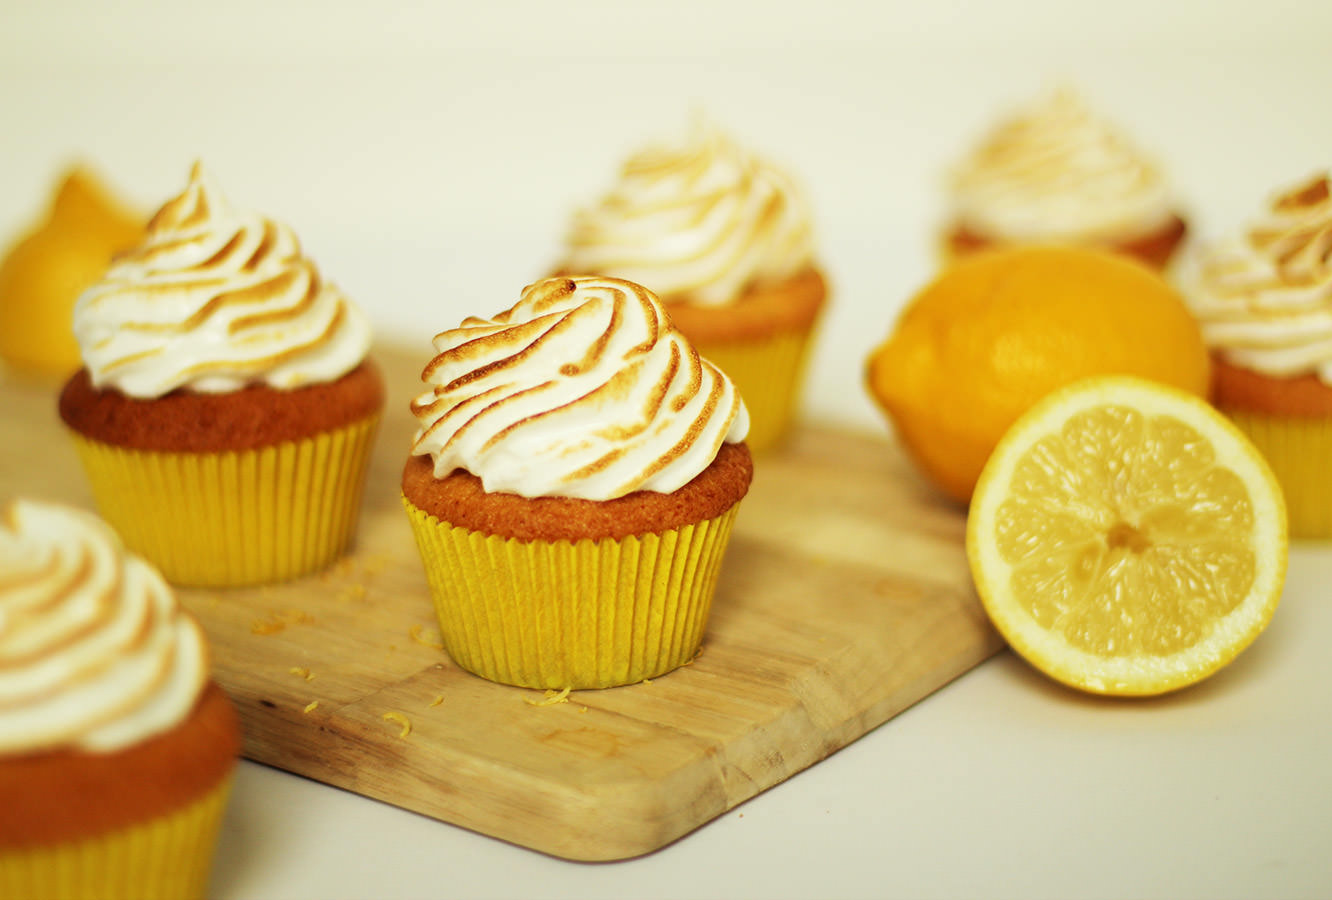
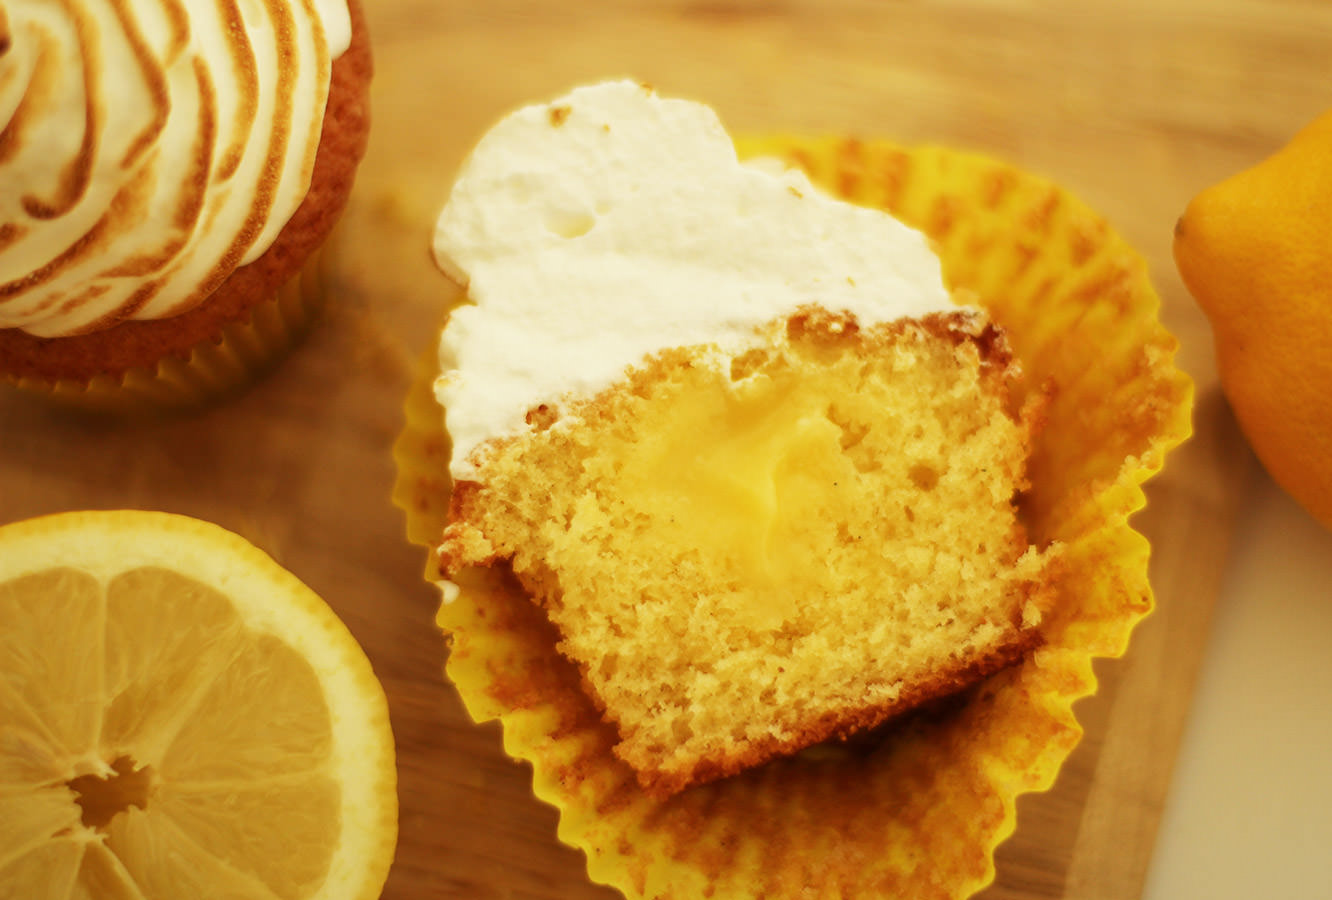
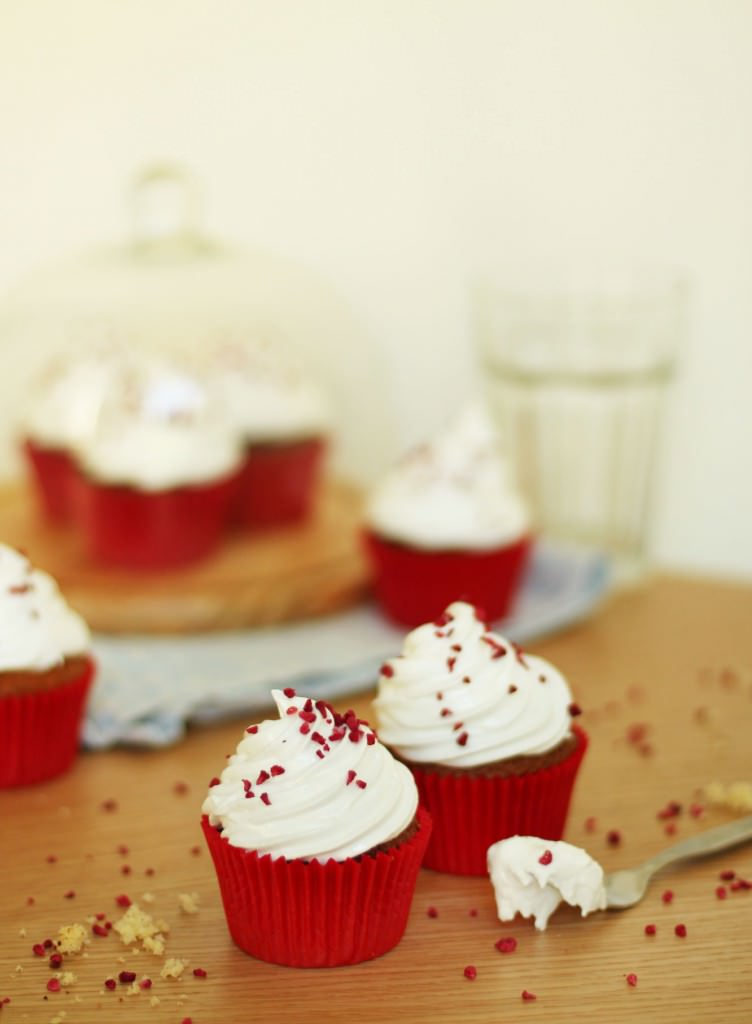
There would be no completing this British favourites series (not that we’re completing it today, buckle up friend) without lemon meringue pie. I’m actually a bit torn, because how can you convert something as delicious as lemon meringue into a cupcake recipe? Well. I tried it. They’re pretty yummy.
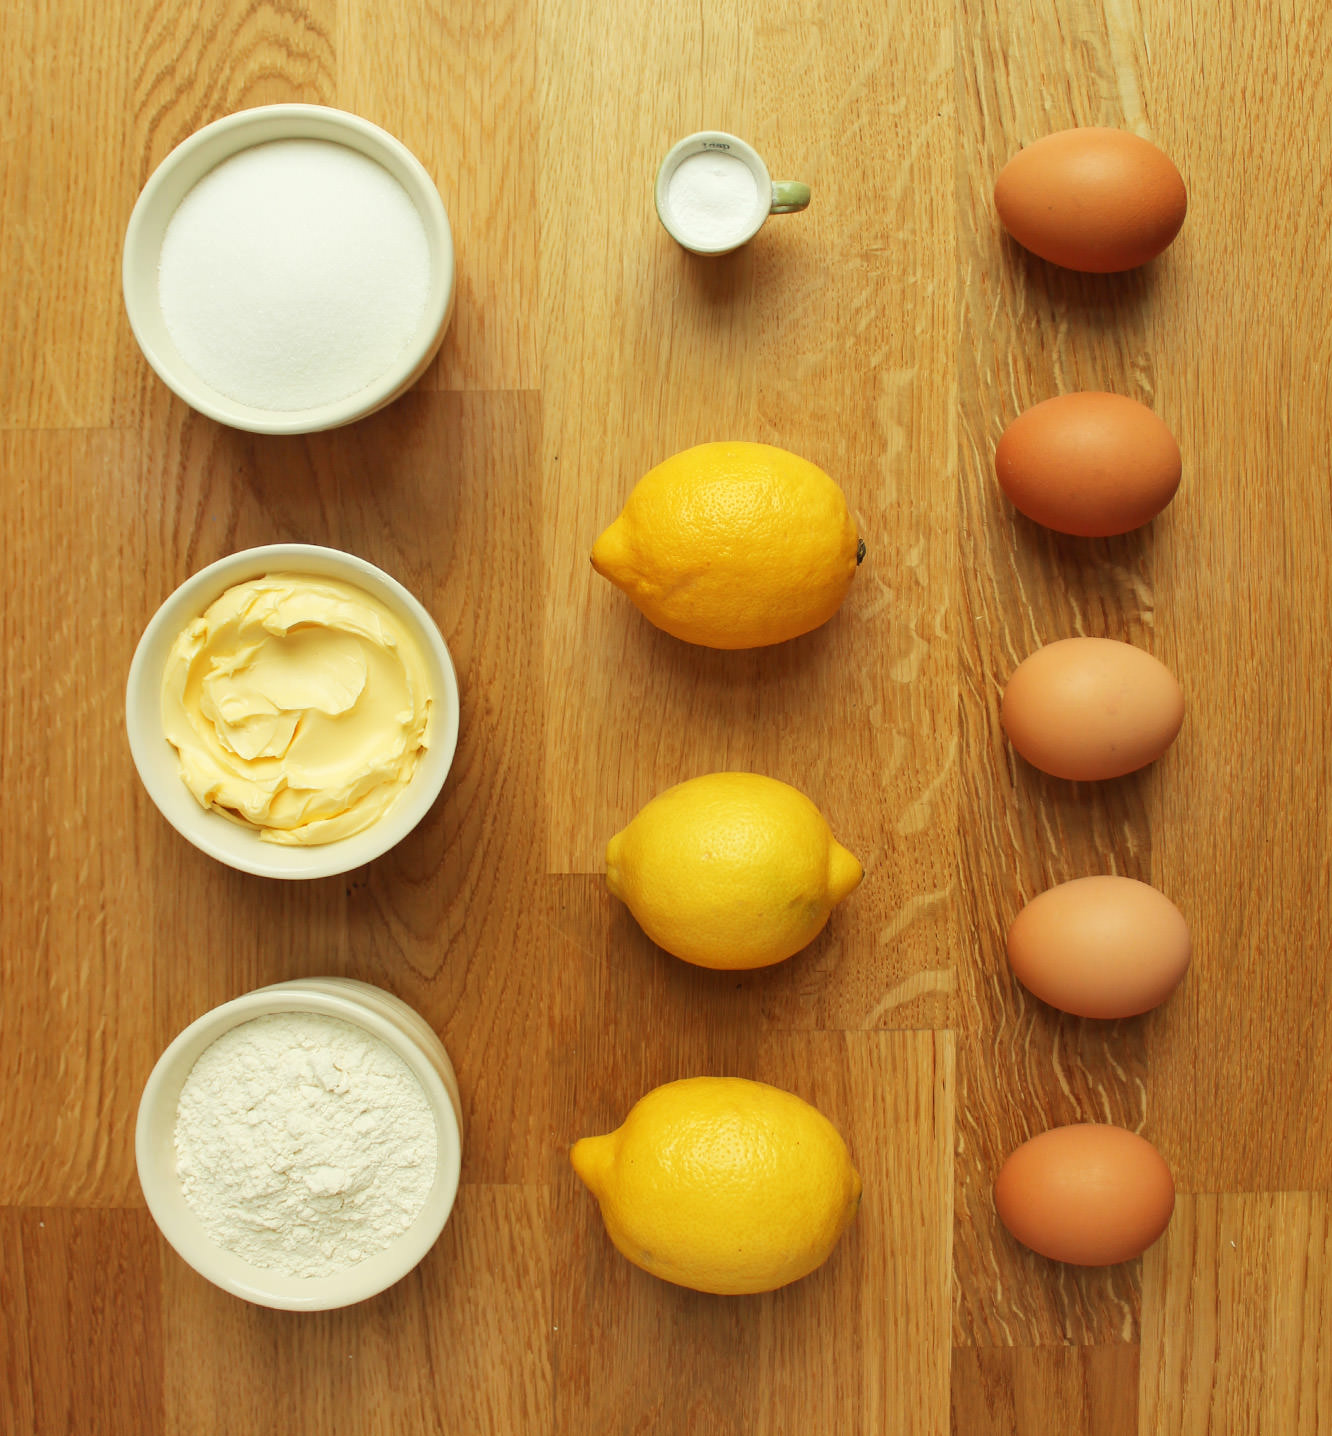
You will need
For the cake:
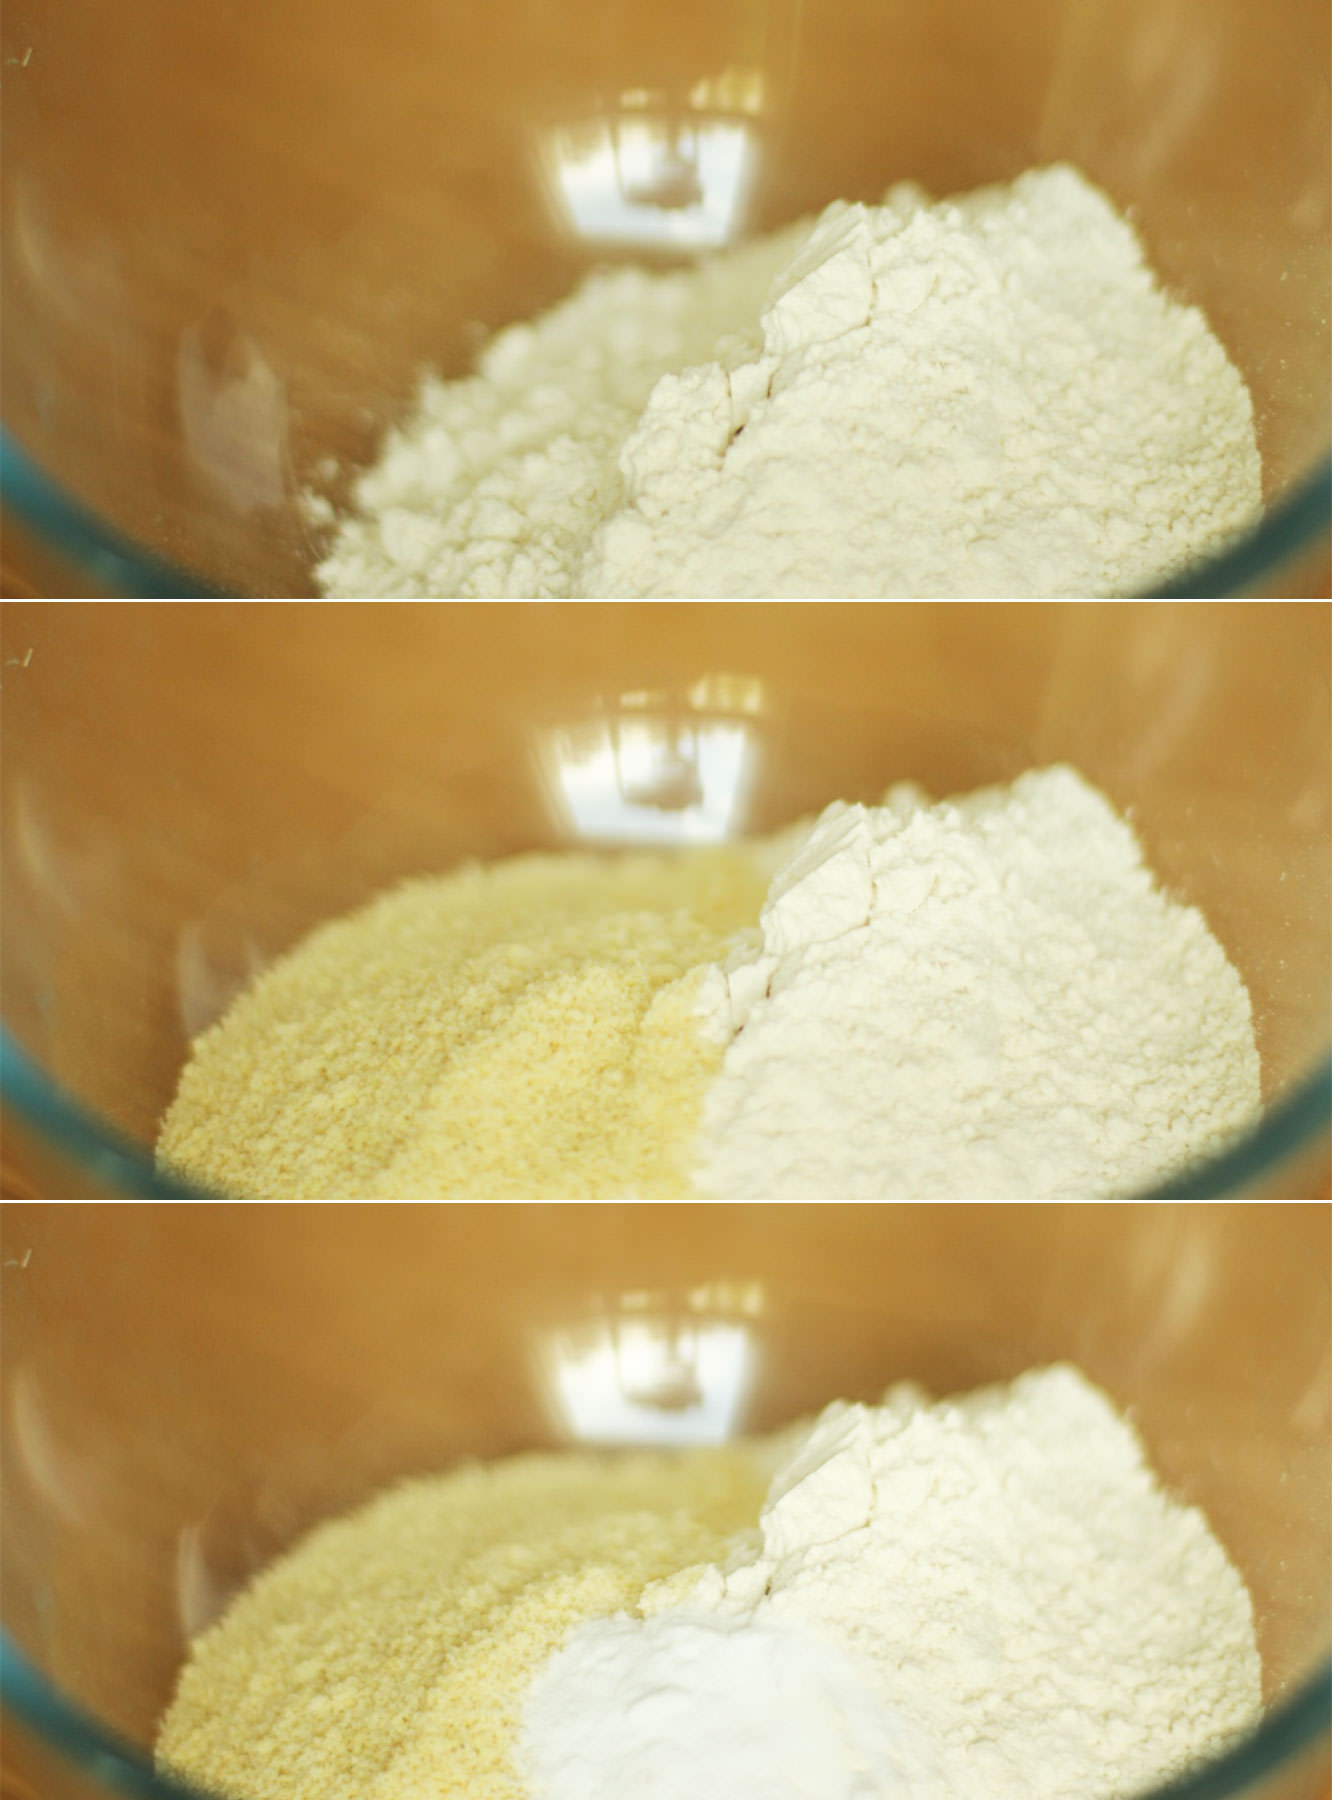
185g/6.5 oz self raising flour
185g/6.5 oz butter/margarine (I use Stork)
185g/6.5 oz caster sugar
3 eggs
1 tsp bicarbonate of soda
1 tsp vanilla extract/paste
For the frosting/icing:
2 egg whites
225g/8oz caster sugar
1/2 tsp cream of tartar
75ml/2.5 fl oz water
BLOWTORCH (optional)
For the lemon curd:
2 whole eggs
1 egg yolk
85g/3 oz caster sugar
60g/2 oz butter
90ml/3 fl oz freshly squeezed lemon juice (2 lemons should do)
Zest of two lemons
(makes 12)
Step one
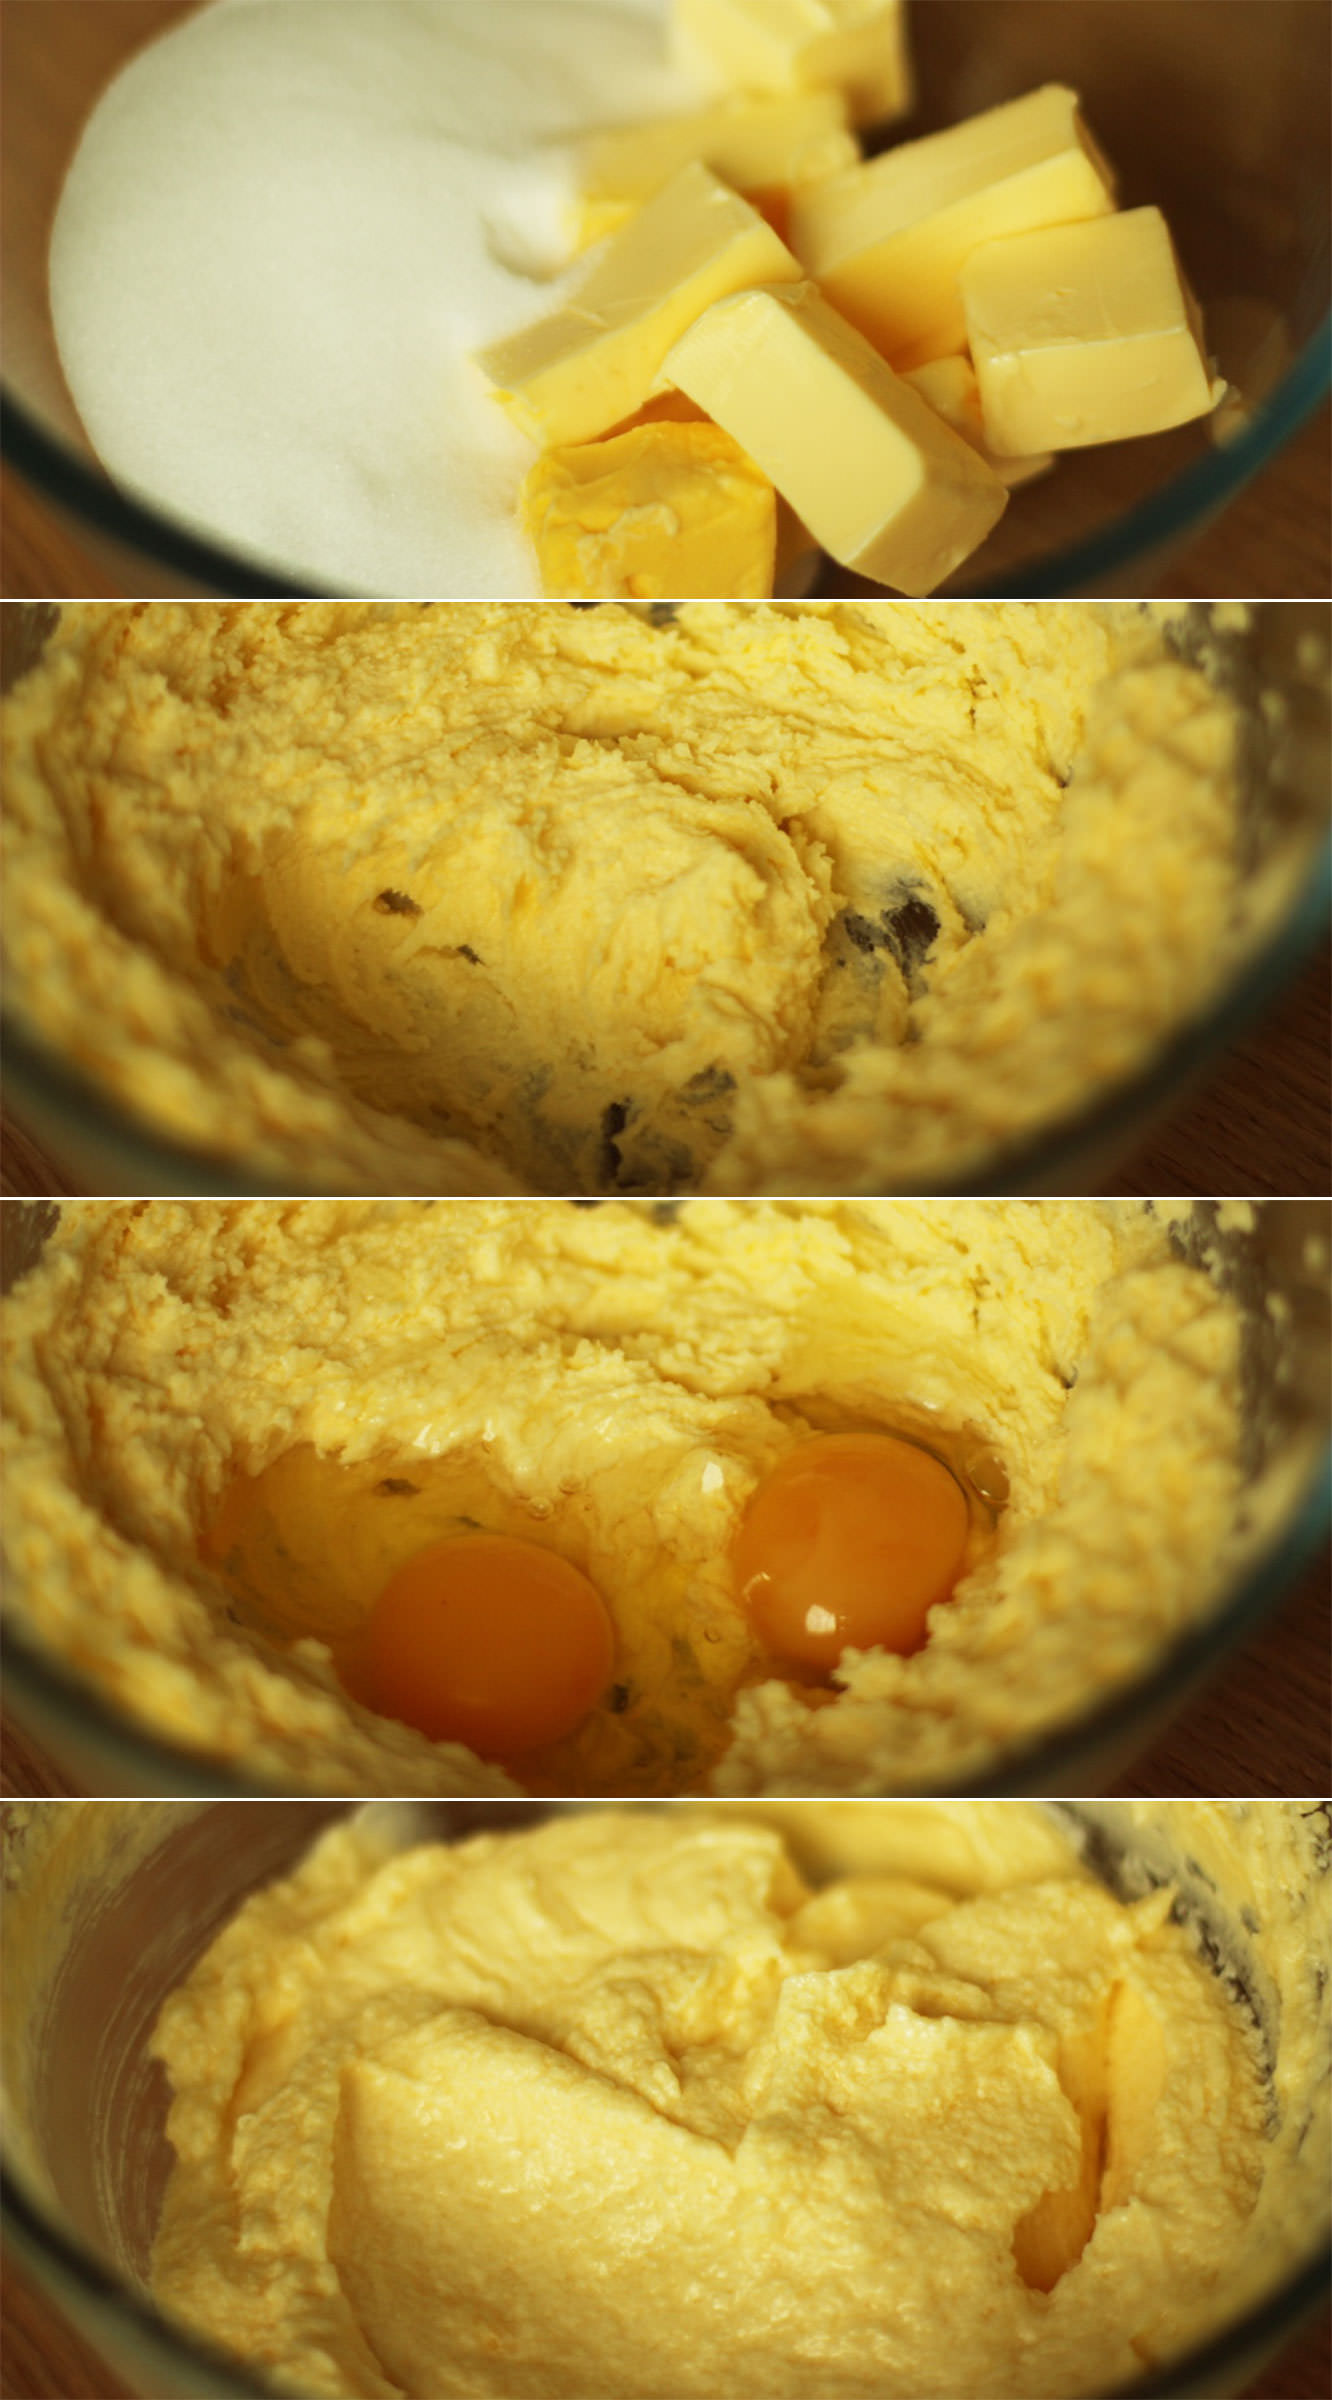
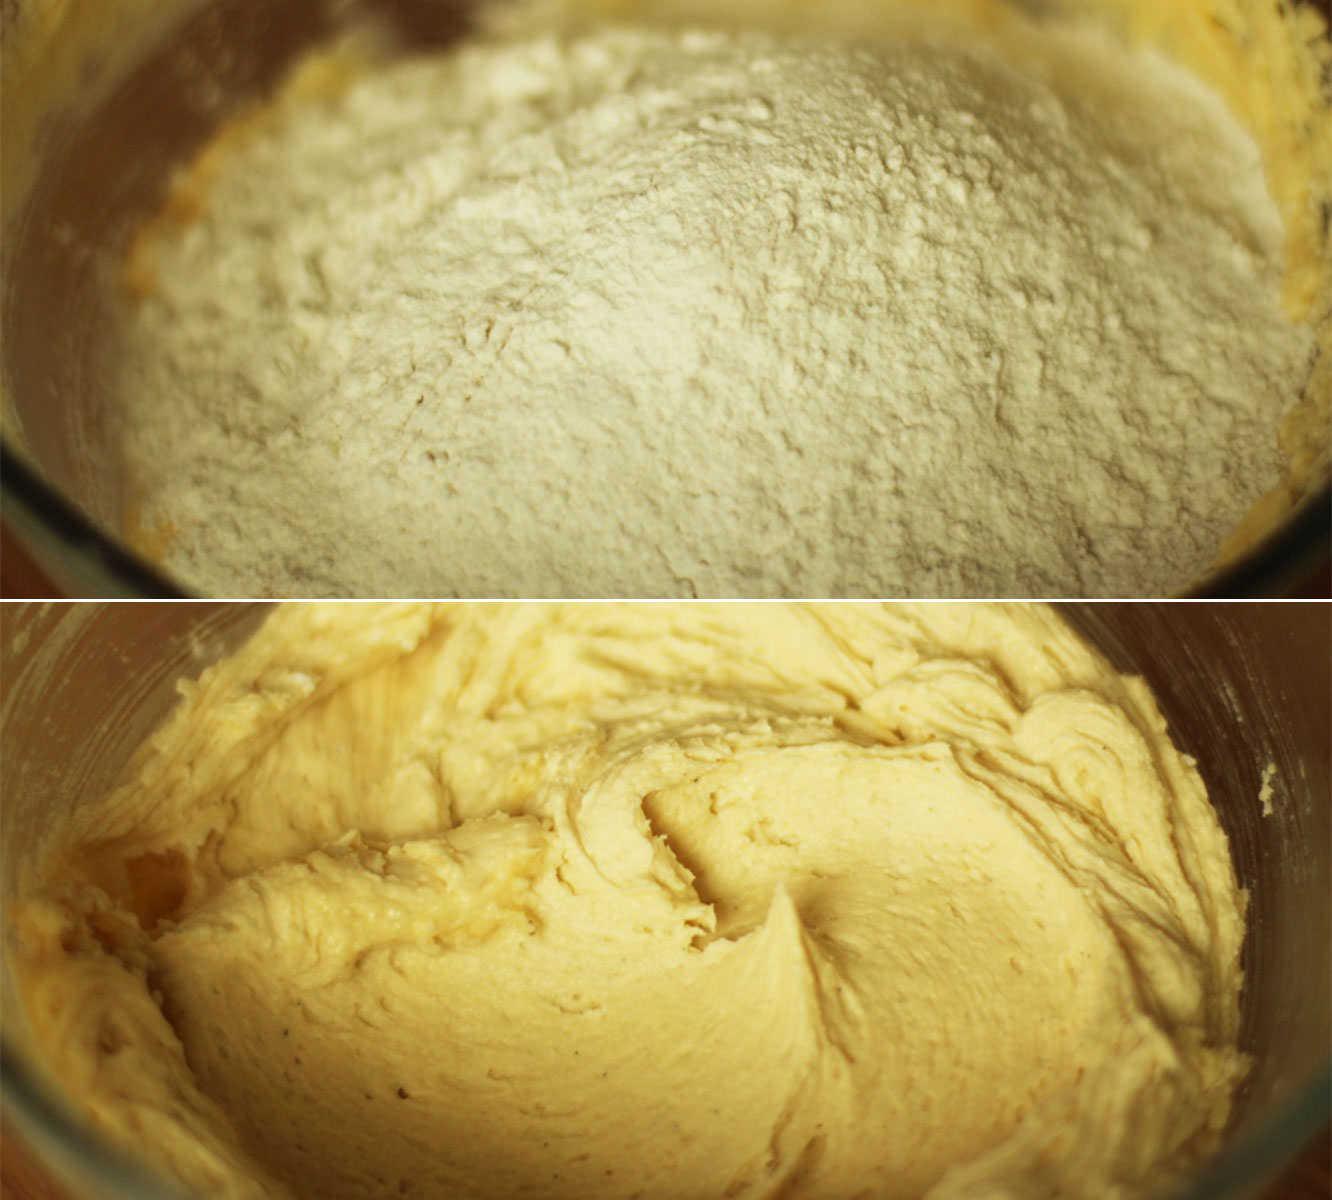
Using an electric whisk (if you have one, otherwise a wooden spoon will do), whisk together the butter/margarine and sugar.
Add the eggs once the batter is light and fluffy and beat again until combined.
Step two
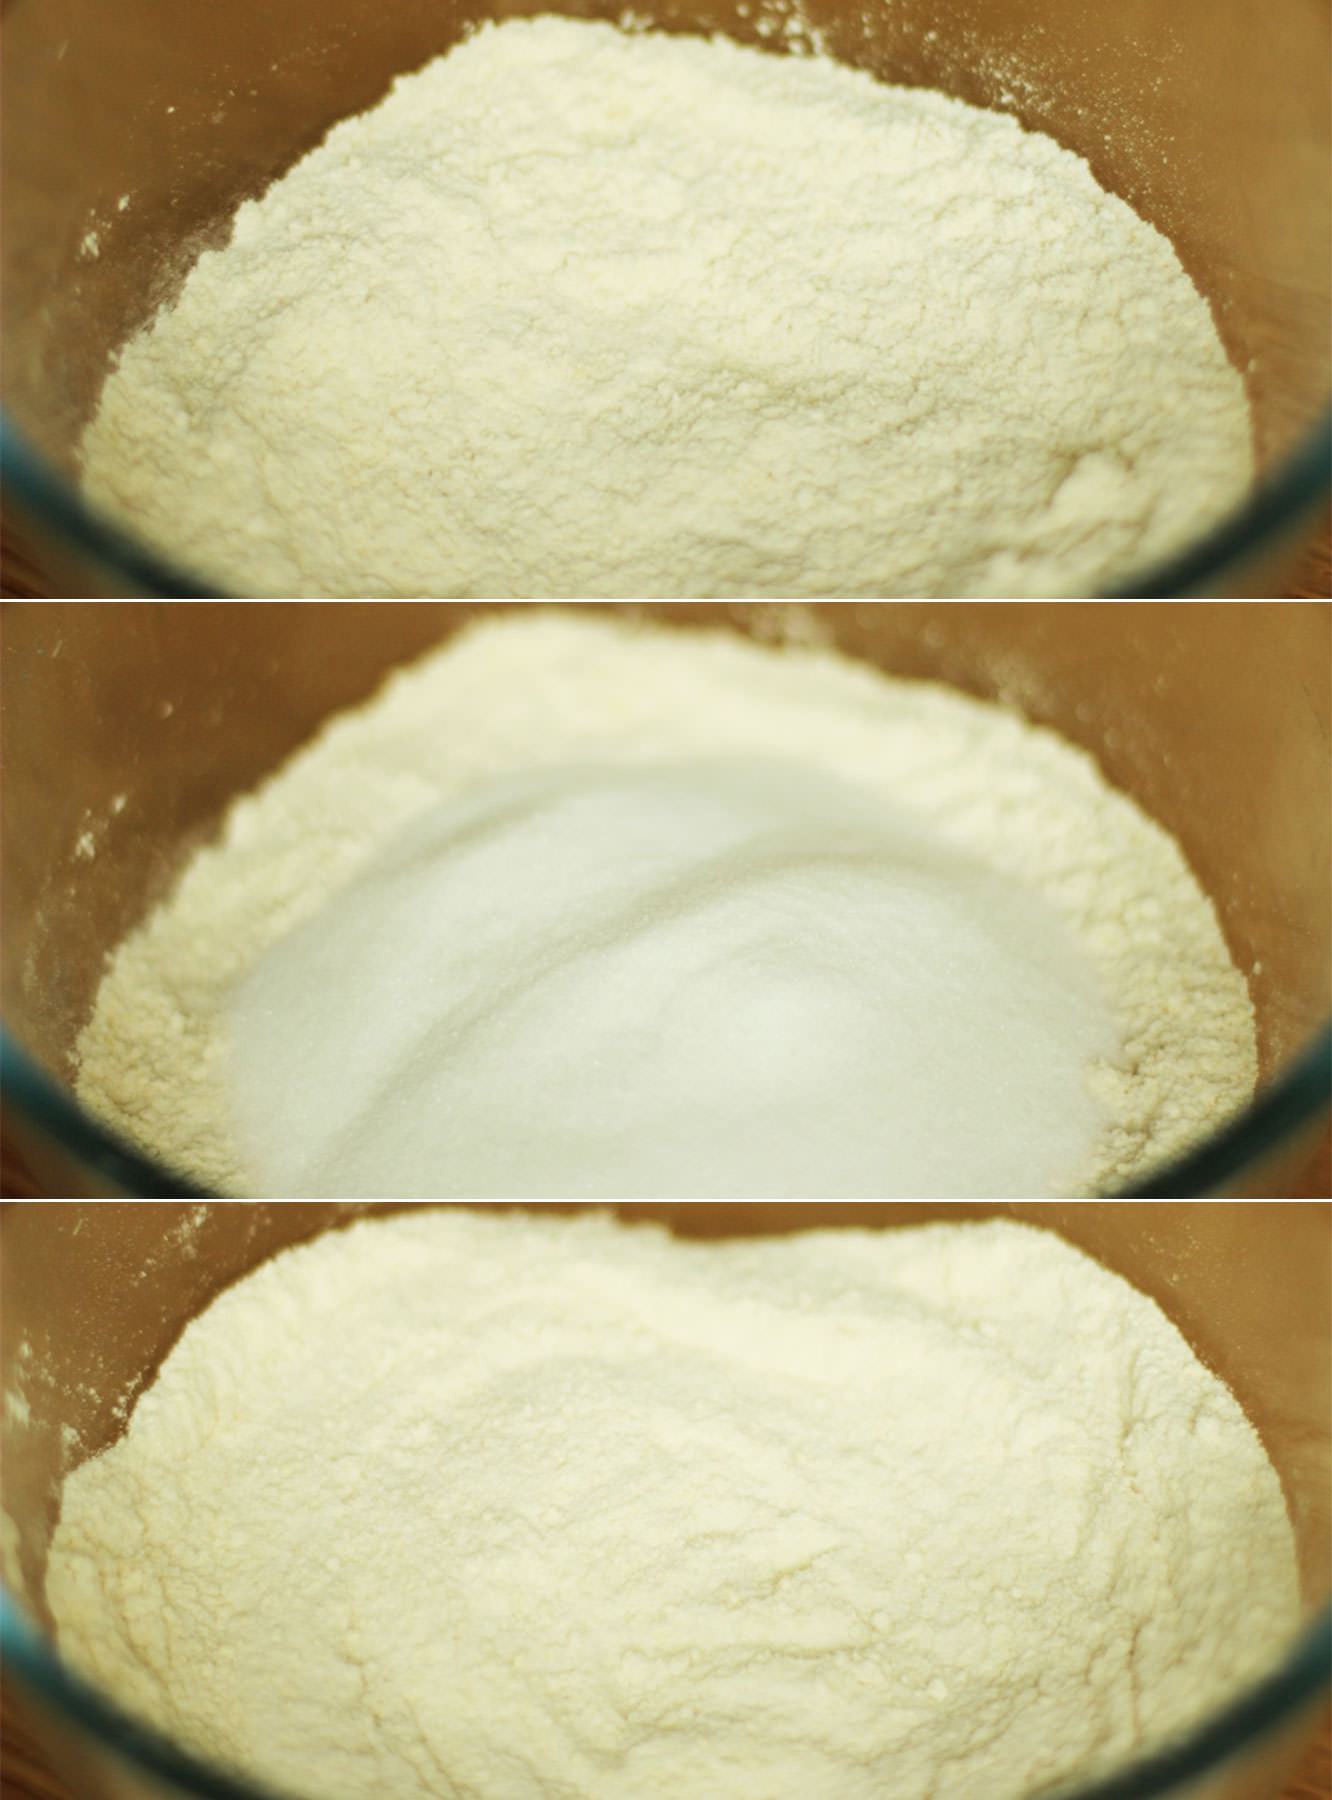
Add the flour and bicarbonate of soda, vanilla essence if you have it, and whisk until you have a lovely airy consistency.
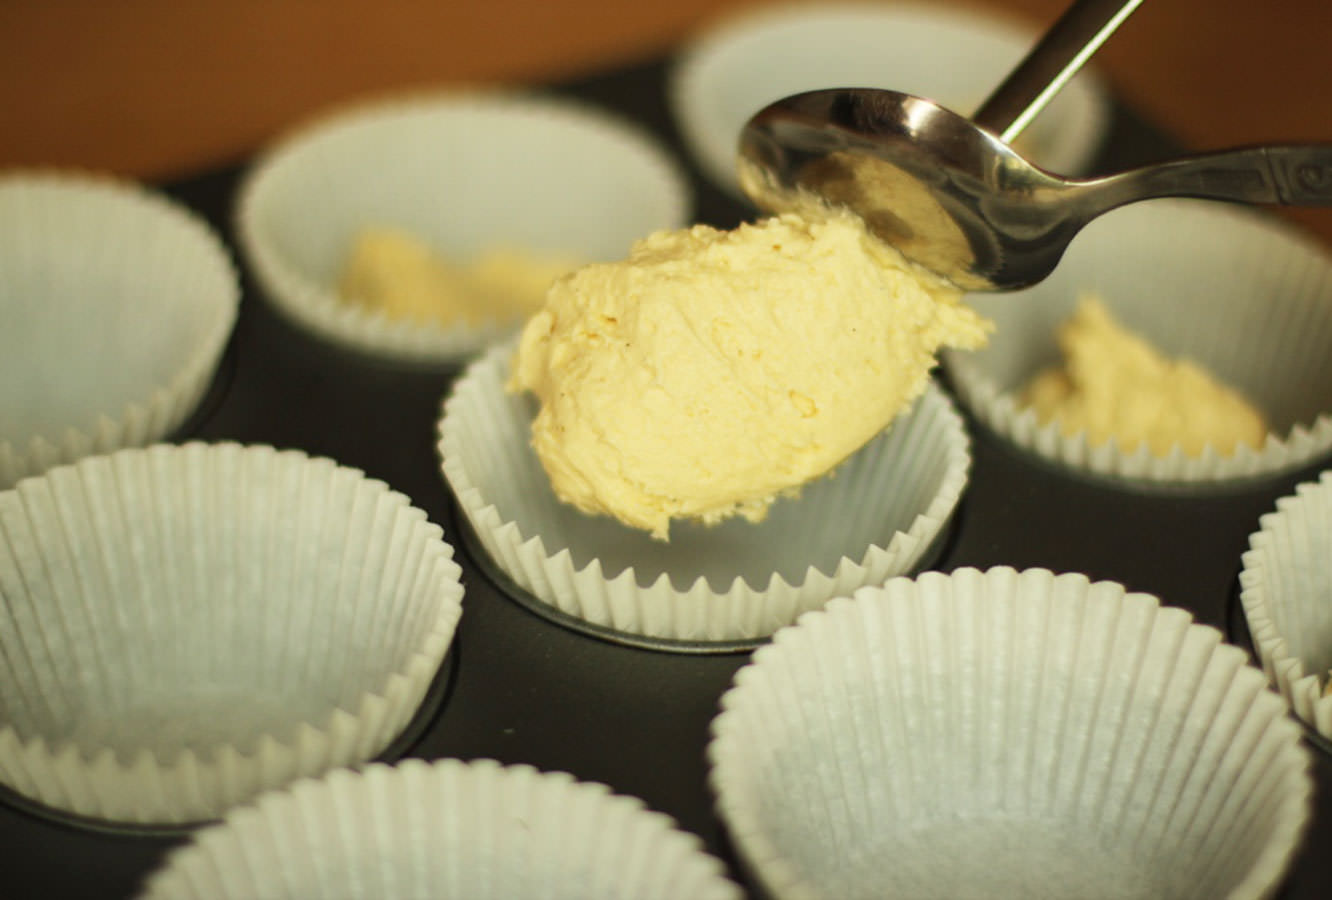
Step three
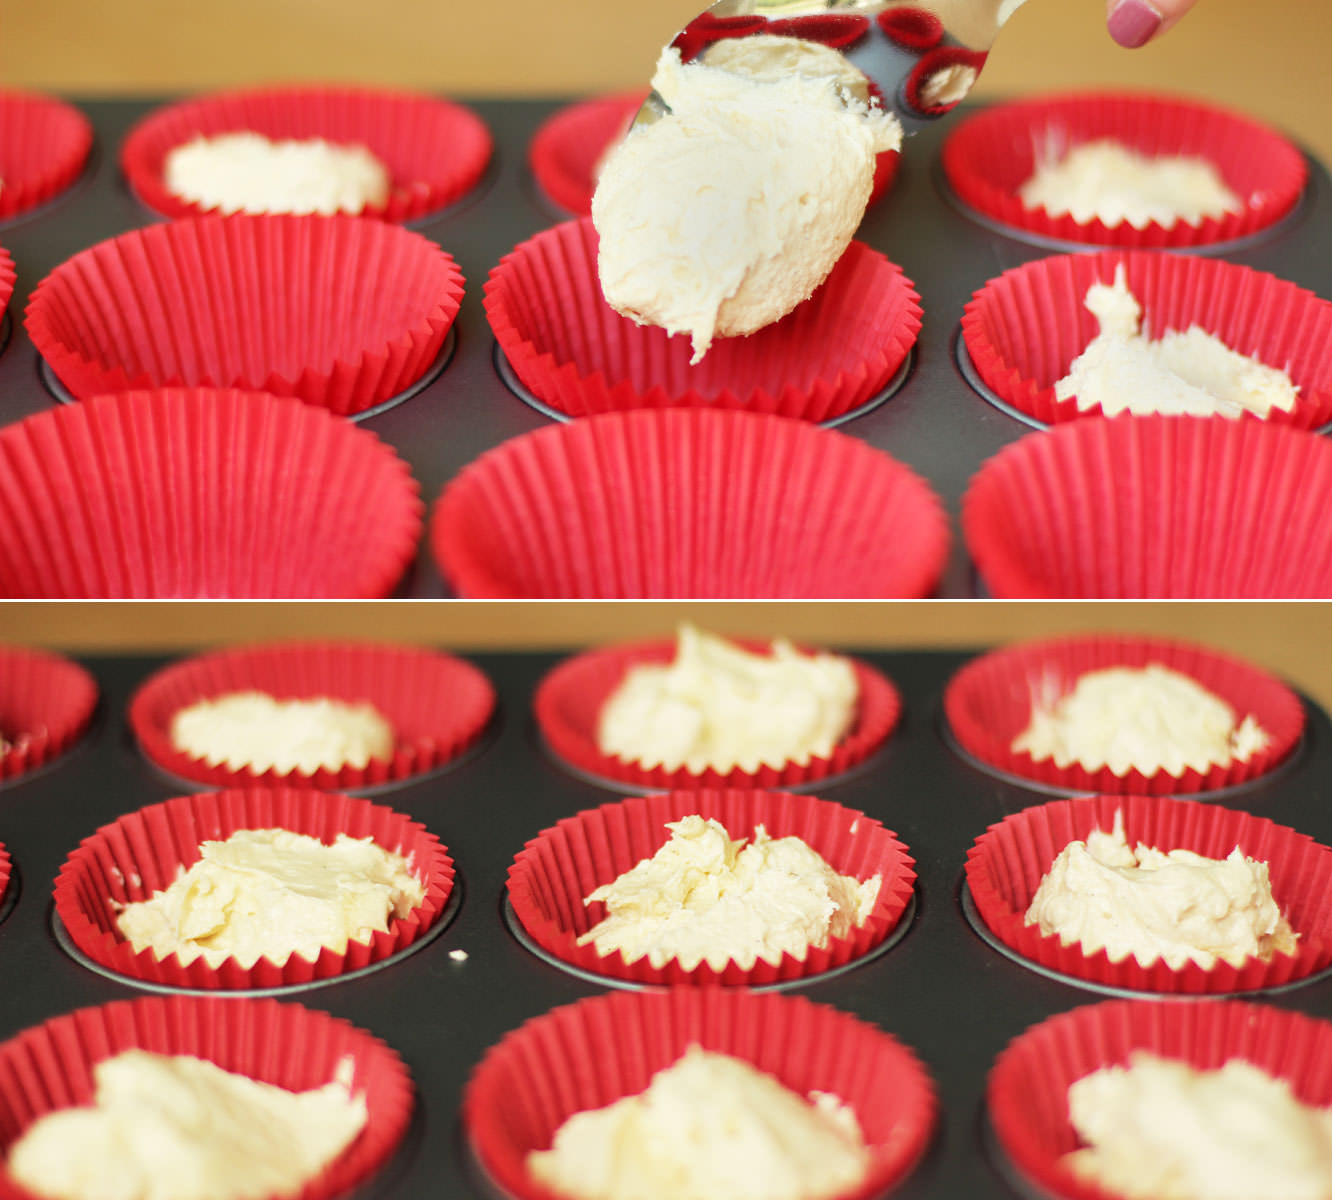
Spoon the batter into 12 cupcake cases and bake for 20-25 minutes on 350F/180C/gas mark 4.
Once out of the oven leave to cool completely.
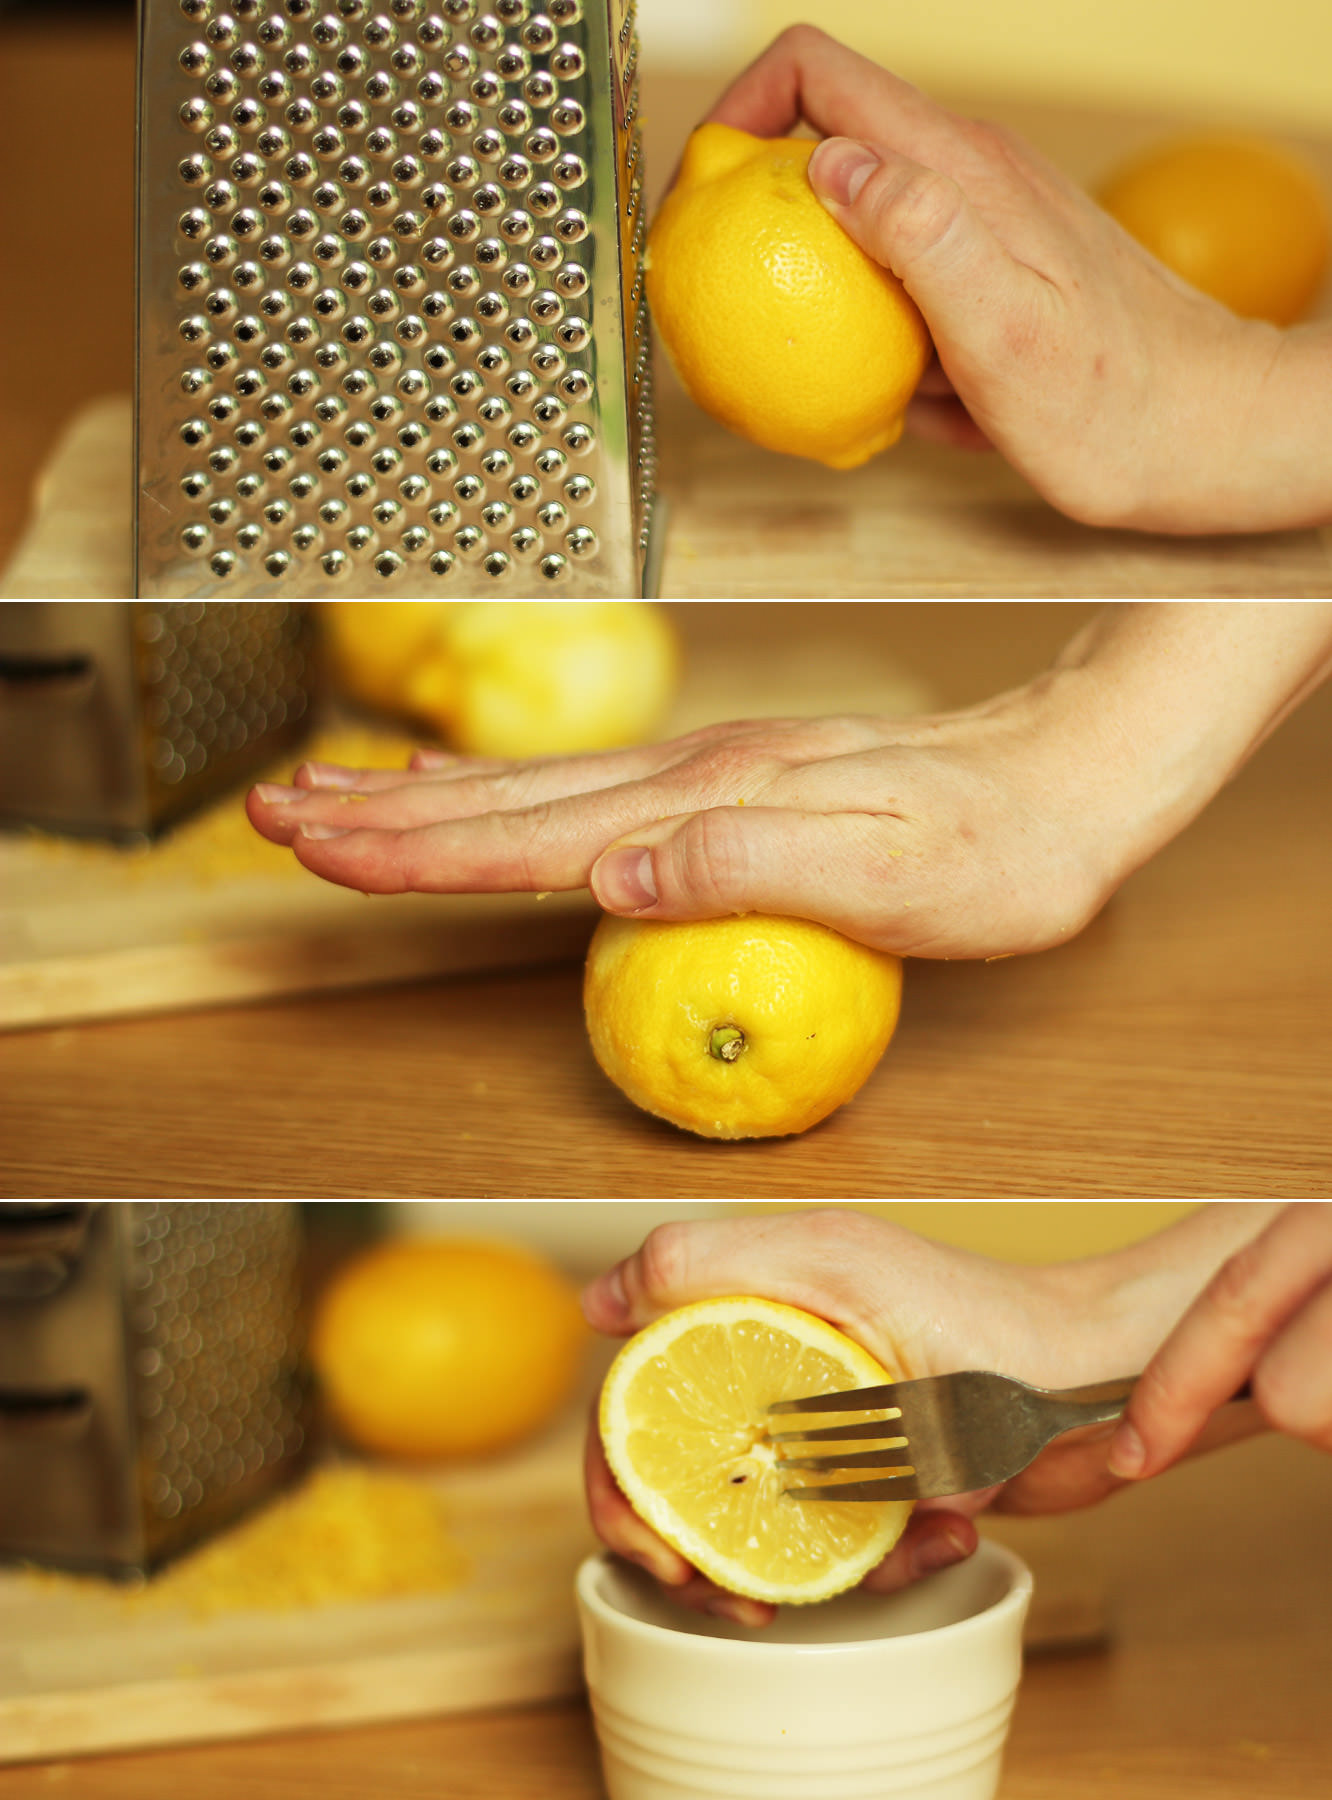
Step four
Zest the lemons.
Roll them around on a smooth, clean surface pressing down firmly. You can also pop them in the microwave for 10-20 seconds. This is all in aide of releasing the juices.
Squeeze the juice until you have 90ml, don’t worry if you’re slightly over or under.
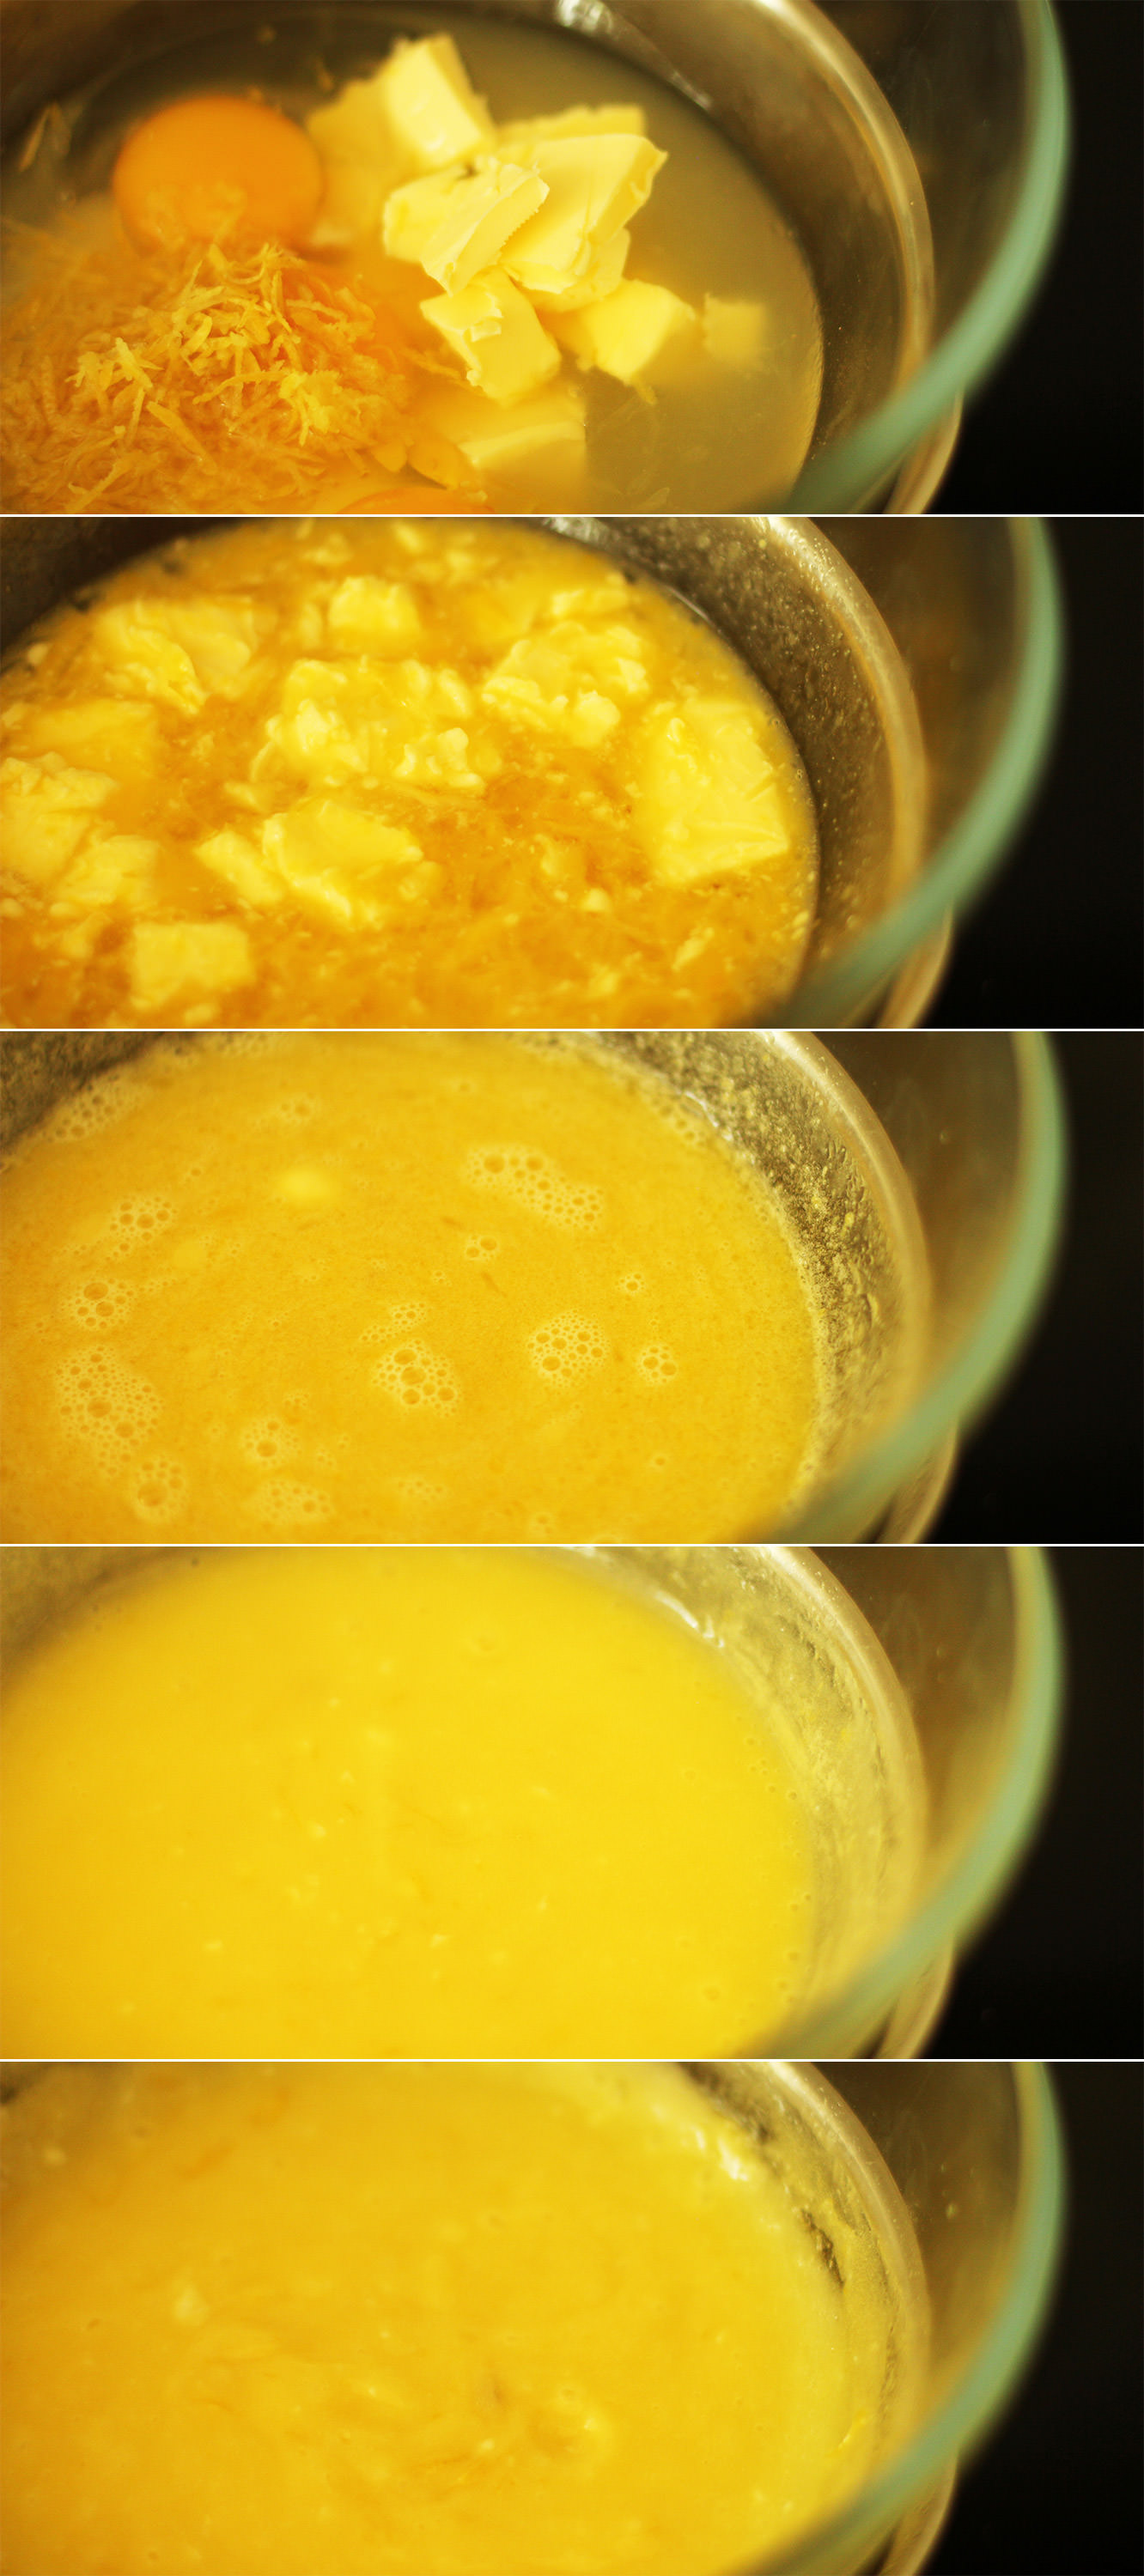
Step five
Set a heatproof bowl above a pan of barely simmering water, ensuring the water isn’t touching the bottom of the bowl.
Add all the curd ingredients.
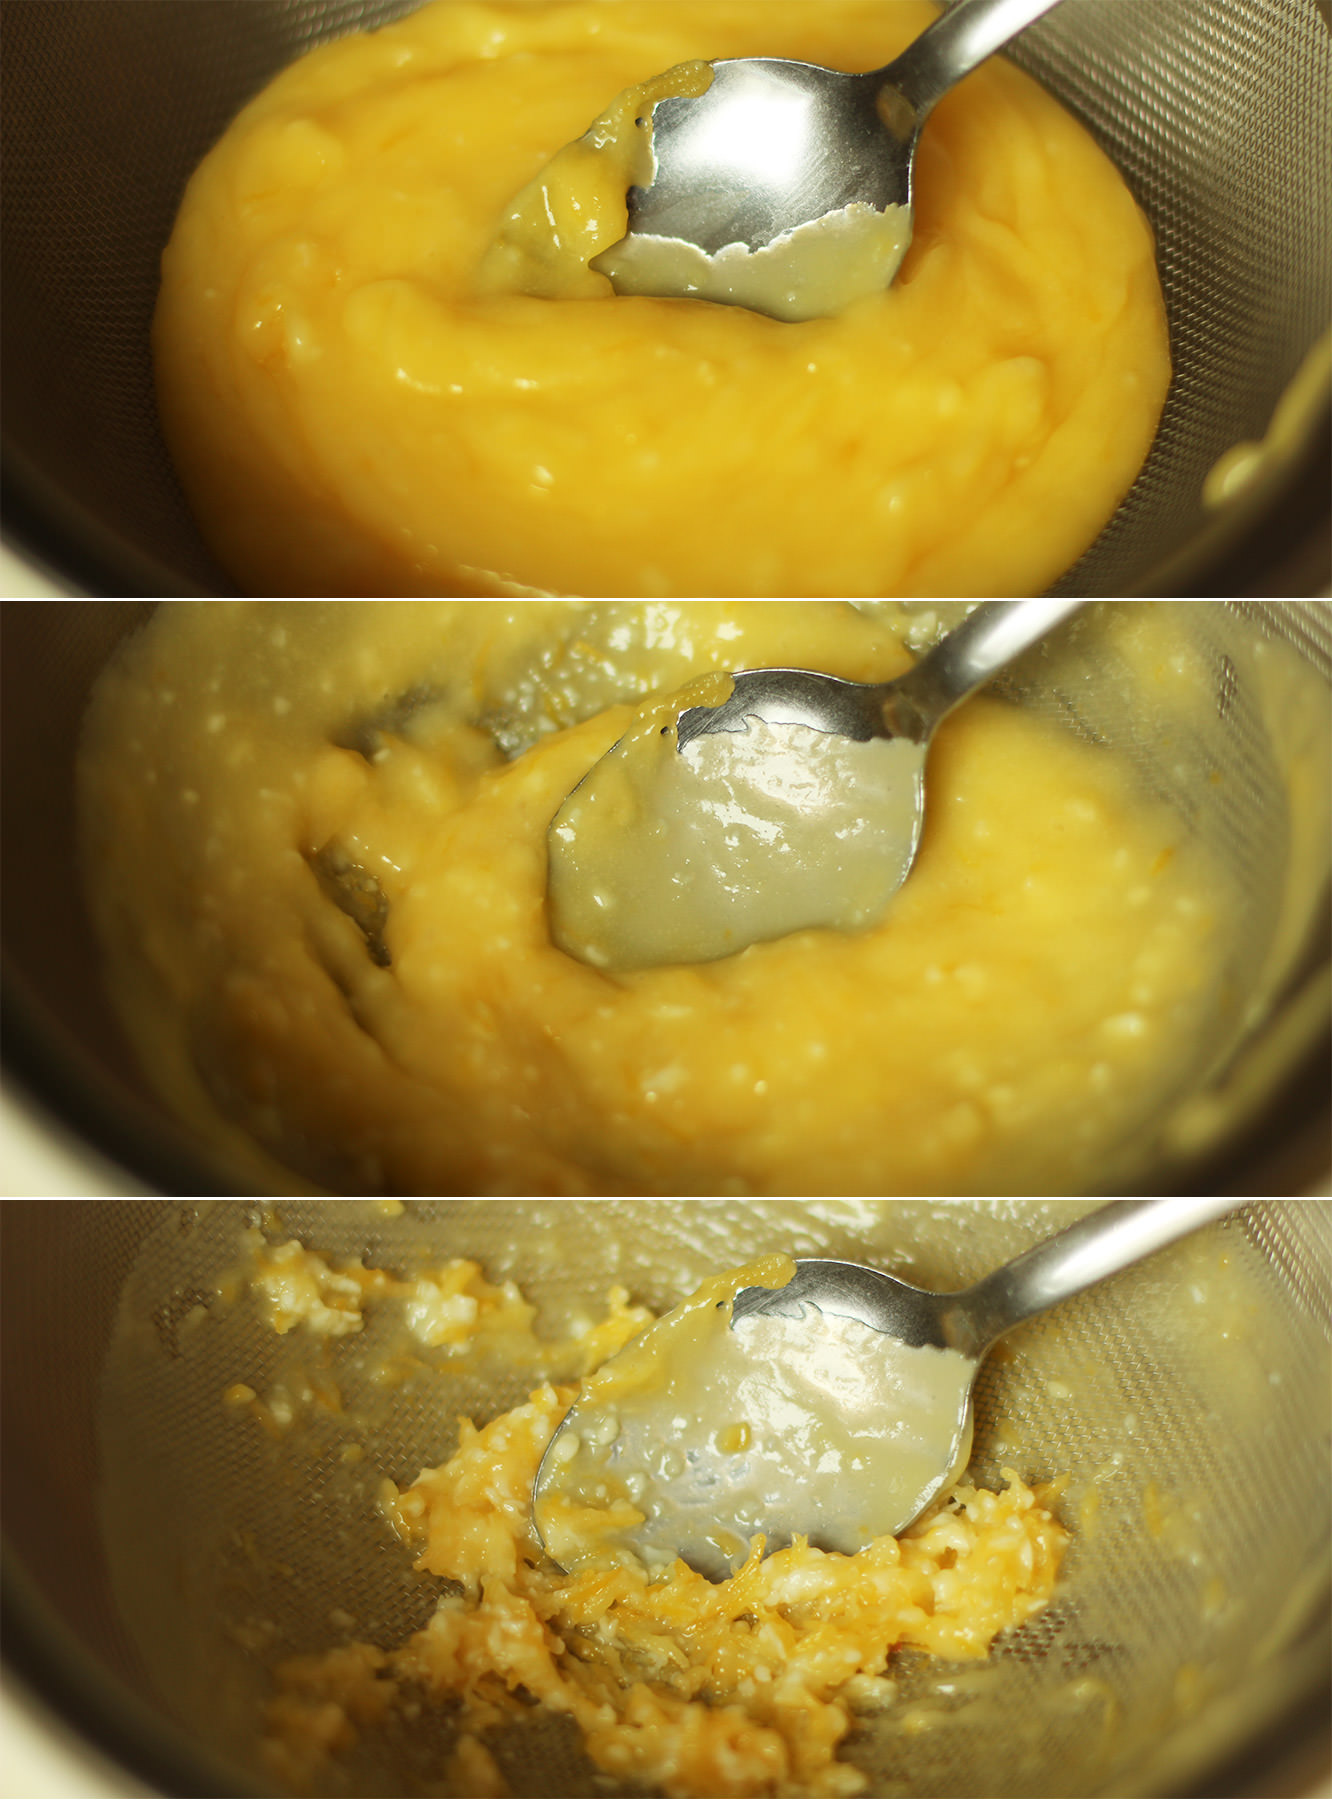
I’ve sort of been judging the readiness of this by eye. I reckon it takes around 10 minutes for the curd to thicken.
Whisk intermittently and just keep an eye on it. It will thicken more when it cools but ensure that it coats the back of a metal spoon before removing from the heat.
Step six
Sieve the curd by stirring it through with a metal spoon.
Pop it in the fridge to cool it down quicker if you need to.
Step six
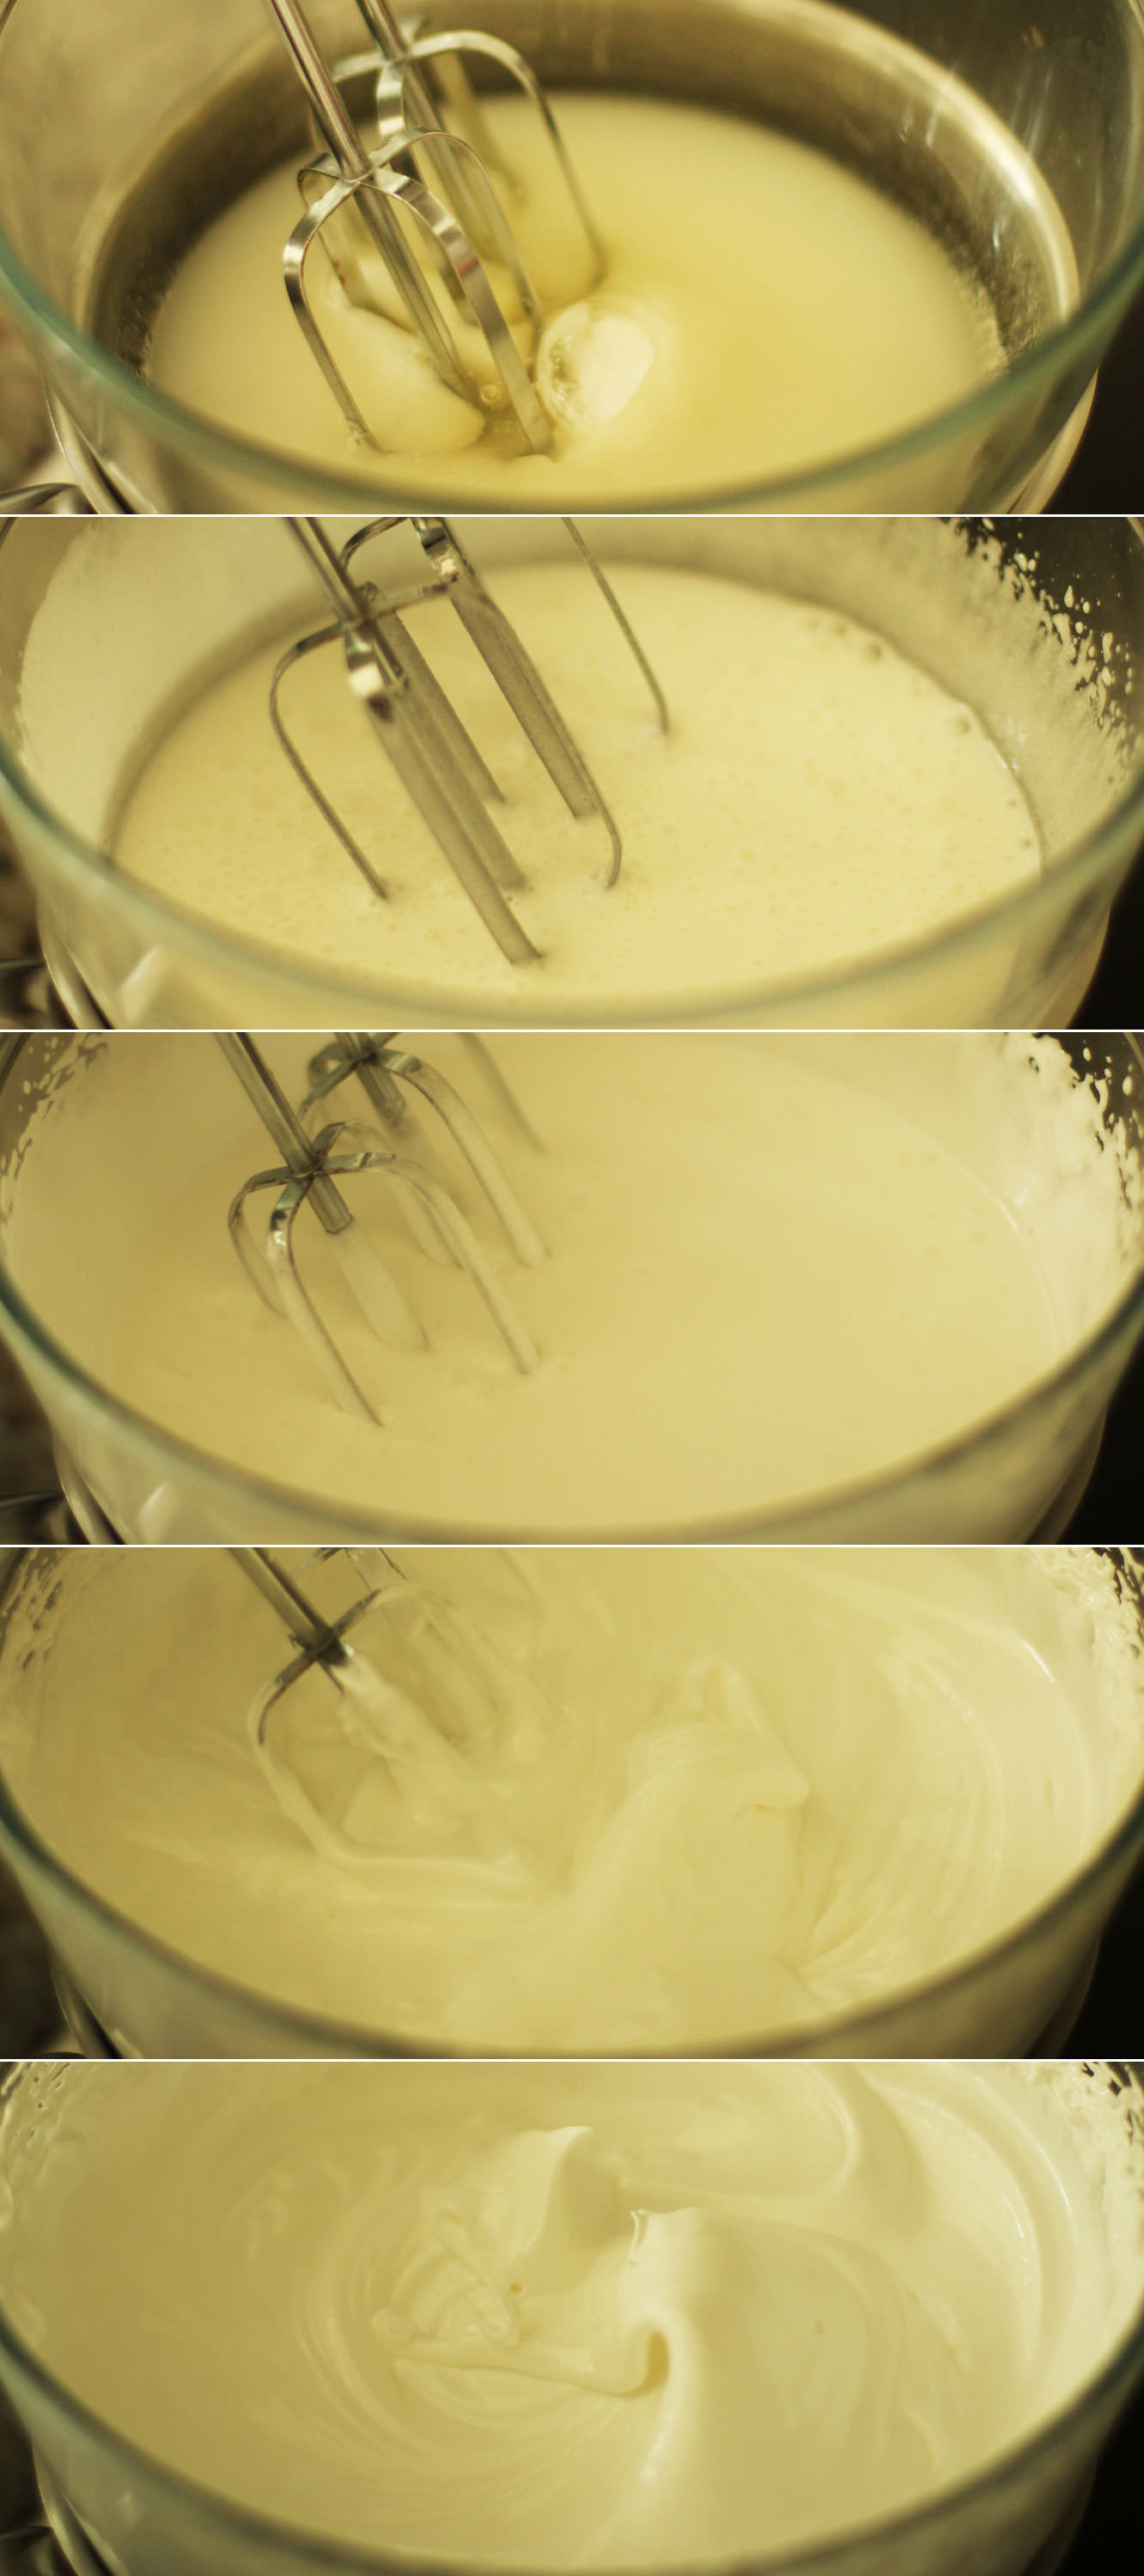
This is the second time I’ve made swiss meringue/seven minute frosting in this series. It’s so much easier than you would think.
Put the water, sugar, cream of tartar and egg whites into a heatproof bowl. This should be placed over a pan of simmering water. Again, don’t let the water touch the bottom of the bowl.
Whisk it for seven minutes, don’t leave it. It should be able to hold its own shape and not fall off the whisk when you lift it. If it’s not stiff enough just keep whisking for another minute or two.
Step seven
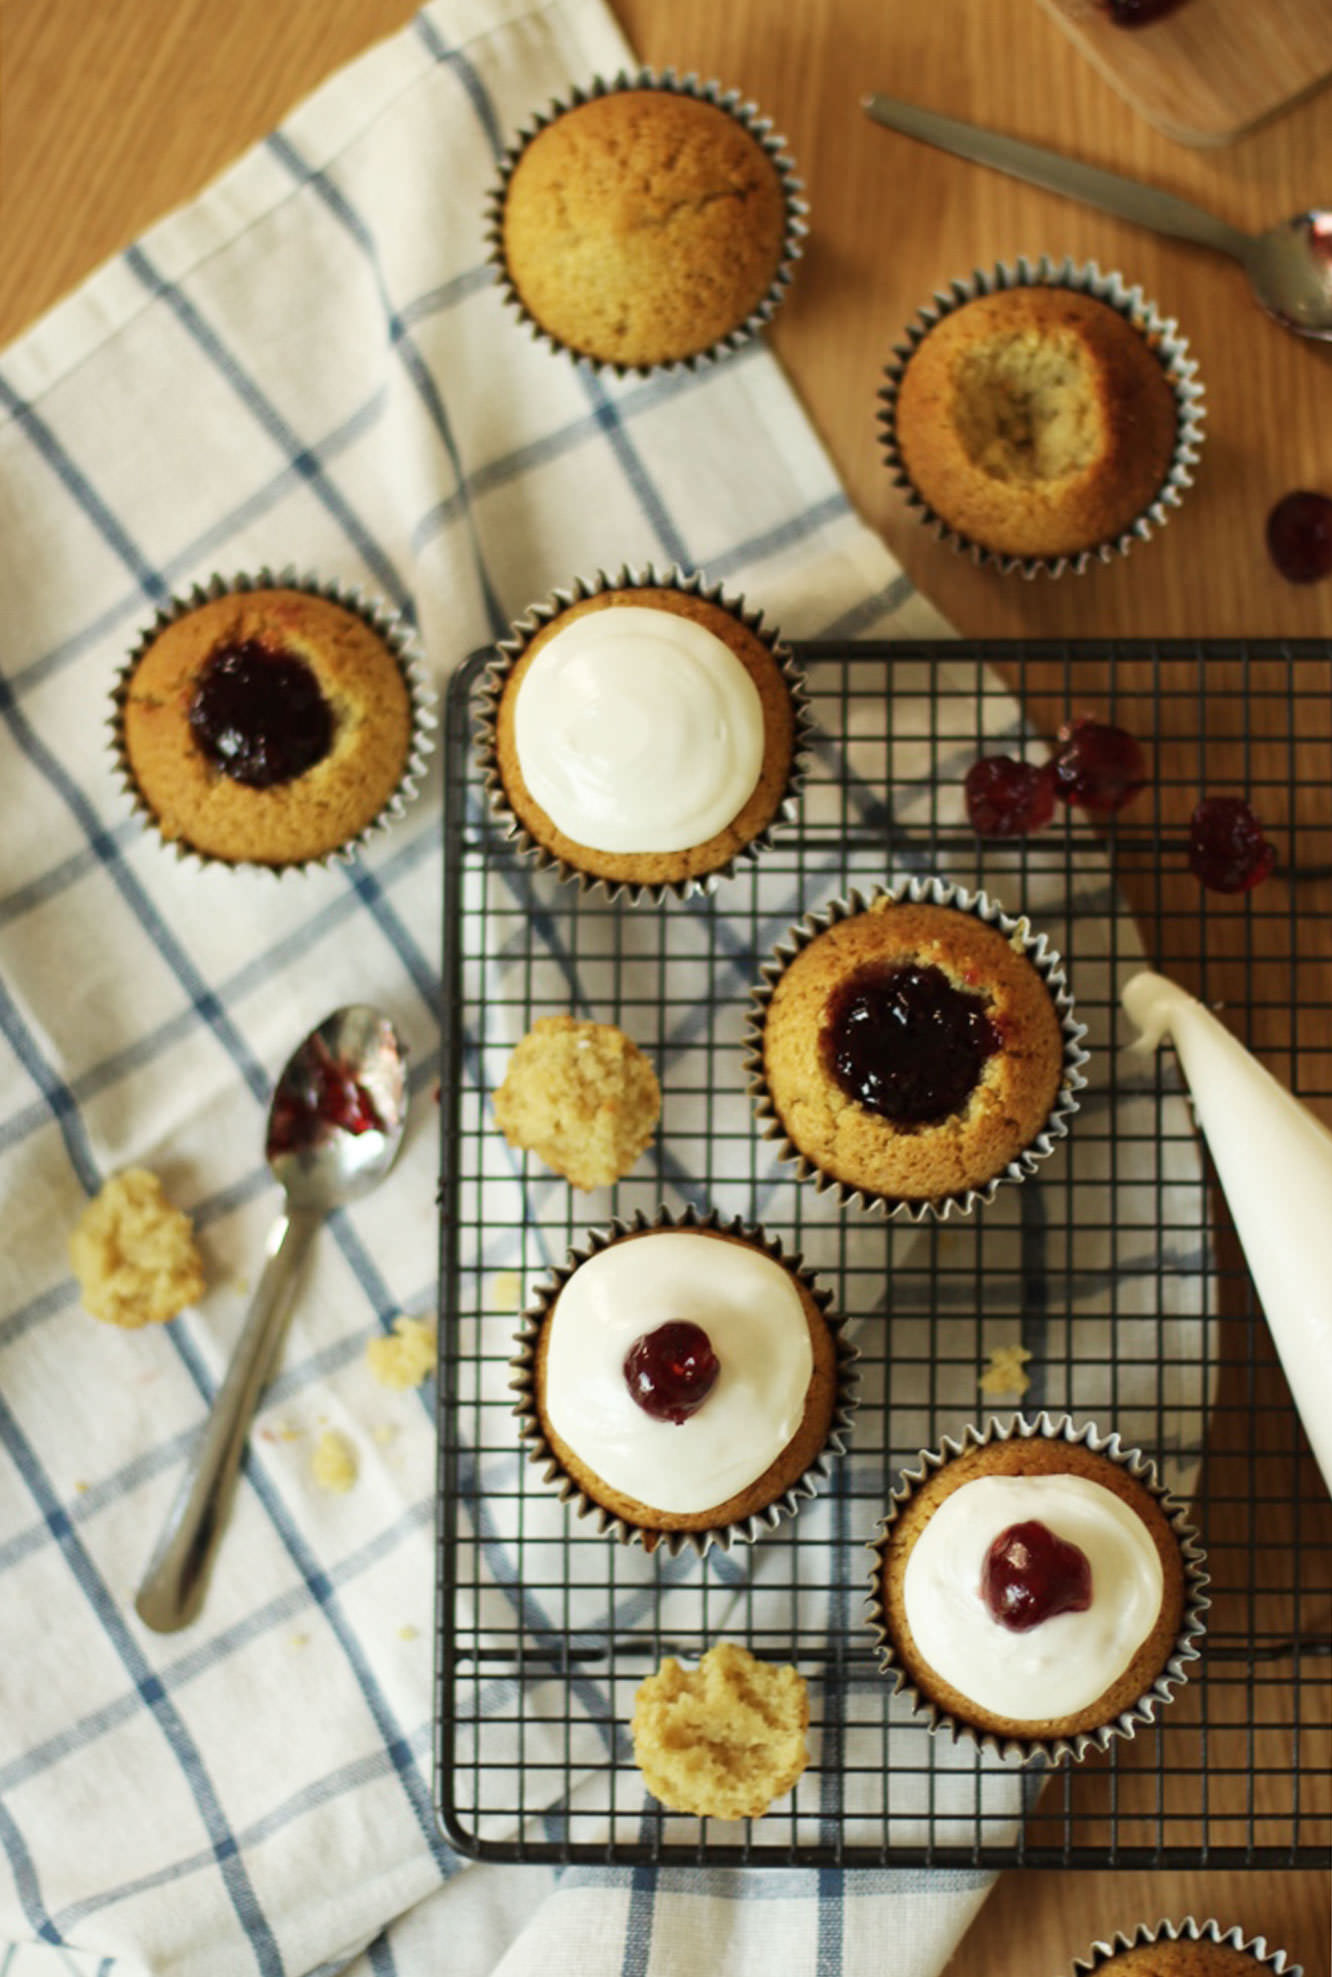
Cut a hole out out of the middle of the cupcakes and chop off the triangular bit, keeping the ‘lid’. Fill with curd and place the lid back on.
Pipe the frosting on, or even spoon on like a proper old fashioned lemon meringue pie.
If you have a blowtorch, singe that bad boy. If you don’t, look at your feet and have a little sad moment. Don’t worry though, your cupcakes will still be delicious.
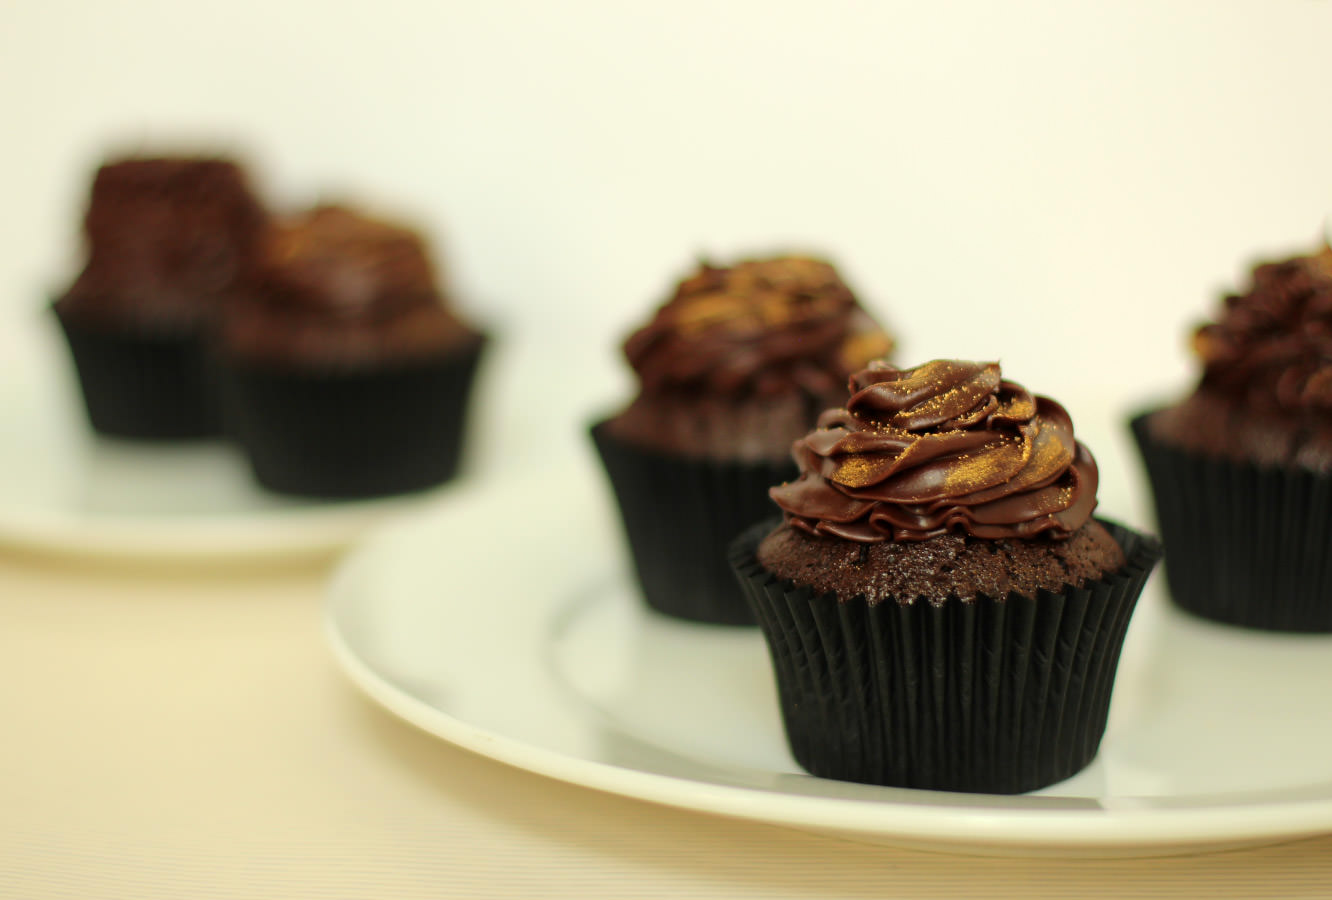
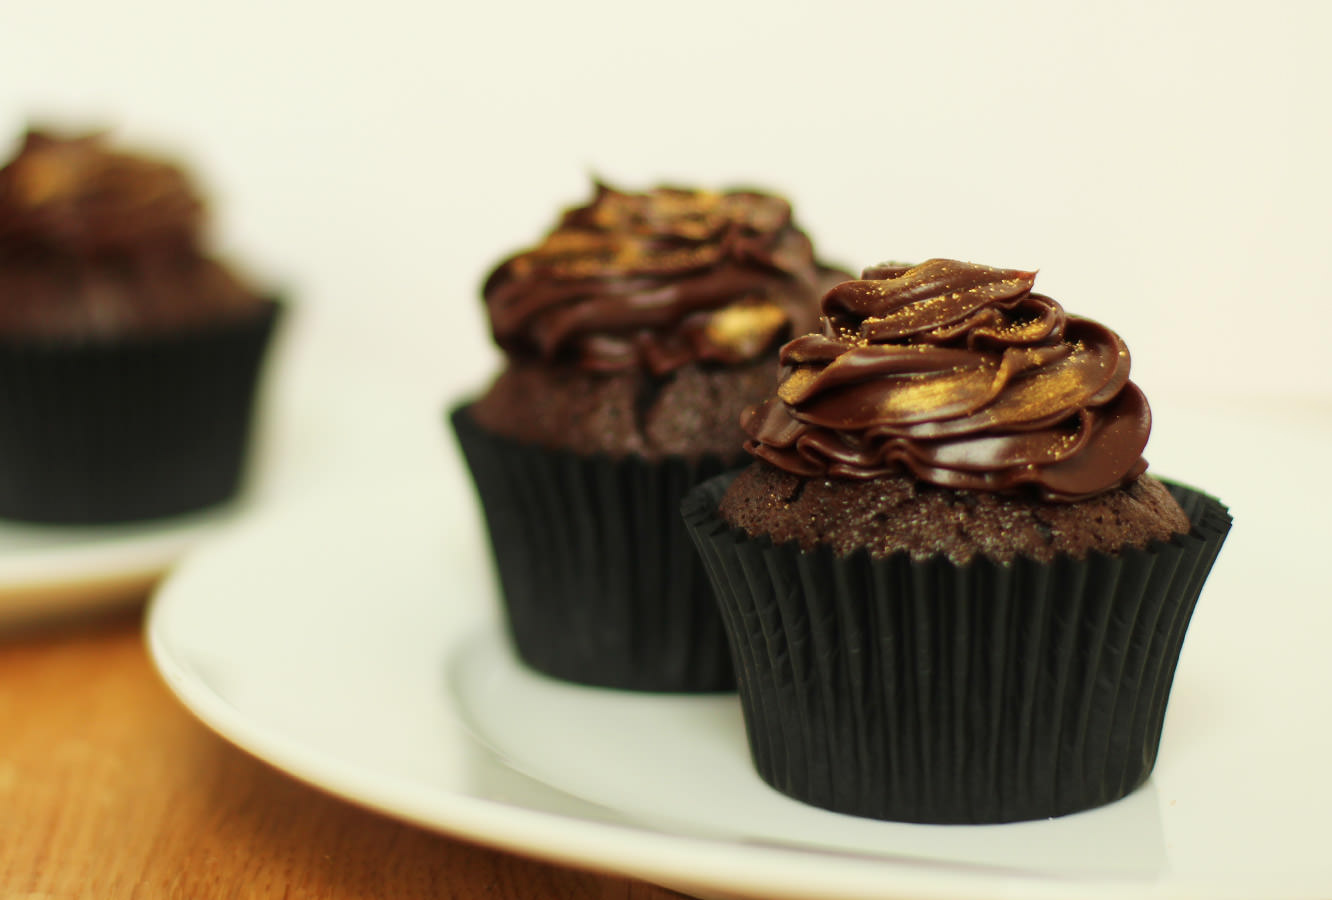
Week five of the British favourites cupcakes, and before we begin, I have a minor claim to fame on this one. My grandad used to engrave the embossing plates for the clock that characterises this evening treat. You know the old one with all the swirls n’ stuff.
Any guesses? The After Eight dinner mint you say? Dang straight.
Now, I know mint as a flavour polarises people, but I’m generally a fan. I can do away with a whole box of these if I’m in the right mood.
As far as the cake version goes, you don’t have to go too crazy, a little hint of mint really sets off the dark chocolate in this recipe nicely. The cake is made without eggs and butter so it’s light and fluffy allowing for a nice rich ganache icing. This is probably one of the easiest recipes in this little series, so if baking makes you nervous, start here.
As I’ve started sounding like the baking equivalent of a used car salesman we better make a start.
You will need
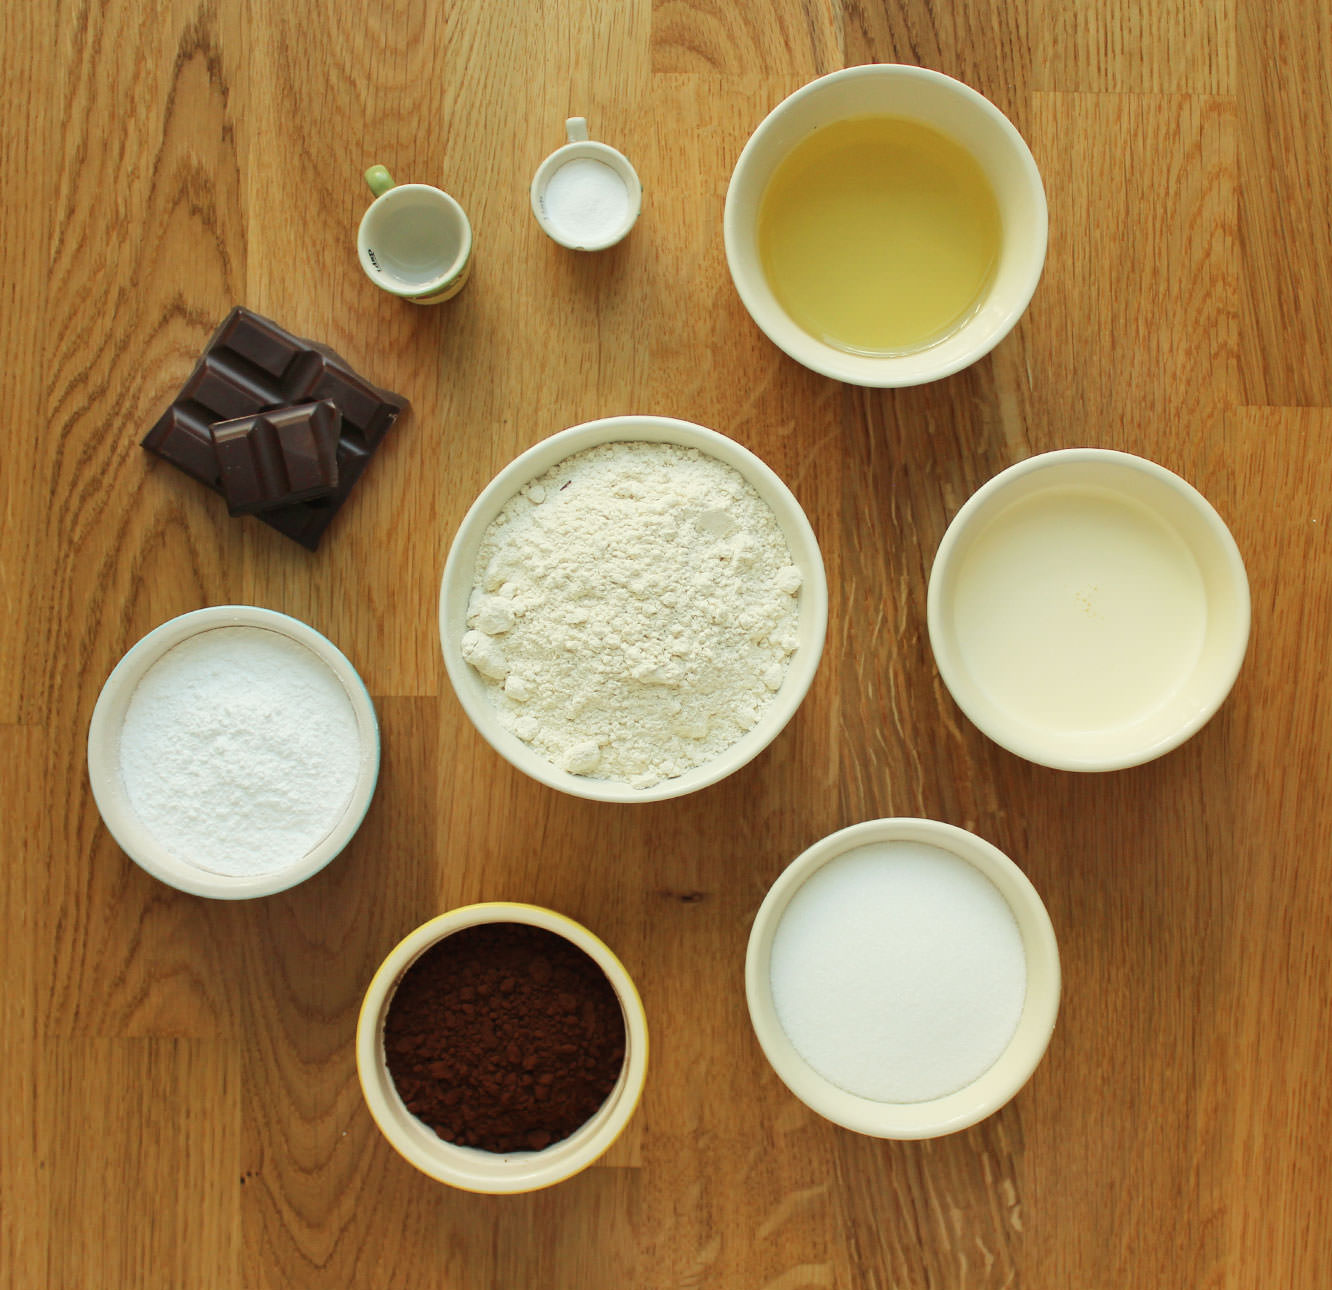
For the cakes:
250g/8.5 oz plain flour
250g/8.5 oz caster sugar
30g/1 oz cocoa powder
300ml/10 fl oz water
6 tbsp vegetable oil
1 tsp bicarbonate of soda
1 tsp cider vinegar
1 tsp vanilla extract
For the filling:
150g/5.5 oz icing sugar
1 1/2 tbsp water
1 tsp peppermint extract
For the ganache icing:
175ml/6 fl oz double cream
250g/8.5 oz dark chocolate
The little extras (you know, it’s polite to stay on brand):
Edible gold powder
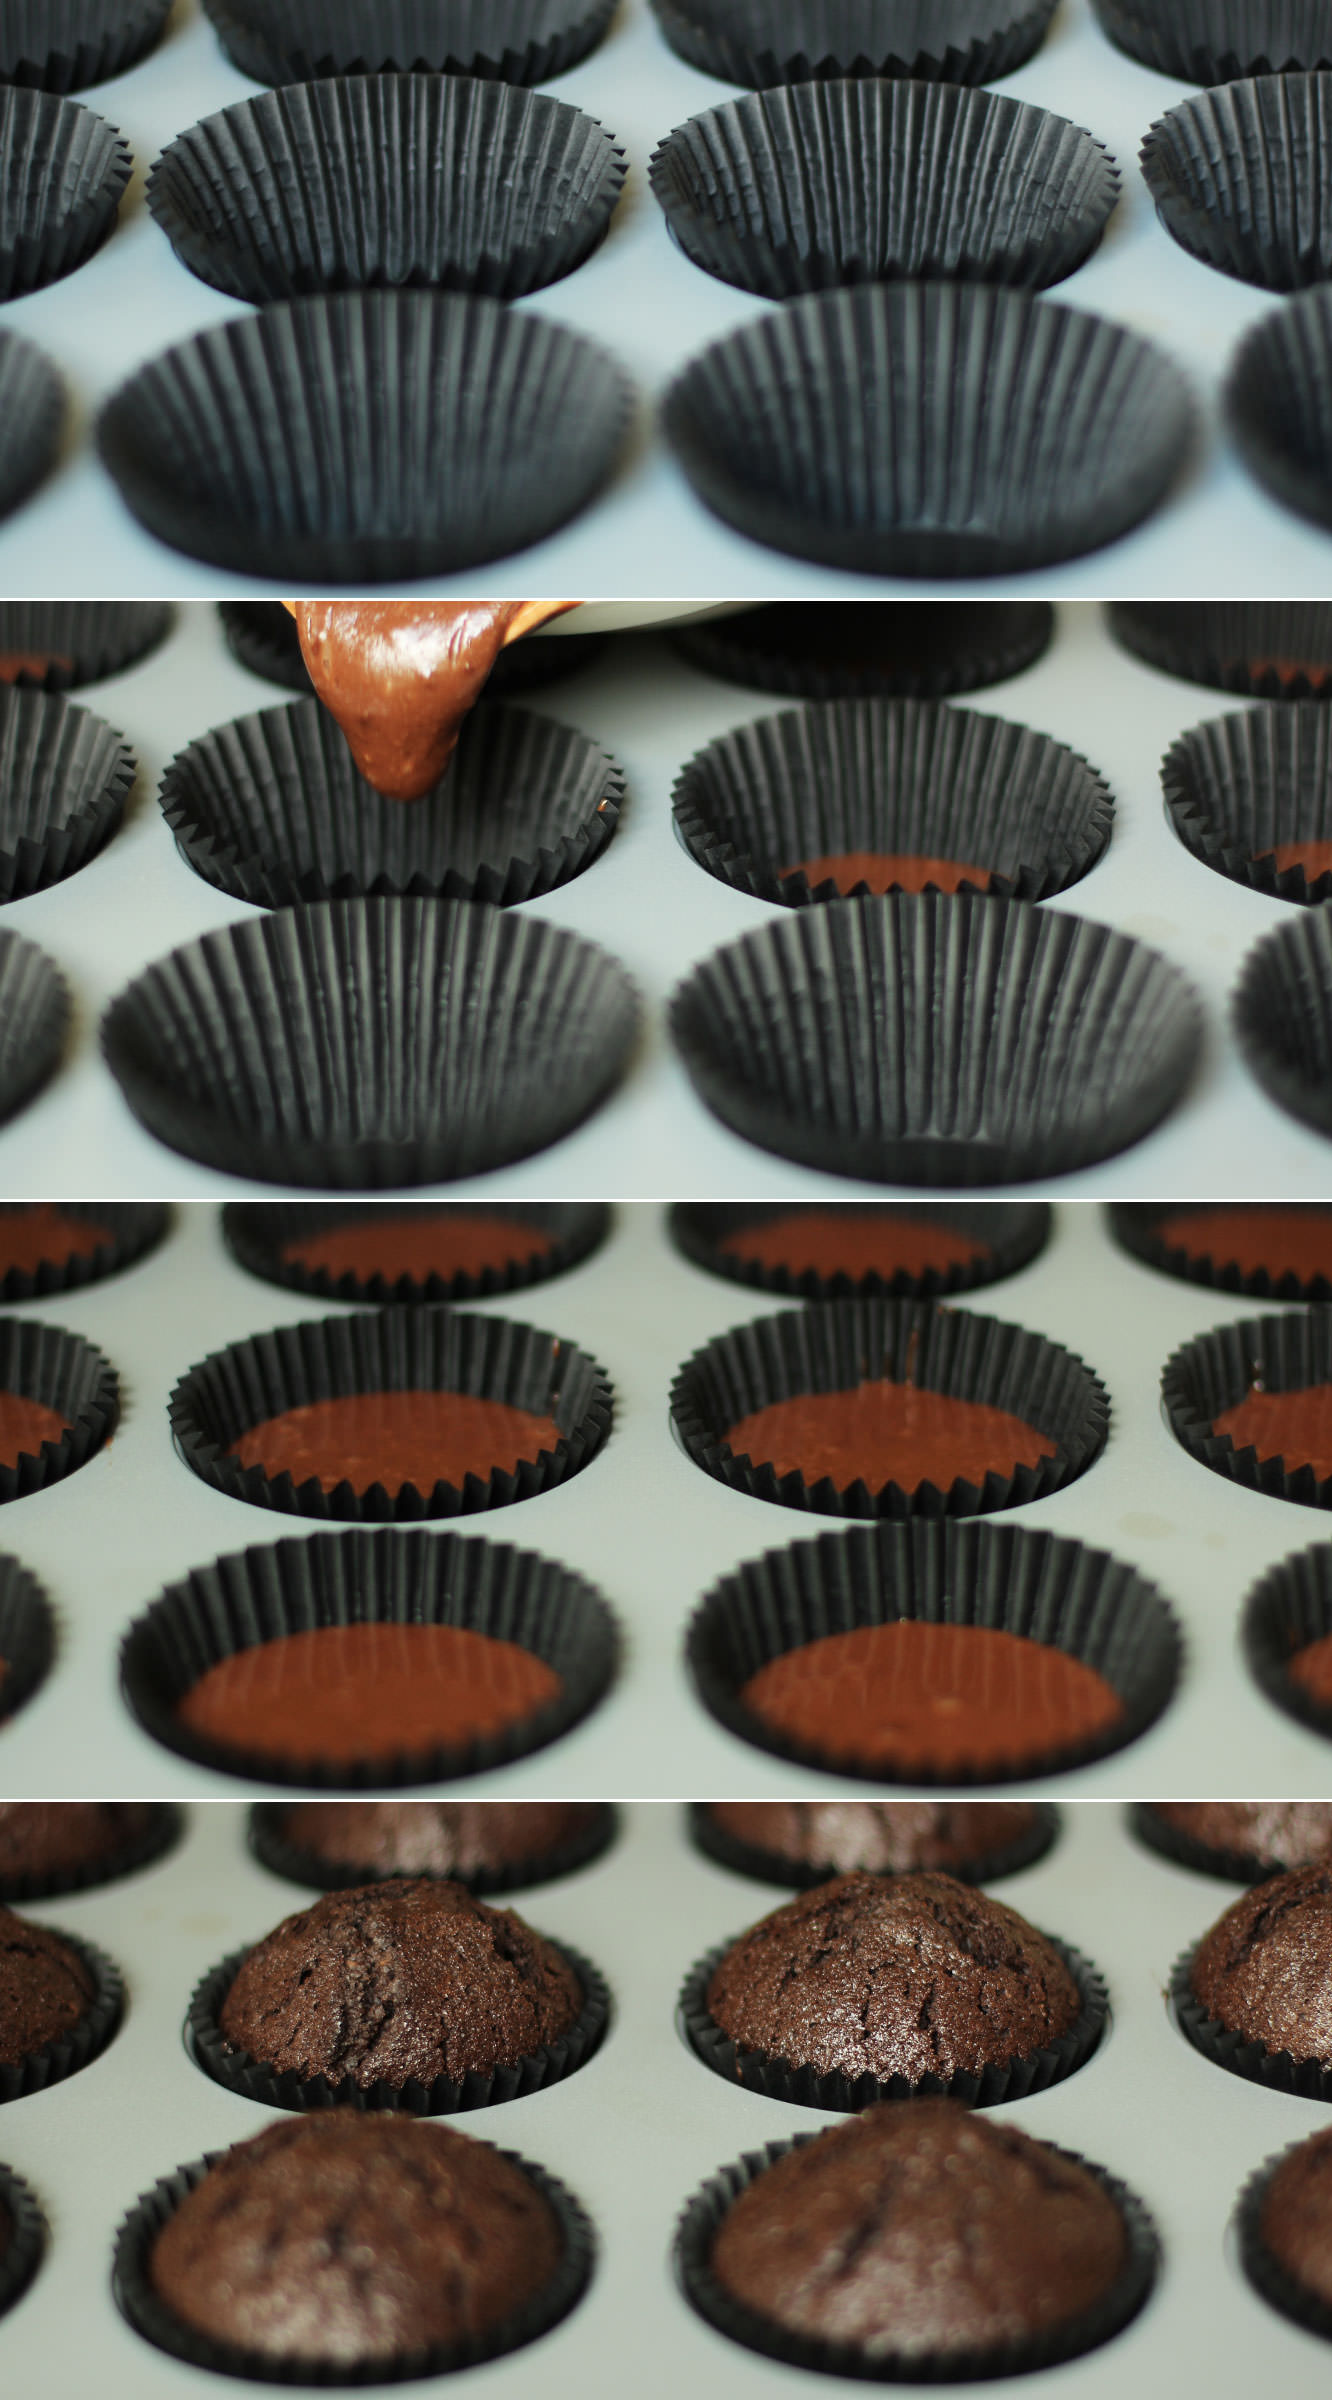
Black muffin/cupcake cases
(makes 12)
Step one
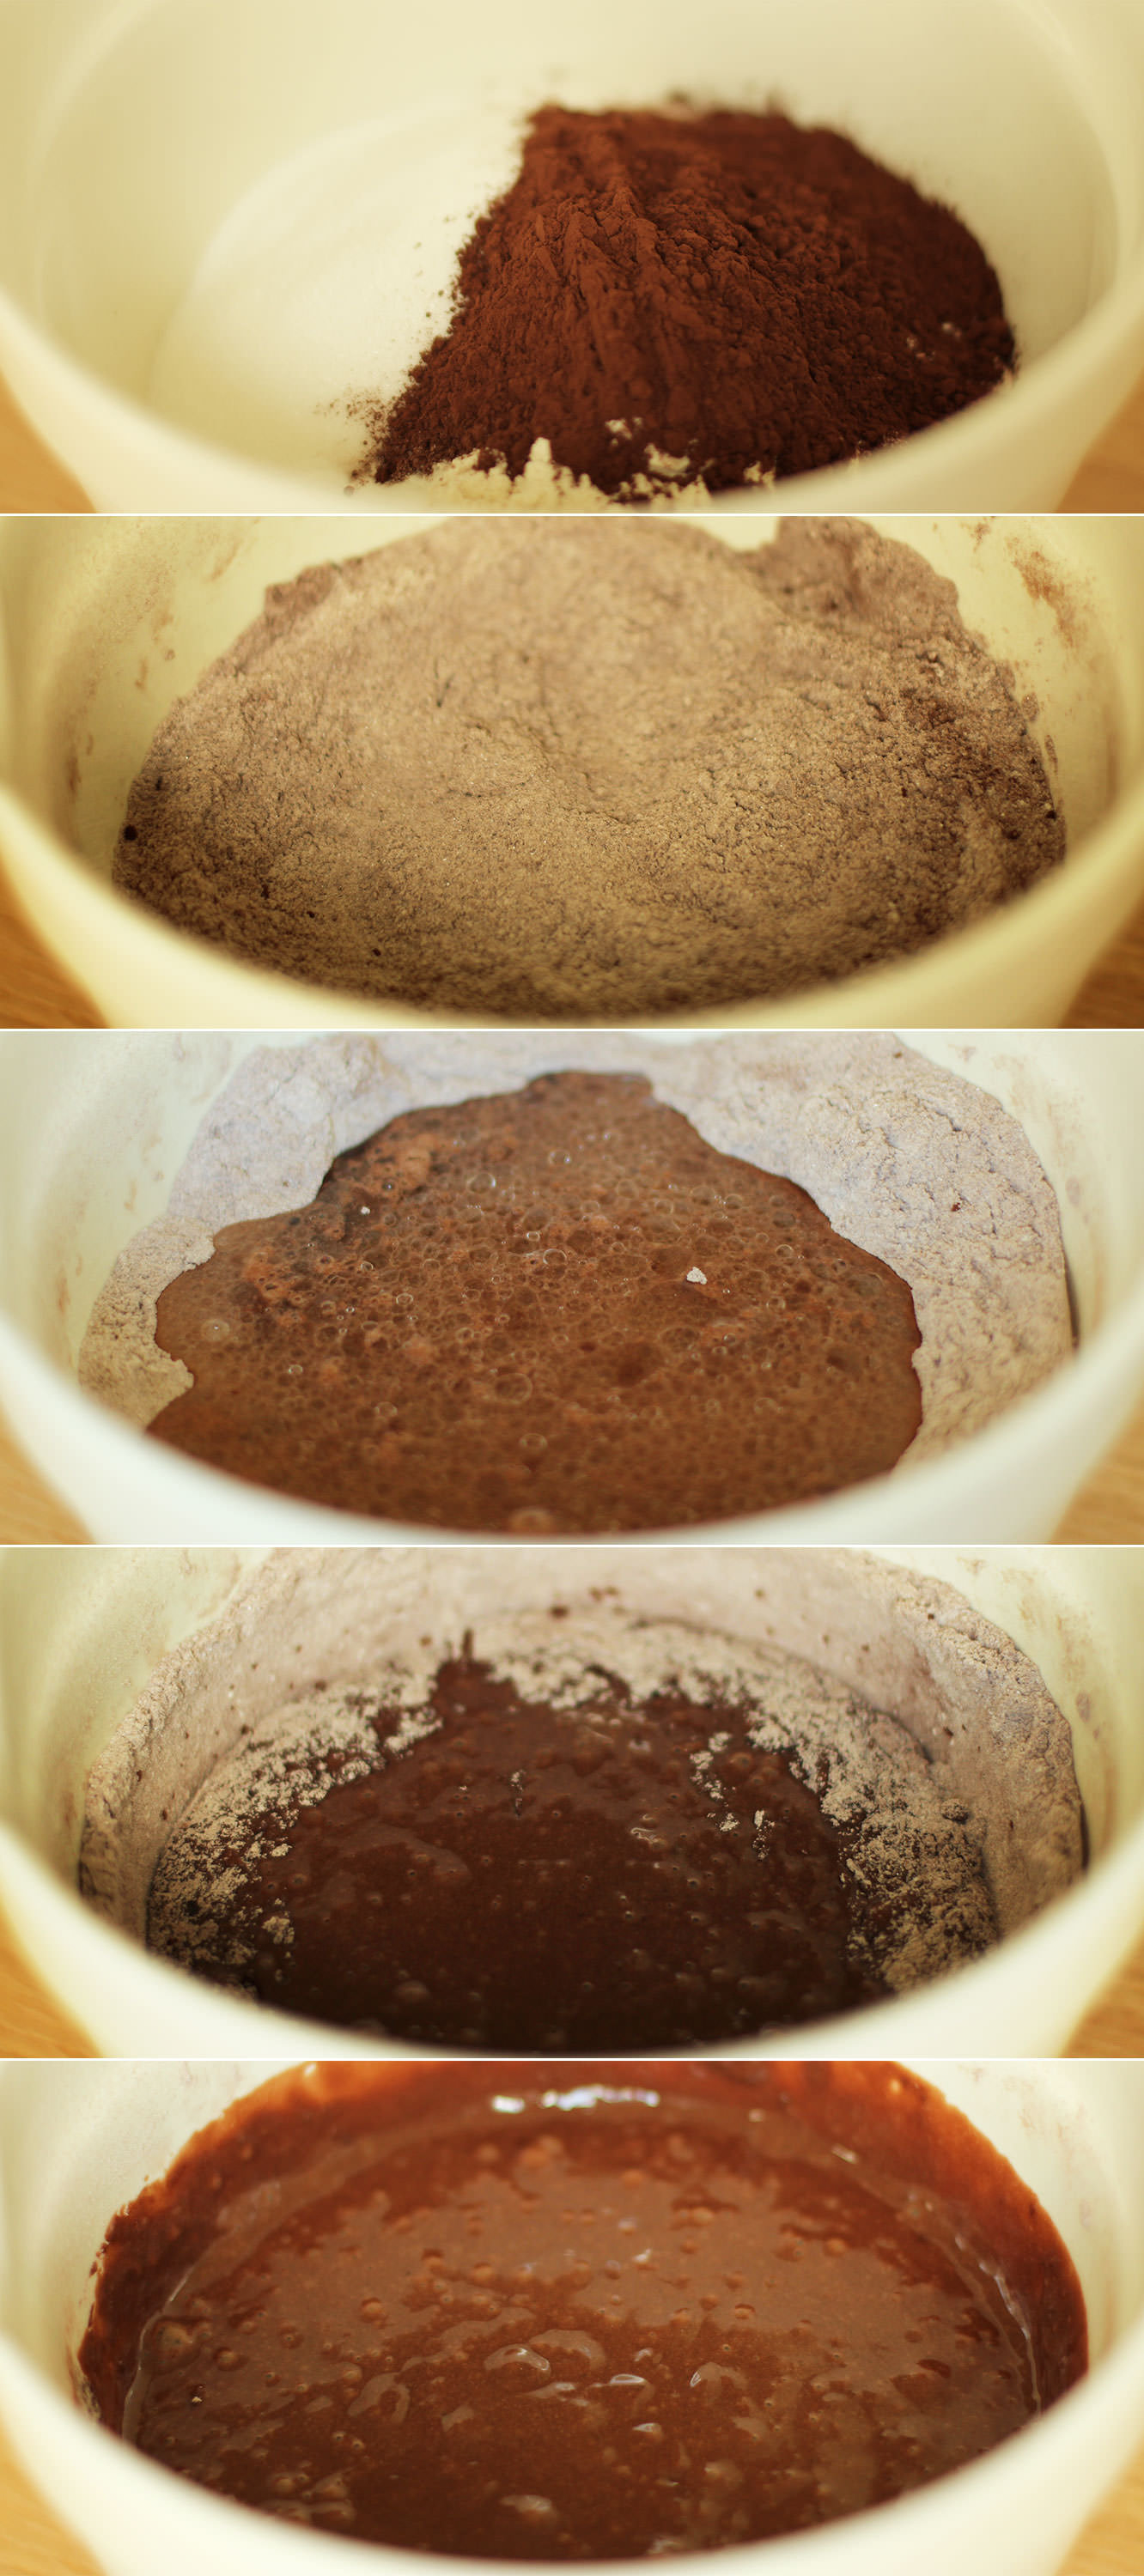
To make the cakes, mix together the caster sugar, cocoa powder, bicarbonate of soda and plain flour.
Make a well in the middle.
Step two
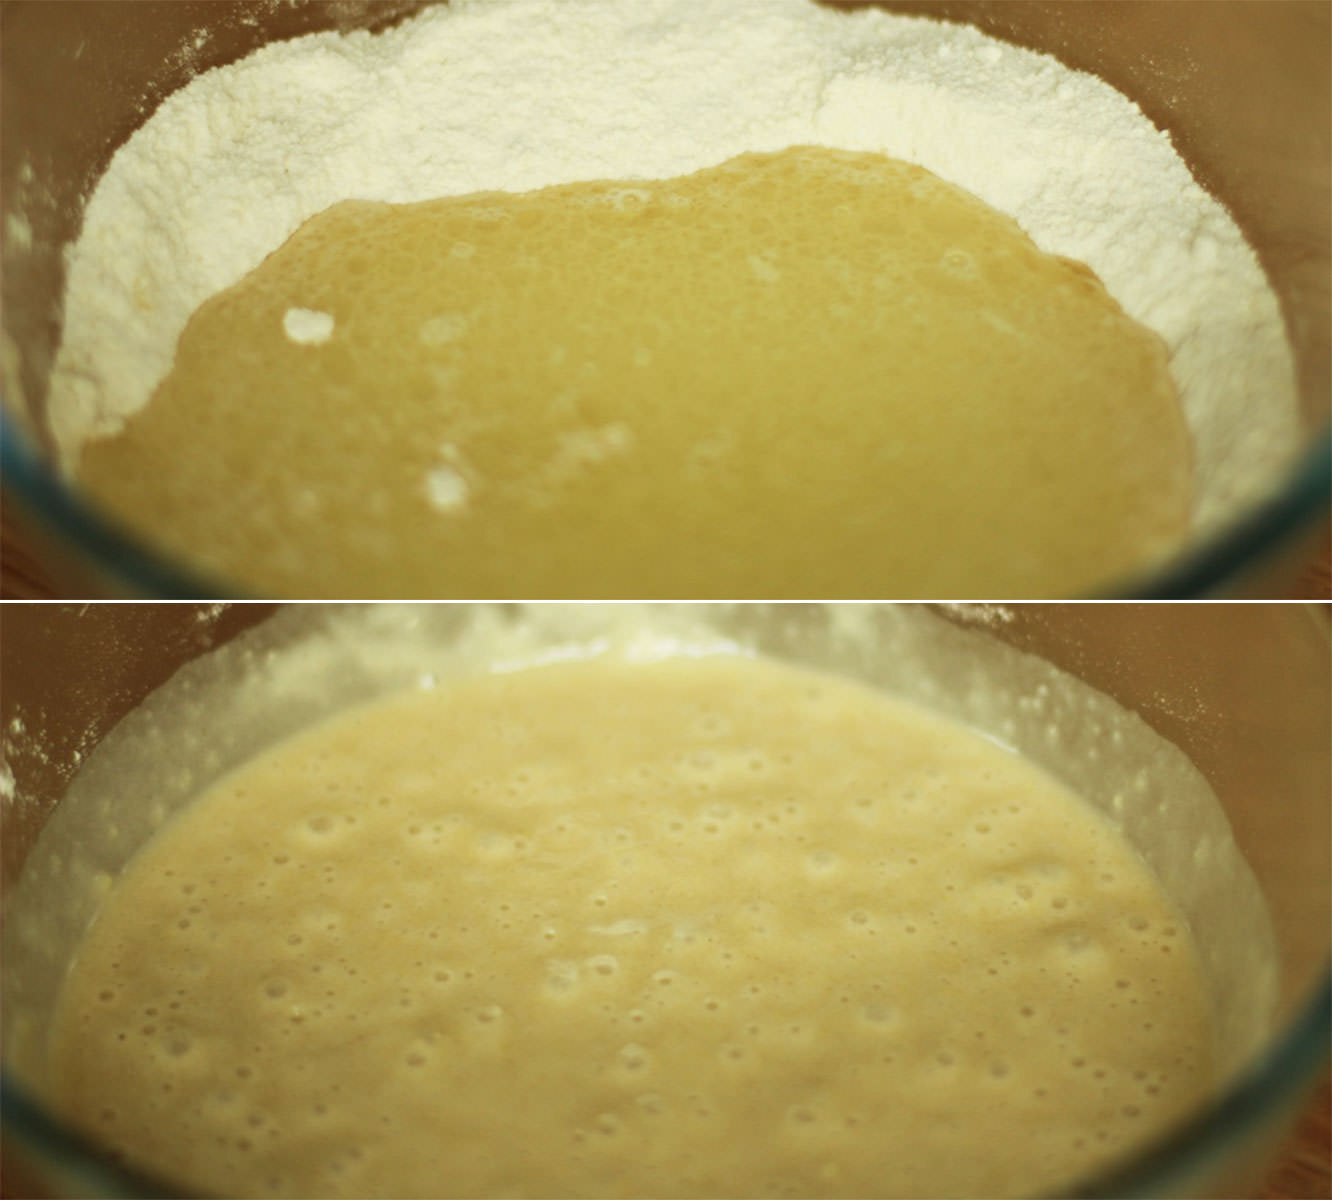
In a jug combine the oil, water, vanilla extract and vinegar.
Pour the wet ingredients into the middle of the dry ones. Using a hand whisk stir in small circles at the middle to gradually incorporate the dry ingredients without getting lumps.
Step three
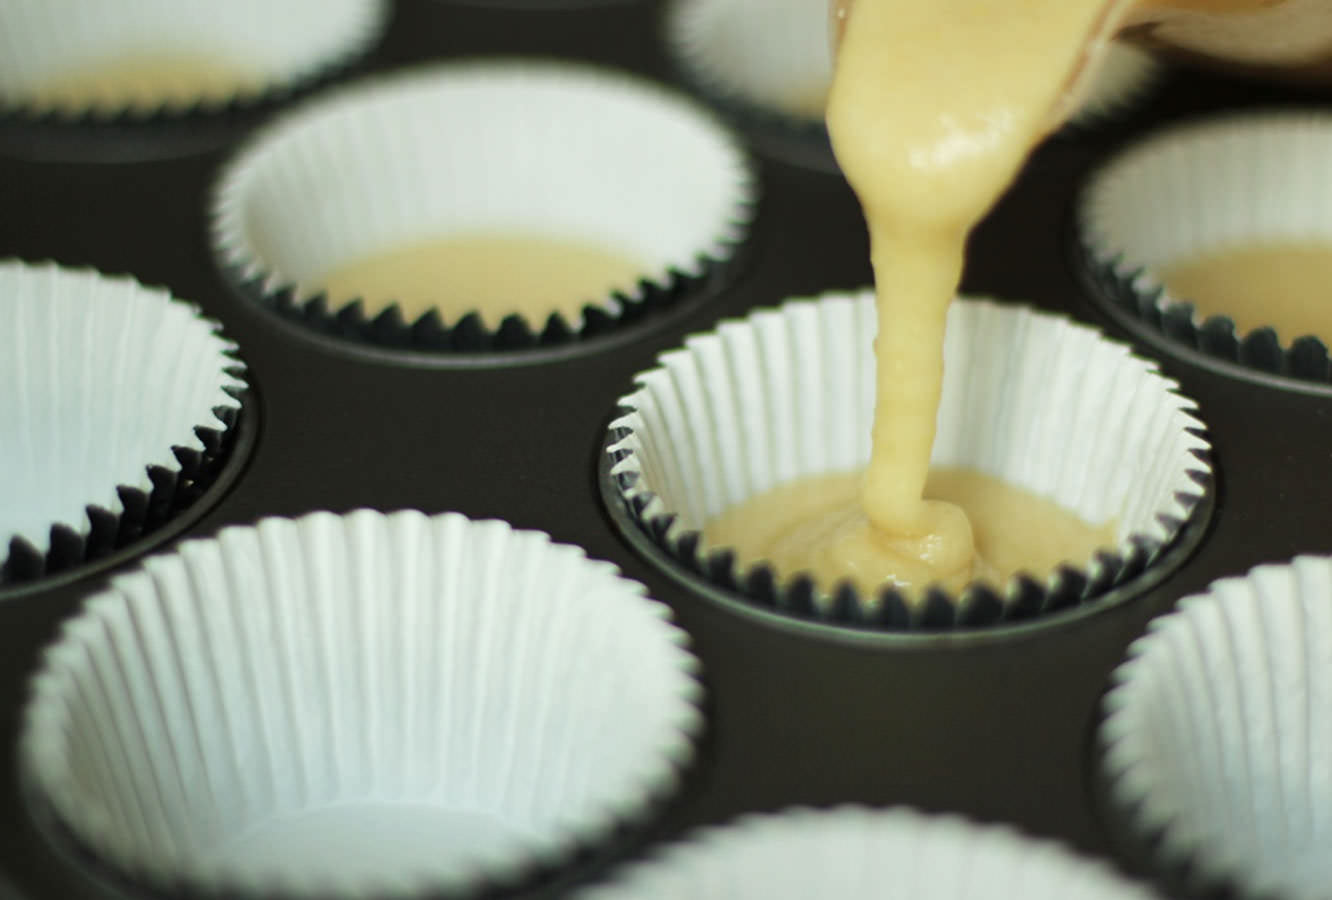
Pour the mixture into 12 cupcake cases. The mix will be fairly worryingly close to the tops of the cases but you shouldn’t have any problems, they aren’t the biggest risers.
To do this, I usually put the batter back into the jug I used for the wet ingredients in step two because it’s pretty runny.
Step four
Bake on 180C/350F/gas mark 4 for 20-25 minutes.
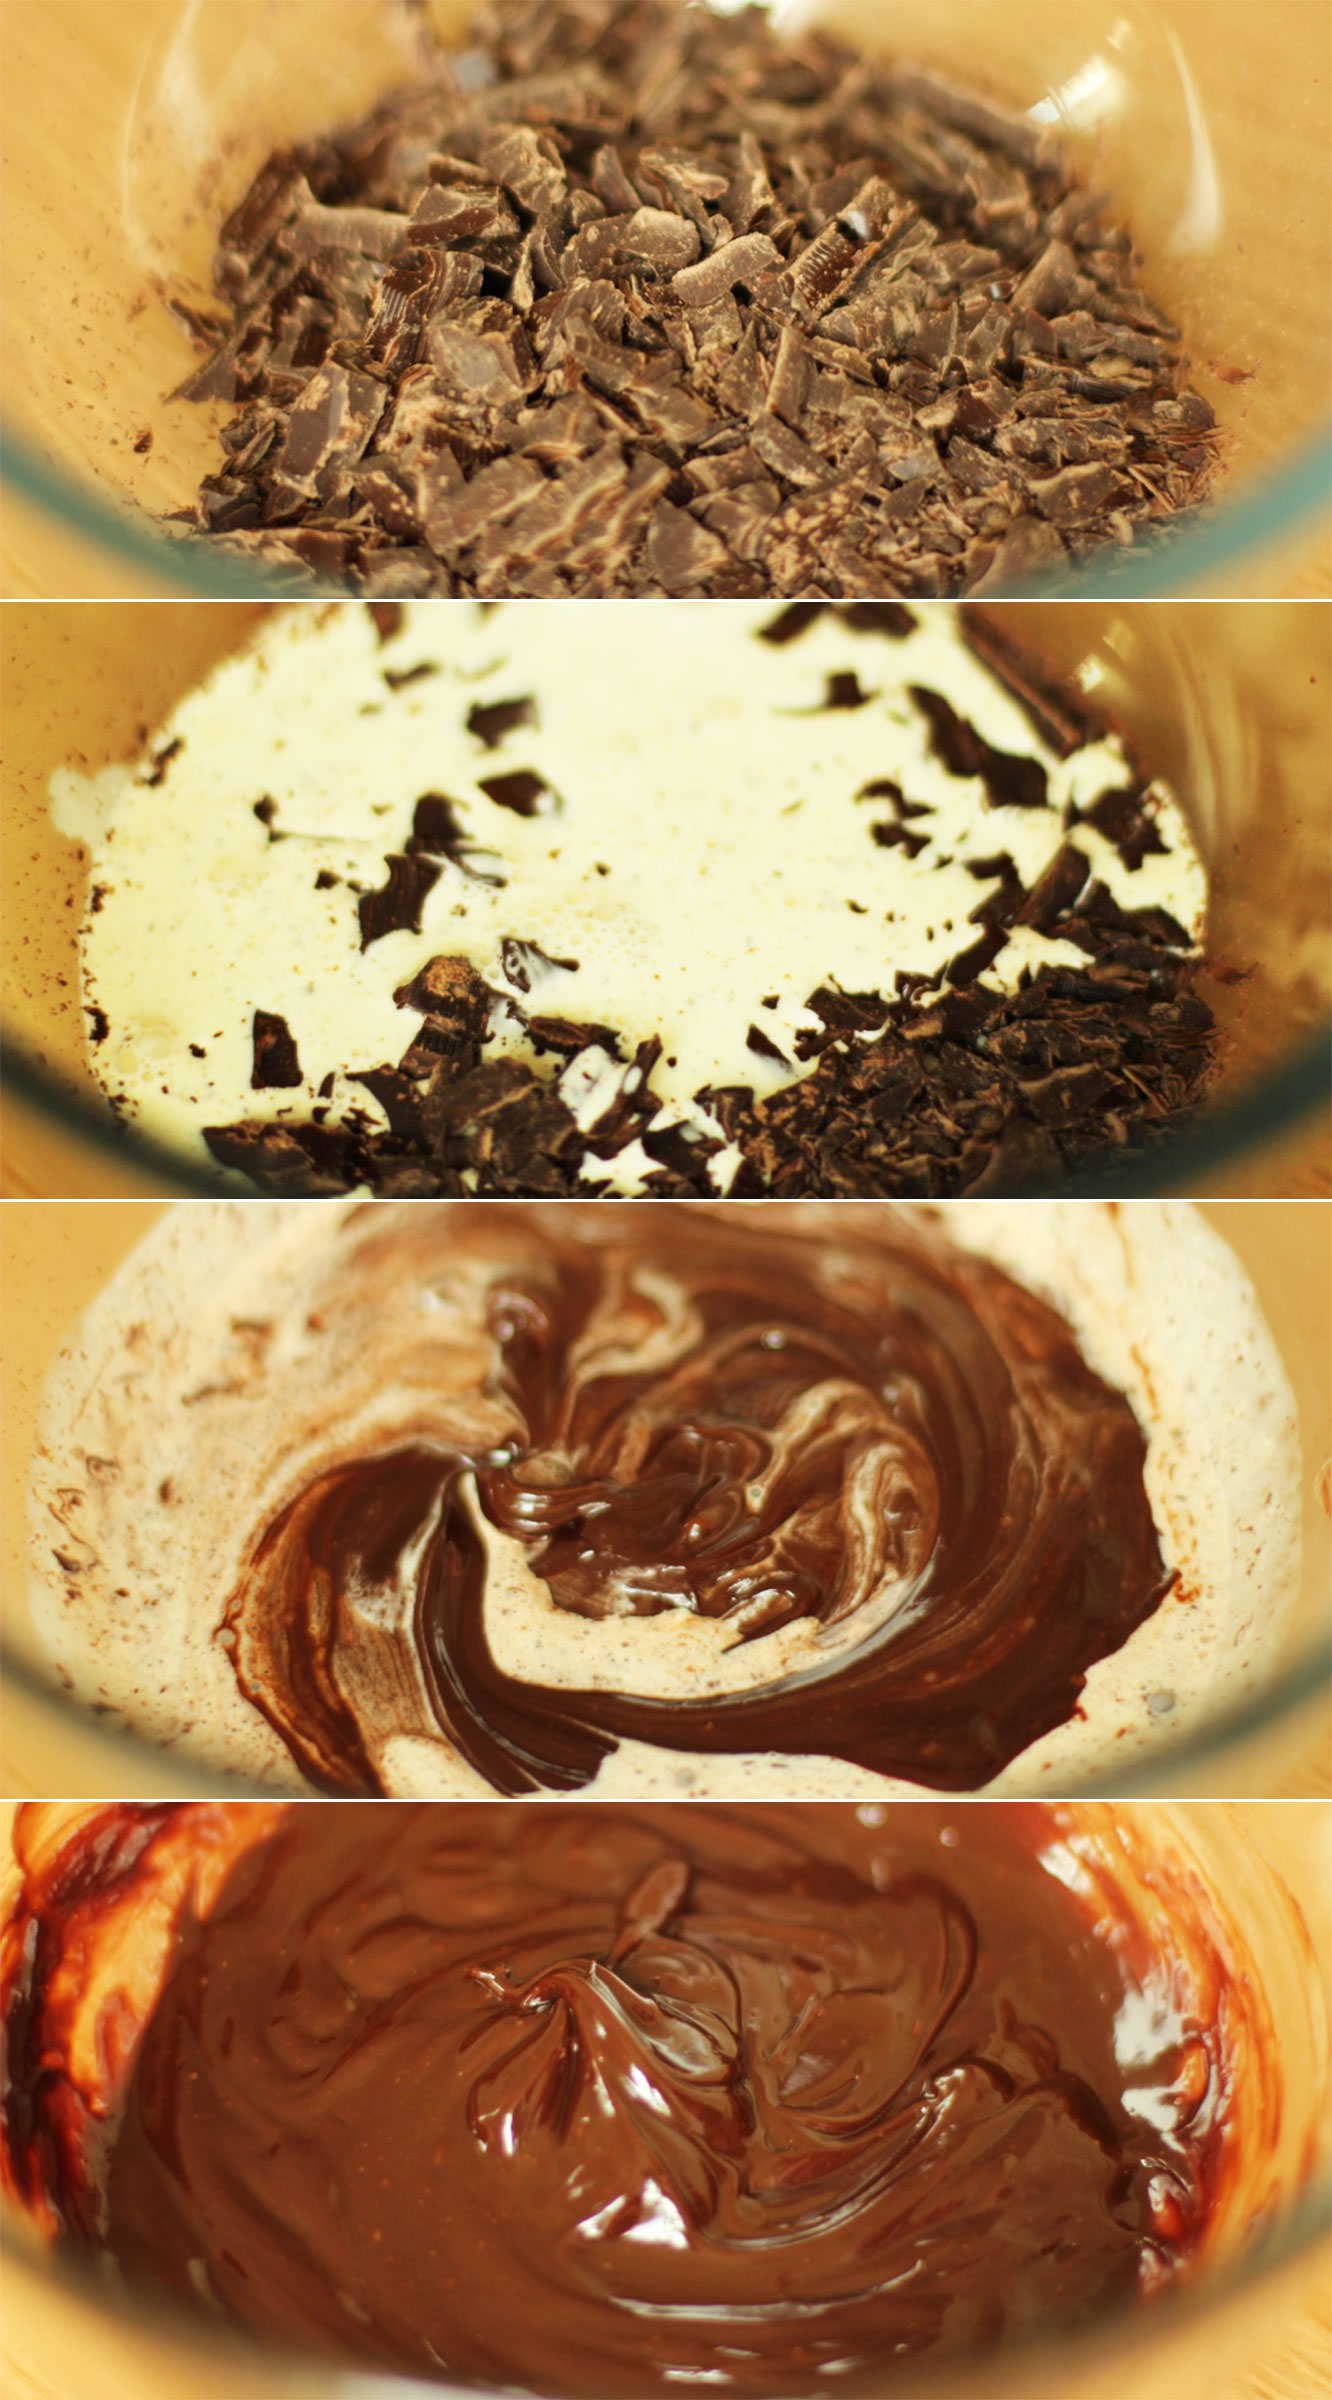
Step five
Finely chop the dark chocolate and place in a heatproof bowl. People who have been reading my blog for a while will be sick of hearing this, but a bread knife does a great job on chocolate. You can chop it real thin without bits flying off everywhere.
Gently heat the cream in a saucepan until it just begins to bubble. Stir constantly. It doesn’t take long for it to heat to this point so not a time to go and hang your washing out.
Once the cream has heated pour over the chocolate and stir with a whisk until fully combined.
Step six
Combine the filling ingredients. I felt it fairly unnecessary to photograph this bit. I reckon you’ll manage just fine on your own.
Step seven
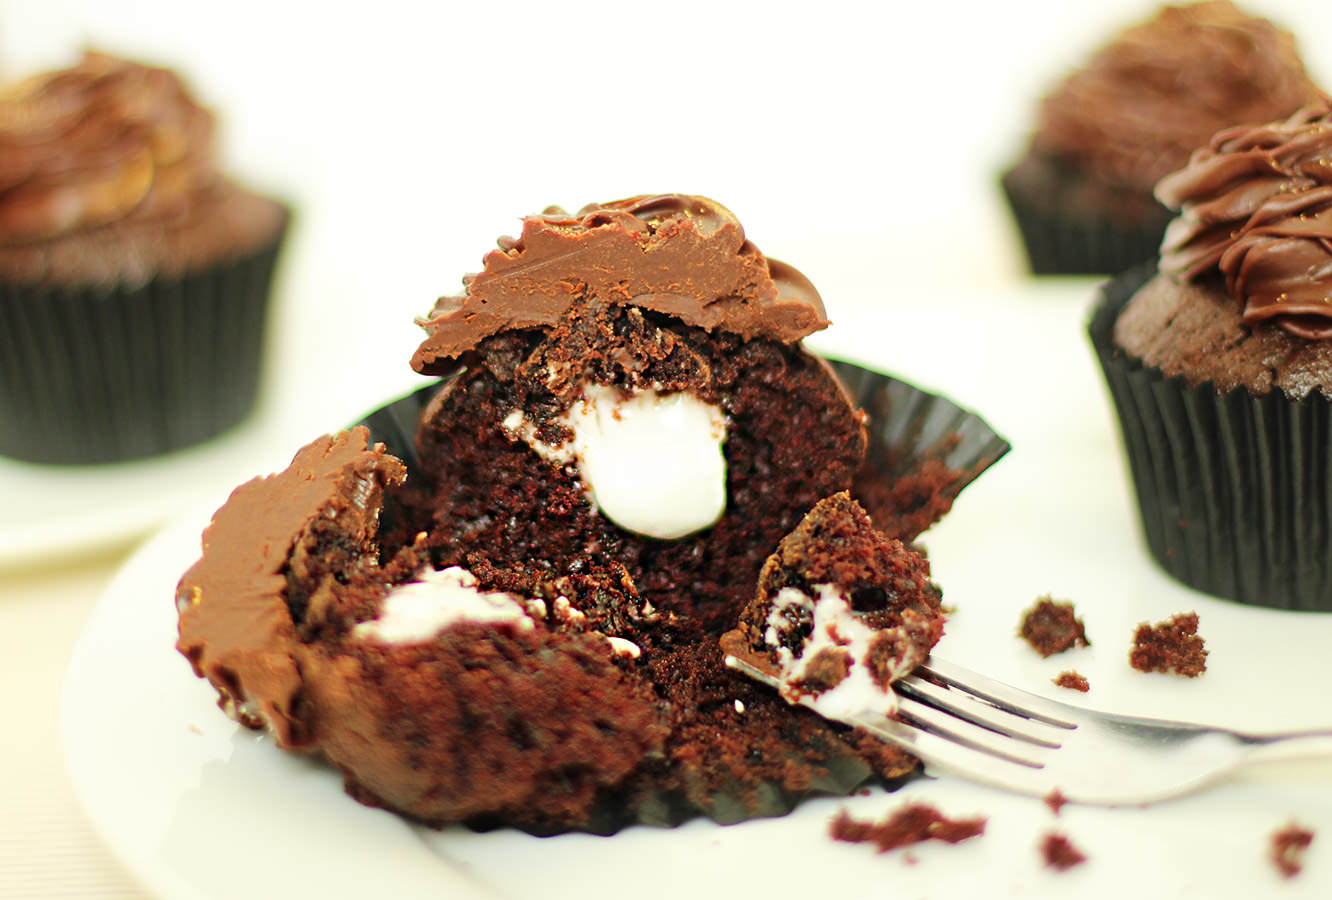
Fill and ice the cupcakes. Remove a bit of cake from the middle by running a small knife around in a circle. Cut the pointed bit off, fill the hole and place just the lid on top.
Pipe on the ganache using your favourite nozzle. You’ll know it’s cool enough when a spoonful of mixture holds its shape when dropped back onto the rest.
Step eight
If you have it, paint on the gold powder. I’m a sucker for the details. You can get this kind of thing fairly cheaply at most UK supermarkets nowadays.
Eat them at any time in the day you like. I recommend breakfast personally, there’s an 8 in the morning too.
Burning the midnight oil to bring you this week’s British favourite. The reason being is that my rather lovely friend took me along to a screen printing workshop for a little birthday treat tonight. If you want to have a cheeky stalk there’s a *few* pictures on Instagram.
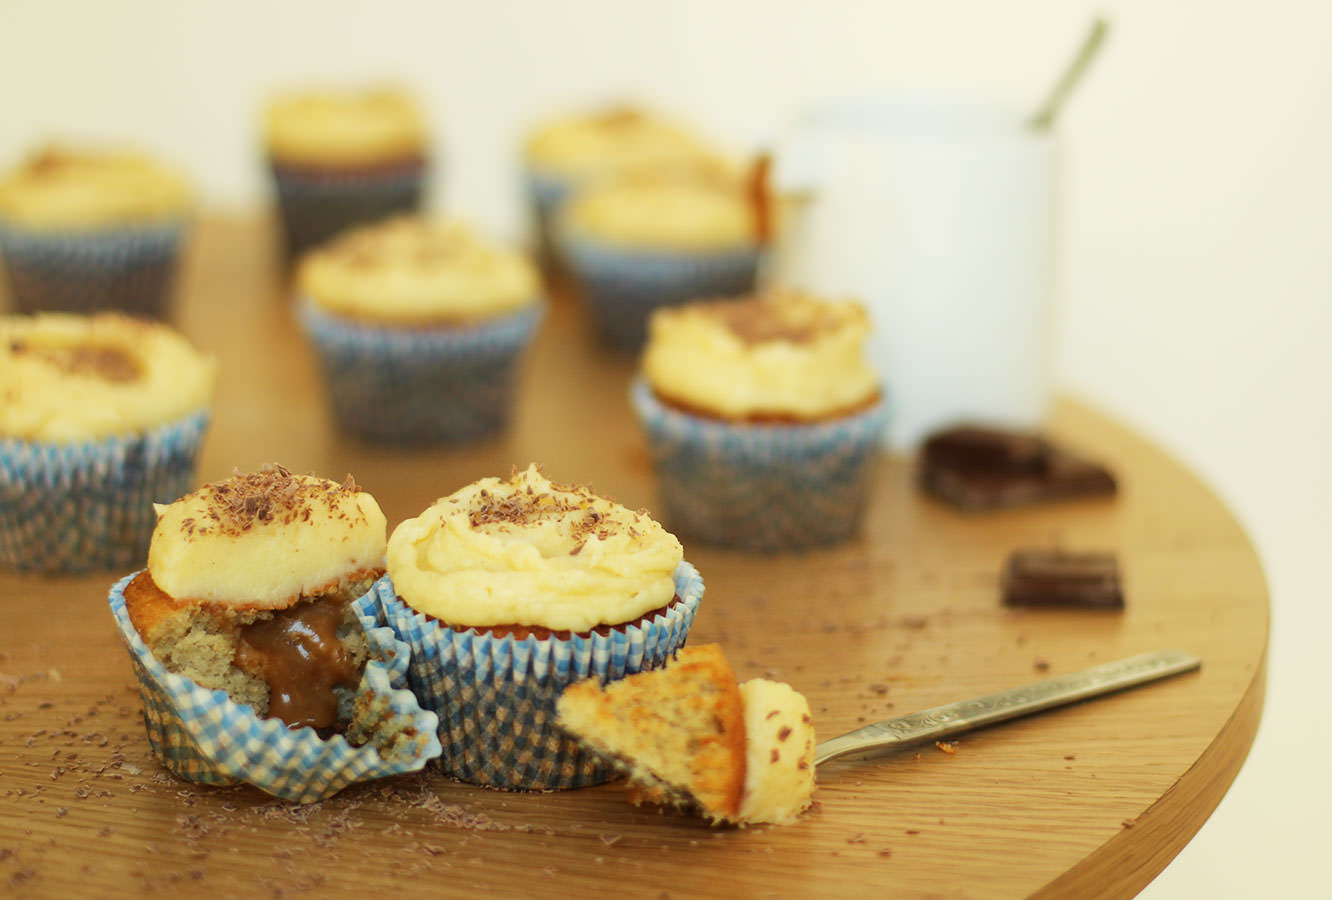
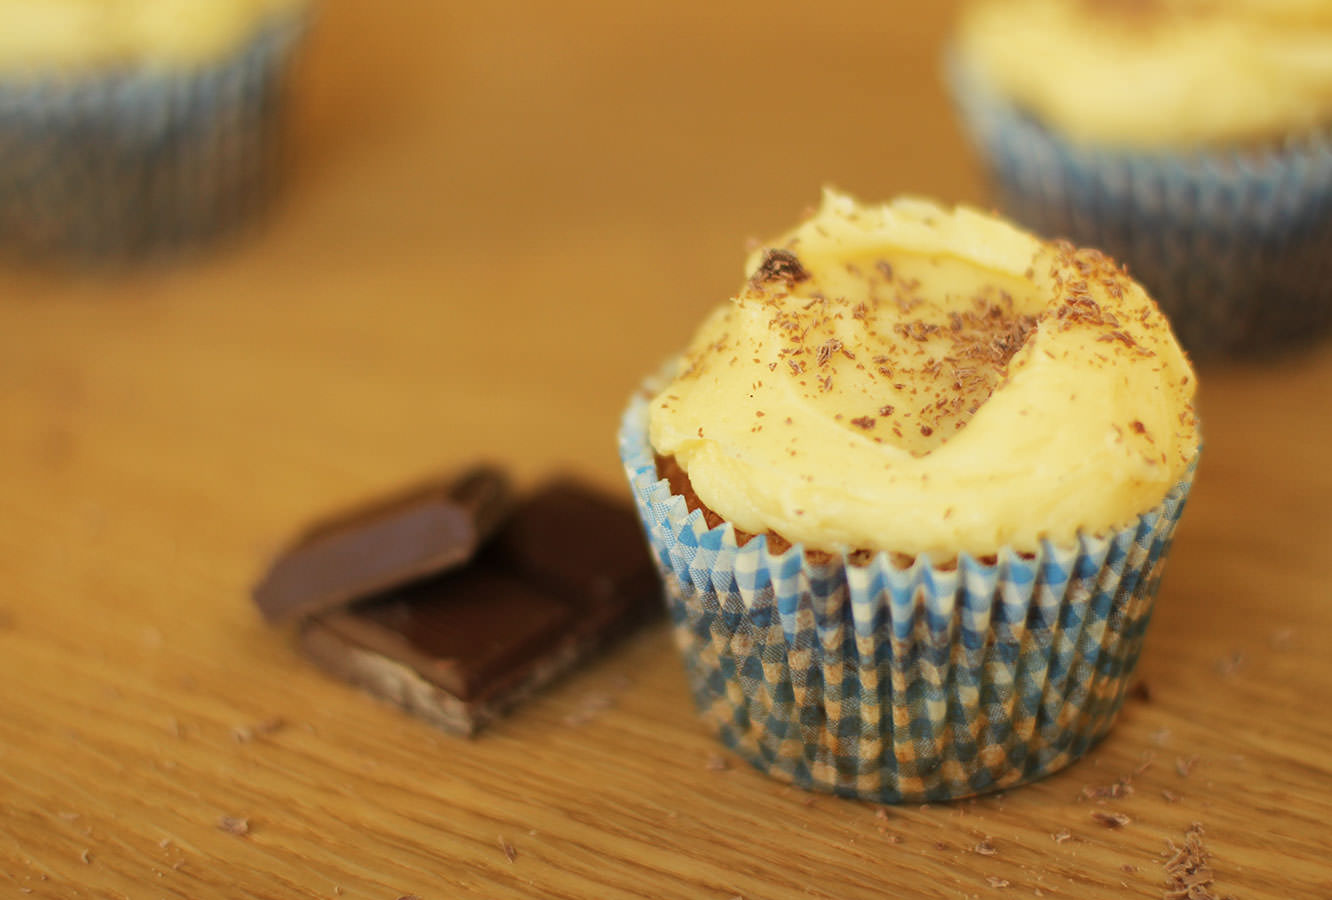
Back to this week though, and the question of a another cupcake and a few bananas. Of course, it’s about time the classic banoffee pie made an appearance in this little series. There’re few things that pair better than banana and caramel in my opinion, so it took quite a lot of focus not to just make the toffee filling and skip off to the garden with a bowl of banana to suffocate in sauce. I mean, if you’re going to eat fruit, do it right.
So, without further ado, here go the banoffee pie cupcakes.
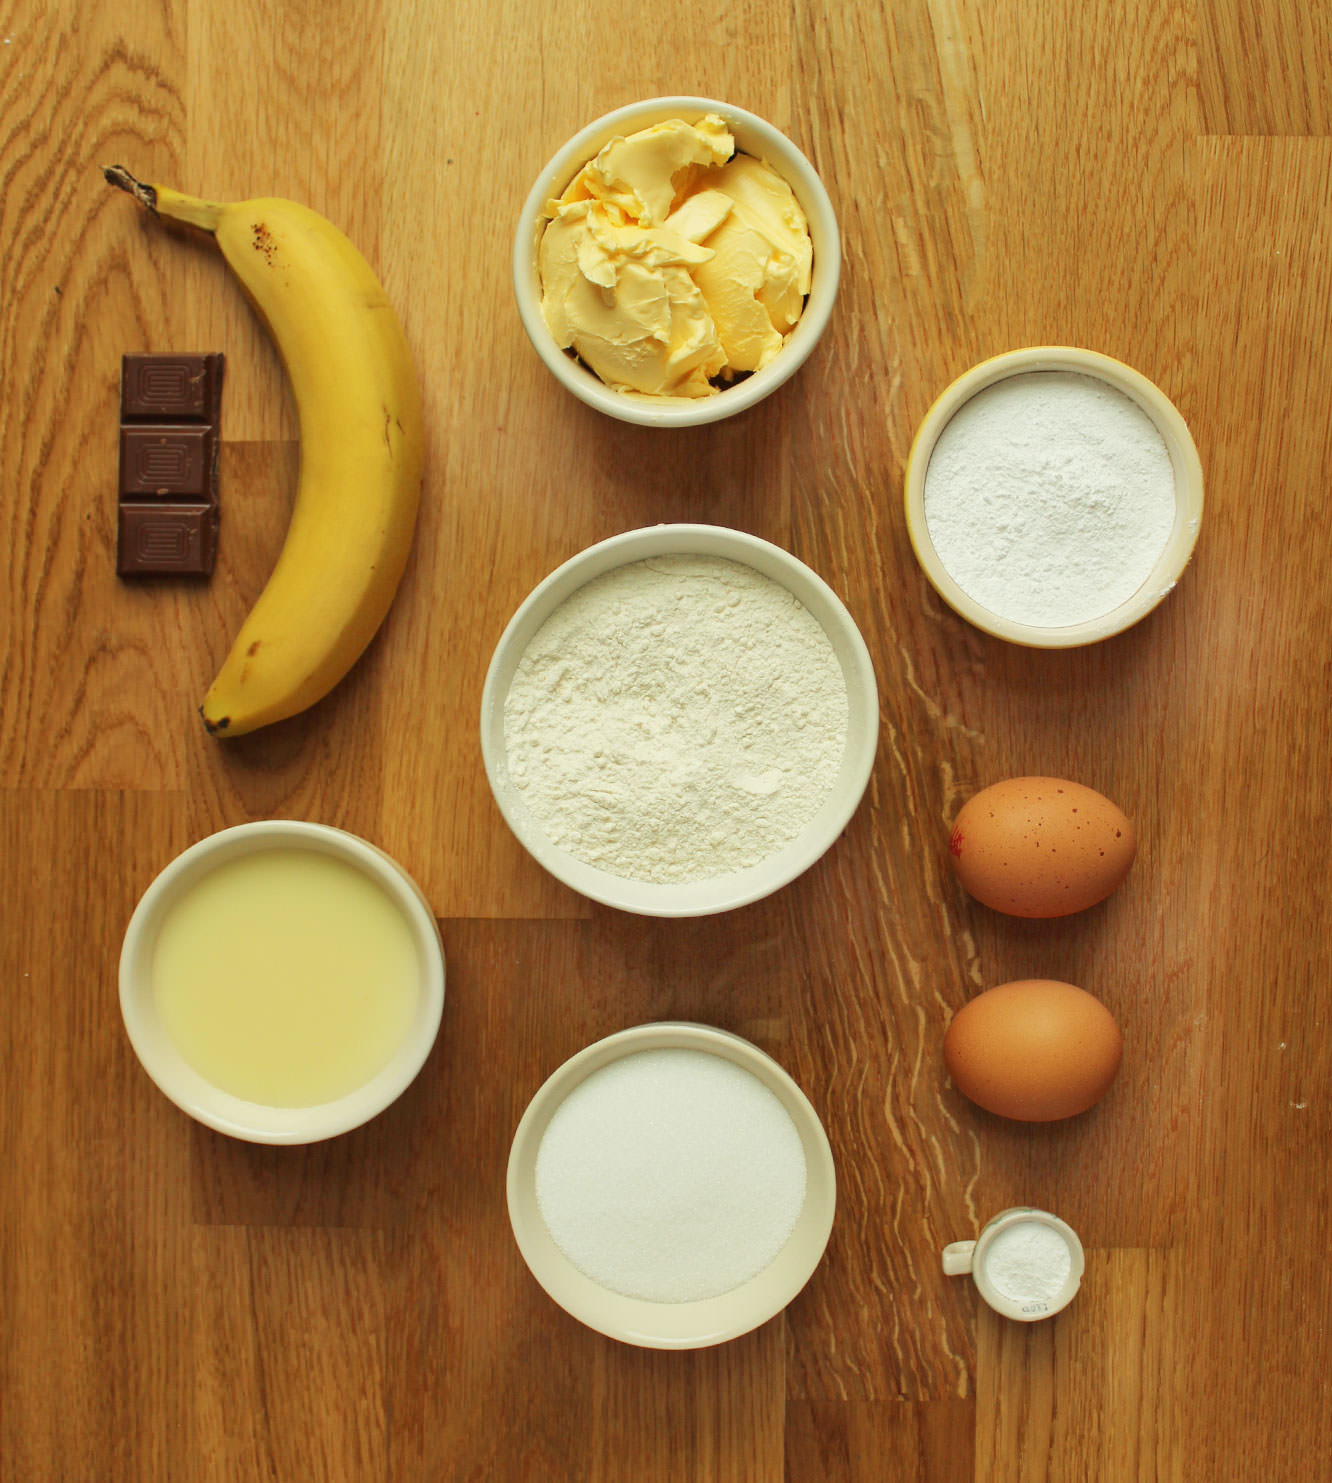
You will need
For the cakes:
140g/5 oz self raising flour
140g/5 oz caster sugar
140g/5 oz unsalted butter/margarine
2 eggs
2 ripe-over ripe bananas
1 tsp baking powder
For the filling:
200g/7 oz sweetened condensed milk (half a tin)
100g/3.5 oz soft brown sugar
100g/3.5 oz unsalted butter (used salted if you prefer salted caramel to a more dulce de leche/toffee flavour)
50ml/1.75 fl oz double cream
For the frosting/icing
350g/12.5 oz icing sugar
250g/9 oz unsalted butter (room temperature)
150ml/5 fl oz double cream
Vanilla essence/paste/pod
(makes 12)
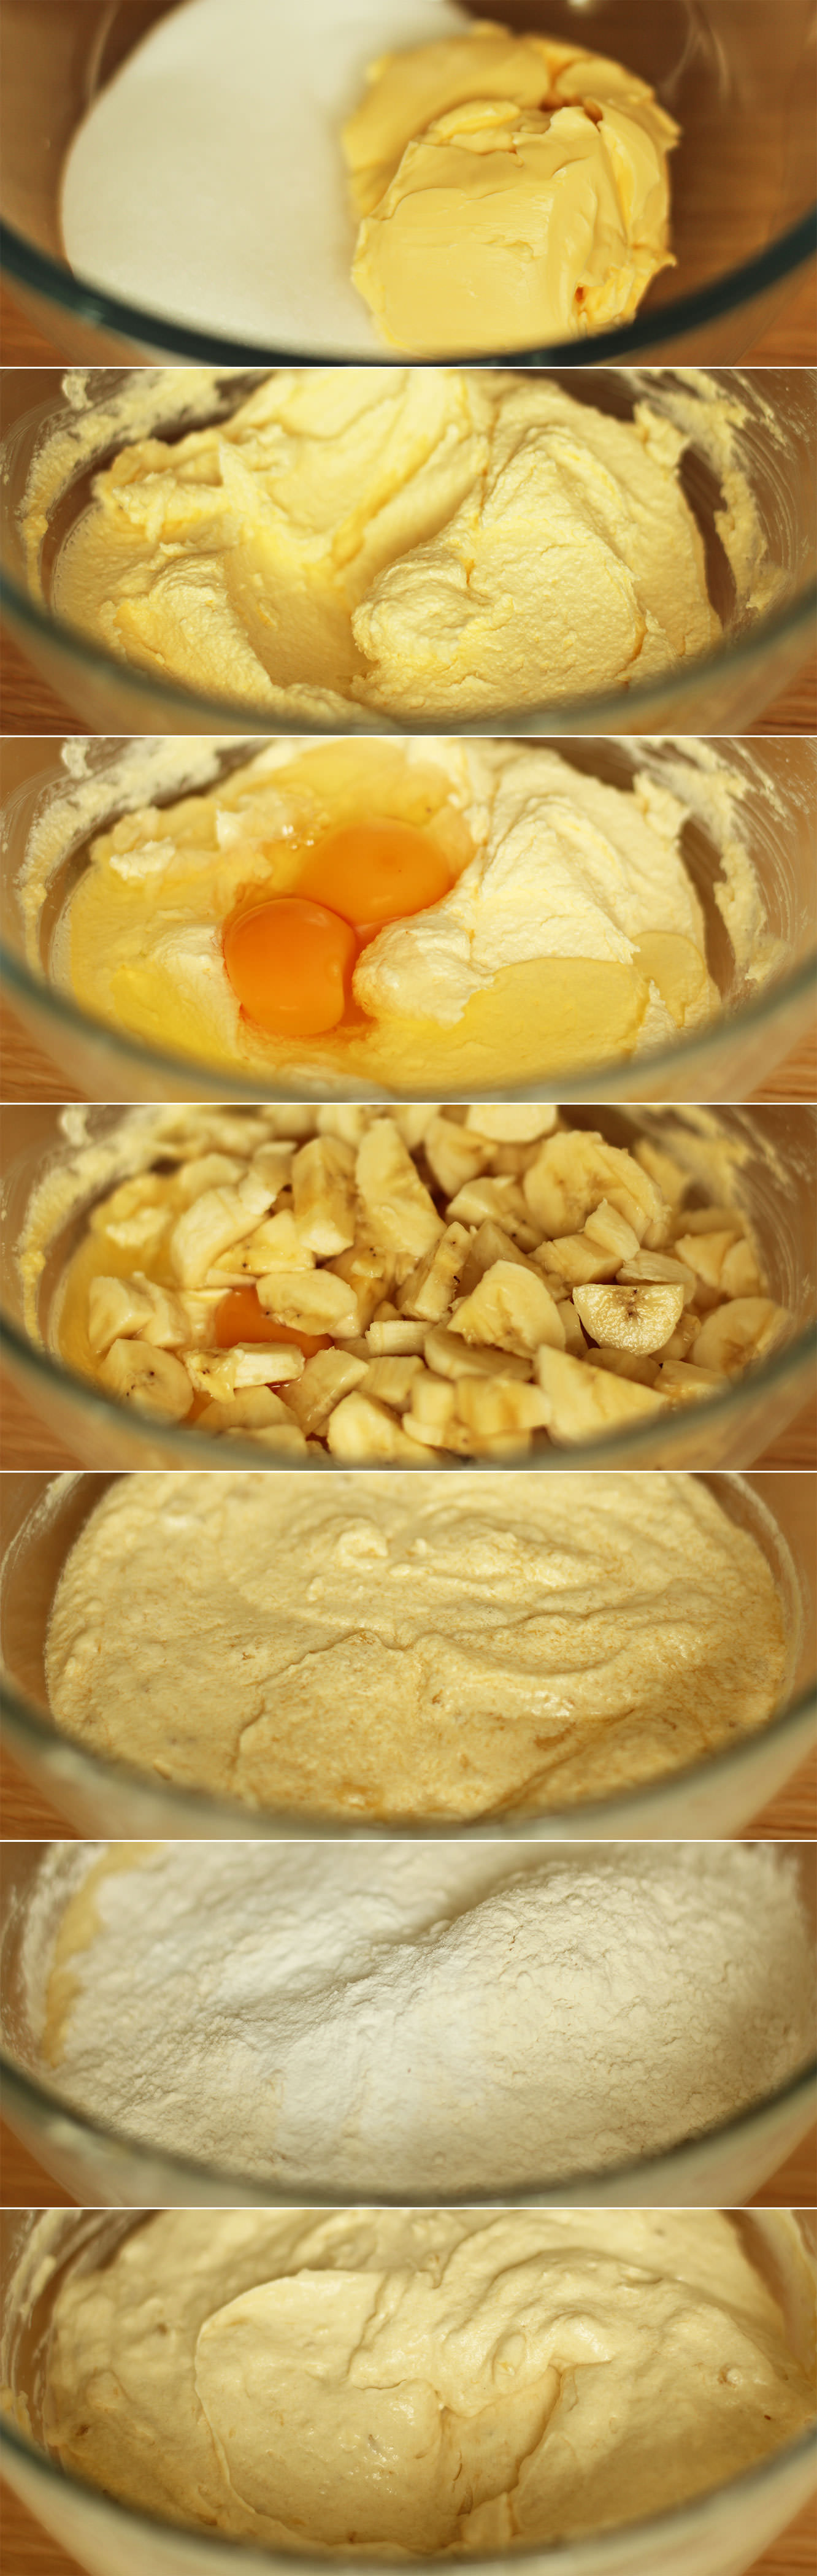
Step one
Using an electric whisk if you have one, a wooden spoon if not, beat together the butter/margarine and caster sugar until light and fluffy. I use Stork margarine for sponge as it’s pretty cheap and does the trick well.
Step two
Chop up the banana. You can mash it if you want but the whisk kinda does the work for you so why bother? The riper the bananas the more intense the flavour.
Add the eggs and banana to the mix and whisk until combined.
Step three
Whisk in the flour and baking powder, stir it in a little first with the beaters to prevent a mushroom cloud of flour hitting you in the face.
Step four
Distribute the mixture evenly between 12 cupcake/muffin cases. Usually about two rounded dessert spoons in each is a nice amount.
Step five
Bake on gas mark 4/350F/180C for 20-25 minutes until golden brown and springy to the touch.
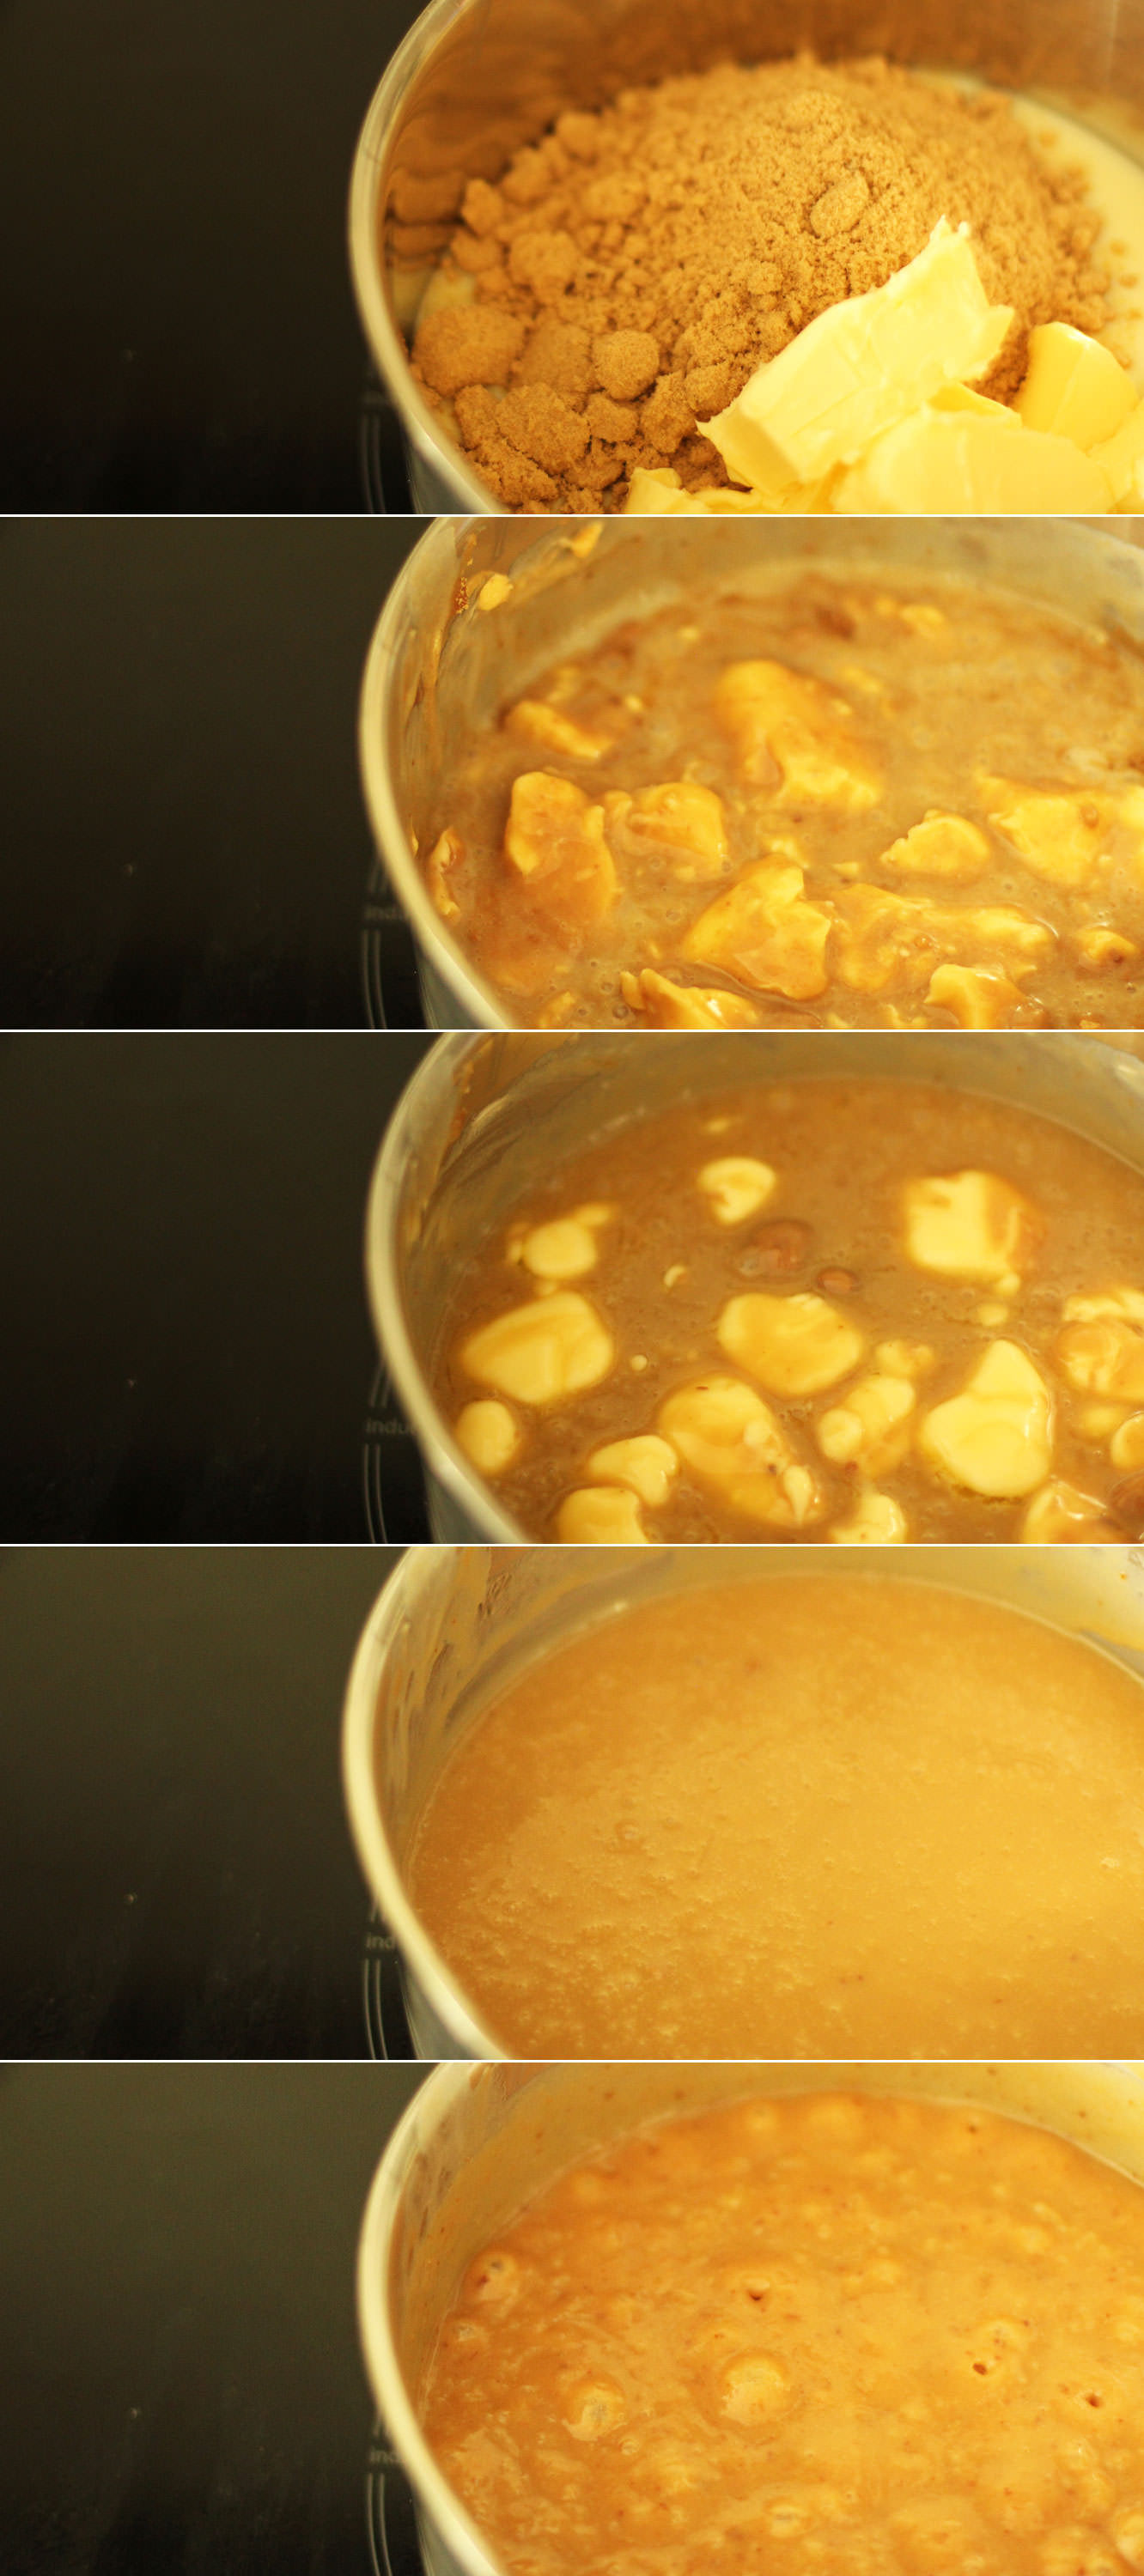
Step six
While the cakes are in the oven, make the filling by combining all the ingredients in a small/medium saucepan.
Gently melt the mixture on a low heat and then turn it up to medium. Boil slowly for 7-10 minutes stirring the whole time. See those flecks in my mix? Took my eyes off the prize.
Allow to cool completely before use.
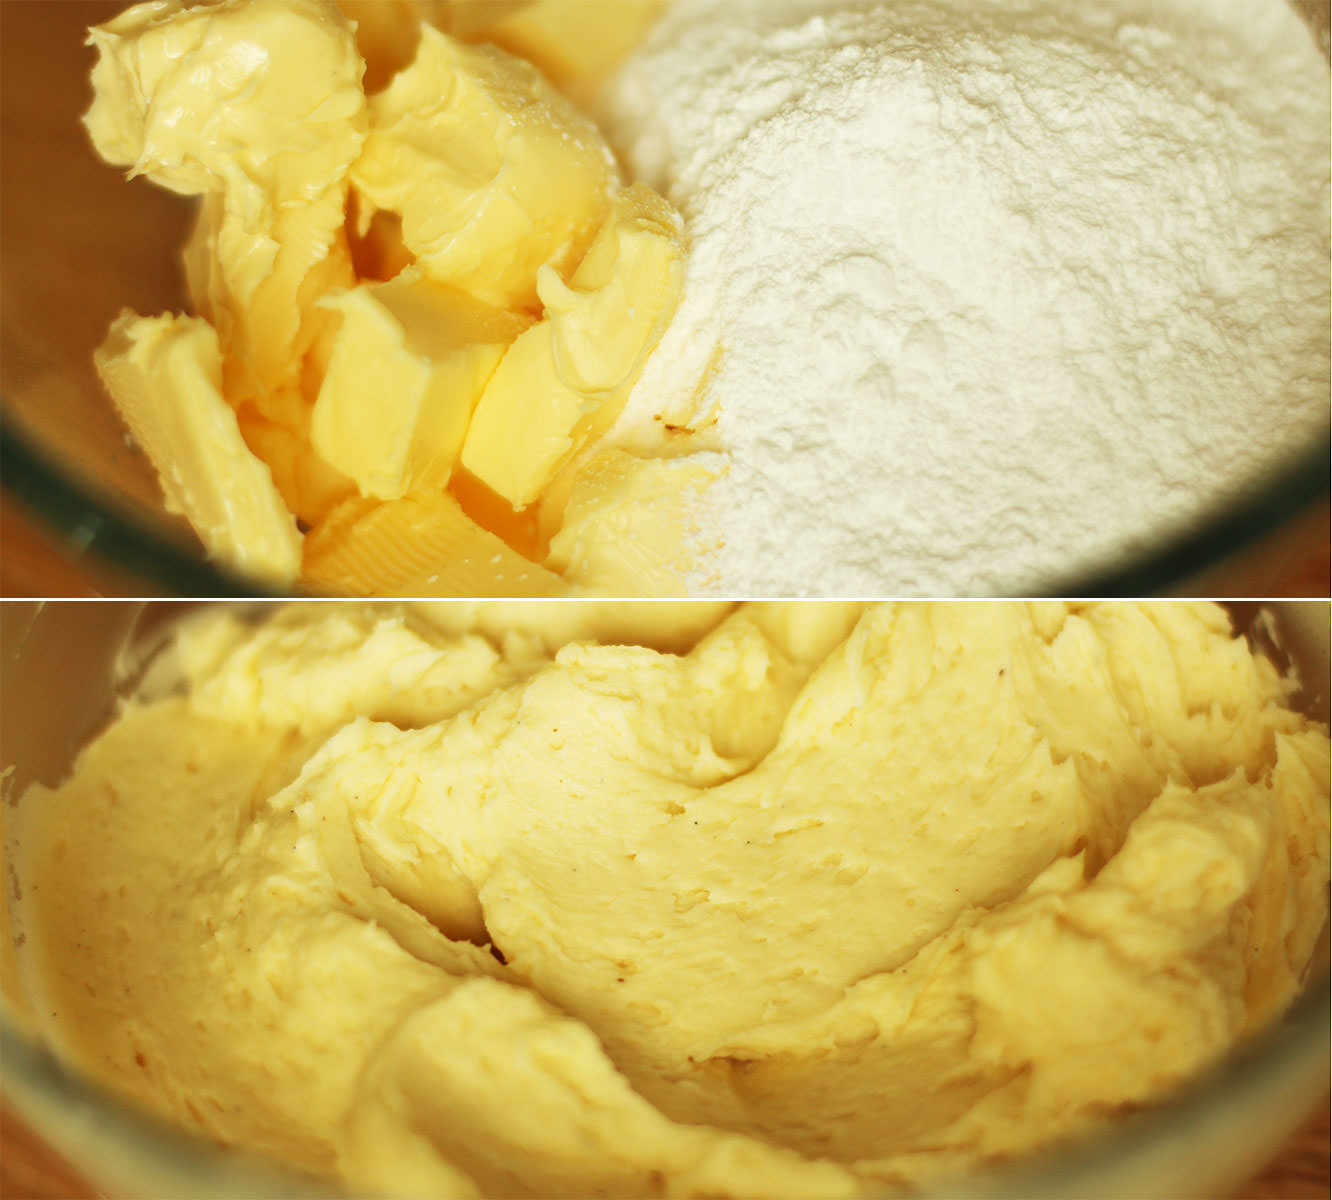
Step seven
Combine the icing ingredients by gently stirring the icing sugar and butter together before putting the whisk on the lowest setting. Add the cream and the vanilla once they’ve started to combine. The double cream will thicken it nicely and add a lightness to the texture.
It’s really yummy but probably not the best for piping consistency, so I wouldn’t dream up fancy decoration with this one. That’s pretty consistent with a banoffee pie anyway, when was the last time you saw a pretty one of those? Yeah. Exactly.
Step eight
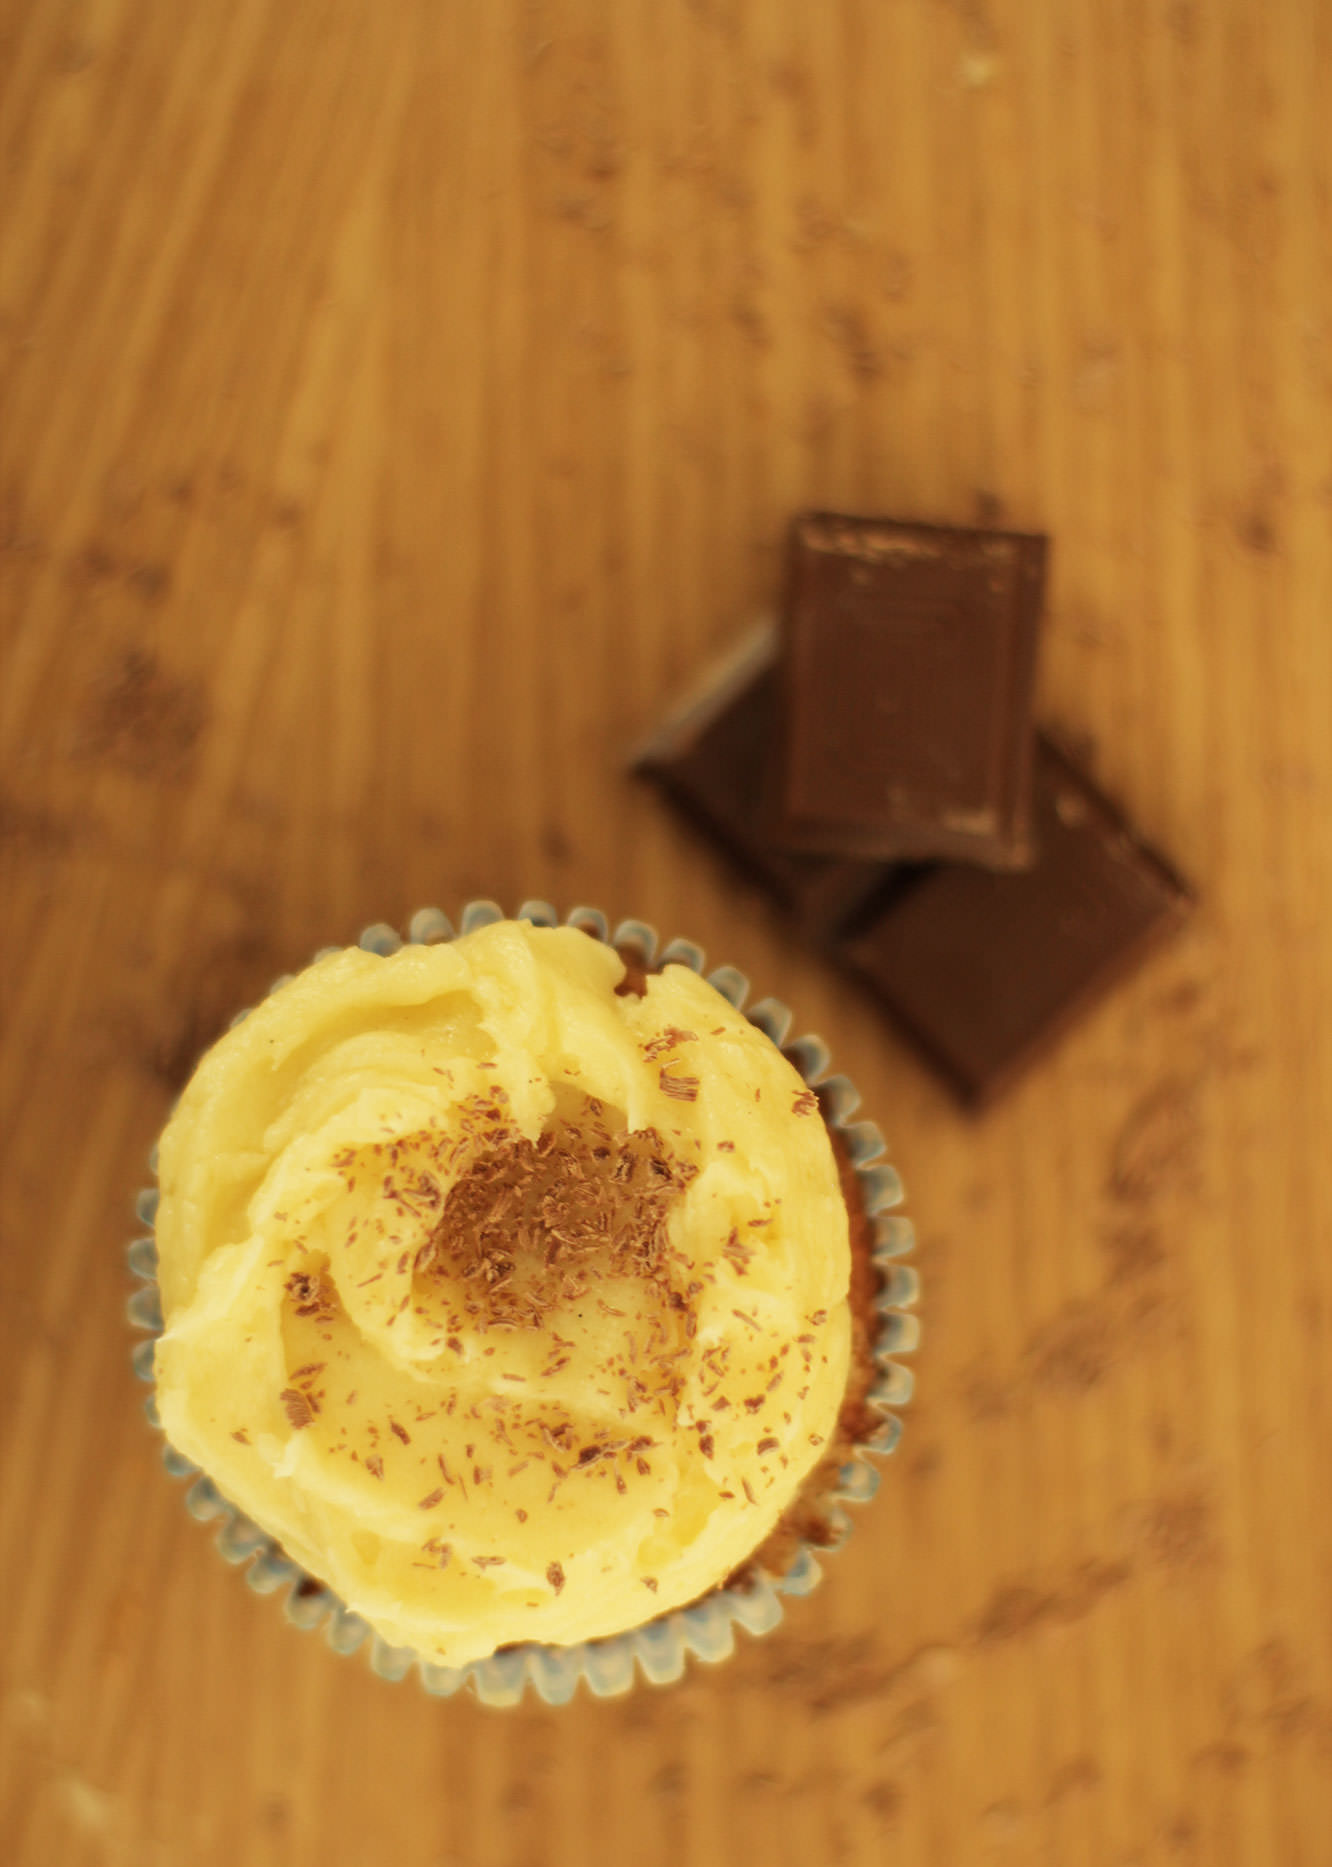
If you’ve been following this series so far then you know the drill by now. Cut a hole in the cupcake with a small sharp knife and discard the middle bit, keeping only the lid. Fill with the toffee sauce and replace the cake lid. Spread the icing on top and grate over a little chocolate for an authentic look.
Eton Mess. One of the best summer puds going. You might disagree with me, but you would be wrong. There’s nothing quite like strawberries and meringue where this person is concerned. I’ll even put down my chocolate for it. Though, most likely, if I’m at a barbecue, I’m just skipping the savoury to make way for the chocolate option and the Eton Mess.
Enough of my complete incapacity to avoid sweet things. Onto this week’s British favourites cupcake instead. Probably unsurprisingly given my rambling introduction it’s the recipe for Eton Mess cupcakes.
This recipe uses seven minute swiss meringue frosting. It’s the first time I’ve made it and it was pretty darn easy, so definitely give it a bash. I did notice that over a couple of days it hardens and basically becomes a meringue, and mine was a touch gritty. I think the best thing to do is make them and allow to sit out for a couple of hours so the outside hardens a little but the inside is still fluffy and smooth. A make on the day jobby if you can I reckon.
*Any association to real persons, living or dead, is purely coincidental.
You will need
For the cake:
185g/6.5 oz self raising flour
185g/6.5 oz butter/margarine (I use Stork)
185g/6.5 oz caster sugar
3 eggs
1 tsp bicarbonate of soda
1 tsp vanilla extract/paste
For the centre:
Strawberry jam (yeah, I cheated. feel 100% free to make your own, I tip my hat to you)
For the frosting/icing:
2 egg whites
225g/8oz caster sugar
1/2 tsp cream of tartar
75ml/2.5 fl oz water
If you’re fancy like me then some freeze dried strawberries to sprinkle wouldn’t go amiss.
(makes 12)
Step one
Whisk together the margarine and caster sugar until the mix is light and fluffy. If you are using butter then make sure it’s room temperature else the sugar will fly everywhere and you will just have a block of butter stuck in the middle of your whisk.
I used some strange hybrid which was Stork in a block form. Curious.
Step two
Add the eggs and whisk again until combined. Don’t worry if the mixture looks split, there’s just too much liquid at this stage. Time to add the flour.
Step three
Add the vanilla, flour and bicarbonate of soda and beat with your electric whisk until smooth as above.
Step four
Distribute the mixture evenly between 12 cupcake cases. Usually about two rounded dessert spoons into each case does the trick.
Bake on 180C/gas mark 4/350F for 25 minutes until golden and springy to the touch.
Step five
It’s seven minute frosting time.
Don’t get scared, I’ve been meaning to try this for ages but kept putting it off because I thought it looked like a pain. In fact, the hardest part was separating the eggs, and it’s so satisfying to pipe. I think I’m maybe a bit too into baking…
Anyway. Put the water, sugar, cream of tartar and egg whites into a heatproof bowl. This should be placed over a pan of simmering water. Don’t let the water touch the bottom of the bowl.
Whisk, for, you guessed it, seven minutes. It should be able to hold its own shape and not fall off the whisk when you lift it. If it’s not stiff enough just keep whisking for another minute or two.
I wouldn’t really recommend this if you don’t have an electric whisk.
Step six
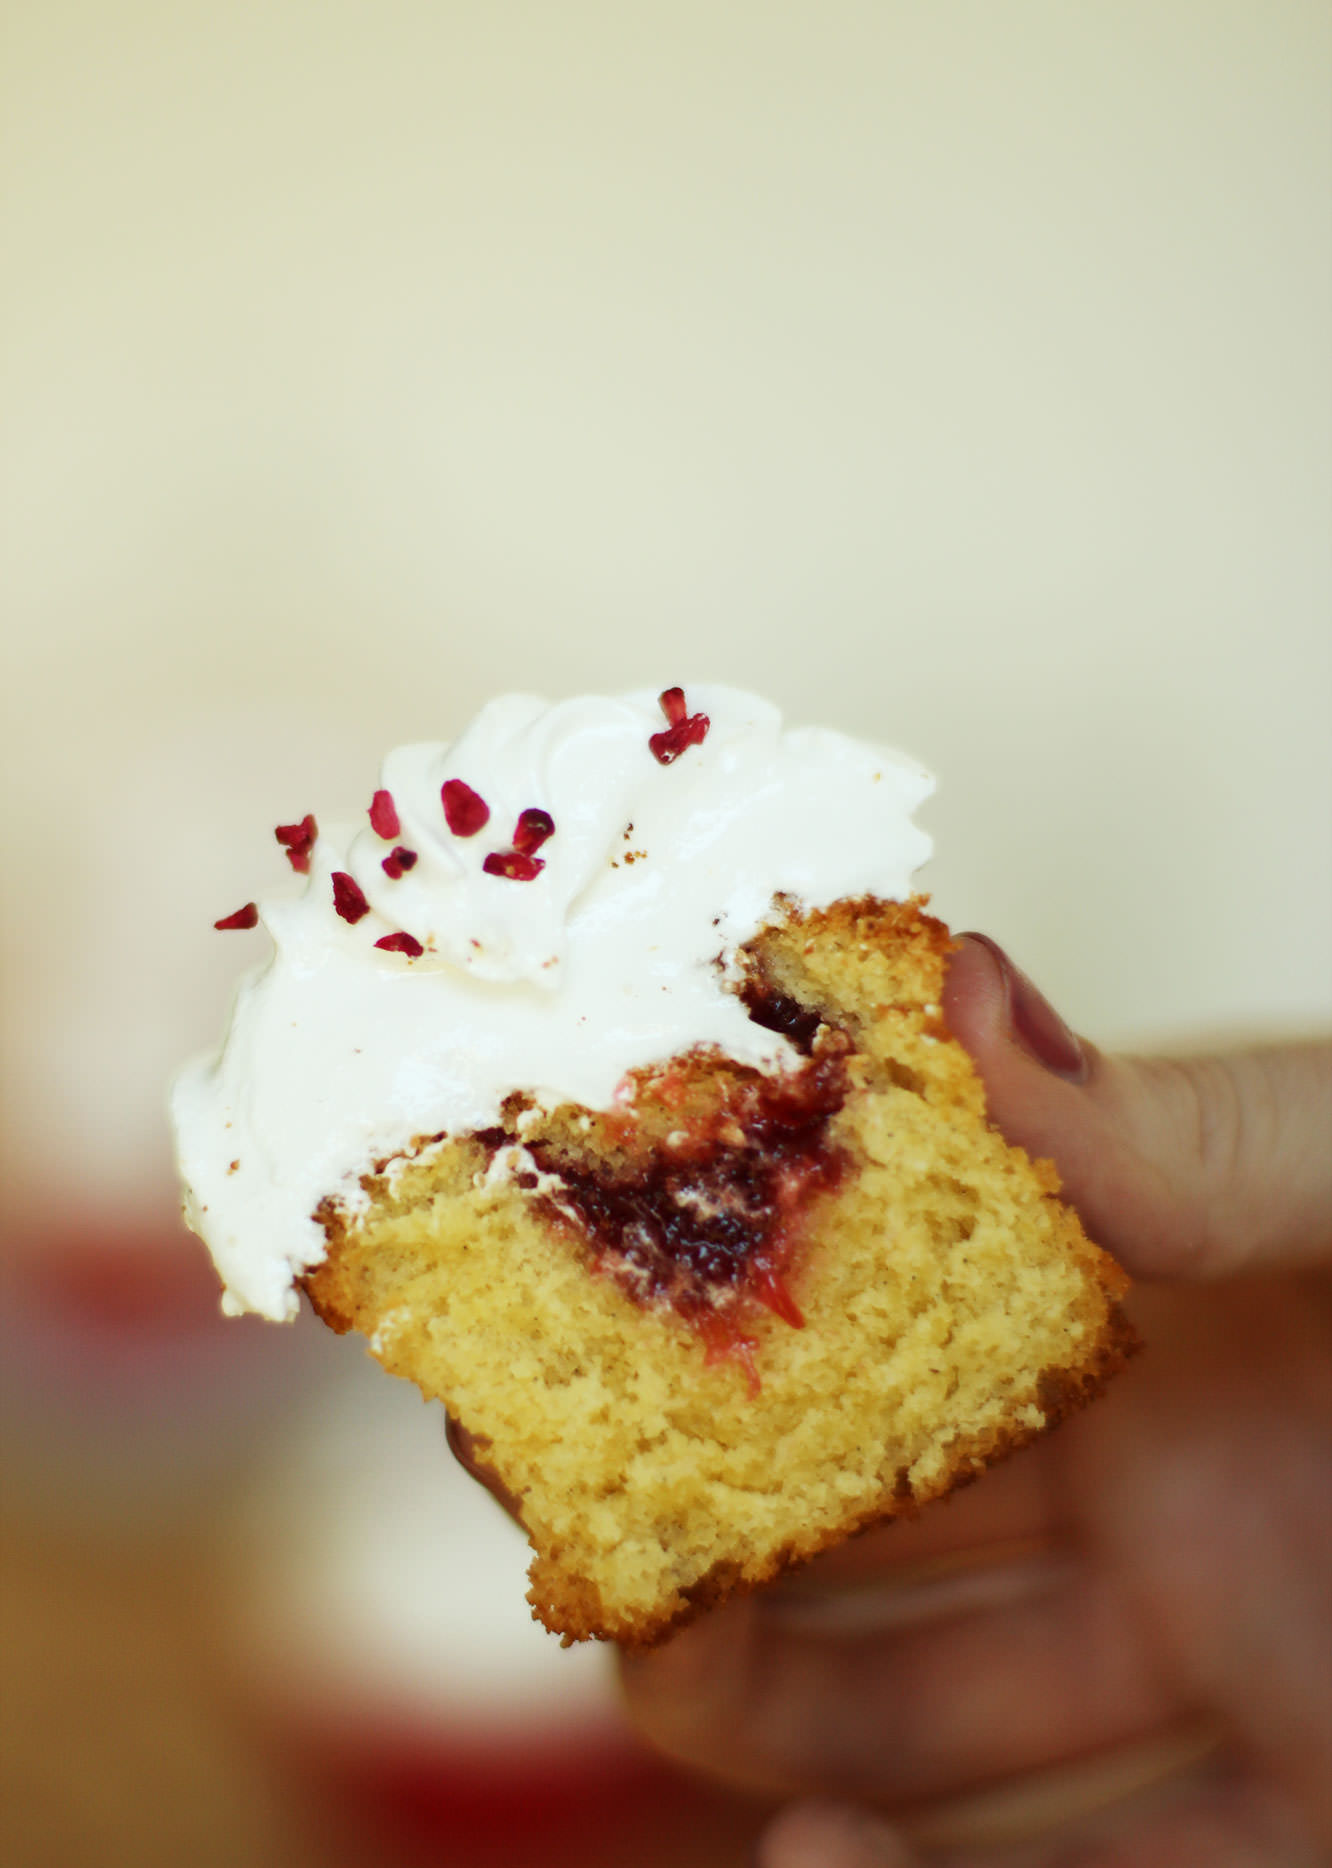
Cut a hole in the middle of your cupcakes with a small sharp knife. Remove the pointy bit, just keeping the top. Place excess cake in mouth.
Fill the hole with jam and place the lid back on.
Fill a piping bag with the swiss meringue frosting and pipe on in your preferred way. I used a fairly standard star shaped nozzle for this.
Sprinkle with freeze dried strawberries, or maybe pop a fresh one on there if you have some going.
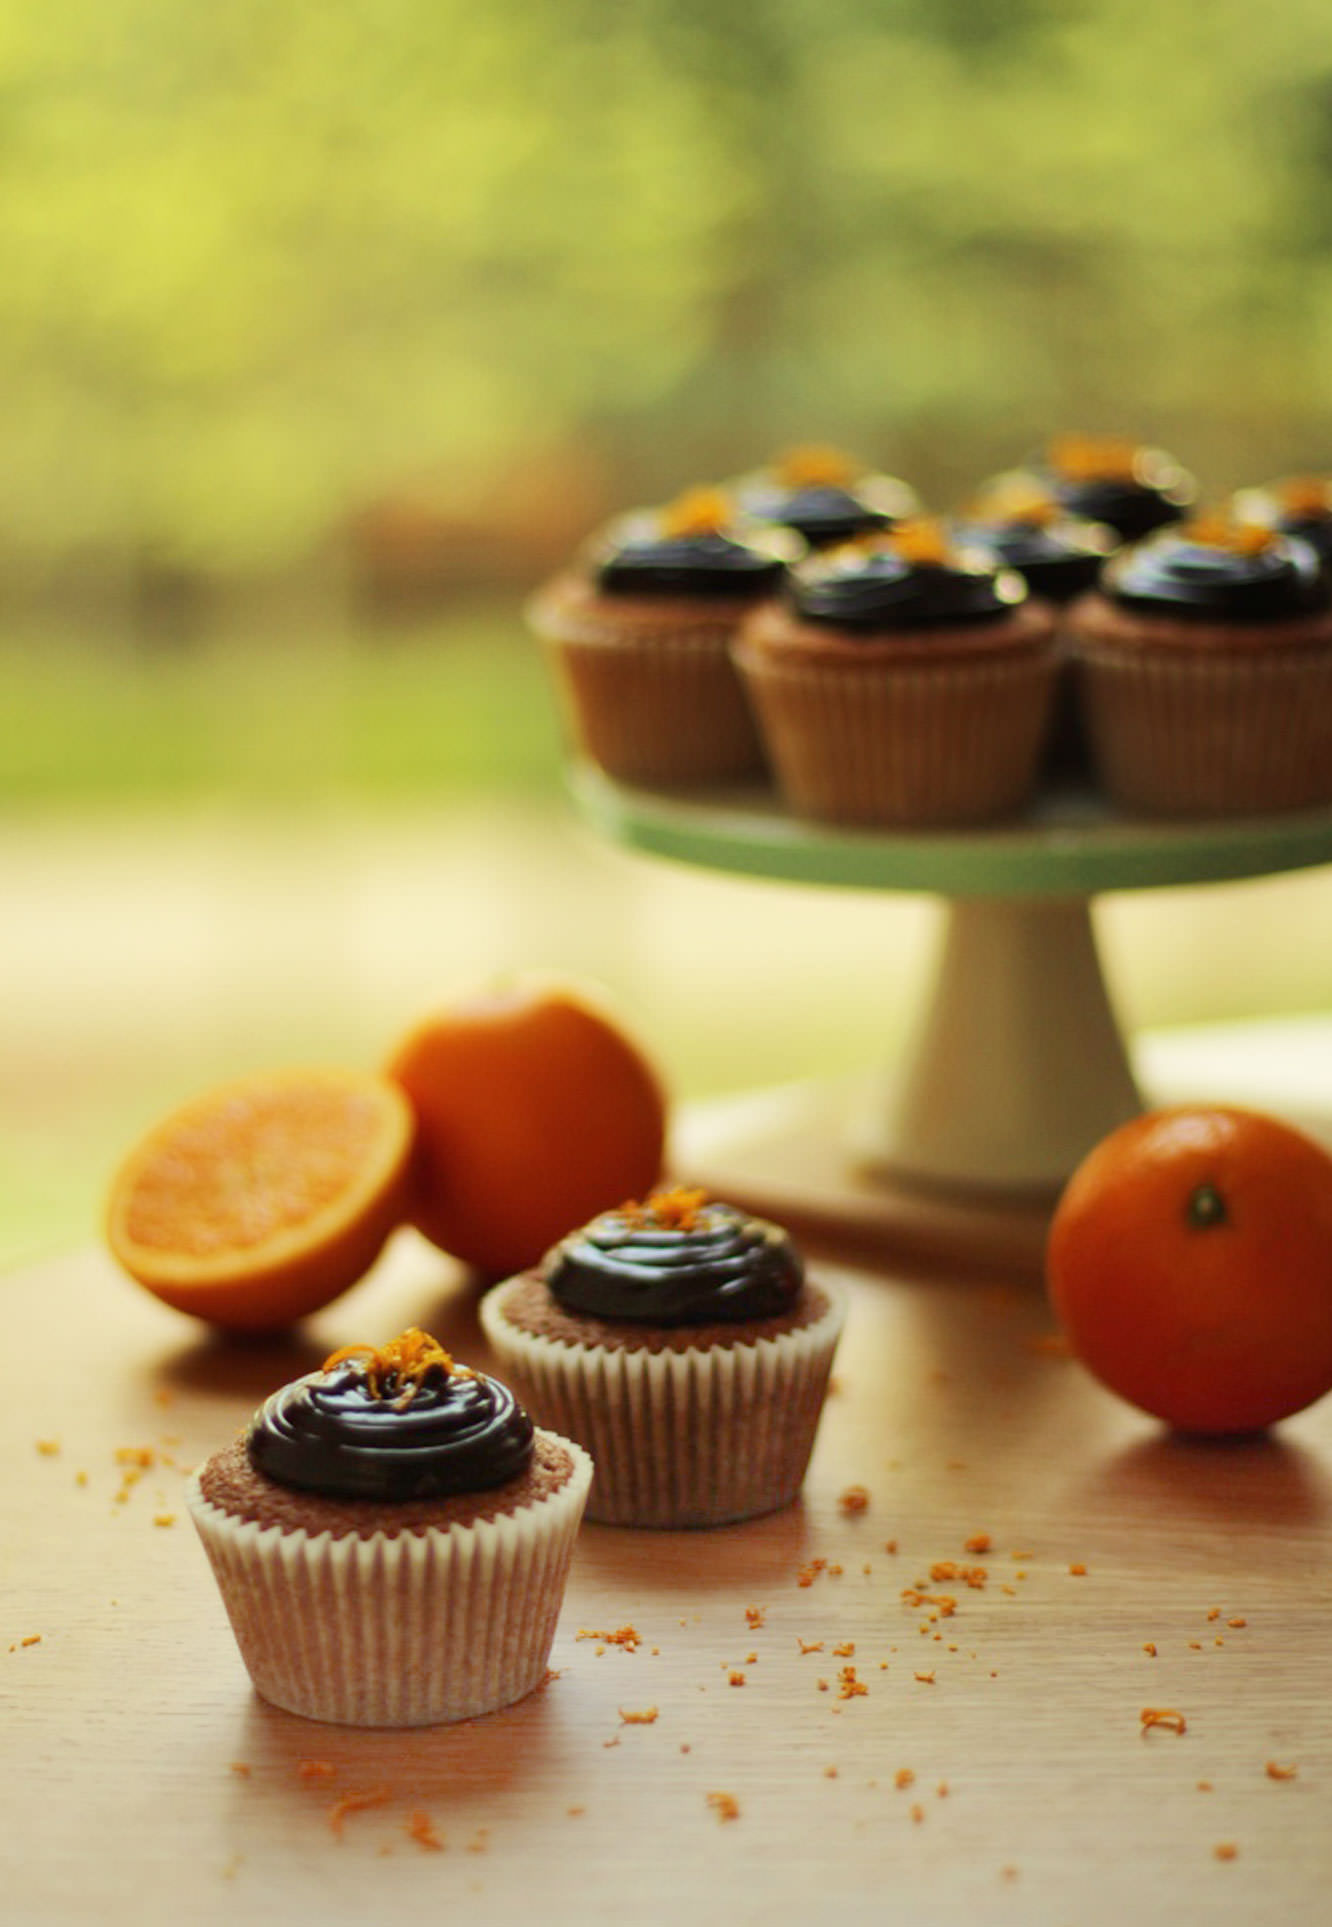
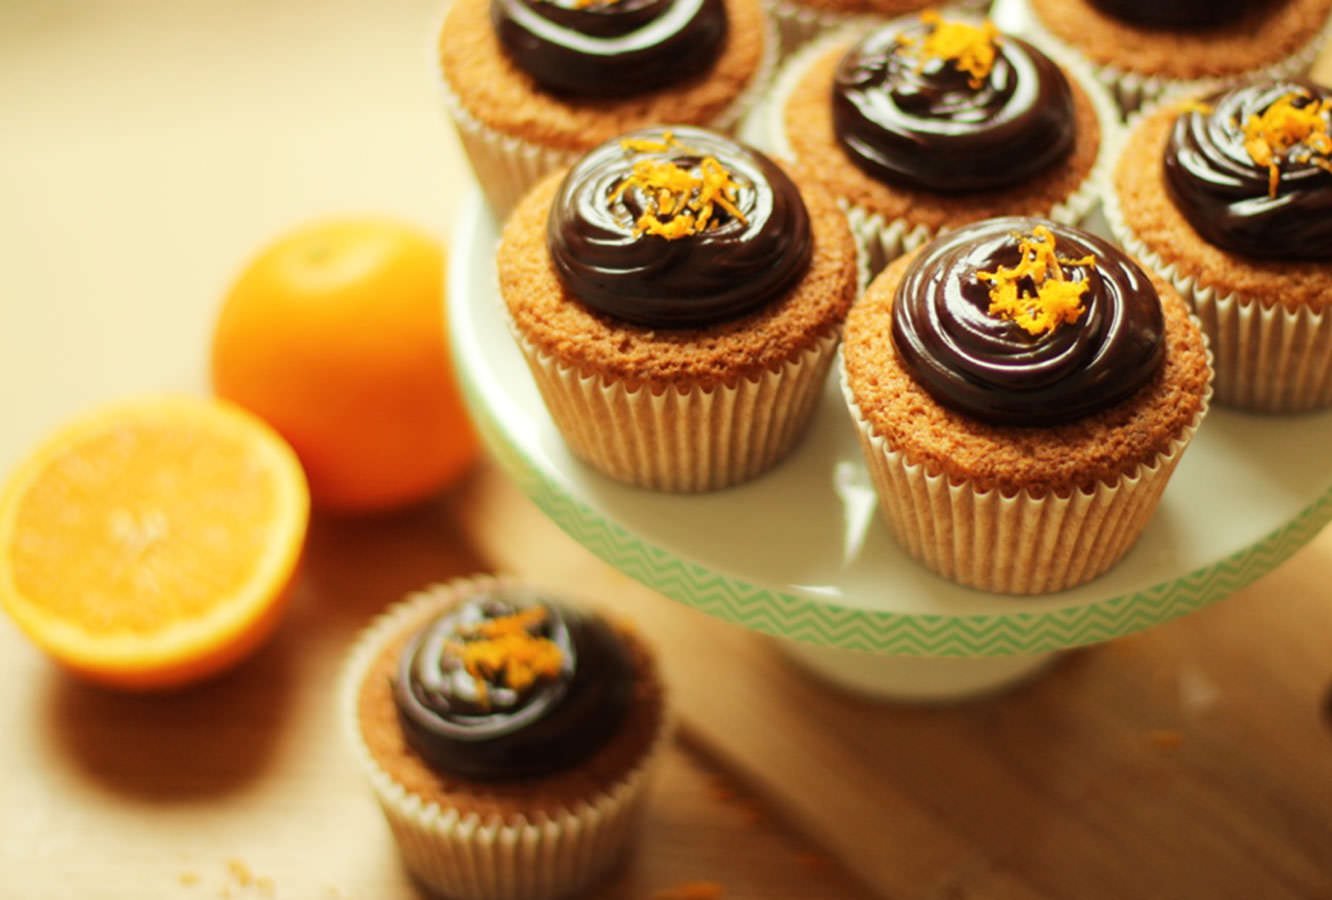
Week two of the British favourites series. One of the most heavily contested treats in GB, it had to go to court in 1991 to establish once and for all if it were a cake or a biscuit to make sure McVitie’s (its creators) were in the right tax category.
This version is 100% a cake and I dare say my favourite of this series, though there are a few still to be baked, so we’ll see.
Though this recipe contains an orange curd and a chocolate ganache it’s actually pretty easy to make, and has been met with universal approval by all who have consumed, so please don’t be put off.
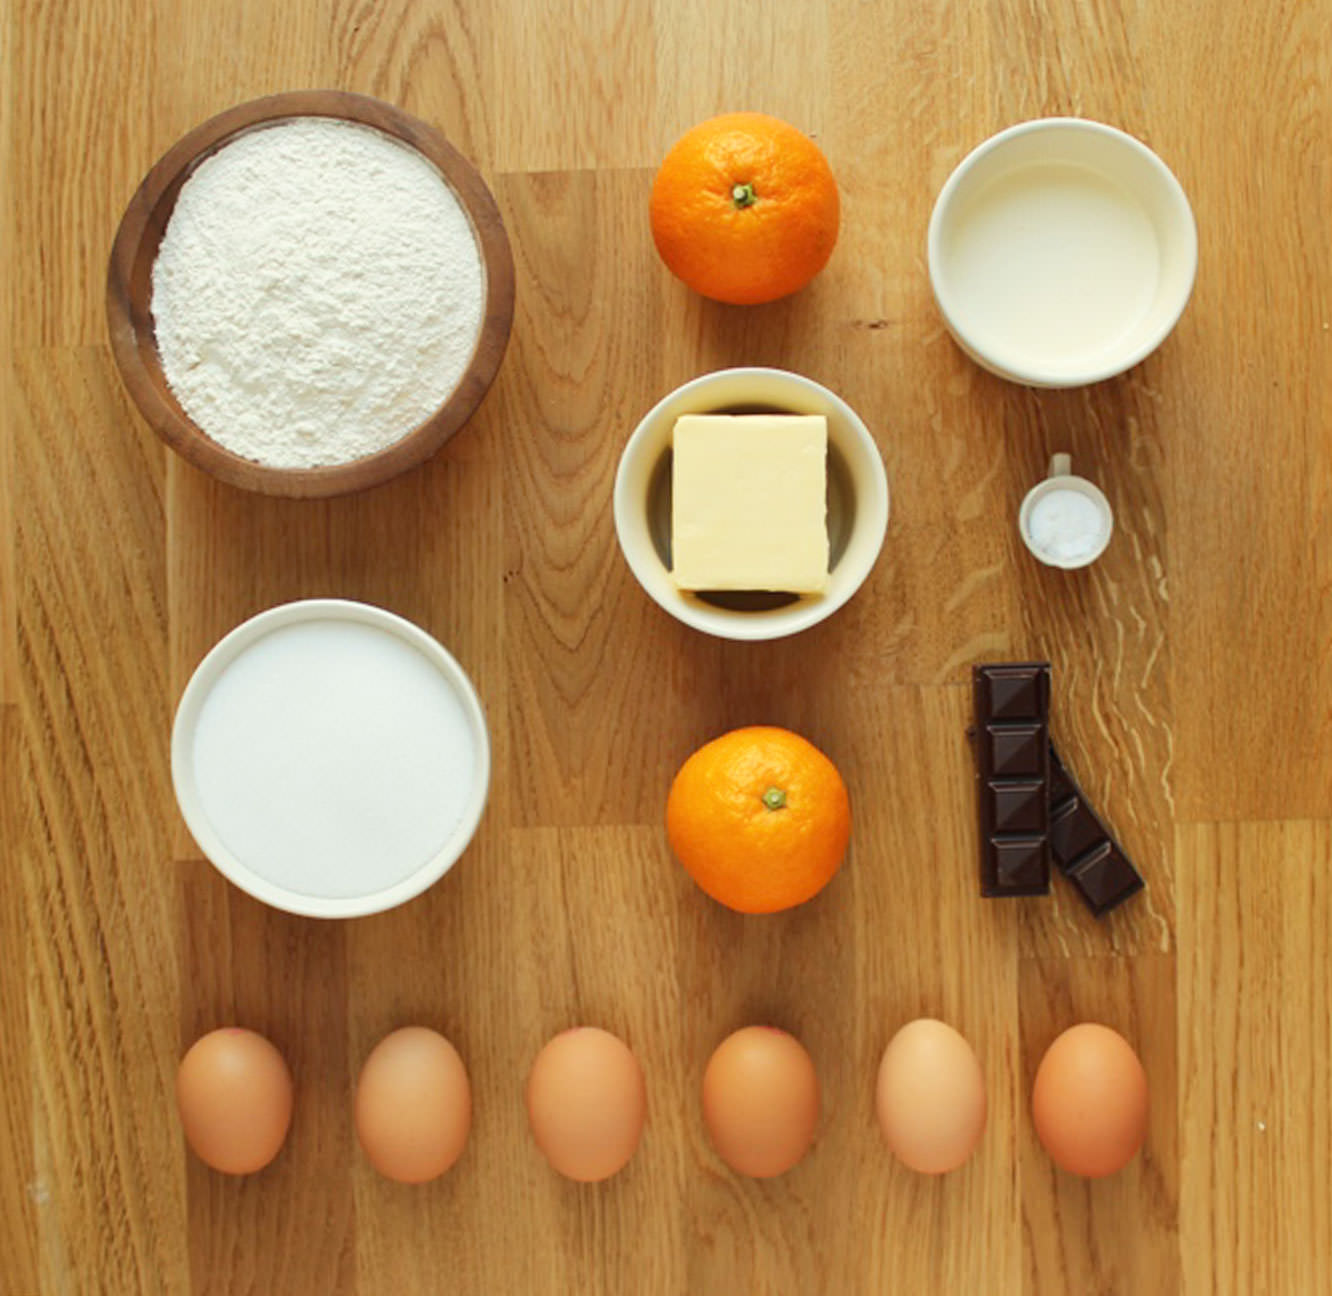
You will need
For the cake:
185g/6.5 oz self raising flour
185g/6.5 oz butter/margarine (I use Stork)
185g/6.5 oz caster sugar
3 eggs
1 tsp bicarbonate of soda
1 tsp vanilla extract/paste
For the orange curd:
2 whole eggs
1 egg yolk
85g/3 oz caster sugar
60g/2 oz butter
90ml/3 fl oz freshly squeezed orange juice (2 oranges should do)
Zest of one orange
For the ganache:
150ml/5 fl oz double cream
200g/7 oz dark chocolate
(makes 12)
Step one
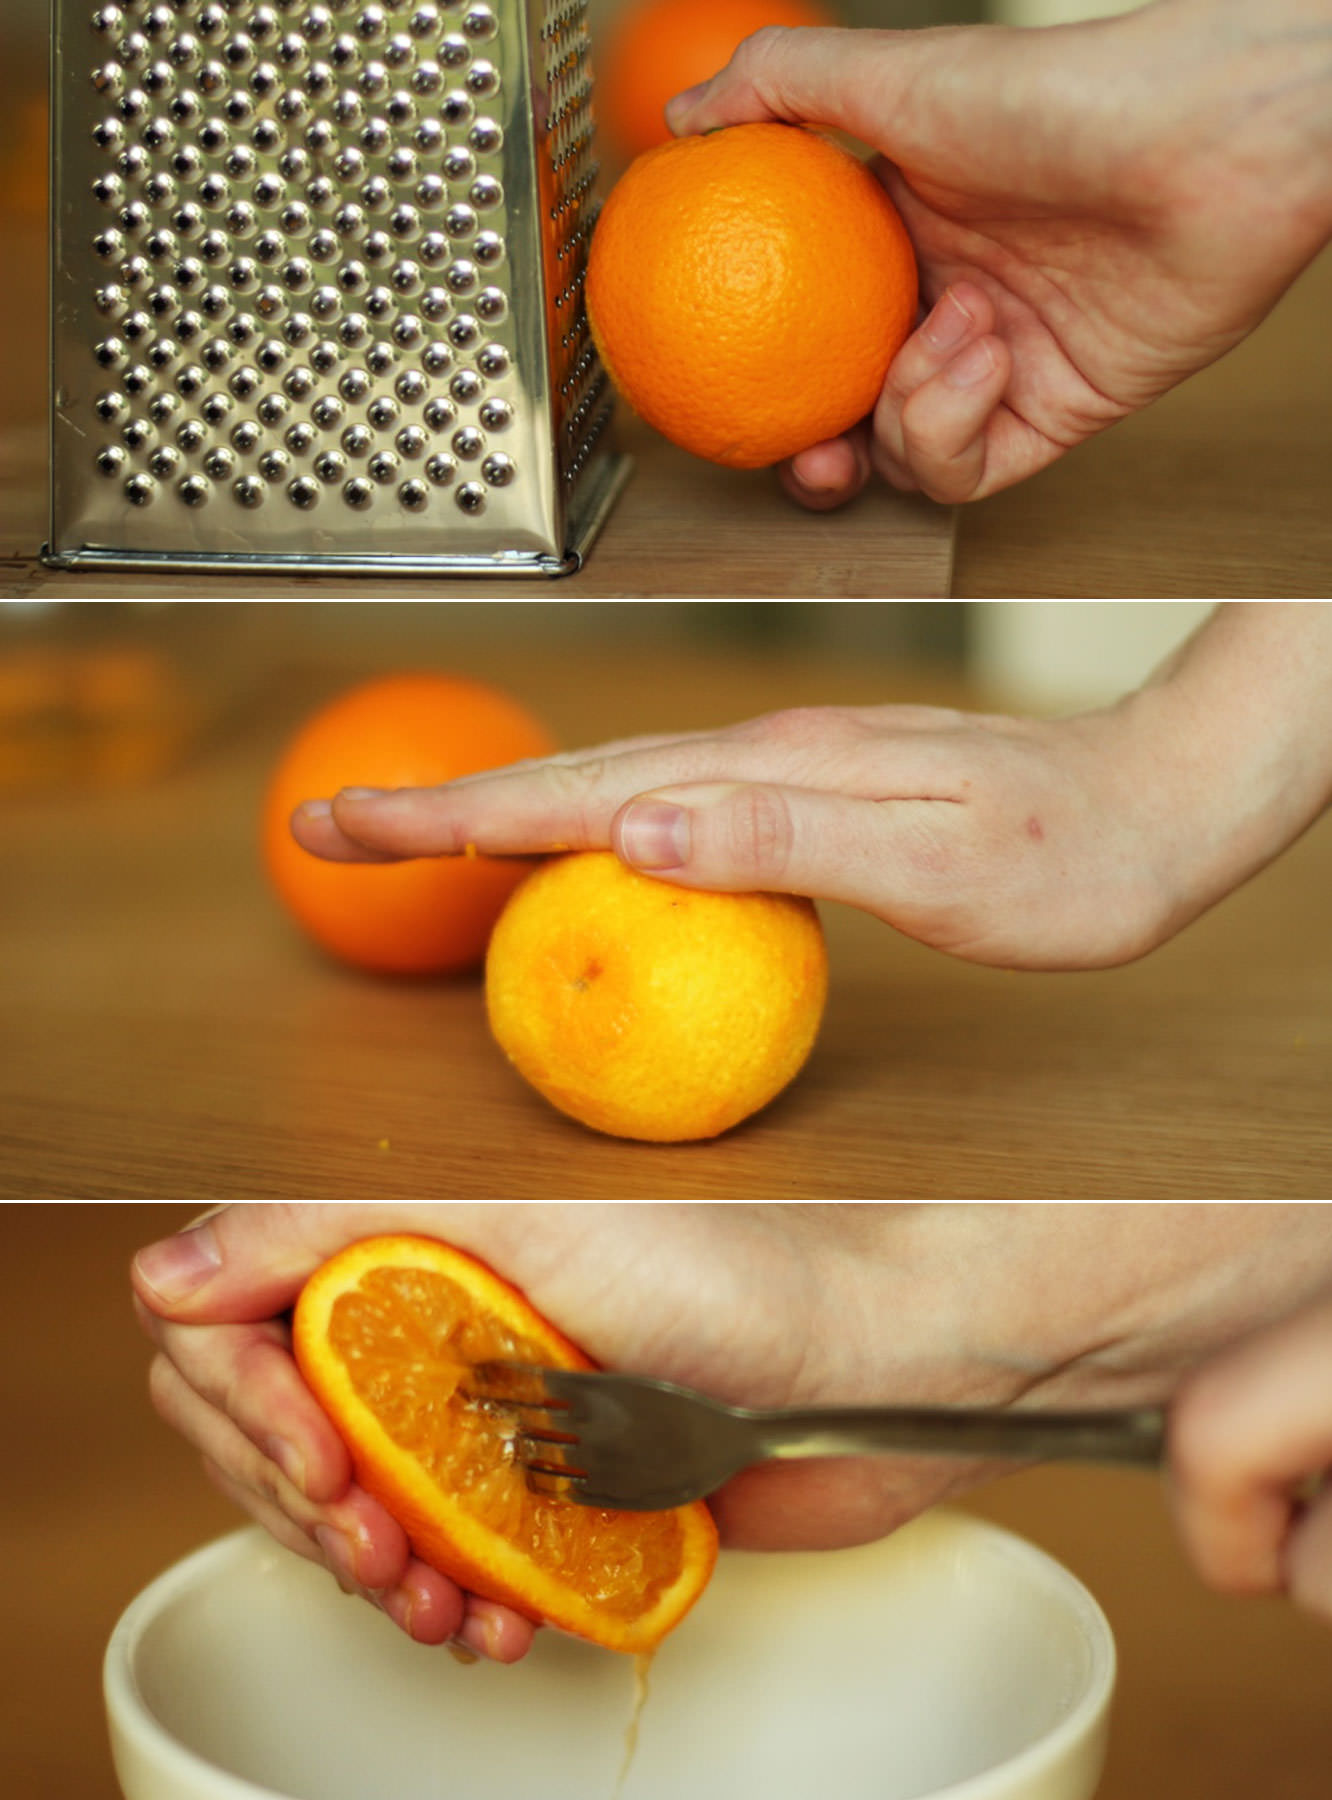
Zest one of the oranges on the smallest setting of your grater. If you don’t have a small setting don’t worry, we’re going to sieve it later. If you don’t have a small setting or a sieve then you’re stuffed, and a little odd.
Step two
Roll the oranges around to release the juices a little more. I also give them 10-20 seconds in the microwave.
Juice them using a juicer or a fork until you have the required 90ml.
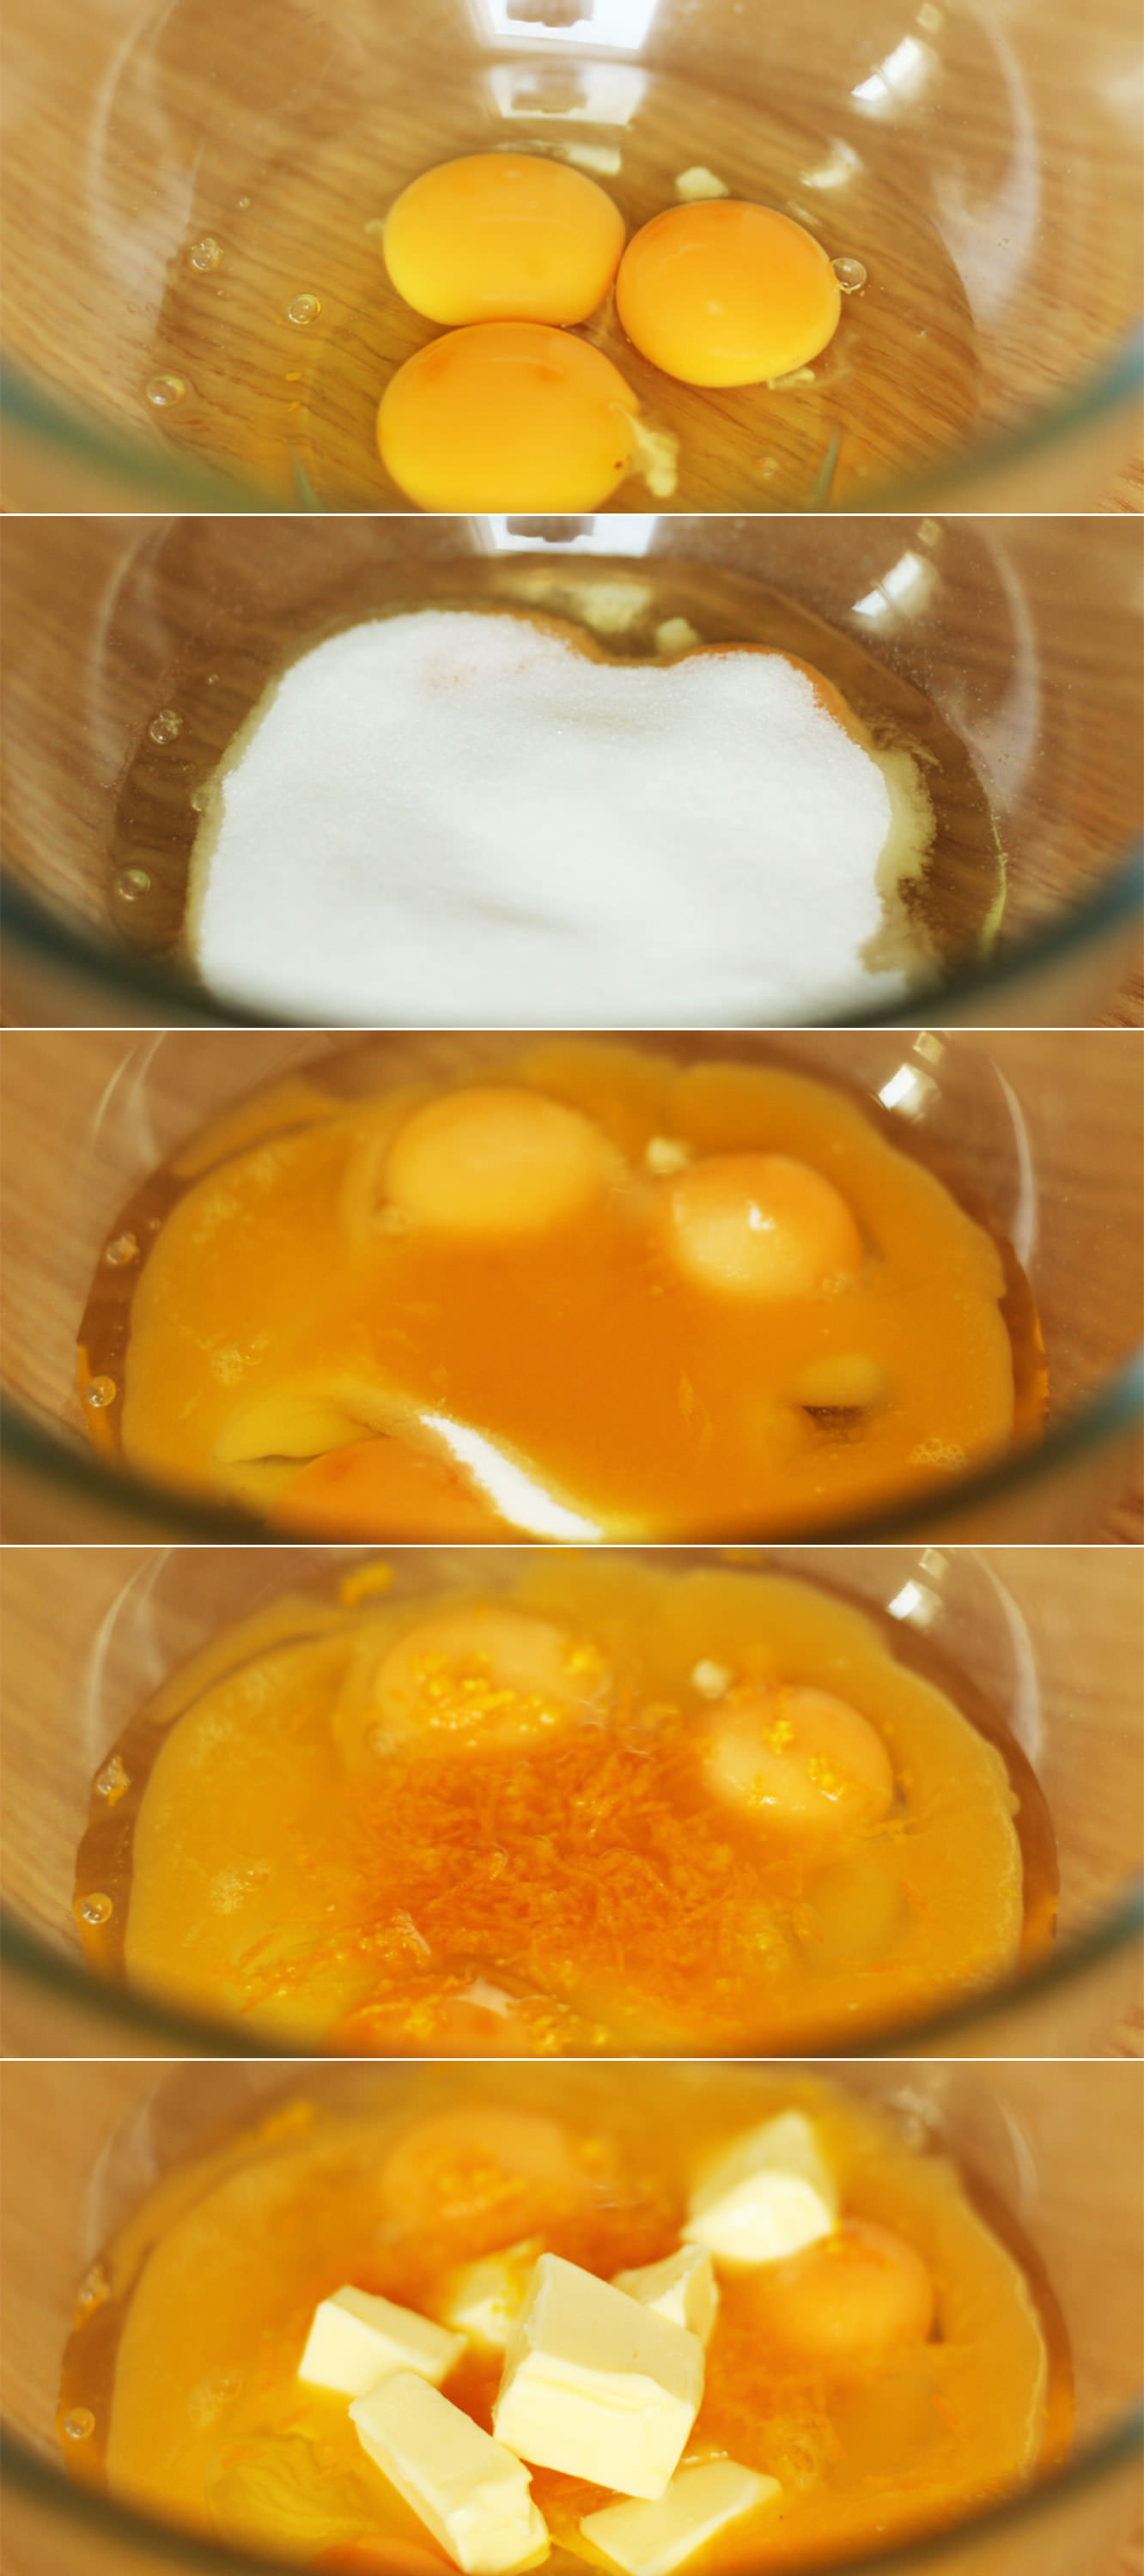
Step three
Combine the eggs and yolk, sugar, butter and the orange related ingredients into a heatproof bowl.
Set aside a little bit of zest aside to decorate with later.
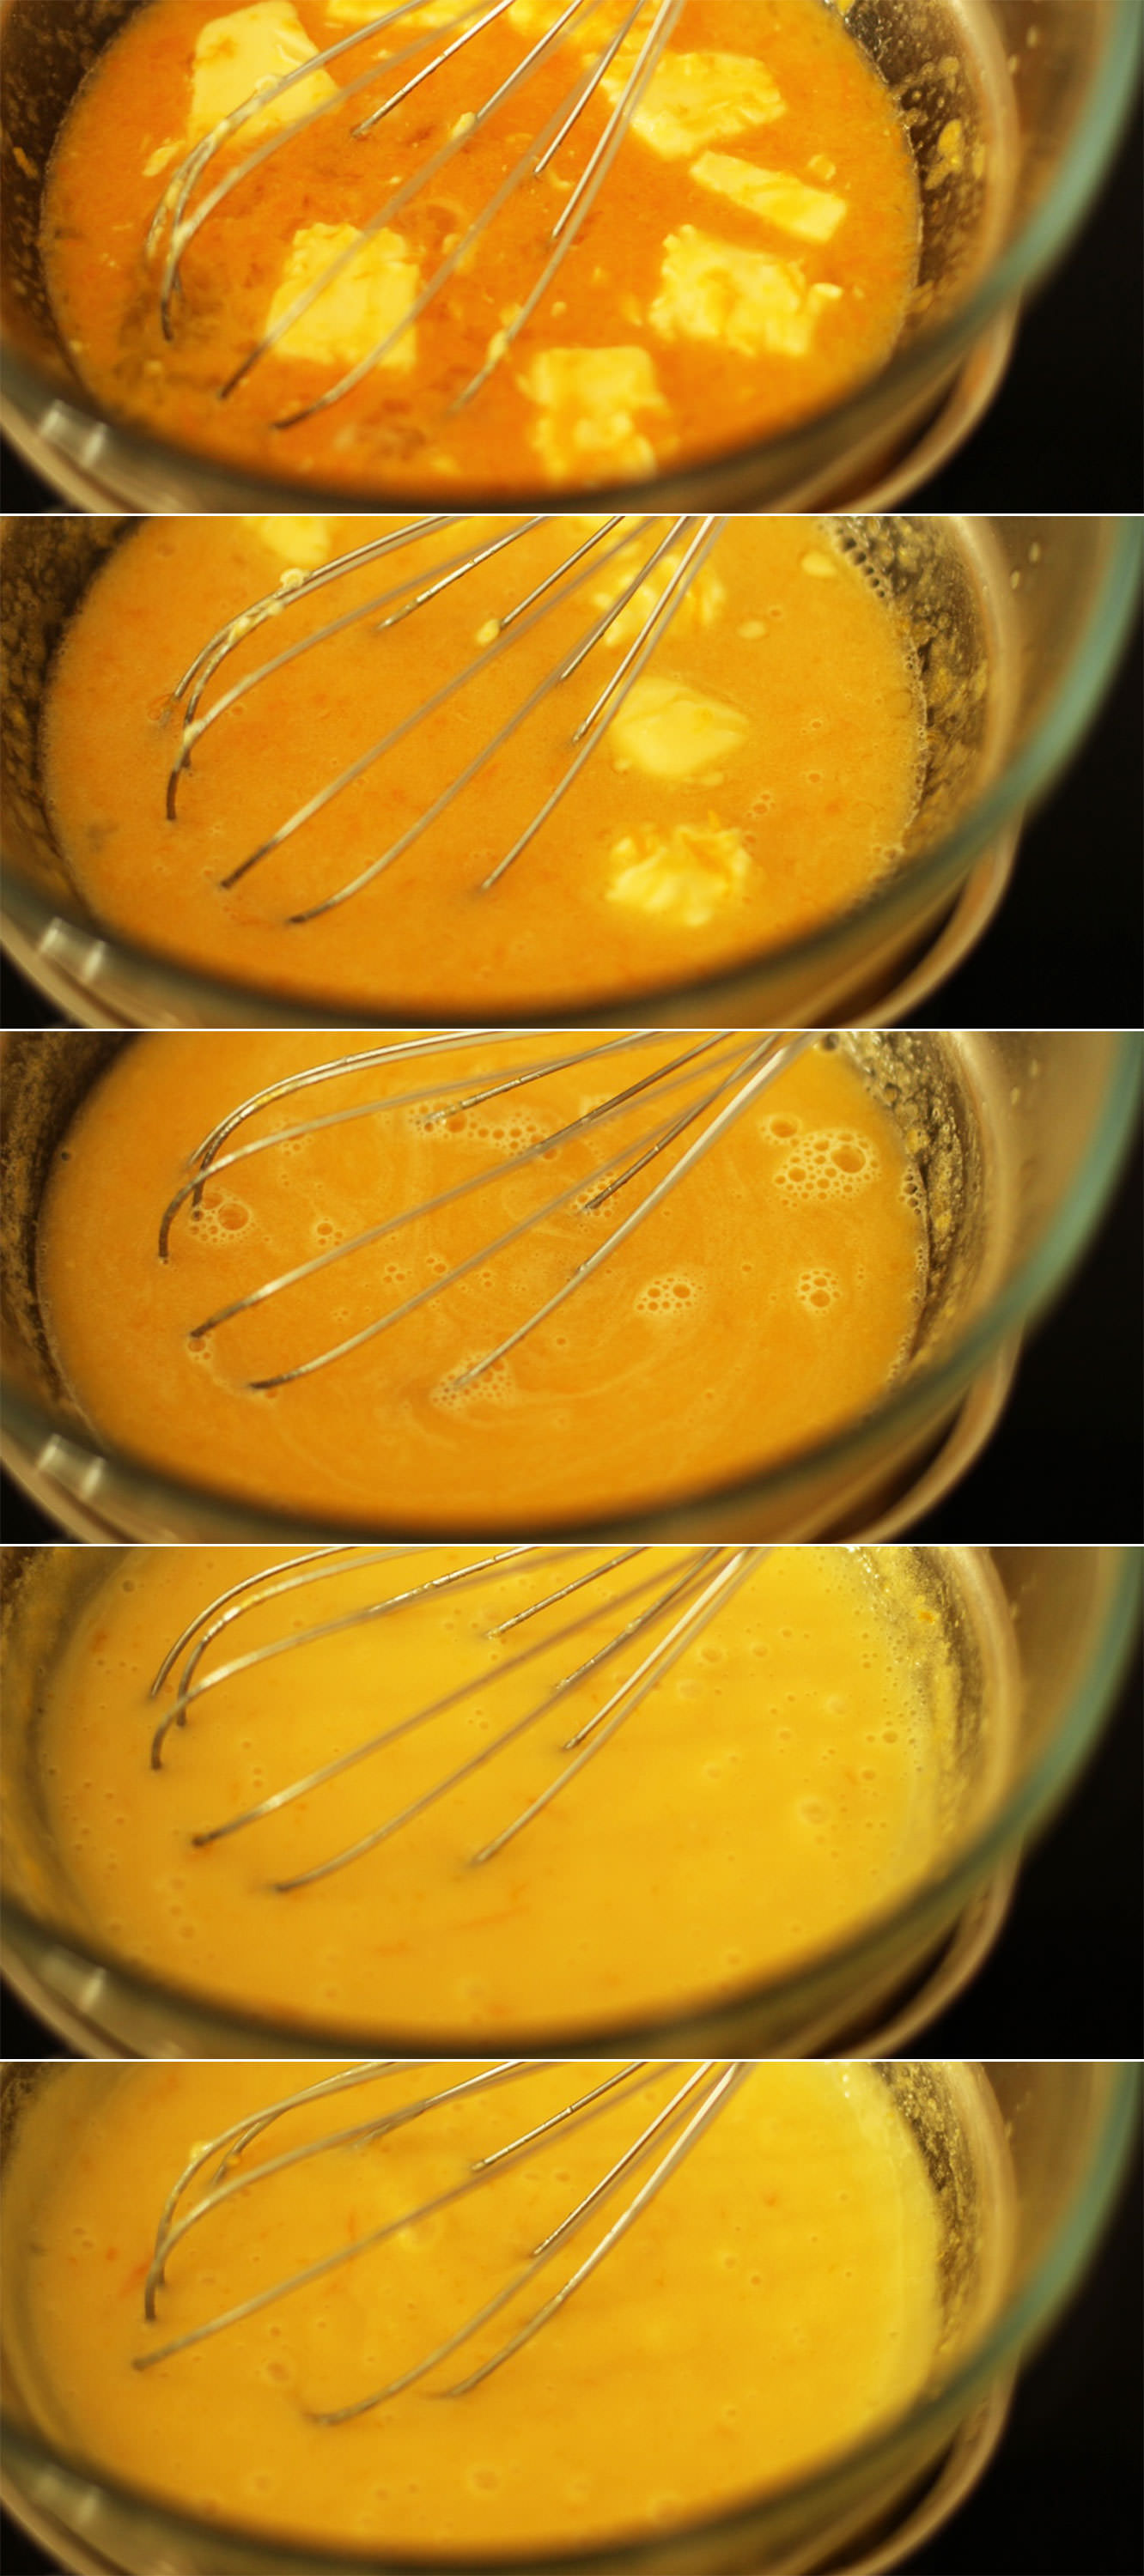
Step four
Place the bowl on top of a pan of simmering water. Stir regularly with a whisk until the mixture thickens. It should coat the back of a metal spoon without sliding off and will be fairly opaque and lighter in colour too.
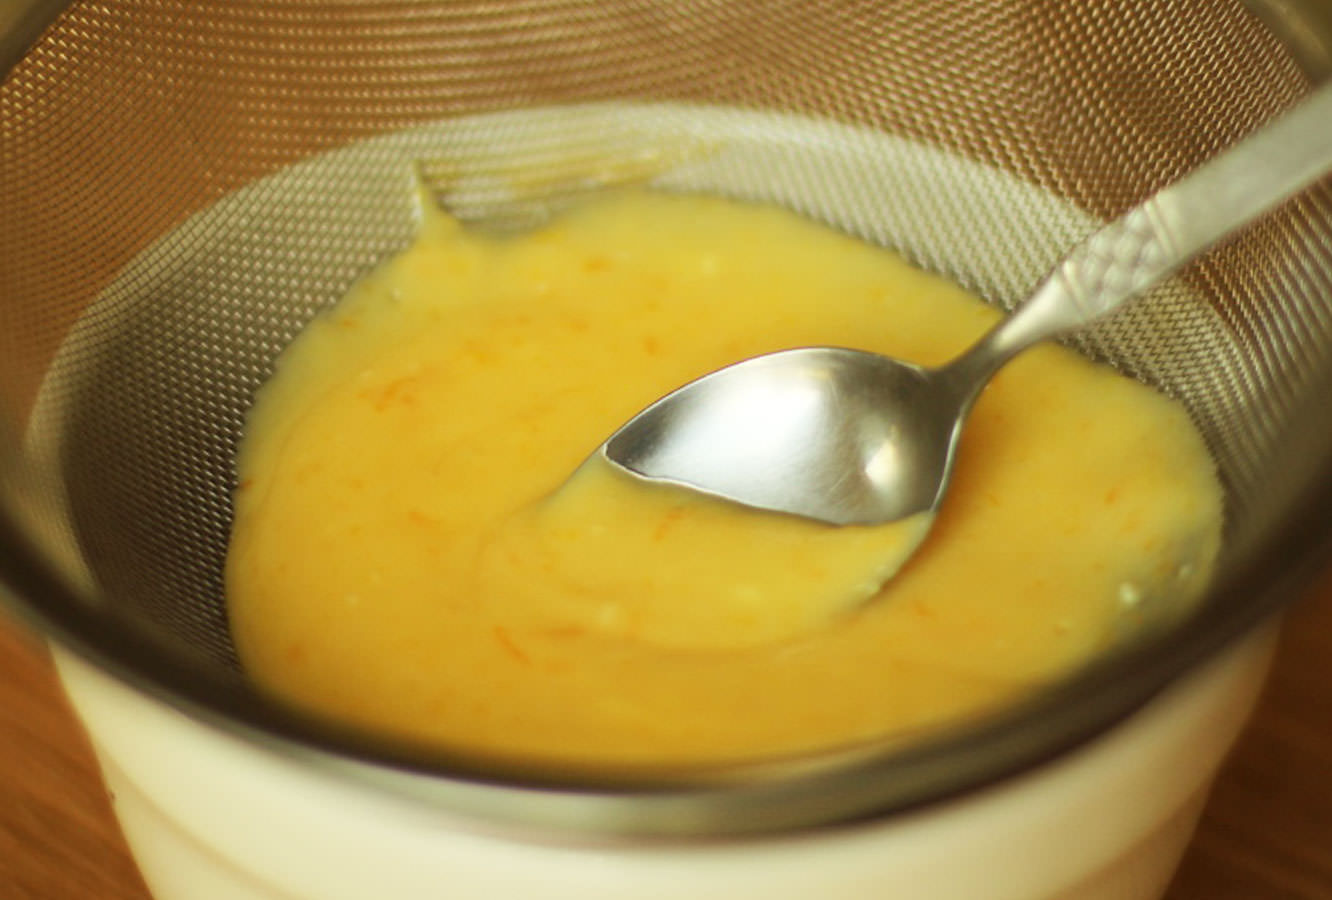
Step five
Sieve the mixture to remove the zest. Stir with a dessert spoon to get as much of the mixture through the sieve as possible.
Step six
It’s time to make the cakes! This is a basic sponge recipe as the base of a jaffa cake is not flavoured per se. If you want an extra boost of flavour you could zest the second orange and add it to the cake batter. I’ve not actually tried this (though I expect it would be nice) and they are good without so not to worry if you don’t fancy it.
Combine the butter/margarine and the caster sugar. Using an electric whisk beat until smooth and fluffy. Add the eggs and whisk again.
Step seven
Beat in the flour, bicarbonate of soda and vanilla until fully combined.
Step eight
Spoon the mixture evenly into 12 cupcake cases. It’s about two dessert spoons per case, but just keep topping up until you run out.
Bake on gas mark 4/180C/350F for 20-25 minutes. Take care not to open the oven halfway through or your cakes will sink.
Step nine
While the cakes are cooling make the ganache.
Finely chop the chocolate (or grate it if you’re super keen) and place in a clean bowl. Heat the cream in a saucepan. Do this slowly on a low heat, it burns quite easily.
The cream only needs to barely simmer before being poured over the chocolate and stirred until smooth.
The ganache won’t take long until it’s ready to pipe so only prepare it when the cakes and orange curd are nearly cooled.
You will know it’s ready when you drop a spoonful back into the bowl and it holds it’s shape.
Step ten
Cut a section of sponge out the middle with a small veg knife, and chop off the pointy bit, saving the lid.
Fill with curd and place the sponge lid back on.
Point a piping bag full of ganache straight down and squeeze. You may need to use the tip of the back to spread it out a little as you go.
Hullo again. I’ve decided to start a small series. I know, I can smell your excitement from here.
I will probably break it up a little every so often because it has one main theme (cupcakes) and I don’t want to bore. Not that cupcakes could ever be boring right?
The other day I was handed a Bakewell tart on the street (by a man in a co-op uniform, don’t worry, I’m not taking sweets from strangers). It’s been a while since I had a Bakewell tart, and you know what? I actually quite enjoyed it.
Then the thought struck me…a series of British sweets/puds baked into cupcakes is just what this blog needs.
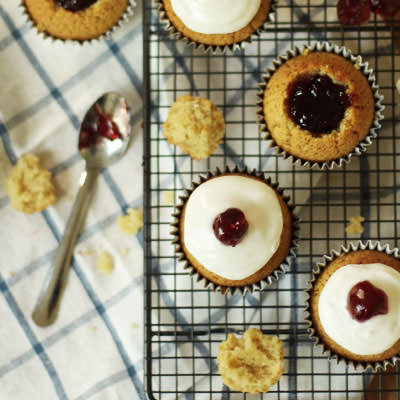
For anyone who doesn’t know, a Bakewell tart has a pastry case, full of frangipane (almond), cherry jam and is topped with a thick layer of icing and half a glacé cherry.
So without further ado let’s kick off with an easy peasy Bakewell tart cupcake, which are also handily dairy free for our lactose intolerant friends.
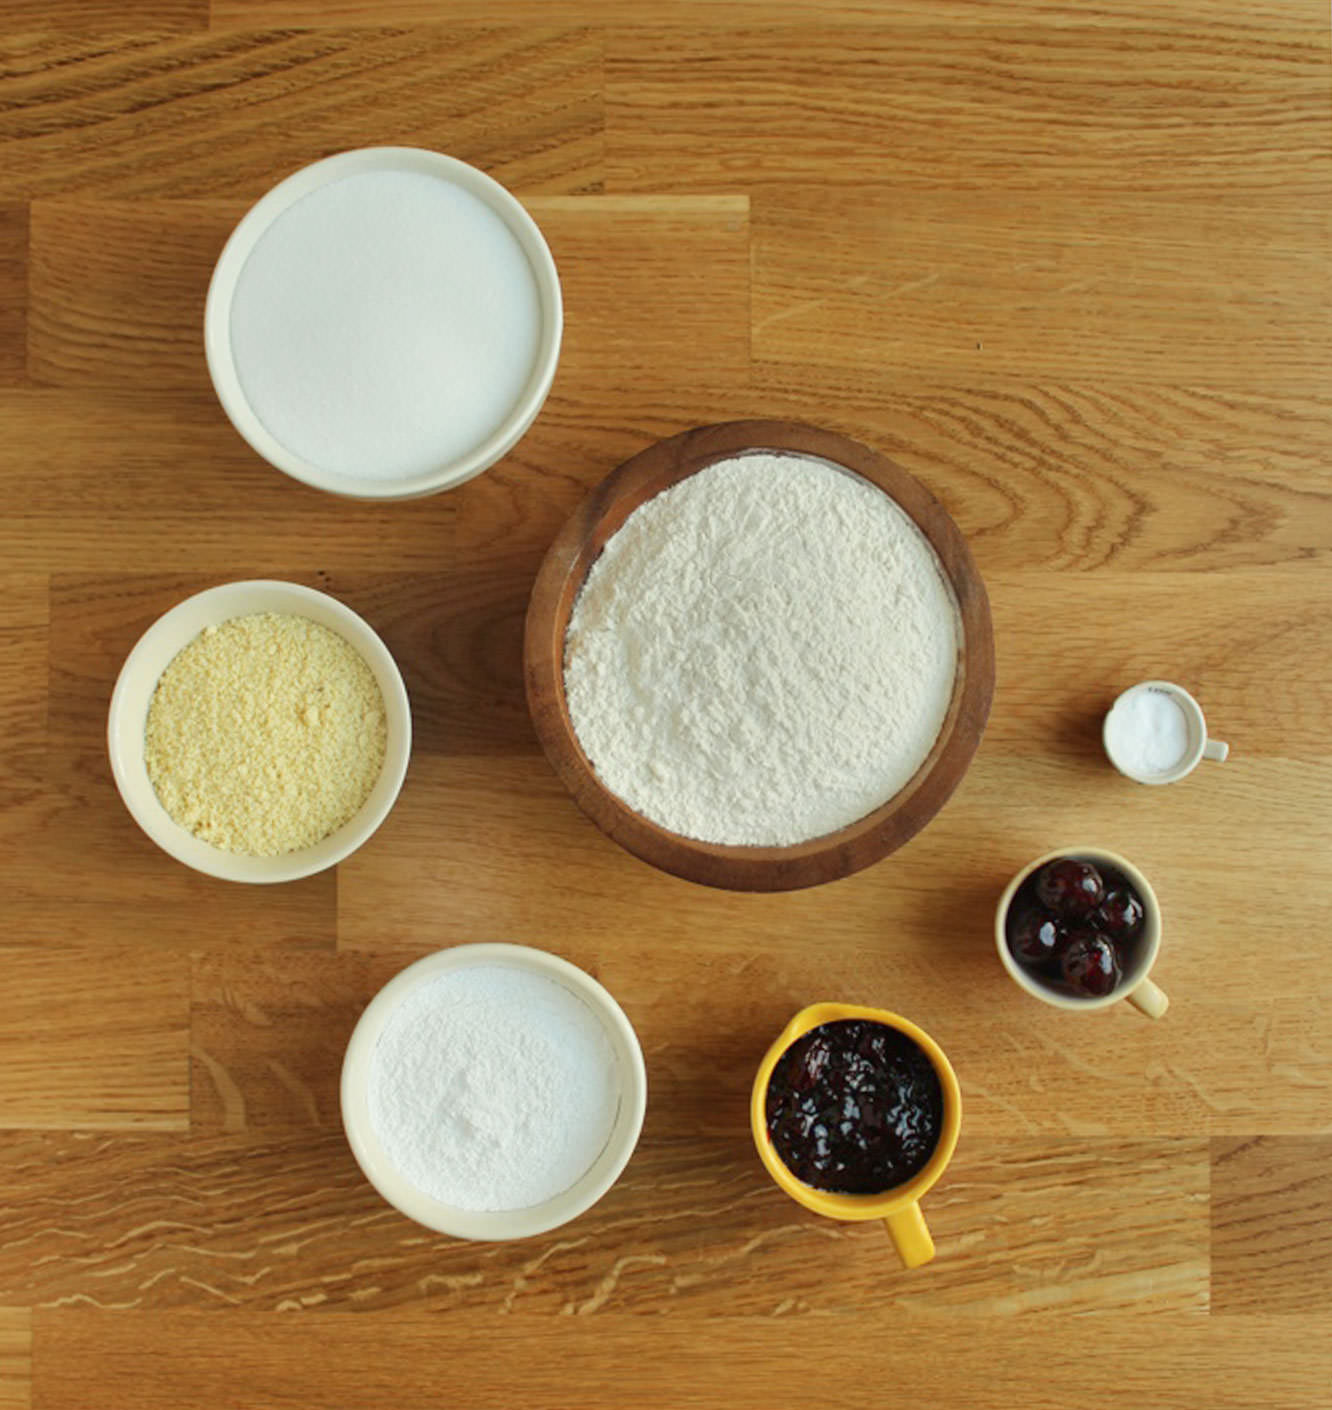
Things you need
200g/7 oz plain flour
200g/7 oz caster sugar
50g/1.75 oz ground almonds
5 tbsp vegetable oil
250ml/6.5 fl oz cold water
1 tsp vanilla extract
2 tsp almond extract
1 tsp bicarbonate of soda
1 tsp white vinegar (I won’t lie…I actually used cider vinegar, because I wasn’t about to buy a whole bottle for a single teaspoon)
To decorate:
Icing sugar (royal icing works well if you have it)
6 glacé cherries
Cherry jam
Silver foil cupcake cases (to add that authentic touch)
(Makes 12 cupcakes)
Step one
Mix together the flour, almonds and baking powder.
Step two
Add the caster sugar and stir again until combined. Yup, this is SUCH an easy recipe that I gave that its own step.
Step three
Make a well in the middle and add the water, oil, vinegar and extracts.
Using a hand whisk make small circular motions until all the flour mix is gradually incorporated. Doing it that way will reduce the number of lumps.
Step four
Using a jug distribute the mixture evenly between 12 cupcake cases. Trust me. You will want a jug.
Bake on gas mark 4/180C/350F for 20-25 minutes until they spring back when touched.
Step five
Cut a circular section out of the middle with a small knife and fill with cherry jam. Remove excess sponge from the bit you removed and put the lid back on.
Step six
Mix some icing sugar with water until you have quite a thick consistency. Royal icing is good for this because it’s thicker and more opaque generally.
Pipe onto the cupcake, try to get it as round as you can.
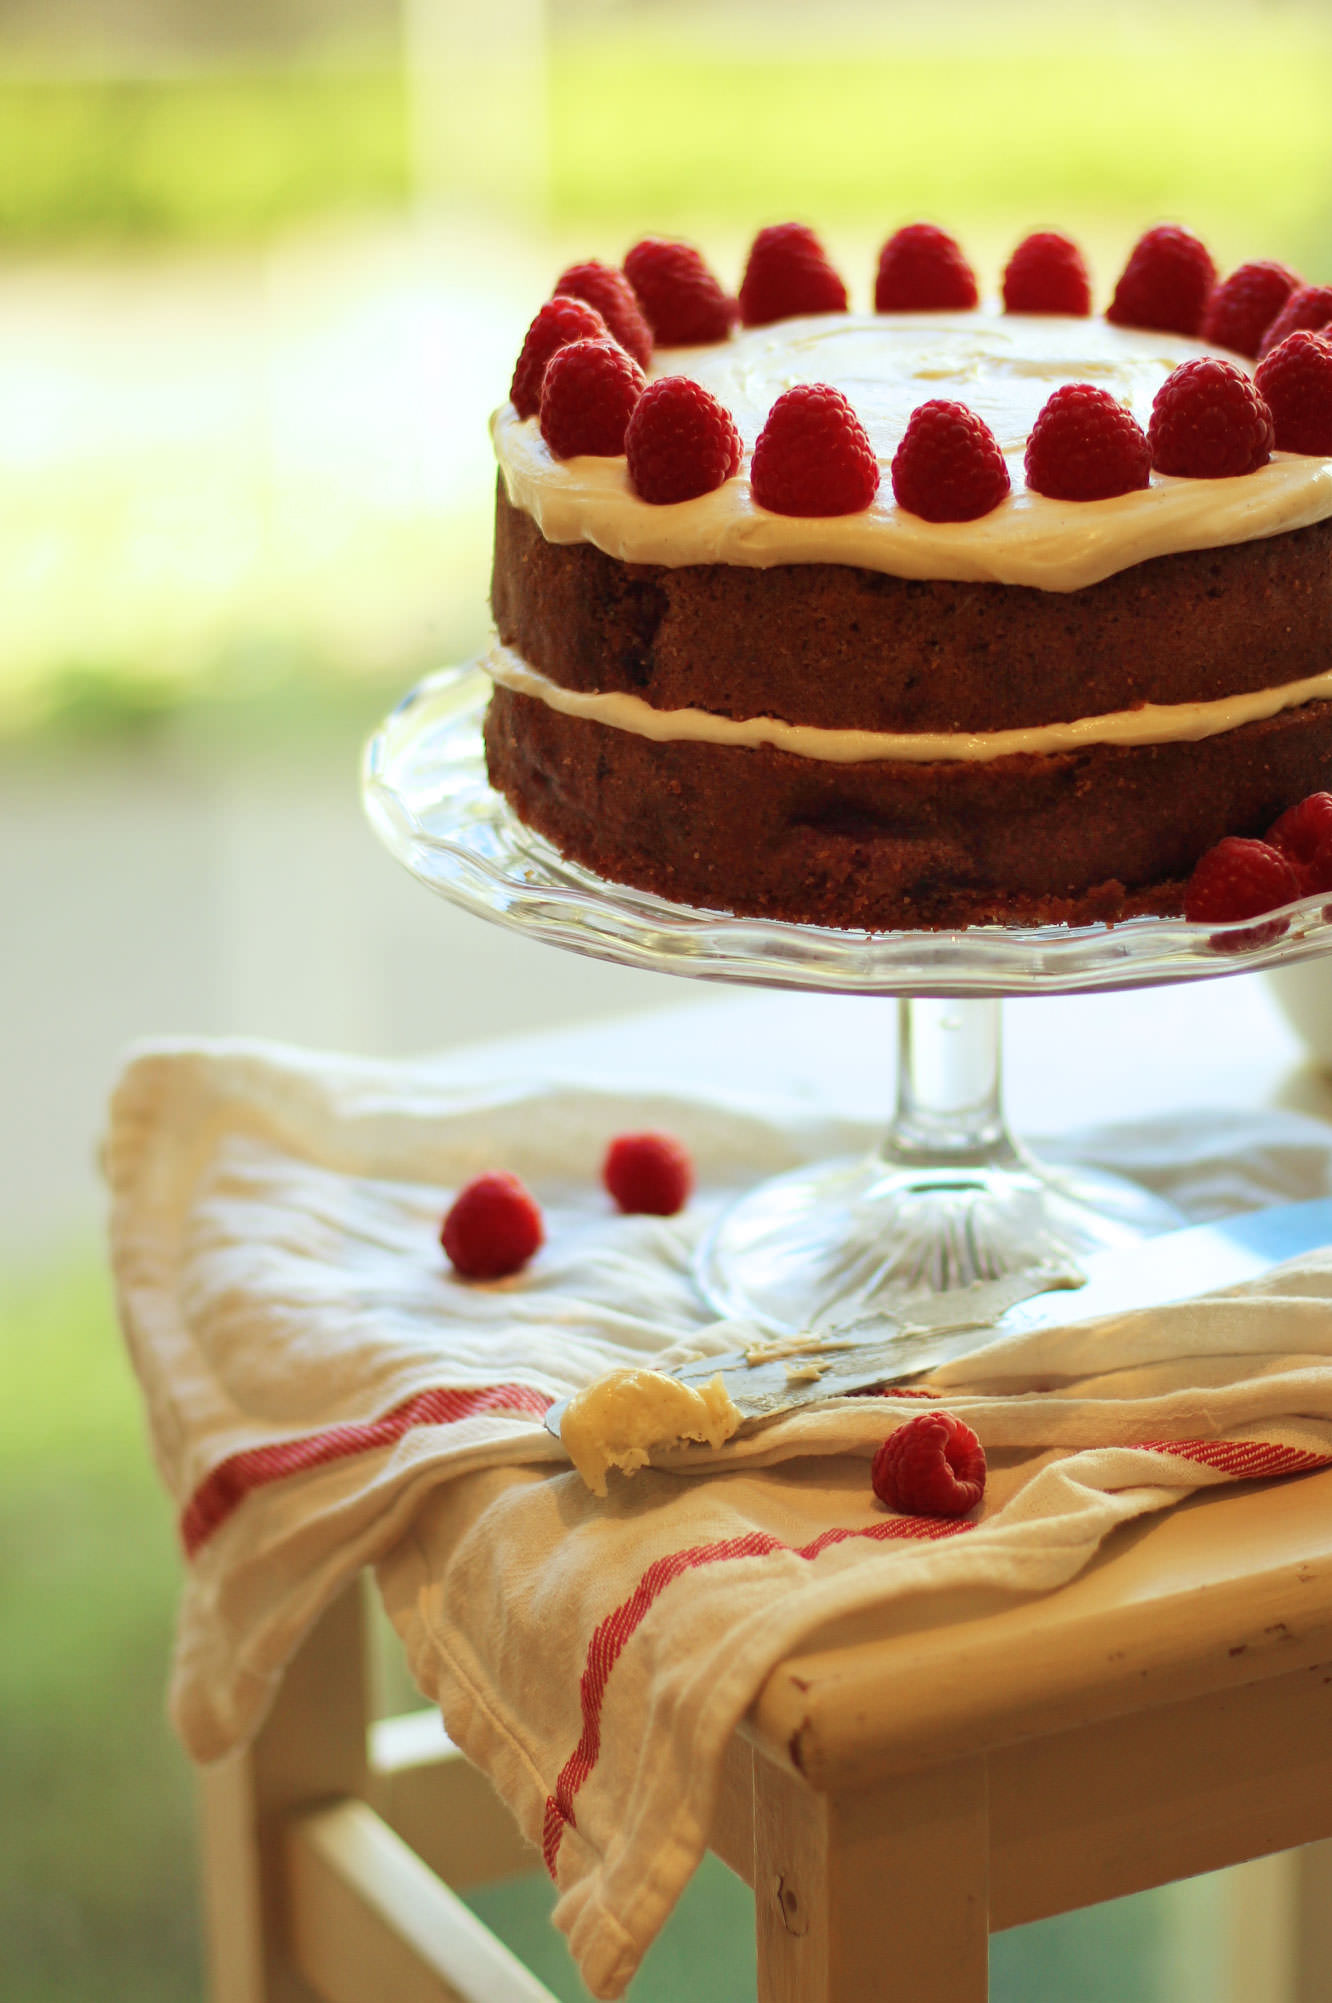
Another week another birthday. This time round it’s my lovely housemate who is bravely entering her mid-twenties; just another excuse for me to get in the kitchen.
Earlier in the week Vicky (the birthday girl in question), Matt (the fiance) and I, had sat down to watch The Princess Bride (a hilarious farce of a film), and we cracked open some Crabbie’s. It was such a lovely little evening, and I thought I would bake the experience into a cake to commemorate the little one’s birth.
Crabbie’s, for anyone who doesn’t know (more fool you), is alcoholic ginger beer. This particular batch was raspberry flavoured, and nobody was more surprised than me to discover how nicely ginger and raspberry complement each other. Add to that a honey and vanilla icing and you’ve got a birthday cake fit for any 24 year old.
You will need
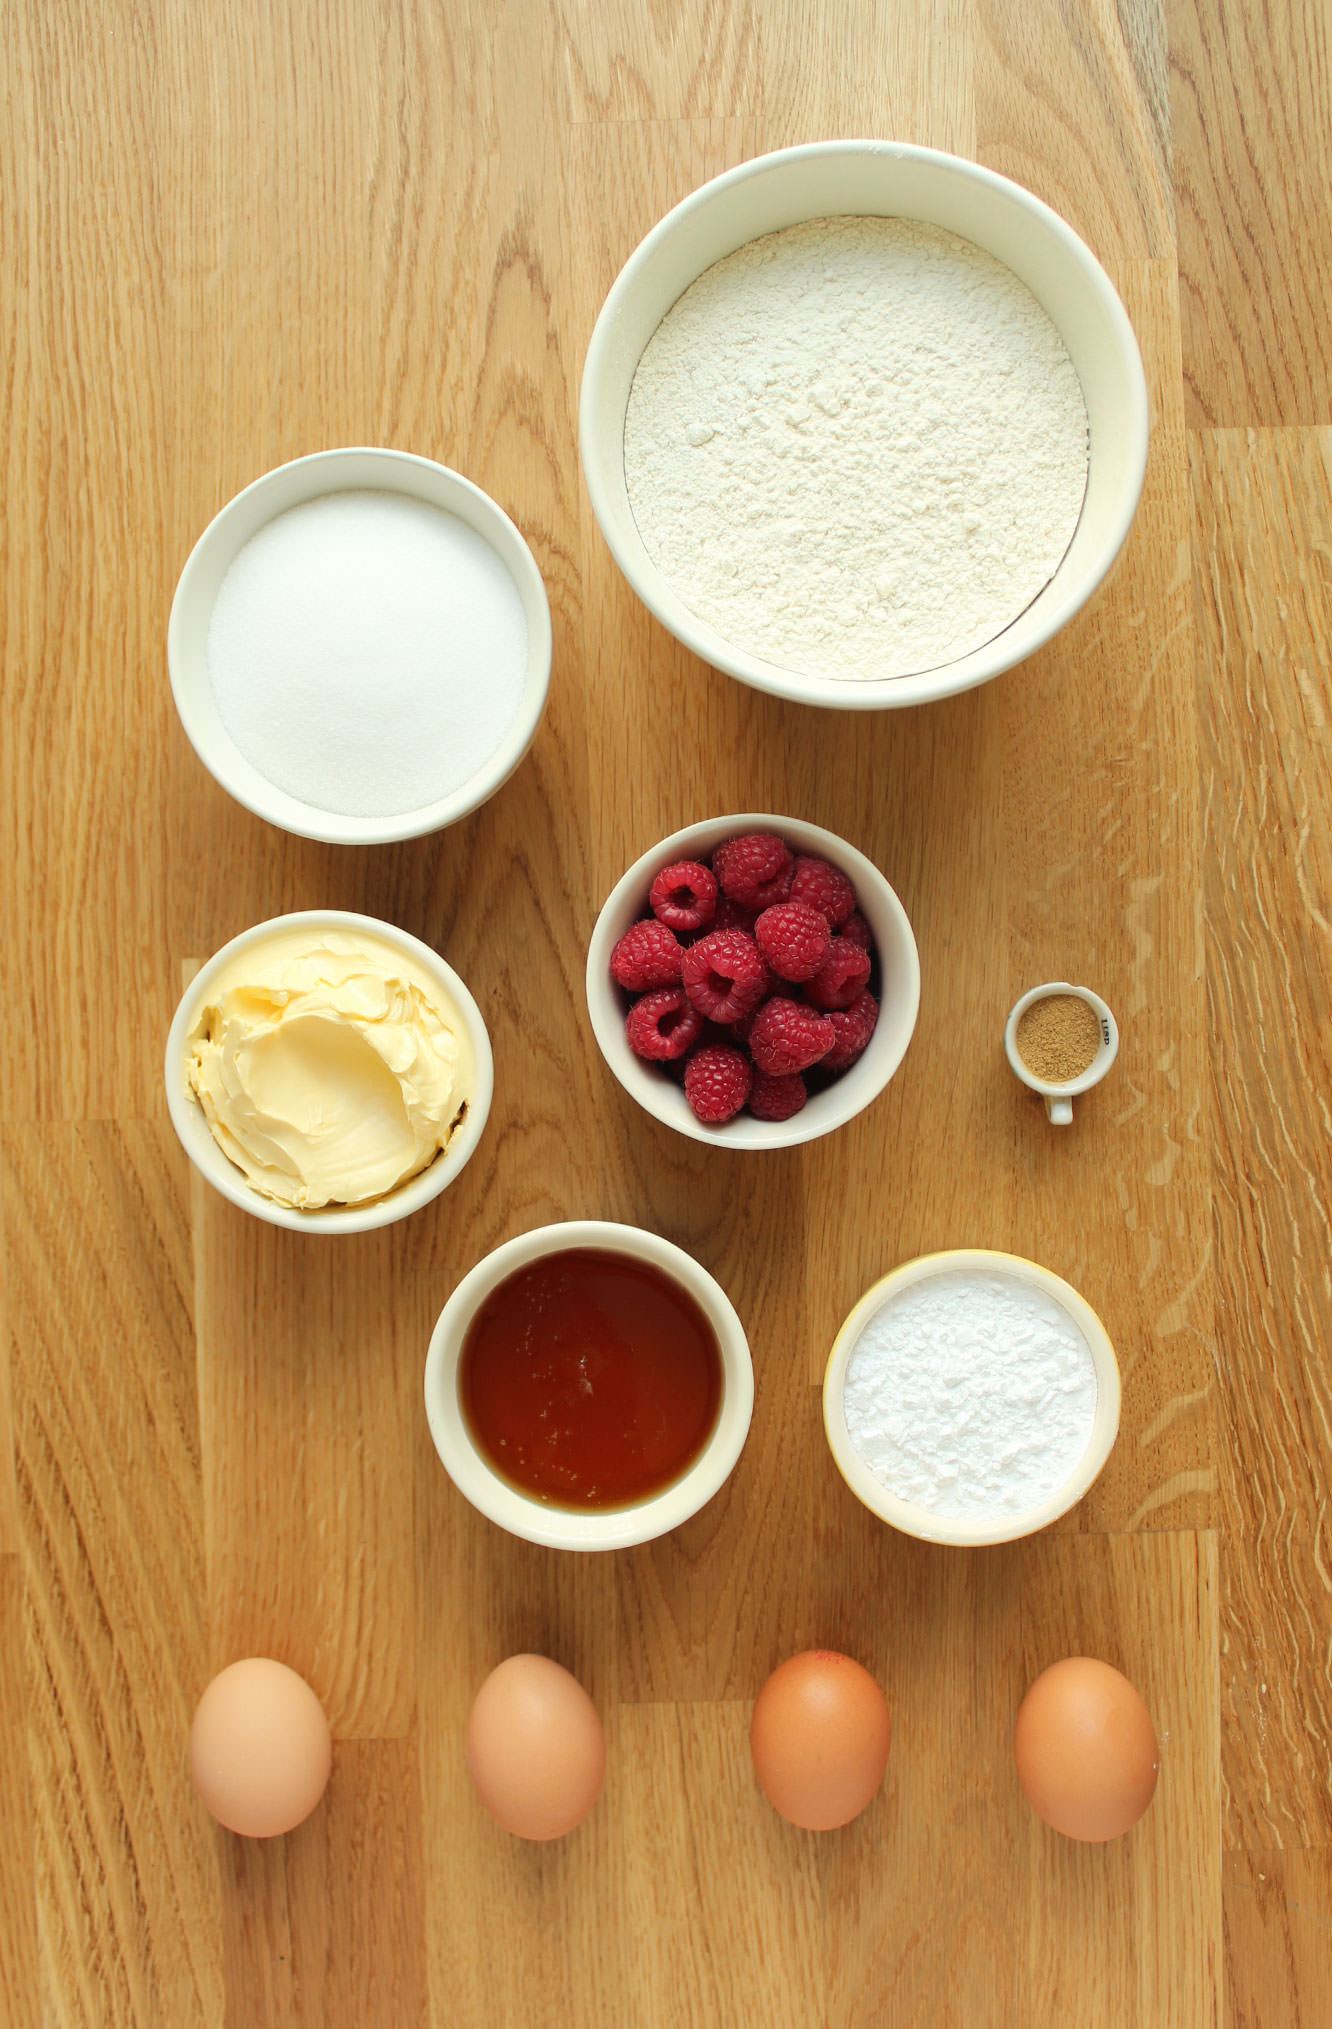
For the cake:
255g/9 oz self raising flour
255g/9 oz caster sugar
255g/9 oz margarine/butter (I use stork for cakes)
4 eggs
2 tsp ground ginger (add a bit more if you want a really strong ginger taste, 2 tsp is nice and subtle)
1 tsp vanilla extract/paste
1 tsp bicarbonate of soda
200g/7 oz raspberries
For the icing/decoration:
350g/12 oz icing sugar
150g/5 oz softened butter
170g/6 oz honey
1-2 tsp vanilla extract/paste (or even a pod if you have one so you get the lovely flecks)
100g/3.5 oz raspberries
Step one
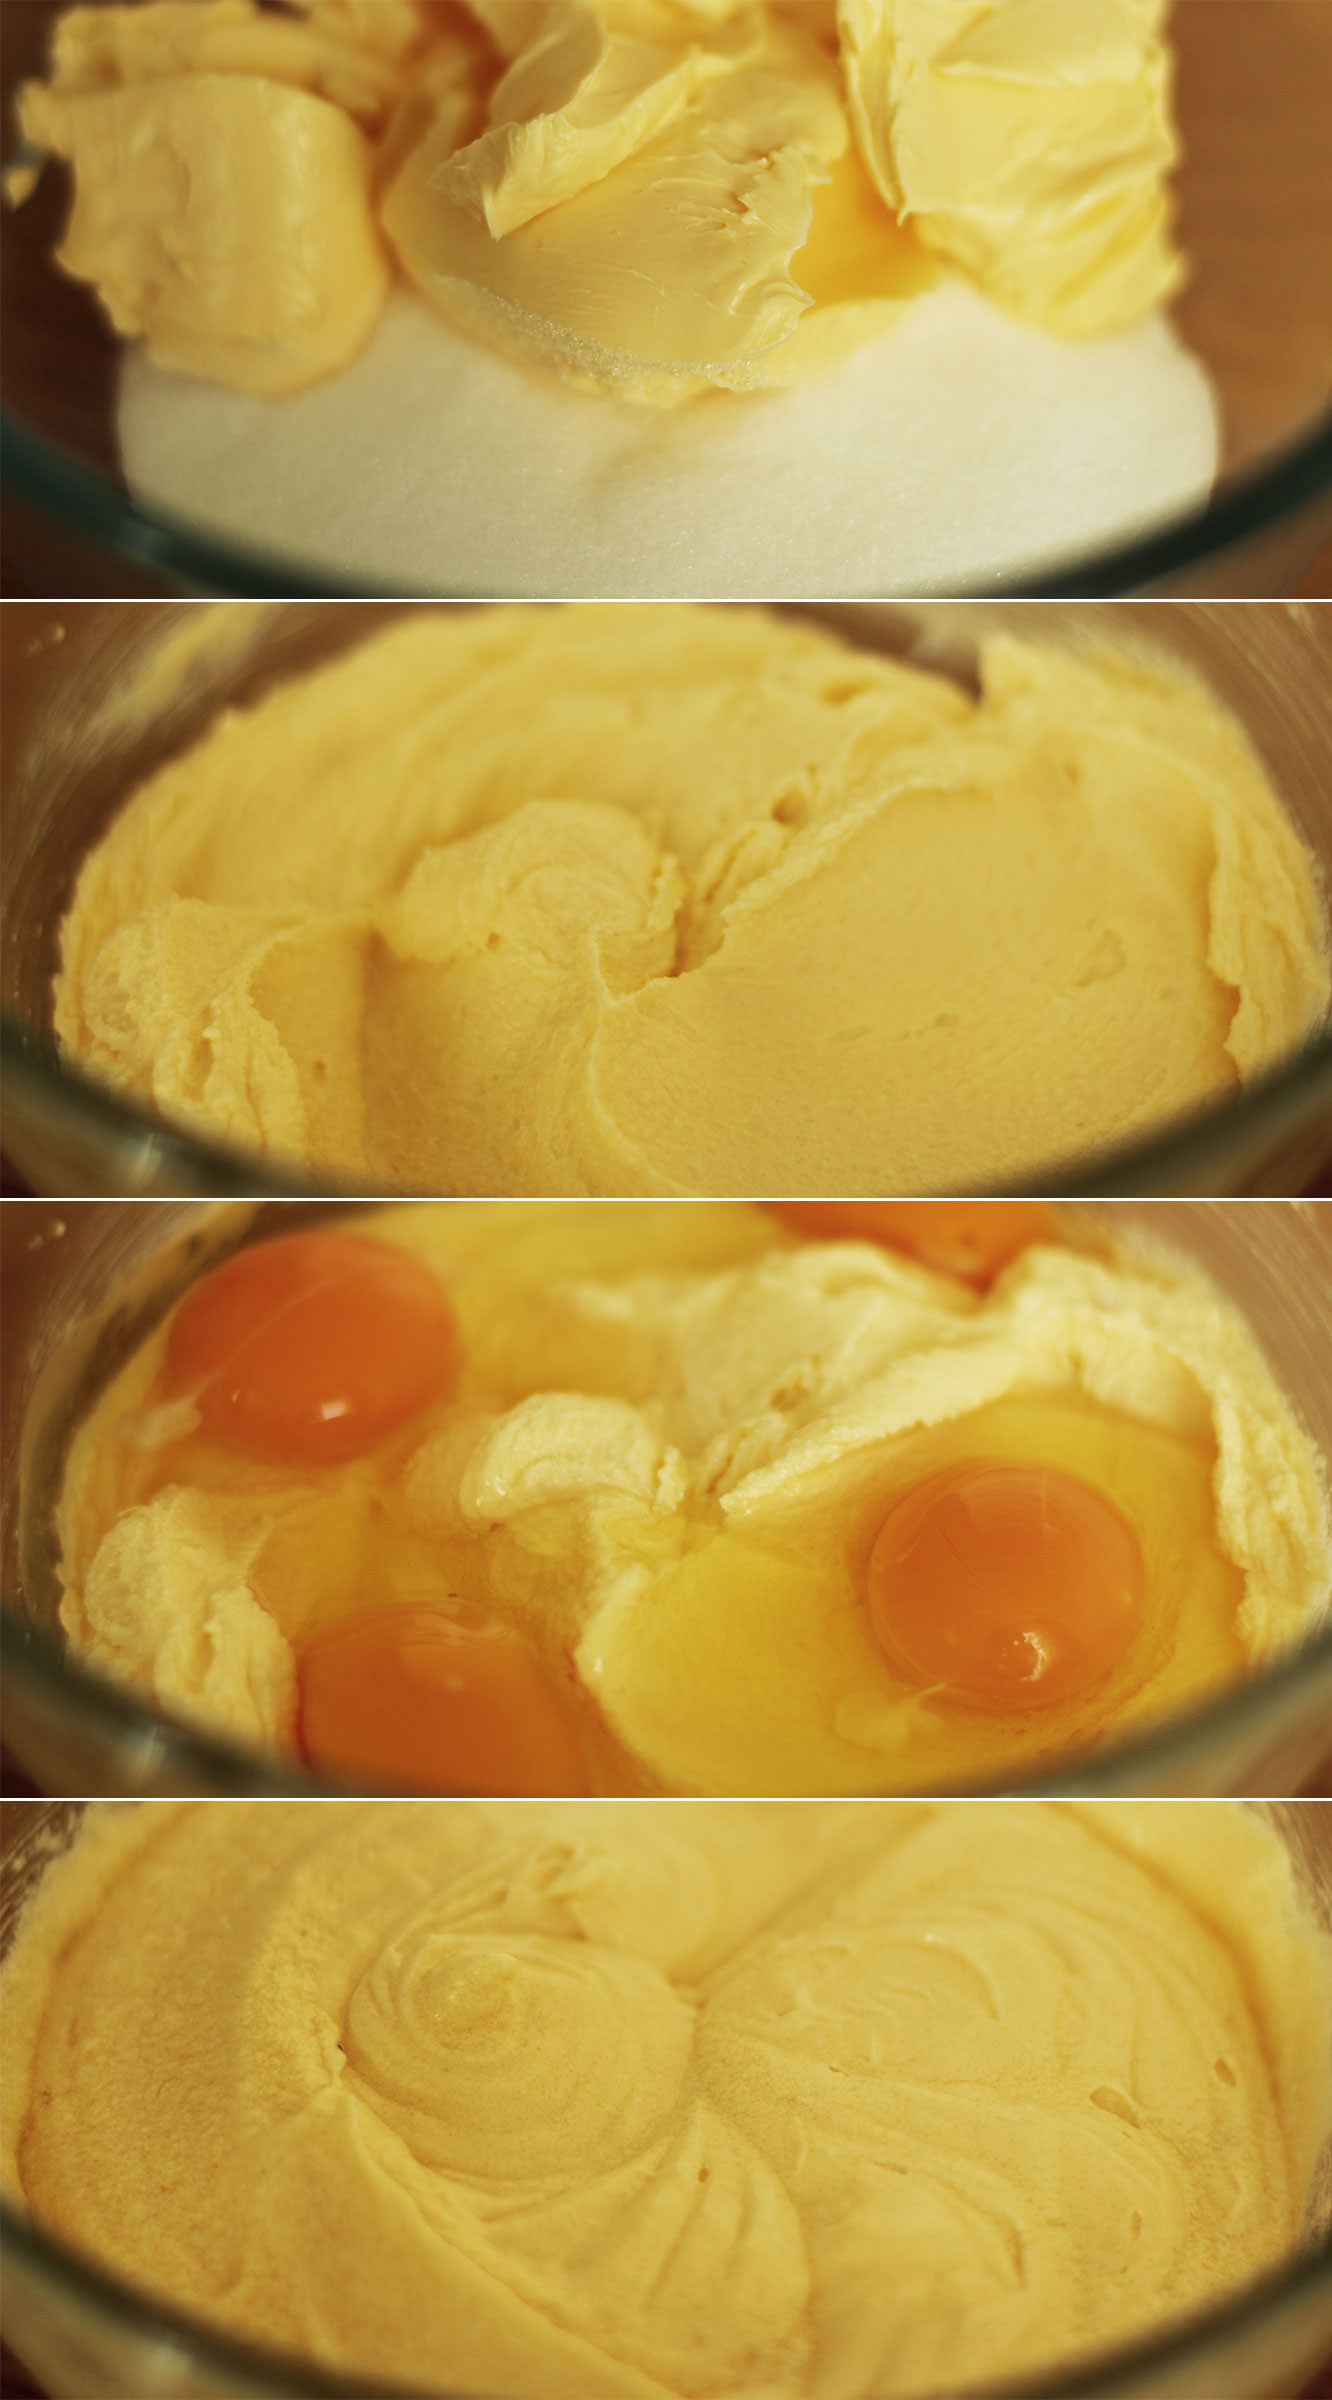
Using an electric whisk beat together the margarine and sugar until well blended and fluffy.
Step two
Add the eggs and beat again until combined. It looks a little split at this stage (see those little lumps at the sides) but you don’t need to worry, the flour never fails to sort that out.
Step three
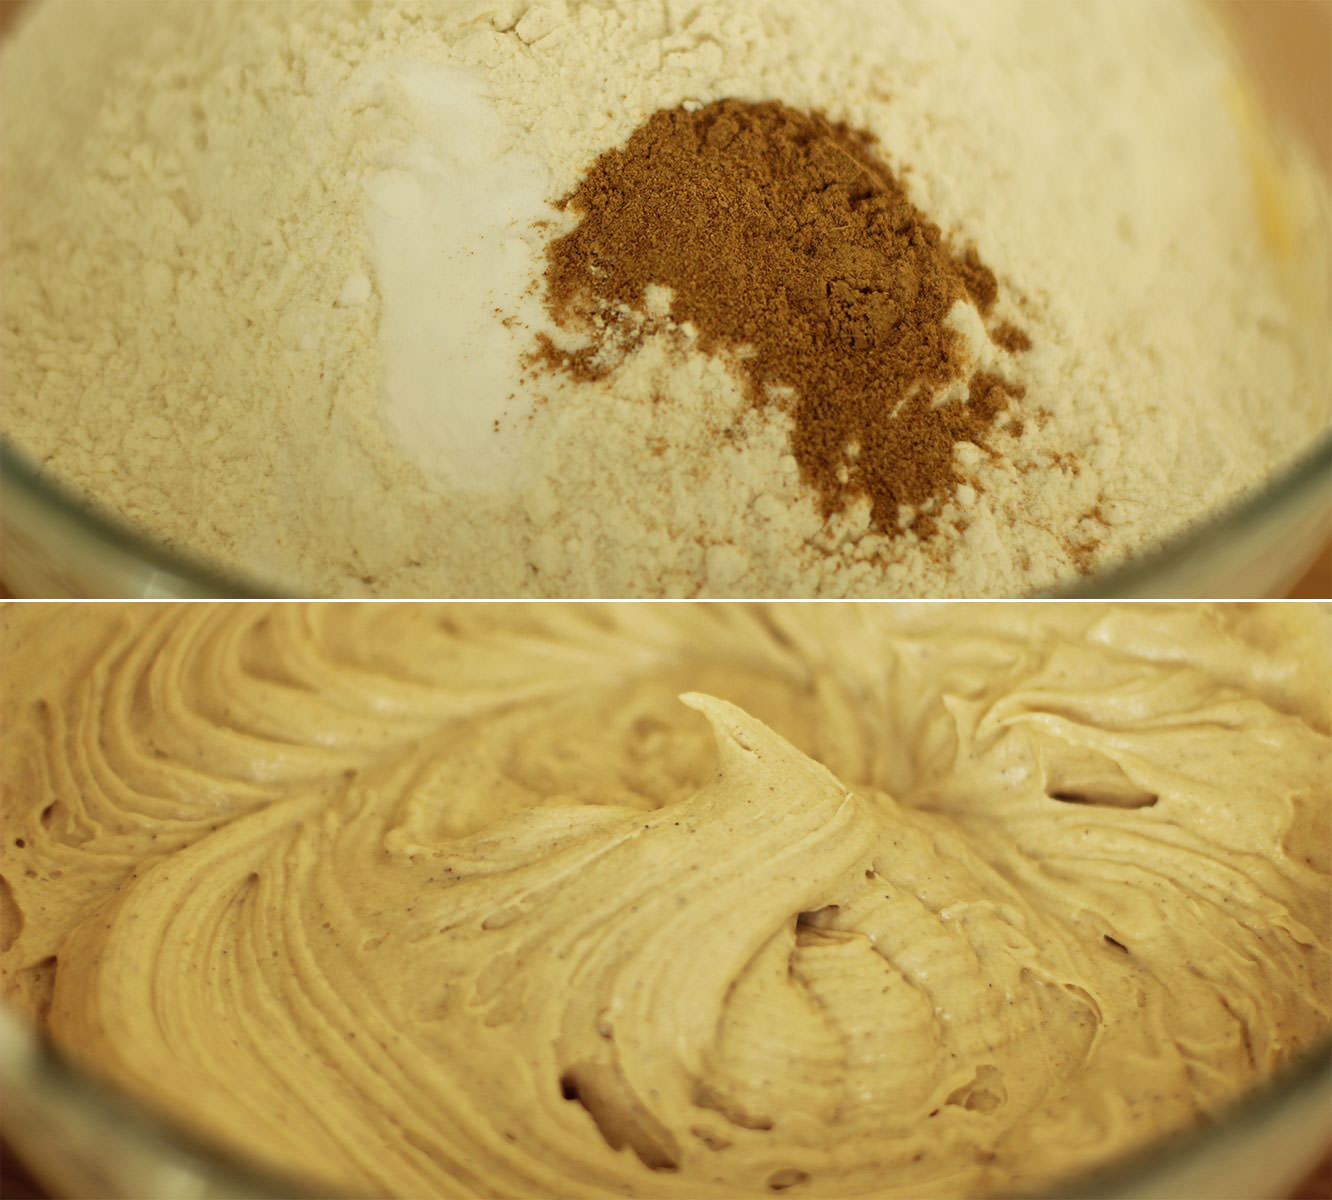
Add the flour, bicarbonate of soda and ginger and whisk again until smooth.
I also added the vanilla at this point which is in the form great paste my friend brought me back from Vanuatu, tastes delicious and has the beans in it. If you aren’t swinging by the South Pacific any time soon and don’t fancy the investment in a pod or some paste then extract will do the trick.
Step four
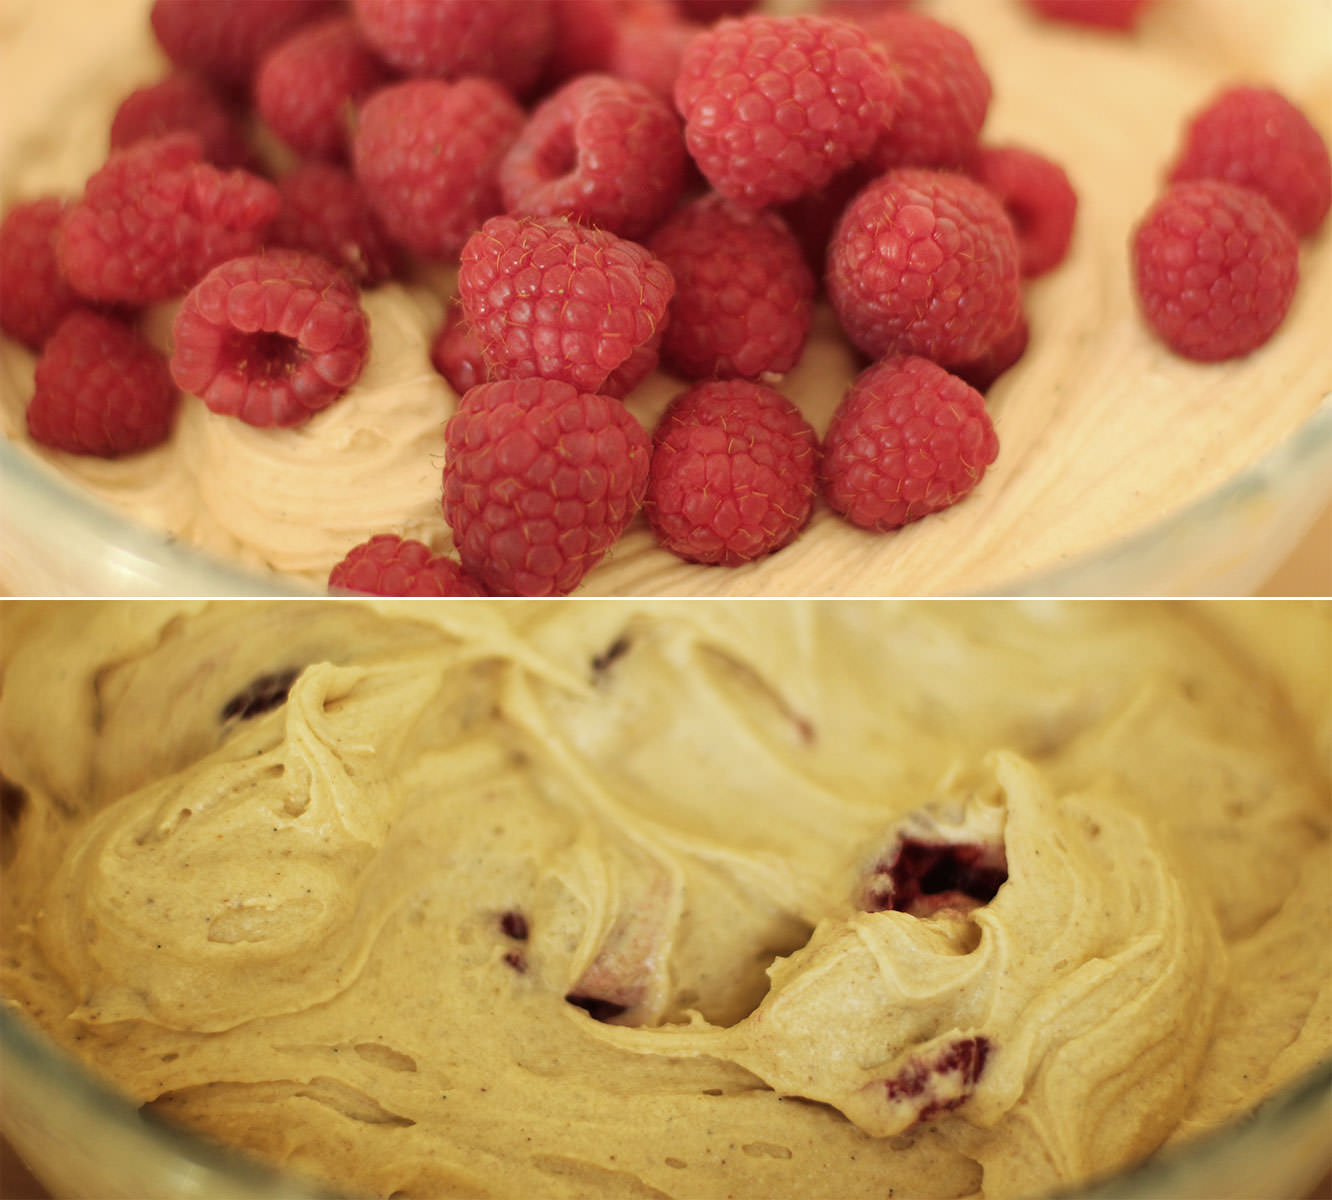
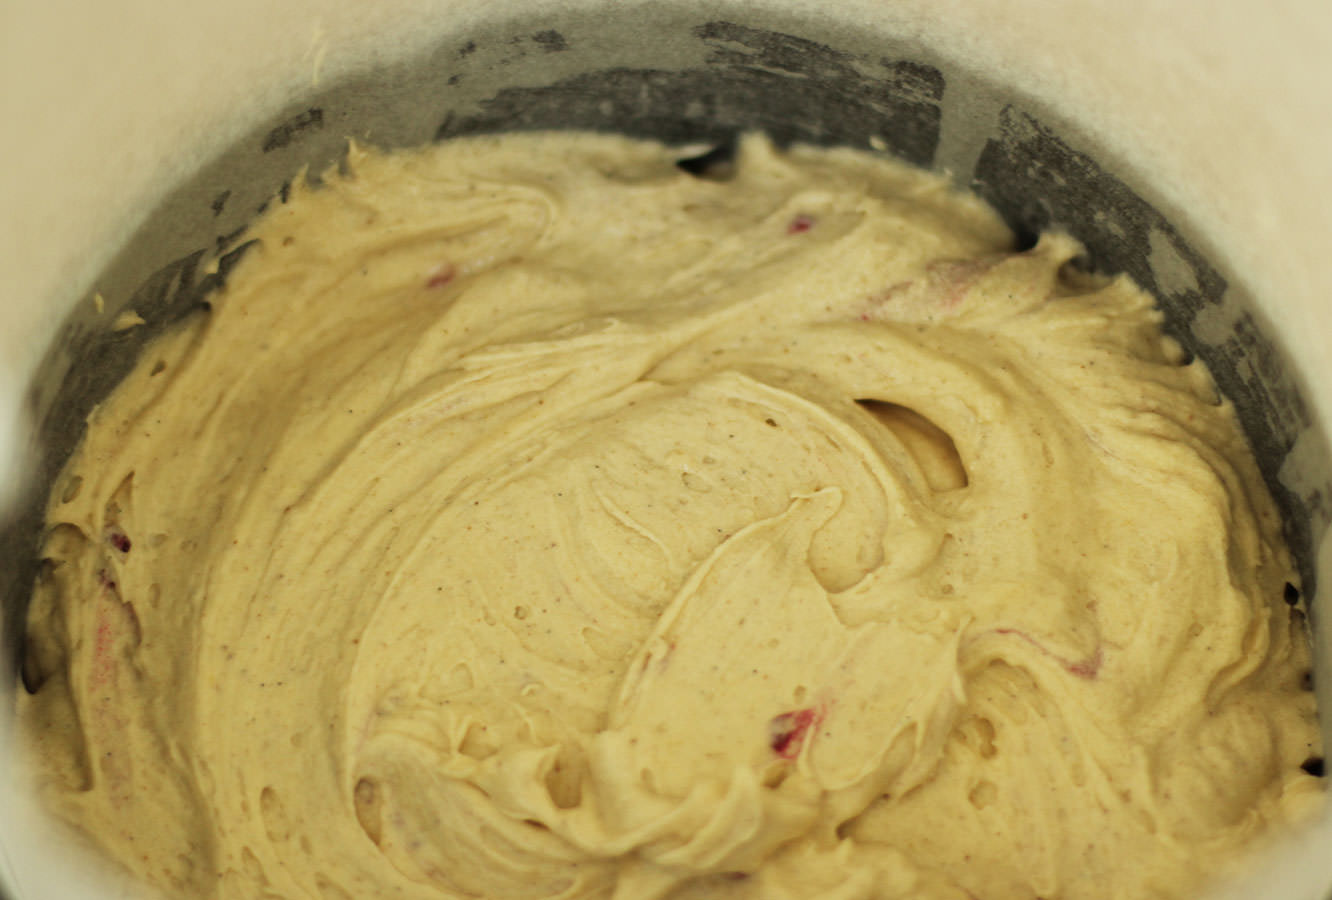
Add the raspberries and stir them in with a wooden spoon. I crushed some of them with the back of the spoon against the side of the bowl to help distribute them a little better.
Step five
Spoon into a greased and lined tin, or two tins. Bake on 180C/350F/gas mark 4.
If you are just using a single tin you need about 45-55 minutes and make sure you line the sides so that the greaseproof protects the sides and top of the cake from burning. If you are using two separate tins 35-40 minutes should do the trick, and you only need to line the bottoms of the tins.
Step six
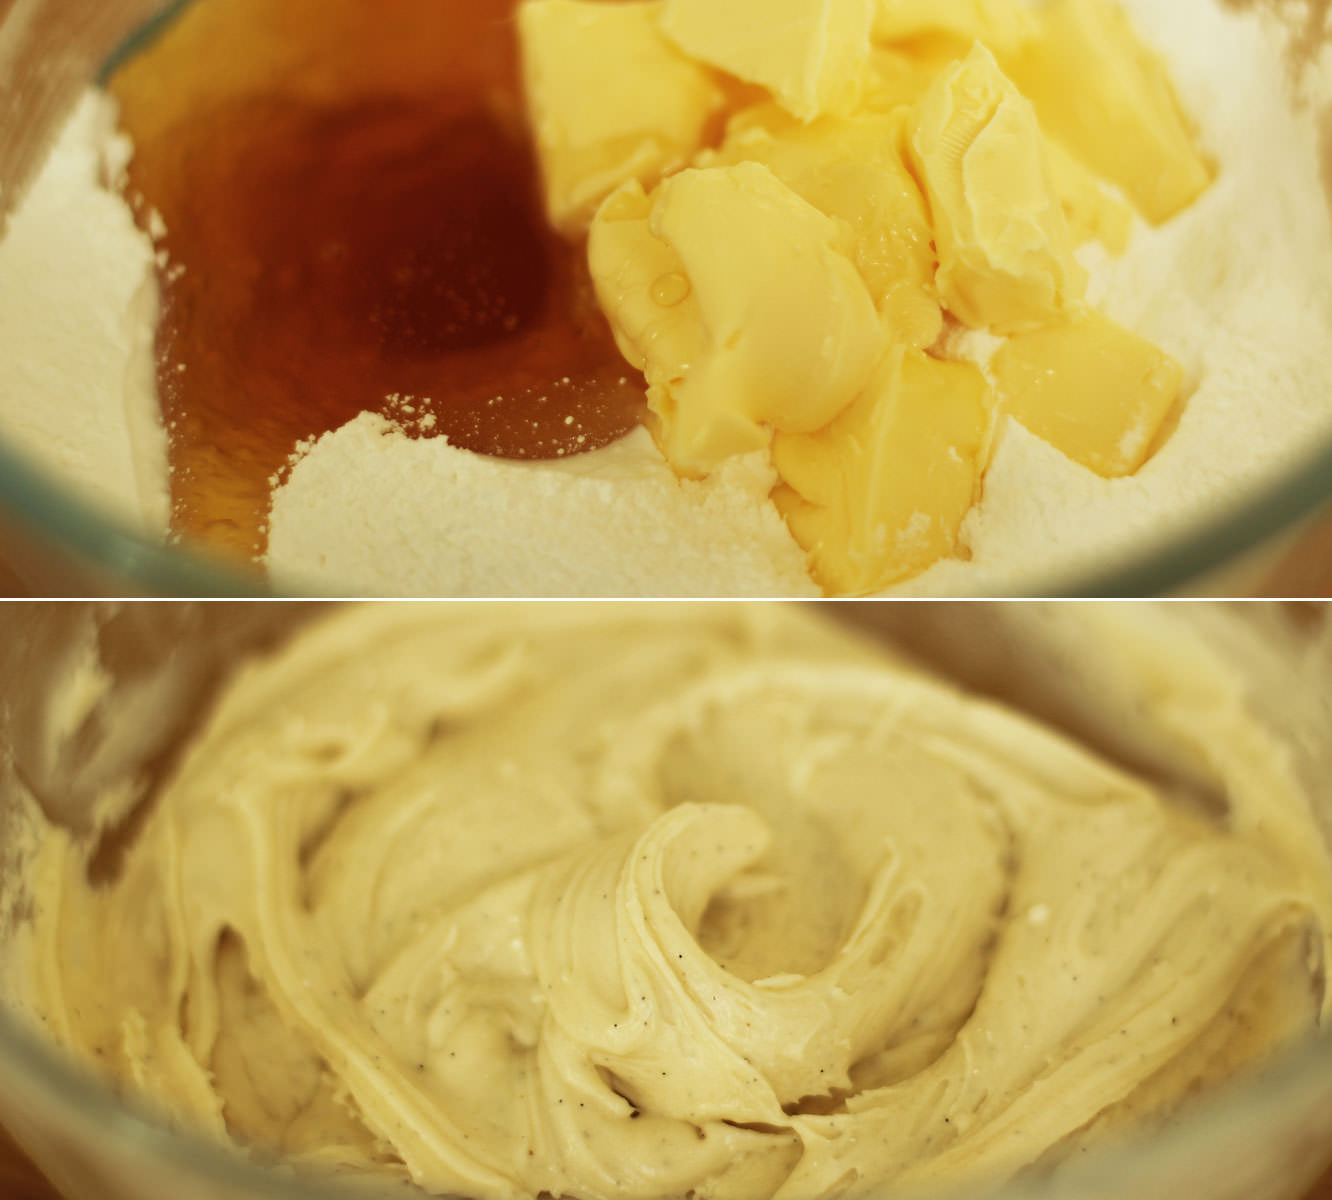
Whisk together the butter, icing sugar, vanilla and honey for the icing. Cover the bowl with a tea towel before turning on the whisk so you don’t get covered in icing sugar.
Step seven
Once the cake has completely cooled assemble it. Use just under half the icing in the middle and the rest on top.
I then decorated with the remaining raspberries, but feel free to get creative!
This week I went on my merry travels to visit some rather beloved friends. They’ve taken themselves off to Iceland to live for a while. Though I miss them a fair bit, it’s not such a terrible holiday destination for a person who loves photography, walking and general landscape (that’s me by the way).
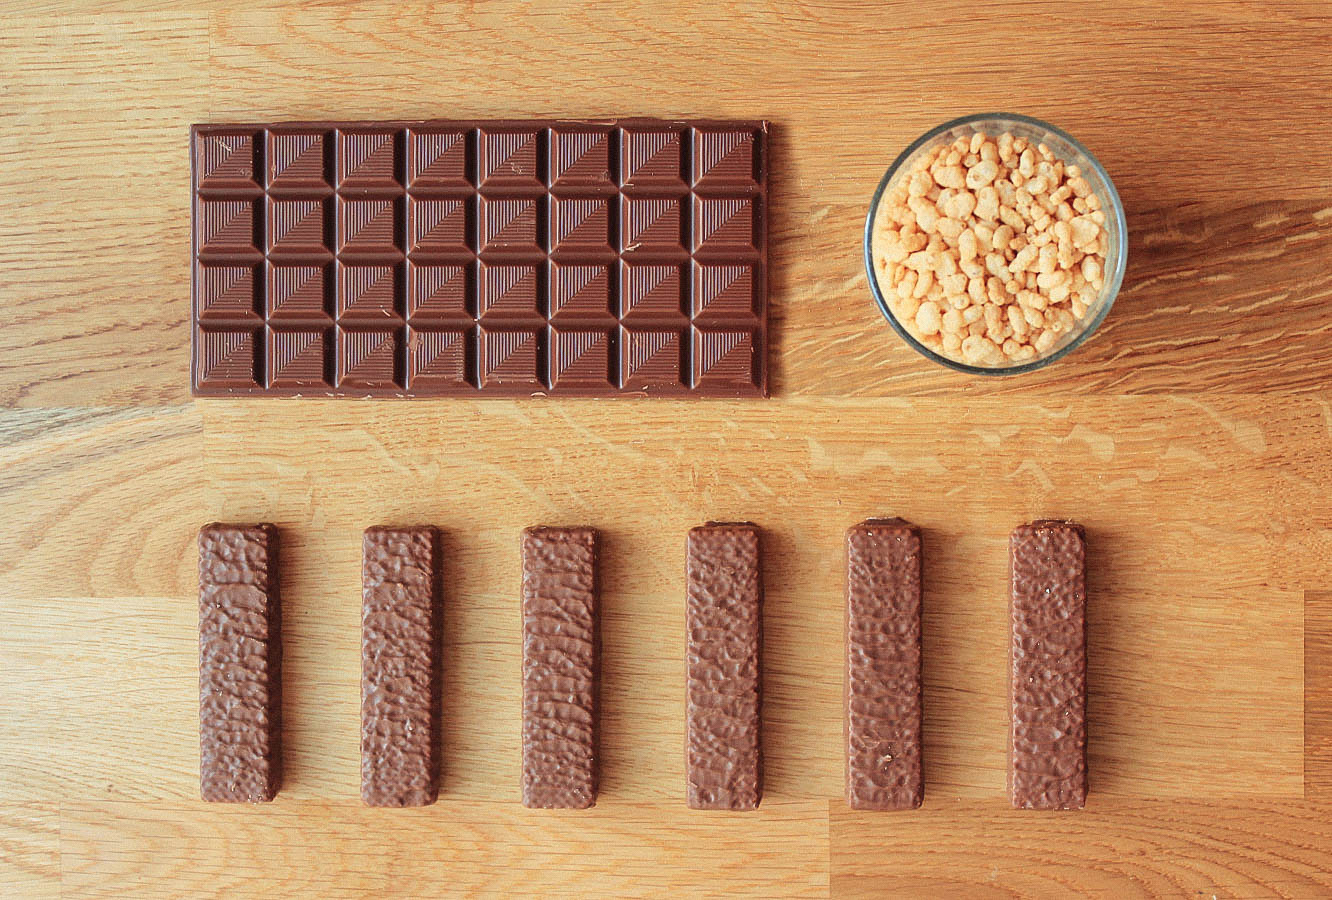
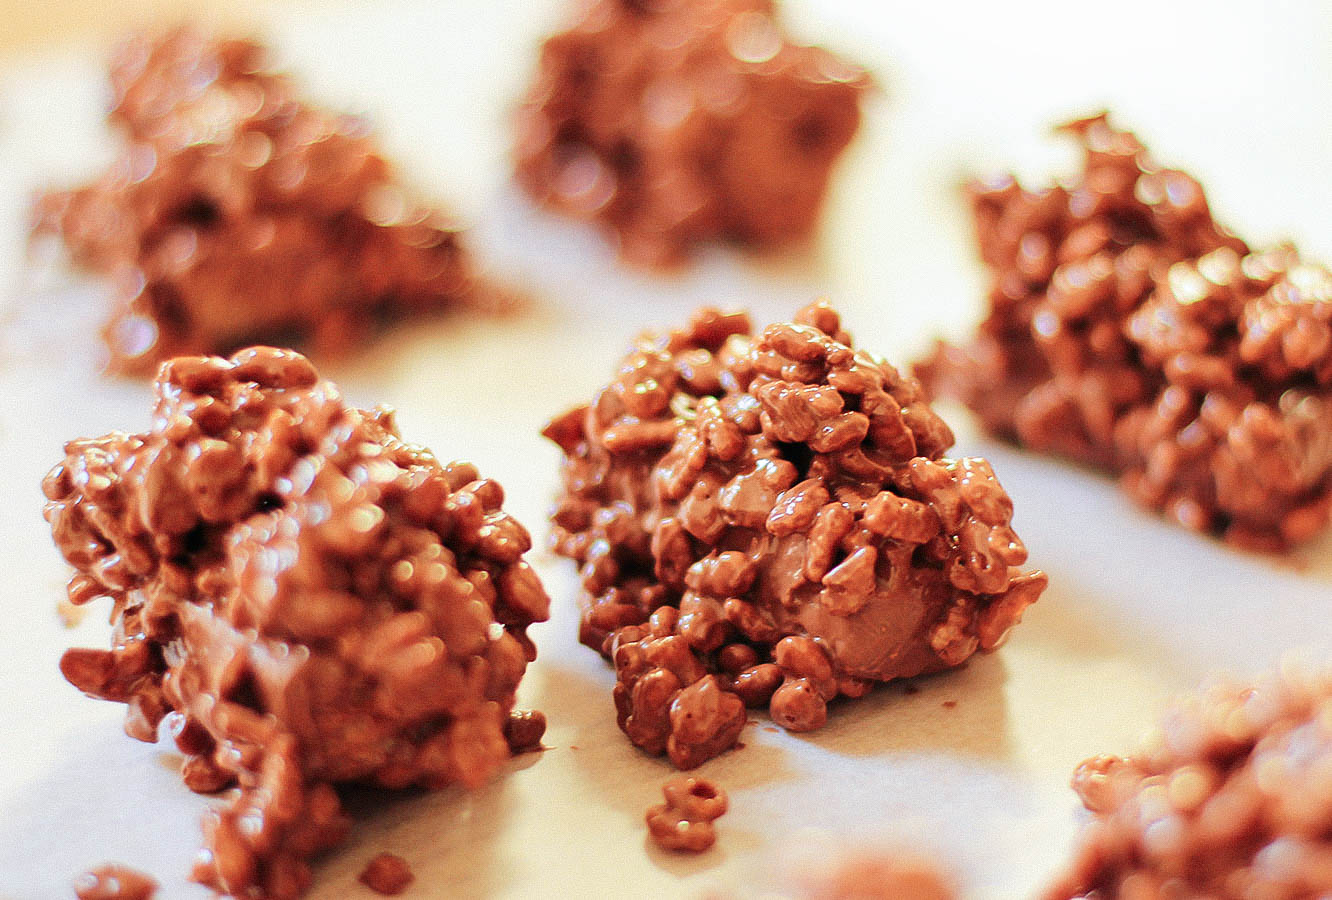
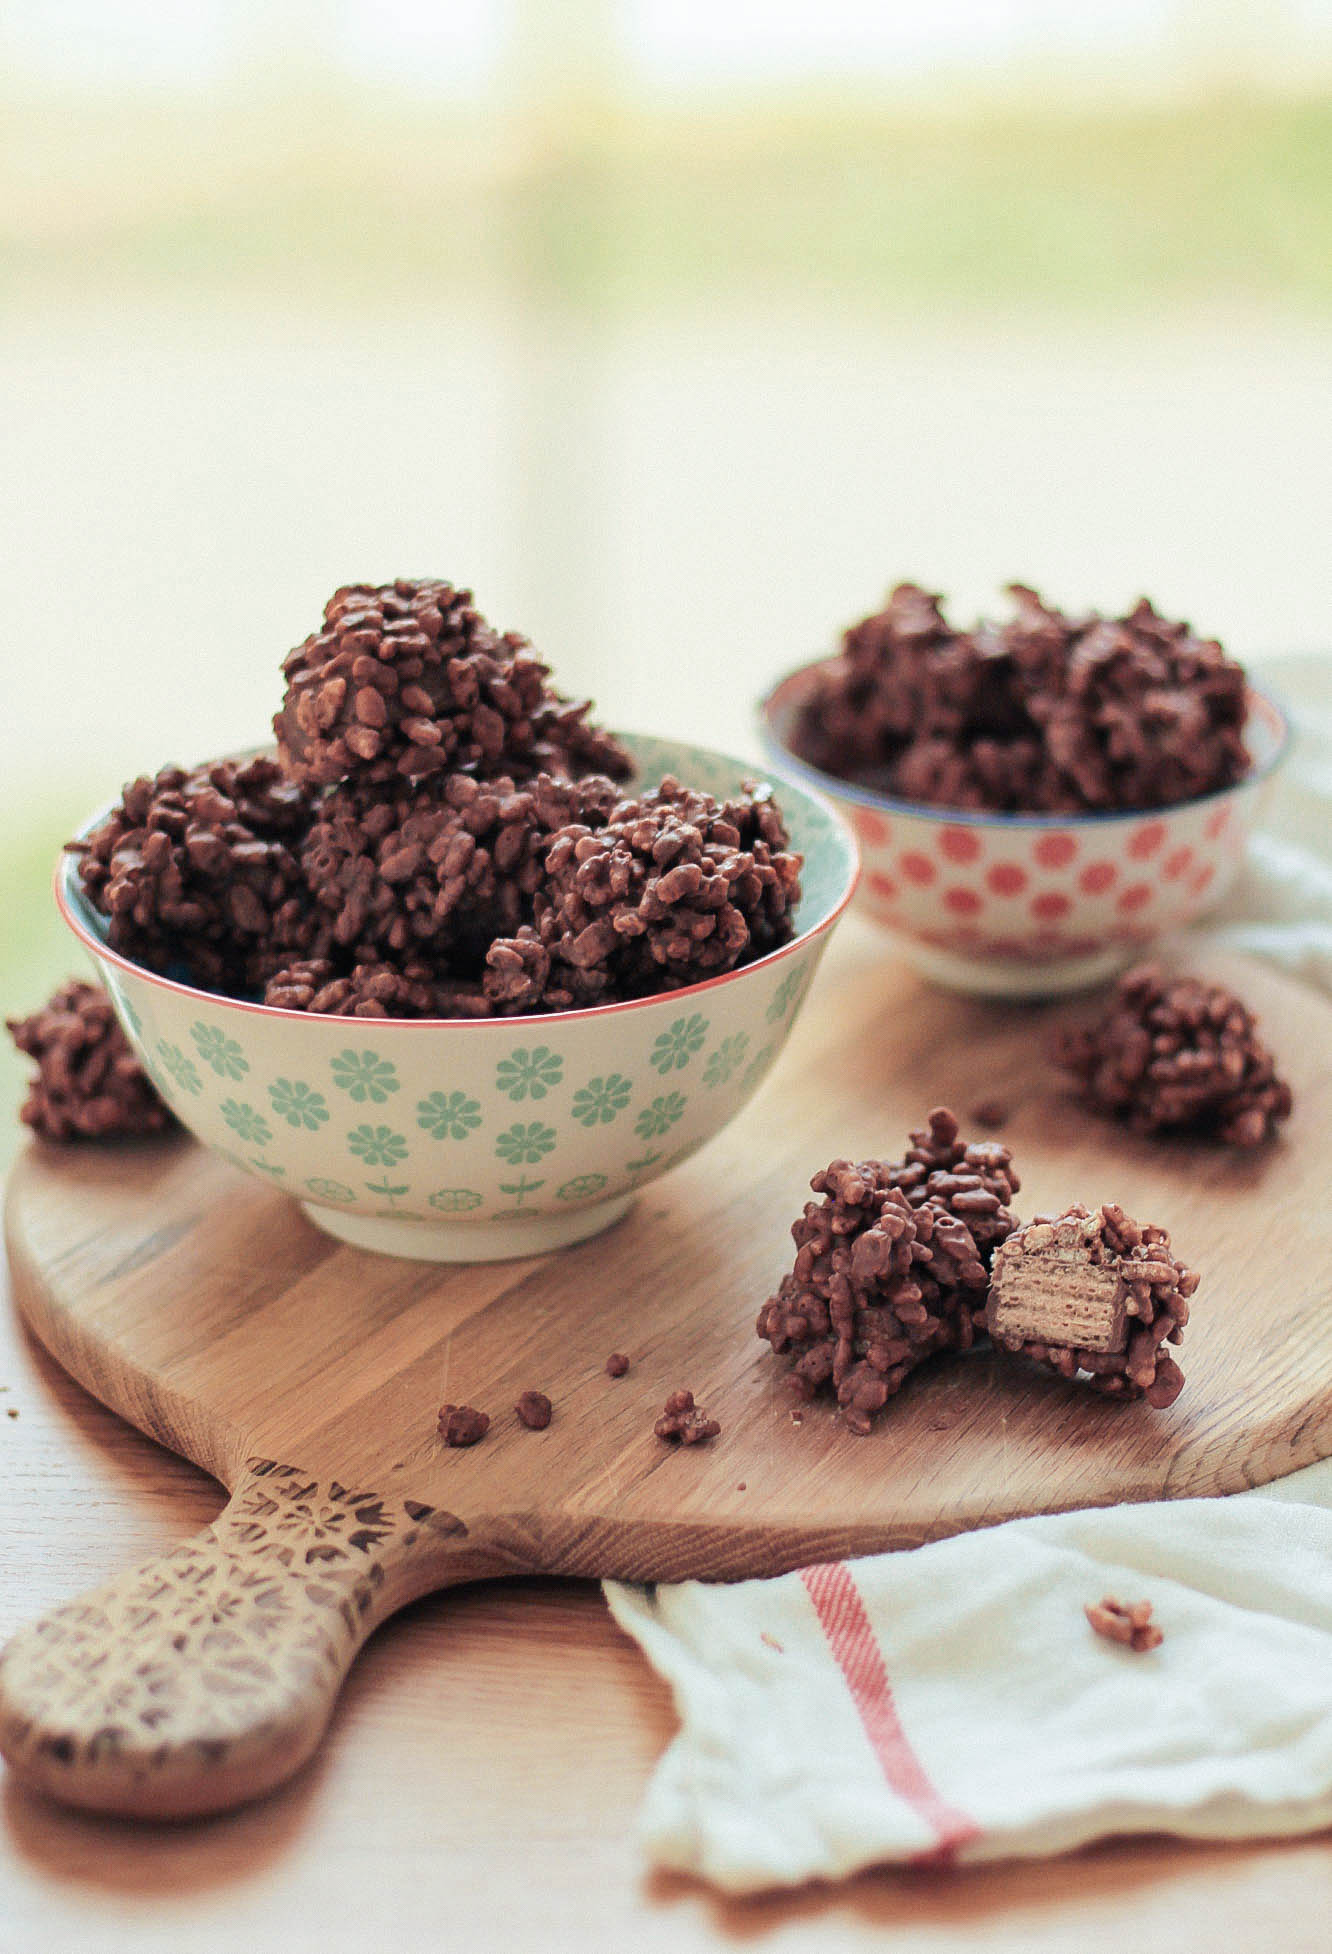
We had ourselves a little road trip while I was there, naturally my stomach is my priority in all circumstances so we stocked up nicely in the snacks department. Having the luxury of doing none of the driving (Iceland is kinda wild, and my driving leaves a little to be desired), meant that I had plenty of time to consume, and became totally addicted to Hraun. Pronounced something along the lines of hhhhruin, these little guys are something I might have passed by if shopping alone, but are pretty darn yummy. I also saw a box at the airport called ‘Icelandic Mountain Bars’, which is significantly easier to say.
So to give you (me) a break from all that two tiered chocolate cake making you’ve (I’ve) been doing, here’s my recreation of my new favourite treat.
You will need
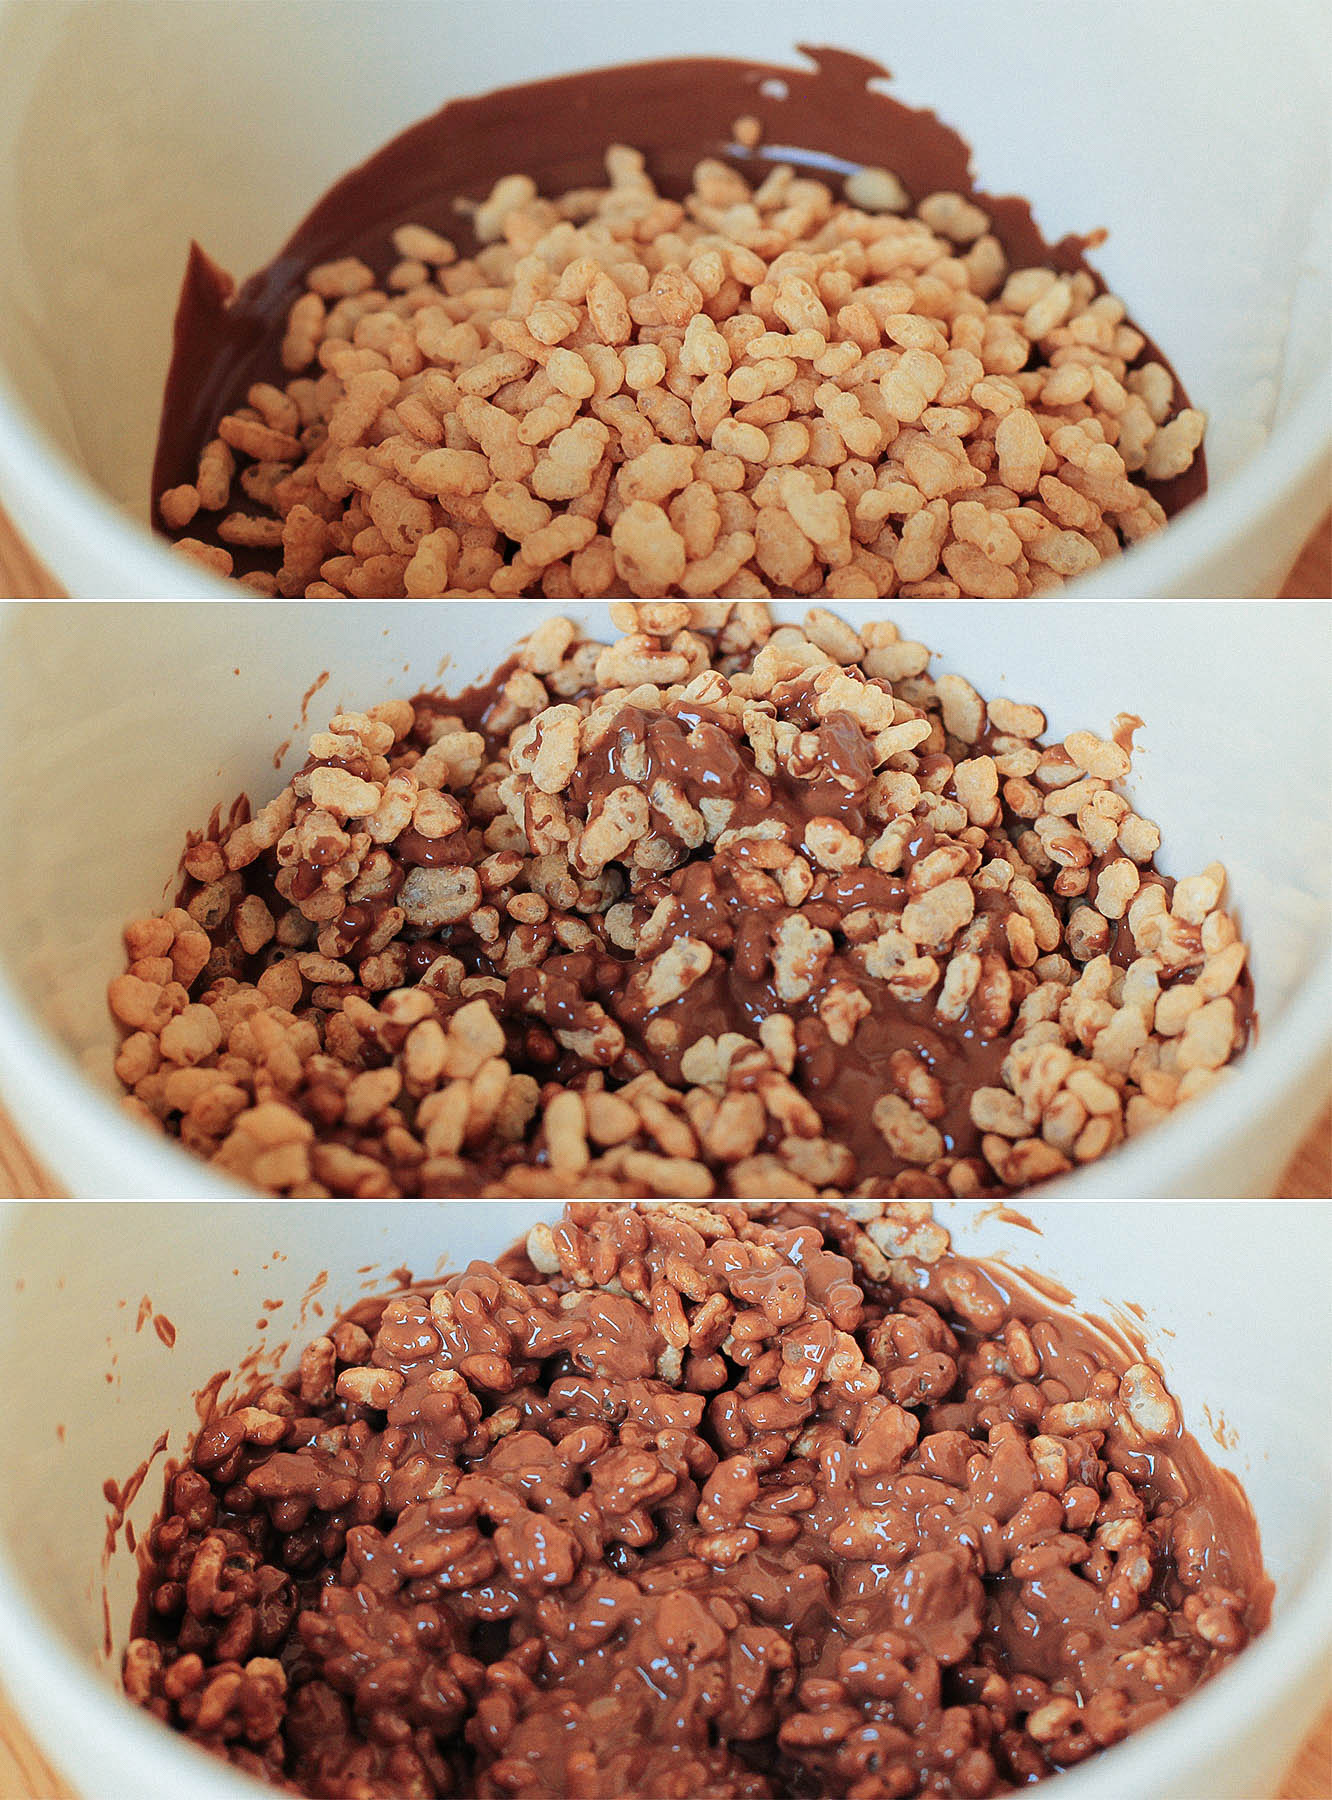
2 cups rice puff cereal
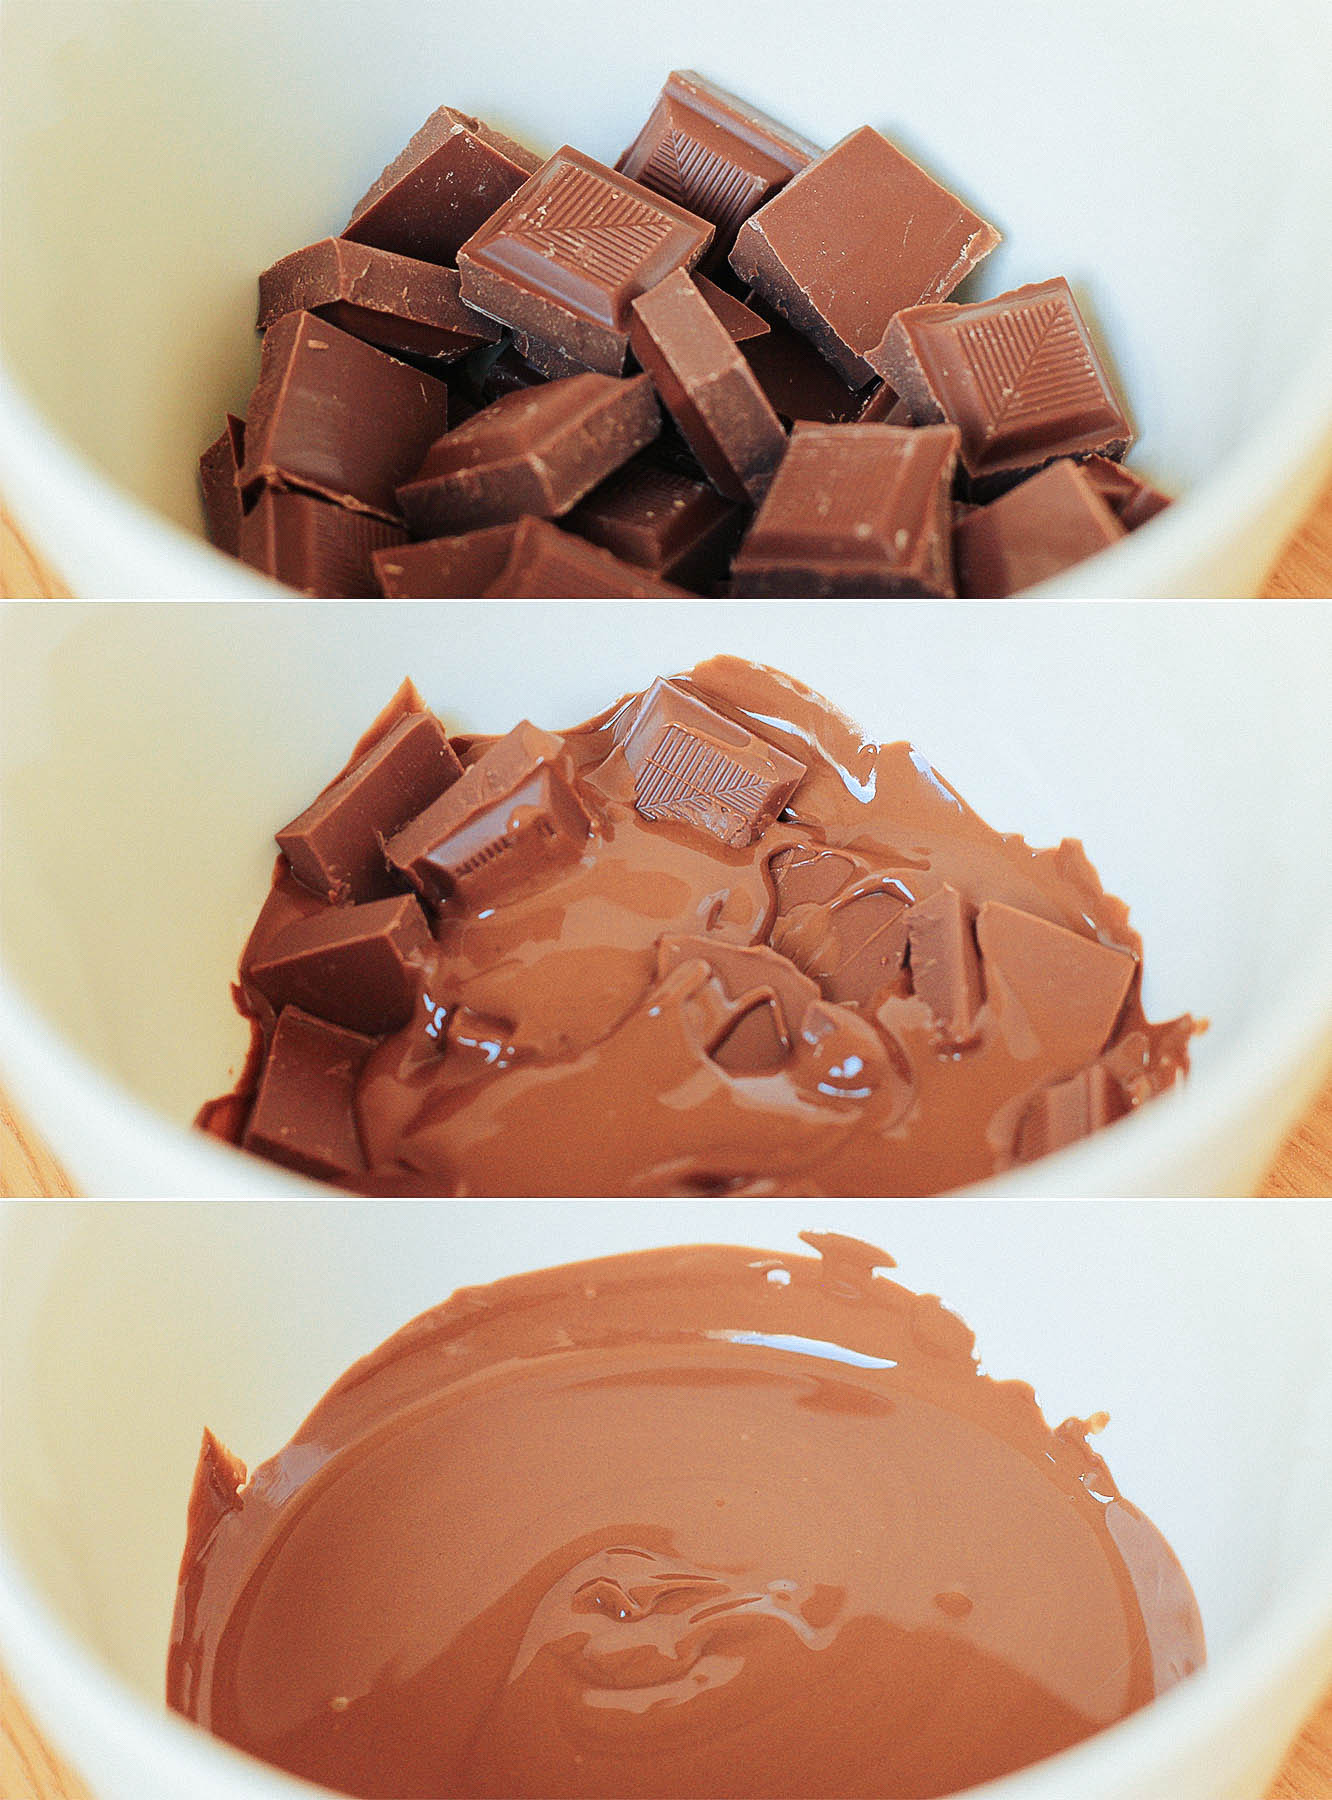
200g/7 oz milk chocolate
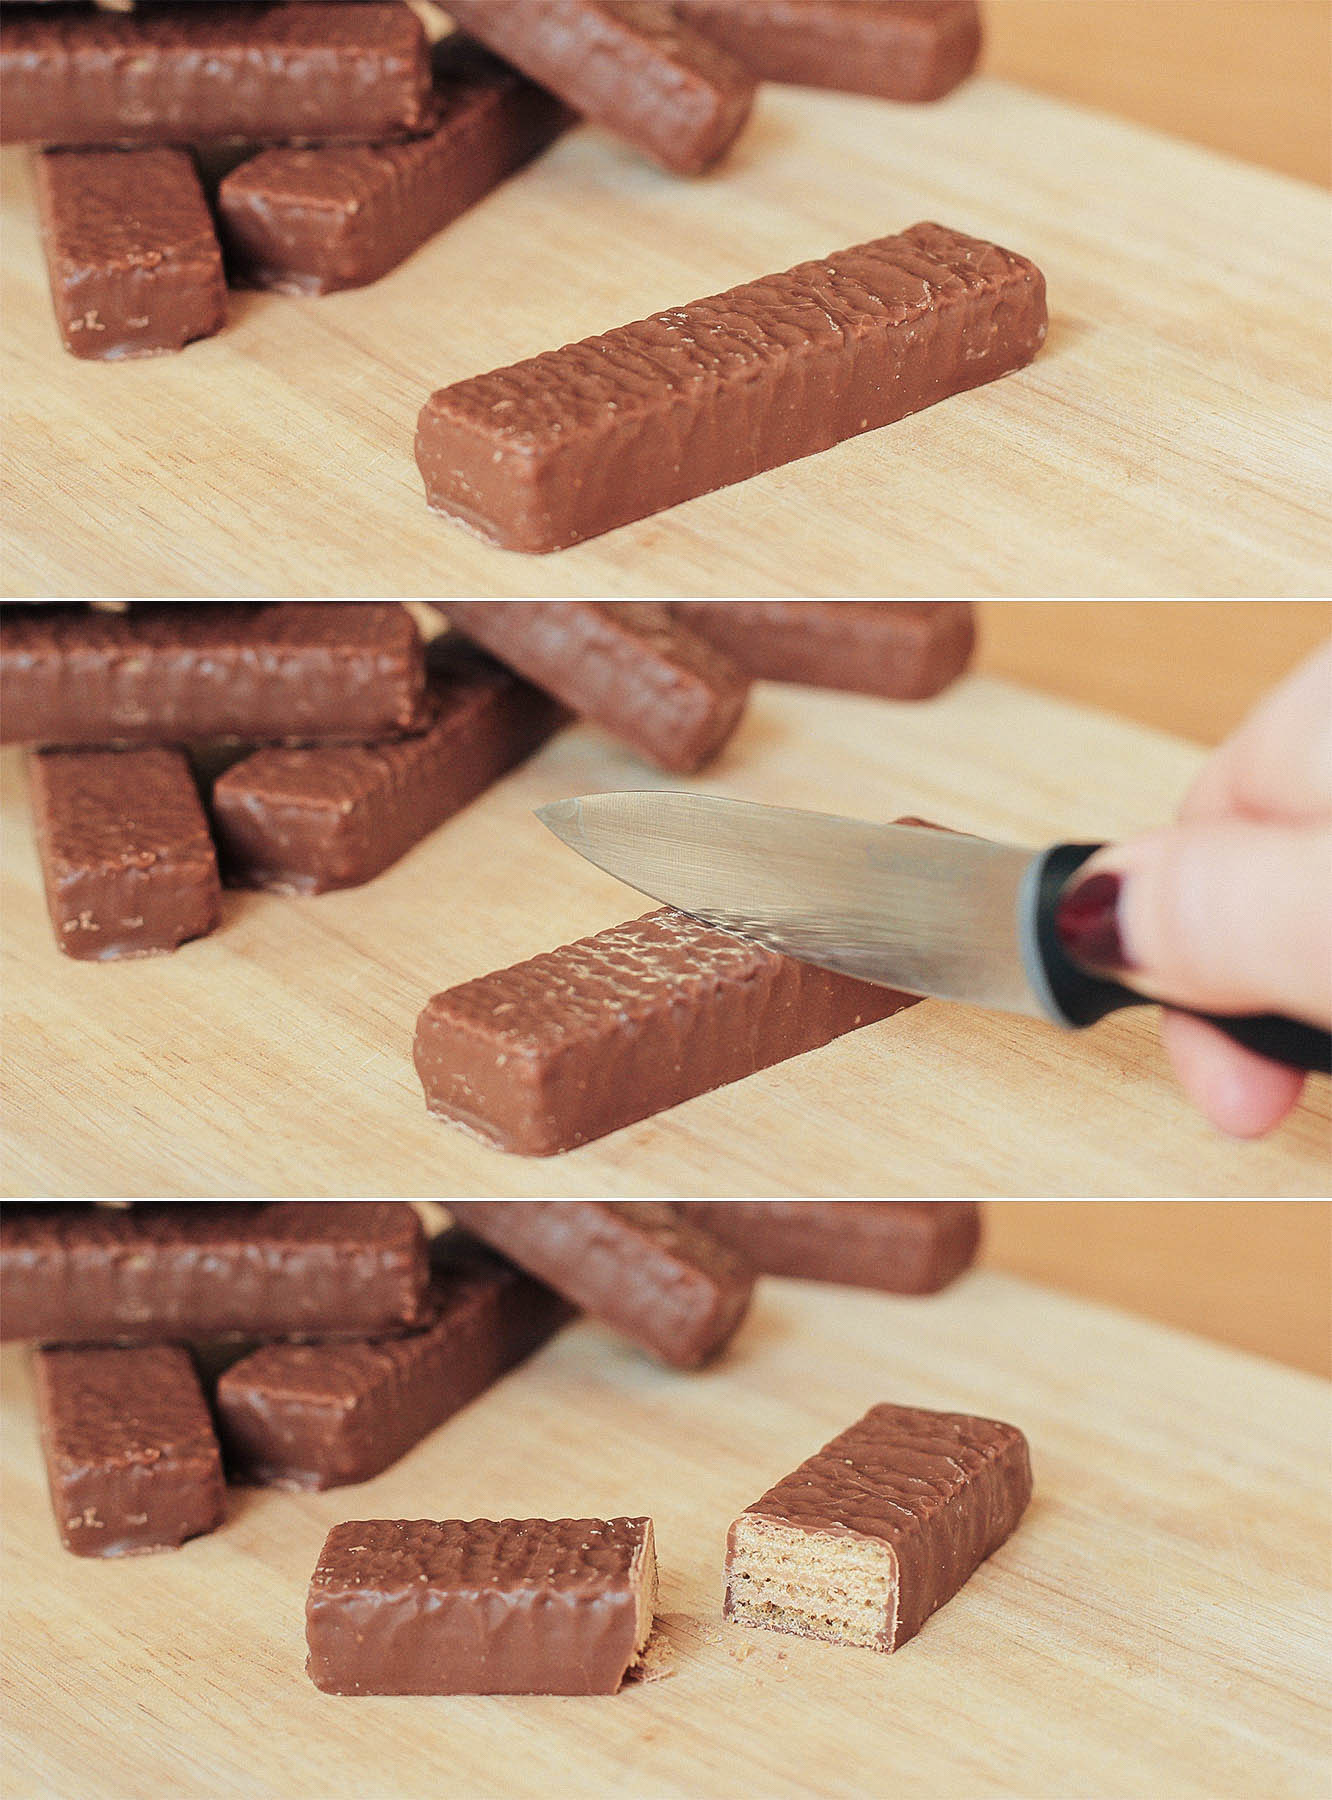
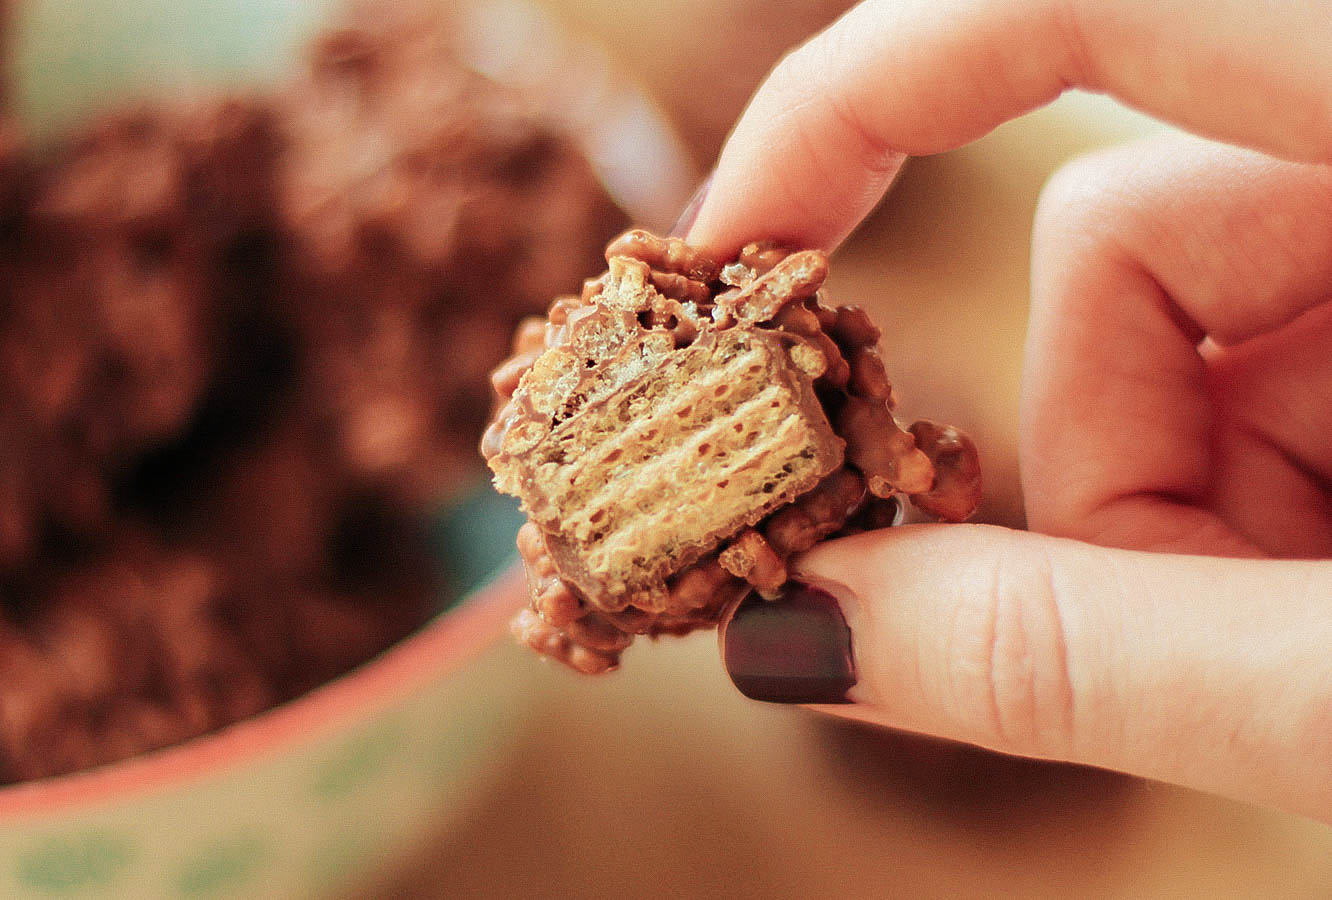
8 chocolate covered wafers (I used Blue Ribands)
Step one
Cut the wafers in half.
Not entirely necessary, you could just make bigger ones, but this way you get to eat a higher number.
Step two
Melt the chocolate in the microwave, start off with about 40 seconds and then use 10-20 second intervals to avoid burning it.
Step three
Add the rice crispies/rice puffs to the chocolate
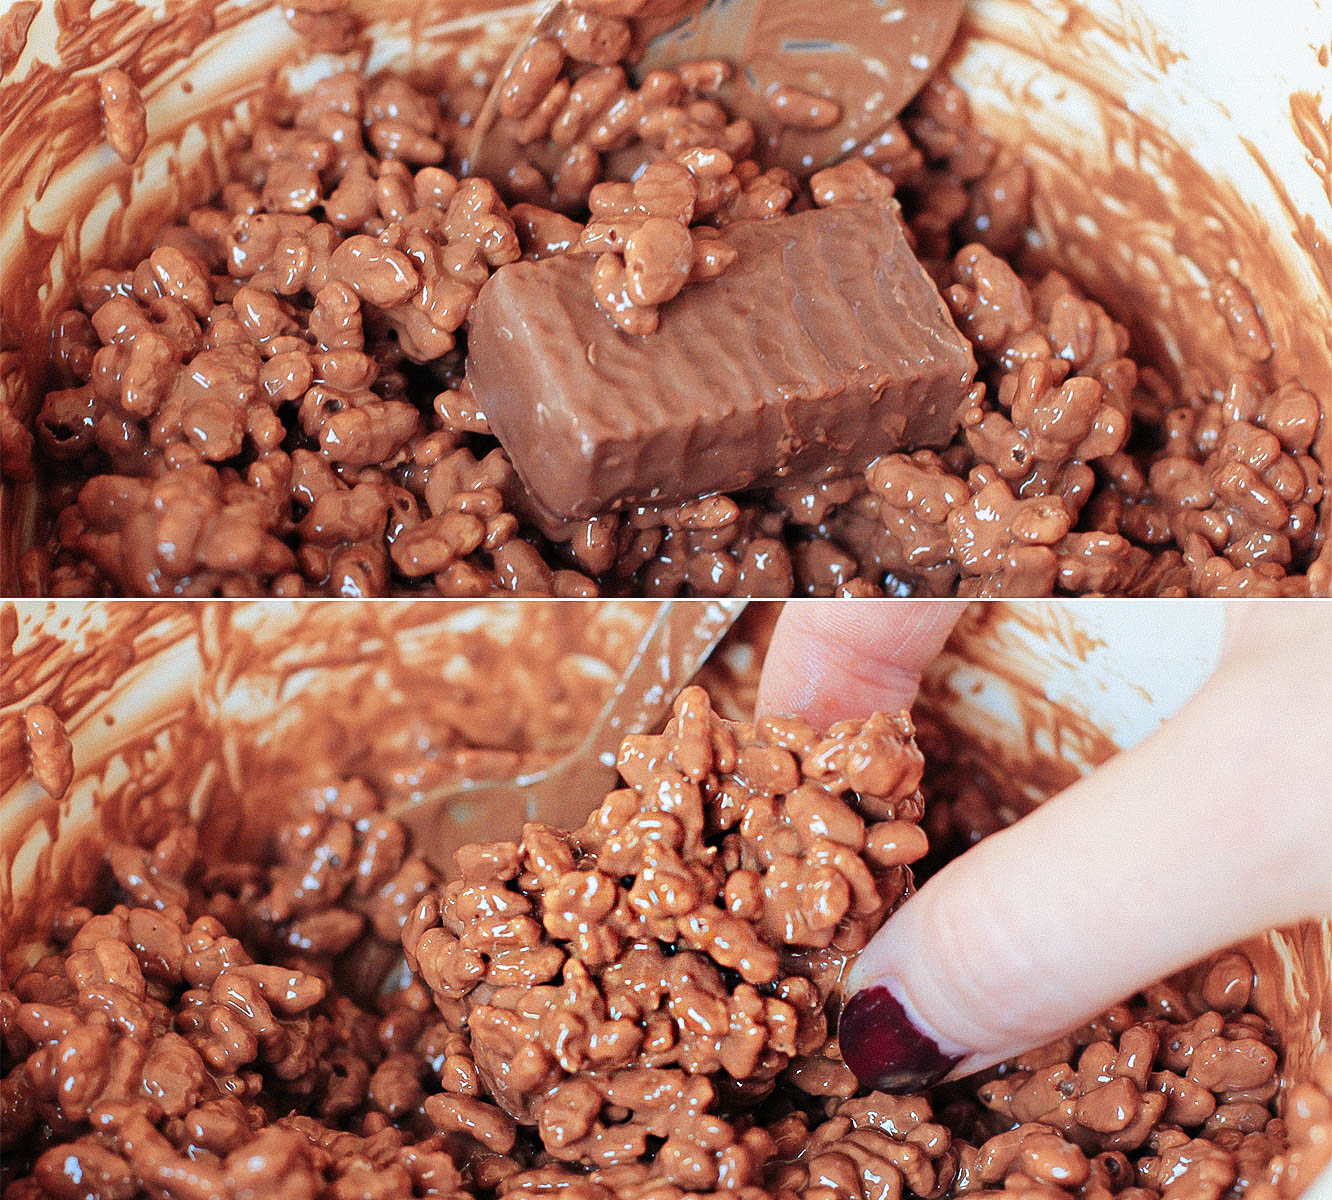
Step four
Coat the wafers in puffs. Some of them took a bit of convincing for the mixture to stick, I’d imagine laying them on greaseproof paper and spoon the rice puffs and chocolate over the top would work too.
Step five
Pop onto greaseproof paper and leave to set. Place in the fridge after about 20 minutes.
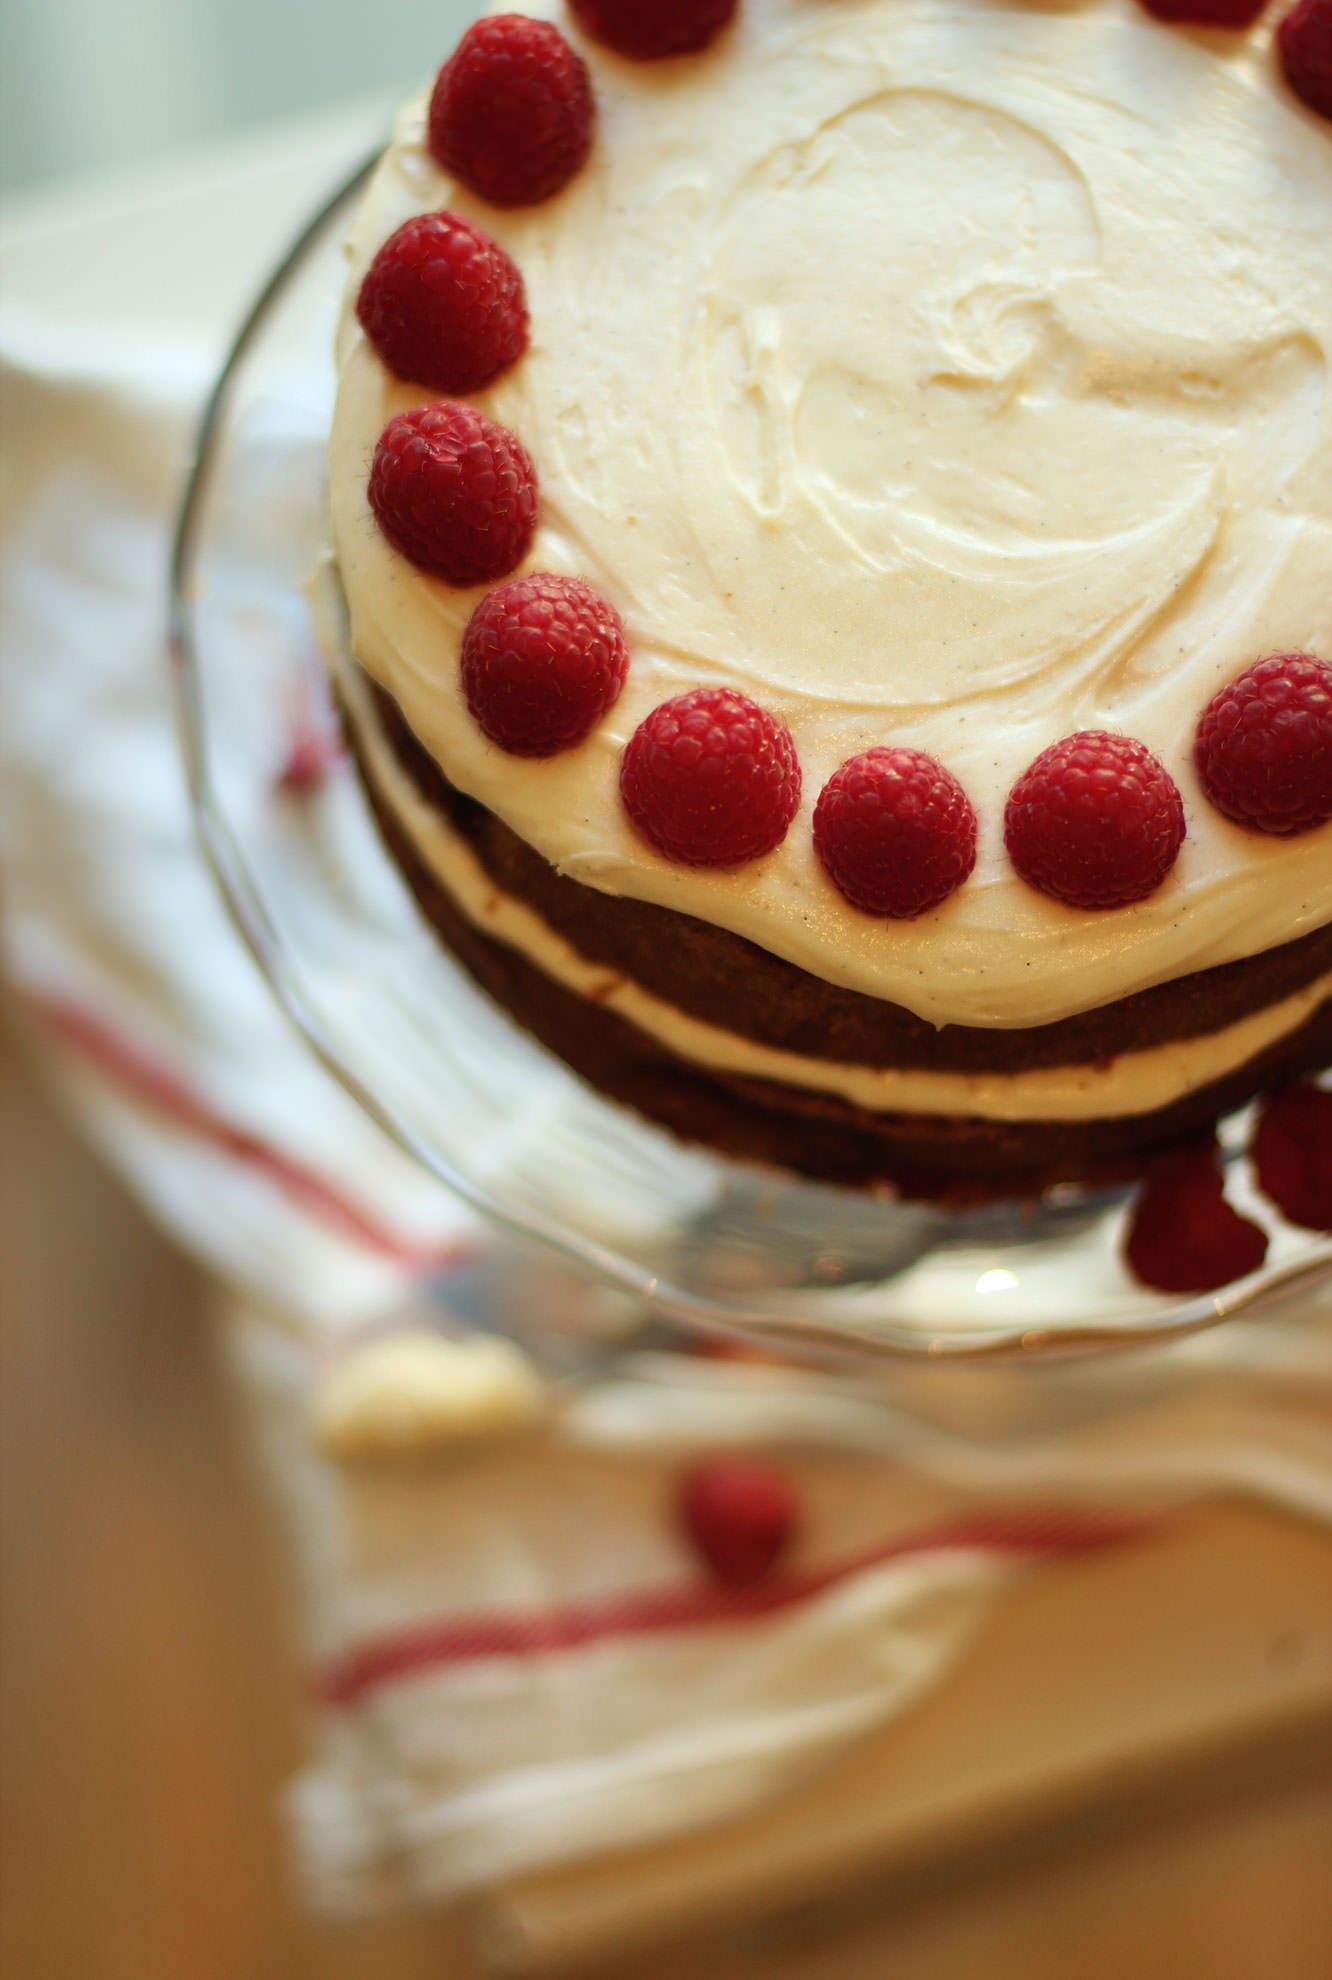
A couple of weeks ago one of my favourite colleagues had a special birthday, so for a special birthday we needed a special cake.
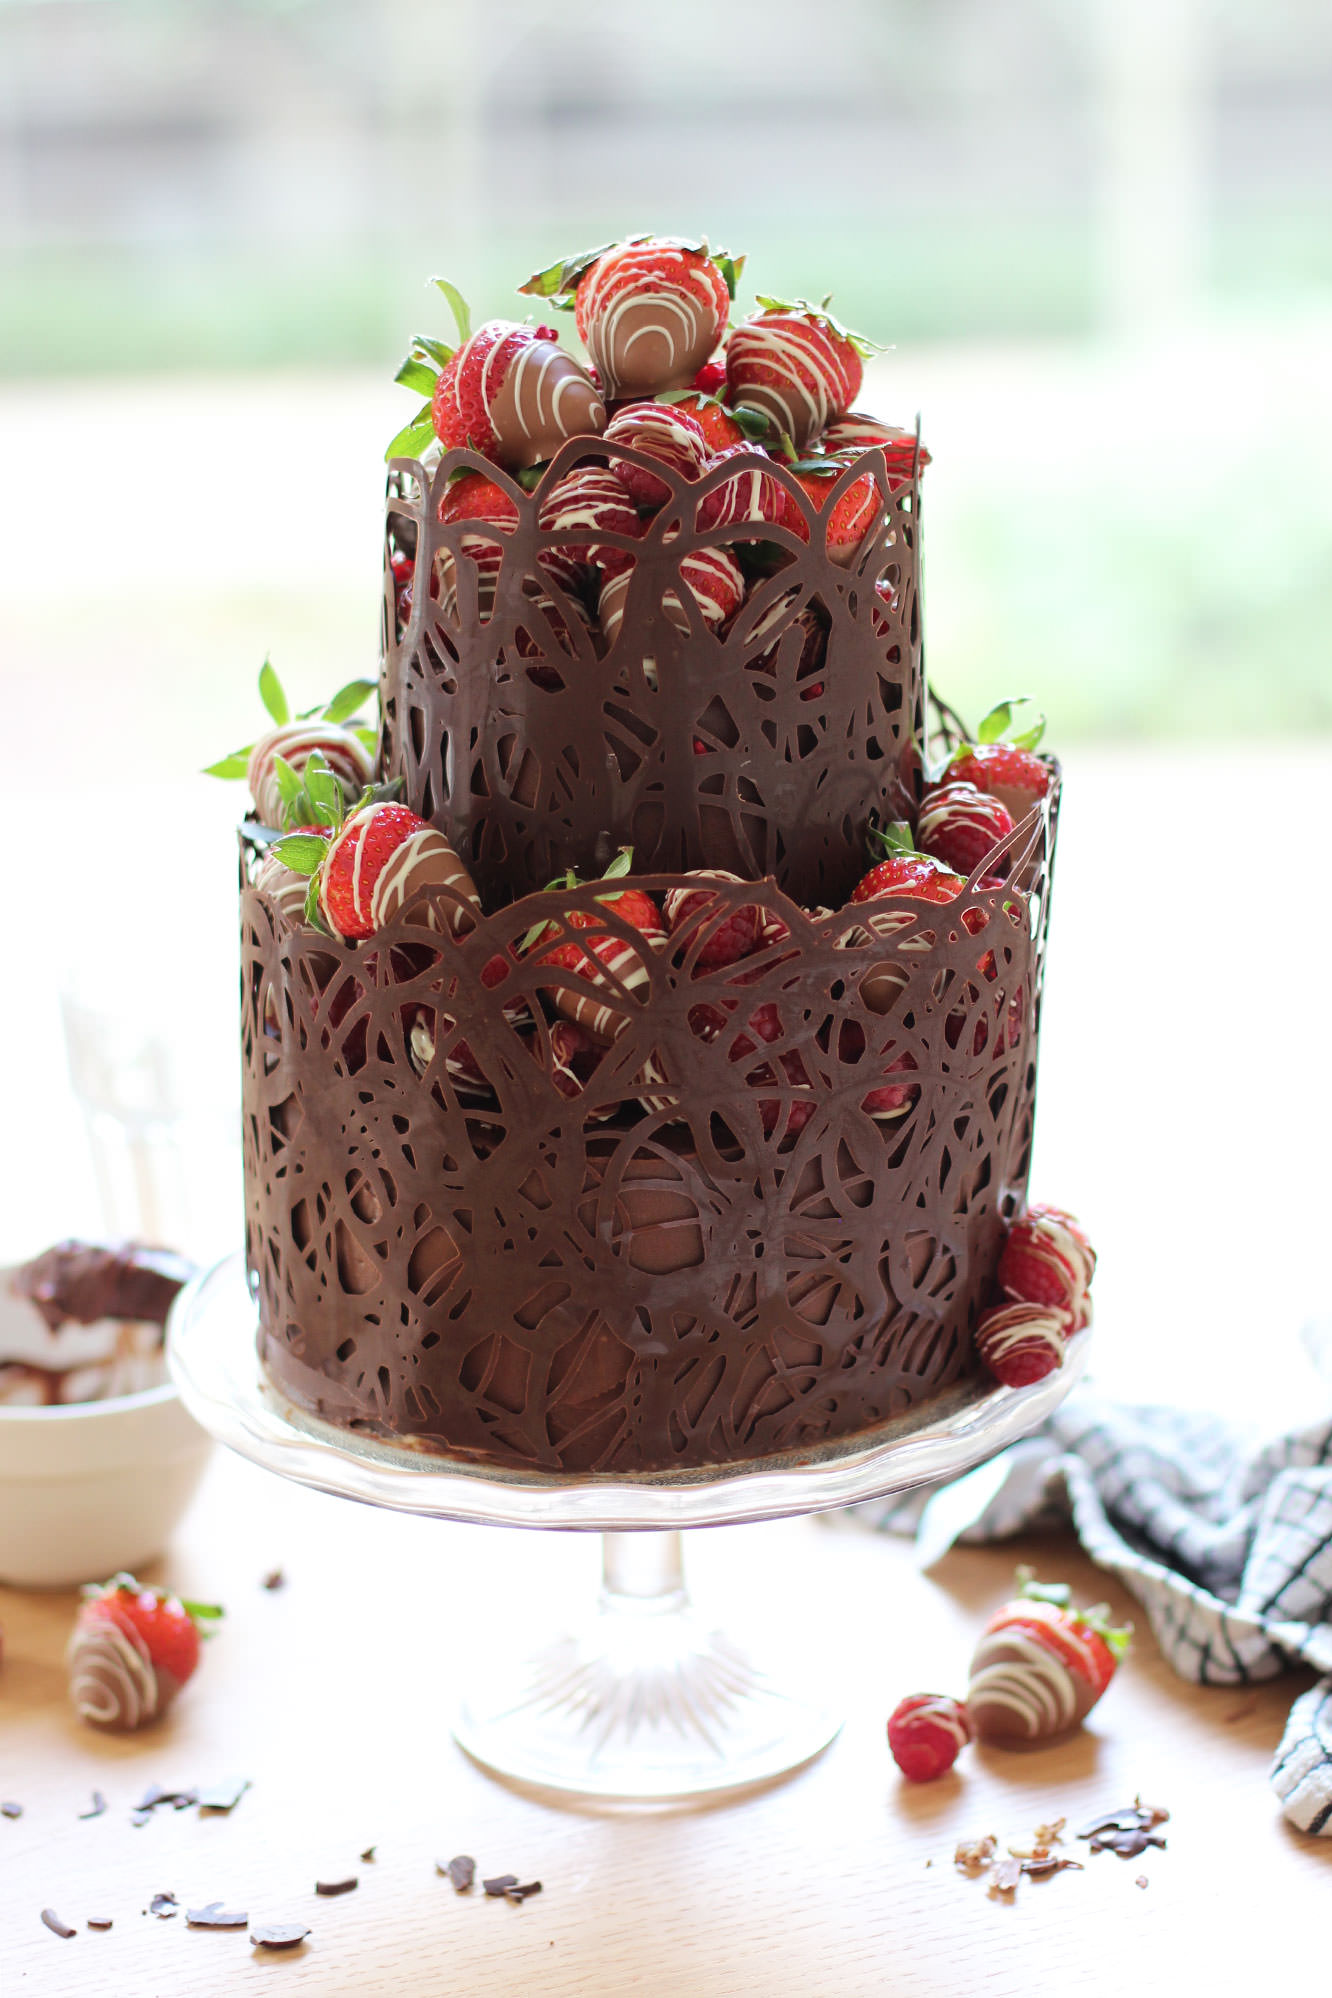
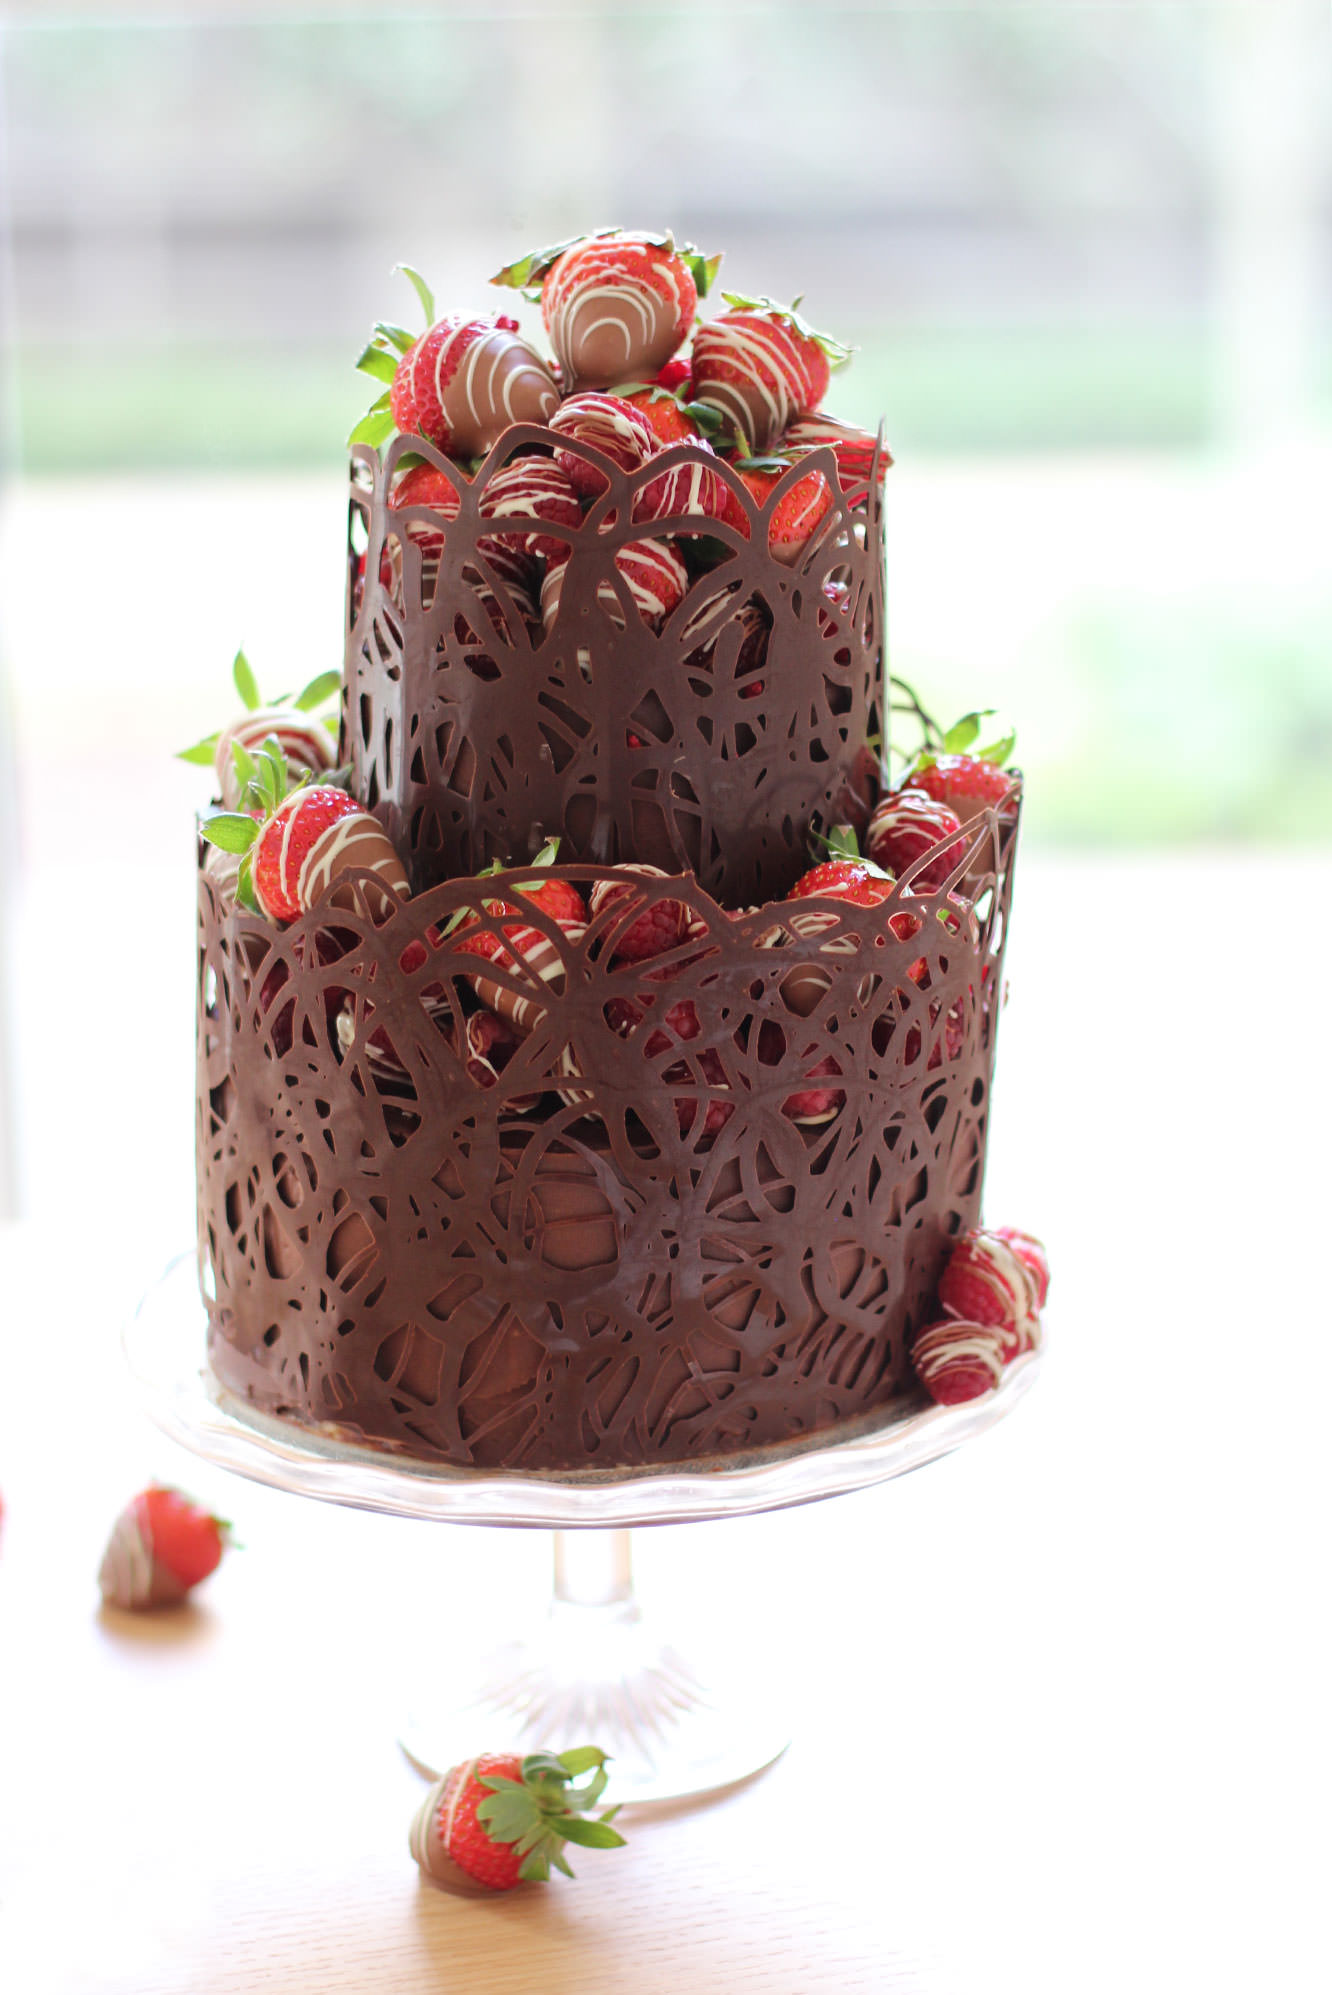
I had only attempted one two tier cake before and had never made the chocolate collar you’ll see below. Sure this cake was a bit more effort than your average victoria sponge, but if you’ve got a few hours and a bit of patience and determination this is very much possible.
I present to you a full step-by-step recipe for a two tiered chocolate fudge cake with salted caramel buttercream, decorated with a dark chocolate collar and chocolate dipped berries. I just wanted to say that out loud. Look away if you don’t like chocolate. This won’t please you.
Happy birthday Jane!
You will need
For the cake:
380g/13.5 oz caster sugar
380g/13.5 oz unsalted butter or margarine (I use stork)
325g/11.5 oz self raising flour
6 eggs
55g/2 oz cocoa powder
1 1/2 tsp bicarbonate of soda
For the salted caramel buttercream:
400g/14 oz icing sugar
250g/9 oz butter
80g/3 oz soft brown sugar
100ml/3.5 fl oz double cream
2 tbsp golden syrup
2 tsp salt
For the chocolate fudge icing:
225g/8 oz unsalted butter
200g/7 oz plain chocolate
100g/3.5 oz milk chocolate
2 tbsp golden syrup
200ml/6.5 fl oz double cream
For the decorations:
1 packet strawberries (sorry I didn’t look at weight)
2 packets of raspberries (about 500g)
200g/7 oz plain chocolate
200g/7 oz milk chocolate
100g/3.5 oz white chocolate
(for the chocolate amounts are the best approximates I can make, I bought a LOT of chocolate. I strongly recommend Sainbury’s Belgian cooking chocolate if you are in the UK, definitely do not buy that scot block stuff)
Other:
Cake tin bottom tier – 1 x 7 inch (3.5 inches deep)
Cake tin top tier – 2 x 5 inch (1.5 inches deep)
Cake boards – 1 x 8 inch, 1 x 5 inch
Sticks/straws for support. I used cake pop sticks, but wooden dowling or special cake making supports would be fine. Make sure they are at least 4 inches so you can cut them to size.
Palette knife
Sugar thermometer (not 100% essential but I recommend tempering the chocolate)
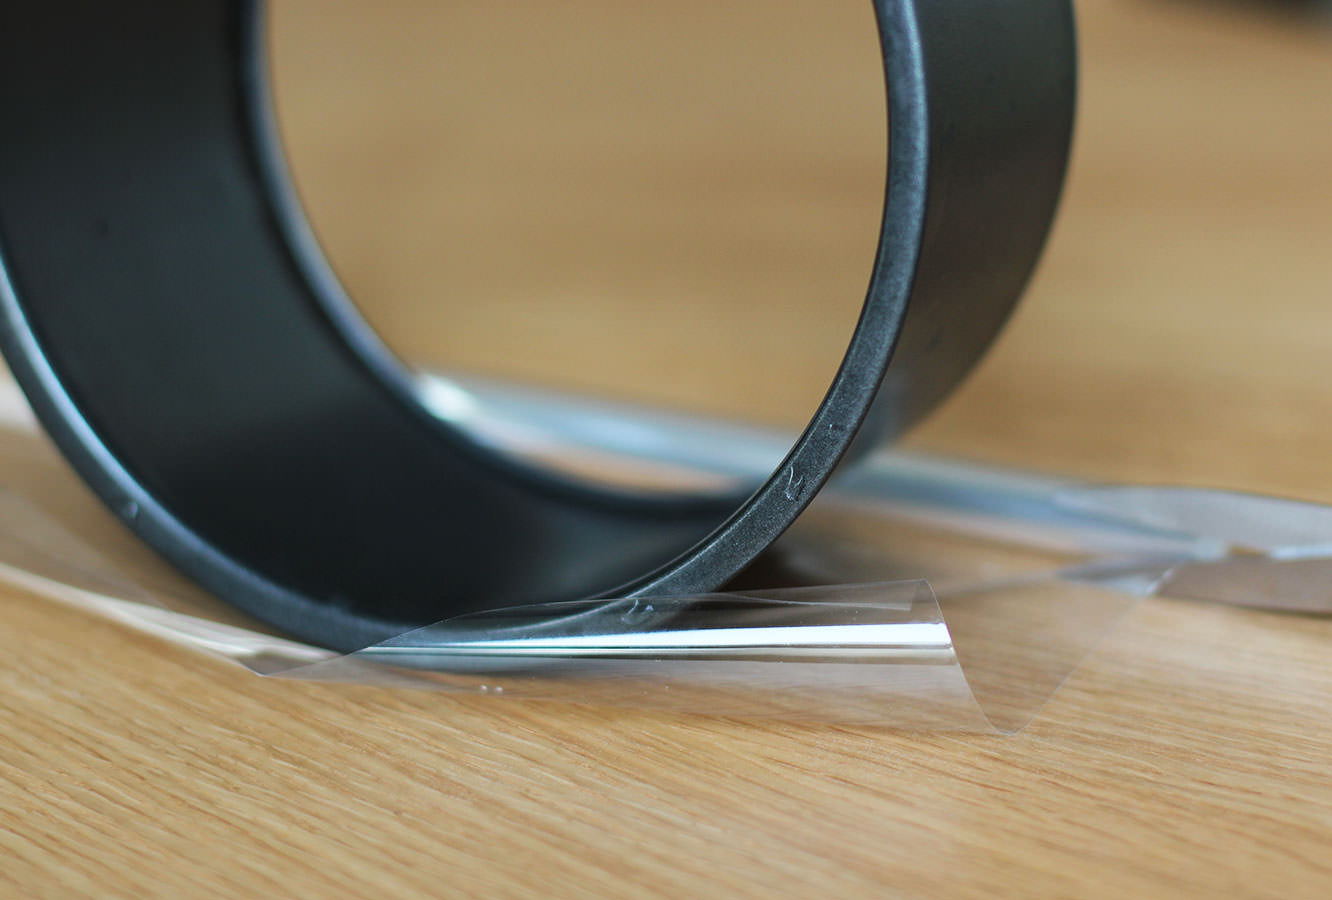
Cellophane
Piping bags
Step one
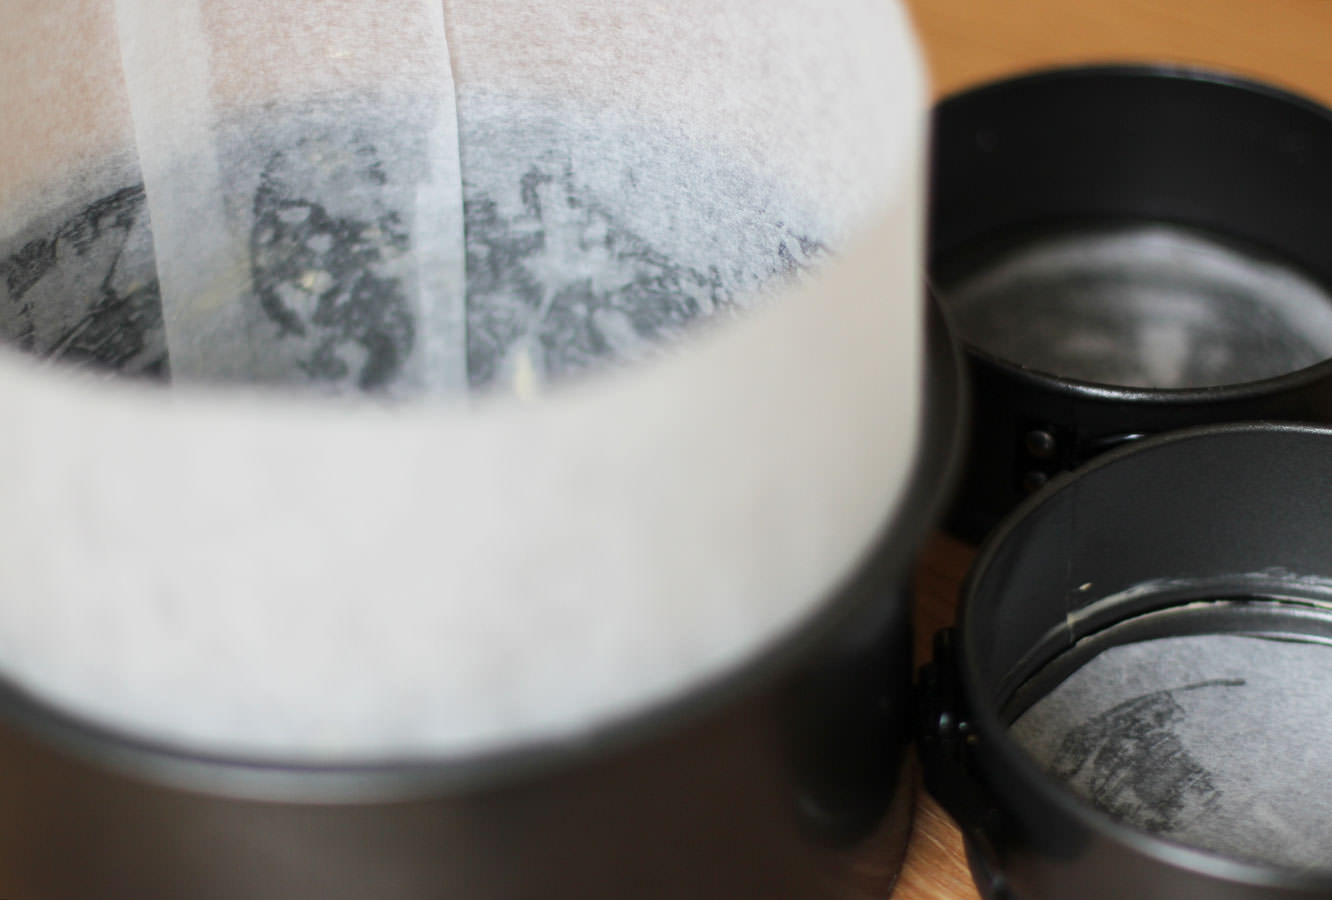
Grease and line the tins.
Note how I created a bit of a collar on the larger tin from greaseproof. This is to help stop the sides of the cake catching while the inside bakes as it’s essentially double the thickness.
Step two
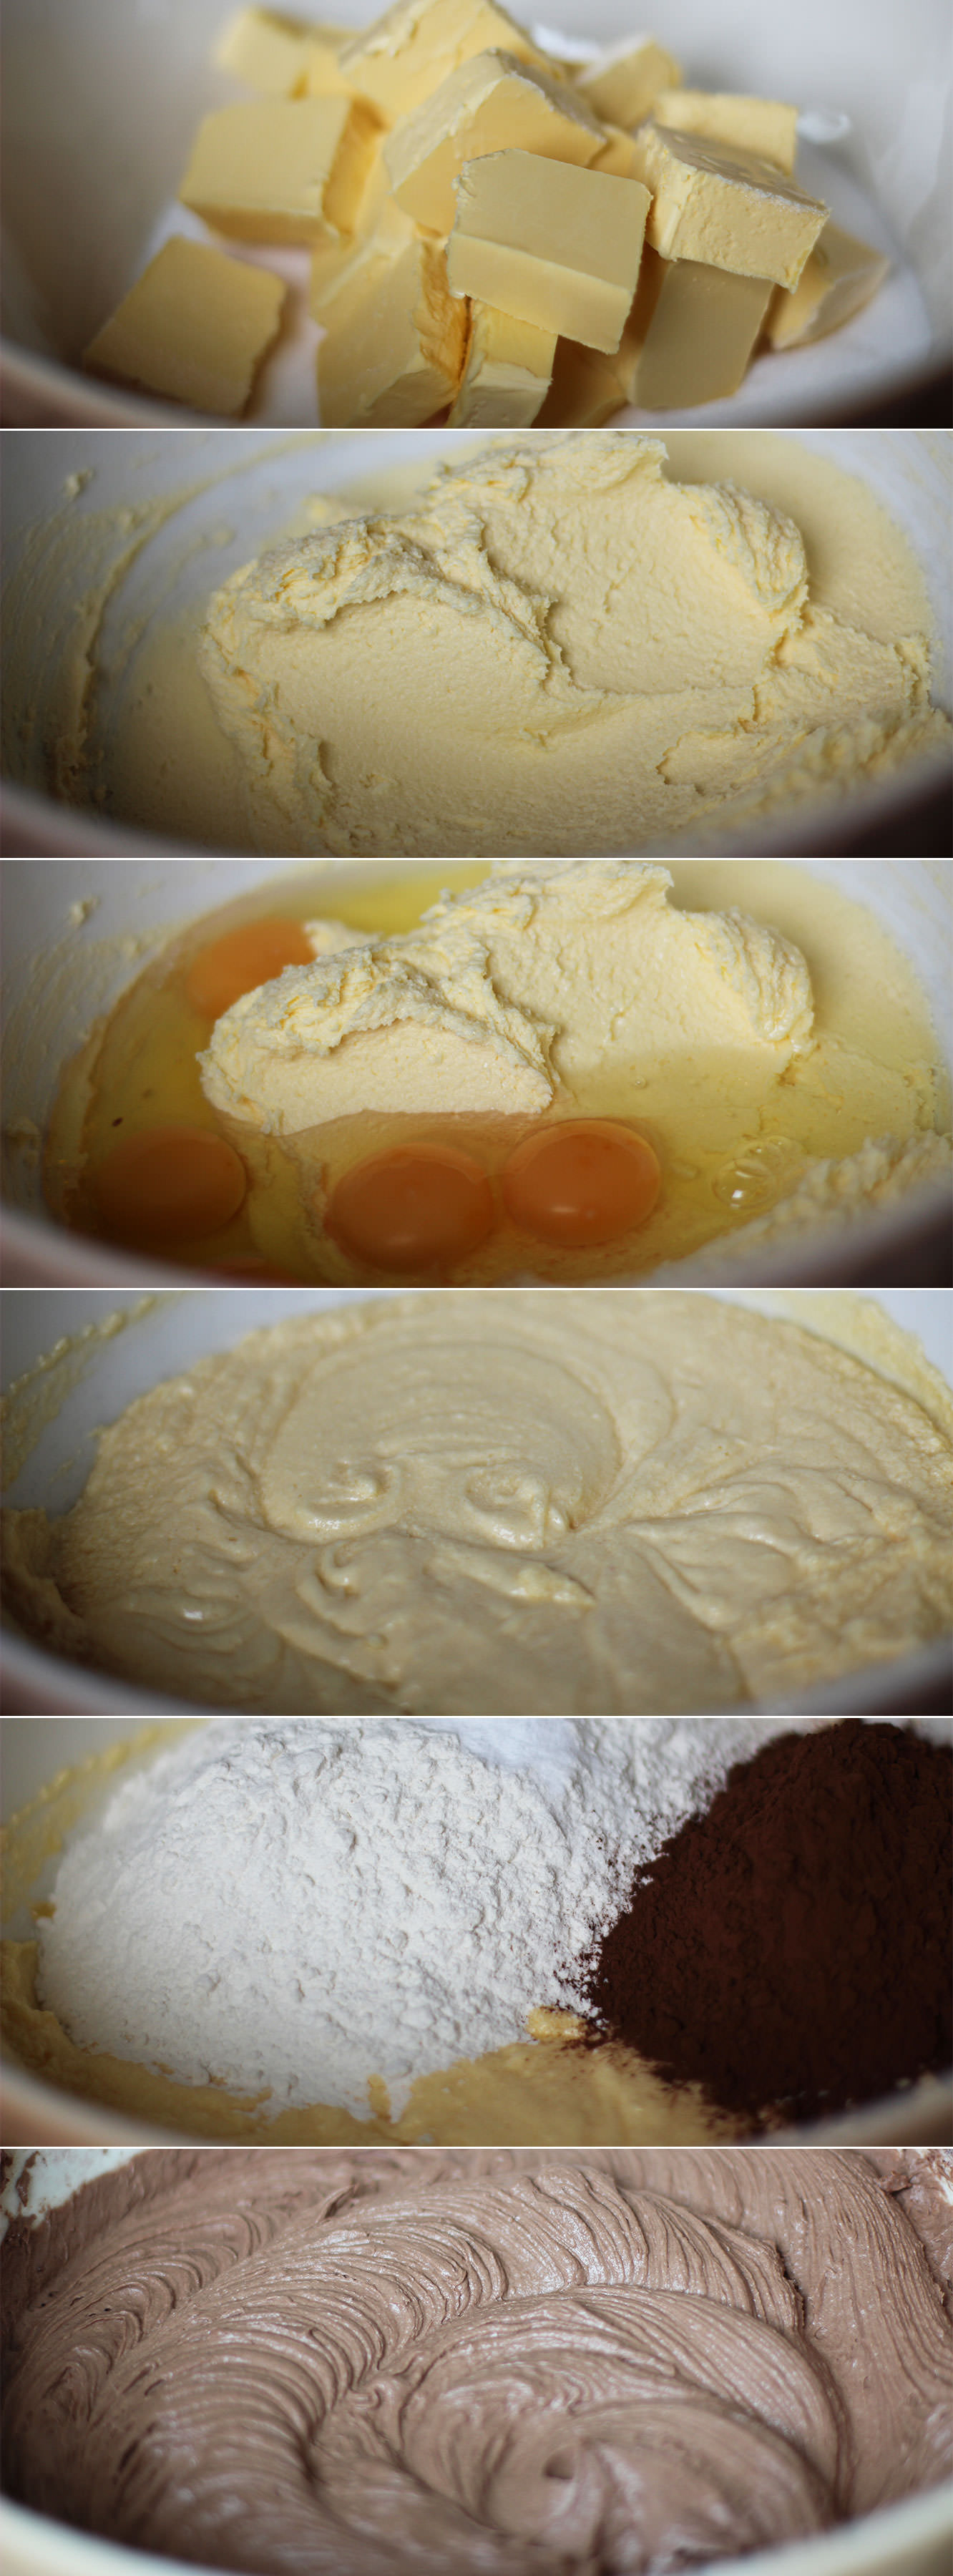
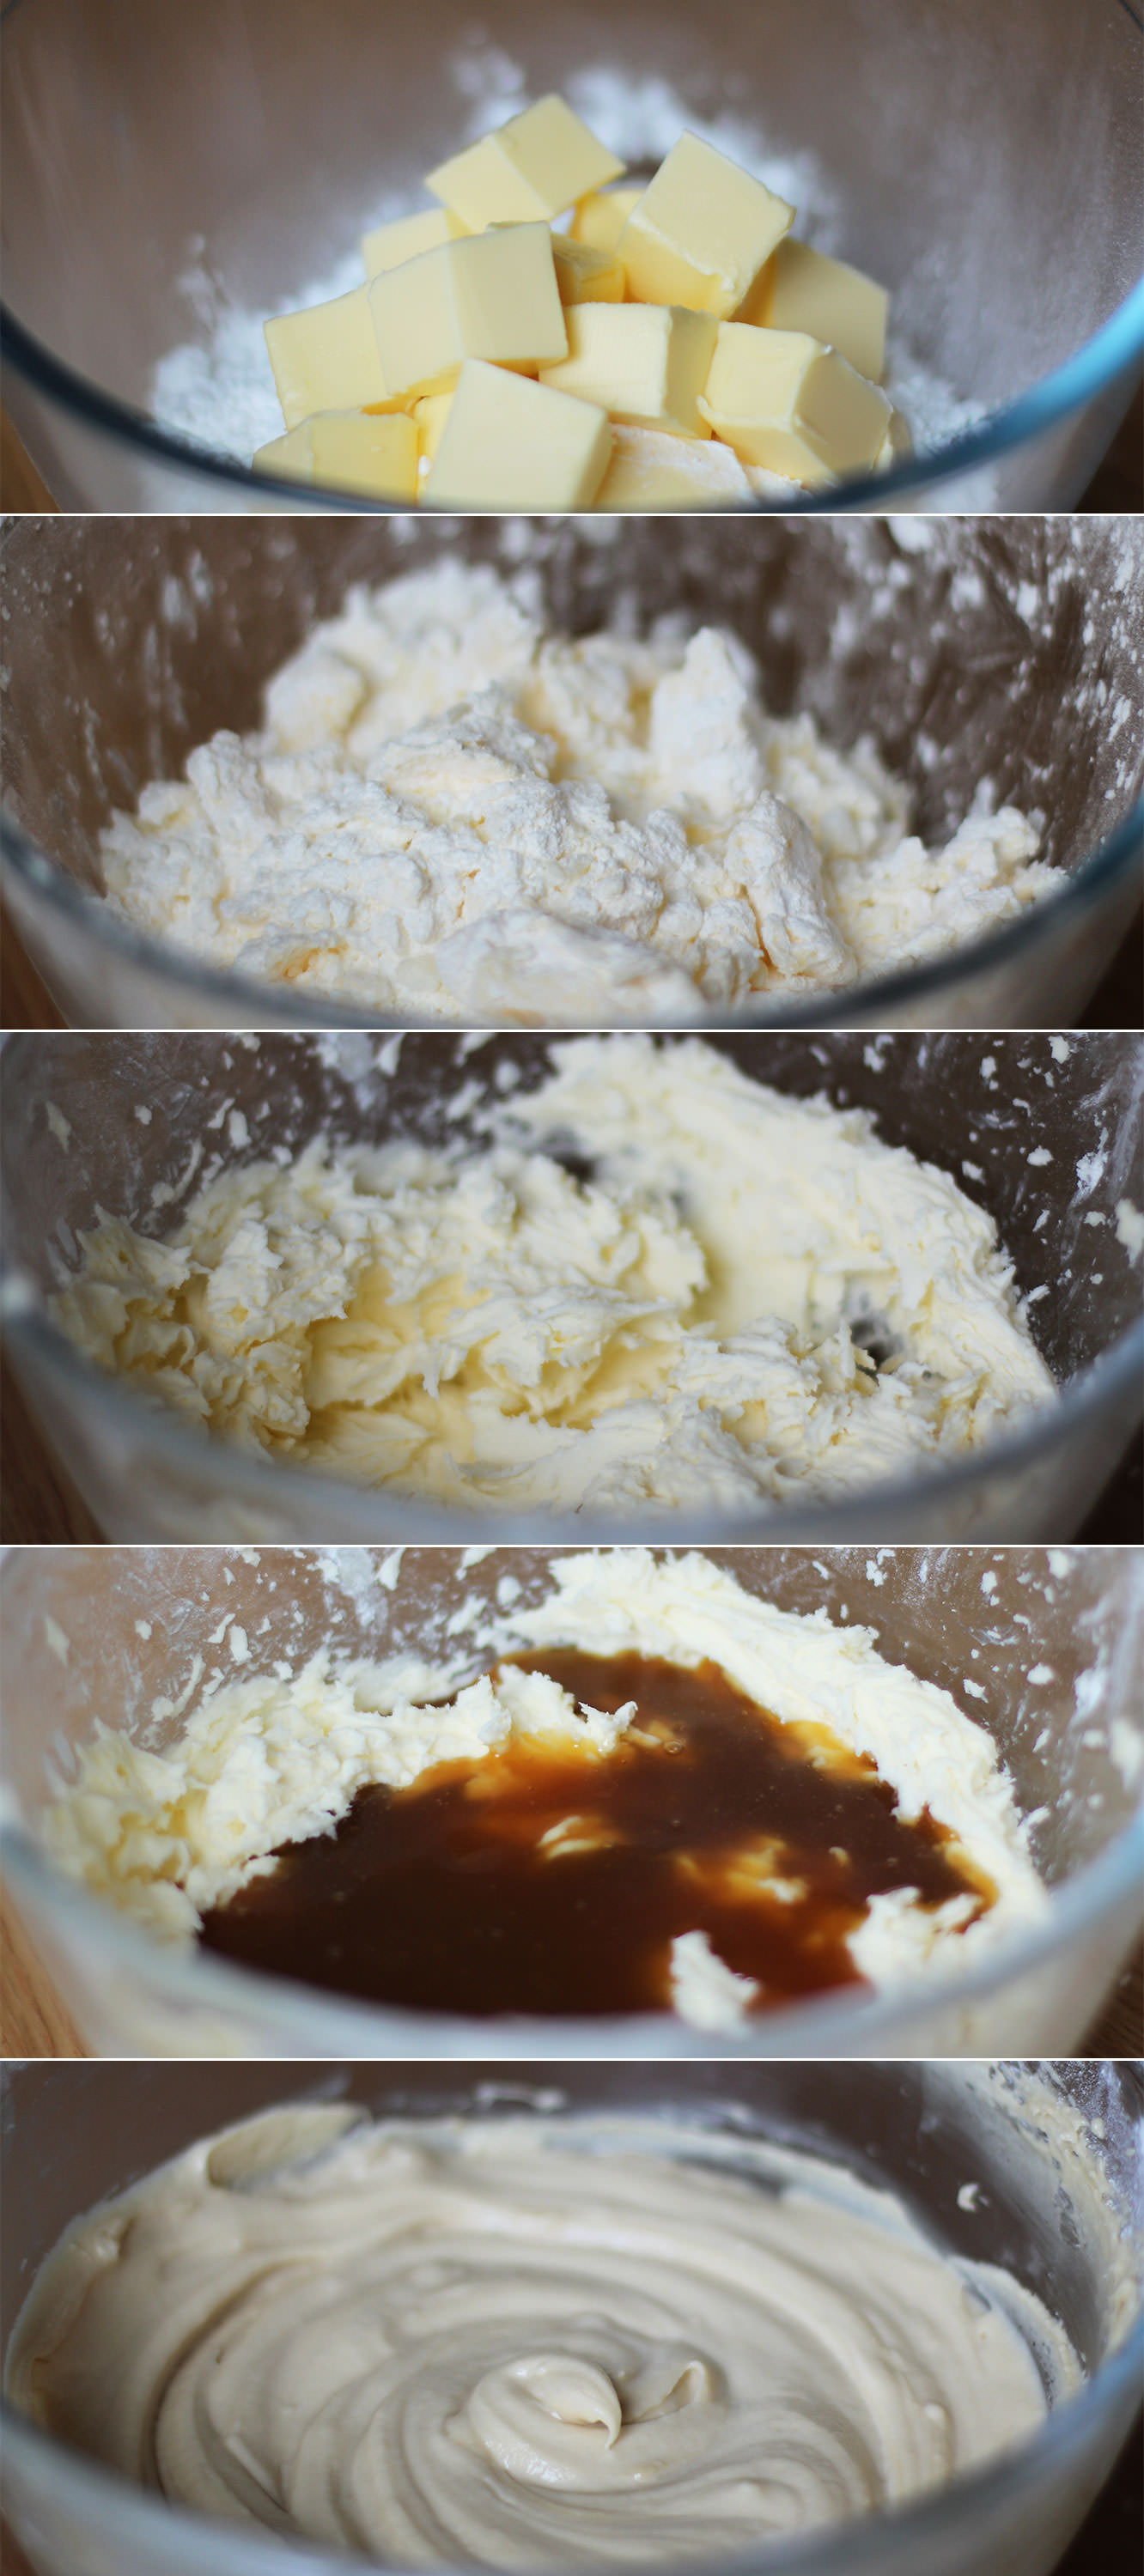
Whisk together the butter and sugar with an electric whisk, or a wooden spoon and some elbow grease, until smooth.
I used a block of stork for this, but I prefer the softer version you can get in a tub, you don’t have to wait for it to come to room temperature first that way. Margarine works just fine for cakes, I think it makes them fluffier.
You might want to use a tea towel over the bowl to avoid everything getting covered in sugar and butter.
Step three
Add all the eggs and whisk until combined.
Step four
In go the flour, bicarbonate of soda and cocoa powder.
Stir gently to start mixing the dry ingredients in first before turning the whisk on, you don’t want to choke on flour, that’s not a good way to go. It also means you will never get to eat this cake.
Step five
Divide into the tins.
Bake in the oven on 180C/350F/gas mark 4. This is where it’s a little tricky as the little cakes need a lot less time but you don’t want to open the oven much or your big cake will sink.
I say give the big cake about 30 minutes on its own, and then opening the door as little as possible add the smaller ones for the next 20 minutes. You will then need to test the cakes by sticking a sharp knife, or a cake tester if you have one. If this comes out clean (or with the odd crumb) you’re all good. If not give them another 5-10 minutes.
Step six
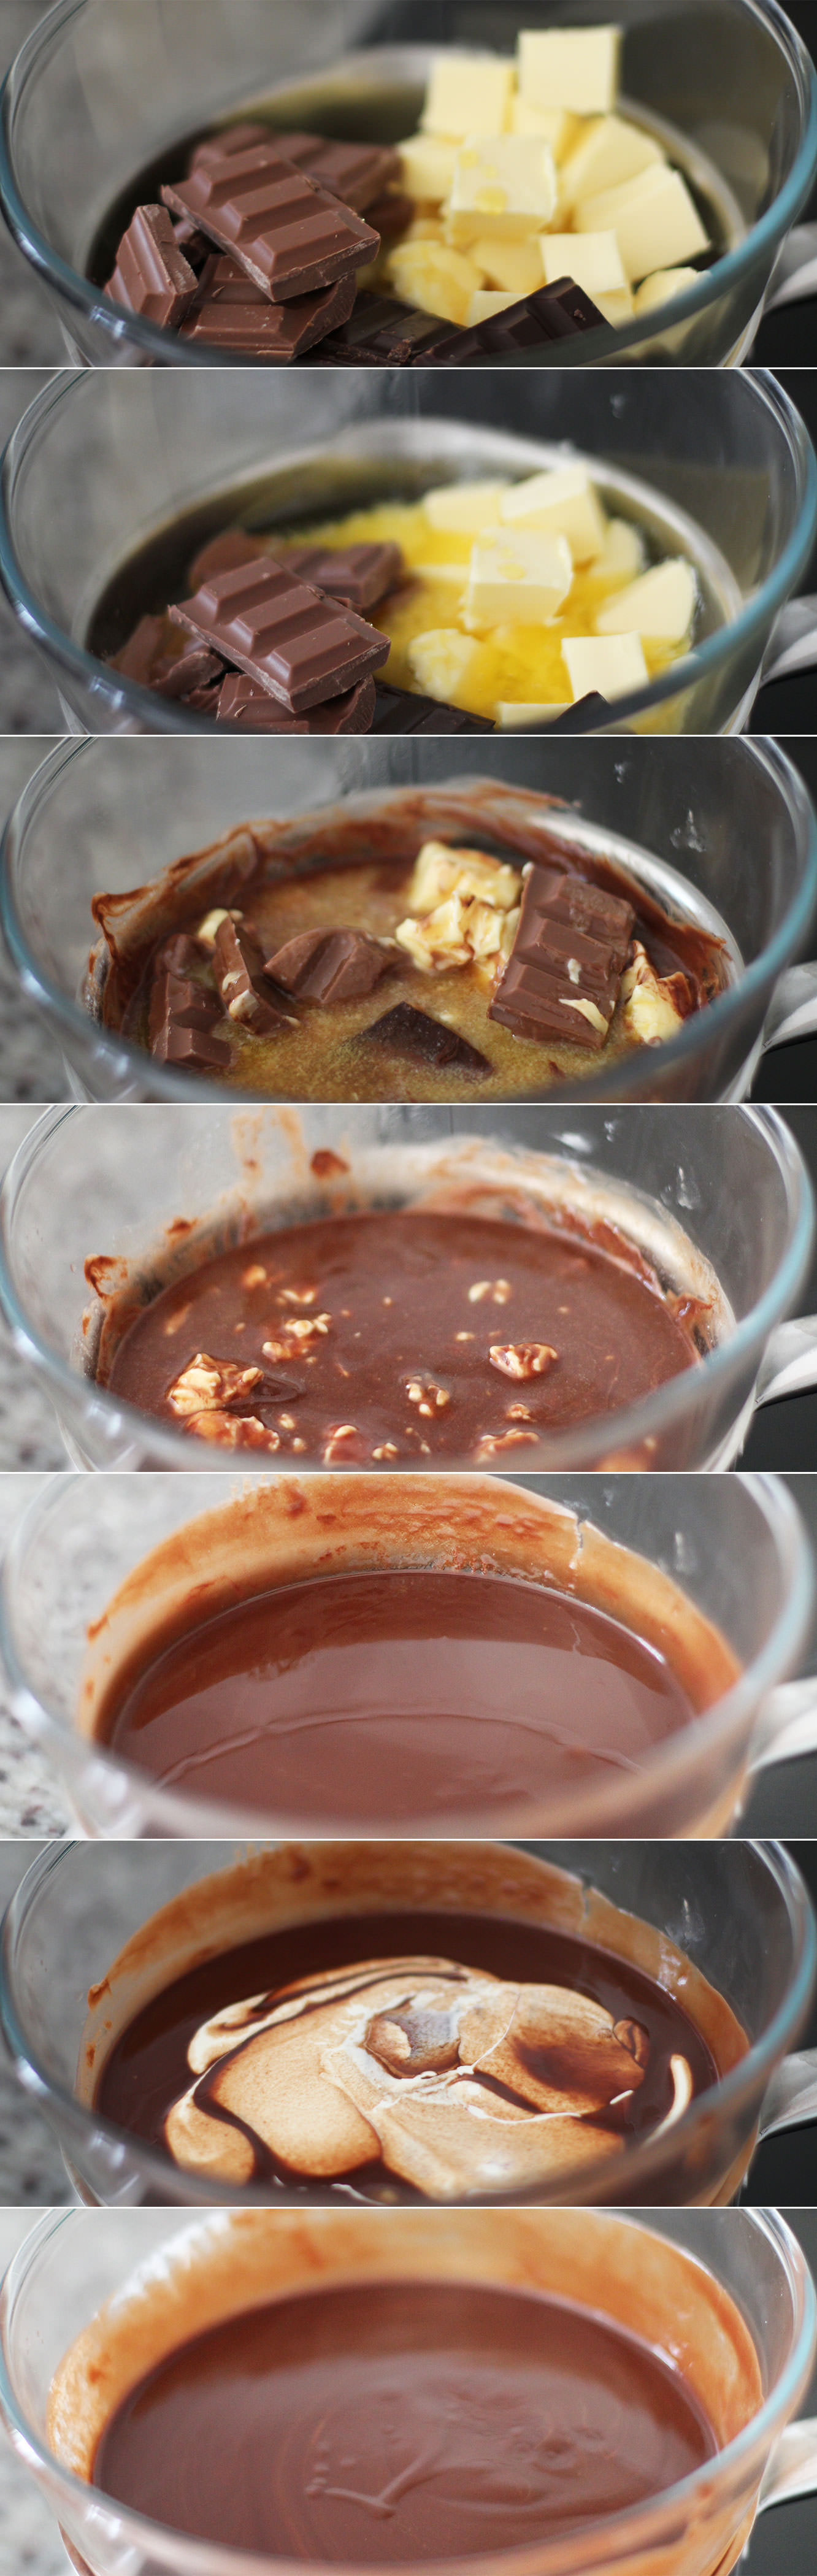
While the cakes are in the oven make the icing as both, but particularly the chocolate, need time to cool.
Place a heatproof bowl over a pan of barely simmering water. Add the butter (real butter this time), chocolate and golden syrup. Melt until smooth.
Remove from heat and stir in the cream quickly. Take the bowl off the pan and place somewhere cool and dry.
I don’t really suggest the fridge because you might forget it (like I did) and then you have to wait for it to warm up enough to spread. But that being said, the fridge is a viable option, just keep an eye on it.
Step seven
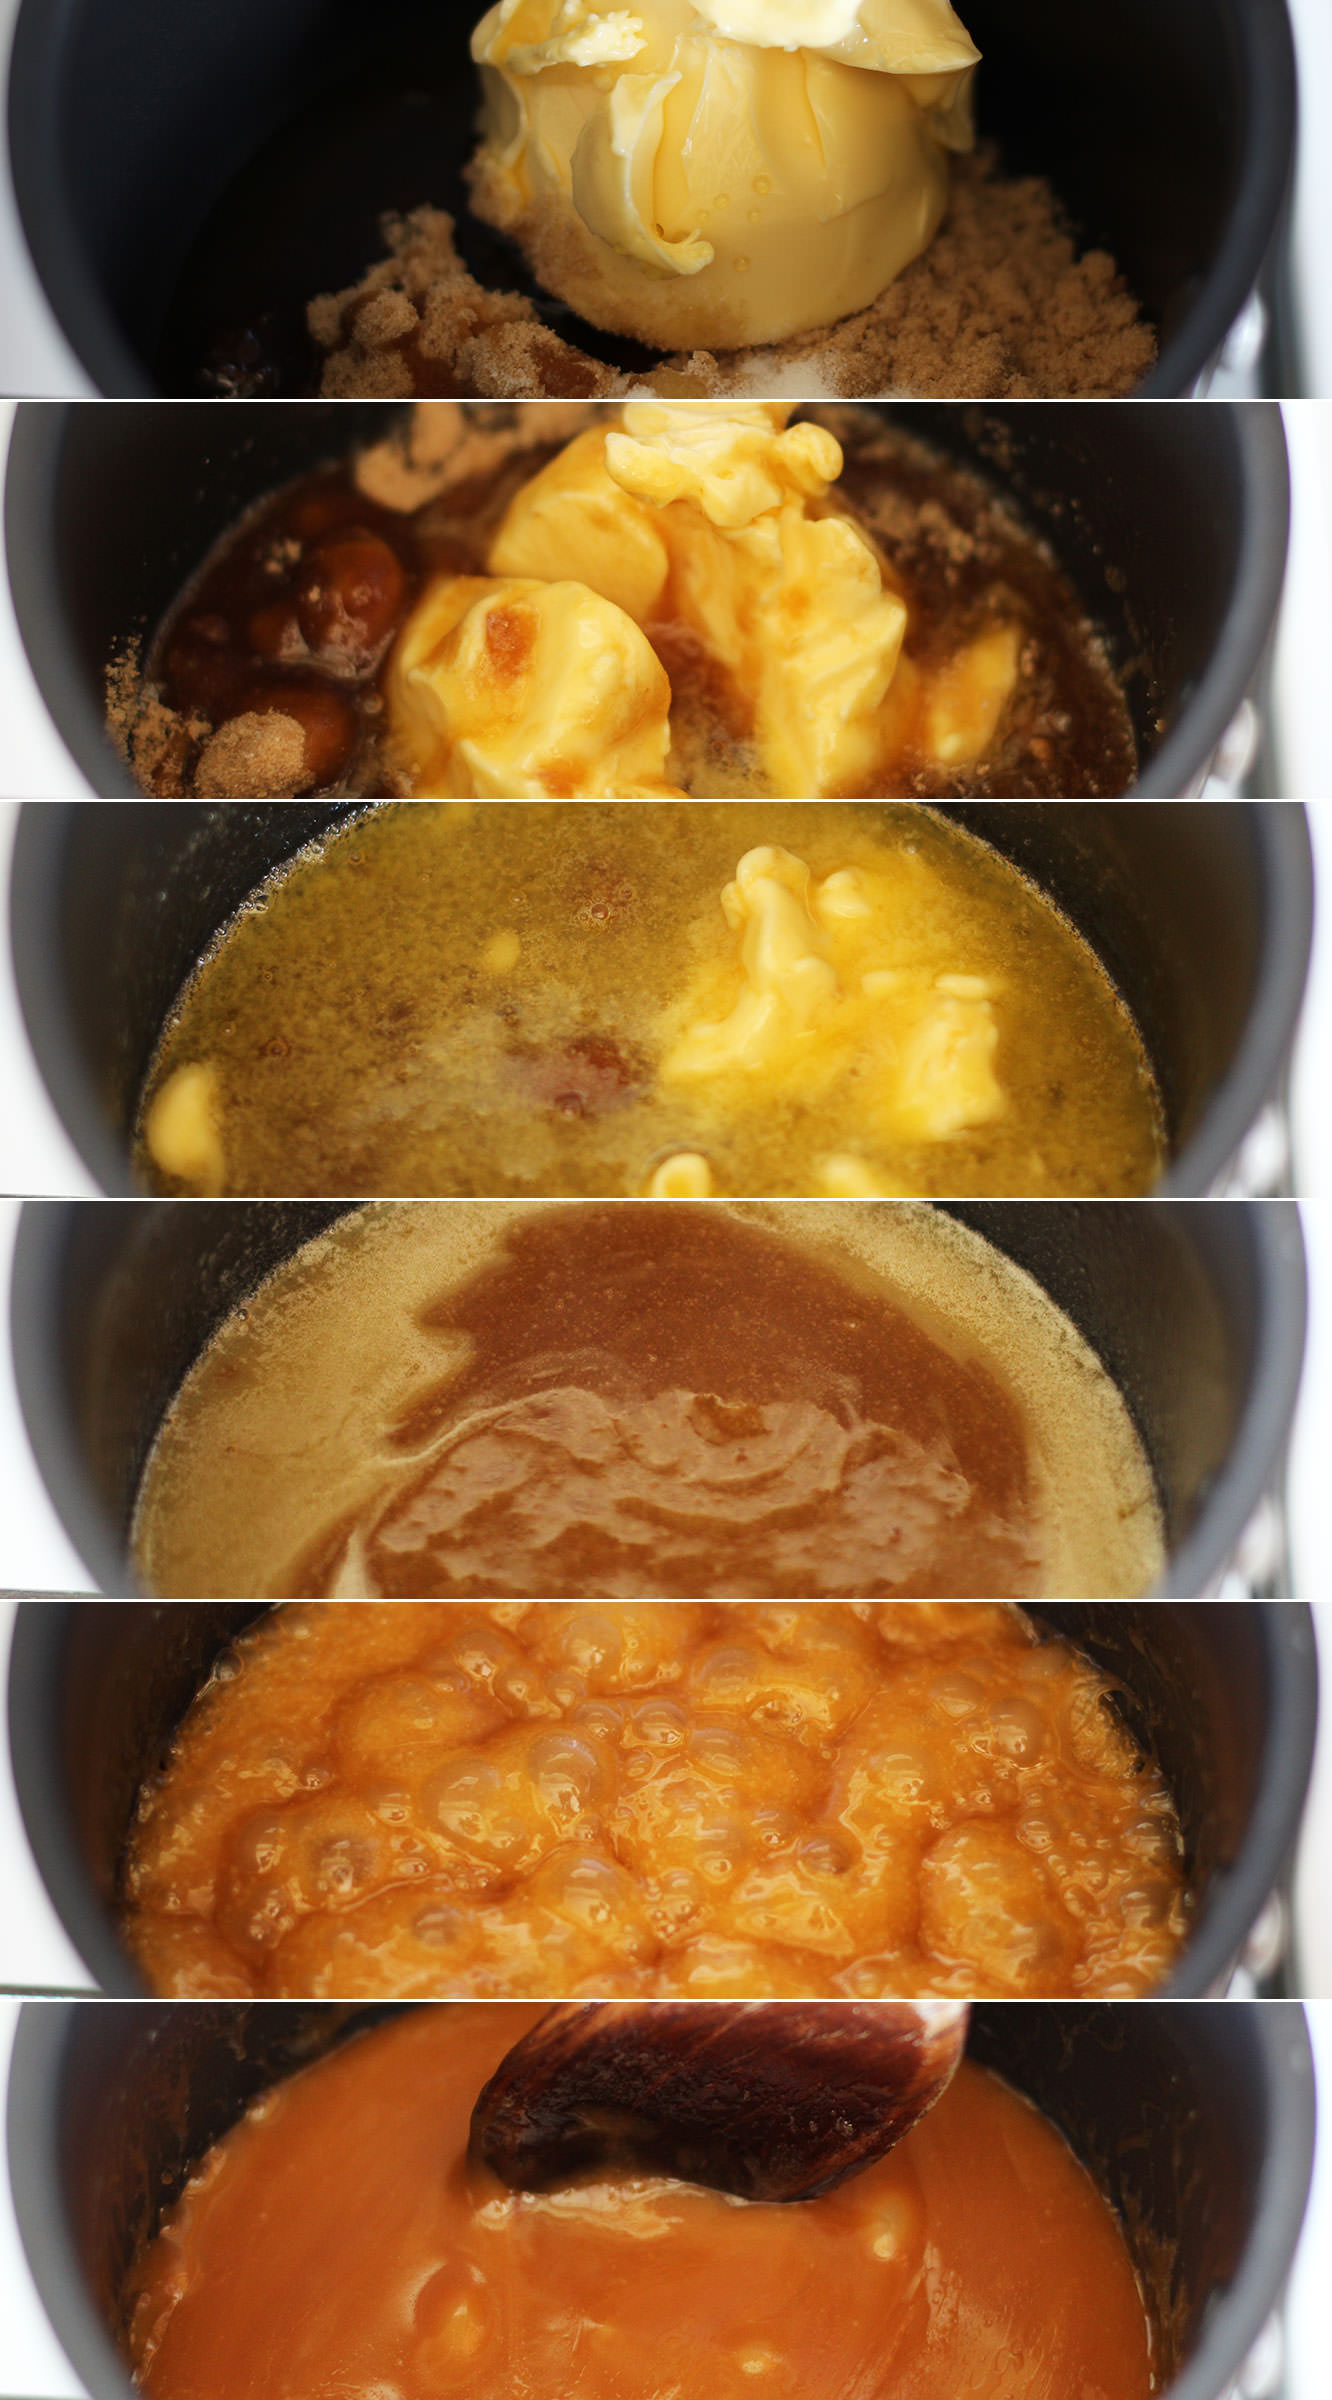
For the salted caramel buttercream melt together 100g of the butter, the brown sugar, golden syrup and salt. Do this slowly and then bring the heat up to a simmer.
Simmer for 10 minutes. Stir regularly so that it doesn’t catch and burn. Leave to cool down for about half an hour or so.
Step eight
Stir in the 100ml cream and leave to cool further.
Step nine
Whisk the icing sugar and 150g of butter together with the salt. Definitely cover the bowl with the tea towel this time. I find if my butter is not quite soft enough it helps to rub it in a bit with clean hands first. There is NOwhere icing sugar won’t go when you use an electric whisk.
Step ten
Add the caramel and whisk again until smooth. Don’t worry if the caramel is still a little warm, just leave your buttercream to cool in the fridge for a bit. But again, don’t forget about it or it won’t be spreadable.
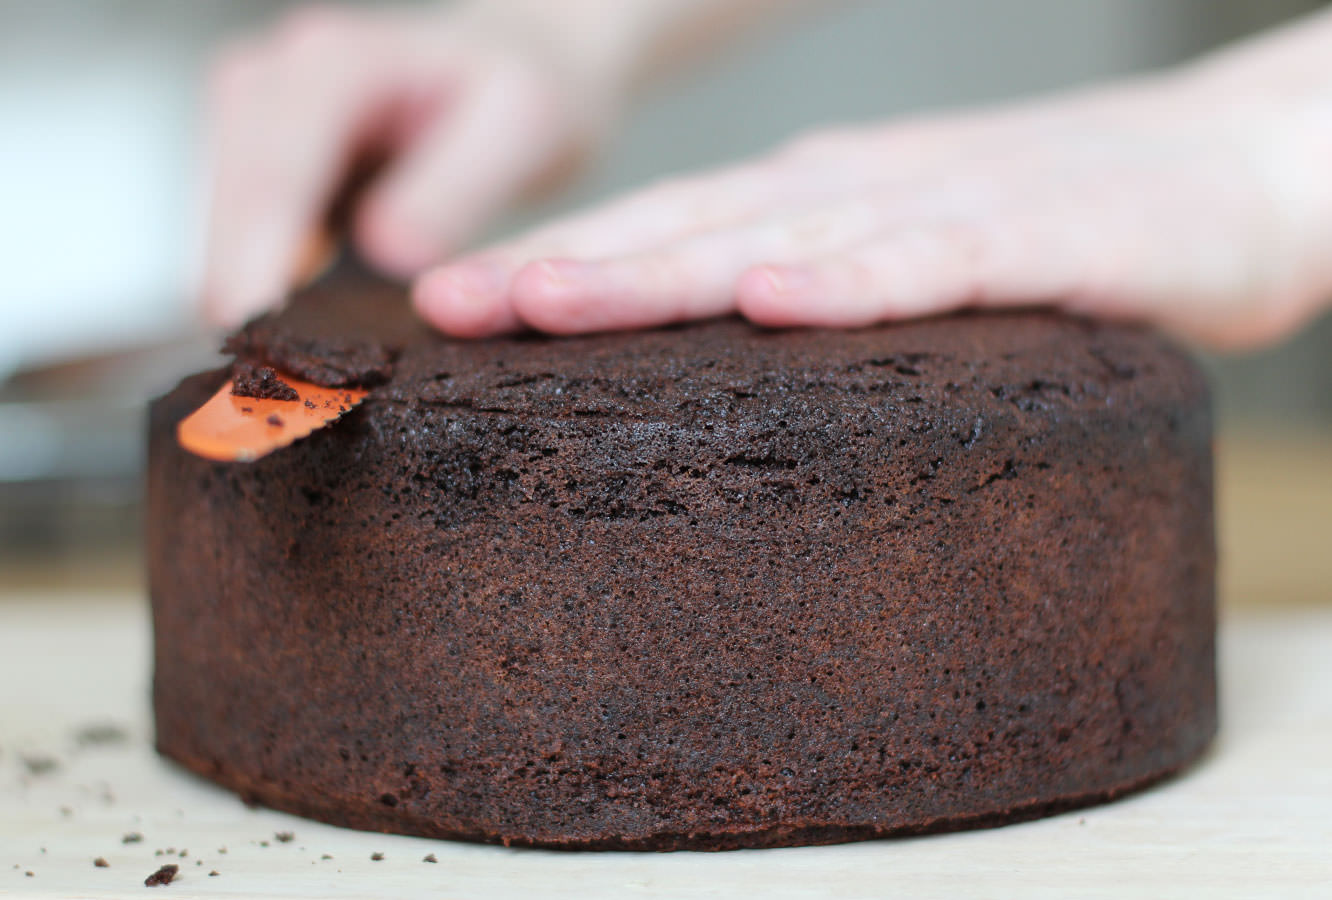
Step eleven
When your cakes have completely cooled prepare them for icing. You need to lop the top off the large one until it’s as flat as possible on top. So much of this cake is covered in decoration that you can get away with a little bit of wonky though so don’t panic if it’s not prefect. Having said that the flatter the better so the top tier sits straight. NO PRESSURE.
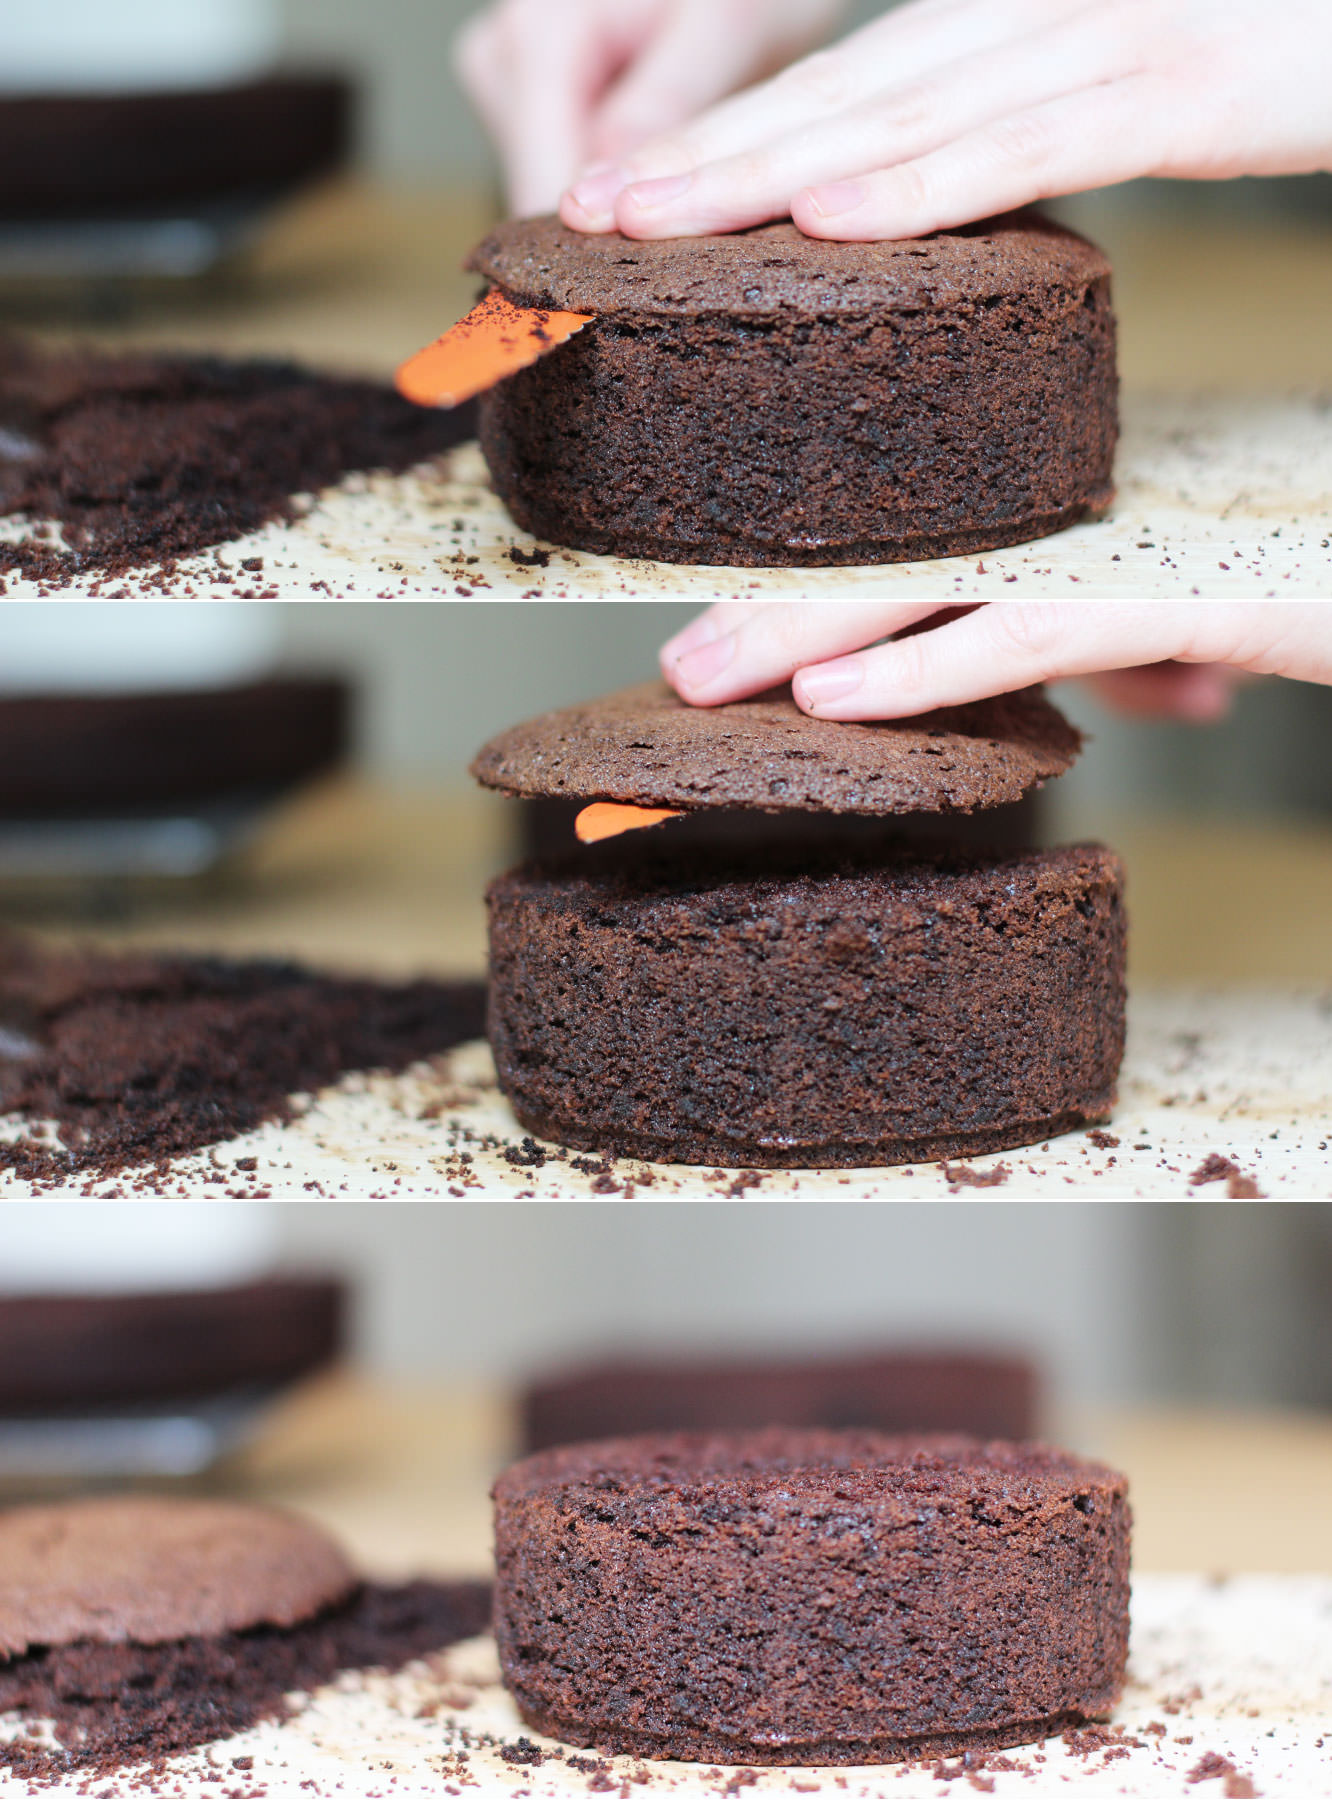
Step twelve
Cut the cake in the middle. Try to do this evenly by scoring it the whole way round first. Just keep going round in circles, getting further in each time until you’re all the way through.
Step thirteen
Level out the tops of the small cakes. I would be lying if I said I didn’t spread some icing on the offcuts and eat them.
Step fourteen
Using a palette knife ice the cakes.
First place a bit of buttercream on the cake base to stick the cake to it. Start with the caramel buttercream and ice the middle and the top. Don’t worry if bits splurge out the sides.
Smooth these out around the sides with the palette knife, gradually adding buttercream here and there to create the sharpest sides you can. Some parts will have a thicker coating than others, this layer is made to contain all the crumbs (hence the name crumb layer) and to even out the shape a bit. It’s not going to be pretty.
Place in the fridge for about an hour before starting the chocolate.
Ice the chocolate on in the same way, neatening as you go. For the most part it will be covered up, so it really doesn’t need to be too smooth.
Step fifteen
Cover the small cake in the same way.
Place both in the fridge while you prepare the decorations.
Step sixteen
Using the tins as a guide cut a strip of the cellophane for both the top and bottom layer. You want these to be quite close to the size of the chocolate collar, so tall enough that you will have about 5cm/two inches taller than the cake, and wide enough to match the circumference. You can quickly check this against the cake to ensure it will fit.
Don’t forget to cut one for the top tier and one for the bottom, bearing in mind your top tier cake is twice as tall as the tin.
Step seventeen
Temper 200g dark chocolate. Don’t look at me like that…you are really going to want to do this so you have shiny chocolate on the collar.
First melt 125g of the chocolate in a heatproof bowl over a pan of simmering water. Let it get to 55C/131F before removing from the heat.
Chop the remaining chocolate and stir into the melted mix to aid the cool down process. Stir continually until it cools to 28C/82F. I found a good way to speed this up a bit. Put cold water in a large saucepan and the bowl on top. You’re welcome.
Place the bowl back on the heat and bring it to 31C/88F. Your chocolate is tempered.
Be warned – if you’re doing a different type of chocolate the temperatures are different:
Milk – 45C/113F original melt, 27C/81F cool down, 29C/84F
White – 45C/113F original melt, 26C/79F cool down, 28C/82F
Step eighteen
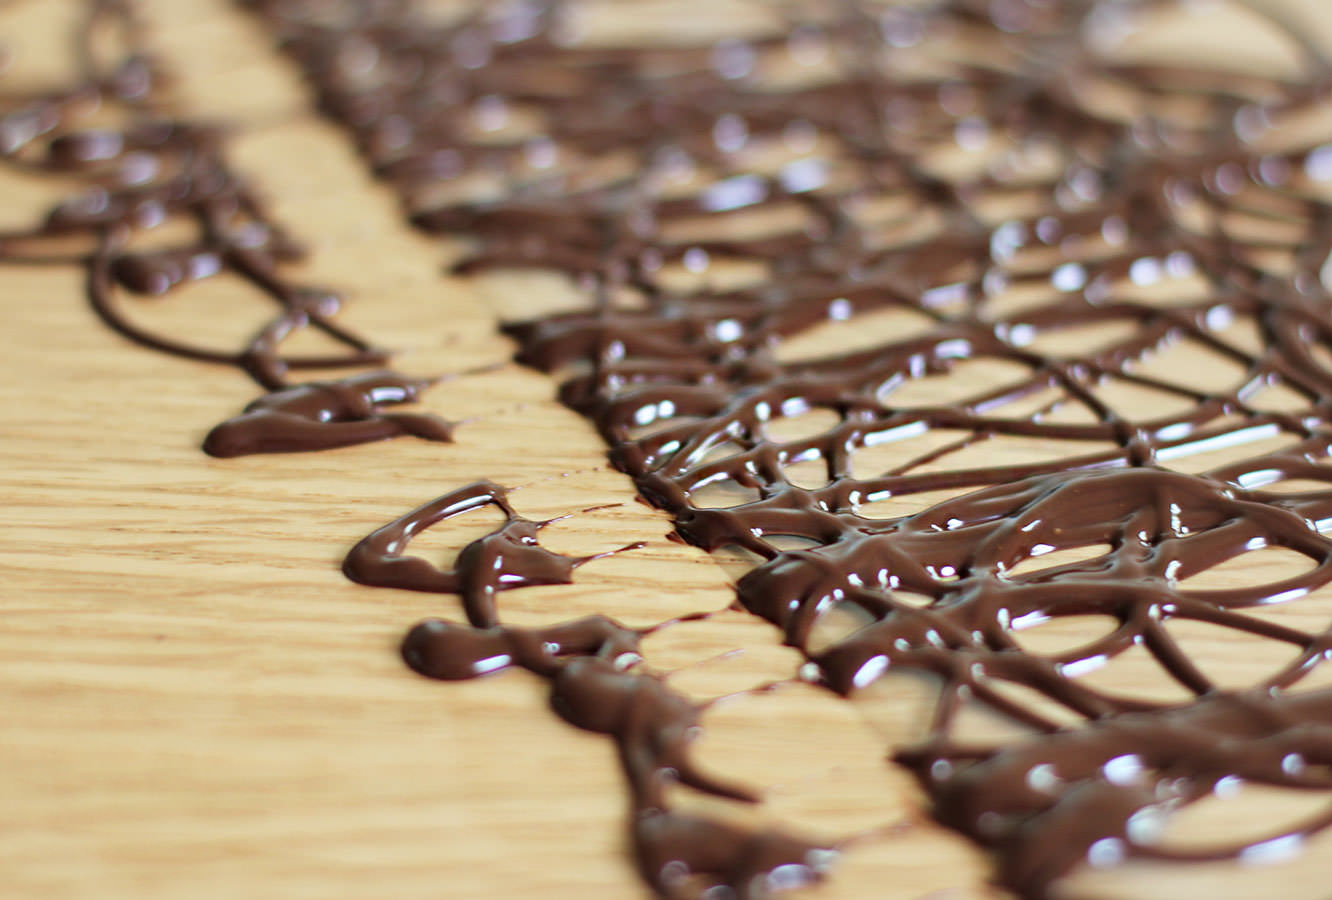
Place chocolate in a piping bag and using circular motions cover the cellophane with swirls. Go over the bottom edge onto the work surface but ensure the top stays on the cellophane so it’s ‘whirly’.
Step nineteen
When it has started to dry pull the cellophane away so the bottom is clear of the extra overlap bits.
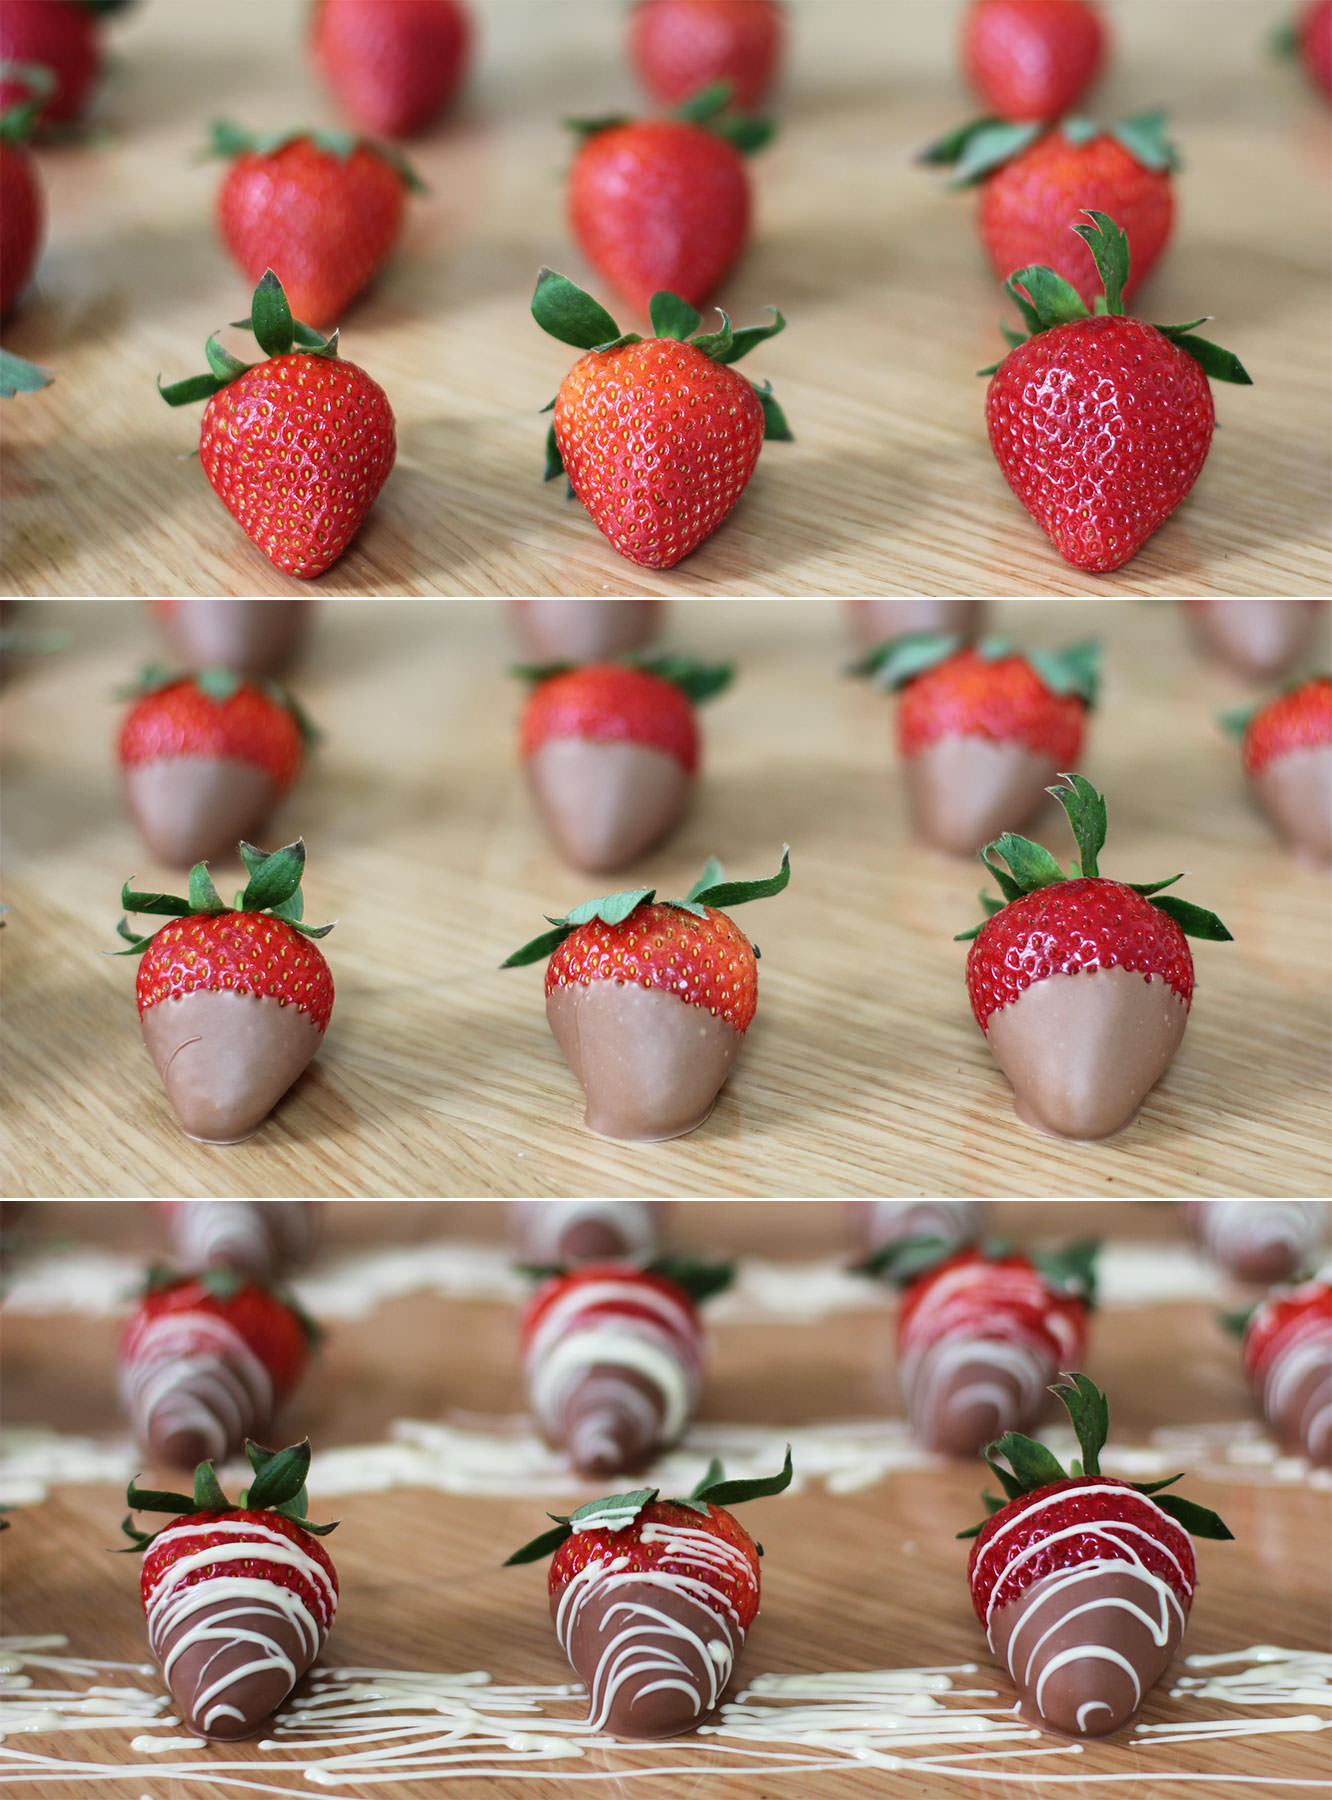
Step twenty
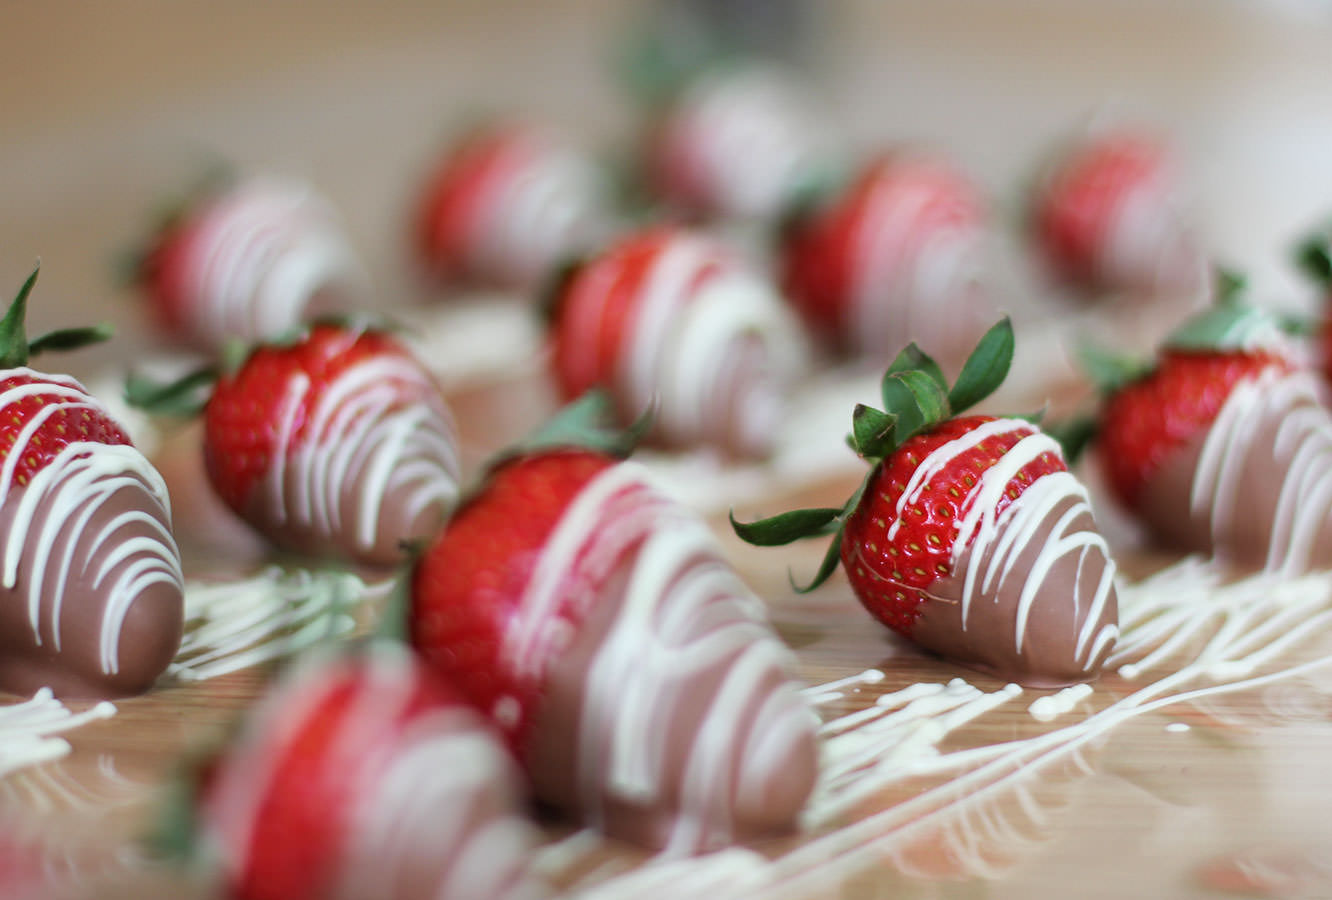
Melt (preferably temper) the milk chocolate. Dip the strawberries in half way and leave to set on some more cellophane.
Melt the white chocolate (no real need to temper this) and place in a piping bag. swing the bag back and forth to drizzle the white chocolate over the top.
Step twenty one
Drizzle the raspberries with white and milk chocolate. You can dip them if you want to, but, really? I know this is taking a while, but do you have that kind of time??
Step twenty two
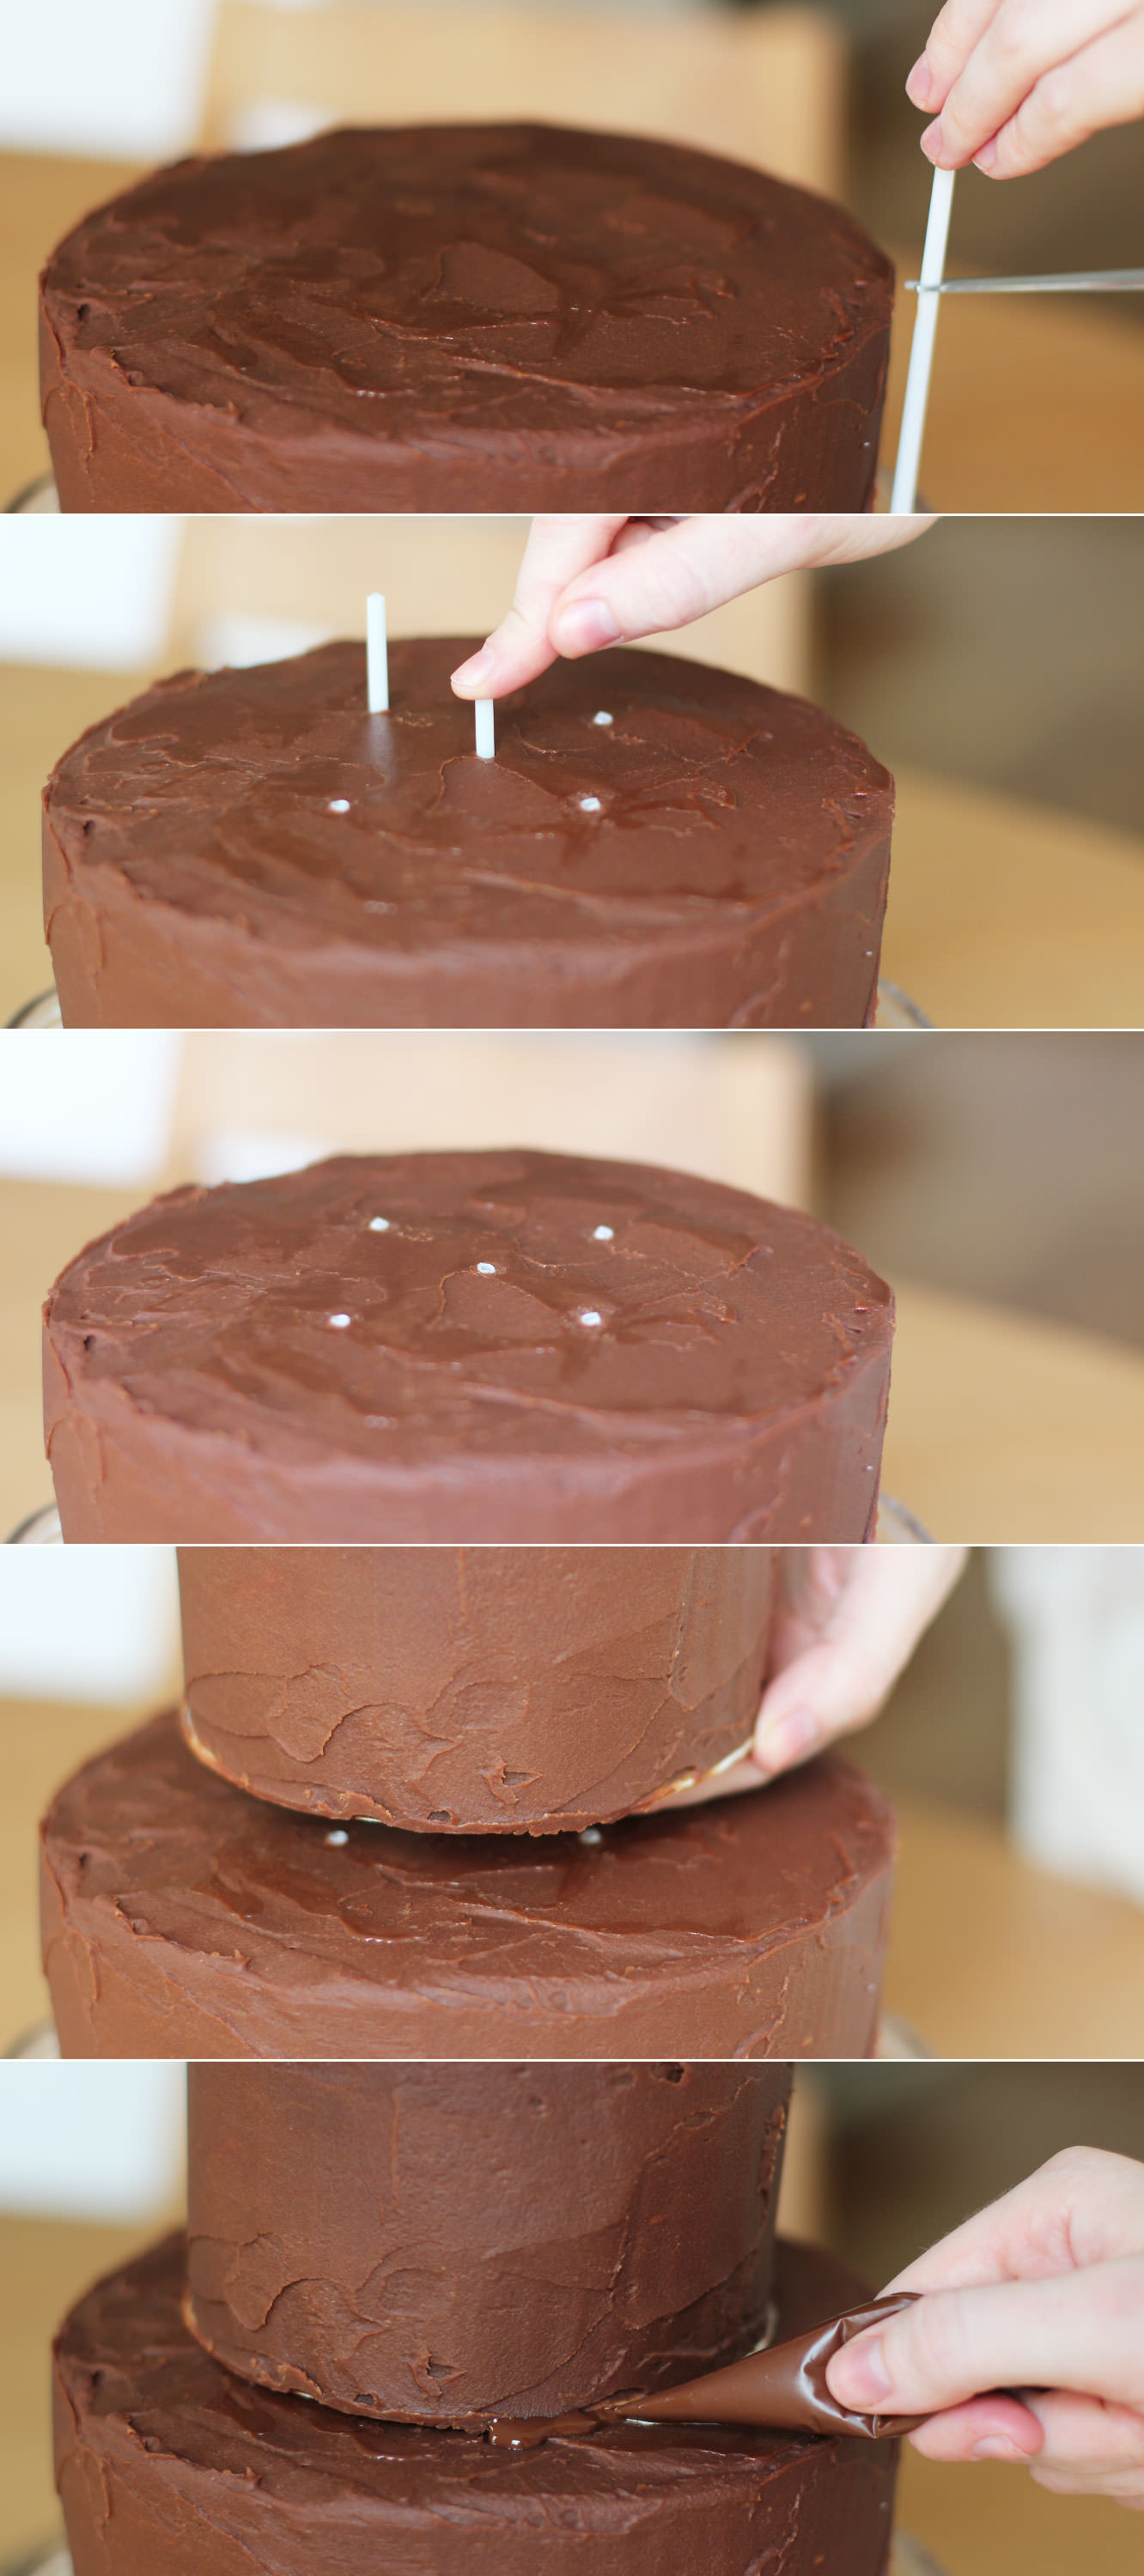
Get the cakes out of the fridge to assemble.
Cut the sticks to size and push through the bottom layer where the top tier will sit.
Place it on top.
I then secured this a bit further with the remaining dark chocolate I had. It will be covered up so no big deal if it’s messy.
Step twenty three
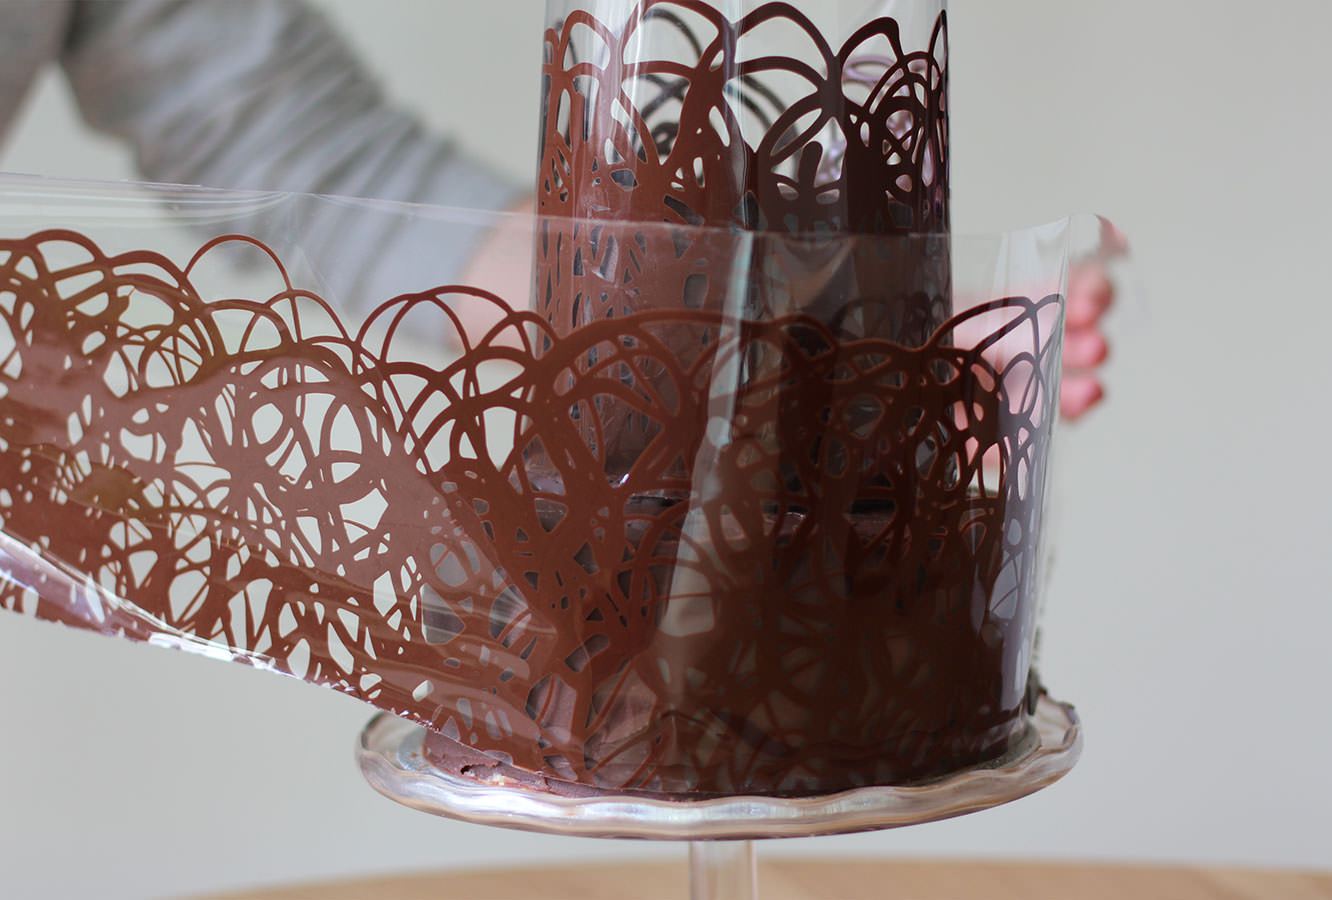
When the collars become touch dry, (meaning if you gently touch the surface you shouldn’t get chocolate on your finger, but what’s underneath is still not set) wrap them around the cake.
LEAVE THE CELLOPHANE ON. Sorry for shouting. But please. Walk away and don’t touch it for a while. Maybe leave a window open if it’s a cool day to help the process along.
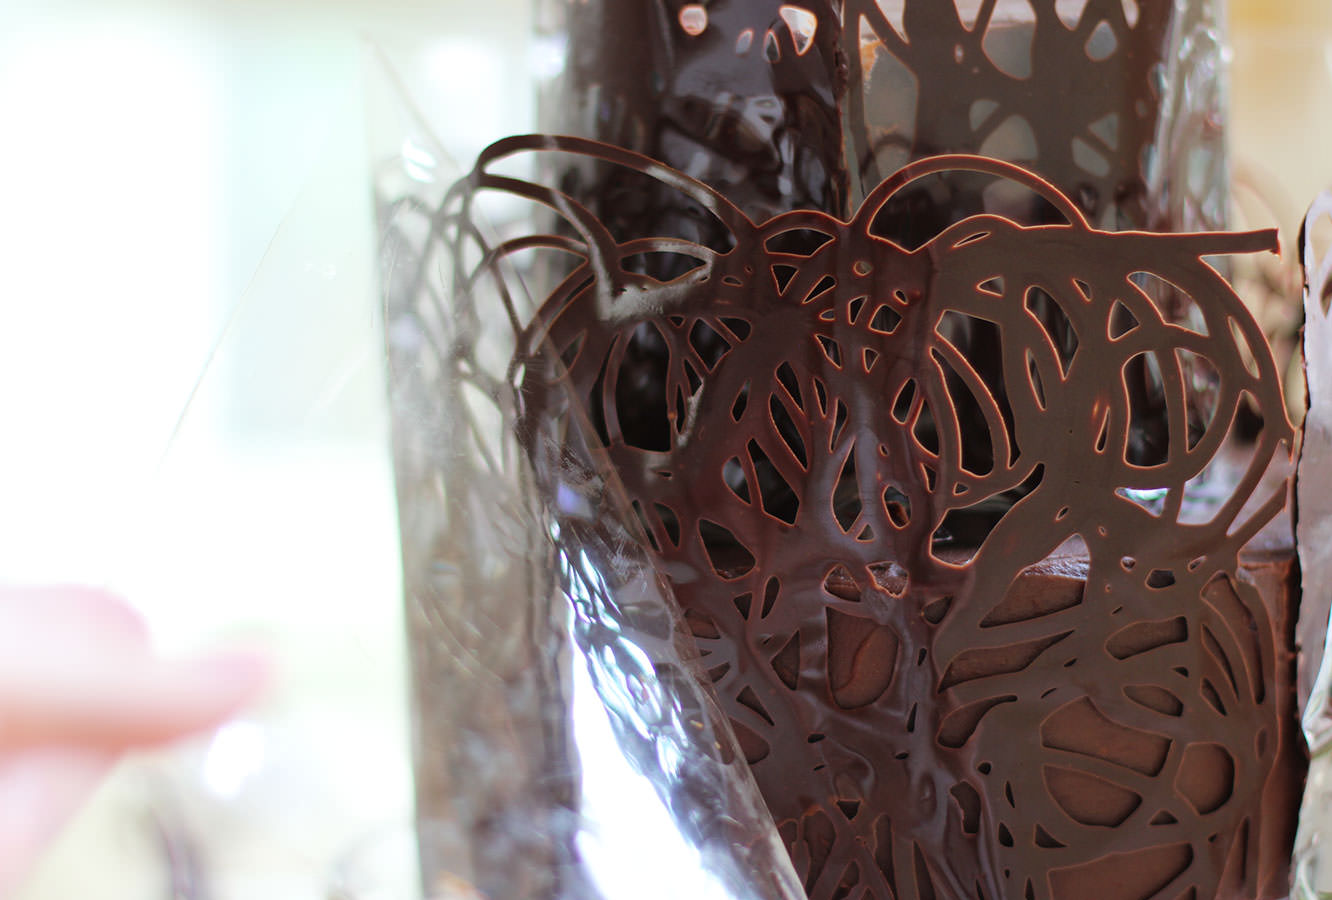
Step twenty four
When you’re feeling brave slowly peel off the cellophane to reveal your beautiful shiny chocolate collar. I was pretty excited at this point I must confess.
Step twenty five
Fill with the fruit and make someone’s occasion that bit happier.
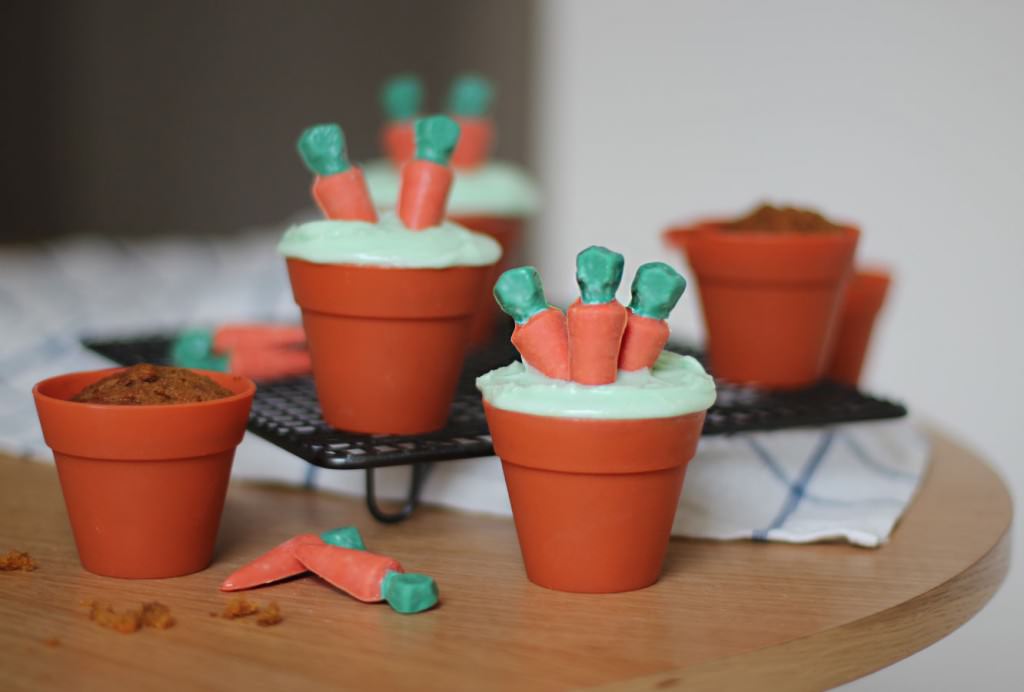
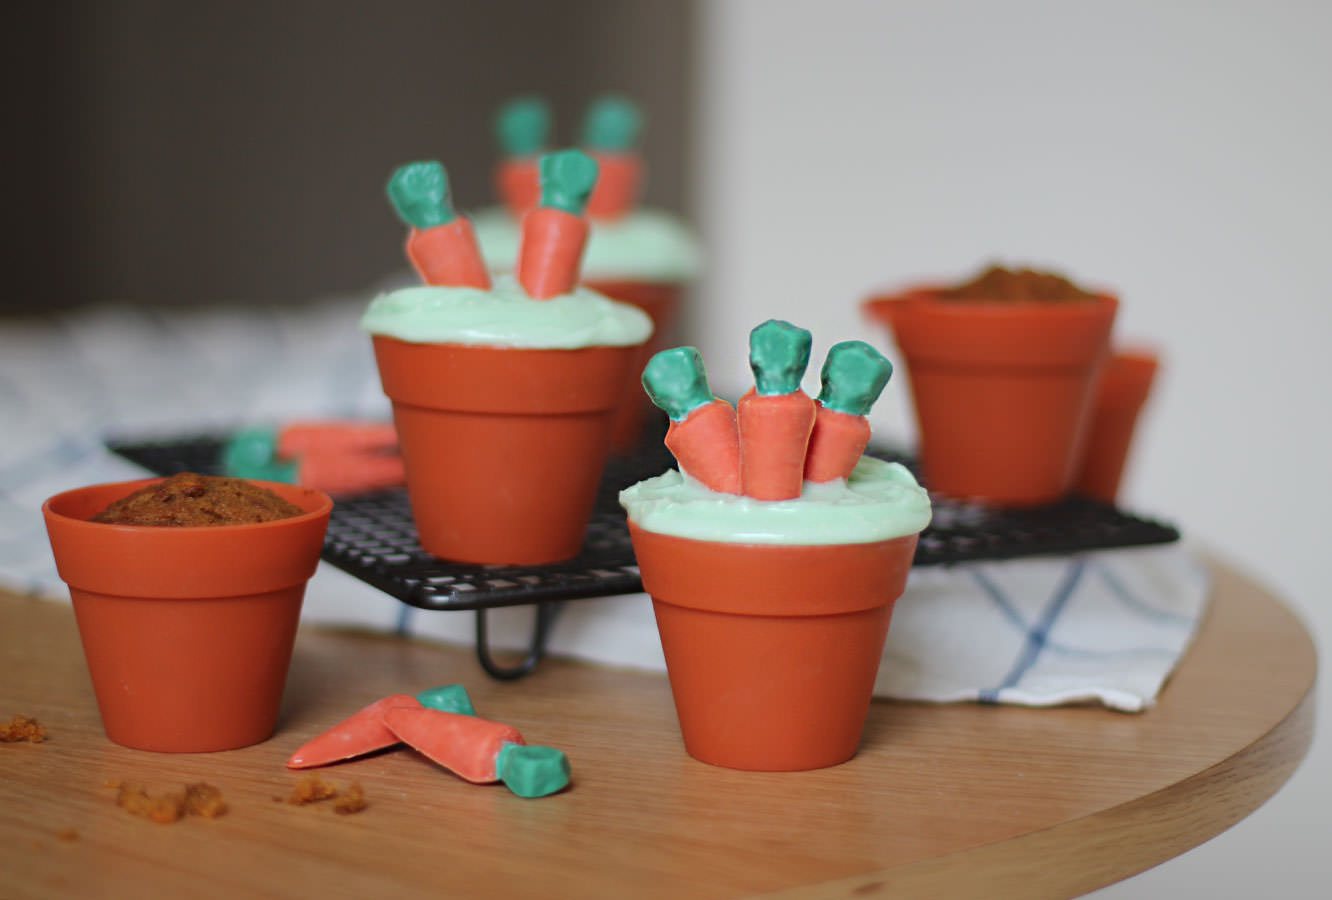
Hullo again, with Easter well and truly around the corner, here’s another cute bunny-themed bake for you.
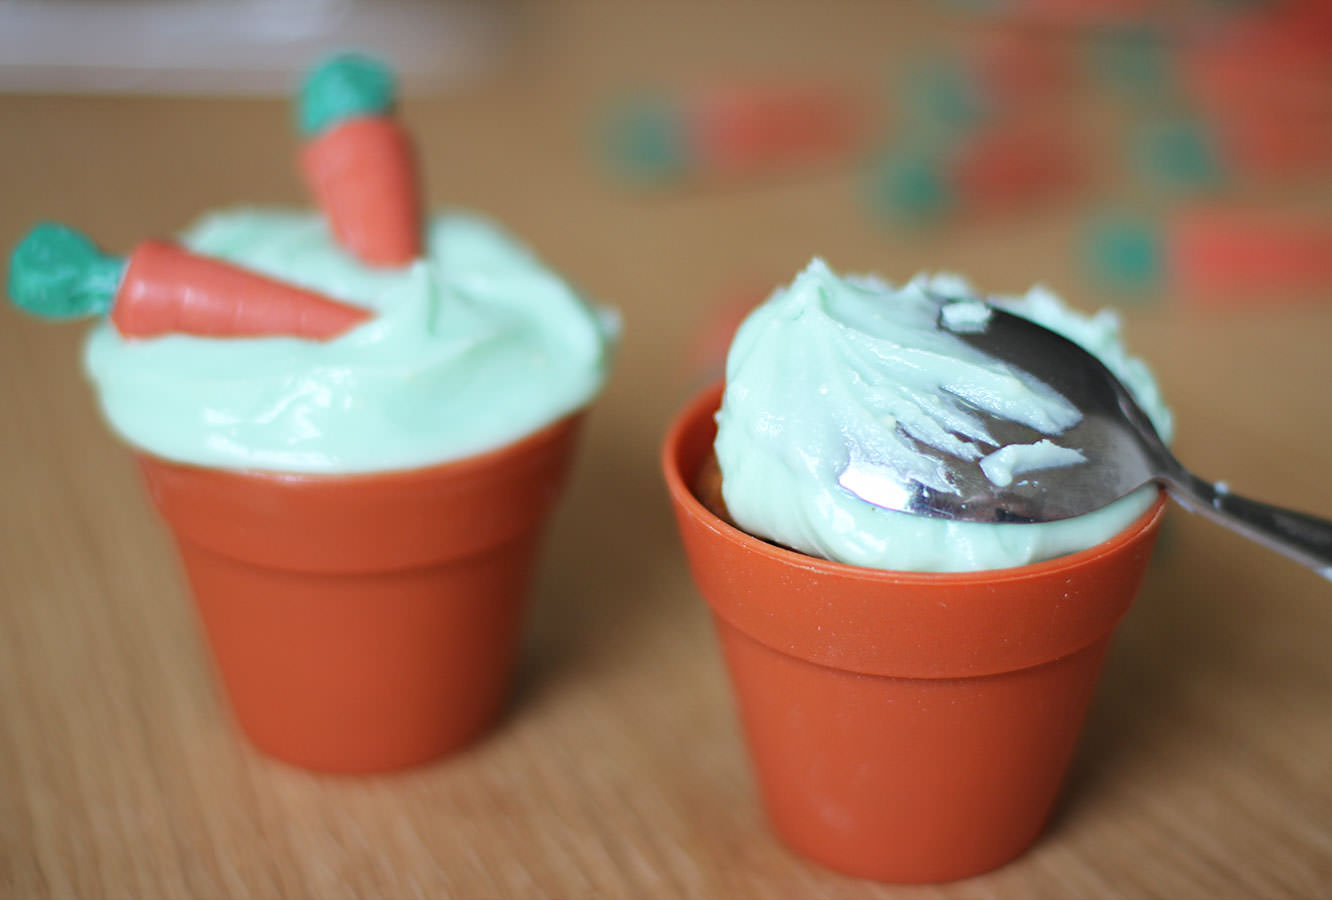
I found an adorable mould for tiny carrots online when browsing for chocolate moulds, as you do on payday…right? I couldn’t resist pairing them with the gorgeous little flowerpot shaped cupcake cases my lovely pal Taylor bought me for my birthday a couple of years back.
Anyhoo, there was an obvious flavour choice for these and I pried myself away from my usual chocolate bakes to bring you carrot muffins/cupcakes with cream cheese frosting.
This makes 6 cupcakes, so you will want to double it for more or for a single cake.
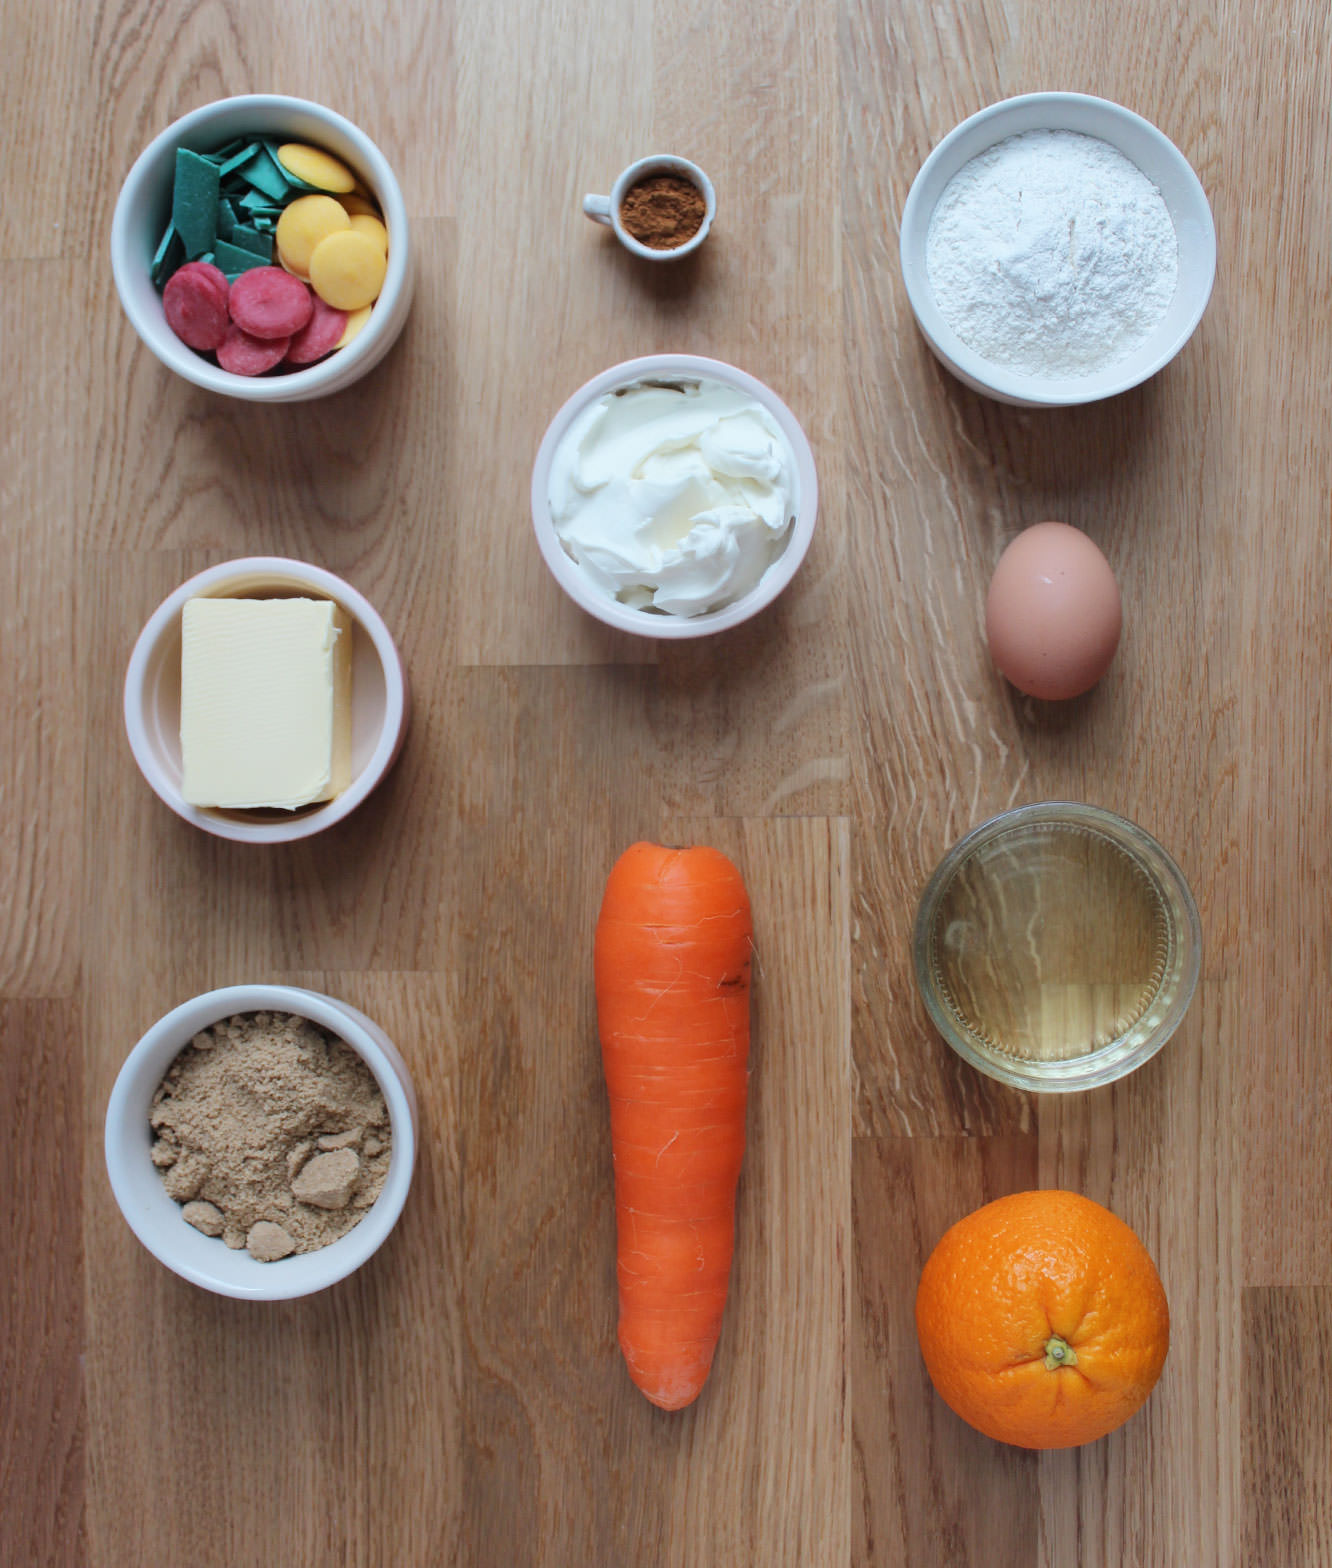
You will need
100g/3.5 oz self-raising flour
100g/3.5 oz carrot
80g/2.5 oz soft light brown sugar
75ml/2.5 fl oz sunflower/vegetable oil
1 egg
1/2 tsp bicarbonate of soda
1 tsp ground cinnamon
1/2 tsp ground nutmeg
Zest of an orange
For the icing:
75g/2.5 oz soft cream cheese (full fat)
25g/1 oz unsalted butter
100g/3.5 oz icing sugar
1 tsp vanilla extract
Green food colouring
Other:
Candy coating chips in orange (or yellow and red like me) and green
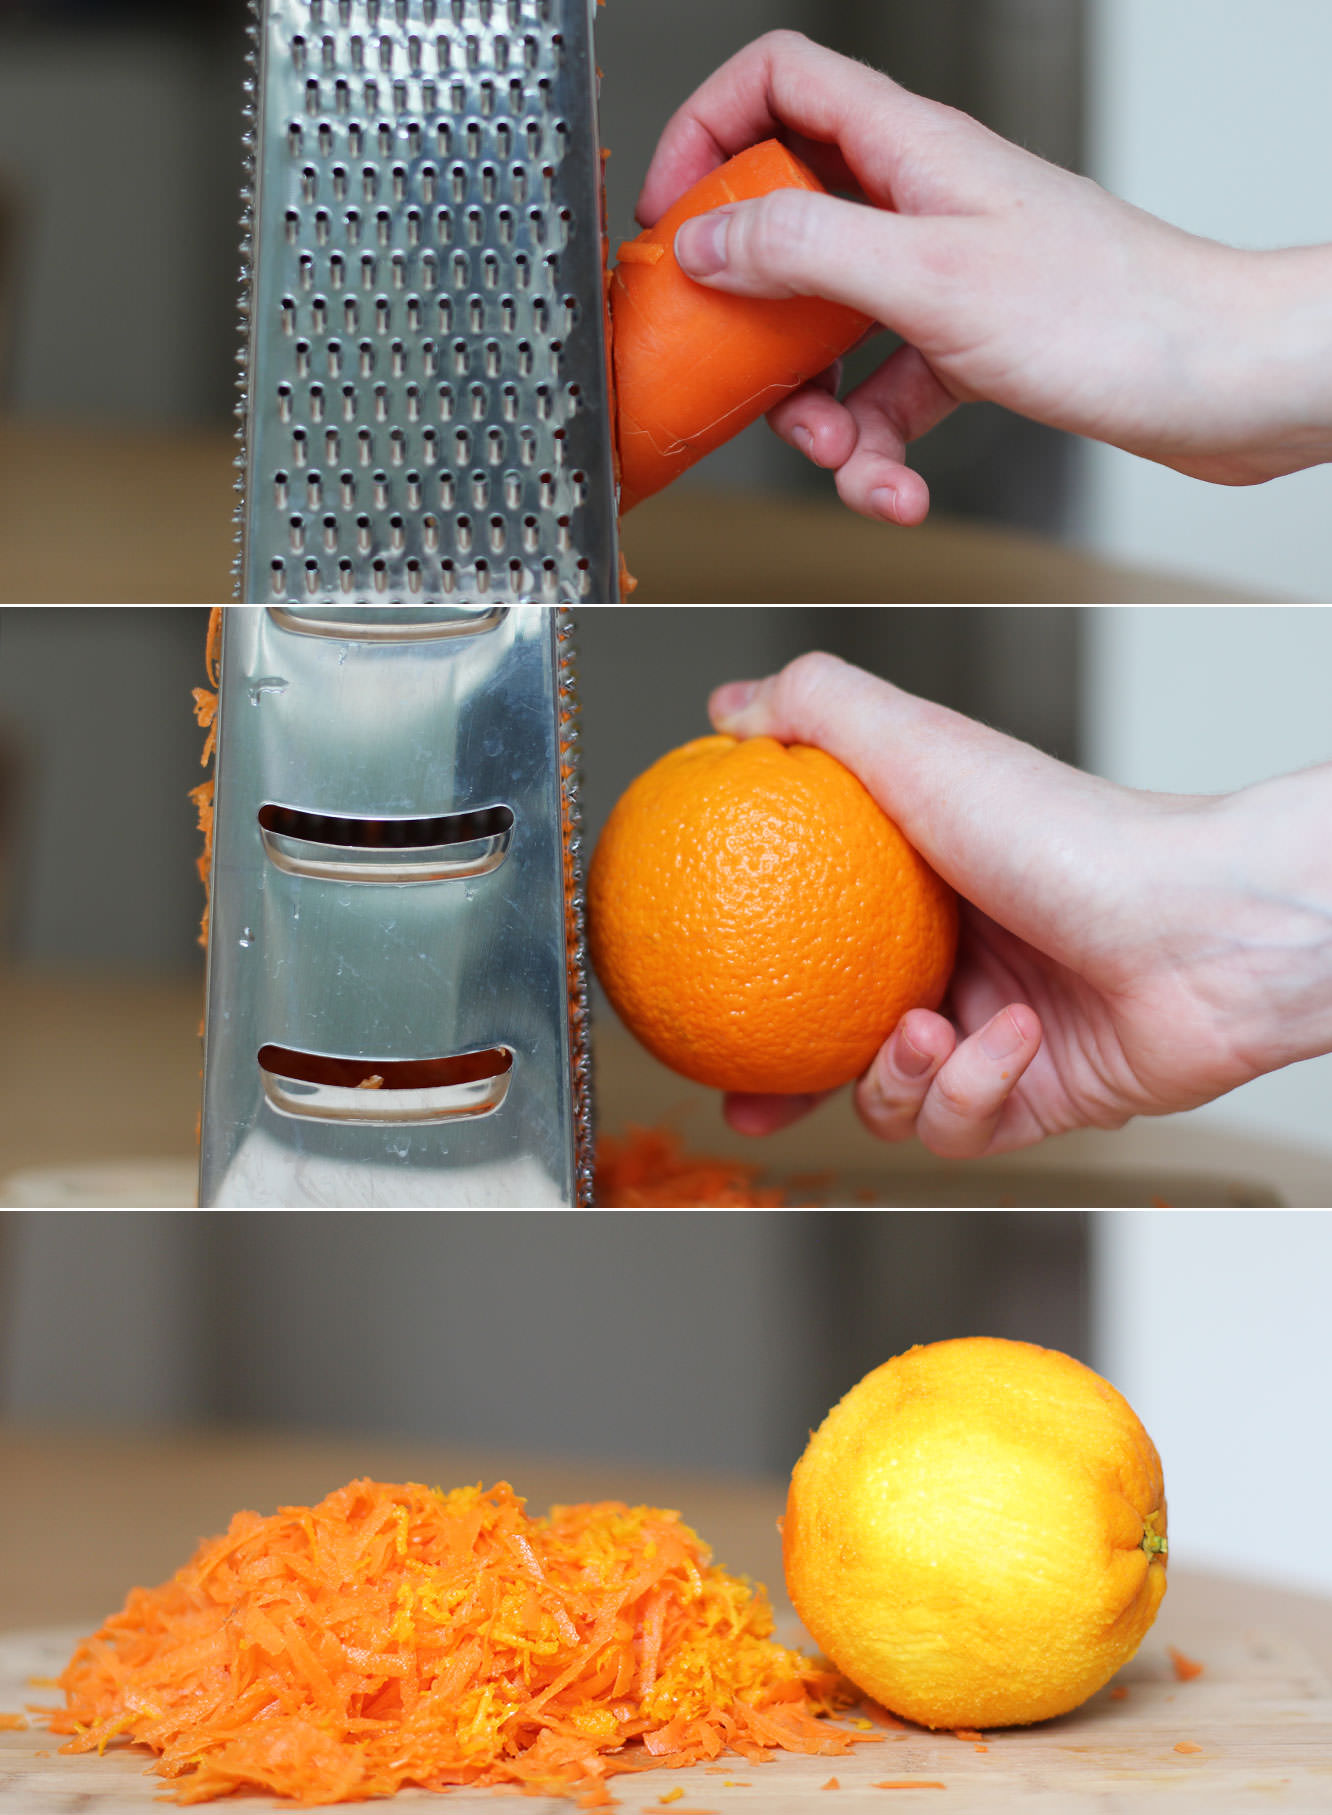
Grate the carrot on the largest setting and the skin of the orange on the smallest setting on your grater.
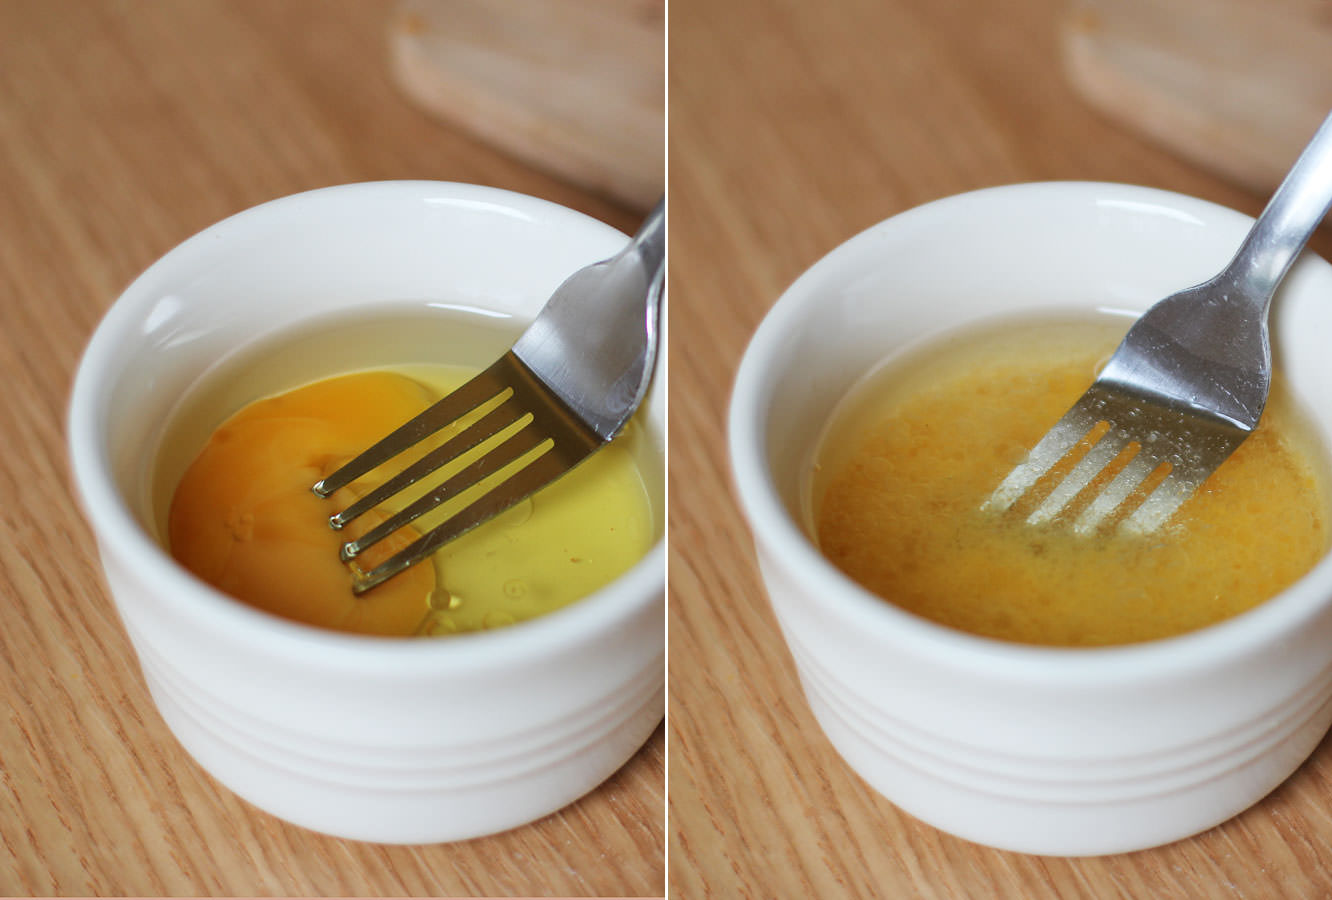
Step two
Using a fork combine the oil and the egg in a small dish.
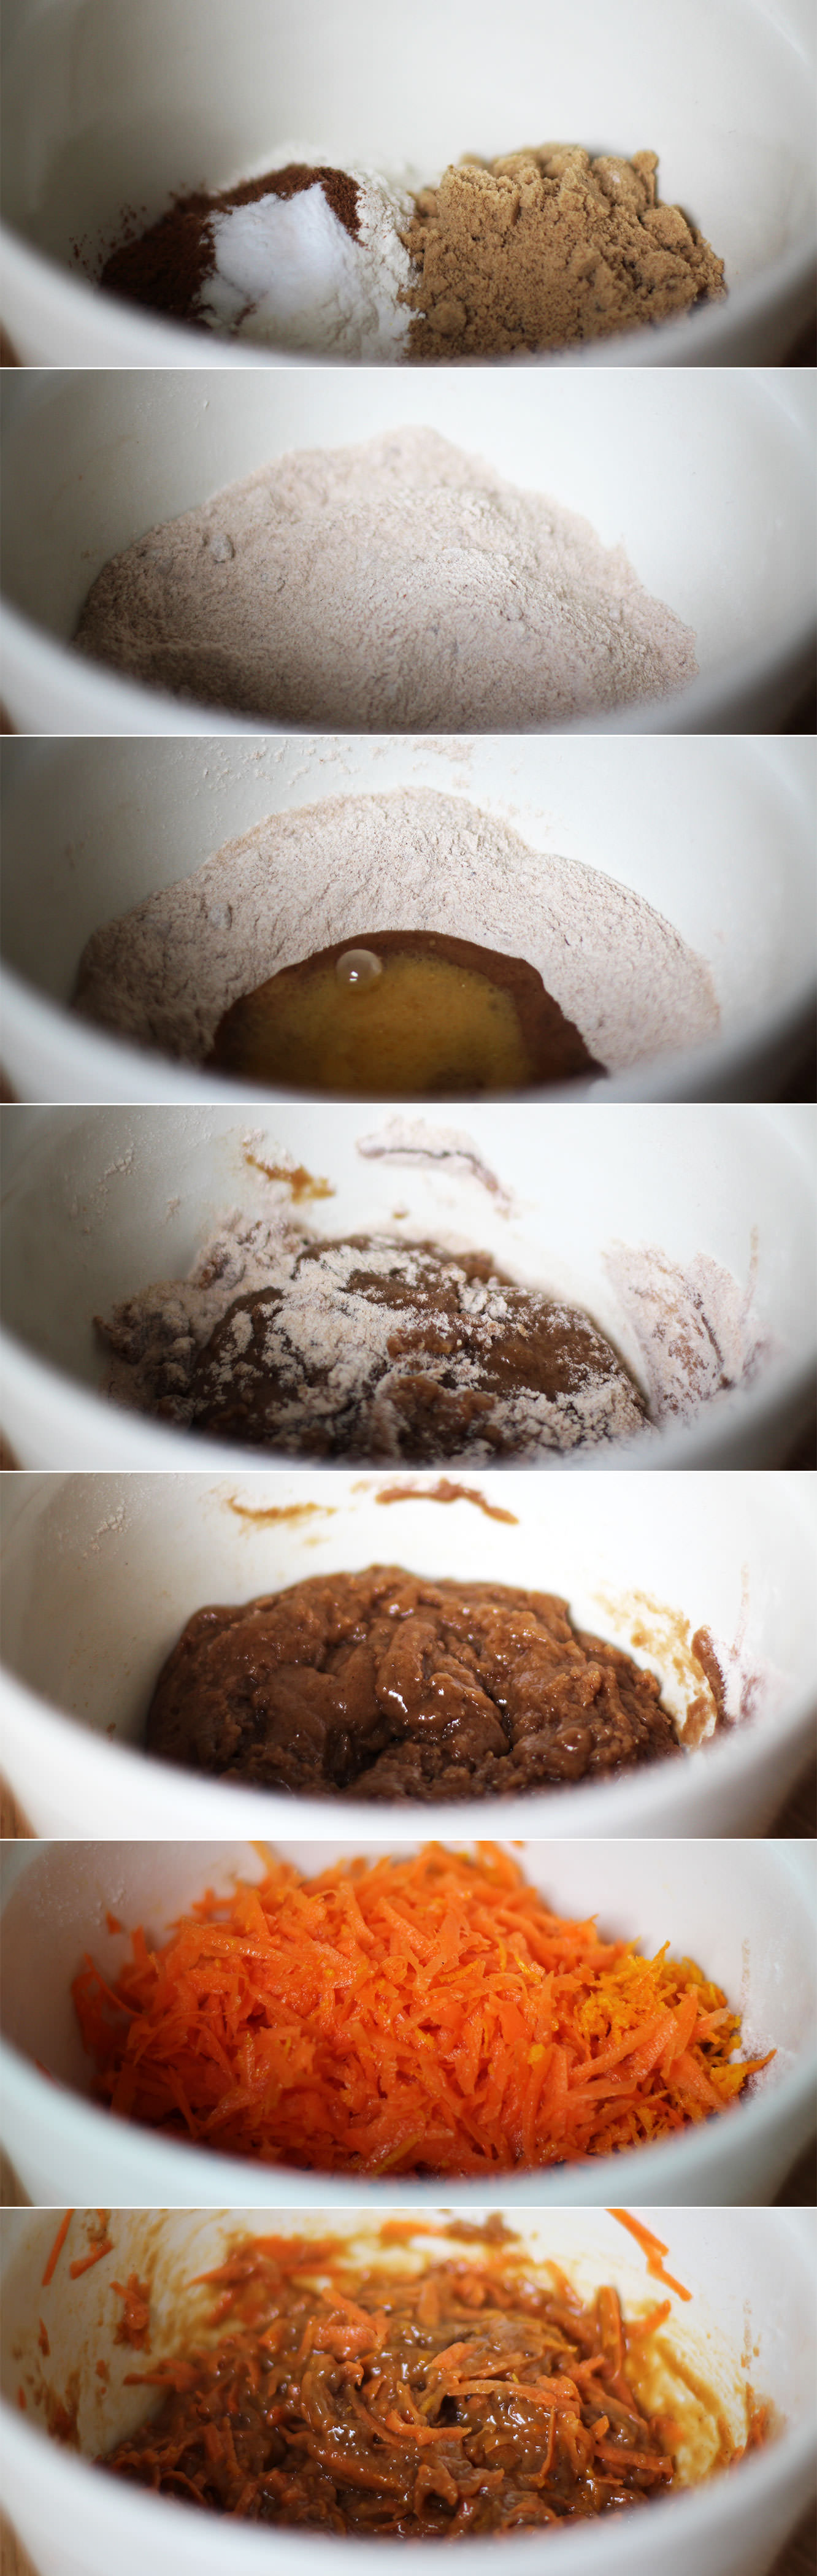
Step three
Combine the flour, sugar, spices and bicarb in a mixing bowl. Make a well in the middle and stir in the egg and oil mix. Do this in small circles to avoid lumps.
Add the carrot and orange zest (some raisins wouldn’t go amiss if you have some).
Let’s be honest. Not the most appetising looking mixture.
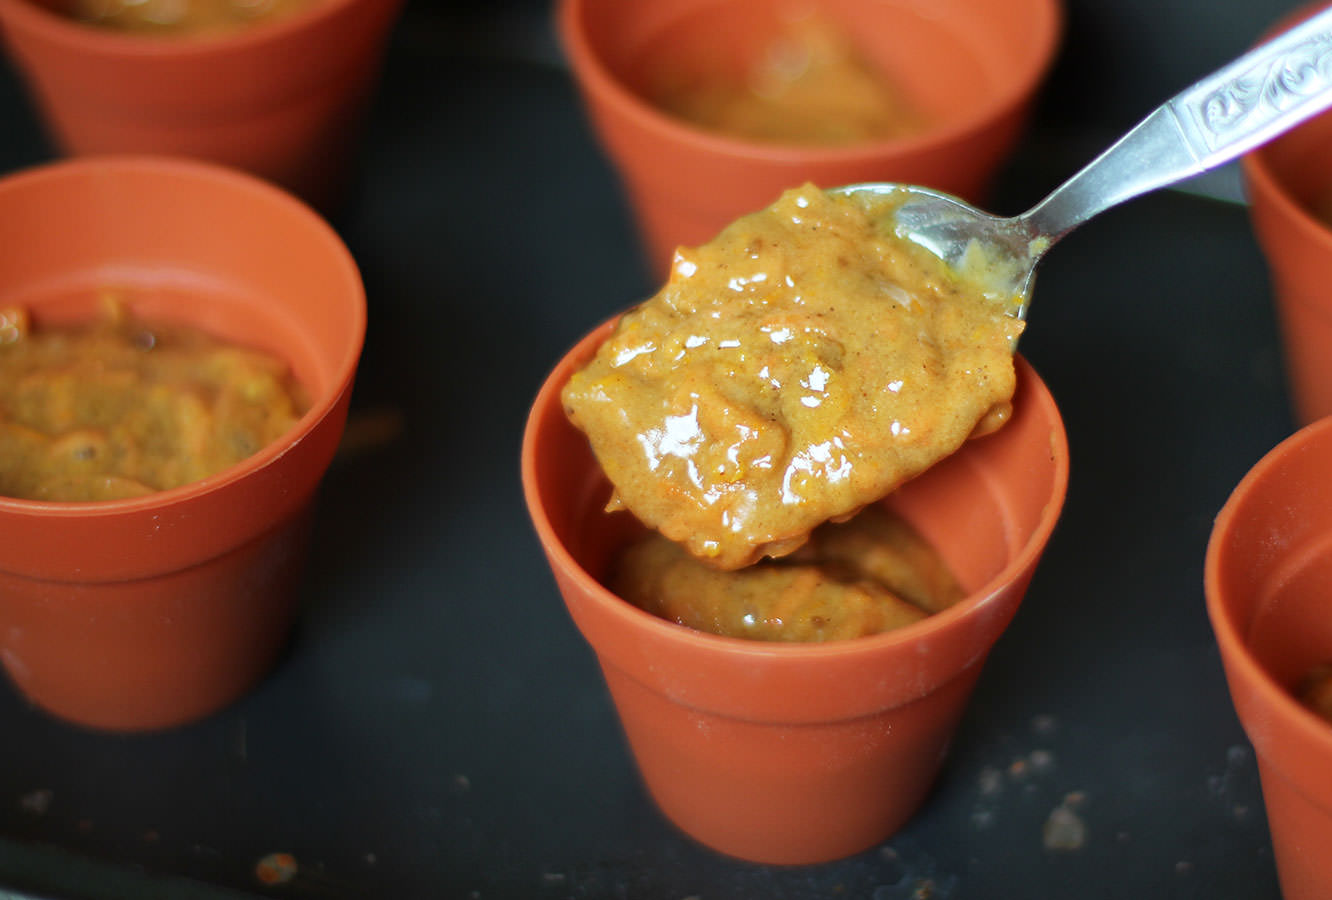
Step four
Distribute the mixture evenly between the pots.
Bake on gas mark 4/180C/350F for 20-25 minutes.
Step five
While the cakes are in the oven melt your candy chips in the microwave and fill the moulds using a piping bag. Make sure to look underneath your mould to check there’s no bubbles.
If mixing the orange from red and yellow like me I advise you to start with yellow and gradually add red to get the colour you want rather than the other way round.
Step six
Make the icing by combining the cream cheese, icing sugar, butter and food colouring. Now, I won’t lie, you may need to add a little more icing sugar to the recipe, I’ve adjusted the quantities based on a slightly runny mix that I had, but they might not be totally perfect. My apologies chaps.
Add food colouring until you have a colour you like, I didn’t want to overdo it and overshadow the carrots.
Step seven
When the cakes are completely cool ice them just using a spoon. You can get more fancy if you want but personally I didn’t see the need to faff about.