There’s lots of things happening right now. The first one to mention is that fabrefaction TURNS 1 TODAY! I know, crazy right? I will leave any sentimental ramblings to my new year post, but it seems mad to me that my first little blog about an advent calendar made from egg boxes was only a year ago.
The other major thing that’s happening is that MEGAN IS GETTING MARRIED. In 12 days no less. Gawsh.
In honour of this we had a hen party last weekend in beautiful Bath. For part of the afternoon we had time to kill and every activity we looked up was crazy expensive or not available etc etc. After some deliberation it was suggested that I conjure up something to do.
So in honour of Meg’s wedding, fabrefaction’s birthday, and being as close as we are to December, it seemed like the perfect opportunity to use our make shift craft workshop to make an heirloom for Meg and Olly to obligingly hang at Christmas…at least as long as we’re friends…which will be forever, so…
DISCLAIMER: This post isn’t so much the usual step-by-step, more a little inspiration and a few tips along the way.
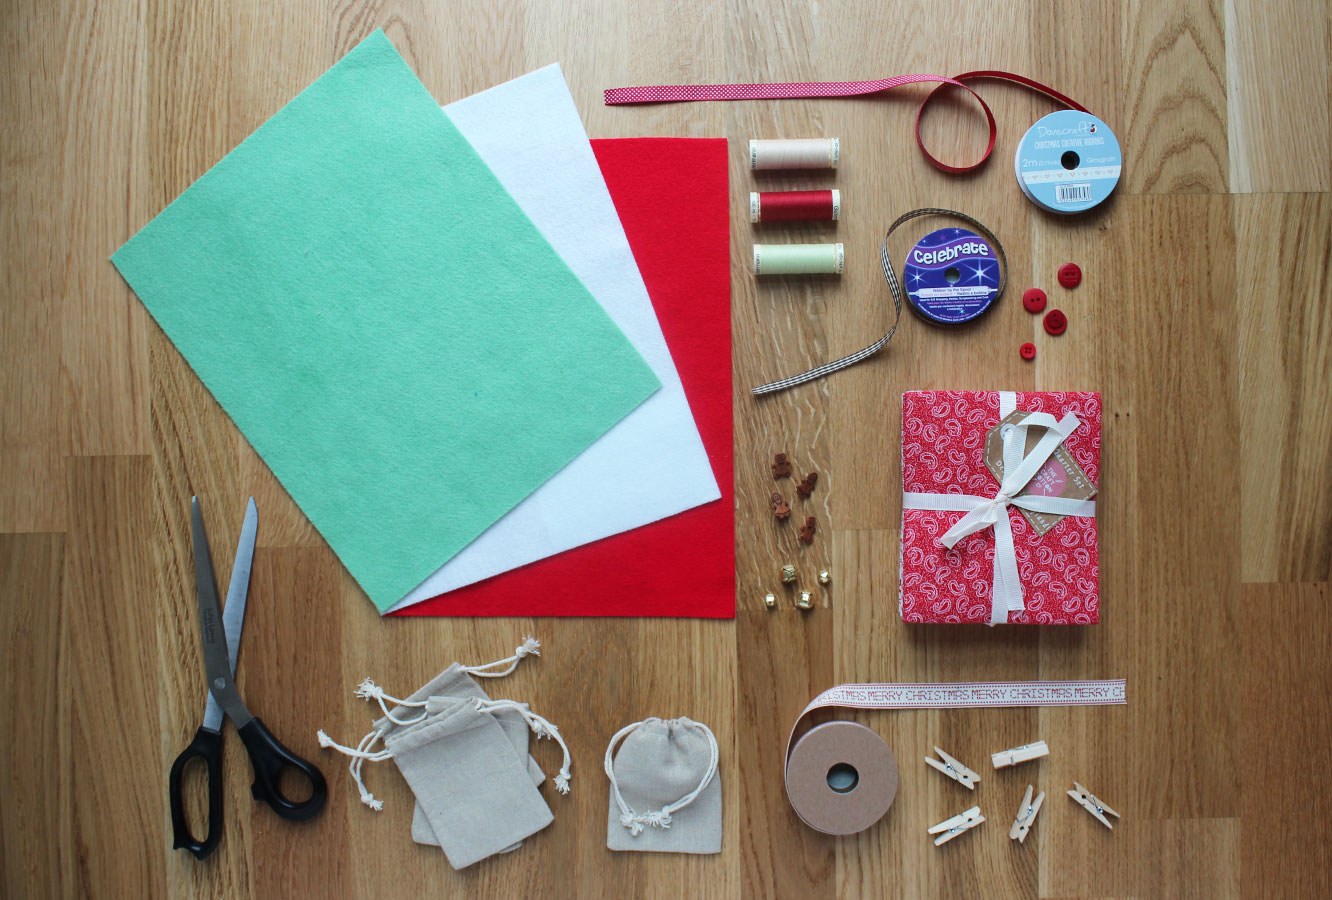
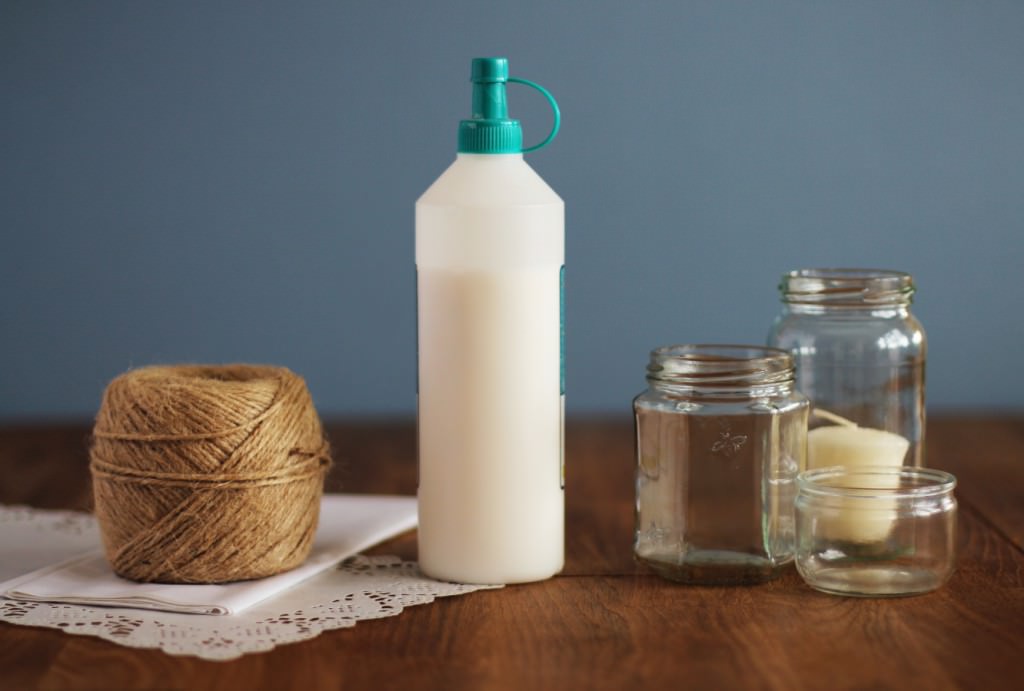
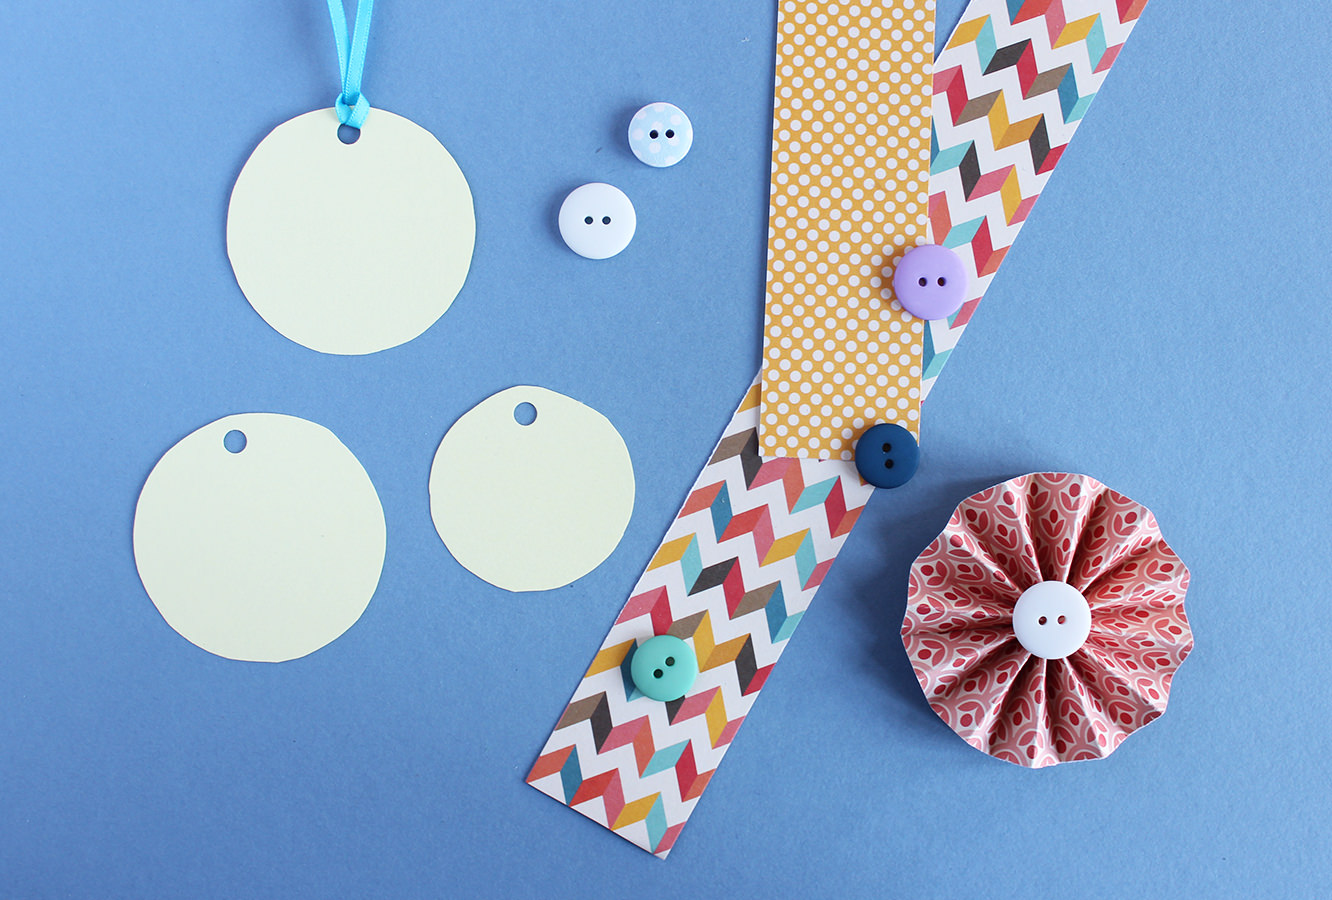
You will need
These little drawstring bags (or some like them)
24 little pegs (I got mine from Tiger, they’ve got numbered ones at the moment too)
3m ribbon to hang the pegs off
A whole plethora of Christmas themed haberdashery (The Range and Hobbycraft furnished us nicely)
A team of Santa’s little helpers

Now it depends how crazy you are, I rate as ‘very’ on the scale when it comes to craft. Cool kid I know.
Well, I didn’t quite fancy the thought of the hens free styling the numbers because I think a little bit of consistency helps the overall look of this kind of thing. Yes, I did tell them that as an introduction, and yes, I do have problems.
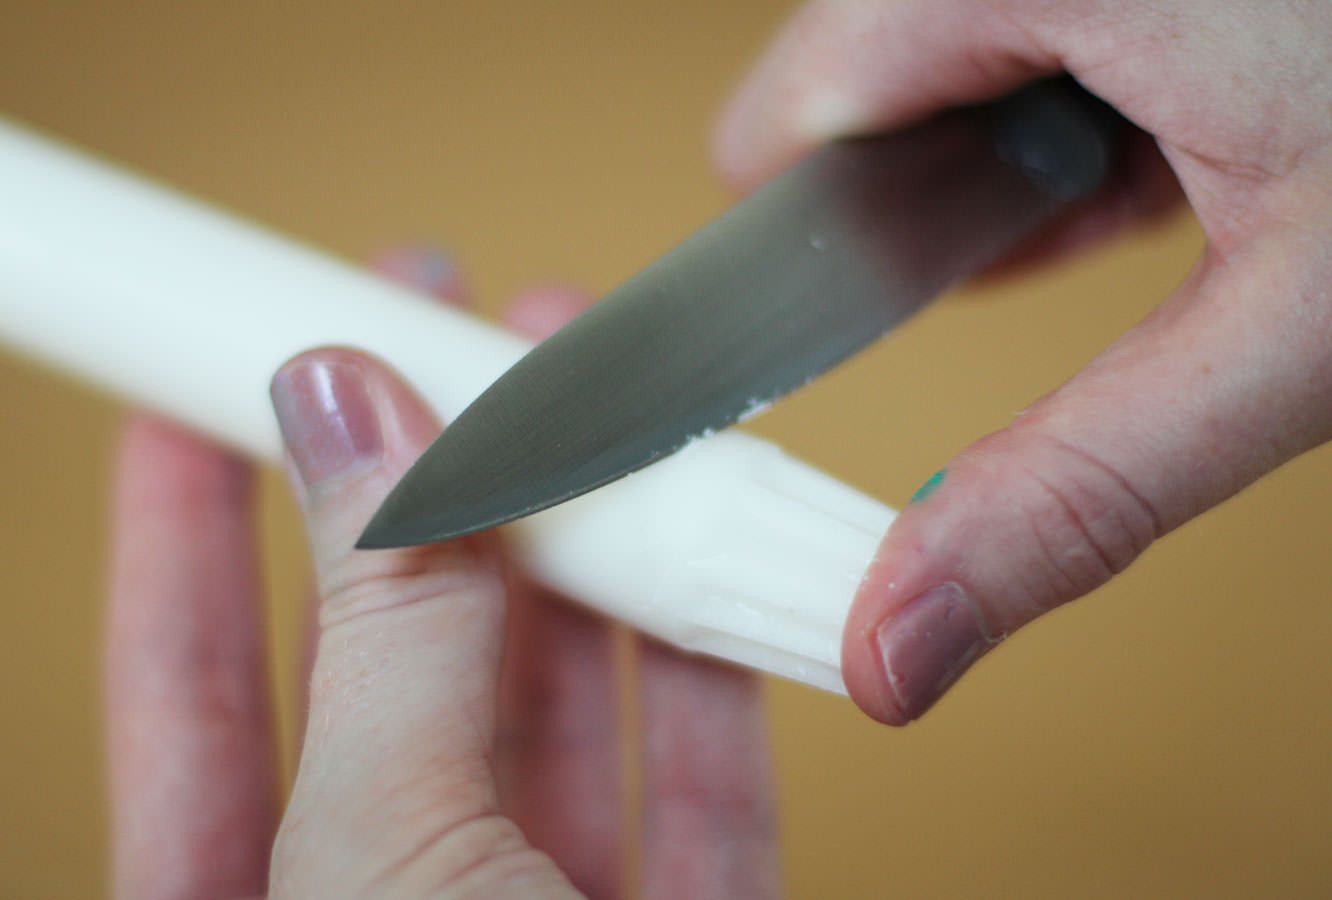
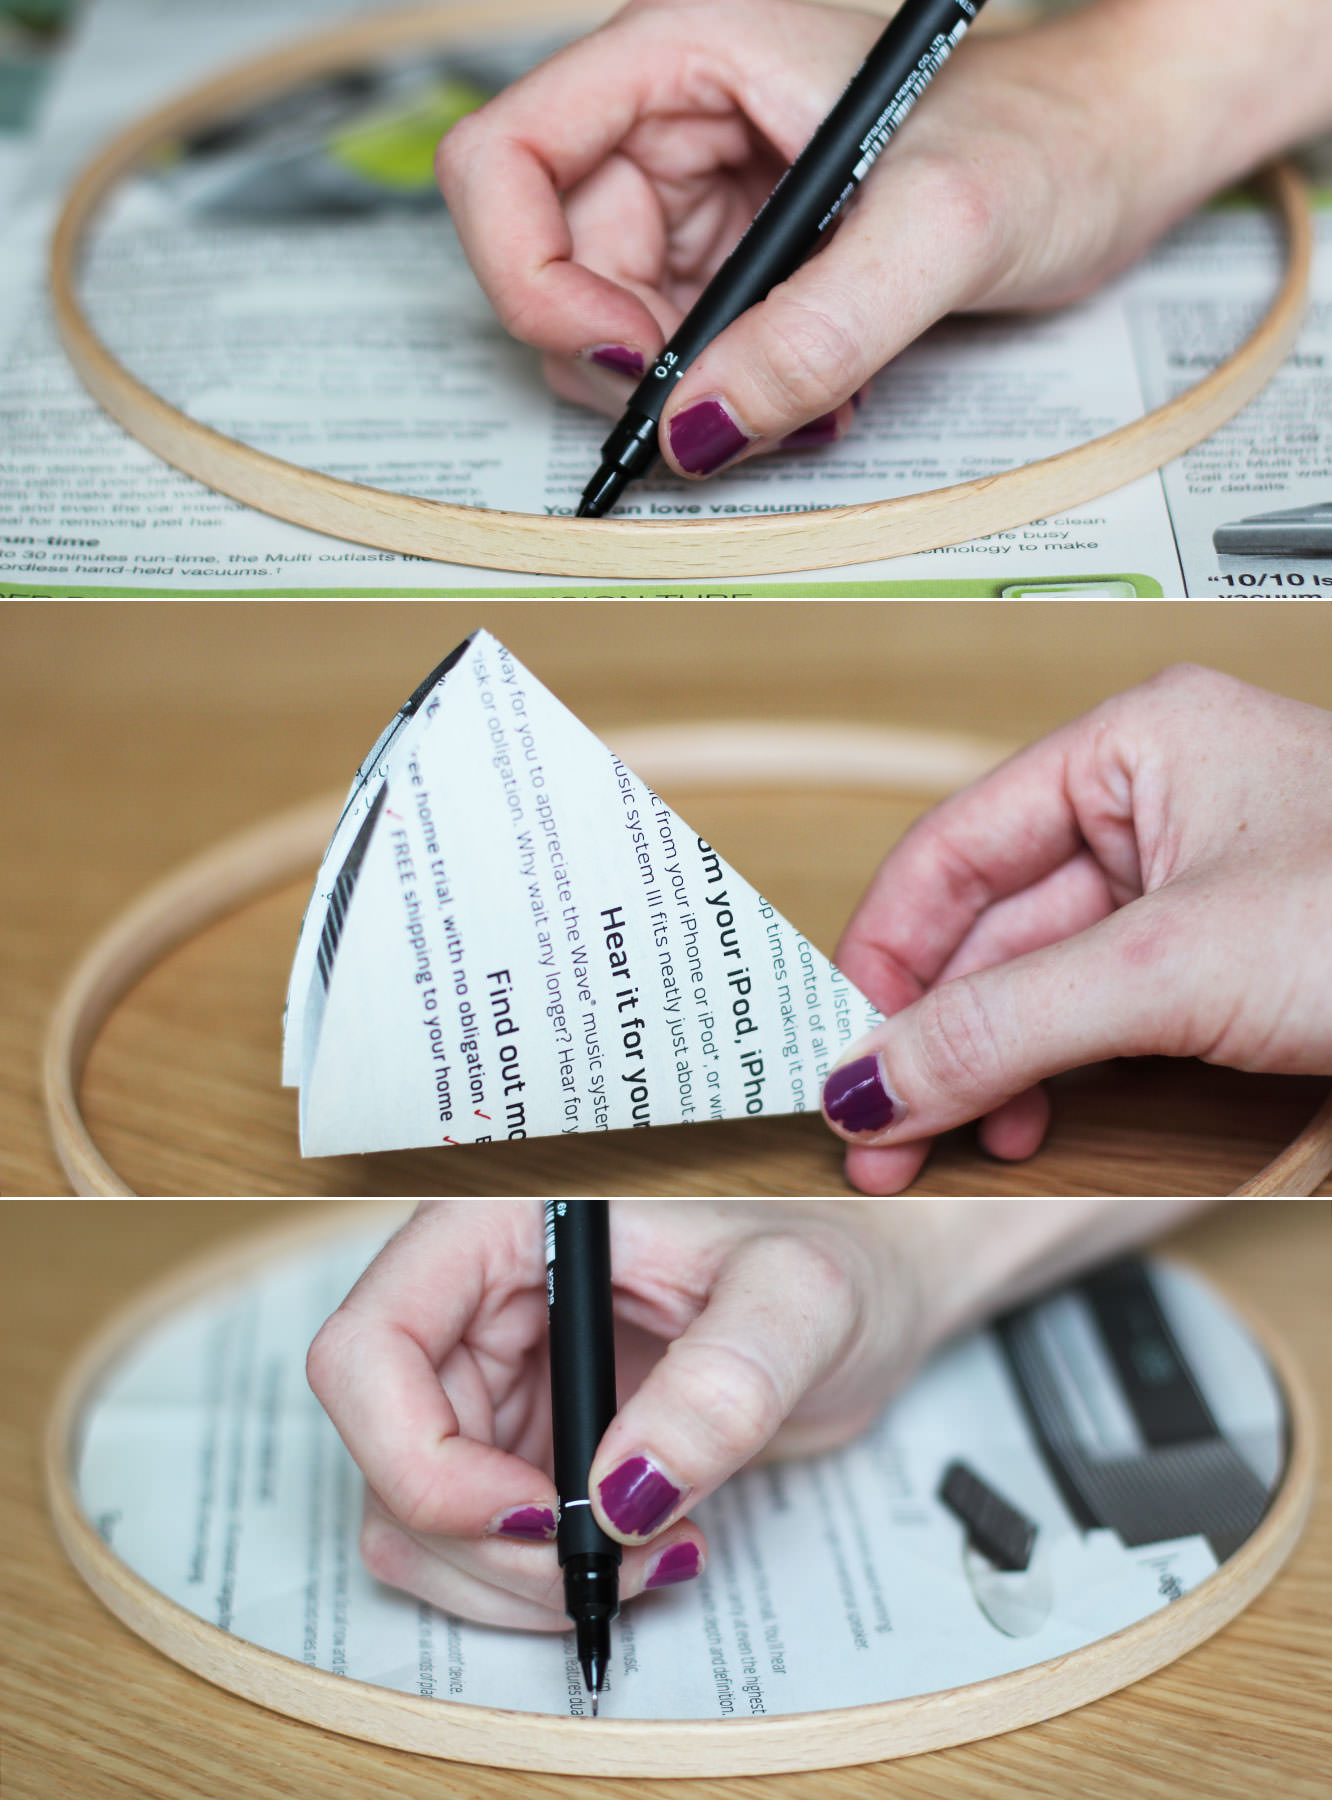
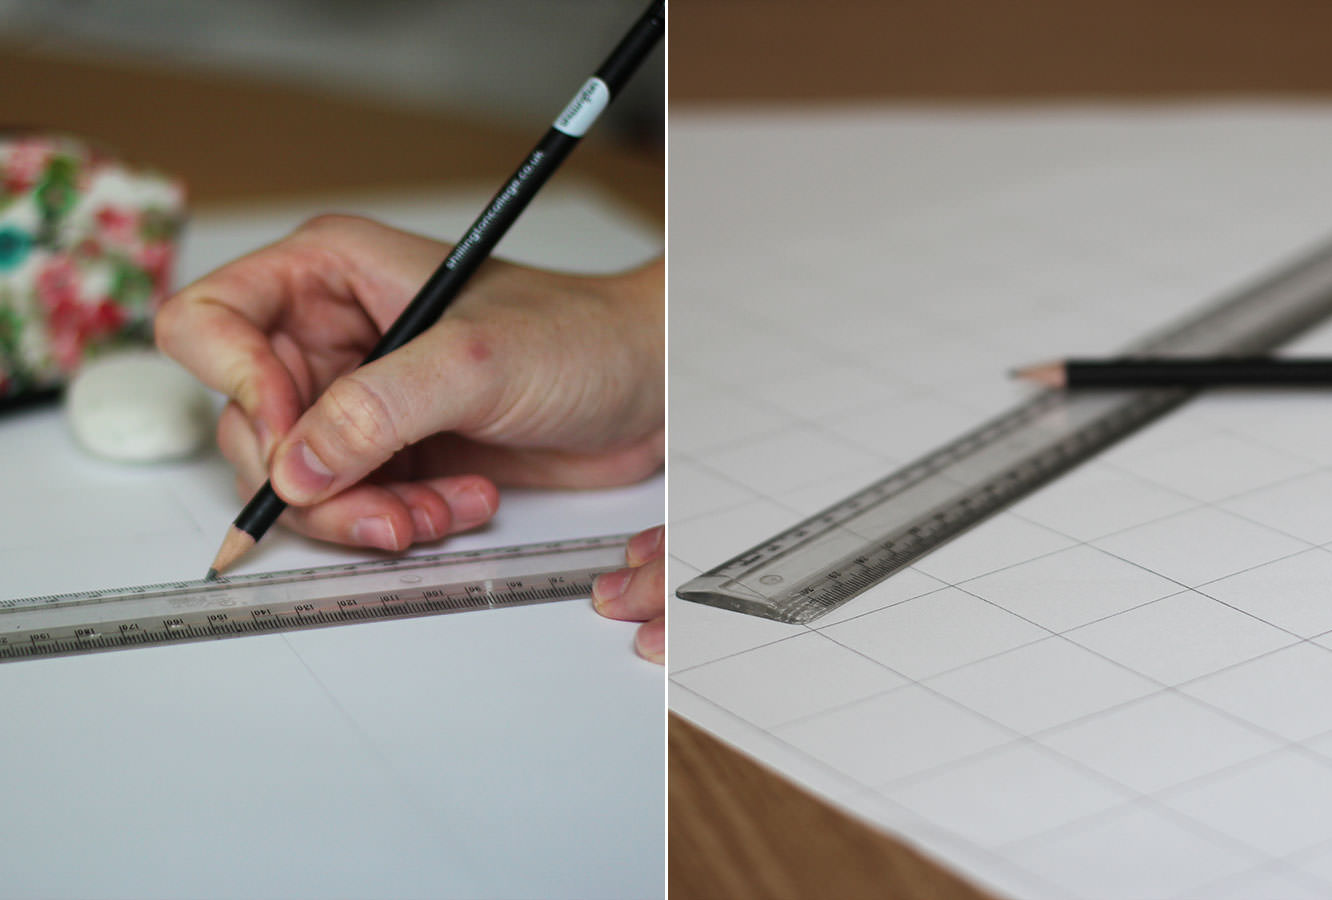
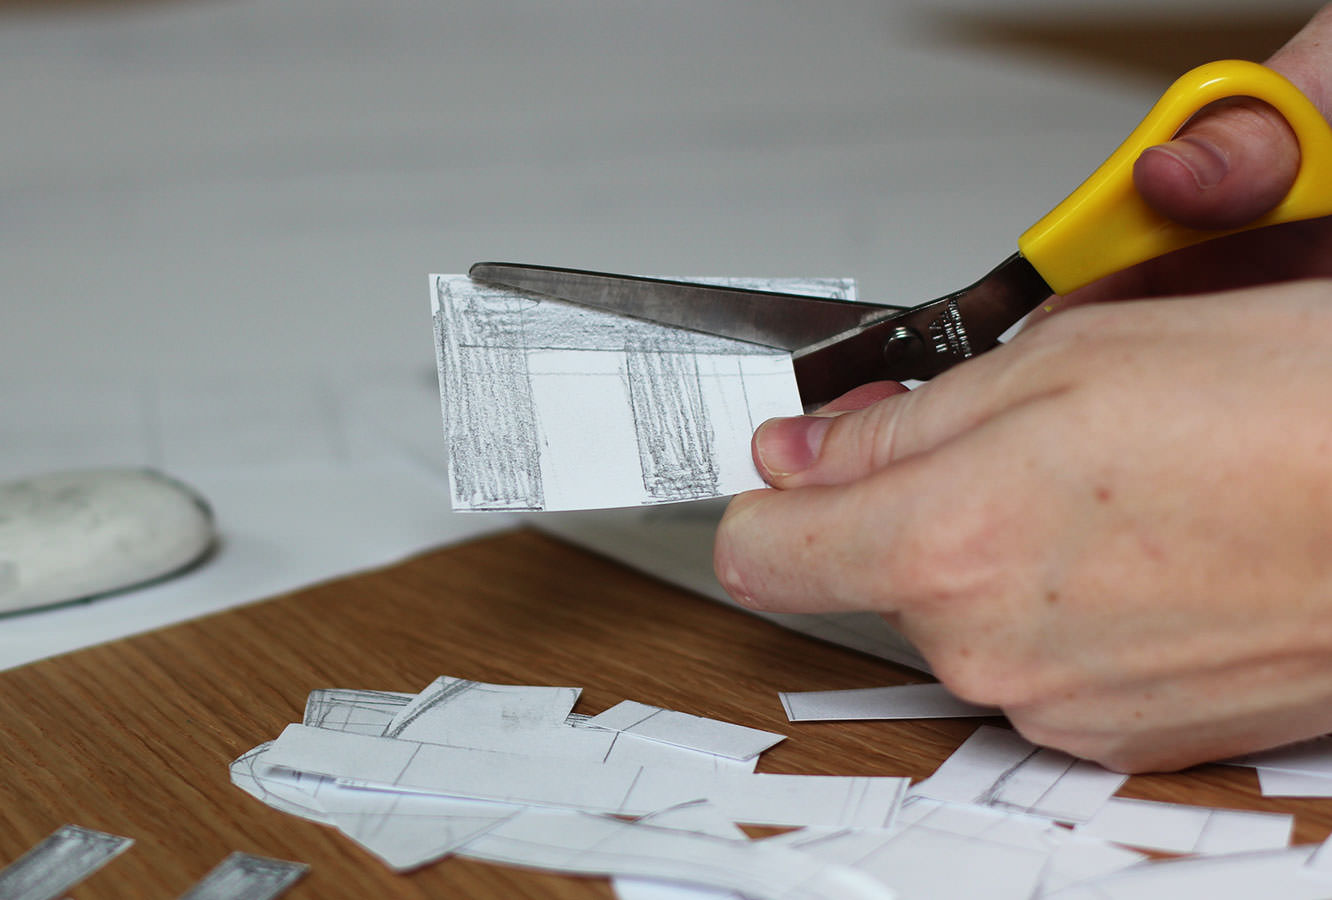
I printed the numbers in a chubby font to begin with using them as a template on felt.
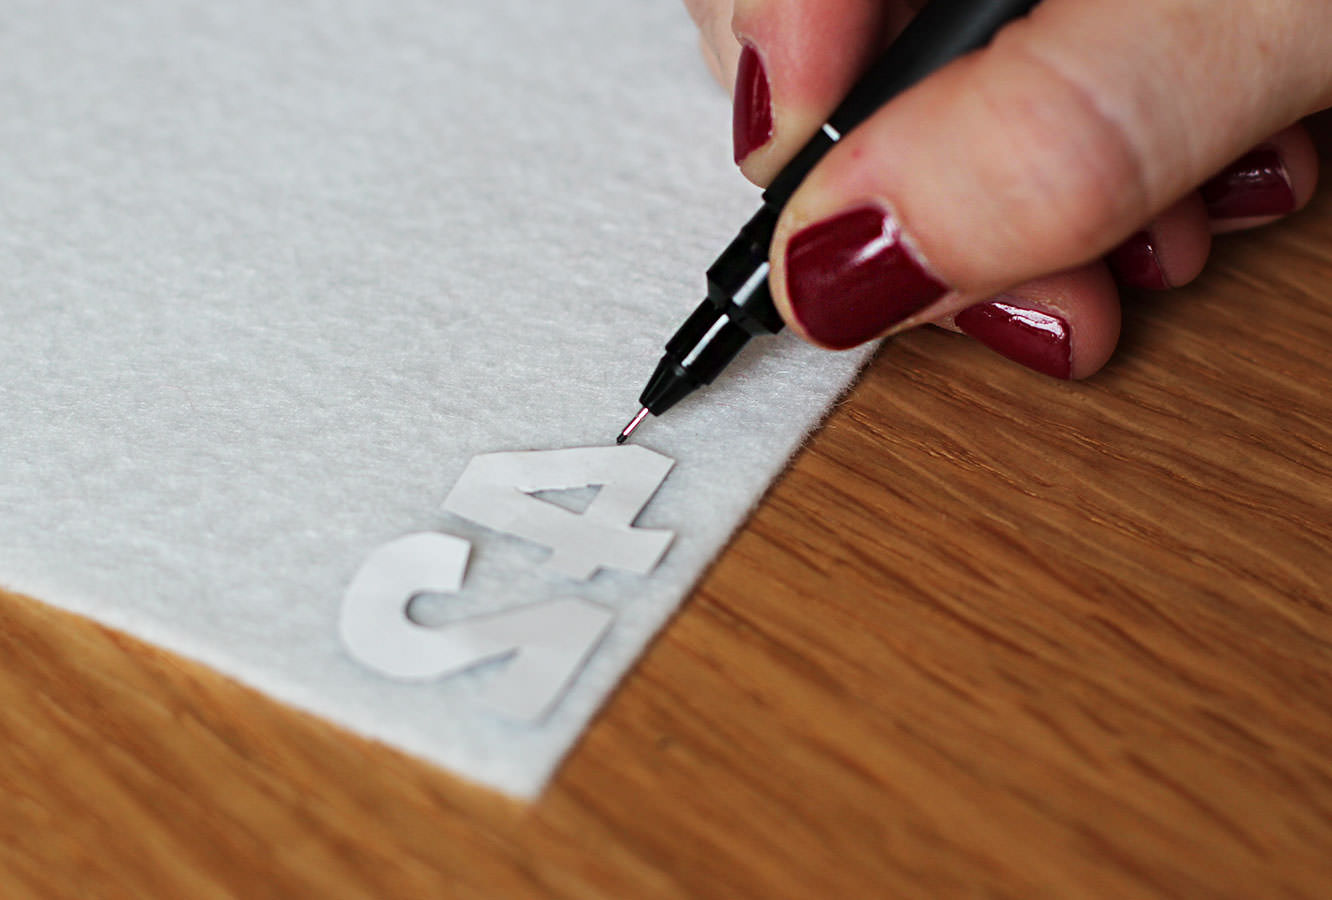
If you don’t trust yourself to hold and cut at the same time turn the numbers upside down and draw round them very lightly. Then you won’t have pen marks when you turn them over. I was a bit heavy handed with the pen at first, so be warned.
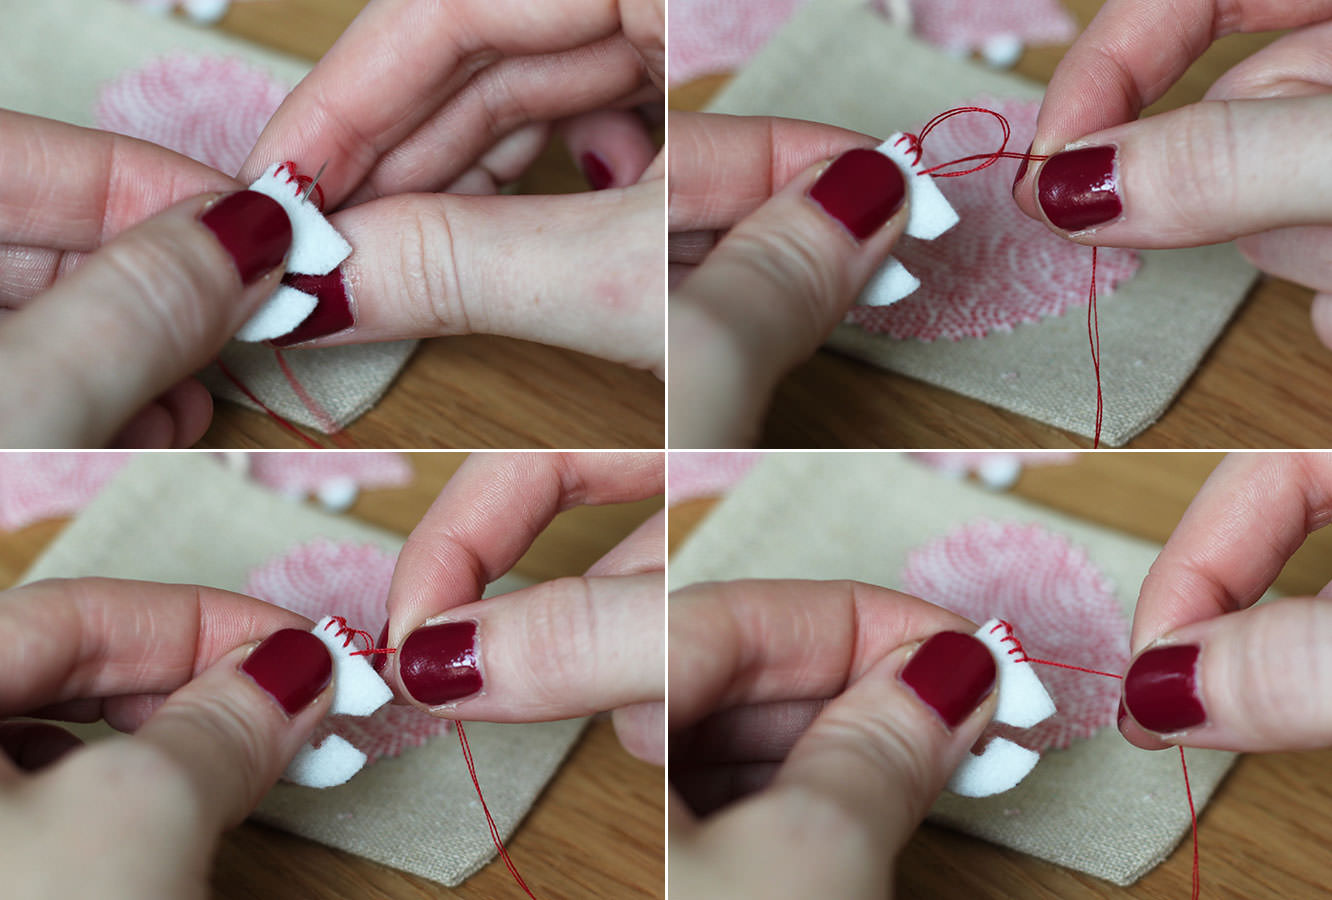
I love a little blanket stitch on Christmassy craft. You basically need to put the needle through the felt at the height you want your stitching, and as you pull the thread through catch the loop so that it is held at the top.
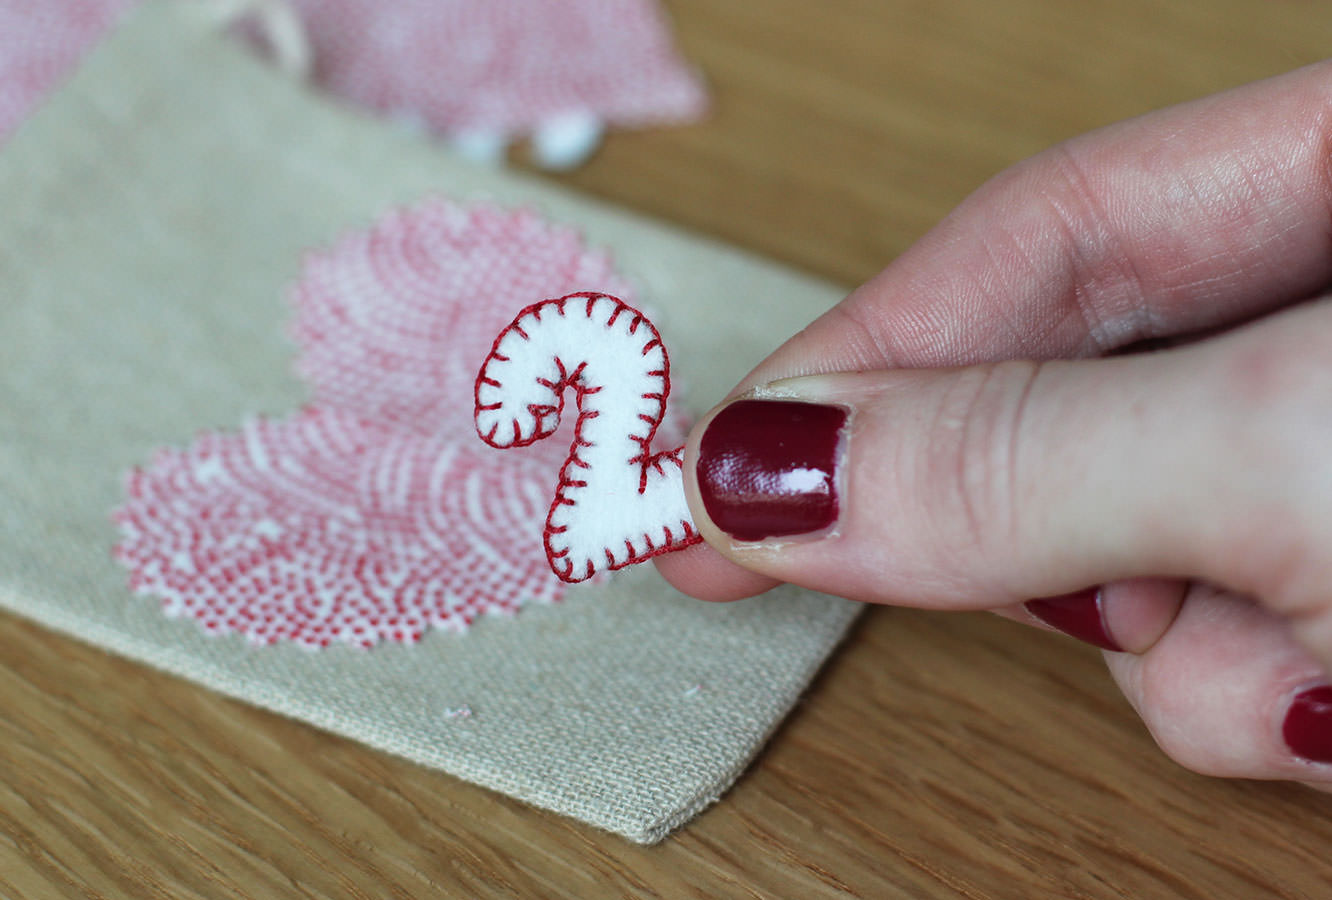
Voila. Not fiddly at all. Nope.
If you are cutting regular fabric use pinking shears (the zig zag ones) so it doesn’t fray. Otherwise you may have to hem it all. The alternative if you don’t own pinking shears and don’t want to sew is to use felt, or just chance it with the fraying (but then we can’t be friends).
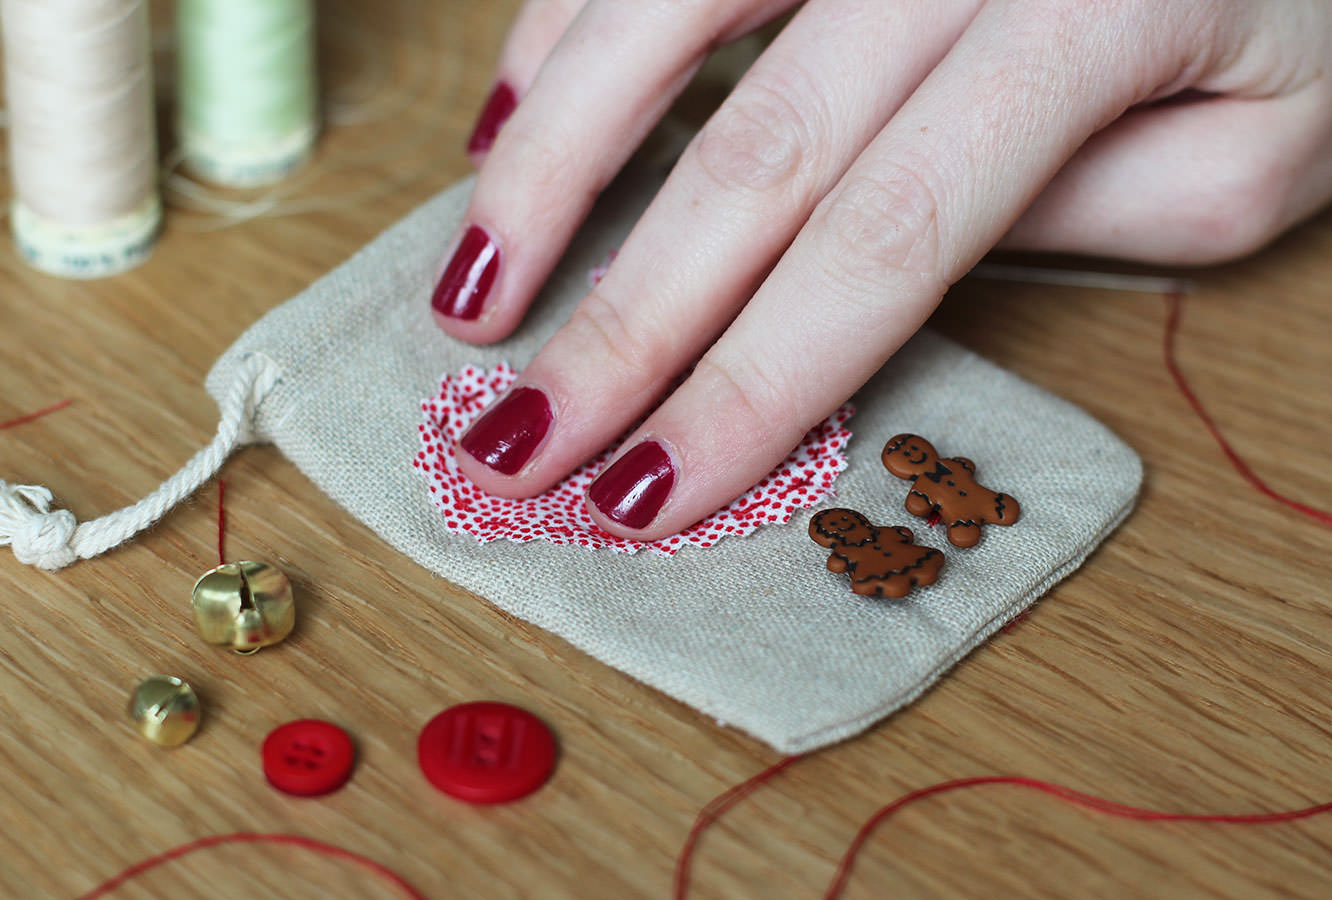
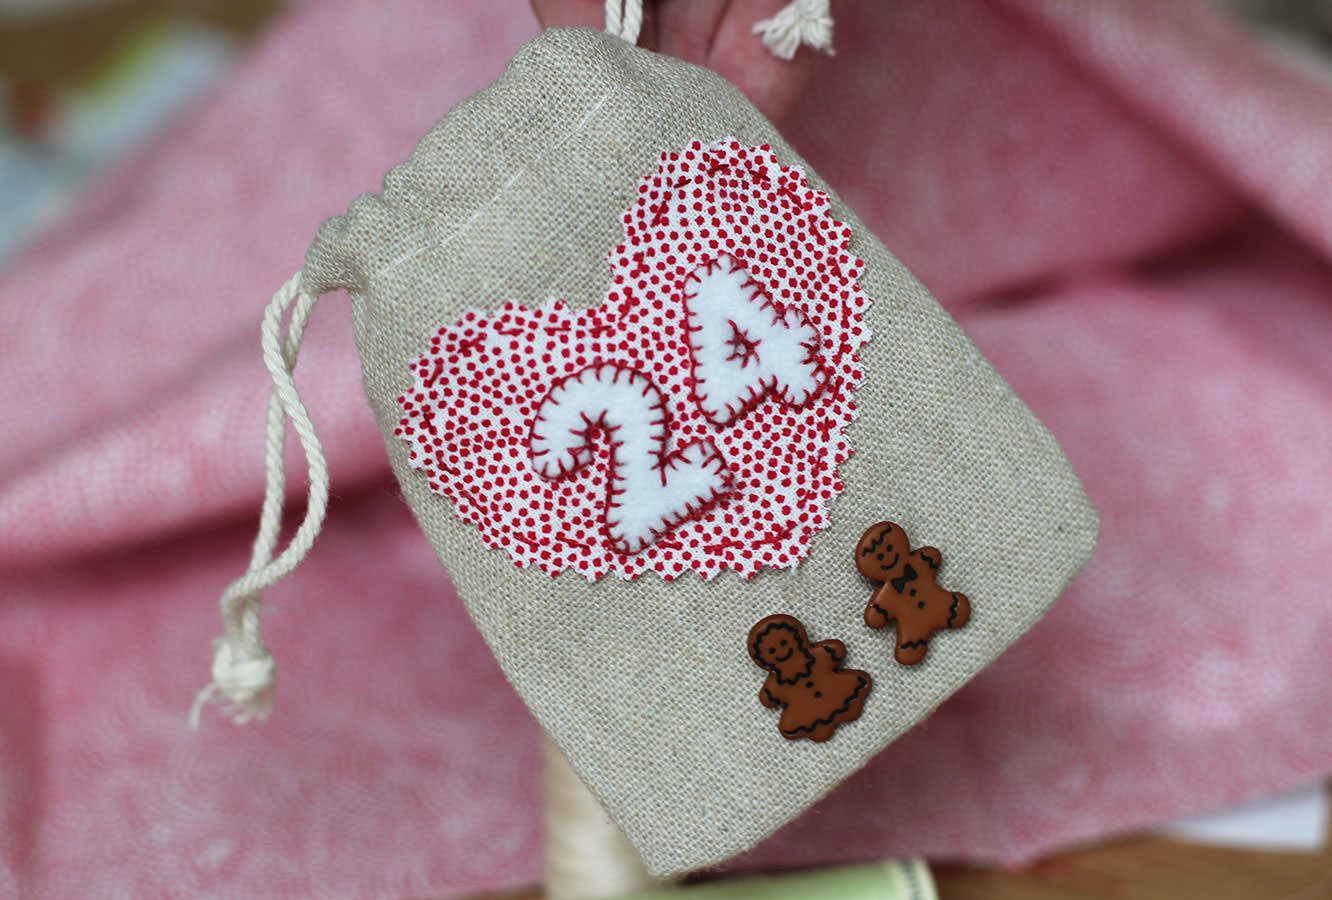
How cute are those little gingerbread buttons?! It helped to hold them down where I wanted them and half turn the bag inside out to sew.
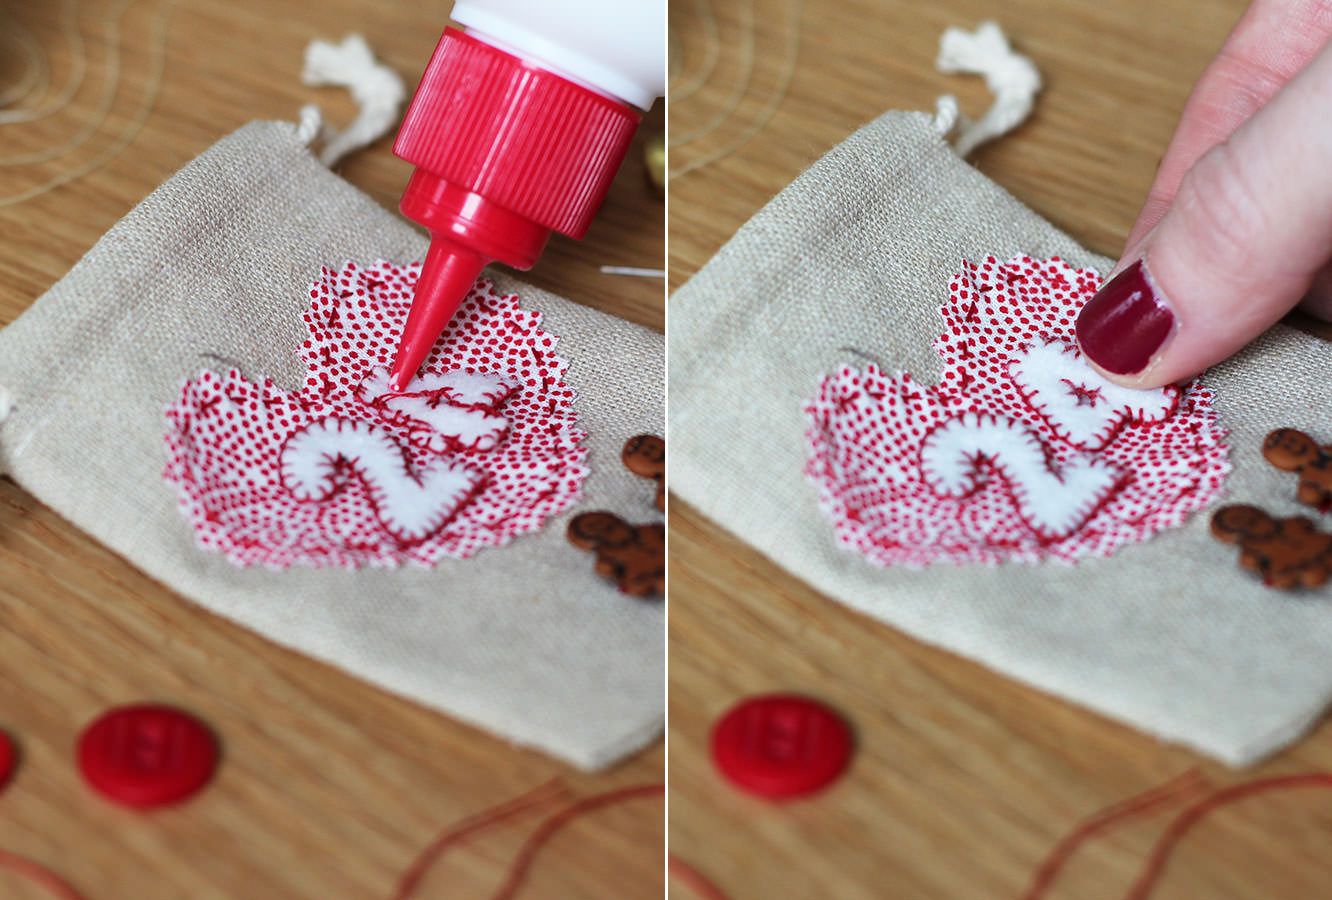
I found it best to sew any details onto the individual items and then glue them down using a few dabs of PVA. You can be a lot more precise that way.
One down. Twenty three to go. Time to rope in some helpers…
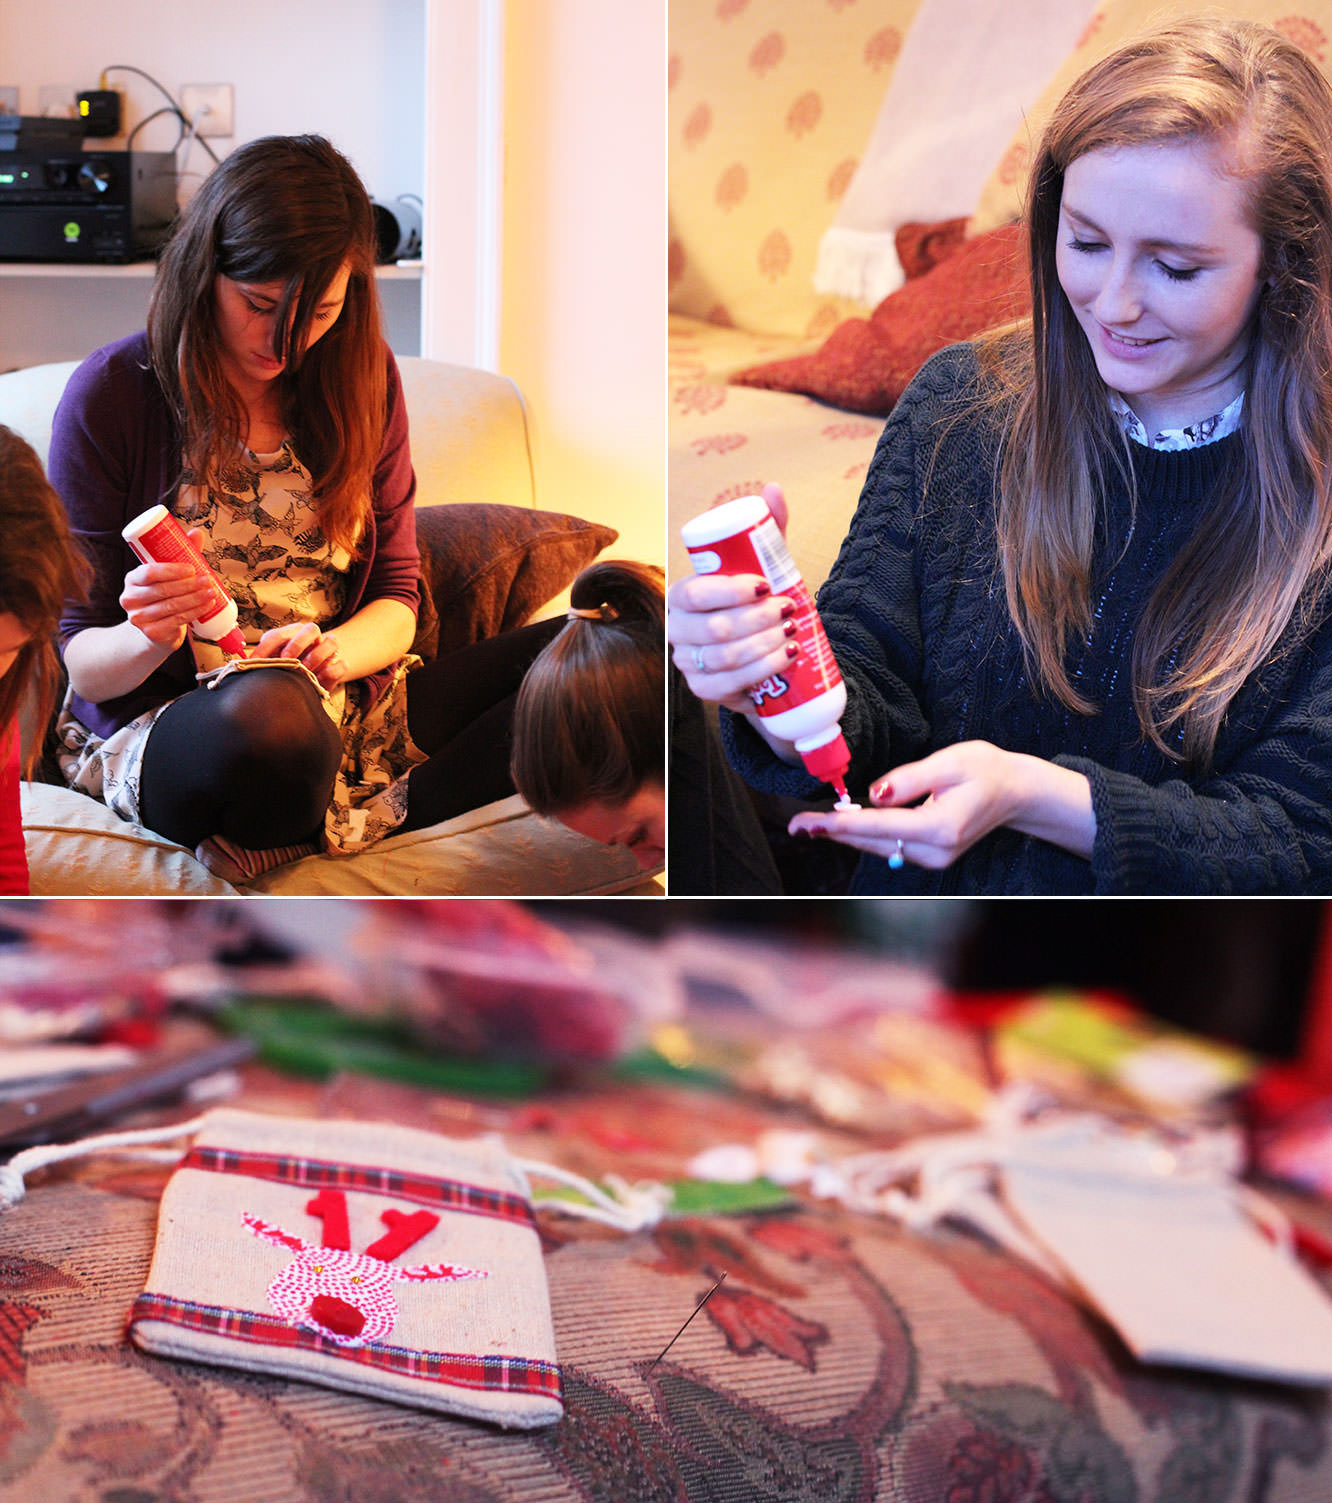
Everyone got involved with the gluing action so don’t be ashamed. I loved little Rudolph with his number 11 antlers.
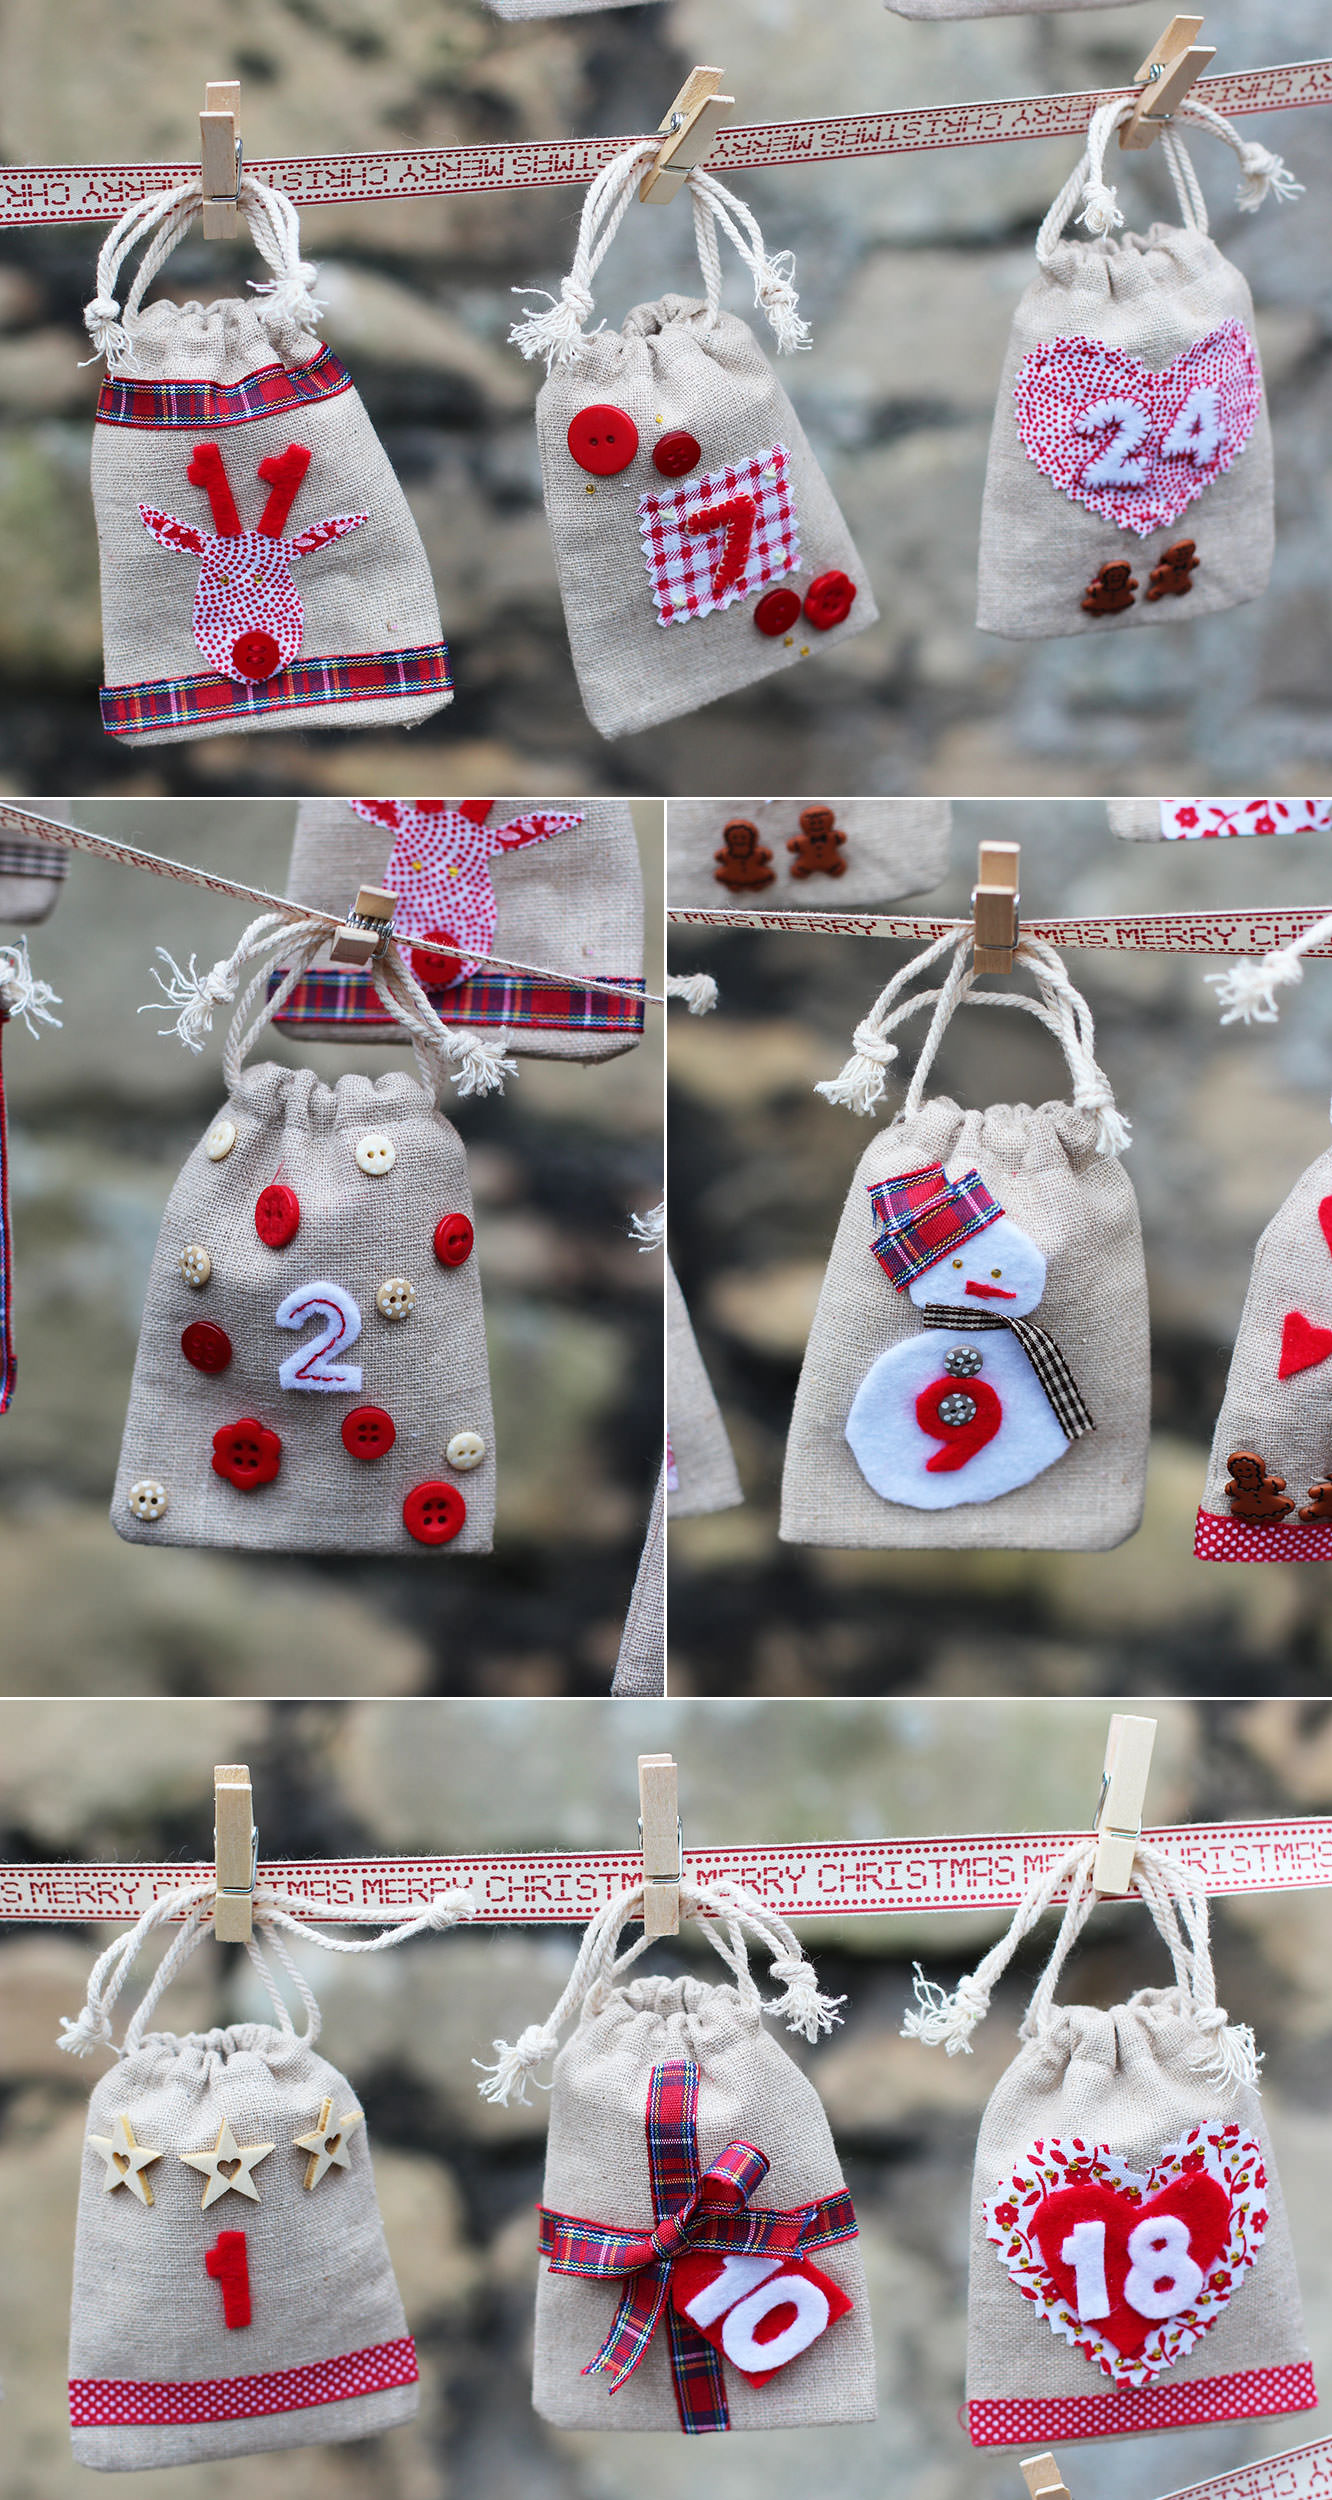
A few more.

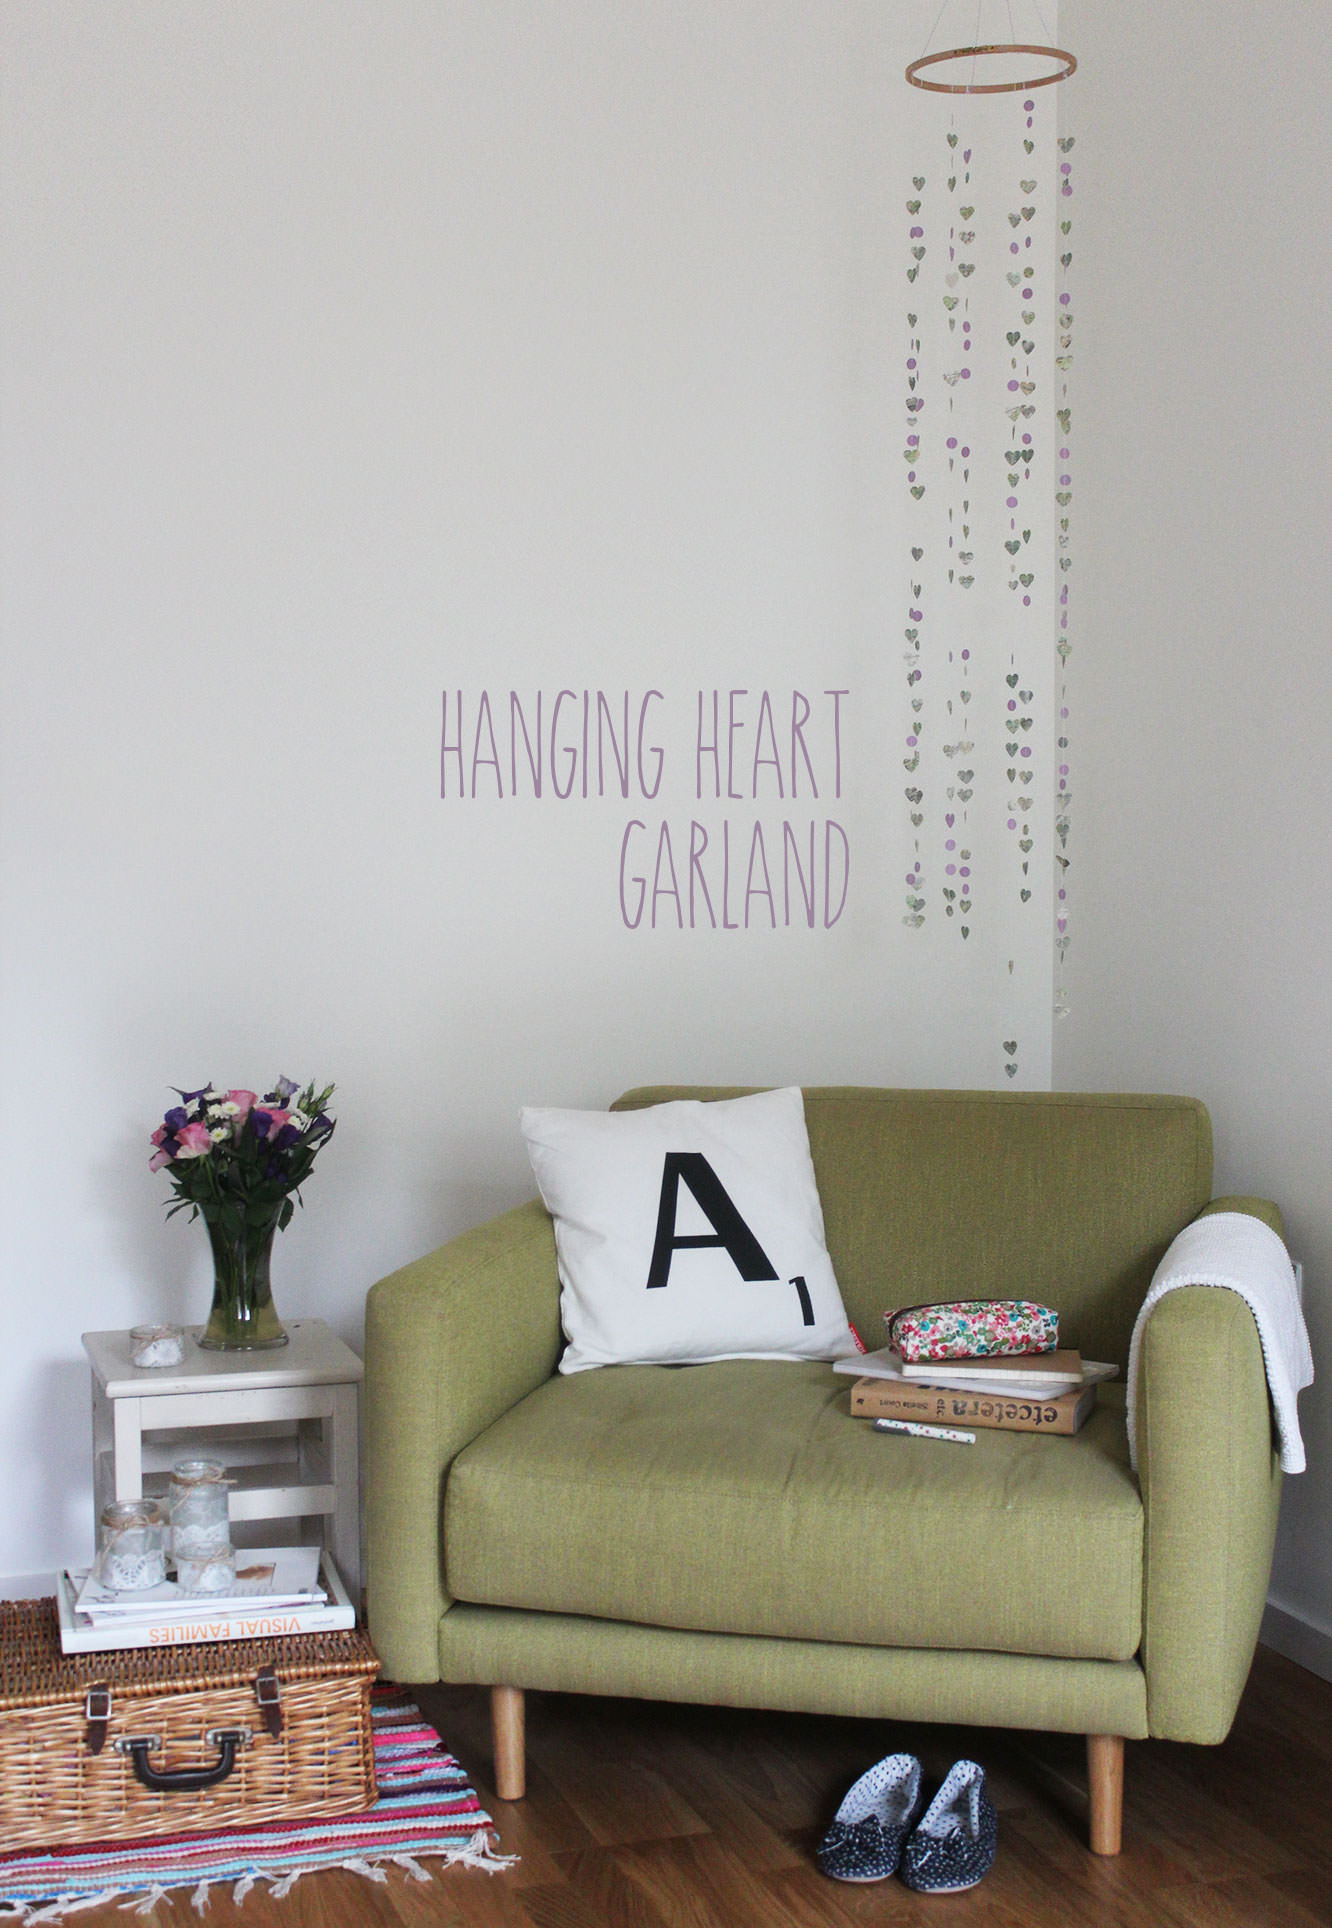
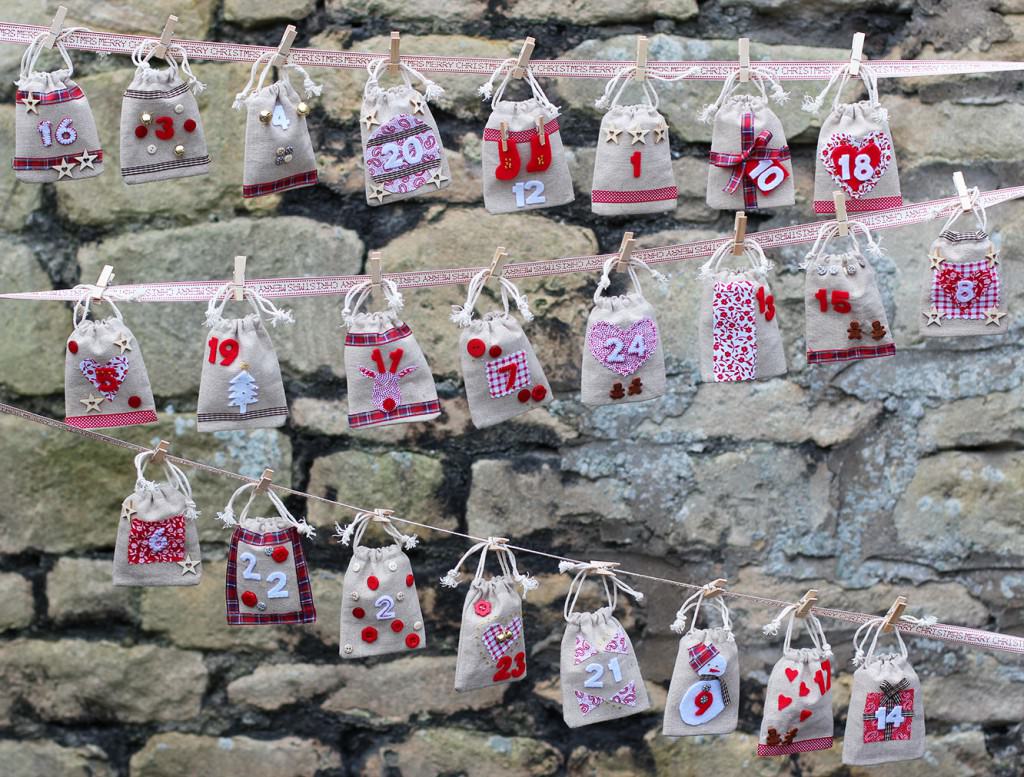
The whole shebang! I love the way this turned out, and now Meg has a keepsake from some of her favourite people.
Thank you for visiting my little space of internets. It’s kept me going all year, here’s to another.
Katie.


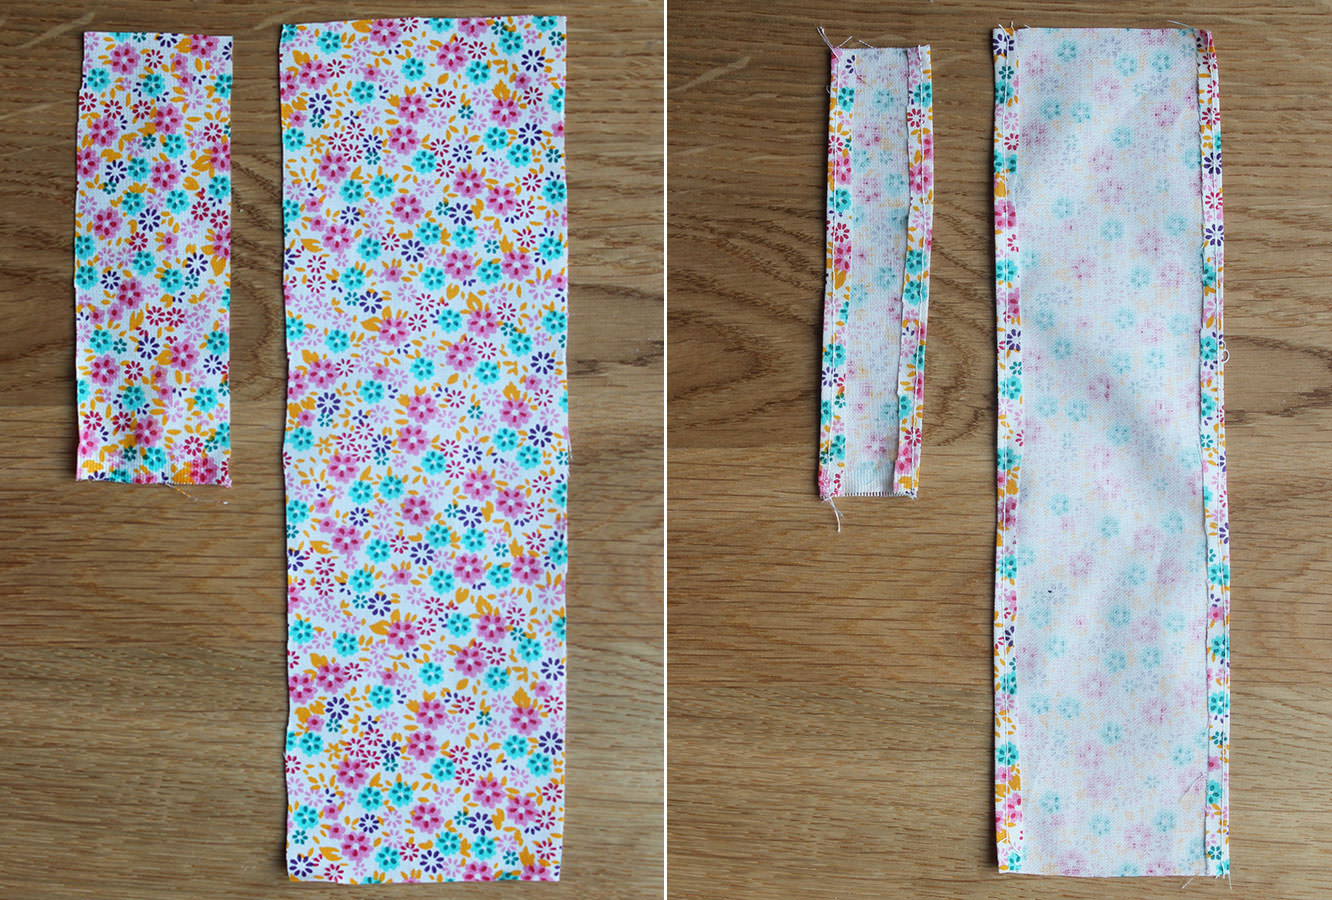


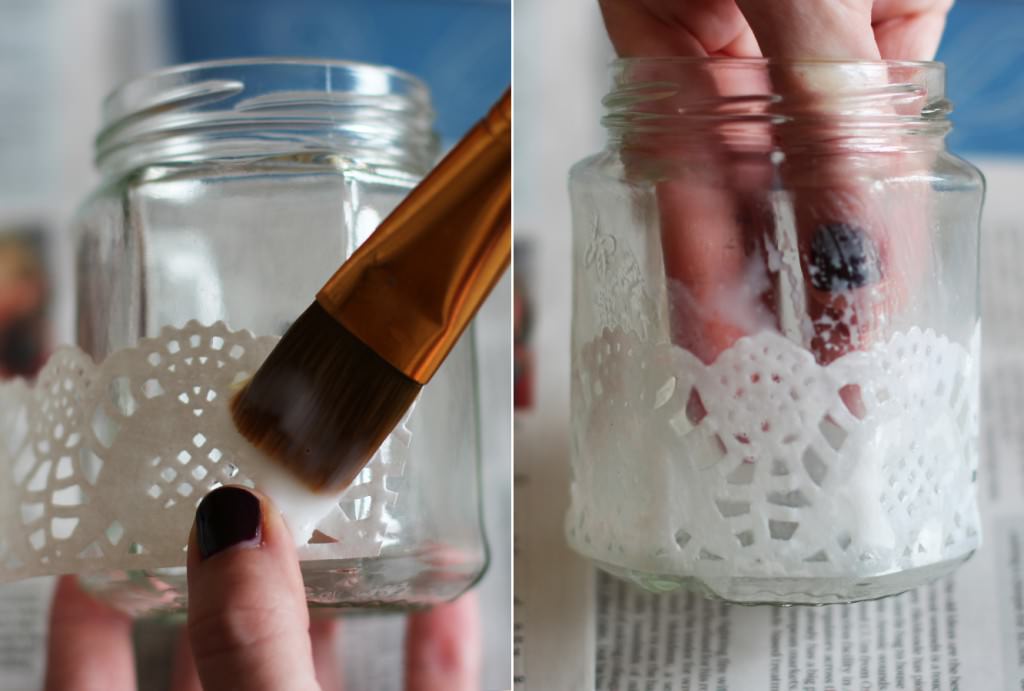
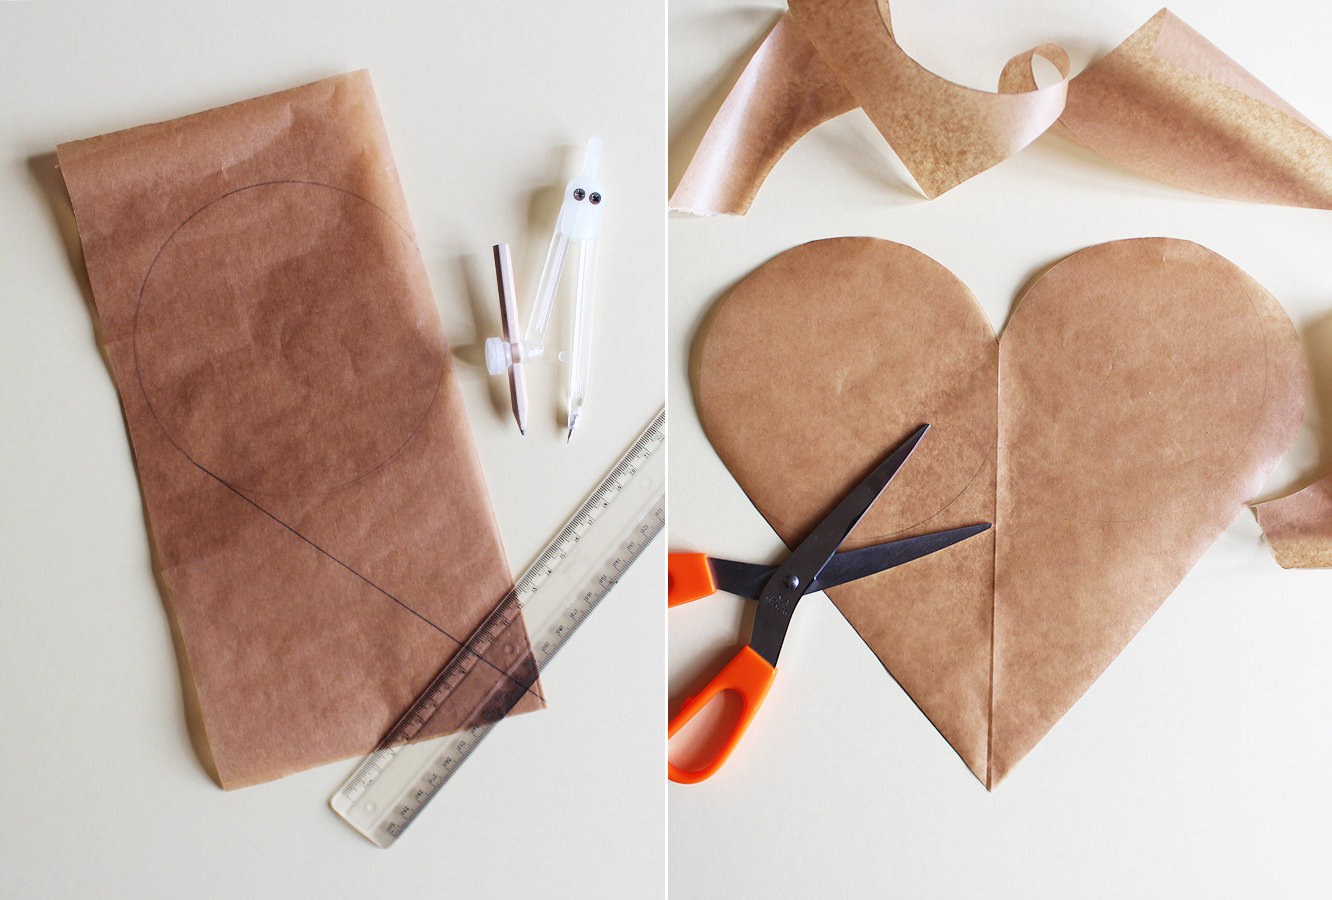
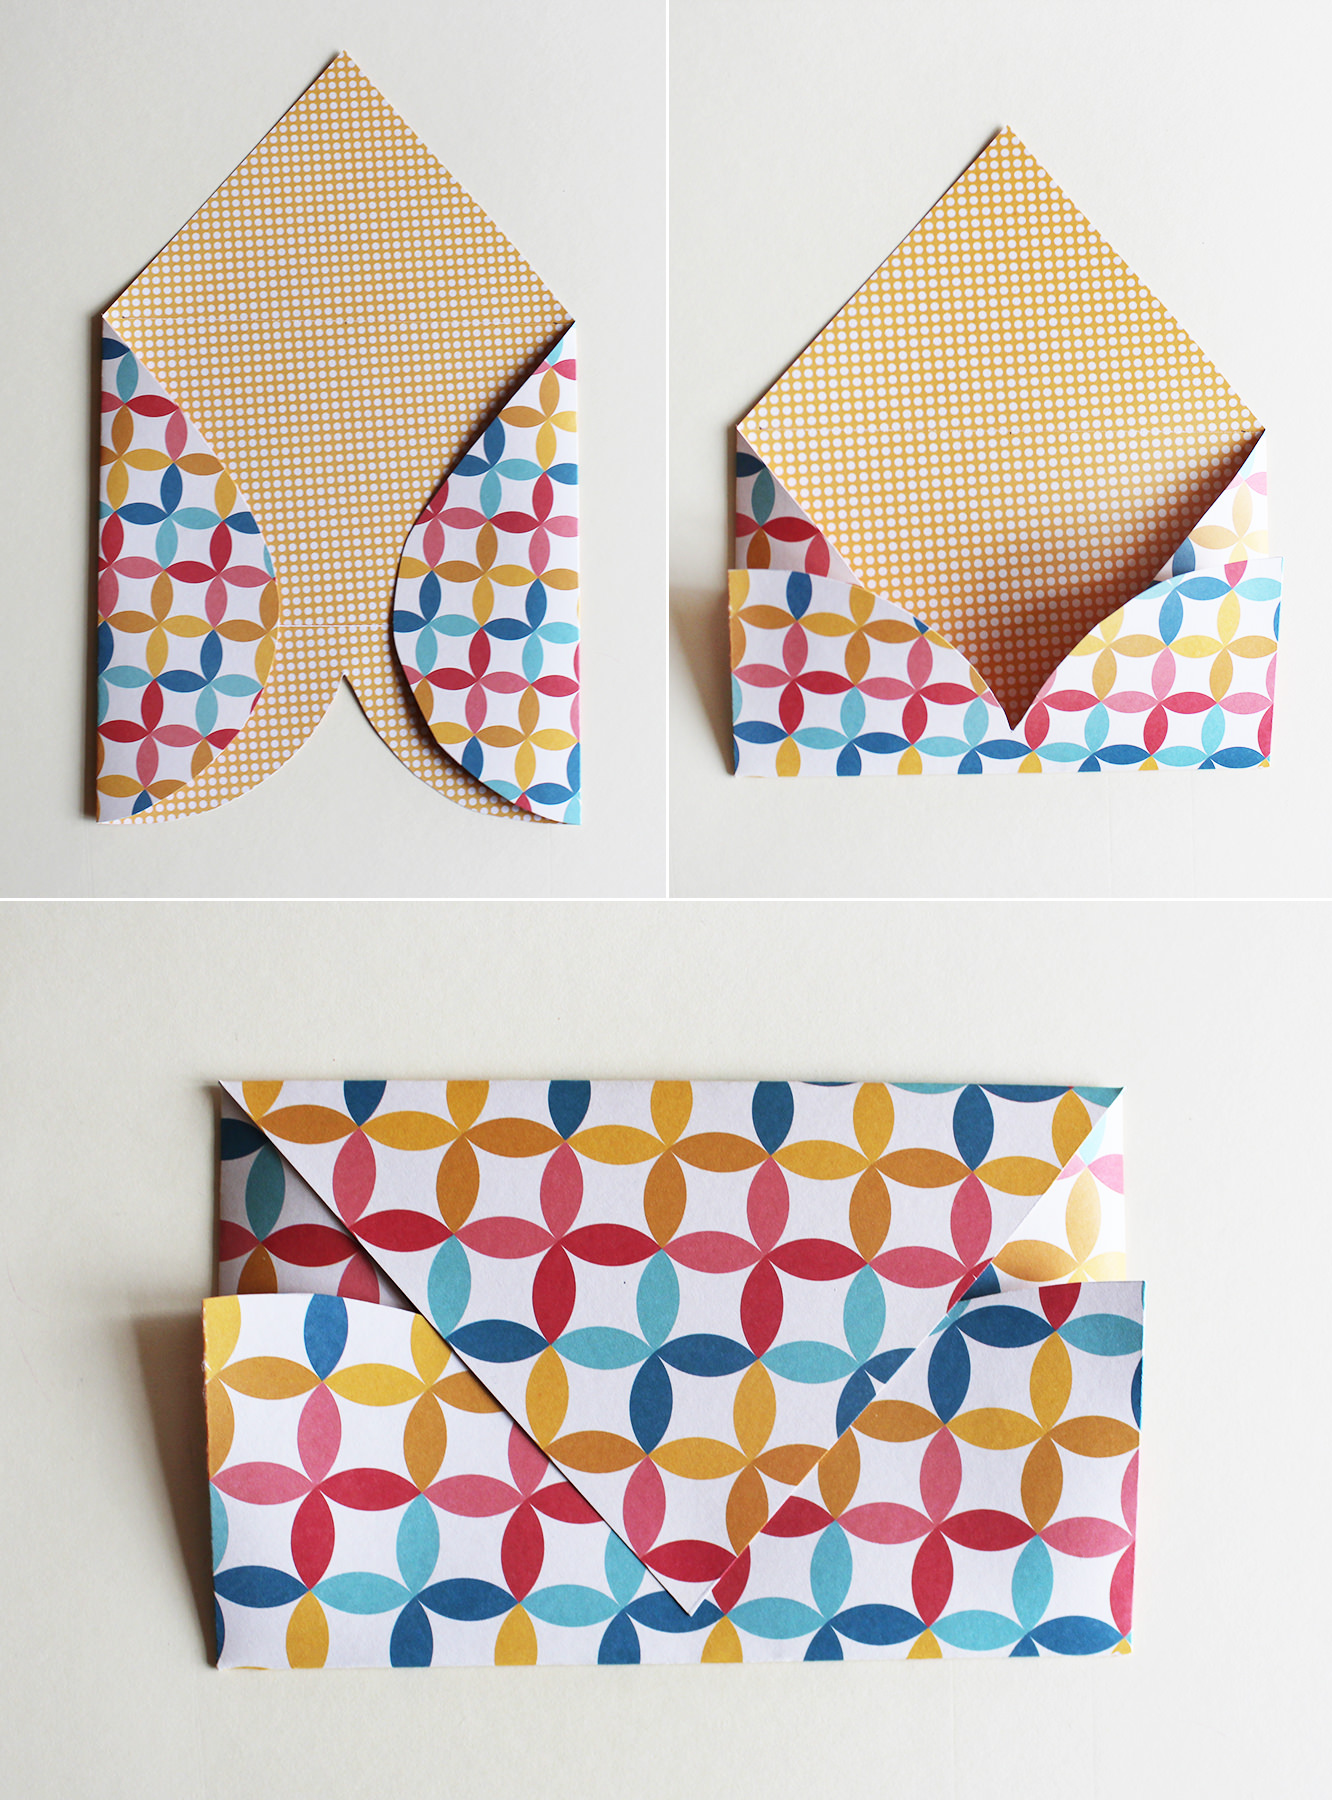
 Step two