
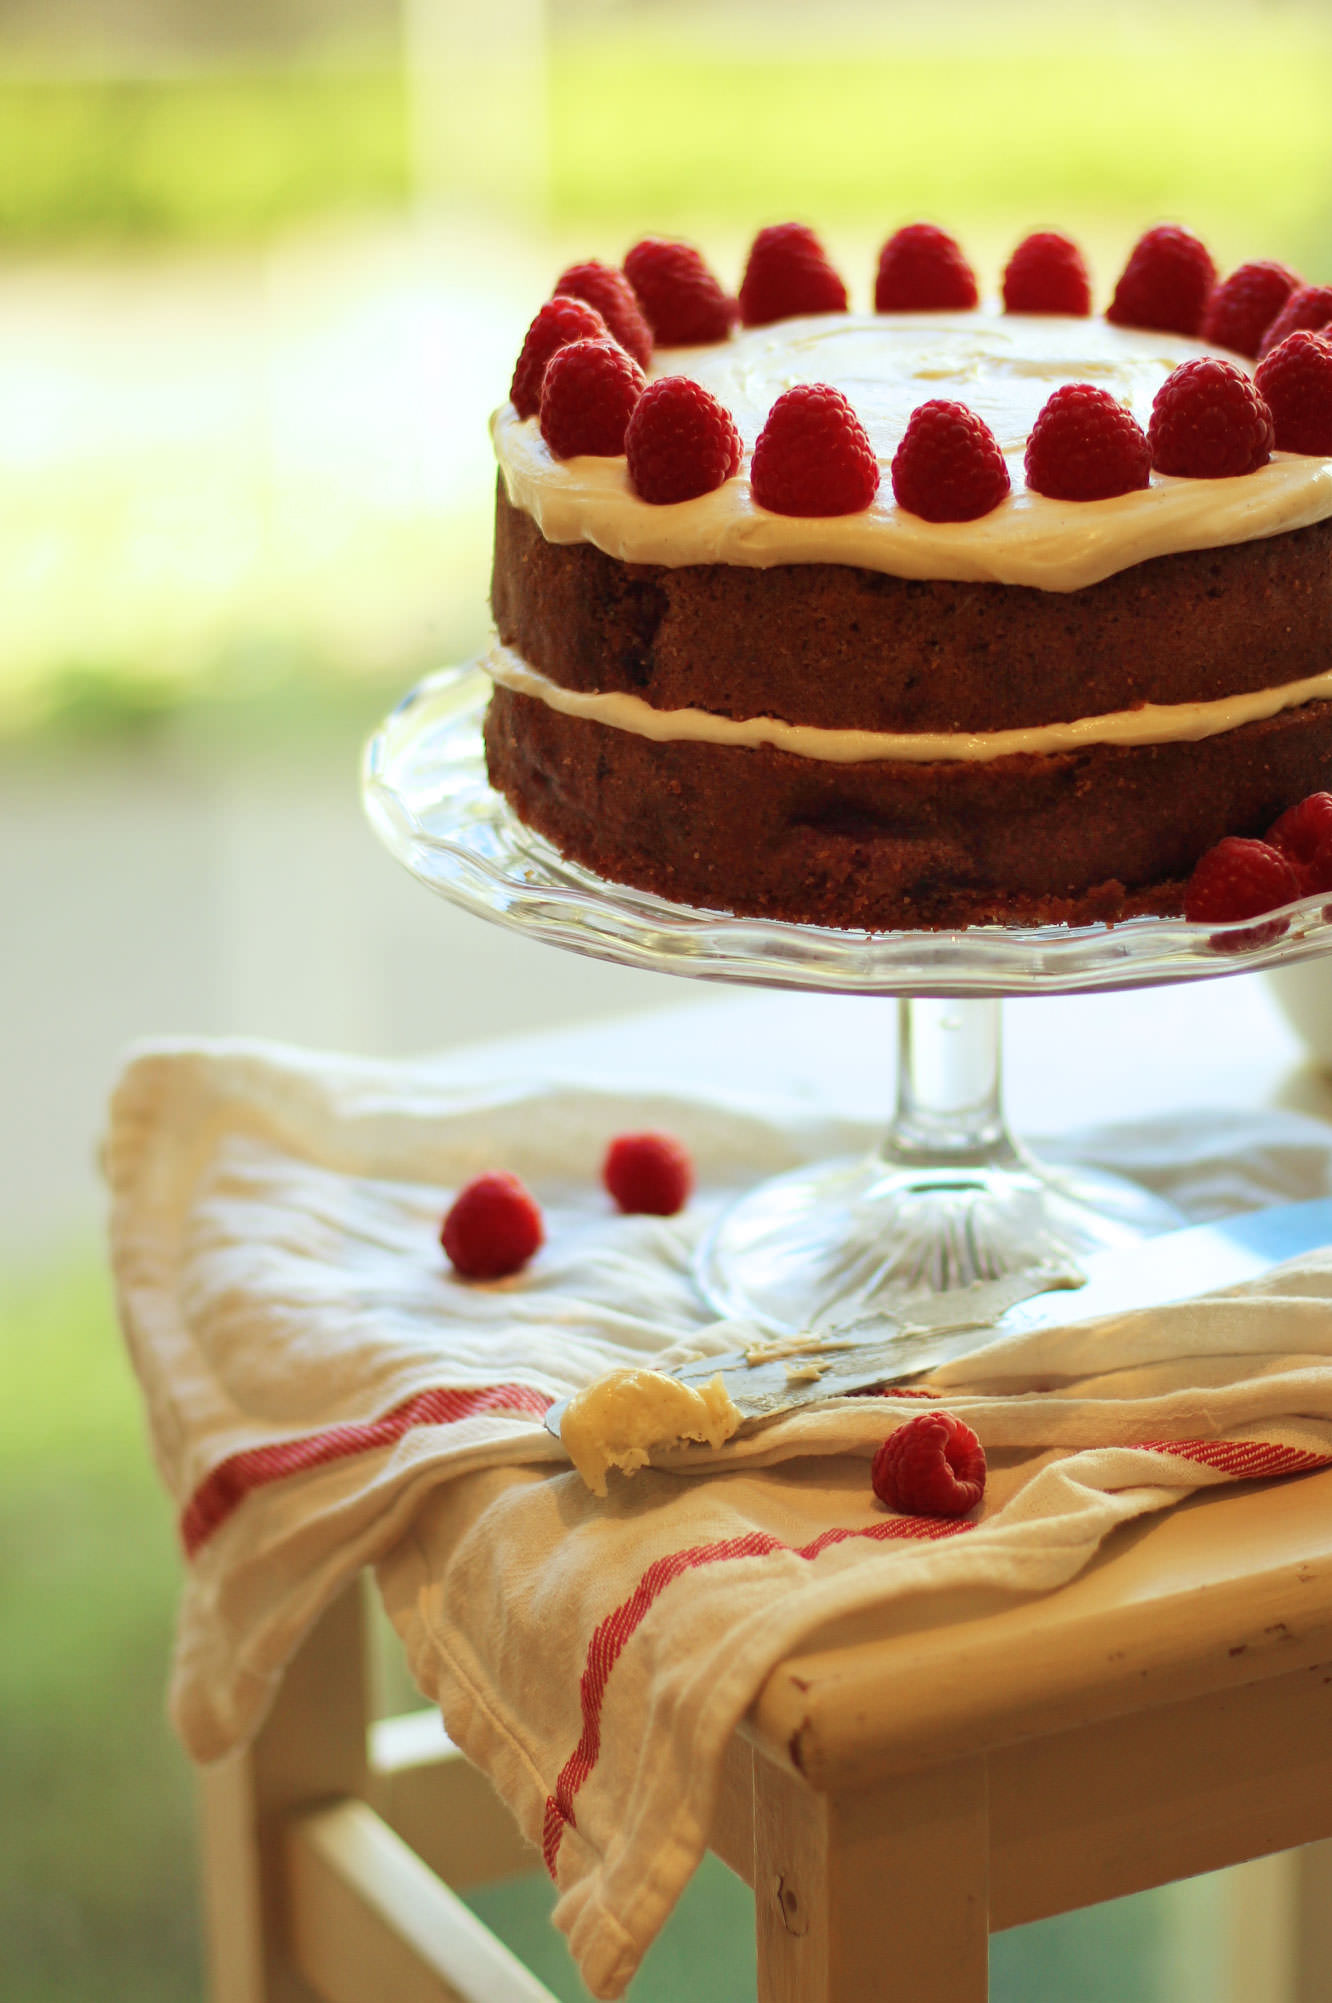
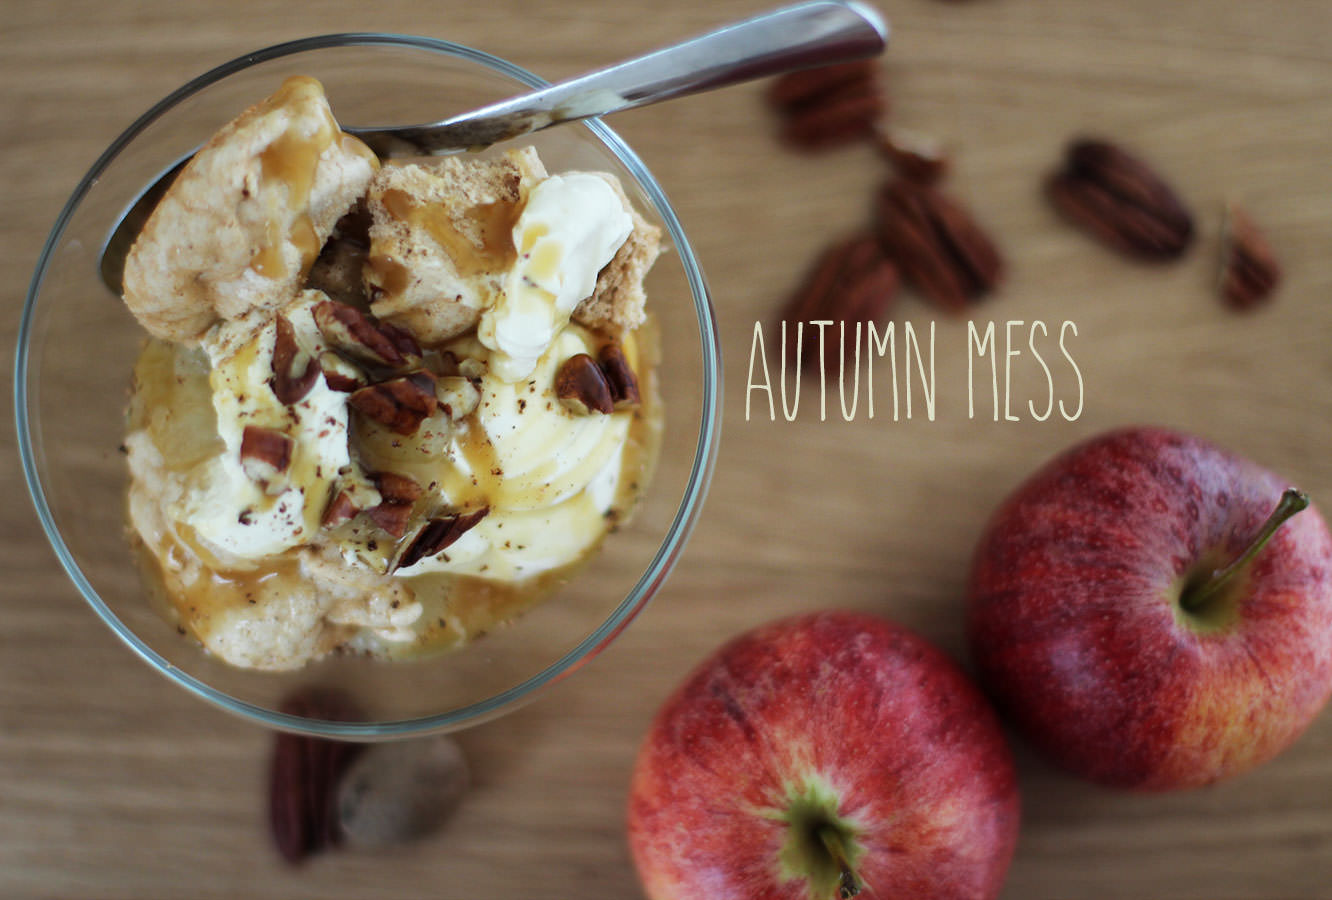
Another week another birthday. This time round it’s my lovely housemate who is bravely entering her mid-twenties; just another excuse for me to get in the kitchen.
Earlier in the week Vicky (the birthday girl in question), Matt (the fiance) and I, had sat down to watch The Princess Bride (a hilarious farce of a film), and we cracked open some Crabbie’s. It was such a lovely little evening, and I thought I would bake the experience into a cake to commemorate the little one’s birth.
Crabbie’s, for anyone who doesn’t know (more fool you), is alcoholic ginger beer. This particular batch was raspberry flavoured, and nobody was more surprised than me to discover how nicely ginger and raspberry complement each other. Add to that a honey and vanilla icing and you’ve got a birthday cake fit for any 24 year old.
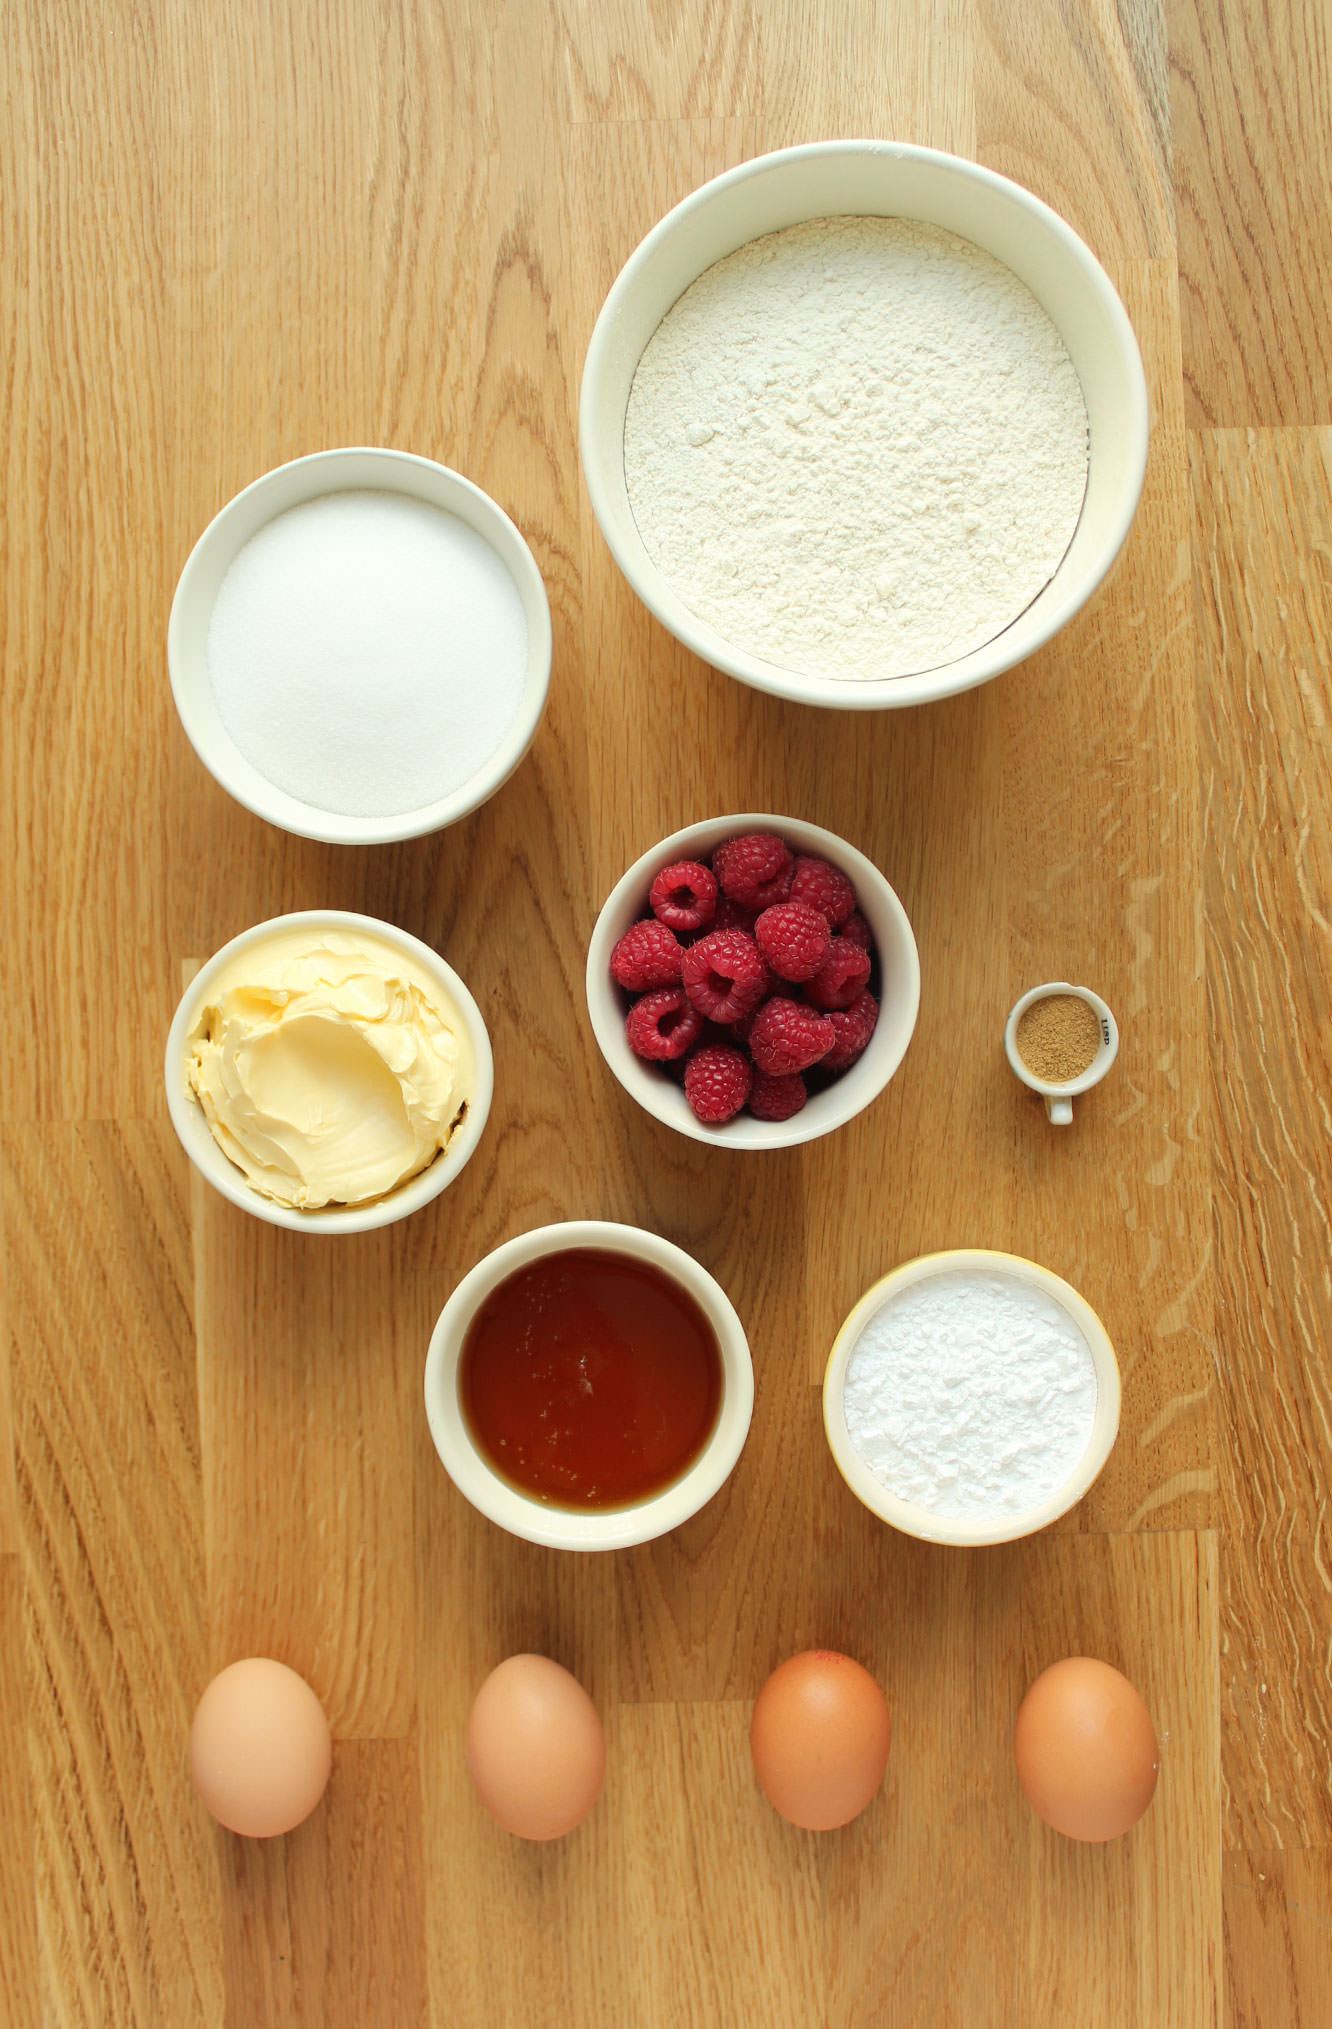
You will need
For the cake:
255g/9 oz self raising flour
255g/9 oz caster sugar
255g/9 oz margarine/butter (I use stork for cakes)
4 eggs
2 tsp ground ginger (add a bit more if you want a really strong ginger taste, 2 tsp is nice and subtle)
1 tsp vanilla extract/paste
1 tsp bicarbonate of soda
200g/7 oz raspberries
For the icing/decoration:
350g/12 oz icing sugar
150g/5 oz softened butter
170g/6 oz honey
1-2 tsp vanilla extract/paste (or even a pod if you have one so you get the lovely flecks)
100g/3.5 oz raspberries
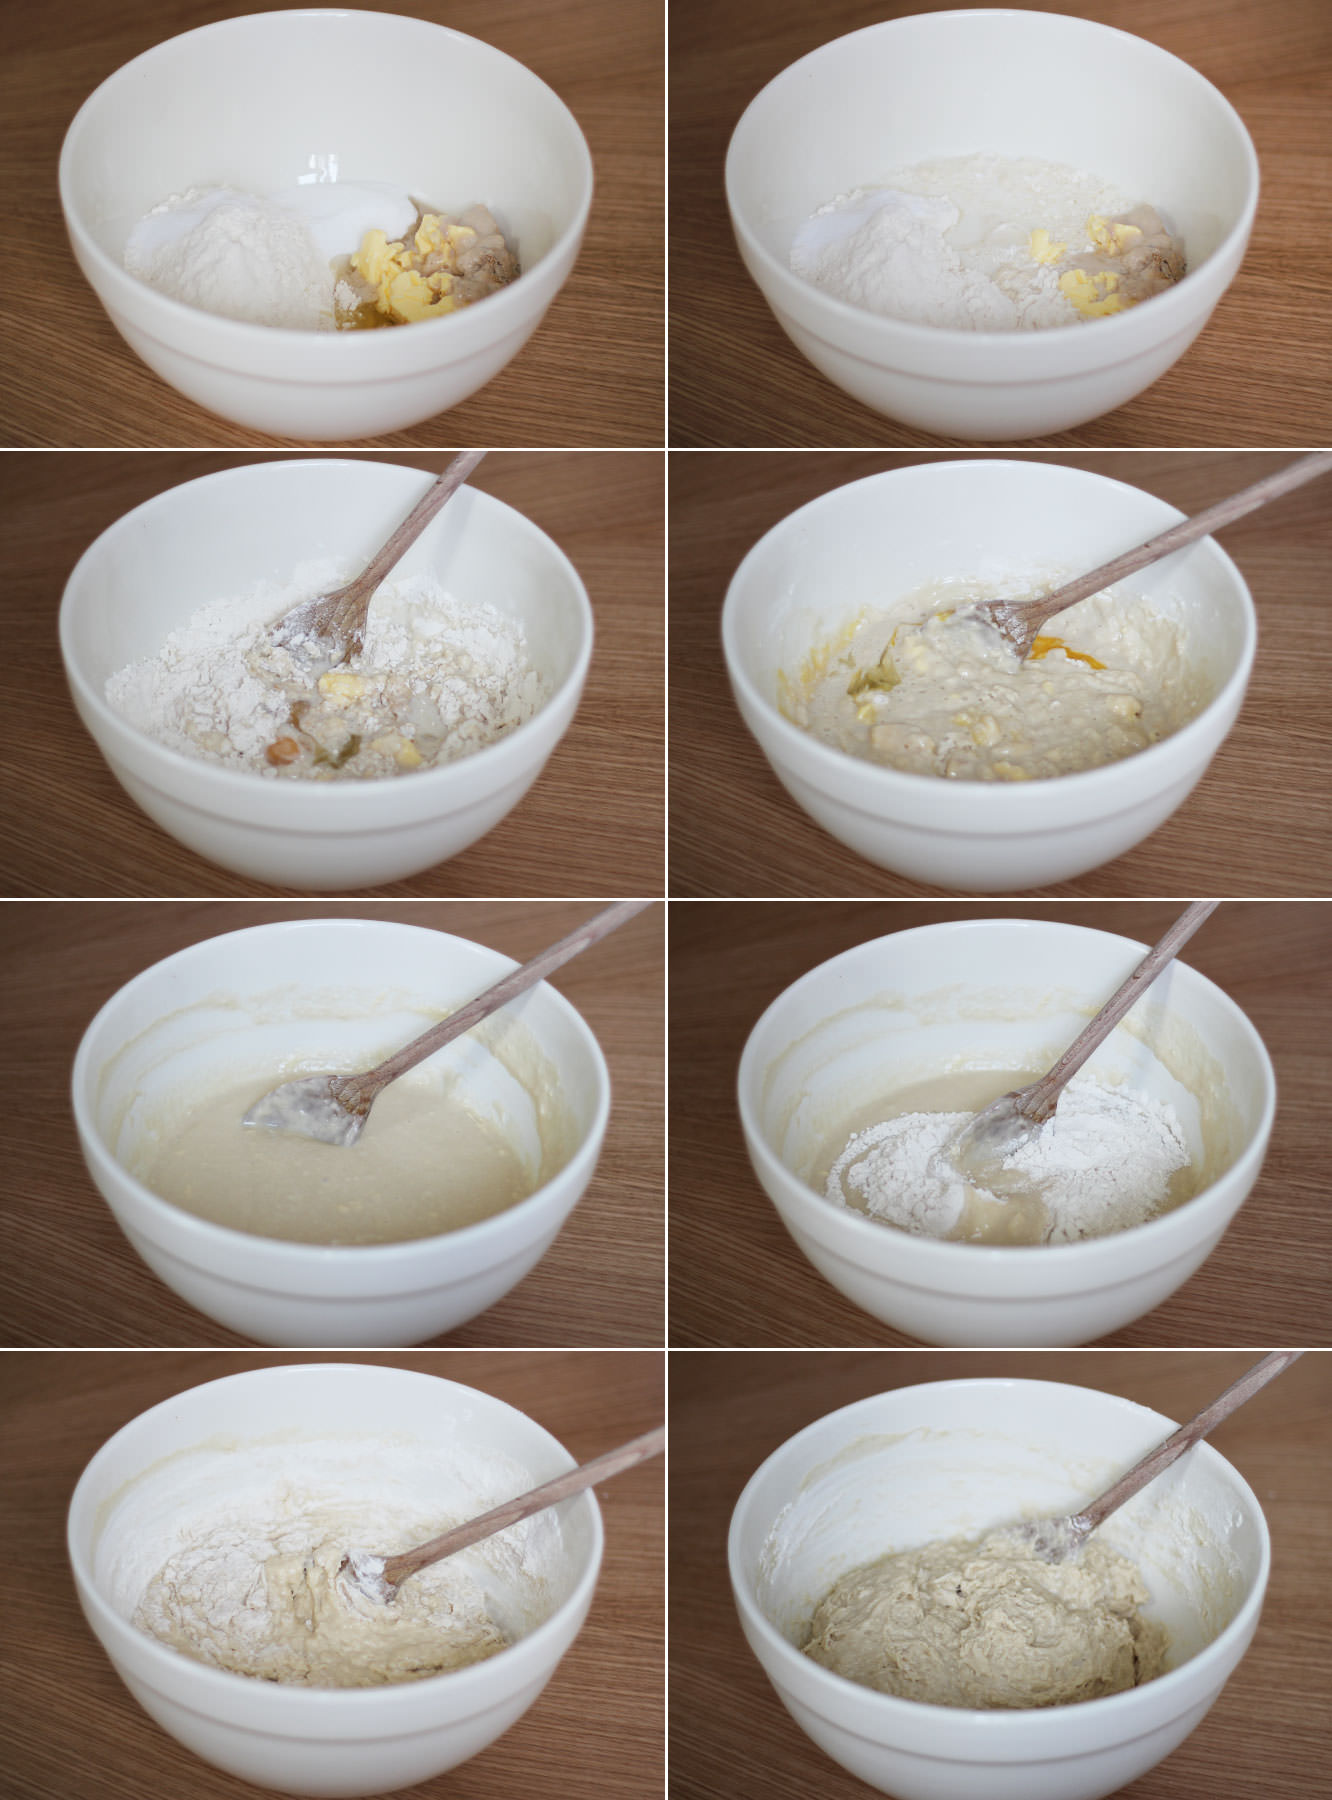
Step one
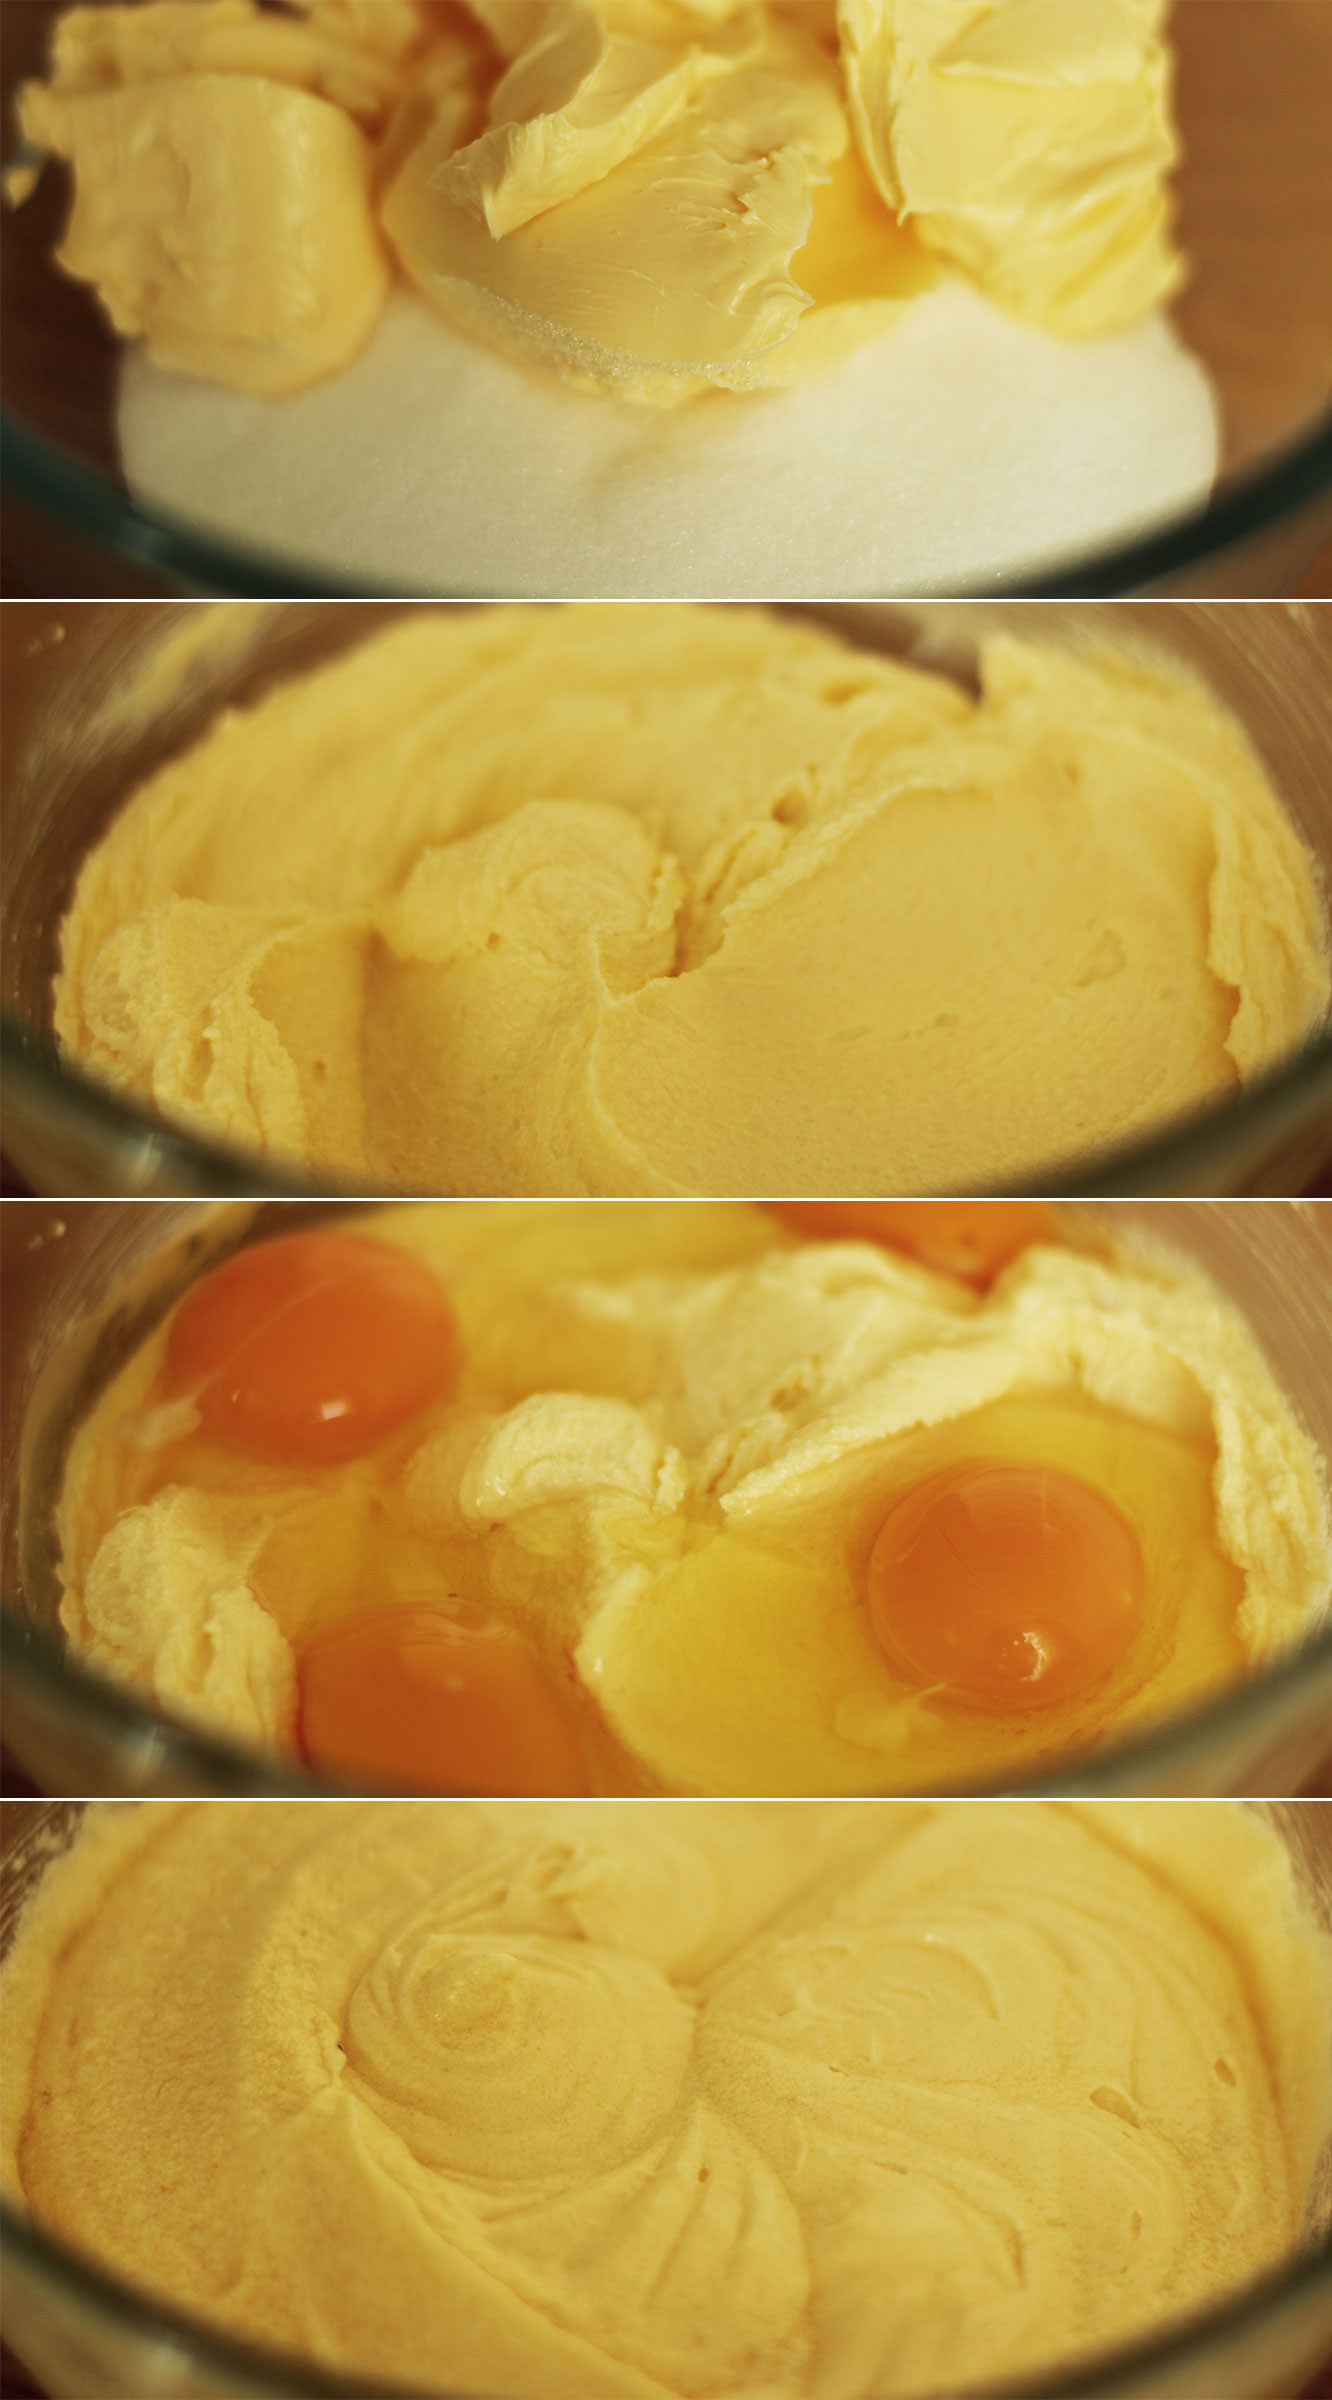
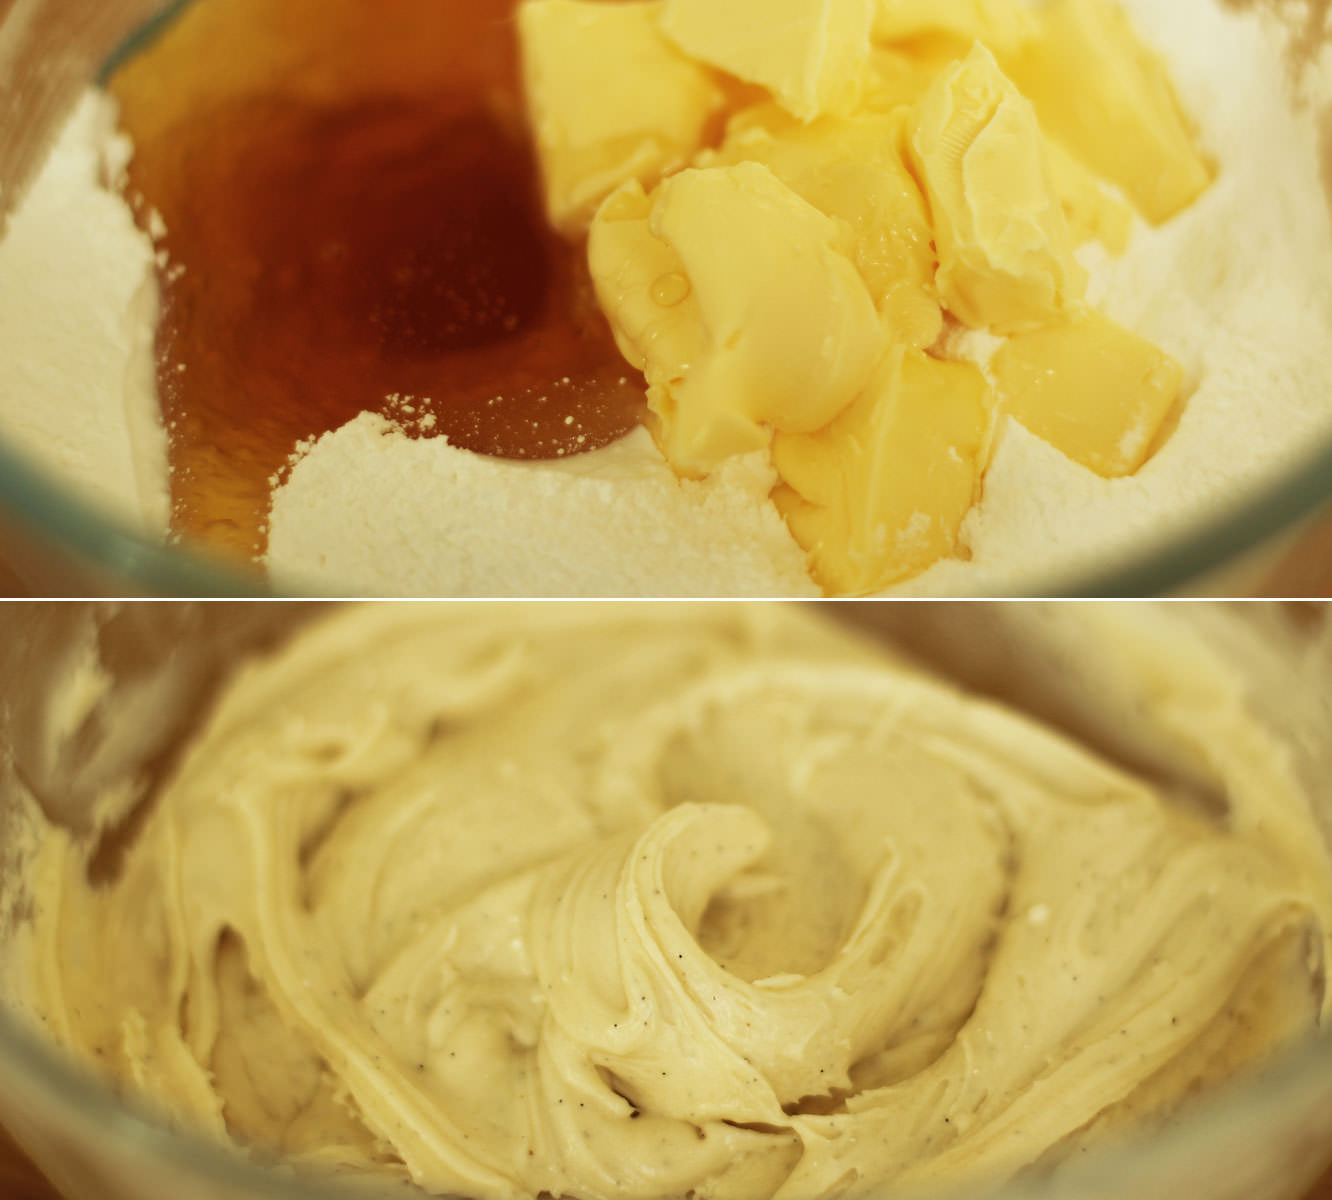
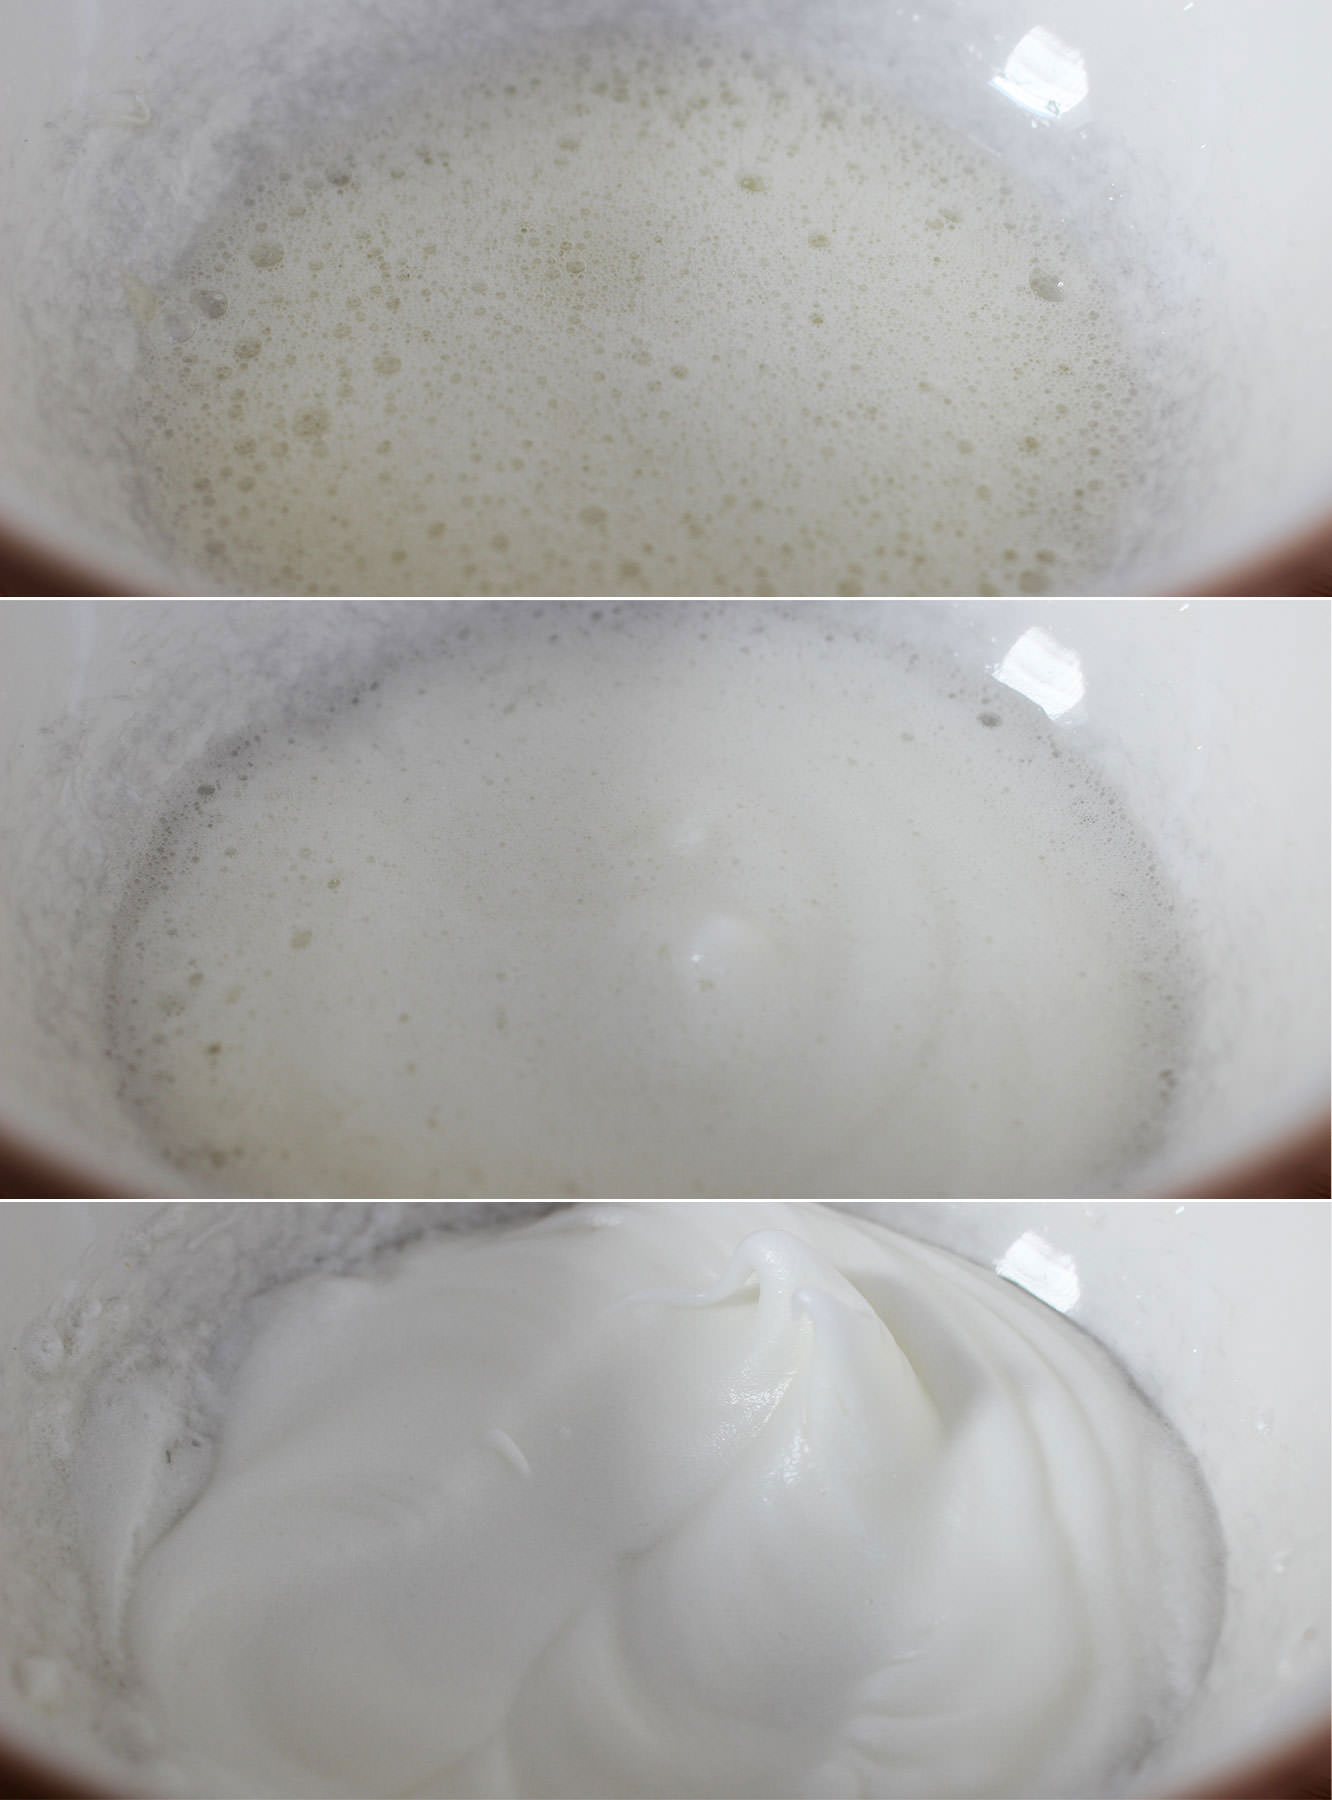
Using an electric whisk beat together the margarine and sugar until well blended and fluffy.
Step two
Add the eggs and beat again until combined. It looks a little split at this stage (see those little lumps at the sides) but you don’t need to worry, the flour never fails to sort that out.
Step three
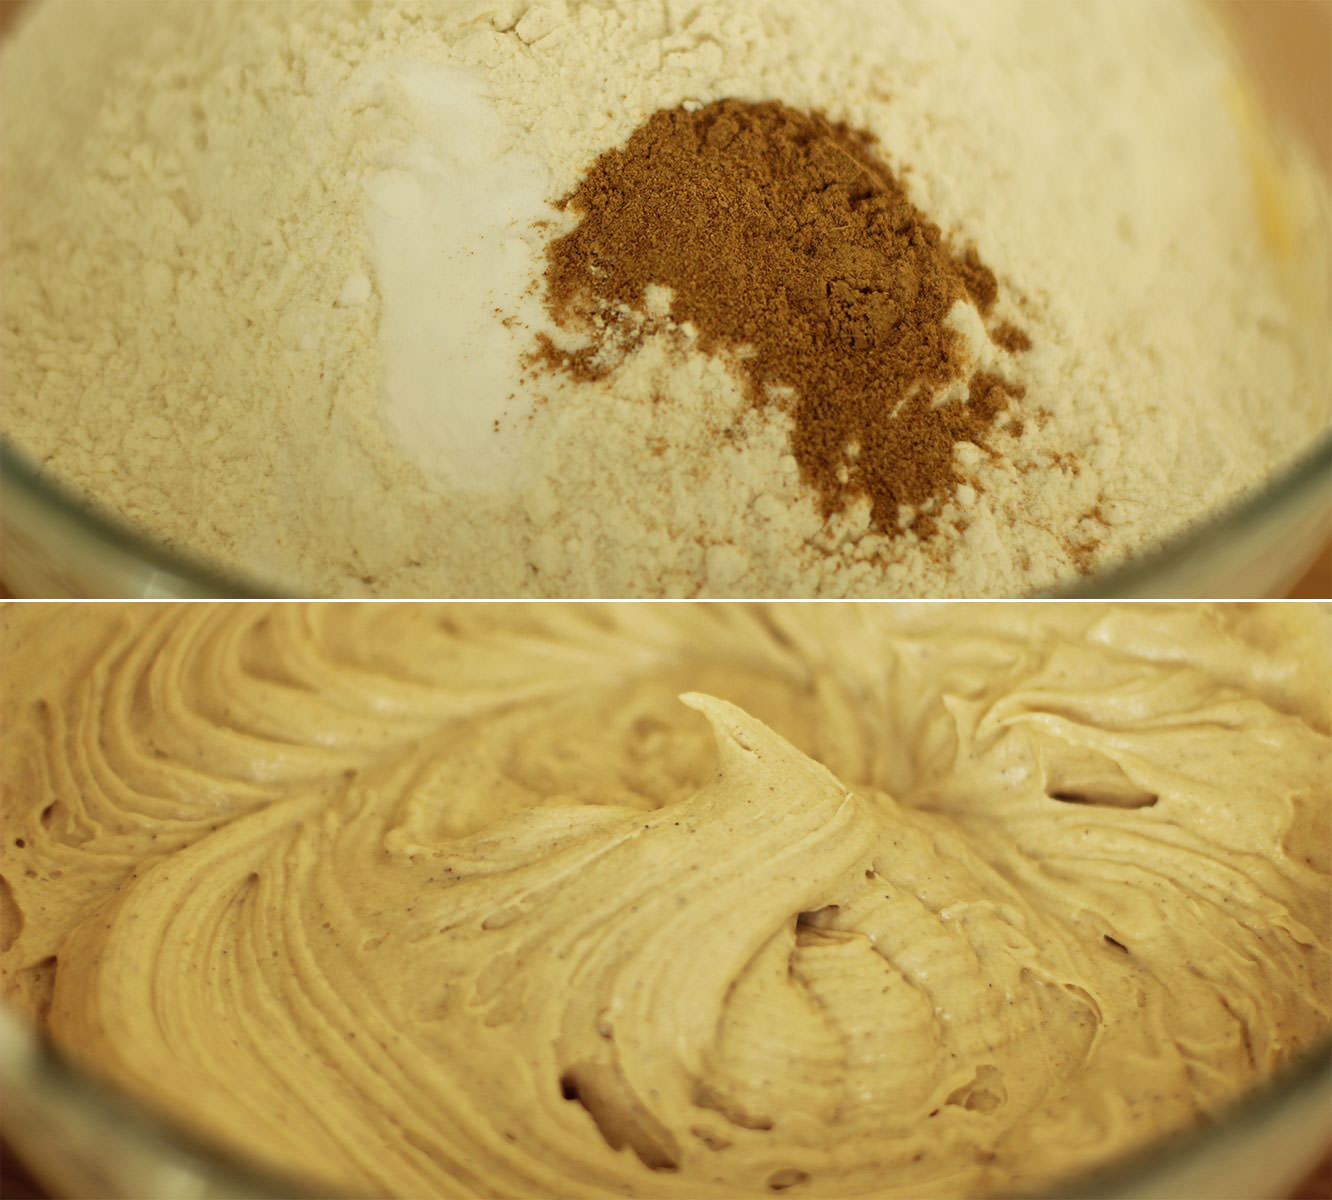
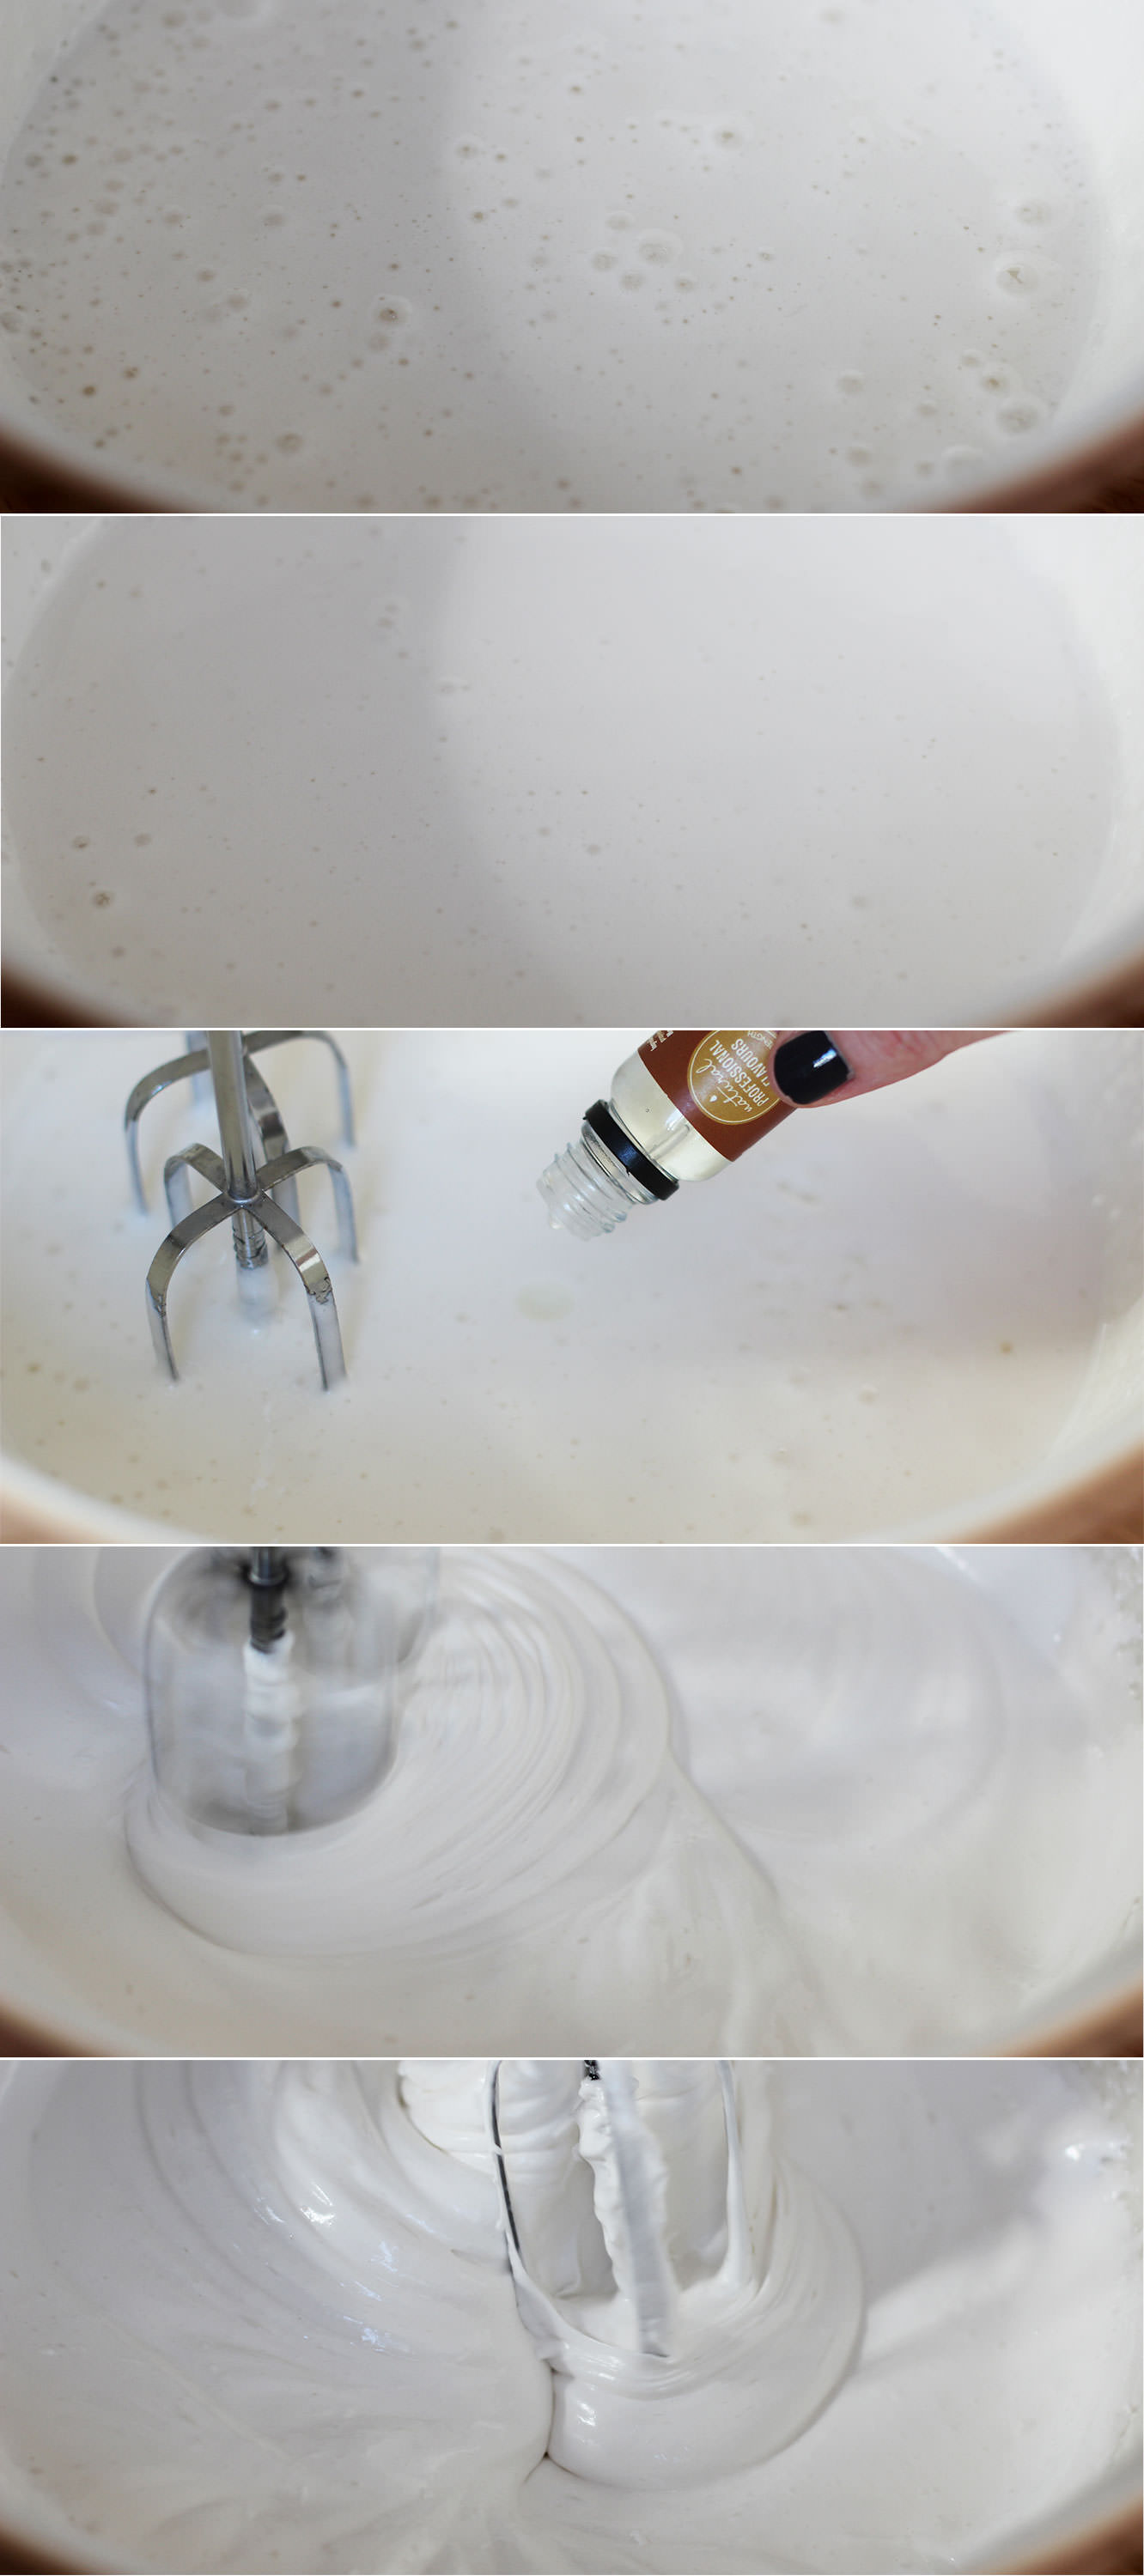
Add the flour, bicarbonate of soda and ginger and whisk again until smooth.
I also added the vanilla at this point which is in the form great paste my friend brought me back from Vanuatu, tastes delicious and has the beans in it. If you aren’t swinging by the South Pacific any time soon and don’t fancy the investment in a pod or some paste then extract will do the trick.
Step four
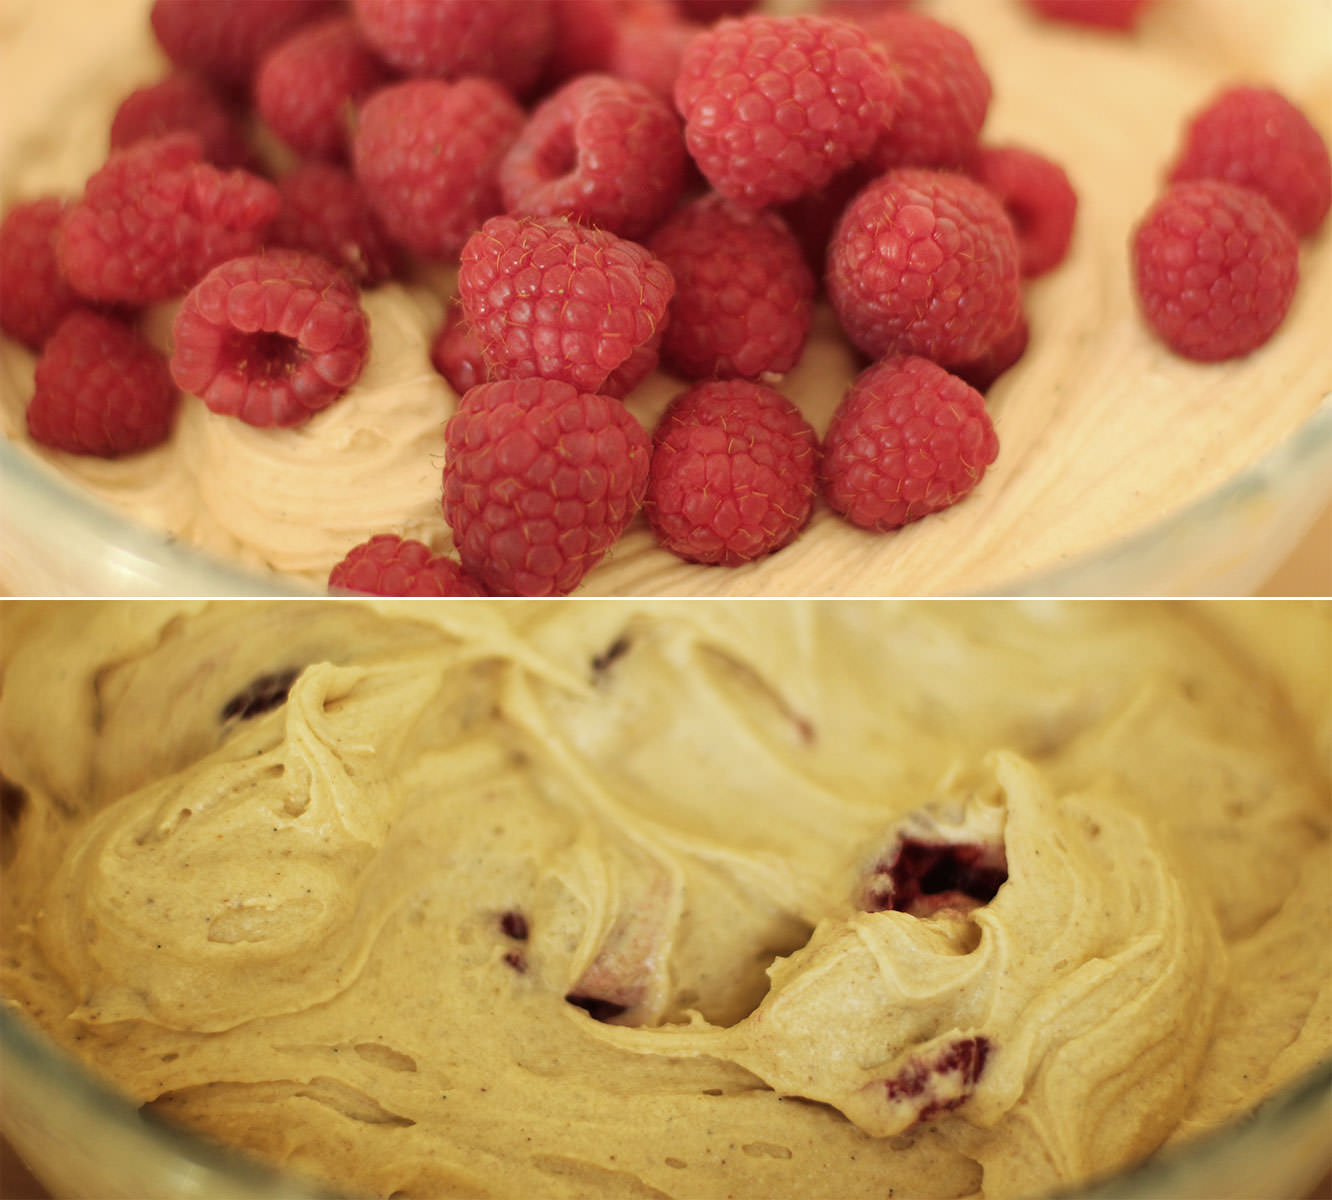
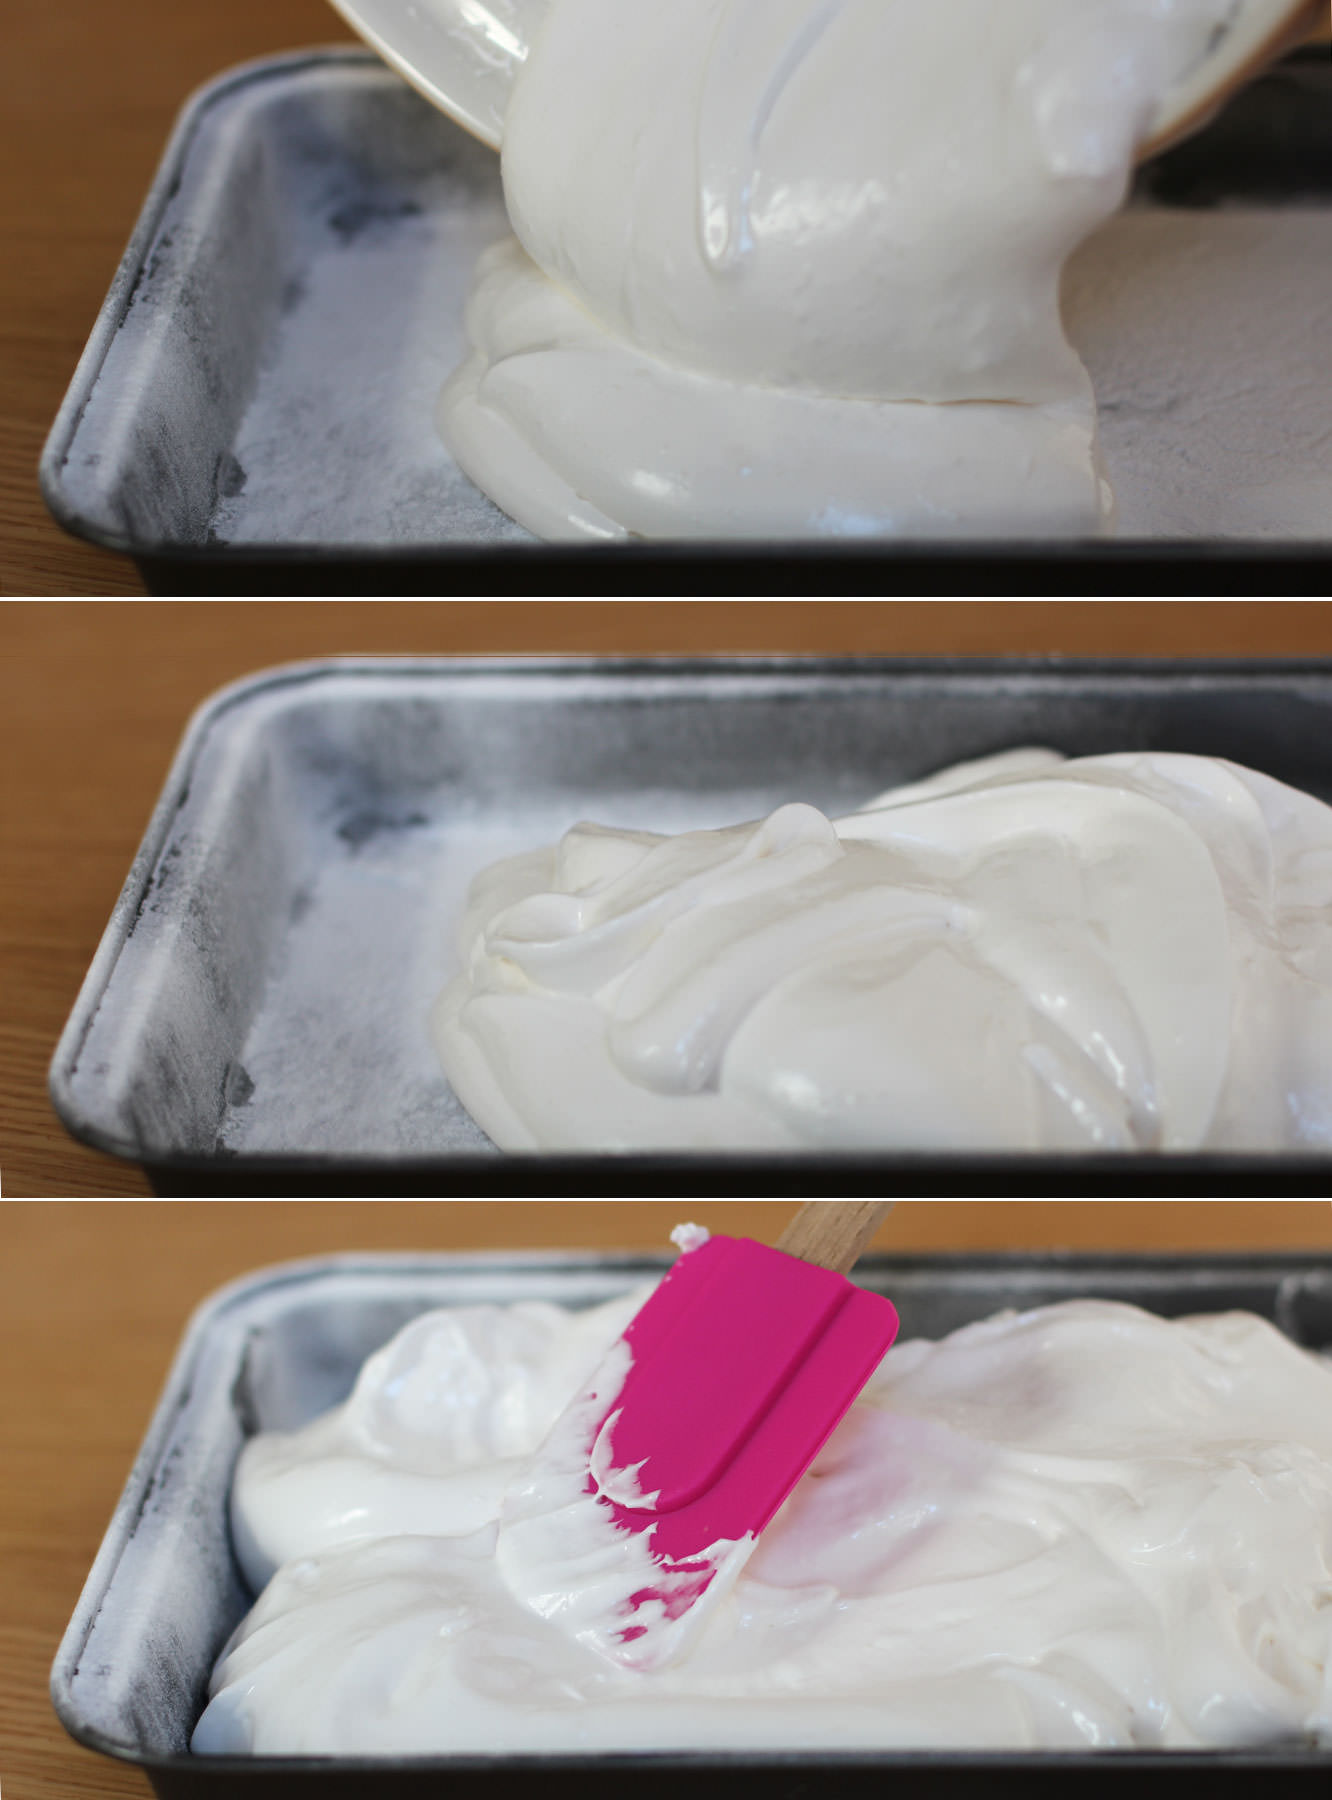
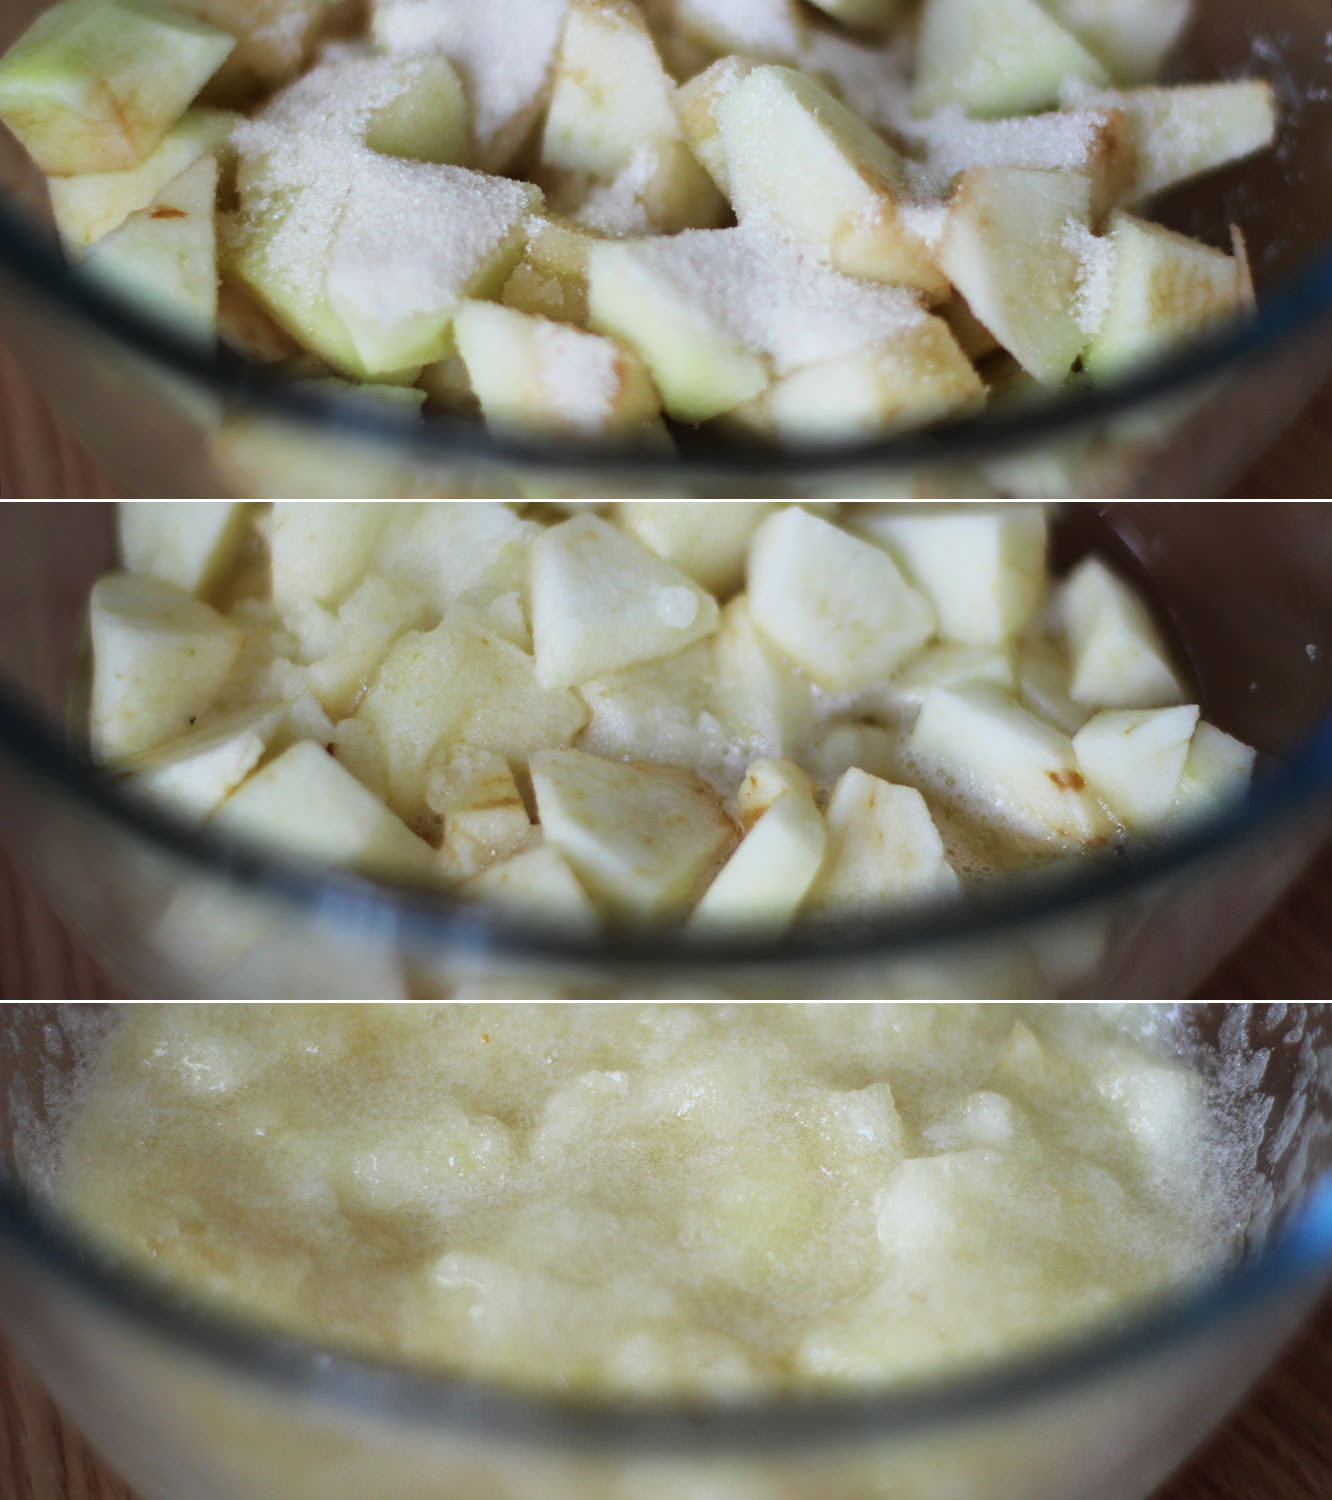
Add the raspberries and stir them in with a wooden spoon. I crushed some of them with the back of the spoon against the side of the bowl to help distribute them a little better.
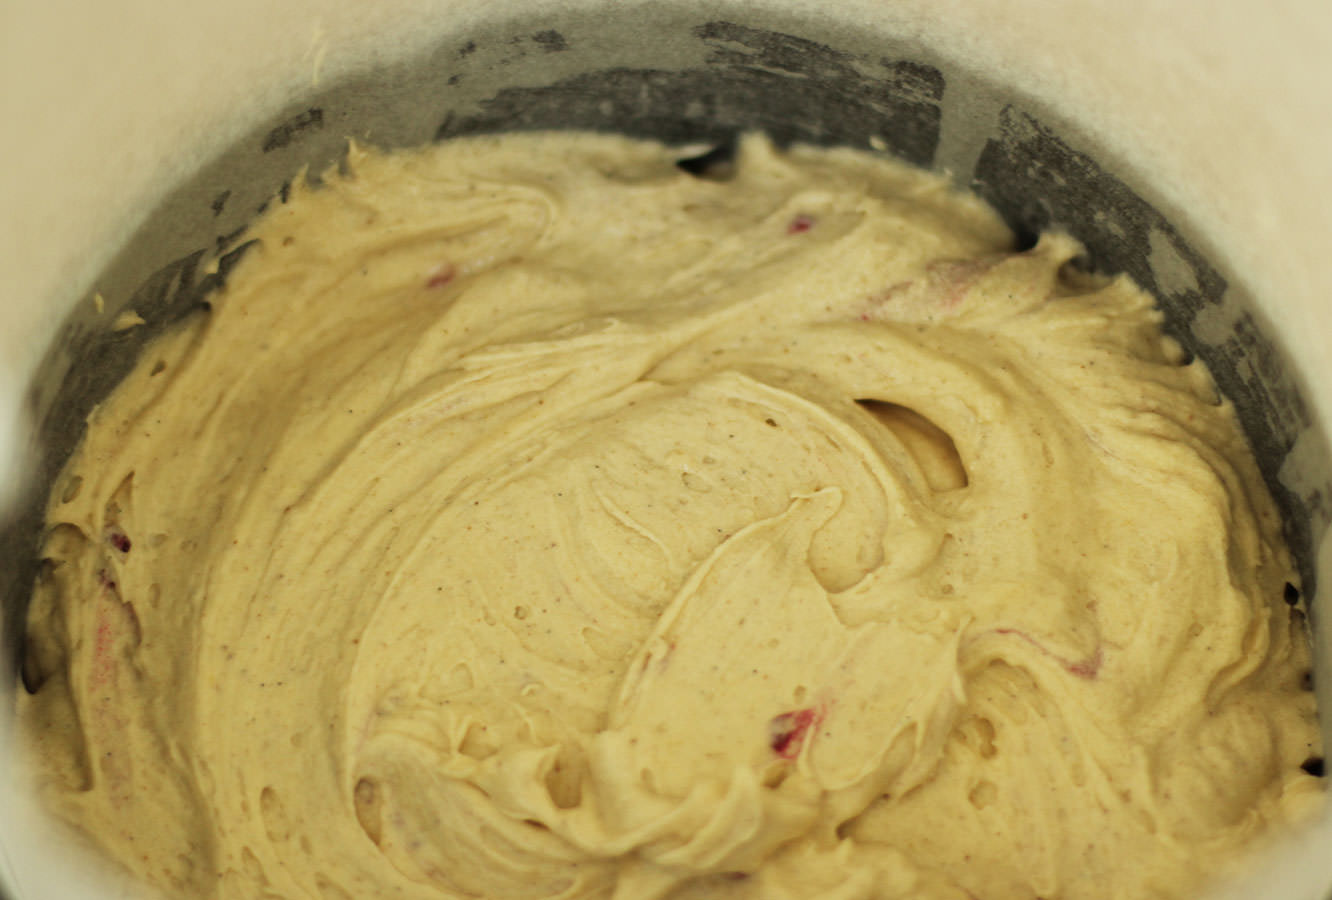
Step five
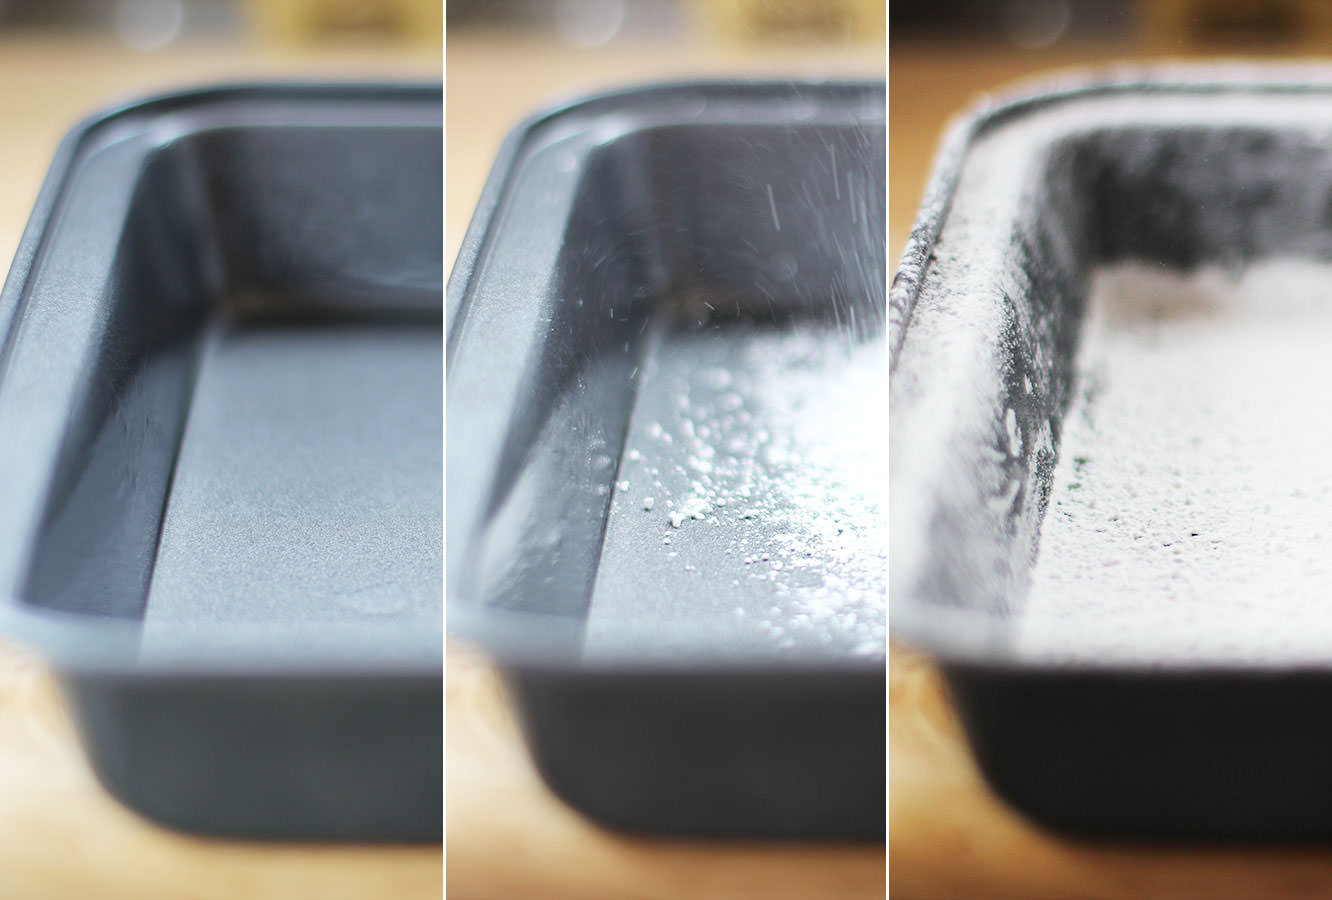
Spoon into a greased and lined tin, or two tins. Bake on 180C/350F/gas mark 4.
If you are just using a single tin you need about 45-55 minutes and make sure you line the sides so that the greaseproof protects the sides and top of the cake from burning. If you are using two separate tins 35-40 minutes should do the trick, and you only need to line the bottoms of the tins.
Step six
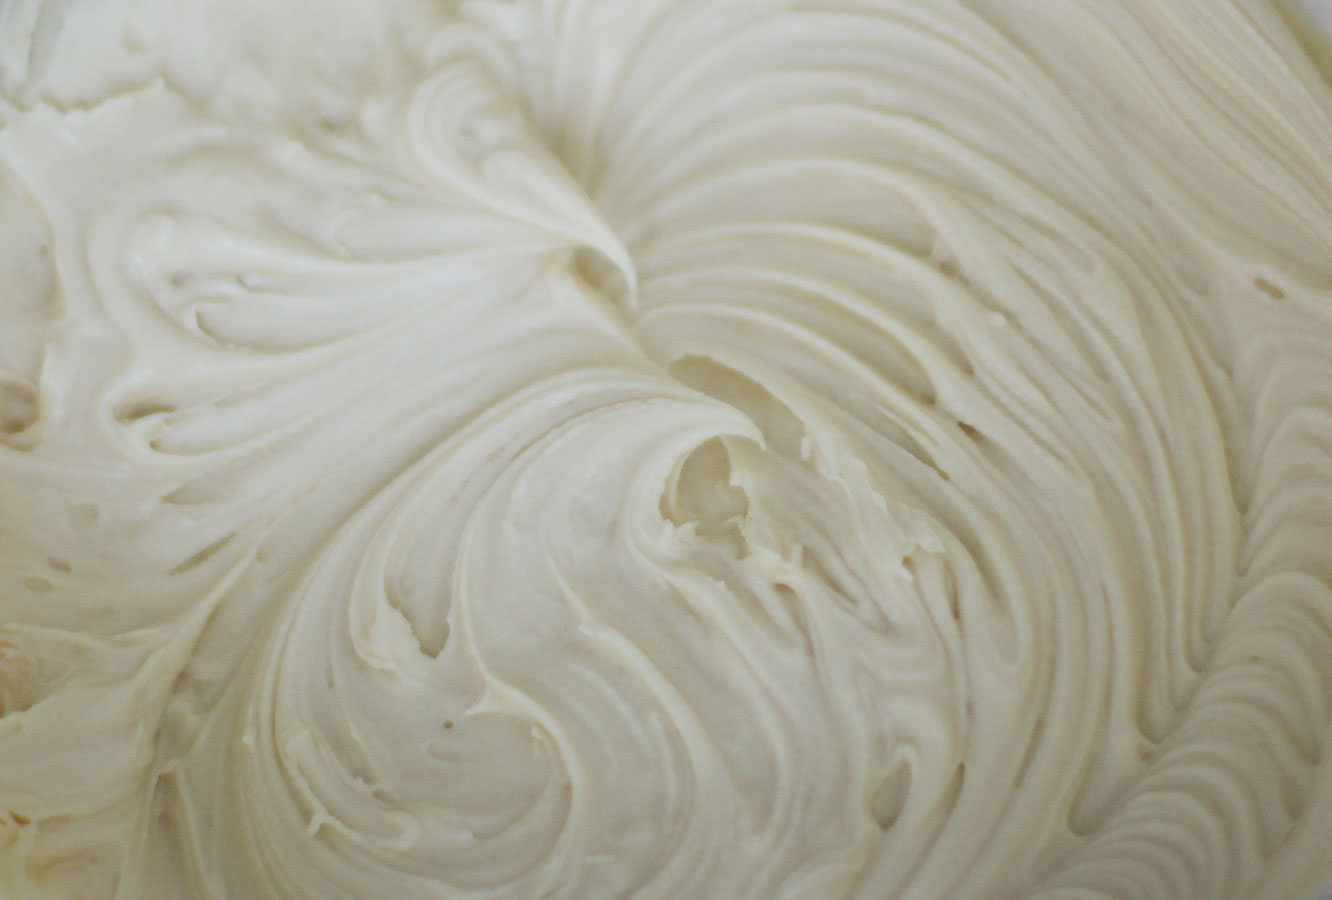
Whisk together the butter, icing sugar, vanilla and honey for the icing. Cover the bowl with a tea towel before turning on the whisk so you don’t get covered in icing sugar.
Step seven
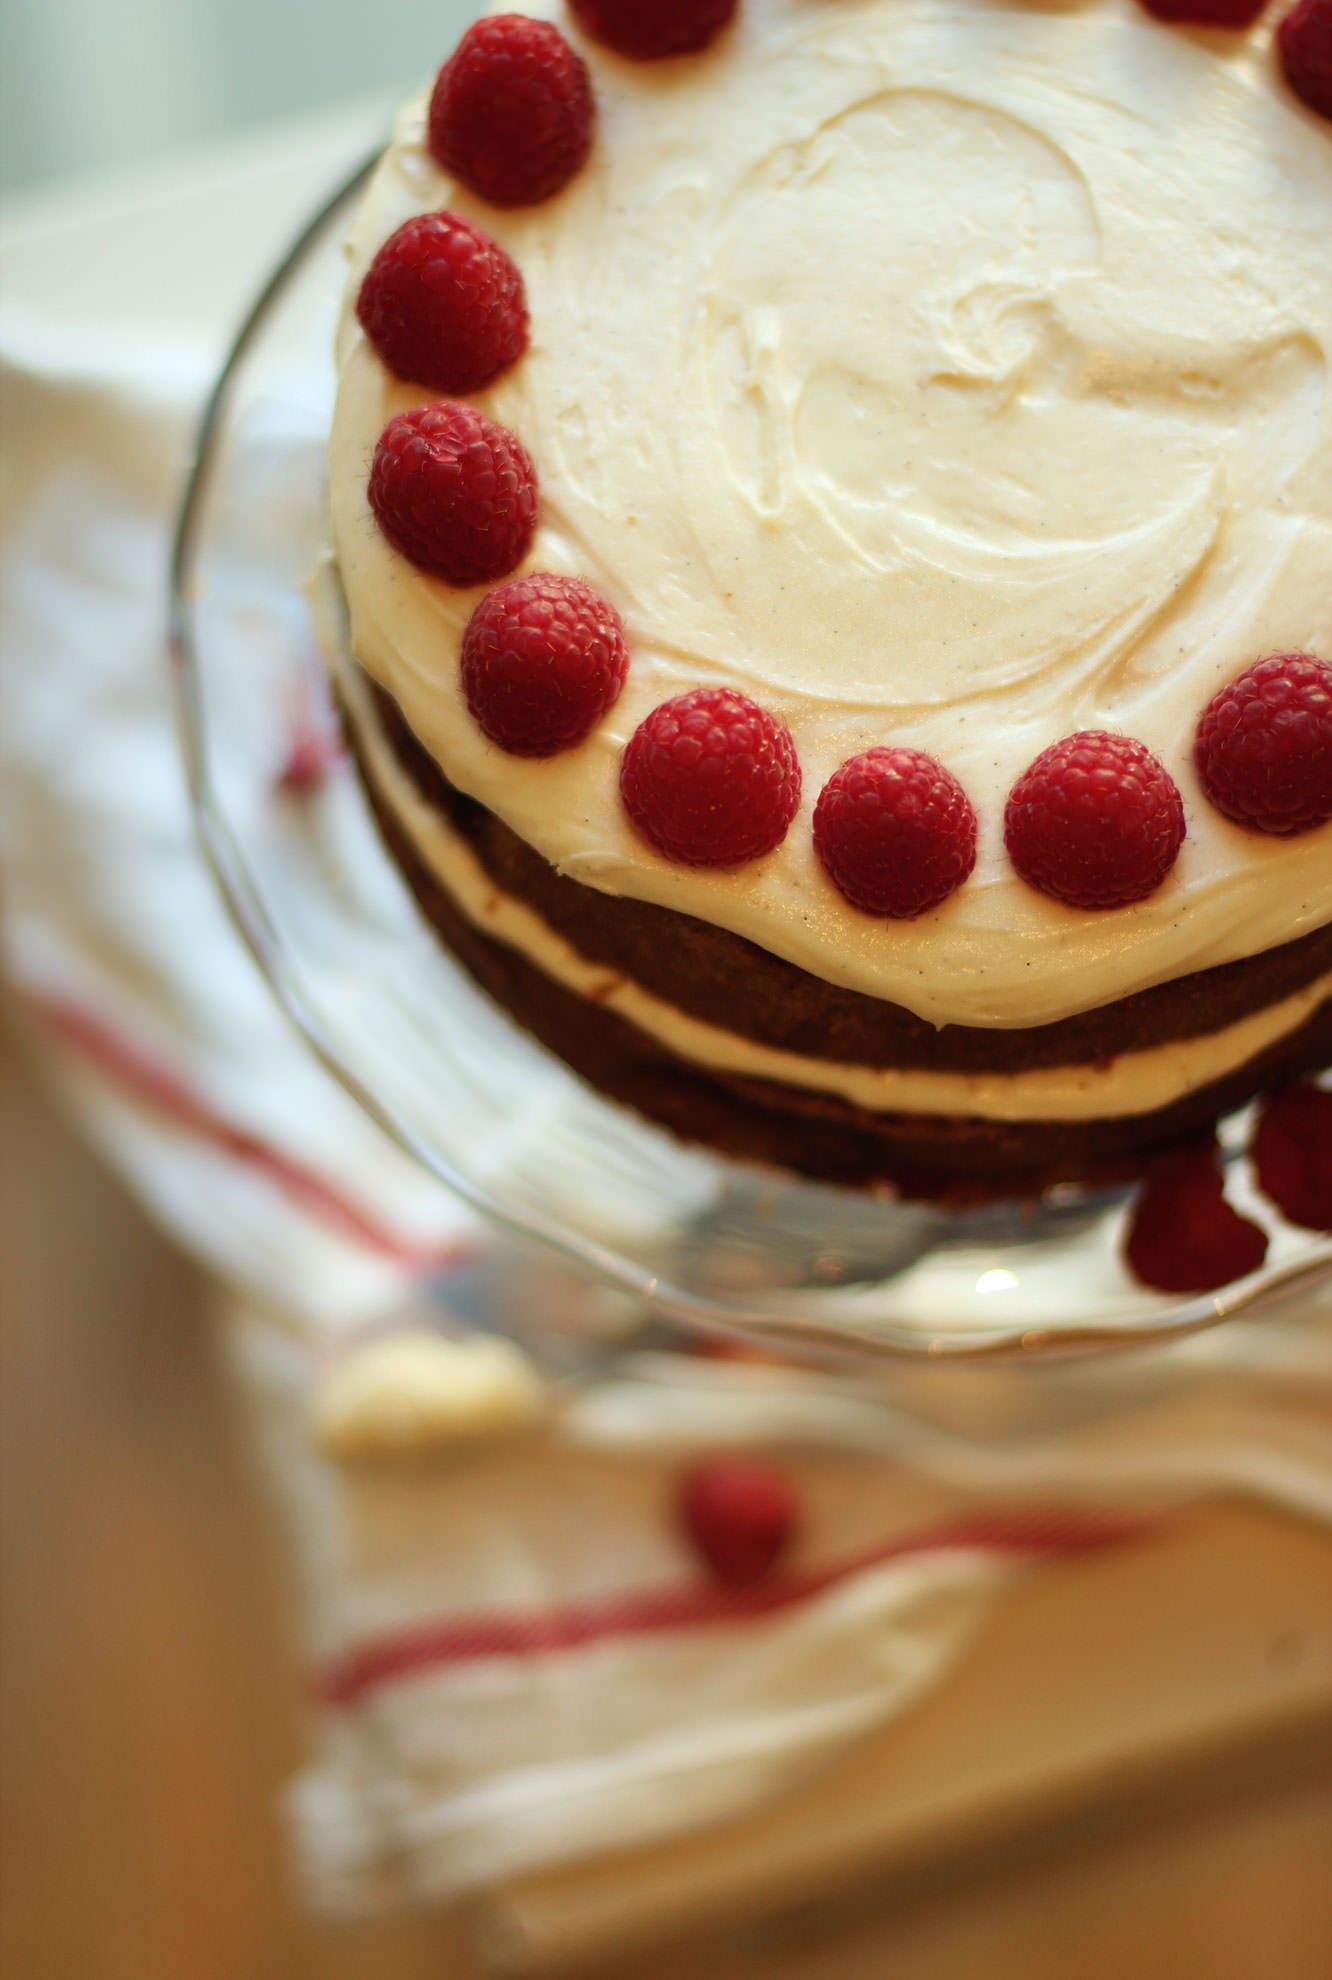
Once the cake has completely cooled assemble it. Use just under half the icing in the middle and the rest on top.
I then decorated with the remaining raspberries, but feel free to get creative!


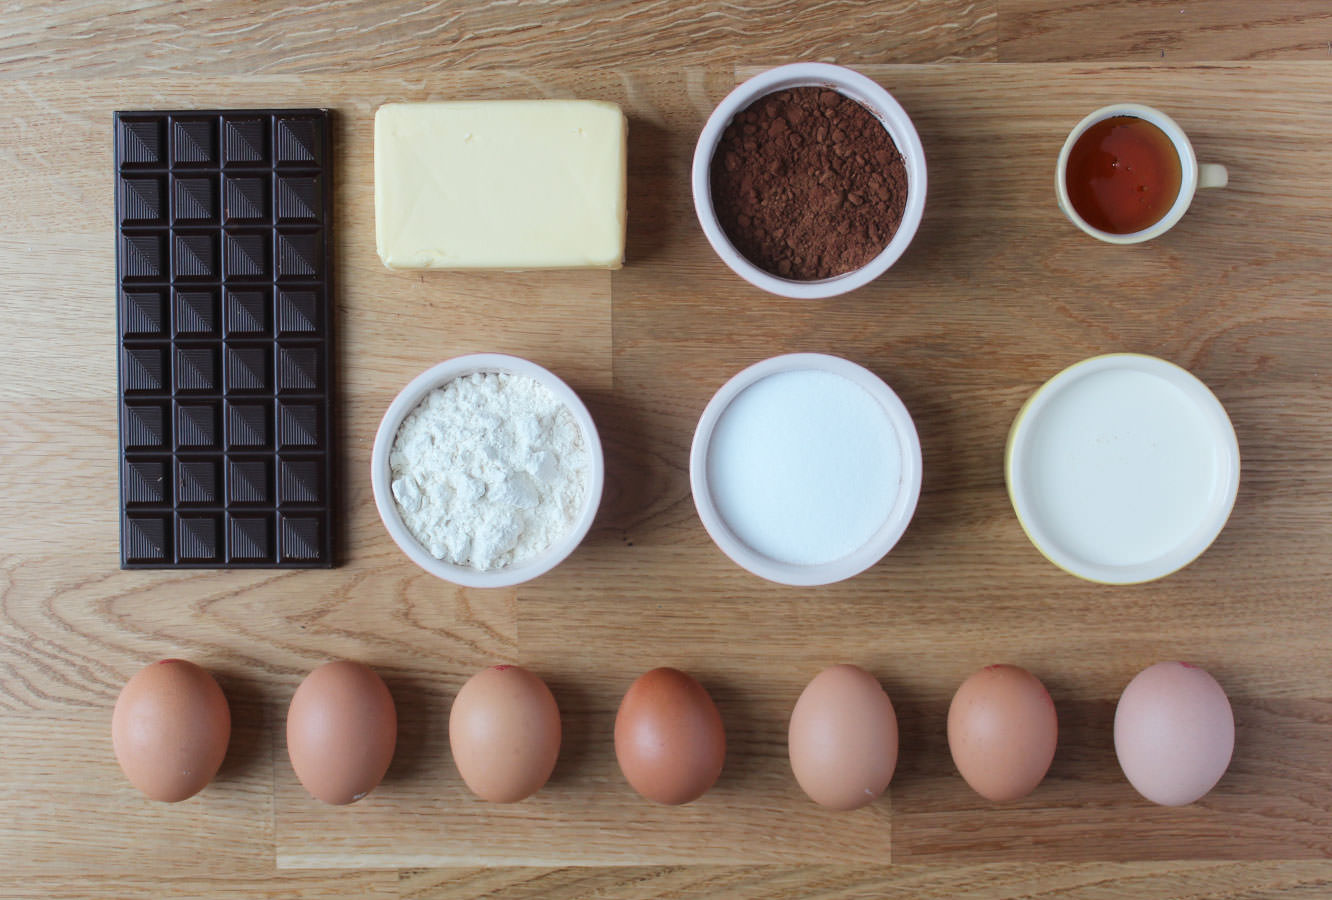


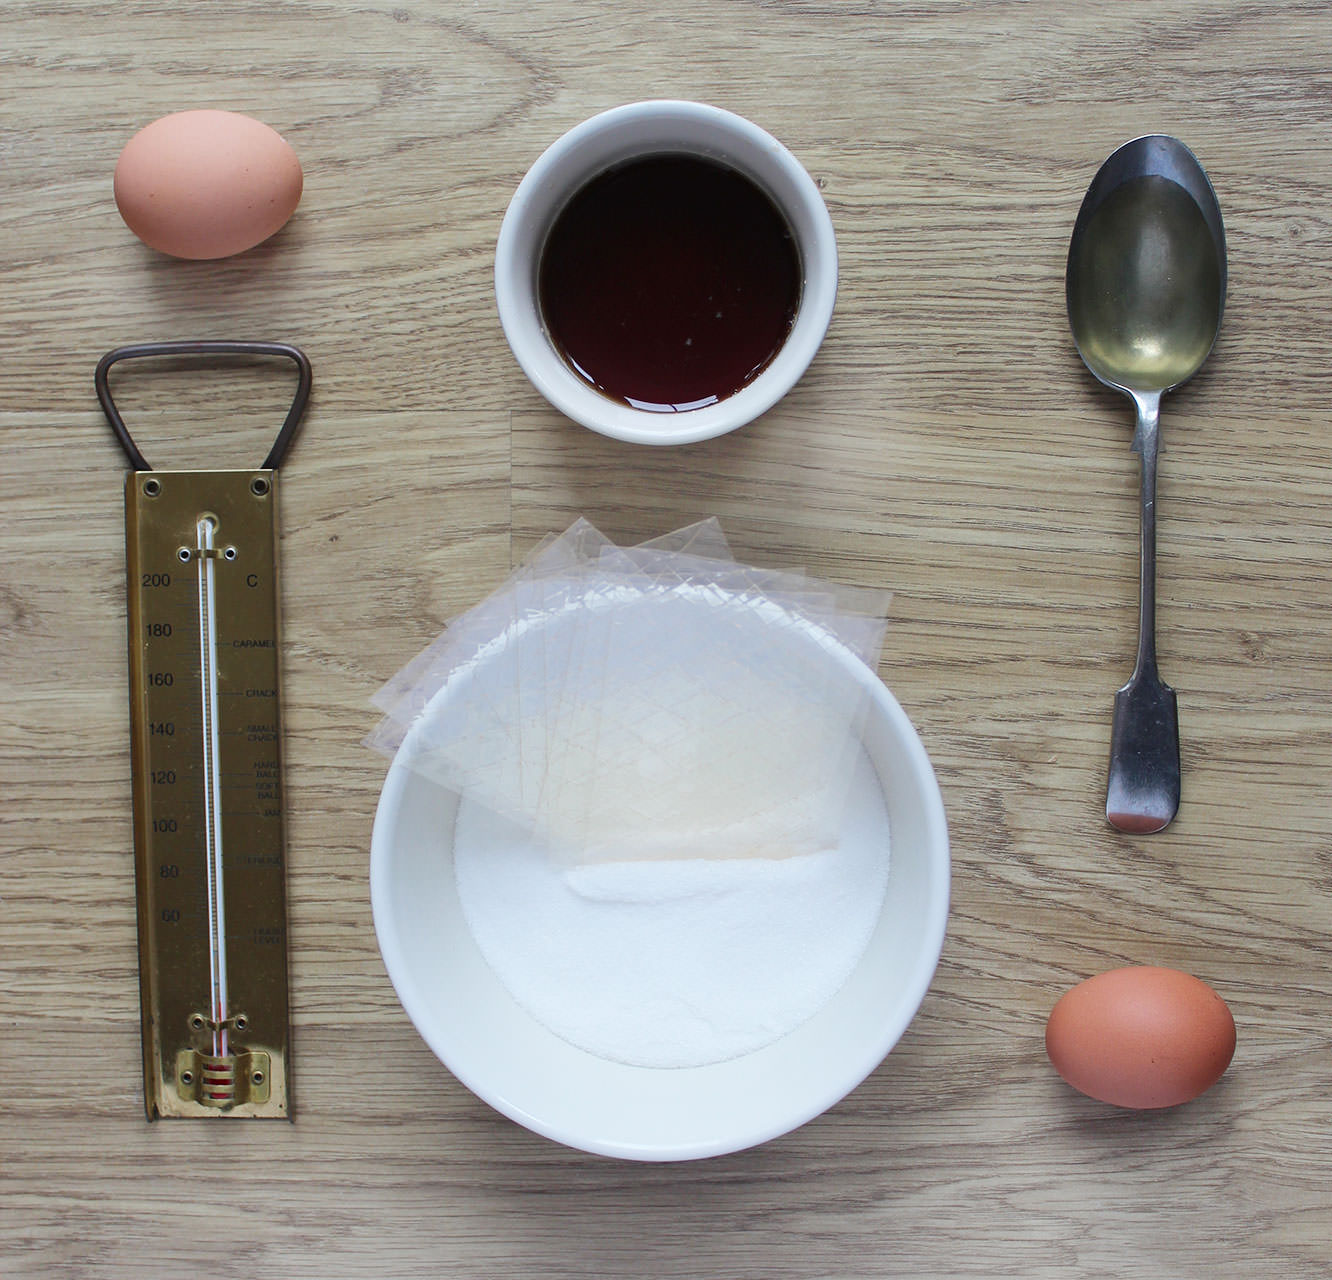 You will need
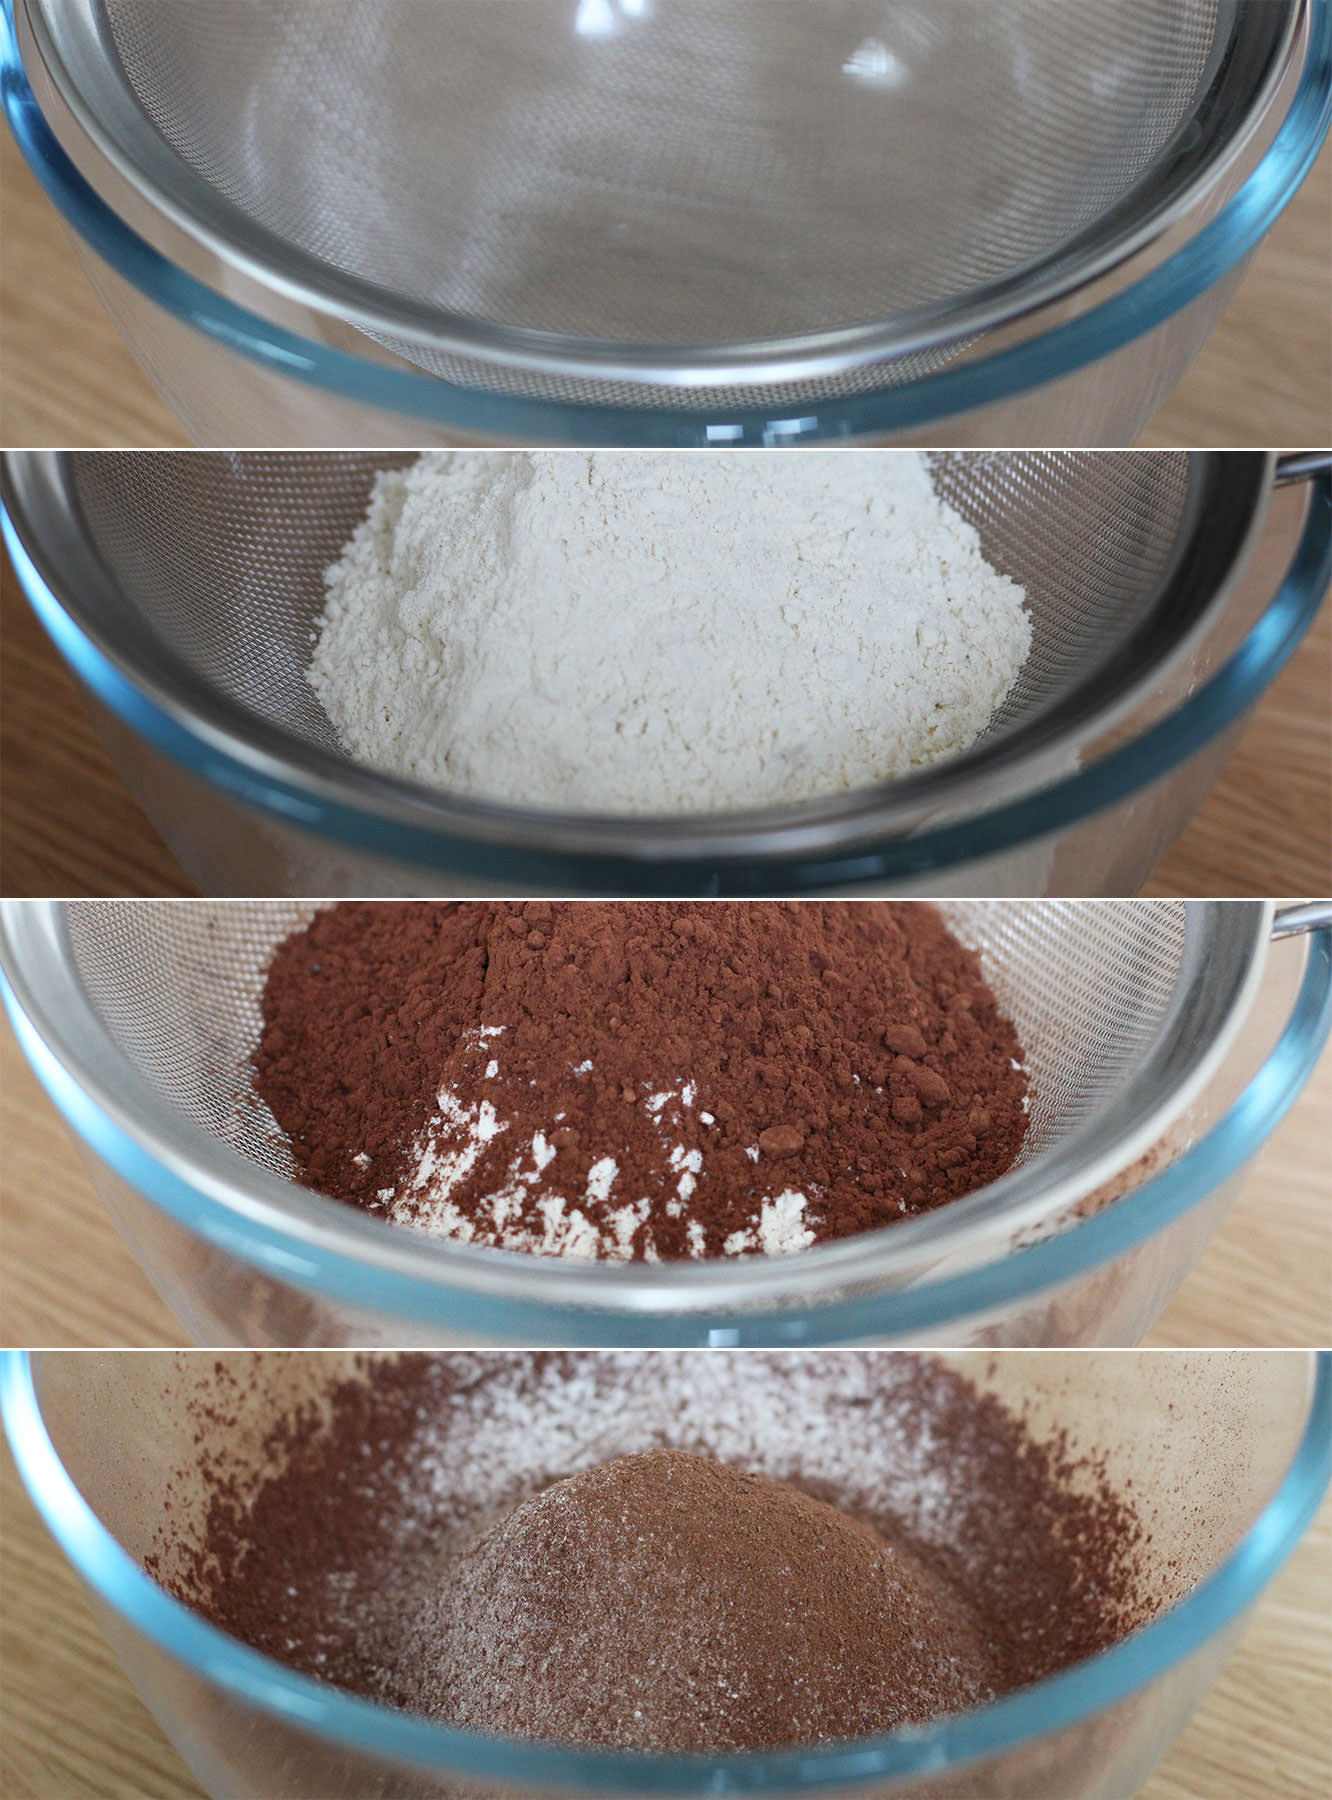
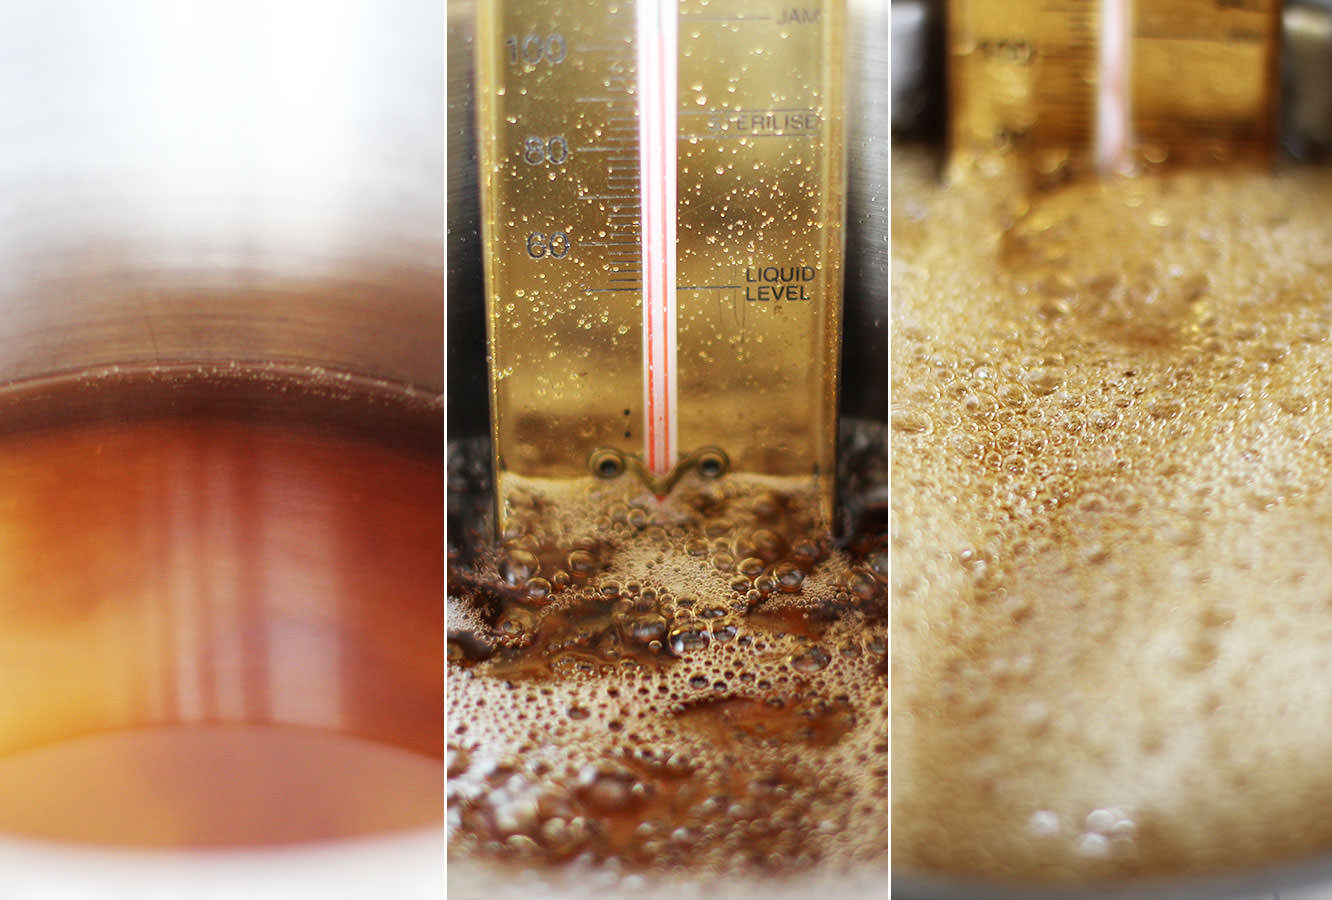 Step three
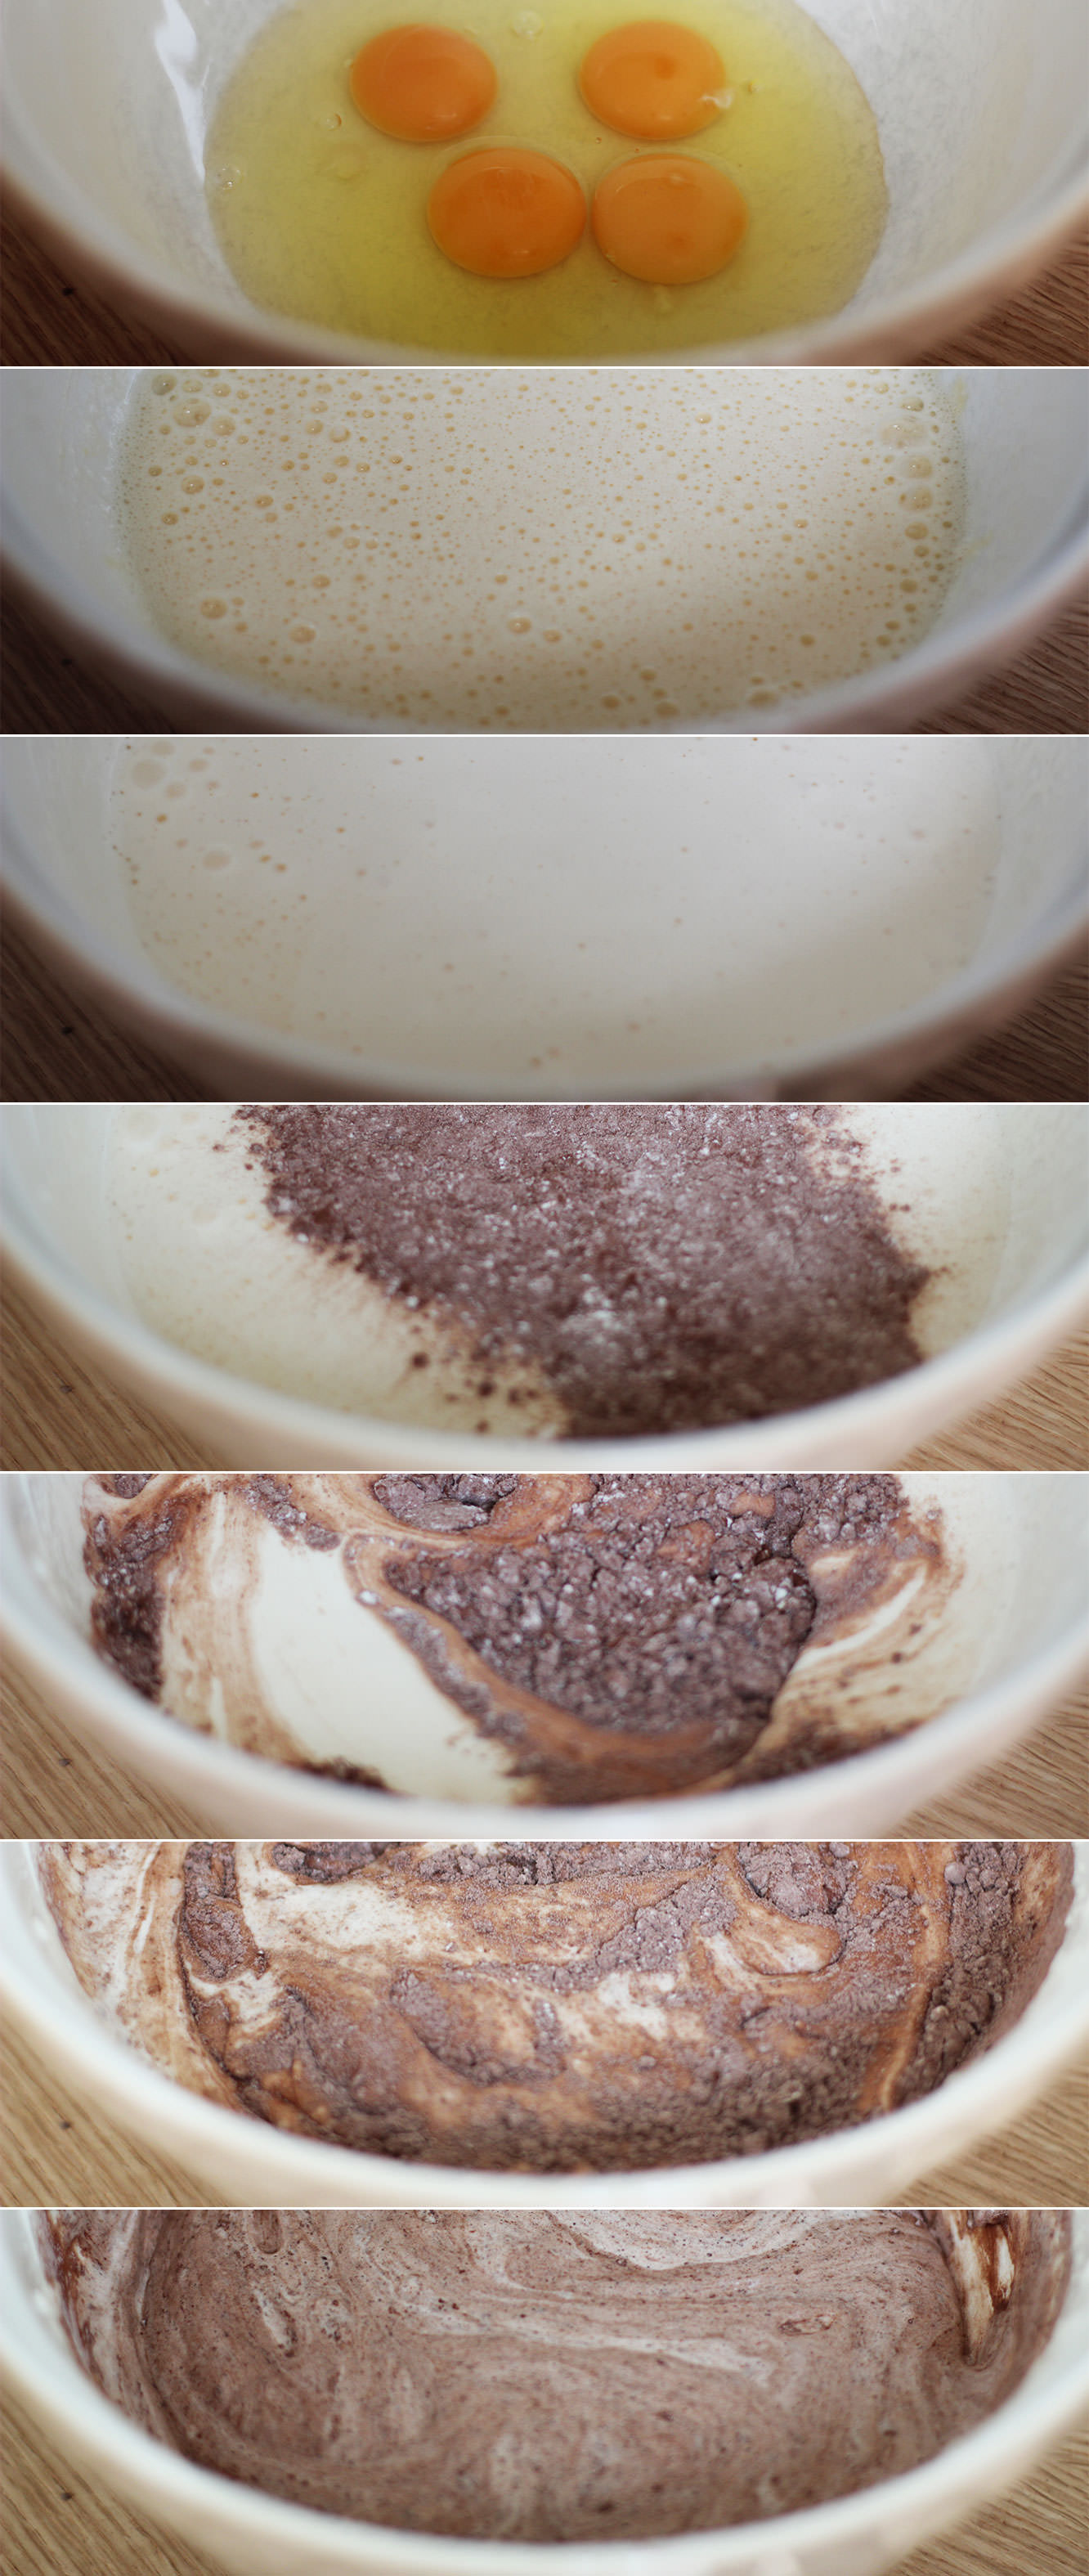
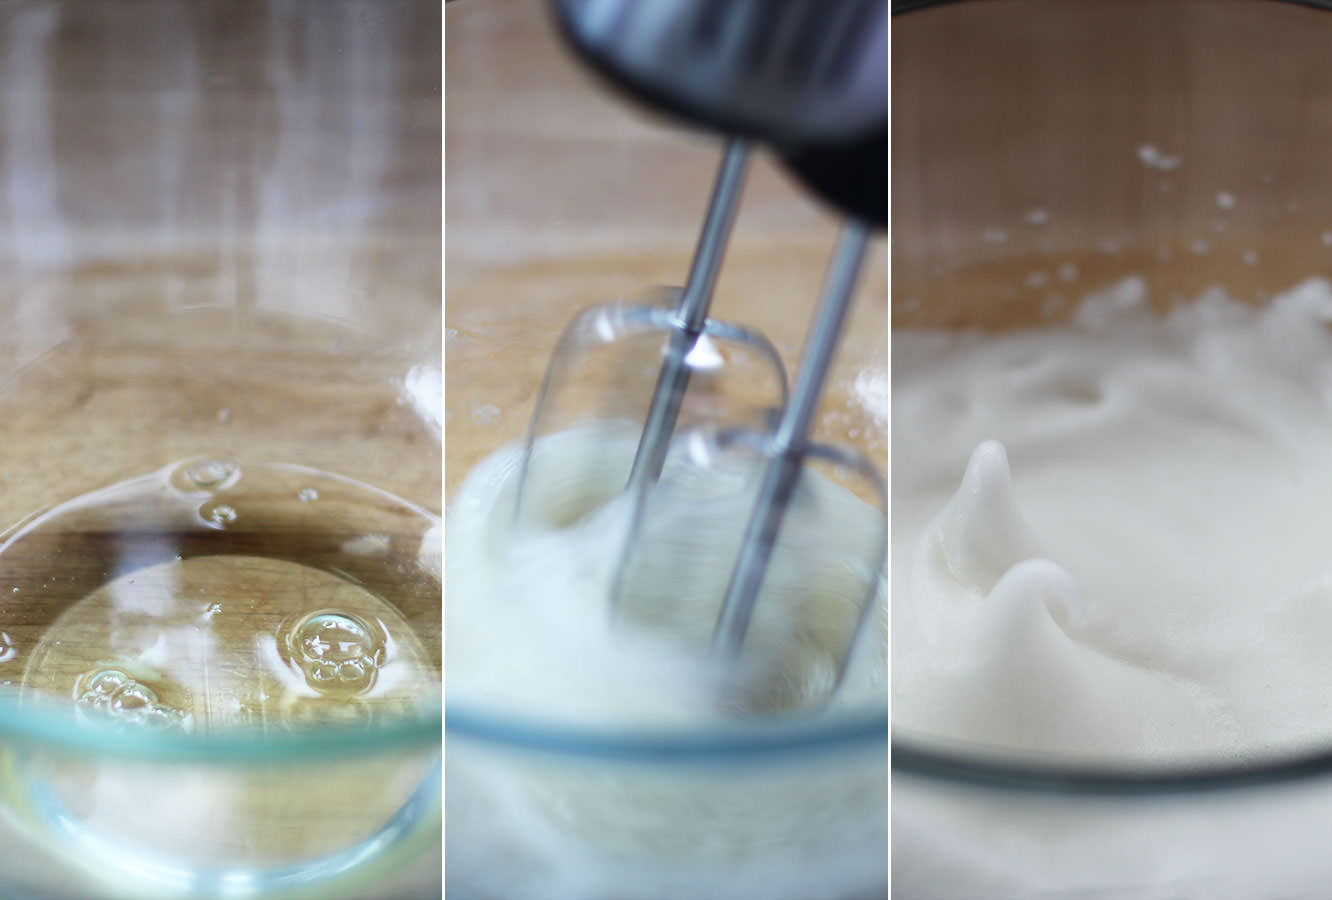 Step four
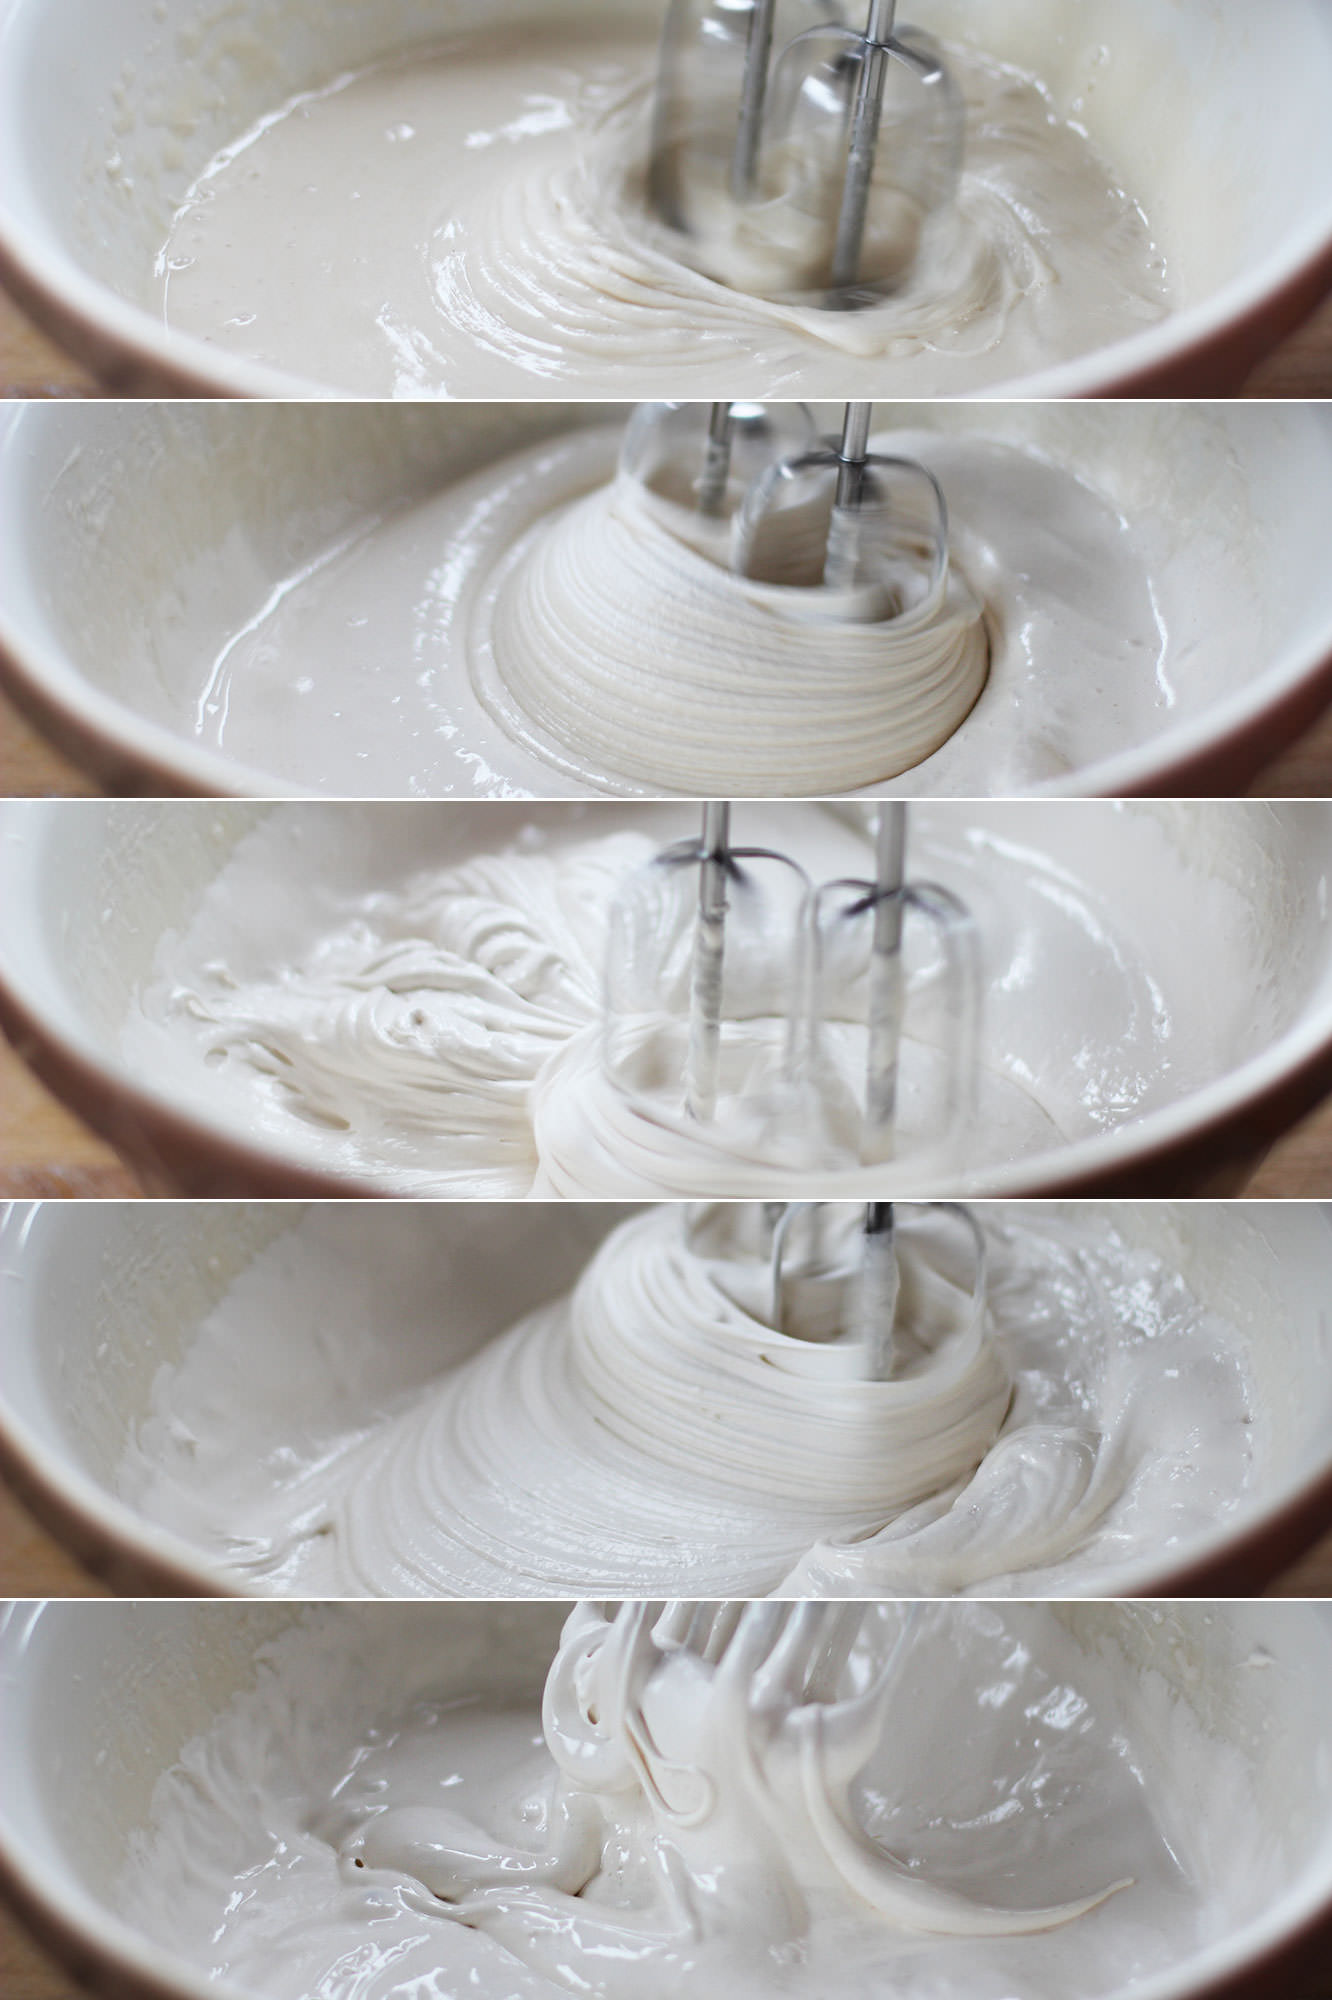 Step seven
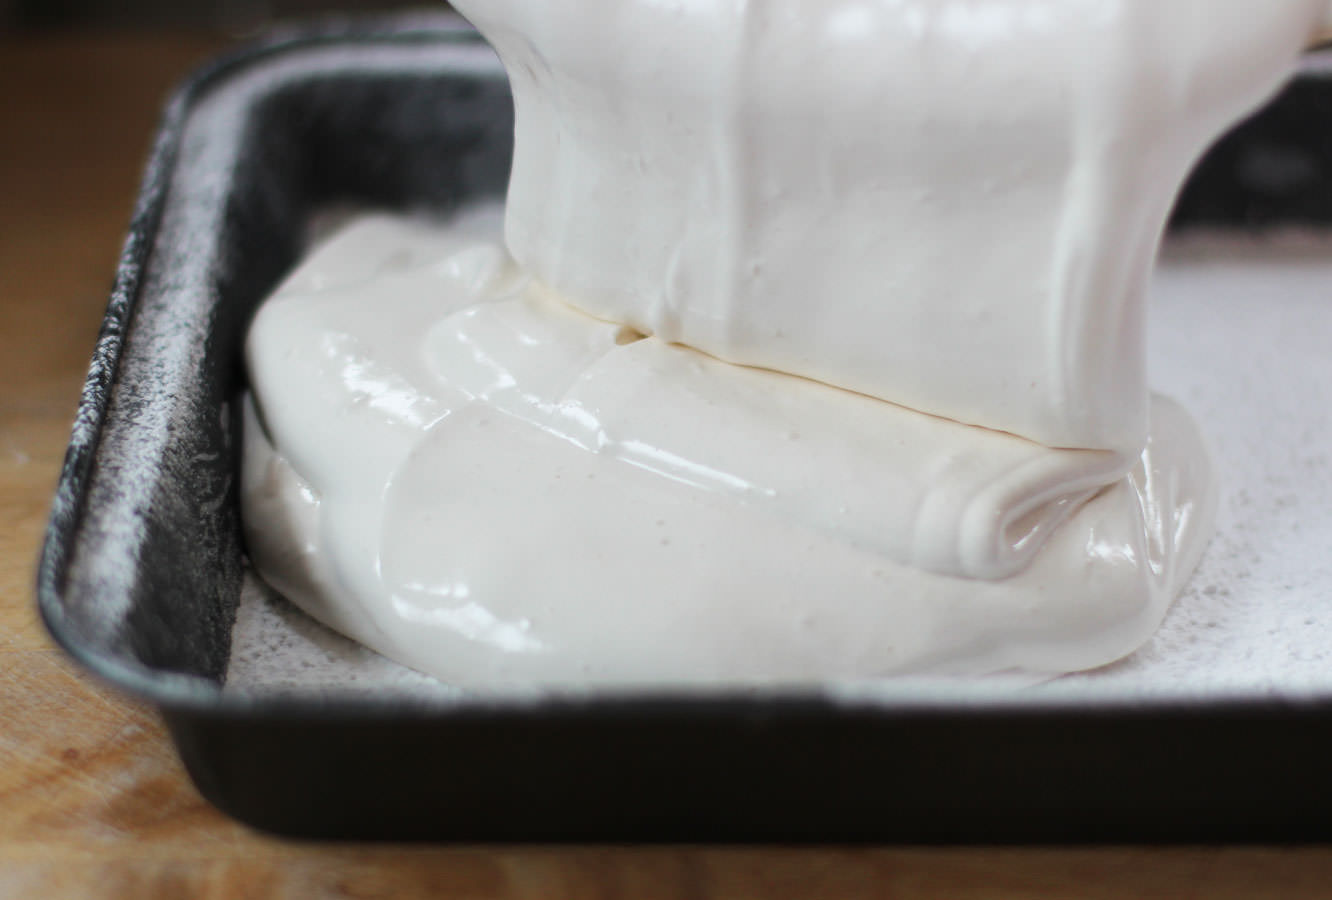 Step eleven
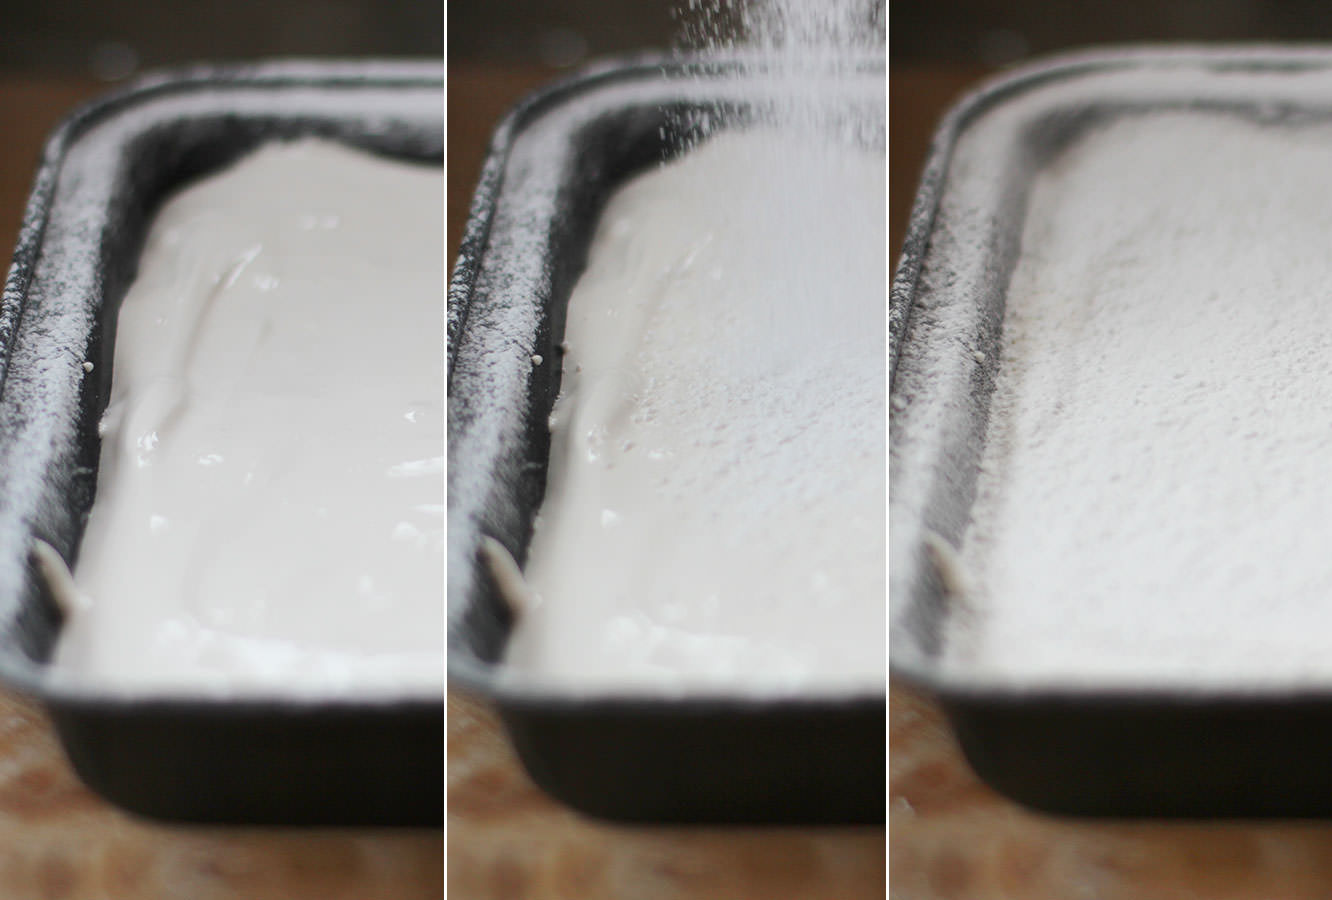 Step twelve
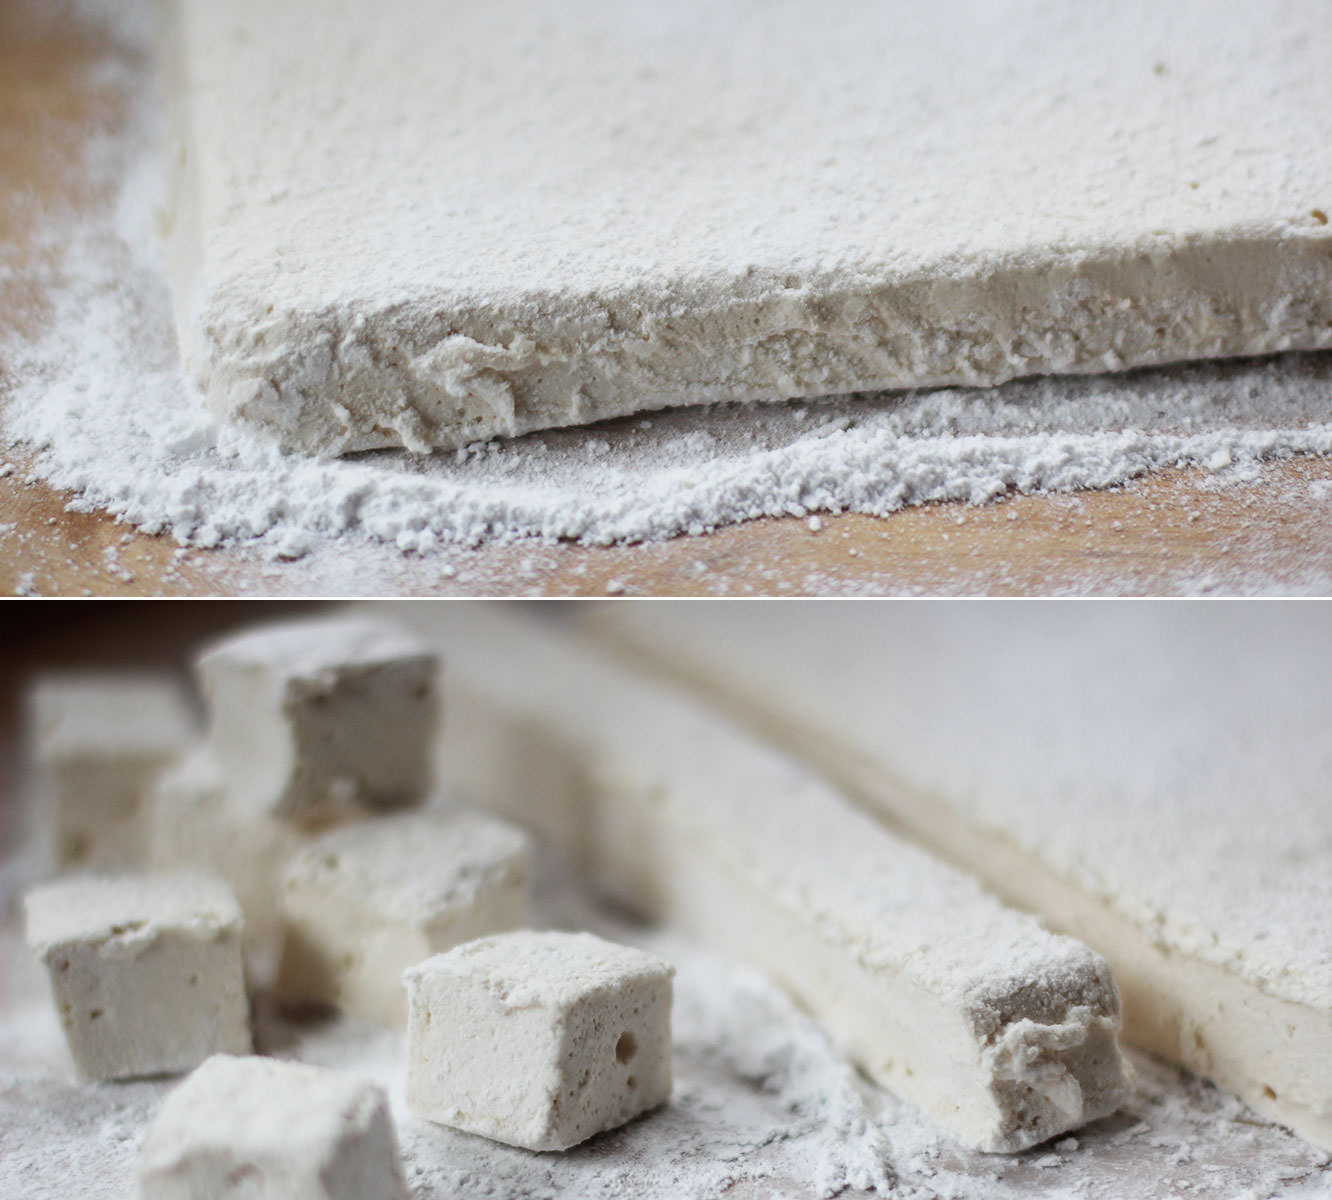 Step thirteen
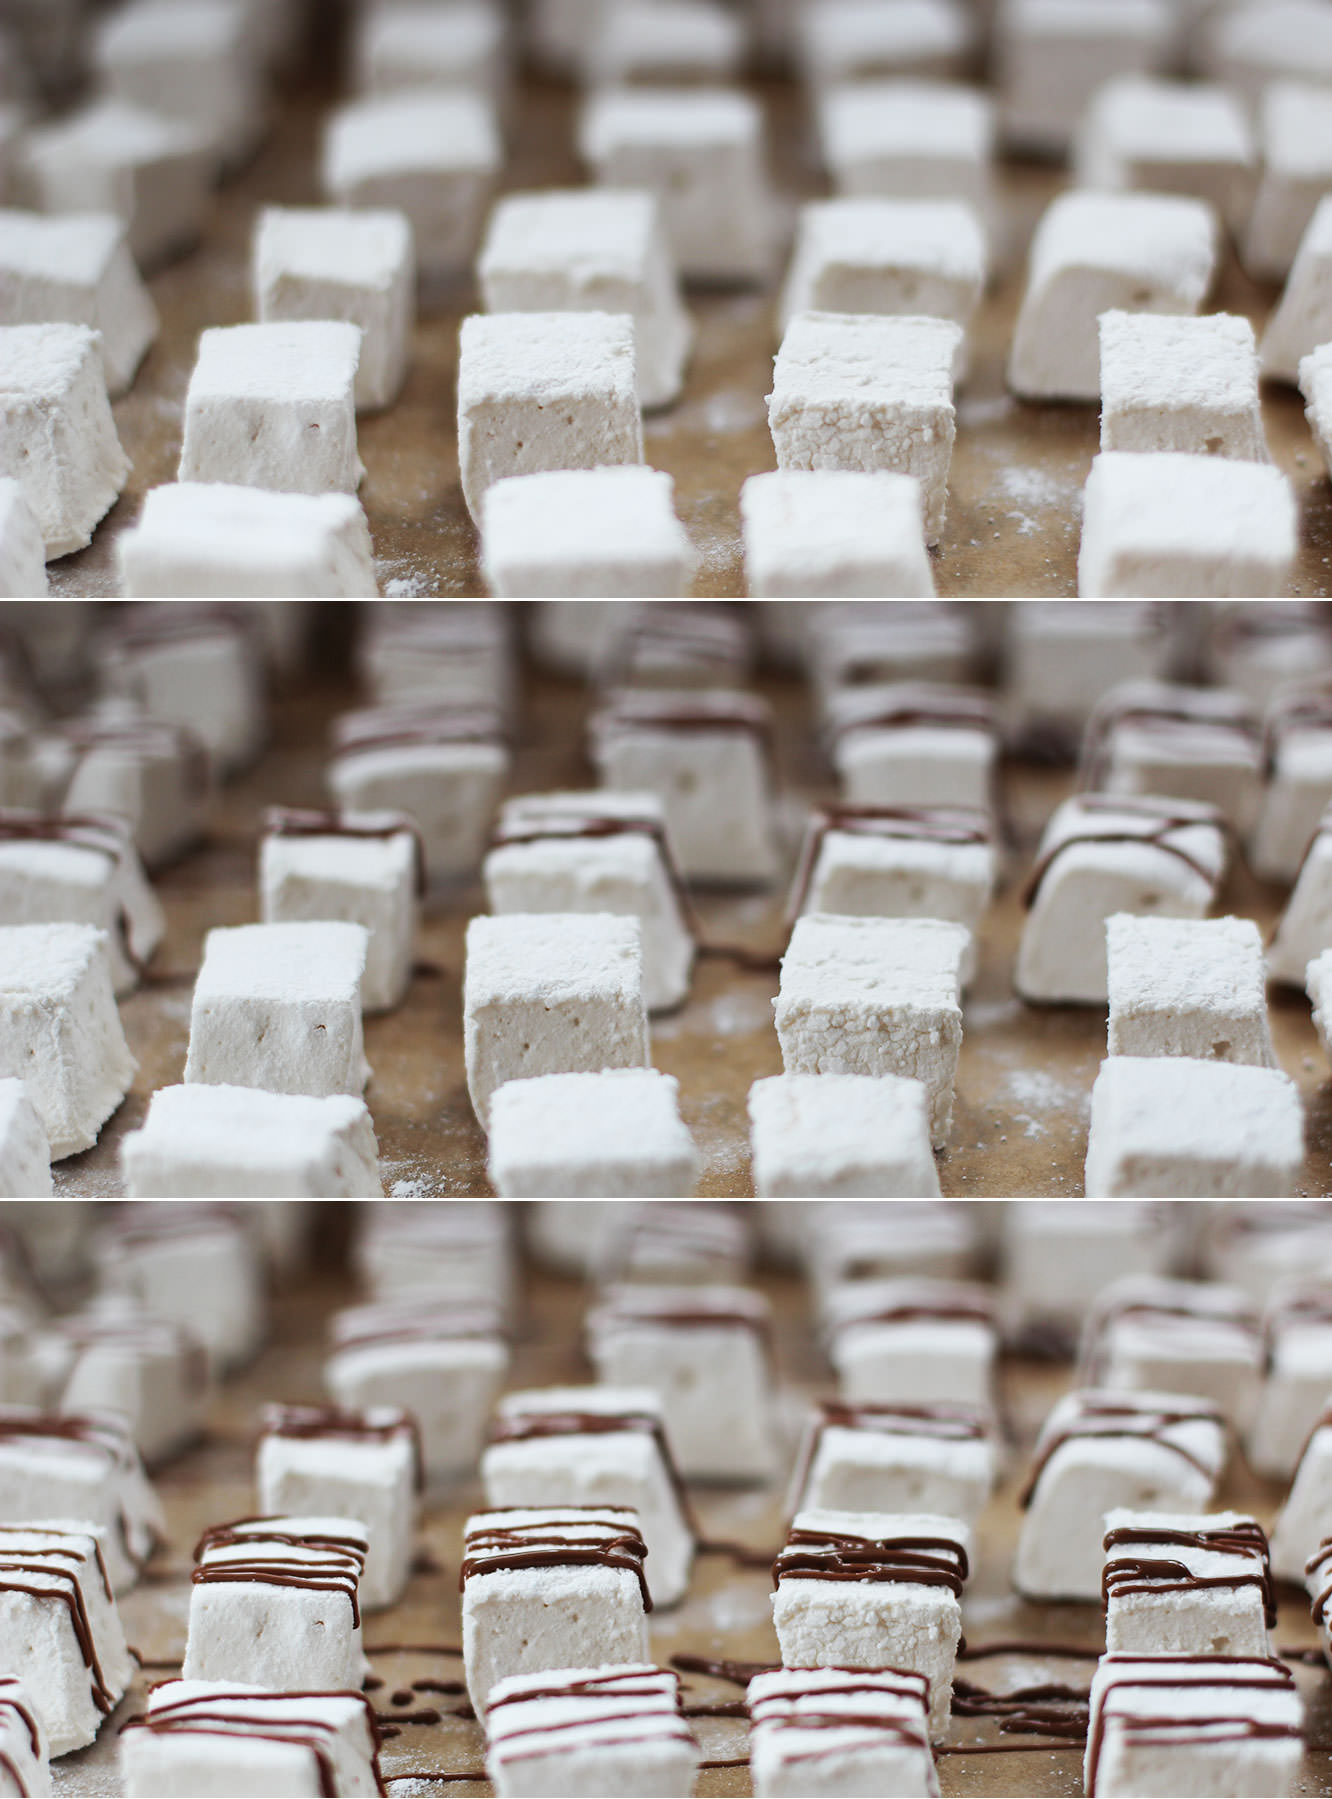 Step fourteen
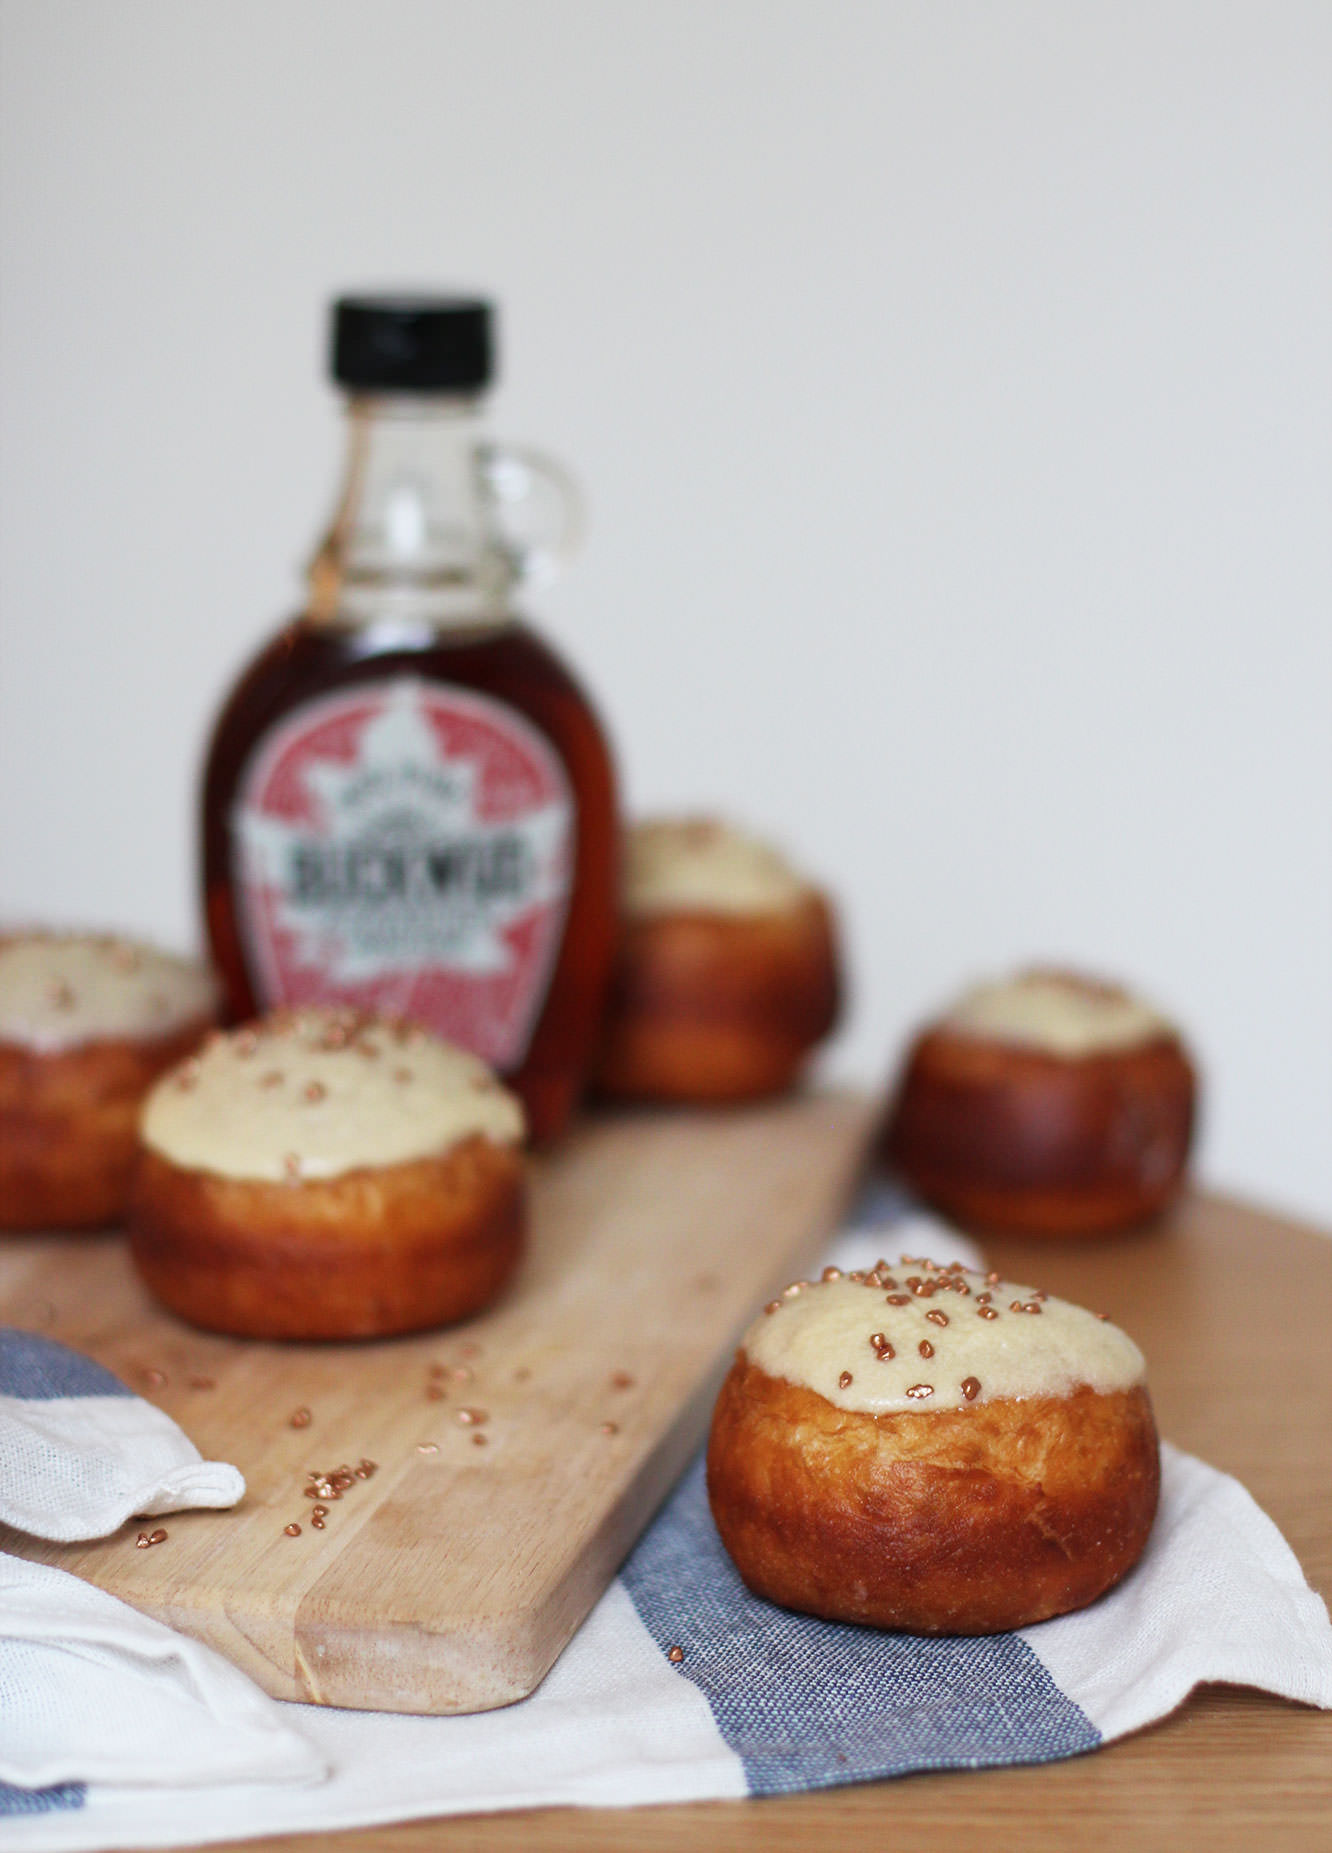
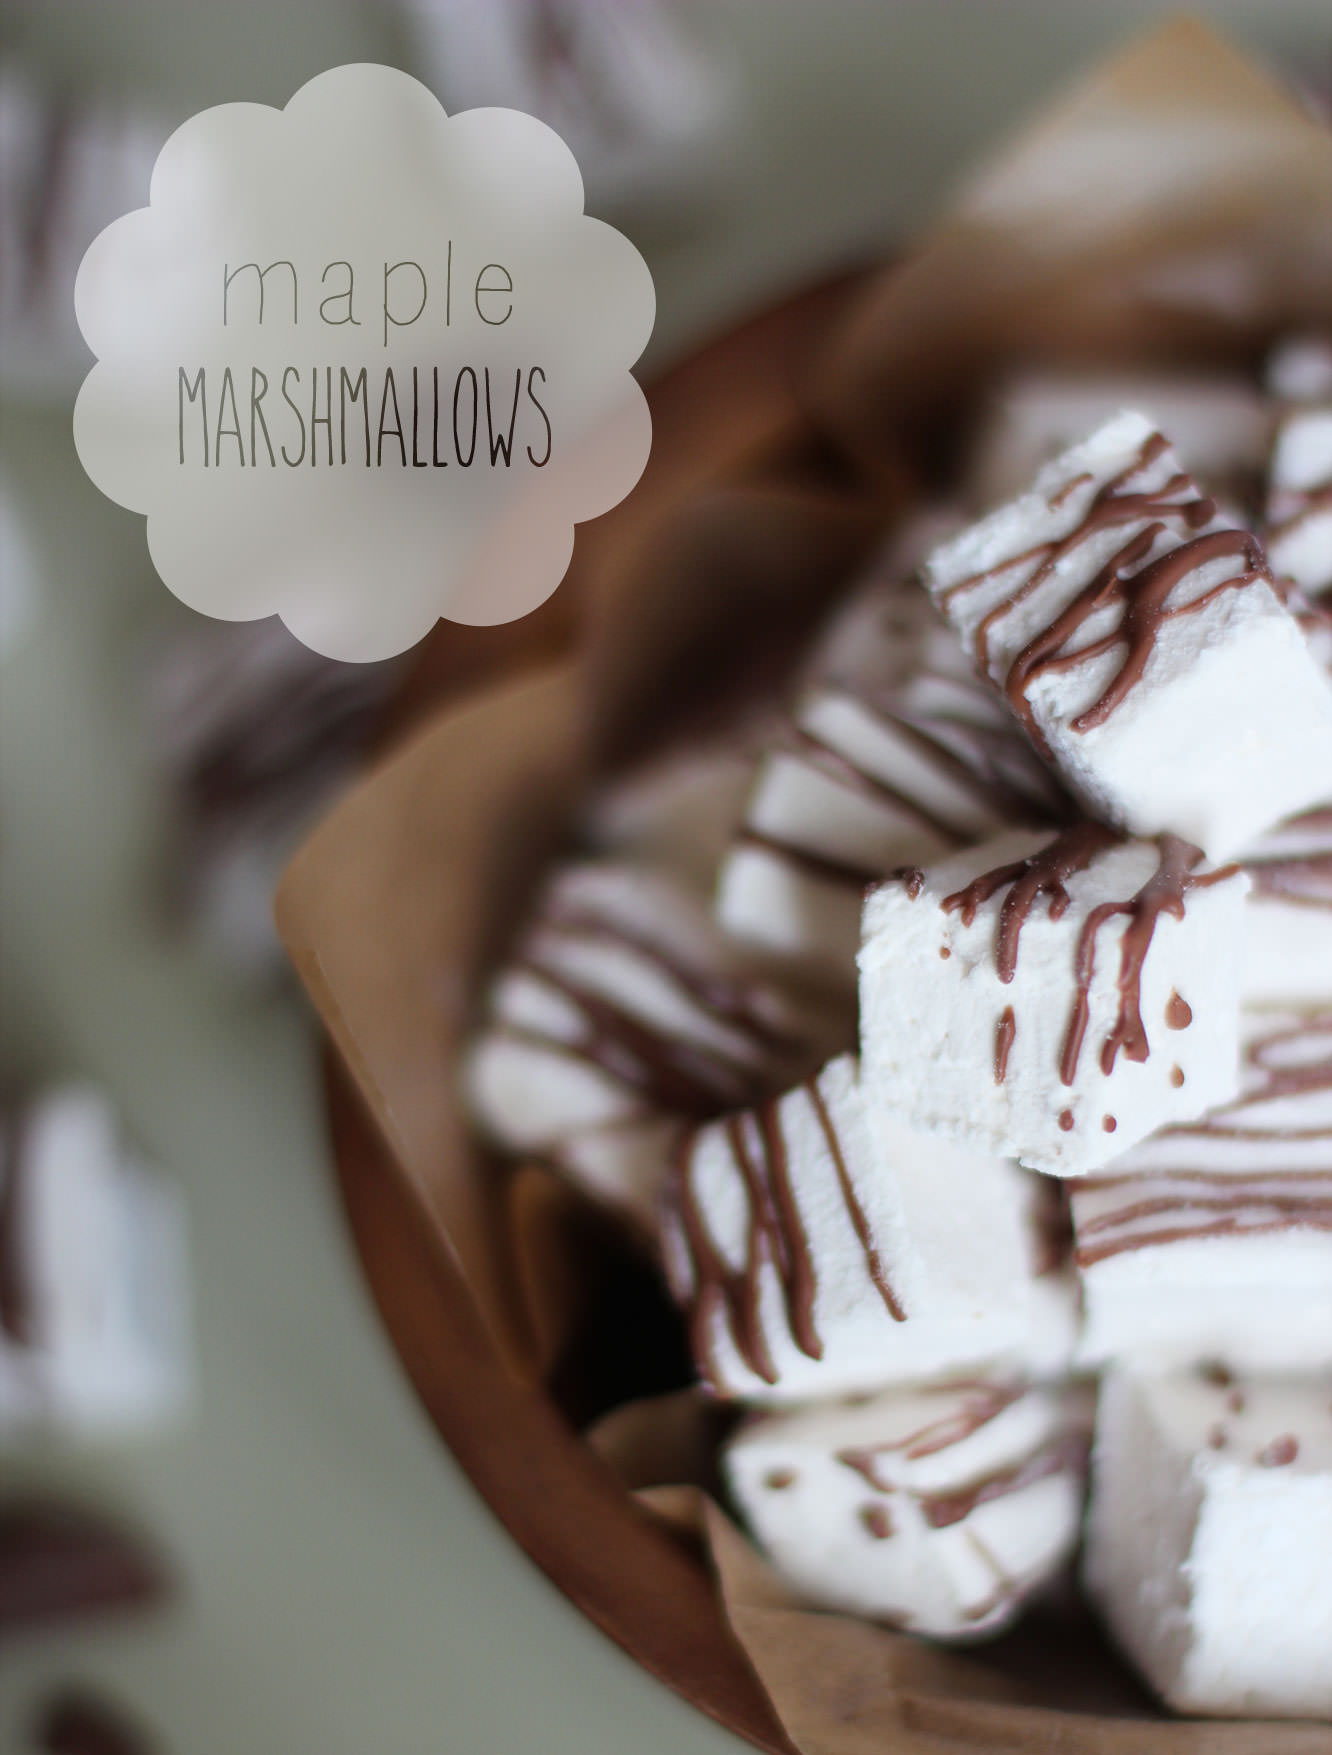 There we have it. Maple marshmallows. Nowhere near as difficult to make as I made them sound, I promise.