So. Guys. 2015 happened. Happy New Year to you all!
Probably the last thing all you resolution makers need is this blog post. Just know that deep down I support your diet, but if you ever want to fall off the wagon in a carb-tacular way, I’m here for you, holding mini filled potato skins.
These bitesize chaps were more of the nibbles I made for Matt and Vicky’s party and they disappeared pretty quickly, despite being a bit of a random addition to the table. I know Vicky’s brother has been waiting on tenterhooks for this blog post. Edward, apologies for the delay.

You will need
15 New potatoes
3 Rashers of smoked bacon (or a couple of spring onions if you’re a veggie)
300ml Sour cream
100g/5 oz Red Leicester/Double Gloucester/Cheddar cheese
Salt and pepper
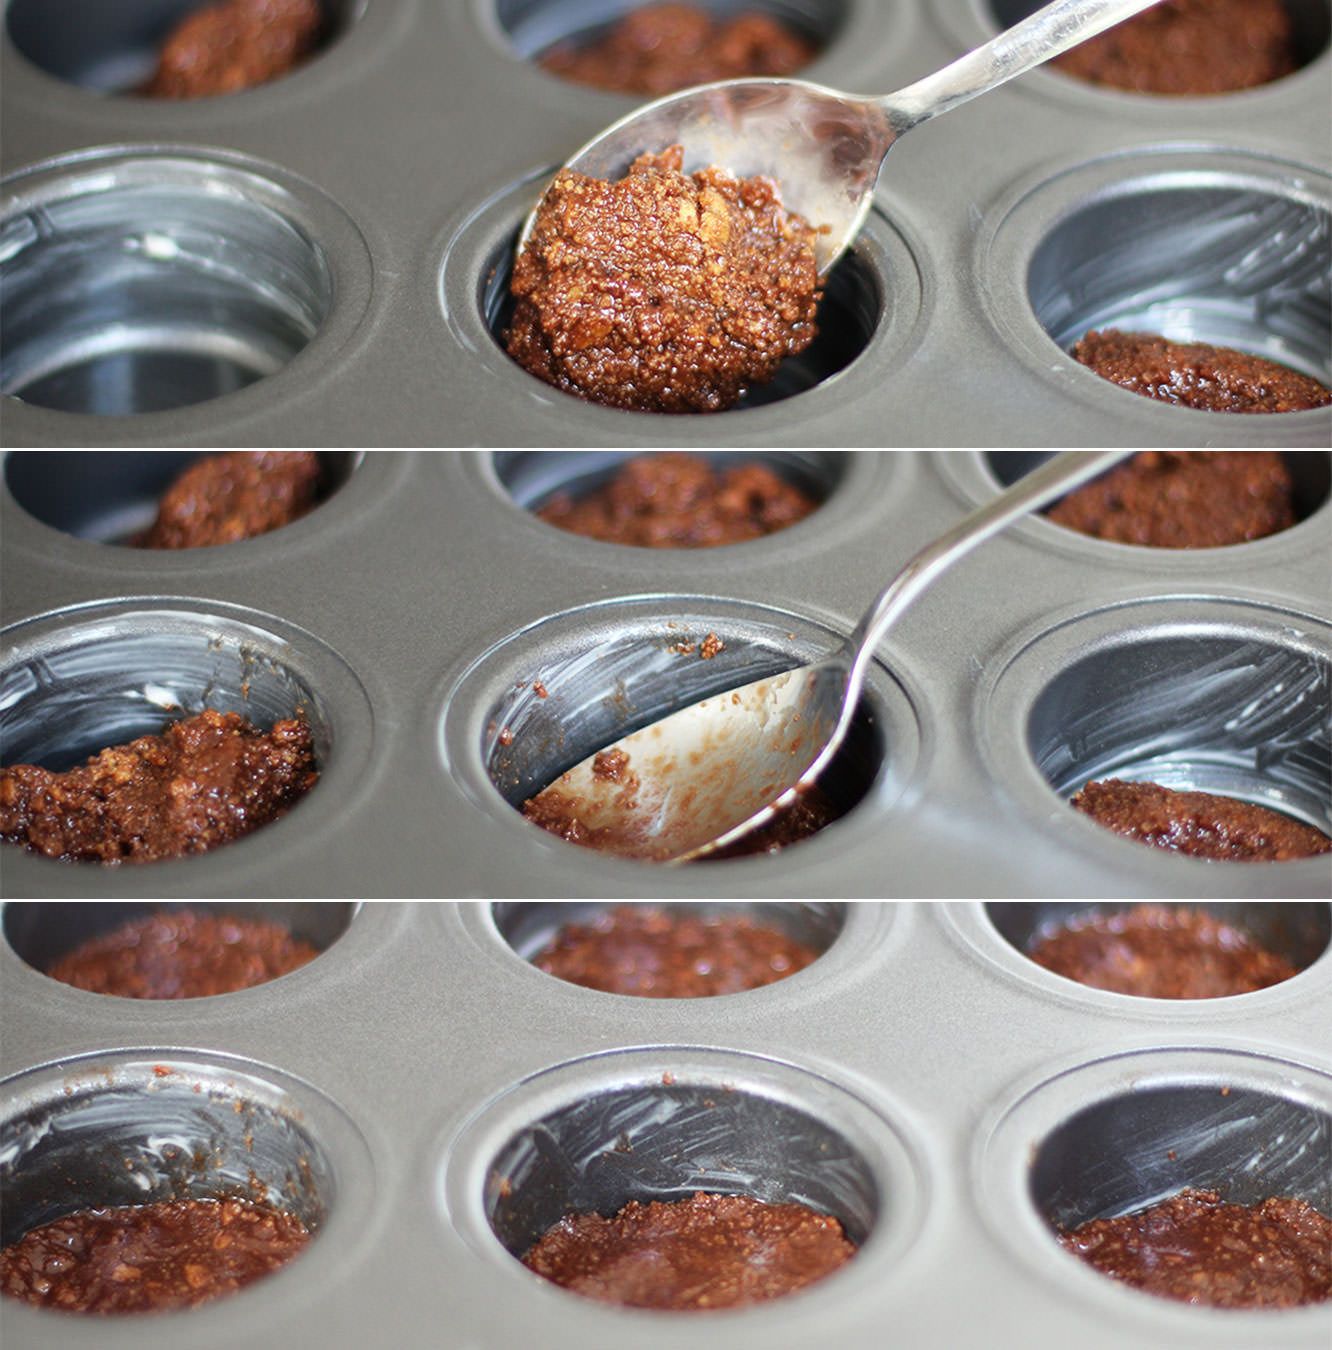
Step one
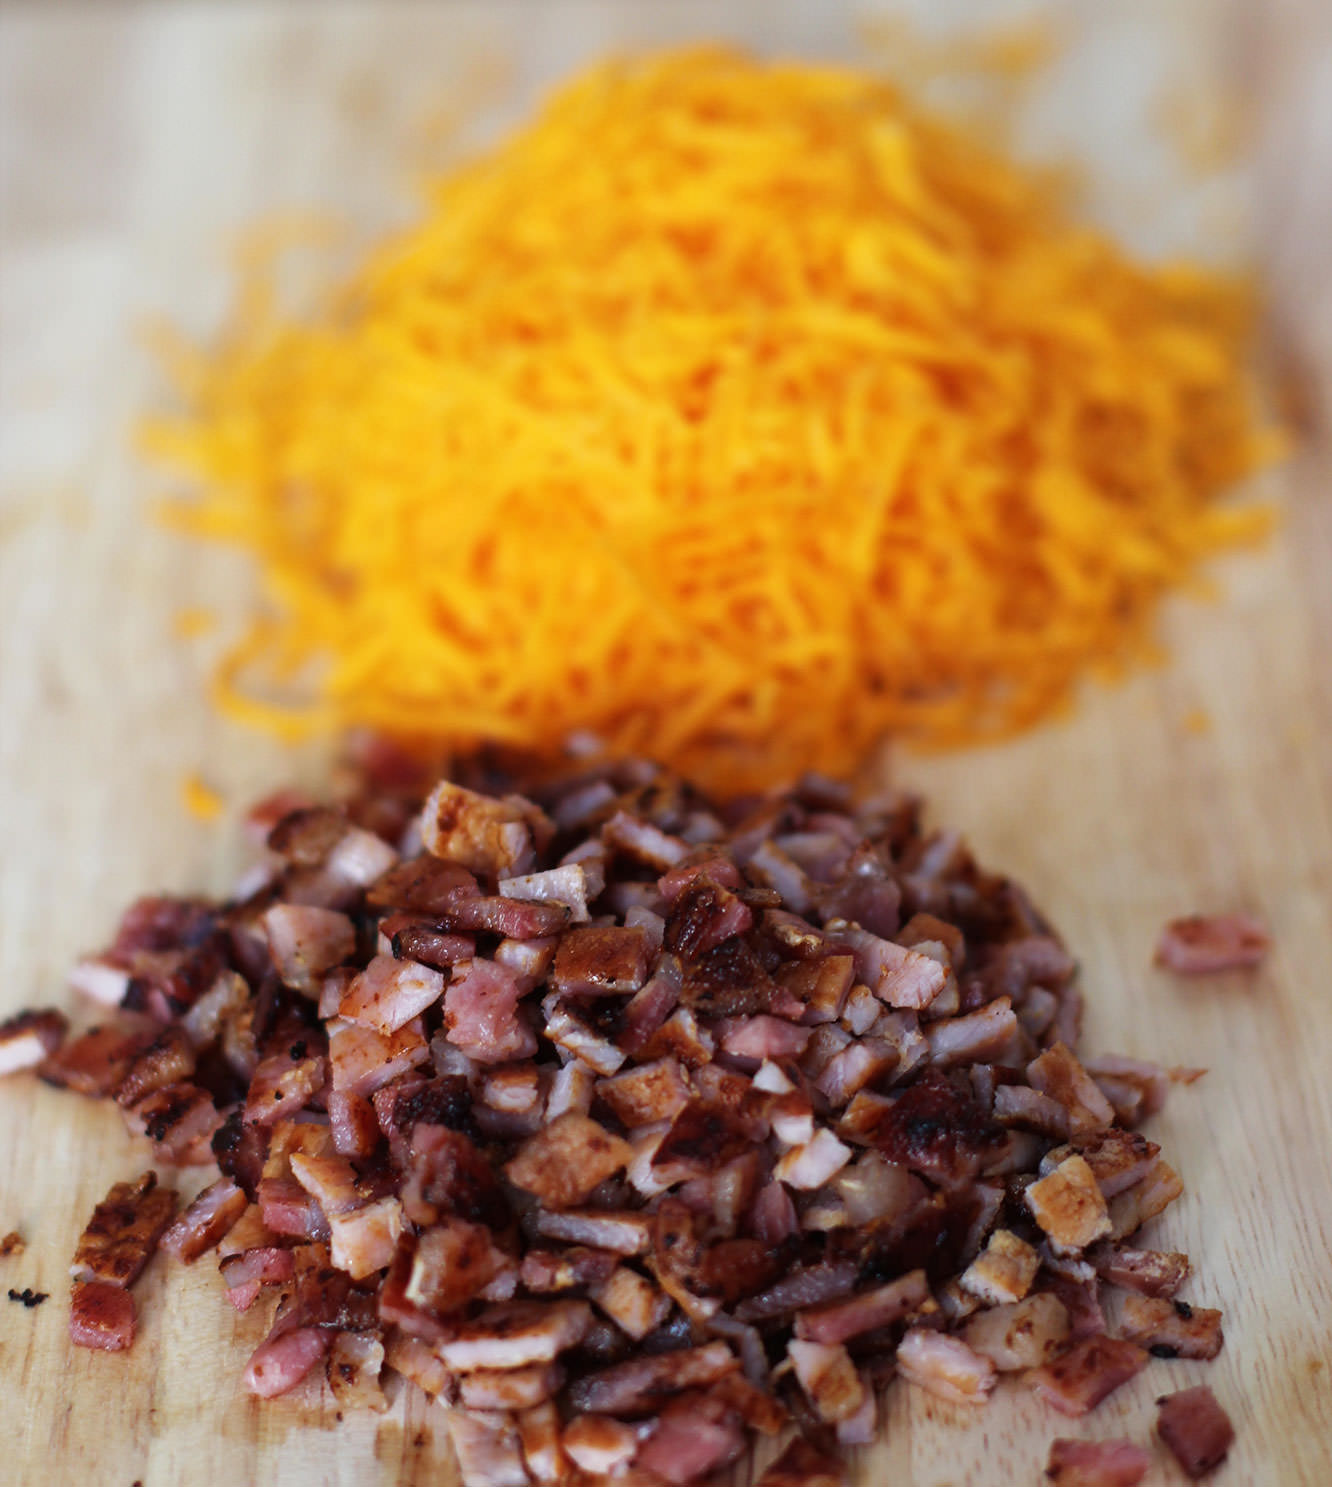
Using the finest setting on your grater grate the cheese so you’re ready to go. The last thing you need is hold ups preventing you from eating these sooner.
Cook the bacon until crispy and trim into tiny tiny pieces. Scissors are key.
Step two
Put the new potatoes in a roasting tin with a blob of butter and cook on gas mark 6/200C/400F for 45 minutes. Keep an eye on them, but honestly, I’d like to meet a man who has managed to overcook a jacket potato.
Step three
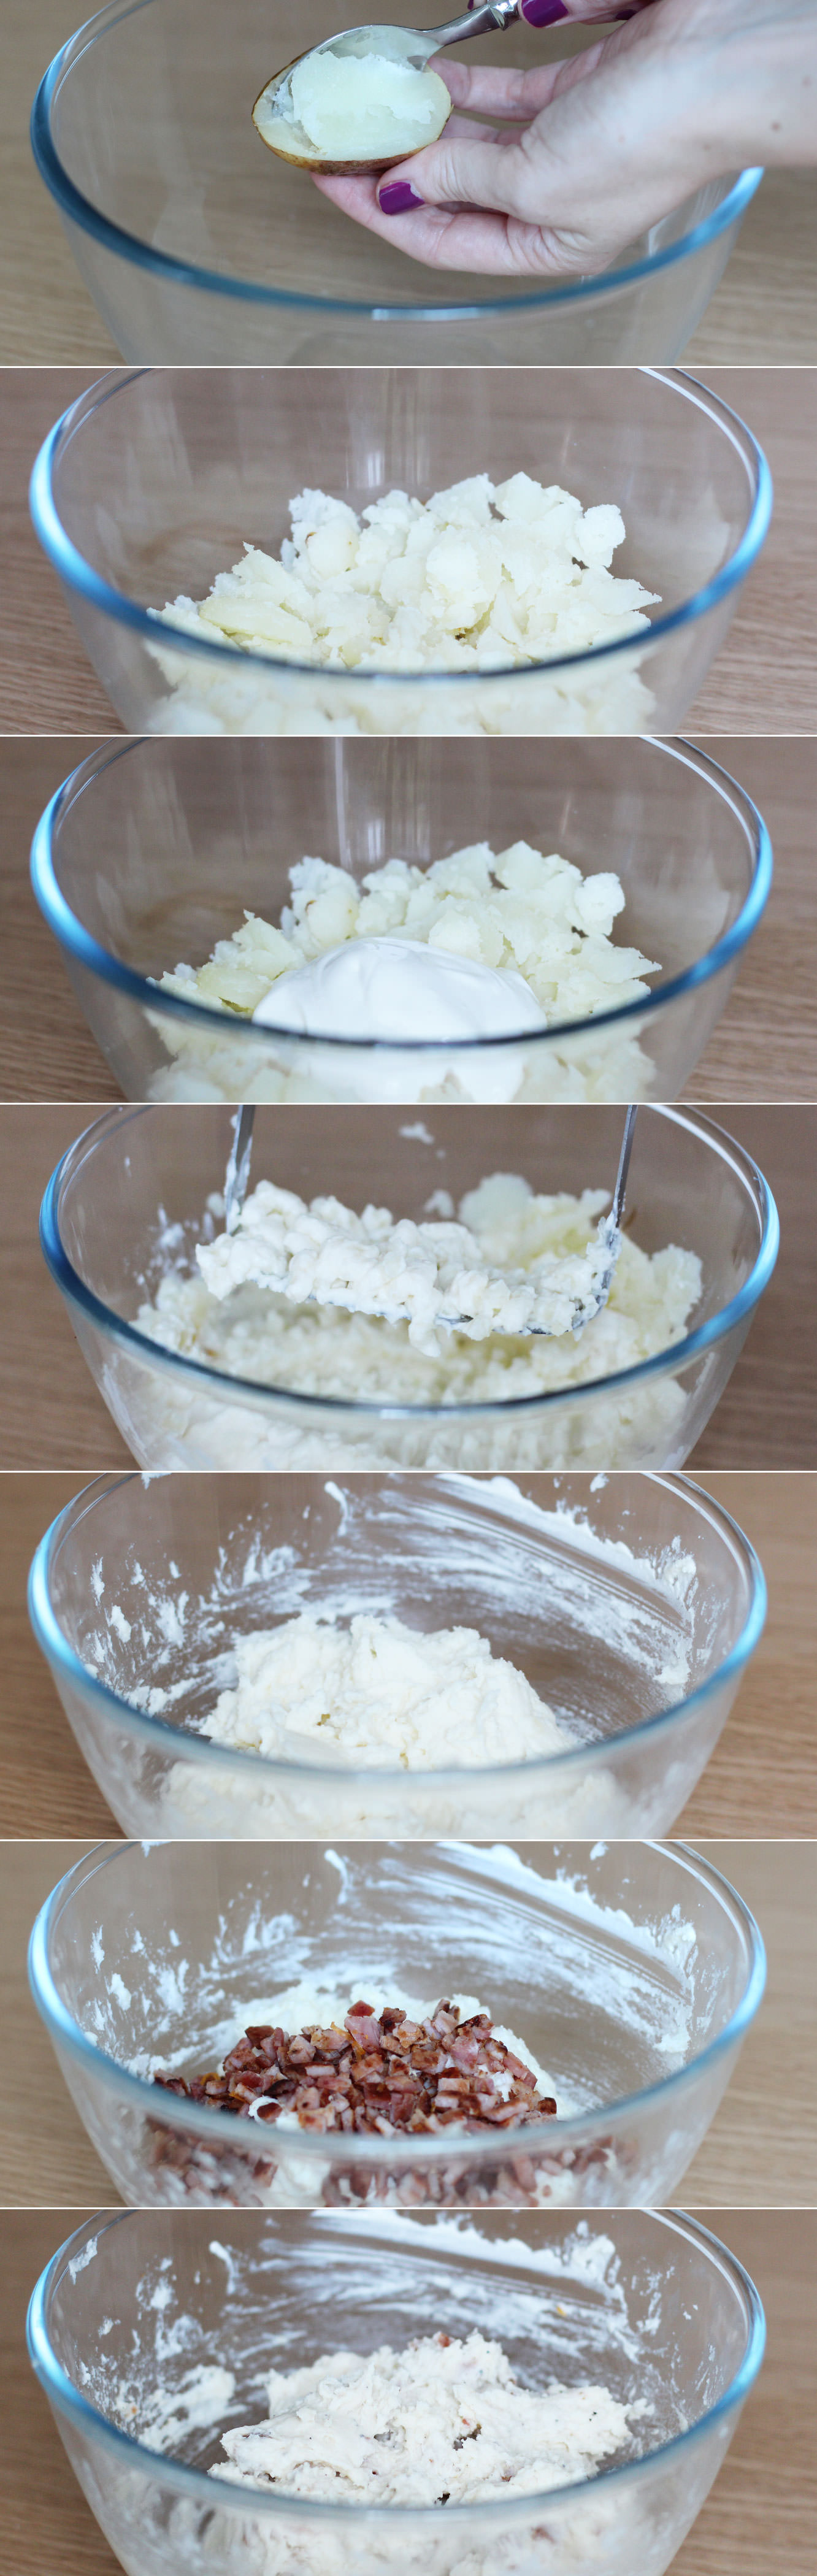
Once the potatoes are cool enough to handle cut them in half and scoop out the potato inside. Get as much out as you can without ripping the skins. Place the empty skins back into the roasting tin in a somewhat orderly fashion.
Step four
Add 150-200ml of the sour cream to the potato and season. Mash until smooth/you loose the will to make filled potato skins at all. But seriously though, don’t give up, that’s the key to smooth mash.
You might need to add a little more sour cream, but save some for dipping.
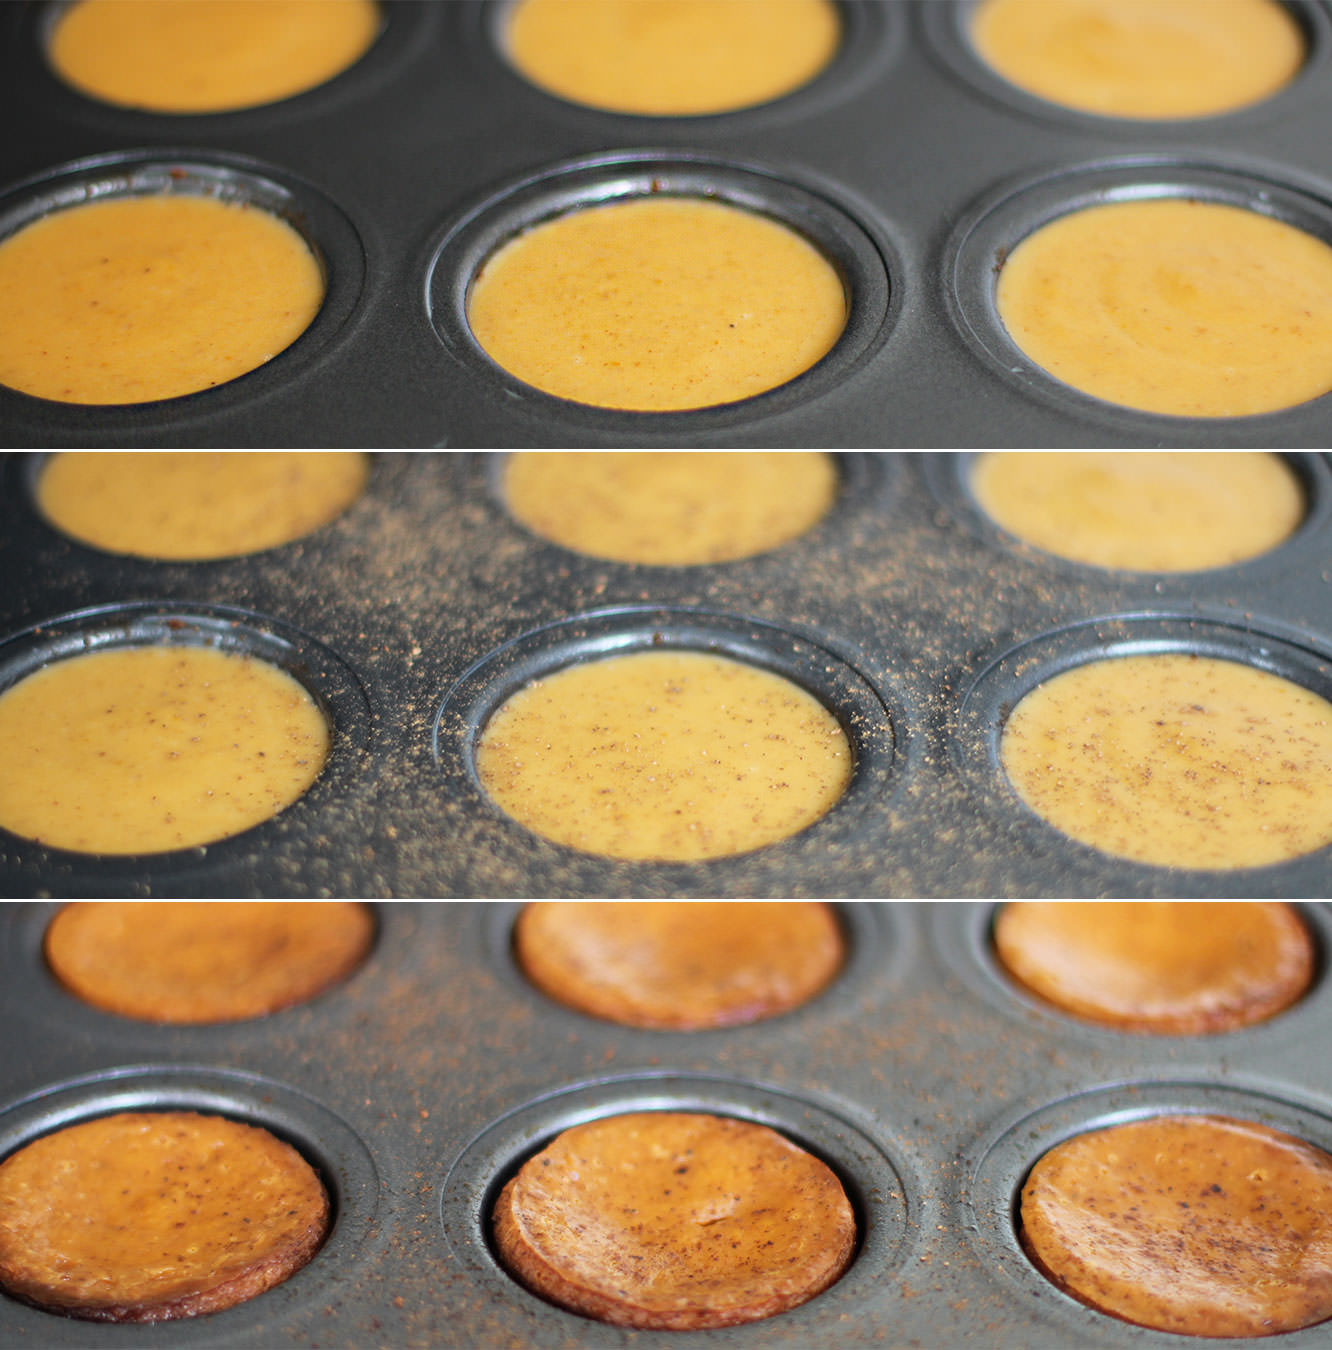
Step five
Stir in the bacon.
Step six
Avoid the urge to just eat mix with a spoon. Or does everyone else not love mashed potato as much as me?

Step seven
Refill the potato skins and sprinkle the cheese on top.
Step eight
Put back into the oven until they are fully reheated and the cheese has melted.

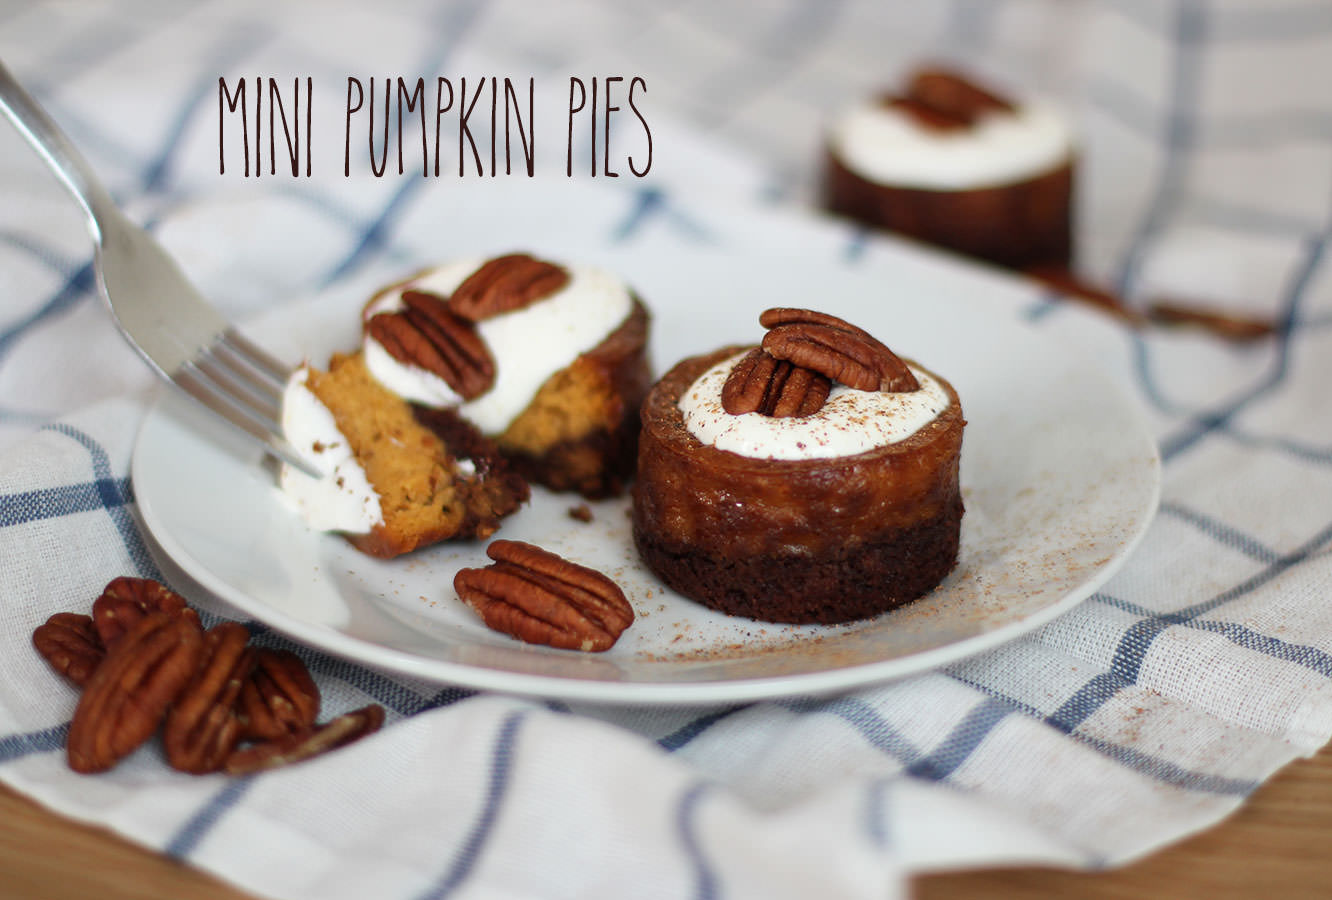
Step nine
Eat all thirty before anyone else arrives.