When it comes to Christmas I’m still a massive kid. Waking up in the morning and realising there’s a choccie waiting downstairs is just about enough for me to drag myself out of bed on dark winter mornings.
There’s a problem though right? Advent calendars are either ridiculously pricey, or really rubbish quality. So here’s a way round that. It keeps the kids (or you) busy all afternoon and is actually something worth getting out of bed for.

Things you need:
Egg Box (or two)
PVA glue
Tissue Paper
Box of your favourite chocs
Glitter/Wrapping Paper/Bits to decorate with

Step one:
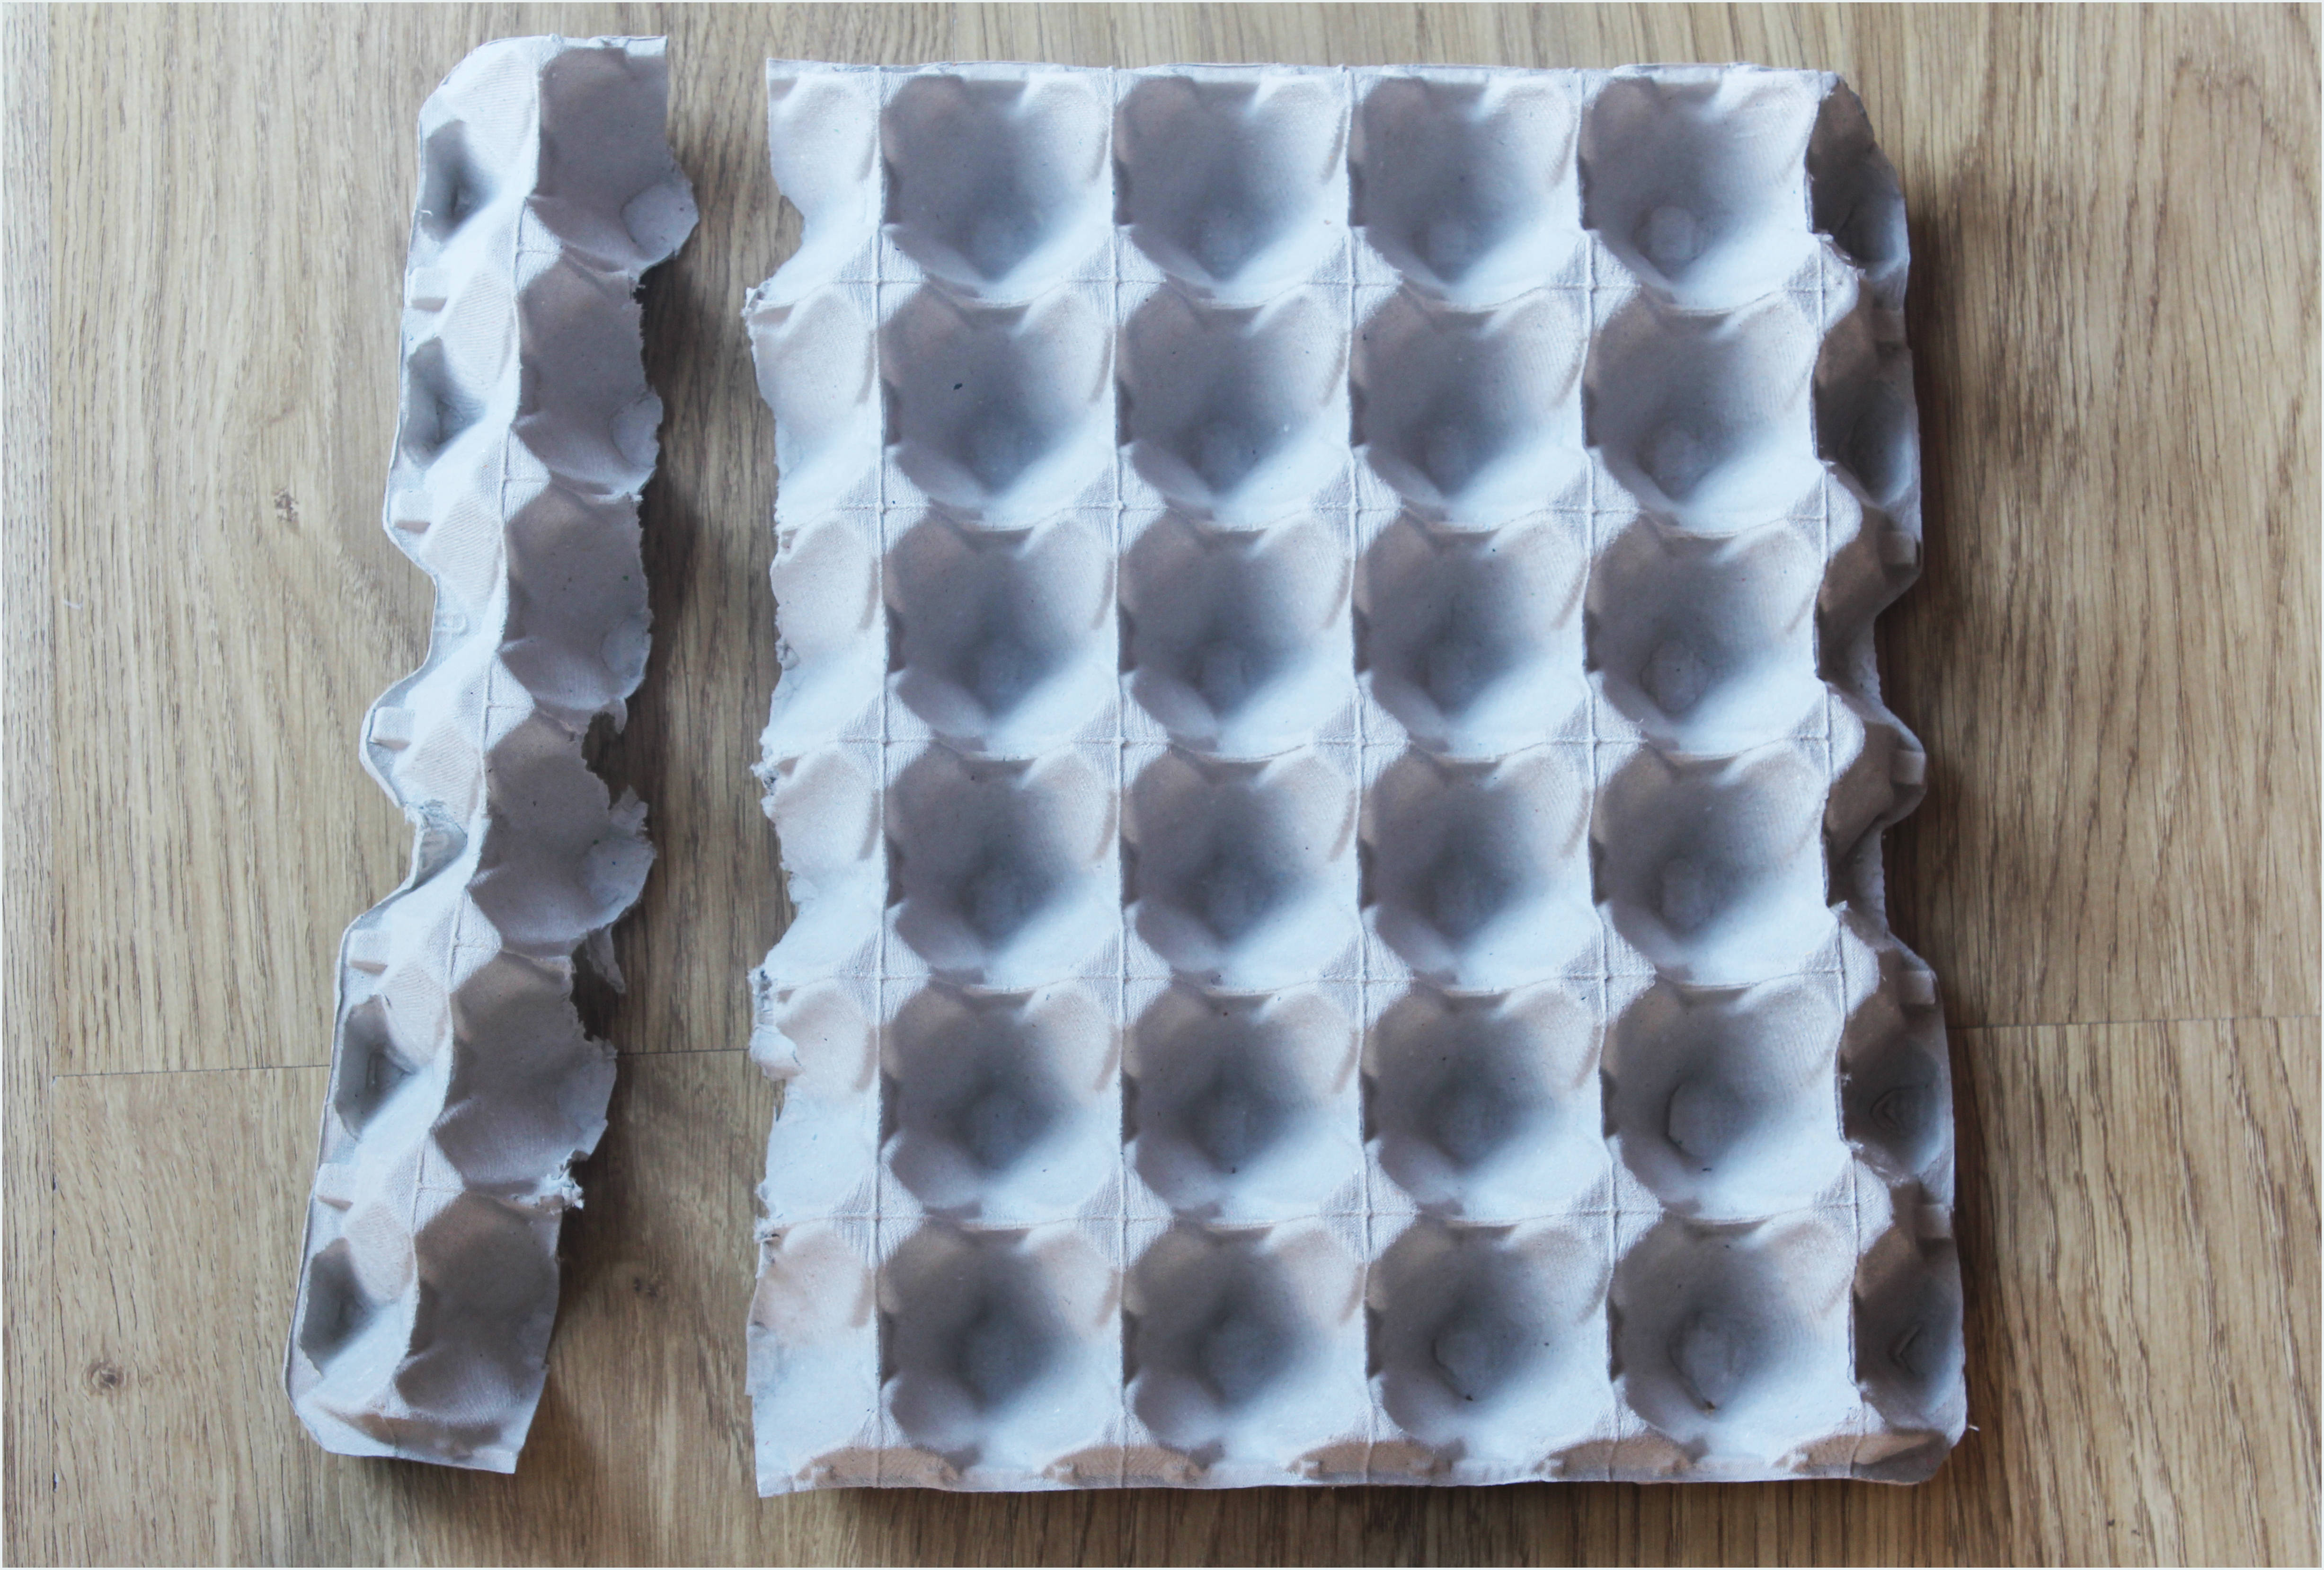
Prepare your egg box. I got mine from a local café where they use a heck of a lot of eggs. These ones are the best because the raised bits are level with the side of the box.
If you aren’t lucky enough to find someone who uses these, you just need to get two 12 packs of eggs (ask your neighbours/colleagues to save them). You will need to chop the raised dividing things so that they are level with the box. Keep the first box in tact, cut the second in two and stick the egg holding section into the lid of the first.
Me? I just had to snip off a line of 6 so I had my 24. It’s definitely worth trying to get hold of one of these.
Step two:
Tip all of your chocolates out, and choose your favourite 24. There’s loads of offers on these at the moment, the ones I used were £2 a box. I’m afraid I didn’t count how many there are, but I got two to be safe and they would have easily done two calendars. There might be a bit of compromise needed if you have two little ones! I got to choose all the best ones just for me.
You could also buy a block of chocolate/box of malteasers and wrap individual portions in tinfoil.
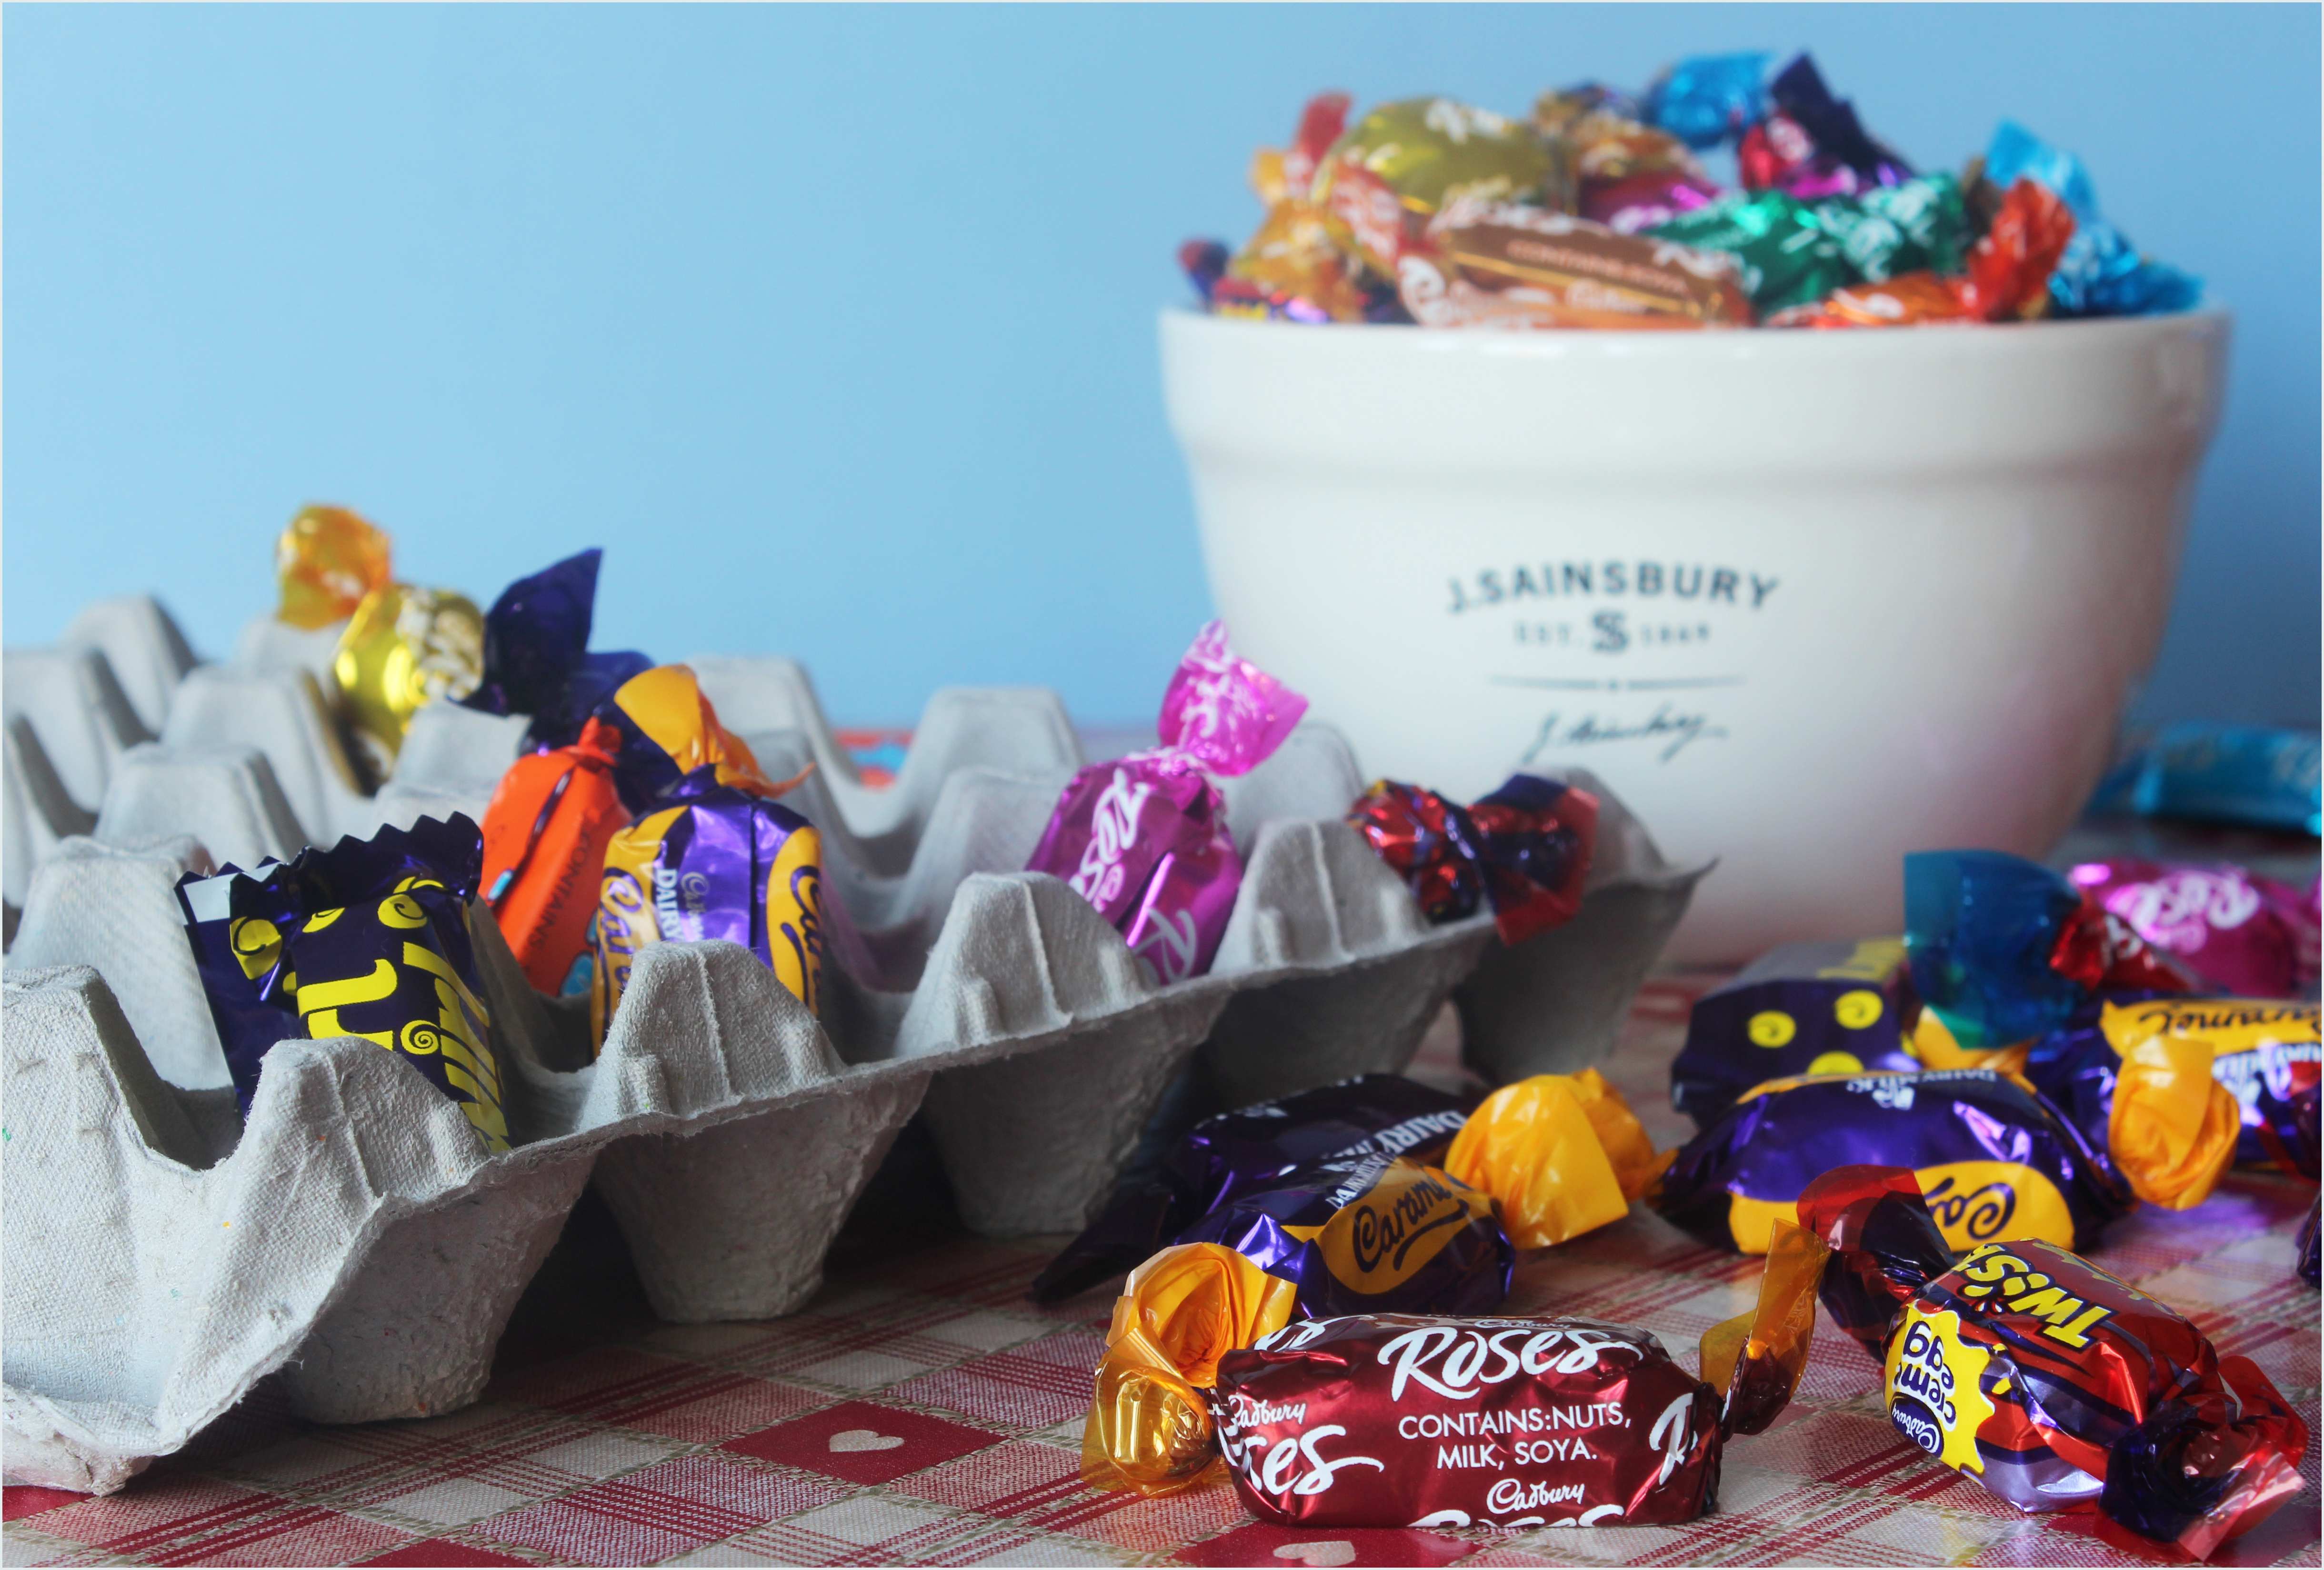
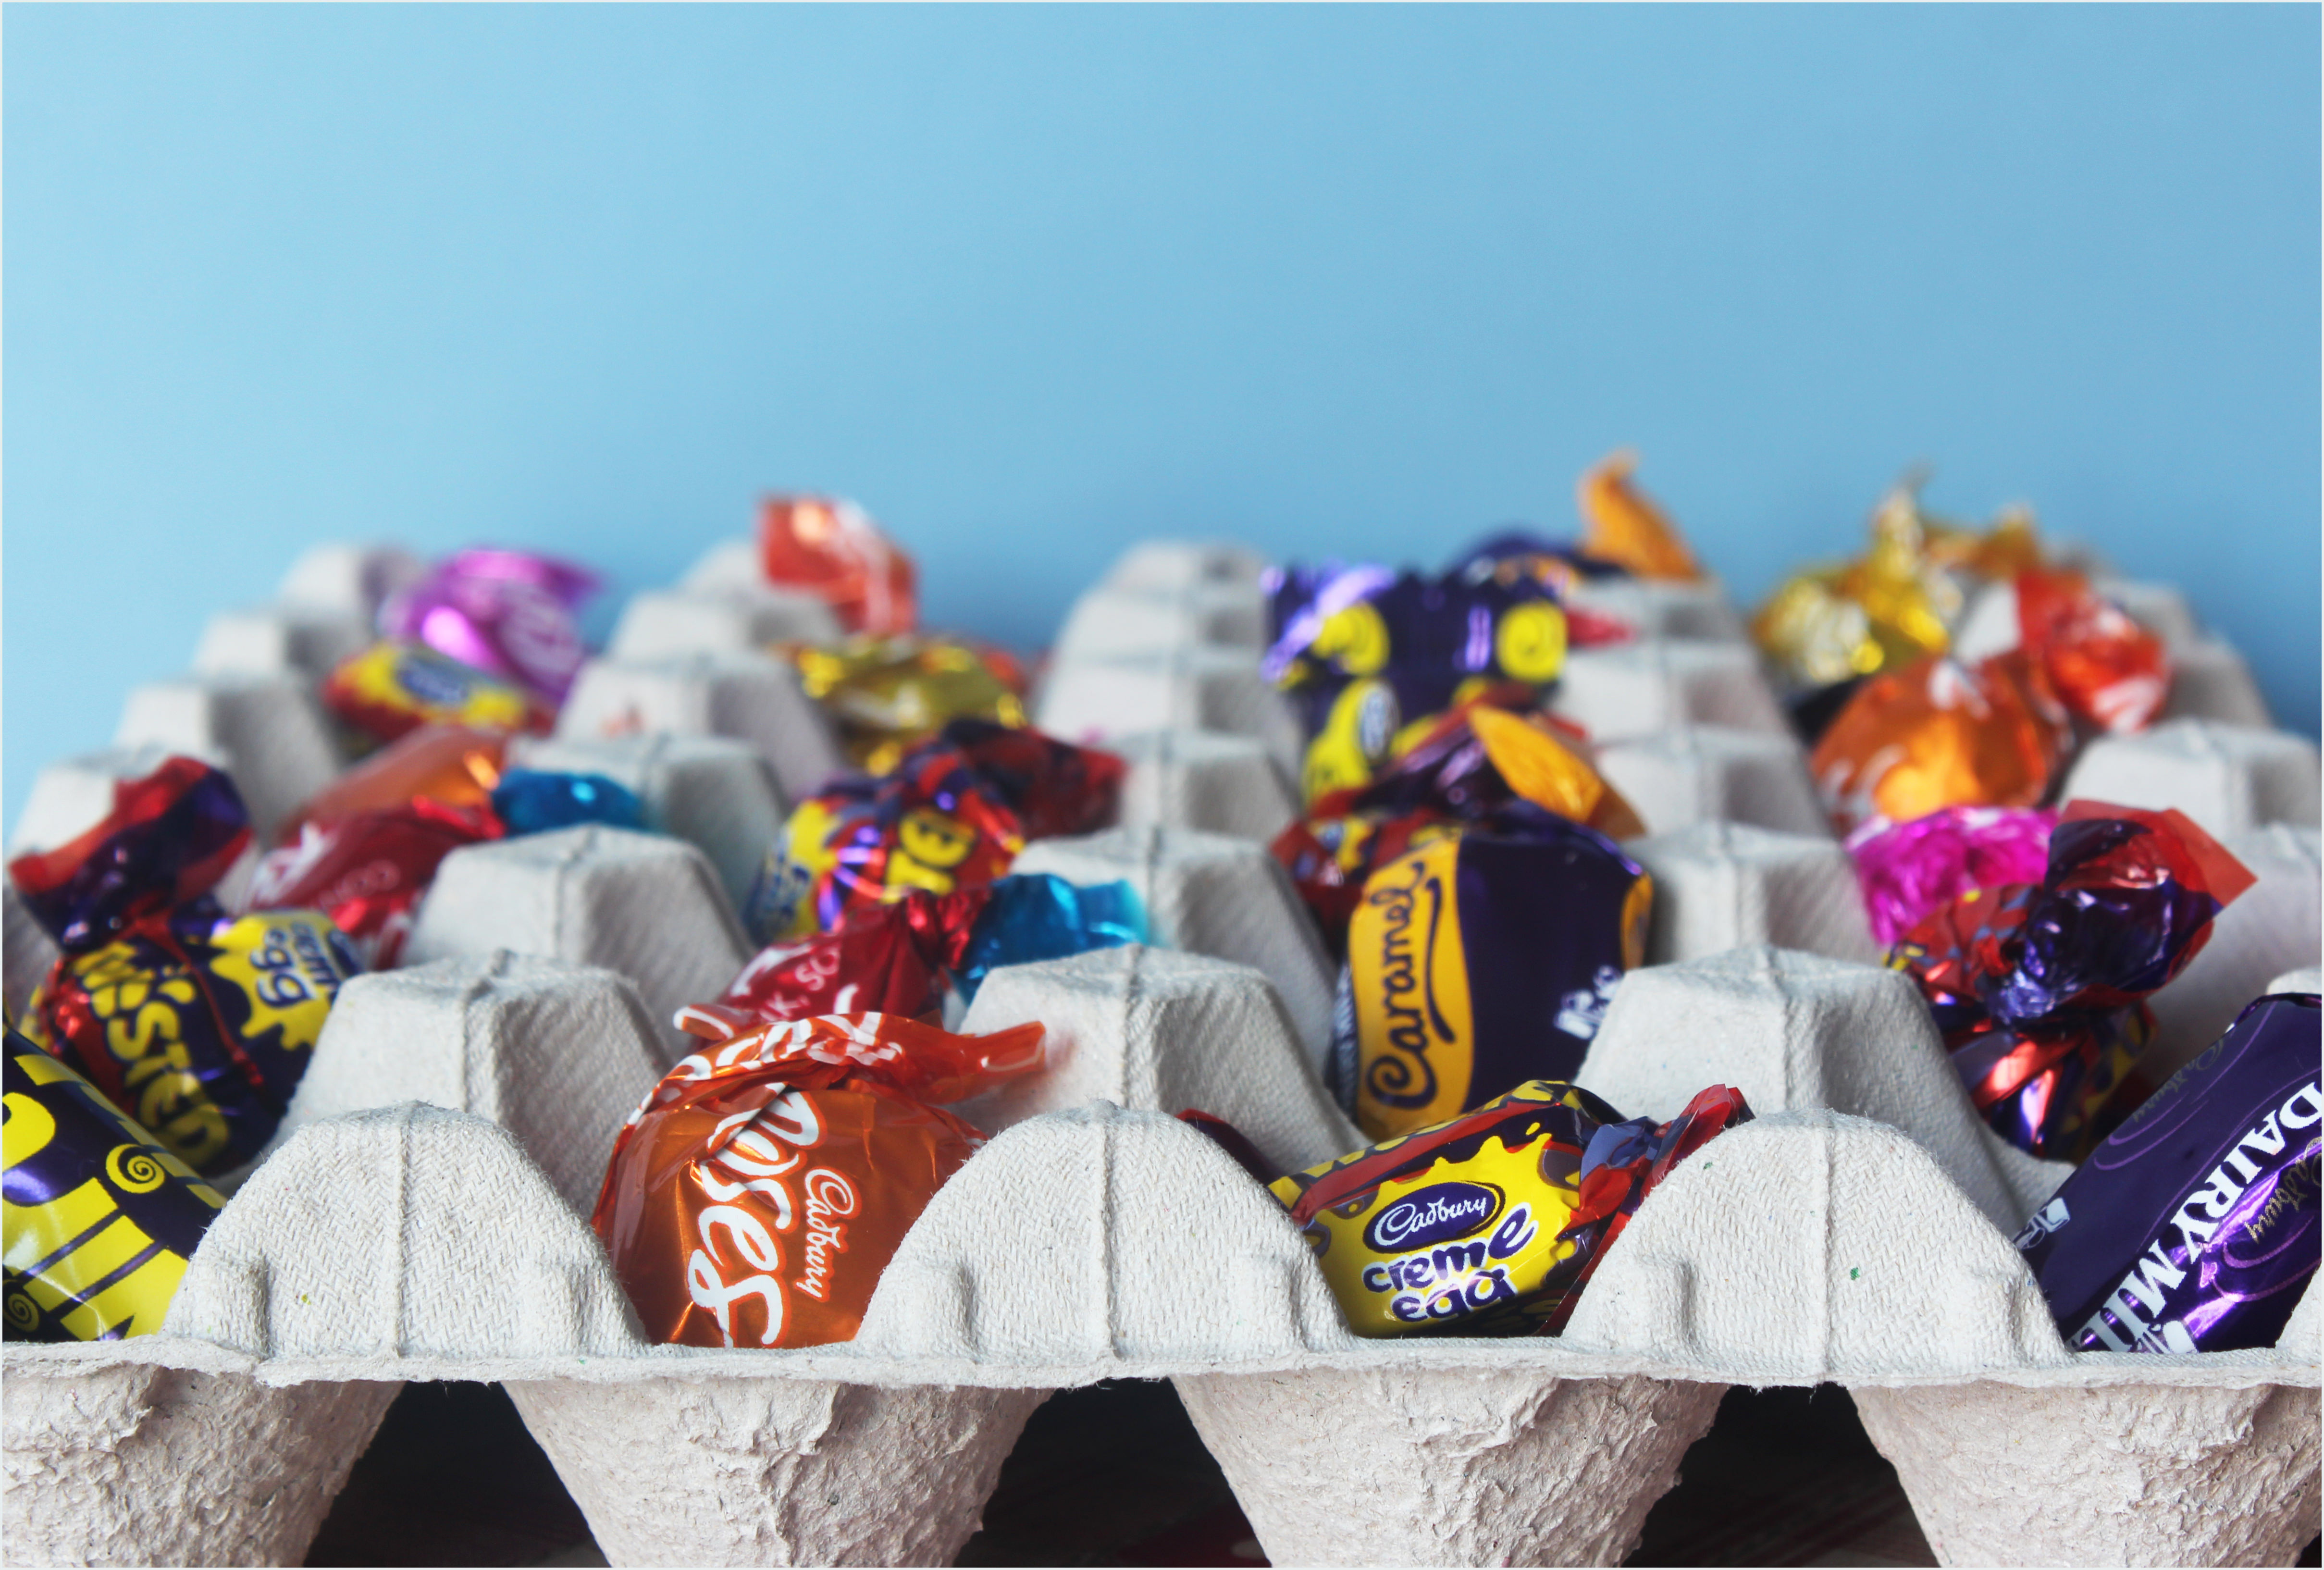
Fill your egg box, trying to make sure the sweets don’t go above the top of the highest points. A bit of extra twisting and poking required.
Step three:
Put a dab of glue on each of the divider thingys. Cover with two sheets of tissue, making sure that there’s enough overlapping the sides for turning under later.


Make sure to press the tissue down on each spot of glue, you don’t want to be ripping two days off accidentally. It’s ok if it seeps through a bit.
Set to one side to dry; no need to worry about the loose tissue around the edge for now.
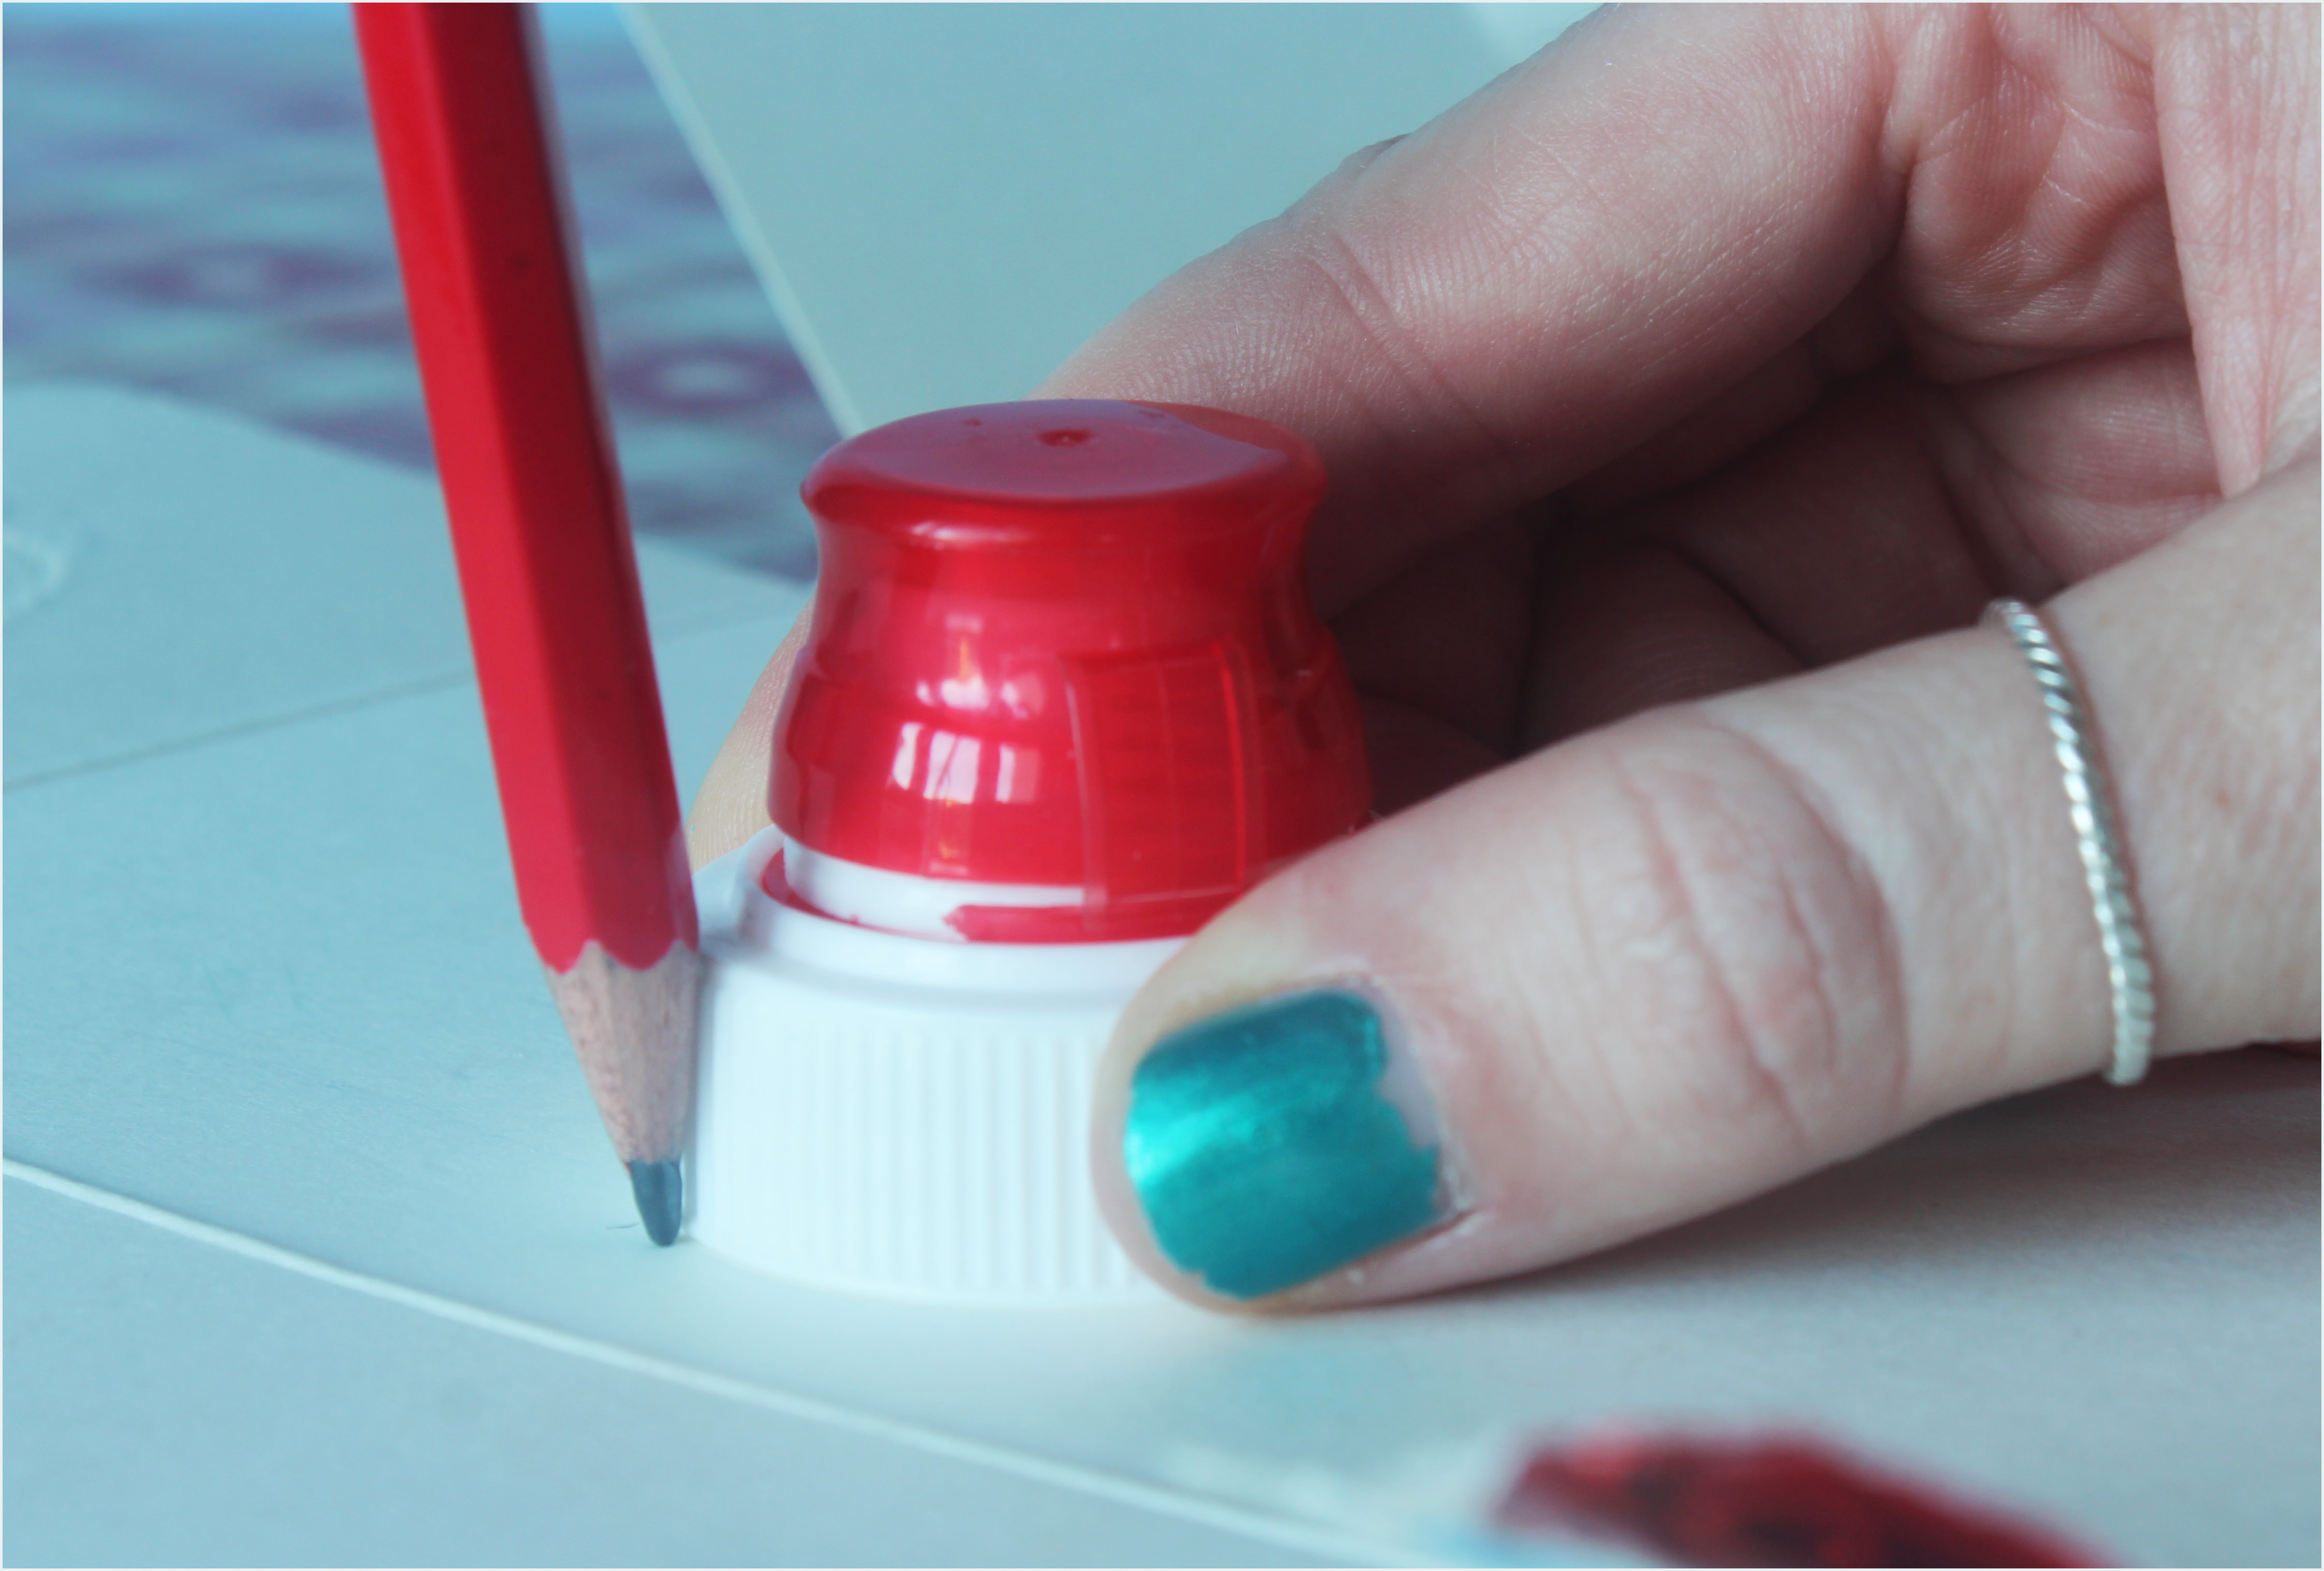
Step four:
Unfold the chocolate box (or use a cereal box instead if you went along the malteaser route). Find something that’s smaller than the egg gap to draw round. Make sure you have 24 and cut them out. If you are doing this with very small people you may want to do this part in advance.

Step five:
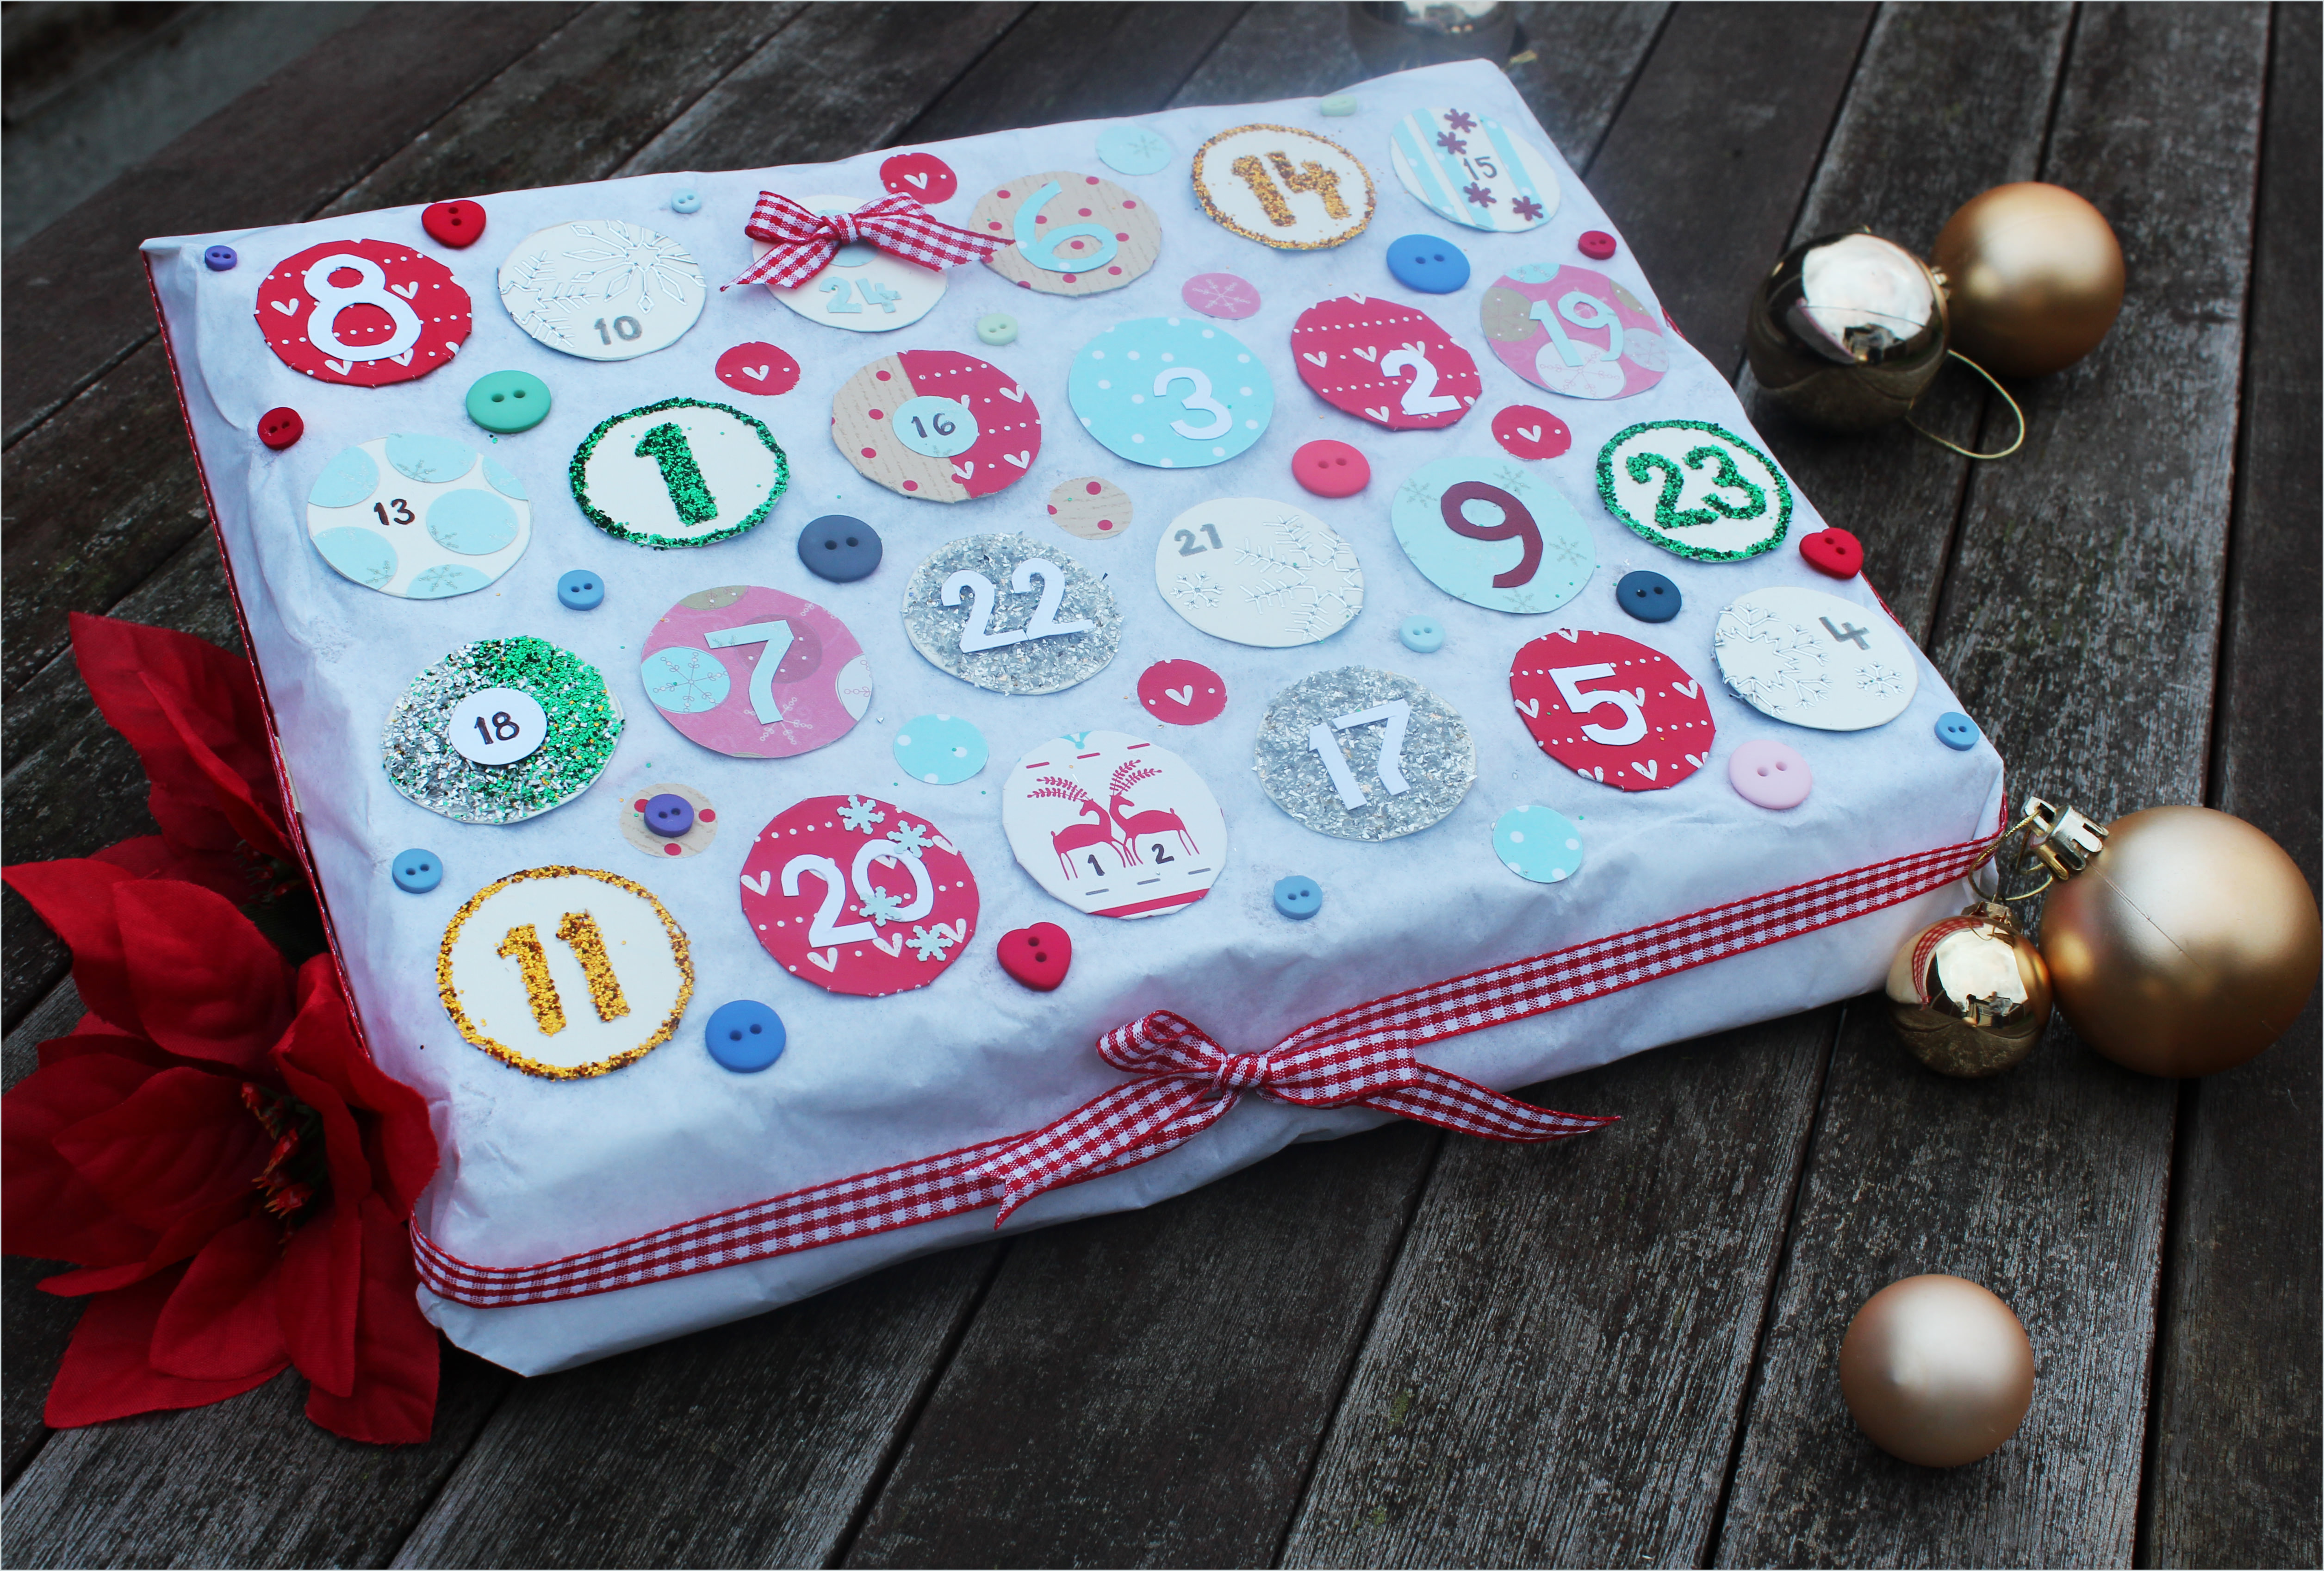
Decorate!
Plonk yourself down in front of a Christmas film with a box of glitter and pens and let your imagination run wild. The best thing about these is that any age or ability can do one and it doesn’t matter what it looks like, Christmas is meant to be a bit kitsch!

Who doesn’t still love a bit of glitter at Christmas?! A cocktail stick will help you keep numbers really neat.

For any little ones (or bigger ones) who don’t like drawing or experimenting, wrapping paper is quick, easy, and effective.
Step six:
Turn over your egg box and secure the overlapping tissue to the bottom – great practice for all that present wrapping in a few weeks.
Step seven:
Use PVA to stick all your circles to the spaces above the chocolates. I also decided to stick some buttons and ribbons to mine.
Step eight:
Hide it away until the 1st December and enjoy!
One comment
Comments are closed.