
Spring is in the air! Well, not really. It’s actually been so cold that I’ve cracked out the woollens for the first time this winter. BUT, if you get knitting now, you will have a perfect little snood to make the transition from winter to spring a cosy one.
I don’t want any excuses that you don’t know how to knit. I didn’t know how to knit a few years ago. This is a really easy and quick project to get you started. Plus I set up a youtube account to facilitate teaching you, so really, you owe me a try.
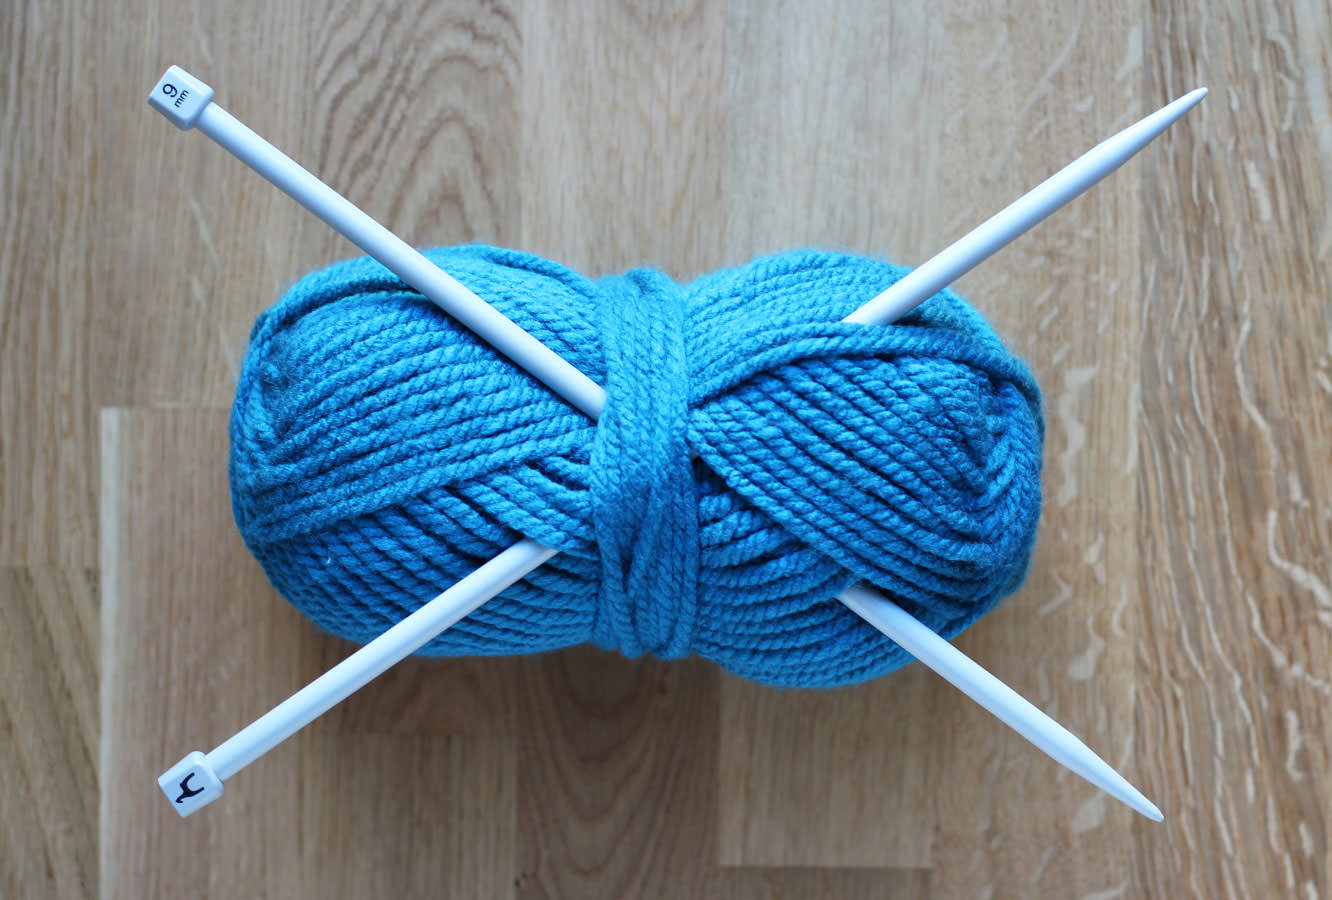
You will need
9mm knitting needles
200g of bulky (or extra chunky) wool, my ball was by Patons. If you want a longer/bigger snood, just double up and get 400g.
Pattern
For those of you who know what you’re doing:
co 22 st.
k1, p1 to end of row.
Repeat k1, p1 until close to the end, cast off keeping enough yarn to sew ends together.
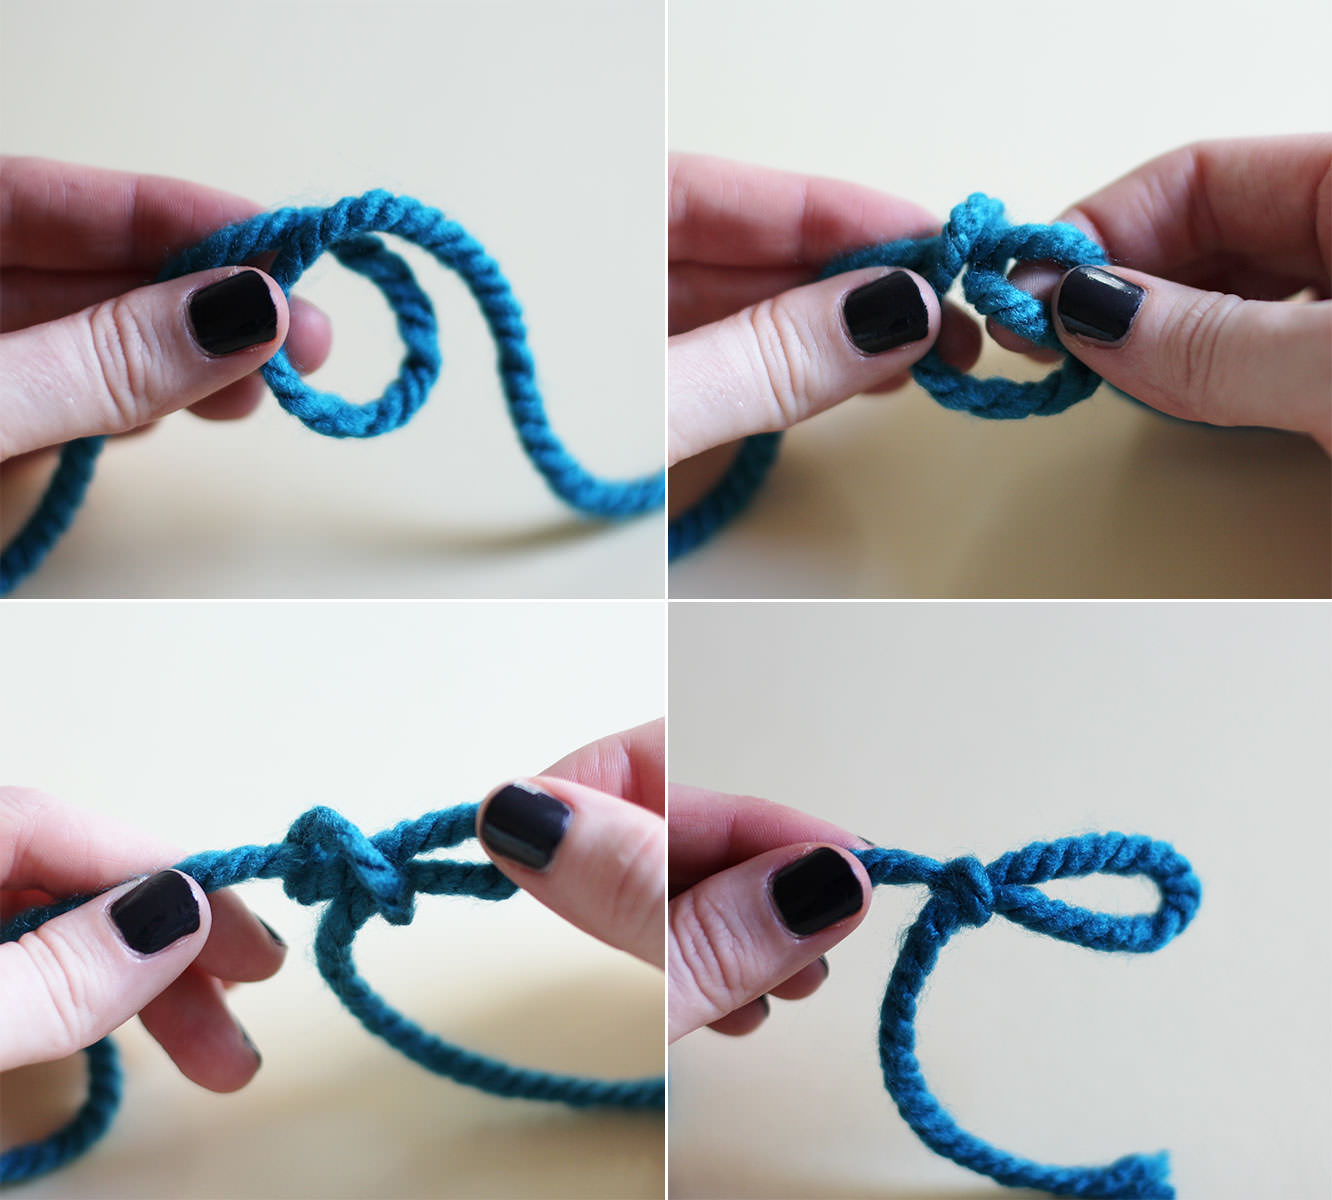
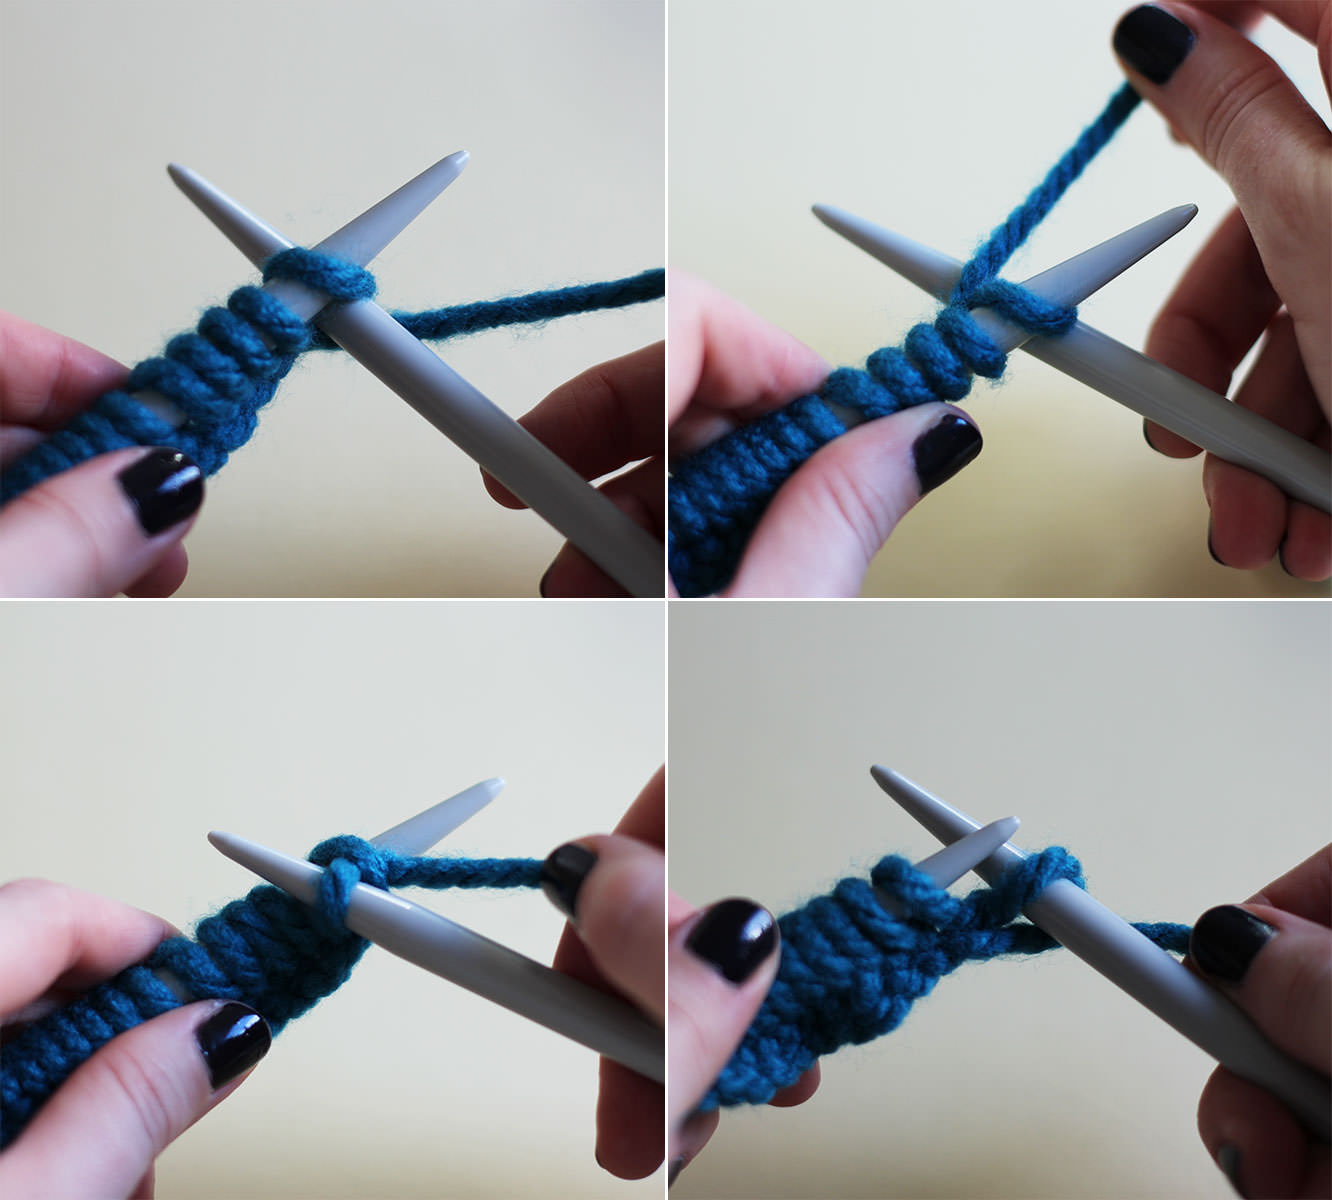
Step one
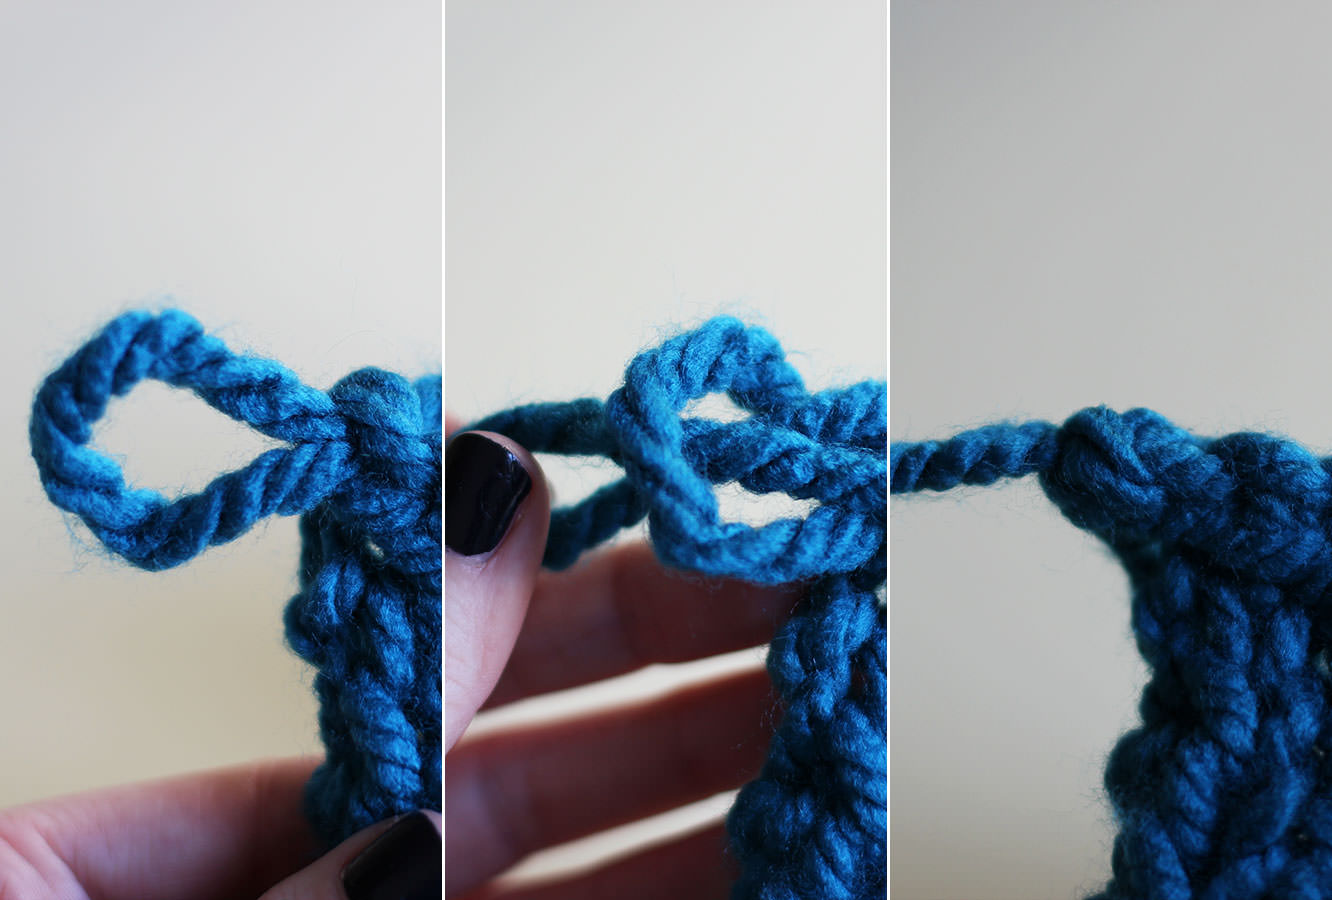
Make a slip knot by overlapping the end of the wool to make a circle and looping it back through.
Step two
Place the loop over the end of the knitting needle and pull to tighten.
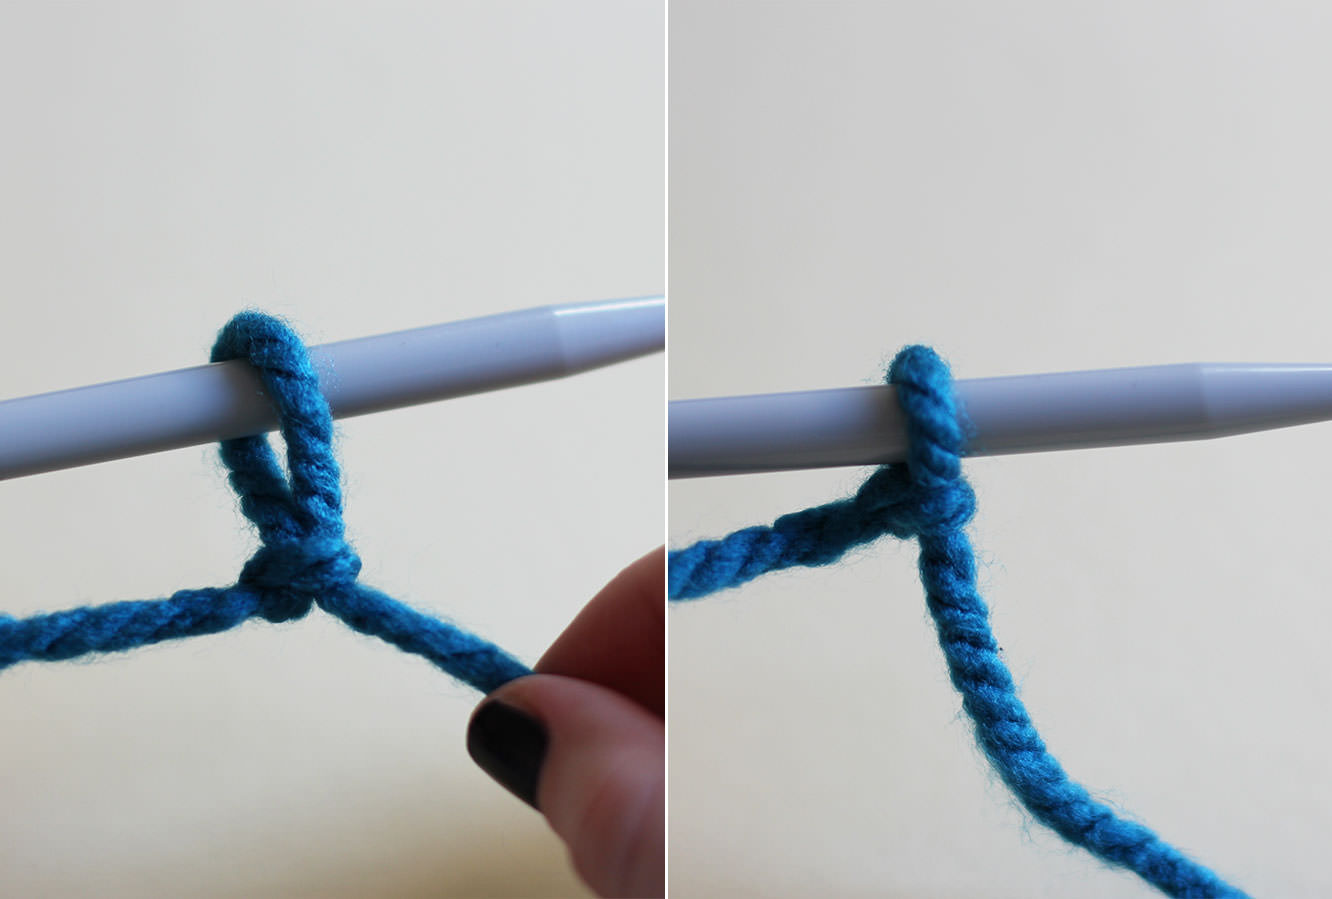
Step three
Time to cast on.
Push the right needle through the loop behind the left one. Wrap the long end of the wool (the bit that leads to the ball) around it so that the wool sits between the two needles.
Pull the right needle under the left, taking the wool with you and through the loop. Tug it through until you can loop it over the end of the left needle and tighten.
Do this 22 times.
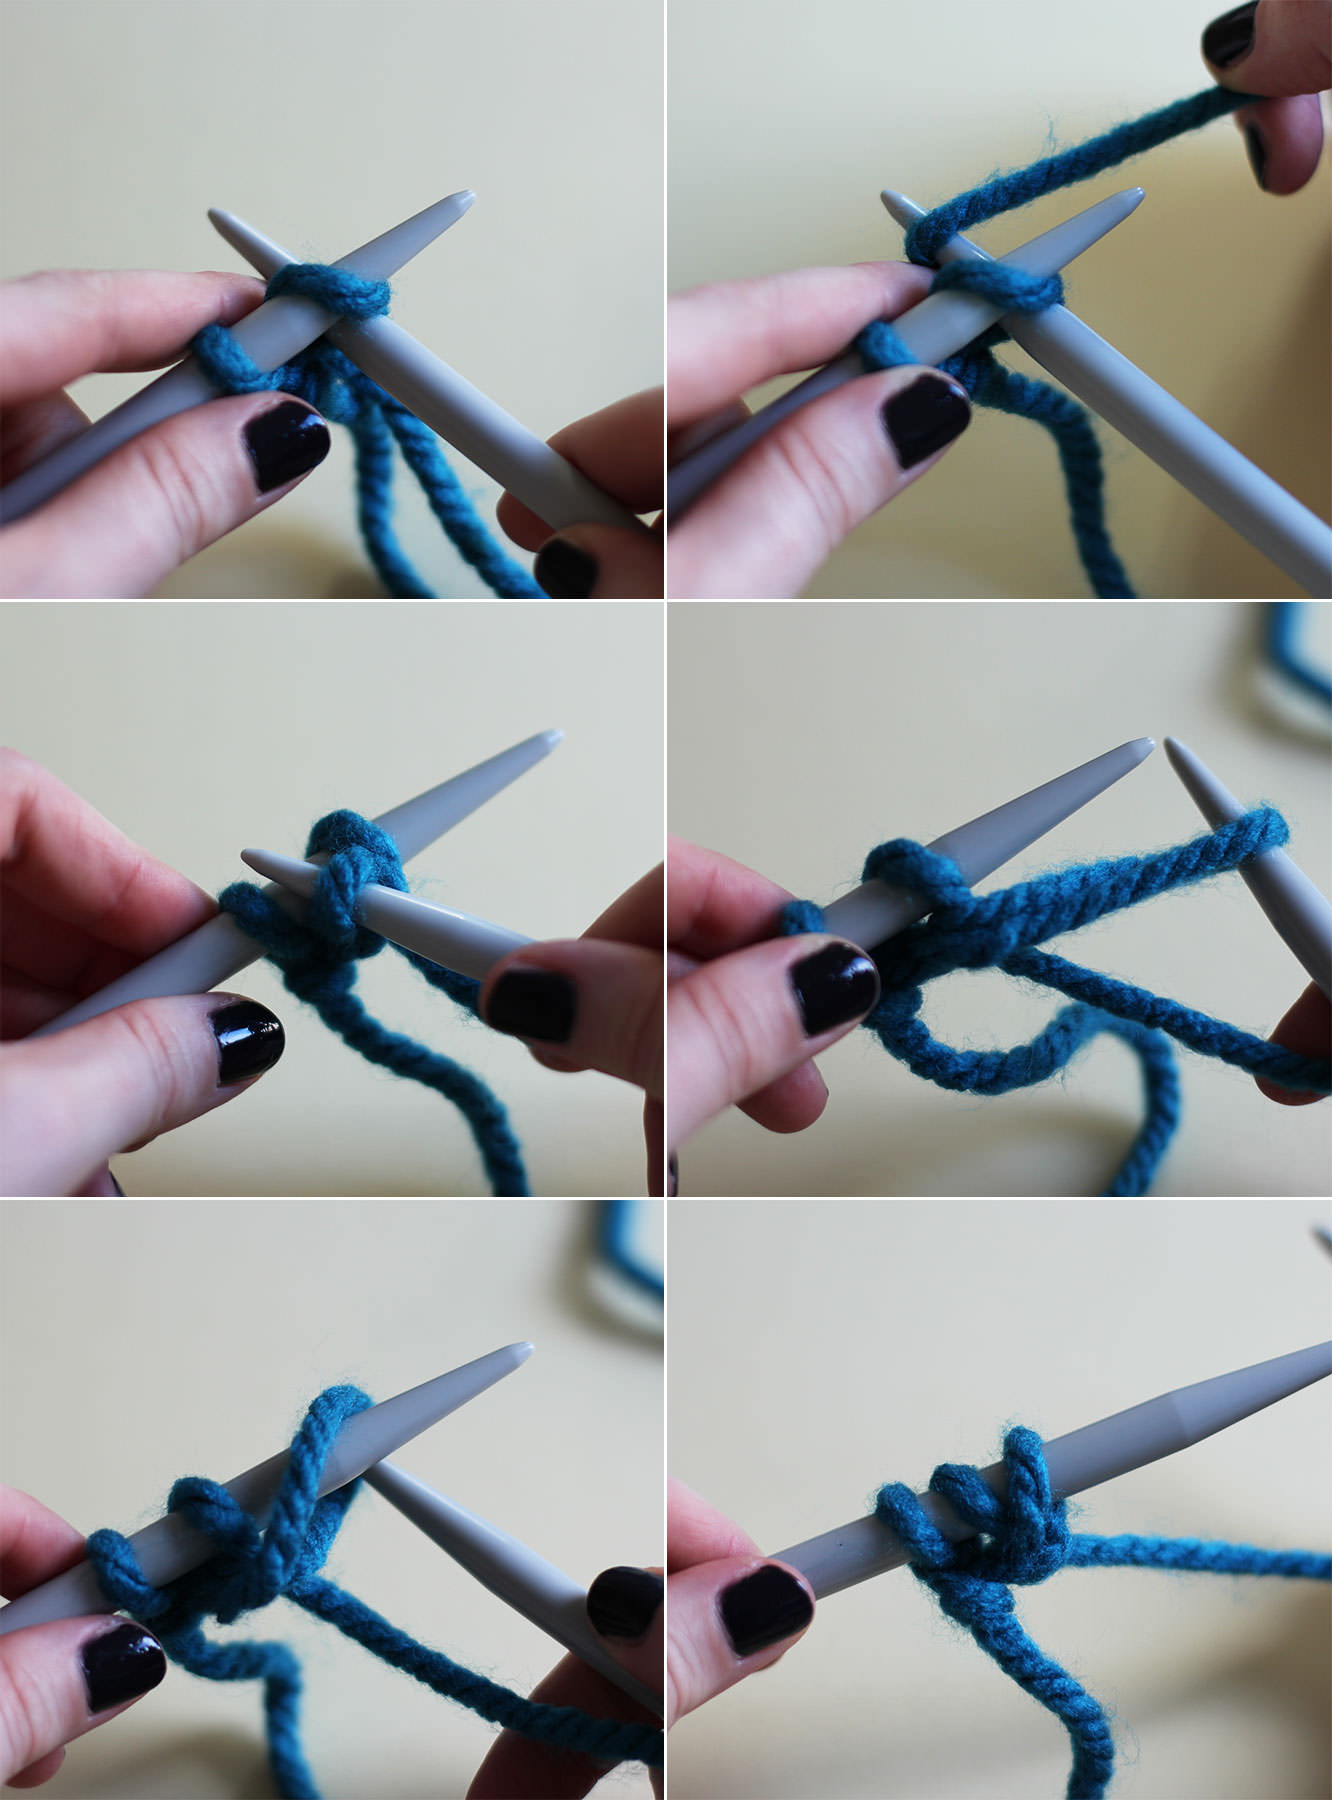
Step four
The pattern is just knit one, purl one, they are the two basic stitches.
You knit a stitch basically in the same way as casting on, but instead of hooking it back onto the left needle leave it on the right one.
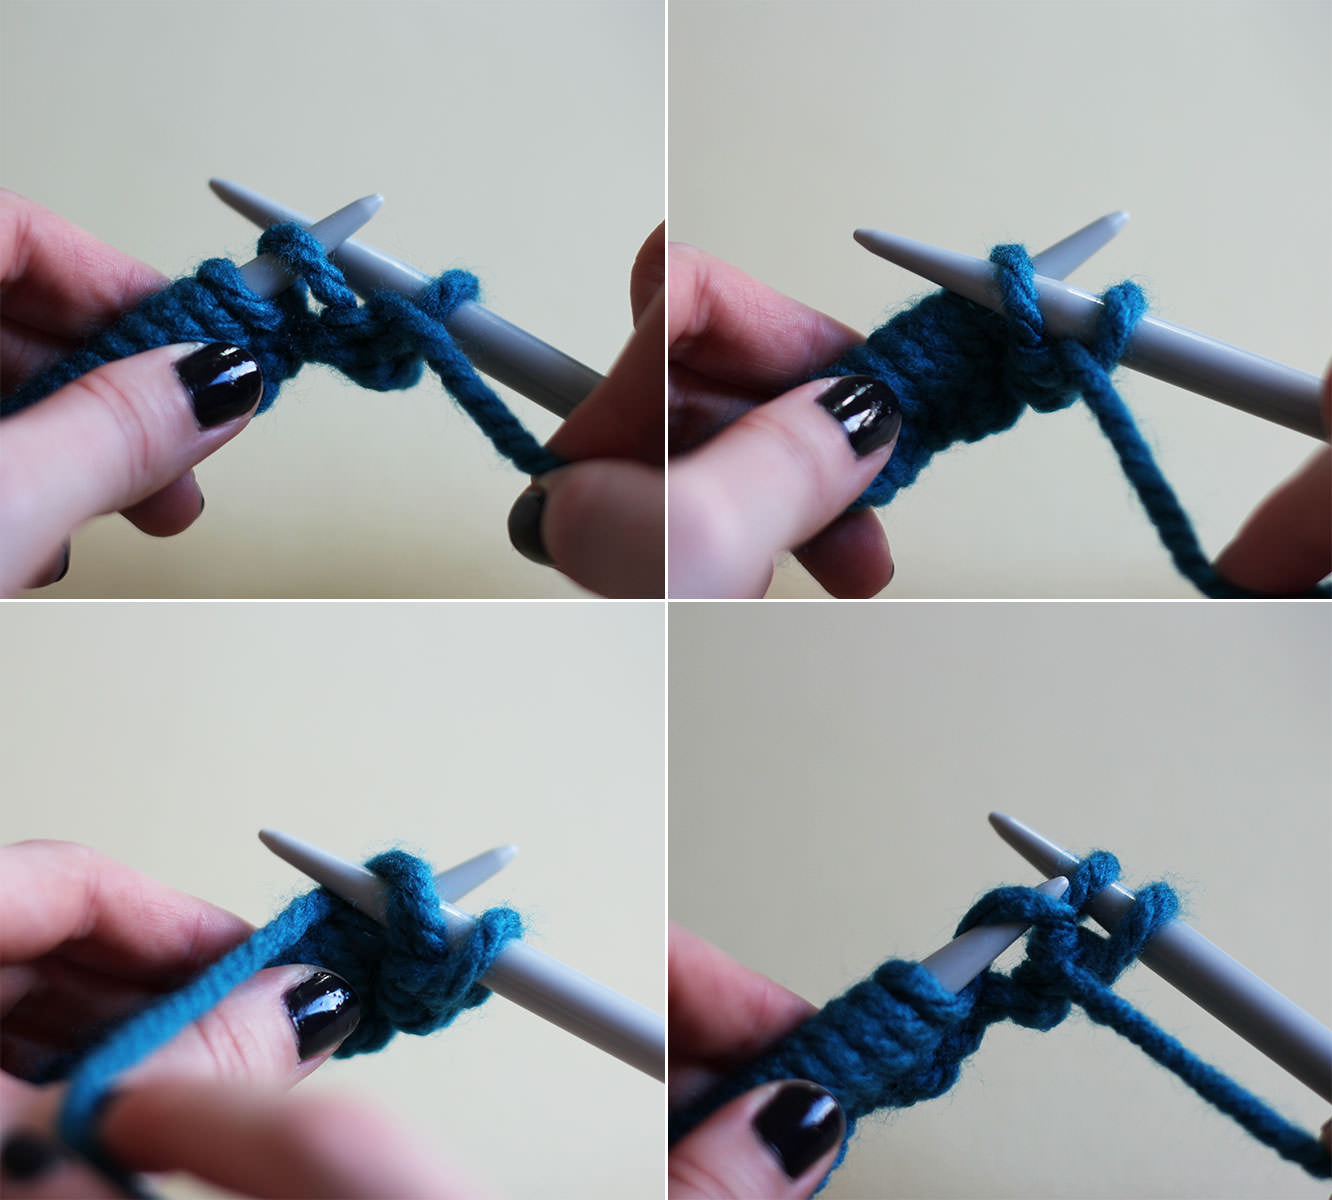
Step five
The second stitch is a purl. For this one place the wool in front of the knitting and push the right needle through the loop in front of the left. Wrap the wool around it and take it through to the back and pull the stitch off.
HAVEN’T GOT A CLUE WHAT I MEAN AND CAN’T UNDERSTAND FROM THE PHOTOS?? That’s ok. I have the youtube.
The video shows a knit, purl, knit, purl sequence. Yeah. I’ll work on my videography skills, but you get the gist.
Step six
Repeat the knit, purl, knit, purl until you get to the end of the row. Turn the knitting round and k1 (knit one), p1 (purl one) until the end. Keep going.

The picture above shows the difference between a knit and a purl just in case you get lost at any point. On the left is a purl, you can see a little bump (sort of like a pearl, geddit?) and on the right is a knit. They are basically the same stitch but in opposite directions.
This is where I got a bit carried away with my new youtube account…
Don’t worry, I know I’m super cool.
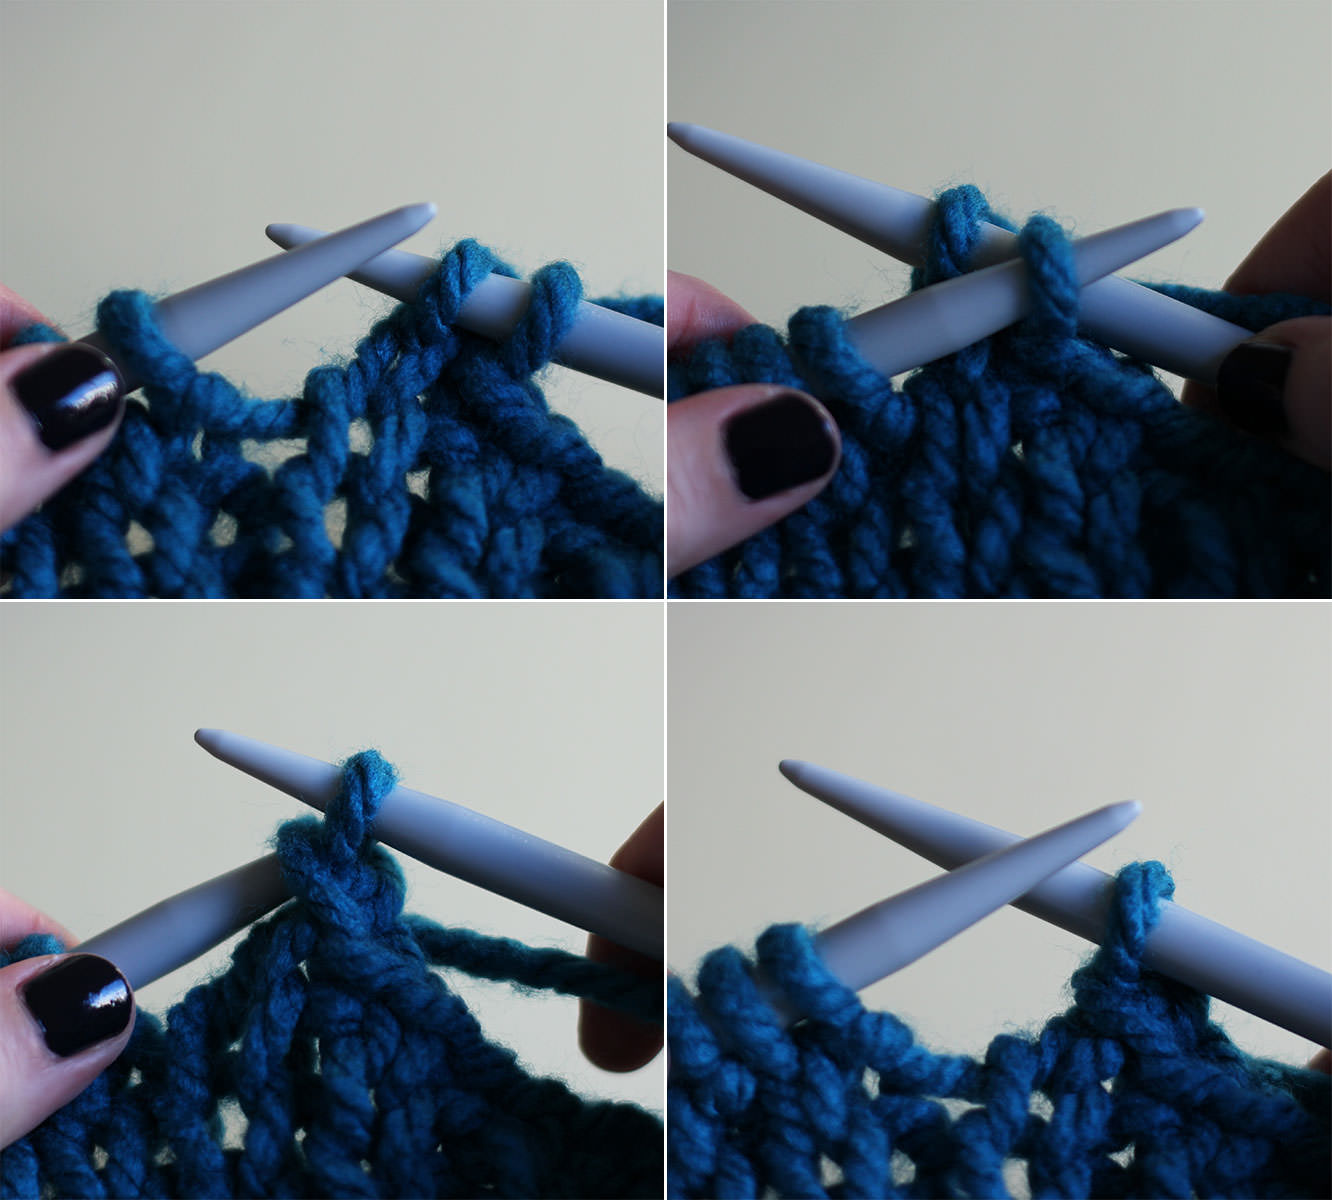
Step seven
As you get close to the end of the wool you need to make sure you’re keeping enough to cast off and sew your snood together. Once the ball has basically unravelled so you can grab the end without getting in a mess, measure five times the width of the knitting from the end and tie a slip knot to remind you to stop as close as possible to that point.
To cast off, knit two, then loop the first over the second. Knit another one and repeat.
Sorry, what’s that? You could really do with another youtube video? Of course.
Step eight
Once you get to the last stitch remove the needle and pull the end of the thread through the loop and pull to tighten.
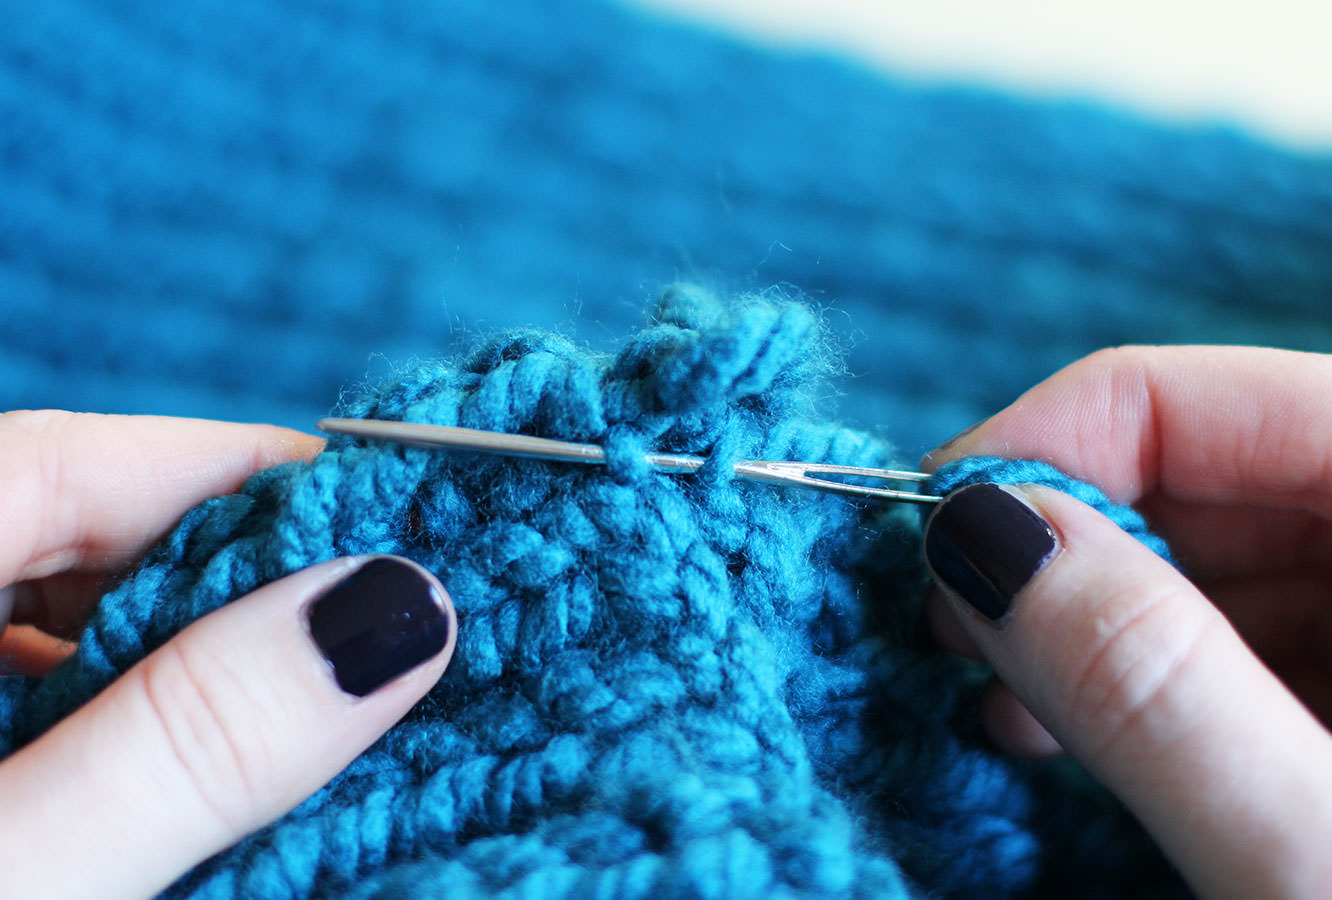
Step nine
Place the two ends together use a wool needle or a crochet hook to sew together. I find it best to go side to side like this.
After I did this I stretched it using the backs of two chairs, I tend to knit a little tight, you might not need to do that. The other way would be to dampen it and pin it out on the carpet but the chair method just seemed a bit easier.


Step ten
Put it on your beautiful friend.