Two years of fabrefaction.co.uk friends. Yup. THAT HAPPENED. Thank you for the support and the loving, please keep sharing, commenting and messaging me; I love hearing from you and seeing what you’ve made.
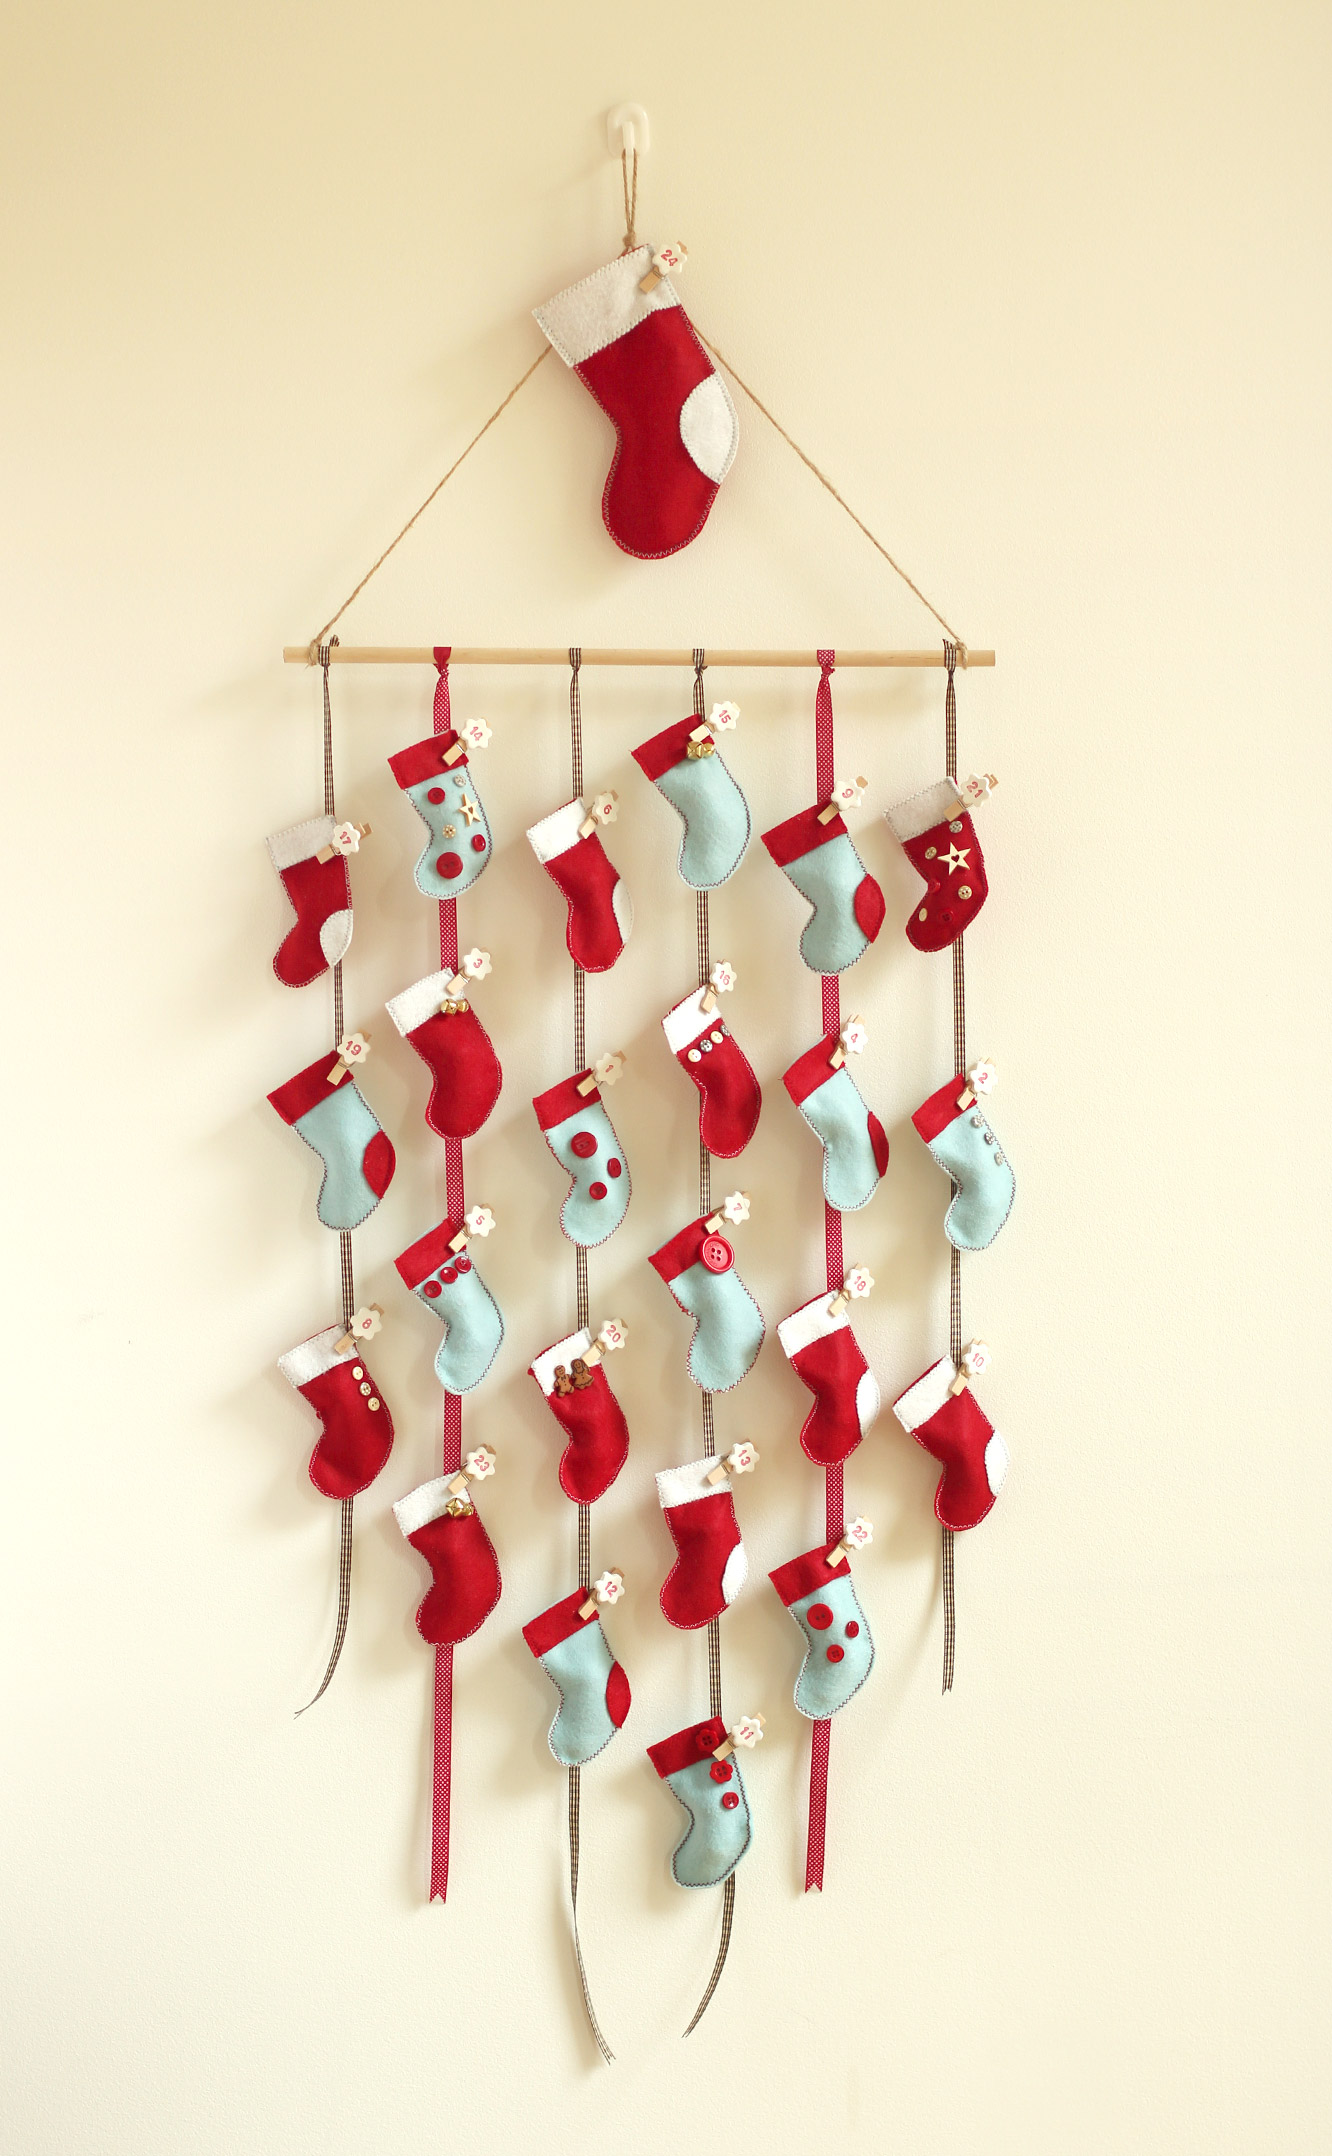
In keeping with my first post ever, and the one year anniversary post of this little blog, here’s another lovely advent calendar for you to make.
“Oh but advent starts next week, I don’t have time!” Yes, yes you do. I made this in a day. Less than really when you consider I went out for breakfast and dinner. You could even take the easy way out and glue instead of sew.
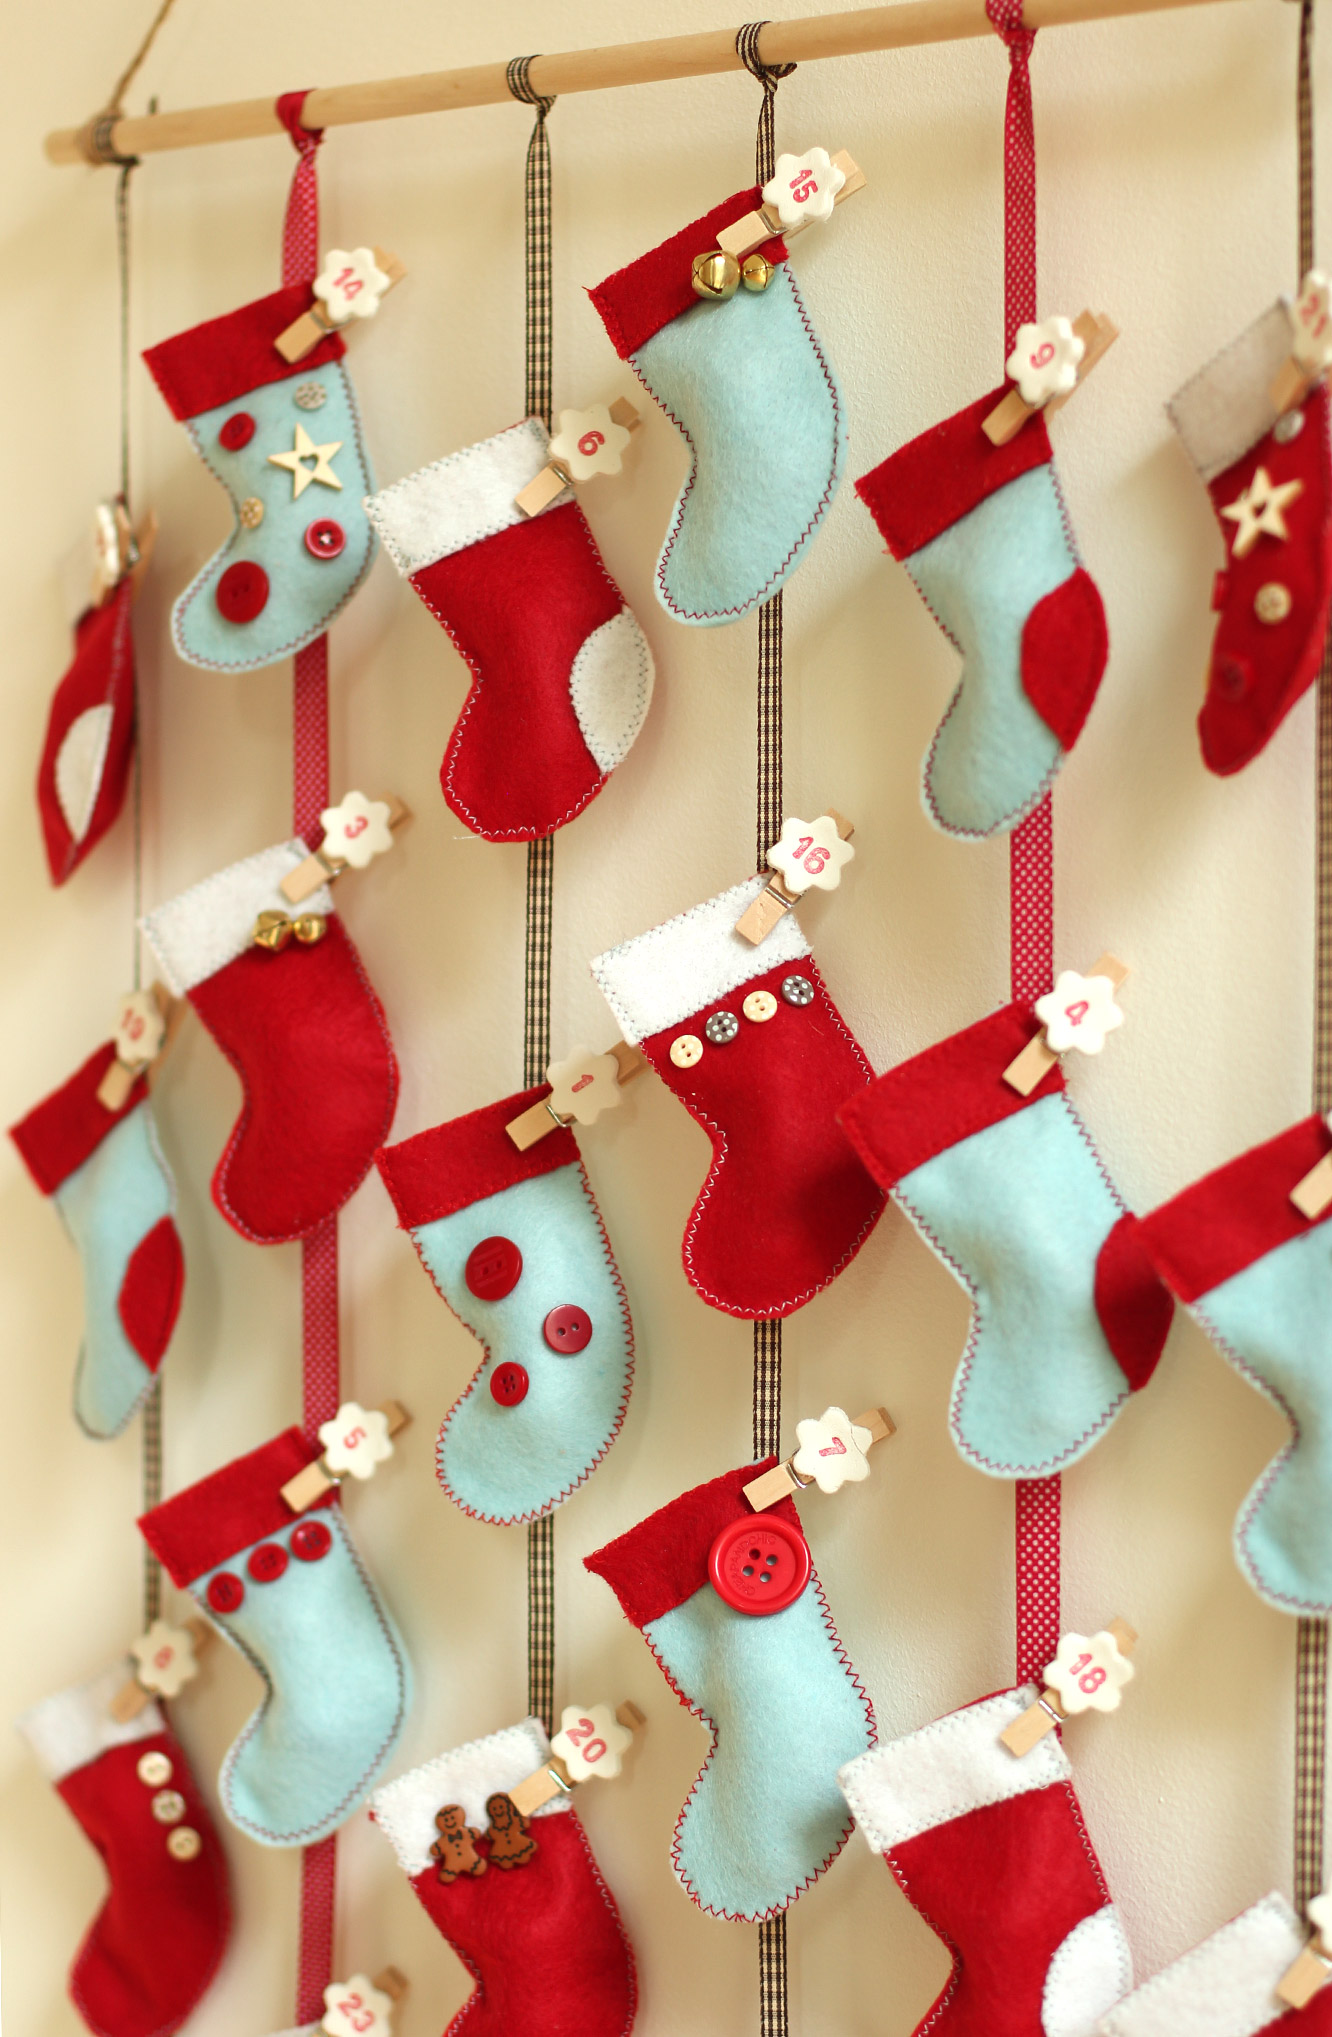
This particular calendar is a labour of love for my very hardworking and wonderful sister. Poor duck got jealous of mine once, and this year I thought it was about time she had something a little more permanent so she never forgets again. Thanks for your love and support sib.
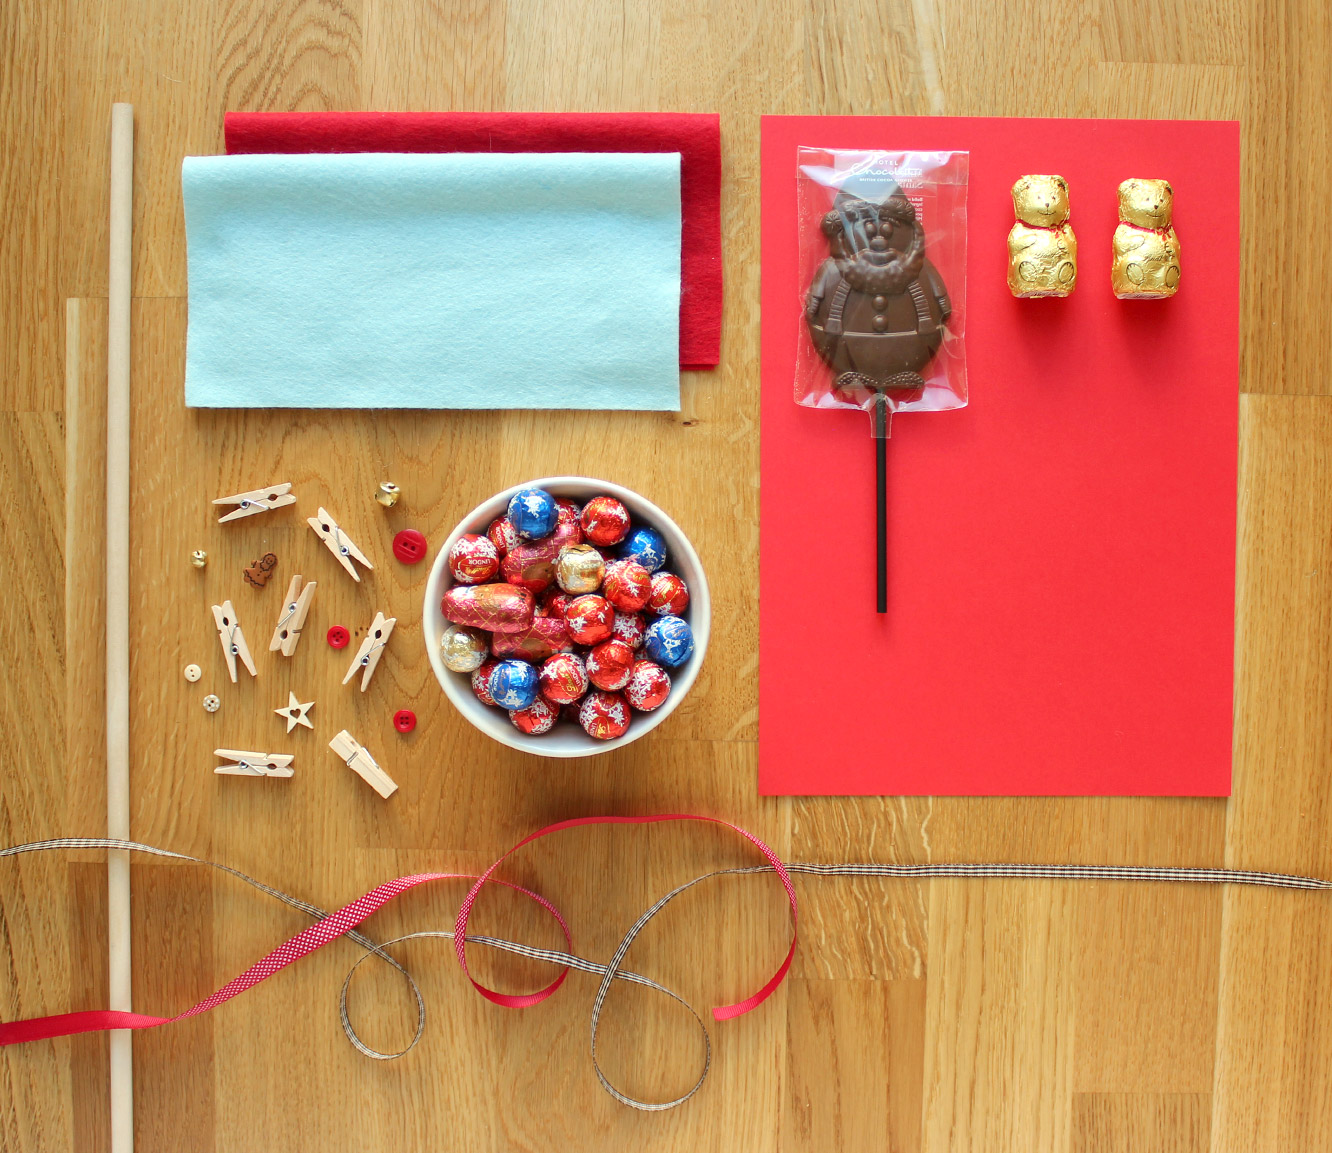
You will need
A dowel rod (40cm) (or a wire coat hanger)
Festive looking string or ribbon
Felt (I bought two packs of 5 felt squares from John Lewis, you’d probably need 6 or so A4 sheets)
24-48 chocolates (I used mini Lindor truffles (there are 22 in a bag) and some woodland friends from Waitrose)
Something a bit more special for Christmas eve
24 miniature pegs (I got these from Tiger)
Buttons etc to decorate
FIMO or air dry clay
A marker pen or ink and mini number stamps
This template for the stockings
Step one
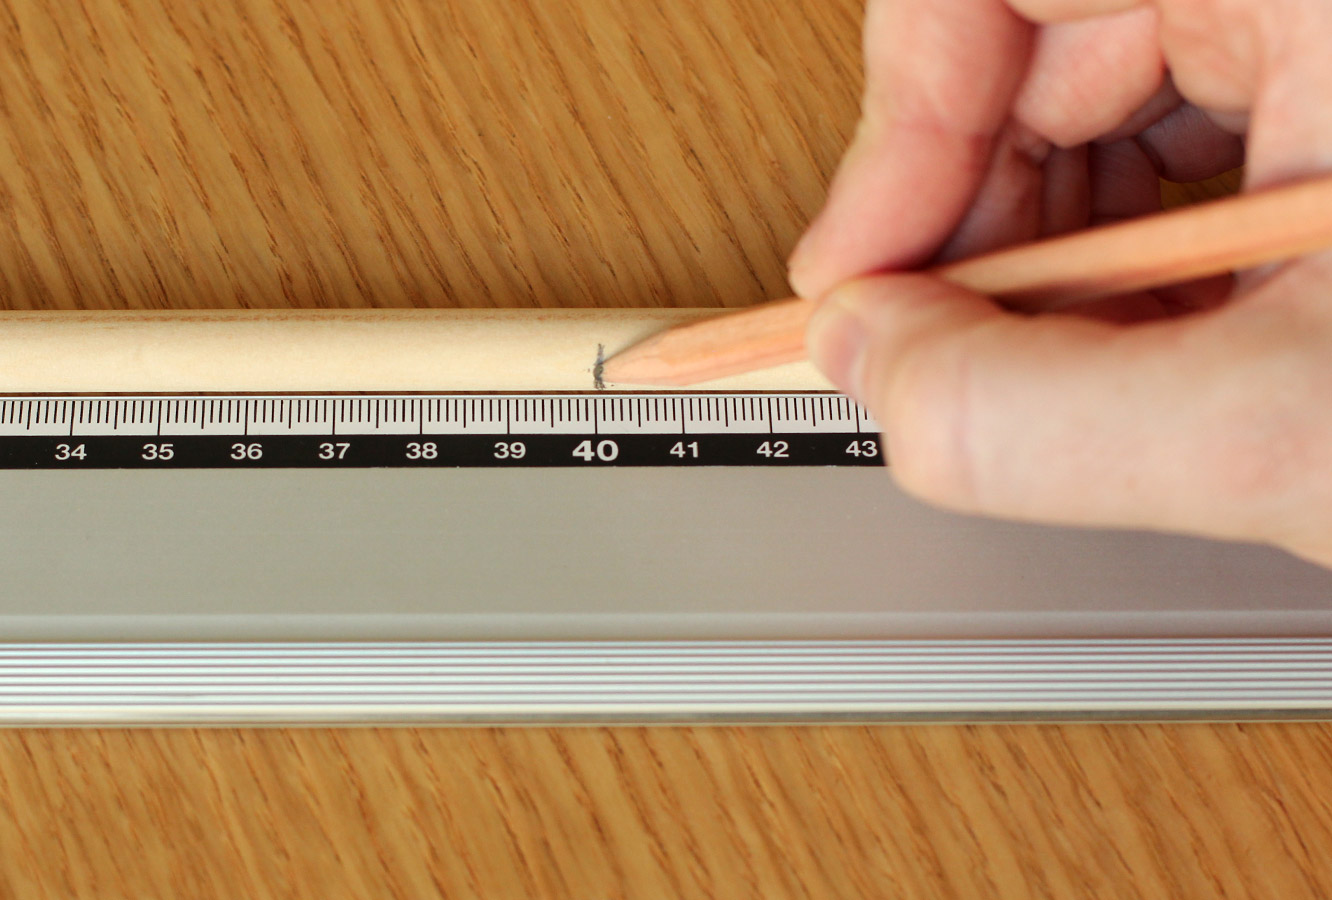
Depending on the length of your dowel you might need to cut it down. Mark the cut point at 40cm.
Step two
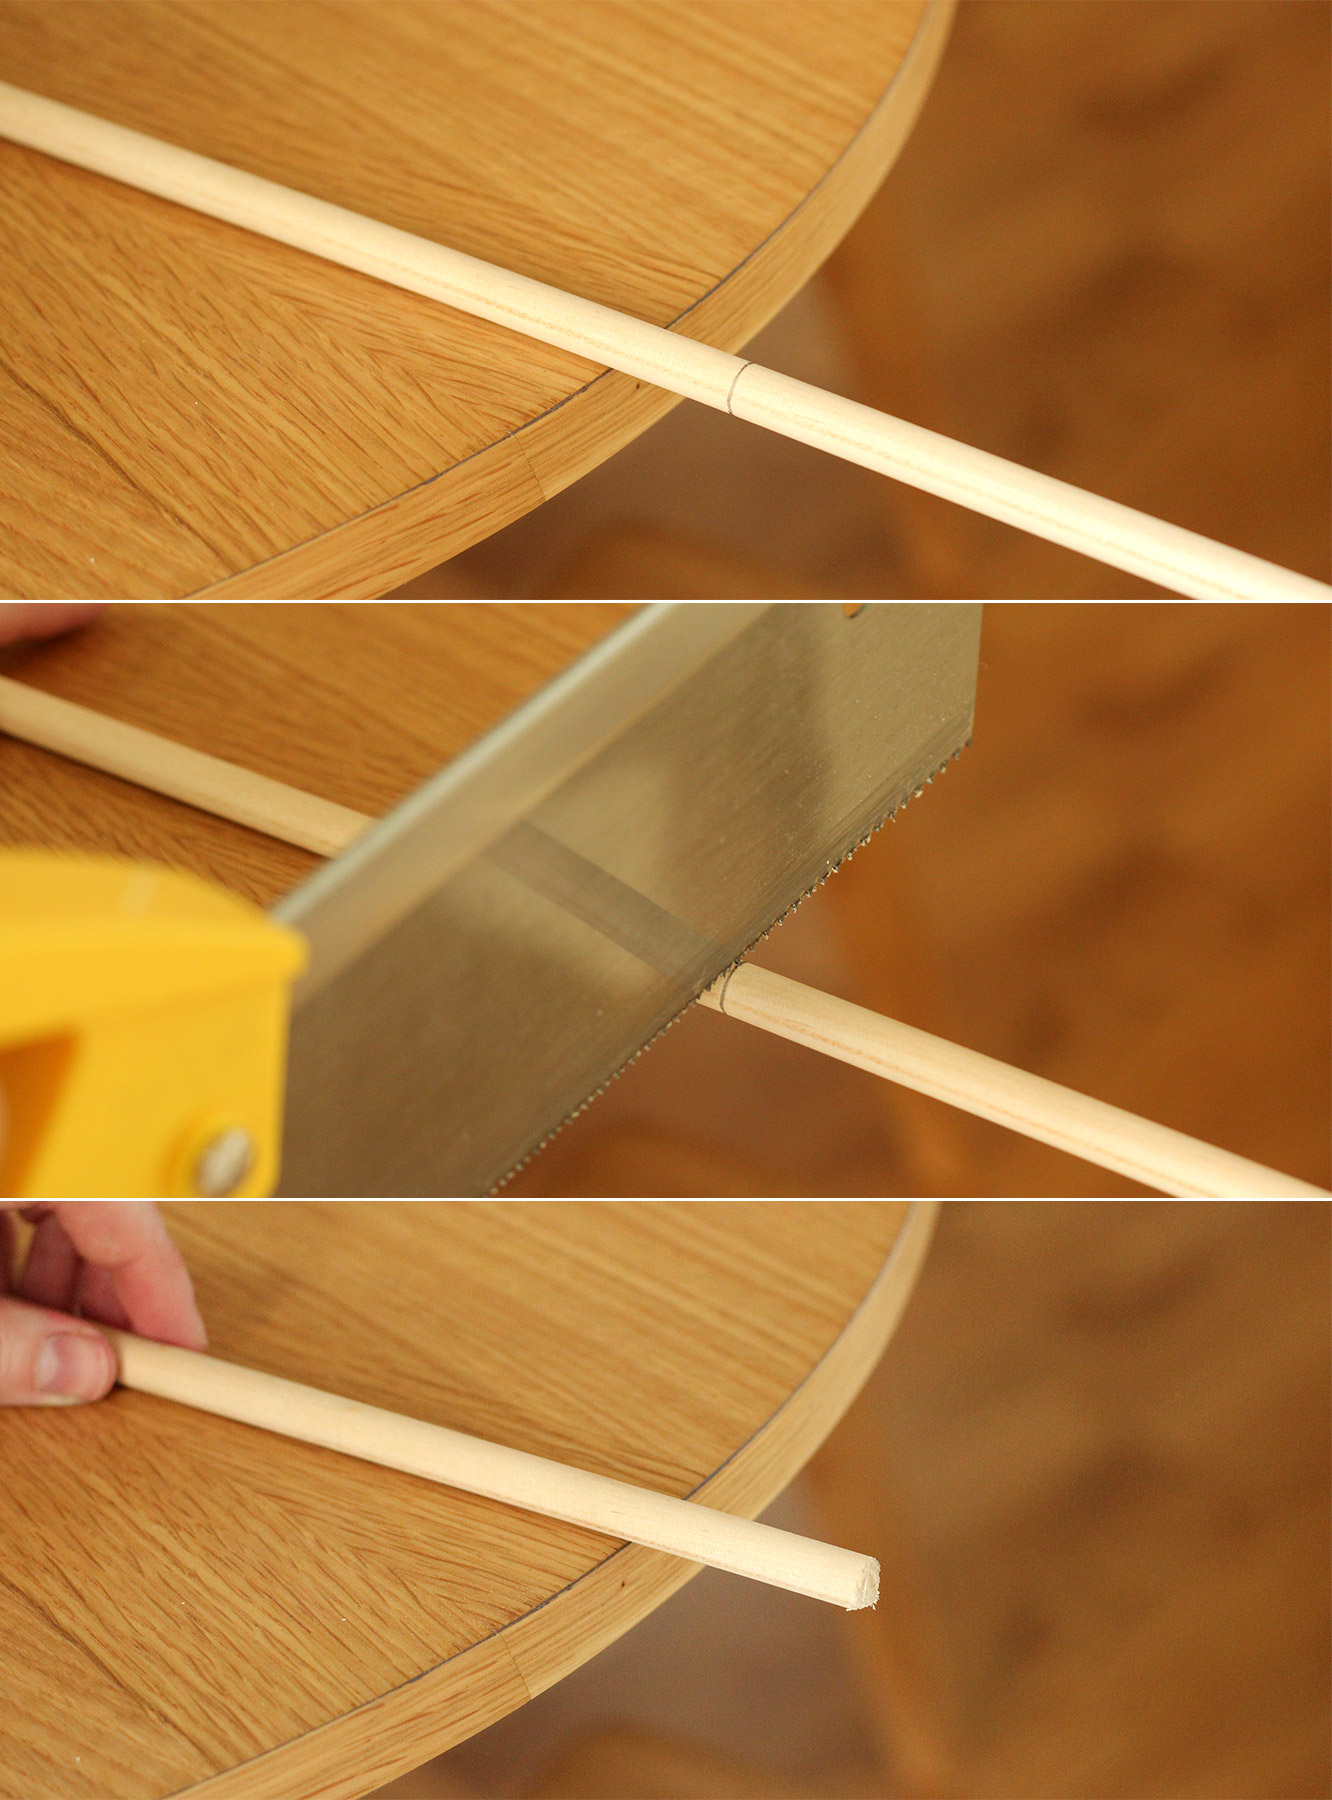
Cut the end of the dowel off. Those of you into wood work (of which I am sure there are plenty) don’t judge me for my saw, I’m relatively confident after using it that it wasn’t the right choice.
Step three
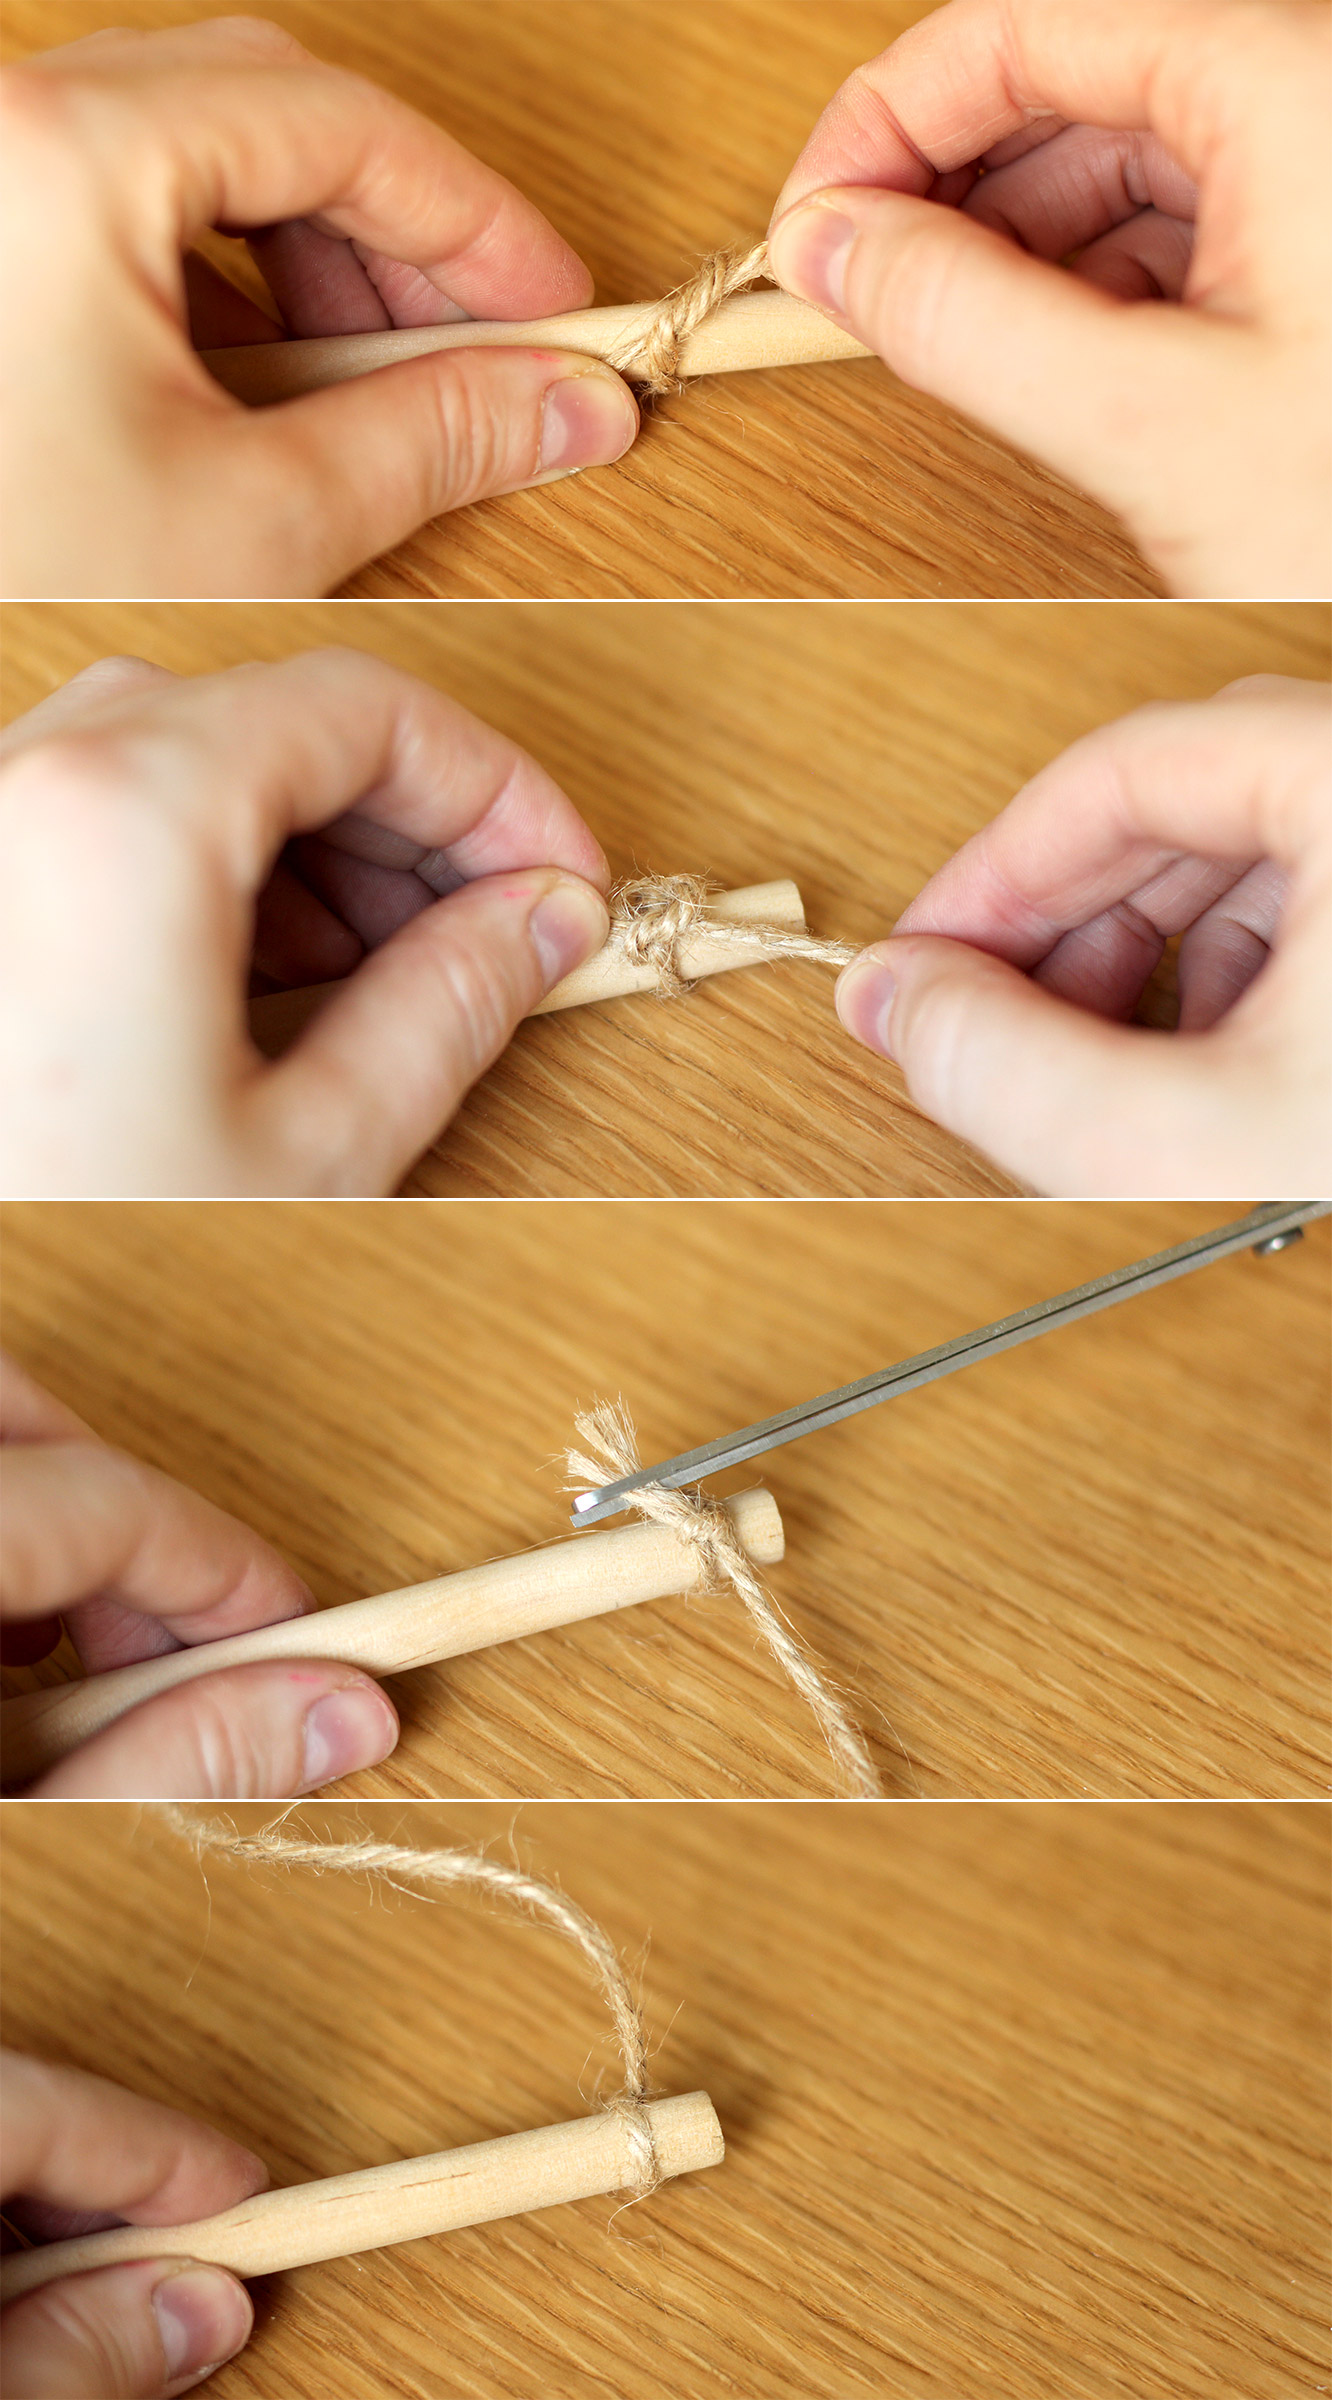
measure a length of twine/string/ribbon about twice the length of the wood and double knot tie it onto either end. You might want to add a little glue to secure it. Make sure to turn it so the knot is at the back.
Step four
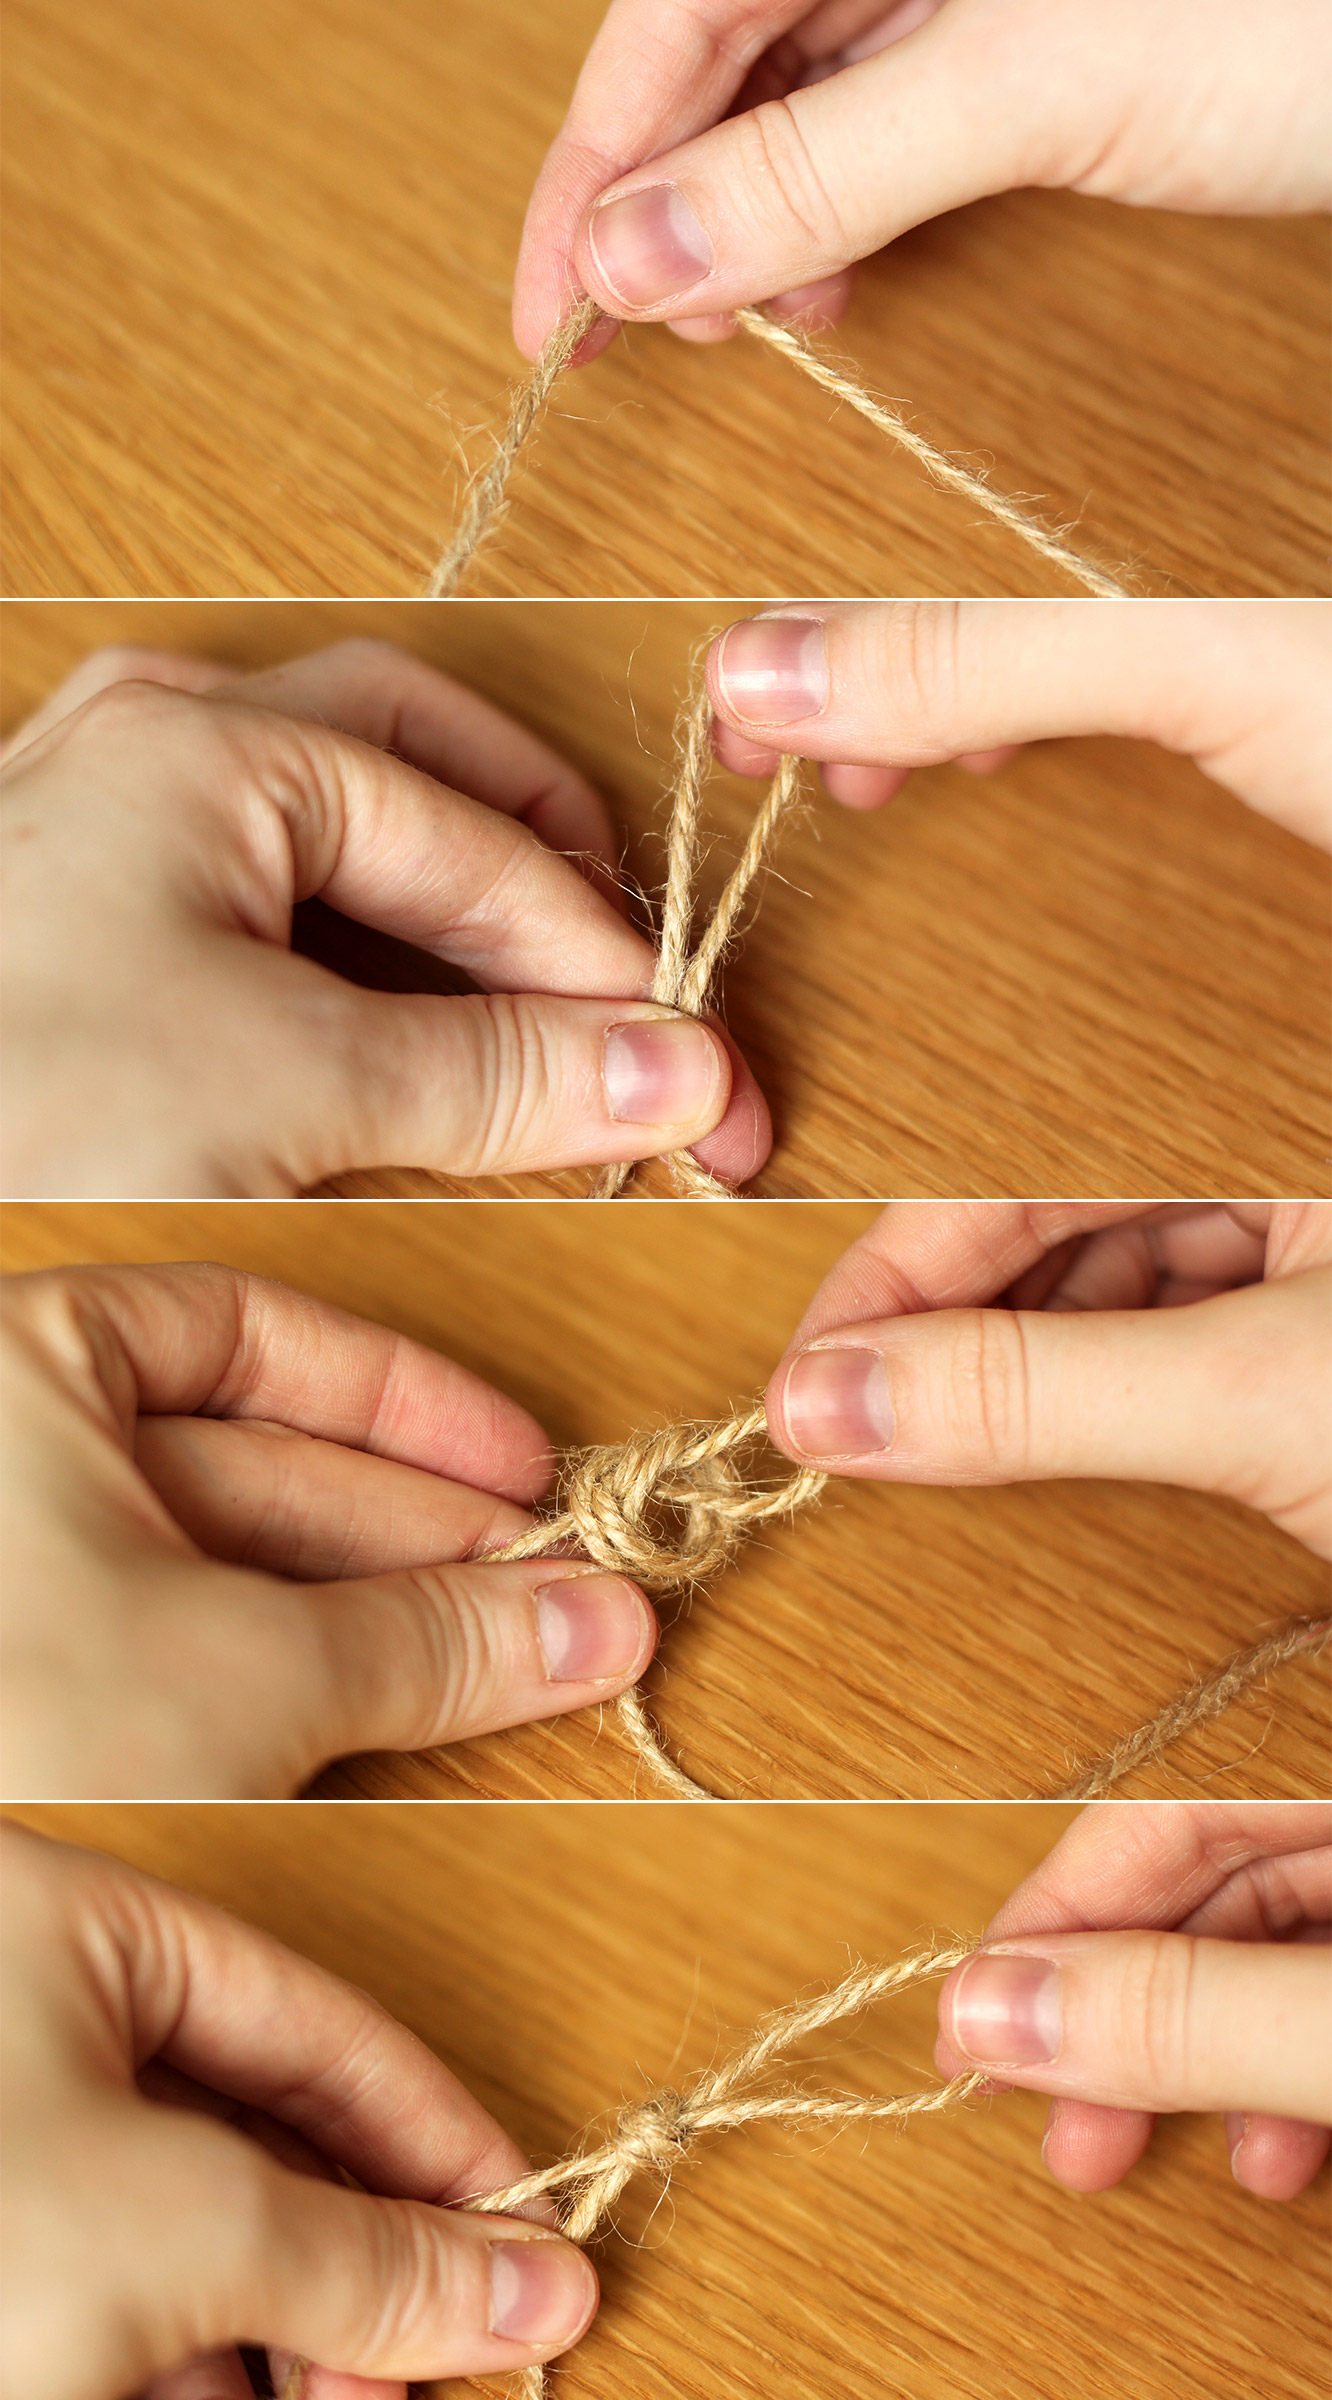
Hold the centre point of the twine and allow the rod to hang off the side of the table. Make sure it’s level and tie a knot in the middle so that you have a loop to use for hanging.
Step five
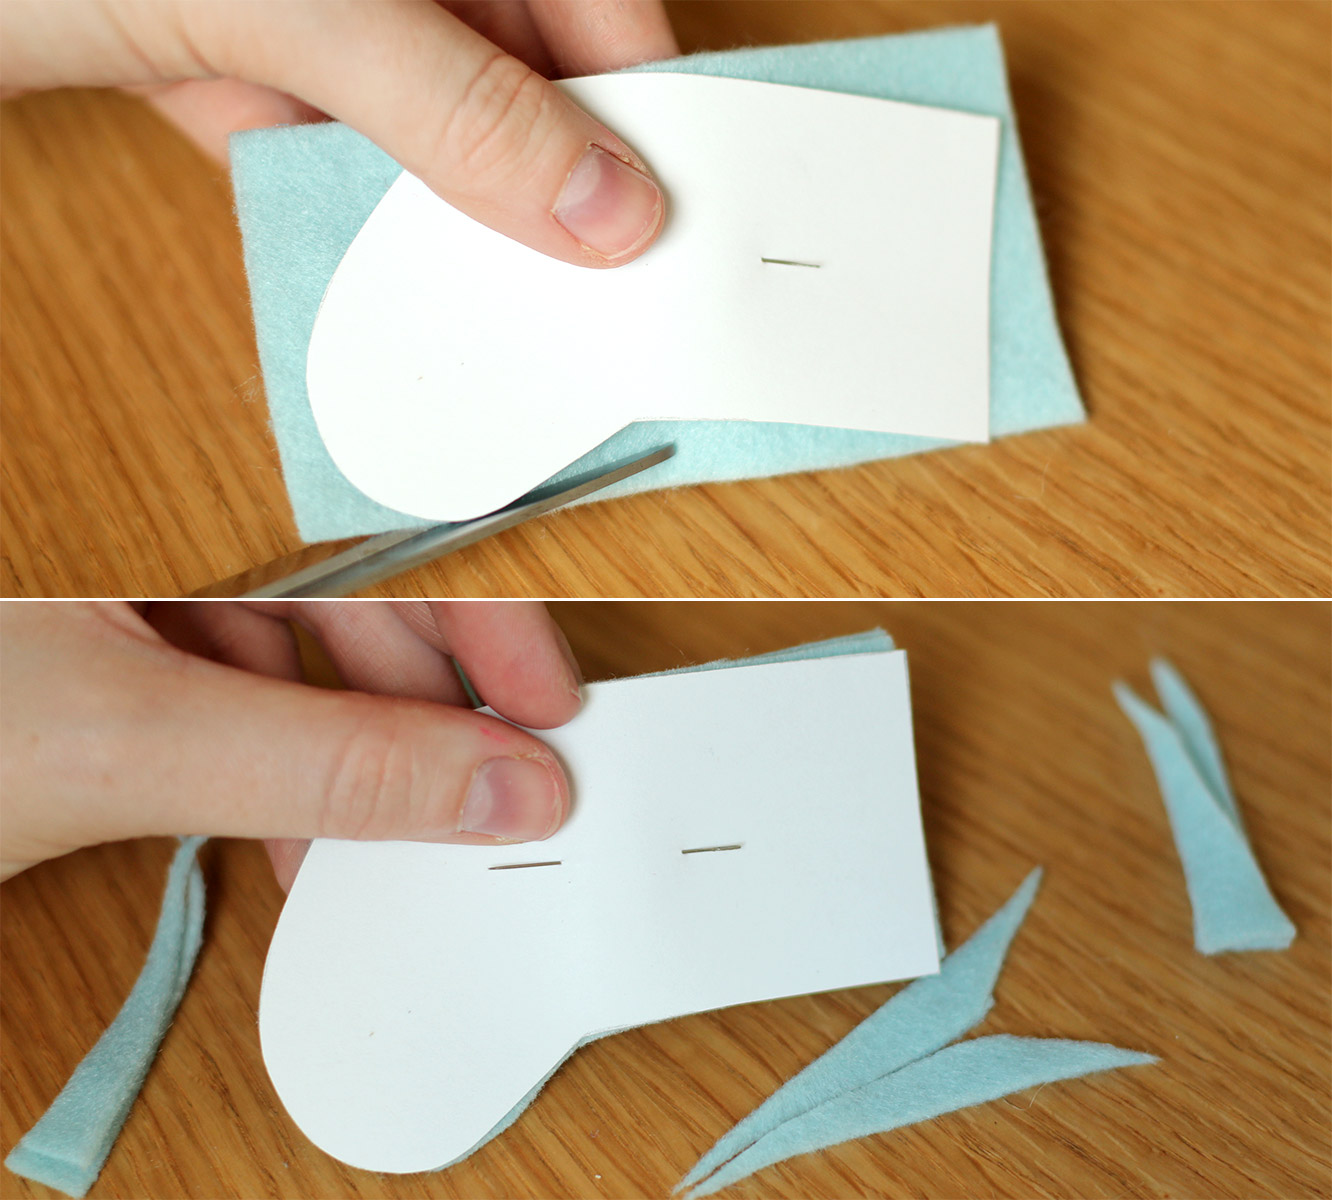
Using the template cut out 23 mini stockings (2 pieces of felt for each). I cut through two layers at a time, and squeezed 8 cut outs from each square of felt. If you bought A4 sheets I imagine you’ll get 10-12.
Step six
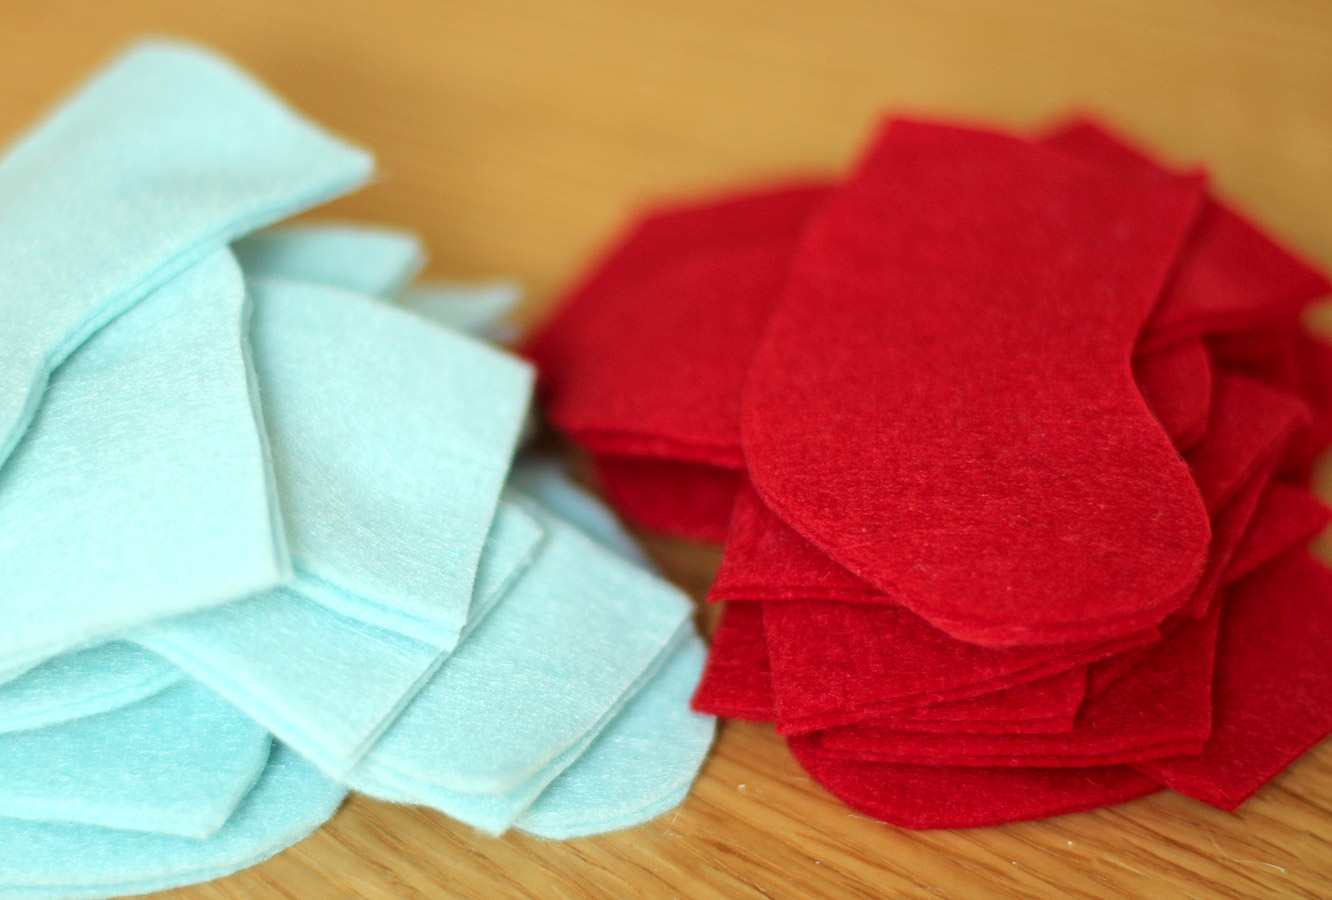
Keep cutting.
Step seven
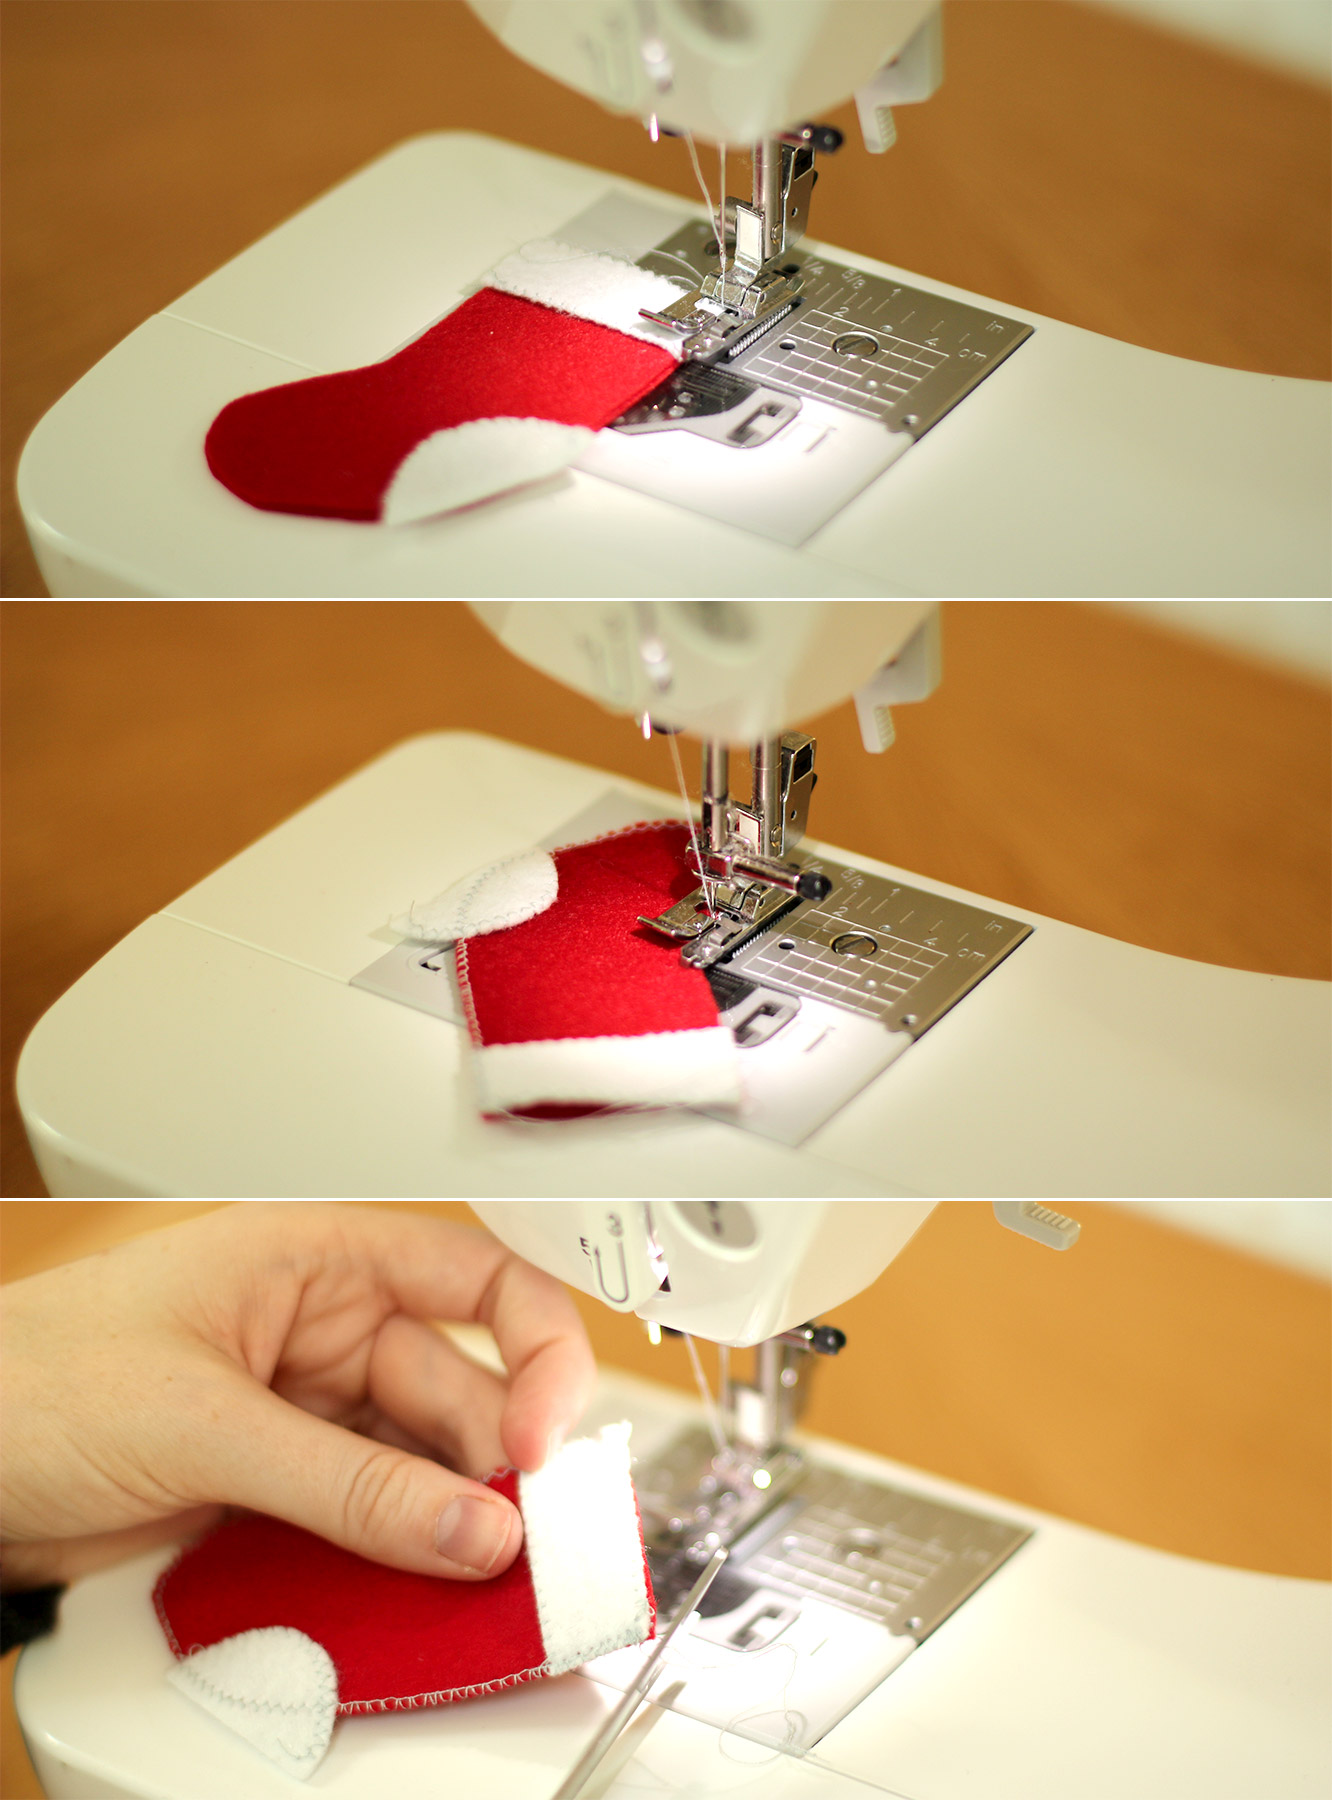
Sew the stockings together using an overlocking or zig zag stitch. I edged the white bits separately before attaching them and left the heel hanging over the edge.
If you are making this for next Christmas, feel free to hand sew. I cover how to blanket stitch here. If you want this ready in time for this advent I recommend borrowing a sewing machine or using glue.
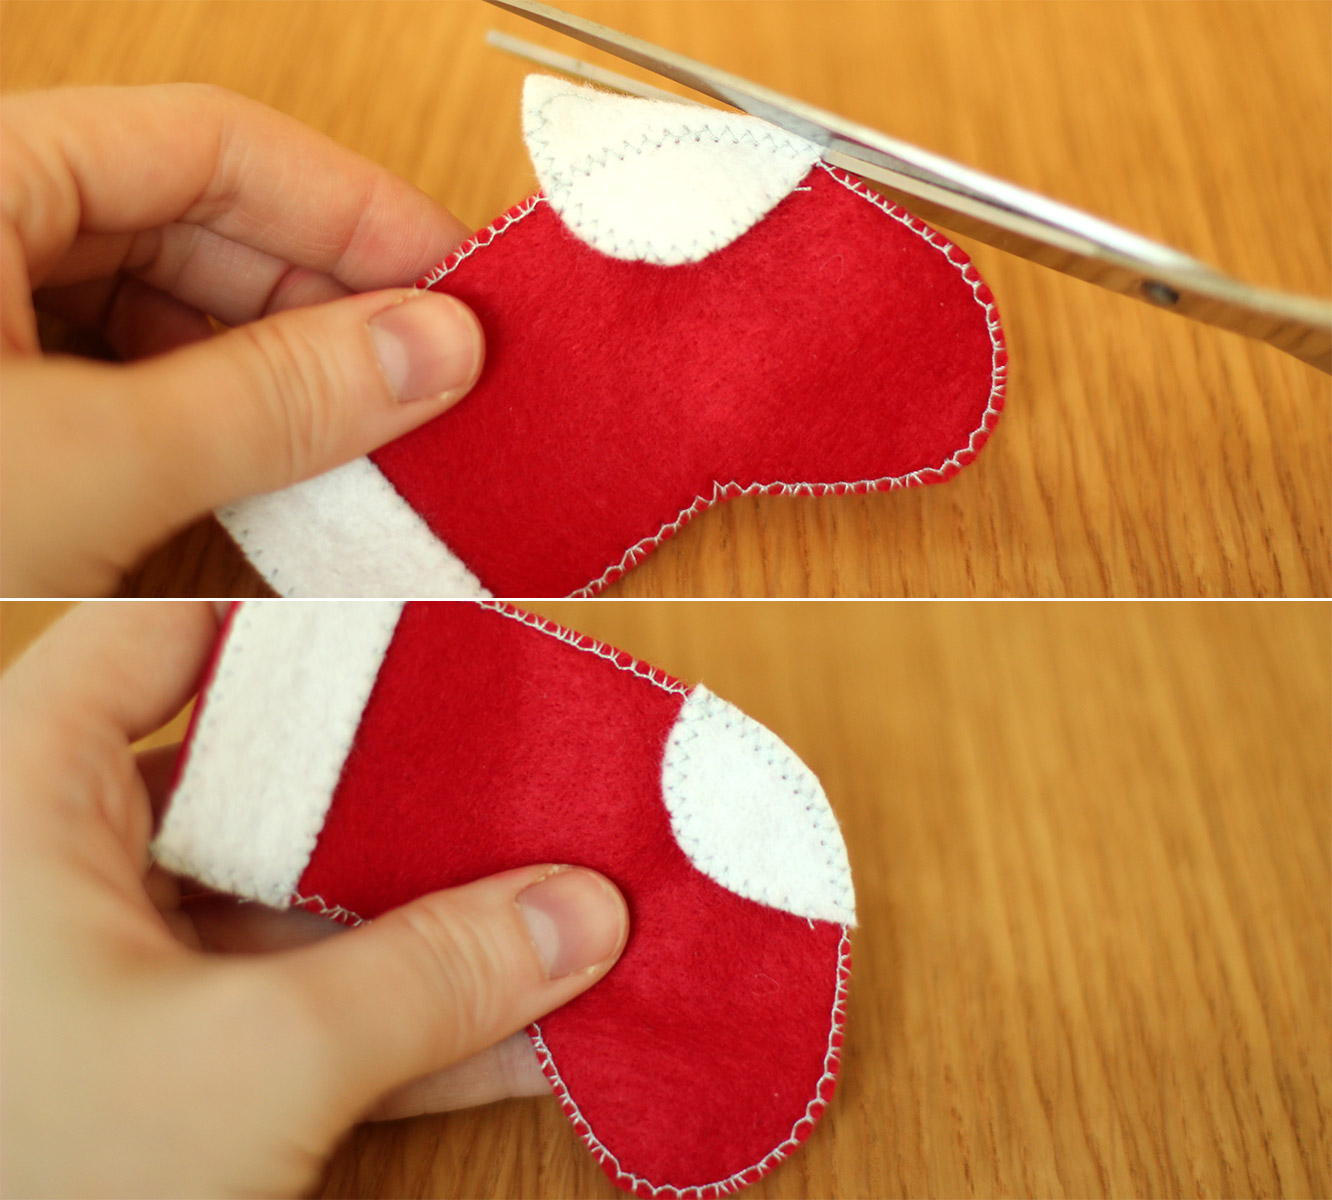
Step eight
Cut the excess off the heel of the stocking and any loose threads.
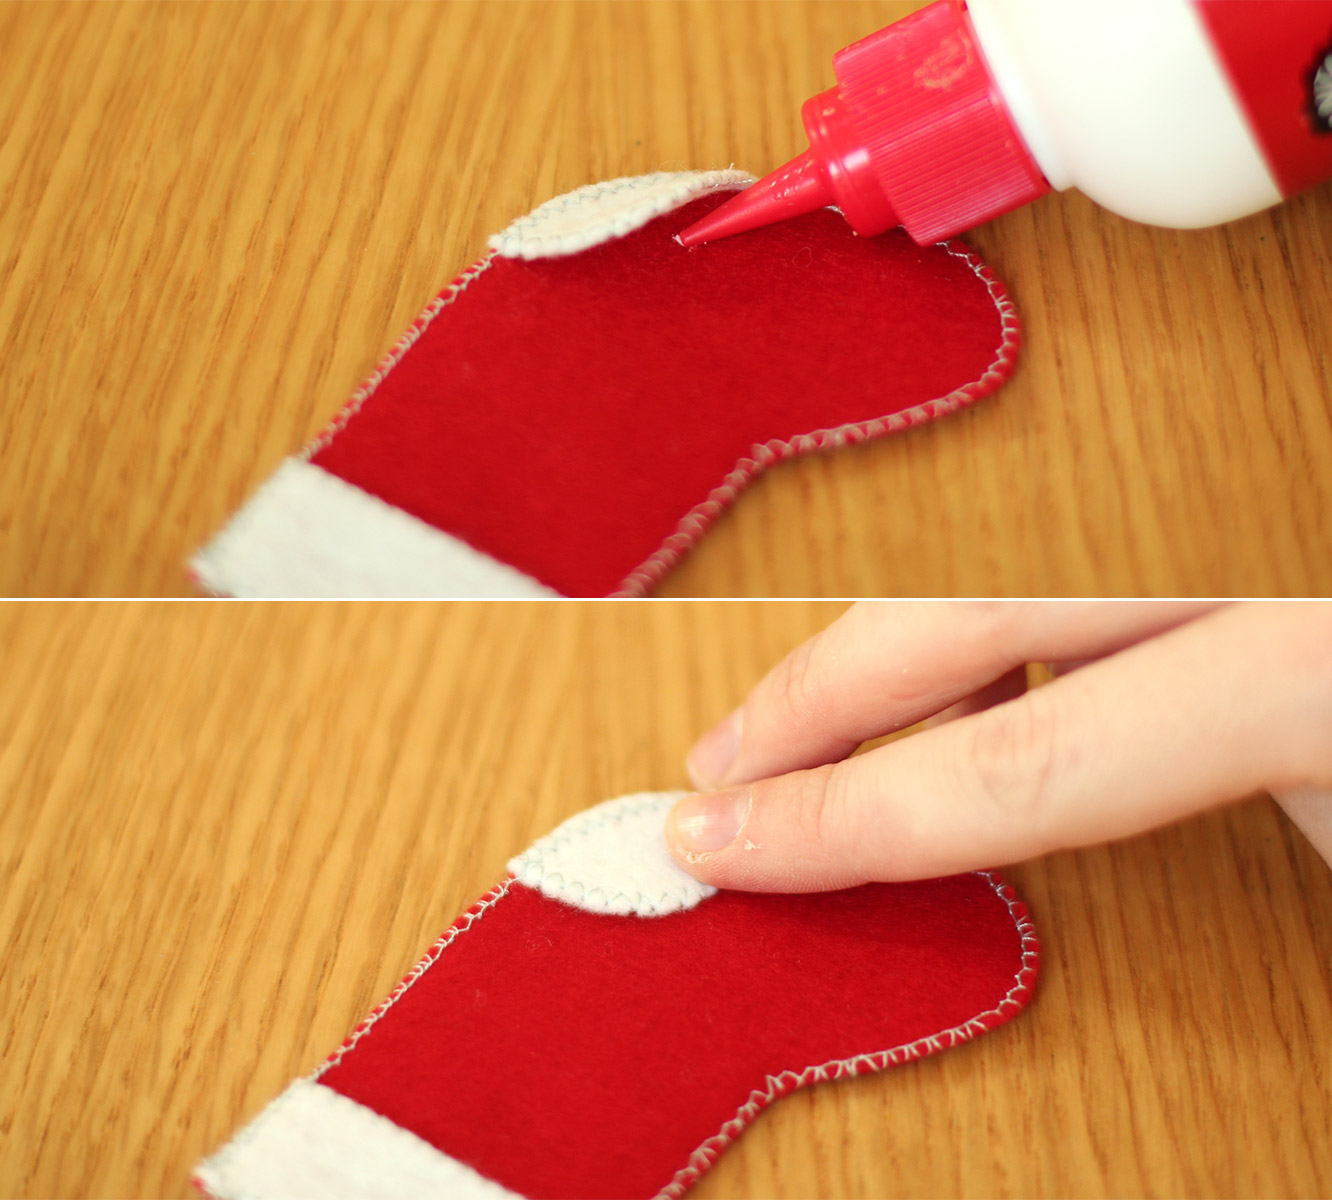
Step eight and a half
(Totally missed this step on the original post)
Secure the heel with a little dab of glue, but make sure it doesn’t soak through and stick the stocking together.
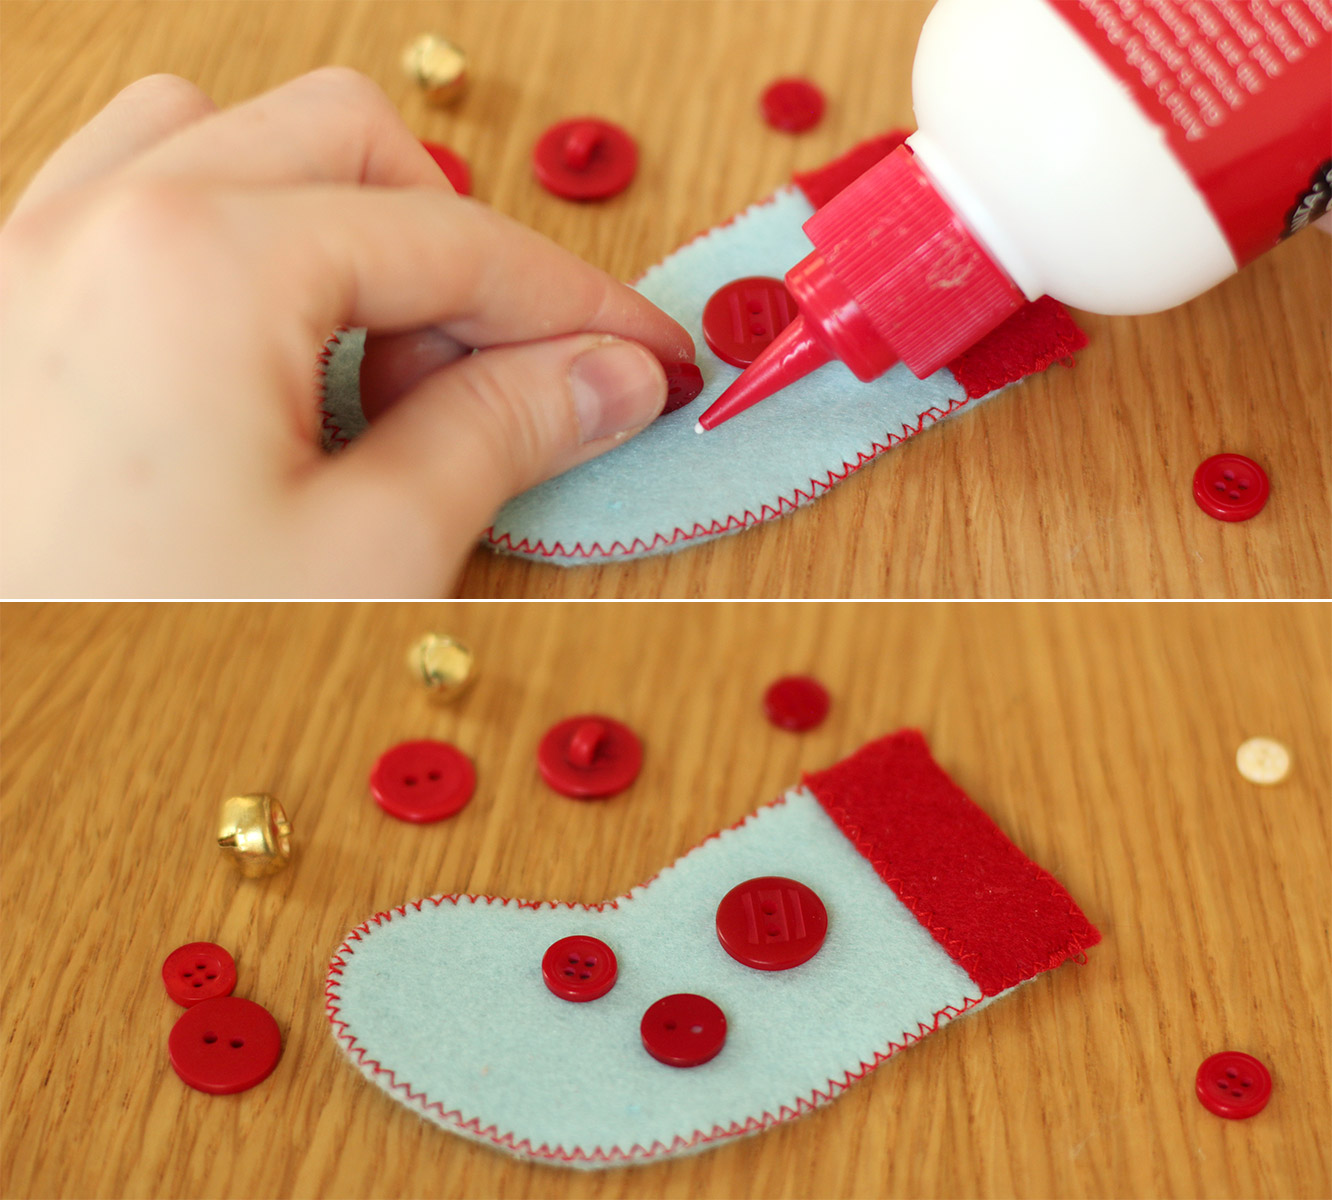
Step nine
I decided not to sew heels on all of them as I wanted a bit of variation. So I used some of the embellishments from last year’s advent calendar to decorate. Glue is acceptable here I reckon, otherwise you really need to sew them on before sewing them together.
Repeat until you have 23 little stockings and one big one.
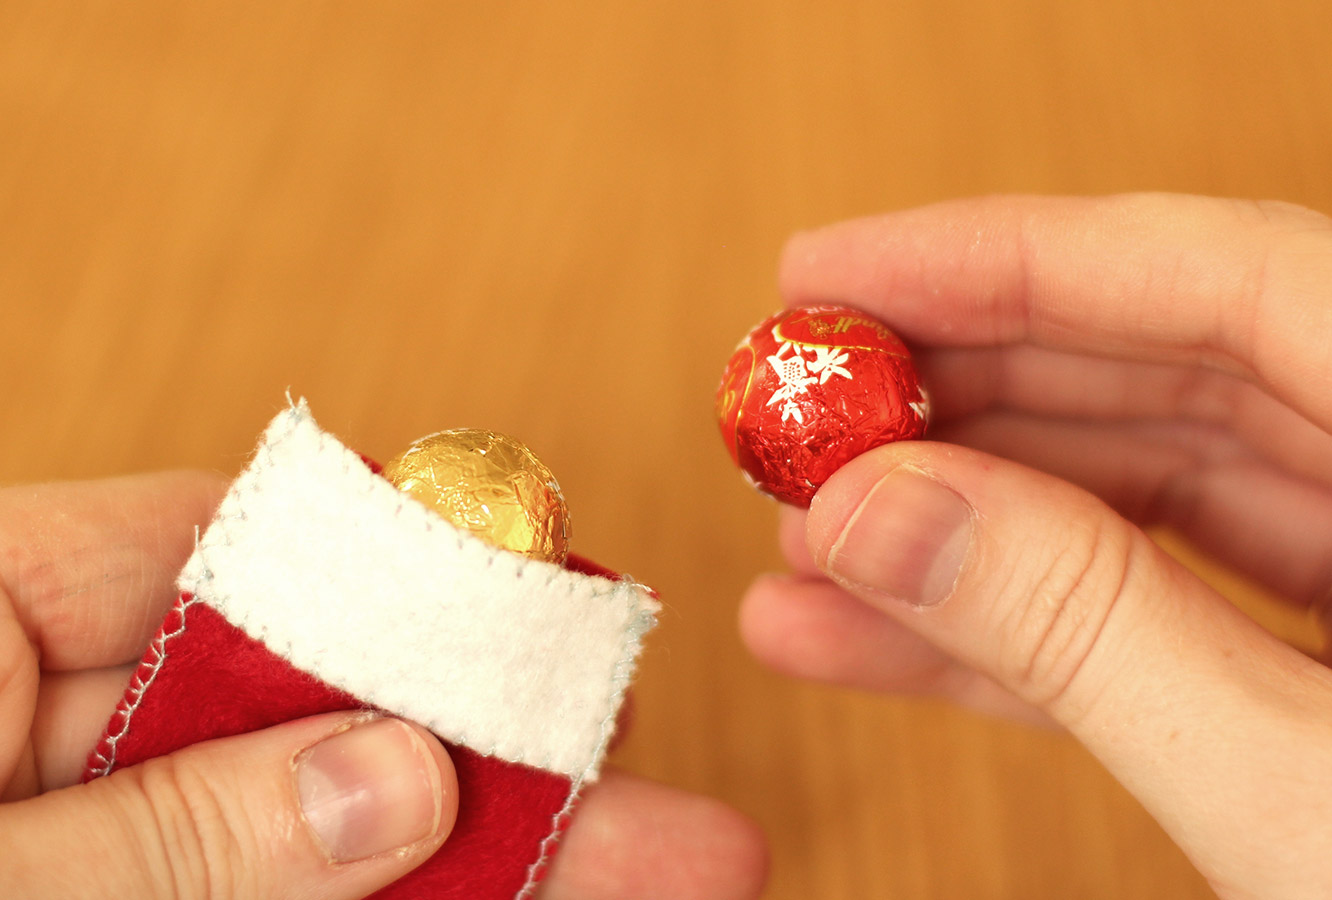
Step ten
Fill your little stockings as you go, they look very cute as they stack up.
Step eleven
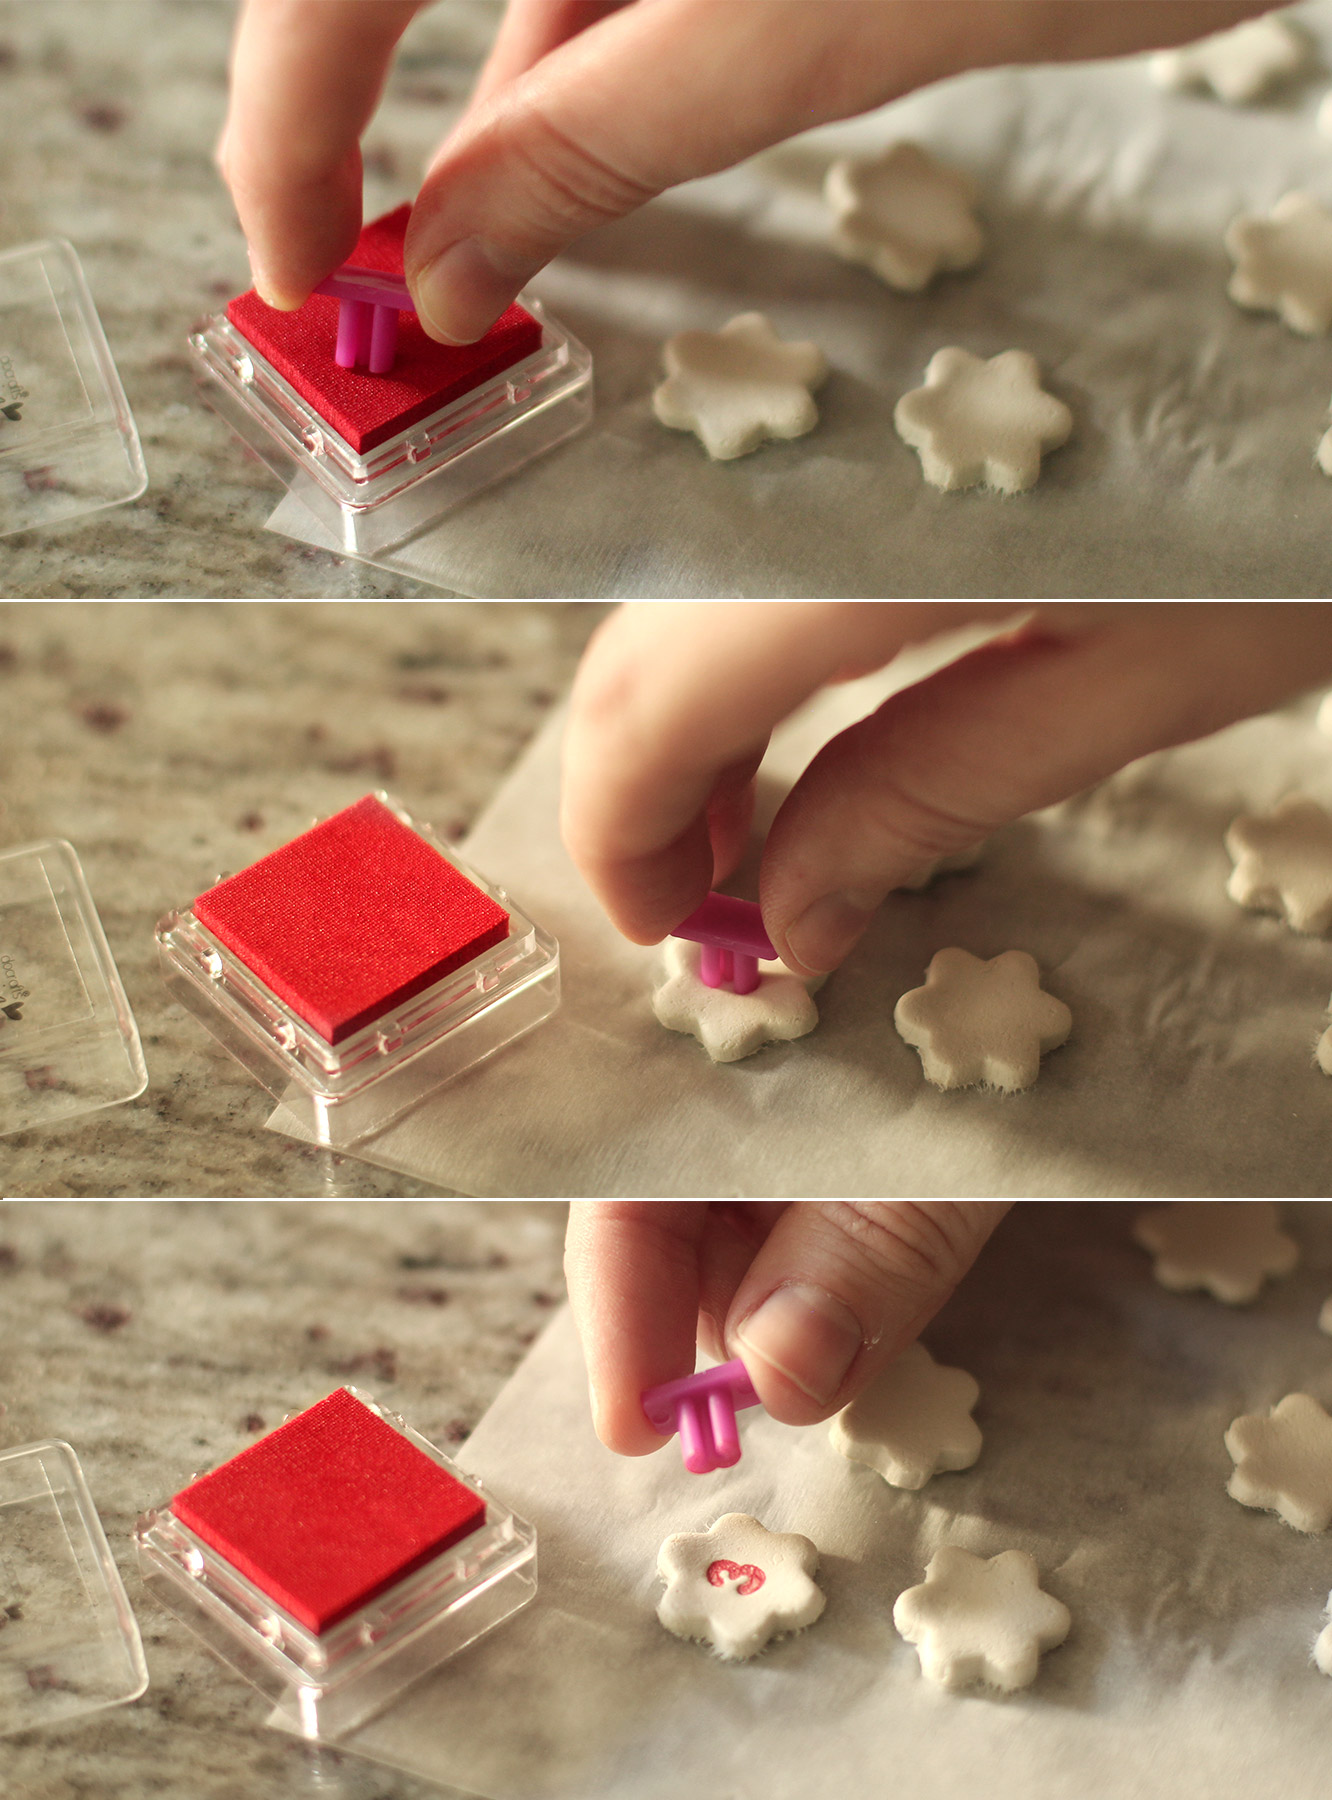
After a few learning lessons from last week, I made the number markers with air dry clay. I found it easier to work with than FIMO. It also worked really well to ink the stamps before pressing them into the shapes.
This is entirely optional, you could write the numbers on the pegs, stamp them, make circles of card instead etc etc.
Step twelve
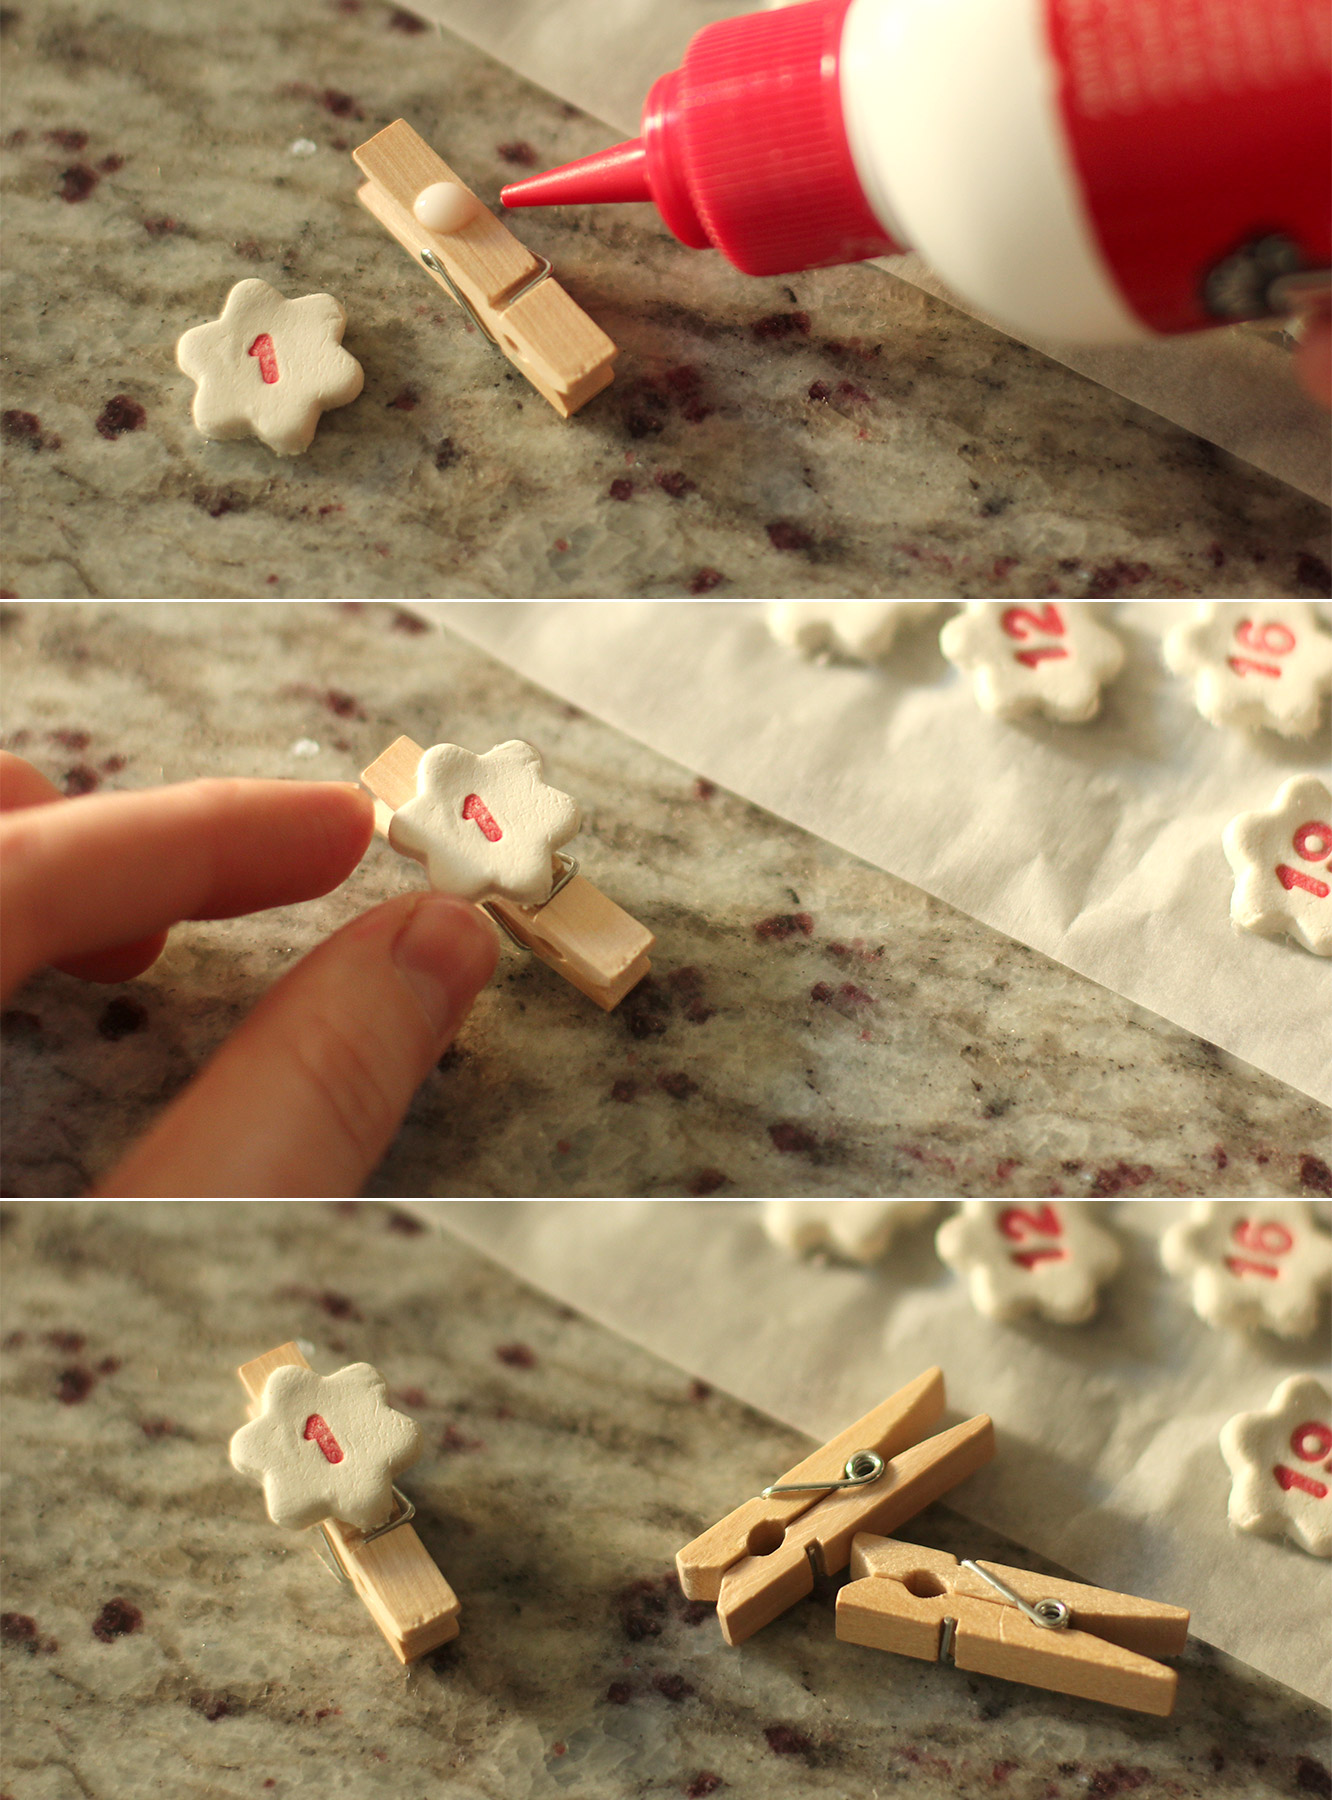
Once the shapes have dried out (no cooking required with this clay), stick them to the pegs with enough space at the top to open and shut the peg without squashing them.
Step thirteen
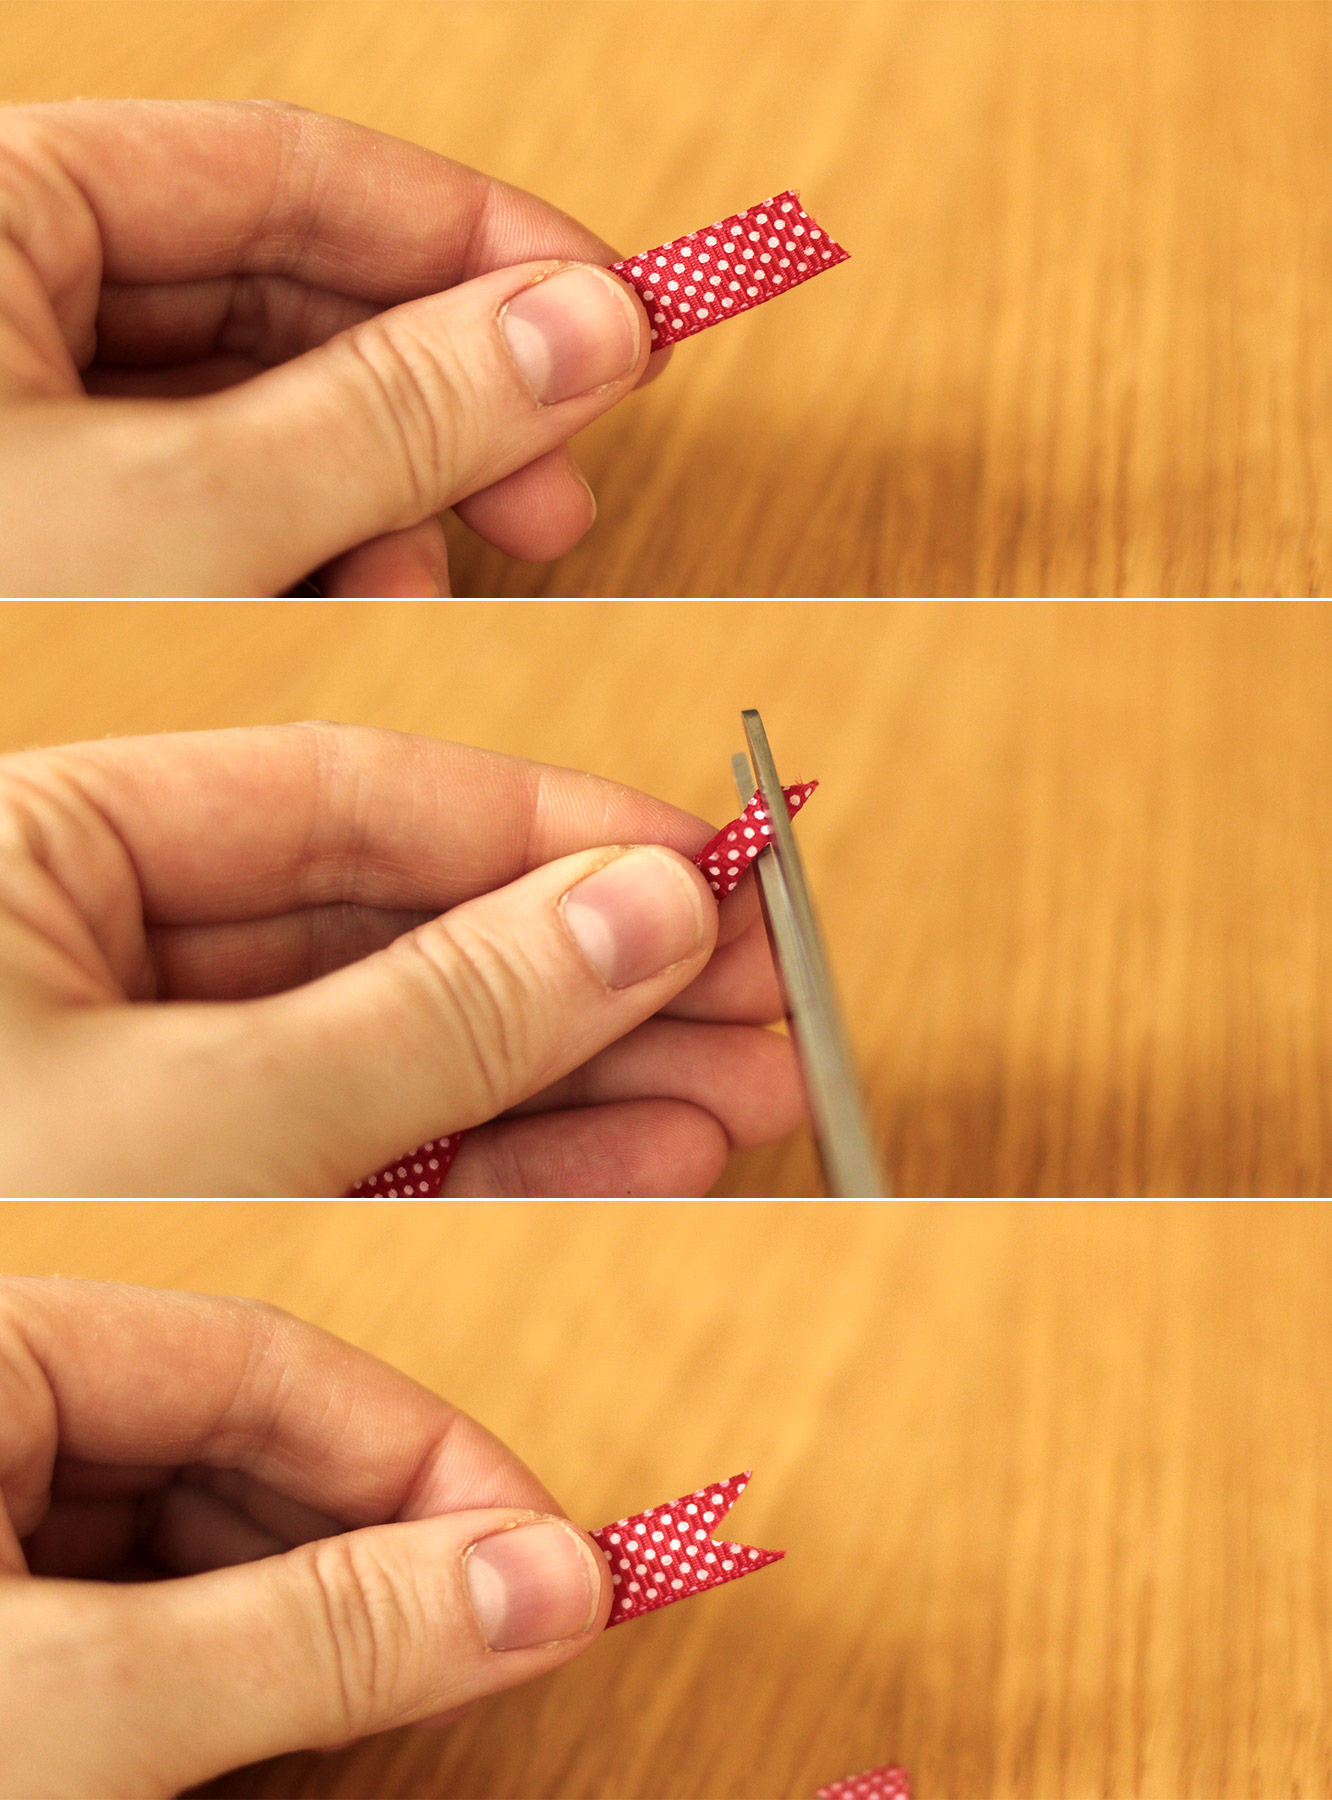
Cut 6 lengths of ribbon. I decided to taper mine at different lengths, as you can see in the final photos. To shape the ends nicely, fold the ribbon in half and cut diagonally on the fold to create a v-shaped cut.

Step fourteen
Tie the ribbons onto the rod and peg the stockings on.

Happy Christmas FiFi xx
