Tag: Cream cheese

If you go down to the allotment today…

Hullo again, with Easter well and truly around the corner, here’s another cute bunny-themed bake for you.

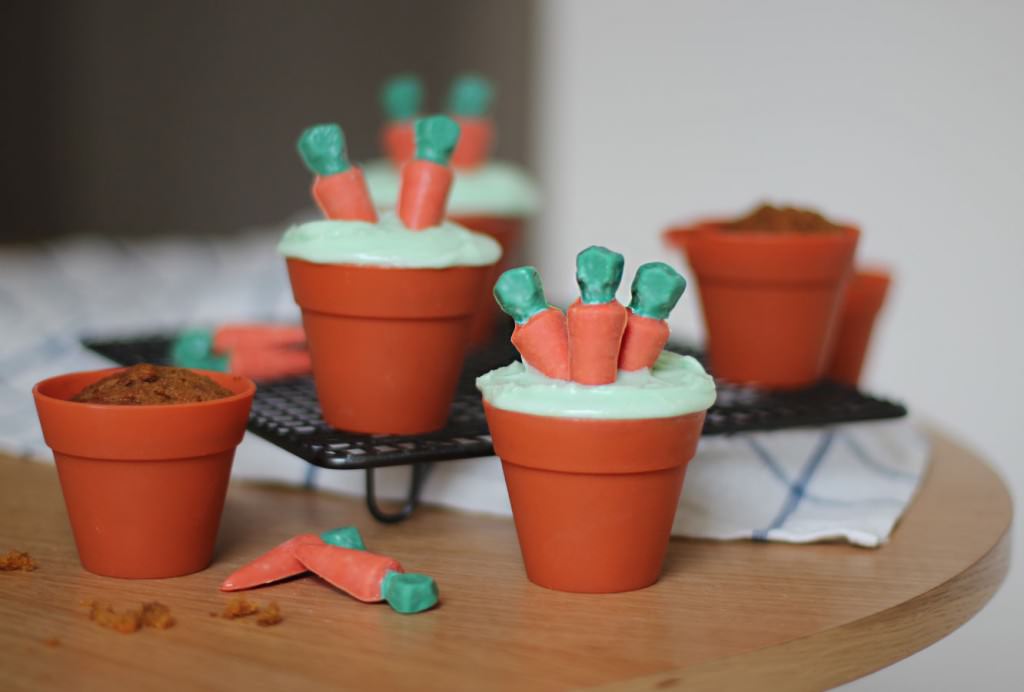
I found an adorable mould for tiny carrots online when browsing for chocolate moulds, as you do on payday…right? I couldn’t resist pairing them with the gorgeous little flowerpot shaped cupcake cases my lovely pal Taylor bought me for my birthday a couple of years back.

Anyhoo, there was an obvious flavour choice for these and I pried myself away from my usual chocolate bakes to bring you carrot muffins/cupcakes with cream cheese frosting.

This makes 6 cupcakes, so you will want to double it for more or for a single cake.
easter-carrot-cake-cupcake-muffin-recipe

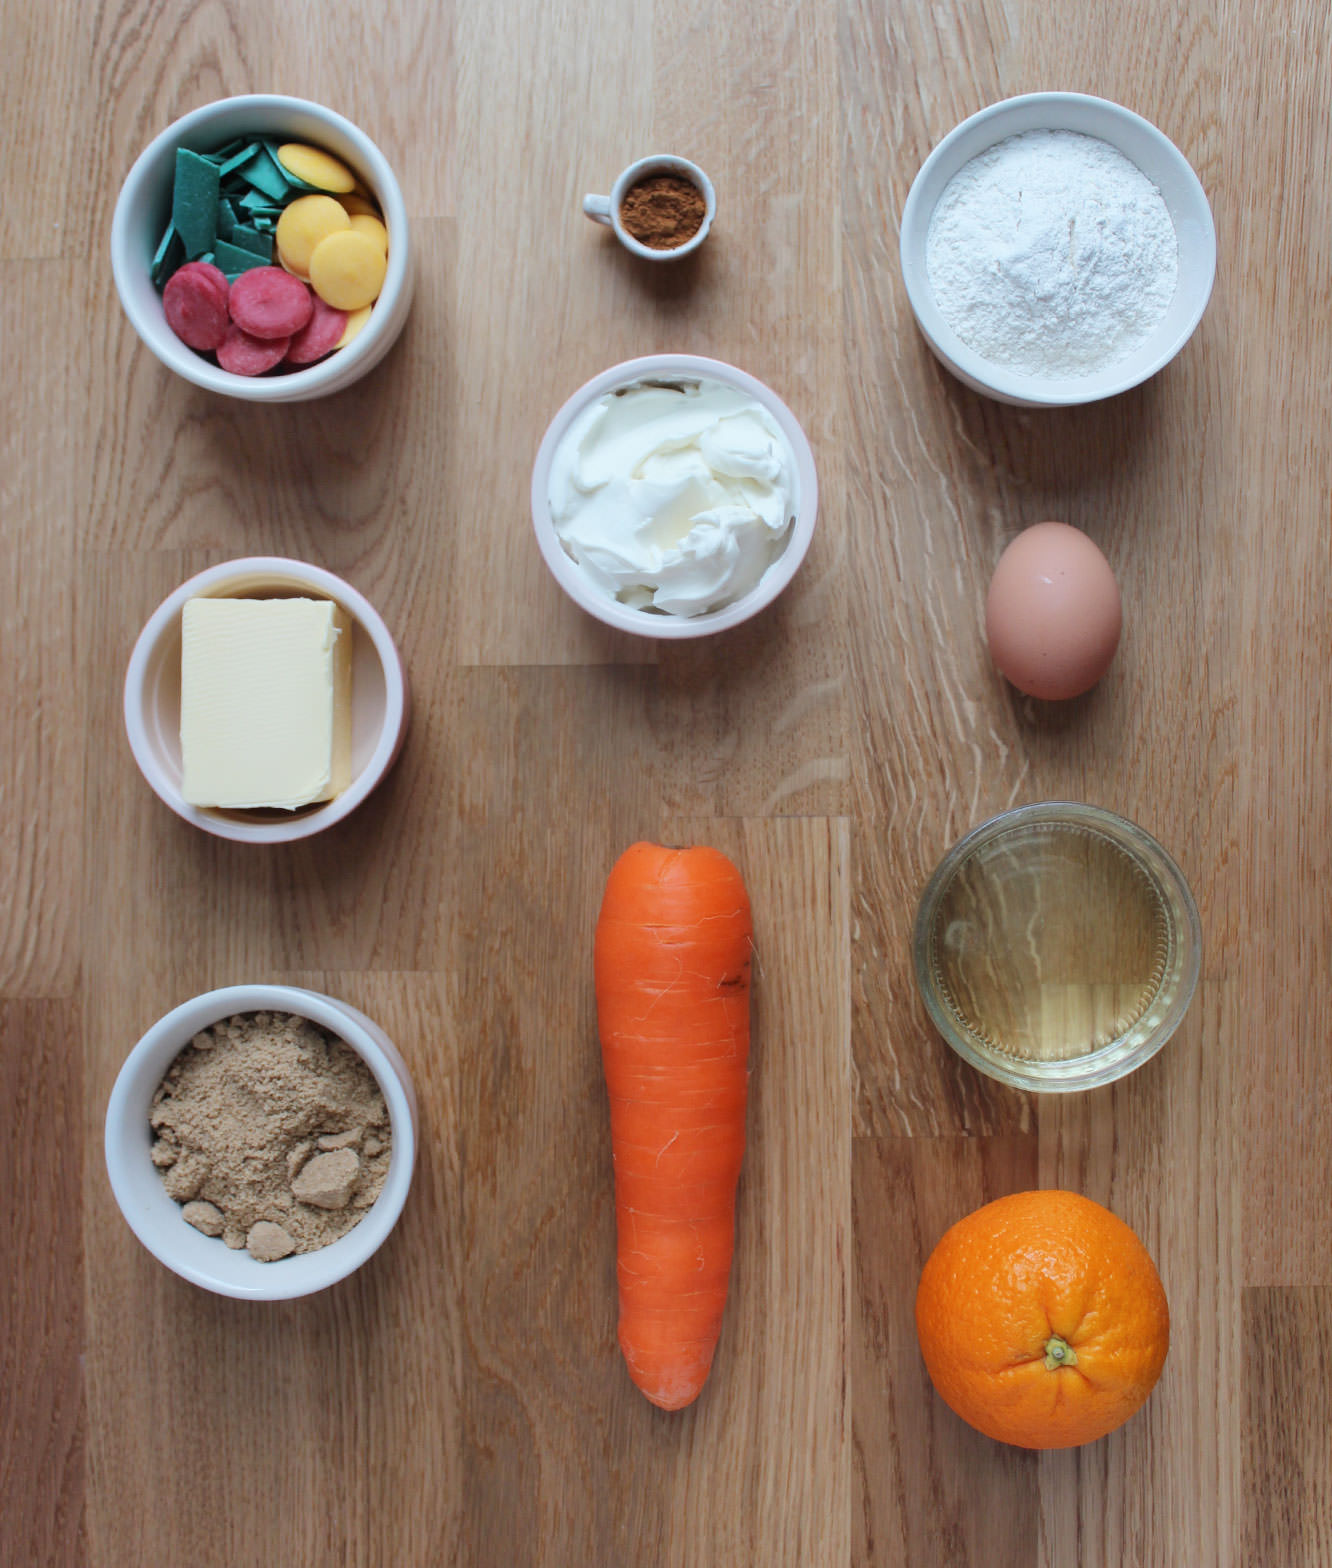
You will need

100g/3.5 oz self-raising flour

100g/3.5 oz carrot

80g/2.5 oz soft light brown sugar

75ml/2.5 fl oz sunflower/vegetable oil

1 egg

1/2 tsp bicarbonate of soda

1 tsp ground cinnamon

1/2 tsp ground nutmeg

Zest of an orange

For the icing:

75g/2.5 oz soft cream cheese (full fat)

25g/1 oz unsalted butter

100g/3.5 oz icing sugar

1 tsp vanilla extract

Green food colouring

Other:

Candy coating chips in orange (or yellow and red like me) and green
Carrot mould

Flower pot cupcake cases

easter-carrot-cake-cupcake-muffin-recipe-1

Step one

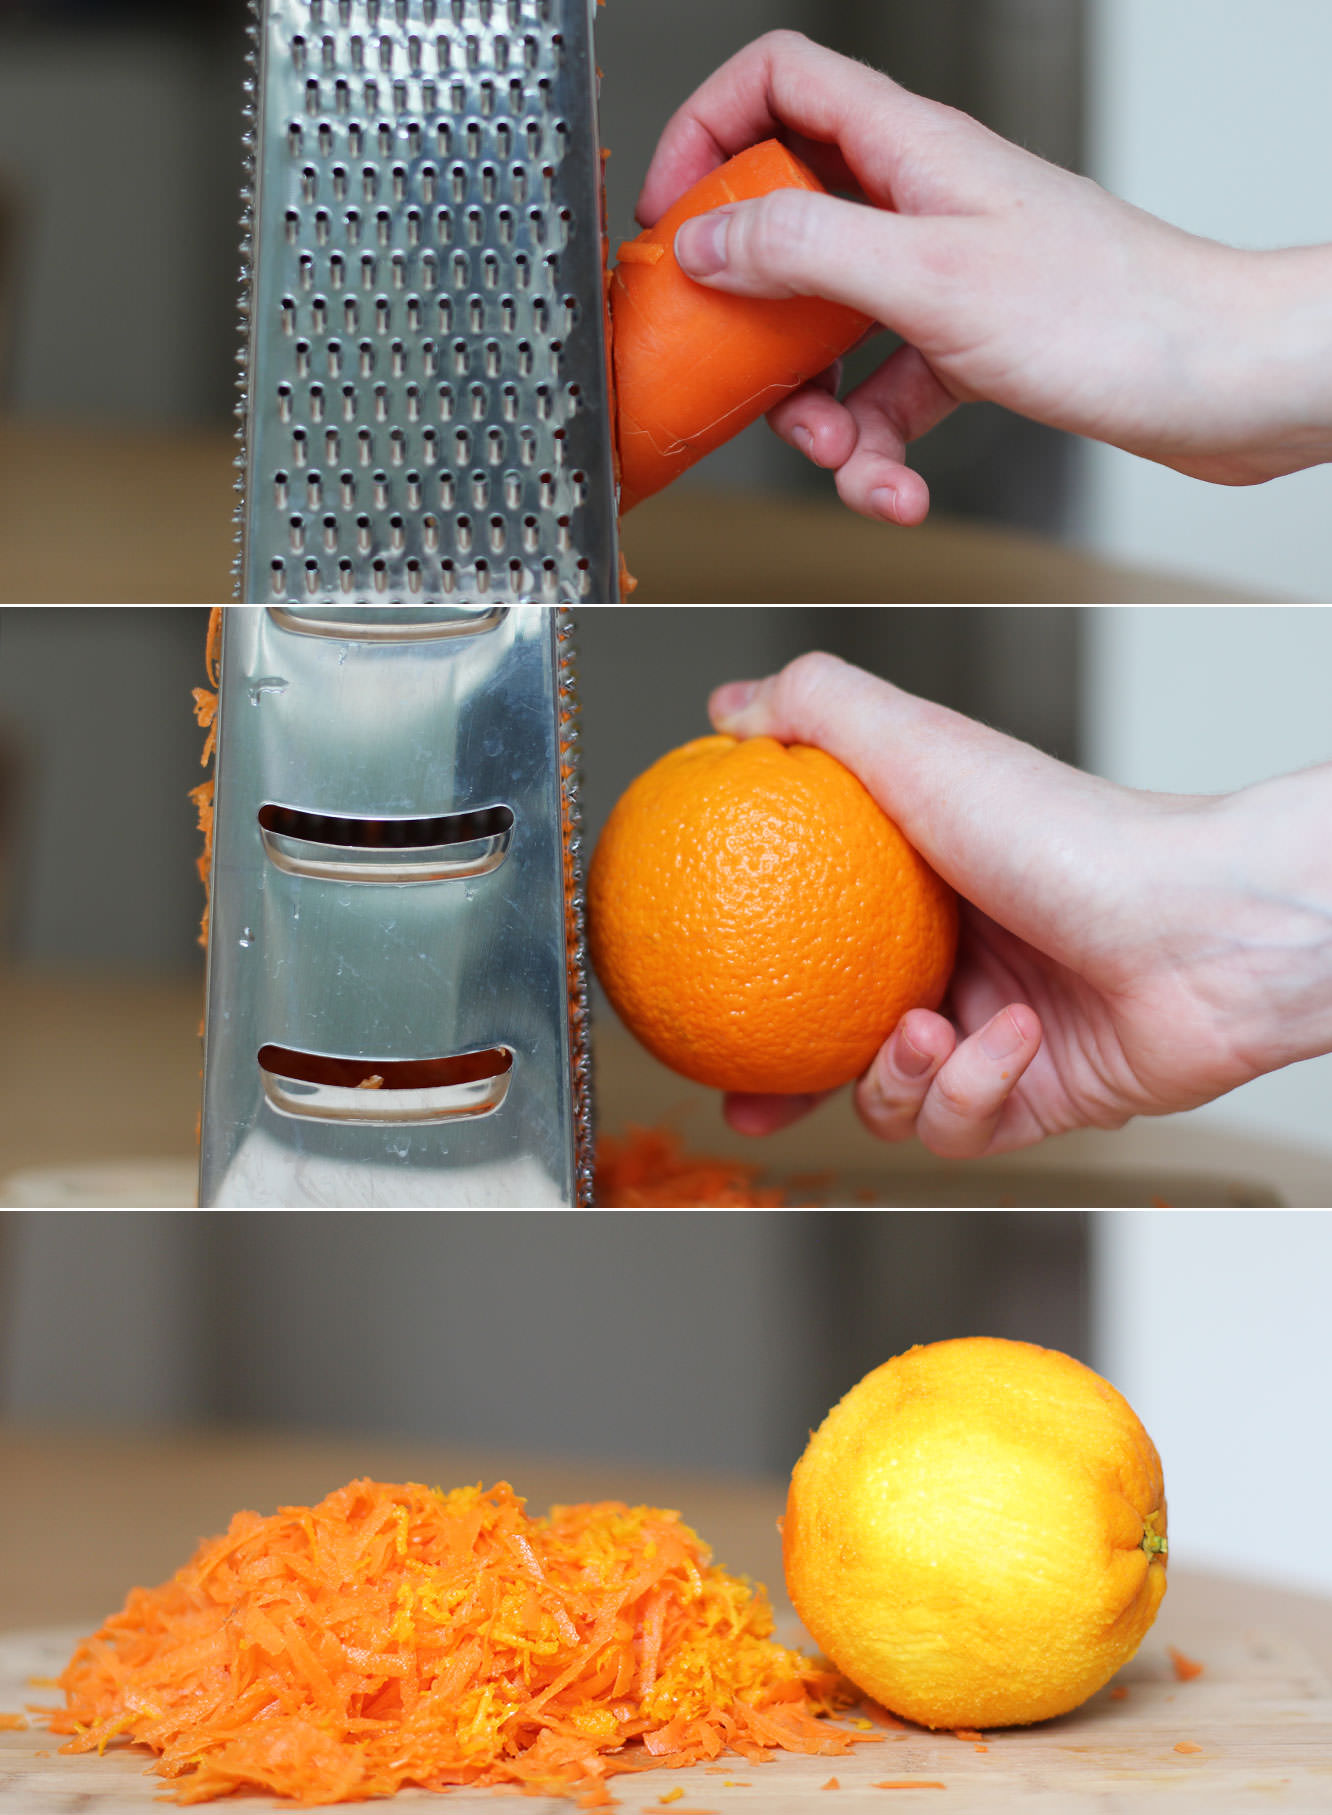
Grate the carrot on the largest setting and the skin of the orange on the smallest setting on your grater.
easter-carrot-cake-cupcake-muffin-recipe-2

Step two

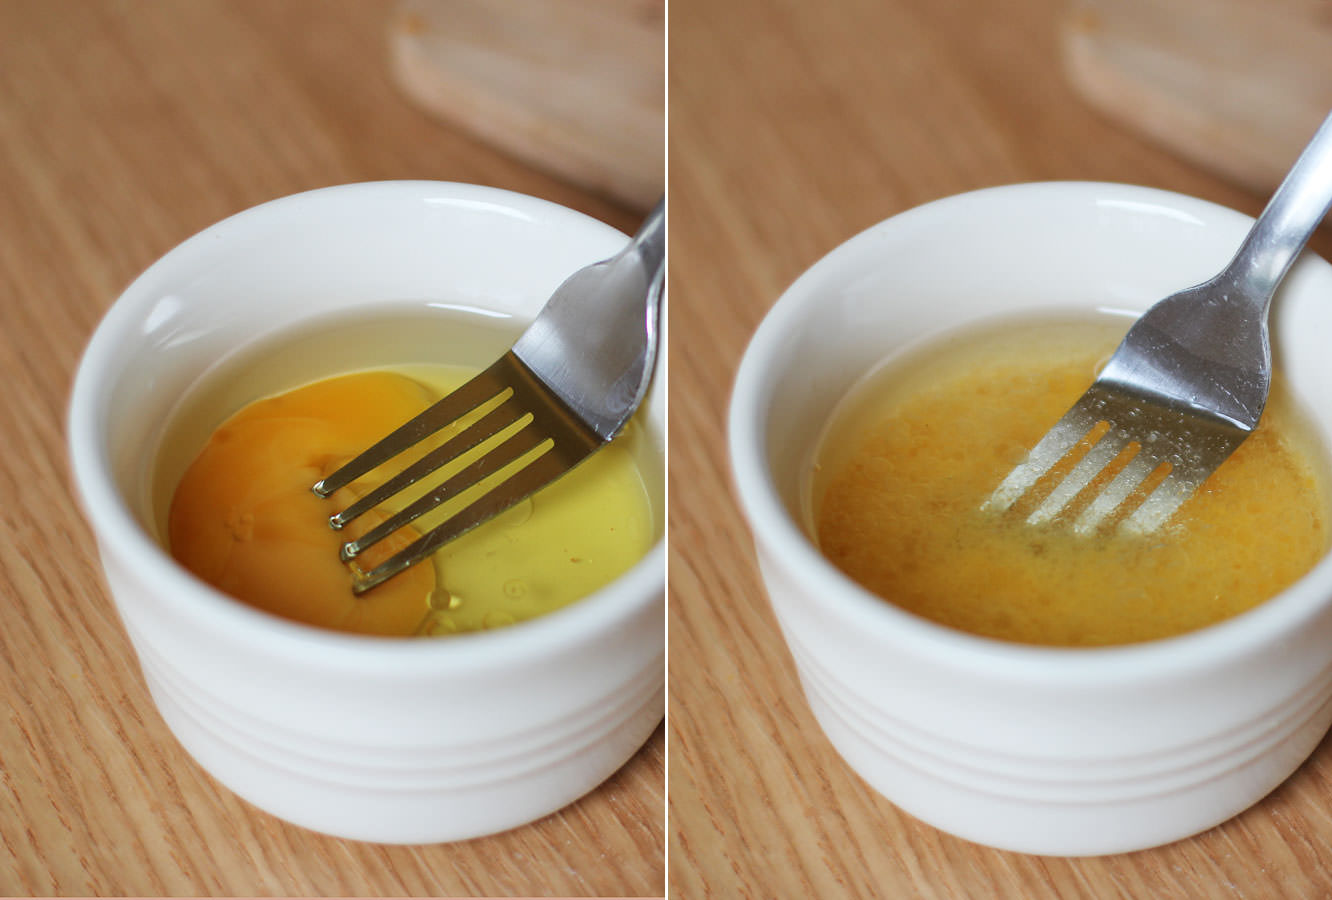
Using a fork combine the oil and the egg in a small dish.

easter-carrot-cake-cupcake-muffin-recipe-3

Step three

Combine the flour, sugar, spices and bicarb in a mixing bowl. Make a well in the middle and stir in the egg and oil mix. Do this in small circles to avoid lumps.

Add the carrot and orange zest (some raisins wouldn’t go amiss if you have some).

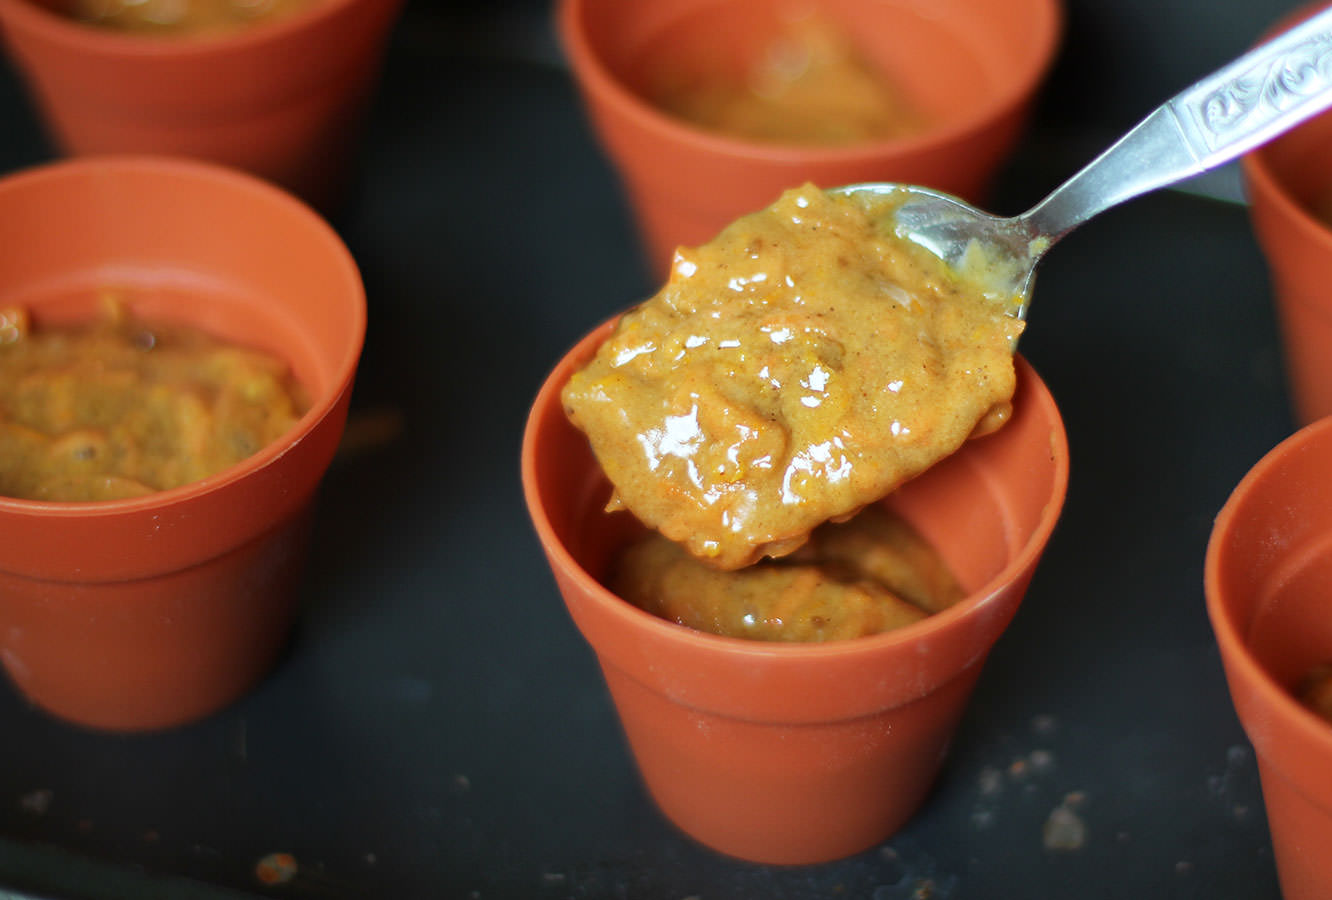
Let’s be honest. Not the most appetising looking mixture.
easter-carrot-cake-cupcake-muffin-recipe-4

Step four

Distribute the mixture evenly between the pots.

Bake on gas mark 4/180C/350F for 20-25 minutes.
easter-carrot-cake-cupcake-muffin-recipe-gif

Step five

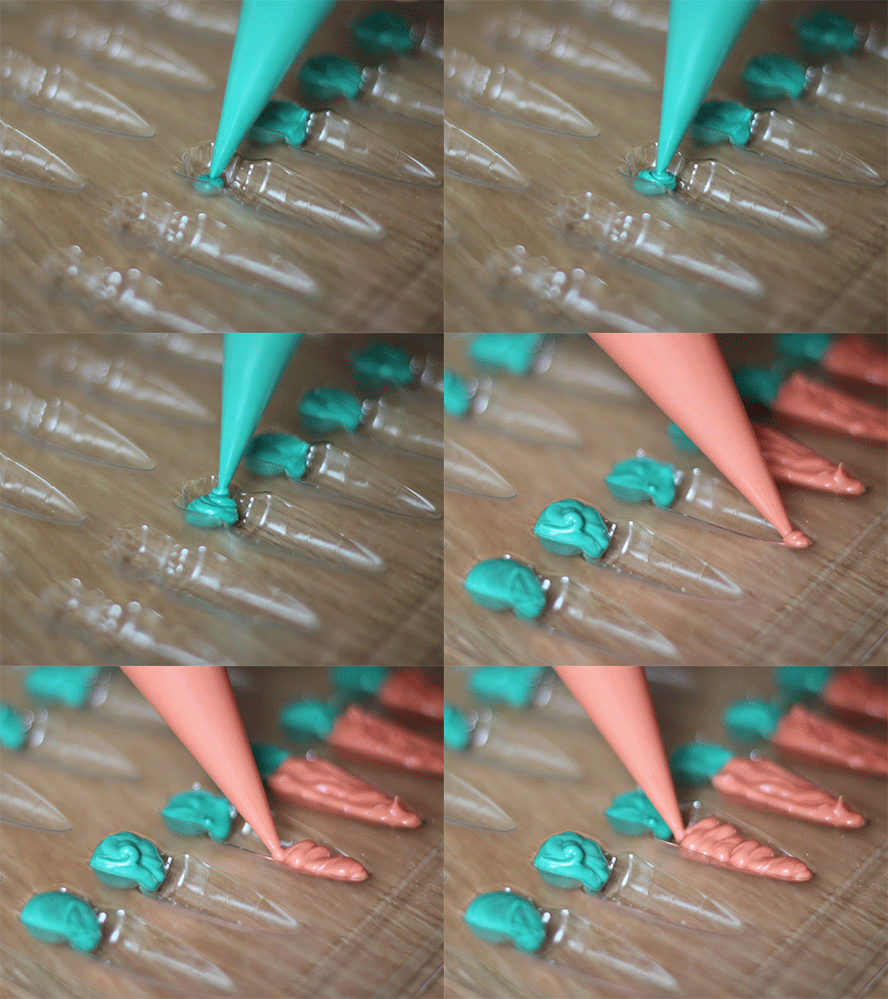
While the cakes are in the oven melt your candy chips in the microwave and fill the moulds using a piping bag. Make sure to look underneath your mould to check there’s no bubbles.

If mixing the orange from red and yellow like me I advise you to start with yellow and gradually add red to get the colour you want rather than the other way round.

Step six

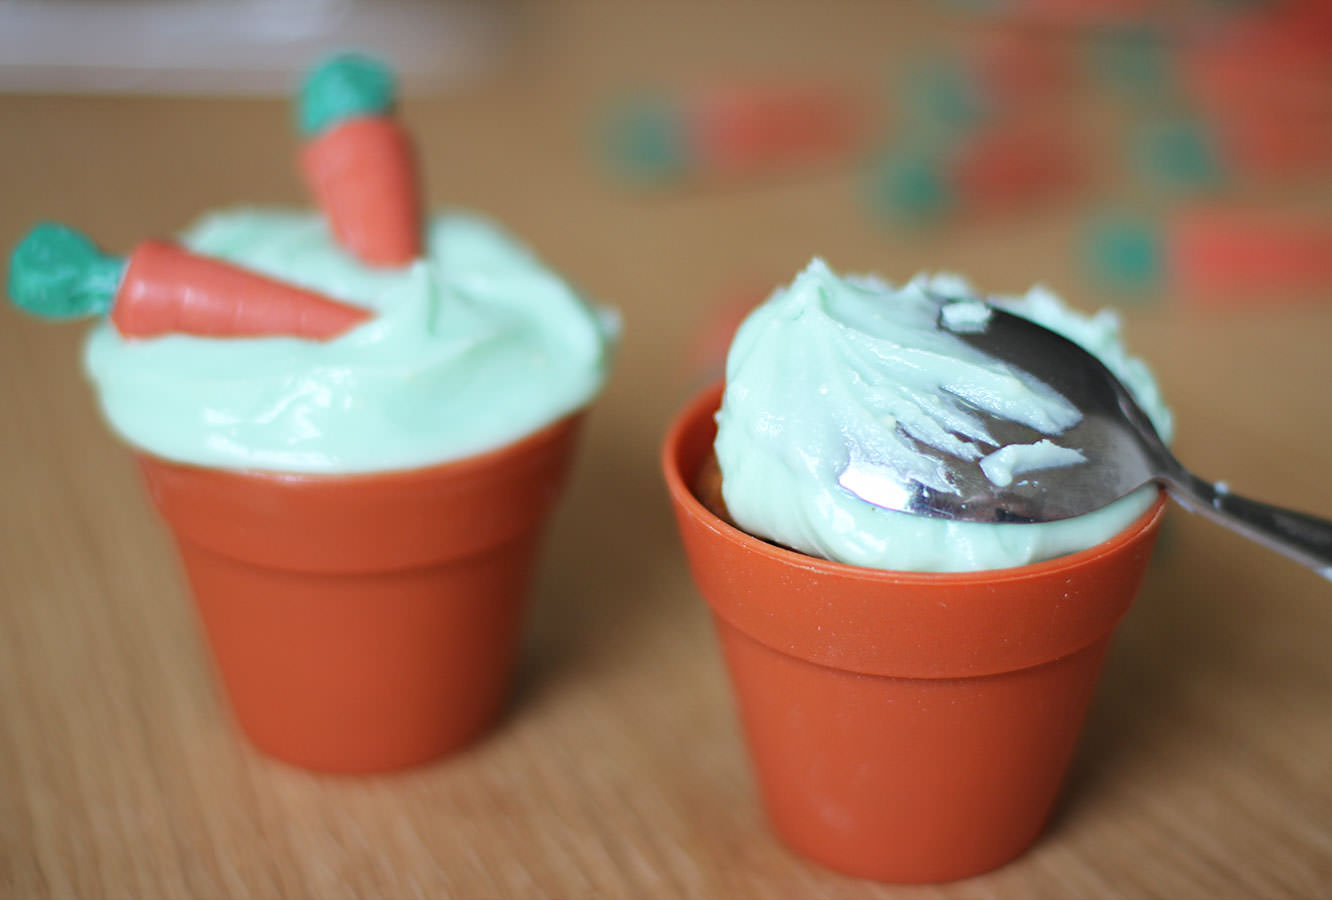
Make the icing by combining the cream cheese, icing sugar, butter and food colouring. Now, I won’t lie, you may need to add a little more icing sugar to the recipe, I’ve adjusted the quantities based on a slightly runny mix that I had, but they might not be totally perfect. My apologies chaps.

Add food colouring until you have a colour you like, I didn’t want to overdo it and overshadow the carrots.
easter-carrot-cake-cupcake-muffin-recipe-5

Step seven

When the cakes are completely cool ice them just using a spoon. You can get more fancy if you want but personally I didn’t see the need to faff about.
easter-carrot-cake-cupcake-muffin-recipe-6

Step eight

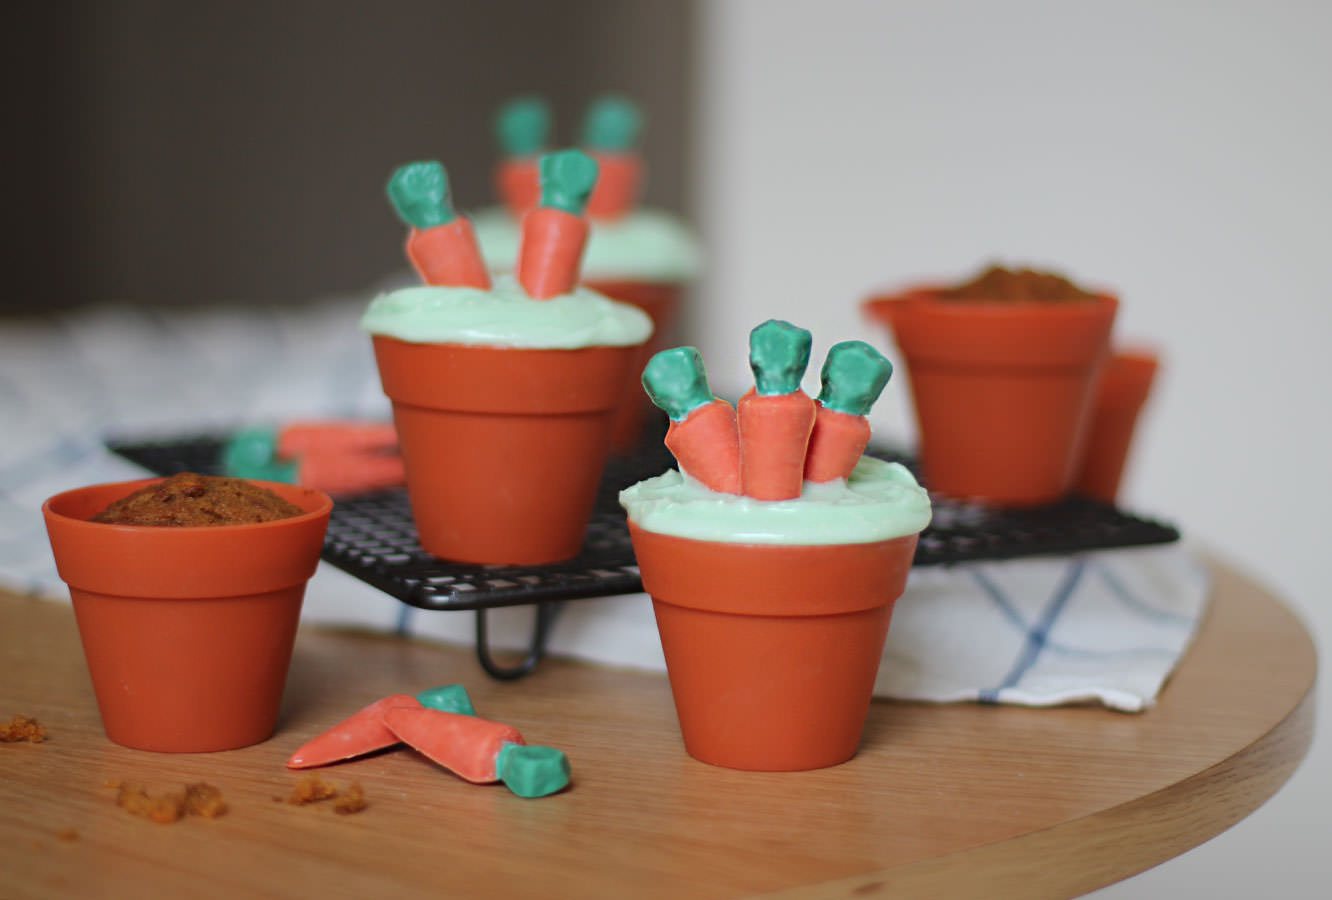
Pop the carrots in.

Voila.

Seeing red

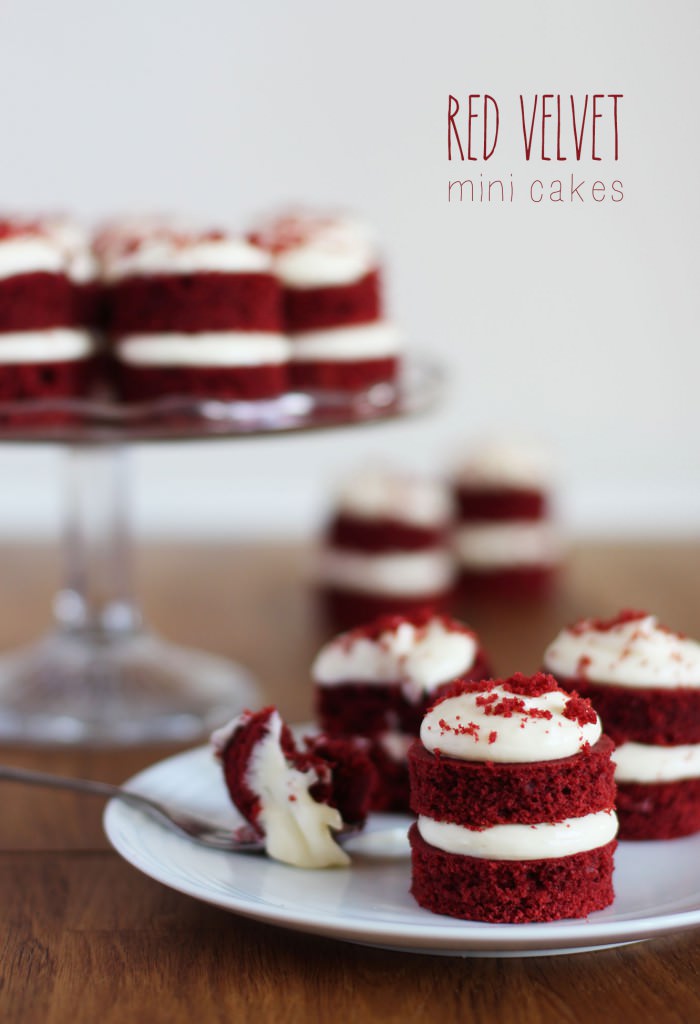
Right. I need to precursor this post with the fact I did not copy the Great British Bake Off, I promise! It just so happened that the mini cakes I had planned for my little afternoon tea series fell on the same week as the Bake Off did them. If anything, the BBC stole my idea.

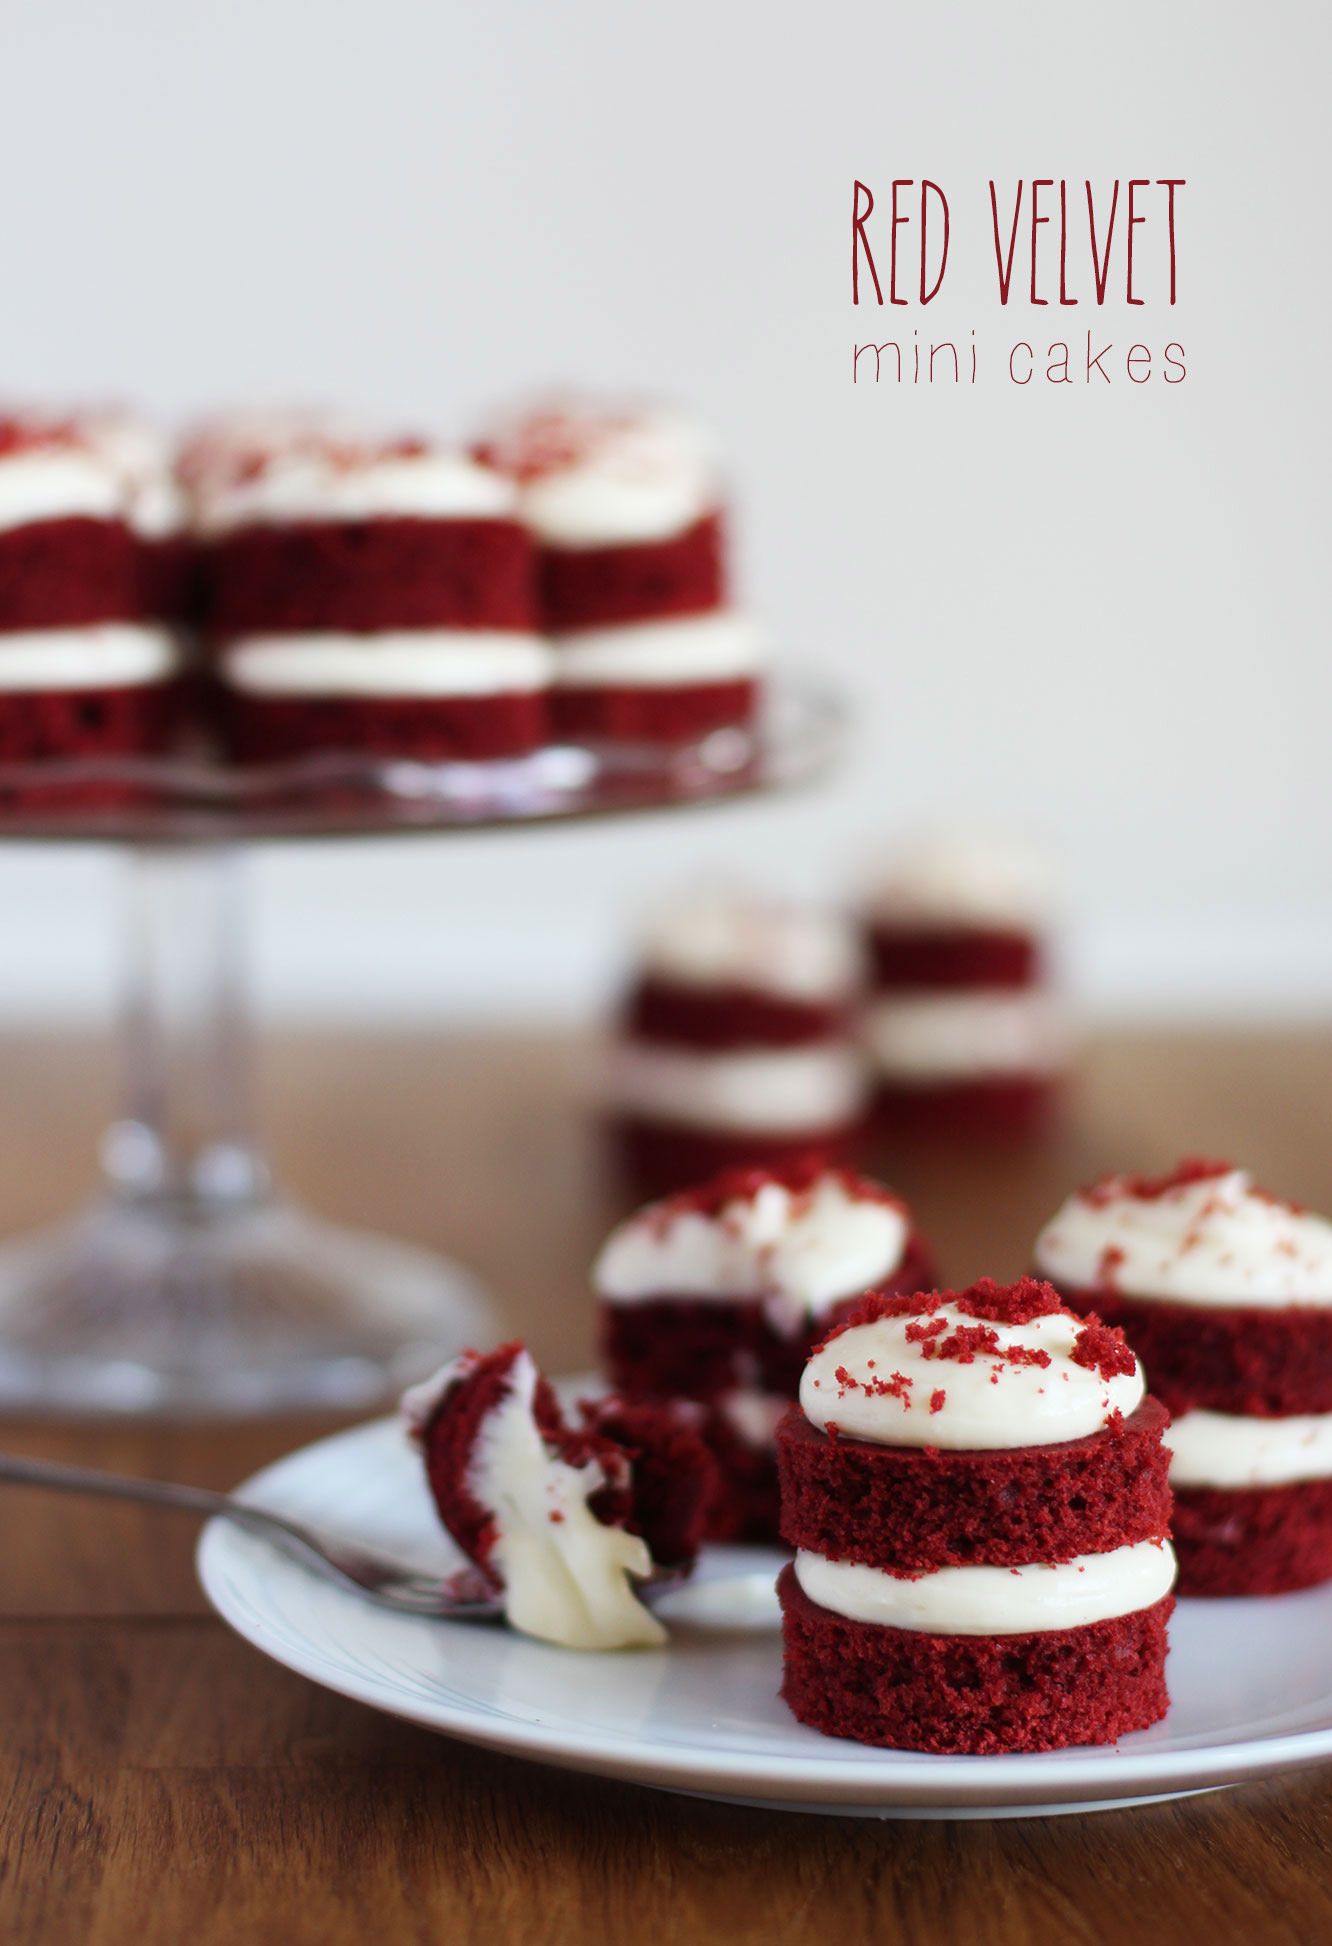
Regardless of whether or not you believe me you should definitely try your hand at these little guys. We have a lot to thank North America for when it comes to the invention of red velvet. That is, provided you look the other way when adding the food colouring. There’s a whole lot of that…

red-velvet-mini-cake-1

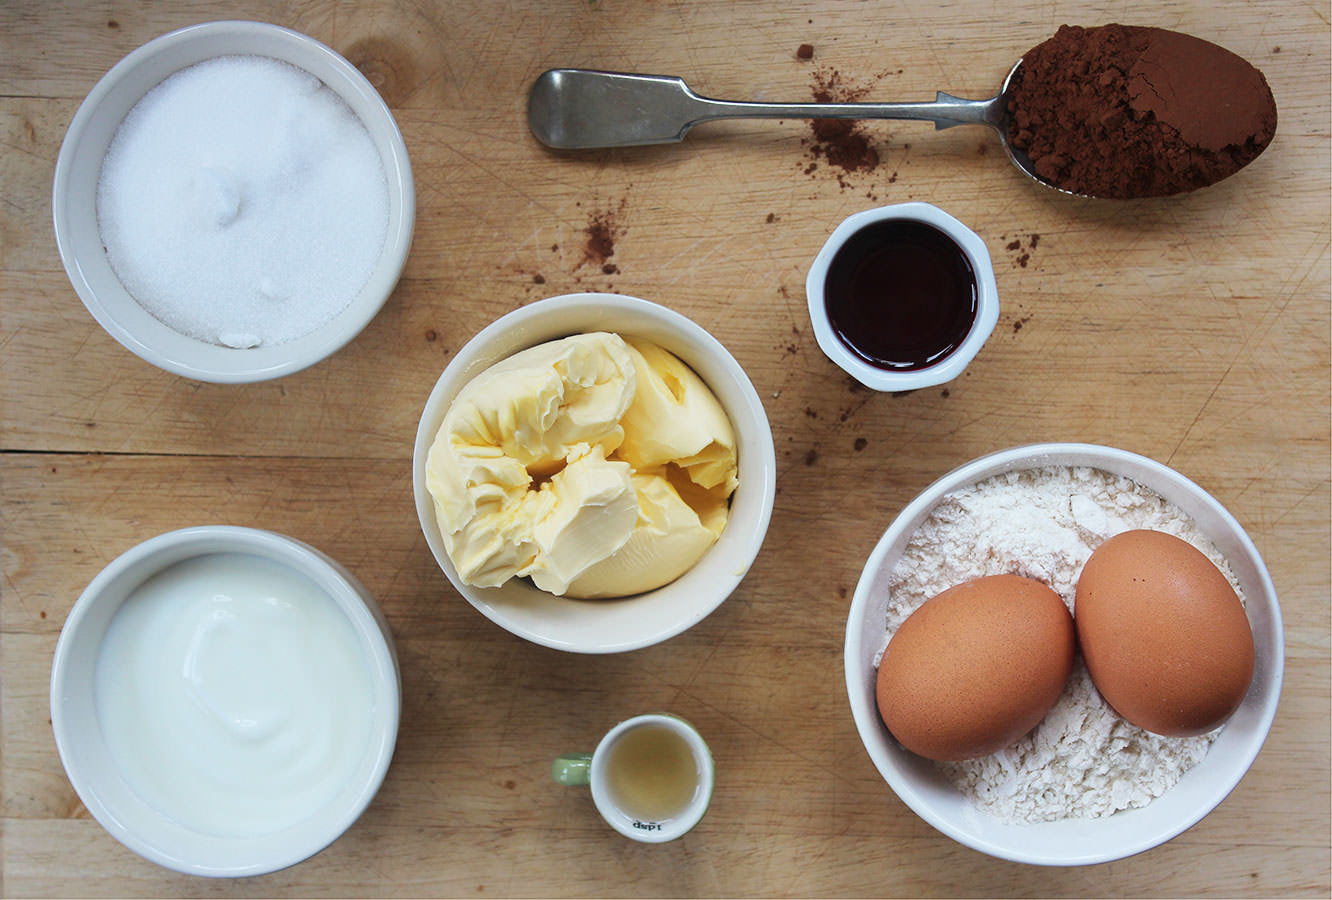
You will need

For the cake:

150g/5 oz Butter (I use Stork margarine, and I don’t even feel guilty)

230g/8 oz Plain flour

230g/8 oz Caster sugar

170ml/5.5 fl oz Buttermilk

2 eggs

25g/1 oz Cocoa powder

1 bottle (38ml) Red food colouring (yup. that’s right. all of it)

1/2 tbsp Cider vinegar

1 tsp Bicarbonate of soda

For the icing:

100g/3.5 oz Butter (at room temperature)

150g/5.5 oz Cream cheese

200g/7 oz Icing sugar

1 or 2 tsp Vanilla extract

(Makes 15)

red-velvet-mini-cake-2Step one

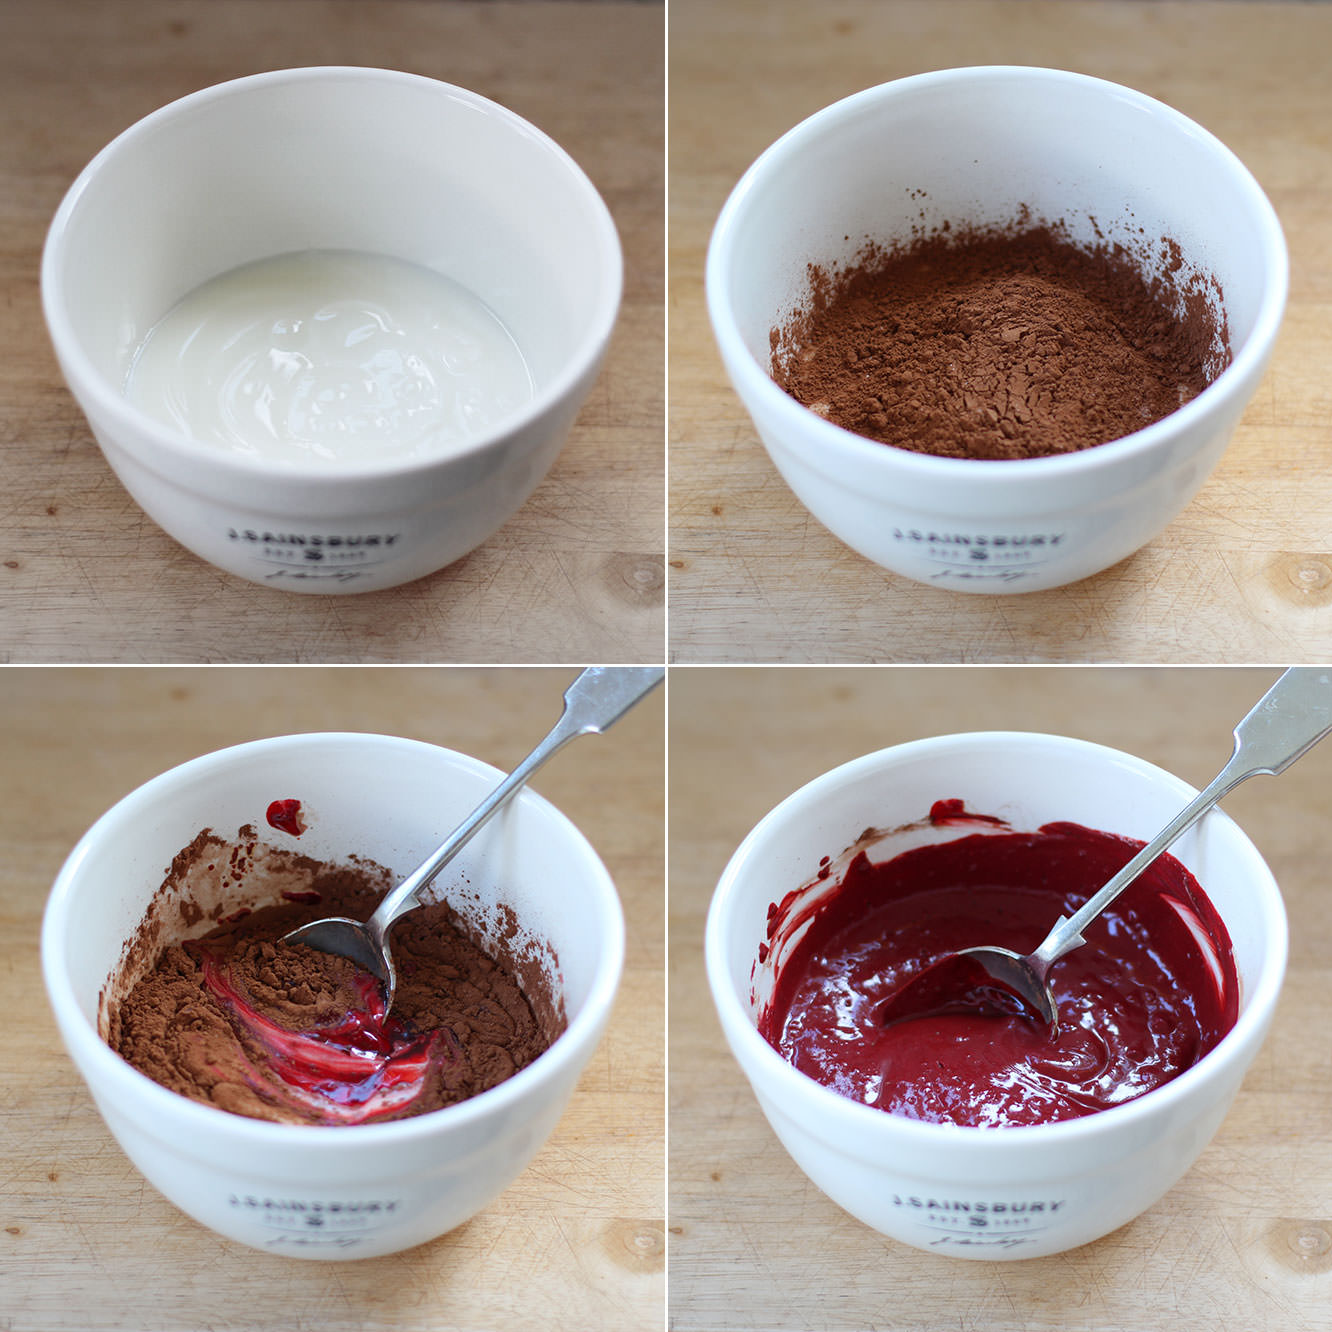
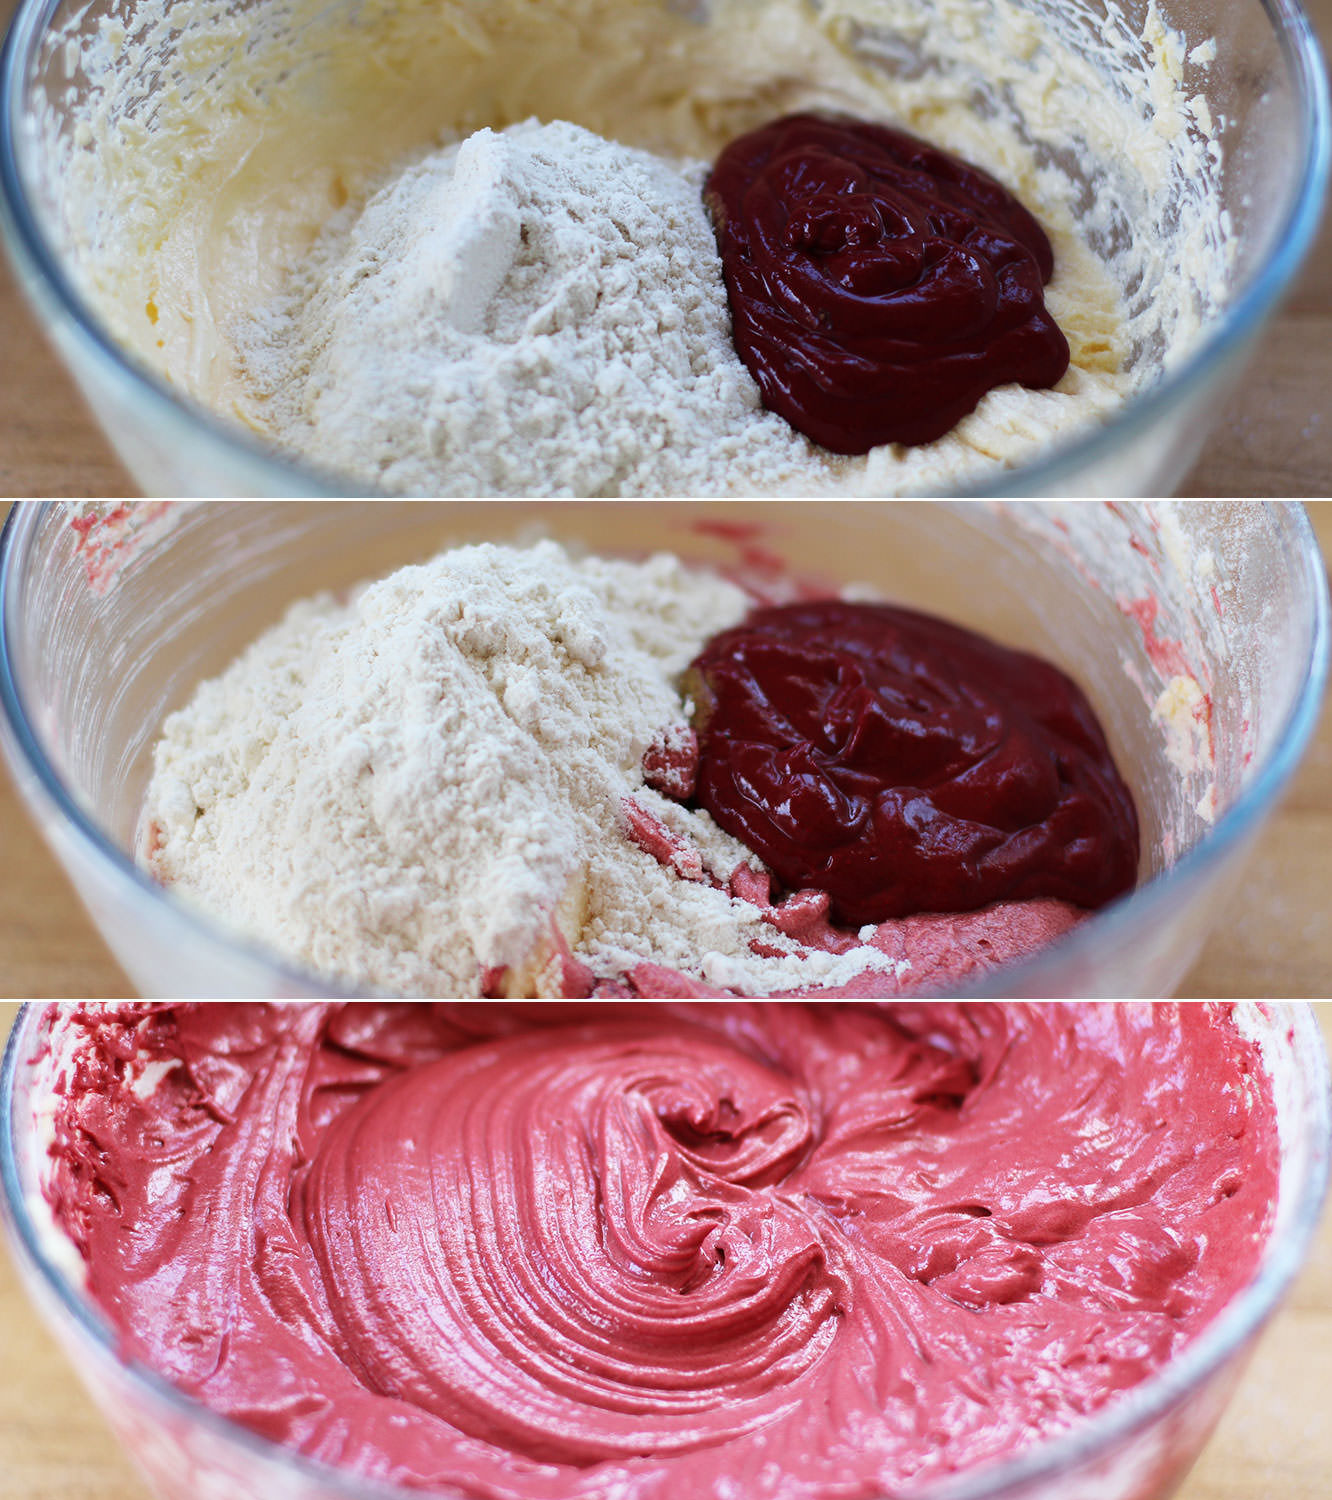
Combine the buttermilk, cocoa powder and the bottle *covers eyes* of red colouring in a bowl and set to one side.

red-velvet-mini-cake-3Step two

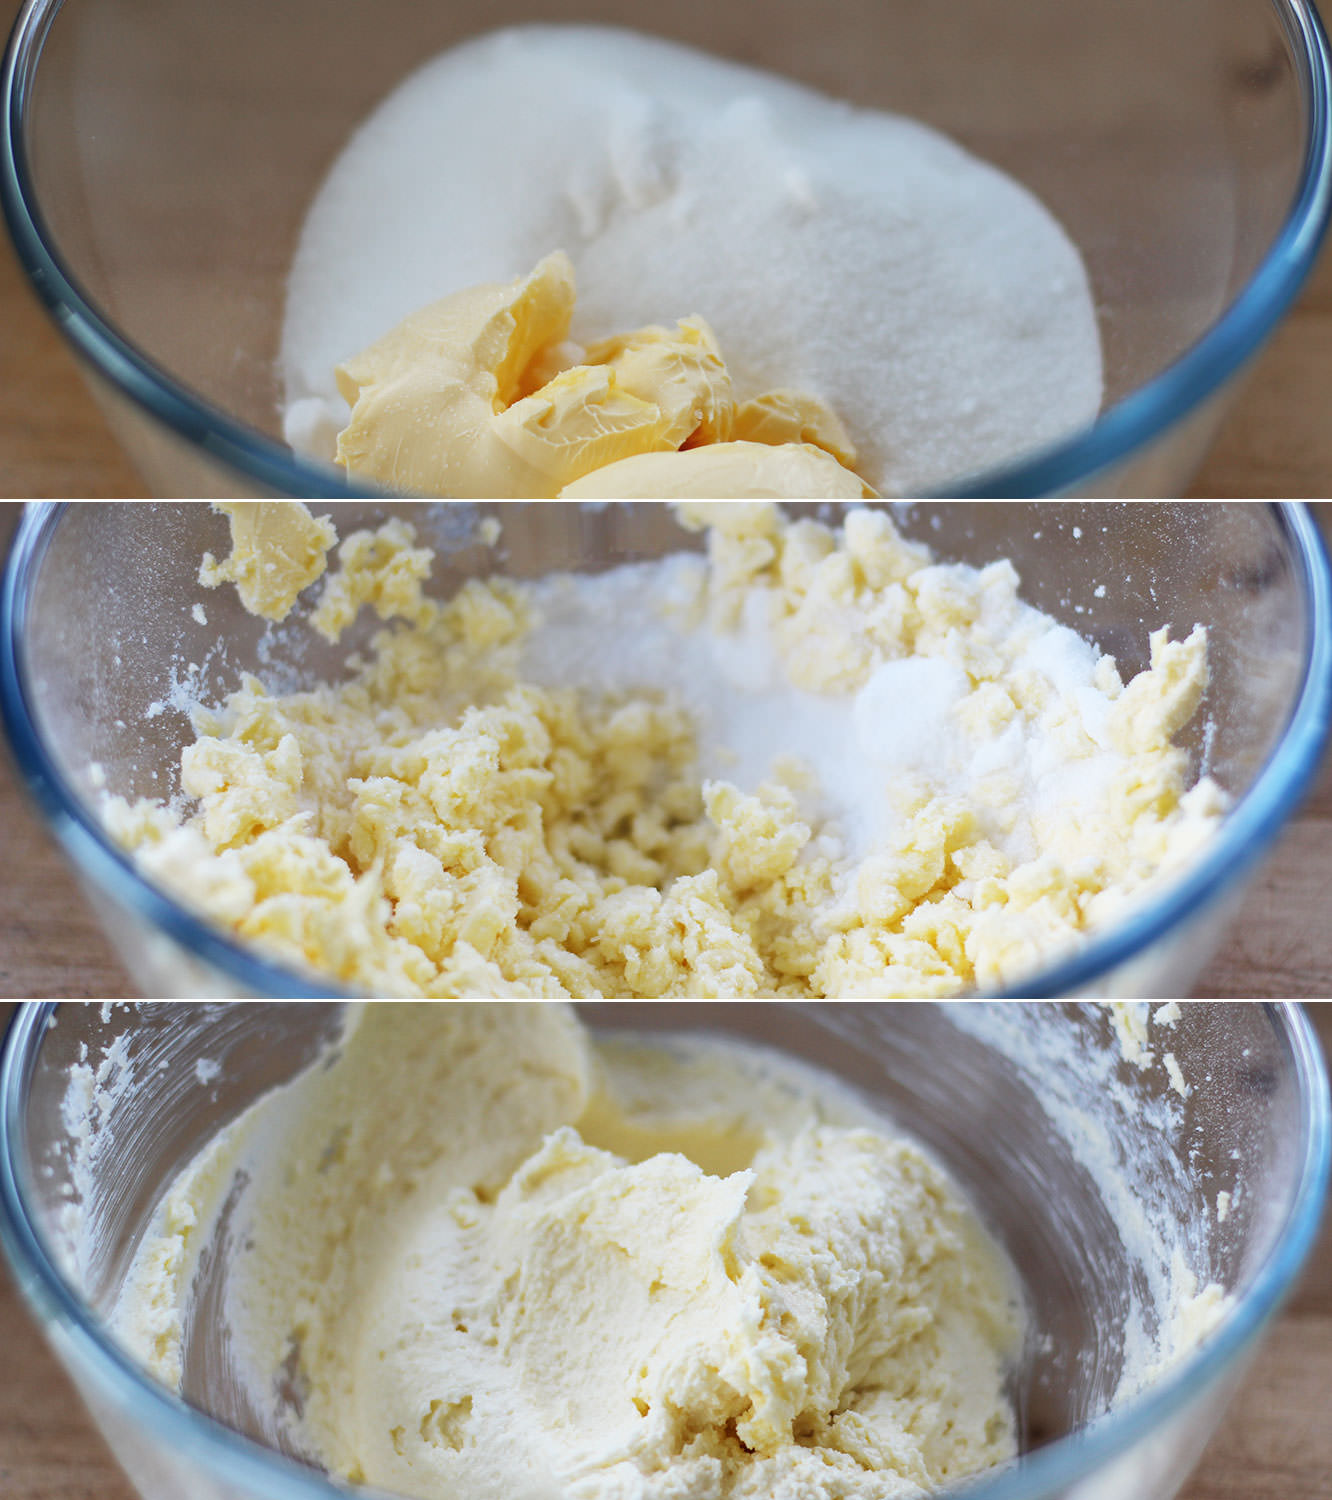
Beat together the butter and sugar. As I said in the ingredients list, and probably will say countless more times, I use Stork marge in all my cakes. As well as being cheaper, you don’t have to wait for it to come to room temperature, and it’s easy to use straight from the fridge. I’m convinced it makes fluffier lovelier cakes too!

red-velvet-mini-cake-4Step two

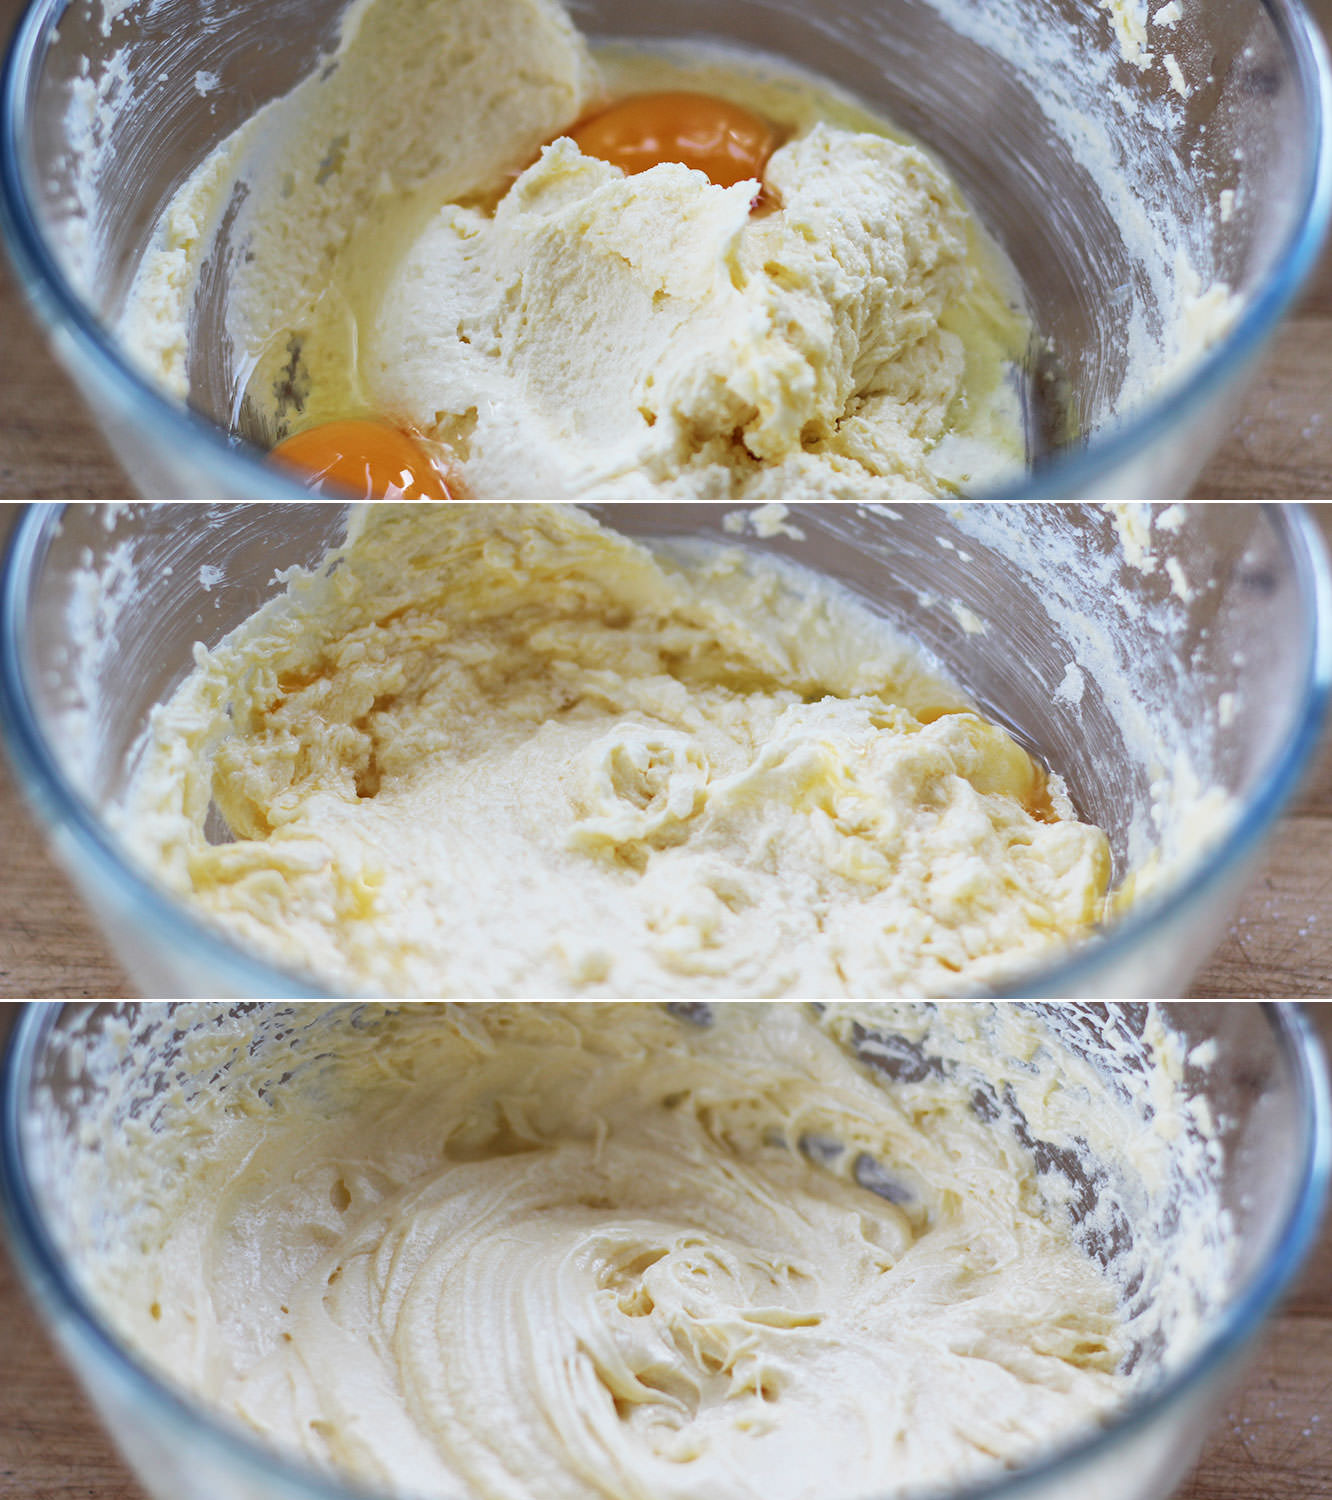
Add the eggs, vinegar and bicarbonate of soda and beat again until well combined. I always advise an electric whisk for this, as it keeps the air in the cake.

red-velvet-mini-cake-5Step three

Add the buttermilk mixture and the flour in stages (halves or thirds) until you have a bowl full of red batter.

red-velvet-mini-cake-6Step four

Preheat the oven to gas mark 3/170C/325F.

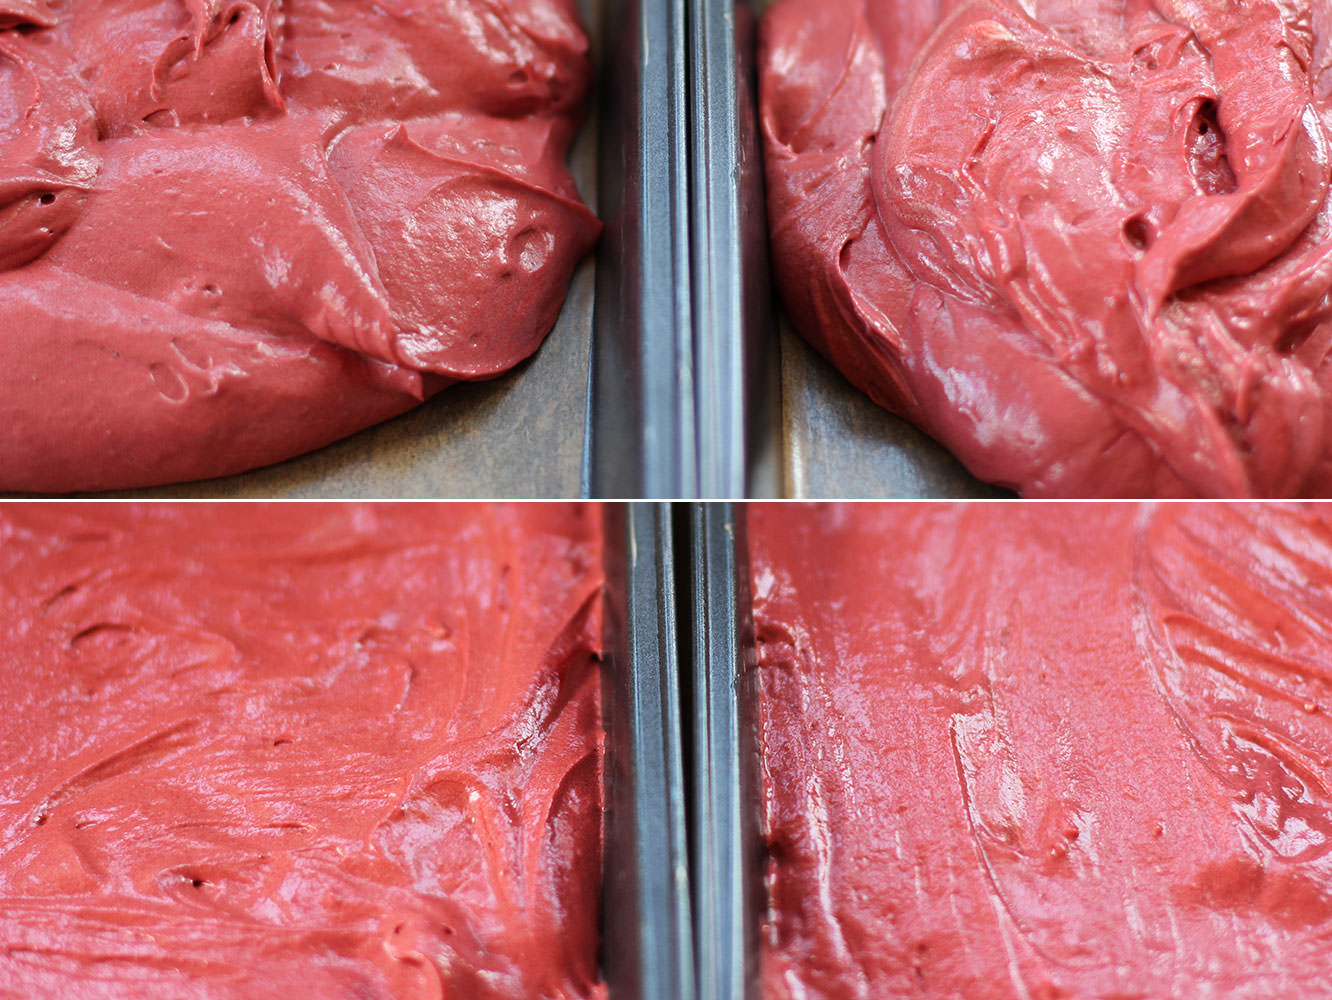
Spread mixture evenly into two greased and lined tray bake tins.

Place on the middle shelf of the oven and cook for 30-40 minutes. The mixture should spring back a bit when touched.

red-velvet-mini-cake-7Step five

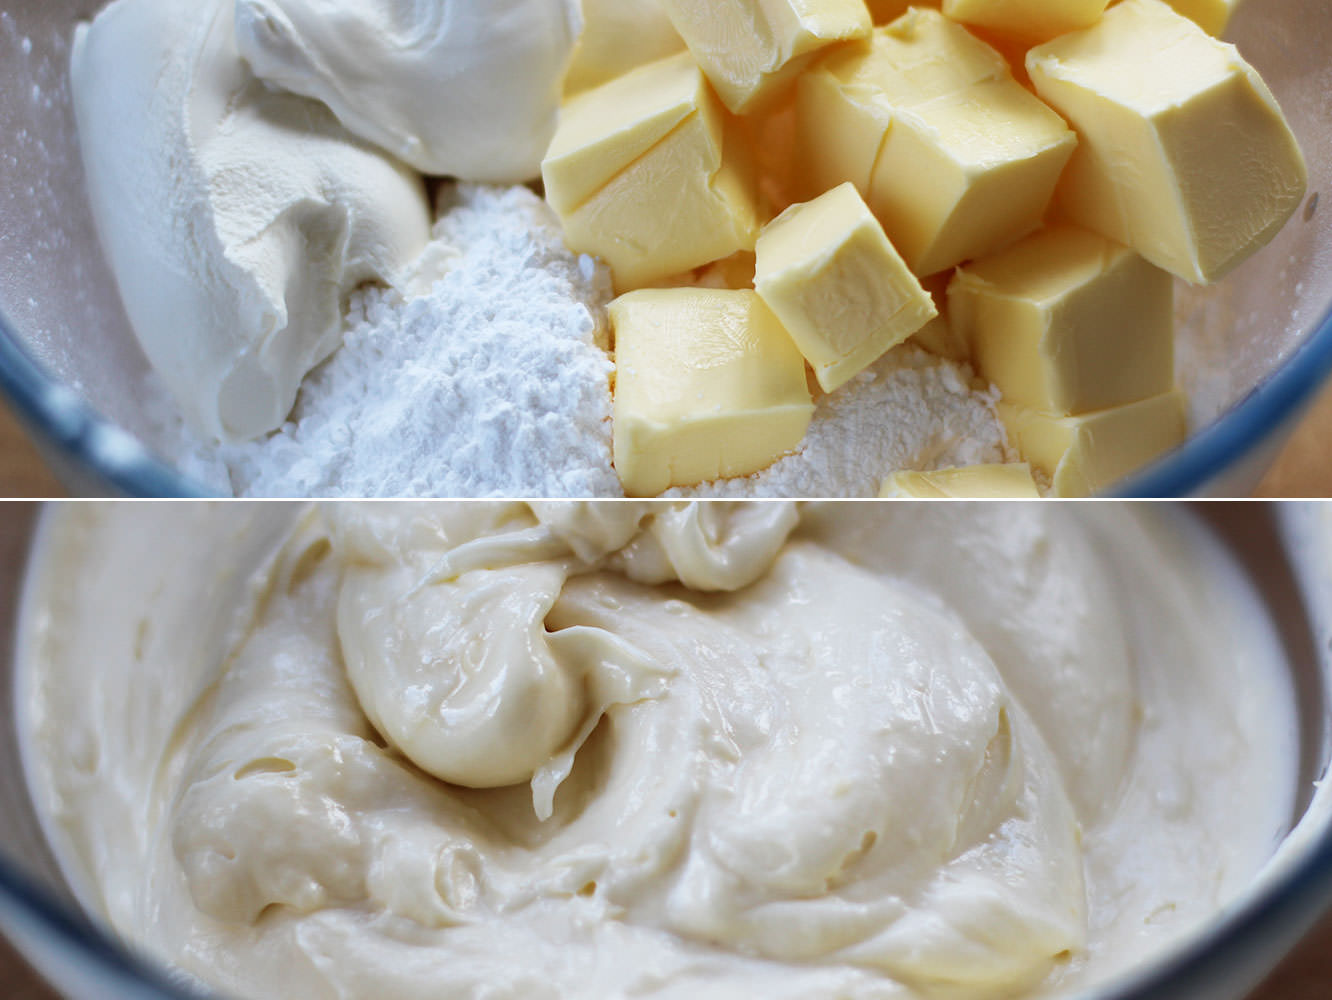
Whisk together the icing sugar, butter, cream cheese and vanilla extract. You’d do well to cover the bowl with a tea towel if using an electric whisk…otherwise prepare for a cloud of sweet dust and a coughing fit. Not hygenic.

red-velvet-mini-cake-8Step six

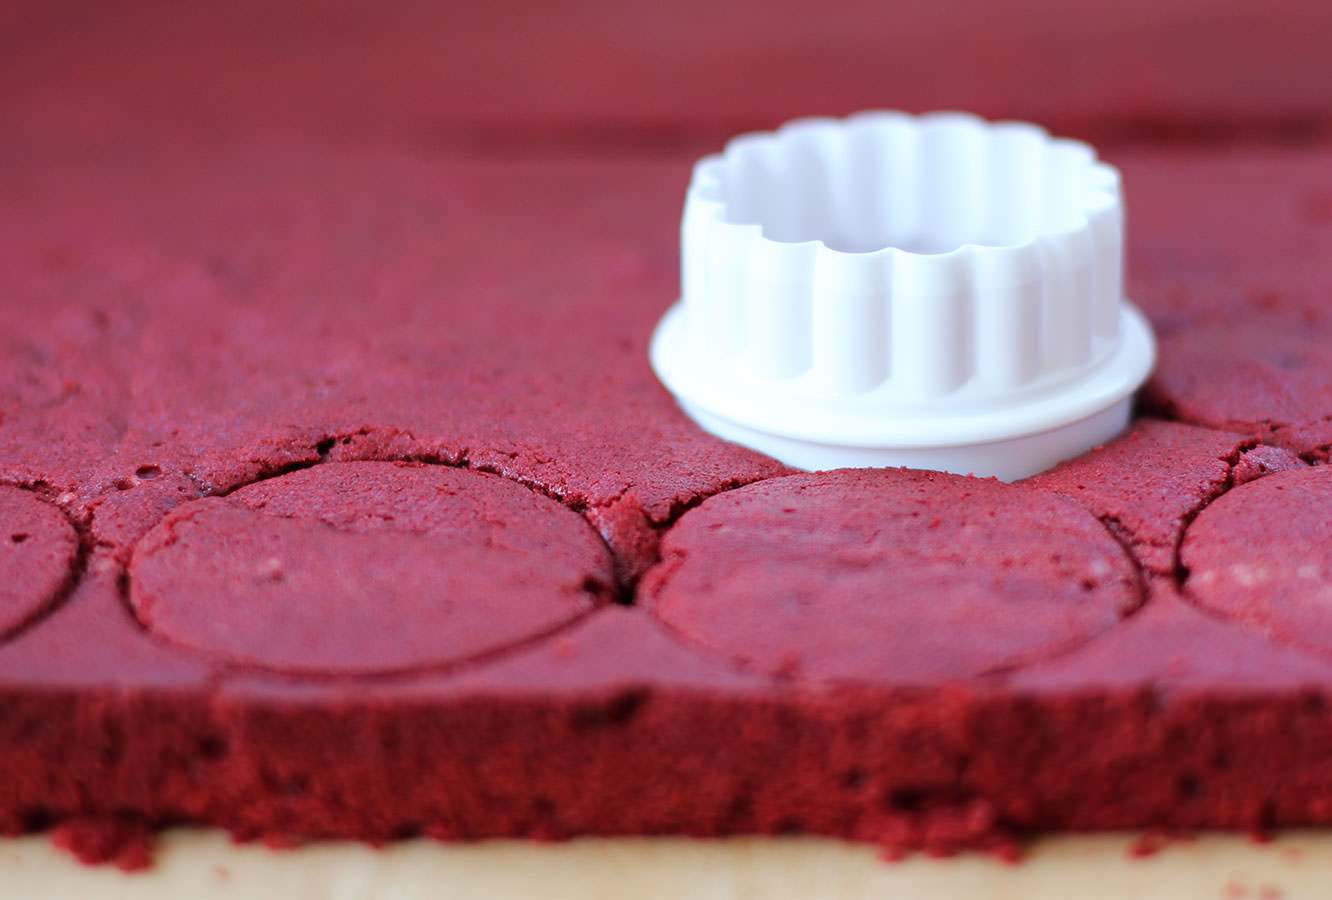
Once the cake has cooled completely use a round cutter to cut as many circles as you can. I used a 1 and 3/4″ cutter and made 30 discs, so those of you with a basic maths ability will know that’s 15 mini cakes.

Although the buttercream keeps these cakes nice and moist, it’s still best not to cut them out days in advance, and be sure to keep them in an airtight tub.

red-velvet-mini-cake-9Step six

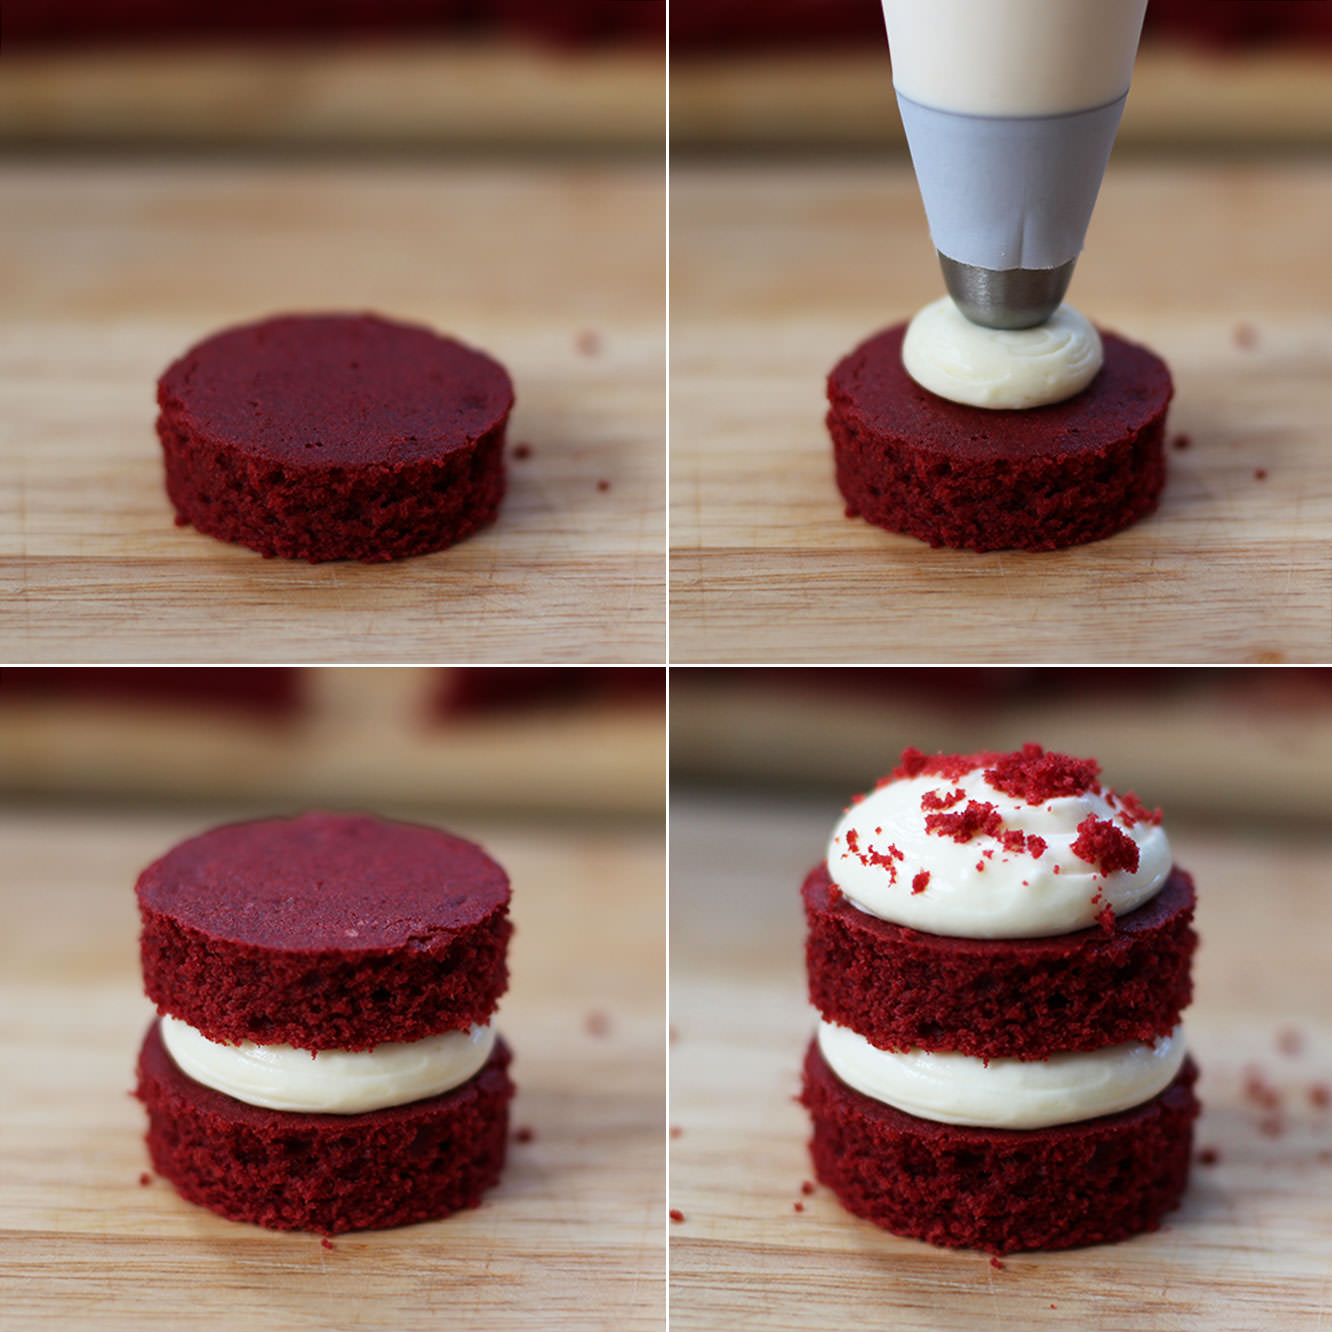
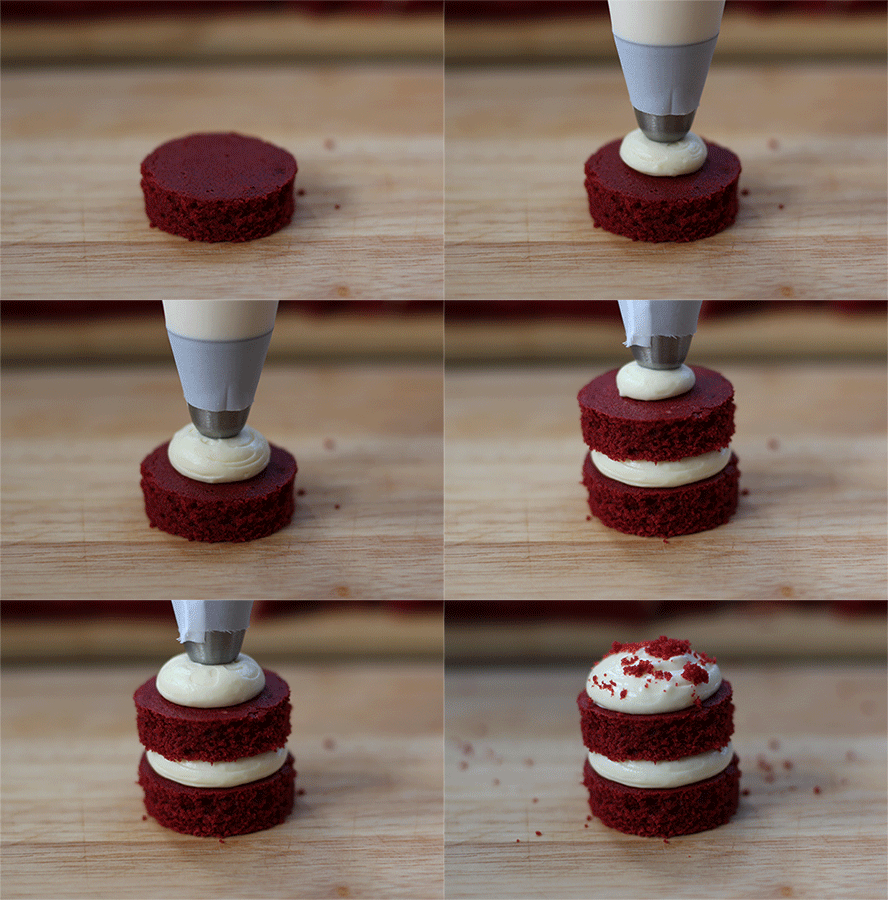
Using a piping bag and a round nozzle fill and ice the little cakes. Point the bag straight down and squeeze, the icing will spread out from the middle. I used left over crumbs to decorate as I just love the ‘redness’ of it all, but feel free to use your imagination!

I made a GIF!

Except you have to click on it to make it work. I don’t know why. I’m too proud of myself to find out.

red-velvet


red-velvet-mini-cake-10Step seven

Add proudly to your afternoon tea repertoire.

p.s. why not turn your off cuts and any left over icing into cake pops? I know. I’m a genius.

(This one is for you Bonny, in your pursuit of the reddest velvets).