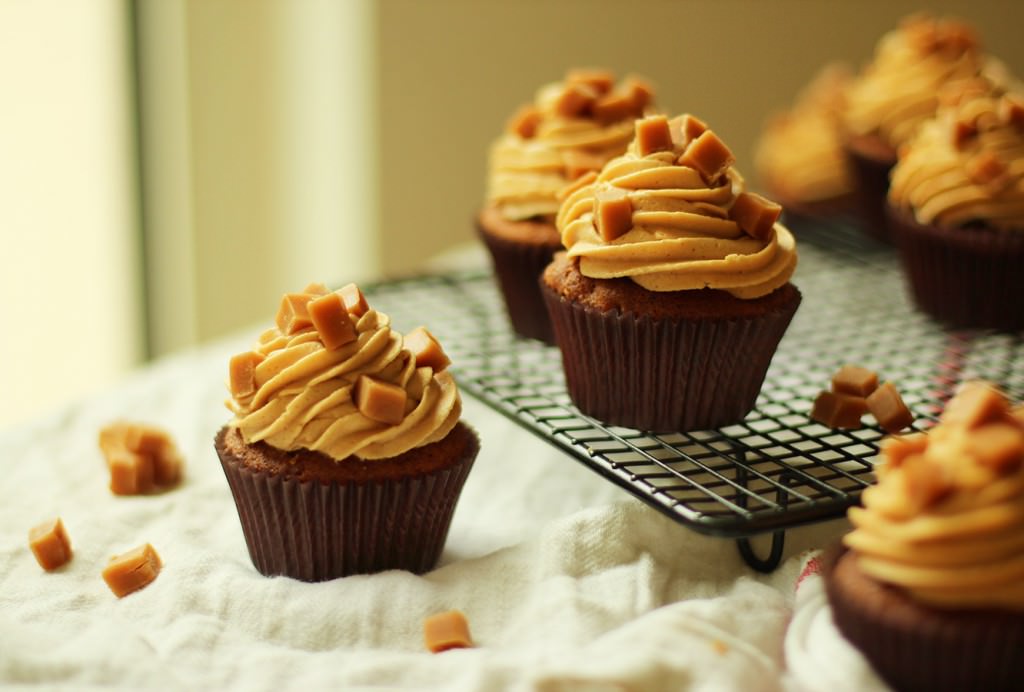
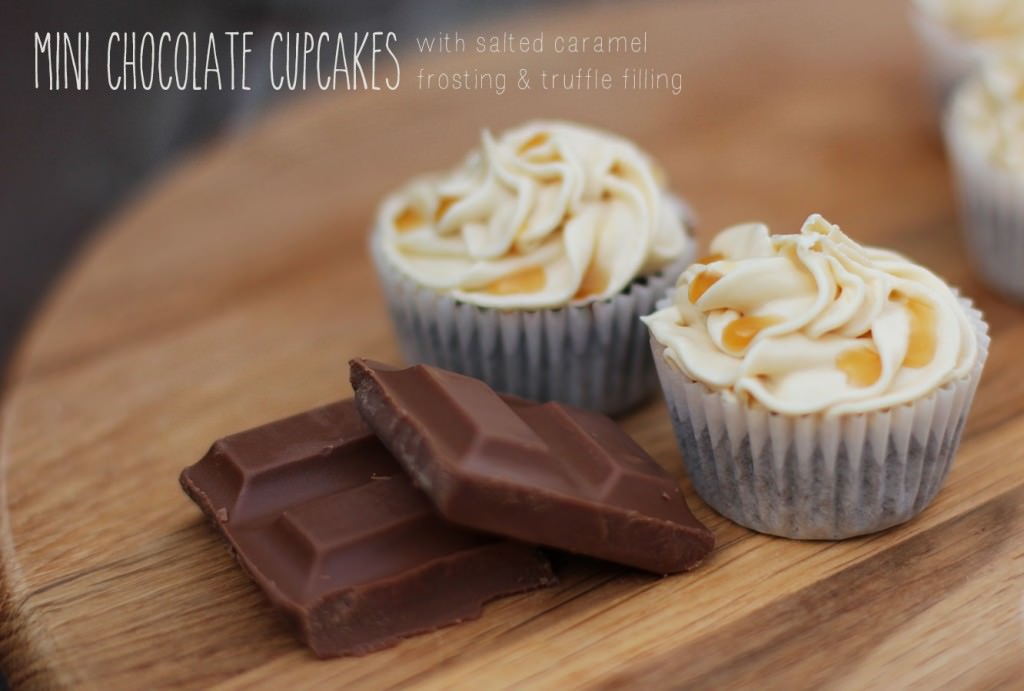
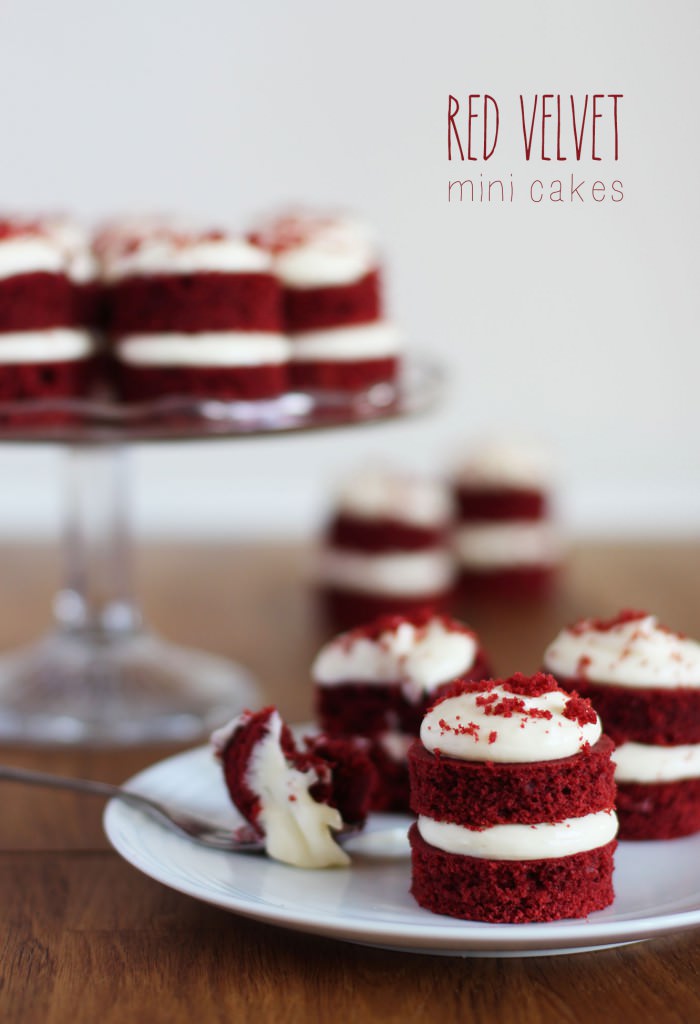
There’s no way I could sleep at night if I didn’t include this next dessert in my British Favourites series.
I mean, I could probably sleep at night, I sleep like a baby, but sticky toffee pudding is one of the best puds Britain has produced. It wouldn’t be right not to feature it here.
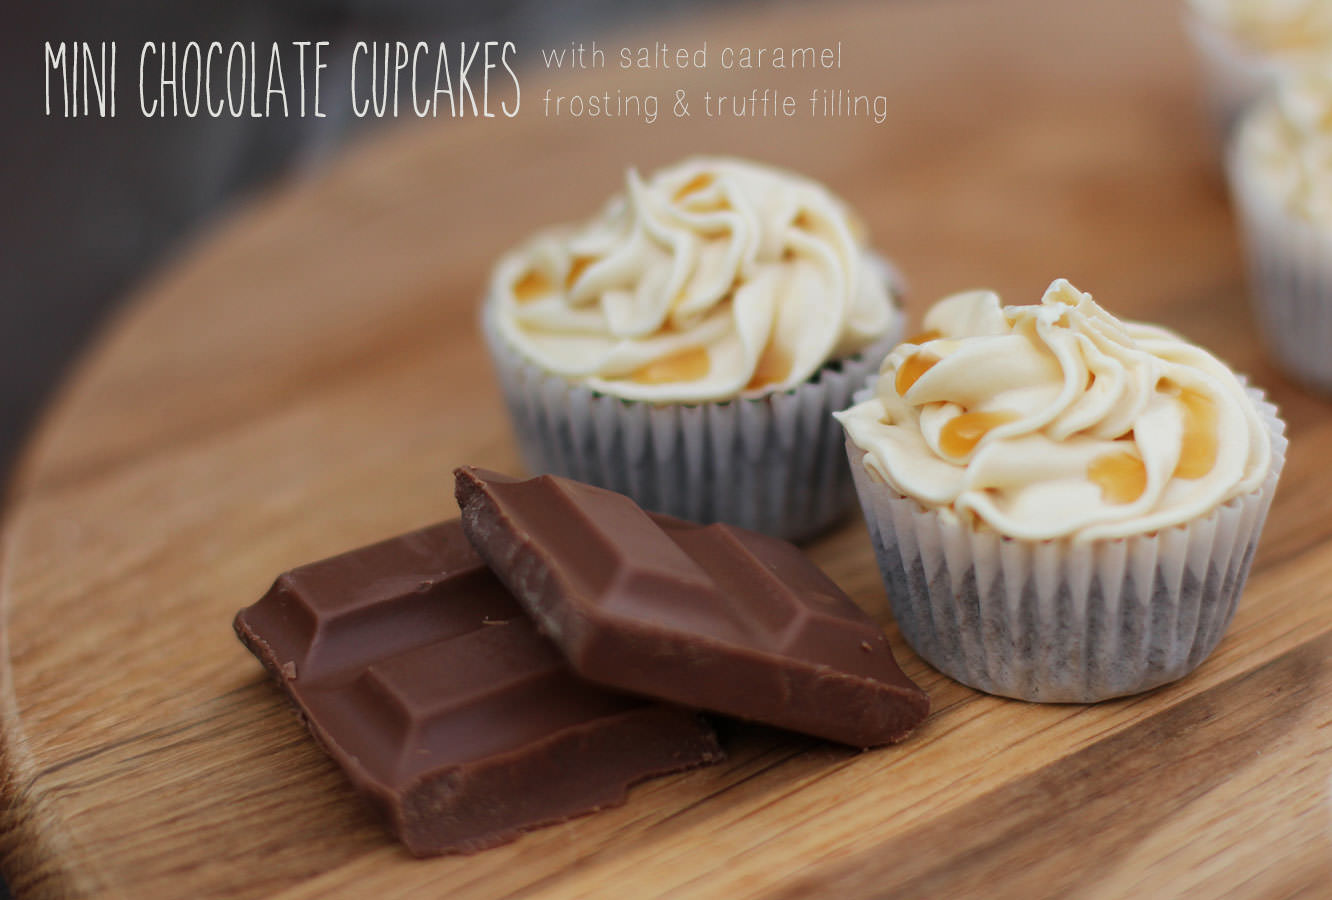
So without further ado, here’s the recipe for sticky toffee cupcakes, enjoy my friends.
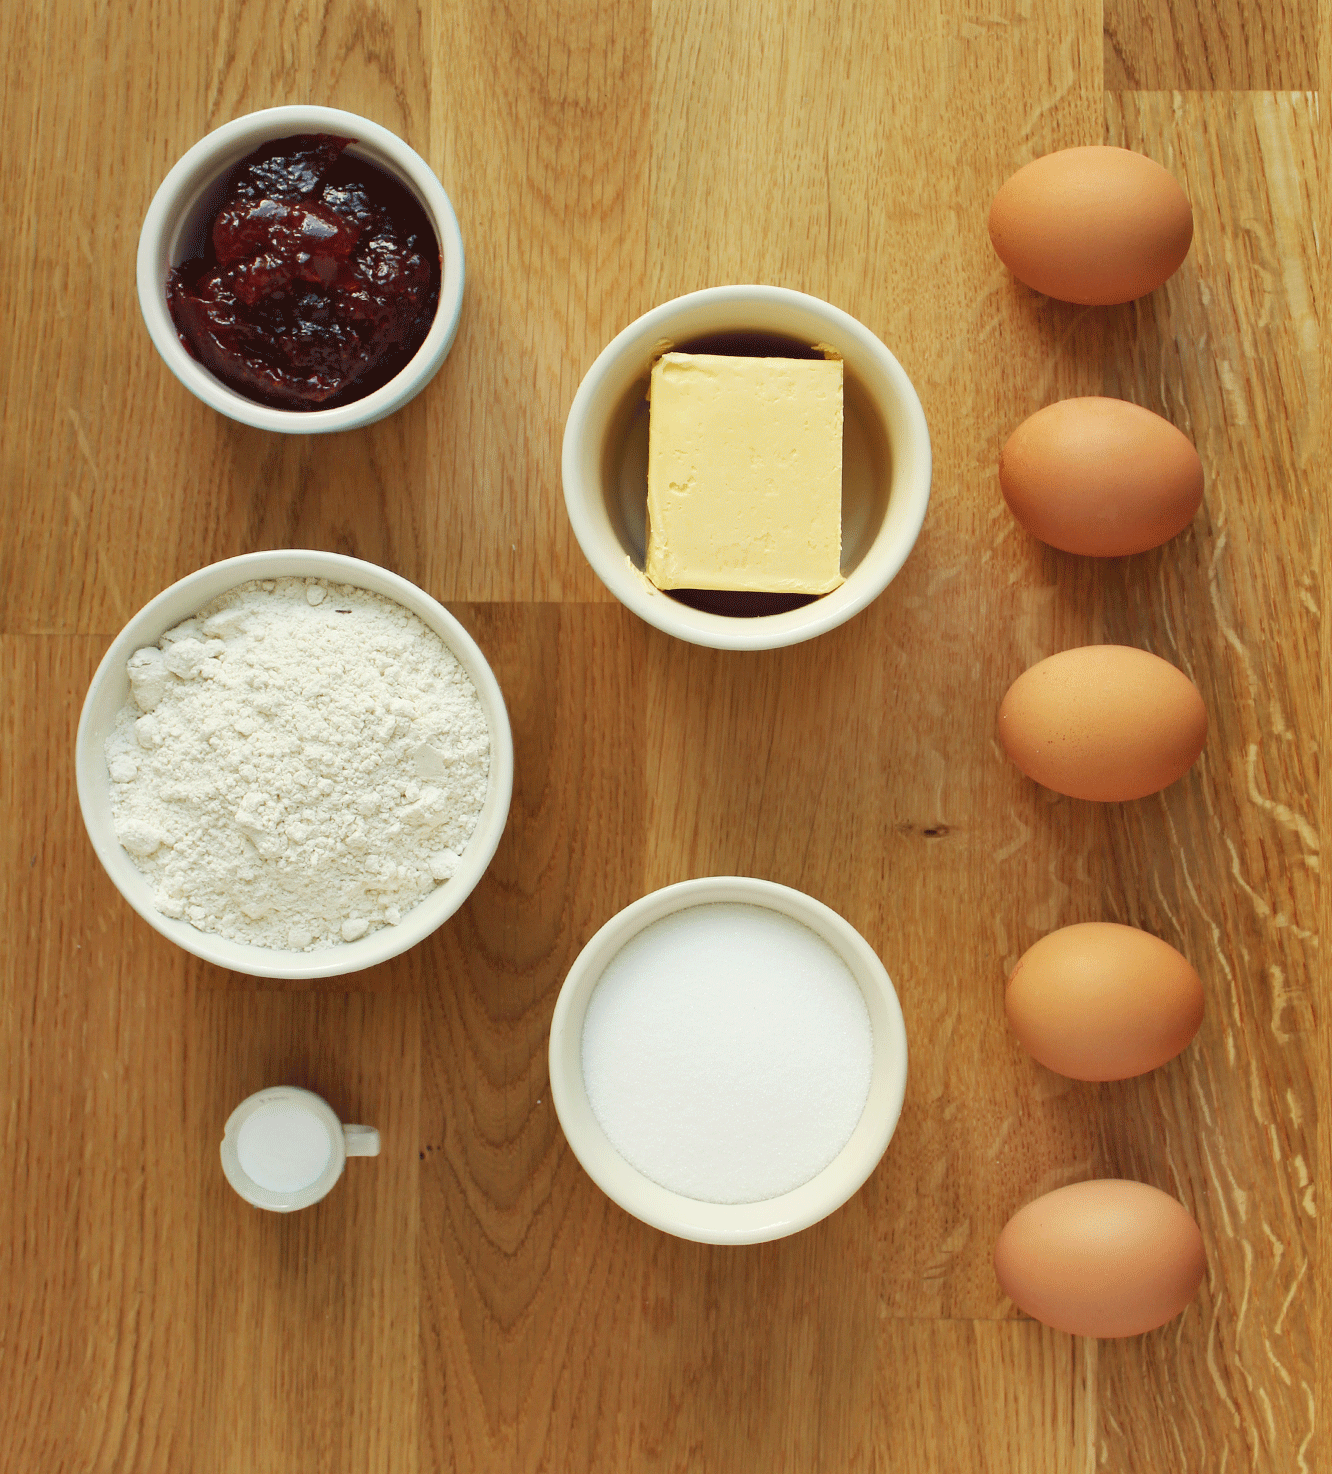
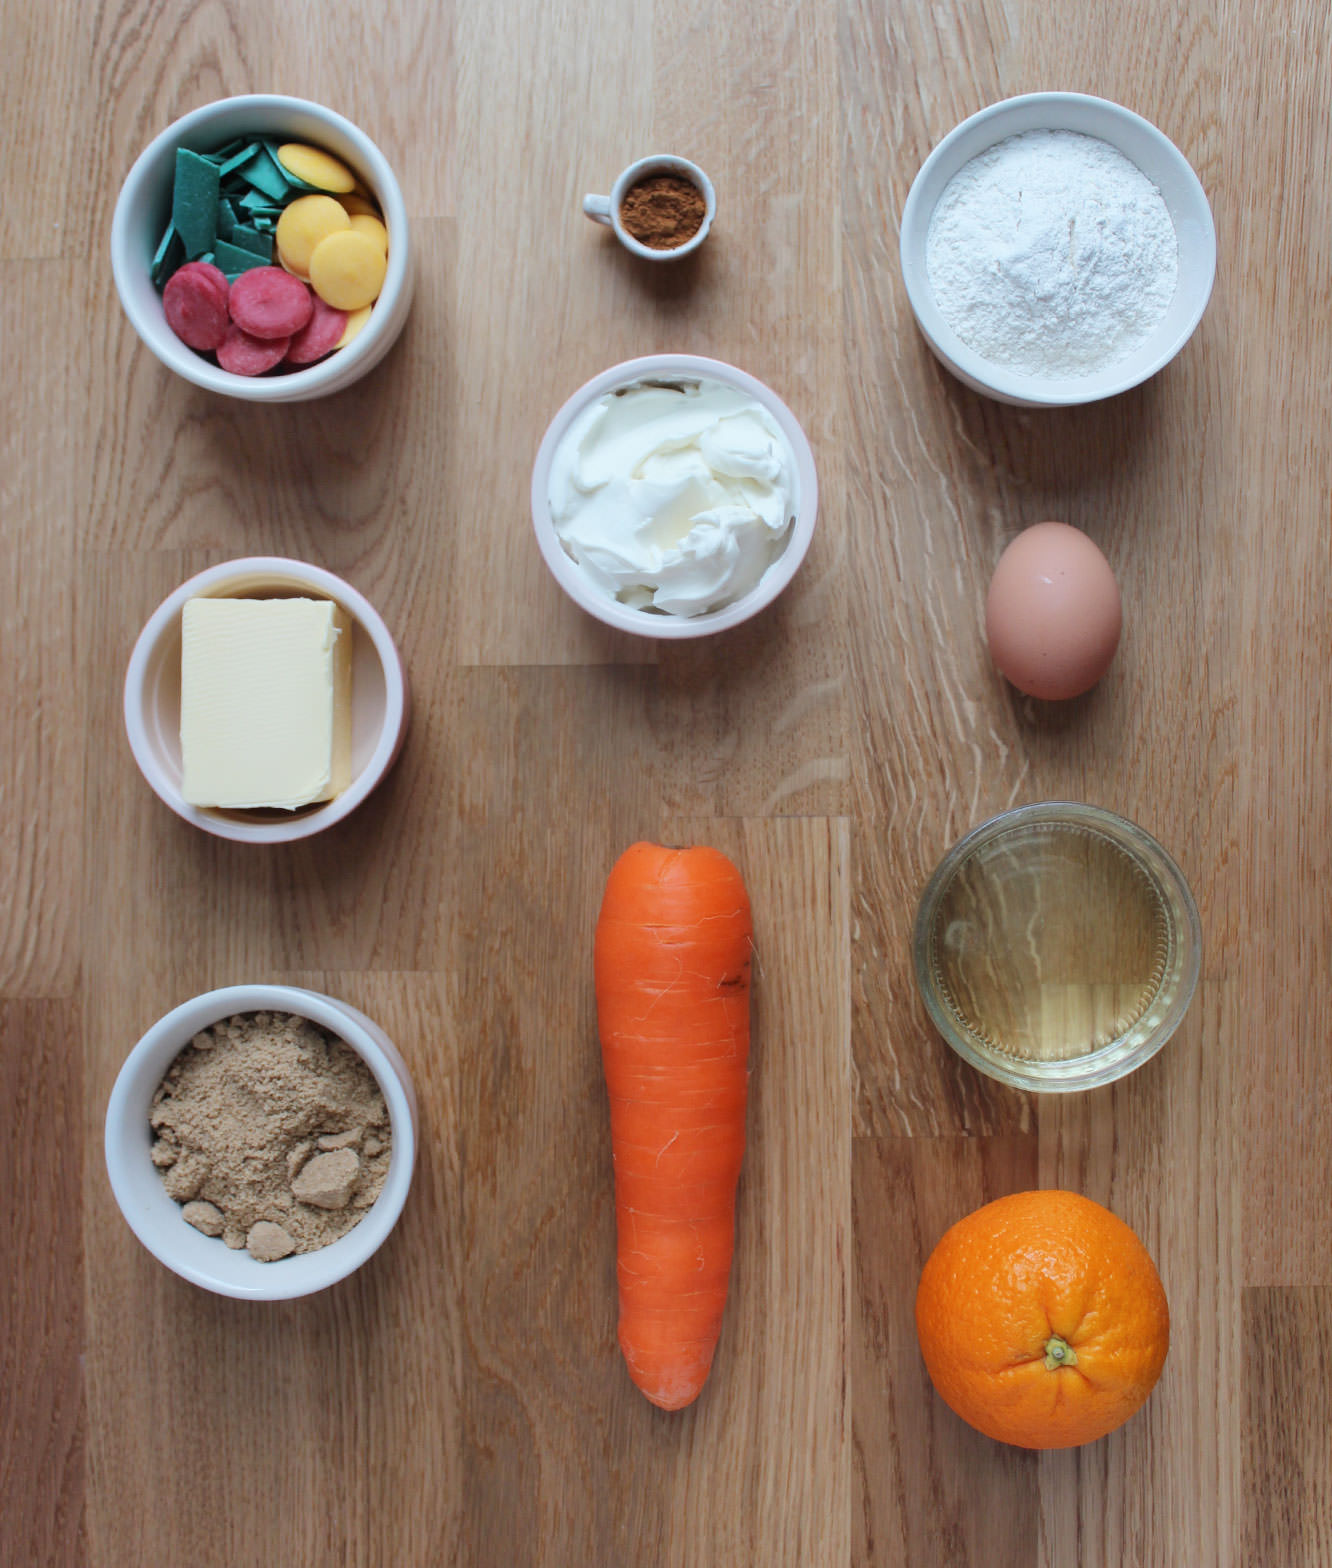
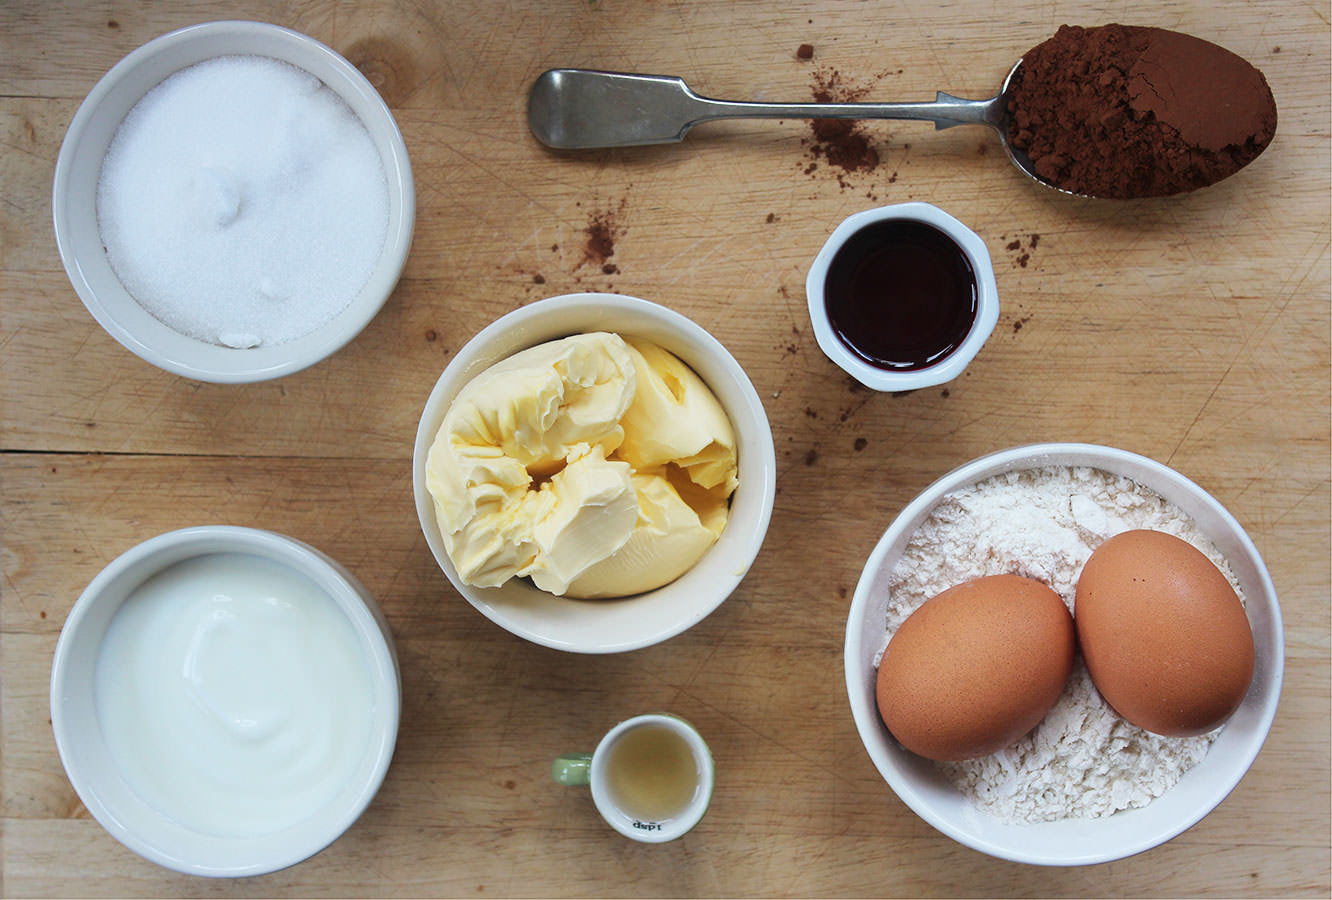
You will need
For the cakes:
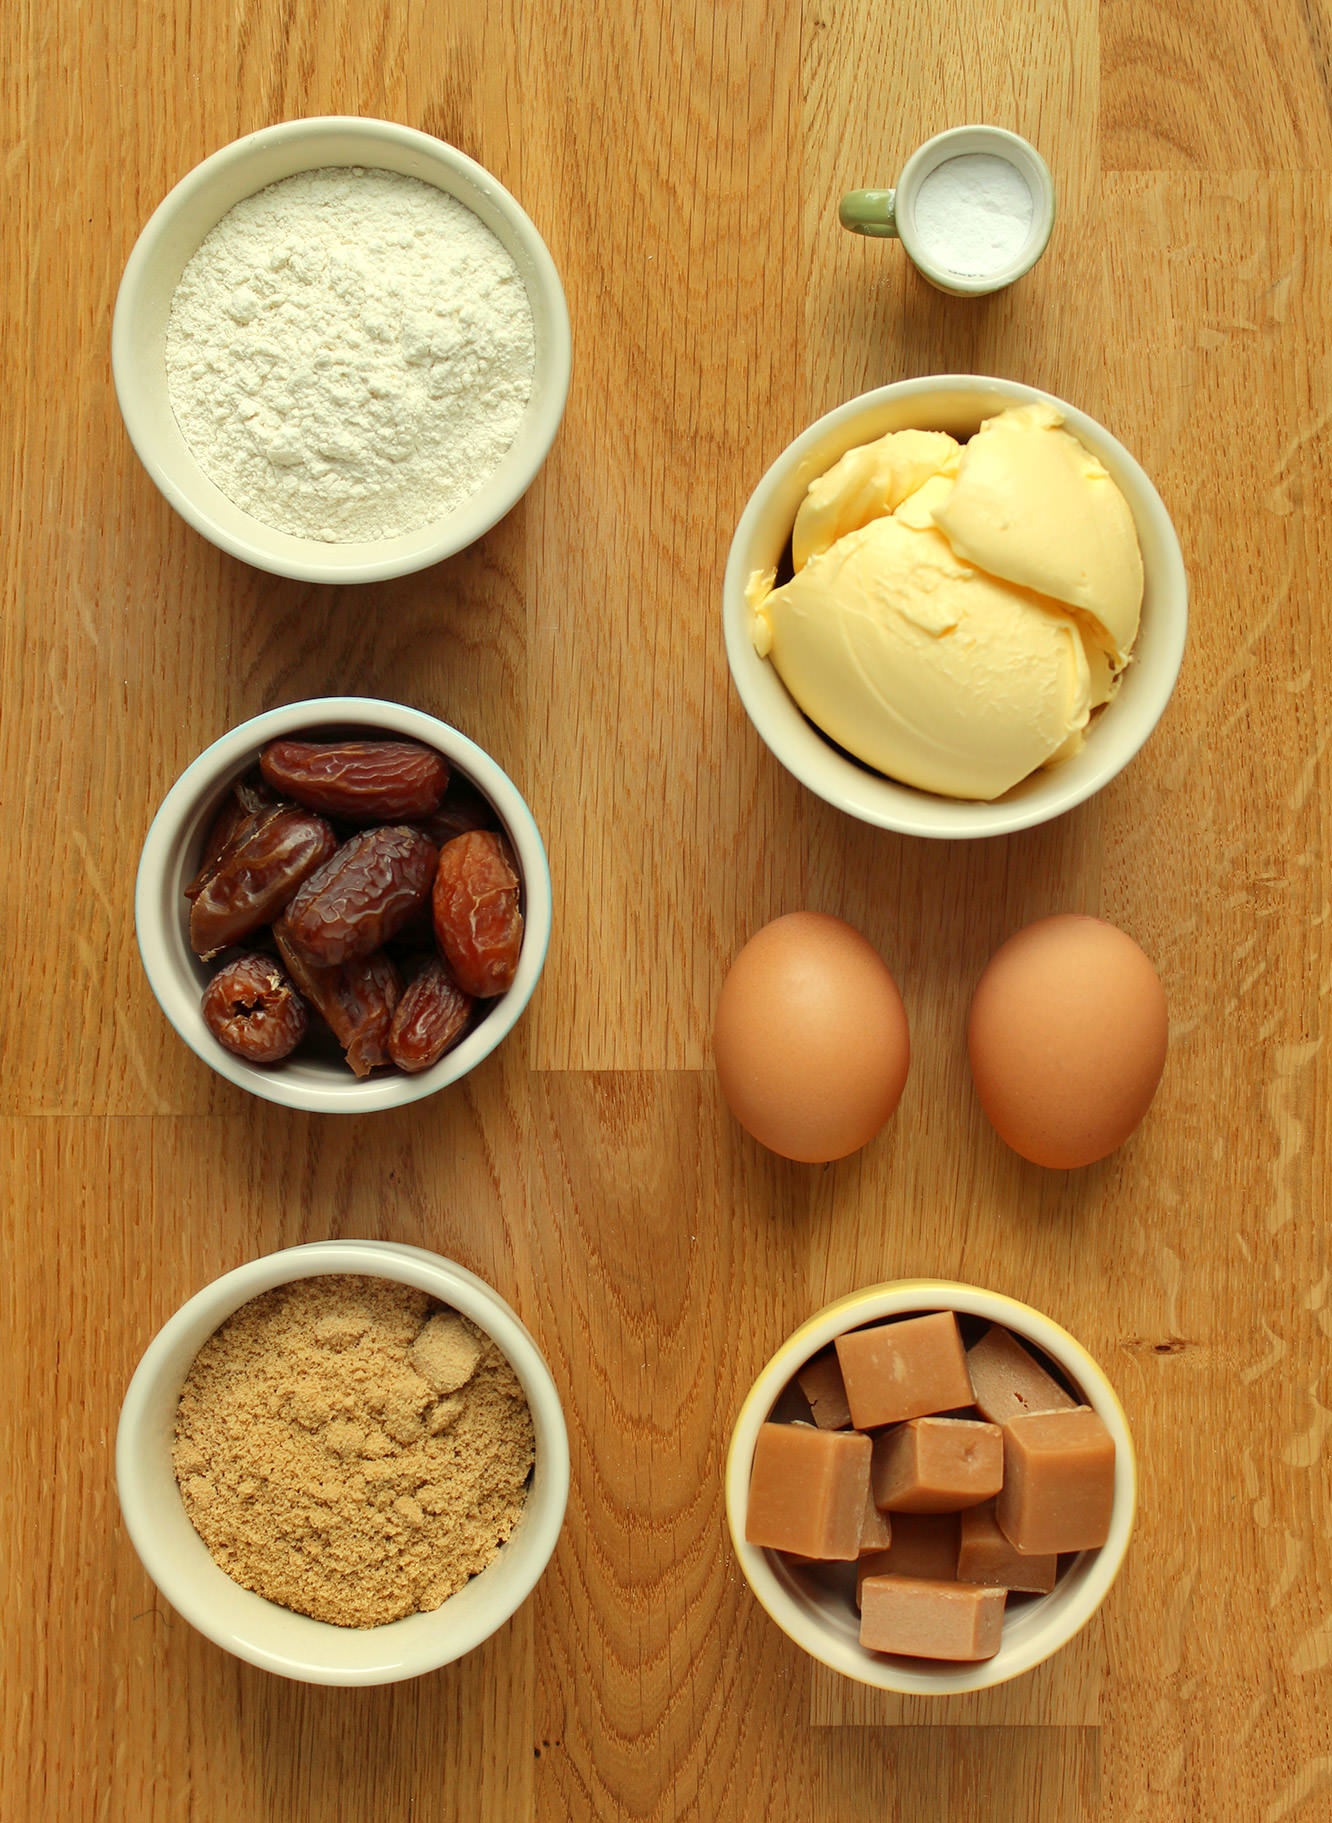
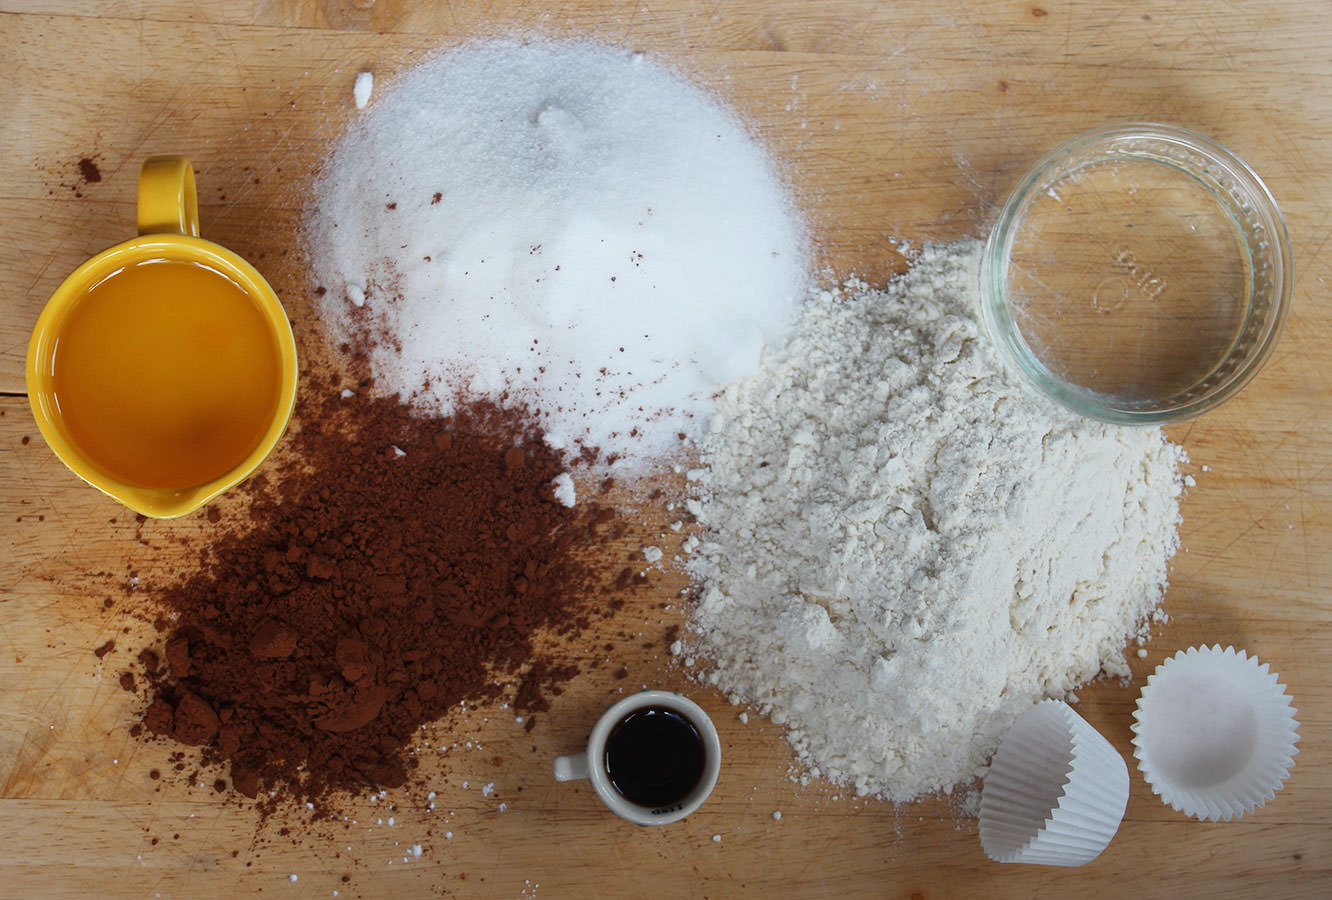
200g/7 oz plain flour
160g/5.5 oz soft brown sugar
100g/3.5 oz unsalted butter/margarine (I use Stork for cakes)
150g/5 oz dates (medjool)
2 eggs
1 tsp bicarbonate of soda
For the toffee filling:
200g/7 oz sweetened condensed milk (half a tin)
100g/3.5 oz soft brown sugar
100g/3.5 oz unsalted butter (used salted if you prefer salted caramel to a more dulce de leche/toffee flavour)
50ml/1.75 fl oz double cream
For the toffee frosting/icing:
400g/14 oz of the toffee filling
100g/3.5 oz unsalted butter
100g/3.5 oz icing sugar
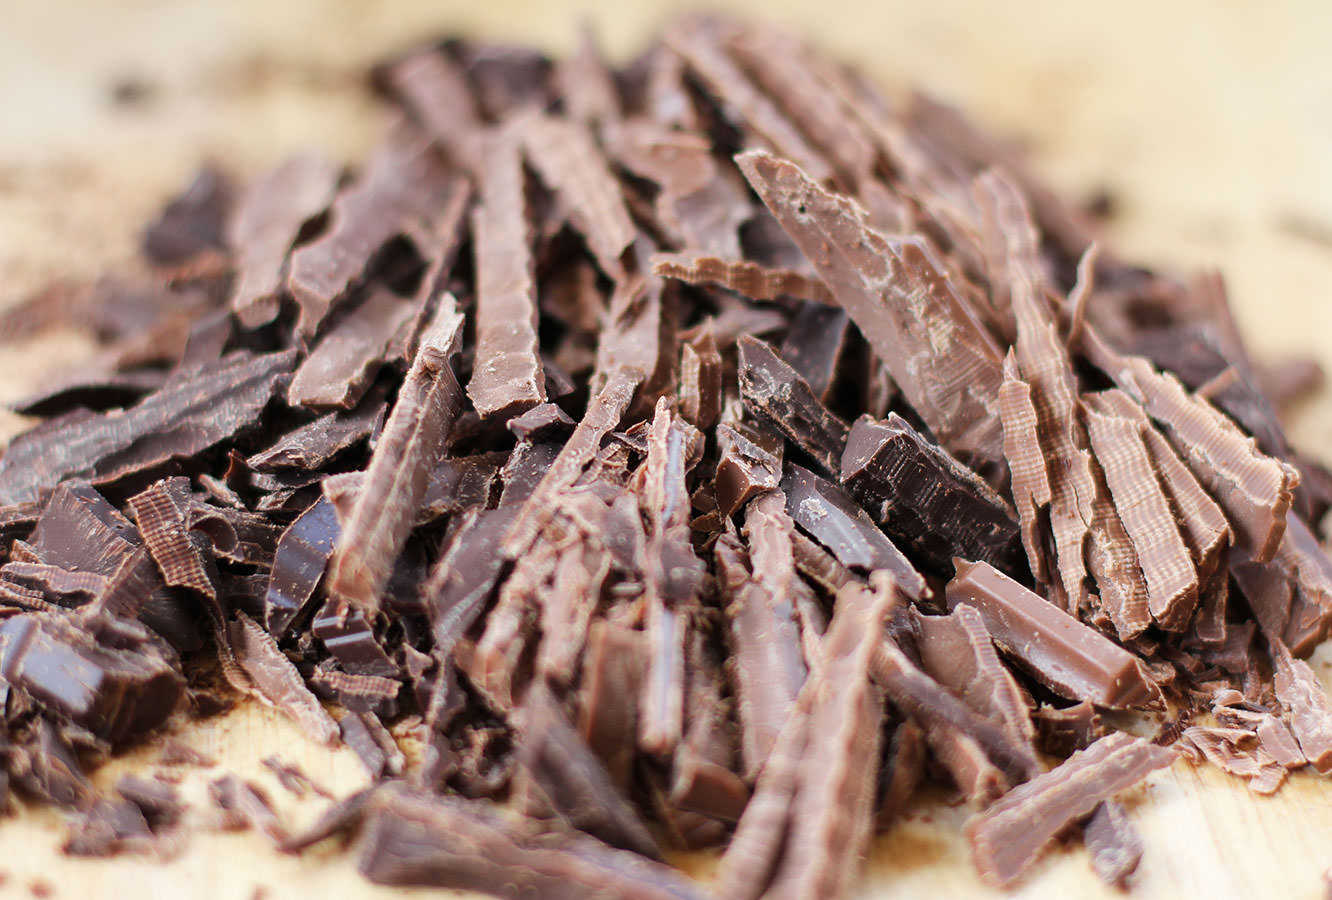
Dairy fudge pieces for decoration
(makes 12)
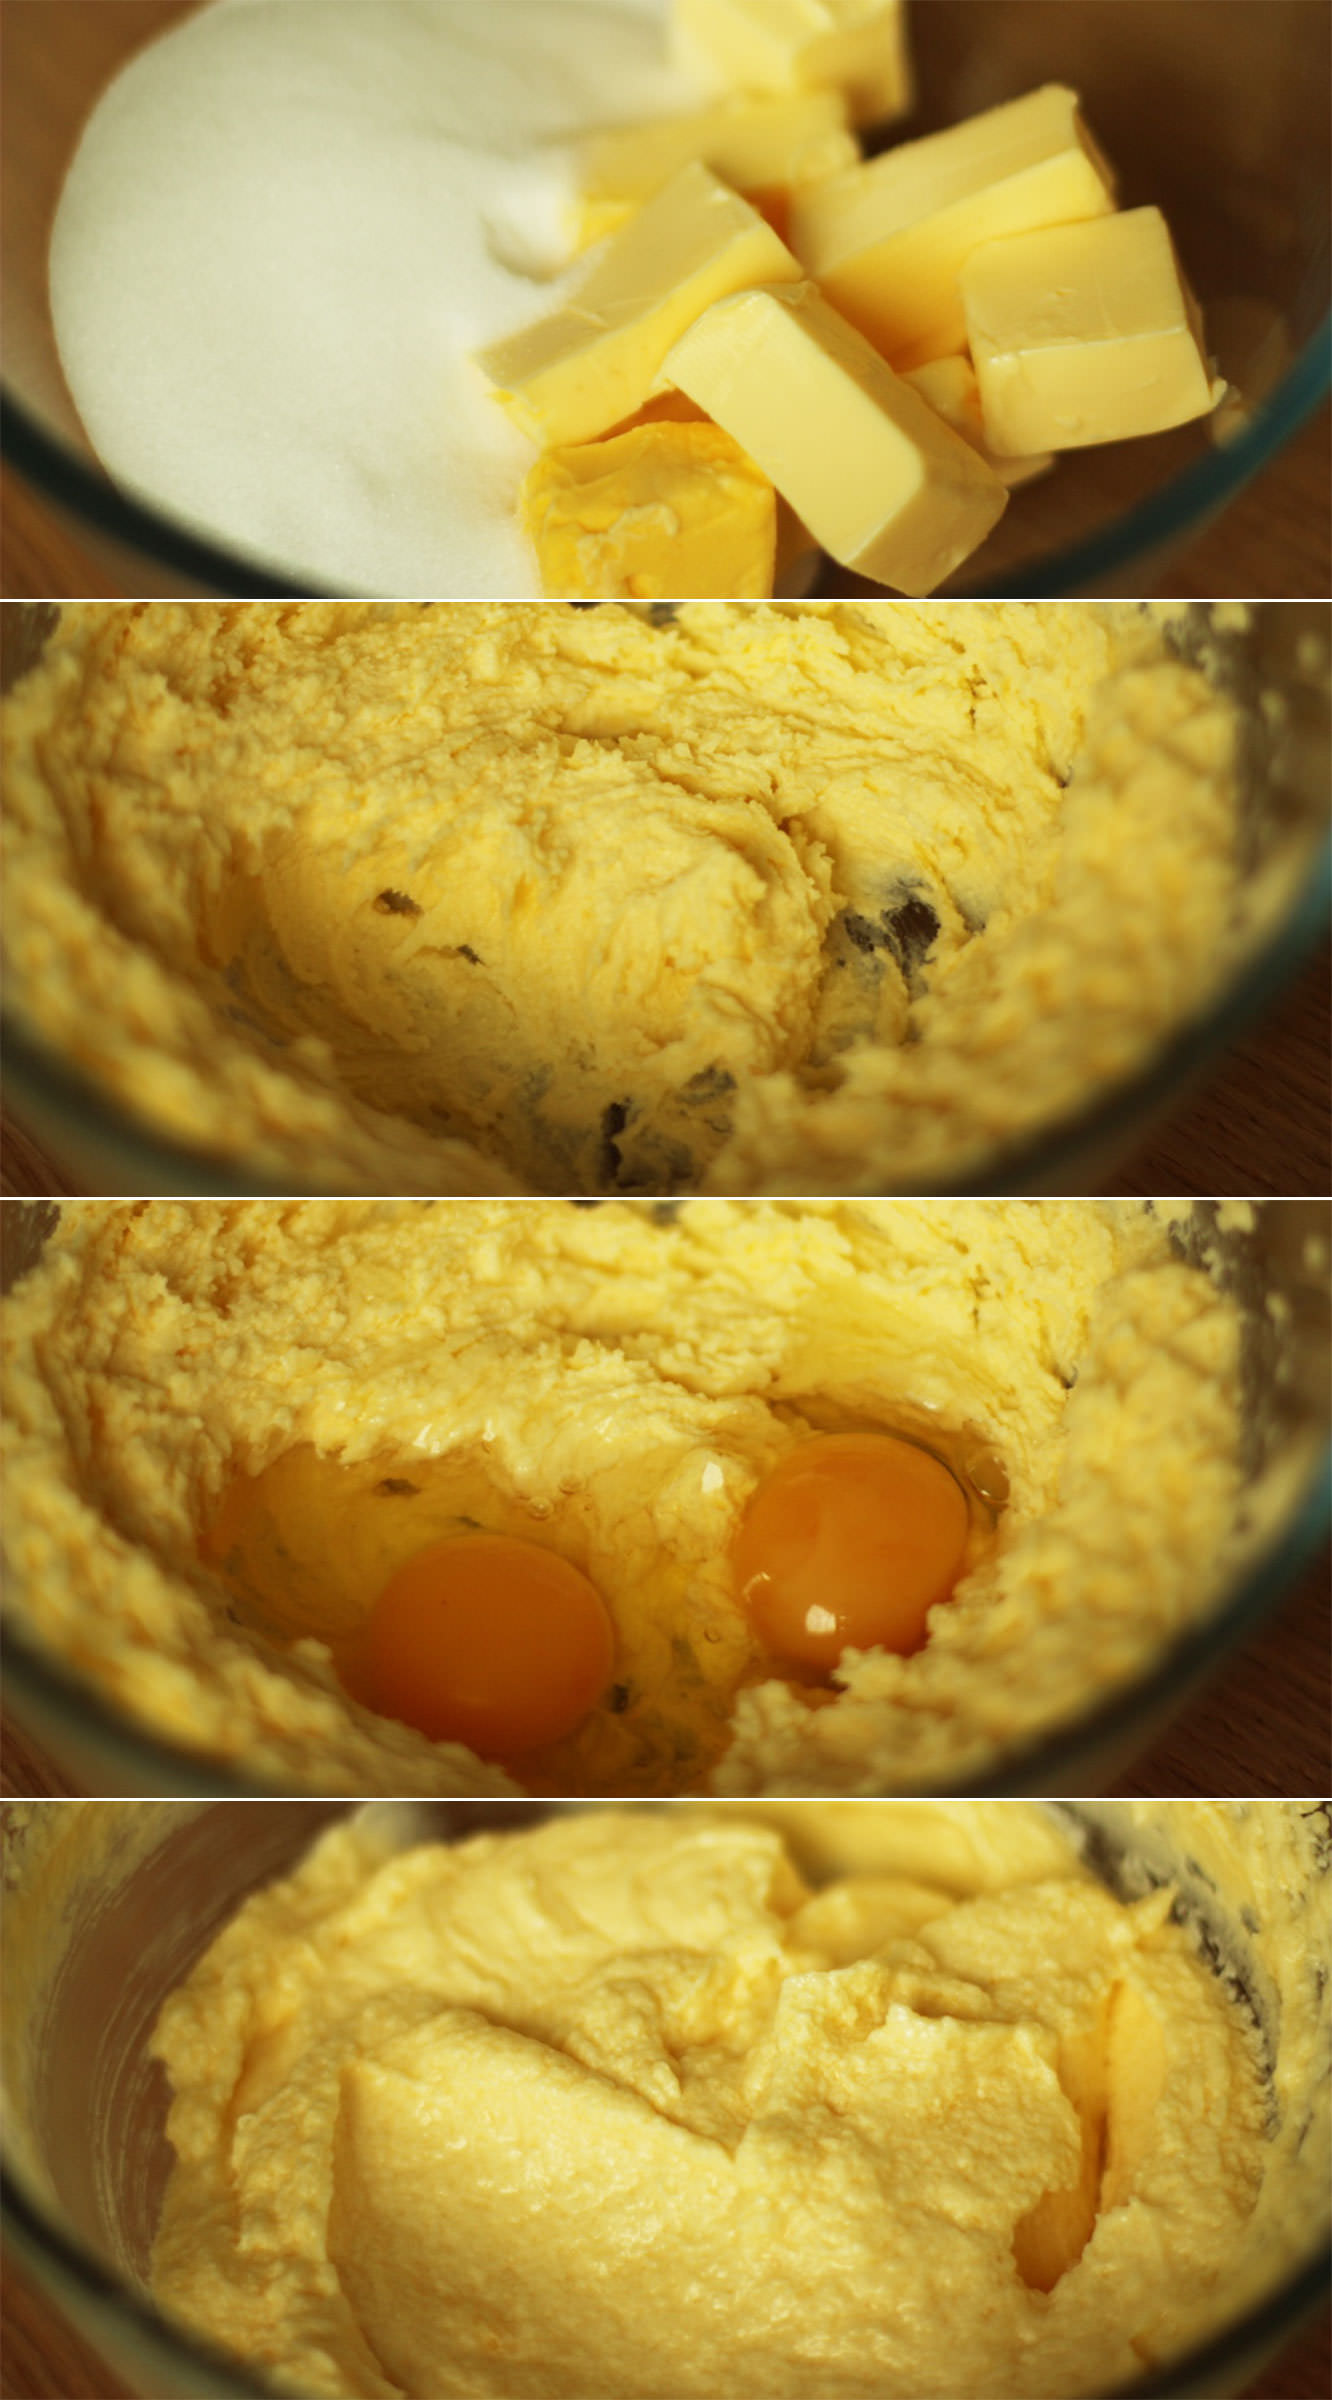
Step one
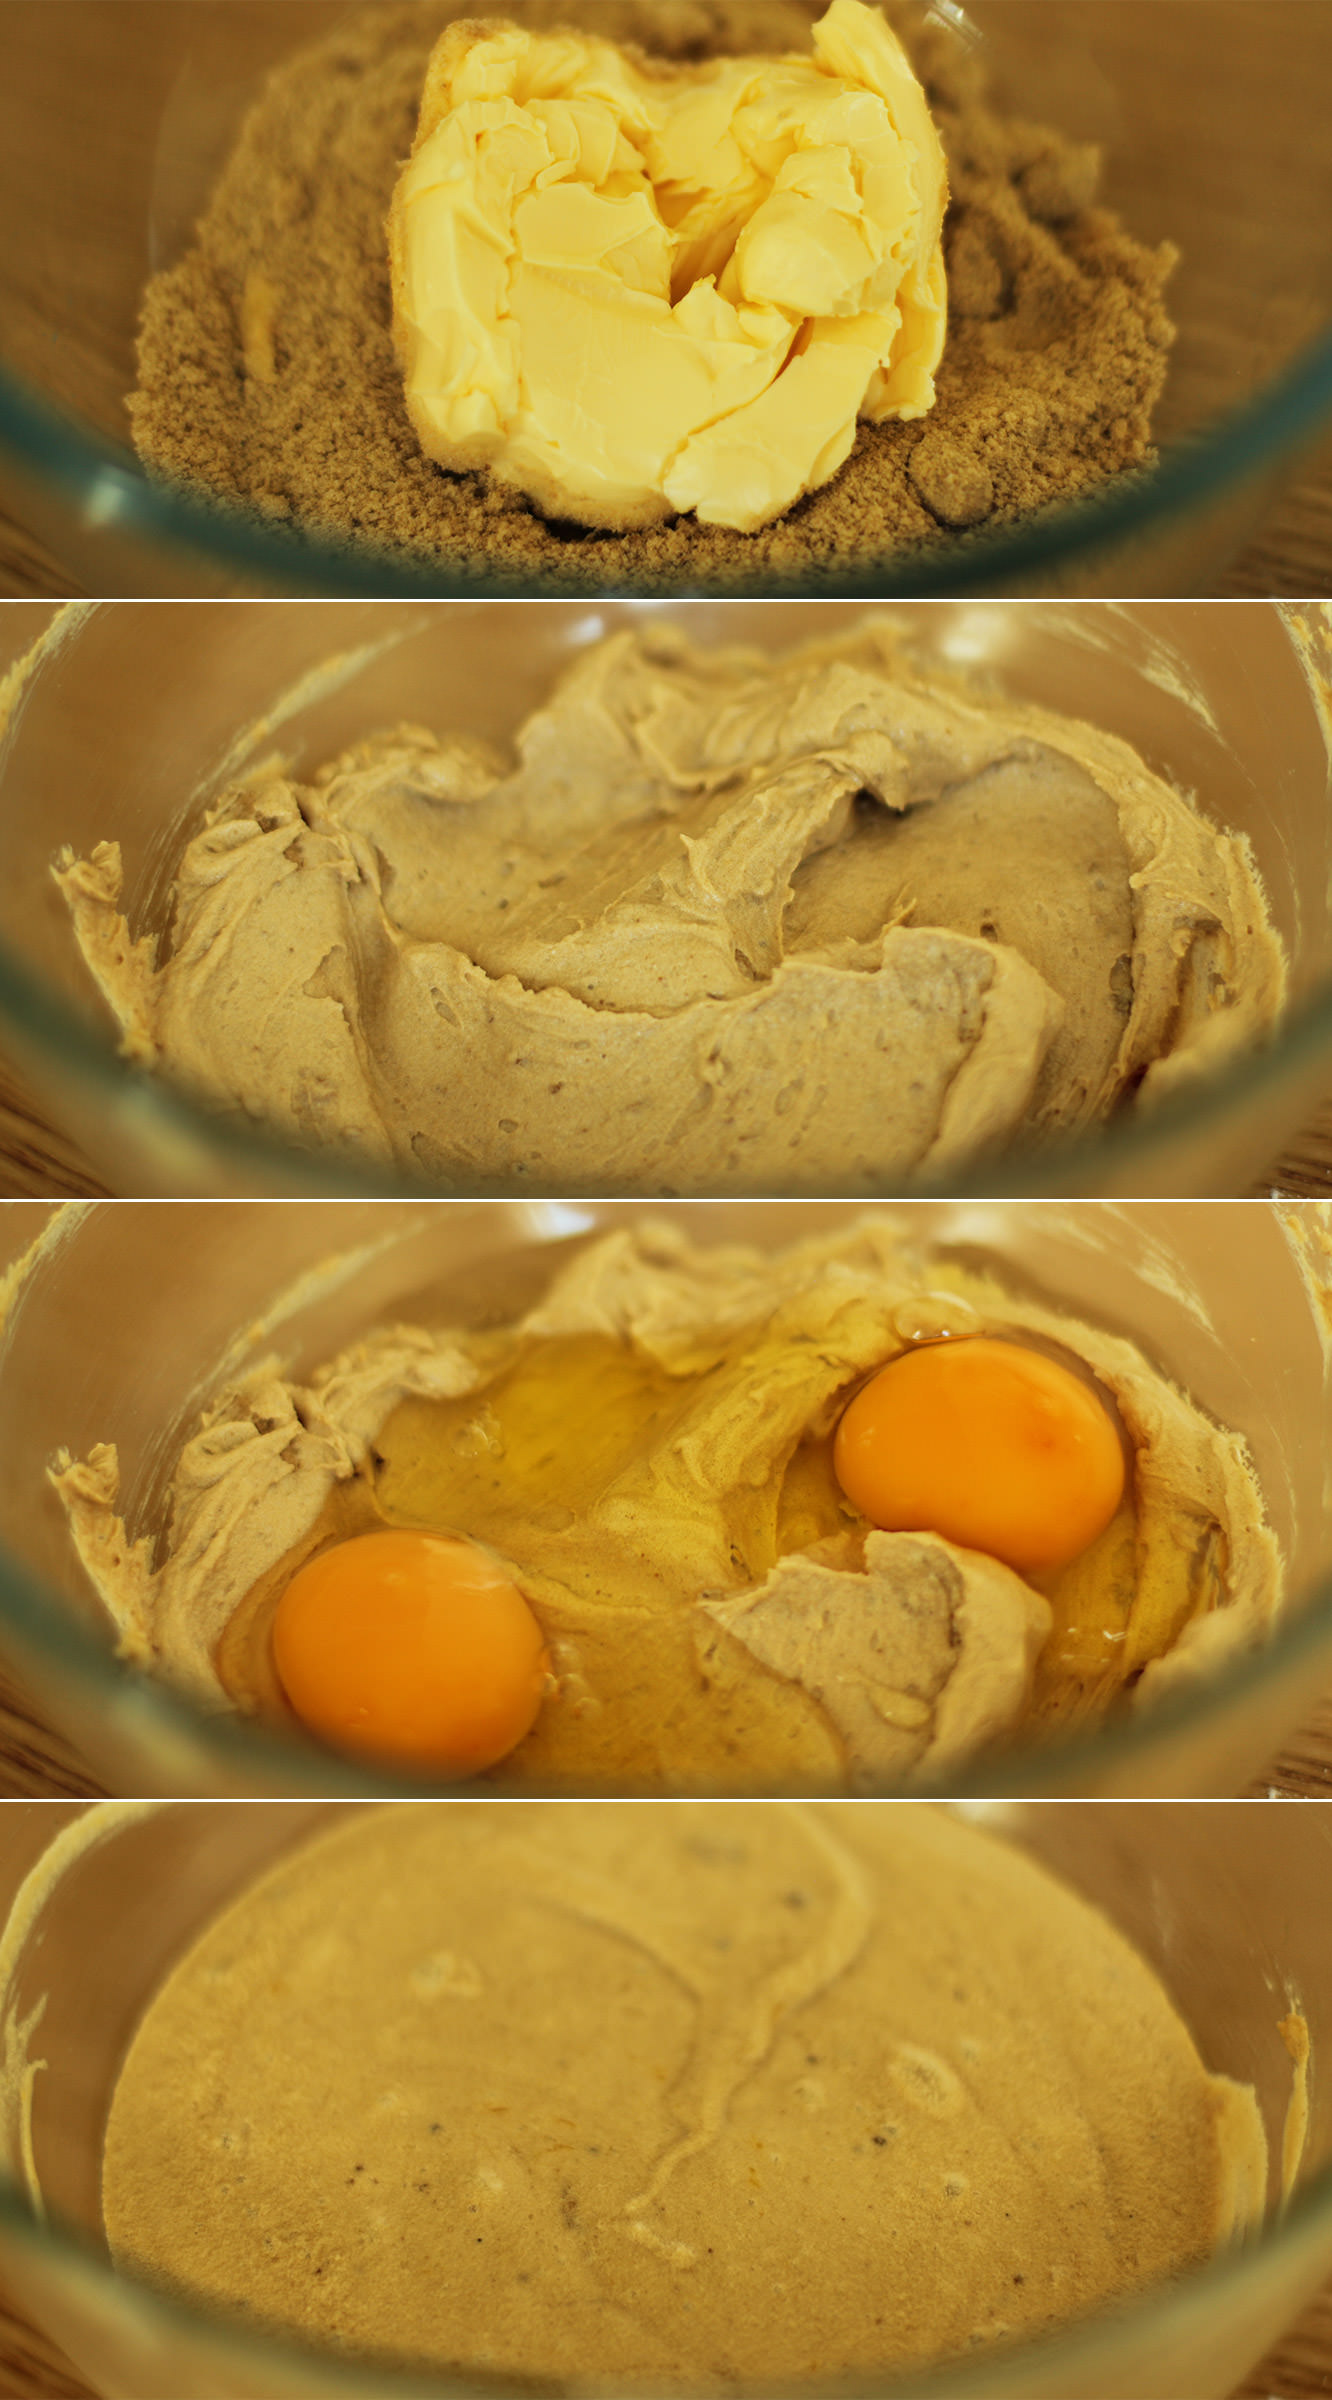
Cakes first chaps.
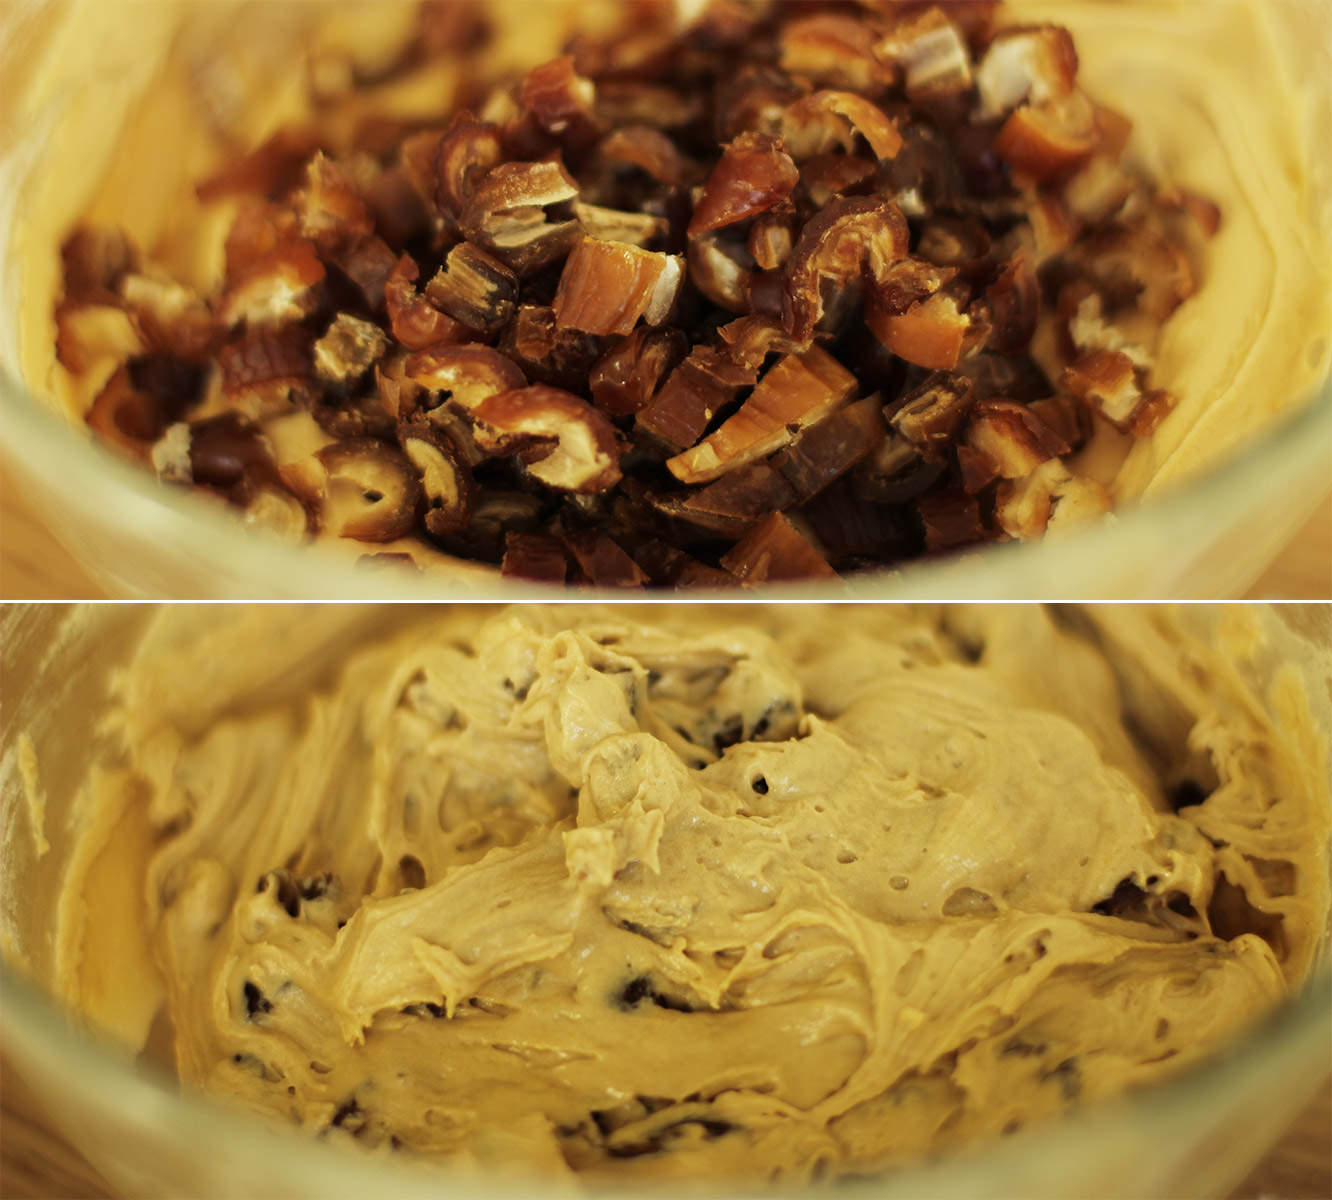
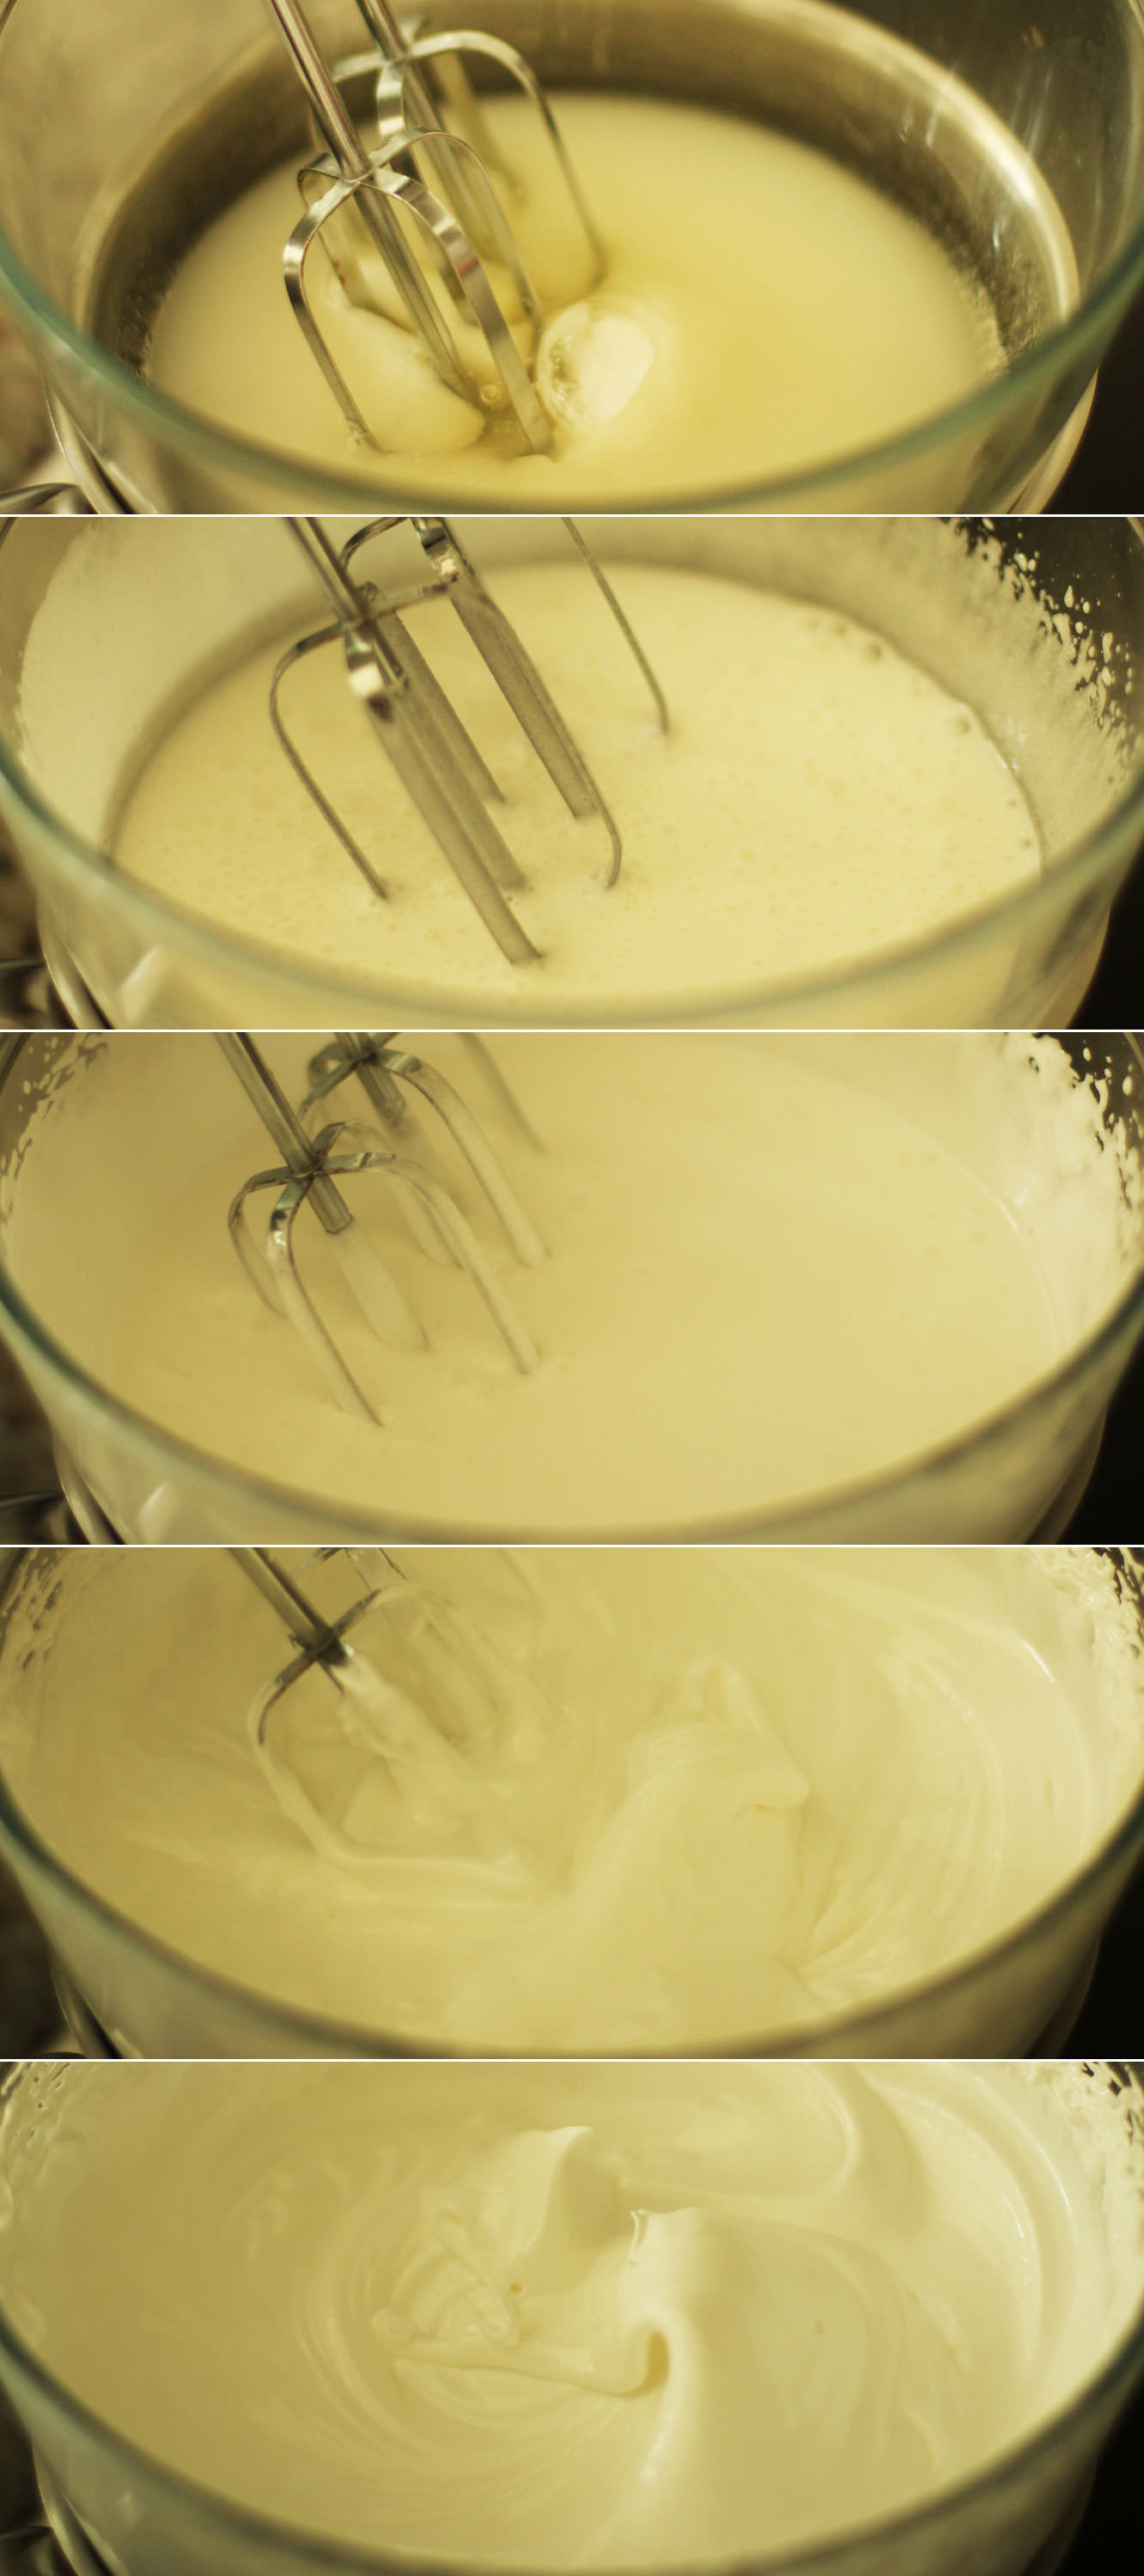
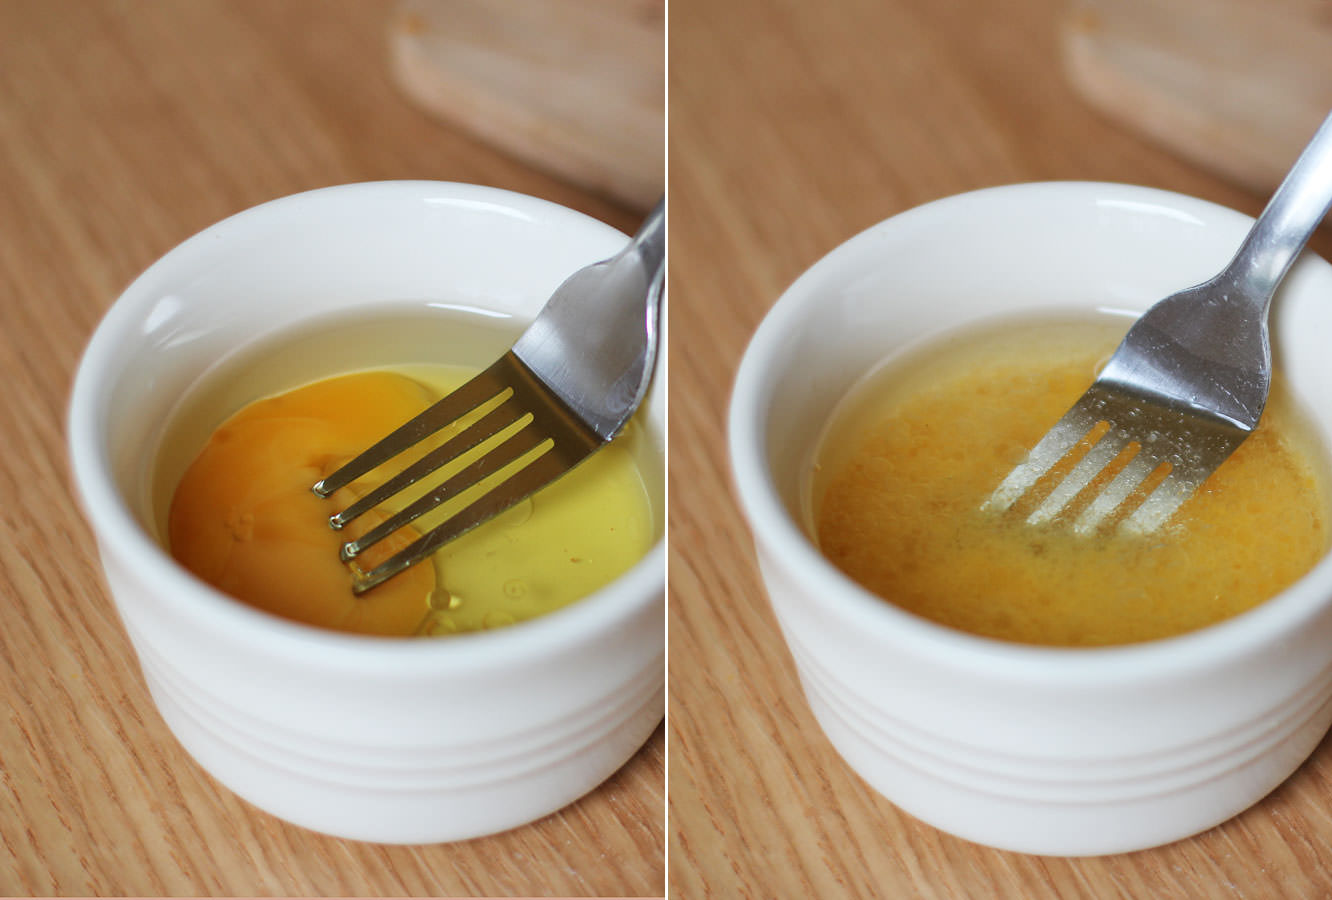
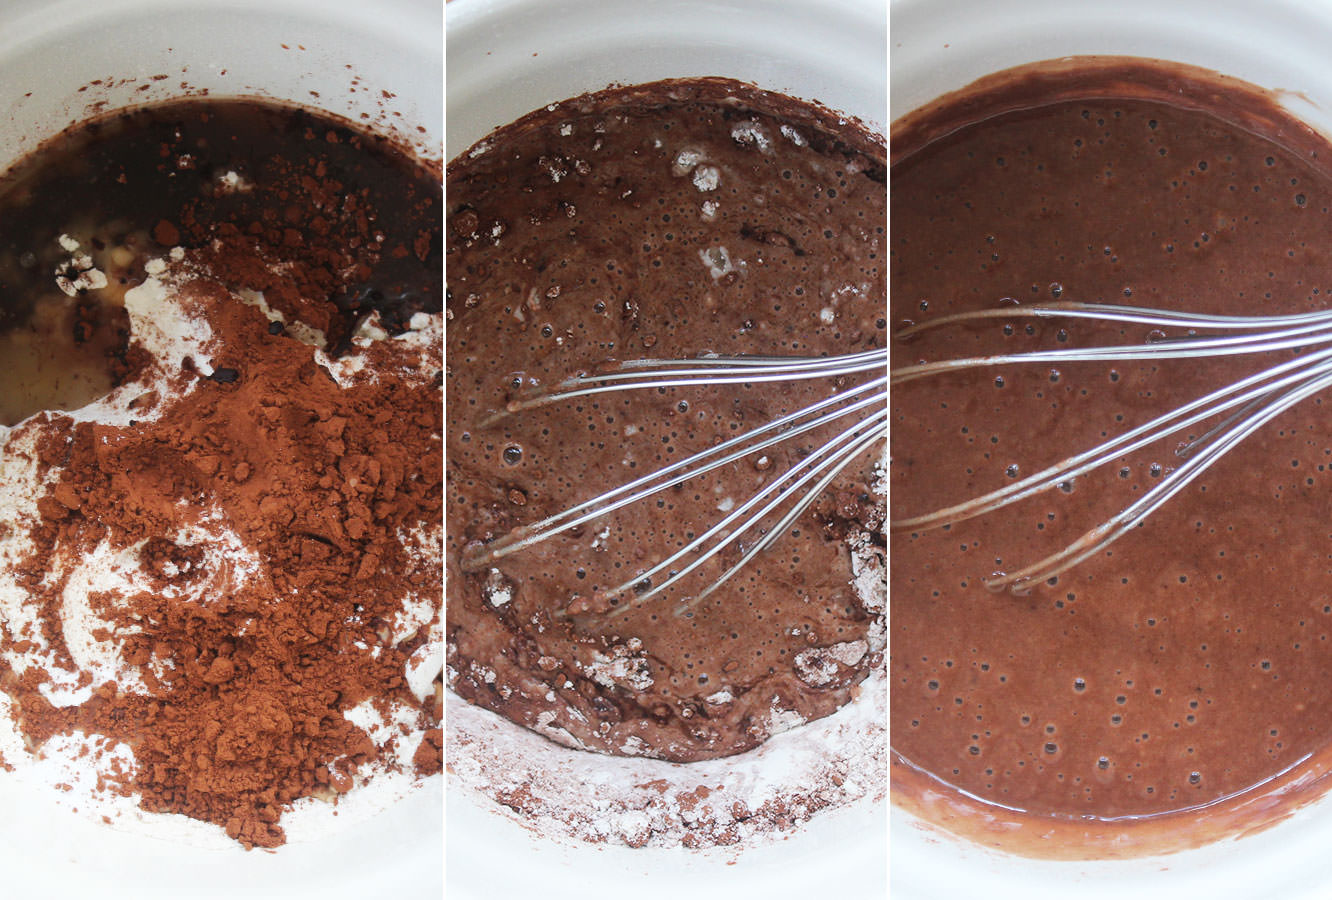
Whisk together the sugar and butter until smooth. Add the eggs and whisk again until the mix is fully combined.
Step two
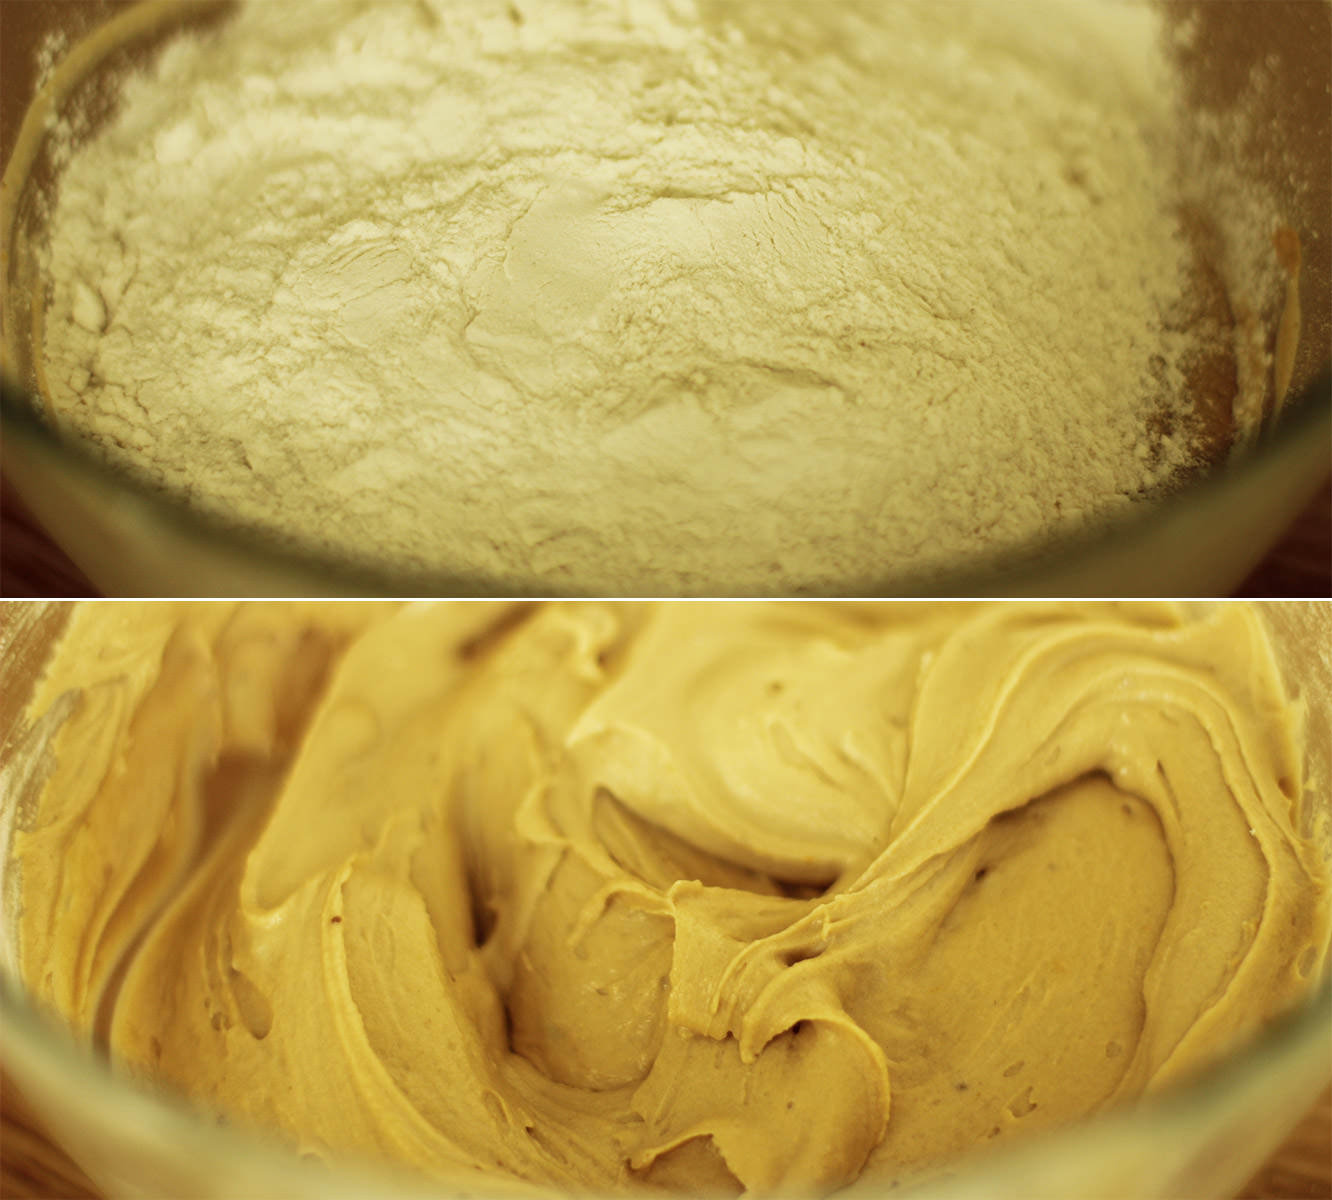
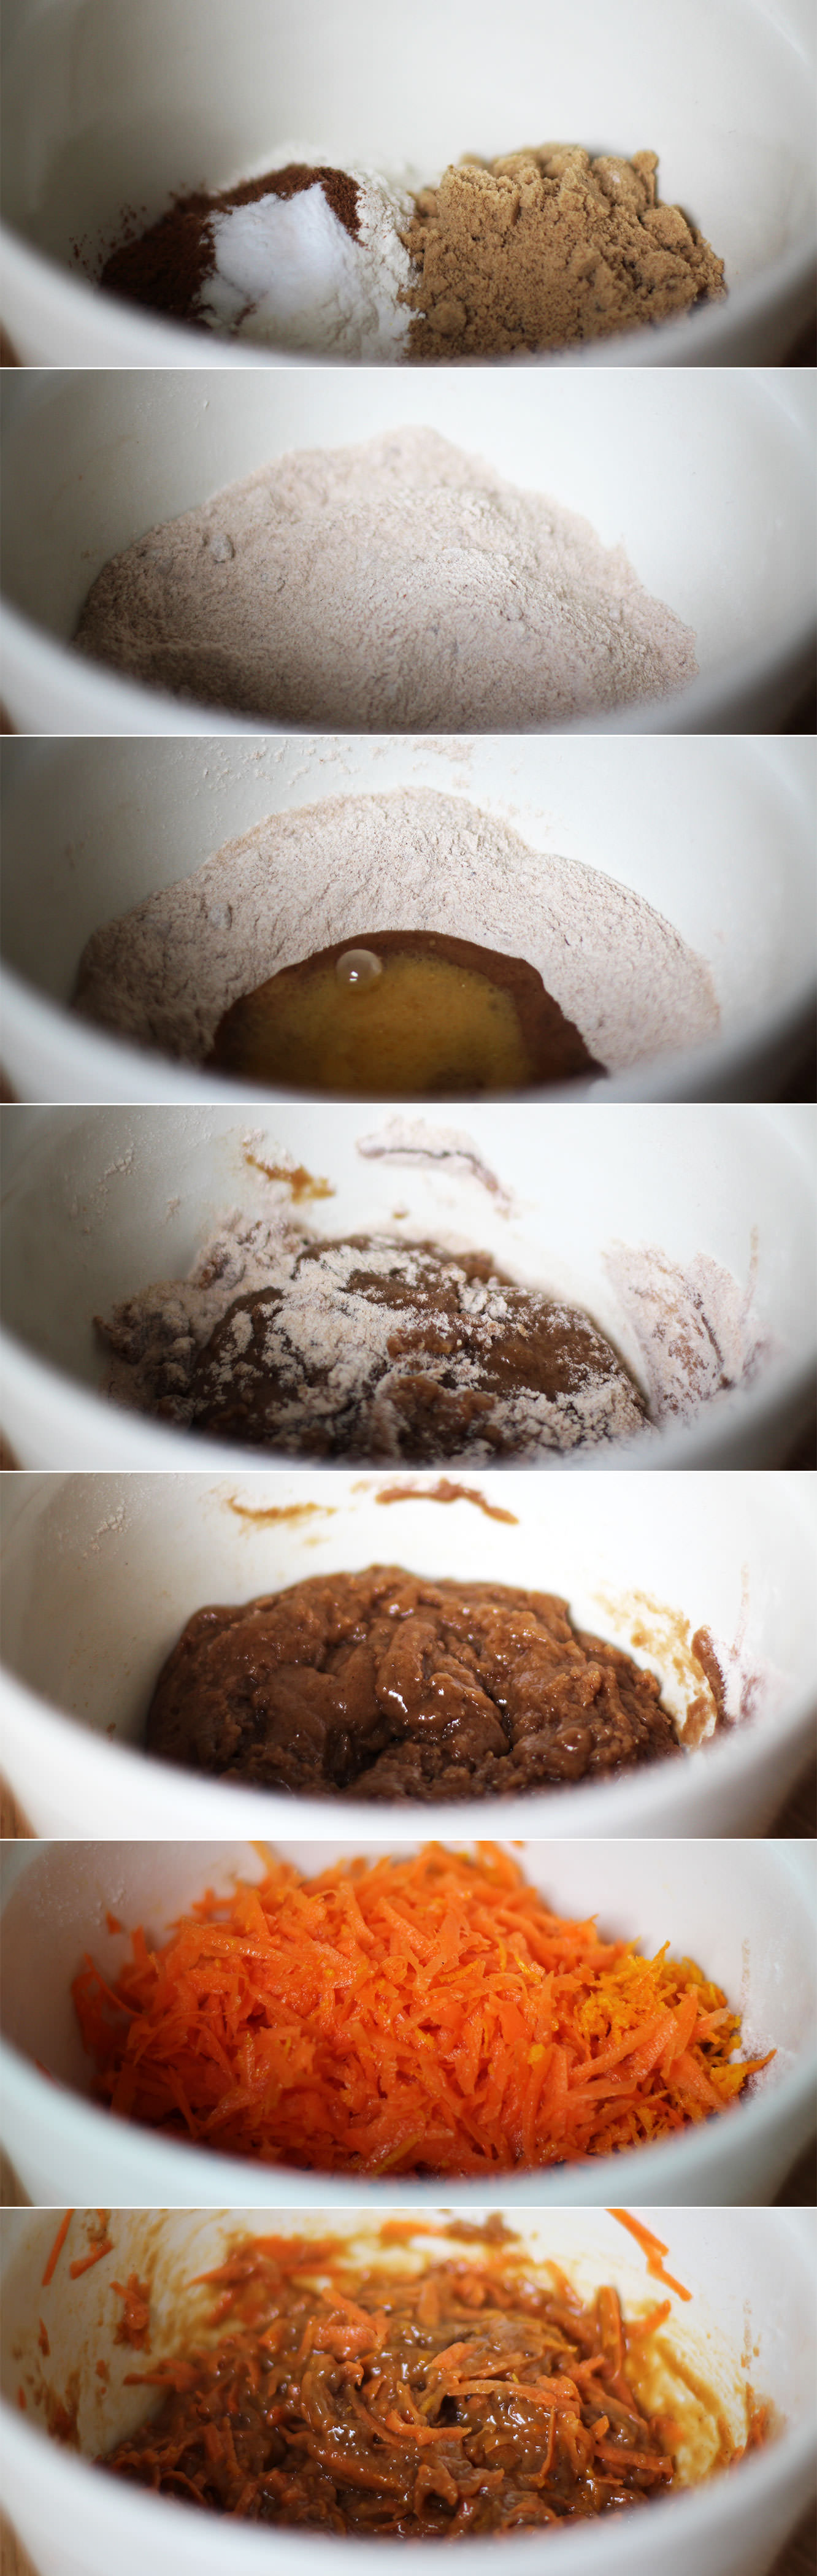
Add the flour and bicarbonate of soda and whisk again. The batter should be light and fluffy.
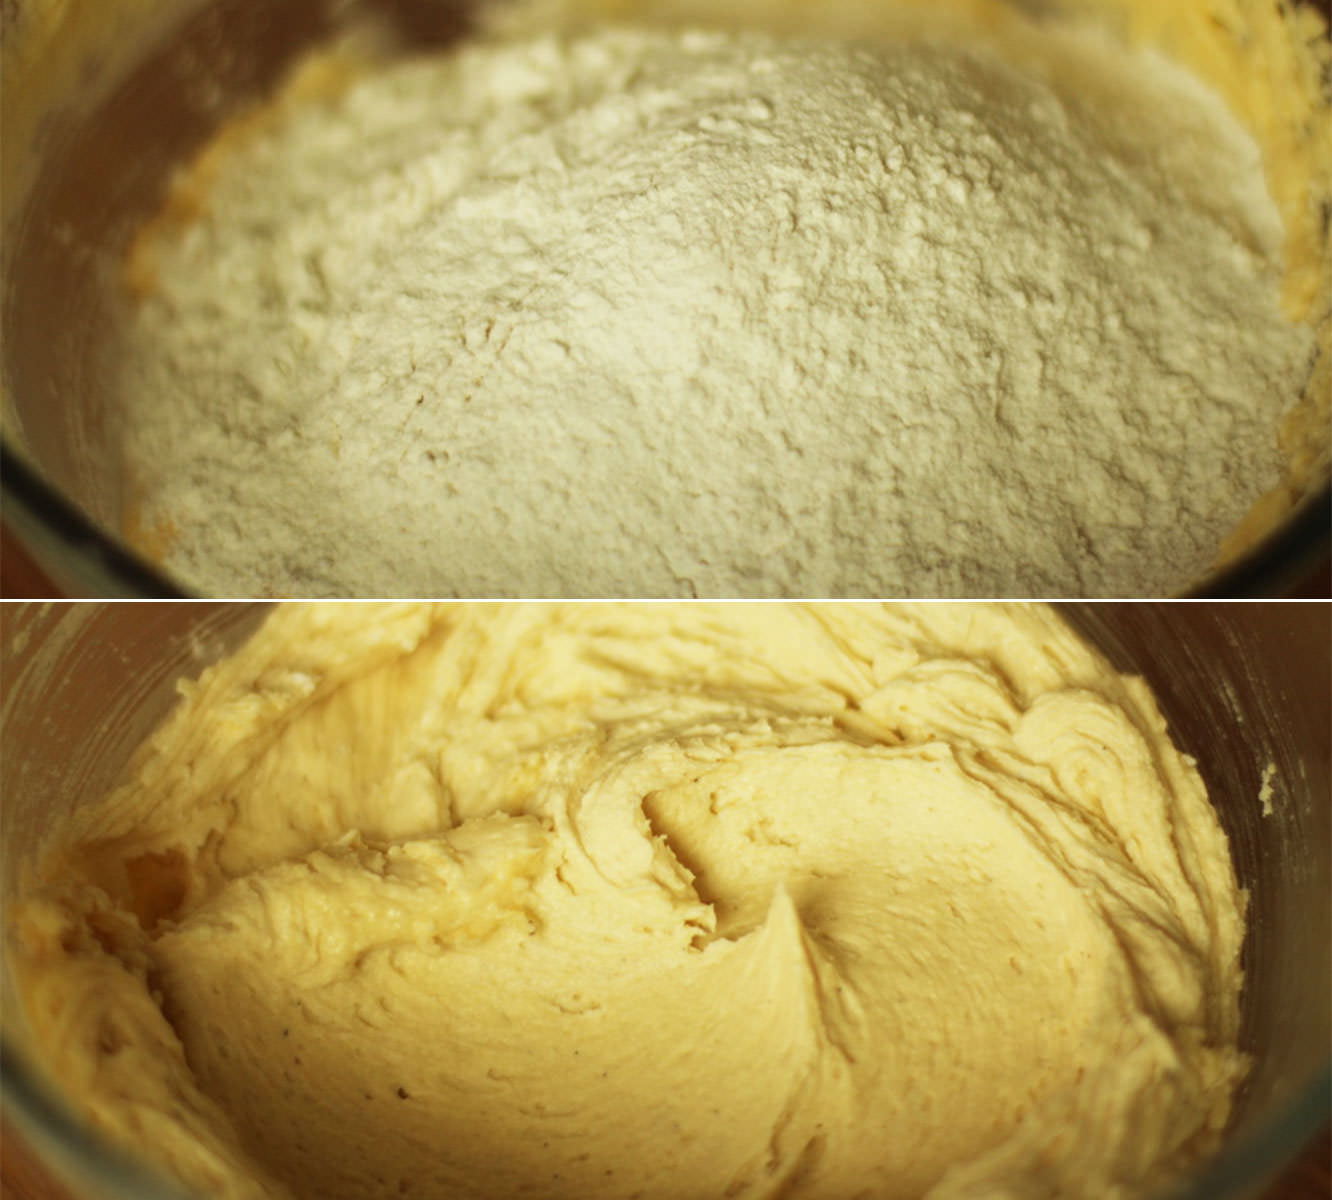
Step three
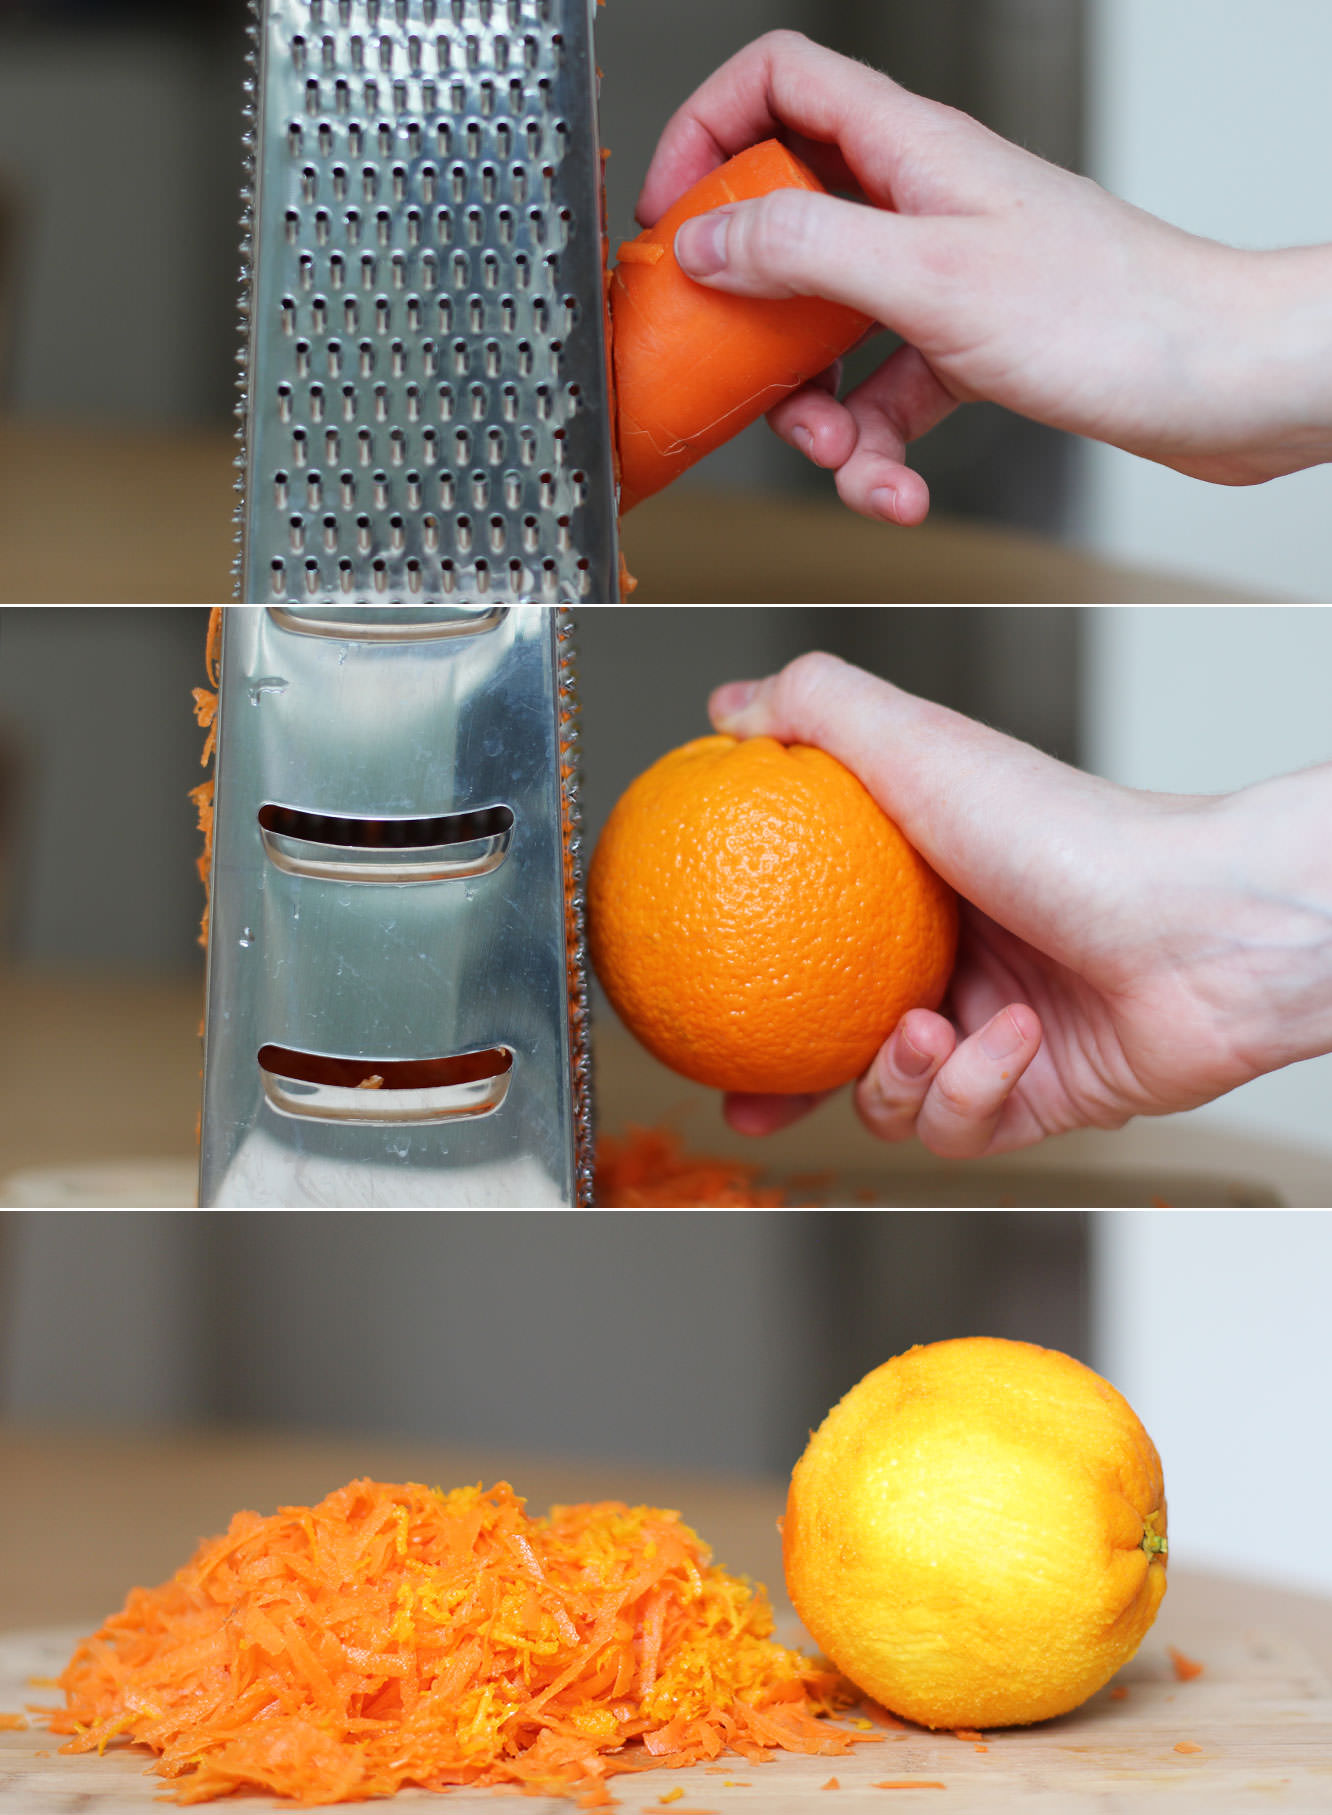
Chop the dates up into the mixture. I just used scissors for this.
Stir in so they are evenly distributed.
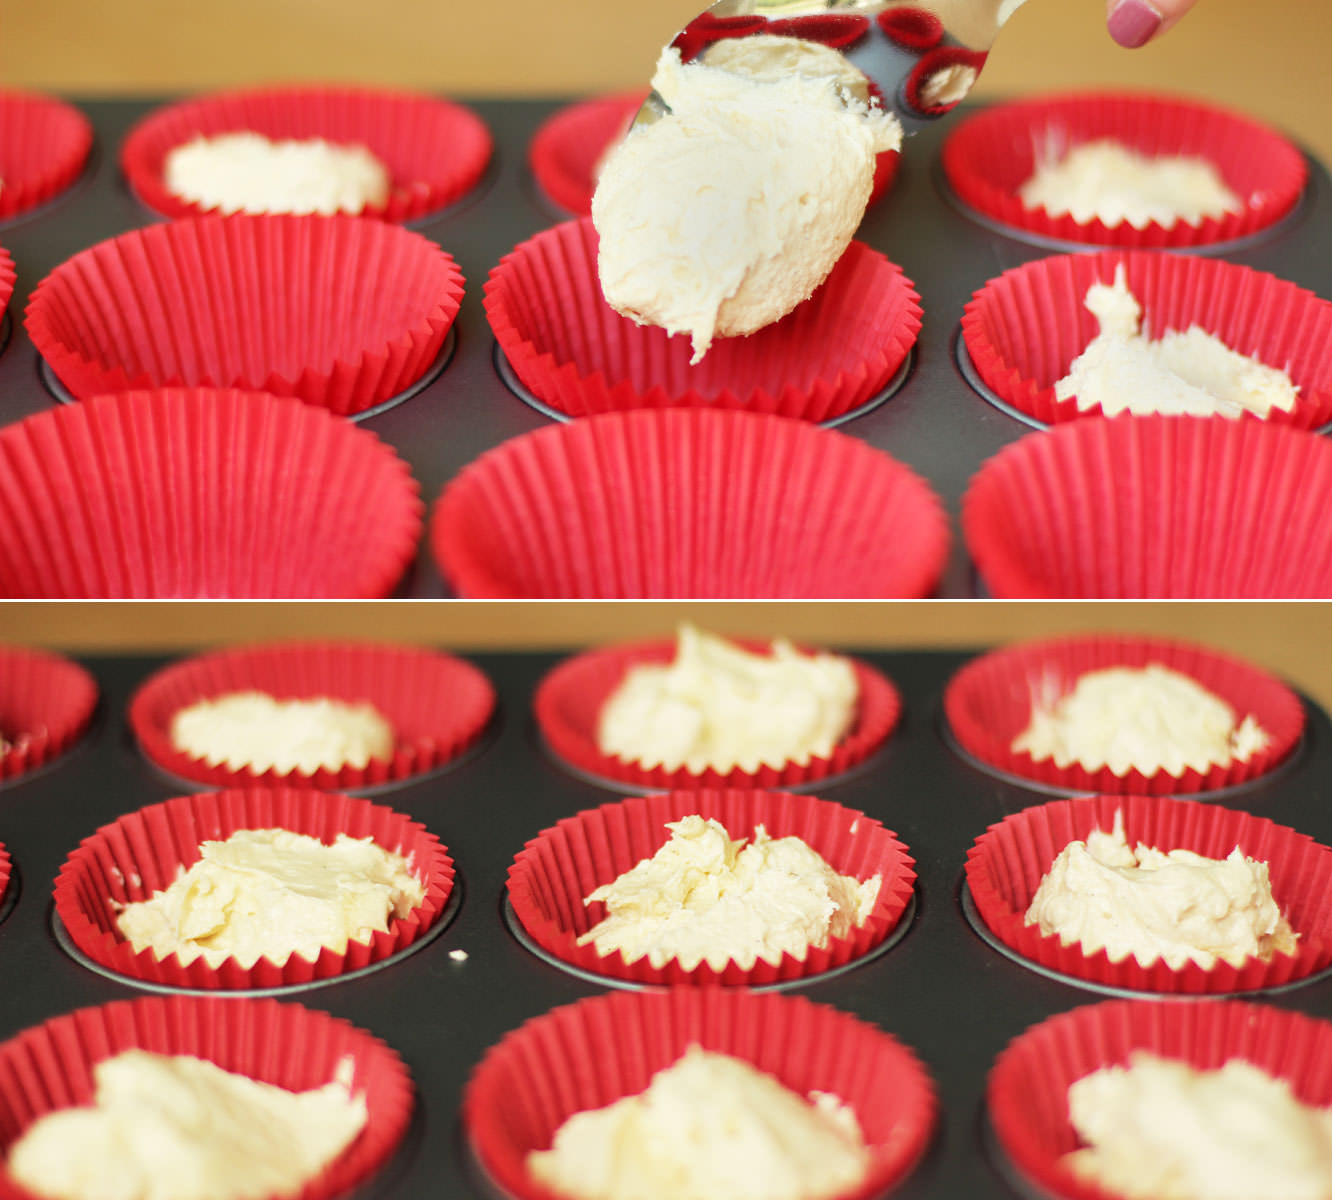
Step four
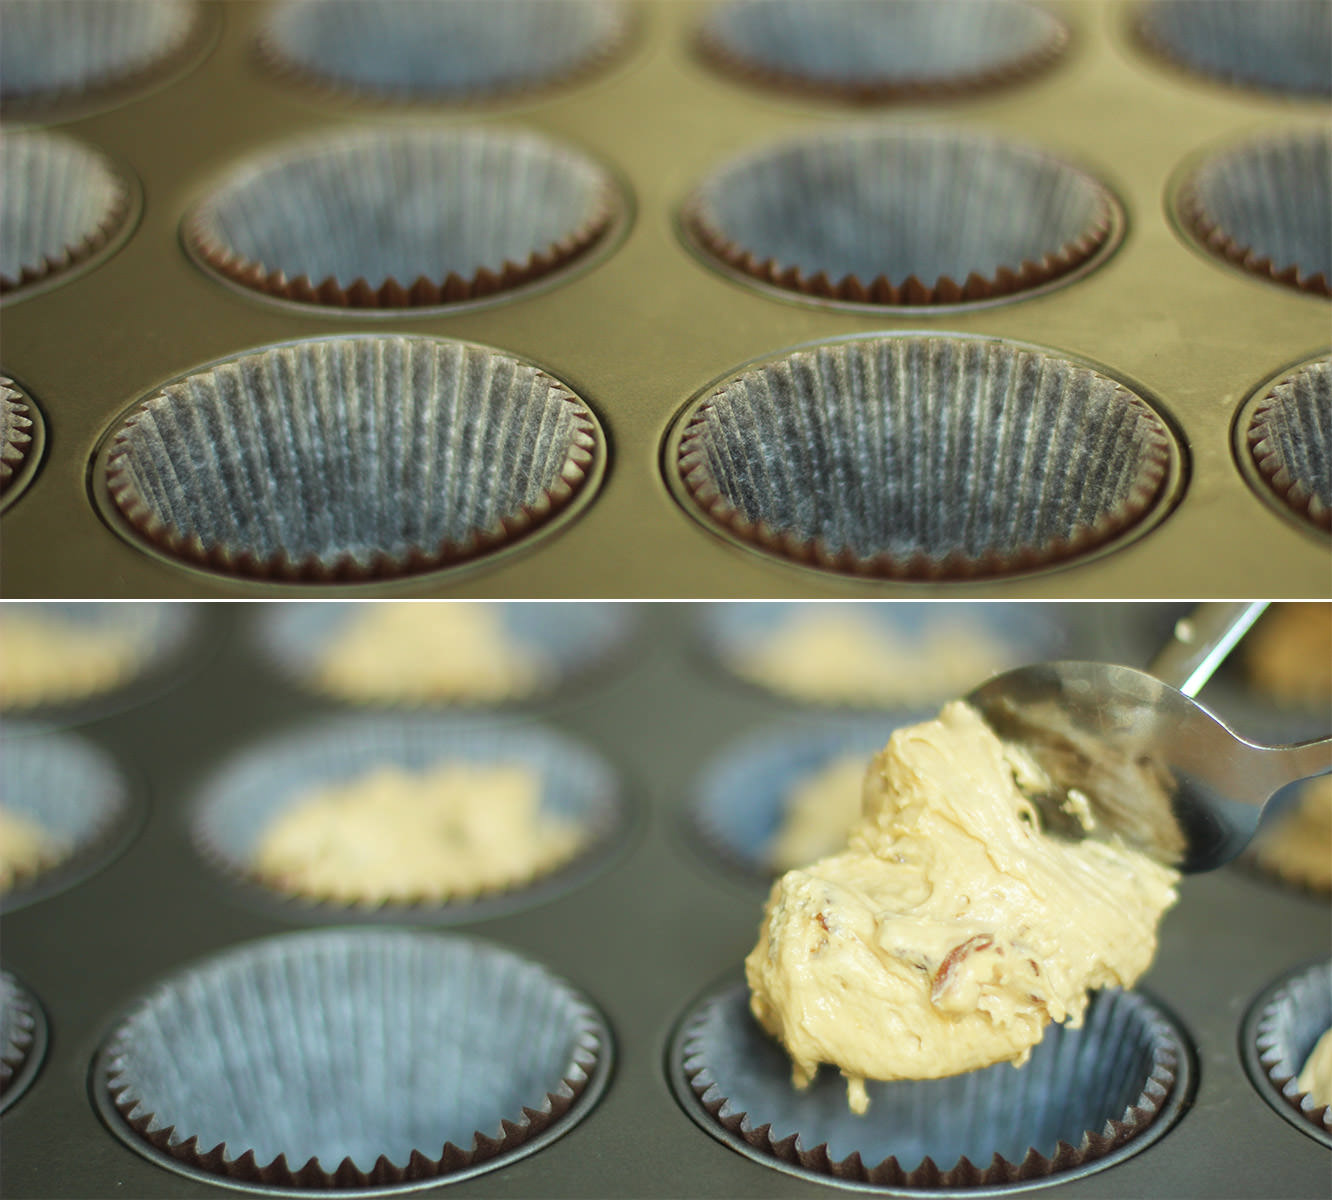
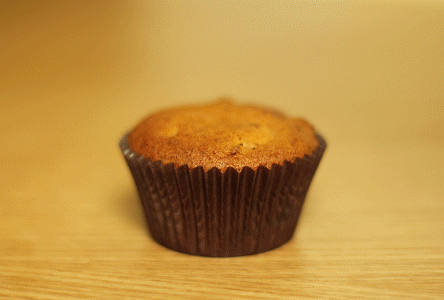
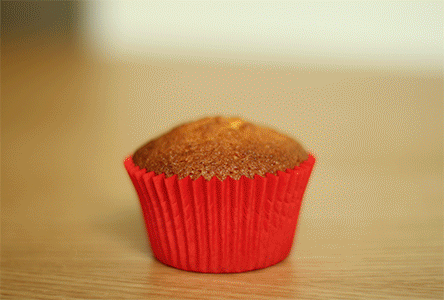
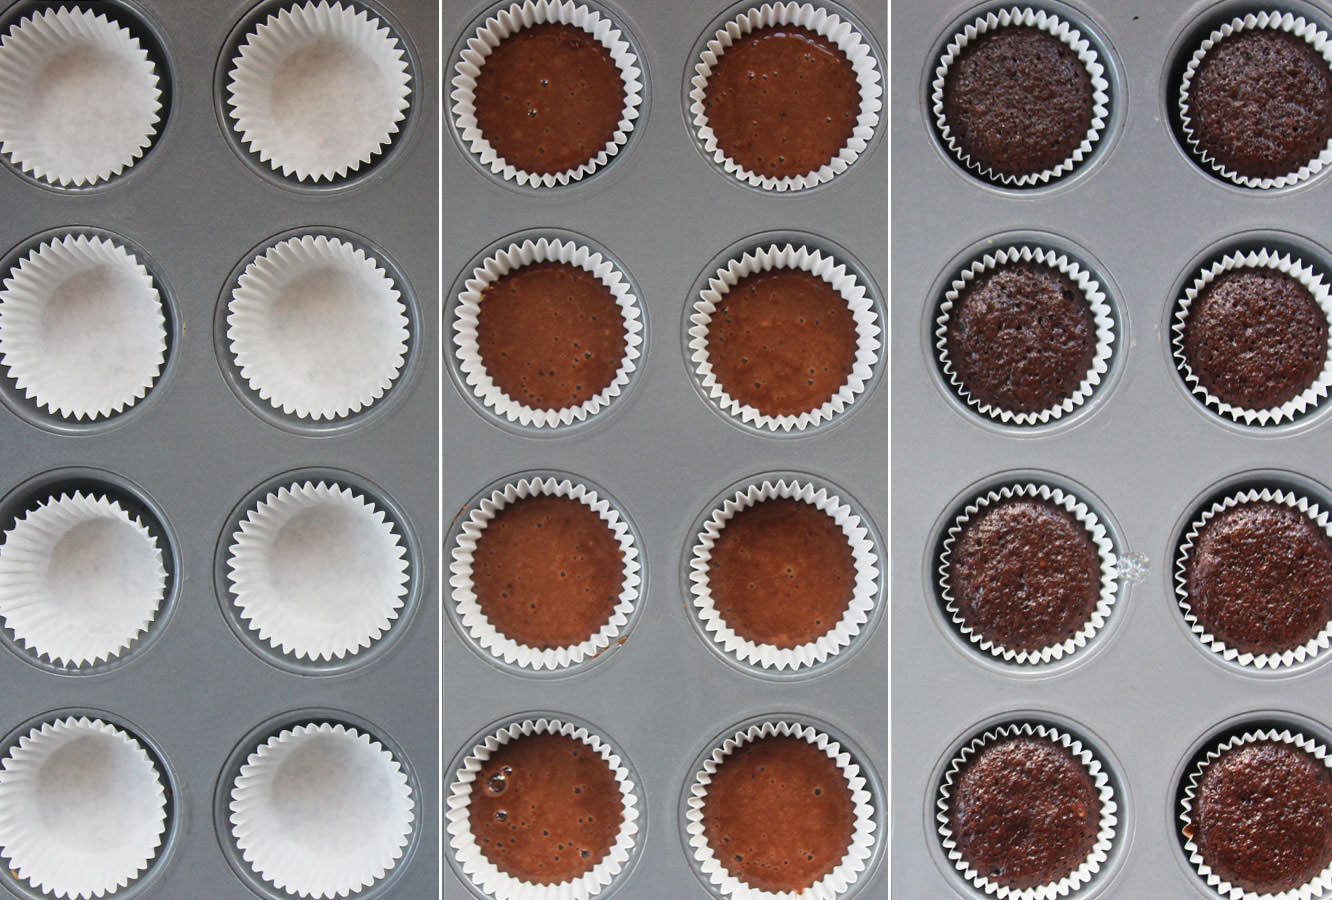
Spoon the mixture into cupcake cases. Two dessert spoons in each should do the trick.
Bake on gas mark 4/180C/350F for 20-25 minutes. I overdid mine a bit so perhaps closer to the 20 minute end is better.
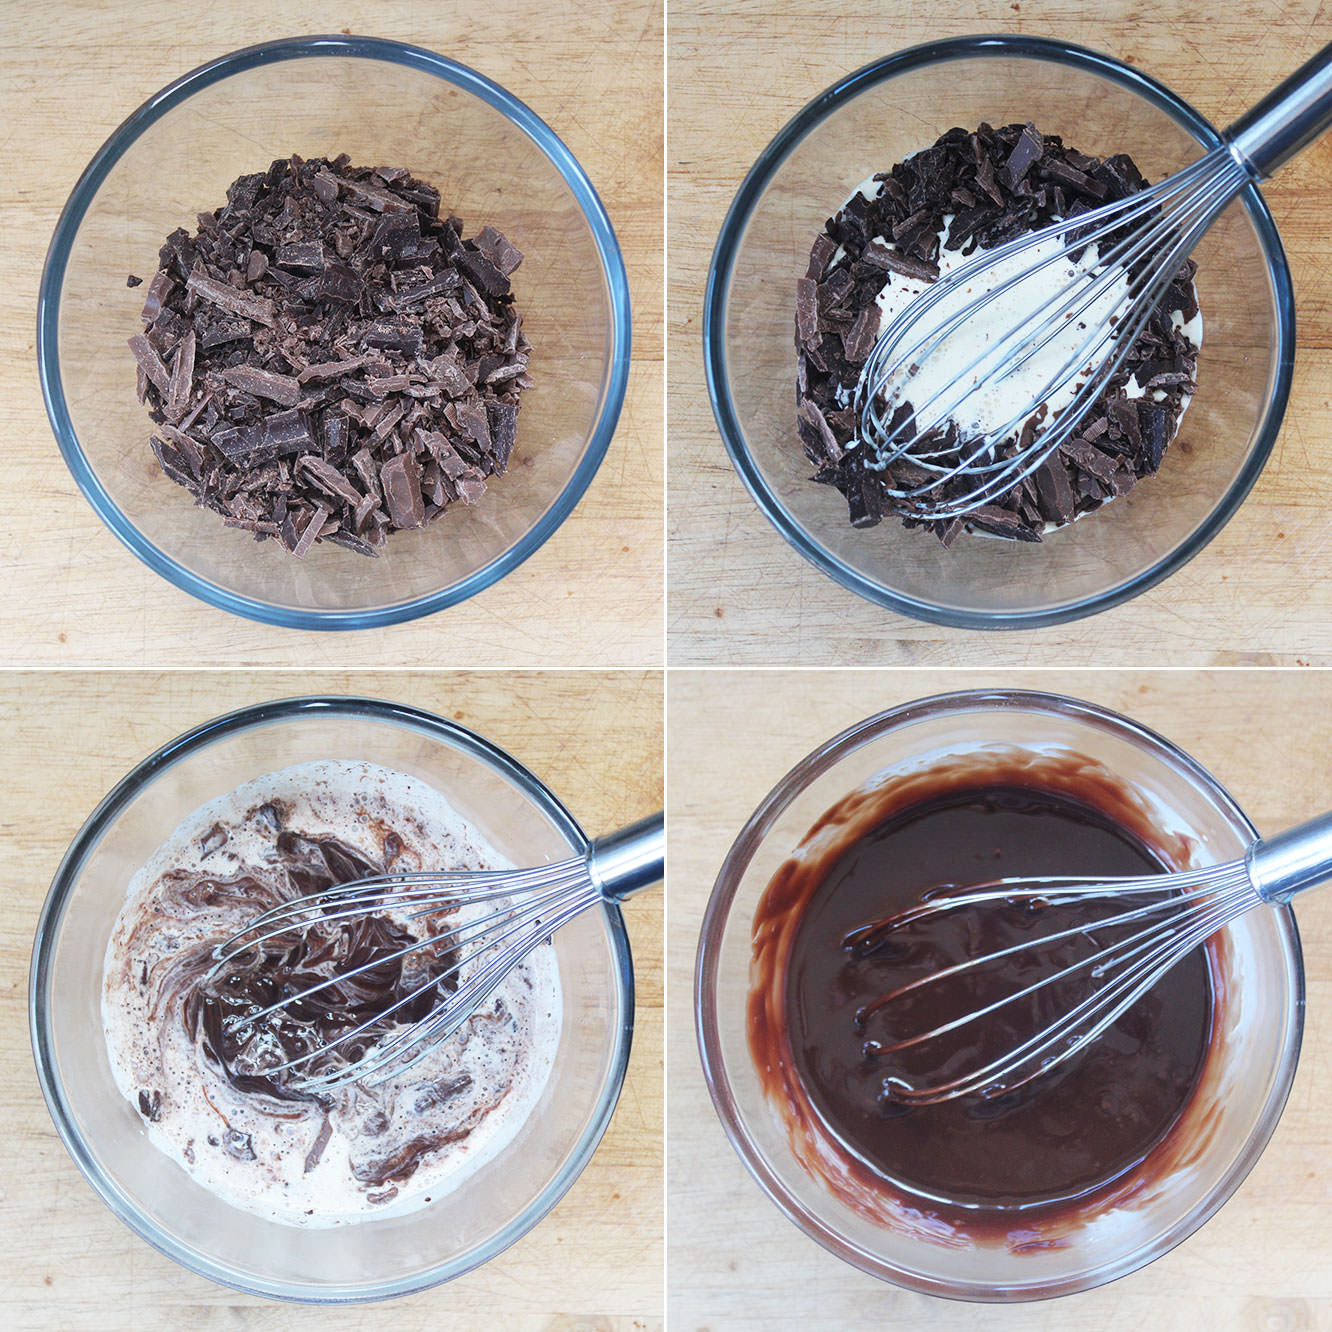
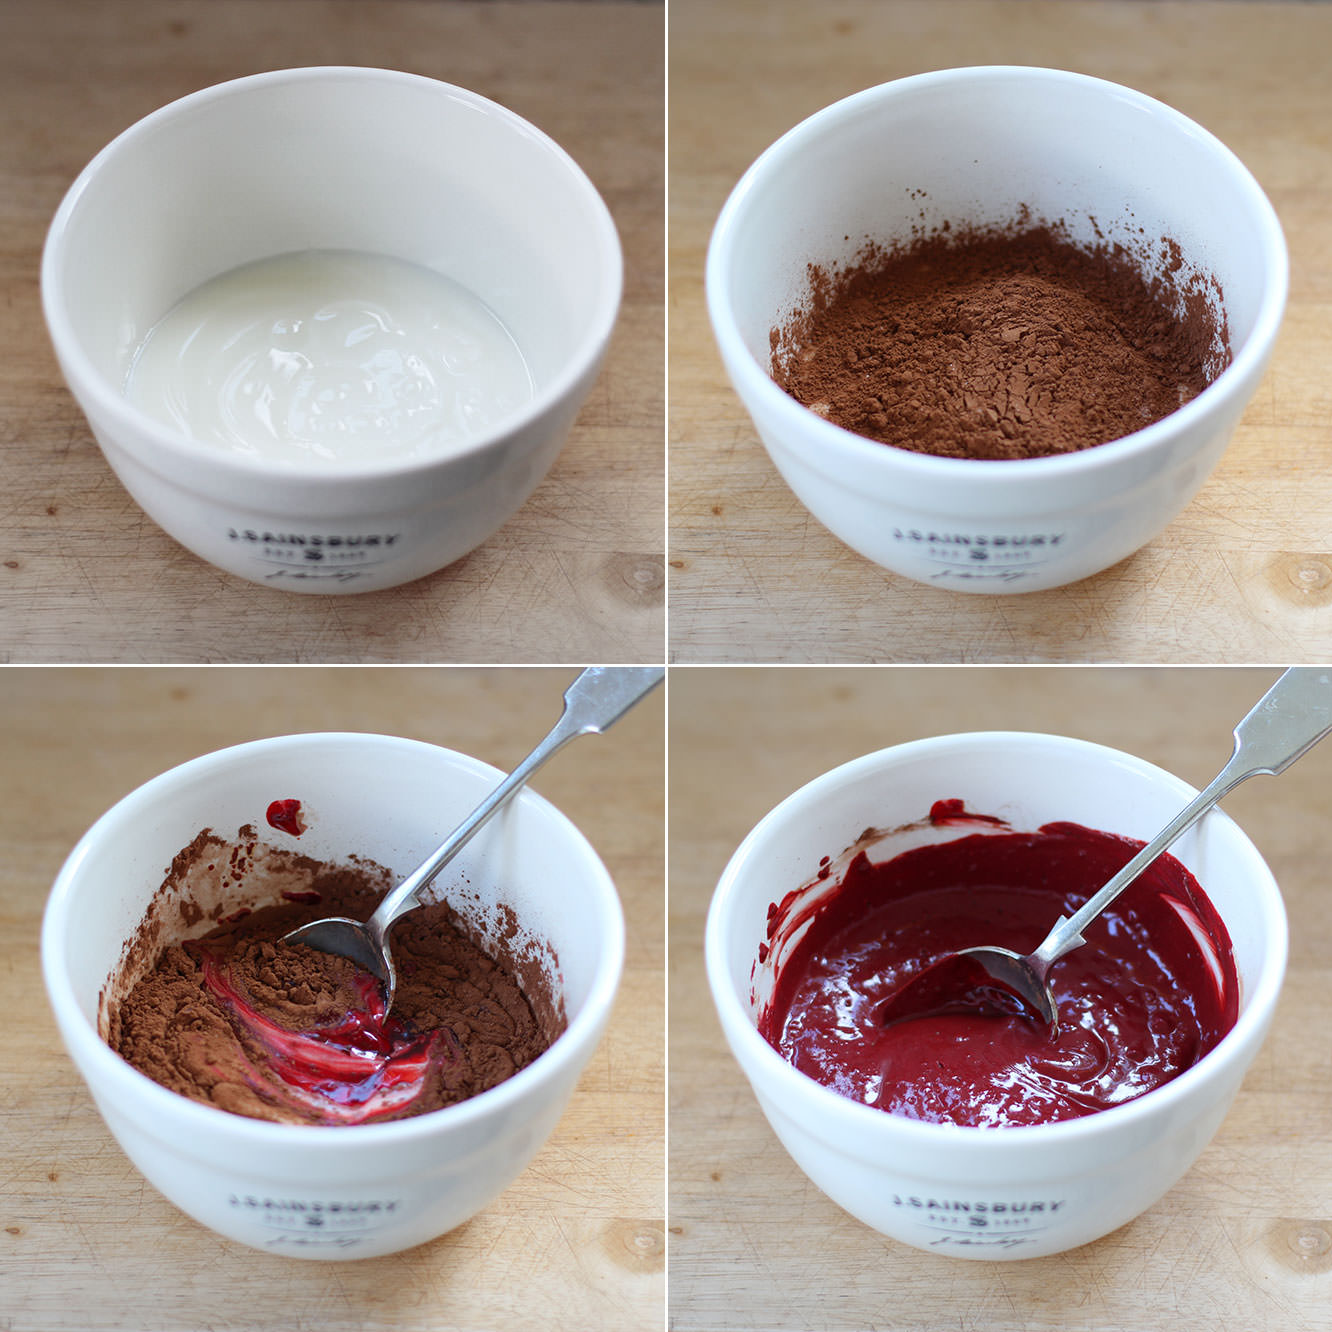
Step five
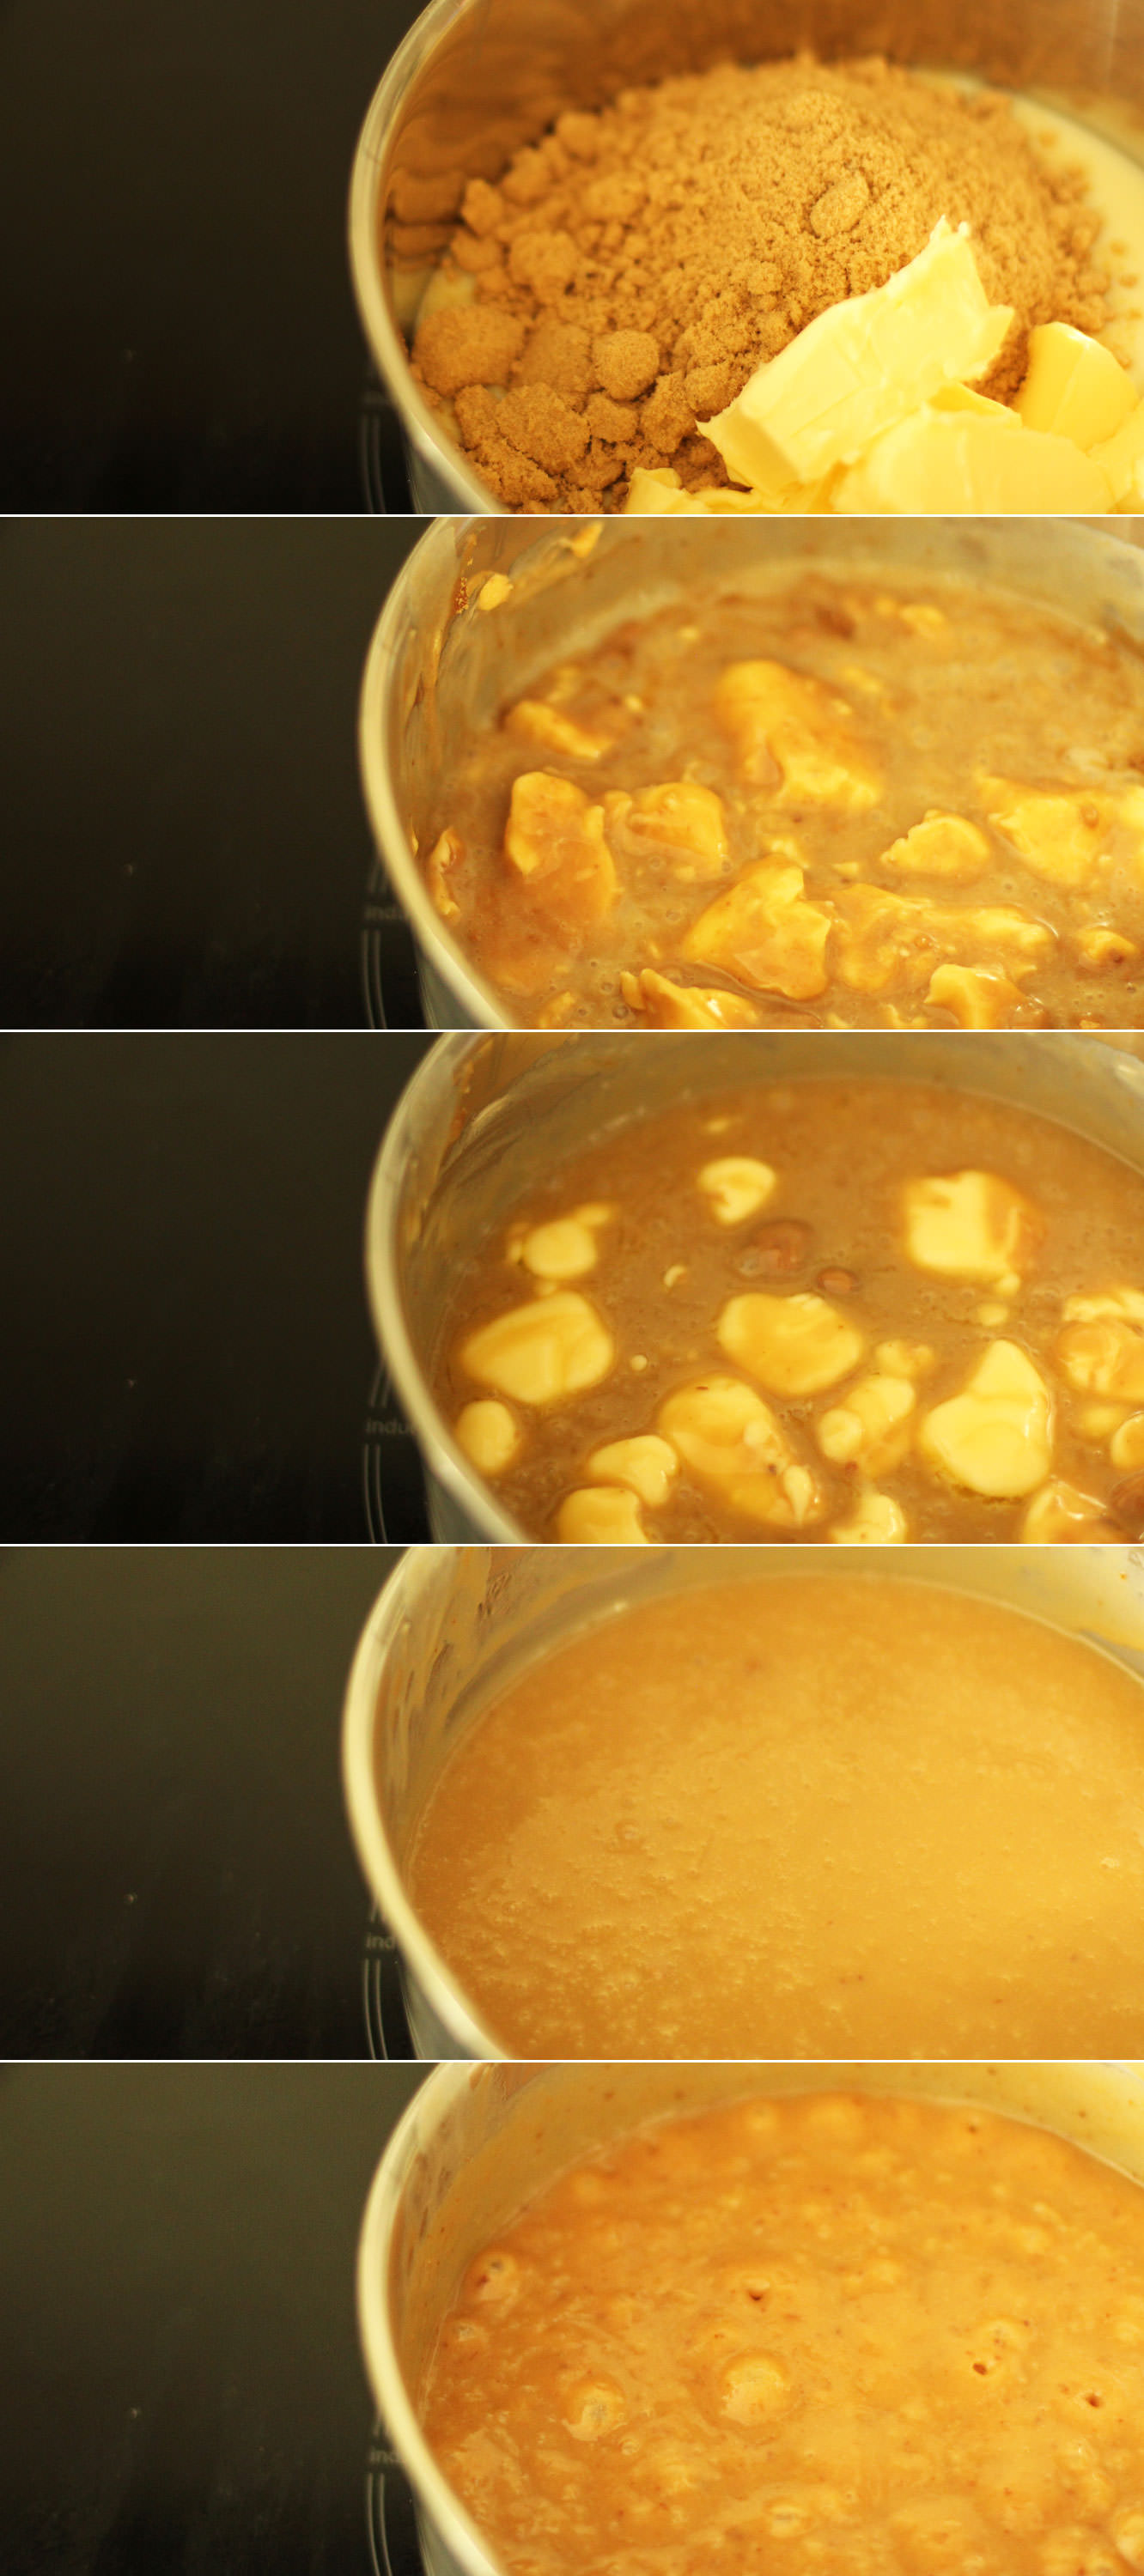
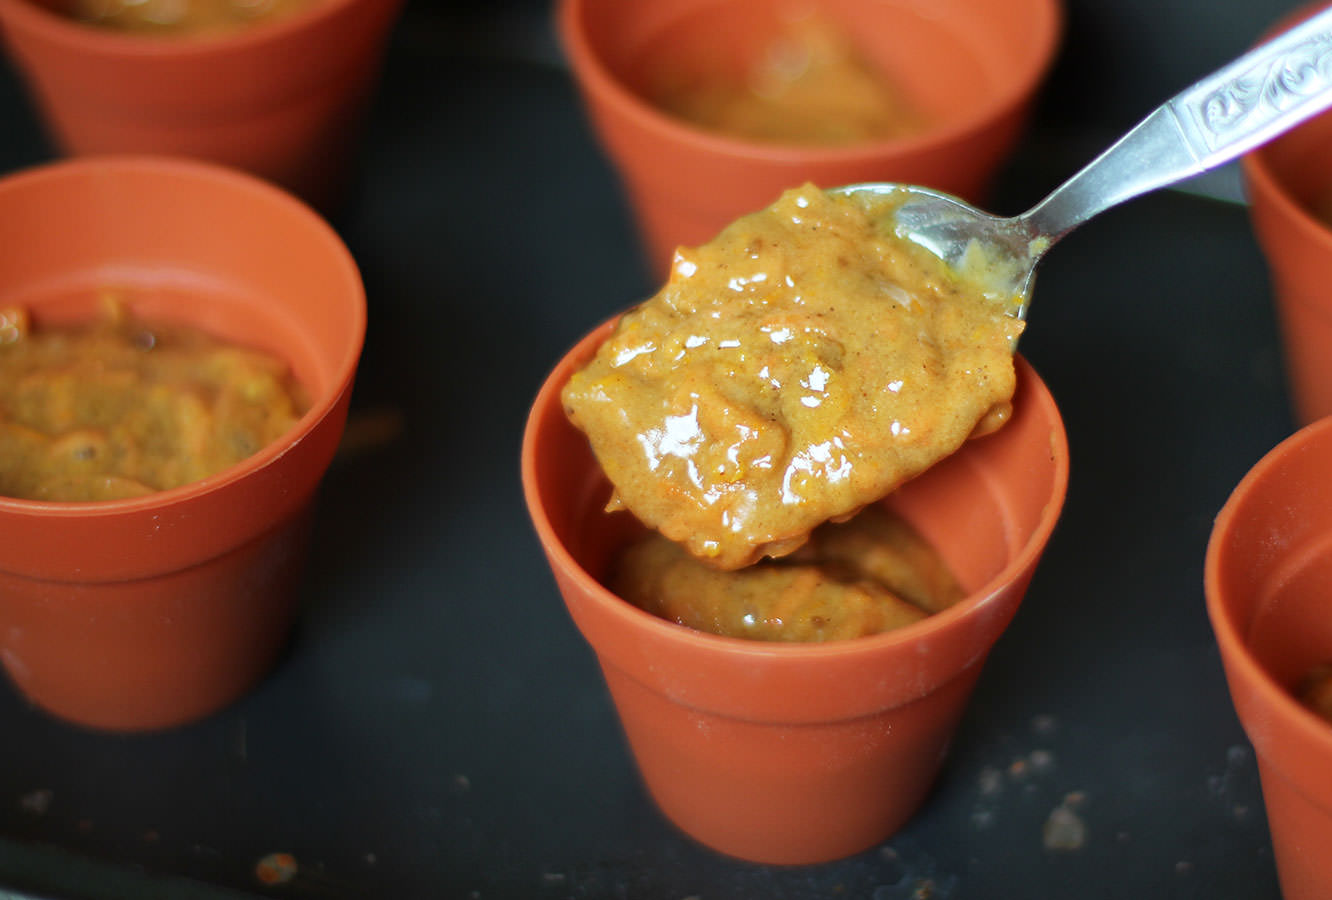
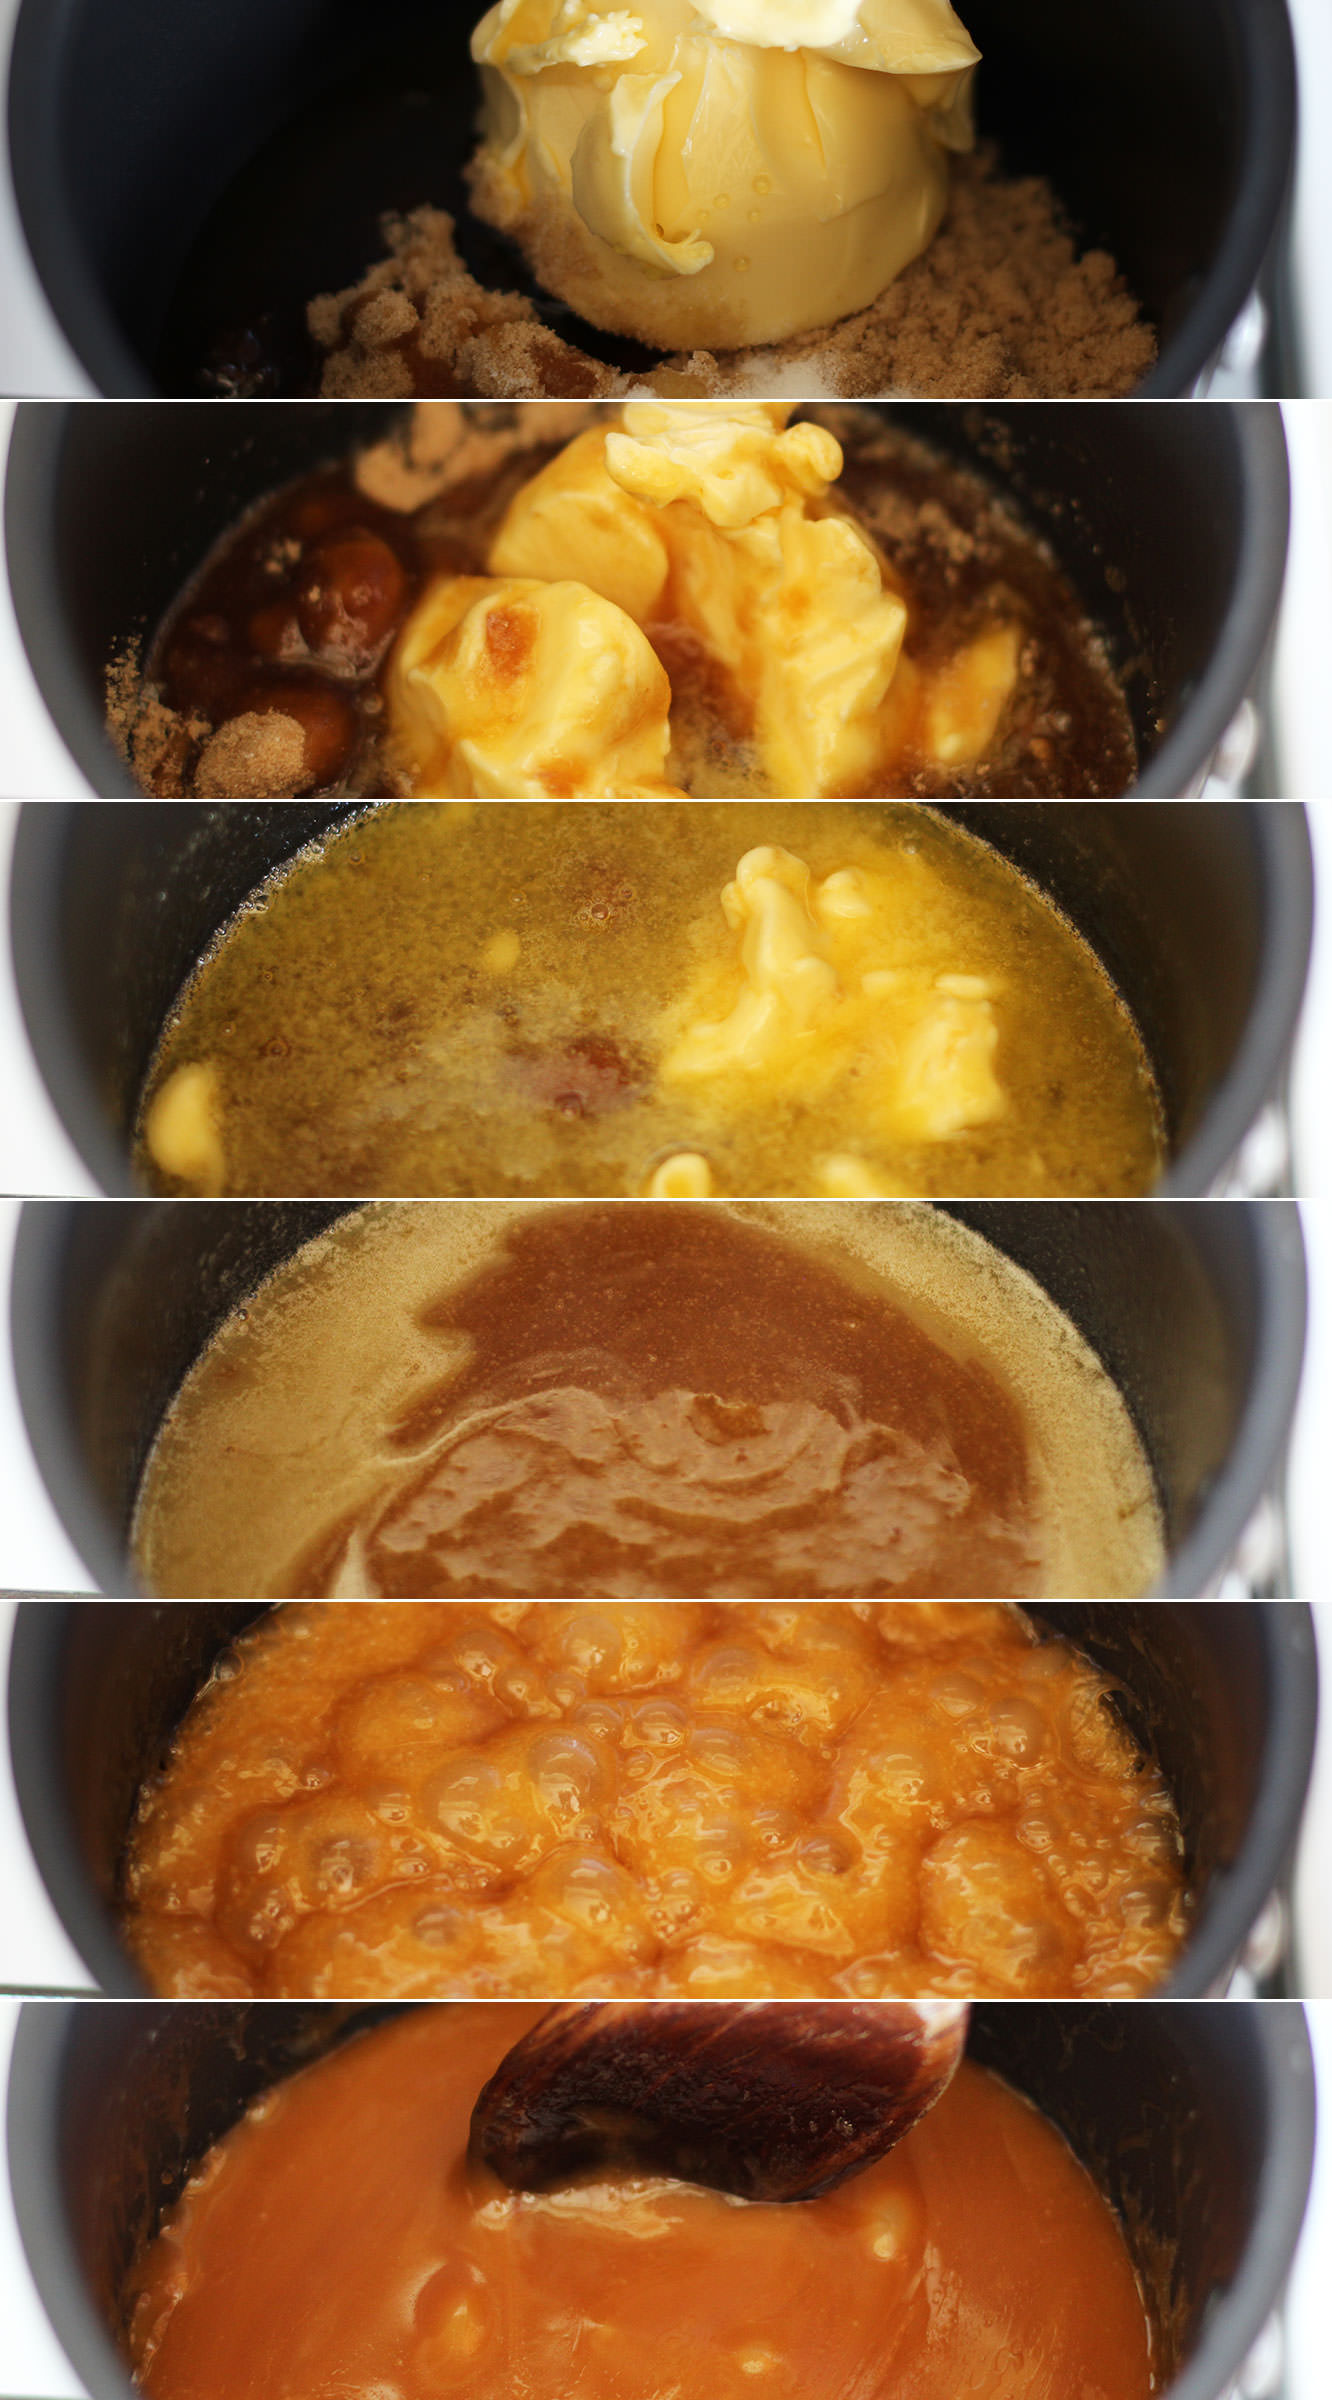
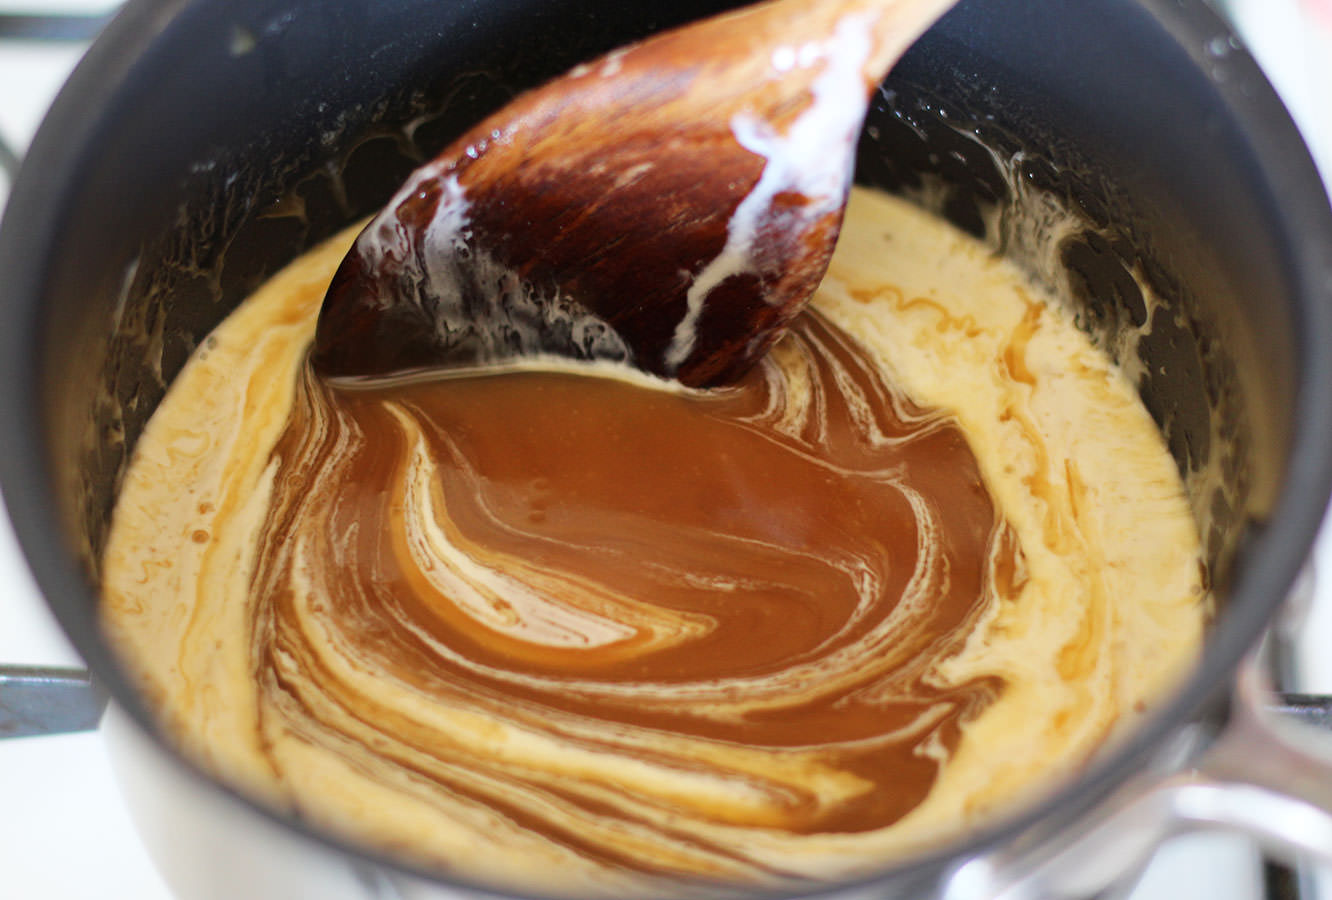
Place all of the filling ingredients into a saucepan and put on a low-medium heat until all are melted.
Turn the heat up until the mix reaches a gentle boil. Cook for 5-10 minutes, stirring constantly.
Remove from heat, pour into a heatproof bowl and leave to cool, you can pop in in the fridge after about half an hour to speed up the process.
Step six
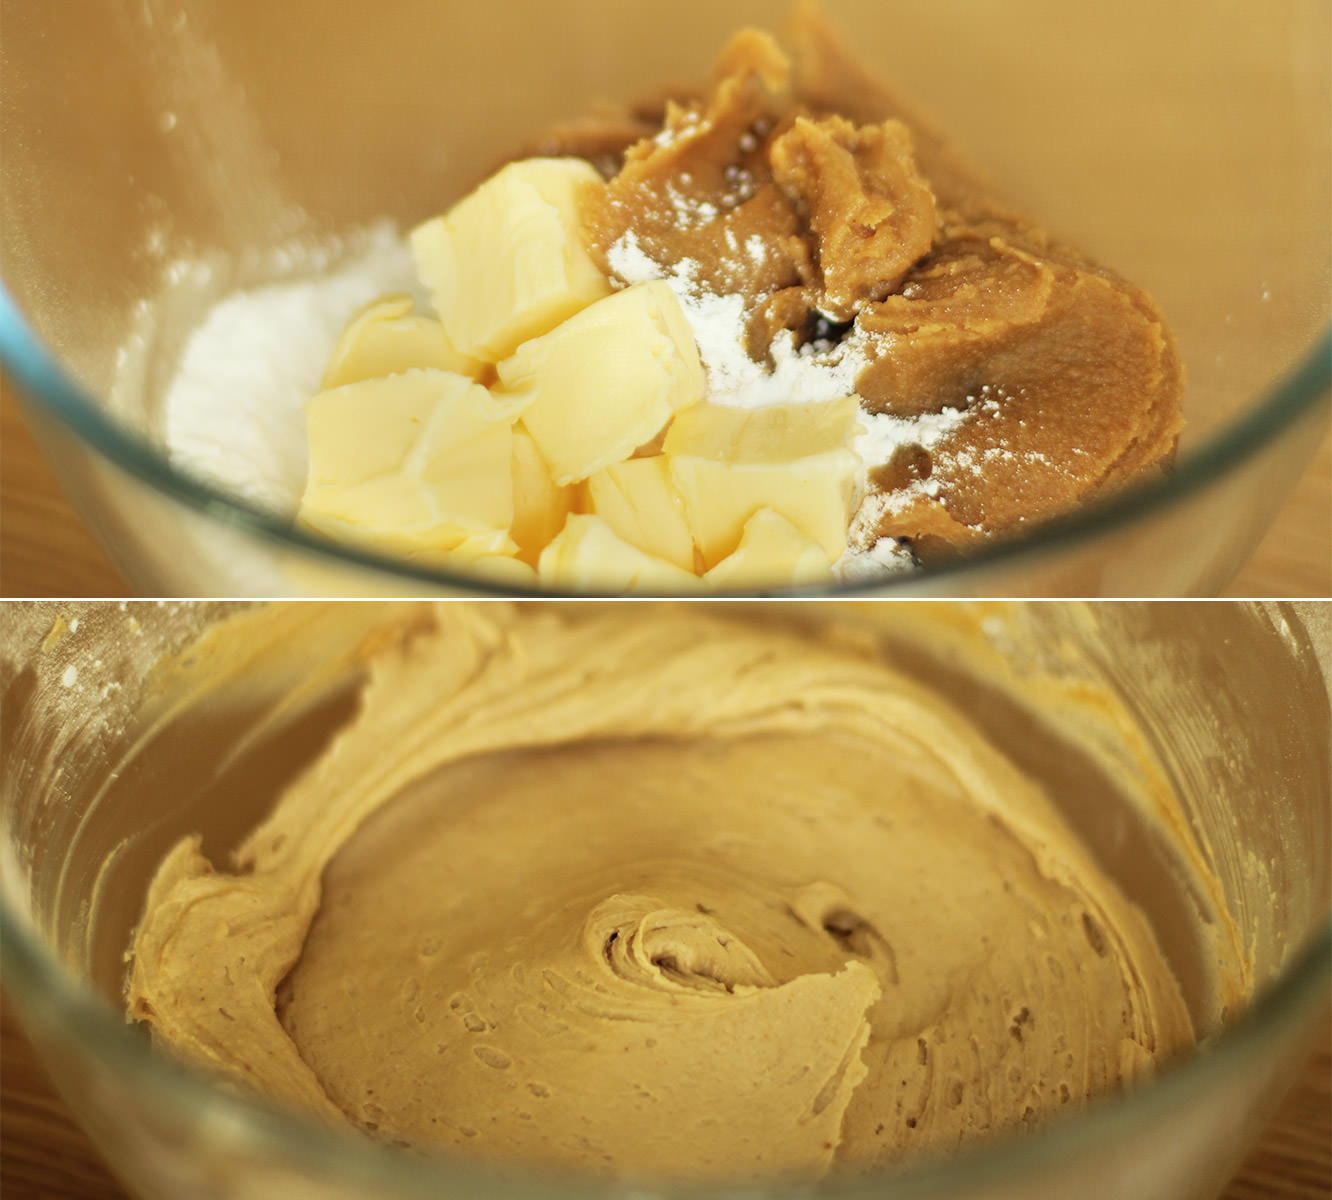
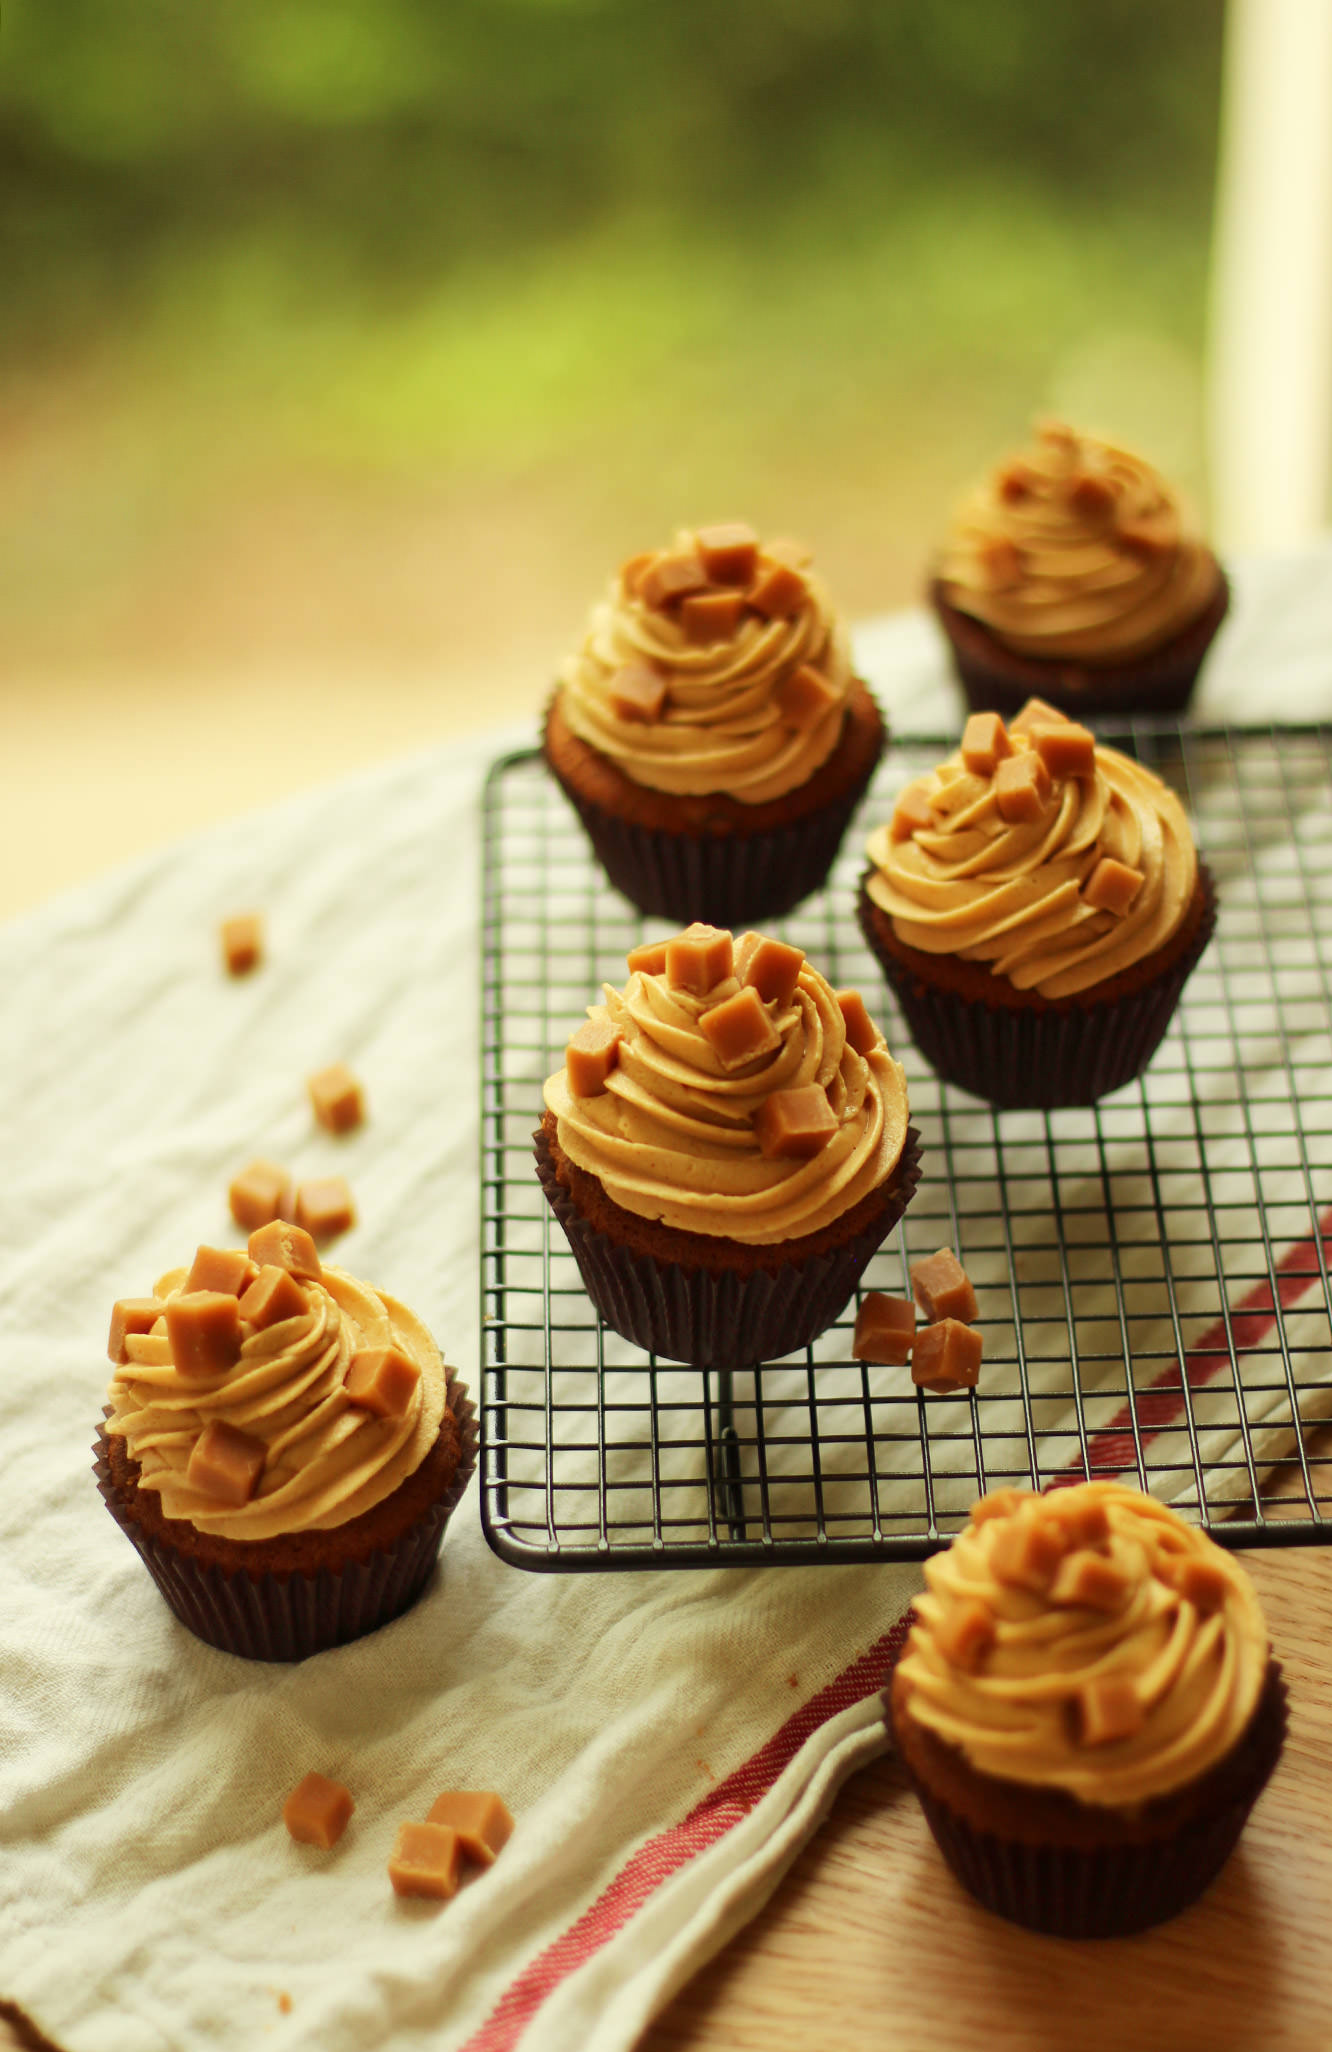
For the toffee frosting add 400g of the toffee mix to 100g of butter and 100g of icing sugar. The butter and toffee should be at room temperature.
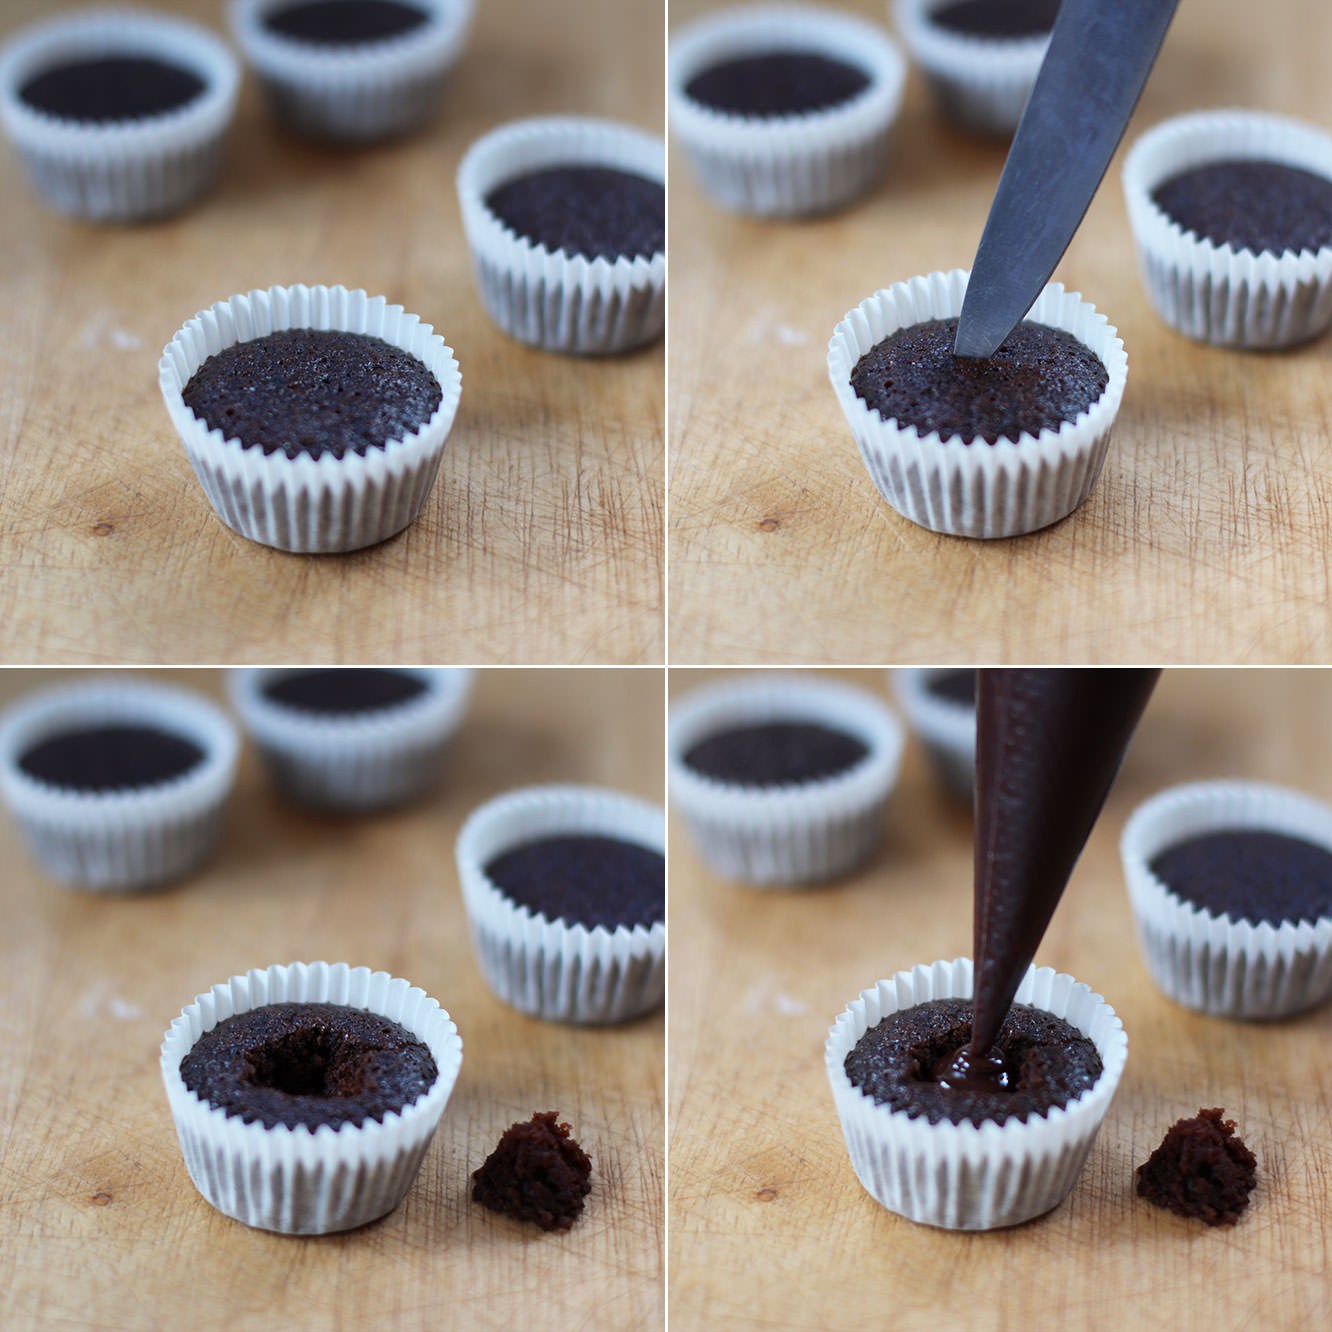
Step seven
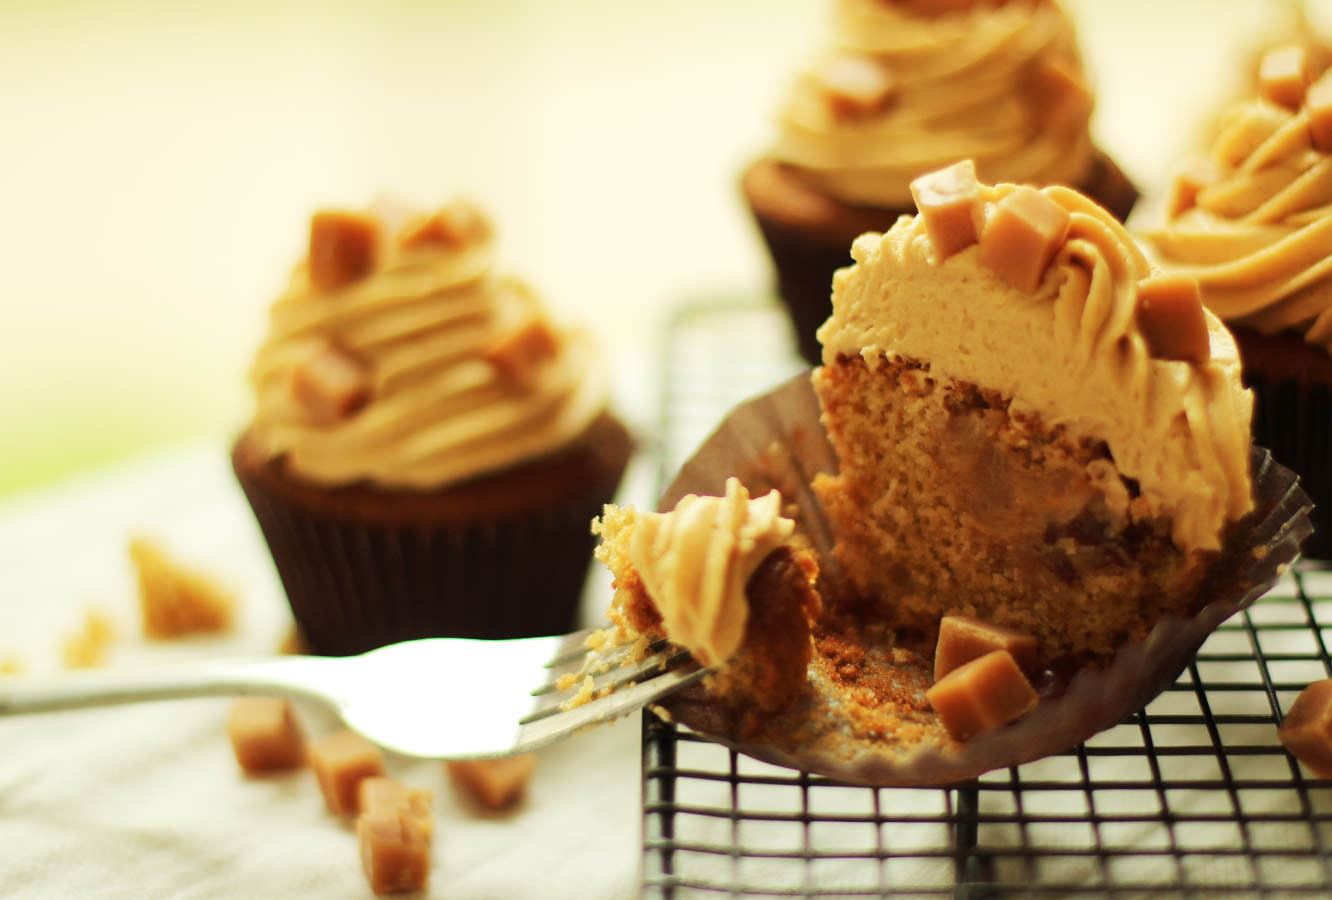
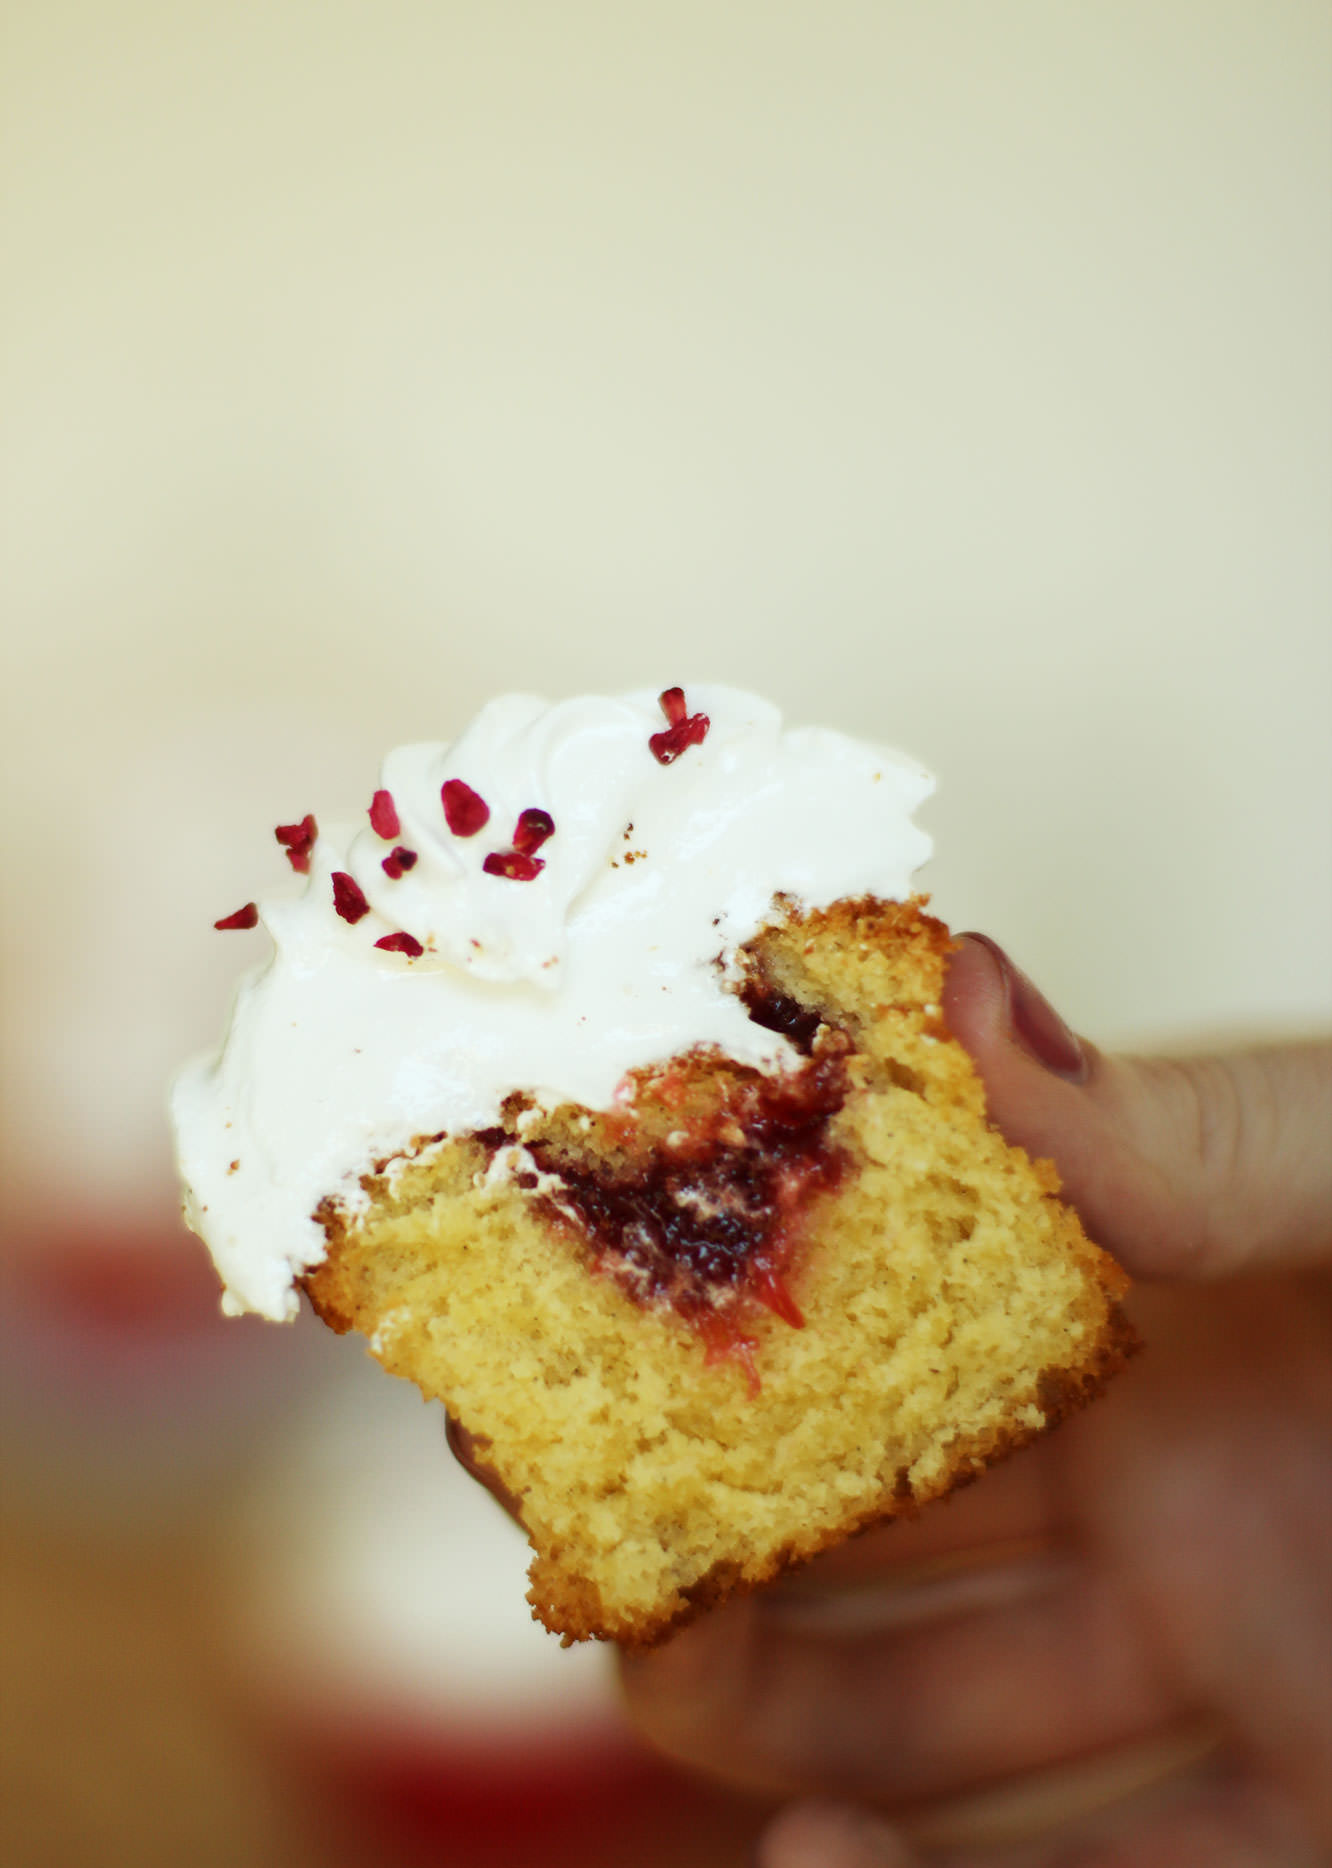
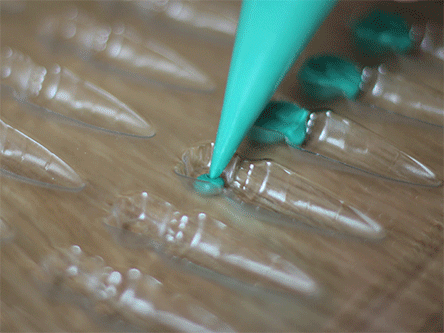
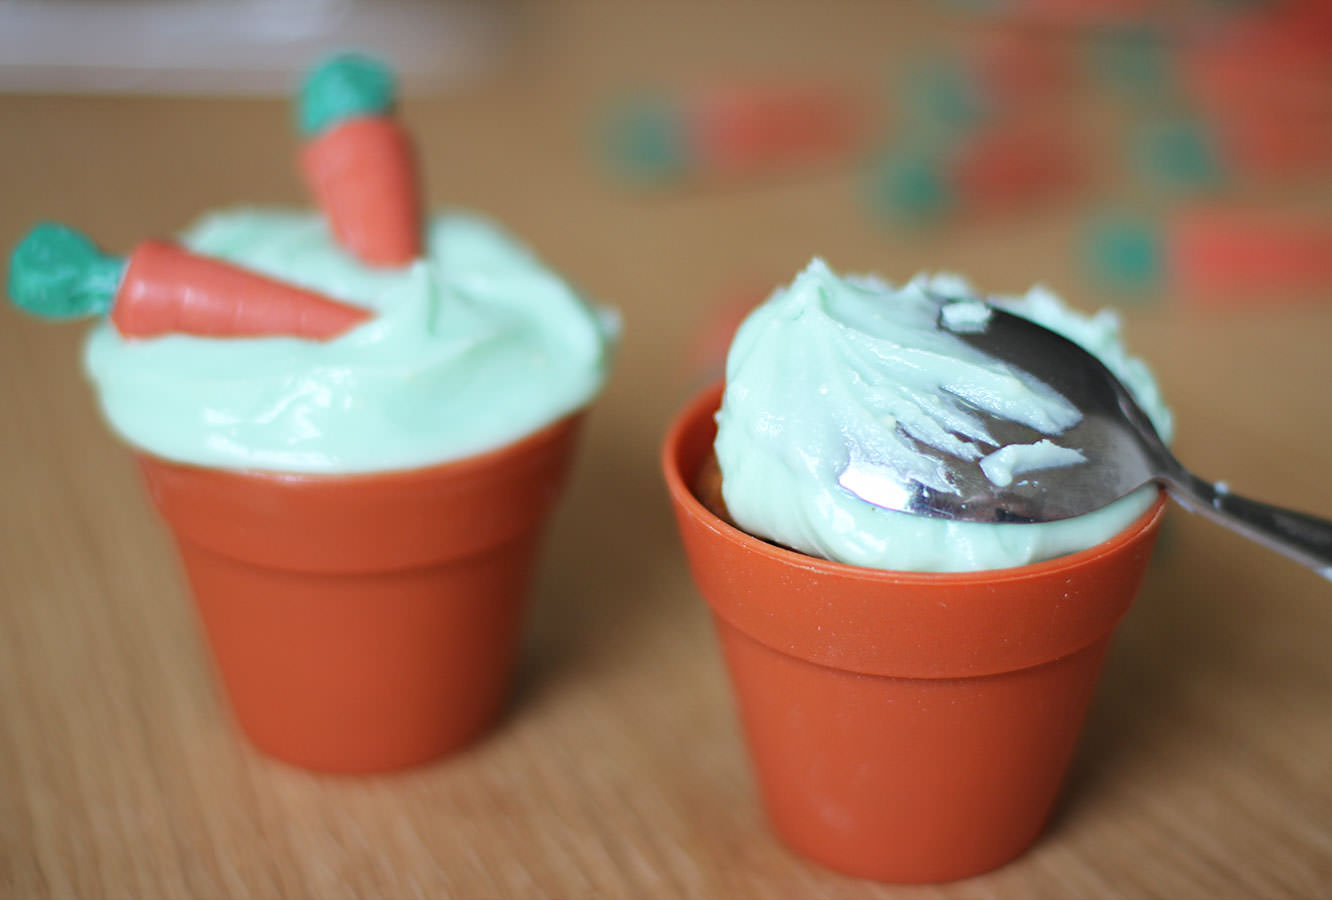
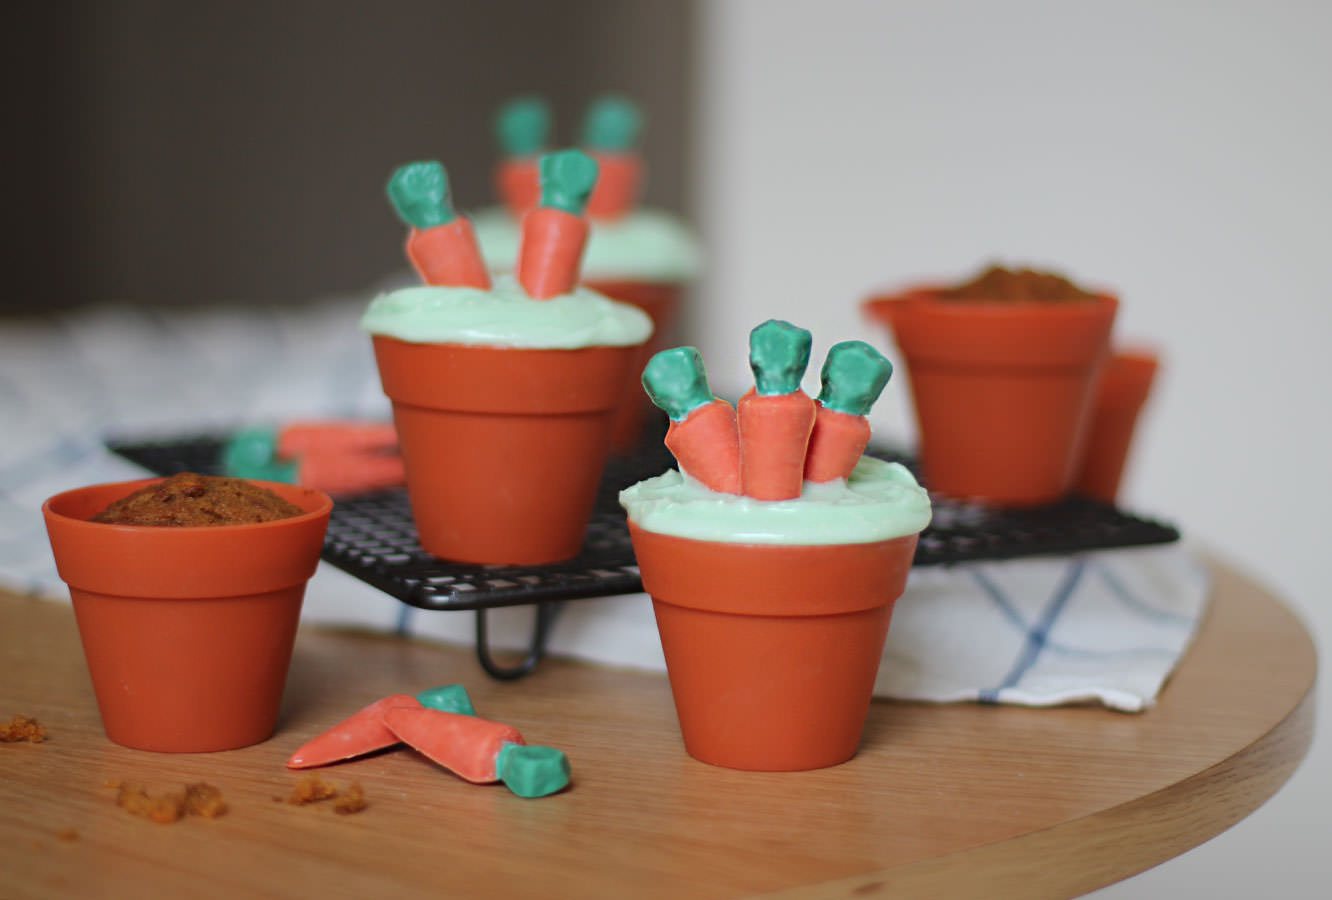
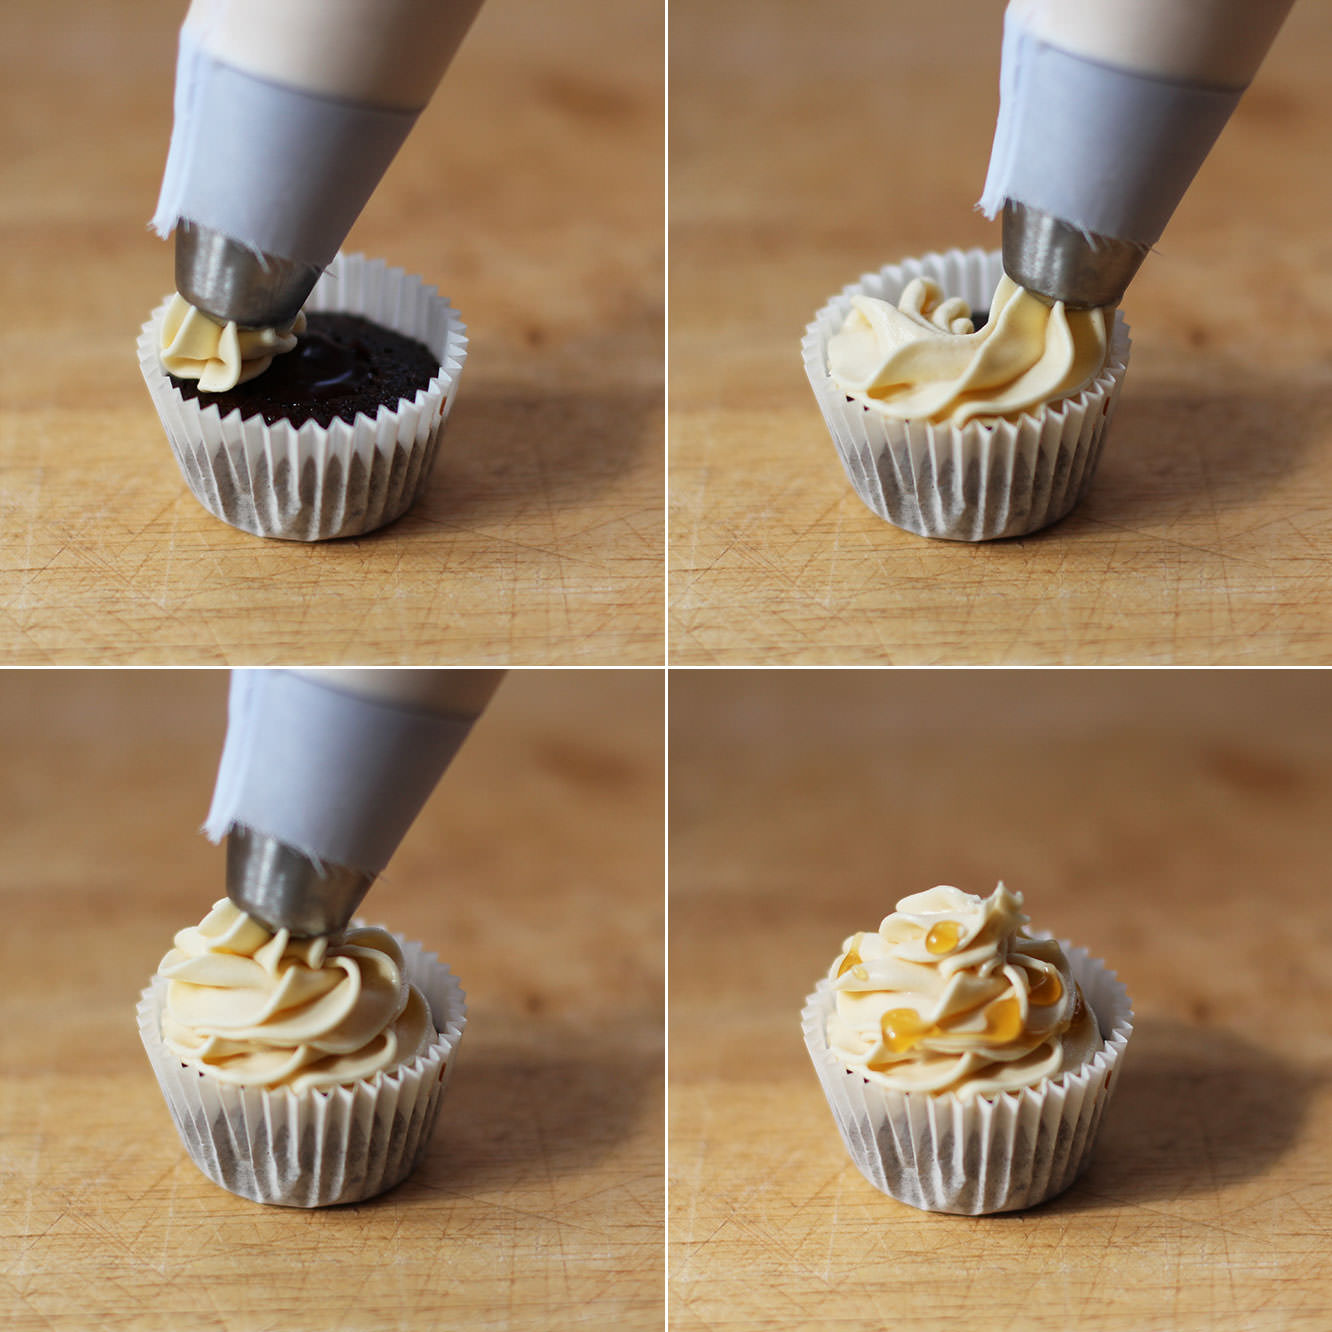
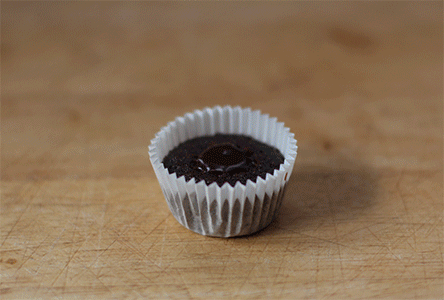
Cut a hole in the middle of the cupcakes and remove the sponge bit, keeping the top. Fill with the remaining toffee and replace the cake lid. Pipe on the frosting and sprinkle with dairy fudge pieces. You can buy these in the home baking section but I prefer to buy the big bags of individually wrapped ones and chop them into smaller pieces myself. You get WAY more for your money that way.


 Step one
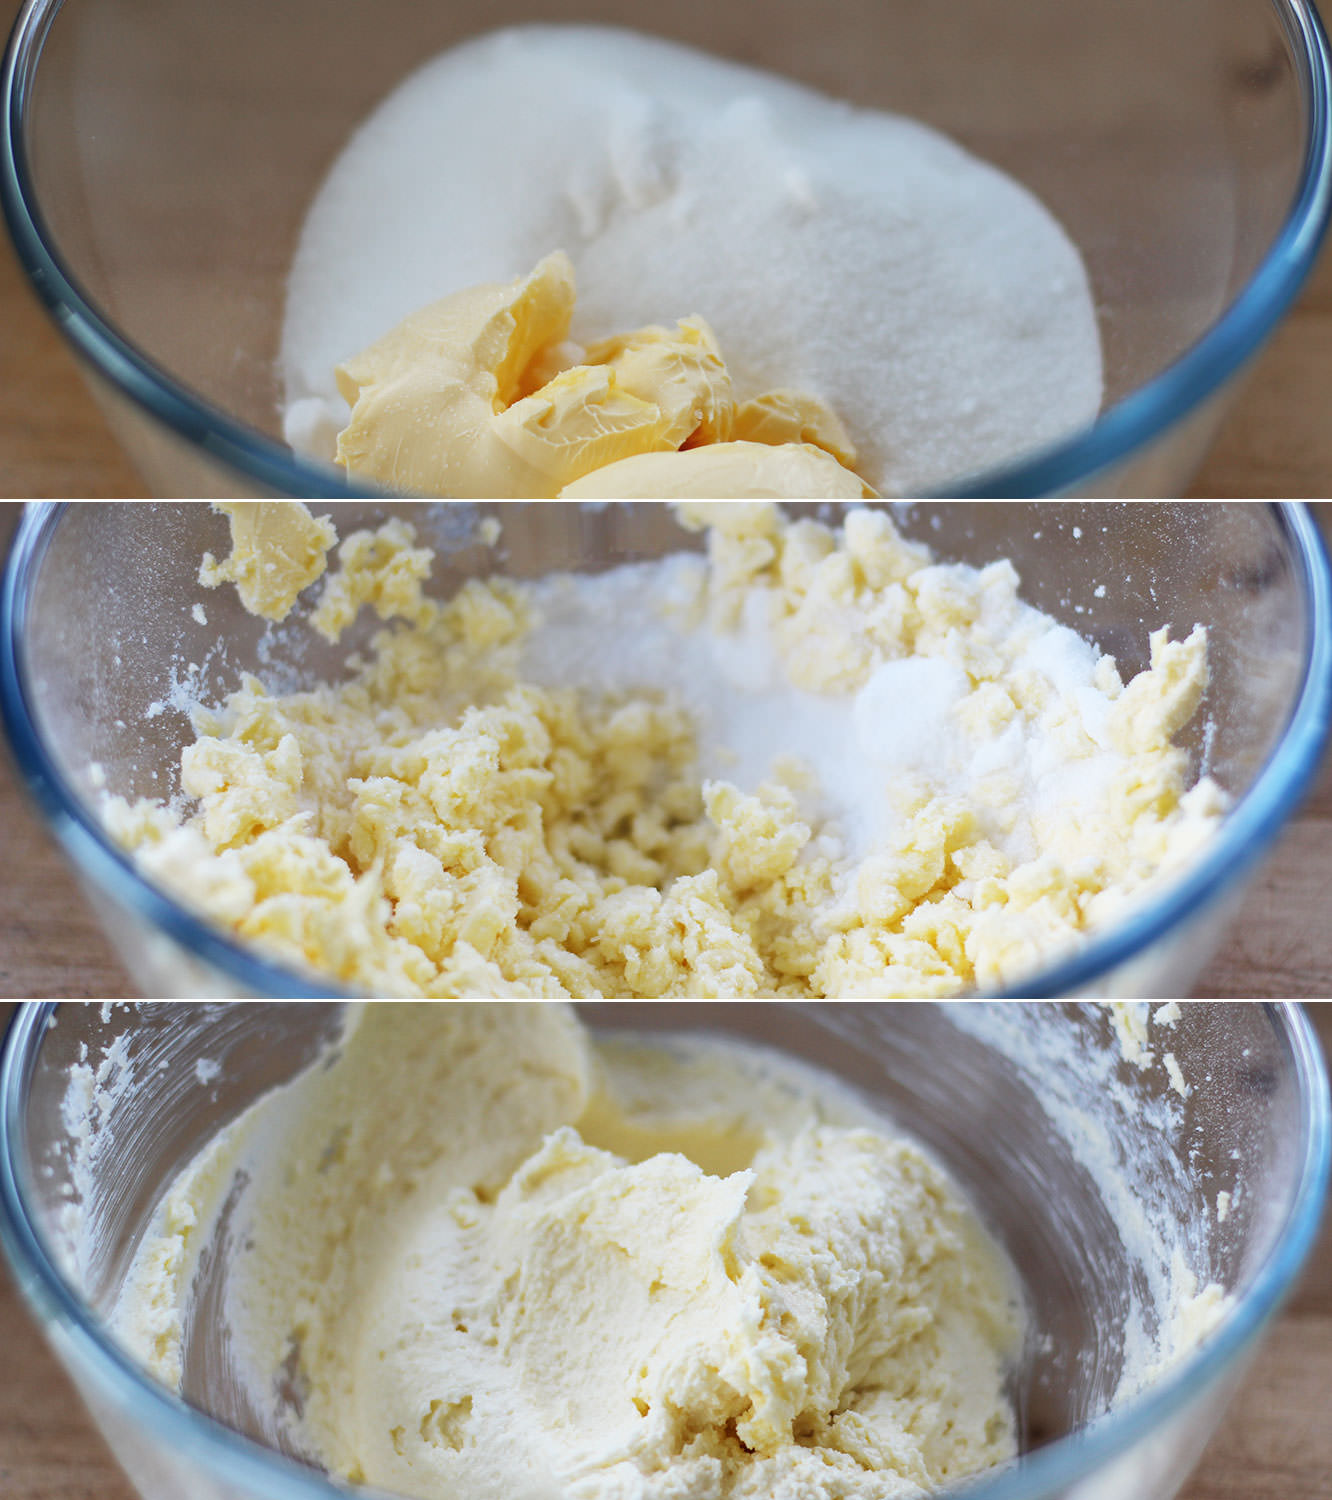 Step two
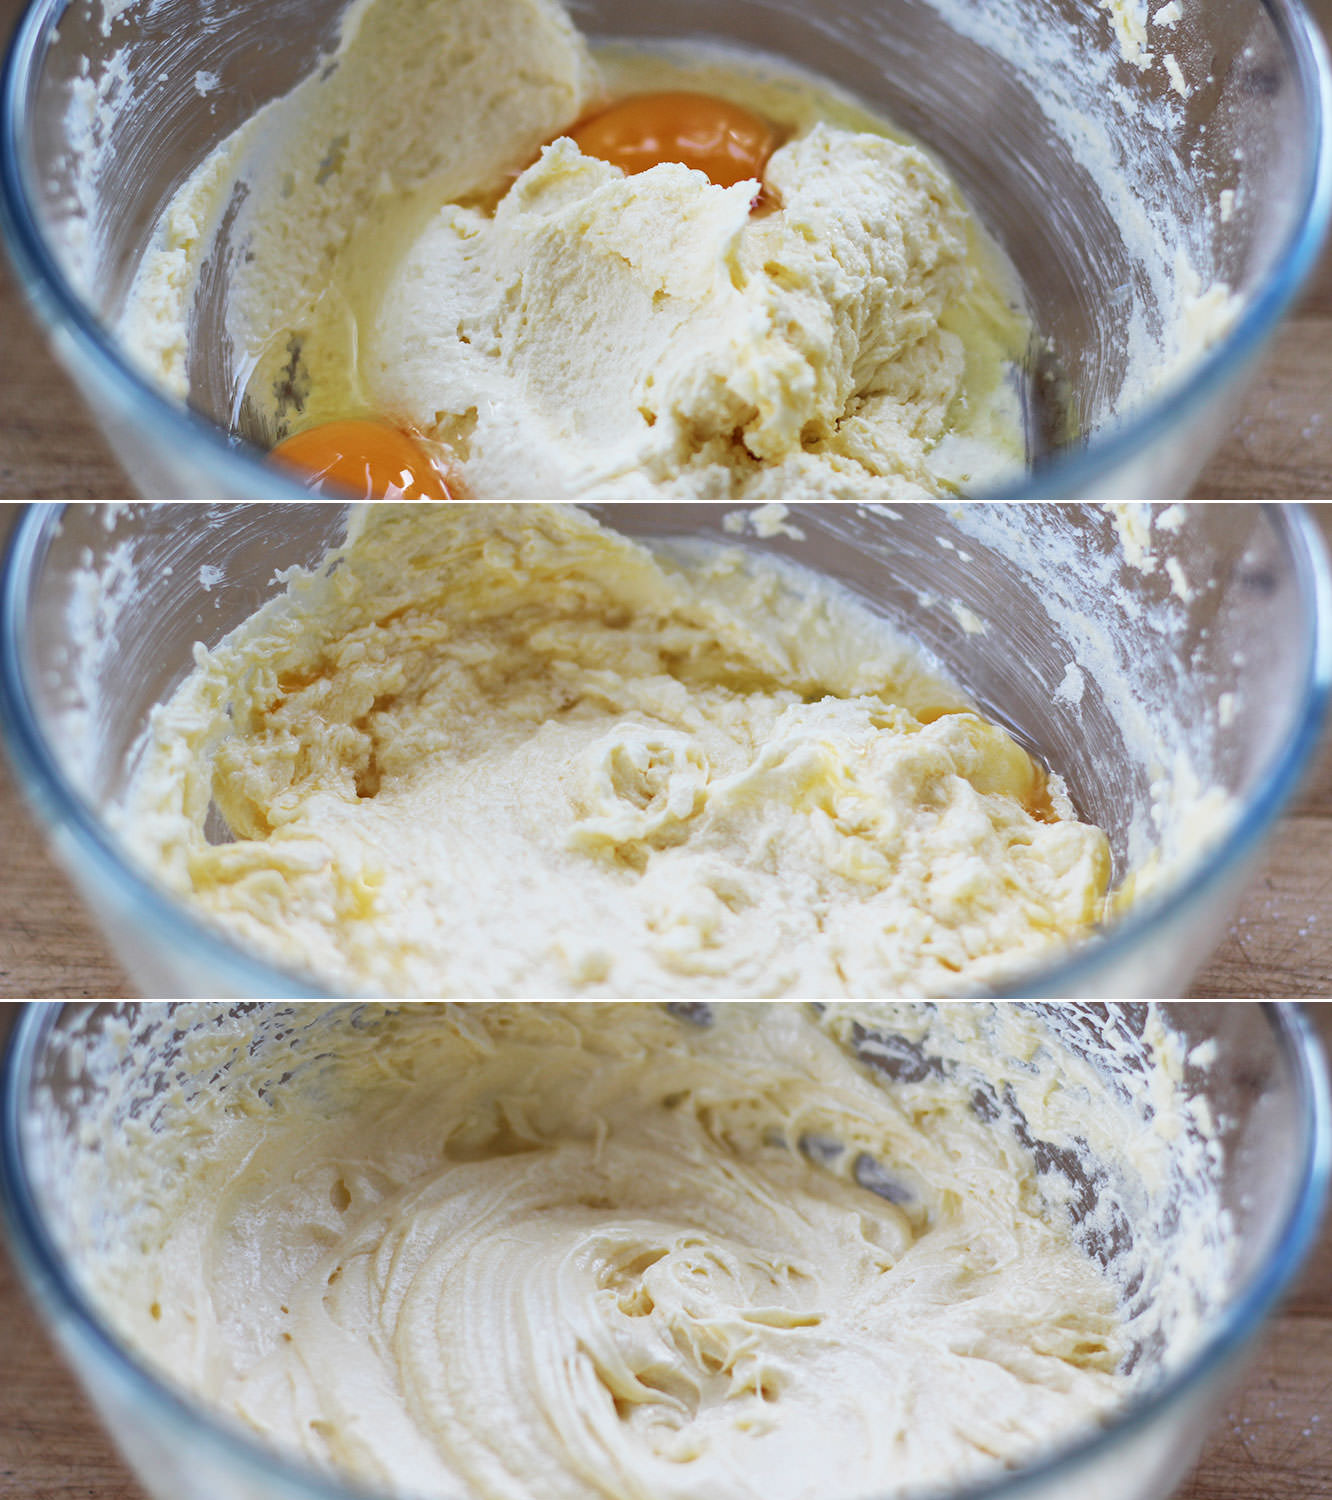 Step two
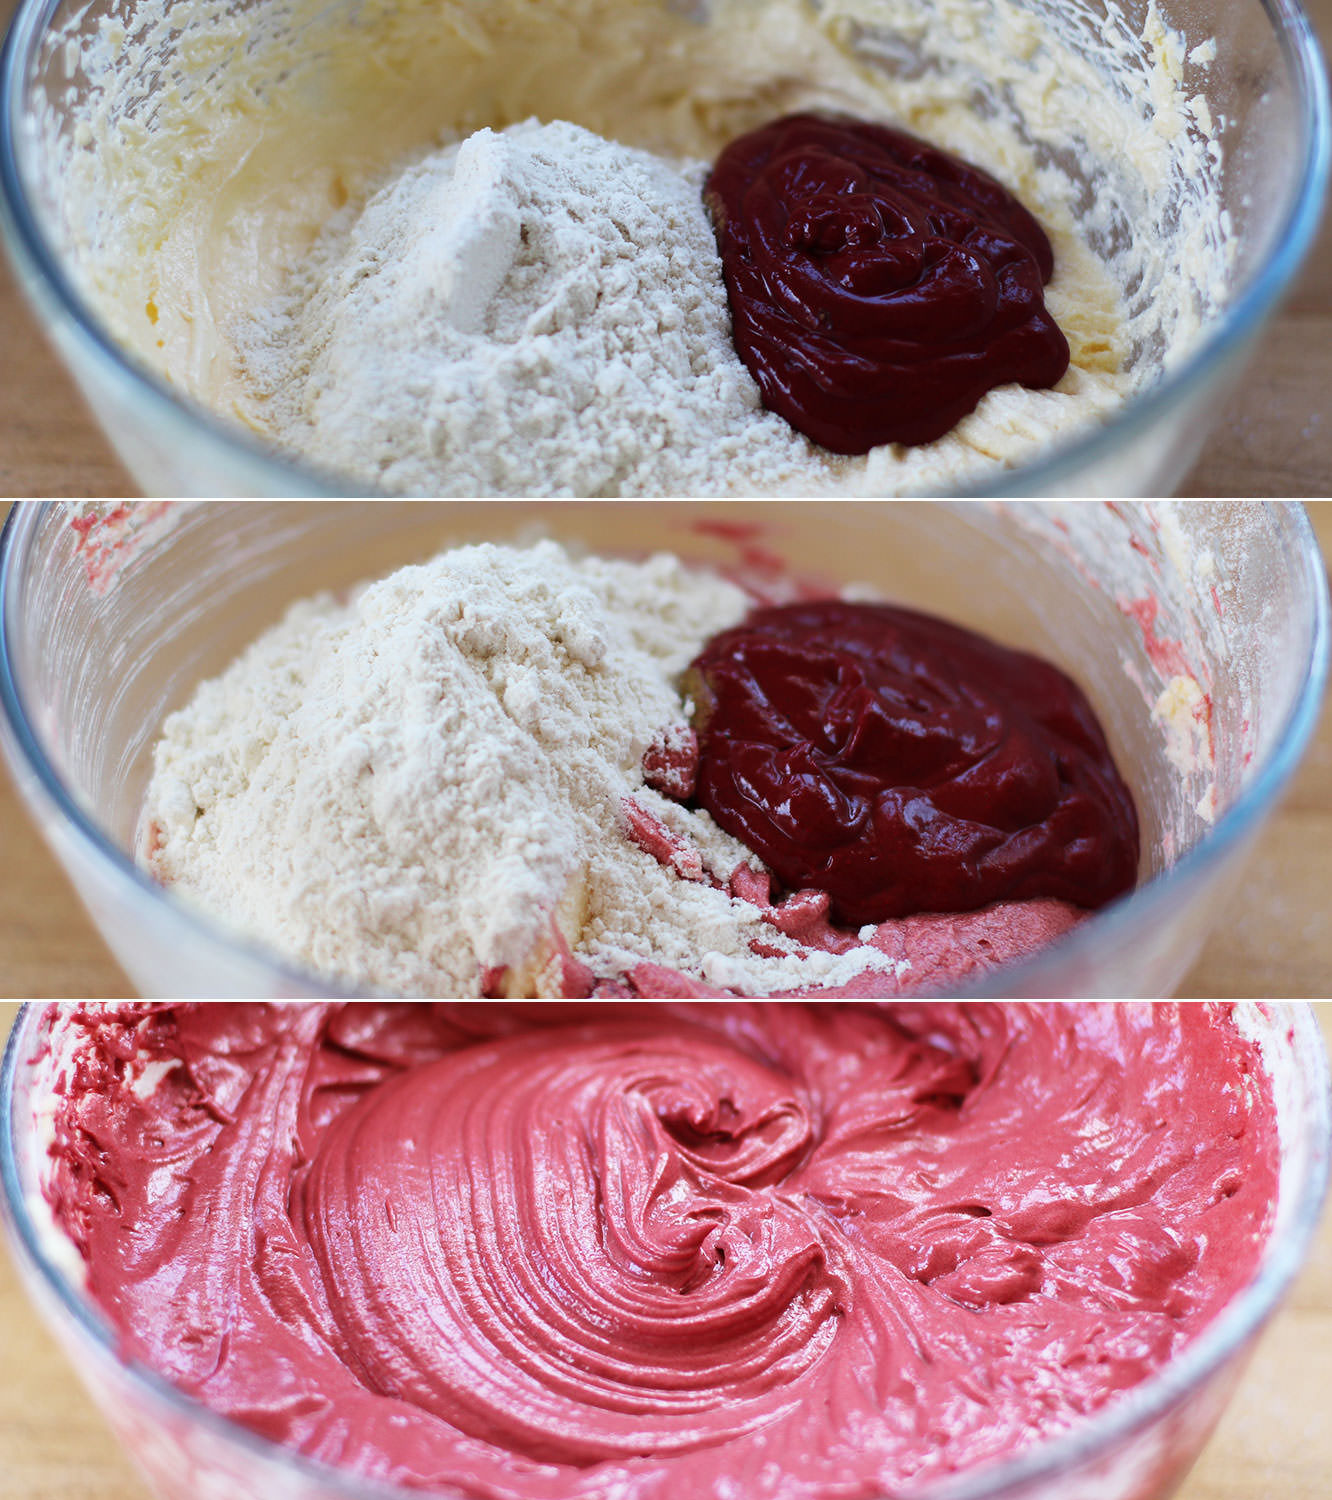 Step three
 Step four
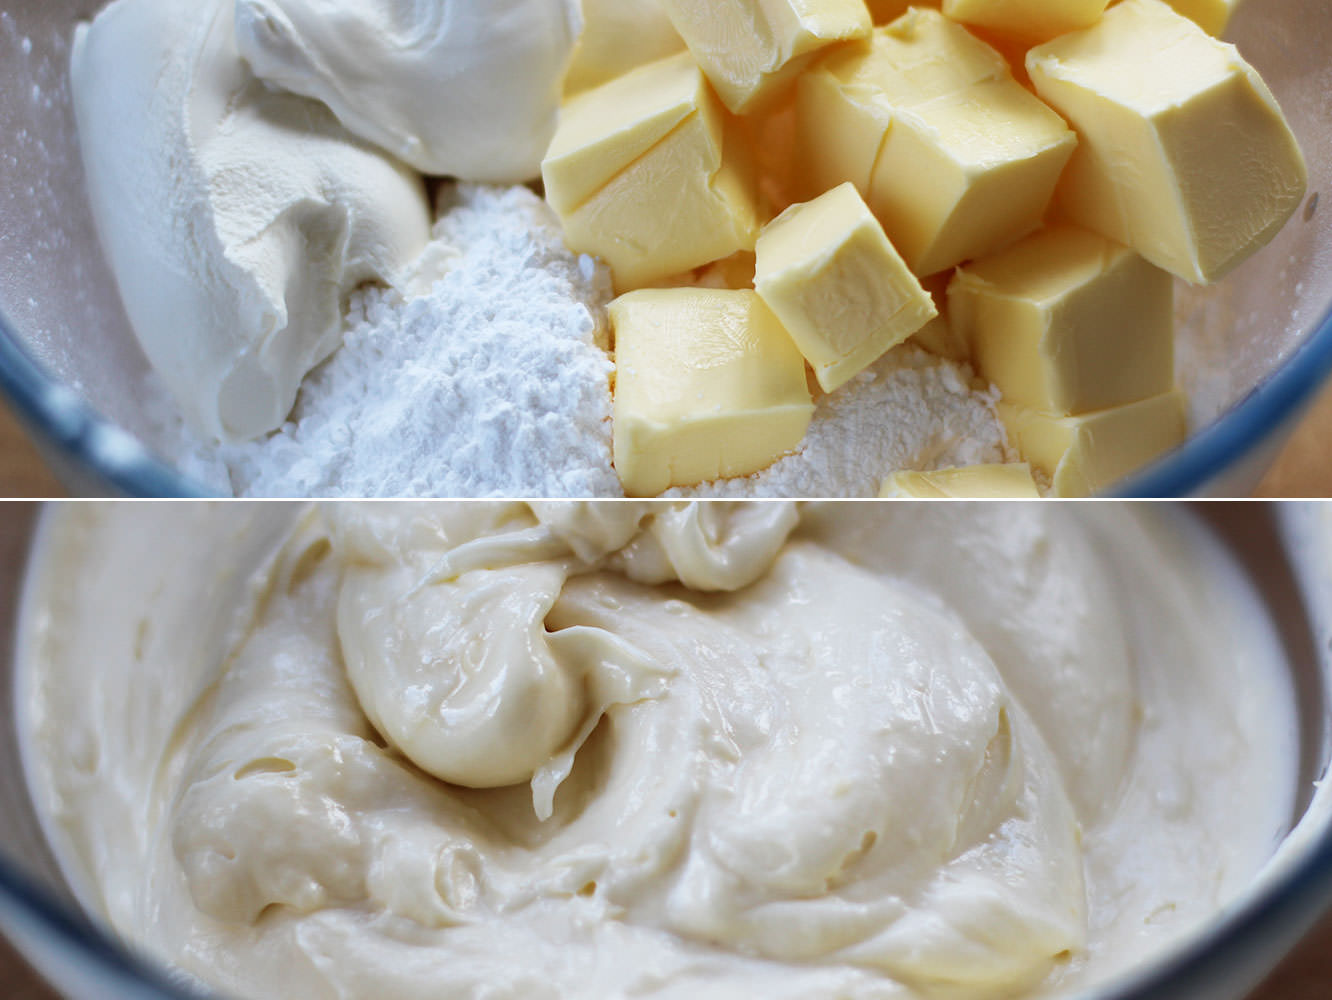 Step five
 Step six
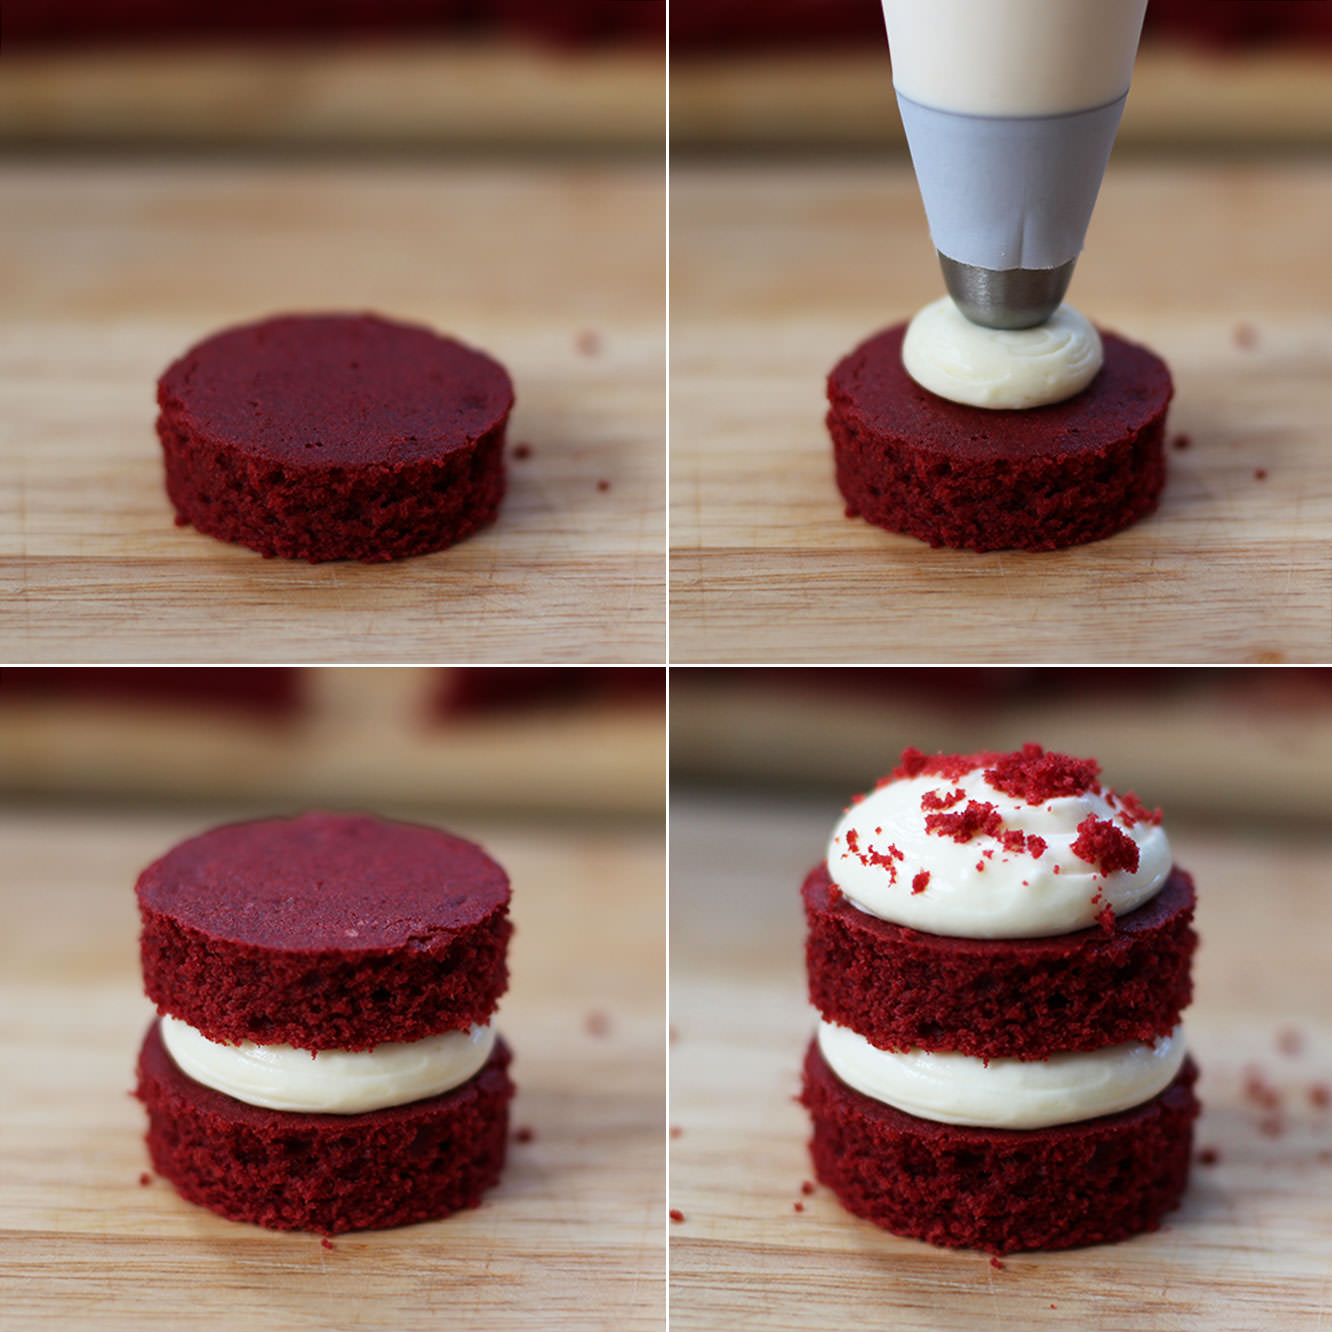 Step six
 Step seven