Tag: pie

Crisp autumn pie

I realise it’s been a while since I did something quite fancy, and while people seem to prefer to make the easy ones, there’s definitely some love for the posts with lots of steps too.

With the return of my favourite season (I’m really fair-skinned, so shoot me if I don’t adore summer like the rest of you) and a little dinner party this weekend, I figured the only way to round off my housemate’s uh-mazing main course was with a little homage to the apple.

Without further ado here’s a recipe for a rather yummy apple and frangipane tart.
apple-frangipane-almond-tart-pie-1

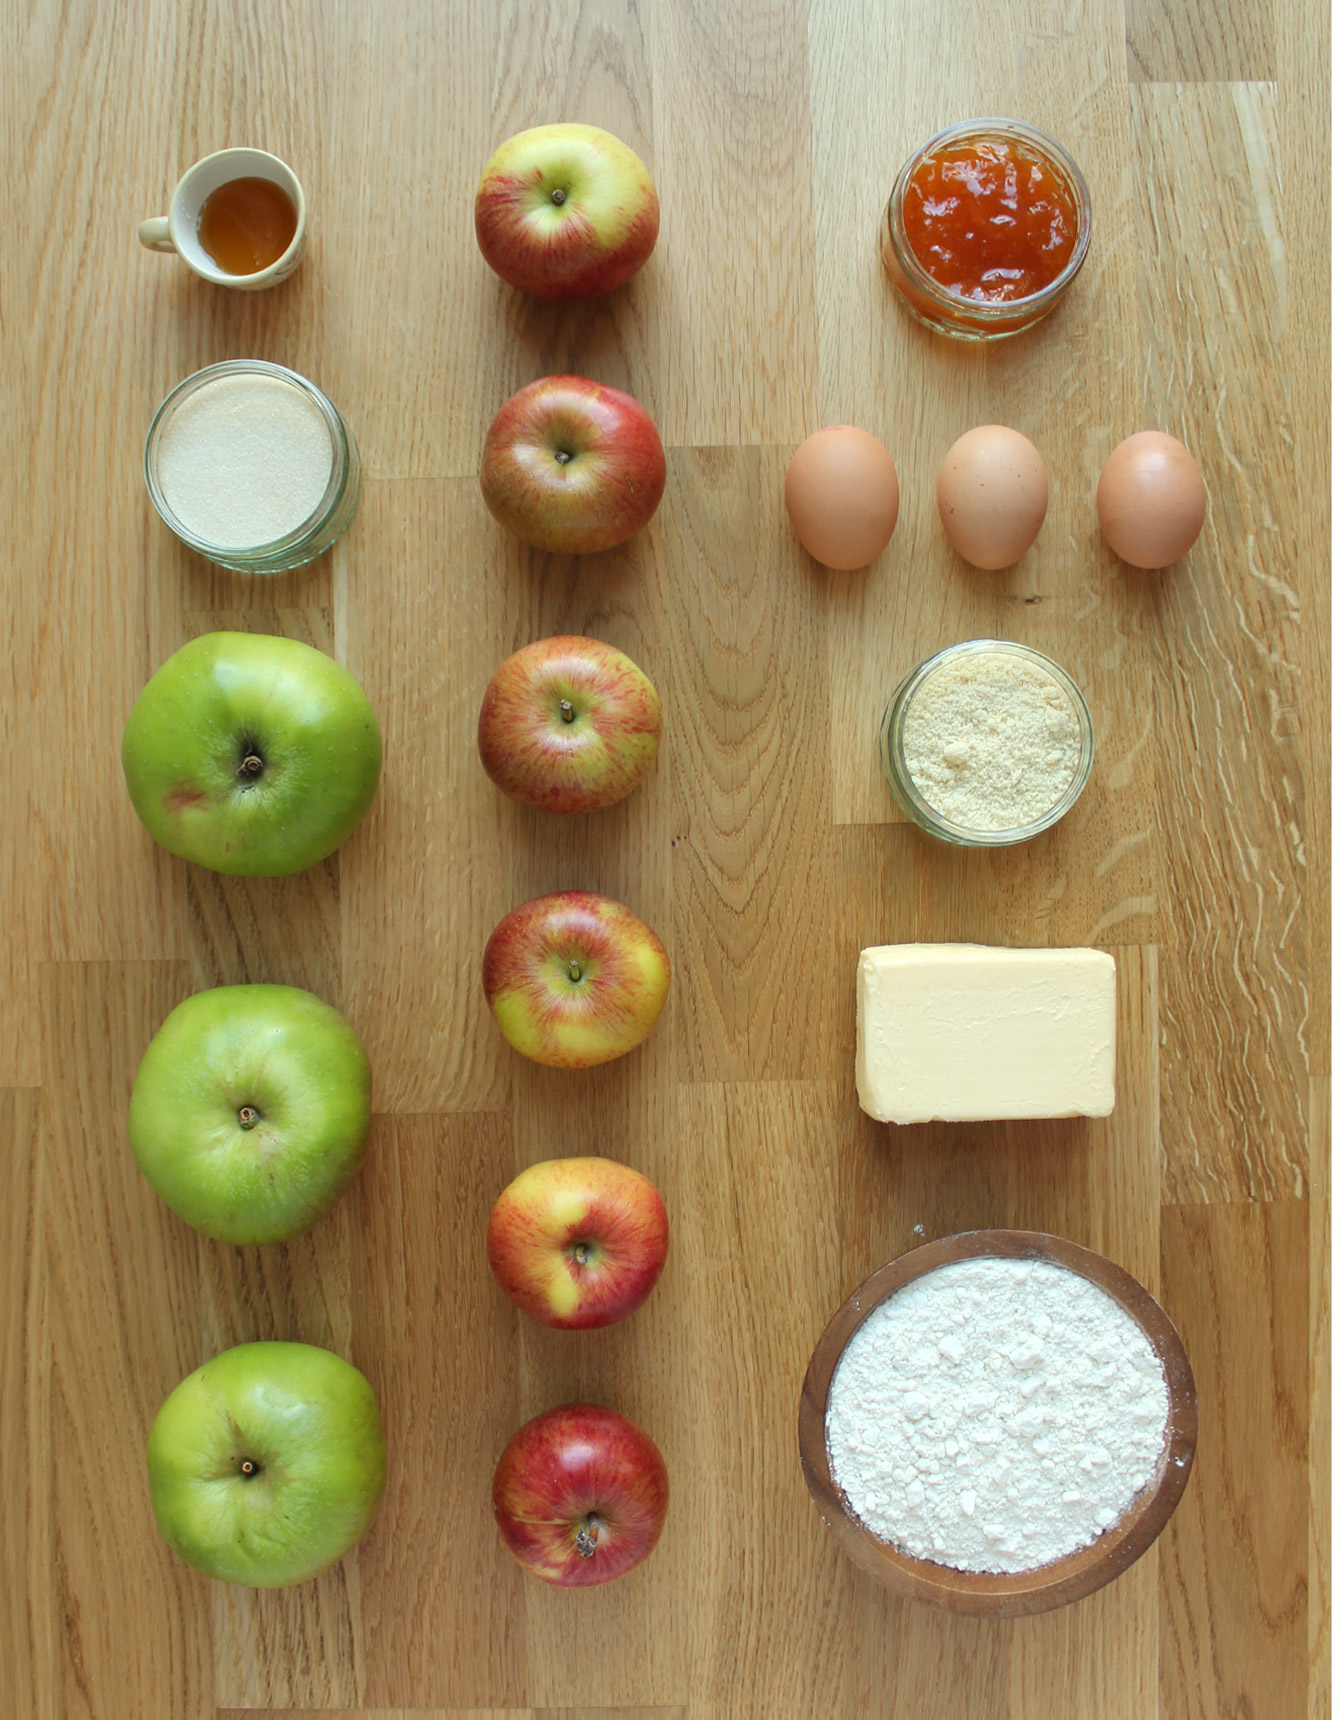
You will need

For the pastry:

300g/10.5 oz plain flour

170g/6 oz unsalted butter

30g/1 oz golden caster sugar

50ml/1.75 fl oz milk

1 egg yolk

A pinch of salt

For the frangipane:

70g/2.5 oz ground almonds

60g/2 oz unsalted butter

50g/1.75 oz golden caster sugar

40g/1.5 oz plain flour

1 egg

1-2 tsp almond extract (optional, but apple will likely overpower the almond a bit)

For the apple filling:

3 bramley cooking apples

100g/3.5 oz golden caster sugar

10g/0.5 oz unsalted butter

50ml/1.75 oz water

2-3 tbsp clear honey

For the topping:

4-5 braeburn apples (probably any eating apples would work)

2-3 tbsp apricot jam (for the glaze)

(My dish was 25cm and for quiches/pies, but there would be enough pastry and filling to do a slightly larger, shallower tart, perhaps up to 29cm or so).
apple-frangipane-almond-tart-pie-2

Step one

Start by making the sweet shortcrust pastry.

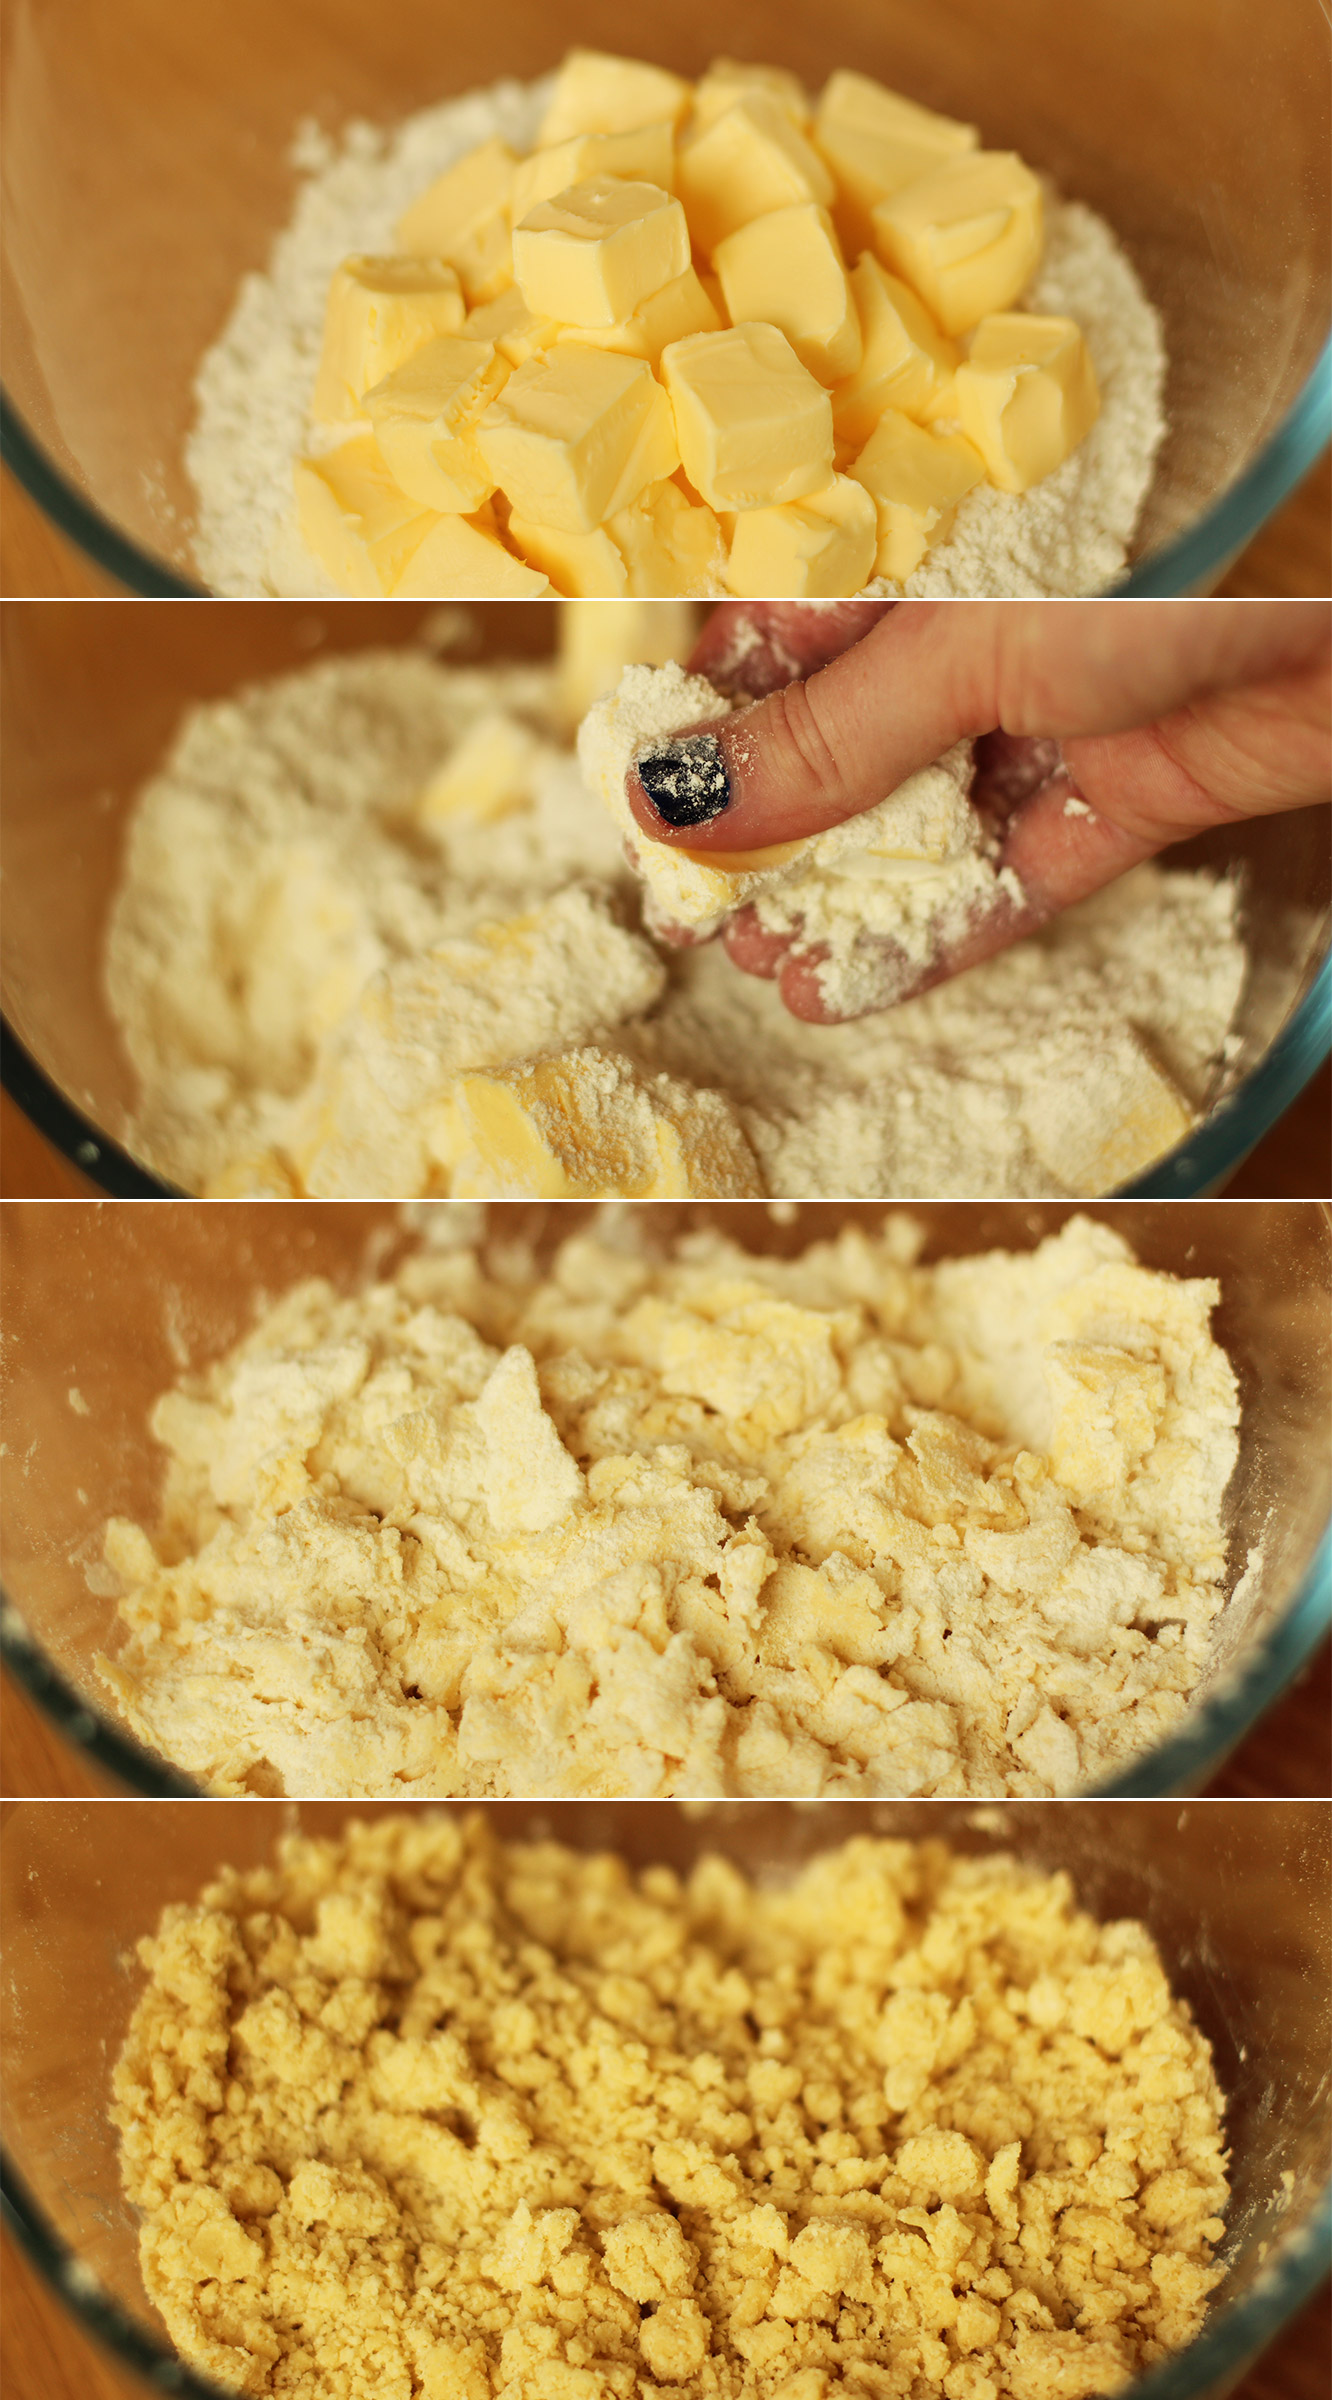
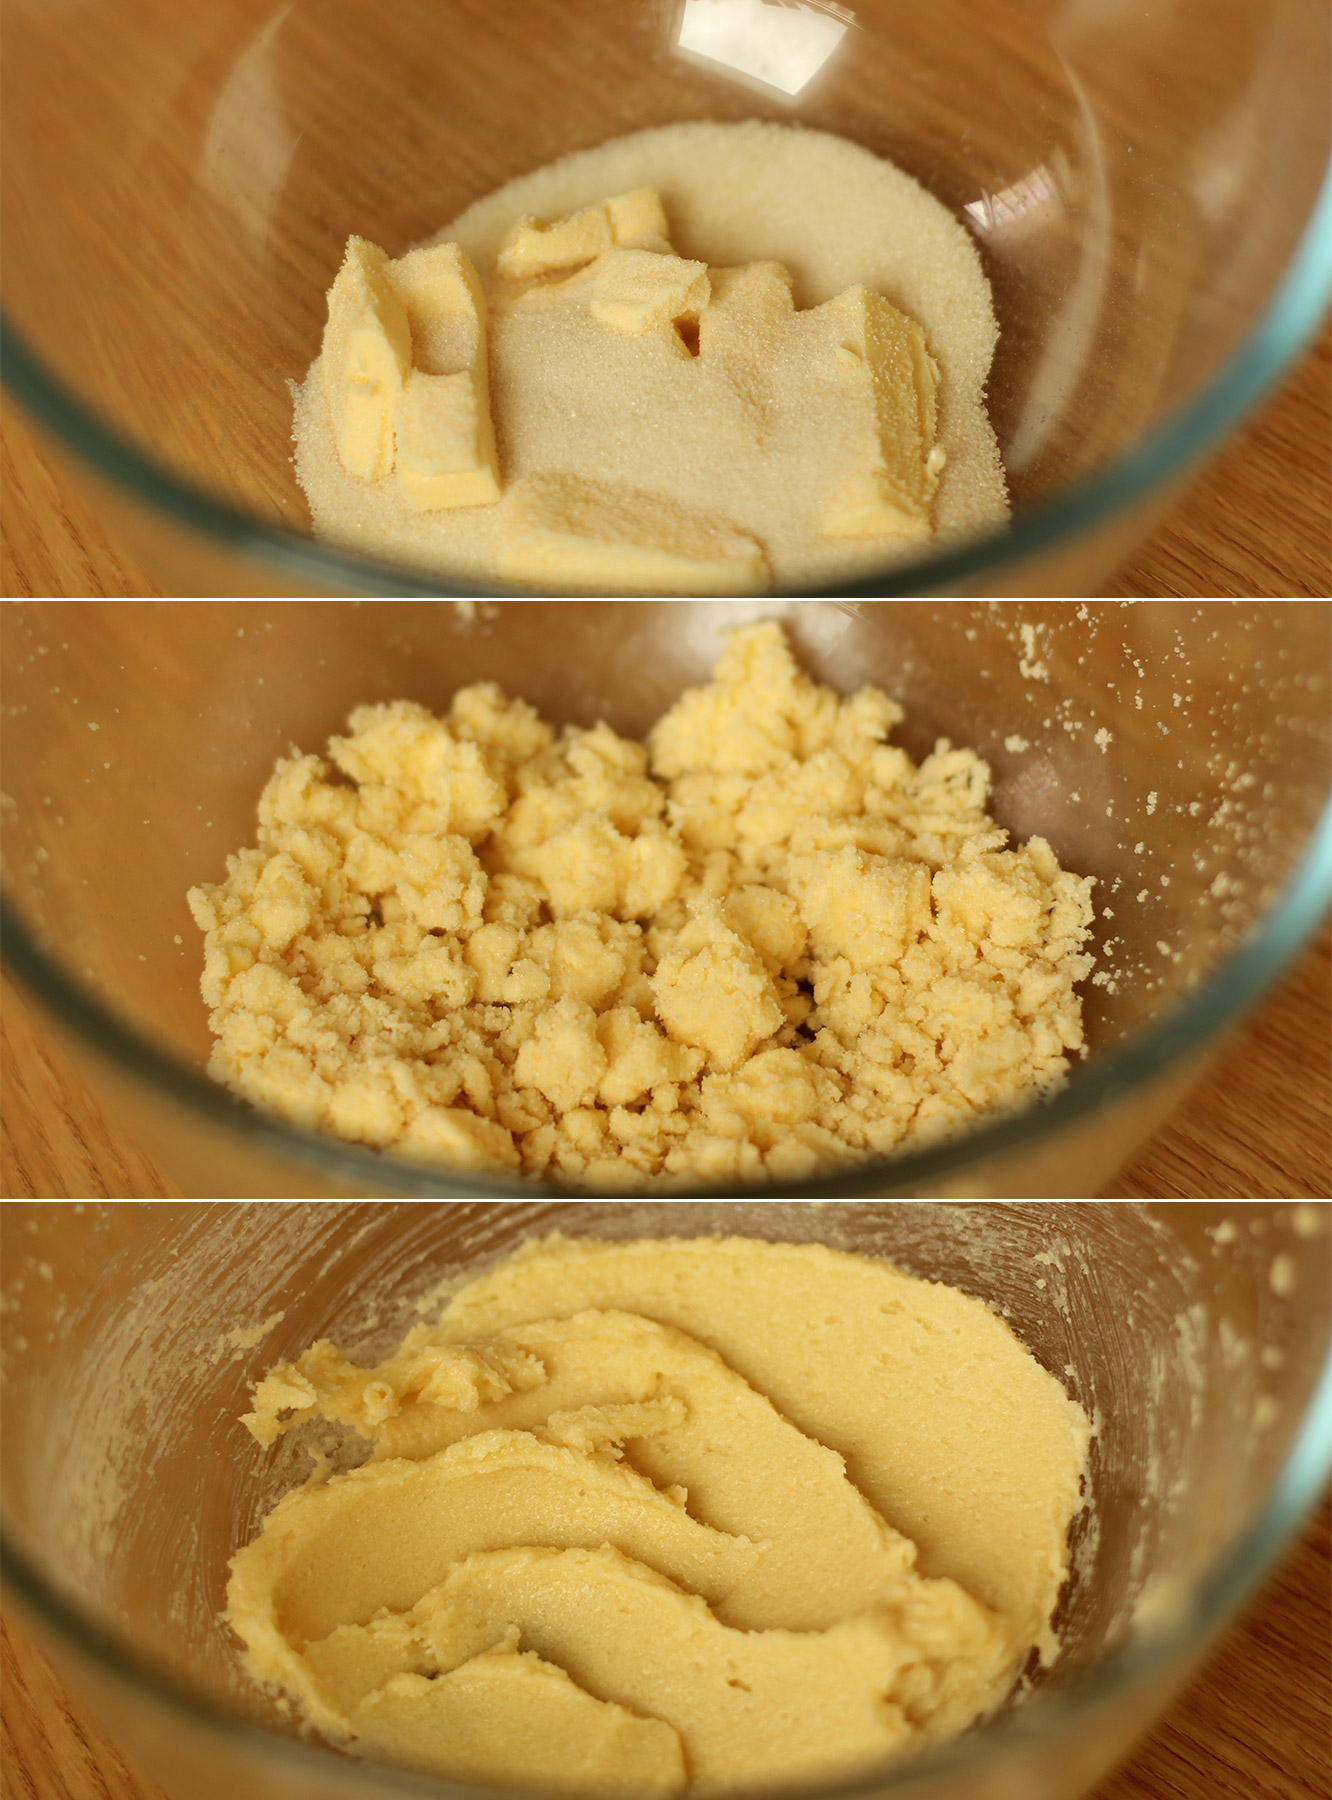
First cube the butter and pop that into the plain flour. Using your fingers, rub the butter and flour together to get a crumb-like texture.

The colder your butter the better and the smaller the crumbs you will be able to get. My house is waaaaaaarm, so as you can see, mine was a tad lumpy at this stage.

If you have a food processor I am led to believe you can do this bit in that very quickly and easily. But we can’t all be posh like you so (clean) fingers are just fine too.
apple-frangipane-almond-tart-pie-3

Step two

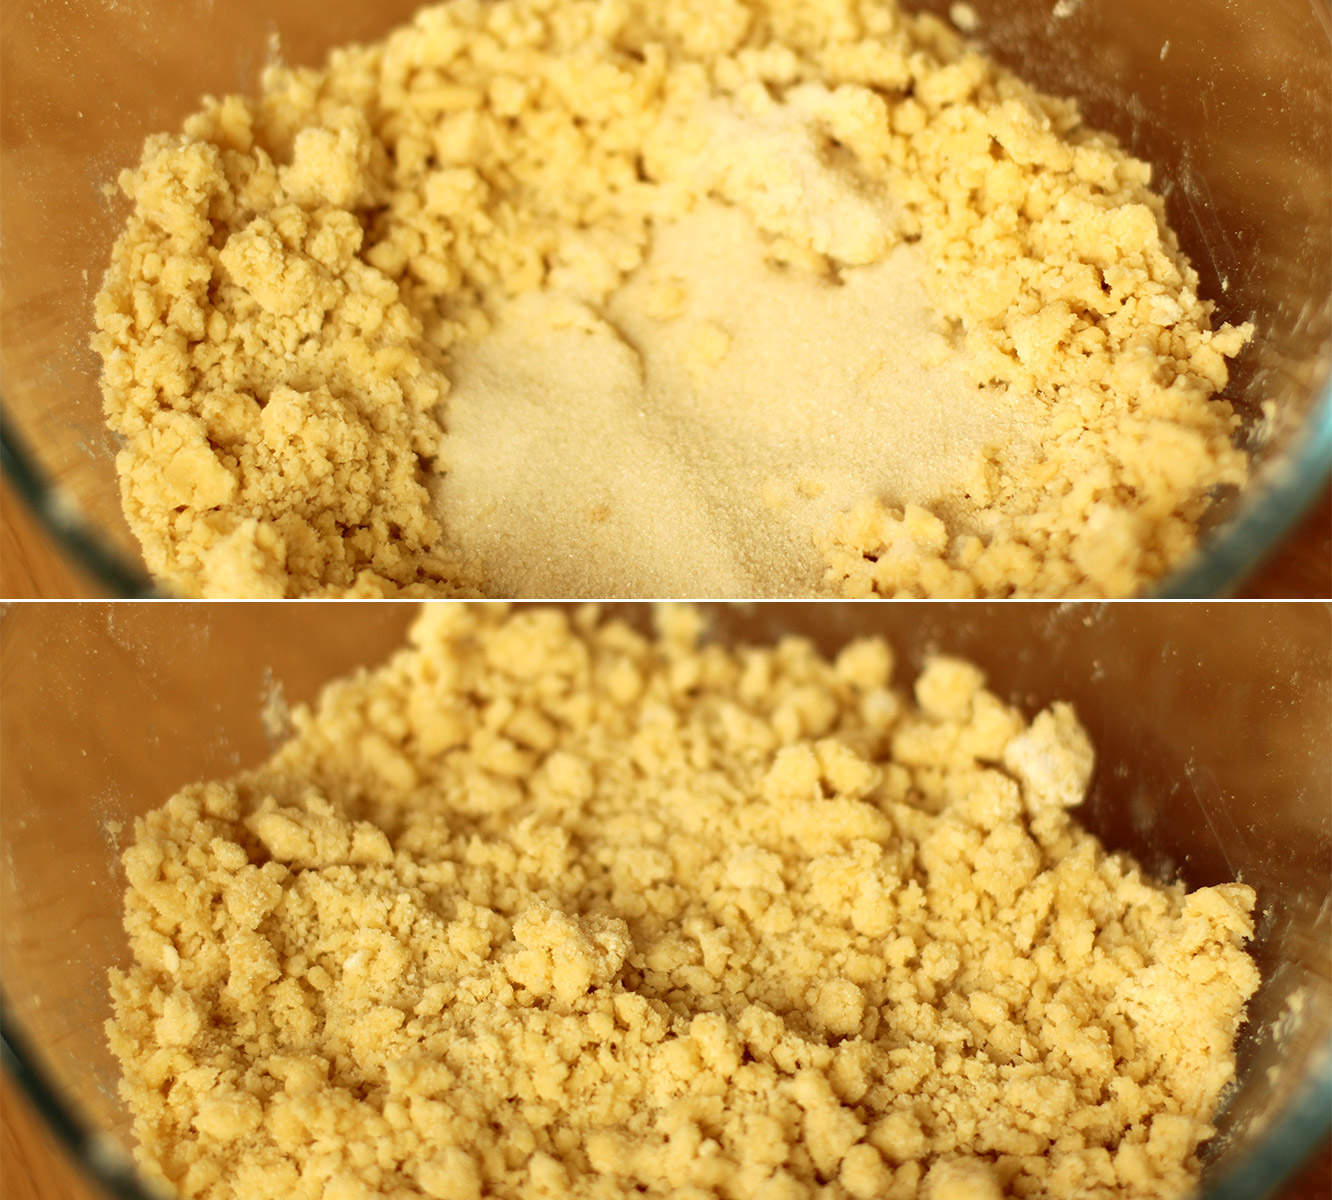
Stir in the caster sugar.

apple-frangipane-almond-tart-pie-4

Step three

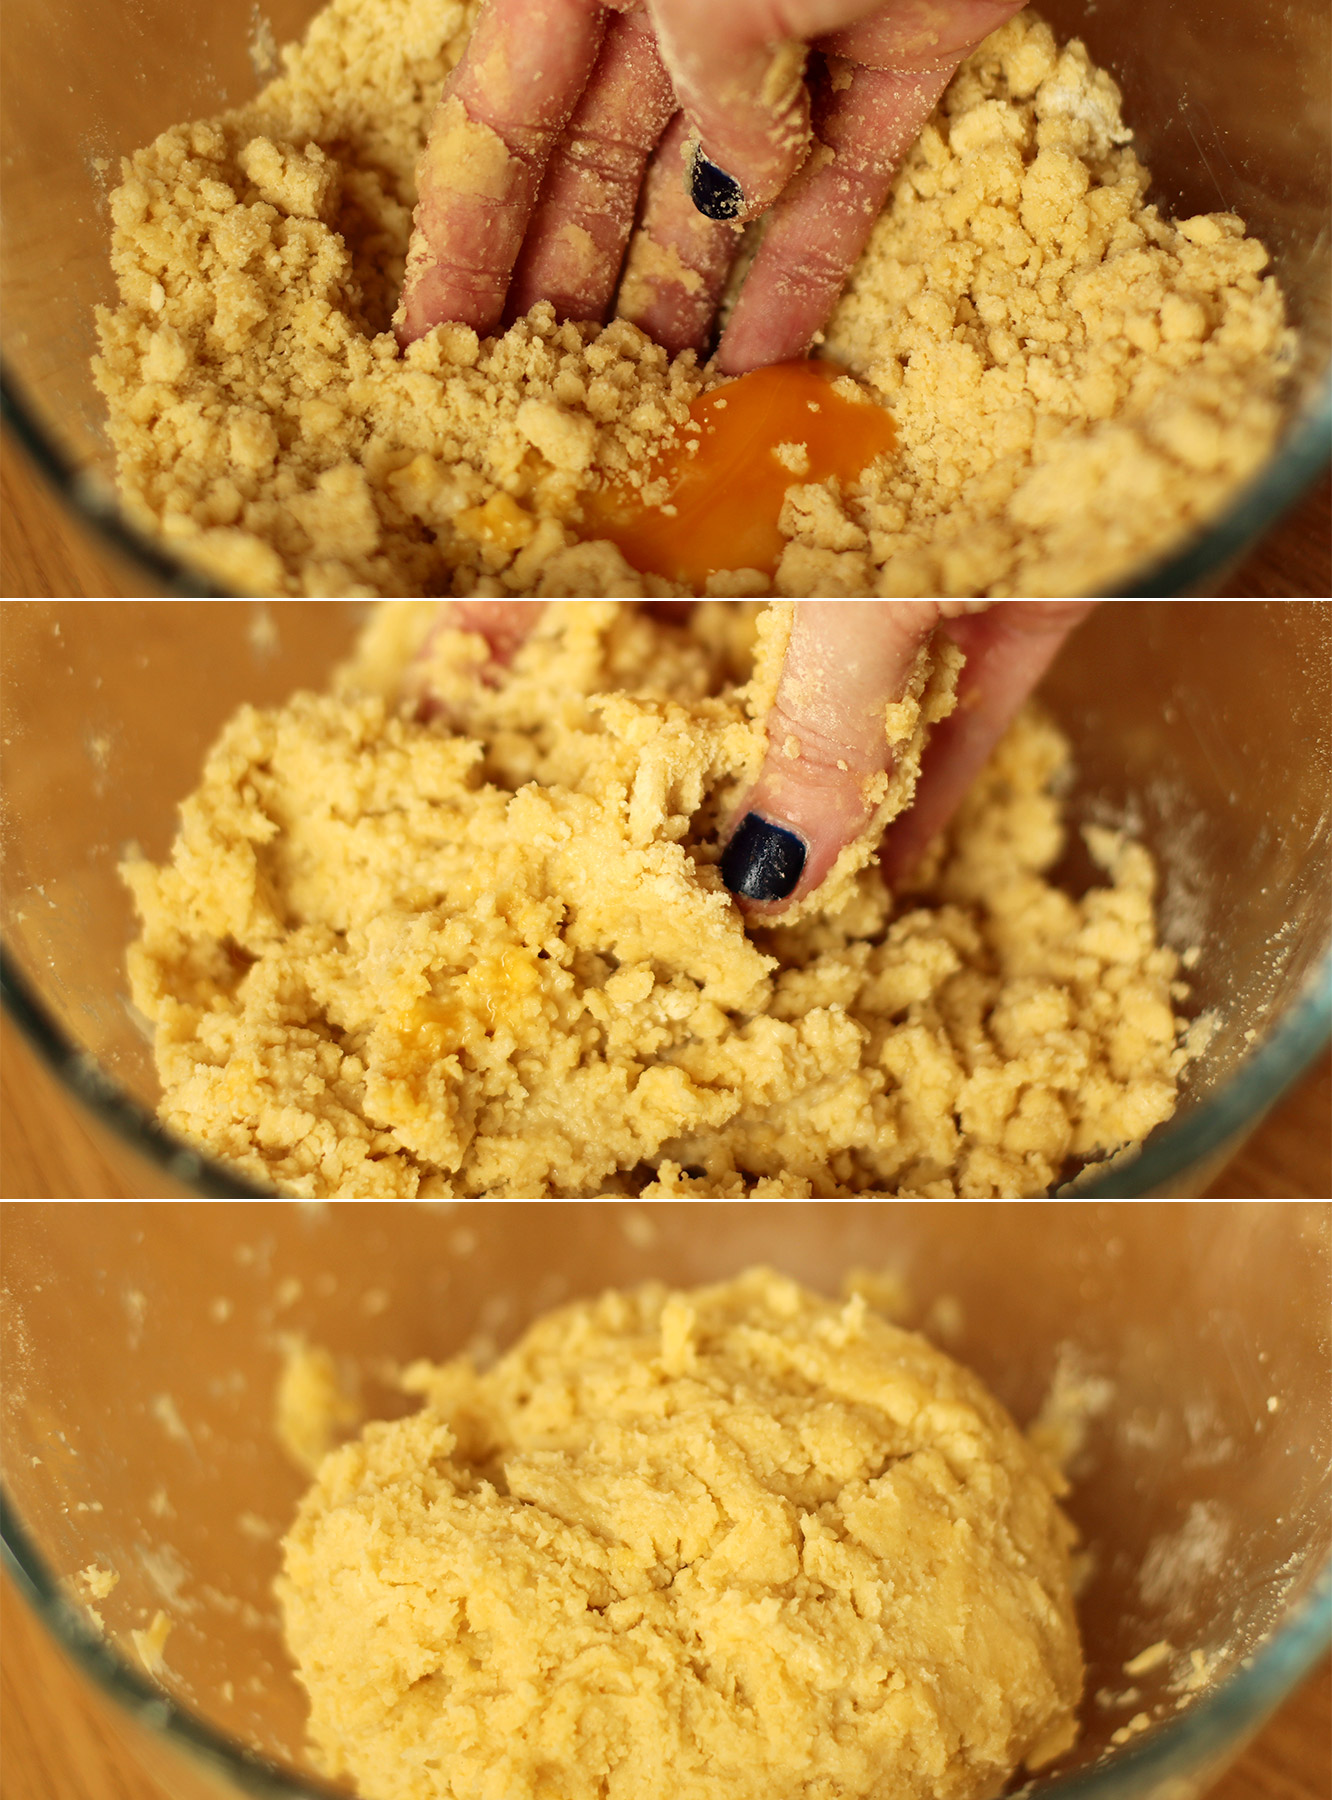
Make a well in the middle for the milk and egg yolk. Fairly sure you can guess what’s next…put yolk and milk in said well.

Bring the mixture together with your hands. It may be a bit crumbly so you can tip it onto a worktop and knead it together slightly to combine, but be careful not to over work it.

Wrap it in clingfilm and put it in the fridge for at least an hour.
apple-frangipane-almond-tart-pie-5

Step four

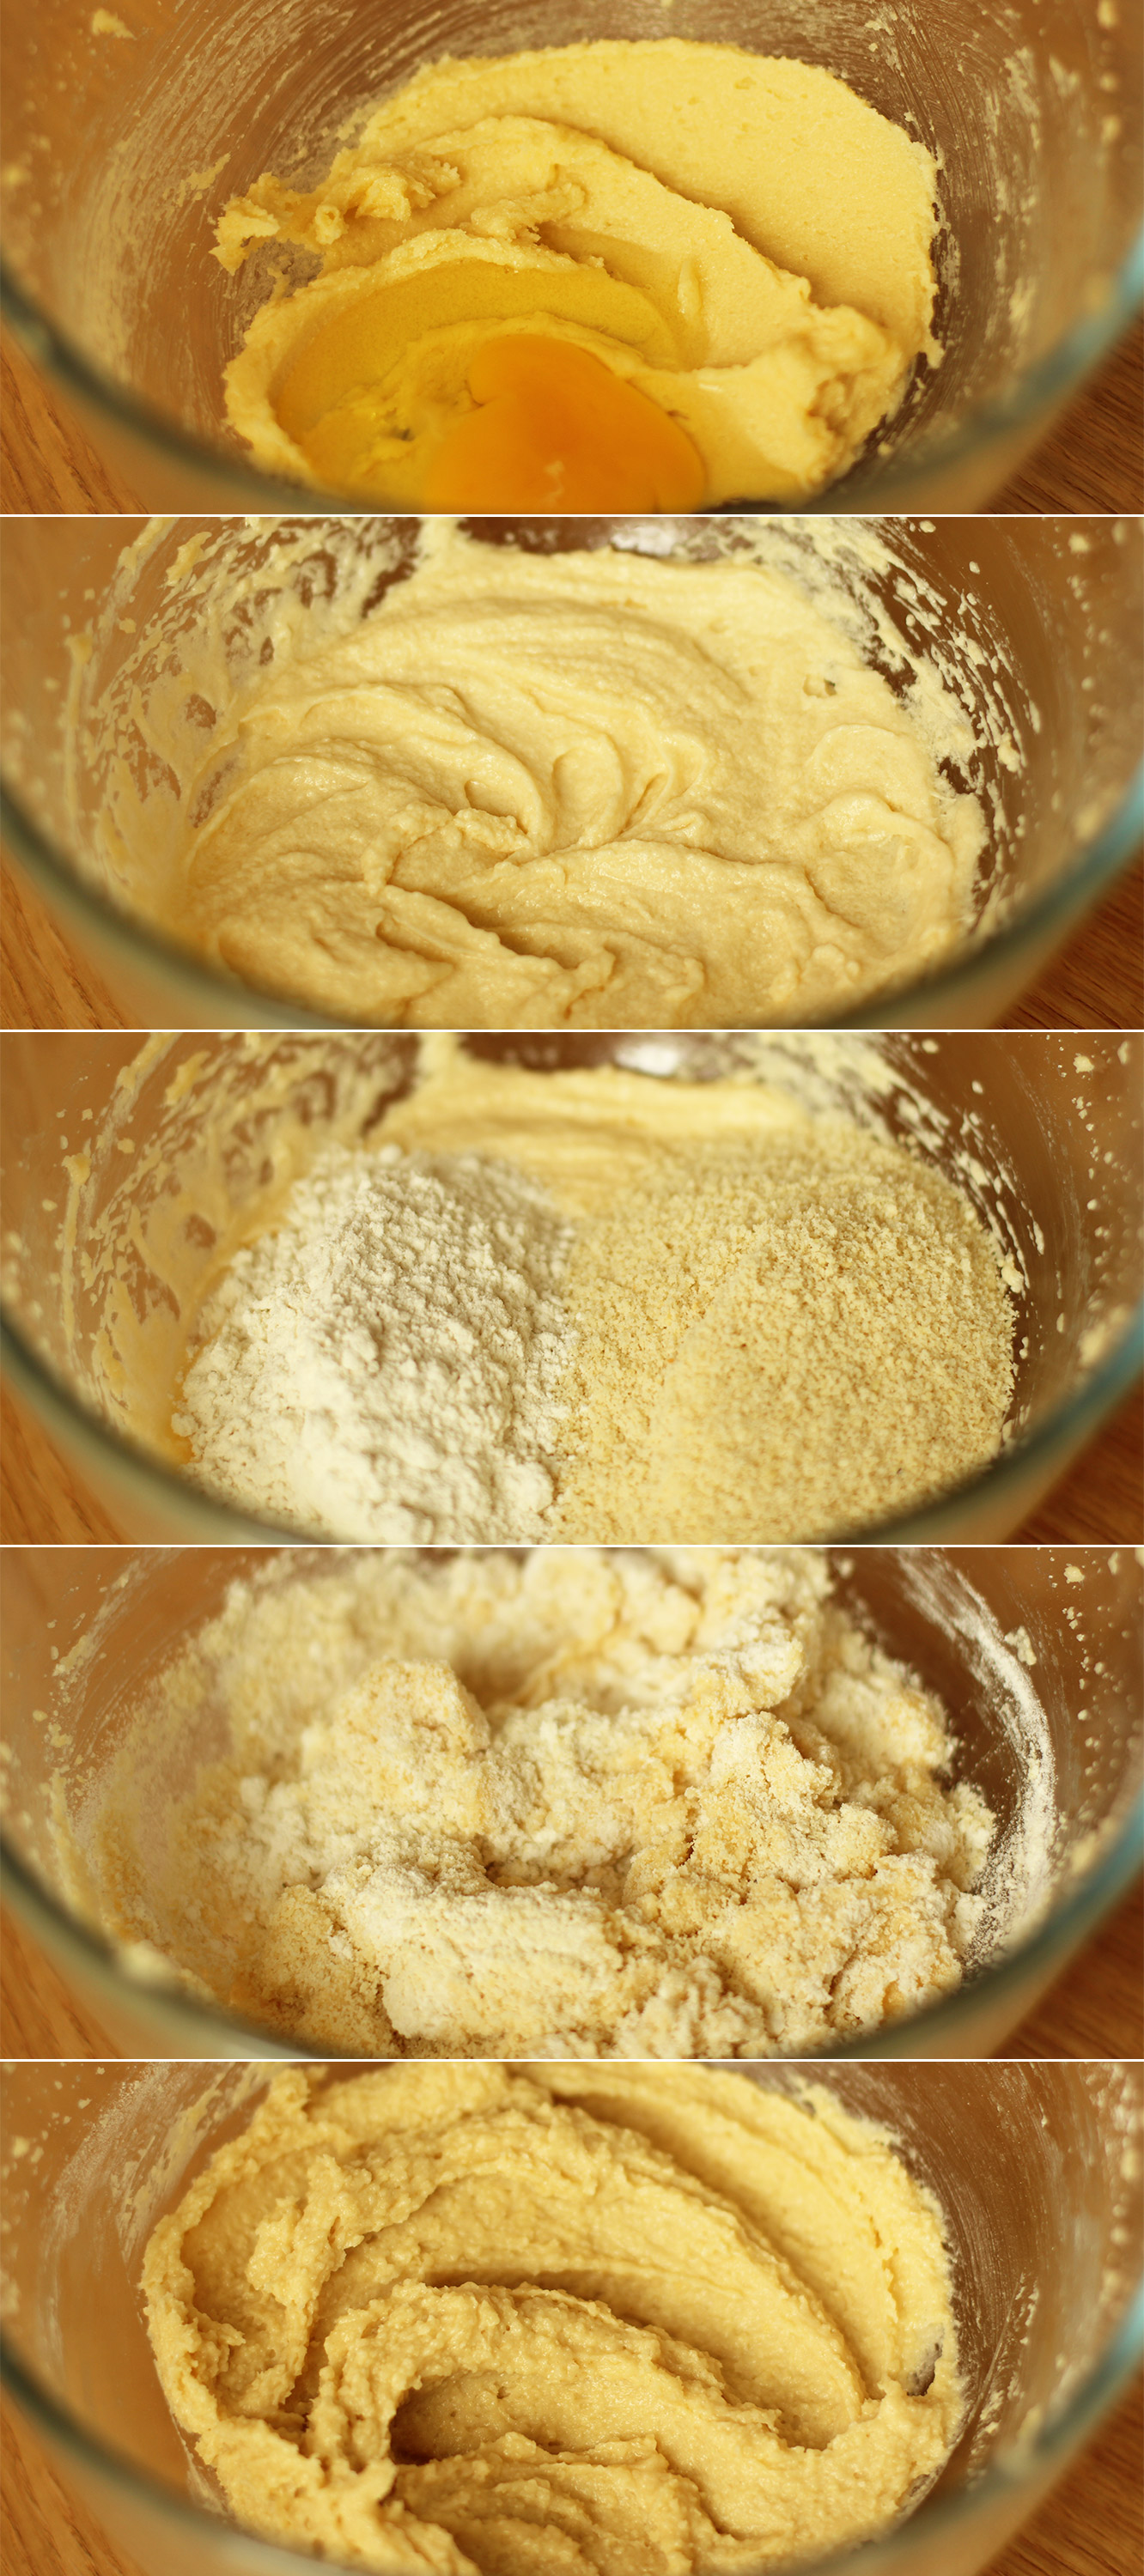
Frangipane making time. Using an electric whisk (or a wooden spoon and some strong arms) beat together the butter and sugar until smooth and fluffy.
apple-frangipane-almond-tart-pie-6

Step five

Add the egg and beat again with the whisk.

Stir in the almonds, almond extract and the flour.

Voila. Set aside.
apple-frangipane-almond-tart-pie-7

Step six

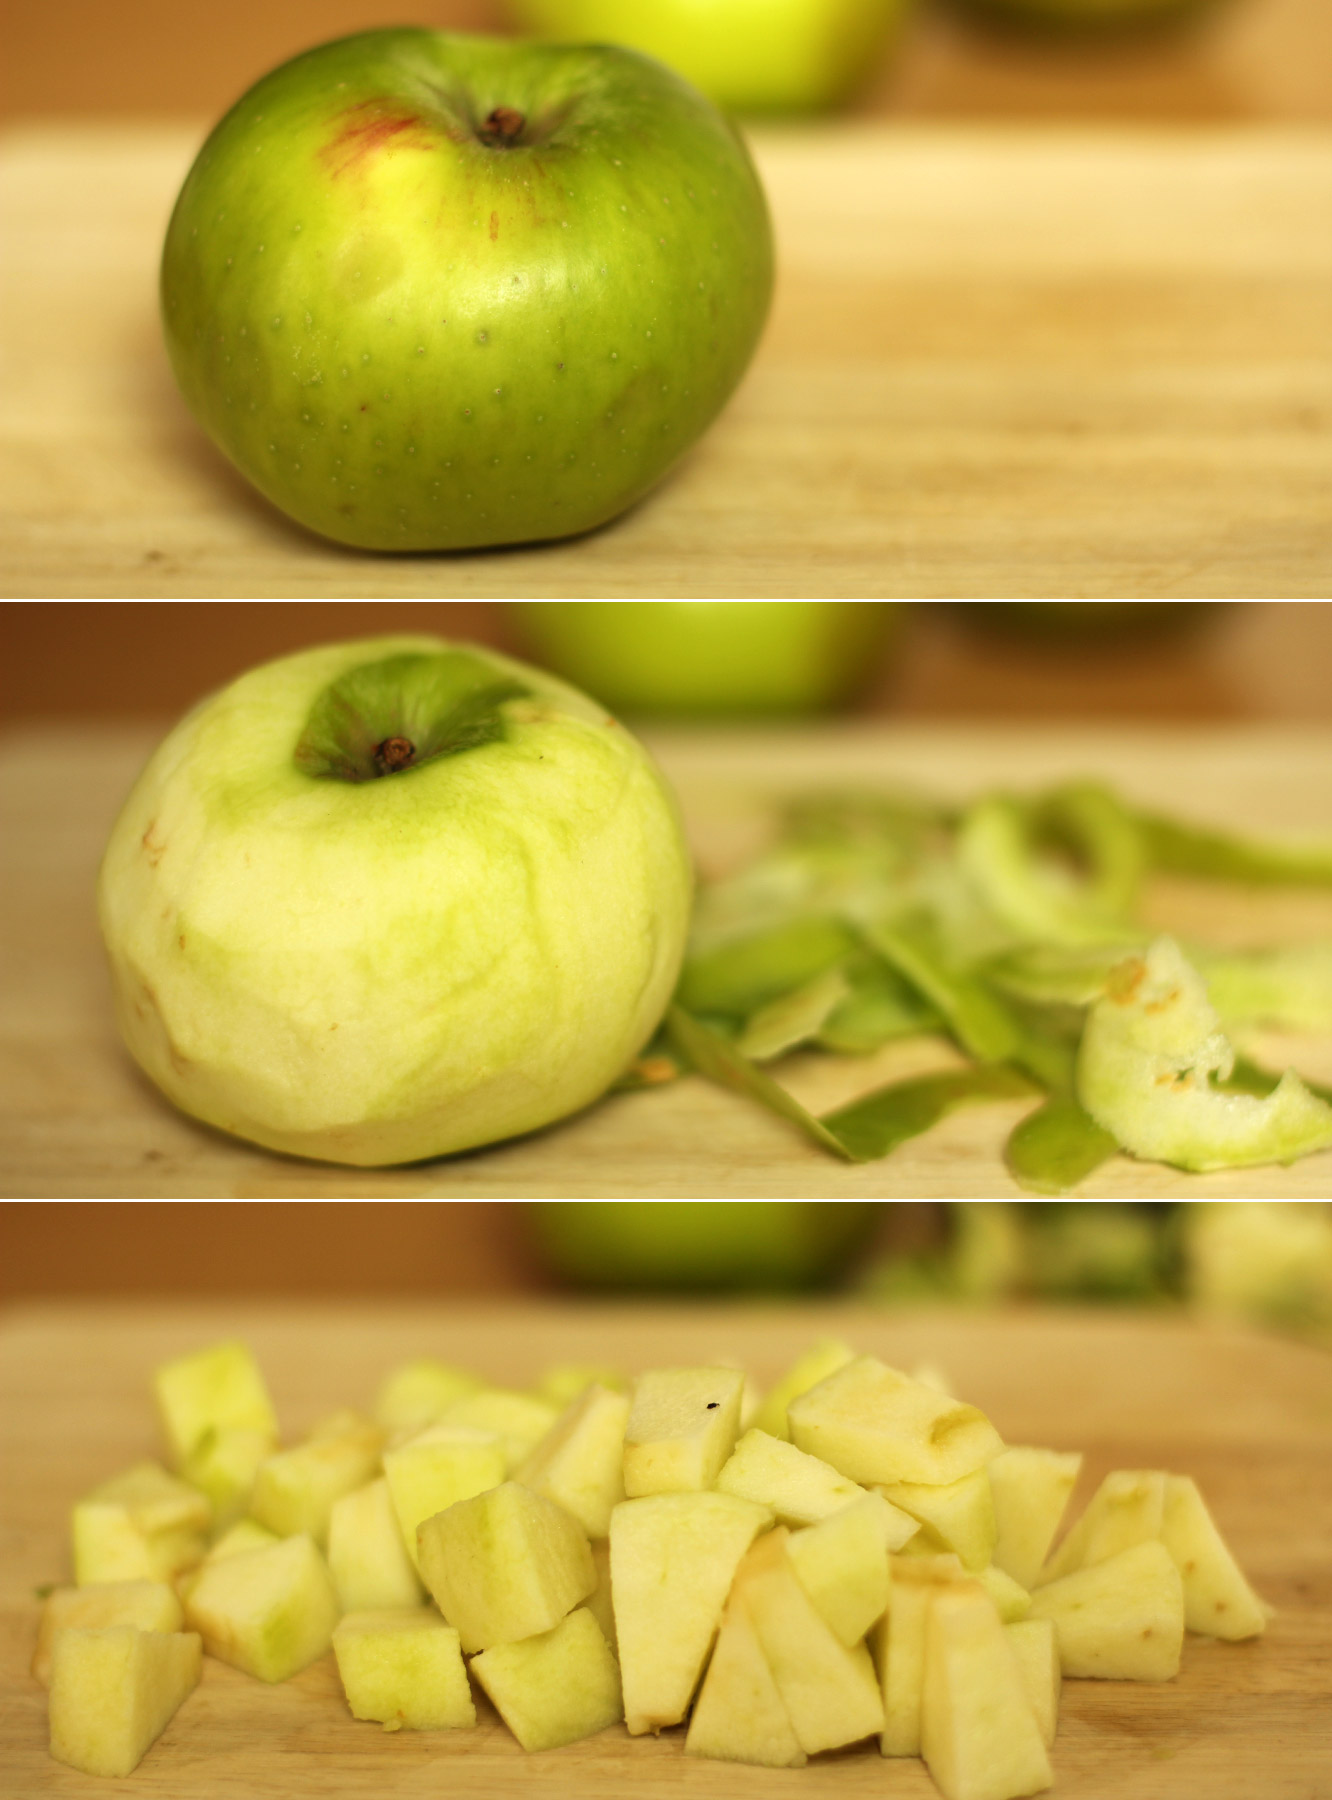
Prepare the stewed apple filling. Being by peeling and chopping the three bramley apples. If you have a bit of lemon juice handy a quick squeeze will keep the chopped ones pale while you see to the rest.
apple-frangipane-almond-tart-pie-8

Step seven

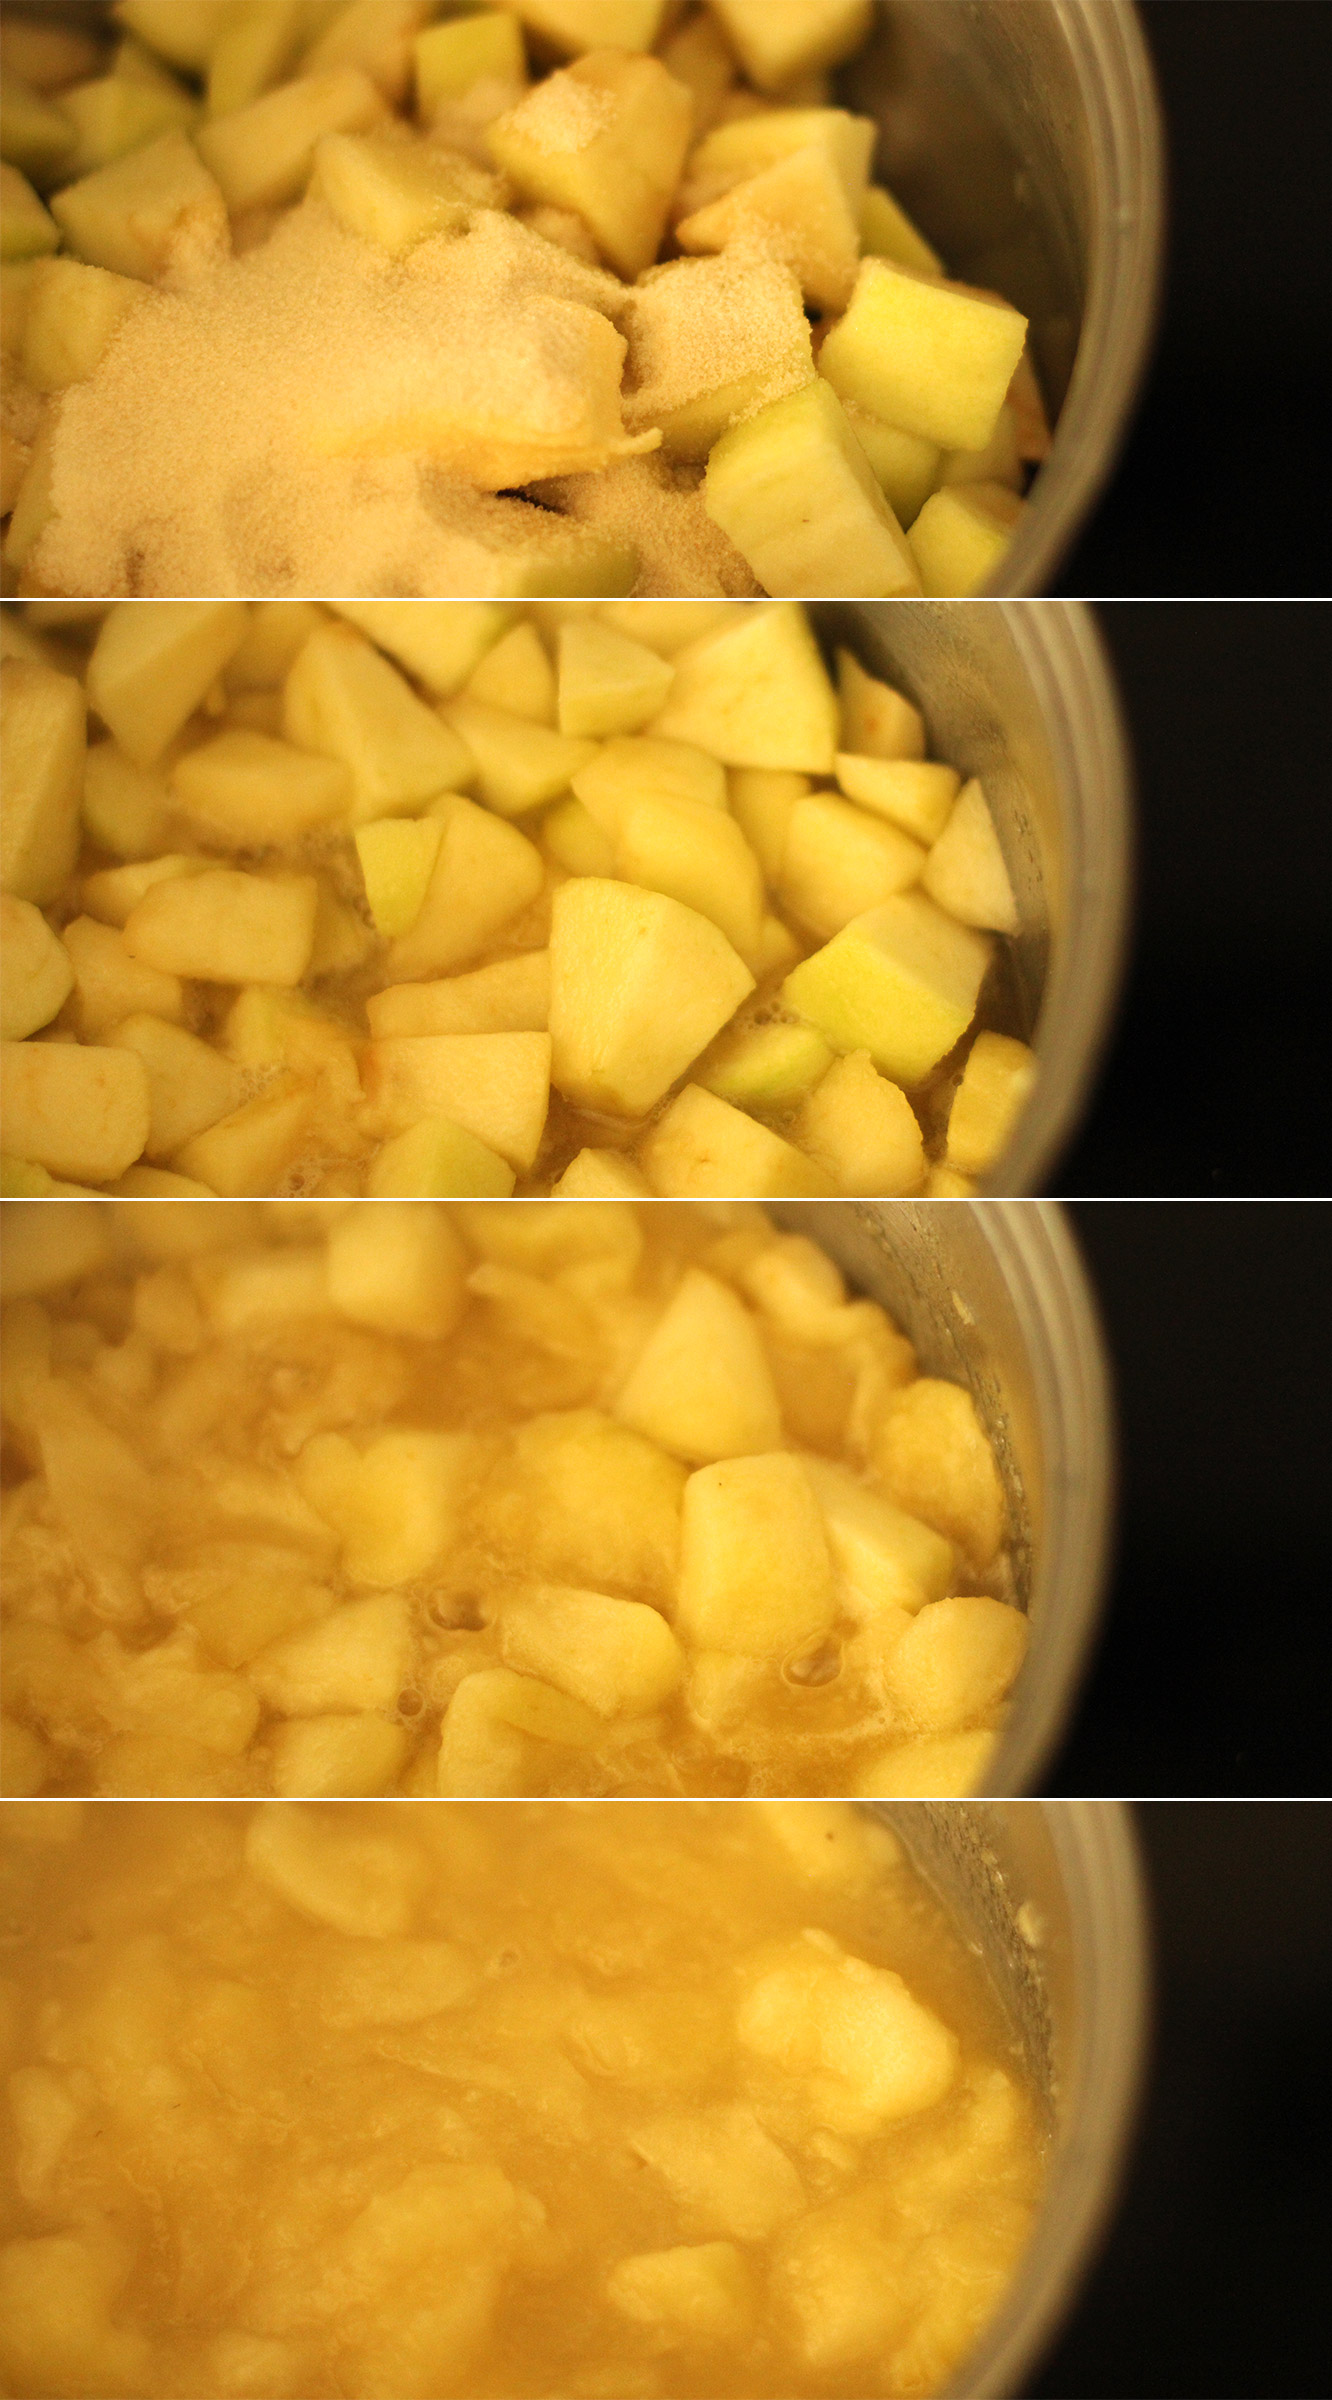
Put the chopped apples in a saucepan with the butter, honey, water and sugar. Bring to a medium-low heat and stir occasionally until the apples are mostly broken down. You want a pulp really (an appetising thought, I know).
apple-frangipane-almond-tart-pie-9

Step eight

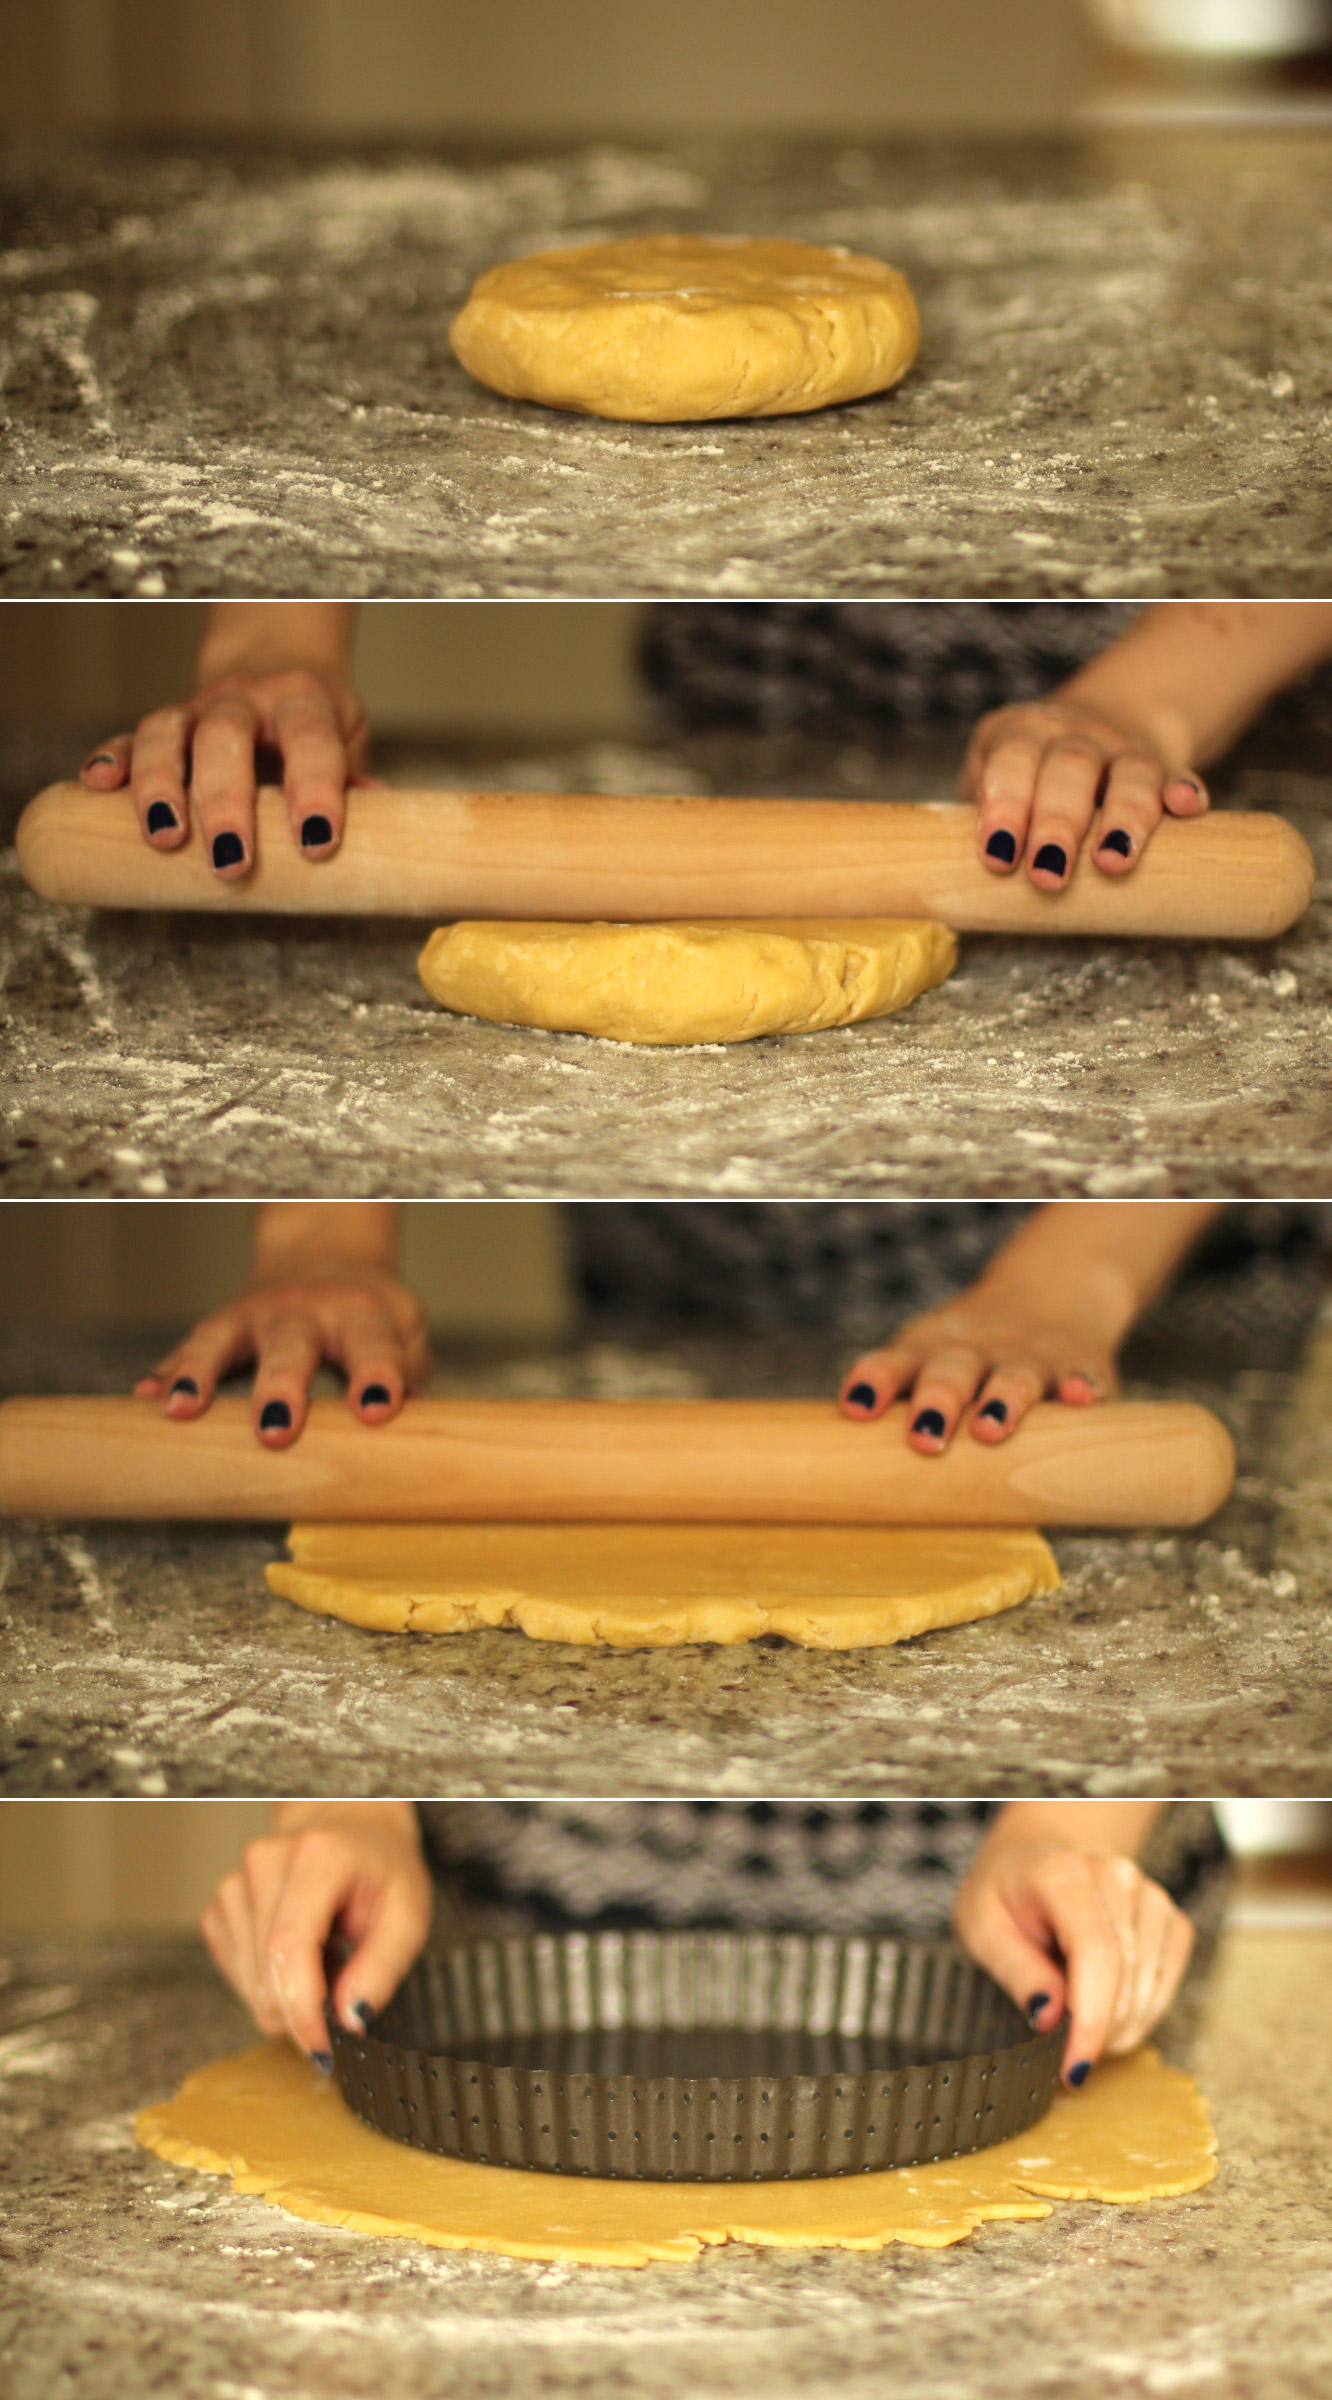
Remove the pastry from the fridge (providing an hour has passed). Place onto a lightly floured surface (you don’t want to add much more flour to the mix if you can help it).

Roll the pastry out as evenly as you can, until your chosen dish can sit in the middle with an inch or two on all sides. You don’t really want your pastry to be thicker than 5mm.
apple-frangipane-almond-tart-pie-10

Step nine

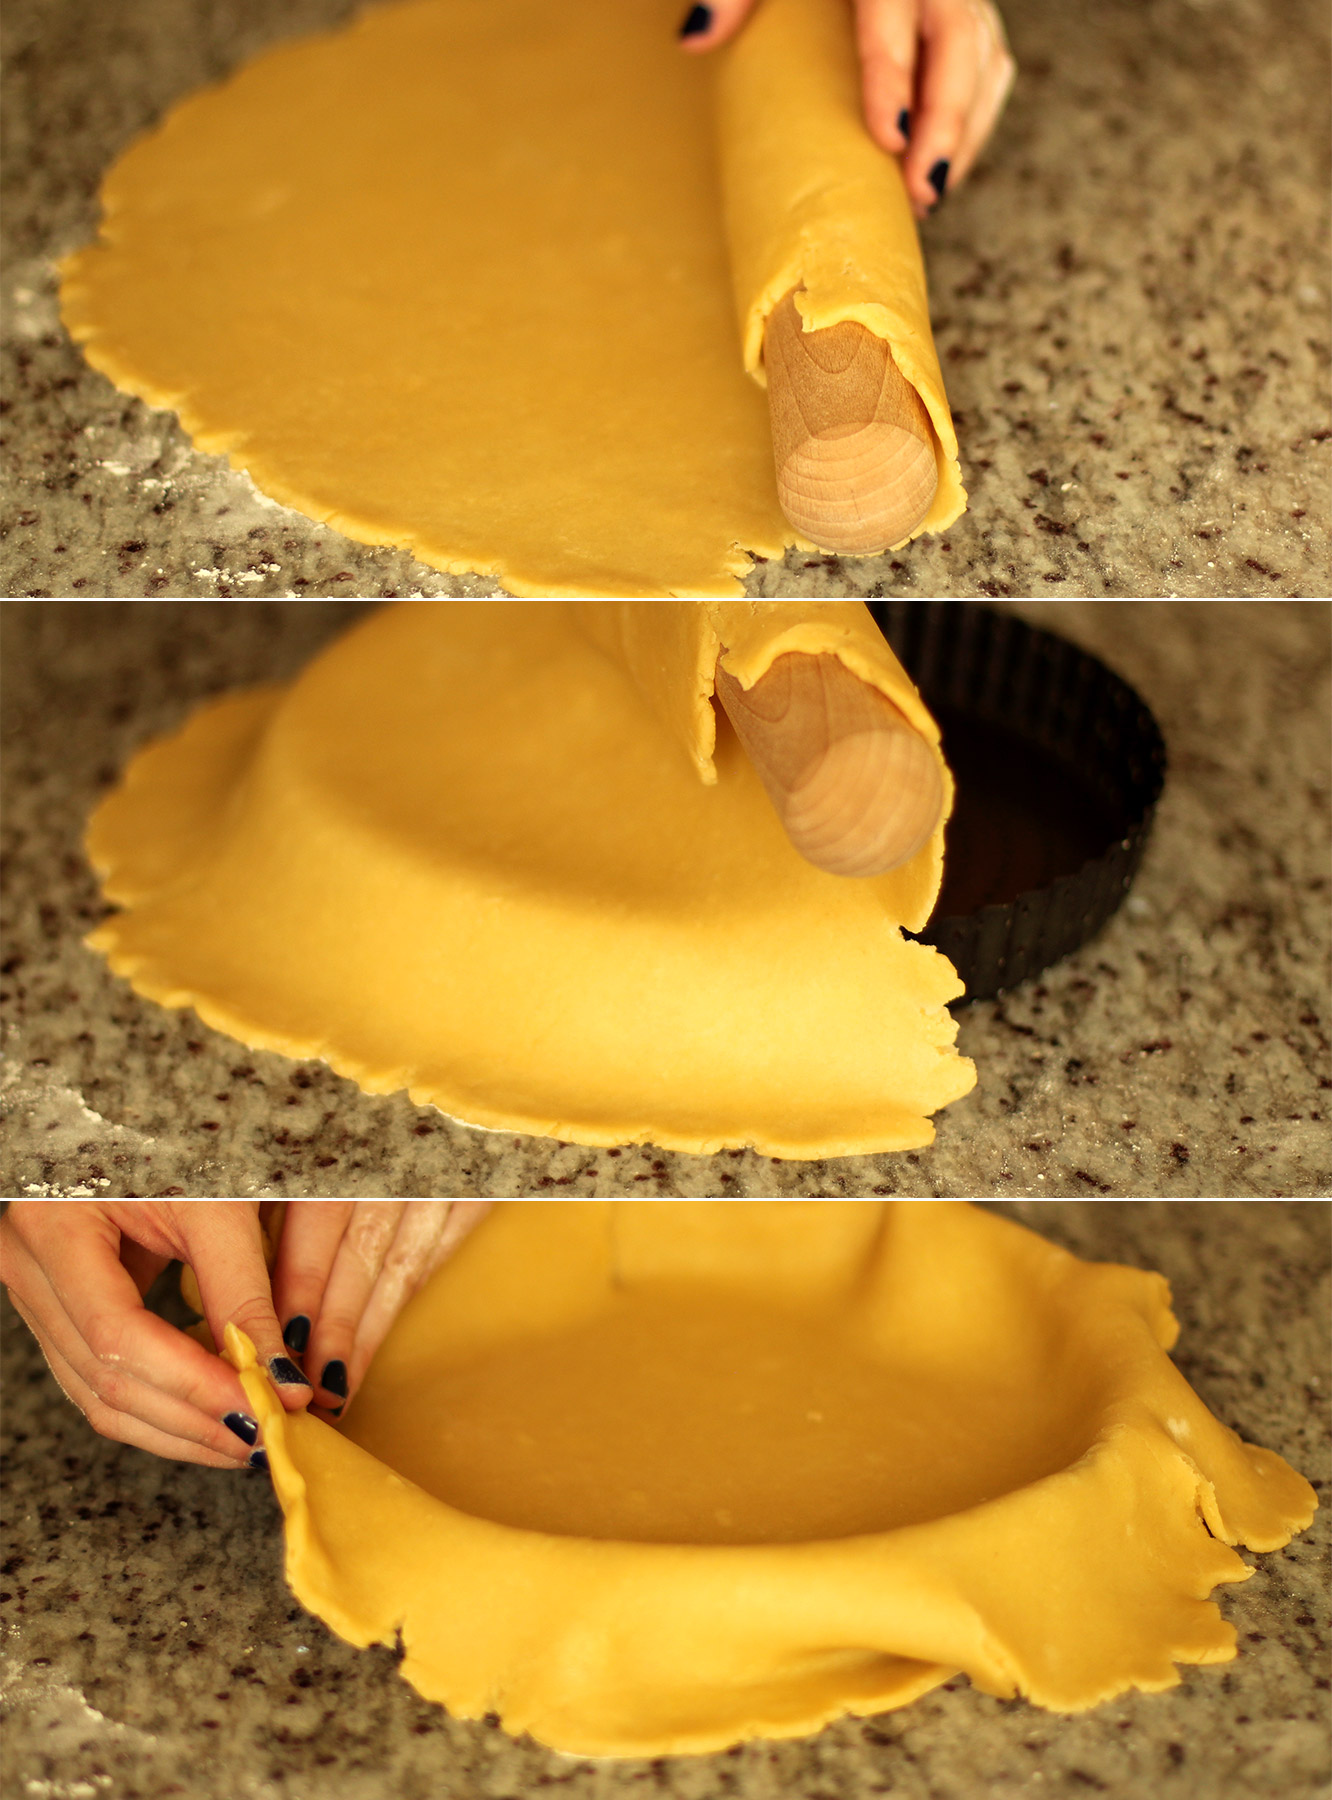
Transfer your pastry by rolling it at least half of it up onto your rolling pin and unrolling it over the top of your dish.

I then needed to lift the edges back up and place them back in to tease them better into the corners. Do this gently so as not to tear it. Having said that, I was a bit heavy handed and tears can be fixed quit easily by sticking a bit of excess pastry on top.
apple-frangipane-almond-tart-pie-11

Step ten

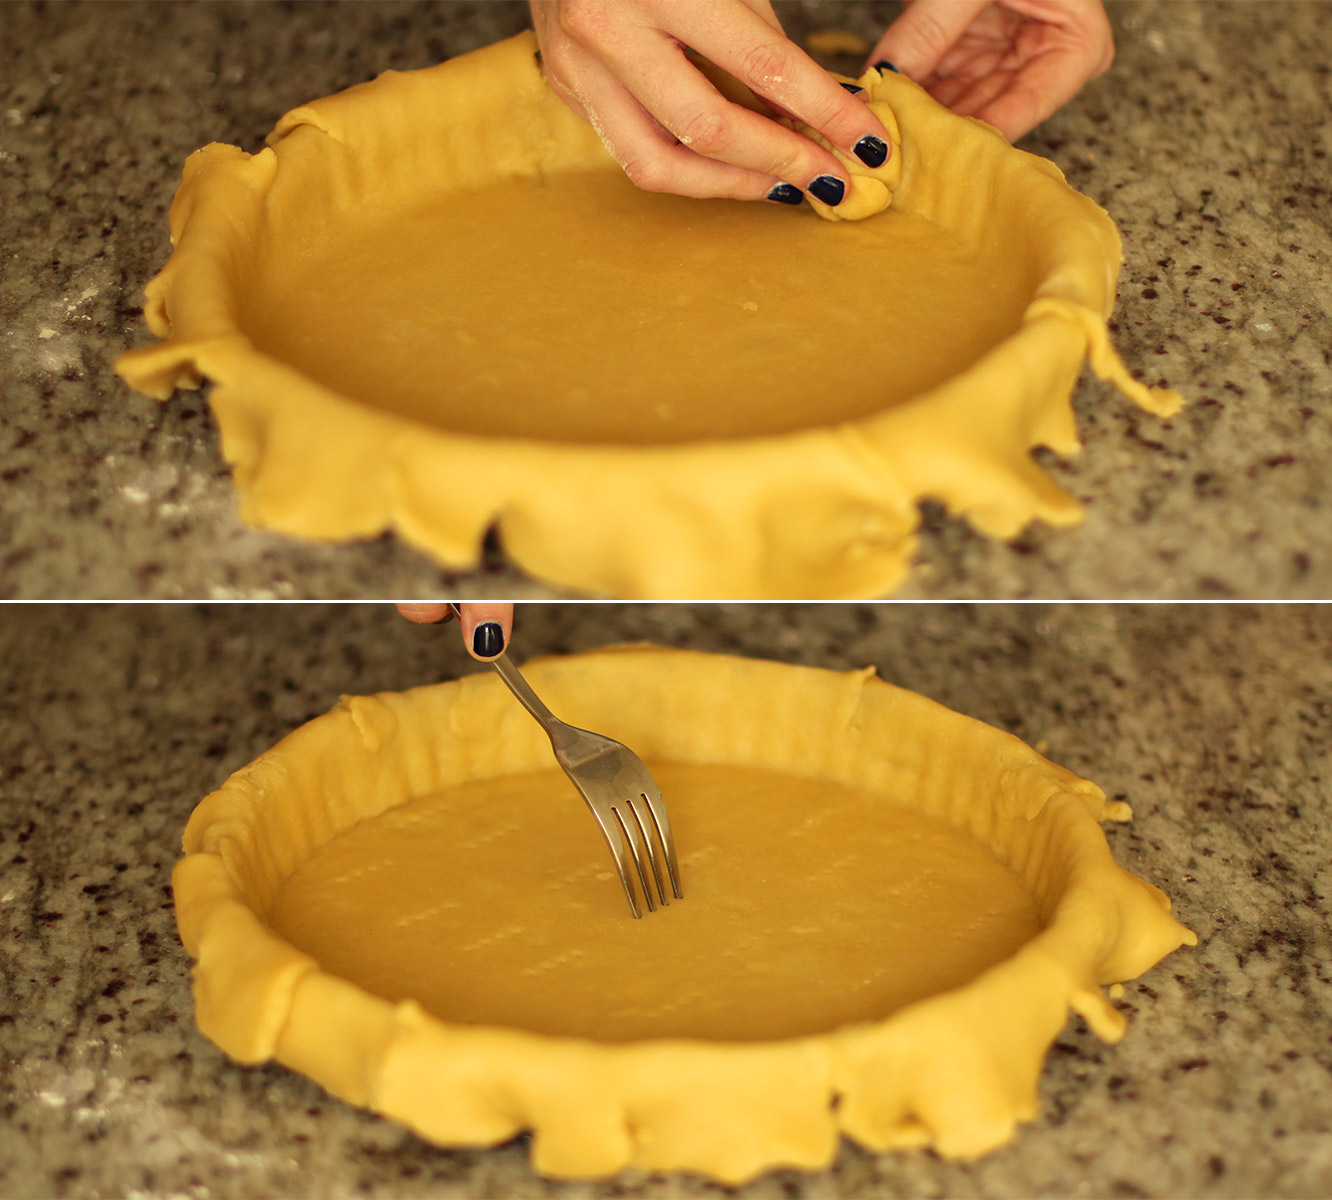
Rip a bit of pastry off the overlap and use it to press the crust further into the crevices.

Use a fork to pierce the base of the pie, this will help the pastry stay flat in the oven.

Pop him back in the fridge for another 20-30 minutes.
apple-frangipane-almond-tart-pie-12

Step eleven

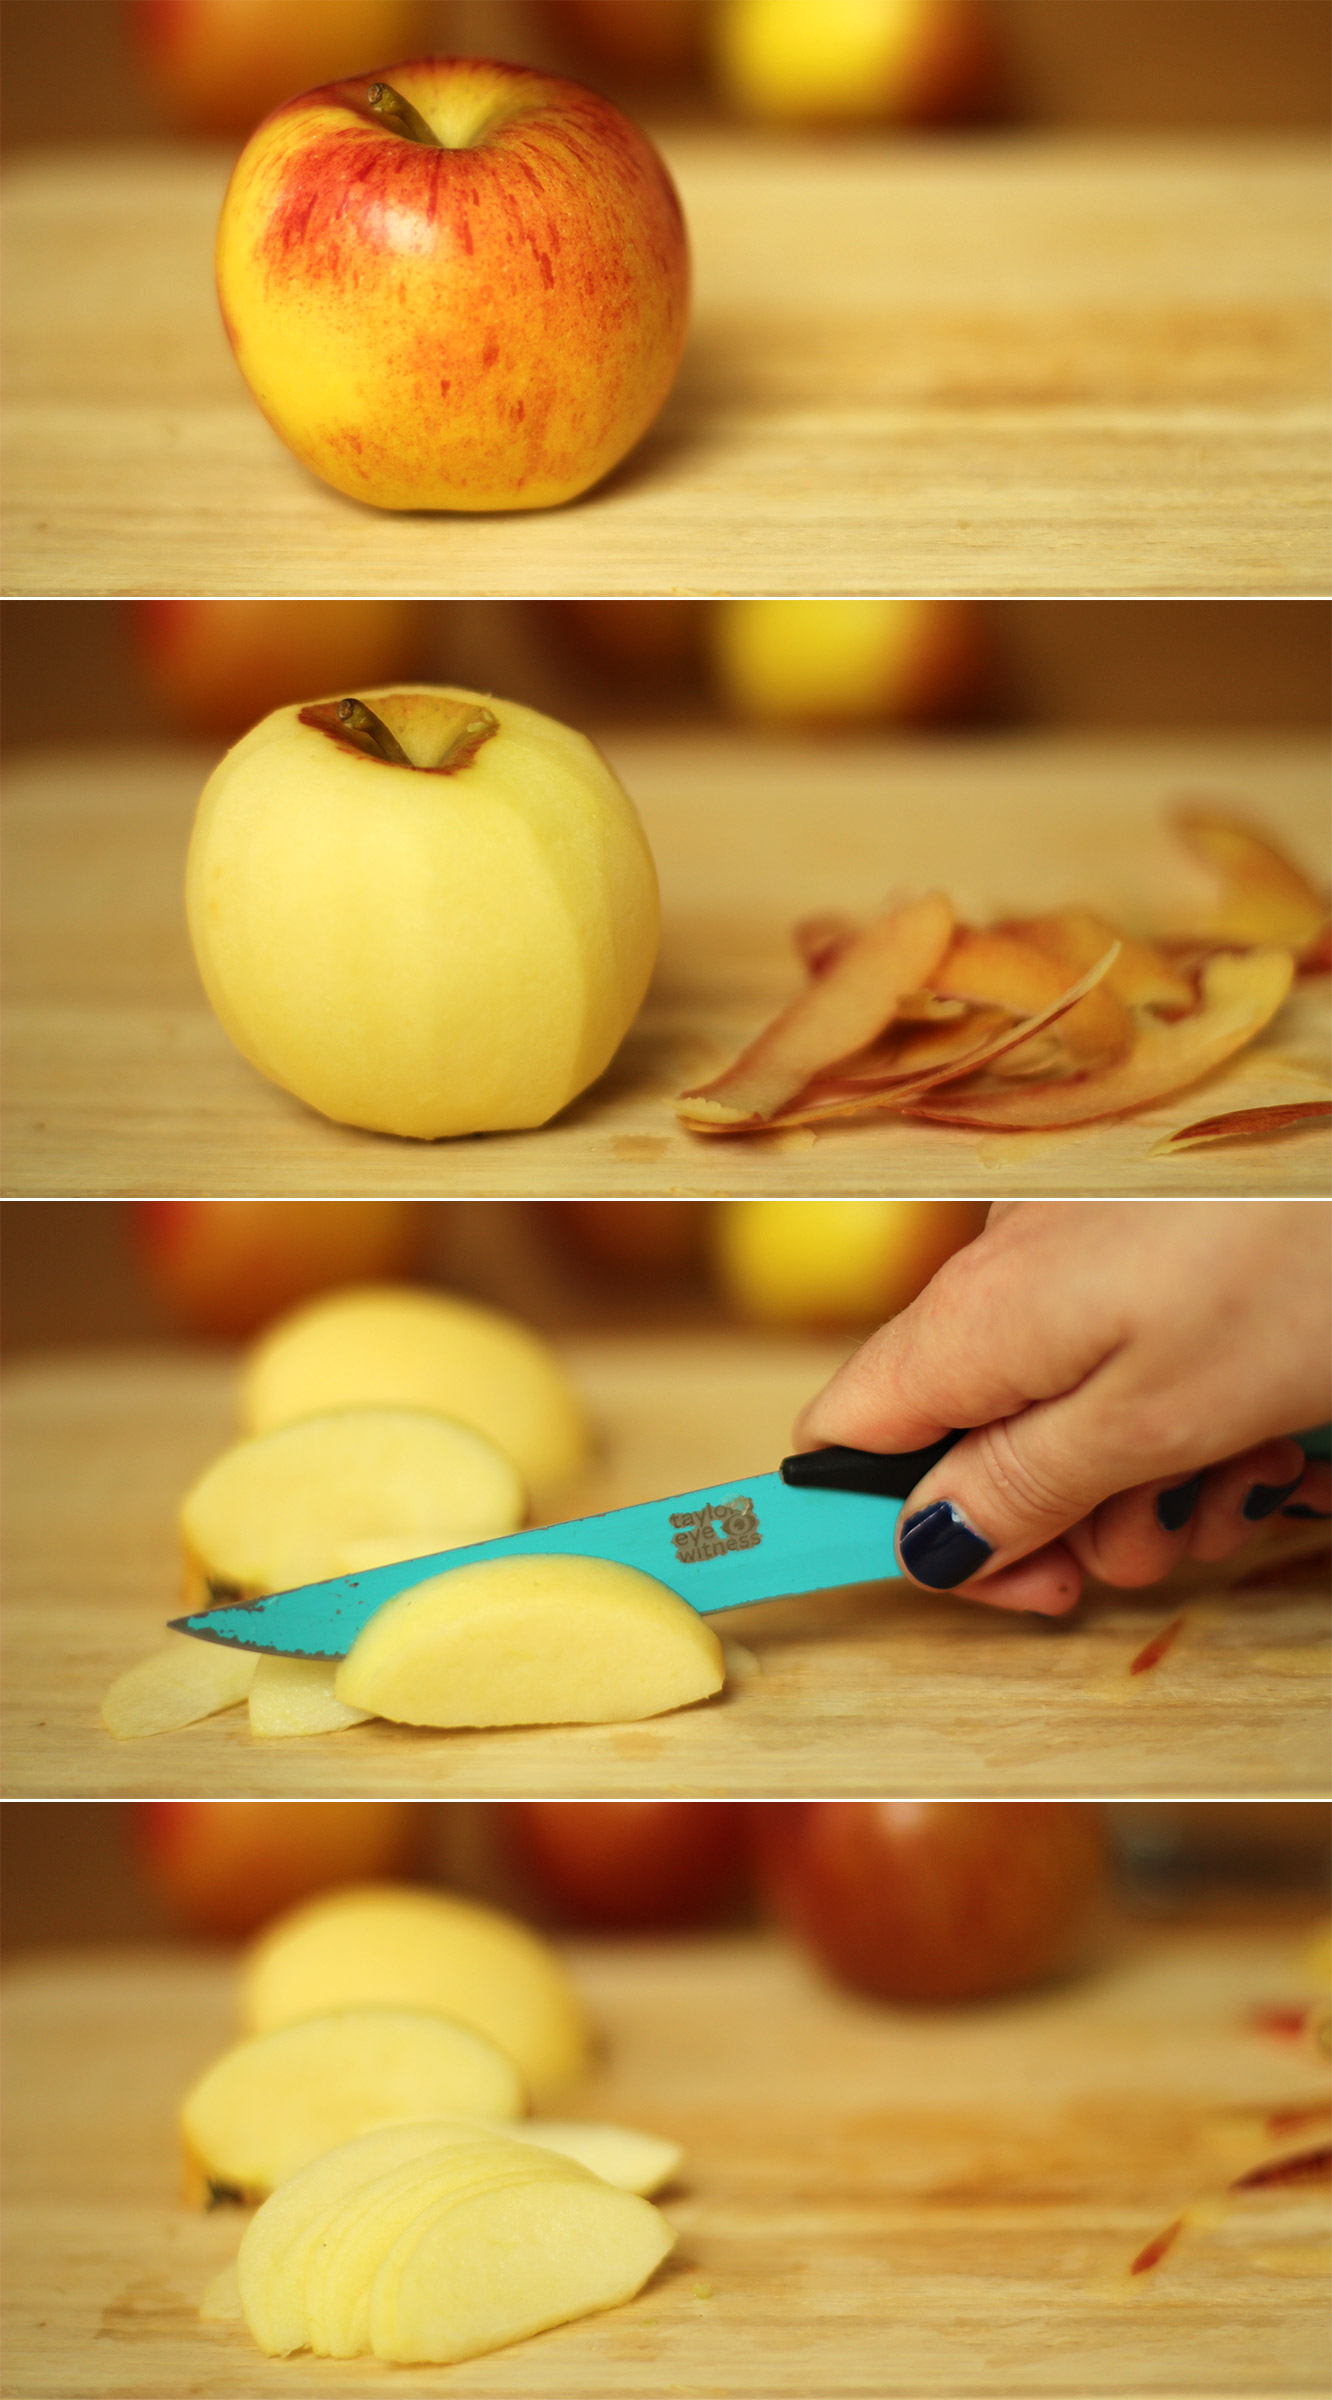
While the pastry is chilling again, peel and slice the braeburns/eating apples. You need to do this carefully as it will be the making or breaking of how your pie looks (no pressure). Try to peel nice and evenly and cut the apples as thinly as you can.

Have a large tupperware filled with cold water nearby to put your cut slices into, which will stop them from browning, again, if you have any lemon juice a few drops wouldn’t go amiss but not essential.

Pre-heat the oven to 180C/gas mark 4/350F
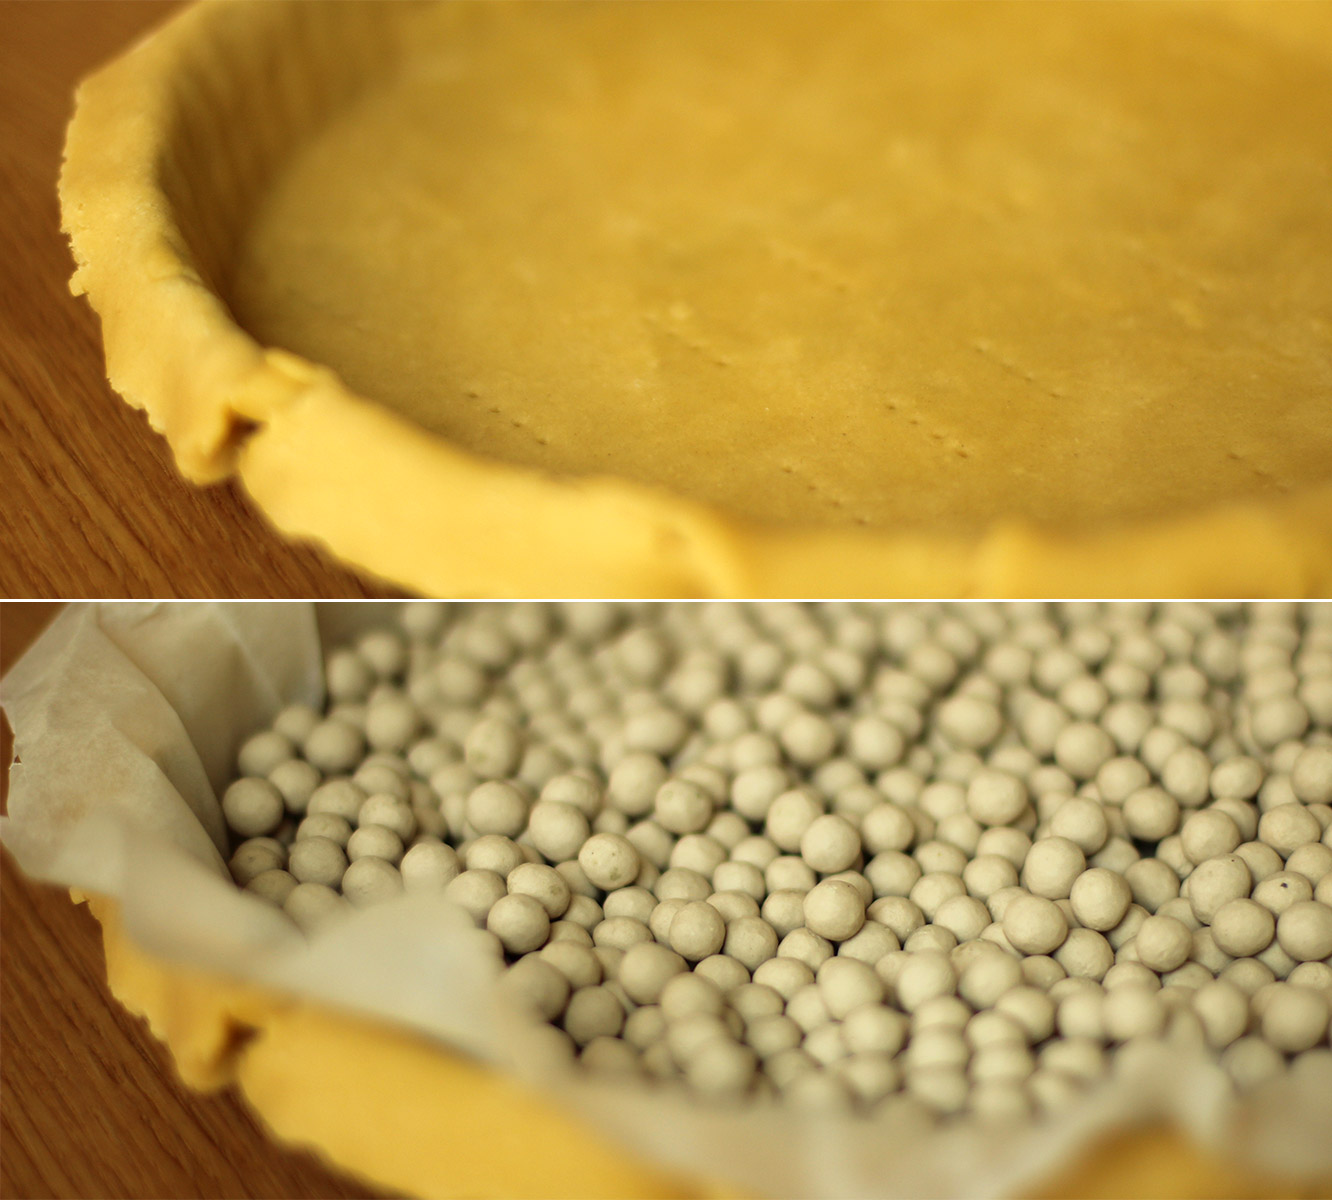
apple-frangipane-almond-tart-pie-13

Step eleven

Remove the pie from the fridge and trim some of the excess pastry off the sides but still leave an overlap.

Place some baking paper in the pie and fill with baking beans. If you don’t have any then rice works too, and most dried lentils/pulses really.

Place on a baking tray and bake for 15 minutes.
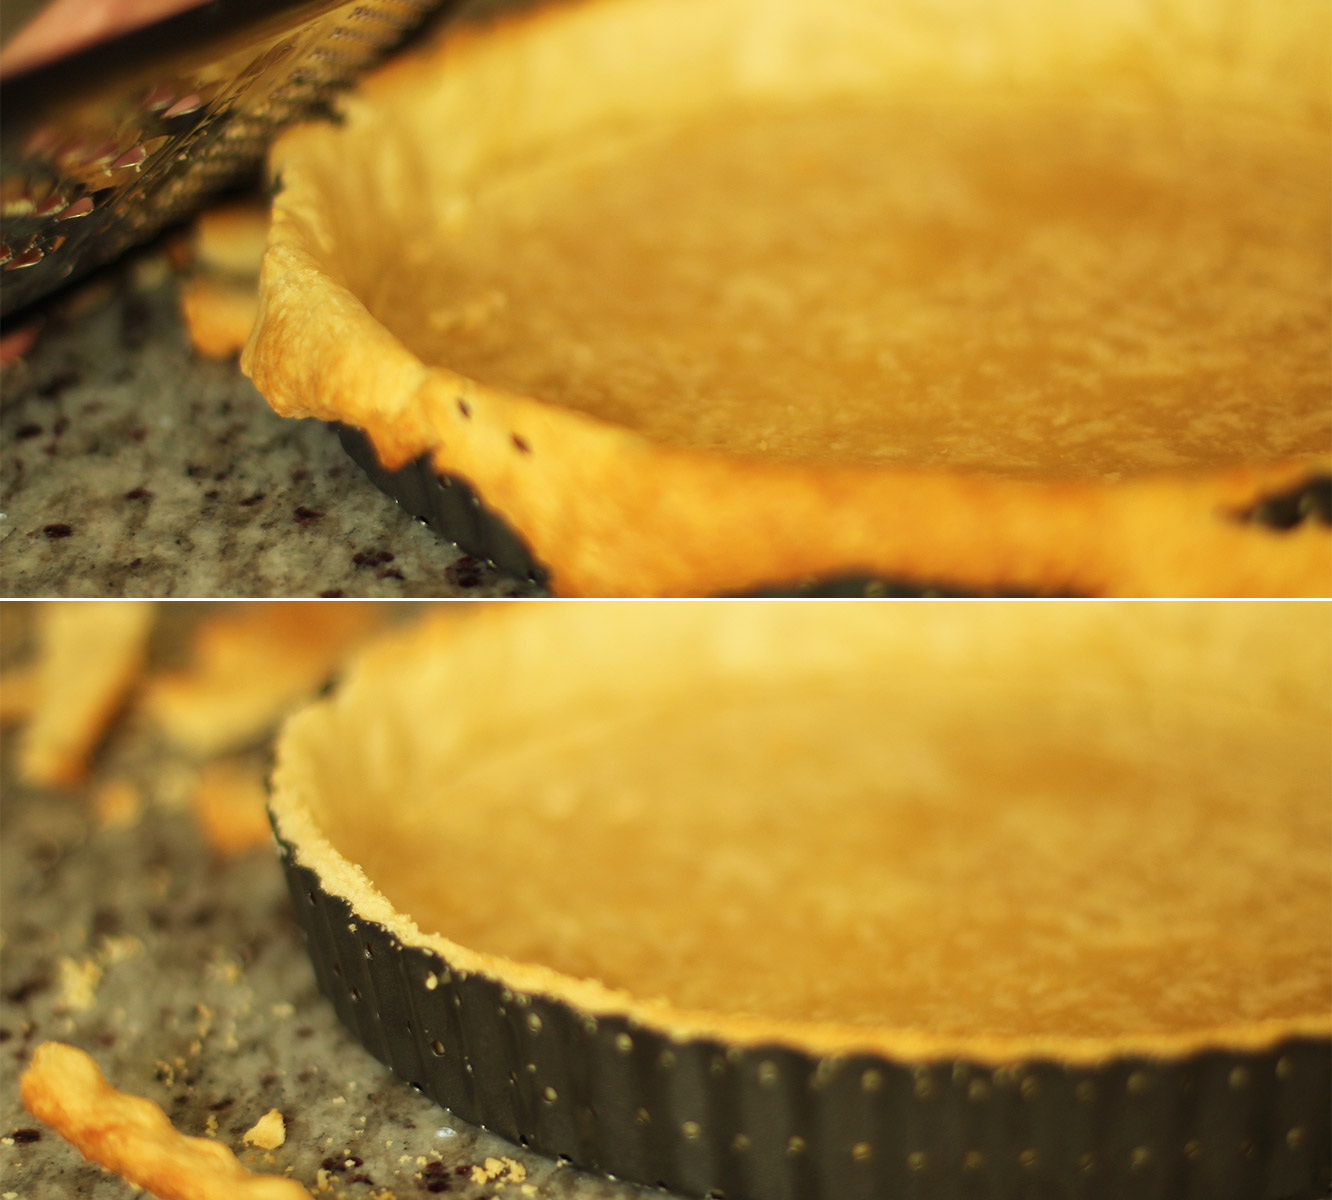
apple-frangipane-almond-tart-pie-14

Step twelve

Using a grater remove the excess pastry at this stage. Doing it this way helps to avoid your pastry shrinking in the oven.
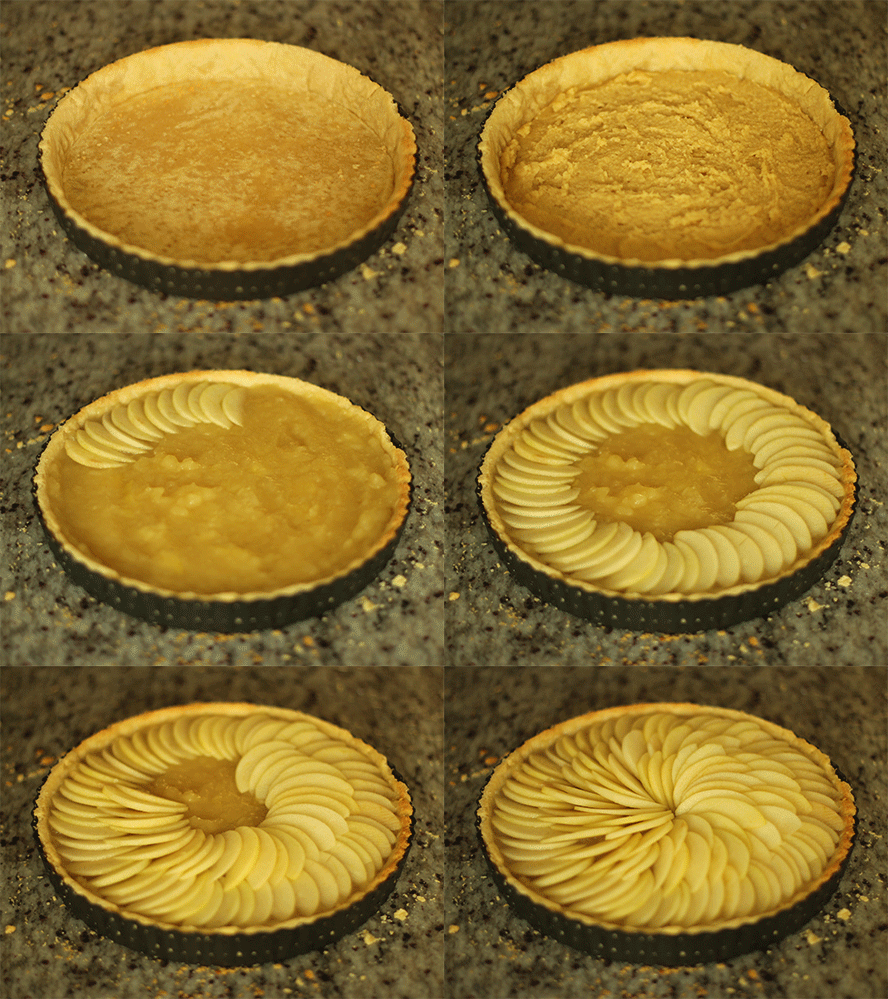
apple-frangipane-almond-tart-pie-gif

Step thirteen

FILL.

First spoon in the frangipane and spread out, followed by the stewed apple puree mixture.

Finally add your eating apples. Start with the outside and work inwards. Make sure your apples overlap each other quite a bit; the cooking process reduces the water so they will shrink and flatten out.

Bake for another hour on 180C/350F/gas mark 4. I advise checking in at regular intervals after 30 minutes as every oven is different.
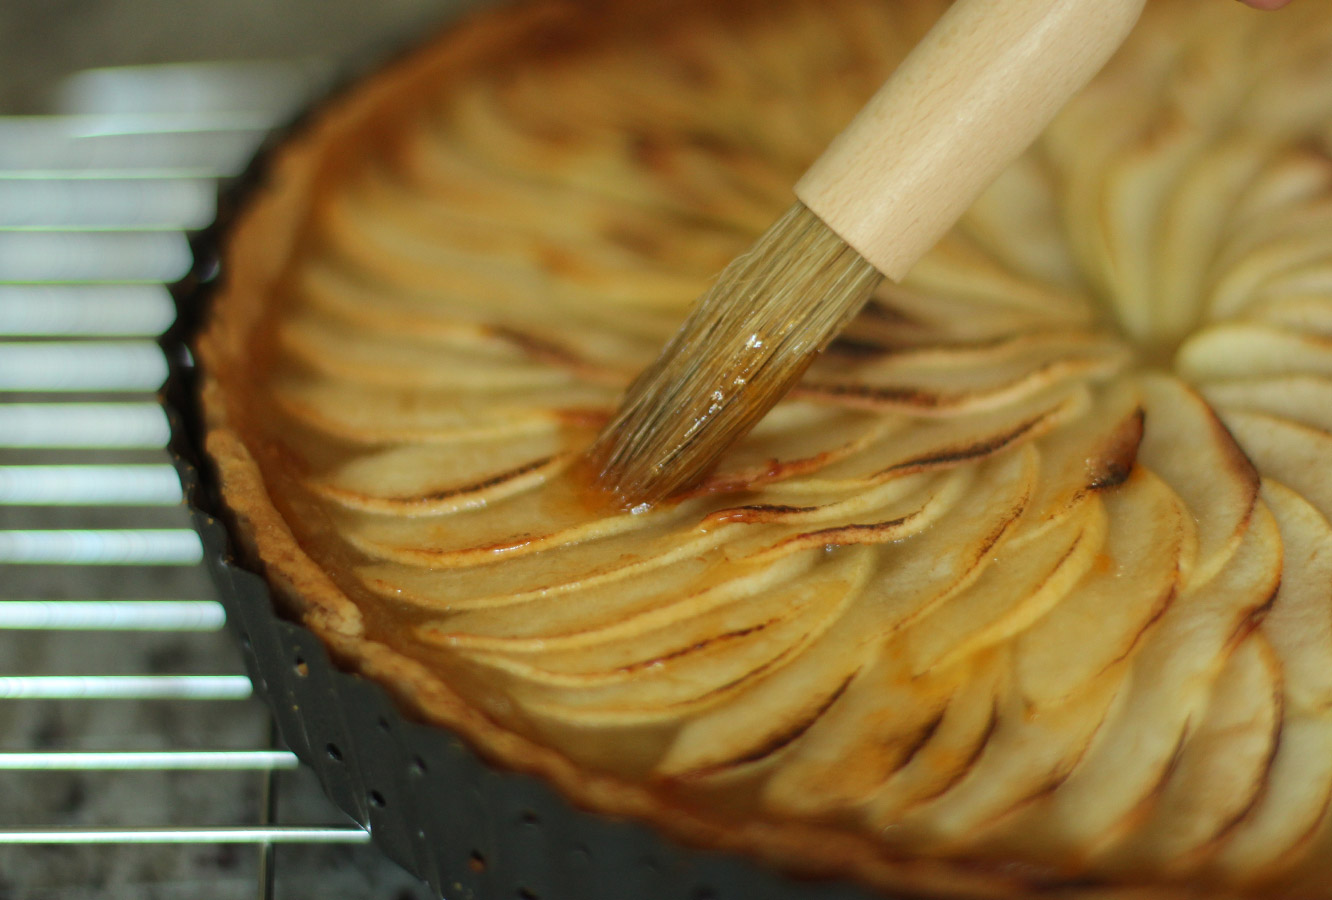
apple-frangipane-almond-tart-pie-15

Step fourteen

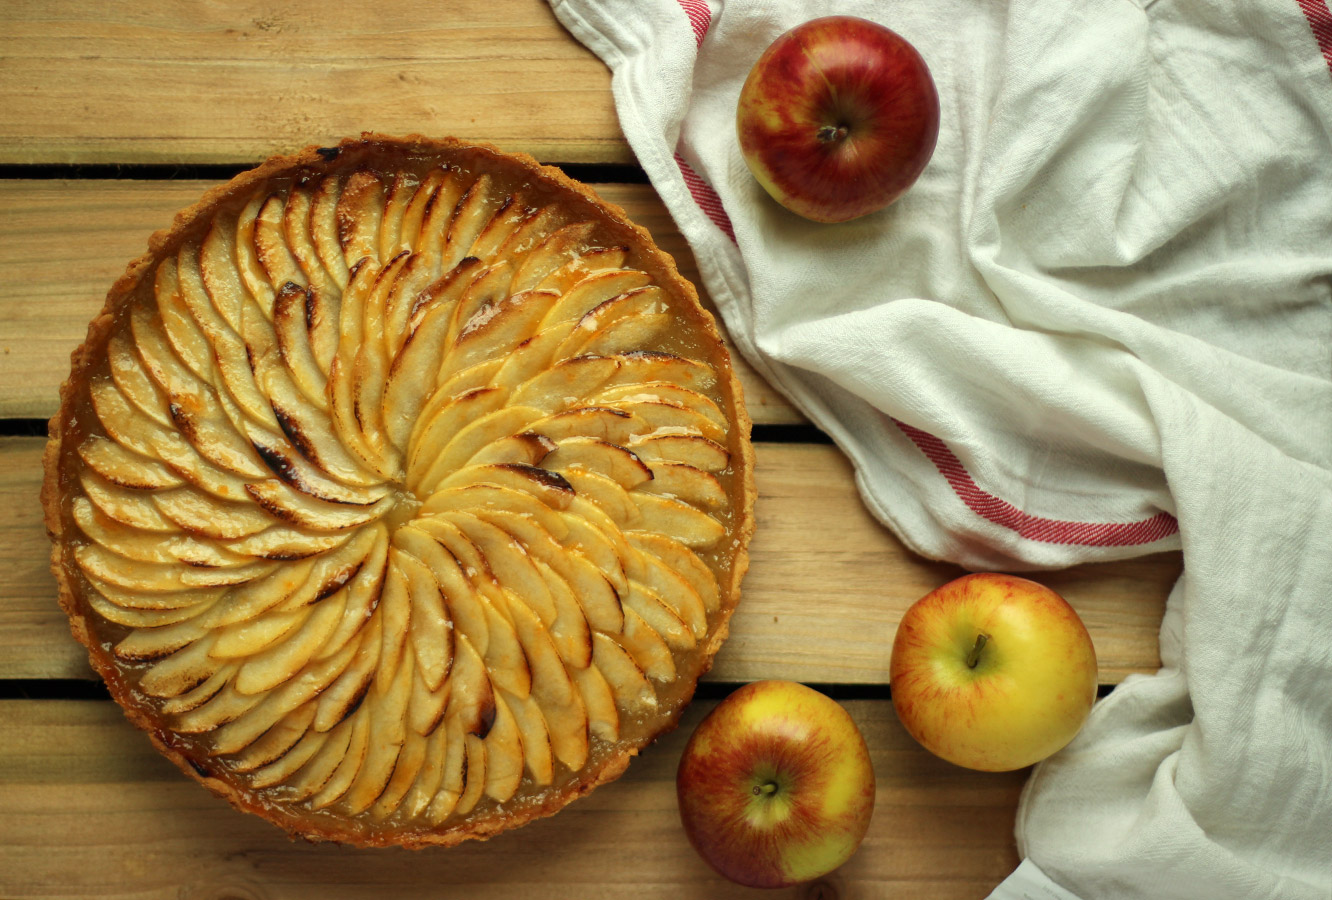
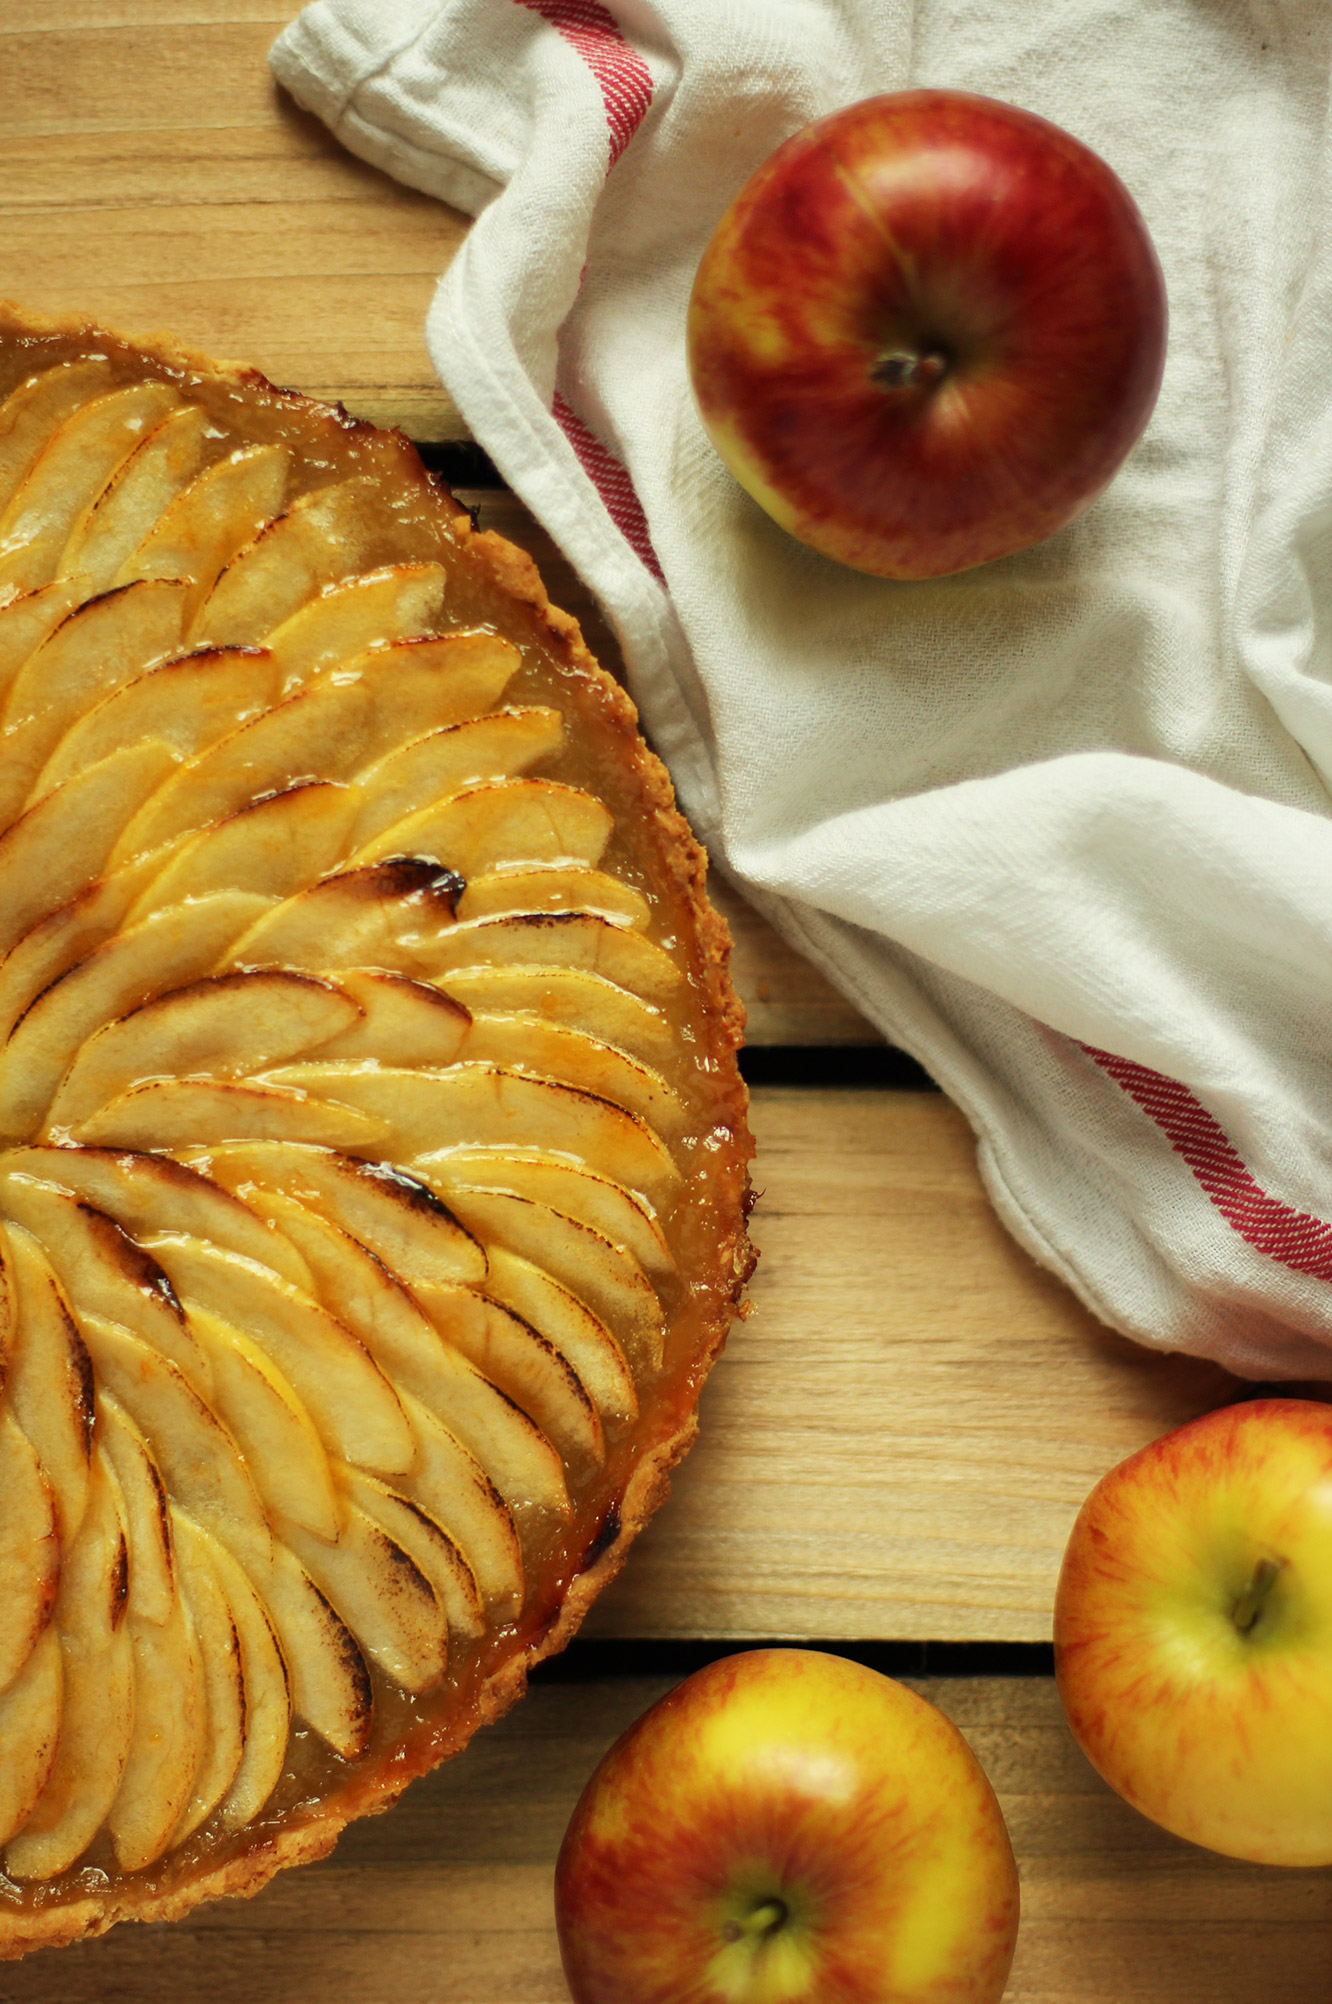
Pop a few tablespoons of apricot jam in the microwave for 10-20 seconds (keep your eye on it as it’s sugary and will heat up quickly). Brush over the surface of the tart, being careful not to move the apples around, spoiling your lovely design.
apple-frangipane-almond-tart-pie-17

apple-frangipane-almond-tart-pie-18

apple-frangipane-almond-tart-pie-16

Step fifteen

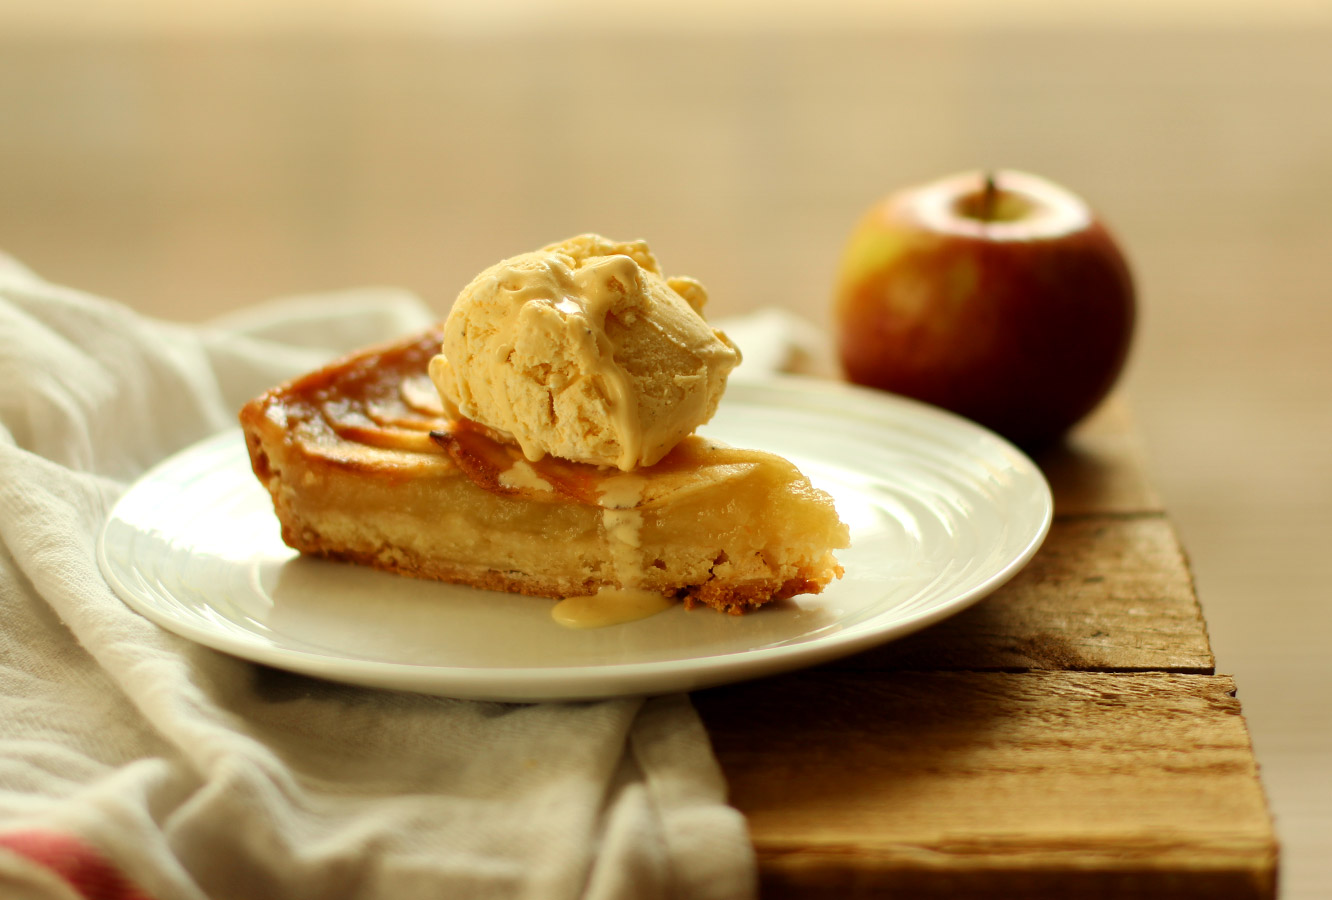
Get a scoop of vanilla ice-cream on that guy.

You can reheat your pie in the oven or individual slices in the microwave if you aren’t eating it straight away.

Until next time. x

When life gives you lemons

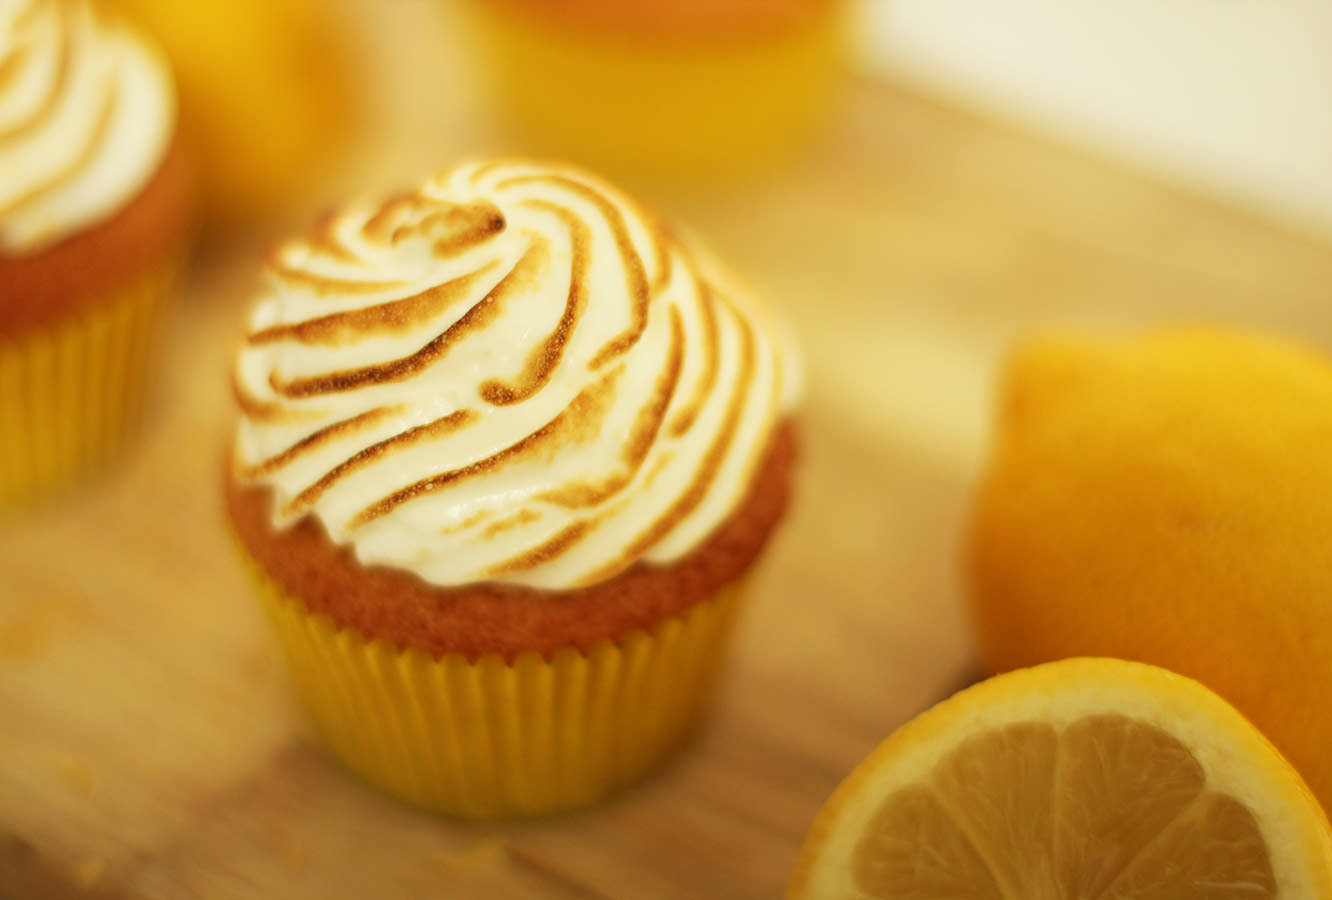
GUYS. I GOT A BLOWTORCH.

I won’t regale you with the tale of trying to fuel said blowtorch because it’s an epic tragedy to rival those of the Greeks. However, at LAST the correct butane was obtained and I held FIRE in my hands. It’s dangerous really. I’m incredibly clumsy. But hey, I’ve wanted one for years, and I was not disappointed.

You don’t actually need a blowtorch for this recipe, but I think everyone should have one so we can compare notes.

So moving on from my pyromaniac tendencies…my mum’s lemon meringue pie takes some beating. And by that, I mean, nobody has beaten it. Ever. I have a separate stomach that’s just for lemon meringue pie.

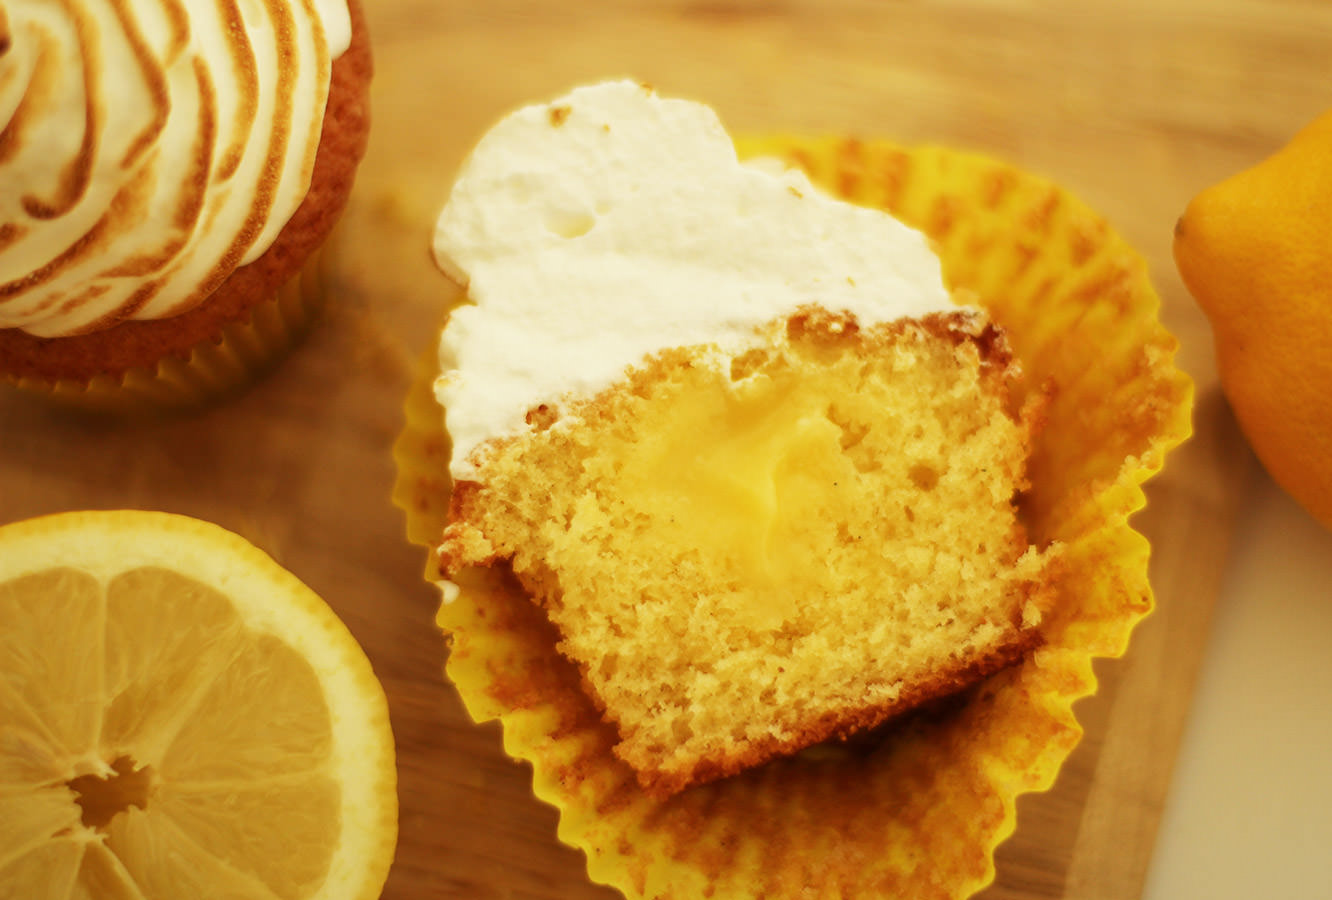
There would be no completing this British favourites series (not that we’re completing it today, buckle up friend) without lemon meringue pie. I’m actually a bit torn, because how can you convert something as delicious as lemon meringue into a cupcake recipe? Well. I tried it. They’re pretty yummy.

lemon-meringue-cupcake-recipe-1

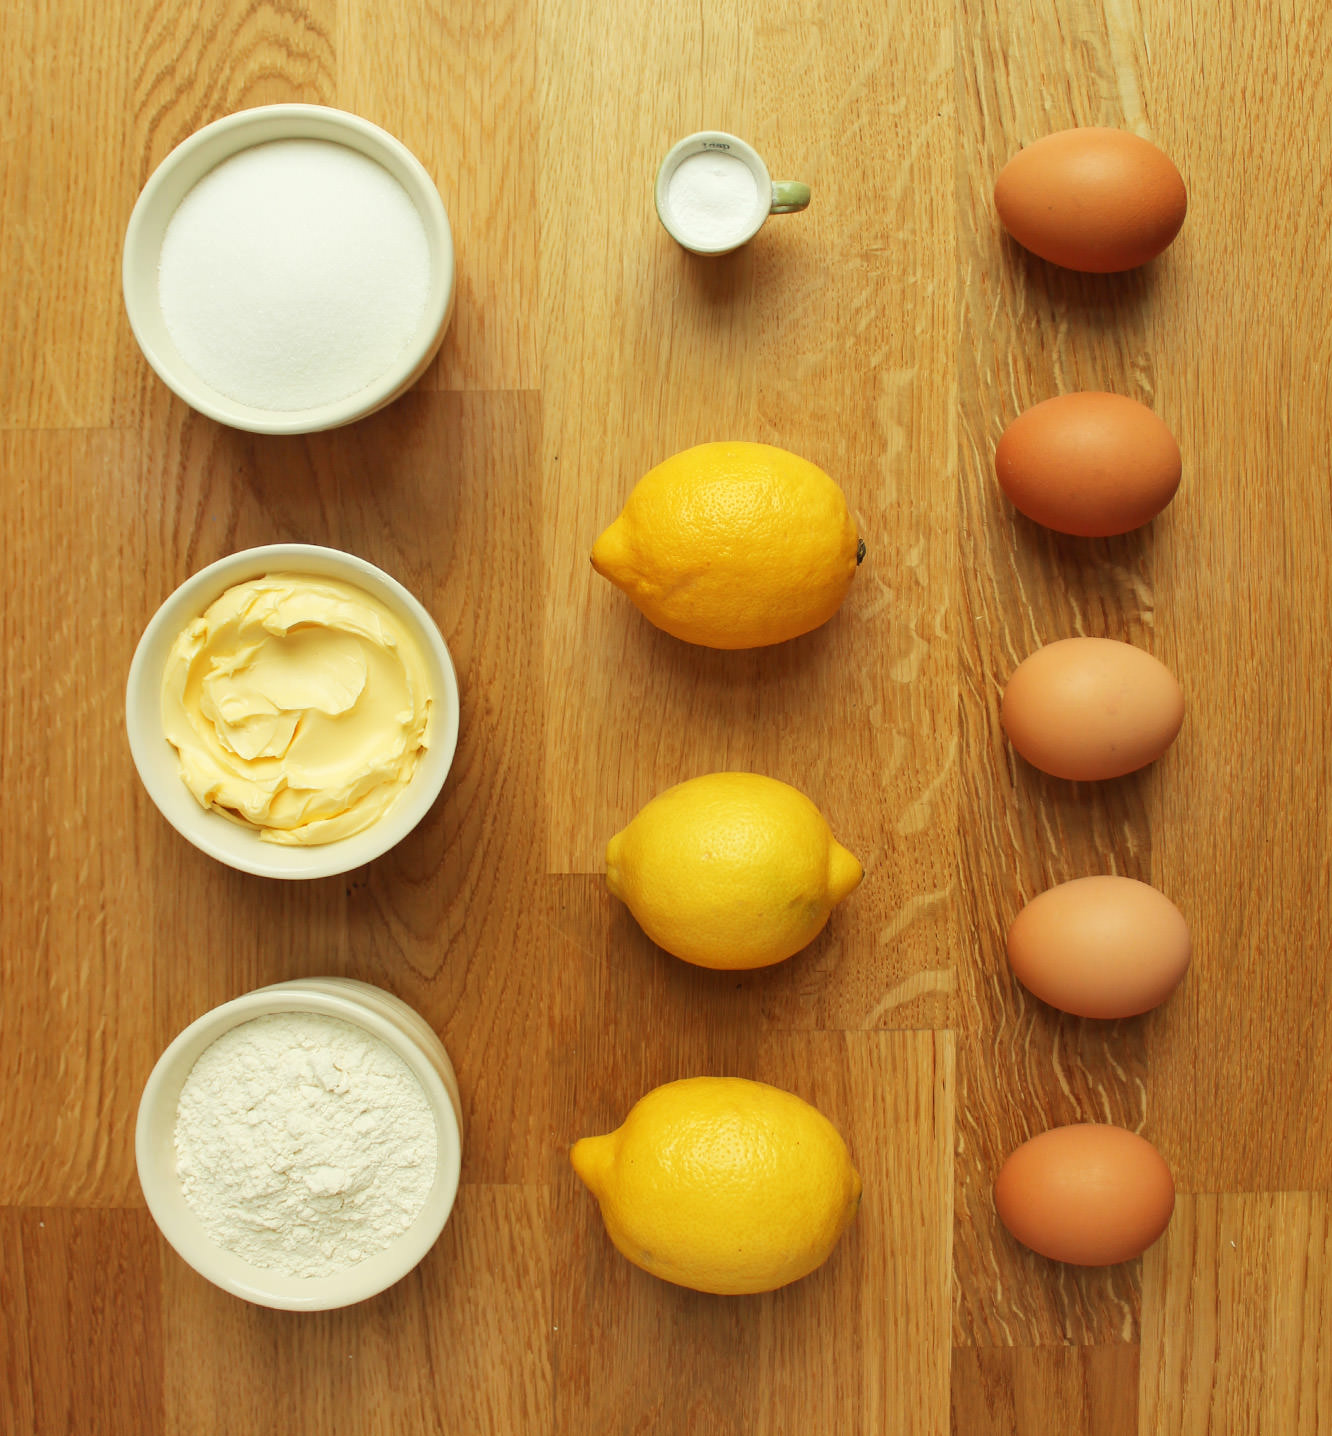
You will need

For the cake:

185g/6.5 oz self raising flour

185g/6.5 oz butter/margarine (I use Stork)

185g/6.5 oz caster sugar

3 eggs

1 tsp bicarbonate of soda

1 tsp vanilla extract/paste

For the frosting/icing:

2 egg whites

225g/8oz caster sugar

1/2 tsp cream of tartar

75ml/2.5 fl oz water

BLOWTORCH (optional)

For the lemon curd:

2 whole eggs

1 egg yolk

85g/3 oz caster sugar

60g/2 oz butter

90ml/3 fl oz freshly squeezed lemon juice (2 lemons should do)

Zest of two lemons

(makes 12)

lemon-meringue-cupcake-recipe-2

Step one

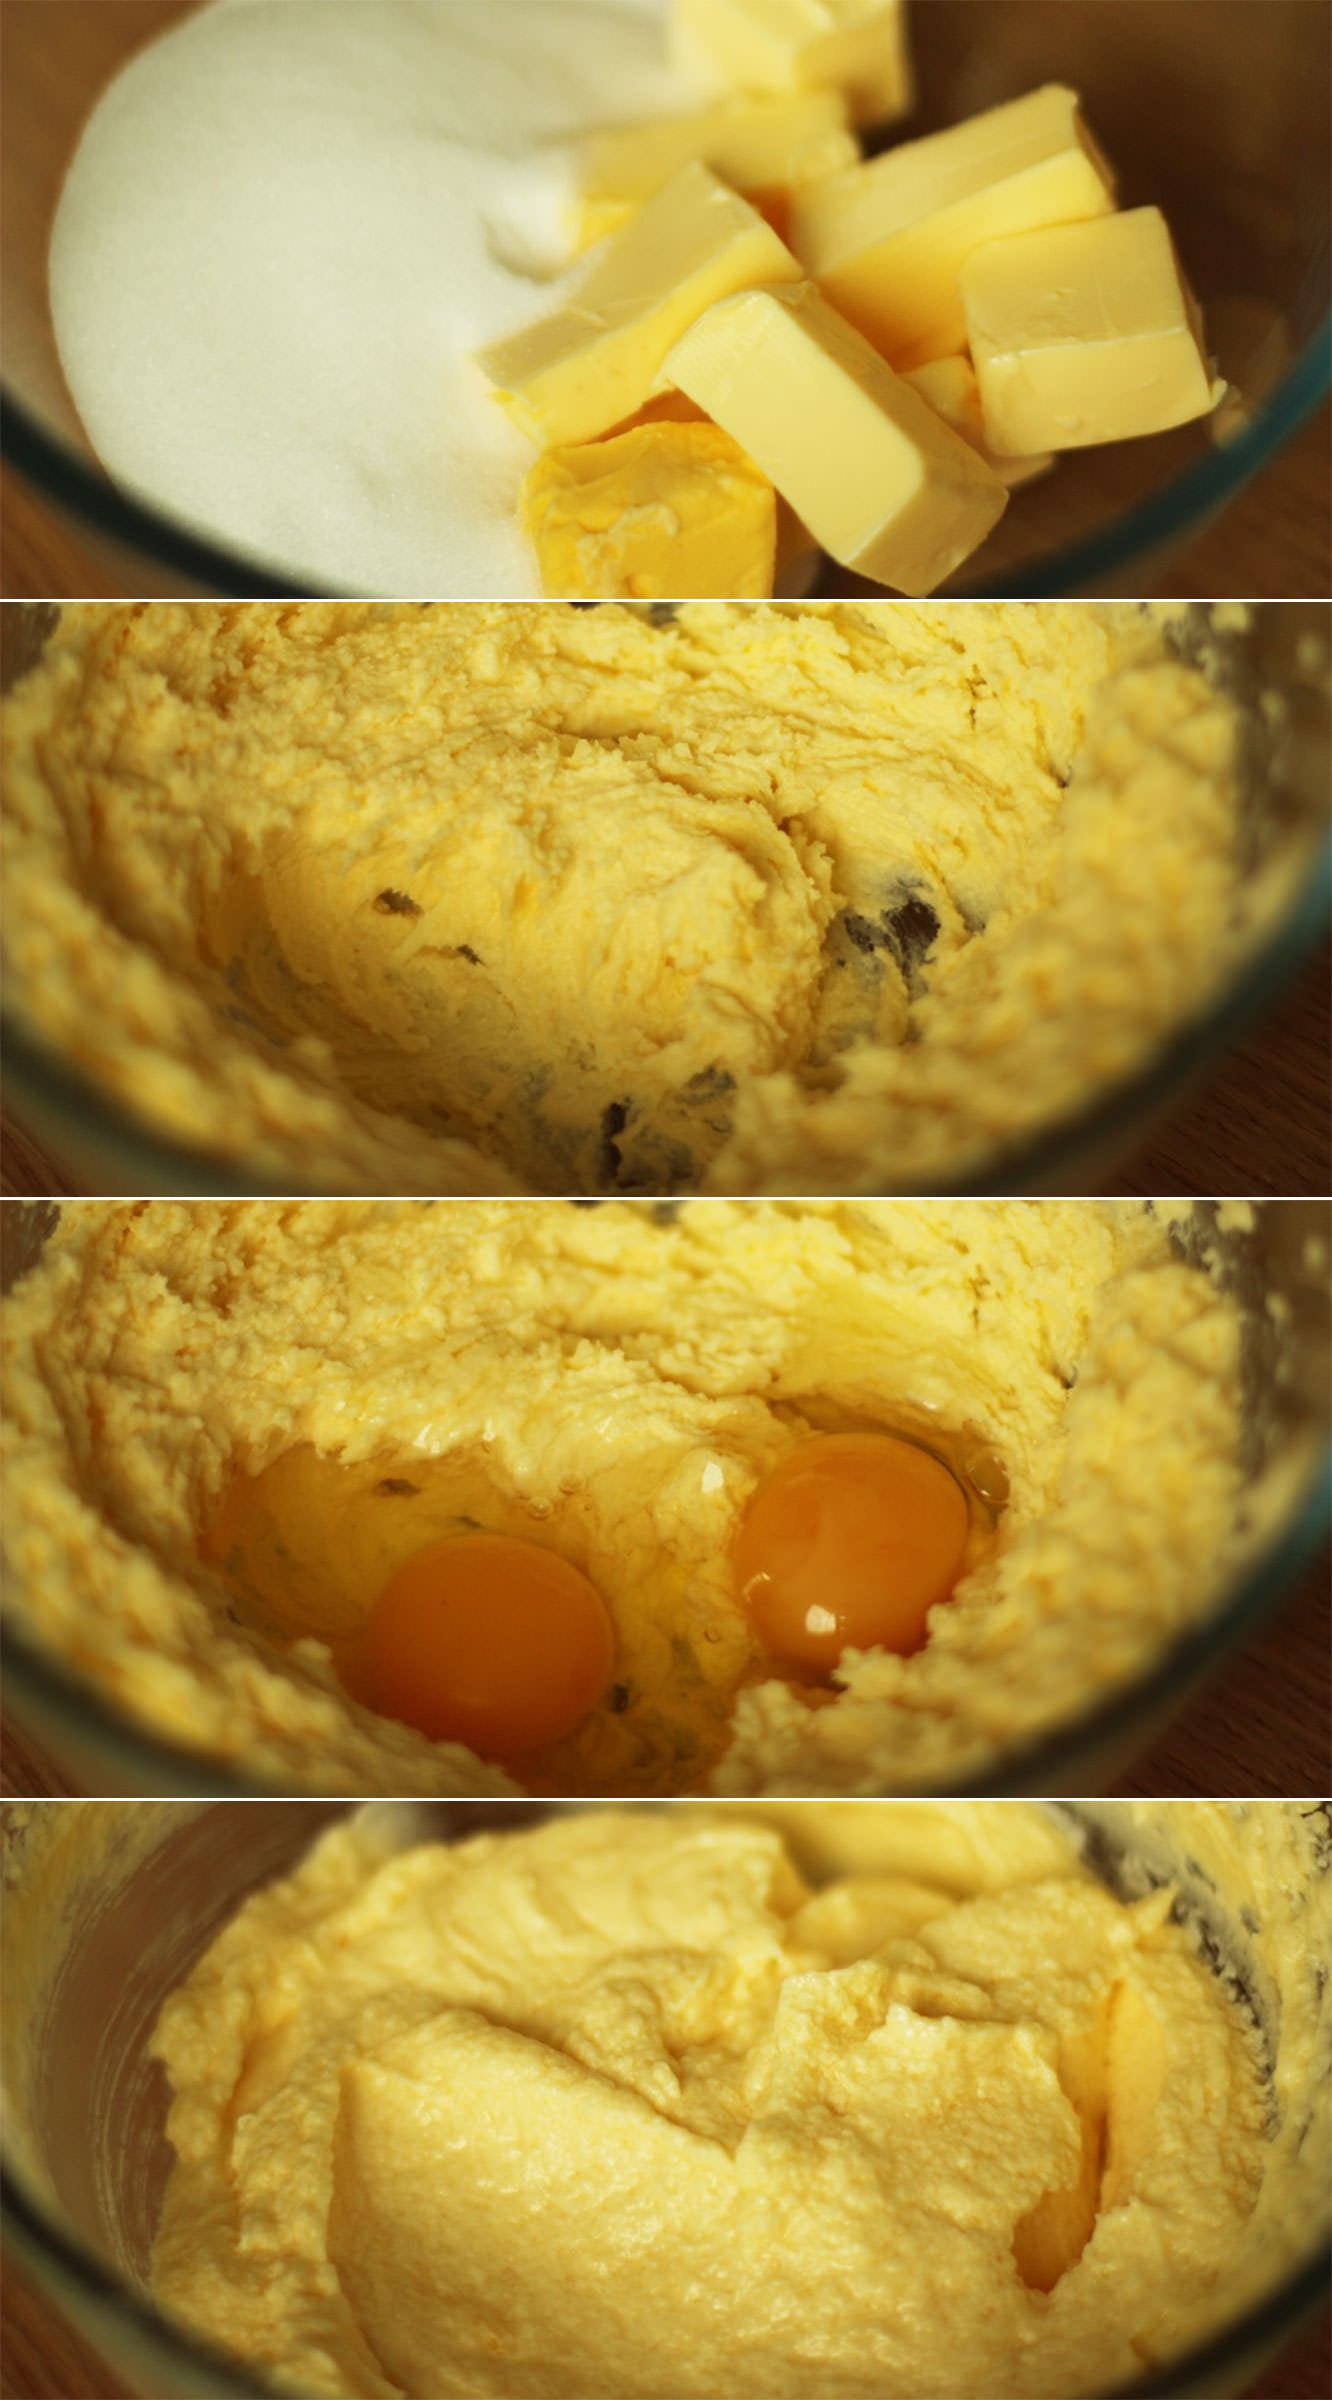
Using an electric whisk (if you have one, otherwise a wooden spoon will do), whisk together the butter/margarine and sugar.

Add the eggs once the batter is light and fluffy and beat again until combined.

lemon-meringue-cupcake-recipe-3

Step two

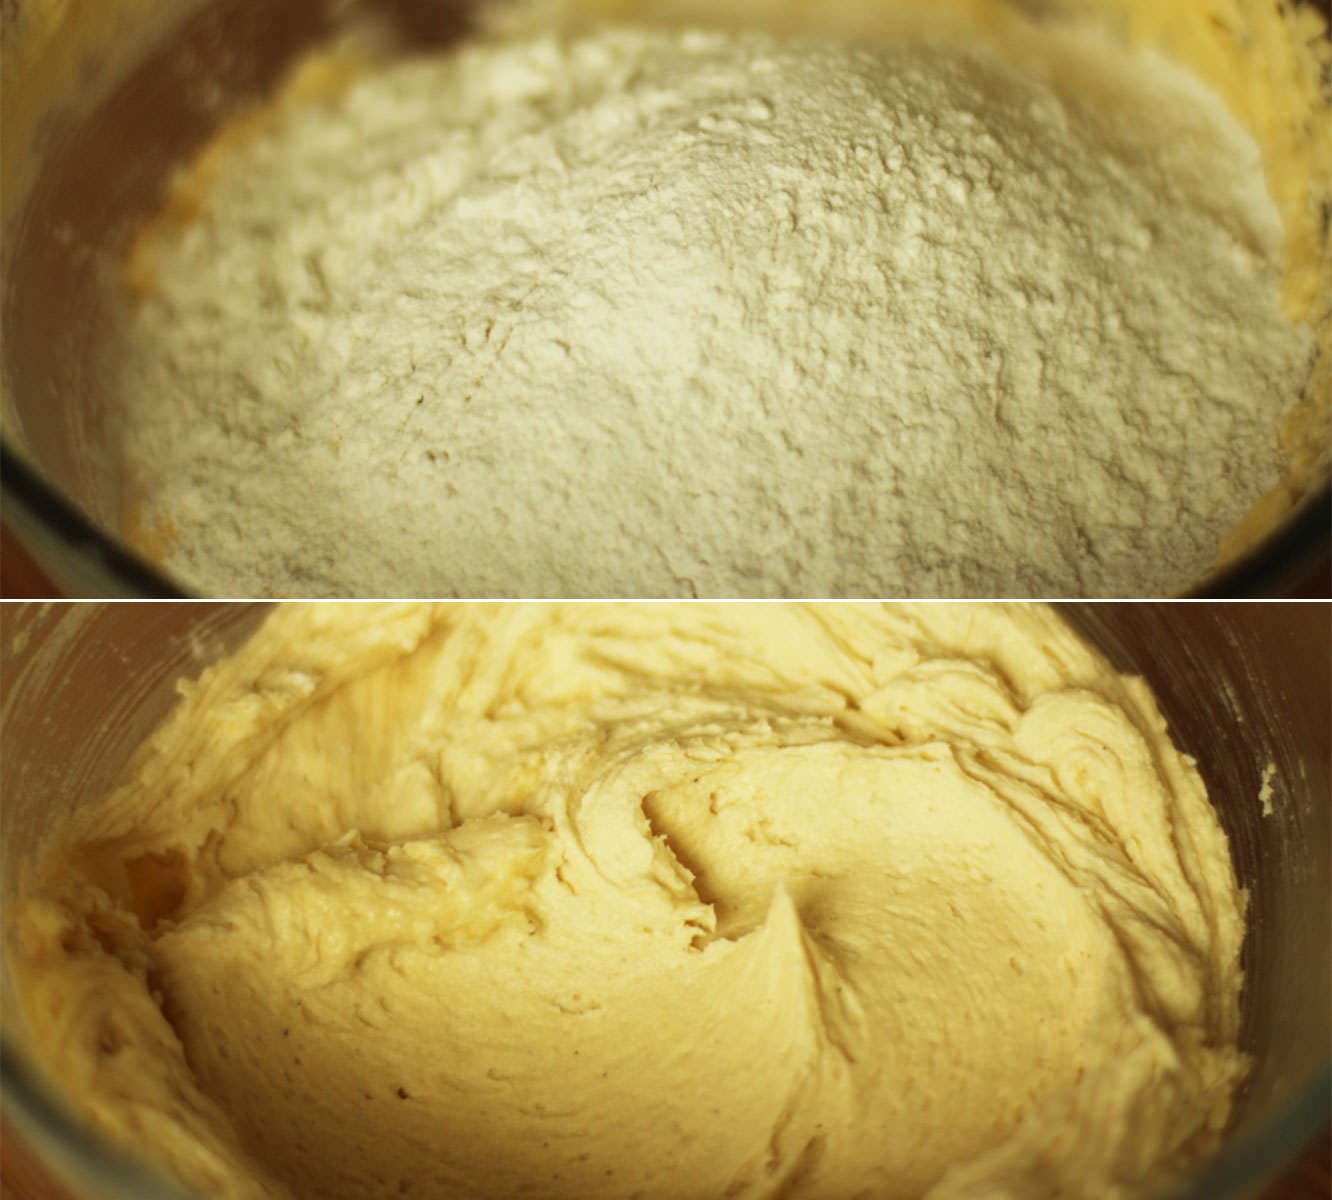
Add the flour and bicarbonate of soda, vanilla essence if you have it, and whisk until you have a lovely airy consistency.

lemon-meringue-cupcake-recipe-4

Step three

Spoon the batter into 12 cupcake cases and bake for 20-25 minutes on 350F/180C/gas mark 4.

Once out of the oven leave to cool completely.

lemon-meringue-cupcake-recipe-5

Step four

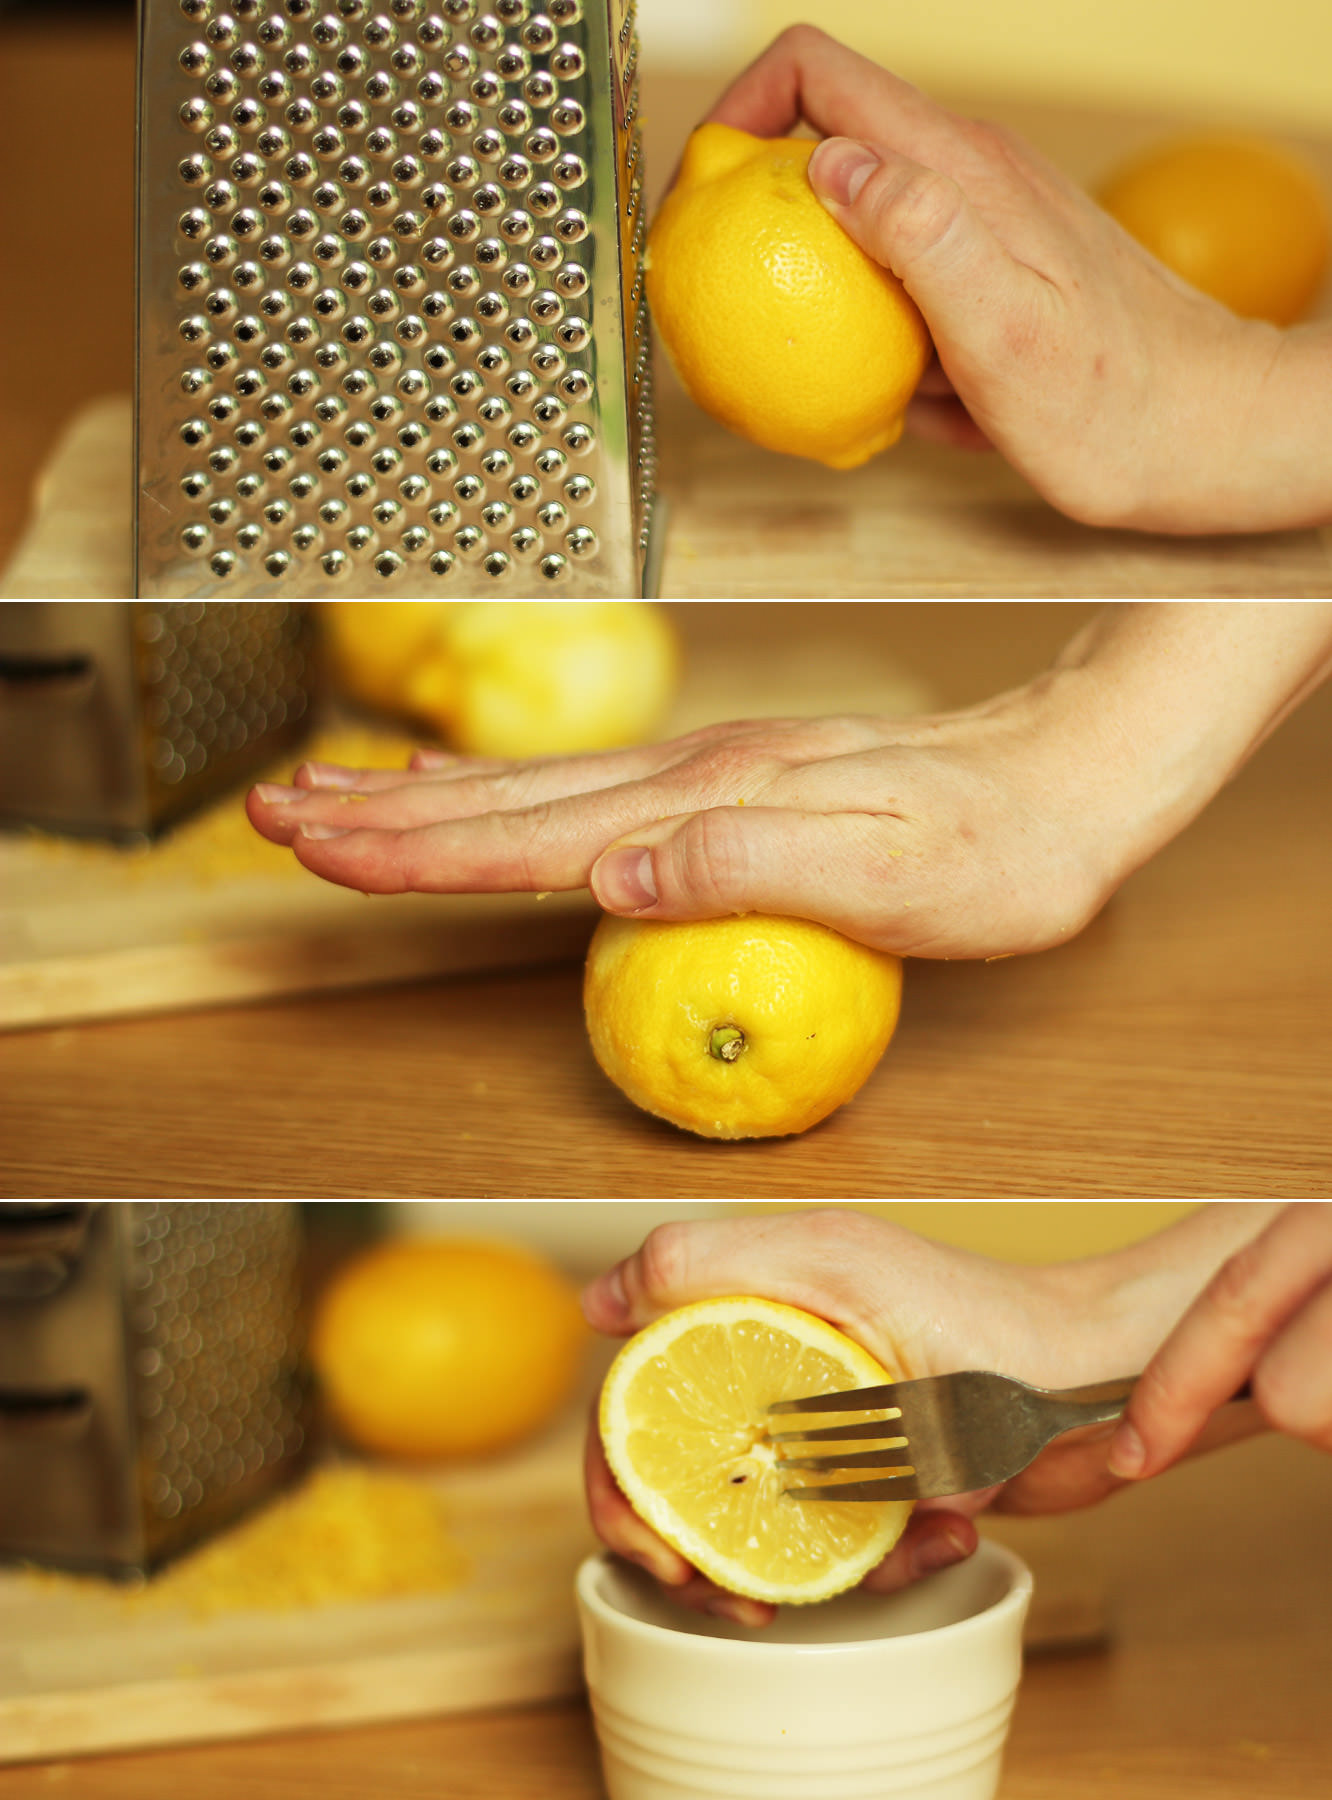
Zest the lemons.

Roll them around on a smooth, clean surface pressing down firmly. You can also pop them in the microwave for 10-20 seconds. This is all in aide of releasing the juices.

Squeeze the juice until you have 90ml, don’t worry if you’re slightly over or under.

lemon-meringue-cupcake-recipe-6

Step five

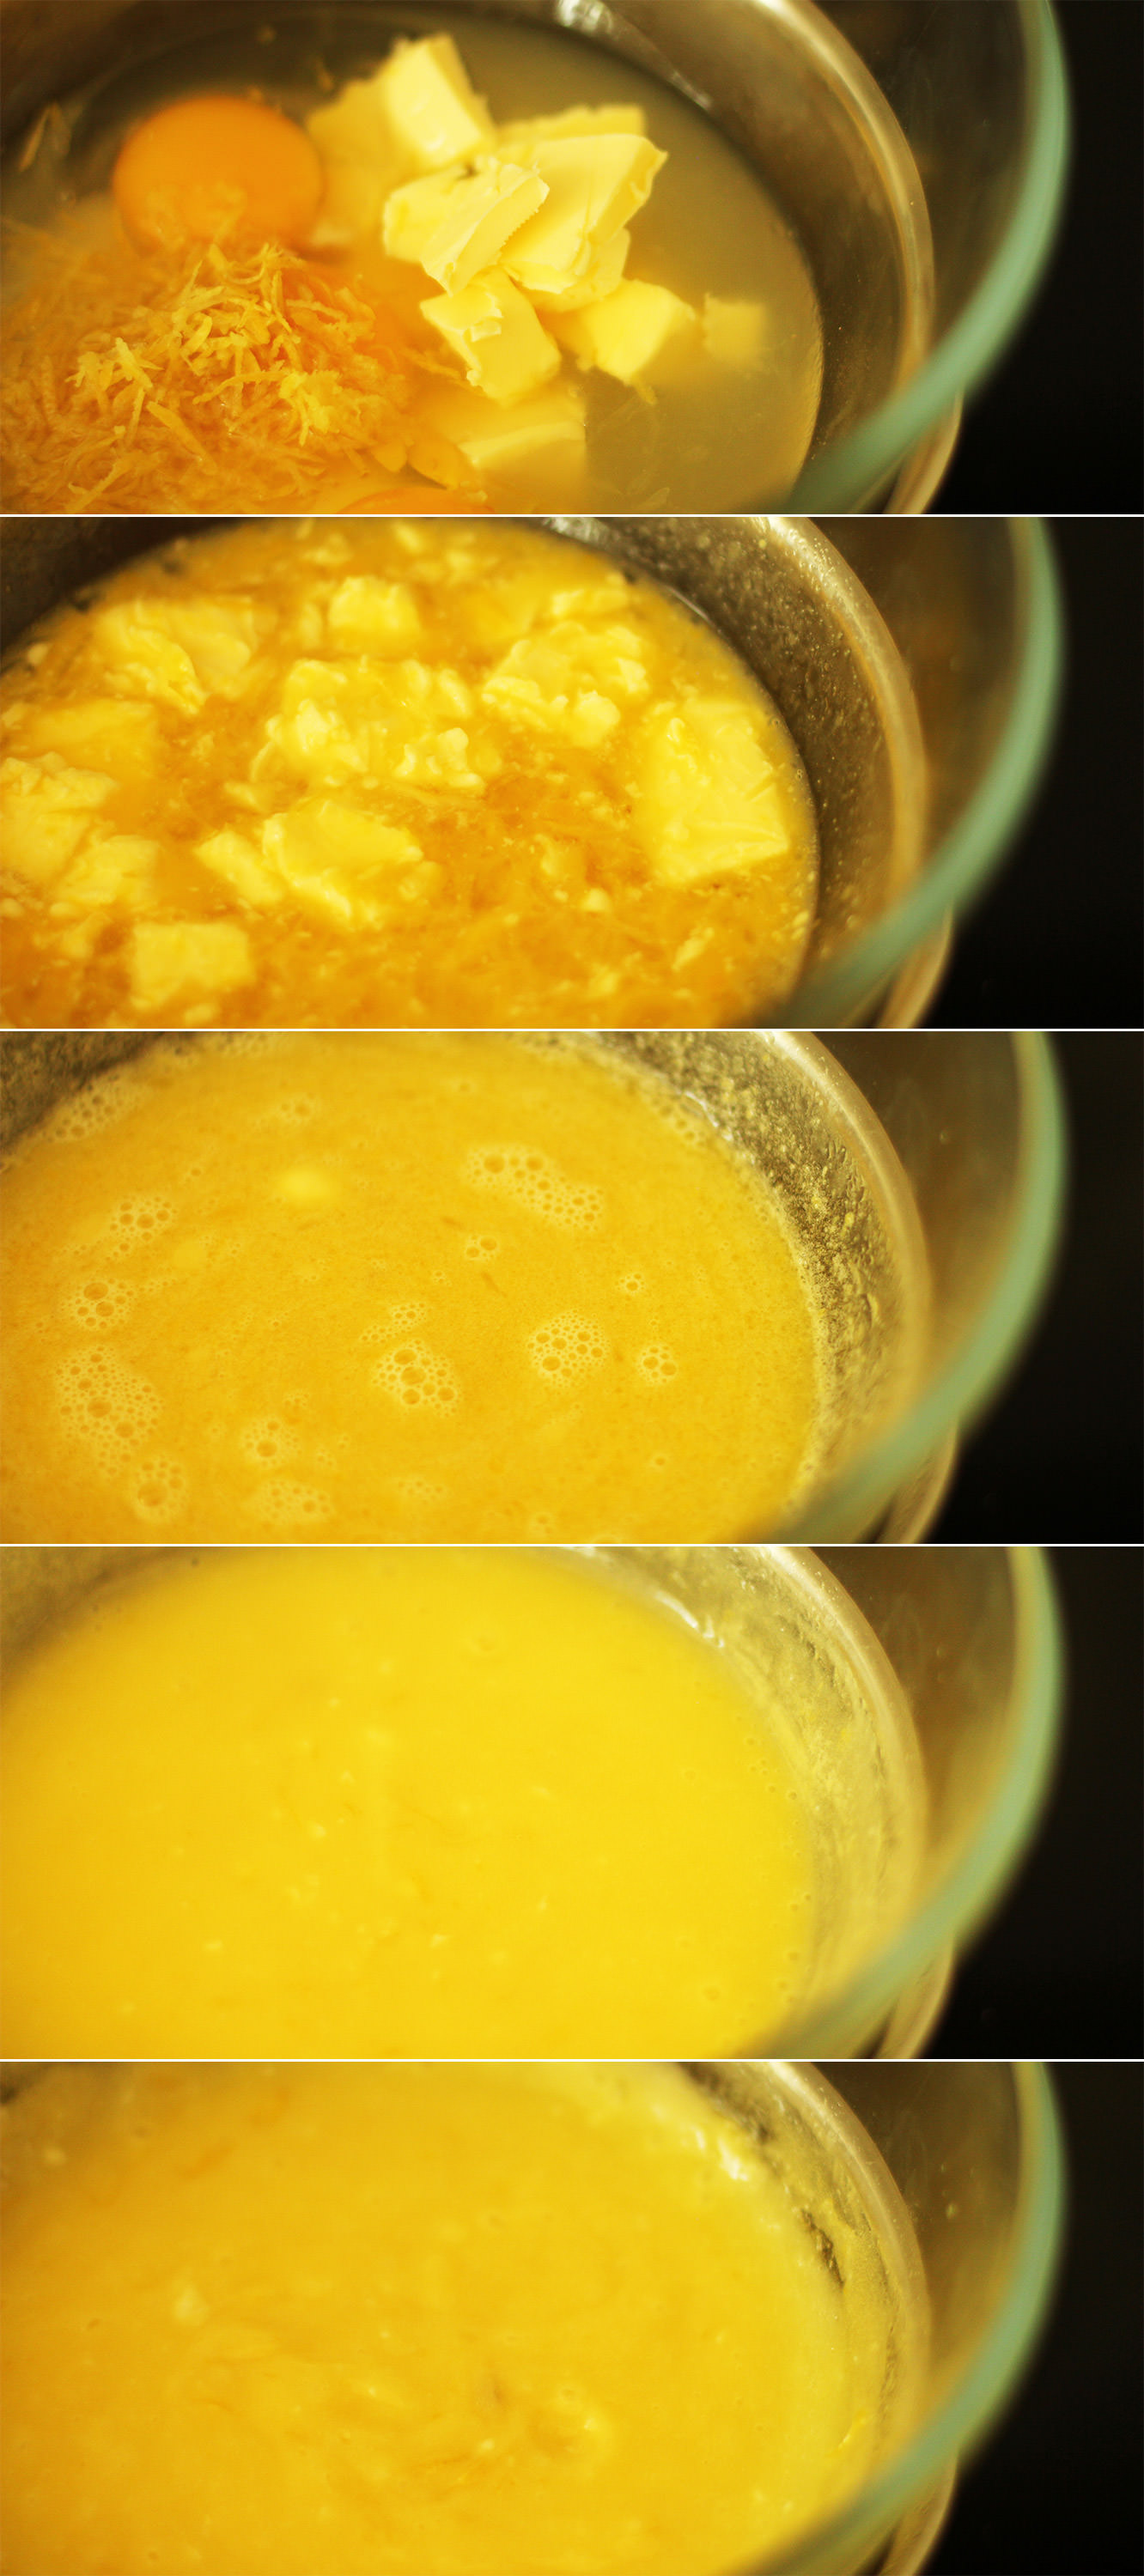
Set a heatproof bowl above a pan of barely simmering water, ensuring the water isn’t touching the bottom of the bowl.

Add all the curd ingredients.

I’ve sort of been judging the readiness of this by eye. I reckon it takes around 10 minutes for the curd to thicken.

Whisk intermittently and just keep an eye on it. It will thicken more when it cools but ensure that it coats the back of a metal spoon before removing from the heat.

lemon-meringue-cupcake-recipe-10

Step six

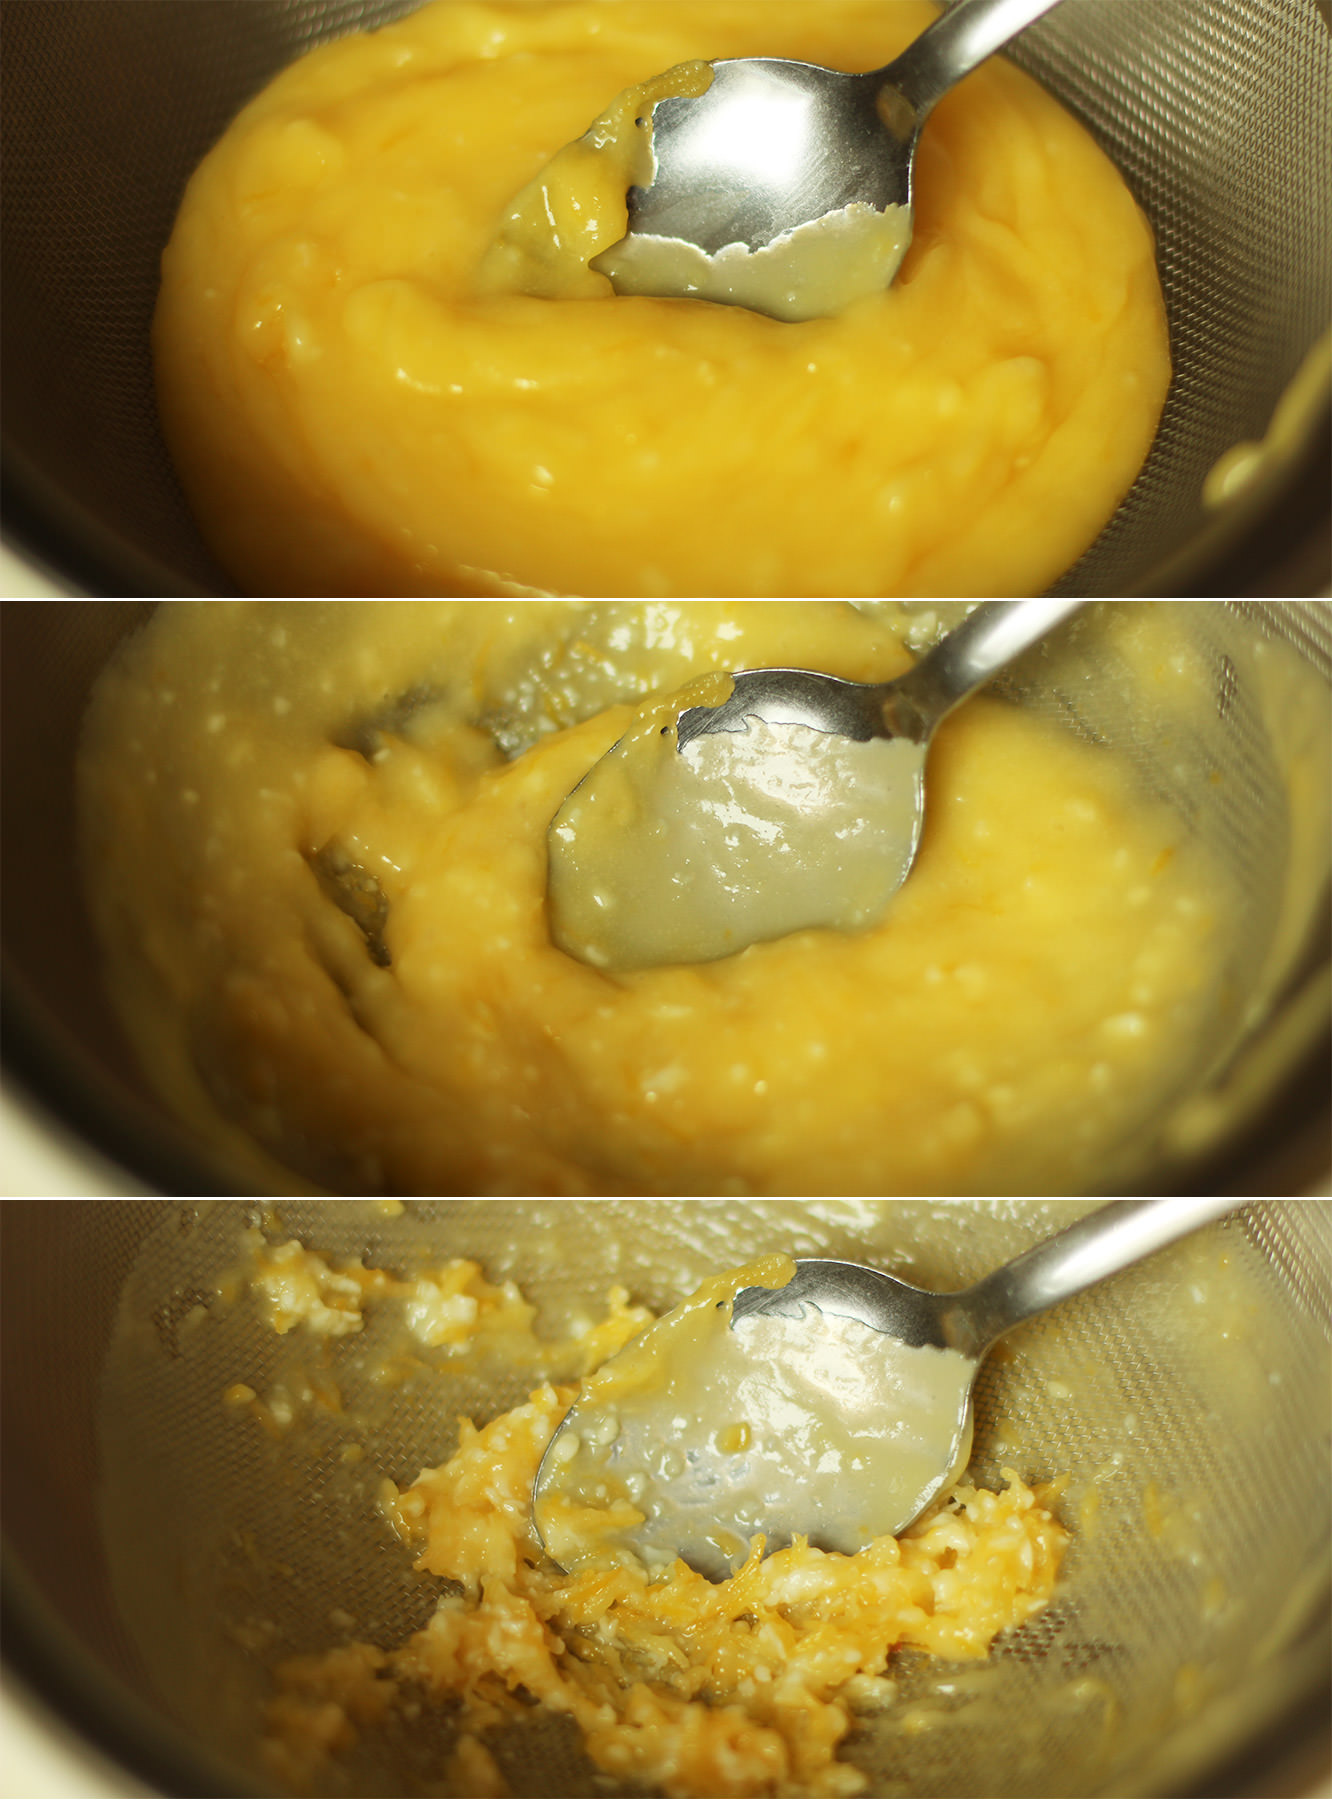
Sieve the curd by stirring it through with a metal spoon.

Pop it in the fridge to cool it down quicker if you need to.

lemon-meringue-cupcake-recipe-11

Step six

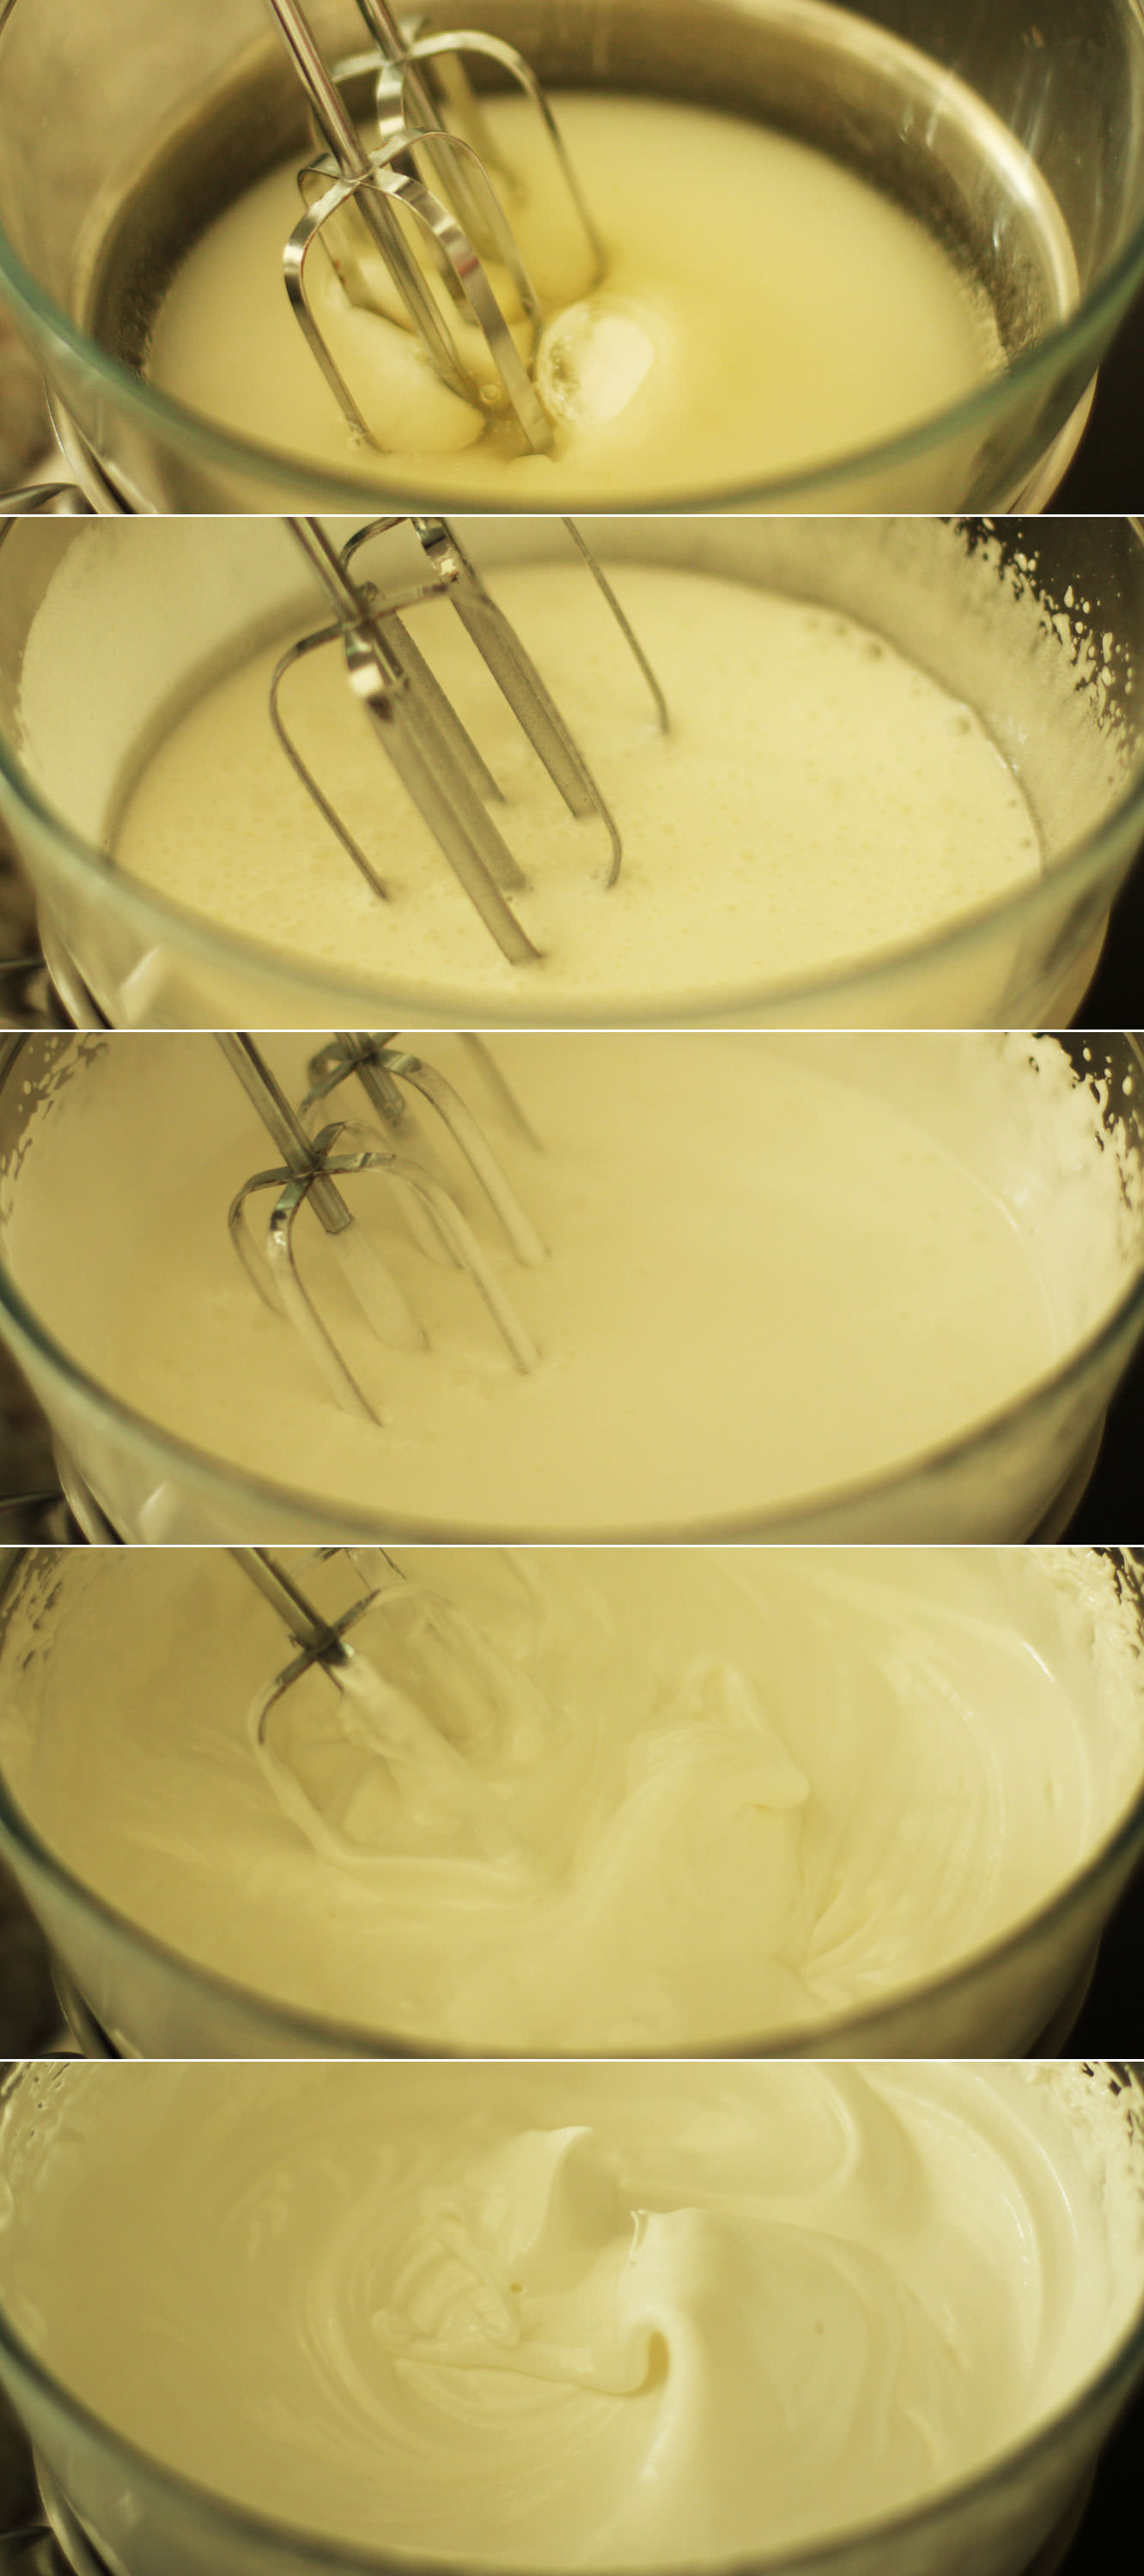
This is the second time I’ve made swiss meringue/seven minute frosting in this series. It’s so much easier than you would think.

Put the water, sugar, cream of tartar and egg whites into a heatproof bowl. This should be placed over a pan of simmering water. Again, don’t let the water touch the bottom of the bowl.

Whisk it for seven minutes, don’t leave it. It should be able to hold its own shape and not fall off the whisk when you lift it. If it’s not stiff enough just keep whisking for another minute or two.

lemon-meringue-cupcake-recipe-gif

Step seven

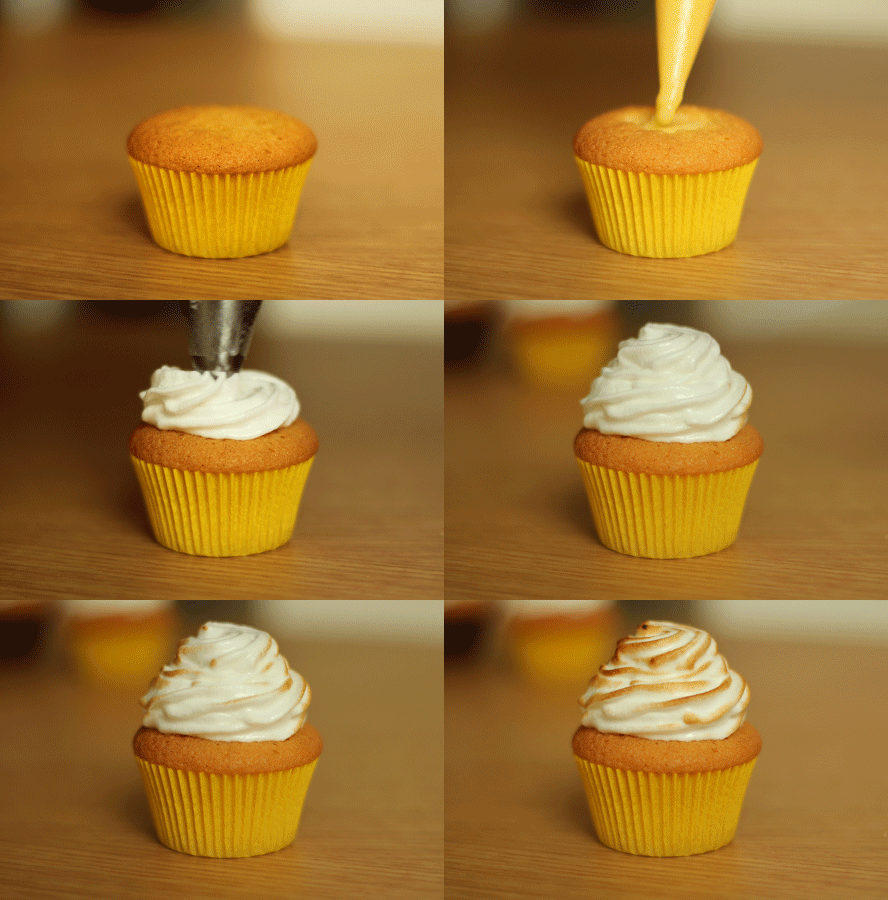
Cut a hole out out of the middle of the cupcakes and chop off the triangular bit, keeping the ‘lid’. Fill with curd and place the lid back on.

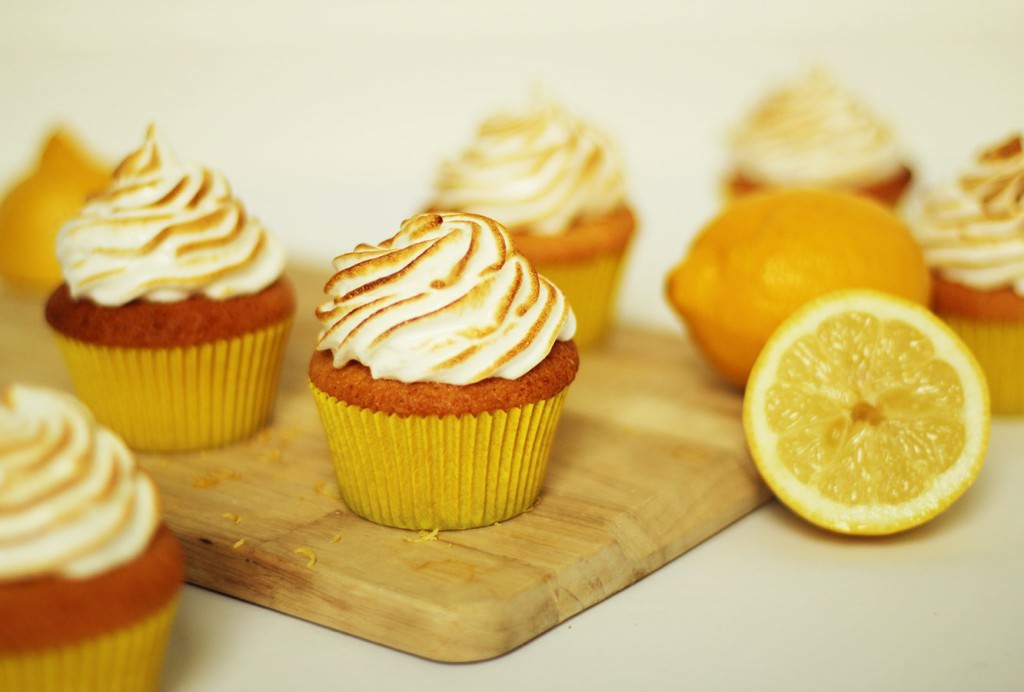
Pipe the frosting on, or even spoon on like a proper old fashioned lemon meringue pie.

If you have a blowtorch, singe that bad boy. If you don’t, look at your feet and have a little sad moment. Don’t worry though, your cupcakes will still be delicious.

lemon-meringue-cupcake-recipe-8

lemon-meringue-cupcake-recipe-7

lemon-meringue-cupcake-recipe-9

Enjoy!

Oh hey pumpkin

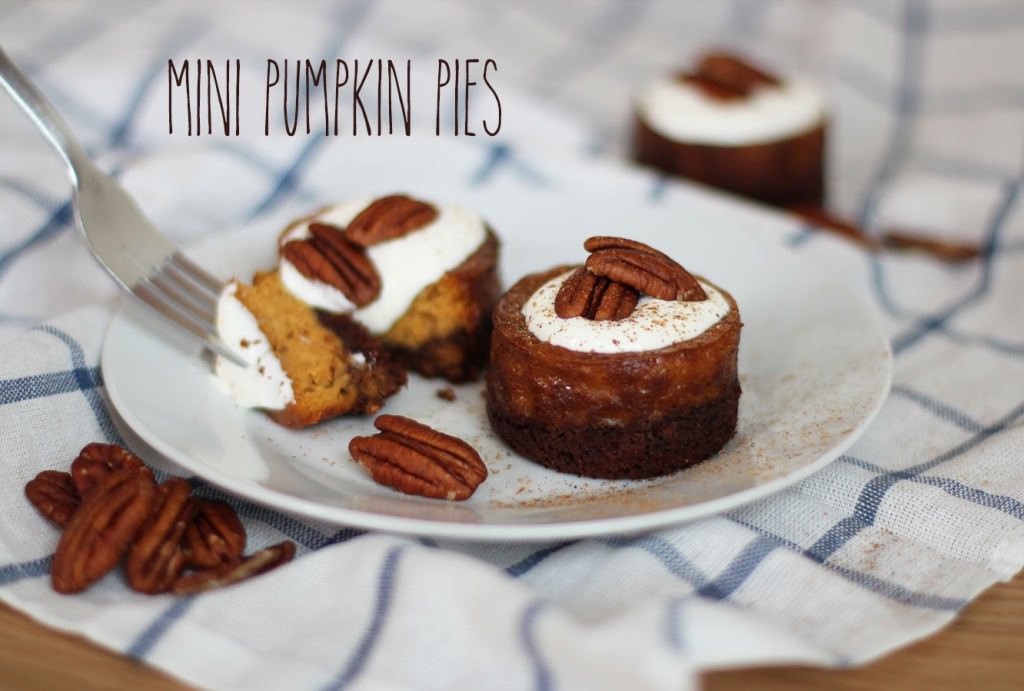
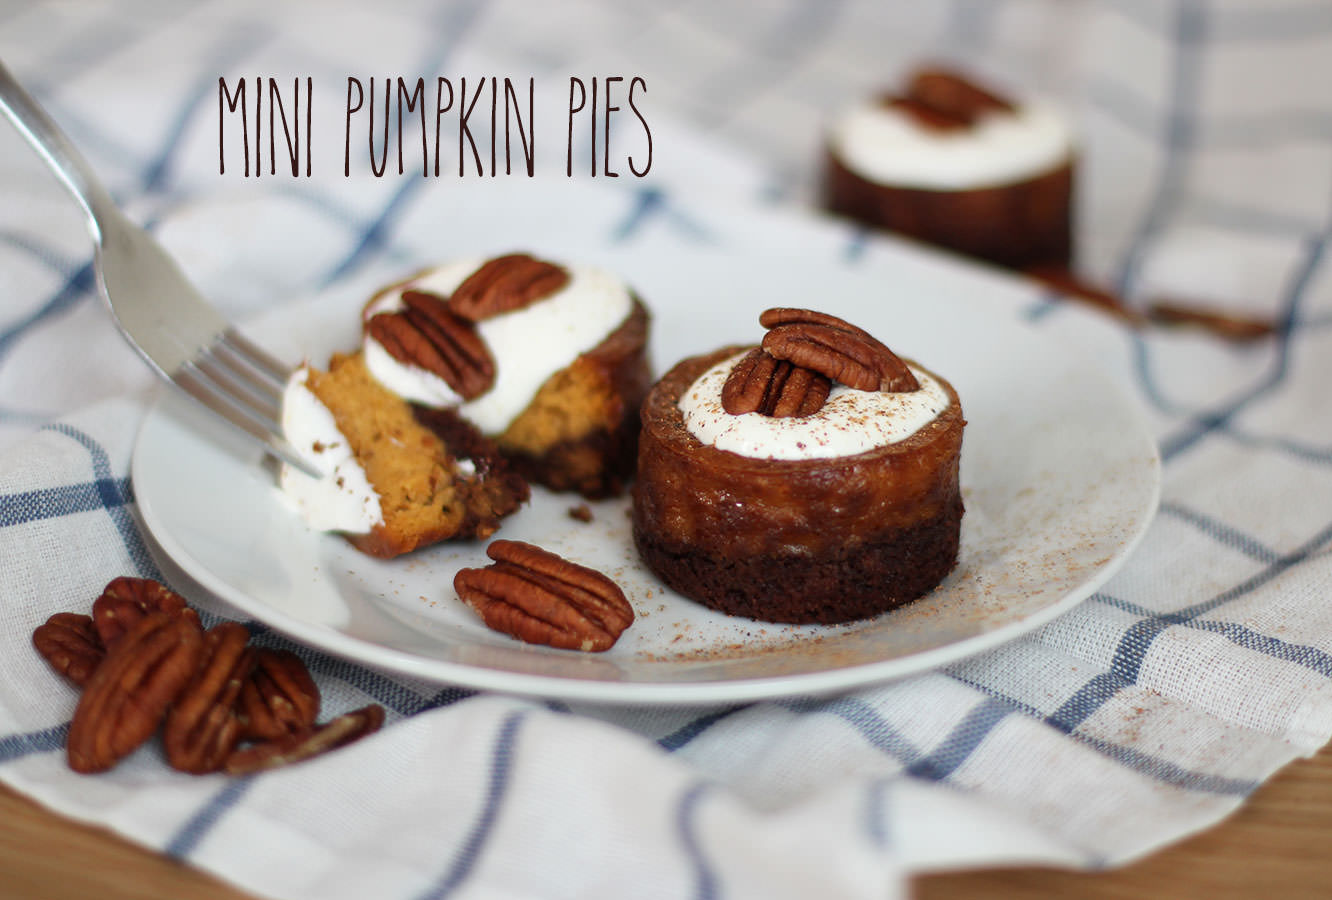
With an invitation to a Canadian Thanksgiving feast this weekend I started to crave pumpkin pie. I also live very near a Lakeland and happened to wander in and procure myself a little individual cake tin. Too much GBBO consumed by me I think. The result of these two happenings brings you mini pumpkin pies.

If you don’t have a tin like mine (get one) then this recipe will work as a big pie in a cake tin or whatever you have to hand.

These are super easy to make and totally DE-licious. I recommend them warm with a big dollop of sour cream.

mini-pumpkin-pie-recipe

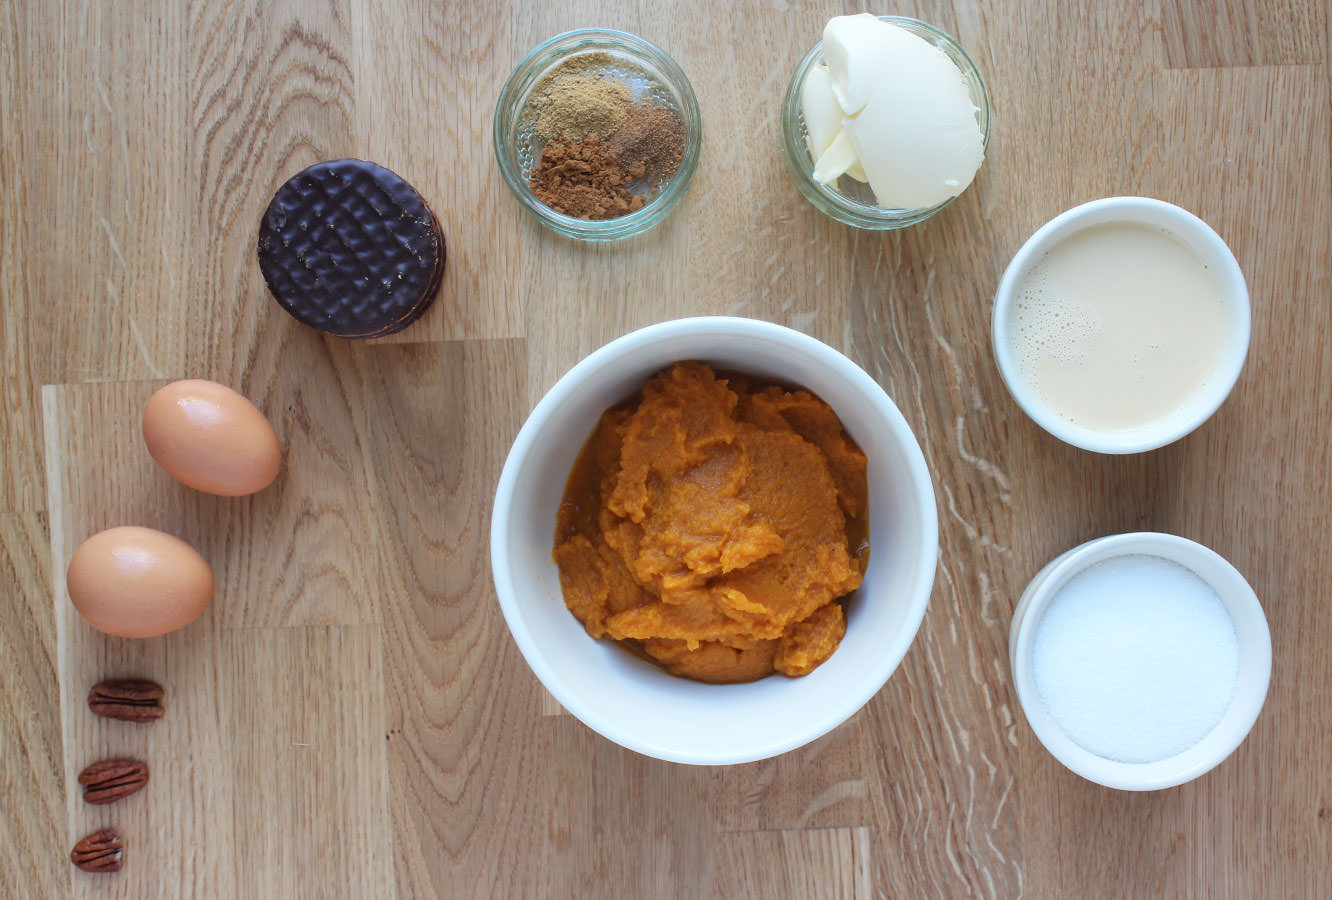
Things you need

For the filling:

425g can of Pumpkin (I got this from Waitrose, if you want to chop up and boil a real pumpkin you can, but I’ve done that before and it wasn’t any kind of fun)

2 Eggs

170g/6 oz Granulated sugar

285ml/9.5 fl oz Evaporated milk

1 tsp Ground cinnamon

1/2 tsp Ground ginger

1/4 tsp Ground nutmeg

For the base:

200g/7 oz Dark chocolate digestives

75g/2.5 oz Butter

Pot of soured cream and some pecans for topping

Makes 12 (or one big pie)

mini-pumpkin-pie-recipe-1

Step one

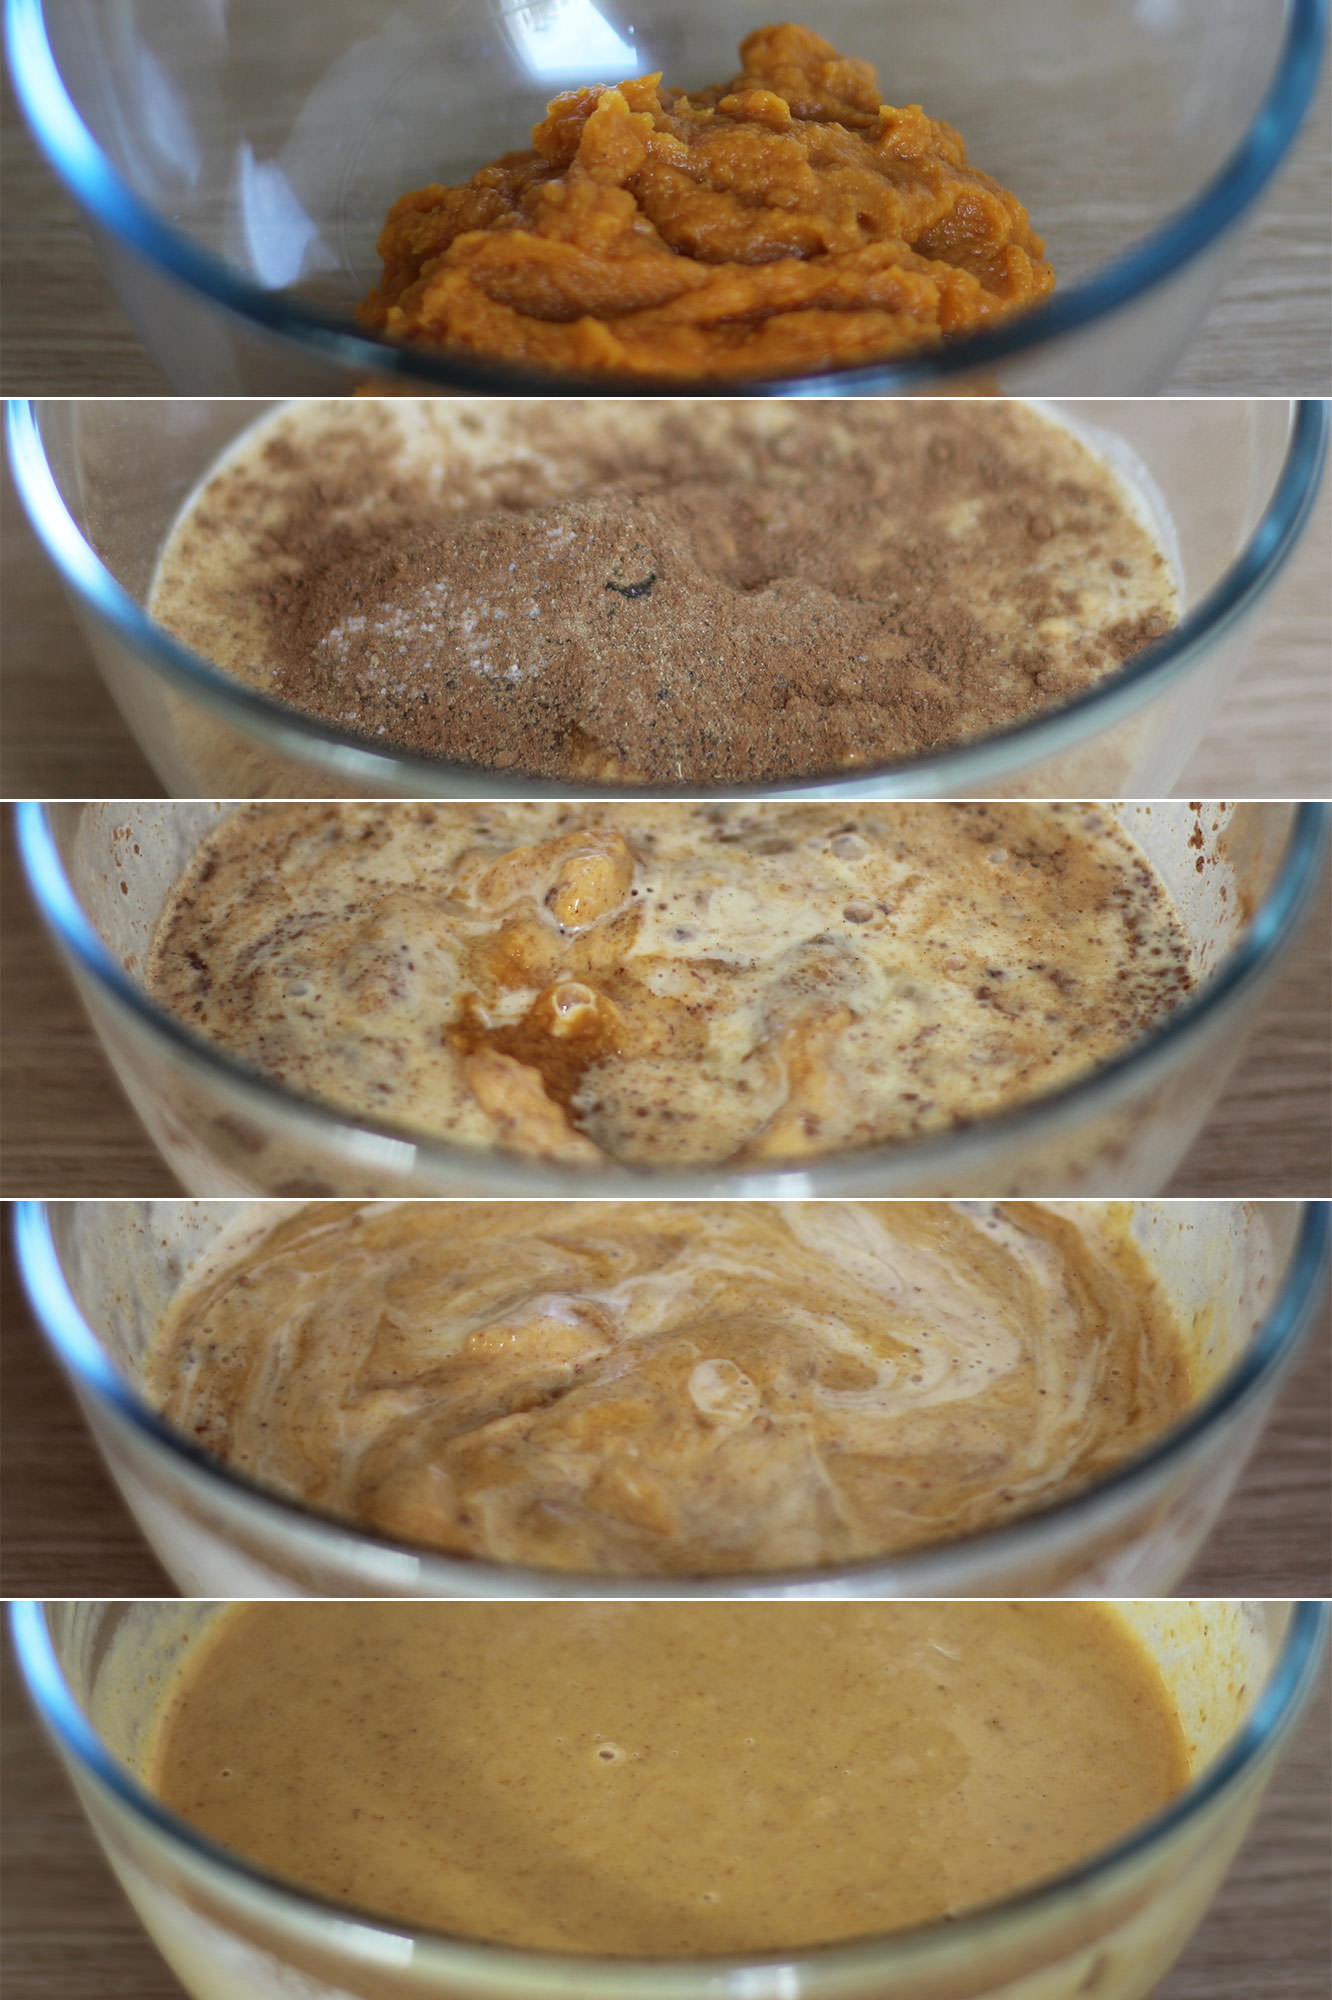
Combine all the filling ingredients until smooth (lightly beat the eggs with a fork first). Pour into a jug.

mini-pumpkin-pie-recipe-2

Step two

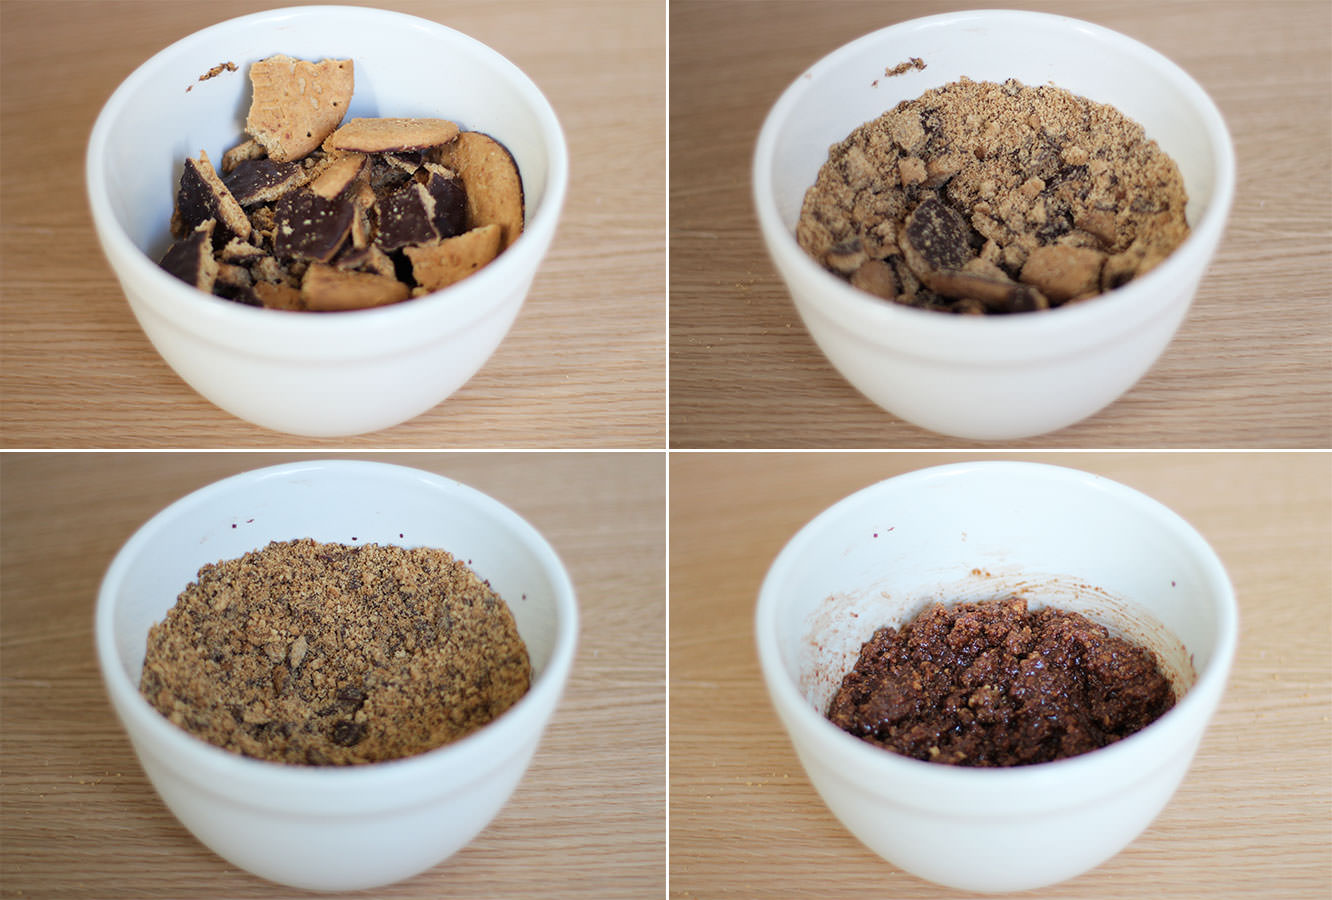
Using the end of a rolling pin (or a food processor if you have one) crush the biscuits into a fine crumb.

Step three

Heat the butter on a low setting in the microwave until just melted. Stir into the crushed biscuits.

mini-pumpkin-pie-recipe-3

Step four

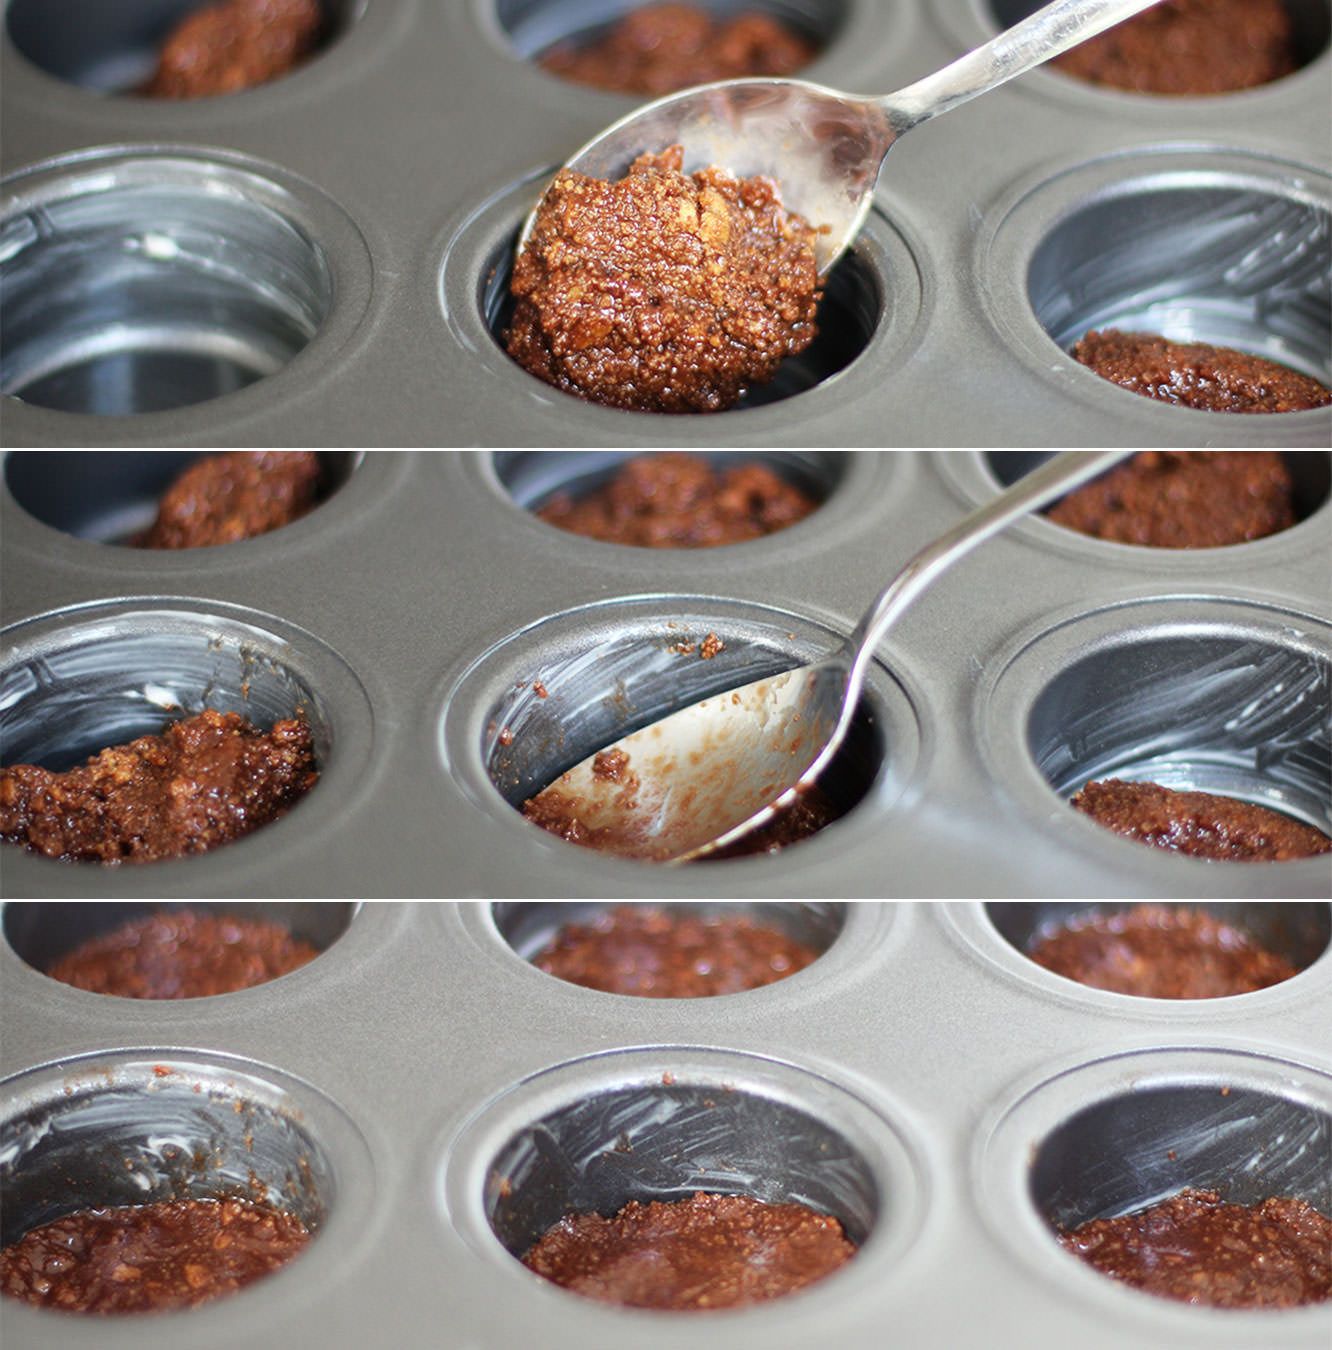
Pop the loose bottoms in and lightly grease the tin.

Place a dessert spoon of the biscuit mixture into into each basin and press down with the back of the spoon.

I guess you could give this a go with a muffin tin if you don’t have a loose bottomed one, let me know how it goes if you do!

If you have time to stick this in the fridge then 30 mins will make sure your base stays firmly at the bottom. I didn’t do this and it turned out fine, just rose up a little at the sides, so don’t worry too much if you’re in a rush.

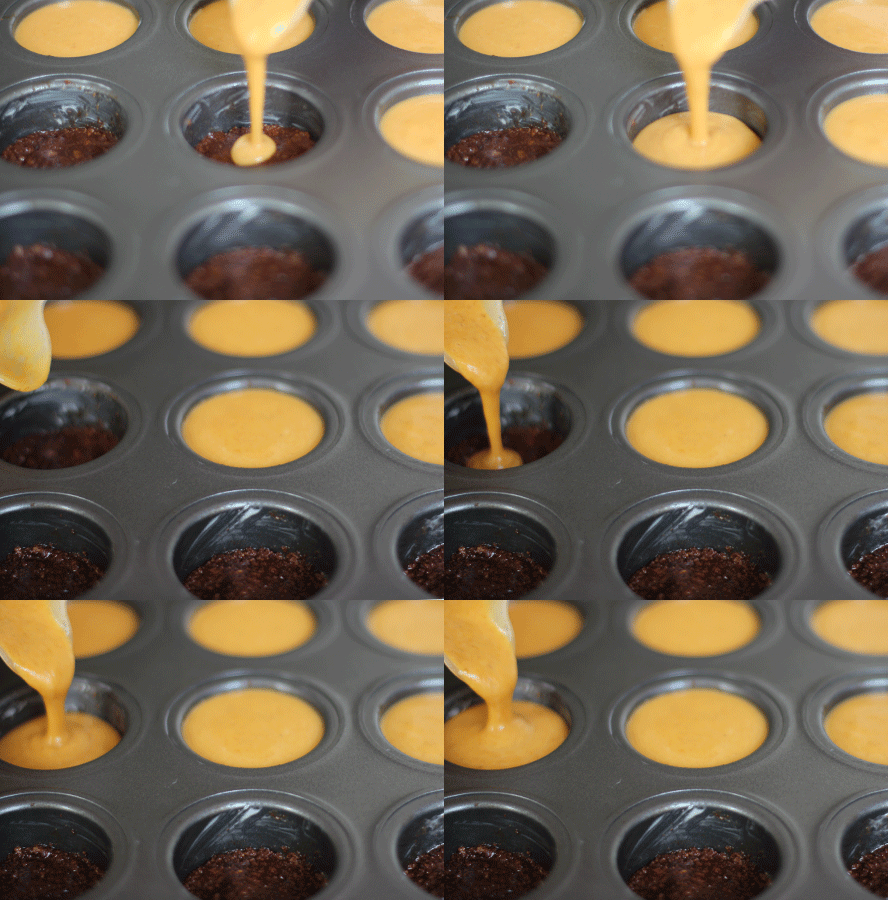
Time for a gif? I thought so too.

mini-pumpkin-pie-recipe-gif

Step five

Pour the mixture to the top of each basin. Don’t worry about it overflowing, it only rises up a little bit and is quite solid so doesn’t spill. I had a bit of mix left over so I just poured it into a spare ramekin, you always need a little sample anyway.

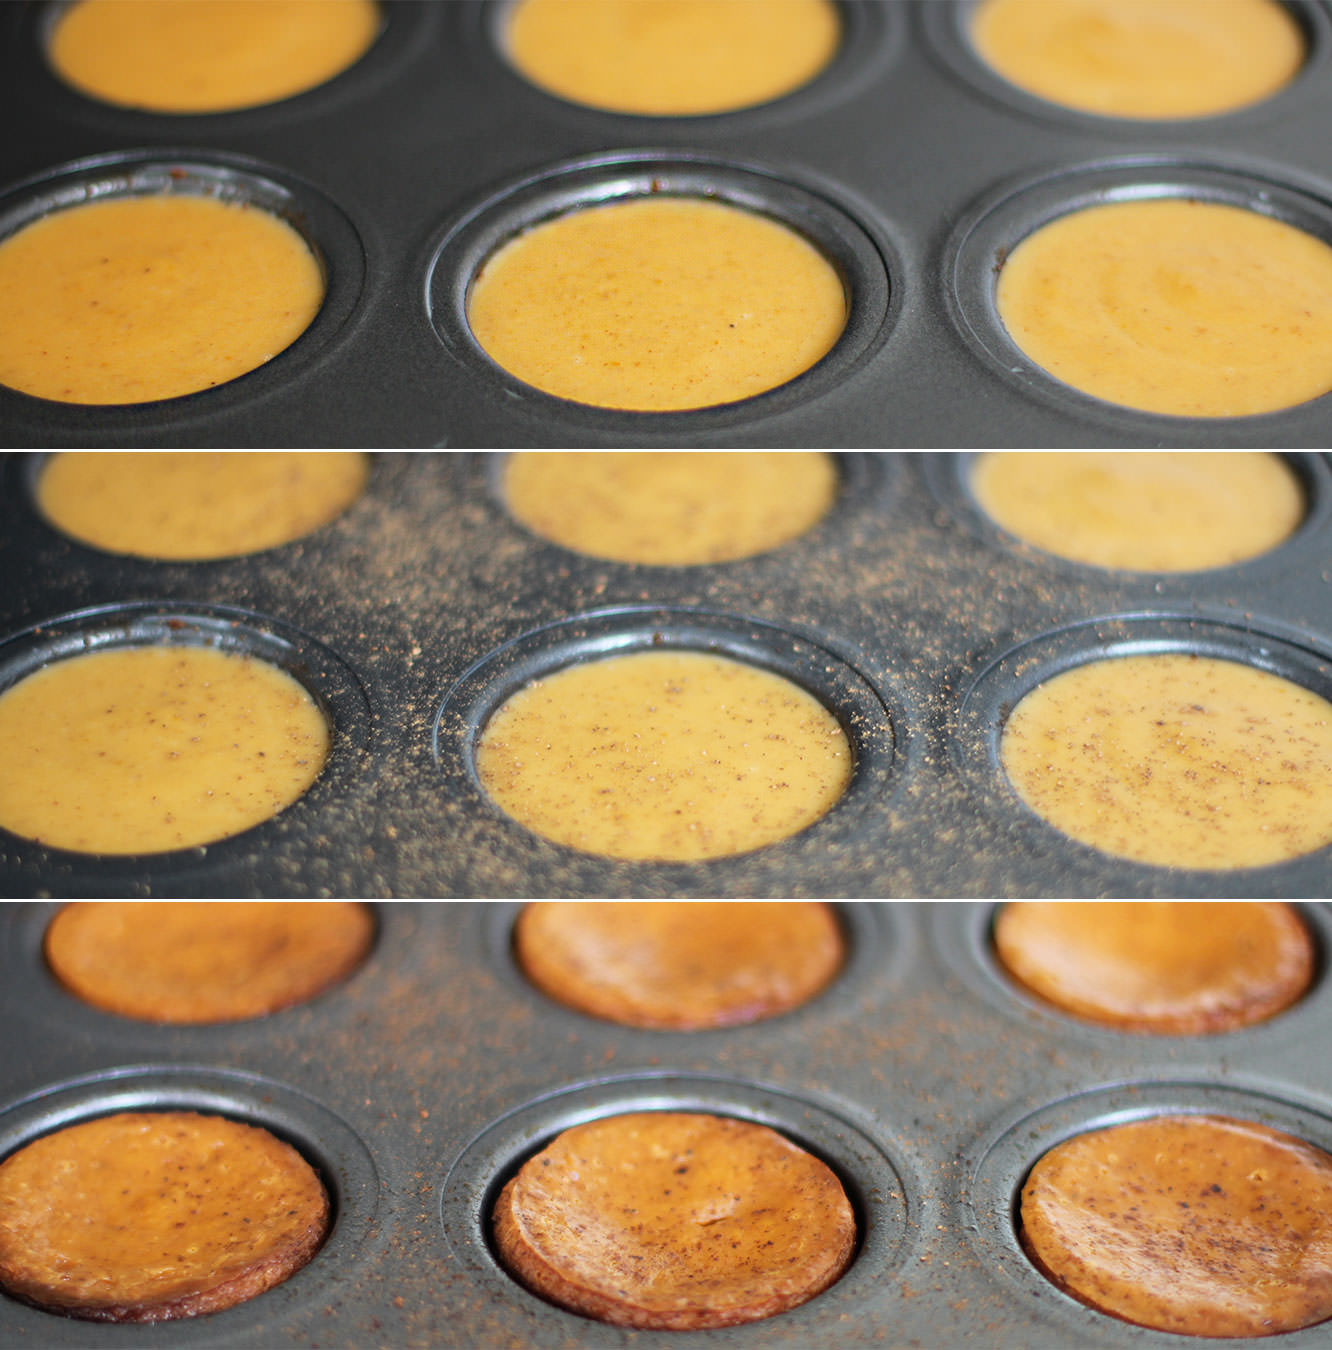
Sprinkle a little more ground nutmeg on.

mini-pumpkin-pie-recipe-4

Step six

Bake on the middle shelf of the oven for 40 minutes on 180C/350F/gas mark 7.

Leave to cool a bit before removing from the tin. They are really yummy warm, so either let them cool and whiz them in the microwave before serving or cook just before you want to eat them.

mini-pumpkin-pie-recipe-5

Step seven

Help yourself to one (or five)