I’m finally going to wrap up my little series of posts from Matt and Vicky’s engagement party this week. I know, you didn’t think there could possibly be more right? Well, no party is complete without a banner.
Just in case their guests forgot, I made a little congratulations banner. A congrats banner, let’s be honest, congratulations is a long word.
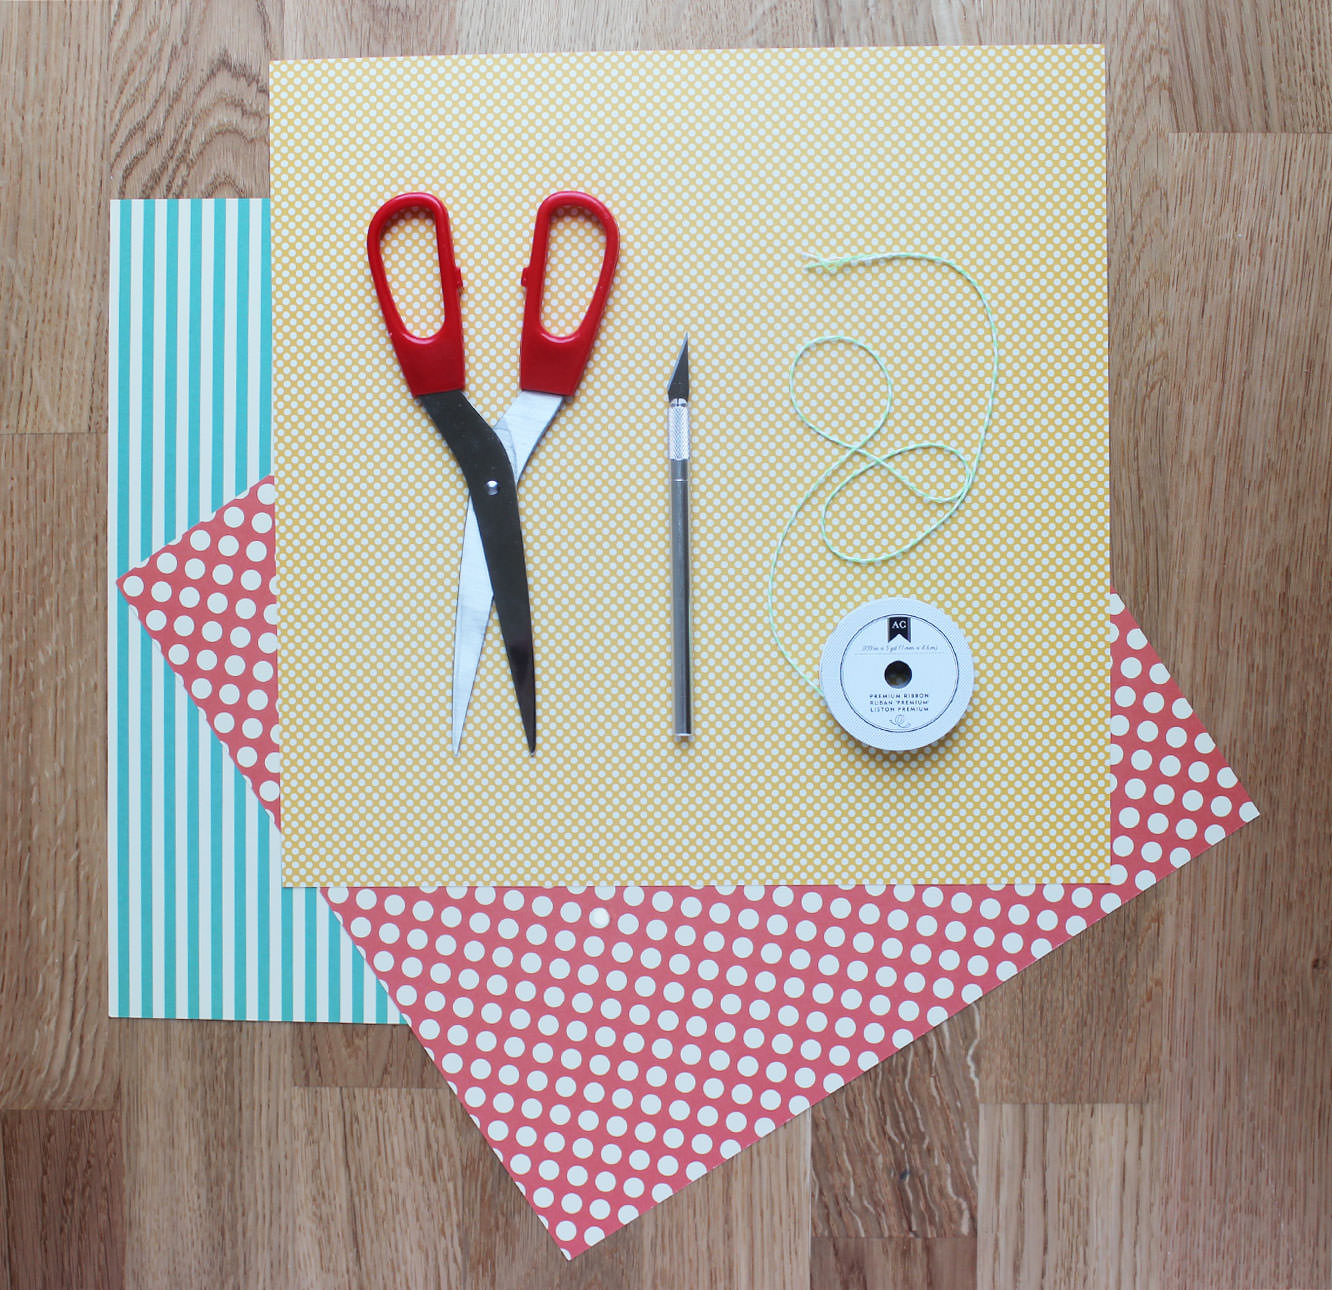
You will need
Some pretty paper or card
A craft knife and a cutting mat (or chopping board)
Double-sided tape
String
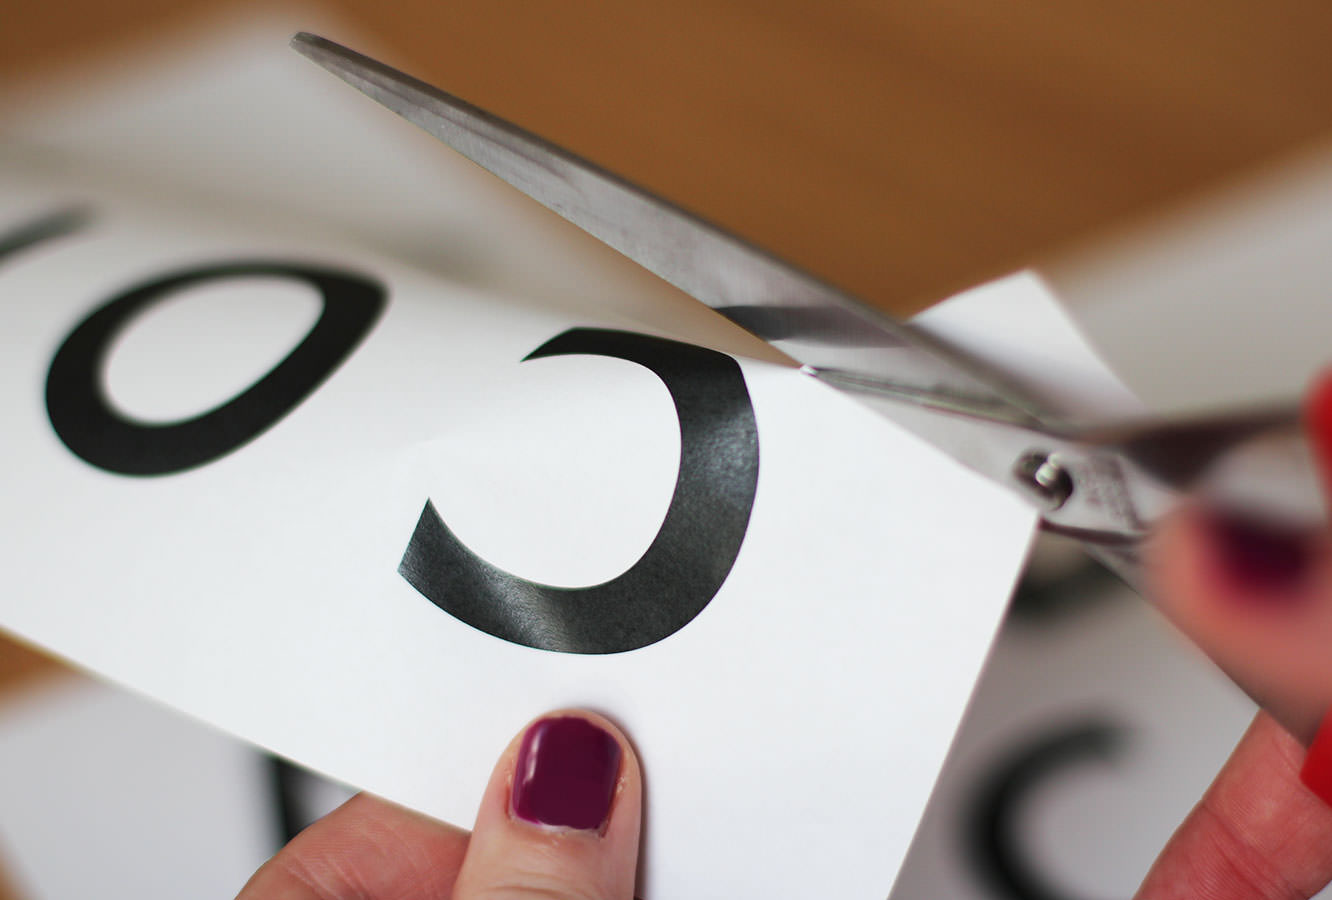
Step one
Using a chunky font, type out the message for your banner. I think this was Futura in case you want to copy exactly (but then you would also need to find a Matt and a Vicky to congratulate).
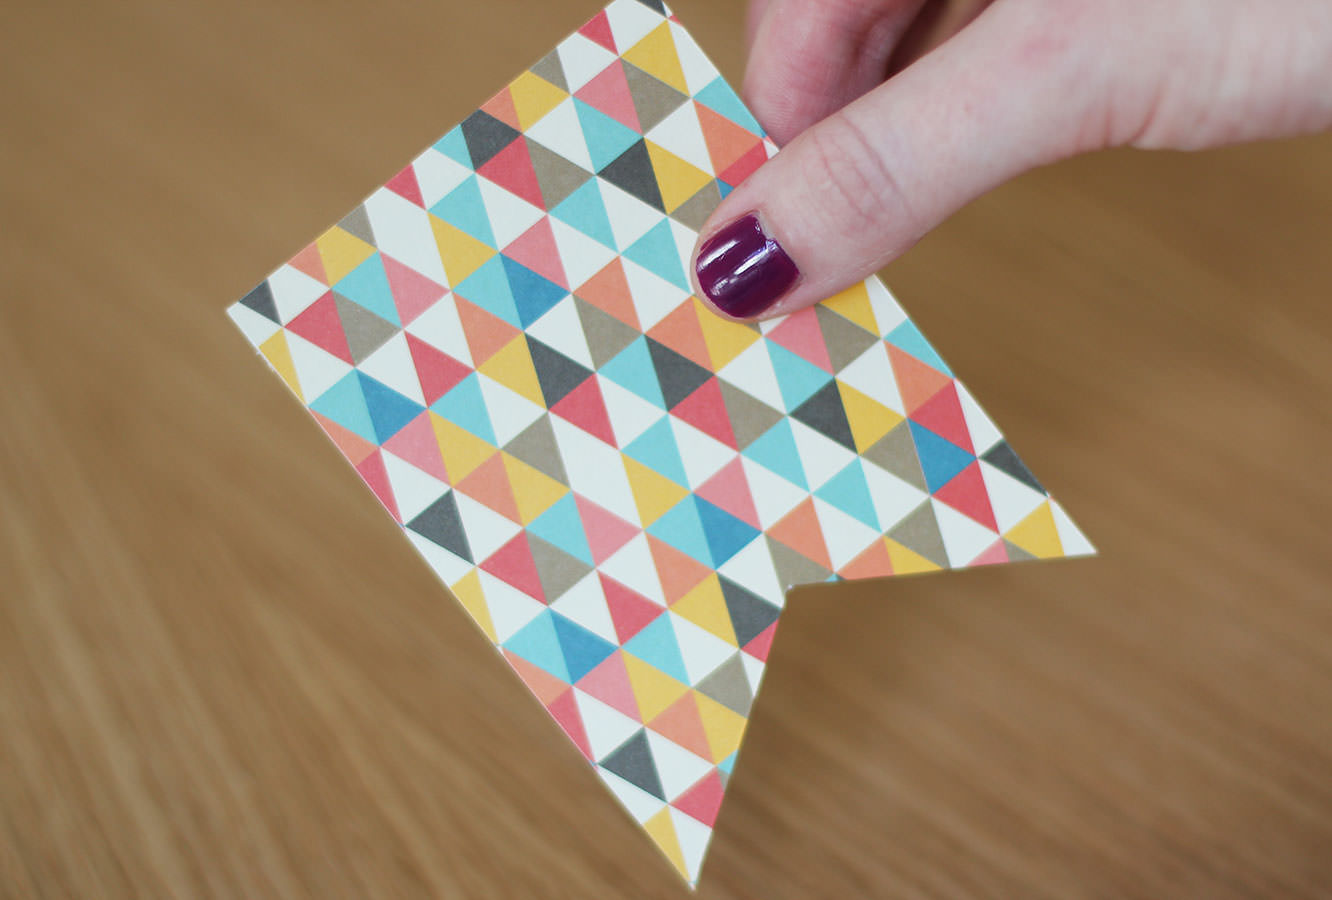
Step two
Cut out little flag shapes big enough to house your letters, remember to leave at least half a centimetre at the top to fold over.
These are super simple to get even, just draw a rectangle with a line down the centre and then draw two diagonals from the corner to the same point on the central line. Use the first one as a template.
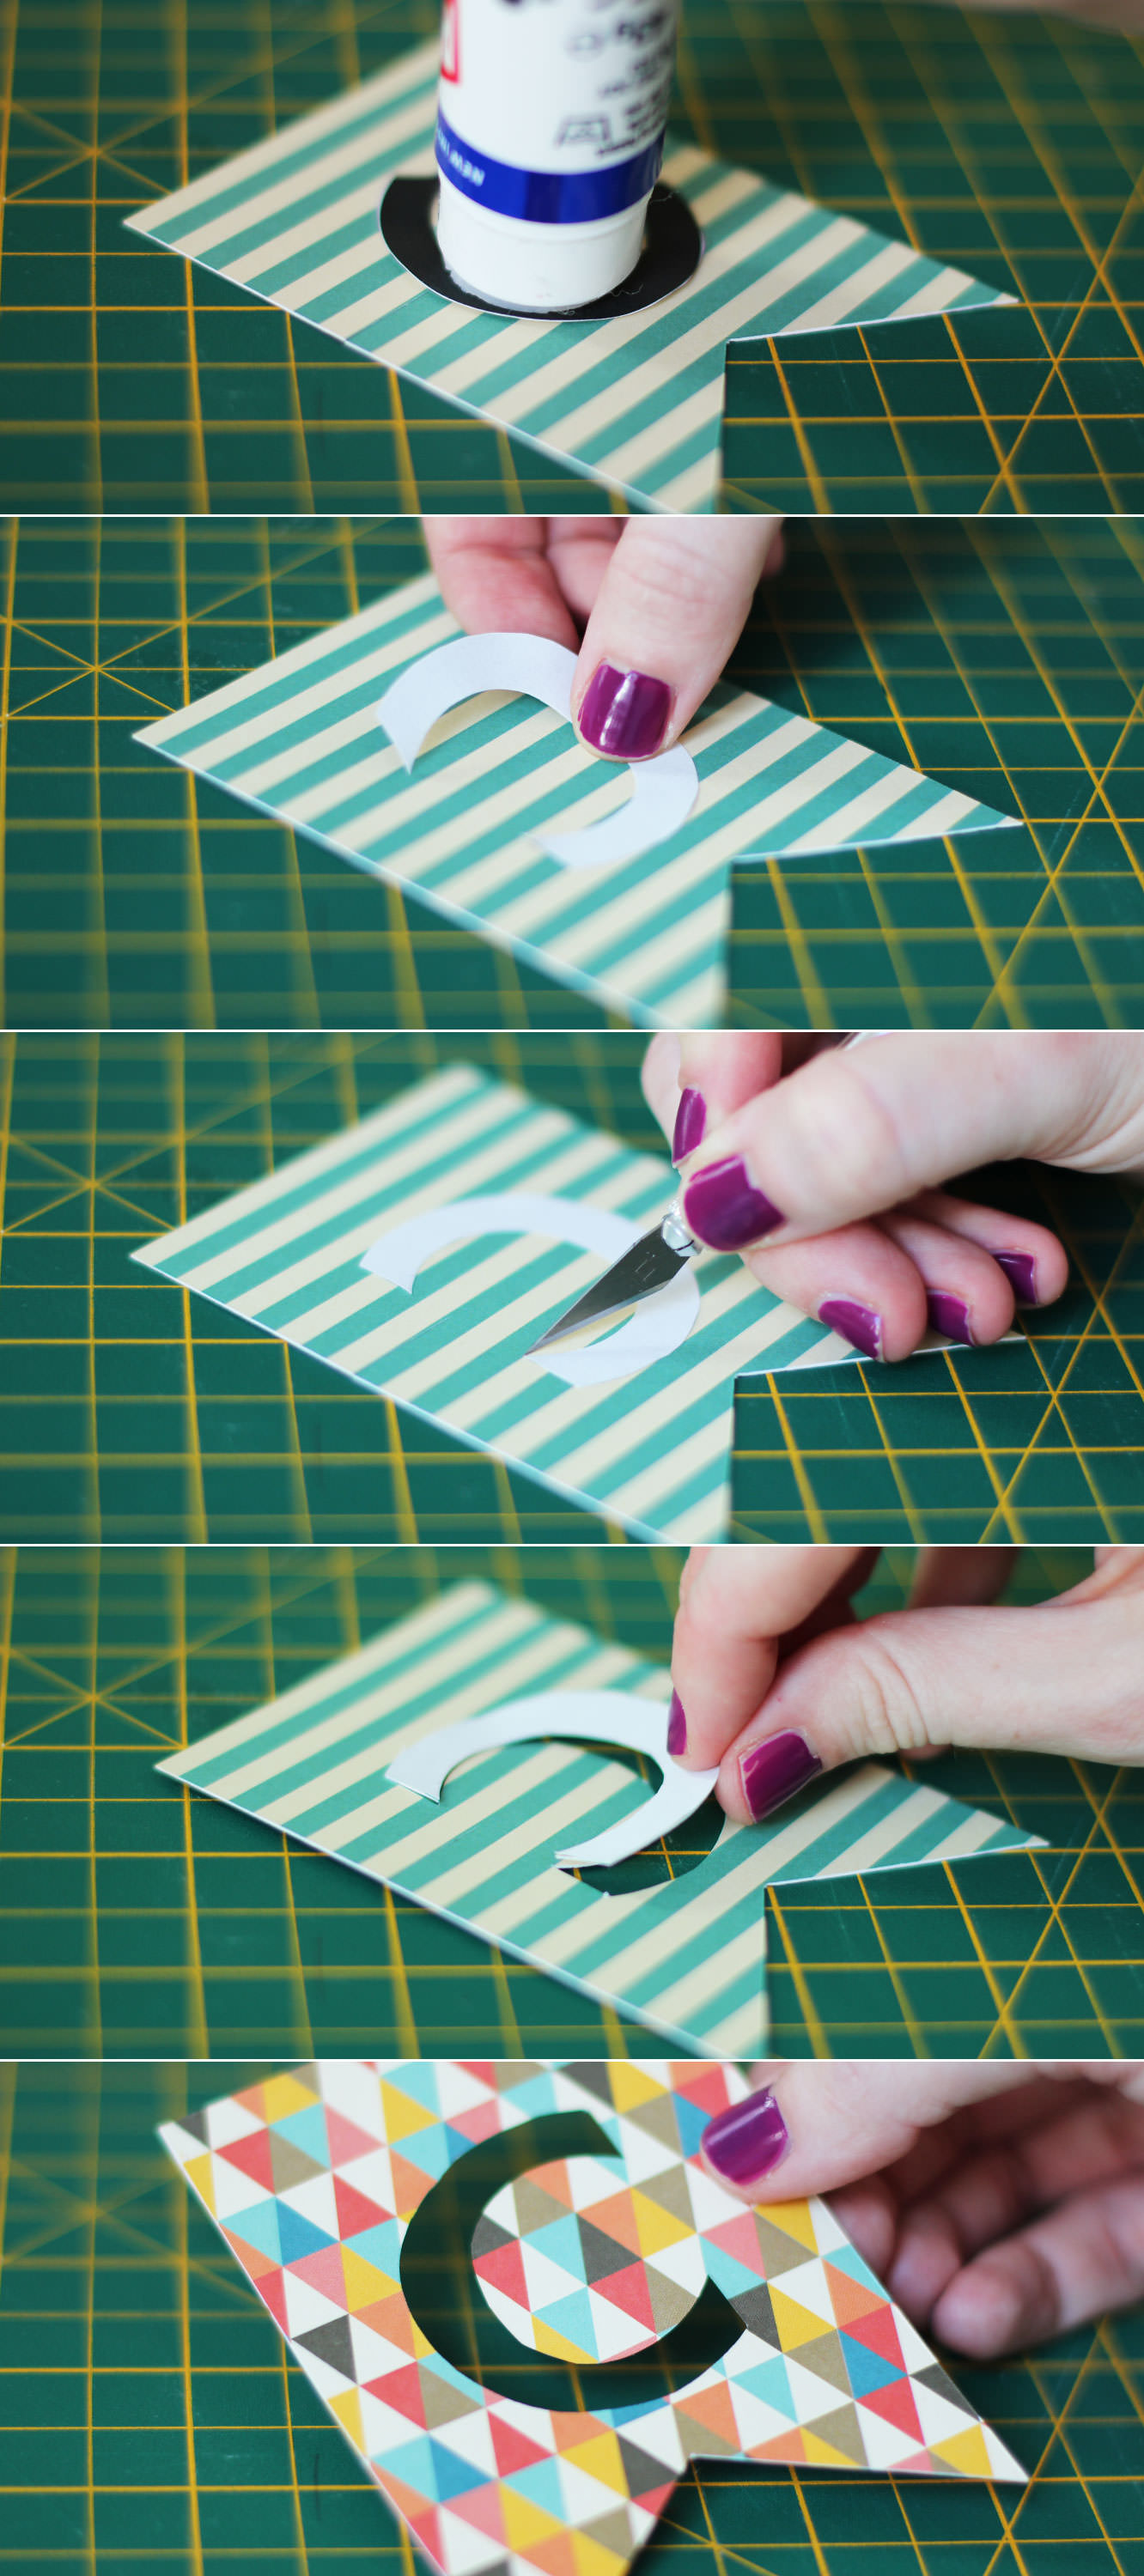
Step three
Glue the front of the letters and stick them face down on the back of each flag.
Use a craft knife to cut around the edge of the letter. The child in me was bizarrely satisfied by punching these out.
When cutting out letters like A and O which have a counter in them remember to keep a small stem so you don’t totally hollow them out.
Step four
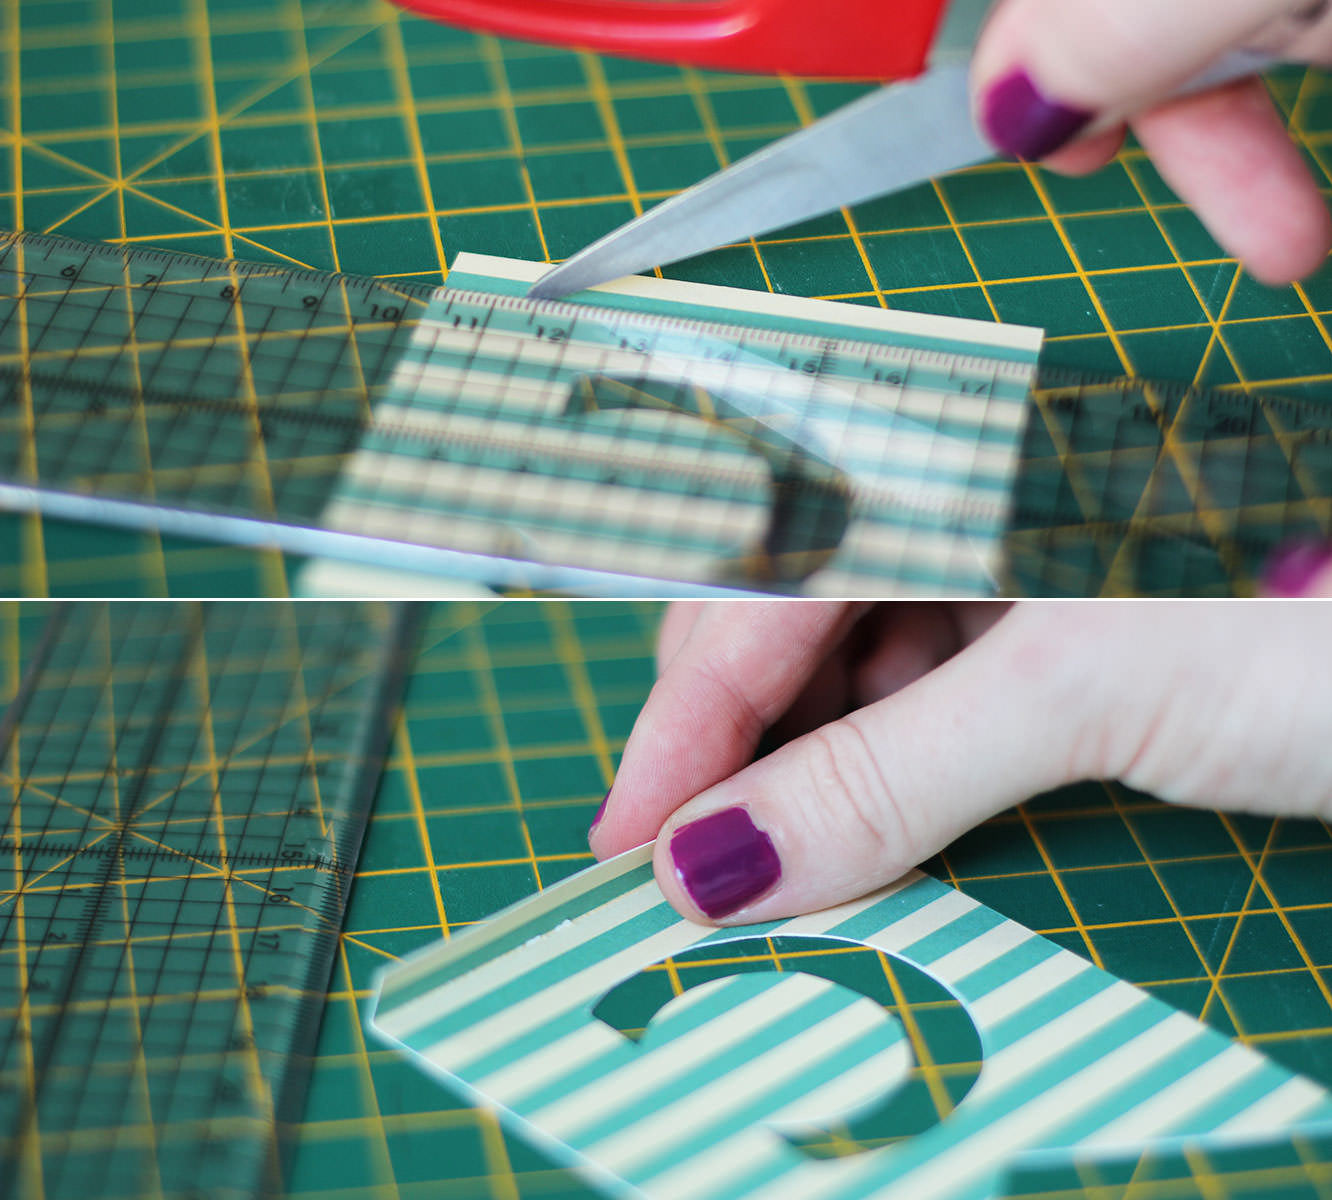
Using open scissors score the top of the flag (on the back) to create a fold.
Step five
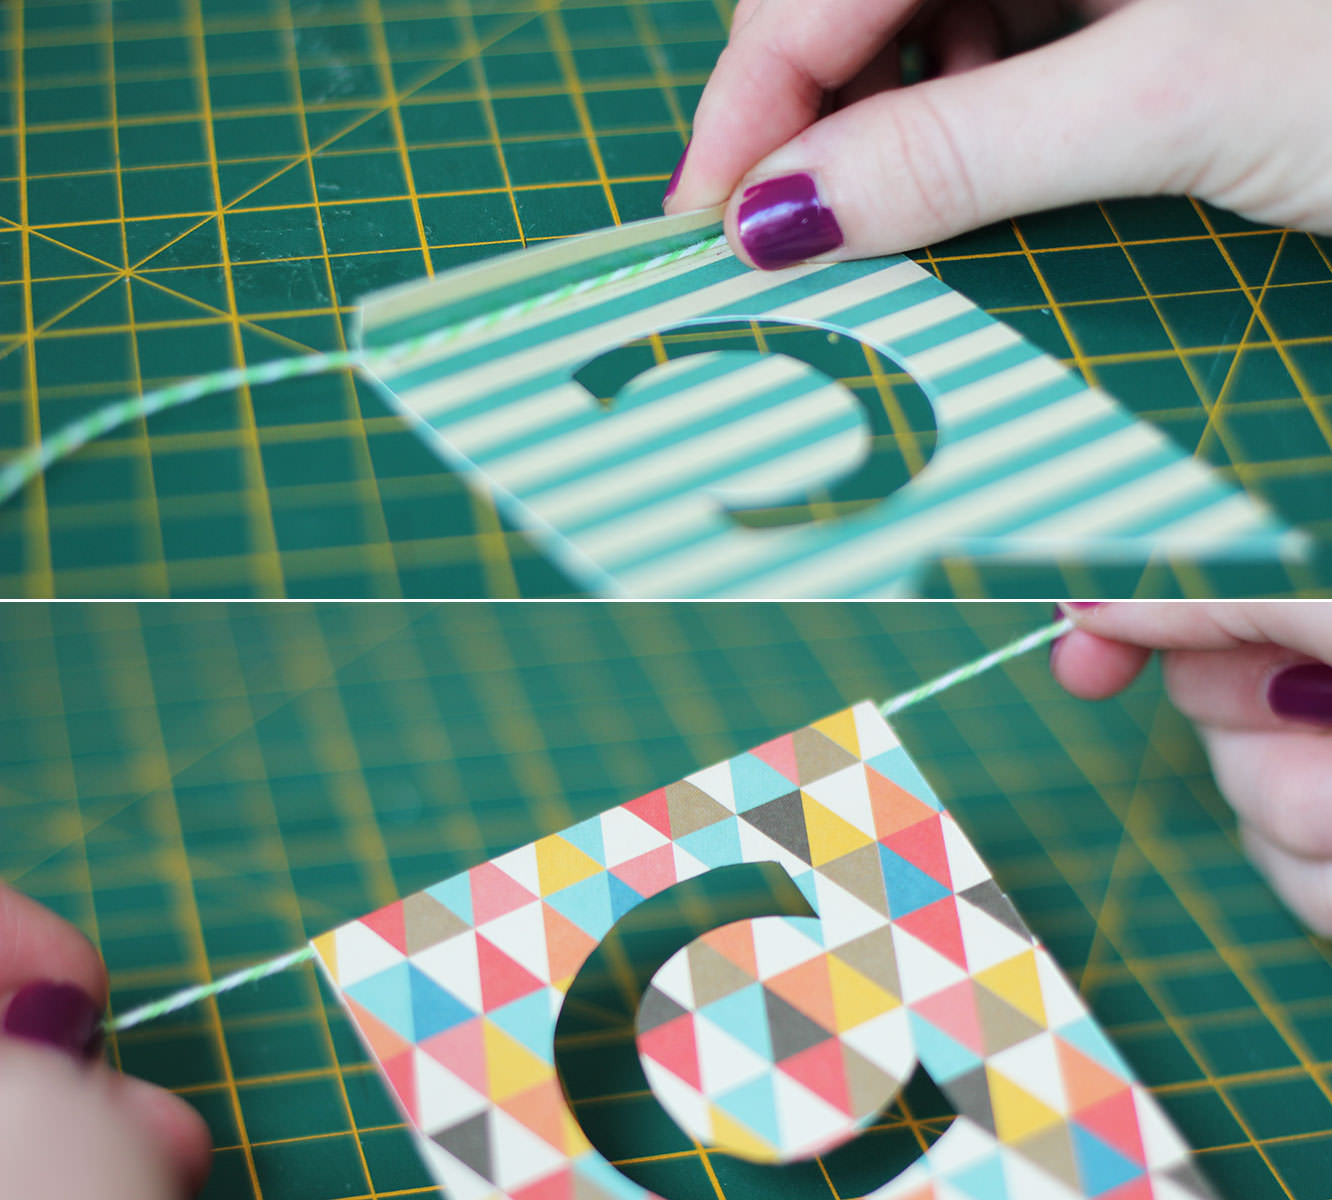
Stick double sided tape inside the fold, making sure it’s right to the top edge. Place the string in the fold and stick down.
Step six
Repeat until you have a full sentiment.
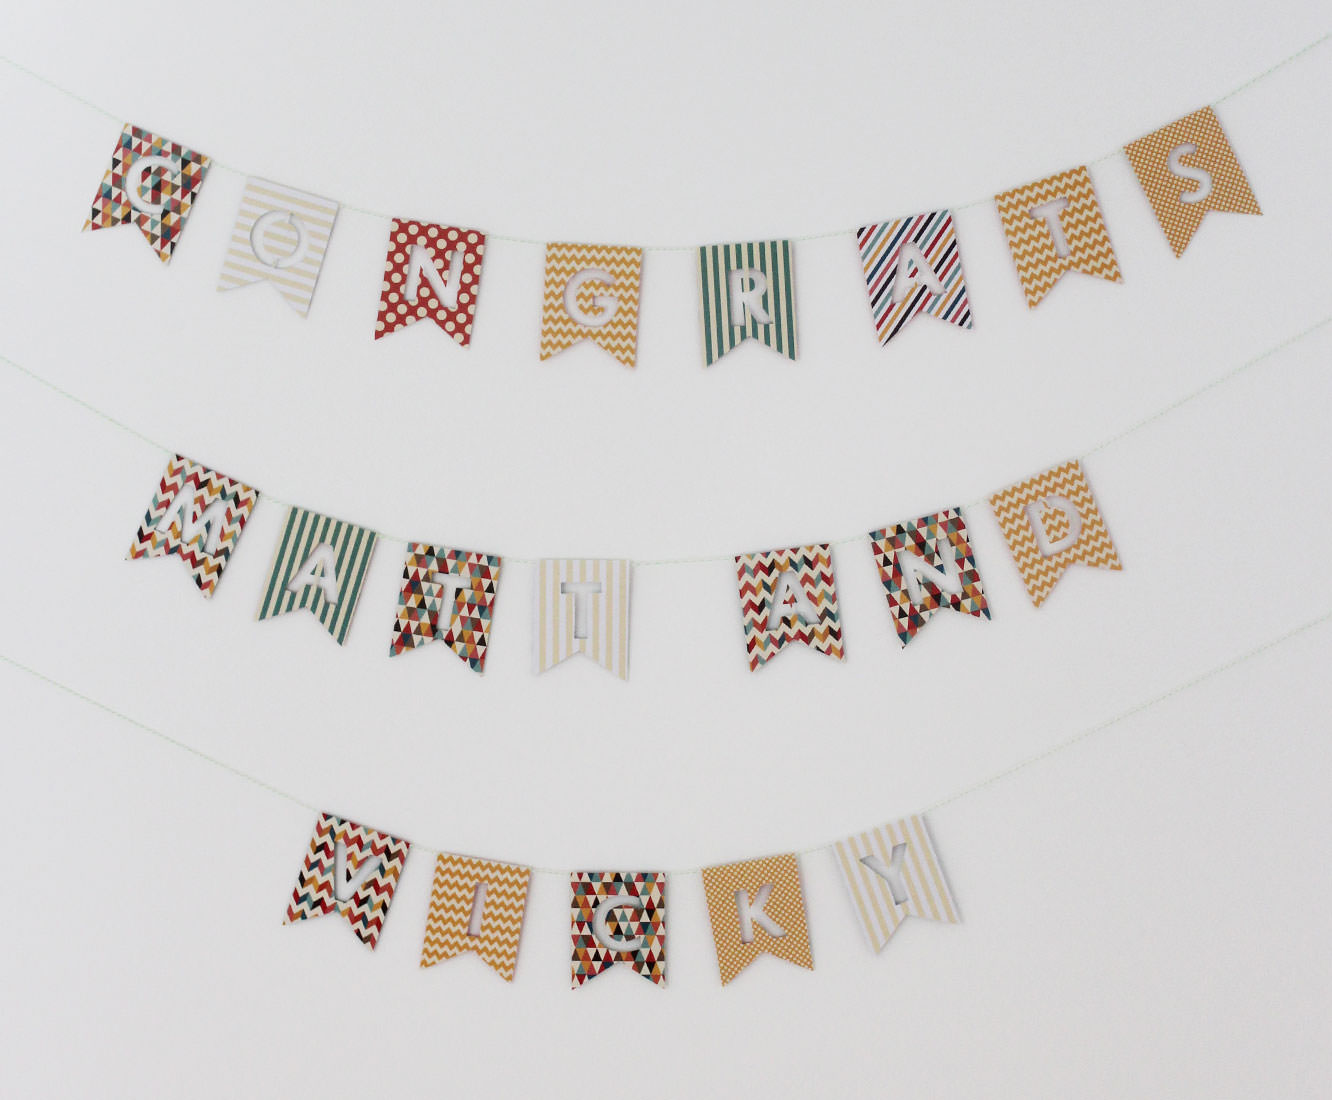
Ta da!

2 comments
Comments are closed.