February. For me, the pits of the calendar. Nobody really needs February. It just extends winter for too long, and personally, by the time we’re a week into it I’m ready to bid farewell to the chilly winds and rains and usher in March and April.
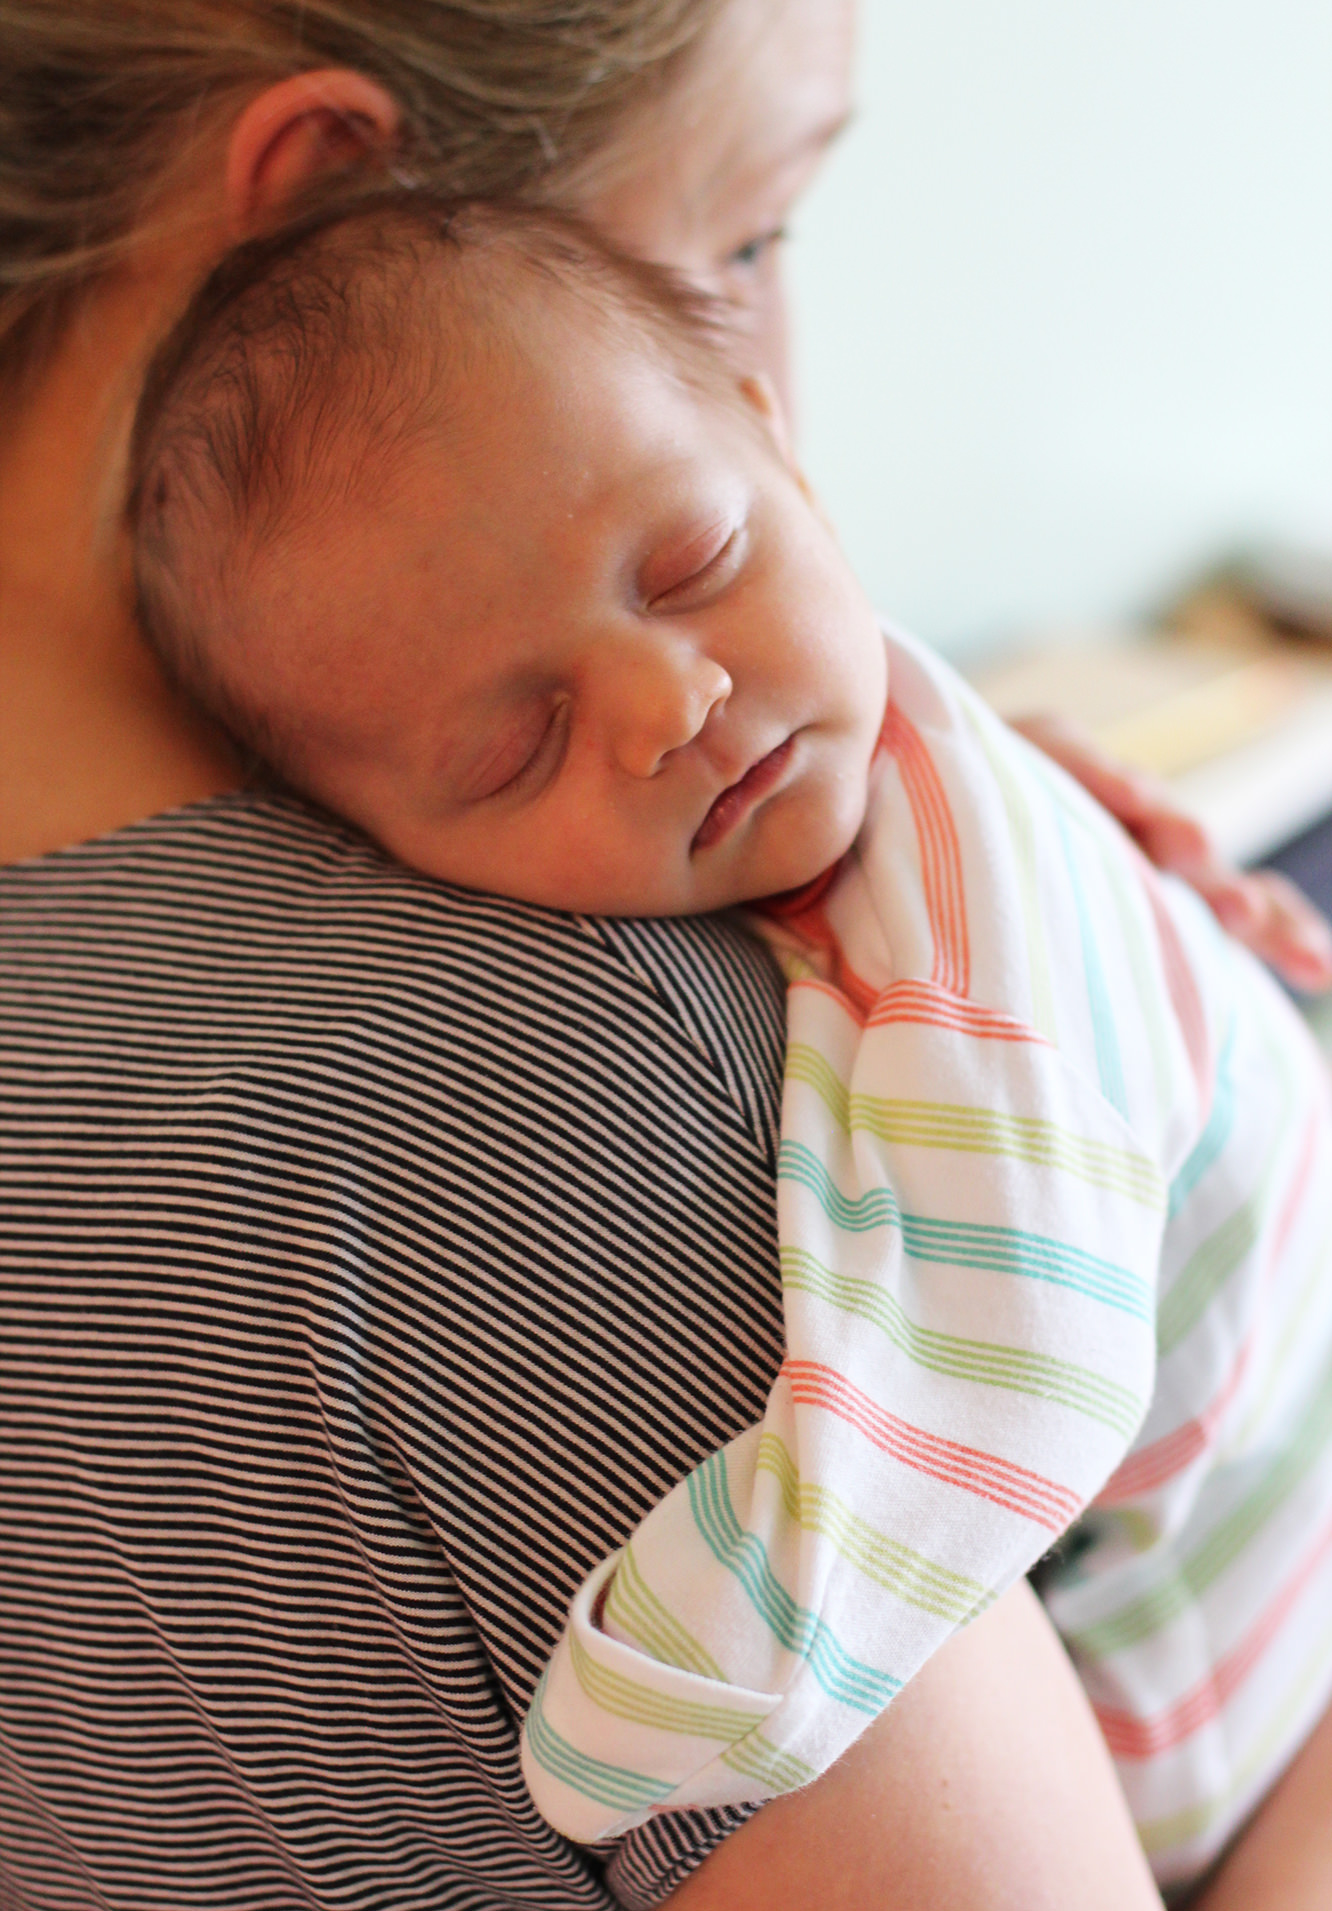
This time round however, Spring came early to a very special household. My wonderful friends Hannah and David had a BEAUTIFUL baby boy earlier this month, shaking off the winter blues. I’m head over heels for the little bundle already and can’t wait to see him grow.
As if I needed an excuse to craft eh?
This is a great little project if you already have kiddies and are expecting another, as the older siblings can definitely lend a hand.
For the impatient ones, yes, there is a picture of bubba at the bottom.
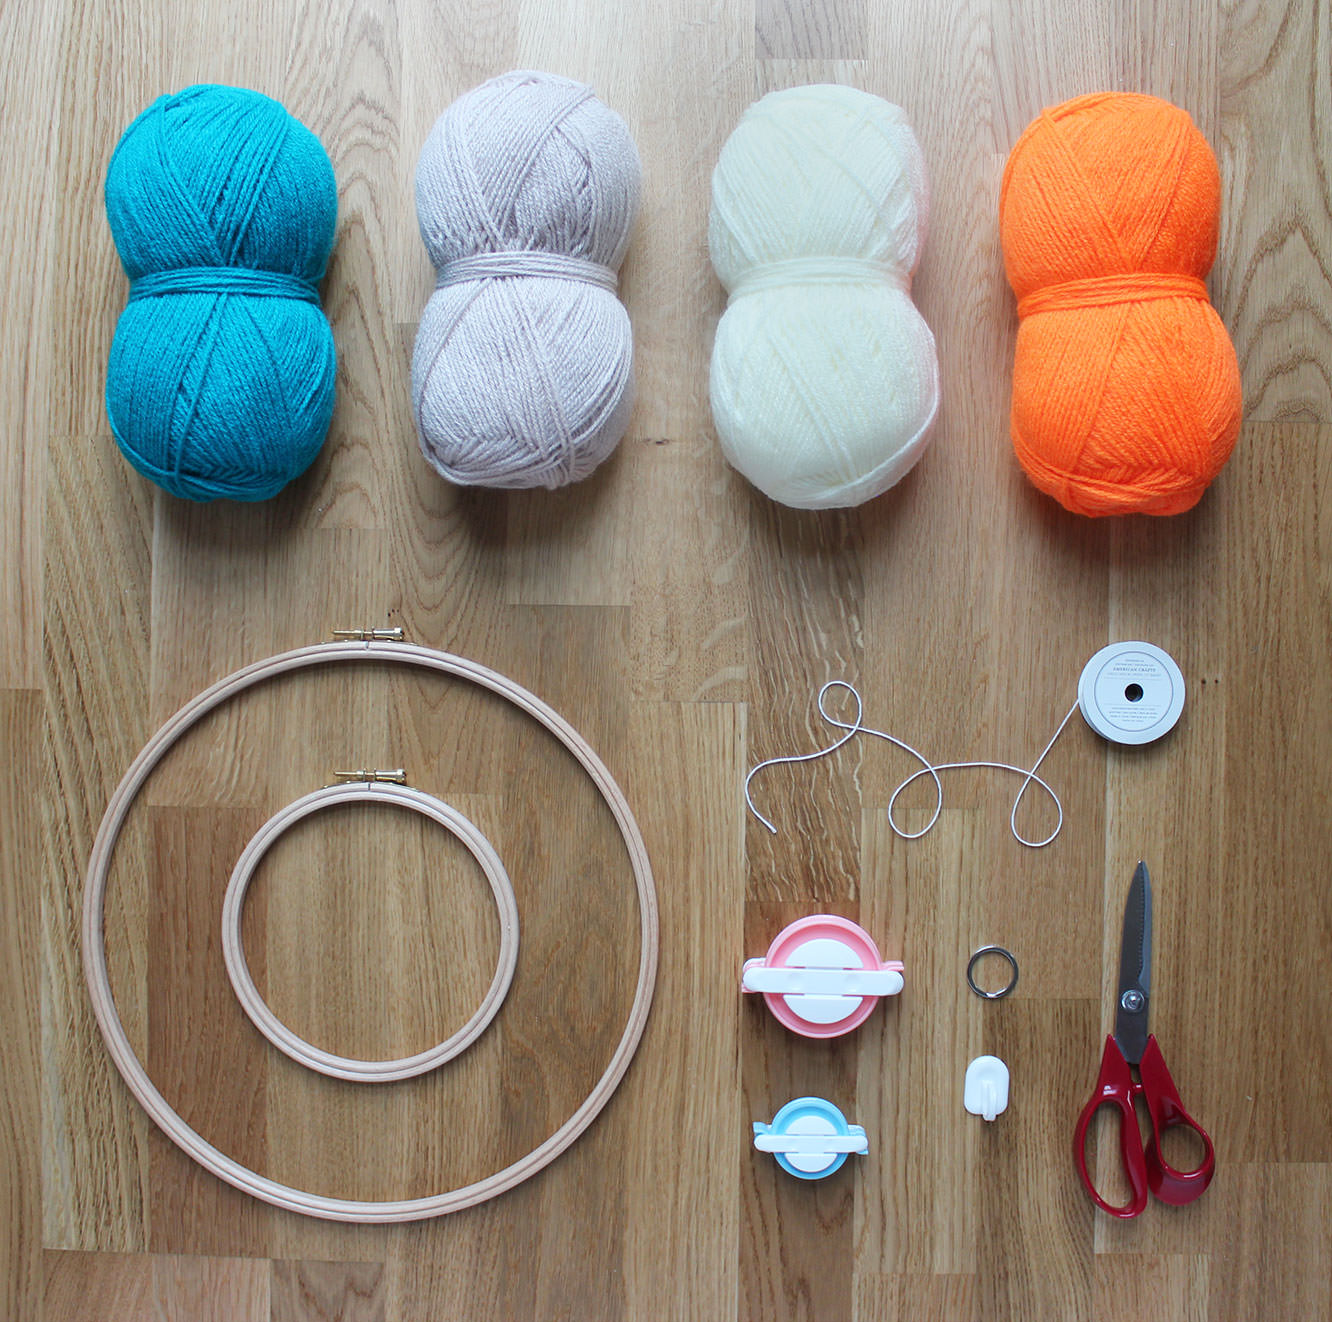
Things you need
12″ Embroidery hoop
9″ Embroidery hoop
Wool in a variety of colours (perfect for using up offcuts)
Pom pom makers in a variety of sizes (or cardboard, see below)
Double sided tape
Needle and thread
A sticky hook
A keyring
2-3m String
Step one
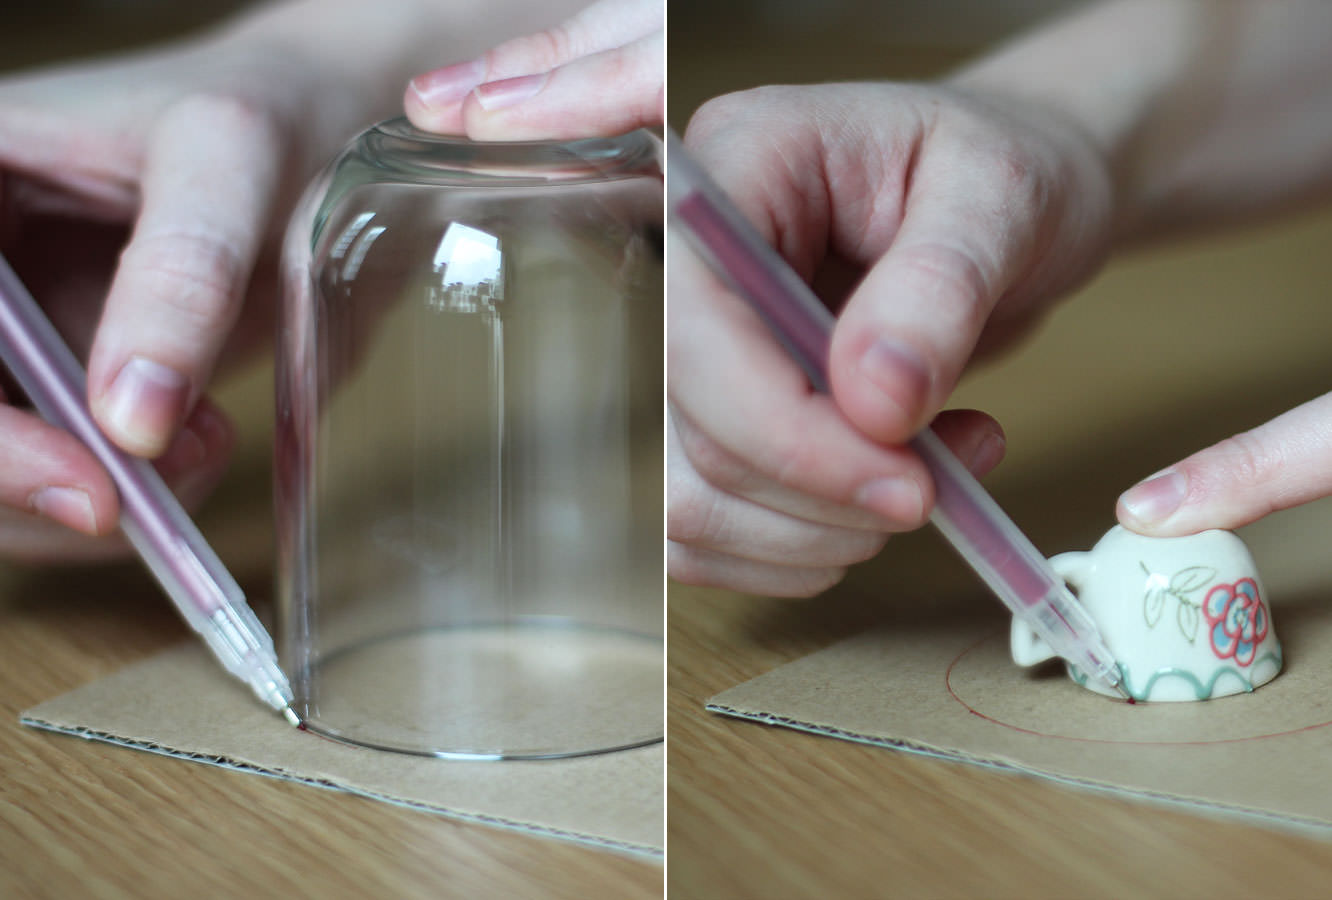
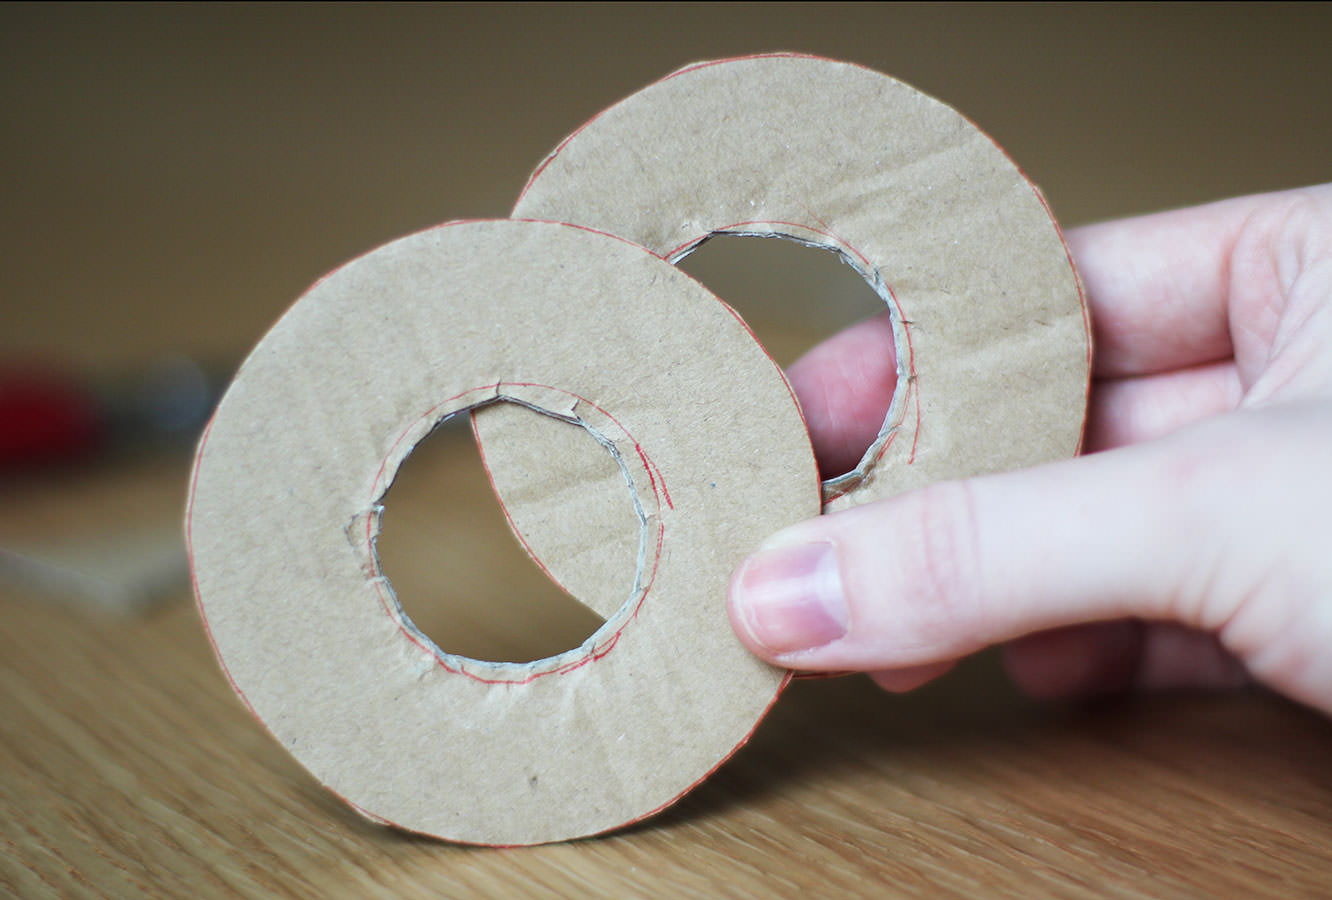
For those of you without pom pom makers (for goodness sake buy some) draw round a variety of circular objects to make differently sized cardboard hoops for your pom poms. You will need to make two hoops per size.
If you have pom pom makers, none of this is for you, skip to step 8 and relish in the fact you loved yourself enough to shell out £4 to save your sanity. All you guys need to do is follow the, in all likelihood hilariously translated, instructions on the back of your packet of pom pom makers. I bought mine on eBay from China, I strongly suggest you do the same.
Step two
Cut out the hoops so that you have a hole in the centre. Don’t worry if they’re messy, it won’t impact your poms.
Step three
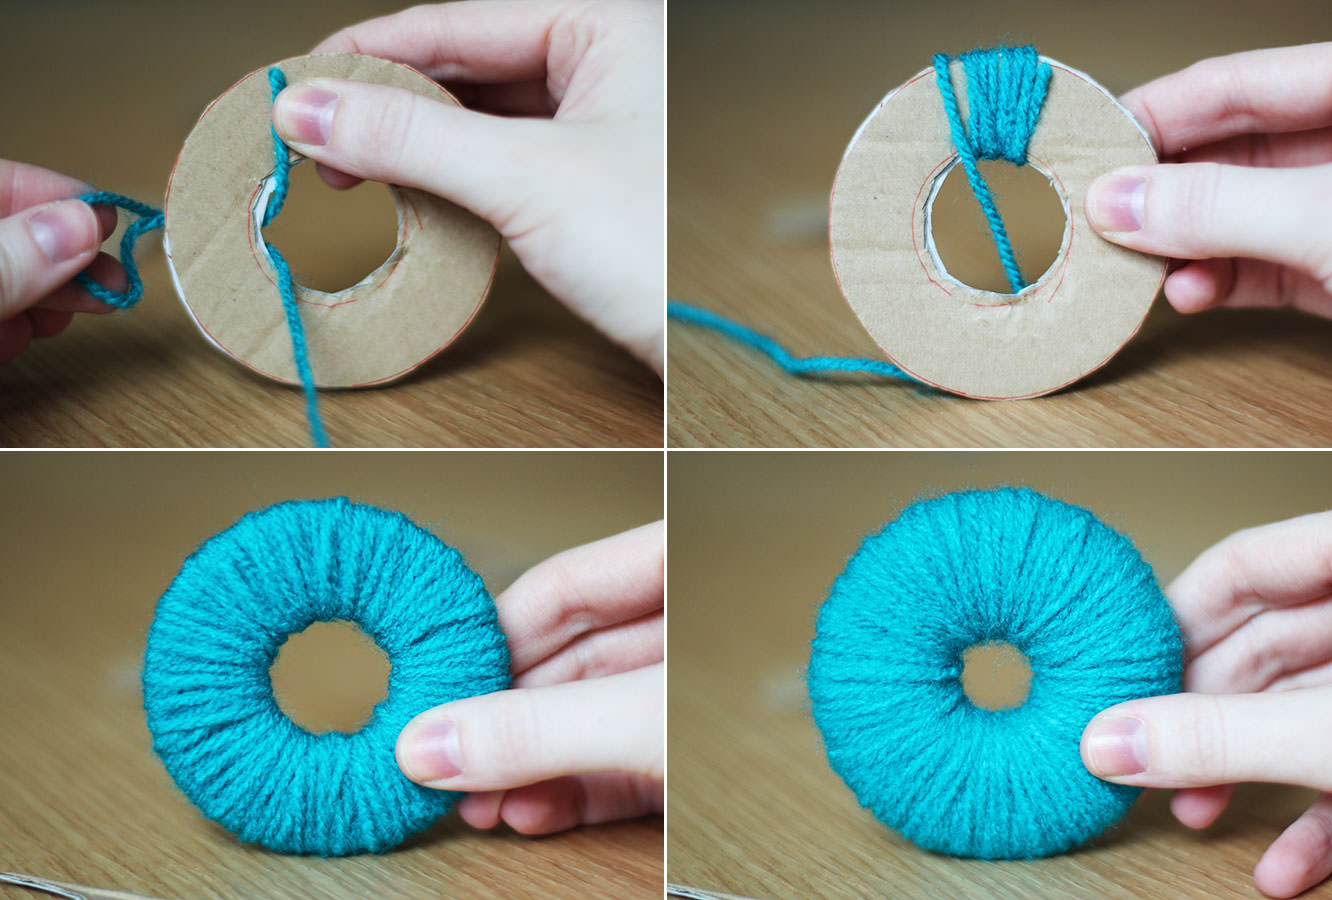
Sandwich the two pieces of cardboard together and wrap lengths of wool around and around.
You do this by pulling the end of the wool through the centre of the disk and back over the edge.
Keep going as long as you can, but essentially the fuller the hole in the middle the plusher your pom pom will be.
Step four
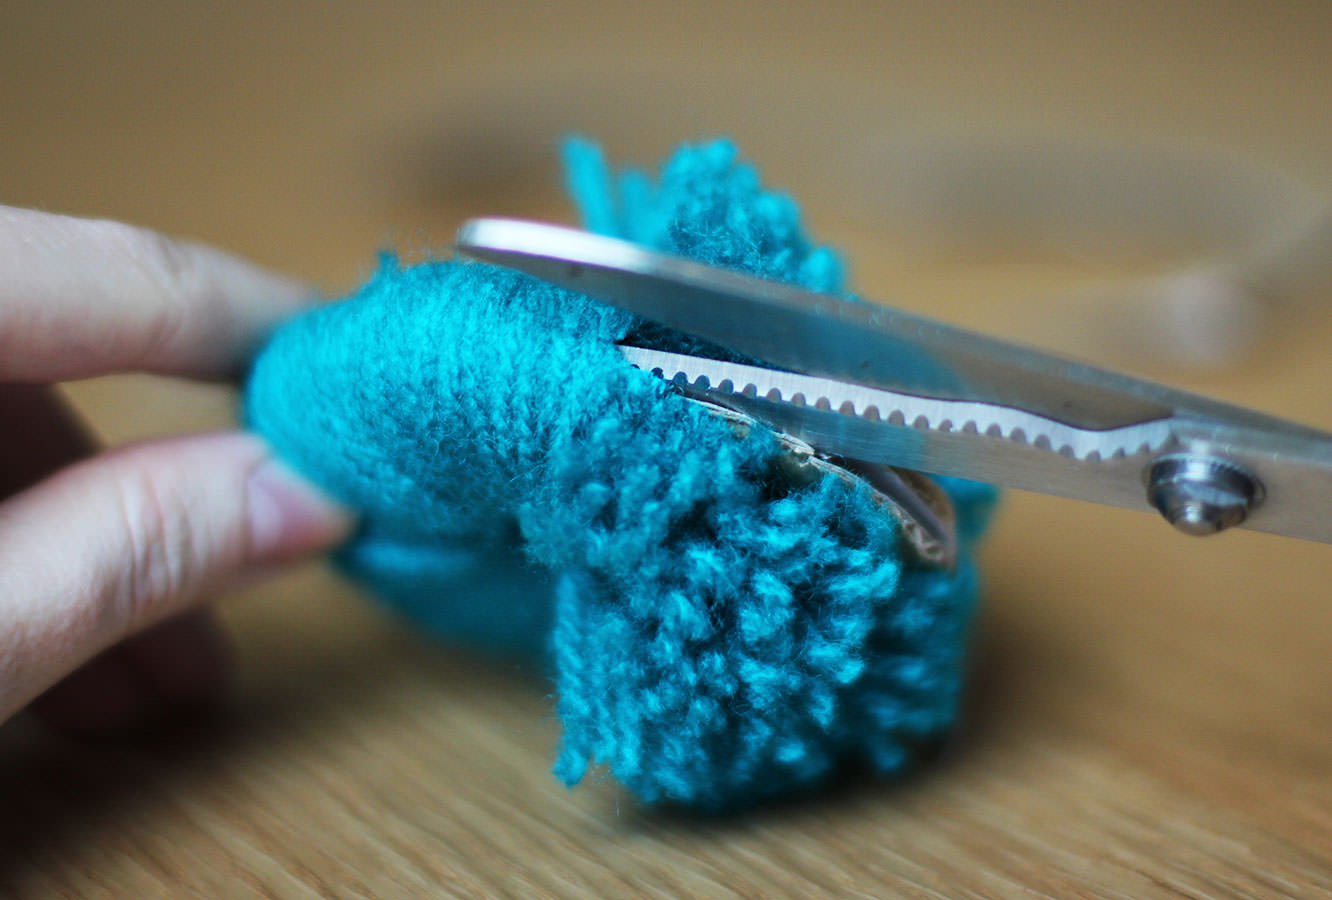
Using scissors cut round the circumference of the ring.
Once you’ve made a few snips you should be able to get the scissors between the two layers of card which then makes this very quick.
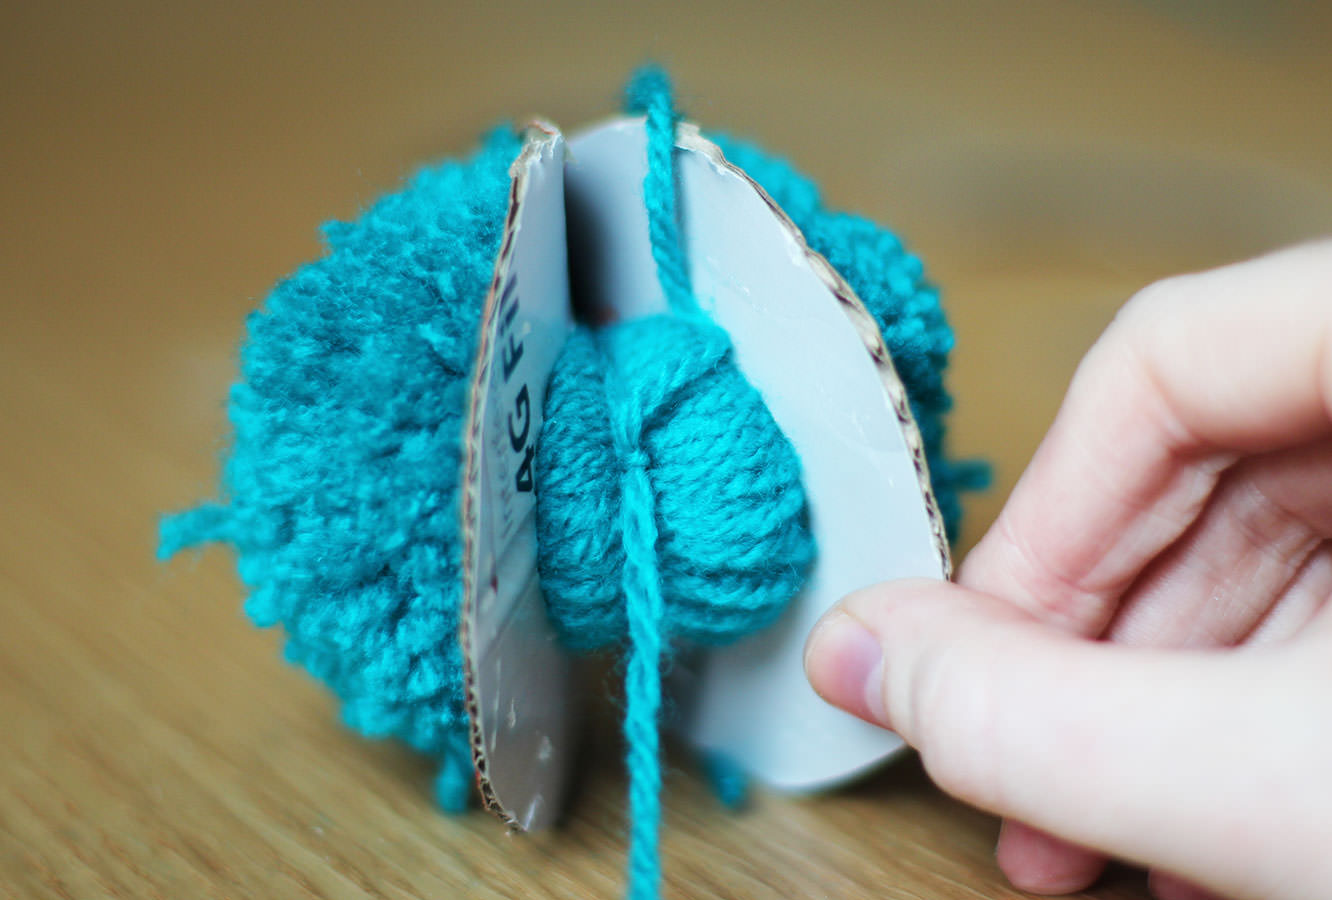
Step five
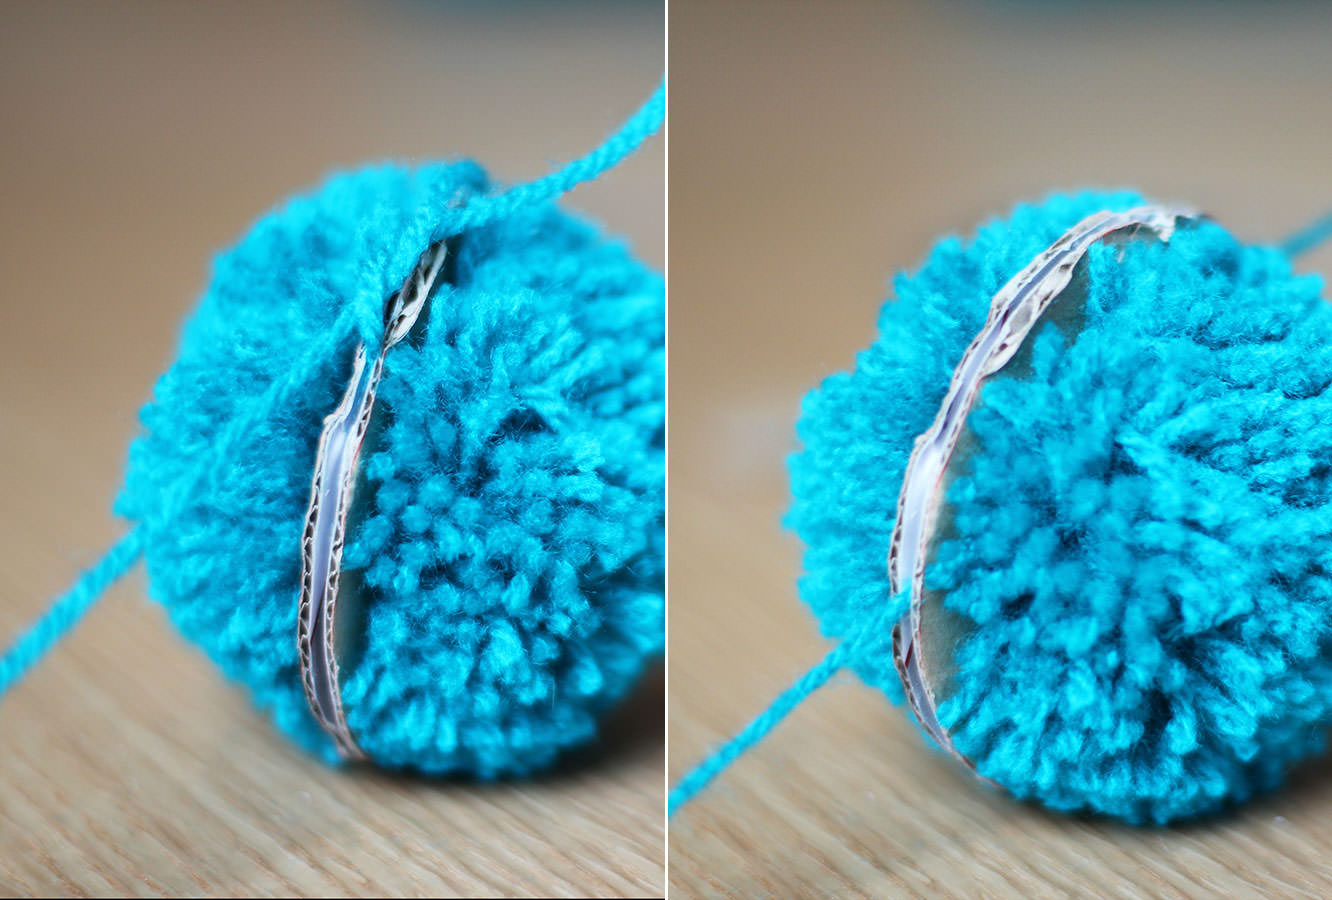
Wrap a length of wool around the edge and tie a knot in between the cardboard layers. I always do a few for good measure.
Step six
Pull the cardboard rings off to release your pom pom.

Step seven
Trim any straggly bits to neaten it all up.
Step eight
Repeat until you have at least 24 pom poms of different sizes and colours.

Step nine
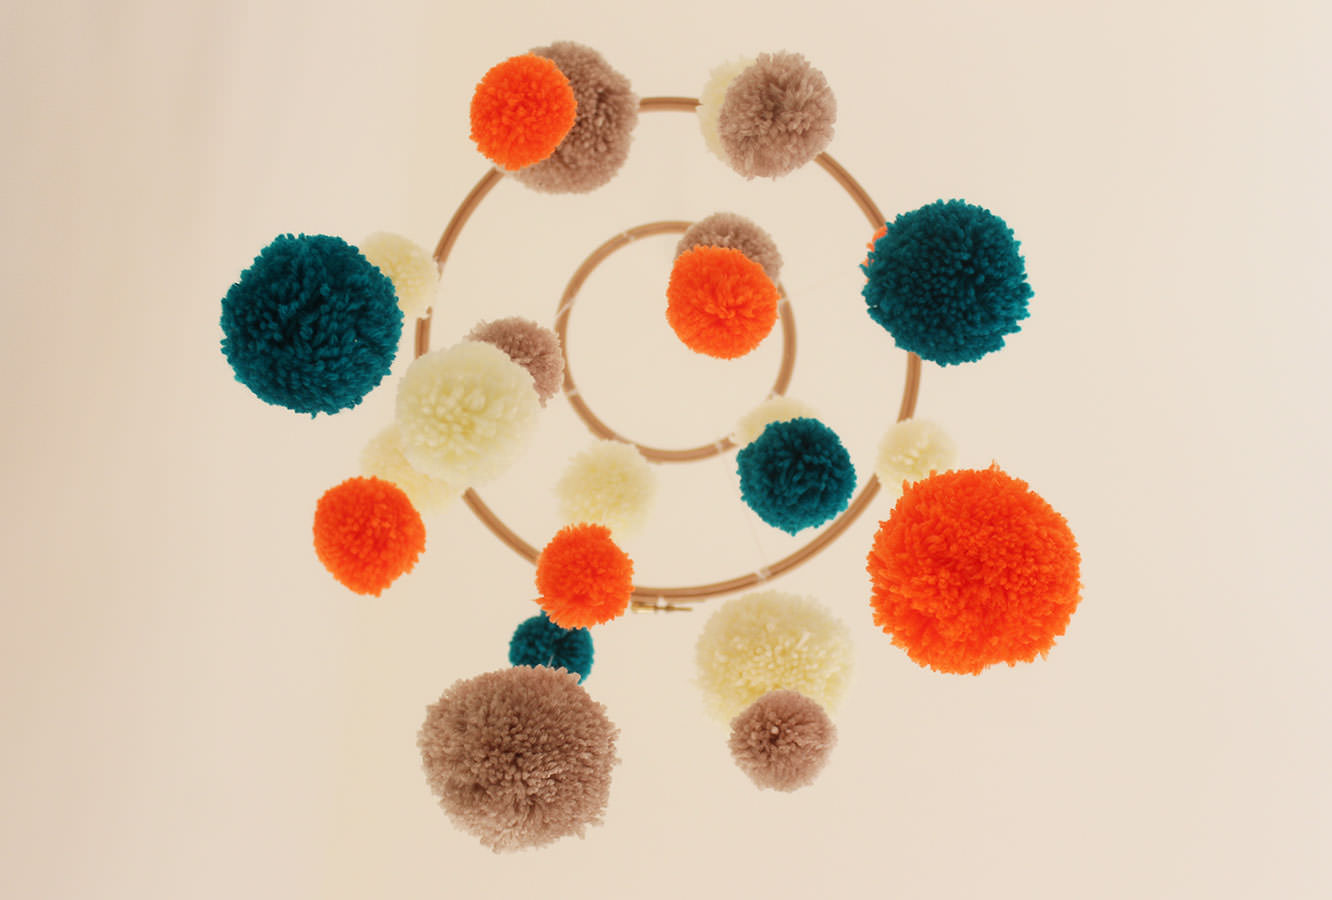
Sew the pom poms to varying lengths of cotton thread in twos (or if you’ve made more, then keep adding them!)
I went back and forth through each pom pom a few times so they didn’t slip down/fall off the end.
I recommend doing this randomly, or you’ll drive yourself crazy! Plus it looks better for baby if they are dotted about as the different levels of perspective means you can see more.
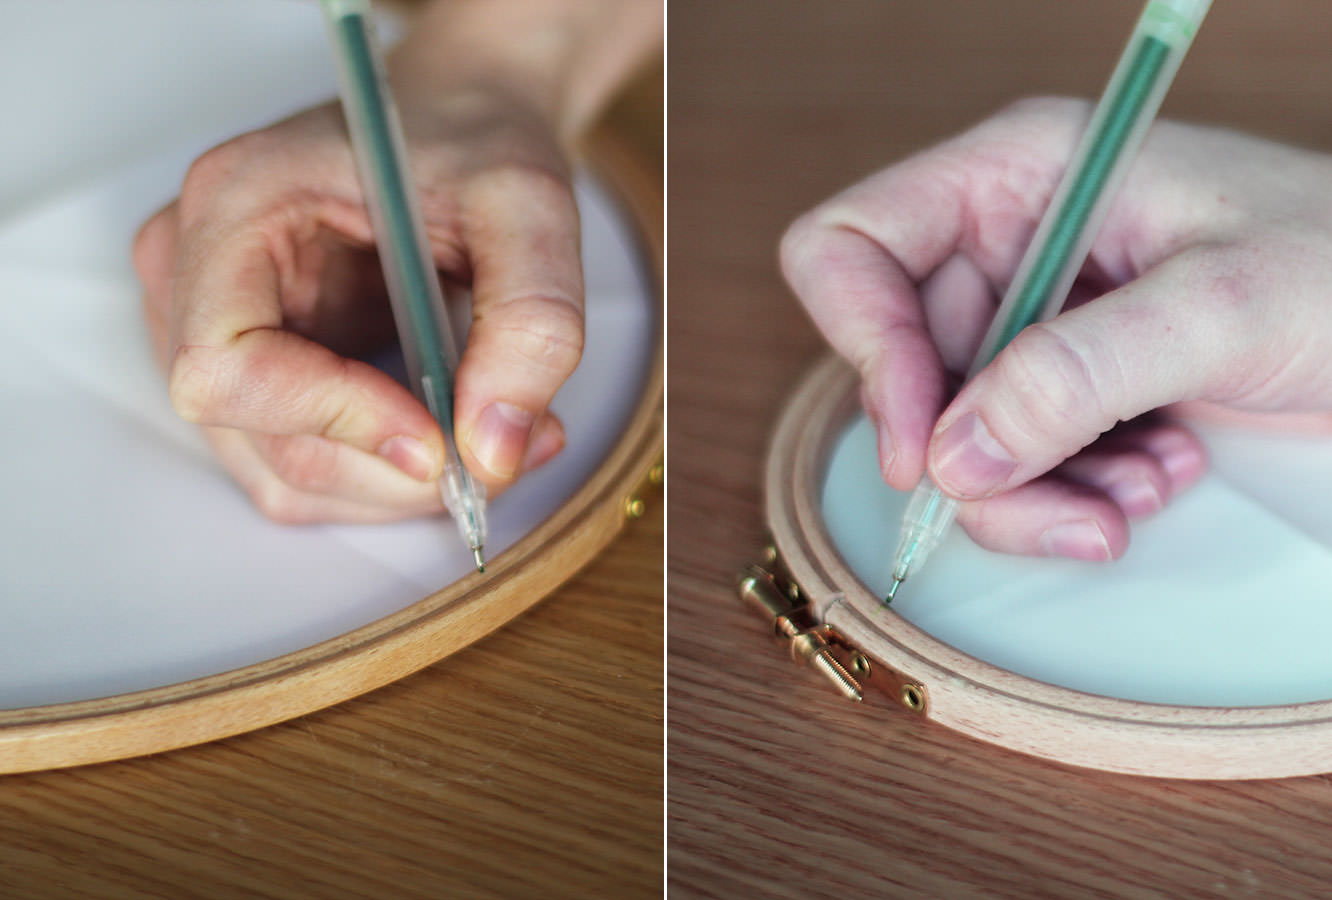
Step ten
Cut a paper/newspaper circle that fits inside the embroidery hoops. Fold each in half three times so you get 8 equal segments.
Placing the paper circles into the hoops mark out the eighths.

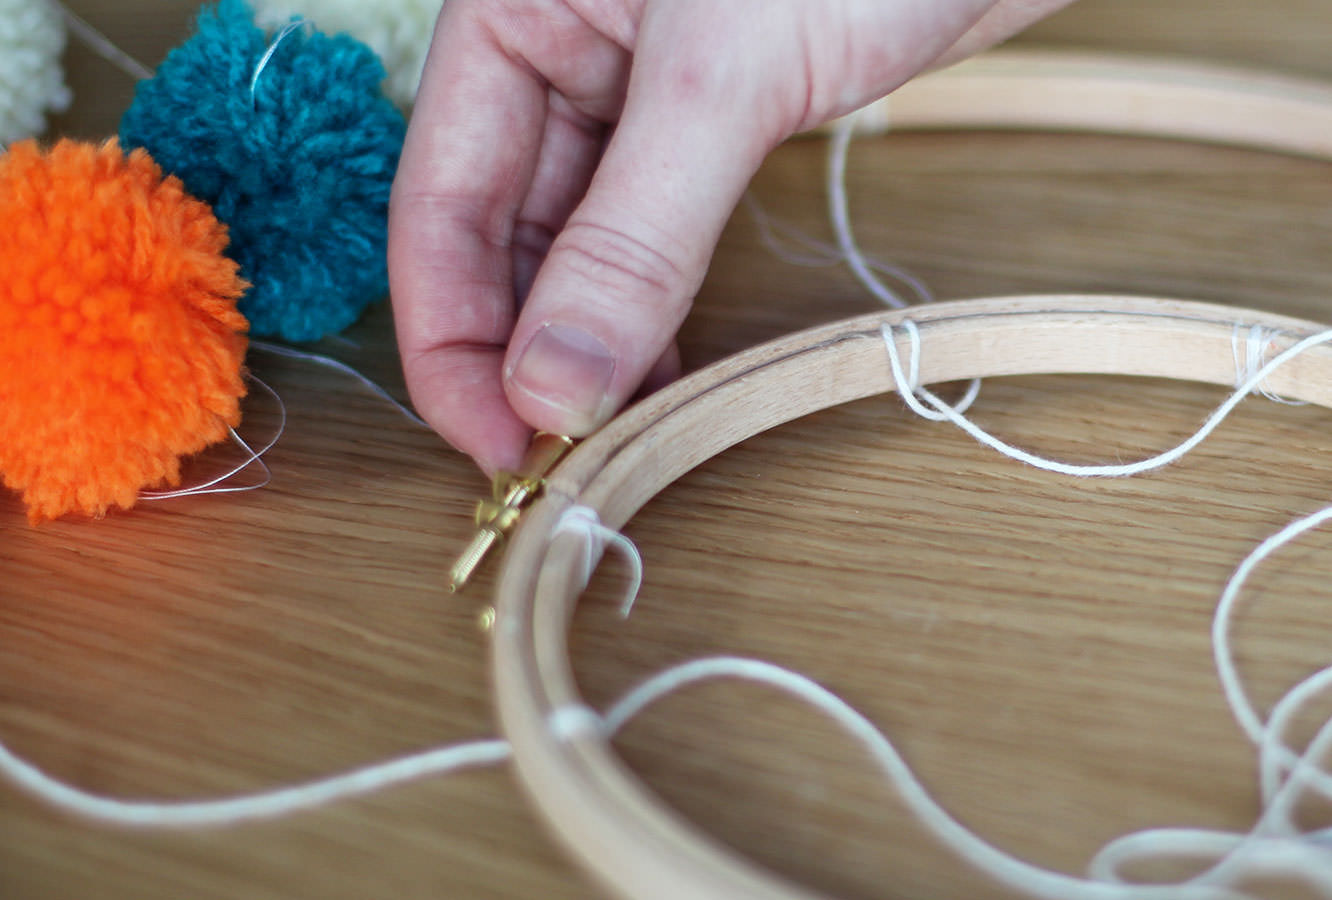
Step eleven
Remove the outer hoops and stick a small strip of double sided tape by each marker.
Step twelve
Attach two pieces of string to hang the mobile by. They need to wrap around both the outer and inner hoops and be as even as possible.
Try to make it so that the string comes out from under the hoop at all points. Otherwise you’ll do what I did and put the outer hoop on top, one will be over and the whole thing will hang a bit wonky. Distressed isn’t the word.
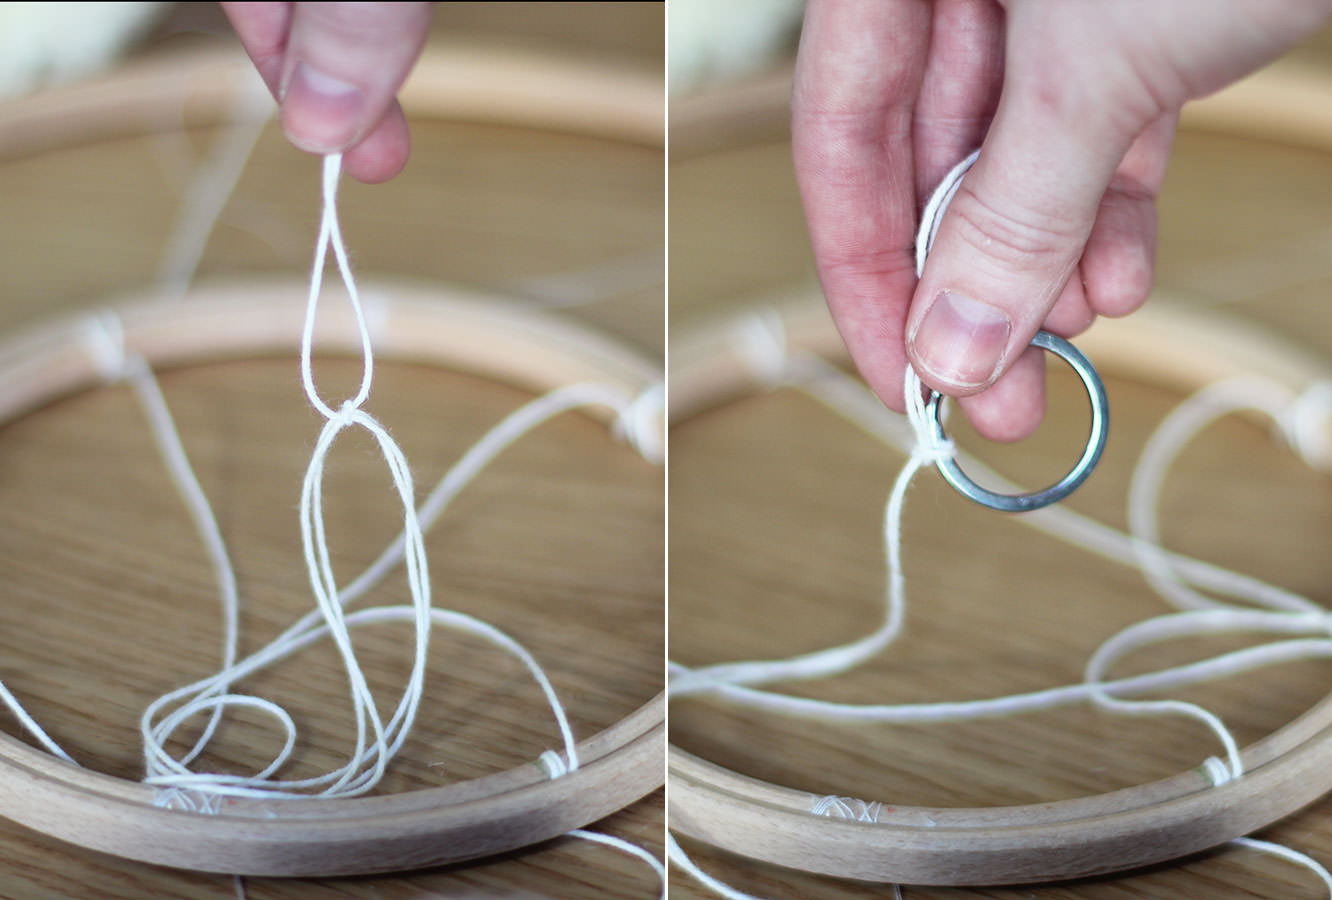
Step thirteen
Tie a longish piece of string (this will totally depend on your ceiling to cot distance) to connect the crossed over pieces you just attached to the hoops. Still with me?!
At the other end of that length of string tie a keyring. This is the bit that will enable your mobile to spin round.
Step fourteen
Attach your pom pom lengths, 8 around the outside, 4 around the inside by wrapping the thread round the hoop a few times. The tape should hold them in place quite well.
Step fifteen
Reattach the outer hoops and tighten.
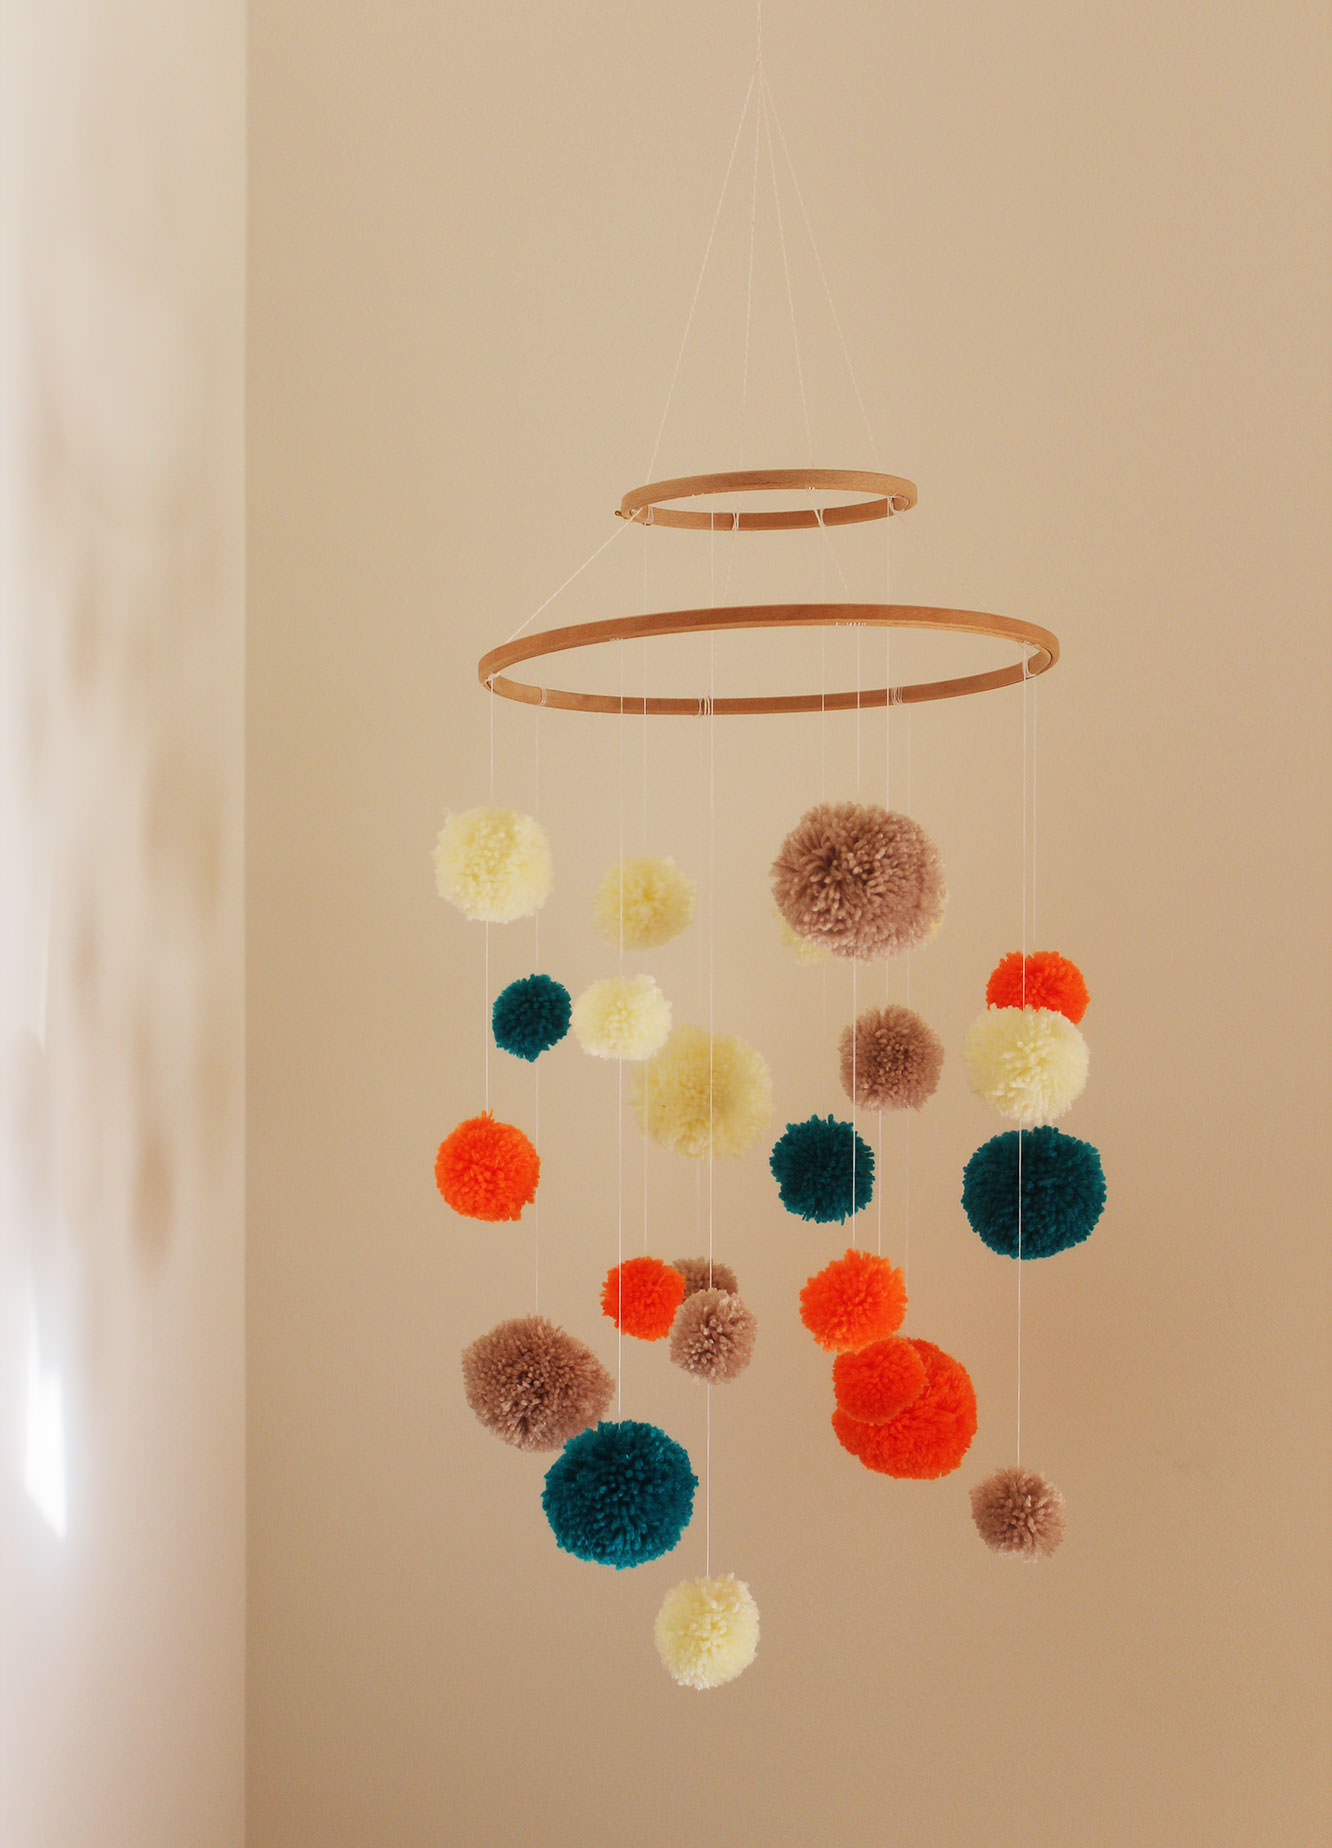
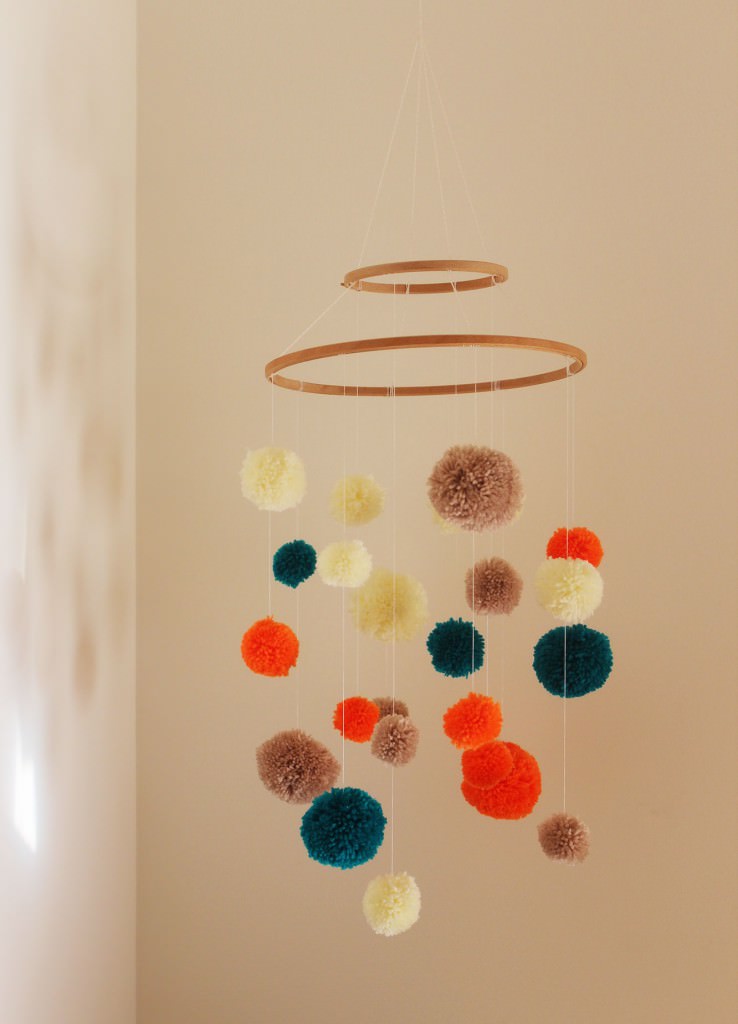
Step sixteen
Using the sticky hook hang from the ceiling.
Step seventeen
Lie under it for a little while. It’s relaxing being a baby.
Wait, that’s not all.
I also couldn’t resist making baby a little friend to match his mobile. Introducing Bernard the bunny.
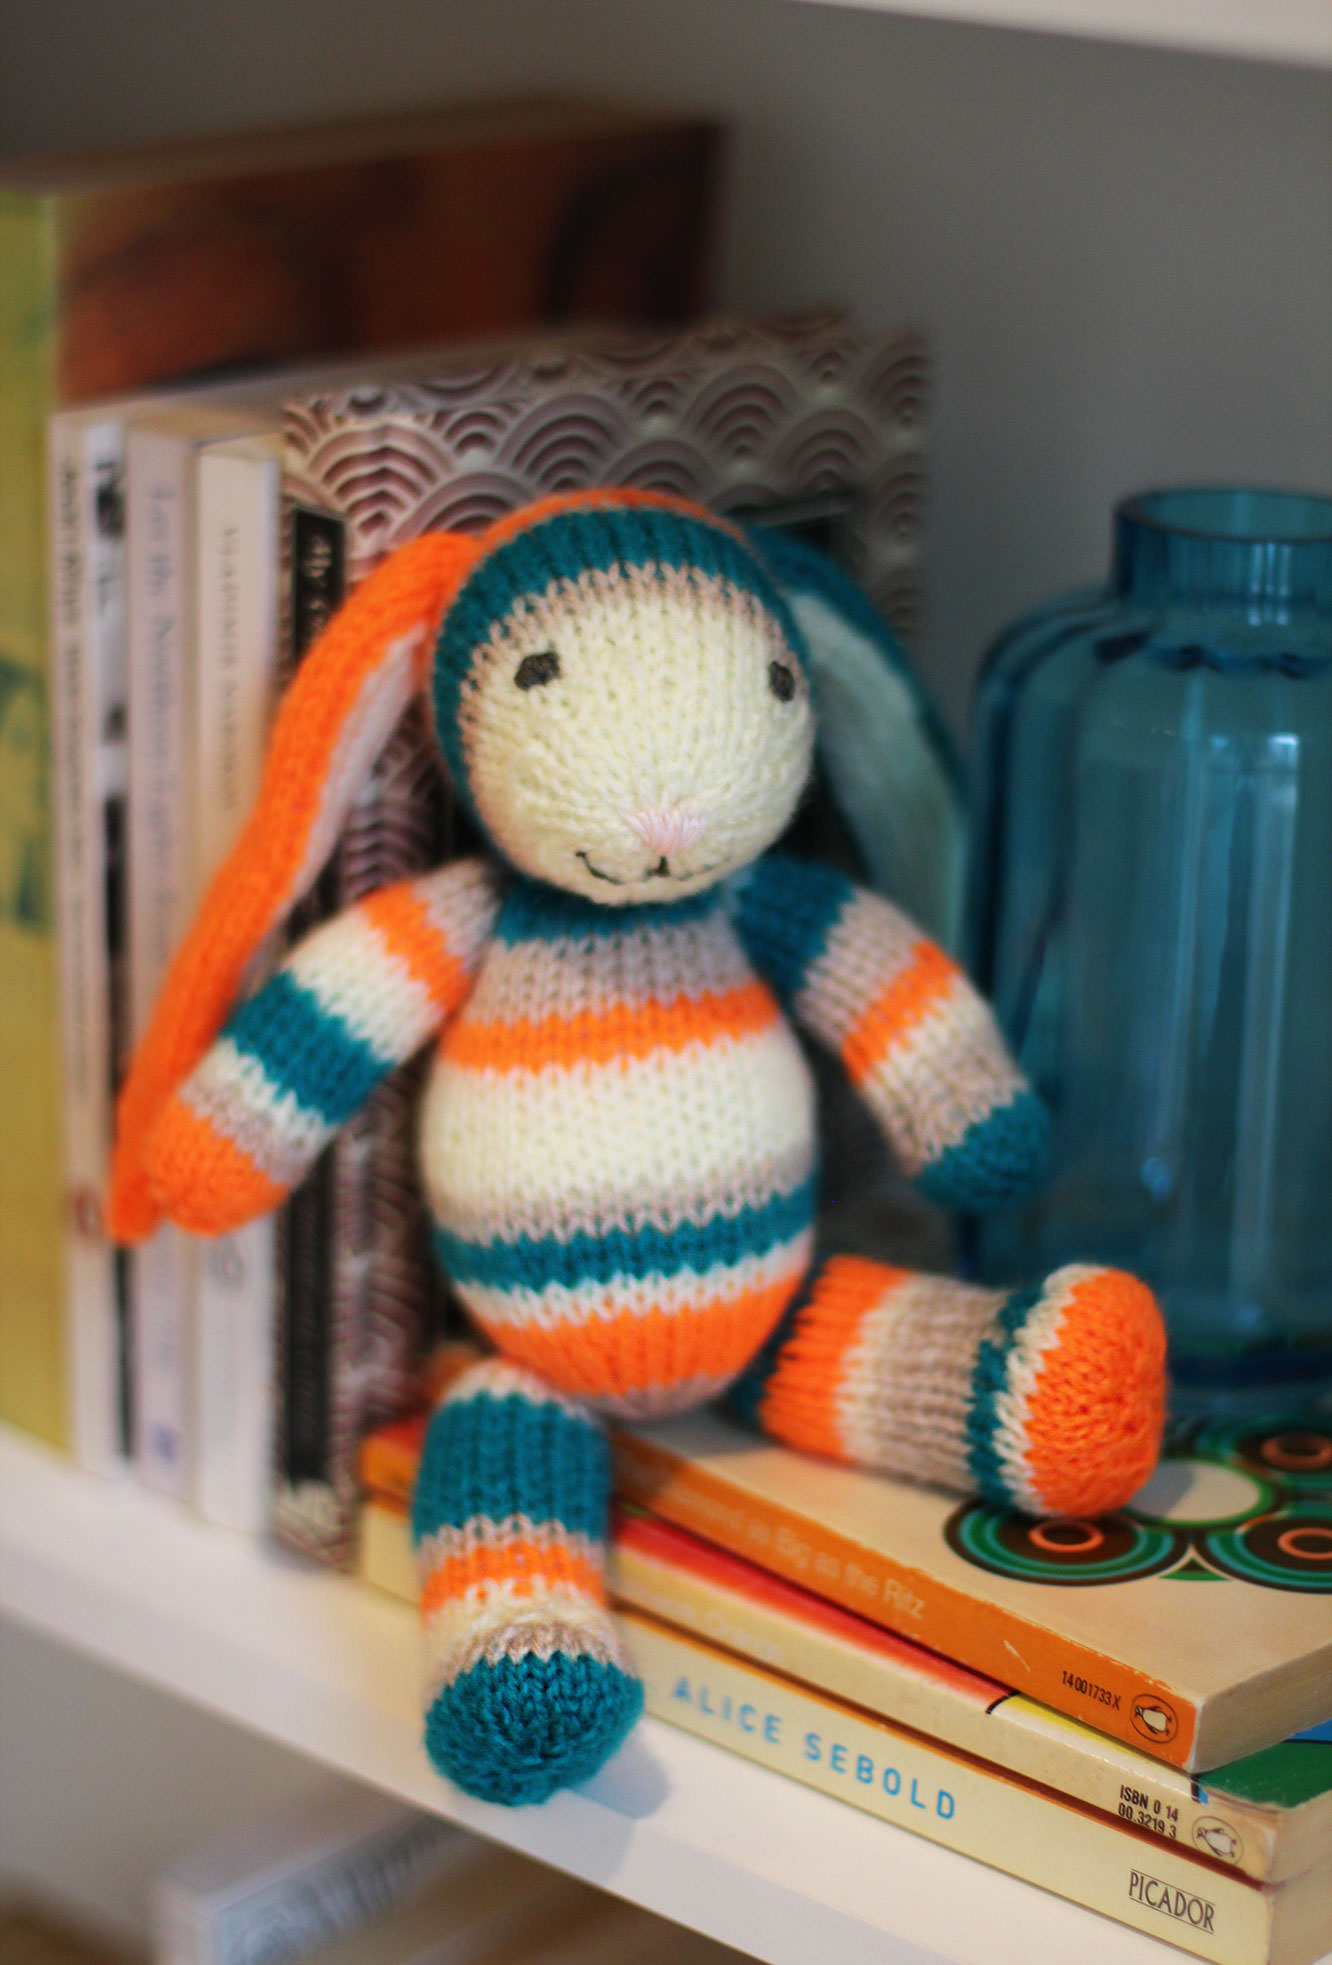
I haven’t included a step-by-step for Bernard because he’s not my pattern. In fact, this was the first time I’ve ever knitted a ‘creature’ before. He’s not quite the masterpiece I envisaged when I started but full of character and a great beginner knit.
Bernard was knitted from the free fuzzy lamb pattern by Barbara Prime (I just added longer ears). I urge you to visit fuzzymitten.com where you can buy all kinds of super cheap cute and quirky patterns including a bikini clad alpaca and a sloth in a poncho. Barbara’s patterns are adorable and easy to follow.

Another plug goes out to Hannah Melin whose ‘Hello World’ print I couldn’t resist at a craft fair just before Christmas. I think it would look lovely on the wall of any nursery.
I should probably make it clear that I’m not being sponsored for either of the above, I just think it’s good to support one’s fellow craftspeople from time to time.
Without further ado, here’s the man of the hour LOOKHOWCUTE.