Tag: Tutorial

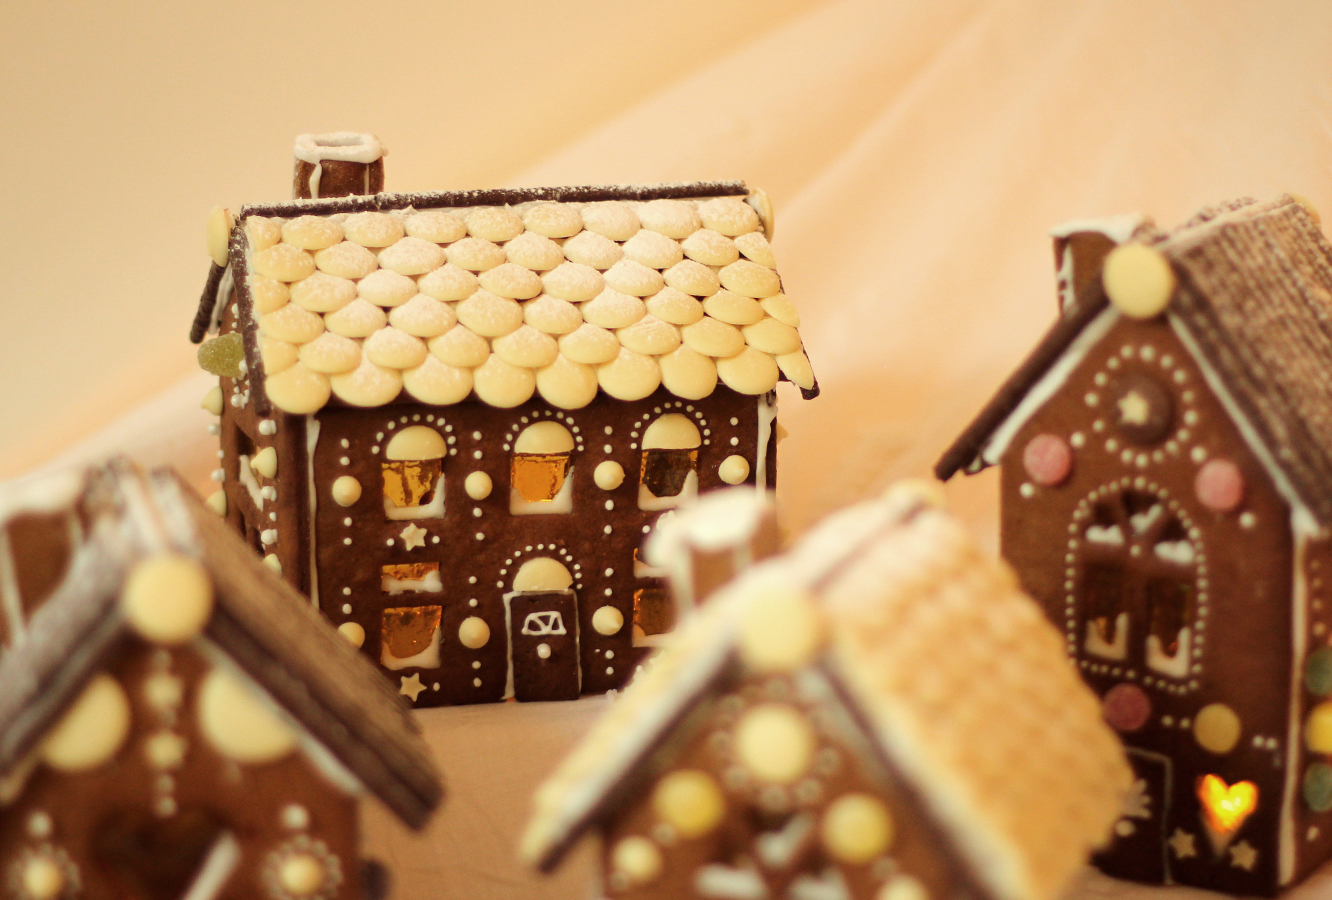
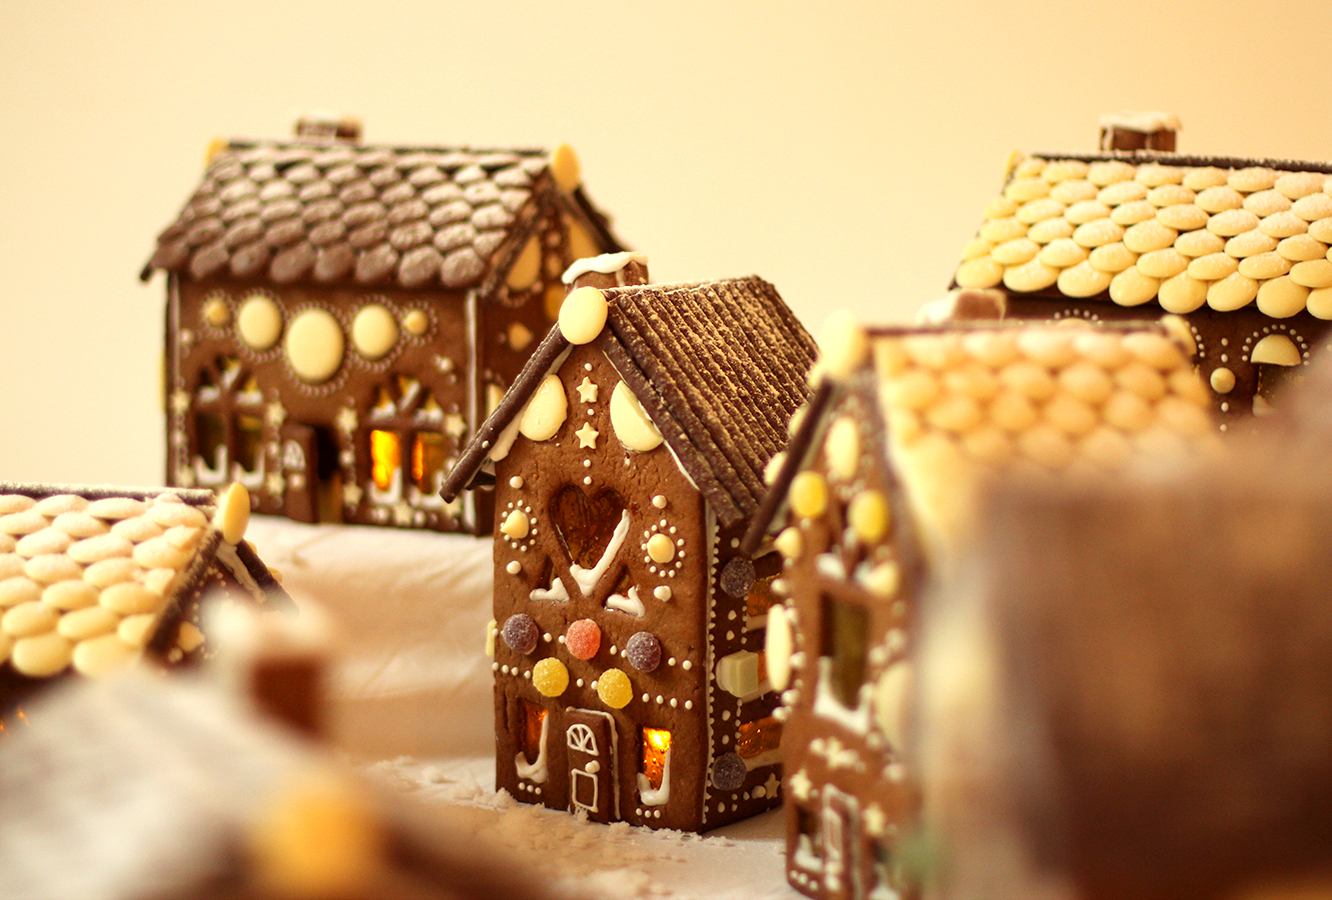
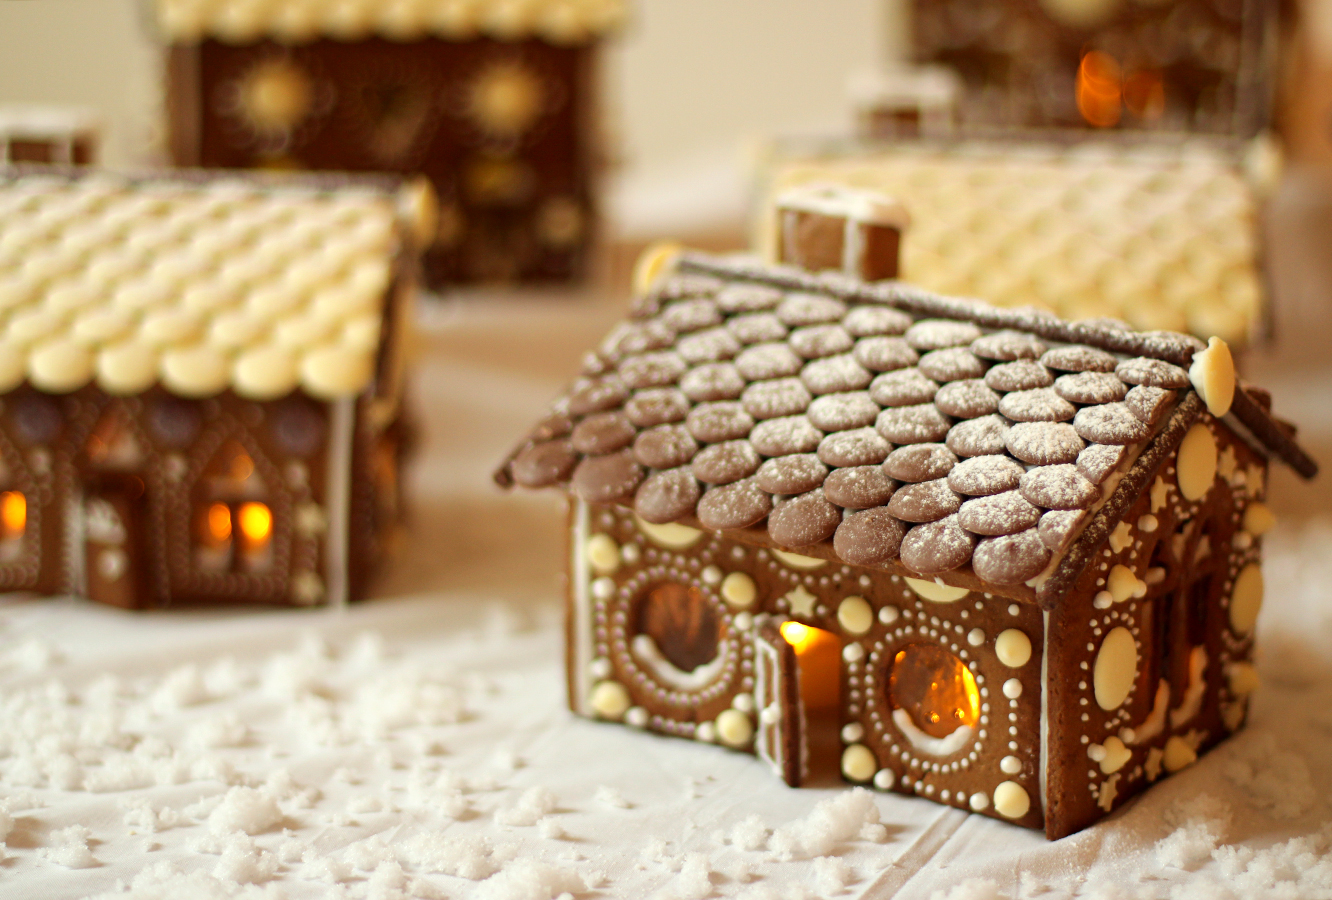
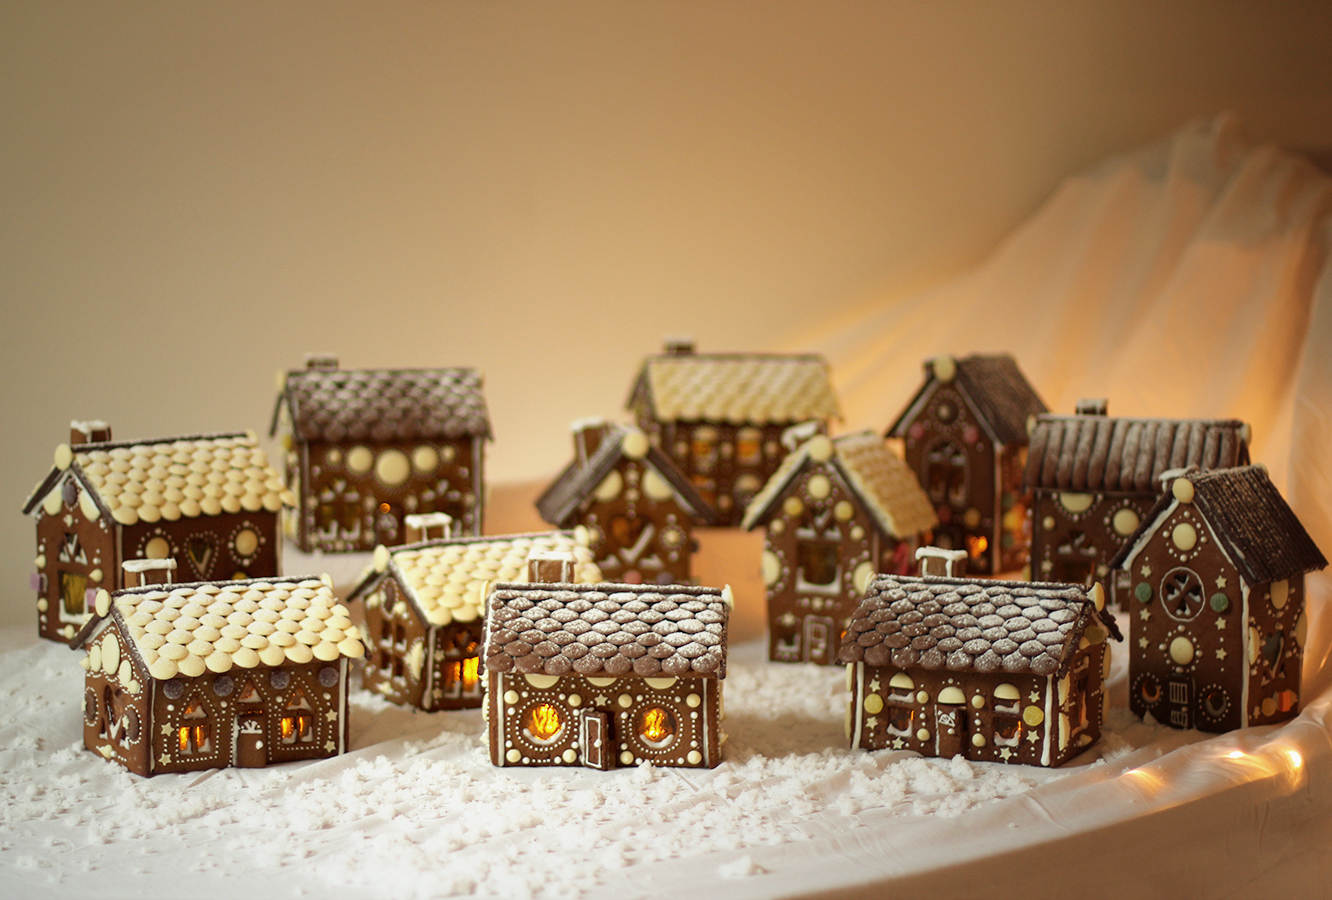
O little town of gingerbread

So this is later than the usual Monday night. But I hope you’ll forgive me when you see the contents, and when you remember it’s December and that I now have a full-time job.

SPEAKING OF WHICH, I have been fortunate enough to join a team full of kind and kooky misfits, who have made the last three months super fun.

This year, when considering my yearly gingerbread offering I deliberated over how I might transport one into work to share the joy. But when you make gingerbread houses like this and this and get the central line tube to work, even the thought of attempting that makes you sweat.

The obvious answer? Make little ones for everyone. Sure. That’s not mental at all.
gingerbread-house-village-recipe-guide-01

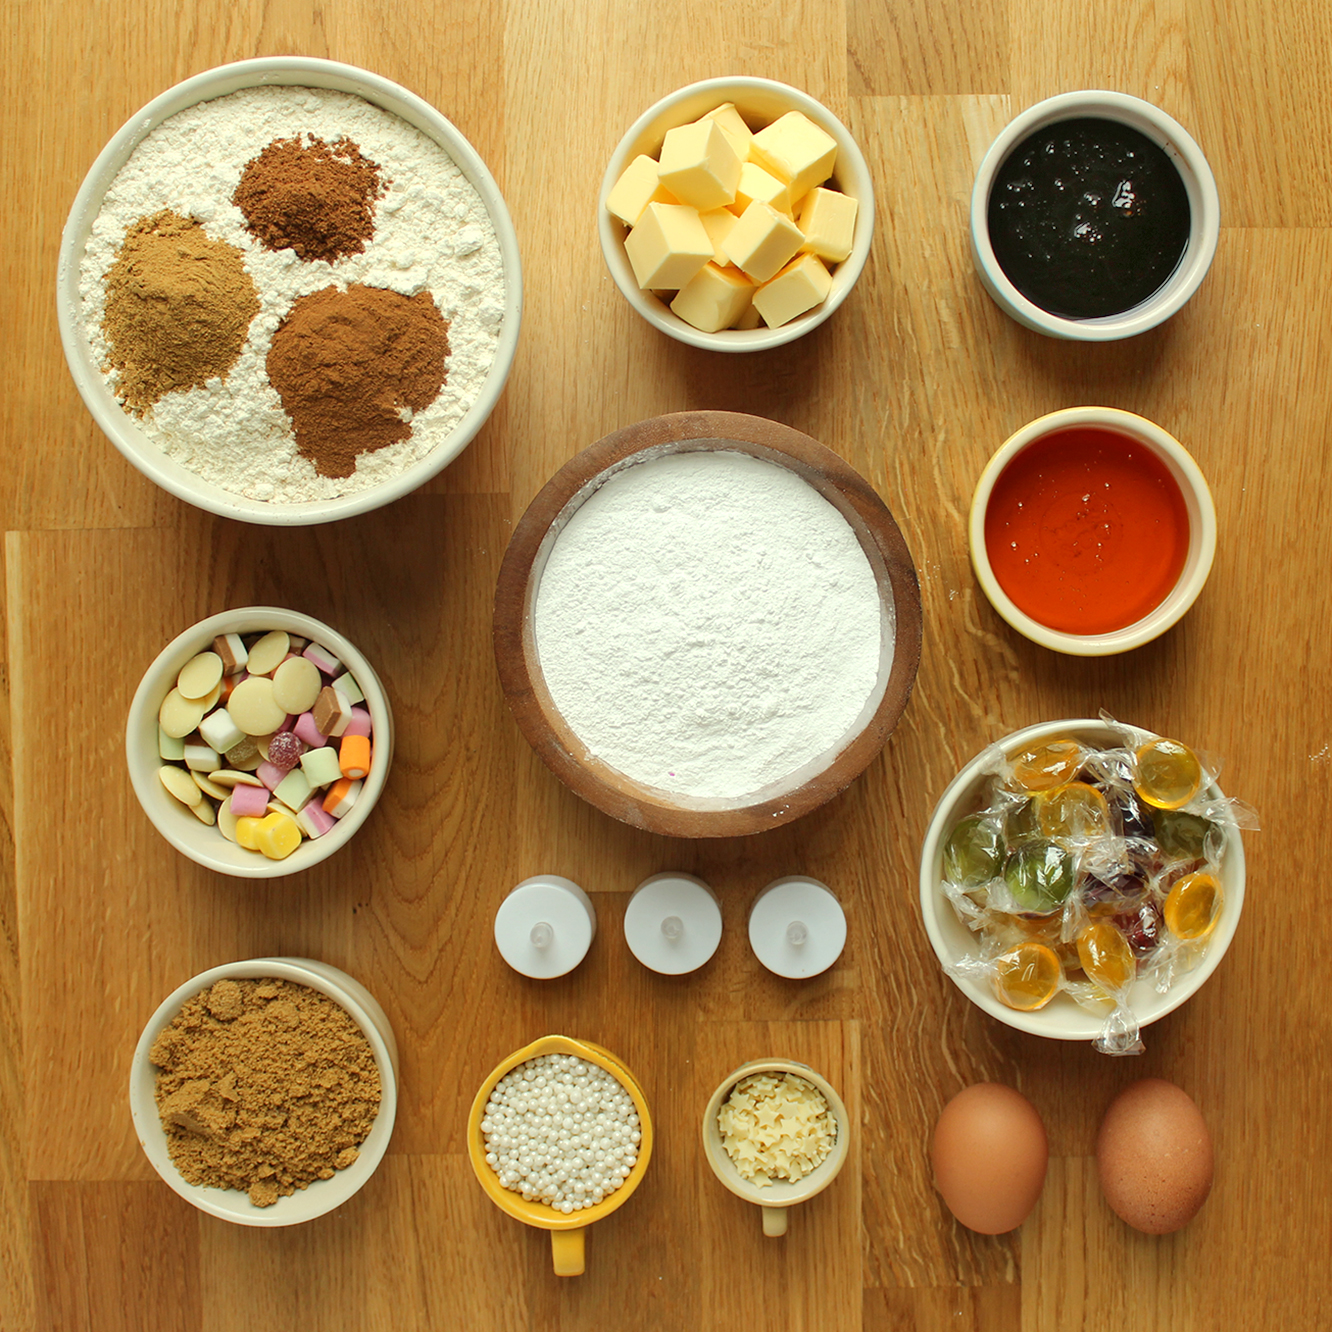
You will need:

1lb 10.5 oz/750g/5 cups plain flour

5oz/140g/1 cup soft brown sugar

7oz/200g/1 cup unsalted butter

2 eggs

5 tbsp treacle

8 tbsp golden syrup

1 tsp salt

1 tsp baking powder

2 tsp ground ginger

2 tsp cinnamon

1 tsp nutmeg

A box of royal icing (read notes below)

The template

ALL THE SWEETS (including boiled sweets for the windows)

LED tea lights if you want it to look like there’s a fire on inside

Some notes:

  • The quantities above make 4 little houses. Yes, I made 3 batches of mixture. It will make about one medium to large house, both the links in the blurb above required a batch and a quarter or so.
  • For the roofs I use either chocolate buttons, fingers or matchmakers. The roof on house one is the right size for chocolate finger biscuits, matchmakers are great because they are long, but they are narrow so you need quite a few. Roughly it works out like this per roof for these templates: one box of matchmakers, two boxes of fingers, and two bags of buttons (based on Sainsbury’s own 3 for £1 bags)
  • You need a lot of royal icing, get a few boxes, I used 3 for 12 houses.
  • For the bases I use a thick cardboard box covered in tinfoil. You could buy a cake board, but then you have to work out if your house will fit, or make it to fit the board. I prefer to make the base to fit the house, less restrictive that way.
  • For a bit of advice on template making for bigger houses click here
  • You are unlikely to complete all this in one day, as you need to let the dough cool before rolling it out, just a little FYI.
gingerbread-house-village-recipe-guide-02

Step one

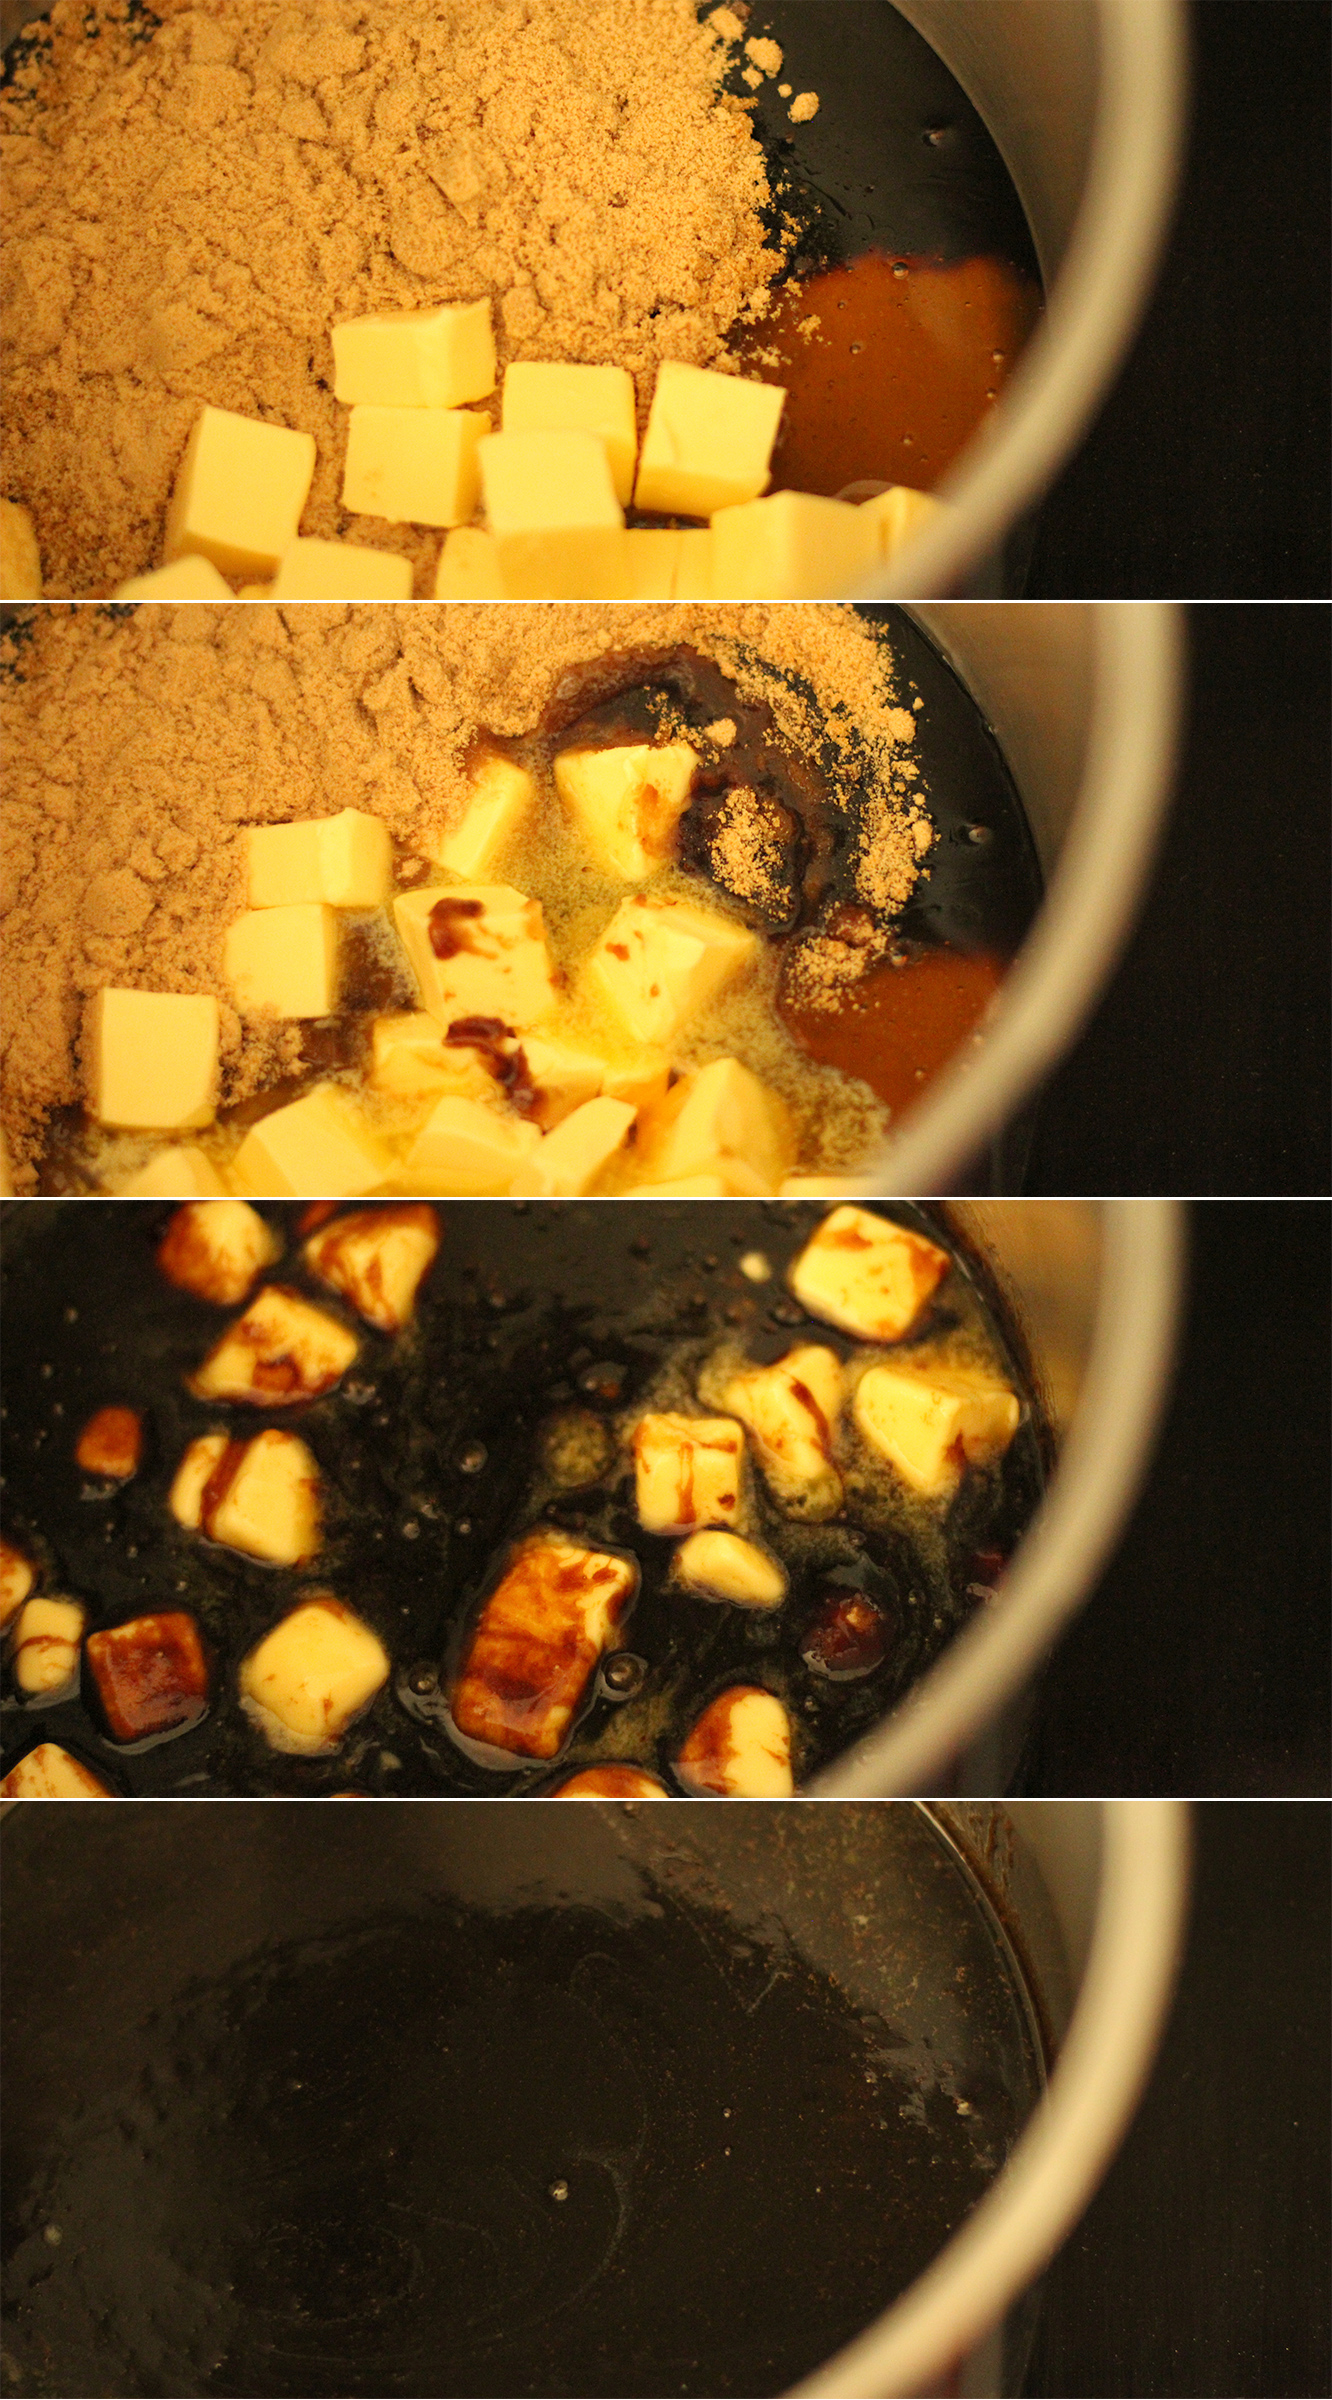
In a saucepan melt together the butter, treacle, sugar and golden syrup. Try not to let it get too hot.
gingerbread-house-village-recipe-guide-03

Step two

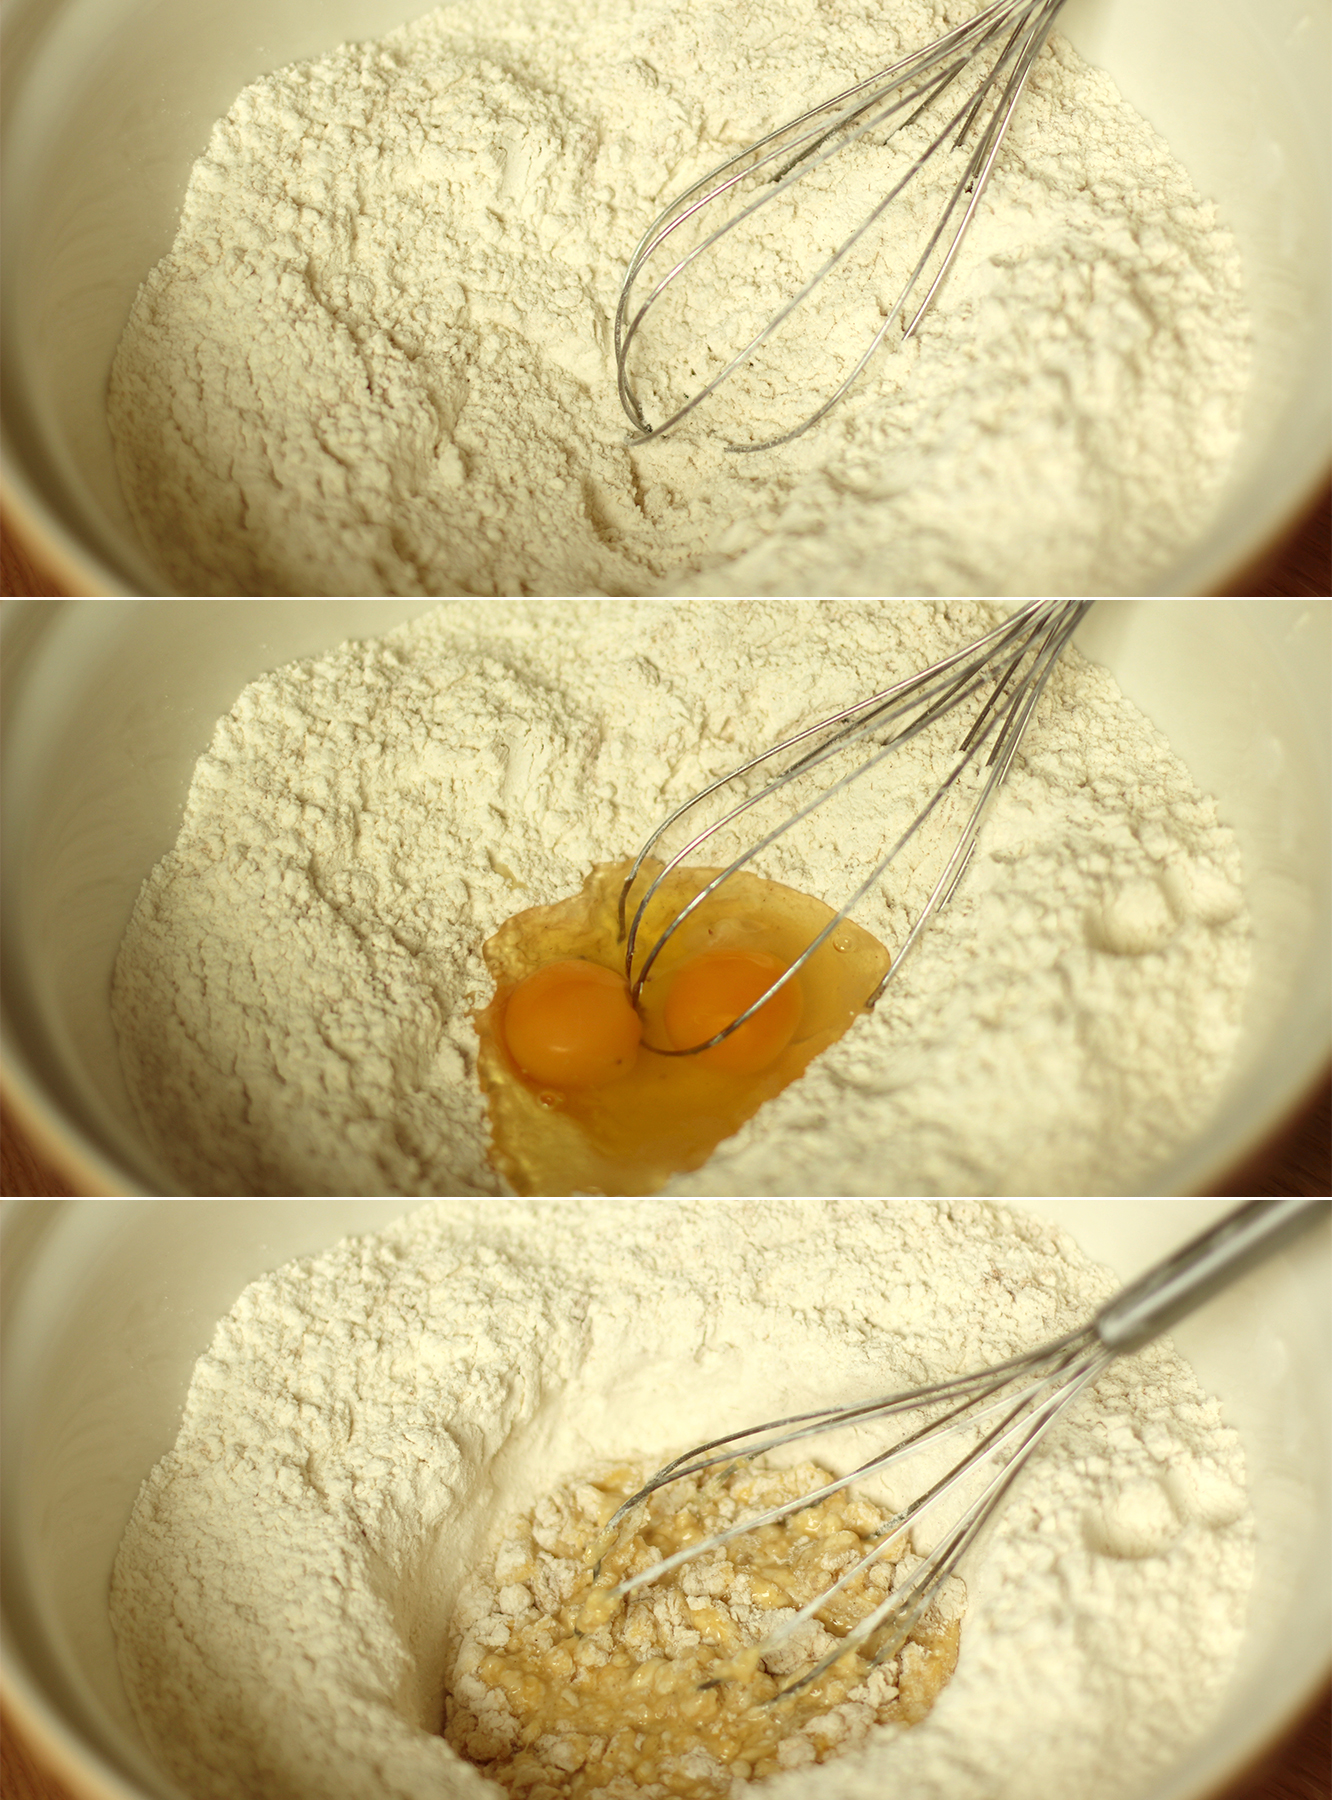
Mix together the spices, salt and flour together and make a well in the middle. Add the eggs and use a hand whisk to break them up. Start making small circles to incorporate the flour.
gingerbread-house-village-recipe-guide-04

Step three

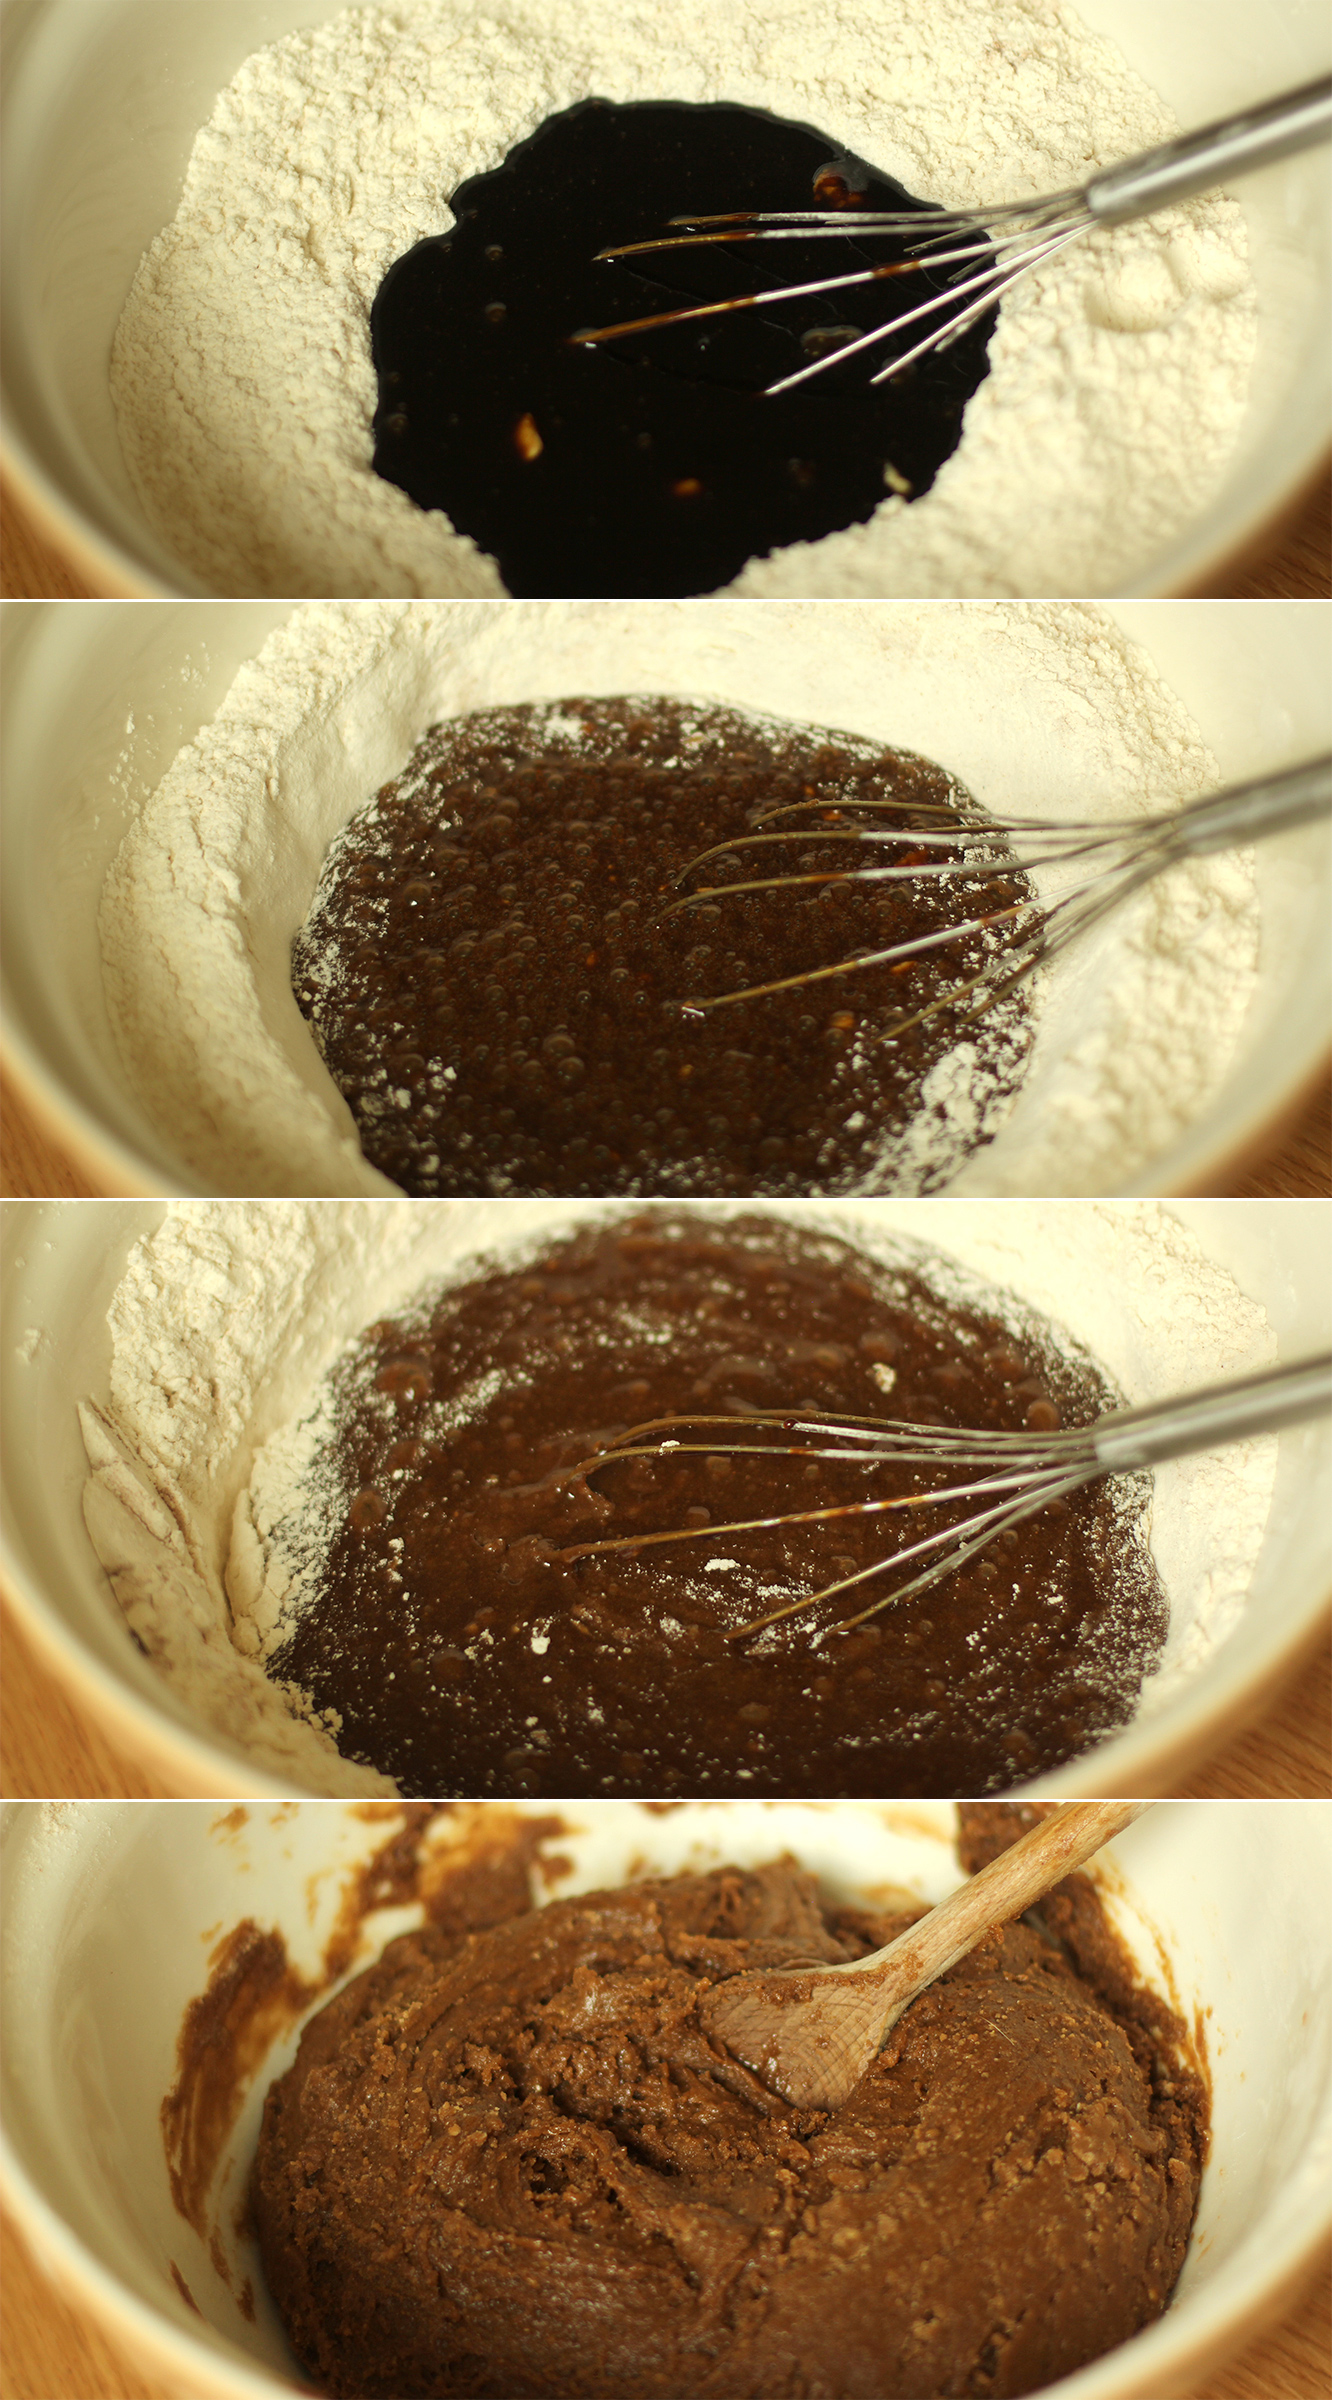
Pour the treacle mix into the well and continue mixing with the whisk for as long as you can until it becomes too hard to stir. Swap the whisk for a wooden spoon until fully combined.

Allow to cool. Put it outside if it’s cold or in the fridge to speed up the process. It will be sticky but don’t add more flour.
gingerbread-house-village-recipe-guide-05

Step four

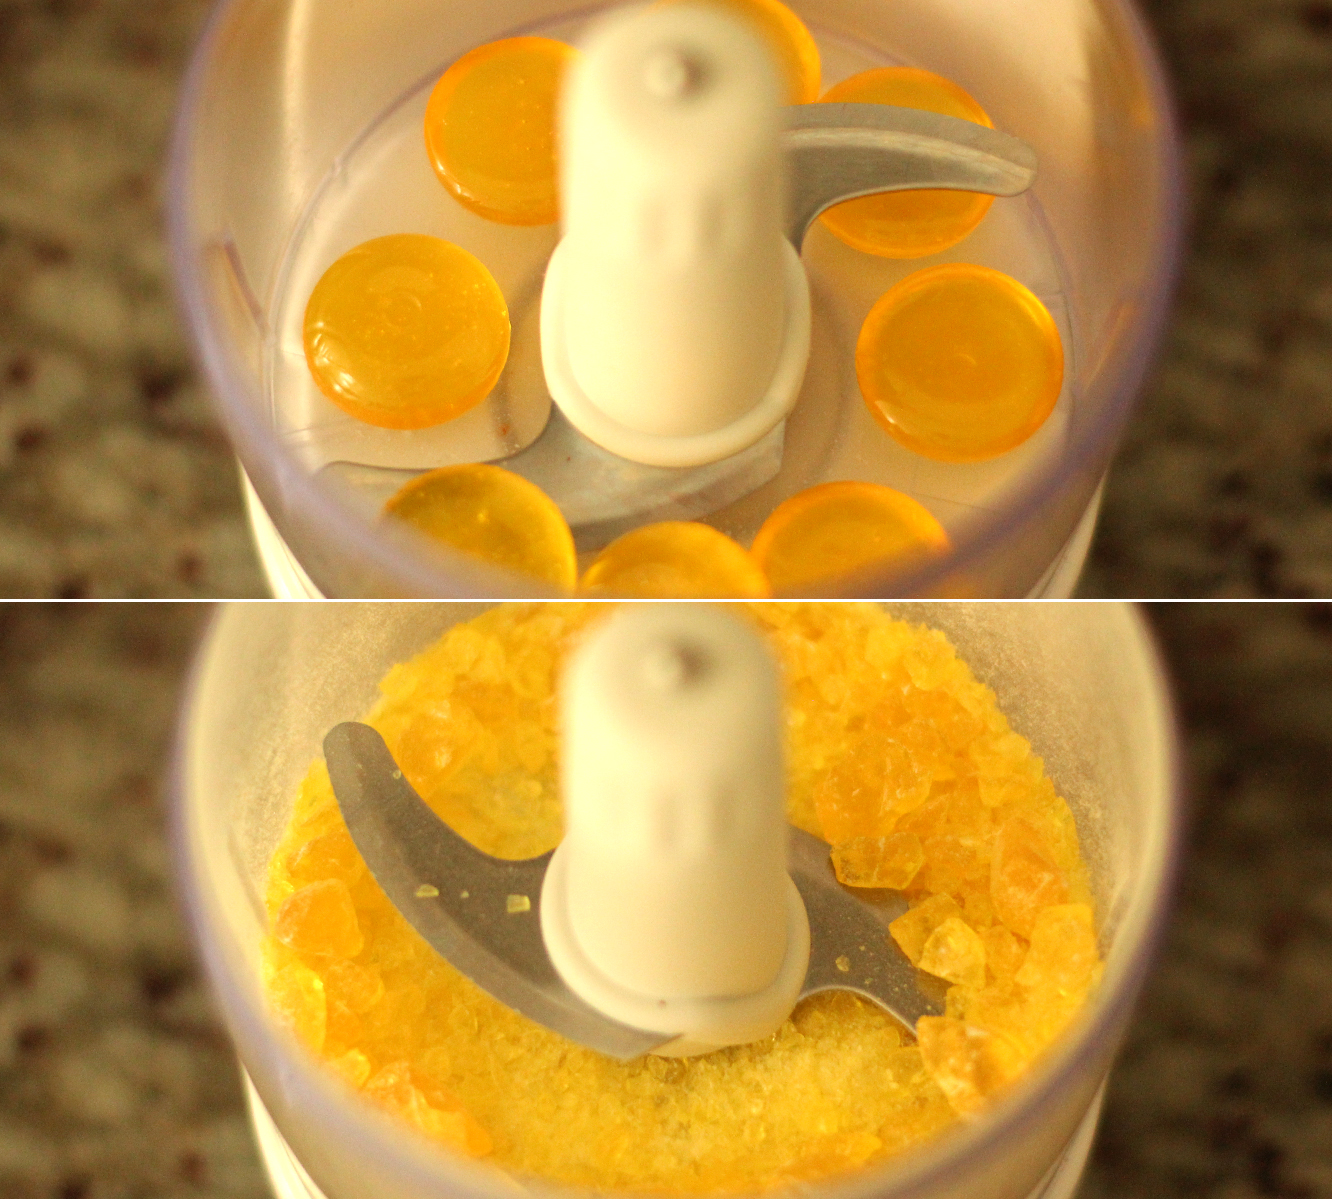
Bash up hard boiled sweets with a rolling pin in a sandwich bag, or use this life changing gadget, the mini food processor, to mush them instead.
gingerbread-house-village-recipe-guide-06

Step five

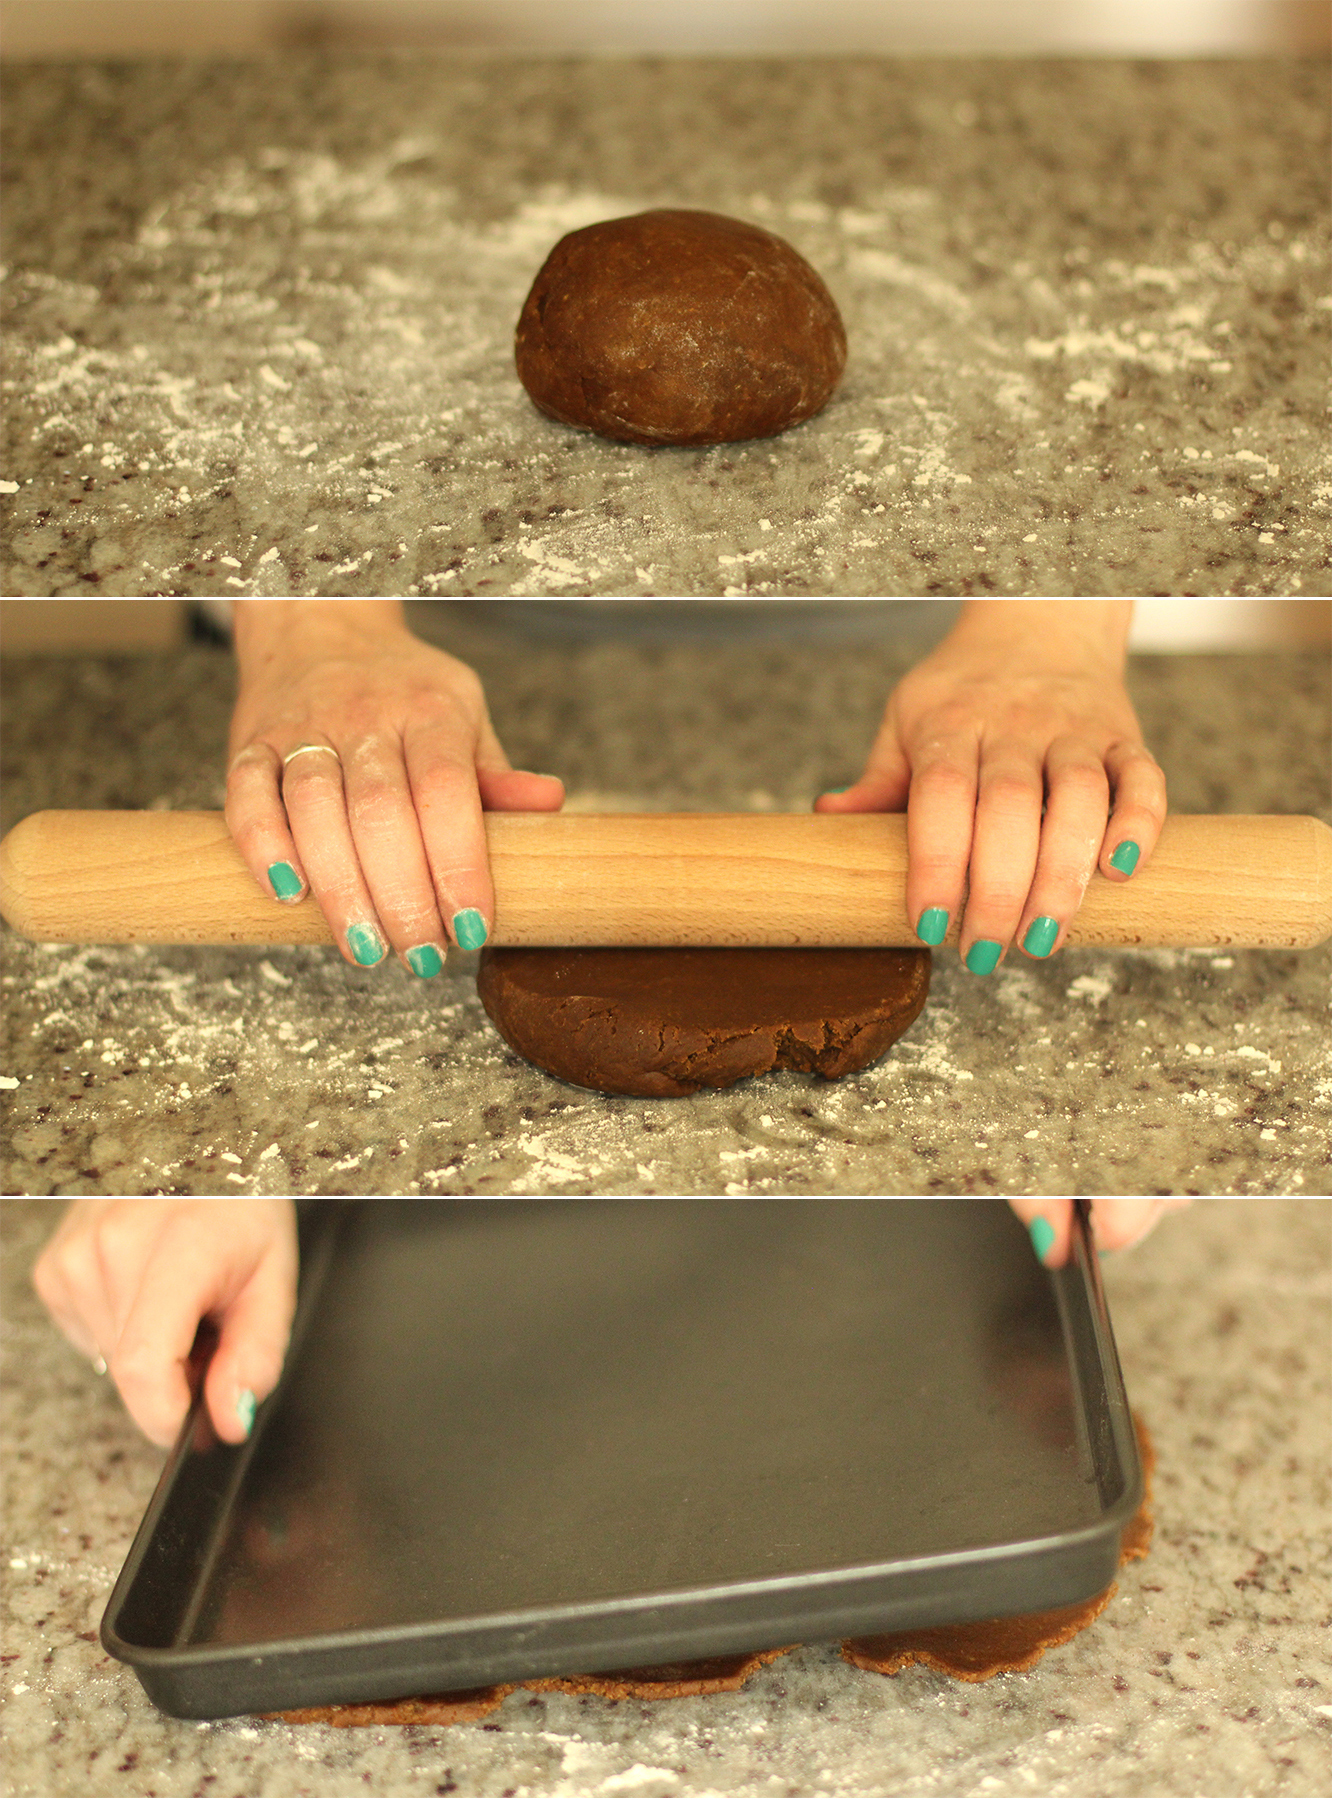
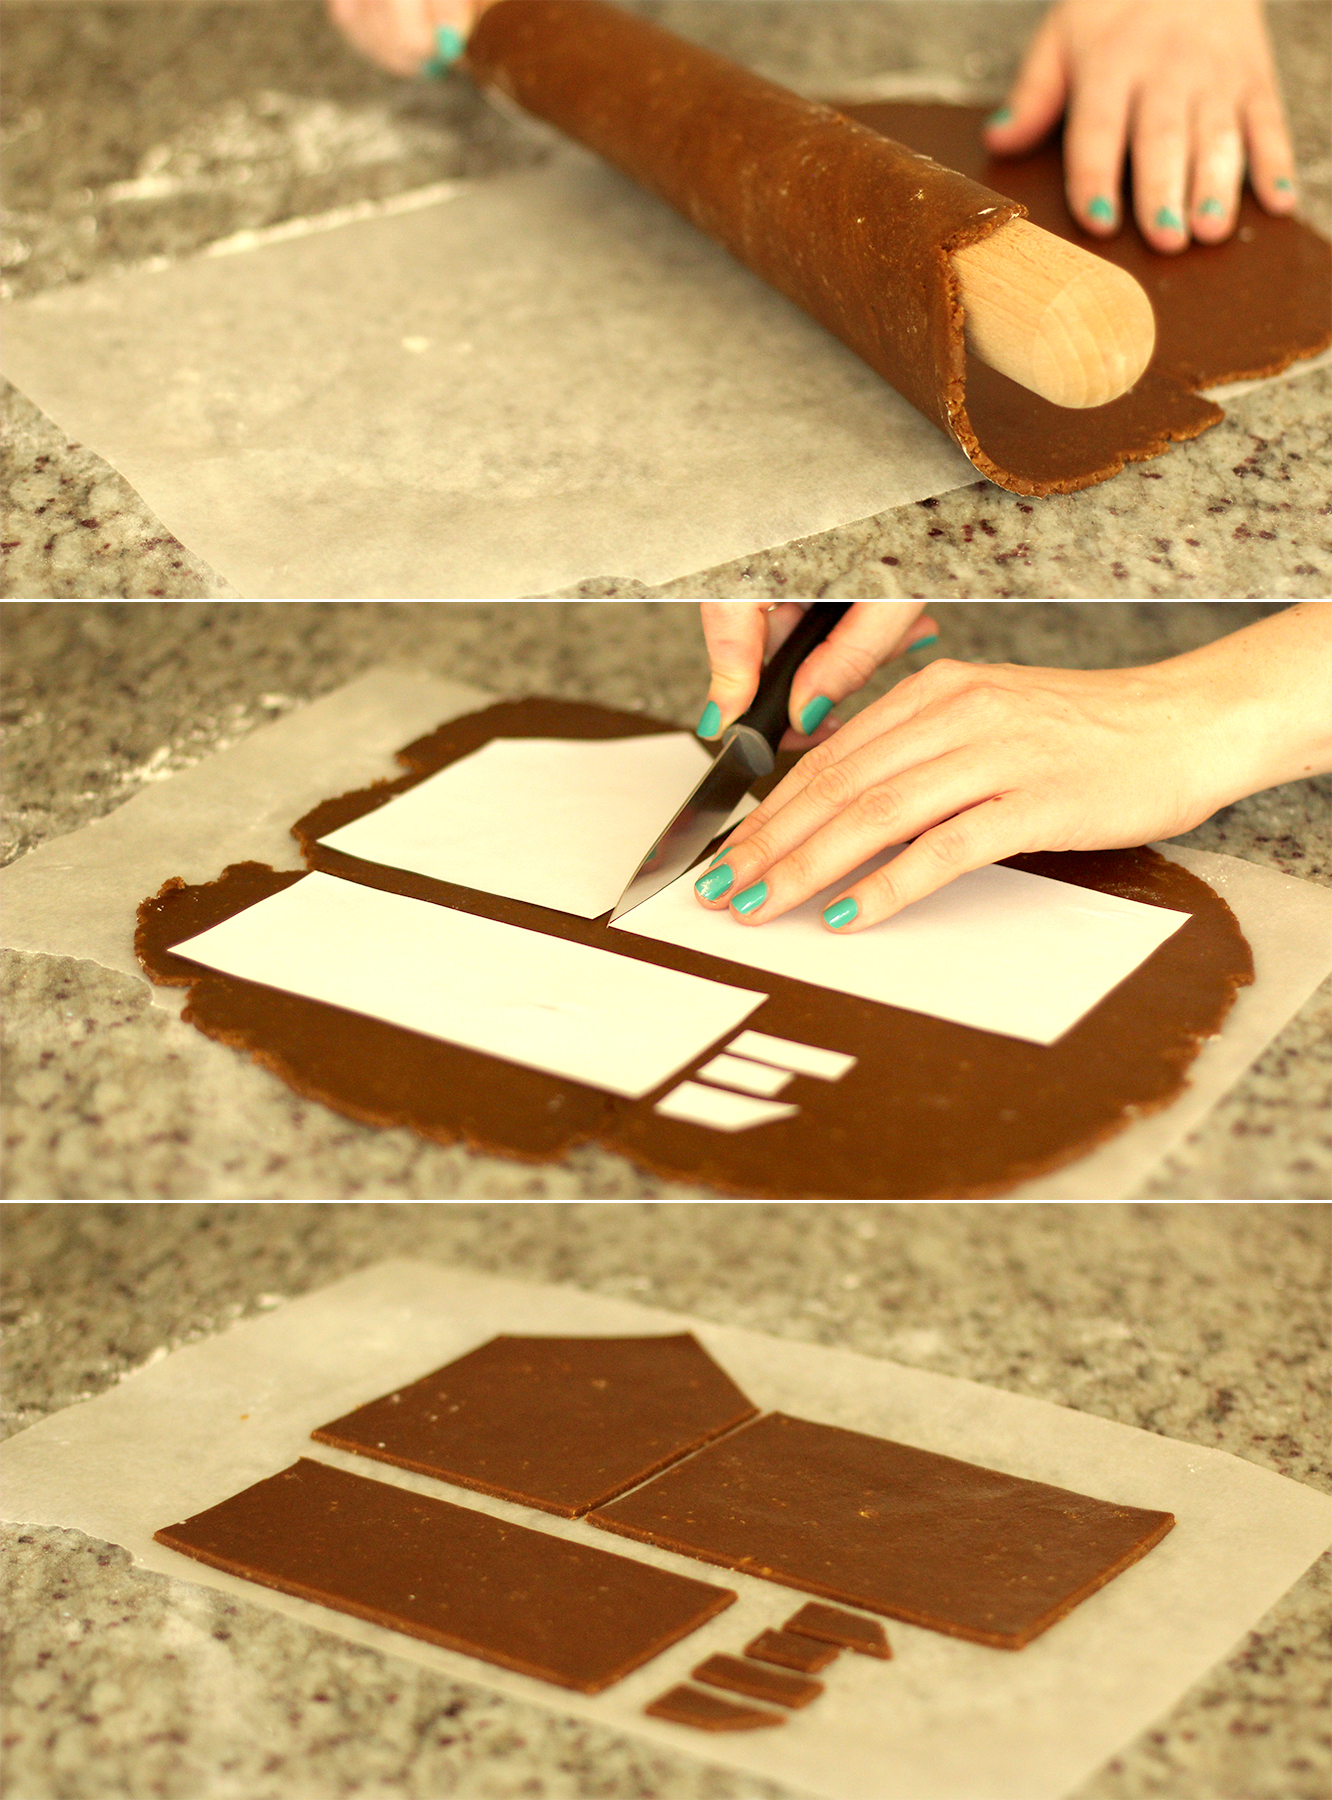
Once the dough has cooled it’s time to roll out the houses. Big, flat baking trays are best for this.

Flour a surface and roll out the dough in batches. You will probably need to use a knife and a metal spoon to extract the mix from the bowl. Don’t fight it, it’s a winning formula structure-wise.

Roll a piece of dough to the same size as your tray for maximum efficiency re:oven space.
gingerbread-house-village-recipe-guide-07

Step six

Use the rolling pin to lift the gingerbread onto a piece of gingerbread the size of your tray. It is essential to do this before cutting; it stops you stretching individual pieces out of shape when you move them.

Use the templates and a knife to cut the panels out. Contrary to the image above it’s best to do batches of the same shape – that way the bake is the right amount of time for that sized piece. The most obvious way to explain that little ramble is that the chimney pieces will cook a lot quicker than the side panel for example.
gingerbread-house-village-recipe-guide-08

Step seven

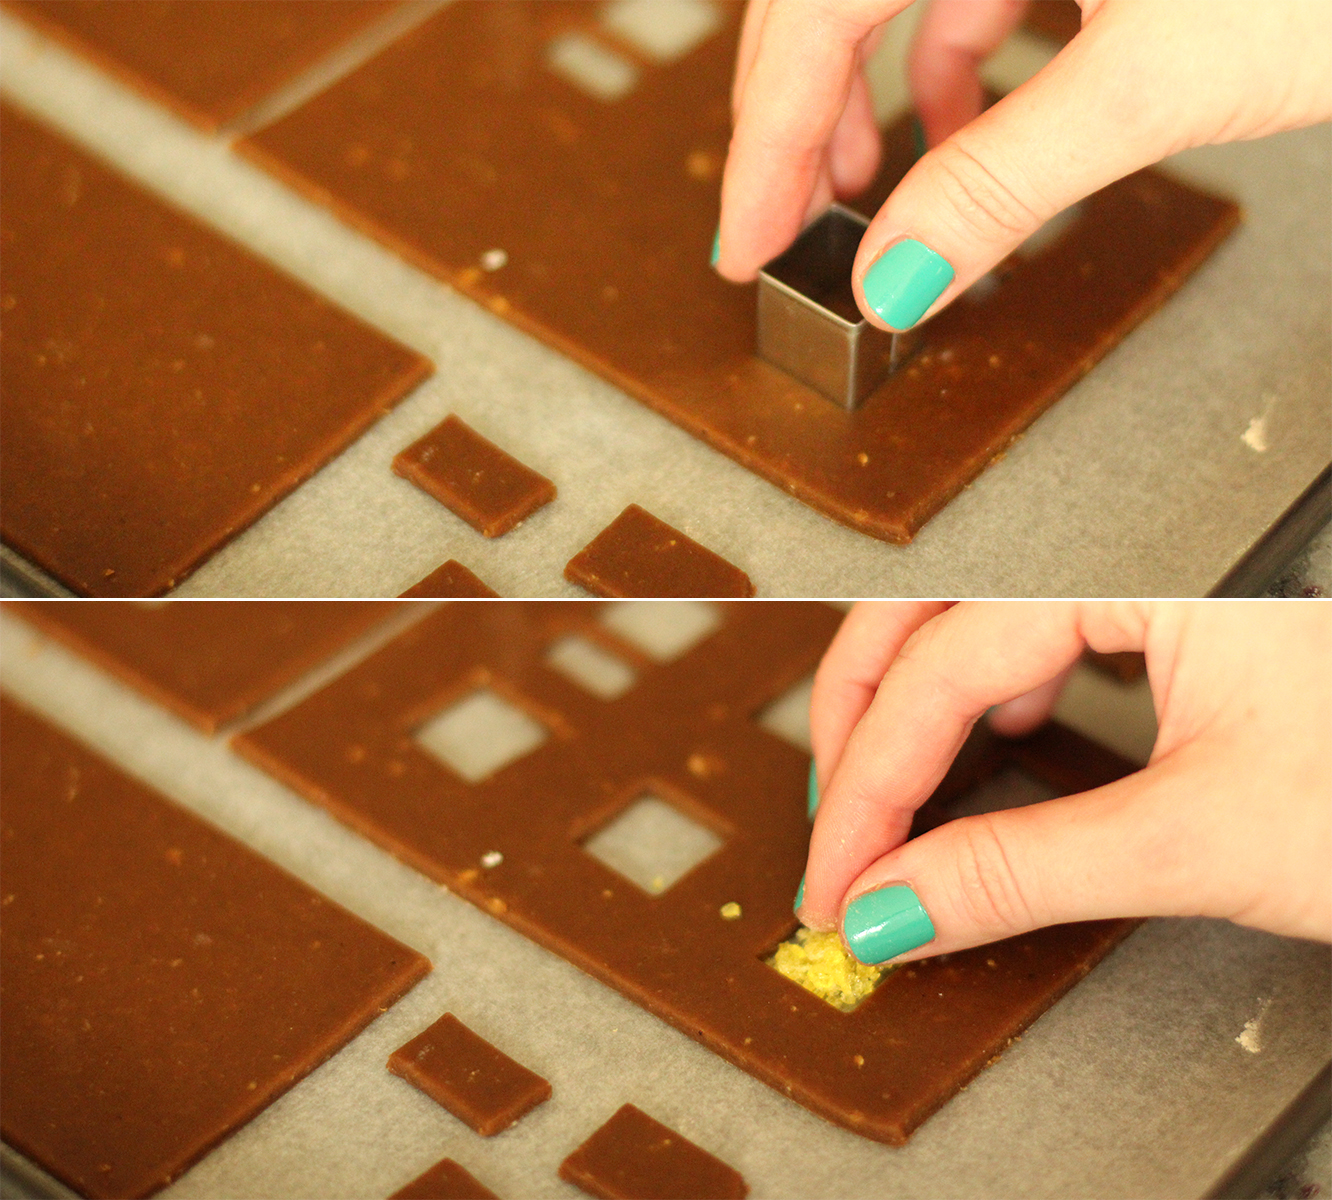
Transfer the gingerbread onto the tray and cut out window shapes. This year I invested in a little cutter set of different shapes and sizes. It was amazing. Total gingerbread game changer.

Fill the gaps with the sweet crumbs. This is why you need baking paper. Otherwise the sweets melt and glue your house to the tray.

Bake on 180C/gas mark 4/350F for 10-15 minutes. Over-cooked is preferable as they need to be able to stand up, and they will get softer as they sit out.
gingerbread-house-village-recipe-guide-10

Step eight

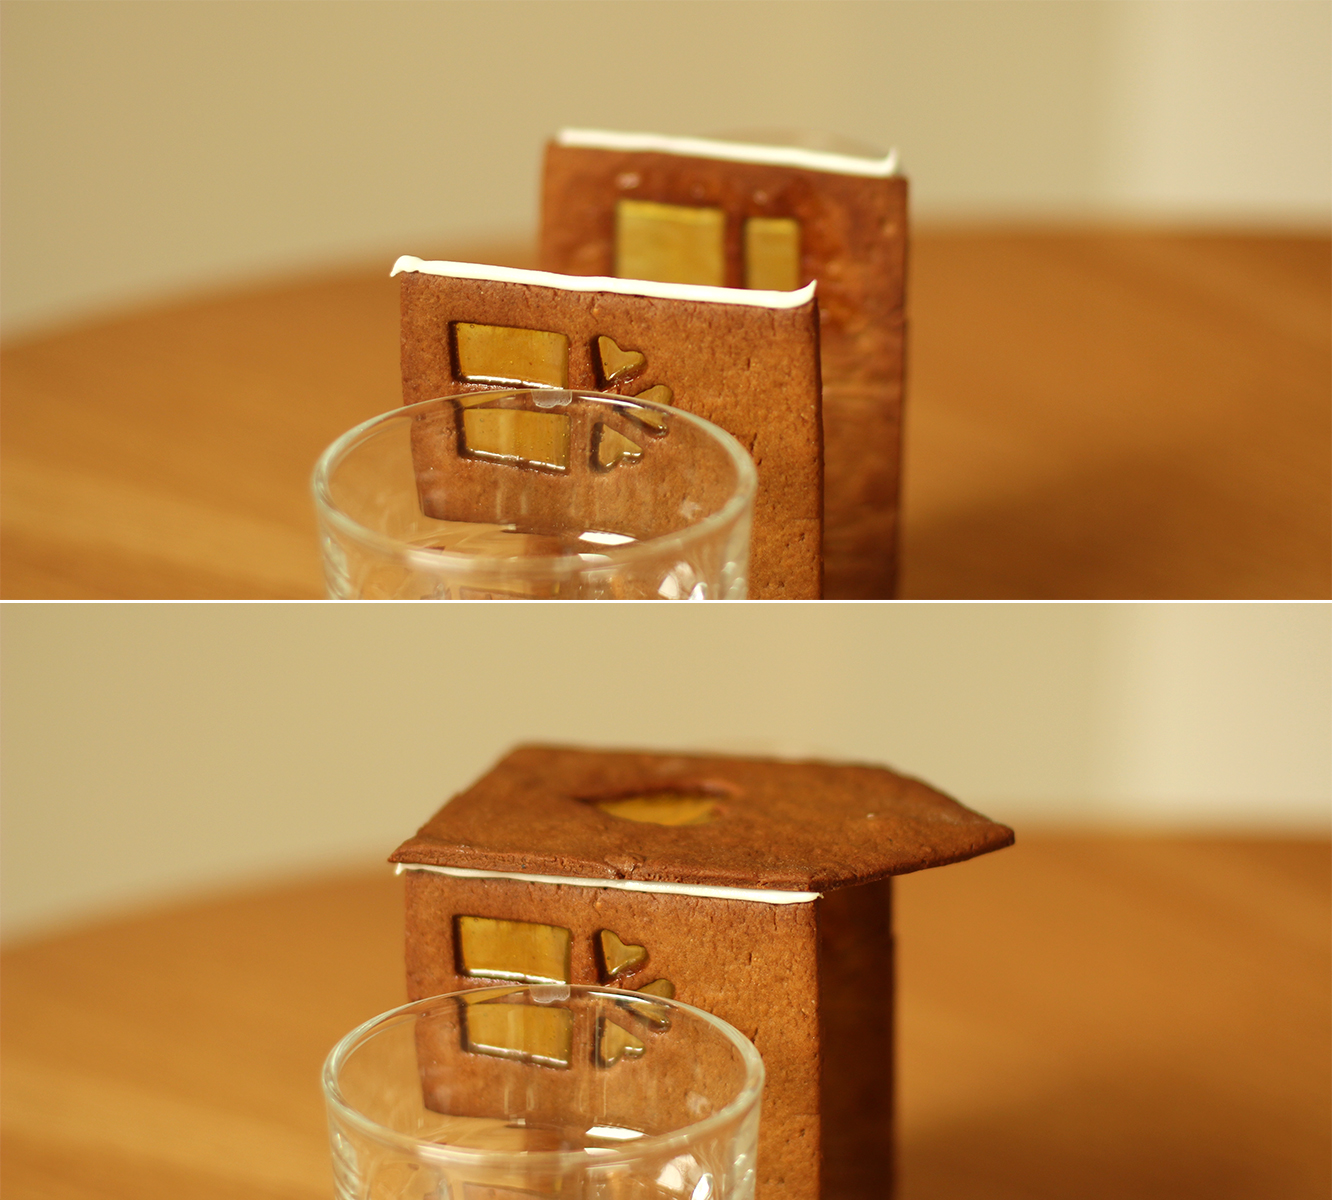
Time to assemble. Mix together the royal icing making sure it’s really thick, it will stick better and dry quicker if it’s opaque white and not that sticky to touch.

If you’re making a big house, have a spare pair of hands at the ready and/or a lot of glasses and bottles to prop things against.

These little ones are actually really easy to put together in comparison.

Start with one side flat on the table. Pipe two even strips along each edge. Stick the two matching sides to this piece, propping them up with a glass so you have your hands free.

gingerbread-house-village-recipe-guide-10

Step nine

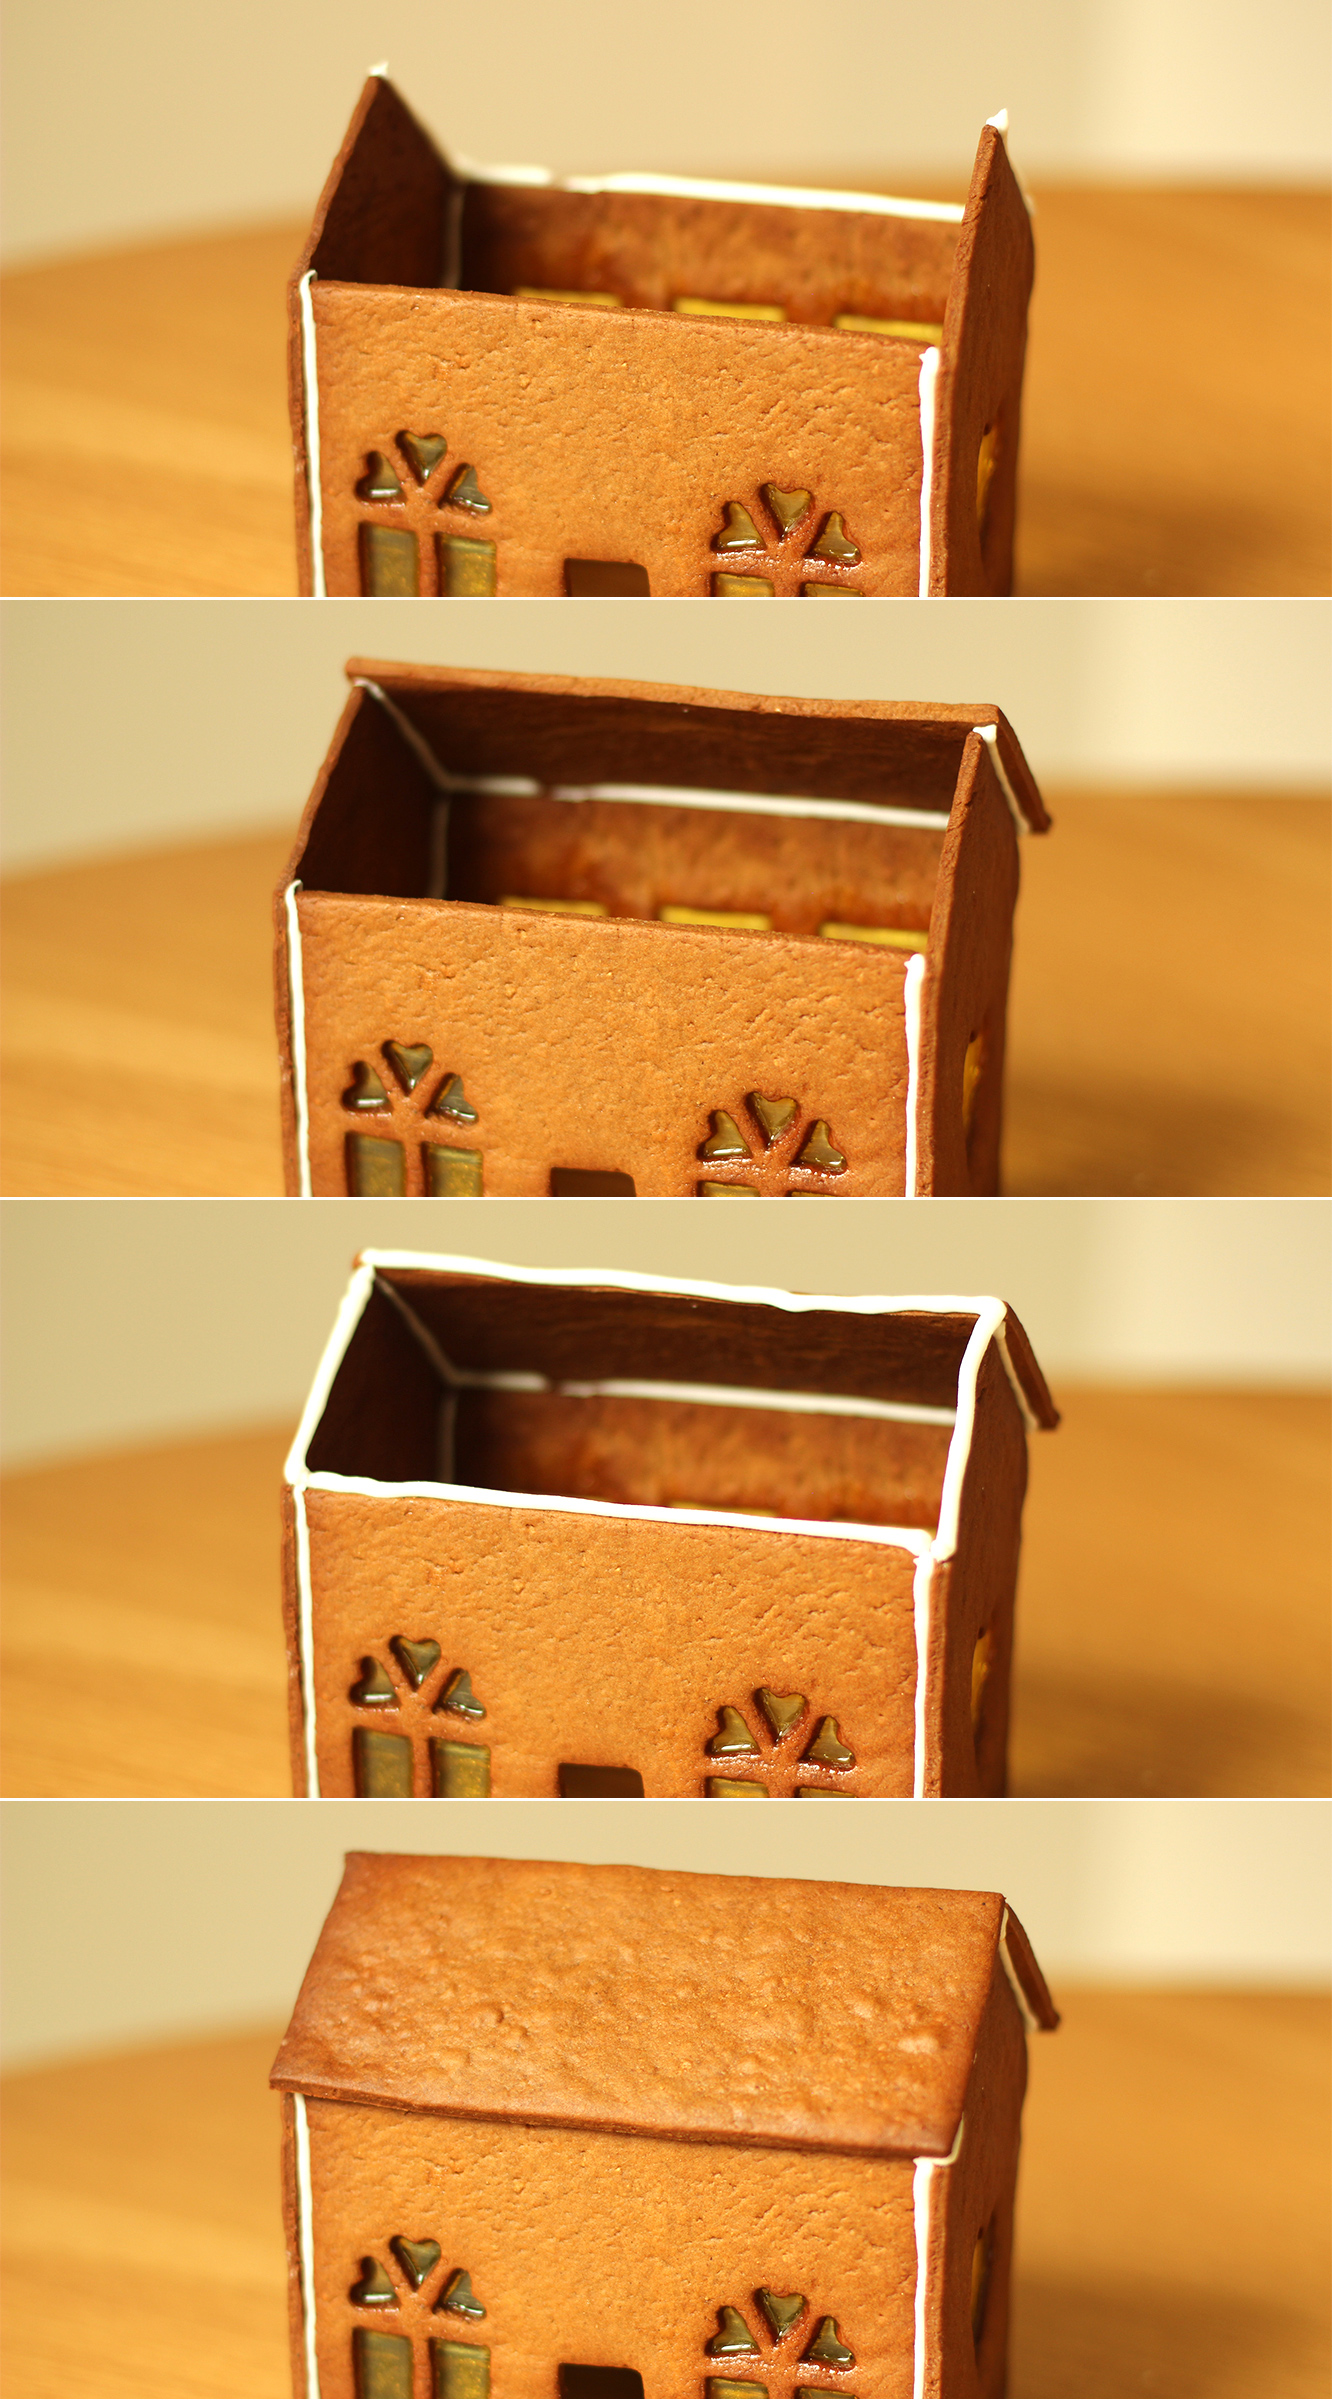
Pipe along the top edges and stick the final side piece on the top.
gingerbread-house-village-recipe-guide-11

Step ten

Flip the house upright. If you’re making a big house put it straight on the base at this stage and pipe on the inside corners to re-inforce the house. Less important with these little guys. They are actually great ‘starter houses’. Yes I do a bit hate myself that I say that, and many of my other tips with ZERO irony.

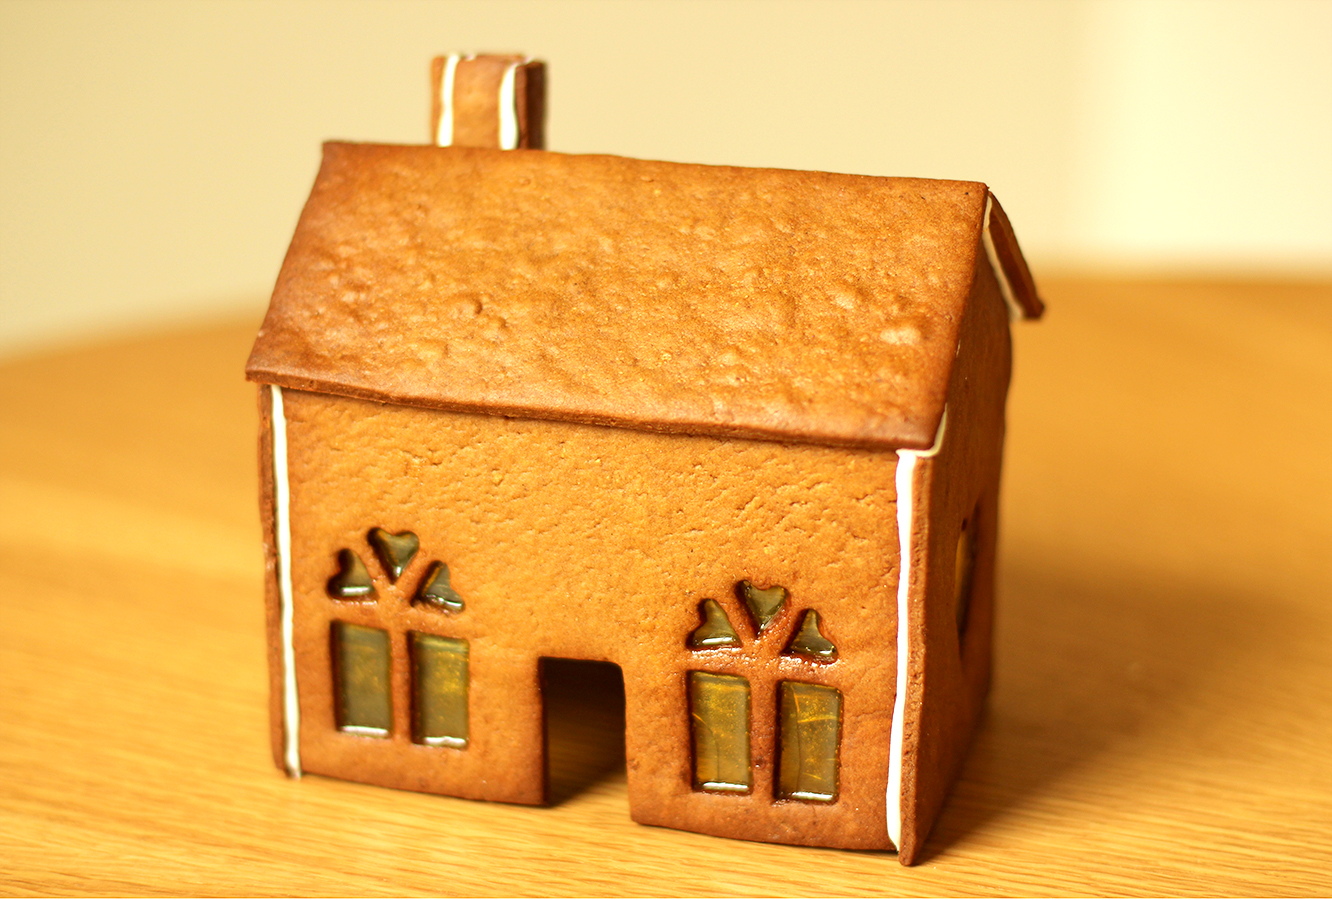
Pipe along the back sloped edges and the back. Stick down a roof panel. The straighter edge should be at the top, as you are more likely to cover irregularities at the bottom with a bit of overhang.

Pipe the top of the roof, the sides and edge. Stick the other roof panel down.
gingerbread-house-village-recipe-guide-12

Step eleven

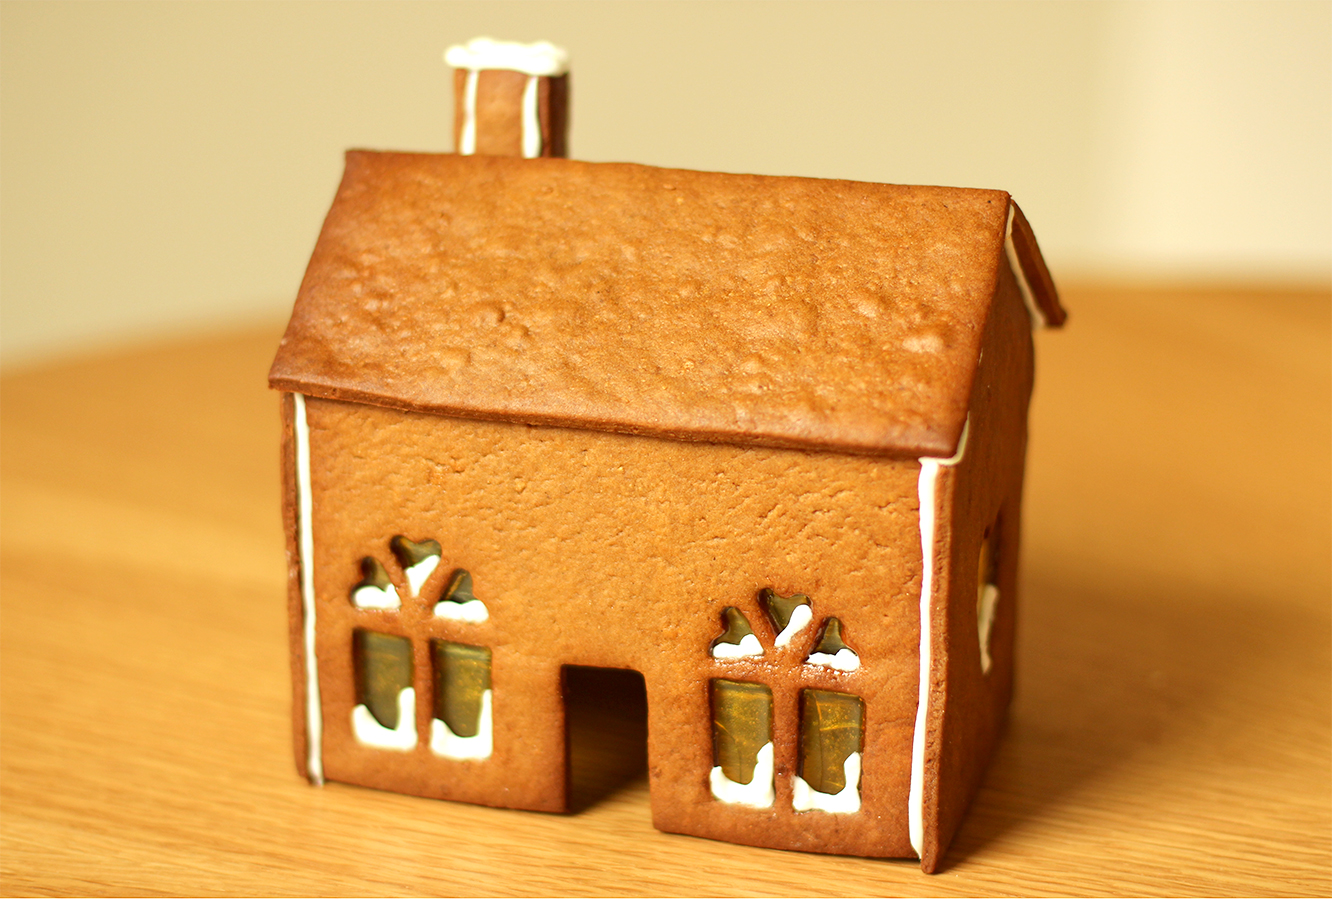
Make the chimney in the same way, and attach it to the roof.
gingerbread-house-village-recipe-guide-13

Step twelve

Pipe some snow in the windows while the piping bag still has quite a thick opening.
gingerbread-house-village-recipe-guide-14

Step thirteen

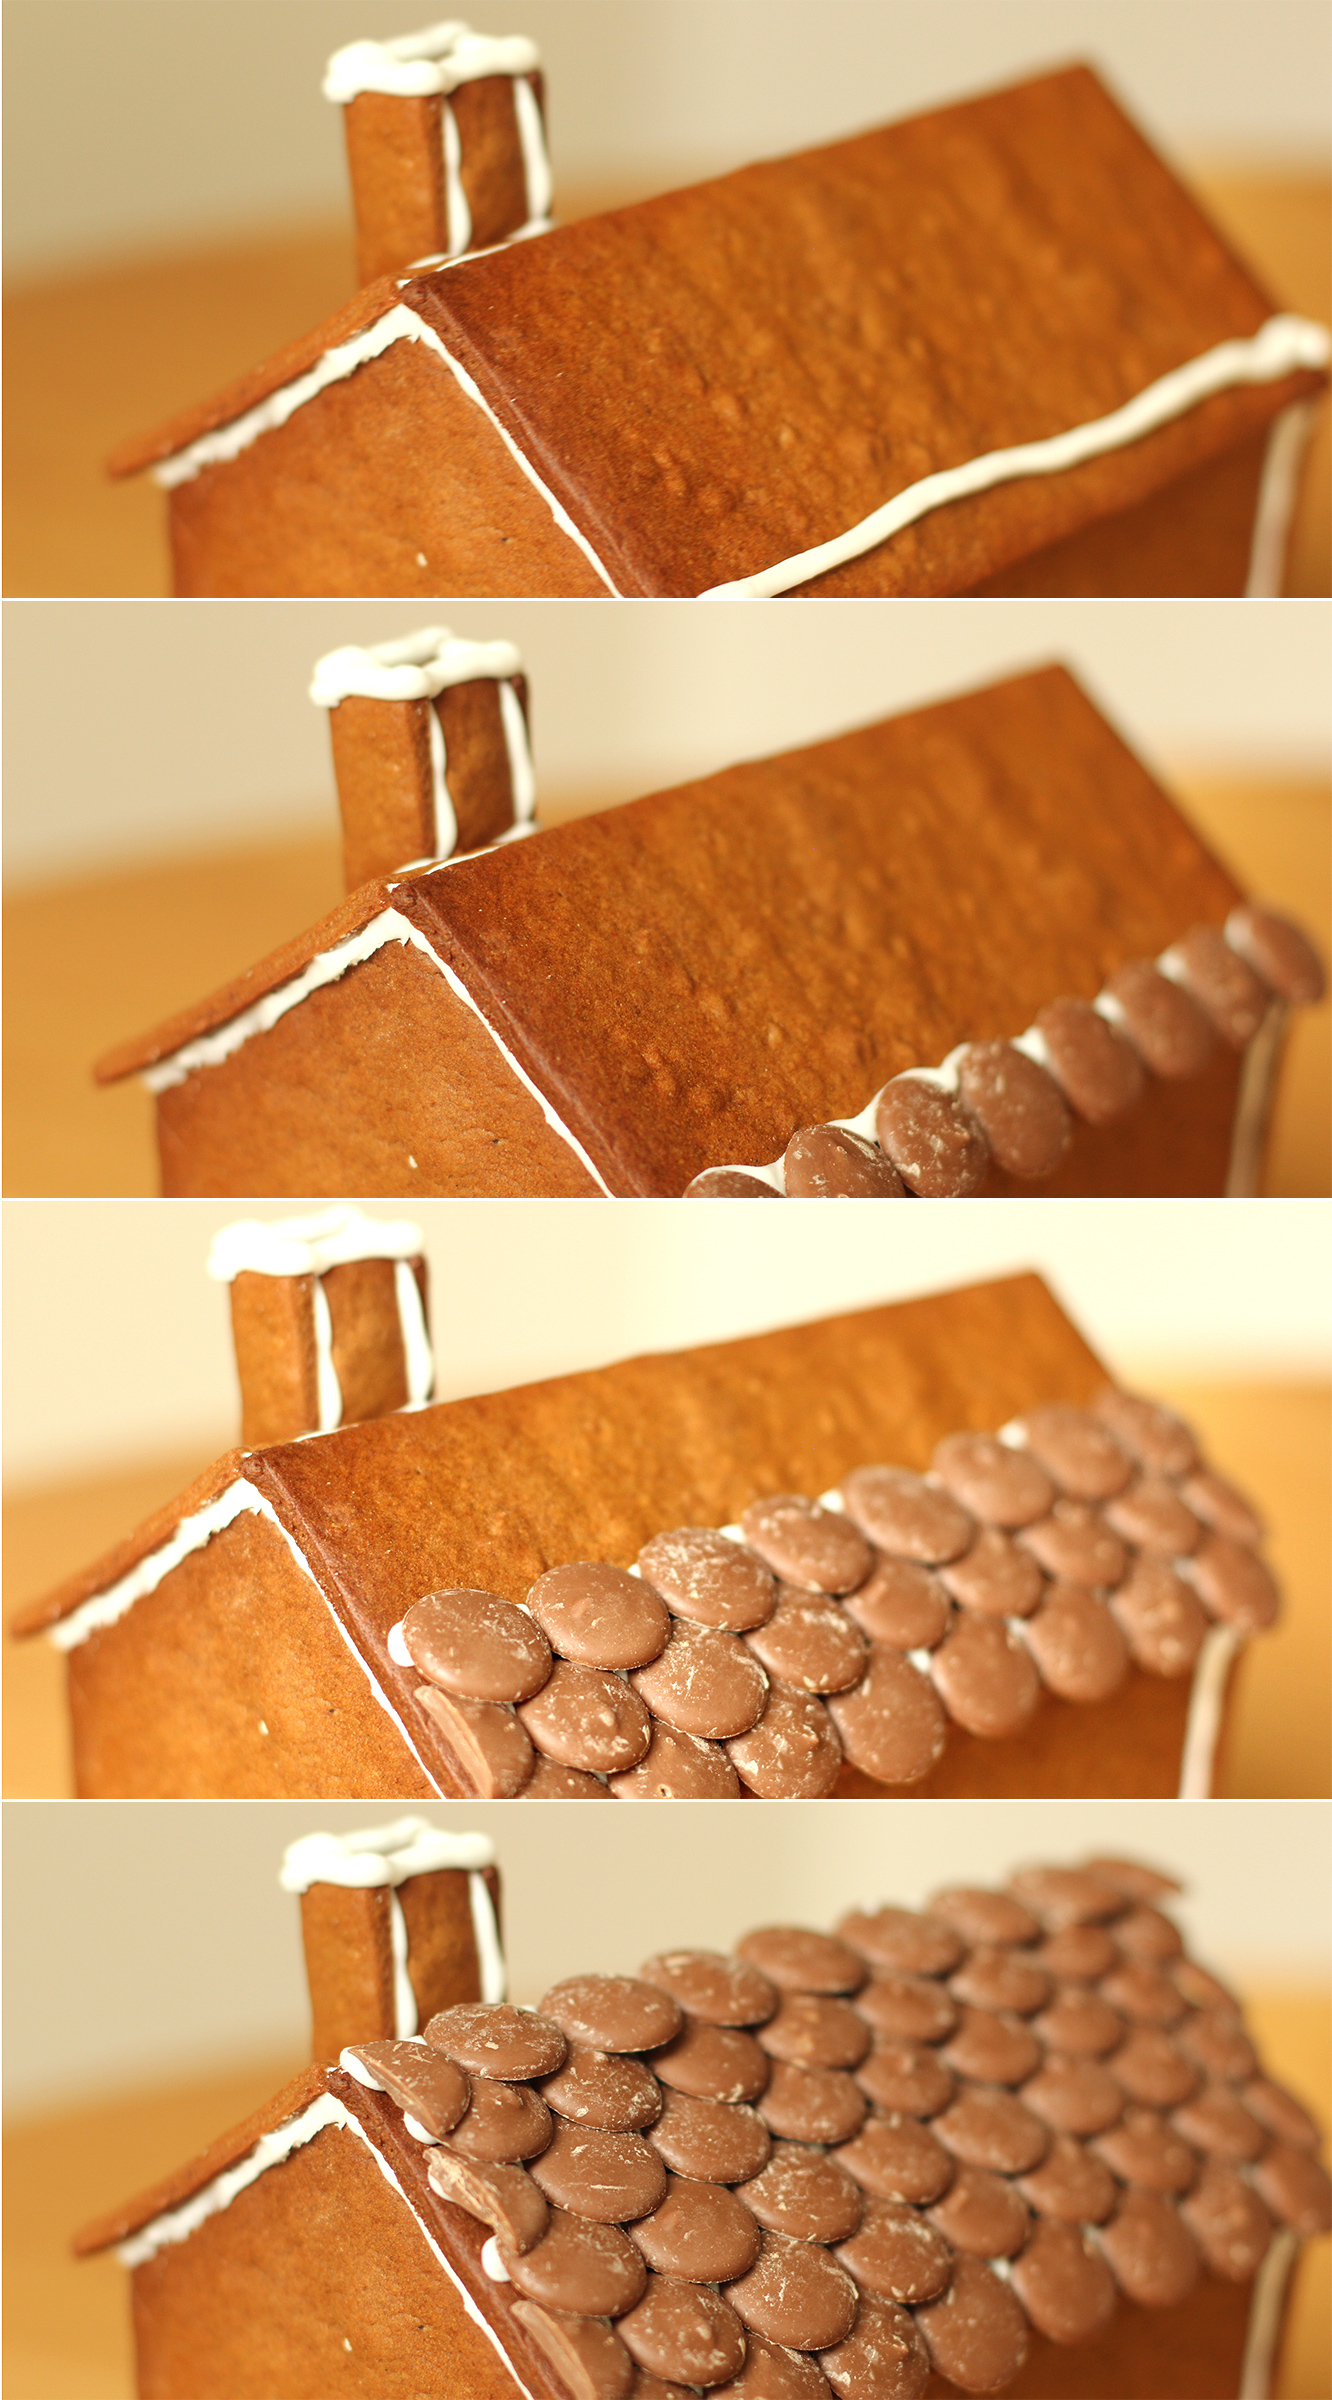
Start tiling! Make sure the first layer overhangs the bottom of the roof, and build up subsequent layers by overlapping them as shown.
gingerbread-house-village-recipe-guide-15

Step fourteen

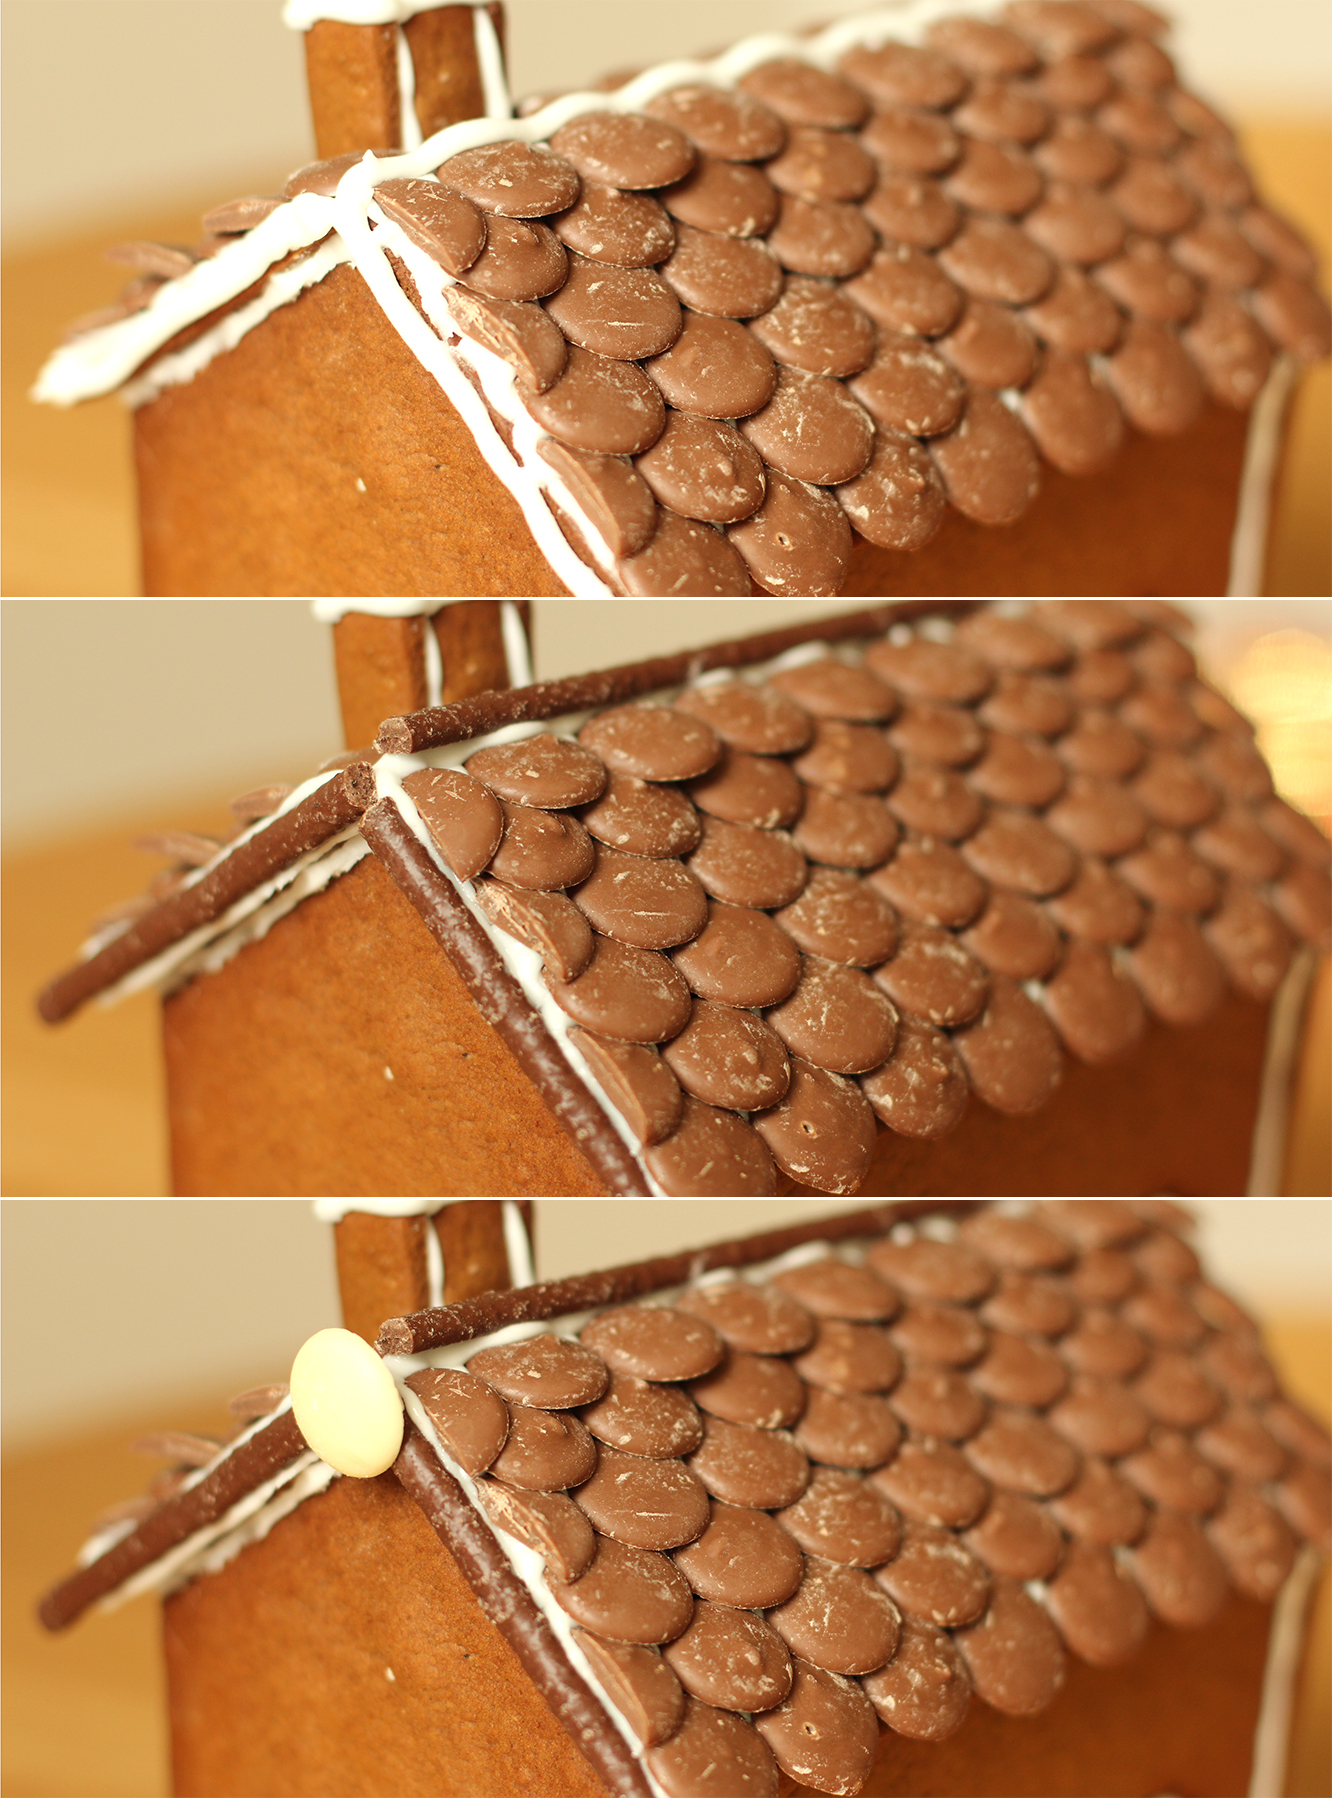
Neaten up the edges with chocolate fingers or matchmakers and a chocolate button or two. A row of dolly mixtures along the top, or mini marshmallows looks cute too.
gingerbread-house-village-recipe-guide-16

Step fifteen

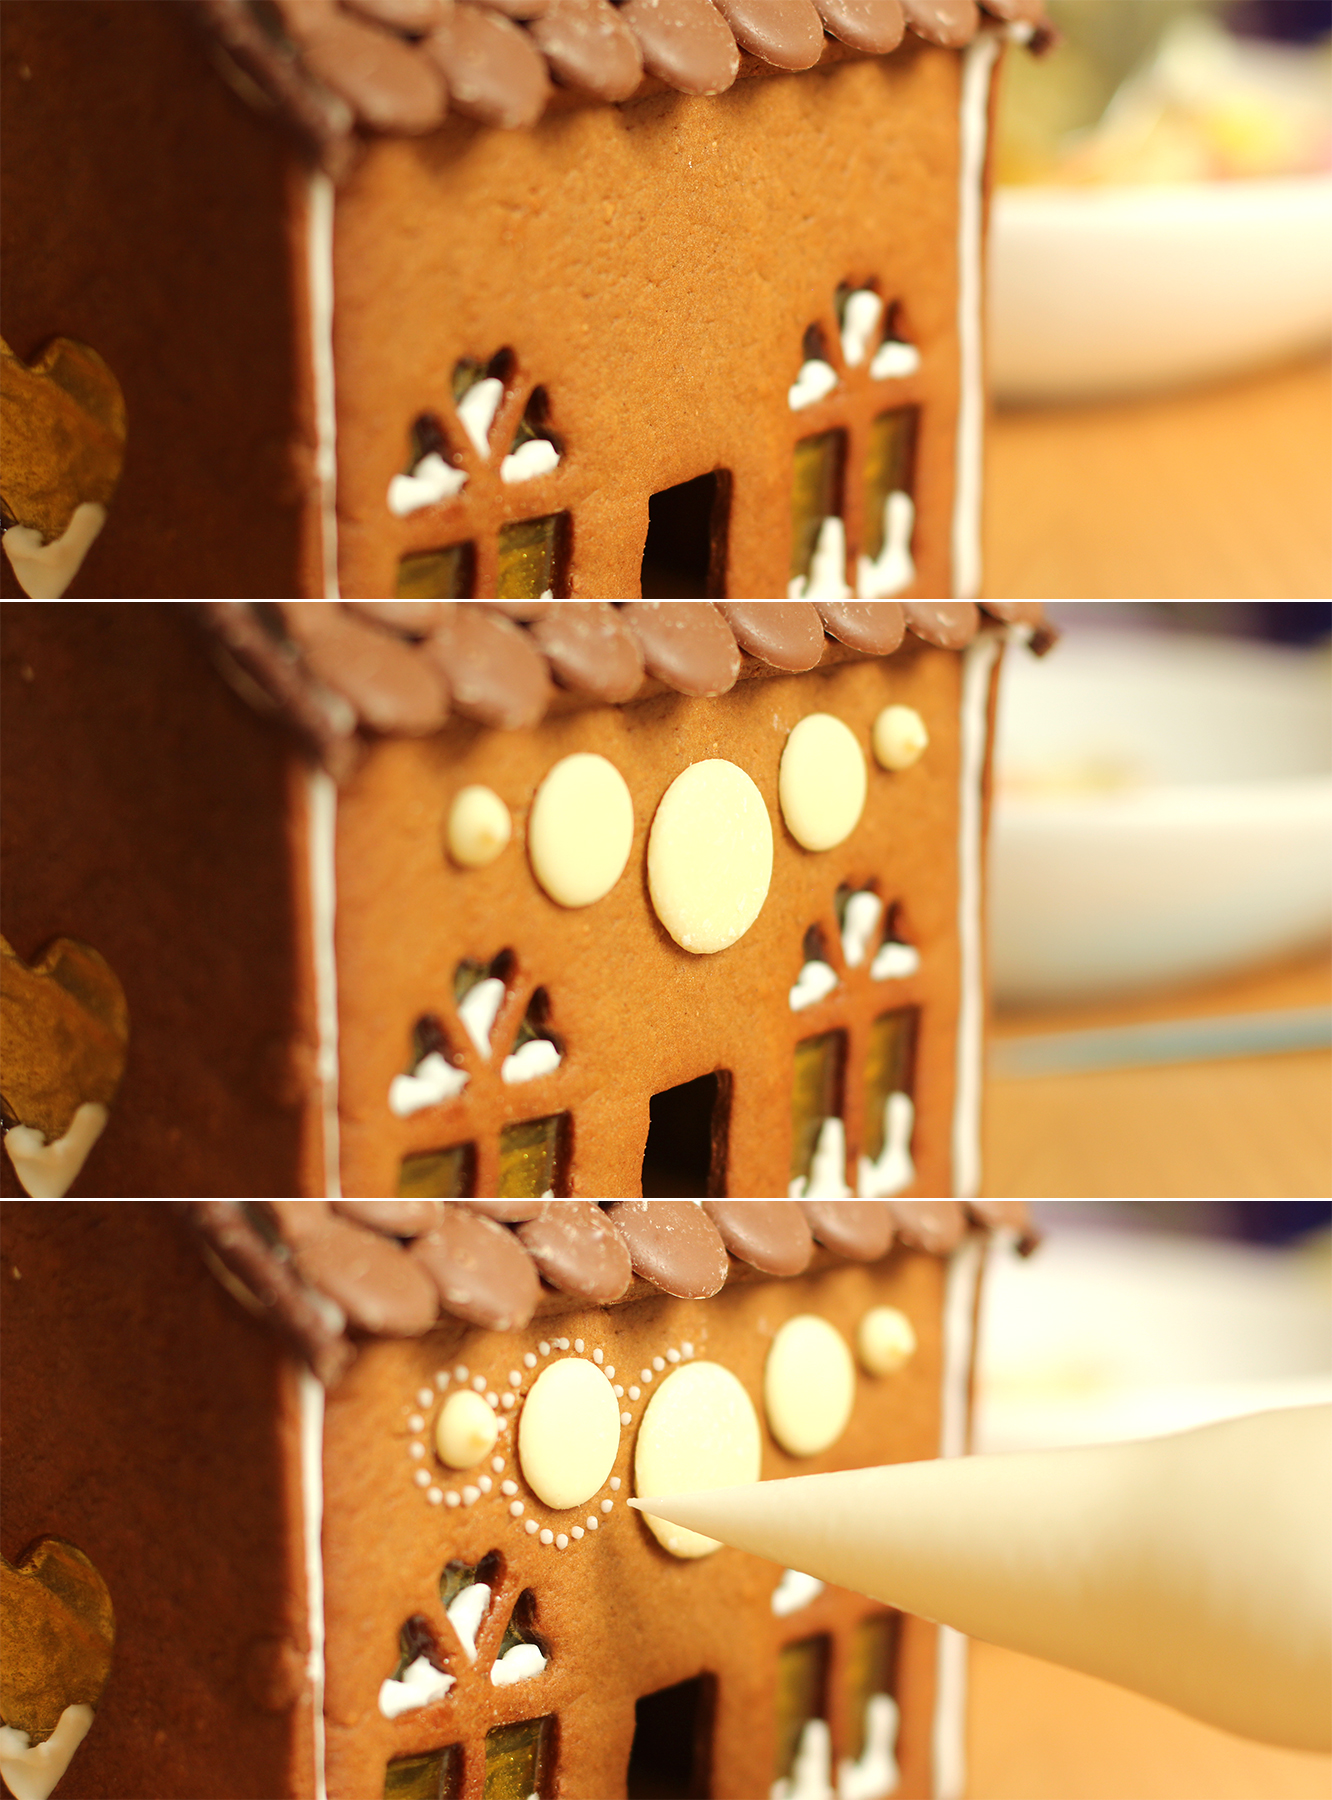
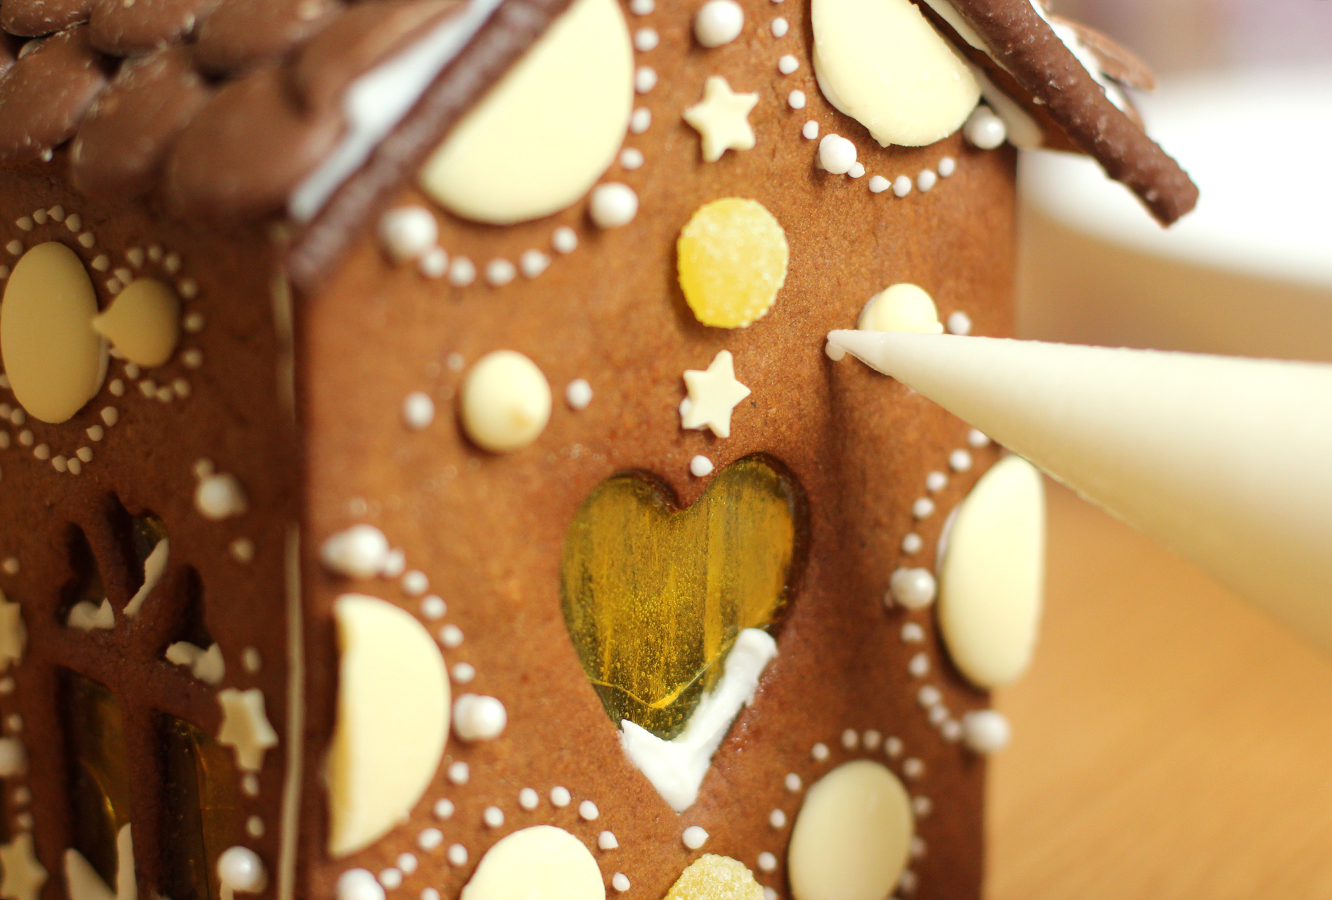
Continue to decorate the sides and the back. I find a much narrower nozzle on the piping bag is good for this. I like putting these little dots around things.
gingerbread-house-village-recipe-guide-18

This year I used a lot of white chocolate buttons, I don’t have much choice in the local small supermarkets nearby. Silver balls, mini stars, chocolate drops and other round sweets are amongst my favourites for the decorations.

gingerbread-house-village-recipe-guide-19

gingerbread-house-village-recipe-guide-20

Step sixteen

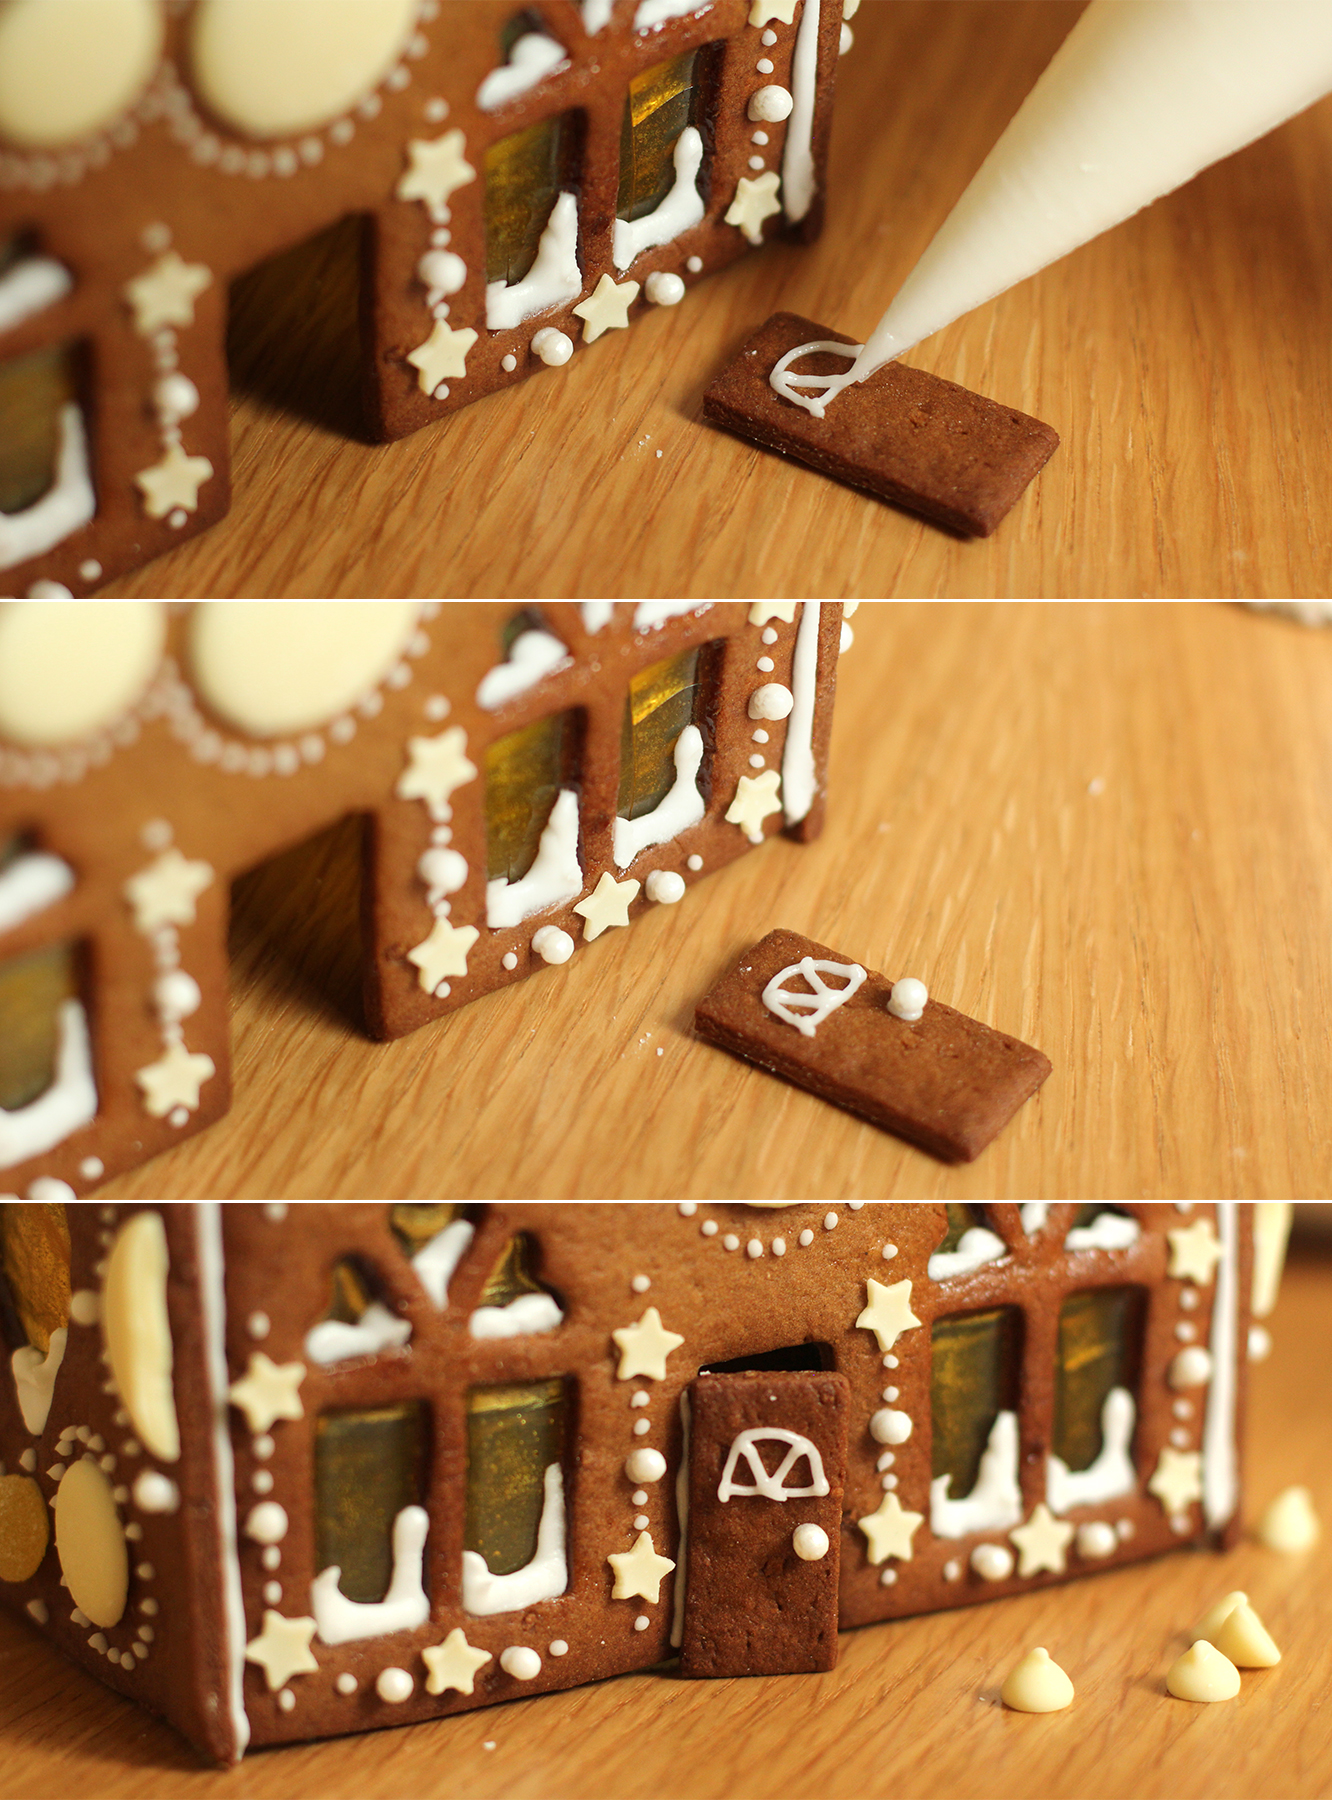
Don’t forget the little door! I wouldn’t attach it at this stage if you are doing a big house, because you need to squeeze the tea lights through it. The little ones can just be placed over the top of them as they don’t need to be attached to a base at this stage.
gingerbread-house-village-recipe-guide-gif

Step seventeen

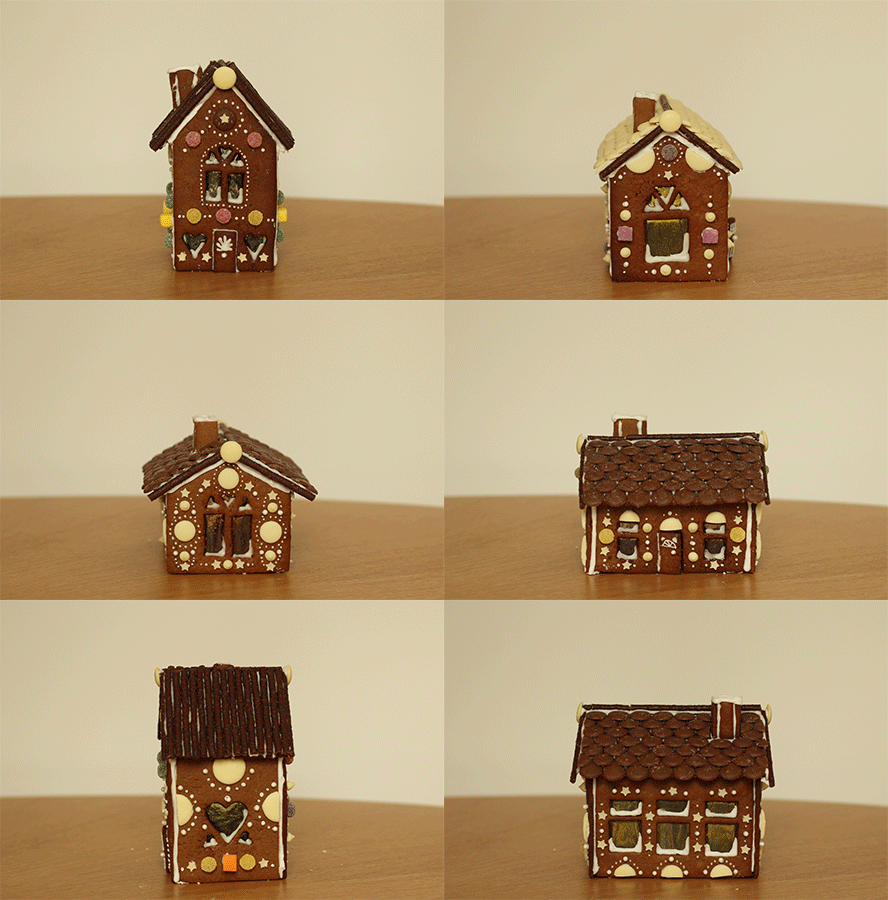
Keep making them.

gingerbread-house-village-recipe-guide-25

gingerbread-house-village-recipe-guide-24
gingerbread-house-village-recipe-guide-22

gingerbread-house-village-recipe-guide-21

Here’s a snap of me (with the reddest face, thanks blushing reflex) that was insisted upon, and all but one of us (come back Saskia!) in the obligatory family photo.

gingerbread-house-village-recipe-guide-27

gingerbread-house-village-recipe-guide-26

How did I get them into work? A special train, a suitcase and some blankets.


If you go down to the woods today…

This weekend saw the baby shower of a rather lovely lady by the name of Anna. You may (but probably won’t) remember us celebrating Anna’s hen party a while back, well now she’s about to pop a sprog would you believe?

Anna is a rather large fan of gnomes. Yeah, that was my reaction too, but you learn to embrace it after a while…she’s very endearing that way. Well, our friend Taylor (party planner extraordinaire and all round kindred spirit when it comes to carrying things out to obsessive levels of detail) decided to throw Anna a woodland themed shower. I know right? Cute. I totally took my camera and promptly forgot to take photos of all the lovely things; gingerbread fawns, woodland creature bunting, sausage roll snails and toadstool cupcakes to name just a few.

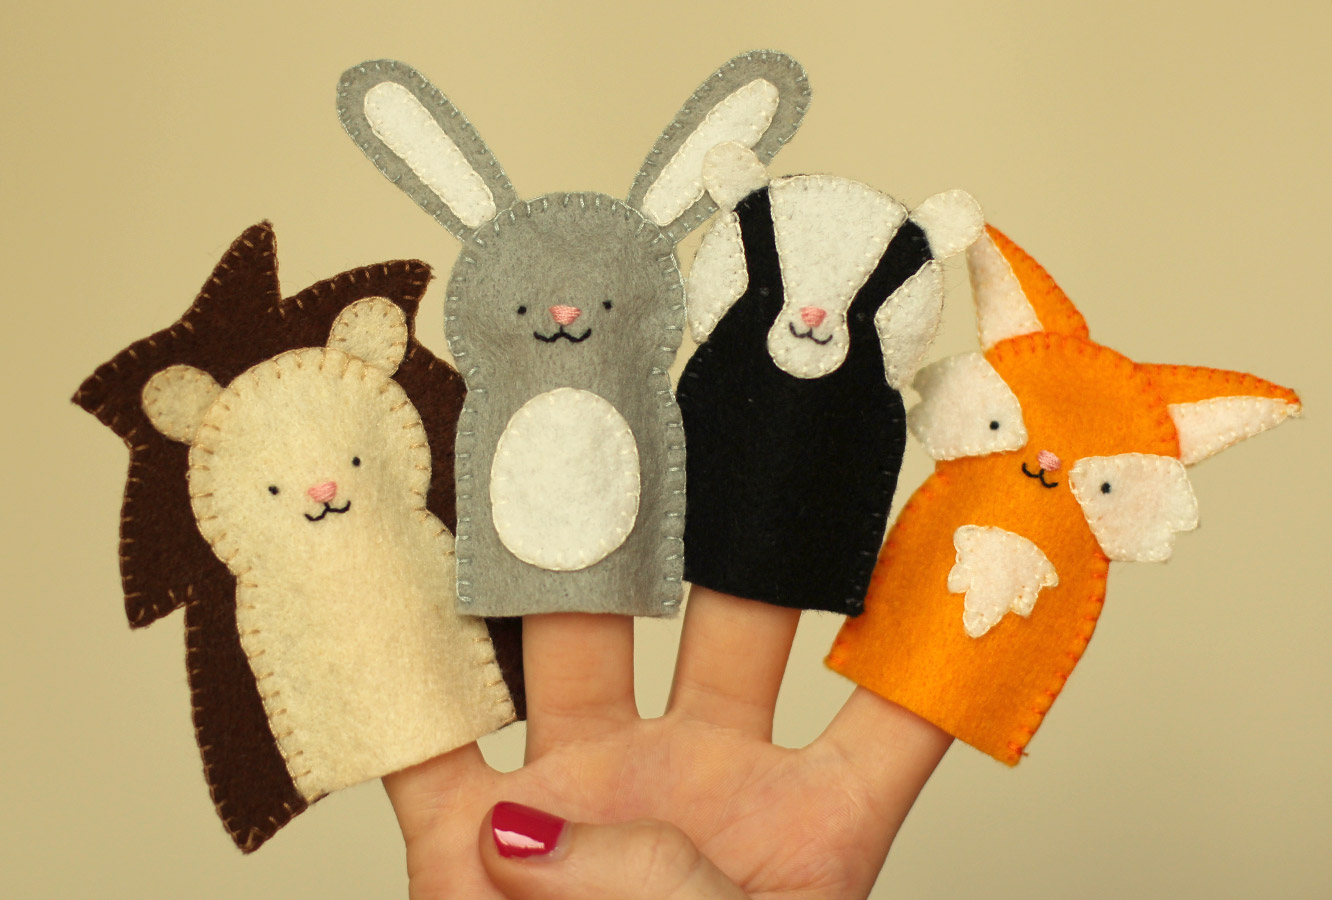
Anyway, other than baking some little flowerpot grassy gnome type cupcakes, I decided my contribution would be to carry the theme into my present and make a small selection of woodland characters to entertain baby upon her arrival into the world.

So here’s how to make your very own arsenal of woodland animal finger puppets, with a downloadable template of course.

how-to-make-finger-puppets-01

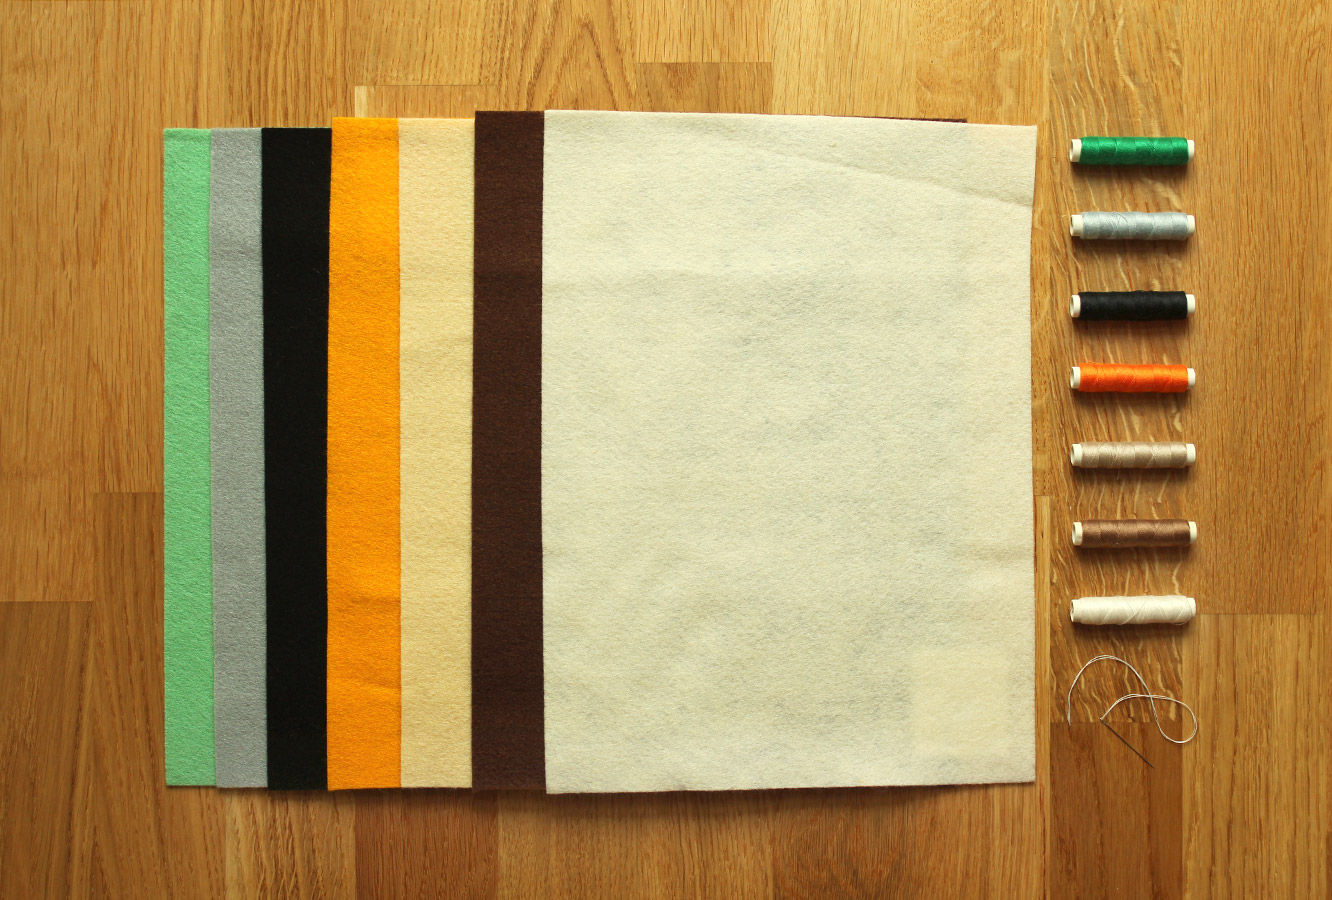
You will need

Felt (for the patterns I have provided you need brown, beige, white, black, grey and orange)

Thread in corresponding colours

A needle

This free downloadable template

how-to-make-finger-puppets-02

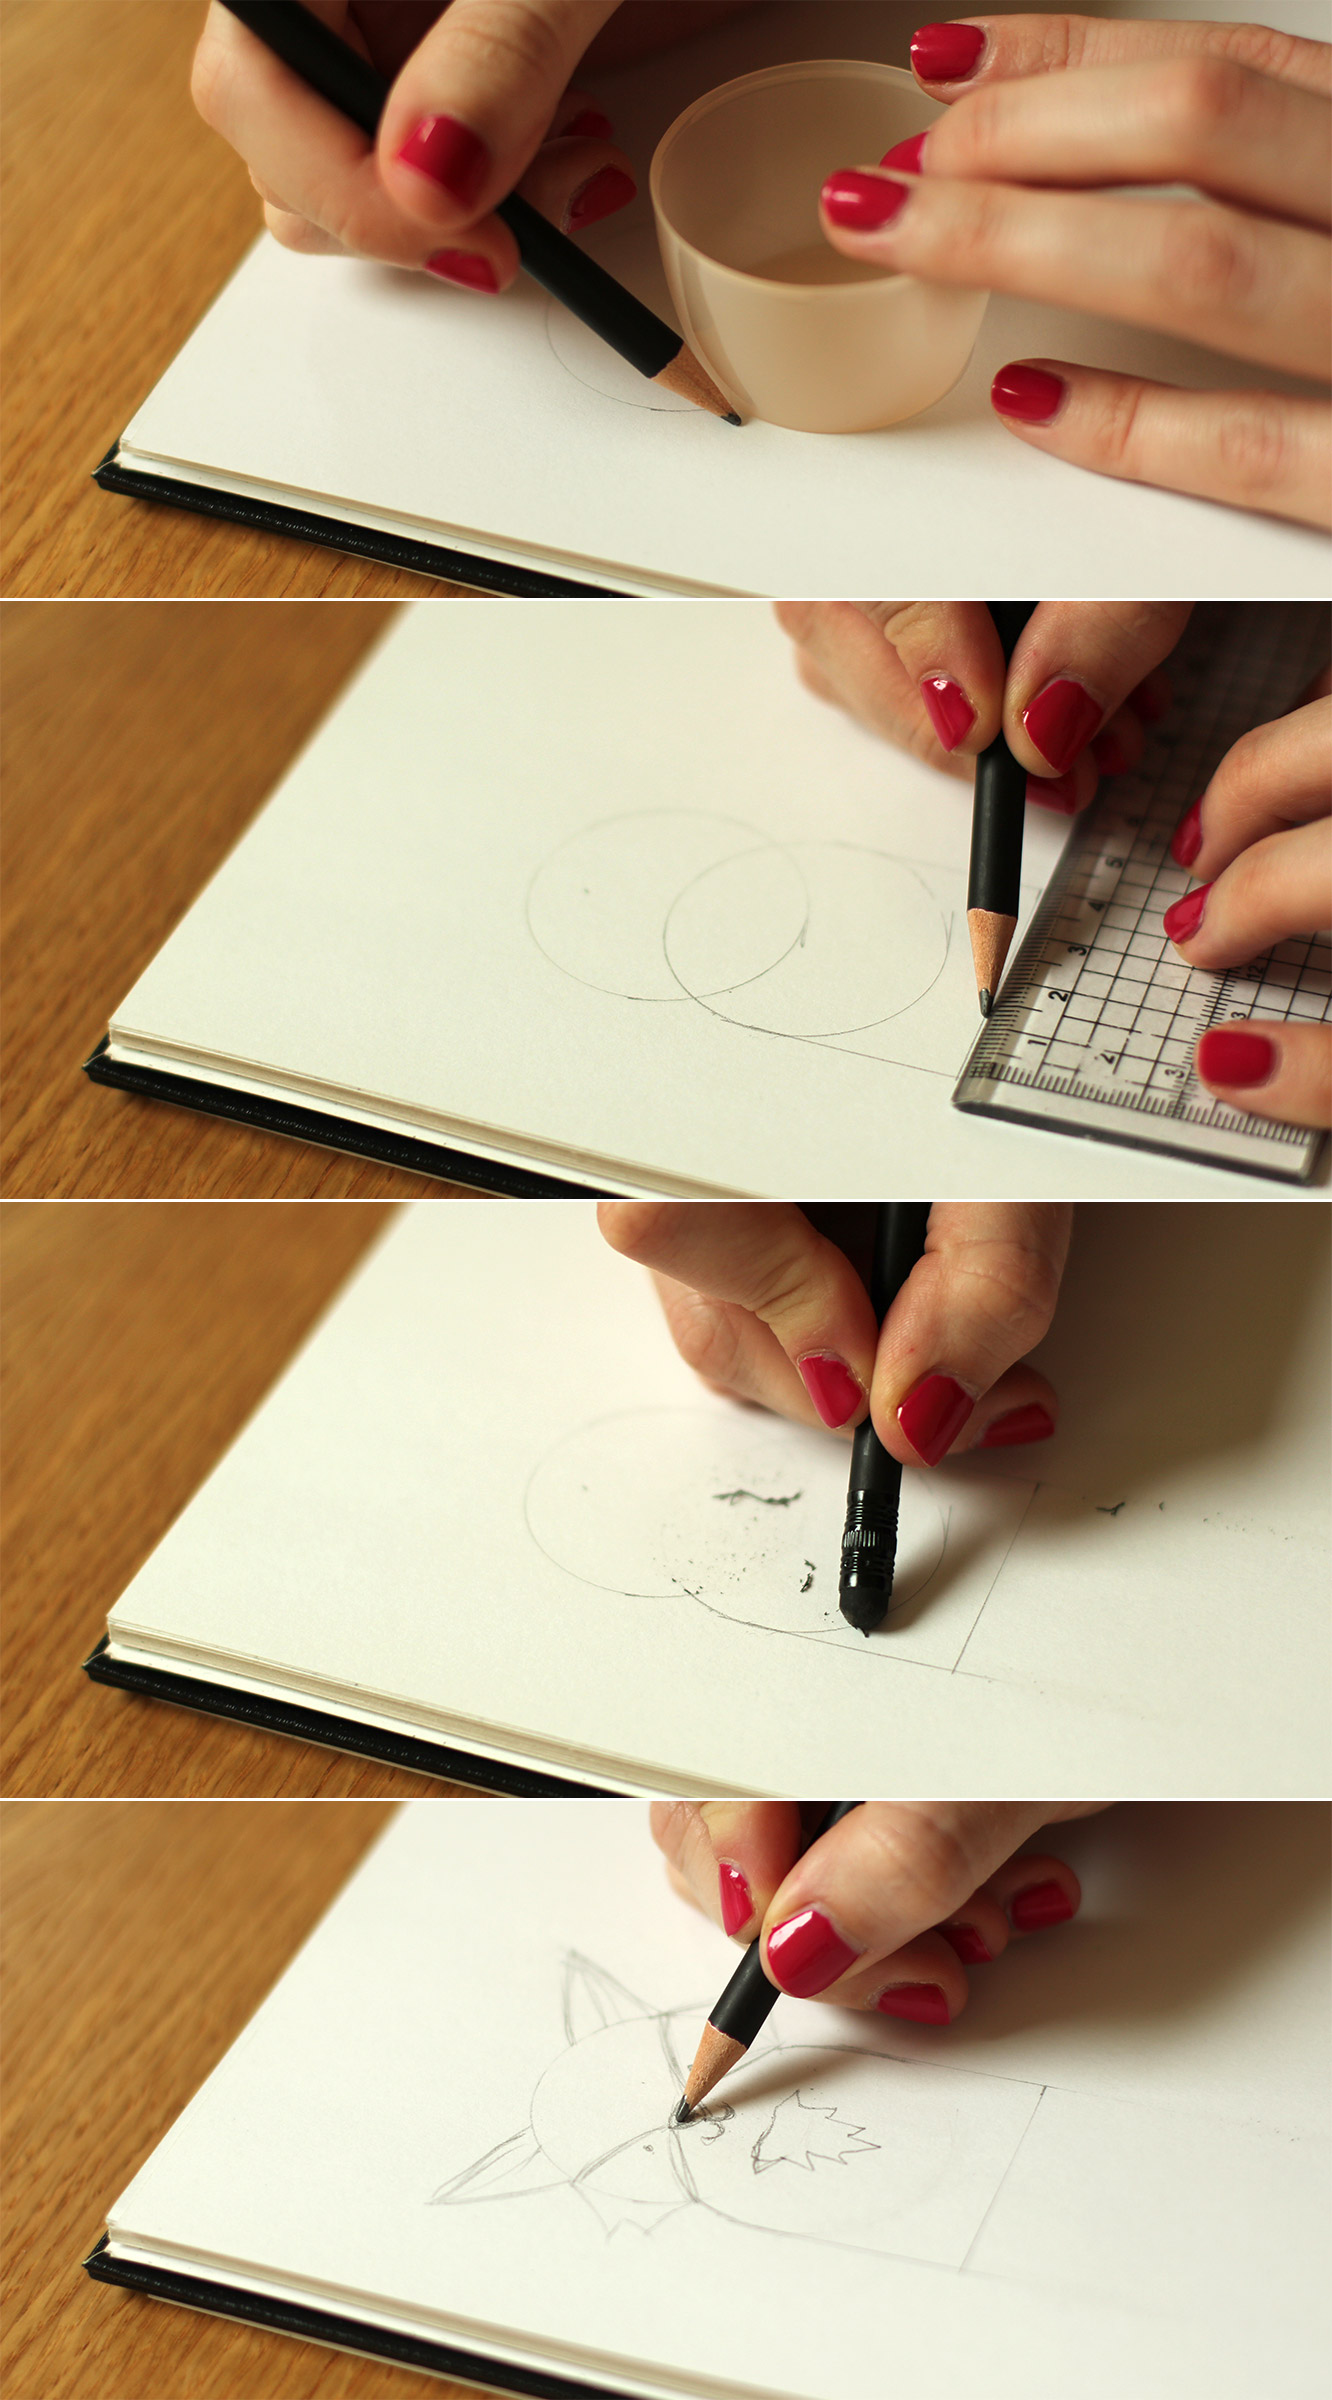
Step one

This is entirely optional. If you want to draw your own characters (or expand on the set I’ve provided) You will need to draw out a few designs. I used a deodorant can lid and a ruler to keep basic shape of my characters consistent.

If you want to cheat you could just trace the shape off the printable and add your own features to it.

how-to-make-finger-puppets-03

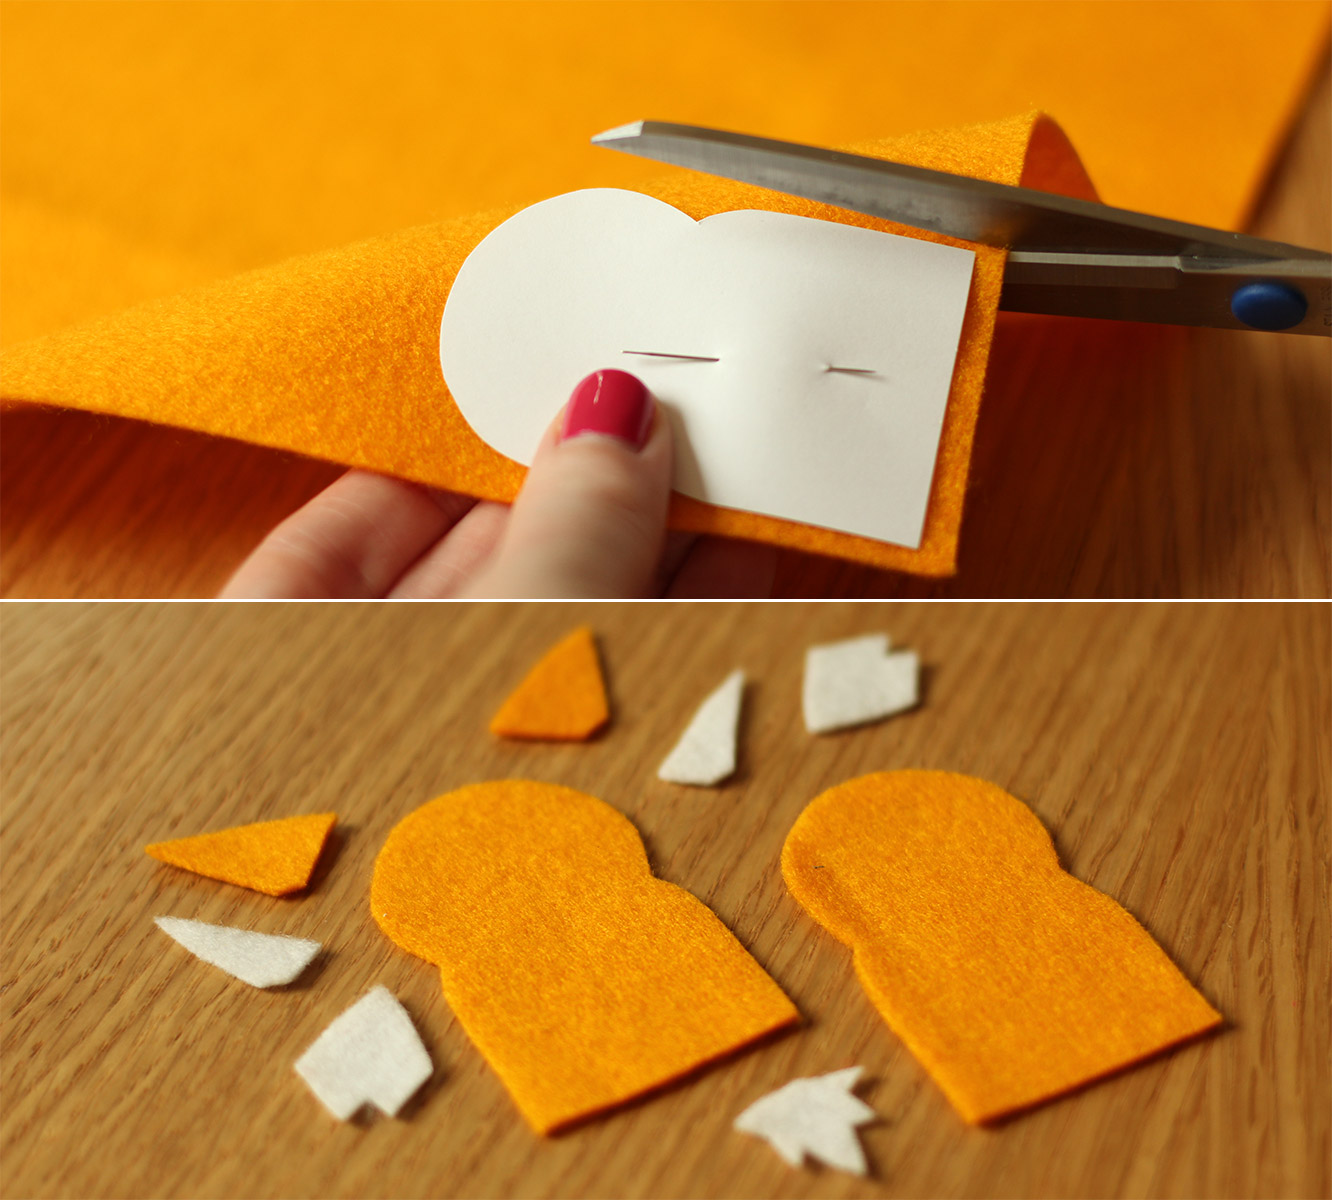
Step two

Cut out all the shapes in the relevant coloured felt.

how-to-make-finger-puppets-04

Step three

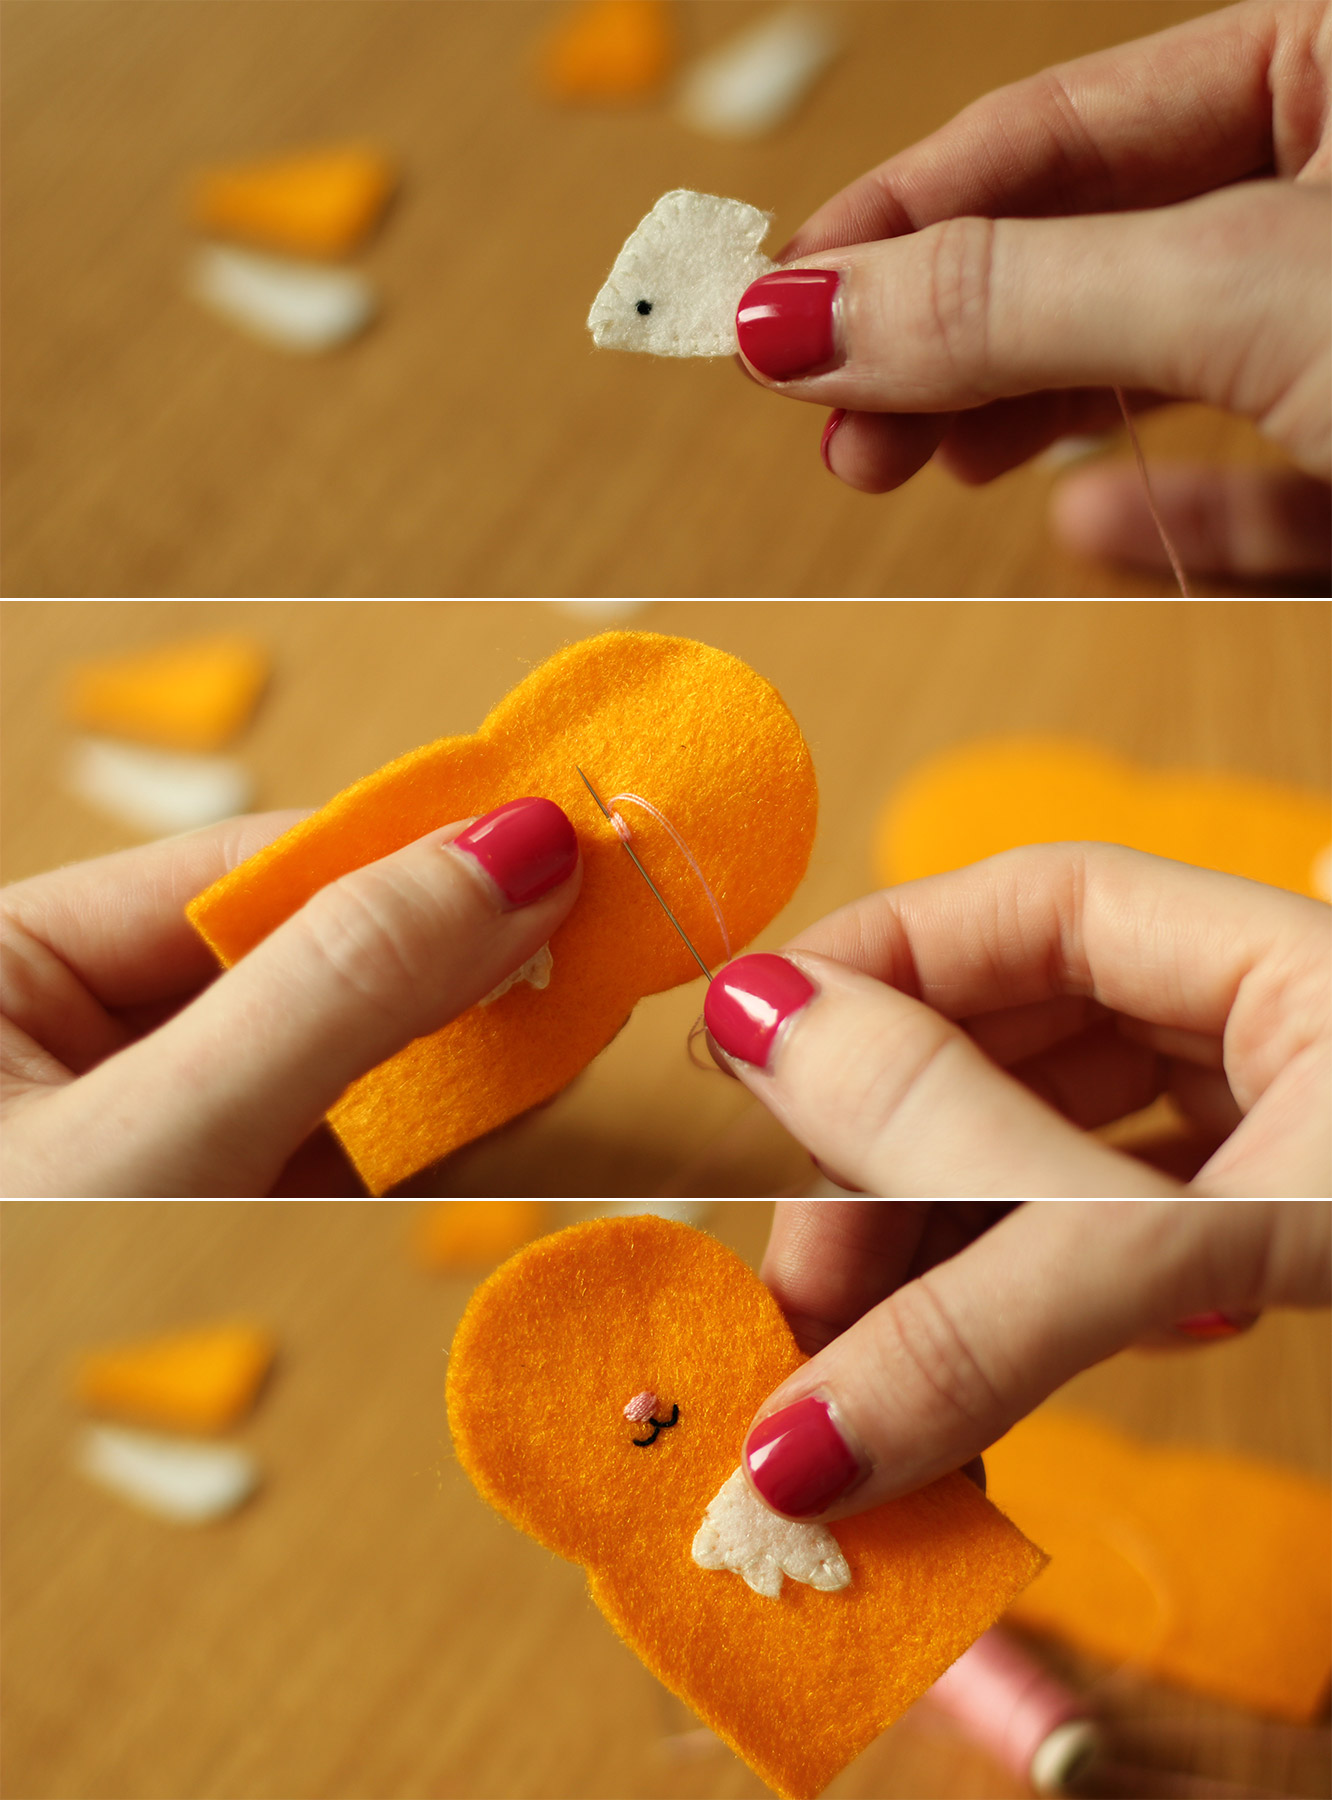
Sew on the faces, I just used simple stitches overlapping them for the noses and just a little line of backstitch for the mouths. No fancy embroidery techniques here.

how-to-make-finger-puppets-05

Step four

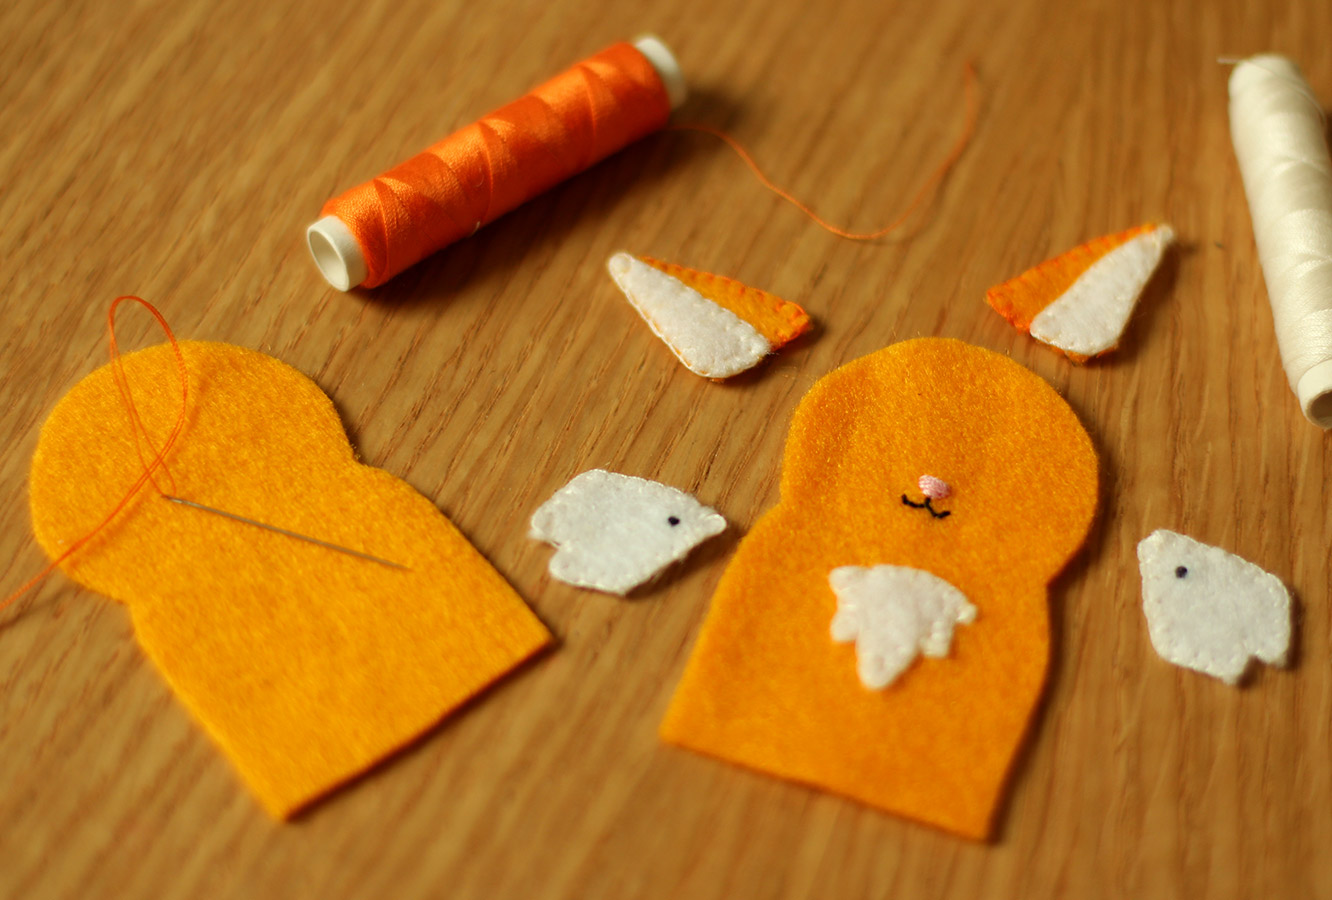
Edge all the remaining features/bits of fur with blanket stitch (see below). You will notice that for the fox I sewed the tummy fur straight onto the puppet but left the cheeks separate to glue on later. With the badger I sewed his cheeks straight on because they followed the shape of his face and I just found it less logistically challenging somehow.

how-to-make-finger-puppets-06

Step five

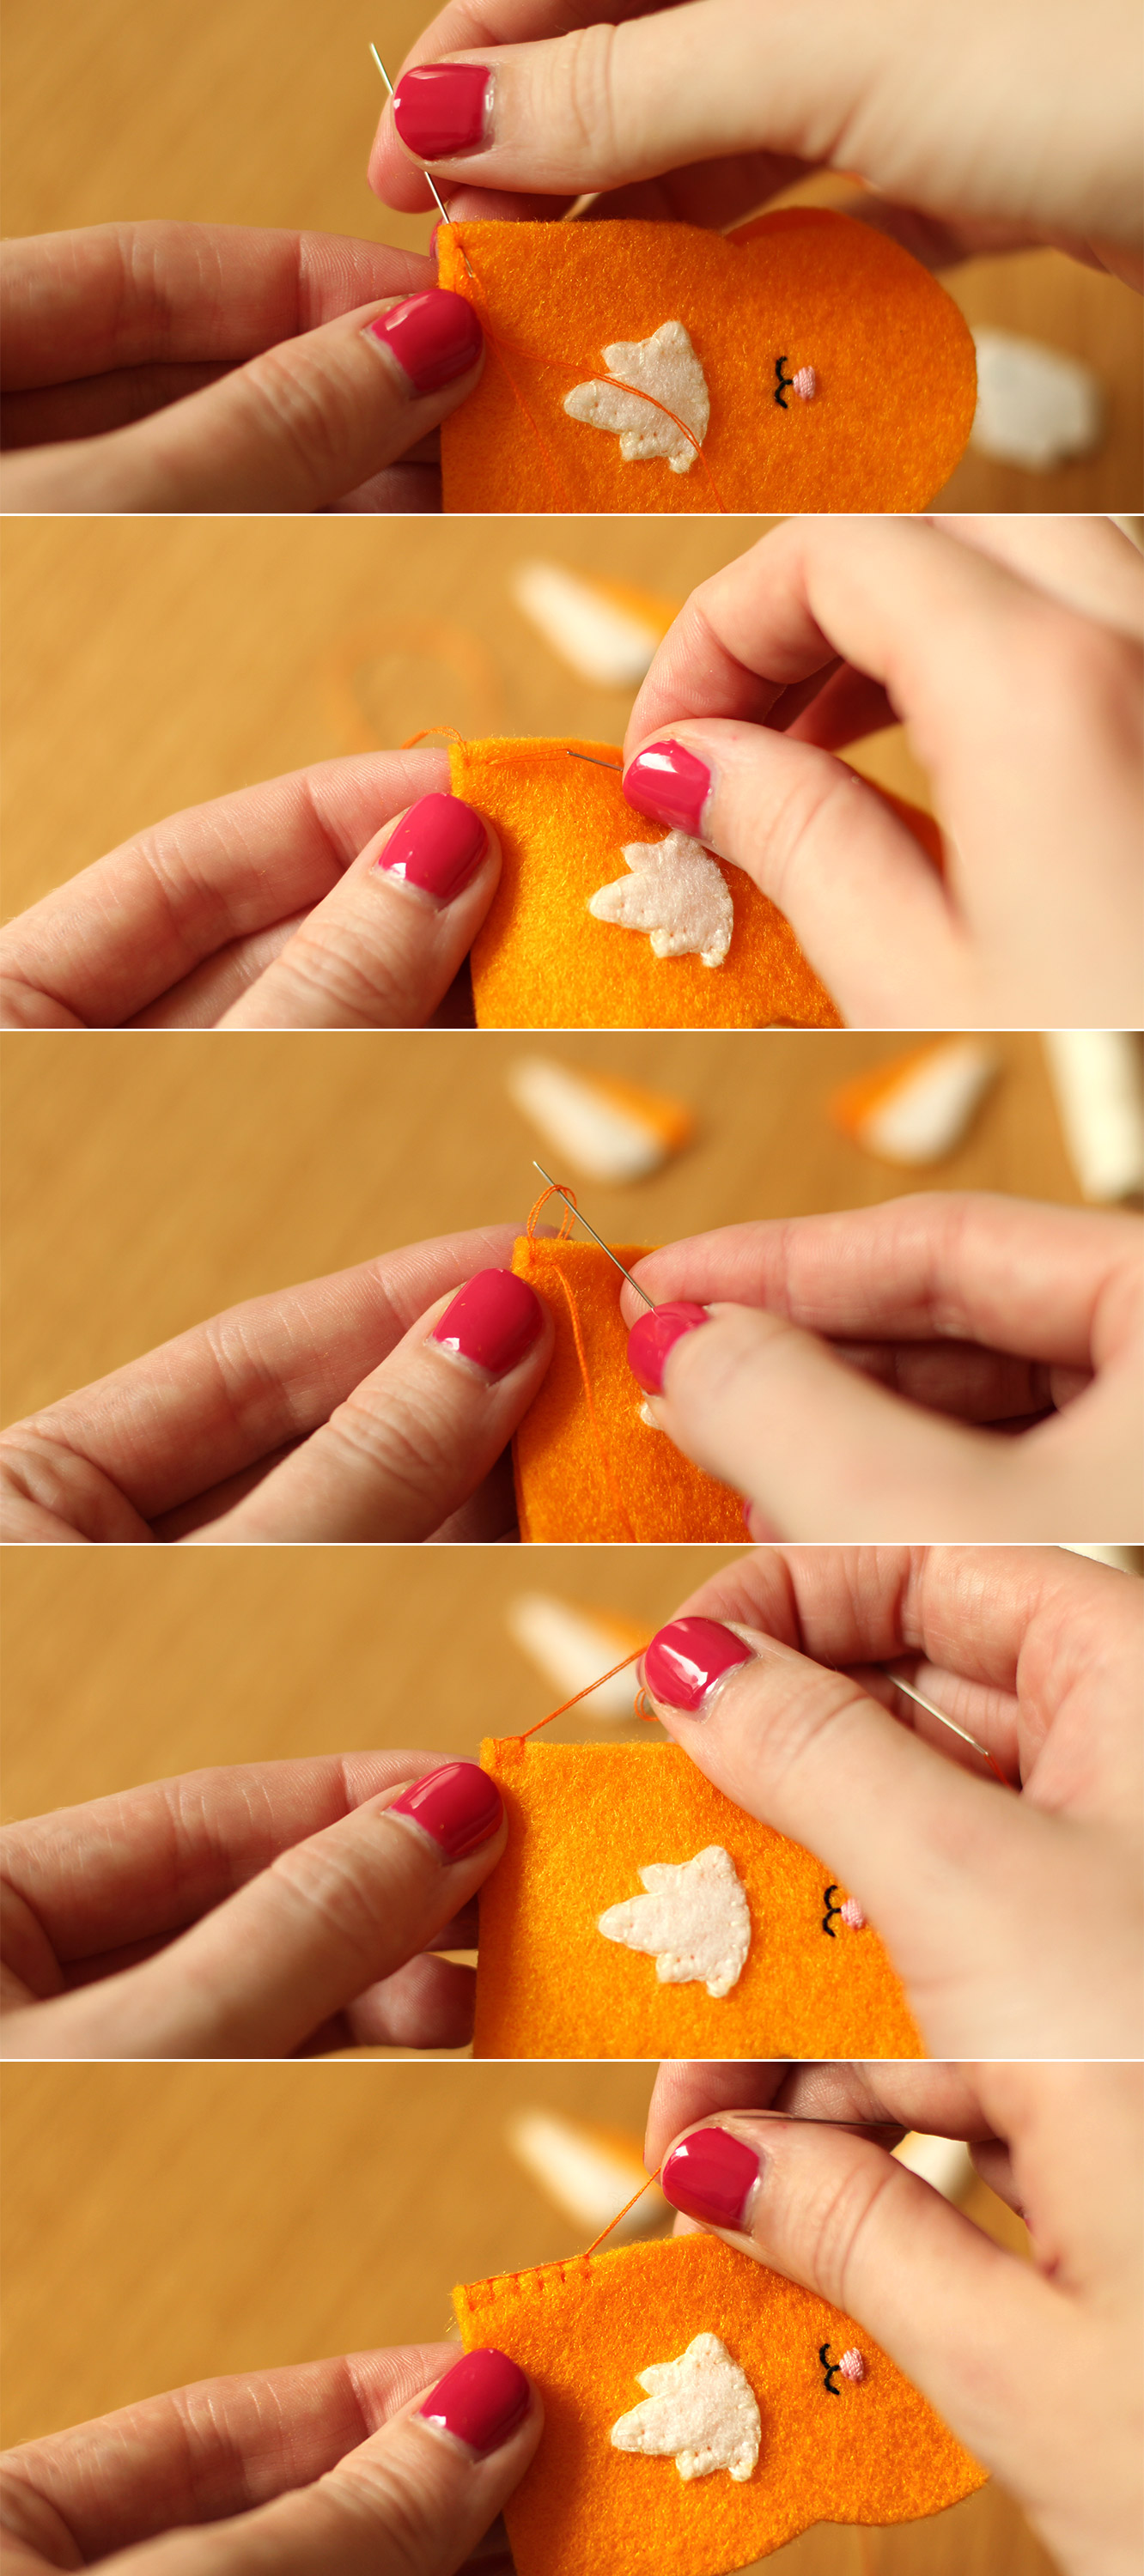
Blanket stitch the back and front of the puppet together. Utilising the memory bank of primary school sewing club for me, thanks Mrs Gothard, nailed it.

You basically need to put the needle through the felt at the height you want your stitching, and as you pull the thread through catch the loop so that it is held at the top. I’m sure the youtube can furnish you with a useful tutorial if my description and photos fail to do the job.

You need to include the ears as you go round, I just came back through at the top of the first stitch so my loop was on top of the felt to keep the effect going. I know, I wouldn’t understand that explanation either.

how-to-make-finger-puppets-07

Step six

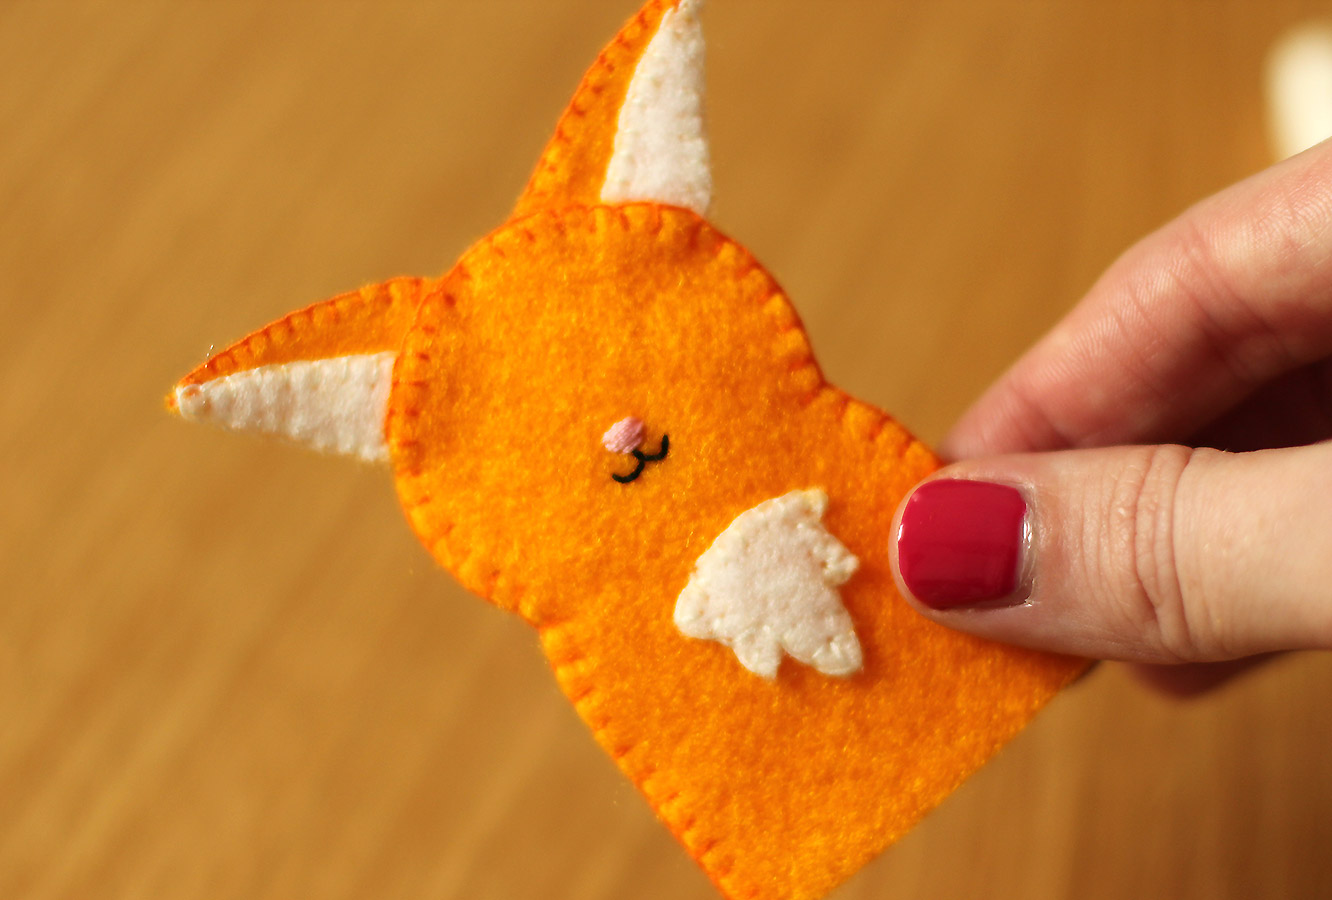
By this point if you’ve managed to follow any of my hapless instructions you will have yourself a blind little fox. On second thoughts, maybe we should have just started with the hedgehog.

how-to-make-finger-puppets-08

Step seven

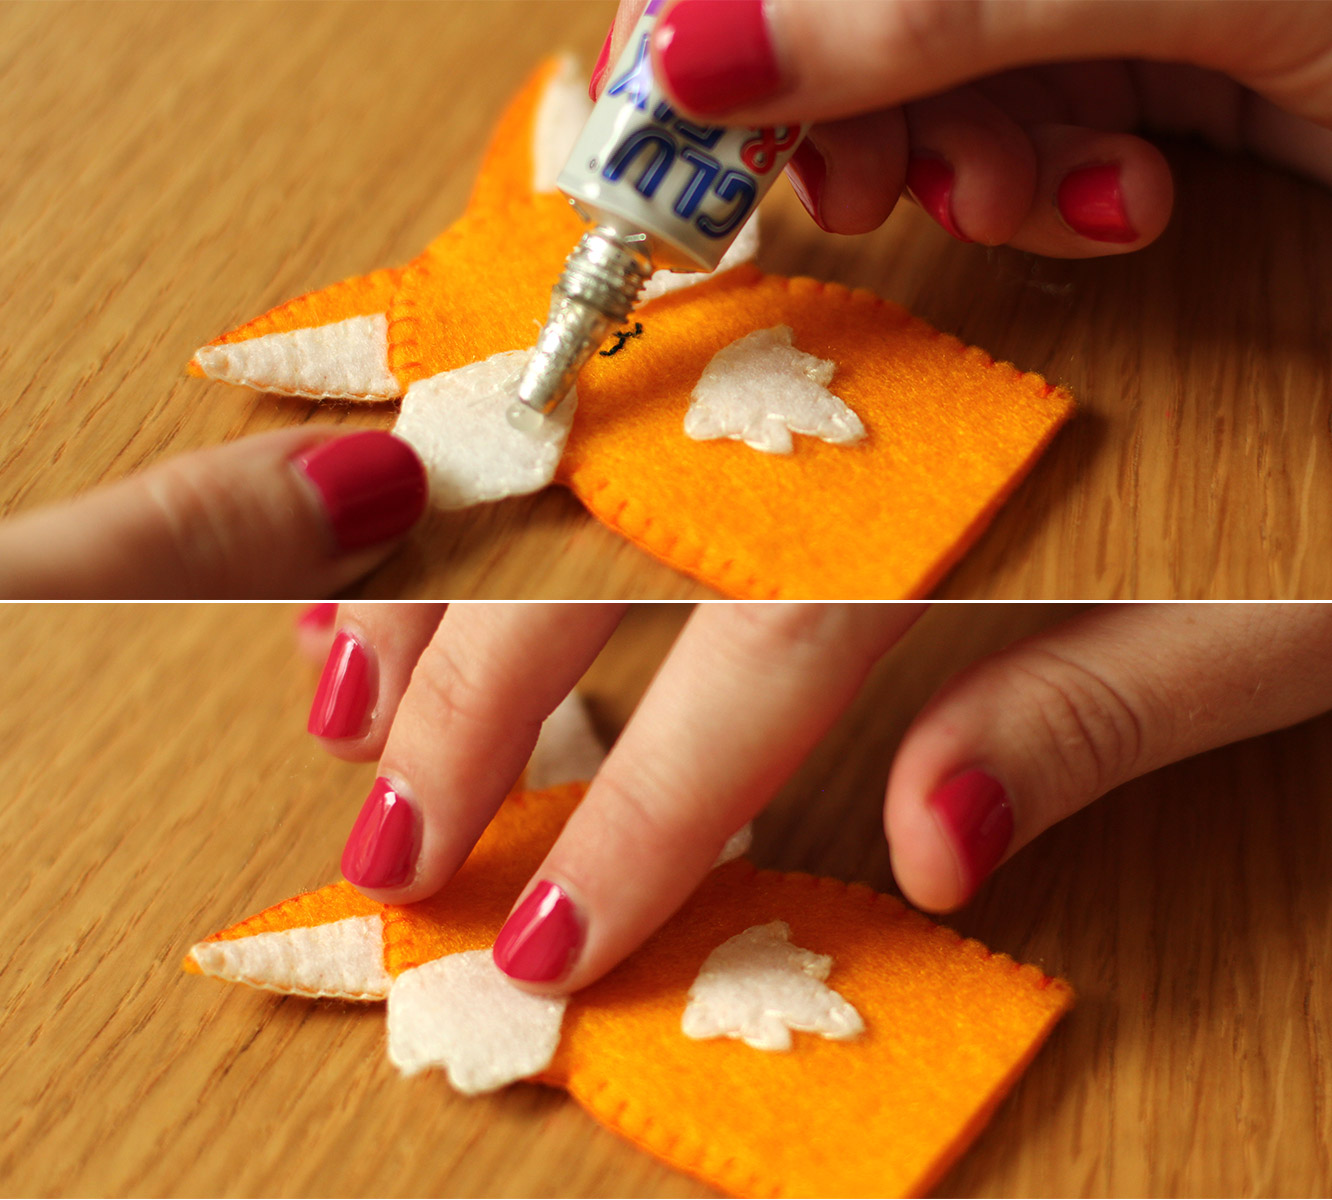
It’s ok to cheat. Just glue his eyes and fluff on, pop him over a fork or something just to make sure the glue doesn’t soak through and seal him shut.

how-to-make-finger-puppets-gif-01

Step eight

Make your fox some furry little friends.

how-to-make-finger-puppets-09

Carved from stone

Now then, let me tell you about an ongoing battle between two of my favourite people. Beth is a responsible and considered little person who takes a great deal of care over her things. As a result, everything she owns looks brand new and nothing ever gets broken. Amy, whilst she’s not exactly going round throwing her stuff at walls, is the type to put her fingers on your computer screen and is totally incapable of keeping a case on her iPhone. It won’t surprise you to learn this drives Beth to distraction.

A few months ago, Amy, to our disbelief, actually bought a case for her phone. However, when it came to unpacking it unfortunately she found it didn’t fit. Unsurprisingly, it has not been replaced, but I felt quite sorry for her; she’d finally done what she was told and was not rewarded for her efforts.
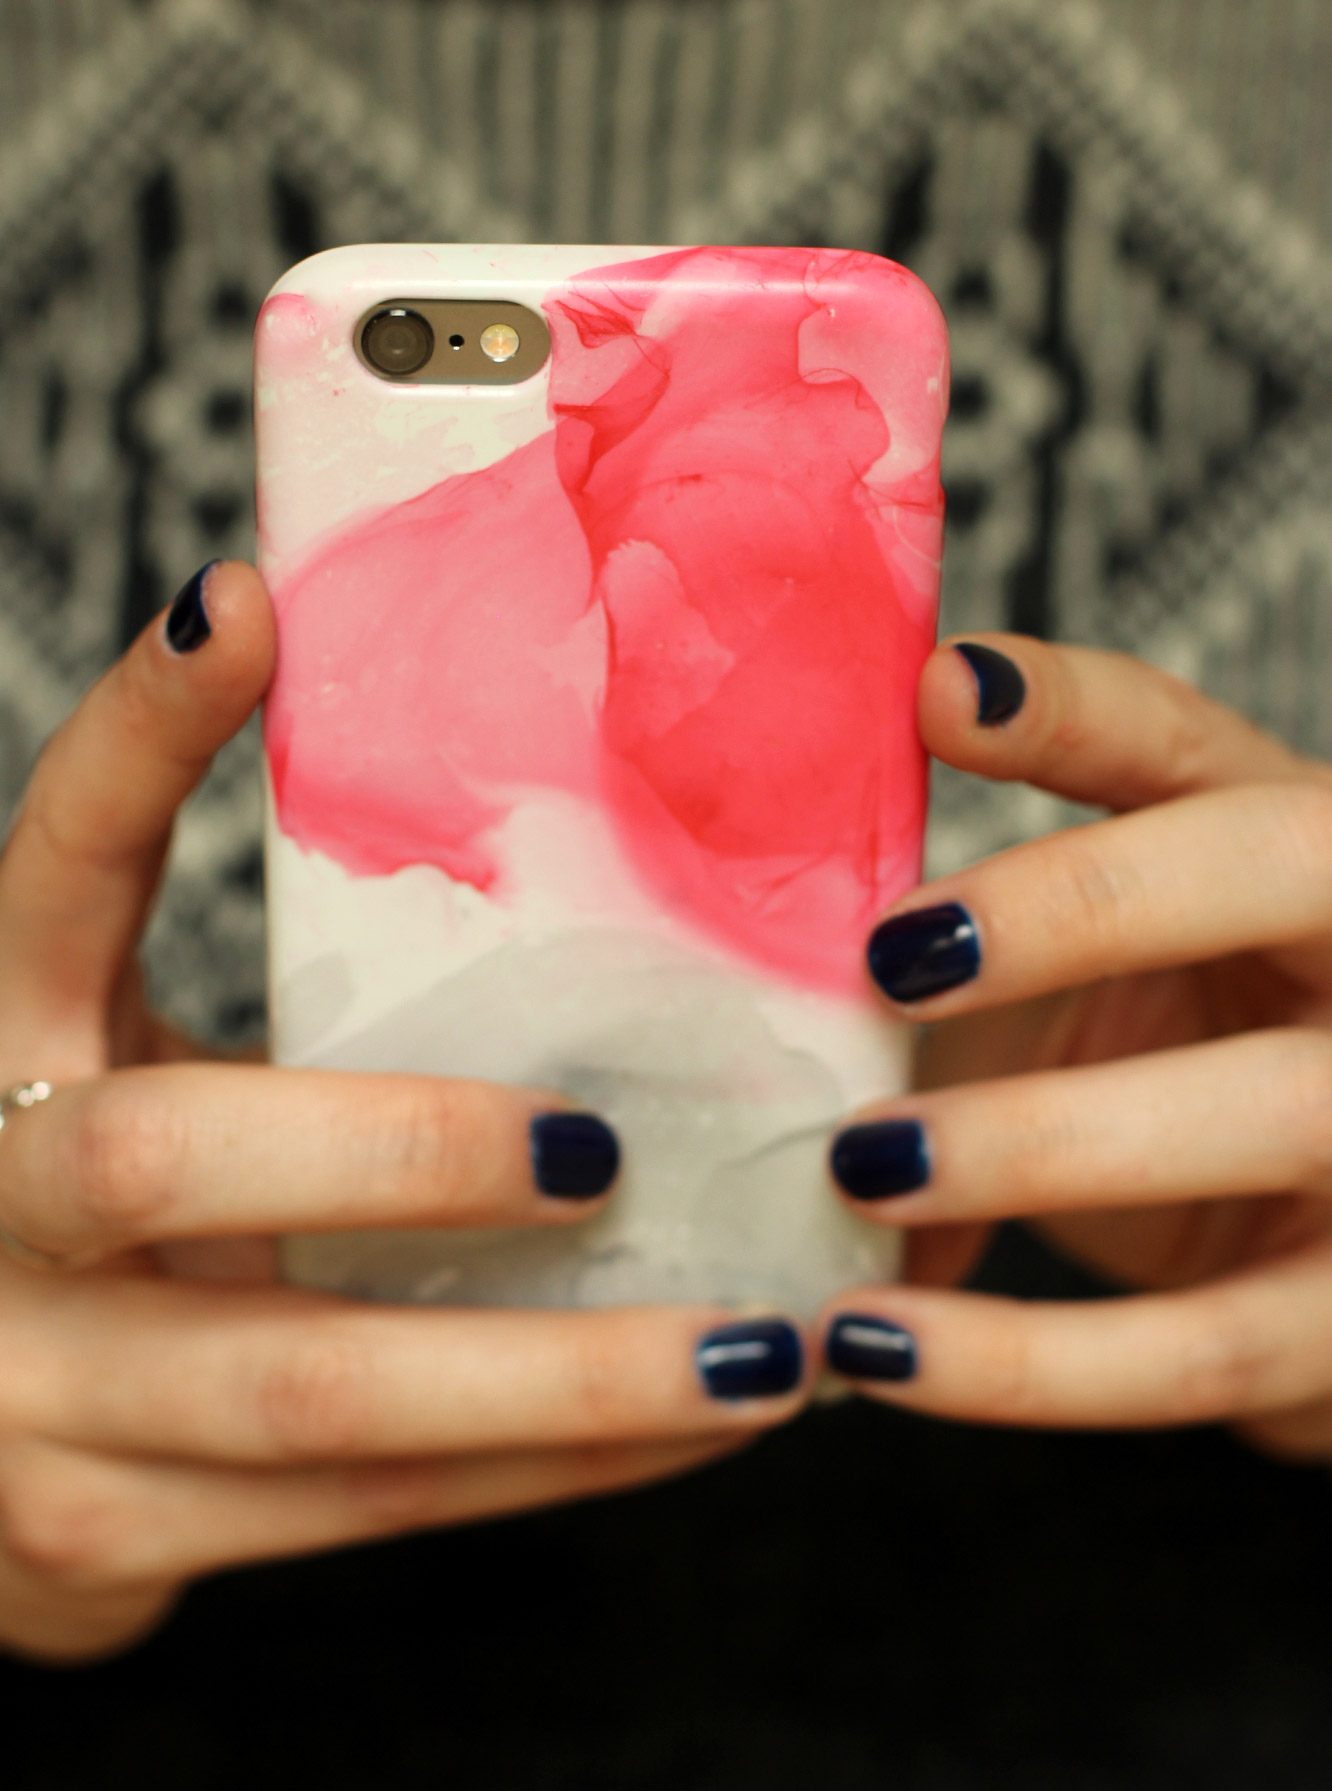
Meanwhile I was being berated by another friend (David) for choosing a practical, but admittedly rather ugly case for my own phone. I had also been admiring the various uses of the nail varnish marbling effect on Pinterest. All this to tell you that today I made myself and Amy phone cases.
nail-varnish-marbled-phone-case-diy-05

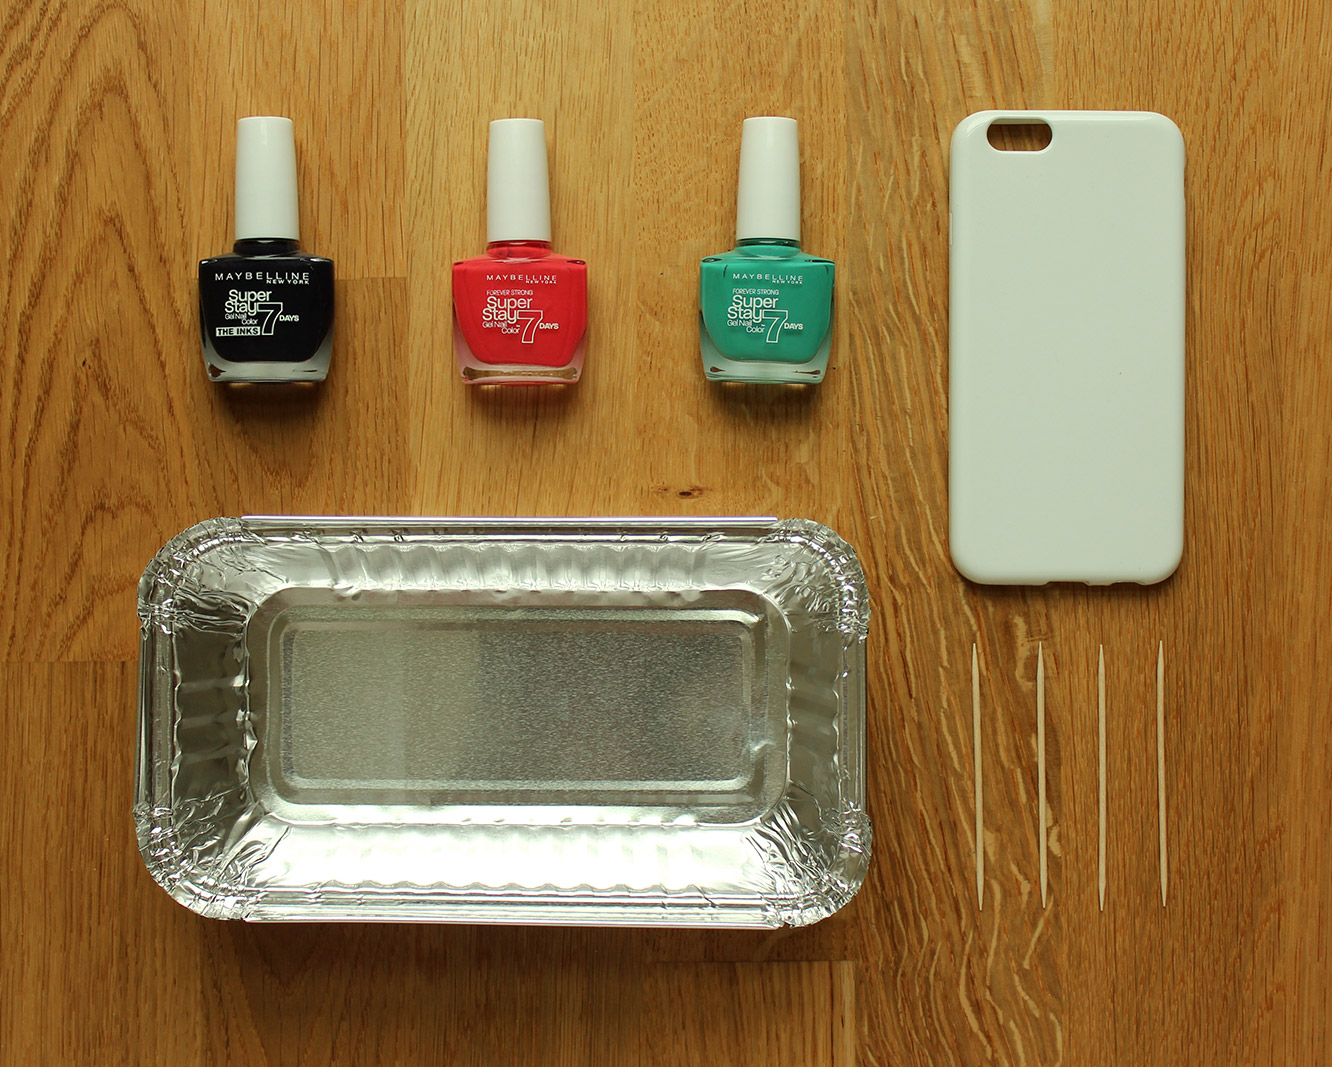
You will need

A white phone case to fit your phone (easily found on the internet for less than £5)

A tray or tub that’s disposable

Nail varnish (try to avoid quick drying brands – I only had quick drying ones so it is possible without but you have less control over the look as it sets quicker)

Cocktail sticks

Warm water

Acetone (only if you have serious perfectionism problems like me)

nail-varnish-marbled-phone-case-diy-04

Step one

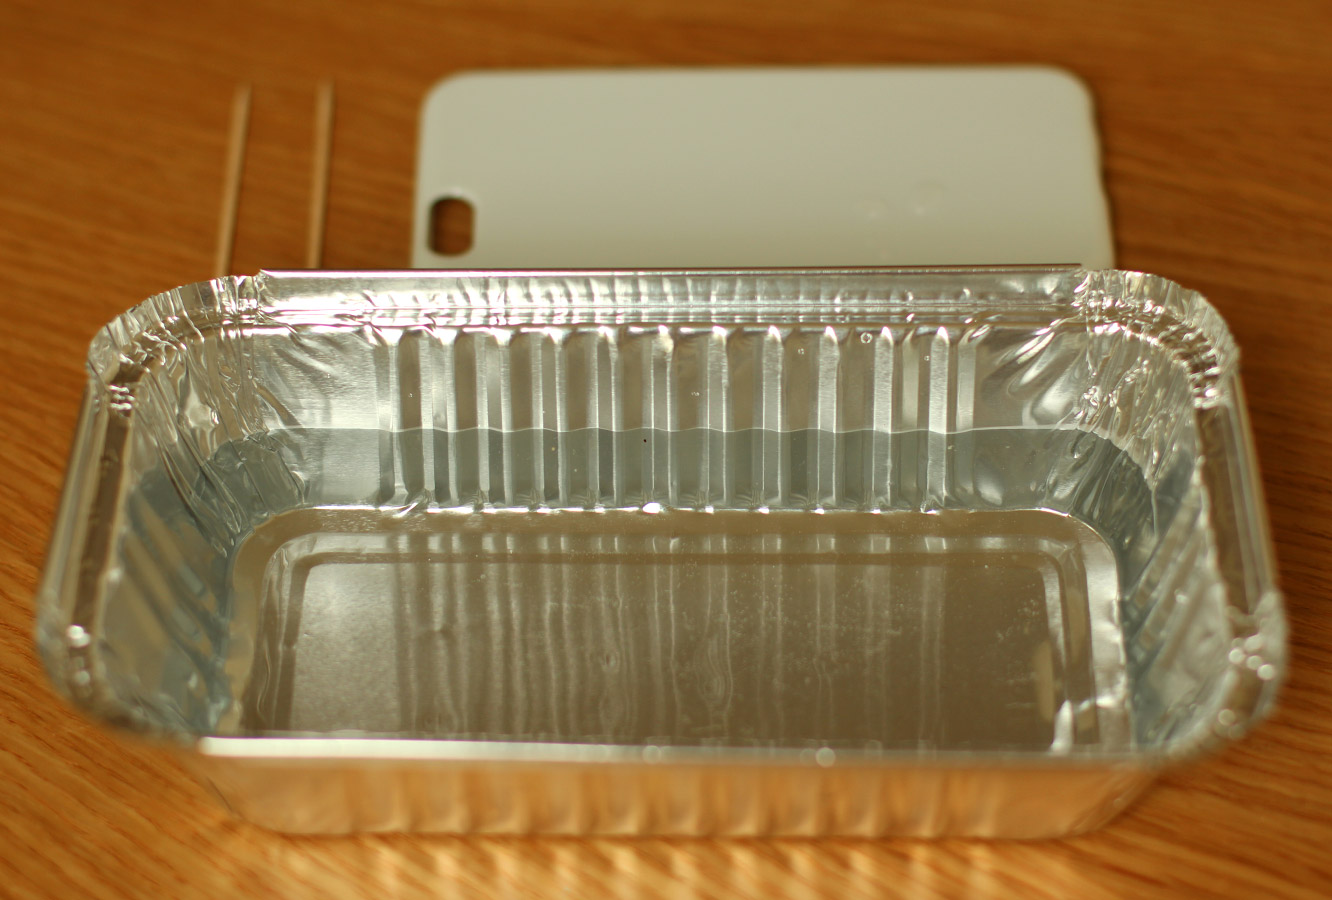
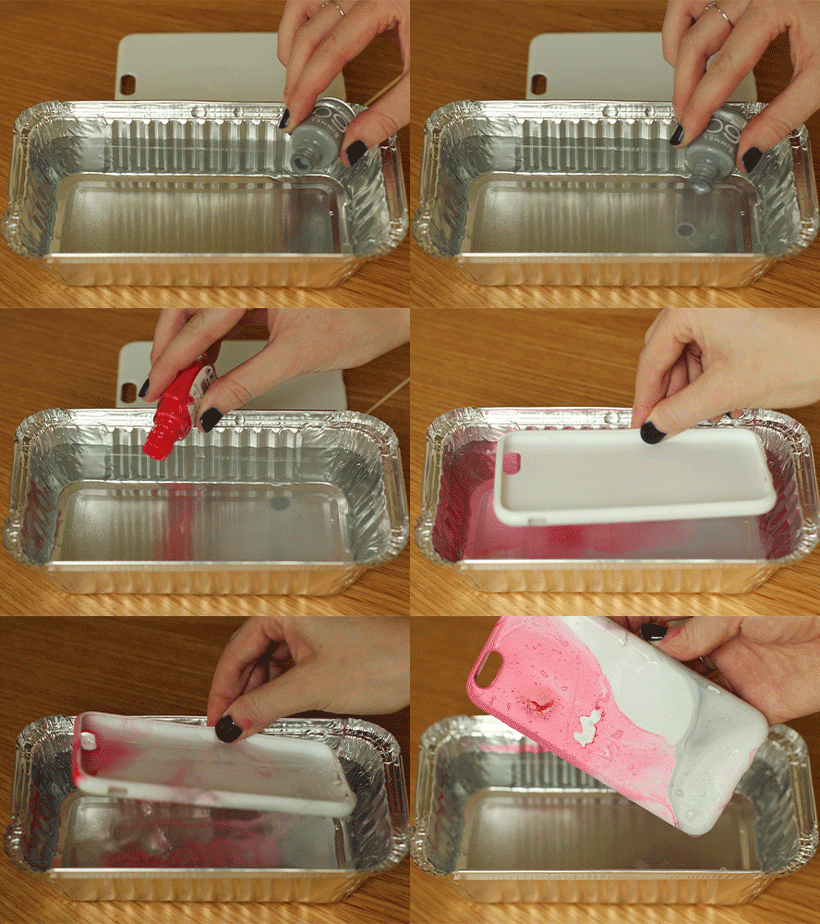
Fill your tray with warm water and de-cap your nail varnishes. You need to work quite quickly so have everything ready to go.
nail-varnish-marbled-phone-case-diy-gif

Step two

Drop a couple of drops of your chosen colours on the surface of the water. I used small quantities of nail varnish because I like the translucent effect. If you want a more opaque look and more time to play with your pattern use more varnish.

It will spread out quite nicely on its own, but I had a little swirl with a cocktail stick but it dried fairly quickly.

Step three

Dip your phone case face first into the water. be sure to completely submerge it so that the sides are coated too.

nail-varnish-marbled-phone-case-diy-03

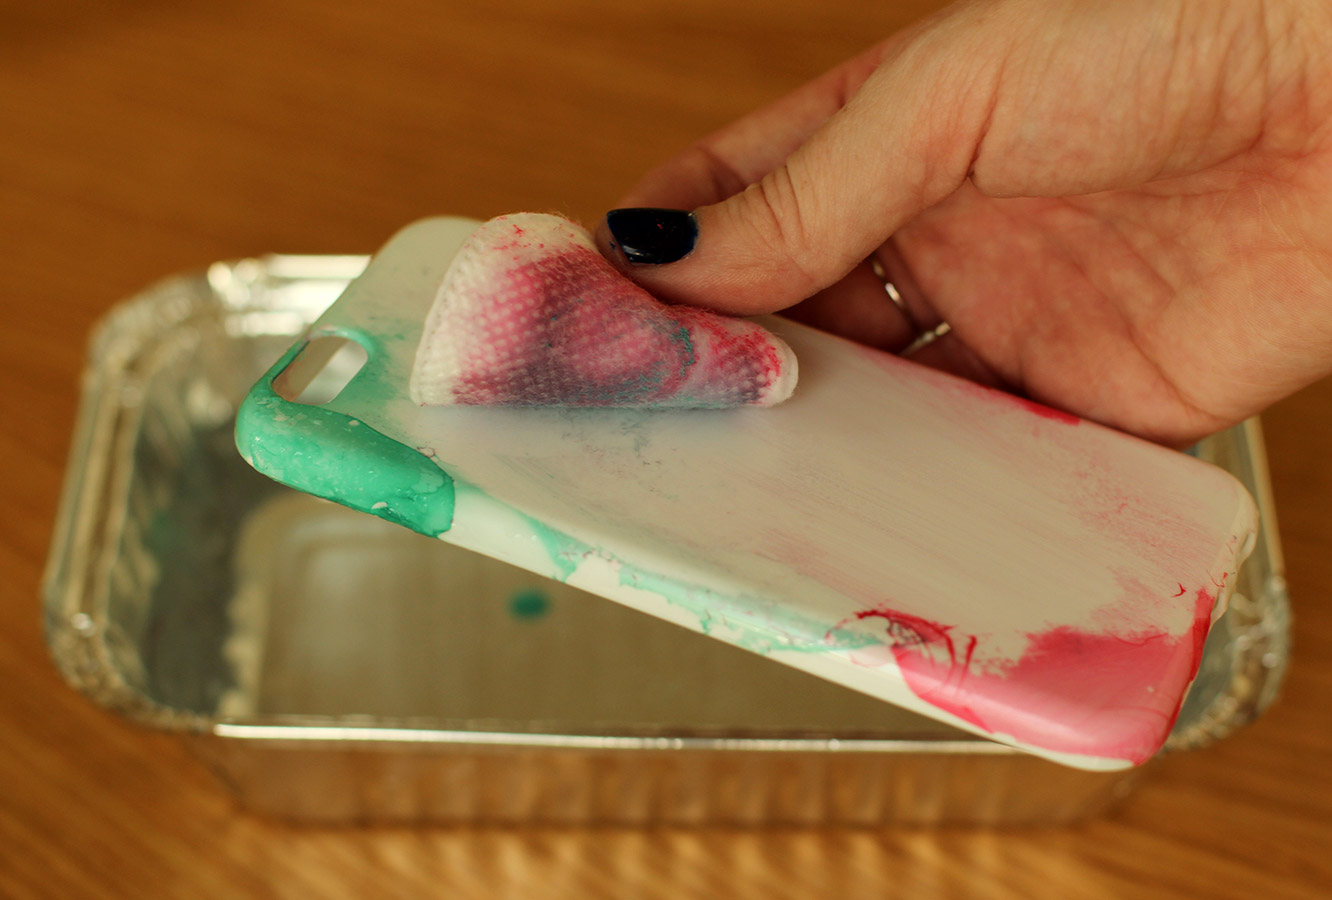
If you don’t like your design you can remove it with acetone and a make up wipe. I didn’t like the original colours I chose to put together, so I started again.

You will also notice that the one in the gif wasn’t my final design, forgive me, there was a gap in it I didn’t like. I later learned this is easy to cover with another thin layer using the same technique, making sure you line it up over the gap.

DISCLAIMER: this may only work with certain cases. The one I bought for my phone (above) was very forgiving, I am fairly sure I could do this limitlessly. However, Amy’s was a hard case (mine was flexible) and it was already coated in some white varnish, which the acetone was not kind to.

If you love your design, you might consider some mod podge or spray adhesive to seal it. I’m going to leave mine and redo it when I get bored.

nail-varnish-marbled-phone-case-diy-01

nail-varnish-marbled-phone-case-diy-02

Until next time friends. xx

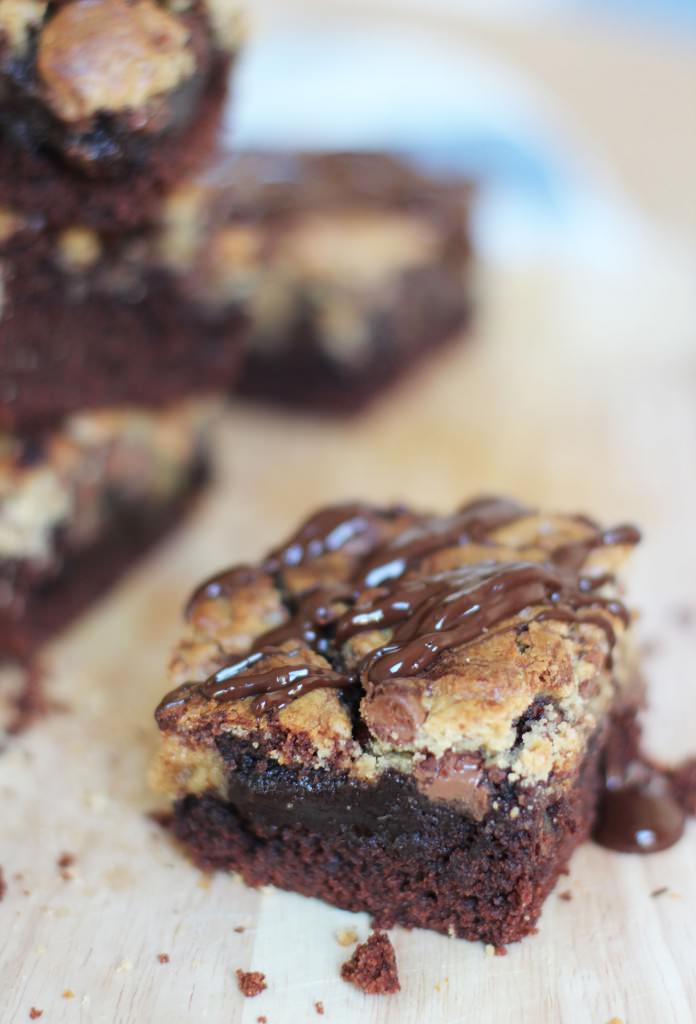
cookie dough + chocolate brownie = yum

I used to make a cheat’s version of this recipe with two packet mixes, and recently I just thought to myself, ‘I wonder if this would taste better if I made the batters from scratch’. Oh boy does it.

You just have to find an excuse to make this and eat it warm from the oven with some ice cream. It’s very easy and quite a bit more impressive than regular brownies.

cookie-dough-brownie-recipe-0

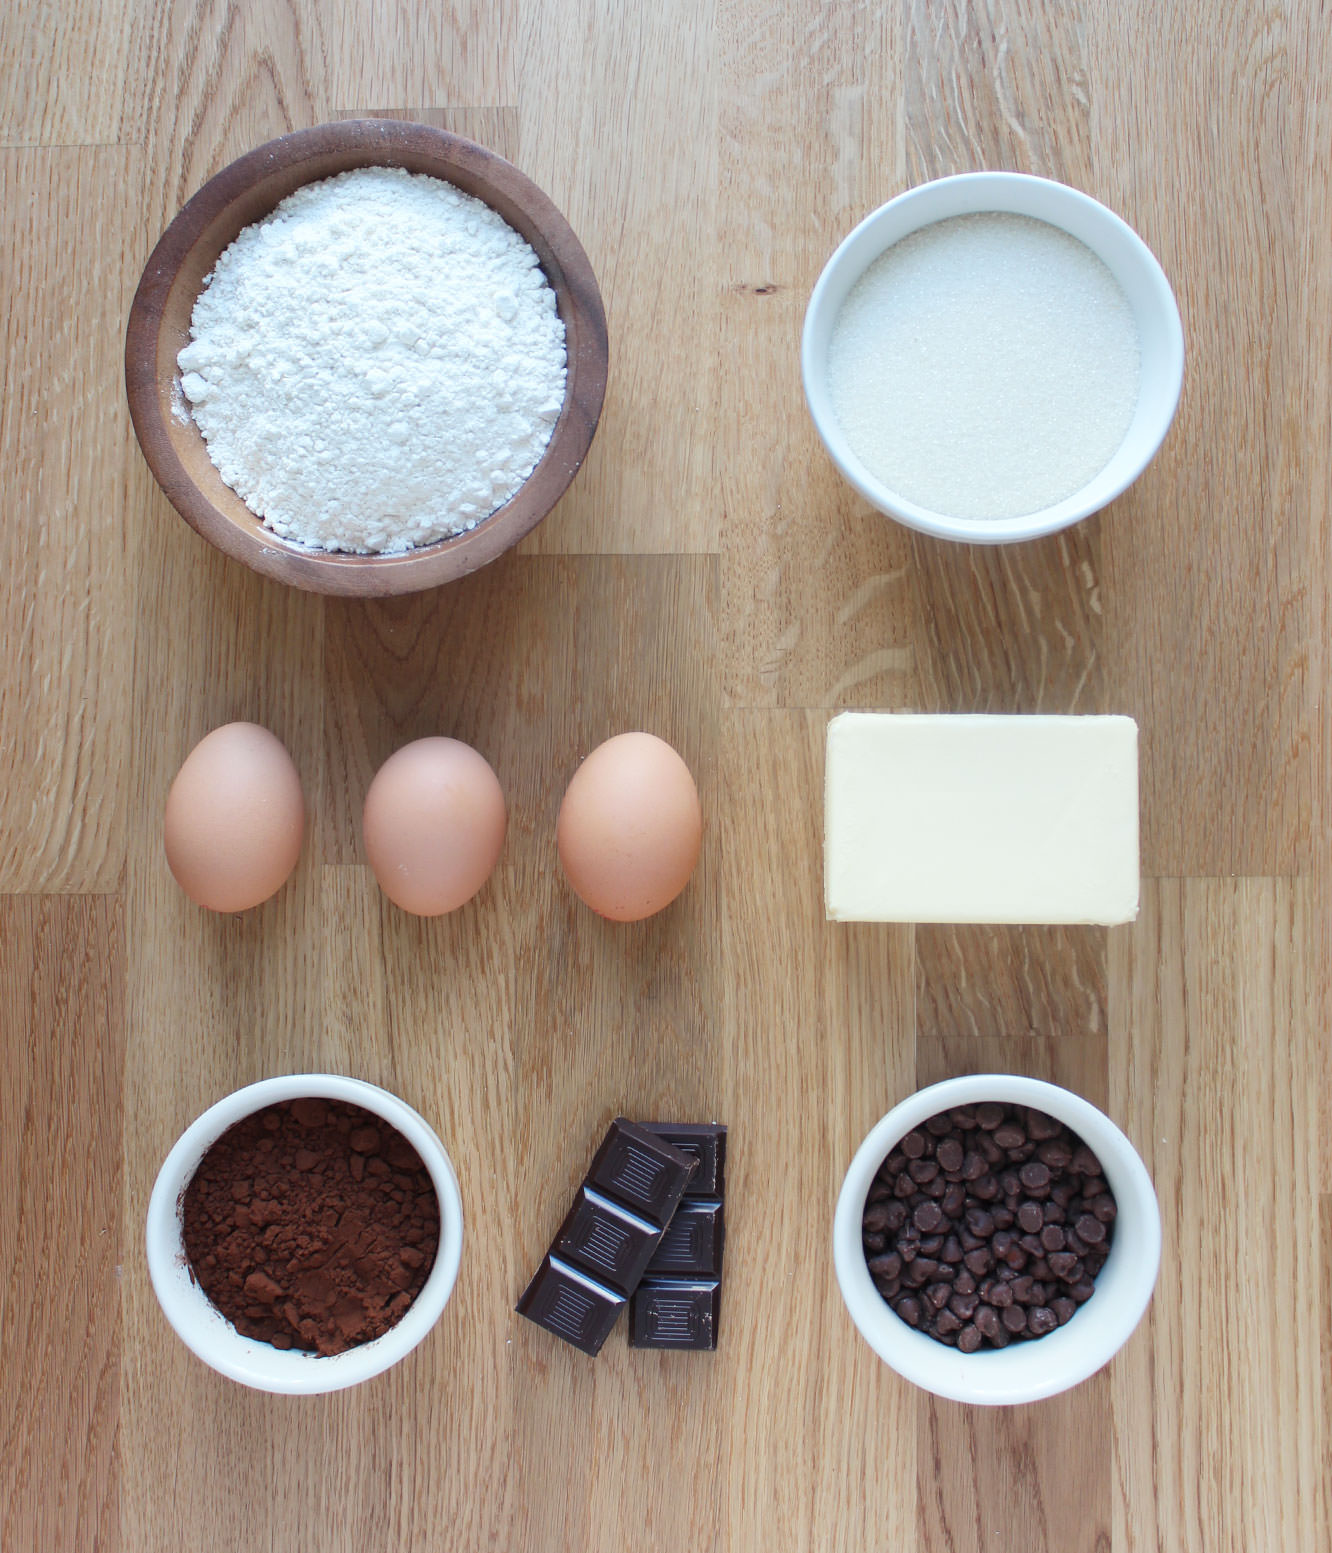
You will need

For the brownie batter:

300g/10.5 oz Caster sugar (golden if you have it)

170g/6 oz Unsalted butter

170g/6 oz Plain flour

45g/1.5 oz Cocoa powder

3 Eggs

1/2 tsp Baking powder

For the cookie dough:

170g/6 oz Plain flour

100g/3.5 oz Soft light brown sugar

100g/3.5 oz Milk chocolate chips

60g/2 oz Unsalted butter

1 Egg

1 tbsp Golden syrup

1/2 tsp Baking powder

Extra

45g/1.5 oz Dark chocolate

cookie-dough-brownie-recipe

Step one

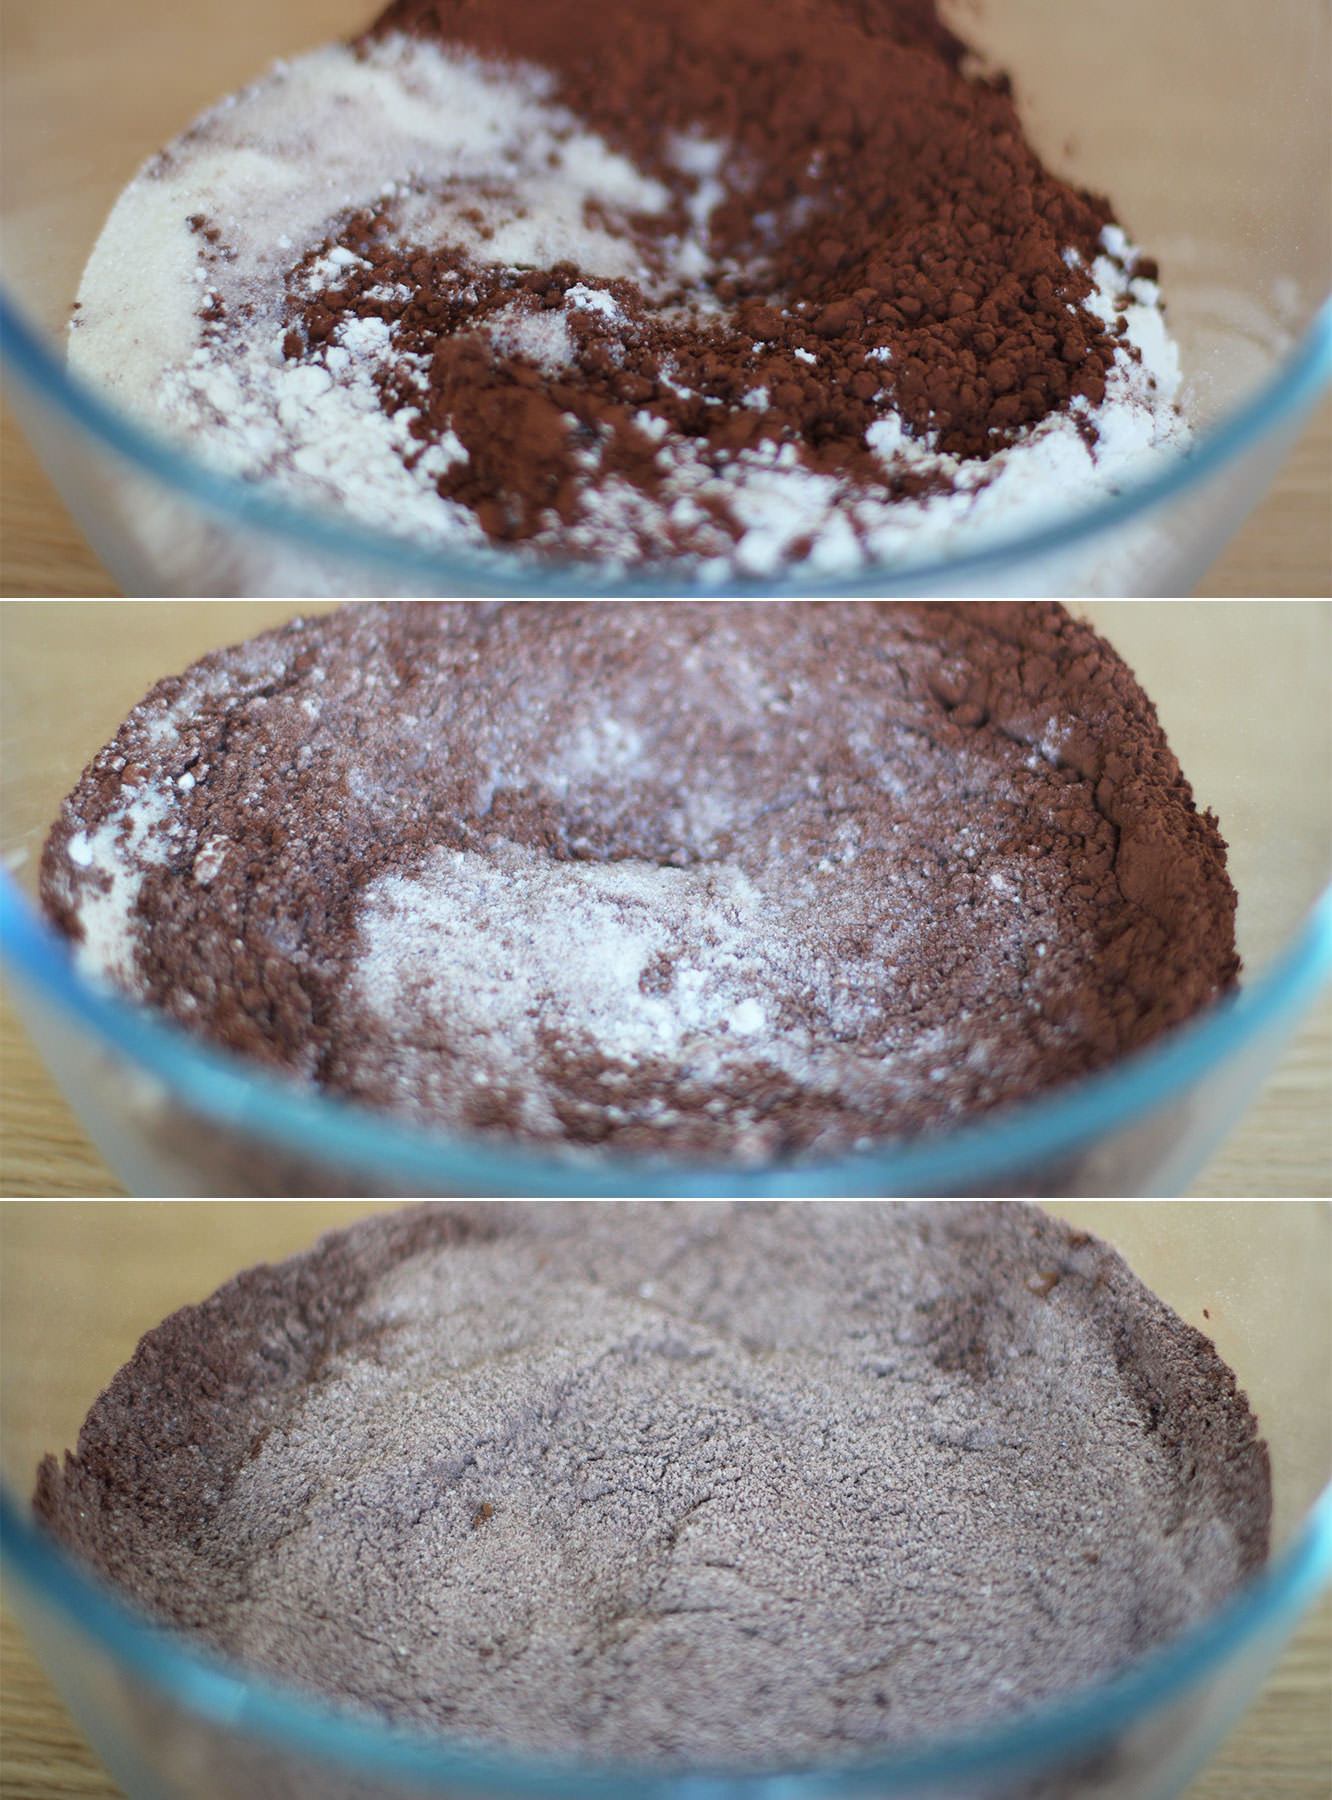
Starting with the brownie batter, mix together the baking powder, sugar, flour and cocoa powder.

cookie-dough-brownie-recipe-1

Step two

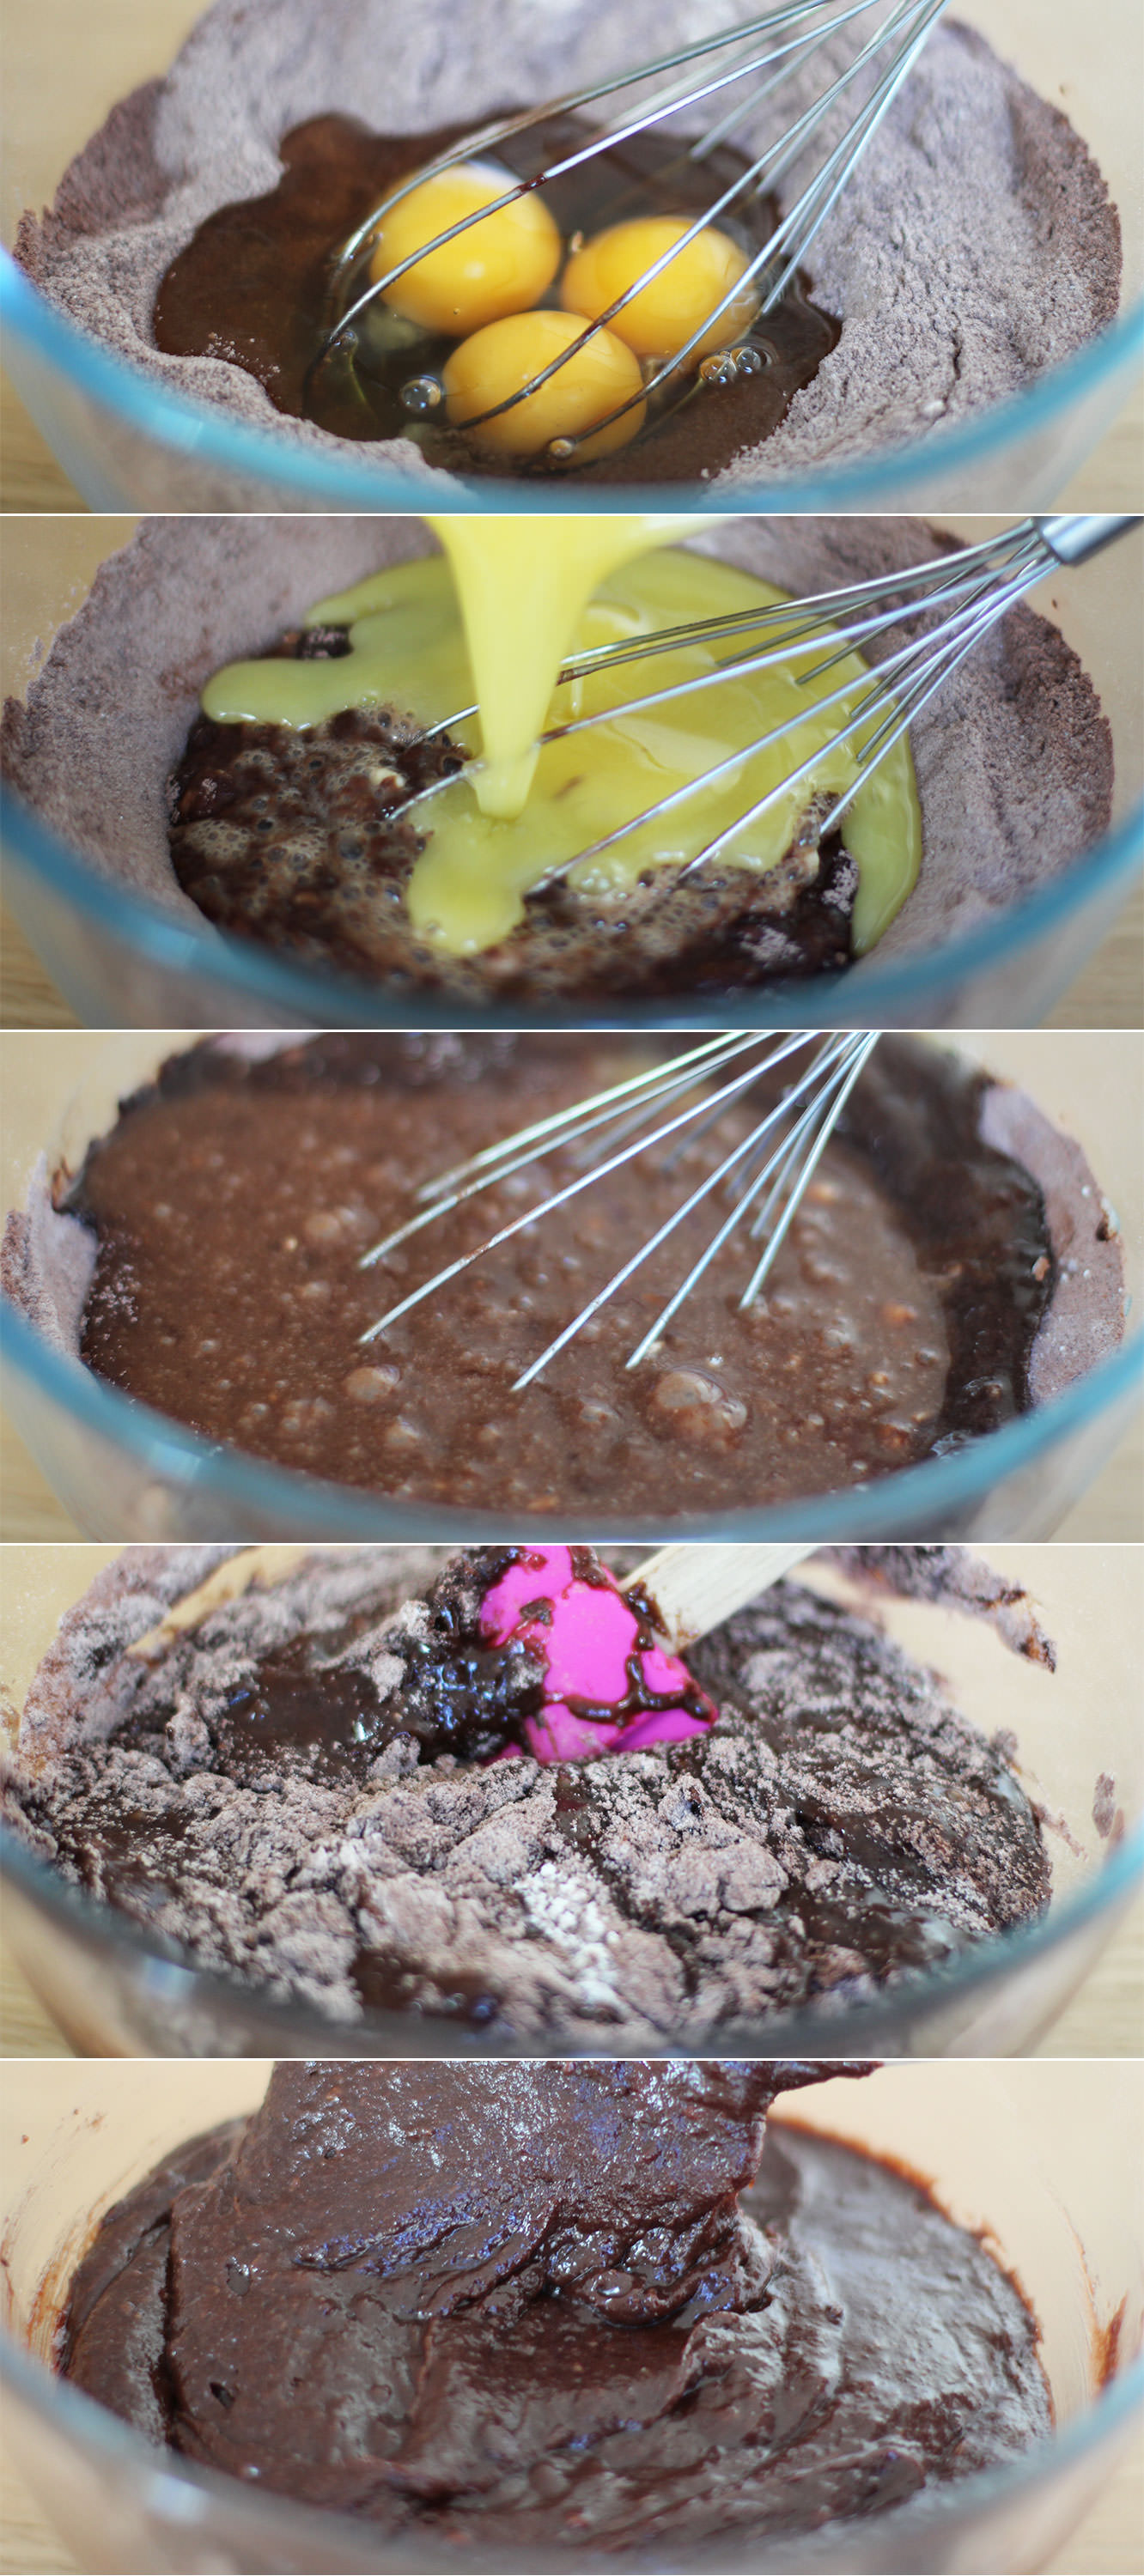
Make a well in the middle of your dry ingredients and add the eggs. Using a hand whisk, combine gradually using small circles in the centre of the batter.

Step three

Melt the butter in the microwave. Only until it has just about dissolved mind, or it will cook the eggs and this is not intended to be a recipe for scrambled egg brownie.

Step four

Add the butter into the mixture and continue with your little circles until most of the flour is combined, then use a spatula or wooden spoon to fold in the rest.

cookie-dough-brownie-recipe-2

Step five

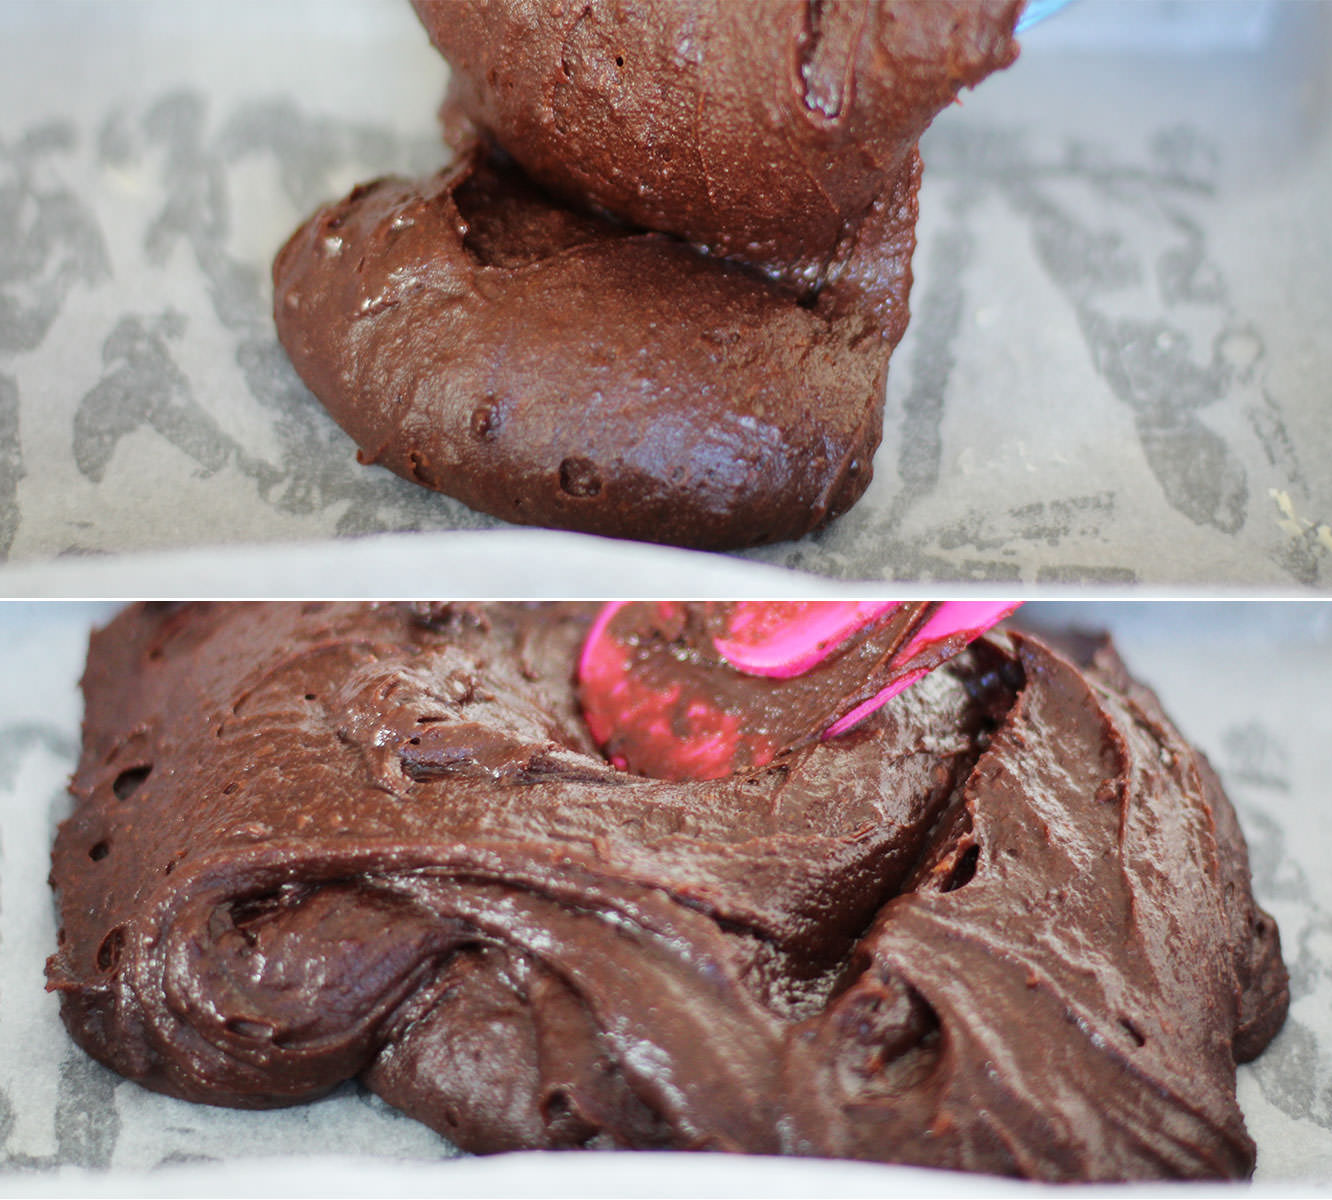
Pour into a greased and lined brownie tray and gently spread into the corners.

Get a teaspoon and eat a bit. You know you want to.

Moving on to the cookie dough…

cookie-dough-brownie-recipe-3

Step six

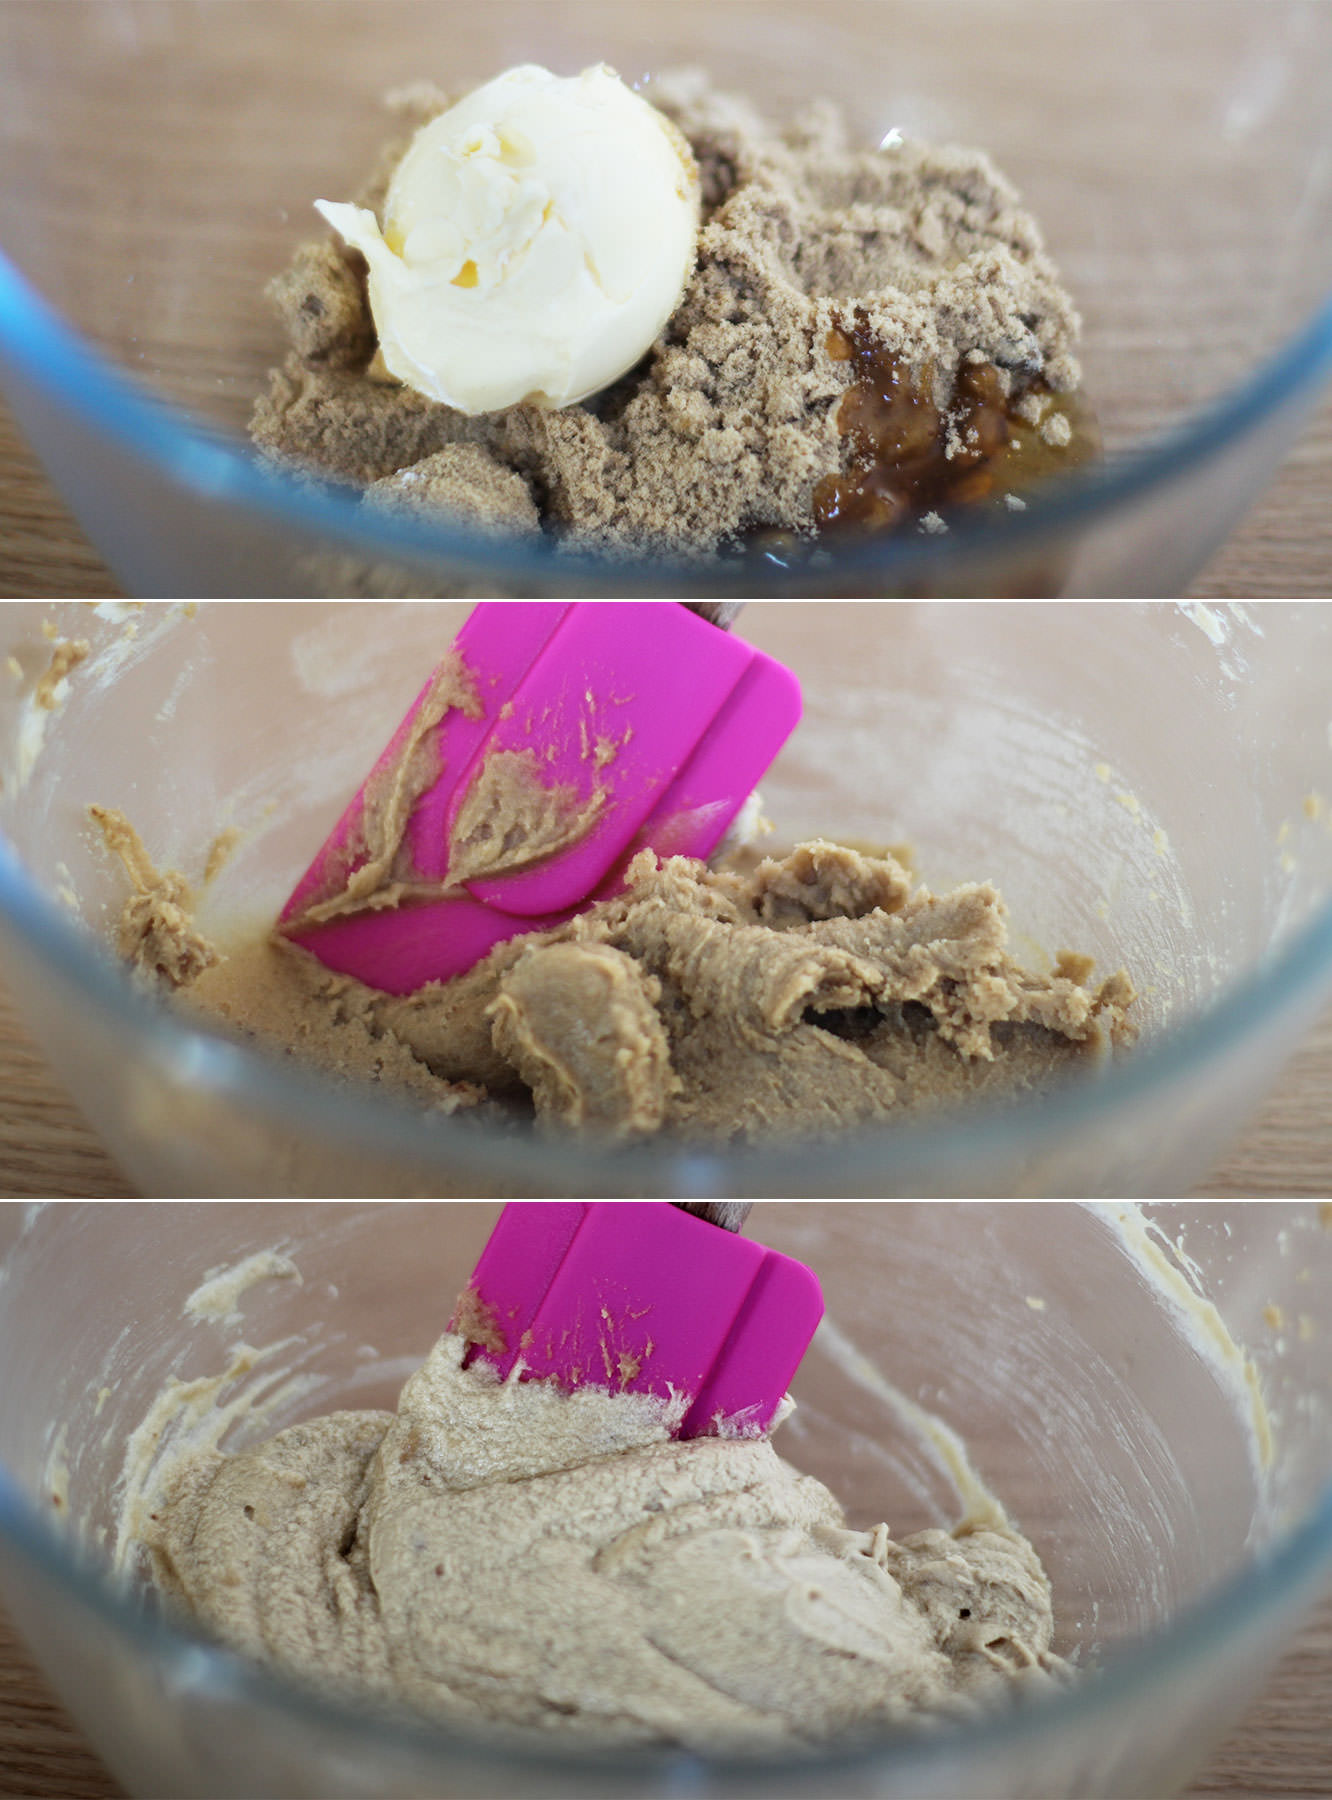
Beat together the butter, soft brown sugar and golden syrup. You might find it easier/quicker to use an electric whisk.

Step seven

Beat in the egg until pale, light and fluffy.

cookie-dough-brownie-recipe-4

Step eight

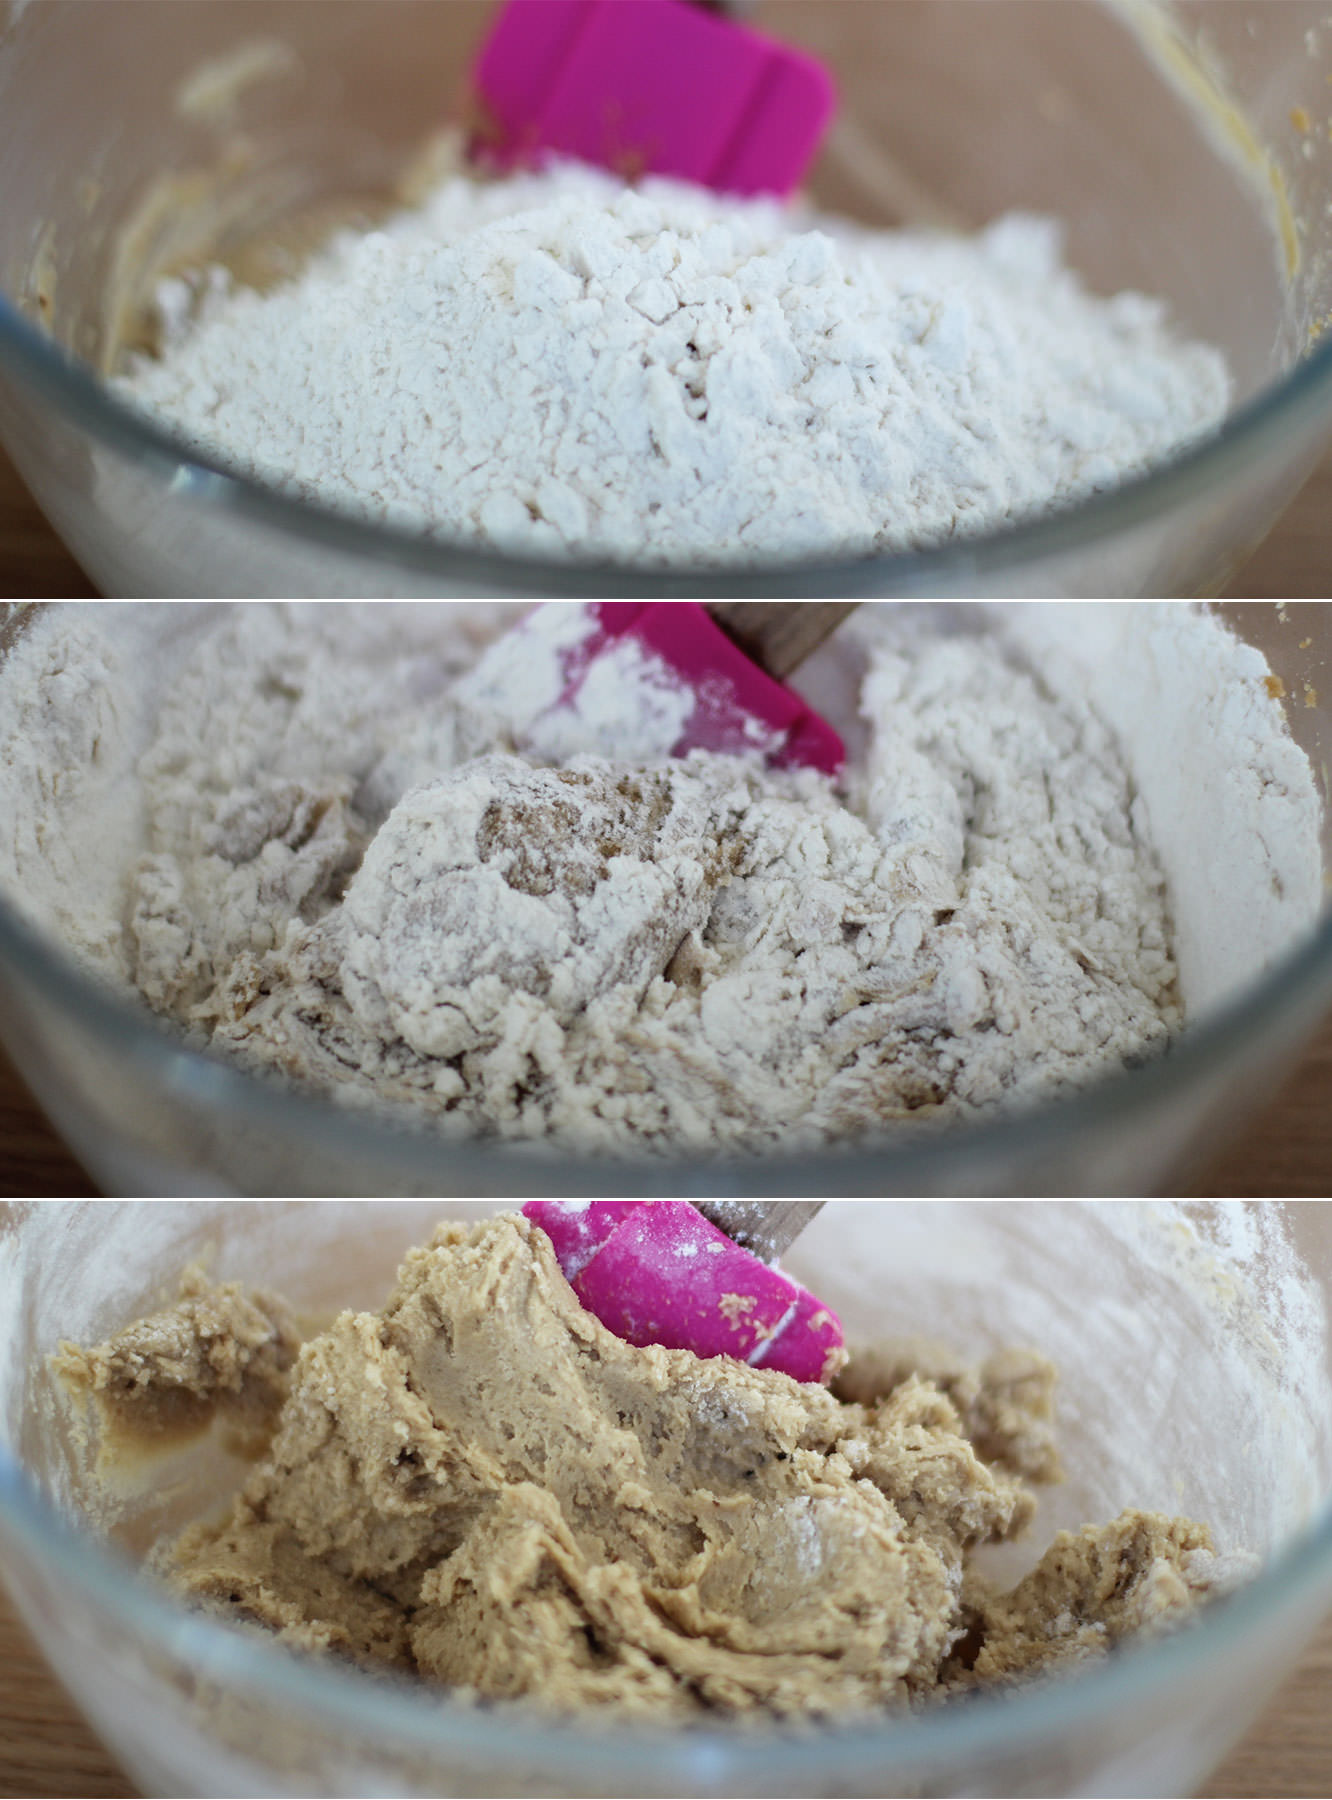
Fold in the flour and baking powder until you have a smooth dough.

cookie-dough-brownie-recipe-5

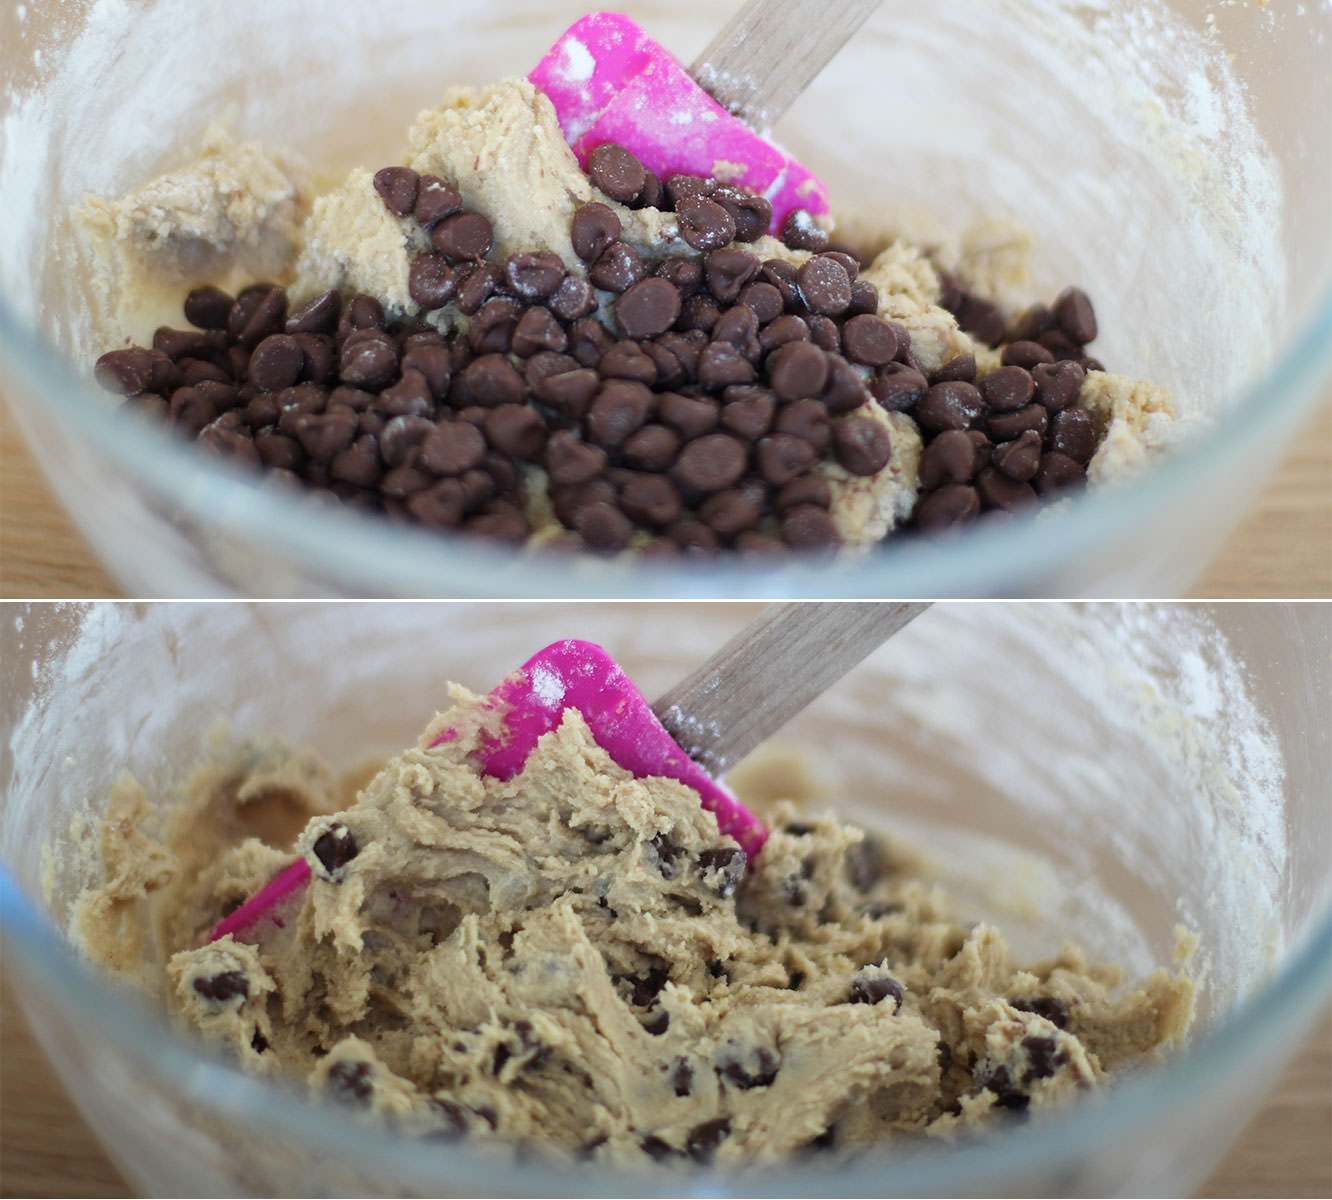
Step nine

Add the chocolate chips.

Time for another little taste.

cookie-dough-brownie-recipe-7

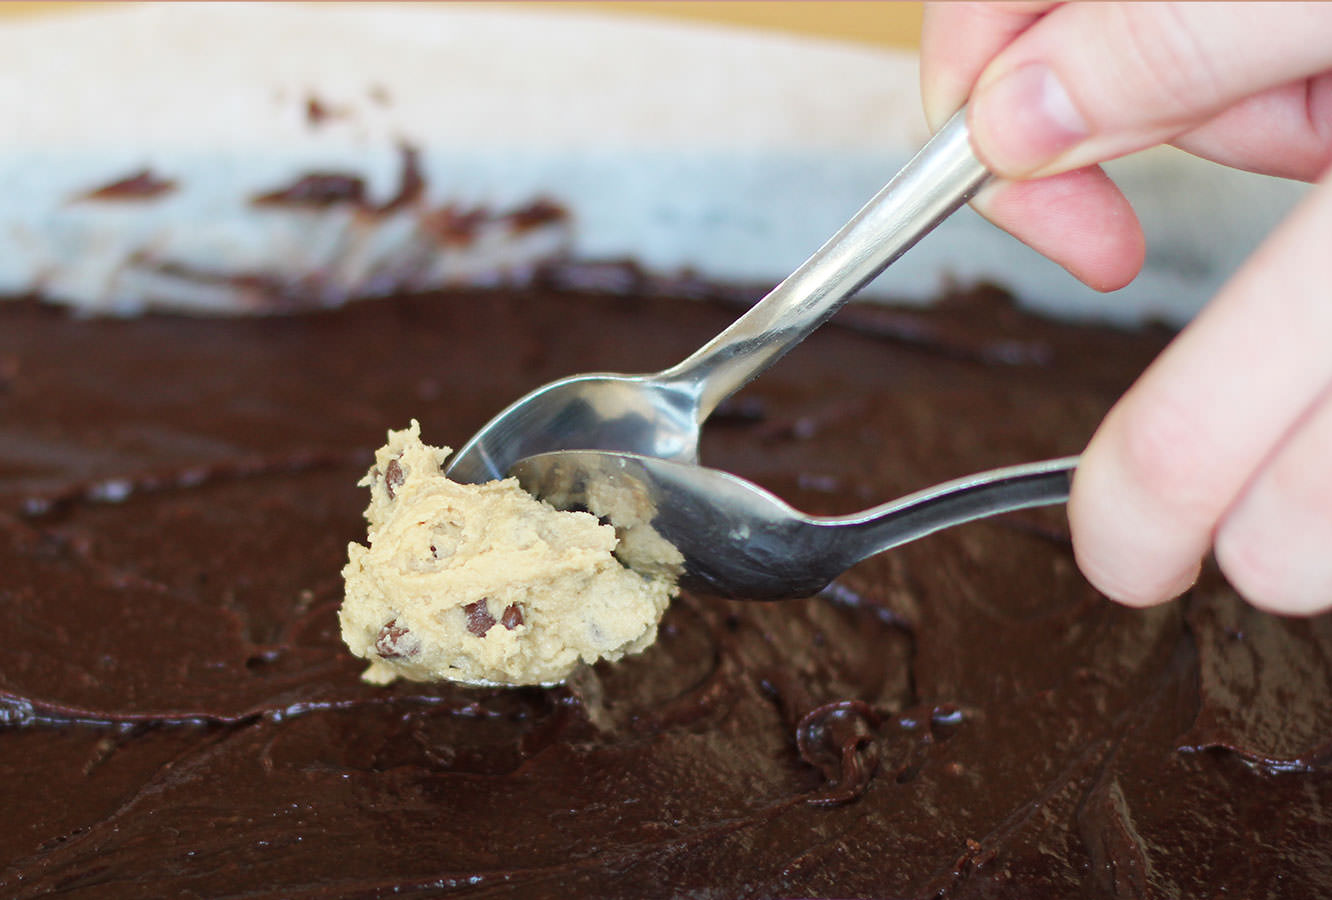
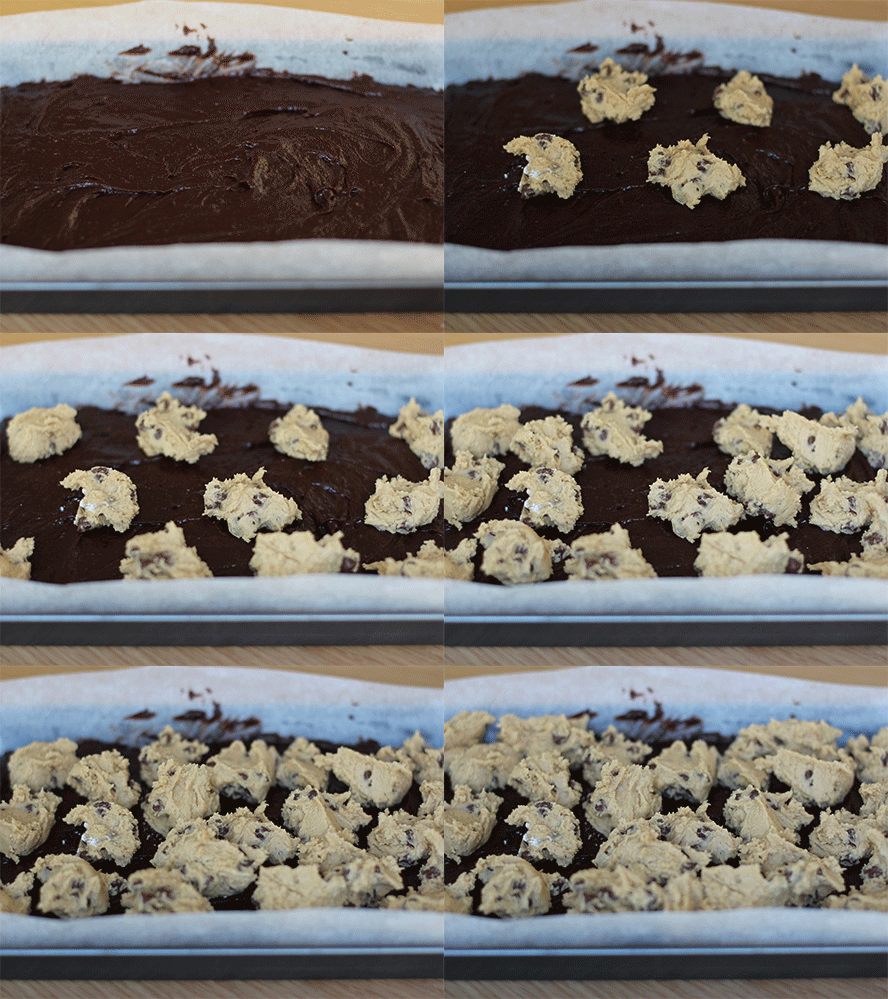
Step ten

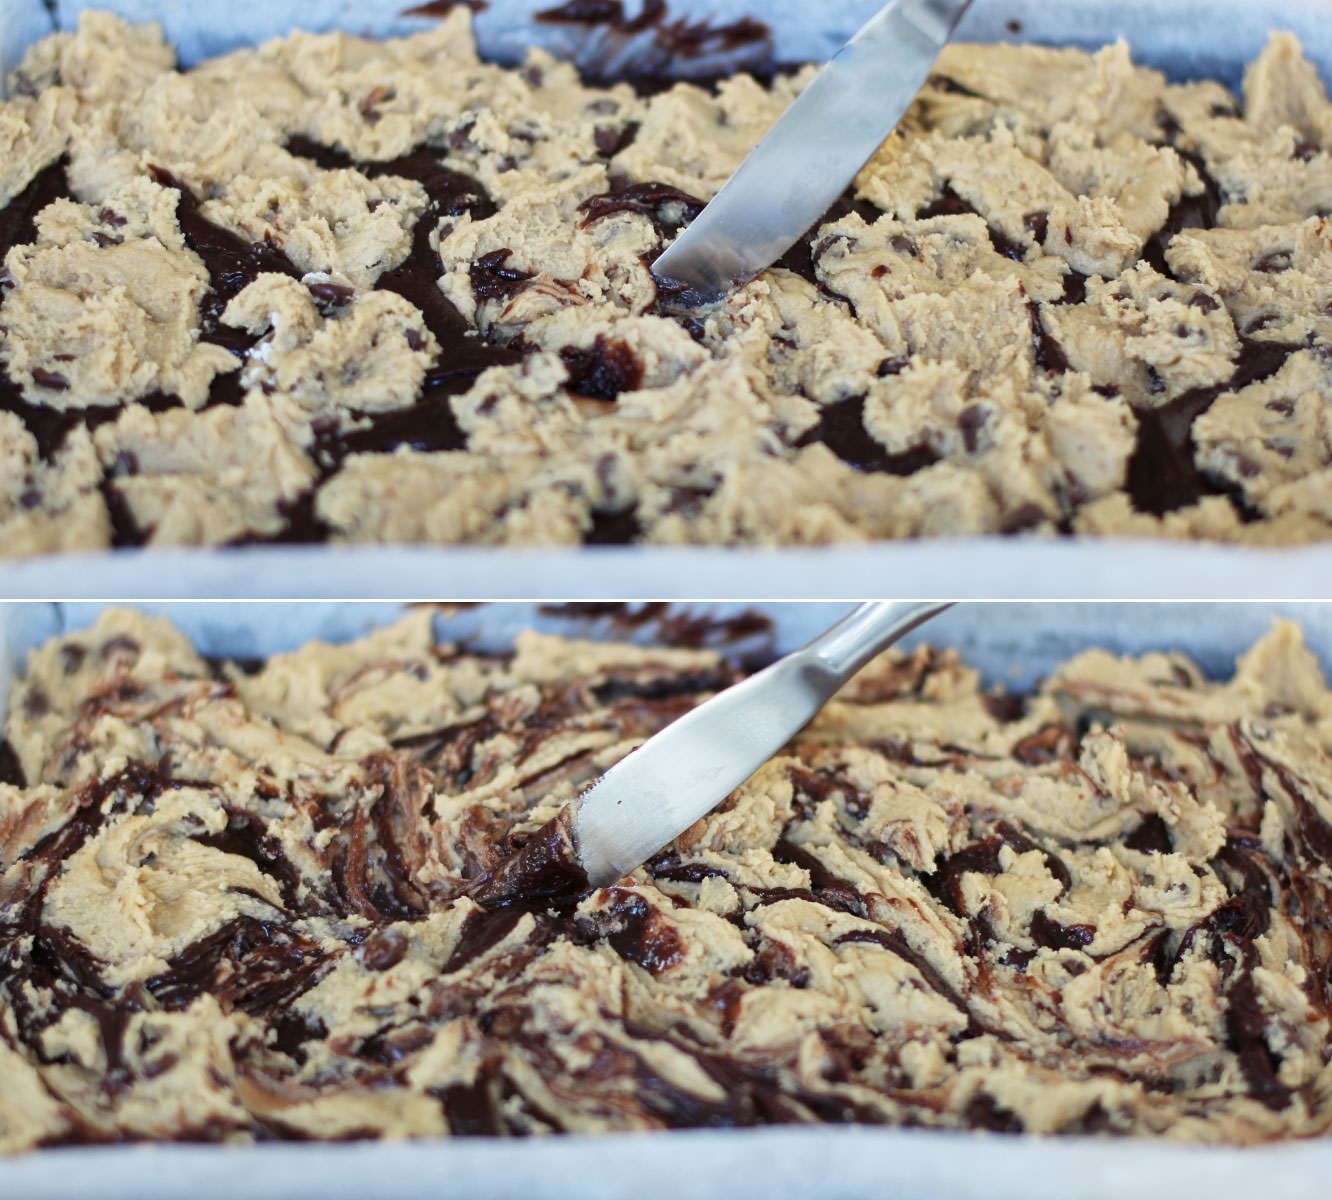
Using a pair of teaspoons drop blobs of the batter onto the surface of the brownie mixture.

cookie-dough-brownie-recipe-gif

cookie-dough-brownie-recipe-6

Step eleven

Push the cookie dough blobs down a bit with the back of a spoon and use a butter knife to make a marbled effect on top.

Step twelve

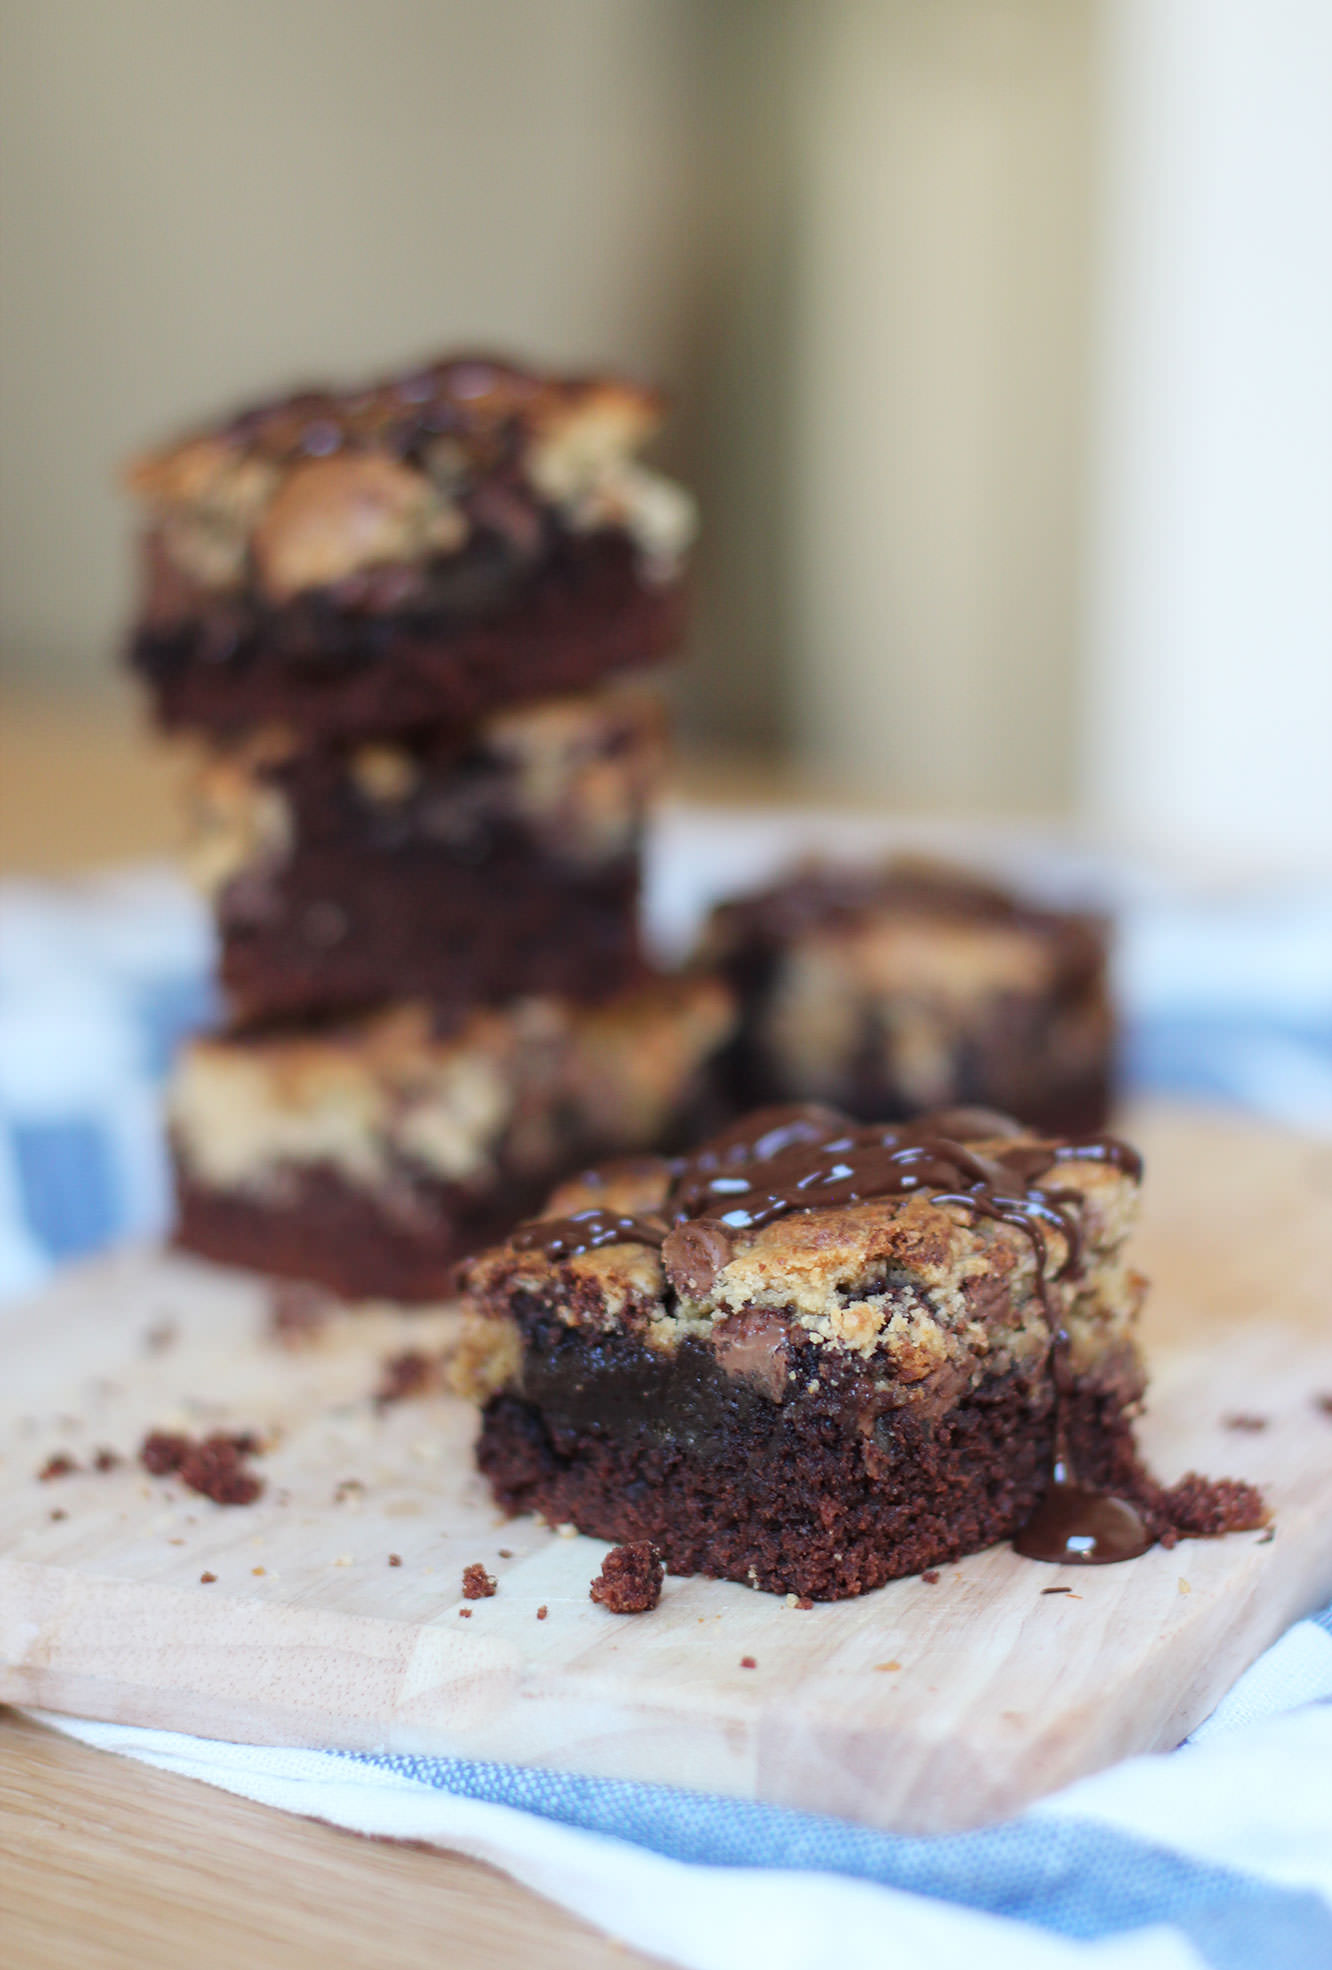
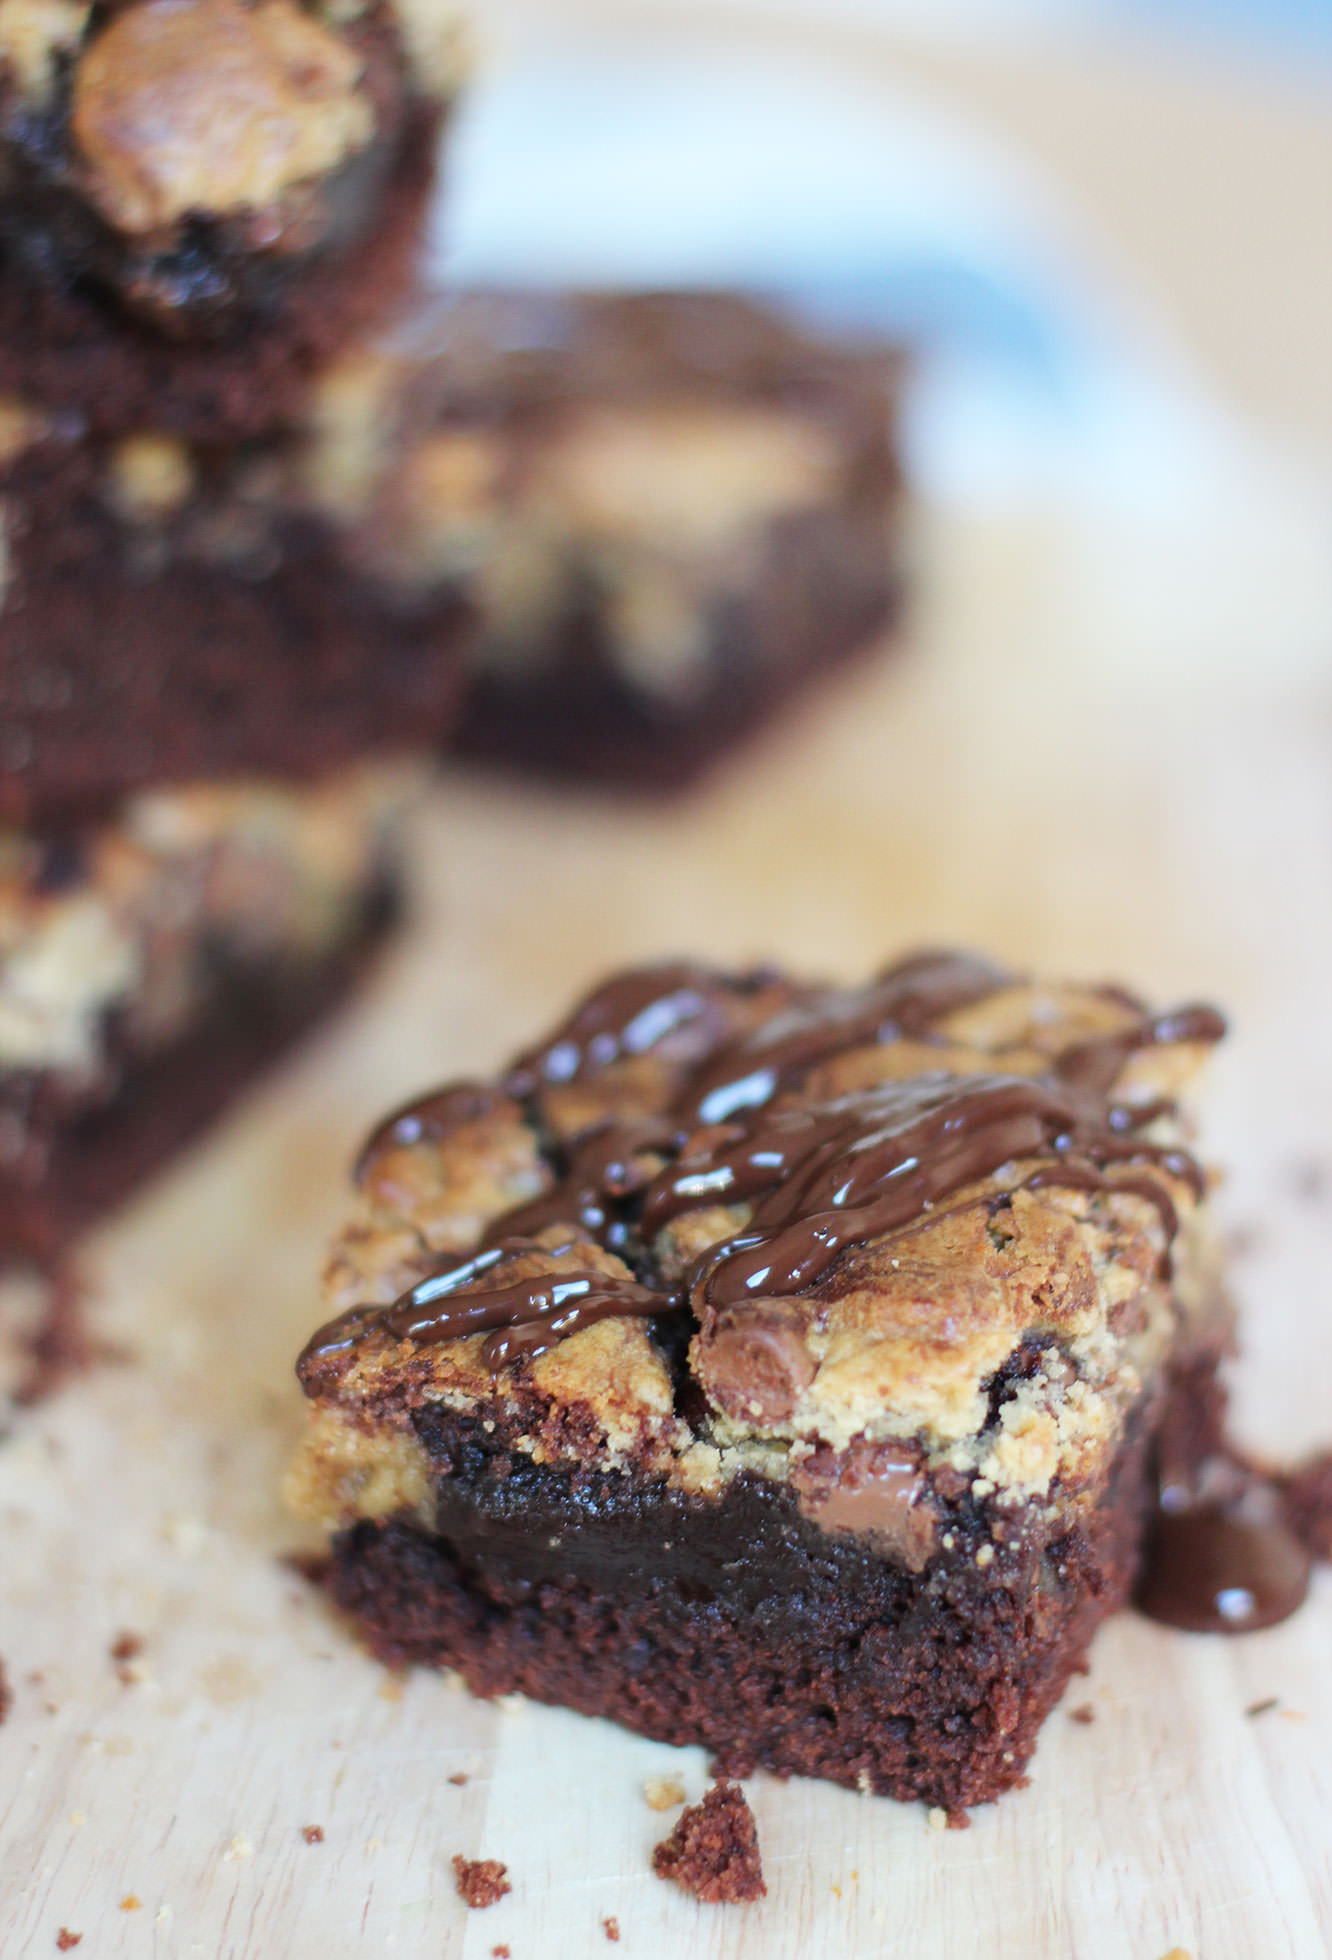
Bake in the oven for 30-35 minutes on 180C/350F/gas mark 4. You want there to still be a bit of fudgey chocolate between the brownie and cookie so be careful not to over do it.

Step thirteen

Melt the dark chocolate in the microwave and drizzle over with a spoon.

cookie-dough-brownie-recipe-8

cookie-dough-brownie-recipe-9

Yeah. You are so welcome.

Look out for Mr Stork

February. For me, the pits of the calendar. Nobody really needs February. It just extends winter for too long, and personally, by the time we’re a week into it I’m ready to bid farewell to the chilly winds and rains and usher in March and April.

This time round however, Spring came early to a very special household. My wonderful friends Hannah and David had a BEAUTIFUL baby boy earlier this month, shaking off the winter blues. I’m head over heels for the little bundle already and can’t wait to see him grow.

As if I needed an excuse to craft eh?

This is a great little project if you already have kiddies and are expecting another, as the older siblings can definitely lend a hand.

For the impatient ones, yes, there is a picture of bubba at the bottom.

how-to-make-baby-mobile

Things you need

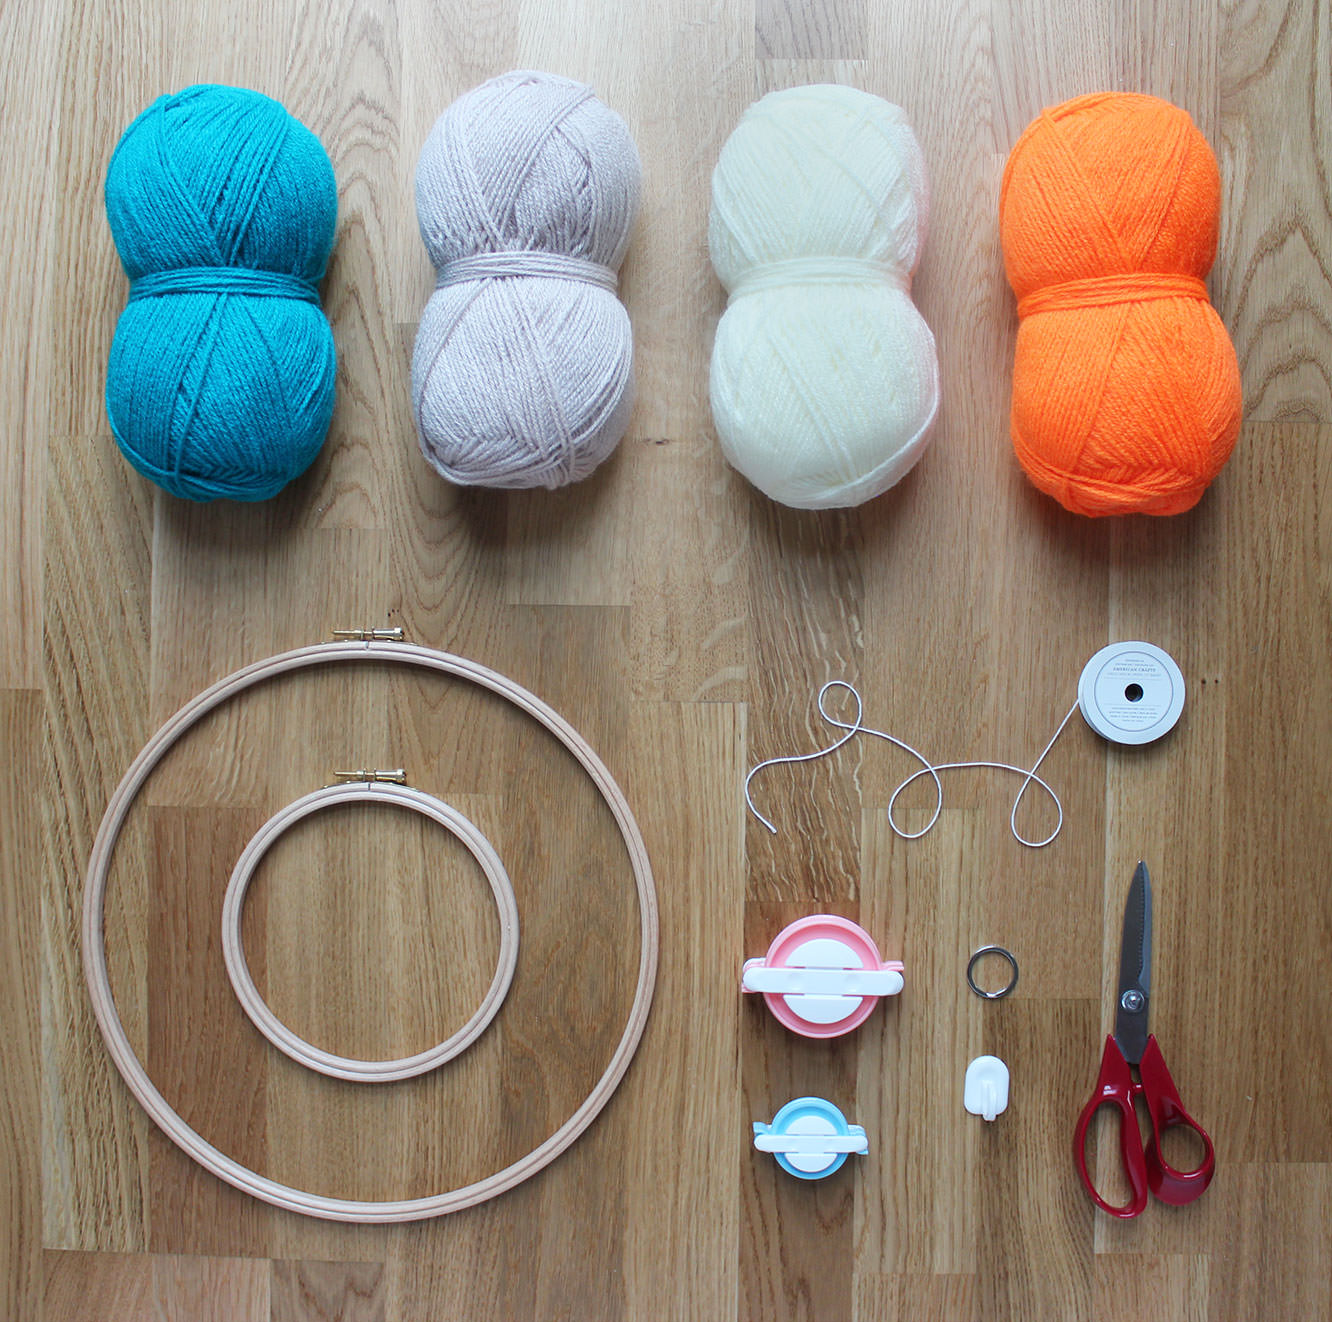
12″ Embroidery hoop

9″ Embroidery hoop

Wool in a variety of colours (perfect for using up offcuts)

Pom pom makers in a variety of sizes (or cardboard, see below)

Double sided tape

Needle and thread

A sticky hook

A keyring

2-3m String

how-to-make-baby-mobile-1

Step one

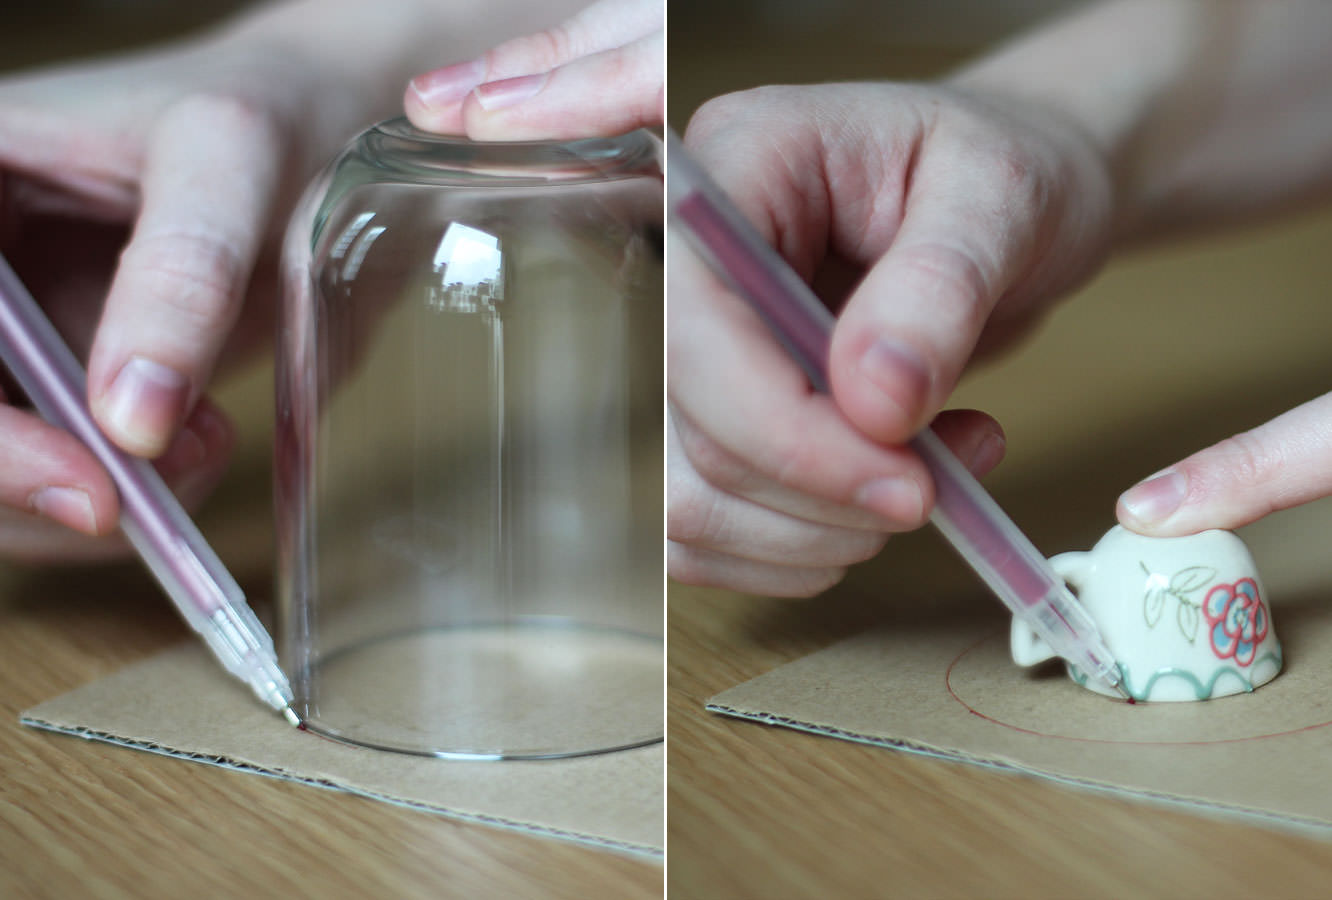
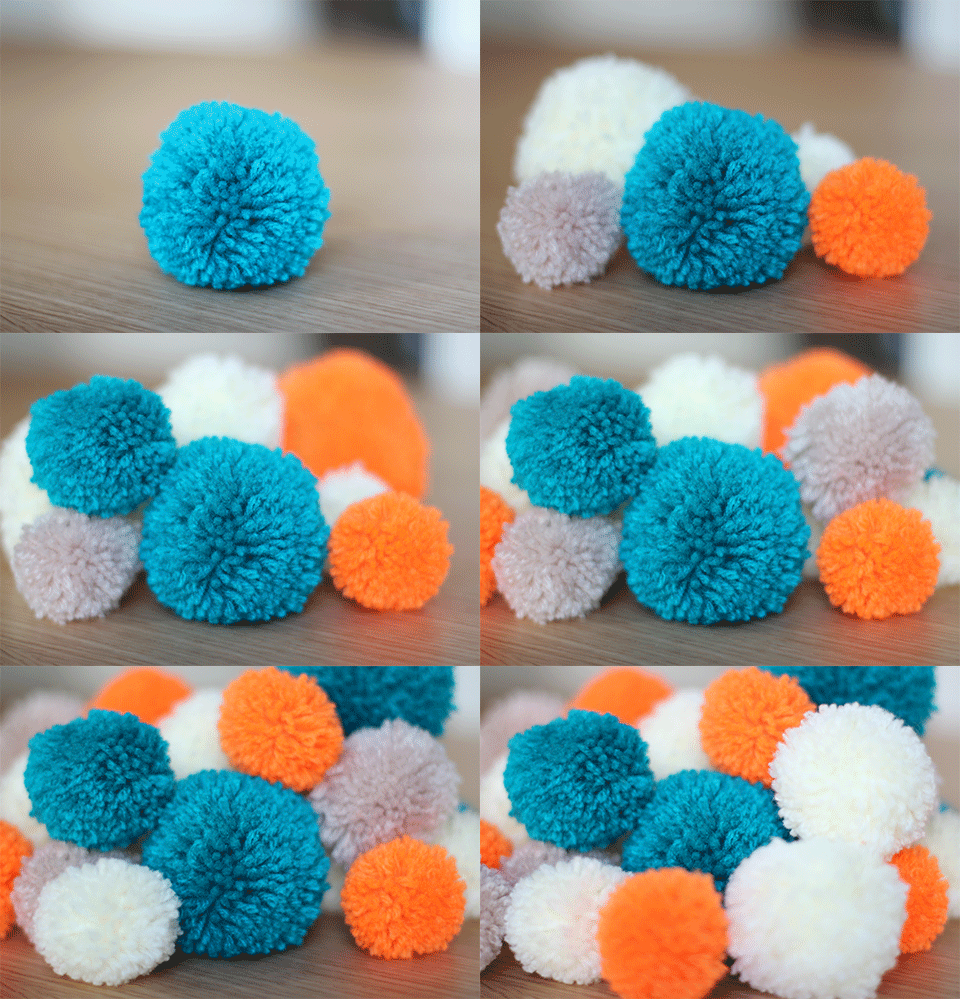
For those of you without pom pom makers (for goodness sake buy some) draw round a variety of circular objects to make differently sized cardboard hoops for your pom poms. You will need to make two hoops per size.

If you have pom pom makers, none of this is for you, skip to step 8 and relish in the fact you loved yourself enough to shell out £4 to save your sanity. All you guys need to do is follow the, in all likelihood hilariously translated, instructions on the back of your packet of pom pom makers. I bought mine on eBay from China, I strongly suggest you do the same.

how-to-make-baby-mobile-2

Step two

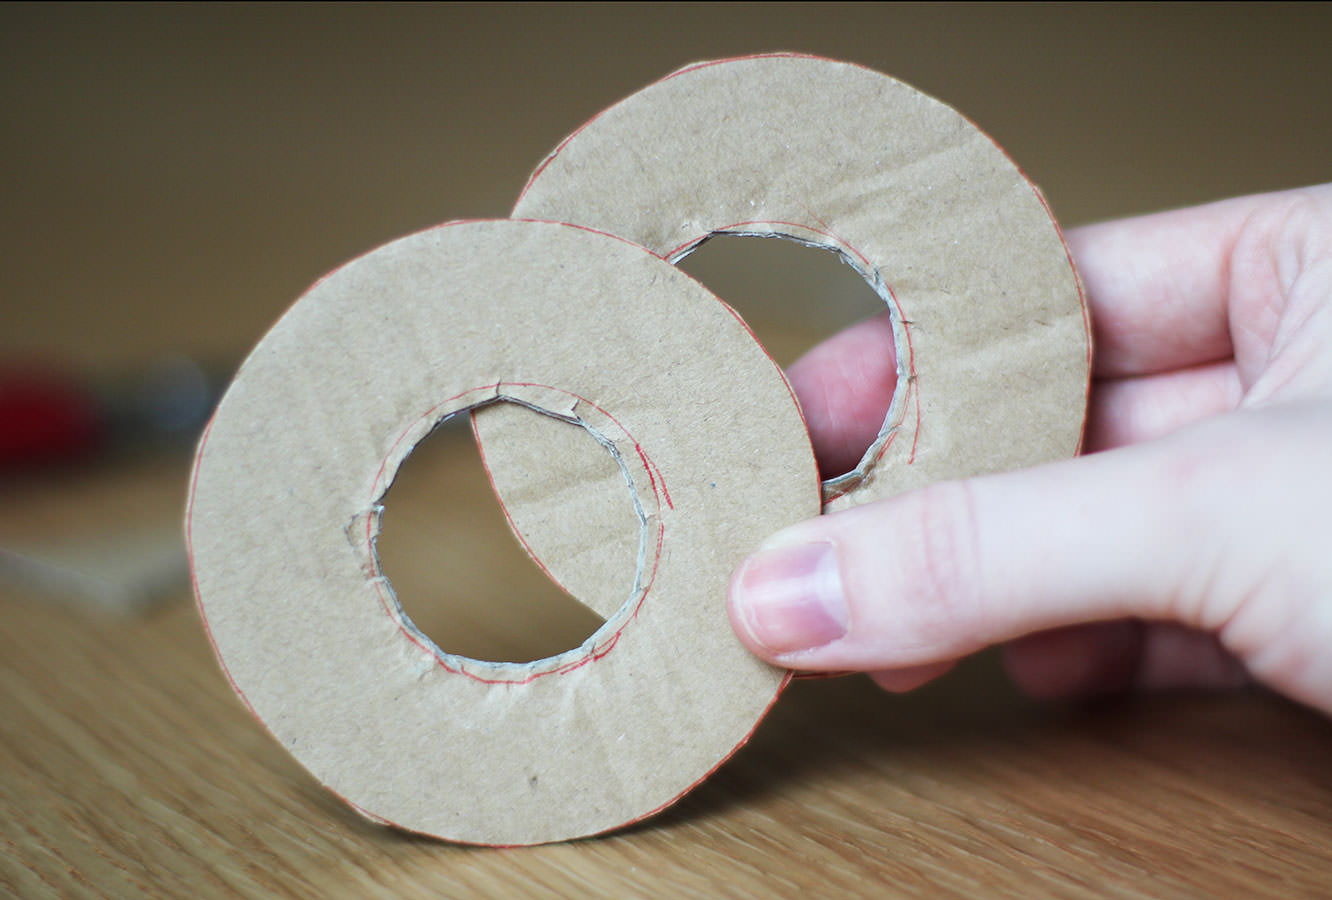
Cut out the hoops so that you have a hole in the centre. Don’t worry if they’re messy, it won’t impact your poms.

how-to-make-baby-mobile-3

Step three

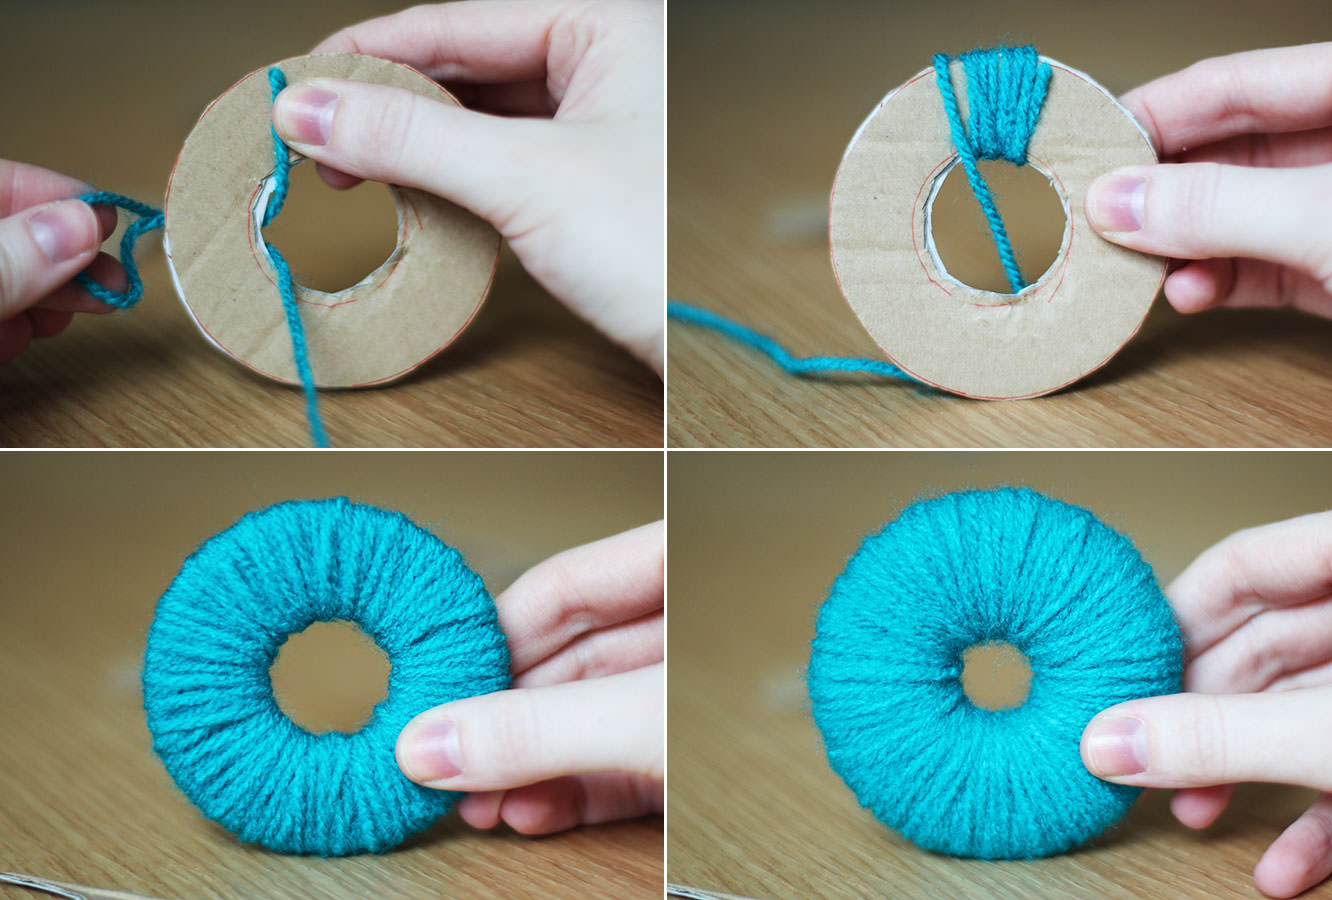
Sandwich the two pieces of cardboard together and wrap lengths of wool around and around.

You do this by pulling the end of the wool through the centre of the disk and back over the edge.

Keep going as long as you can, but essentially the fuller the hole in the middle the plusher your pom pom will be.

how-to-make-baby-mobile-4

Step four

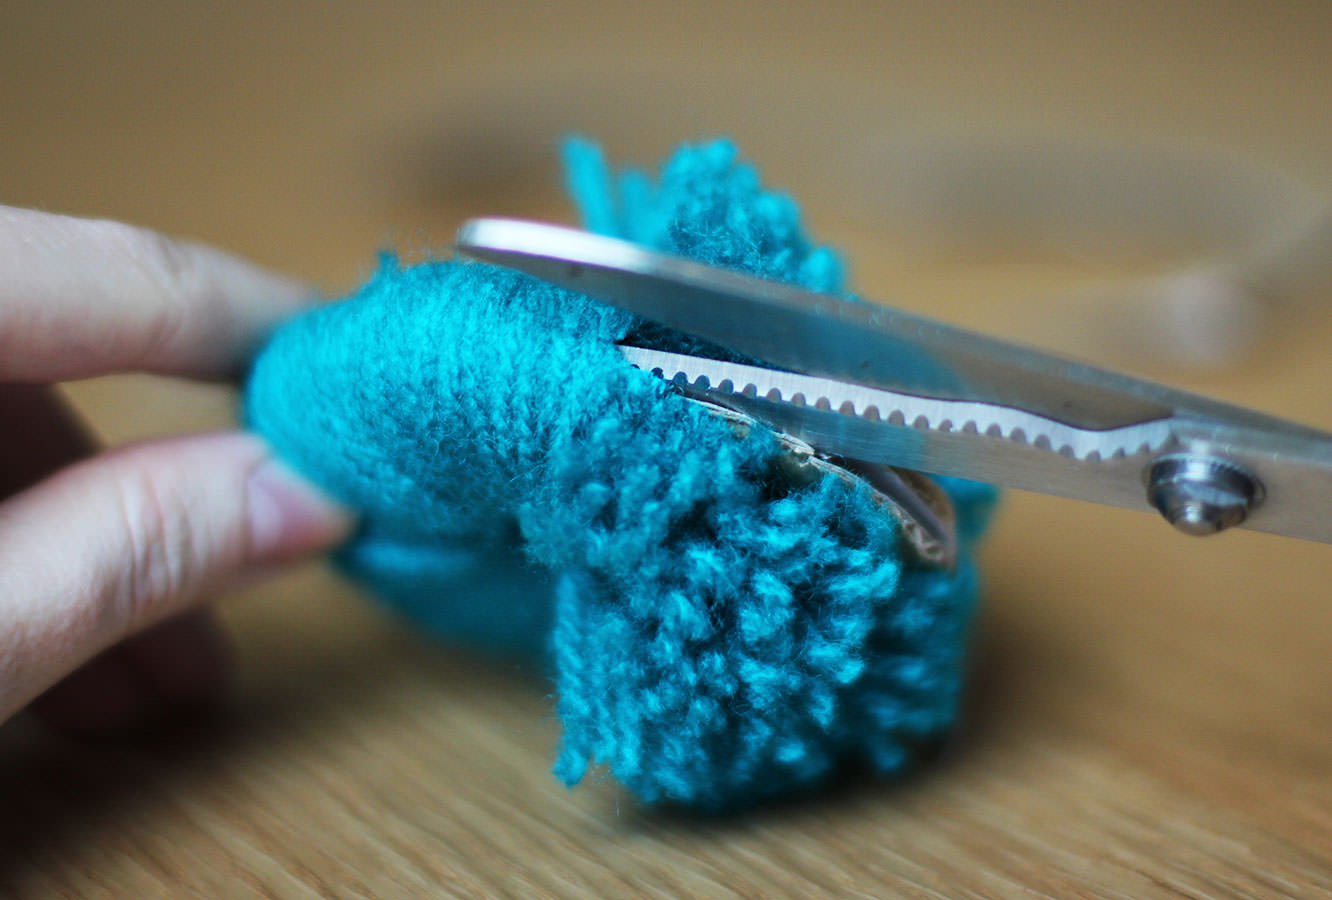
Using scissors cut round the circumference of the ring.

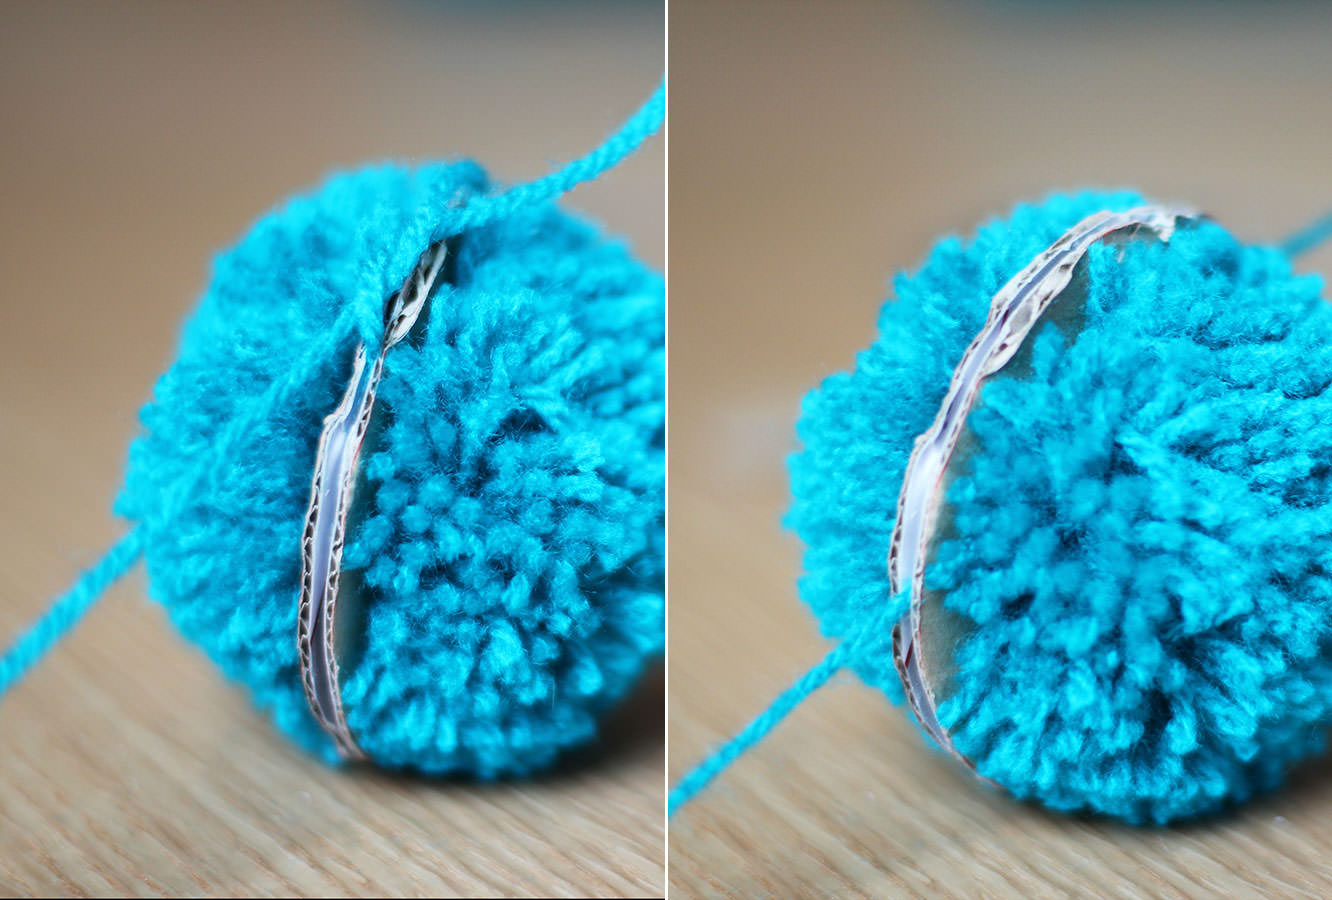
Once you’ve made a few snips you should be able to get the scissors between the two layers of card which then makes this very quick.

how-to-make-baby-mobile-5

Step five

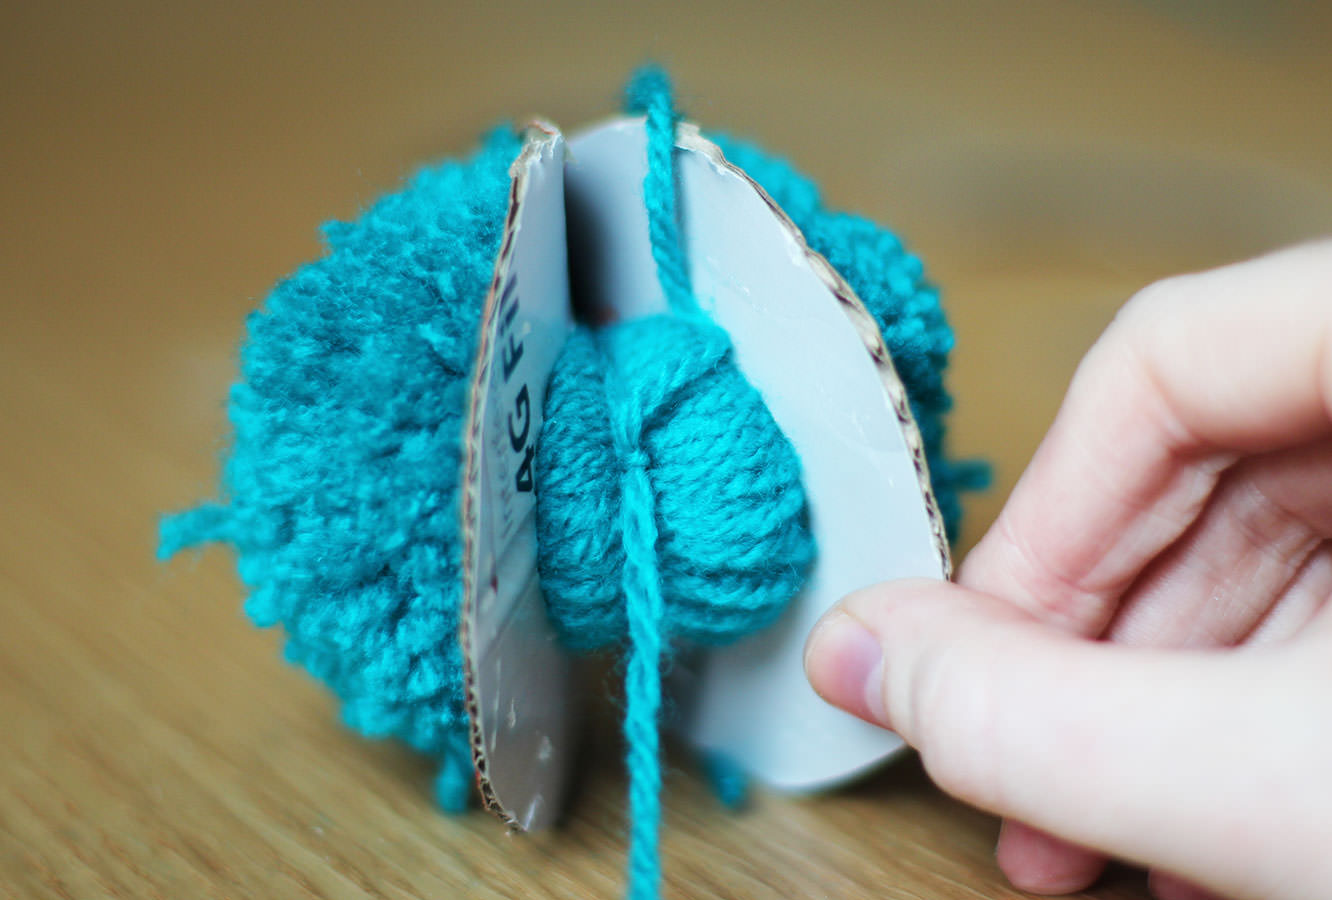
Wrap a length of wool around the edge and tie a knot in between the cardboard layers. I always do a few for good measure.

how-to-make-baby-mobile-6

Step six

Pull the cardboard rings off to release your pom pom.

how-to-make-baby-mobile-7

Step seven

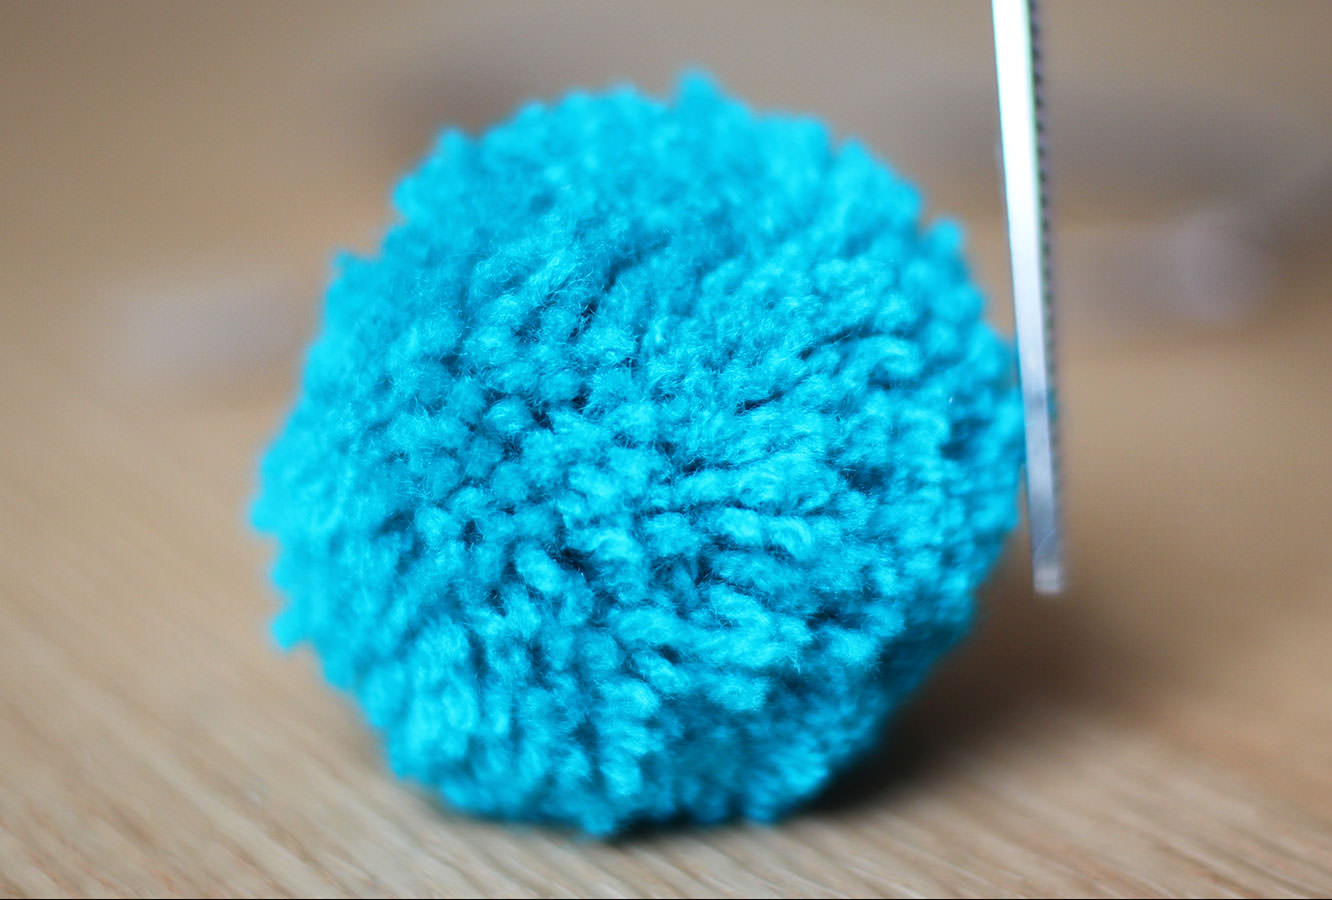
Trim any straggly bits to neaten it all up.

how-to-make-baby-mobile-gif

Step eight

Repeat until you have at least 24 pom poms of different sizes and colours.

how-to-make-baby-mobile-10

Step nine

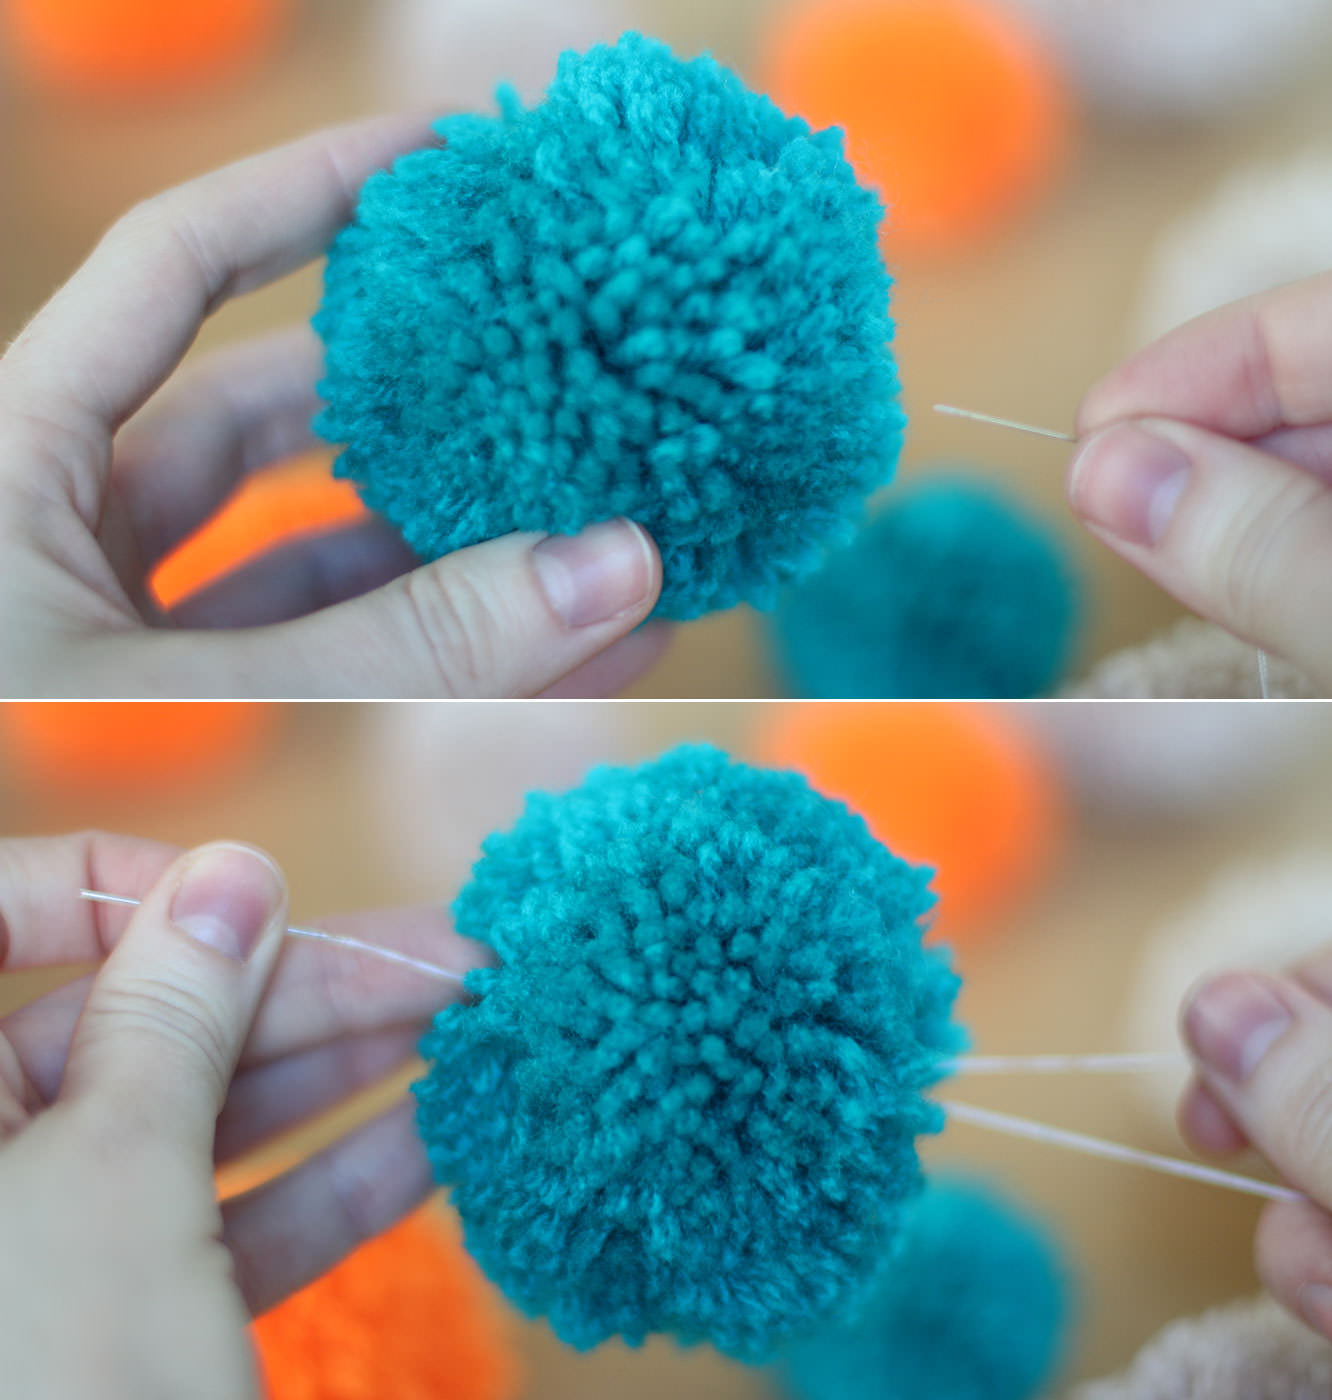
Sew the pom poms to varying lengths of cotton thread in twos (or if you’ve made more, then keep adding them!)

I went back and forth through each pom pom a few times so they didn’t slip down/fall off the end.

I recommend doing this randomly, or you’ll drive yourself crazy! Plus it looks better for baby if they are dotted about as the different levels of perspective means you can see more.

how-to-make-baby-mobile-8

Step ten

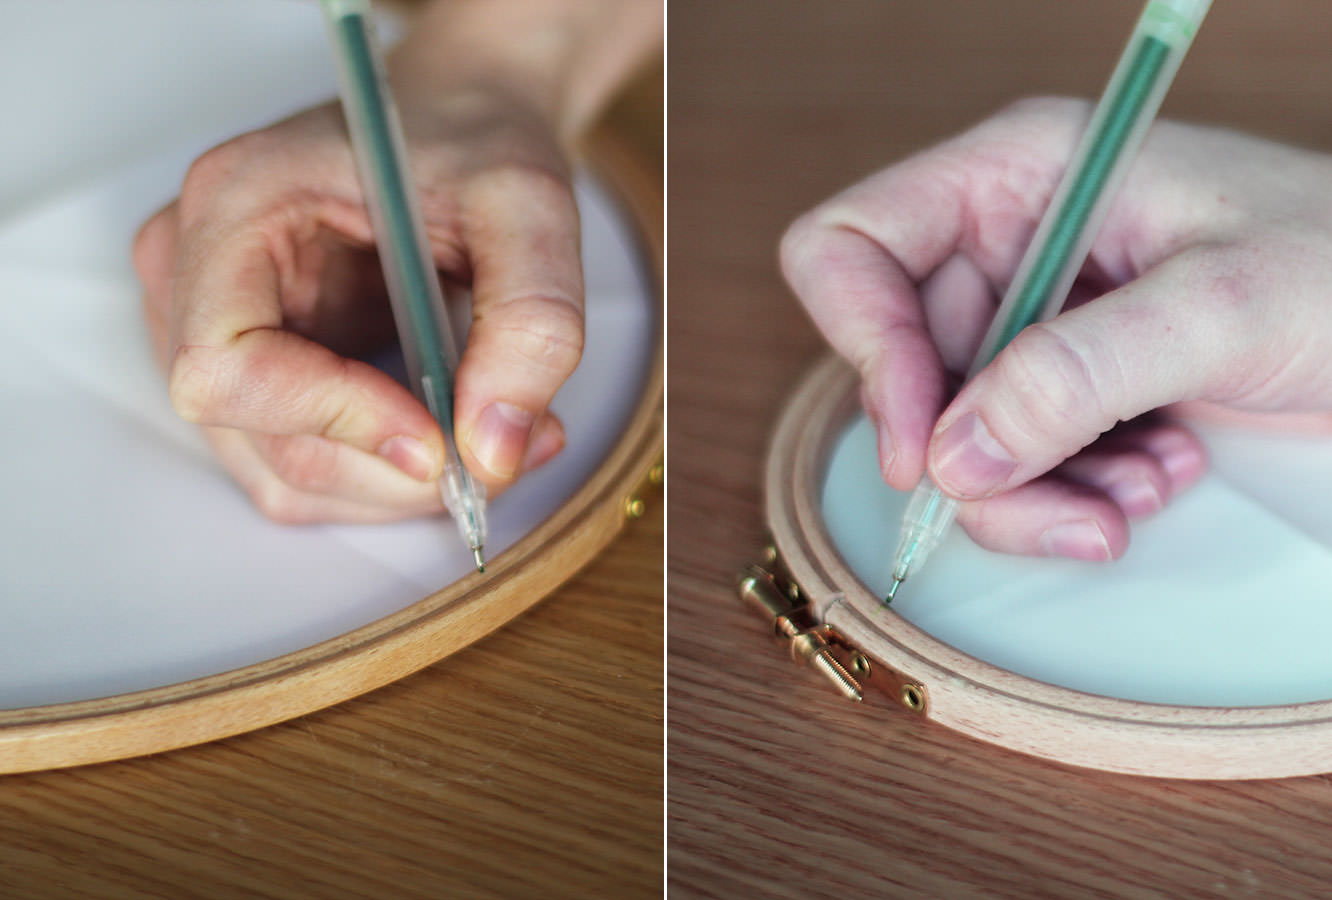
Cut a paper/newspaper circle that fits inside the embroidery hoops. Fold each in half three times so you get 8 equal segments.
Placing the paper circles into the hoops mark out the eighths.

how-to-make-baby-mobile-9

Step eleven

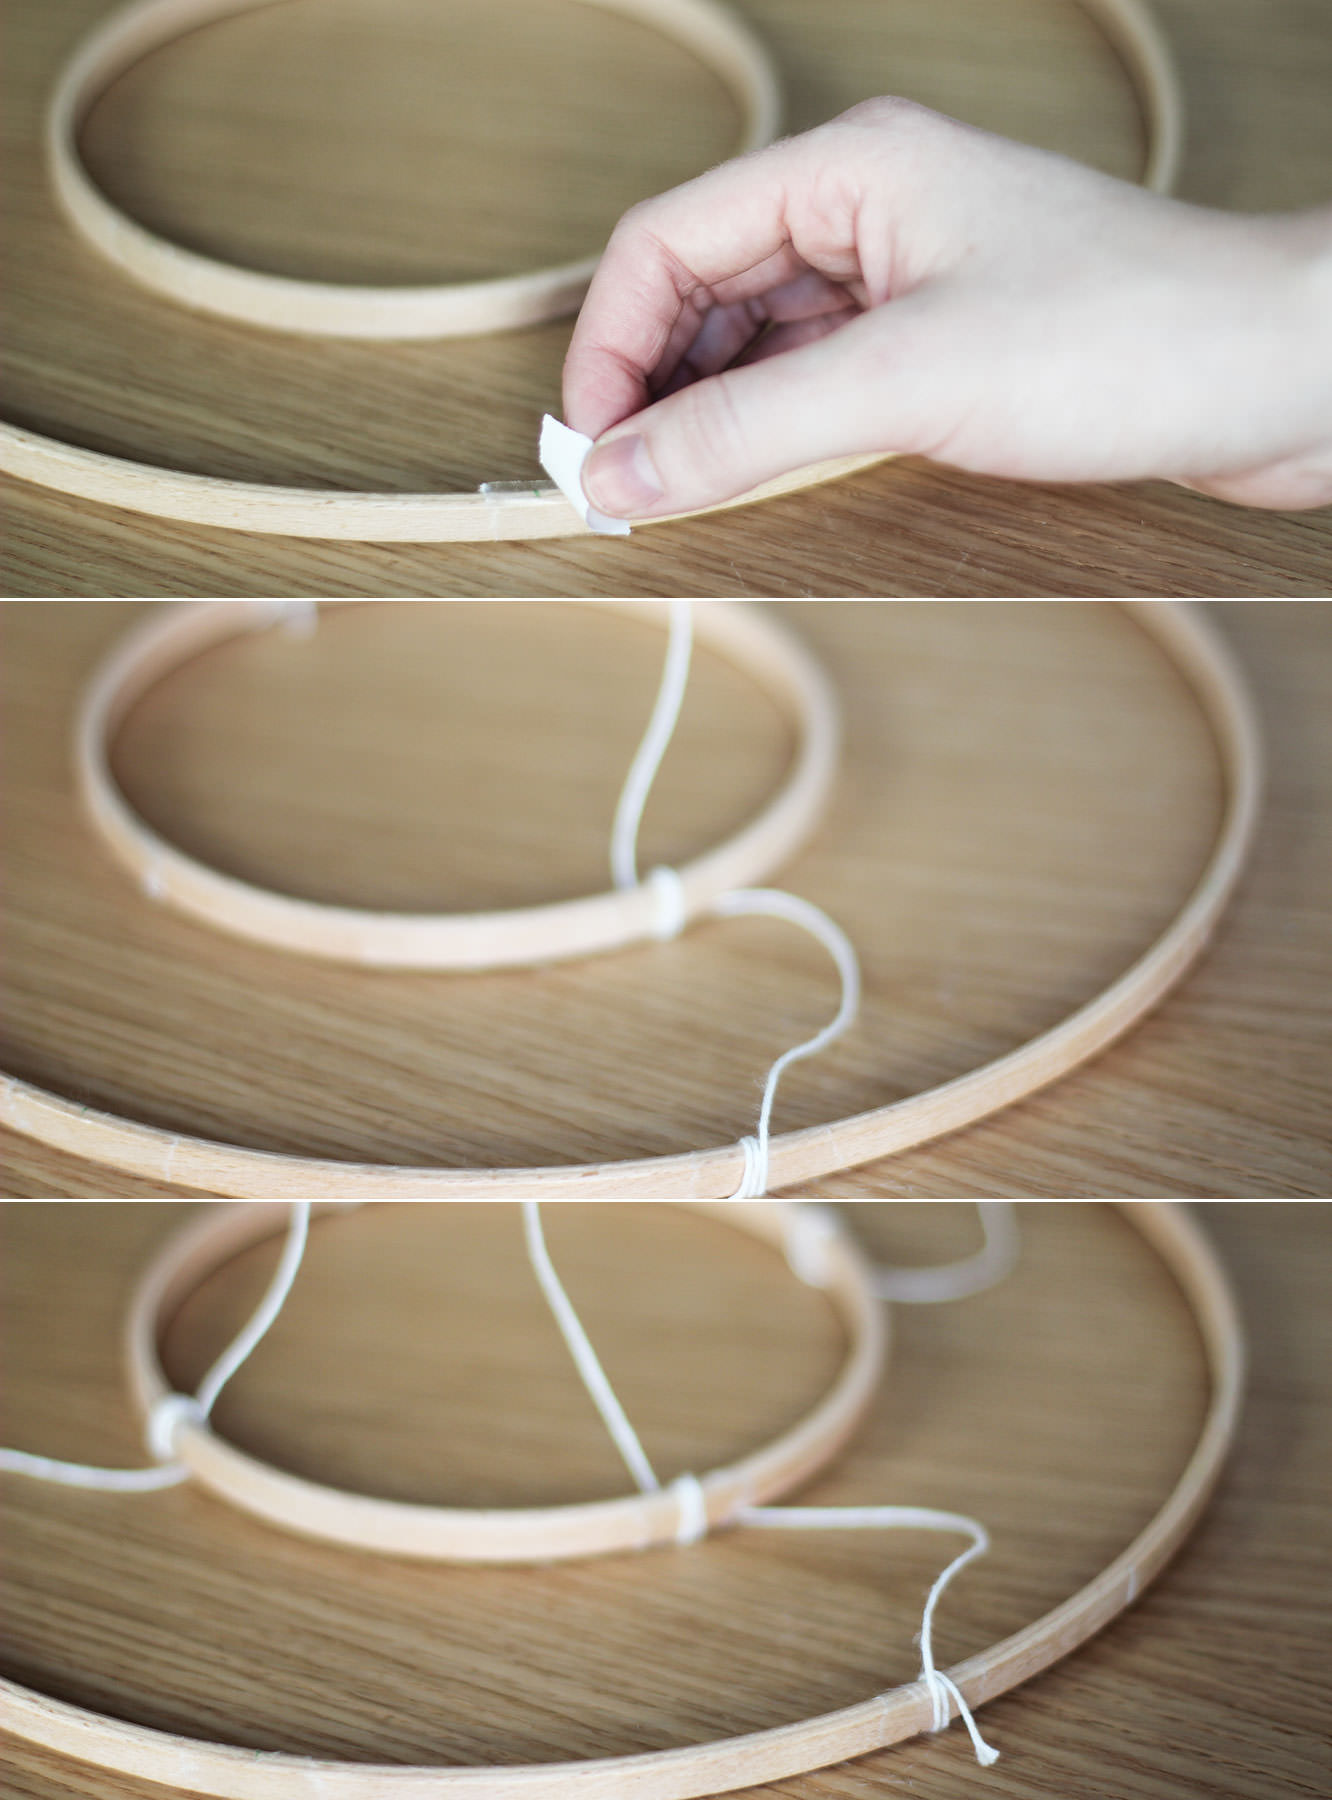
Remove the outer hoops and stick a small strip of double sided tape by each marker.

Step twelve

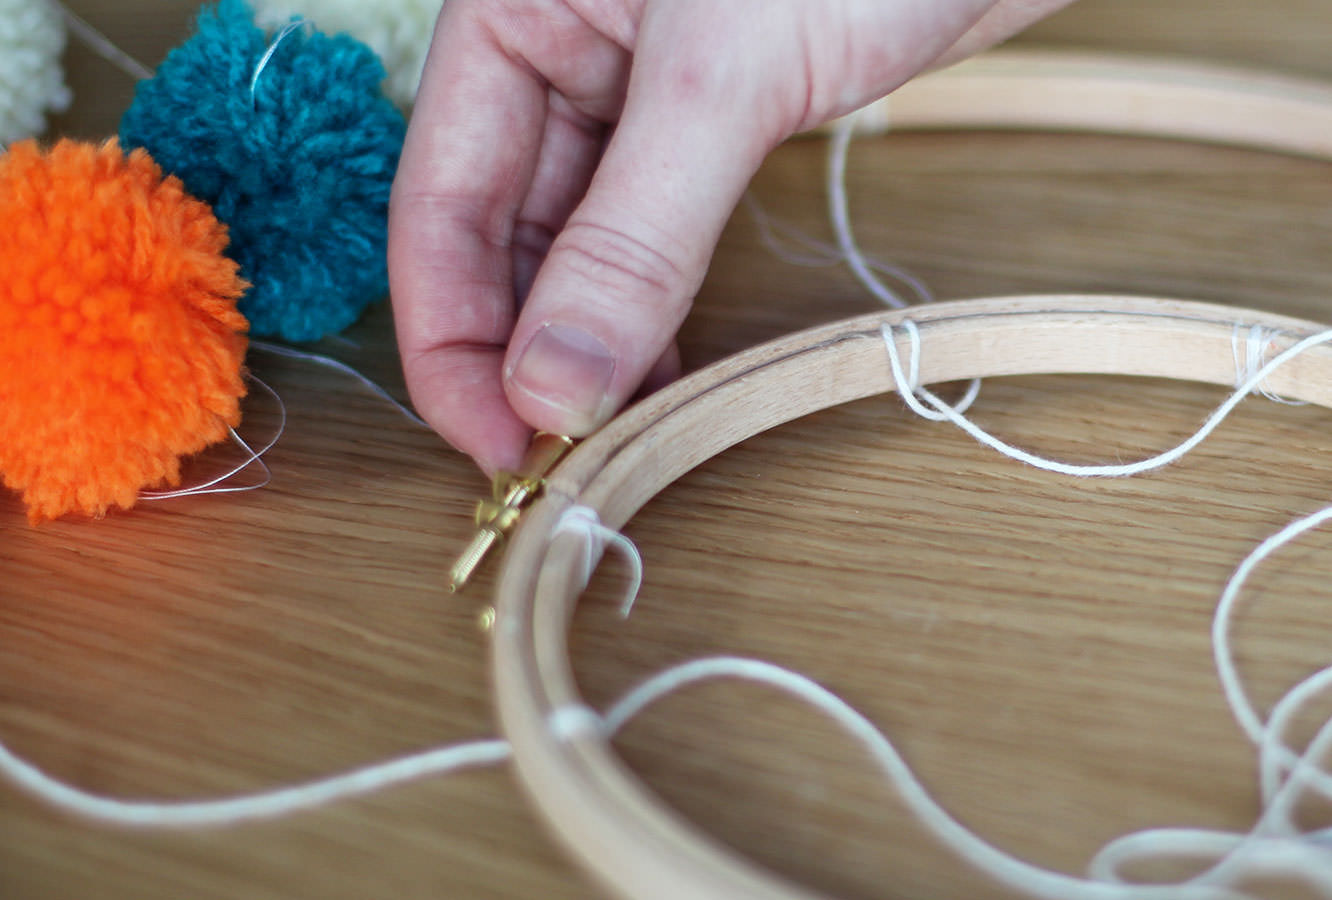
Attach two pieces of string to hang the mobile by. They need to wrap around both the outer and inner hoops and be as even as possible.

Try to make it so that the string comes out from under the hoop at all points. Otherwise you’ll do what I did and put the outer hoop on top, one will be over and the whole thing will hang a bit wonky. Distressed isn’t the word.

how-to-make-baby-mobile-12

Step thirteen

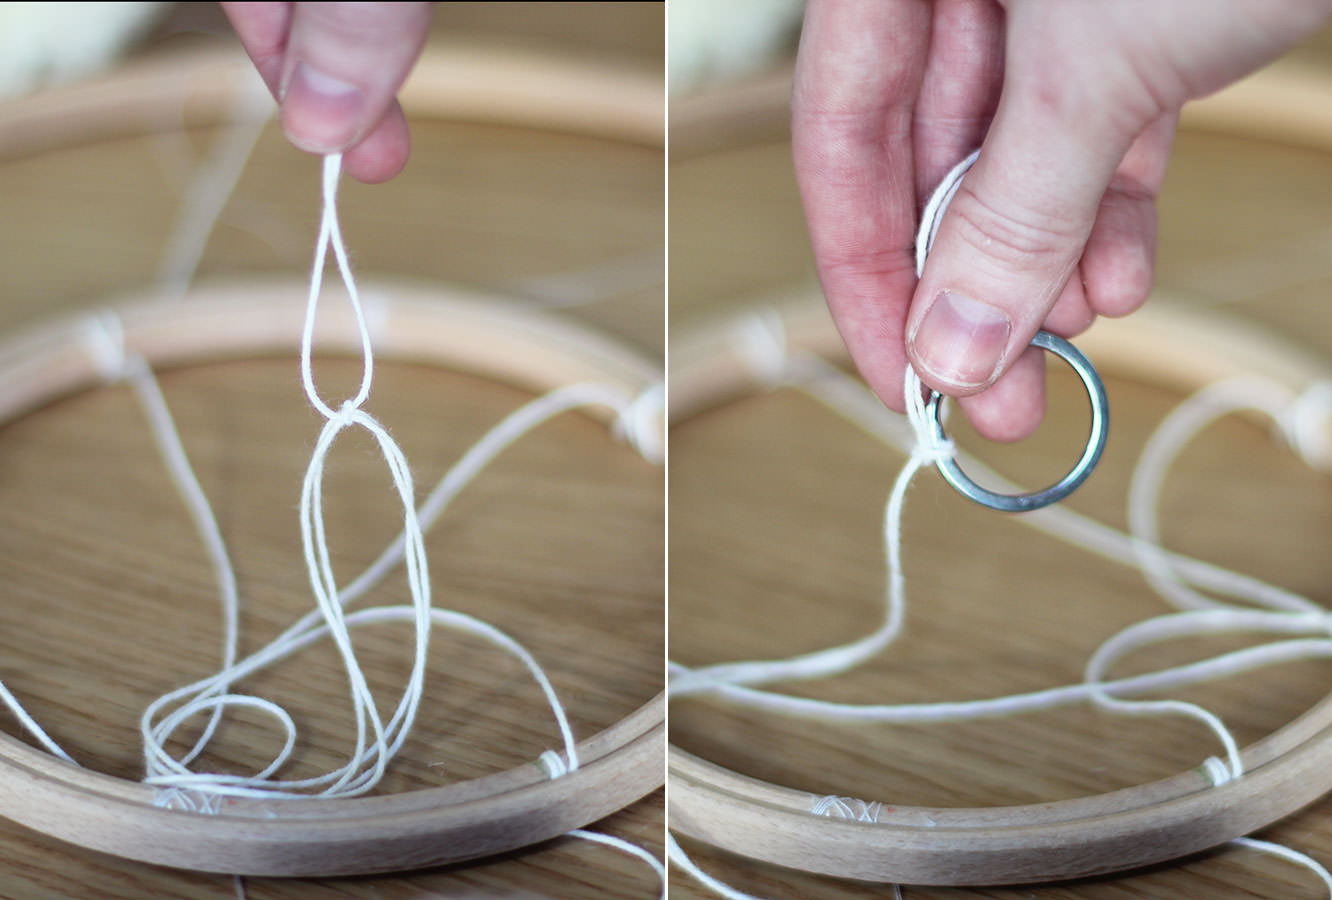
Tie a longish piece of string (this will totally depend on your ceiling to cot distance) to connect the crossed over pieces you just attached to the hoops. Still with me?!

At the other end of that length of string tie a keyring. This is the bit that will enable your mobile to spin round.

Step fourteen

Attach your pom pom lengths, 8 around the outside, 4 around the inside by wrapping the thread round the hoop a few times. The tape should hold them in place quite well.

how-to-make-baby-mobile-11

Step fifteen

Reattach the outer hoops and tighten.

how-to-make-baby-mobile-13

Step sixteen

Using the sticky hook hang from the ceiling.

how-to-make-baby-mobile-14

Step seventeen

Lie under it for a little while. It’s relaxing being a baby.

Wait, that’s not all.

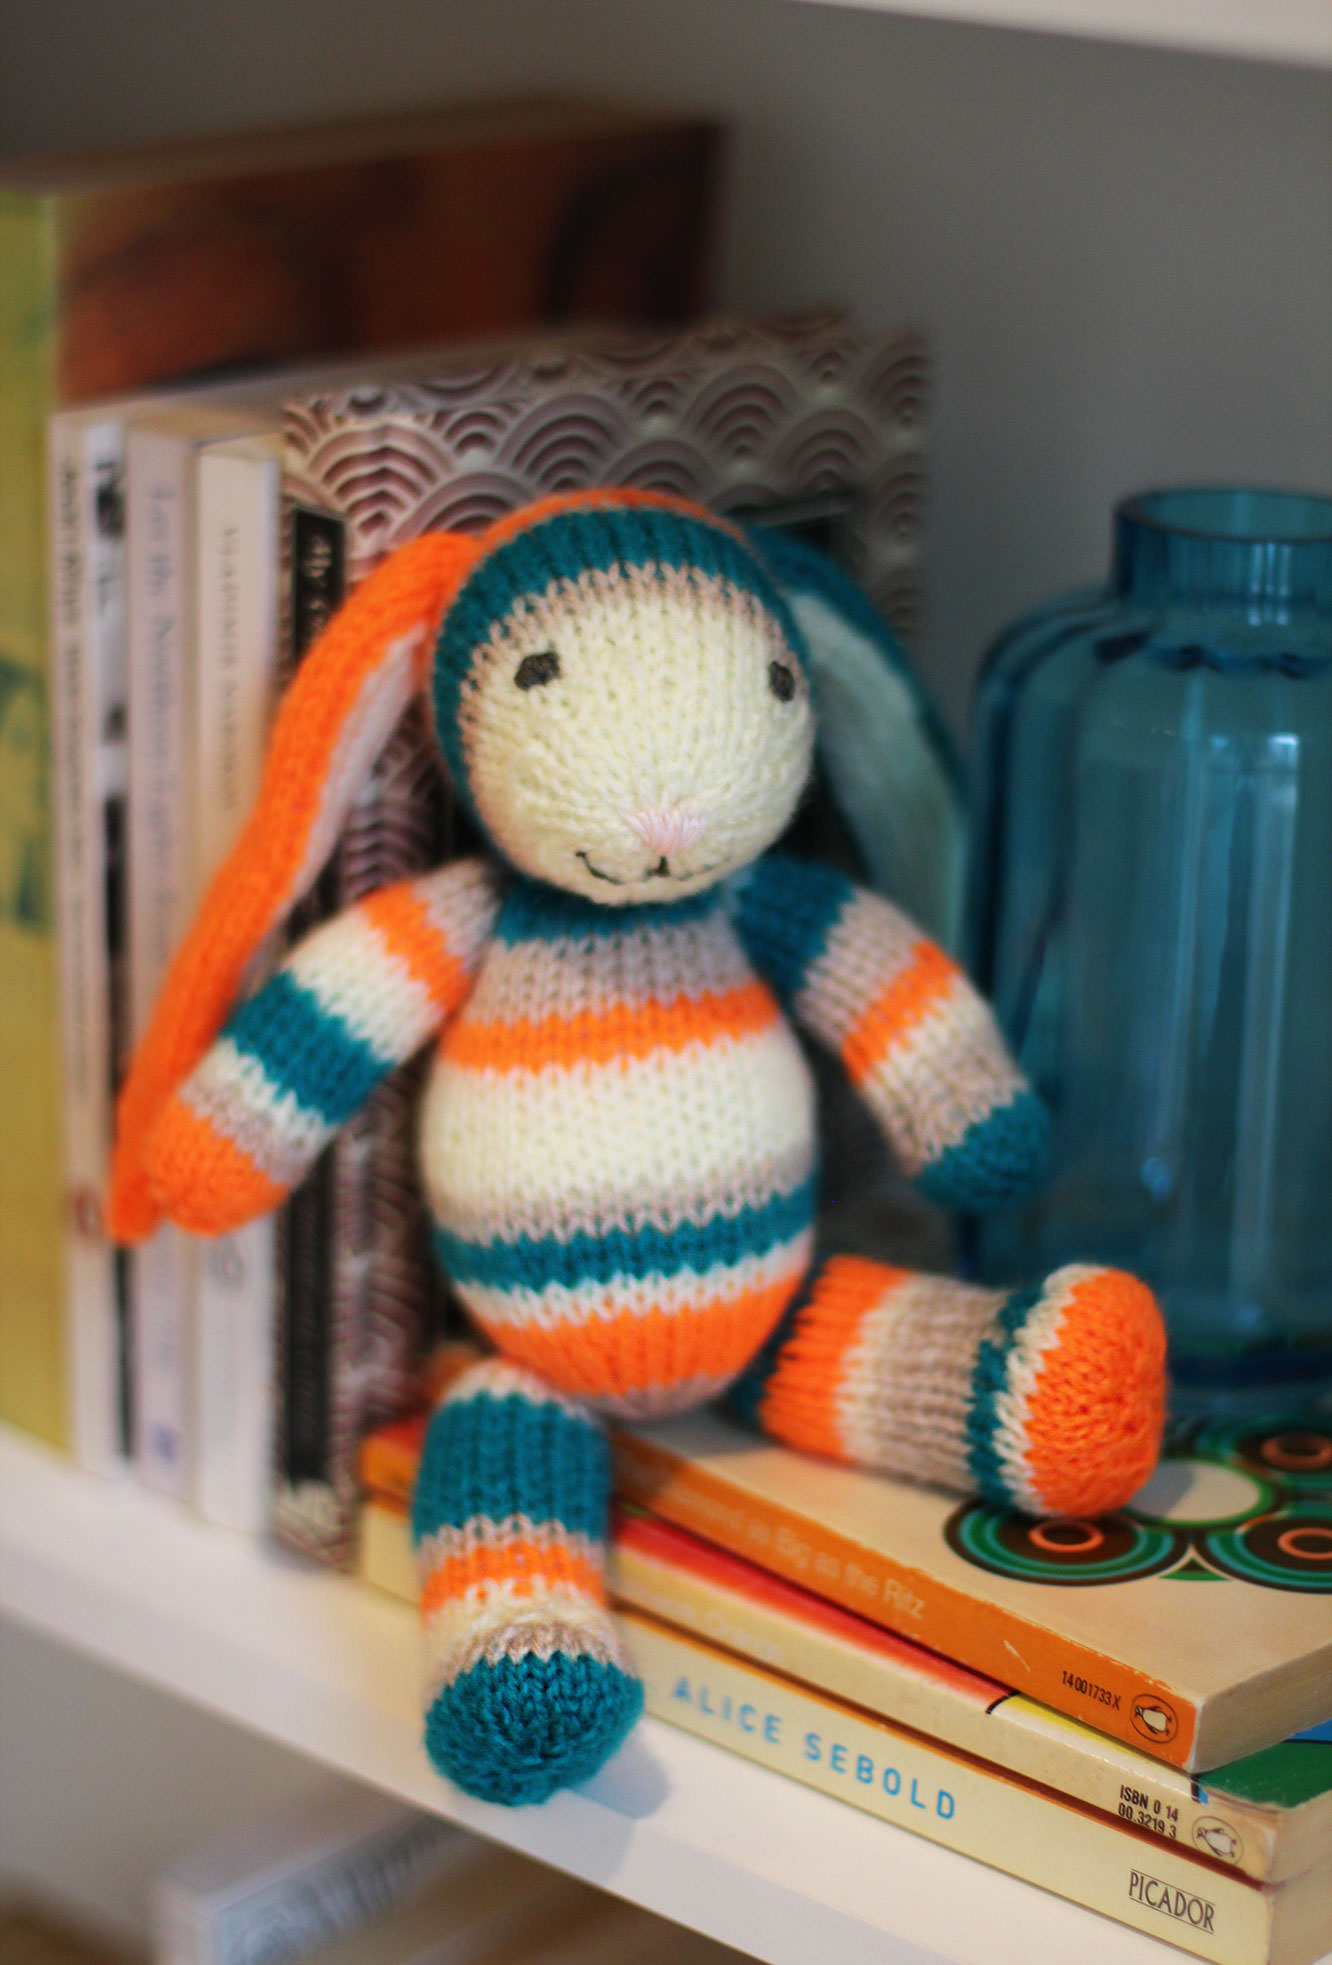
I also couldn’t resist making baby a little friend to match his mobile. Introducing Bernard the bunny.

how-to-make-baby-mobile-15

I haven’t included a step-by-step for Bernard because he’s not my pattern. In fact, this was the first time I’ve ever knitted a ‘creature’ before. He’s not quite the masterpiece I envisaged when I started but full of character and a great beginner knit.

Bernard was knitted from the free fuzzy lamb pattern by Barbara Prime (I just added longer ears). I urge you to visit fuzzymitten.com where you can buy all kinds of super cheap cute and quirky patterns including a bikini clad alpaca and a sloth in a poncho. Barbara’s patterns are adorable and easy to follow.

how-to-make-baby-mobile-17

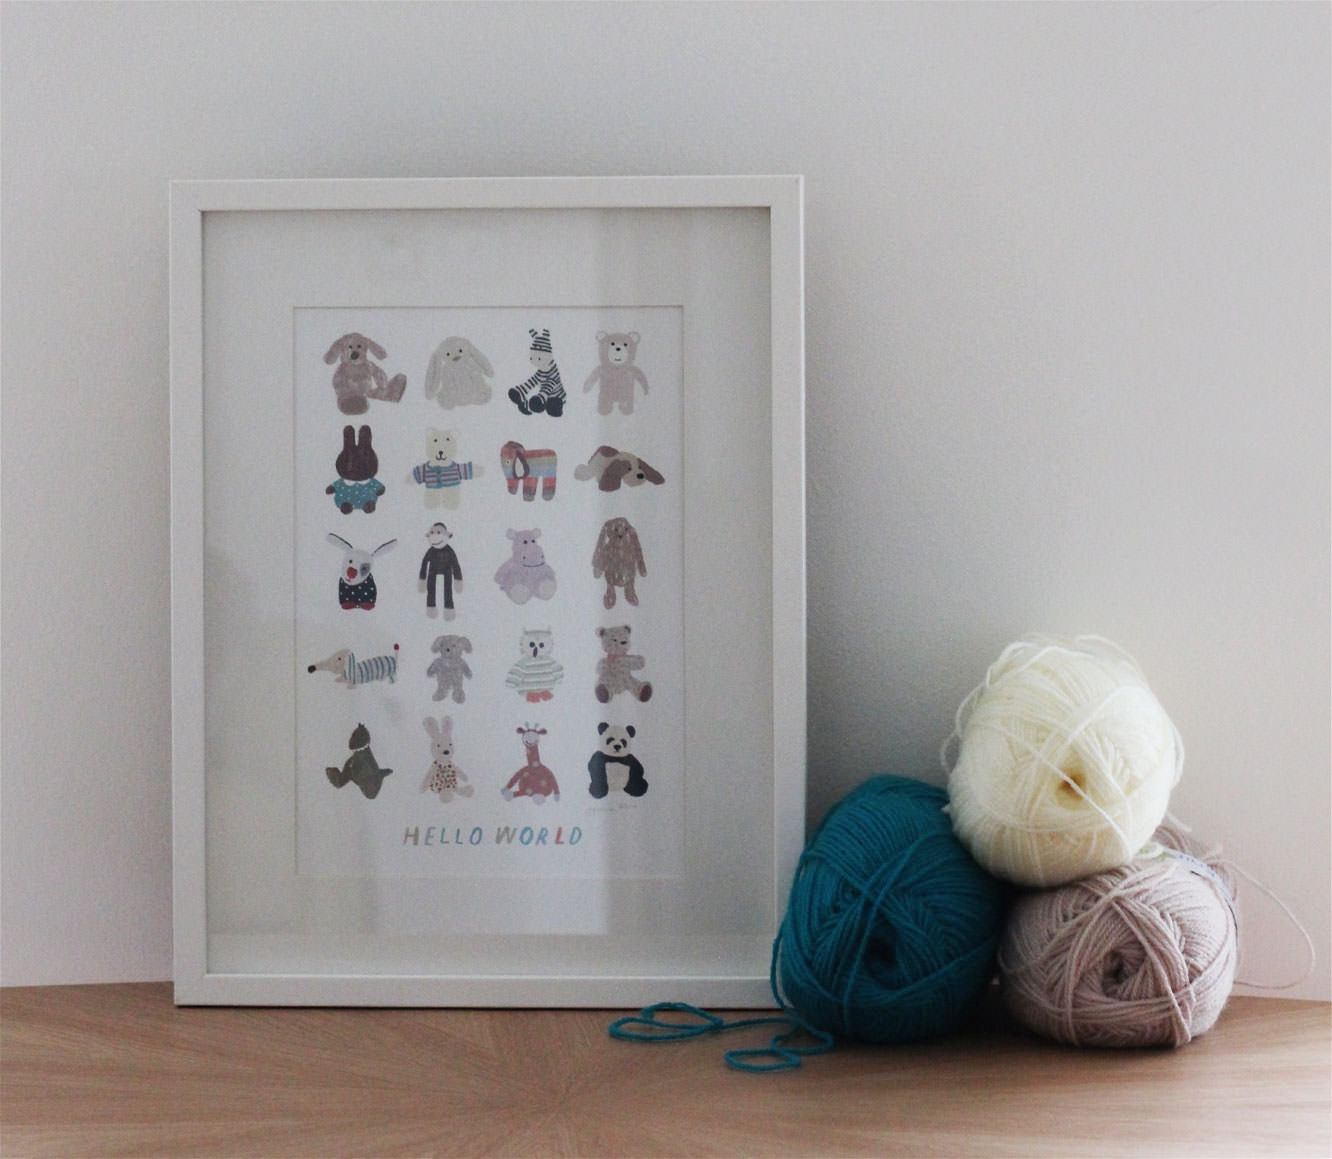
Another plug goes out to Hannah Melin whose ‘Hello World’ print I couldn’t resist at a craft fair just before Christmas. I think it would look lovely on the wall of any nursery.

I should probably make it clear that I’m not being sponsored for either of the above, I just think it’s good to support one’s fellow craftspeople from time to time.

Without further ado, here’s the man of the hour LOOKHOWCUTE.

how-to-make-baby-mobile-16

Ginger breading fun 2014

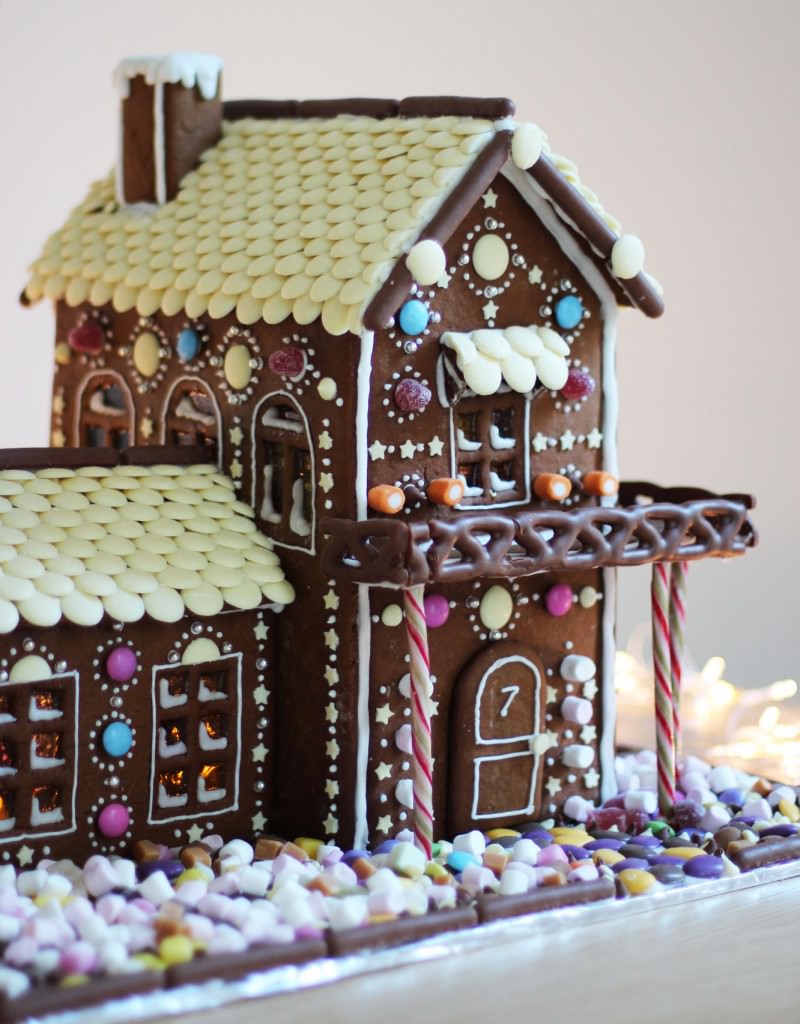
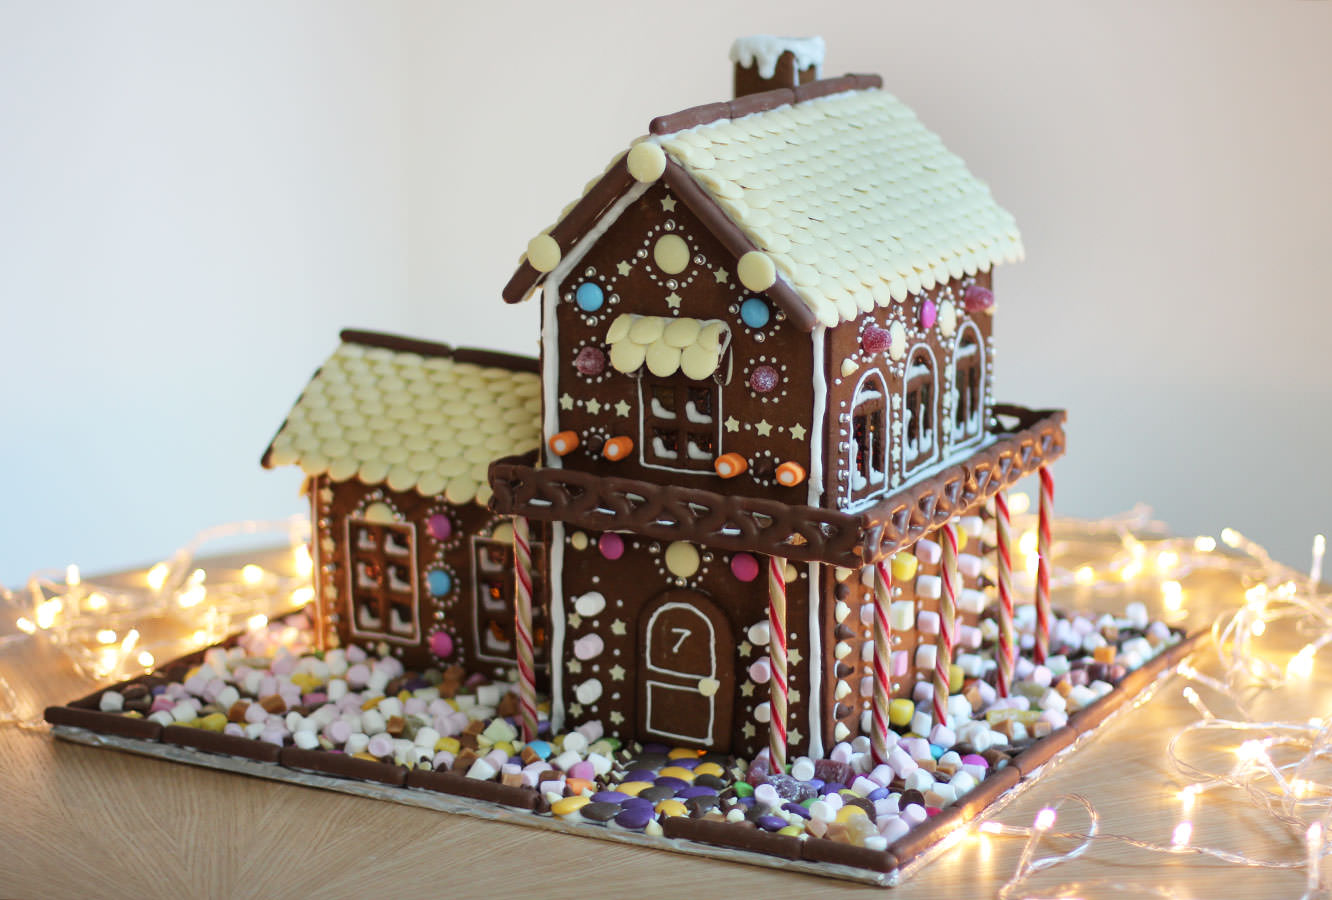
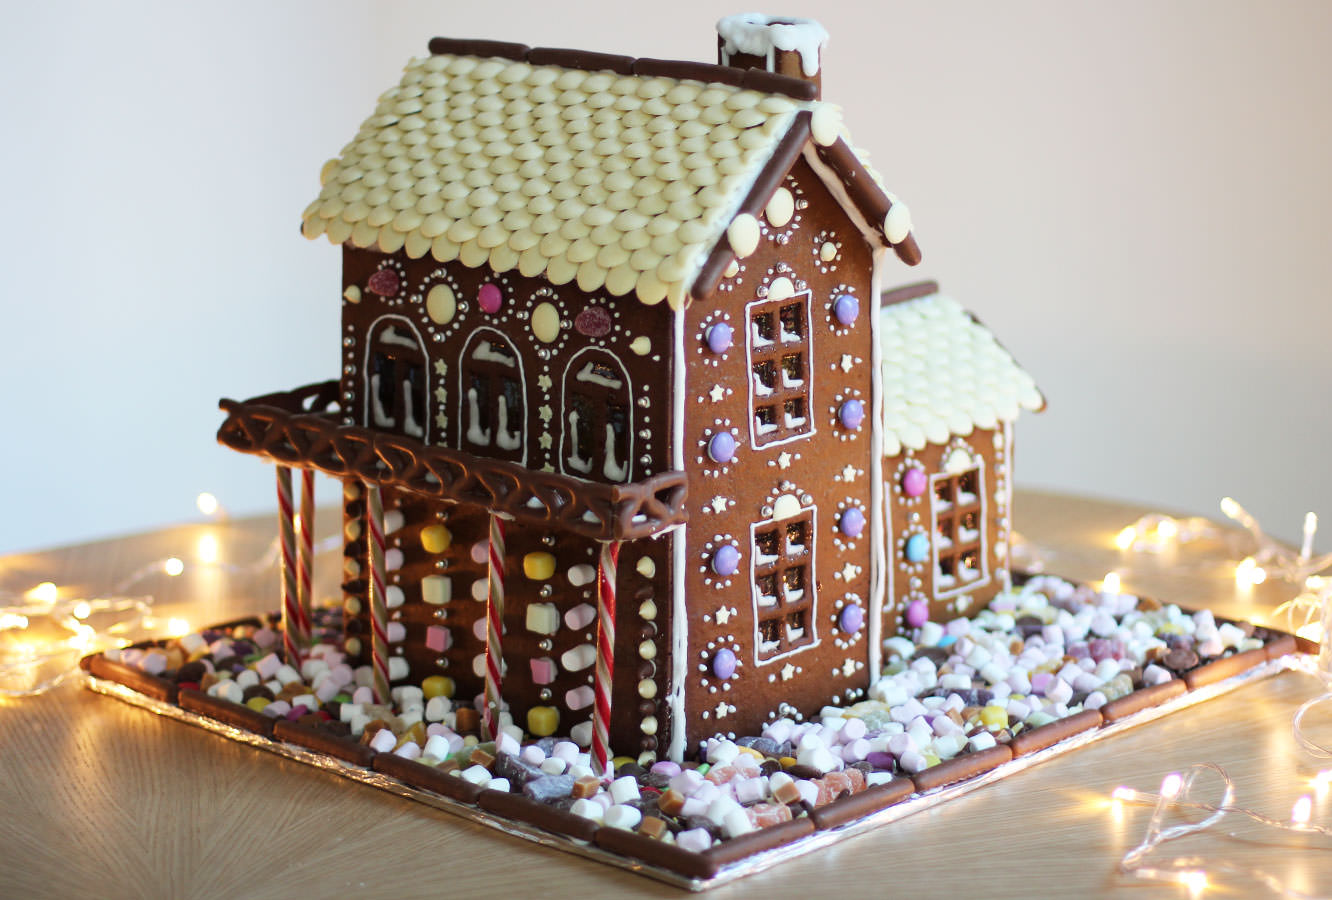
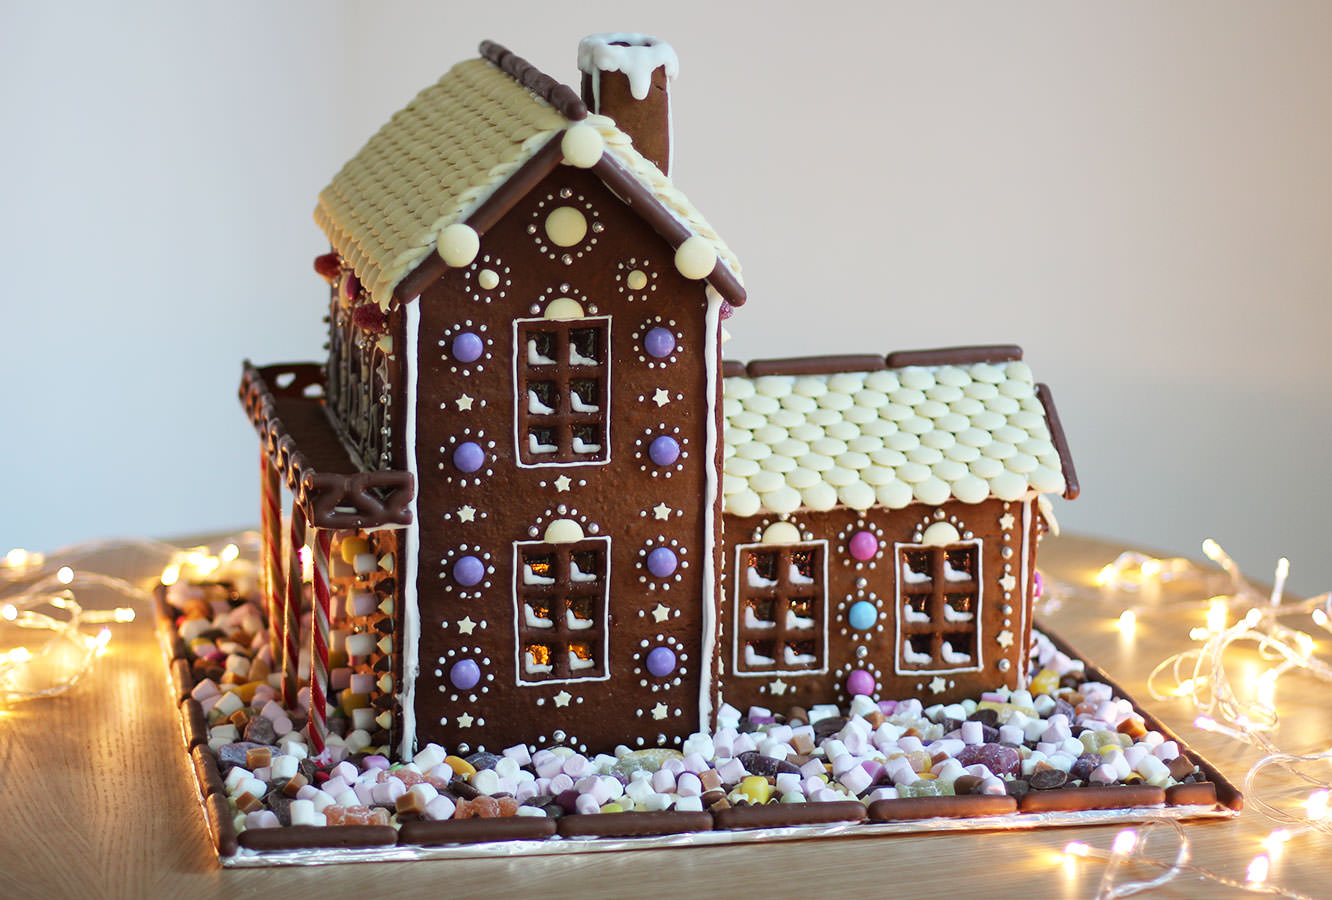
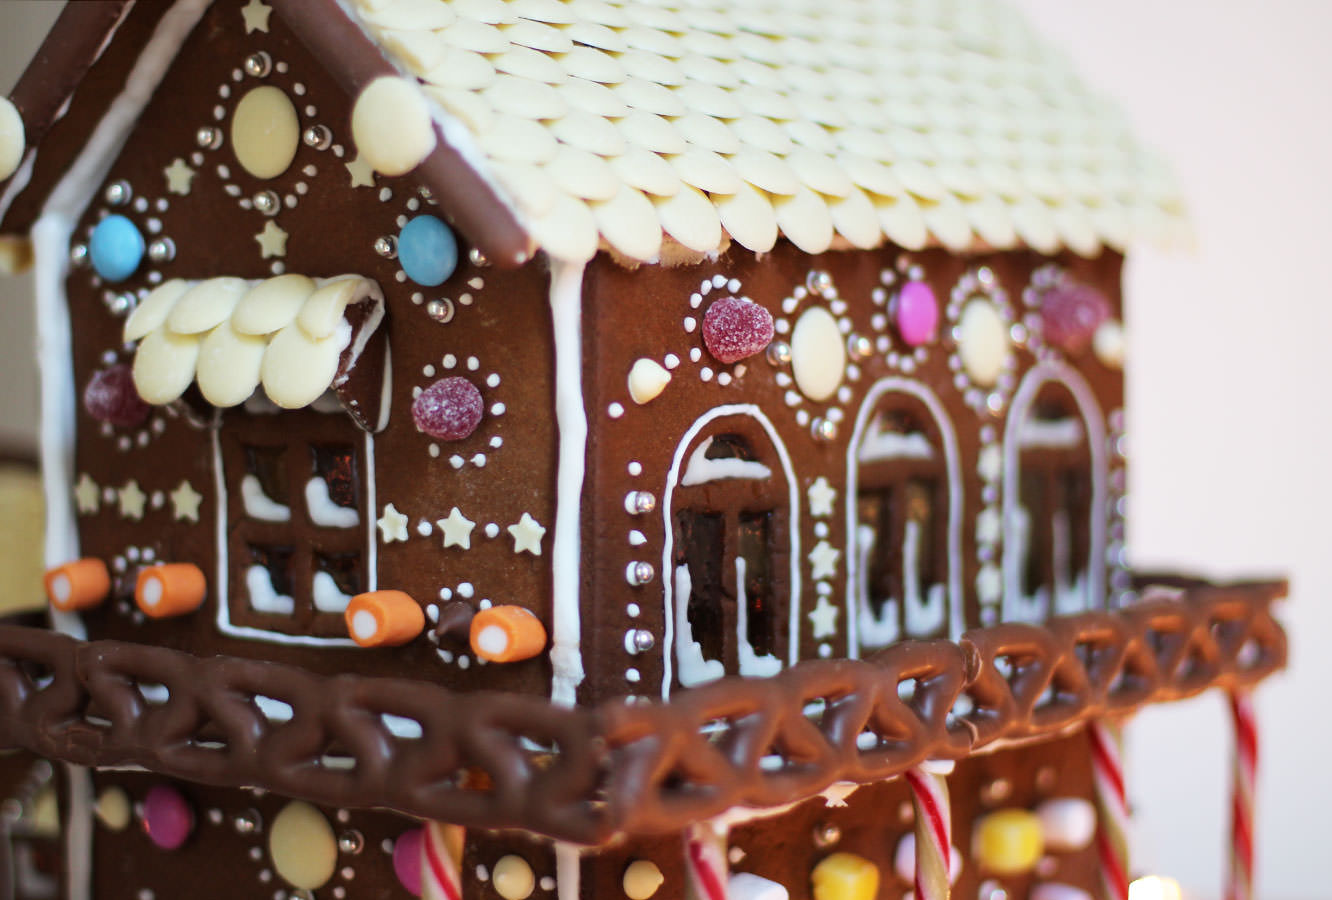
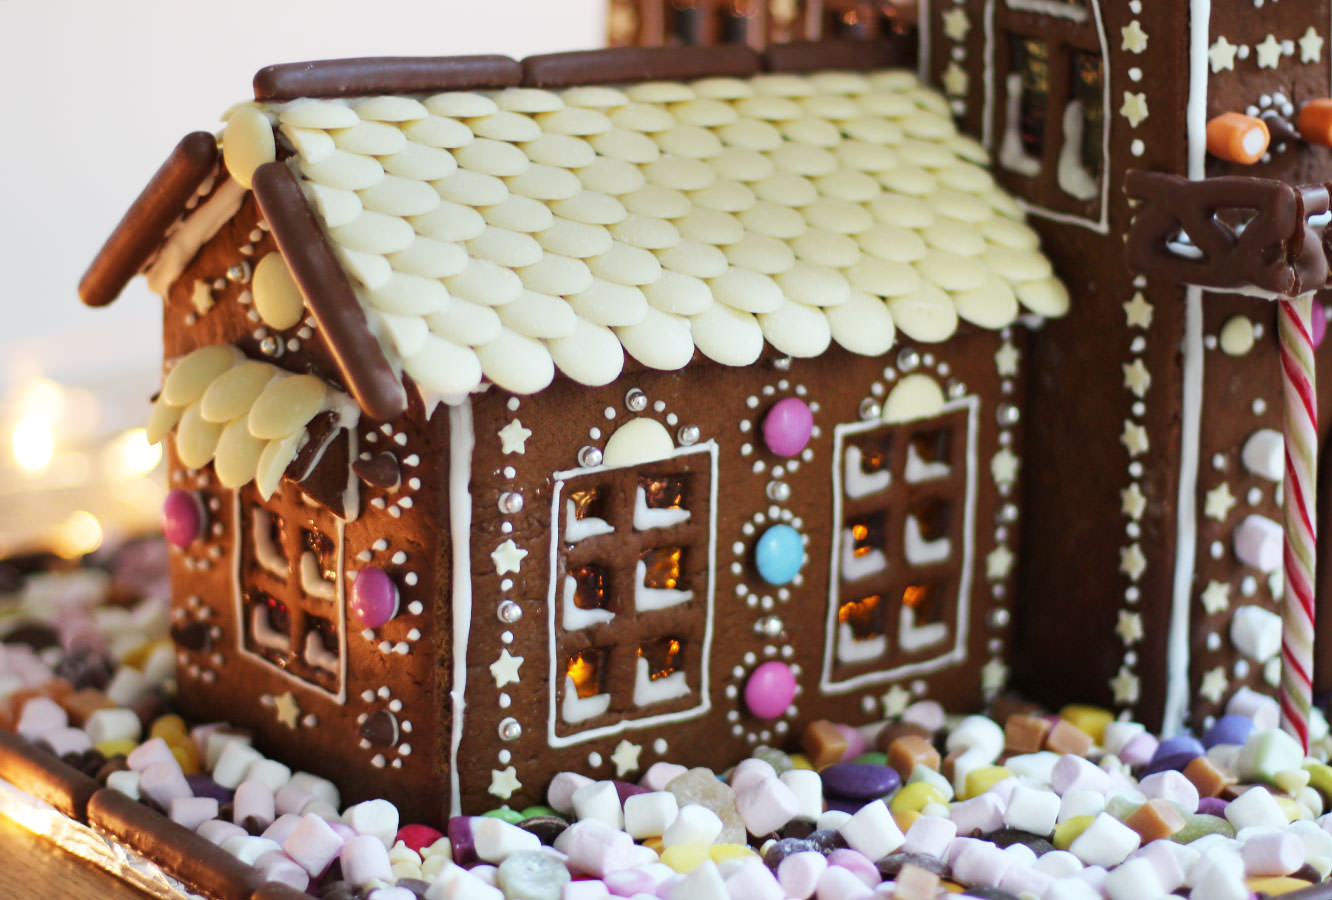
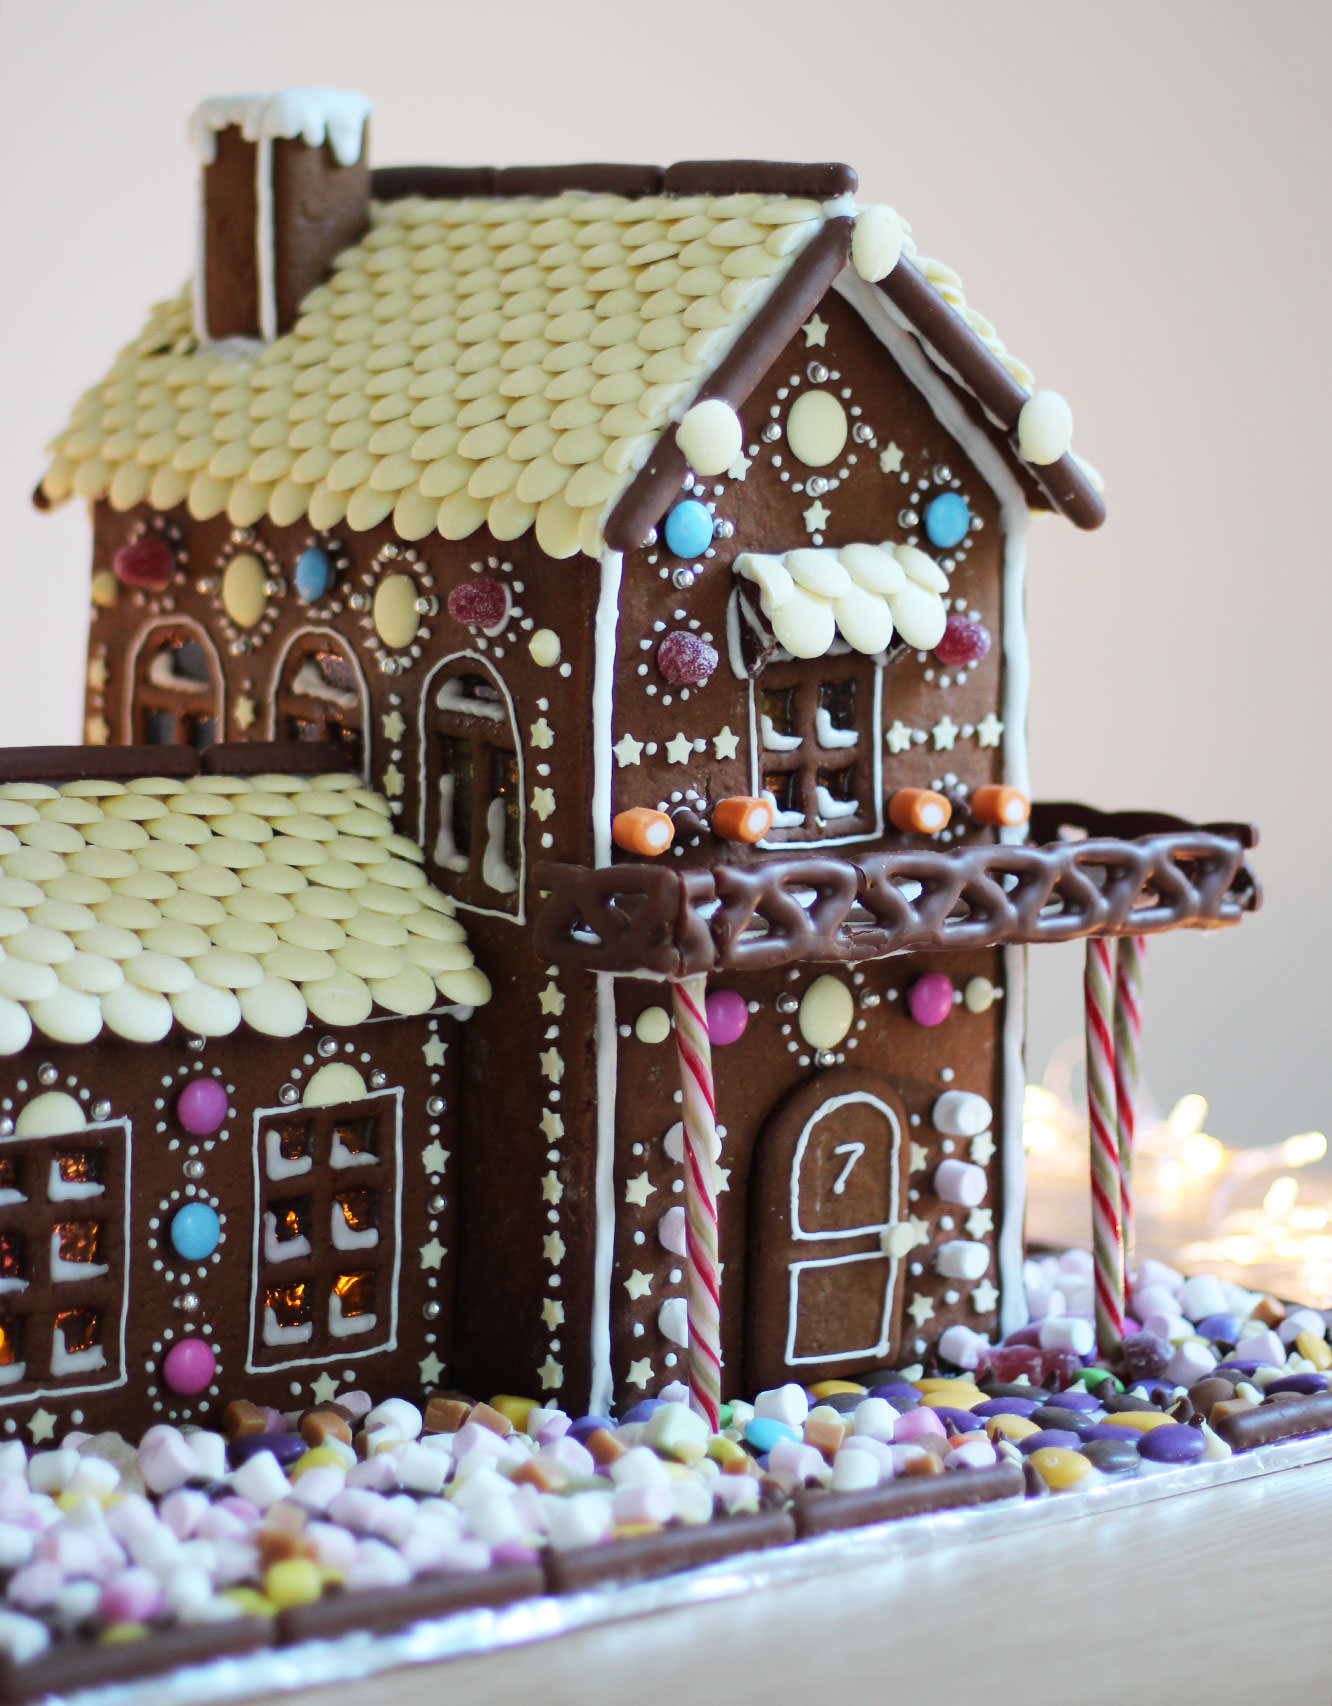
Hello again. Just a little post with some photos of this year’s gingerbread house. I said back in this post that I would start to theme them, which I’m afraid I didn’t have the inspiration for in the end, but it does have a balcony which was my engineering feat of the year.

For those of you looking to squeeze a bit of gingerbread house making into what’s left of Christmas eve, other than needing your head examining, you might find the posts I did last year useful:

#1: Gingerbread house recipe

#2: How to assemble a gingerbread house

#3: Tips for decorating a gingerbread house

Now for the good bit…

Gingerbread house 2014

gingerbread-house-2014-recipe

gingerbread-house-2014-recipe-2

gingerbread-house-2014-recipe-1

gingerbread-house-2014-recipe-5

gingerbread-house-2014-recipe-3

gingerbread-house-2014-recipe-4

Have a wonderful Christmas all 

The final sprint

Some years (every year) I have grand plans for home made gifts and decorations at Christmas. Rarely does this materialise in the lovely relaxed and whimsical way it looks in my head. Generally I end up covered in the contents of my baking cupboard feeling totally harassed by the number of hampers I’ve decided to make.

If you’re anything like me, or if you’re completely handmade/craft-phobic in the first place, this one is for you. Three super quick festive crafts to brighten up the house and fill up stockings at the last minute. You don’t need an ounce of artistic/baking ability for any of these. So no excuses.

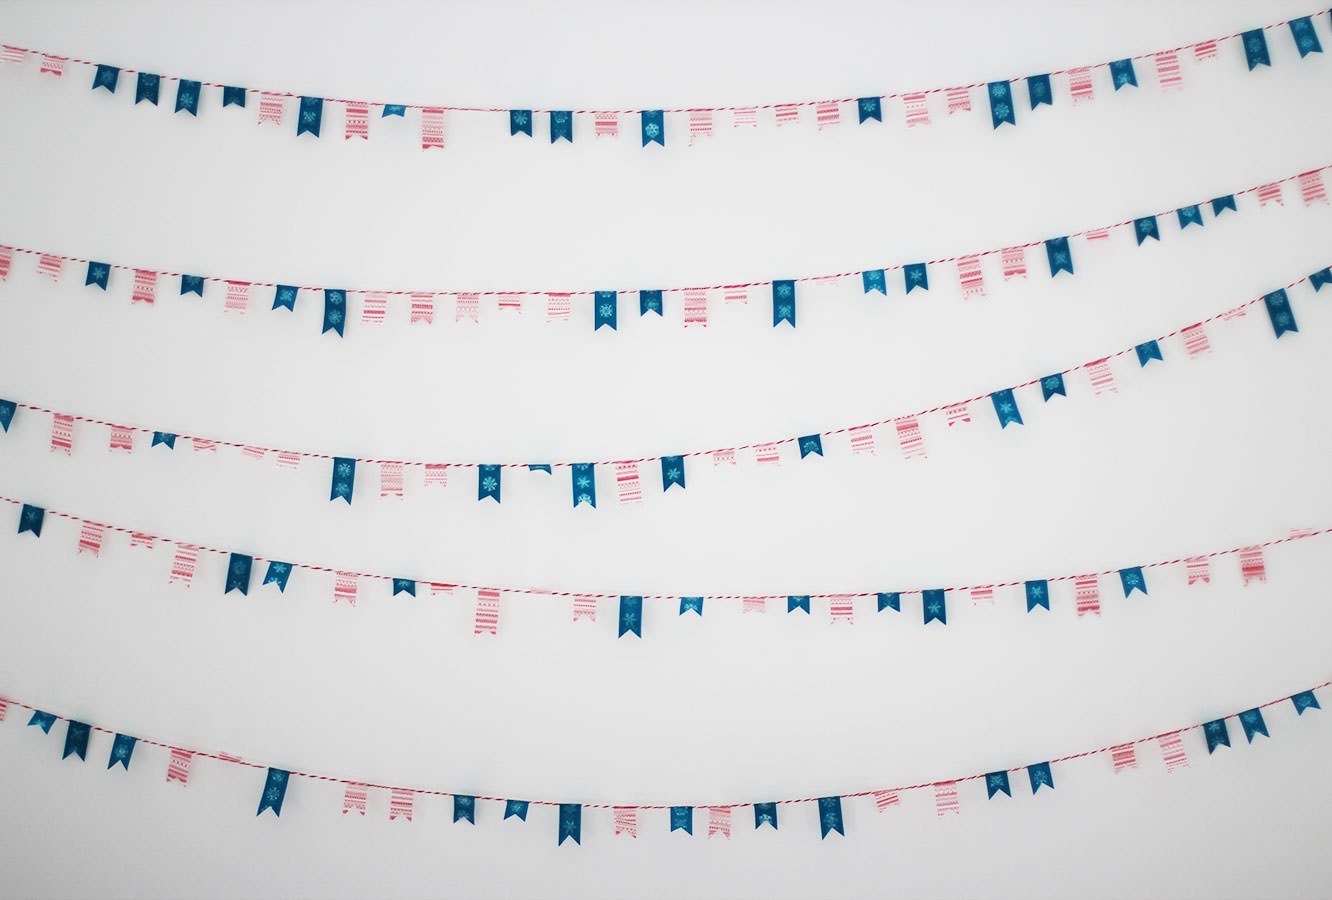
#1: Cute Christmas bunting

washi-tape-christmas-bunting

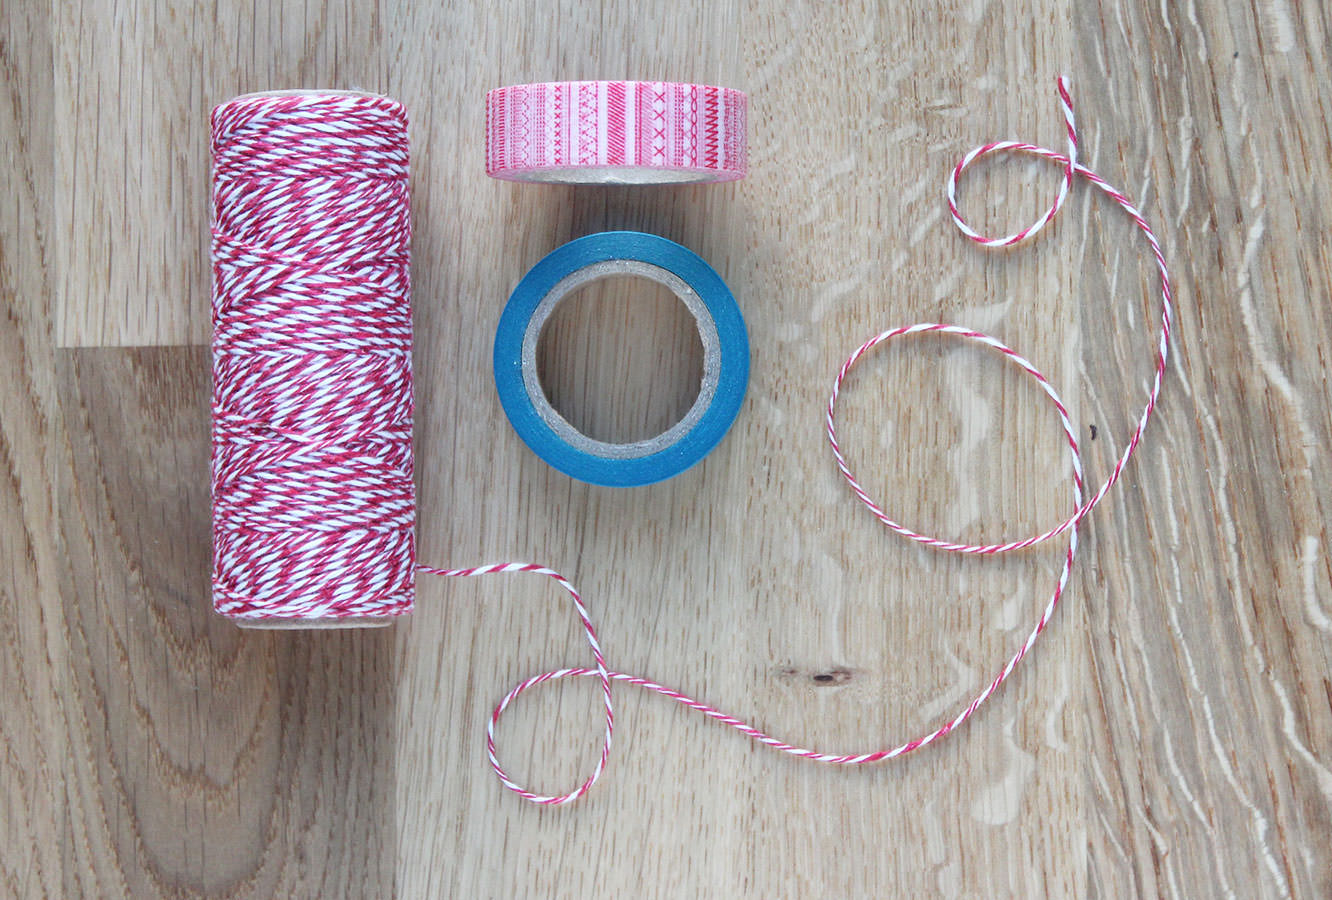
You will need

String (I got this two colour spool from Tiger for £1)

Christmassy washi-tape

washi-tape-christmas-bunting-1

Step one

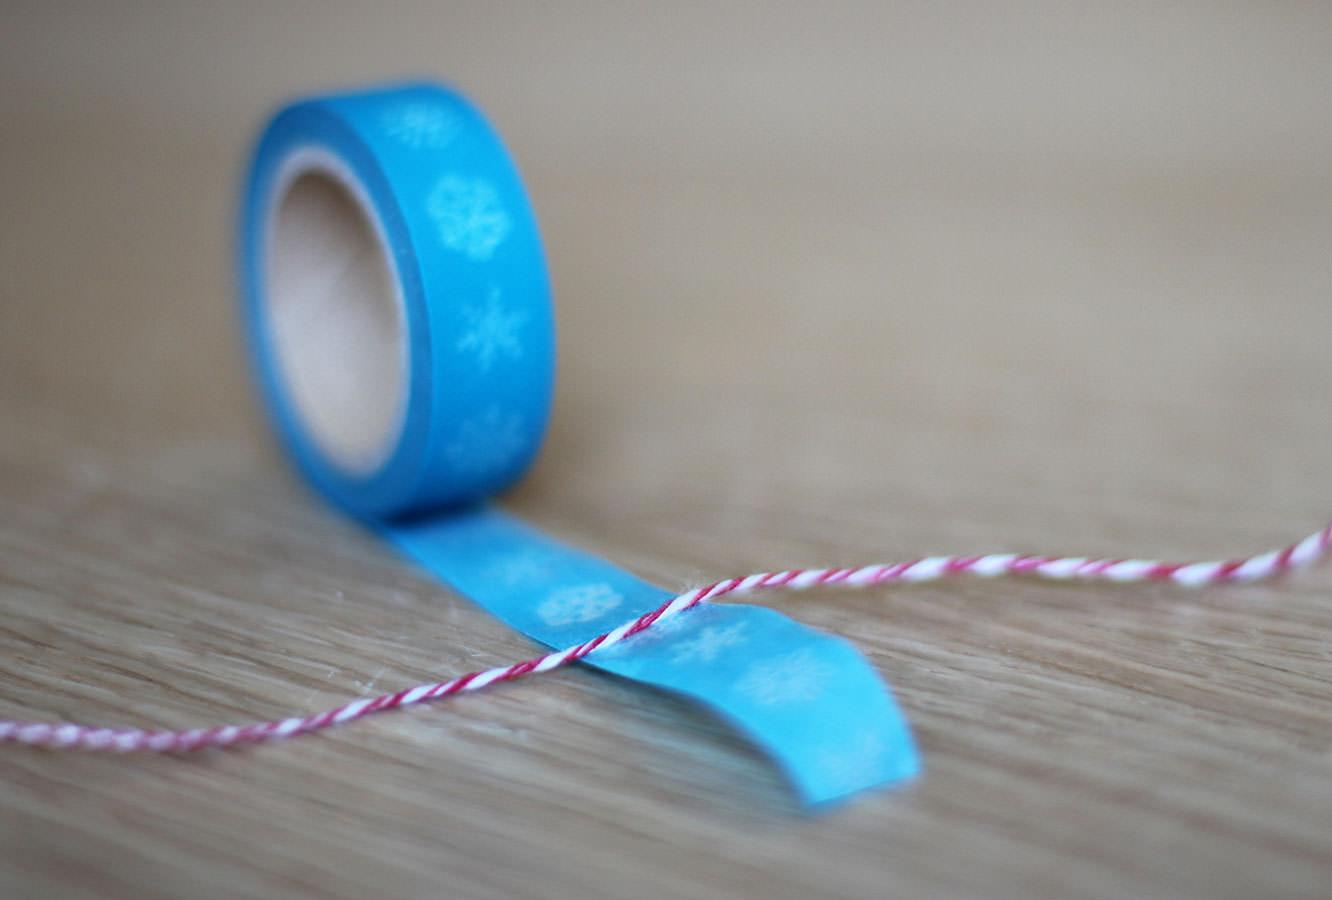
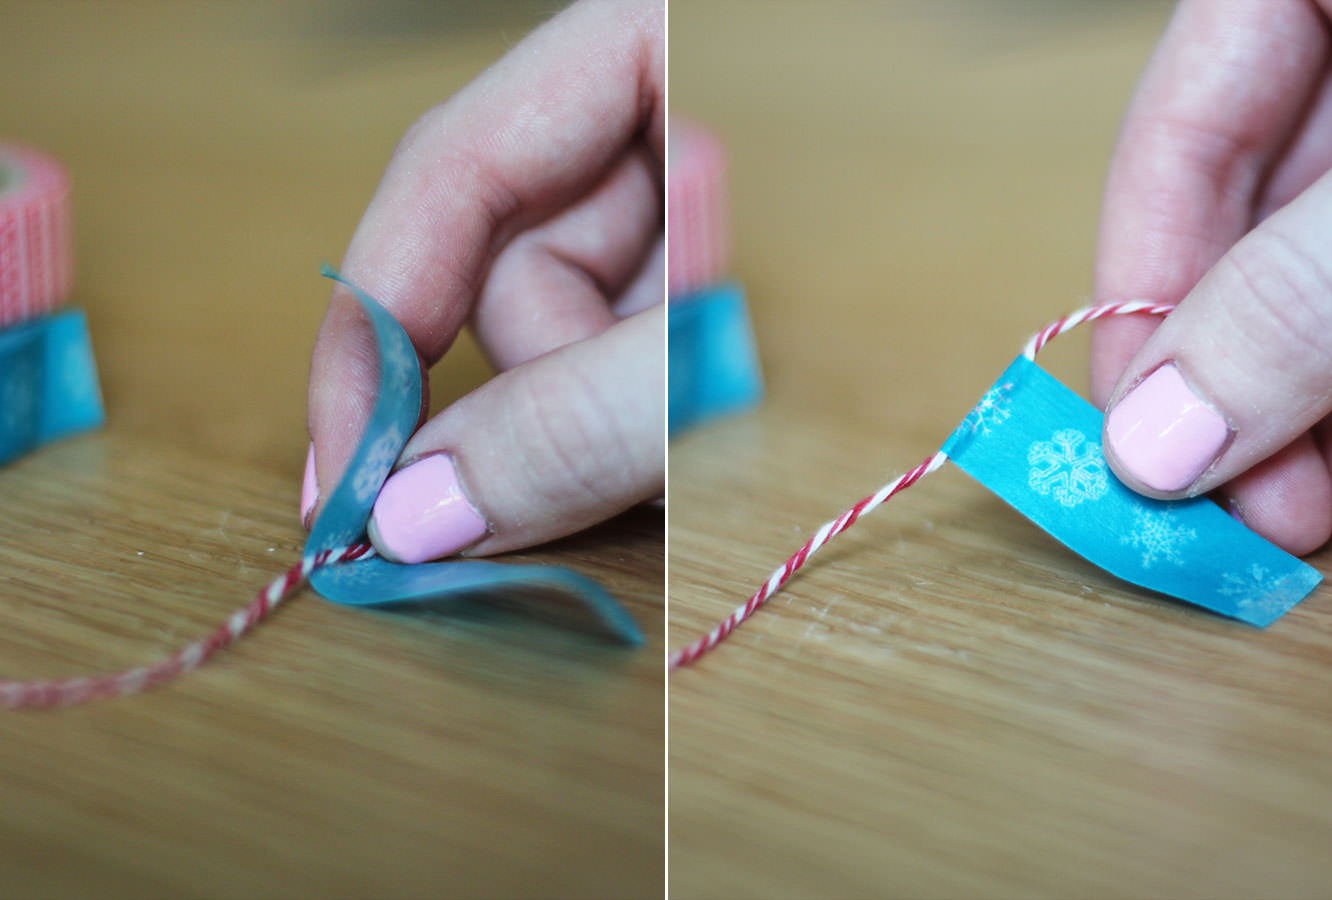
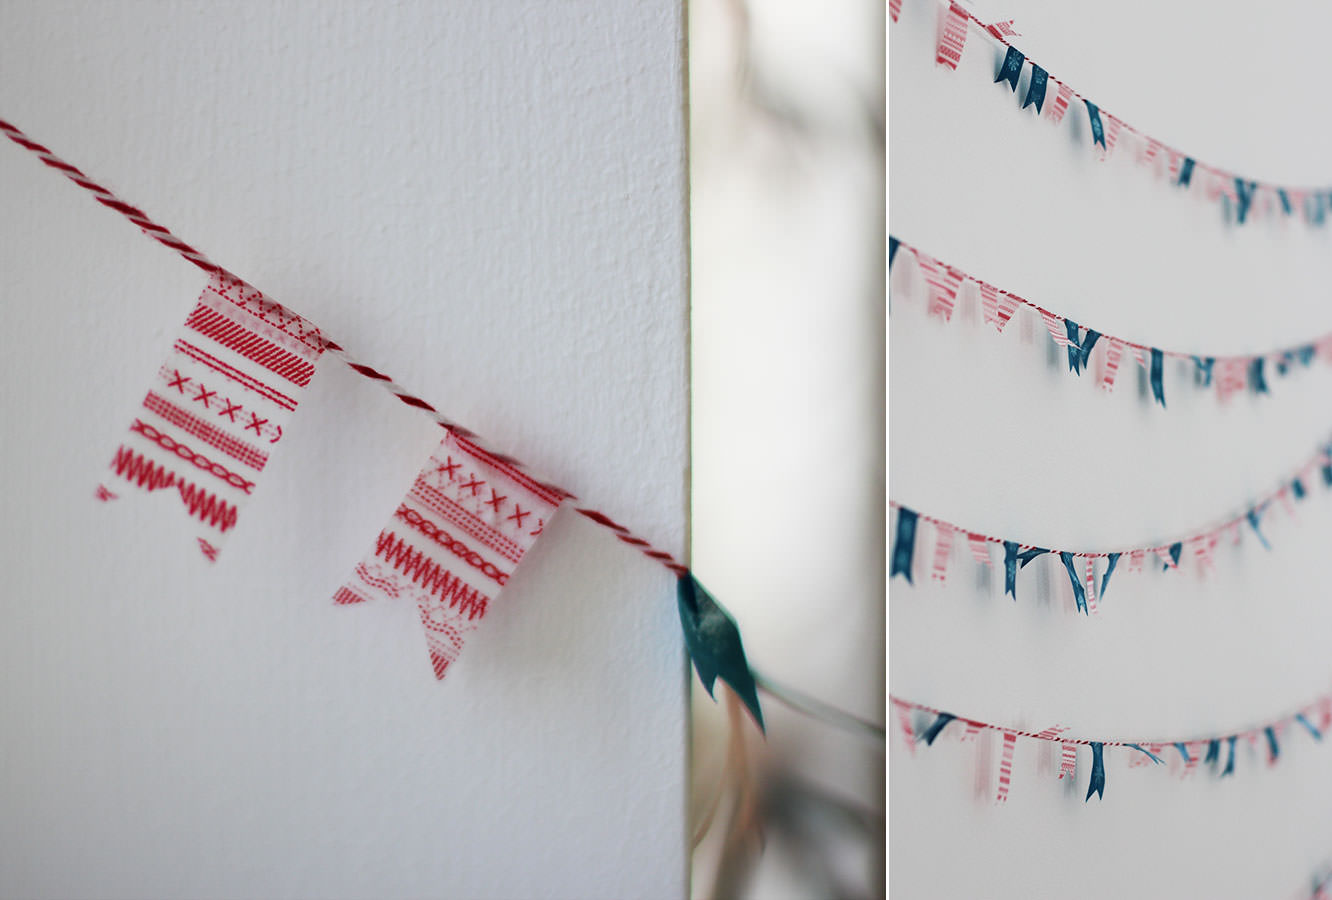
Cut a random length of tape and place the string in the middle. If you really want to punish yourself you can try and make them all the same length, but I really like them random and it’s much easier that way too.

For this step I cut loads and stuck them on the edge of the table so I had them ready and did them in batches so I wasn’t constantly cutting one then sticking it etc etc.

washi-tape-christmas-bunting-2

Step two

Fold over the wash tape and stick together. Again, I found it easier to do this step in bulk and then snip them in one go (see below).

washi-tape-christmas-bunting-3

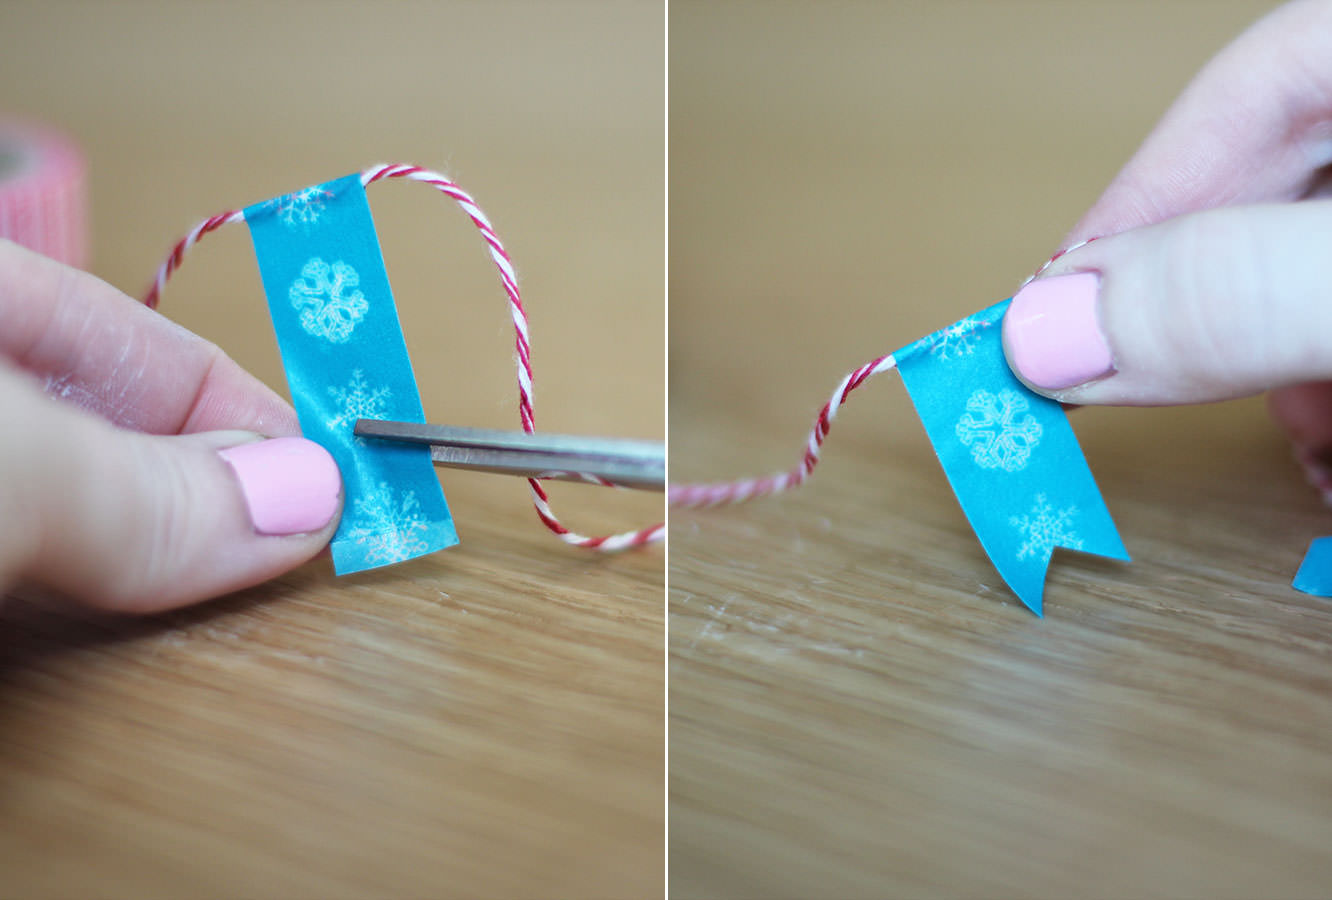
Step three

Cut an upside-down ‘v’ shape into the end.

washi-tape-christmas-bunting-4

washi-tape-christmas-bunting-5

Step four

Hang them. 


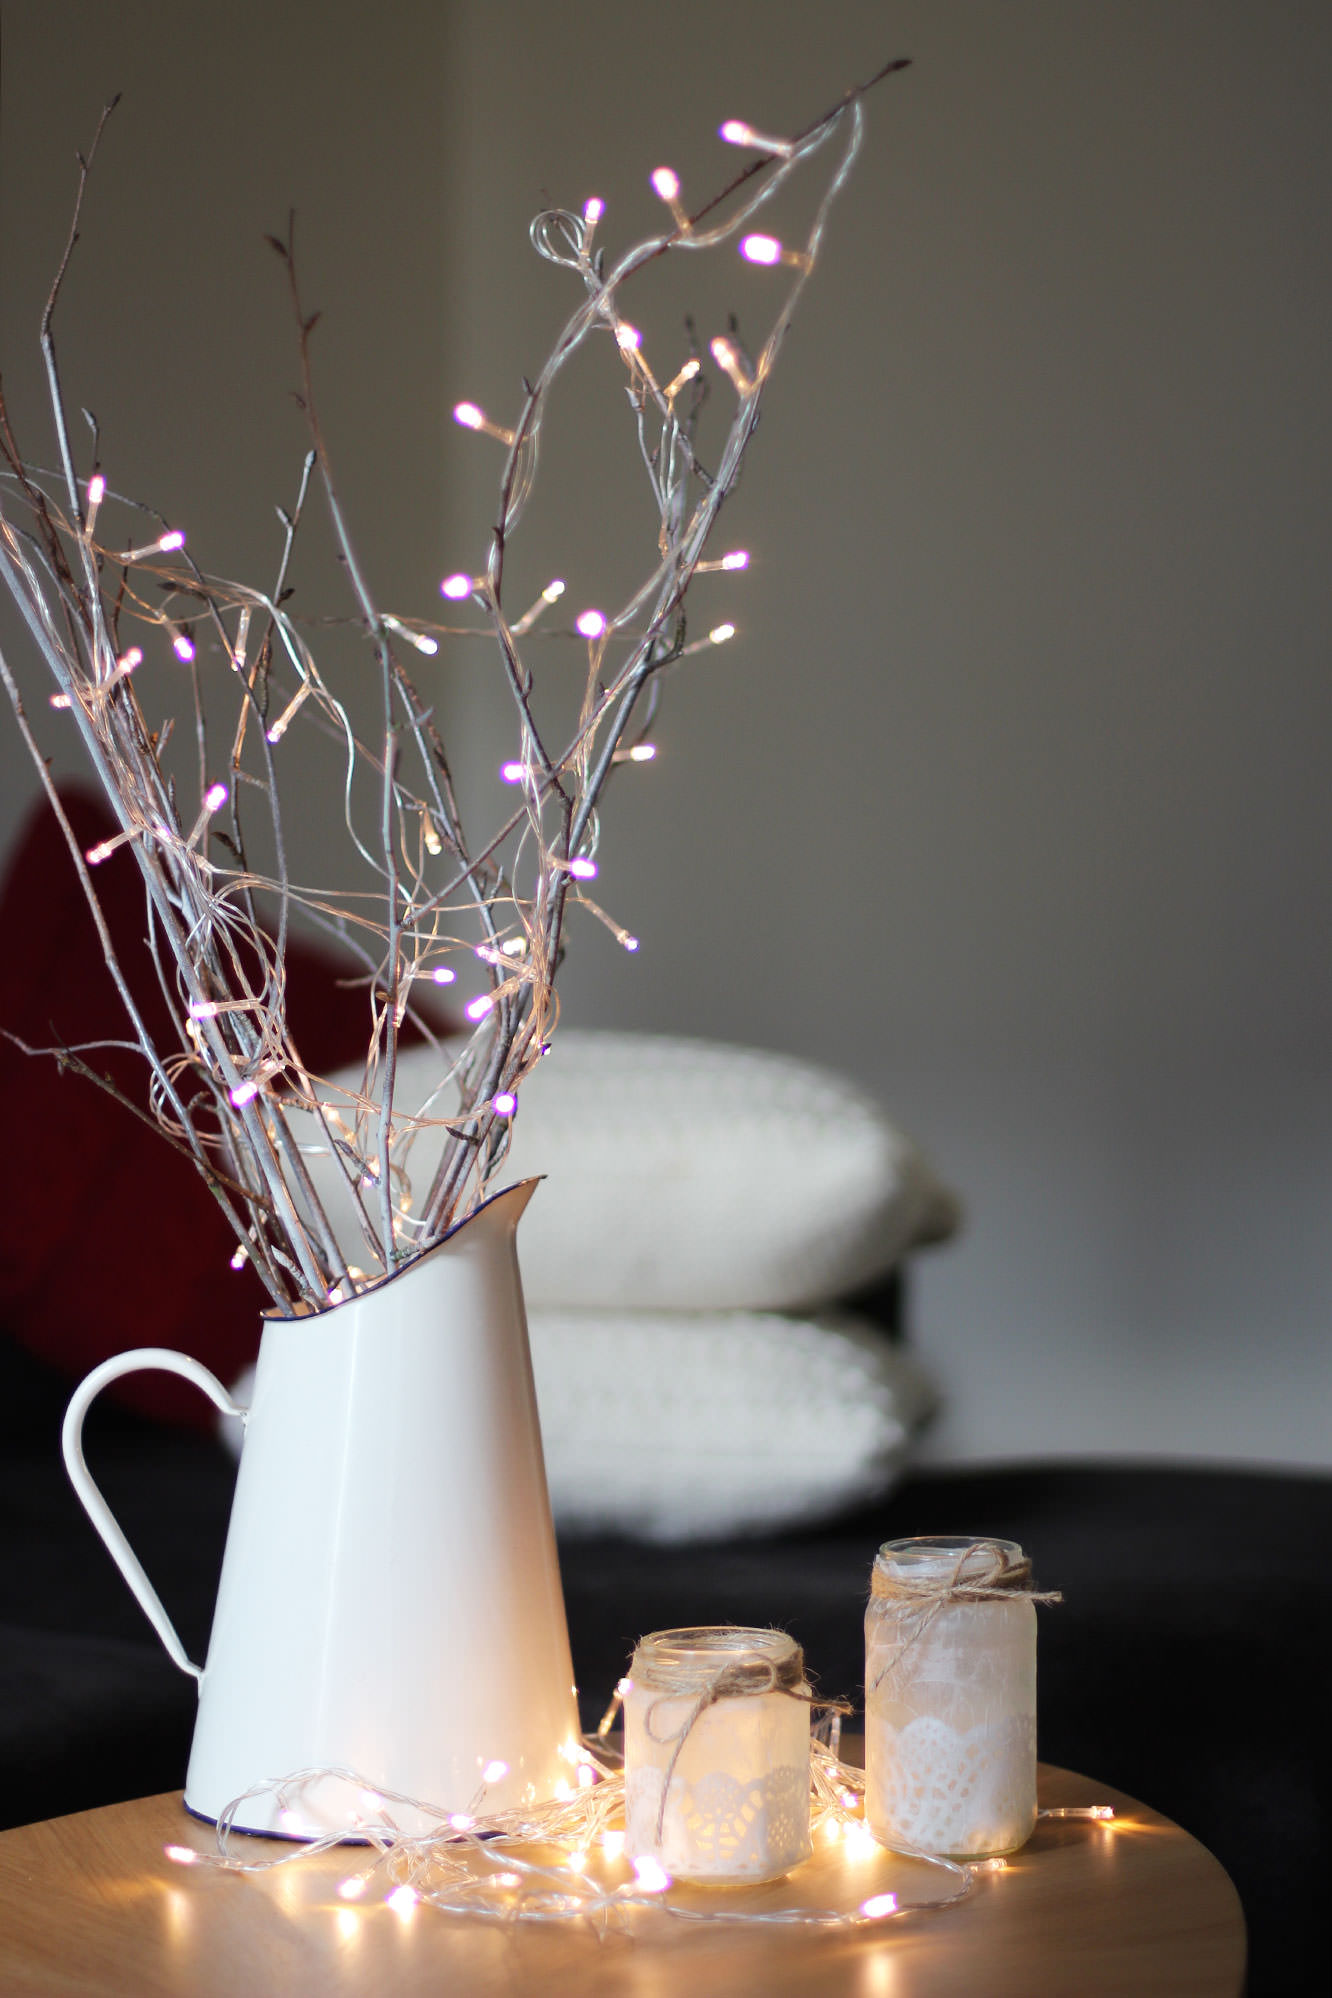
#2: Twig decoration

sprayed-branches-cheap-home-christmas-decoration

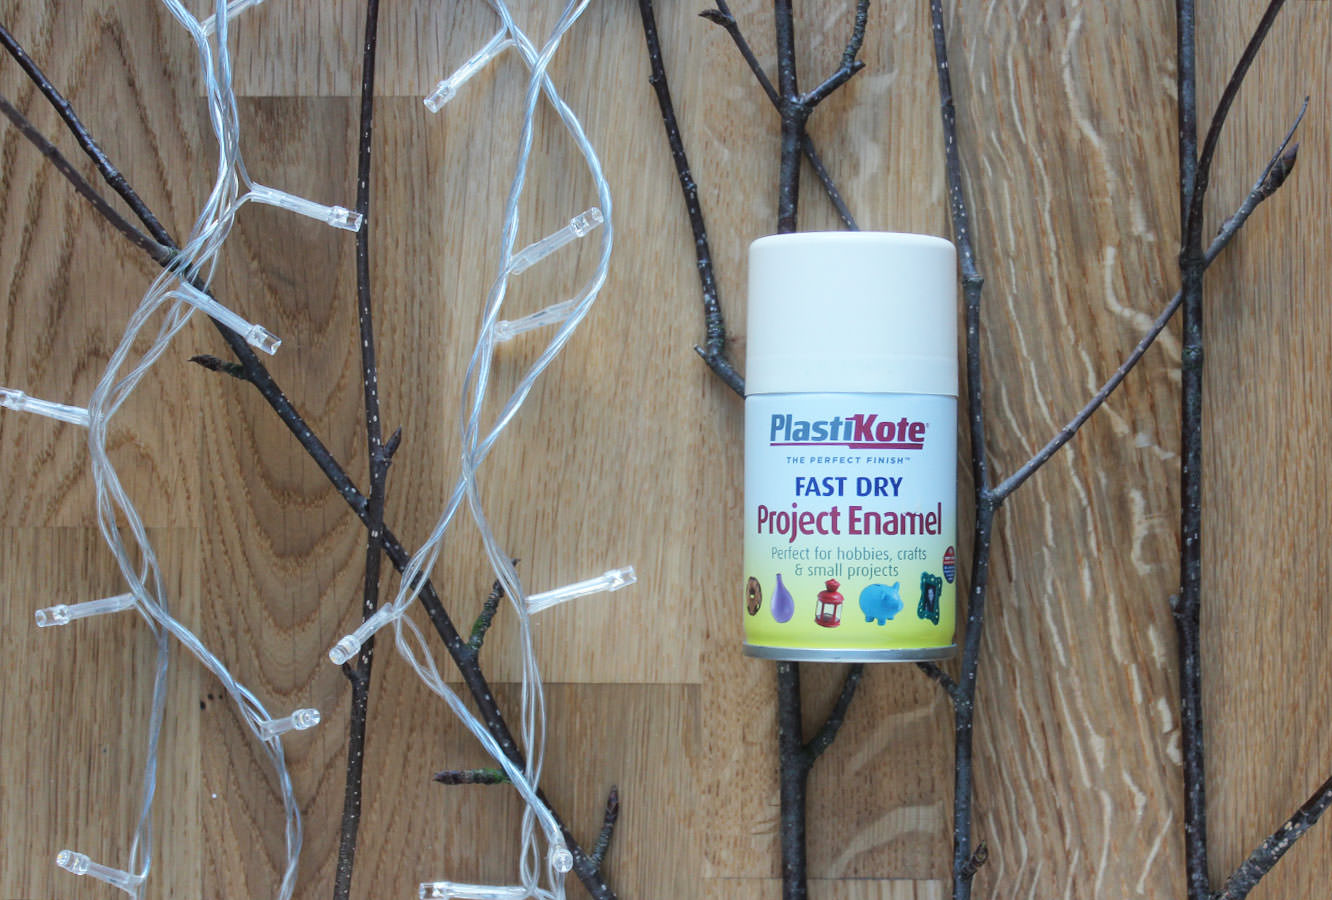
You will need

Some twigs foraged from the nearest tree

White or cream spray paint

Fairy lights or decorations

Jug/vase/plant pot

sprayed-branches-cheap-home-christmas-decoration-1

Step one

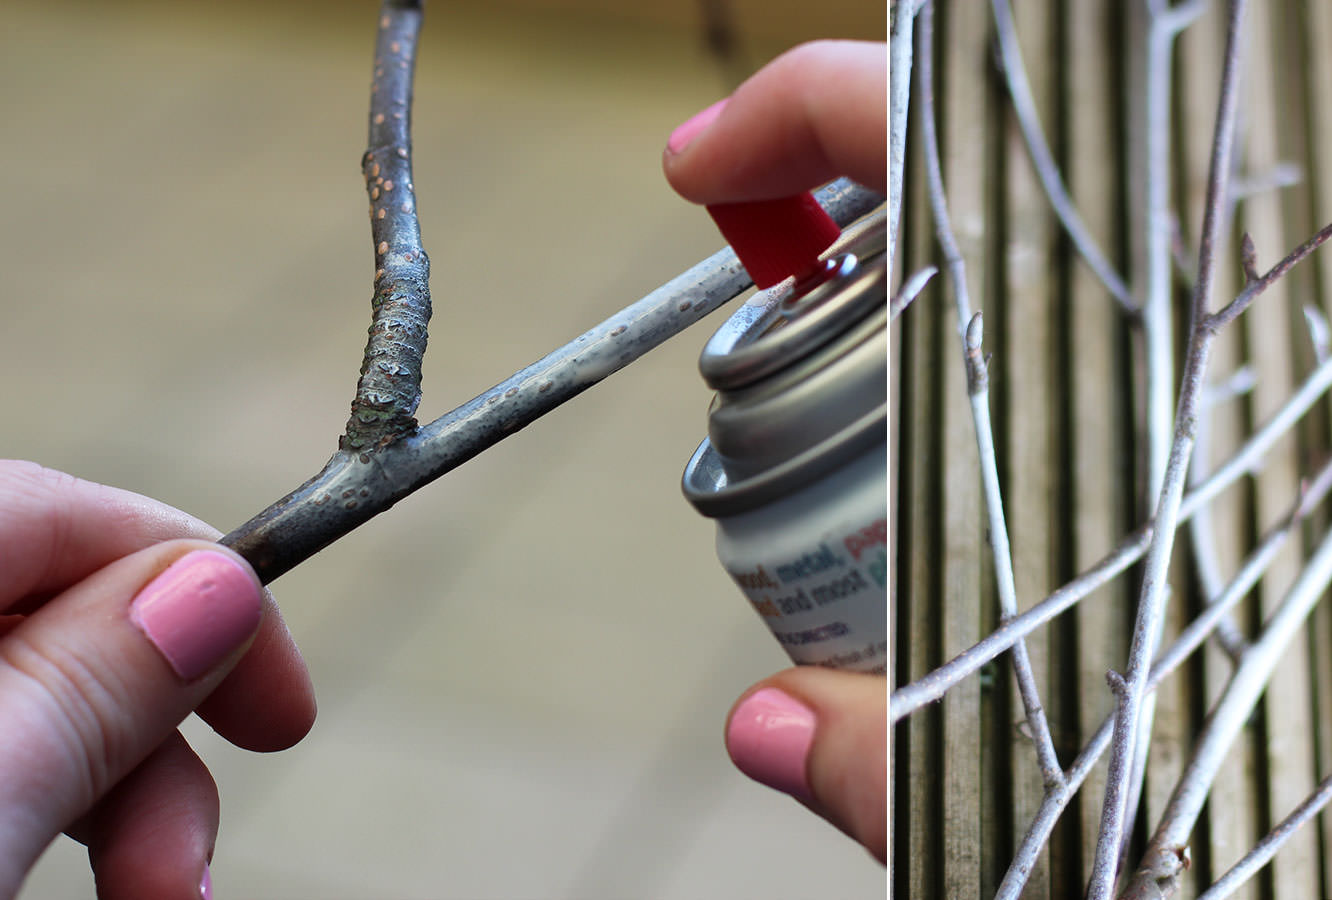
Spray twigs.

Step two

Place in holder.

Step three

Decorate.

sprayed-branches-cheap-home-christmas-decoration-2

Just in case you want the tutorial, here’s how to make the candle holders in the photo.


#3: Hot chocolate stirrers

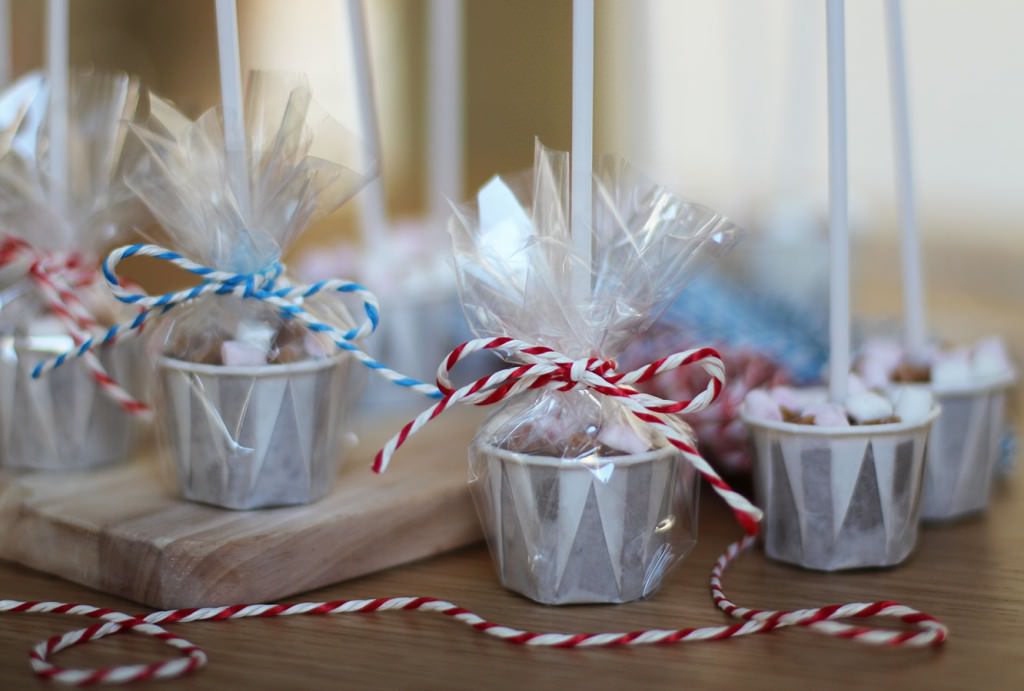
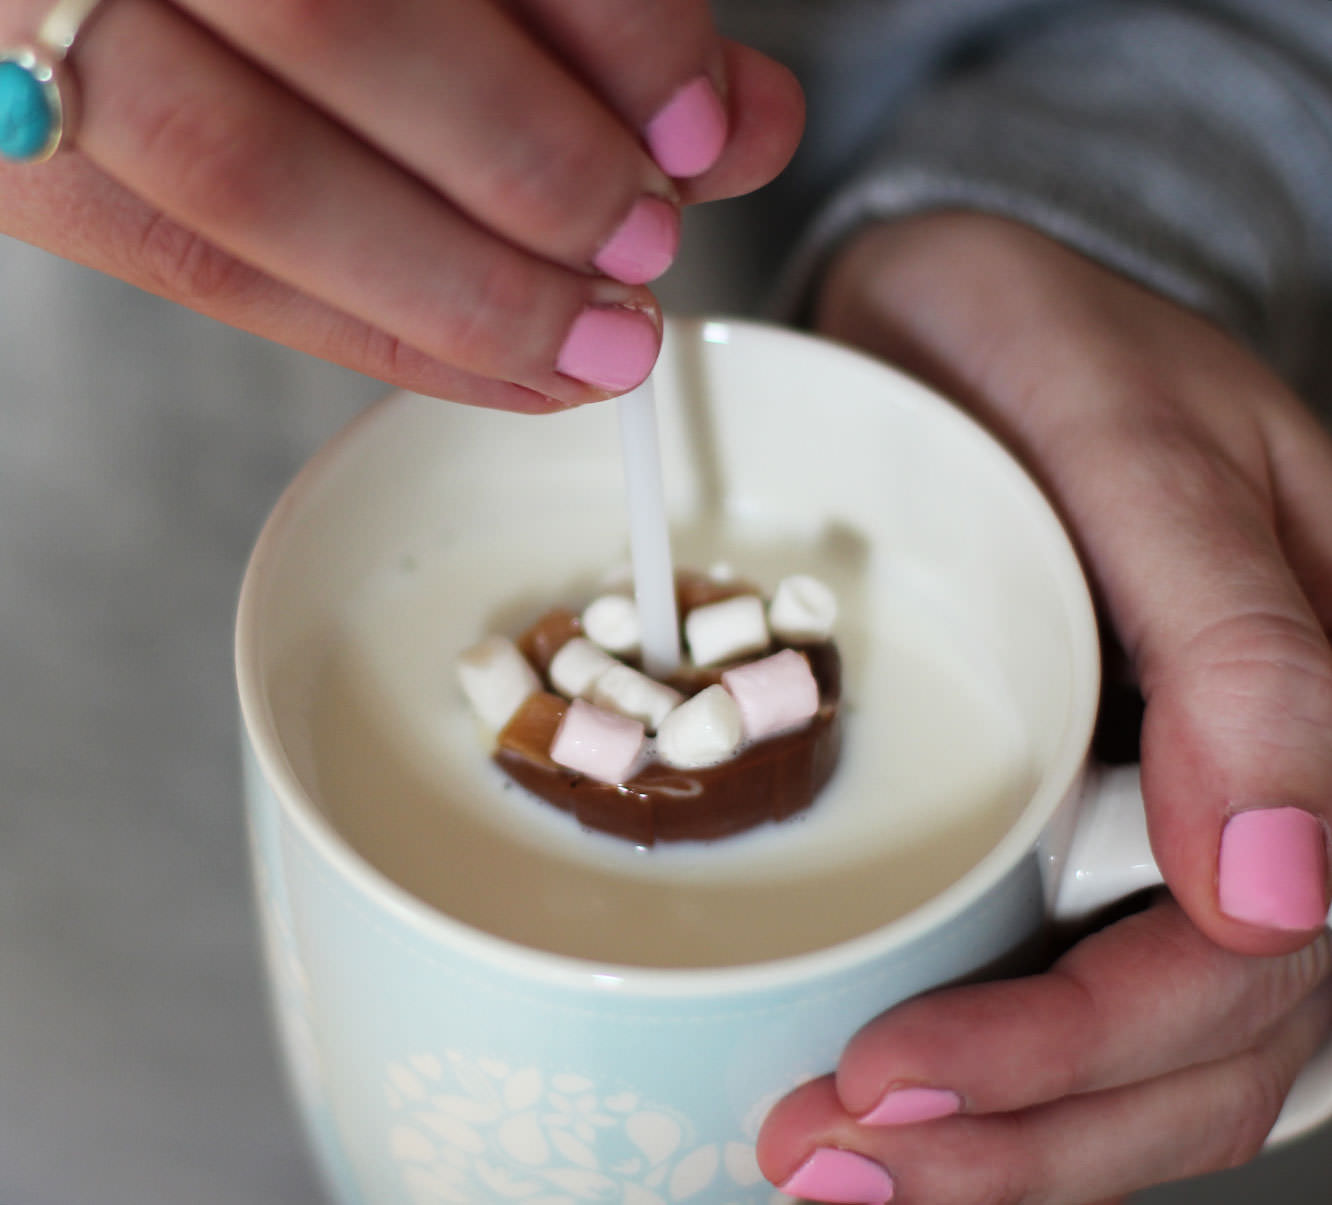
I saw one of these at the shops today, it was £3! These make a great little stocking filler, present topper-upper or gifts for the neighbours. Just swirl into hot milk for a luxury hot chocolate.

homemade-hot-chocolate-stirrer-gift-1

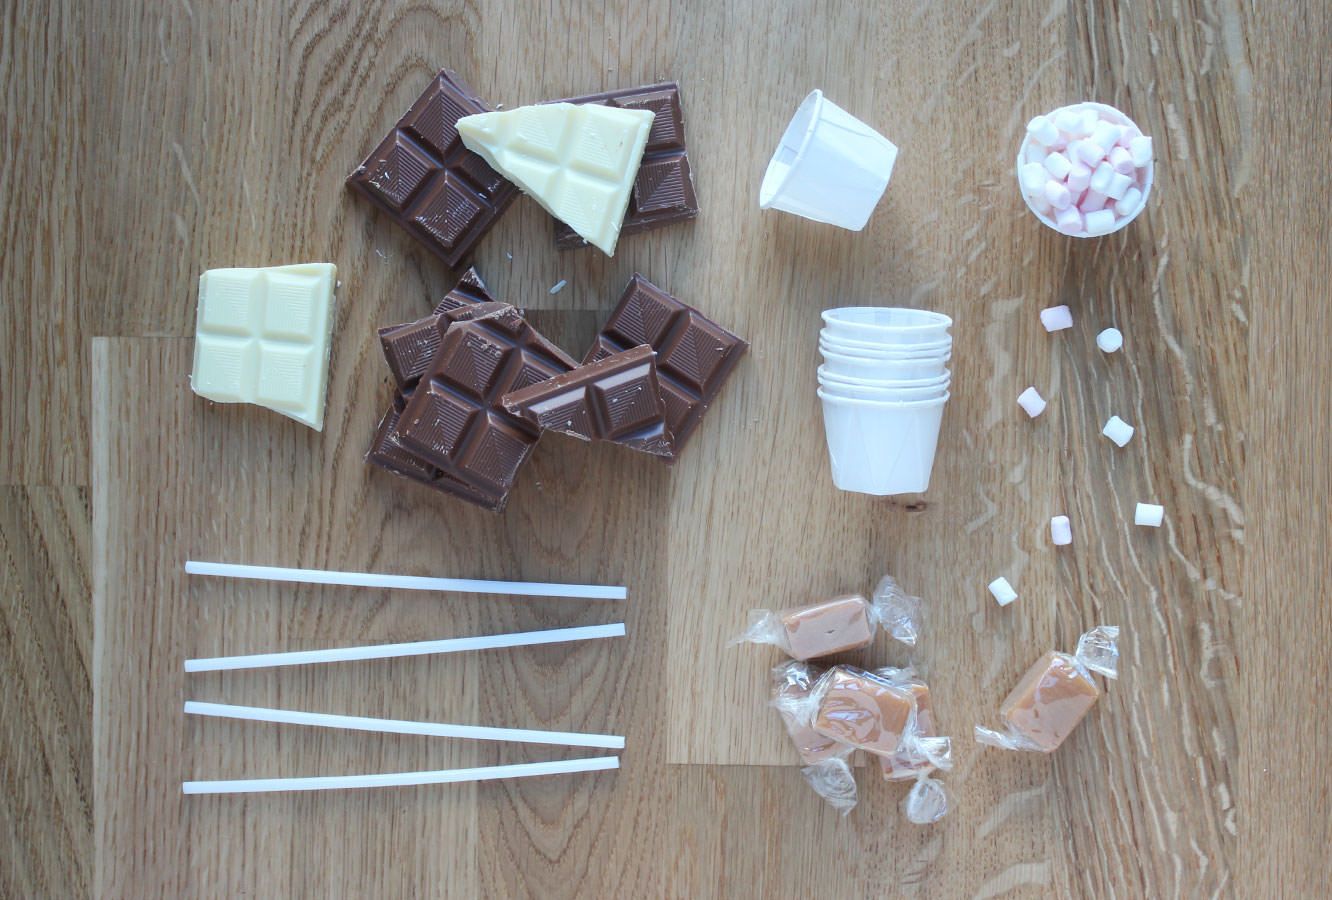
You will need

400g/ 14oz Milk chocolate

50g/ 1.5oz White chocolate

Condiment cups (if the closest McDonalds doesn’t have these you can buy them online, or use mini-muffin cases)

Mini mini marshmallows (these tiny fellows are from Waitrose)

Fudge pieces

Cake pop sticks

Edible glitter (optional)

(Makes 10-12. You need roughly 35g chocolate per cup so adjust the above to suit the number of hot chocolates you want to make).

For wrapping

Cellophane roll (available online or from craft shops)

Chrismassy ribbon or string

homemade-hot-chocolate-stirrer-gift-2

Step one

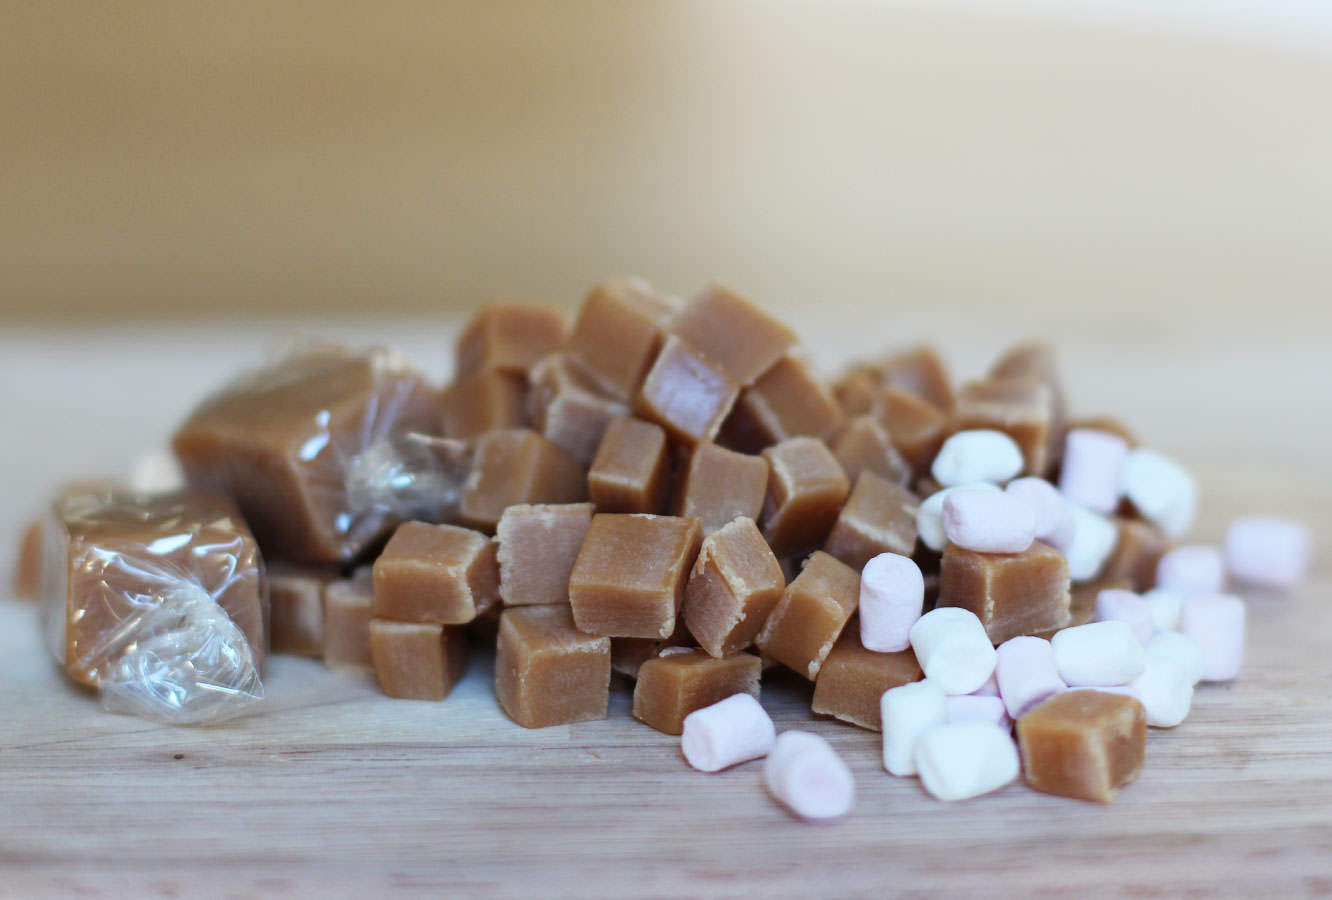
Chop the fudge into little chunks so that they’re roughly in proportion with the marshmallows.

Step two

Melt the chocolate slowly in the microwave and put into piping bags. You can temper it if you want, but given that you won’t see much of it, it might not be worthwhile. I go into a bit more detail as to how to temper chocolate here.

homemade-hot-chocolate-stirrer-gift-gif

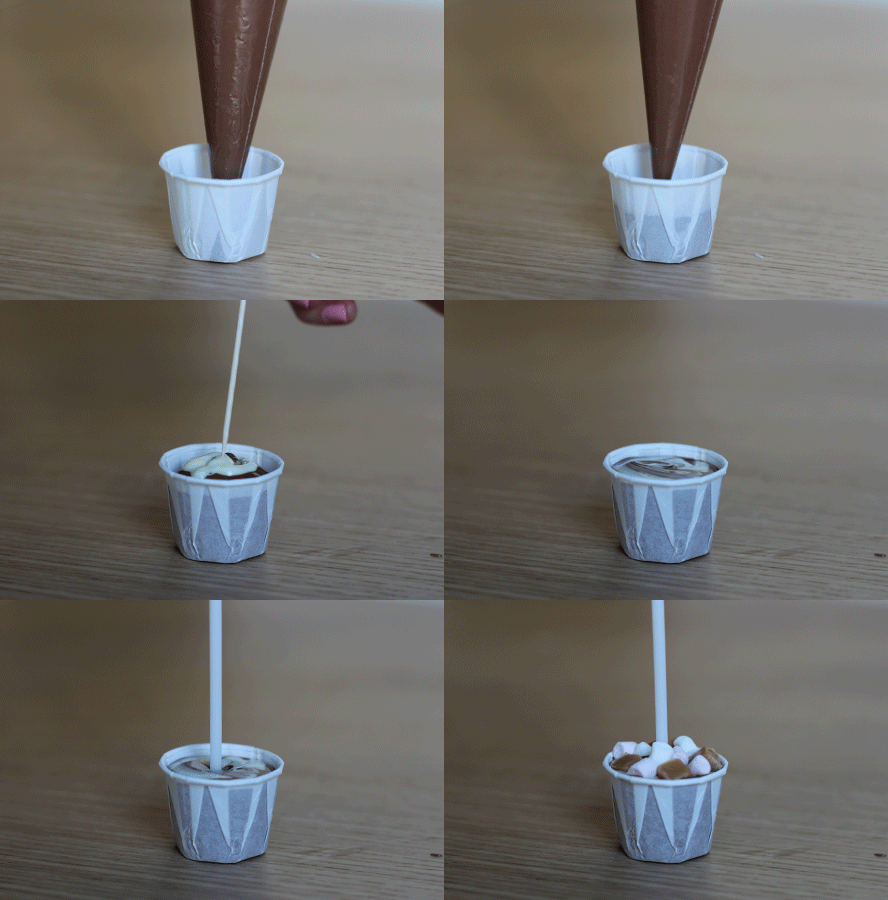
Step three

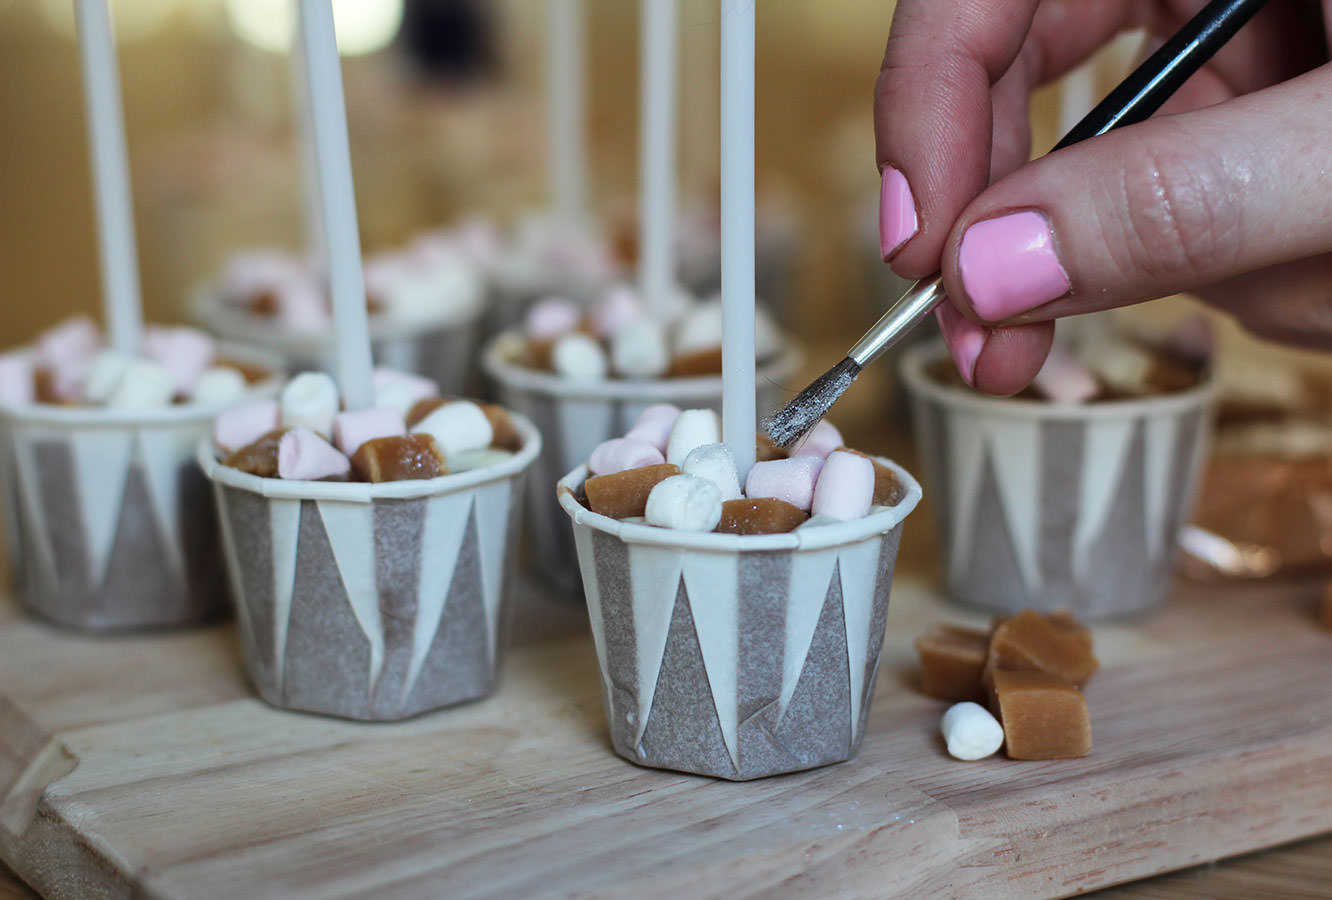
Fill cup to near the brim with milk chocolate. Add a little white and swirl in with a cocktail stick.

Place stick in and surround with fudge and marshmallows.

Leave to set.

homemade-hot-chocolate-stirrer-gift-3

Step four

Dust on a little glitter.

homemade-hot-chocolate-stirrer-gift-5

Step five

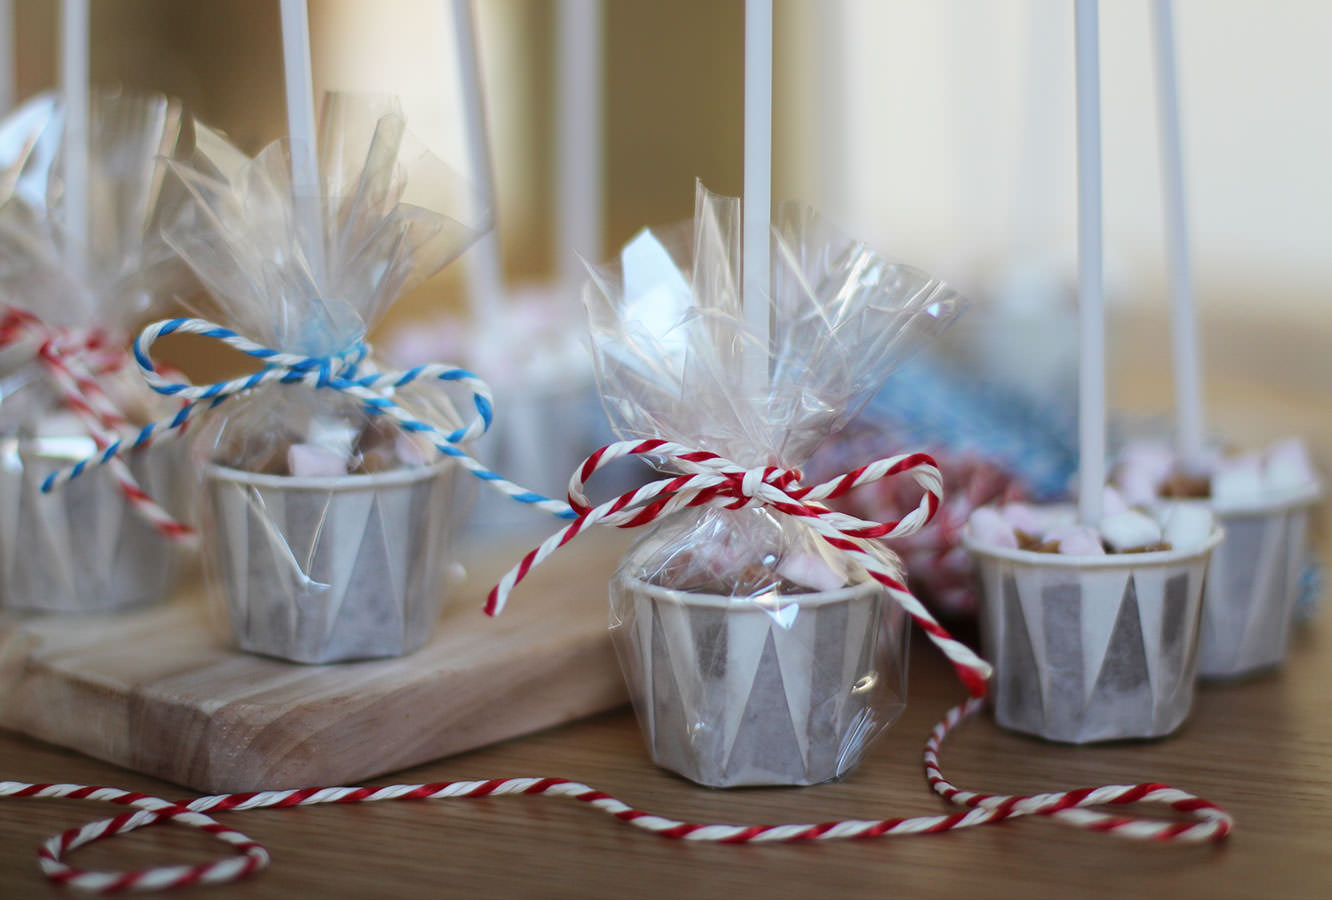
Wrap up. Cut a square of cellophane wrap and place cup in the centre, bring corners up to the middle and secure. I used a loom band to do this, you could use a small elastic band or go straight in with the ribbon/string.

Trim off the corners and ‘foof’.

homemade-hot-chocolate-stirrer-gift-4

Go on. There must be one spare you can treat yourself to?

Drip drop

A couple of months ago my lovely housemate got engaged. A couple of weeks ago we celebrated that fact.

I decided I wanted to make some party food. Given that we’re fast approaching Christmas (I mean, it’s the 17th November already, what?) this little series of posts should furnish your party season with delightful nibbles and may double as last minute Christmas present/hostess gifts.

This one falls into the second category, so get online and buy yourself some cellophane bags and a roll of ribbon, your colleagues and your milk man will never have been happier. Well, I hope their lives are better than that, but either way, there won’t be any disappointment, and that’s all anyone’s looking for at Christmas.

chocolate-drop-party-nibbles

Things you need

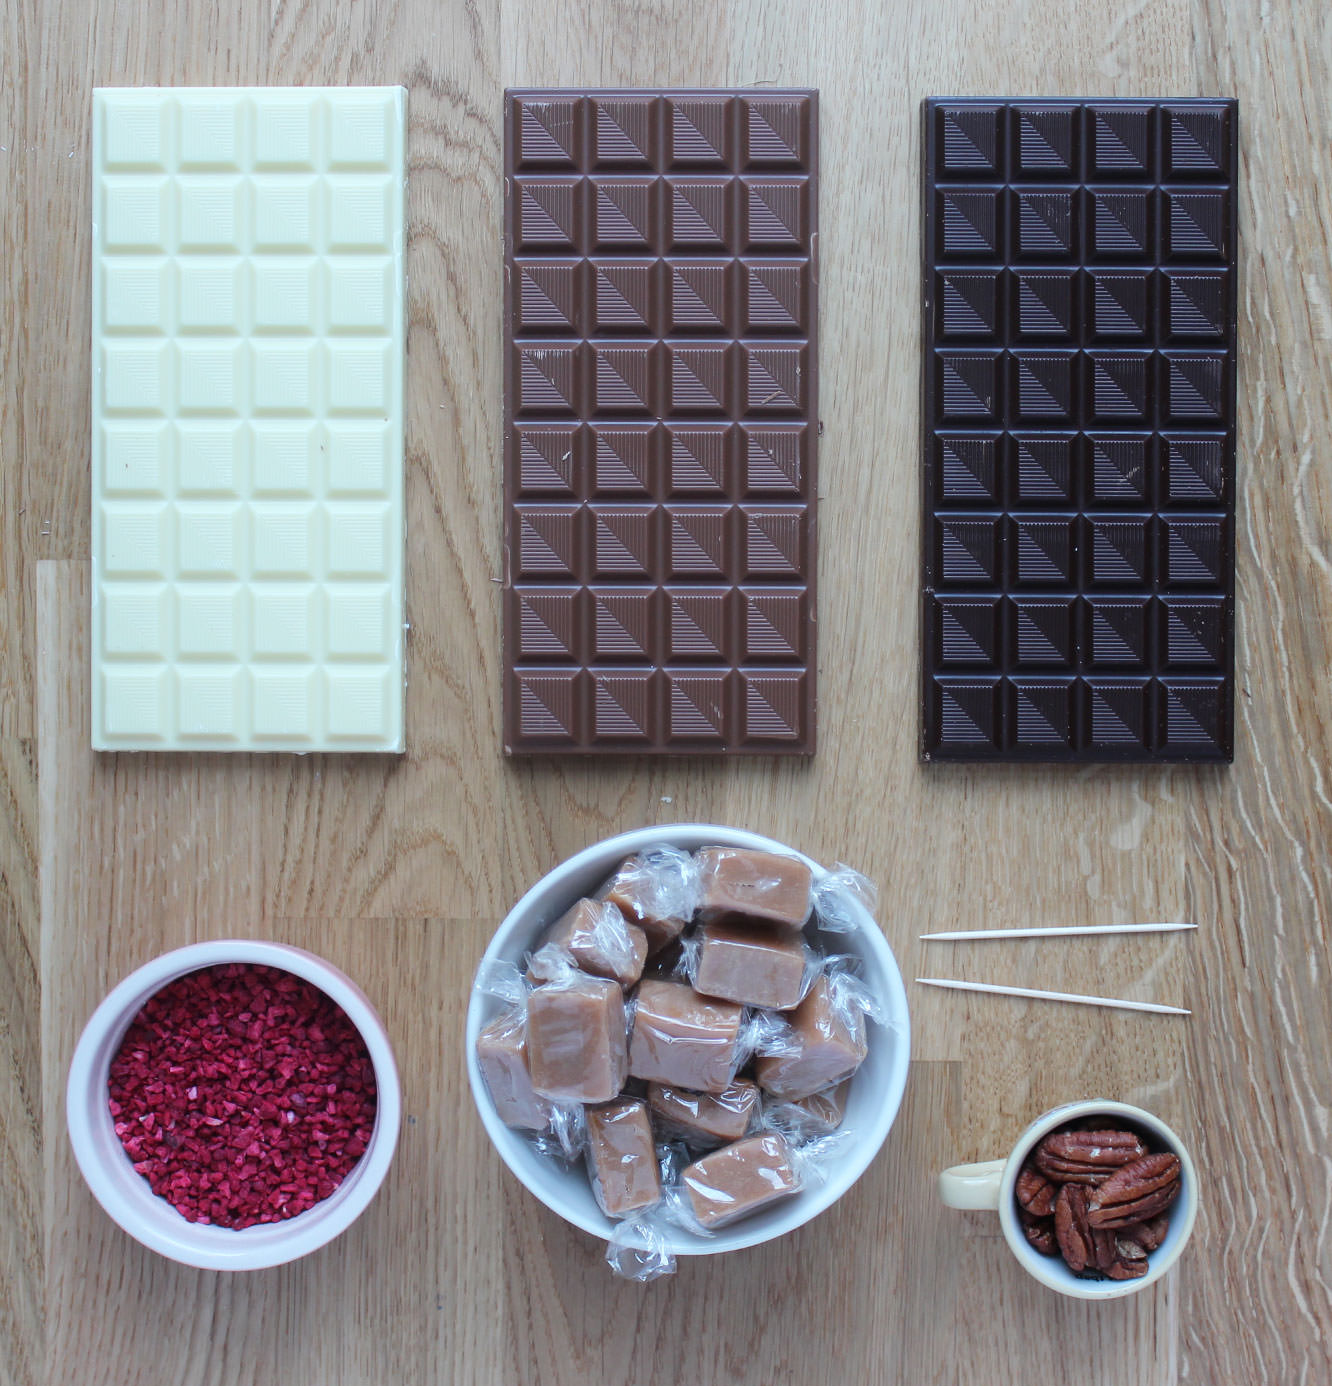
200g/7 oz White chocolate

200g/7 oz Milk chocolate

200g/7 oz Dark chocolate

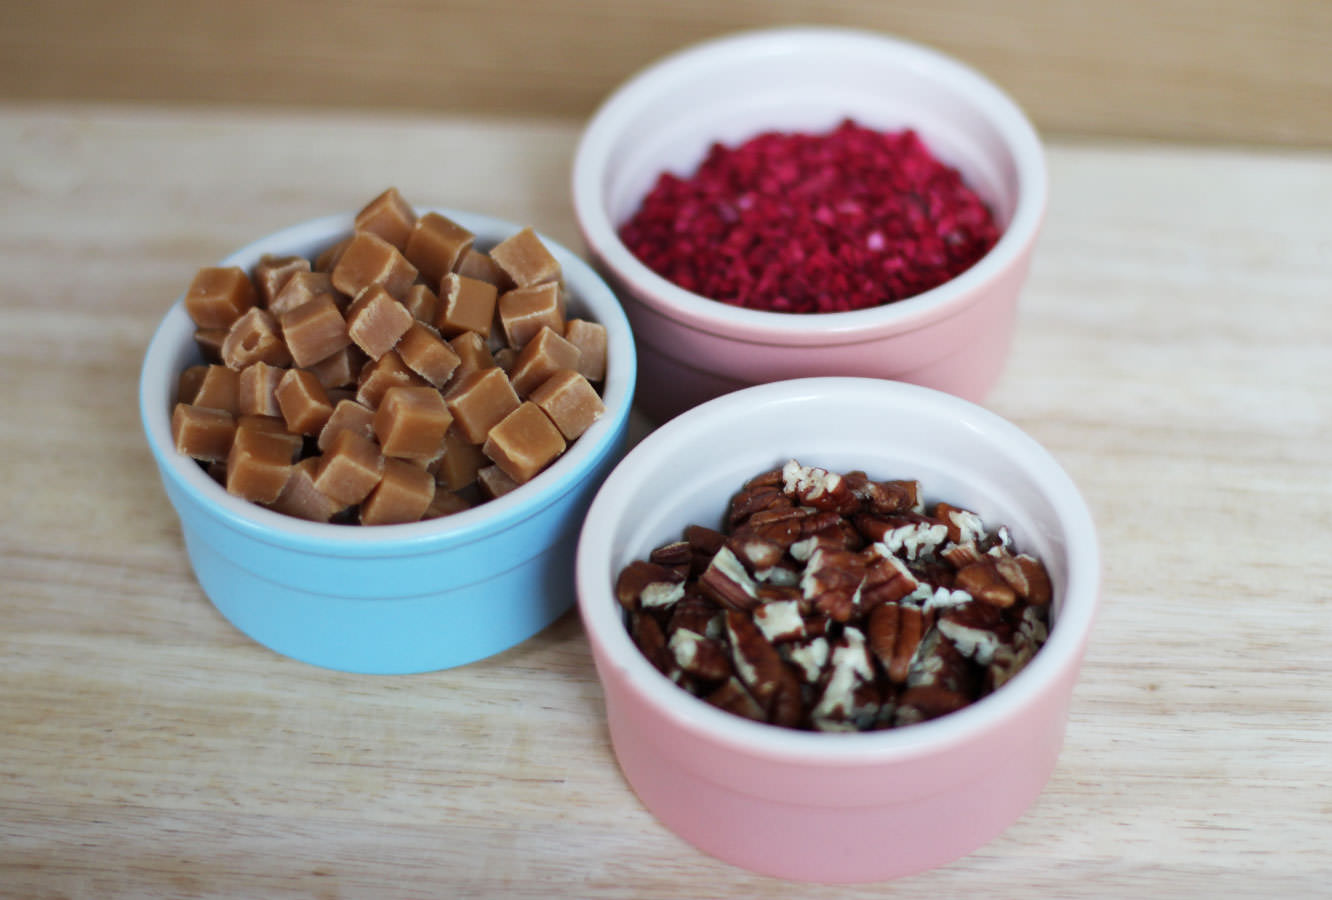
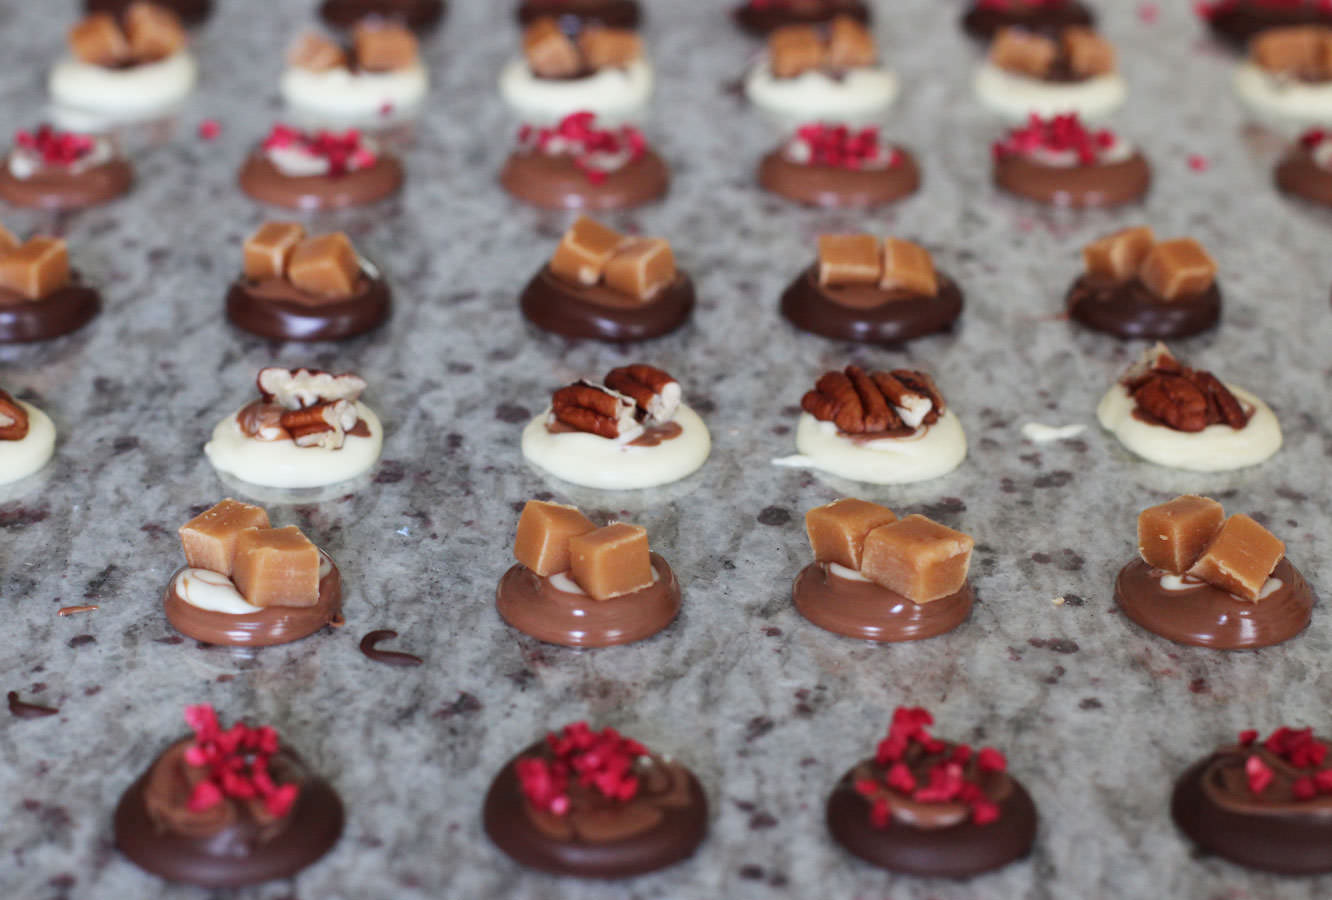
Decorations (I used freeze dried raspberries, fudge pieces and pecans)

Cocktail sticks

Piping bags or strong sandwich bags.

Cellophane (from a florist or a craft shop, or you can use greaseproof but the bottoms won’t be shiny)

Food thermometer (ideally)

chocolate-drop-party-nibbles-1

Step 0.5

Prepare your toppings if they need preparing. I wanted my drops to be quite small so I chopped up my fudge and pecans.

chocolate-drop-party-nibbles-2

Step one

Now. This is the first time I have actually tempered chocolate. It was easier than I expected and well worth it for the shiny finish. I encourage it. I also encourage the purchase of a thermospatula. I’m not being paid to say that, it’s changed my life (in a small but significant way).

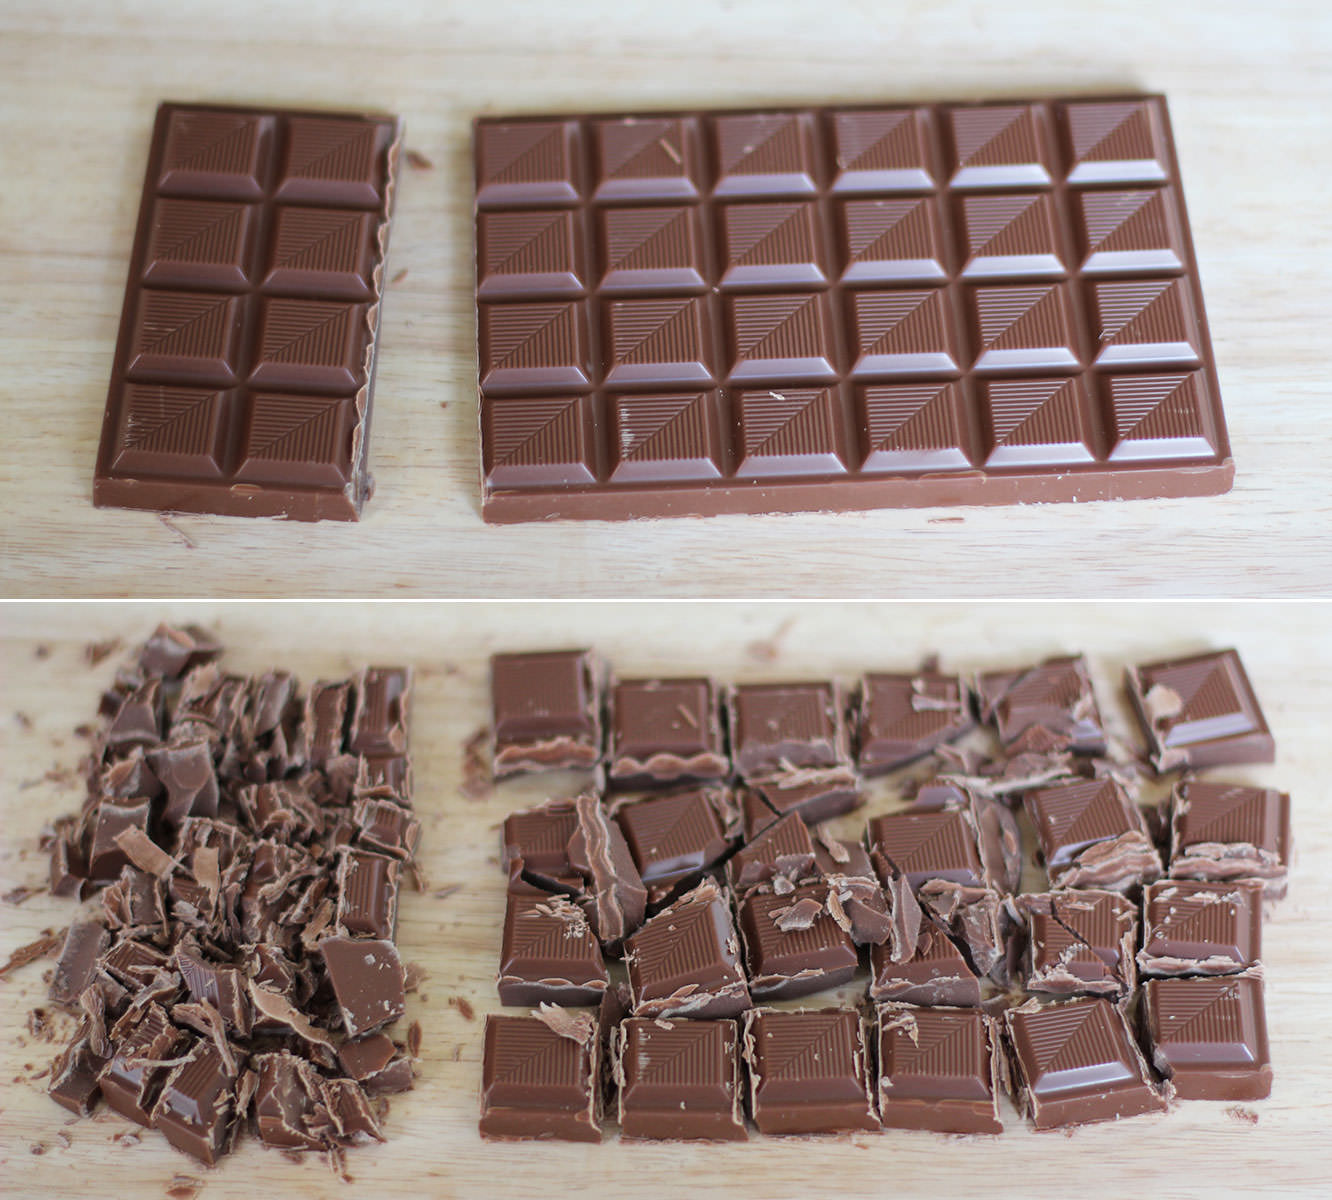
If you’re joining me on the tempering train you need to split the chocolate into a third/two thirds split. Ignore the photo above and just chop it all into big chunks.  I learned as I went with this one.

chocolate-drop-party-nibbles-3

Step two

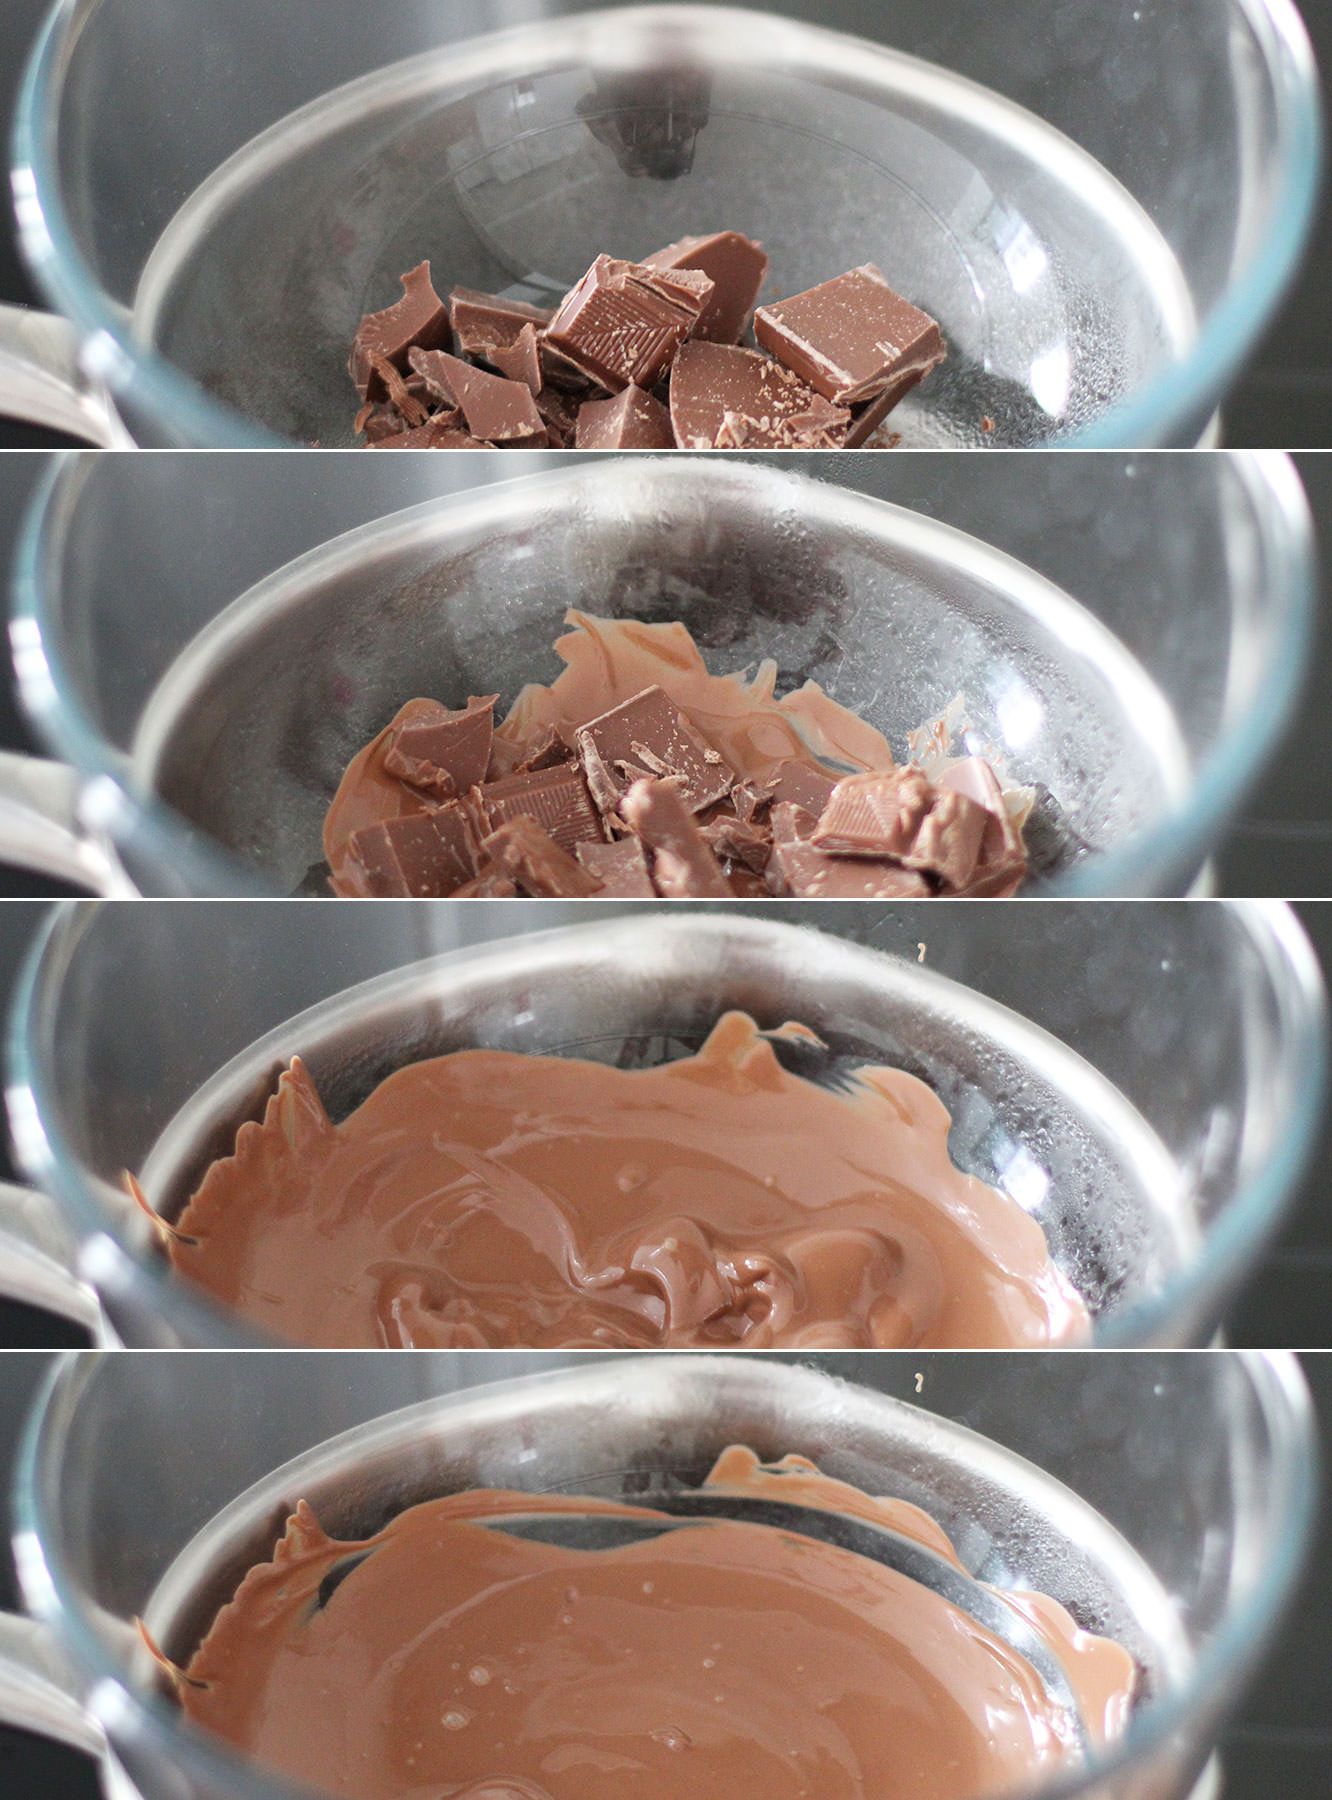
Place a heatproof bowl over a pan of simmering water; make sure the water isn’t touching the pan.

Add two thirds of the chocolate and allow to melt slowly. Stir occasionally. Mainly so you can feel like you’re doing something productive.

Bring to 45 degrees C and remove from the heat.

chocolate-drop-party-nibbles-5

Step three

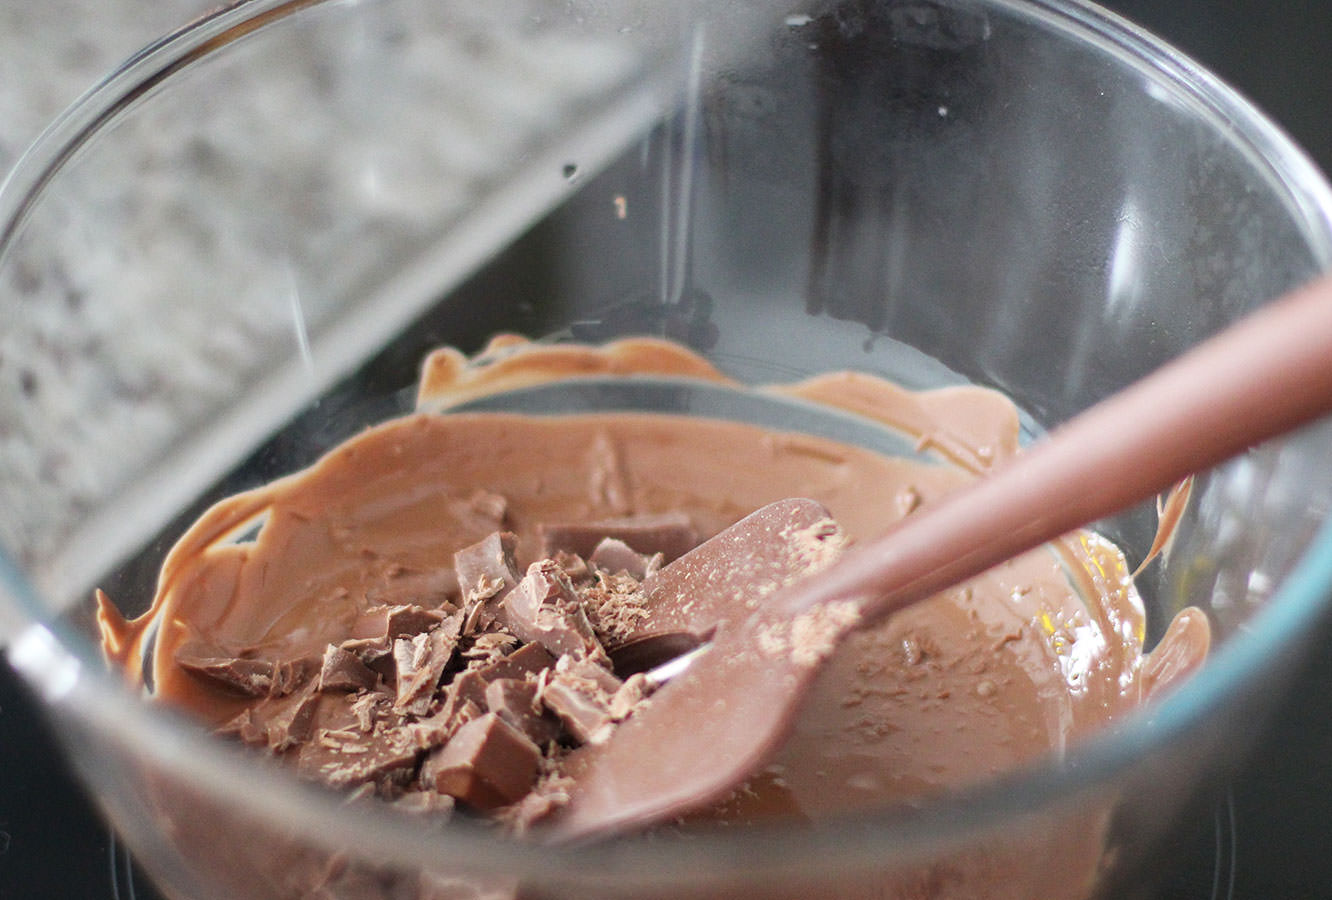
Add the rest of the chocolate and stir until its melted in. Keep stirring until the whole lot has cooled to 28 degrees C.

Step four

Place back on the heat and bring to 32 degree C.

Step five

Take back off the heat and dry the bottom of the bowl with a tea towel. Trust me, you don’t want water in your chocolate.

Step six

Pour into a piping bag.

Don’t trim the end yet. In fact, once you have twisted the opening to close it you should push any chocolate in the tip end back towards the rest, otherwise it will cool and solidify there while you’re tempering the rest.

Step seven

Repeat with the rest of the chocolate.

chocolate-drop-party-nibbles-gif

Step eight

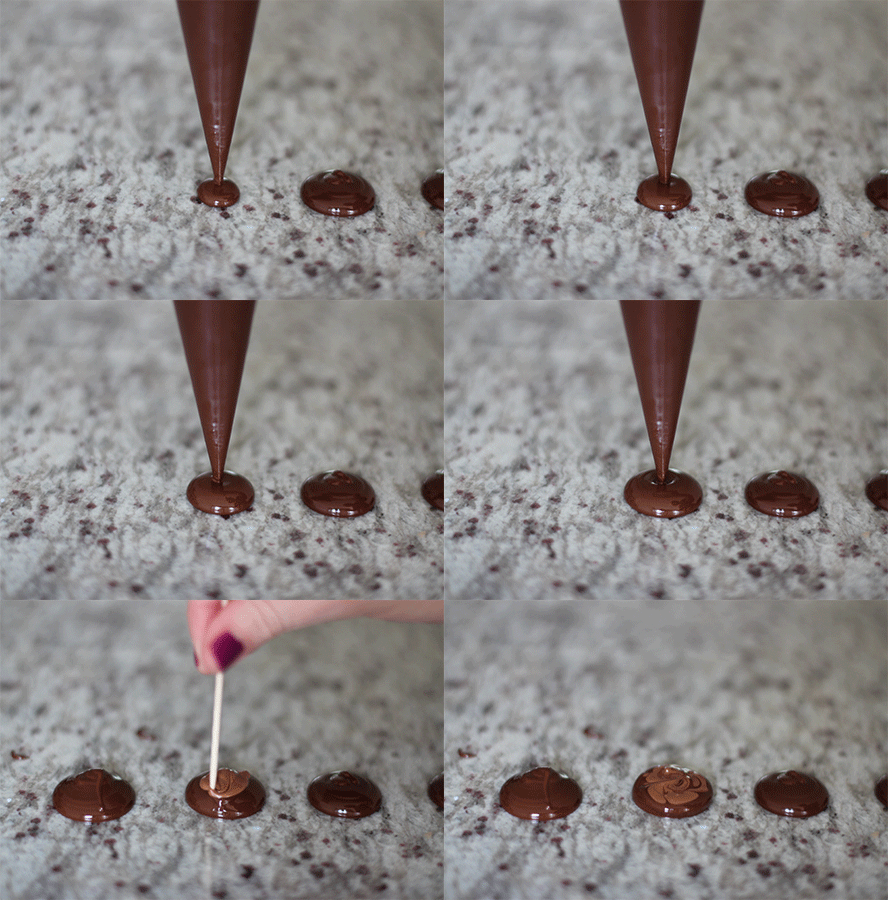
Lay down the cellophane and start piping.

You want to hold the piping bag at a 90 degree angle to the table and squeeze. The chocolate will flood into a lovely little pool.

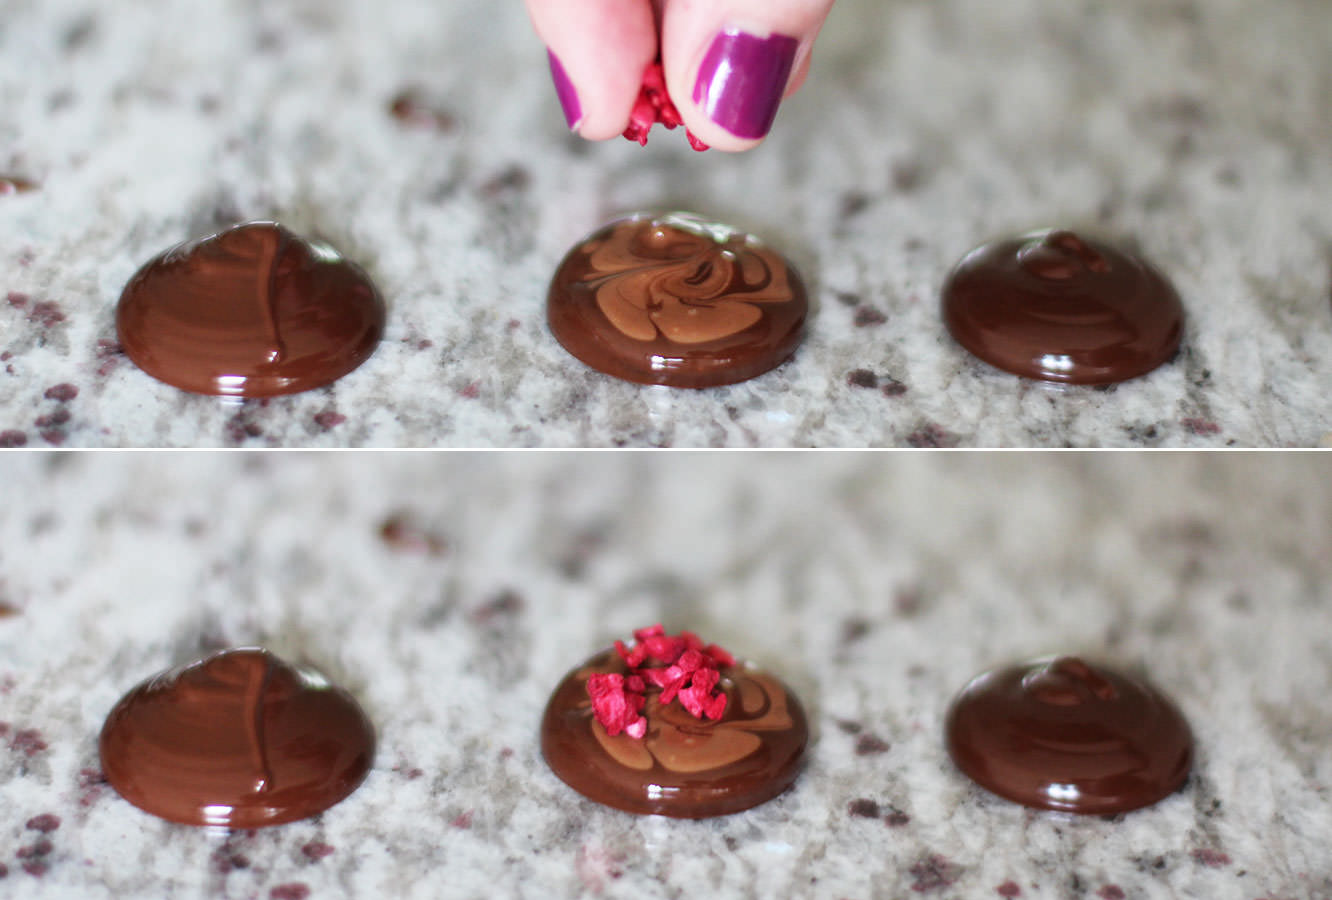
Add a small blob of another colour on top and swirl about with a cocktail stick to create a marbled effect.

chocolate-drop-party-nibbles-6

Step nine

Sprinkle your decorations on top.

Some cranberries would go down well for christmas drops, but I was explicitly instructed not to buy any. These freeze dried raspberries looked rather pretty and tasted good too. See children? Compromise isn’t always bad.

chocolate-drop-party-nibbles-7

Step ten

Keep going until you run out of chocolate/the will to live. But look…so shiny. You did well to temper it, it was worth it after all.

chocolate-drop-party-nibbles-8

Step eleven

Go forth and make someone’s day.

Half term hair bands

This half term holiday I had promised two little friends of mine a day in my London pad. They were very excited and had all kinds of crafty plans and ideas to keep us busy.

When thinking about what we could do on a budget, I remembered learning how to sew when not much older than them.

I was pretty impressed with these two; by the end they were using the sewing machine unaided (although for their parents’ benefit – heavily supervised!)

This is a great little project for beginners of any age, but for the reference of anyone planning to do this with children, these two are 7 and 8 and handled it very well. It would certainly be doable if you don’t have a machine too.

how-to-make-hair-bands-bow-1

You will need

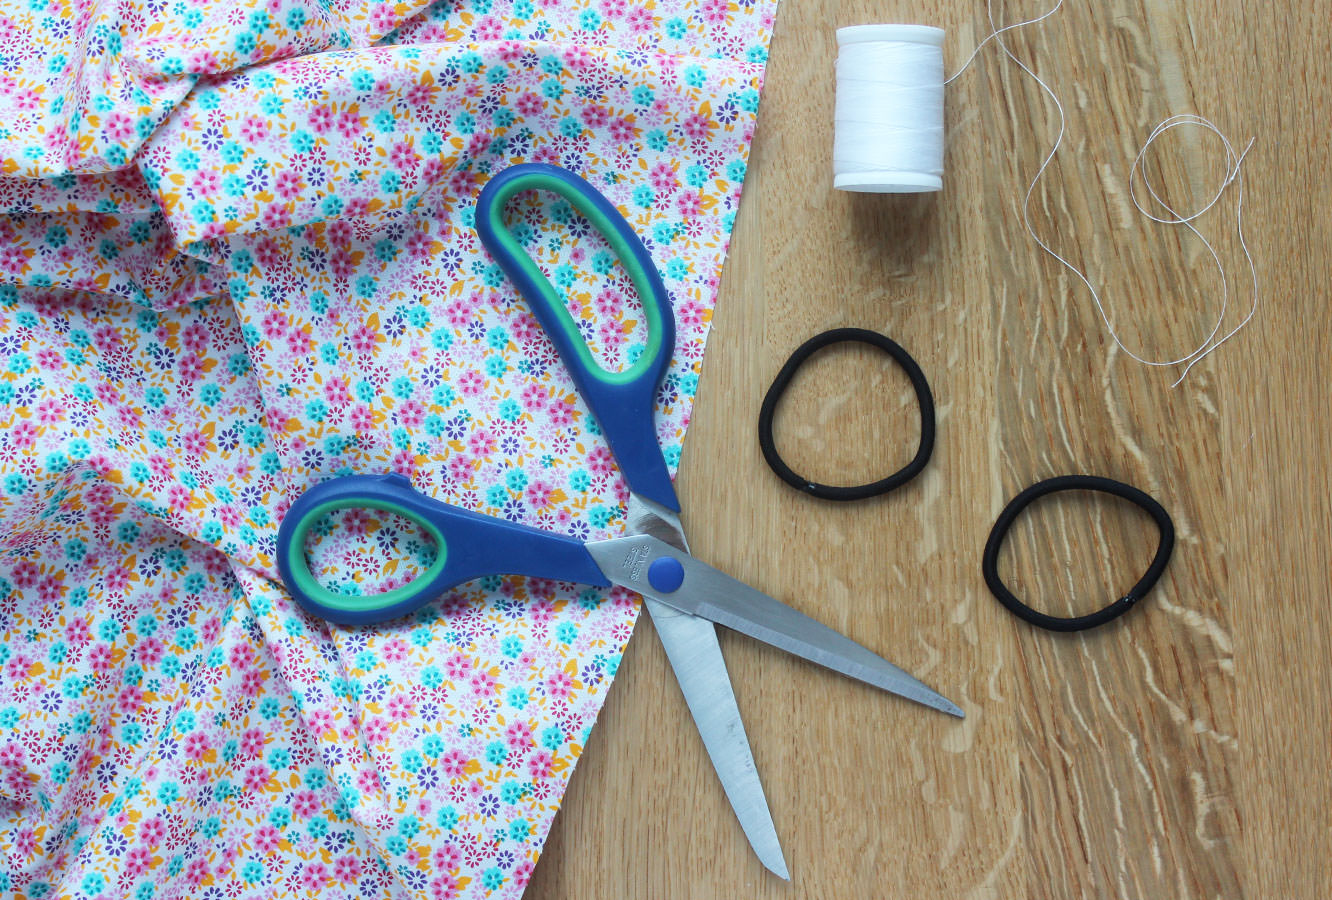
Cute fabric

Elasticated hair bands

Needle and thread (or a sewing machine)

how-to-make-hair-bands-bow-2

Step one

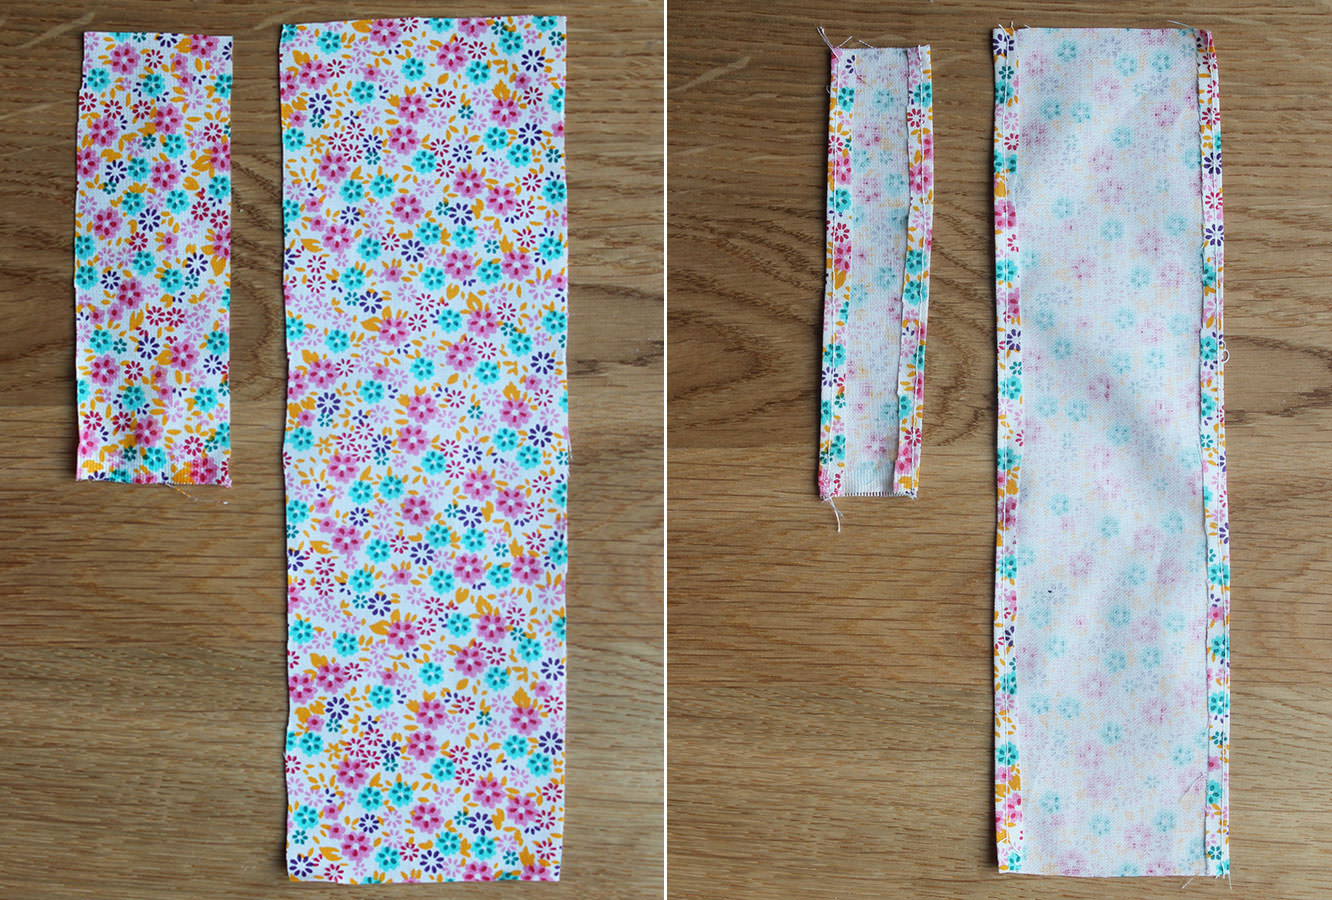
Cut two lengths of fabric, one 7cm x 22cm and the other 3.5 cm x 12 cm.

Step two

Sew a small hem along the long edges as shown above.

When doing this with the girls they used the foot while I guided it through at first, then I took a turn with the foot so they could guide, then they took the helm altogether.

how-to-make-hair-bands-bow-4

Step three

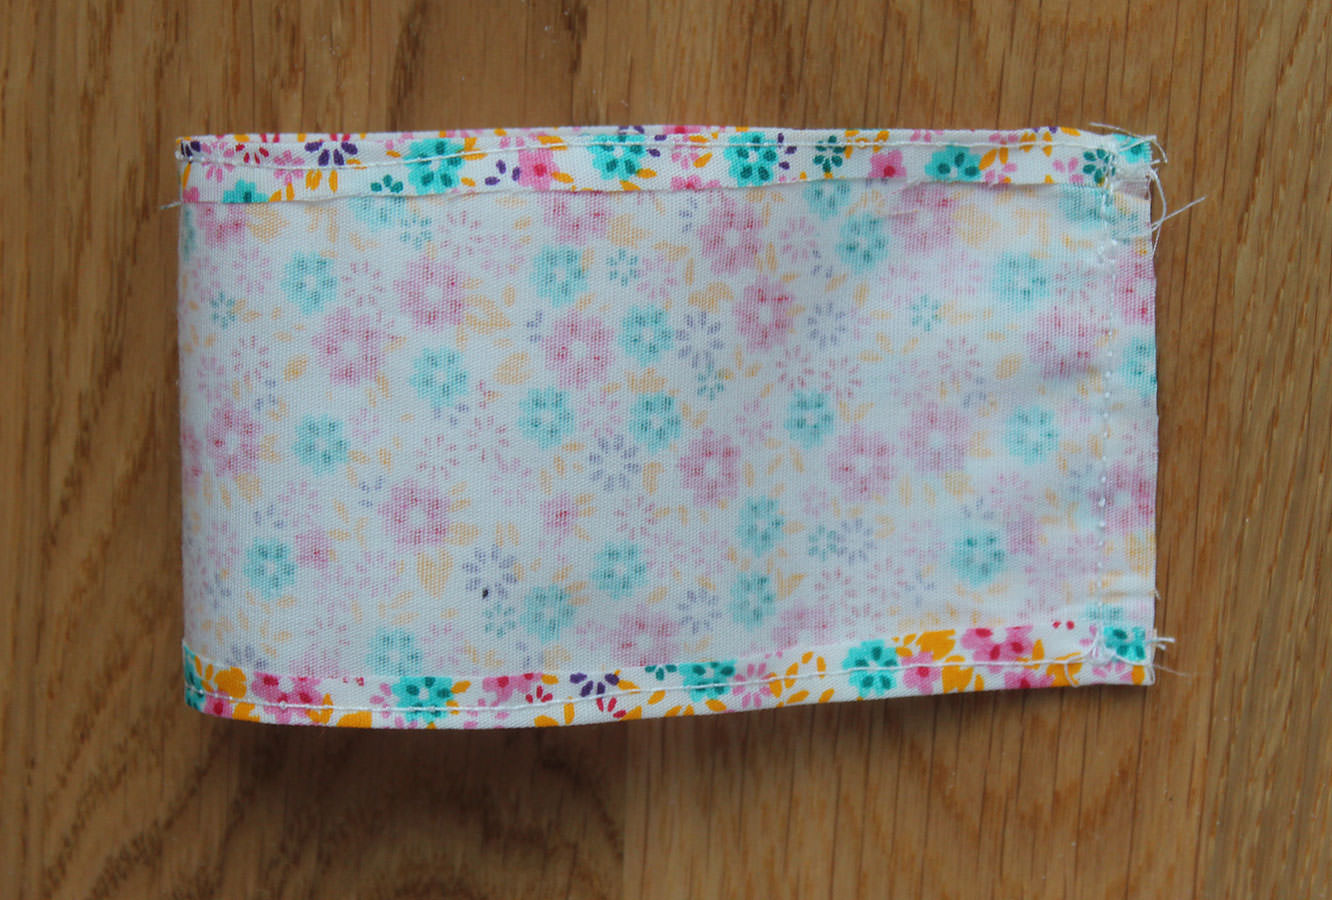
Join the larger piece with right sides facing. Turn it through so the right sides are showing.

how-to-make-hair-bands-bow-3

Step four

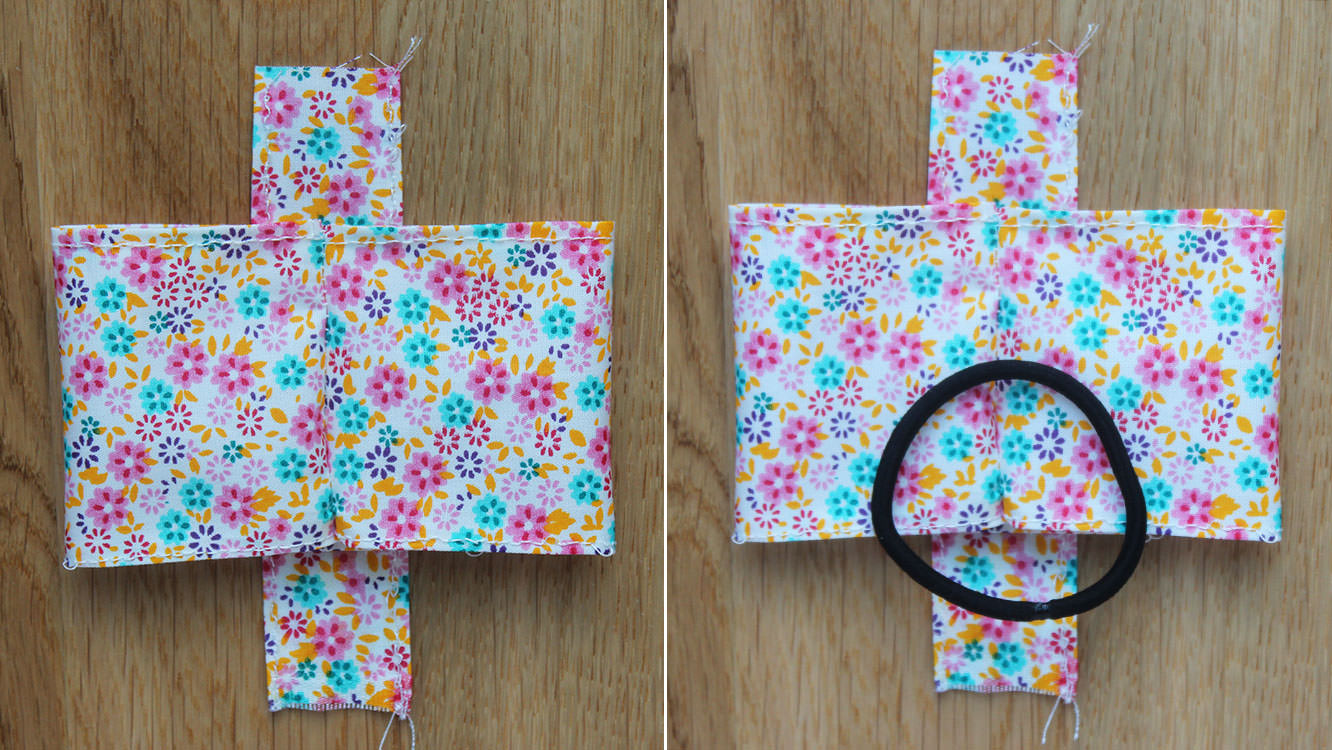
Lie the smaller strip down, right side facing upwards. Place the larger piece on top with the seam running down the centre.

Pop the hairband on top.

how-to-make-hair-bands-bow-5

Step five

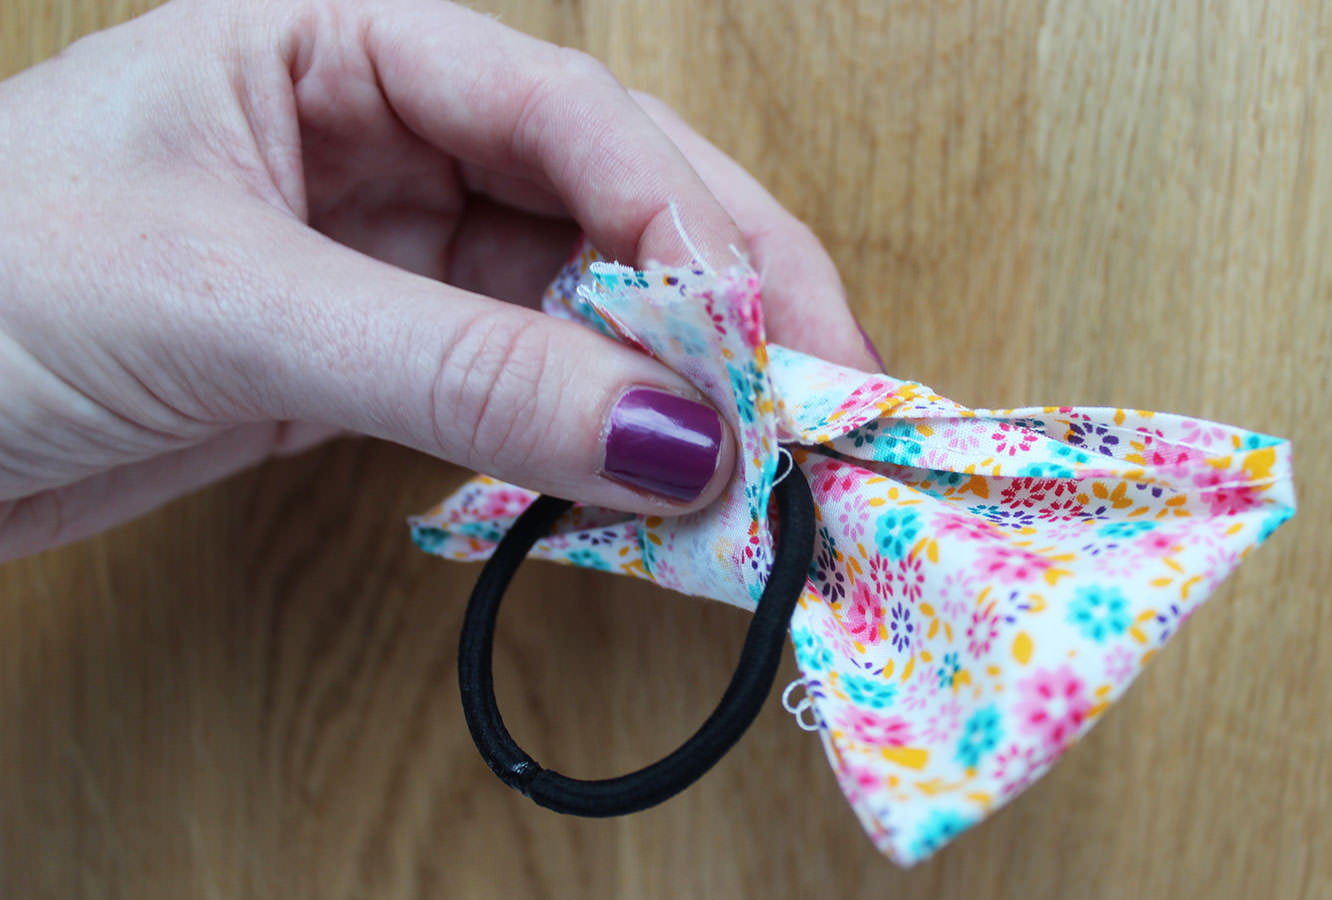
Loop the smaller strip of fabric through the hair band and squeeze it all together. Don’t worry too much about the shape of the bow for now, plenty of time to sort that out later.

how-to-make-hair-bands-bow-gif

Step six

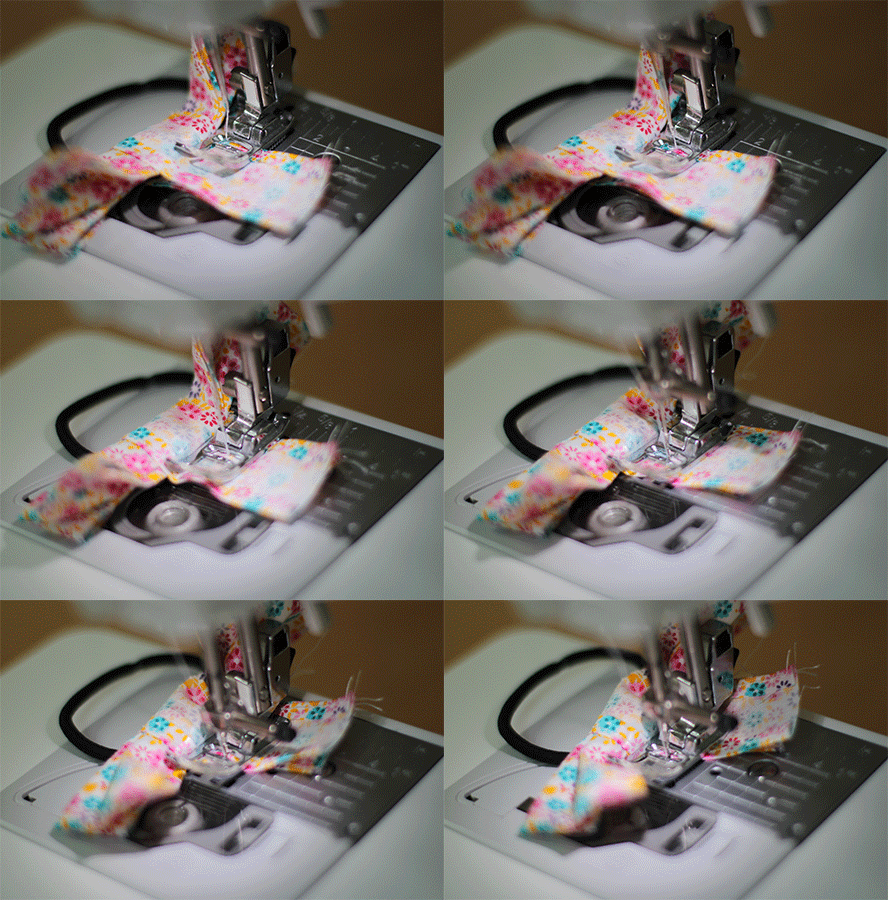
Sew across the smaller piece of fabric as close to main body of the bow as your machine will allow. That being said, if you are hand sewing (and therefore have a bit more control) do leave a little wiggle room.

how-to-make-hair-bands-bow-8

Step seven

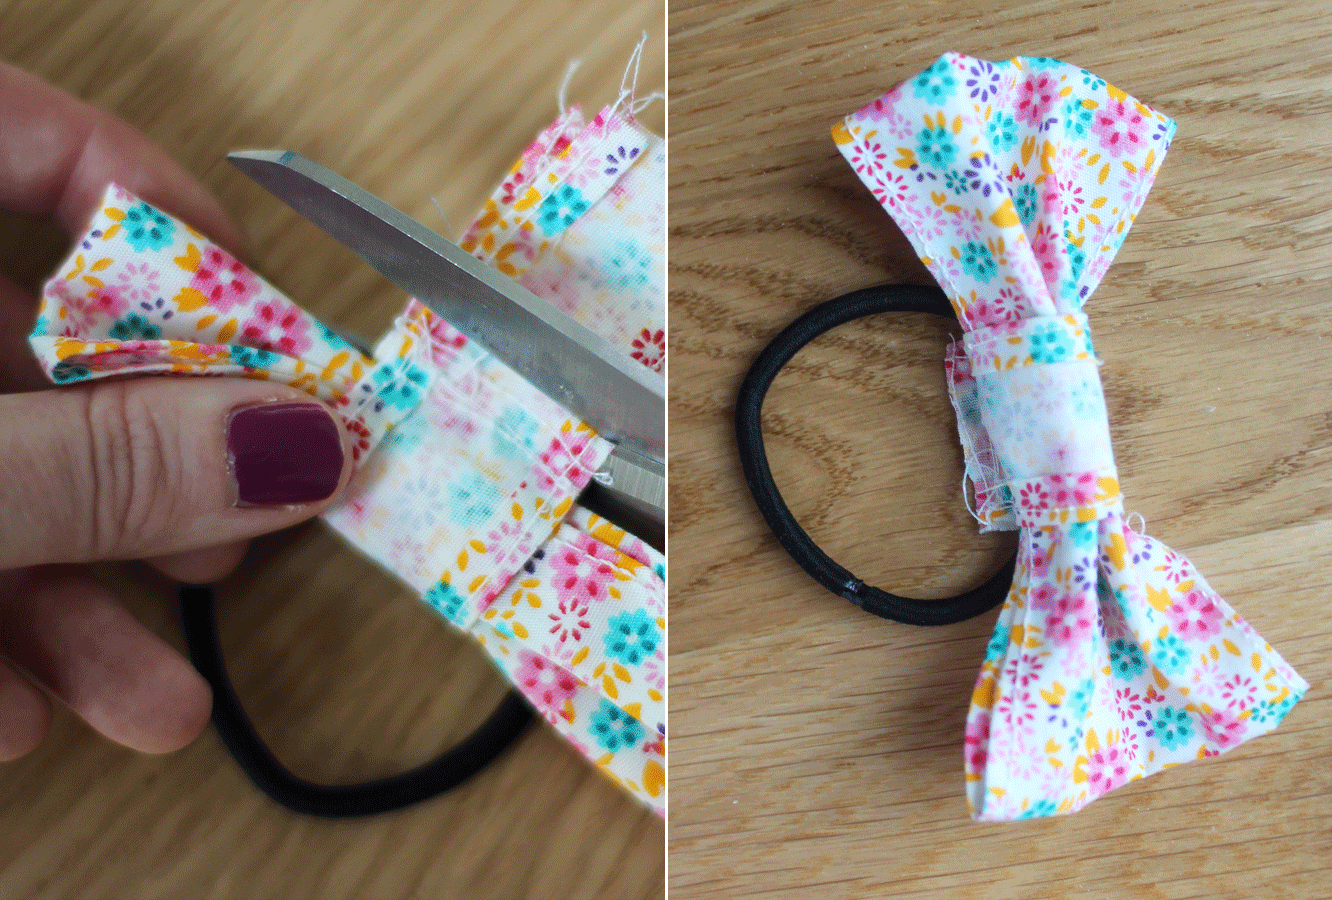
Chop off the excess fabric.

how-to-make-hair-bands-bow-6

Step eight

Turn the loop the right way round and attach it to some hair.

how-to-make-hair-bands-bow-7

Burning the midnight oil

Winter is fast approaching and it’s time to get cosy. Cosy equals candles. At least it does this week, because I had left over spray paint from my mat making, and I really like spray painting things. Like really like it. In an unhealthy way.

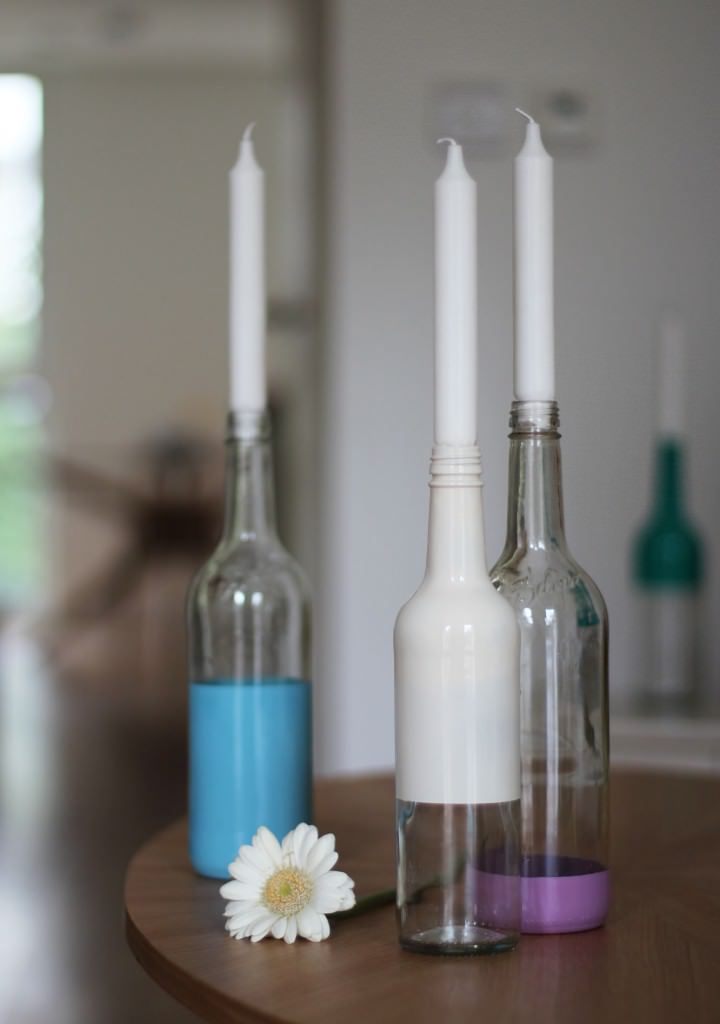
This is a pretty easy quick make, and is satisfyingly effective. I recommend it for adding a bit of pizazz at a dinner party or even for sticking a couple of flower stems in rather than candles.

spray-paint-bottle-candle-holders-diy

You will need

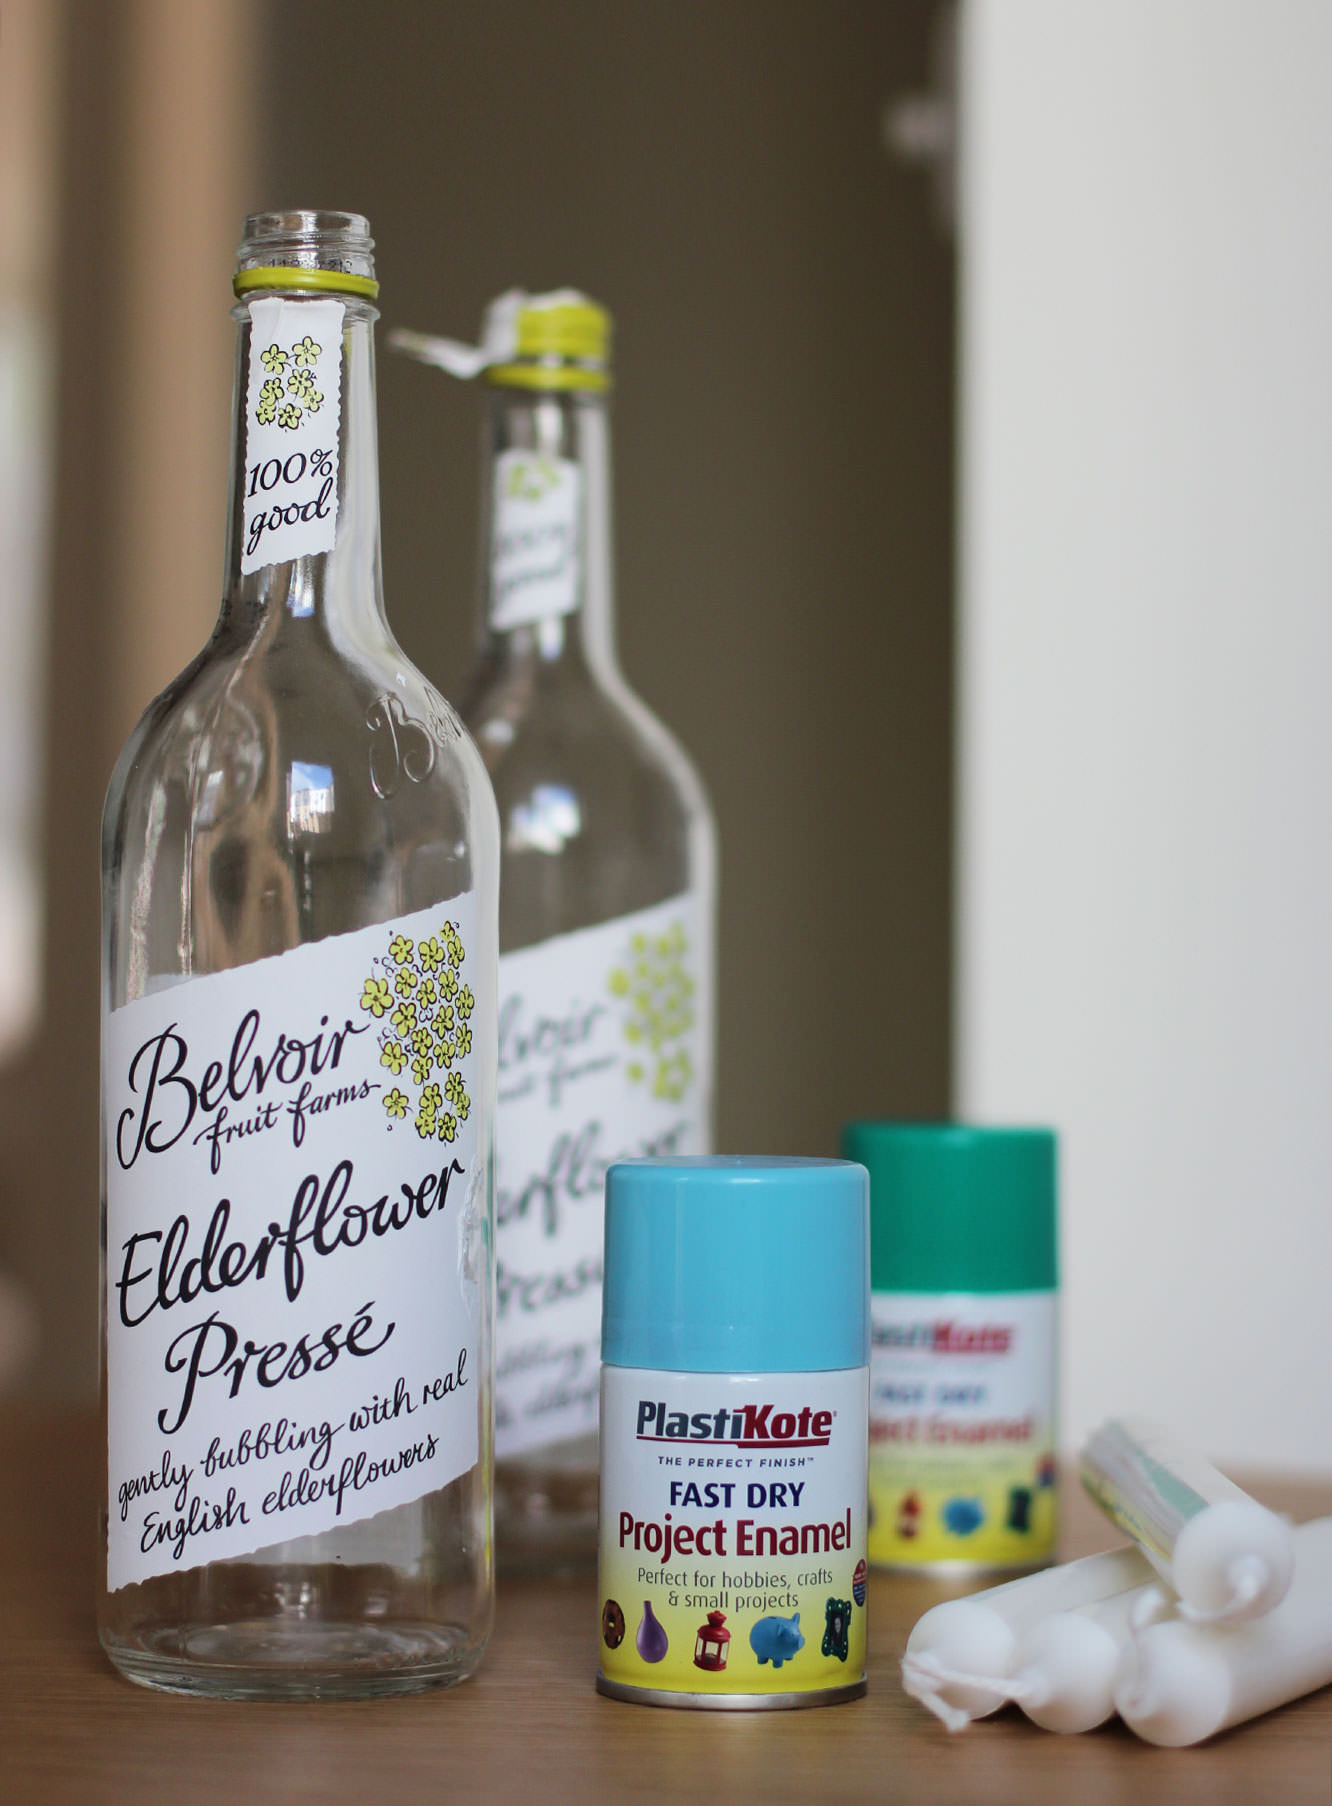
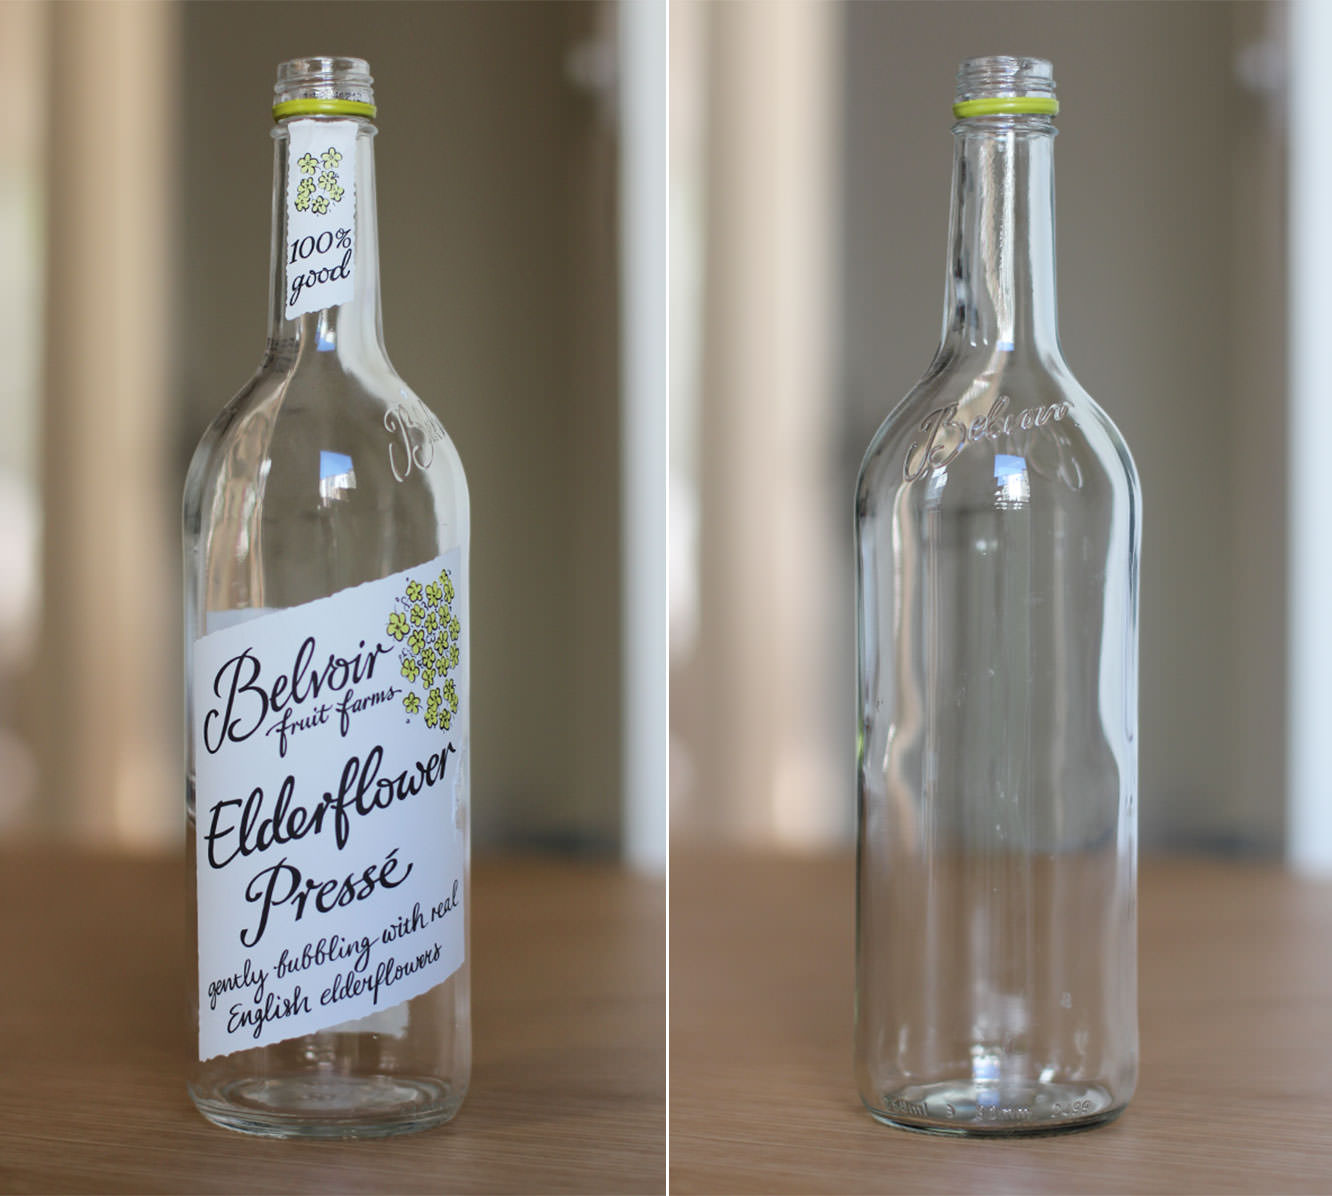
Clear glass bottles

White or cream dinner candles

Spray paint of your desired colour(s)

Newspaper and masking/washi tape

spray-paint-bottle-candle-holders-diy-2

Step one

If your bottles have labels like mine did then you need to pour boiling water over them to soak alla that off.

They drink a lot of posh juice at work so I got these bad boys for free. You could also buy some from the home brew section of a Lakeland/Wilko’s; if that’s you, advance to step three and collect £200 as you pass Go.

spray-paint-bottle-candle-holders-diy-3Step two

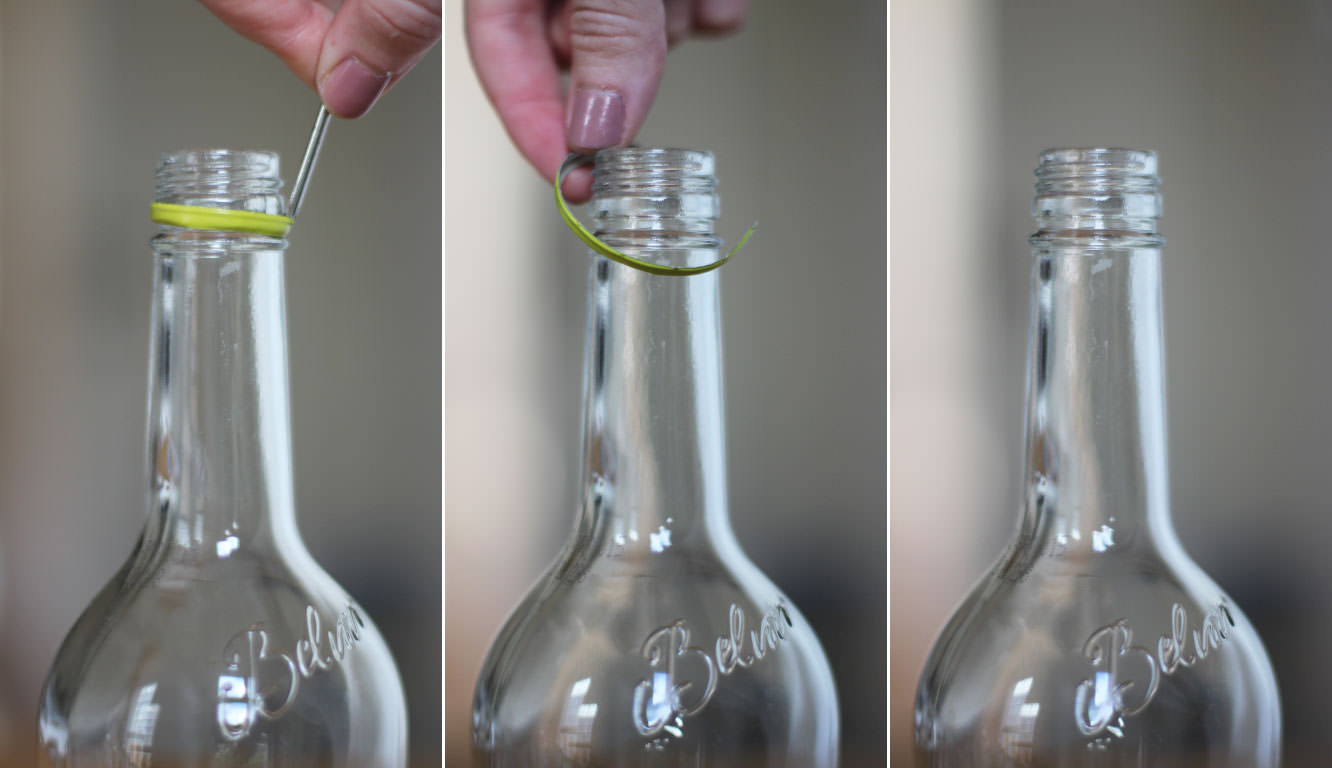
If you’re using recycled juice/wine bottles then stick a little screwdriver or a knife in the metal bit and prise it off. It’s worth not being lazy and skipping this step.

spray-paint-bottle-candle-holders-diy-4

Step three

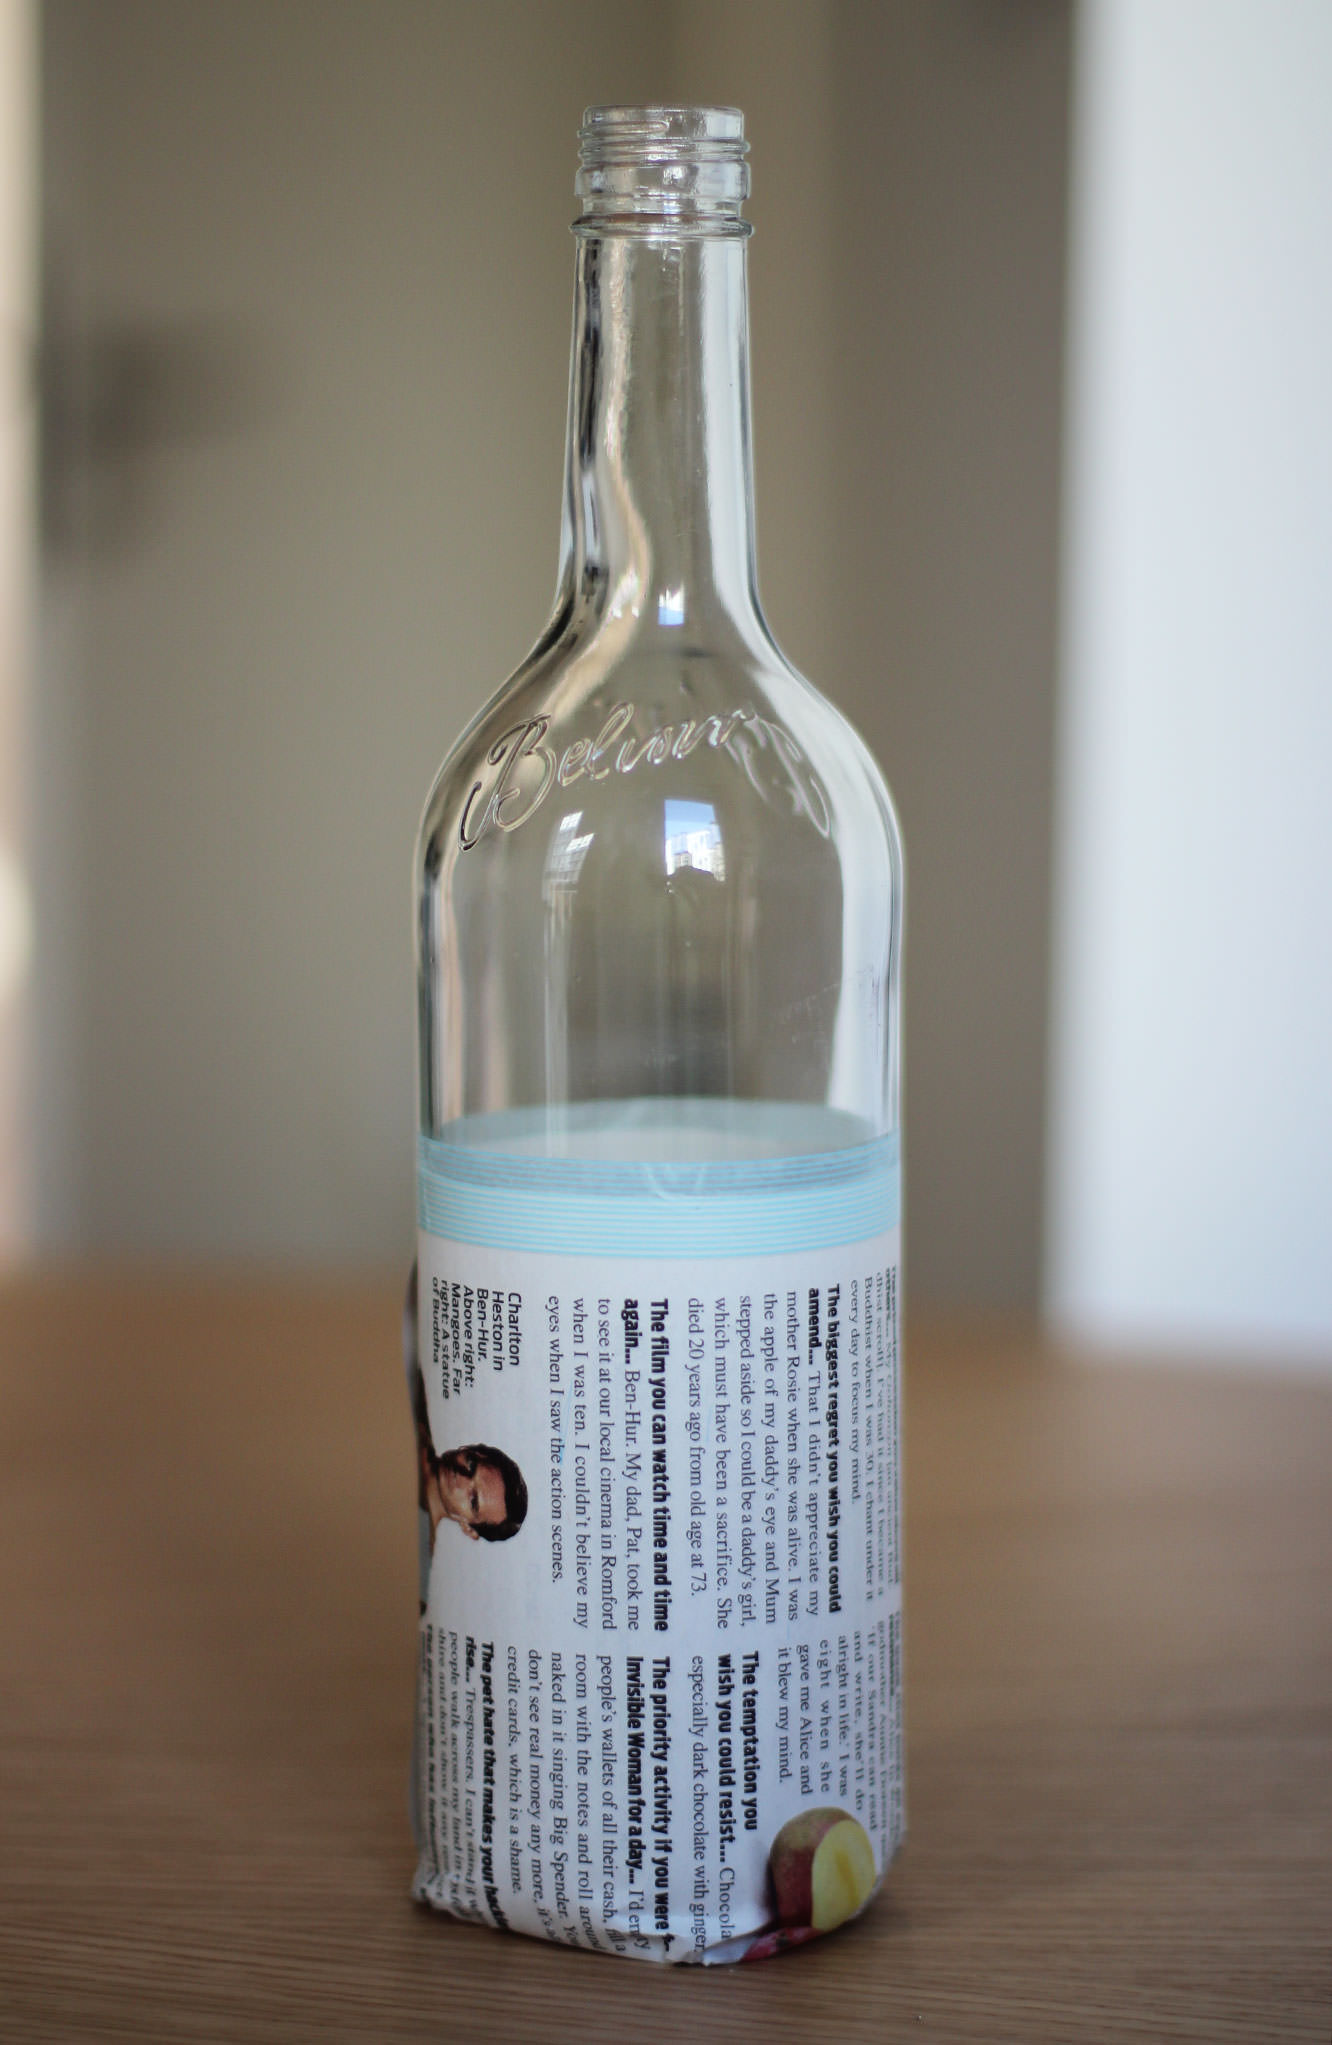
Wrap the tops or bottoms of your bottles in newspaper, securing it with wash tape or masking tape which would be a lot cheaper if you have it to hand. As you can see, I didn’t.

The more care you take over this the better as you want the lines to be as straight as possible. Otherwise your OCD friends won’t enjoy your company at your dinner party; they will be too distracted by your wonky candle holders. They will be totally justified in this.

spray-paint-bottle-candle-holders-diy-gif

Step four

Go outside and put down some newspaper. Obviously the best time to do this is on a dry day, but let’s just see how well the British weather co-operates with you…

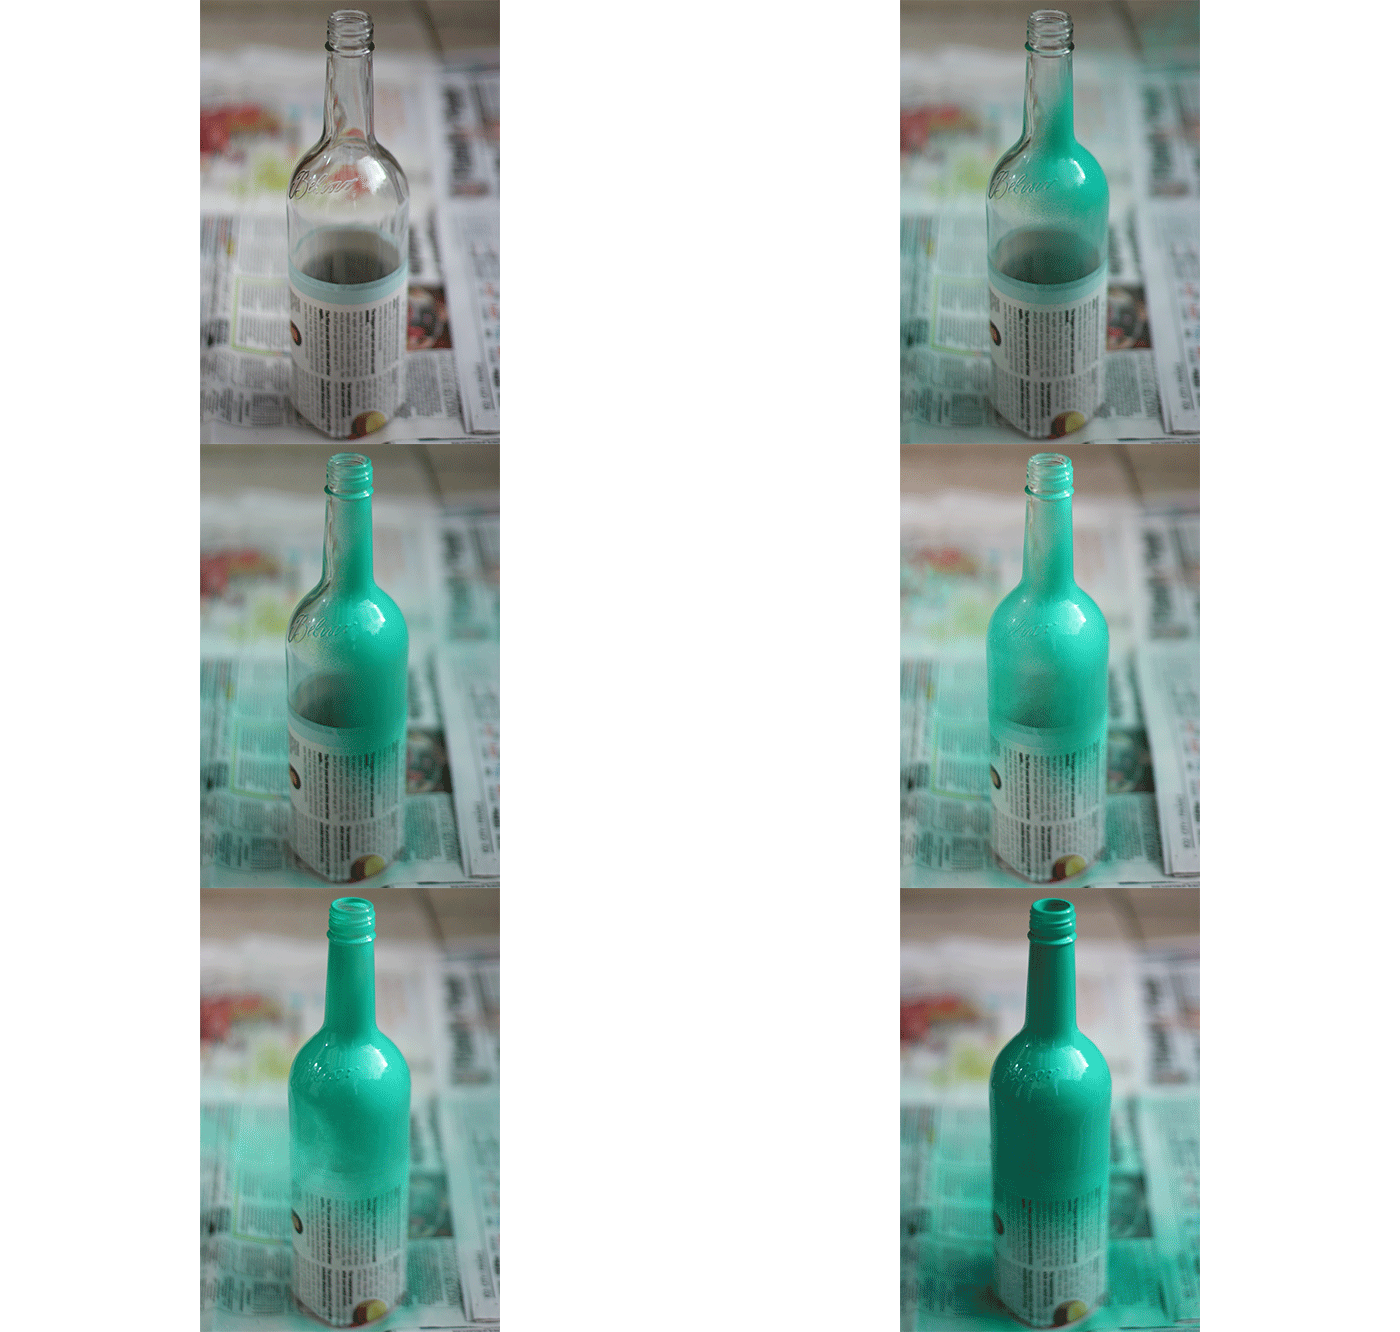
Shake the can of spray paint and hold about 20cm/8 inches away. Spray thoroughly until the bottle has an even, opaque colour.

Leave to dry.

spray-paint-bottle-candle-holders-diy-5

Step four – bonus tip

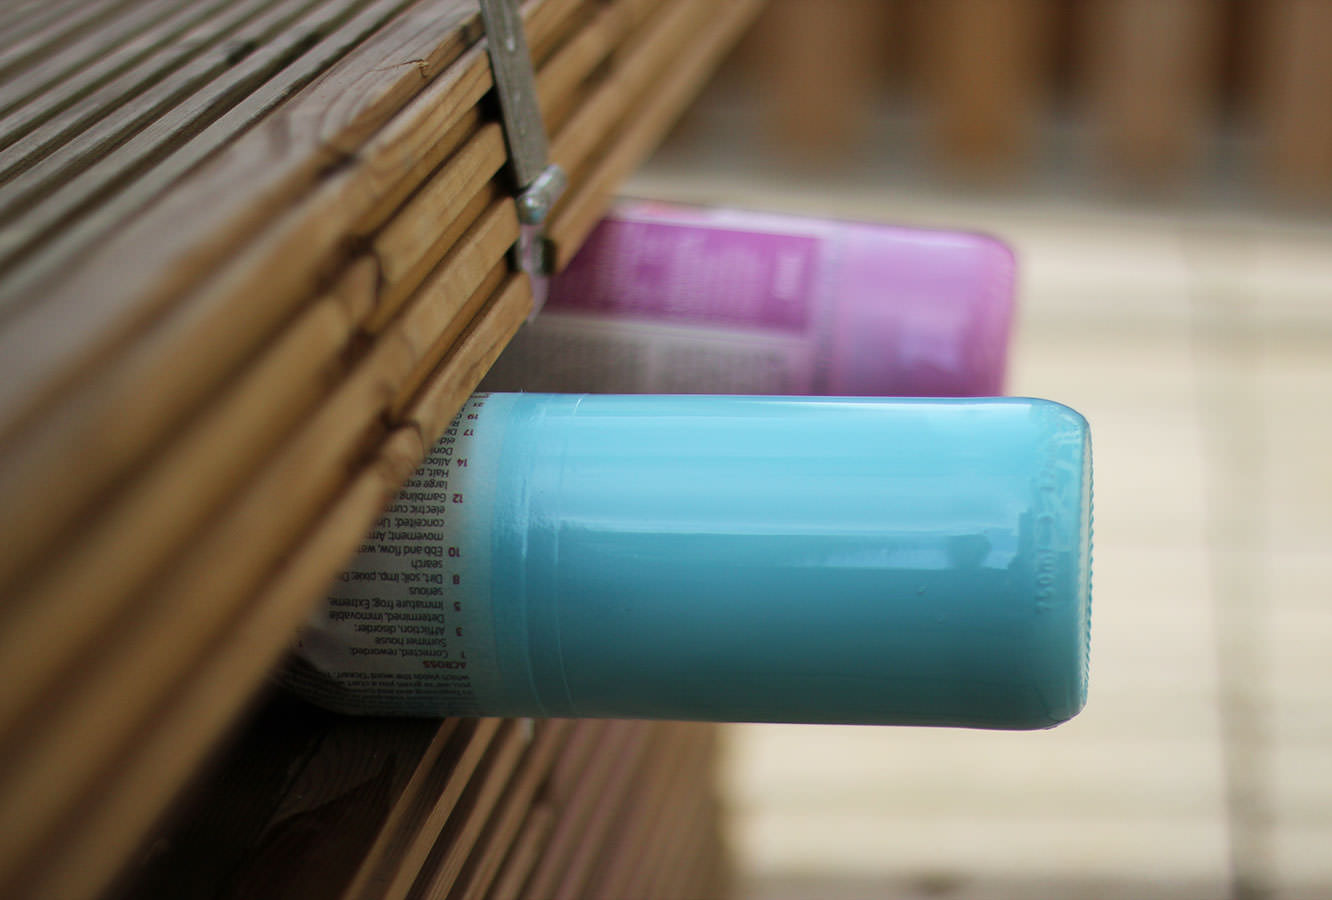
If you’ve wrapped the top of the bottle rather than the bottom, I found the easiest way was to hold the neck in my hand and spray while holding it.

In order to dry it you need to find something to wedge between so it’s sides/the bottom won’t touch anything else. You could just hold it as they don’t take long to dry at all, but I found this storage chest/bench in the garden was just the ticket.

spray-paint-bottle-candle-holders-diy-6

Step five

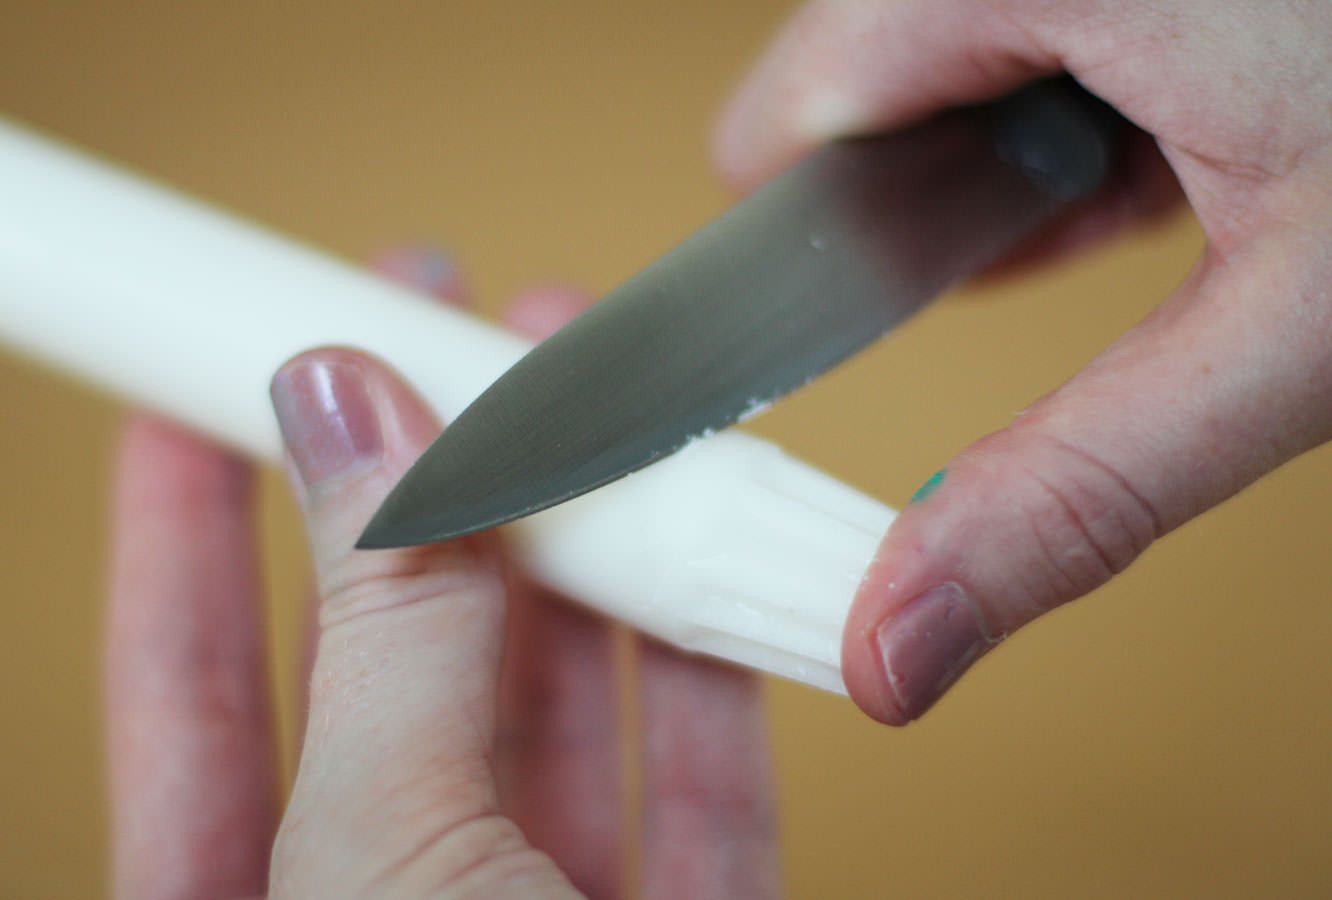
Whilst your bottles are drying you might need to do a little candle whittling. Mine had really handy grooves in them already but unfortunately were still a little on the large side, so I had to trim them down.

Just for the sake of everyone who knows how clumsy I am and would reel in horror at this picture, I still have all ten digits.

spray-paint-bottle-candle-holders-diy-7

Step six

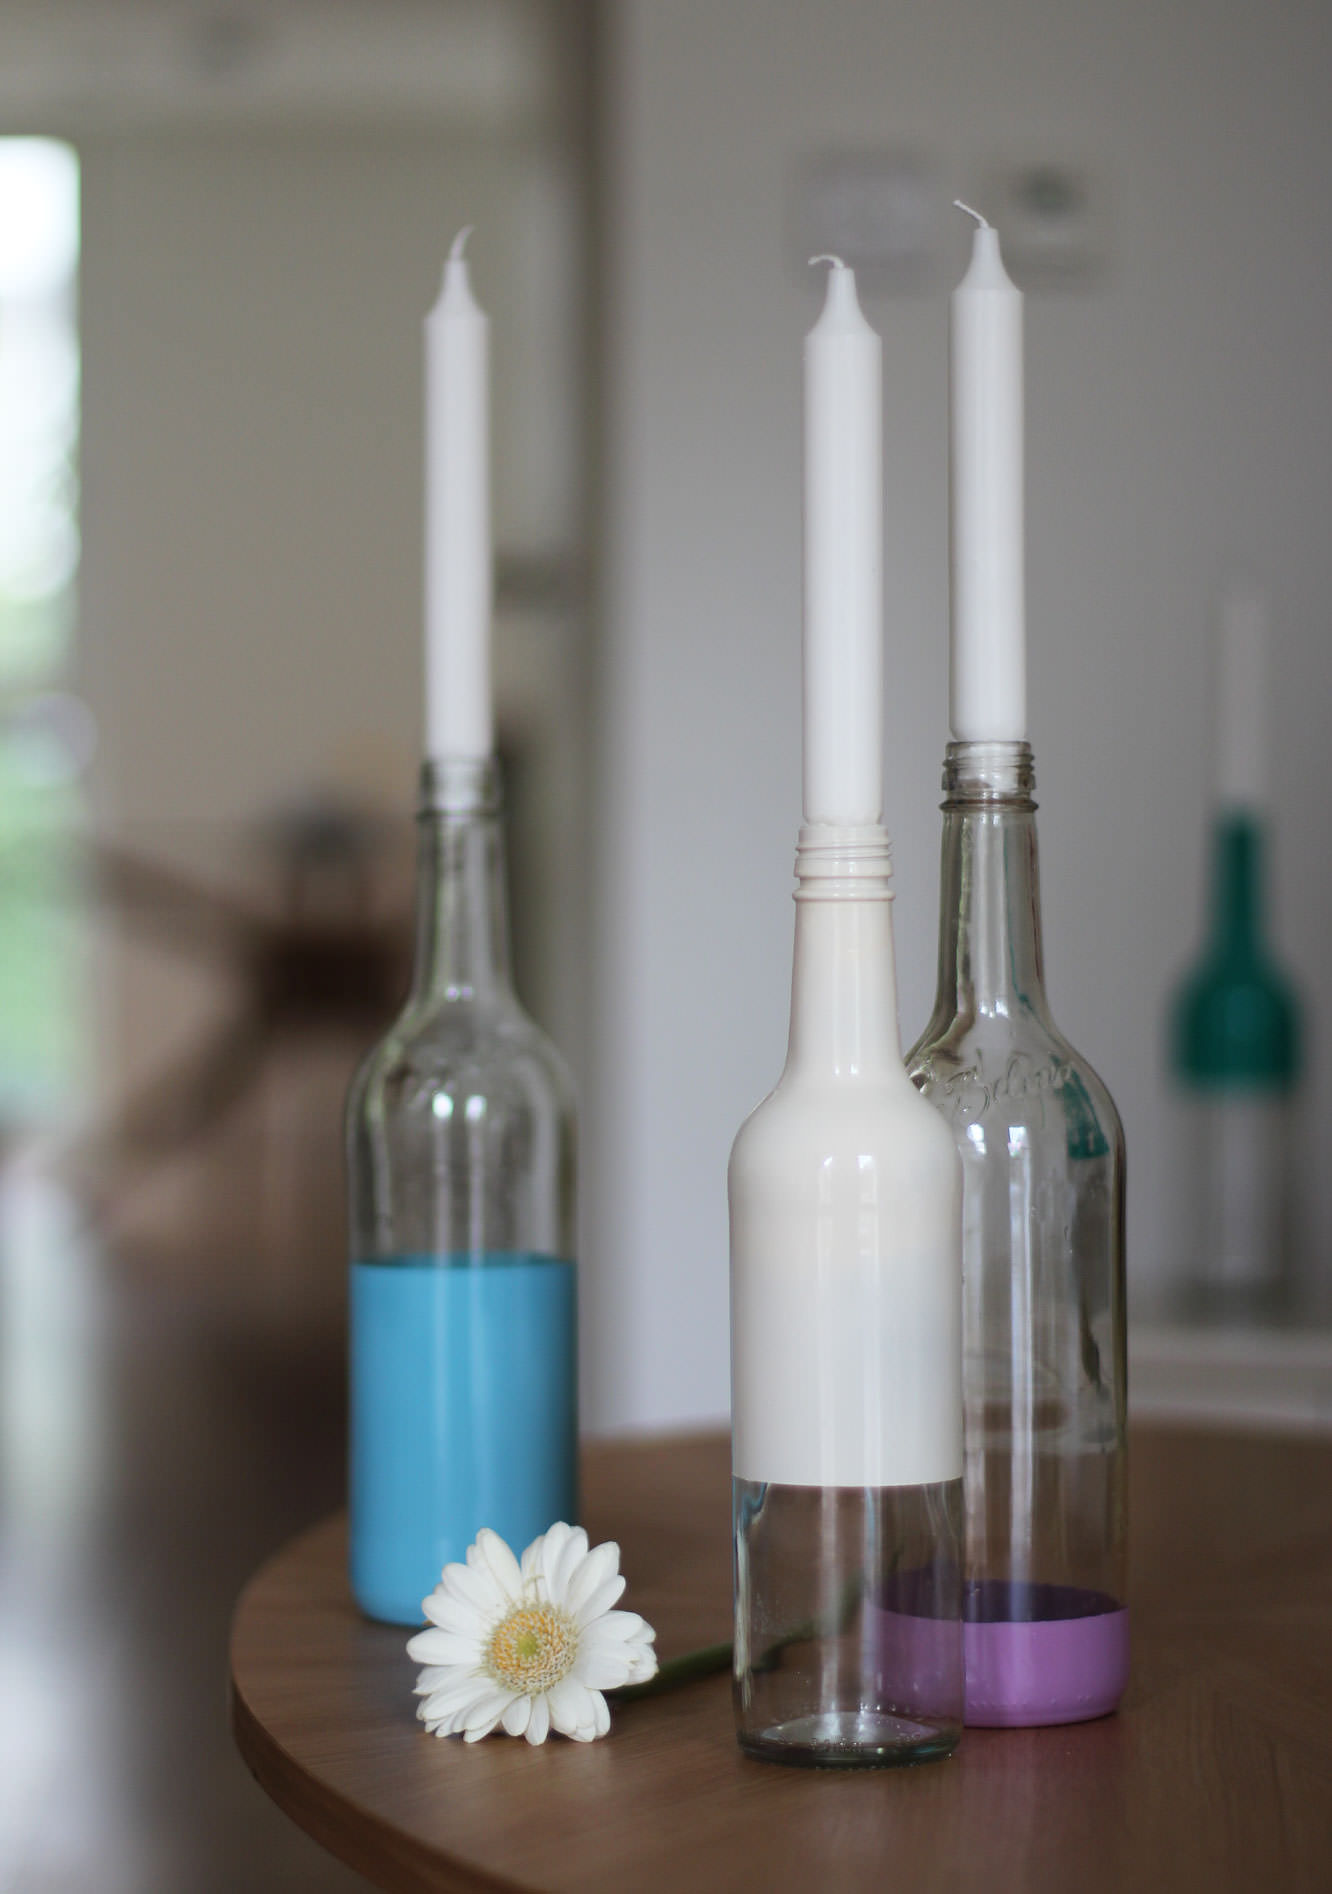
Push candles into the bottle necks and admire.