Oh hi. Thanks for stopping by. This week I’ve been putting together a little DIY project for all you people getting married this summer. Or basically anyone who likes candles. I can’t tell you just how ridiculously easy this is and it takes no time at all, so no excuses, unless you are scared of fire.
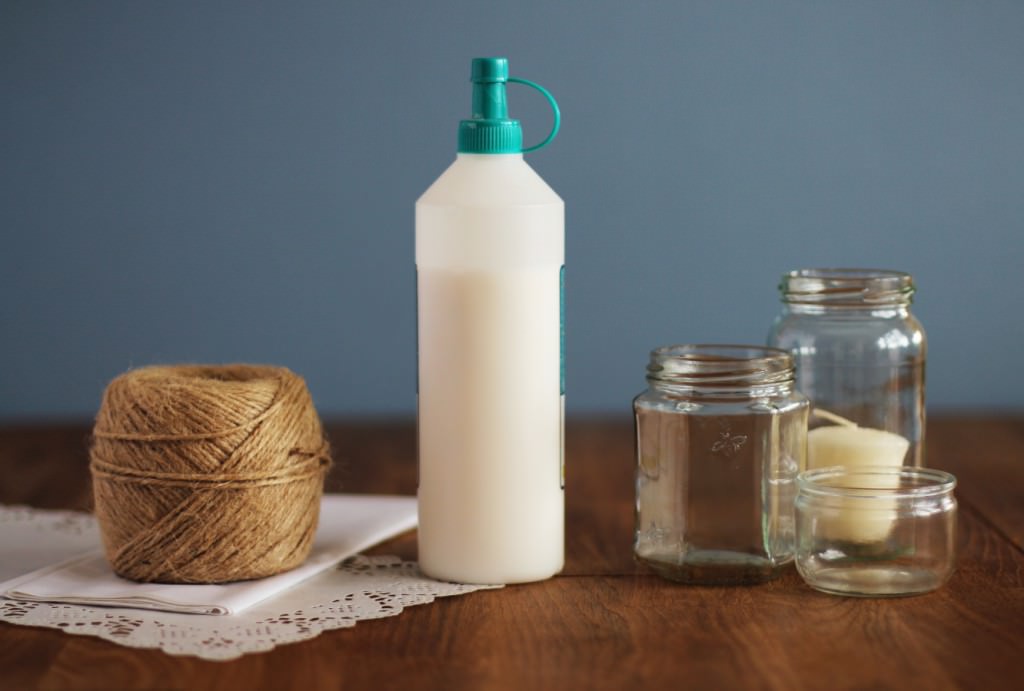
You will need
All the jam jars and glass pots you can find (a great excuse to go to France and gorge on those chocolate puddings, and a perfectly reasonable level of dedication to your craft)
Tea lights/small candles
White tissue paper
Paper doilies
Some kind of nice rustic string or ribbon (mine was from hobby craft)
PVA glue

Step one
Cut the lacy bit of the doily off so you have a long strip. I found these rectangular ones in a bits and bobs shop which are ideal for wrapping round in a straight line.
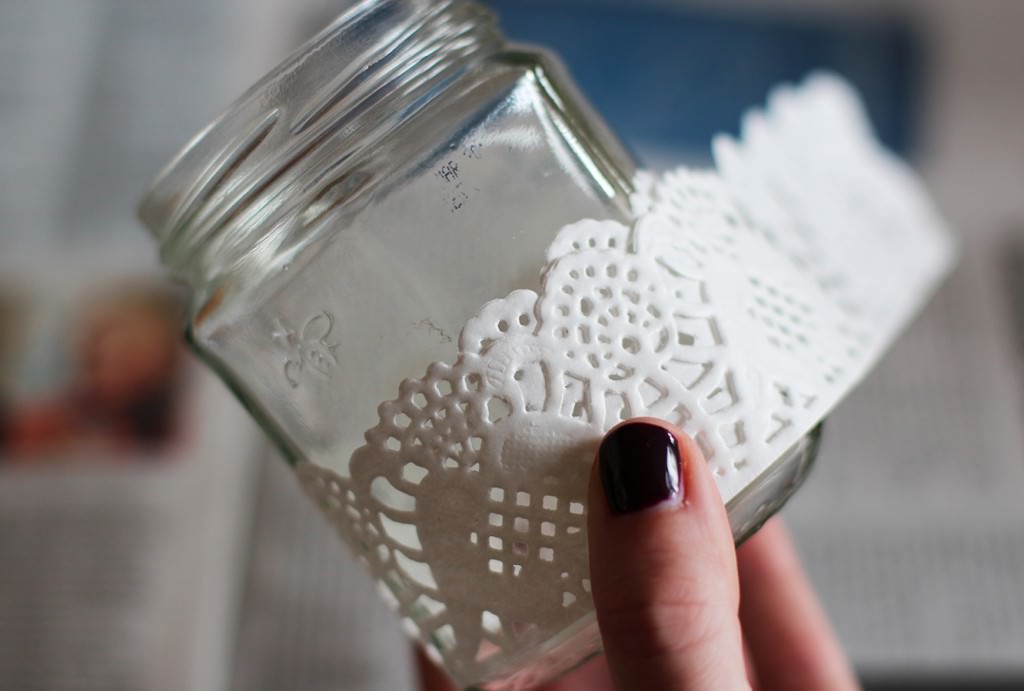
Step two
Measure the circumference of your jam jar and cut the doily strip to size. Pro tip: when you cut it go with the natural curve of the pattern, rather than a straight line, as even if you have some overlap the join will be far less obvious.
Step three
Use the jar as a measure to cut a strip of tissue paper (one sheet thick) to match the height and circumference. You don’t need to be too exact as the tissue molds easily with the glue.
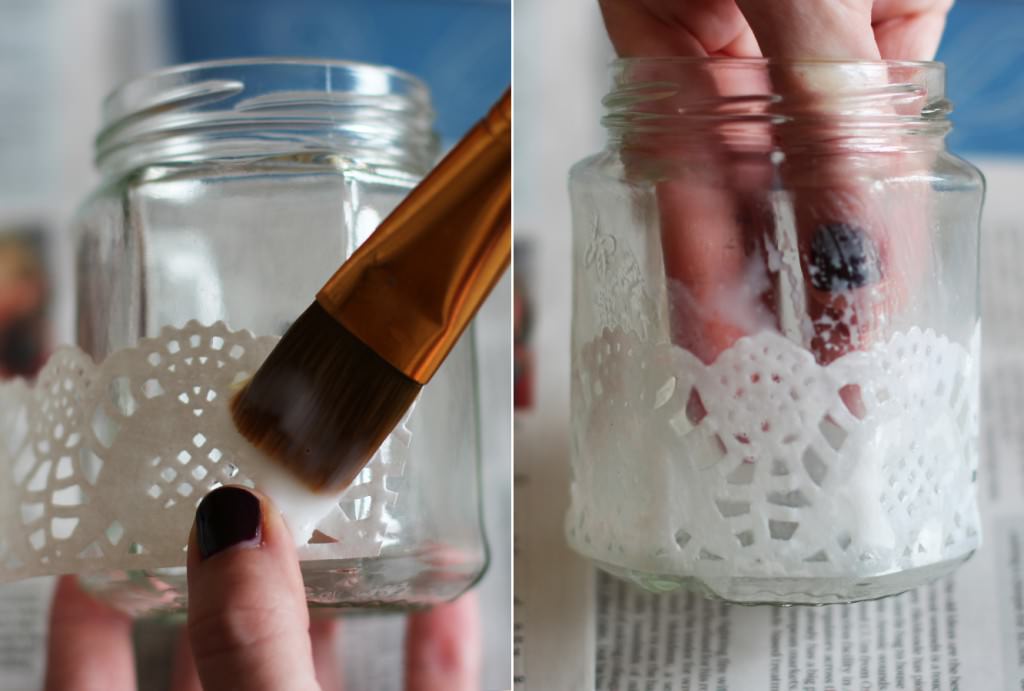
Step four
Using a mixture of PVA glue and water (about two thirds PVA to one third water) stick the doily around the bottom of the jar as shown. I put the doily onto the jar dry and then just painted over the top which worked perfectly. Pro tip #2: I know, I know, I’m spoiling you today…once you’re about half way round the doily will hold to the jar by itself so you can put your non paintbrushing hand inside it to hold steady and avoid getting glue all over yourself.
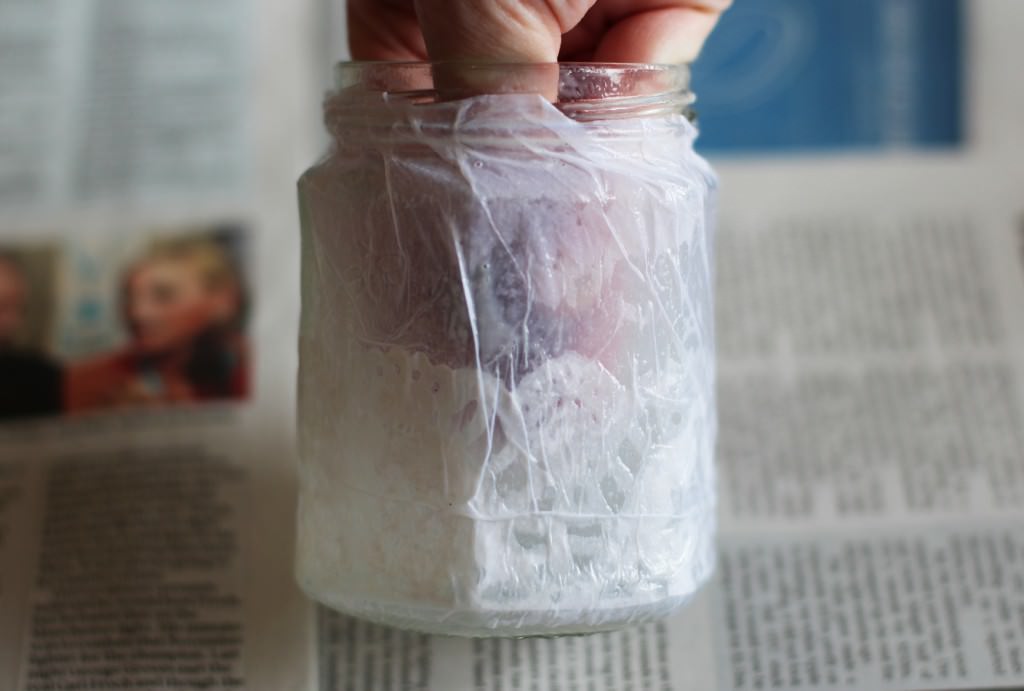
Step five
Repeat with the tissue paper, pushing it into the contours of the jar as you go. Don’t worry if it looks really scruffy at this point; it will be alright on the night.
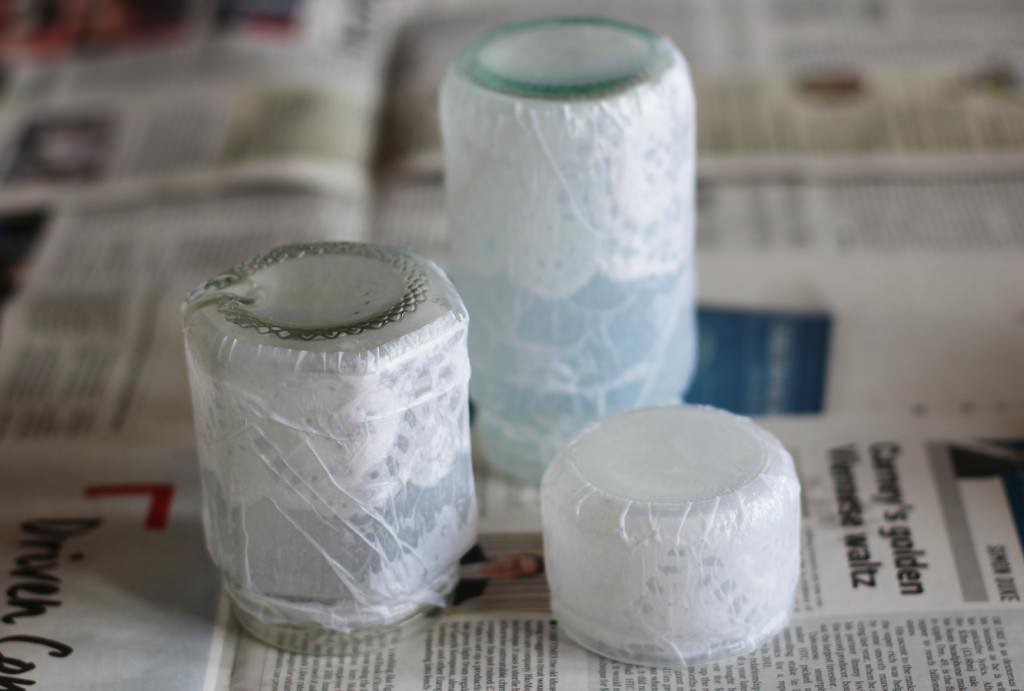
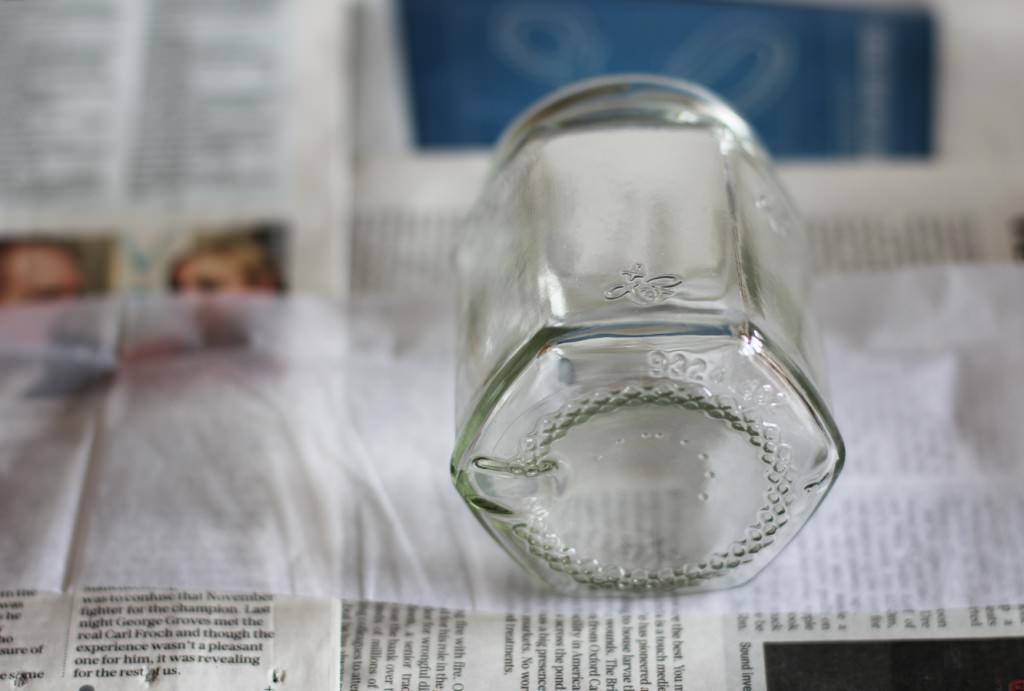
Step six
Leave upside down to dry (or on whichever is the least gluey end!)
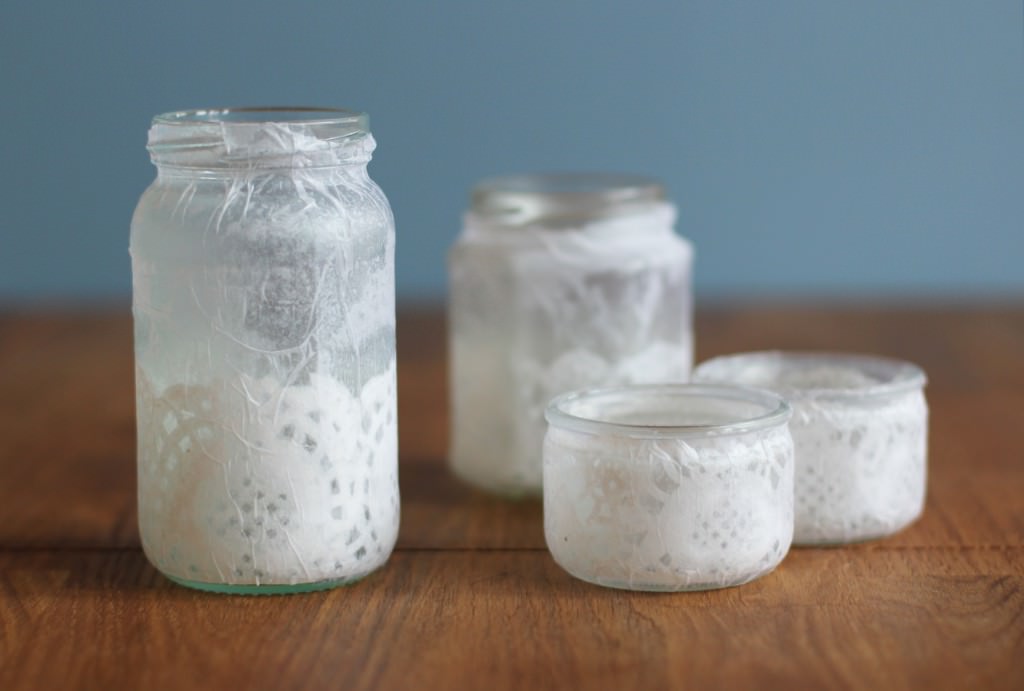
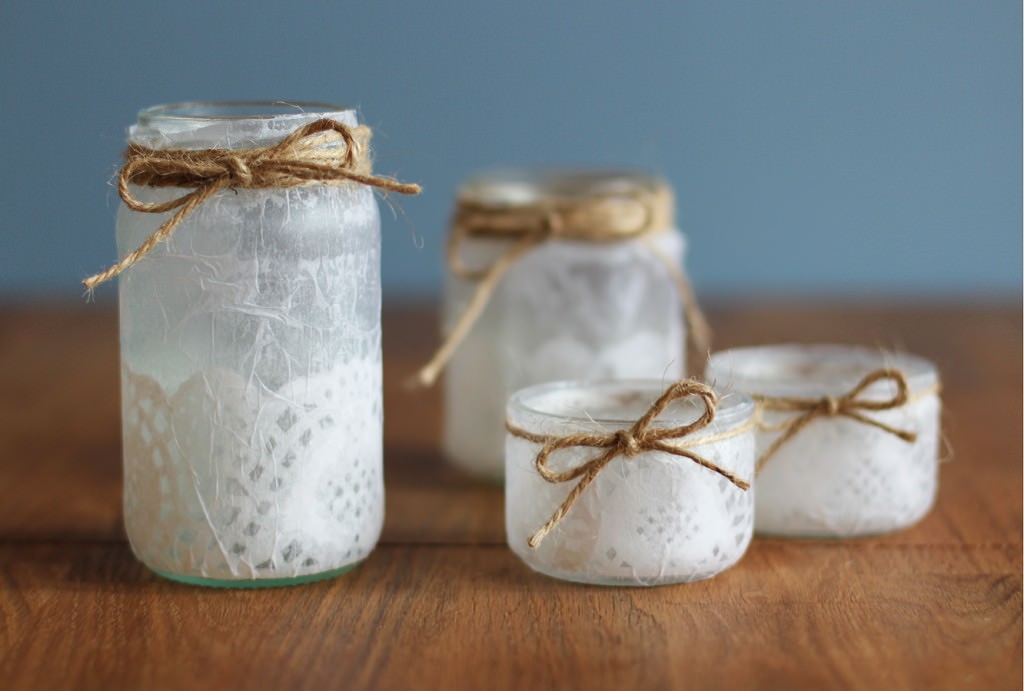
Step seven
Once dry, tie some lovely little bows around the necks of your candle holders. If you made a mess of the necks in the gluing phase you can use this opportunity to wrap the string around several times and pretend it’s all part of the design.
Step eight
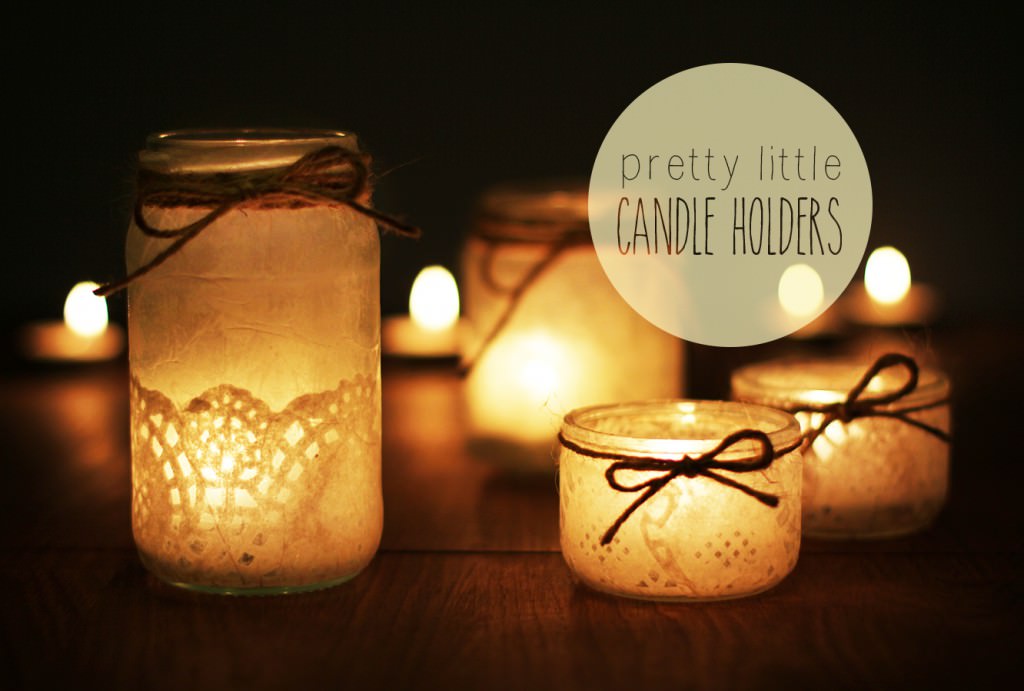
Fill with tea lights and fire.