Hi all, massive sorrys this week as I’m afraid I went away for the weekend. Working full time again and running out of my little stash of ready posts has meant that I’m empty handed so far as new ideas go this week.
BUT, fear not, for I have now been blogging for two whooooole years. I also quite like Christmas. Here are a few ideas from the last couple of years to keep you ticking over until next week.
On the first day of December it feels a little rude to not present you with a Christmas post. I’m a huge fan of the festive season, so you’re lucky I held back as long as I did.
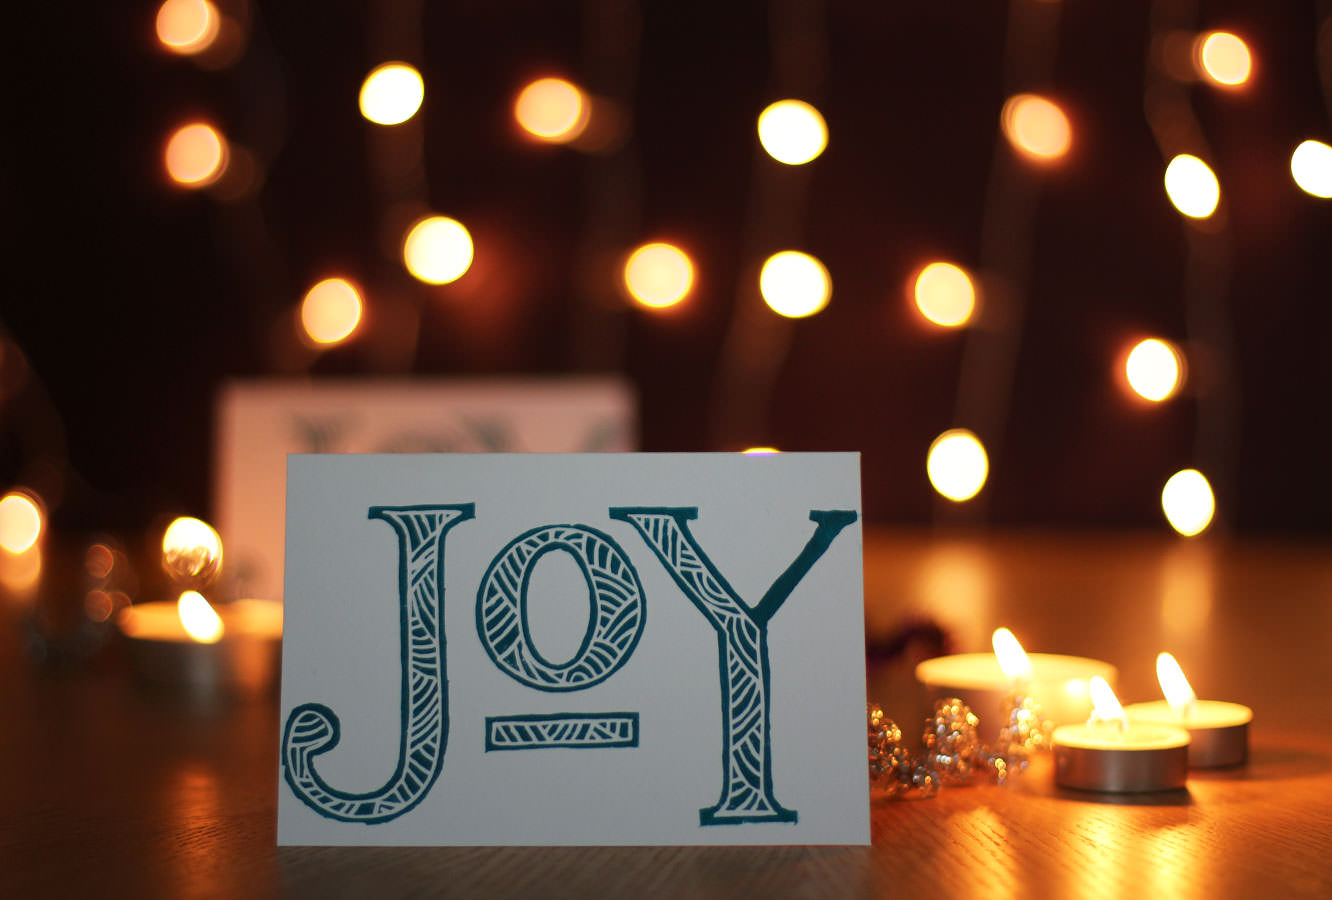
Last year I was meandering around a craft fair and spotted a lino print stall. Now I tried lino printing at secondary school, and it made me a bit cross. I am a big fan of precision and this craft definitely comes with a dollop of ‘rustic handmade’.
This was my first bash at lino cutting and printing since the age of 14 I figure the extra years of ‘get over yourself’ and the added dexterity contributed significantly to making this a very satisfying little project.
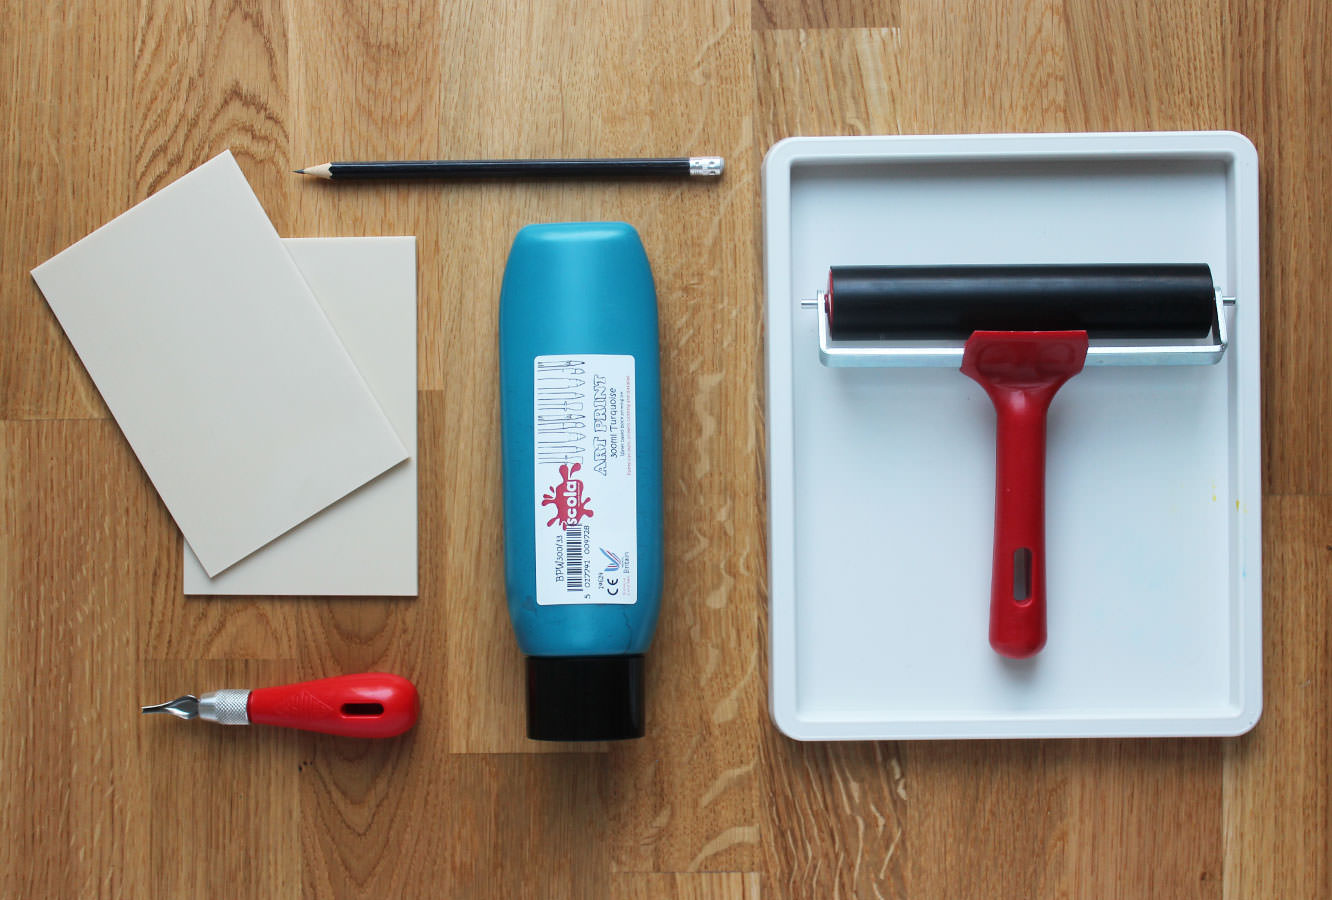
You do need a little more ‘specialist’ equipment this time than usual, but you can set yourself up relatively cheaply with the kit. I used a combo of Amazon and Handprinted.
You will need
Ink tray
Ink brayer
Ink
Lino cutter (preferably with a choice of blades)
Greeting card blanks
Soft cut lino sheets (the size of your card blanks)
Tracing paper or greaseproof
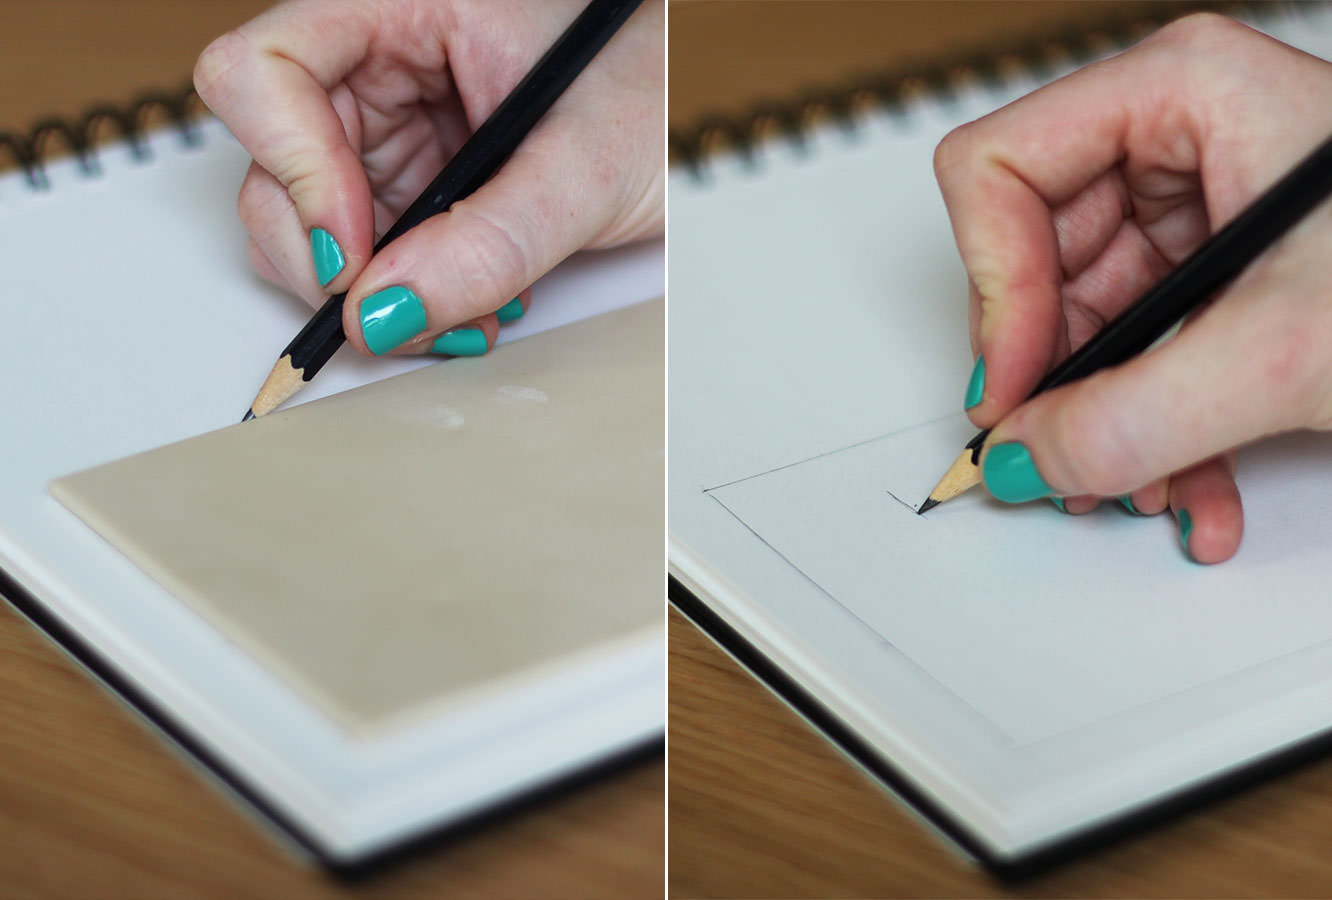
Step one
Draw around the outside of your sheet of lino so you don’t make your design too big.
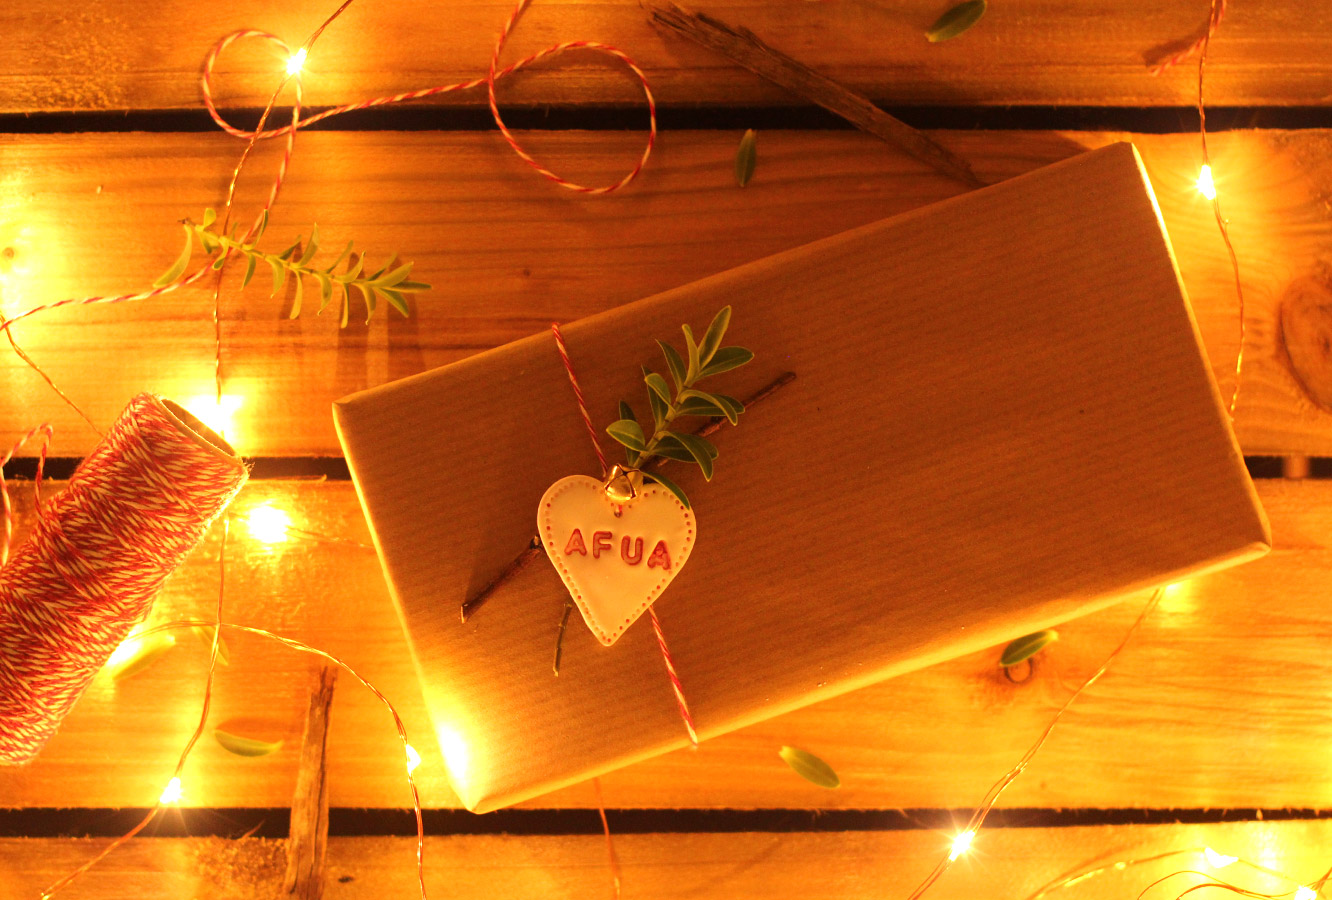
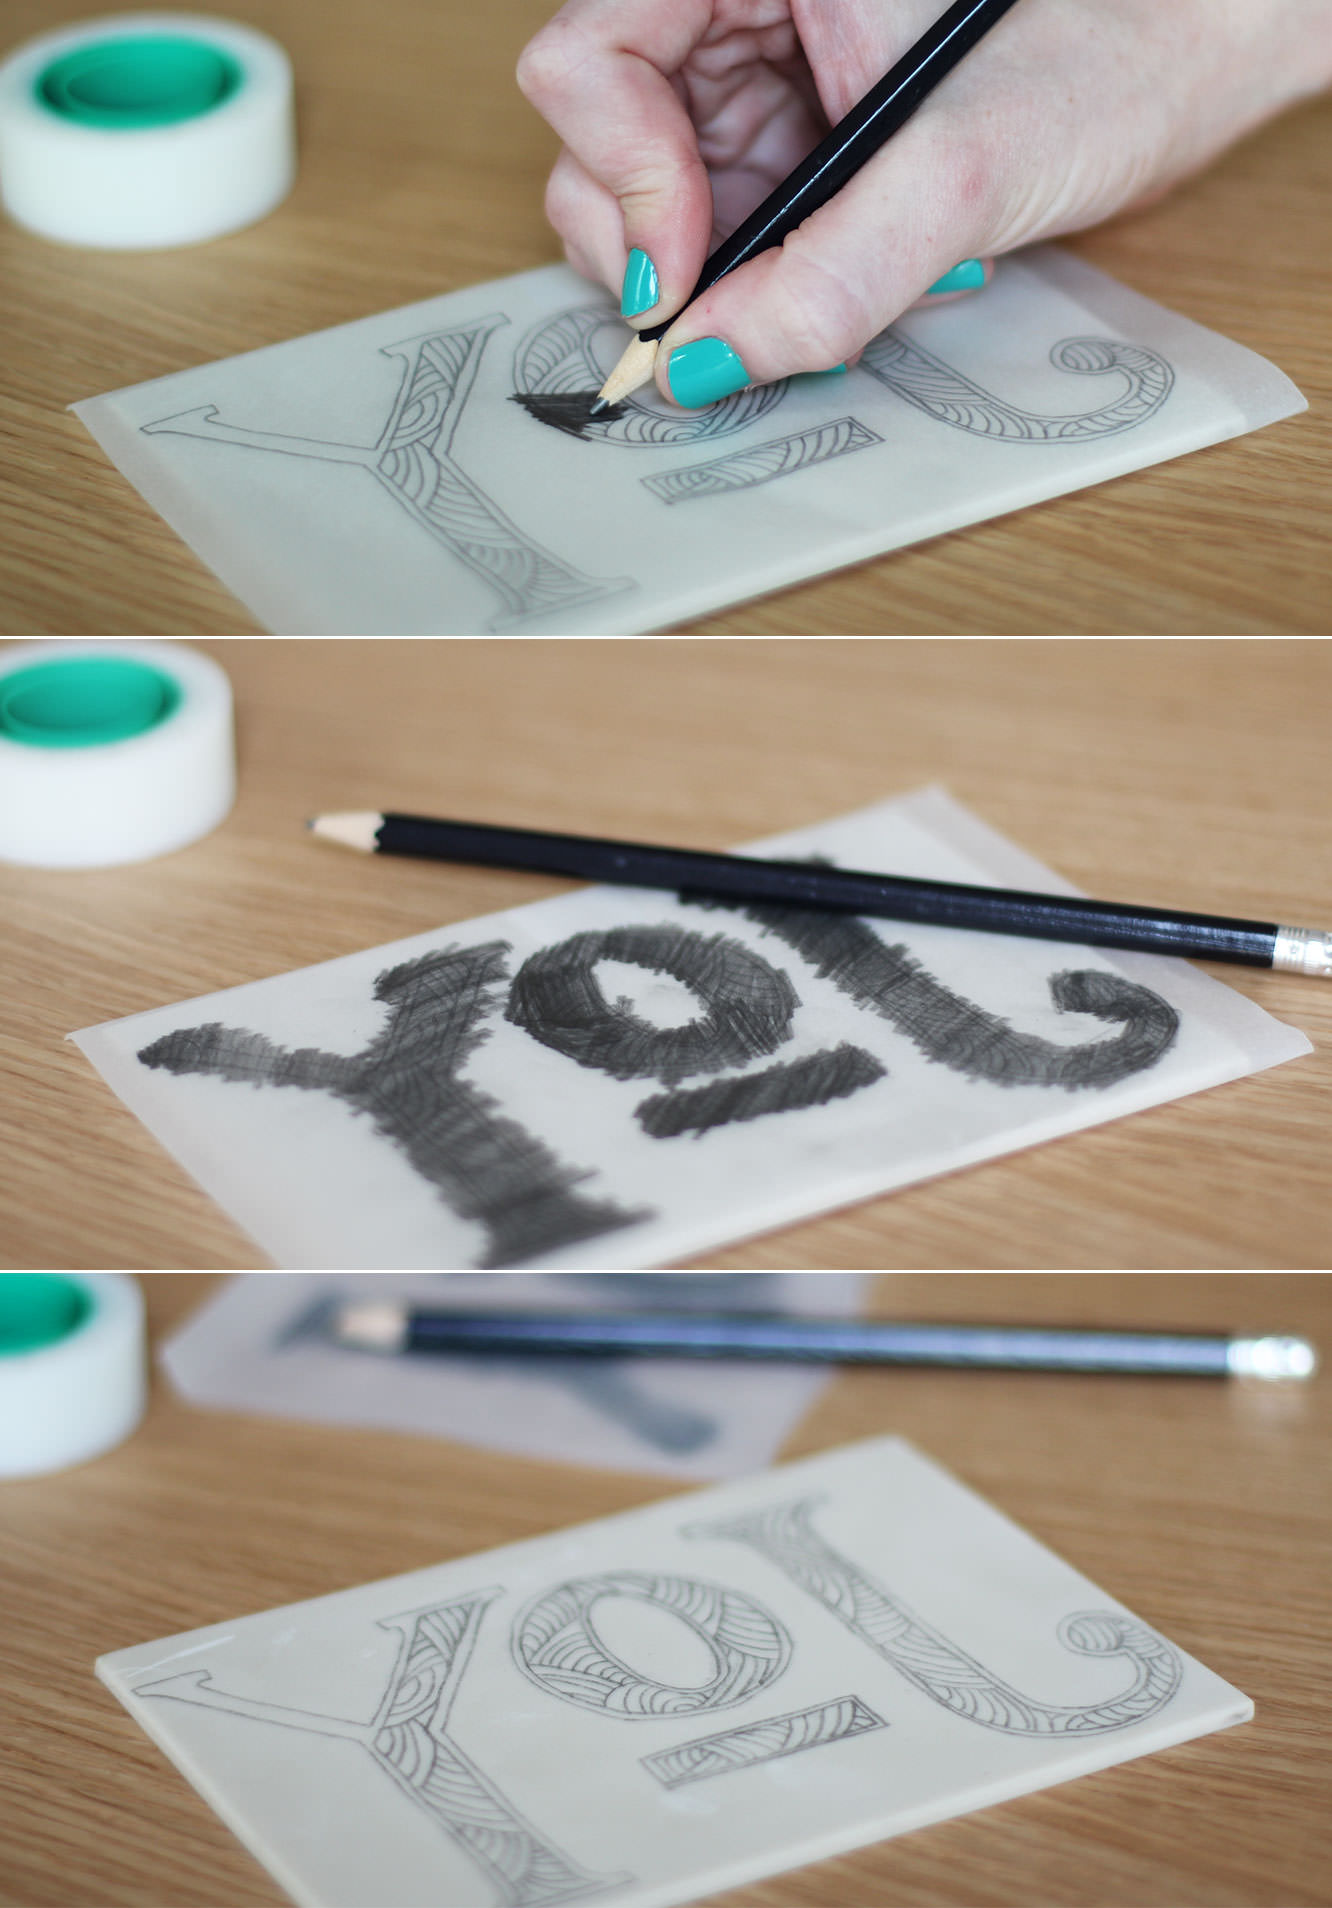
Sketch out a word/picture. For your first cut I would avoid anything too intricate or with lots of corners. I went with letters in the end so I could cover up mistakes if I went wrong… I figured a lopsided squinty eyed penguin might just look a bit sad.
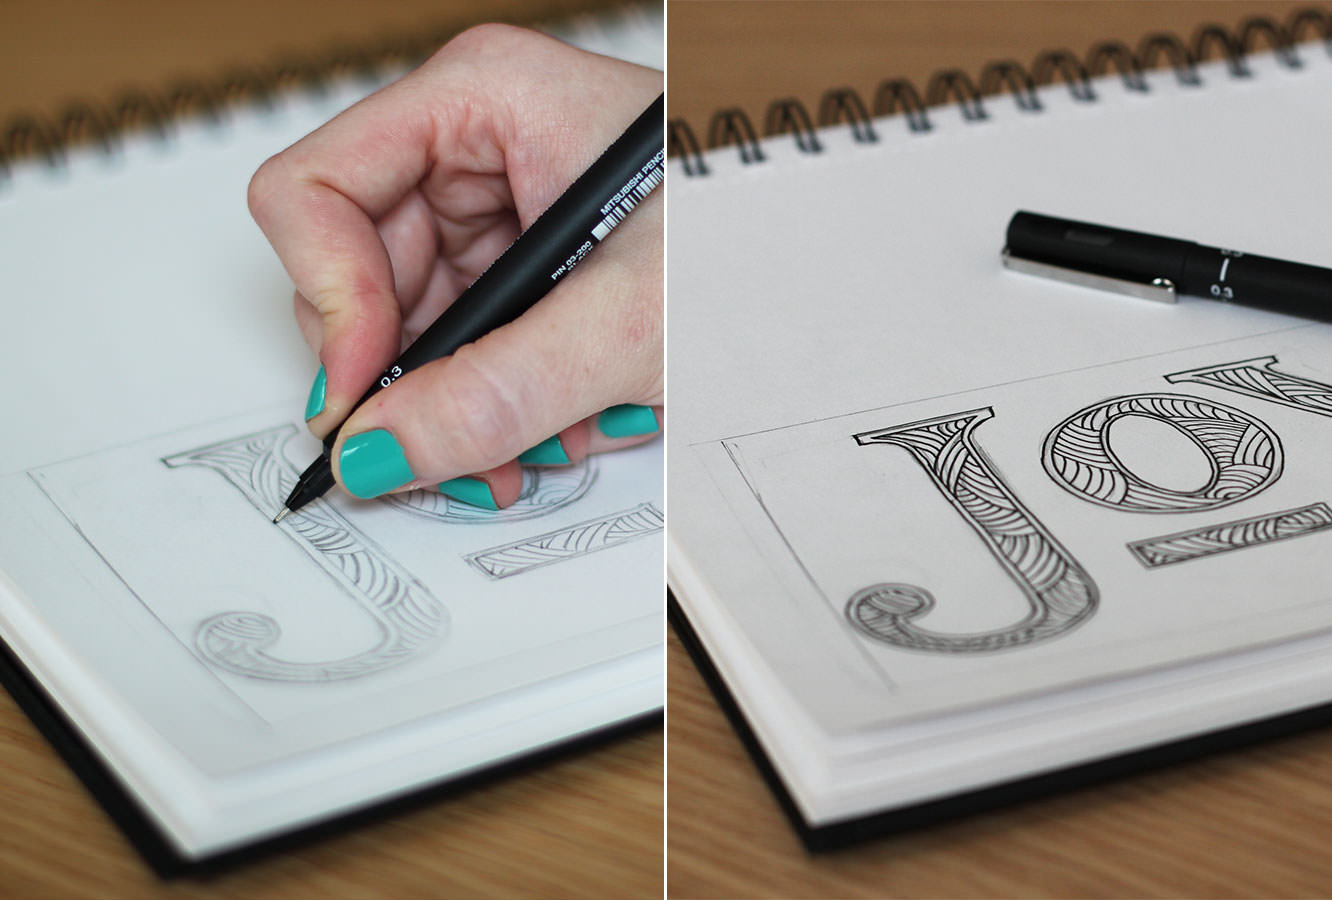
Step two
This is not essential but I outlined the design to make it easier to trace. This also helps neaten out/correct any mistakes.
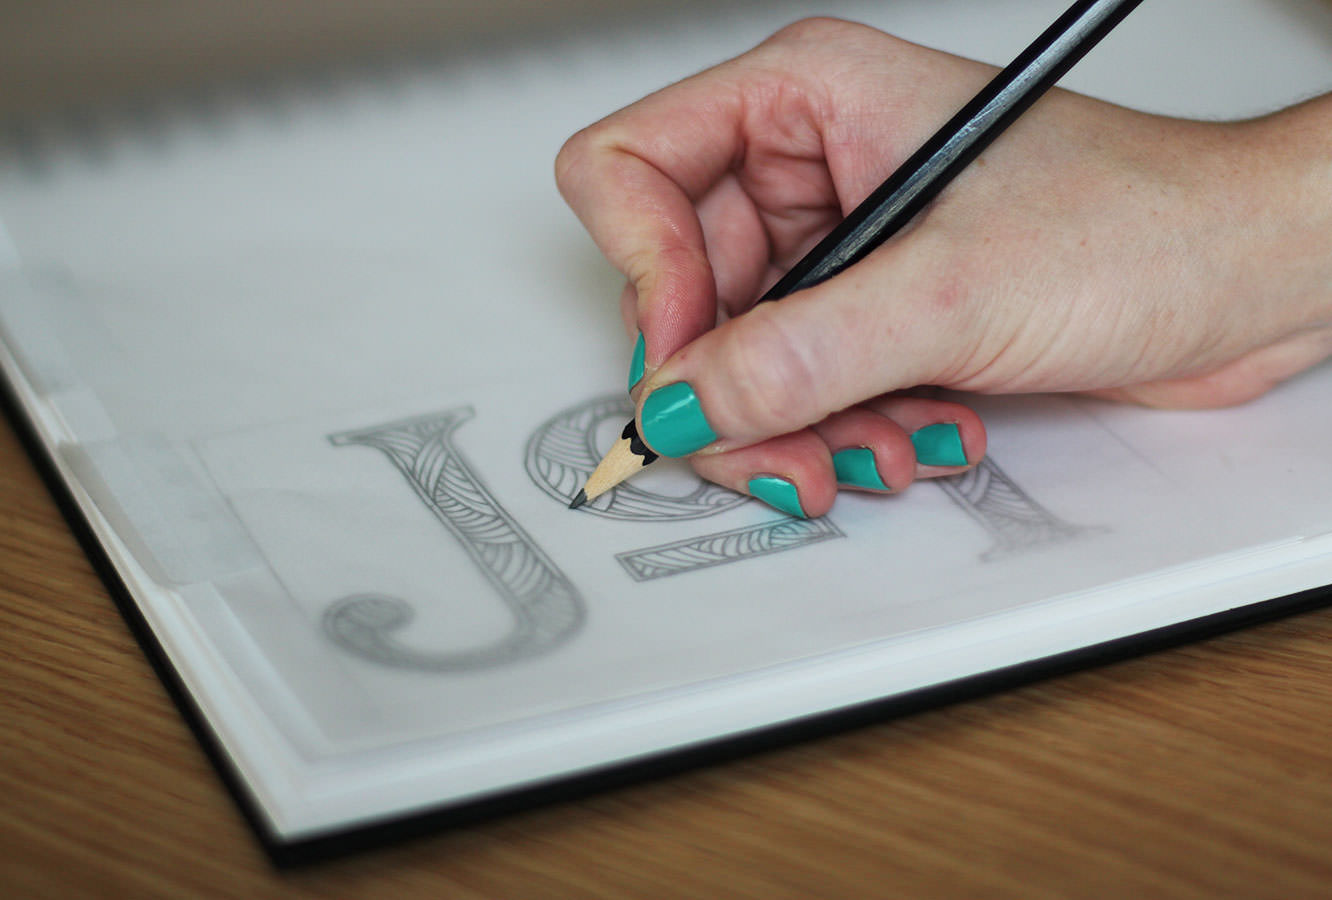
Step three
Tape a piece of tracing paper or greaseproof to your design and draw over quite firmly in pencil.
Step four
Place the traced image upside-down on your lino tile, so that the pencil marks you just made are touching the surface, not facing out.
Scribble over the top to transfer the image to the tile. Be careful to use pressure without being too forceful otherwise you might make an indent on the lino that you don’t want.
NB: As an alternative to steps 1-4 you might prefer to draw straight onto the tile. However, again, be careful not to press too hard with the pencil and remember that your design will be reversed when printed, so any lettering needs to be back to front.
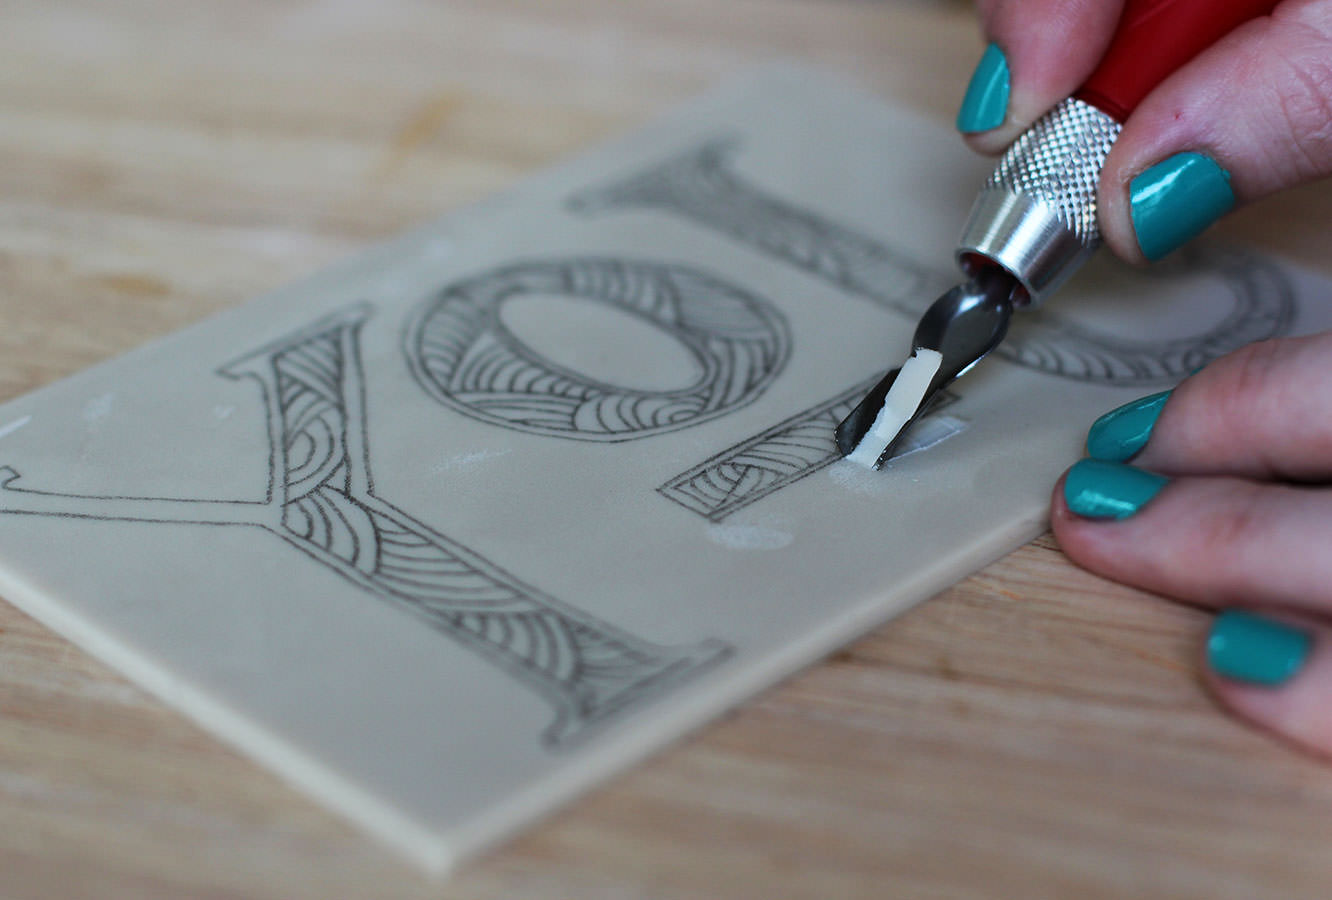
Step five
Place the lino in the middle of a chopping board. Nobody needs to go gouging any holes in their dining room table under my instruction thank you very much.
Using one of the wide cutters (labelled #10 in my pack) remove as much background space as you can. I started by making a gutter around my letters to avoid accidentally slipping into them.
My lino cutting skills leave a lot to be desired, but I’ll get better and so will you. Try not to worry too much if you accidentally cut something you’re not meant to.
Step six
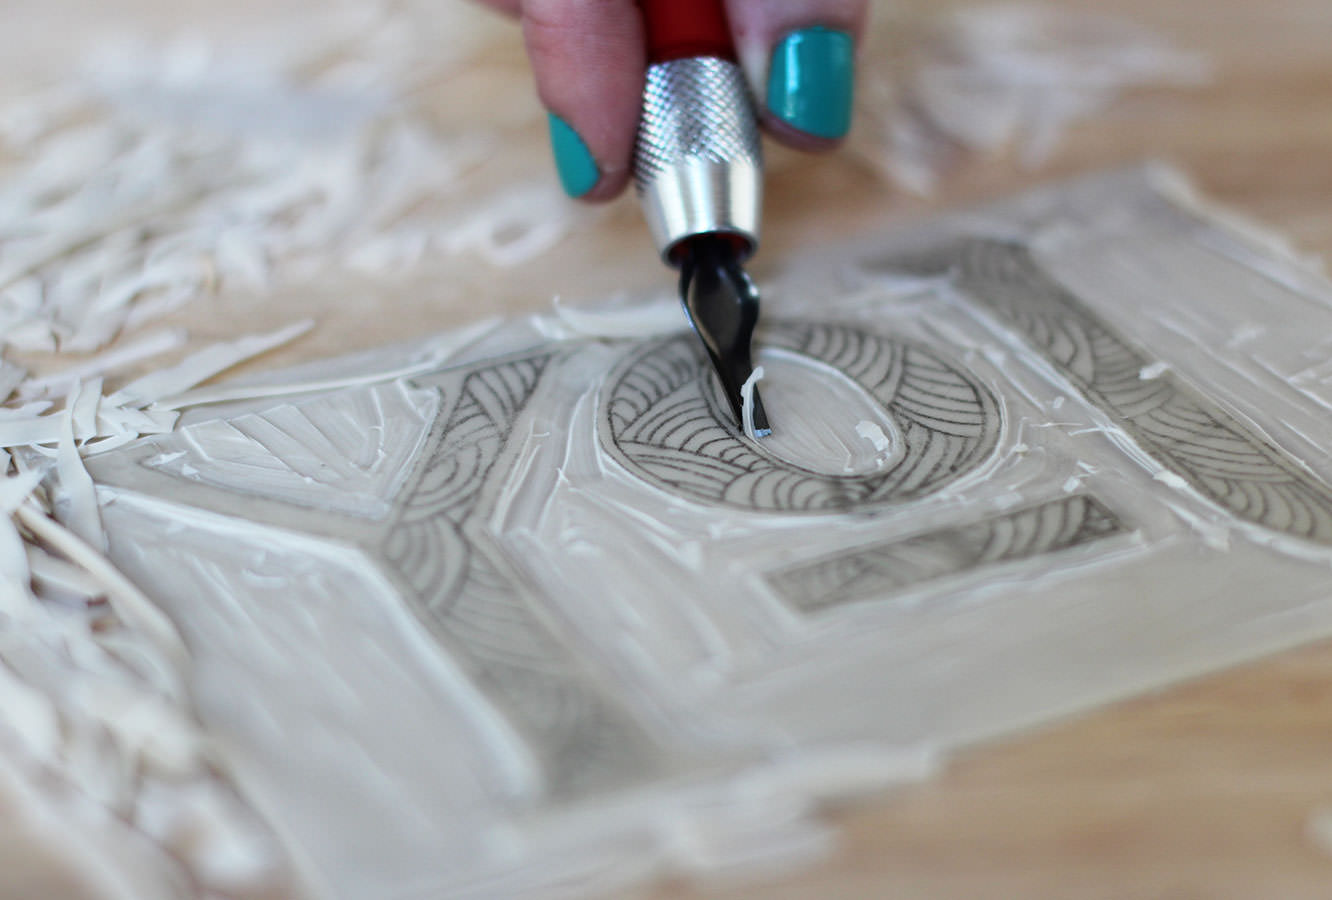
Using a blade with a deeper and narrower u shape (I think this was #9) refine the edges around your design, ensuring there’s a fair bit of depth around them.
Step seven
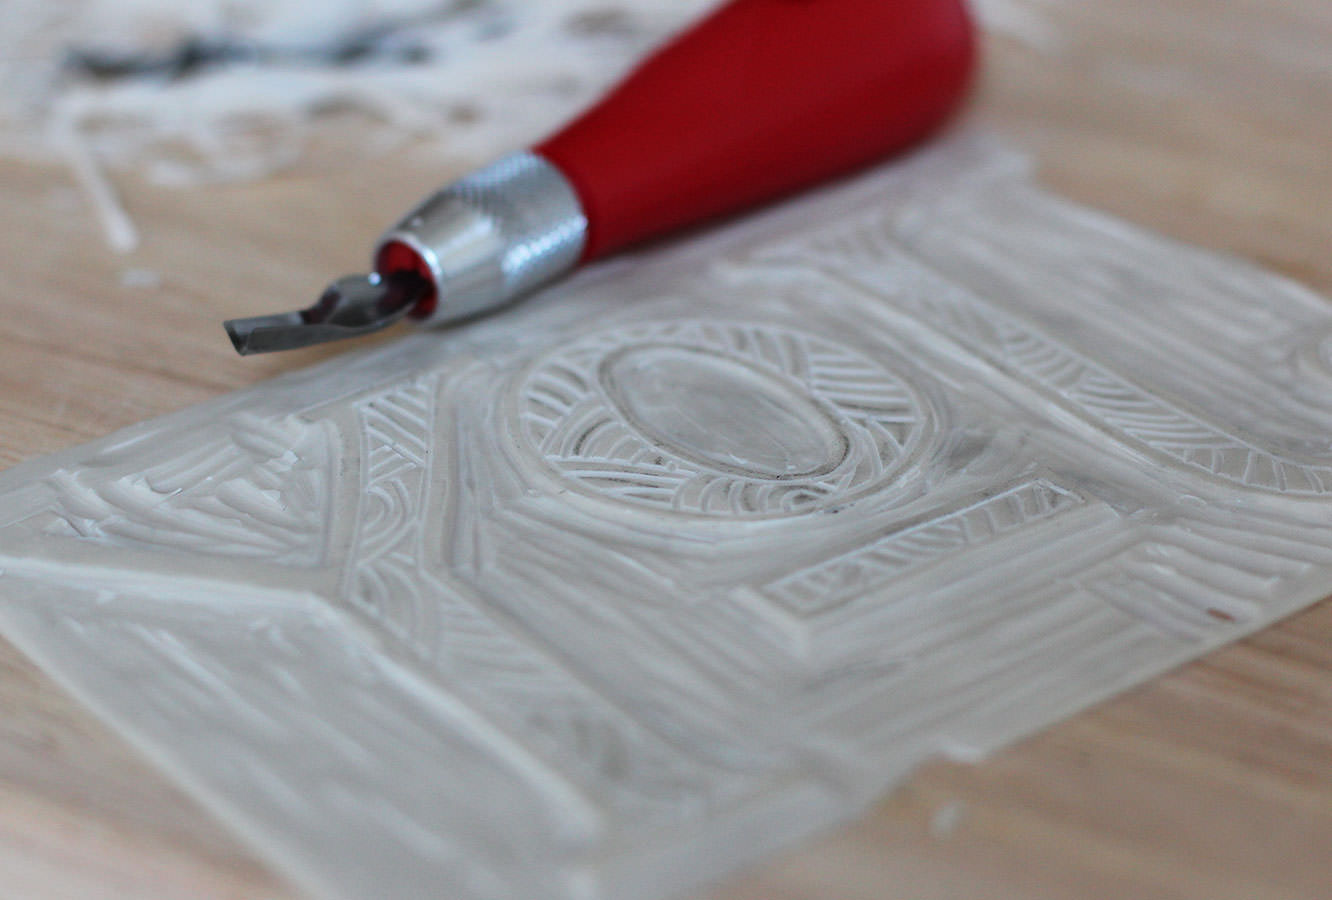
Using an even finer, deeper v shaped blade (#2 was my choice) cut out any details. Doing things in this order enables you to practice a bit before working on the finer aspects of your design.
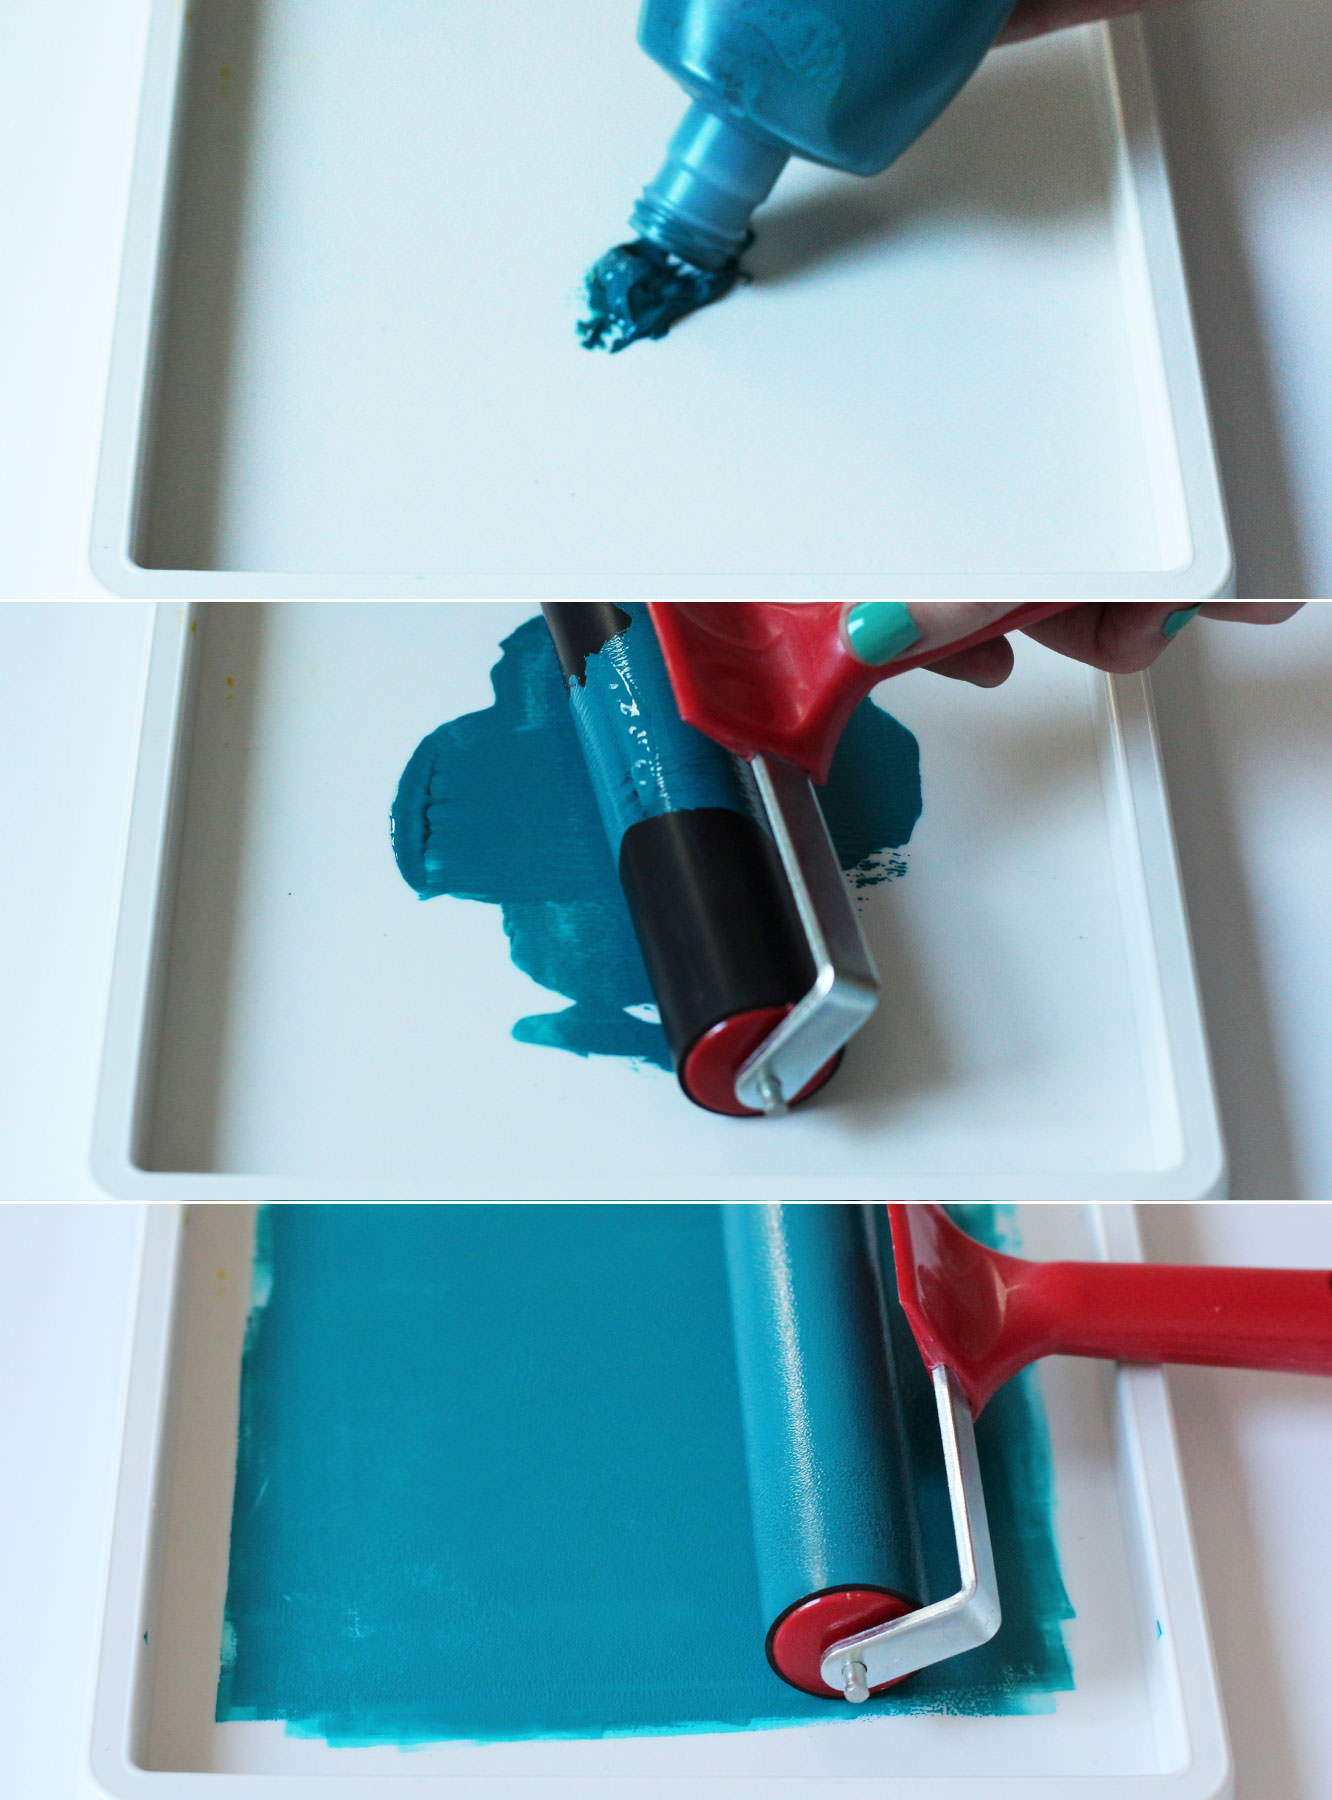
Step eight
Ink up your tray using a small splodge of ink and your brayer. You need less than you’d think so don’t over do it.
Roll the brayer back and forth until the ink looks like a smooth velvet. You’ll know it when you get there.
Step nine
Ink up your stamp by rolling the brayer back and forth. This took a bit more encouragement first time when the block was dry.
You can use the cutting tool to go back into the design where there’s ink and there’s not meant to be. I did that, and also lazily chopped a few corners off with scissors. Alternatively you can wipe excess ink with kitchen towel or even leave it there for that handmade look (which is pretty much unavoidable anyway).
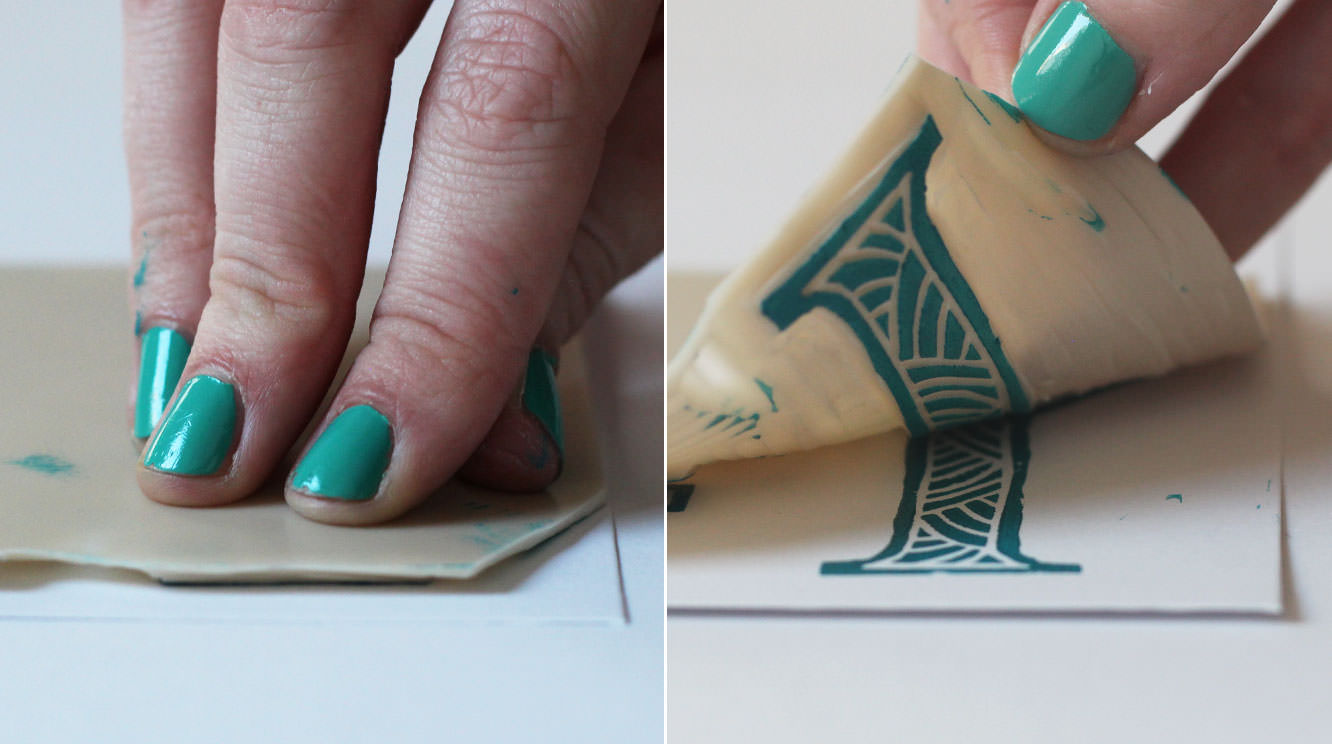
Step ten
Firmly press your stamp onto the surface of a blank greetings card or your chosen back drop. I paid particular attention to pushing down the areas I knew there was design. You can always peel it back to take a peek or put a book on top and push on that to ensure an even press.
You could do some prints and frame them as gifts if you don’t fancy cards.
Step eleven
Ink back up and print away to your heart’s content.
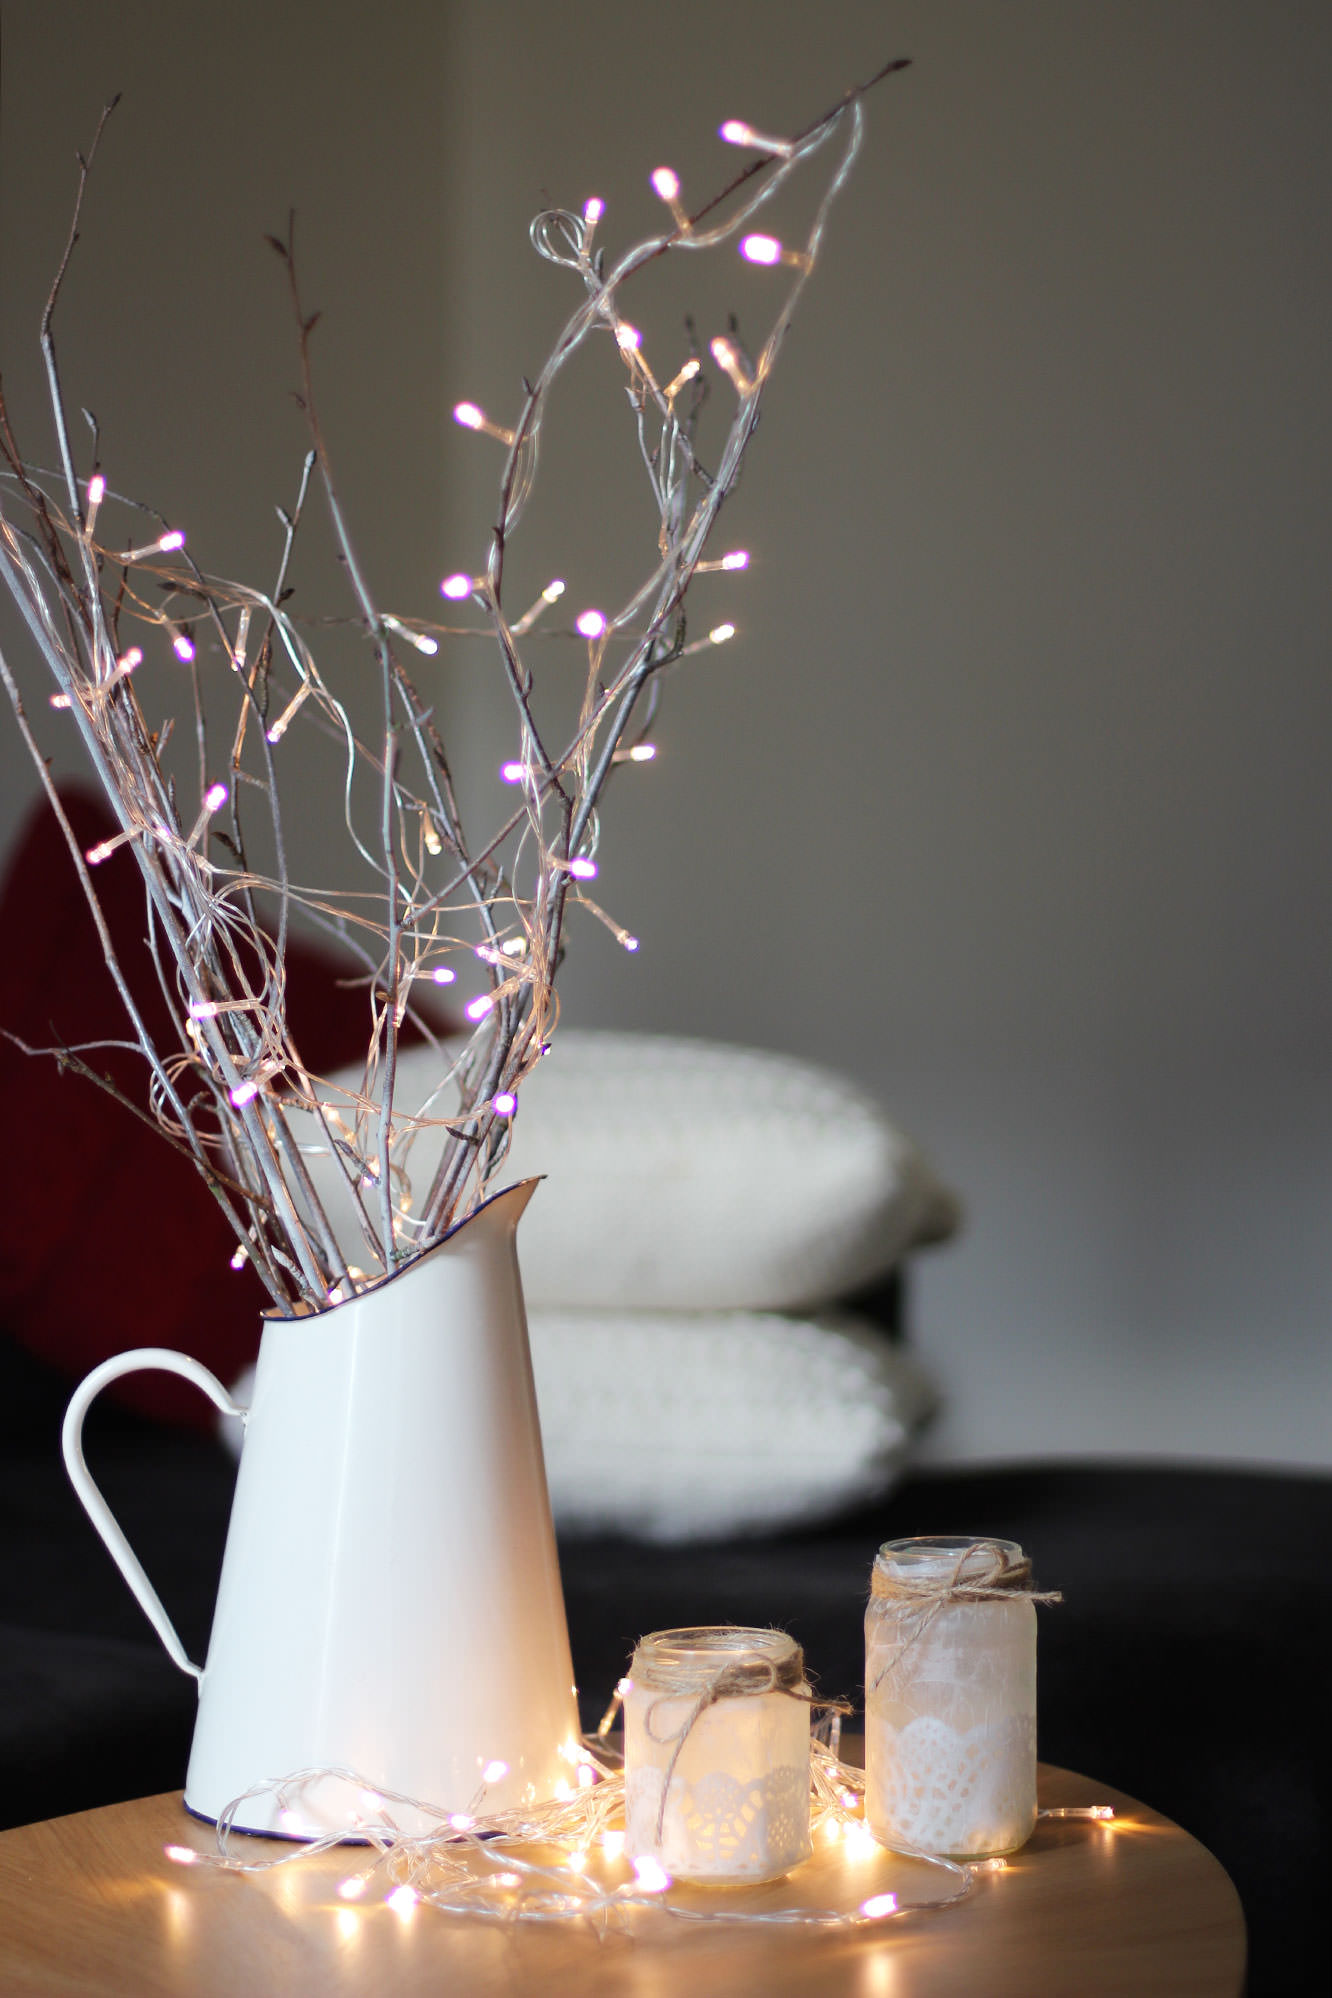
Oh hi. Thanks for stopping by. This week I’ve been putting together a little DIY project for all you people getting married this summer. Or basically anyone who likes candles. I can’t tell you just how ridiculously easy this is and it takes no time at all, so no excuses, unless you are scared of fire.
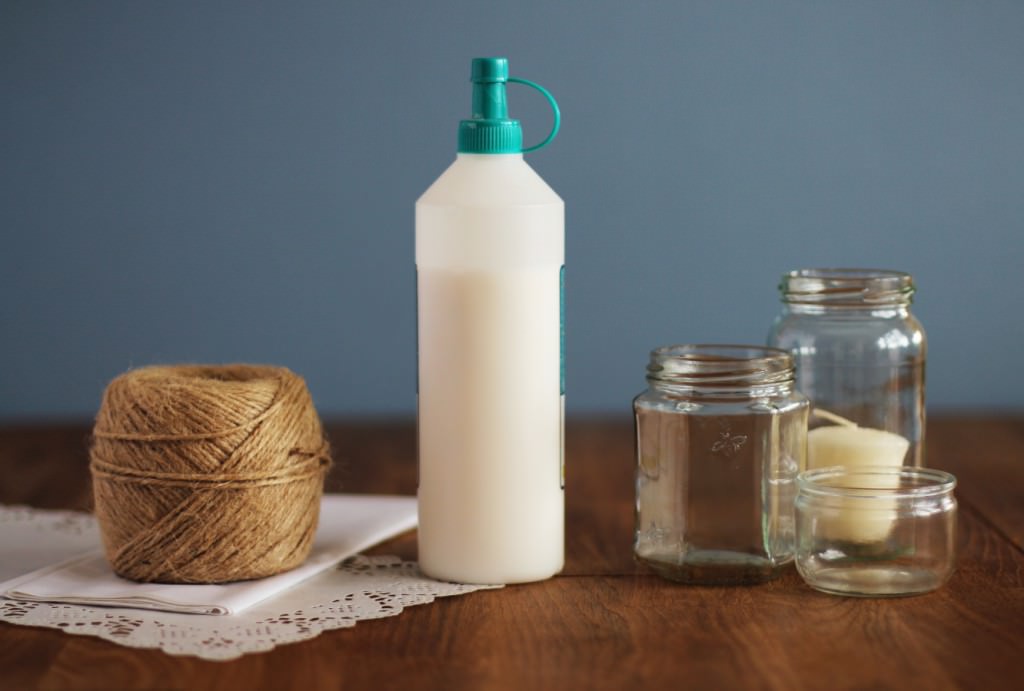
You will need
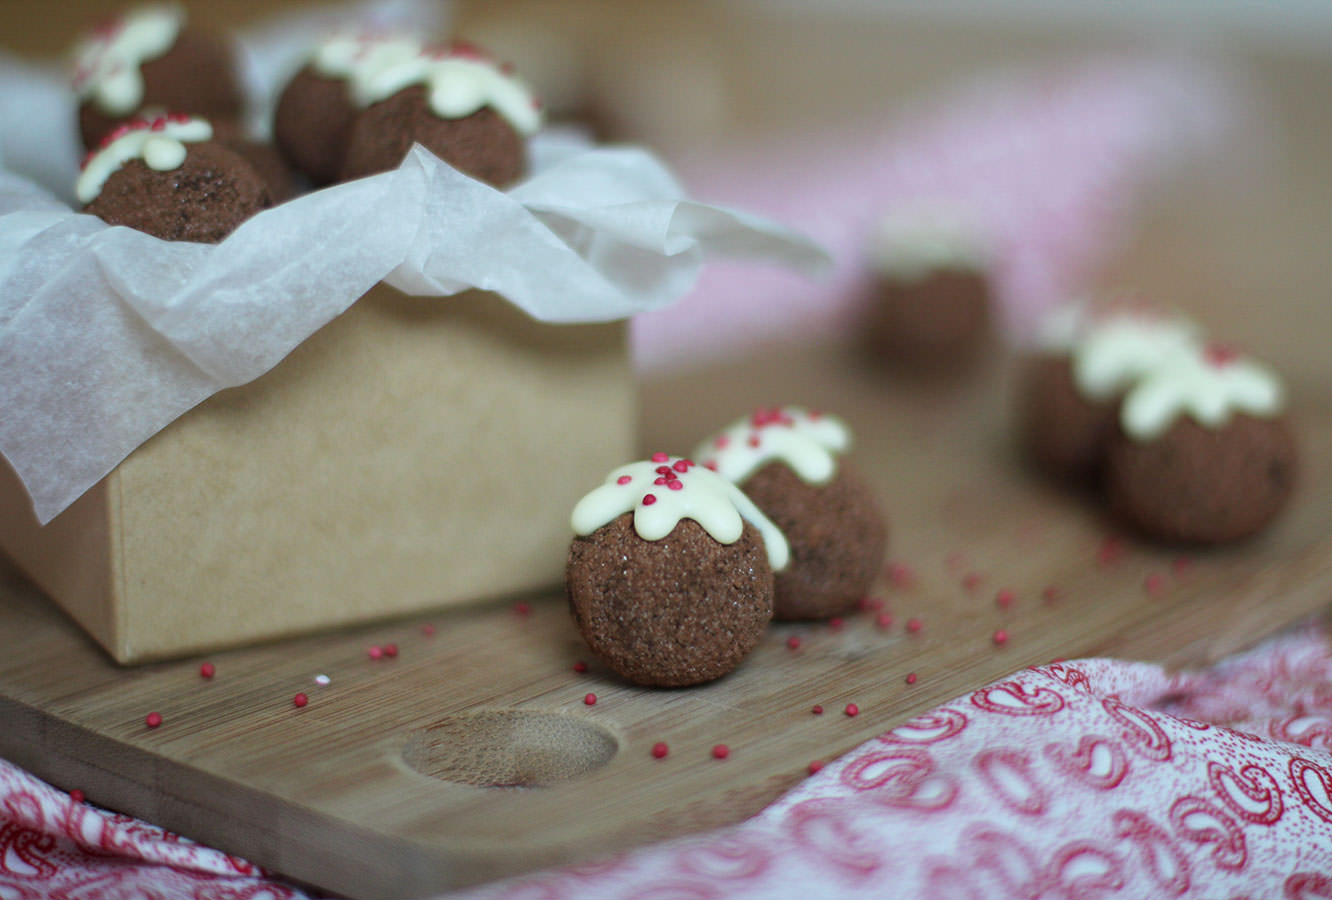
All the jam jars and glass pots you can find (a great excuse to go to France and gorge on those chocolate puddings, and a perfectly reasonable level of dedication to your craft)
Tea lights/small candles
White tissue paper
Paper doilies
Some kind of nice rustic string or ribbon (mine was from hobby craft)
PVA glue
Step one
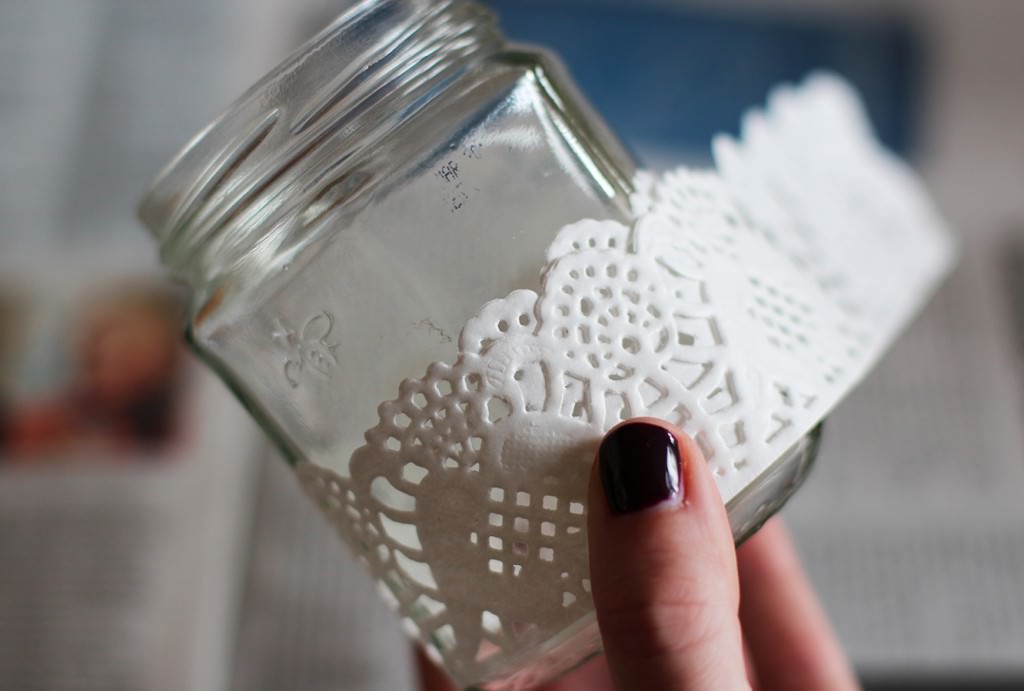
Cut the lacy bit of the doily off so you have a long strip. I found these rectangular ones in a bits and bobs shop which are ideal for wrapping round in a straight line.
Step two
Measure the circumference of your jam jar and cut the doily strip to size. Pro tip: when you cut it go with the natural curve of the pattern, rather than a straight line, as even if you have some overlap the join will be far less obvious.
Step three
Use the jar as a measure to cut a strip of tissue paper (one sheet thick) to match the height and circumference. You don’t need to be too exact as the tissue molds easily with the glue.
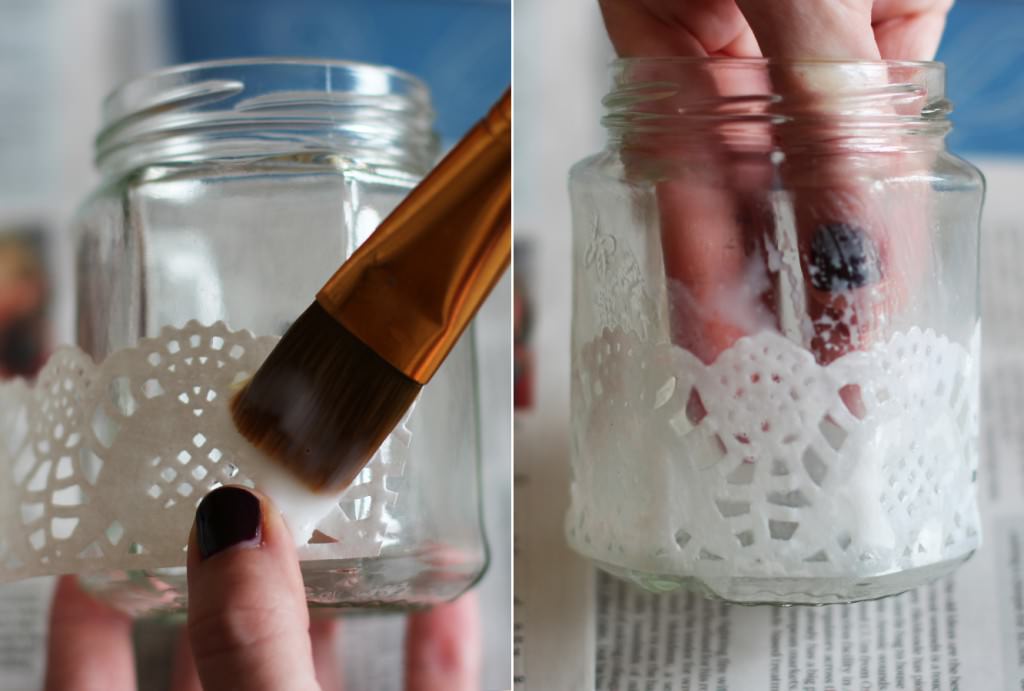
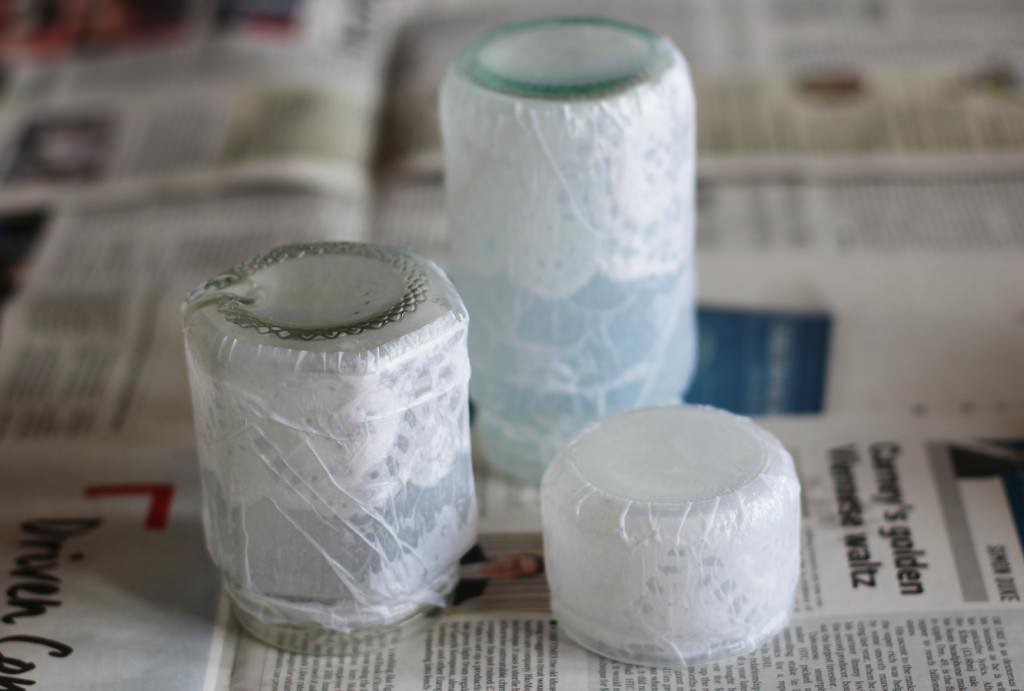
Step four
Using a mixture of PVA glue and water (about two thirds PVA to one third water) stick the doily around the bottom of the jar as shown. I put the doily onto the jar dry and then just painted over the top which worked perfectly. Pro tip #2: I know, I know, I’m spoiling you today…once you’re about half way round the doily will hold to the jar by itself so you can put your non paintbrushing hand inside it to hold steady and avoid getting glue all over yourself.
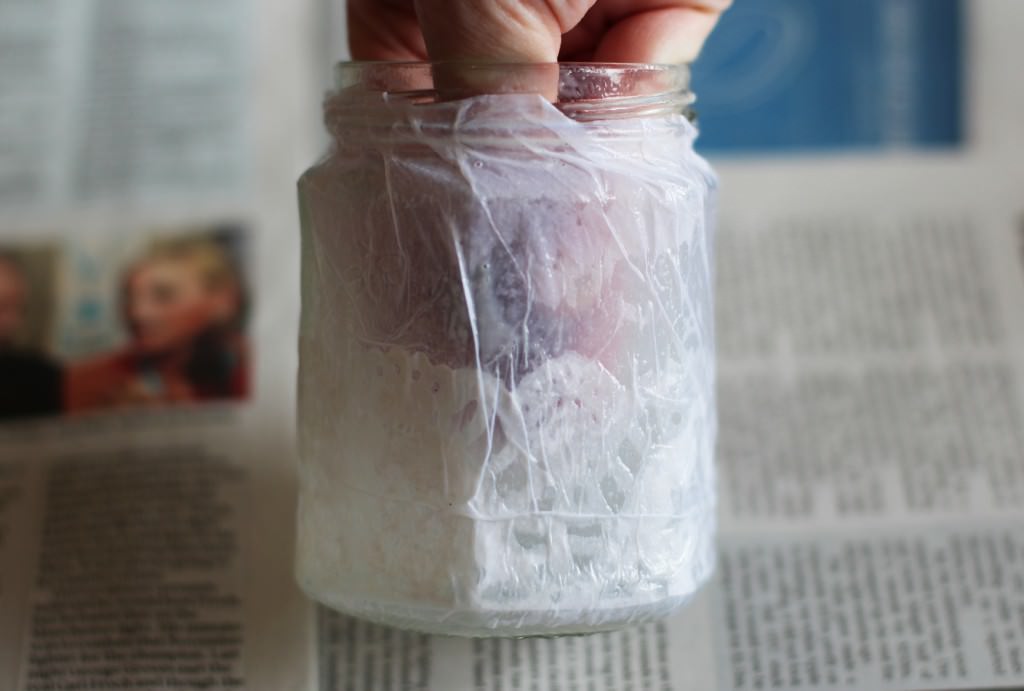
Step five
Repeat with the tissue paper, pushing it into the contours of the jar as you go. Don’t worry if it looks really scruffy at this point; it will be alright on the night.
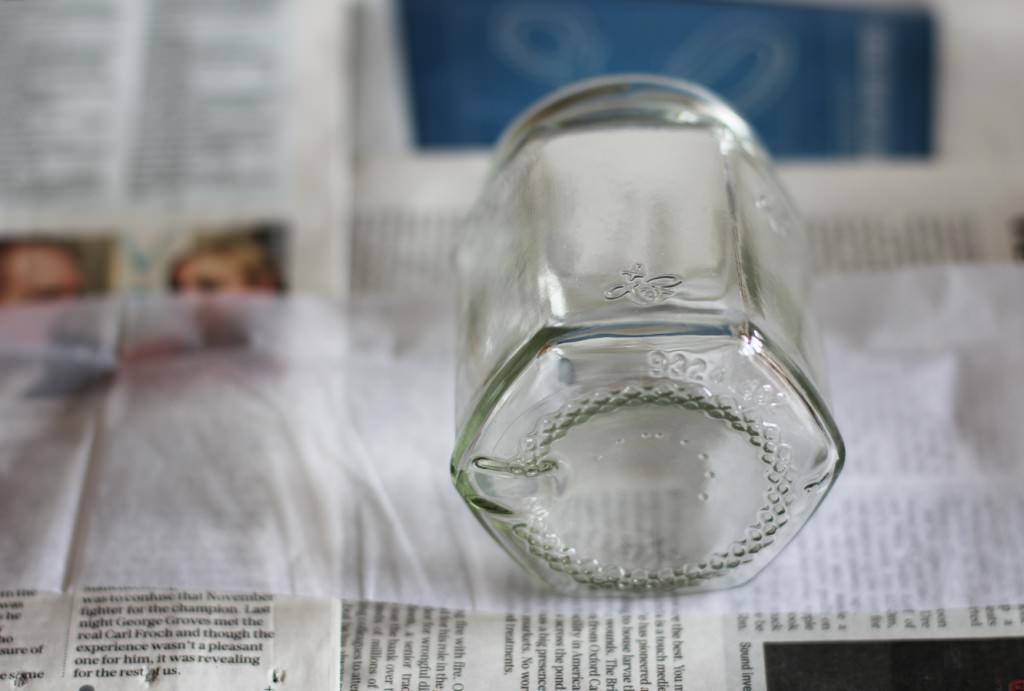
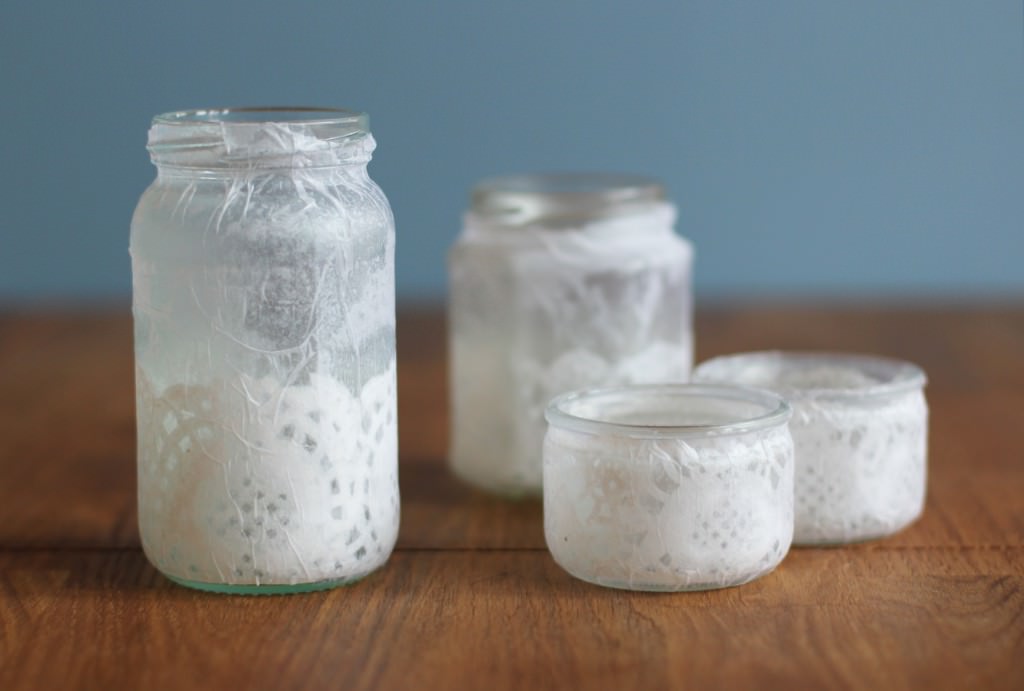
Step six
Leave upside down to dry (or on whichever is the least gluey end!)
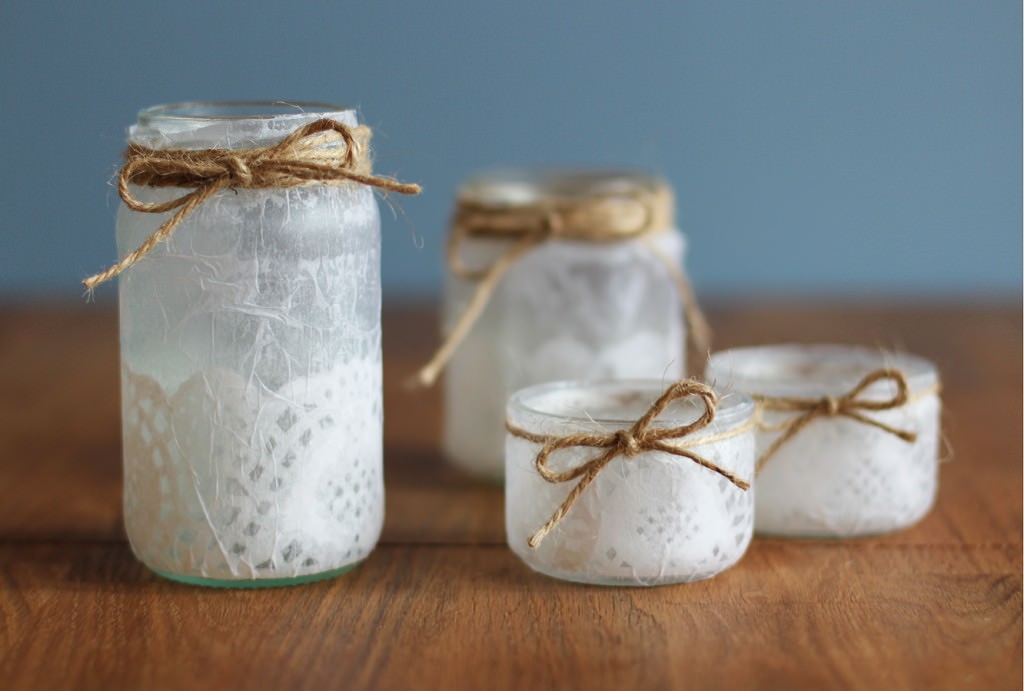
Step seven
Once dry, tie some lovely little bows around the necks of your candle holders. If you made a mess of the necks in the gluing phase you can use this opportunity to wrap the string around several times and pretend it’s all part of the design.