Right. I need to precursor this post with the fact I did not copy the Great British Bake Off, I promise! It just so happened that the mini cakes I had planned for my little afternoon tea series fell on the same week as the Bake Off did them. If anything, the BBC stole my idea.
Regardless of whether or not you believe me you should definitely try your hand at these little guys. We have a lot to thank North America for when it comes to the invention of red velvet. That is, provided you look the other way when adding the food colouring. There’s a whole lot of that…
You will need
For the cake:
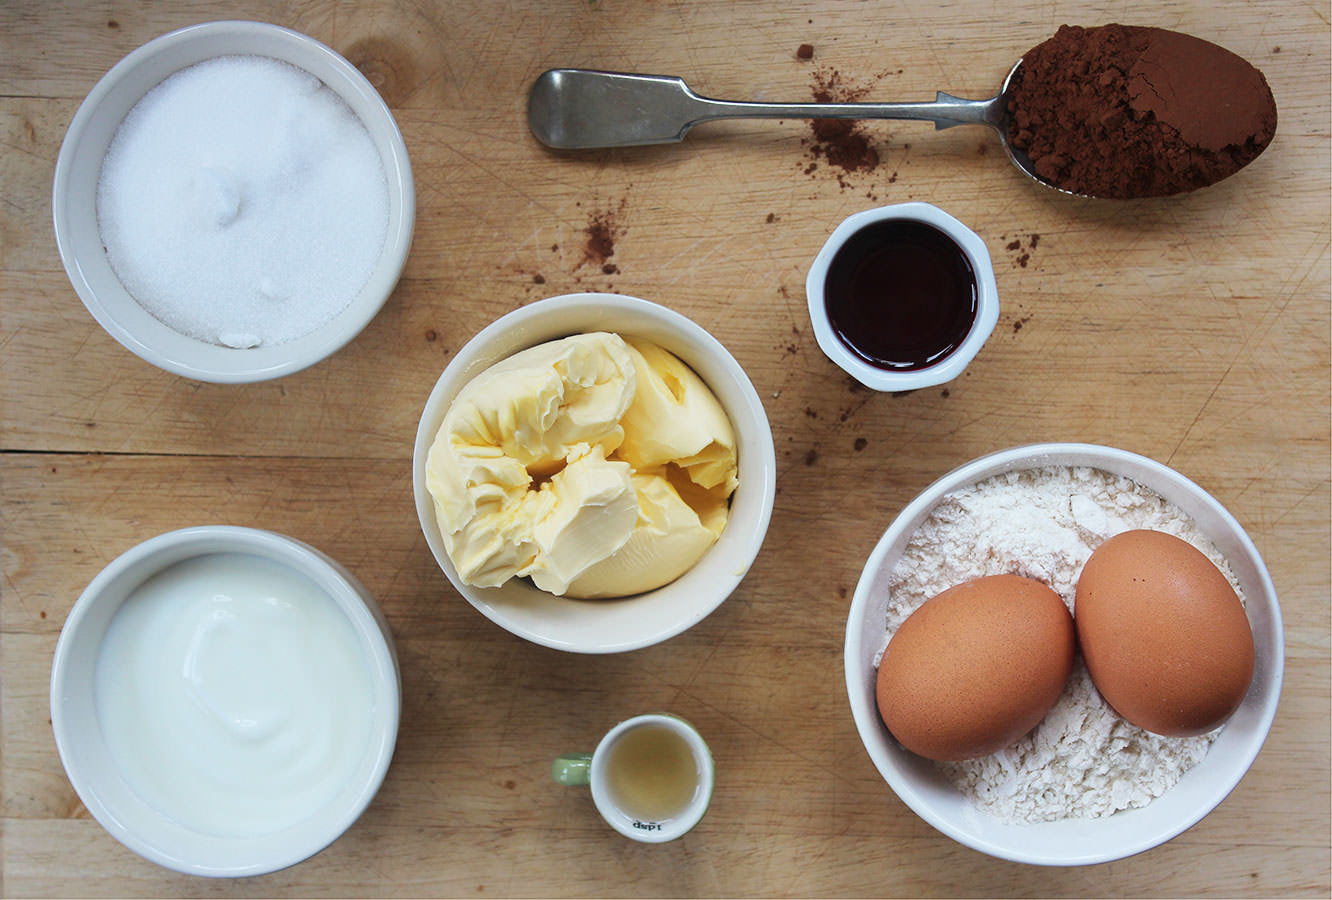
150g/5 oz Butter (I use Stork margarine, and I don’t even feel guilty)
230g/8 oz Plain flour
230g/8 oz Caster sugar
170ml/5.5 fl oz Buttermilk
2 eggs
25g/1 oz Cocoa powder
1 bottle (38ml) Red food colouring (yup. that’s right. all of it)
1/2 tbsp Cider vinegar
1 tsp Bicarbonate of soda
For the icing:
100g/3.5 oz Butter (at room temperature)
150g/5.5 oz Cream cheese
200g/7 oz Icing sugar
1 or 2 tsp Vanilla extract
(Makes 15)
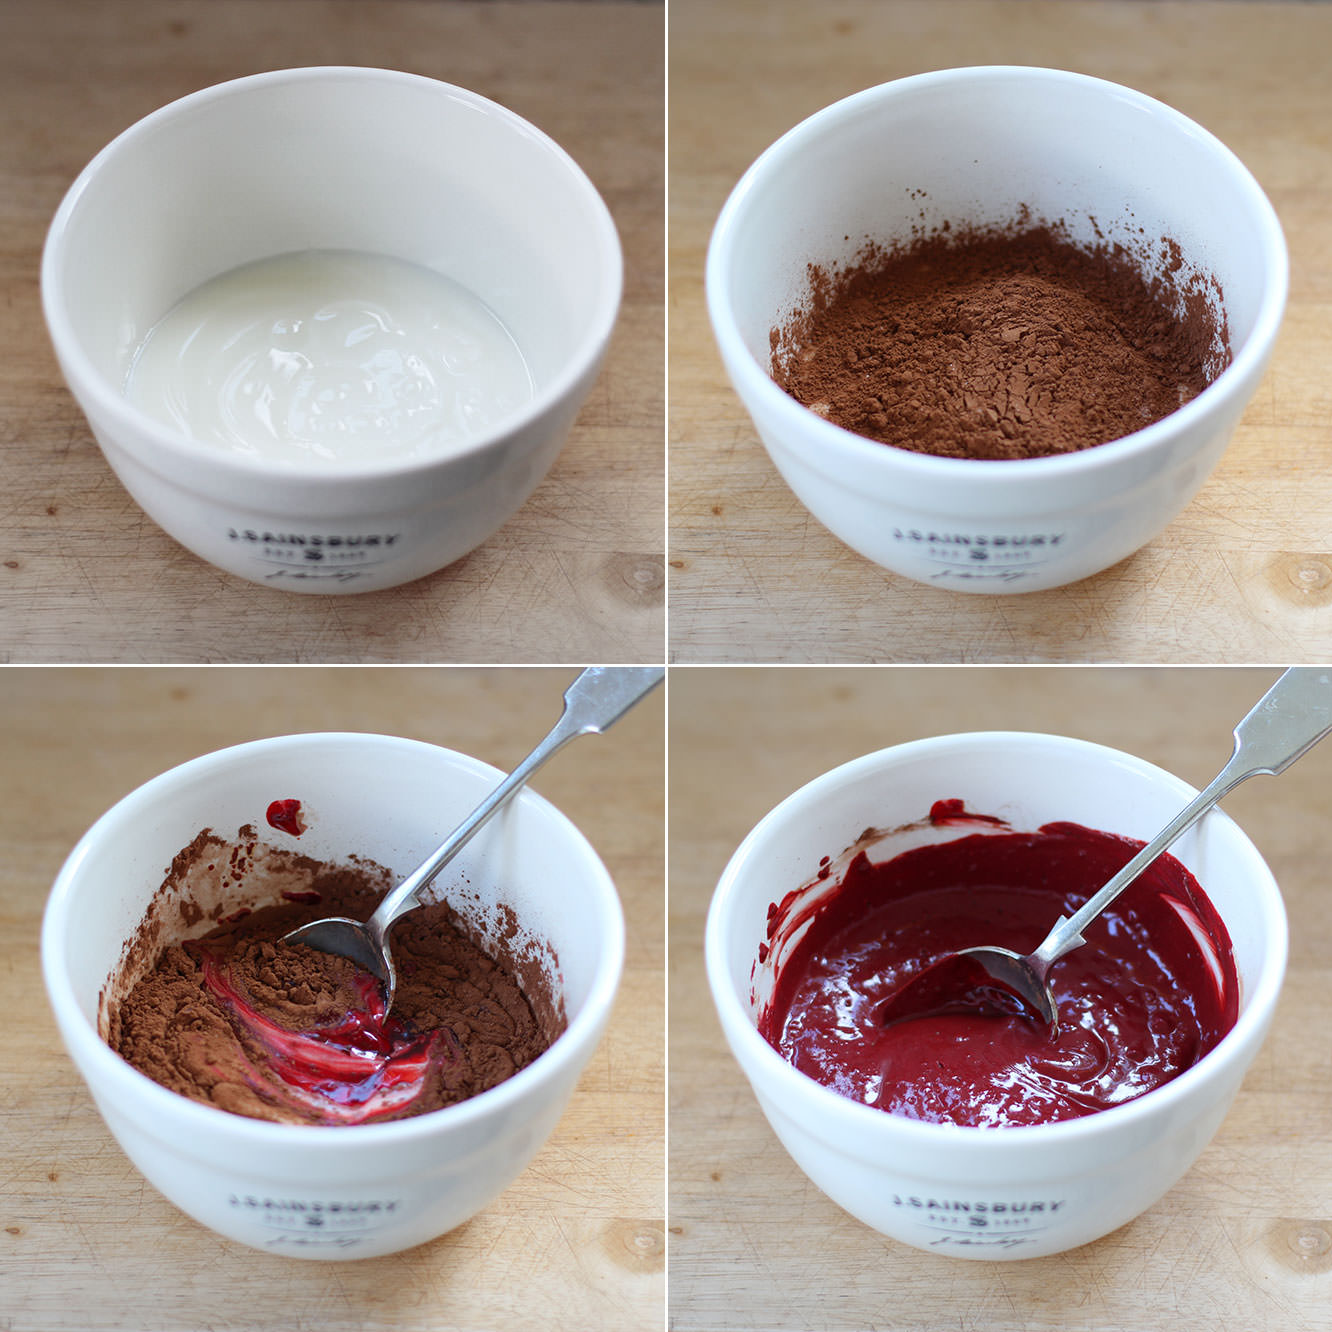 Step one
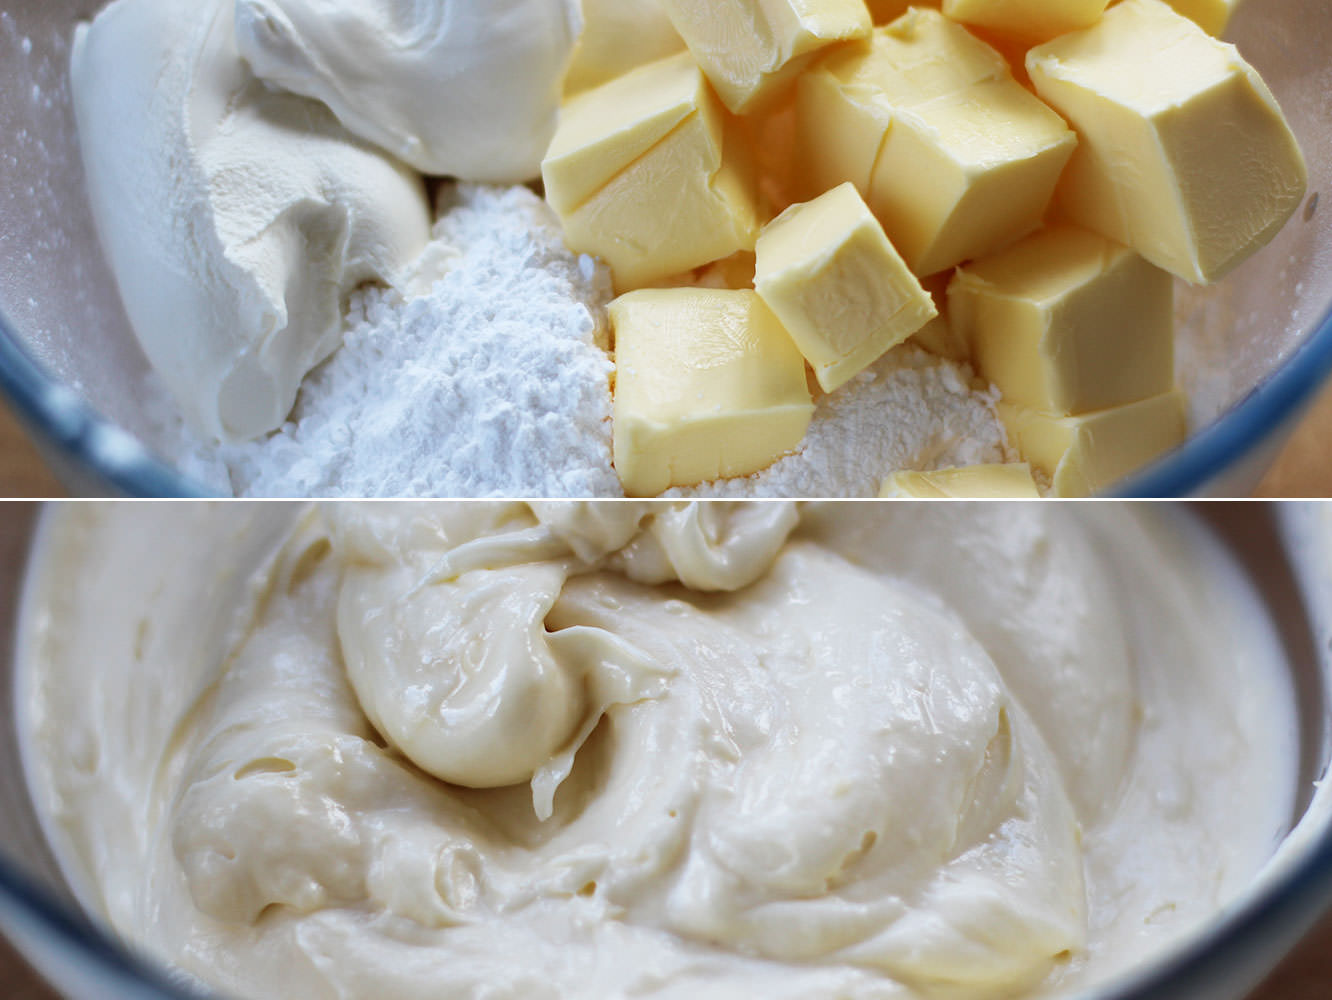
Combine the buttermilk, cocoa powder and the bottle *covers eyes* of red colouring in a bowl and set to one side.
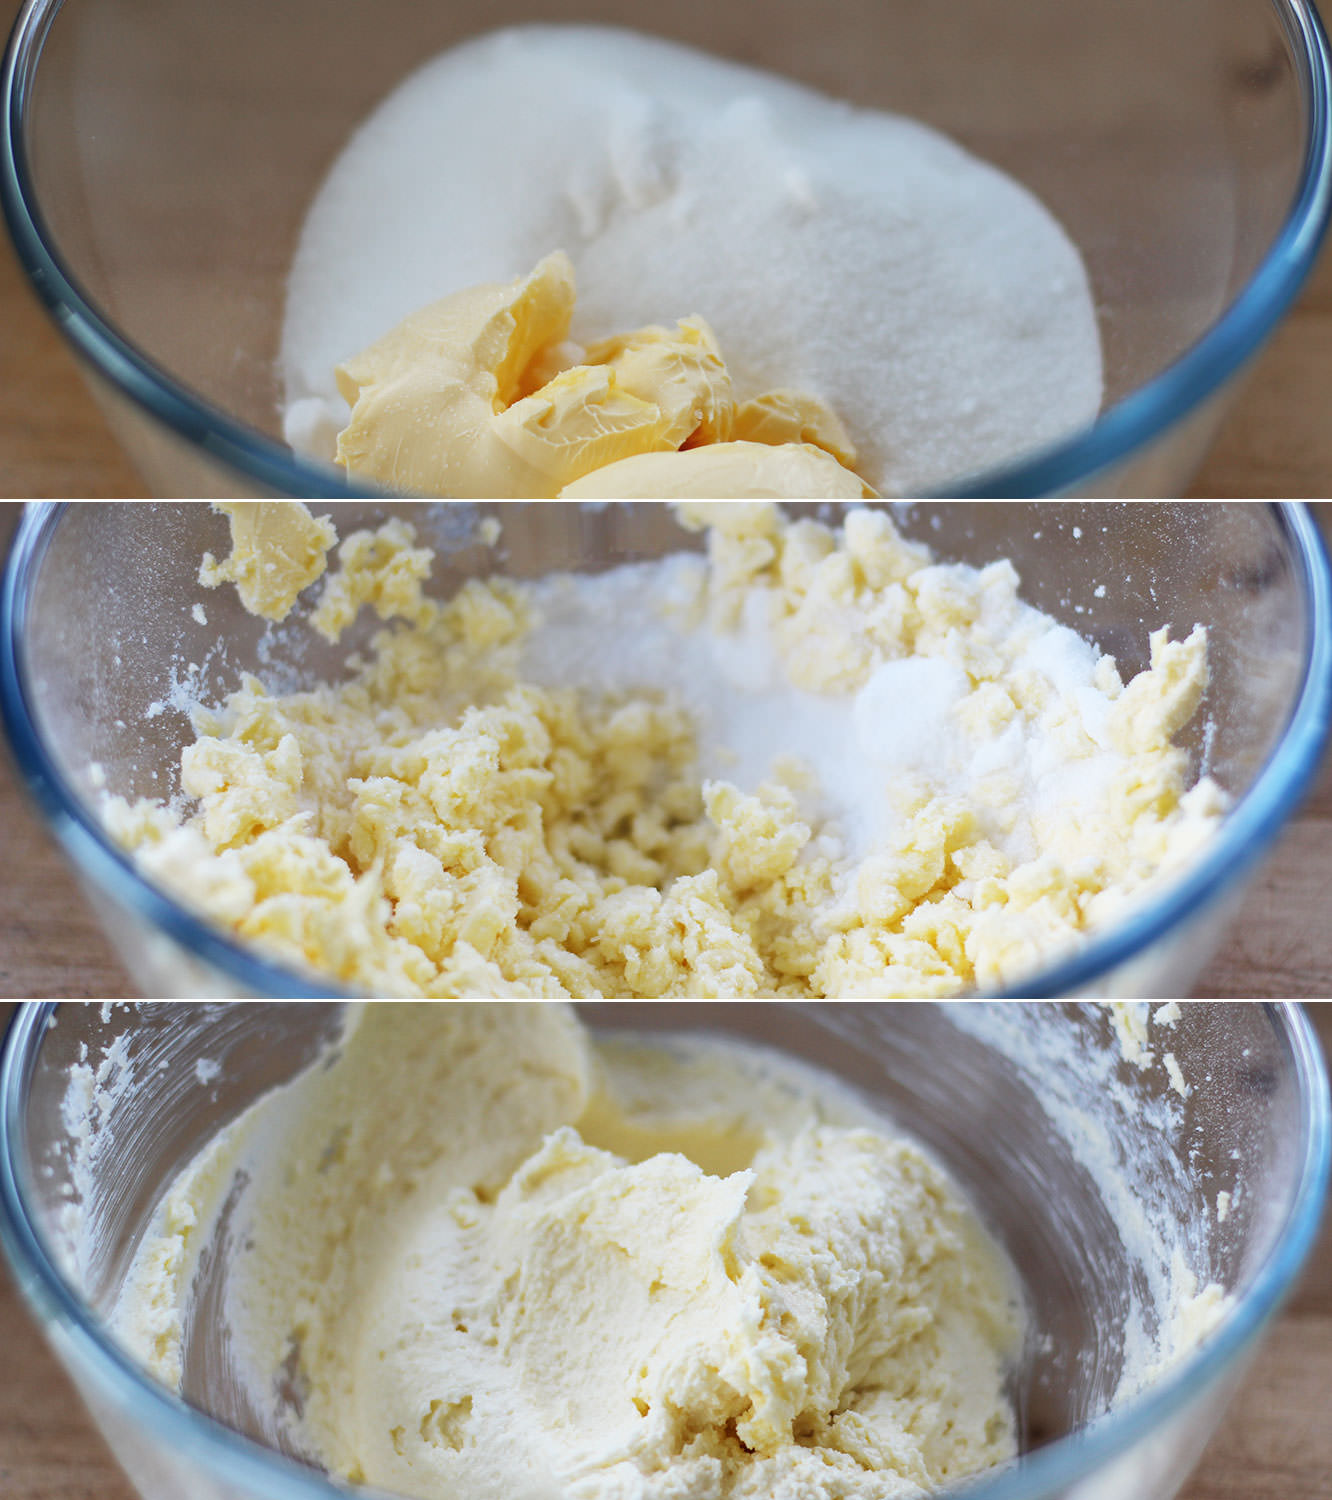 Step two
Beat together the butter and sugar. As I said in the ingredients list, and probably will say countless more times, I use Stork marge in all my cakes. As well as being cheaper, you don’t have to wait for it to come to room temperature, and it’s easy to use straight from the fridge. I’m convinced it makes fluffier lovelier cakes too!
 Step two
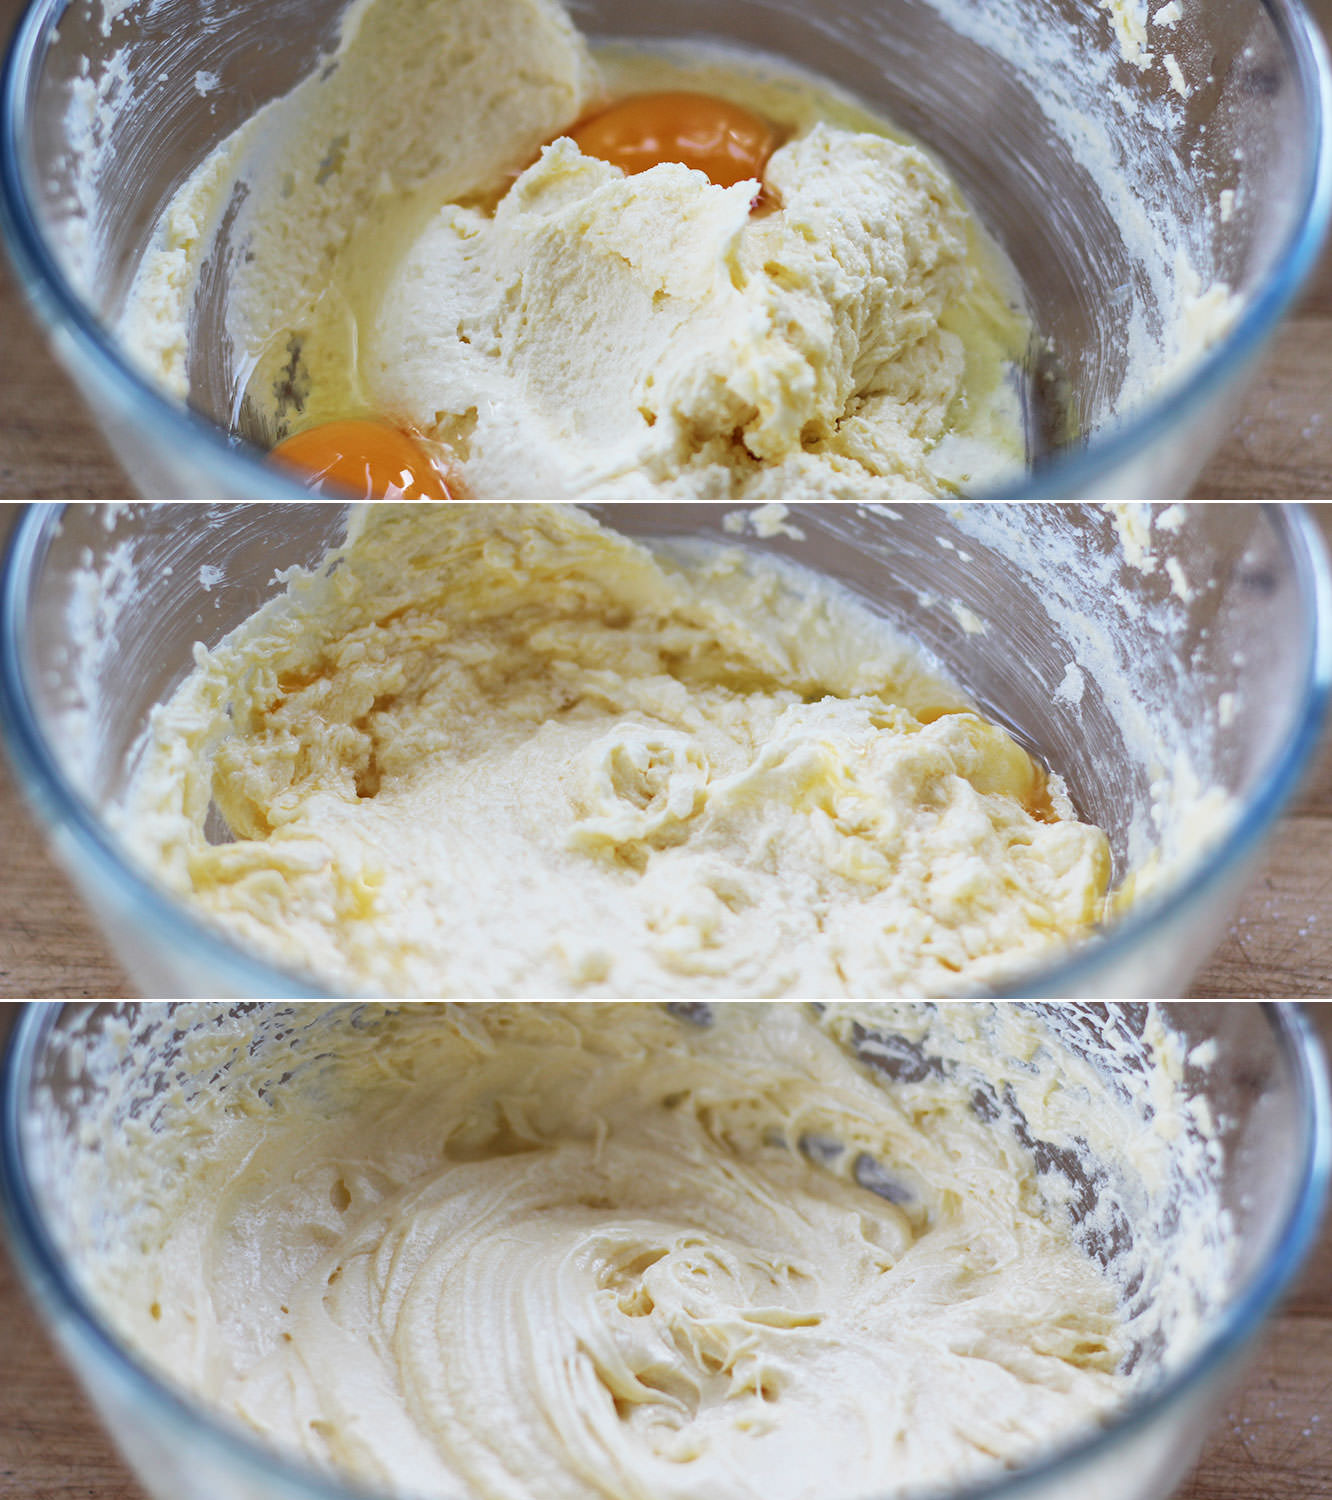
Add the eggs, vinegar and bicarbonate of soda and beat again until well combined. I always advise an electric whisk for this, as it keeps the air in the cake.
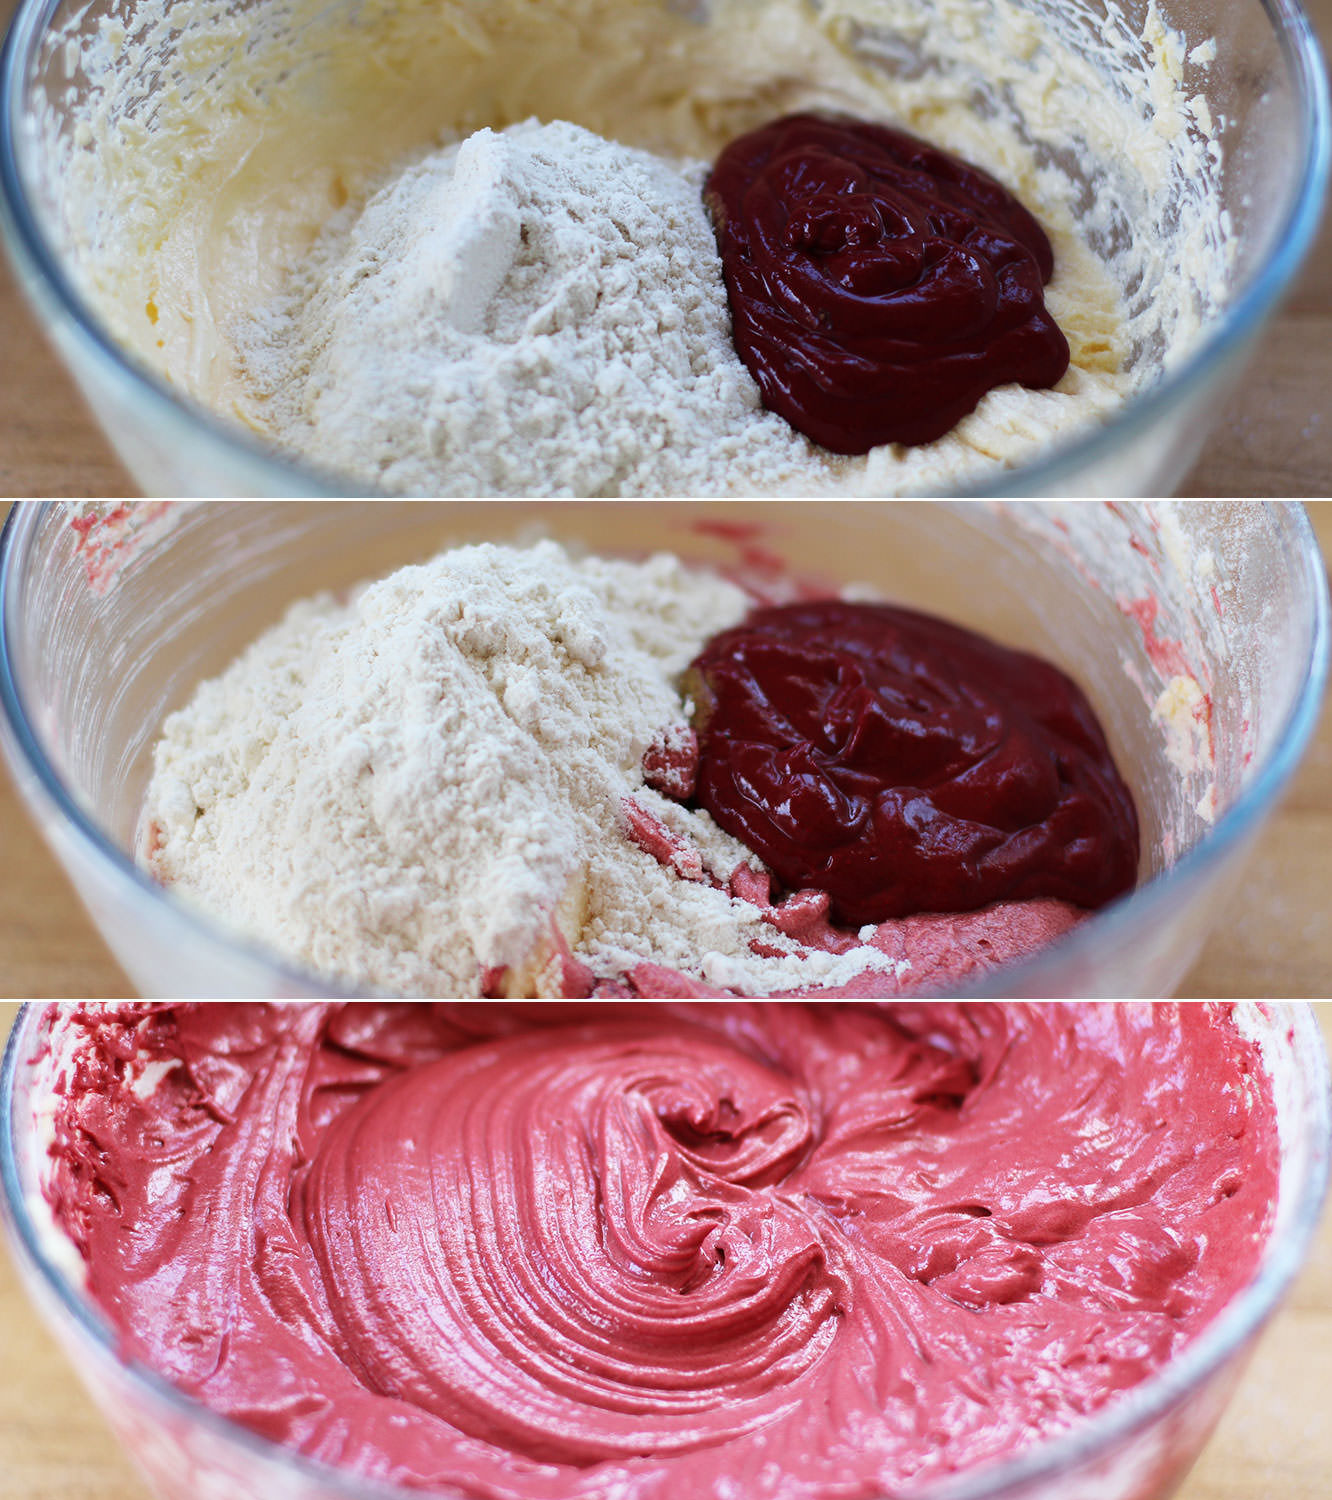 Step three
Add the buttermilk mixture and the flour in stages (halves or thirds) until you have a bowl full of red batter.
 Step four
Preheat the oven to gas mark 3/170C/325F.
Spread mixture evenly into two greased and lined tray bake tins.
Place on the middle shelf of the oven and cook for 30-40 minutes. The mixture should spring back a bit when touched.
 Step five
Whisk together the icing sugar, butter, cream cheese and vanilla extract. You’d do well to cover the bowl with a tea towel if using an electric whisk…otherwise prepare for a cloud of sweet dust and a coughing fit. Not hygenic.
 Step six
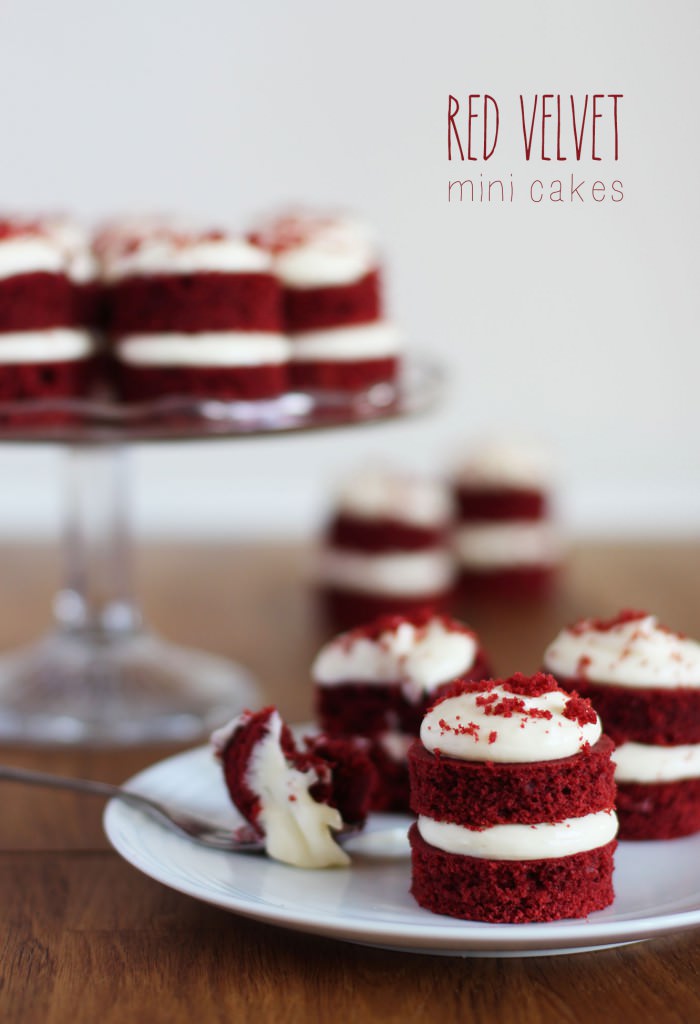
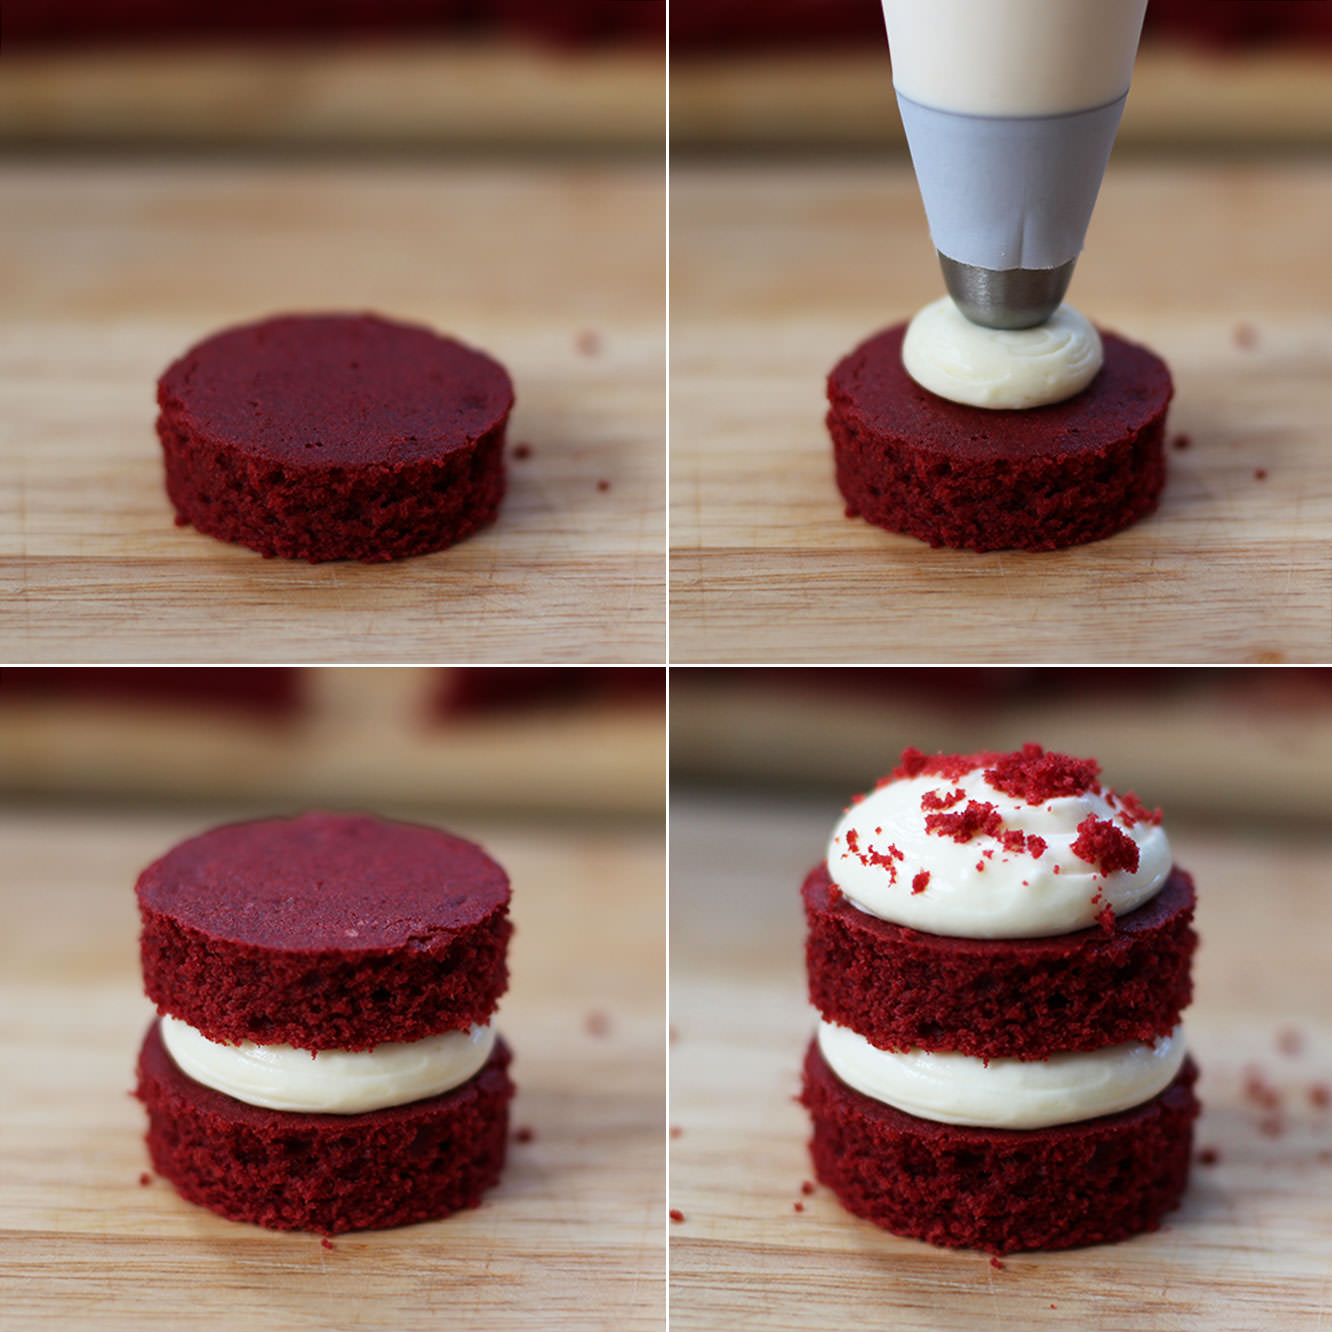
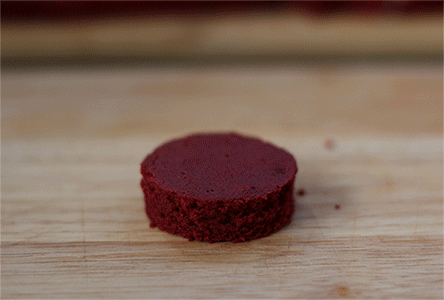
Once the cake has cooled completely use a round cutter to cut as many circles as you can. I used a 1 and 3/4″ cutter and made 30 discs, so those of you with a basic maths ability will know that’s 15 mini cakes.
Although the buttercream keeps these cakes nice and moist, it’s still best not to cut them out days in advance, and be sure to keep them in an airtight tub.
 Step six
Using a piping bag and a round nozzle fill and ice the little cakes. Point the bag straight down and squeeze, the icing will spread out from the middle. I used left over crumbs to decorate as I just love the ‘redness’ of it all, but feel free to use your imagination!
I made a GIF!
Except you have to click on it to make it work. I don’t know why. I’m too proud of myself to find out.
 Step seven
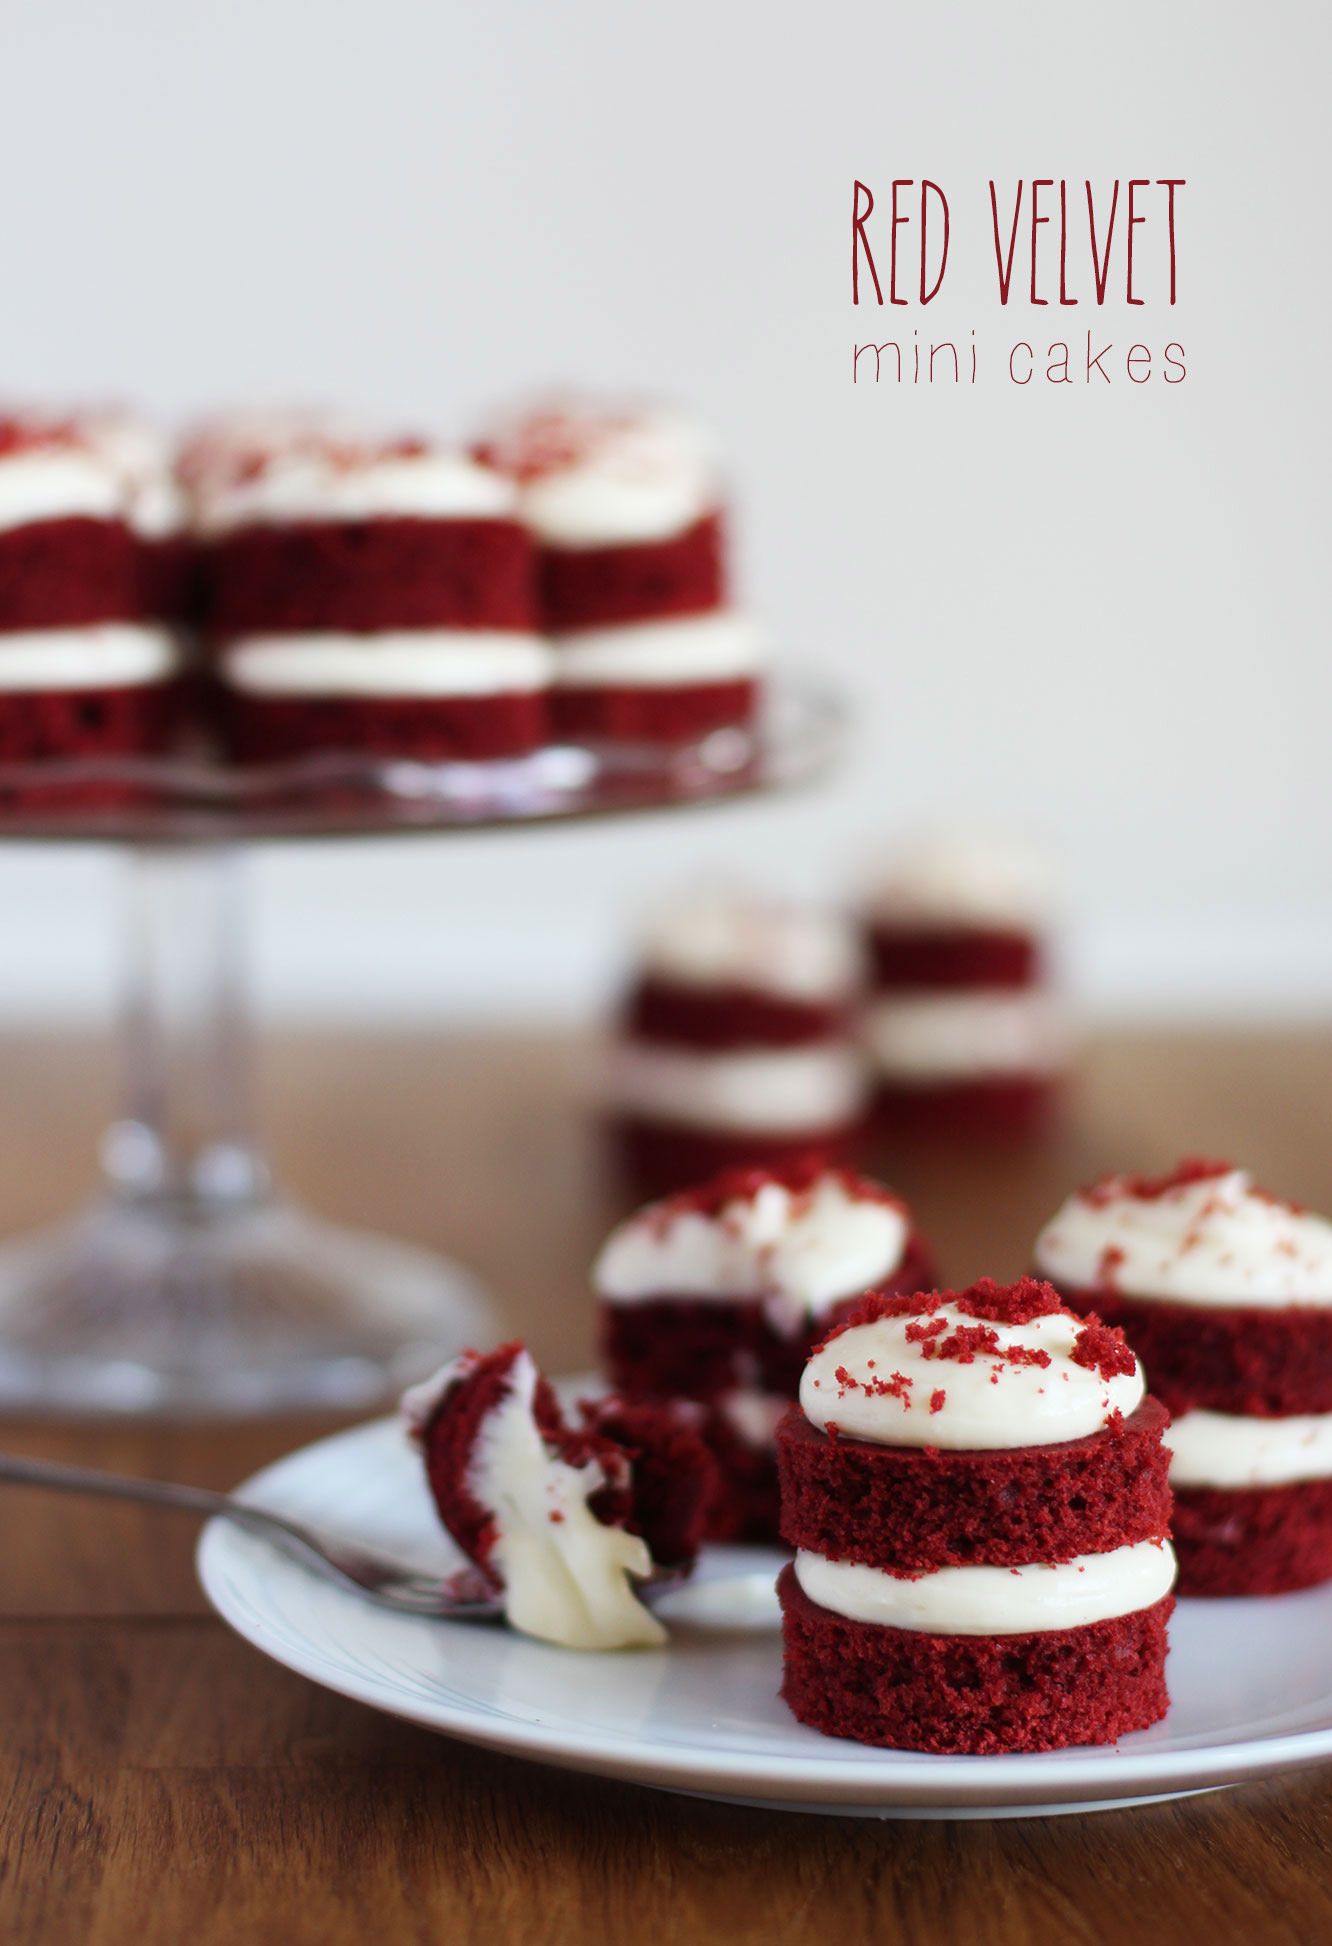
Add proudly to your afternoon tea repertoire.
p.s. why not turn your off cuts and any left over icing into cake pops? I know. I’m a genius.
(This one is for you Bonny, in your pursuit of the reddest velvets).