Welcome back!
You might remember my mentioning I went on a little trip to Germany recently? I went a-visiting a wonderful little family who I miss very much. Capitalising on their crafty house guest there were some birthday preparations to be done. So aside from baking over 70 cupcakes (very popular little chap) there was the small matter of inviting other little people to come and eat them.
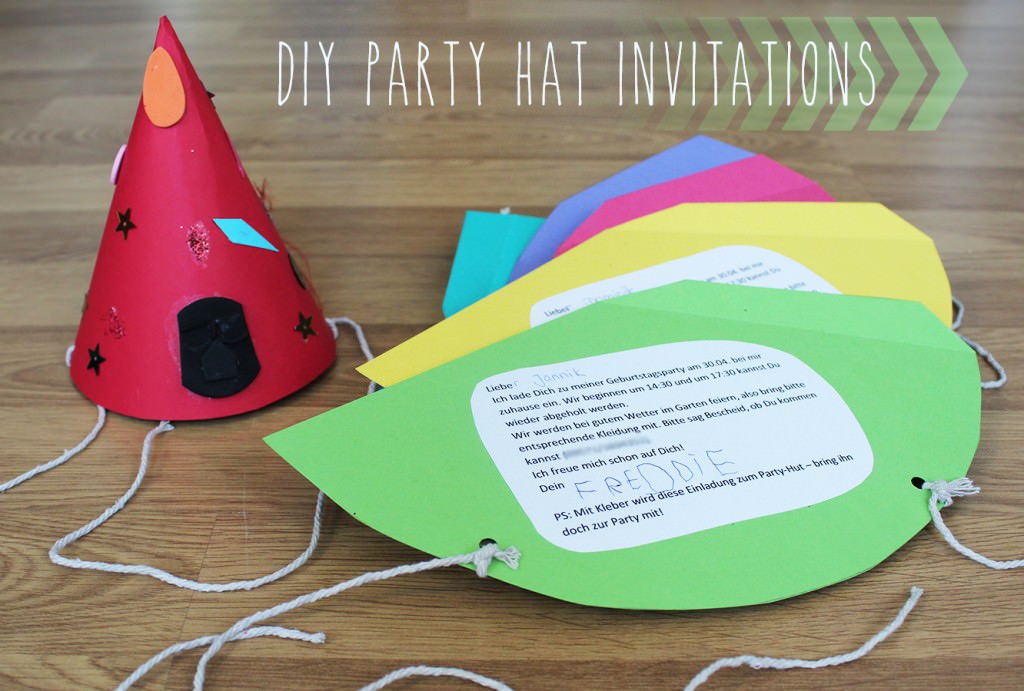
They were throwing a garden party with lots of traditional German party games, I really wish I’d have stuck around a bit longer to join in! So Mr Freddie and I crafted some invites that were fun and festive and will adapt to any theme or themeless party you’ve got going on.
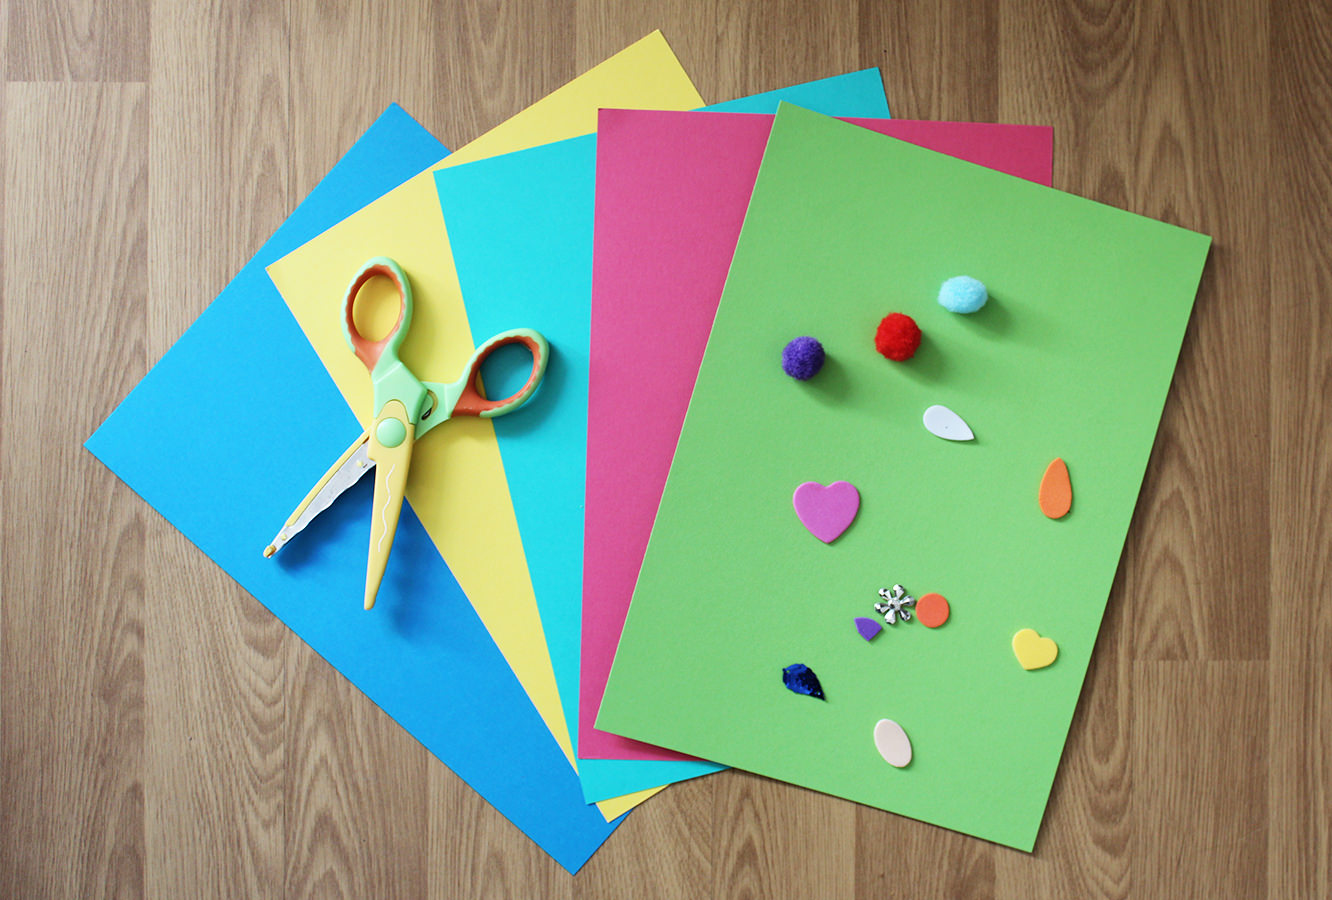
You will need
A4 Card/thick paper (one per guest and an extra for the birthday boy/girl)
Bits and bobs to decorate with
Glue
Scissors
String
A small child with an upcoming birthday
This template
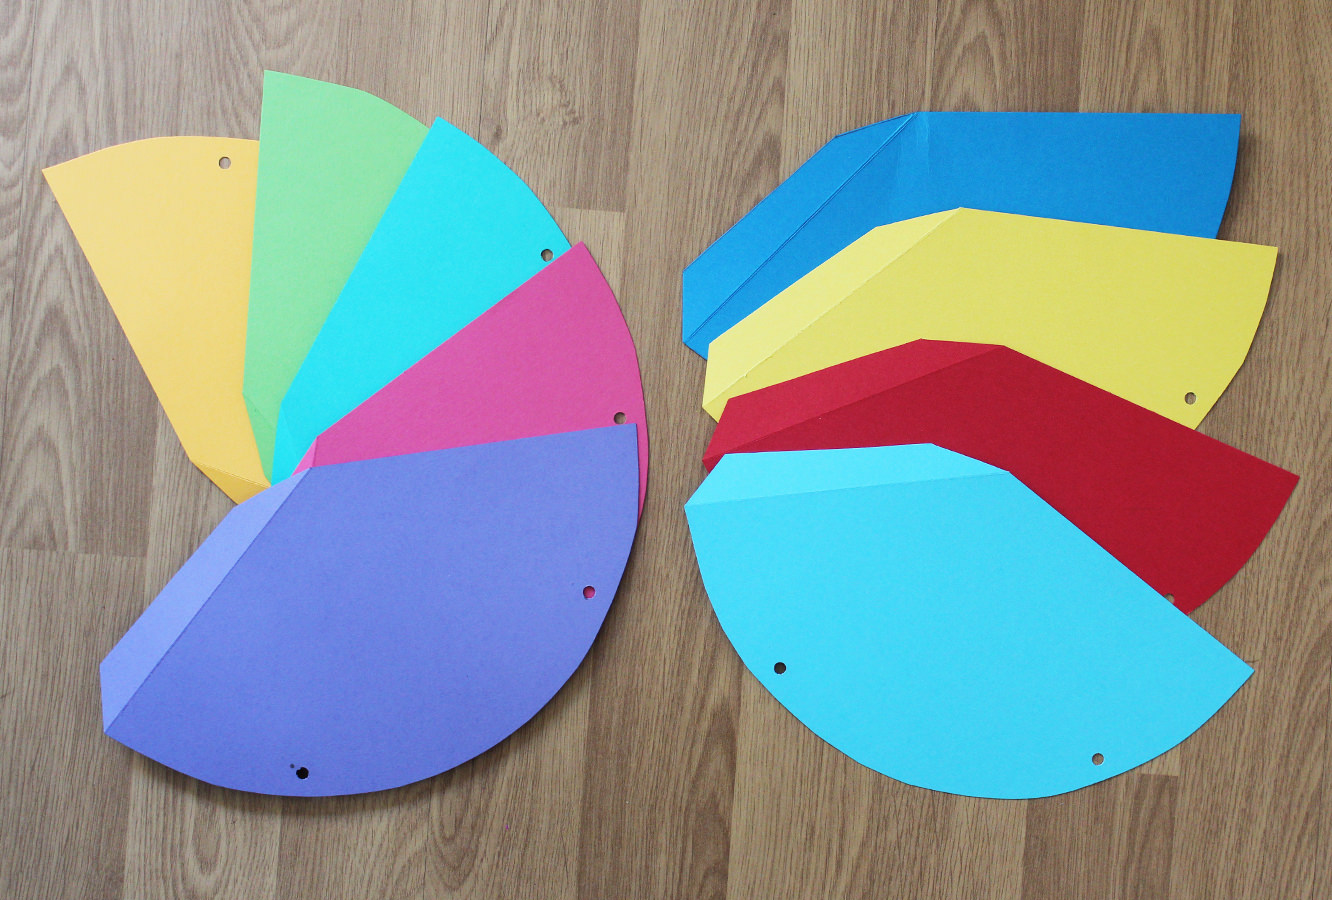
Step one
Draw round the template onto each piece of card and cut out a hat for each guest, not forgetting one for the birthday boy or girl.
Step two
Use a hole punch or something sharp poke holes in each hat (as marked on the template).
Step three
Using an open pair of scissors and a ruler score along the dotted line to create a flap.
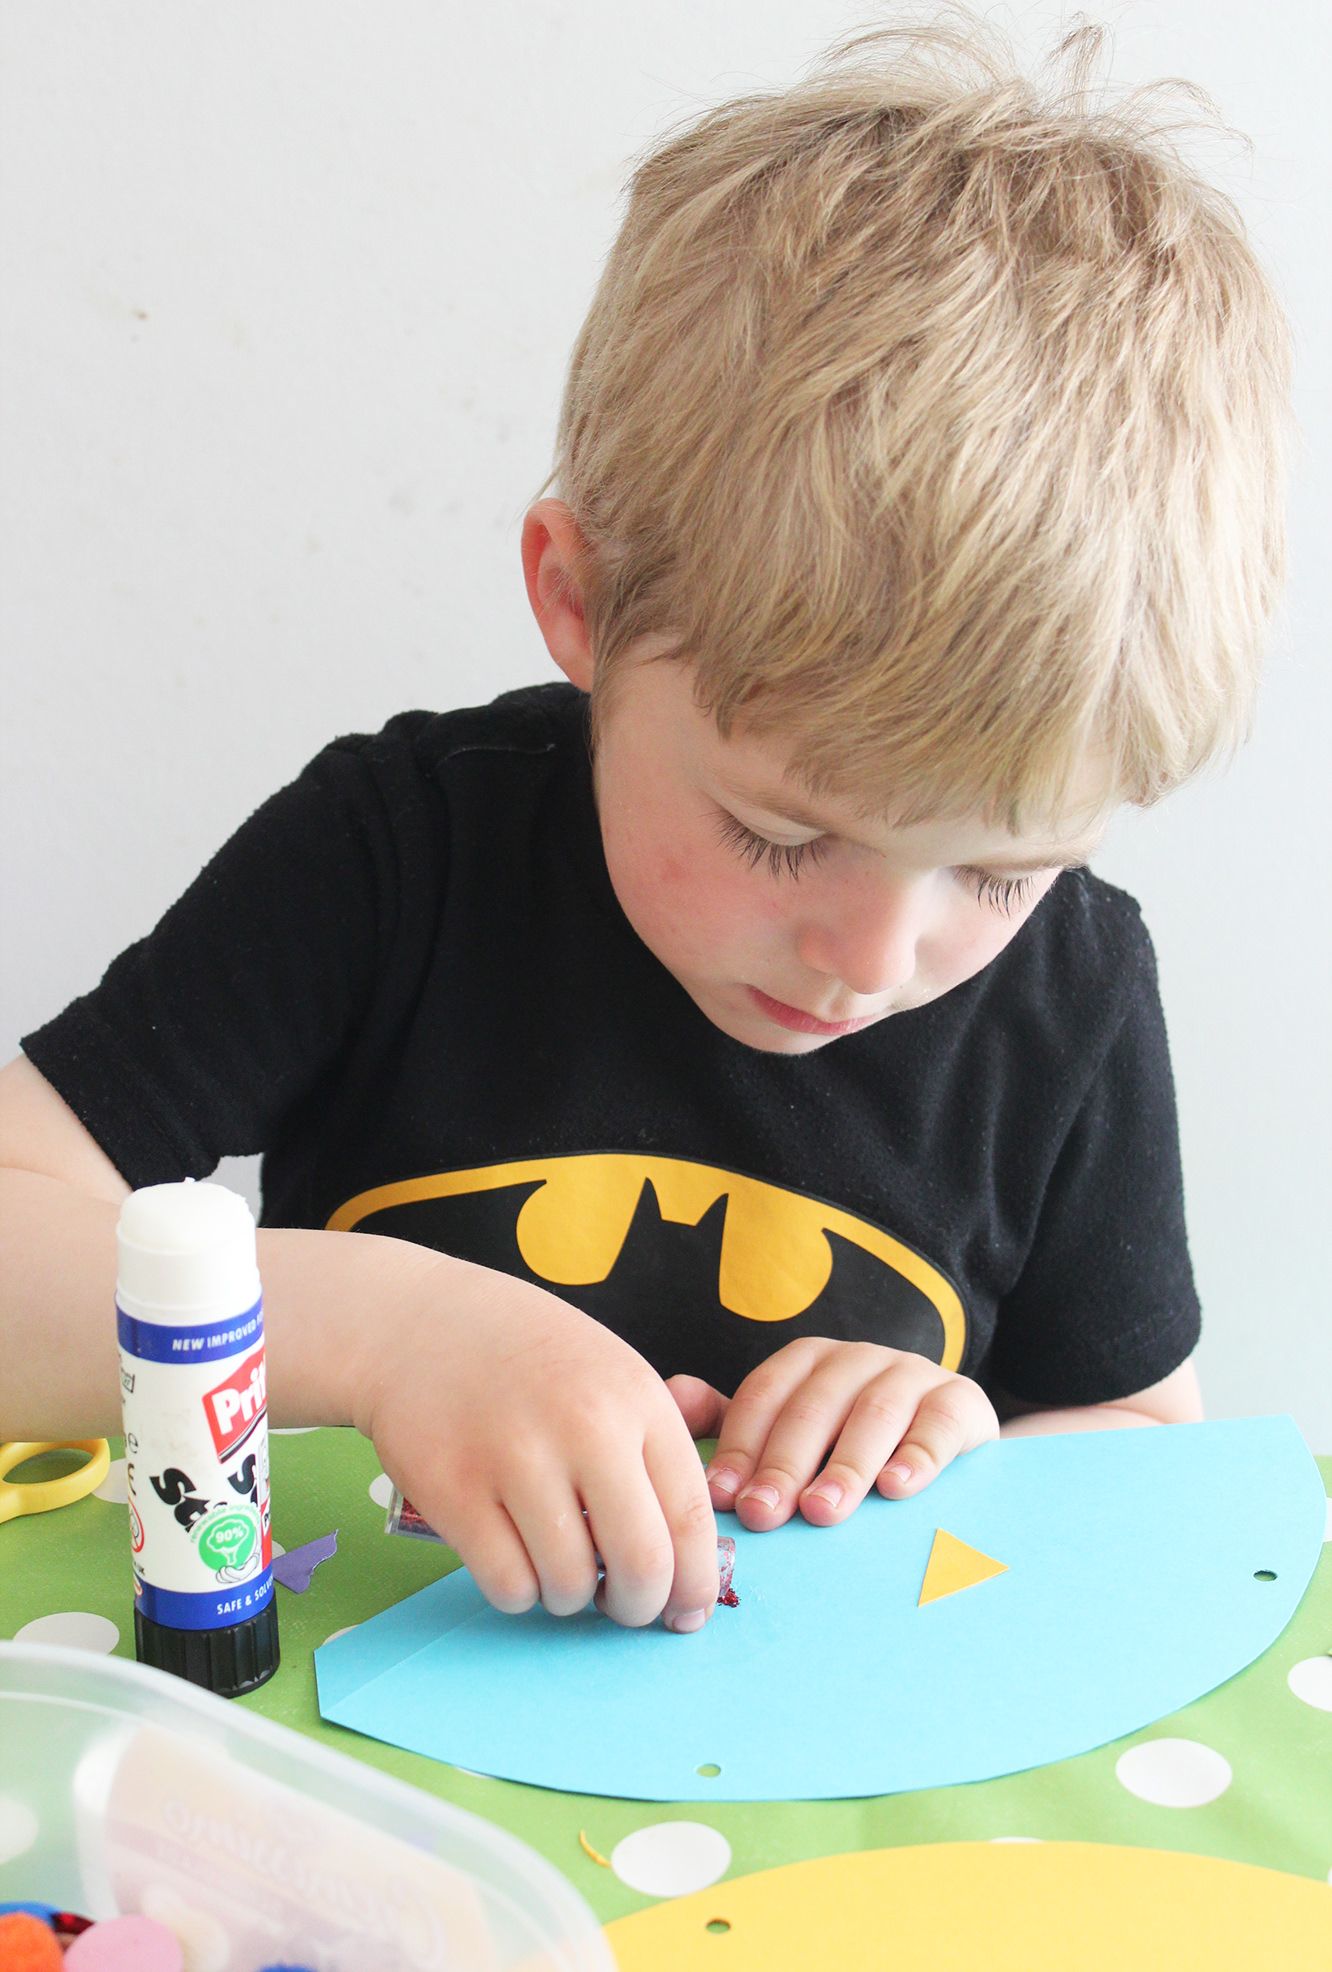
Step four
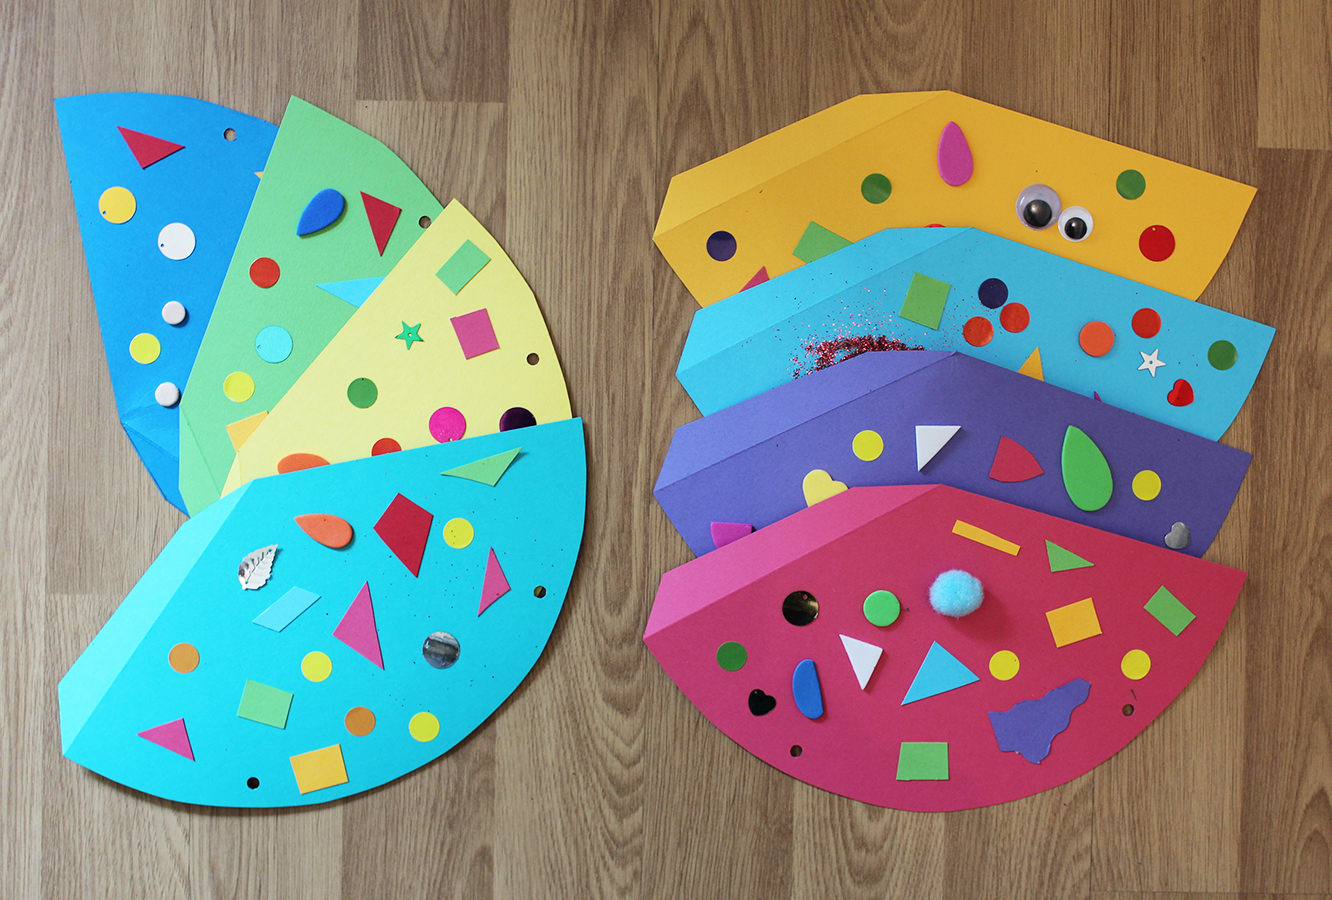
Decorate! Use your (or your child’s) imagination, Freds and I used foam shapes, stickers and glitter that mummy already had in stock. We also cut some shapes out from the left over card so as not to waste anything.
You can use whatever you can get your hands on, cut outs from old magazines/buttons/feathers/draw pictures or each child’s name. Your only limit is the attention span of the child in question!
(don’t decorate the flap)
Step five
Cut two lengths of string for each hat. Use the child you already have in stock to get an idea of length, you need to be able to tie a bow under their chins. Doing it this way rather than one loop means they are adjustable for each guest.

Step six
Add the party details on the other side and voila! Your hats are ready to give out. Each guest is in charge of assembling their hat and bringing it with them to the party (worth having one or two spare just in case!)
To stick together just glue the flap (with the hat right side up) and stick underneath the opposite edge.
Step seven
PARTY ON