So this is later than the usual Monday night. But I hope you’ll forgive me when you see the contents, and when you remember it’s December and that I now have a full-time job.
SPEAKING OF WHICH, I have been fortunate enough to join a team full of kind and kooky misfits, who have made the last three months super fun.
This year, when considering my yearly gingerbread offering I deliberated over how I might transport one into work to share the joy. But when you make gingerbread houses like this and this and get the central line tube to work, even the thought of attempting that makes you sweat.
The obvious answer? Make little ones for everyone. Sure. That’s not mental at all.
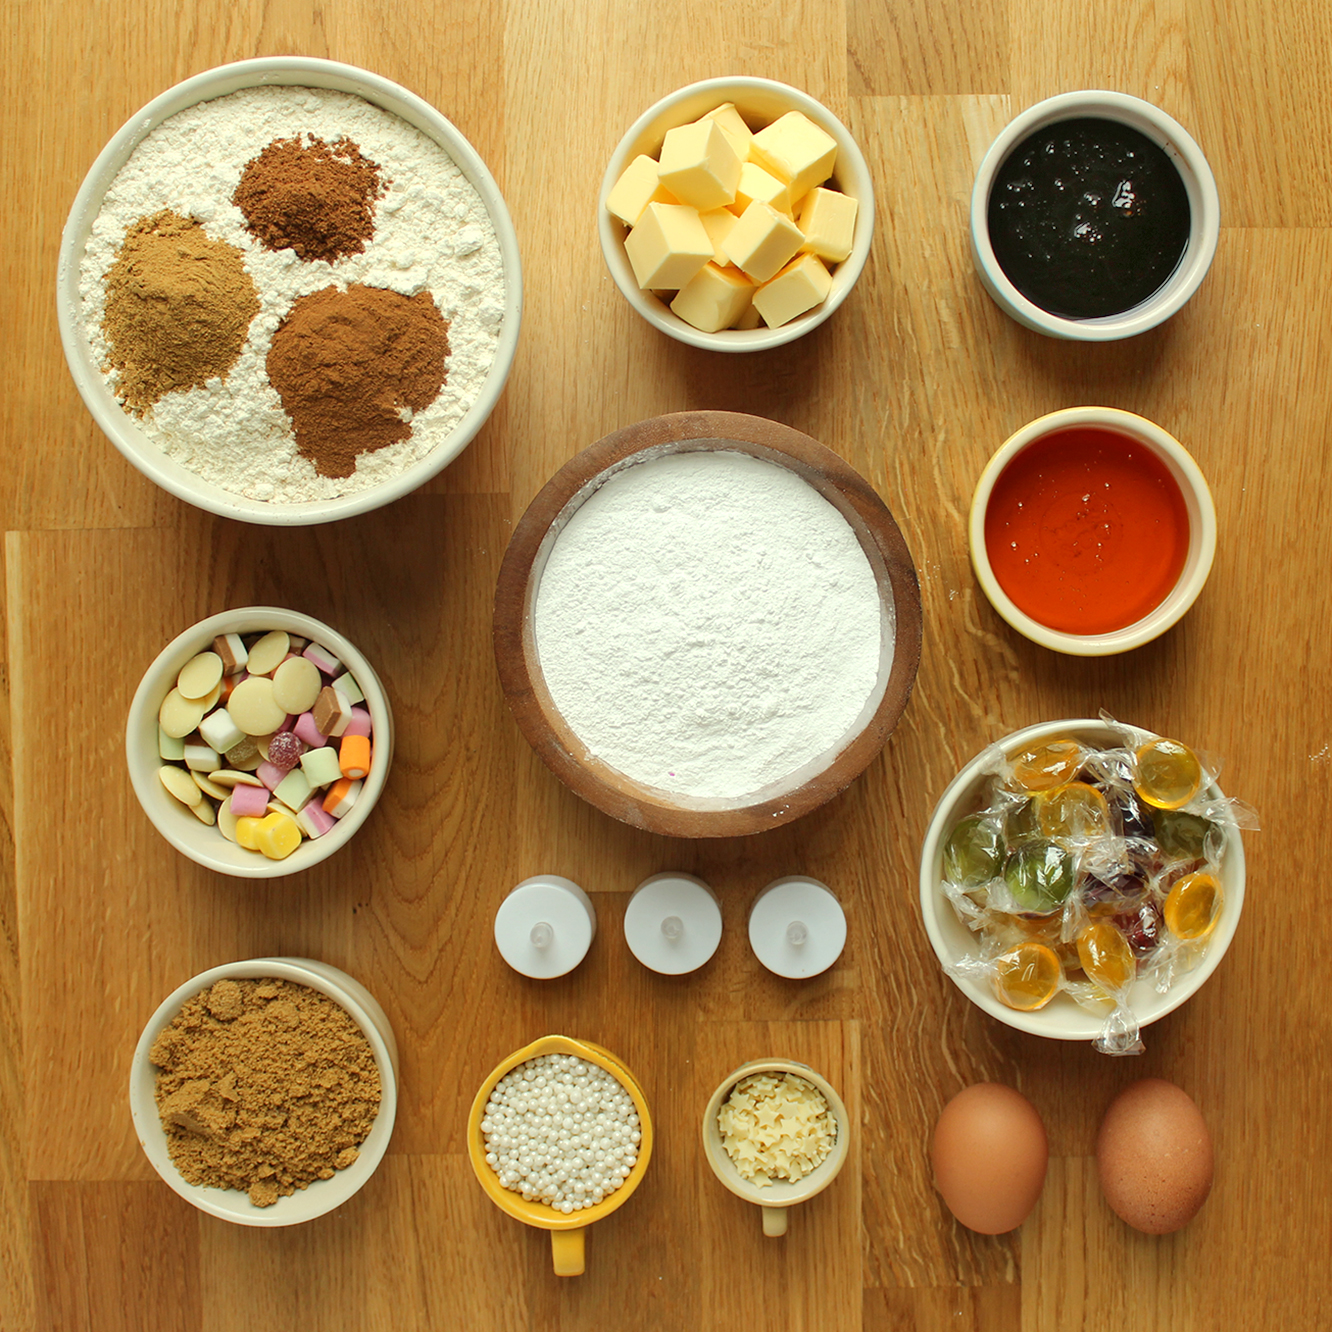
You will need:
1lb 10.5 oz/750g/5 cups plain flour
5oz/140g/1 cup soft brown sugar
7oz/200g/1 cup unsalted butter
2 eggs
5 tbsp treacle
8 tbsp golden syrup
1 tsp salt
1 tsp baking powder
2 tsp ground ginger
2 tsp cinnamon
1 tsp nutmeg
A box of royal icing (read notes below)
The template
ALL THE SWEETS (including boiled sweets for the windows)
LED tea lights if you want it to look like there’s a fire on inside
Some notes:
- The quantities above make 4 little houses. Yes, I made 3 batches of mixture. It will make about one medium to large house, both the links in the blurb above required a batch and a quarter or so.
- For the roofs I use either chocolate buttons, fingers or matchmakers. The roof on house one is the right size for chocolate finger biscuits, matchmakers are great because they are long, but they are narrow so you need quite a few. Roughly it works out like this per roof for these templates: one box of matchmakers, two boxes of fingers, and two bags of buttons (based on Sainsbury’s own 3 for £1 bags)
- You need a lot of royal icing, get a few boxes, I used 3 for 12 houses.
- For the bases I use a thick cardboard box covered in tinfoil. You could buy a cake board, but then you have to work out if your house will fit, or make it to fit the board. I prefer to make the base to fit the house, less restrictive that way.
- For a bit of advice on template making for bigger houses click here
- You are unlikely to complete all this in one day, as you need to let the dough cool before rolling it out, just a little FYI.
Step one
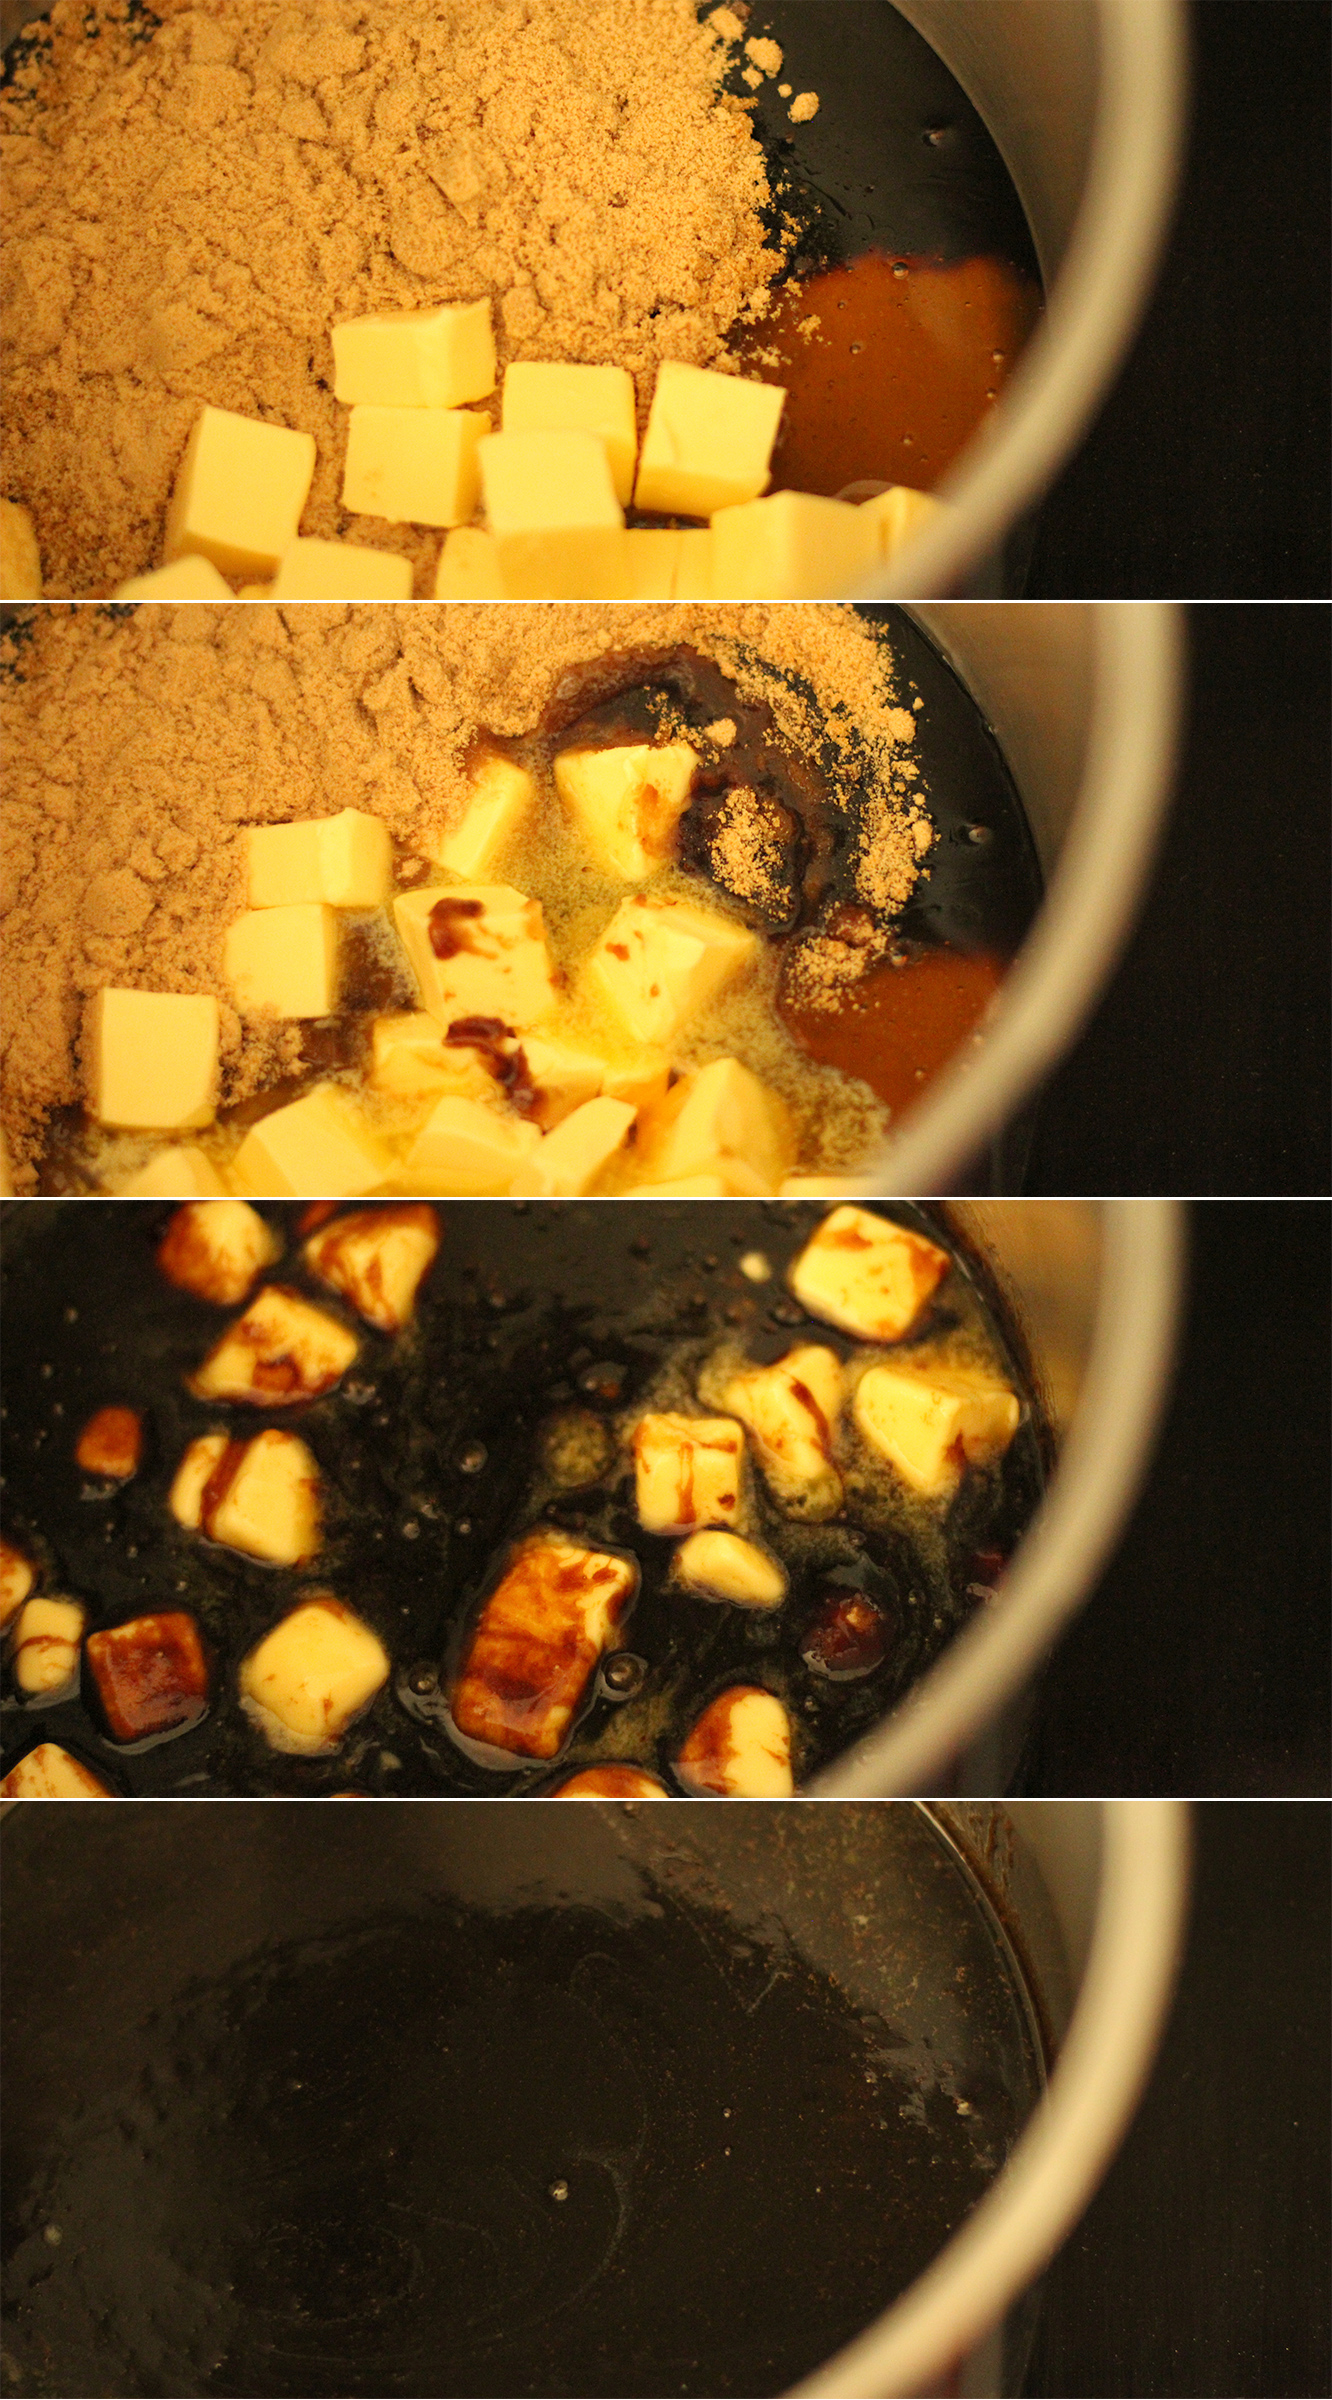
In a saucepan melt together the butter, treacle, sugar and golden syrup. Try not to let it get too hot.
Step two
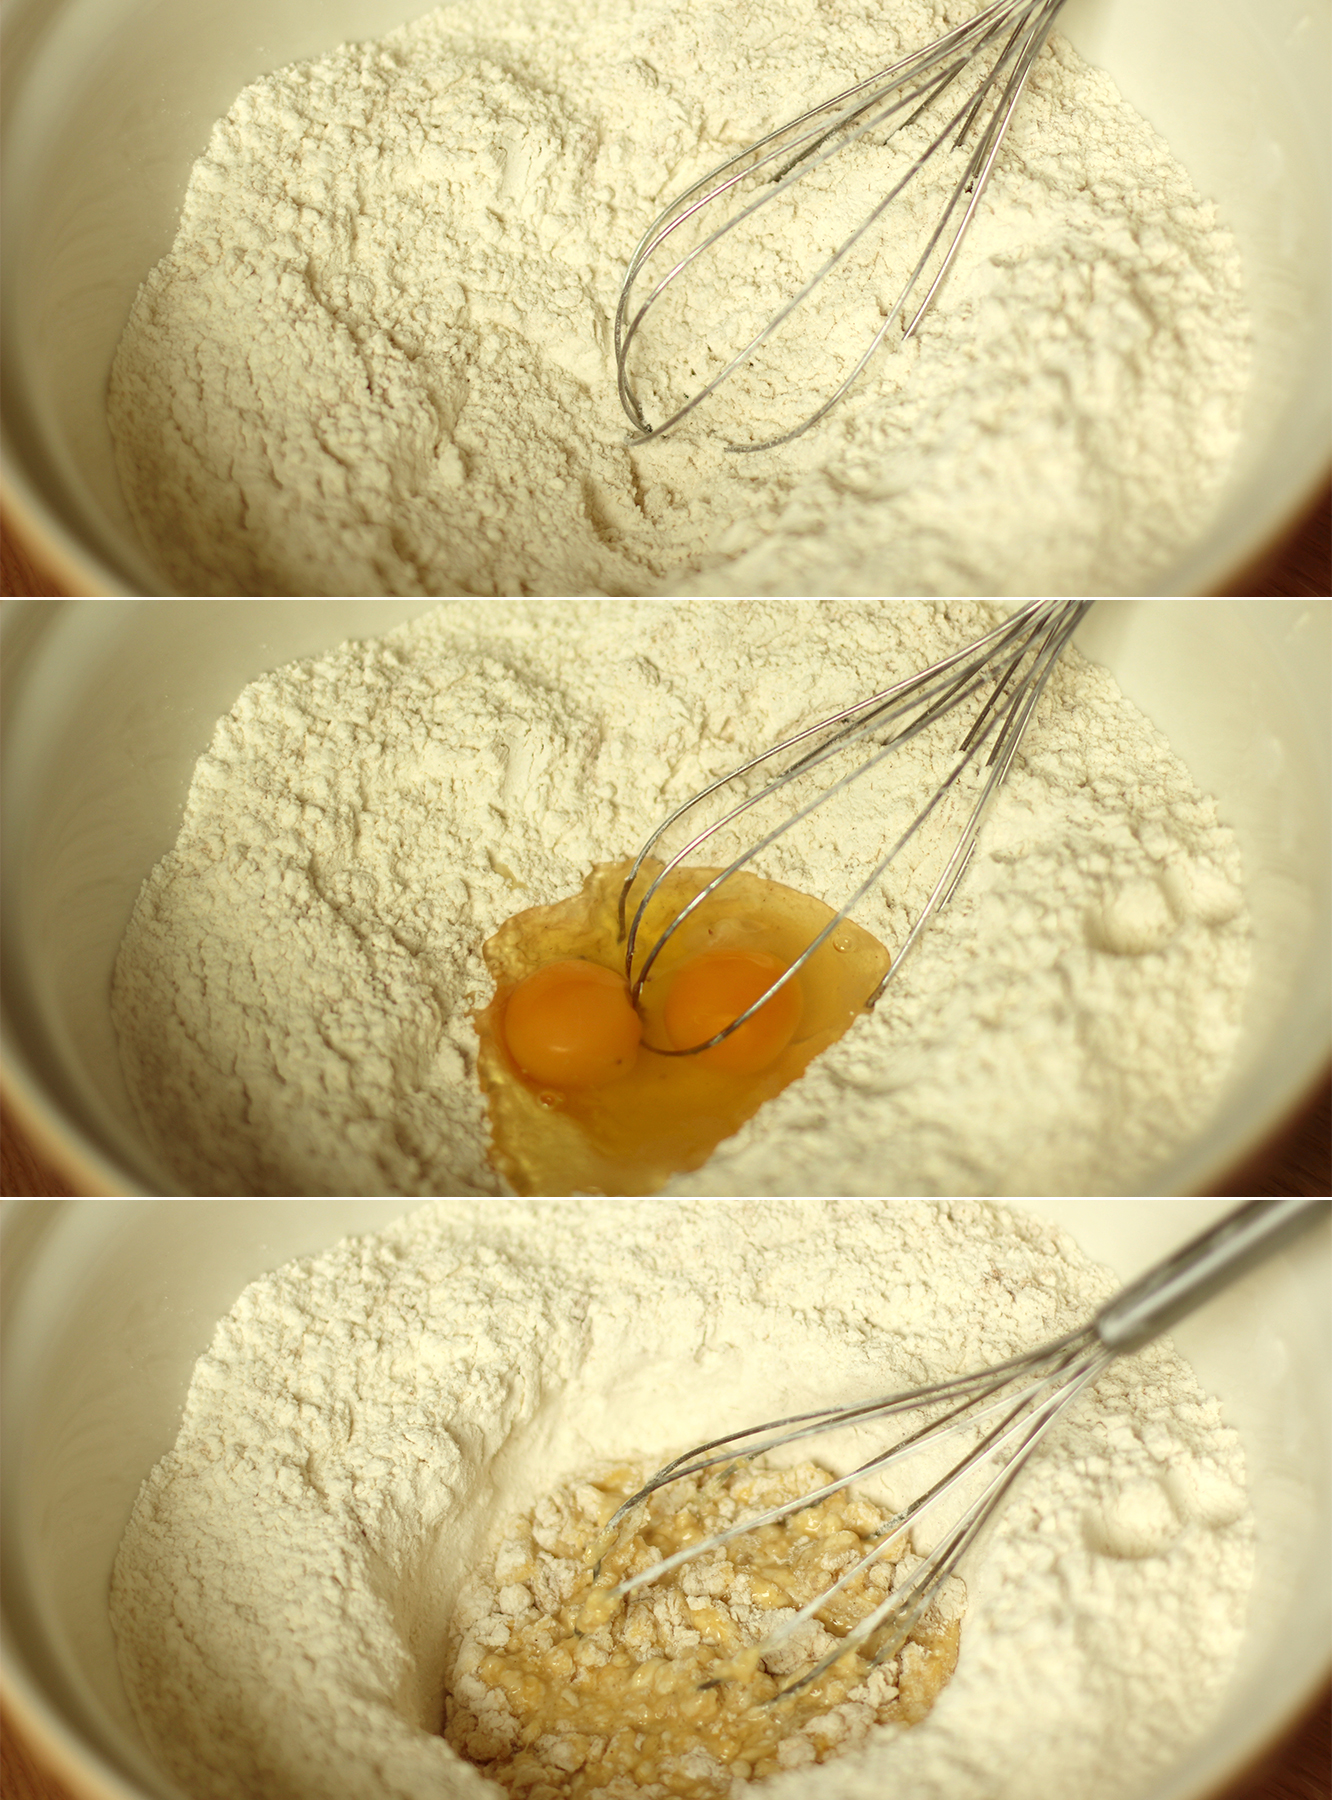
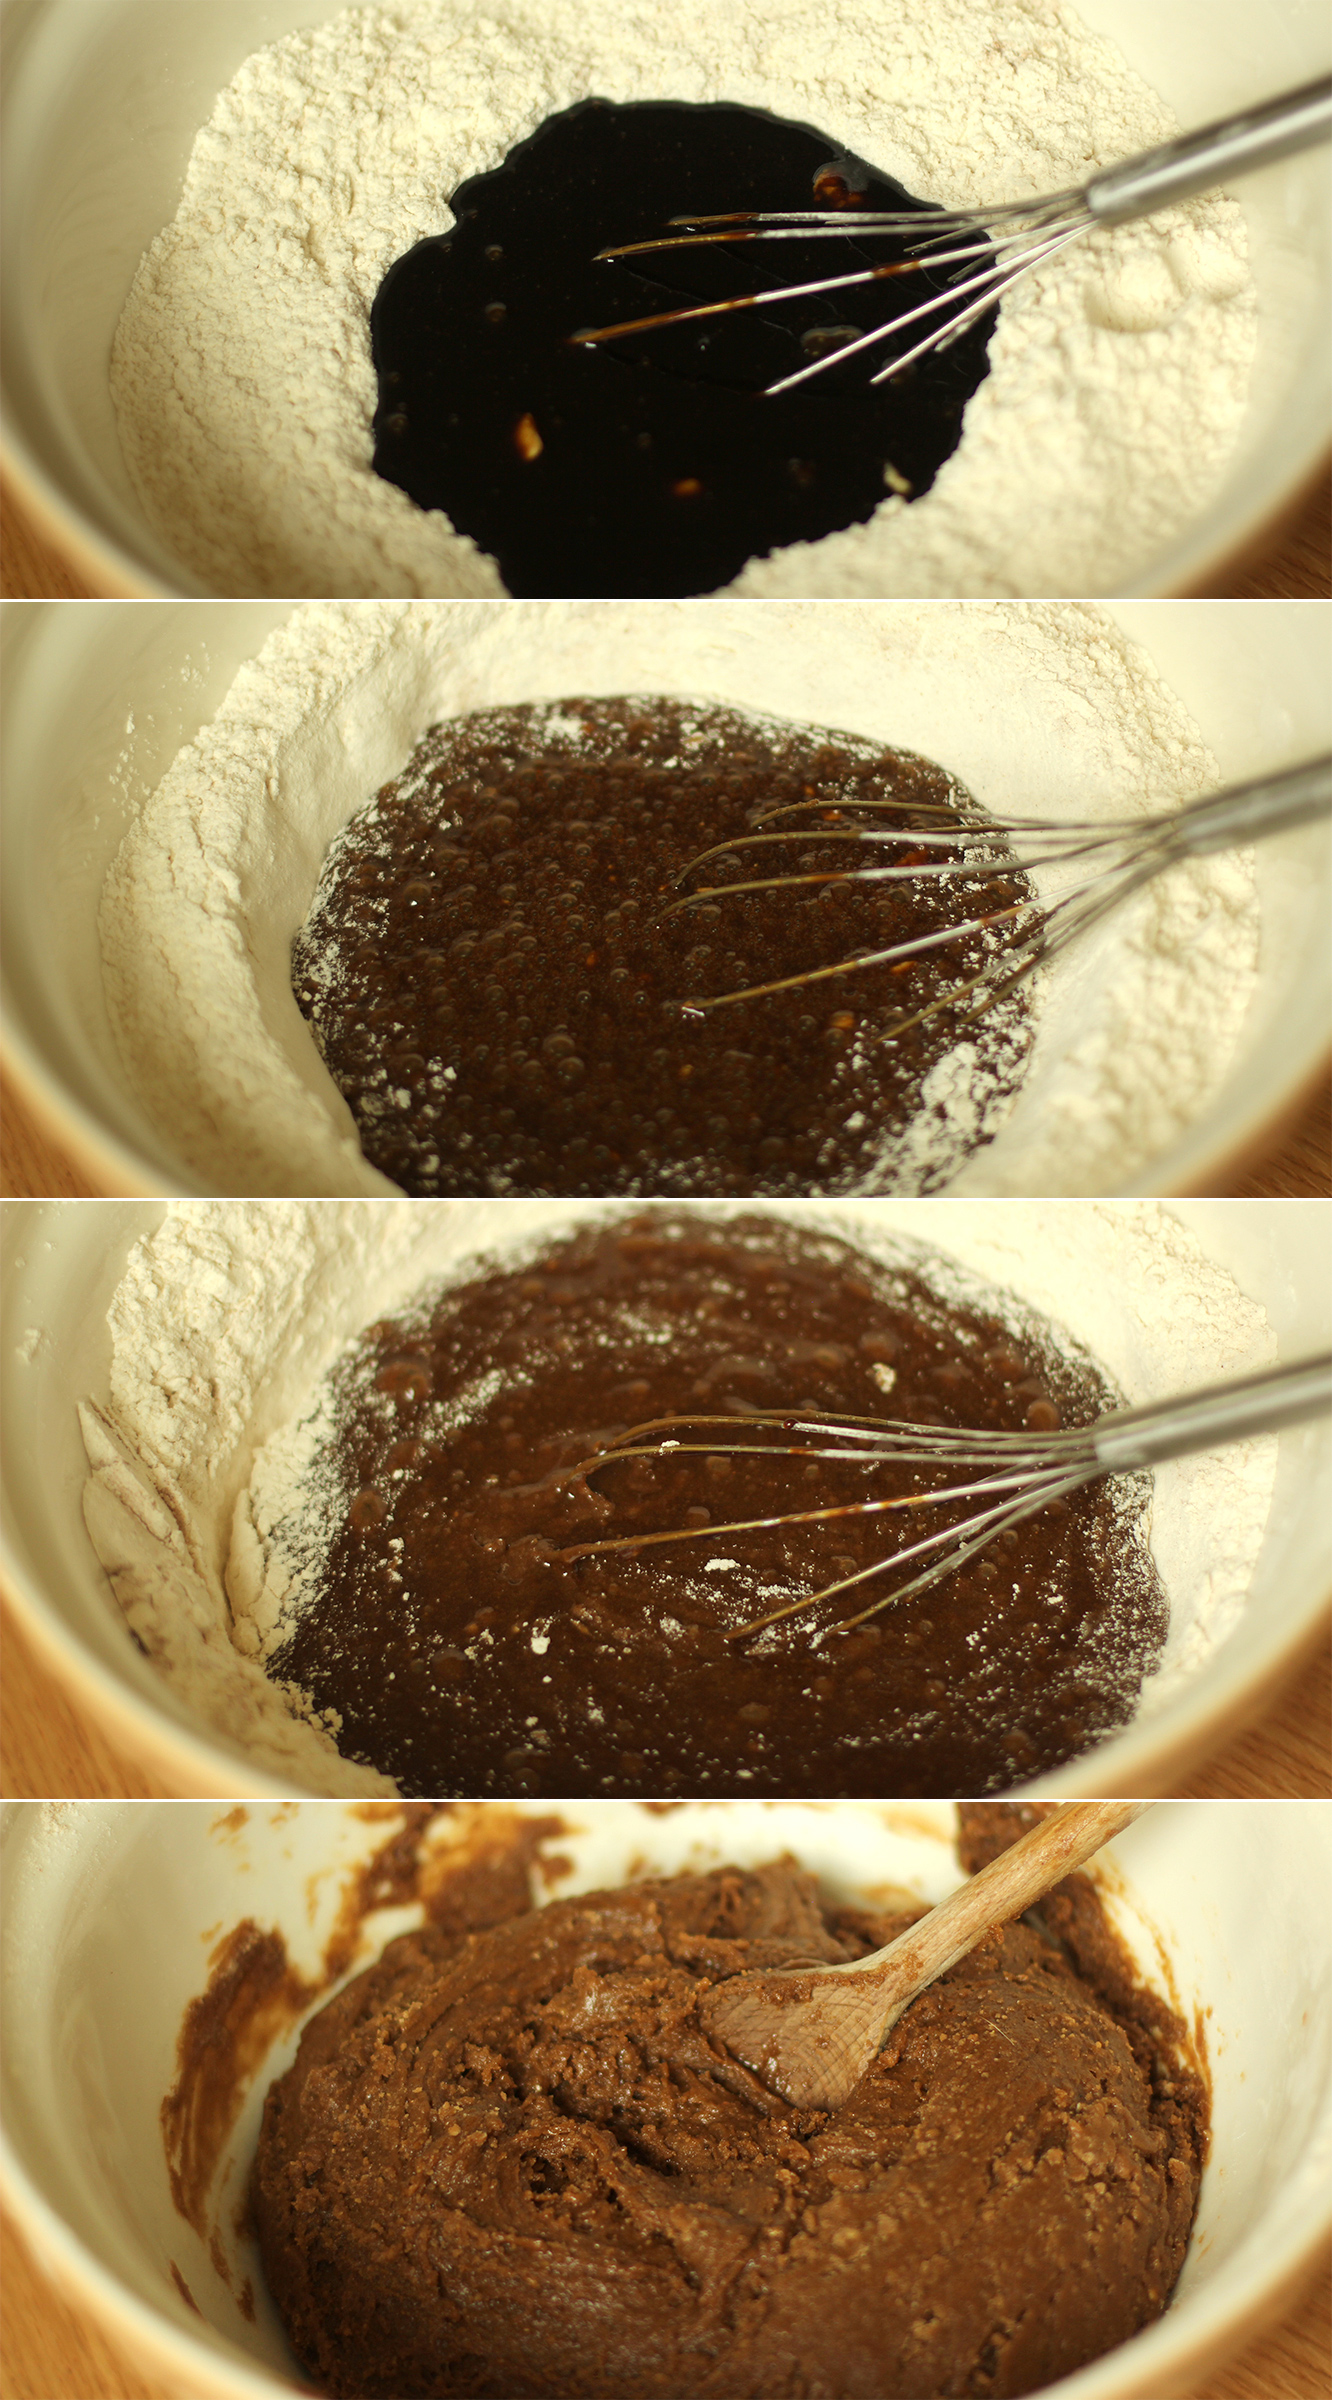
Mix together the spices, salt and flour together and make a well in the middle. Add the eggs and use a hand whisk to break them up. Start making small circles to incorporate the flour.
Step three
Pour the treacle mix into the well and continue mixing with the whisk for as long as you can until it becomes too hard to stir. Swap the whisk for a wooden spoon until fully combined.
Allow to cool. Put it outside if it’s cold or in the fridge to speed up the process. It will be sticky but don’t add more flour.
Step four
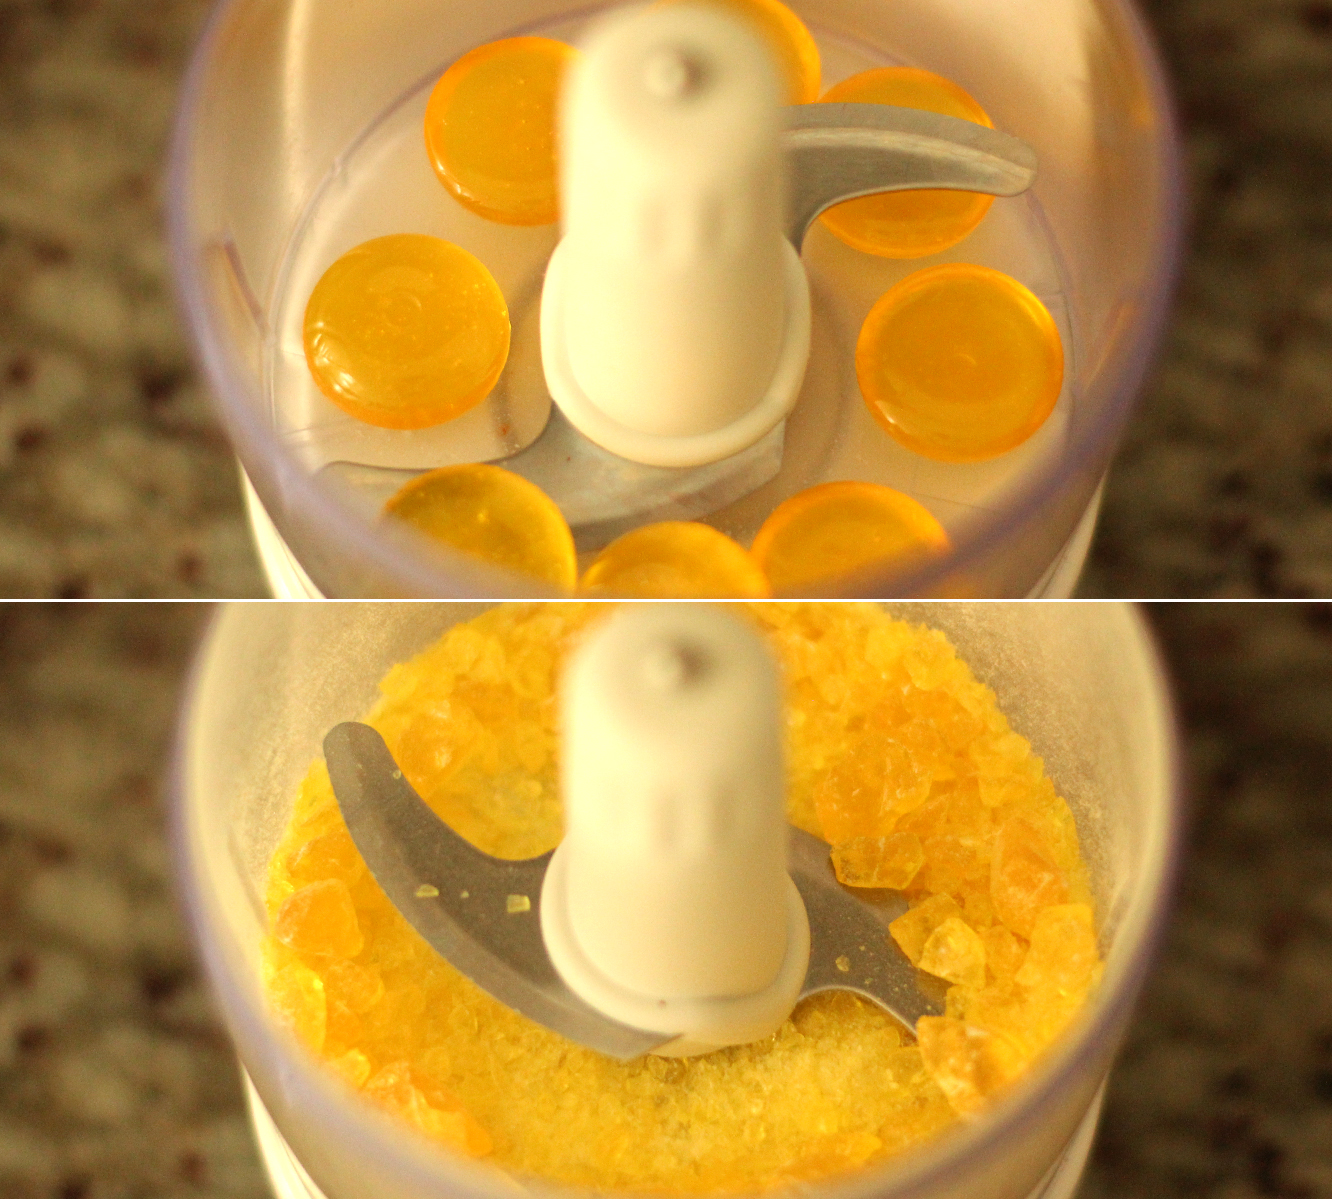
Bash up hard boiled sweets with a rolling pin in a sandwich bag, or use this life changing gadget, the mini food processor, to mush them instead.
Step five
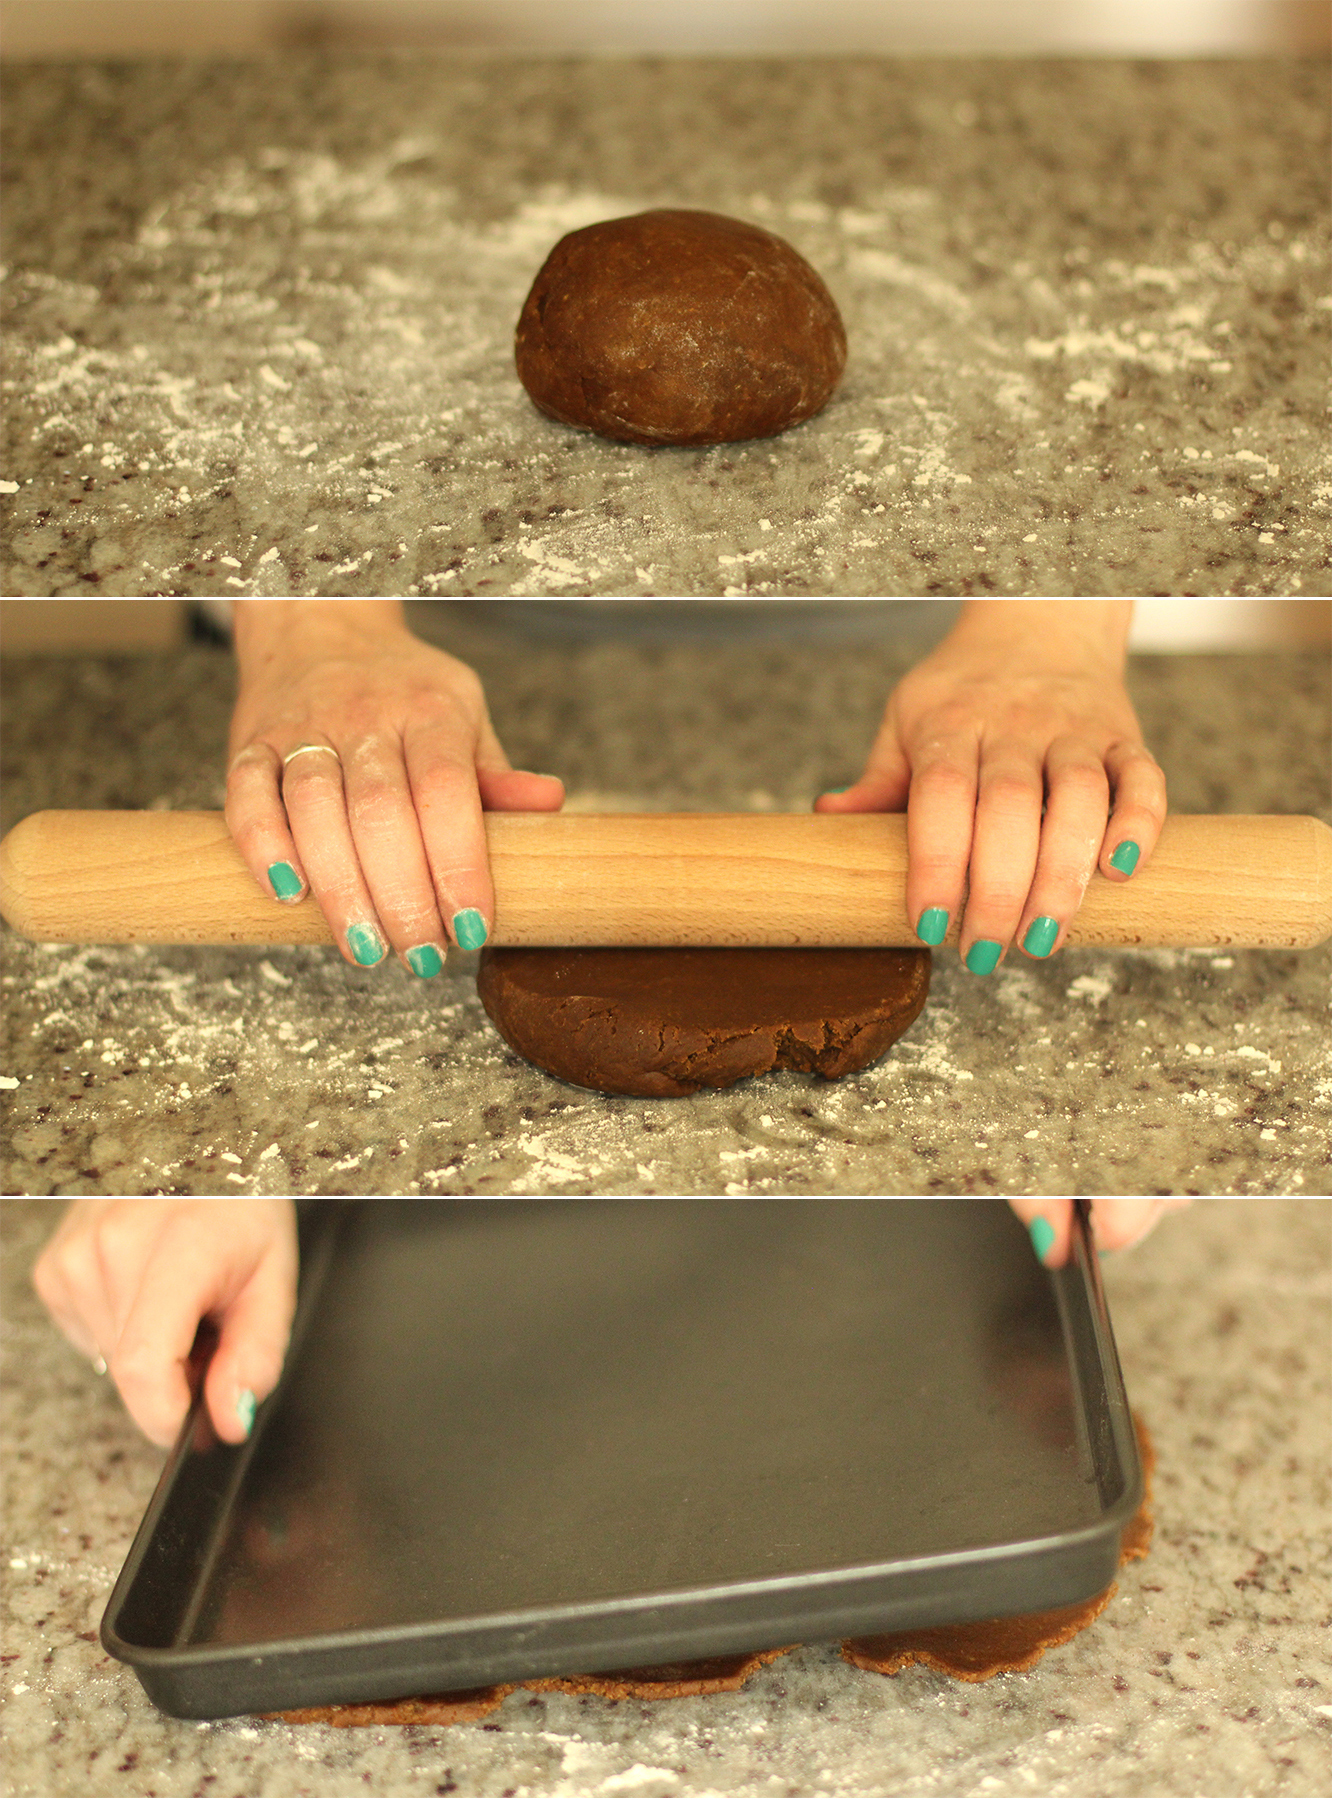
Once the dough has cooled it’s time to roll out the houses. Big, flat baking trays are best for this.
Flour a surface and roll out the dough in batches. You will probably need to use a knife and a metal spoon to extract the mix from the bowl. Don’t fight it, it’s a winning formula structure-wise.
Roll a piece of dough to the same size as your tray for maximum efficiency re:oven space.
Step six
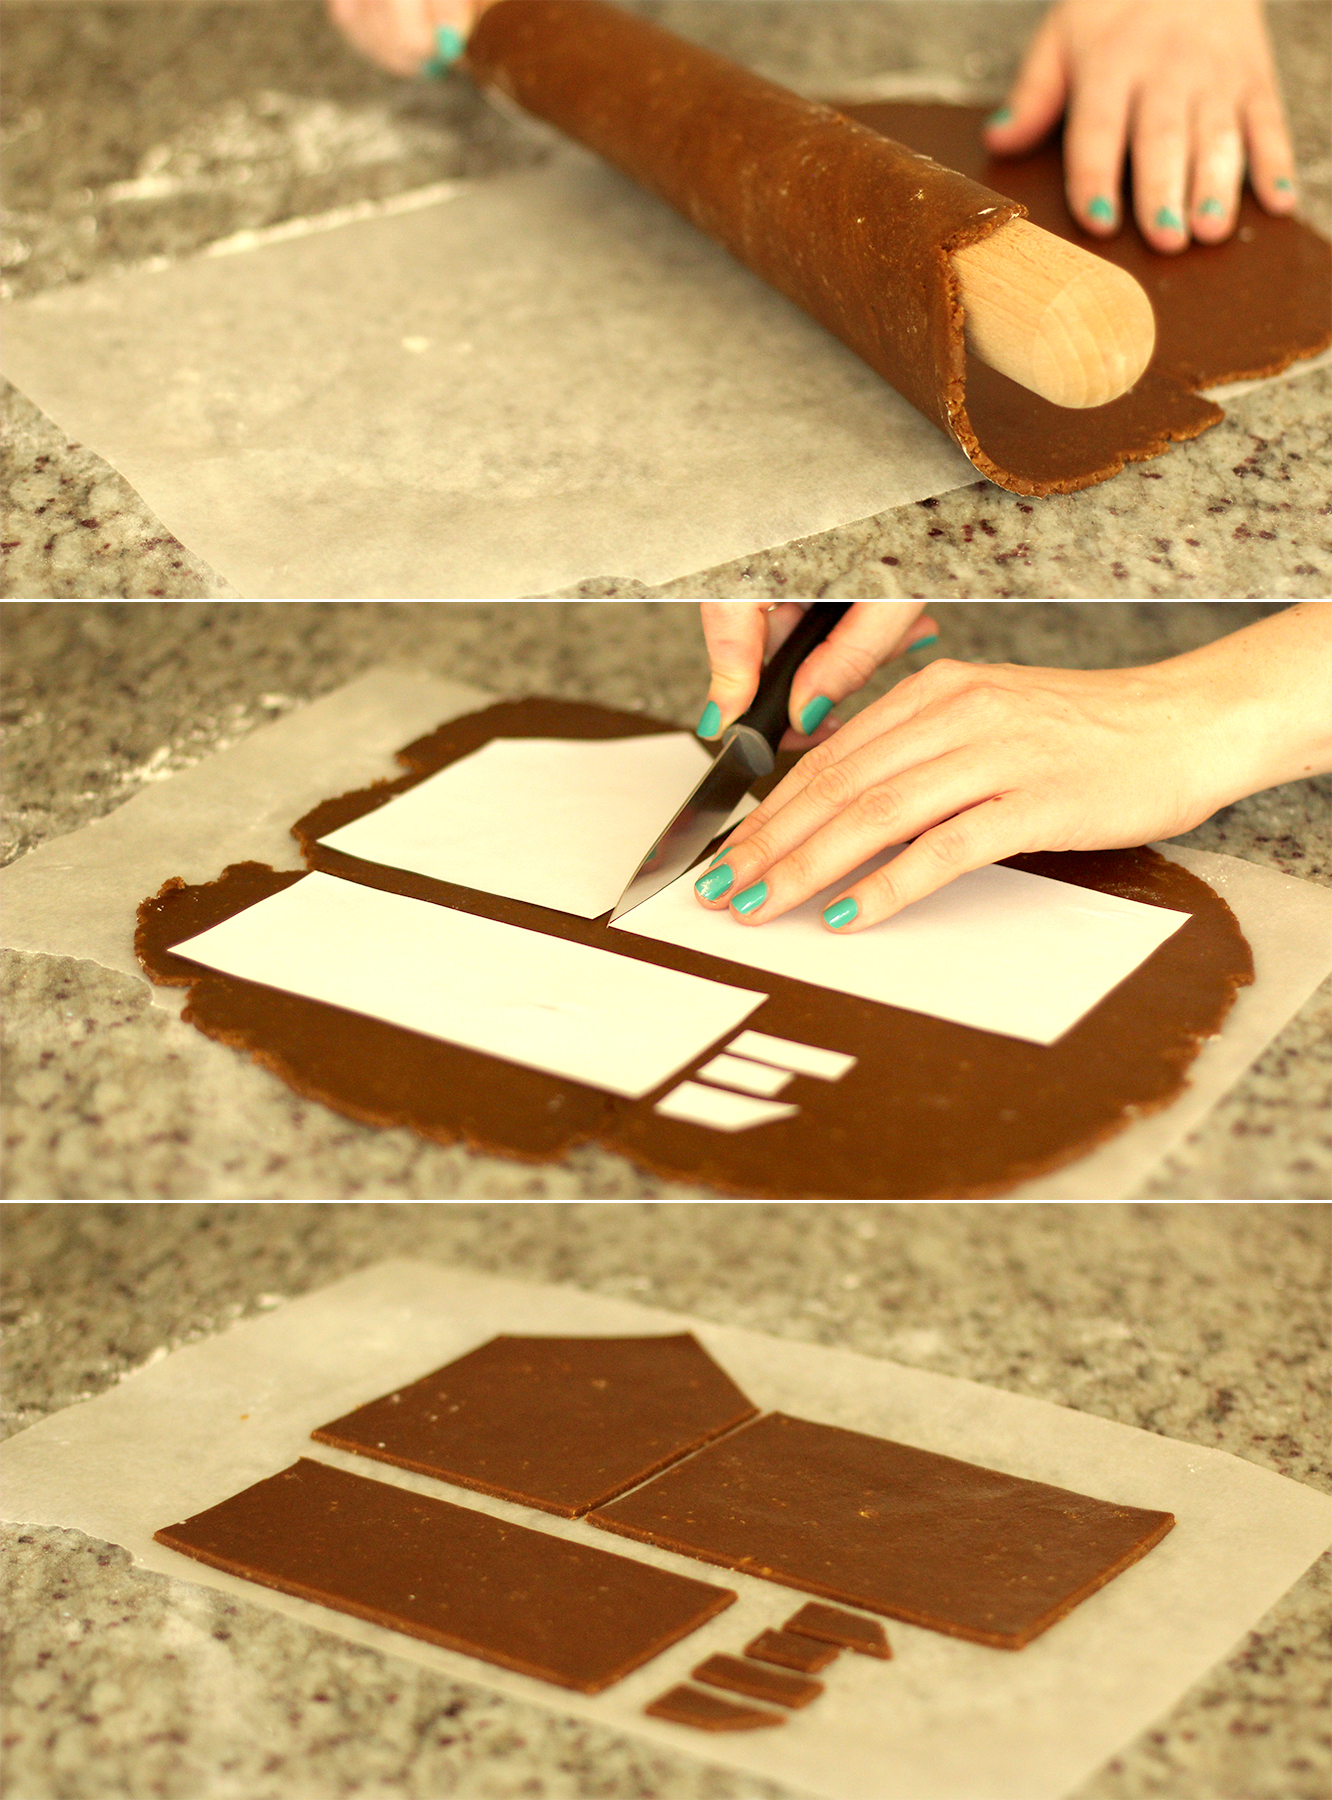
Use the rolling pin to lift the gingerbread onto a piece of gingerbread the size of your tray. It is essential to do this before cutting; it stops you stretching individual pieces out of shape when you move them.
Use the templates and a knife to cut the panels out. Contrary to the image above it’s best to do batches of the same shape – that way the bake is the right amount of time for that sized piece. The most obvious way to explain that little ramble is that the chimney pieces will cook a lot quicker than the side panel for example.
Step seven
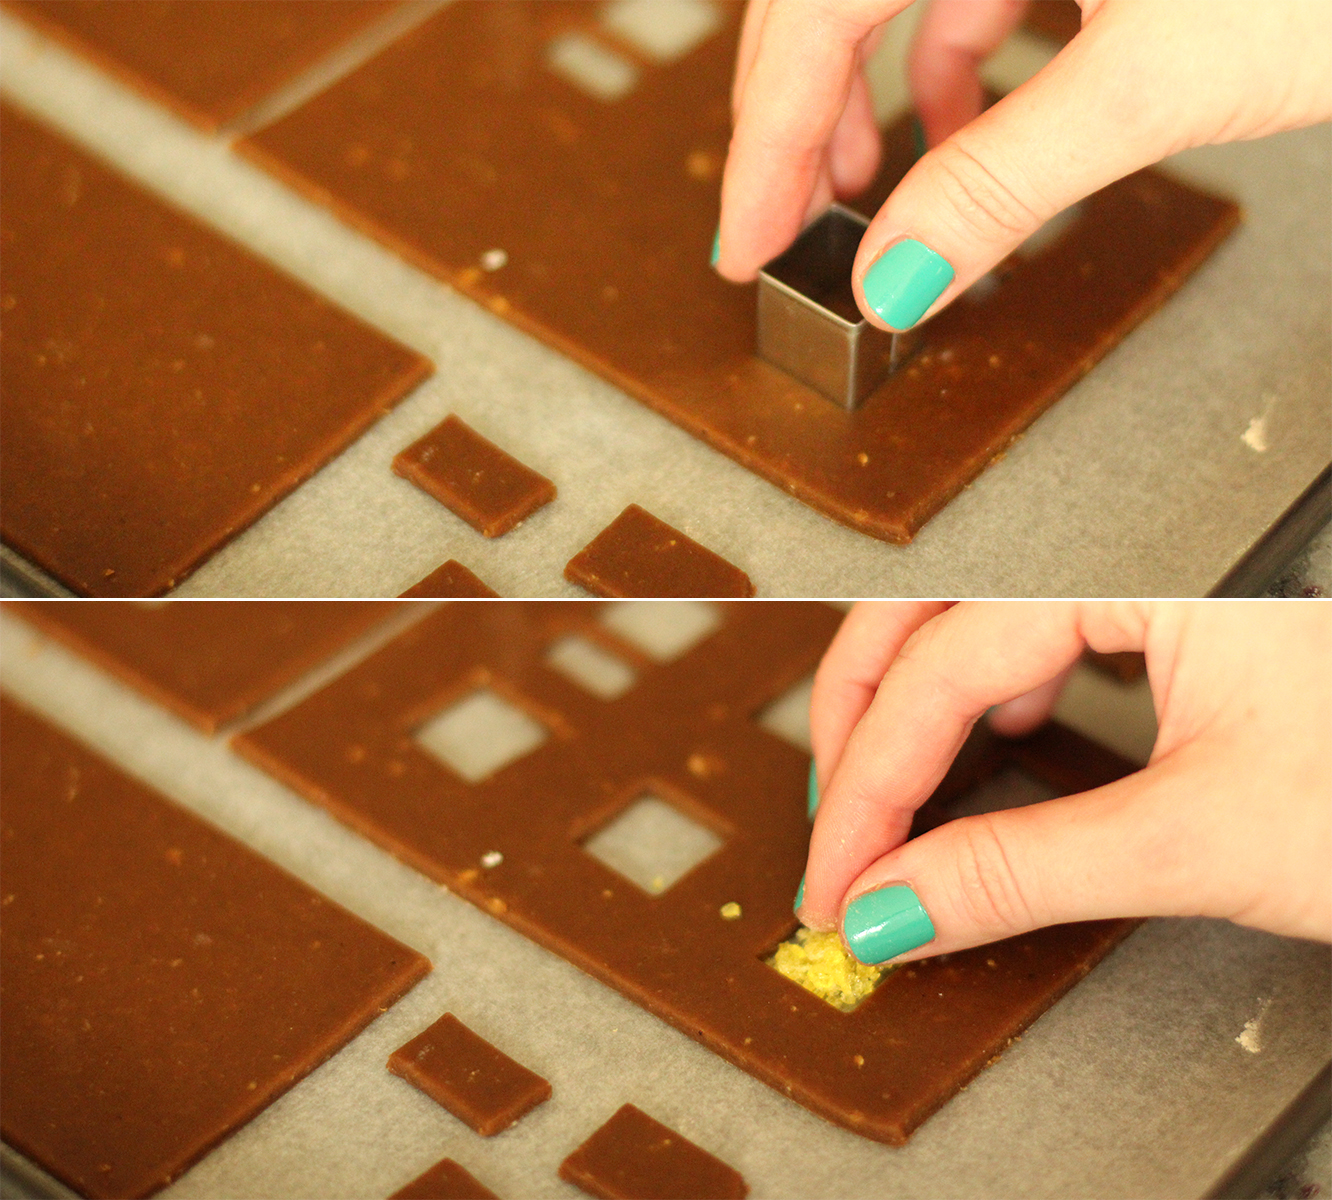
Transfer the gingerbread onto the tray and cut out window shapes. This year I invested in a little cutter set of different shapes and sizes. It was amazing. Total gingerbread game changer.
Fill the gaps with the sweet crumbs. This is why you need baking paper. Otherwise the sweets melt and glue your house to the tray.
Bake on 180C/gas mark 4/350F for 10-15 minutes. Over-cooked is preferable as they need to be able to stand up, and they will get softer as they sit out.
Step eight
Time to assemble. Mix together the royal icing making sure it’s really thick, it will stick better and dry quicker if it’s opaque white and not that sticky to touch.
If you’re making a big house, have a spare pair of hands at the ready and/or a lot of glasses and bottles to prop things against.
These little ones are actually really easy to put together in comparison.
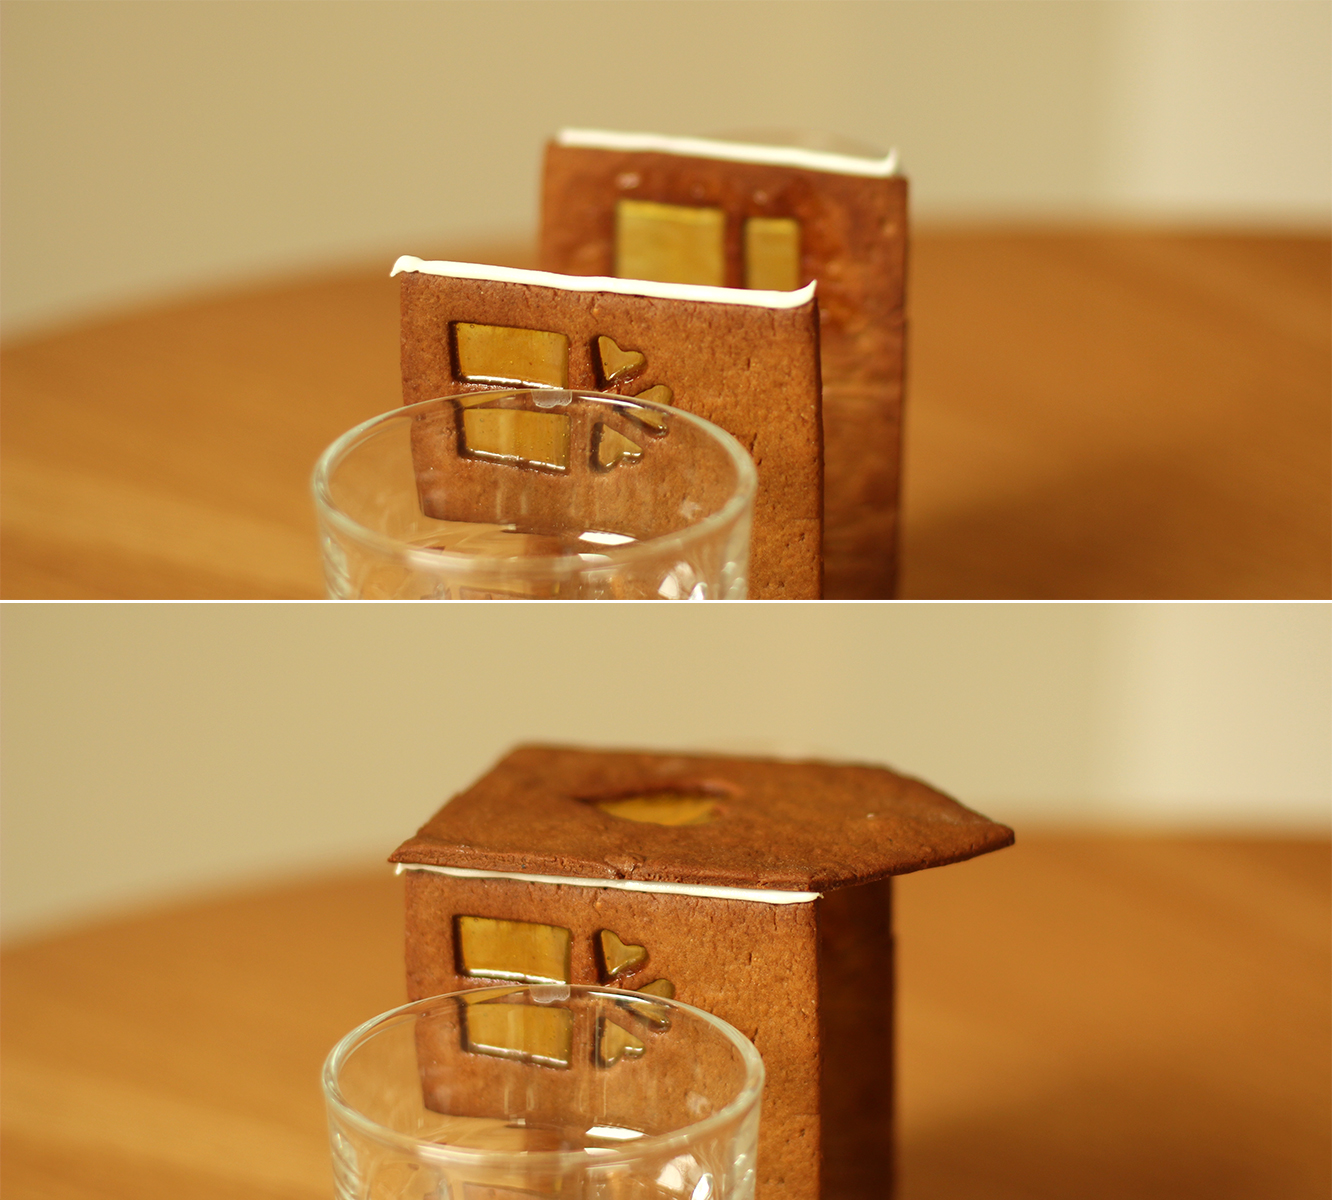
Start with one side flat on the table. Pipe two even strips along each edge. Stick the two matching sides to this piece, propping them up with a glass so you have your hands free.

Step nine
Pipe along the top edges and stick the final side piece on the top.
Step ten
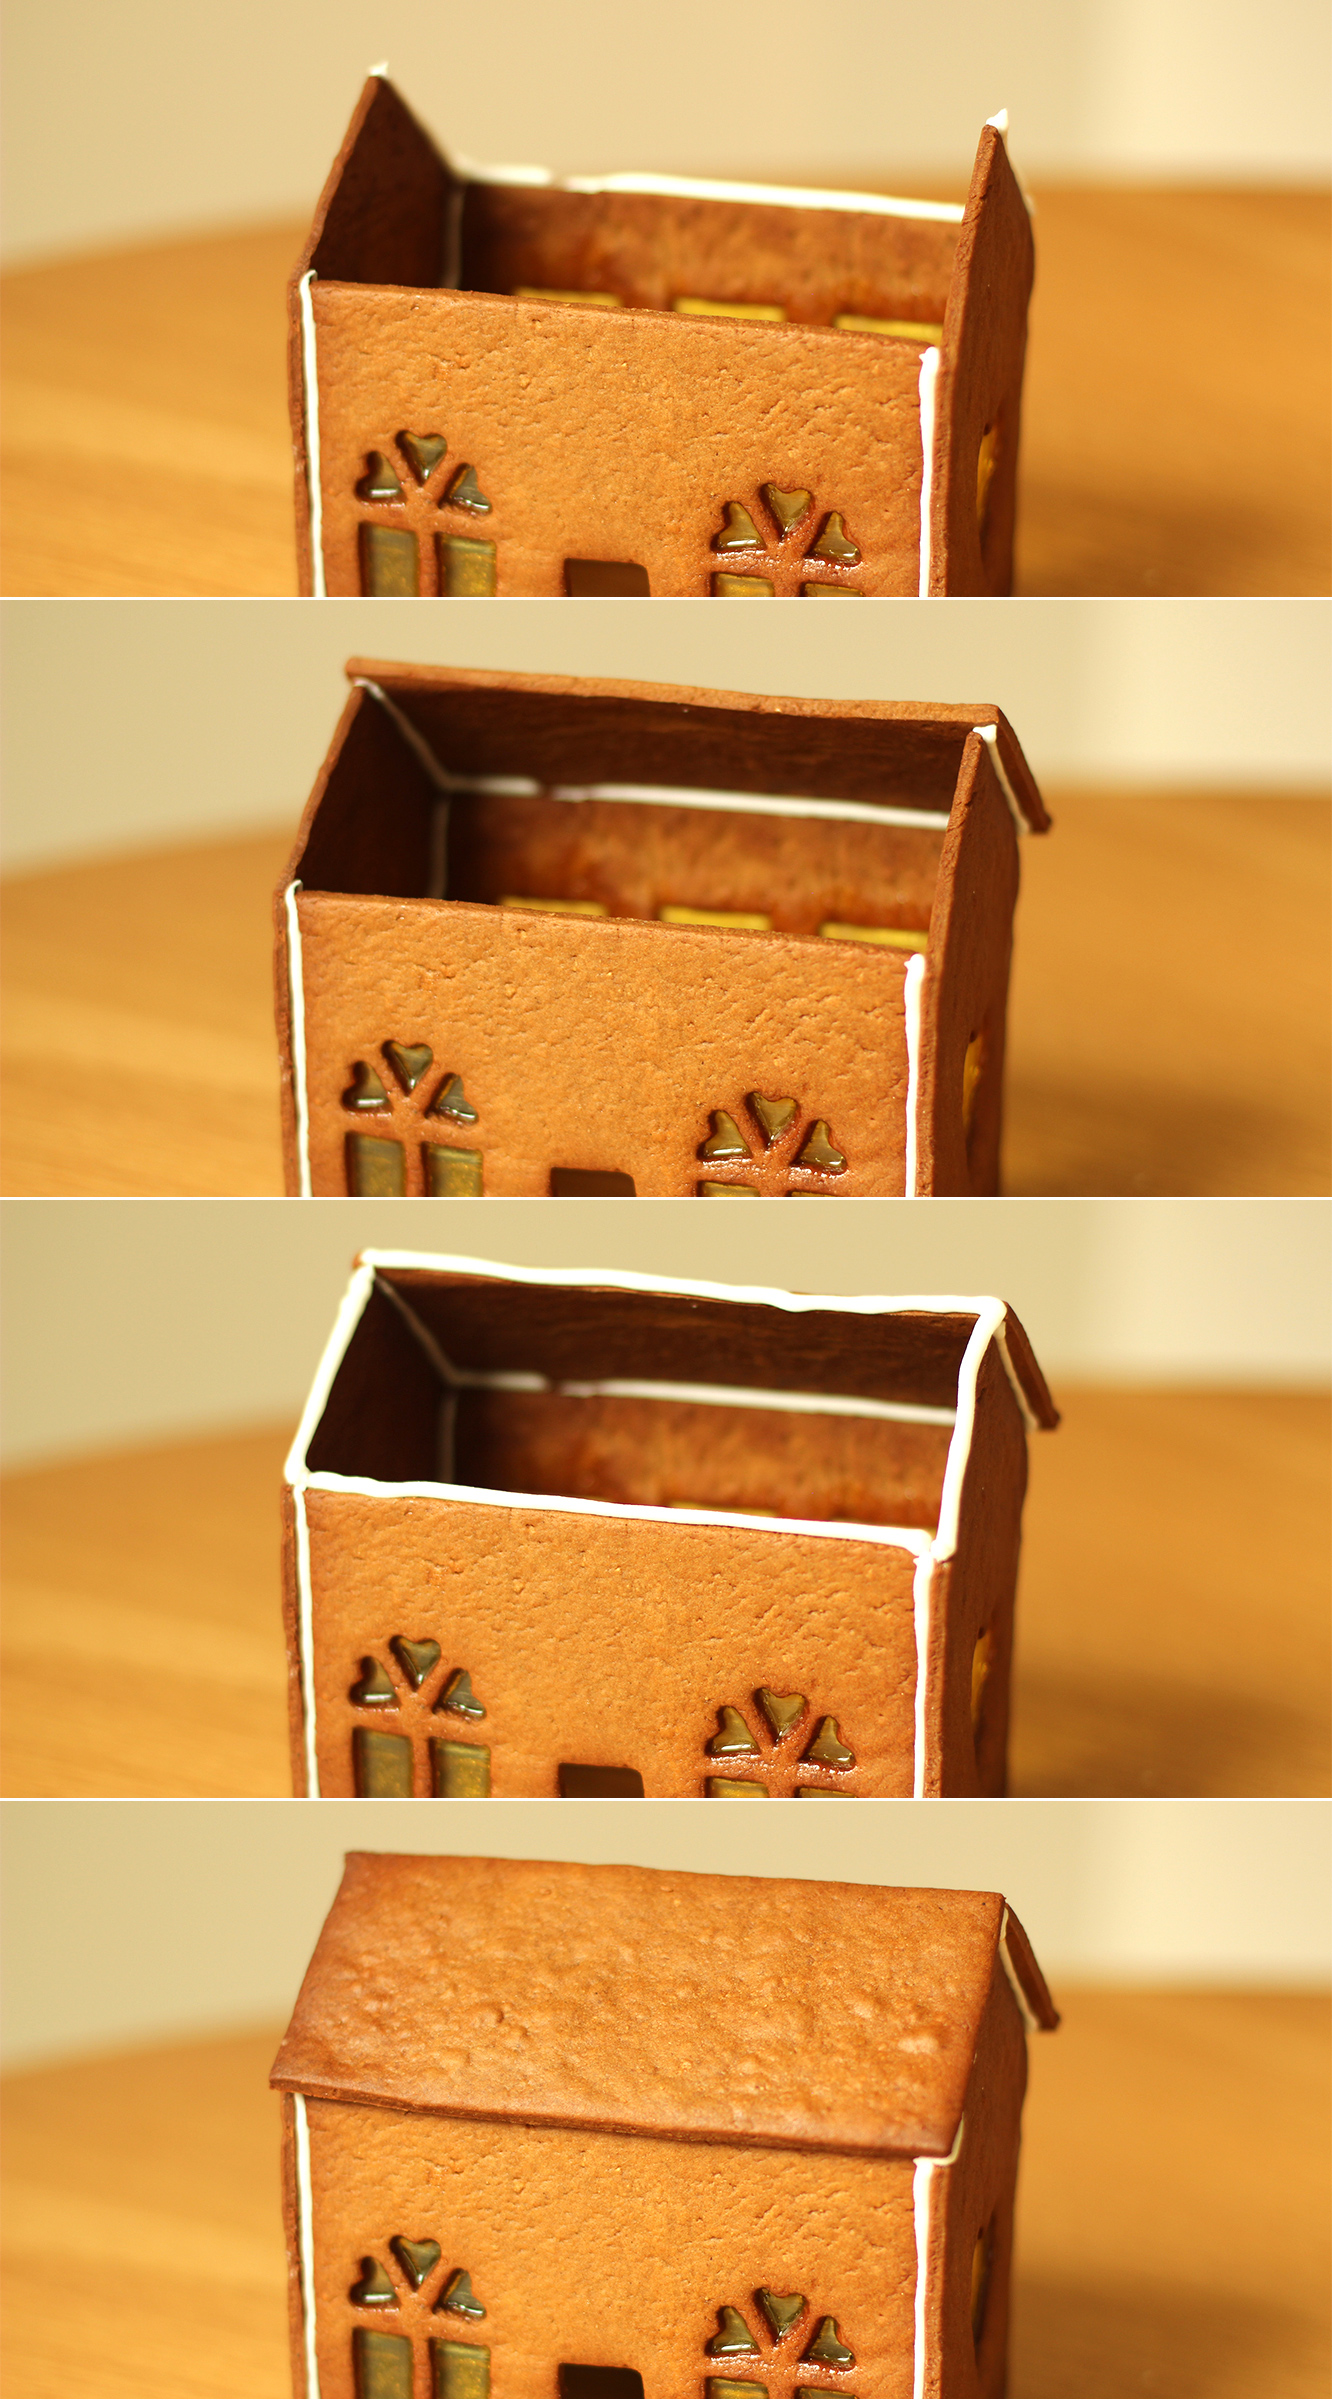
Flip the house upright. If you’re making a big house put it straight on the base at this stage and pipe on the inside corners to re-inforce the house. Less important with these little guys. They are actually great ‘starter houses’. Yes I do a bit hate myself that I say that, and many of my other tips with ZERO irony.
Pipe along the back sloped edges and the back. Stick down a roof panel. The straighter edge should be at the top, as you are more likely to cover irregularities at the bottom with a bit of overhang.
Pipe the top of the roof, the sides and edge. Stick the other roof panel down.
Step eleven
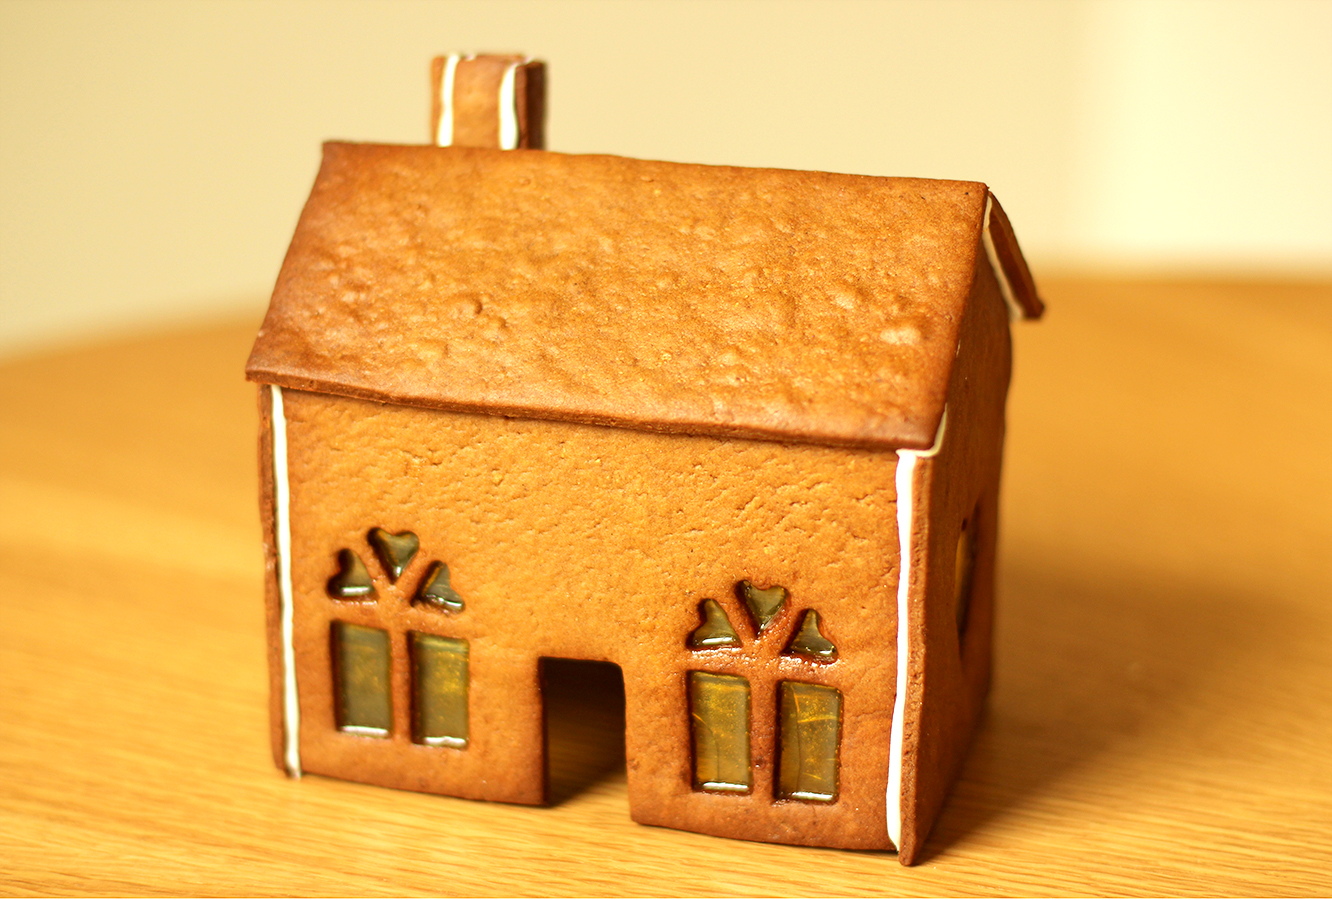
Make the chimney in the same way, and attach it to the roof.
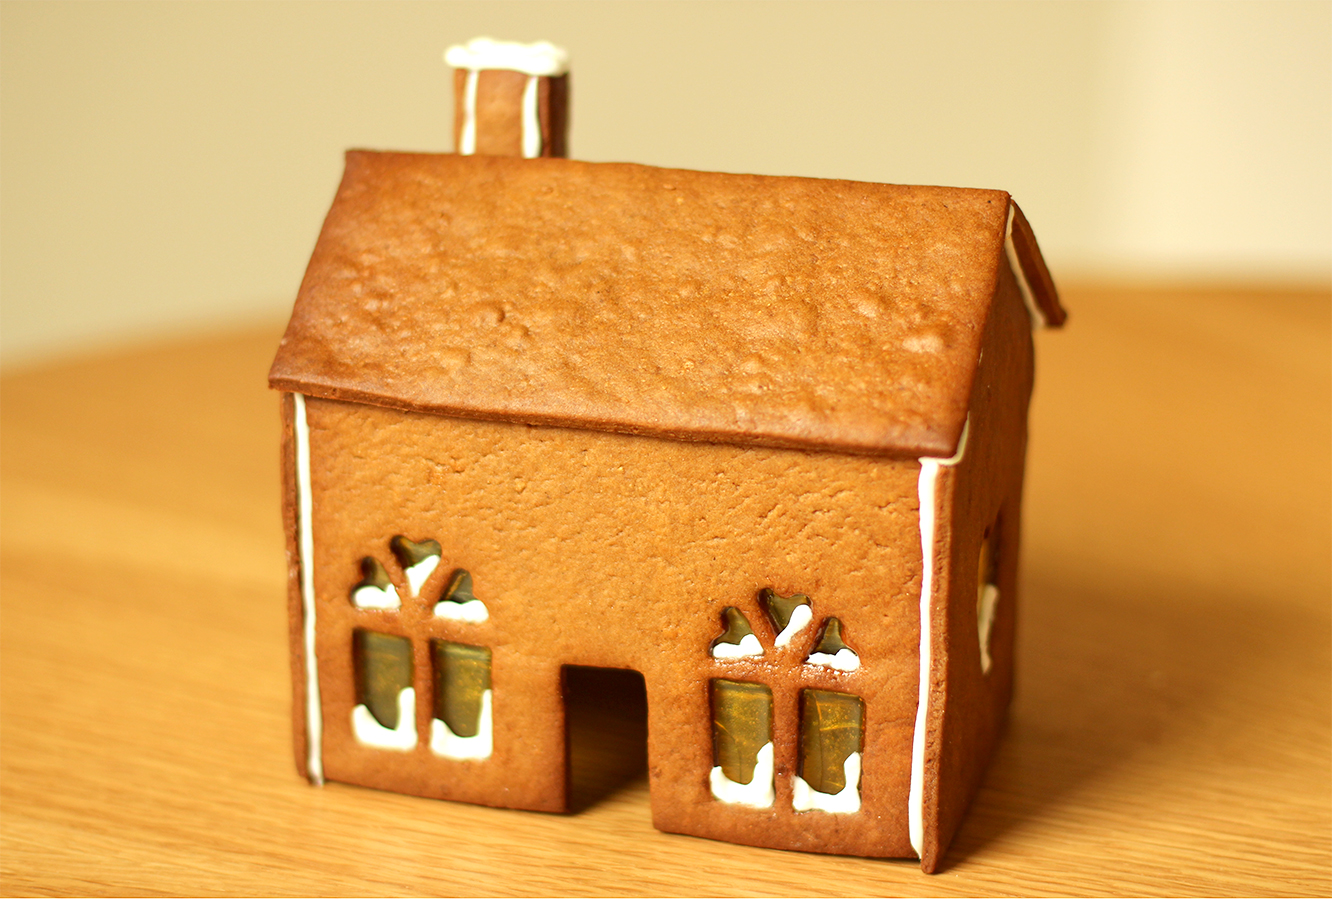
Step twelve
Pipe some snow in the windows while the piping bag still has quite a thick opening.
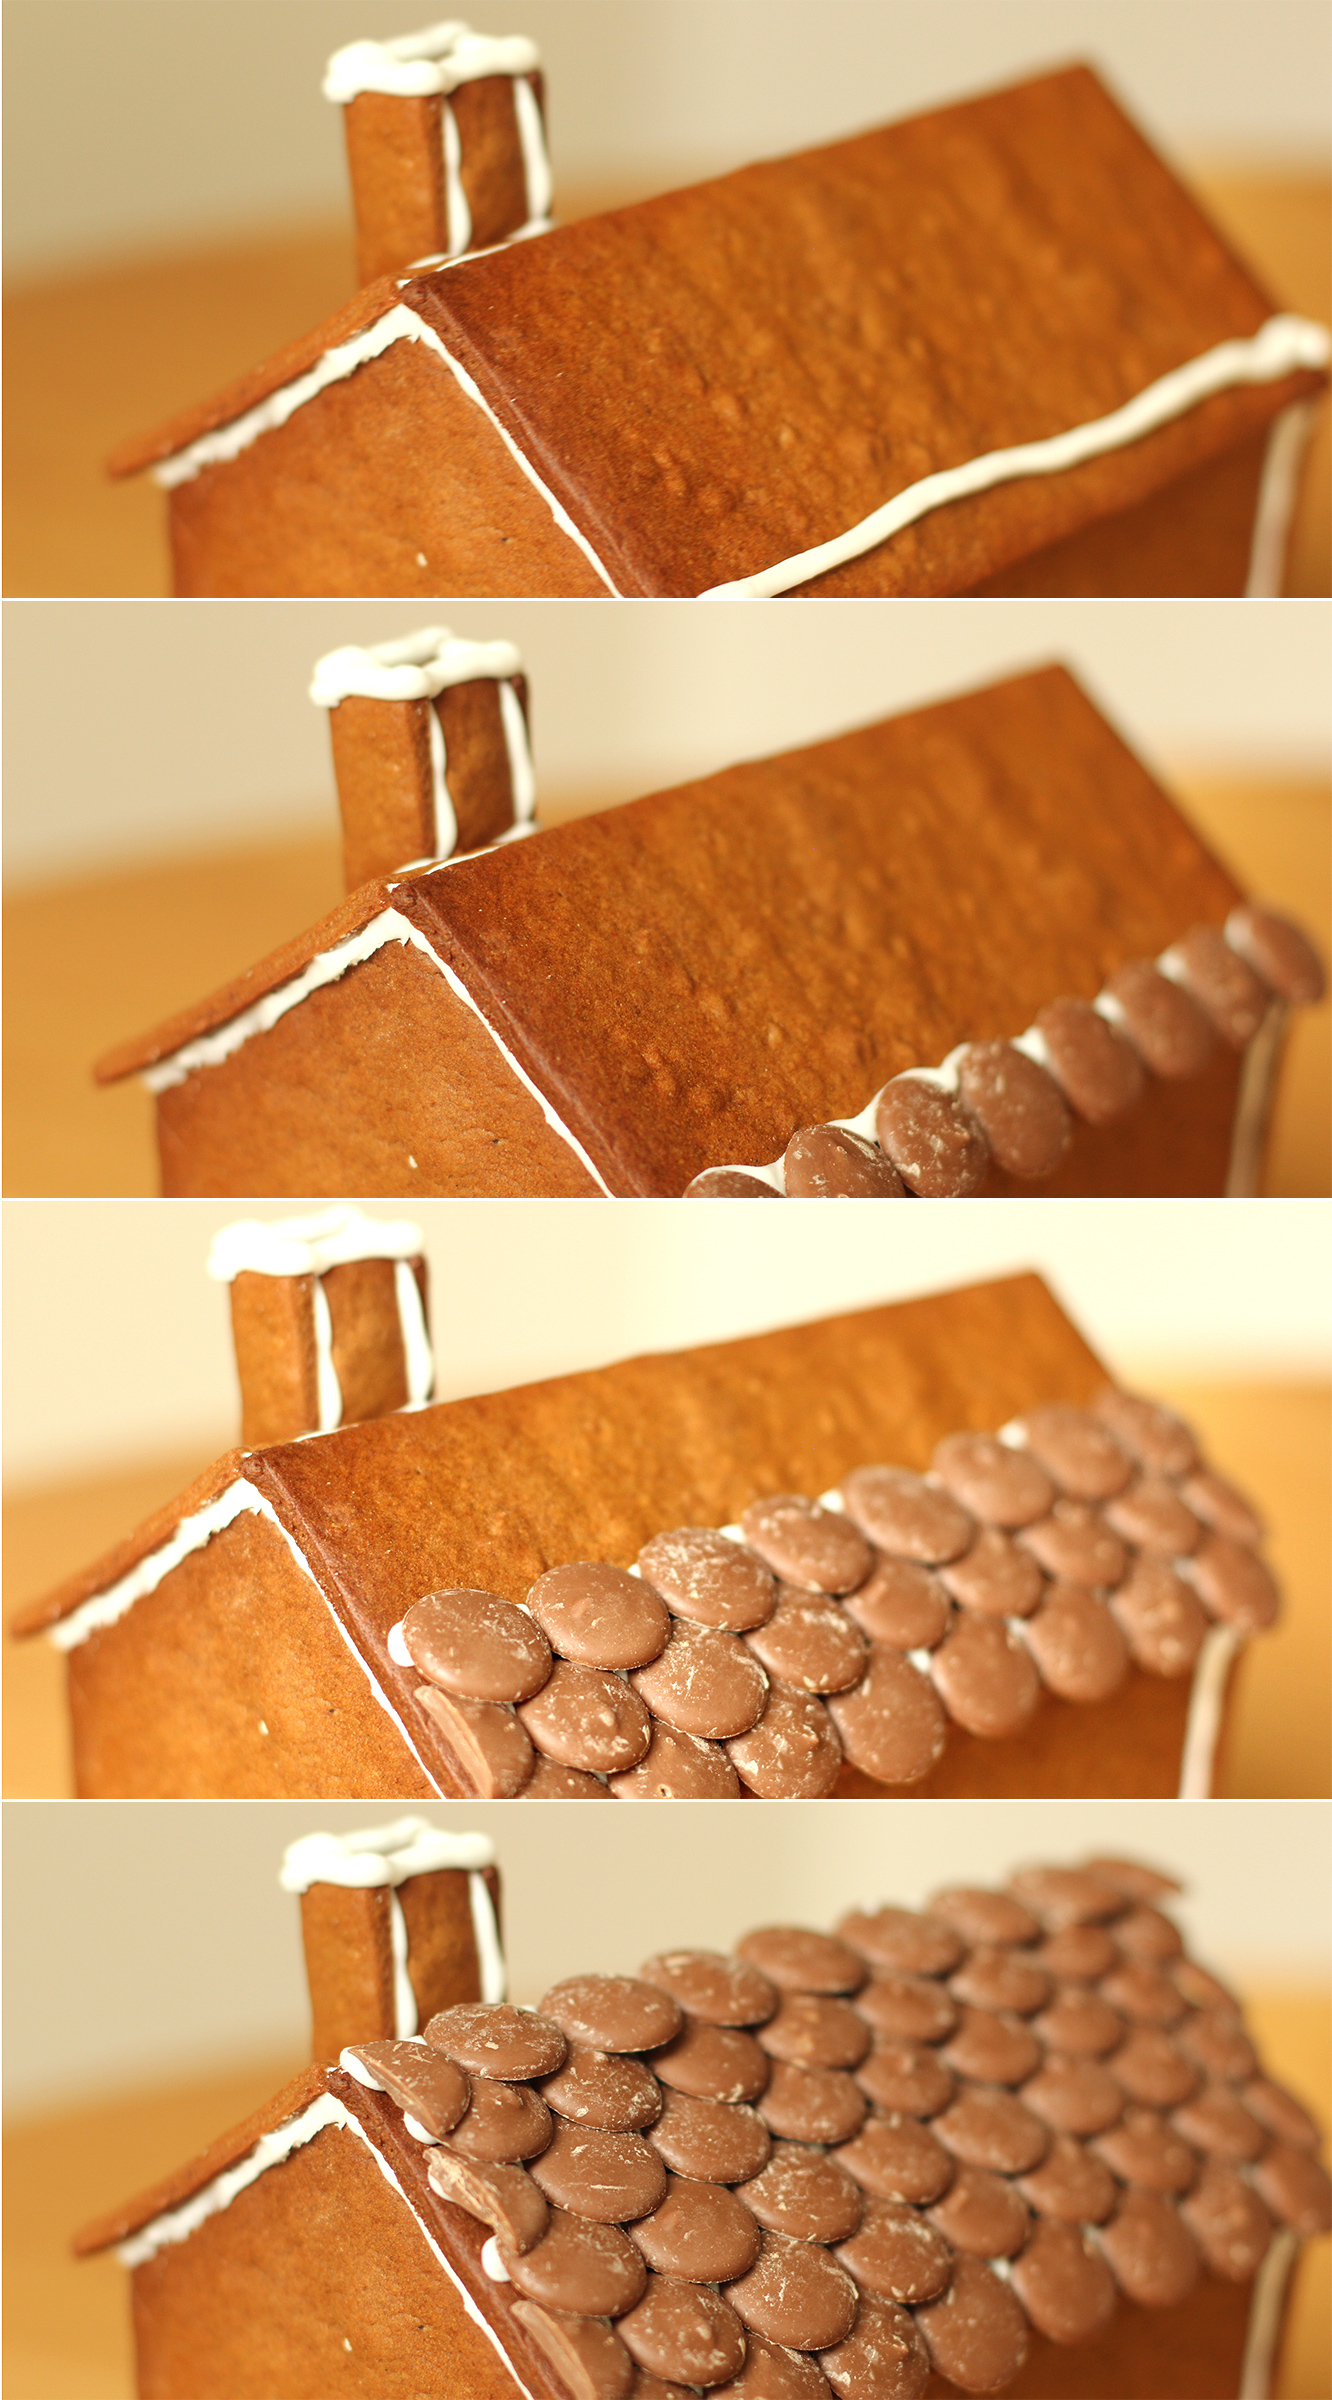
Step thirteen
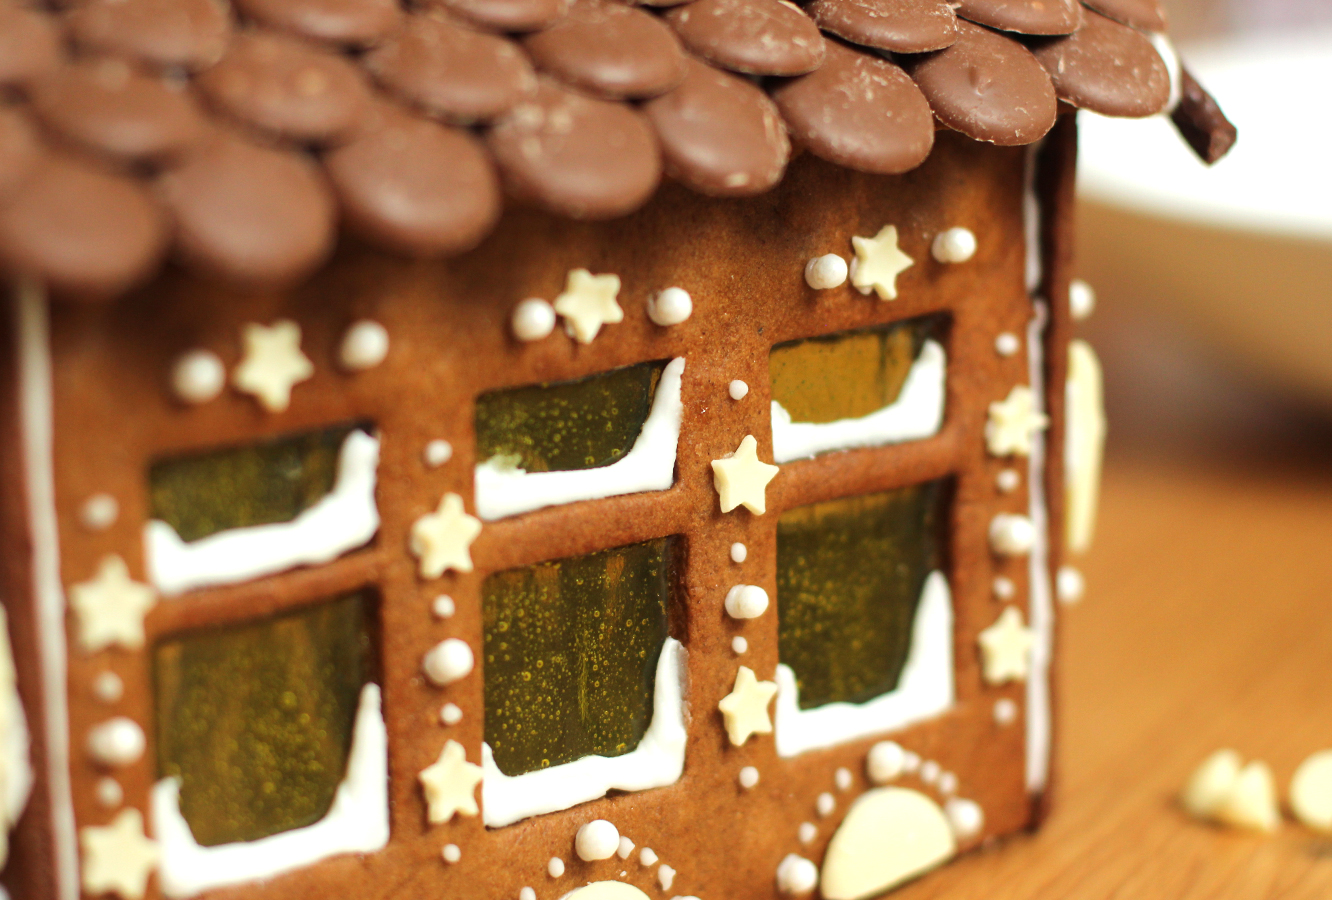
Start tiling! Make sure the first layer overhangs the bottom of the roof, and build up subsequent layers by overlapping them as shown.
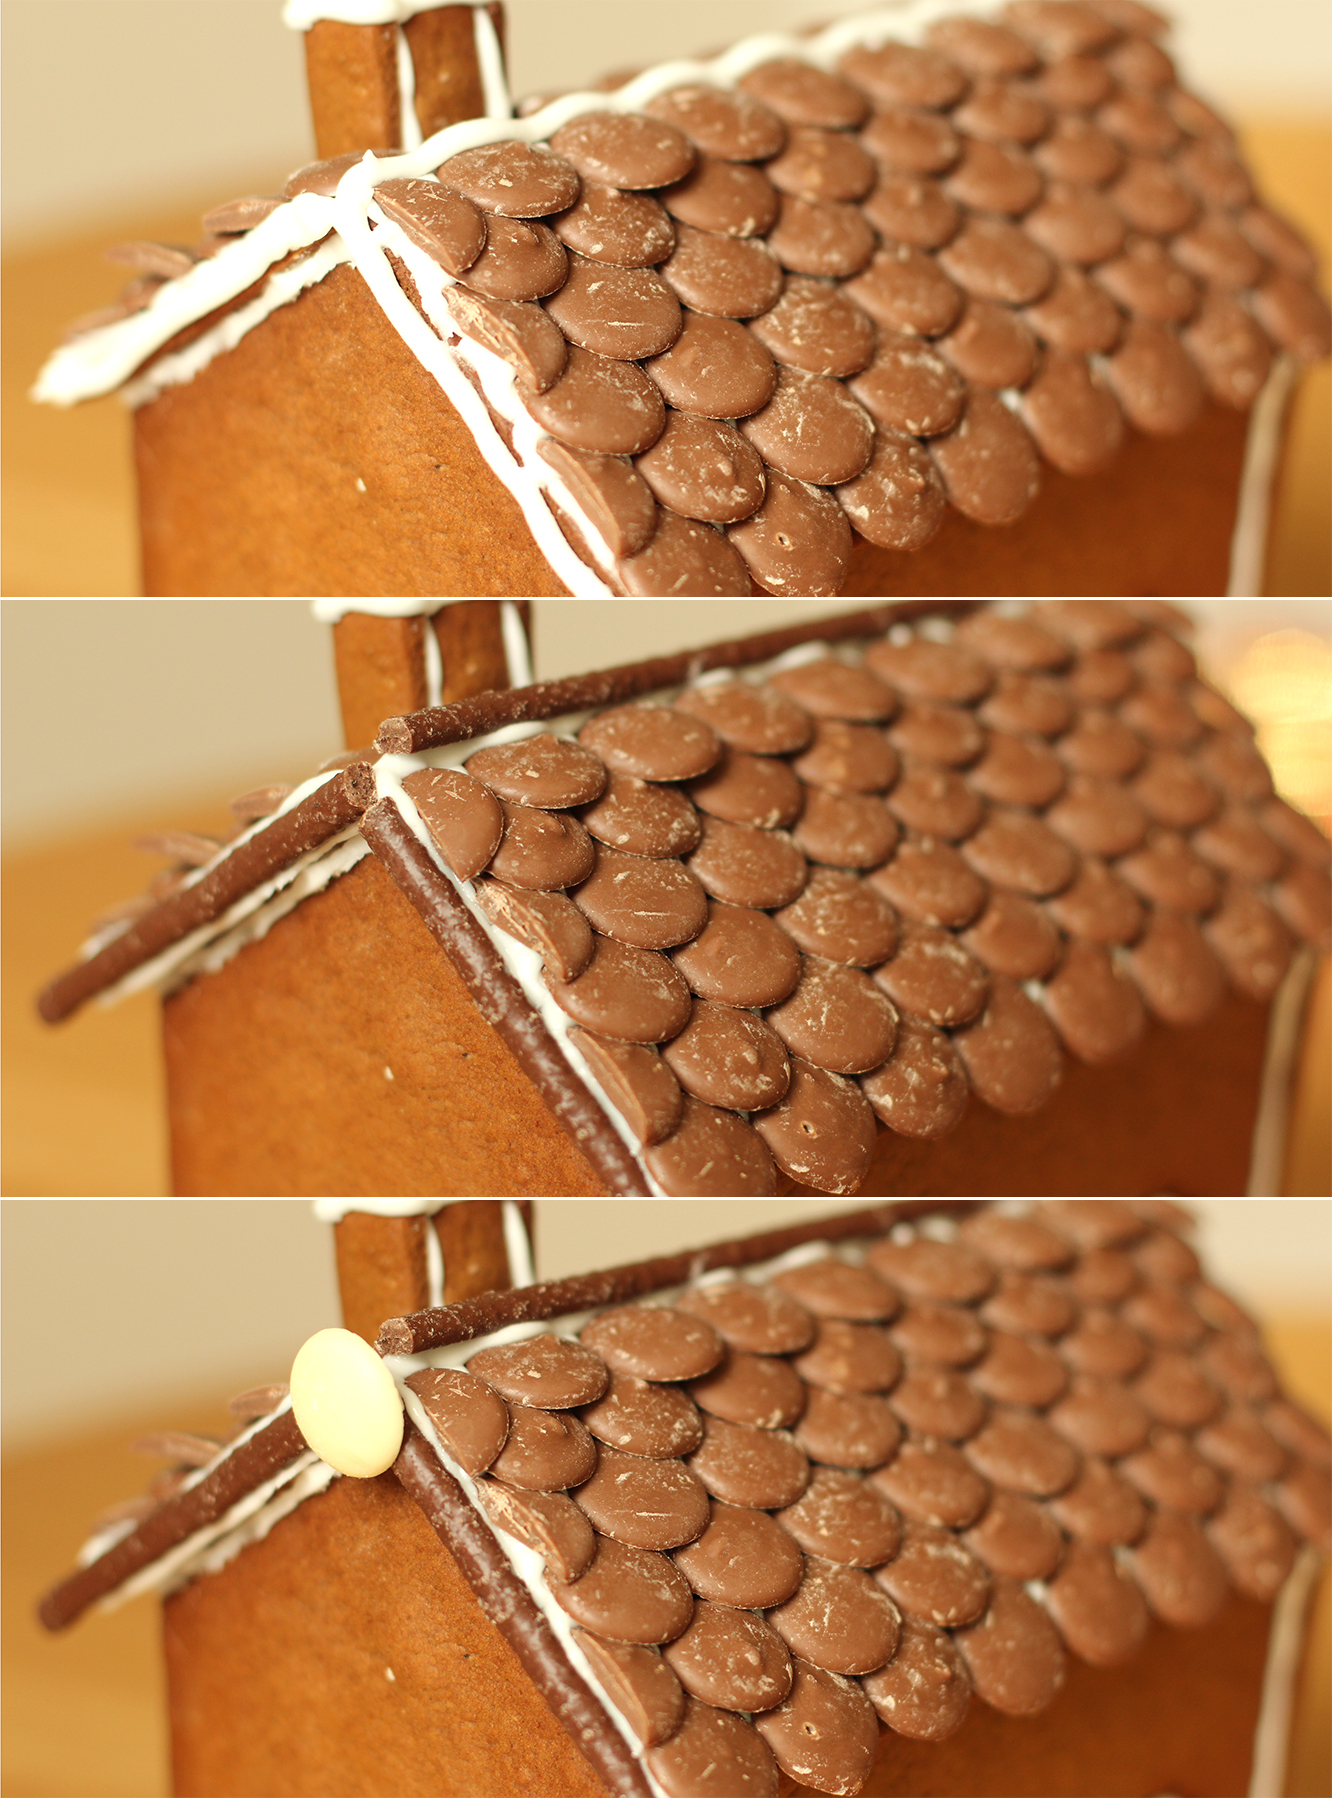
Step fourteen
Neaten up the edges with chocolate fingers or matchmakers and a chocolate button or two. A row of dolly mixtures along the top, or mini marshmallows looks cute too.
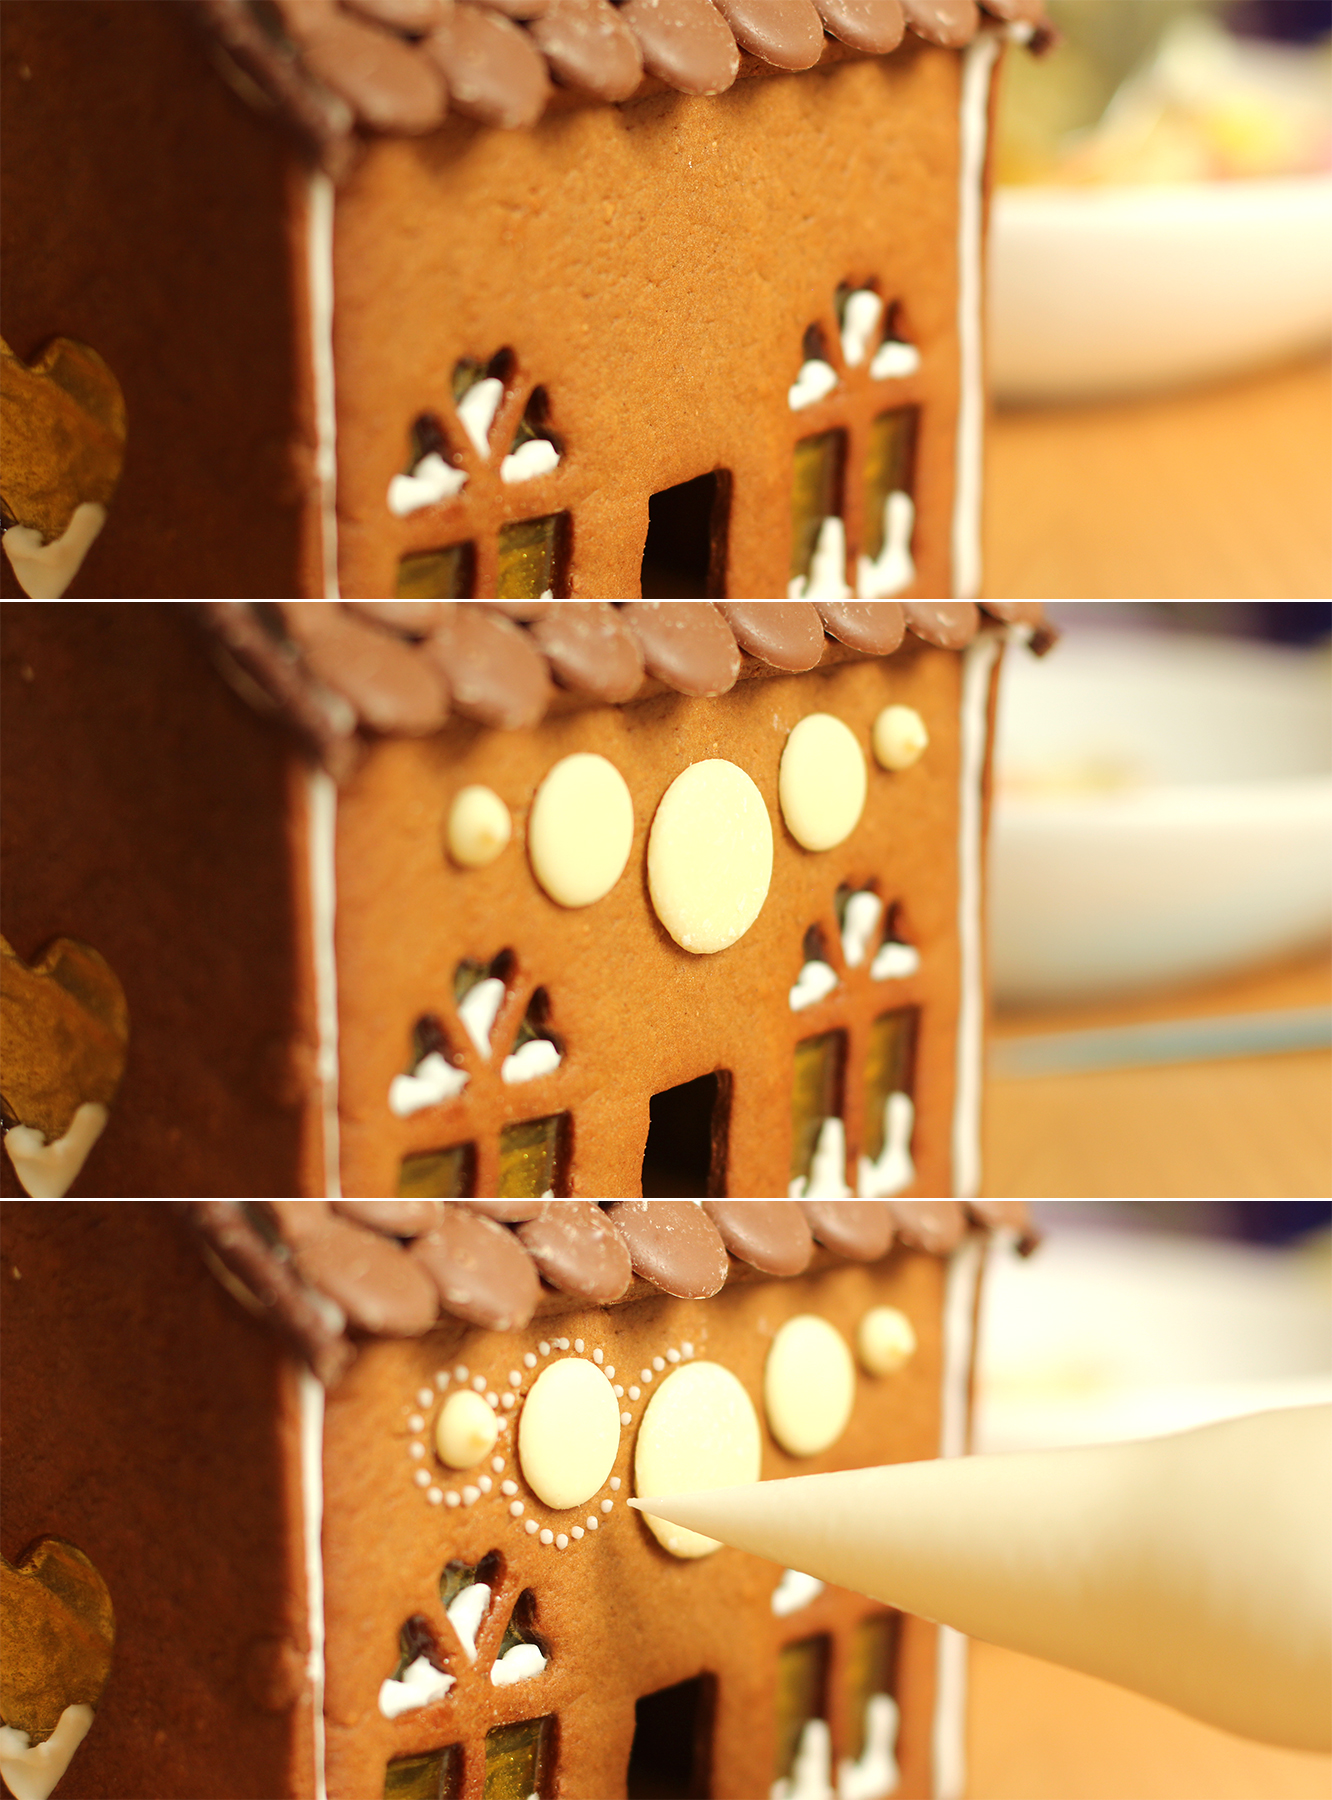
Step fifteen
Continue to decorate the sides and the back. I find a much narrower nozzle on the piping bag is good for this. I like putting these little dots around things.
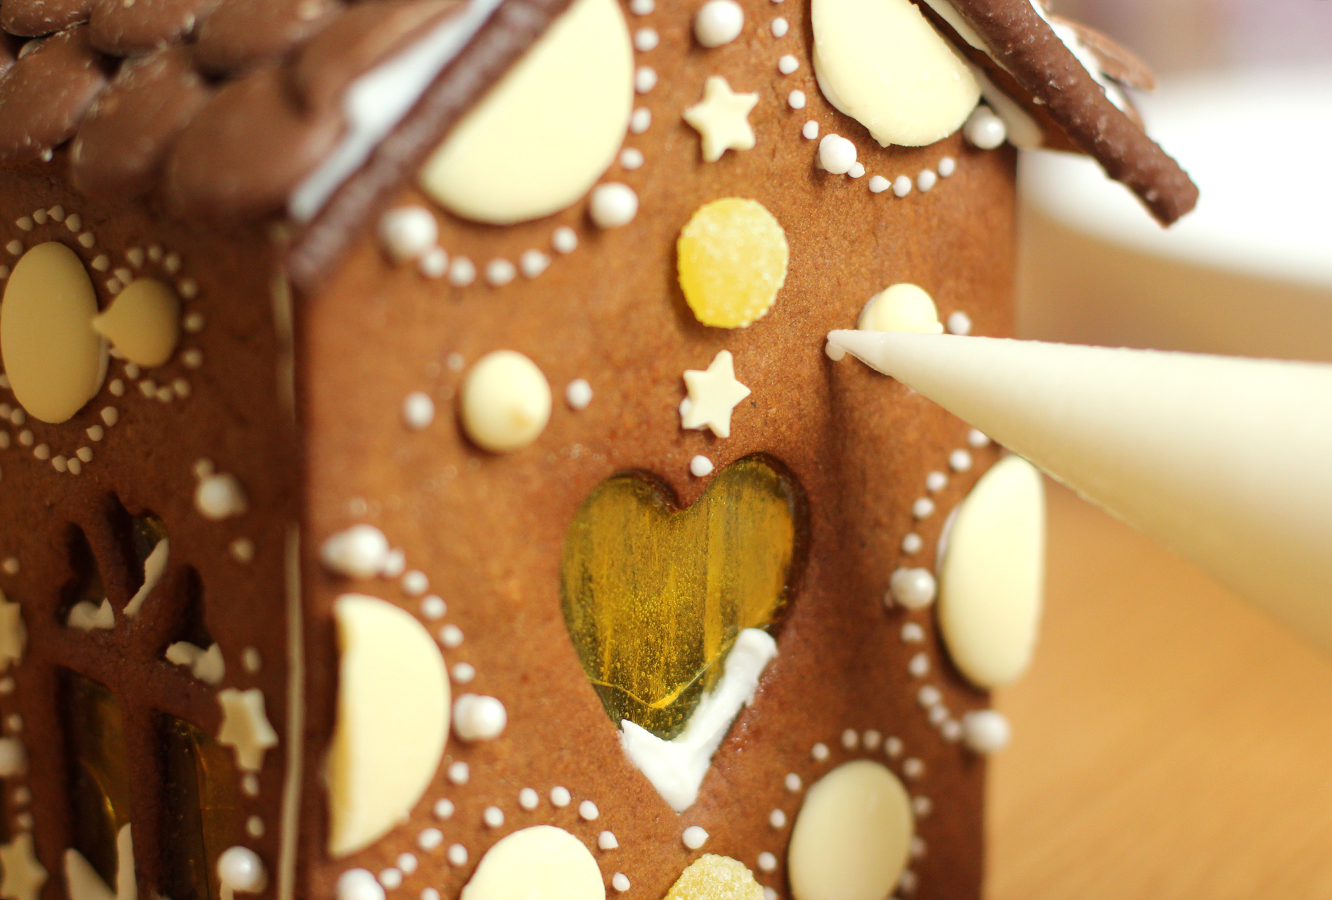
This year I used a lot of white chocolate buttons, I don’t have much choice in the local small supermarkets nearby. Silver balls, mini stars, chocolate drops and other round sweets are amongst my favourites for the decorations.
Step sixteen
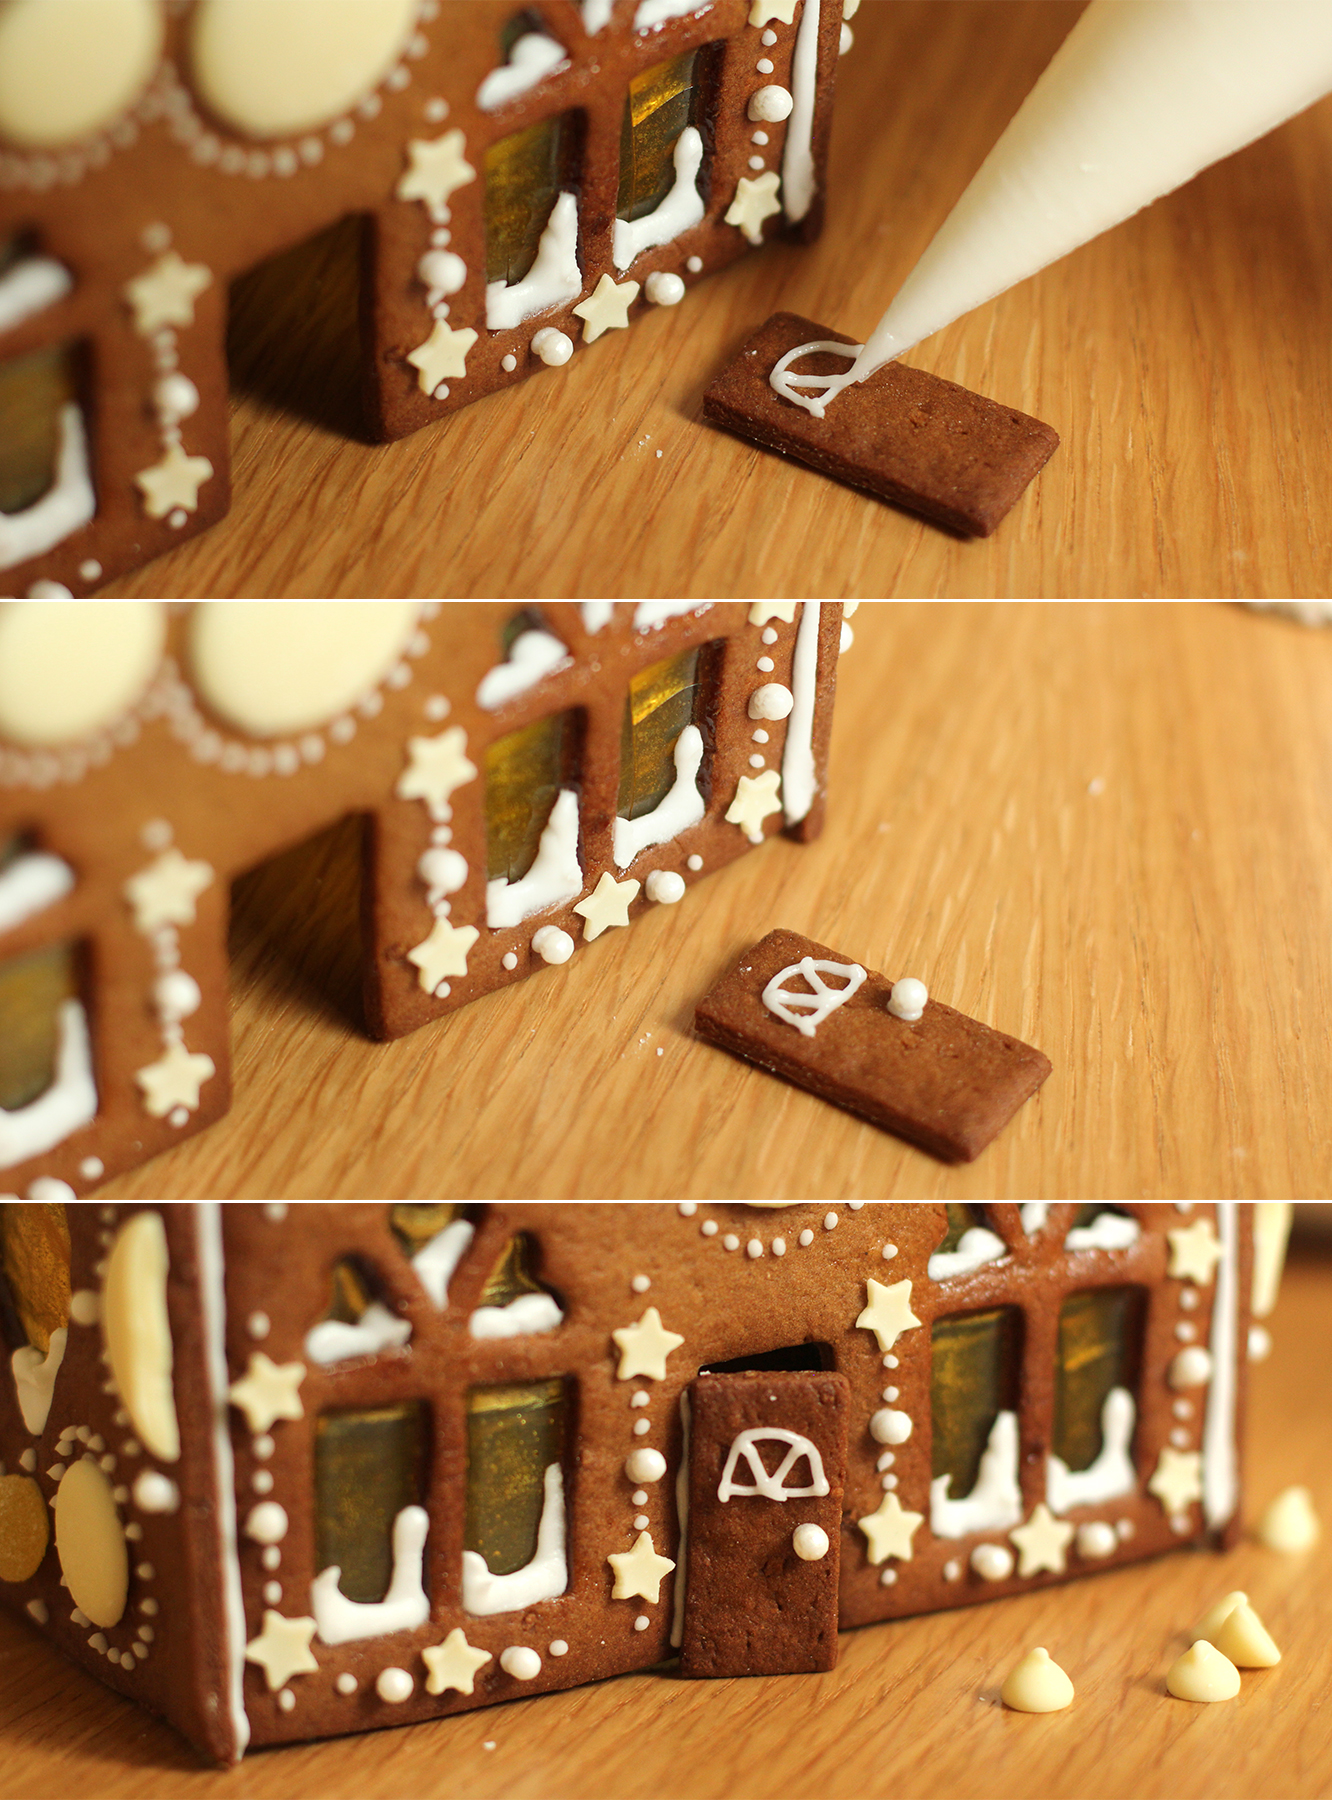
Don’t forget the little door! I wouldn’t attach it at this stage if you are doing a big house, because you need to squeeze the tea lights through it. The little ones can just be placed over the top of them as they don’t need to be attached to a base at this stage.
Step seventeen
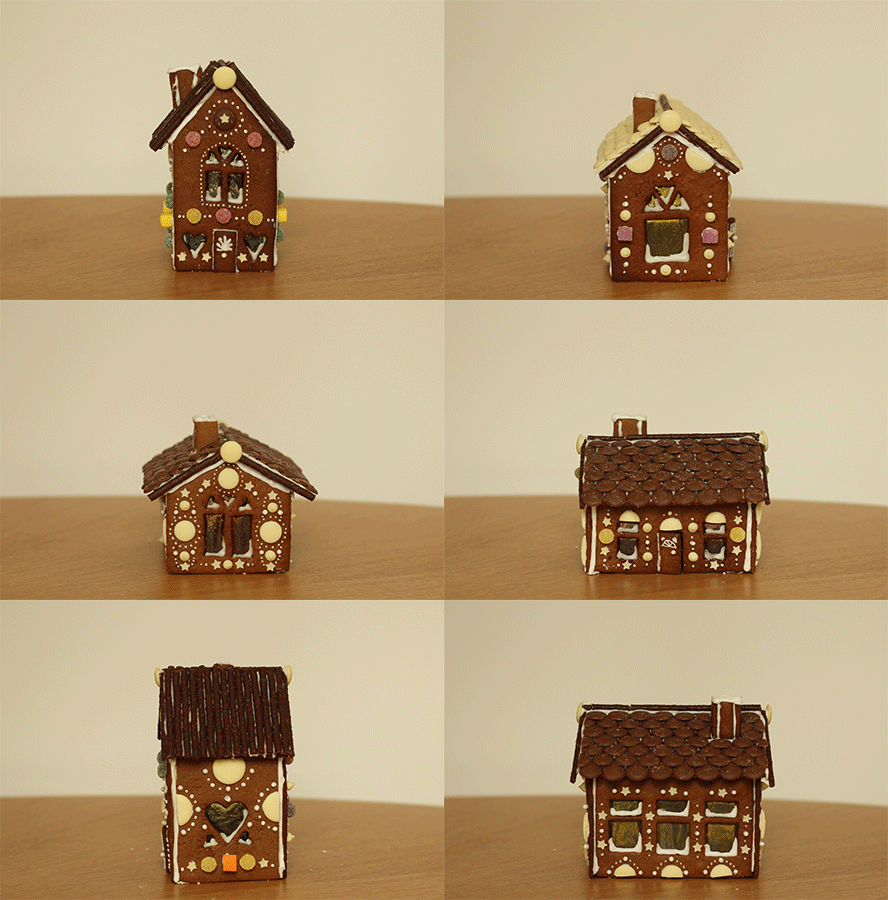
Keep making them.
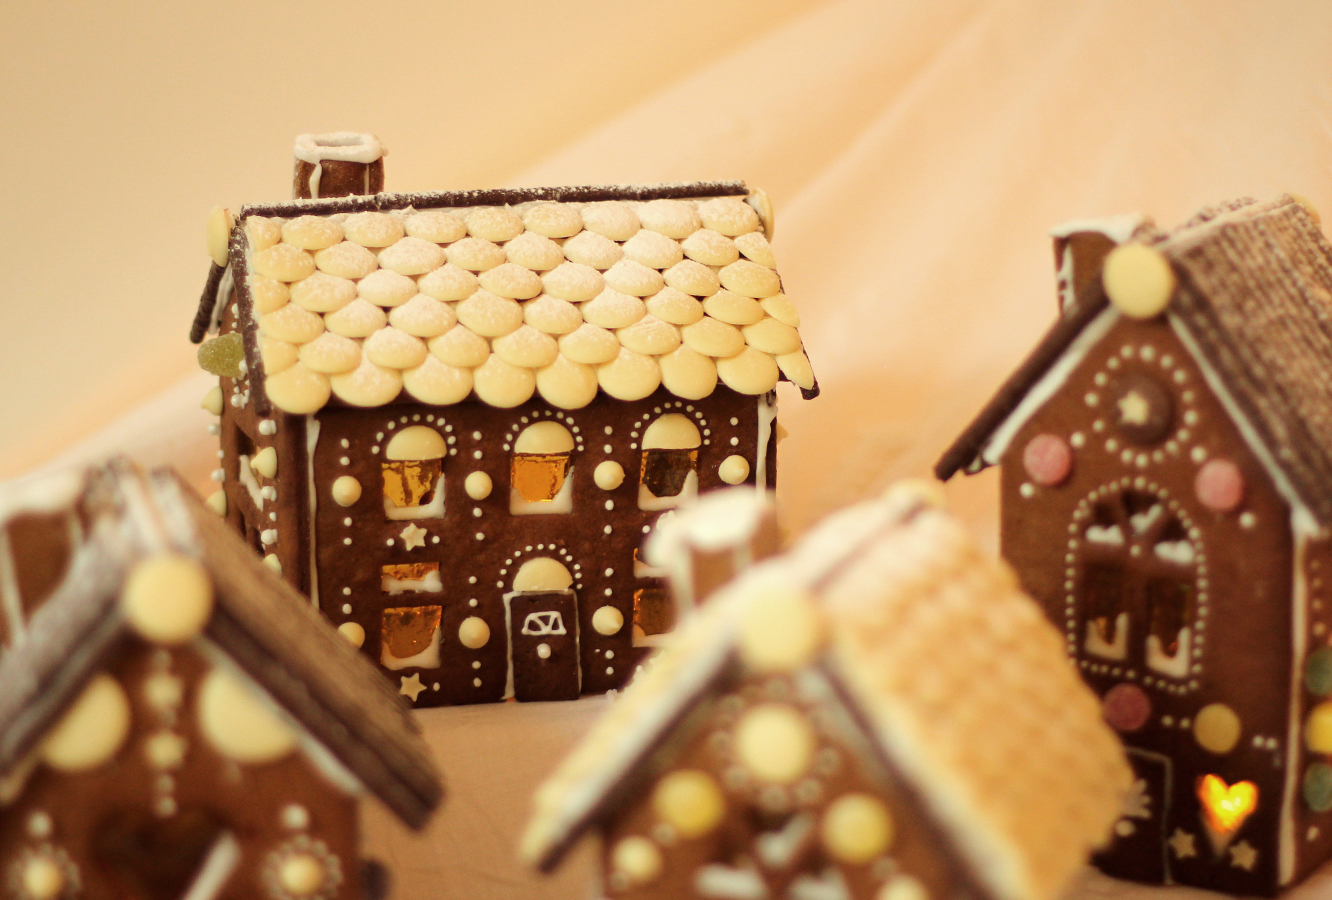
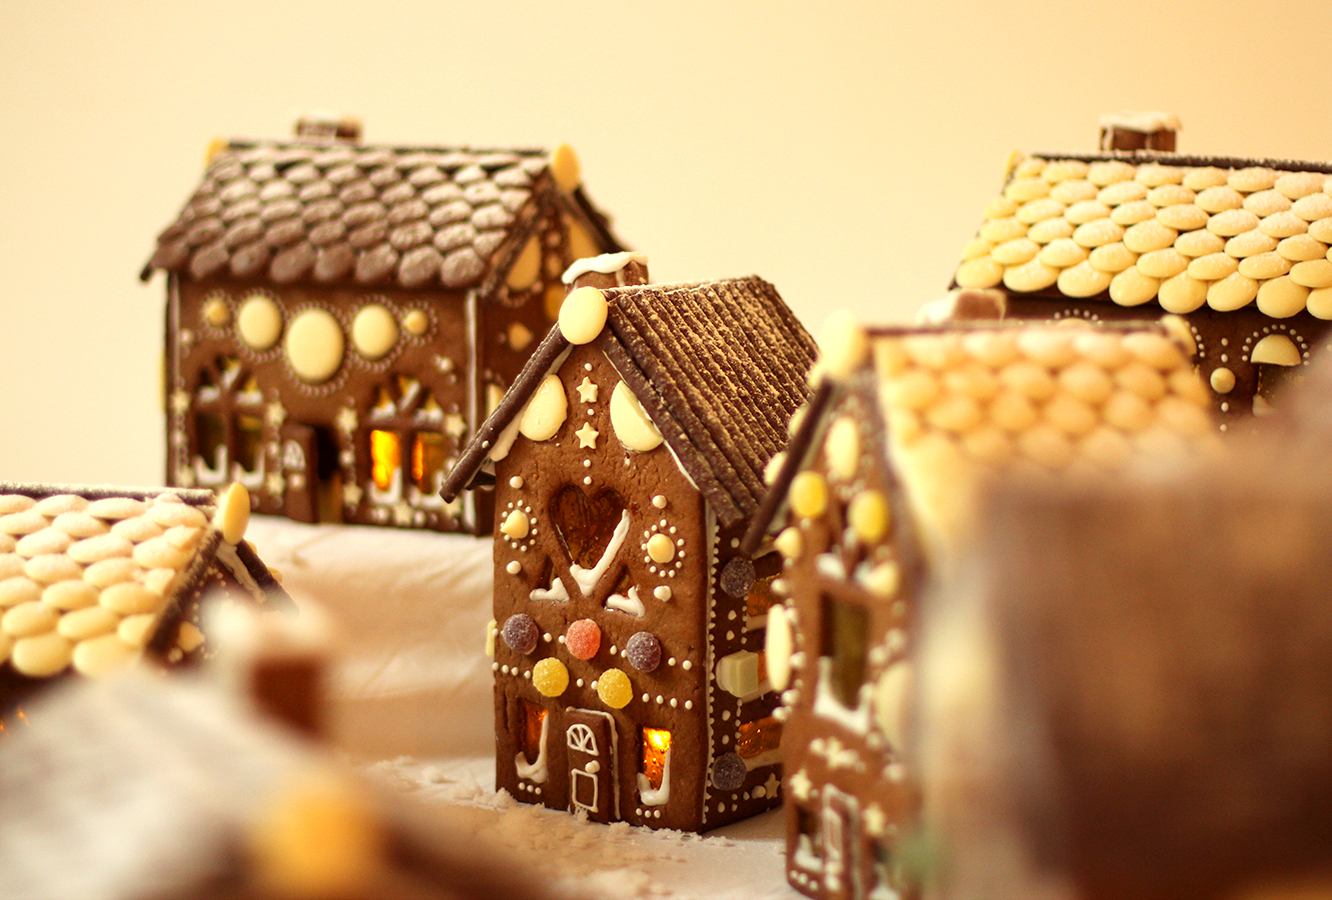
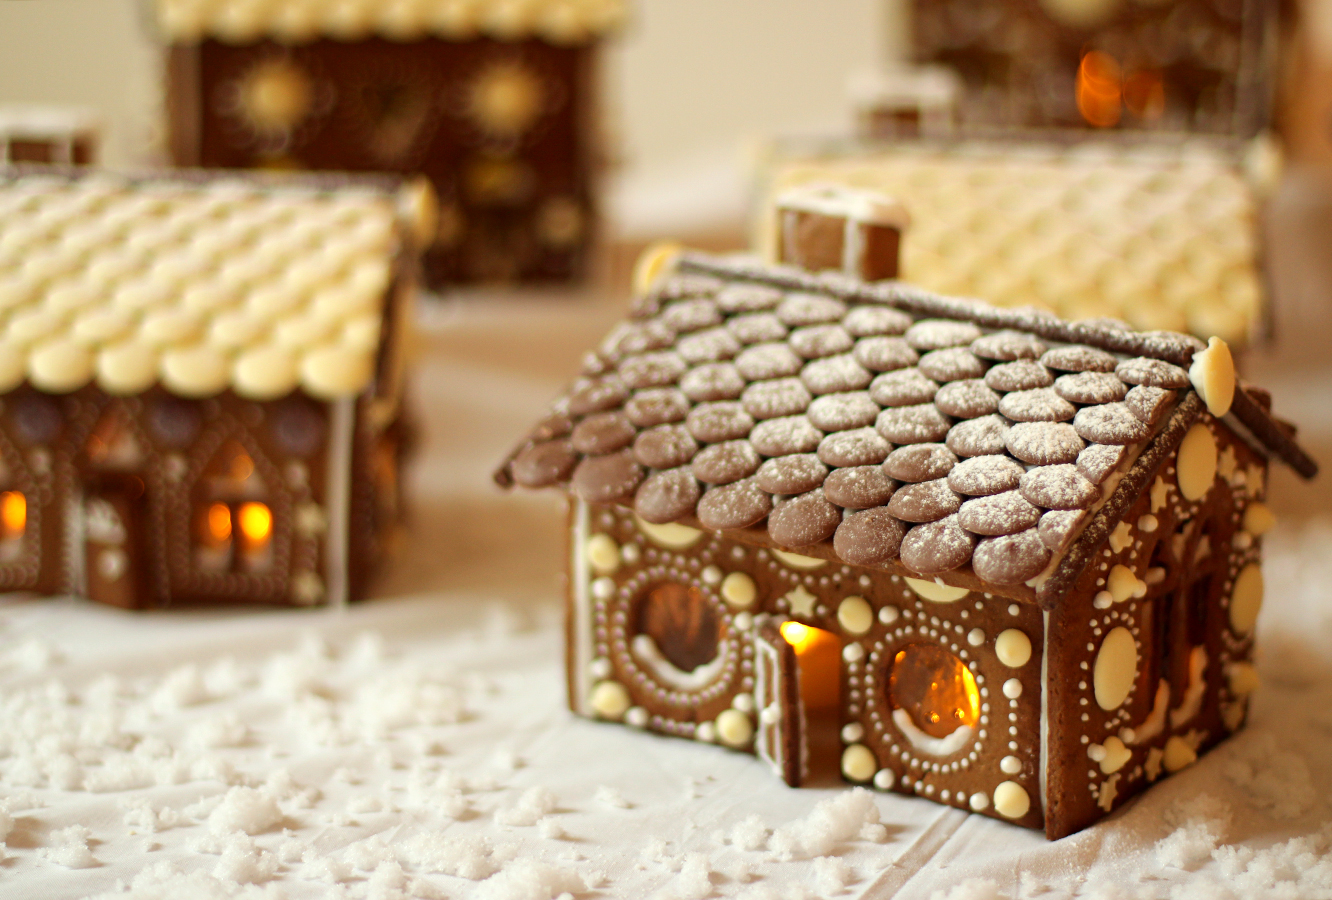
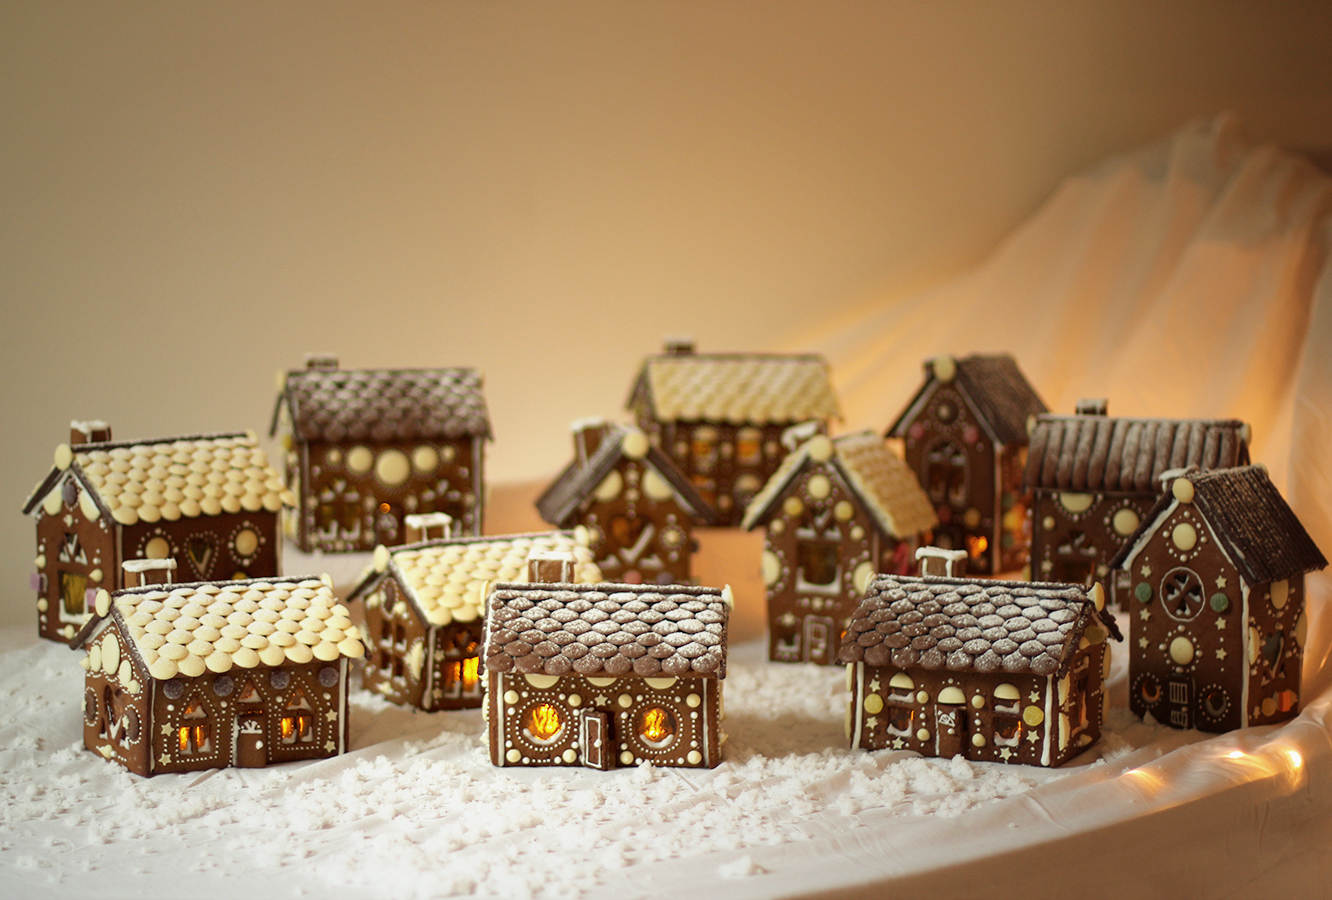
Here’s a snap of me (with the reddest face, thanks blushing reflex) that was insisted upon, and all but one of us (come back Saskia!) in the obligatory family photo.
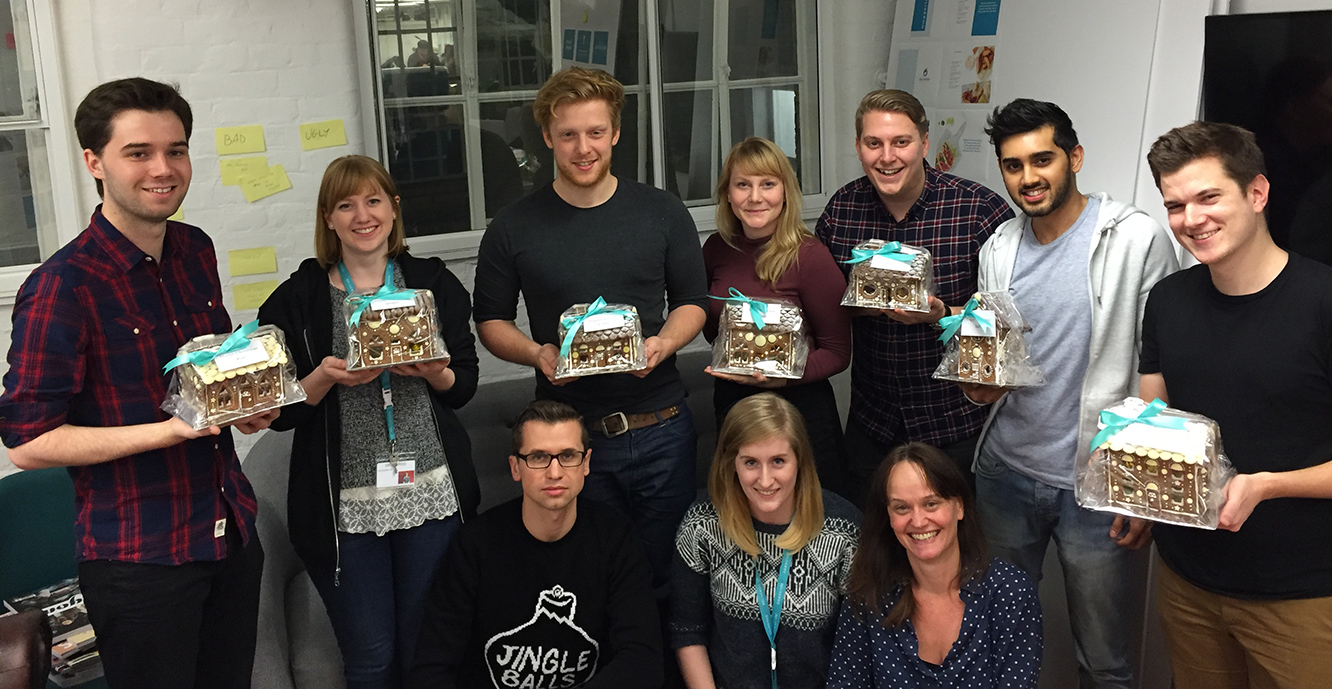
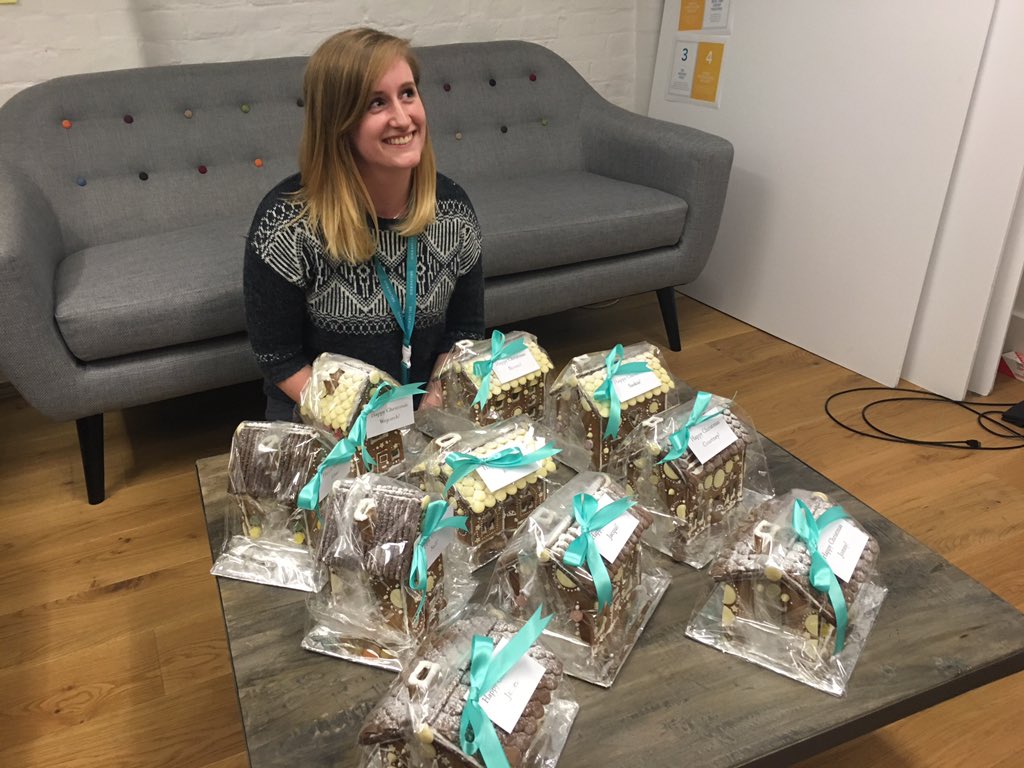
How did I get them into work? A special train, a suitcase and some blankets.


