Category: Home

The final sprint

Some years (every year) I have grand plans for home made gifts and decorations at Christmas. Rarely does this materialise in the lovely relaxed and whimsical way it looks in my head. Generally I end up covered in the contents of my baking cupboard feeling totally harassed by the number of hampers I’ve decided to make.

If you’re anything like me, or if you’re completely handmade/craft-phobic in the first place, this one is for you. Three super quick festive crafts to brighten up the house and fill up stockings at the last minute. You don’t need an ounce of artistic/baking ability for any of these. So no excuses.

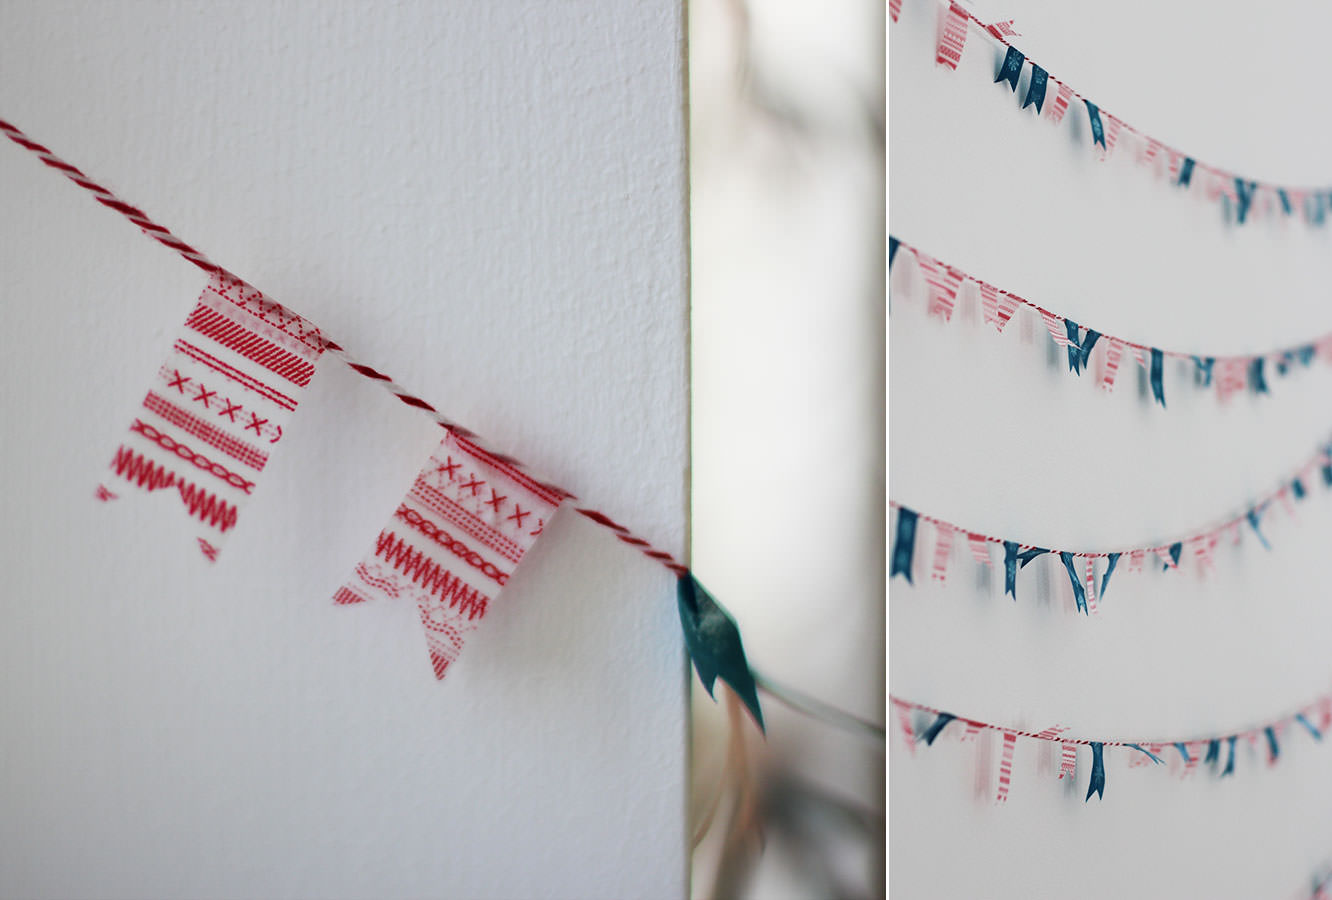
#1: Cute Christmas bunting
washi-tape-christmas-bunting

You will need

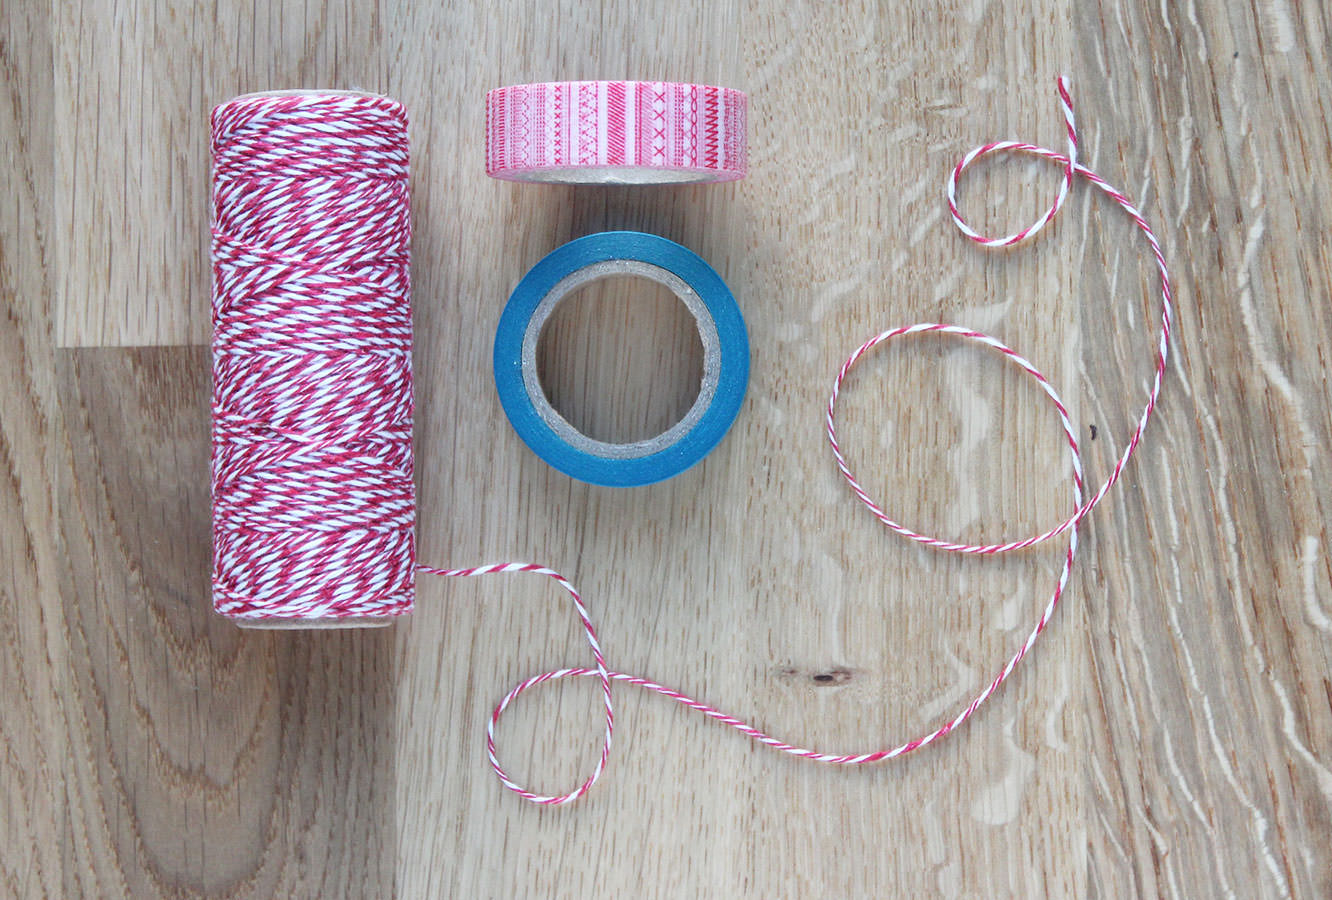
String (I got this two colour spool from Tiger for £1)

Christmassy washi-tape
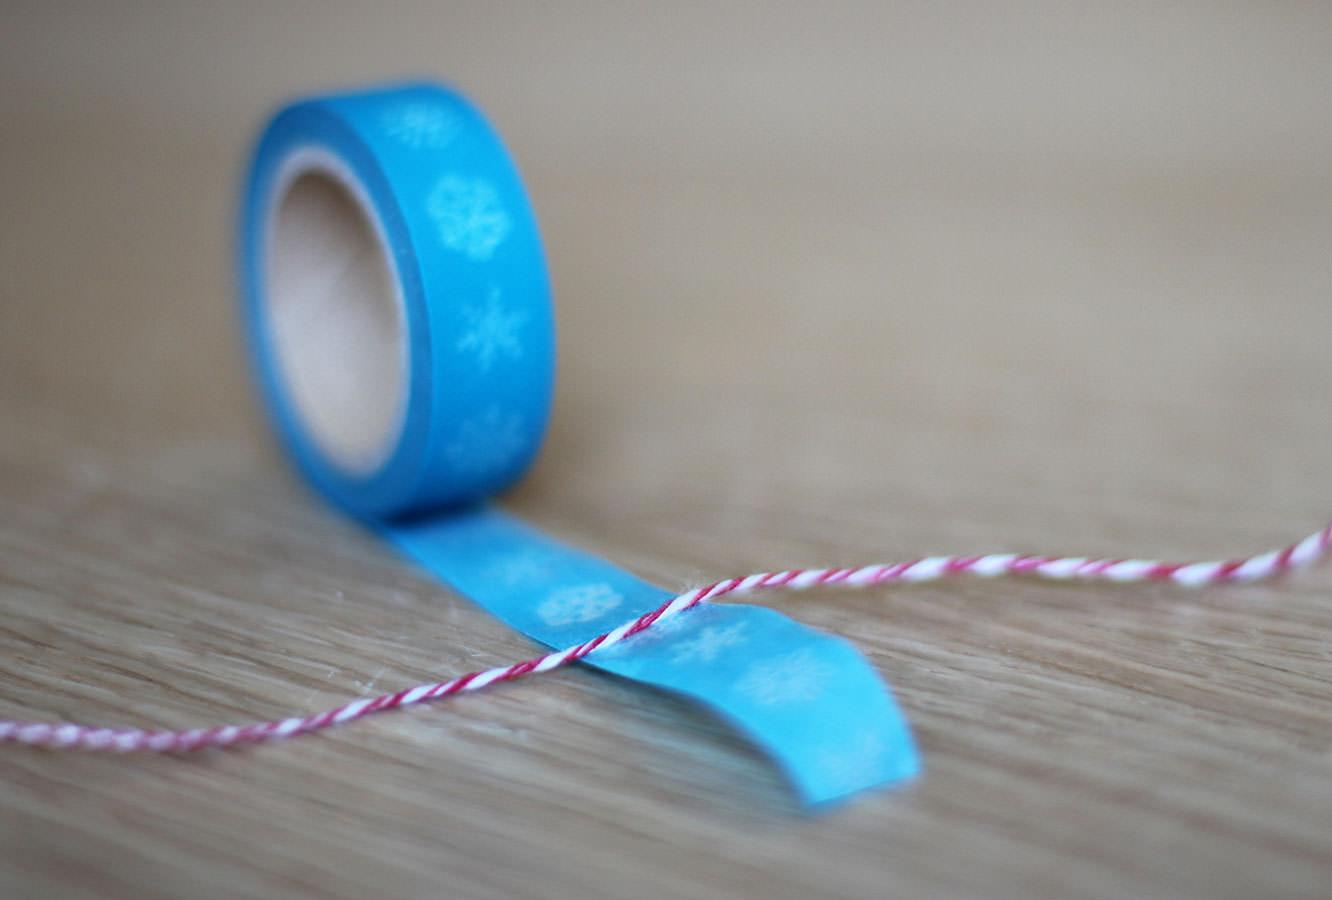
washi-tape-christmas-bunting-1

Step one

Cut a random length of tape and place the string in the middle. If you really want to punish yourself you can try and make them all the same length, but I really like them random and it’s much easier that way too.

For this step I cut loads and stuck them on the edge of the table so I had them ready and did them in batches so I wasn’t constantly cutting one then sticking it etc etc.
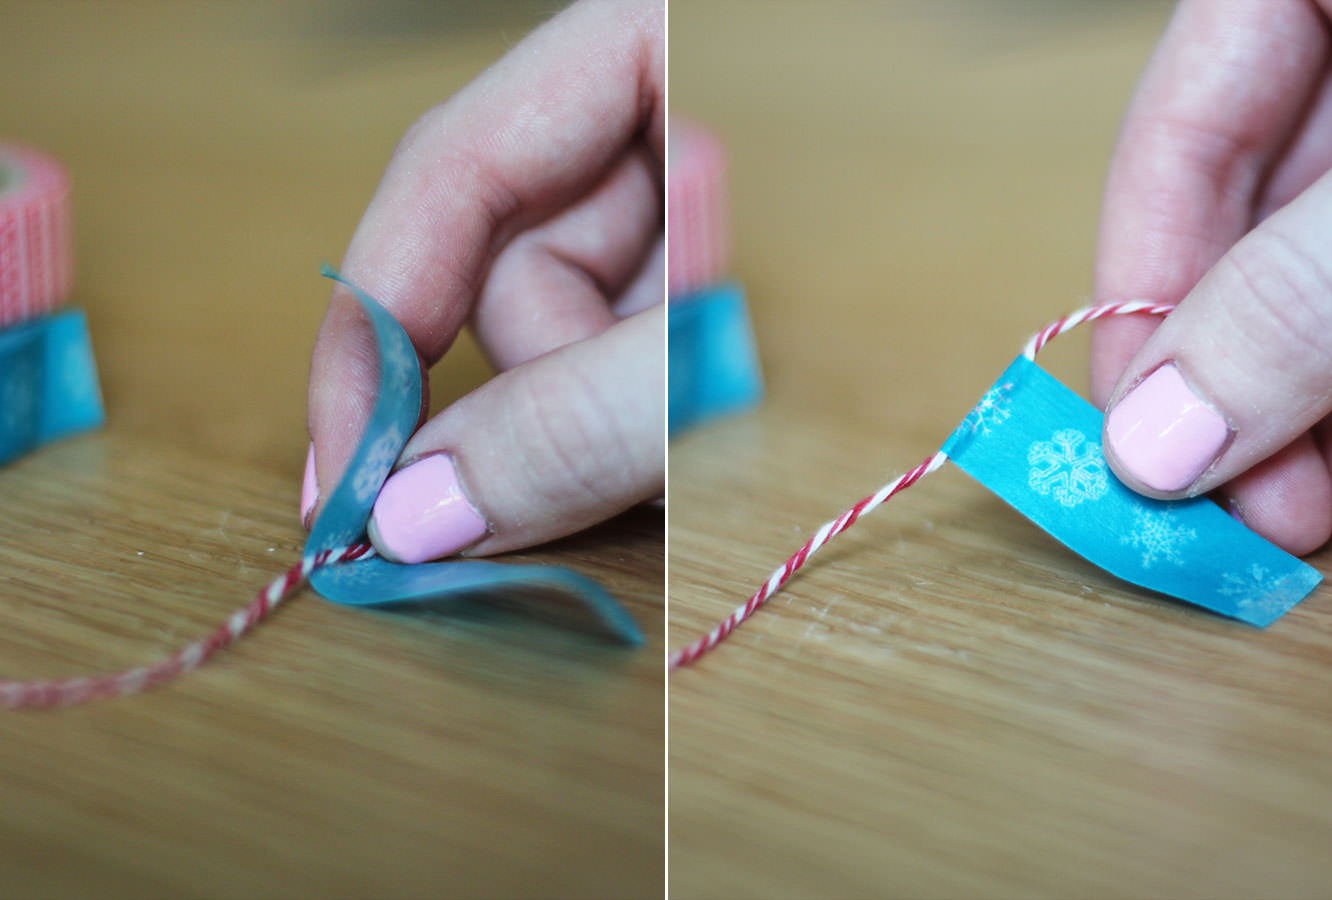
washi-tape-christmas-bunting-2

Step two

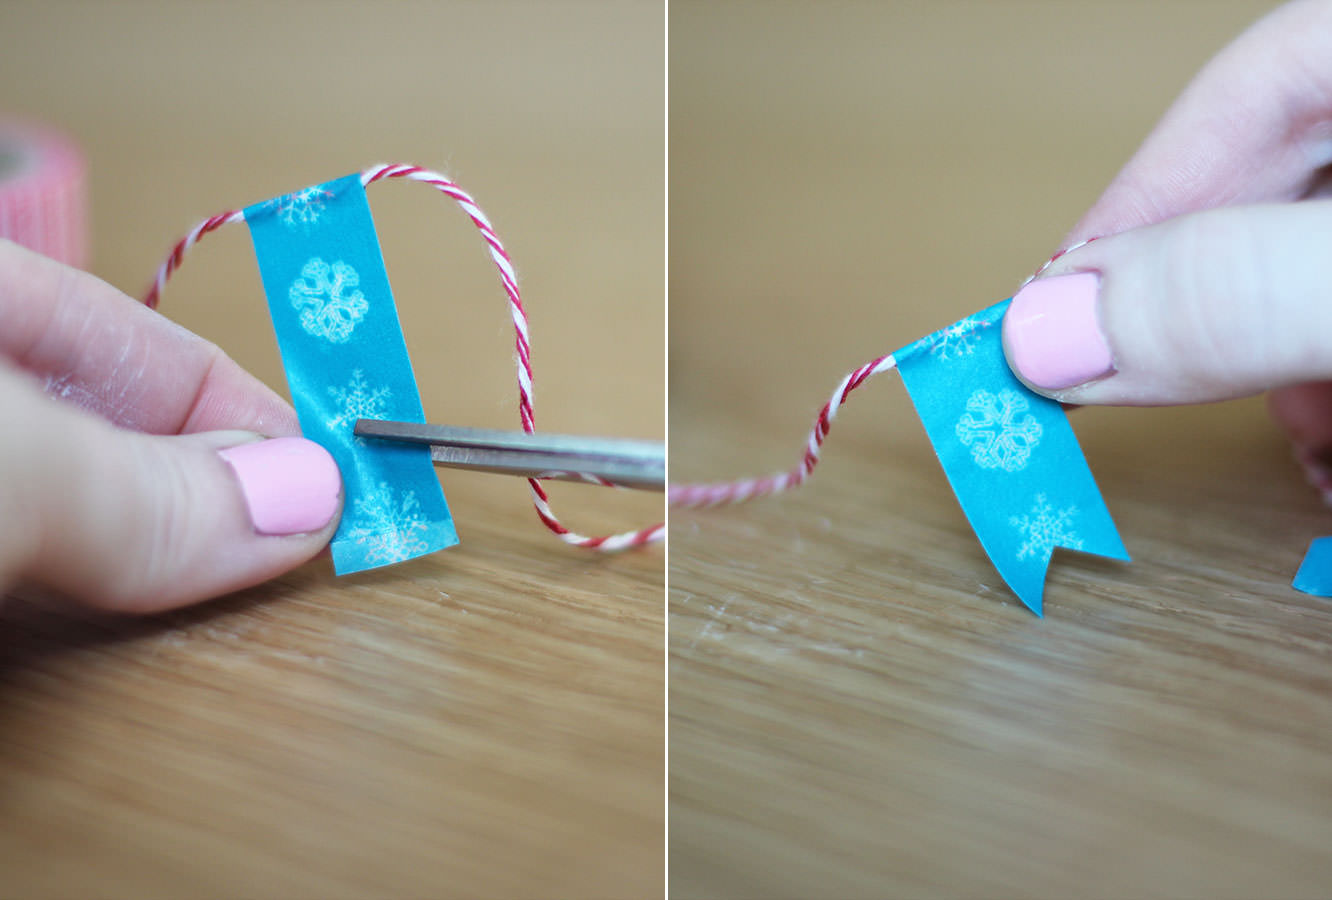
Fold over the wash tape and stick together. Again, I found it easier to do this step in bulk and then snip them in one go (see below).
washi-tape-christmas-bunting-3

Step three

Cut an upside-down ‘v’ shape into the end.
washi-tape-christmas-bunting-4

washi-tape-christmas-bunting-5

Step four

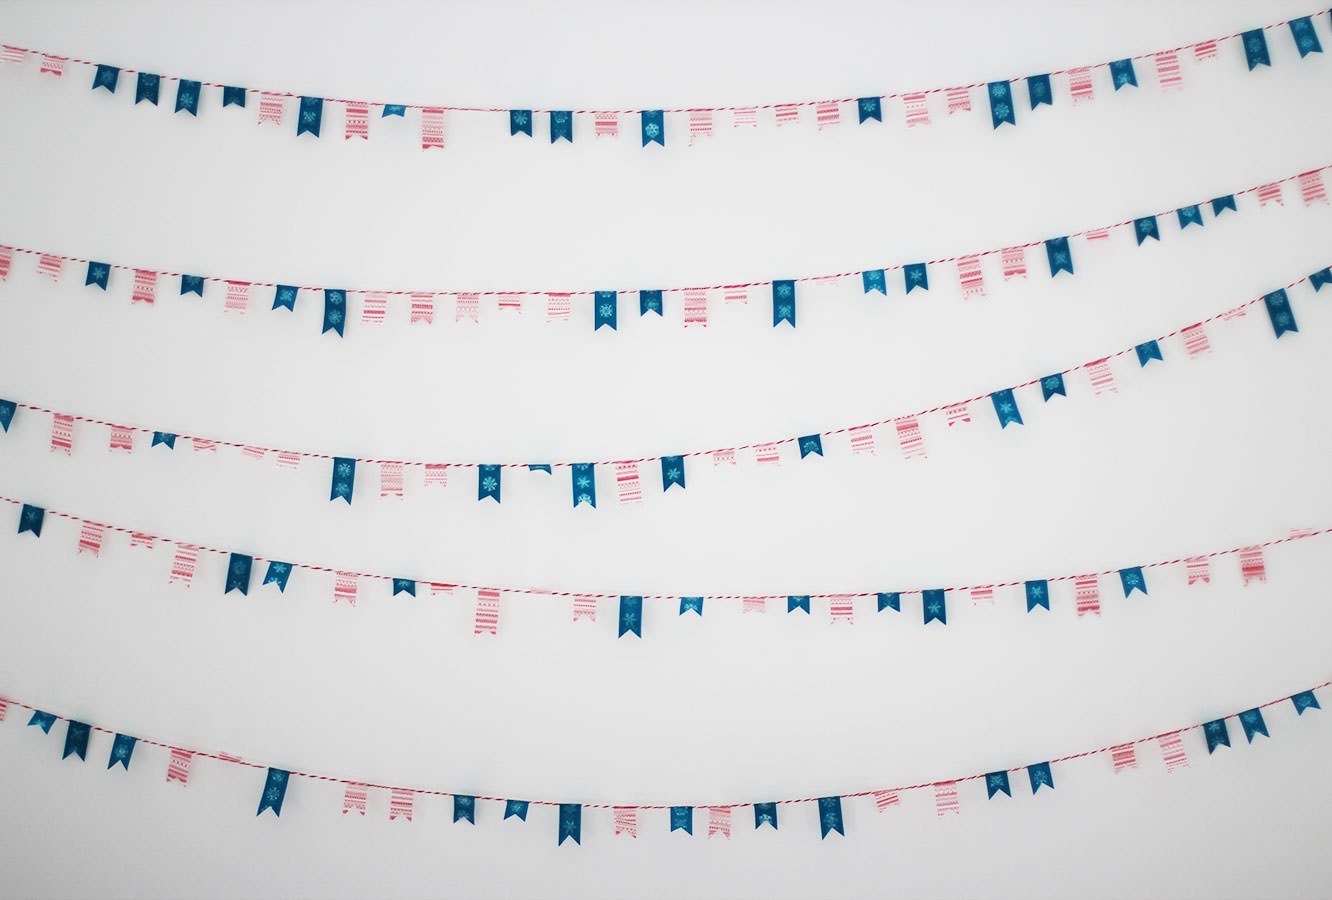
Hang them. 


#2: Twig decoration
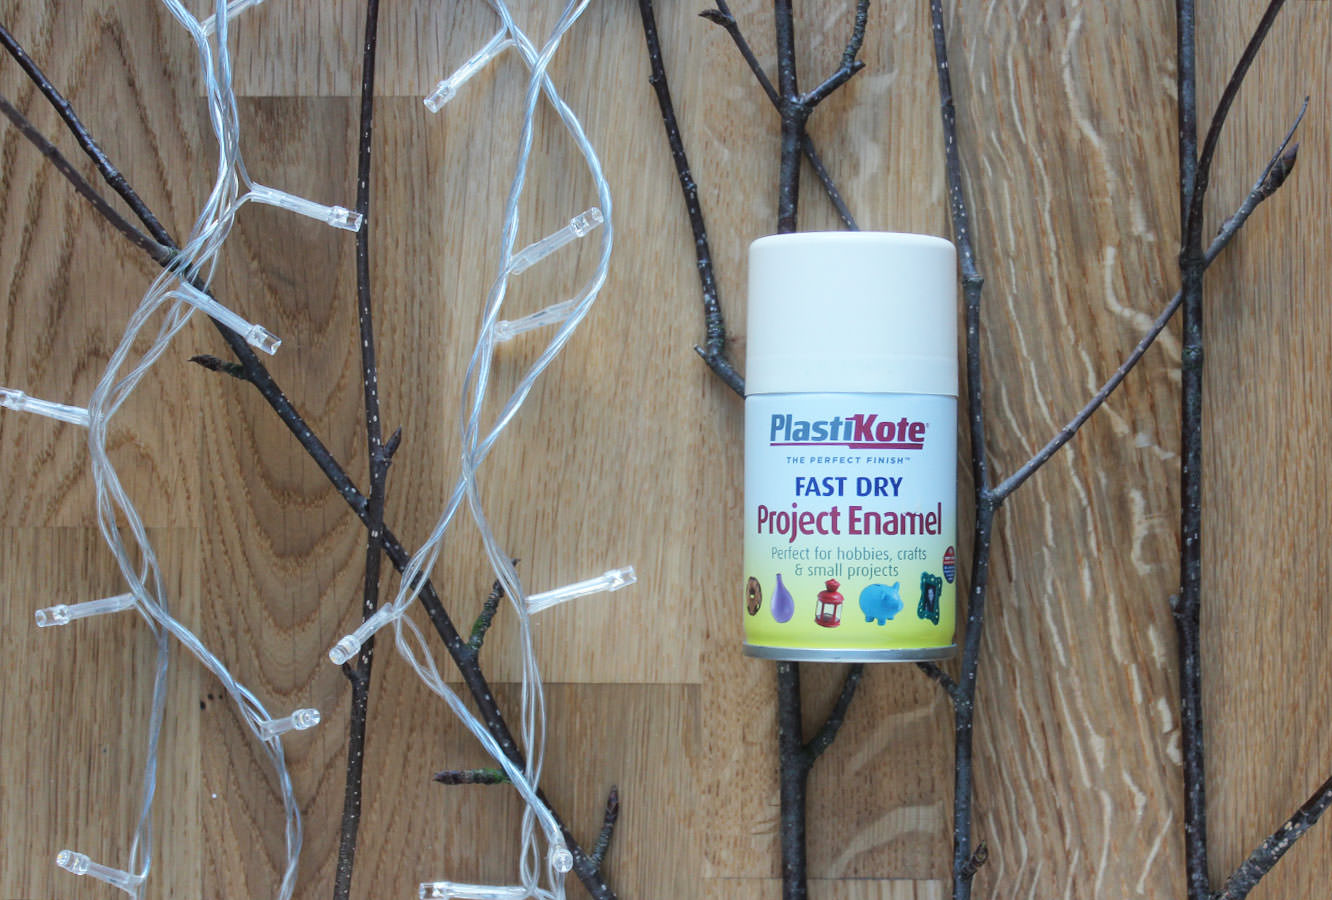
sprayed-branches-cheap-home-christmas-decoration

You will need

Some twigs foraged from the nearest tree

White or cream spray paint

Fairy lights or decorations

Jug/vase/plant pot
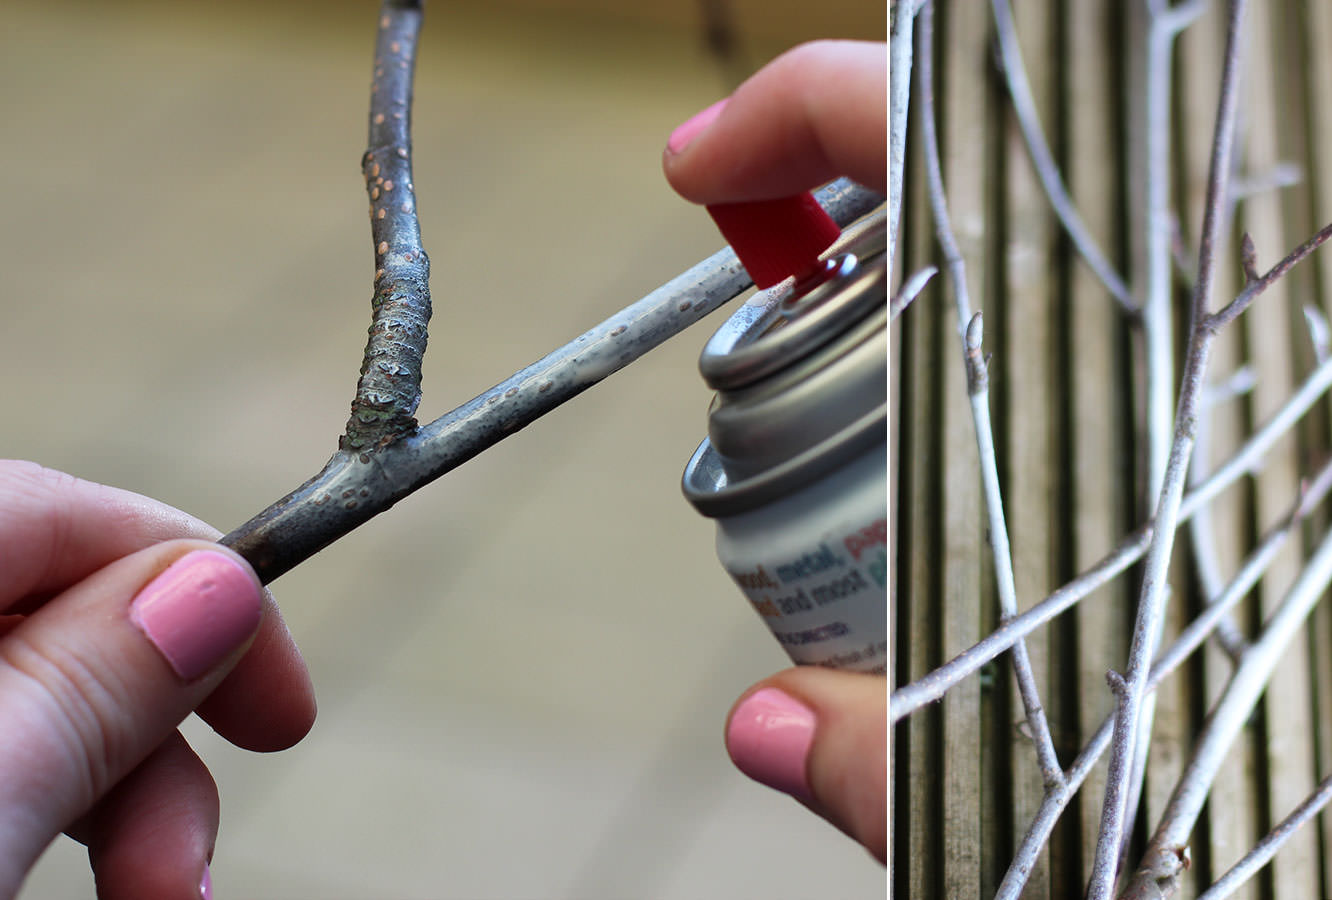
sprayed-branches-cheap-home-christmas-decoration-1

Step one

Spray twigs.

Step two

Place in holder.

Step three

Decorate.
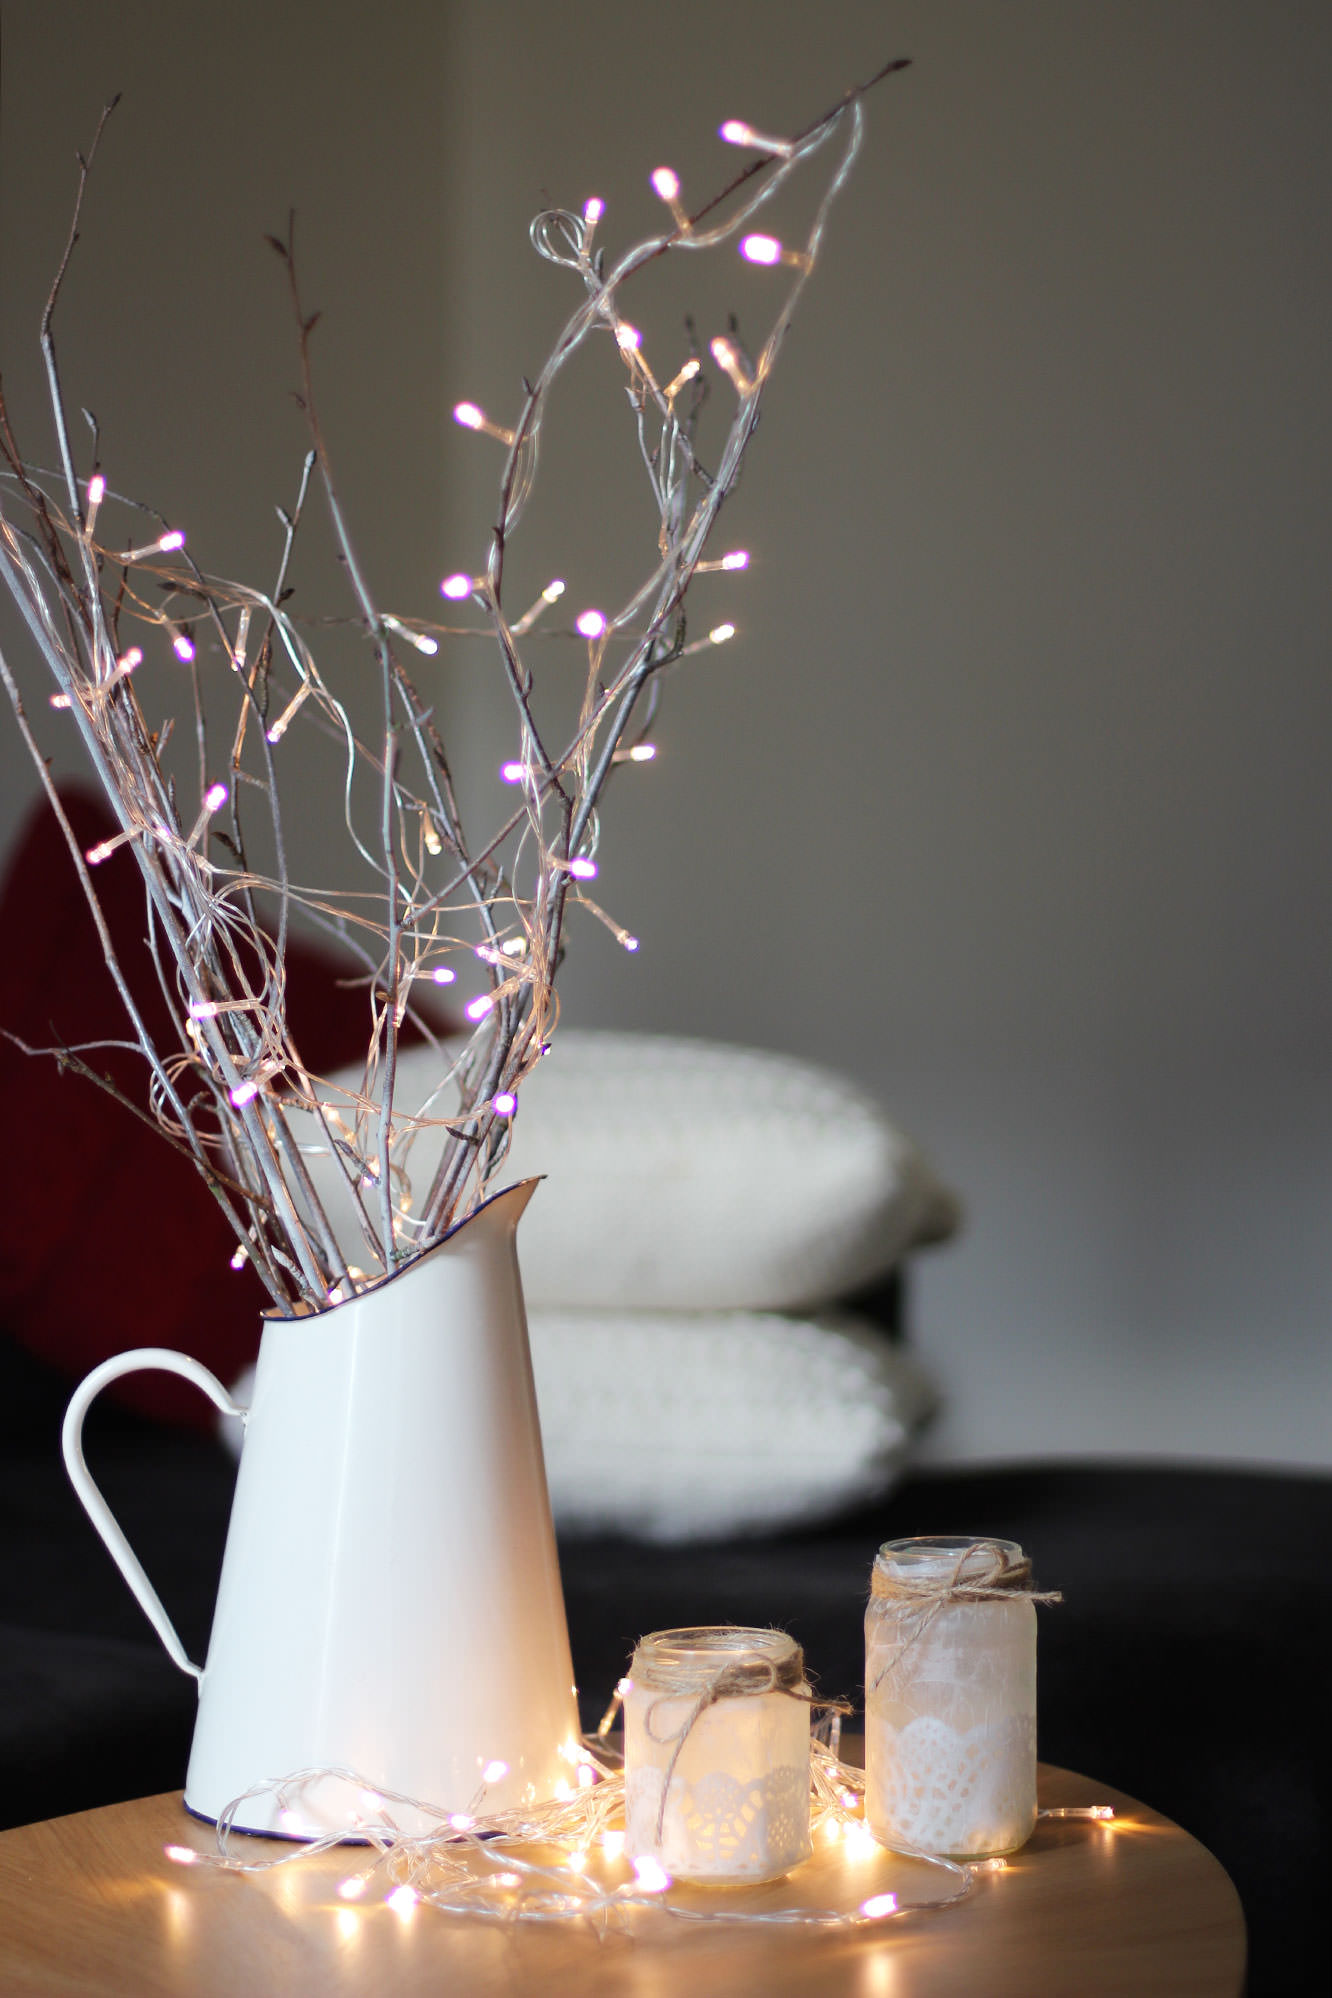
sprayed-branches-cheap-home-christmas-decoration-2

Just in case you want the tutorial, here’s how to make the candle holders in the photo.


#3: Hot chocolate stirrers

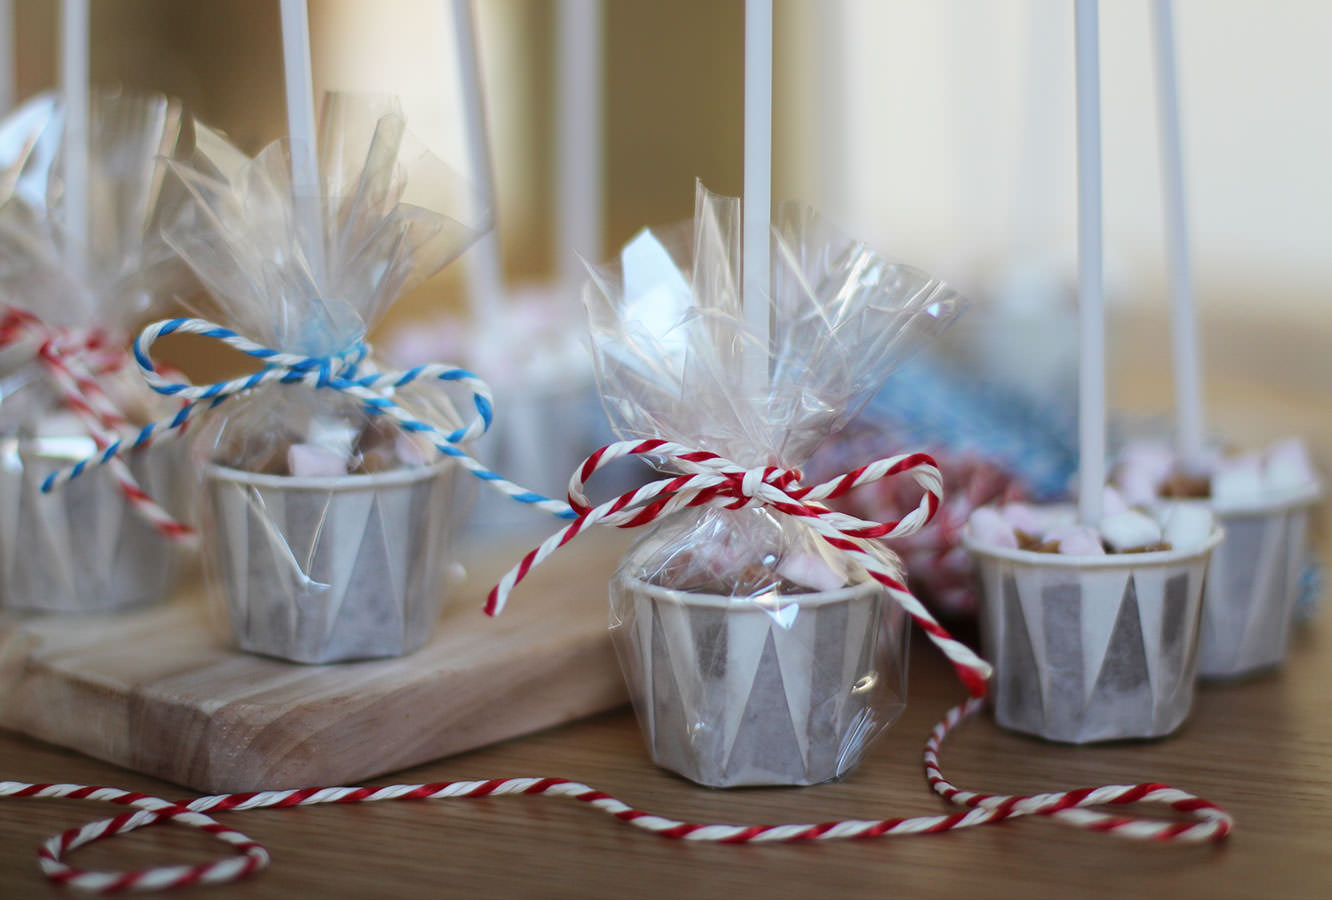
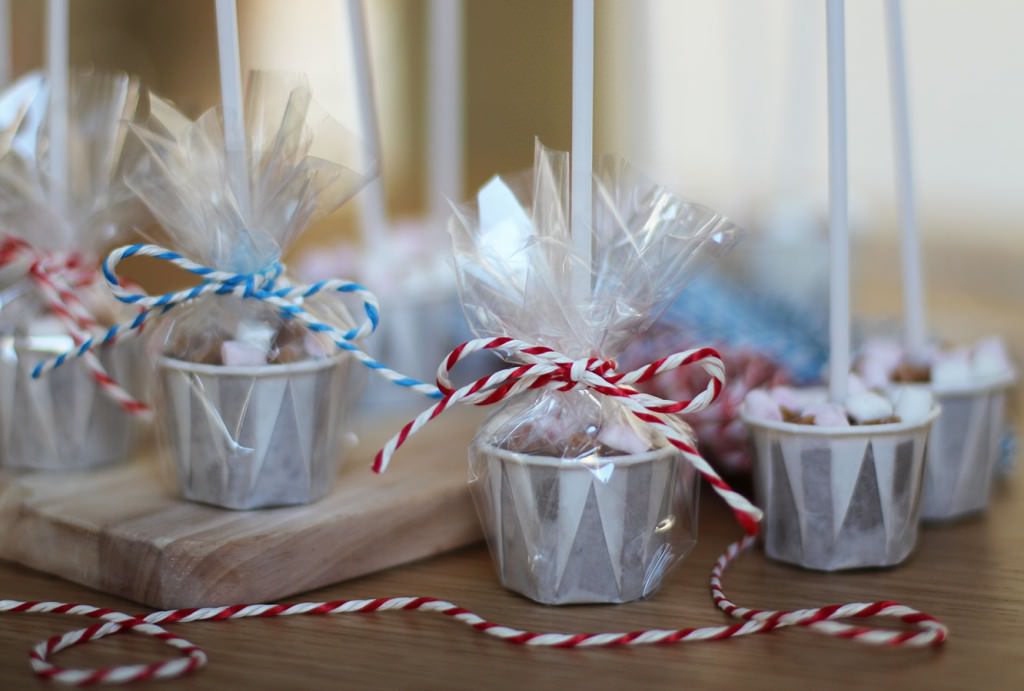
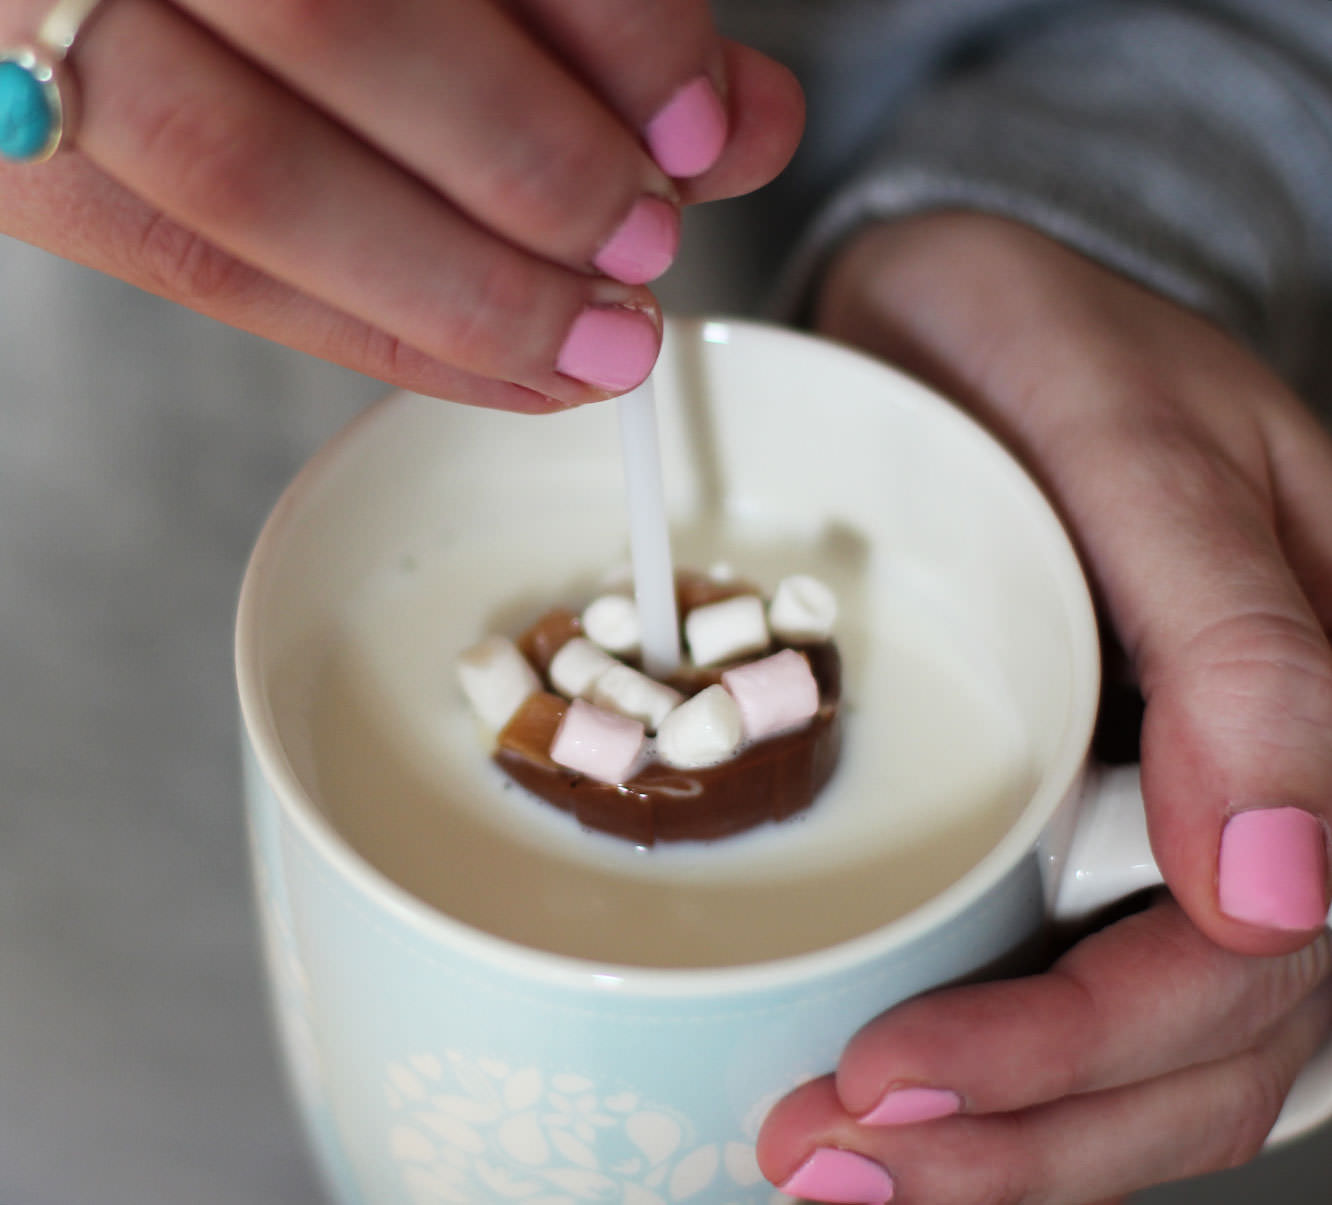
I saw one of these at the shops today, it was £3! These make a great little stocking filler, present topper-upper or gifts for the neighbours. Just swirl into hot milk for a luxury hot chocolate.
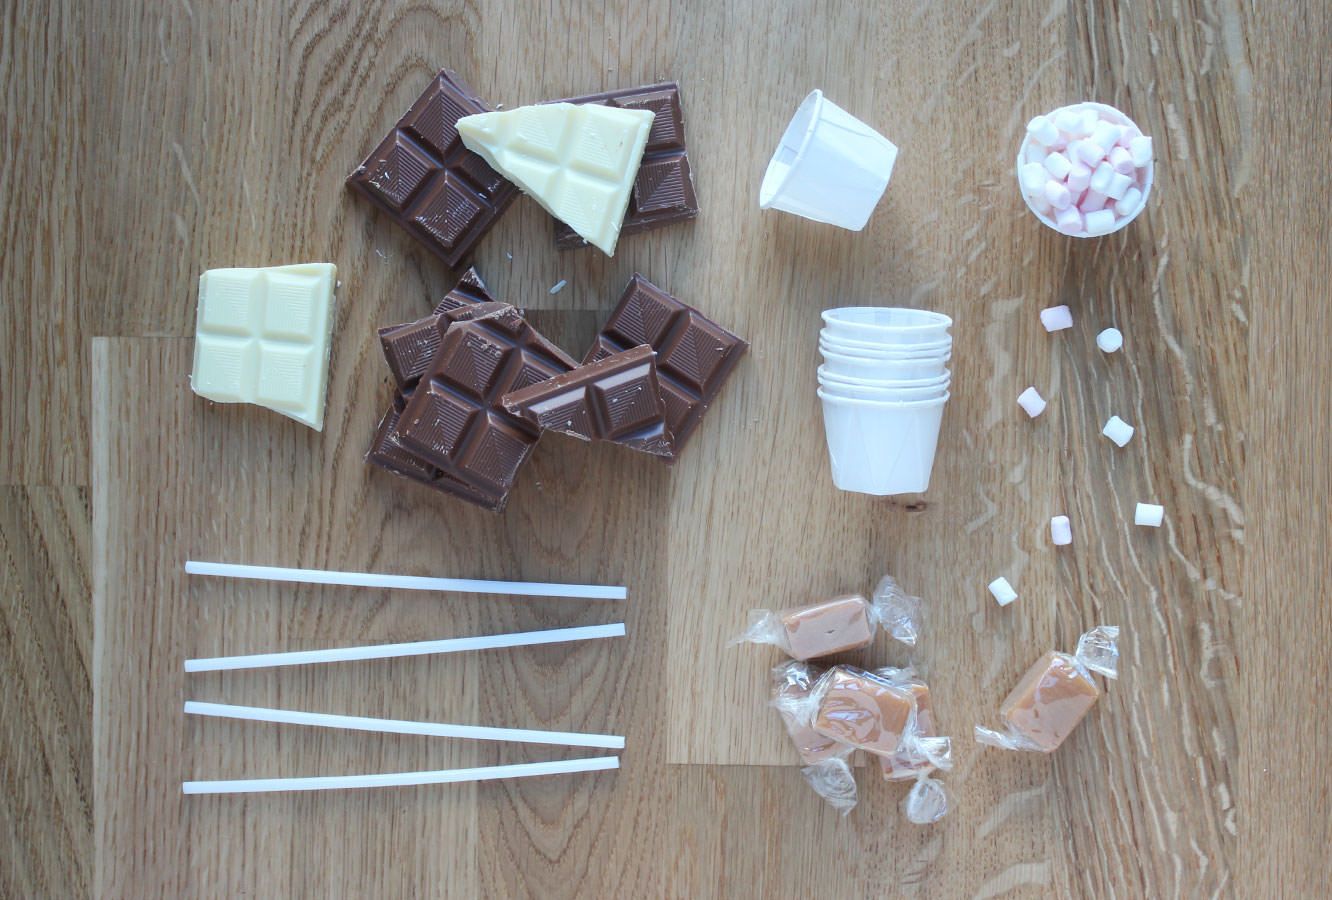
homemade-hot-chocolate-stirrer-gift-1

You will need

400g/ 14oz Milk chocolate

50g/ 1.5oz White chocolate

Condiment cups (if the closest McDonalds doesn’t have these you can buy them online, or use mini-muffin cases)

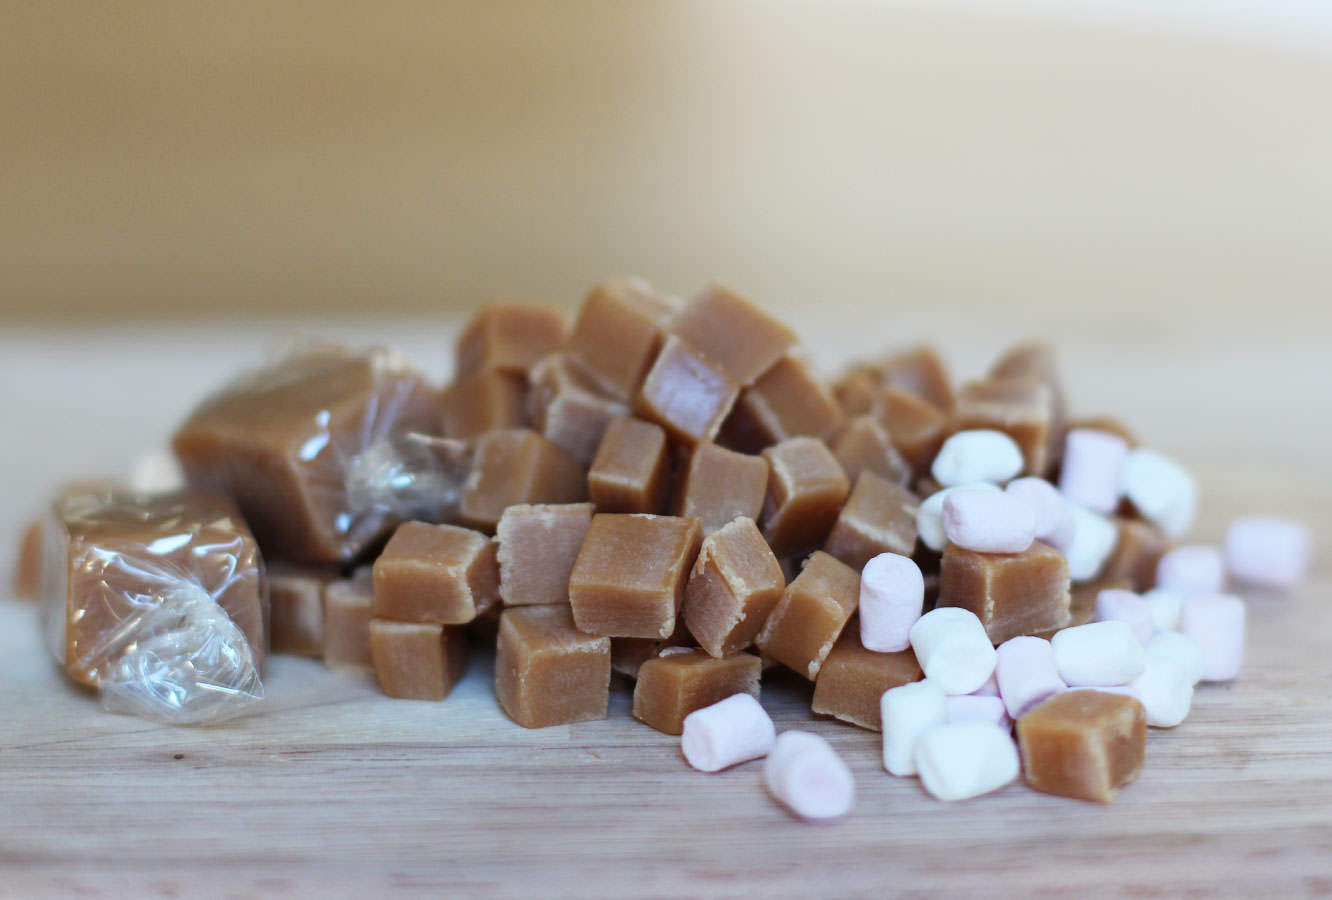
Mini mini marshmallows (these tiny fellows are from Waitrose)

Fudge pieces

Cake pop sticks

Edible glitter (optional)

(Makes 10-12. You need roughly 35g chocolate per cup so adjust the above to suit the number of hot chocolates you want to make).

For wrapping

Cellophane roll (available online or from craft shops)

Chrismassy ribbon or string
homemade-hot-chocolate-stirrer-gift-2

Step one

Chop the fudge into little chunks so that they’re roughly in proportion with the marshmallows.

Step two

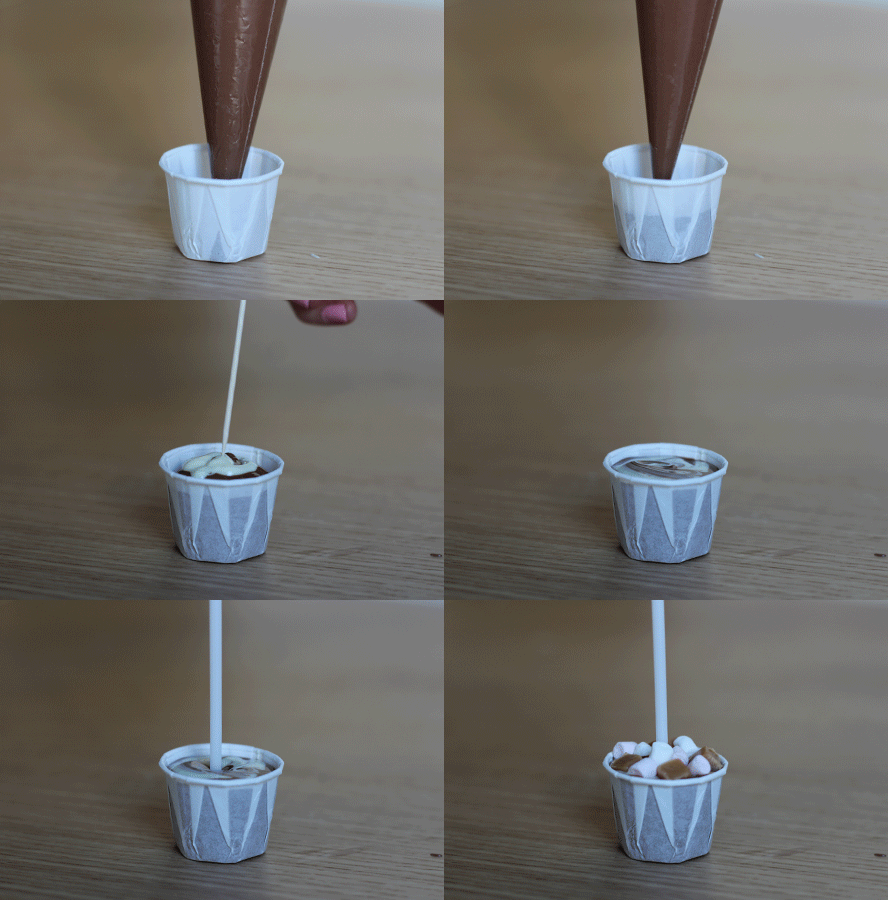
Melt the chocolate slowly in the microwave and put into piping bags. You can temper it if you want, but given that you won’t see much of it, it might not be worthwhile. I go into a bit more detail as to how to temper chocolate here.
homemade-hot-chocolate-stirrer-gift-gif

Step three

Fill cup to near the brim with milk chocolate. Add a little white and swirl in with a cocktail stick.

Place stick in and surround with fudge and marshmallows.

Leave to set.
homemade-hot-chocolate-stirrer-gift-3

Step four

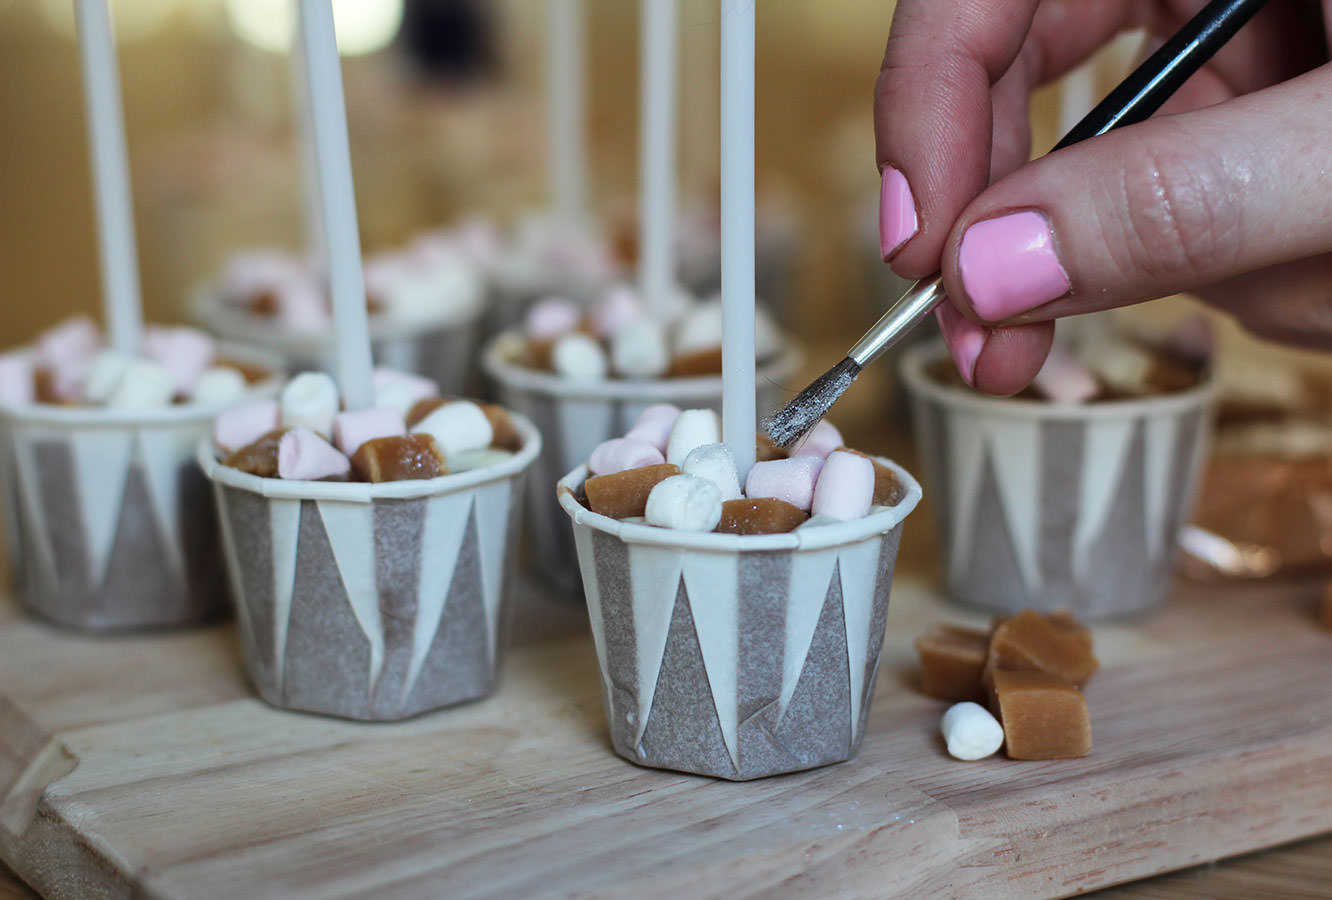
Dust on a little glitter.

homemade-hot-chocolate-stirrer-gift-5

Step five

Wrap up. Cut a square of cellophane wrap and place cup in the centre, bring corners up to the middle and secure. I used a loom band to do this, you could use a small elastic band or go straight in with the ribbon/string.

Trim off the corners and ‘foof’.
homemade-hot-chocolate-stirrer-gift-4

Go on. There must be one spare you can treat yourself to?

Burning the midnight oil

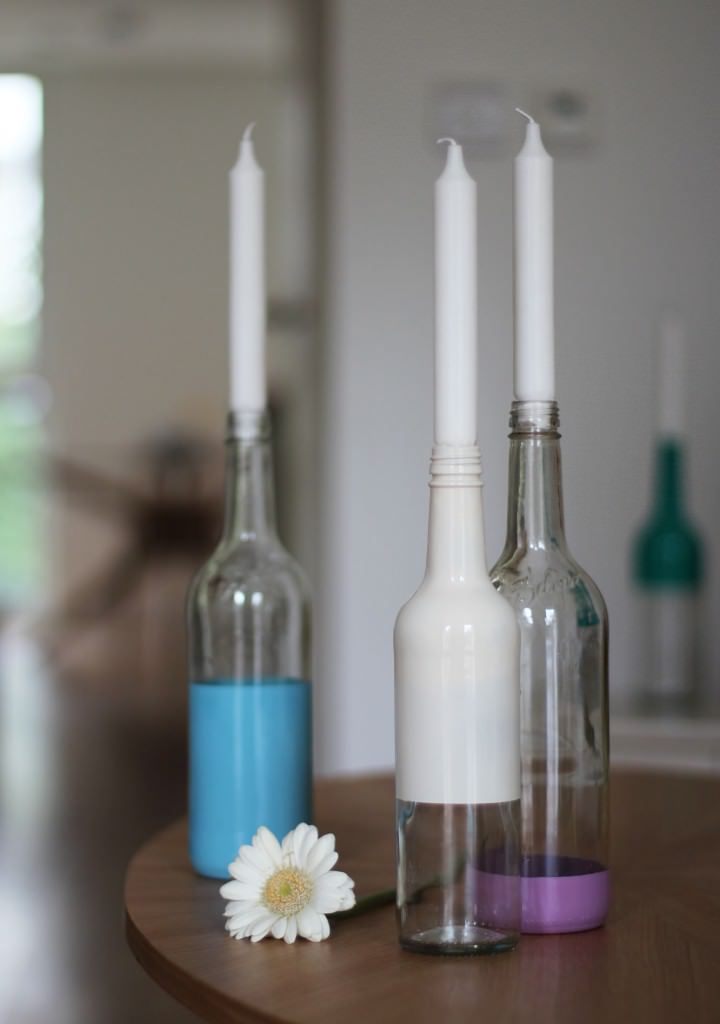
Winter is fast approaching and it’s time to get cosy. Cosy equals candles. At least it does this week, because I had left over spray paint from my mat making, and I really like spray painting things. Like really like it. In an unhealthy way.

This is a pretty easy quick make, and is satisfyingly effective. I recommend it for adding a bit of pizazz at a dinner party or even for sticking a couple of flower stems in rather than candles.

spray-paint-bottle-candle-holders-diy

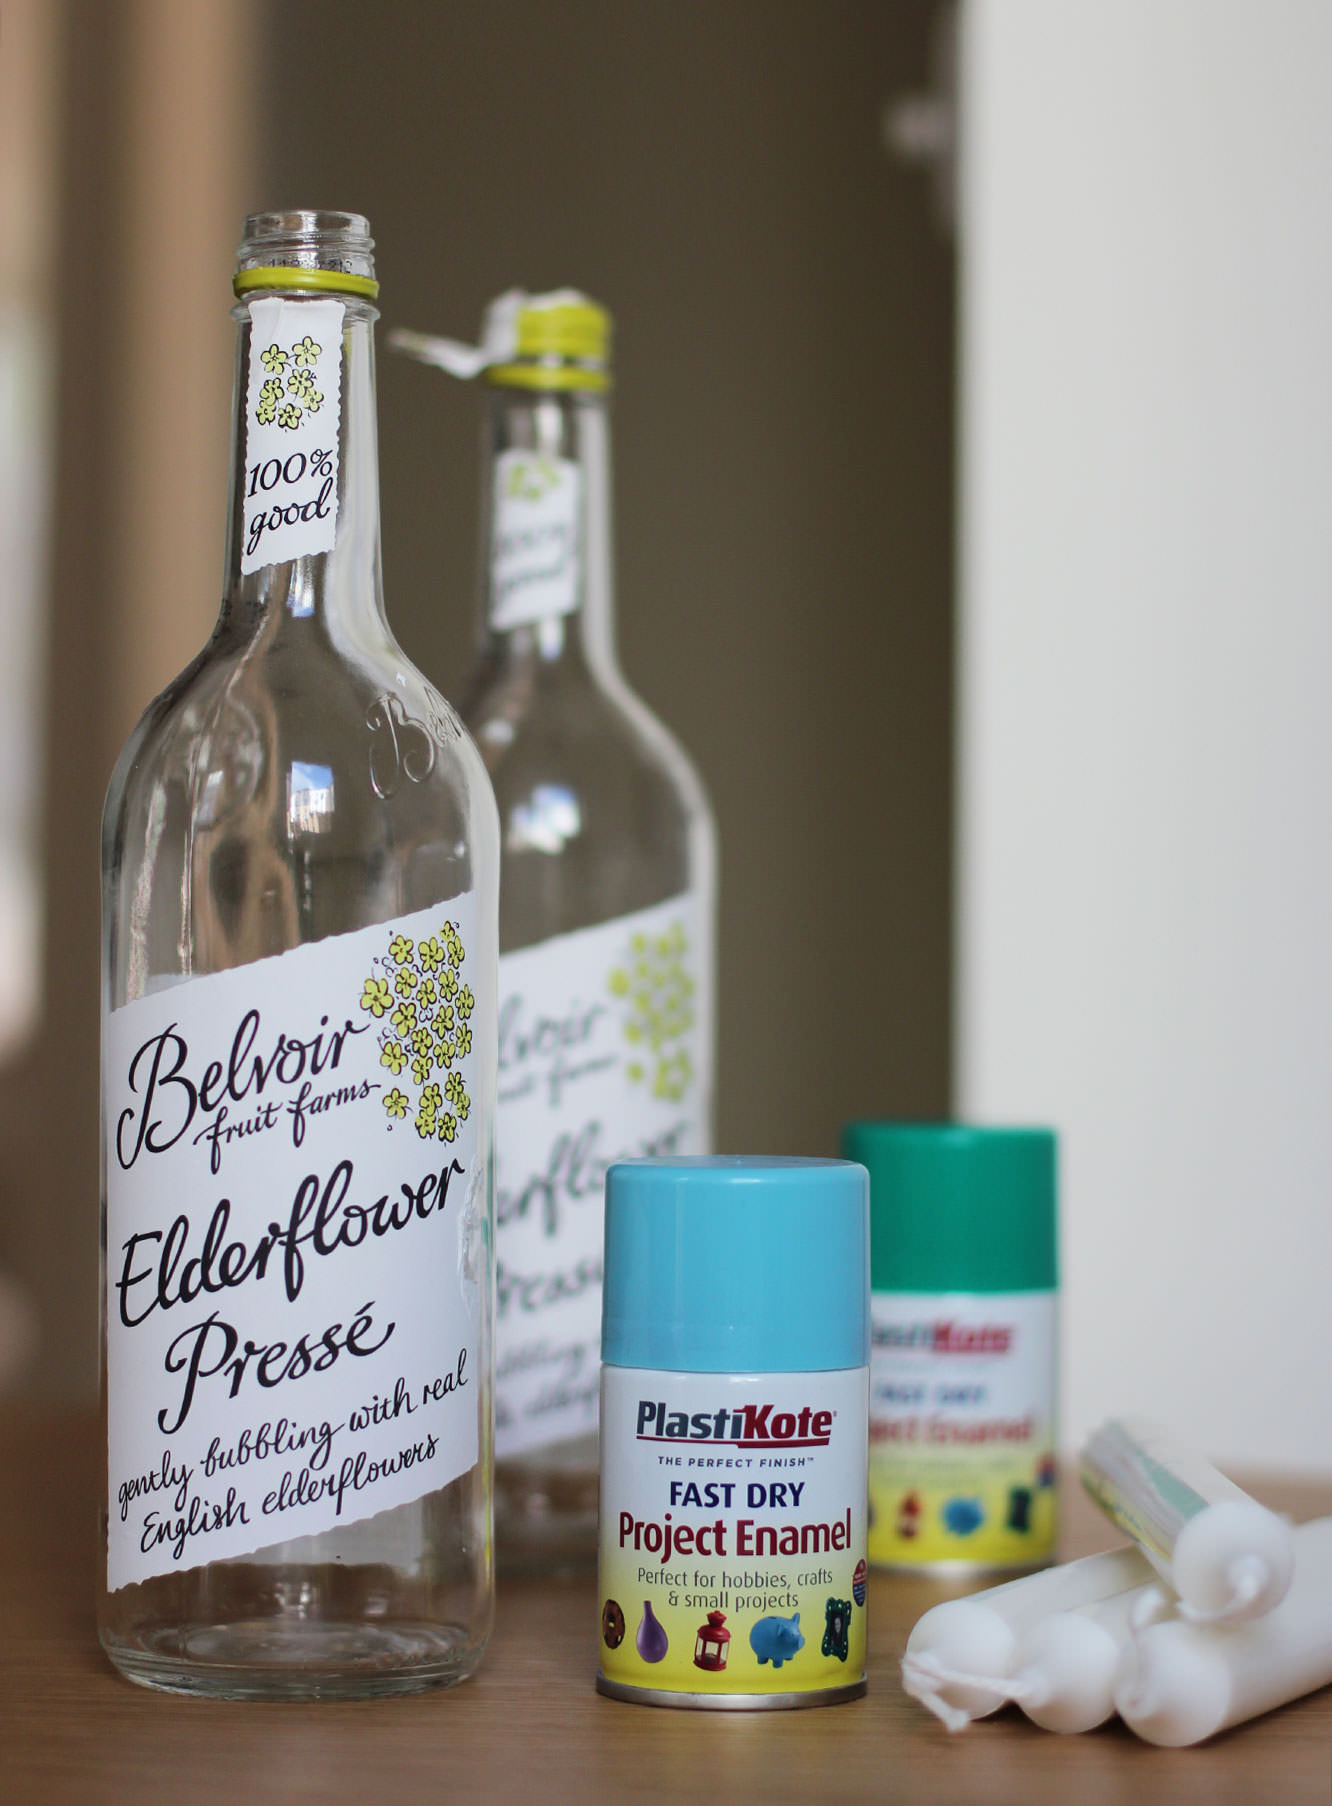
You will need

Clear glass bottles

White or cream dinner candles

Spray paint of your desired colour(s)

Newspaper and masking/washi tape

spray-paint-bottle-candle-holders-diy-2

Step one

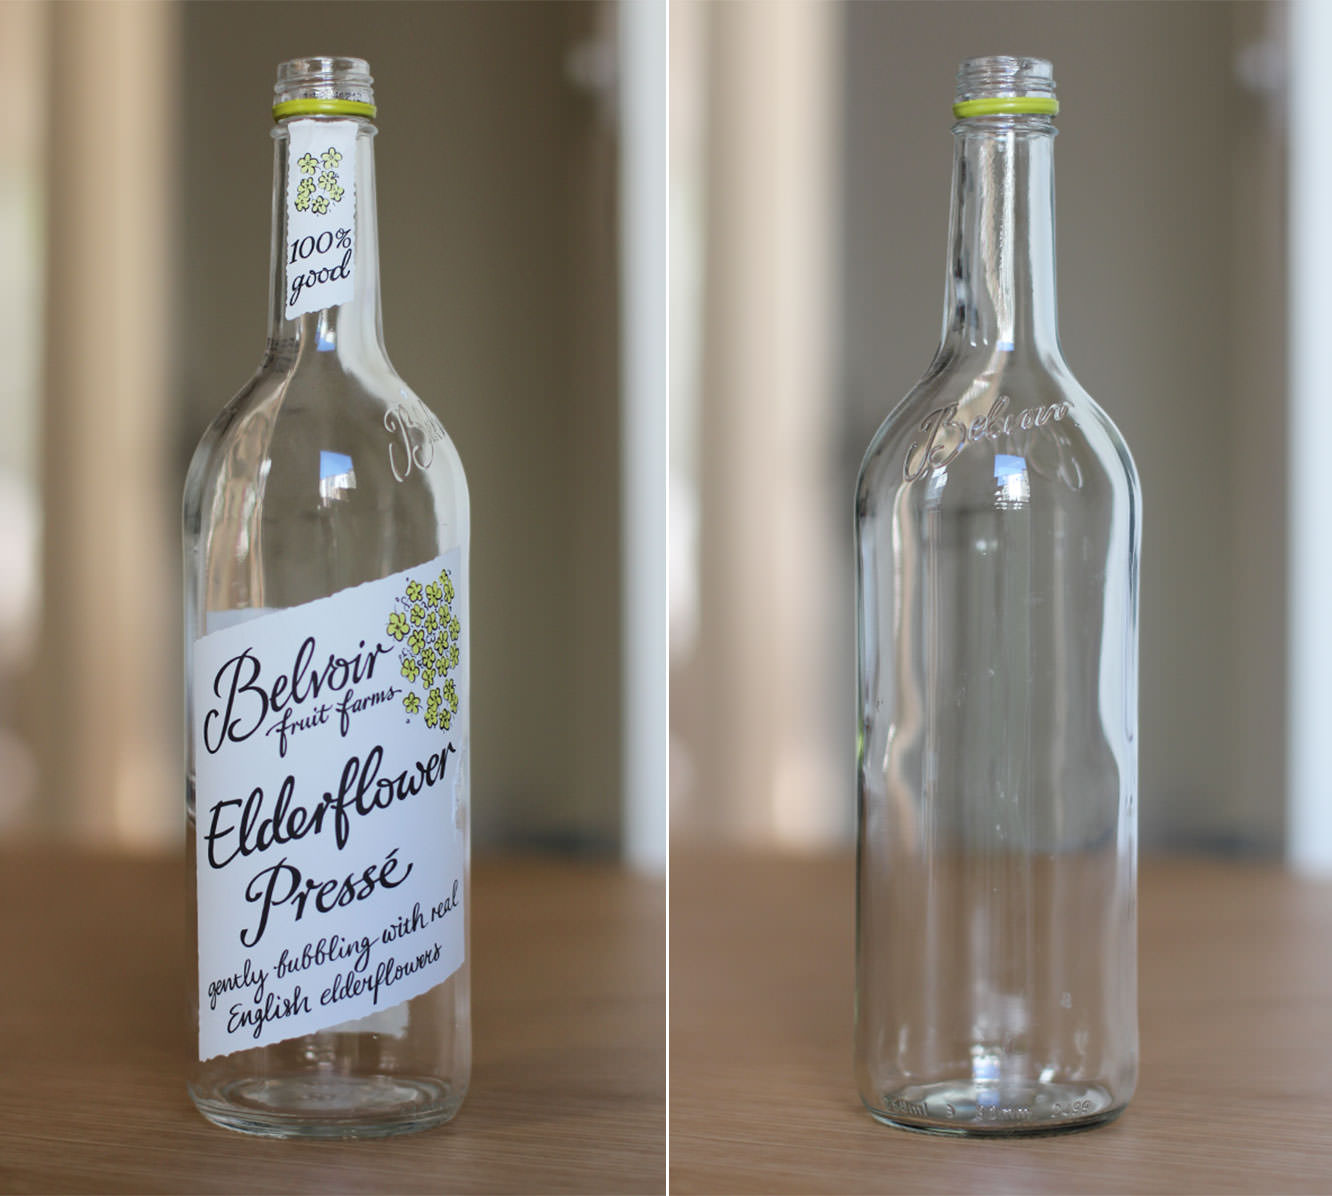
If your bottles have labels like mine did then you need to pour boiling water over them to soak alla that off.

They drink a lot of posh juice at work so I got these bad boys for free. You could also buy some from the home brew section of a Lakeland/Wilko’s; if that’s you, advance to step three and collect £200 as you pass Go.

spray-paint-bottle-candle-holders-diy-3Step two

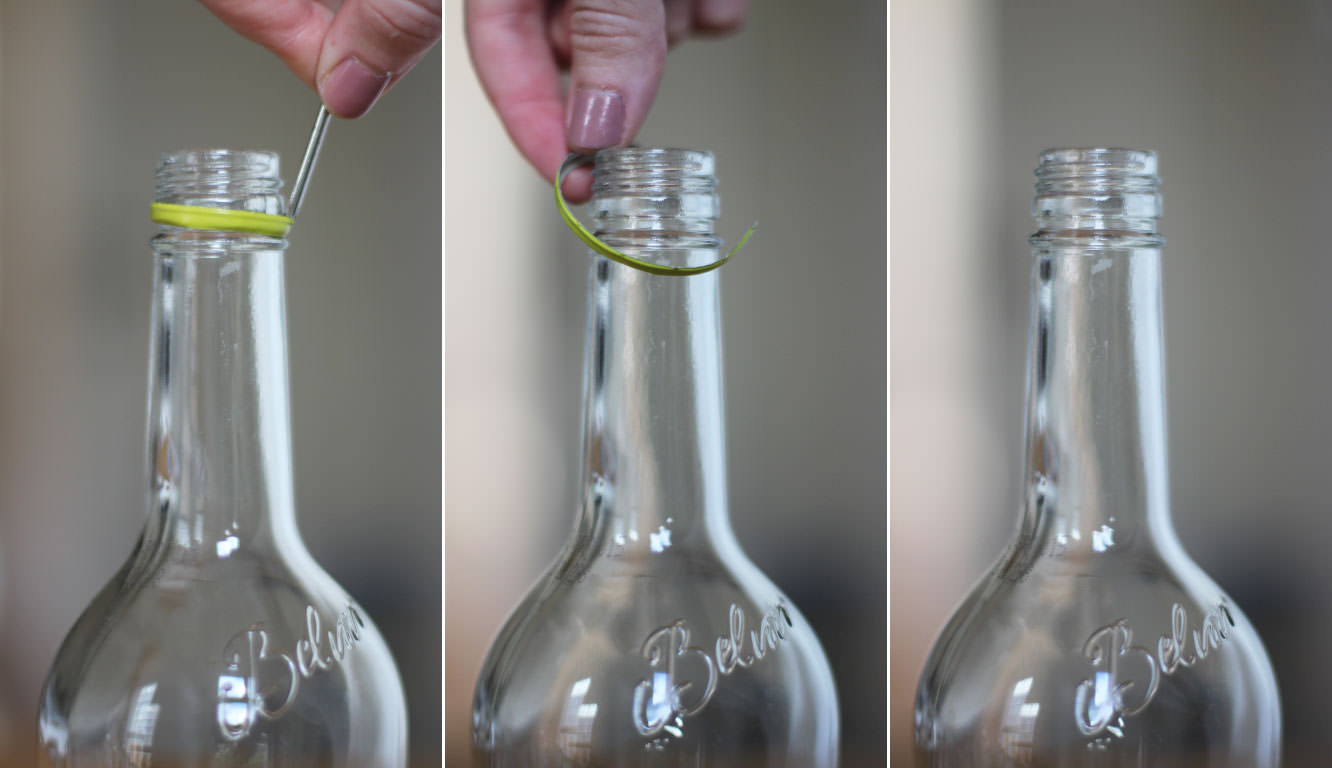
If you’re using recycled juice/wine bottles then stick a little screwdriver or a knife in the metal bit and prise it off. It’s worth not being lazy and skipping this step.

spray-paint-bottle-candle-holders-diy-4

Step three

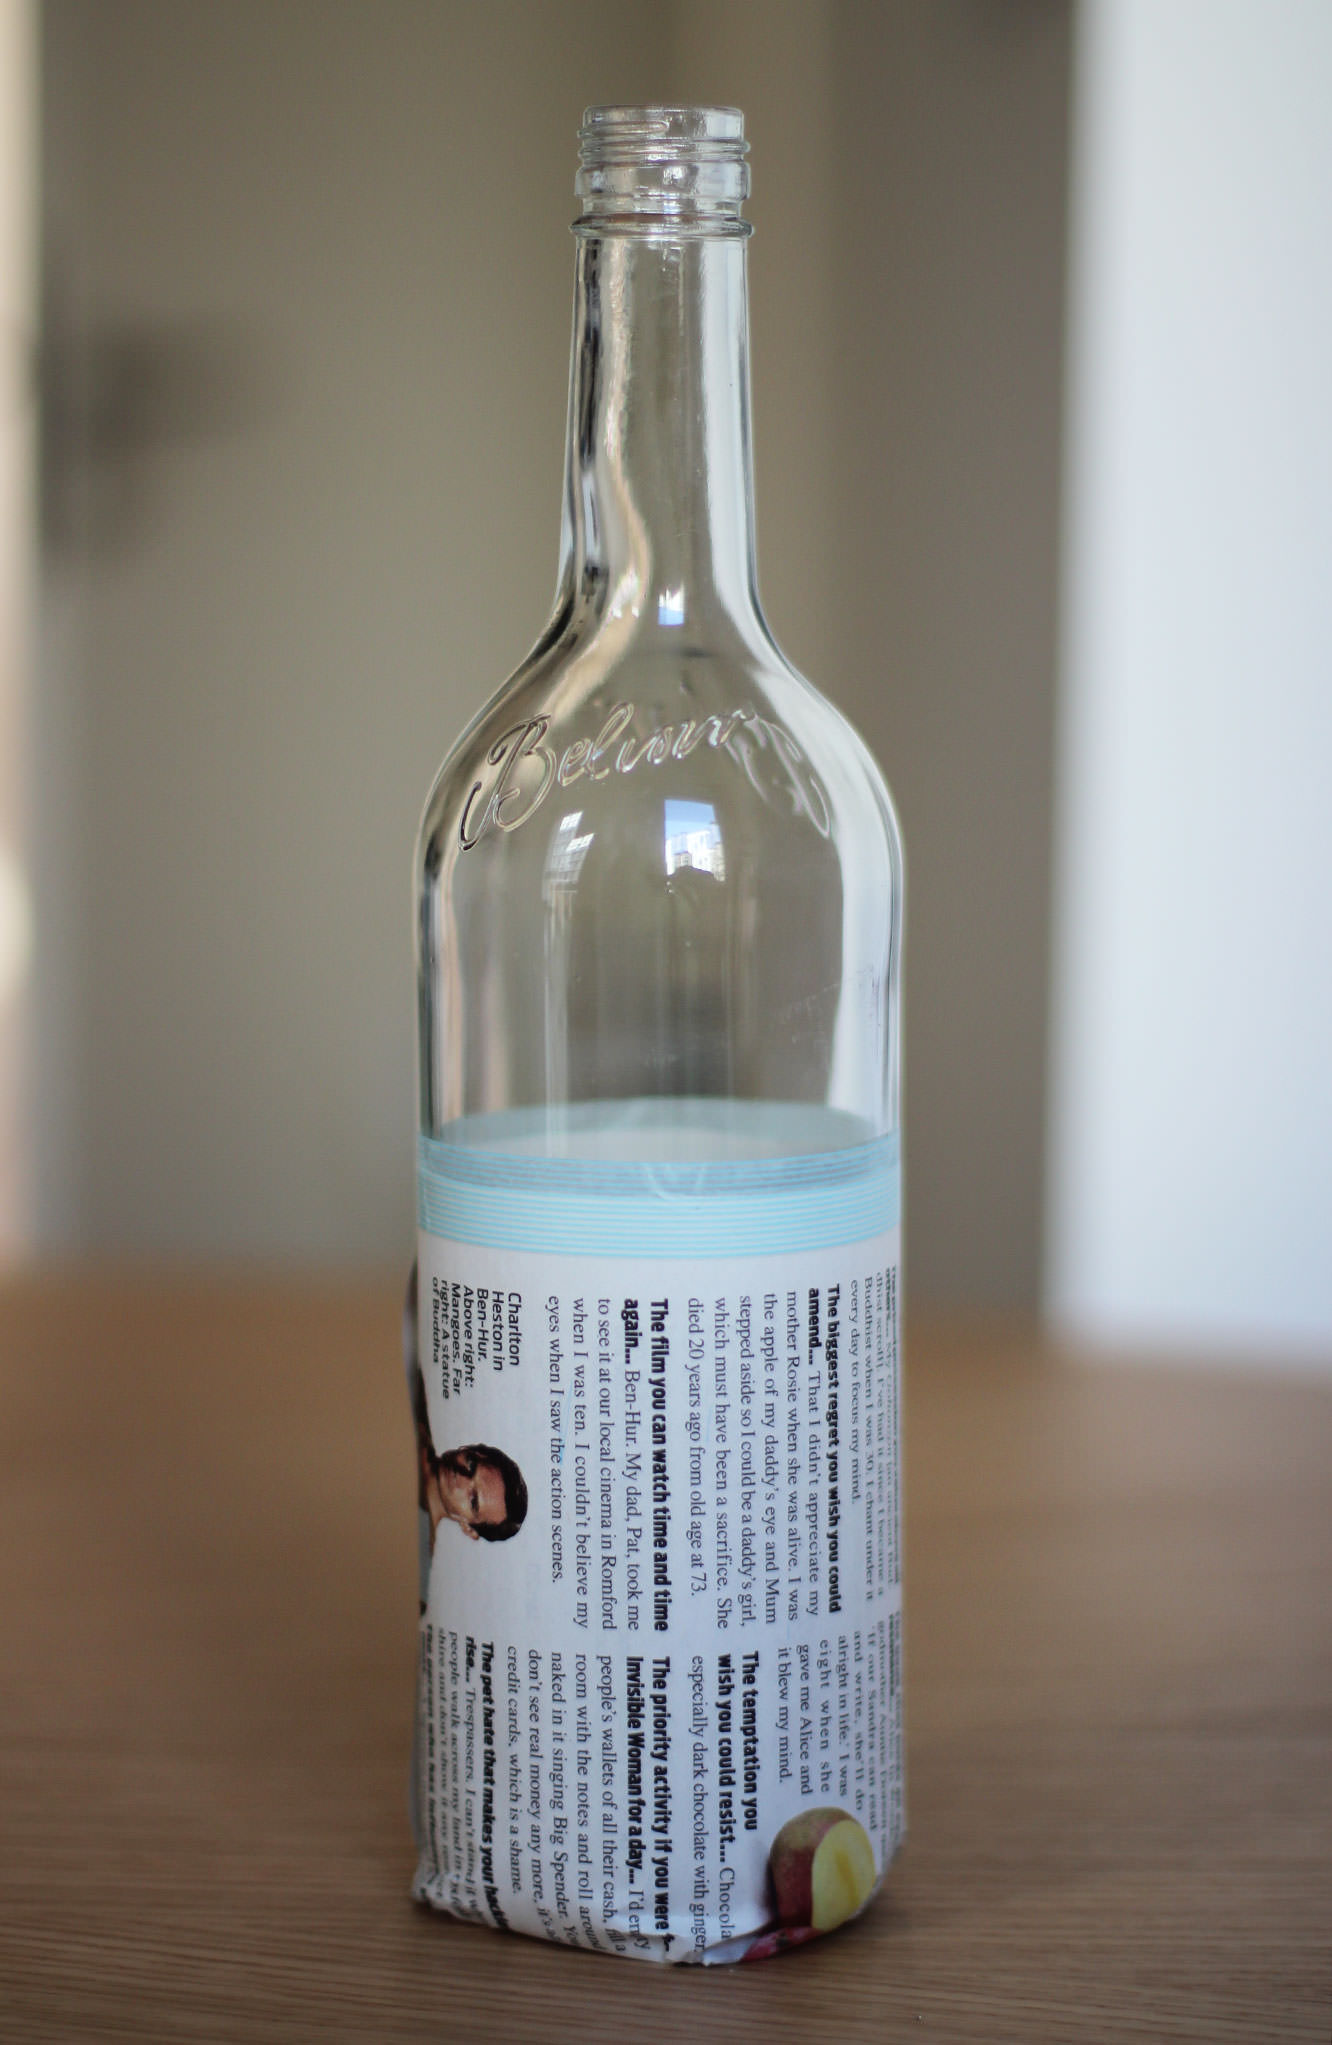
Wrap the tops or bottoms of your bottles in newspaper, securing it with wash tape or masking tape which would be a lot cheaper if you have it to hand. As you can see, I didn’t.

The more care you take over this the better as you want the lines to be as straight as possible. Otherwise your OCD friends won’t enjoy your company at your dinner party; they will be too distracted by your wonky candle holders. They will be totally justified in this.

spray-paint-bottle-candle-holders-diy-gif

Step four

Go outside and put down some newspaper. Obviously the best time to do this is on a dry day, but let’s just see how well the British weather co-operates with you…

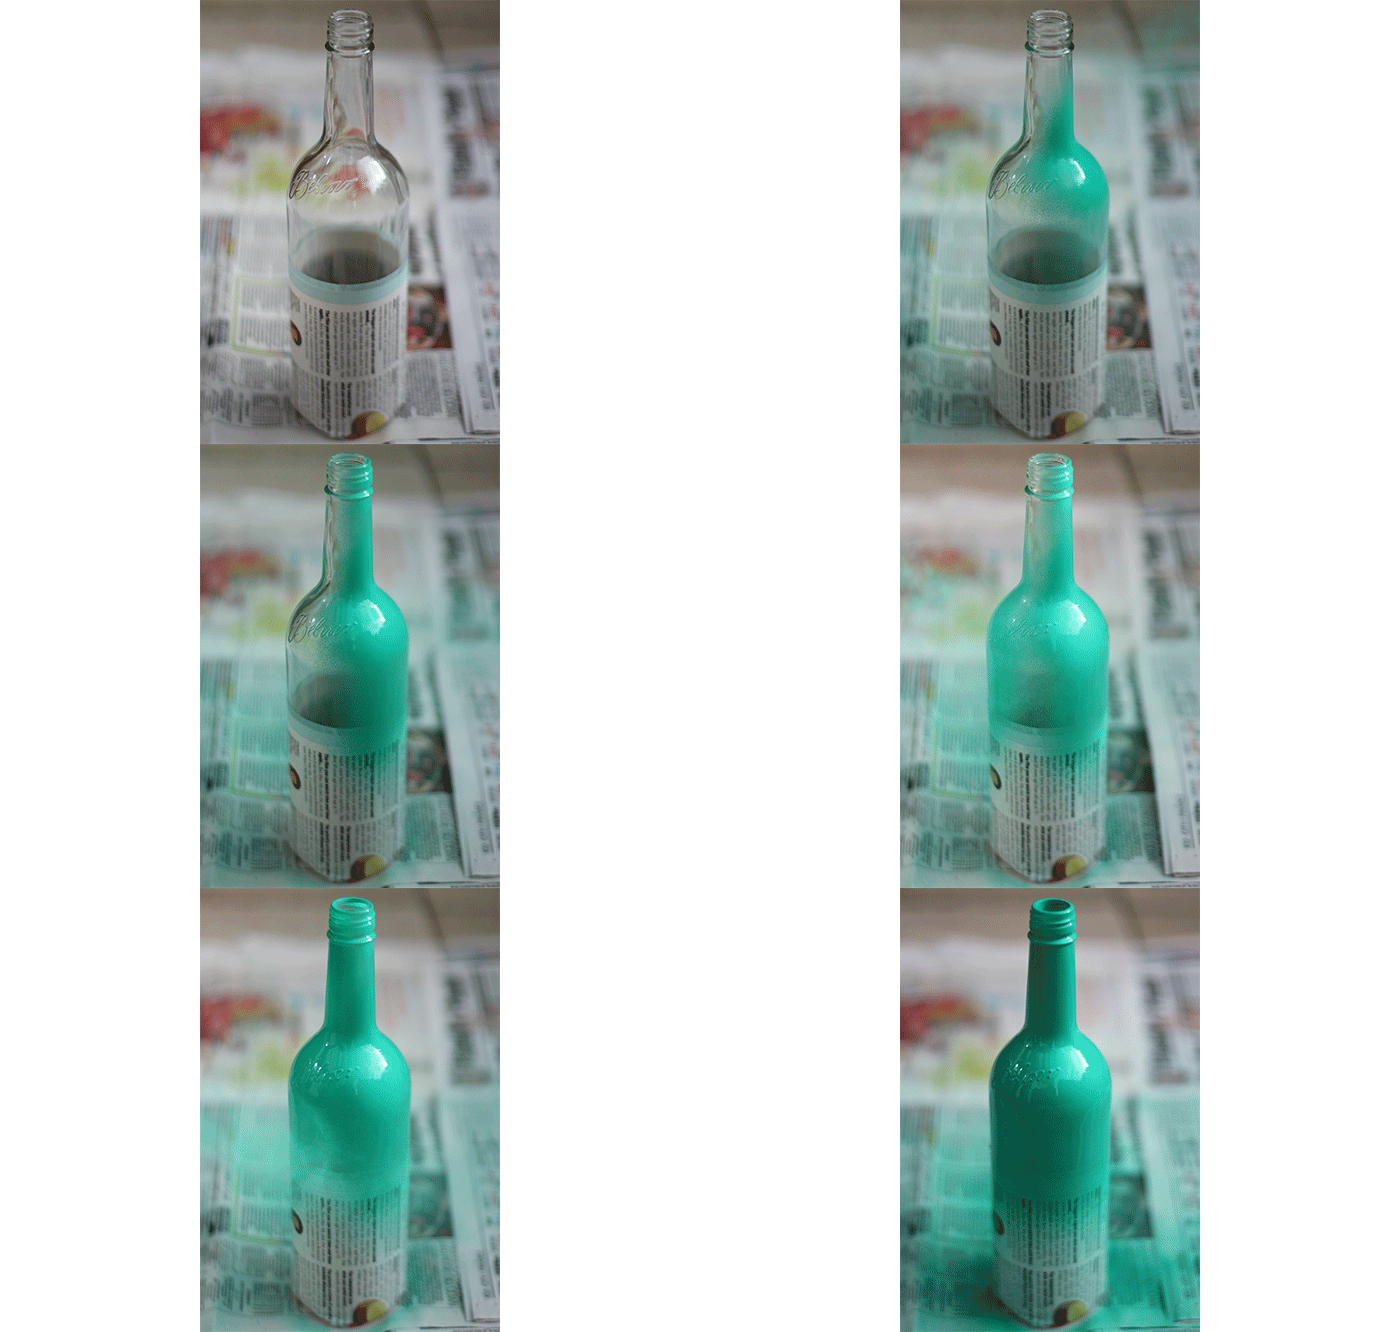
Shake the can of spray paint and hold about 20cm/8 inches away. Spray thoroughly until the bottle has an even, opaque colour.

Leave to dry.

spray-paint-bottle-candle-holders-diy-5

Step four – bonus tip

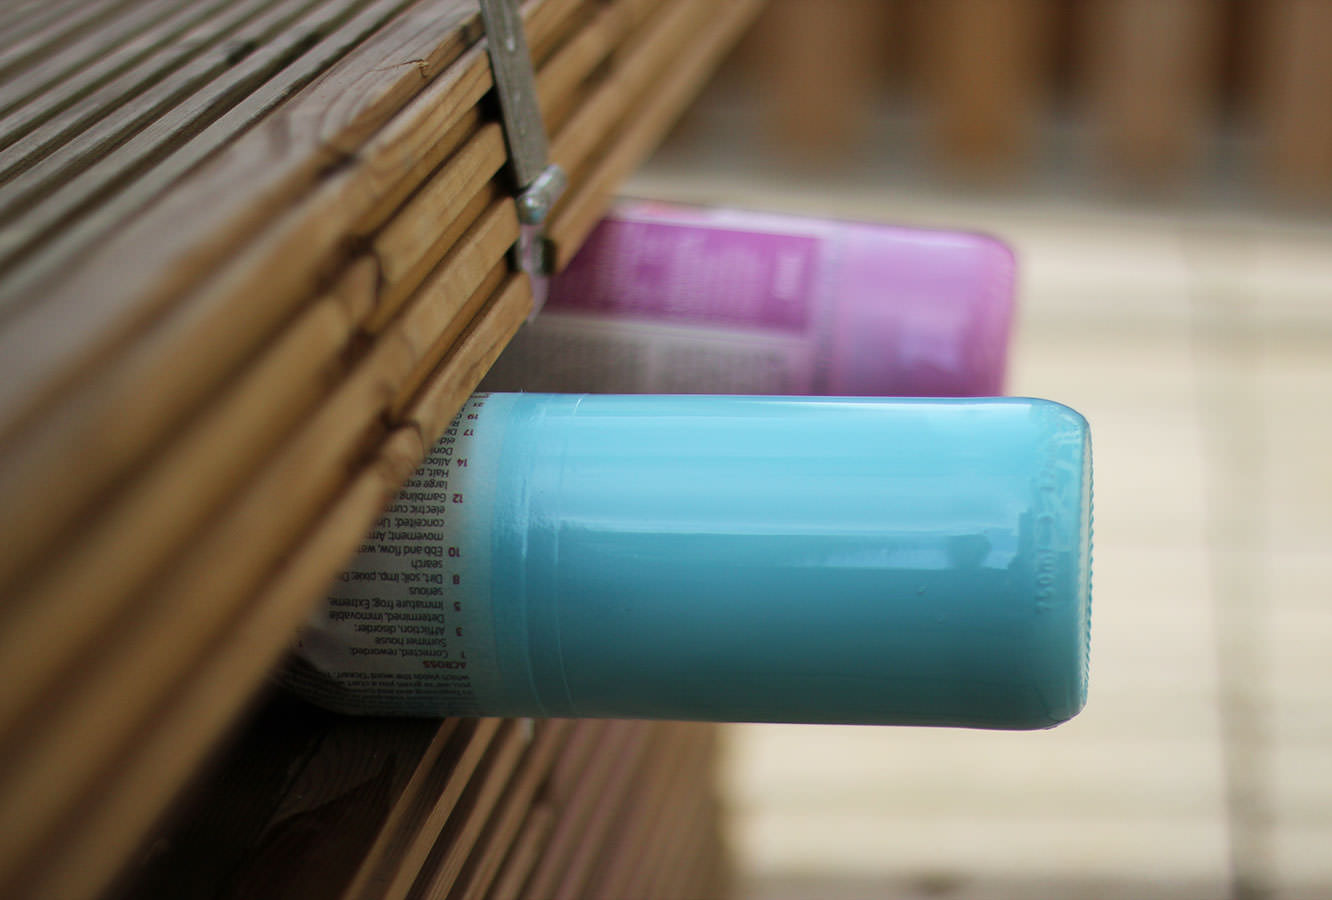
If you’ve wrapped the top of the bottle rather than the bottom, I found the easiest way was to hold the neck in my hand and spray while holding it.

In order to dry it you need to find something to wedge between so it’s sides/the bottom won’t touch anything else. You could just hold it as they don’t take long to dry at all, but I found this storage chest/bench in the garden was just the ticket.

spray-paint-bottle-candle-holders-diy-6

Step five

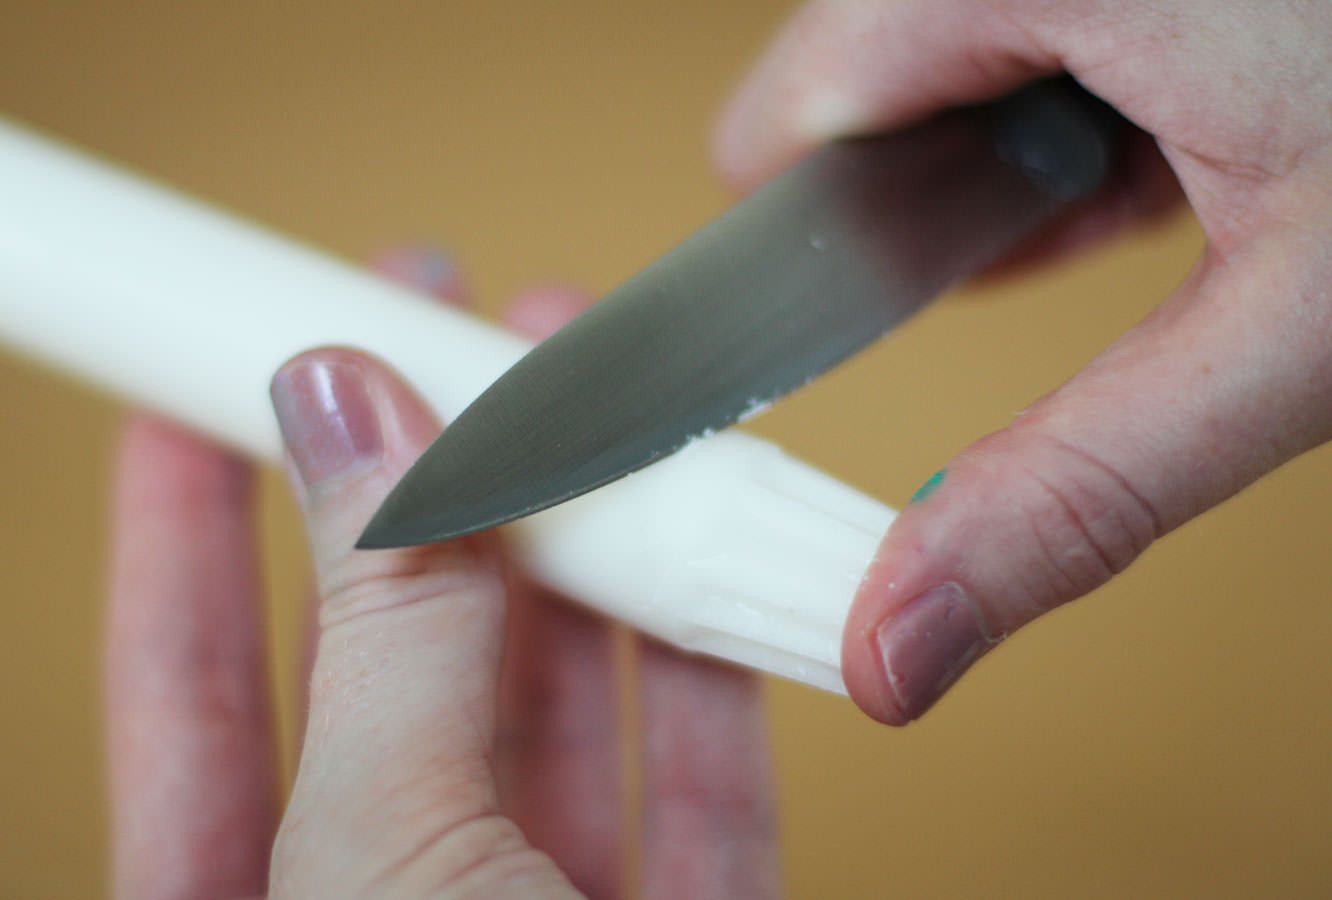
Whilst your bottles are drying you might need to do a little candle whittling. Mine had really handy grooves in them already but unfortunately were still a little on the large side, so I had to trim them down.

Just for the sake of everyone who knows how clumsy I am and would reel in horror at this picture, I still have all ten digits.

spray-paint-bottle-candle-holders-diy-7

Step six

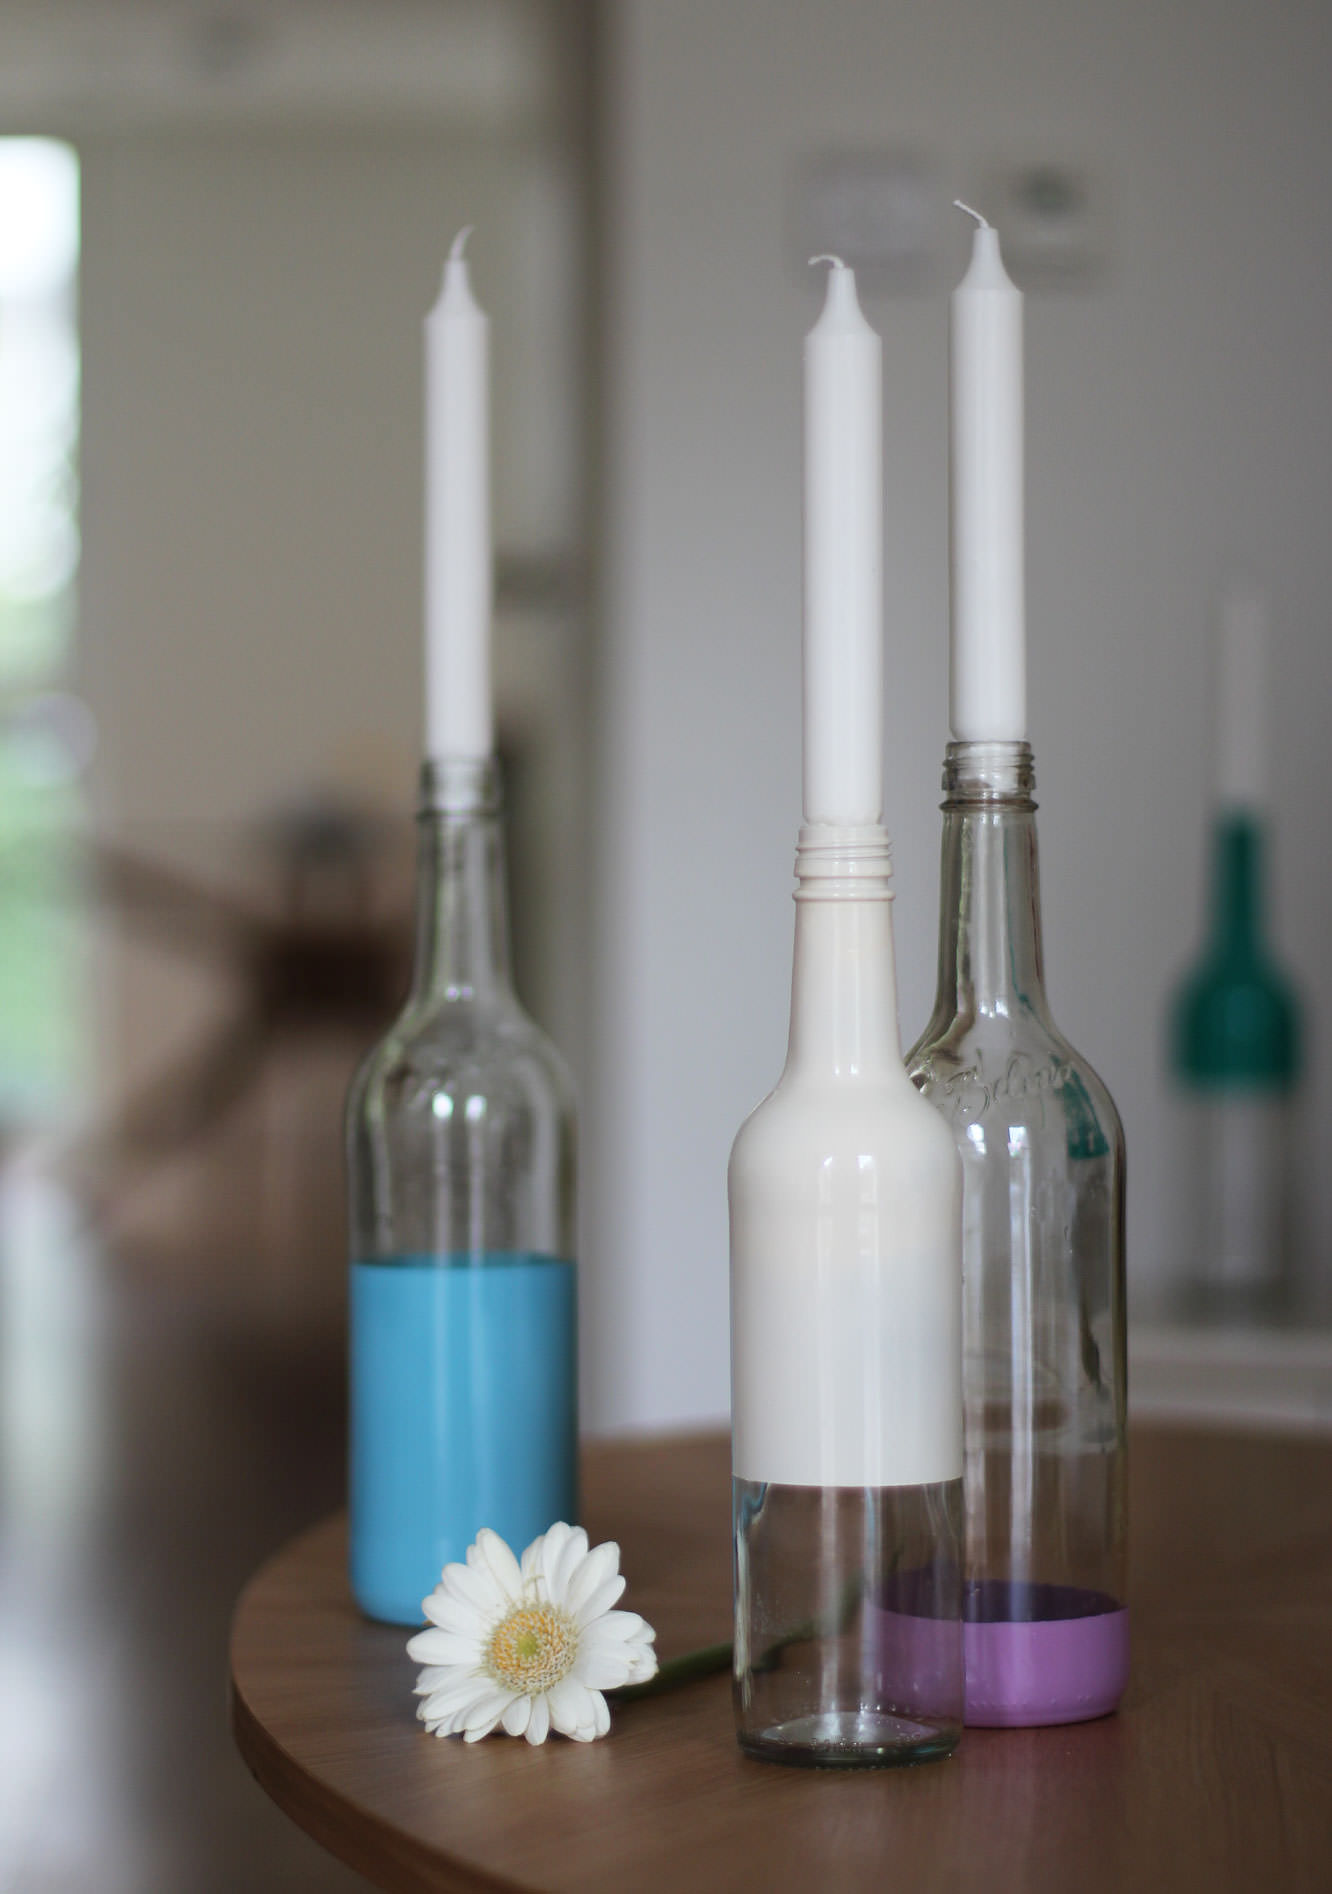
Push candles into the bottle necks and admire.

A hearty task

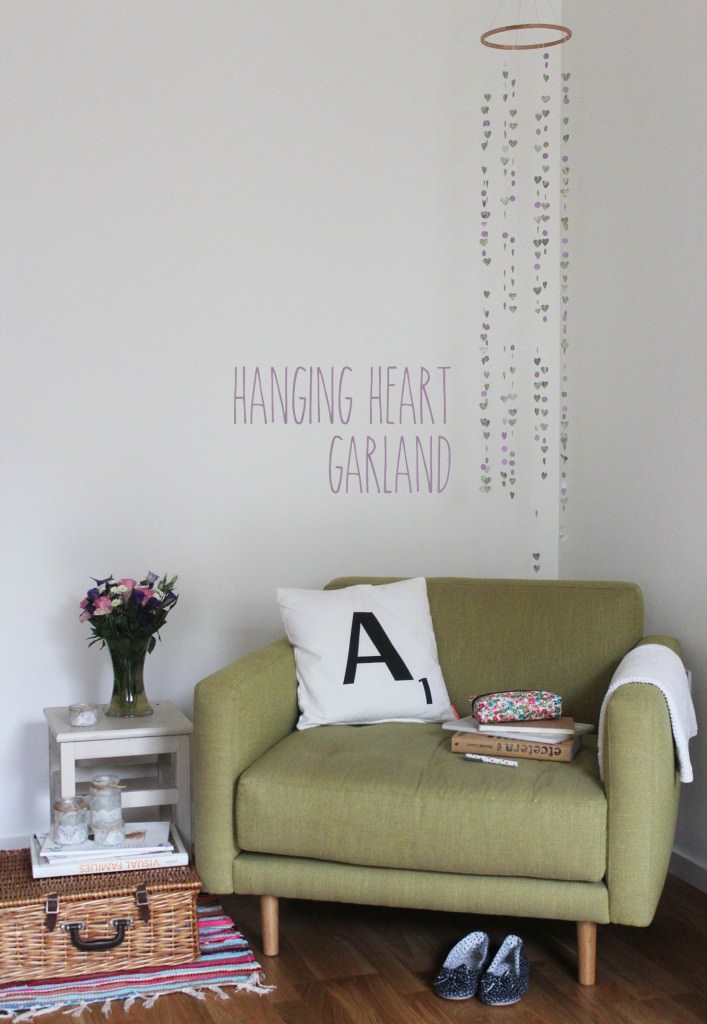
Just when you (and I) thought I was going to stop going on about my wedding filled life, one of my best friends decided to get married in December. Of course being a little bit obsessed with her and with craft, I set about thinking up some decoration ideas.

The bride in question hasn’t got a huge budget, so whether you’re due down the aisle yourself, know someone who is, or just fancy brightening up a corner of your living room you won’t be too out of pocket with this one.

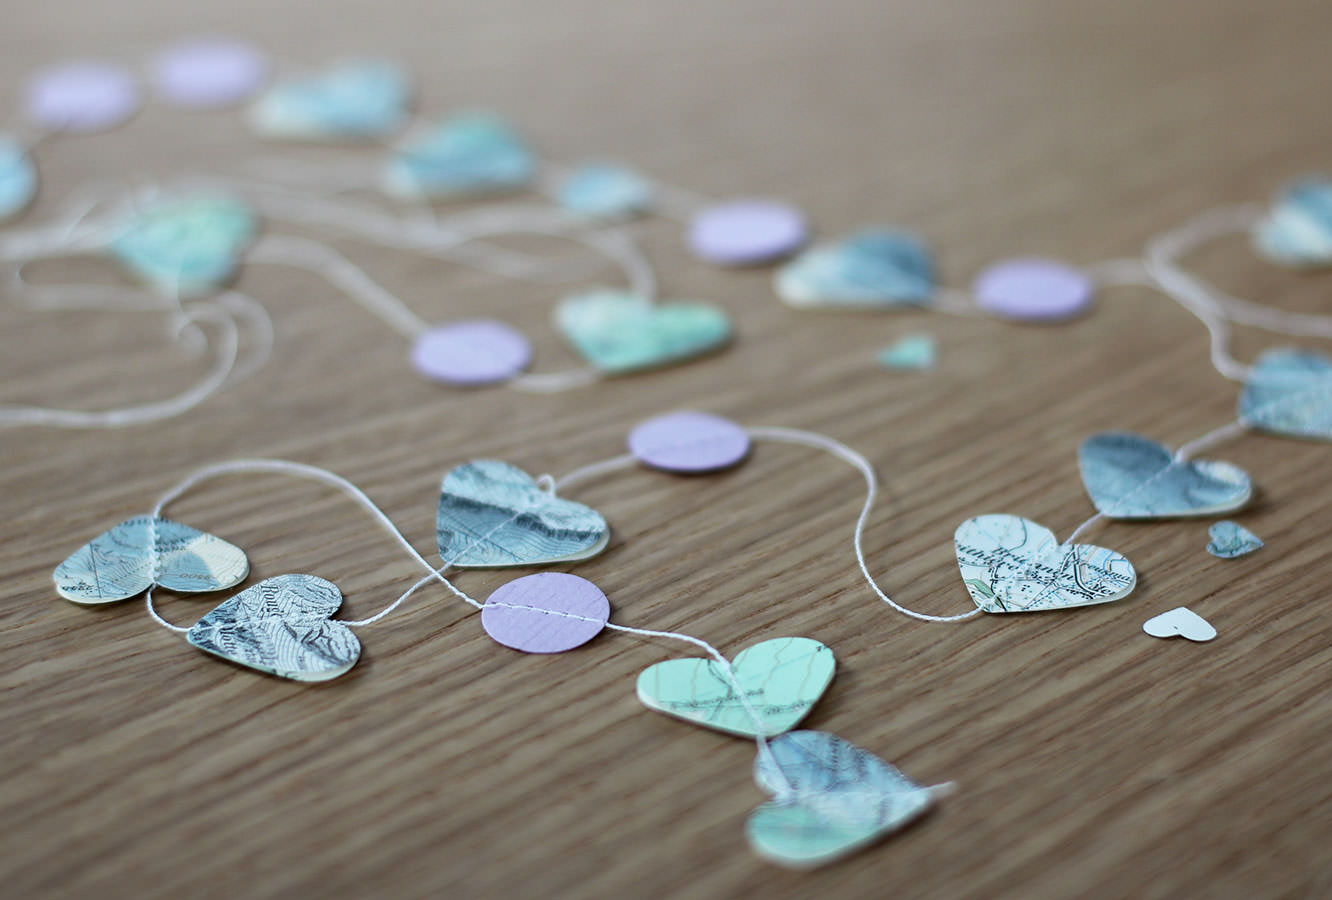
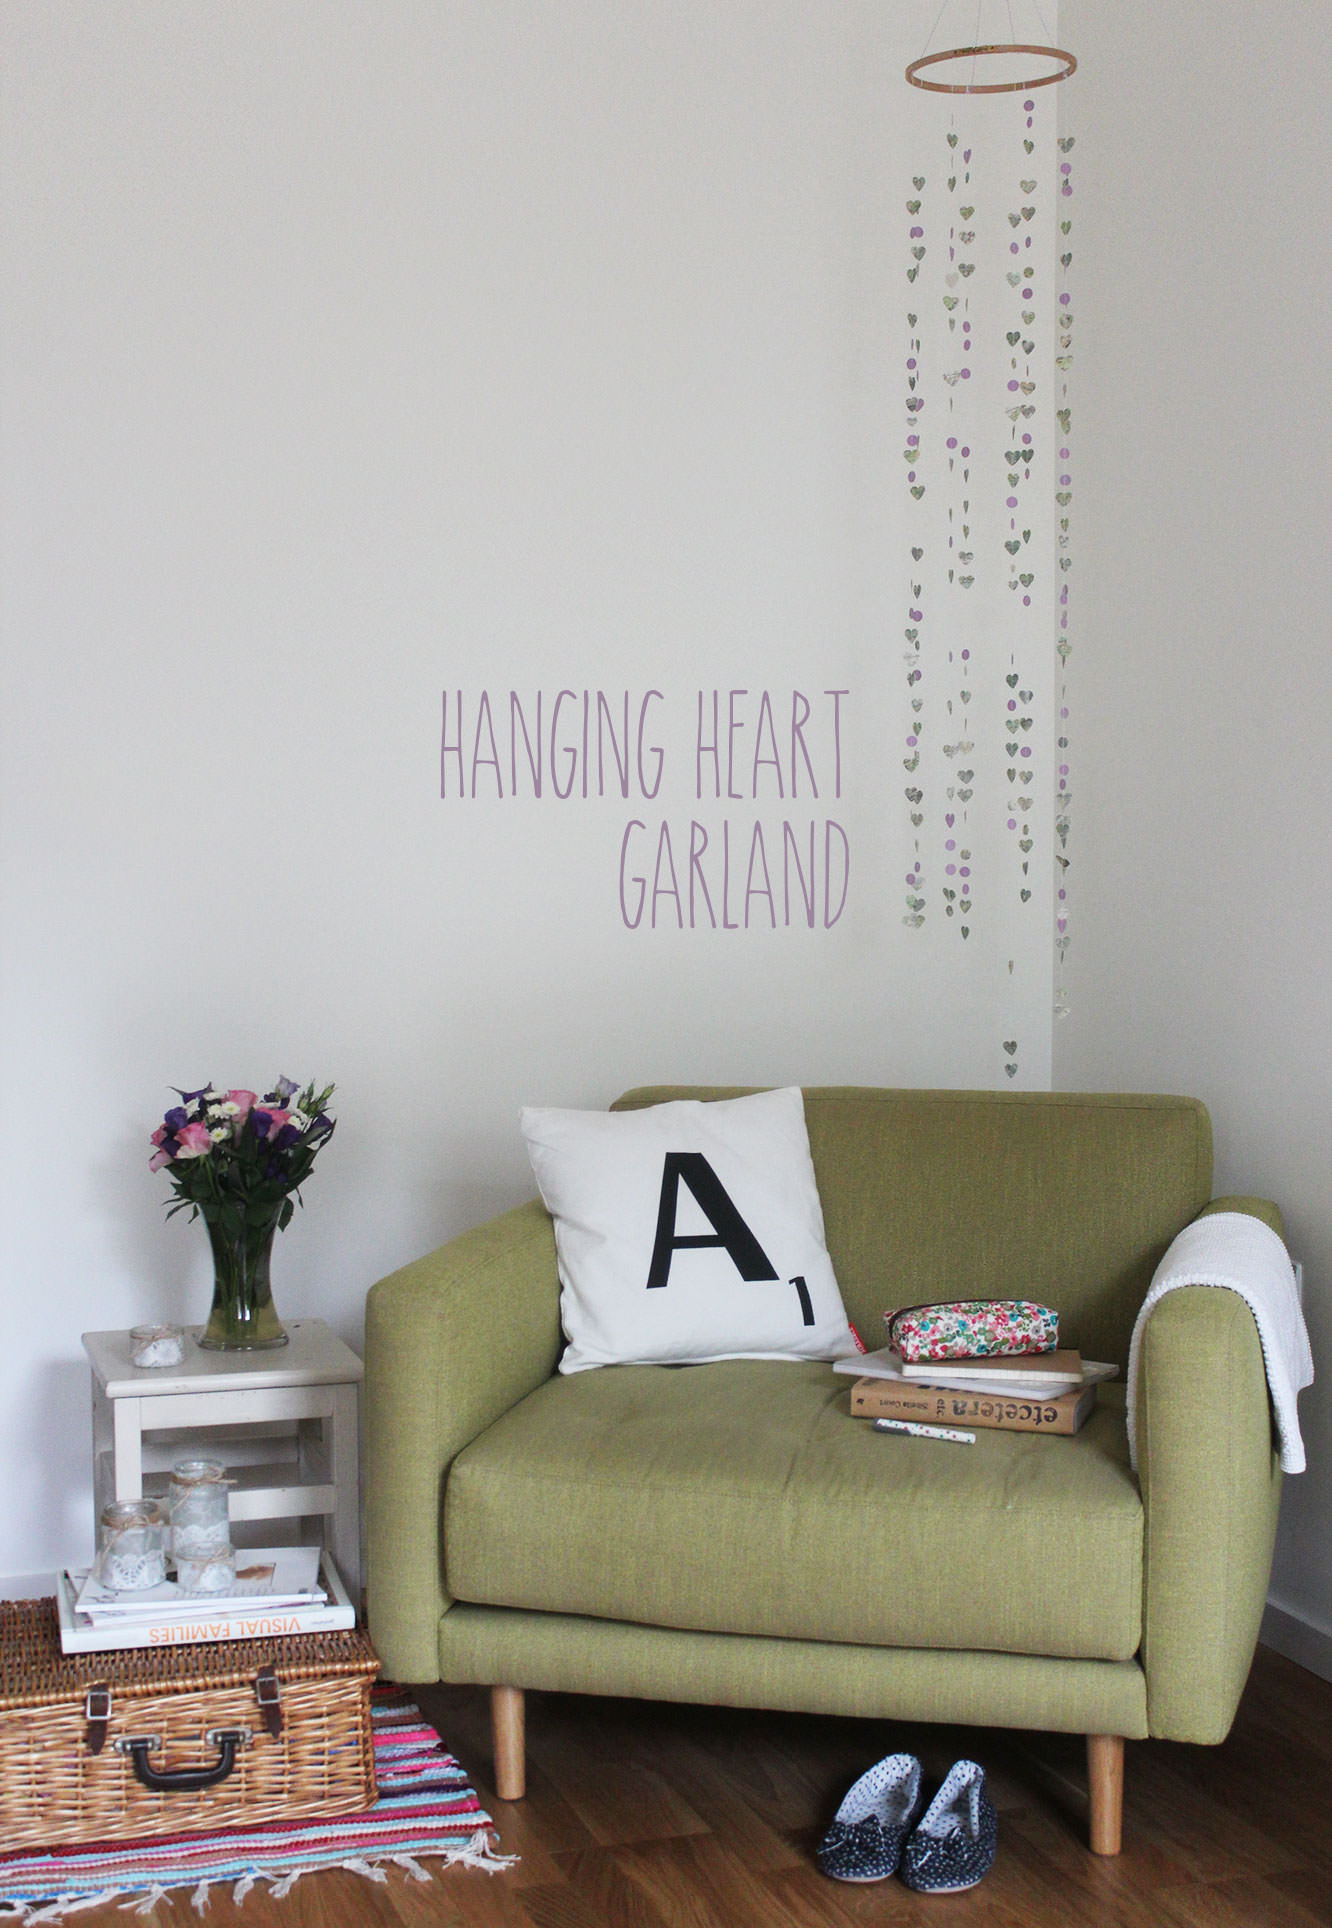
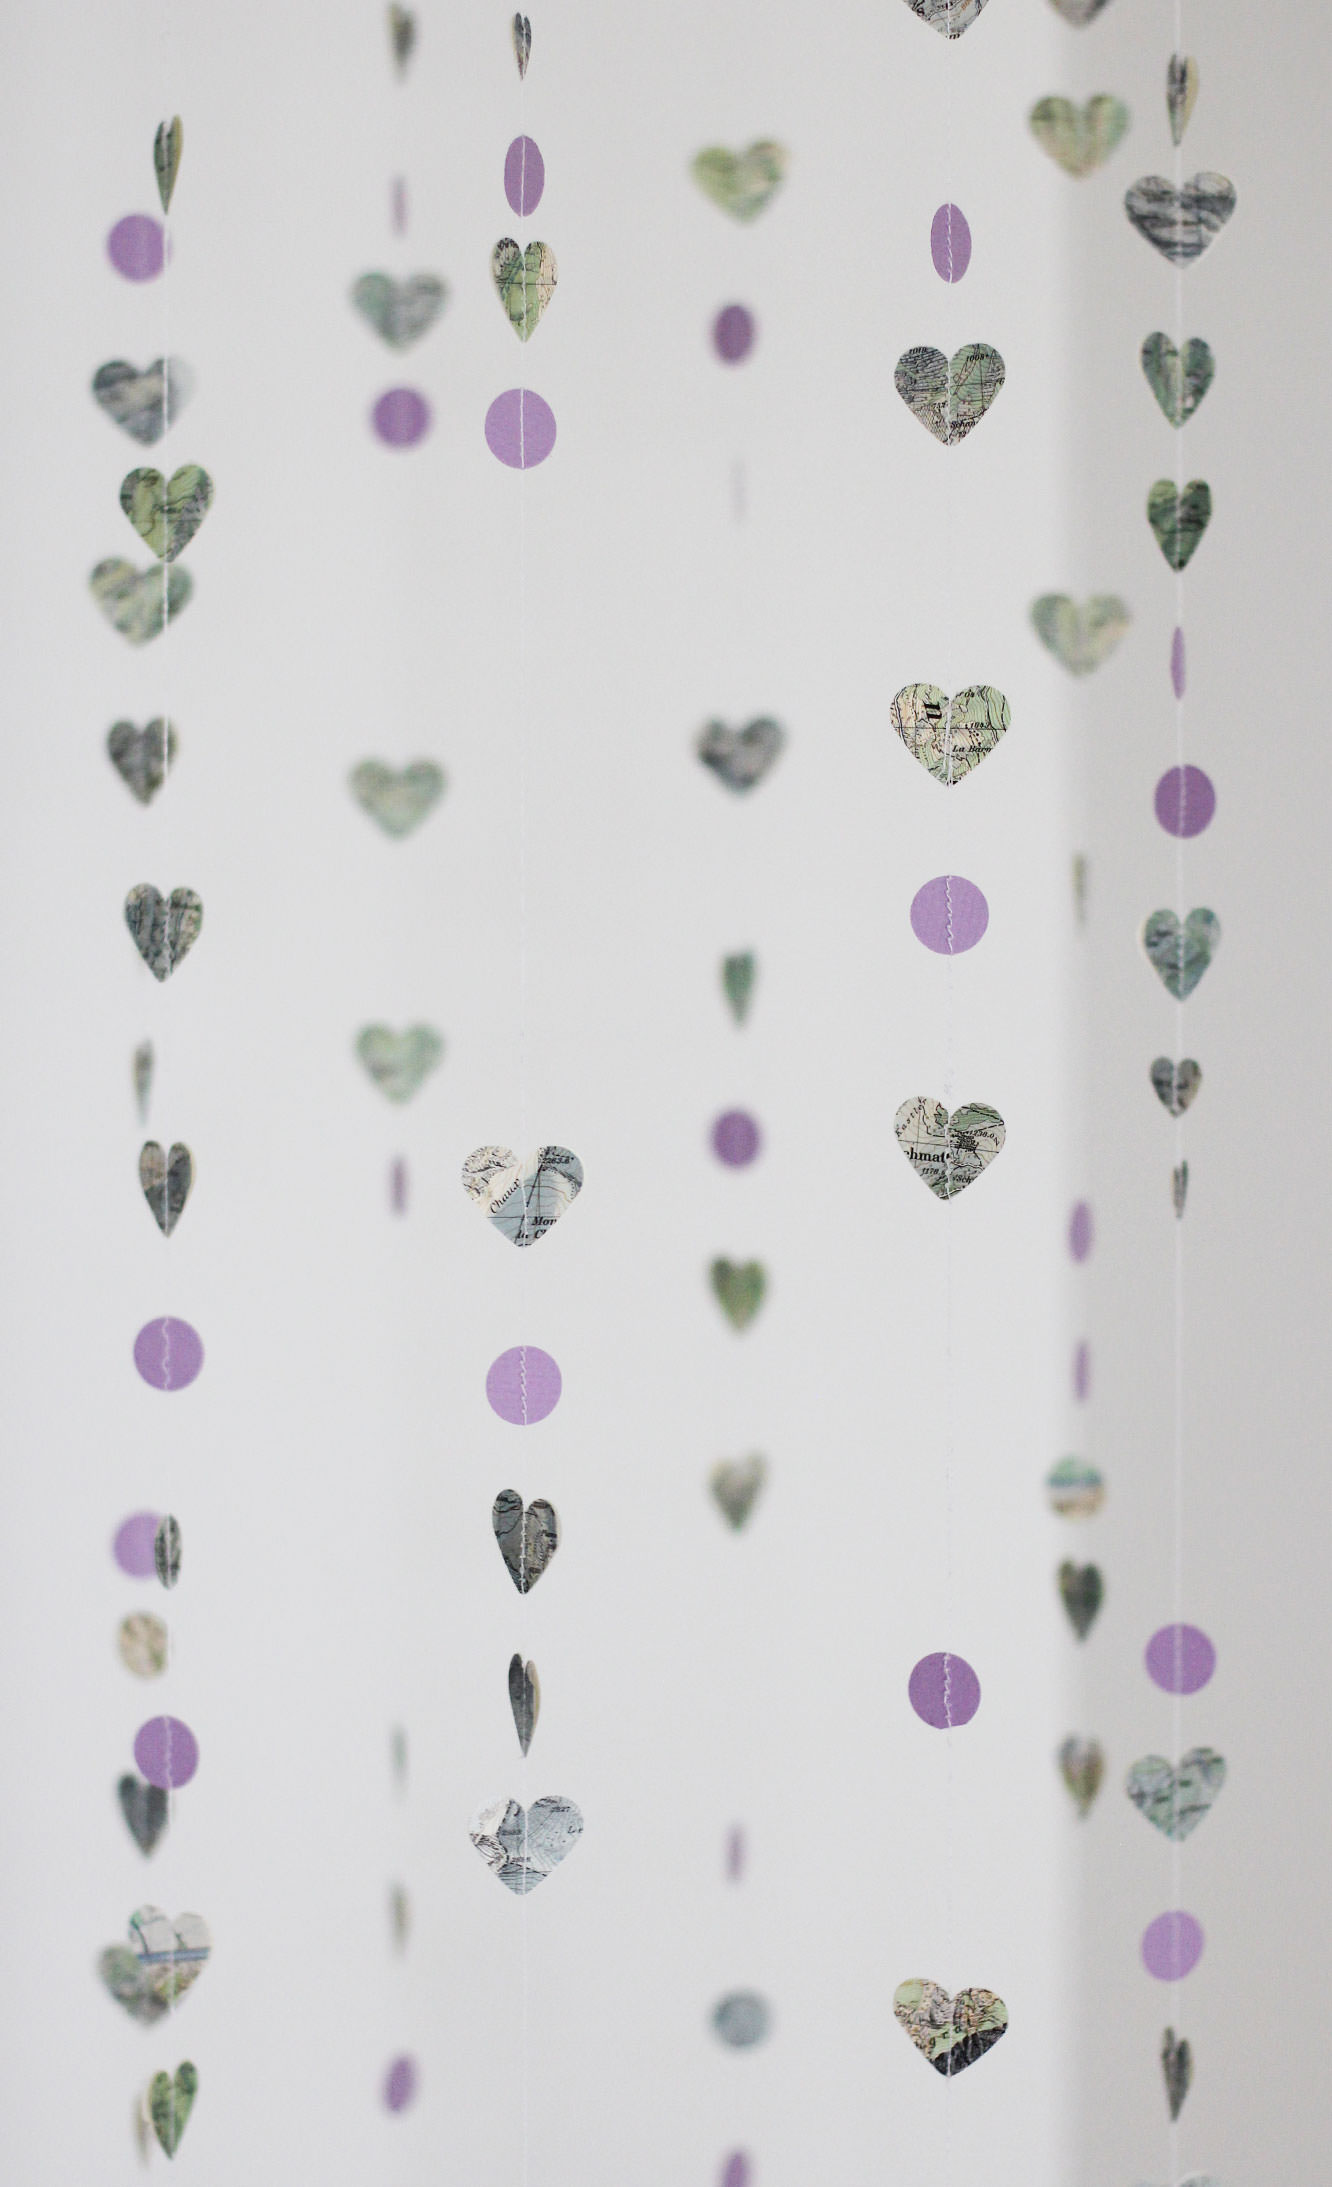
heart-garland-wedding-decoration

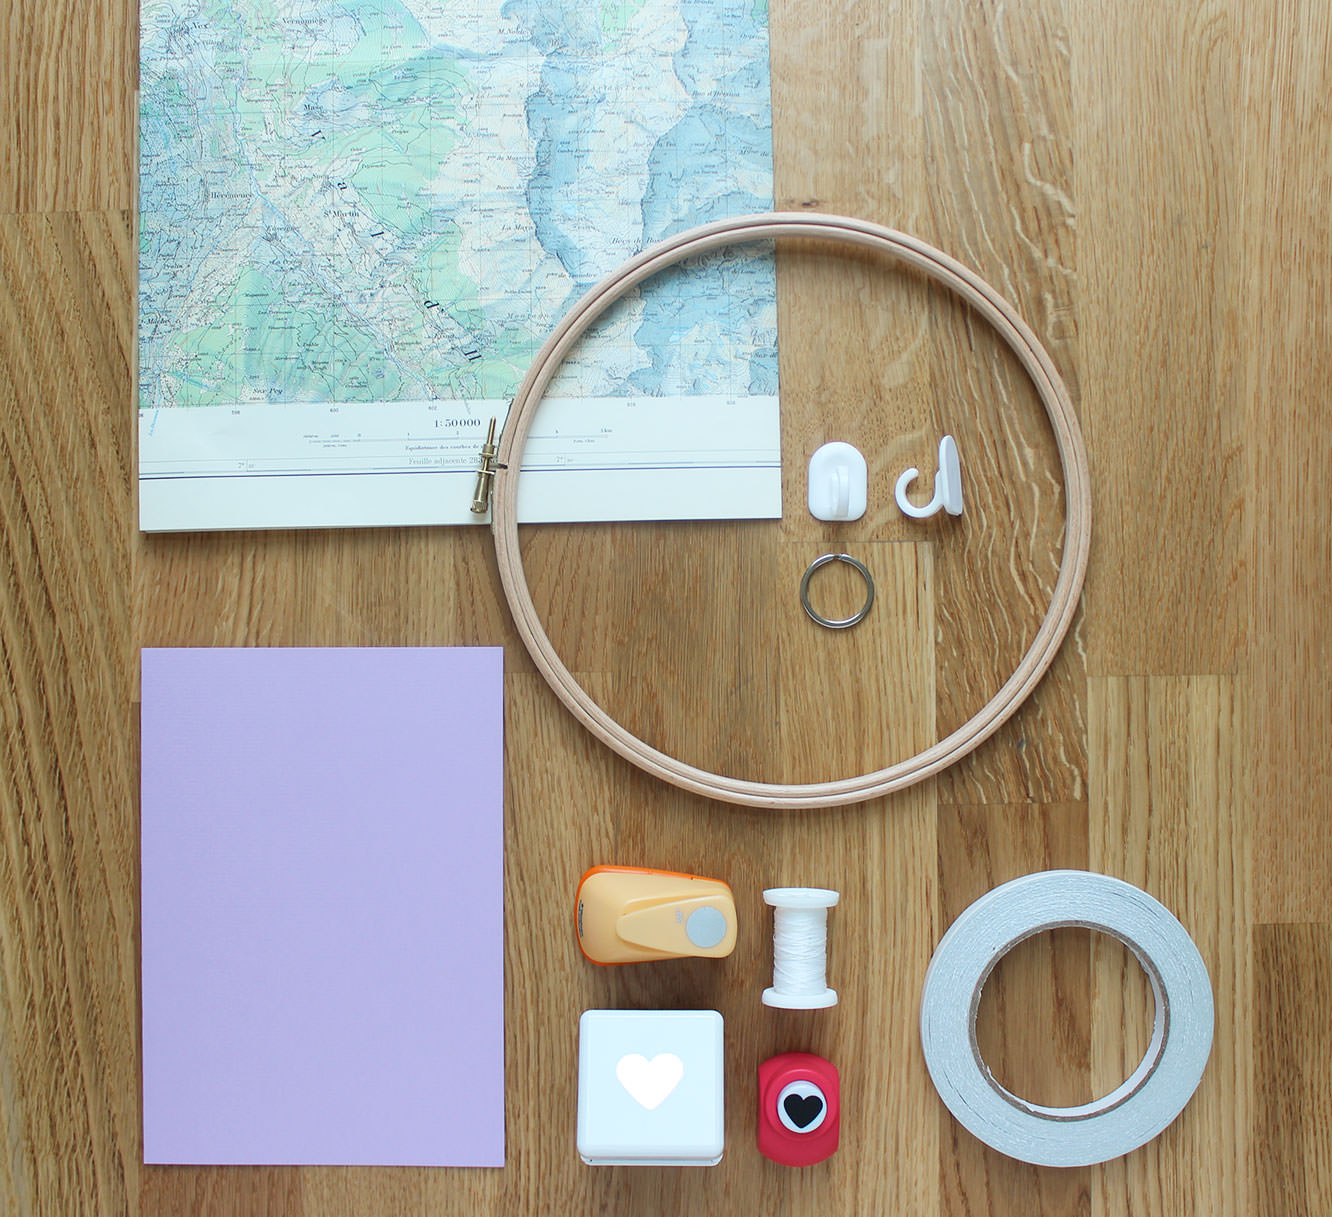
You will need

An embroidery hoop (mine was 9″ from John Lewis for about £2, they are probably even cheaper elsewhere)

Cotton thread

Card/paper of your chosen pattern and colour (I was very fortunate to have an old map that had lots of dark blues and sage greens matching the colour scheme perfectly)

Double sided tape (not totally essential)

Craft punches of whatever shape and size you like the most

A ring from an old keyring

A sticky hook (I bought these from Wilkinsons; make sure you choose one with a very round hook as you are sticking it to the ceiling, not a wall, and you don’t want your decorations to slip off and come crashing down)

heart-garland-wedding-decoration-1

Step one

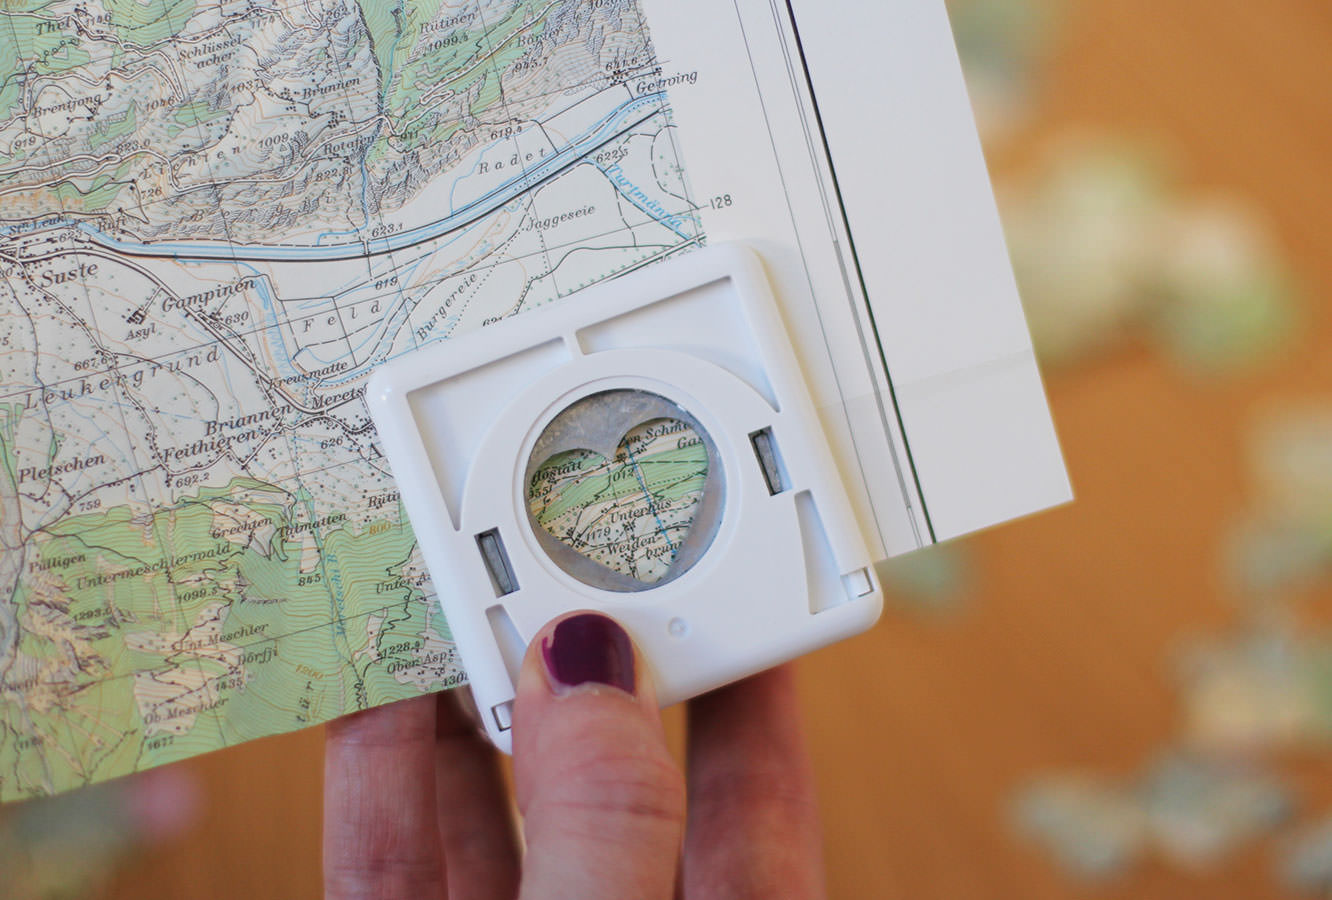
Use the craft punch(es) to cut out loads of your chosen shapes. Meg wanted hearts for her wedding but this could easily work with stars or leaves or something too. I also used some circles and smaller hearts to vary the design slightly. I got a bit cross with the small heart punch though so they are few and far between…

I used the punch upside-down to make sure my shapes were whole and that I wasn’t wasting any paper.

heart-garland-wedding-decoration-2

Step two

Keep cutting until you have a big old mound of them. I decided I didn’t want to have the white back of the map showing so needed to cut twice as many as I thought I would use so I could put them back to back. Of course if you’re using coloured card or double sided paper then you won’t have the same issue.

heart-garland-wedding-decoration-gif-1

Step three

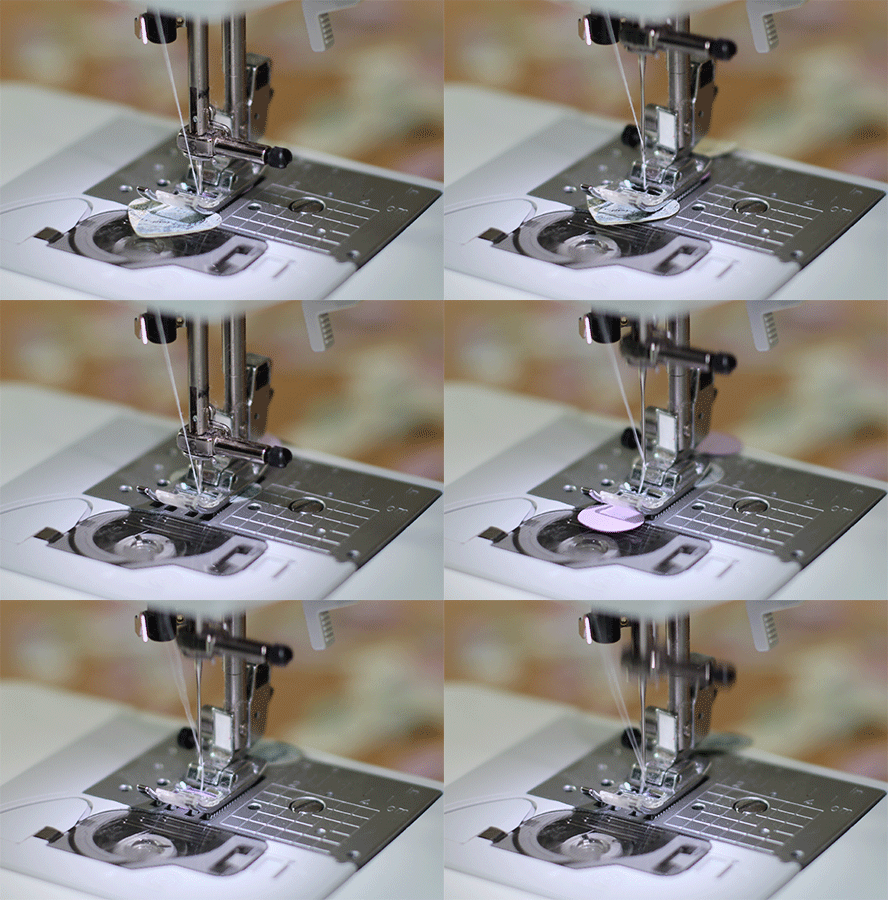
If you’ve got a sewing machine, run your shapes through it until you have a long string of hearts. I decided not to measure mine as I wanted them to all finish at slightly different lengths and for the shapes to be unevenly spaced. It will cause you a lot less stress doing it that way too!

If you don’t have a sewing machine use double sided tape or glue to stick matching shapes back to back with the thread running through the middle.

Make sure you leave a generous length of thread at the top to tie onto the hoop later.

heart-garland-wedding-decoration-3

Step four

Make several more strings like this. I think eight is the perfect number, but you might choose to experiment if your hoop is smaller/bigger than mine.

heart-garland-wedding-decoration-4

Step five

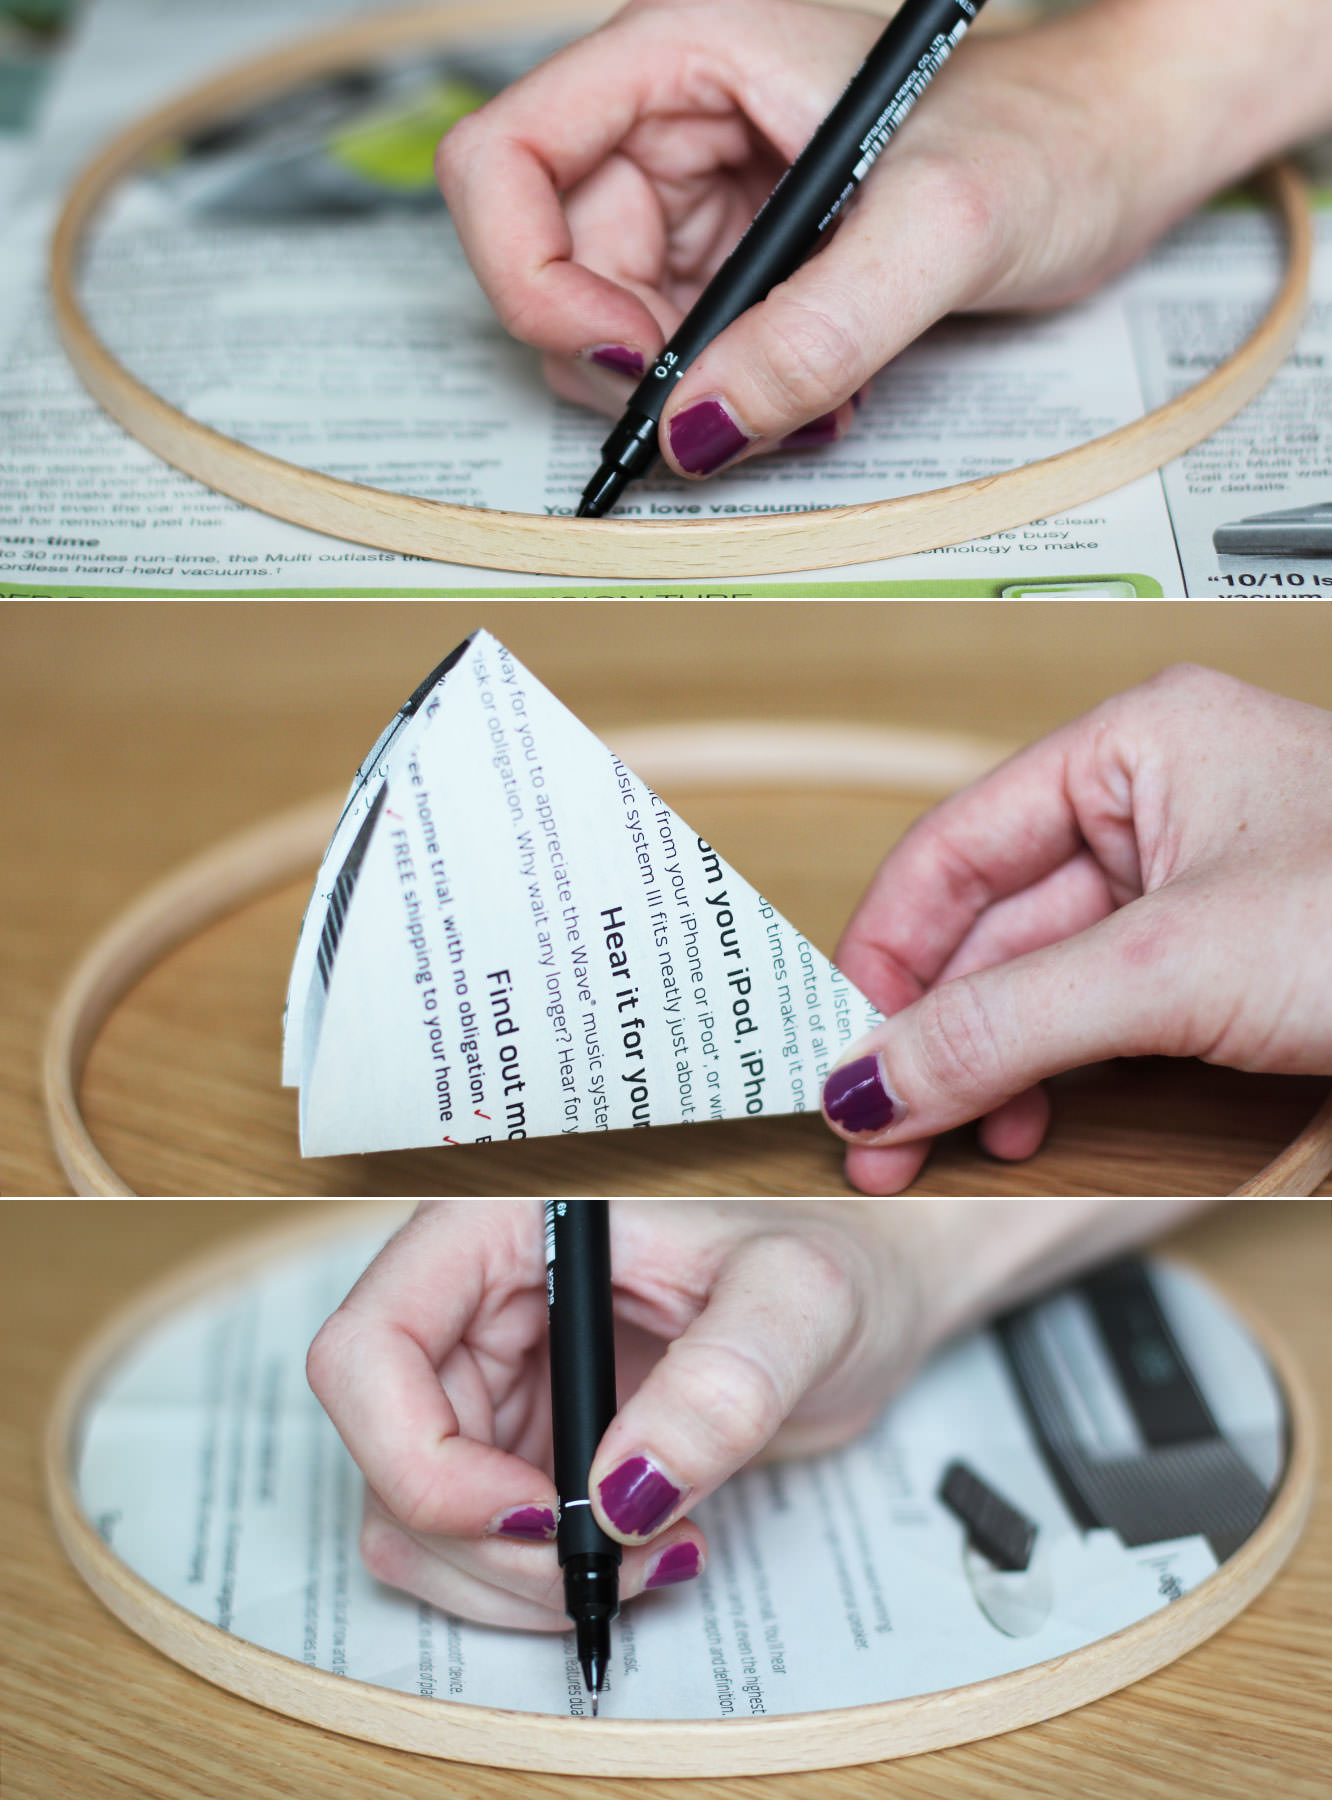
Remove the inner circle from your embroidery hoop and mark even spaces around the circumference.

I did this by tracing the circle onto newspaper and cutting it out. Then I folded the paper circle in half three times giving me an eighth sized segment. After unfolding I just used the fold marks as guides for my marking out.

heart-garland-wedding-decoration-5

Step six

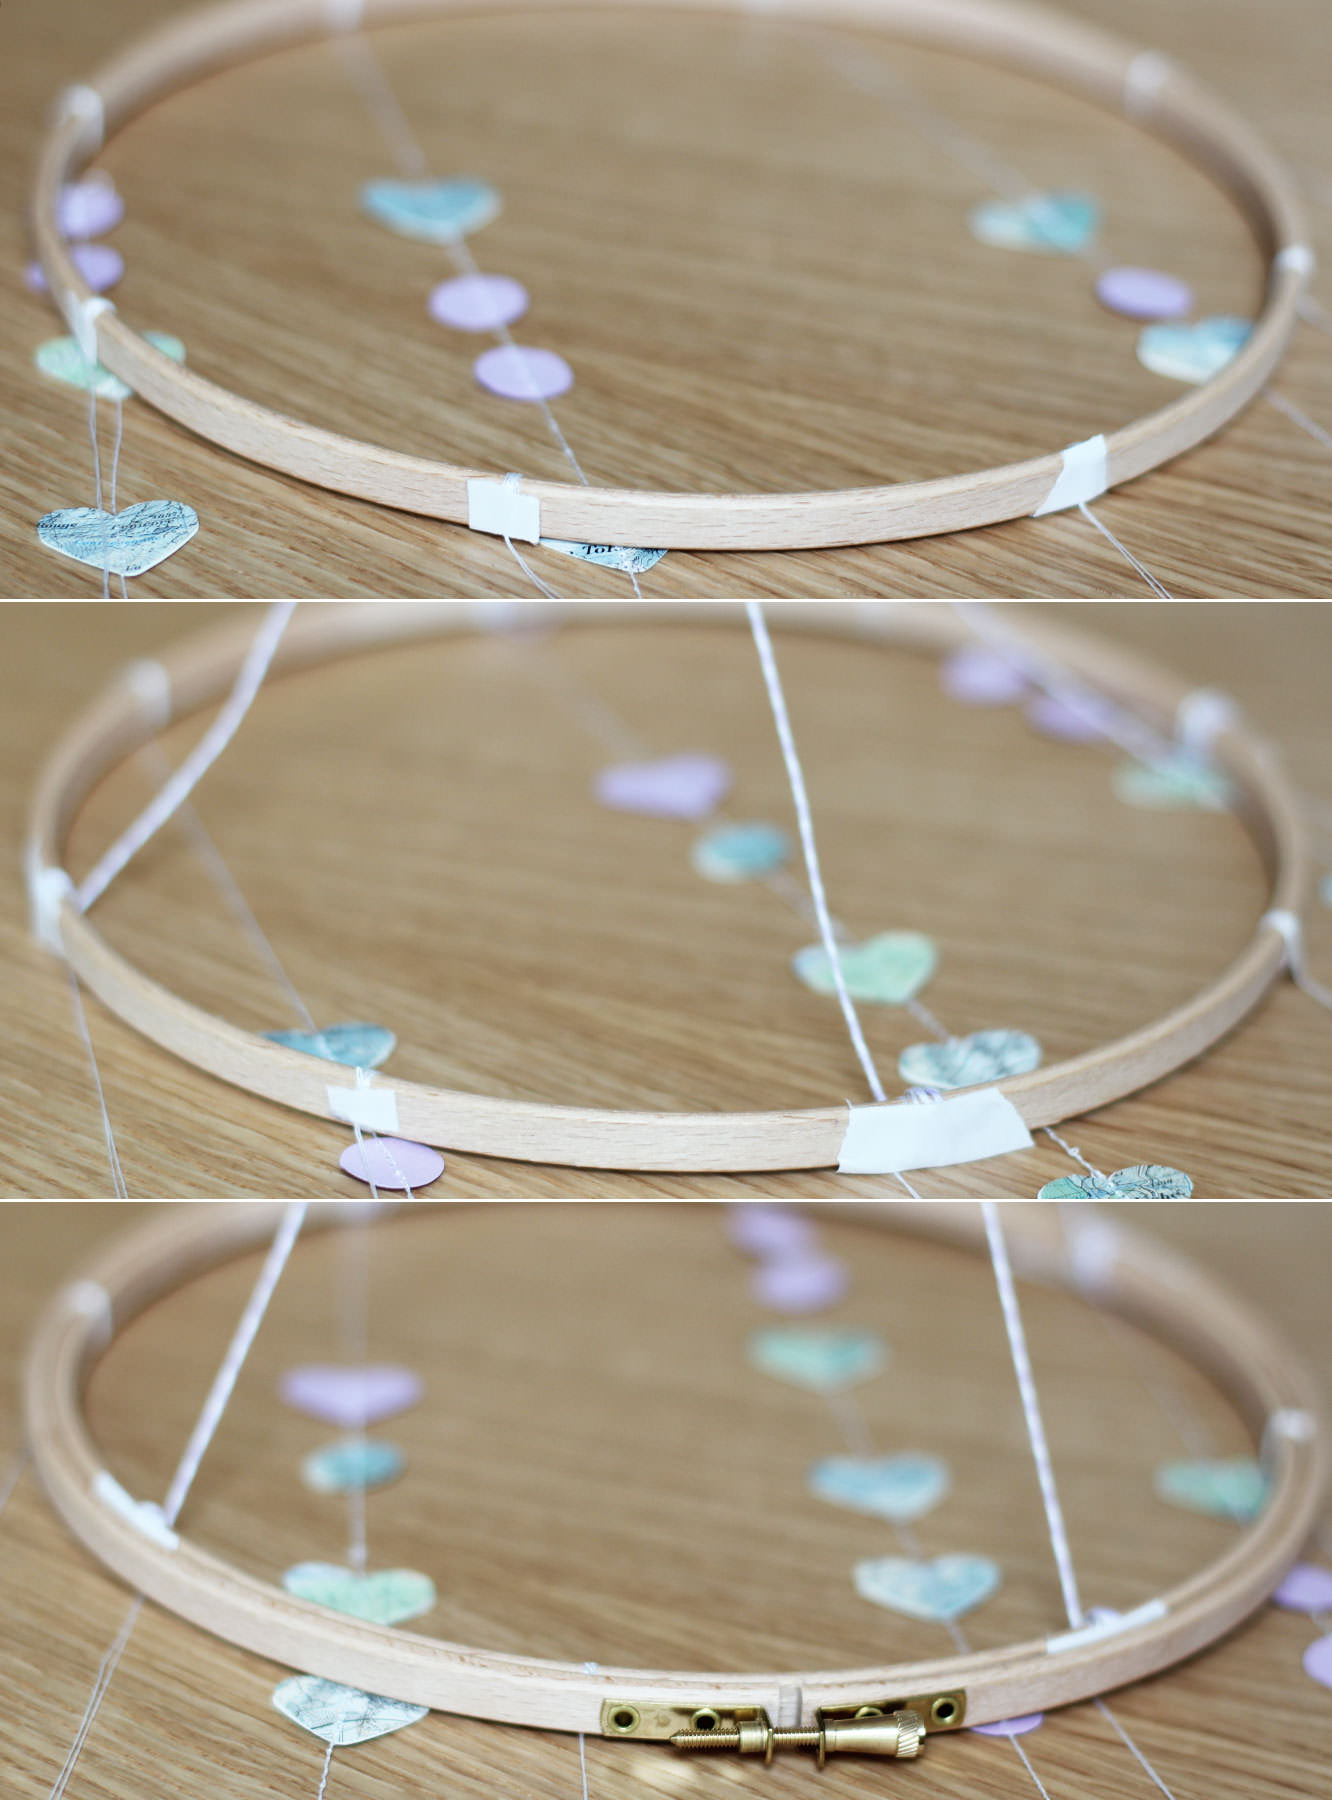
Wrap the top of each length of garland around the hoop several times at the marked points. Secure with tape on the outside of the hoop.

Step seven

Using two lengths of slightly stronger thread/string if you have it; make a cross for hanging. Attach so that there is thread at the 12, 3, 6 and 9 o’clock points of the hoop.

I also then tied a single length of thread to the place the hanging cross lengths overlapped, and attached the ring of a keyring to that. I wanted the garland to spin around gently, and this won’t happen if you use the crossed threads to hang it by.

Step seven and a half

Unscrew the larger hoop part way to loosen it, place it over the top of the inner hoop and tighten as much as possible.

Step eight

Affix the sticky hook to desired space on the ceiling and hang.

heart-garland-wedding-decoration-6

heart-garland-wedding-decoration-7


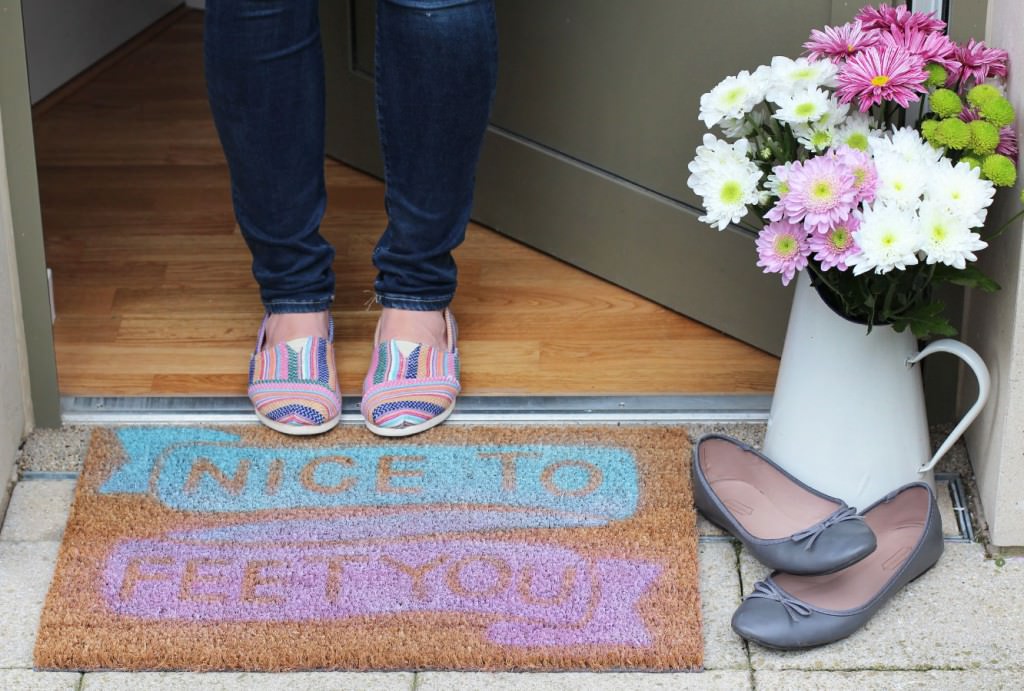
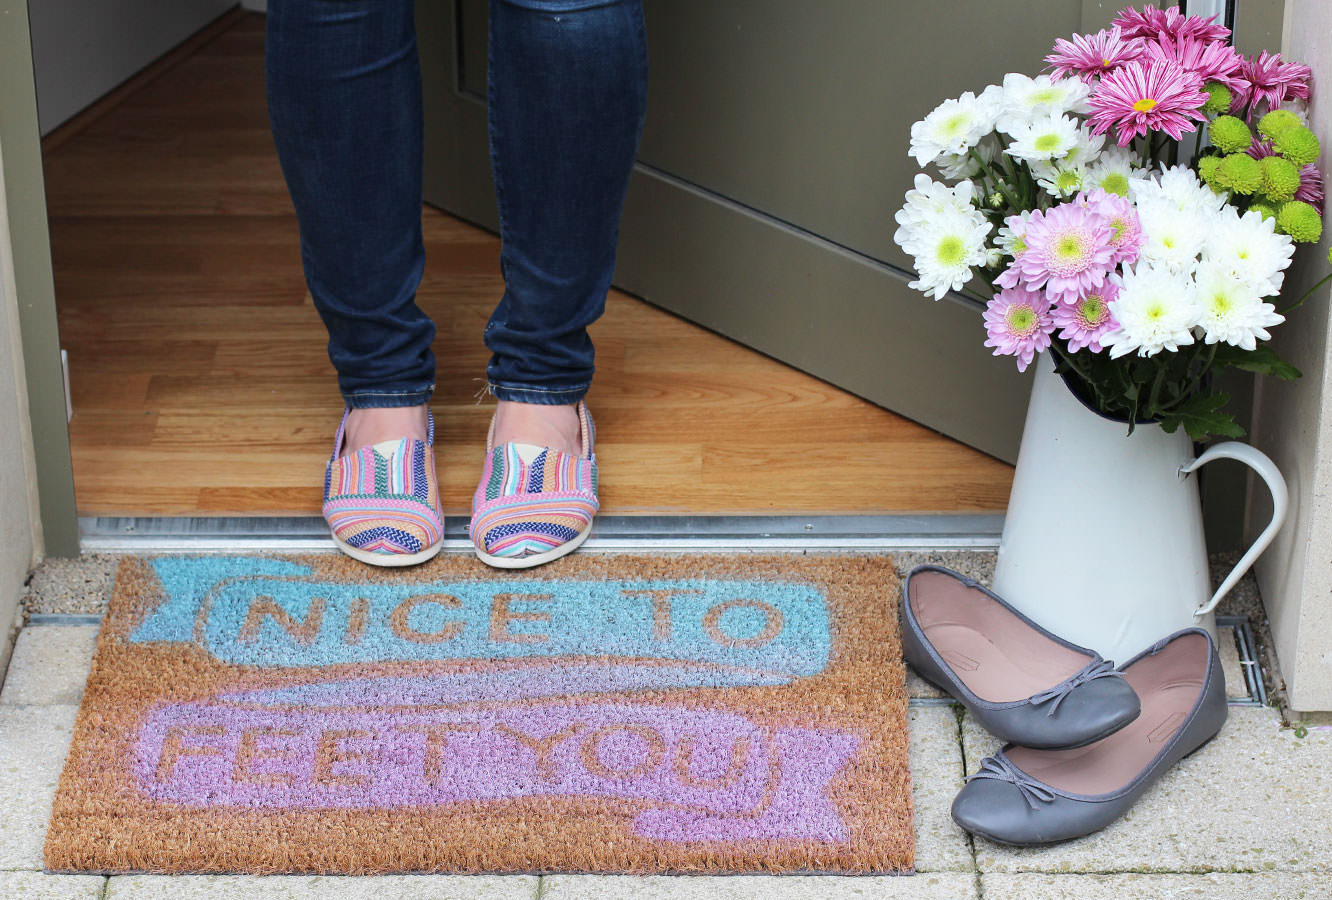
Nice to feet you

Having been ticked off by one of my nearest and dearest for producing too much food and not enough craft on the blog lately I thought it was about time I sorted that out. Plus, I’m a little bit scared of her.

Having noticed the doormats along the street were pretty much all exactly the same, and needing to acquire one, I thought of this little make.

My housemate provided the rather excellent pun for ours, I can’t take the credit for that.

This could double as a housewarming gift or wedding present too if you’re a bit strapped for cash and want to give something unique and homemade.

door-mat-diy-1

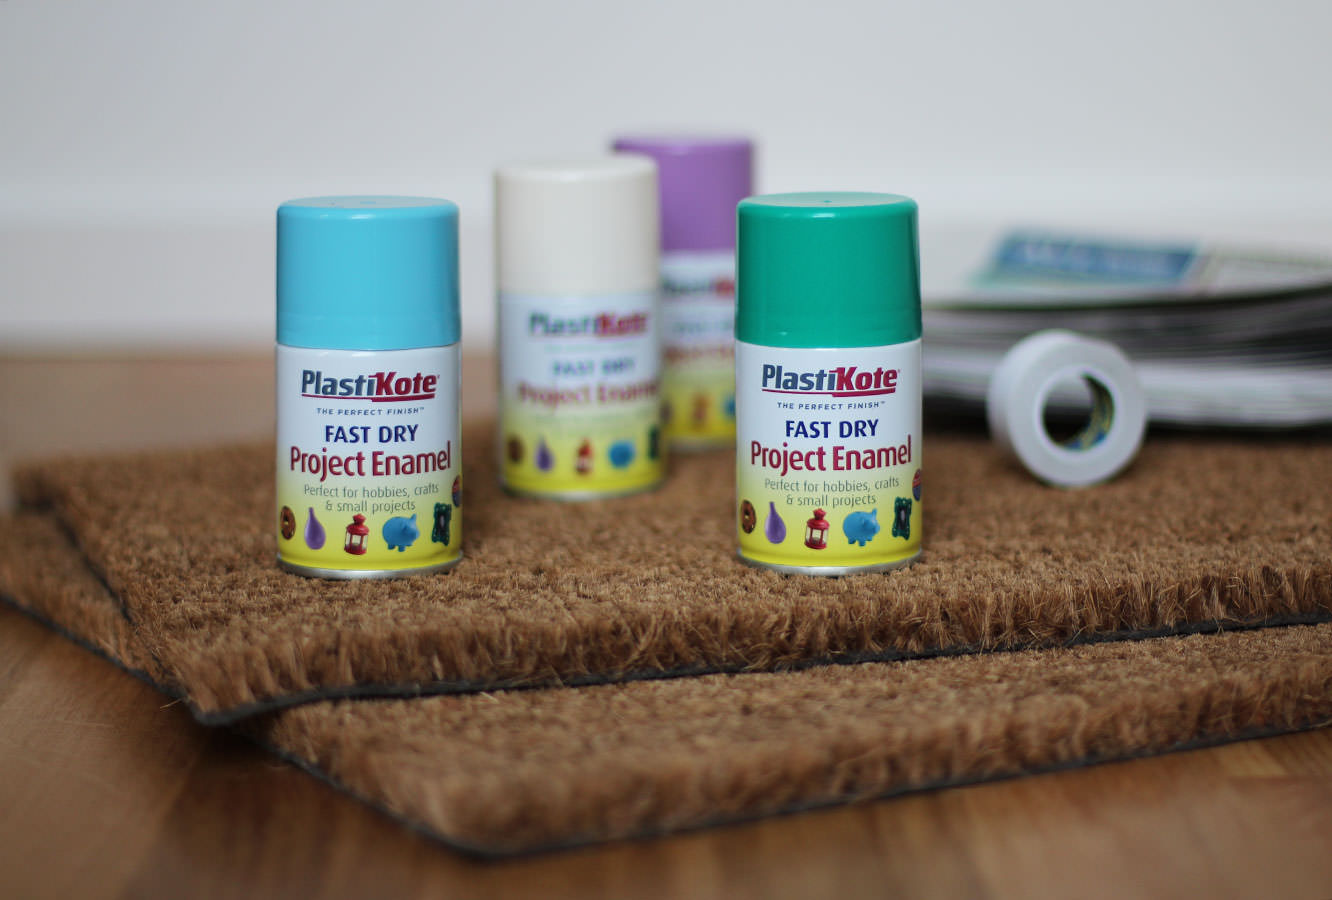
Things you need

Plain doormat (check if it’s indoor or outdoor depending where you want it. Wilkinson’s have both for about £4)

Spray paint (again, mine came from Wilko’s)

Newspaper

Double sided tape

A sheet of paper or newspaper as big as the mat.

door-mat-diy-2

Step one

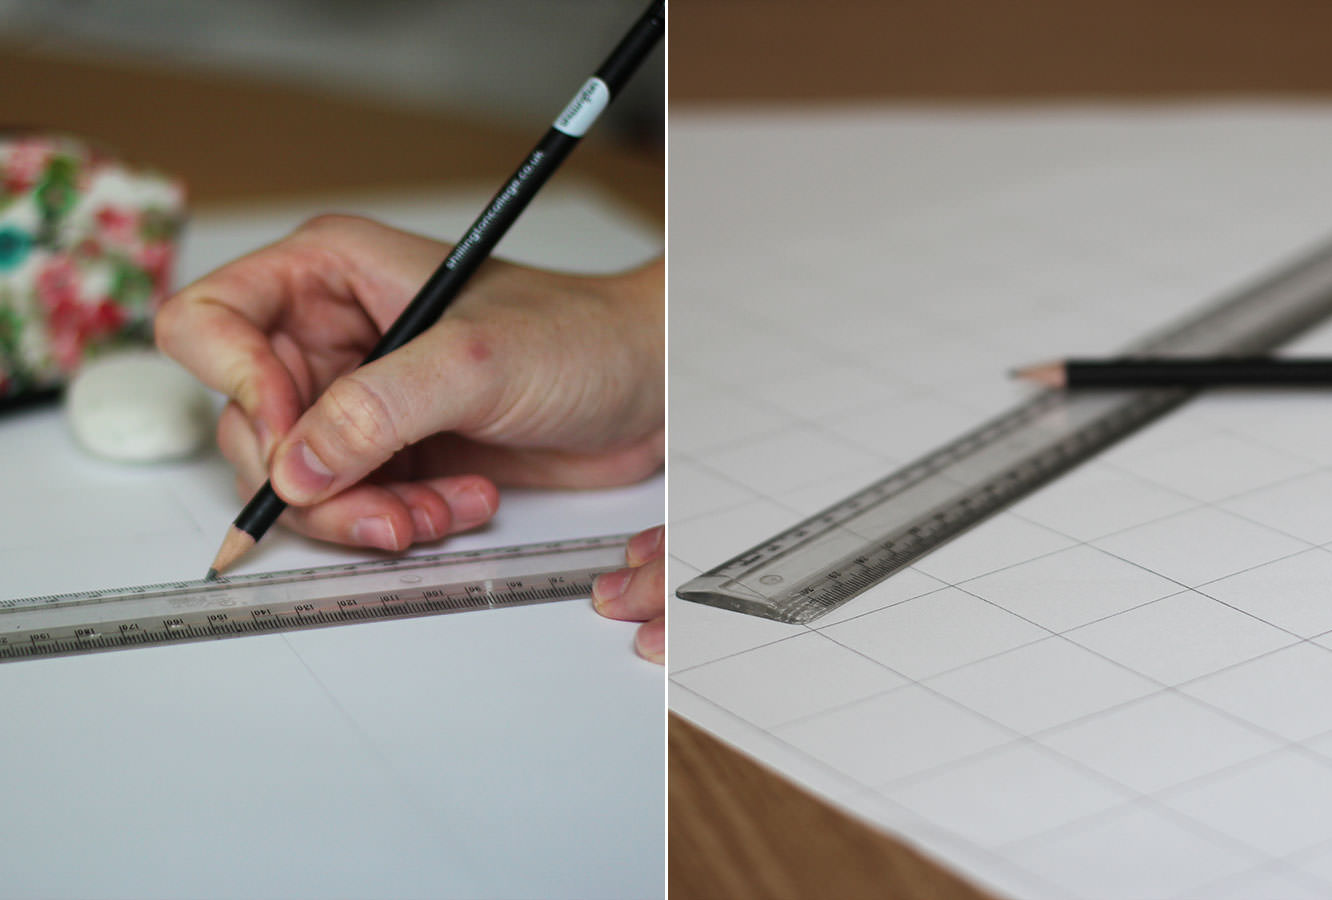
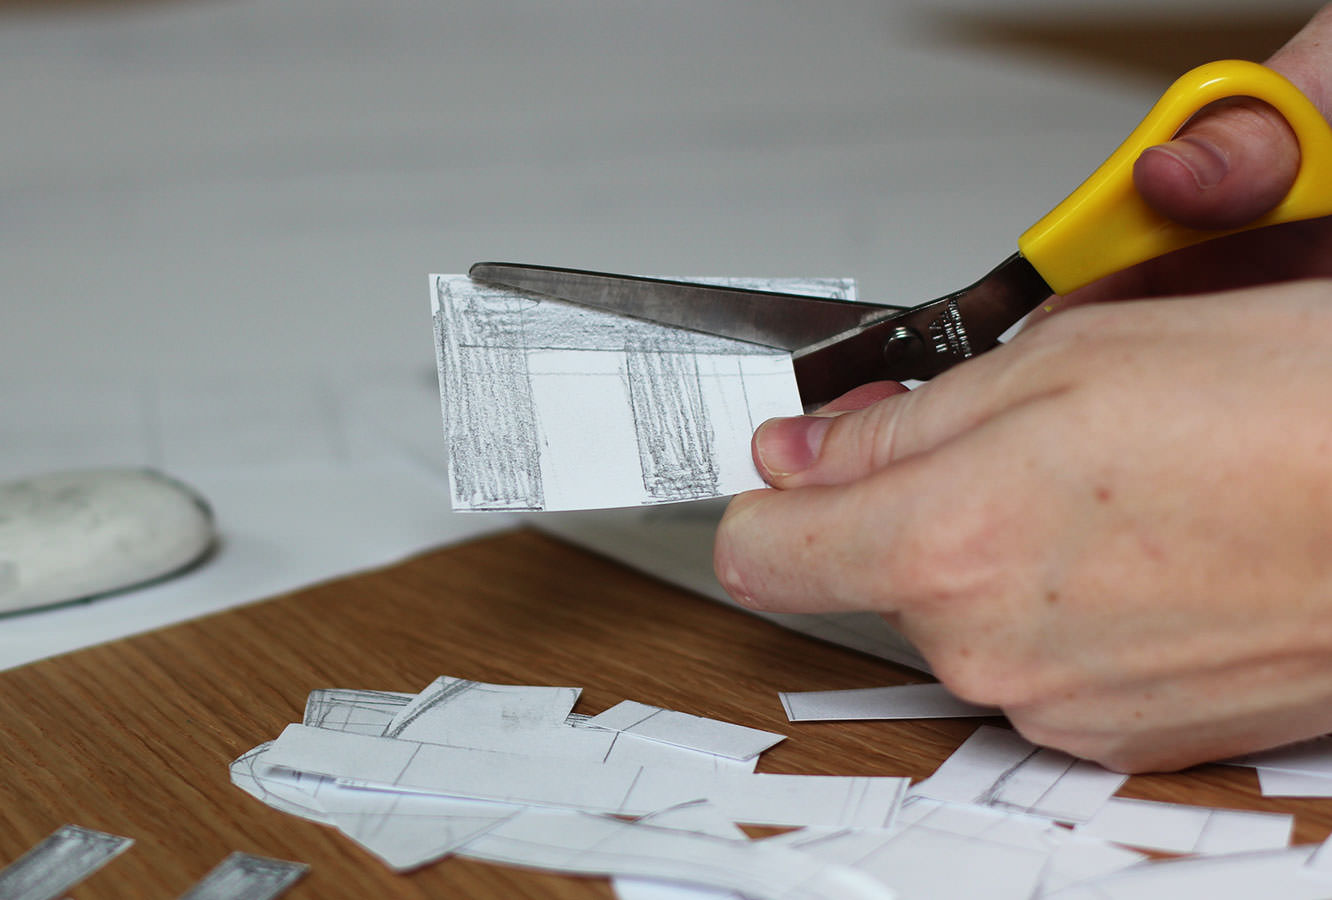
Draw a grid on your big sheet of paper. You are going to use this paper as the stencil; the grid will help you centre your design evenly and space everything out well. You don’t absolutely have to do this, but I recommend it. I just used the width of the ruler.

door-mat-diy-3

Step two

Sketch out your design.

Have a think about what you want to be sprayed and what will be mat coloured. If, like me, you are spraying the background and leaving the letters the colour of the mat make sure you keep them fairly bold and chunky. The spry has a nasty habit of creeping underneath.

door-mat-diy-4

Step three

Cut out your design, leaving everything that’s meant to be mat coloured in tact and leaving gaps where the spray will go.

door-mat-diy-5

Step four

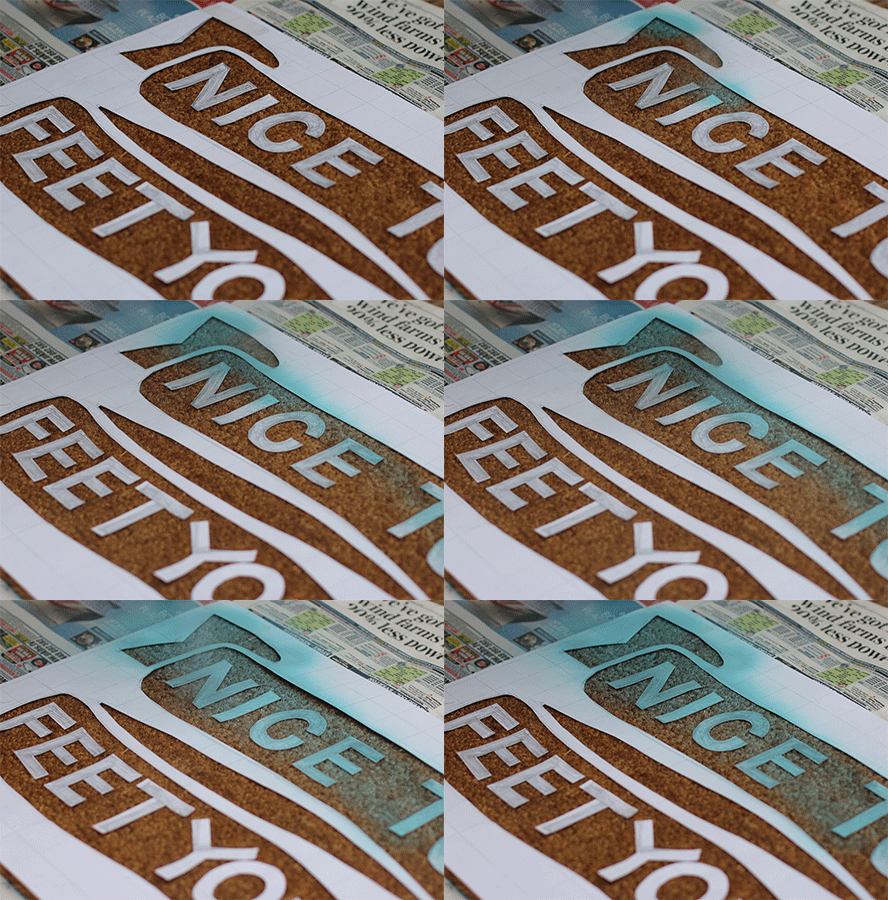
Go outside and lay out newspaper on an even surface. Place the mat on top and arrange your stencil.

I used double sided tape to secure the letters. I won’t lie, this didn’t work perfectly as they did still curl up a little, but I couldn’t think of a better solution – blu tac would have stayed in the bristles of the mat.

door-mat-diy-6

Step four

Spray away. Keep the can about 20cm away from the surface. I used two colours and sort of merged them in the middle.

Here’s a tiny gif (I apologise, it’s not my best, I was too distracted by all the spray paint flying in my face to concentrate on the photography) but I got complaints last week for not including one…

door-mat-diy-gif

Step five

Leave to dry and add another layer or two until the colour is quite pronounced. As you are most likely spraying onto a brown mat it’s unlikely you will get it totally opaque. Try to choose colours that are light and bright or really dark. The lilac colour didn’t work quite so well, so I sprayed some white on top to brighten it up a bit. The blue was good, and I think yellow might work well too.

door-mat-diy-8

Step six

Bring a smile or a roll of the eyes to your post man’s face.