Category: Bread

Dough-nutty

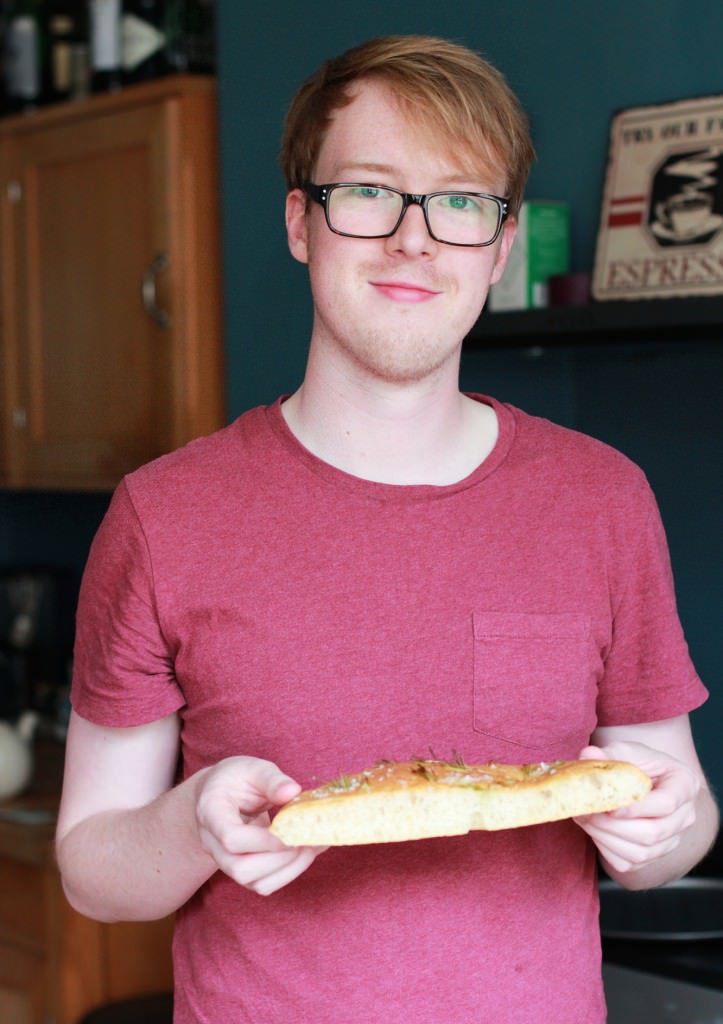
You might notice there’s a different pair of disembodied hands in the post this week. That’s because my lovely housemate was on half term, and ever since we watched this year’s GBBO we have wanted to make our own doughnuts (I’ve been informed donut is the wrong way to spell it). Thanks for your help Vicky and for very patiently allowing me to photograph the occasion.

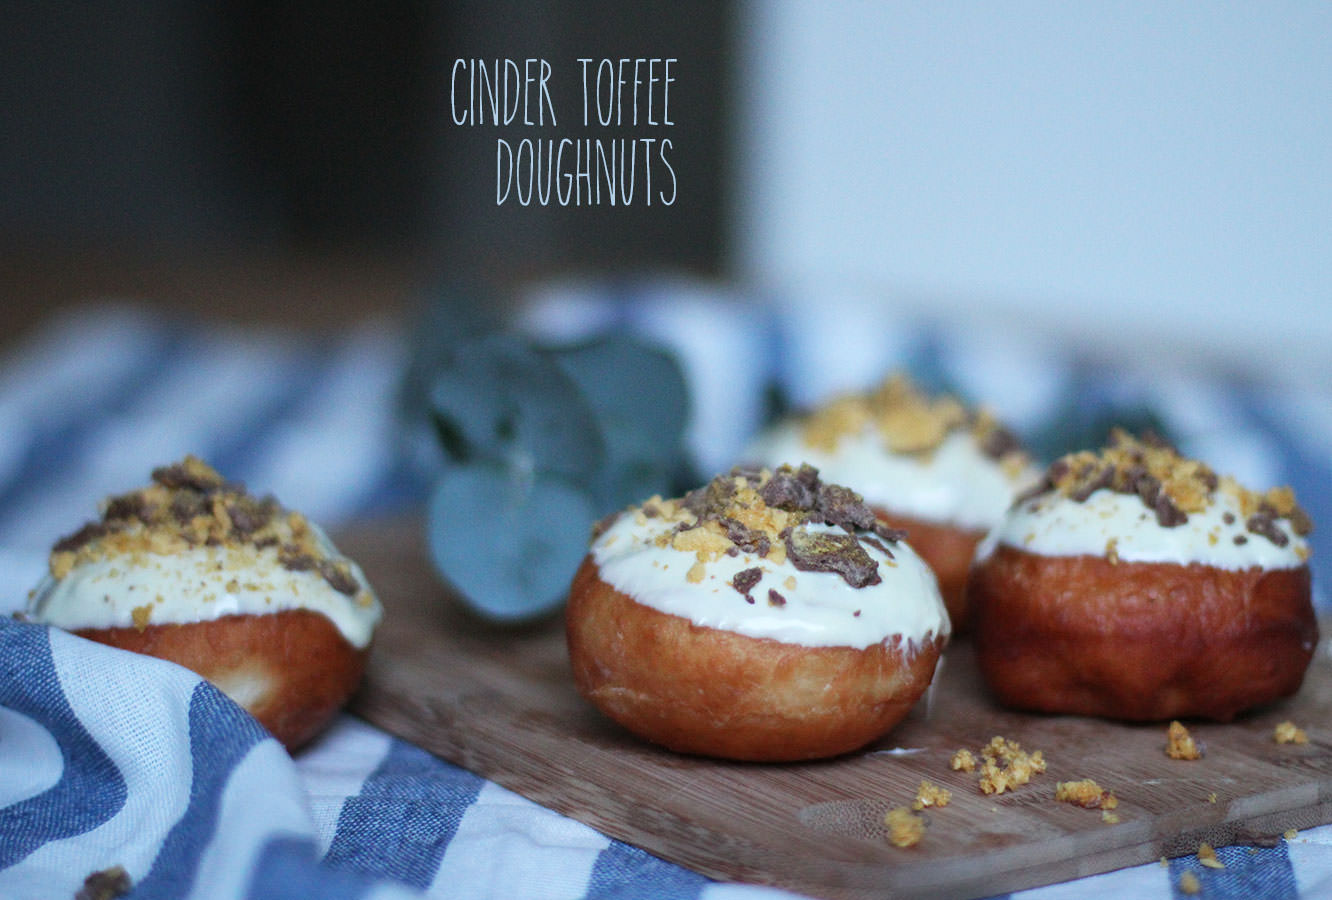
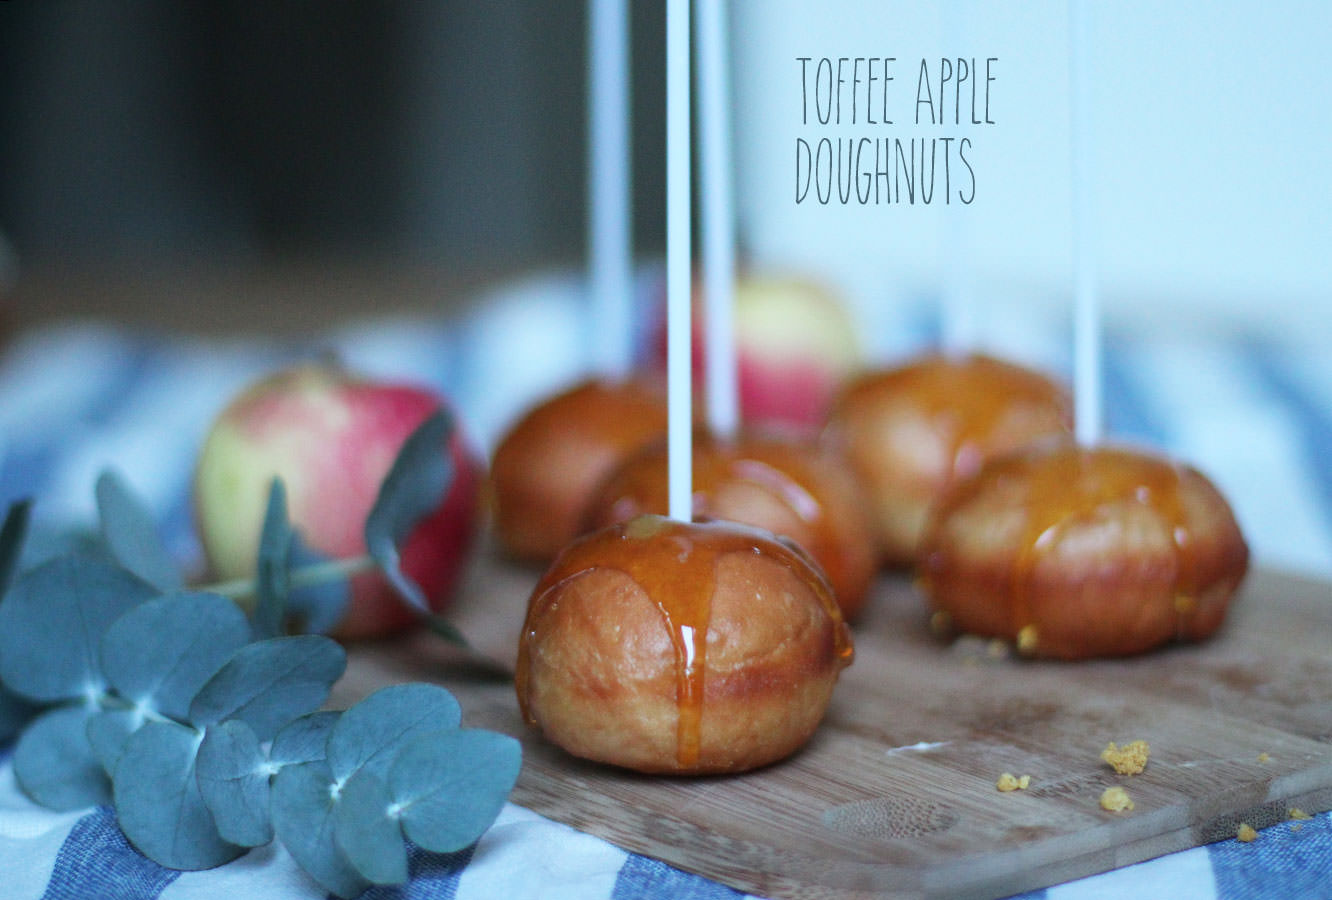
We’re having a little get together for bonfire/fireworks night on Wednesday and we thought we would make some appropriately themed treats. We bring to you a doughnut double whammy, flavoured with toffee apple and cinder toffee.

Disclaimer – these aren’t quick to make, but they are IN-credible, I was very sad to put them into the freezer, and I hope they emerge as delicious as they went in.

toffee-apple-cinder-toffee-dougnut-recipe

You will need

Please note: doughnut recipe makes 30, so the extra flavourings recipes are for 15 of each. If you want to make just one of the versions you will need to double the quantities of the fillings and toppings or halve the doughnut mix.
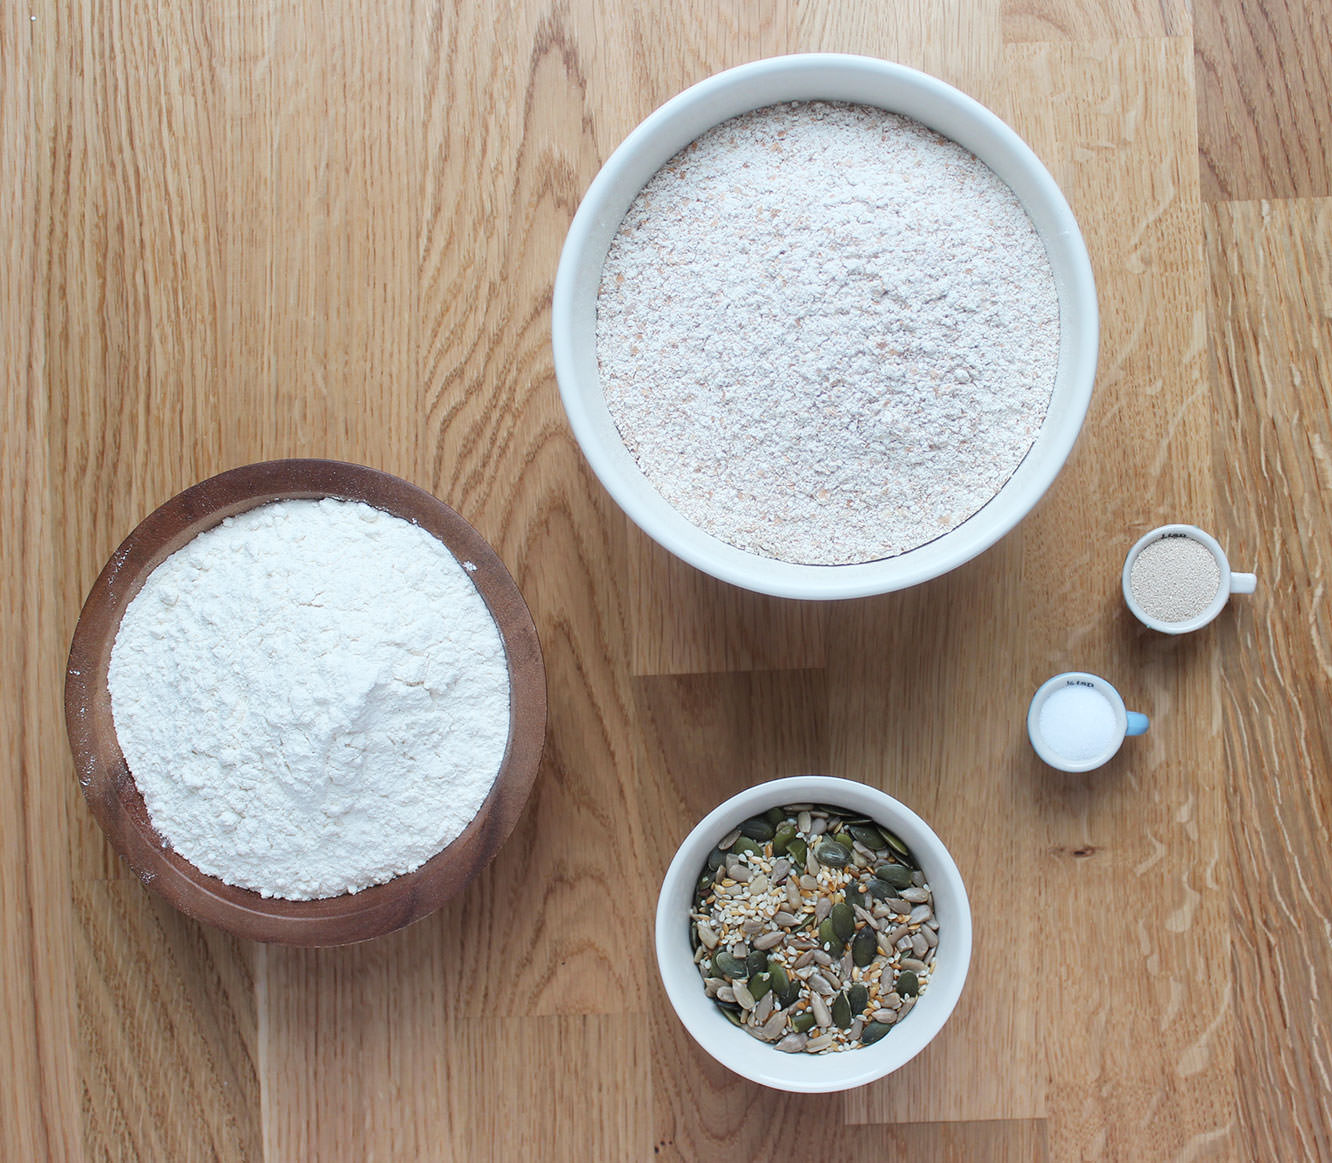
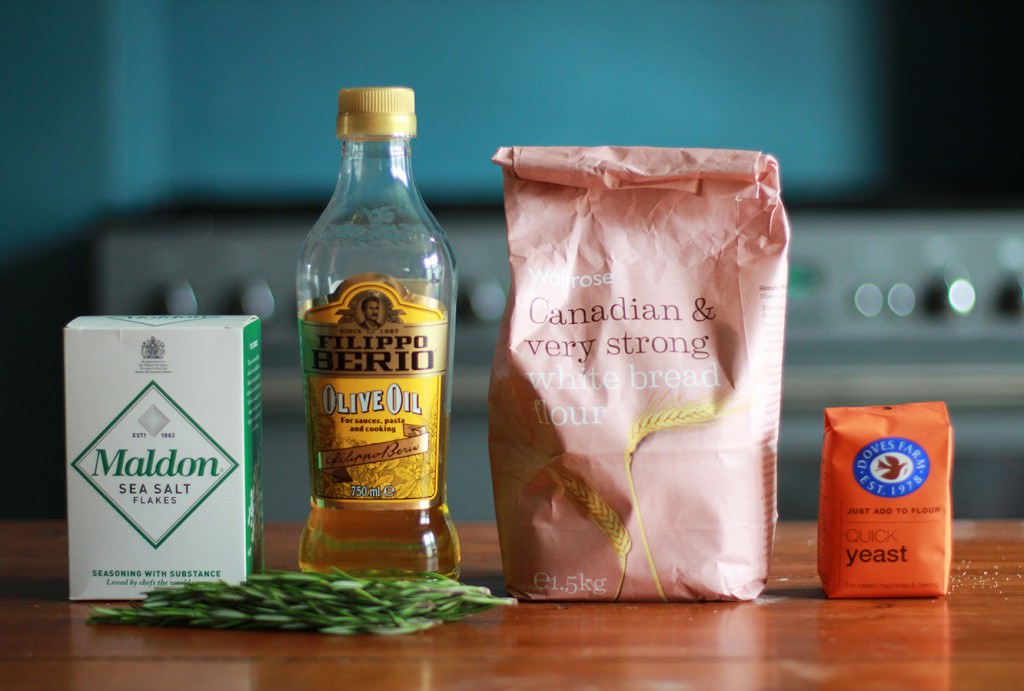
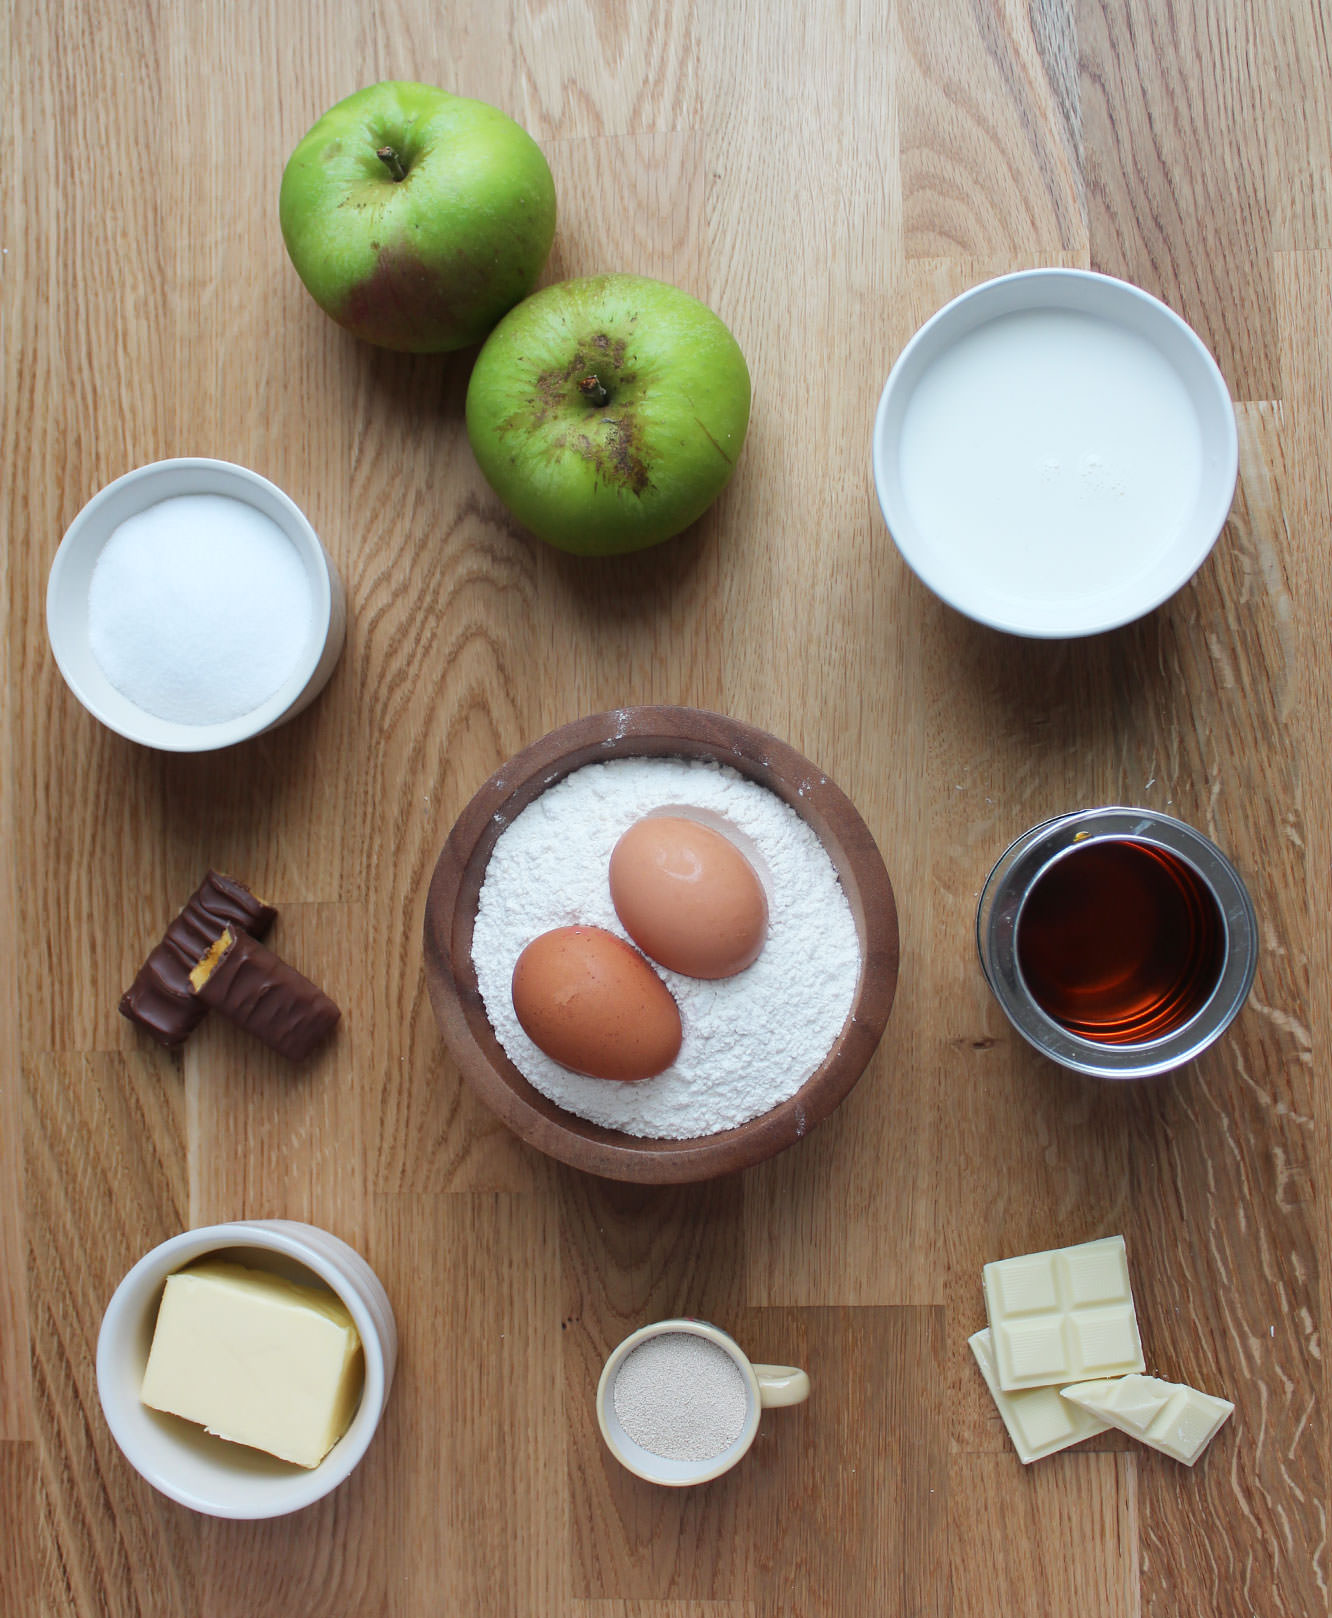
For the doughnuts:

350ml/12 fl oz Warm full fat milk

700g/1lb 8 oz Strong white bread flour

2 Eggs

70g/2.5 oz Unsalted butter

100g/3.5 oz Caster sugar

1 tsp Salt

14g/0.5 oz Dried yeast

50ml Warm water

For the toffee apple version:

2 Bramley (cooking) apples

3 tbsp Soft light brown sugar

1 tbsp Water

300g/10.5 oz Granulated sugar

6 tbsp Water

For the cinder toffee version:

200g/7 oz White chocolate

2 Crunchie bars/some cinder toffee

1.5-2 tbsp Golden syrup

1.5-2 tbsp Full fat milk

150g/5.5 oz Icing sugar

50g/3.5 oz Unsalted butter

1 tsp Vanilla extract

Extras:

1.5 litres/50 fl oz Vegetable oil for frying

15 Cake pop sticks for the ‘toffee apples’

Flavour injector (if you don’t have one of these, a long thin piping nozzle should also work)
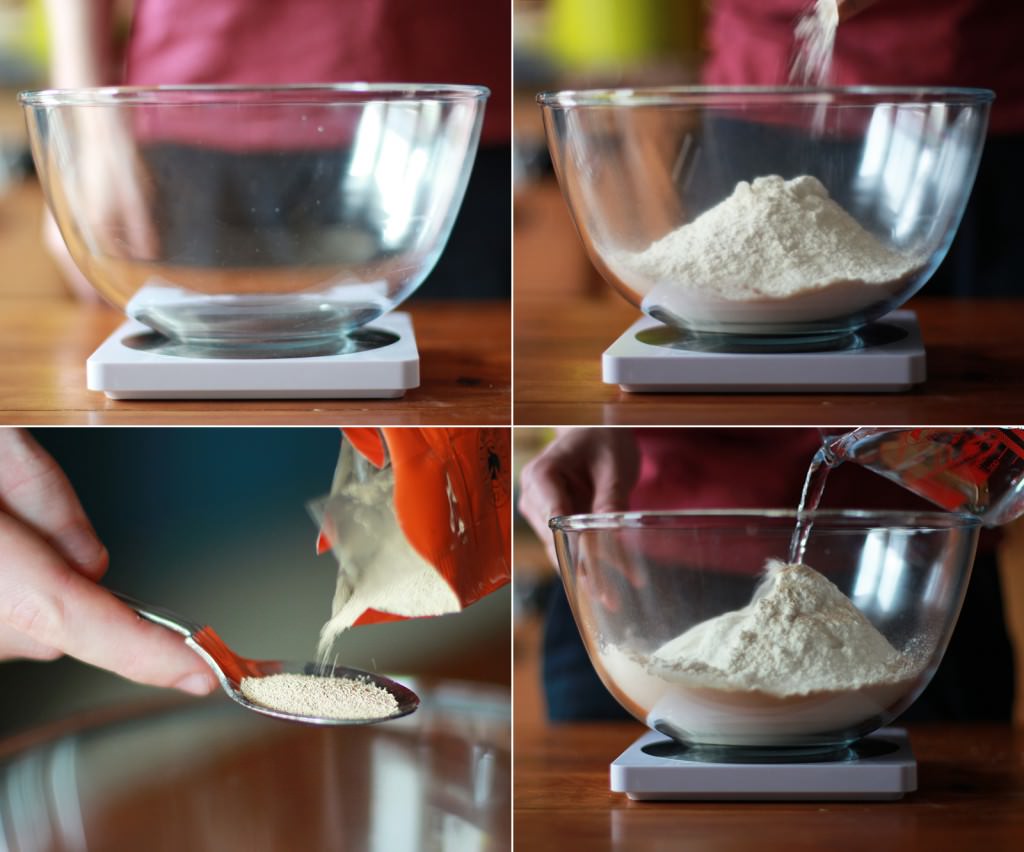
toffee-apple-cinder-toffee-dougnut-recipe-1

Step one

Put the yeast in the warm water and wait until frothy.
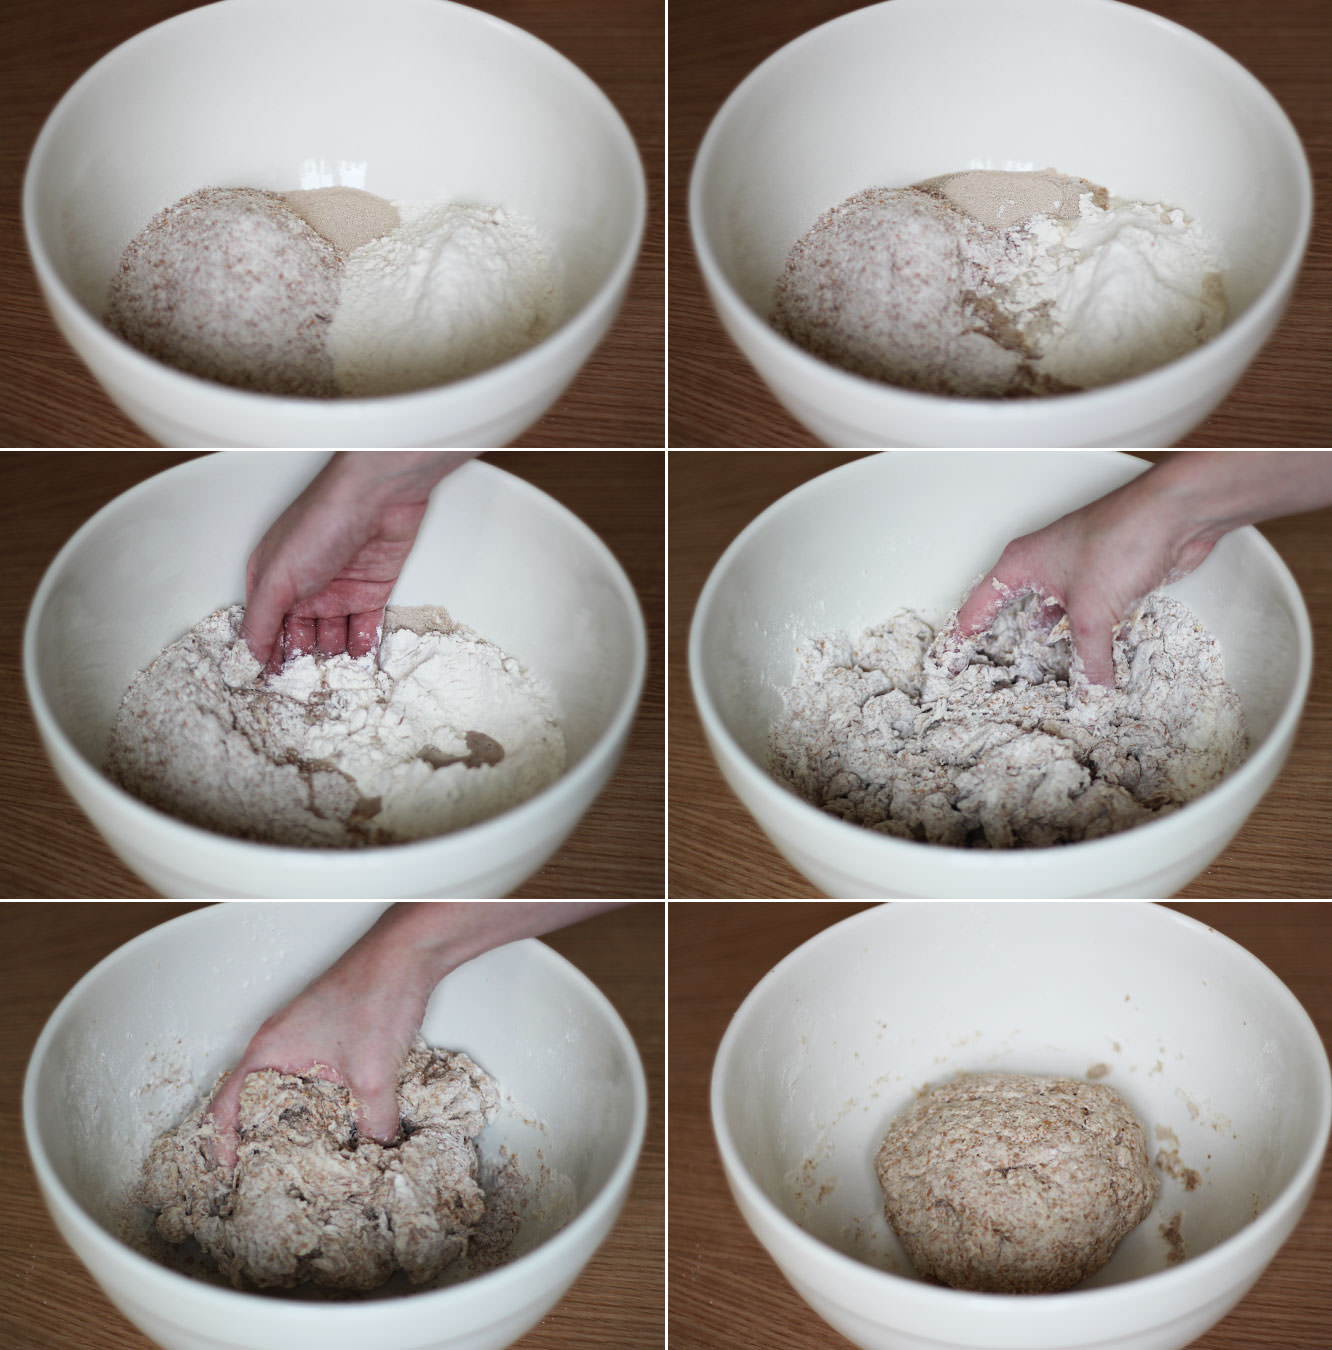
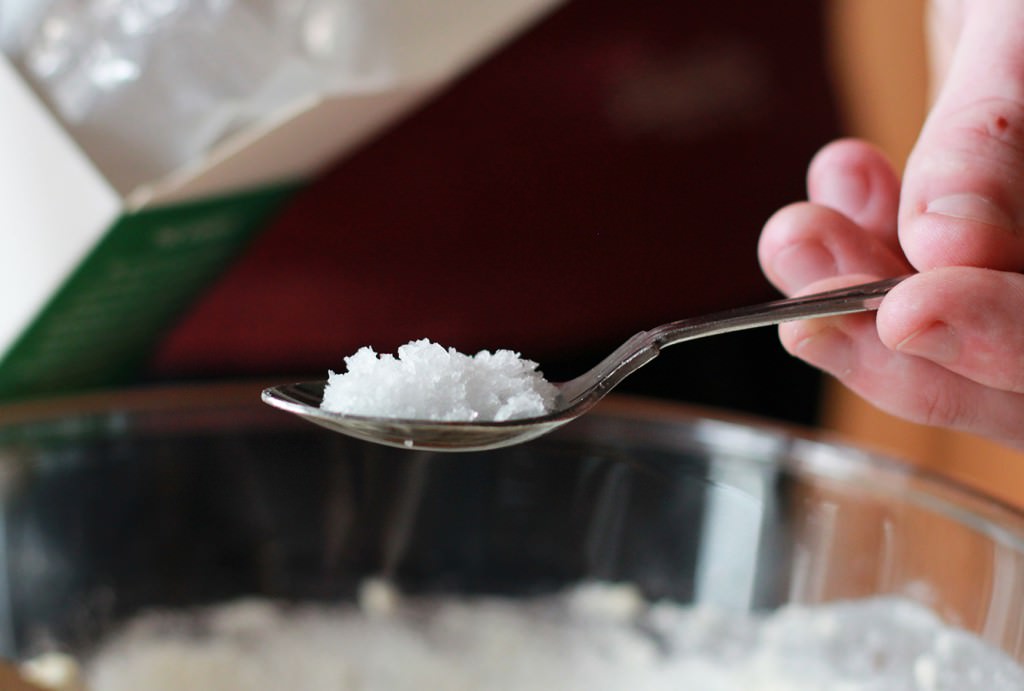
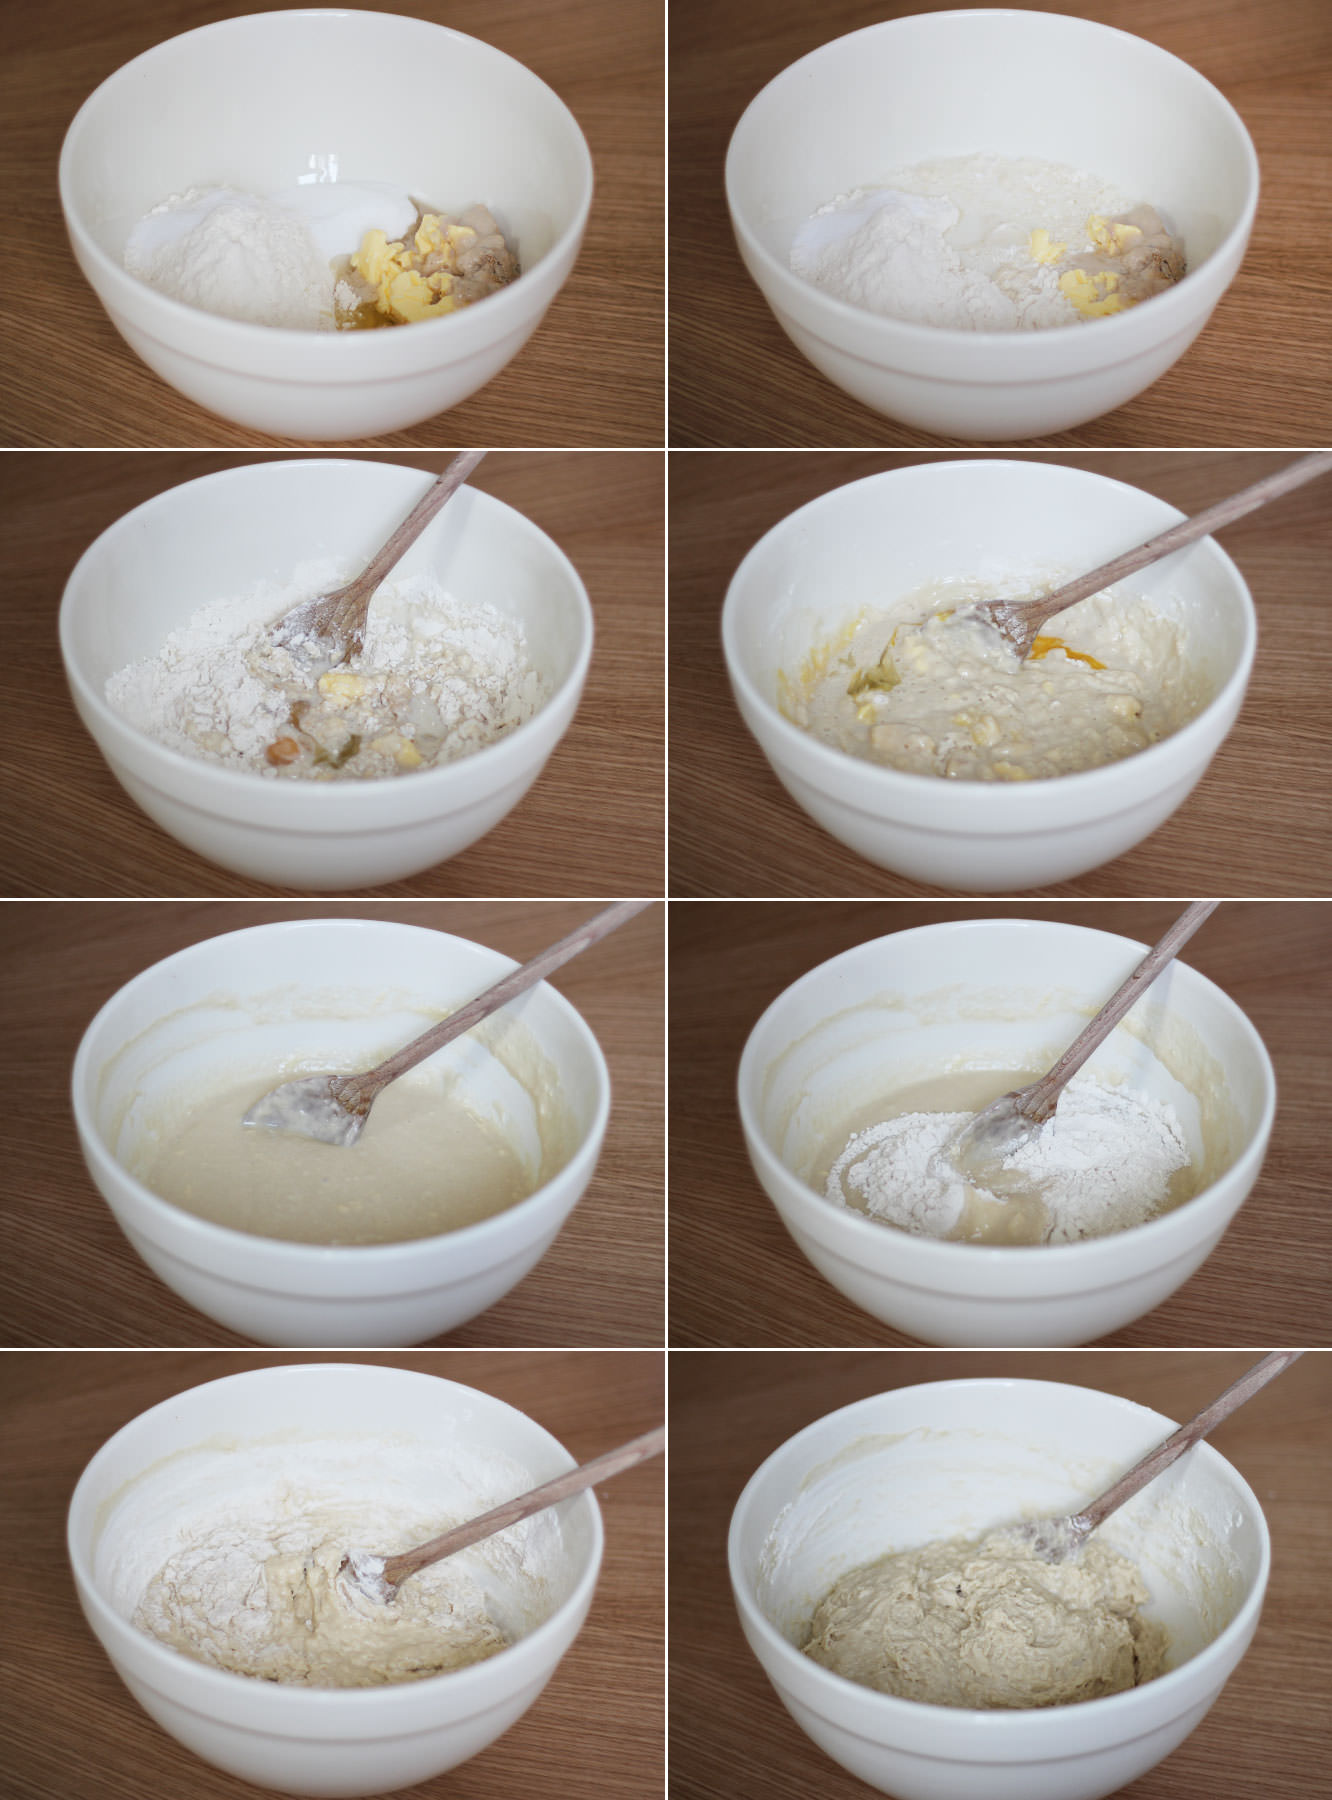
Step two

Combine half the flour with the rest of the dough ingredients (including the yeast froth). Remember to put the yeast and the salt on opposite sides of the bowl, they don’t get on.
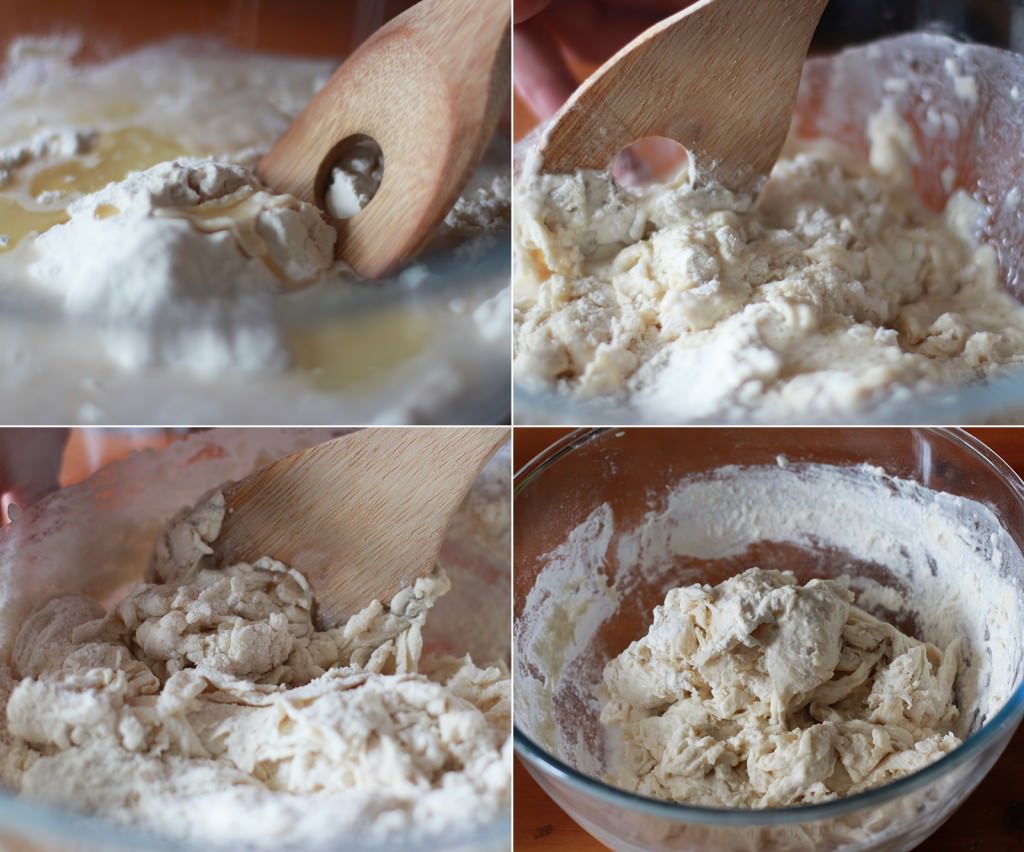
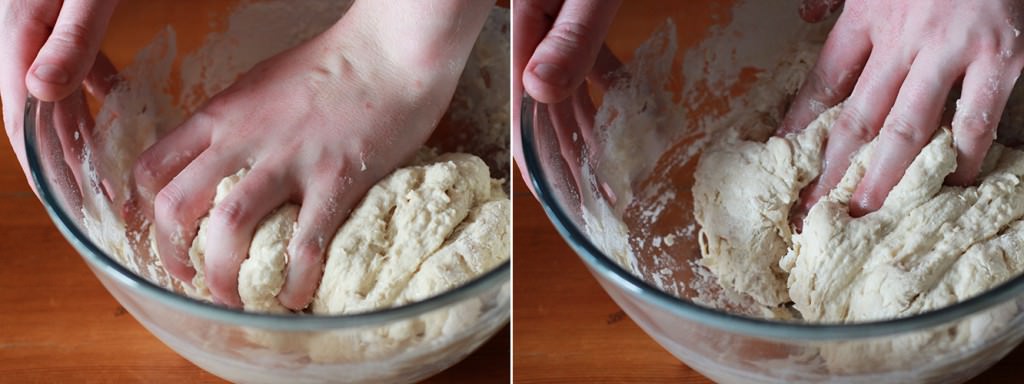
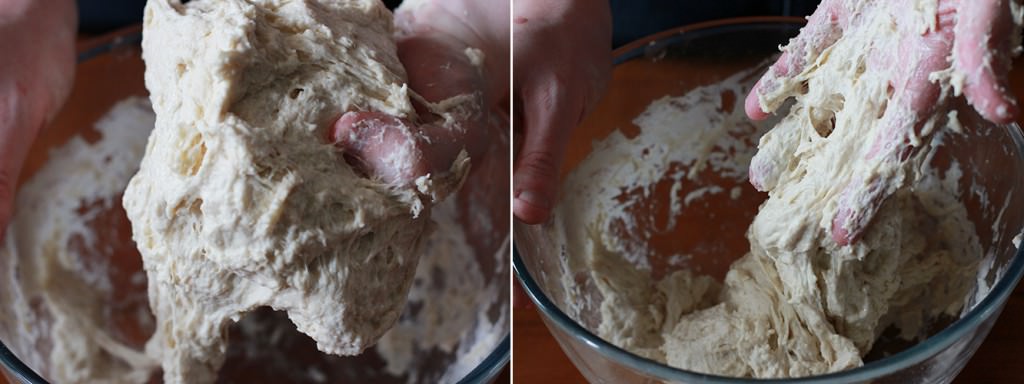
Step three

When the batter is smooth, gradually add the rest of the flour and stir. The dough should be sticky but not impossible to work with. Vicky and I found we had to add a lot of flour in kneading so I’ve adjusted the recipe for y’all.
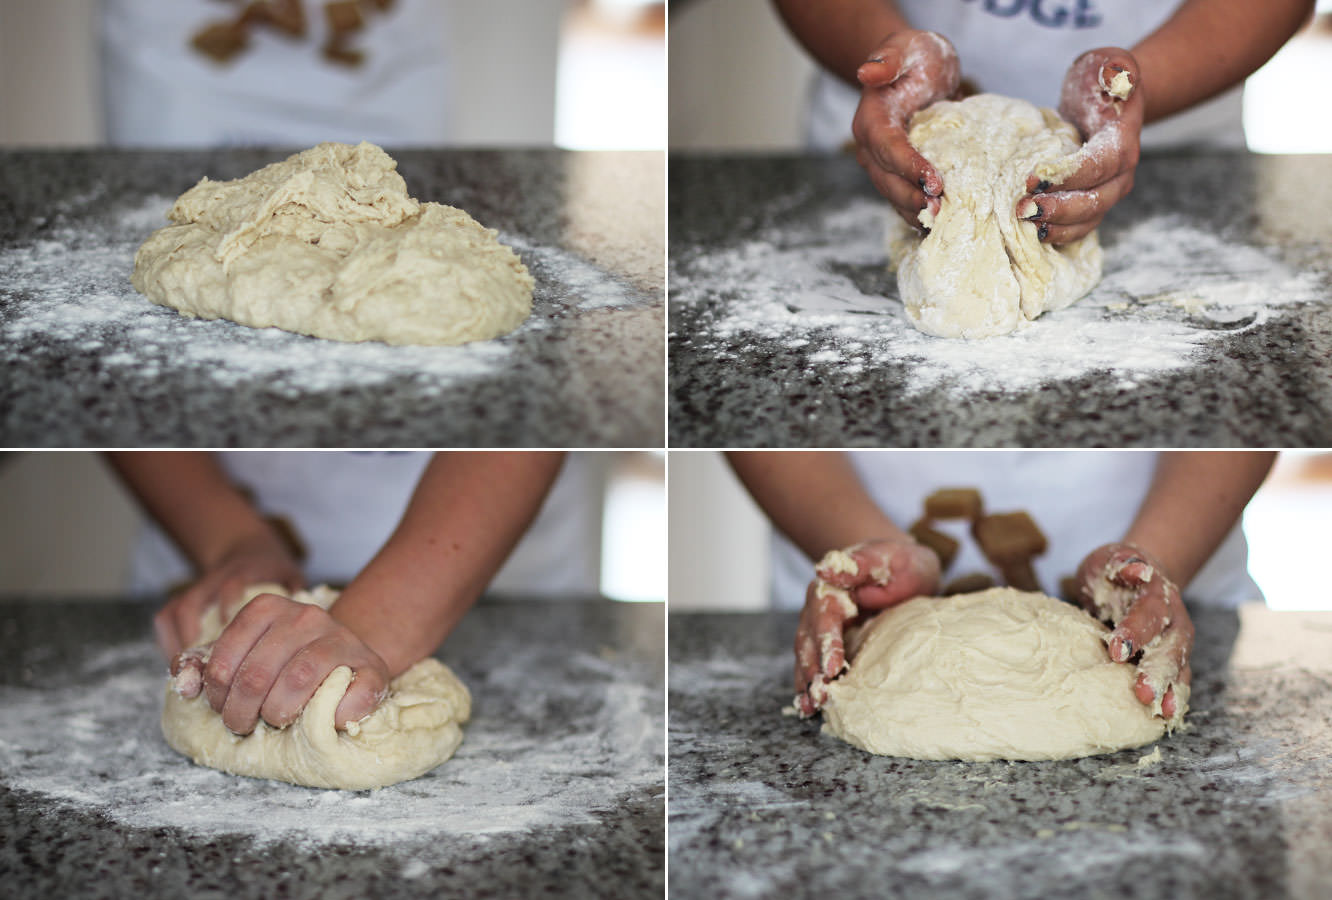
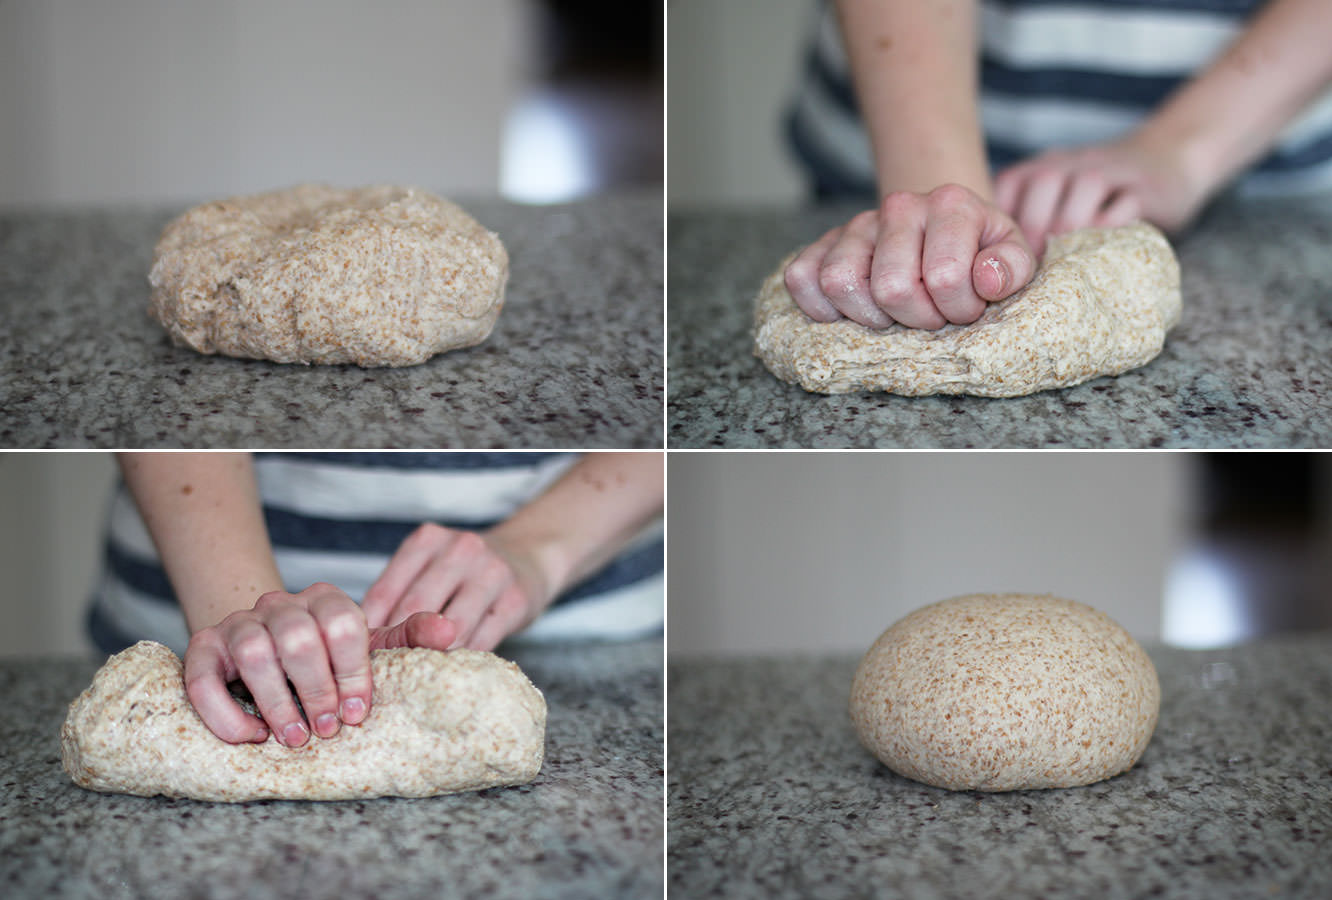
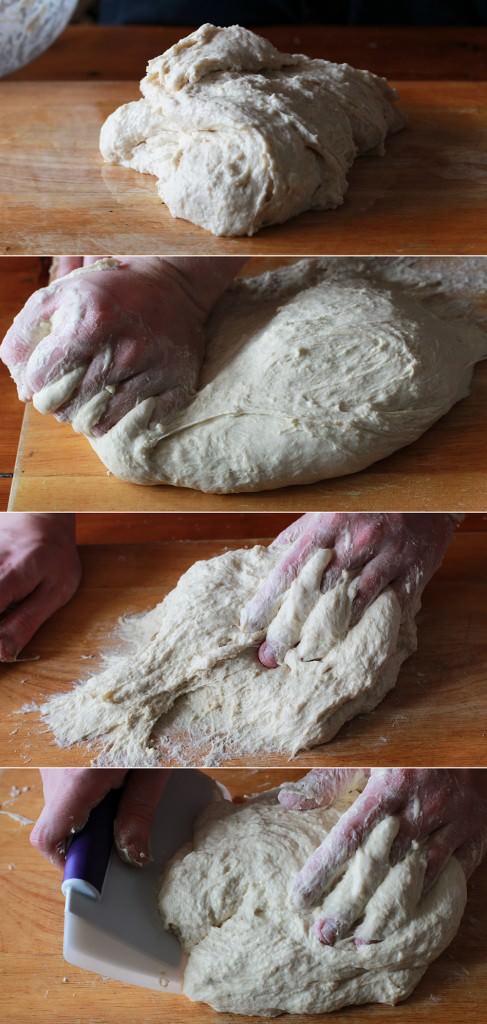
toffee-apple-cinder-toffee-dougnut-recipe-2

Step four

Turn the dough out onto a floured surface and knead for 5-10 minutes. It’ll still be quite sticky, don’t sweat it.
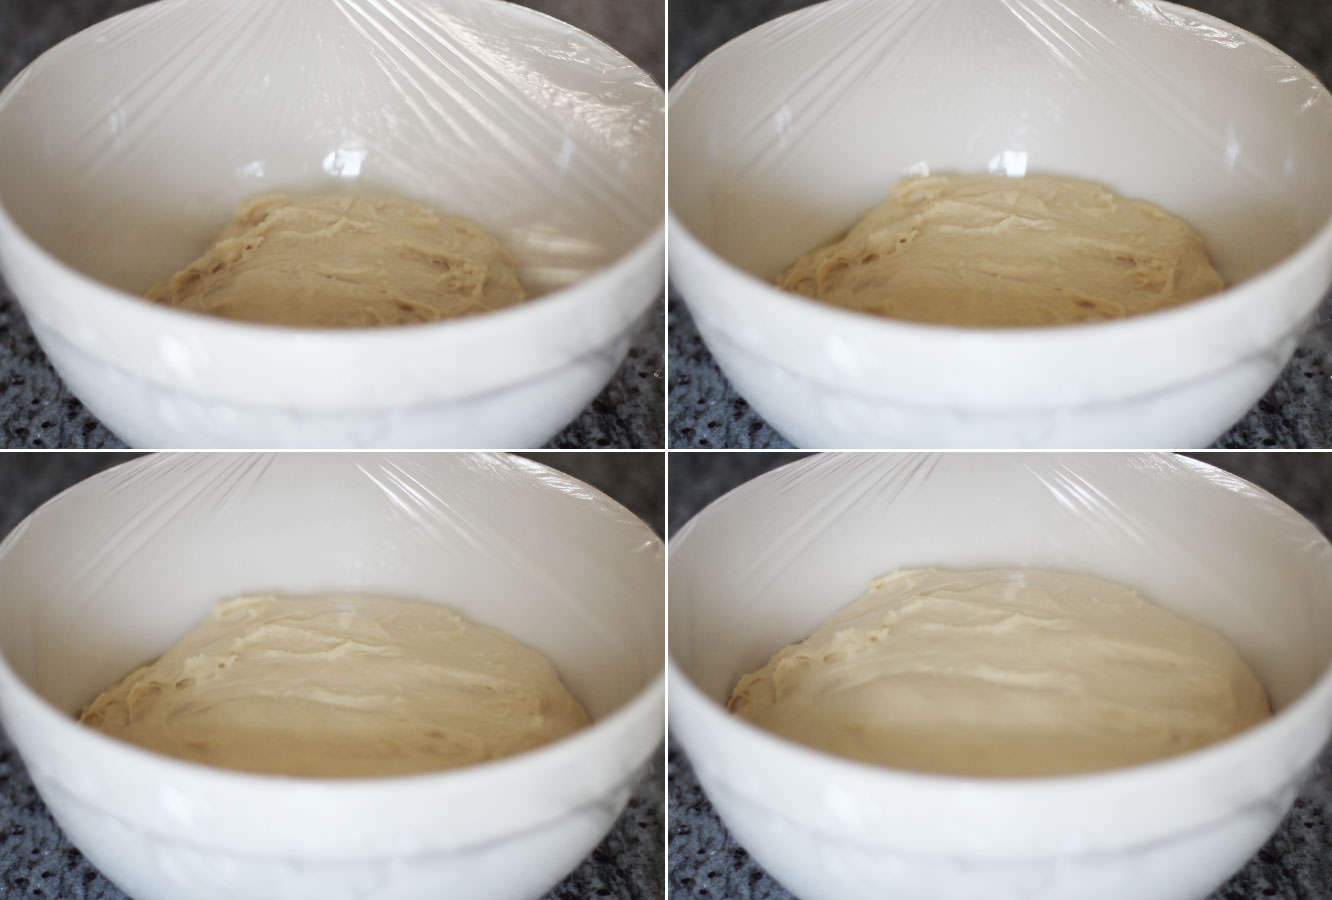
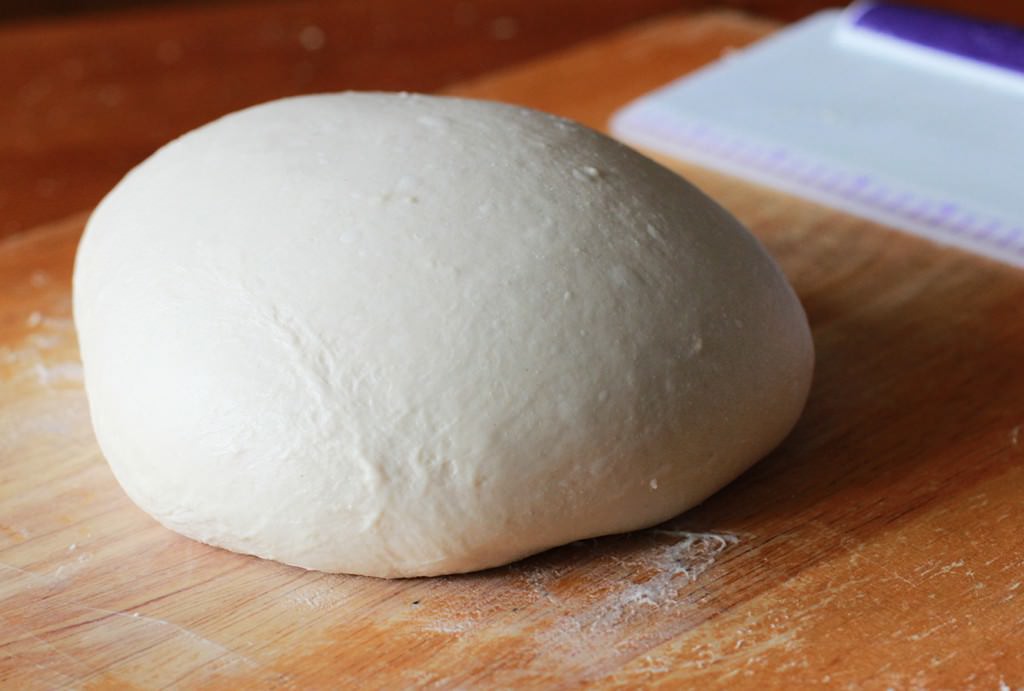
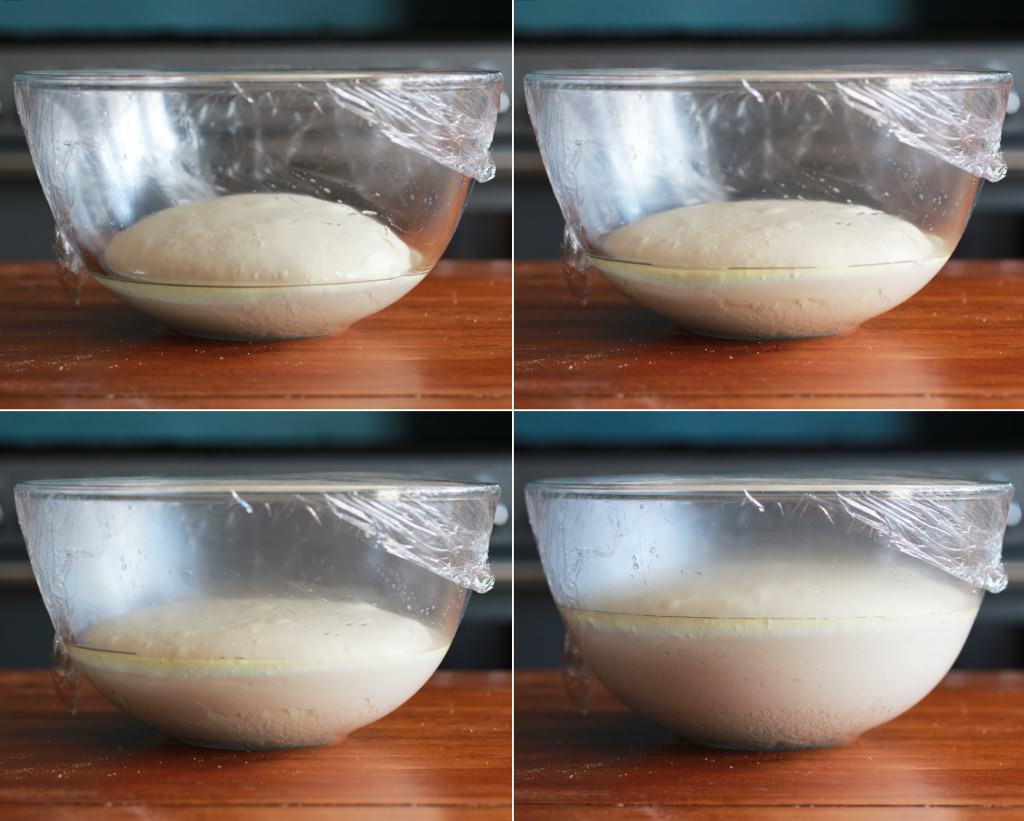
toffee-apple-cinder-toffee-dougnut-recipe-3

Step five

Place in a lightly oiled bowl and leave to rise for an hour or until doubled in size. While that’s going on you can prepare your toppings and fillings.

toffee-apple-cinder-toffee-dougnut-recipe-6

Step six

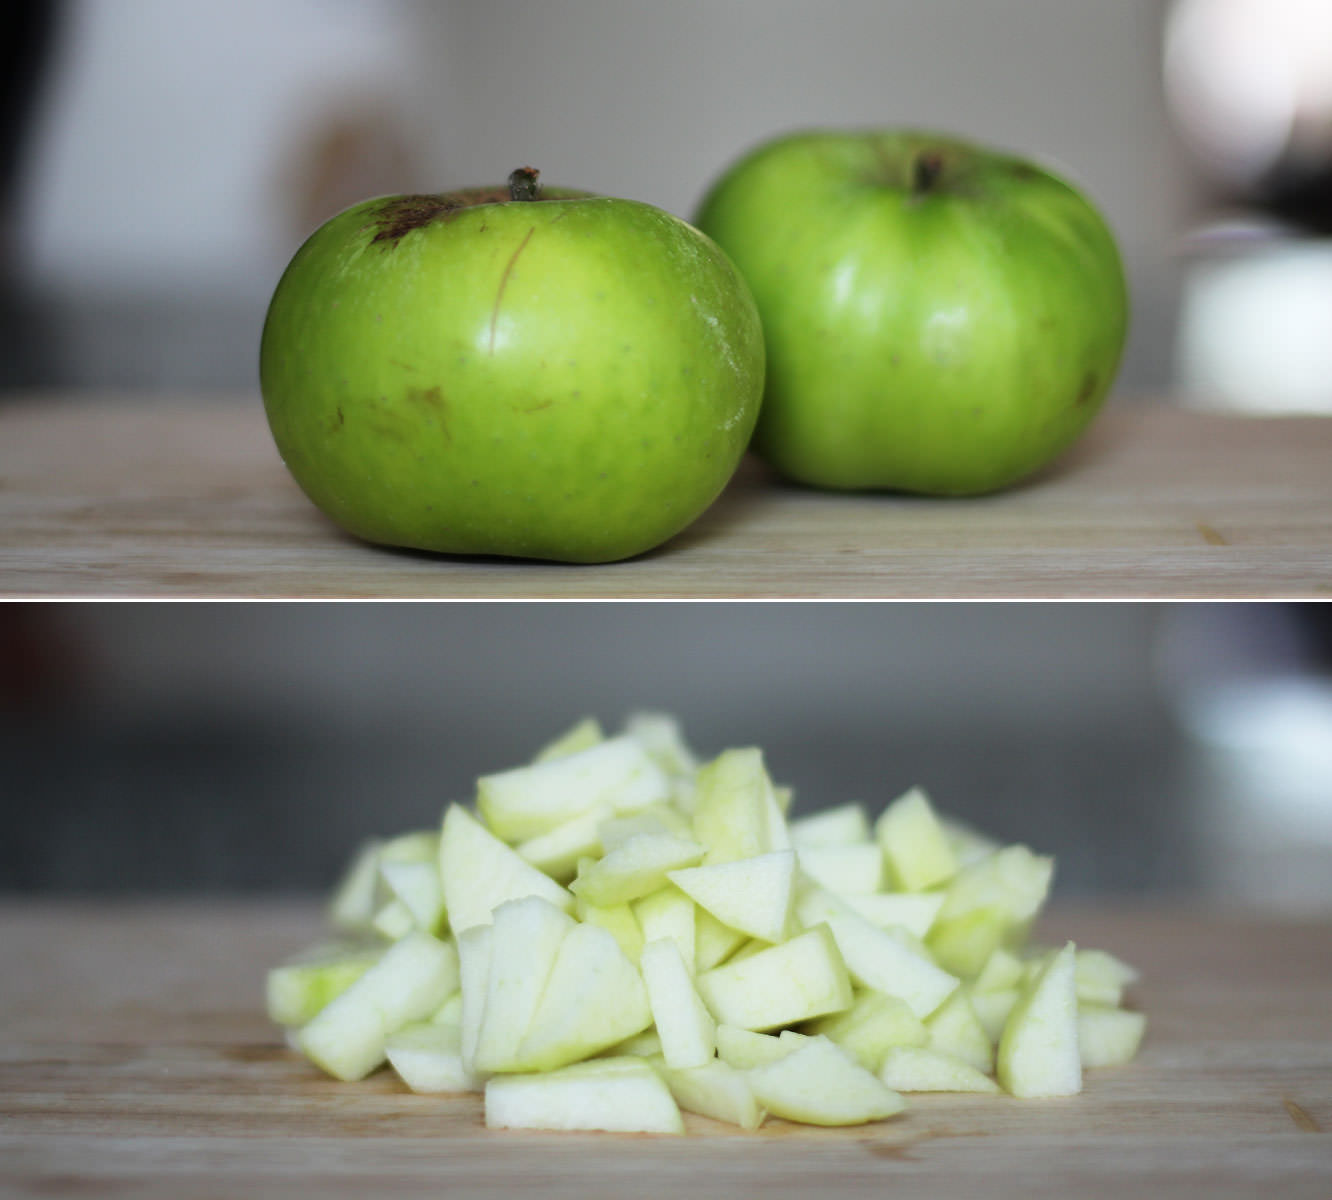
For the puree which will fill the toffee apple doughnuts, peel and chop the apples into small chunks.

toffee-apple-cinder-toffee-dougnut-recipe-7

Step seven

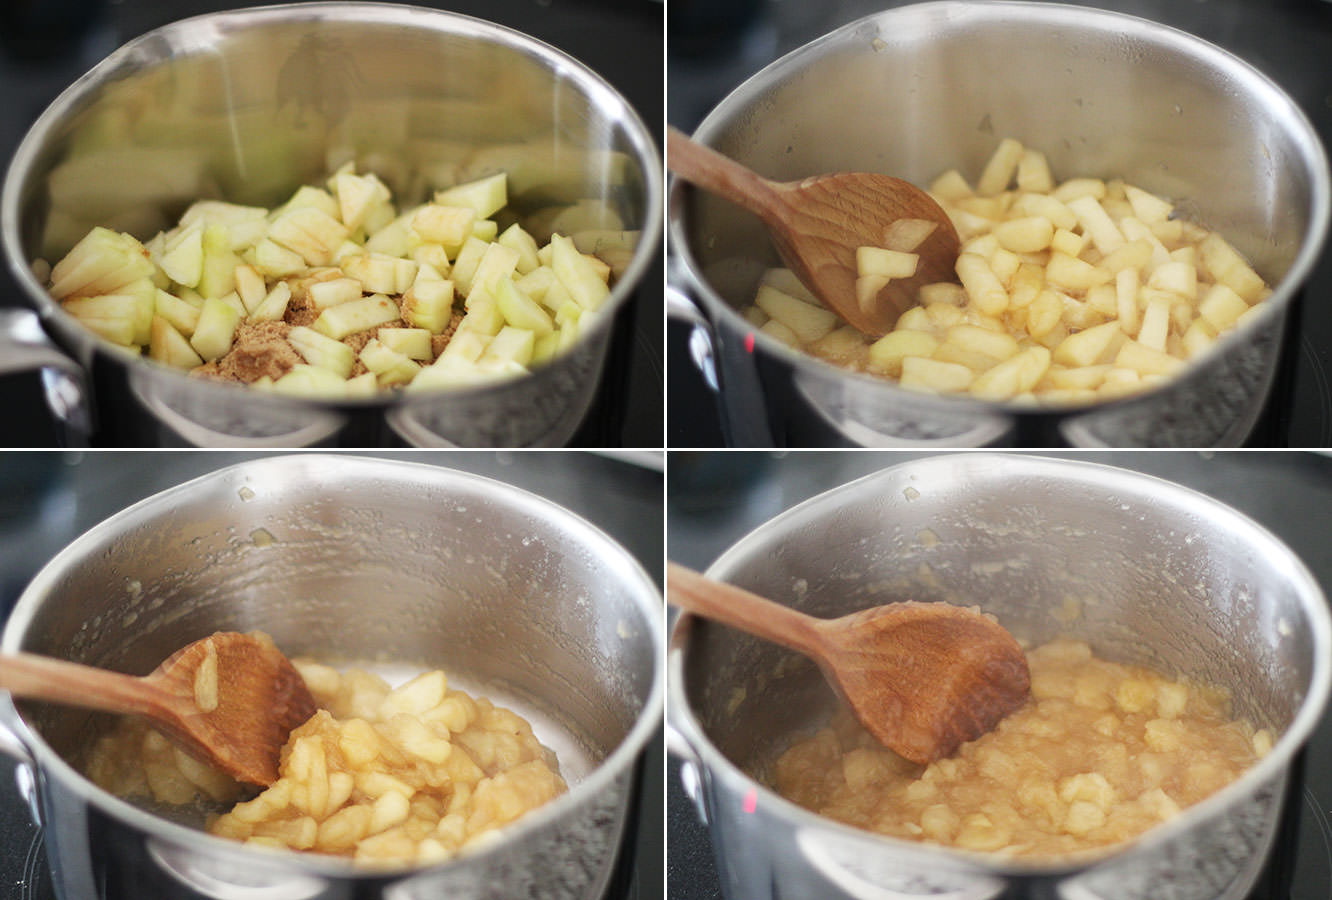
Place the apples in a saucepan with the 3 tablespoons of soft brown sugar and 1 tablespoon of water. Heat on medium until the apples have reduced.

Step eight

If you have one, use a food processor to liquidise the apple mixture. If you don’t, do what we did and use a potato masher and then pass the mix through a sieve.
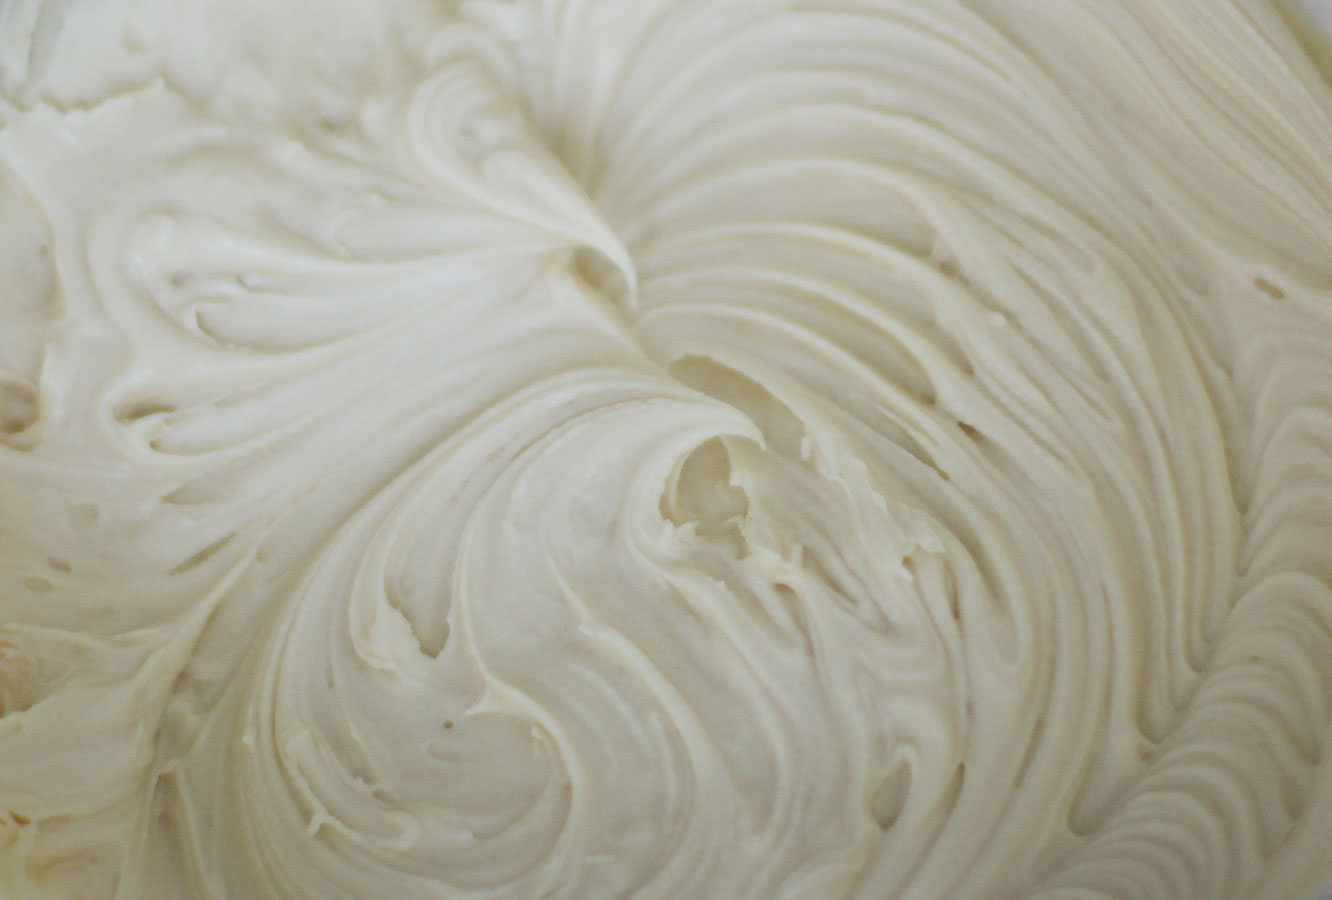
toffee-apple-cinder-toffee-dougnut-recipe-8

Step nine

To make the filling for the cinder toffee donuts combine the butter, icing sugar, milk, golden syrup and vanilla extract. Whisk until smooth and set aside.

toffee-apple-cinder-toffee-dougnut-recipe-4

Step ten

Tip the risen dough onto a floured work surface. Squeeze into a long sausage shape and chop into 30 pieces.

toffee-apple-cinder-toffee-dougnut-recipe-5

Step eleven

Roll into balls and leave on a tray to prove for another hour. Make sure you leave plenty of space. The picture above was before these rose, and they almost filled the tray after.

toffee-apple-cinder-toffee-dougnut-recipe-9

Step twelve

About 20 minutes before the doughnuts have finished their second rise, begin to heat the oil.

It’s beyond important that you heat the oil really slowly on a low heat to avoid risking a pan fire. There’s no reason to worry as long as you heat this gradually.

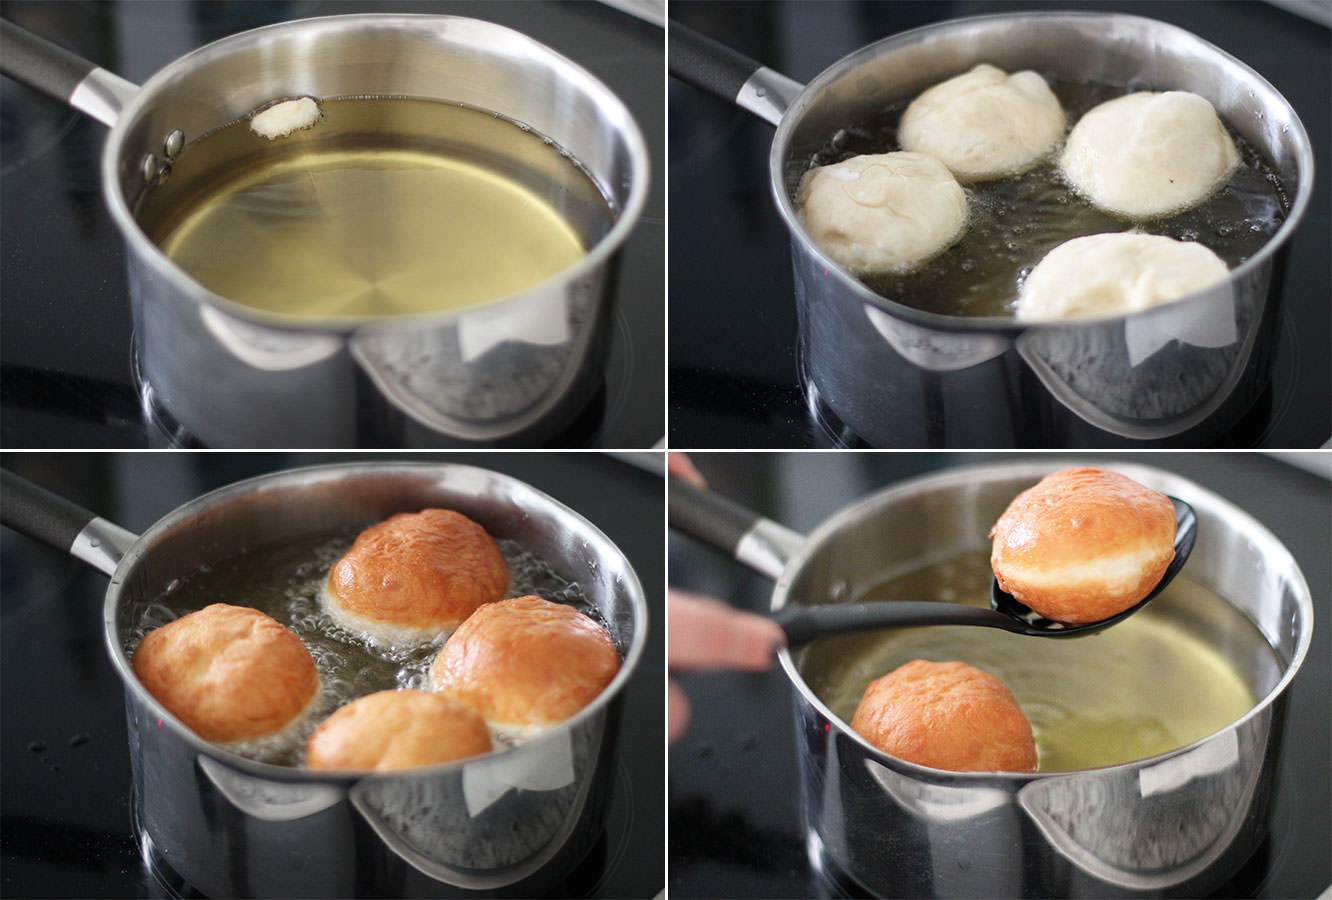
Test your oil heat with little pieces of a doughnut. When the sample floats and bubbles straight away you’re good to go.

toffee-apple-cinder-toffee-dougnut-recipe-10

Step thirteen

Fry the doughnuts in batches, you will get a good idea when to turn them pretty quickly, it only takes a few minutes for them to get golden.

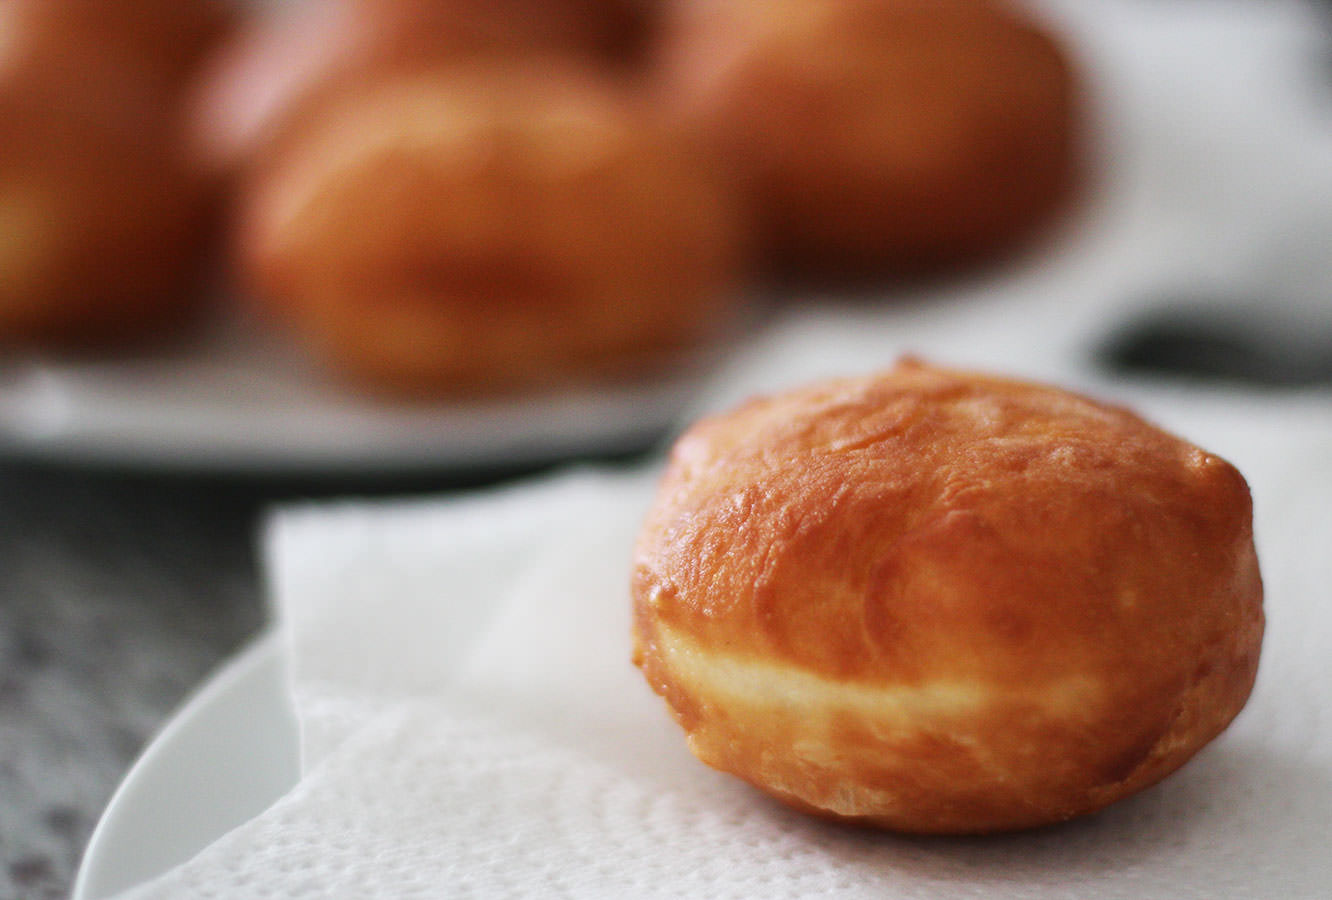
Leave your doughnuts to rest on a few sheets of kitchen roll which will soak up any excess oil.

toffee-apple-cinder-toffee-dougnut-recipe-11

Step fourteen

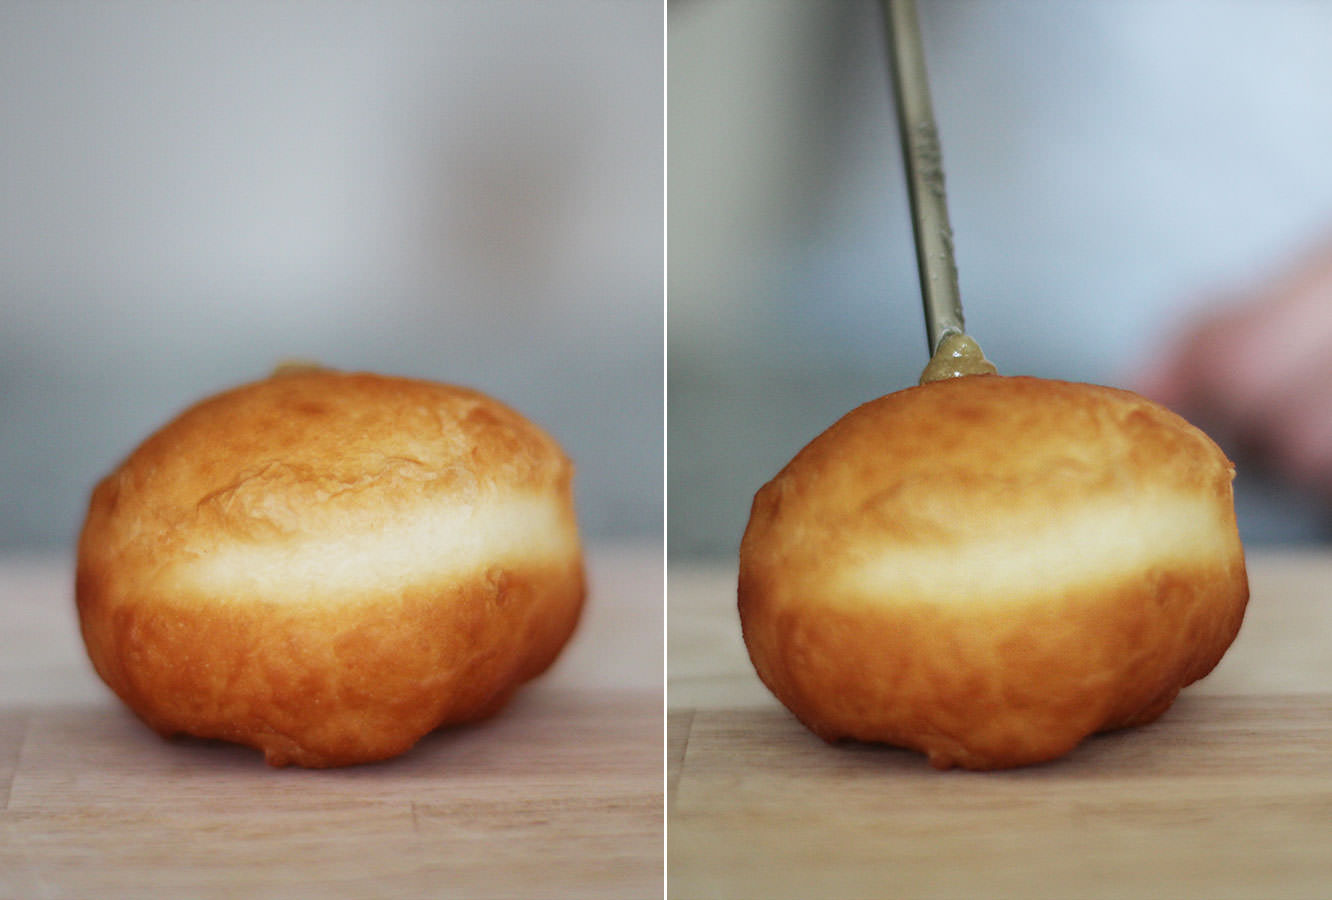
When the doughnuts are completely cooled inject 15 of them with the apple puree and 15 with the cinder toffee filling.

We went in at the top because we knew we were going to cover the holes, otherwise you would use the side. For those of you with a flavour injector (and of course that will be most of you…) we did 10 ml per doughnut.

toffee-apple-cinder-toffee-dougnut-recipe-gif

Step fifteen

For the cinder toffee doughnuts you need to crush up the crunchie bars (easily done when they’re in their wrappers) and melt the white chocolate. Do this slowly in the microwave to avoid burning it.

Dip the doughnuts  in the chocolate to coat the upside down top, and sprinkle with crunchie pieces. Leave to one side for the chocolate to set.

toffee-apple-cinder-toffee-dougnut-recipe-12

Step fifteen

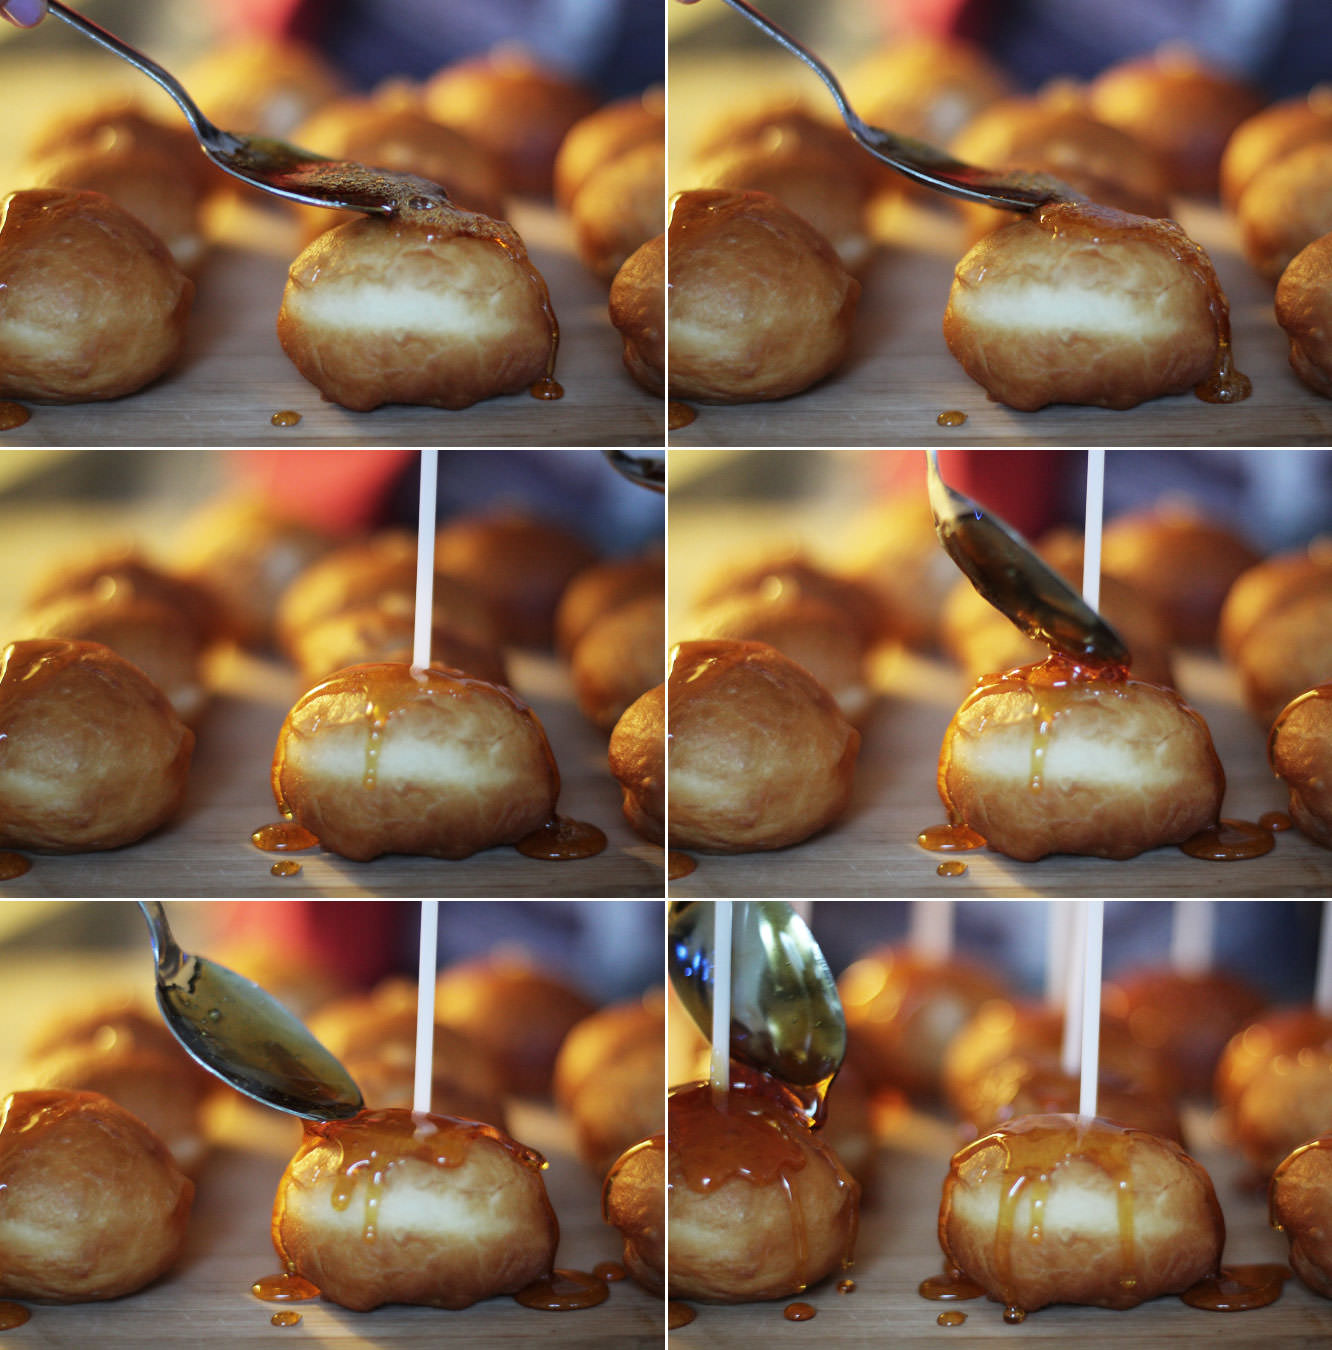
Make a hard caramel by combining the 300g of granulated sugar and 6 tbsp water in a saucepan.

Heat on a low-medium heat until the mixture takes on a dark honey colour. Do not stir it as the sugar will crystallise. I’m afraid I did this by eye so I don’t have a temperature, but use the pictures above for a reference point for the colour and you’ll be fine, it’s not an exact science.

Remove from heat and cool by dipping the bottom of the saucepan in a mixing bowl full of cold water.

Spoon over the top of the doughnuts. I did one layer on each and popped the sticks in, then went back once the caramel got a little thicker (this happens as it cools) to do another and to secure the sticks in place.

toffee-apple-cinder-toffee-dougnut-recipe-13

toffee-apple-cinder-toffee-dougnut-recipe-14

Step sixteen

Chow down.

Fondoodledoo

This week we found ourselves in a bit of a fix. The plan was fondue, but somebody (Peter) forgot to book it. I was a bit sad when I discovered this (months of over eating to stretch my stomach for the big occasion) still, I couldn’t stay grumpy for long, as the gentleman concerned got himself to John Lewis and bought a fondue set. Sometimes it really pays off to have housemates with ridiculous boyfriends.

When I got word that fondue was back on, I figured I would contribute a little something to the dipping pot. So here’s a double whammy post. My seeded granary wonder bread, Pete’s (mainly Nigella’s) cheese fondue.

Granary-seeded-bread-recipe

Granary-seeded-bread-recipe-5

You will need

For the bread:

300g/10.5 oz Wholemeal bread flour

200g/7 oz Strong white bread flour

150g/5 oz Mixed seeds

300ml/10 fl oz Cold water

7g Dried yeast

7g Salt

For the fondue:

400g/14 oz Gruyere cheese

400g/14 oz Camembert (although after doing this, P and I think you’re safer with Emmental as it has a more similar melting point to Gruyere)

400ml/13.5 fl oz White wine (just buy the one that is most reduced from the highest price)

4 Tablespoons Kirsch

3 Teaspoons cornflour

Clove of garlic

Some charcuterie, just because.

(Serves 6)

Granary-seeded-bread-recipe-1

Step one

Combine the two bread flours salt and yeast in a bowl. Keep the yeast and salt as far apart as you can. The salt has a nasty track record for bullying the yeast.

Step two

Add the water and mix with your hand until combined. You don’t need the water to be warm, at least that’s what Paul Hollywood says on EVERY EPISODE OF BAKE OFF. Something about the protein structure. I’m inclined to bow to his superior knowledge.

You may need to add a tiny splash more water if your dough isn’t coming together.

Granary-seeded-bread-recipe-2

Step three

Lightly cover your work surface with olive oil so that you don’t add loads more flour to the dough as you go. Another Hollywood gem.

Knead the dough by pushing it forward as far as it will go and then folding it back. Turn and stretch again. Repeat repeat repeat.

At first the dough will be fairly brittle and will break as you do this. Don’t worry, it will get softer and more stretchy as you go. It will also merge back together more easily (you’ll know what I mean when you get there)

As it’s wholemeal flour you need to keep going on this for about 15 minutes, it should form a much smoother ball that the one you started with when you’re done.

Granary-seeded-bread-recipe-6

Step four

Lightly oil a bowl and place dough in. Cover with clingfilm and leave for an hour to rise.

Granary-seeded-bread-recipe-3

Step five

Turn dough back out onto the work surface (it’s ok if you have an overwhelming urge to put your face in it – I mean, don’t actually do it, but thinking it doesn’t make you weird).

Flatten out with your fingers (or your fist if you need a small moment of therapy). Add the mixed seeds evenly over the surface of the mix. You will feel like you have a lot, but they disappear quite quickly.

Fold the corners and sides back into the middle and knead for a minute or so until the seeds are distributed throughout.

Scoop your hands around the edges to form the dough into a ball.

Granary-seeded-bread-recipe-7

Step six

Dust a large baking tray with flour and place the dough on top. Slash the top in a criss cross pattern and sprinkle the top with a bit more flour.

Leave for another hour to prove.

Granary-seeded-bread-recipe-4

Step seven

Bake on 200C/gas mark 6/400F for 40-45 minutes. Keep an eye on it as it bakes incase any of the edge starts to catch.

Turn the bread over when you think it’s done and tap on the bottom. If it sounds quite hollow then you’re good.

Step eight

Try to resist biting right into the loaf. It’s time to make the fondue.

Fondue-recipe

Step nine

Make sure your fondue set is ready to go and the table is set. You’re going to want to eat straight away when you see a pot of melted cheese.

Granary-seeded-bread-recipe-8

Step ten

Grate the Gruyere and chop up the Camembert (although I really do recommend you use Emmental instead, the Camembert took a loooooong time to melt and was insanely rich). You will have MOUNTAINS of the stuff. Pete’s actually 6’3″…

Step eleven

Put a the wine into a saucepan on a medium heat. Bring this to a point just before it starts to simmer and start adding the cheese, stirring with a whisk and allowing it to melt in stages.

Step twelve

Once all the cheese has melted pop in the garlic and season to taste. Bring the heat up to a bubble and keep whisking until it is combined with the wine (though again – Camembert wasn’t co-operating fully with us on this one). Finally add the Kirsch and cornflour (probably best to mix the two beforehand so the cornflour doesn’t clump up).

Turn the heat down and allow to thicken for a few minutes before removing from the hob and pouring into the fondue pot. Light the burner/candle underneath.

Fondue-recipe-1

Step thirteen

Sink into a very well deserved and rather disgusting cheese coma.

Get a load of THAT crumb structure

I have been remiss. Apologies, in all my gallivanting around the country and generally doing life I’ve not updated the blog in a few weeks.

Some of this gallivanting found me in Cambridge with my buddies Rachel and David recently. Last time I saw them they were making focaccia and traversing numerous counties; prepping in one, letting it rise on the car journey and baking in another.

This time round Dave and I kept all stages in one location, and photographed it for your viewing pleasure.

Focaccia is kind of nuts, so don’t be surprised that it looks wrong basically right up until it’s baked, those of you who watch the Great British Bake Off will know that it’s all in the name of getting an uneven crumb structure.

focaccia-recipe-1

You will need

500g/1lb 2oz strong white bread flour

2 tsp salt

2 sachets dried yeast (14g)

2 tbsp olive oil

400ml/14fl oz cold water

More olive oil

Sea salt

Fresh rosemary

Original recipe source here

focaccia-recipe-2

Step one

Combine flour and yeast in a bowl with 300mls of the water and two tbsp of olive oil.

focaccia-recipe-3

Step two

Stir with a wooden spoon to combine. This is the first of many ‘don’t worry’ assurances I will give, because at this stage it really doesn’t look too hot.

focaccia-recipe-4

Step three

Add the salt.

Top tip from Davey-boy here: don’t add it any earlier like some recipes will tell you, because yeast hates salt and will go on strike if you do. Those weren’t Dave’s exact words, but essentially, it’s better to mix them in separately.

focaccia-recipe-5

Step four

Bring together the dough by kneading in the bowl.

Gradually add the remaining 100mls of water as you do this. Keep pulling and stretching for 5 minutes, it will get disgusting, but don’t be tempted to leave any out. Remember, it’s all about those uneven crumbs.

focaccia-recipe-6

See?! Ew. But it’s ok. Honest.

focaccia-recipe-7

Step five

Cover your work surface in olive oil and slop that mess out onto it.

Carry on kneading for another 5 to 10 minutes until the dough begins to smooth out a bit, a dough scraper really helps here if you have one handy, as the mix is quite stringy and prone to sticking.

Resist the urge to add any flour to your surface; while it would make it a bit easier and would help it to look more like something that you’d want to eat, it won’t do that crumb structure any favours.

focaccia-recipe-8

Step six

If yours looks as good as Dave’s take a bow.

focaccia-recipe-9

Step seven

Transfer dough back into the mixing bowl and cover in cling film.

Wait for it to double in size, usually it takes about an hour, but this might vary depending on the temperature of the day/your house.

p.s. It’s still pretty sloppy and weird at this stage, so don’t panic.

focaccia-recipe-10

Step eight

Divide the mix in half and place on two baking trays covered in greaseproof paper/baking parchment.

You will have to adopt a weird stretching-stroking technique to get the dough to fill the space; it’s quite elasticy. The loaves should be about 2-3cm/1″ thick once you’re done. Persevere.

focaccia-recipe-11

Step eight

Leave to prove for another hour.

Drizzle in olive oil, push in some sprigs of rosemary and sprinkle with sea salt.

Step nine

Bake in the oven on Gas mark 7/220 C/425 F for about 20-30 minutes until golden on top.

focaccia-recipe-12

See. I told you it would come good in the end.

focaccia-recipe-14

Step ten

Show off that crumb structure.

focaccia-recipe-13

Step eleven

Consume.