Hullo chums. Just a little heads up that this is my last post for a couple of weeks as I’m heading off on holiday and didn’t quite have the organisational skill to do enough to tide you over until I’m back. Something my new design guru seanwes would not be impressed with.
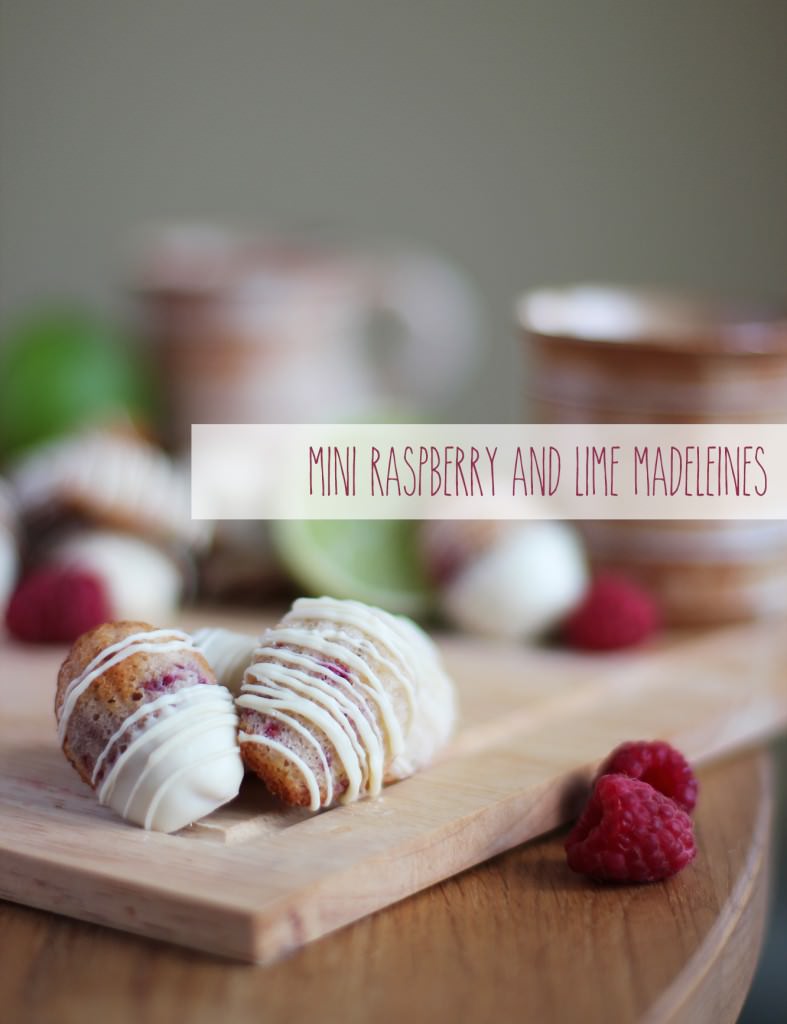
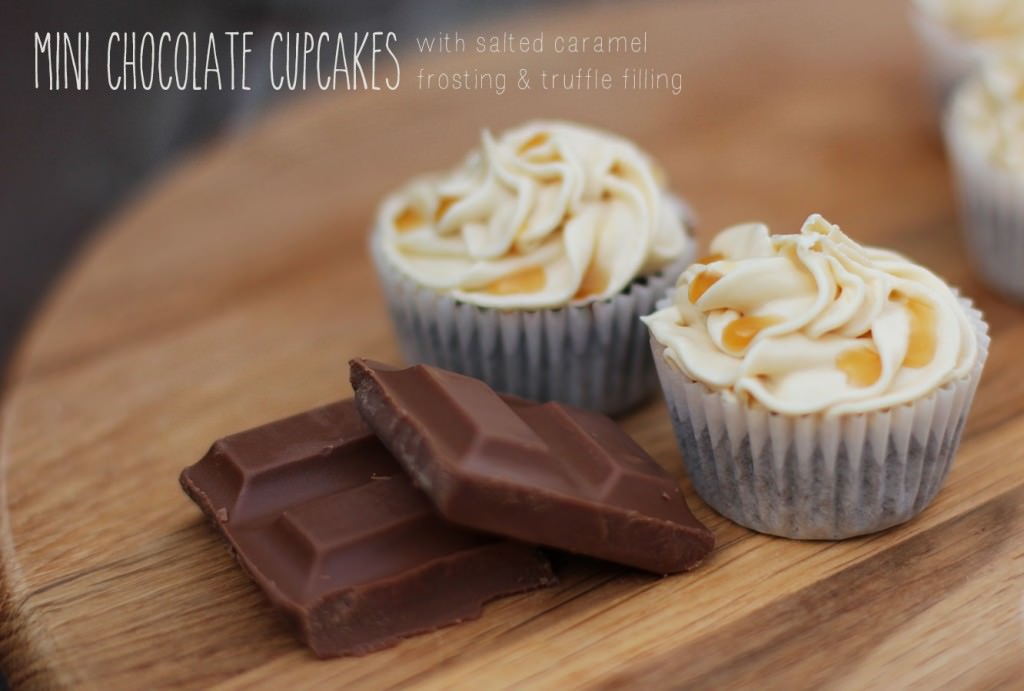
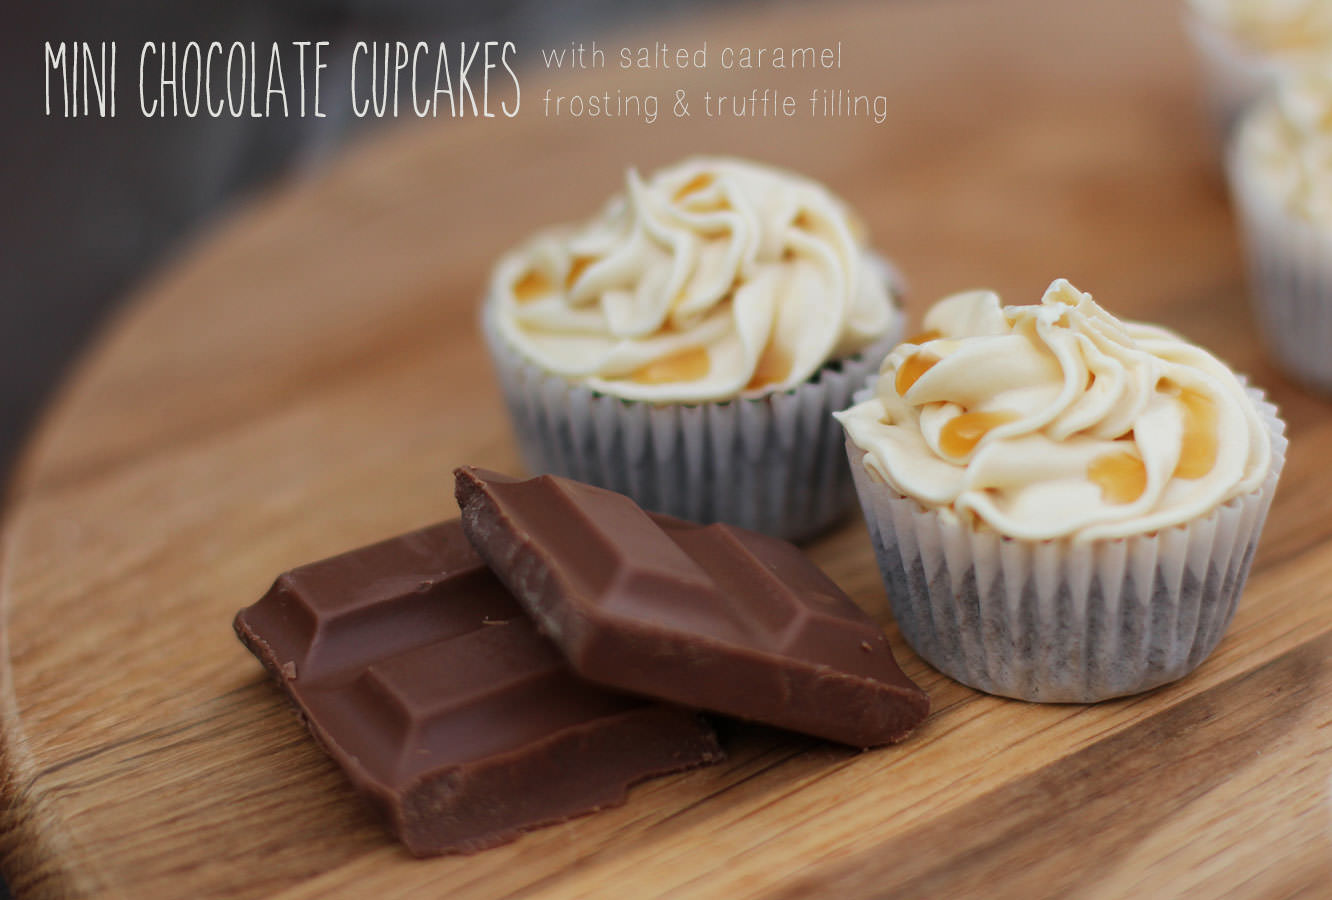
But anyway. This is a real good’un I’m leaving you with, there’s not much point making any of the rest of the afternoon tea series after you’ve done these. Your guests won’t look back. Partly because they will be bouncing around the room on a sugar high.
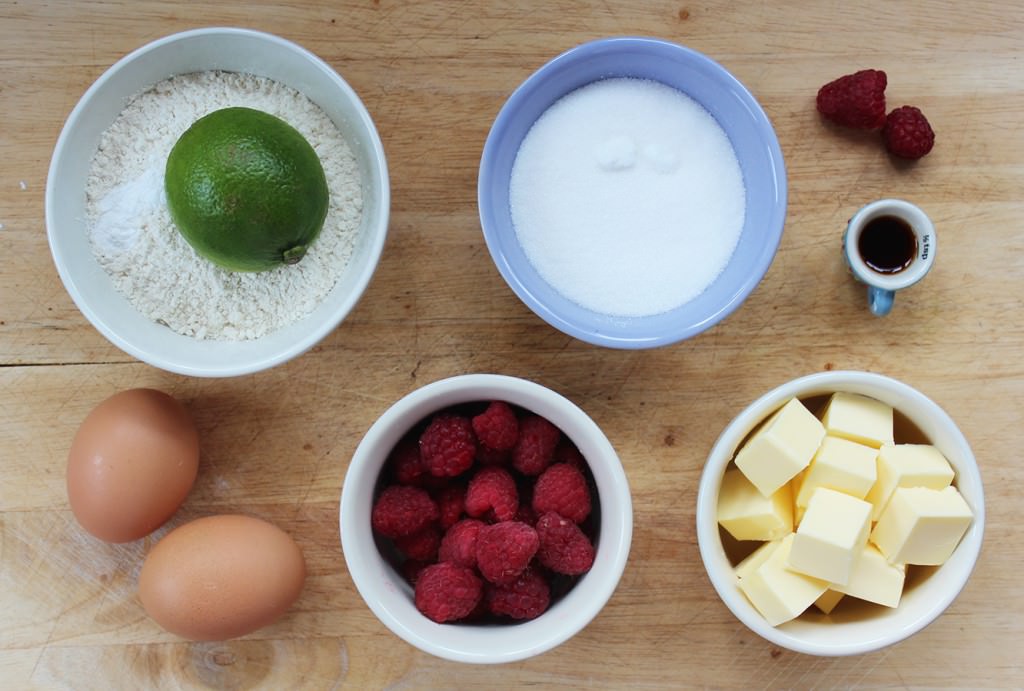
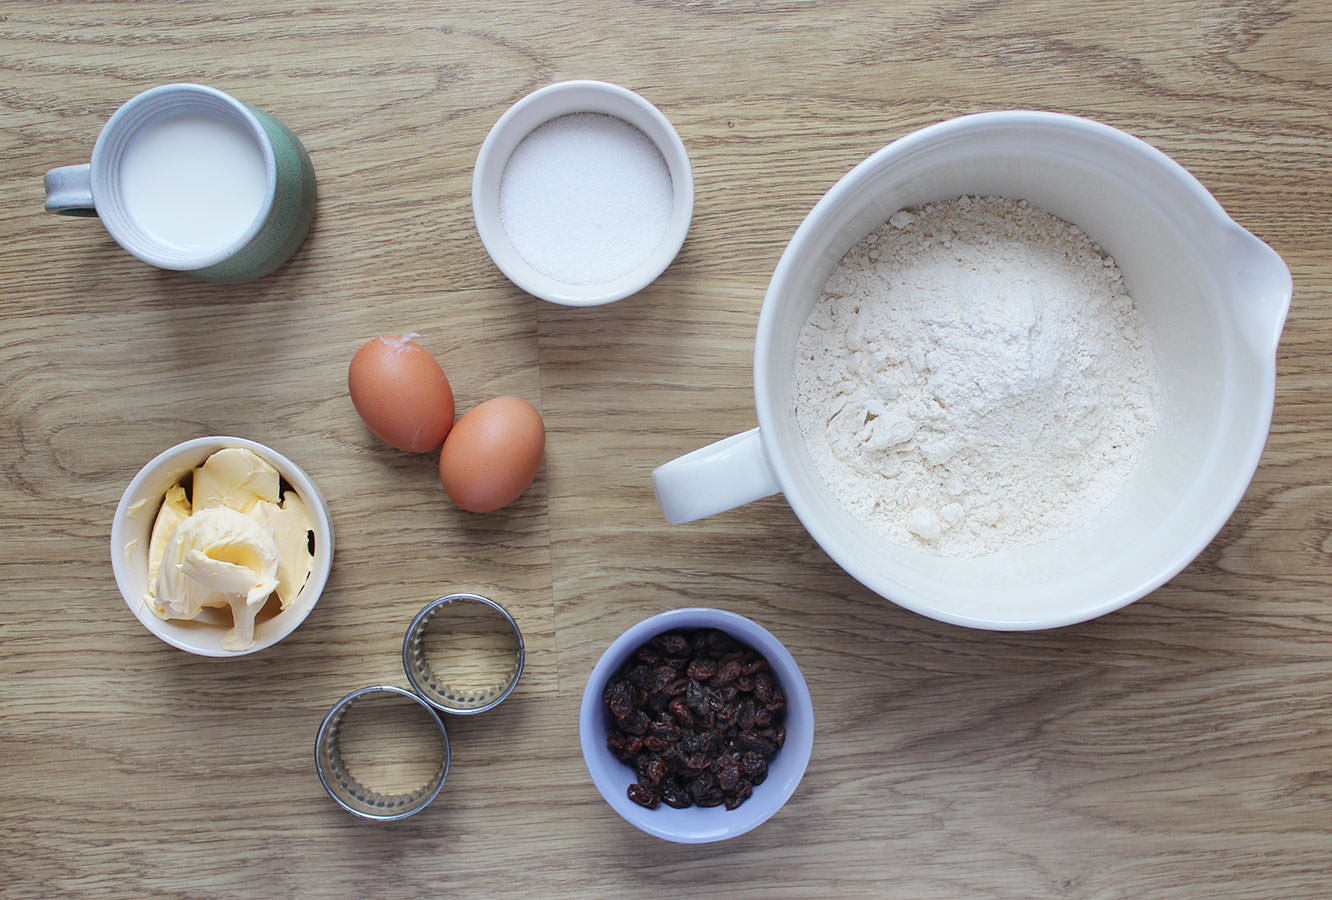
You will need
For the cakes:
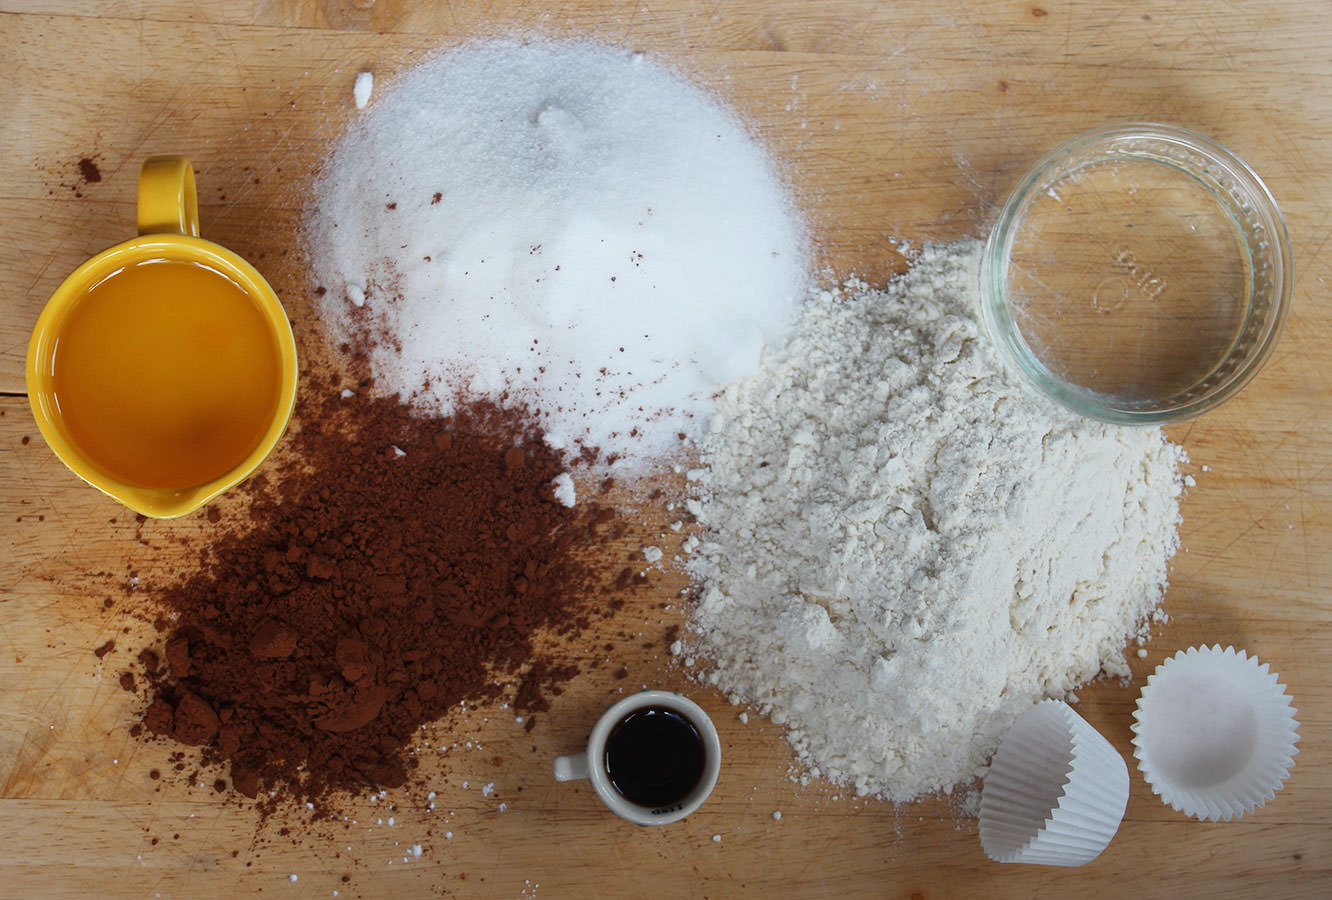
200g/7 oz Plain flour
200g/7 oz Caster sugar
30g/1 oz Cocoa powder
250ml/8.5 fl oz Water
5 tbsp Vegetable oil
1 tsp Bicarbonate of soda
1 tsp Cider vinegar
1 tsp Vanilla extract
For the ganache filling:
100g/3.5 oz Dark chocolate
100g/3.5 oz Milk chocolate
200ml/6.5 fl oz Double cream
For the salted caramel frosting:
300g/10.5 oz Icing sugar
250g/9 oz Butter
80g/3 oz Soft brown sugar
100ml/3.5 fl oz Double cream
2 tbsp Golden syrup
2 tsp Salt
(Makes 48)
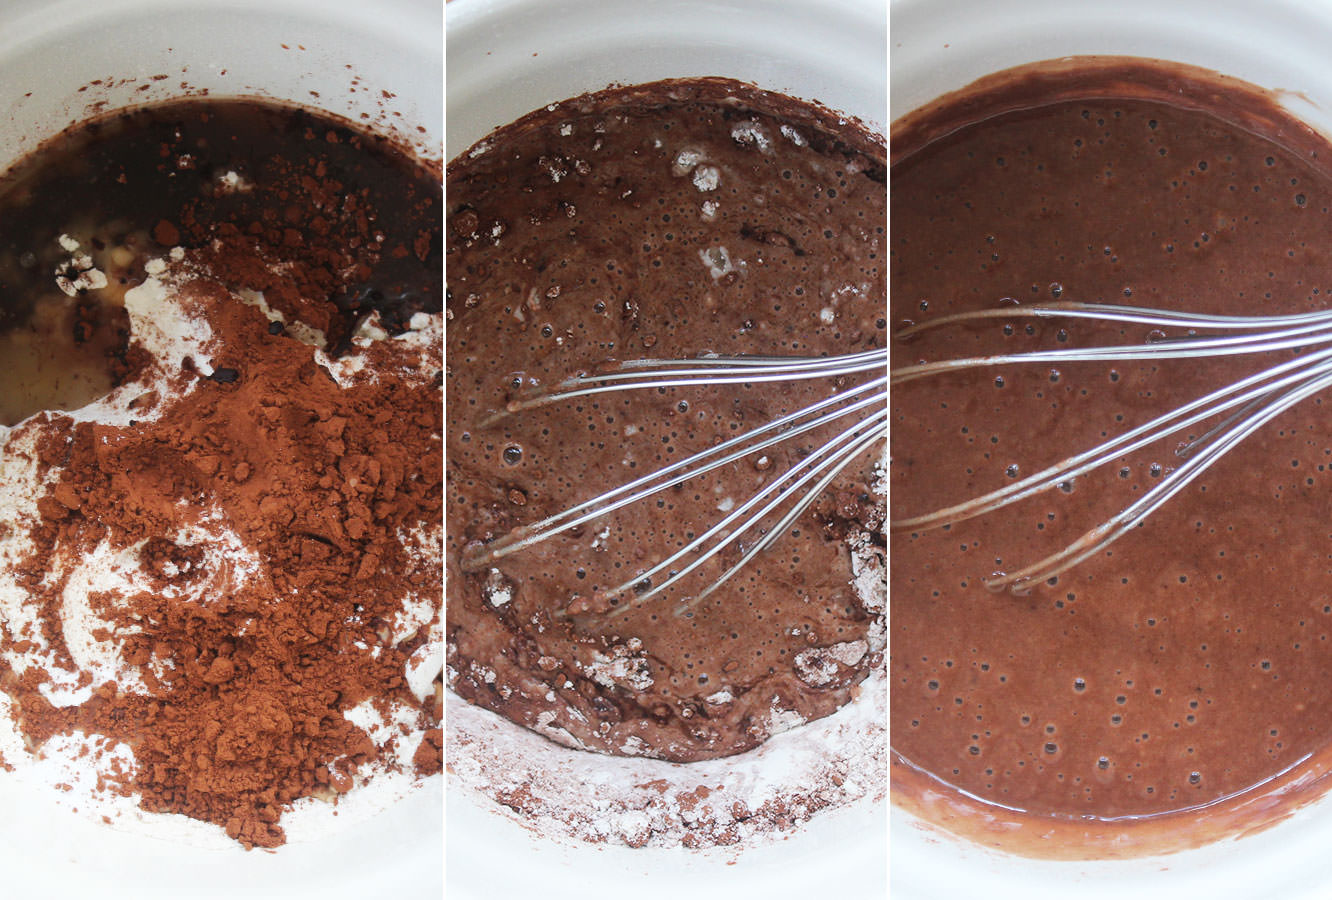
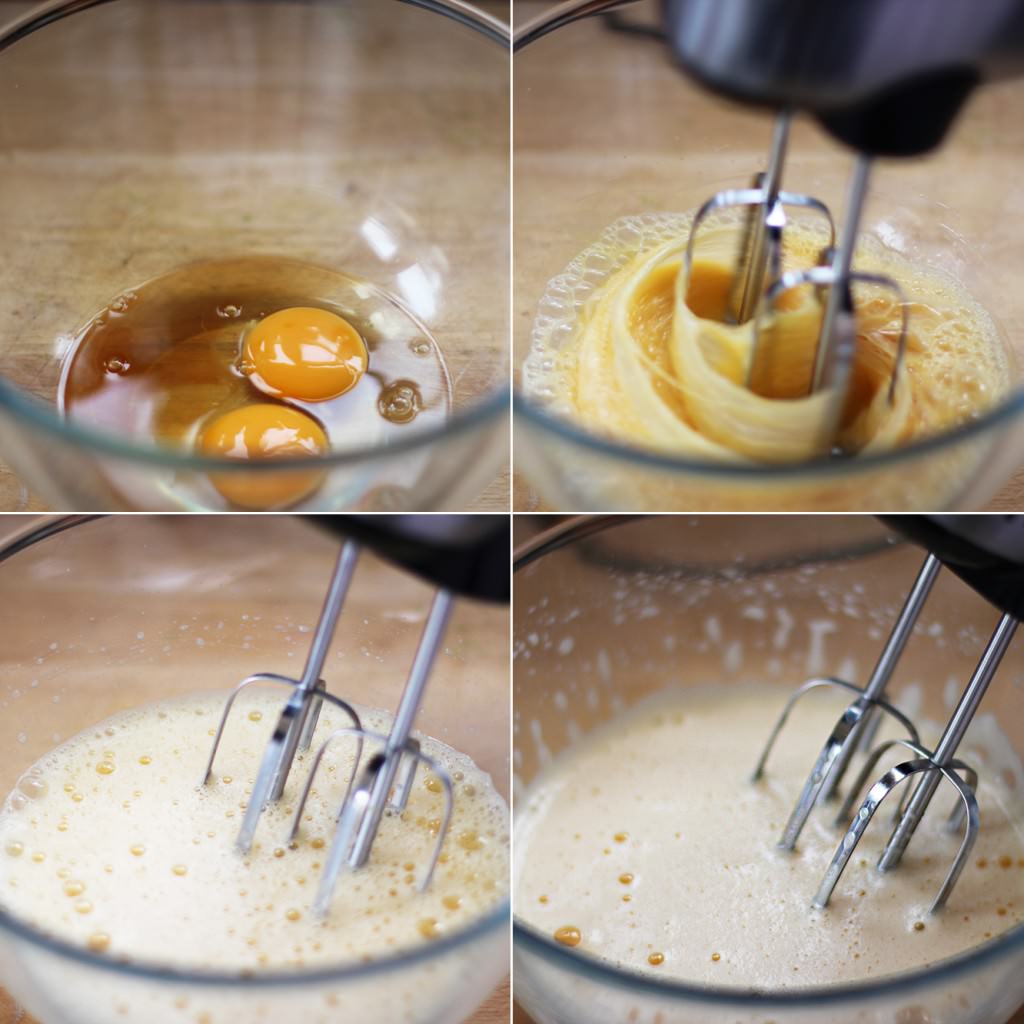
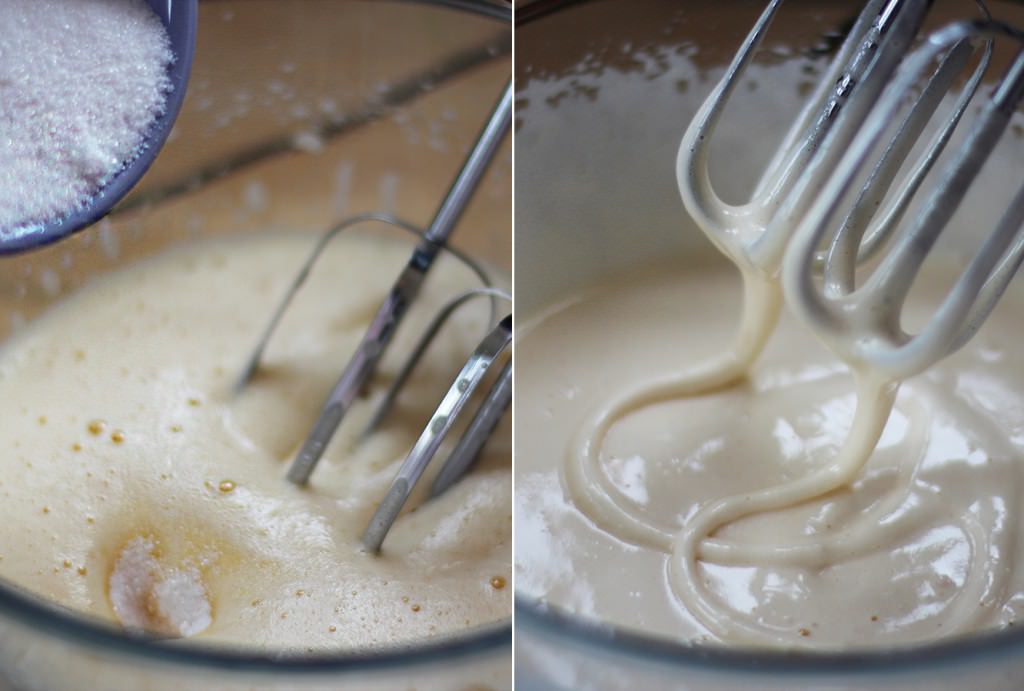
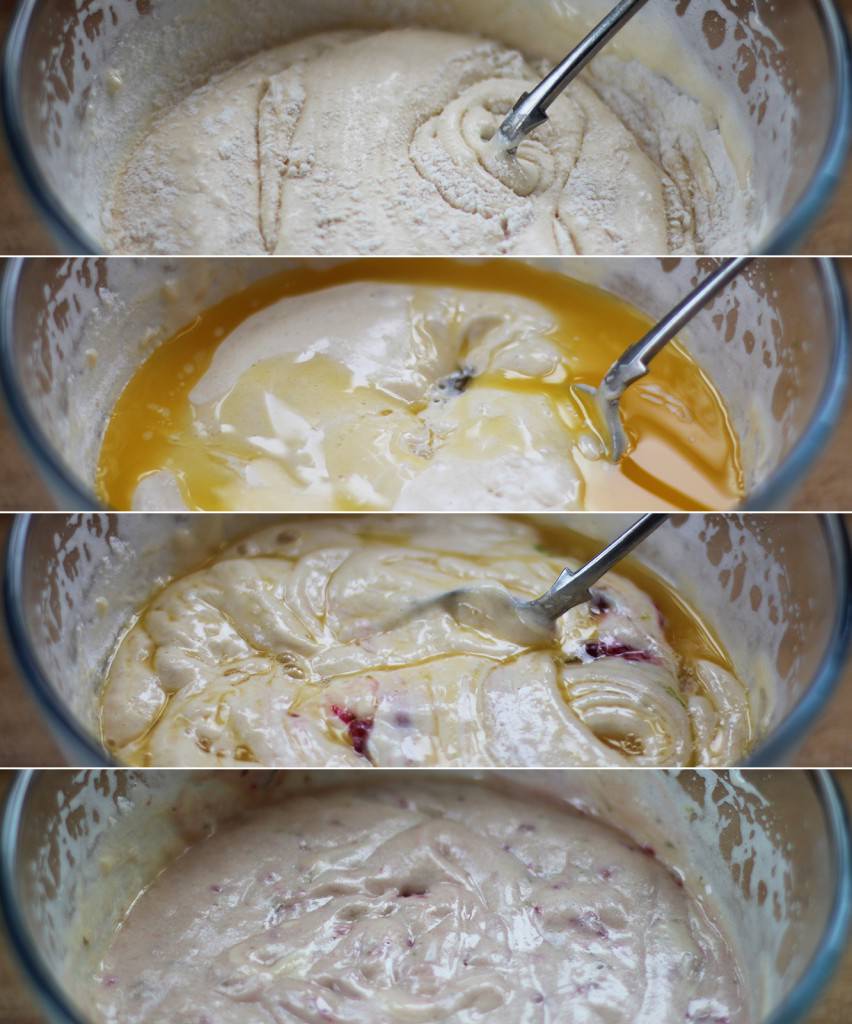
Step one
Combine all the cake ingredients into one bowl and whisk until there are no lumps. This makes quite a thin batter that you will find a bit disturbing if you are used to putting egg and butter in cakes.
This recipe is great for vegans (as long as you don’t add the icing or filling – use substitutes instead perhaps). It’s my favourite recipe for chocolate cupcakes now, I originally found it when baking for a lactose intolerant friend.
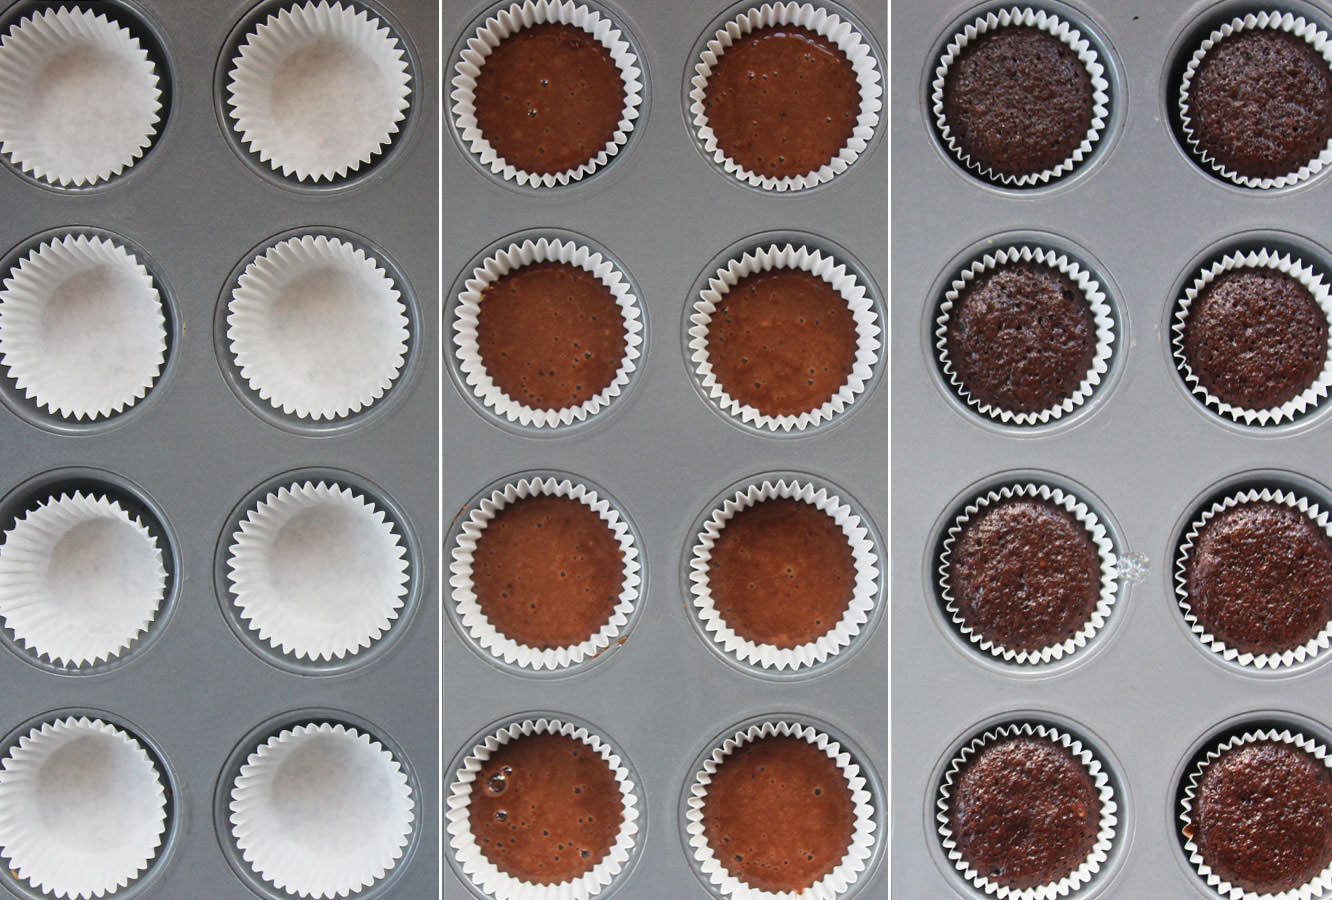
Step two
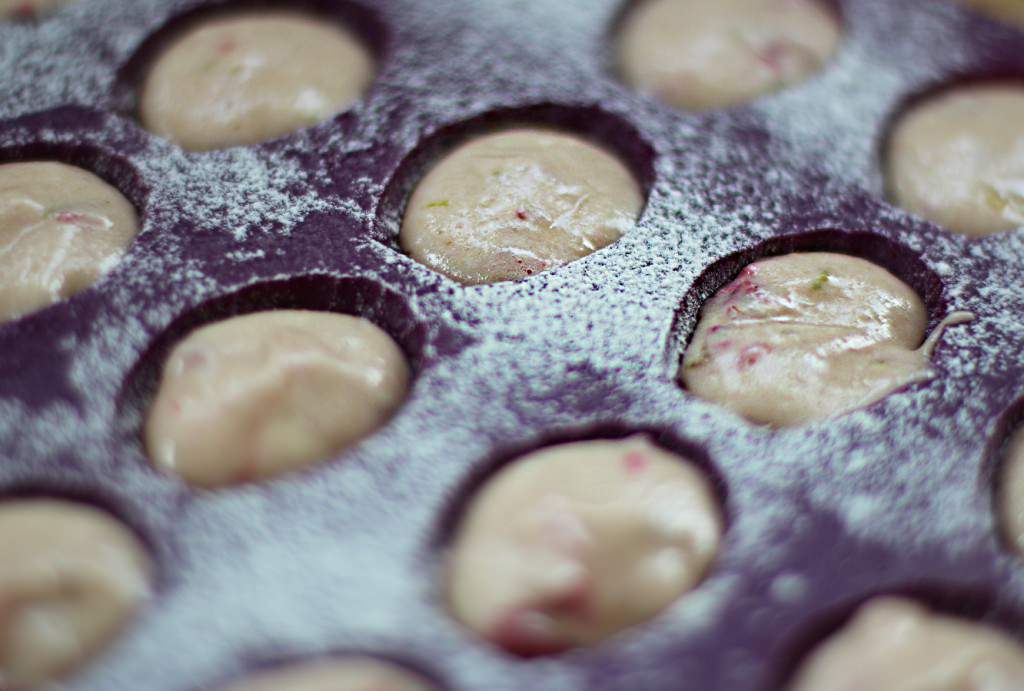
Spoon into mini cupcake/muffin cases. I filled mine about halfway and could have gone to two thirds. There’s not a huge amount of rise in this mixture, perfect for cupcakes because they are nice and flat for icing onto.
Step three
Bake in the oven at gas mark 4/180C/350F for around 40 minutes or until springy to the touch.
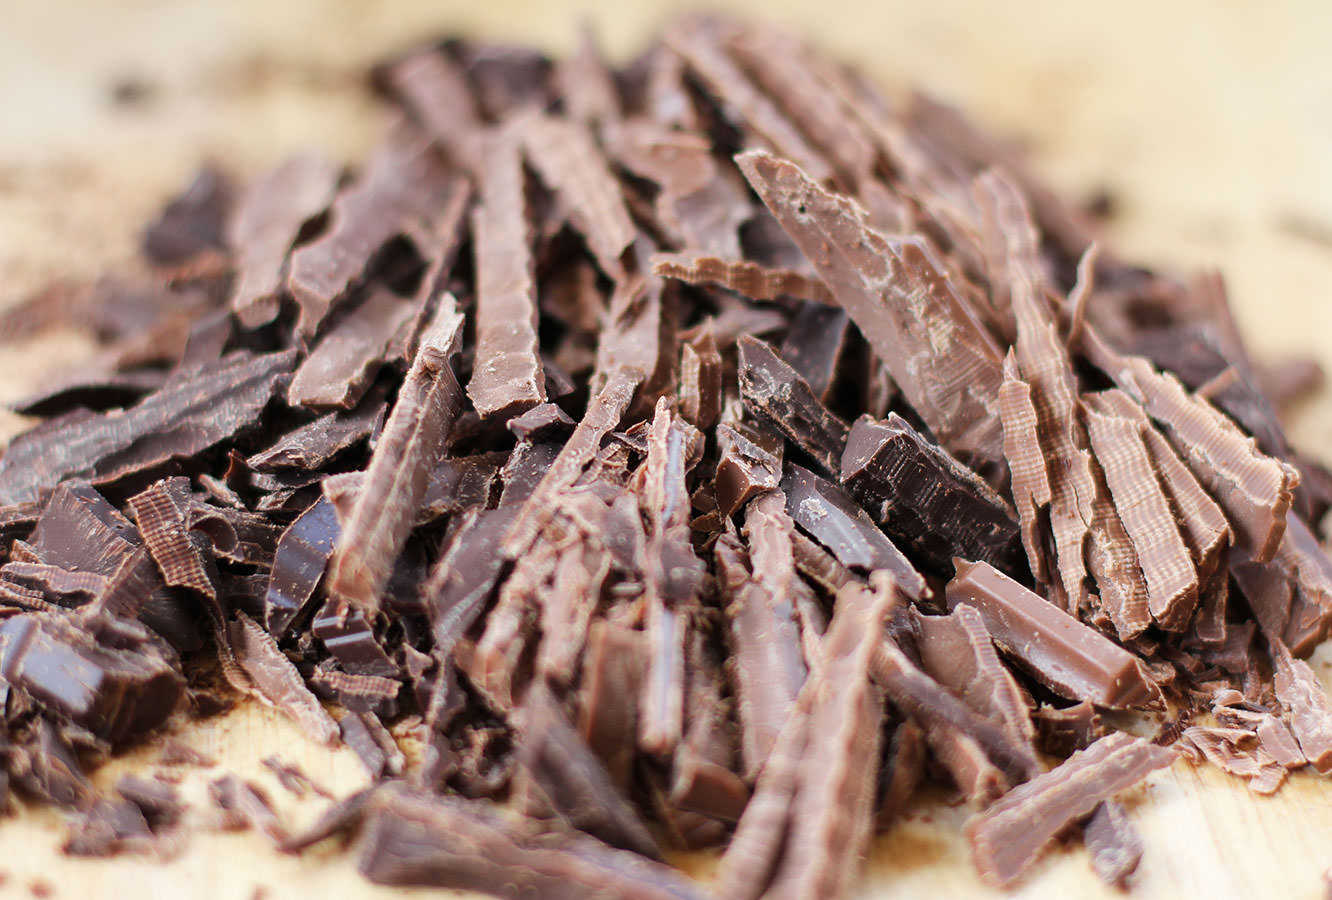
Step three
Whilst the cakes are in the oven, make the ganache. Chop the chocolate finely; I always use a bread knife for this and recommend you do too, you’ll never go back.
Place chocolate pieces in a small mixing bowl.
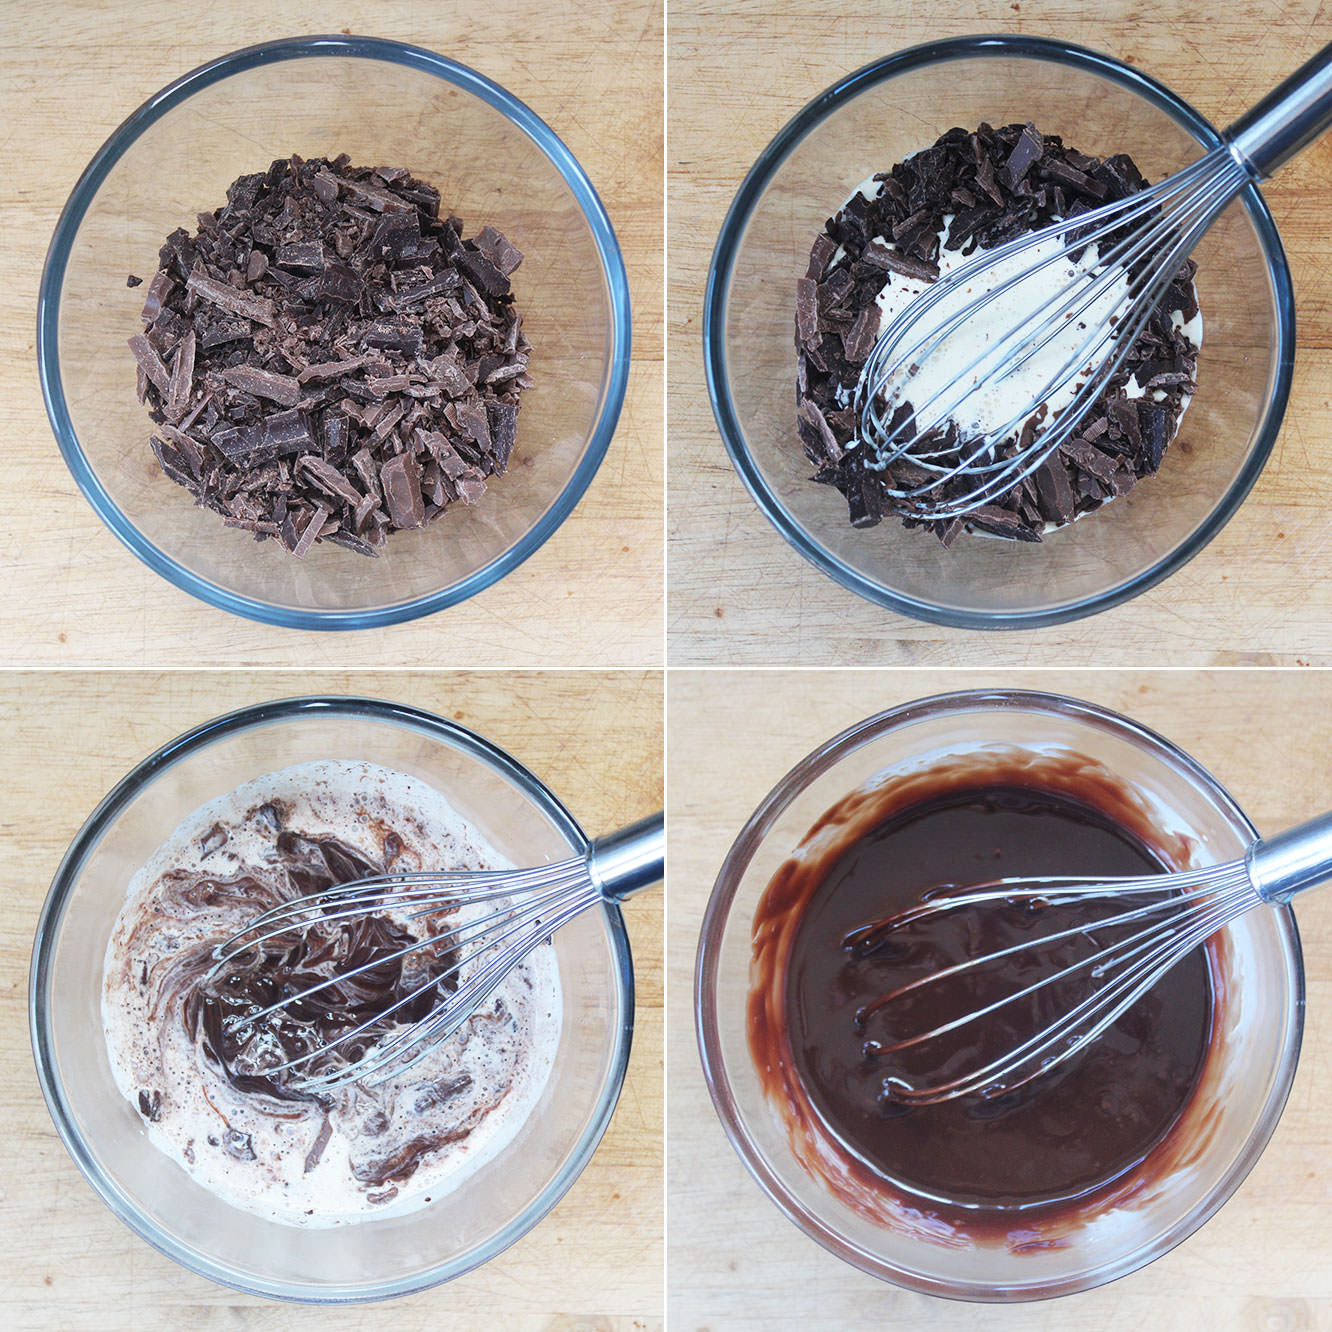
Step five
Gently heat 200ml double cream in a small saucepan. Let it get to the point where there is steam sort of dancing across the top and it’s beginning to simmer/bubble at the edges. You don’t need to wait longer than this, it doesn’t need to be piping hot – as Mary Berry always says in her wonderfully whimsical way – chocolate can melt in a child’s pocket.
Pour the cream over the chocolate and whisk until smooth. Set to one side.
Step six
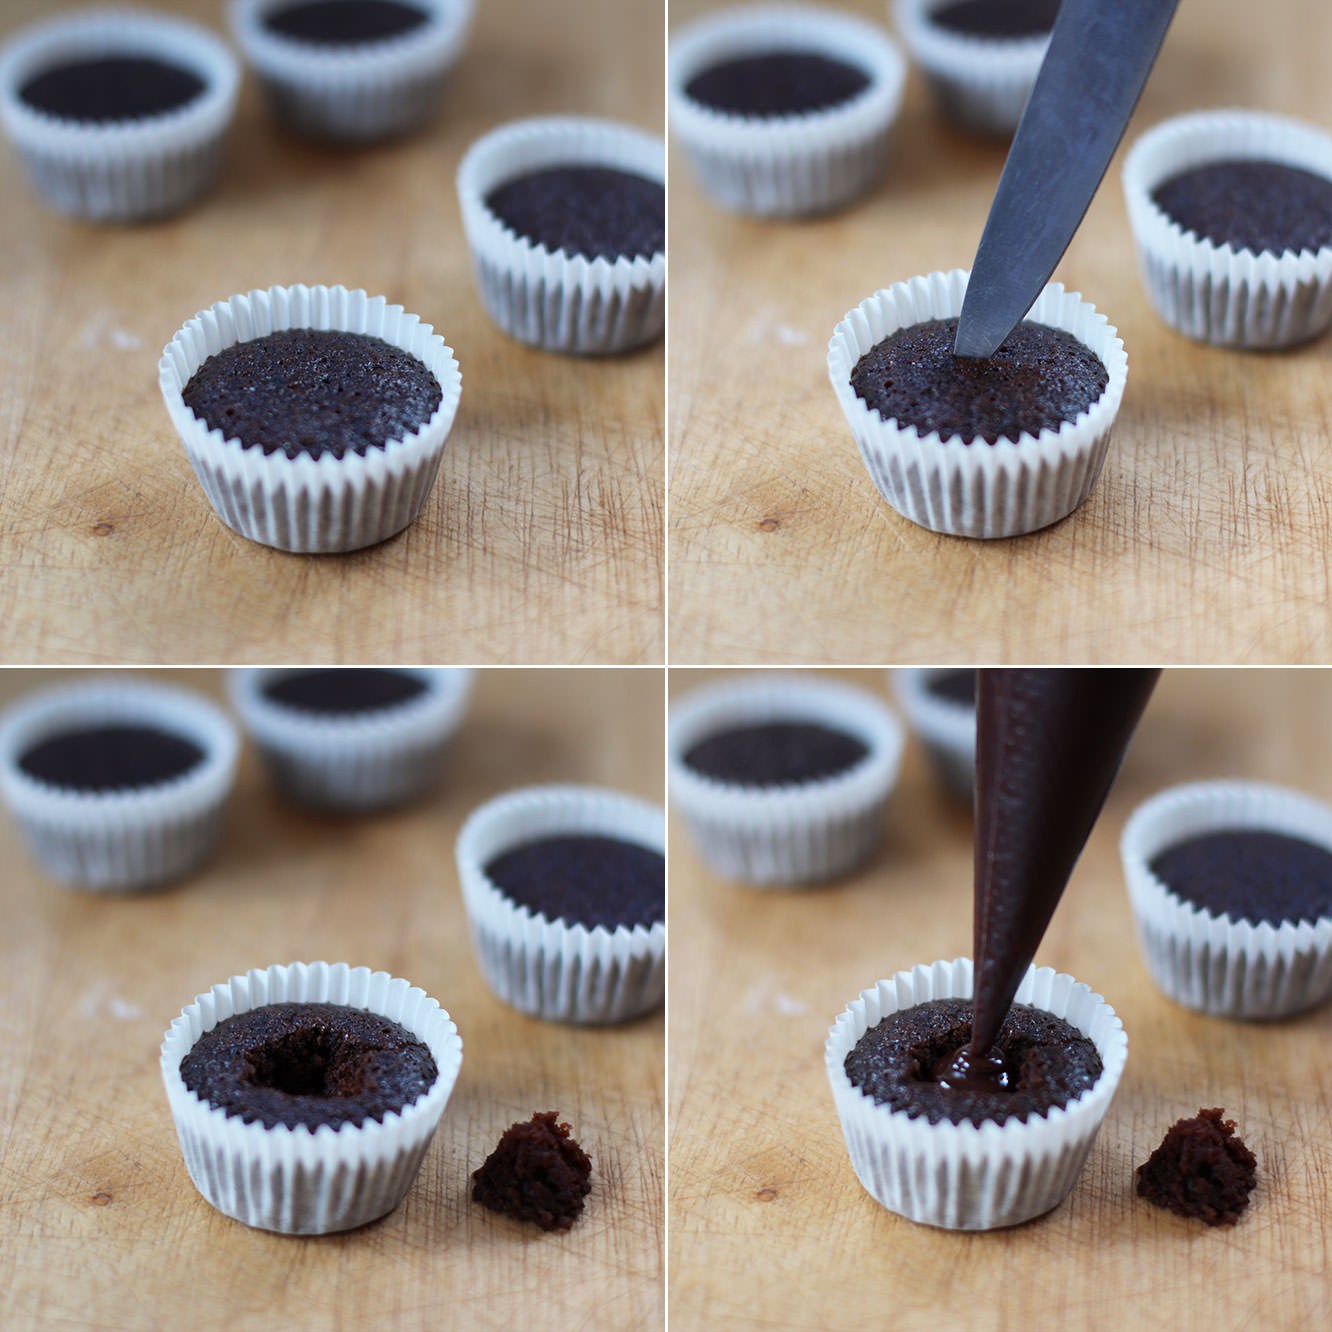
Once the cakes have completely cooled use a small vegetable knife to cut a hole in the centre. Yes you can eat the bit that pops out.
I found it was easiest to put the ganache into a piping bag as the cakes are quite small. Fill the gap entirely until the ganache is level with the top of the cake.

Step seven
Just keep filling, filling, filling, what do we do? We fill.
Leave them to set.
Step eight
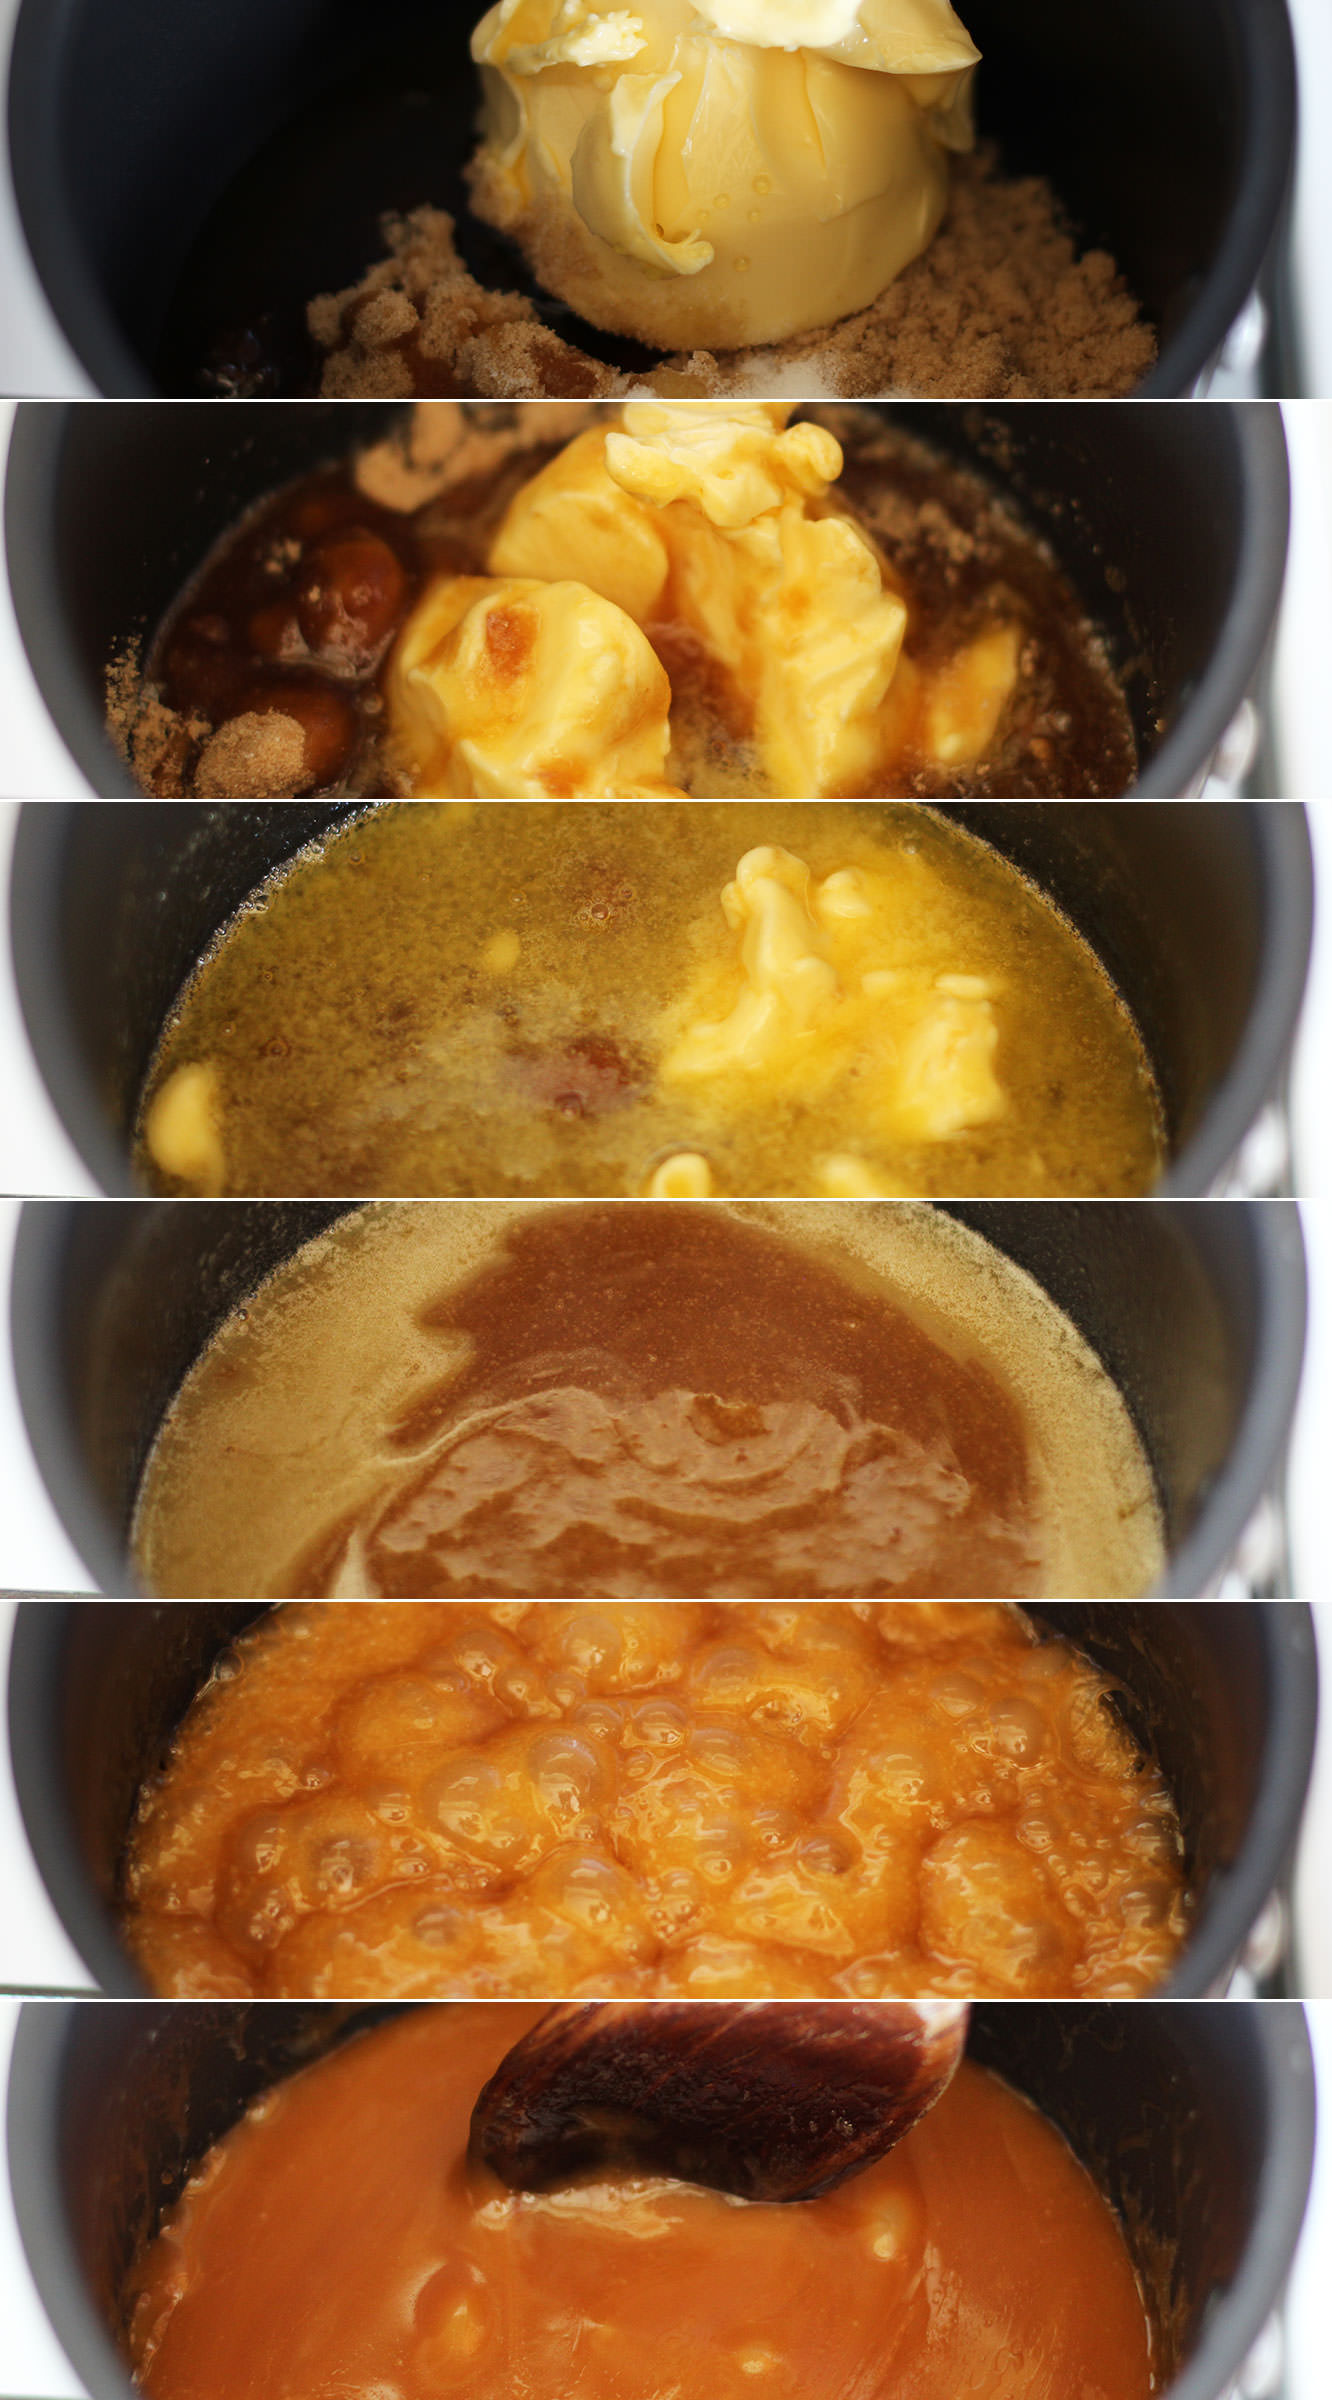
Melt together 100g of the butter, the brown sugar, golden syrup and salt. Do this slowly and then bring the heat up to a simmer.
Simmer for 10 minutes. Stir regularly so that it doesn’t catch and burn. Leave to cool down for about half an hour or so.
Step nine
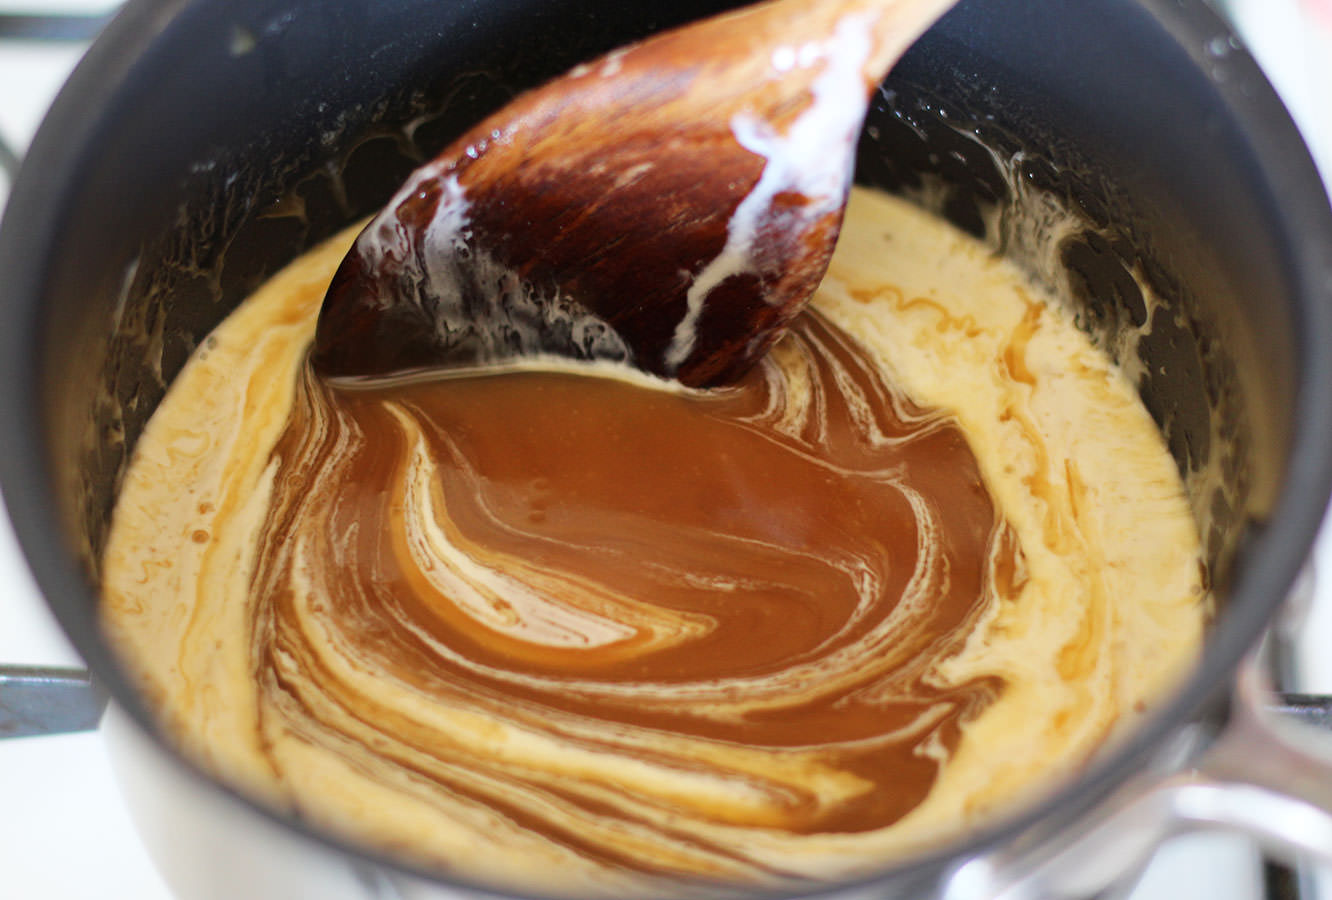
Once the caramel has cooled down a bit, stir in the 100ml of cream. This will bizarrely make the caramel darker. Maybe a scientist can tell me why? Answers on a postcard please.
It will also get much runnier, I understand that bit.
Allow to cool to room temperature.

Step ten
With an electric whisk beat together the rest of the butter and the icing sugar. Cover with a tea towel to begin with so you don’t choke on the clouds of icing sugar…
Once the mixture is well combined gradually mix in the caramel you made earlier. Set a bit of this aside (about 50-100ml or so) to decorate later on.
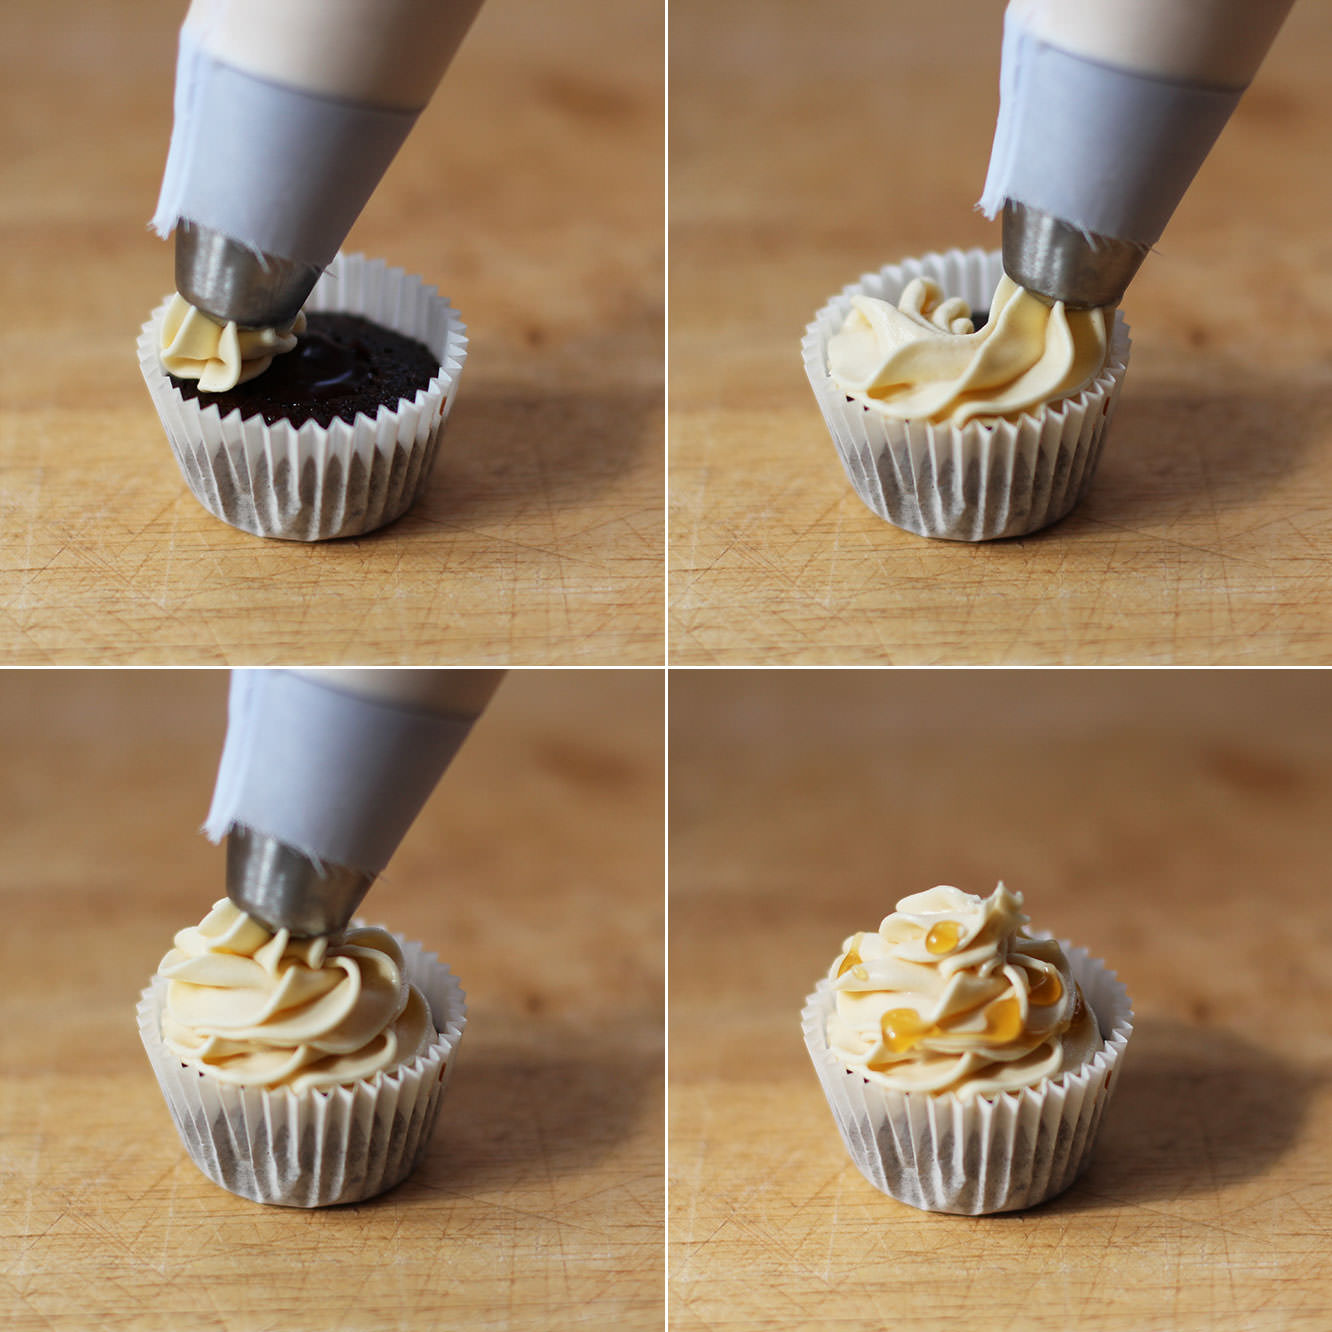
Step eleven
Pop the frosting into a piping bag and top off your little cakes with a drizzle of caramel once iced. I used a different nozzle than I usually do just because. Forgive me that some of them look a little wonky.
What’s that? I made another GIF?
Step twelve
Sink into sugar coma.

 You will need
 Step one
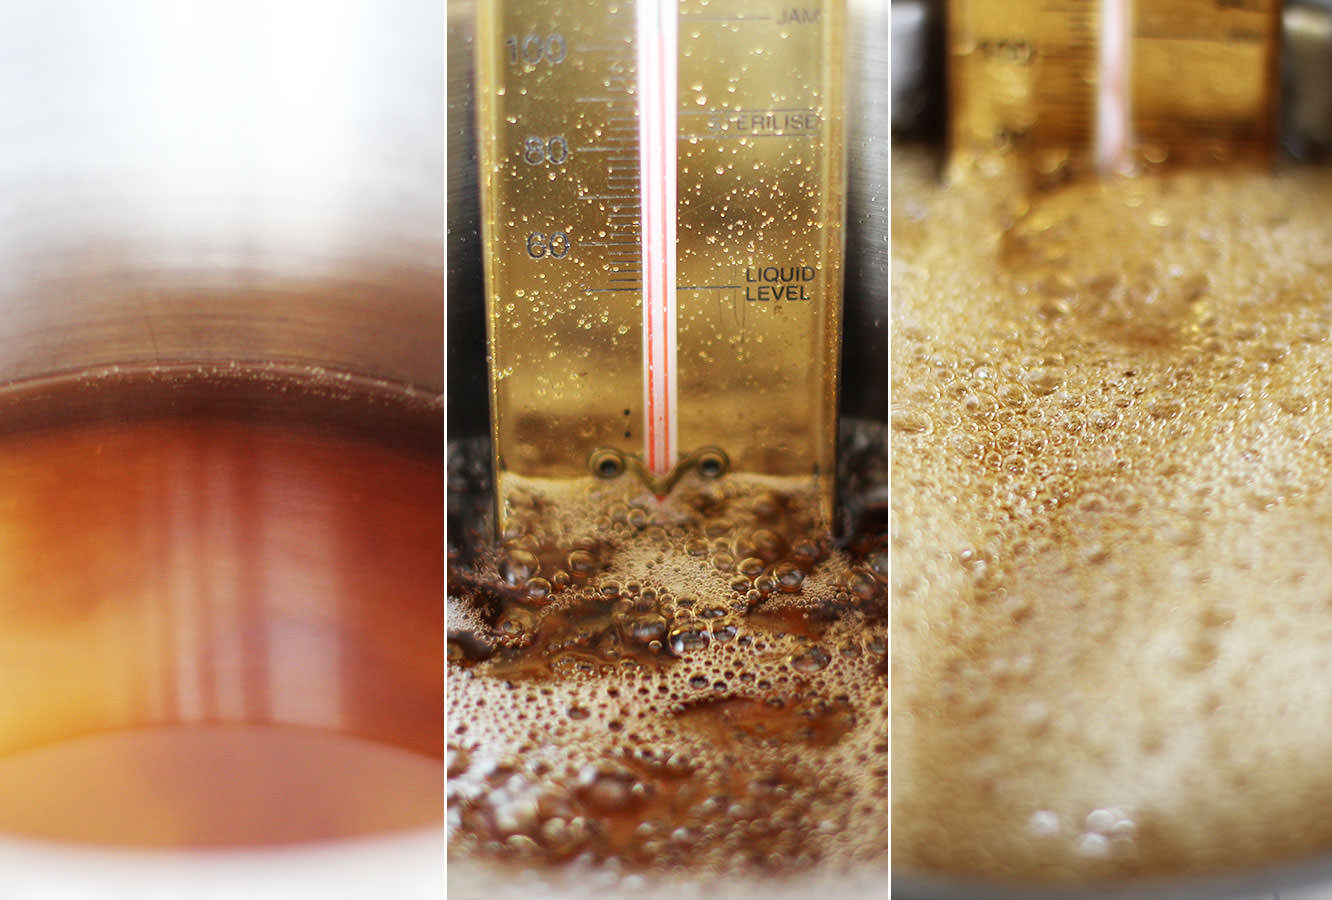 Step three
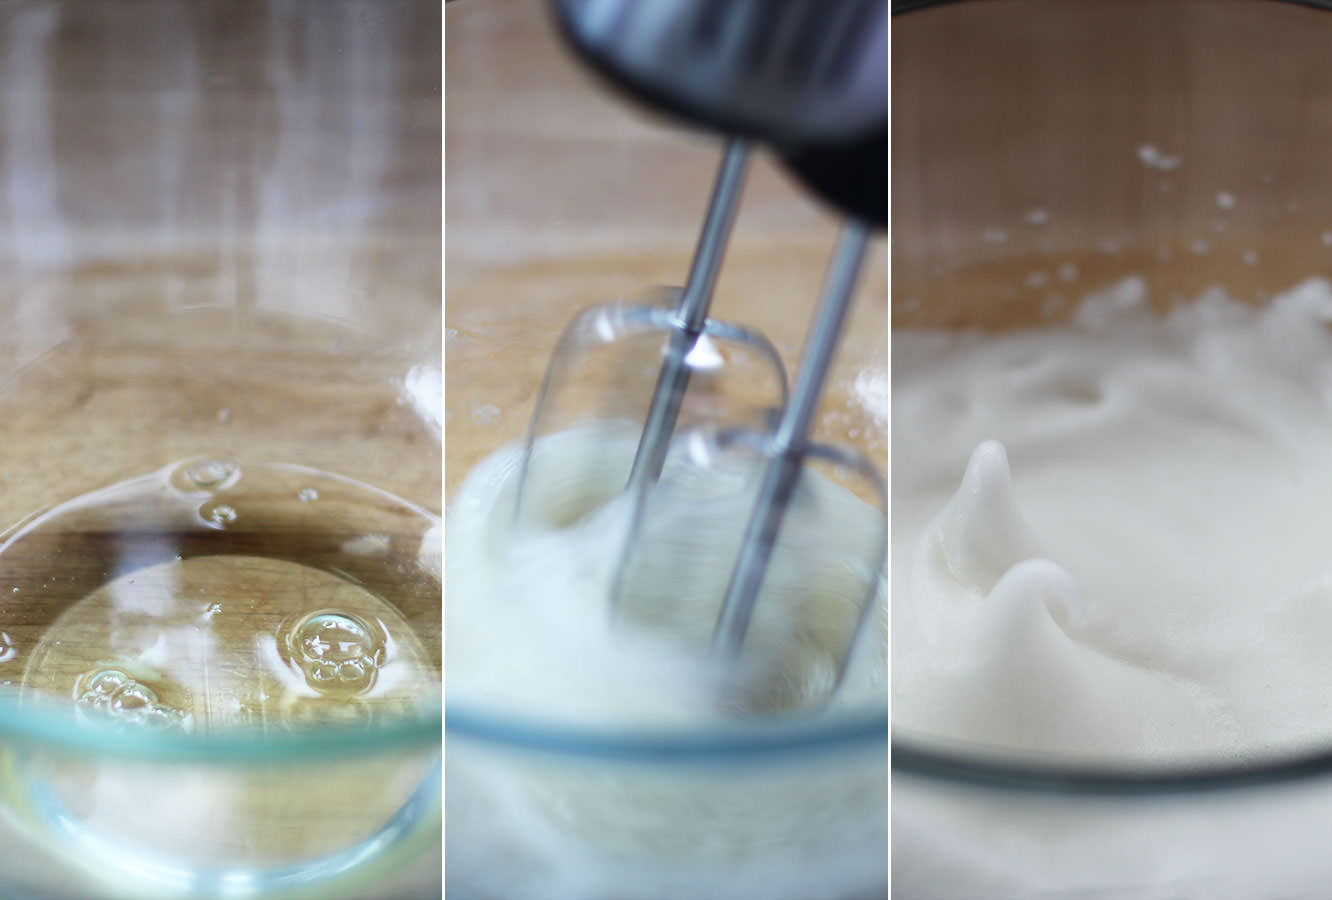 Step four
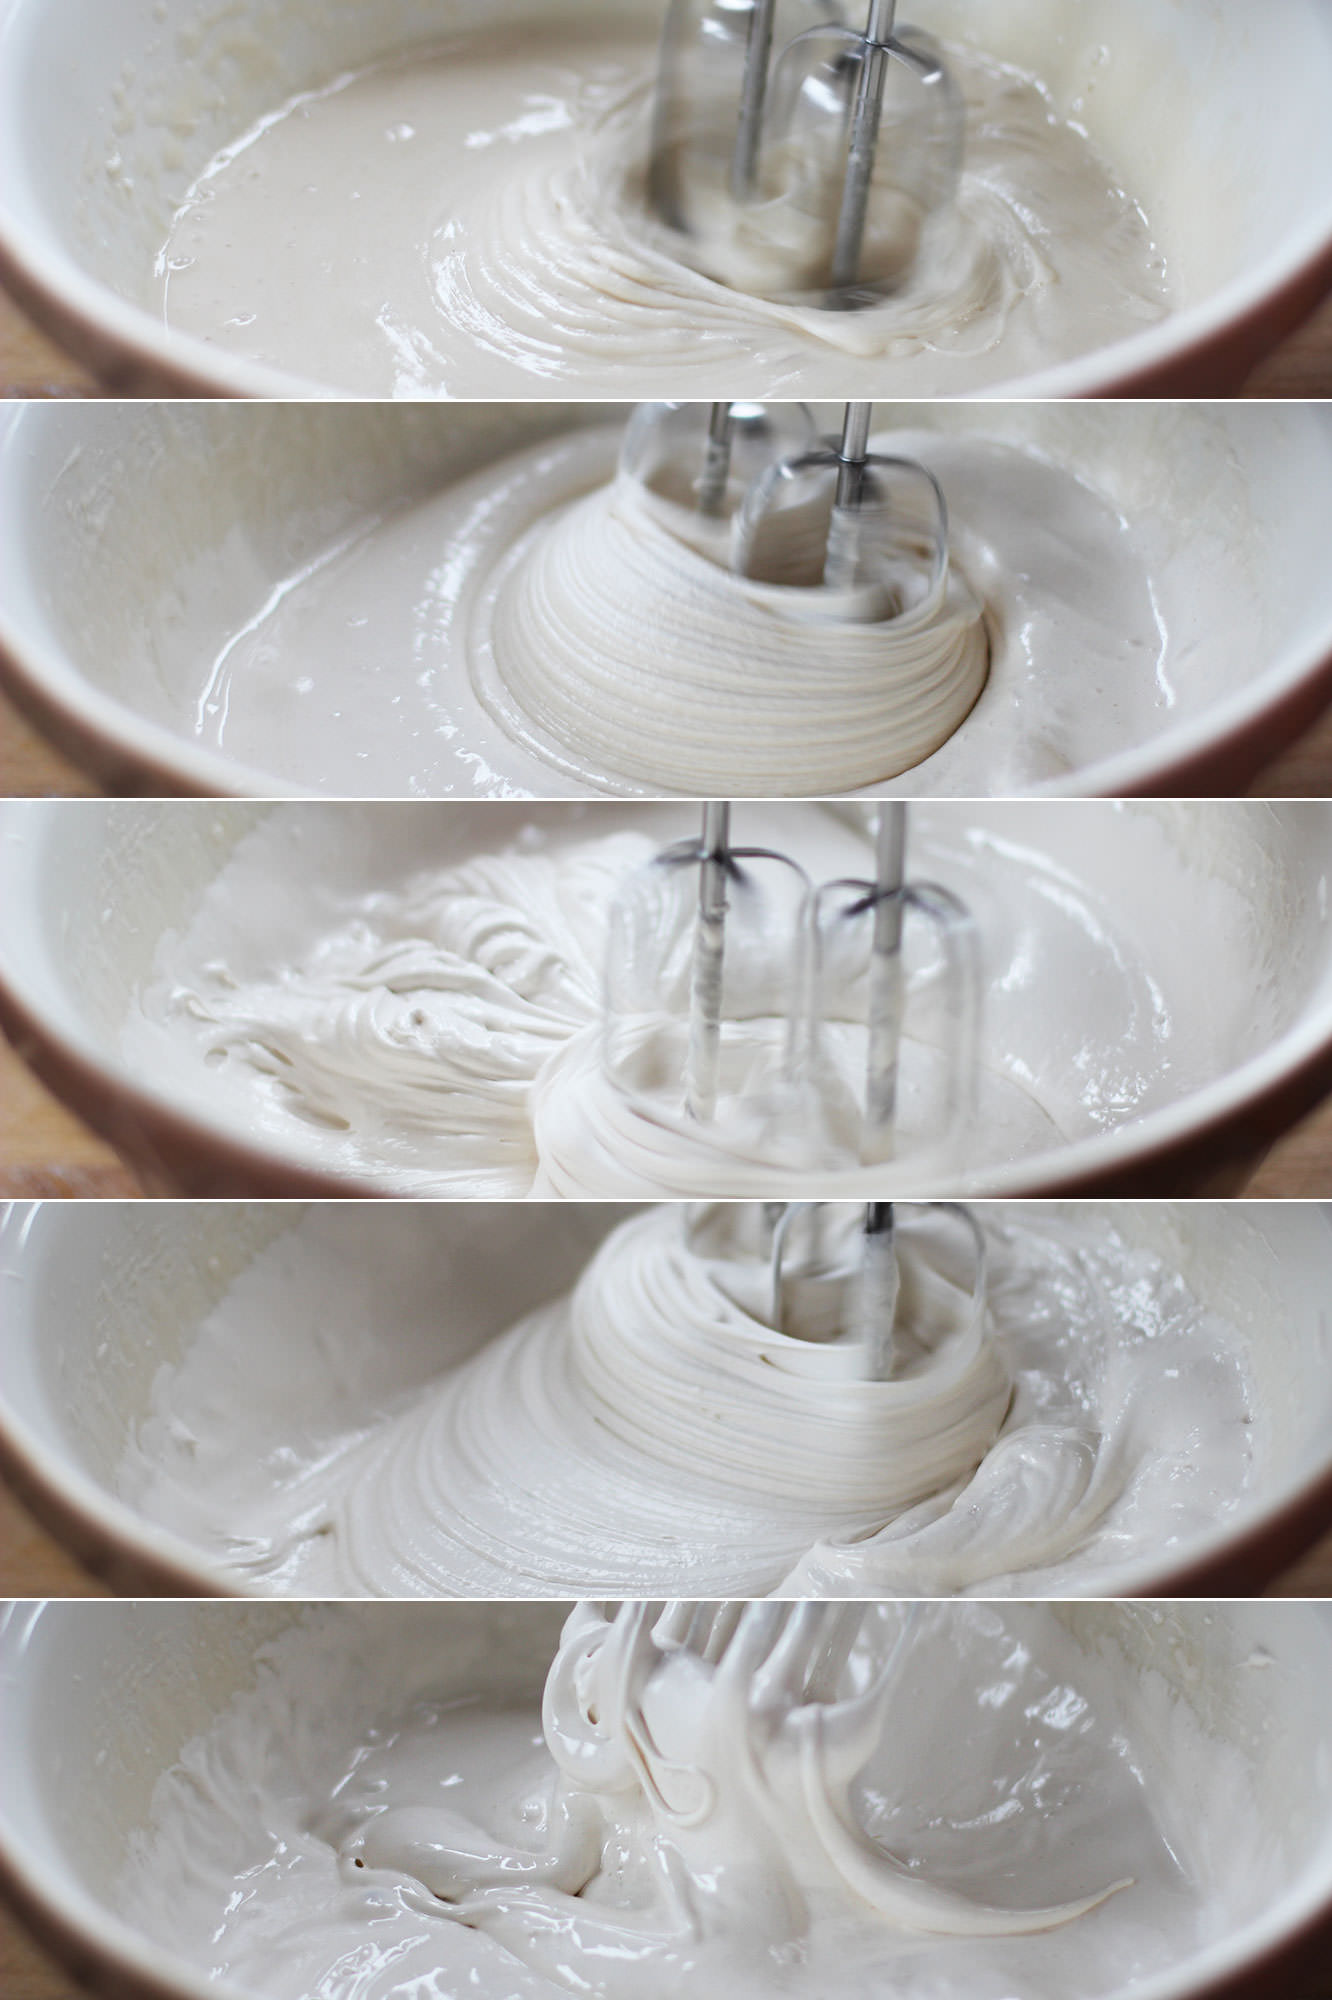 Step seven
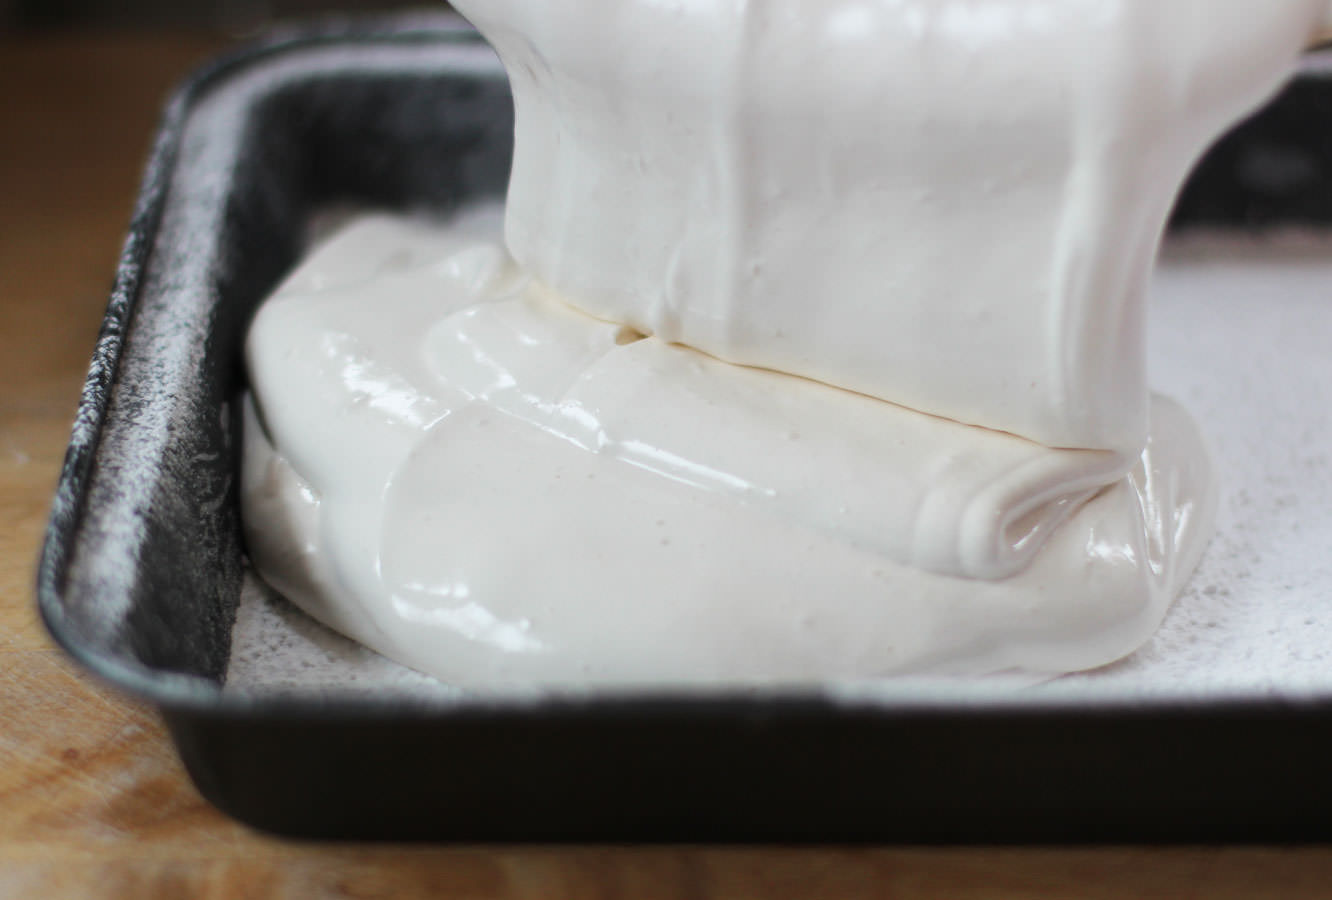 Step eleven
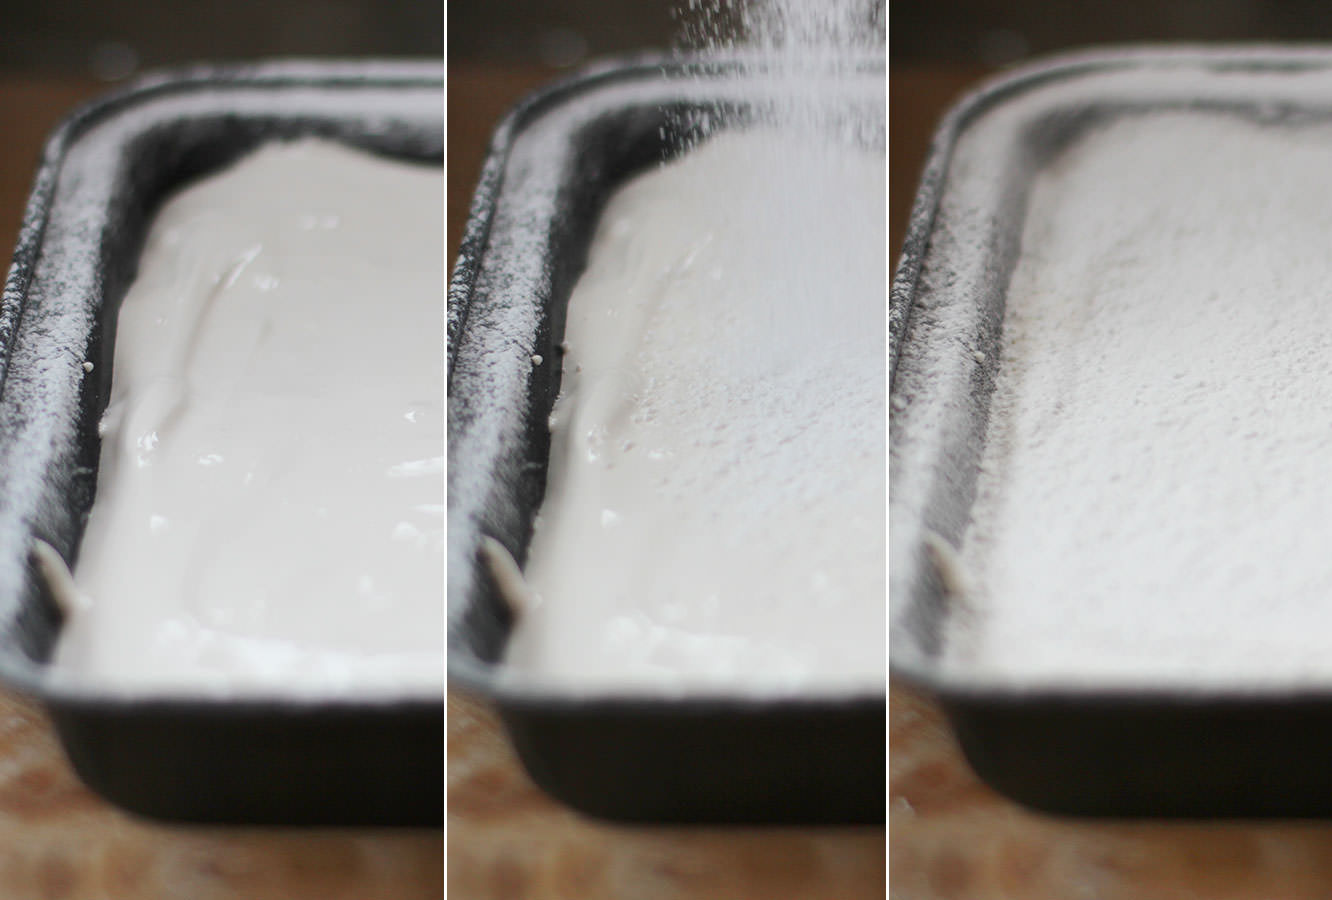 Step twelve
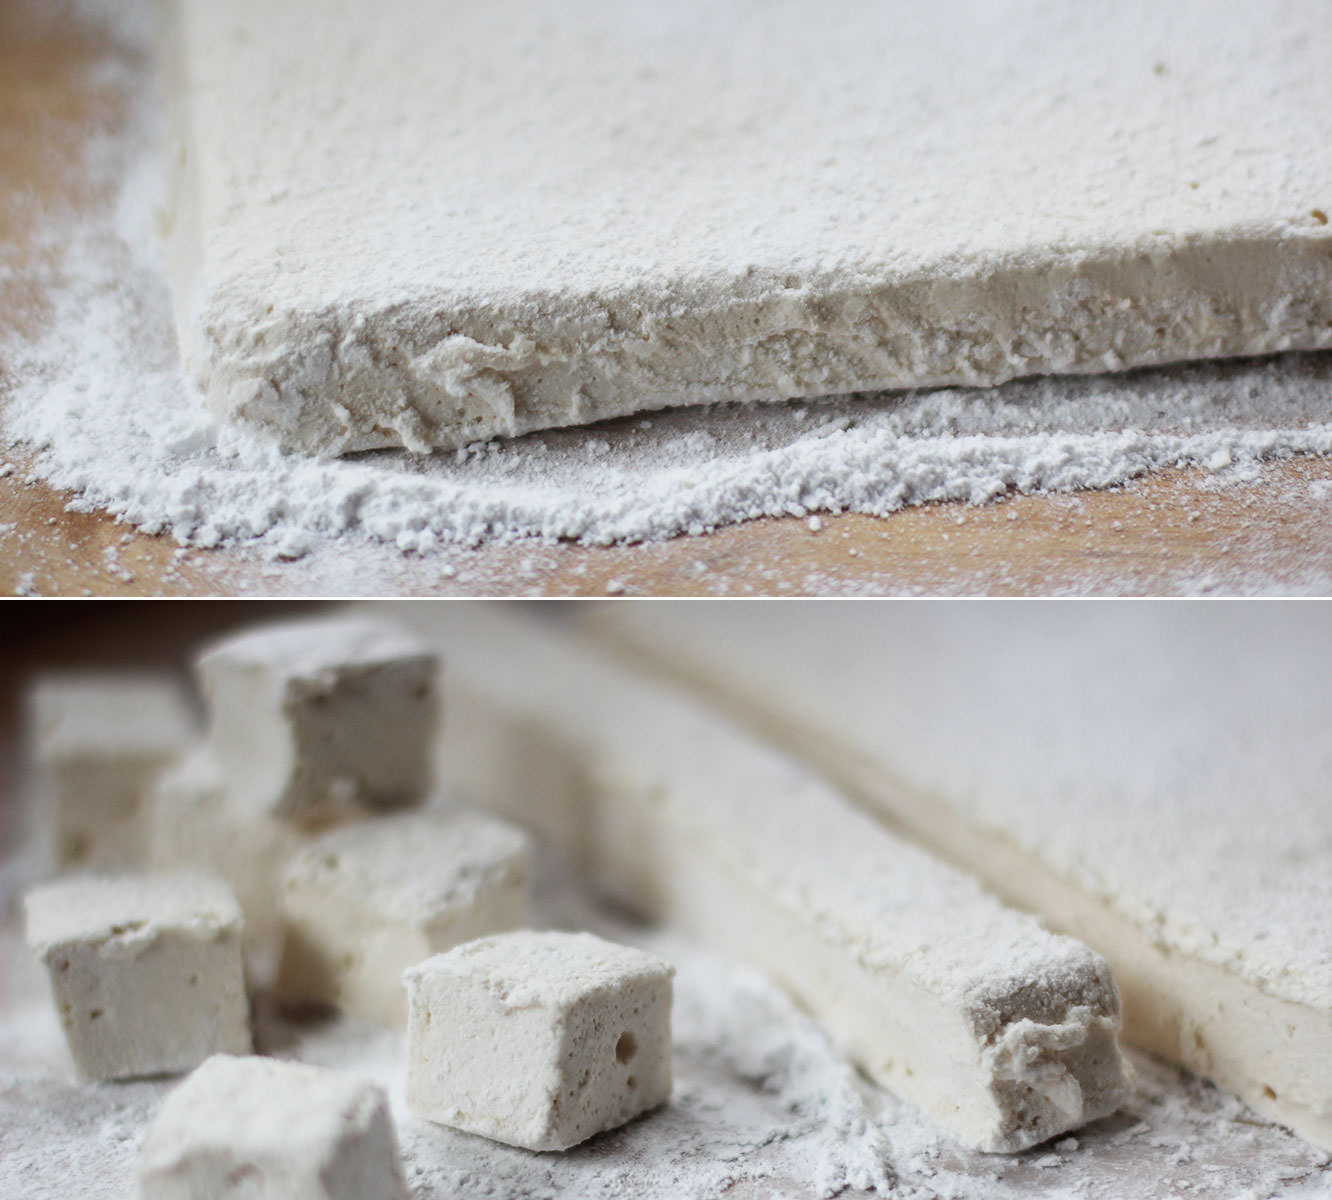 Step thirteen
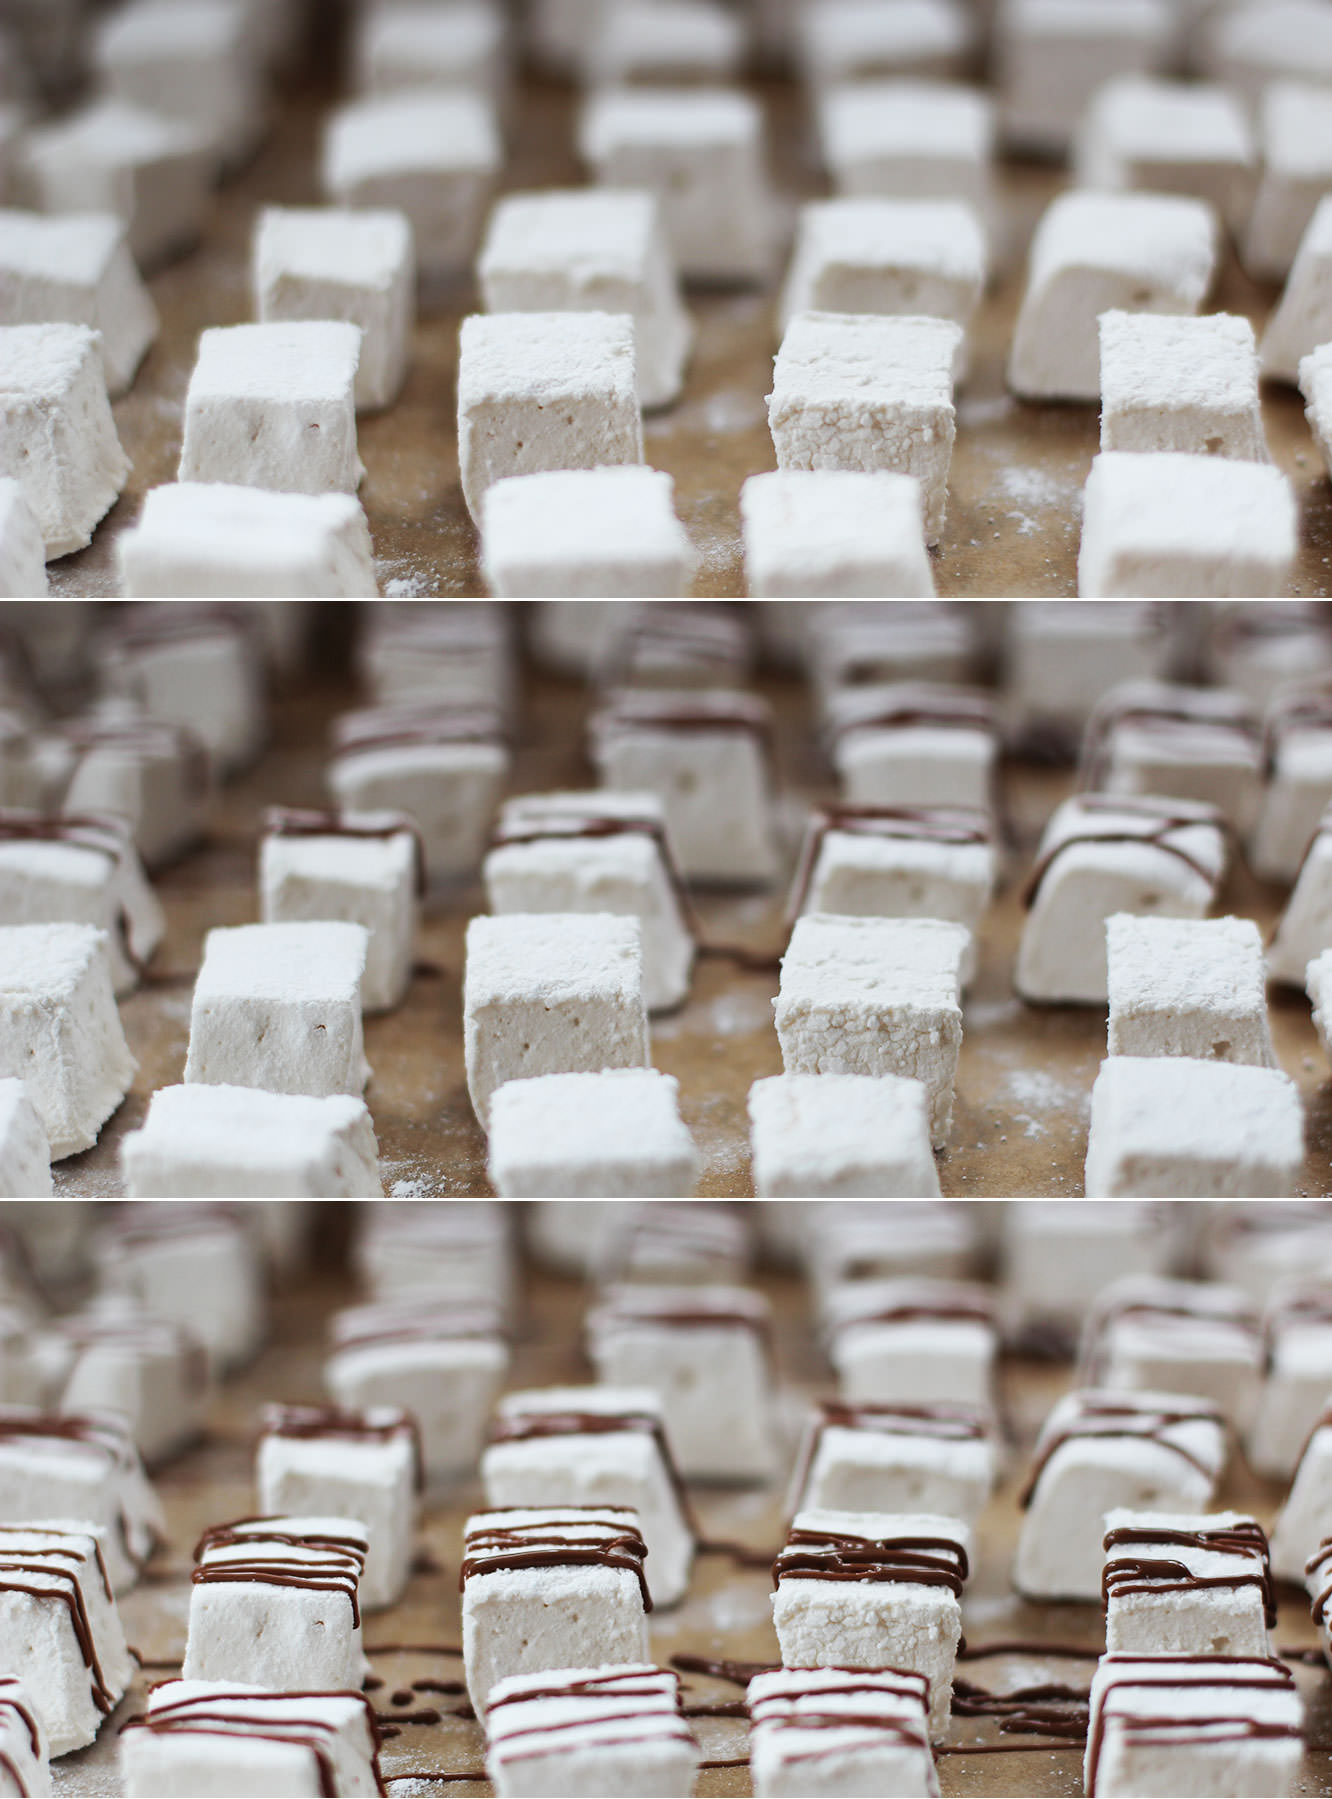 Step fourteen
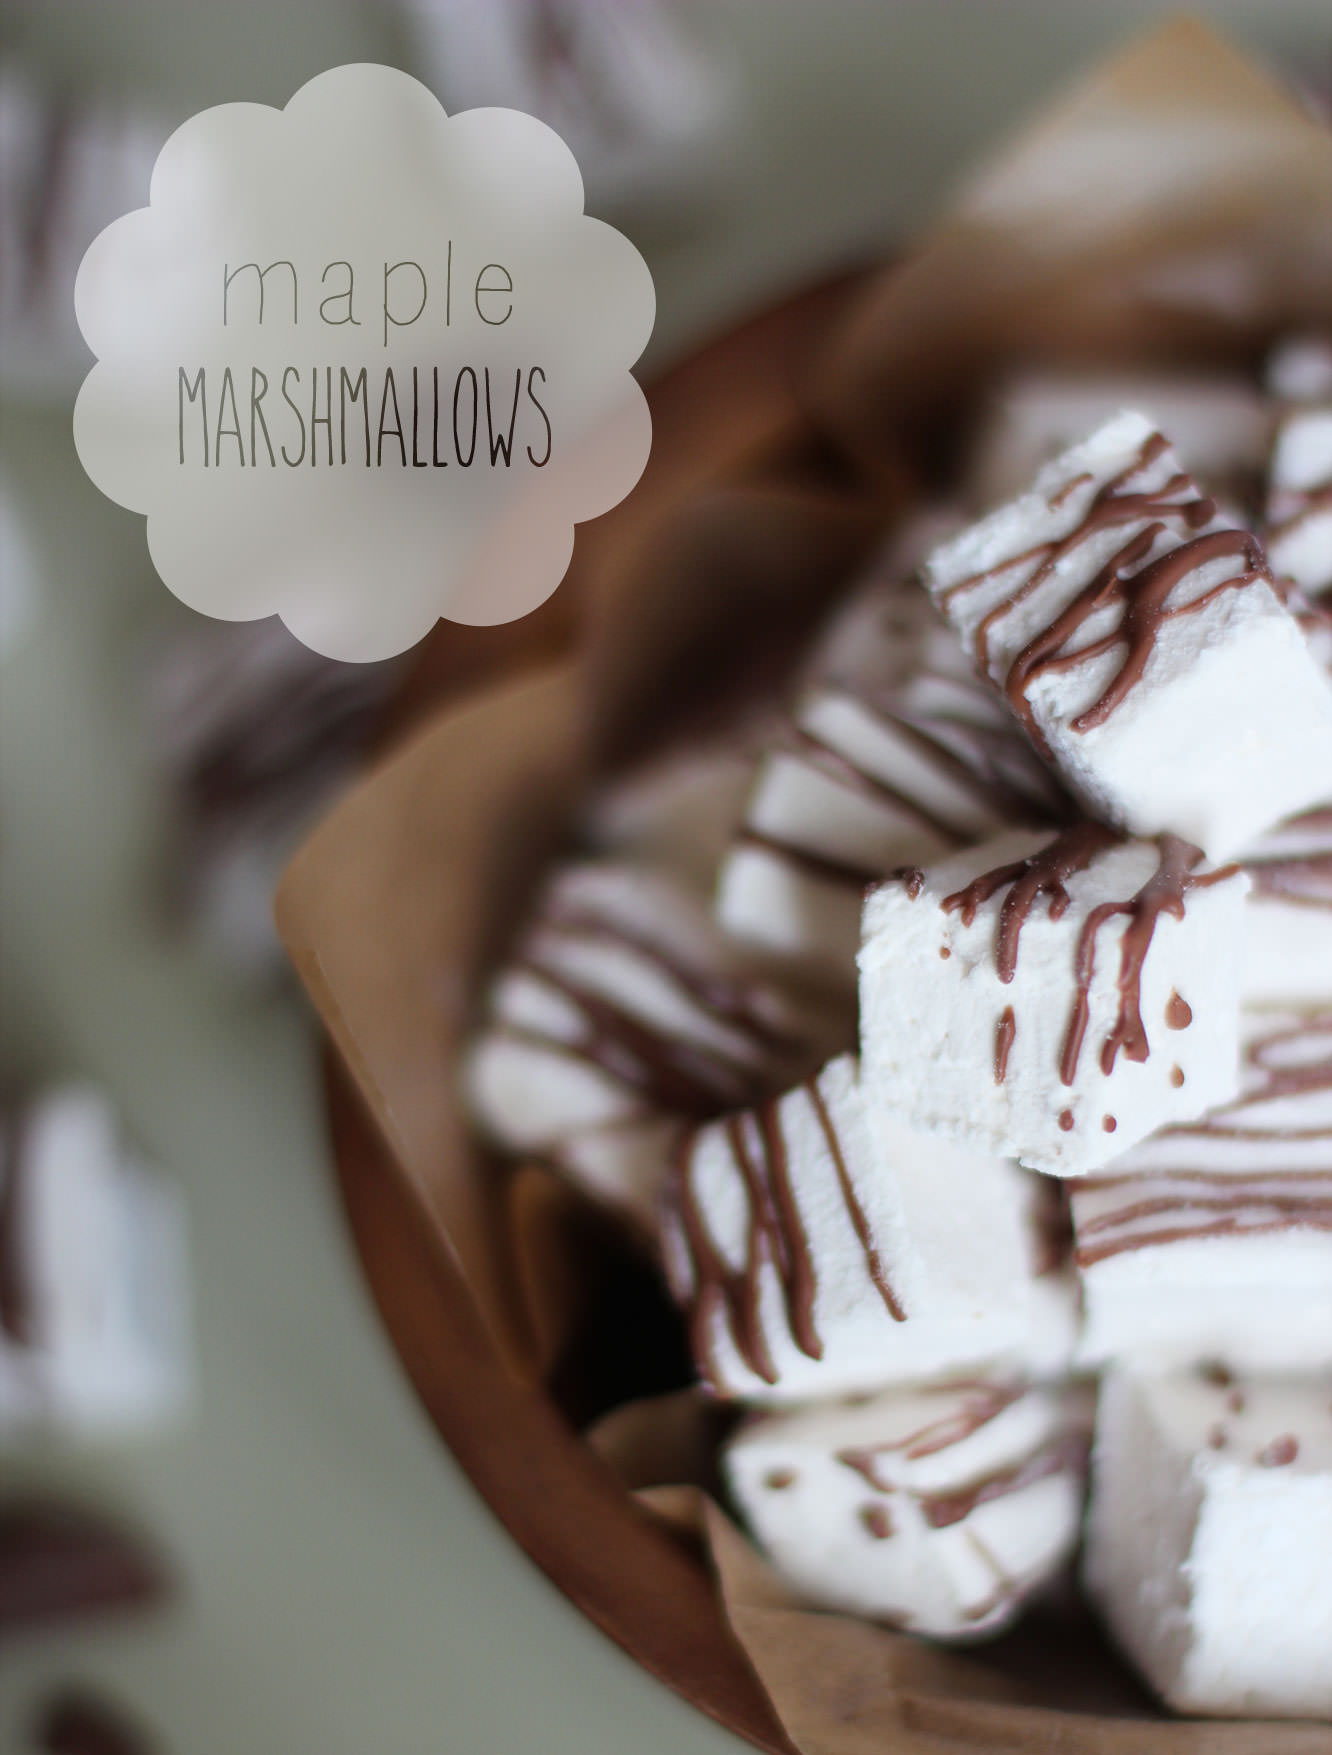 There we have it. Maple marshmallows. Nowhere near as difficult to make as I made them sound, I promise.
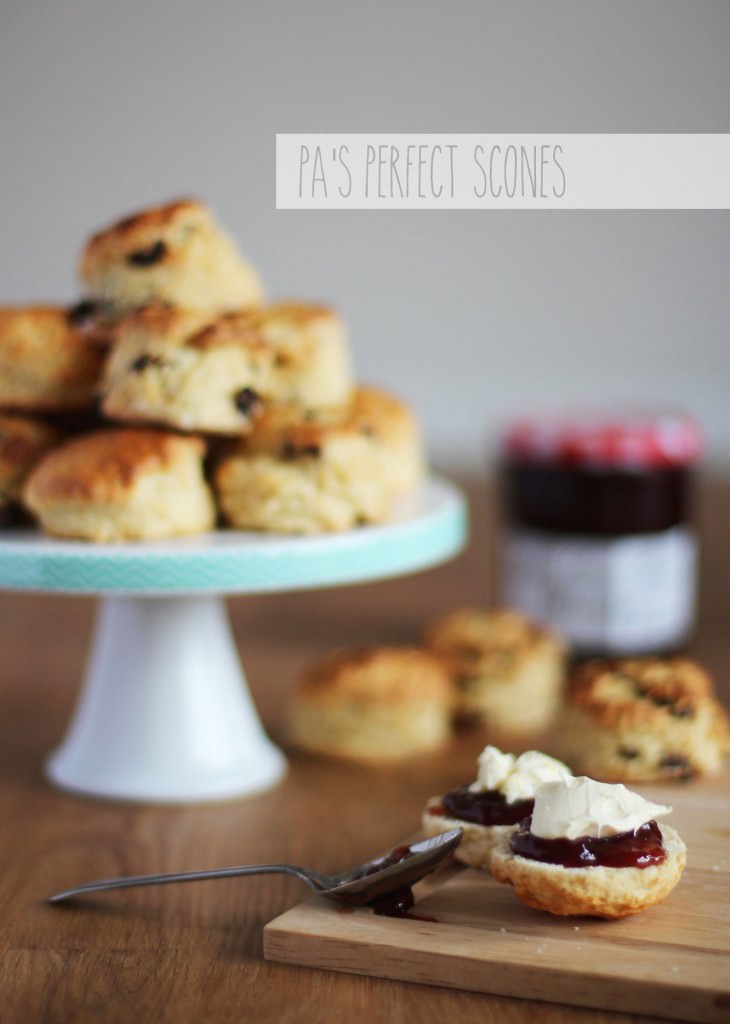
 You will need
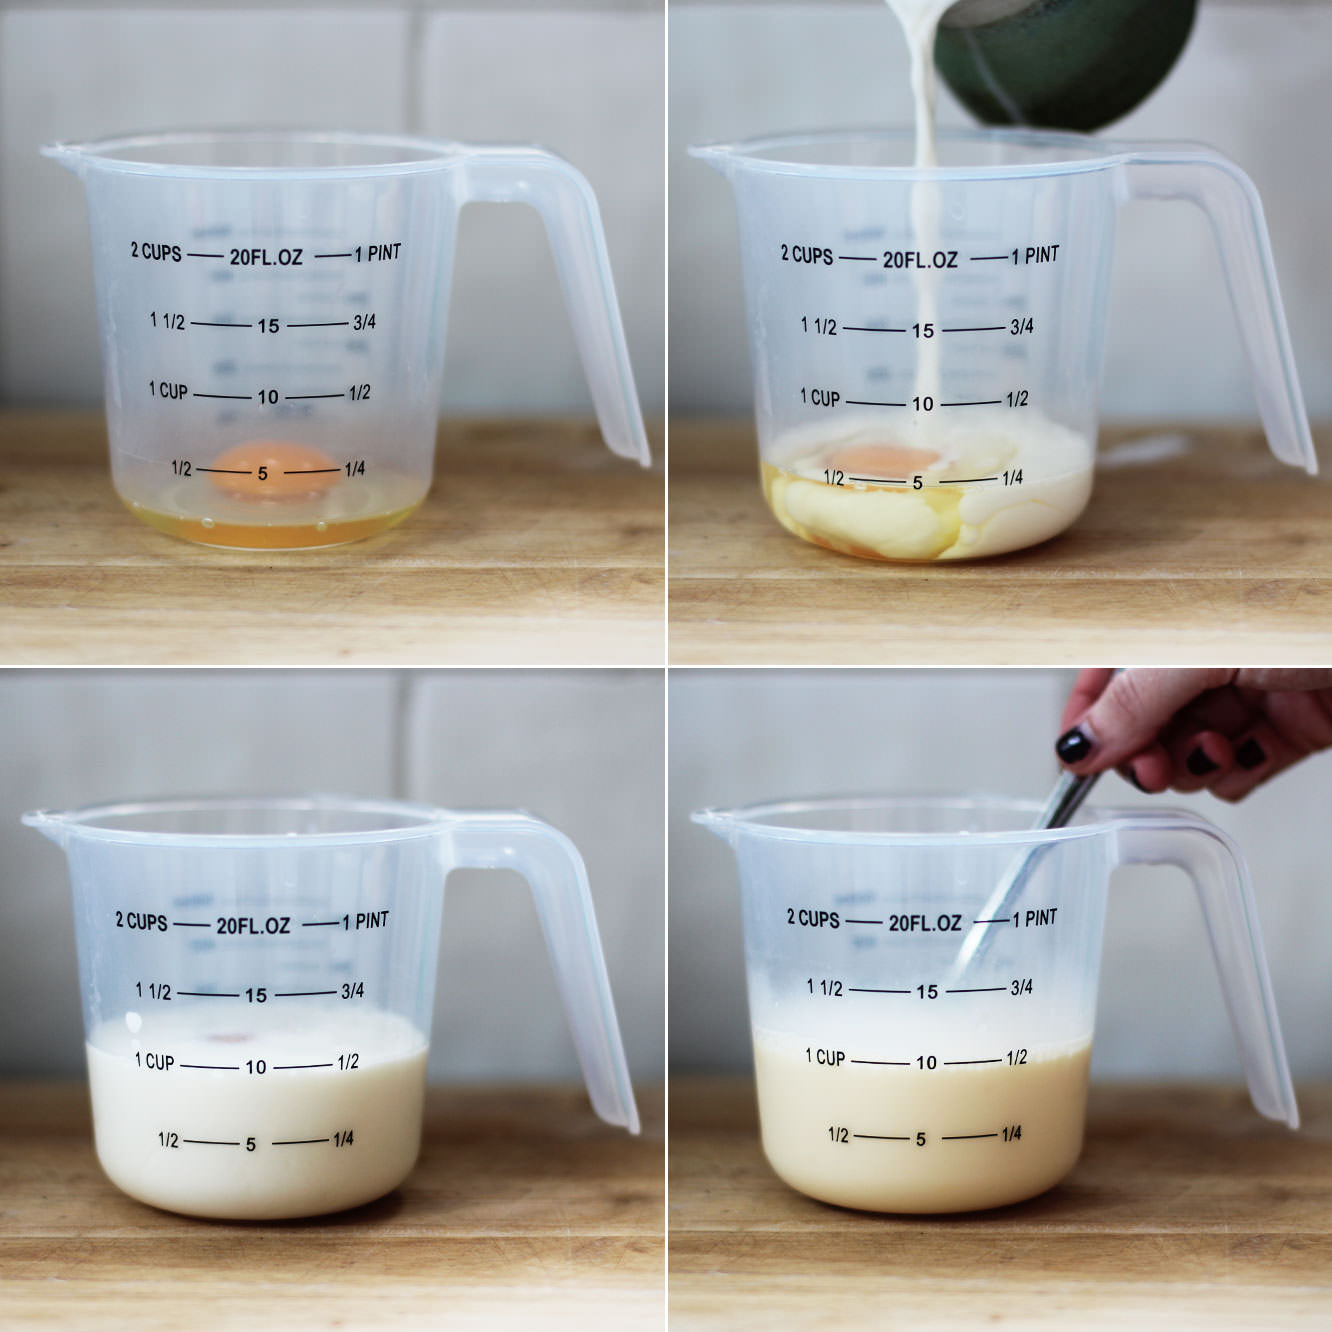 Step one
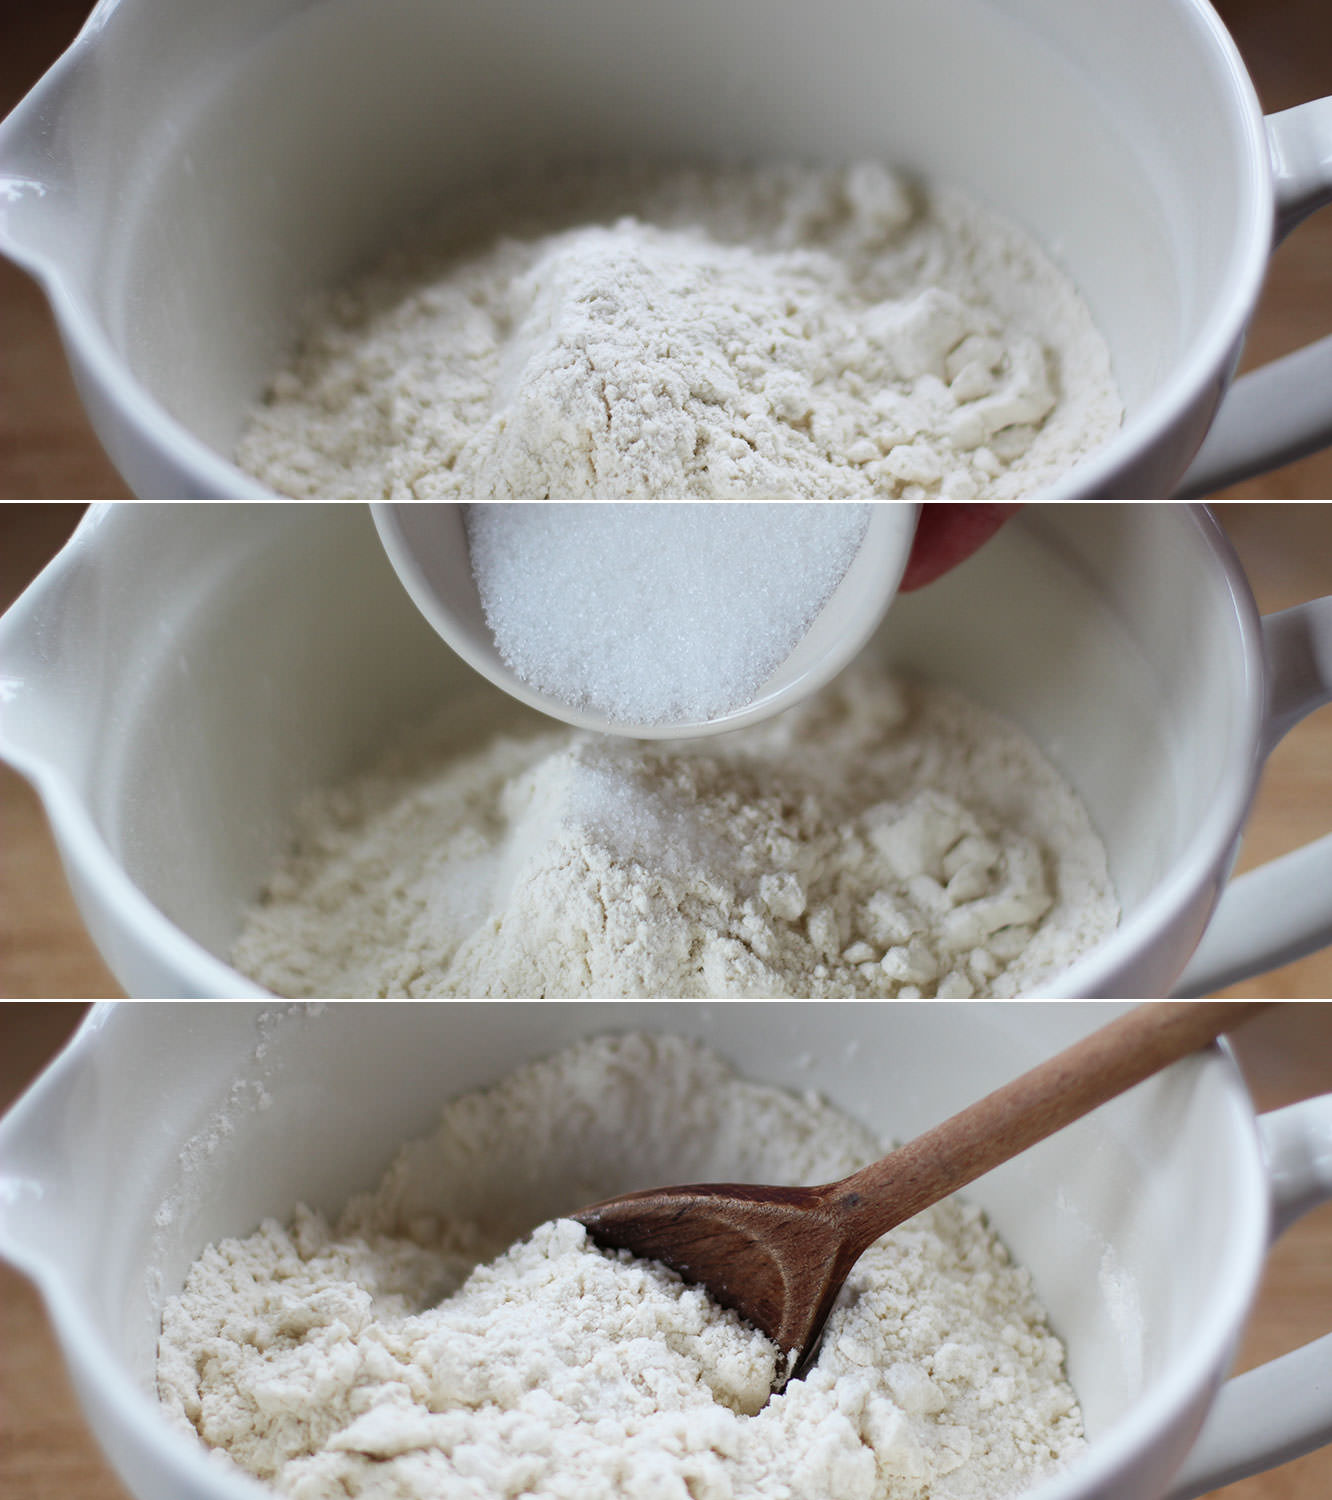 Step two
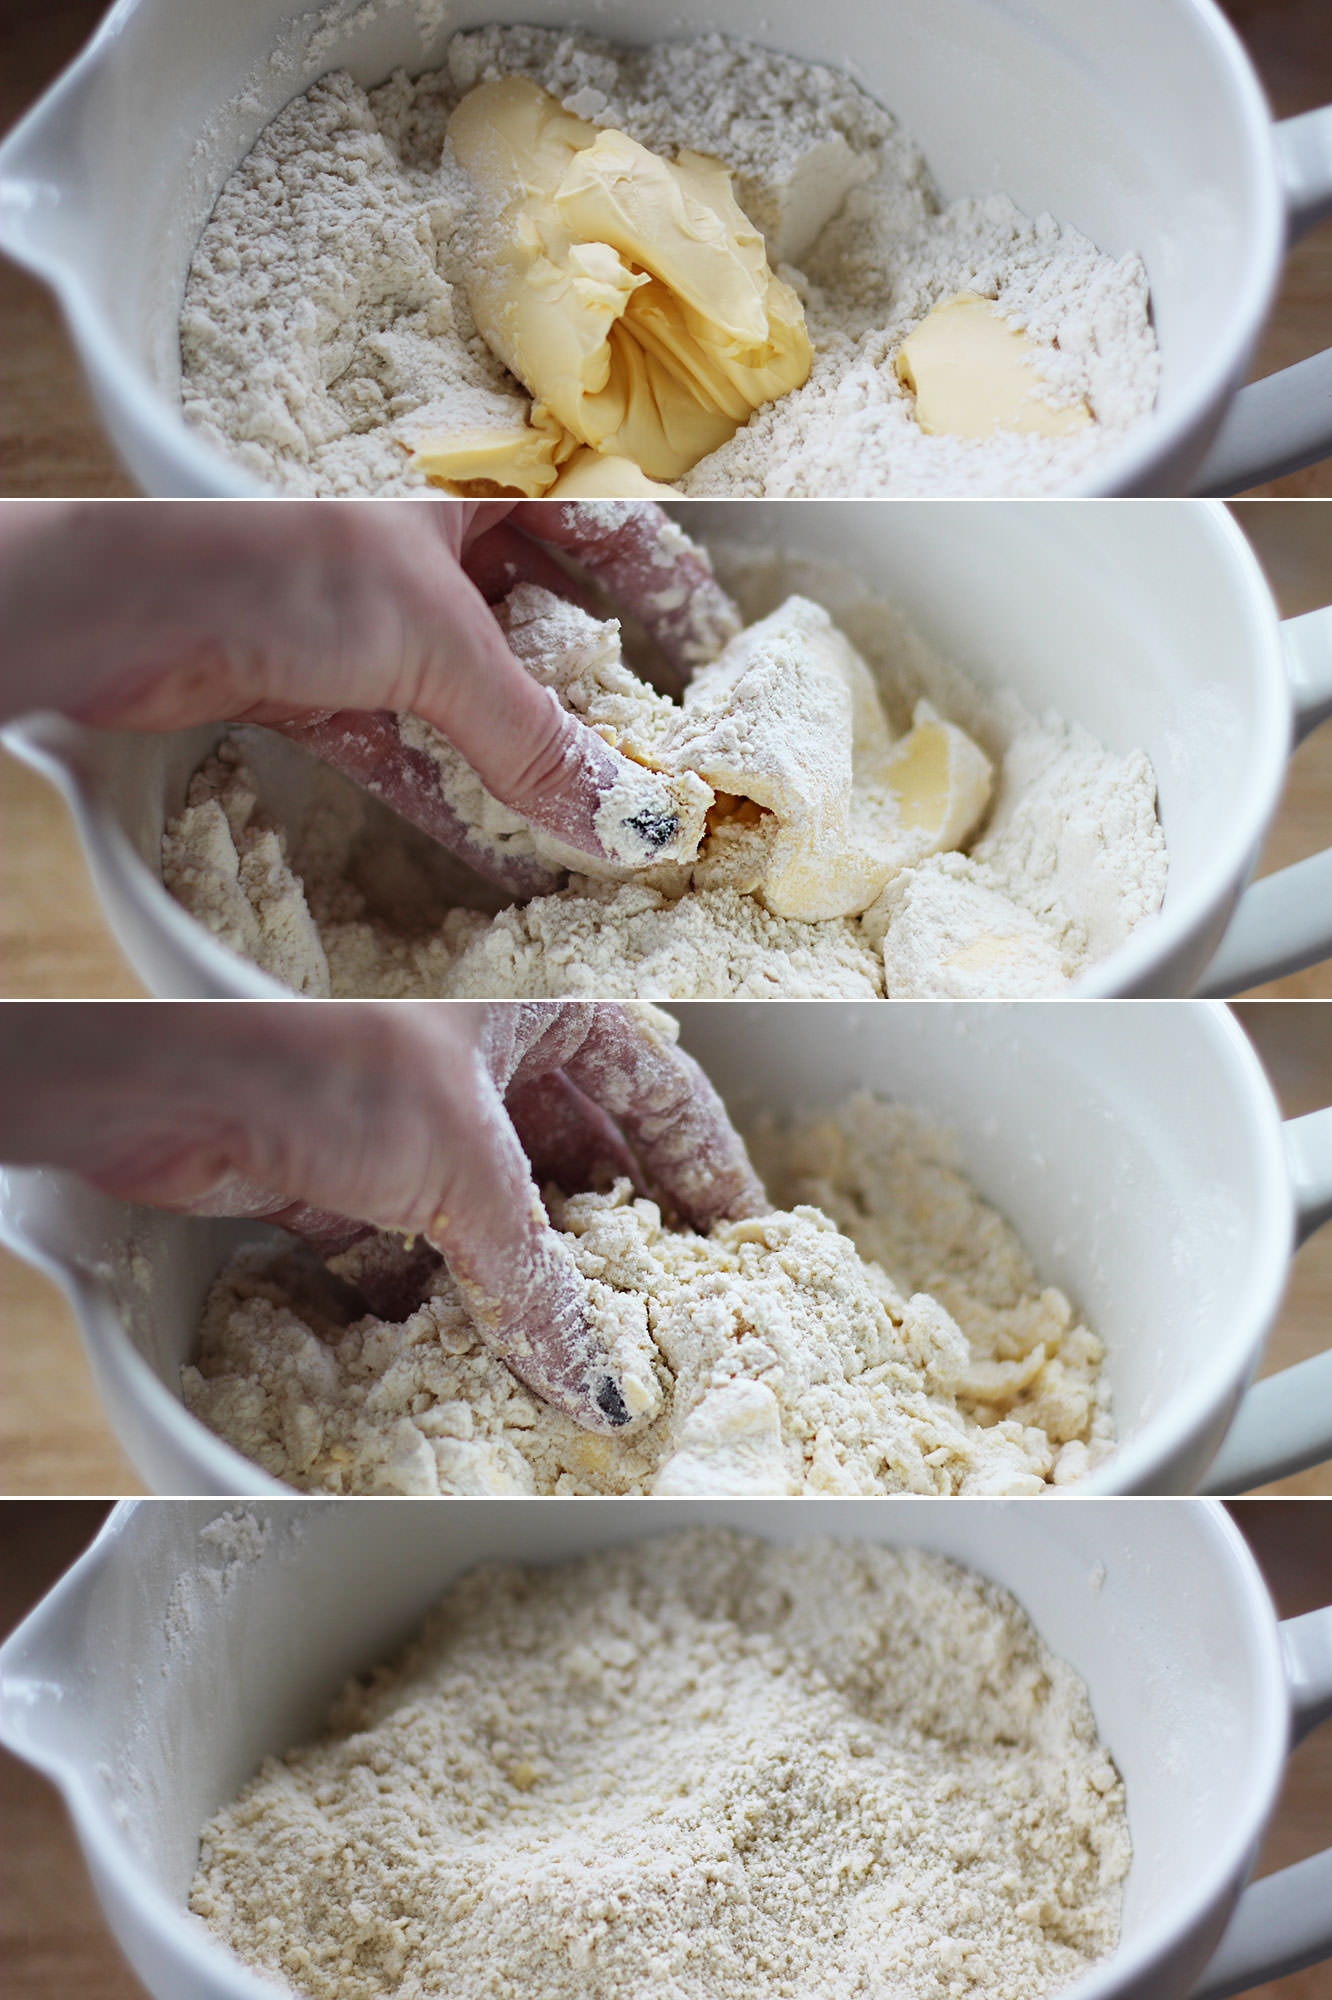 Step three
 Step four
 Step five
 Step six
 Step seven
 Step eight
 Step ten