Tag: ganache

Schultüten

Guten Tag friends! This week’s blog post is inspired by a lovely German tradition that warmed my little heart when I was told about it.

A few weeks ago I was sent these photos of a very beloved little boy; you might remember way back when we helped him make birthday party invites? Well, about 18 months later and it was the first day of school for our young sir.

Schultüten

What is that thing he’s holding I hear you cry? My exact response, and I didn’t have the benefit of seeing the contents like you guys at first. Well, I’m reliably informed that in Germany children get a Schultüten on their first day of school, a cone full of lovely treats. The best part is that sometimes adults get a mini version for their first day at a new job. Cute or what?!

I considered making myself one for my new job a few weeks ago, but that is mildly tragic. Thankfully, to rescue me from celebrating myself in that slightly embarrassing way, my friend Matt (who also happens to be Vicky’s husband) managed to land himself one starting this week, yay Matt. Enter Katie and her Schultüten.

By the way, I did take some of these truffles into work myself, and to brag not to brag, but one of my new colleagues described them as “chocolates worthy of a transcontinental move”. I may have asked her to workshop her review a little until we got to that point, and in return I will probably end up making some for her to give her boyfriend to encourage such a move.

Moving on. From THE LONGEST introduction to any blog post ever, I really shouldn’t write these tired.
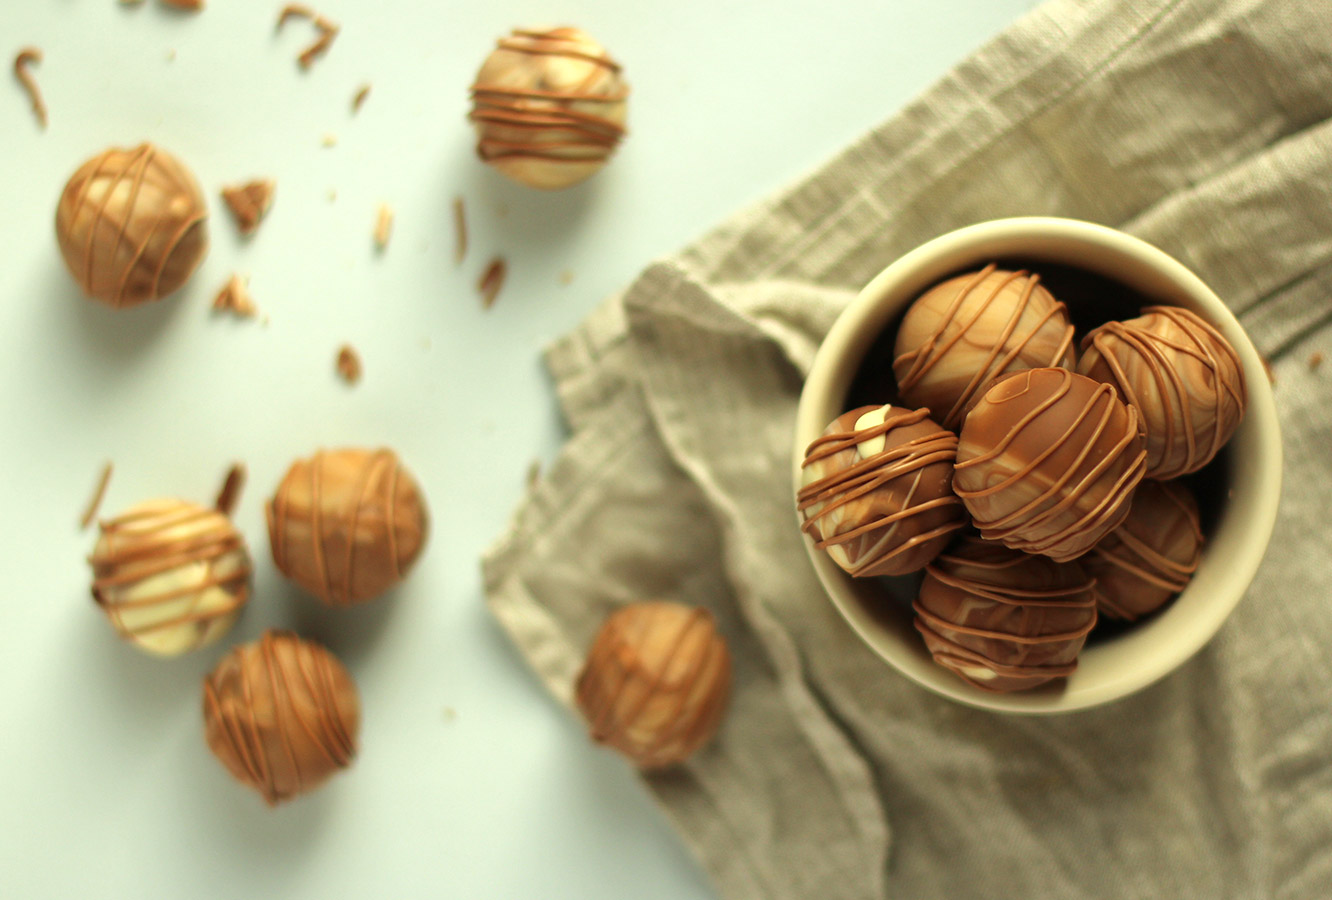
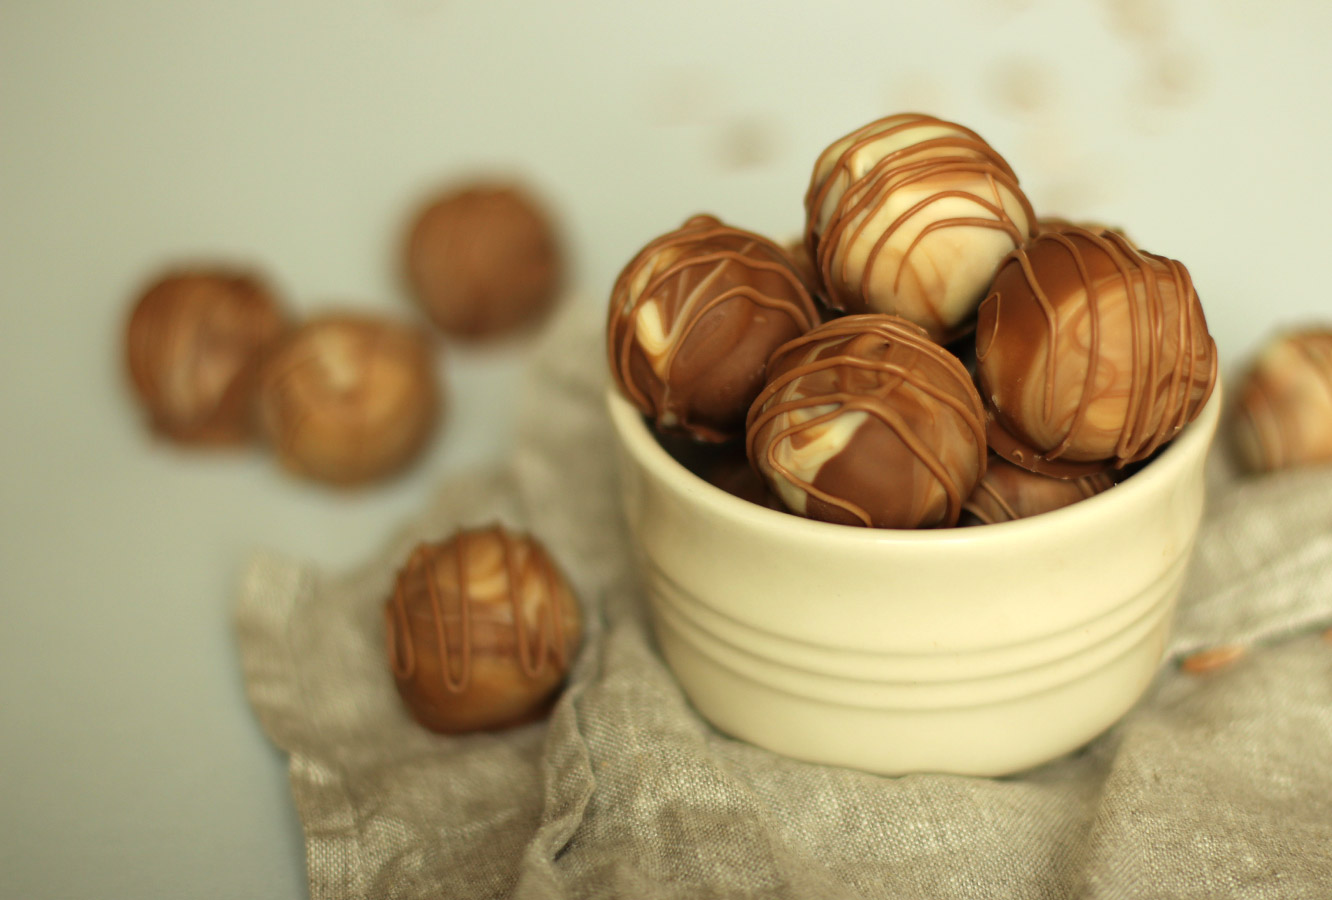
marbled-caramel-truffle-recipe

You will need

For the truffles:

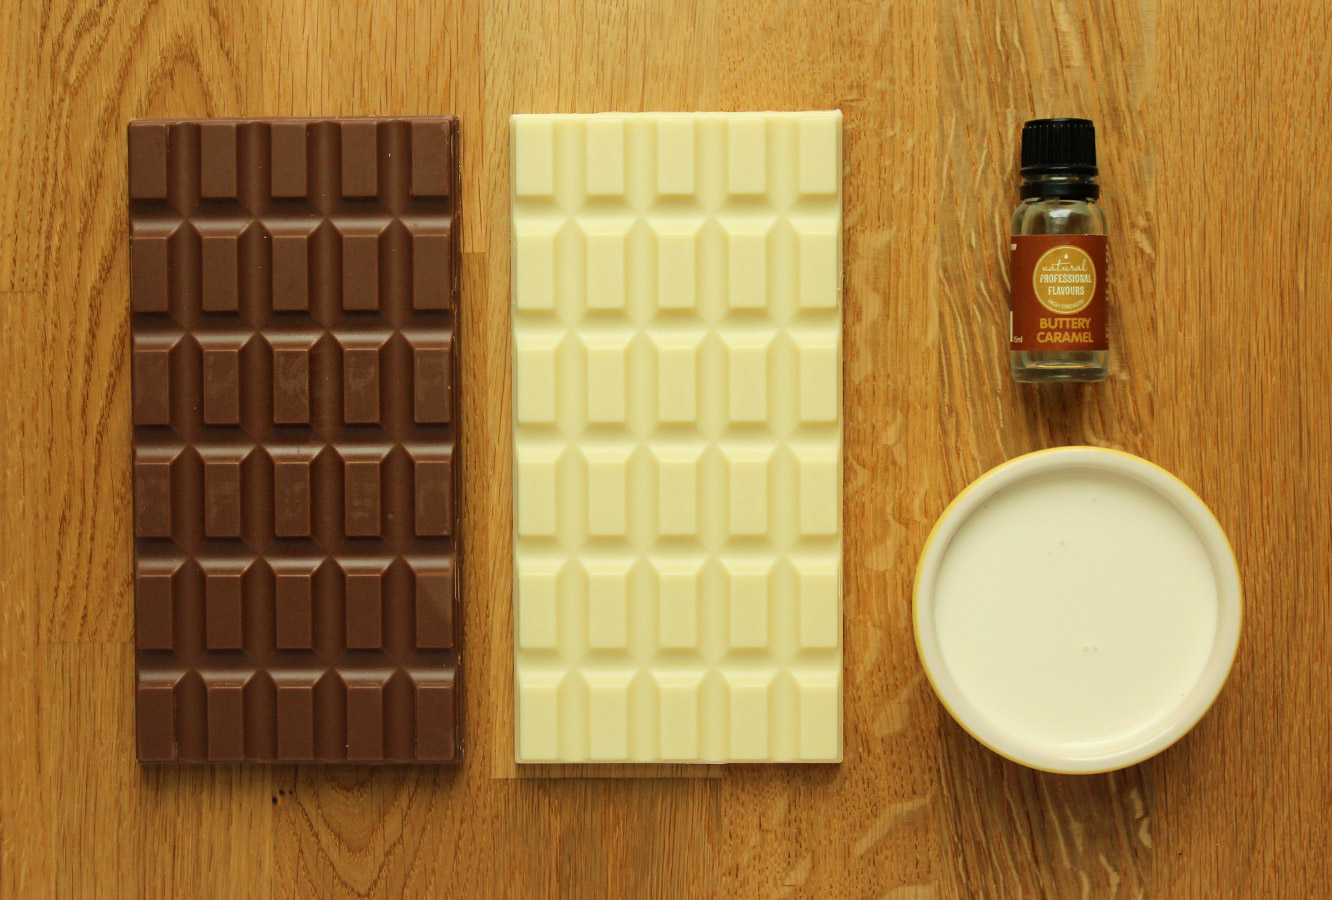
400g/14 oz milk chocolate

400g/14 oz white chocolate

180ml/6 fl oz double cream

Caramel flavouring (I swear by Natural Professional Flavours – buttery caramel)

(makes up to 40 truffles)

For the cone:

Nice quality wrapping paper (I got mine from Foyles if you’re in the UK)

Tissue paper (preferably a colour that doesn’t clash with your choice of paper)

Ribbon

Double sided tape
marbled-caramel-truffle-recipe-2

Step one

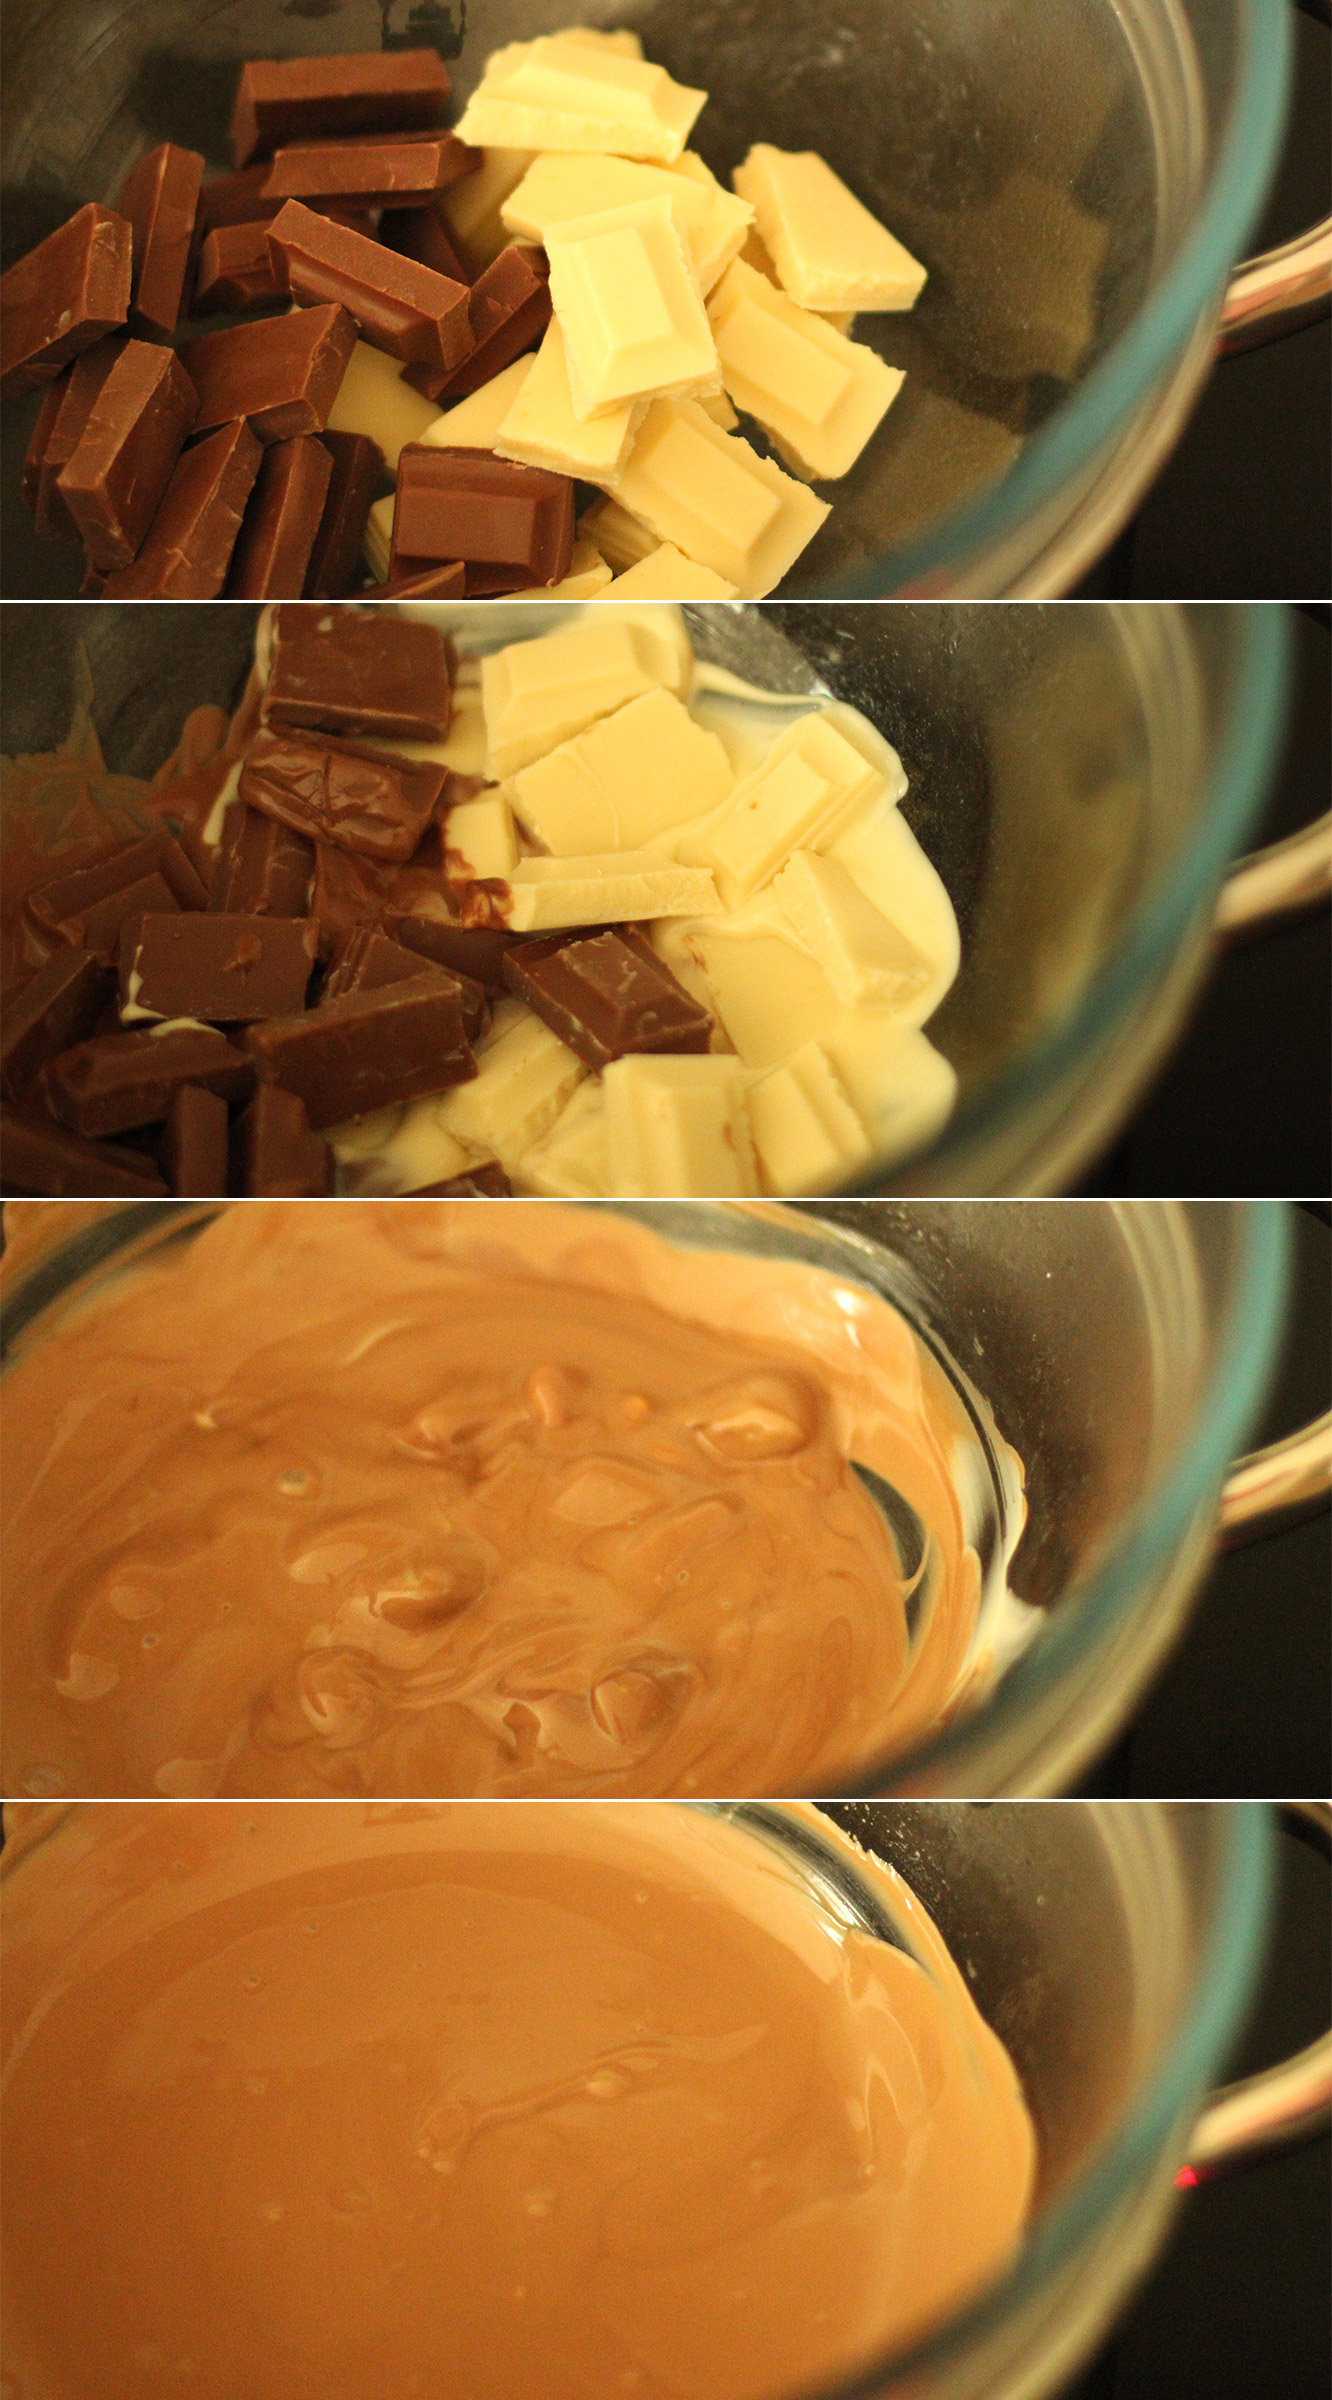
Melt 200g of each chocolate in a heatproof bowl over a pan of simmering water.
marbled-caramel-truffle-recipe-3

Step two

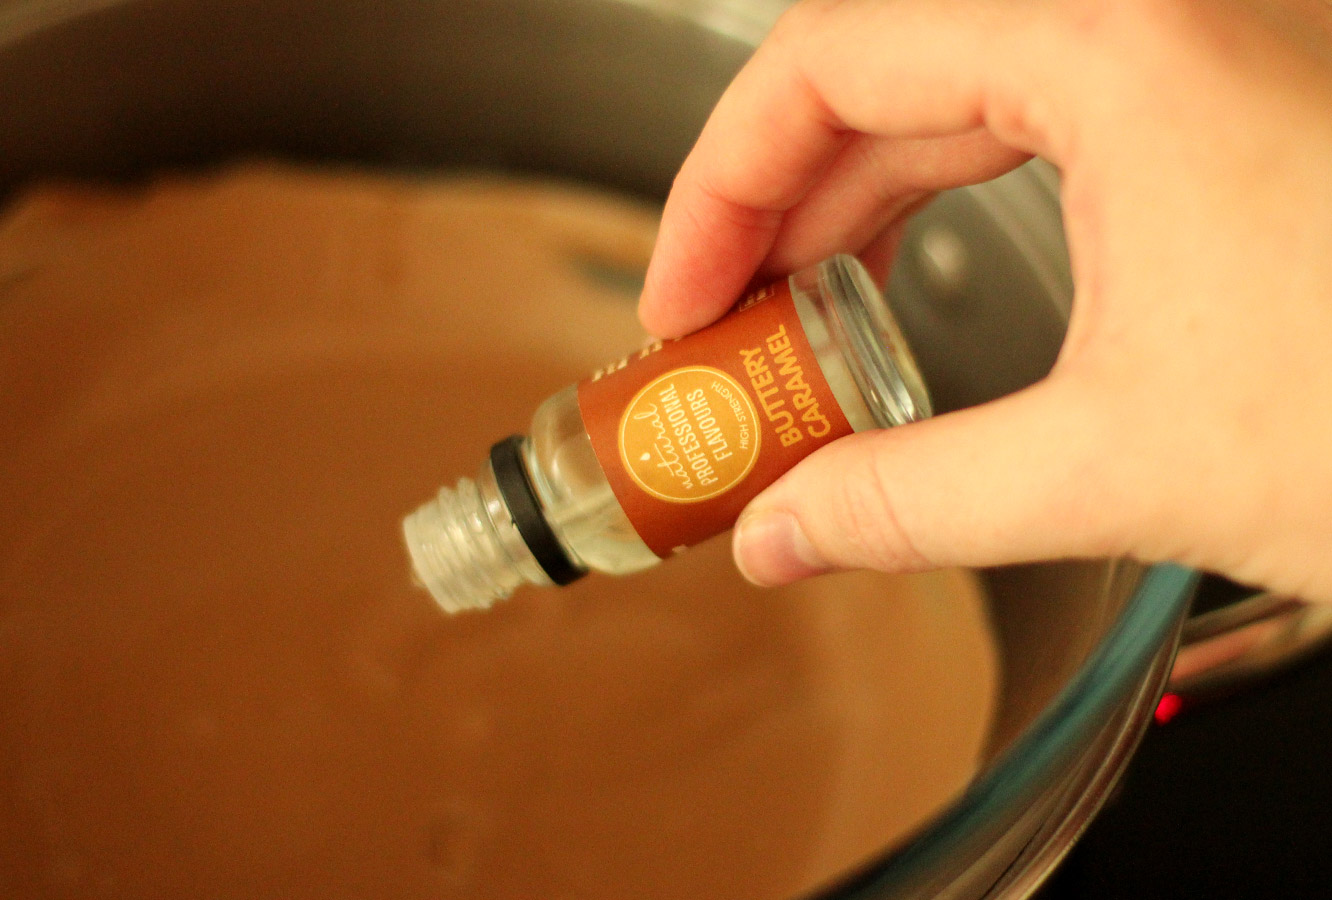
Add 1 tsp or so of the caramel flavouring (you can use other brands of flavouring by the way, a lot of supermarkets offer a caramel flavour now).

This is really just a great excuse to taste test the melted chocolate until you’re happy with it. It’s ok if this takes a few spoonfuls, being a perfectionist is a good thing.
marbled-caramel-truffle-recipe-4

Step three

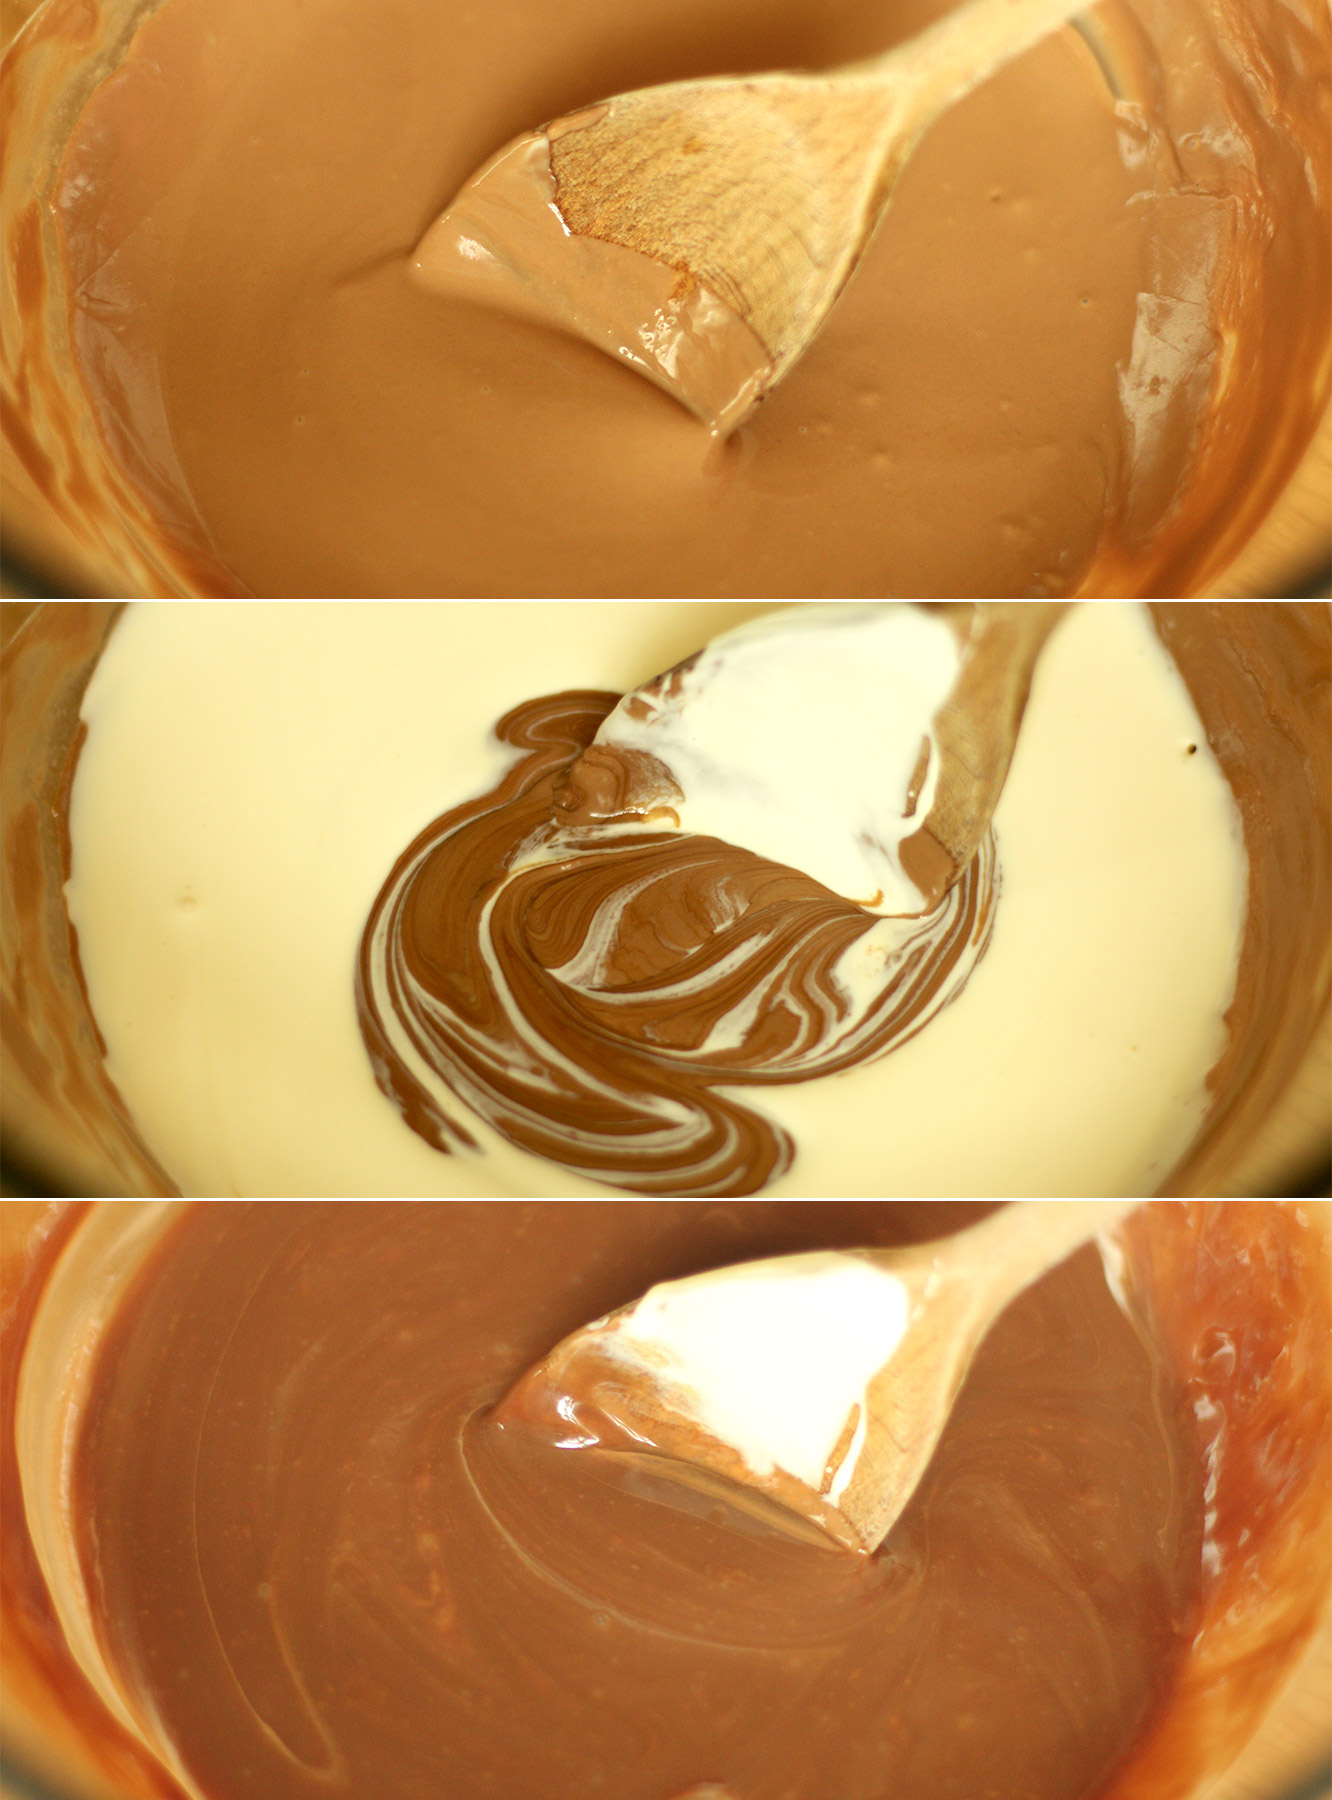
Remove the chocolate from the heat and stir in the cream until fully combined. You will probably need to leave this to set for a while.

Leave it on the side if you have time, the fridge if you’re slightly hurried, or even the freezer if you’re desperate to take photos for your blog in the fading natural light (thanks winter).
marbled-caramel-truffle-recipe-gif-1

Step four

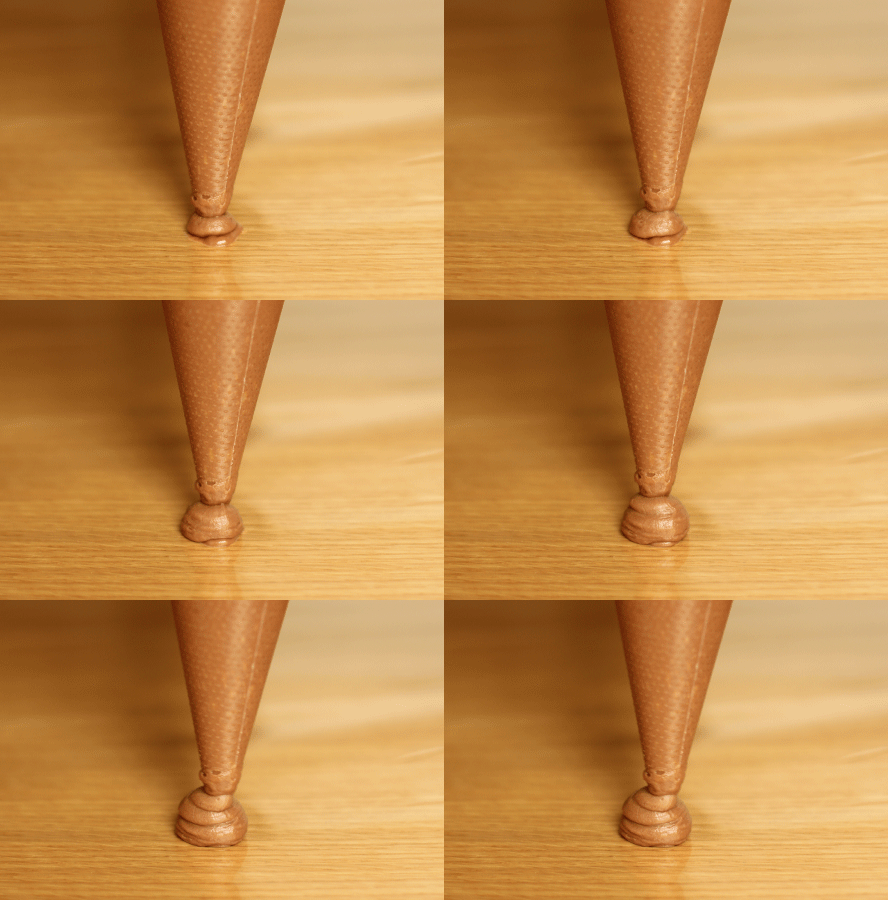
Once the mixture is pipe-able, lay out a sheet of cellophane or greaseproof paper and pipe out evenly sized blobs (yes, that’s the technical term). They need to be about, well, truffle sized, whatever that means to you pal.
marbled-caramel-truffle-recipe-5

Step five

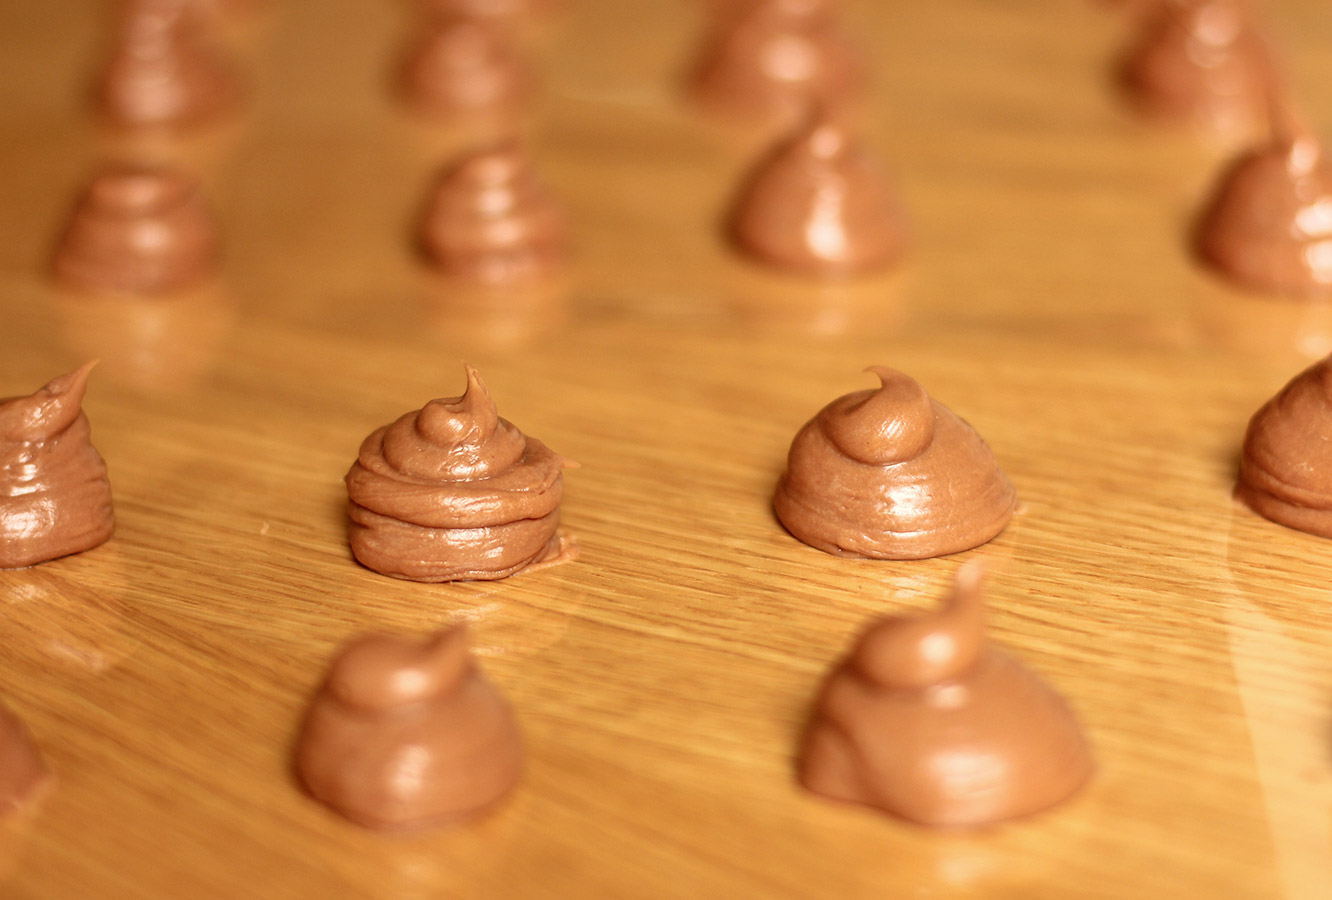
Leave to set, you can put them in the fridge if you want to.

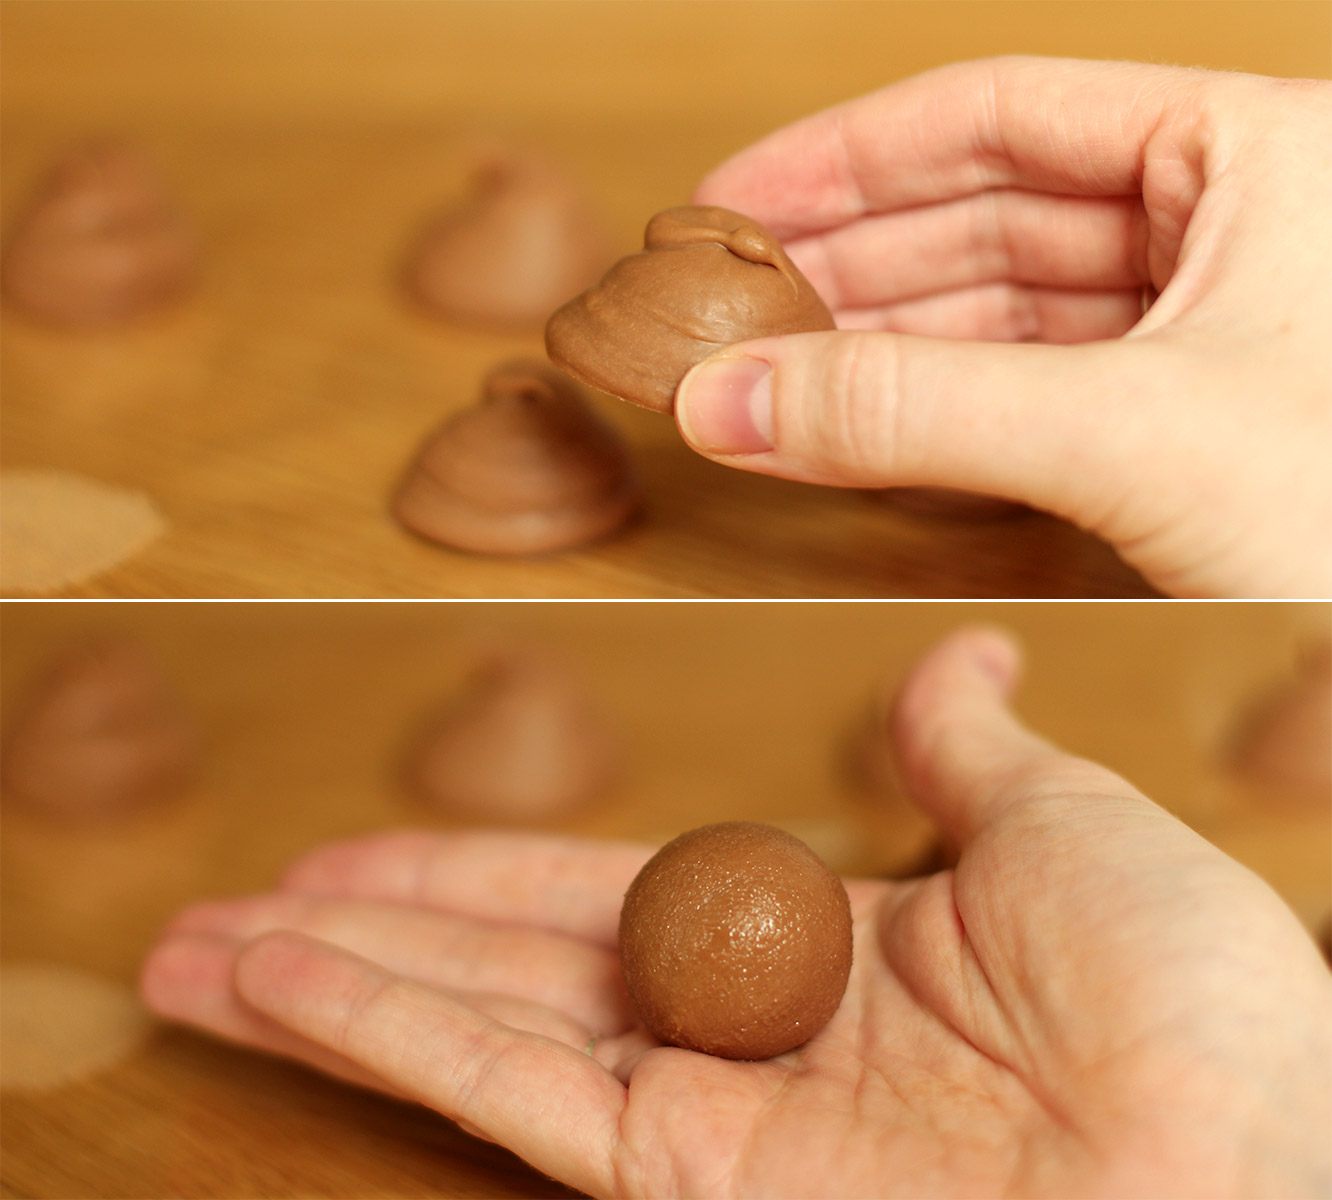
They look appetising, don’t they?
marbled-caramel-truffle-recipe-6

Step six

With clean and cold hands (clue: wash them under the cold tap). Squash the piped shapes a little with your fingers and roll into a ball between your palms.

You will probably need to wash your hands a few times as you go as they will start to melt as your hands warm up.

I then put mine back in the fridge while I melted the chocolate for coating.
marbled-caramel-truffle-recipe-gif-2

Step seven

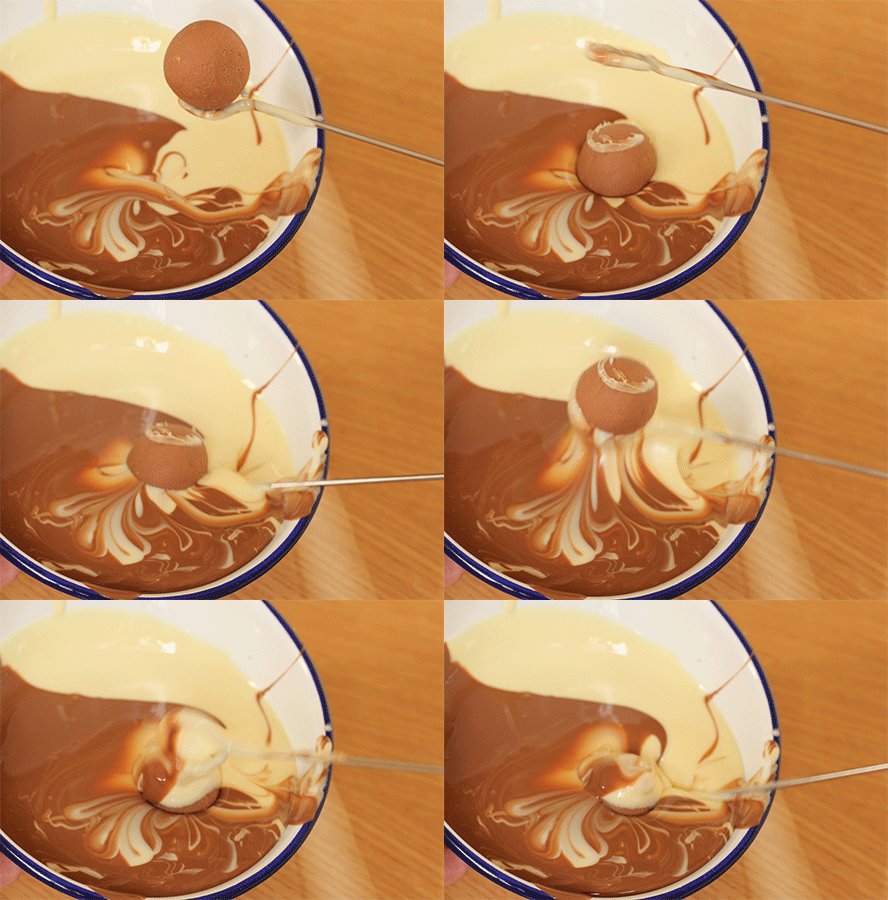
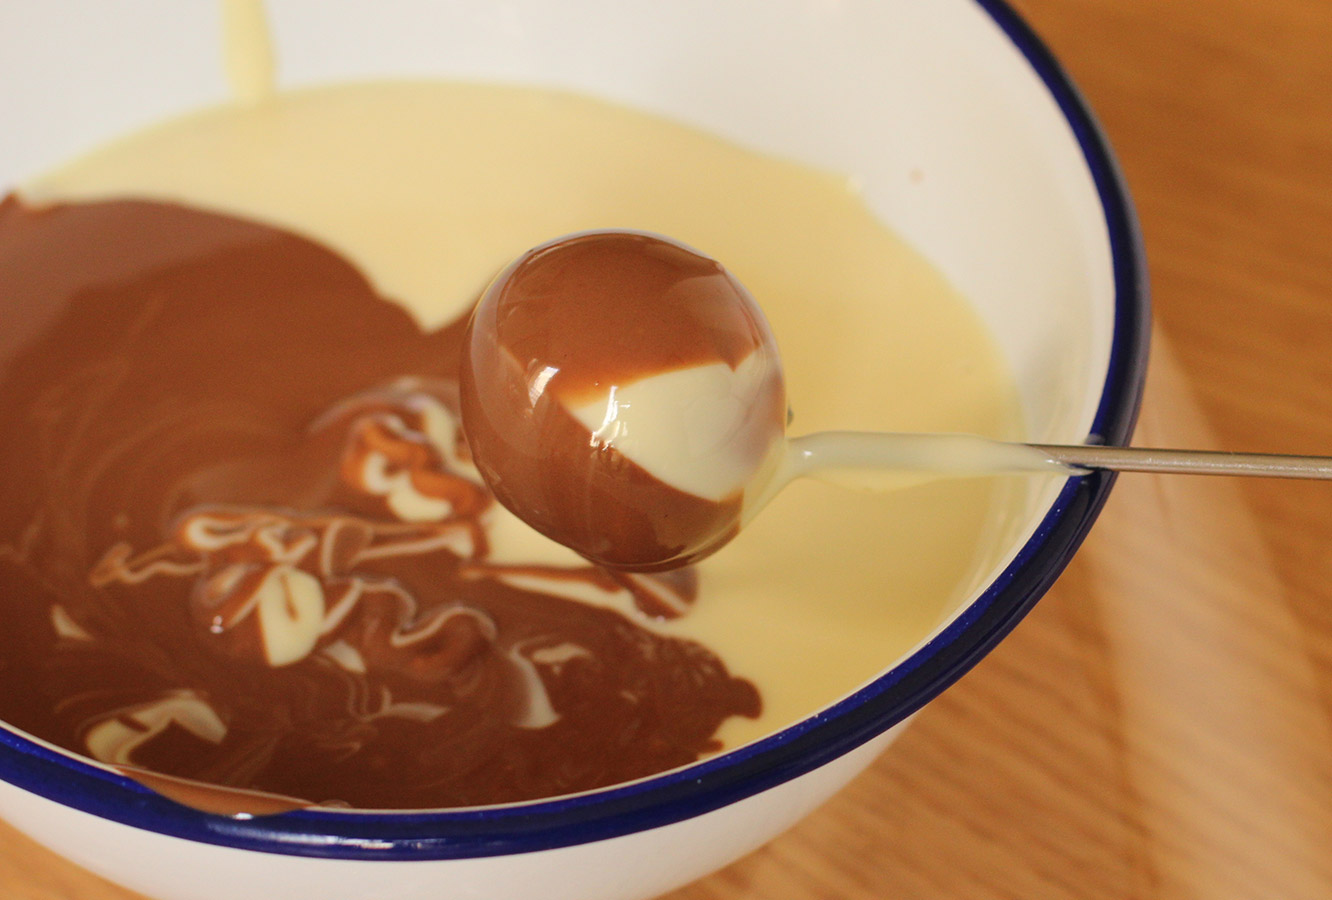
Melt the remaining white and milk chocolate separately and pour simultaneously into a small, deepish container or bowl. This is to get a marbled effect on the outside, but you could always stir them together if you don’t fancy the look of that.

Using either a plastic fork with the middle prongs taken out, or the end of a metal kebab skewer, dip the truffle centres in the chocolate.
marbled-caramel-truffle-recipe-7

Step eight

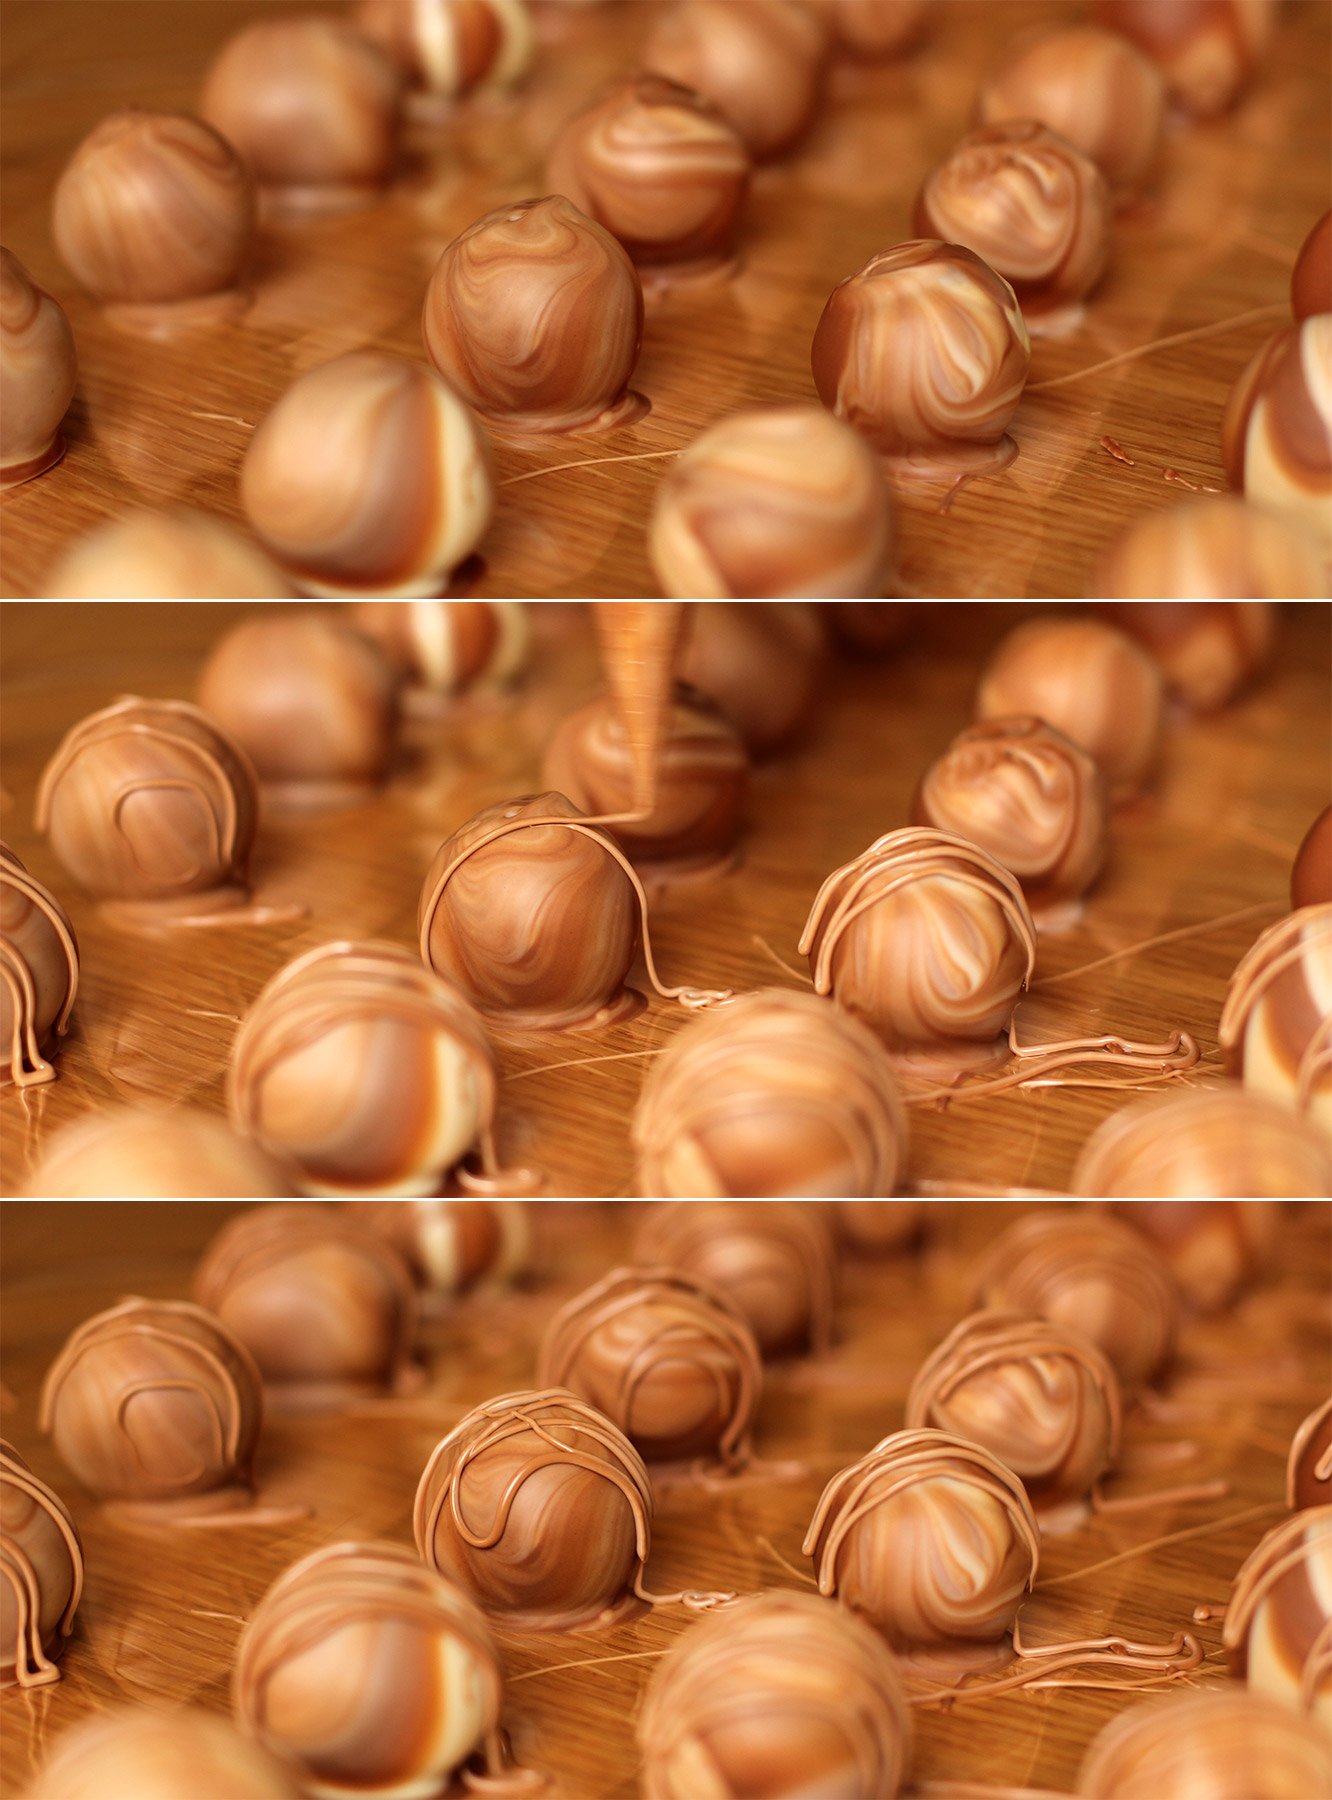
Repeat until you’re out of truffles. Leave to set. This time, don’t shortcut with the fridge, you want them to set at room temperature so that they don’t melt at room temperature.
marbled-caramel-truffle-recipe-8

Step nine

Put the leftover dipping chocolate in a piping bag and drizzle over the truffles.

Put the remaining melted chocolate in your mouth with a spoon. Or just pipe it straight in there.
marbled-caramel-truffle-recipe-10

Step ten

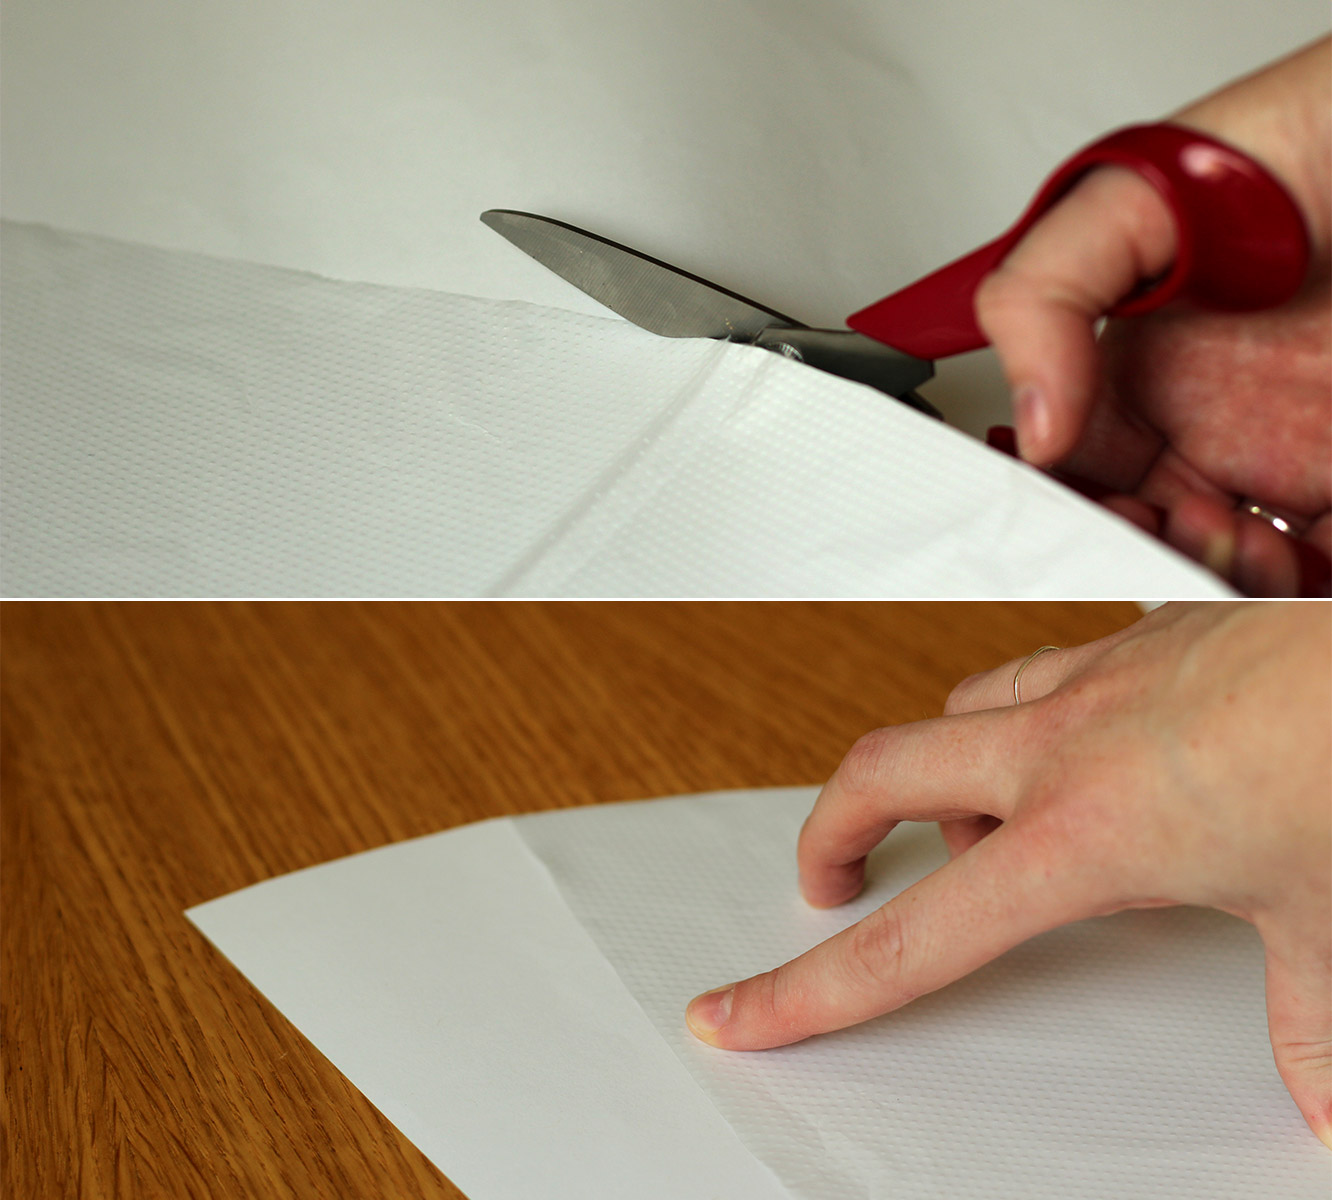
Cut open a piping bag so that it lies flat and use it as a template to cut round. Add a little extra on one side for overlap, and snip the pointy end off the bottom so it’s flat.
marbled-caramel-truffle-recipe-9

Step eleven

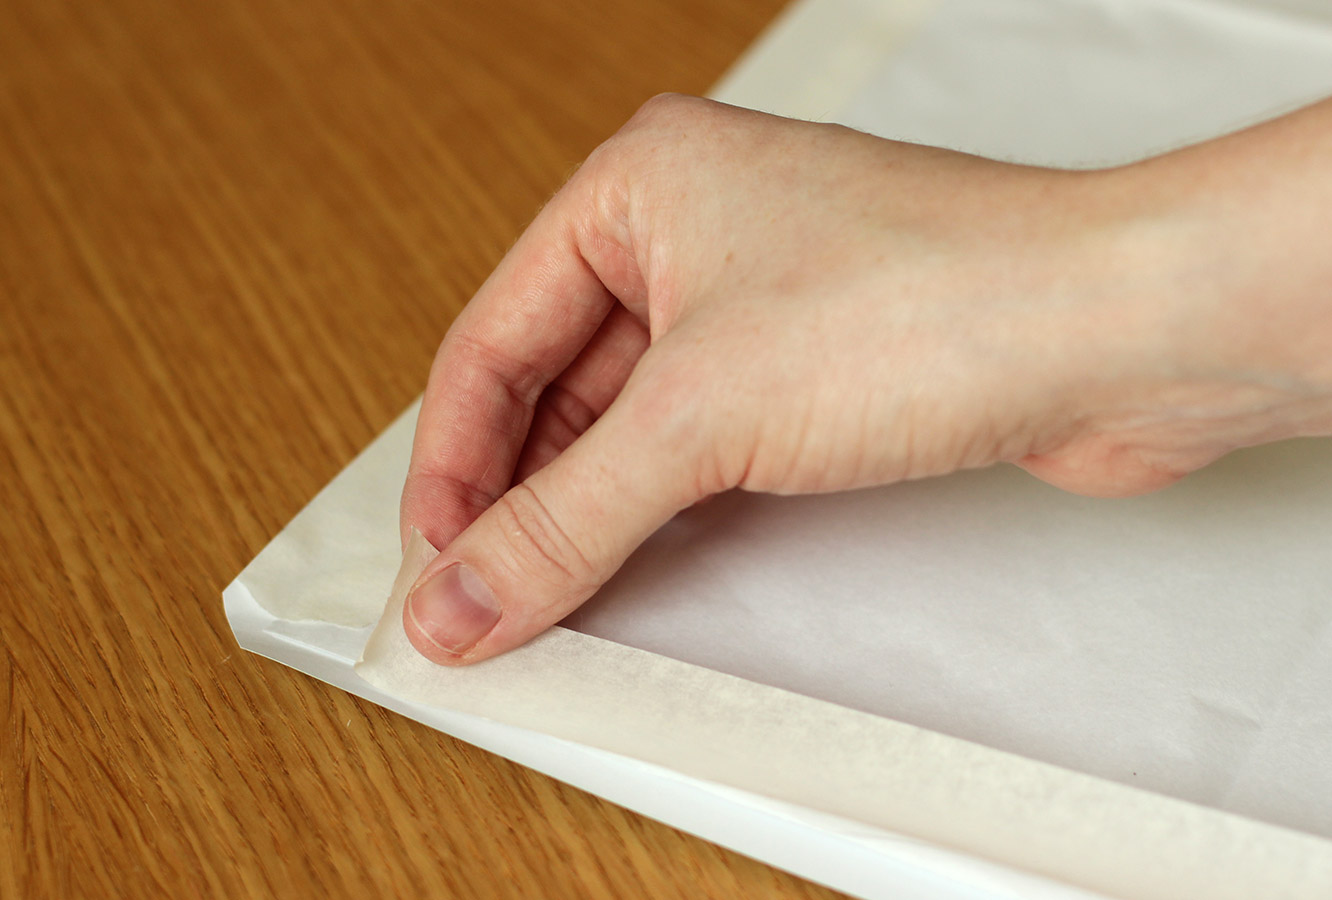
Cut three or four sheets of tissue paper to the same shape, but add another 10 cm to the top.

Tape the straight edges of the tissue to the wrong side of the wrapping paper.
marbled-caramel-truffle-recipe-12

Step twelve

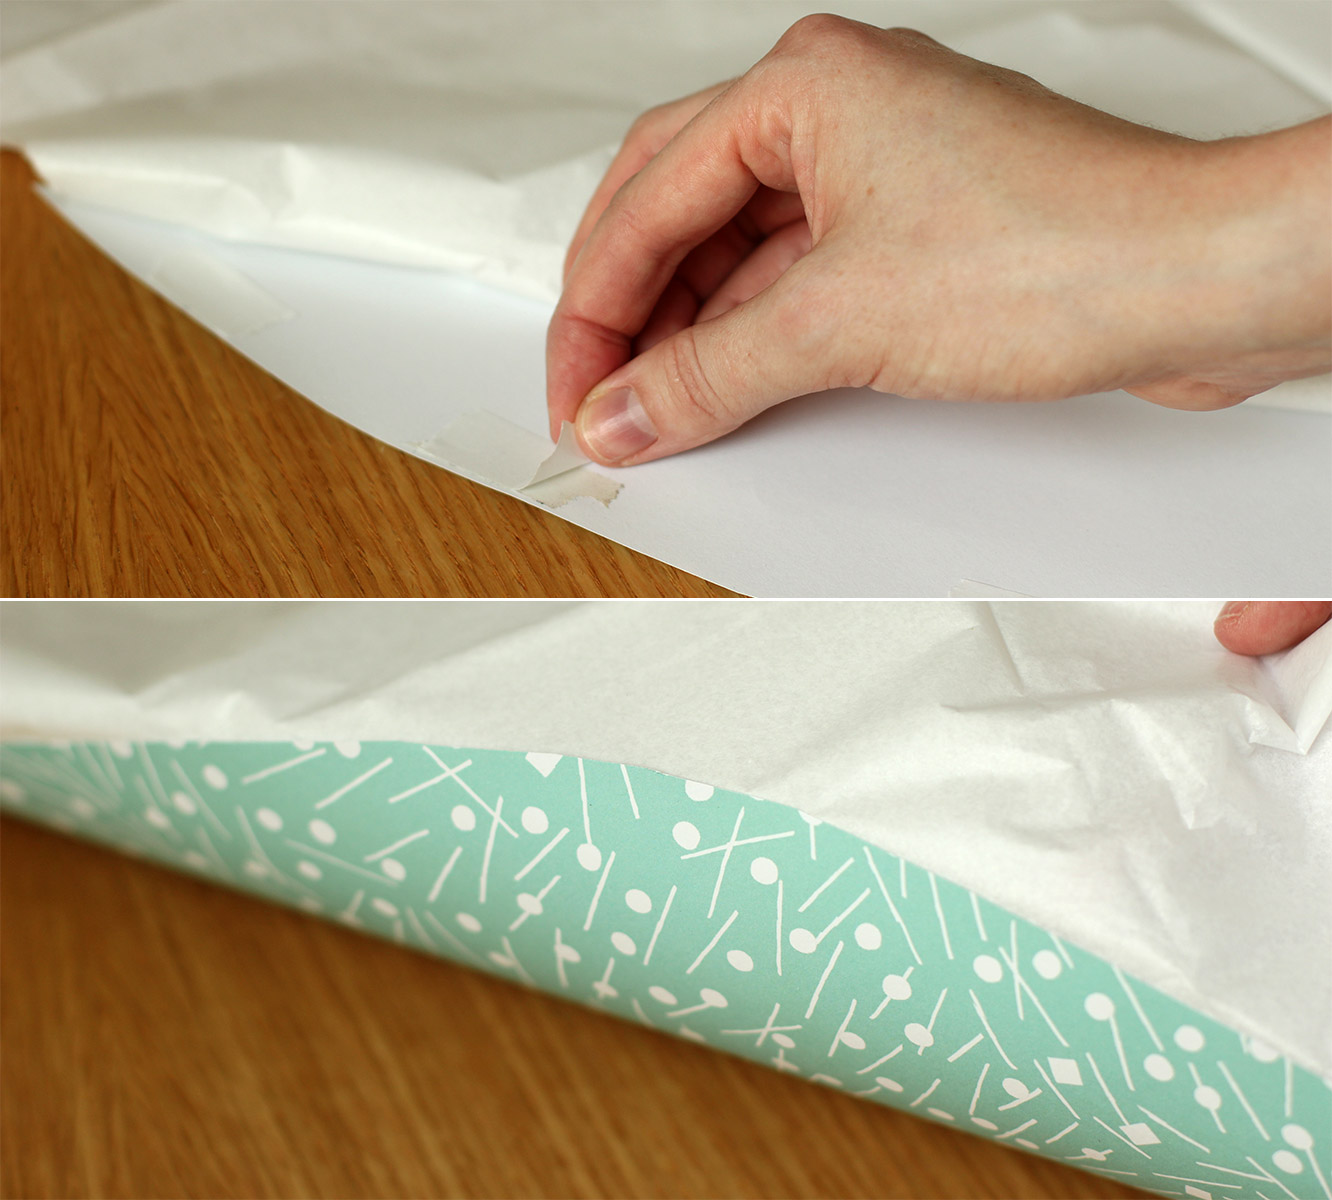
Fold back the top of the tissue paper on the large curved edge. Place double-sided tape around the edge and fold the tissue back over so that it is stuck the whole way round the top.
marbled-caramel-truffle-recipe-13

Step thirteen

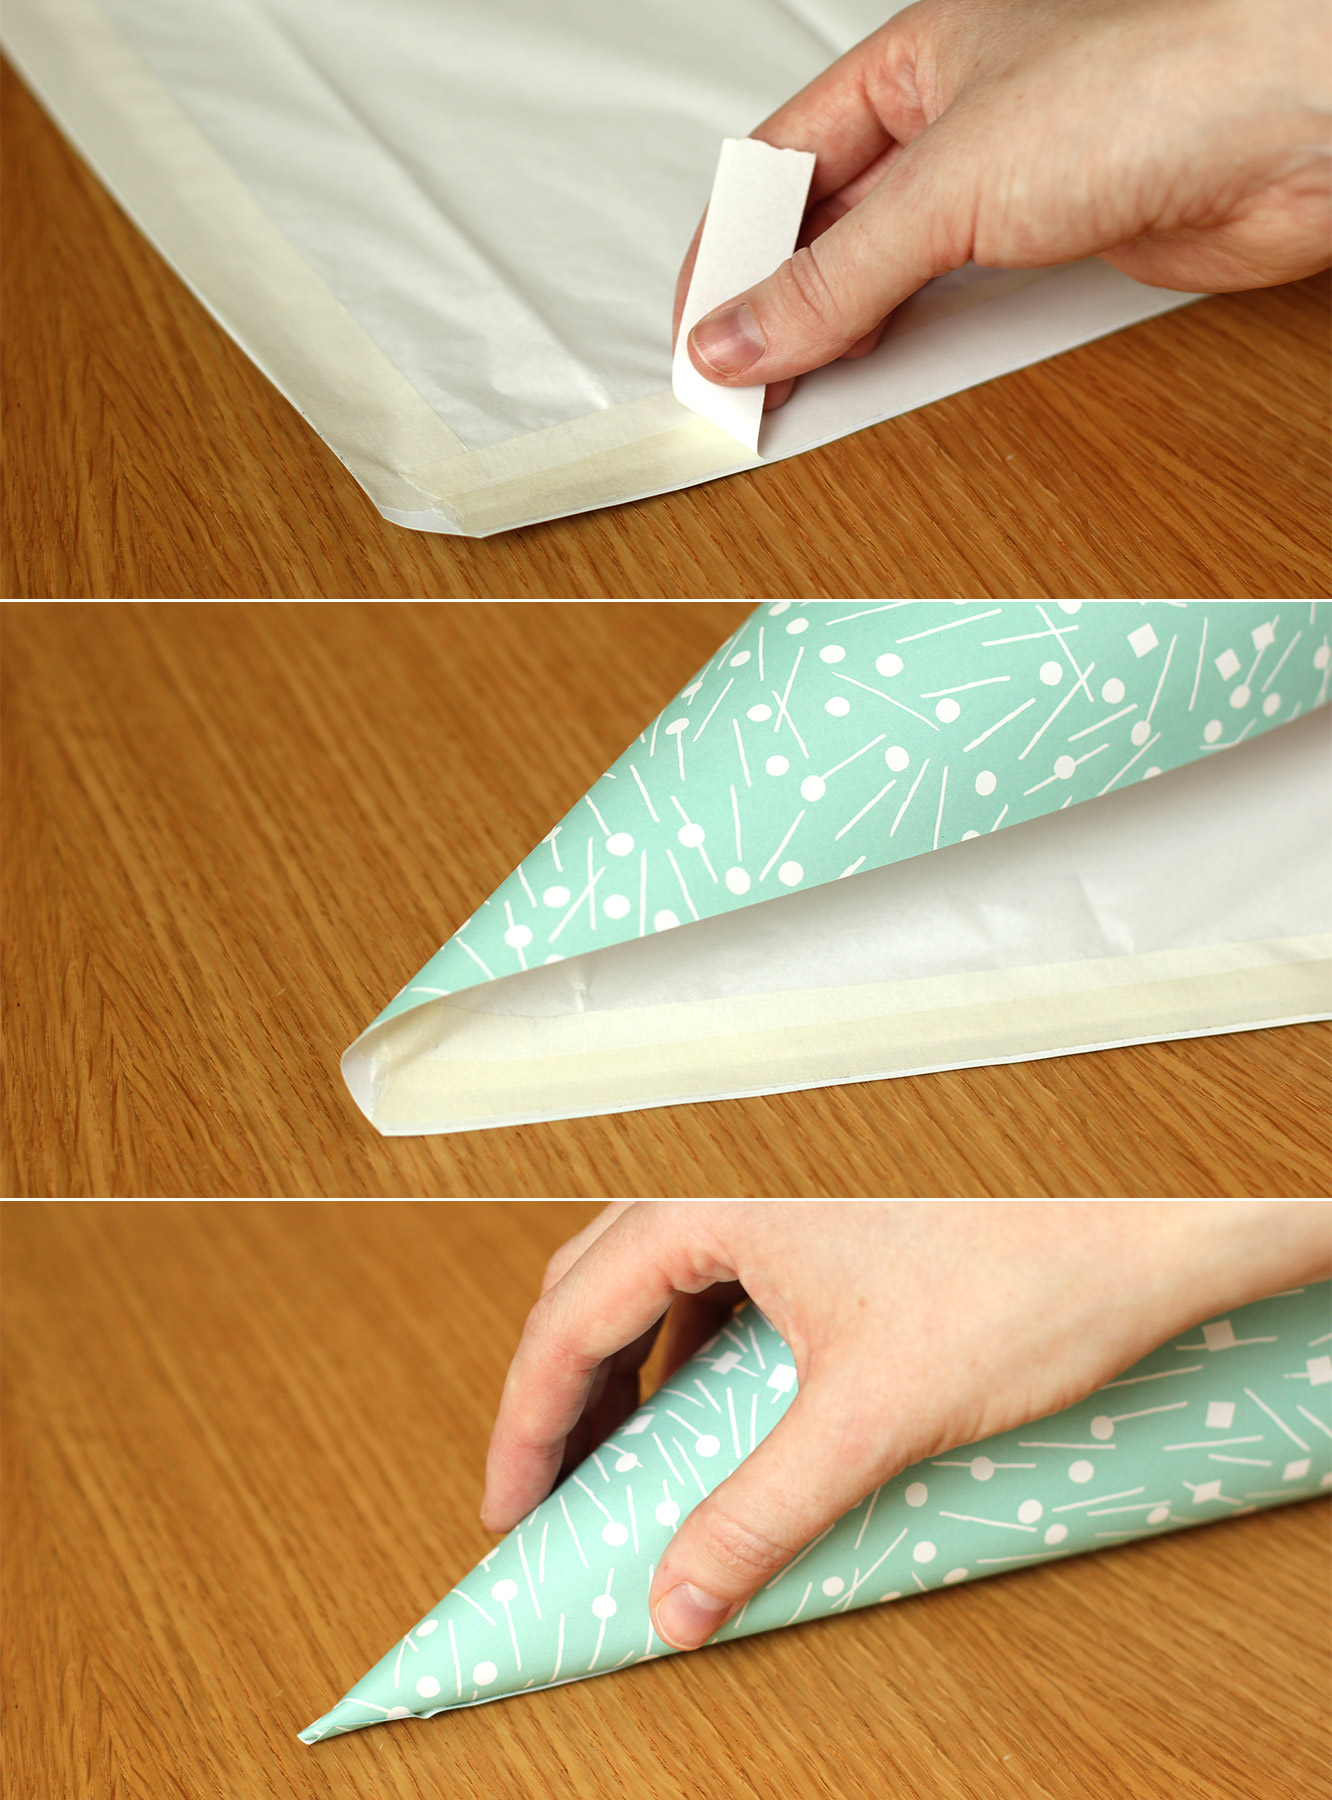
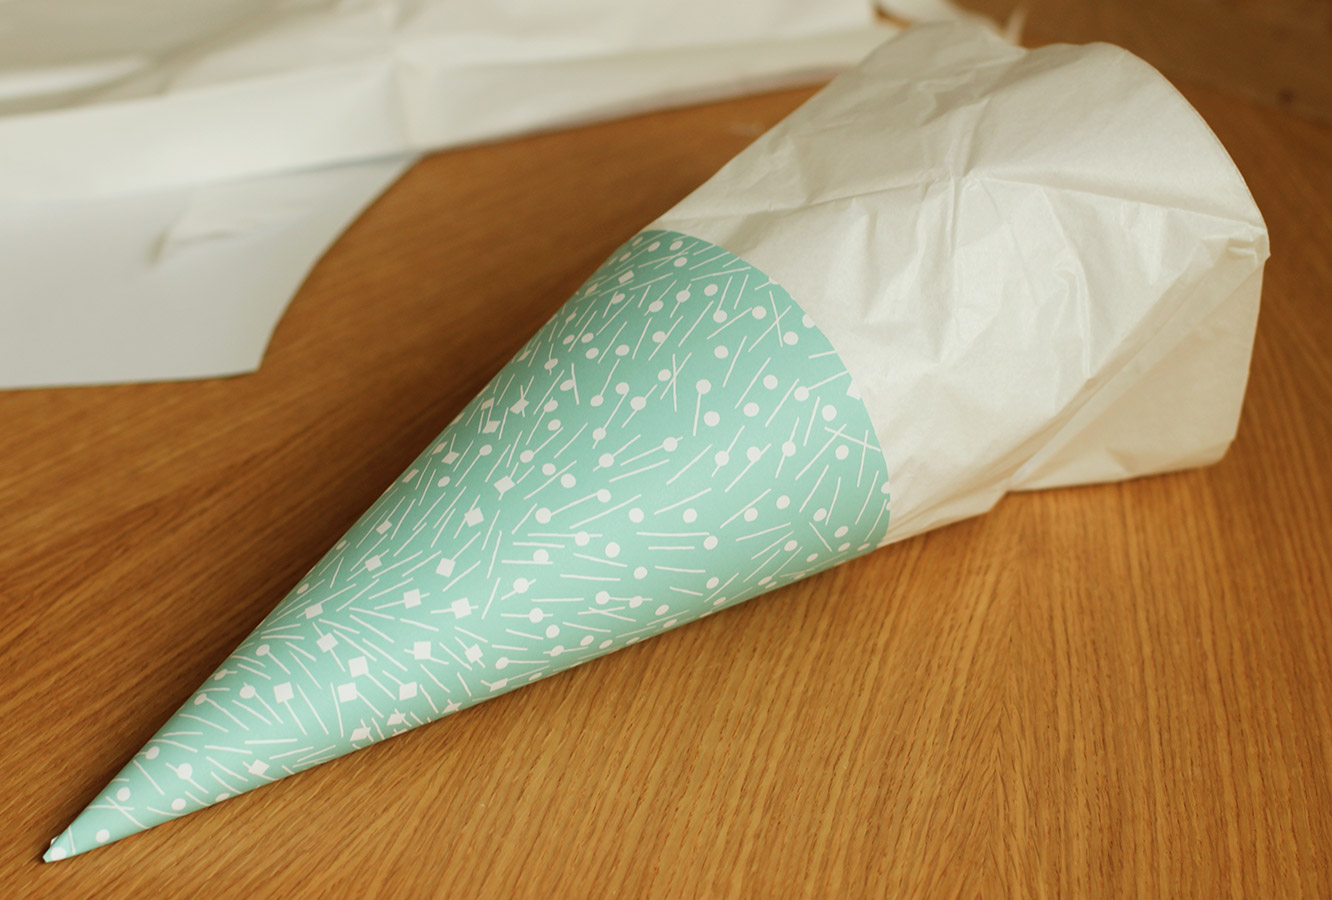
Use another strip of double-sided tape down the straight edge to roll the paper into a conical shape. You should have something like the below.
marbled-caramel-truffle-recipe-14

Step fourteen

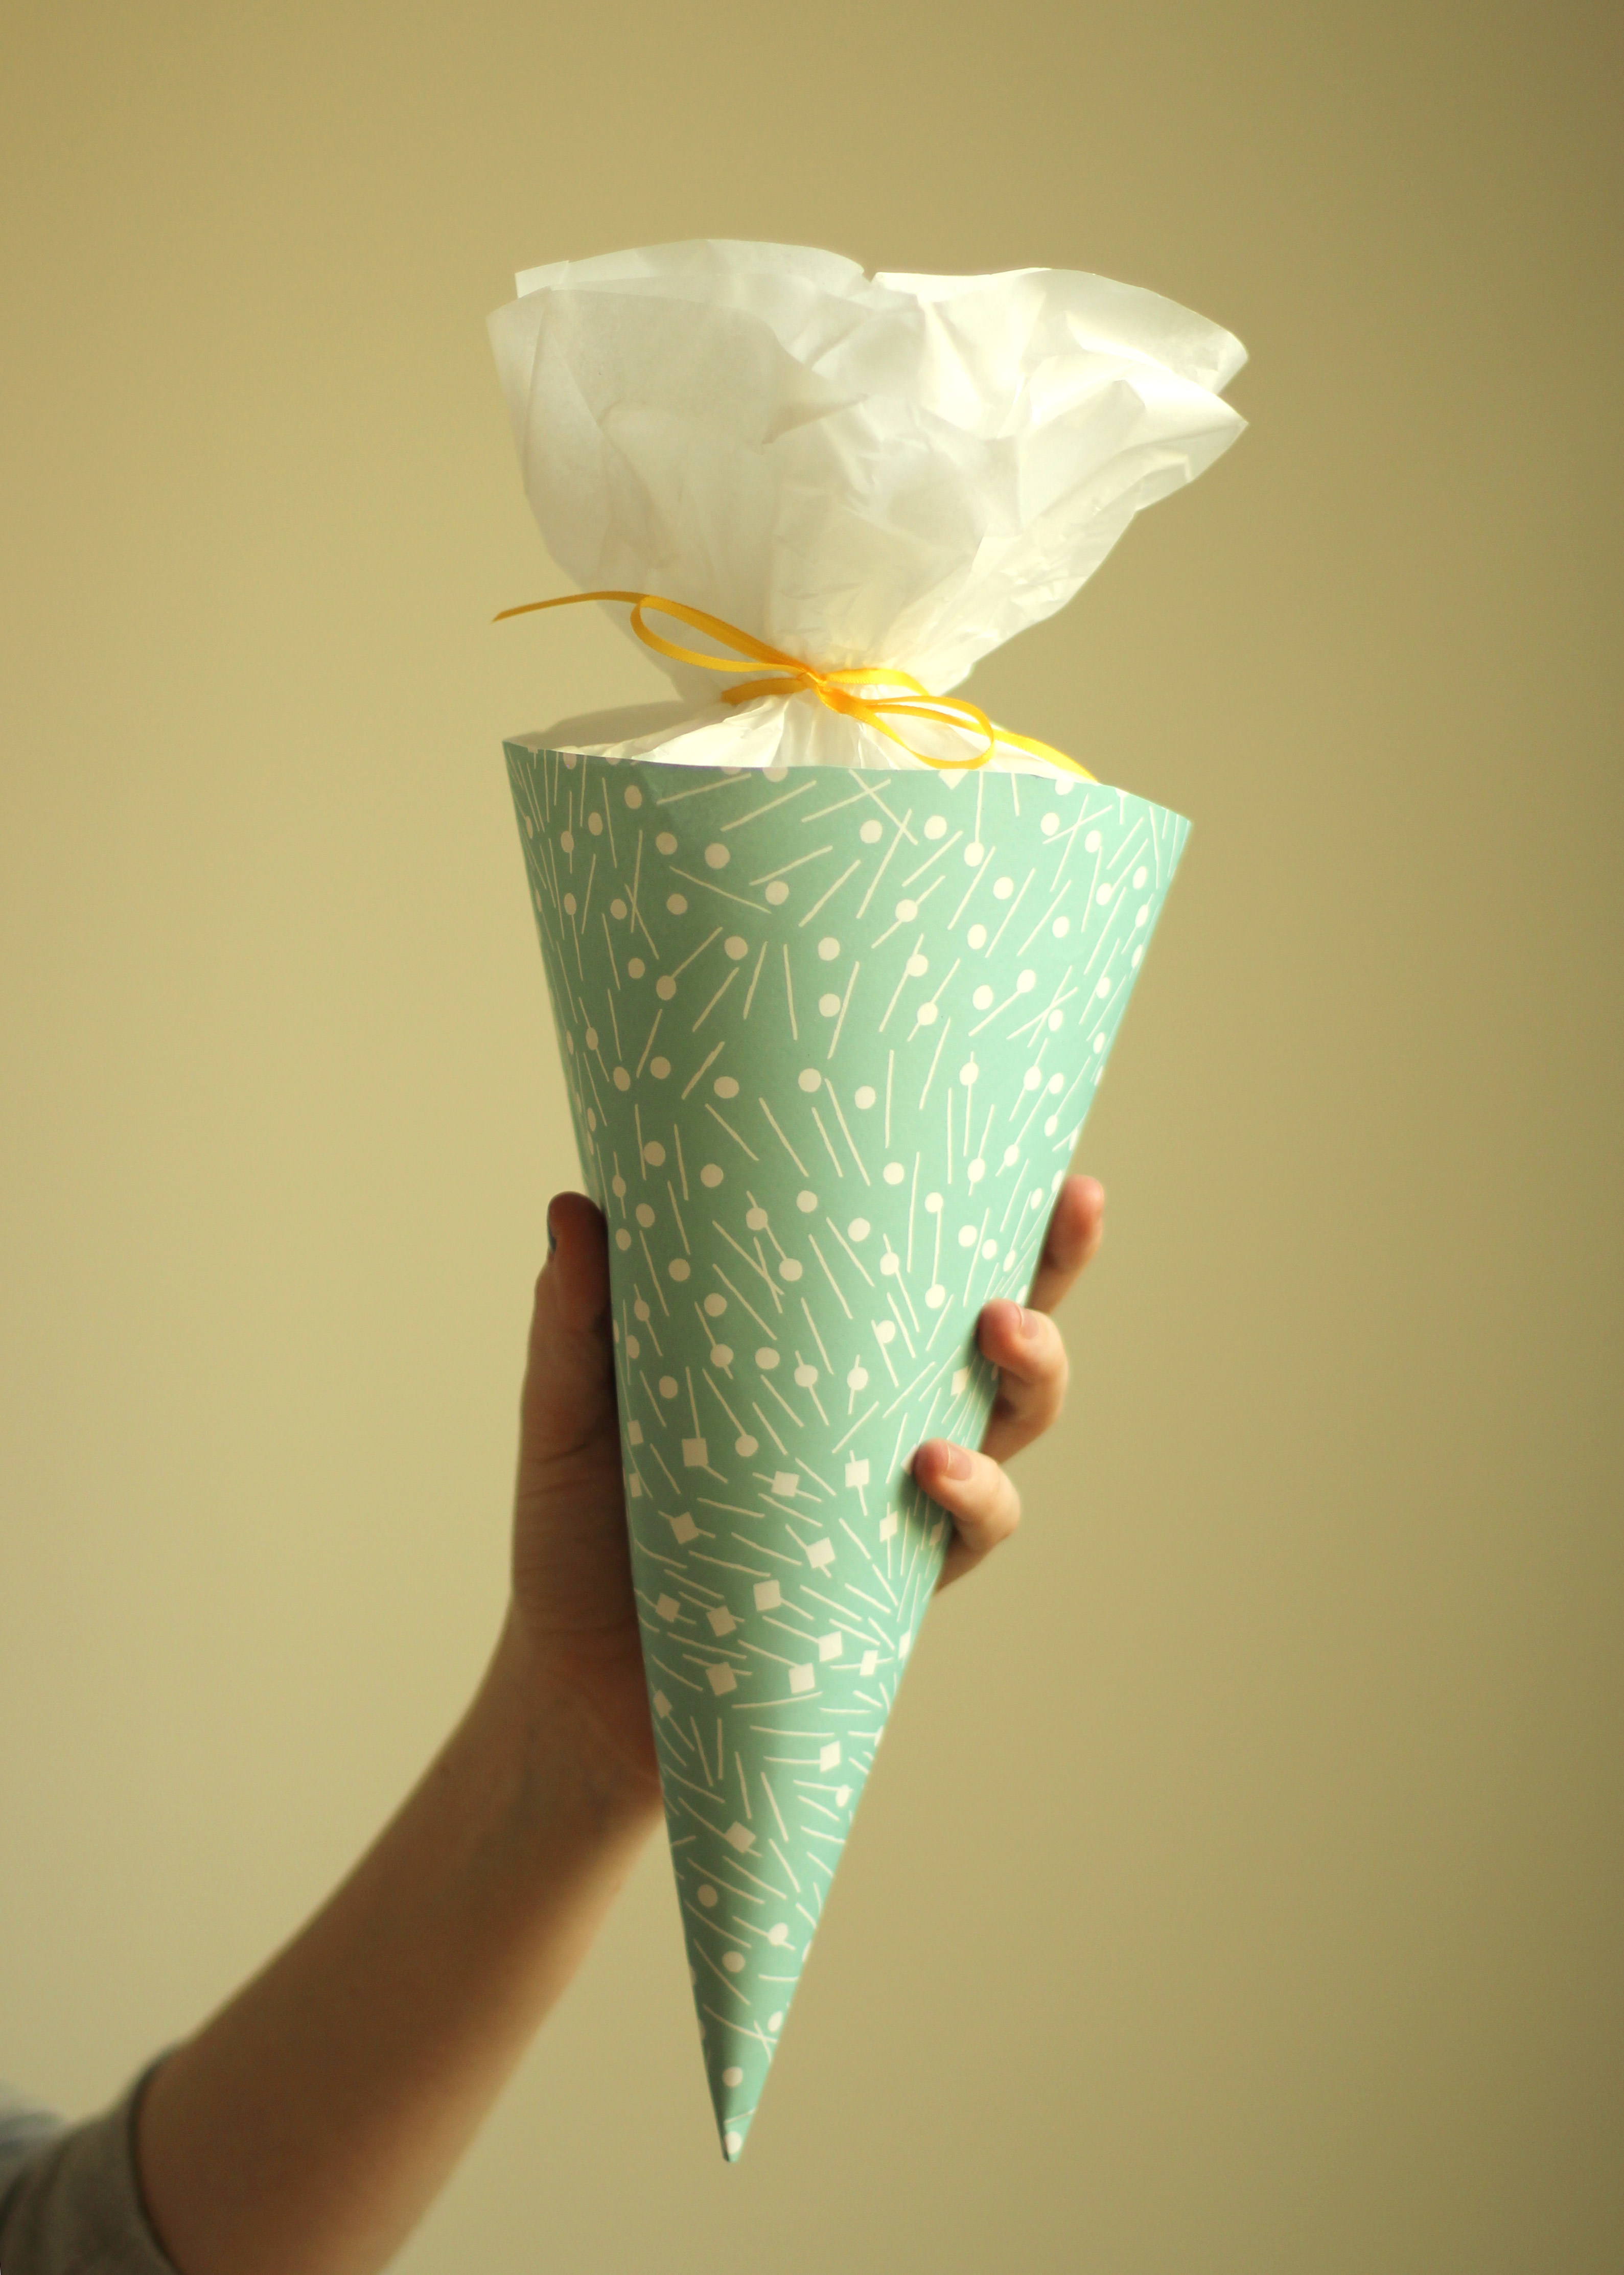
Fill another piping bag with truffles and place in the cone, or Schultüten, and tie up the top with a piece of ribbon.
marbled-caramel-truffle-recipe-17

Voila!

marbled-caramel-truffle-recipe-15

marbled-caramel-truffle-recipe-16

Minty fresh

Welcome back friend.

Week five of the British favourites cupcakes, and before we begin, I have a minor claim to fame on this one. My grandad used to engrave the embossing plates for the clock that characterises this evening treat. You know the old one with all the swirls n’ stuff.

Any guesses? The After Eight dinner mint you say? Dang straight.

Now, I know mint as a flavour polarises people, but I’m generally a fan. I can do away with a whole box of these if I’m in the right mood.

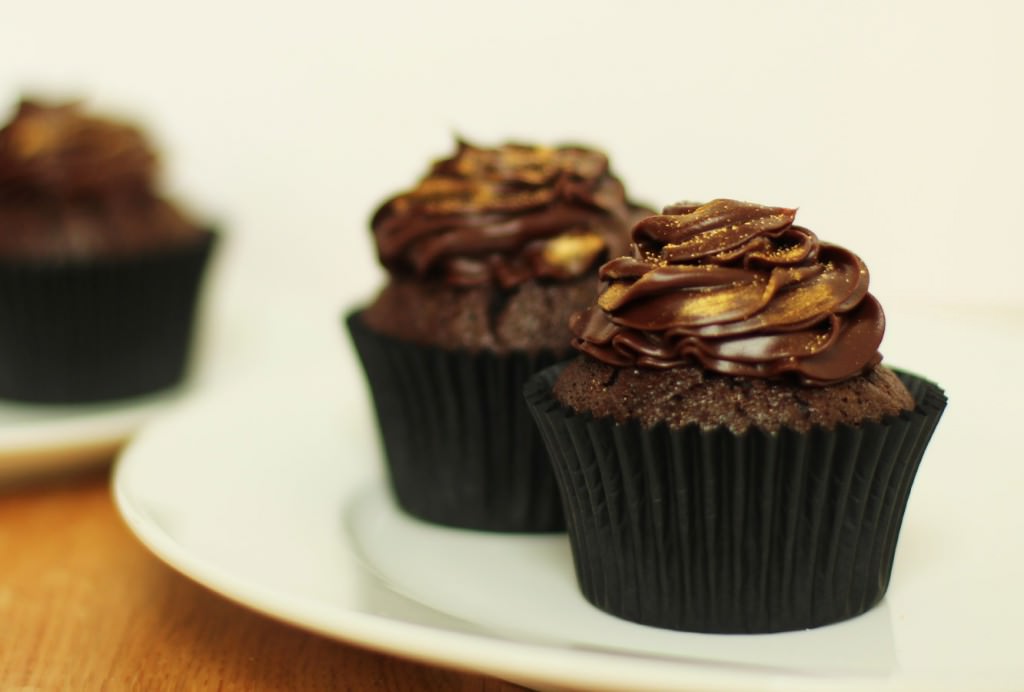
As far as the cake version goes, you don’t have to go too crazy, a little hint of mint really sets off the dark chocolate in this recipe nicely. The cake is made without eggs and butter so it’s light and fluffy allowing for a nice rich ganache icing. This is probably one of the easiest recipes in this little series, so if baking makes you nervous, start here.

As I’ve started sounding like the baking equivalent of a used car salesman we better make a start.

after-eight-cupcake-recipe-1

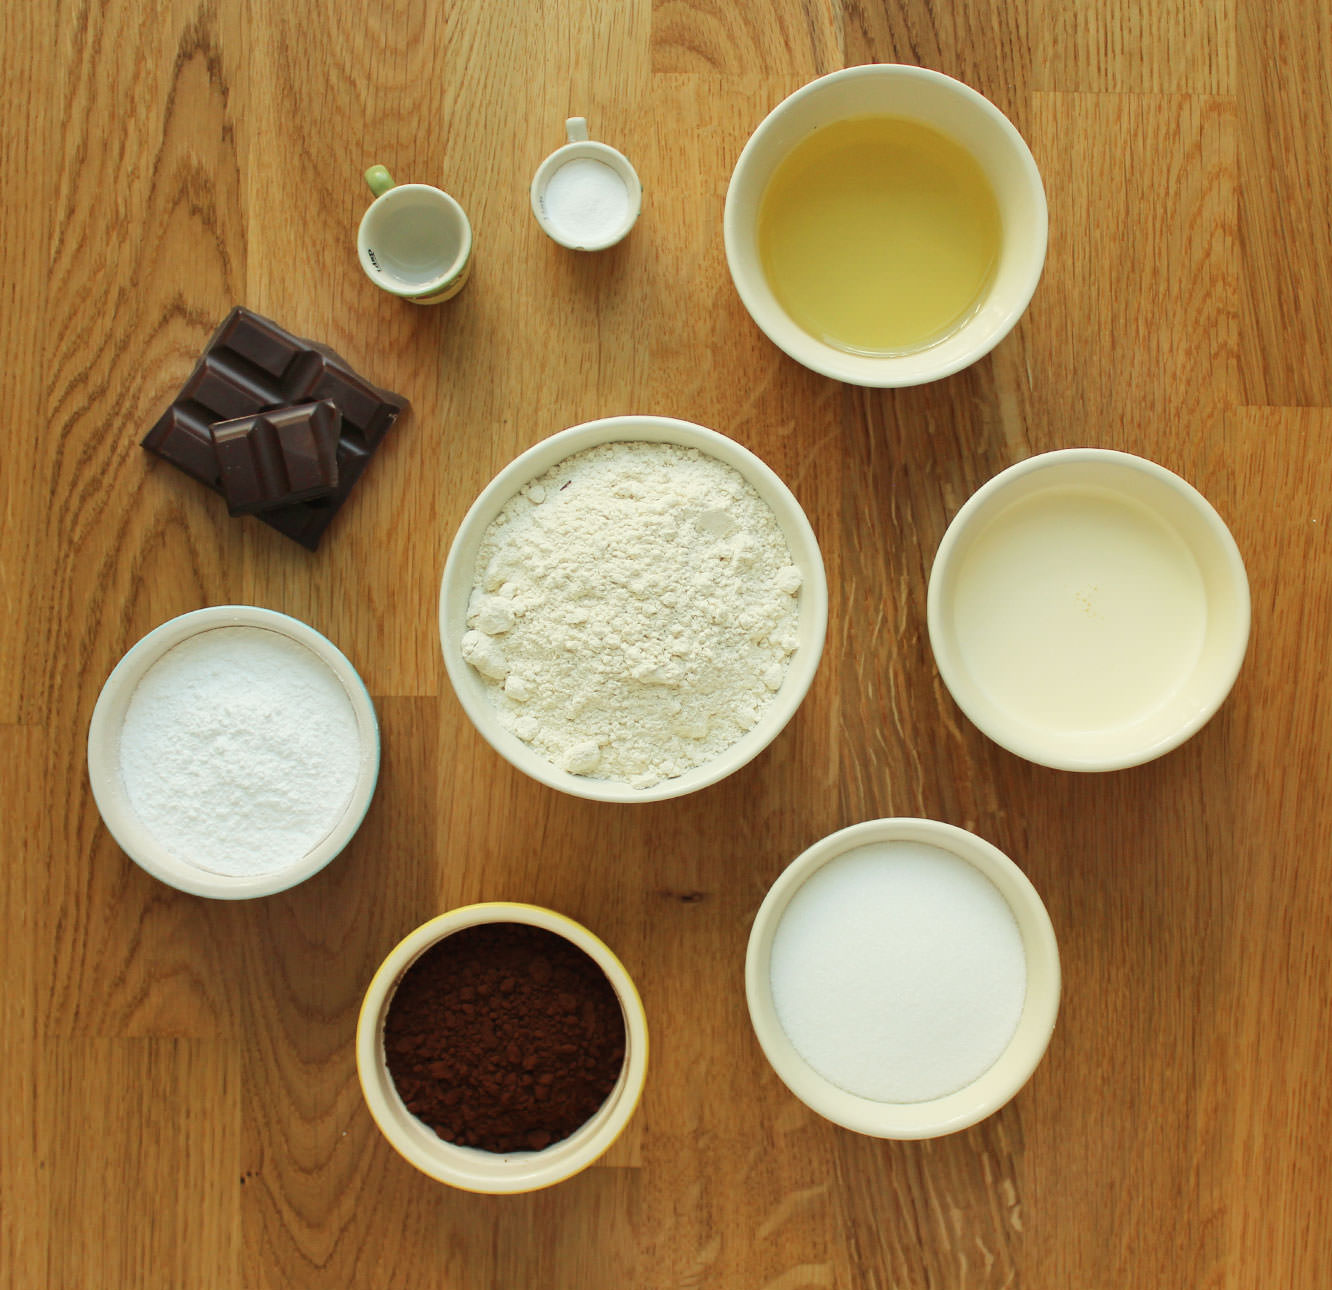
You will need

For the cakes:

250g/8.5 oz plain flour

250g/8.5 oz caster sugar

30g/1 oz cocoa powder

300ml/10 fl oz water

6 tbsp vegetable oil

1 tsp bicarbonate of soda

1 tsp cider vinegar

1 tsp vanilla extract

For the filling:

150g/5.5 oz icing sugar

1 1/2 tbsp water

1 tsp peppermint extract

For the ganache icing:

175ml/6 fl oz double cream

250g/8.5 oz dark chocolate

The little extras (you know, it’s polite to stay on brand):

Edible gold powder

Black muffin/cupcake cases

(makes 12)

after-eight-cupcake-recipe-2

Step one

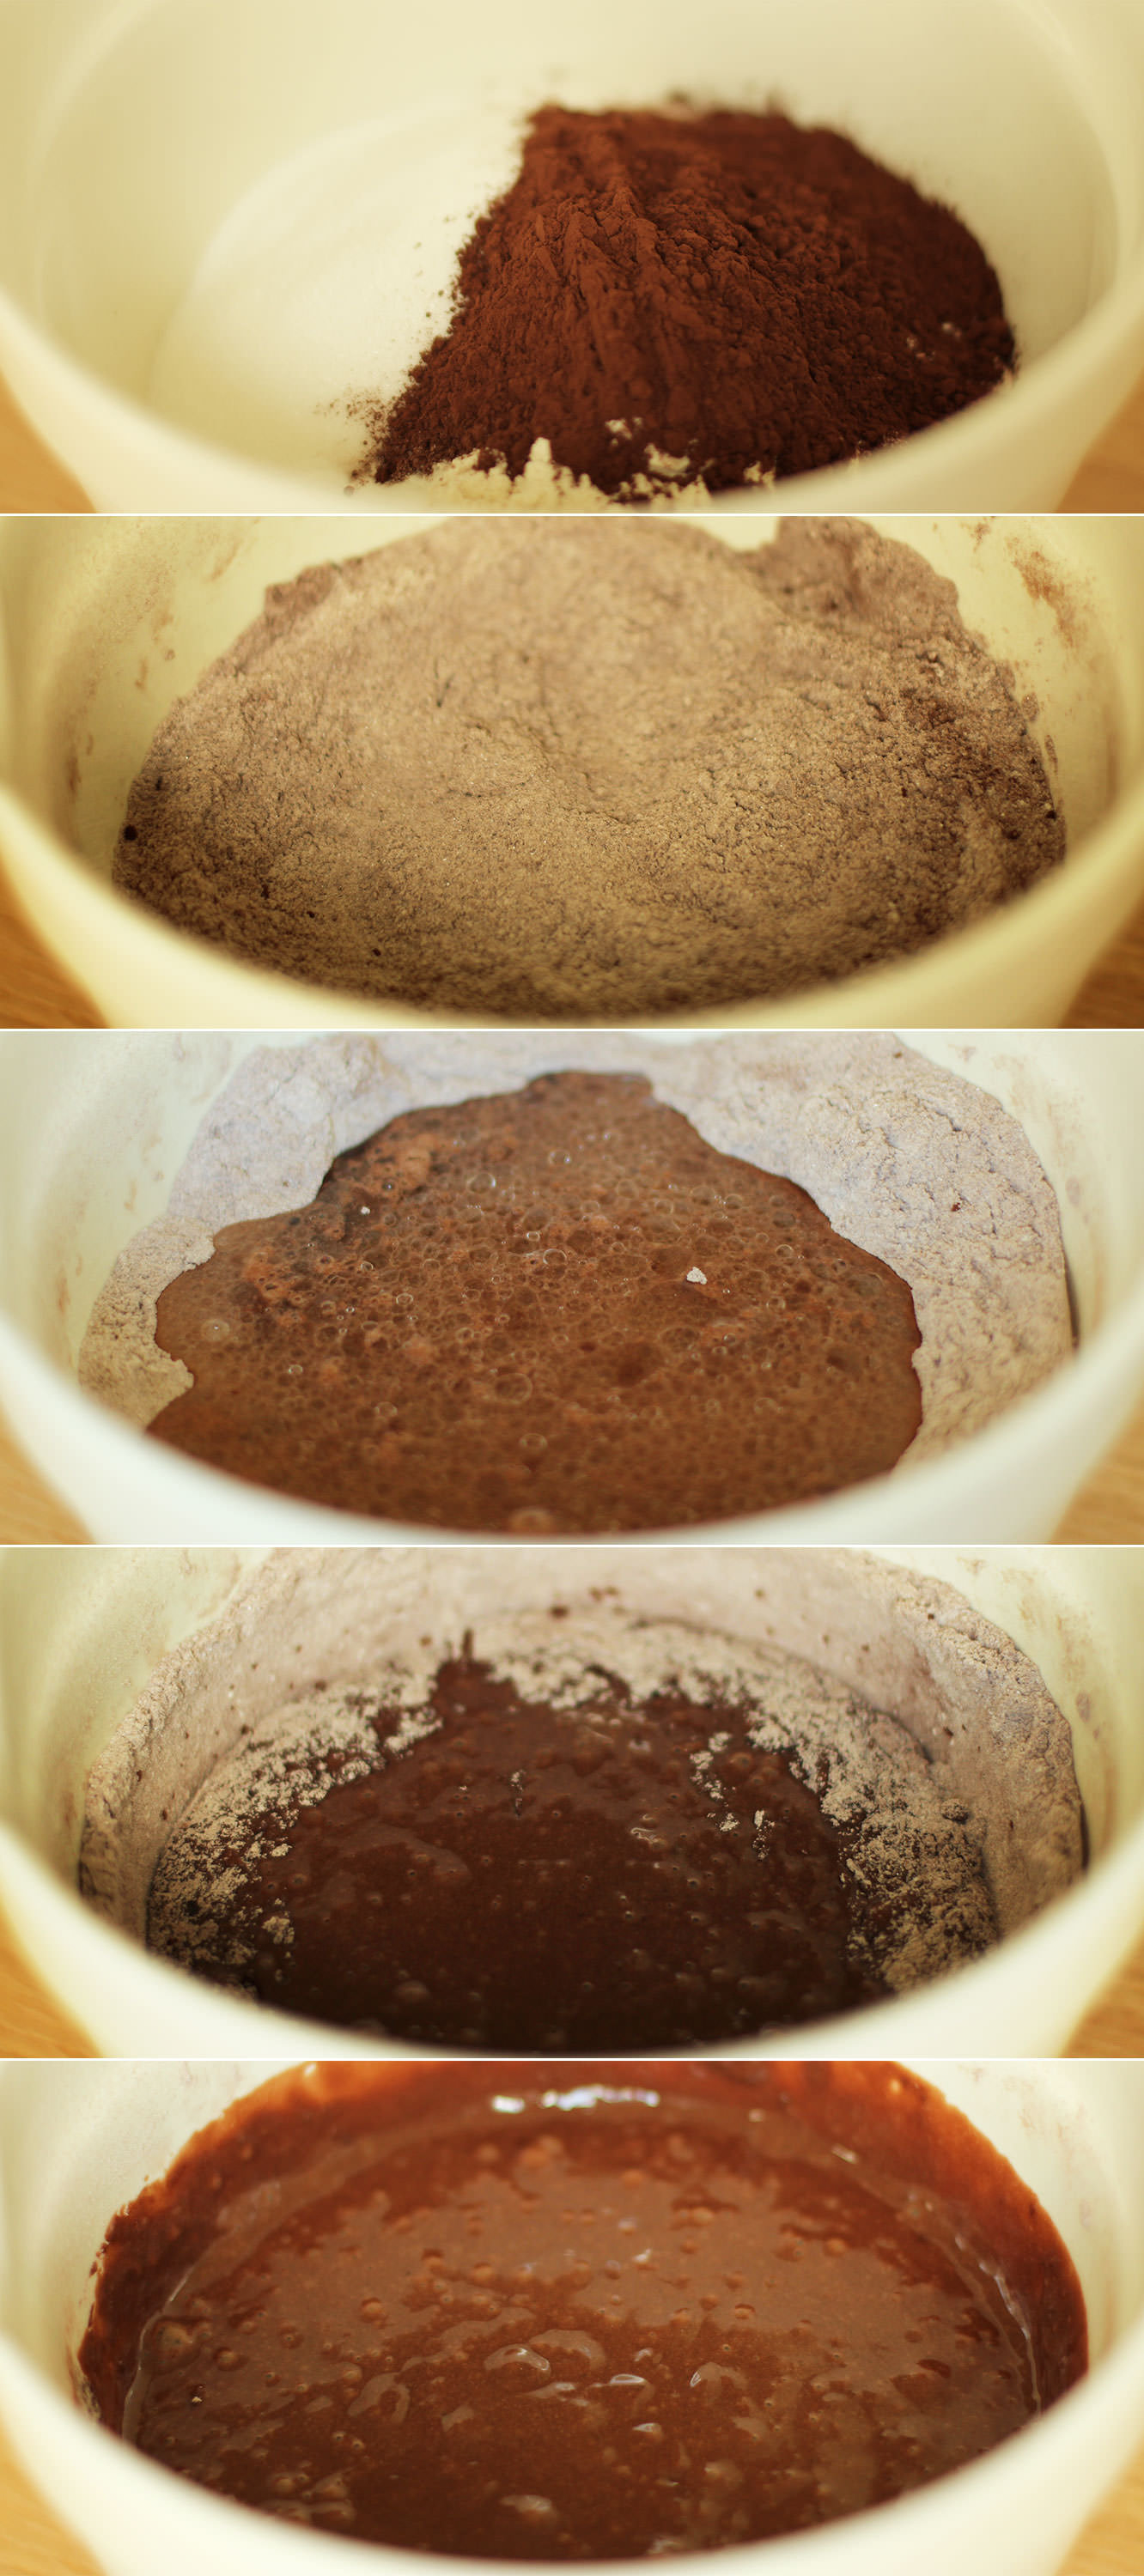
To make the cakes, mix together the caster sugar, cocoa powder, bicarbonate of soda and plain flour.

Make a well in the middle.

Step two

In a jug combine the oil, water, vanilla extract and vinegar.

Pour the wet ingredients into the middle of the dry ones. Using a hand whisk stir in small circles at the middle to gradually incorporate the dry ingredients without getting lumps.

after-eight-cupcake-recipe-3

Step three

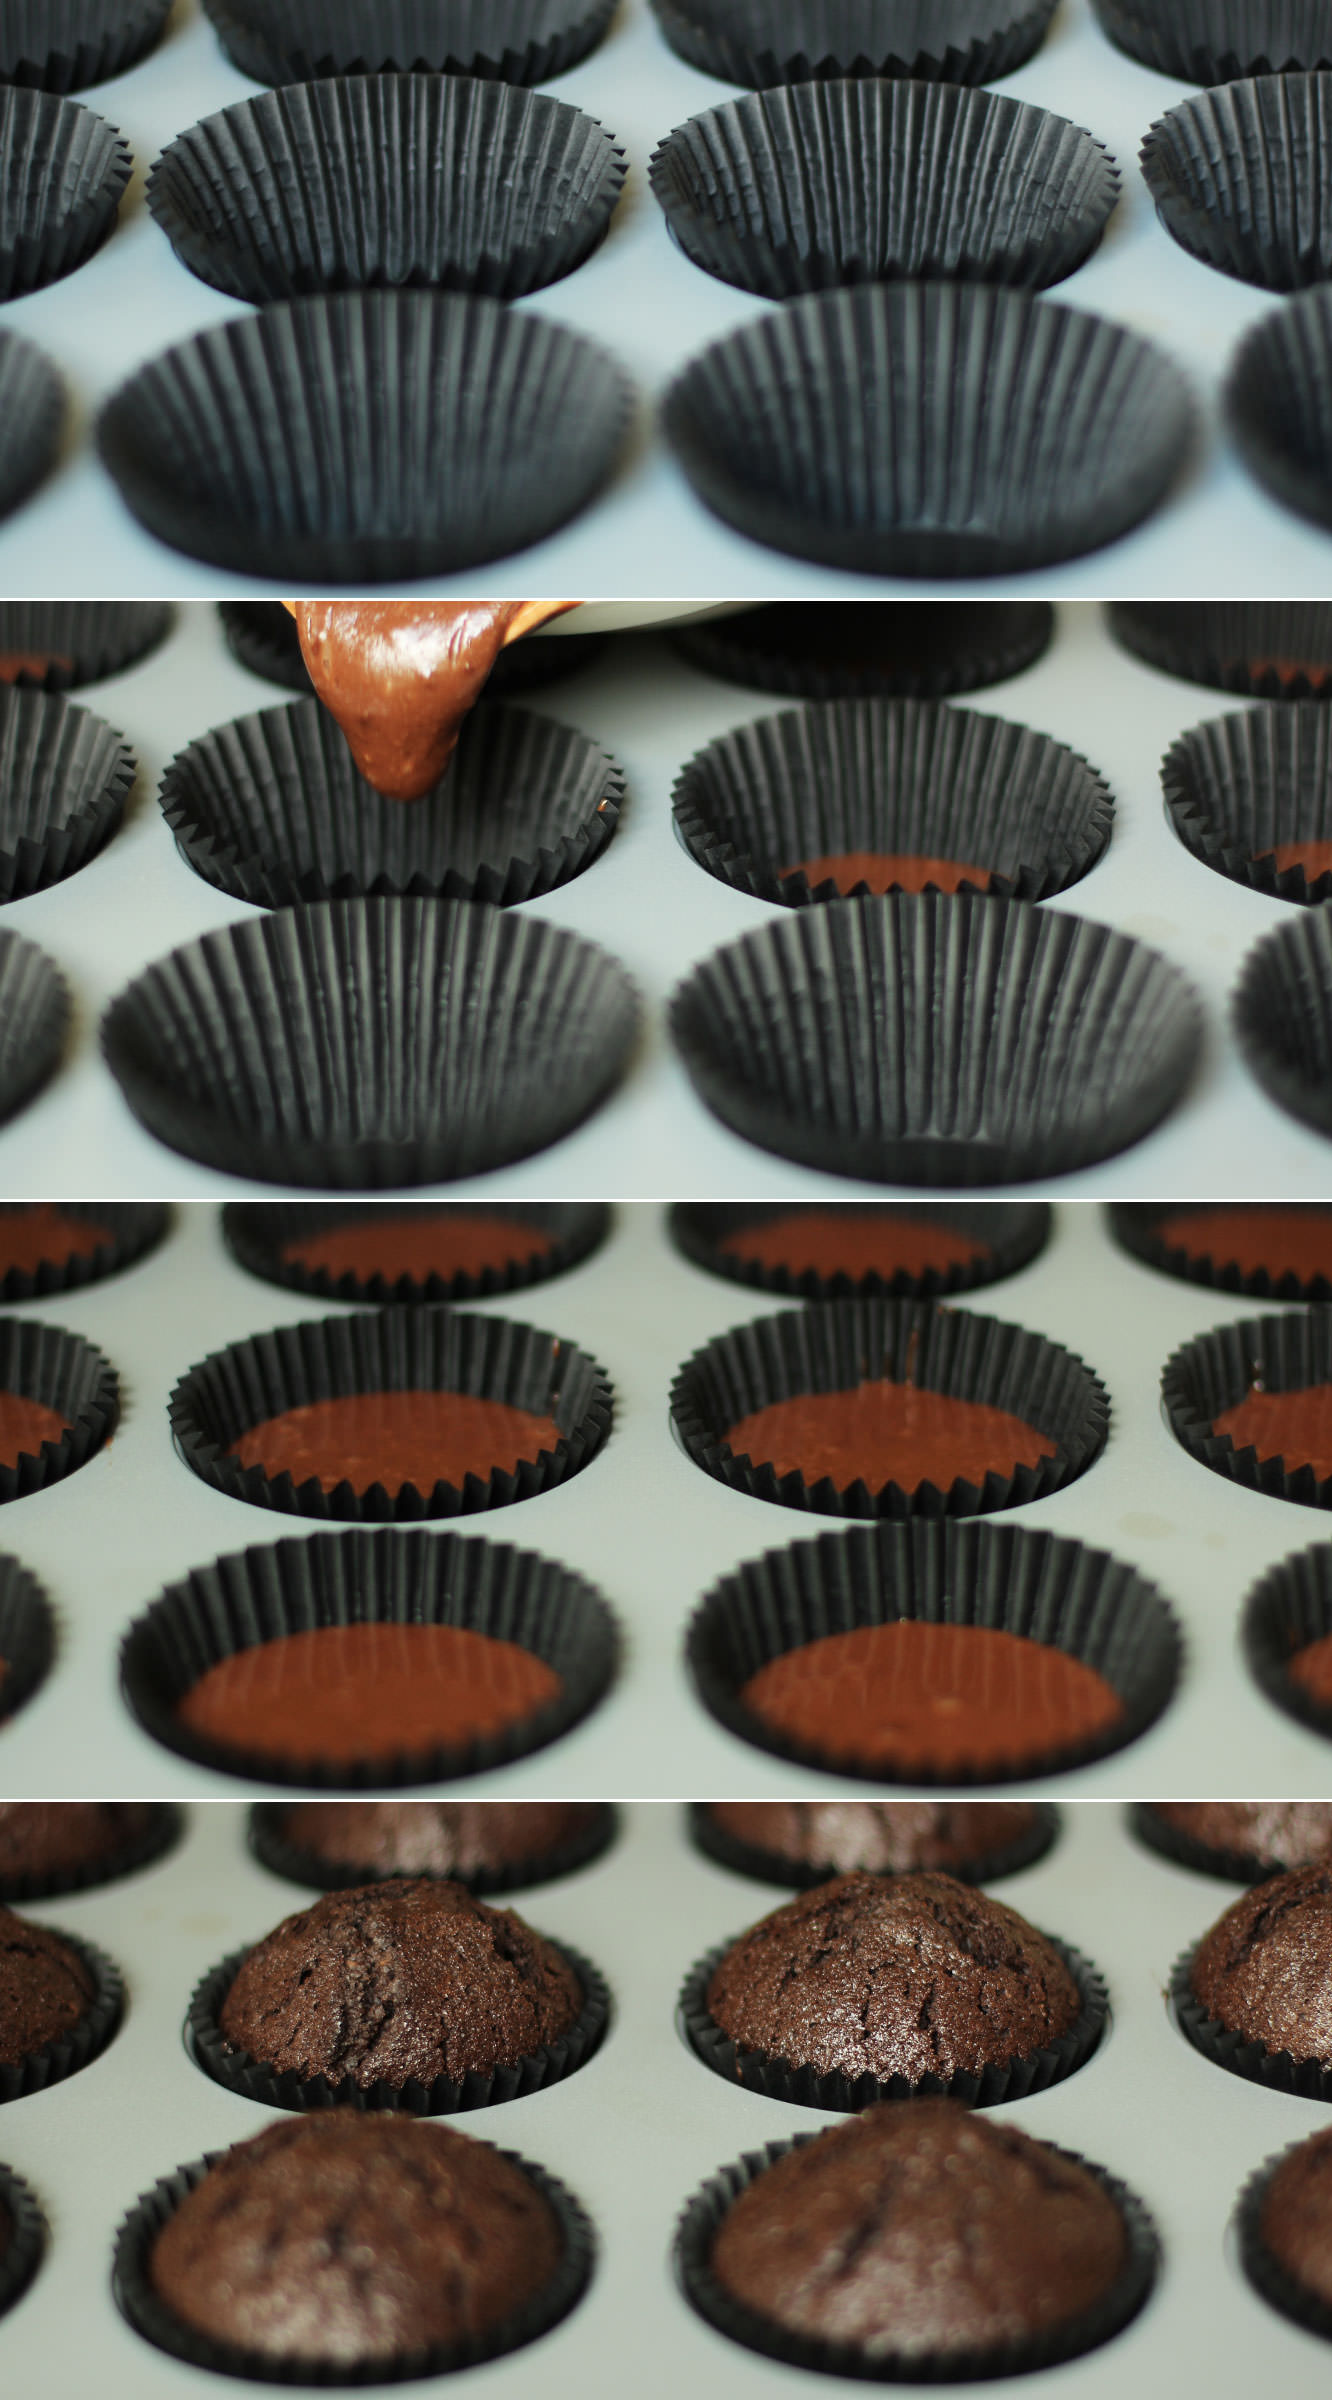
Pour the mixture into 12 cupcake cases. The mix will be fairly worryingly close to the tops of the cases but you shouldn’t have any problems, they aren’t the biggest risers.

To do this, I usually put the batter back into the jug I used for the wet ingredients in step two because it’s pretty runny.

Step four

Bake on 180C/350F/gas mark 4 for 20-25 minutes.

after-eight-cupcake-recipe-4

Step five

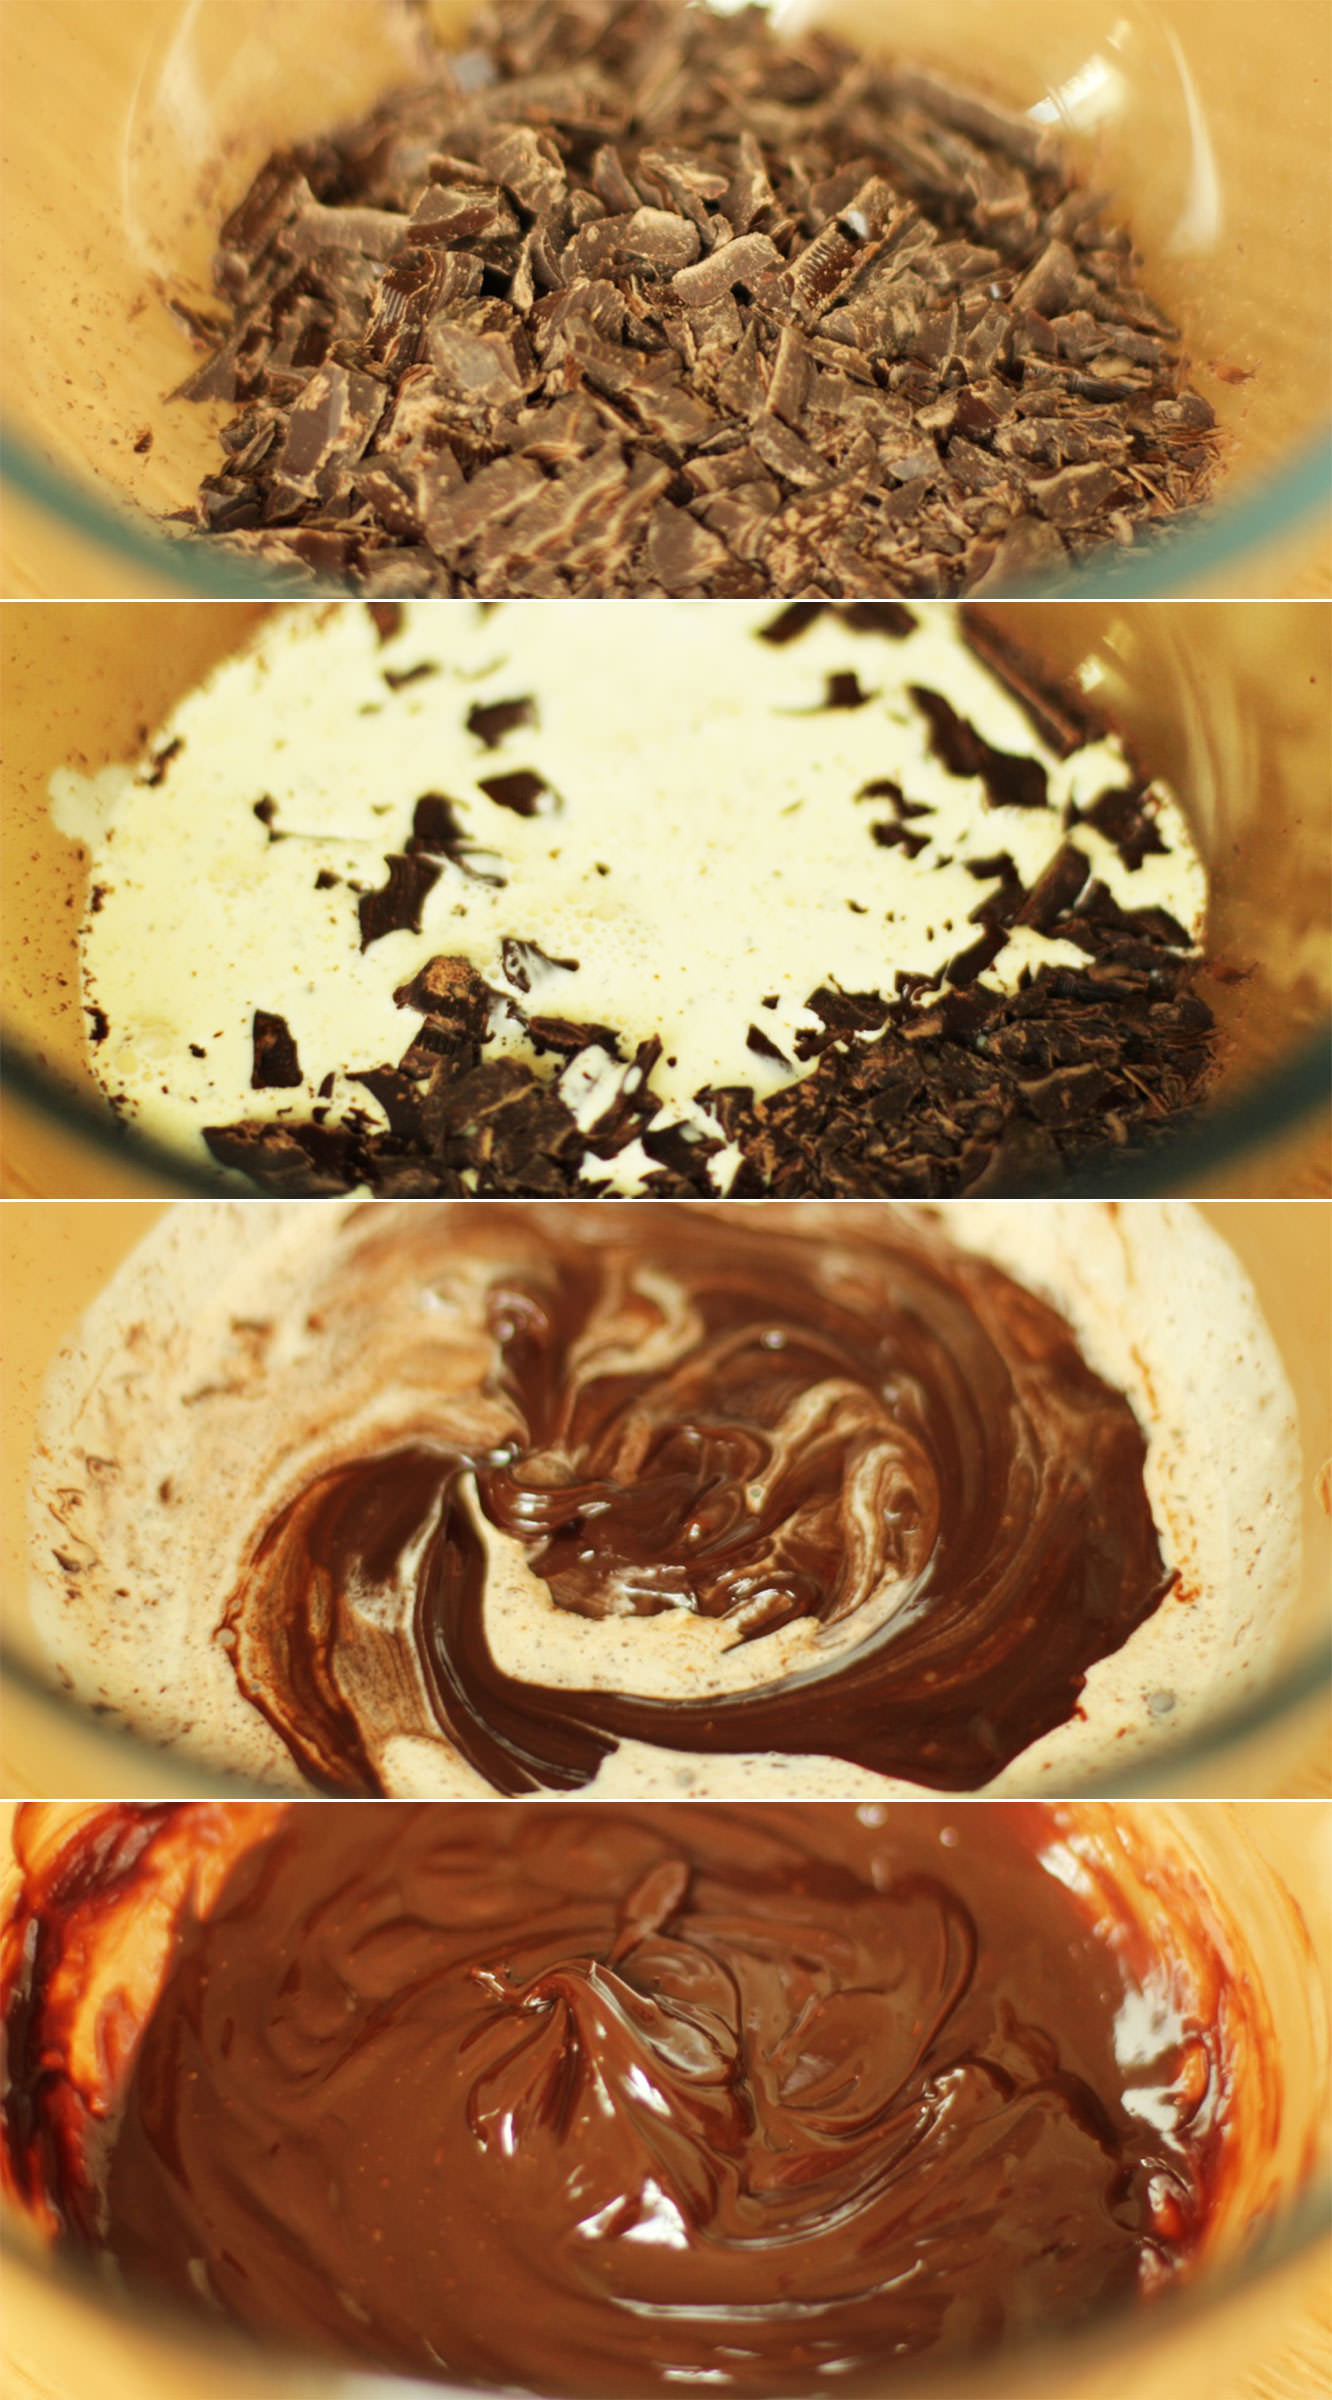
Finely chop the dark chocolate and place in a heatproof bowl. People who have been reading my blog for a while will be sick of hearing this, but a bread knife does a great job on chocolate. You can chop it real thin without bits flying off everywhere.

Gently heat the cream in a saucepan until it just begins to bubble. Stir constantly. It doesn’t take long for it to heat to this point so not a time to go and hang your washing out.

Once the cream has heated pour over the chocolate and stir with a whisk until fully combined.

Step six

Combine the filling ingredients. I felt it fairly unnecessary to photograph this bit. I reckon you’ll manage just fine on your own.

after-eight-cupcake-recipe-gif

Step seven

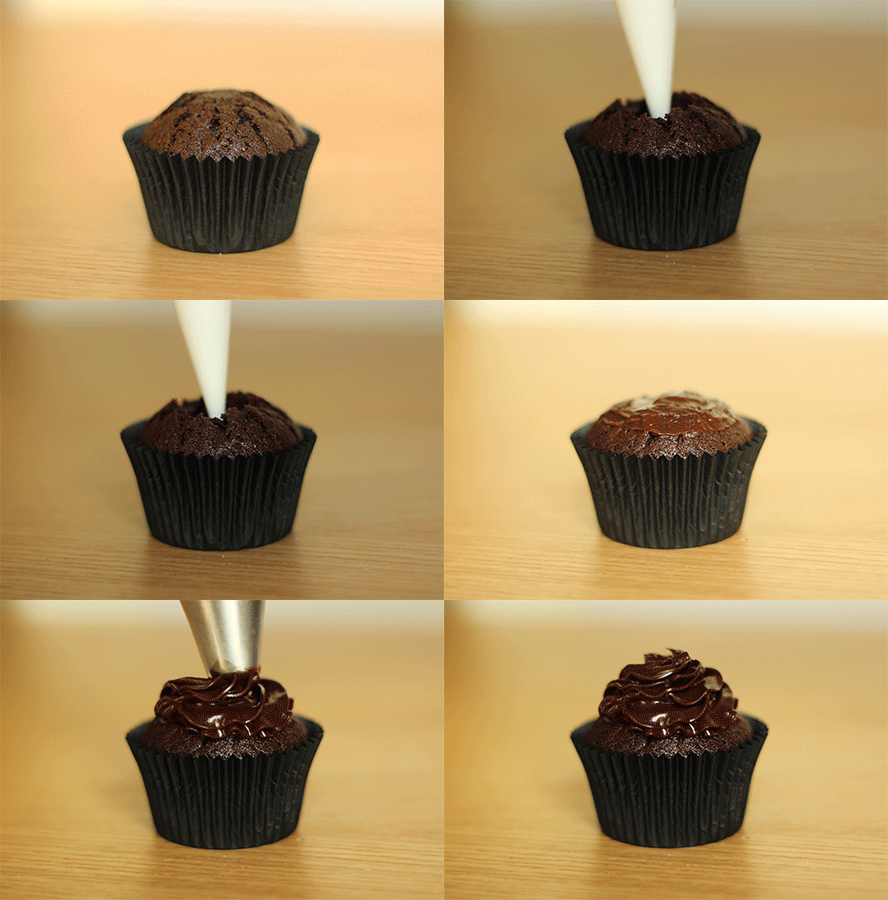
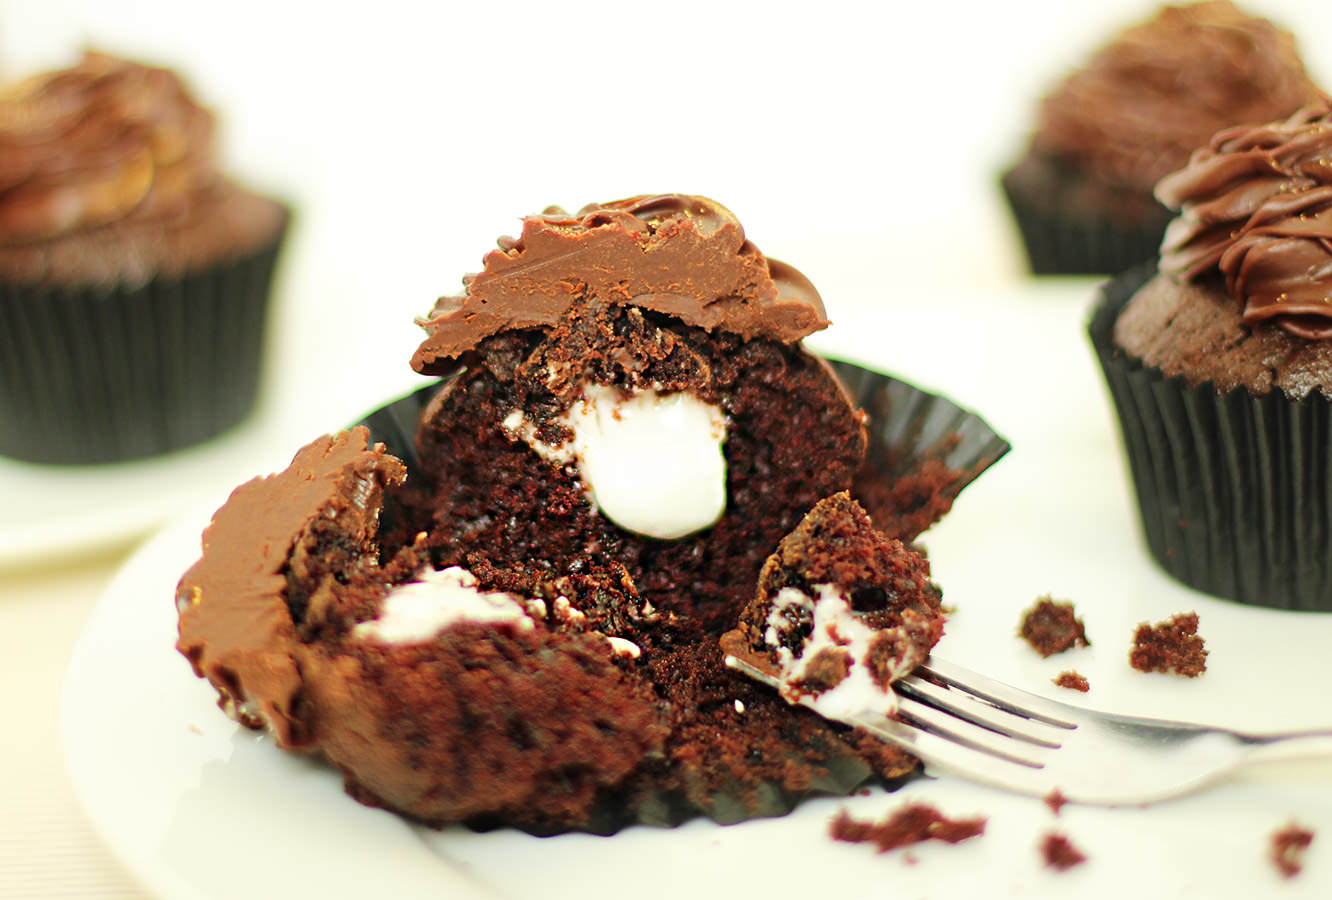
Fill and ice the cupcakes. Remove a bit of cake from the middle by running a small knife around in a circle. Cut the pointed bit off, fill the hole and place just the lid on top.

Pipe on the ganache using your favourite nozzle. You’ll know it’s cool enough when a spoonful of mixture holds its shape when dropped back onto the rest.

after-eight-cupcake-recipe-5

Step eight

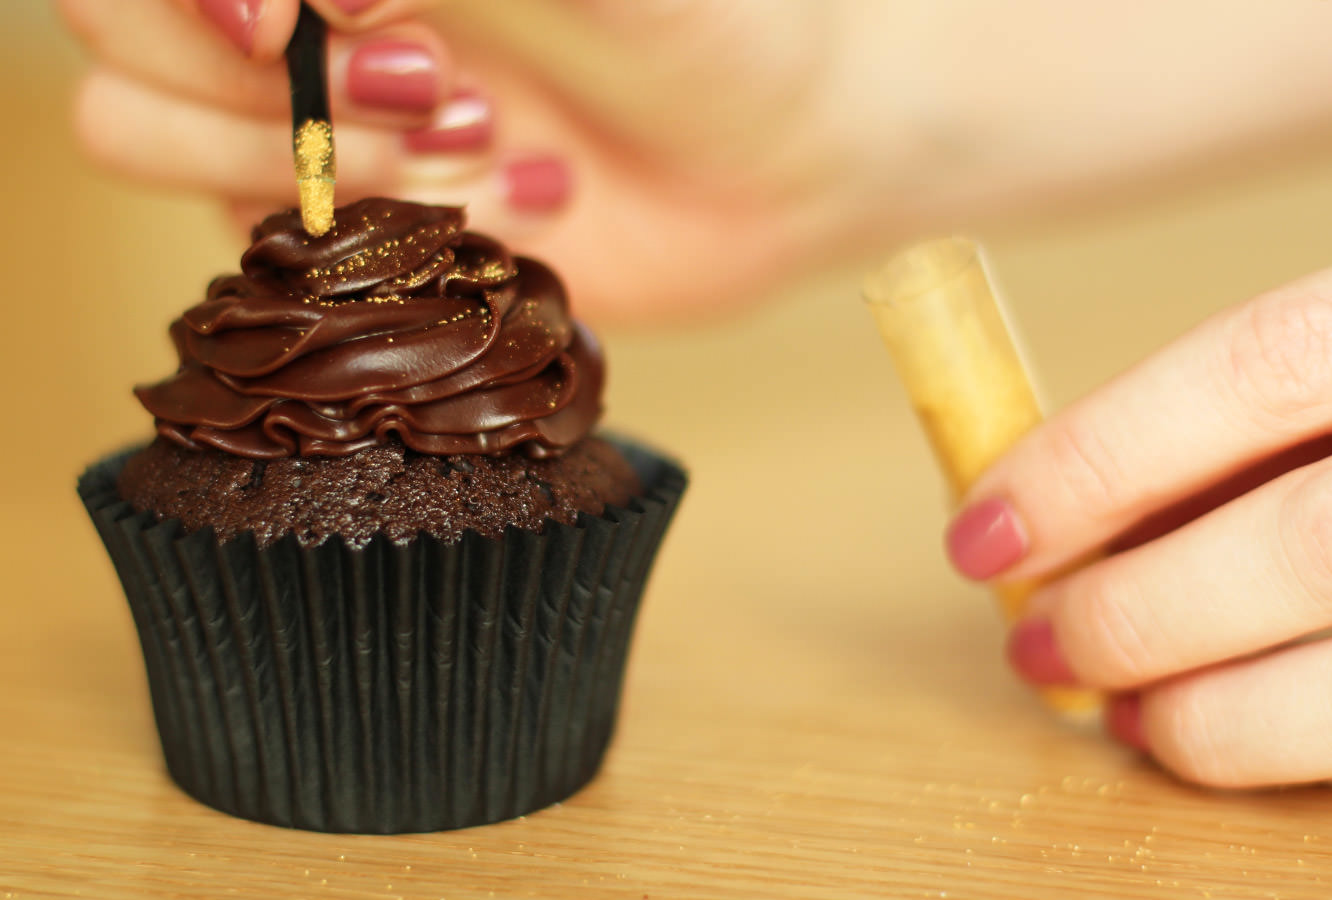
If you have it, paint on the gold powder. I’m a sucker for the details. You can get this kind of thing fairly cheaply at most UK supermarkets nowadays.

after-eight-cupcake-recipe-7

after-eight-cupcake-recipe-8

after-eight-cupcake-recipe-6

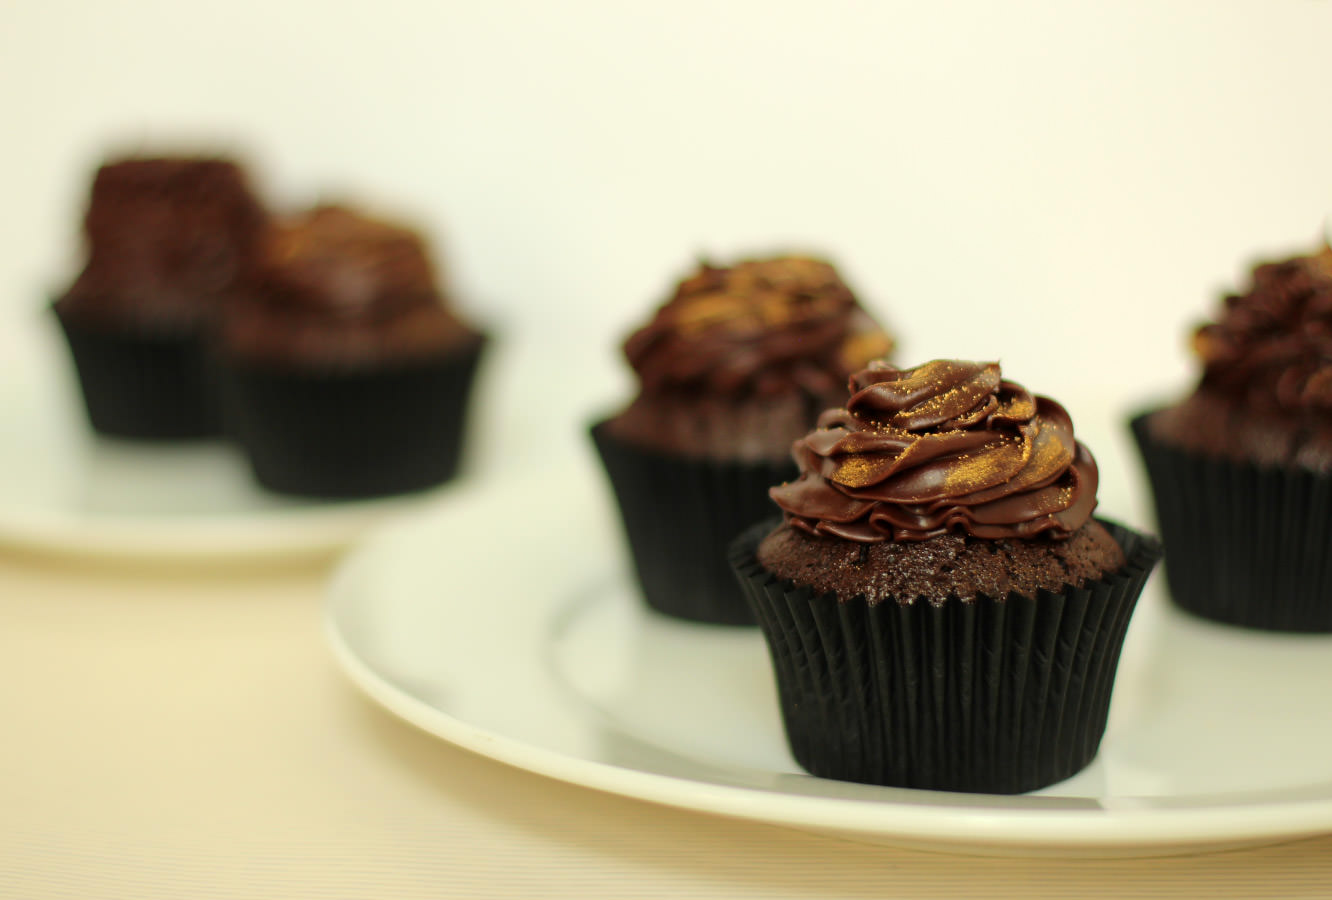
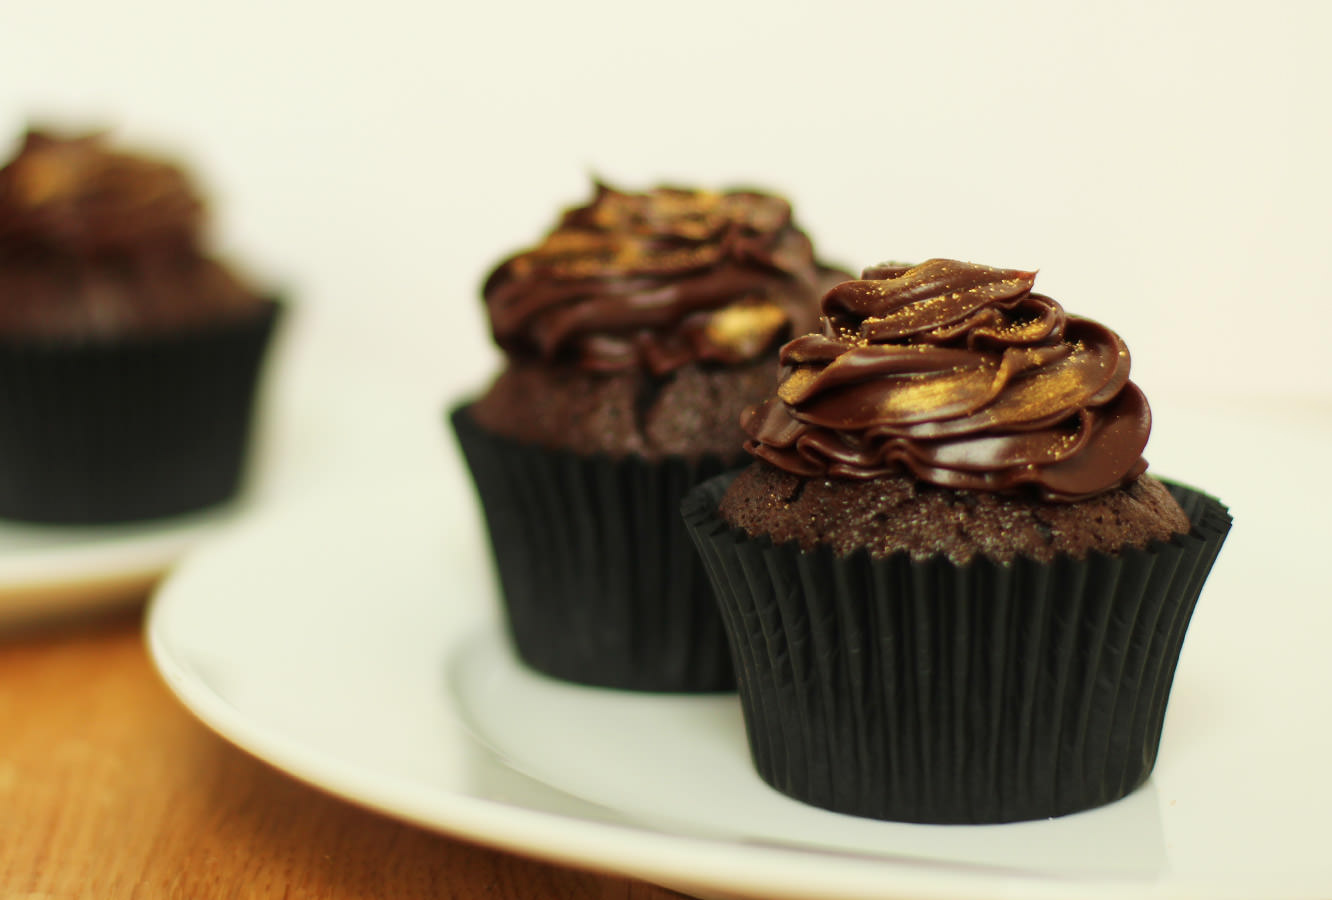
Eat them at any time in the day you like. I recommend breakfast personally, there’s an 8 in the morning too.

Soft on the inside

Hullo chums. Just a little heads up that this is my last post for a couple of weeks as I’m heading off on holiday and didn’t quite have the organisational skill to do enough to tide you over until I’m back. Something my new design guru seanwes would not be impressed with.

But anyway. This is a real good’un I’m leaving you with, there’s not much point making any of the rest of the afternoon tea series after you’ve done these. Your guests won’t look back. Partly because they will be bouncing around the room on a sugar high.

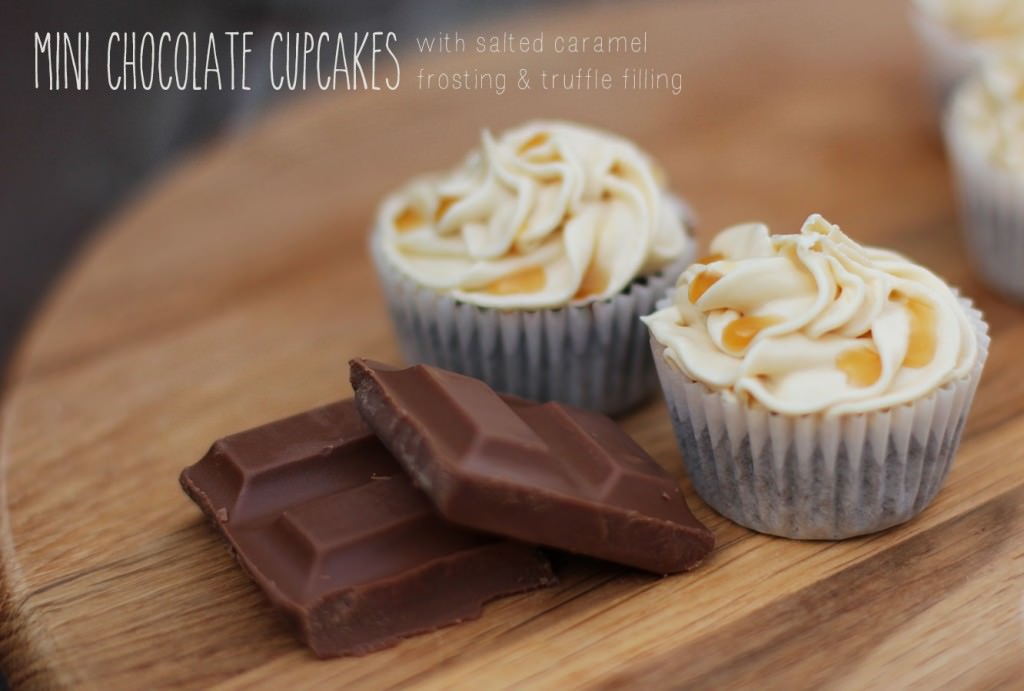
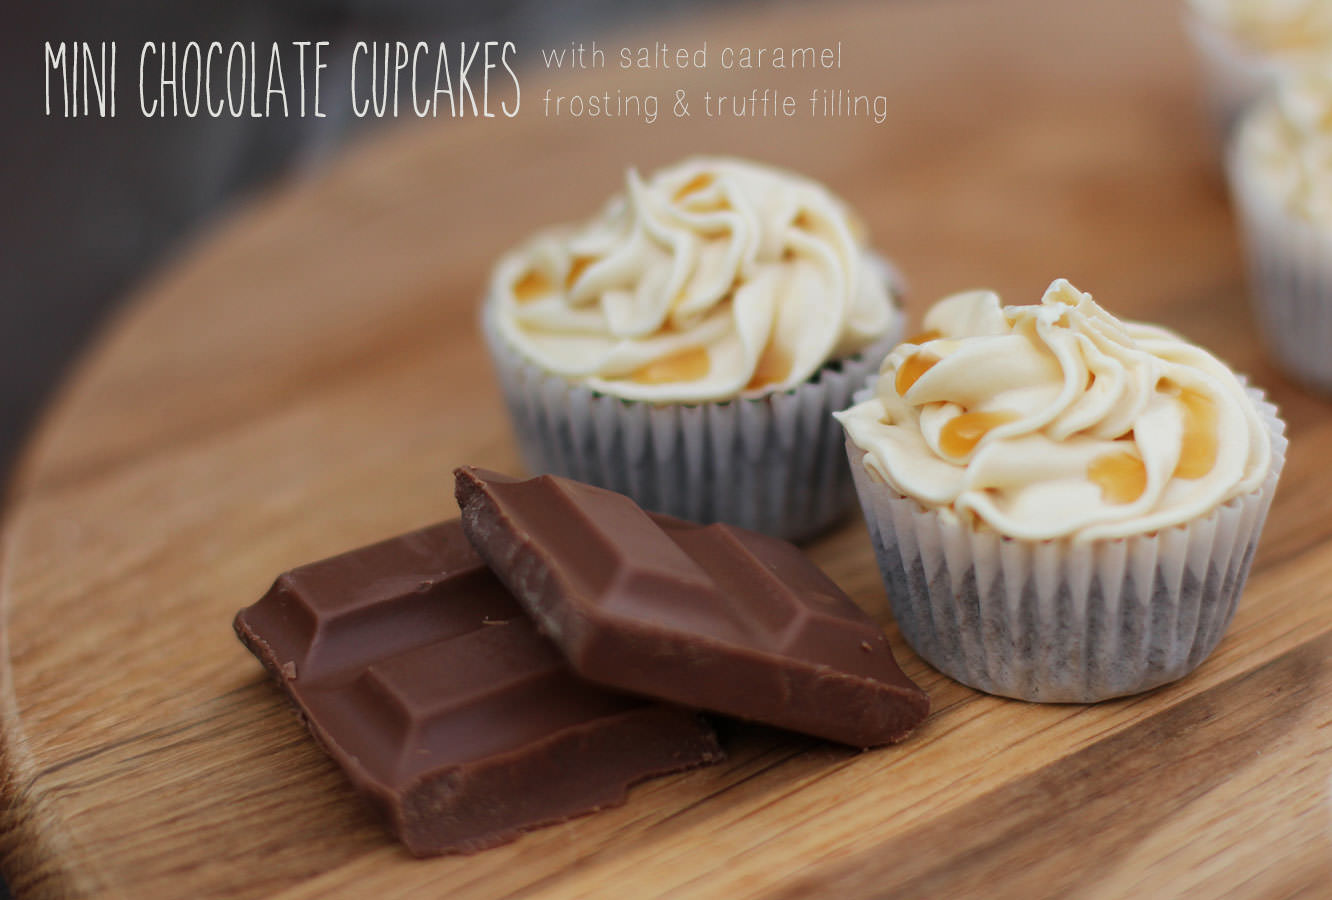
chocolate-salted-caramel-filled-mini-cupcakes-1

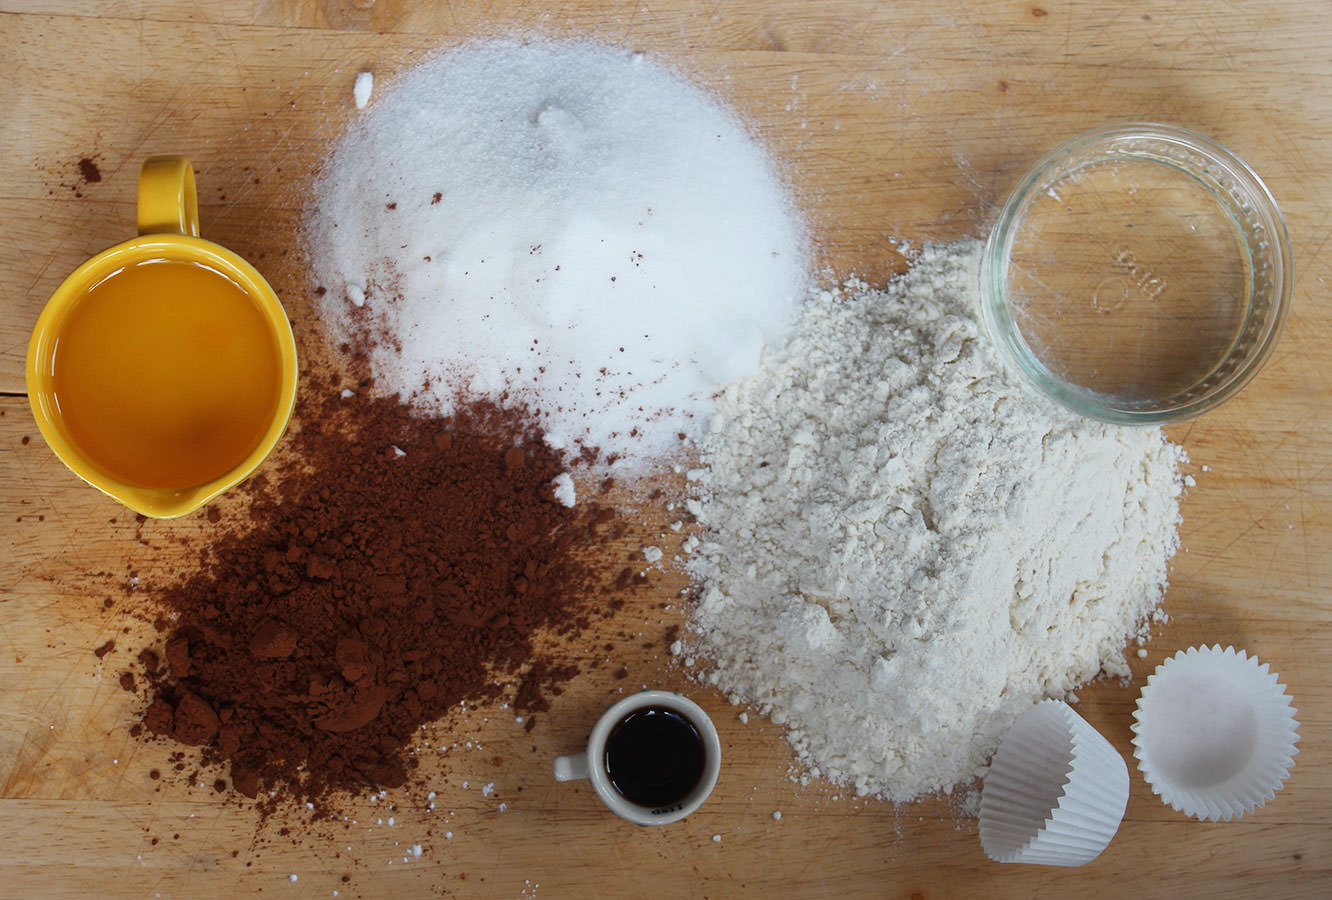
You will need

For the cakes:

200g/7 oz Plain flour

200g/7 oz Caster sugar

30g/1 oz Cocoa powder

250ml/8.5 fl oz Water

5 tbsp Vegetable oil

1 tsp Bicarbonate of soda

1 tsp Cider vinegar

1 tsp Vanilla extract


For the ganache filling:

100g/3.5 oz Dark chocolate

100g/3.5 oz Milk chocolate

200ml/6.5 fl oz Double cream


For the salted caramel frosting:

300g/10.5 oz Icing sugar

250g/9 oz Butter

80g/3 oz Soft brown sugar

100ml/3.5 fl oz Double cream

2 tbsp Golden syrup

2 tsp Salt

(Makes 48)

chocolate-salted-caramel-filled-mini-cupcakes-2

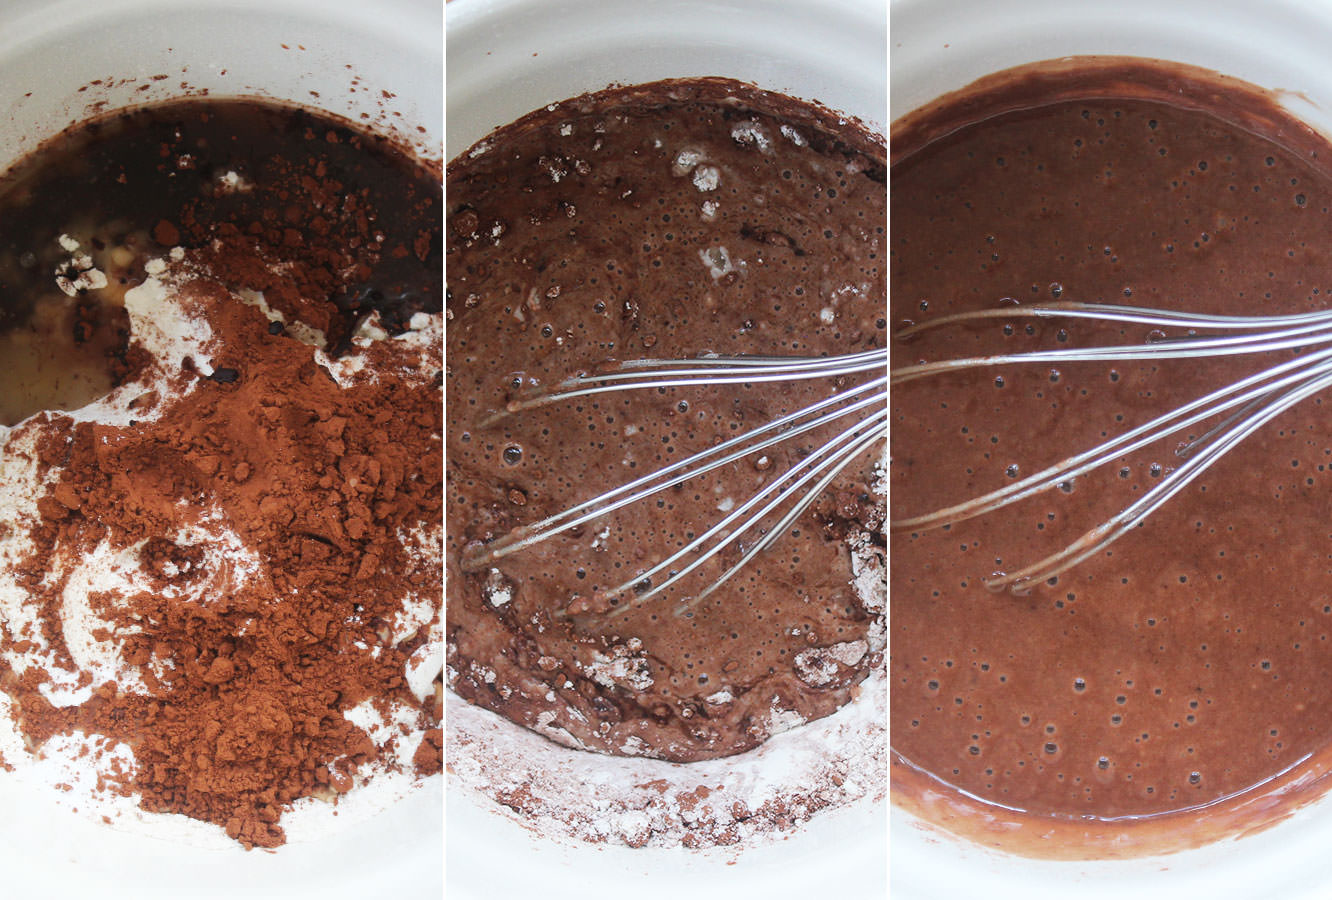
Step one

Combine all the cake ingredients into one bowl and whisk until there are no lumps. This makes quite a thin batter that you will find a bit disturbing if you are used to putting egg and butter in cakes.

This recipe is great for vegans (as long as you don’t add the icing or filling – use substitutes instead perhaps). It’s my favourite recipe for chocolate cupcakes now, I originally found it when baking for a lactose intolerant friend.

chocolate-salted-caramel-filled-mini-cupcakes-3

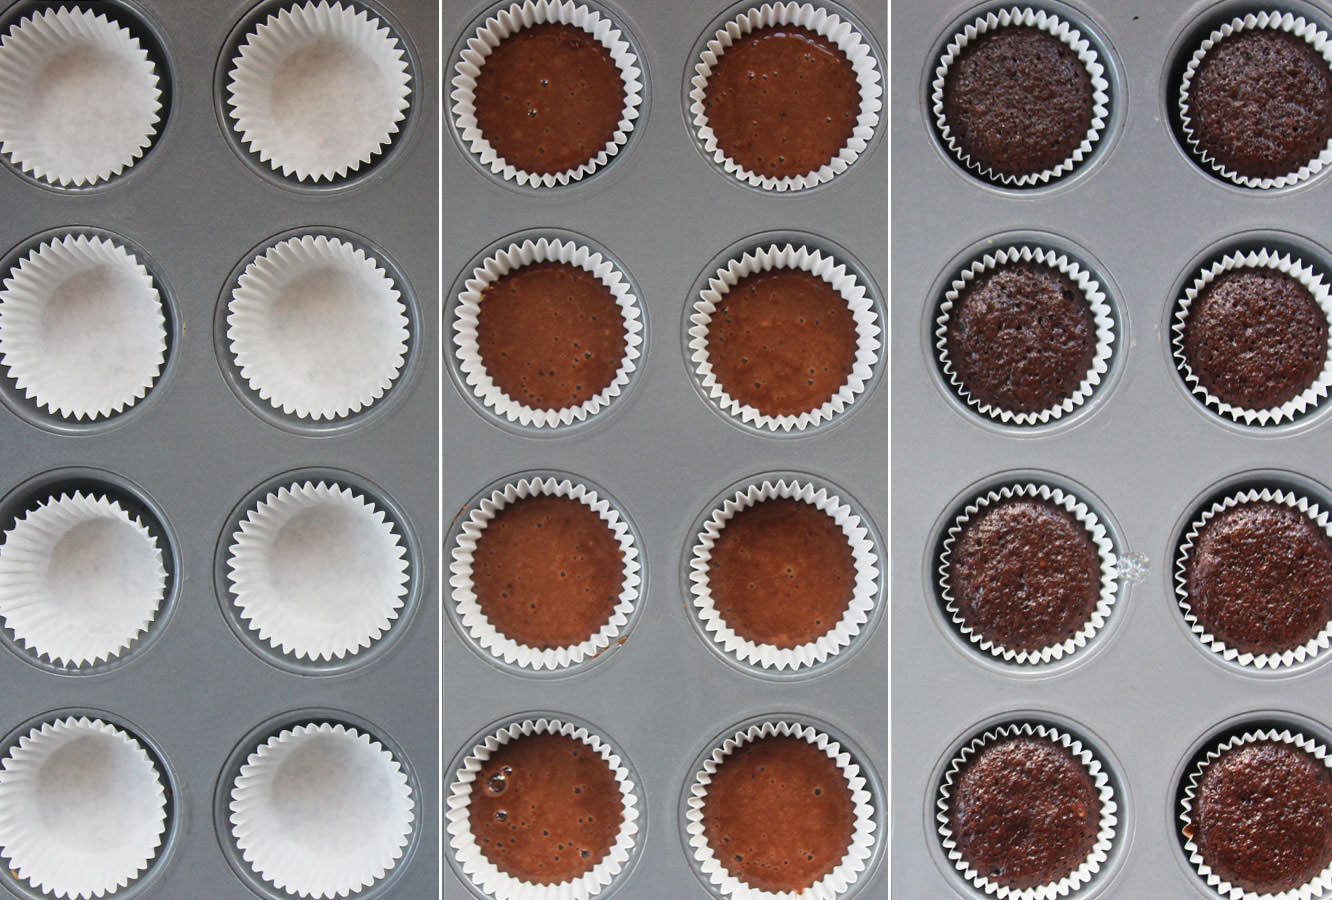
Step two

Spoon into mini cupcake/muffin cases. I filled mine about halfway and could have gone to two thirds. There’s not a huge amount of rise in this mixture, perfect for cupcakes because they are nice and flat for icing onto.

Step three

Bake in the oven at gas mark 4/180C/350F for around 40 minutes or until springy to the touch.

chocolate-salted-caramel-filled-mini-cupcakes-4

Step three

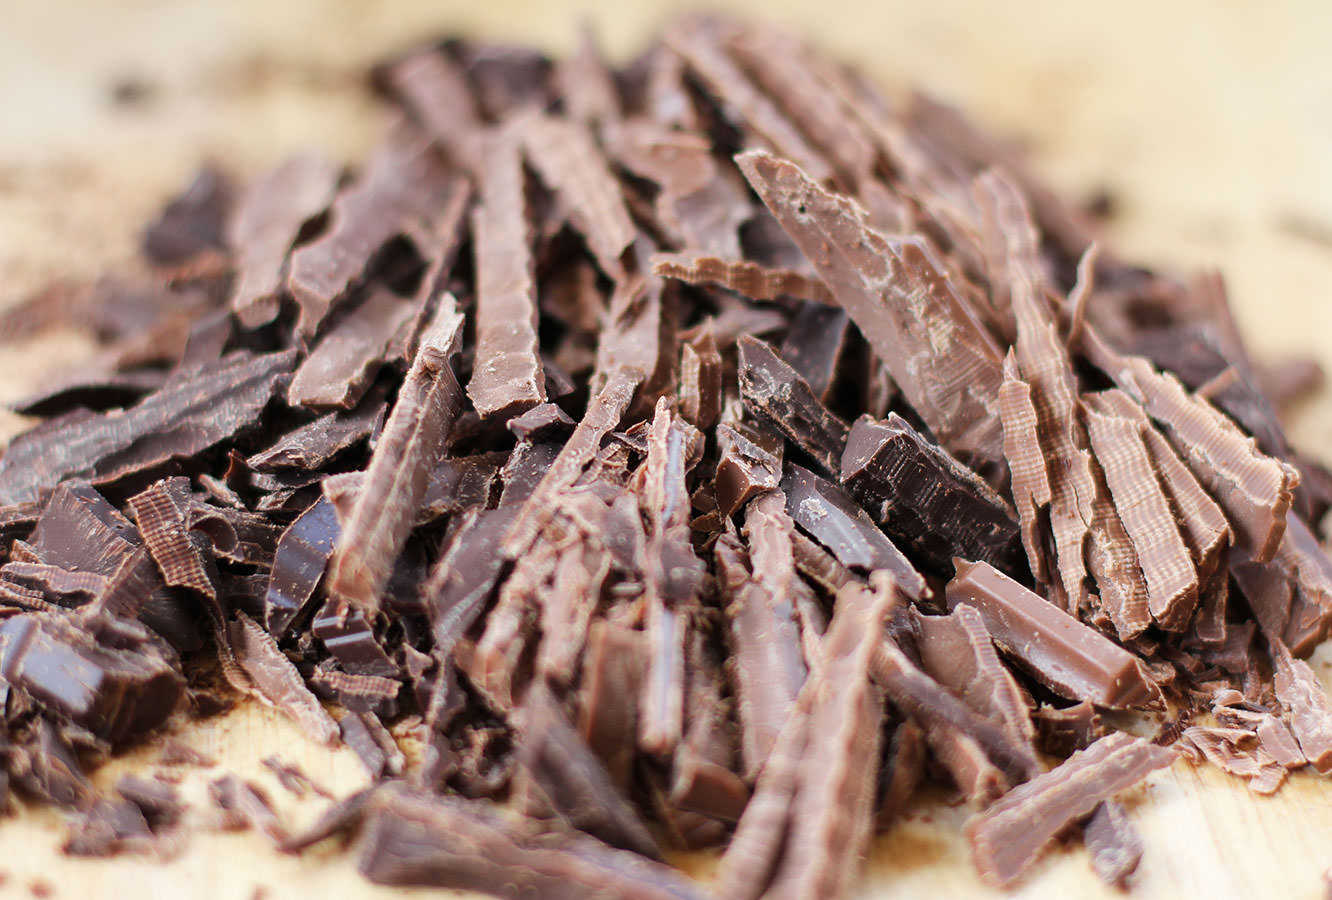
Whilst the cakes are in the oven, make the ganache. Chop the chocolate finely; I always use a bread knife for this and recommend you do too, you’ll never go back.

Place chocolate pieces in a small mixing bowl.

chocolate-salted-caramel-filled-mini-cupcakes-5

Step five

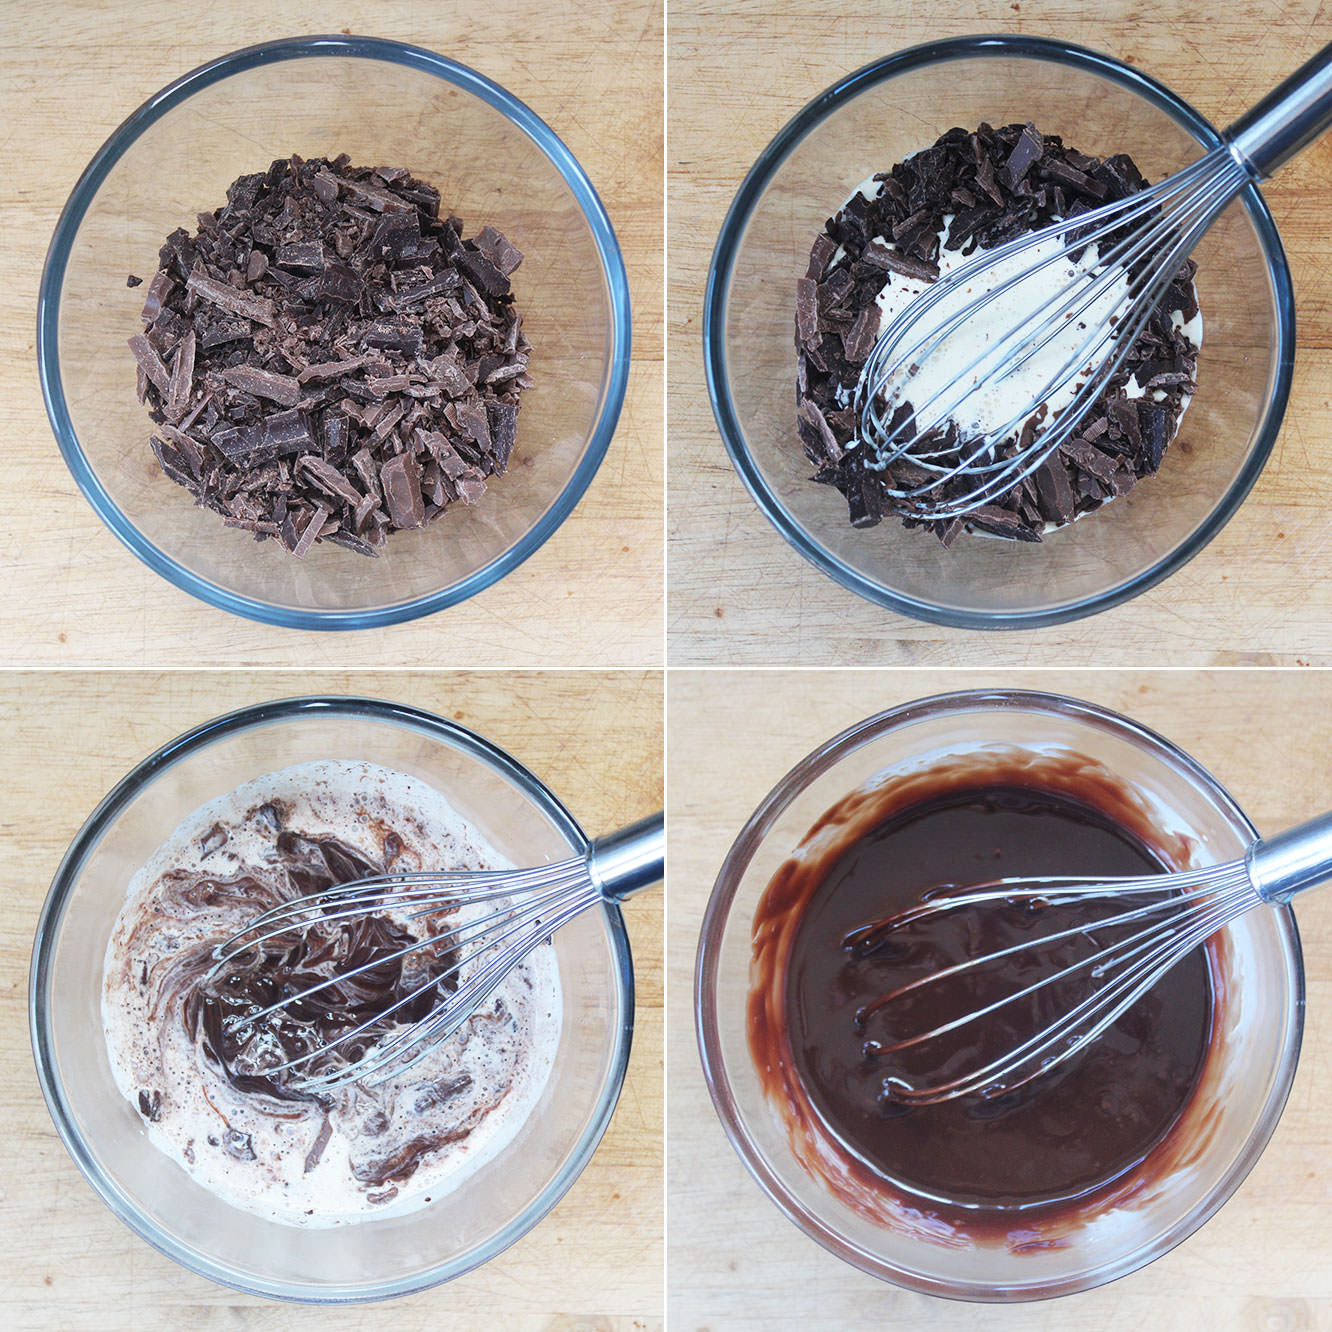
Gently heat 200ml double cream in a small saucepan. Let it get to the point where there is steam sort of dancing across the top and it’s beginning to simmer/bubble at the edges. You don’t need to wait longer than this, it doesn’t need to be piping hot – as Mary Berry always says in her wonderfully whimsical way – chocolate can melt in a child’s pocket.

Pour the cream over the chocolate and whisk until smooth. Set to one side.

chocolate-salted-caramel-filled-mini-cupcakes-6

Step six

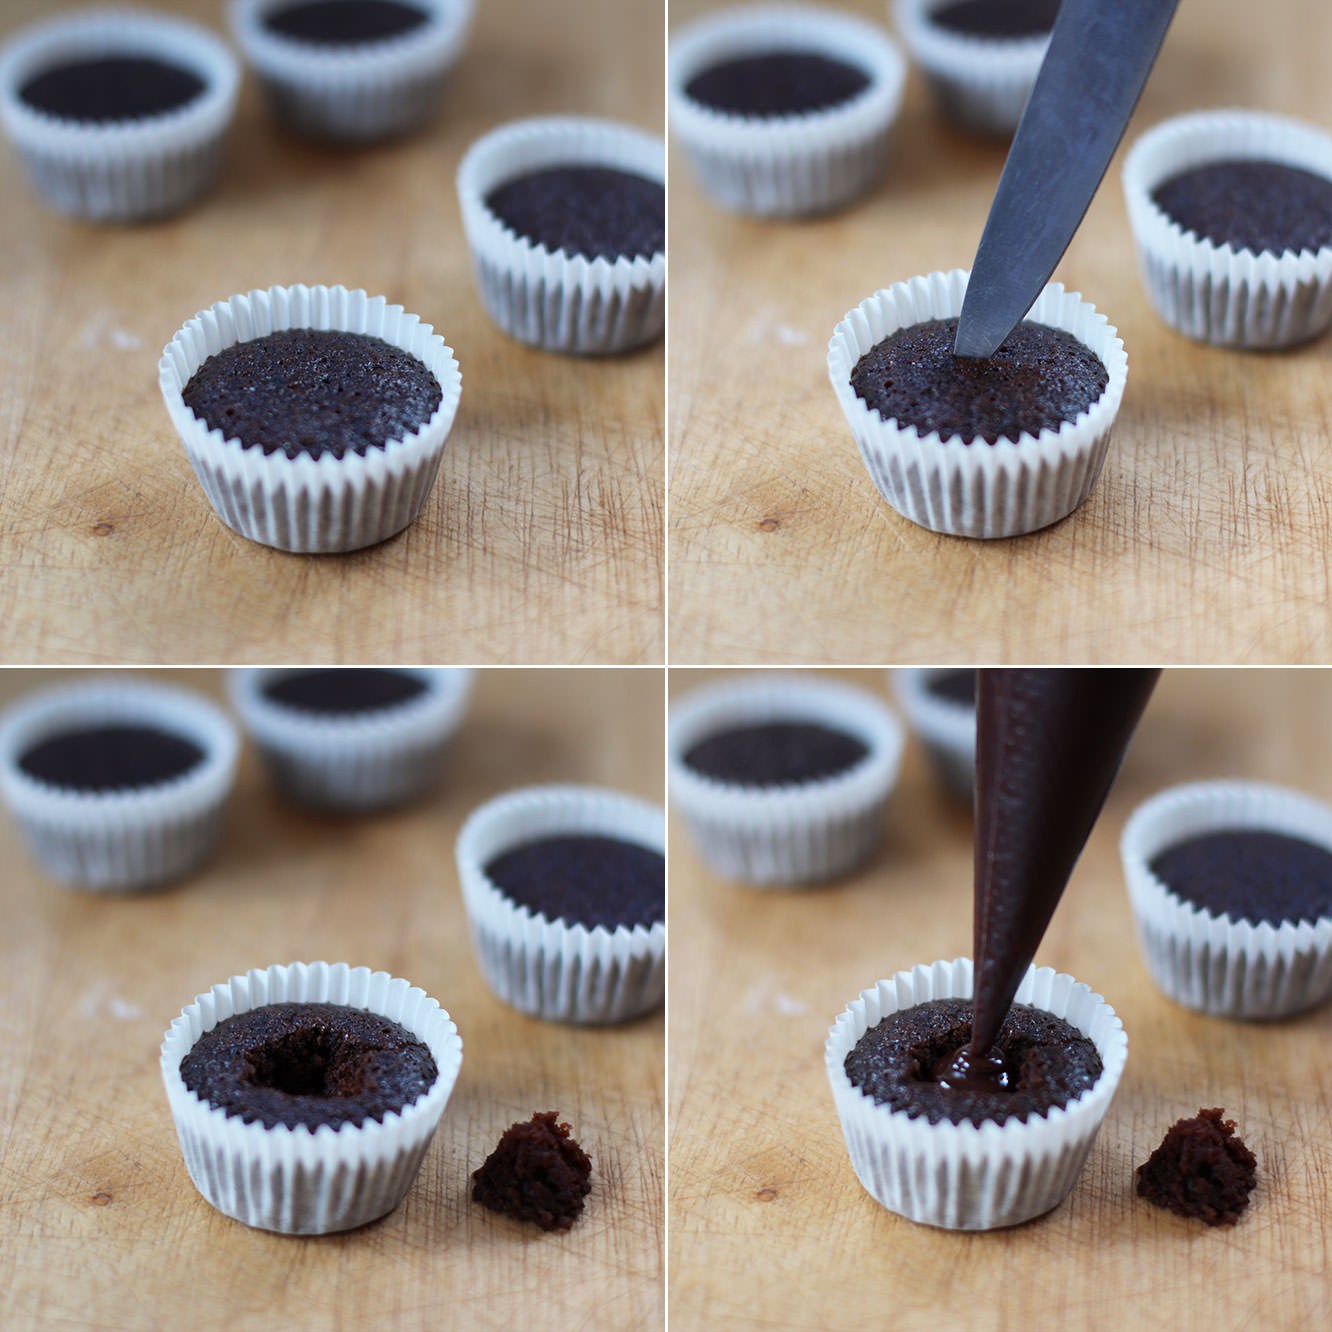
Once the cakes have completely cooled use a small vegetable knife to cut a hole in the centre. Yes you can eat the bit that pops out.

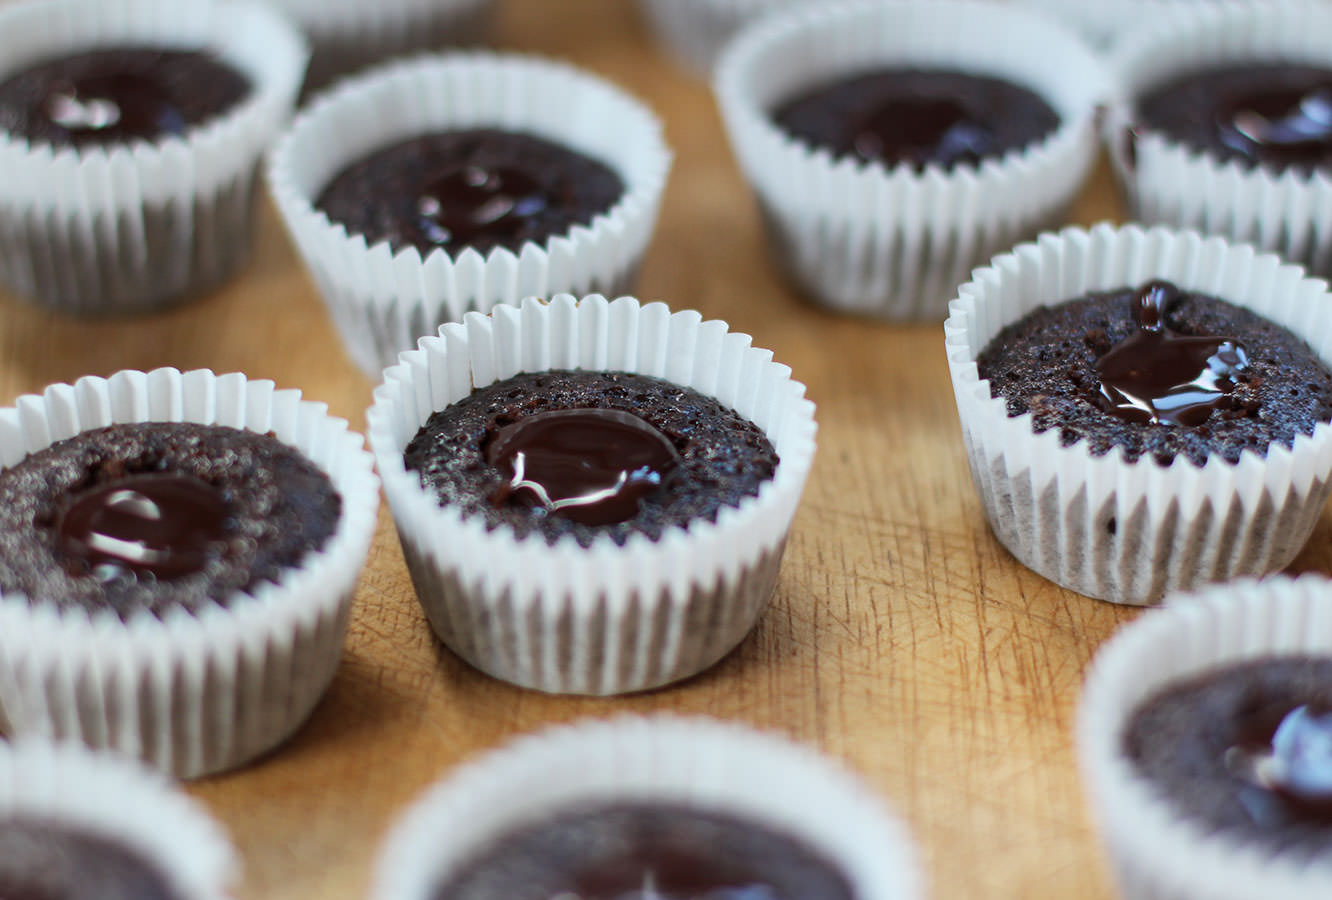
I found it was easiest to put the ganache into a piping bag as the cakes are quite small. Fill the gap entirely until the ganache is level with the top of the cake.

chocolate-salted-caramel-filled-mini-cupcakes-7

Step seven

Just keep filling, filling, filling, what do we do? We fill.

Leave them to set.

chocolate-salted-caramel-filled-mini-cupcakes-8

Step eight

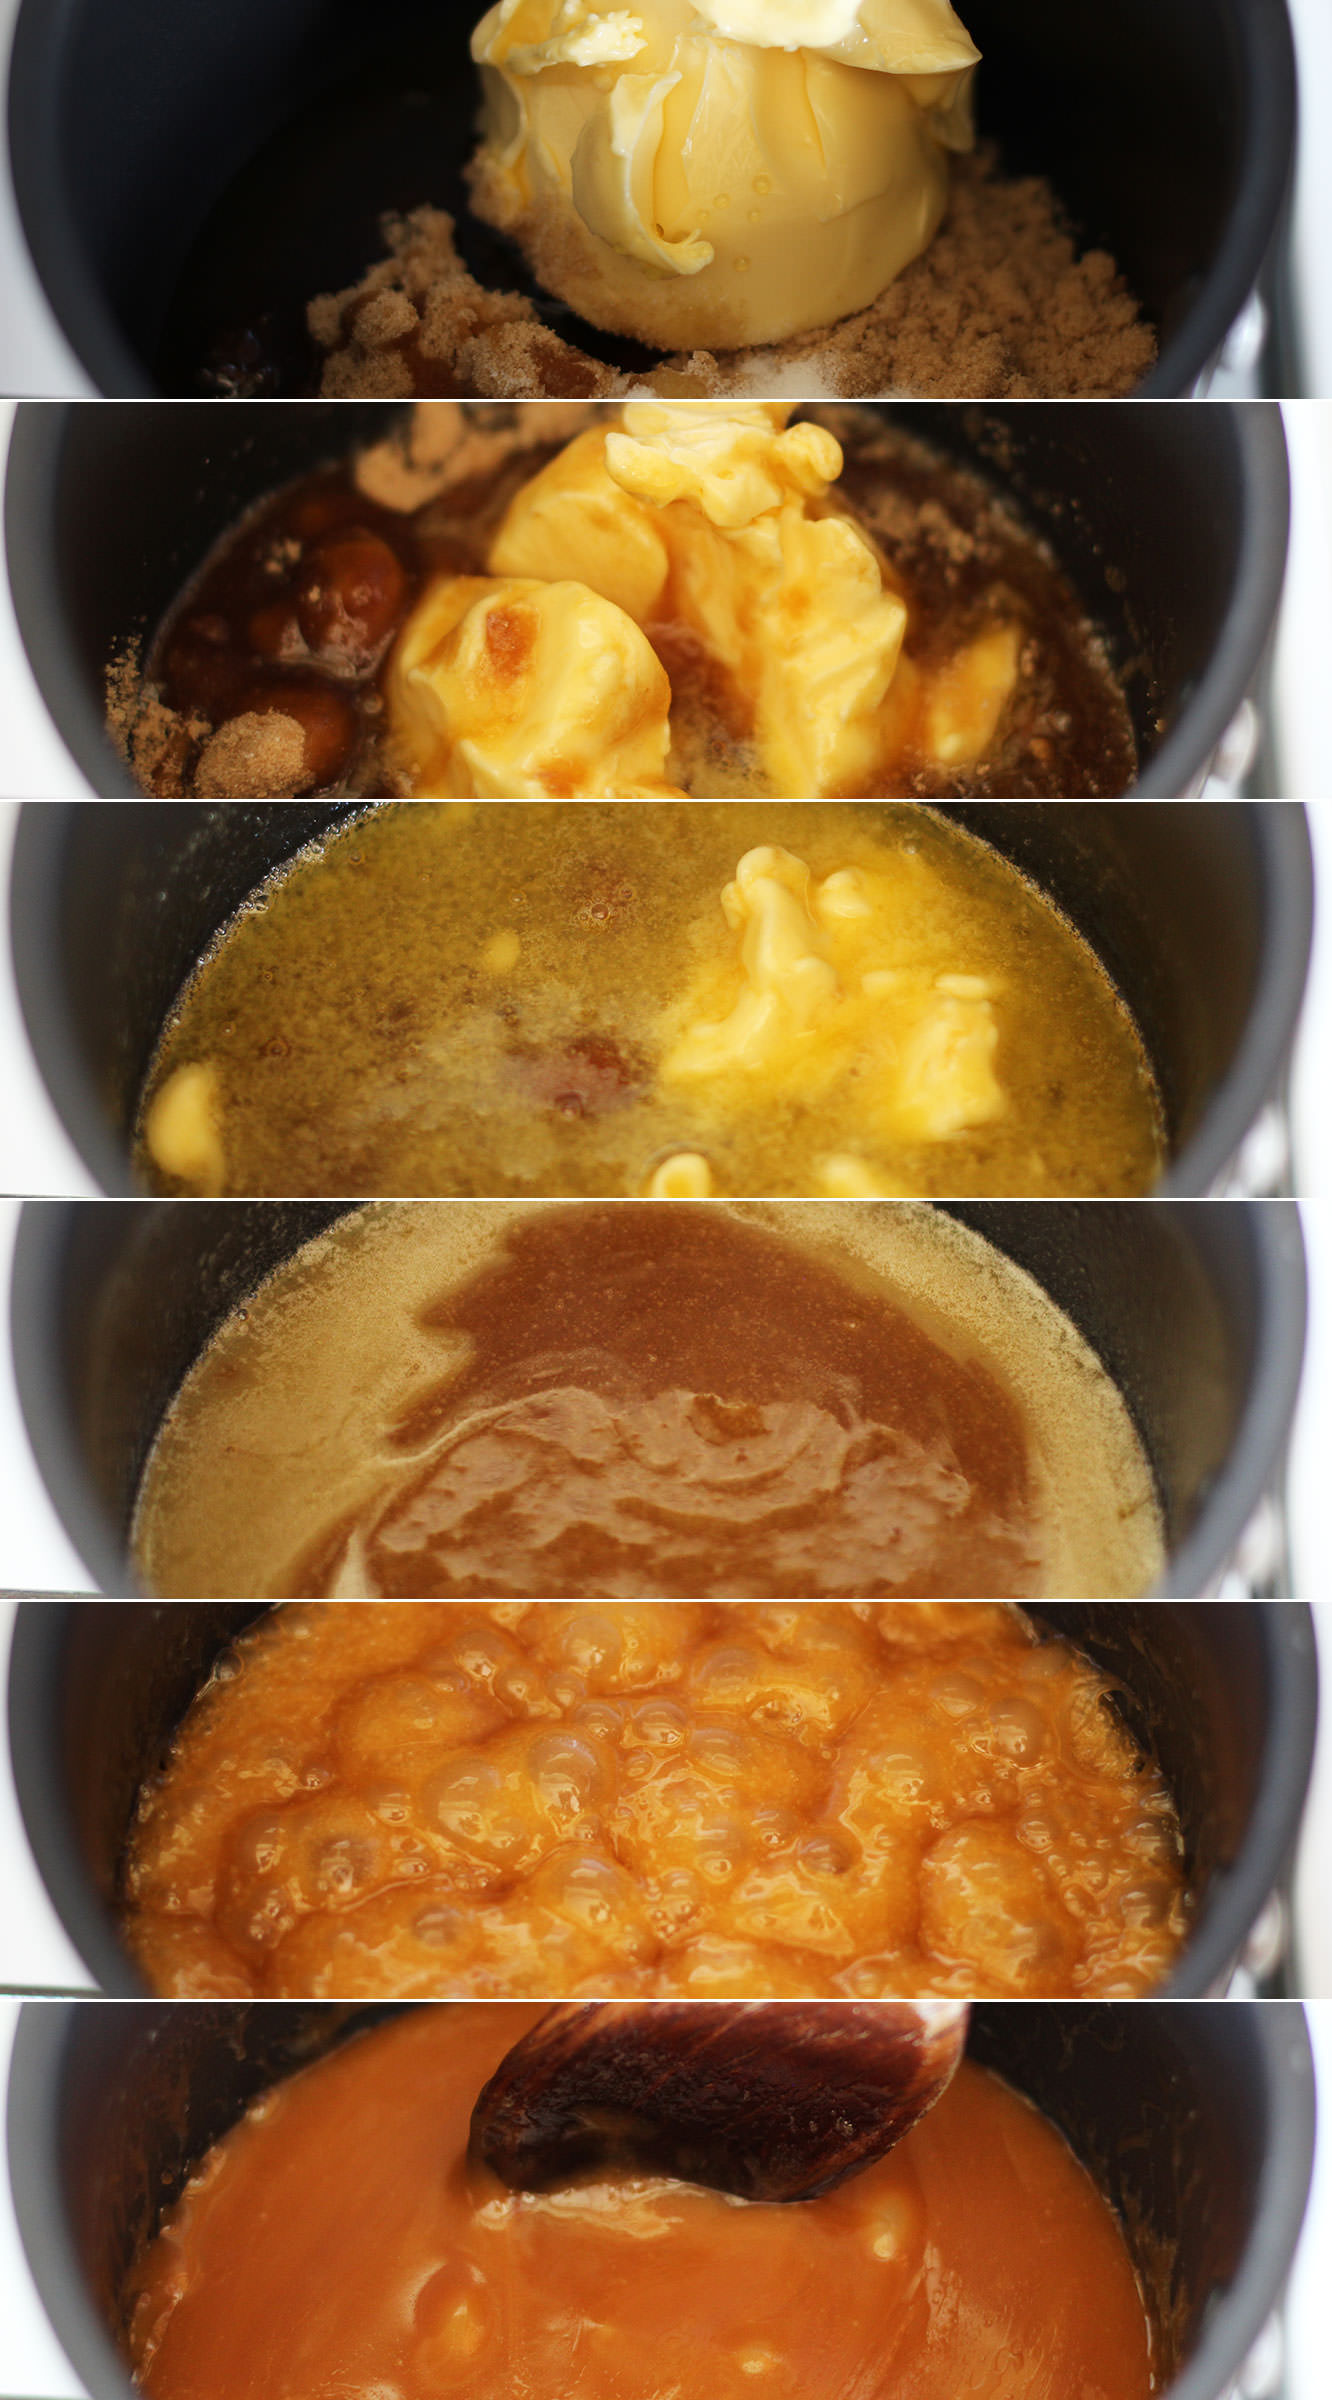
Melt together 100g of the butter, the brown sugar, golden syrup and salt. Do this slowly and then bring the heat up to a simmer.

Simmer for 10 minutes. Stir regularly so that it doesn’t catch and burn. Leave to cool down for about half an hour or so.

chocolate-salted-caramel-filled-mini-cupcakes-9

Step nine

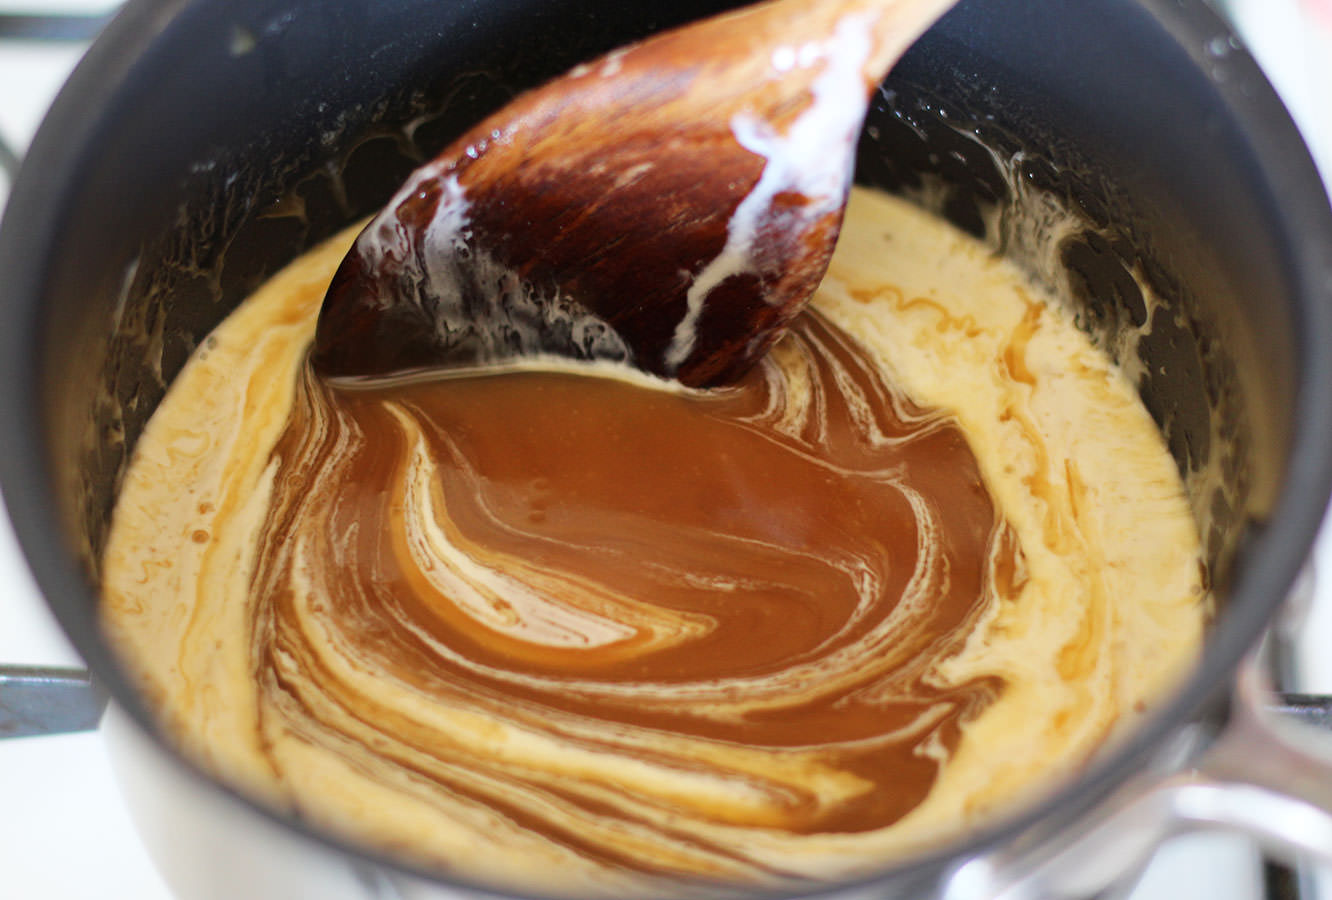
Once the caramel has cooled down a bit, stir in the 100ml of cream. This will bizarrely make the caramel darker. Maybe a scientist can tell me why? Answers on a postcard please.

It will also get much runnier, I understand that bit.

Allow to cool to room temperature.

chocolate-salted-caramel-filled-mini-cupcakes-10

Step ten

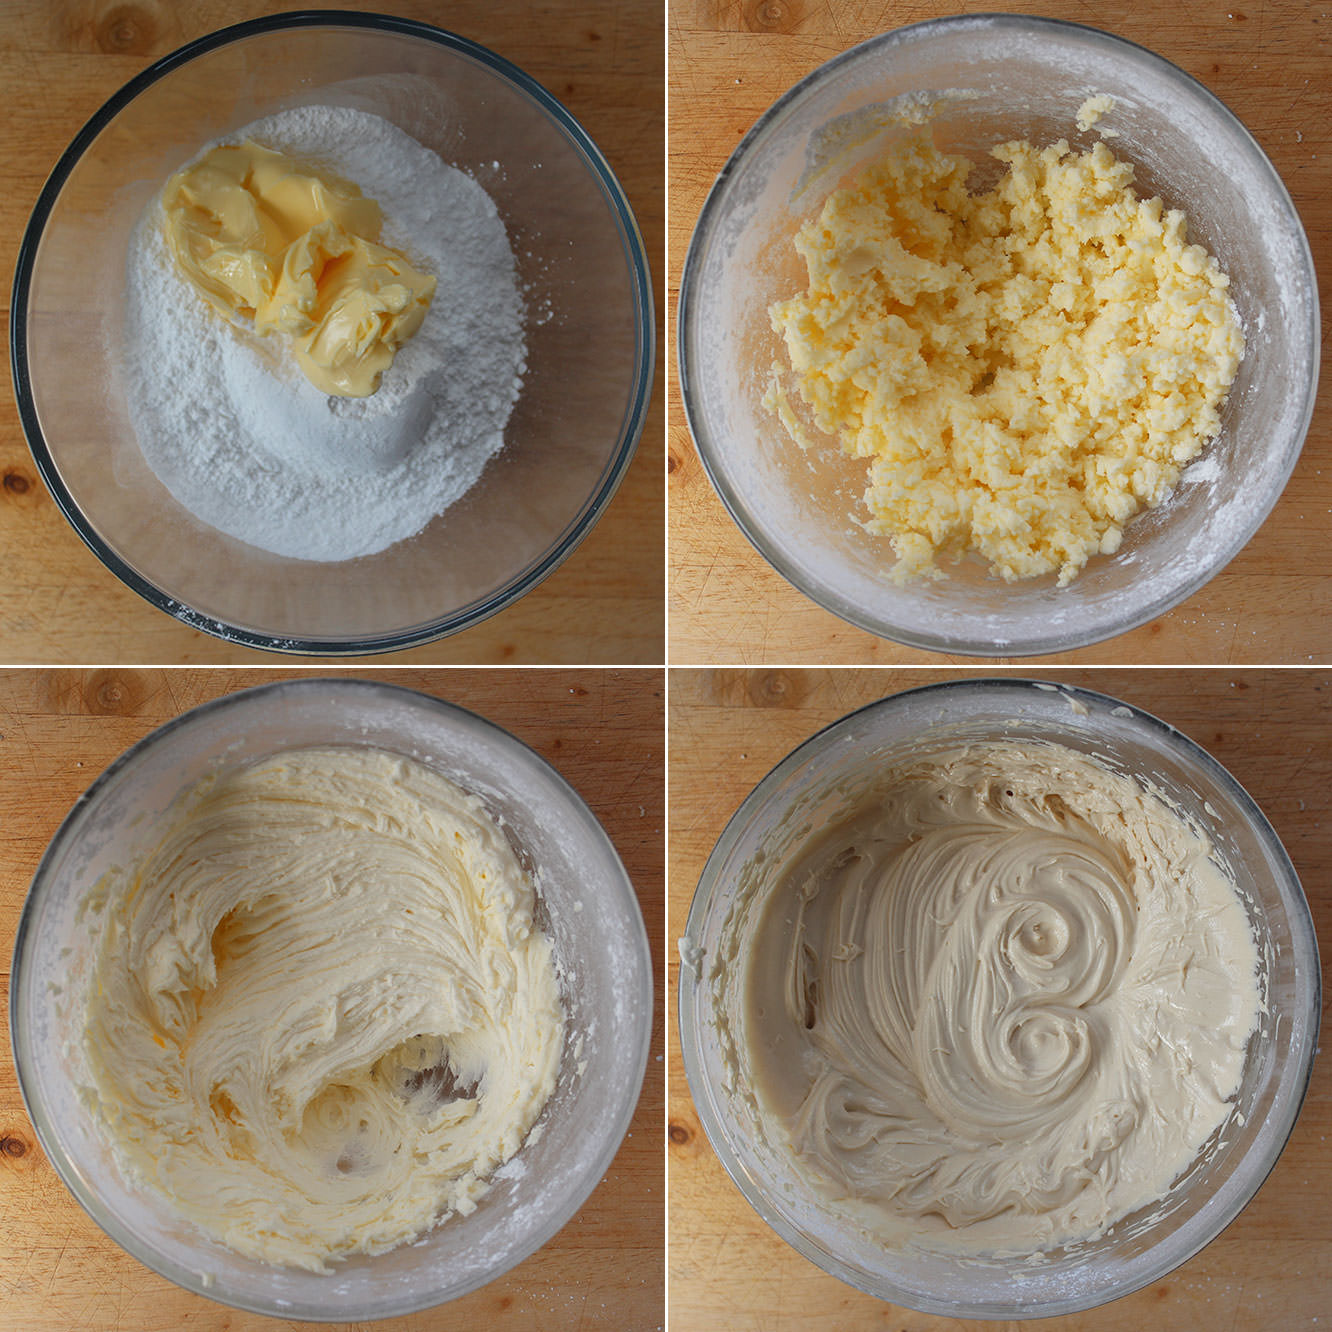
With an electric whisk beat together the rest of the butter and the icing sugar. Cover with a tea towel to begin with so you don’t choke on the clouds of icing sugar…

Once the mixture is well combined gradually mix in the caramel you made earlier. Set a bit of this aside (about 50-100ml or so) to decorate later on.

chocolate-salted-caramel-filled-mini-cupcakes-11

Step eleven

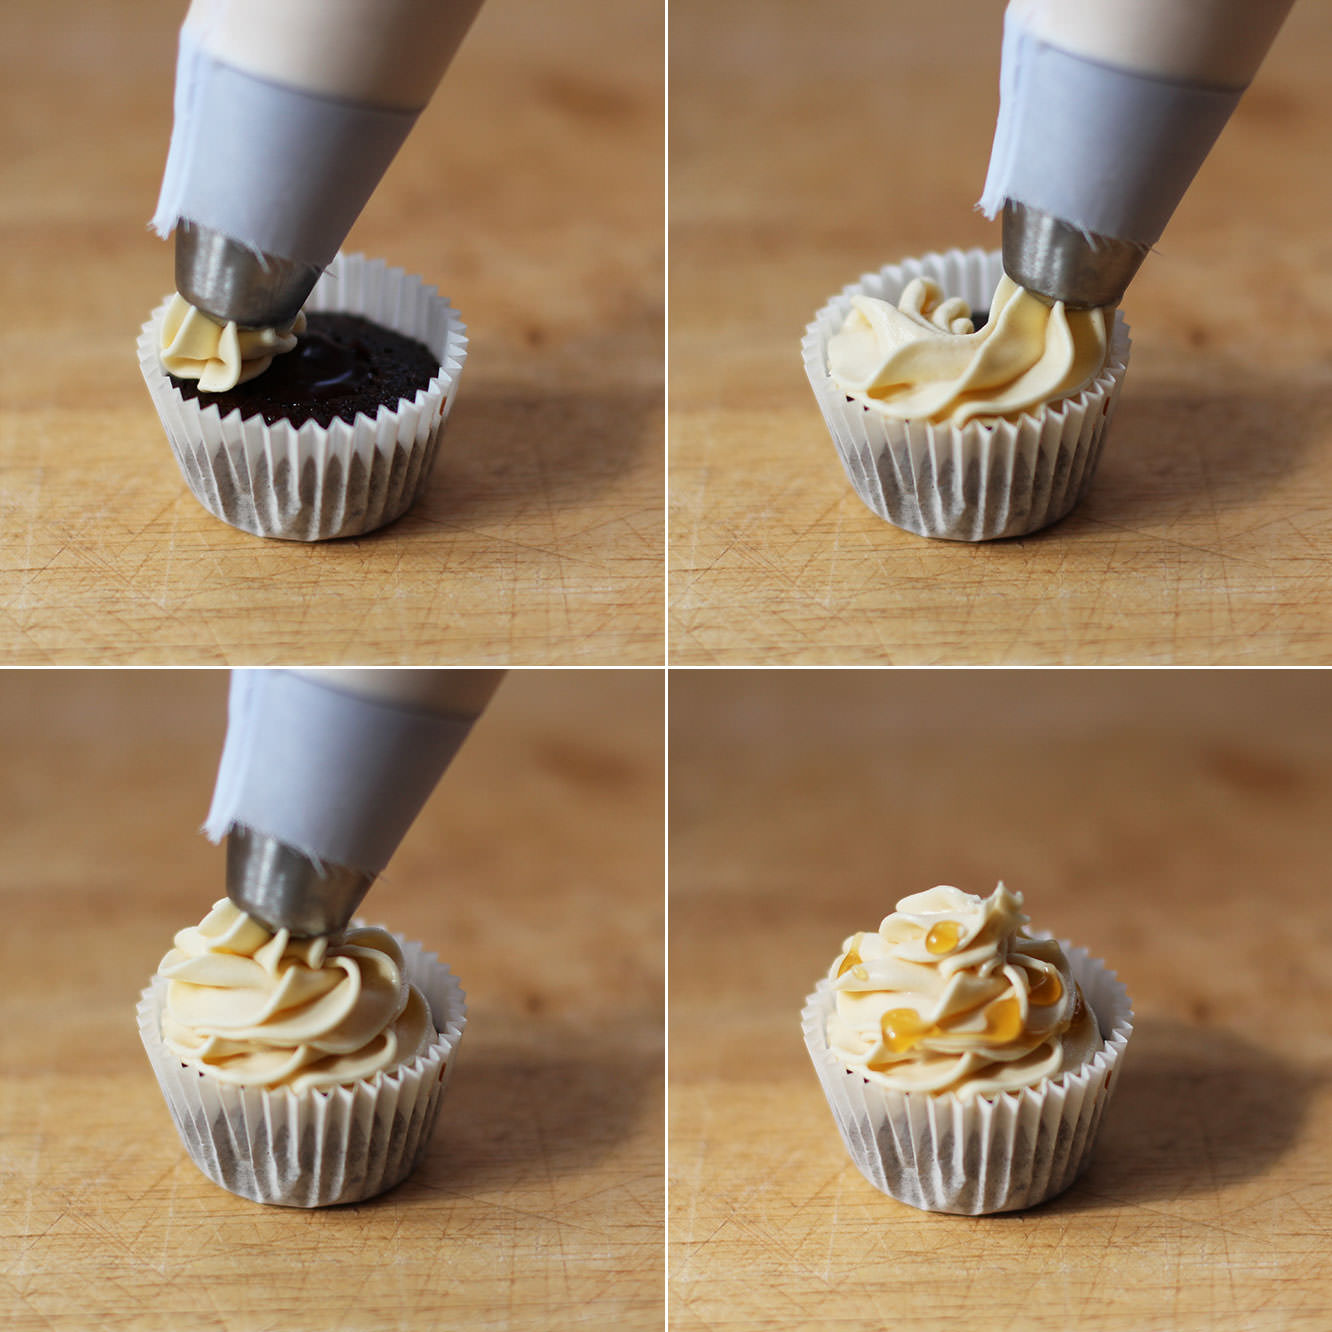
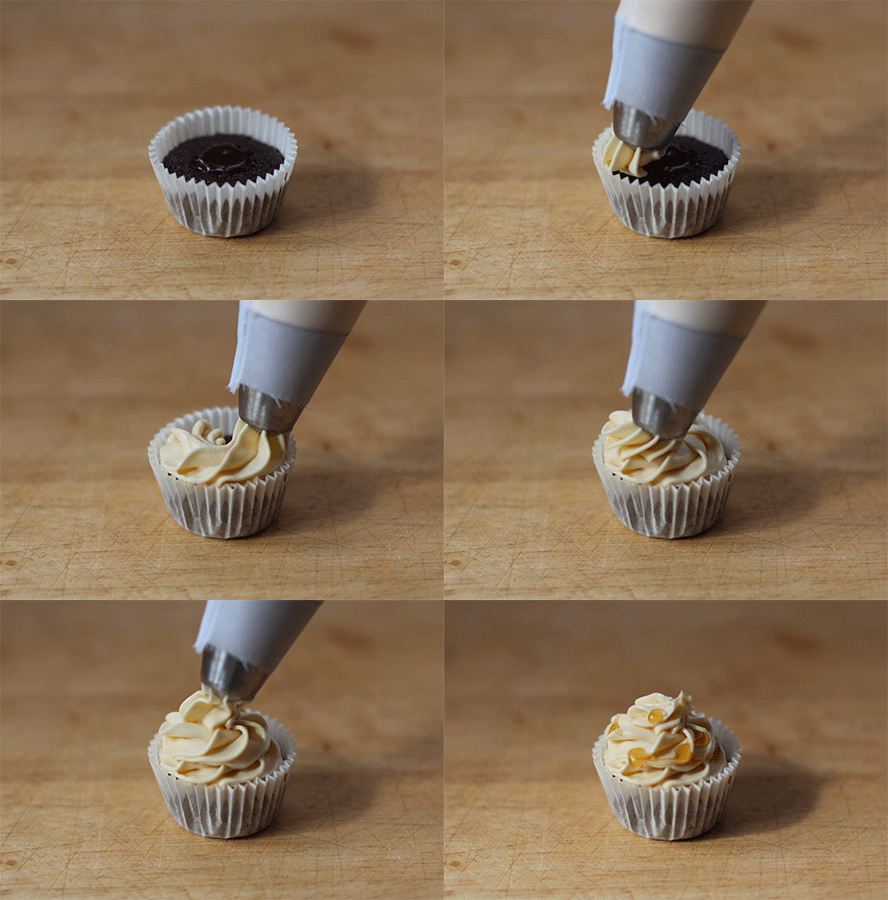
Pop the frosting into a piping bag and top off your little cakes with a drizzle of caramel once iced. I used a different nozzle than I usually do just because. Forgive me that some of them look a little wonky.

What’s that? I made another GIF?

chocolate-salted-caramel-filled-mini-cupcakes


chocolate-salted-caramel-filled-mini-cupcakes-12

Step twelve

Sink into sugar coma.