Now then, let me tell you about an ongoing battle between two of my favourite people. Beth is a responsible and considered little person who takes a great deal of care over her things. As a result, everything she owns looks brand new and nothing ever gets broken. Amy, whilst she’s not exactly going round throwing her stuff at walls, is the type to put her fingers on your computer screen and is totally incapable of keeping a case on her iPhone. It won’t surprise you to learn this drives Beth to distraction.
A few months ago, Amy, to our disbelief, actually bought a case for her phone. However, when it came to unpacking it unfortunately she found it didn’t fit. Unsurprisingly, it has not been replaced, but I felt quite sorry for her; she’d finally done what she was told and was not rewarded for her efforts.
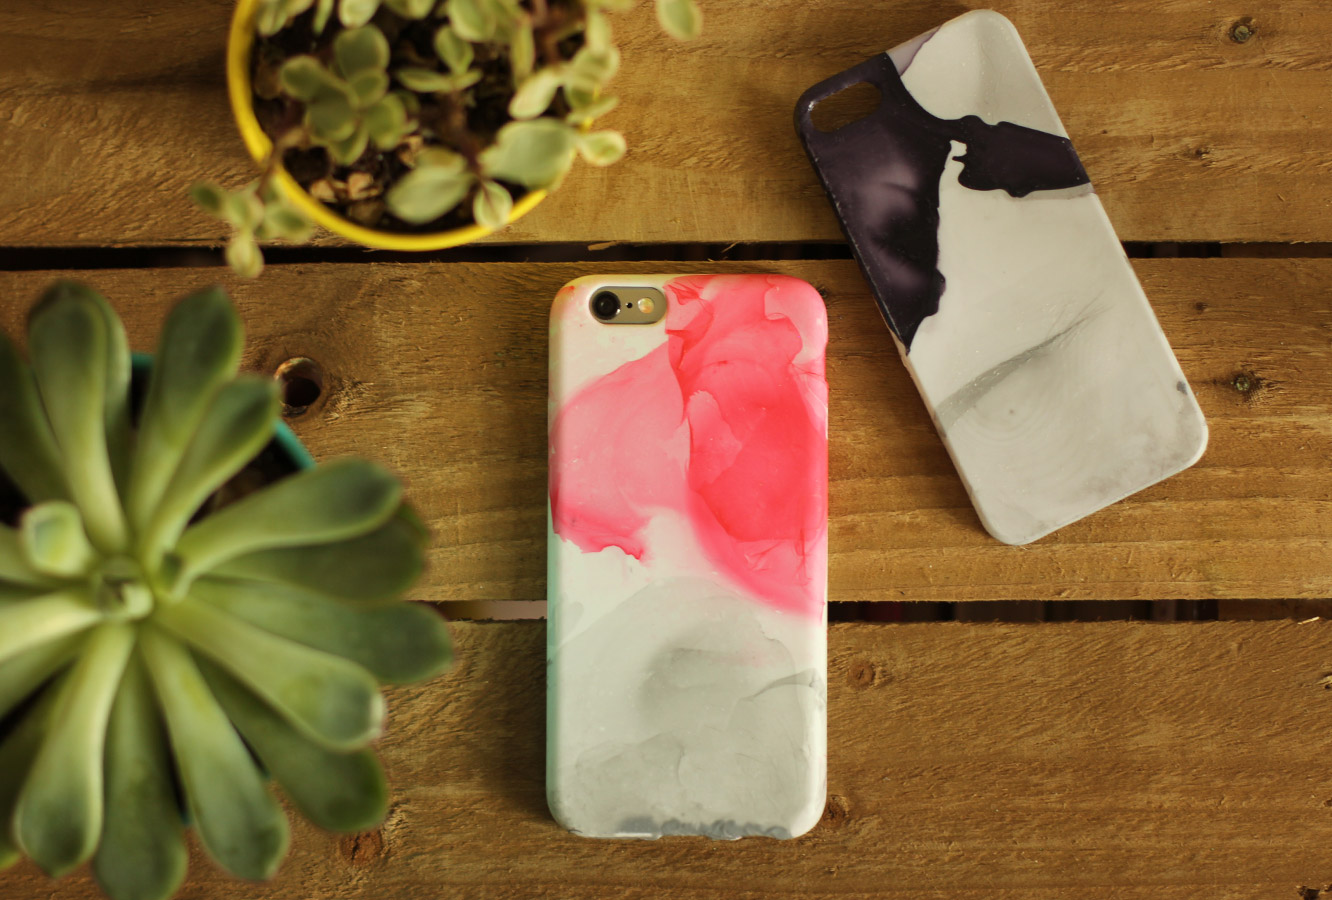
Meanwhile I was being berated by another friend (David) for choosing a practical, but admittedly rather ugly case for my own phone. I had also been admiring the various uses of the nail varnish marbling effect on Pinterest. All this to tell you that today I made myself and Amy phone cases.
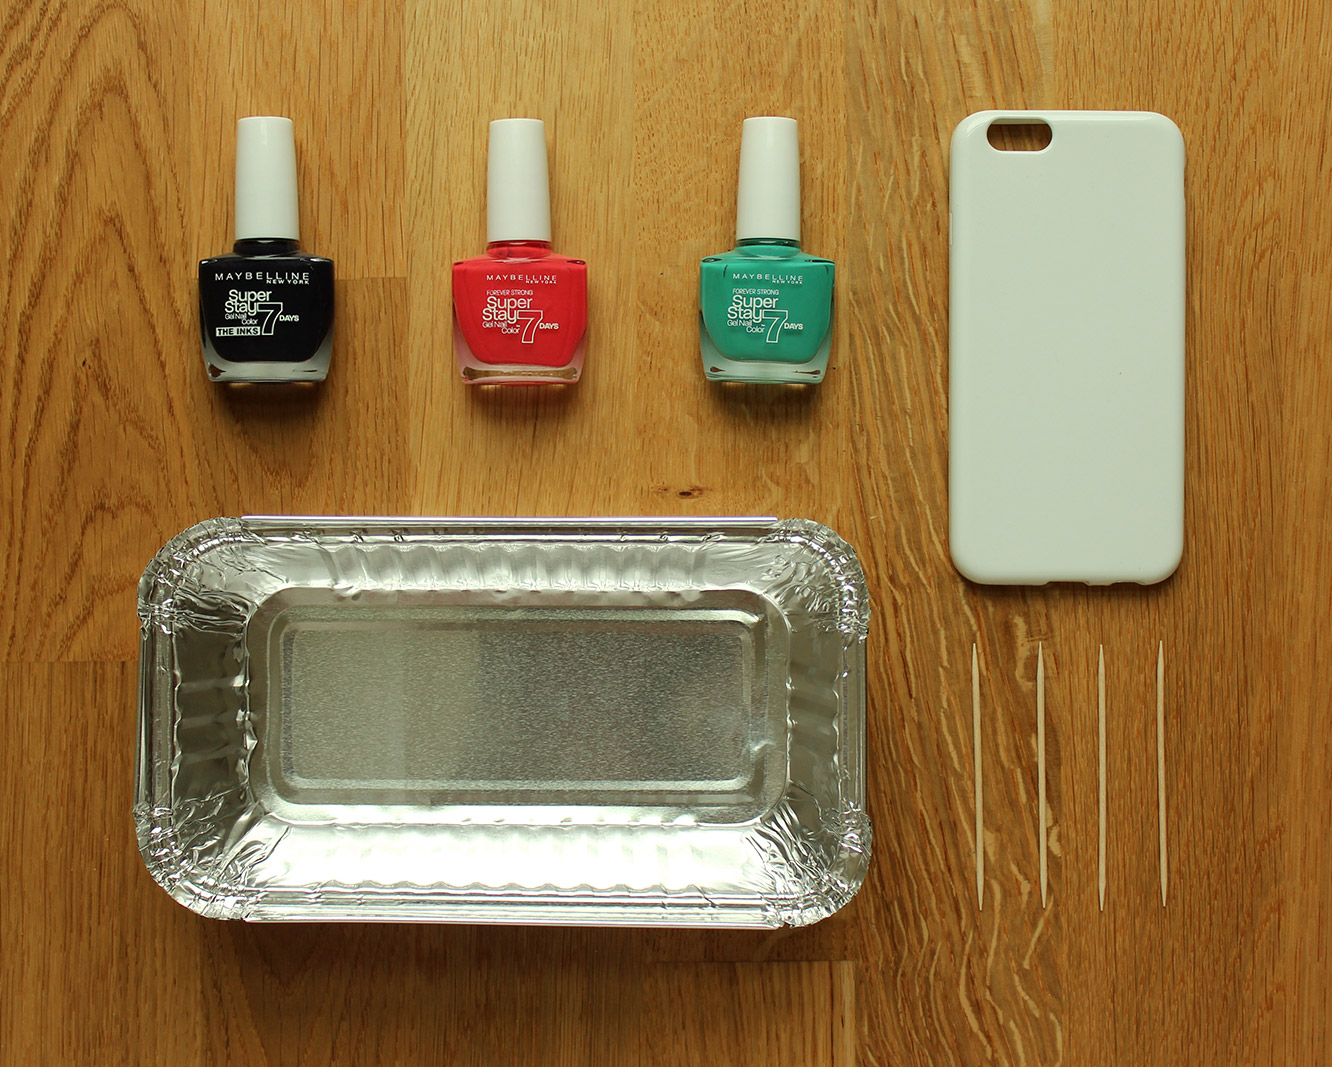
You will need
A white phone case to fit your phone (easily found on the internet for less than £5)
A tray or tub that’s disposable
Nail varnish (try to avoid quick drying brands – I only had quick drying ones so it is possible without but you have less control over the look as it sets quicker)
Cocktail sticks
Warm water
Acetone (only if you have serious perfectionism problems like me)
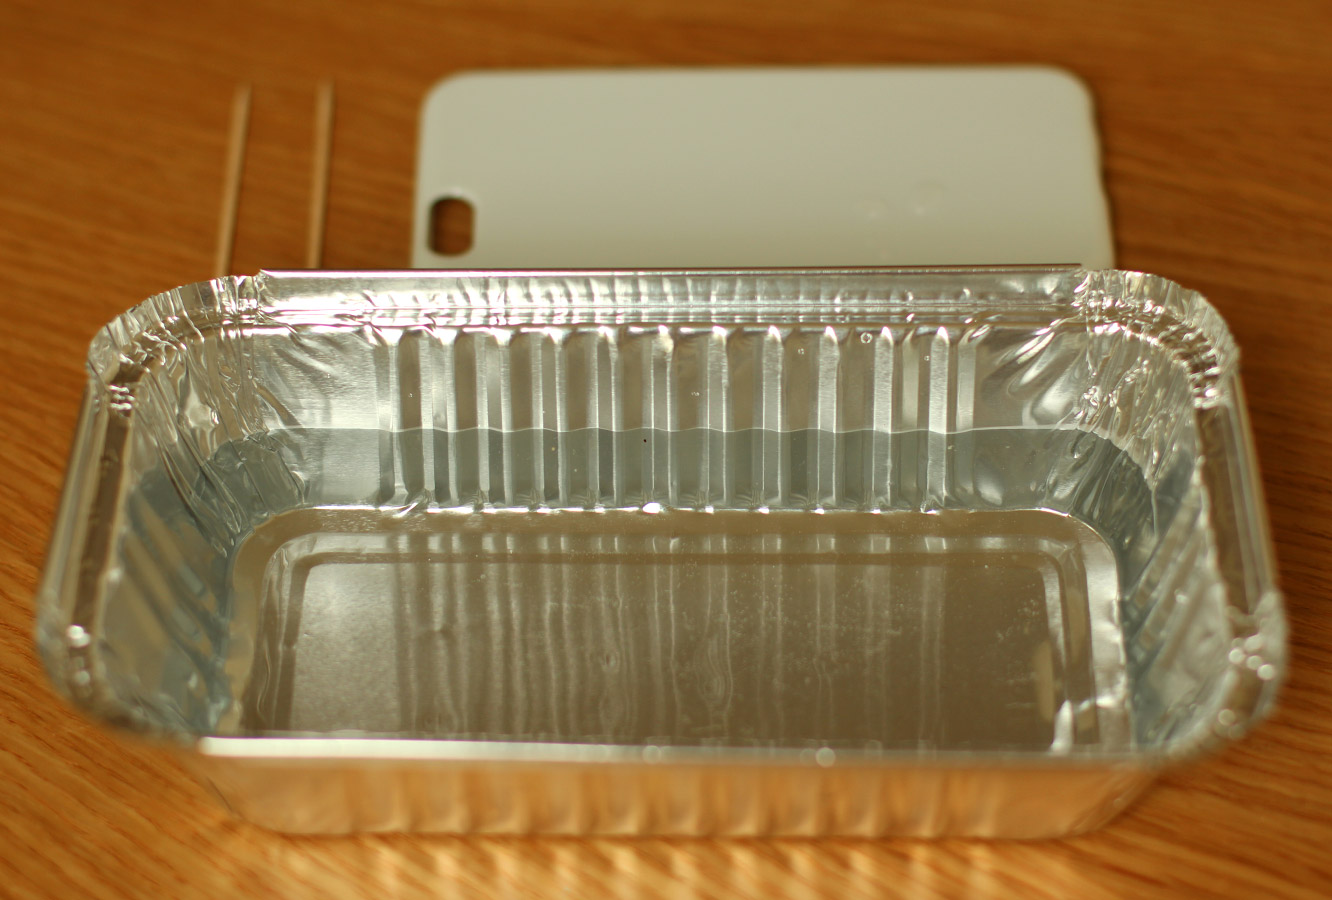
Step one
Fill your tray with warm water and de-cap your nail varnishes. You need to work quite quickly so have everything ready to go.
Step two
Drop a couple of drops of your chosen colours on the surface of the water. I used small quantities of nail varnish because I like the translucent effect. If you want a more opaque look and more time to play with your pattern use more varnish.
It will spread out quite nicely on its own, but I had a little swirl with a cocktail stick but it dried fairly quickly.
Step three
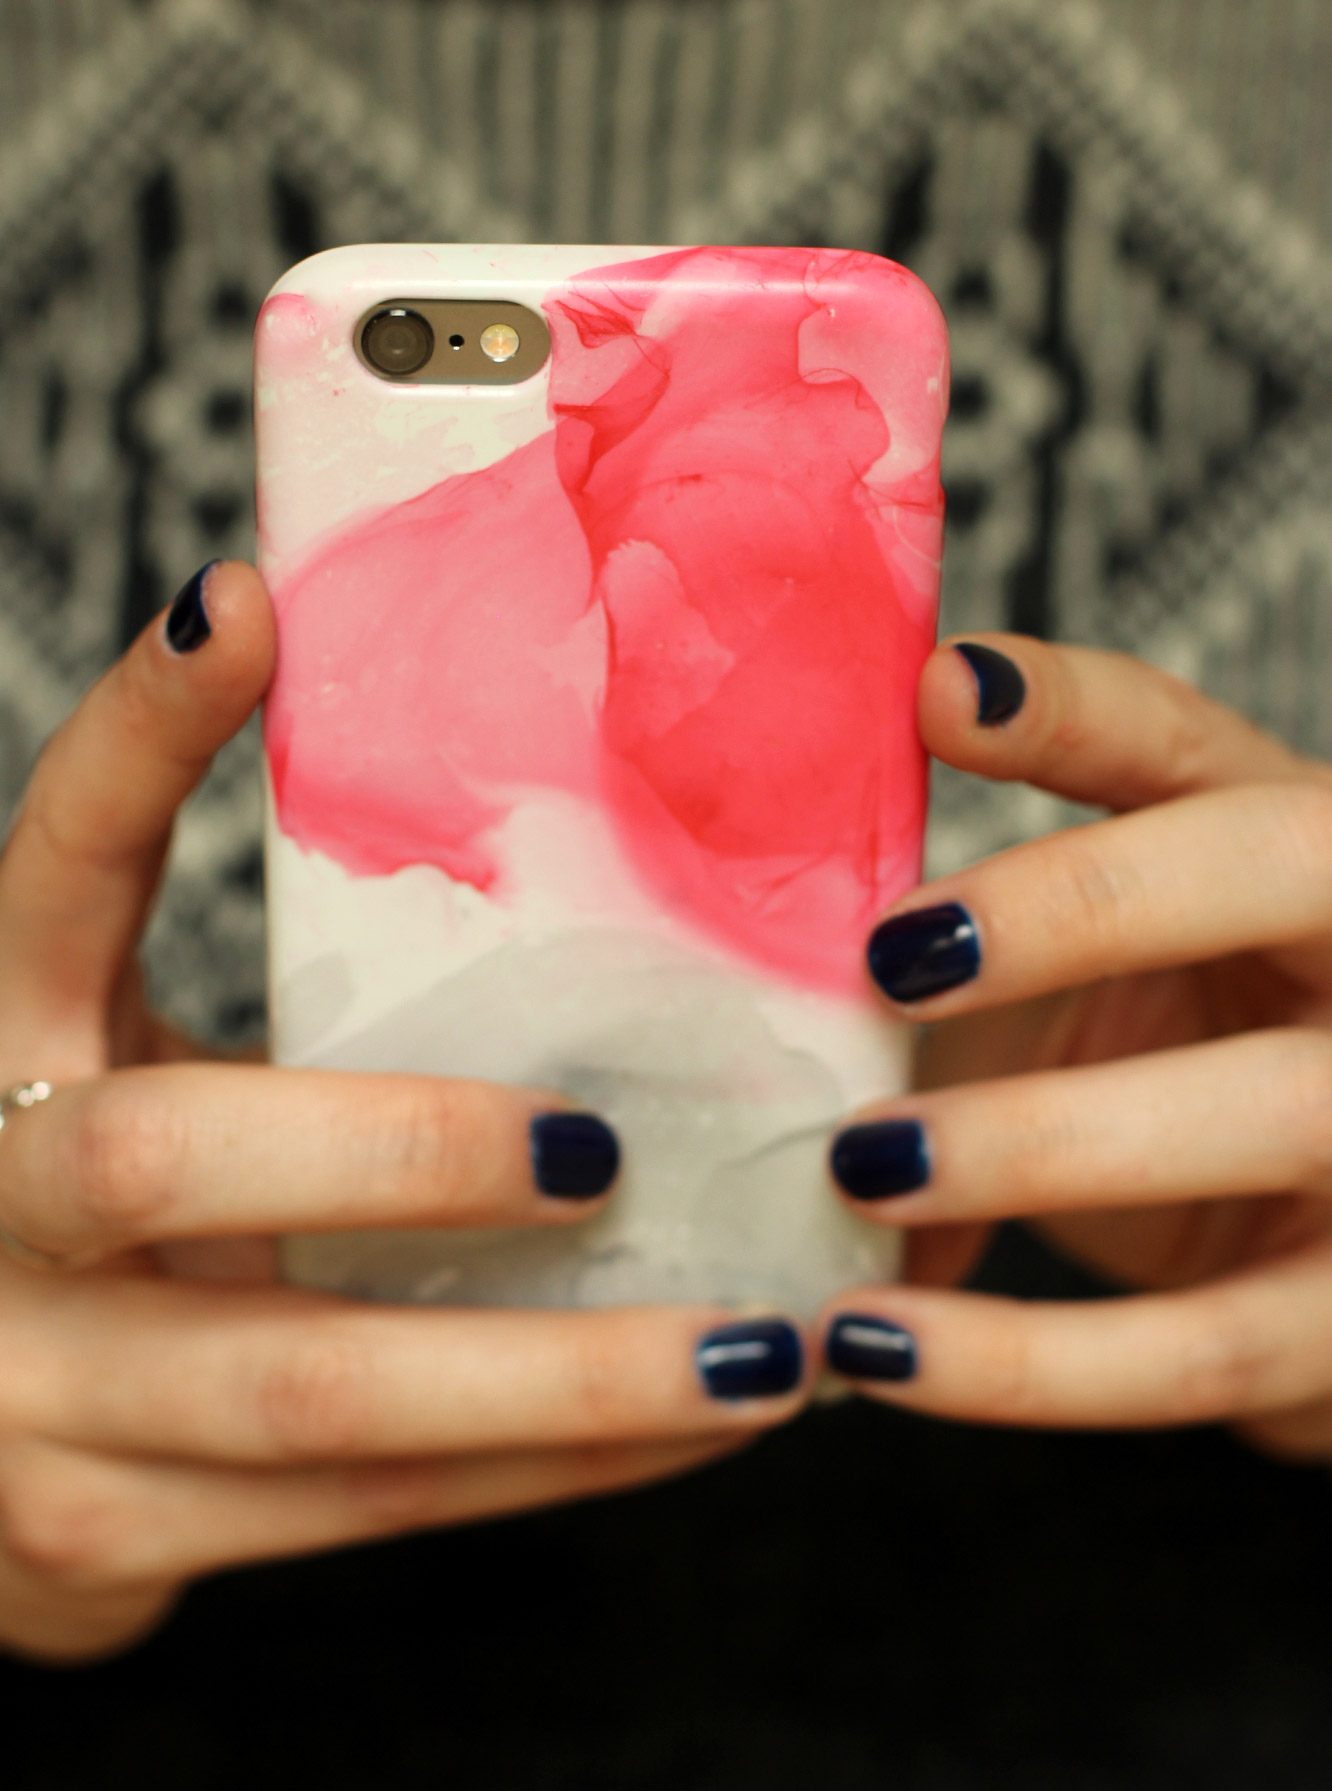
Dip your phone case face first into the water. be sure to completely submerge it so that the sides are coated too.
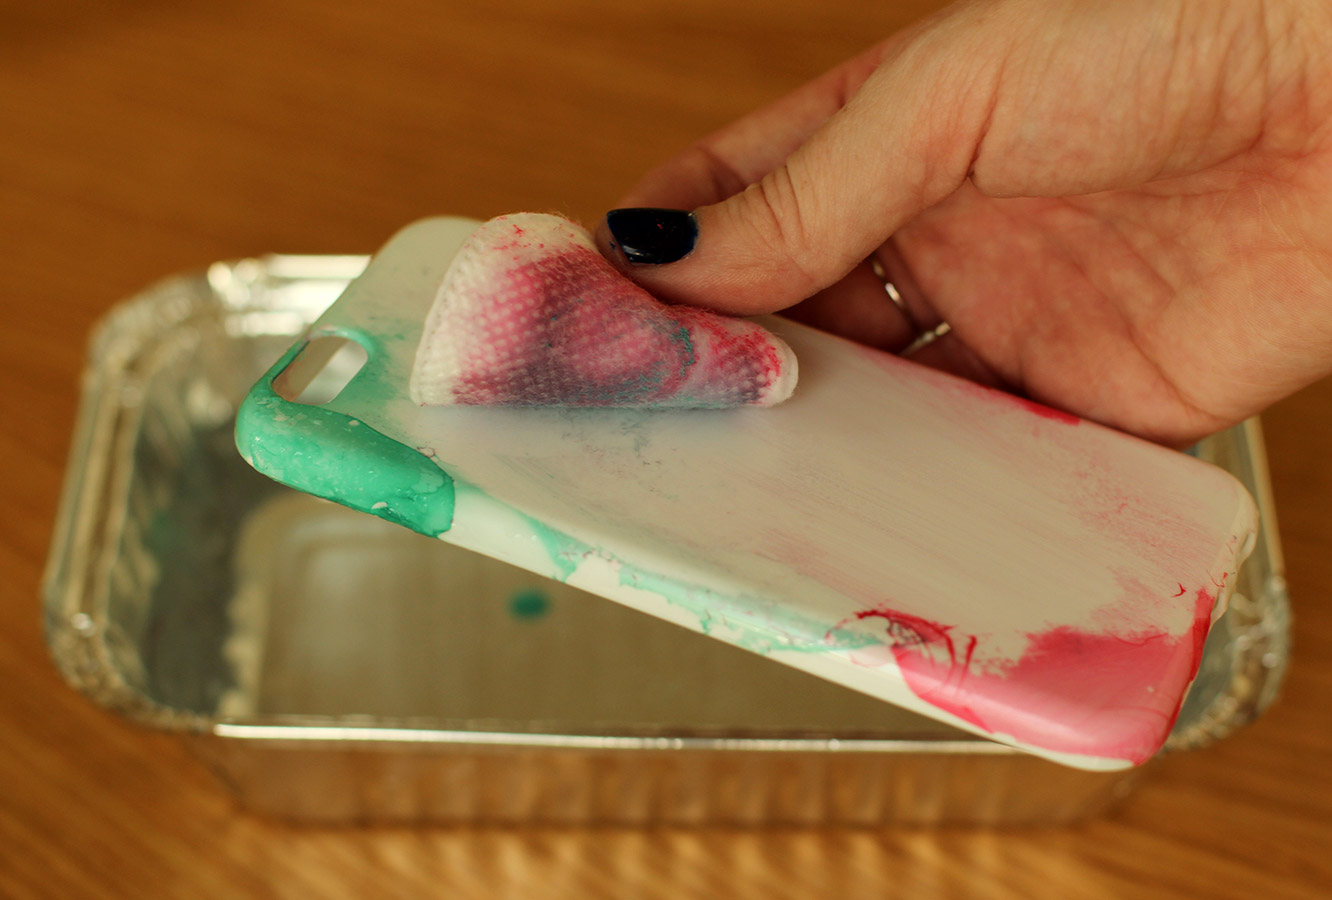
If you don’t like your design you can remove it with acetone and a make up wipe. I didn’t like the original colours I chose to put together, so I started again.
You will also notice that the one in the gif wasn’t my final design, forgive me, there was a gap in it I didn’t like. I later learned this is easy to cover with another thin layer using the same technique, making sure you line it up over the gap.
DISCLAIMER: this may only work with certain cases. The one I bought for my phone (above) was very forgiving, I am fairly sure I could do this limitlessly. However, Amy’s was a hard case (mine was flexible) and it was already coated in some white varnish, which the acetone was not kind to.
If you love your design, you might consider some mod podge or spray adhesive to seal it. I’m going to leave mine and redo it when I get bored.
Until next time friends. xx