Guten Tag friends! This week’s blog post is inspired by a lovely German tradition that warmed my little heart when I was told about it.
A few weeks ago I was sent these photos of a very beloved little boy; you might remember way back when we helped him make birthday party invites? Well, about 18 months later and it was the first day of school for our young sir.
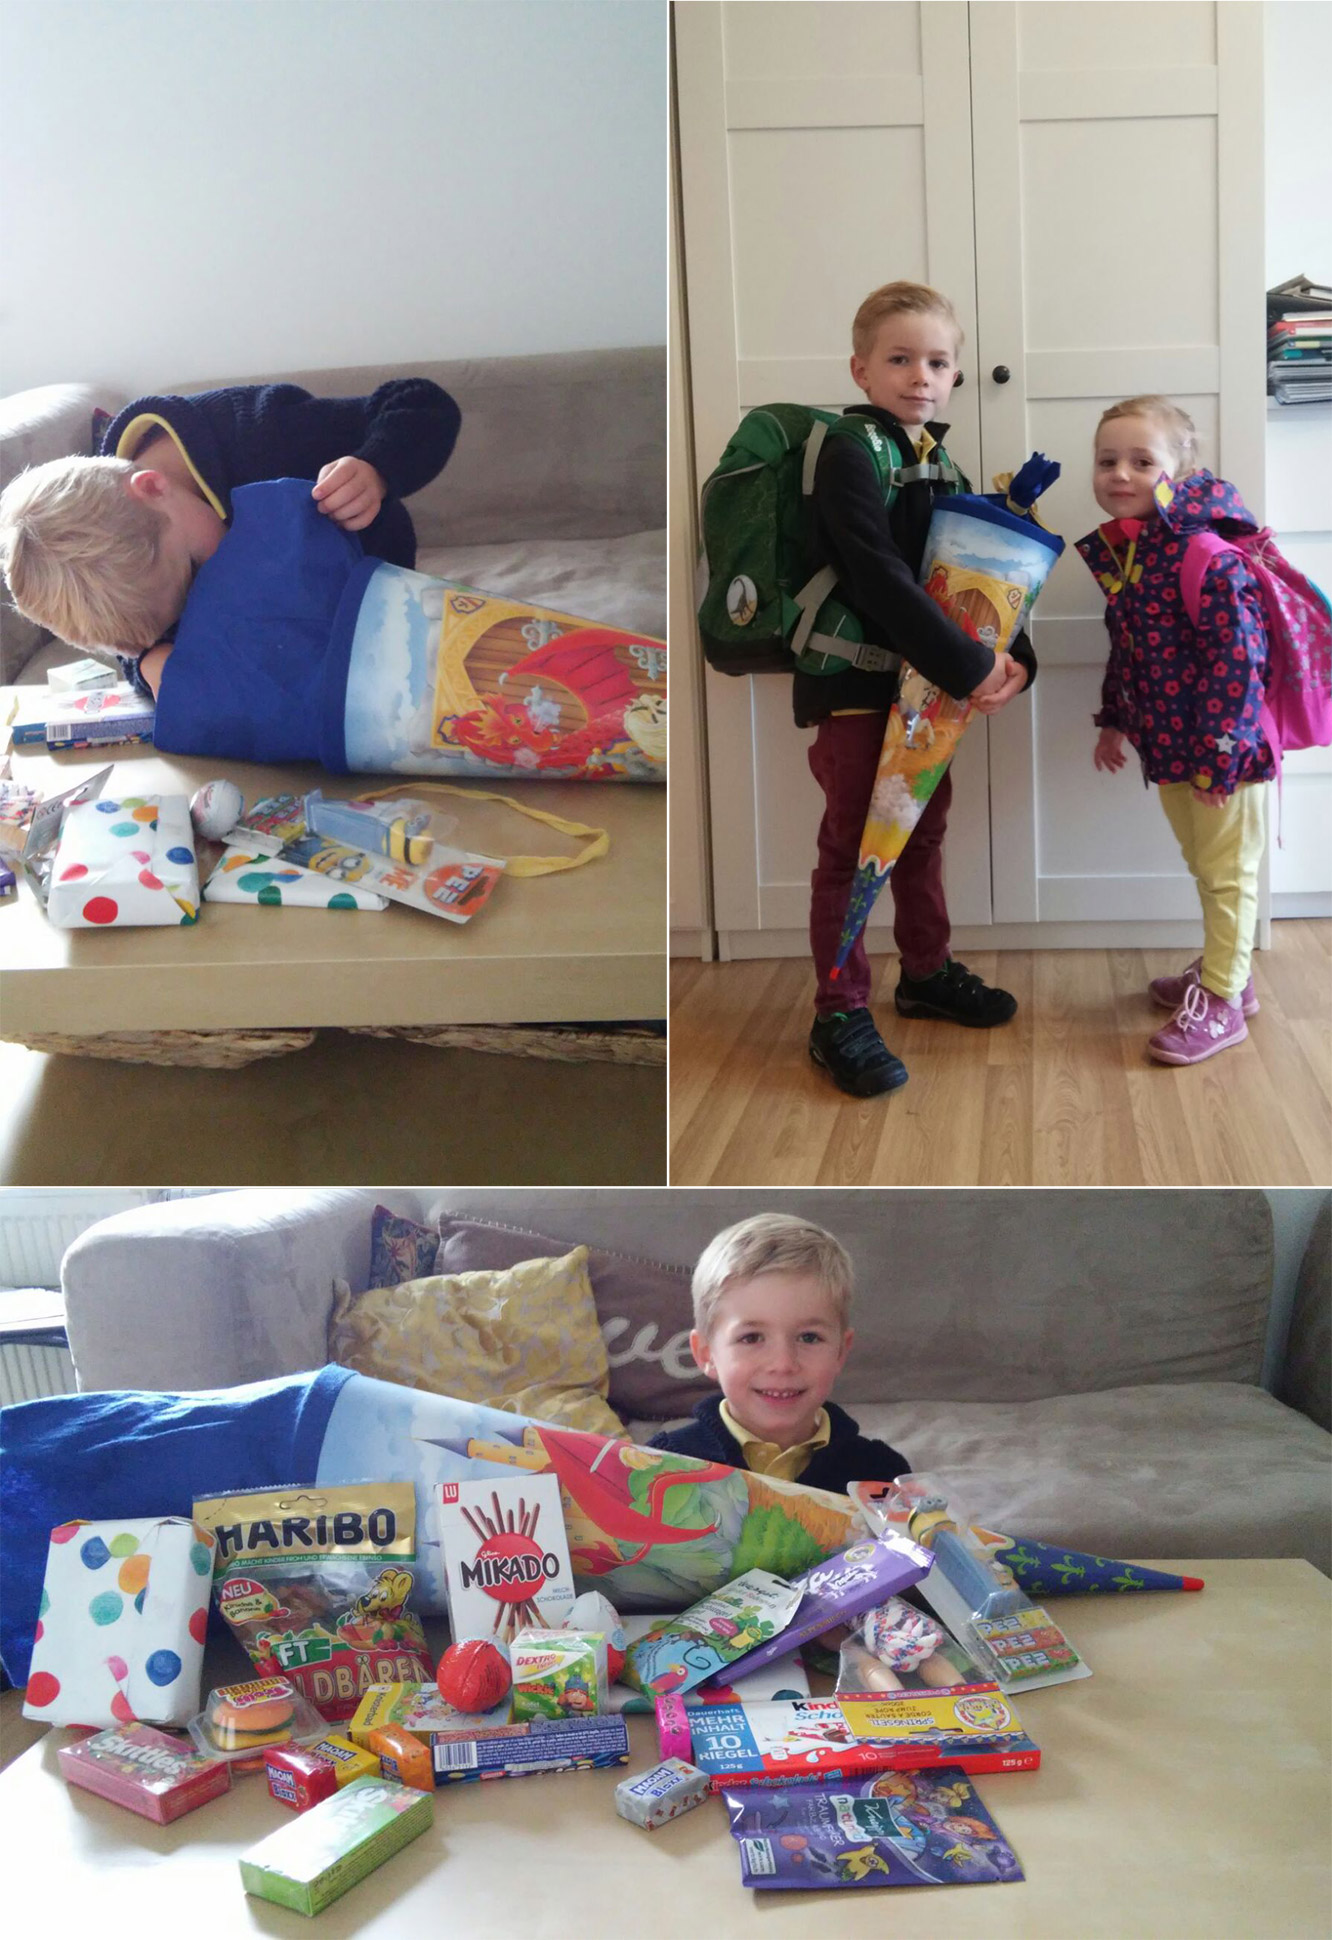
What is that thing he’s holding I hear you cry? My exact response, and I didn’t have the benefit of seeing the contents like you guys at first. Well, I’m reliably informed that in Germany children get a Schultüten on their first day of school, a cone full of lovely treats. The best part is that sometimes adults get a mini version for their first day at a new job. Cute or what?!
I considered making myself one for my new job a few weeks ago, but that is mildly tragic. Thankfully, to rescue me from celebrating myself in that slightly embarrassing way, my friend Matt (who also happens to be Vicky’s husband) managed to land himself one starting this week, yay Matt. Enter Katie and her Schultüten.
By the way, I did take some of these truffles into work myself, and to brag not to brag, but one of my new colleagues described them as “chocolates worthy of a transcontinental move”. I may have asked her to workshop her review a little until we got to that point, and in return I will probably end up making some for her to give her boyfriend to encourage such a move.
Moving on. From THE LONGEST introduction to any blog post ever, I really shouldn’t write these tired.

You will need
For the truffles:
400g/14 oz milk chocolate
400g/14 oz white chocolate
180ml/6 fl oz double cream
Caramel flavouring (I swear by Natural Professional Flavours – buttery caramel)
(makes up to 40 truffles)
For the cone:
Nice quality wrapping paper (I got mine from Foyles if you’re in the UK)
Tissue paper (preferably a colour that doesn’t clash with your choice of paper)
Ribbon
Double sided tape
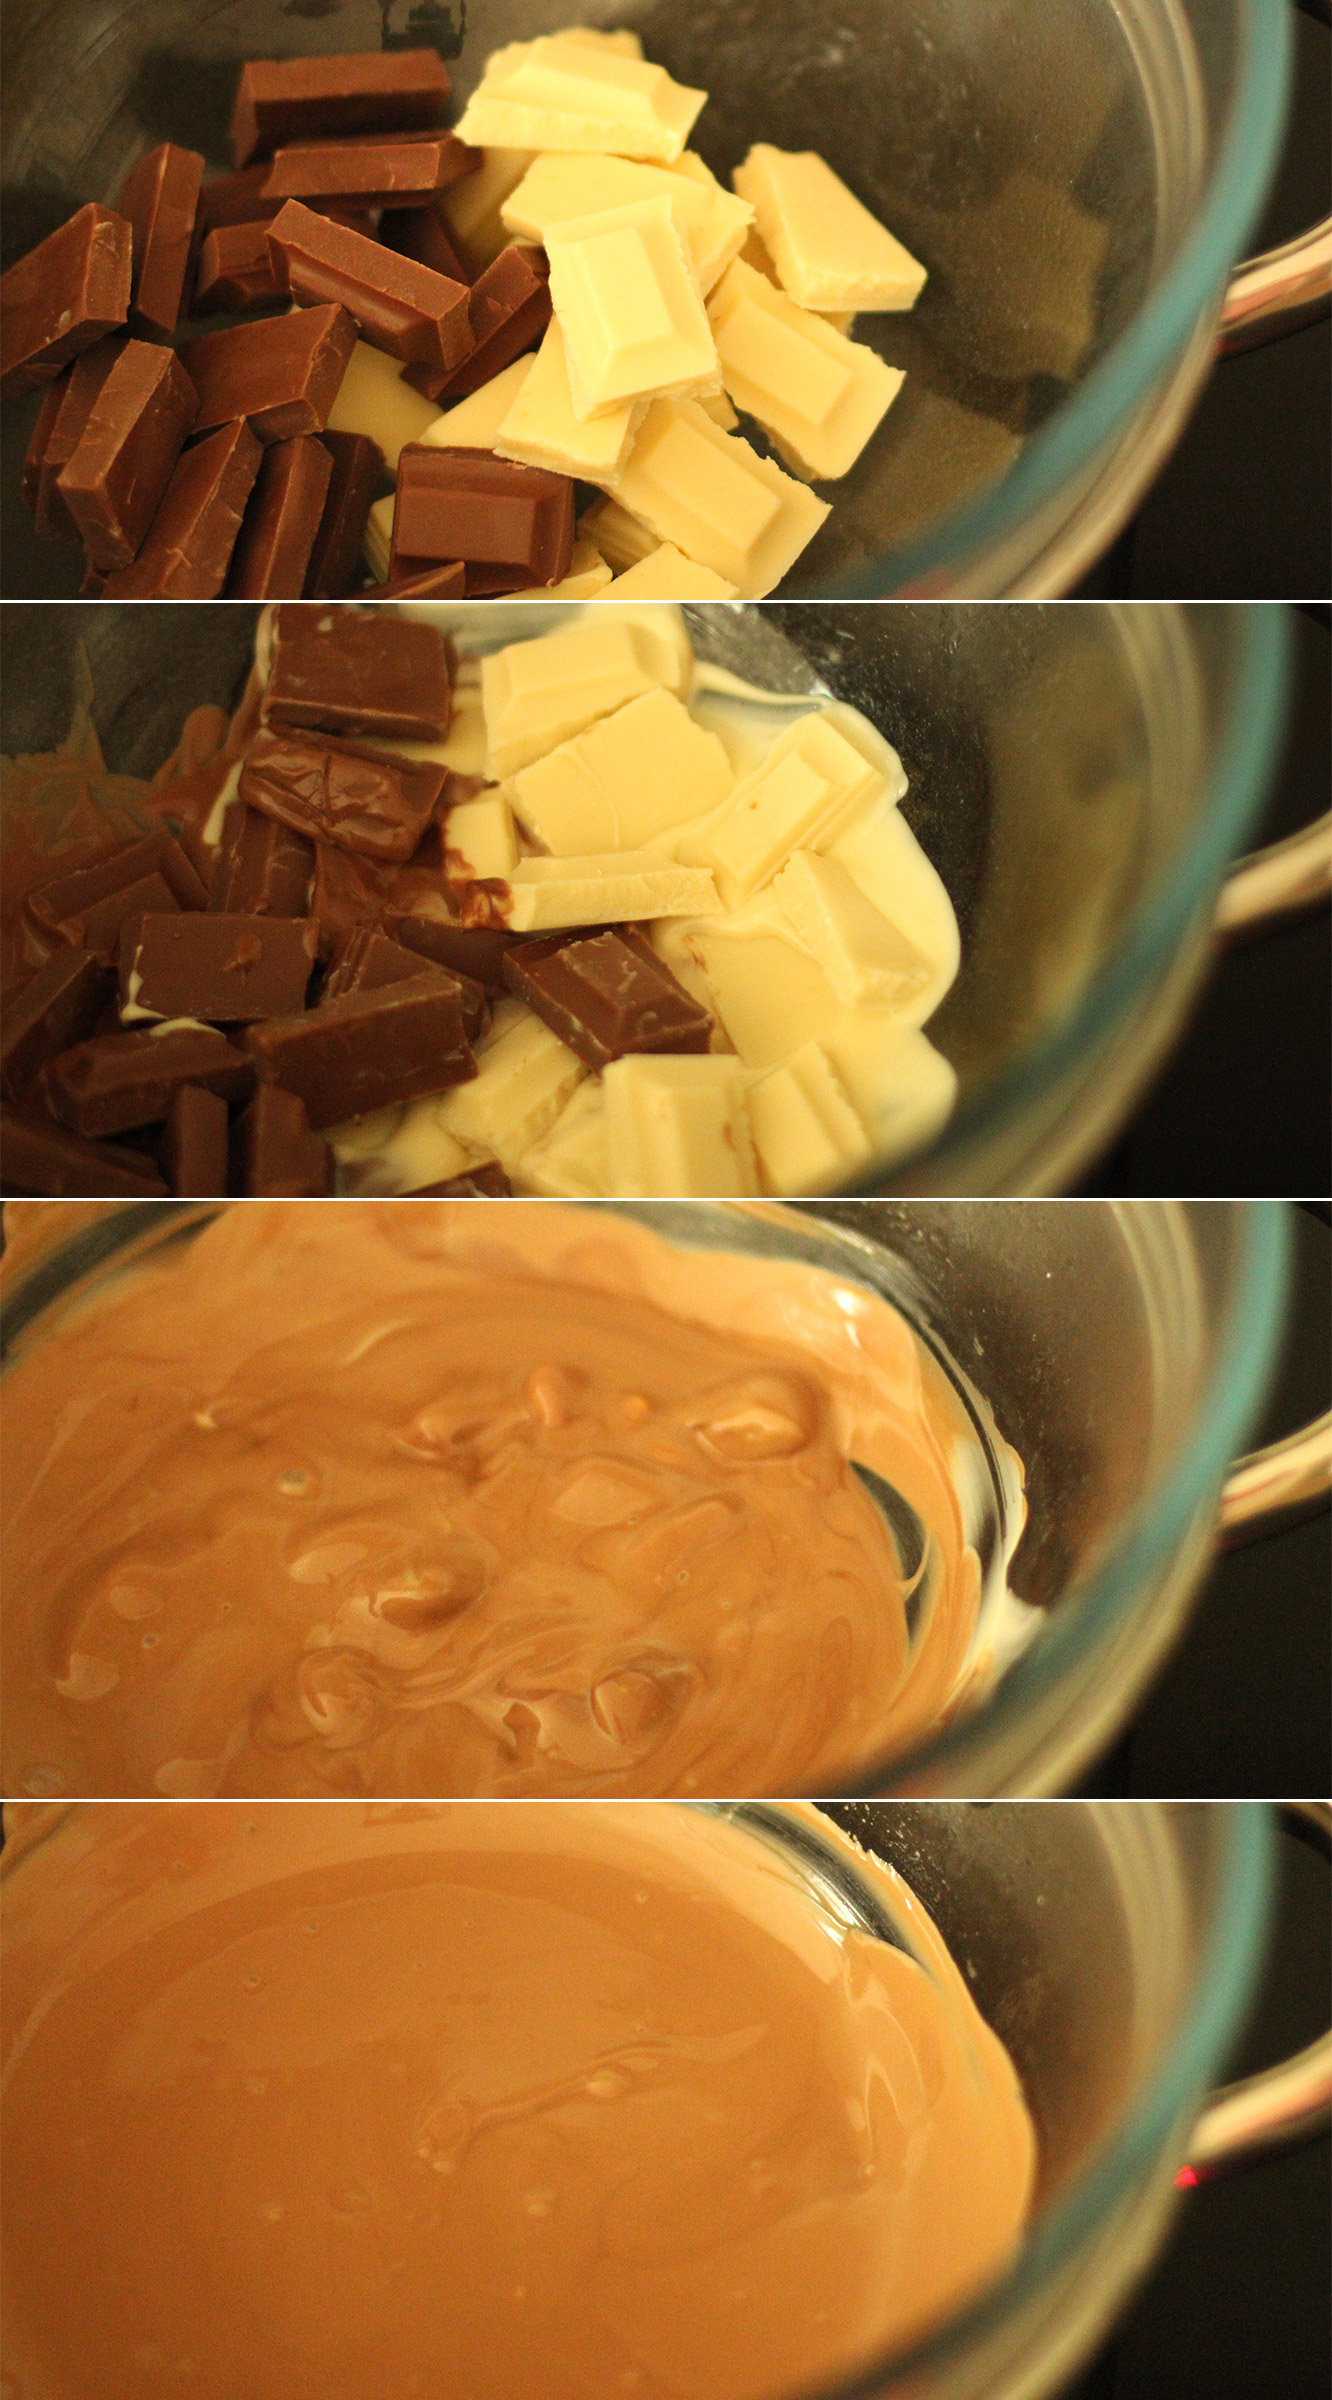
Step one
Melt 200g of each chocolate in a heatproof bowl over a pan of simmering water.
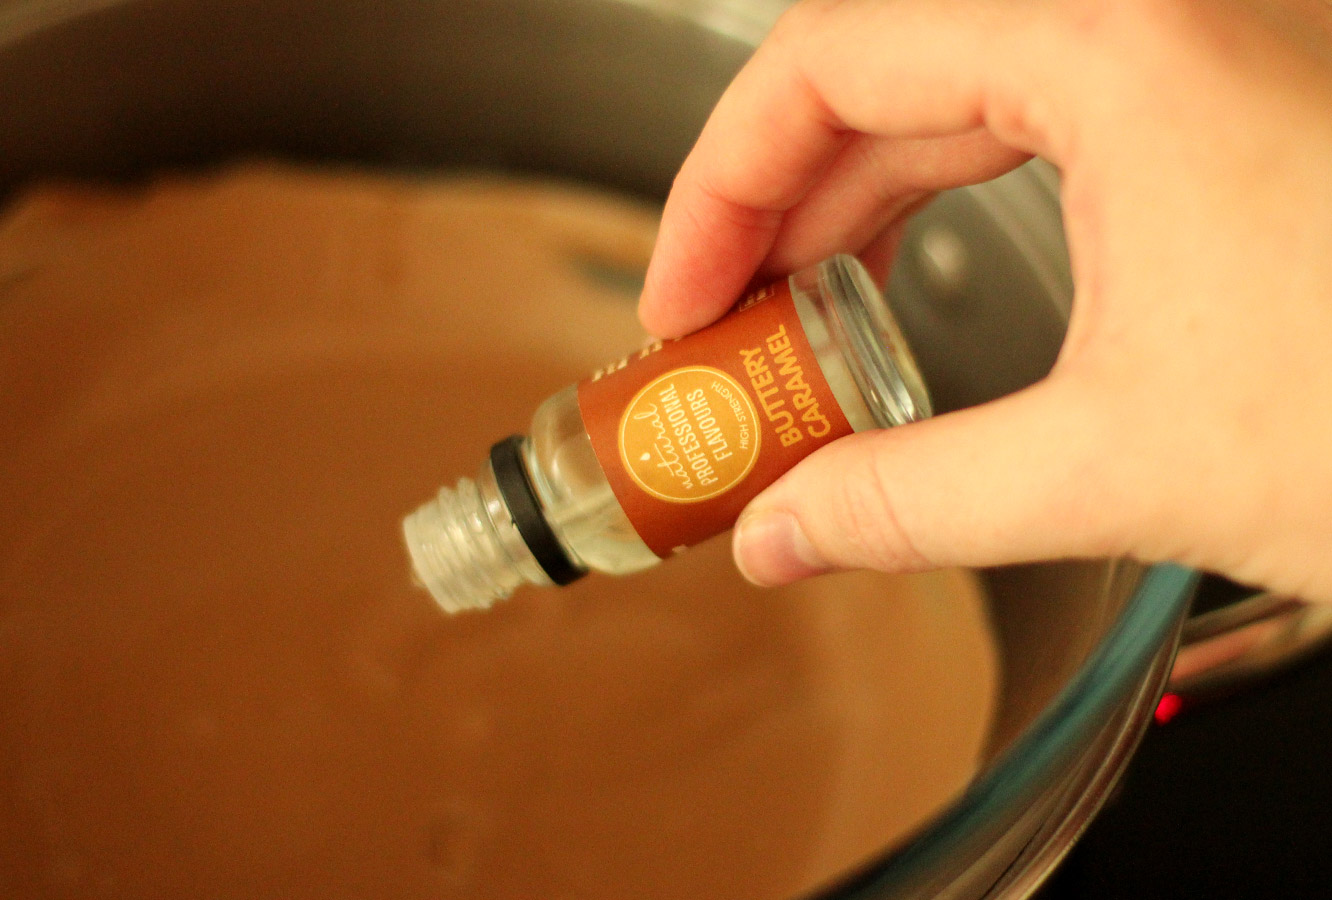
Step two
Add 1 tsp or so of the caramel flavouring (you can use other brands of flavouring by the way, a lot of supermarkets offer a caramel flavour now).
This is really just a great excuse to taste test the melted chocolate until you’re happy with it. It’s ok if this takes a few spoonfuls, being a perfectionist is a good thing.
Step three
Remove the chocolate from the heat and stir in the cream until fully combined. You will probably need to leave this to set for a while.
Leave it on the side if you have time, the fridge if you’re slightly hurried, or even the freezer if you’re desperate to take photos for your blog in the fading natural light (thanks winter).
Step four
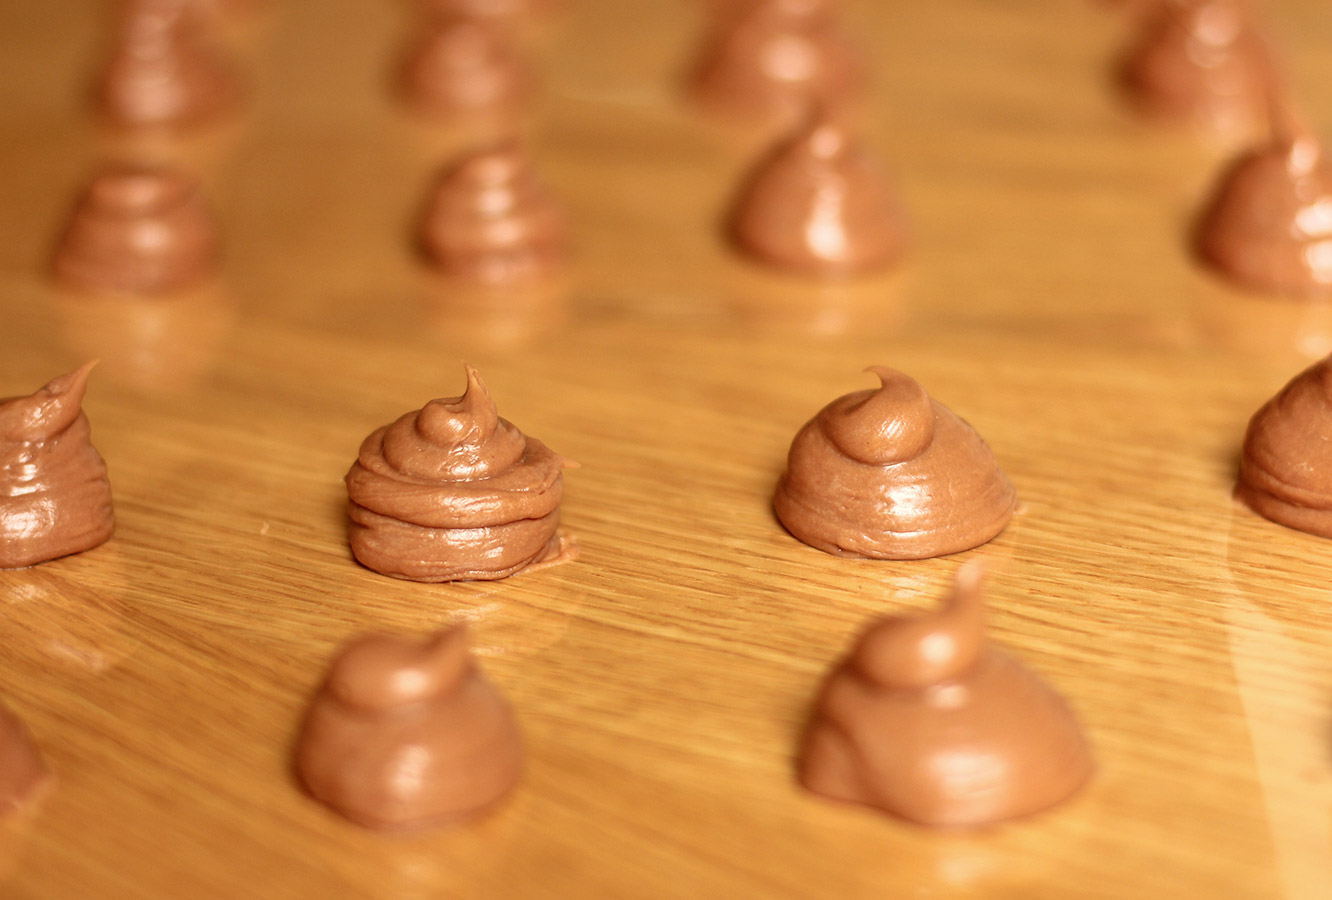
Once the mixture is pipe-able, lay out a sheet of cellophane or greaseproof paper and pipe out evenly sized blobs (yes, that’s the technical term). They need to be about, well, truffle sized, whatever that means to you pal.
Step five
Leave to set, you can put them in the fridge if you want to.
They look appetising, don’t they?
Step six
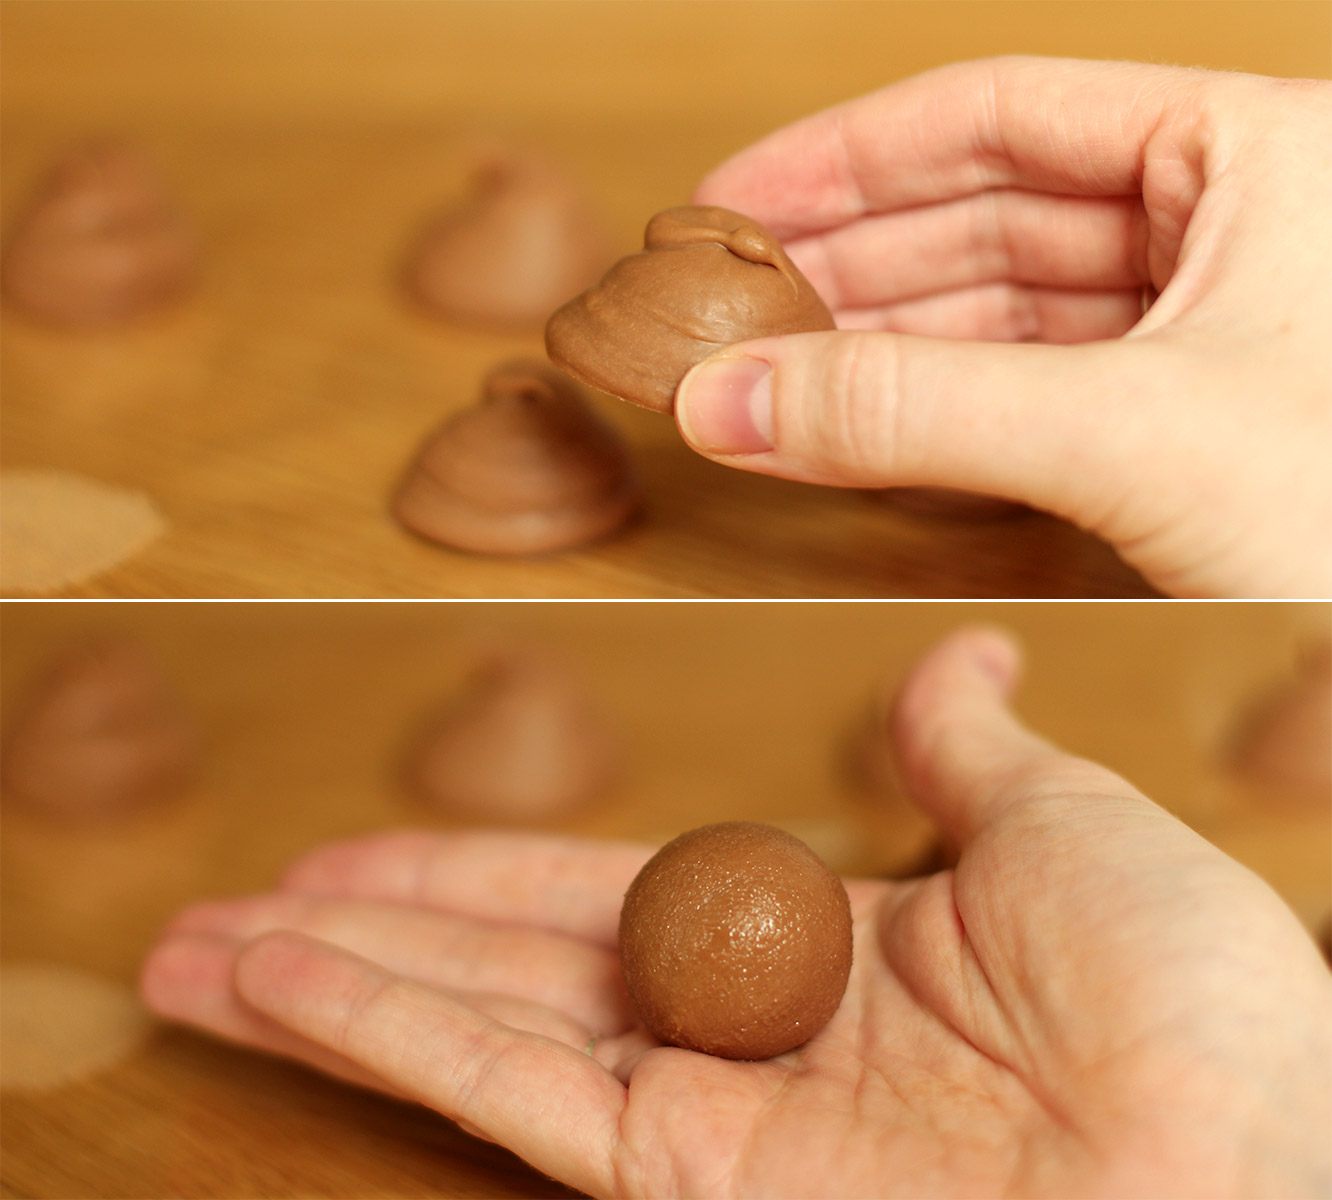
With clean and cold hands (clue: wash them under the cold tap). Squash the piped shapes a little with your fingers and roll into a ball between your palms.
You will probably need to wash your hands a few times as you go as they will start to melt as your hands warm up.
I then put mine back in the fridge while I melted the chocolate for coating.
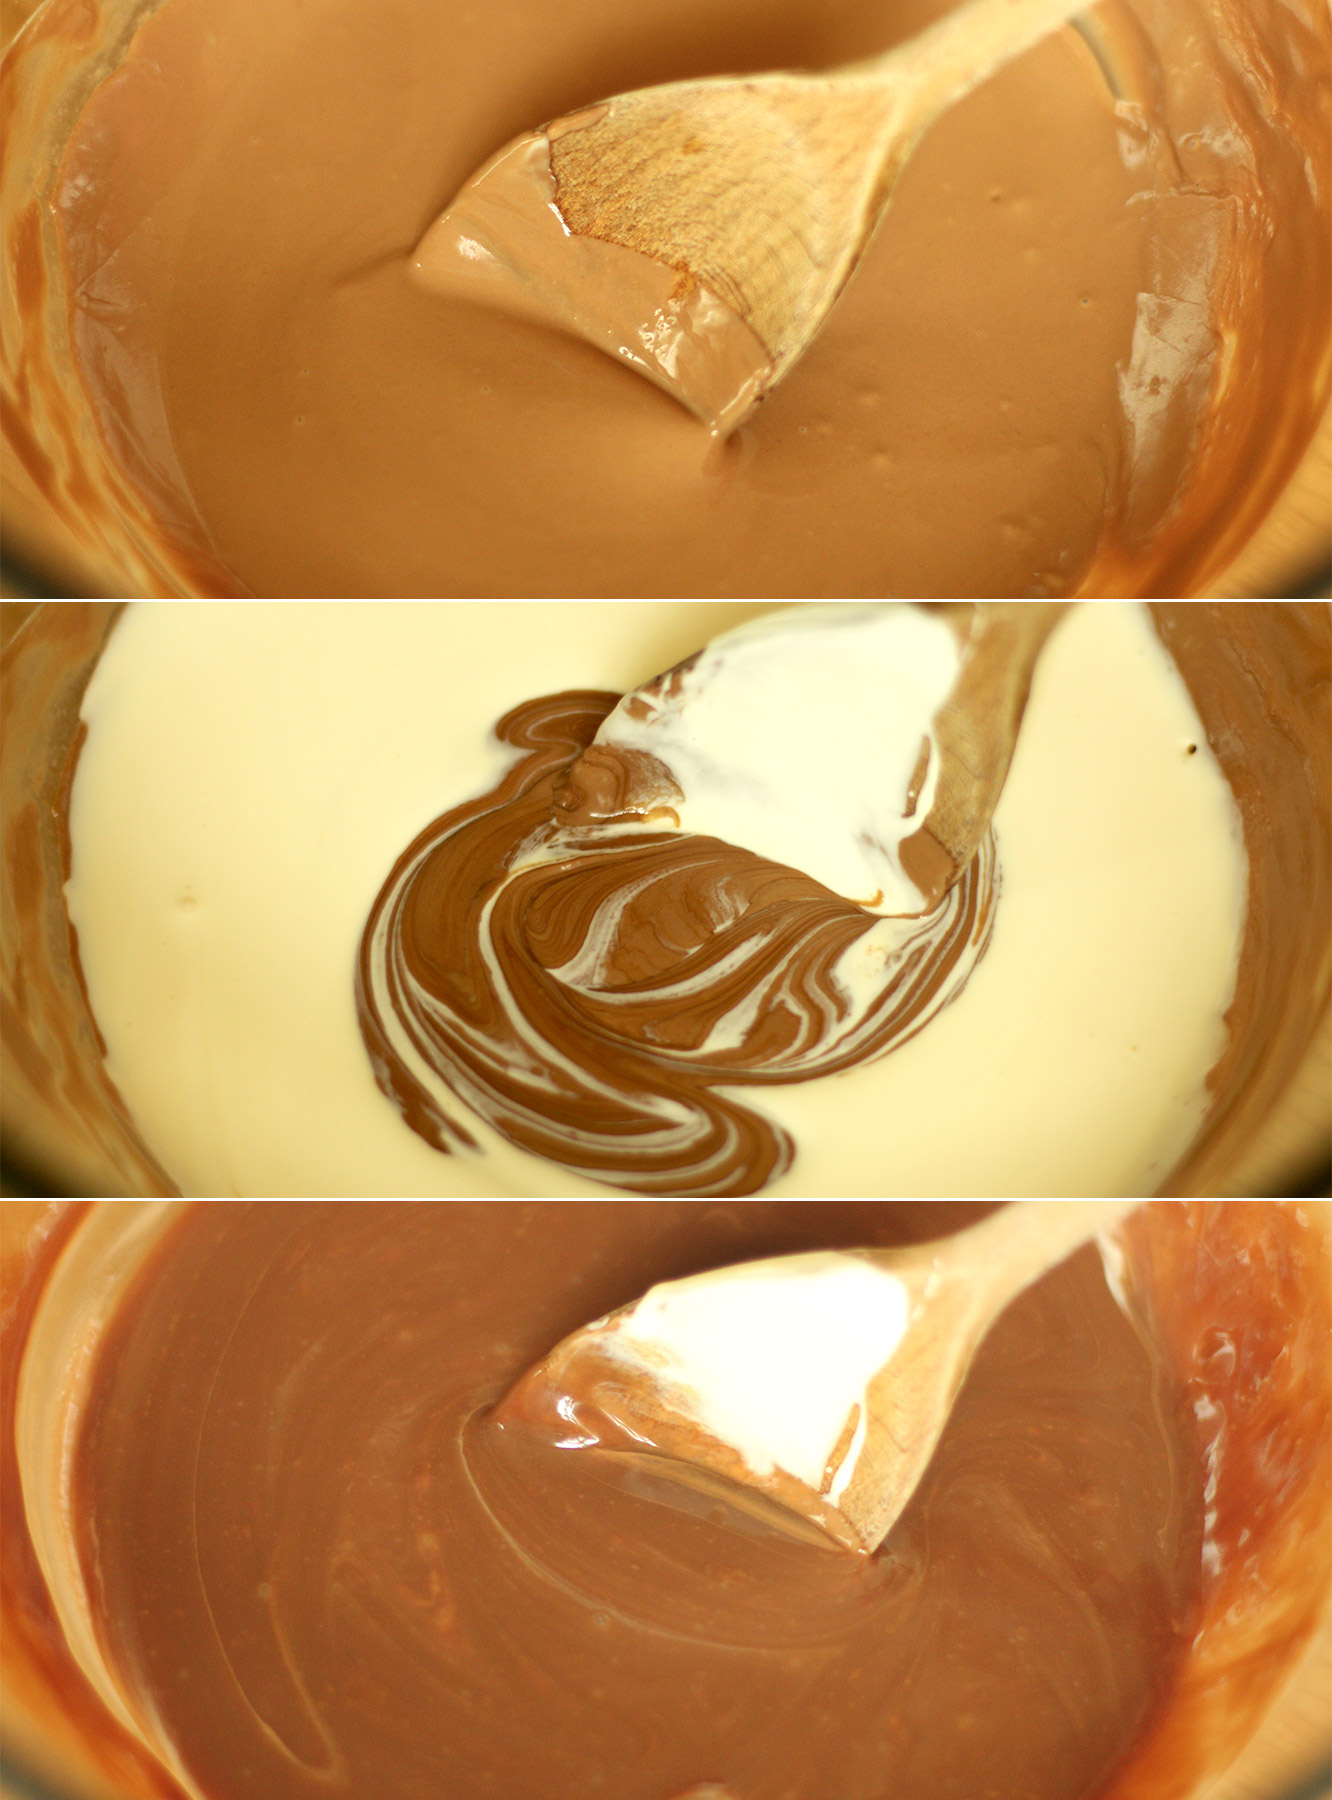
Step seven
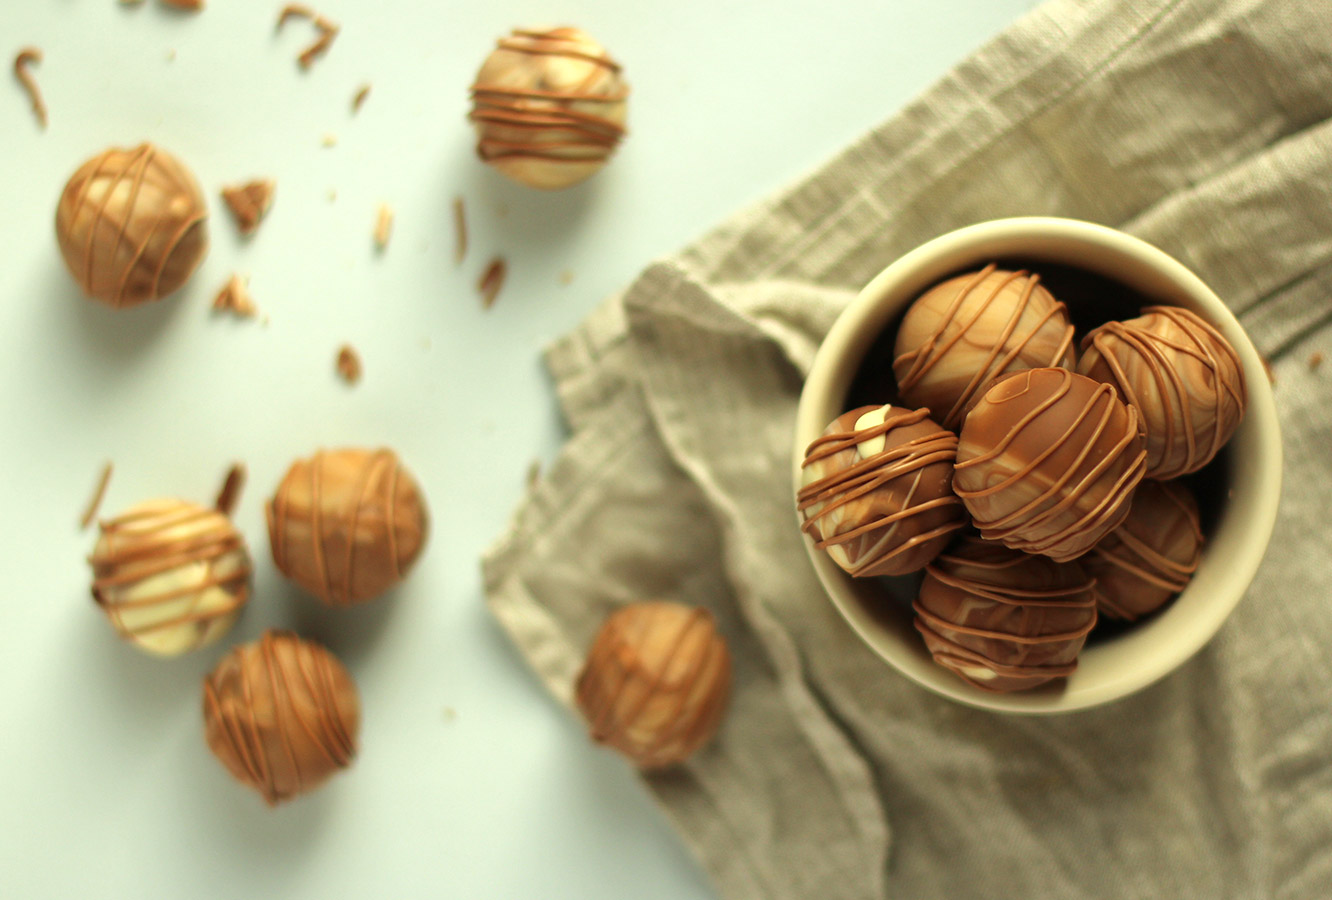
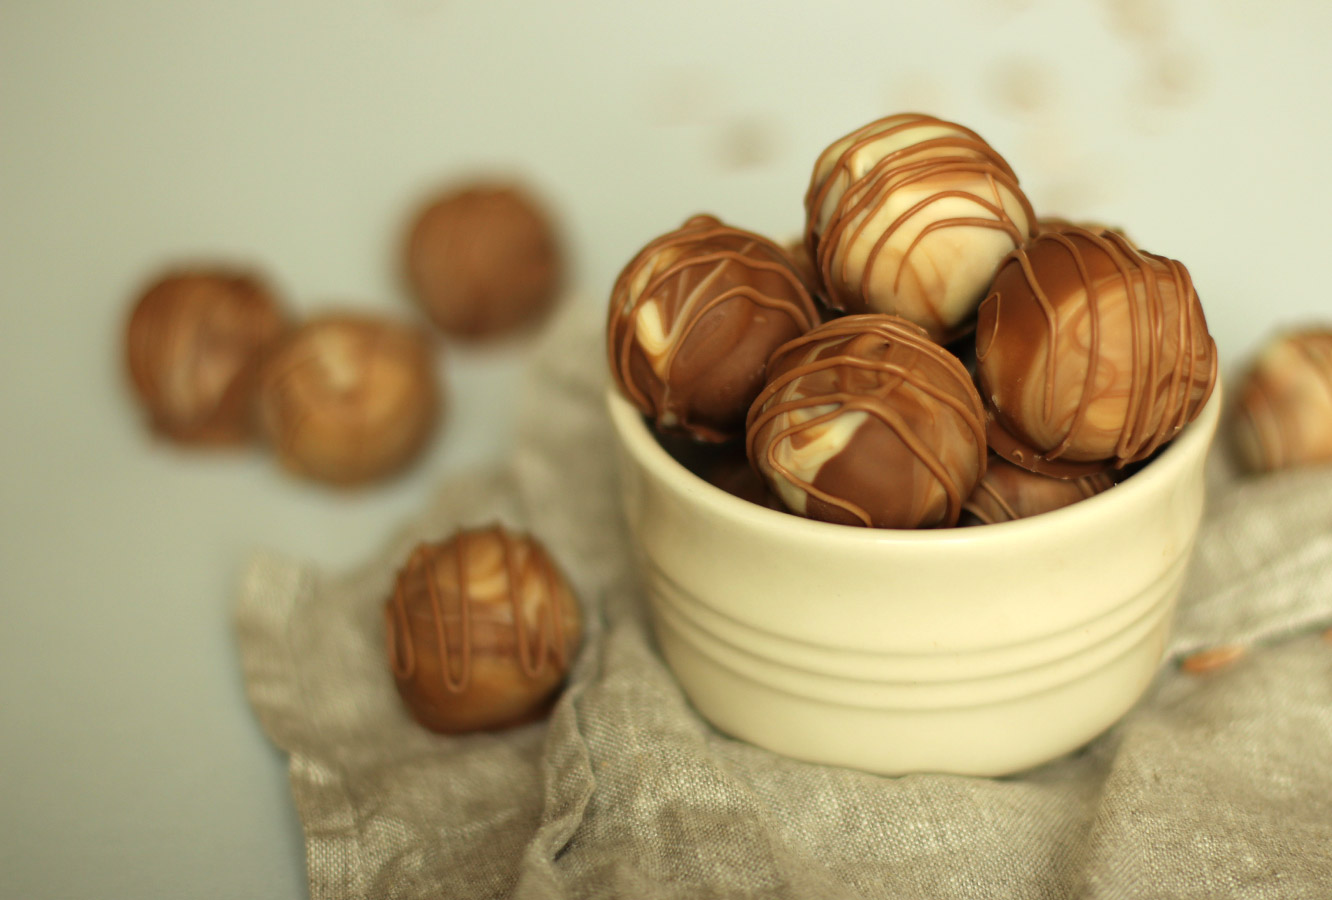
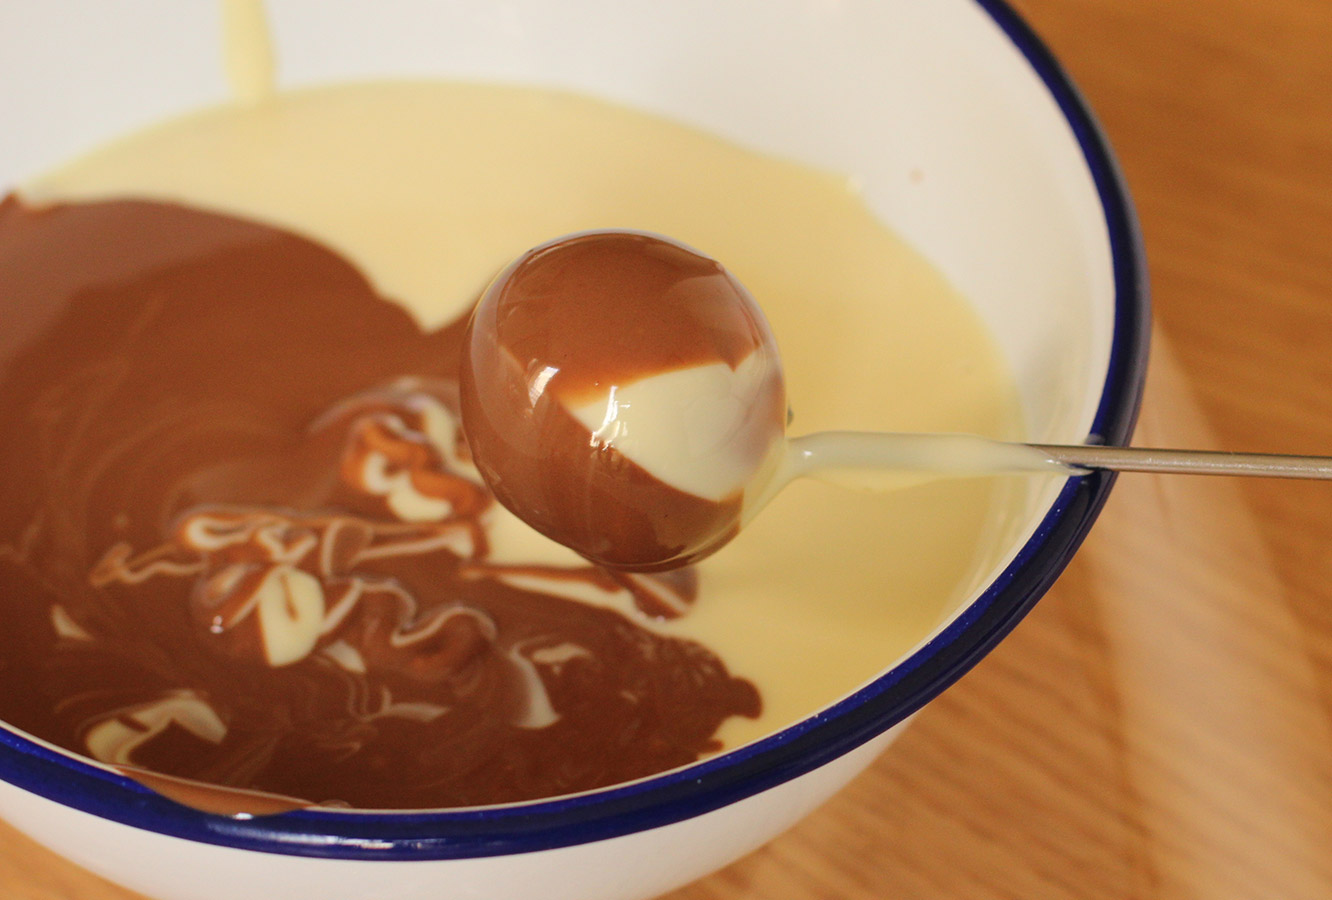
Melt the remaining white and milk chocolate separately and pour simultaneously into a small, deepish container or bowl. This is to get a marbled effect on the outside, but you could always stir them together if you don’t fancy the look of that.
Using either a plastic fork with the middle prongs taken out, or the end of a metal kebab skewer, dip the truffle centres in the chocolate.
Step eight
Repeat until you’re out of truffles. Leave to set. This time, don’t shortcut with the fridge, you want them to set at room temperature so that they don’t melt at room temperature.
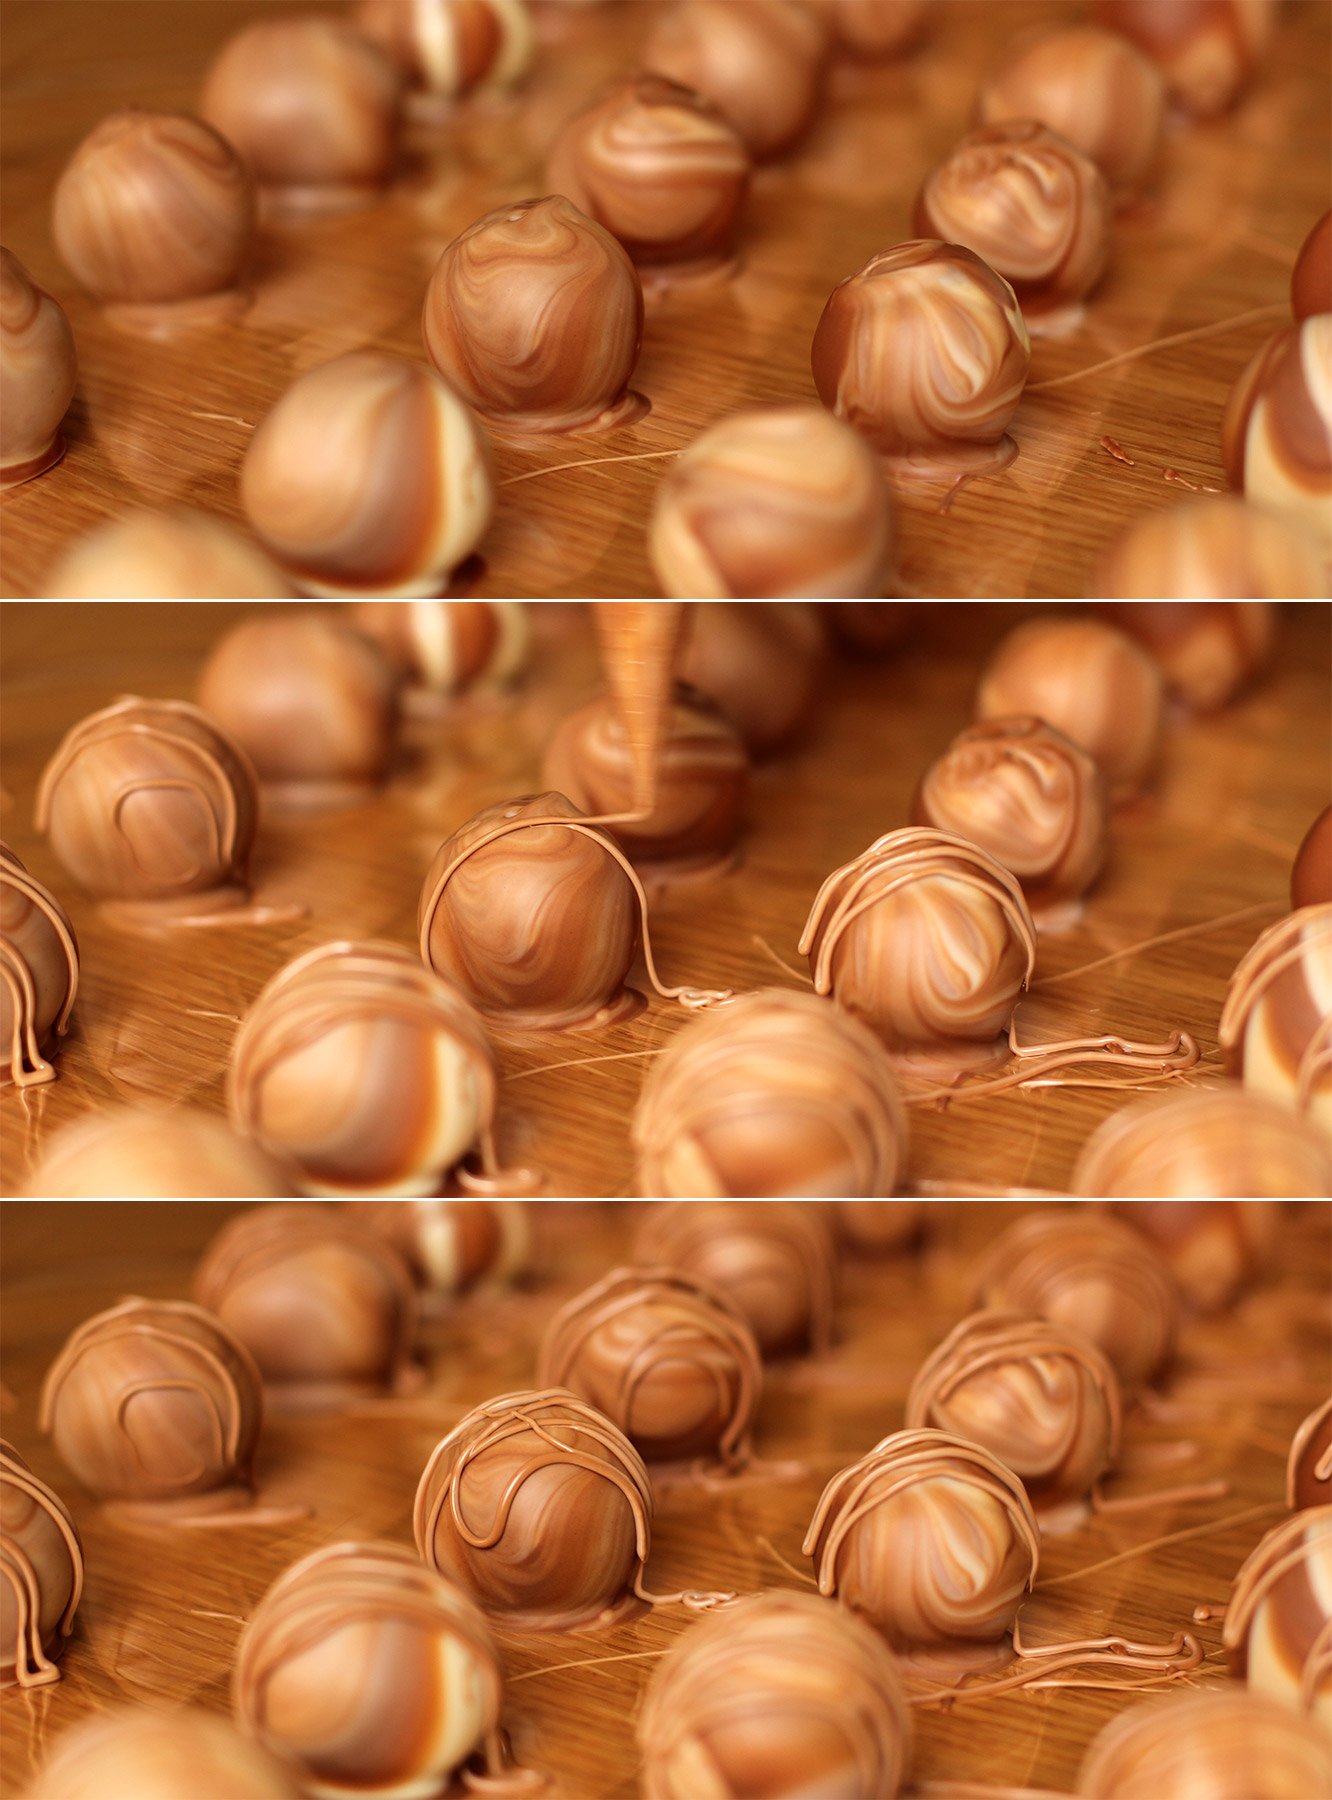
Step nine
Put the leftover dipping chocolate in a piping bag and drizzle over the truffles.
Put the remaining melted chocolate in your mouth with a spoon. Or just pipe it straight in there.
Step ten
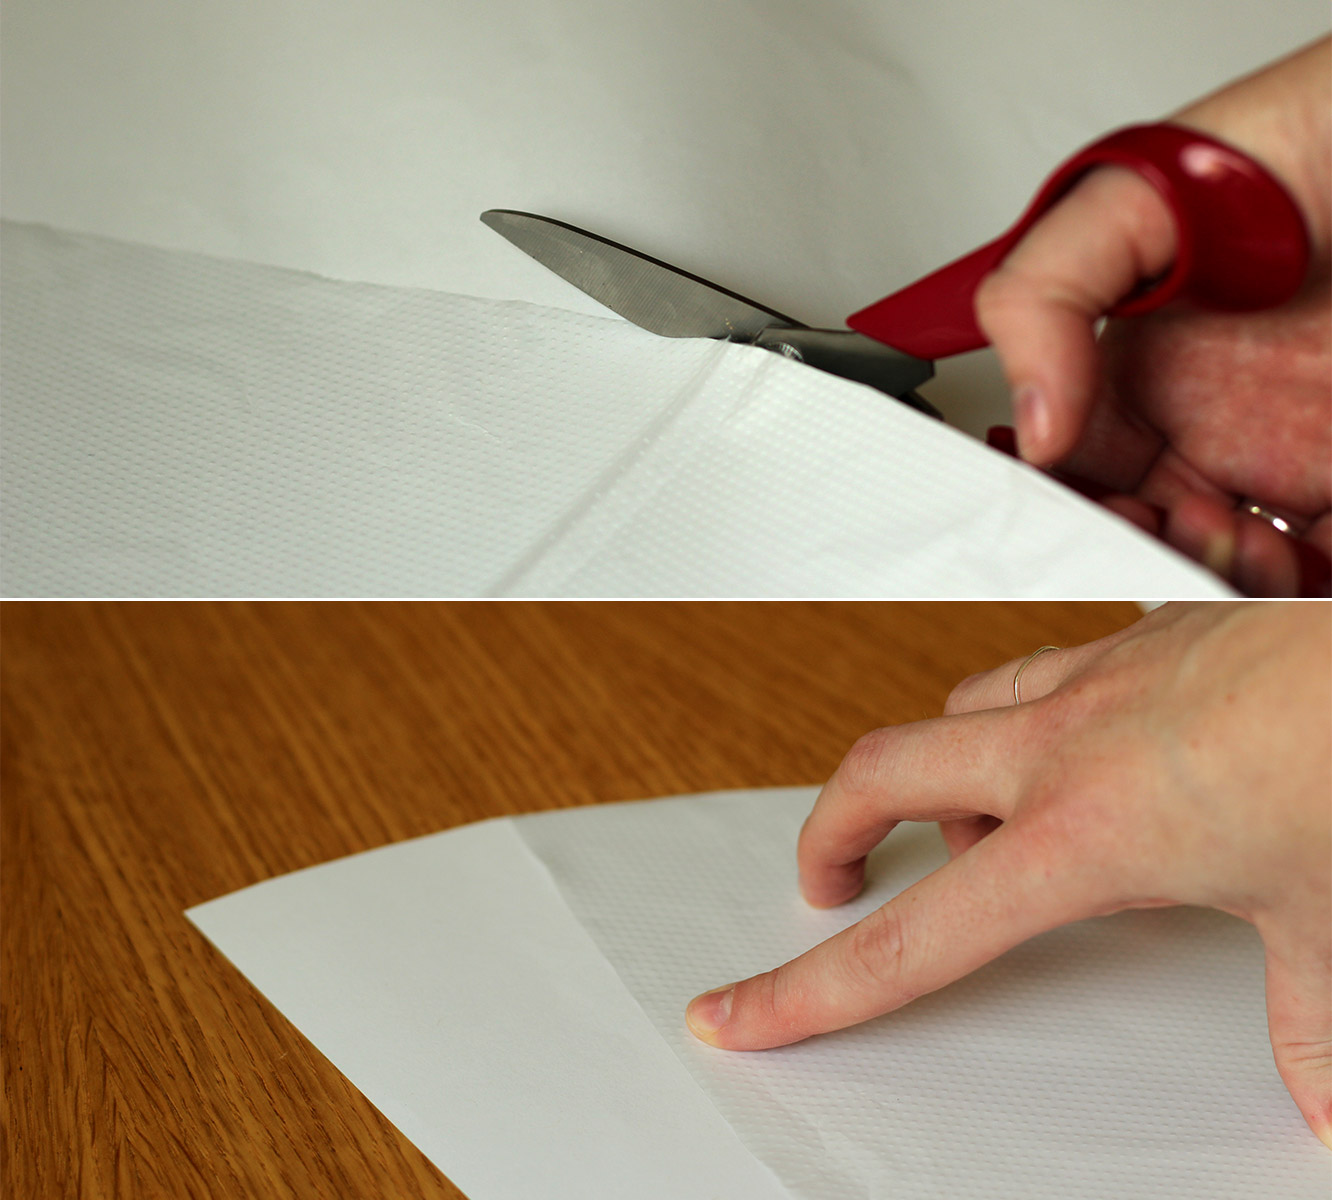
Cut open a piping bag so that it lies flat and use it as a template to cut round. Add a little extra on one side for overlap, and snip the pointy end off the bottom so it’s flat.

Step eleven
Cut three or four sheets of tissue paper to the same shape, but add another 10 cm to the top.
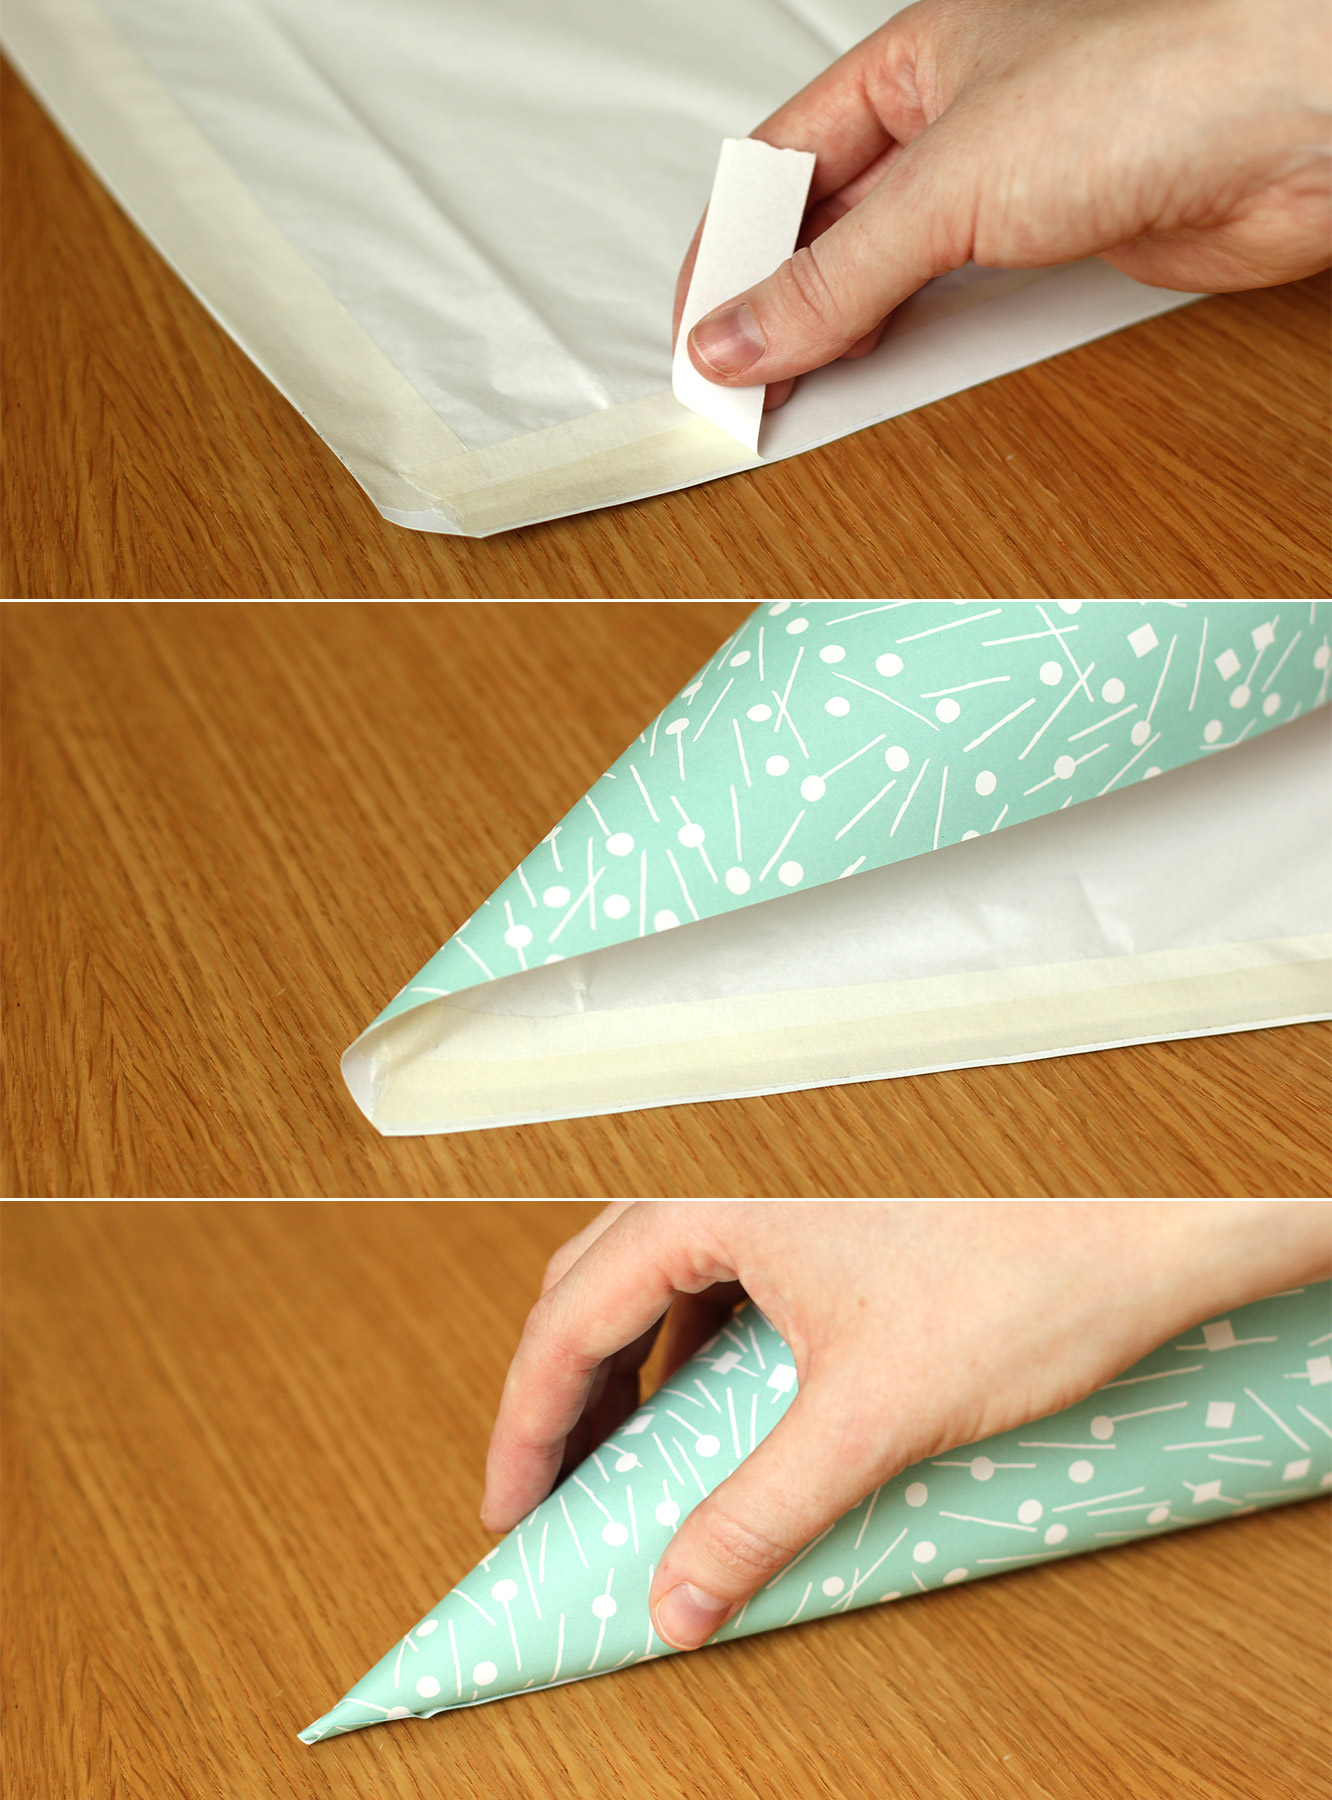
Tape the straight edges of the tissue to the wrong side of the wrapping paper.

Step twelve
Fold back the top of the tissue paper on the large curved edge. Place double-sided tape around the edge and fold the tissue back over so that it is stuck the whole way round the top.
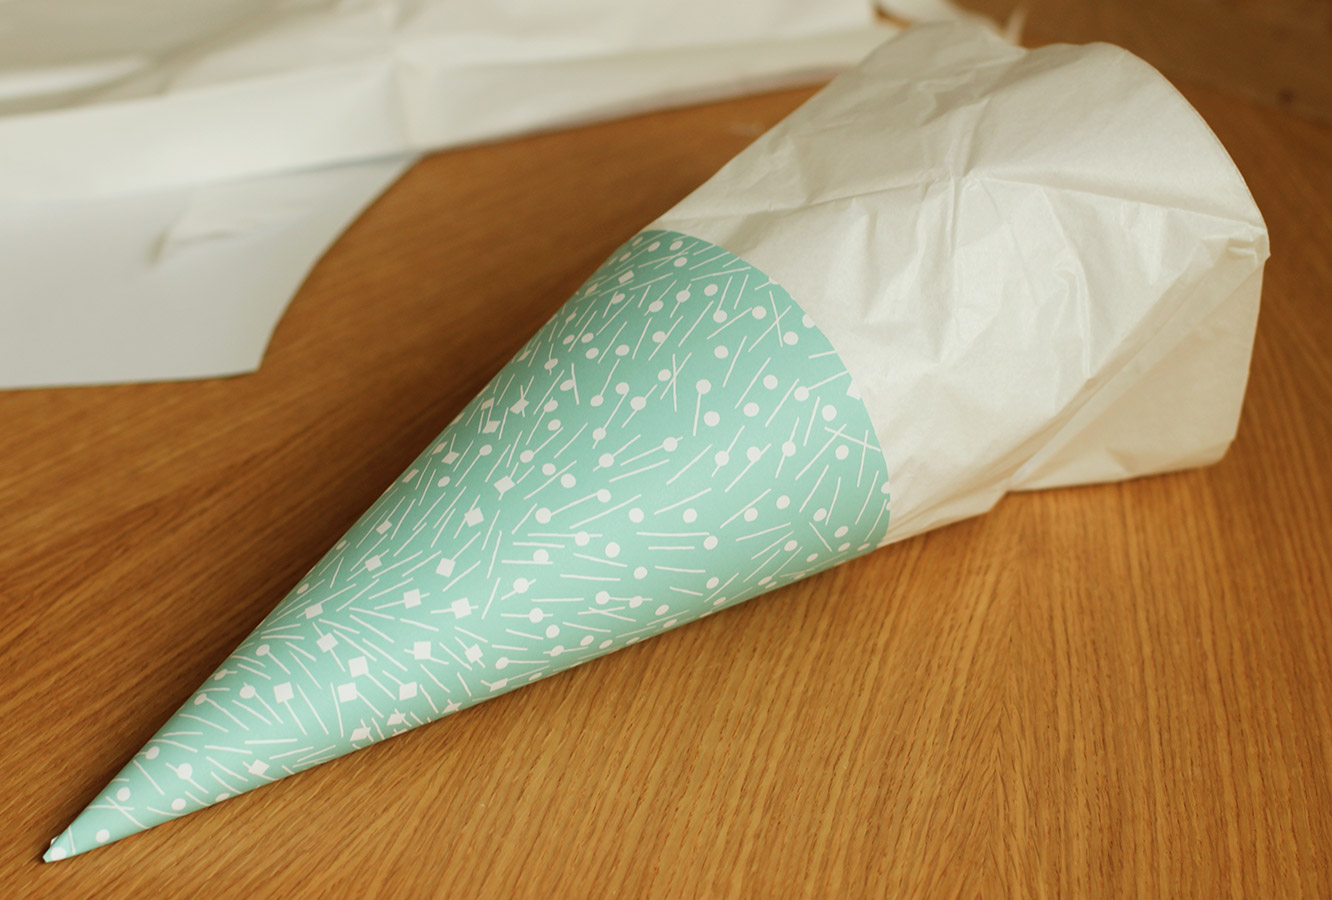
Step thirteen
Use another strip of double-sided tape down the straight edge to roll the paper into a conical shape. You should have something like the below.
Step fourteen
Fill another piping bag with truffles and place in the cone, or Schultüten, and tie up the top with a piece of ribbon.
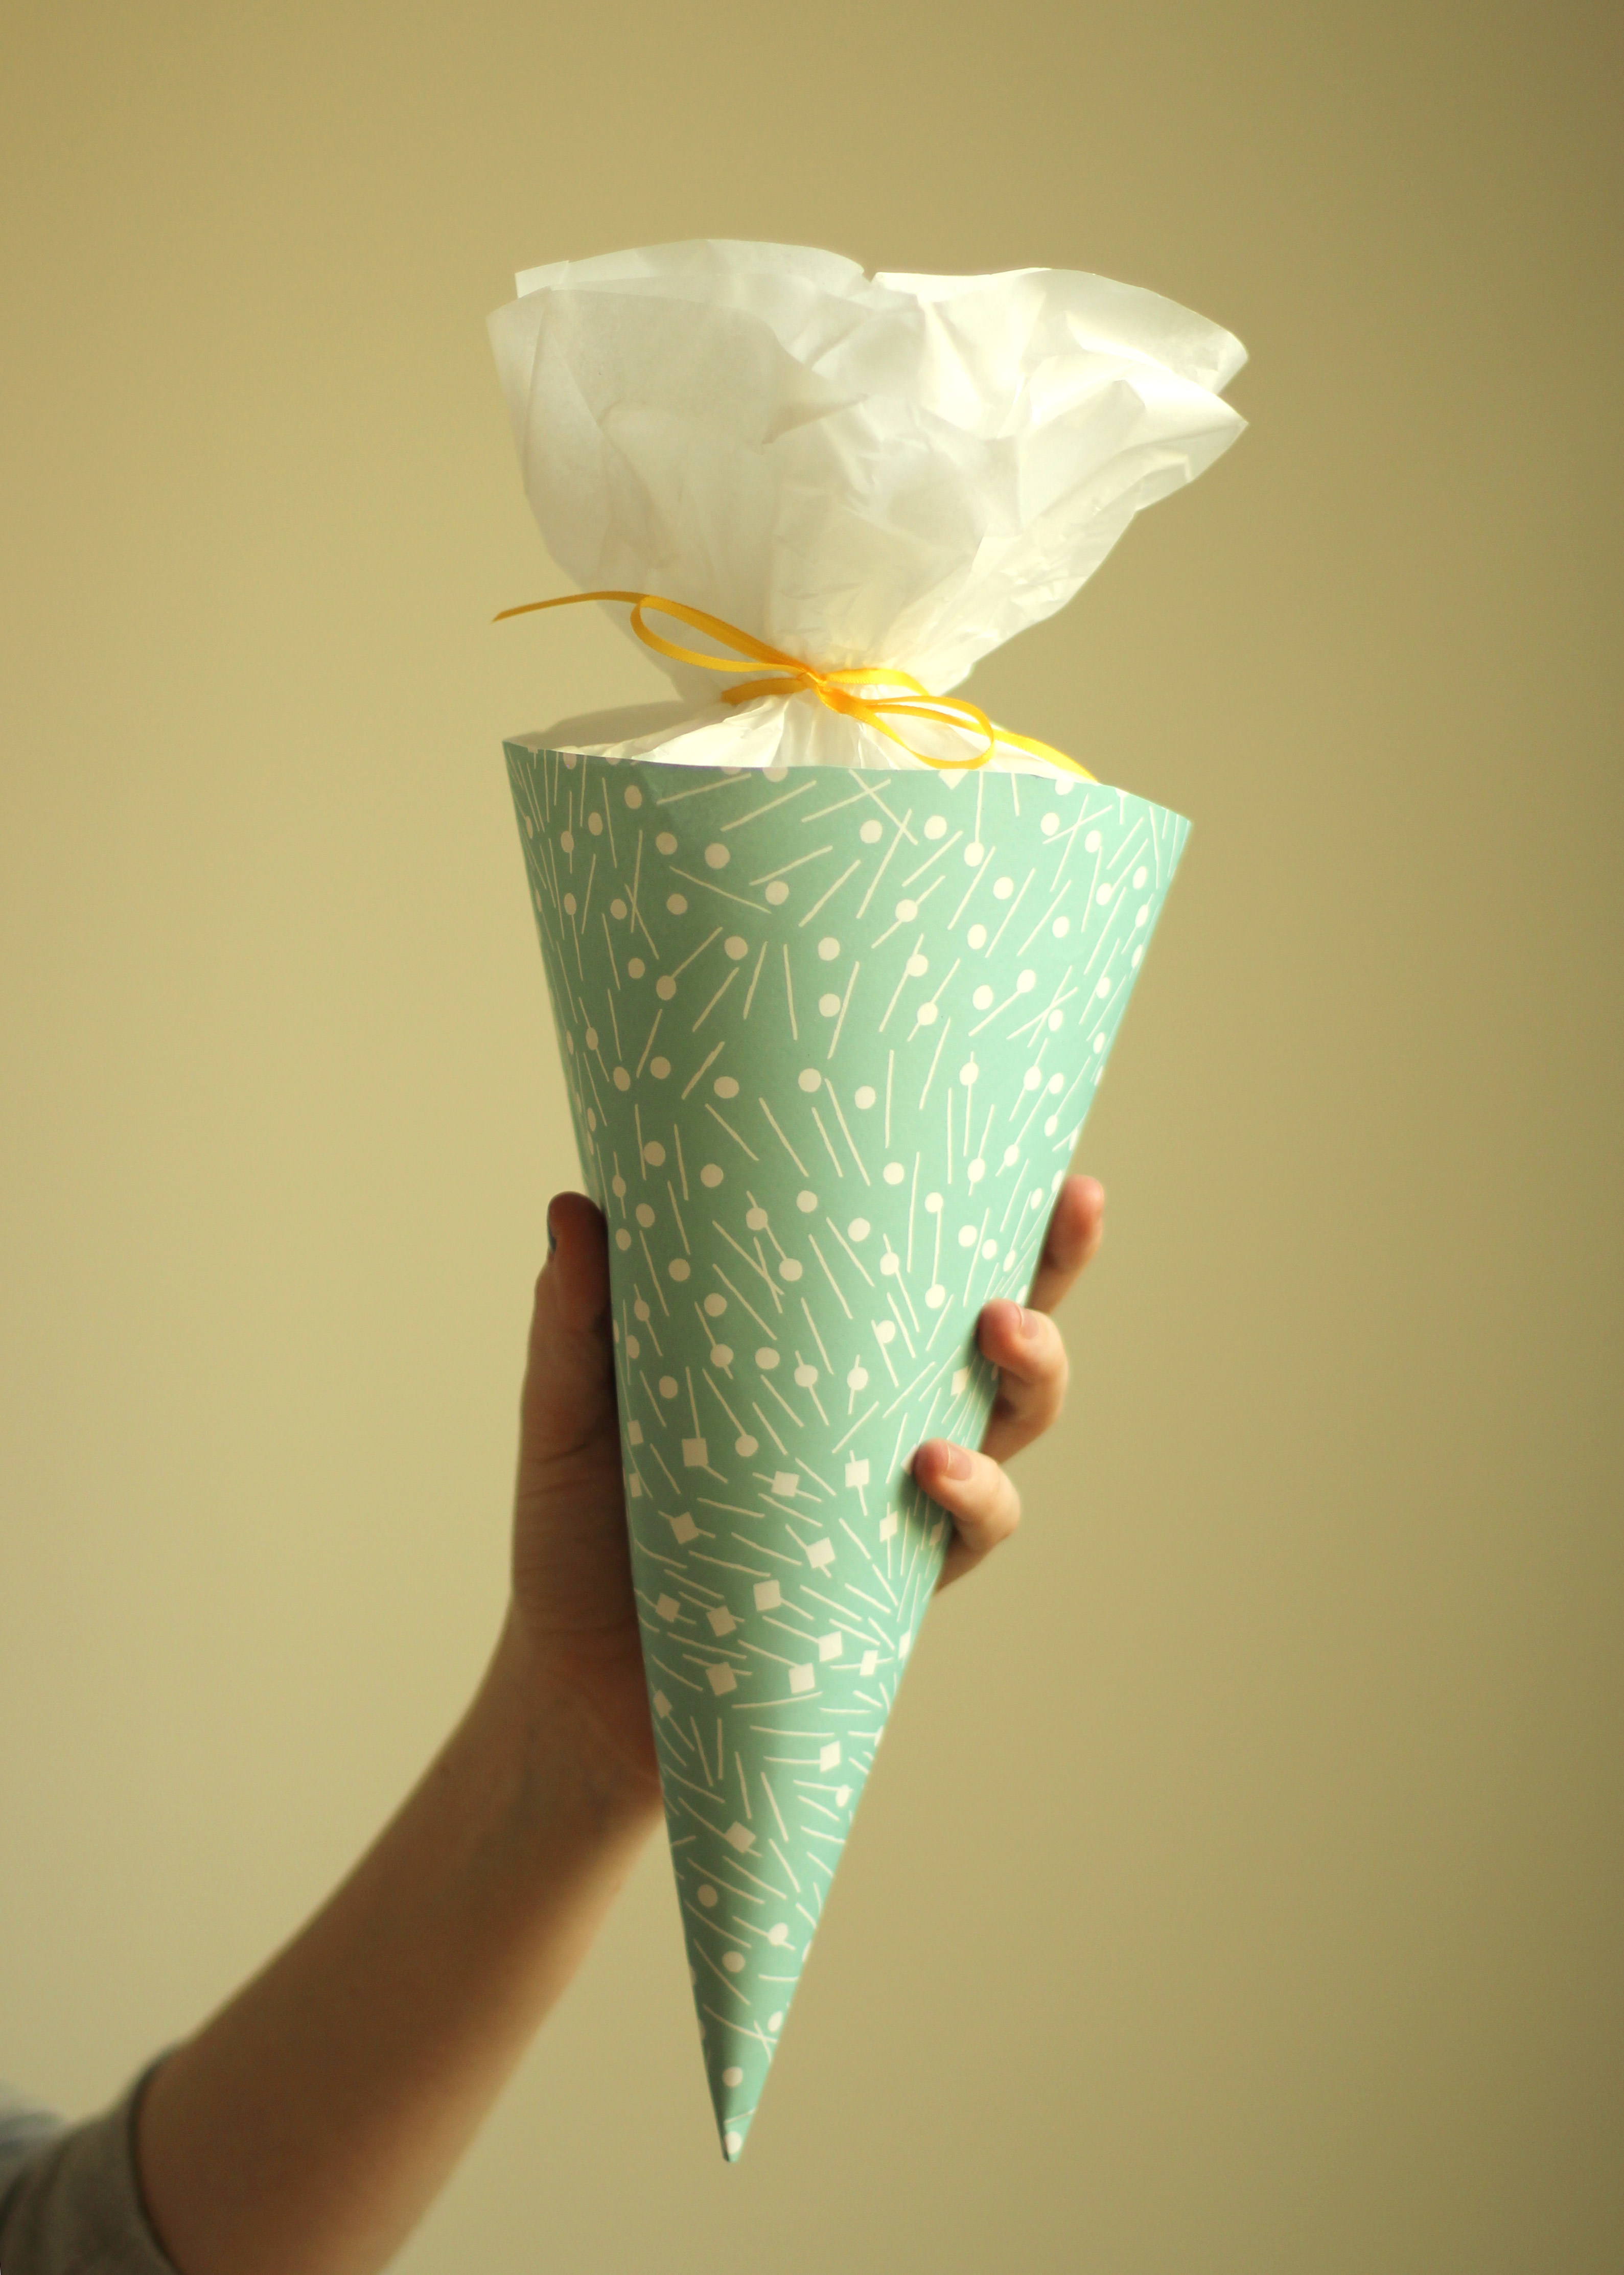
Voila!