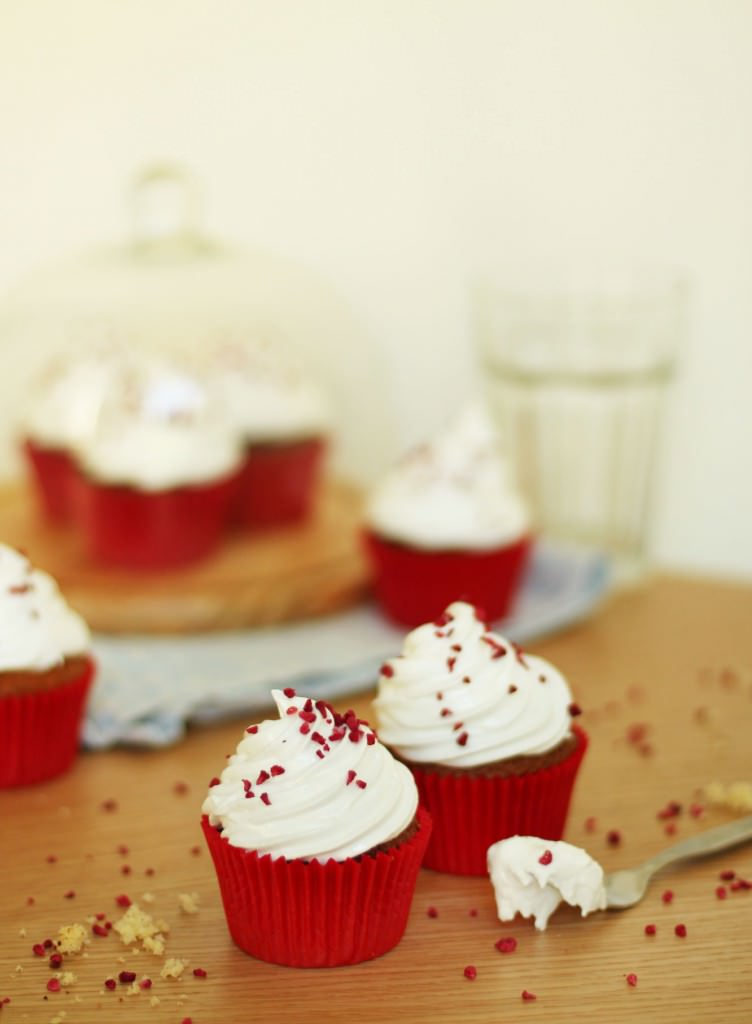
Fanfare please! We have reached the final post of the British favourites series. This has been fun, and I hope you’ve enjoyed it, but I for one am looking forward to eating something other than cupcakes soon. Safe to say my family and friends have enjoyed themselves the past few weeks. I should probably do a detox series next.
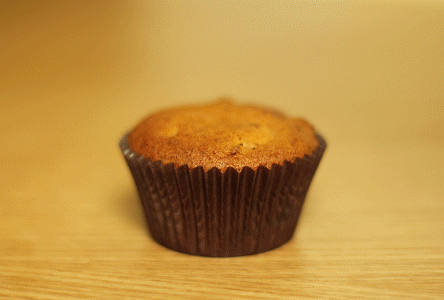
What better way to top this all off than with the Tunnock’s tea cake? The Tunnock’s bakery was founded in 1890, I’m not sure when the idea of the teacake popped into Mr Tunnock’s head but I’m sure glad it did.
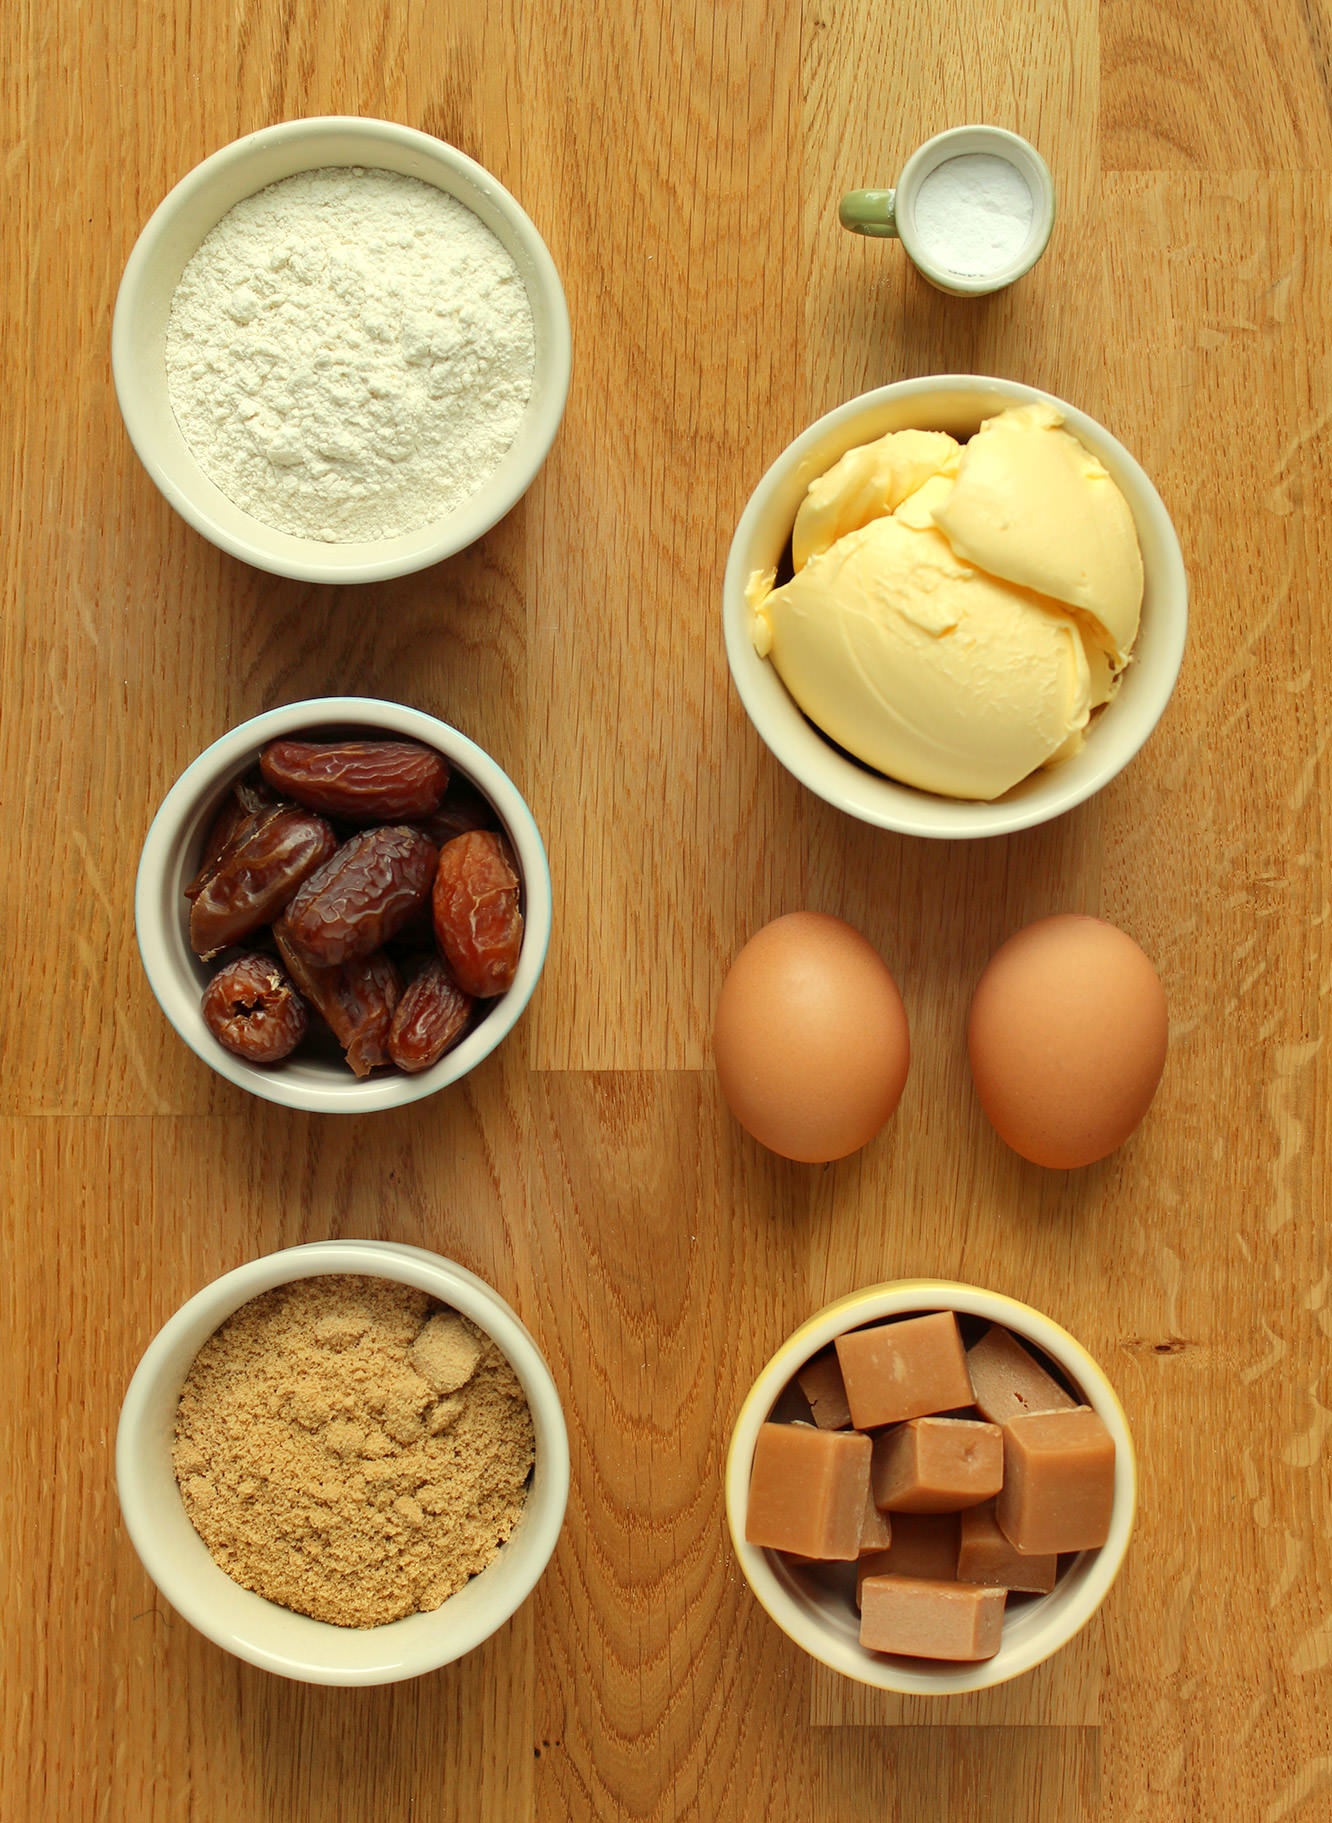
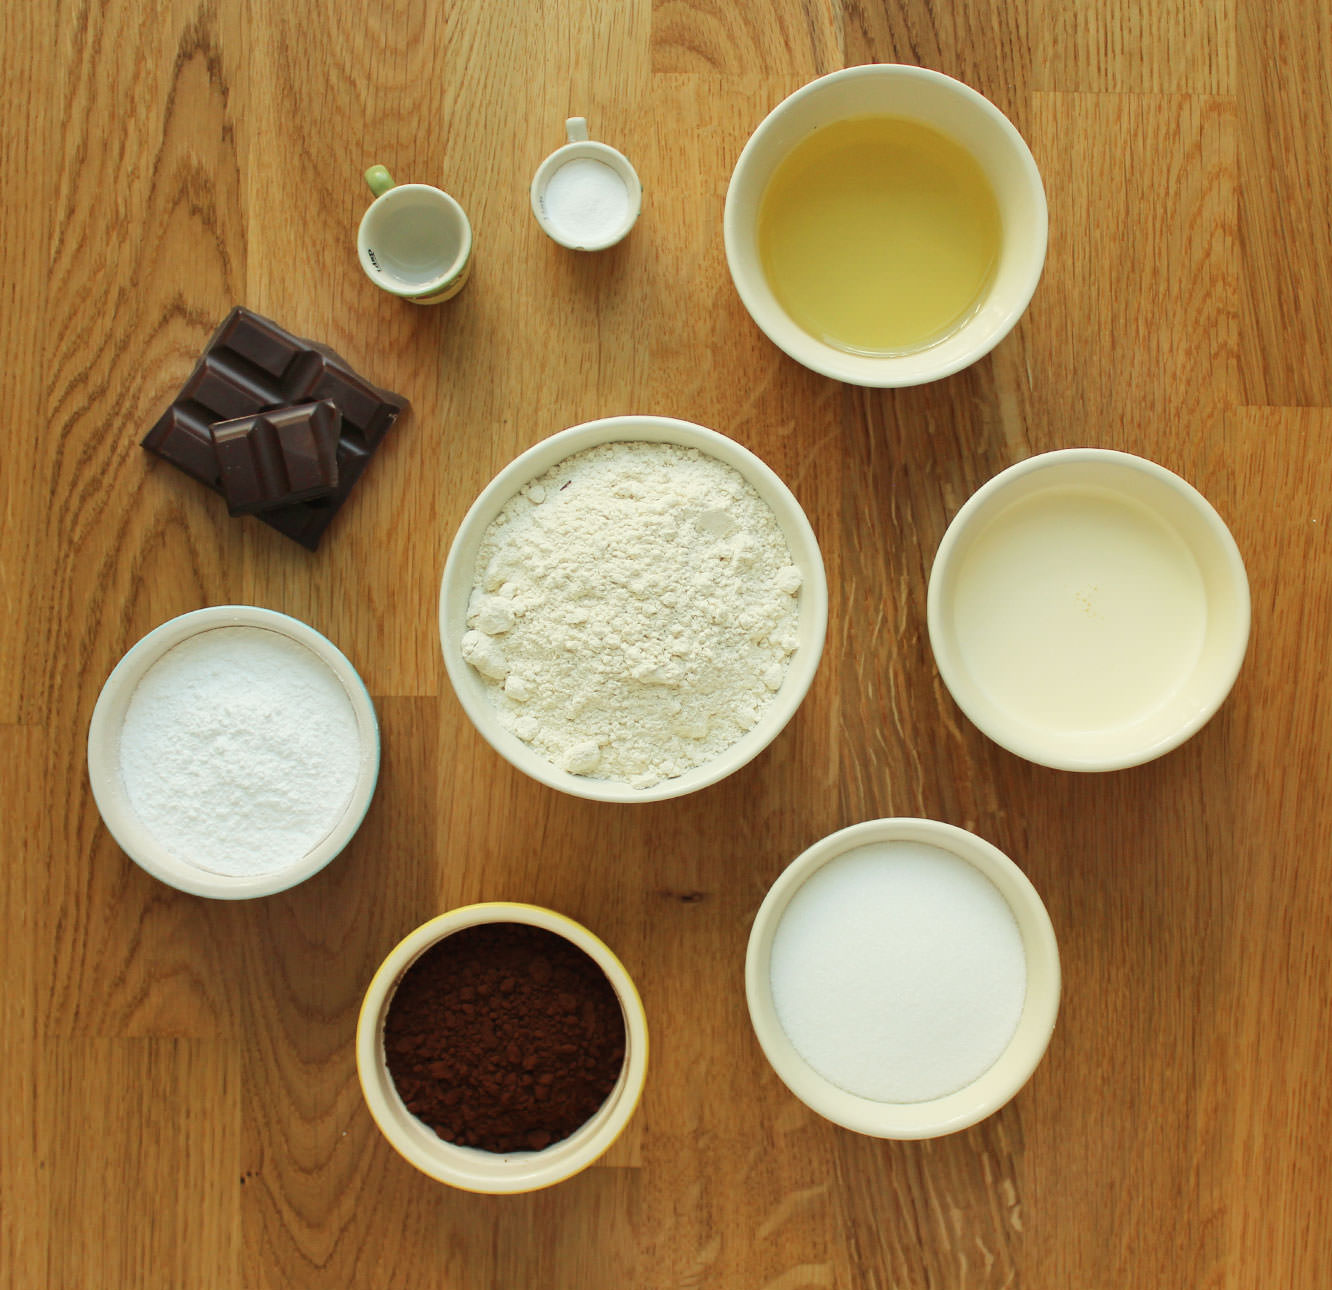
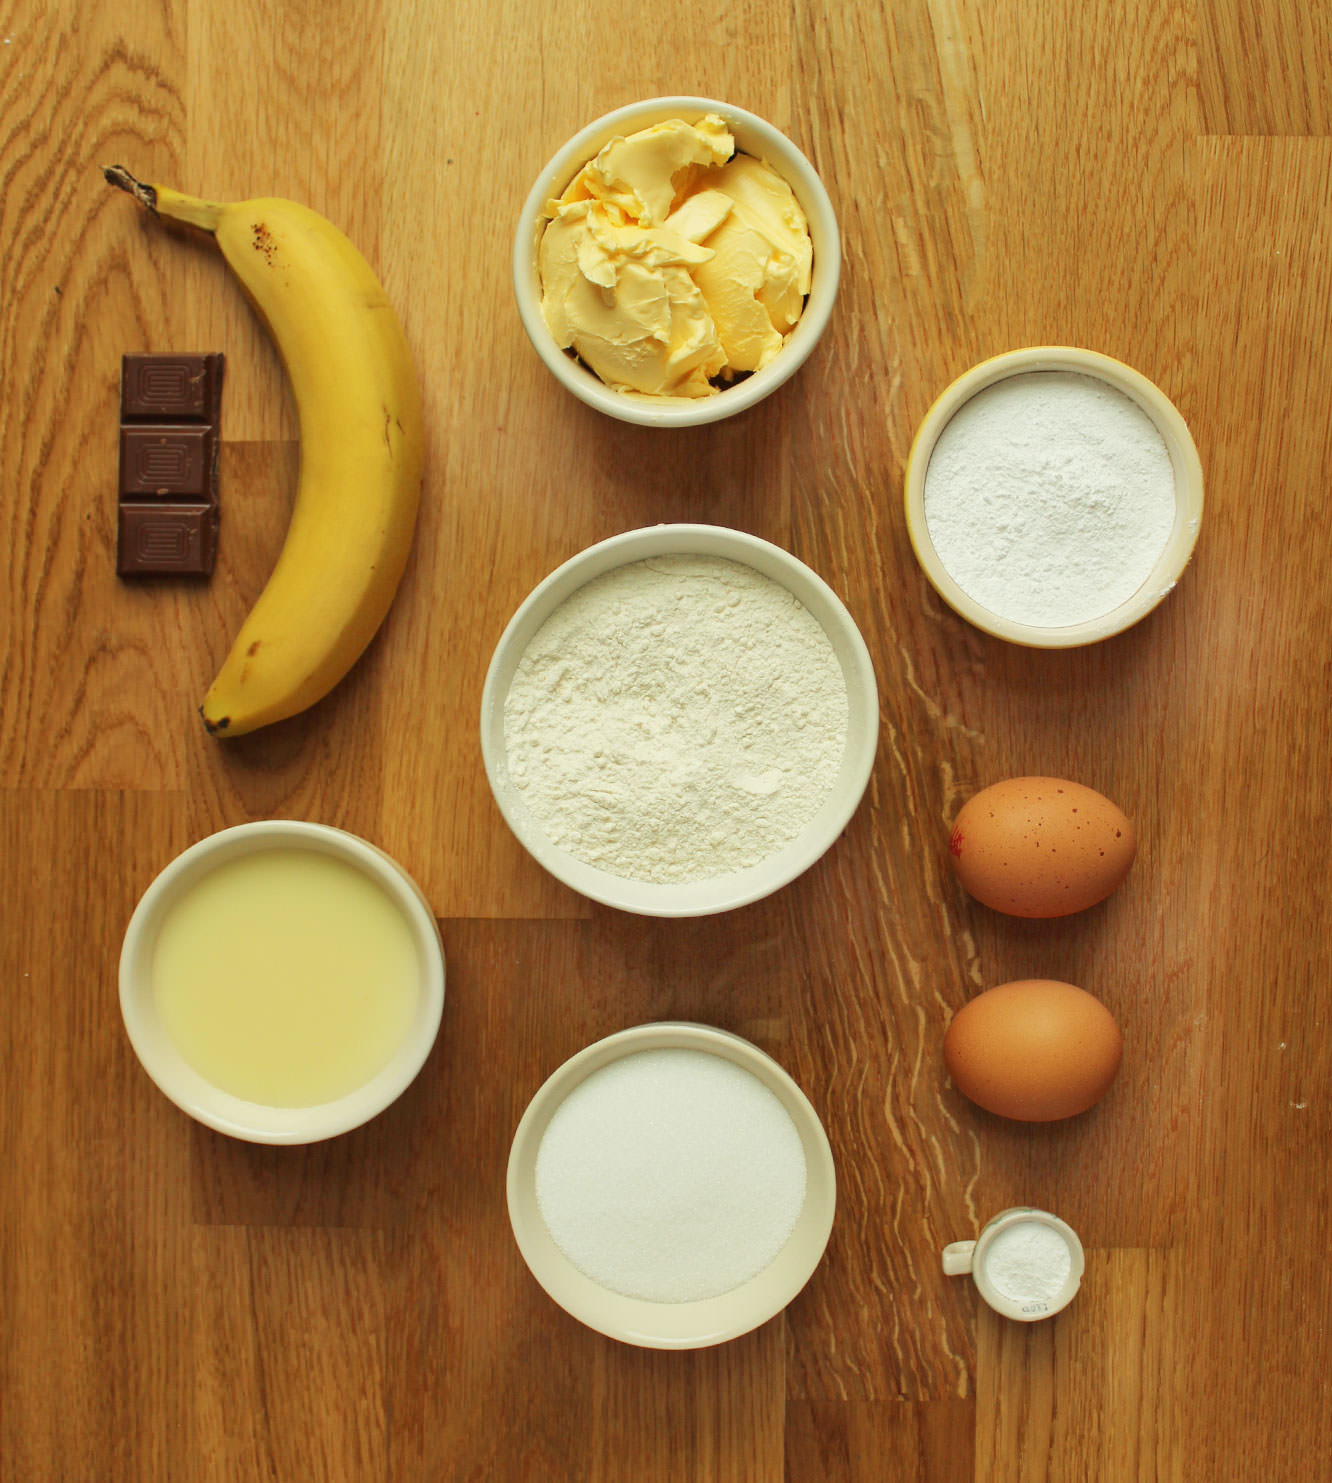
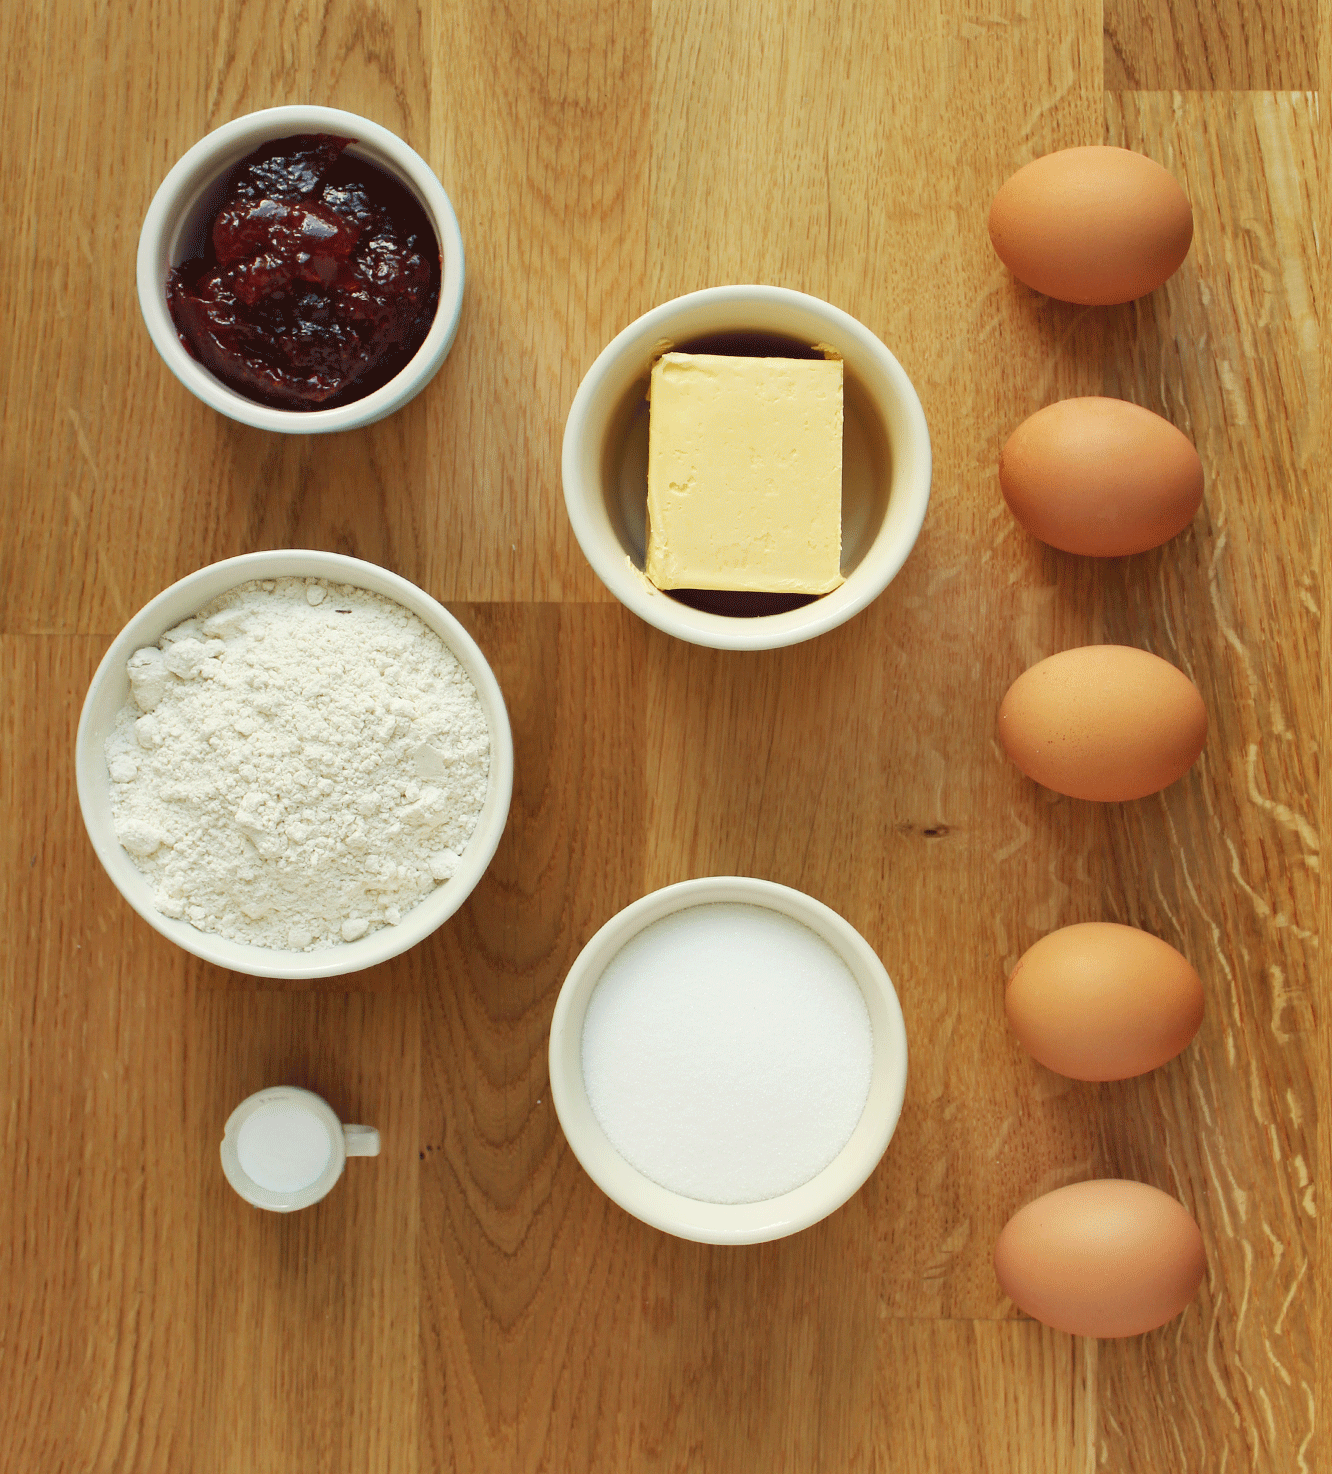
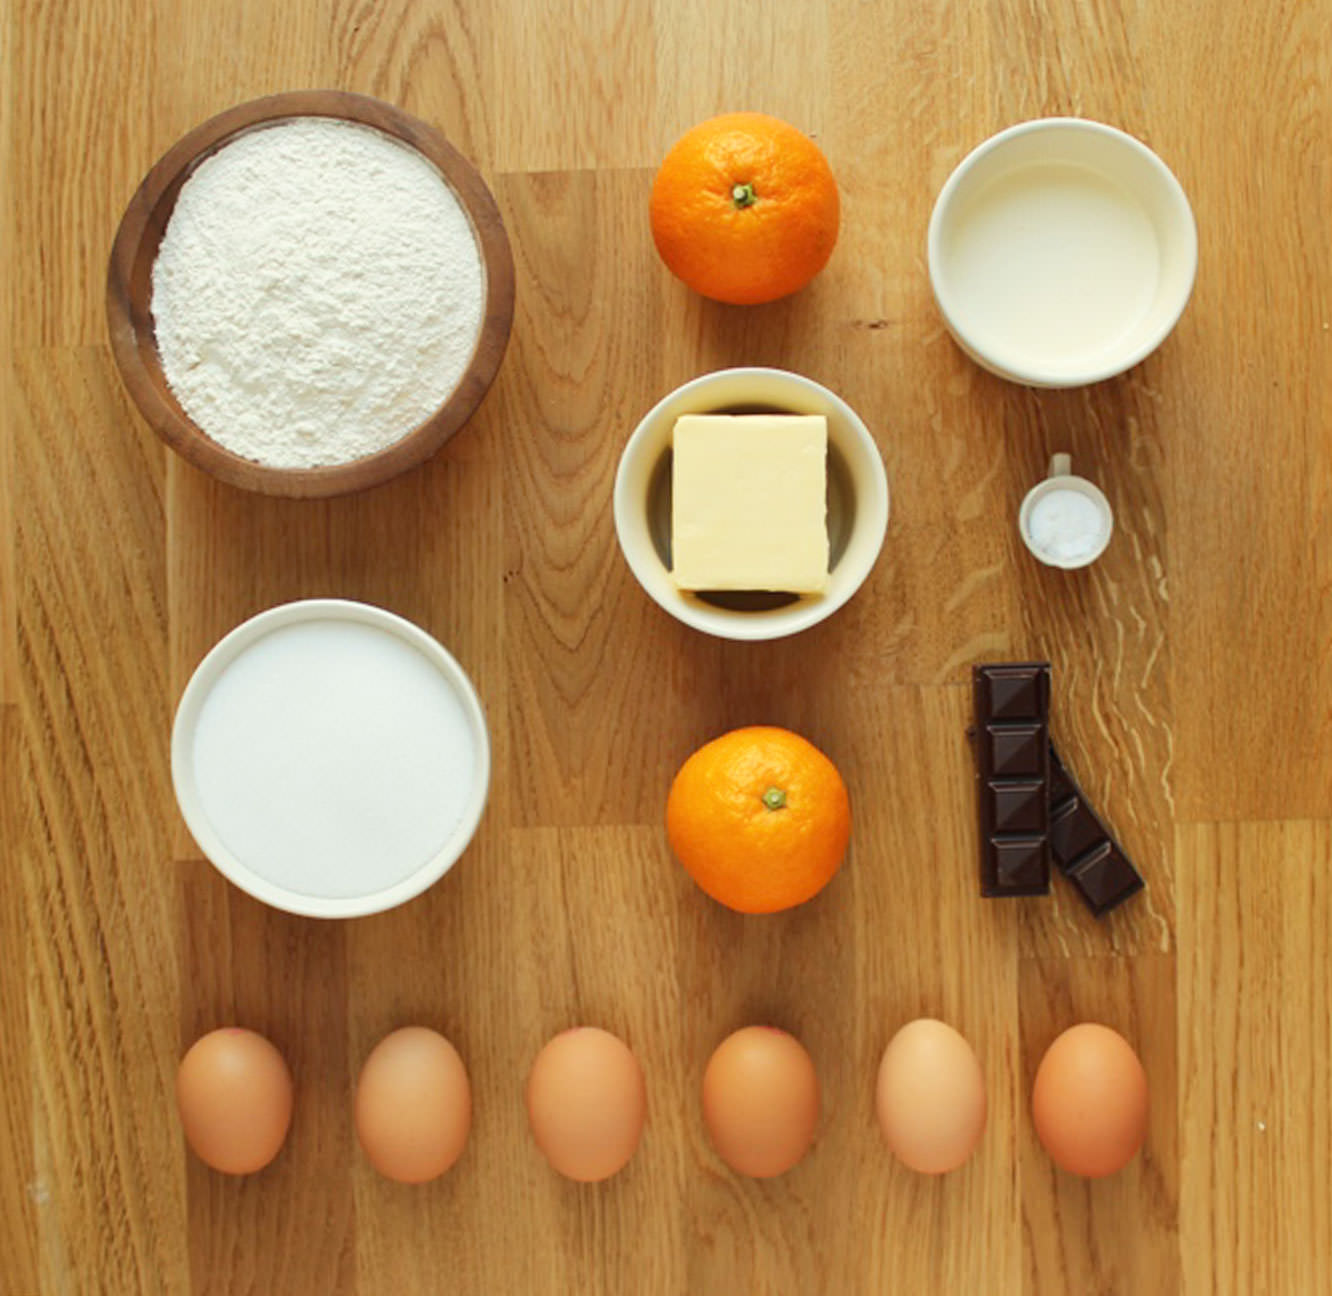
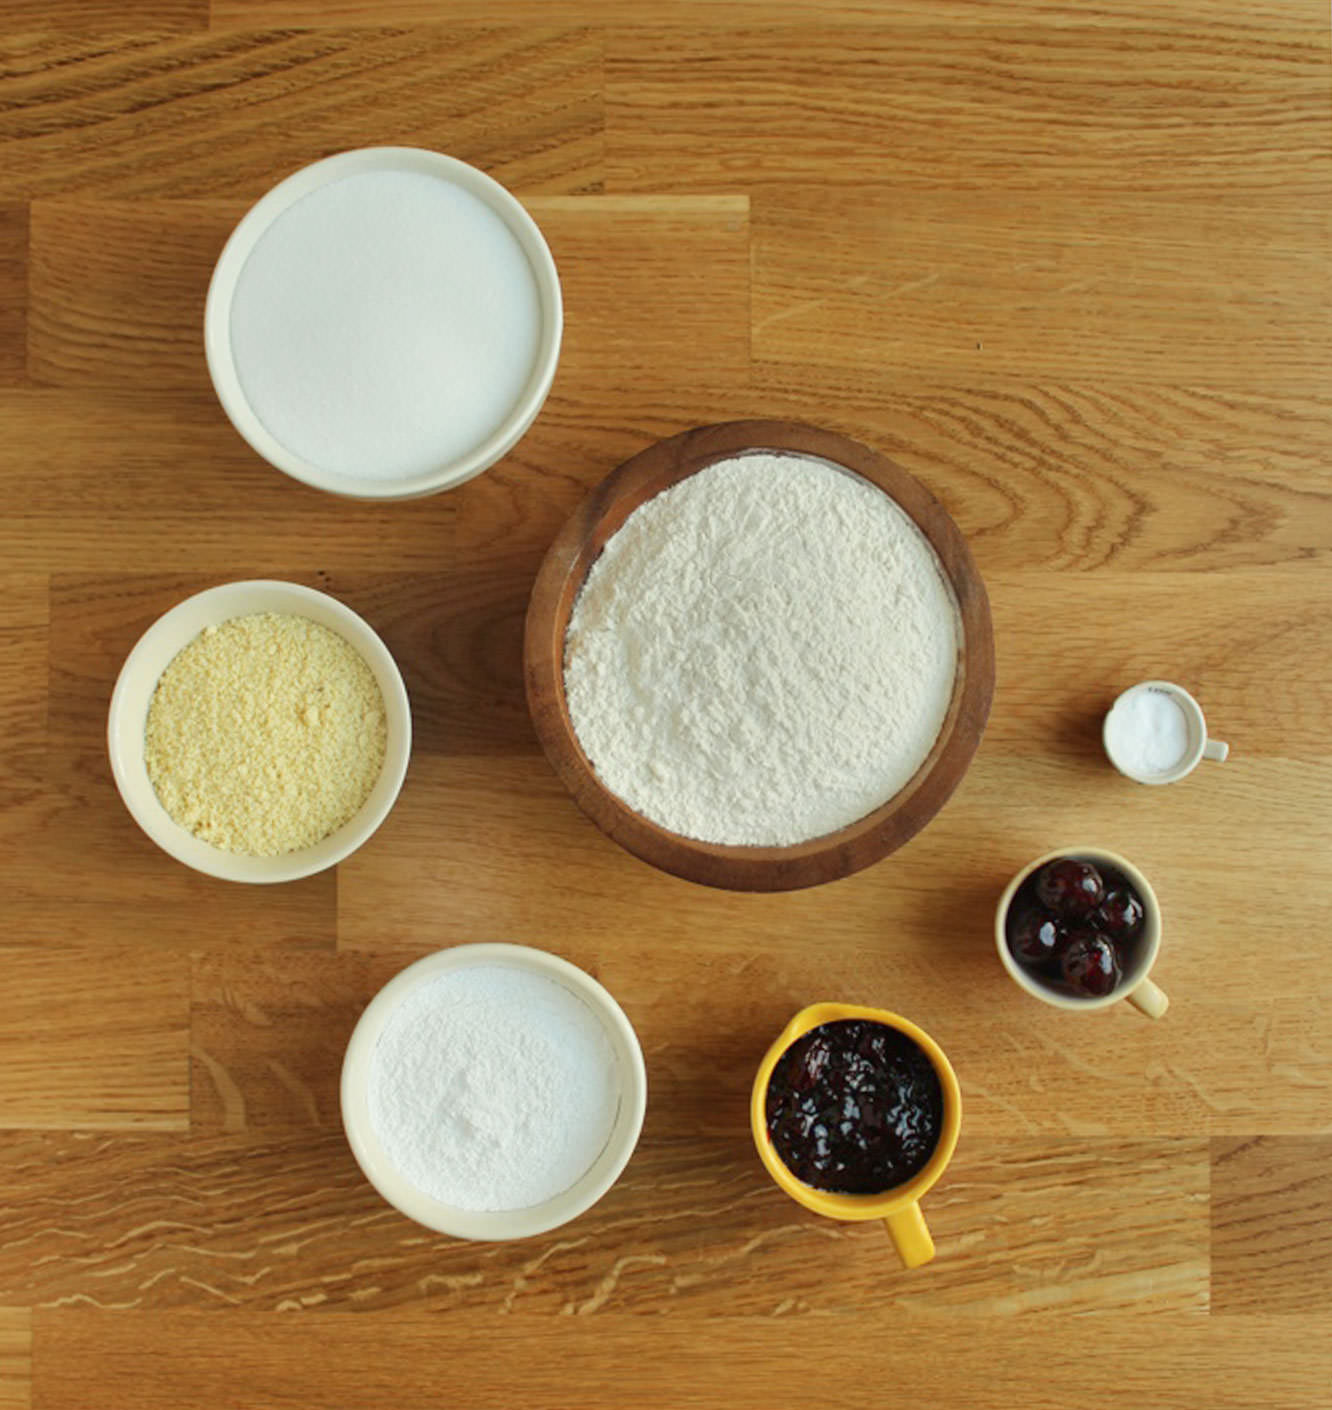
You will need
For the cake:
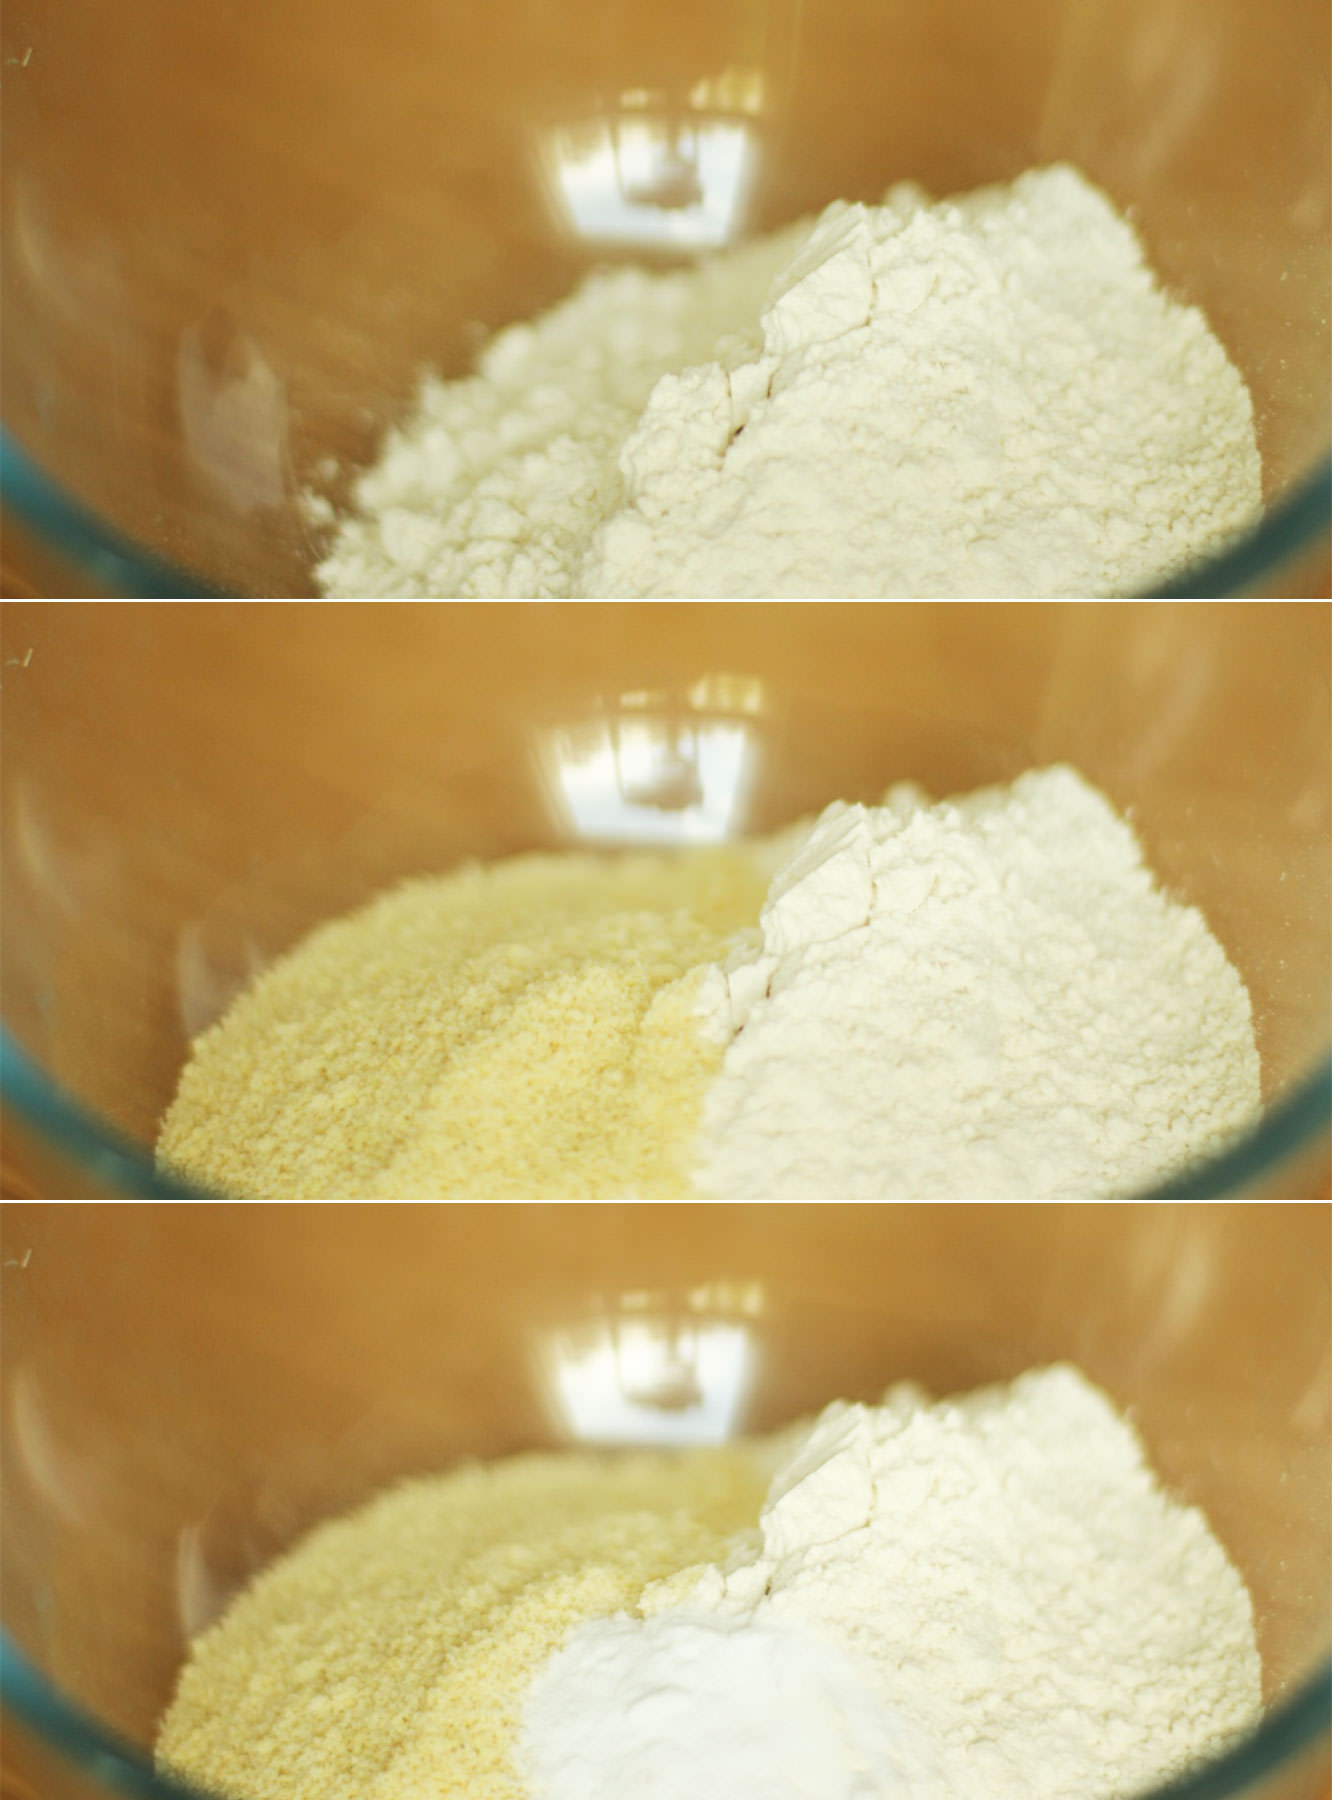
185g/6.5 oz self raising flour
185g/6.5 oz butter/margarine (I use Stork)
185g/6.5 oz caster sugar
3 eggs
1 tsp bicarbonate of soda
1 tsp vanilla extract/paste
For the filling:
200g/7 oz milk chocolate
150ml/5 fl oz double cream
For the frosting/icing:
2 egg whites
225g/8oz caster sugar
1/2 tsp cream of tartar
75ml/2.5 fl oz water
250g/9oz milk chocolate (for coating)
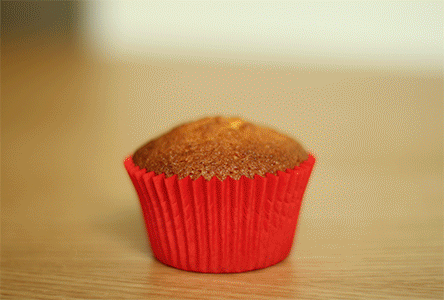
(makes 12)

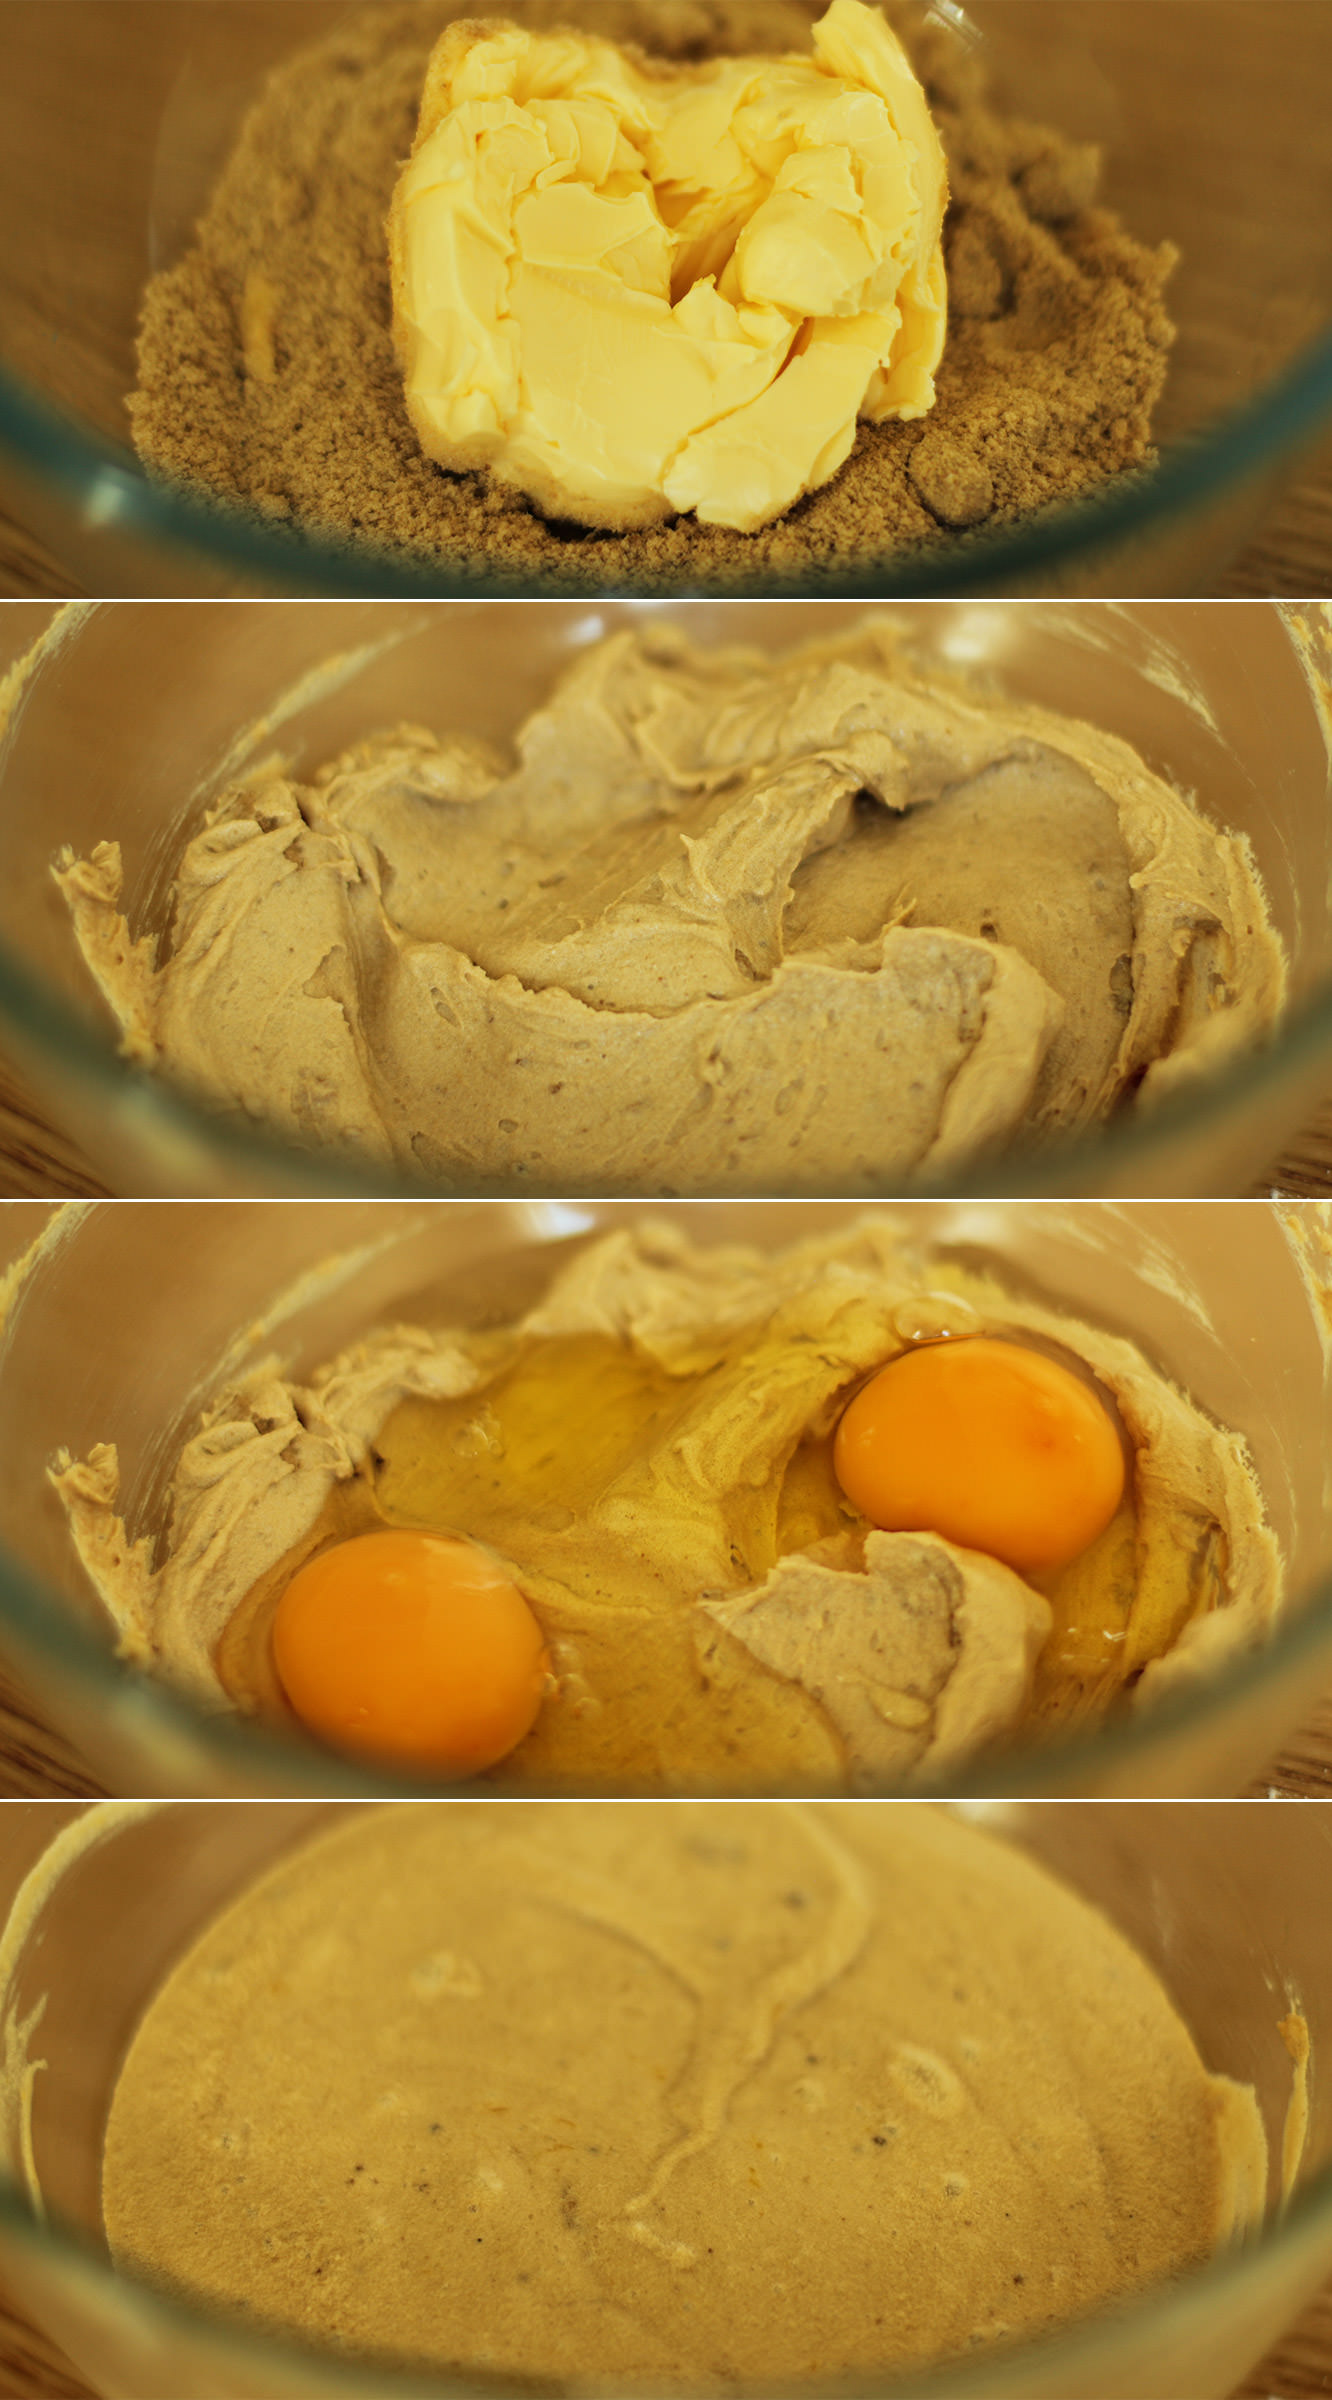
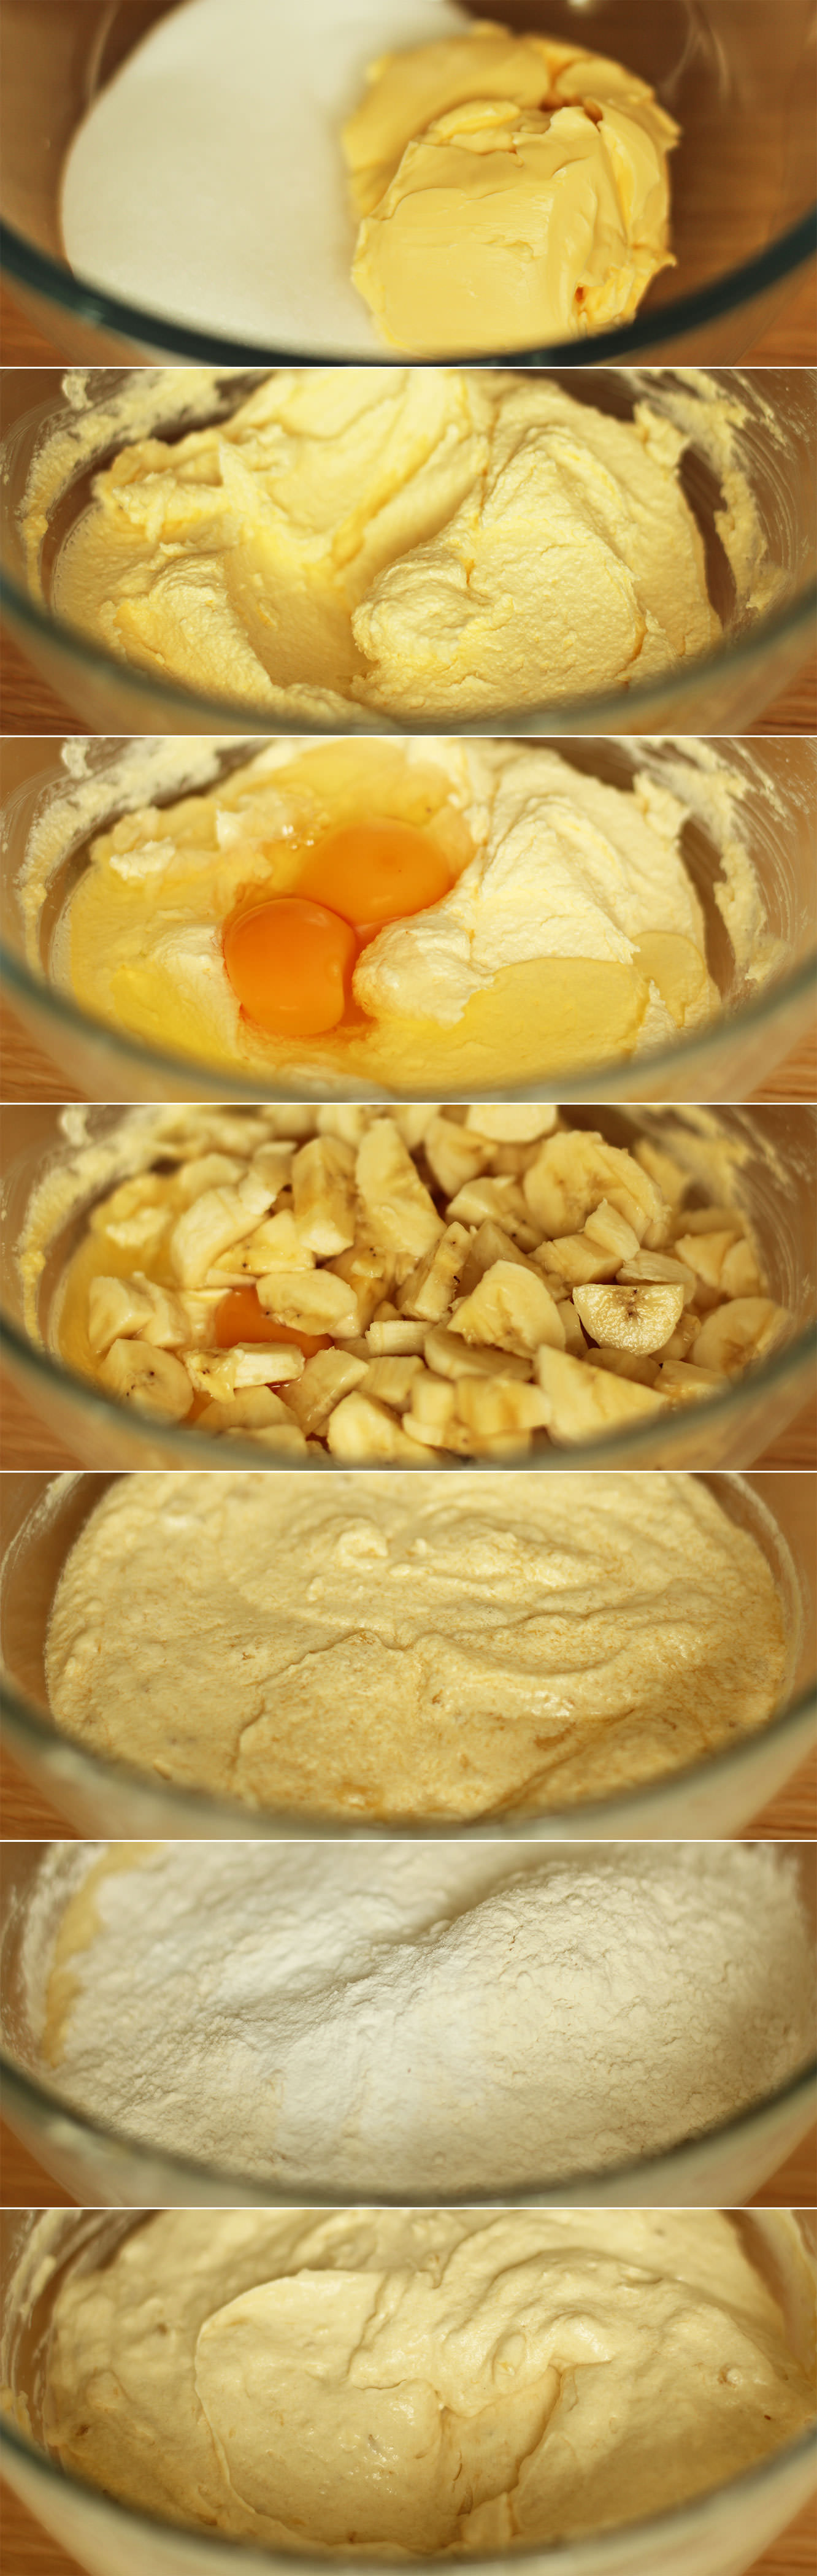
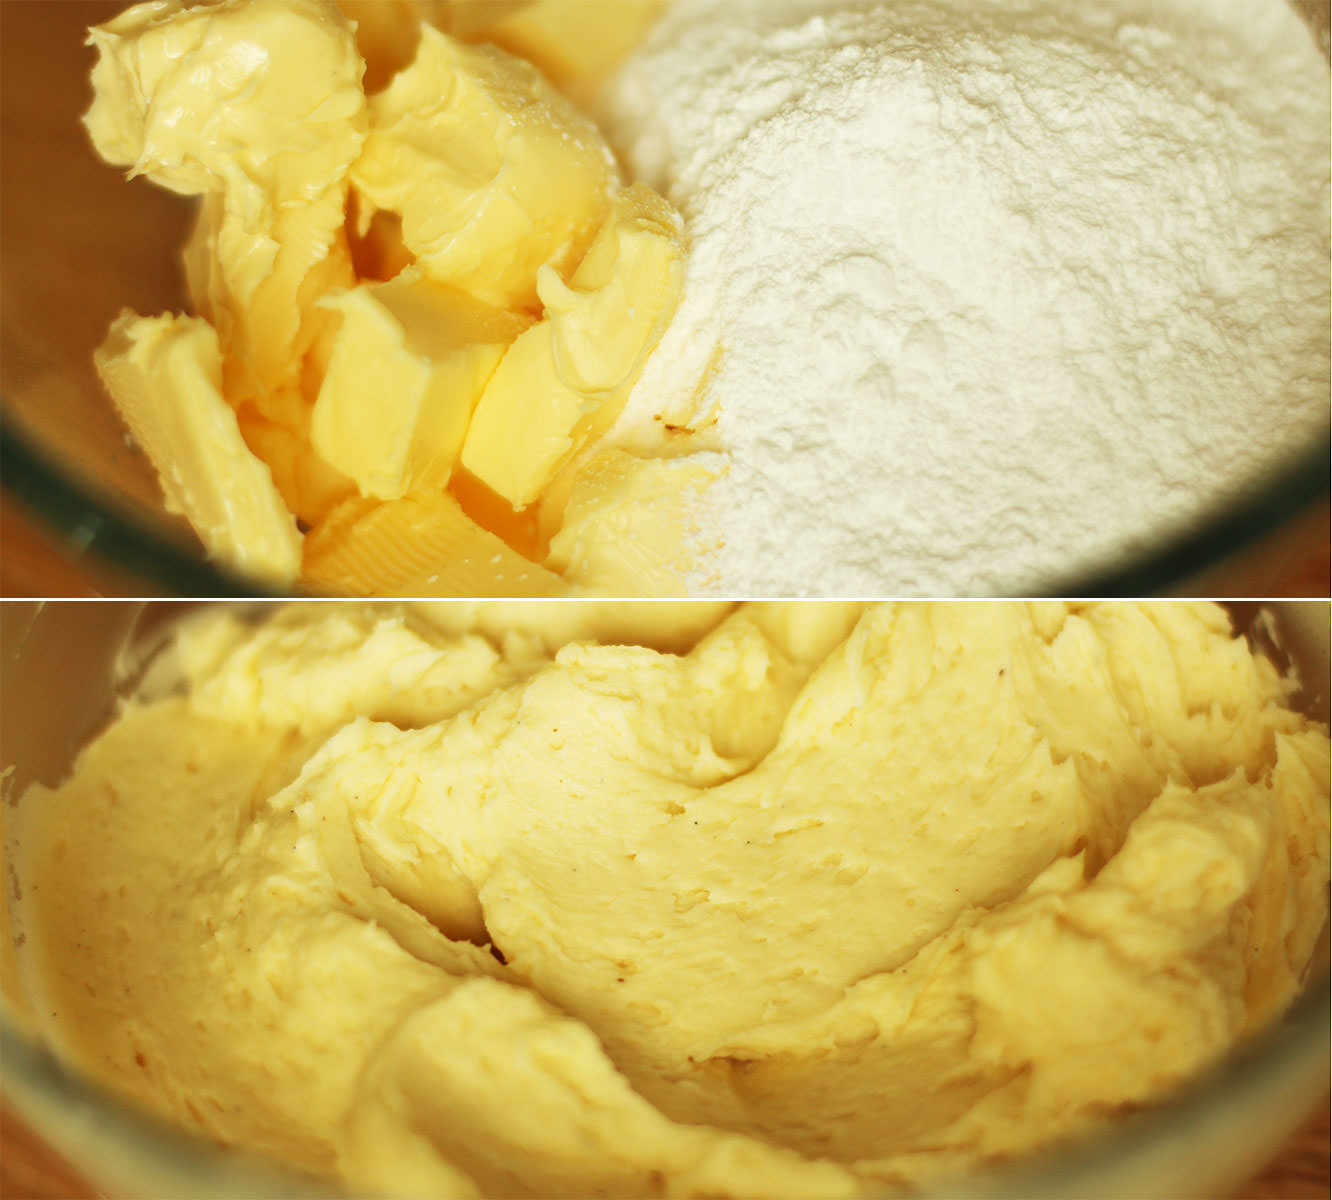
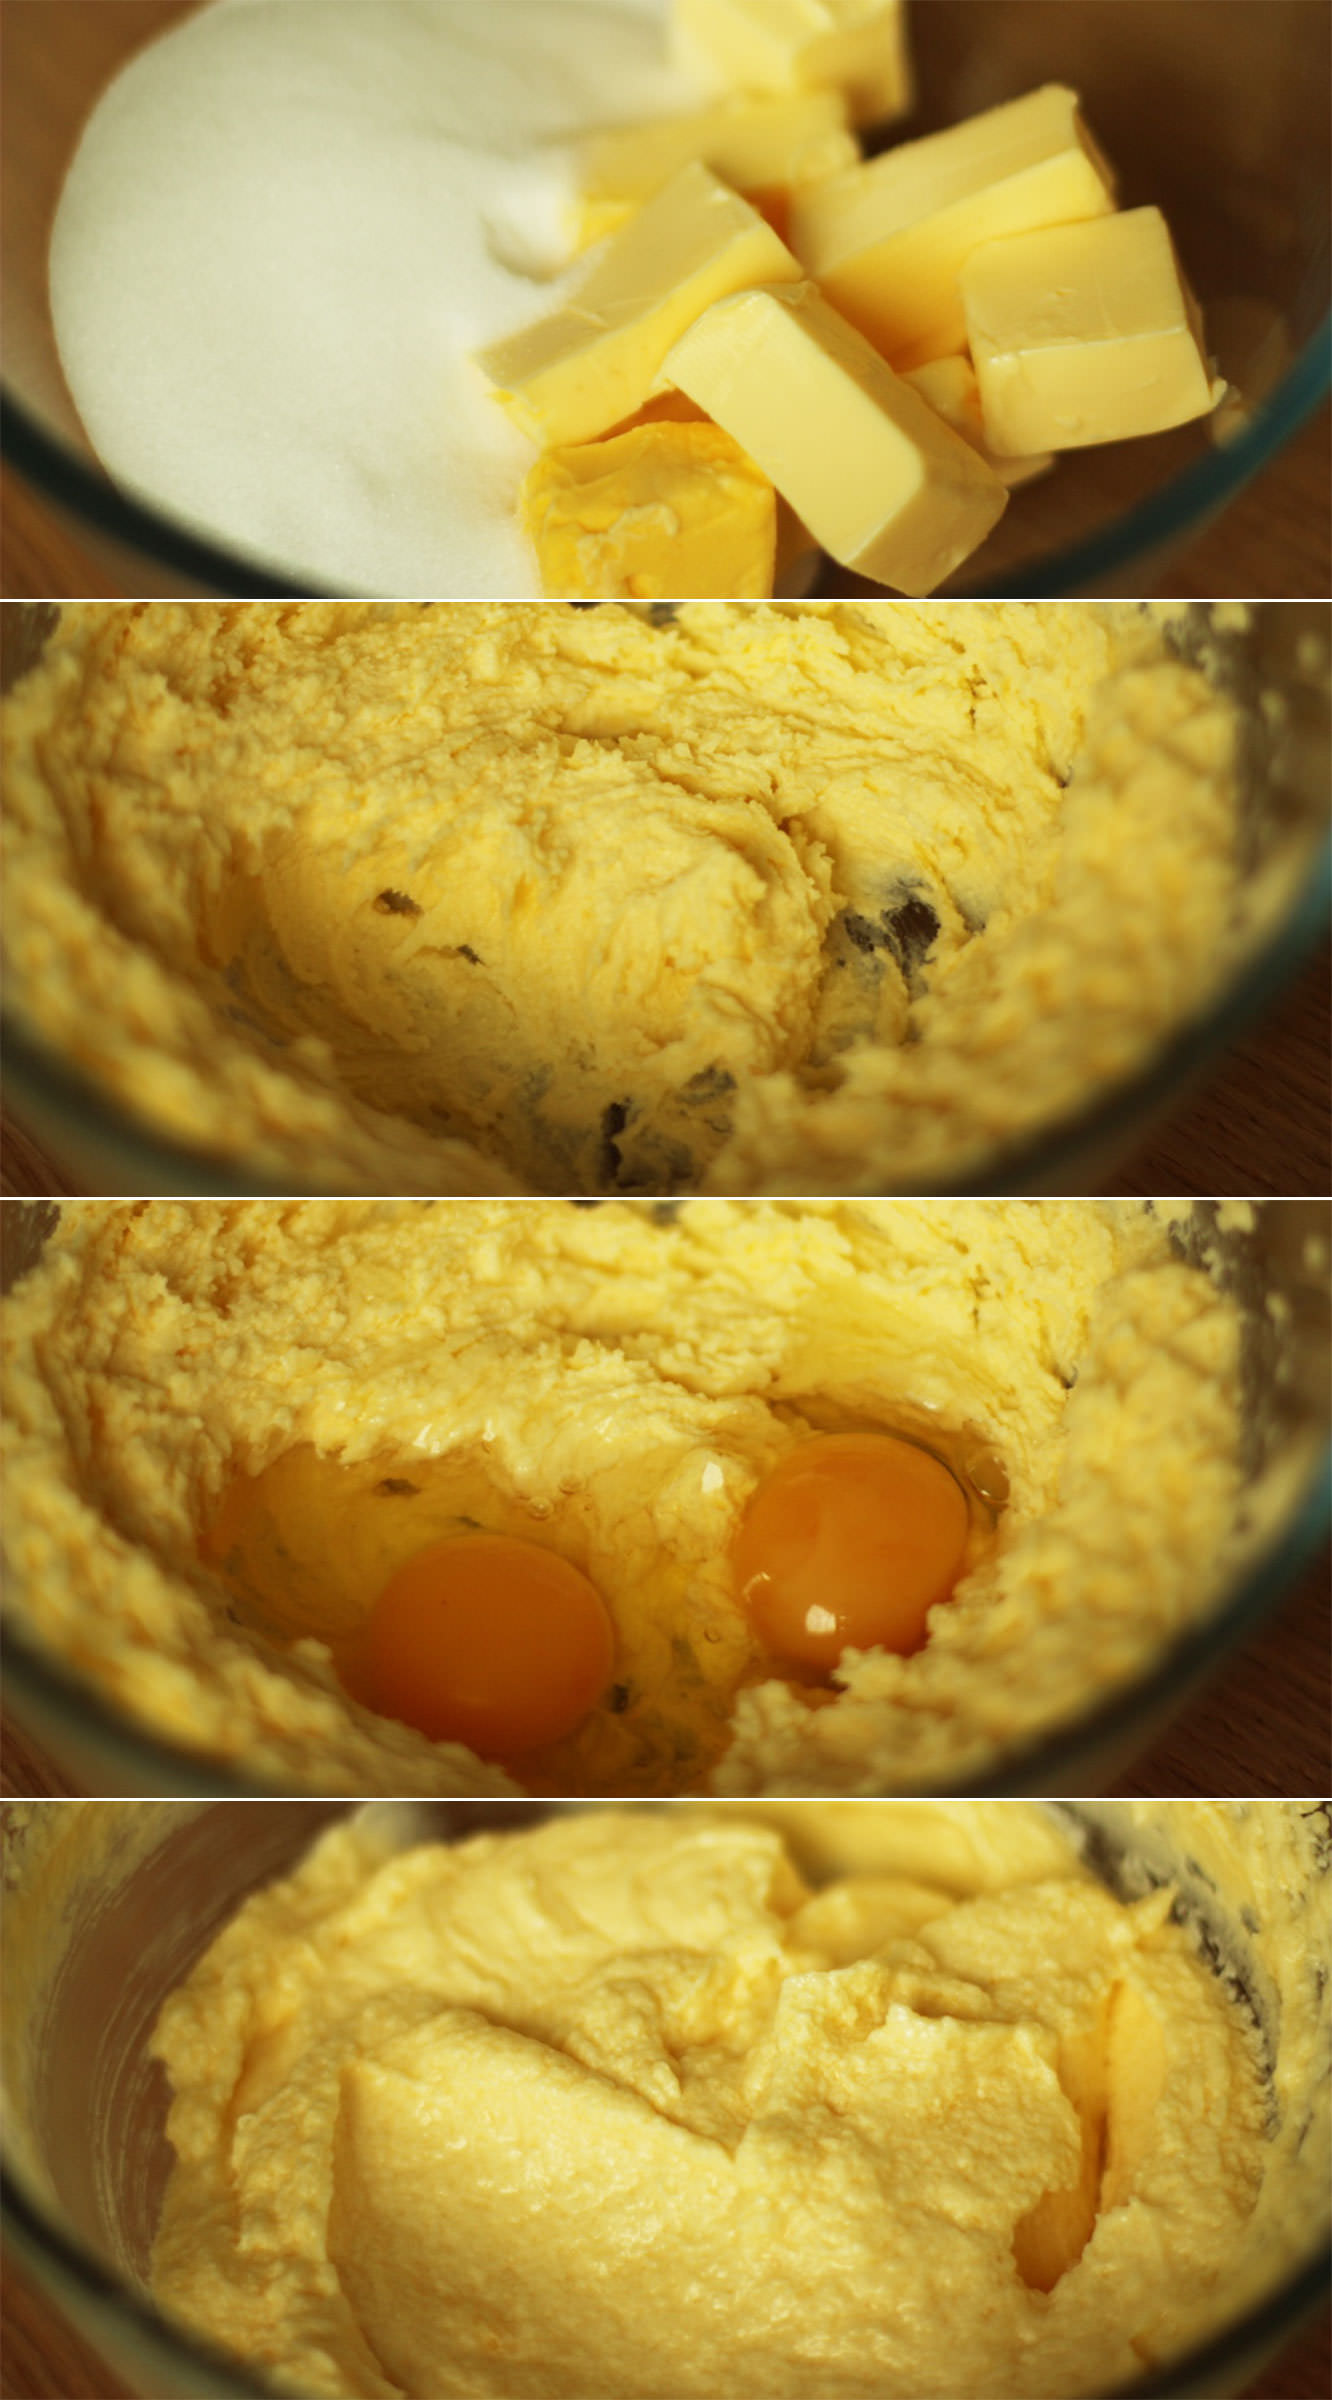
Step one
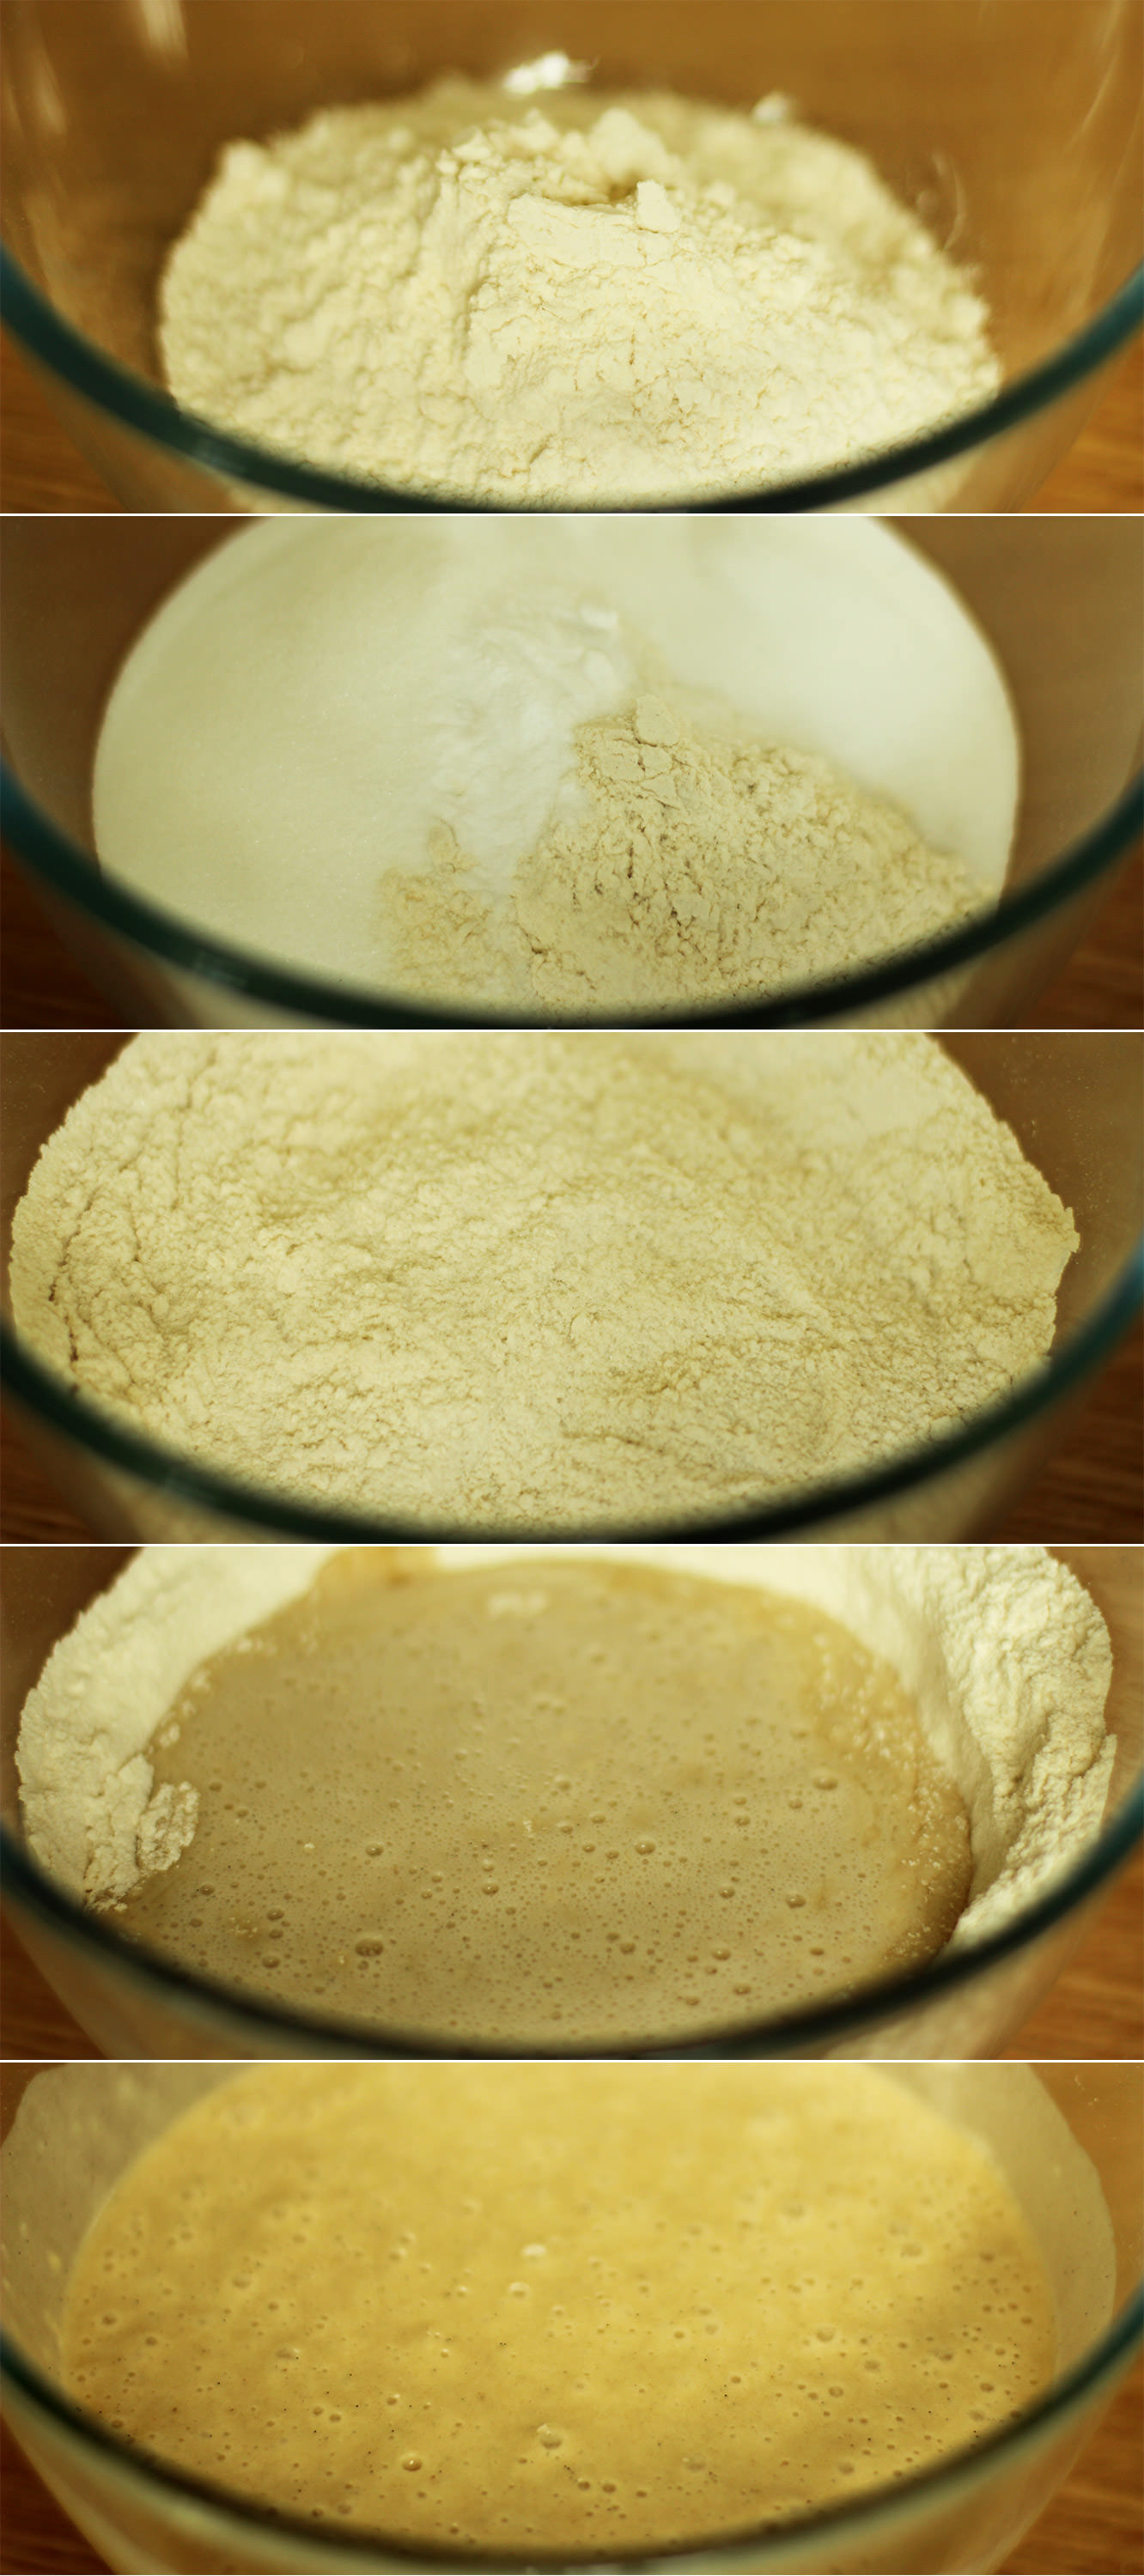
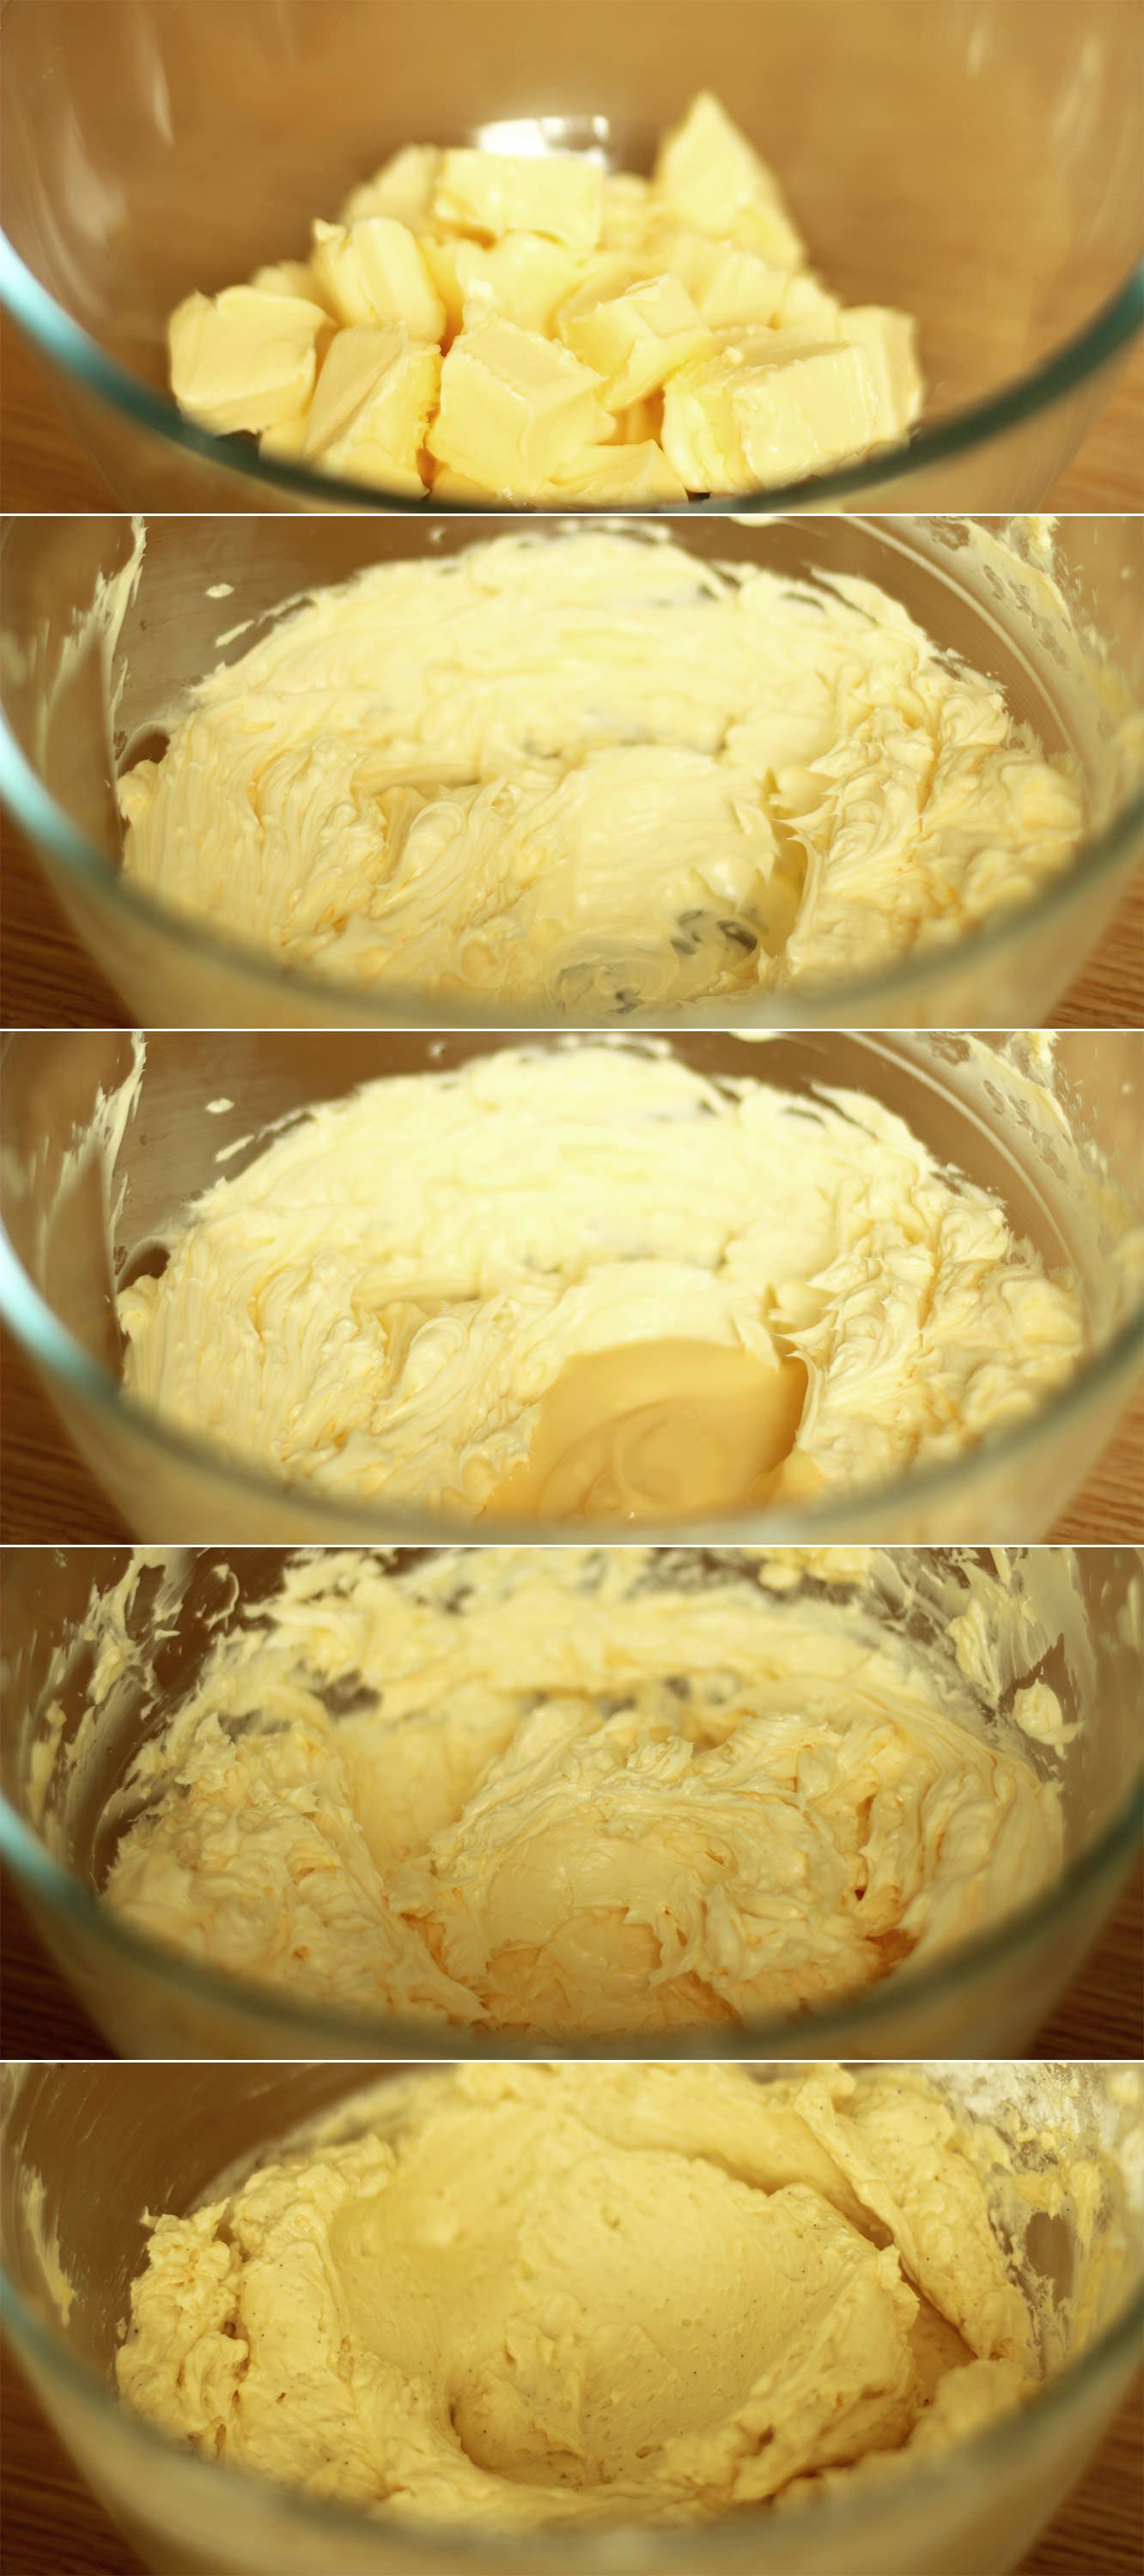
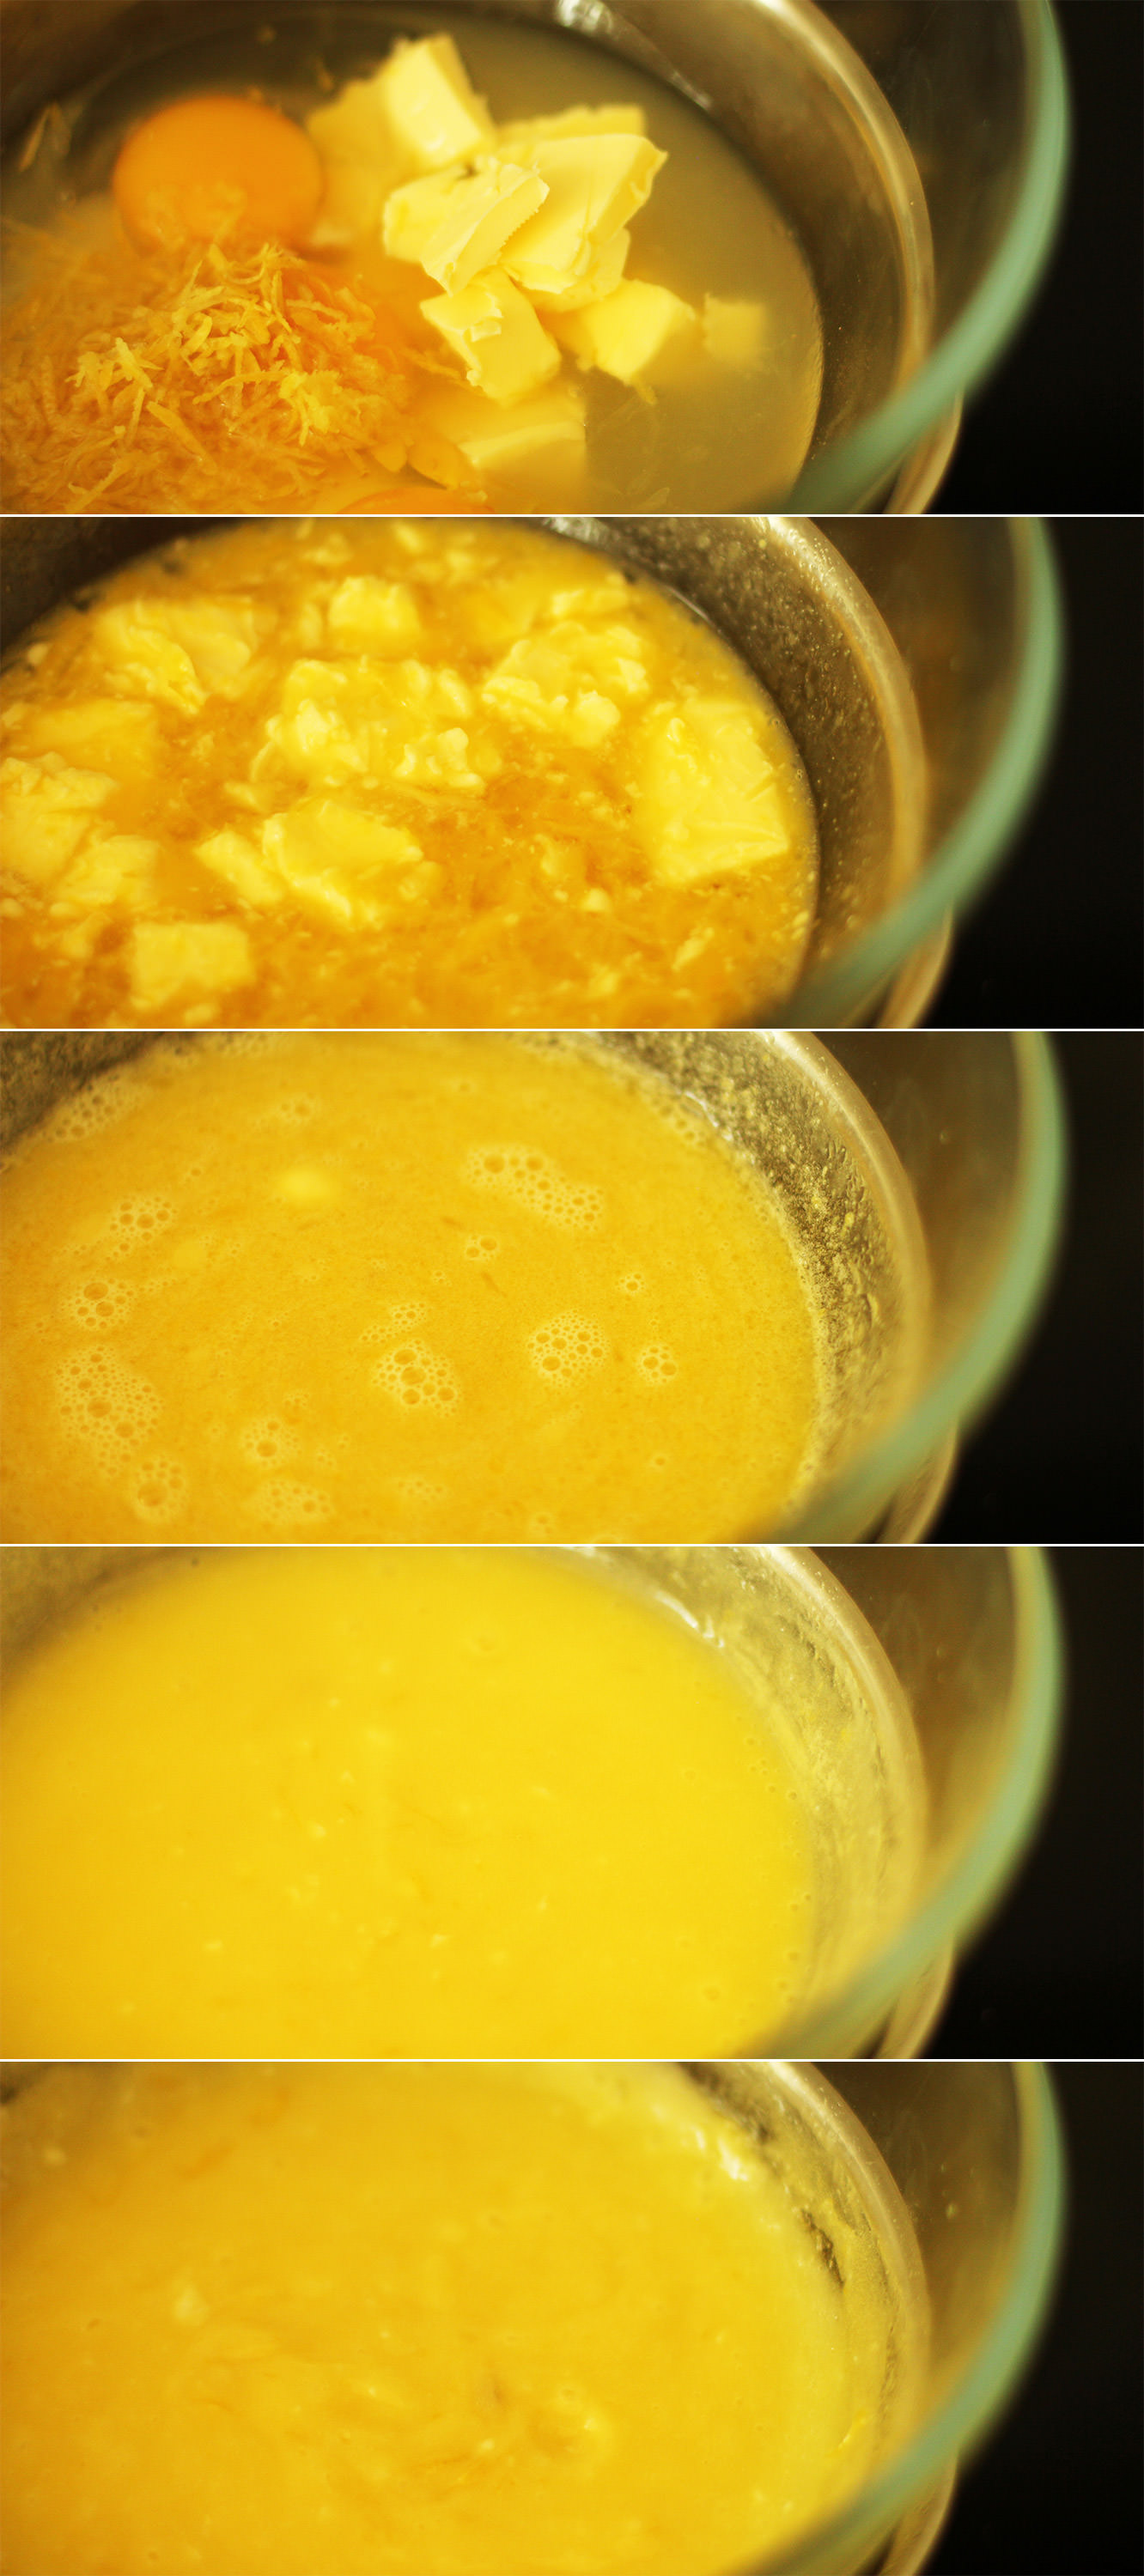
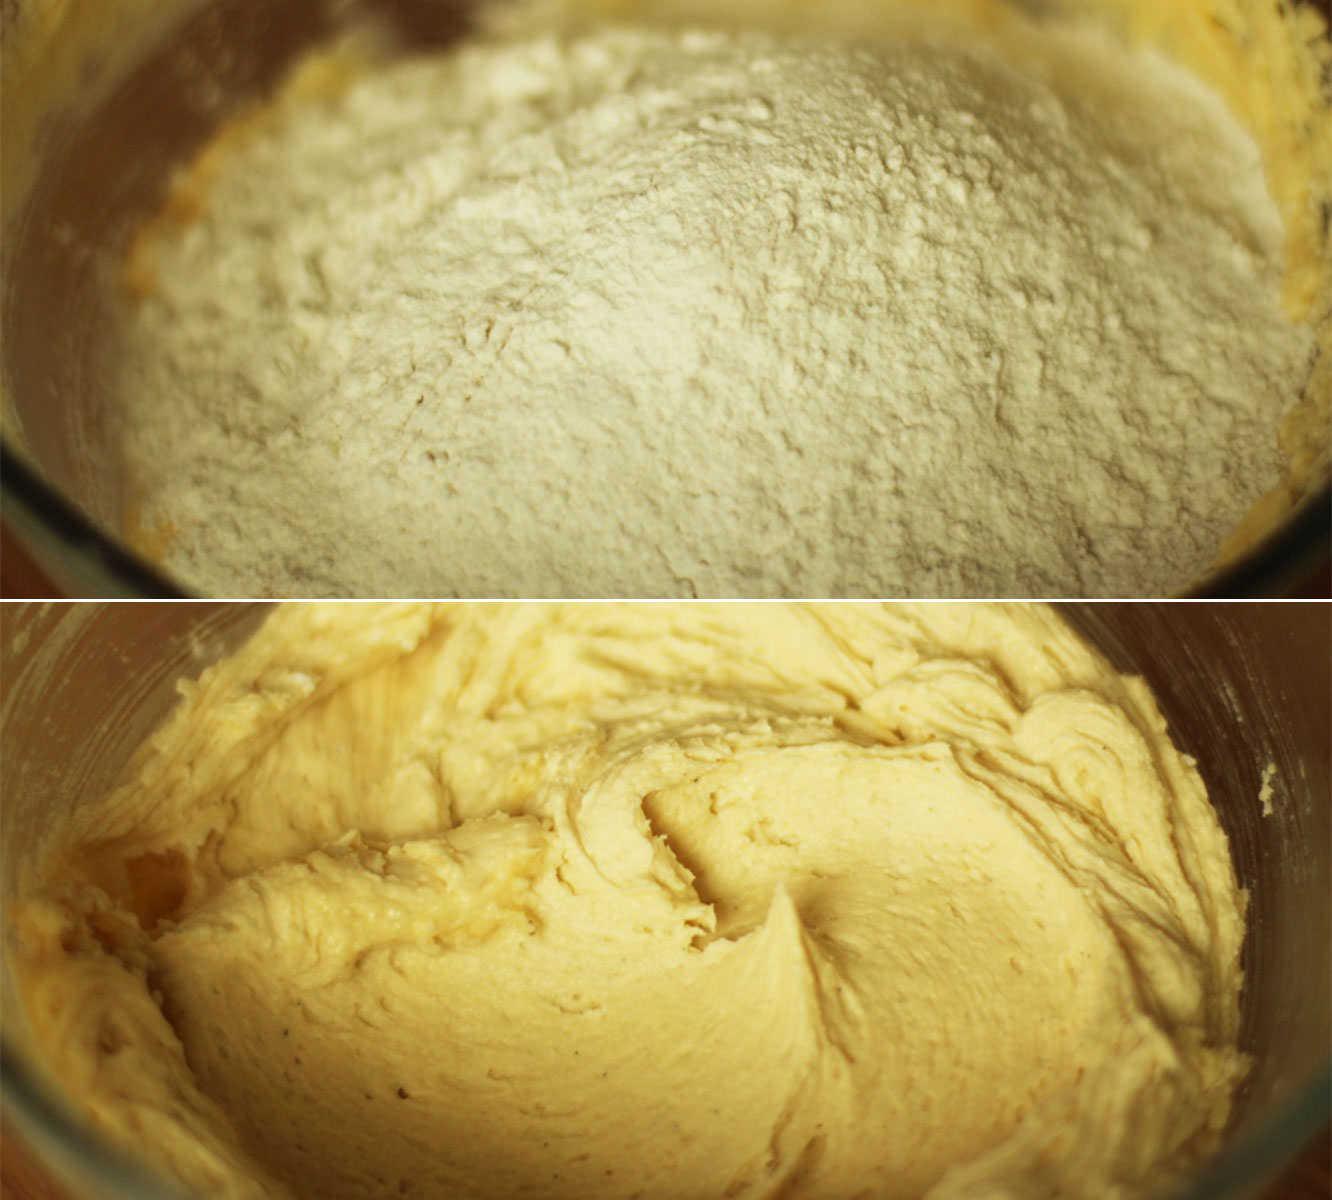
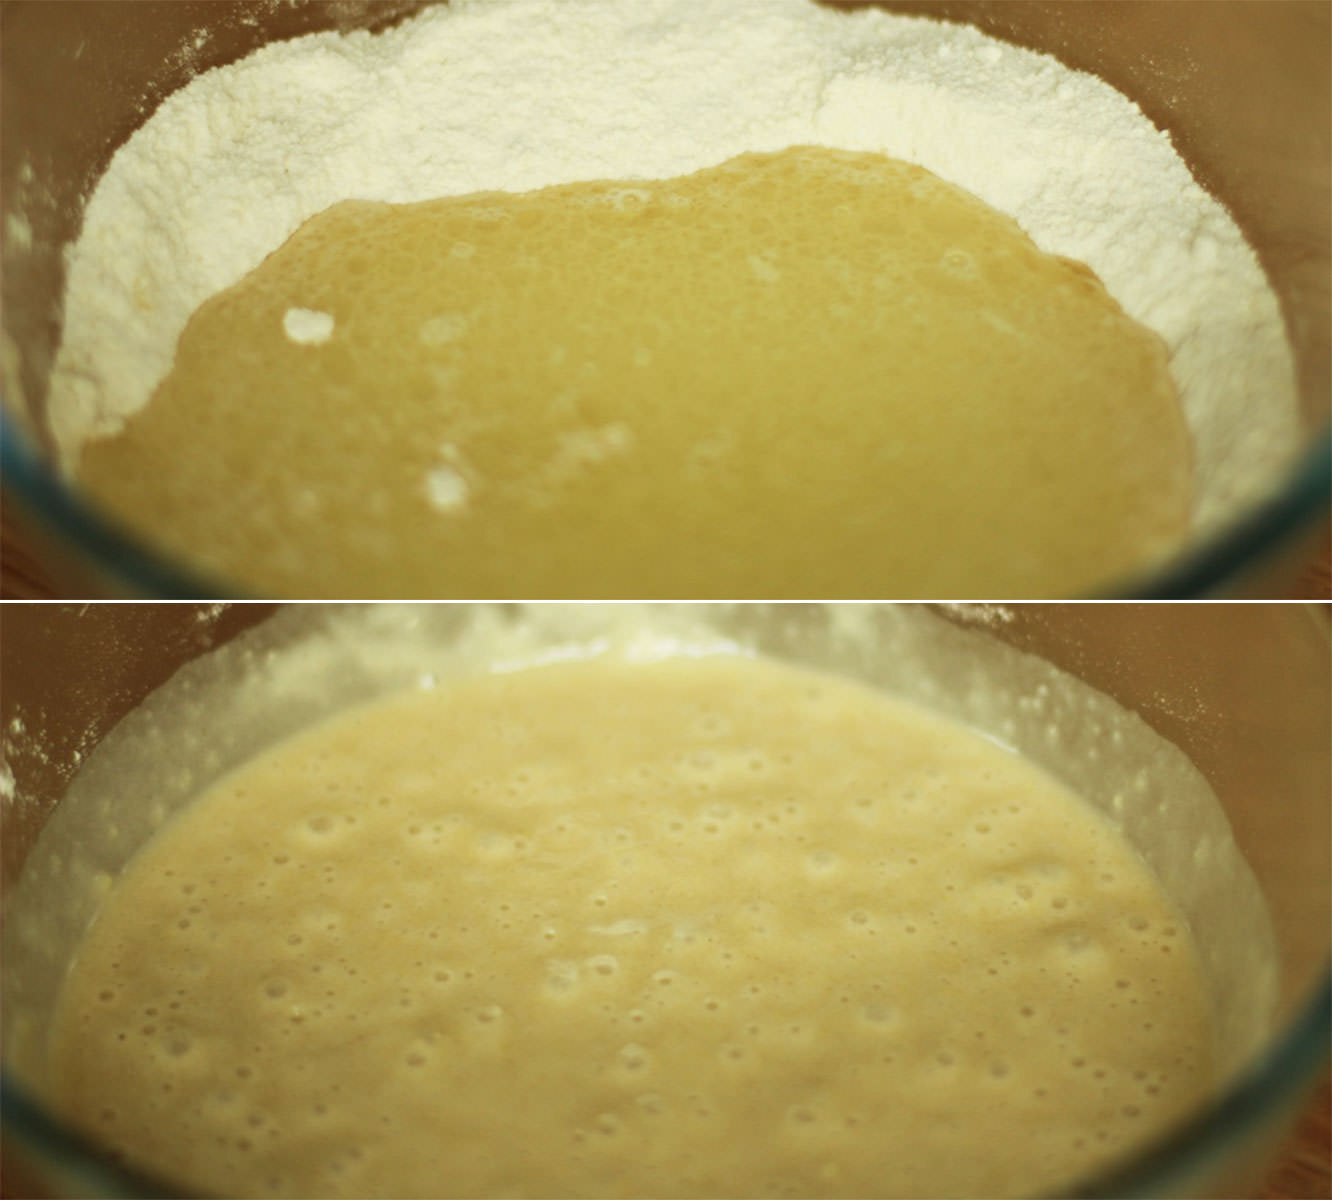
Beat together the butter and sugar until light and fluffy. If you have an electric whisk it’d be a good idea to use it.
Add the eggs and whisk again until combined.

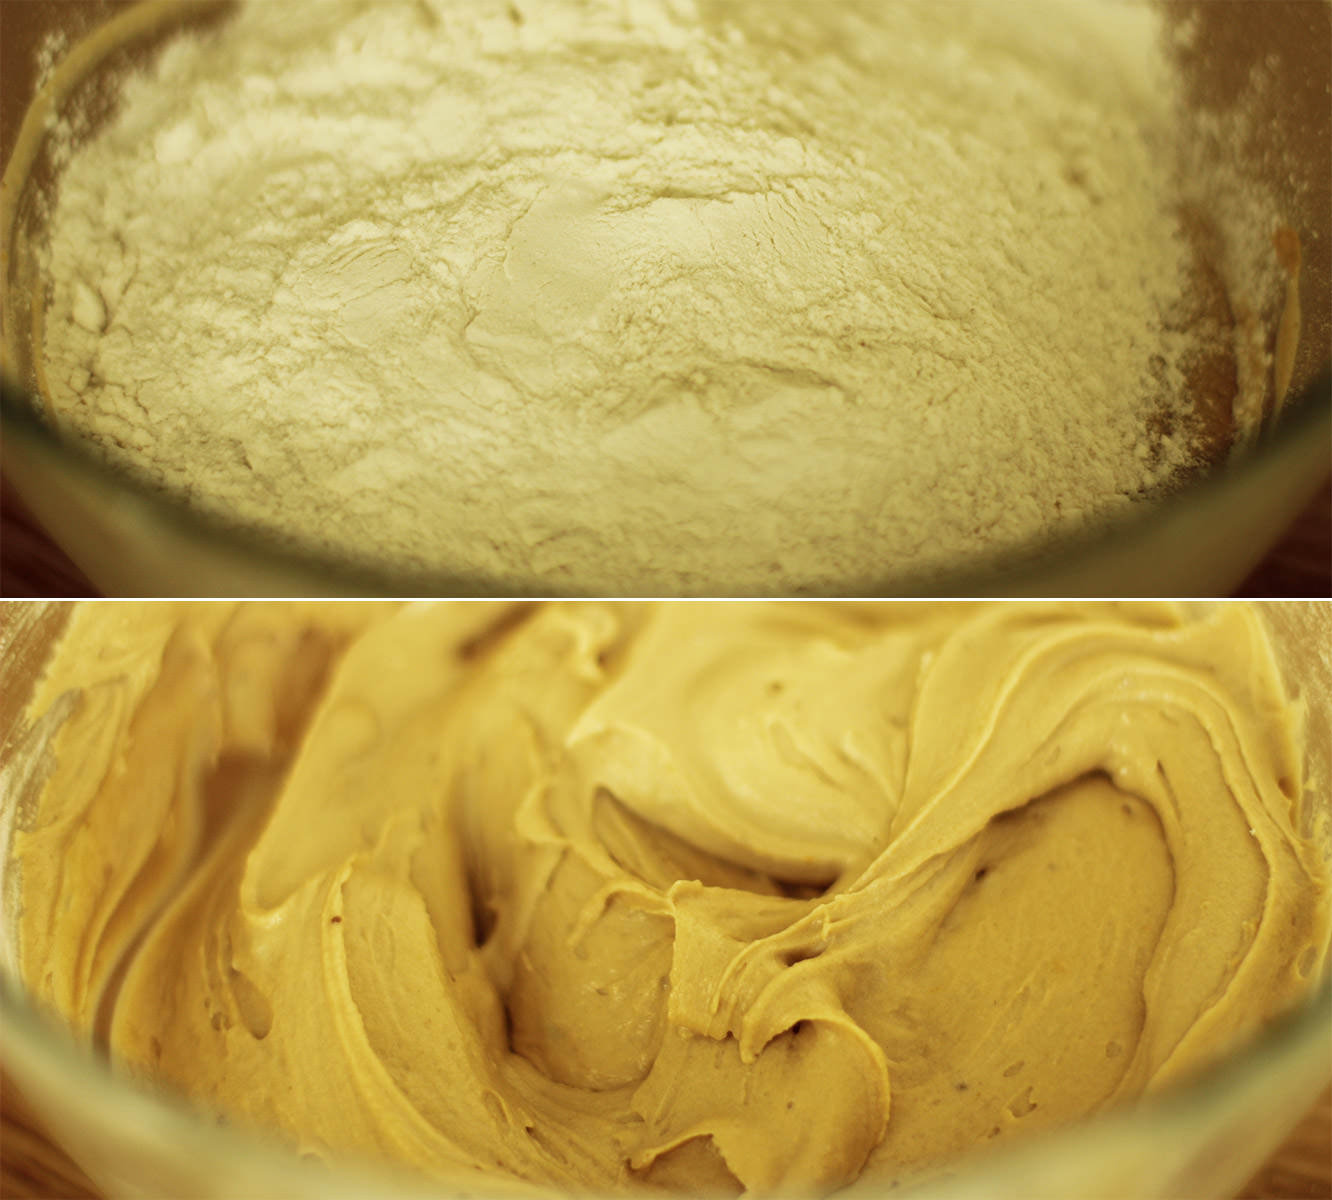
Step two
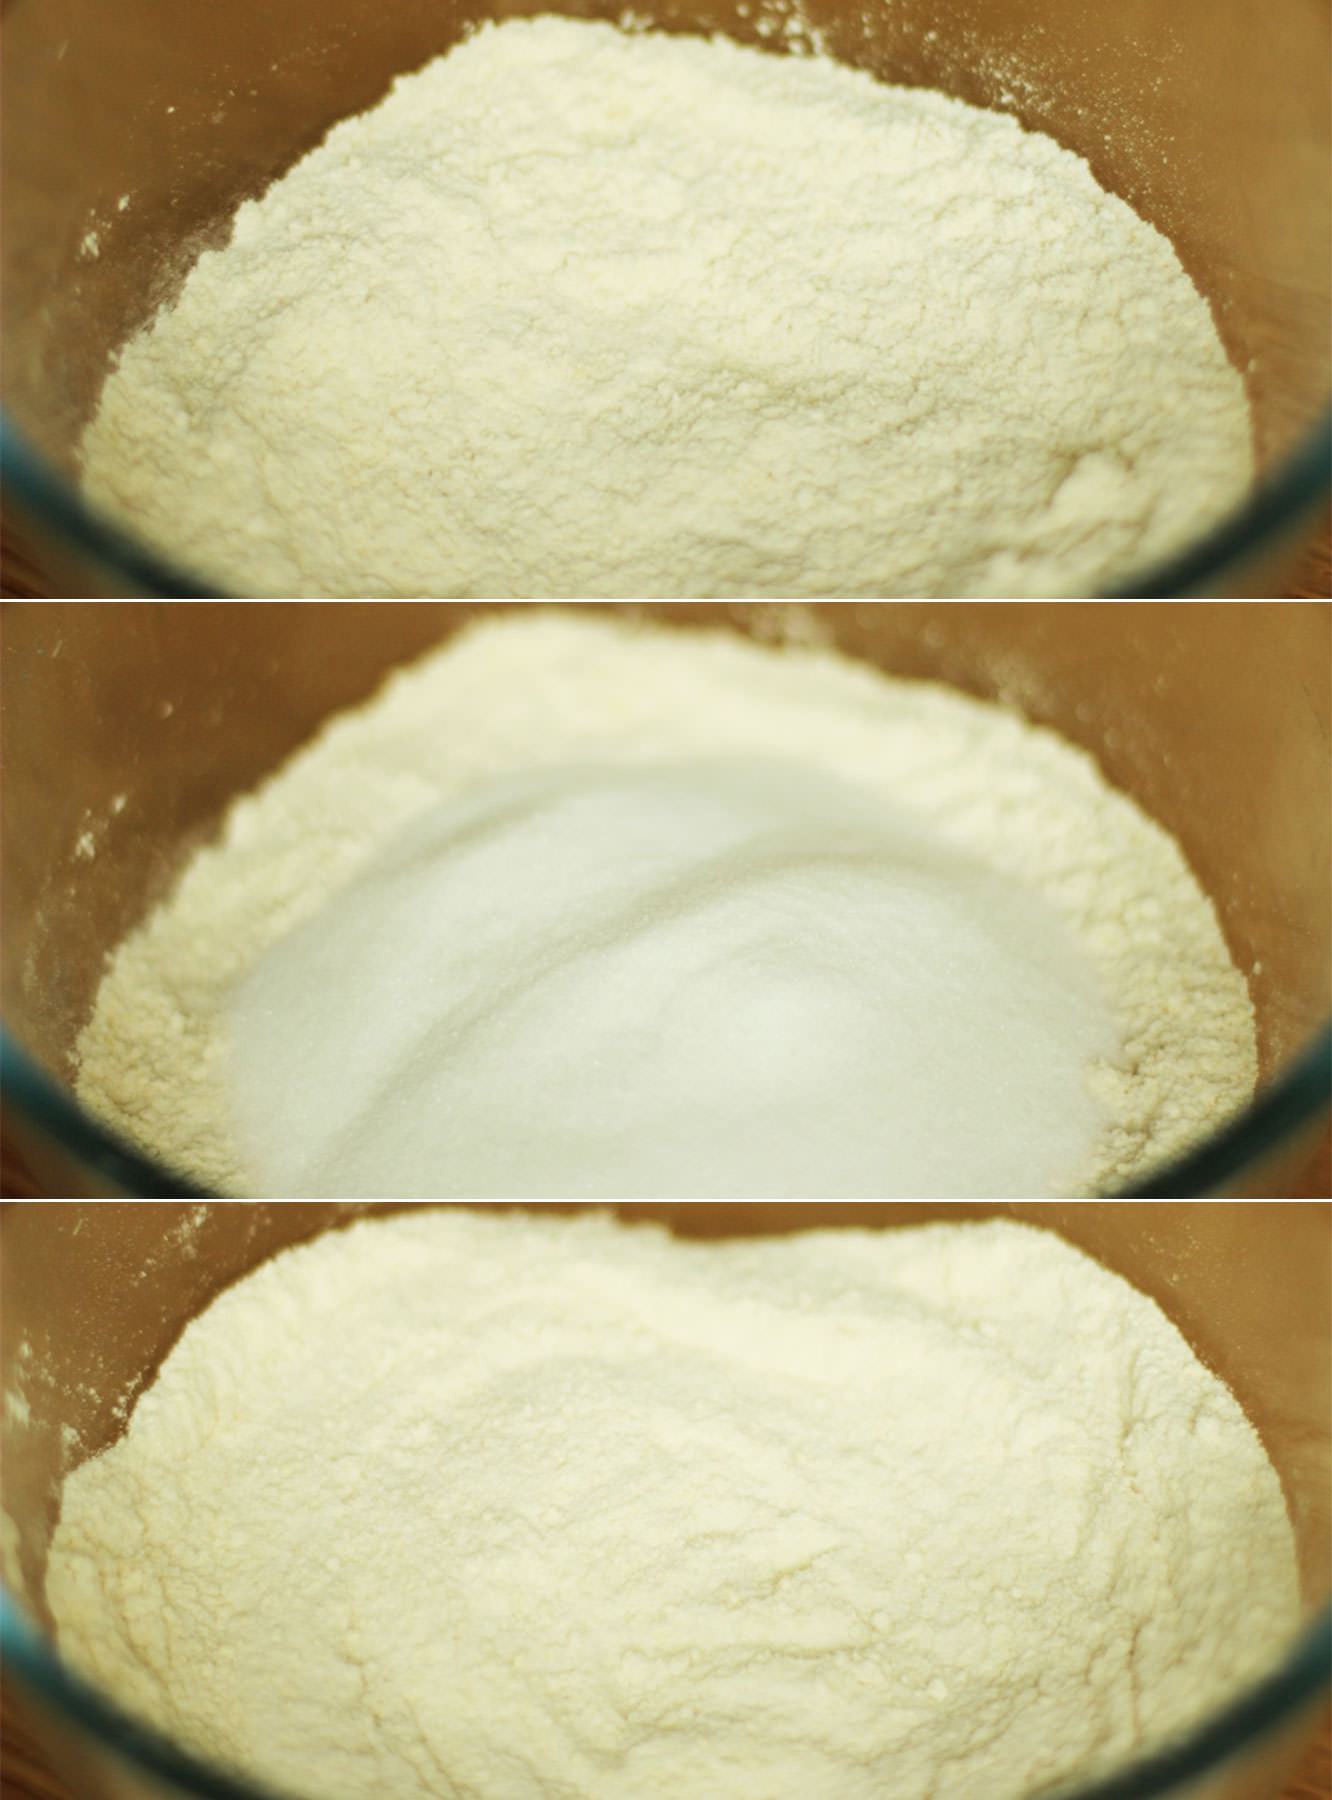
Pop in the vanilla extract, flour and bicarbonate of soda and whisk again. You might want to pre-stir a little before turning on the whisk to avoid flour going everywhere.
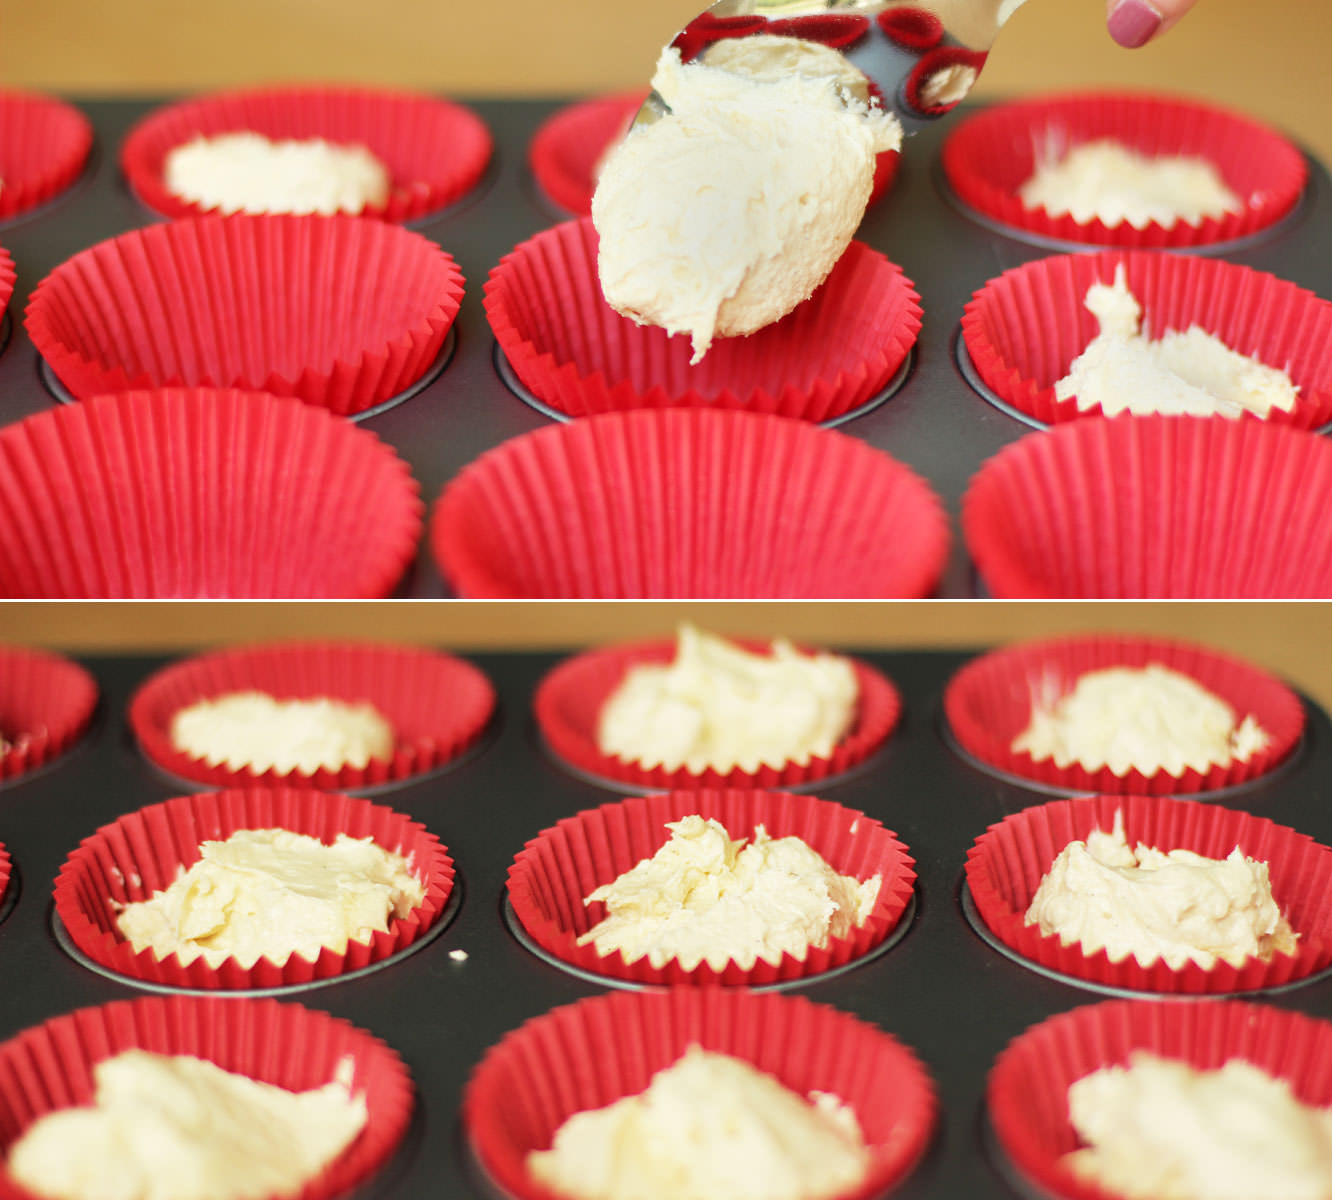
Step three
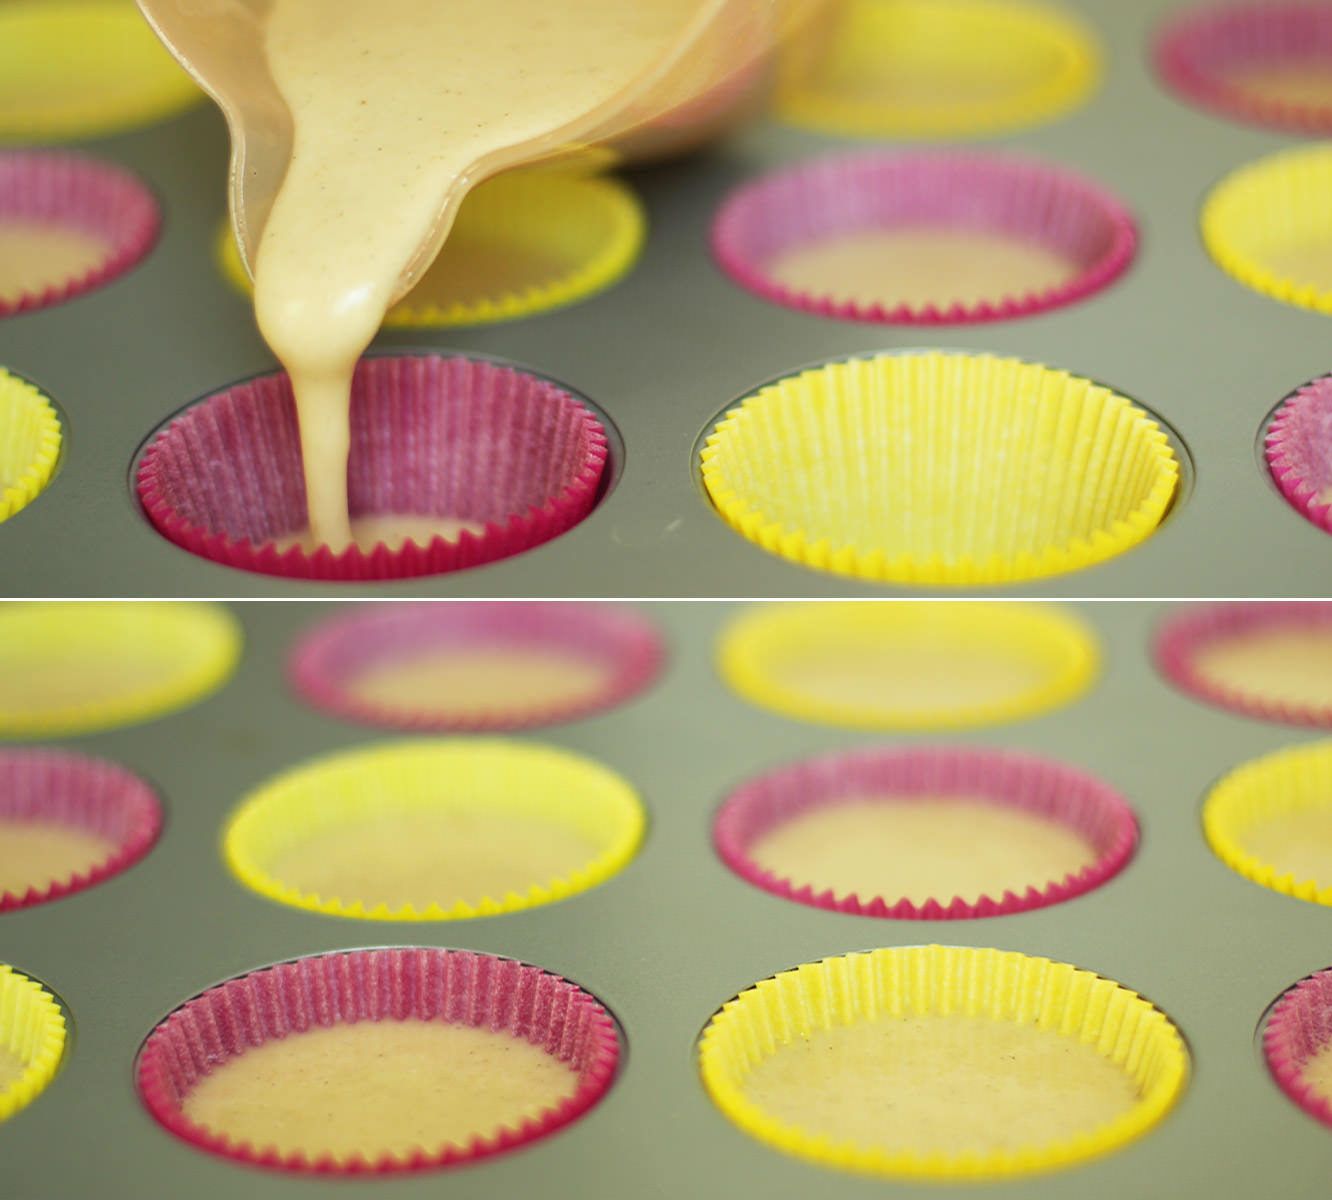
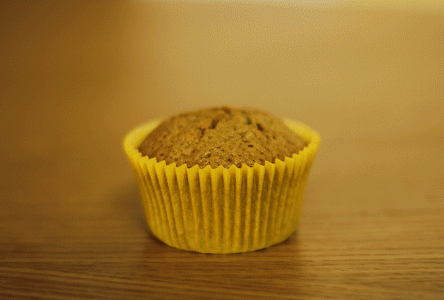
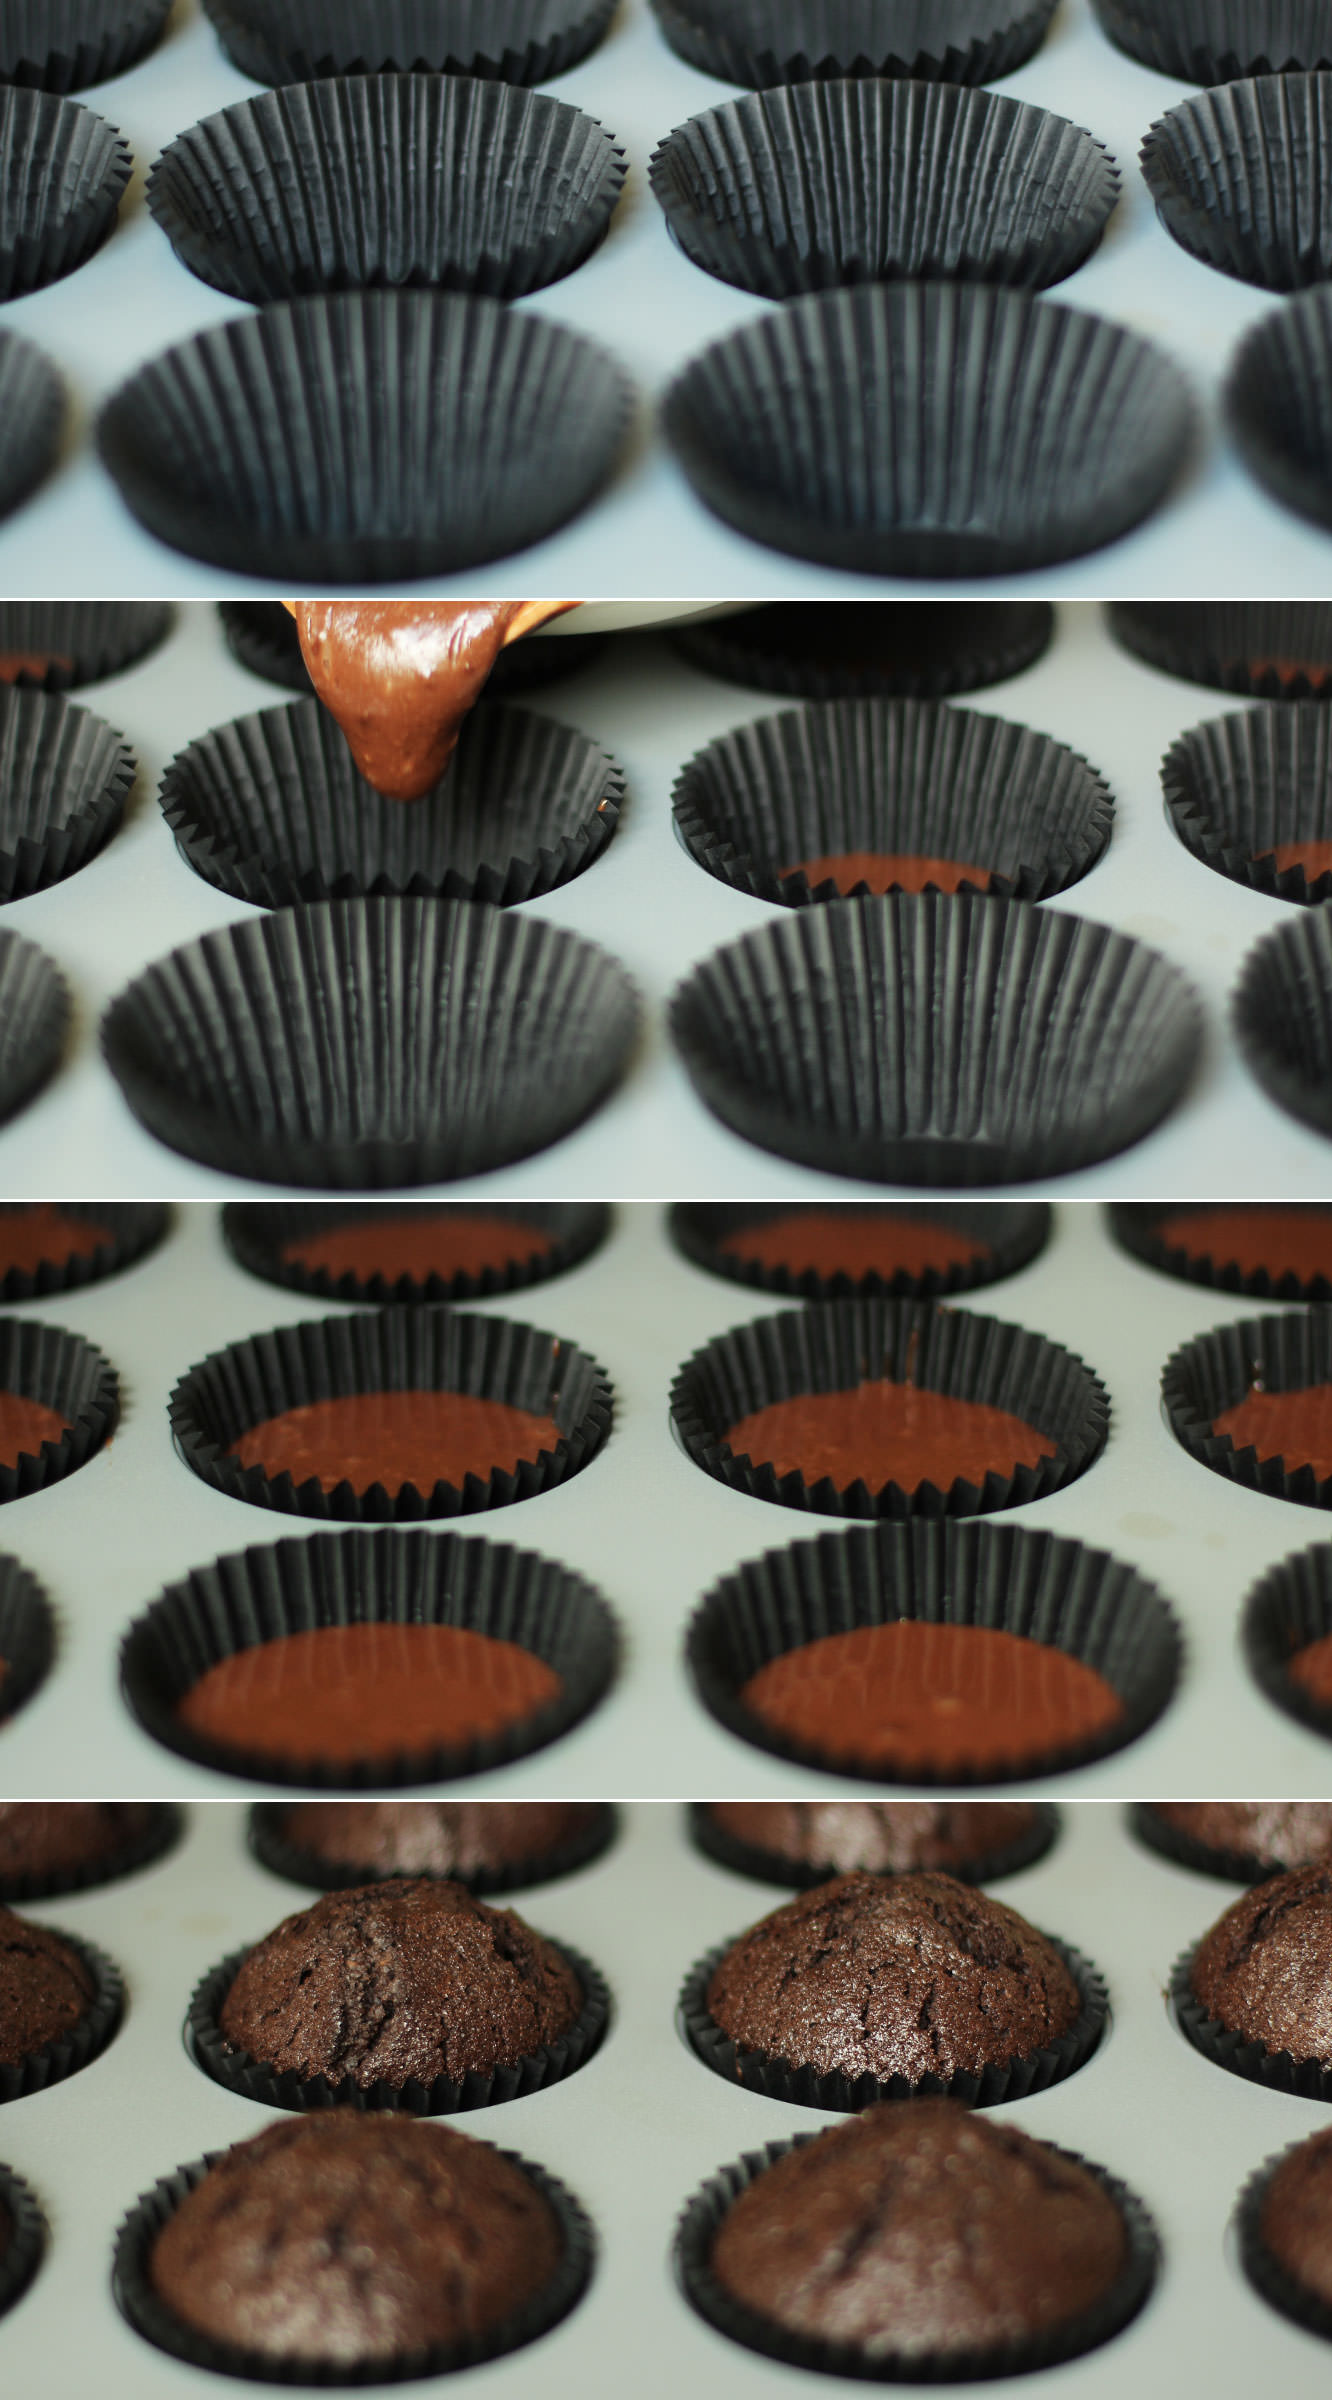
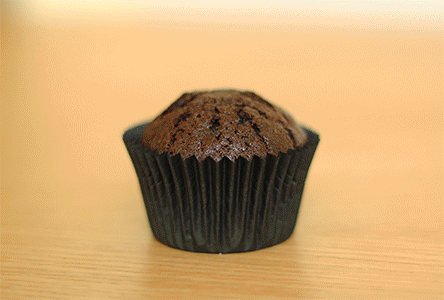
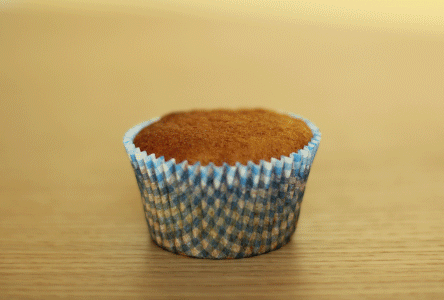
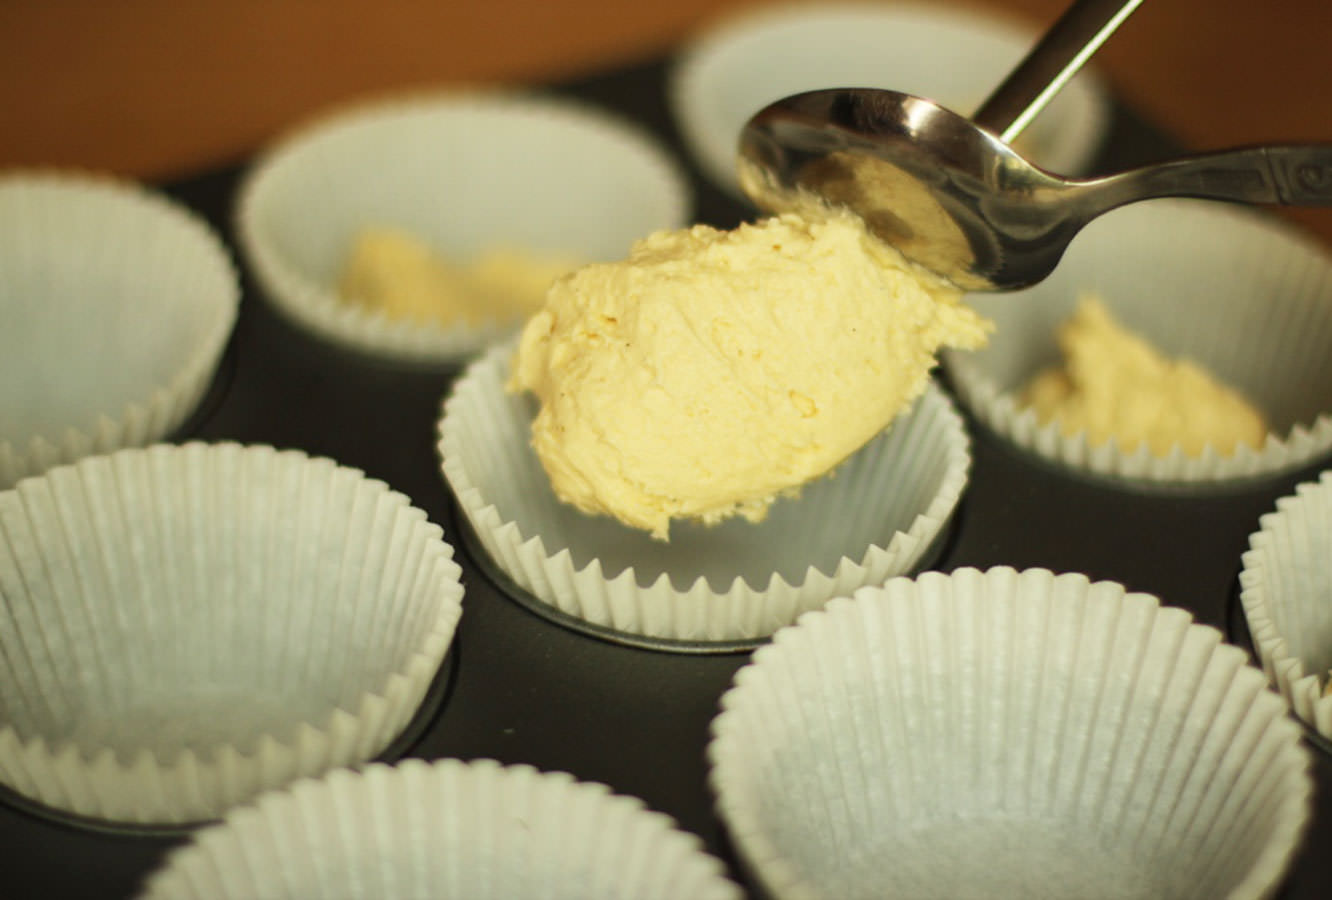
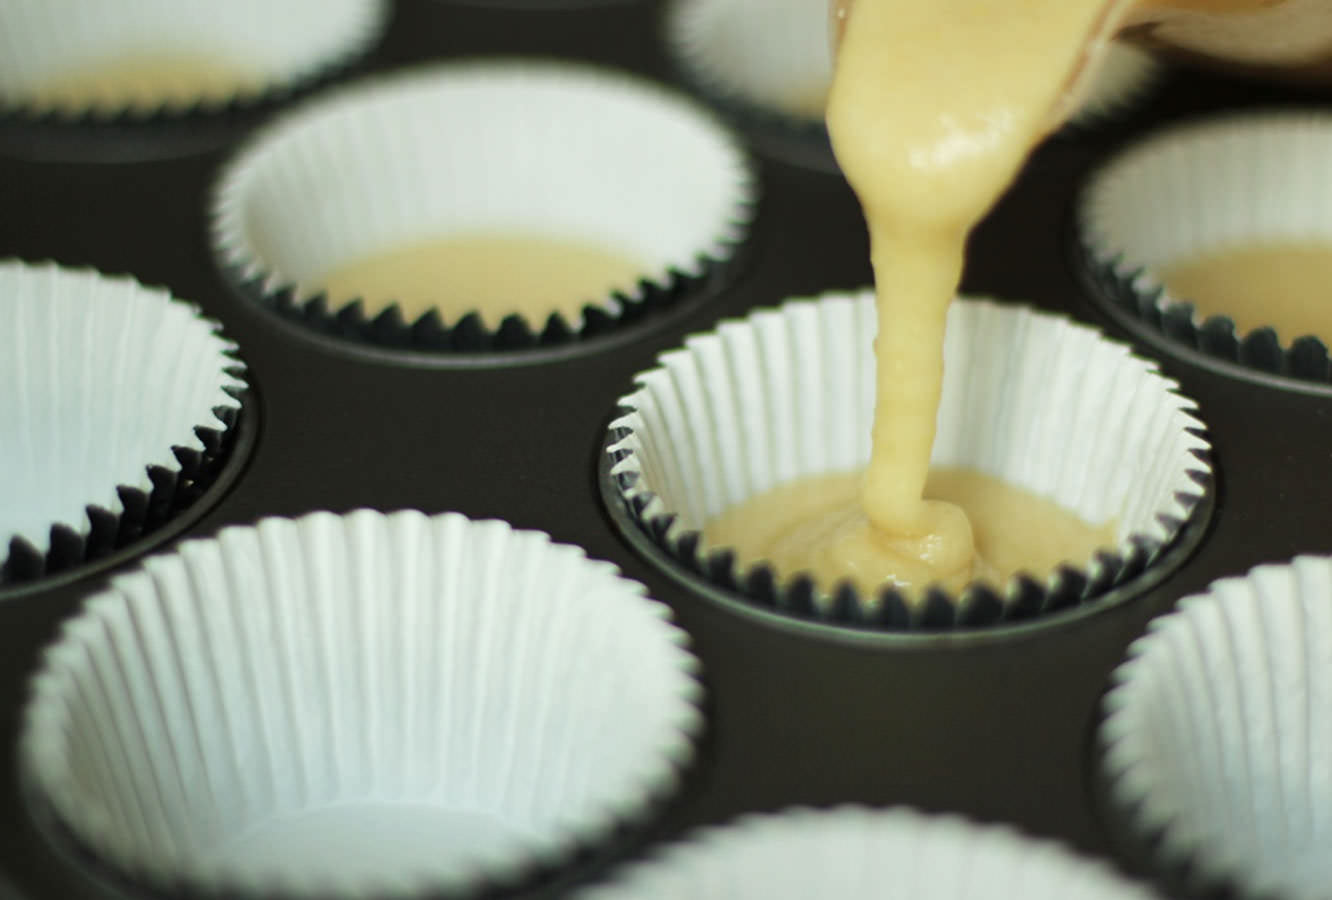
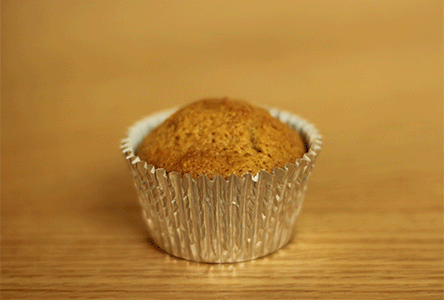
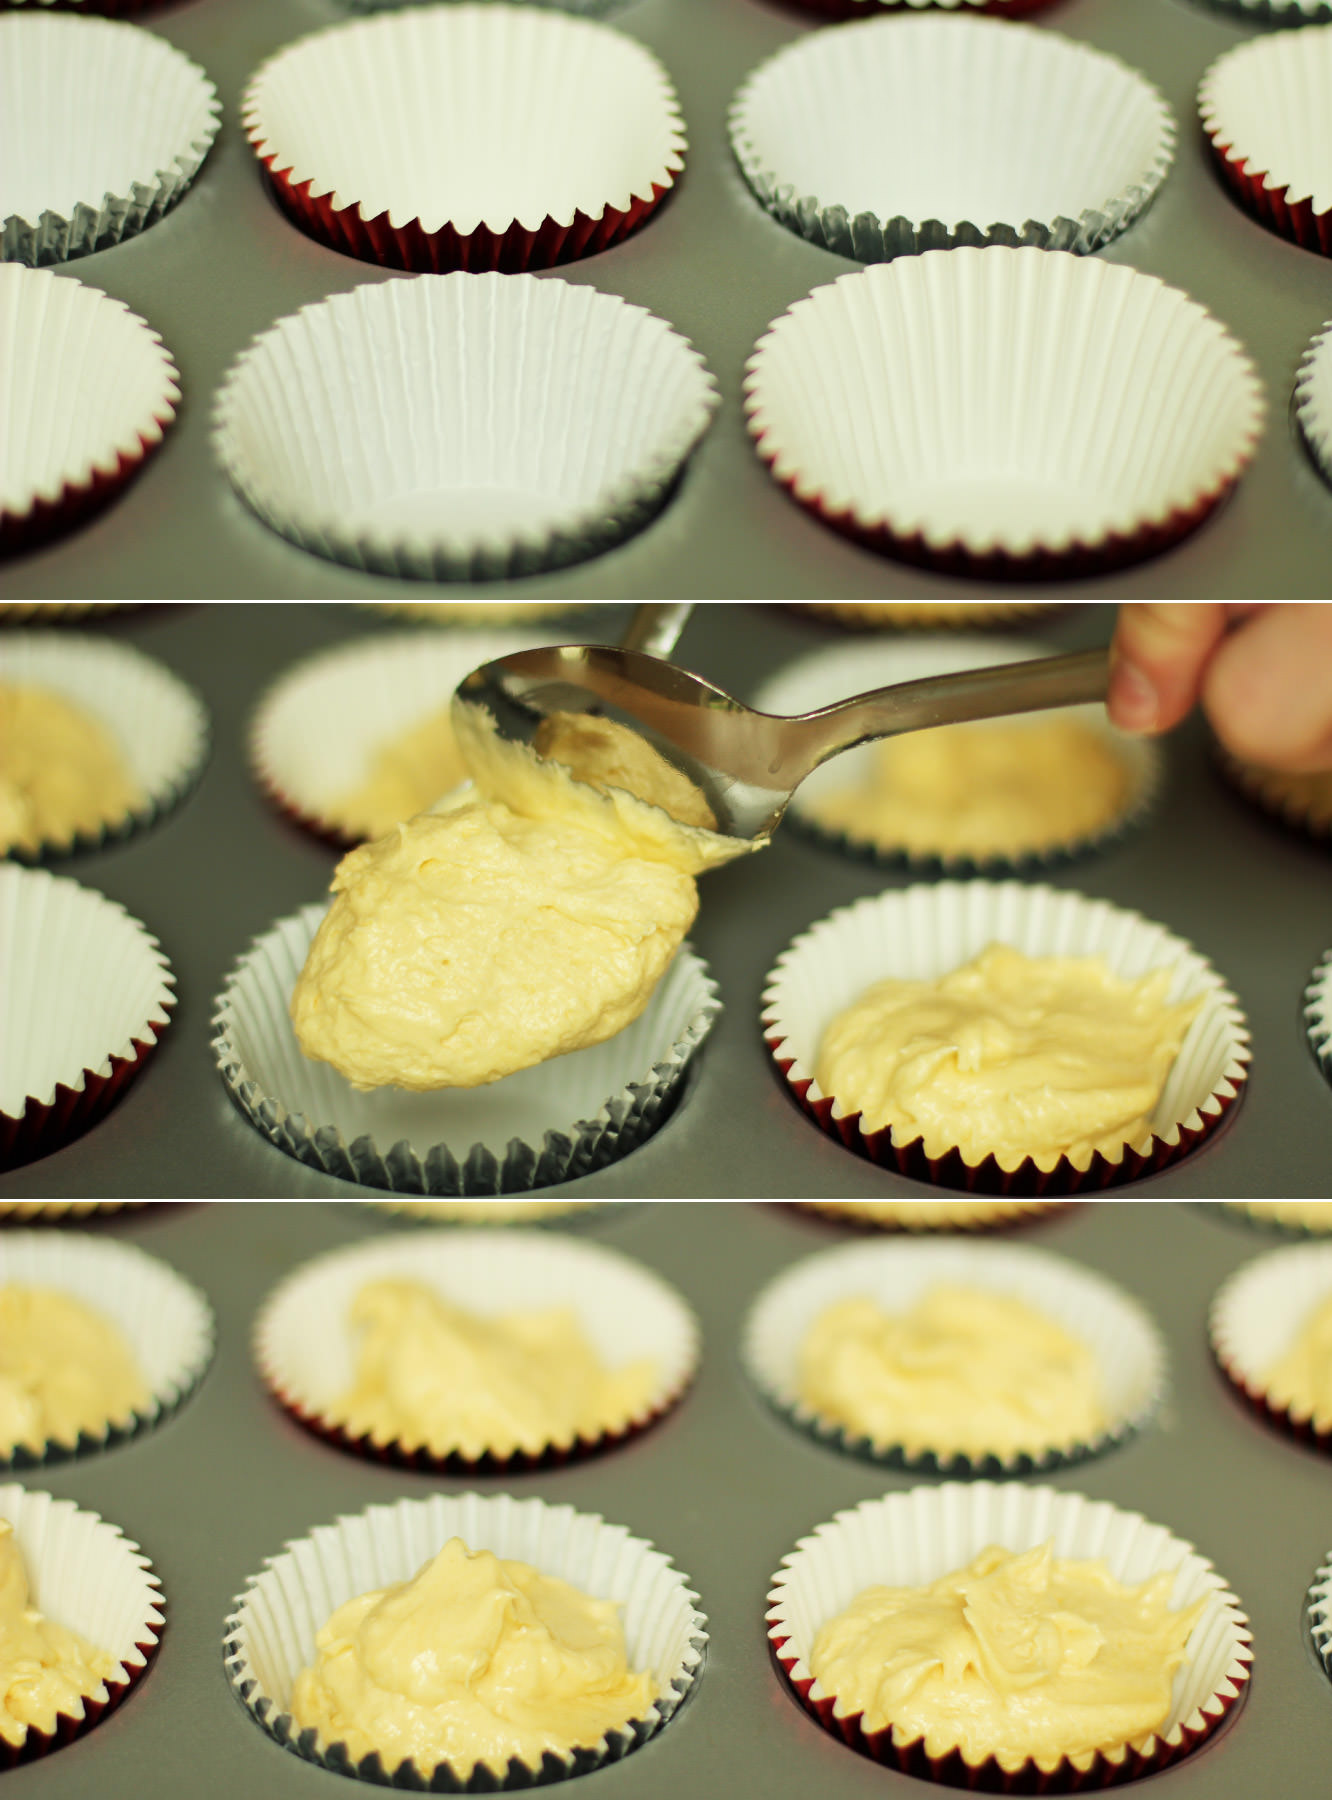
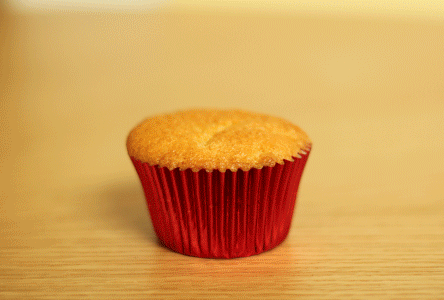
Spoon the mixture into cases (preferably silver and red foil ones to stay on brand) and bake in a preheated oven on gas mark 4/180C/350F for 20-25 minutes.
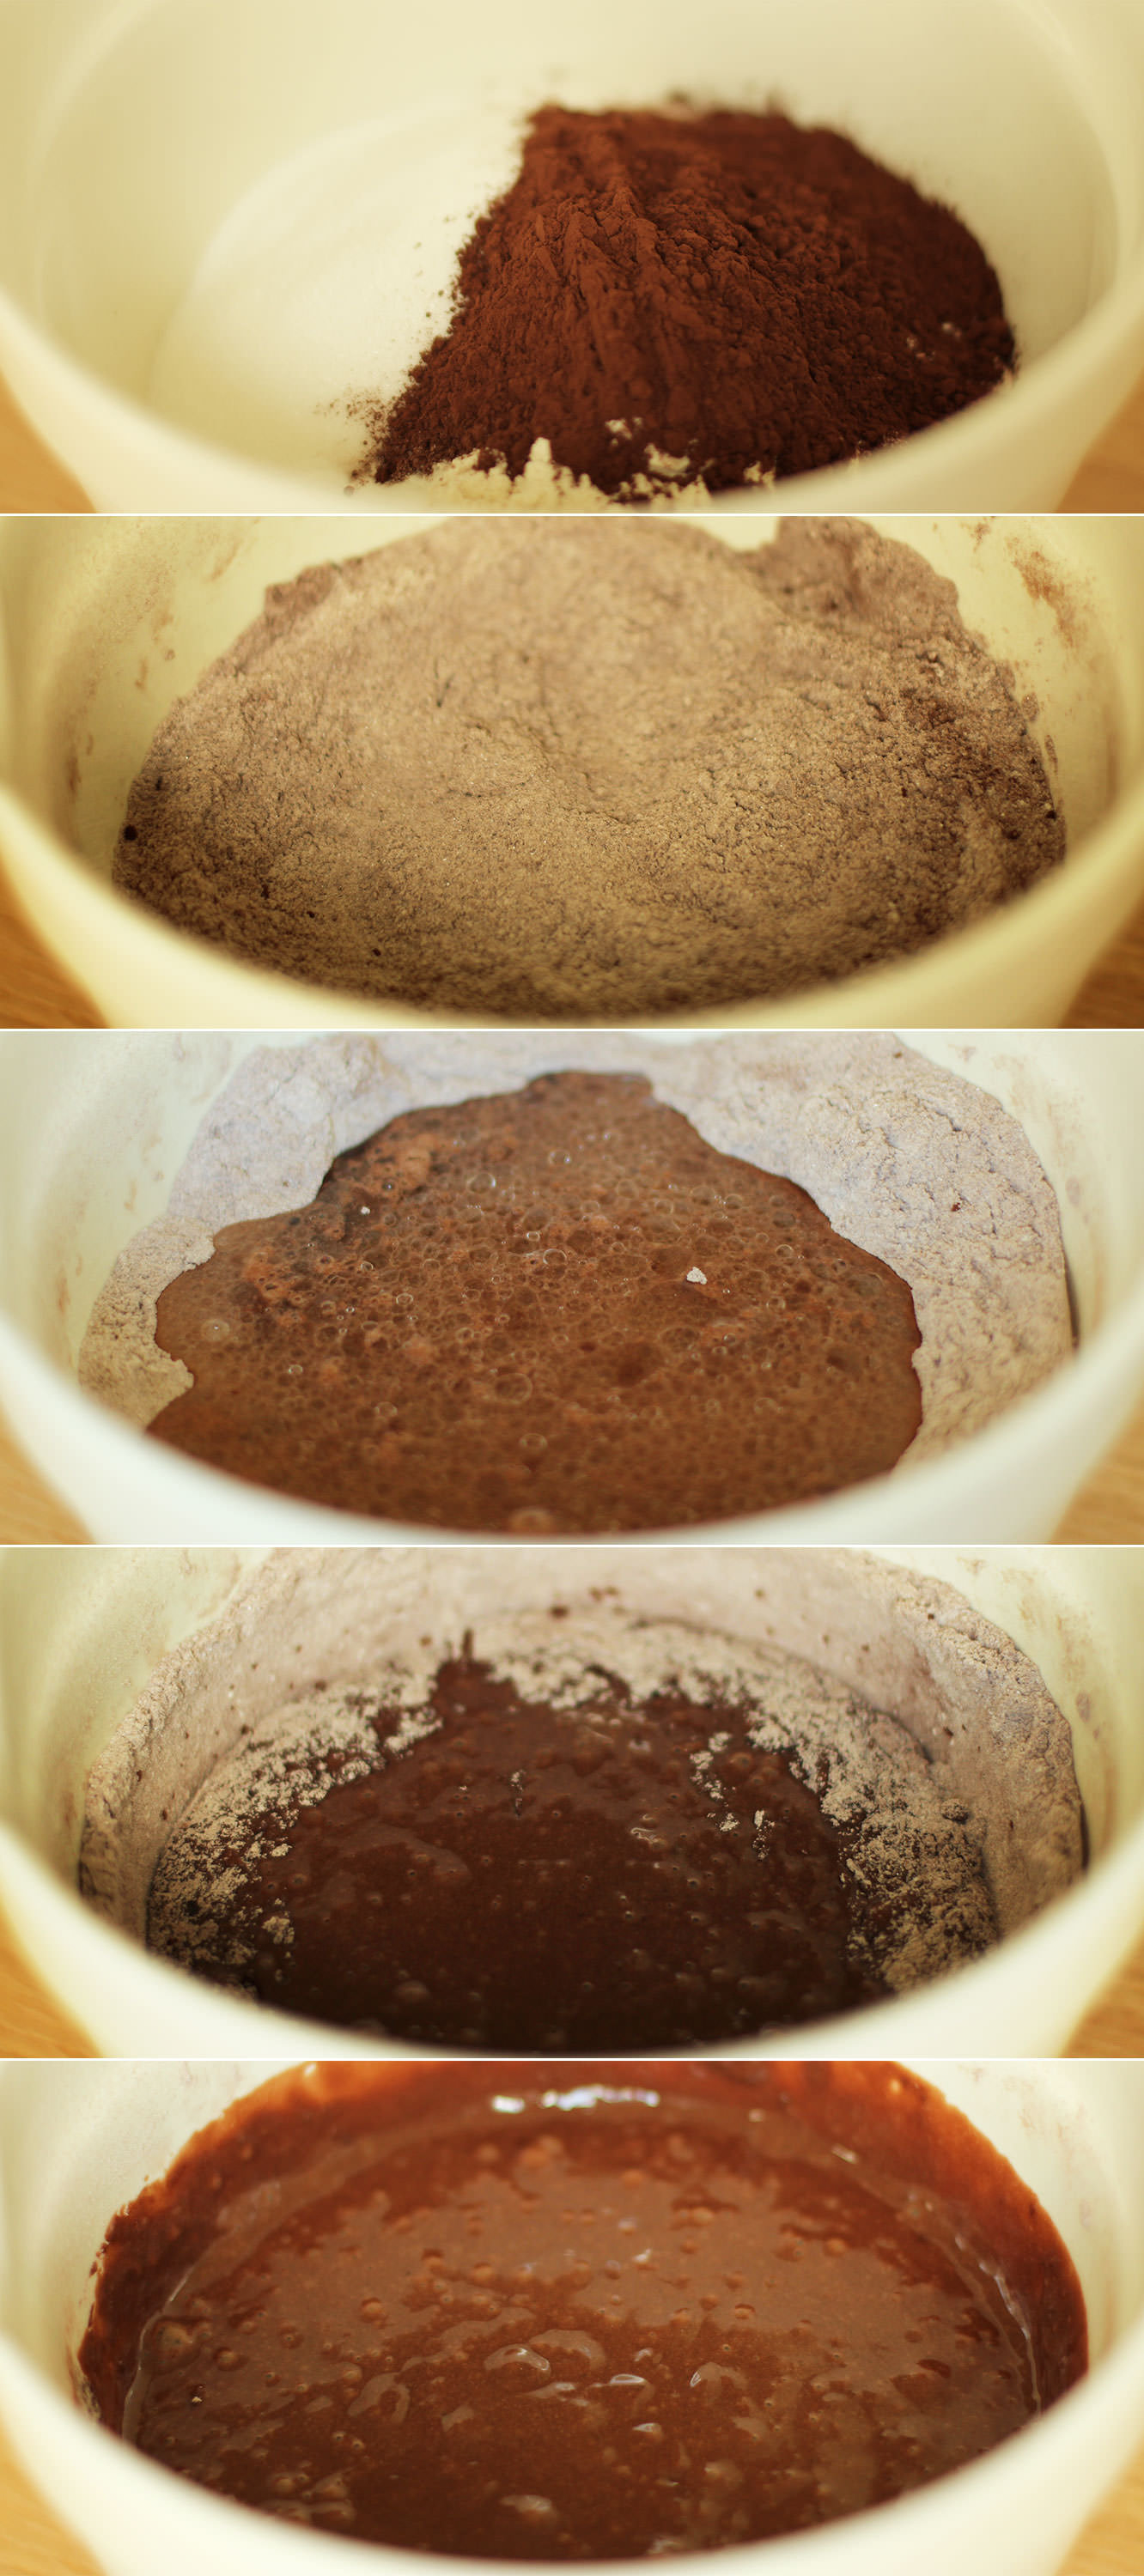
Step four
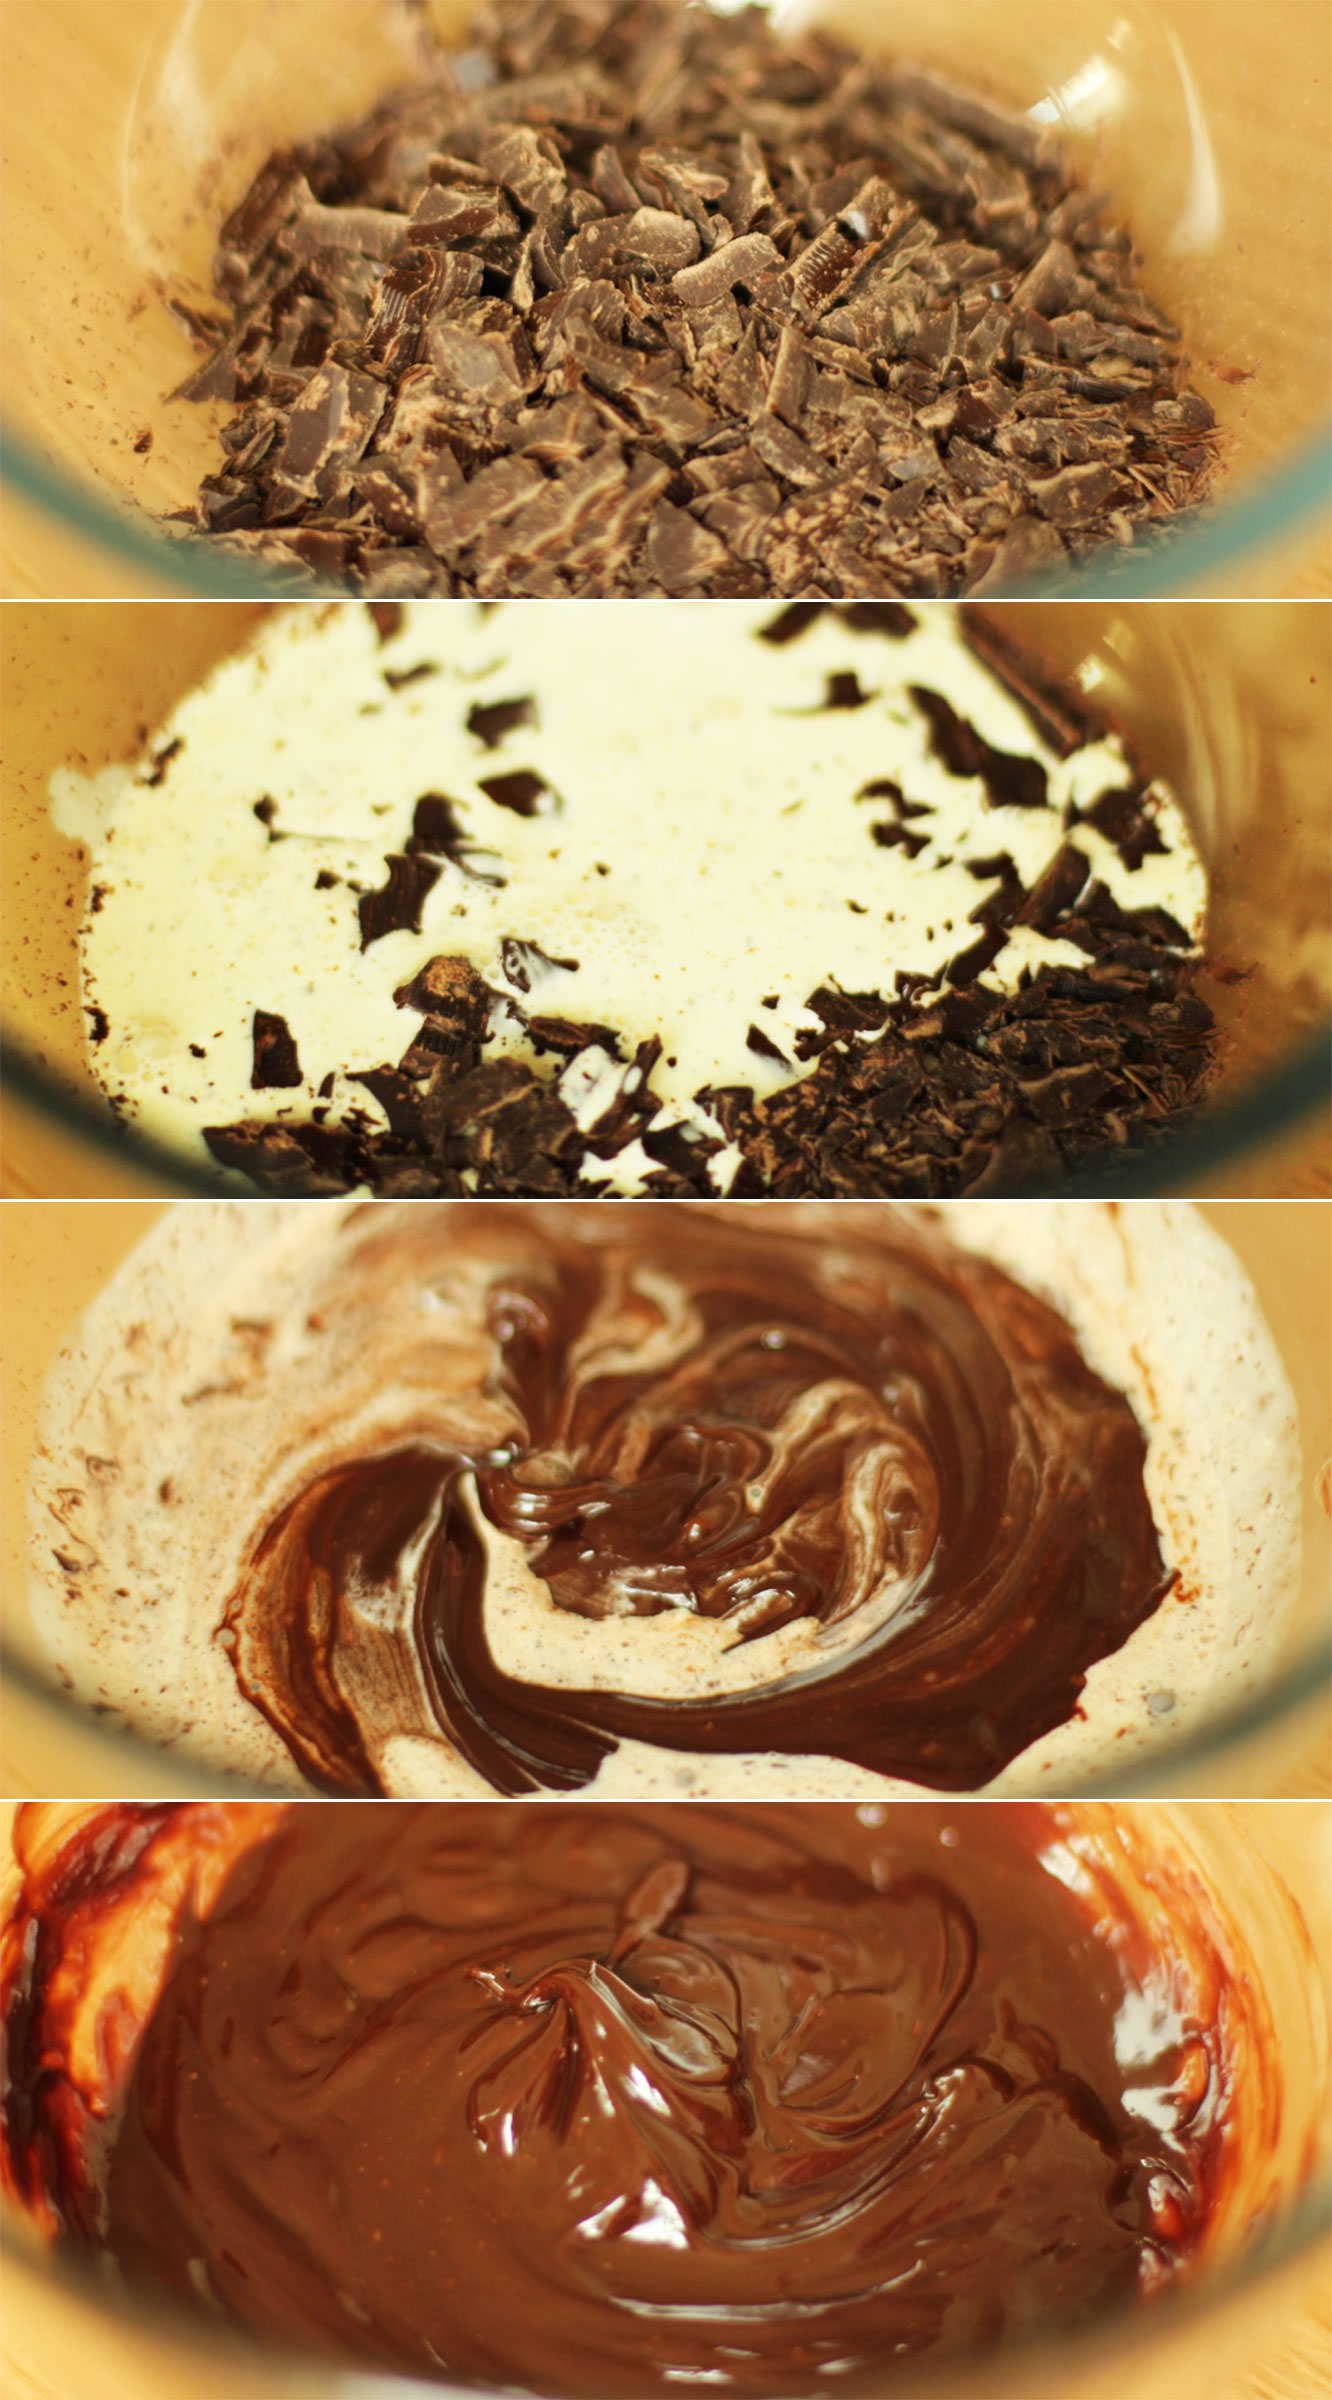
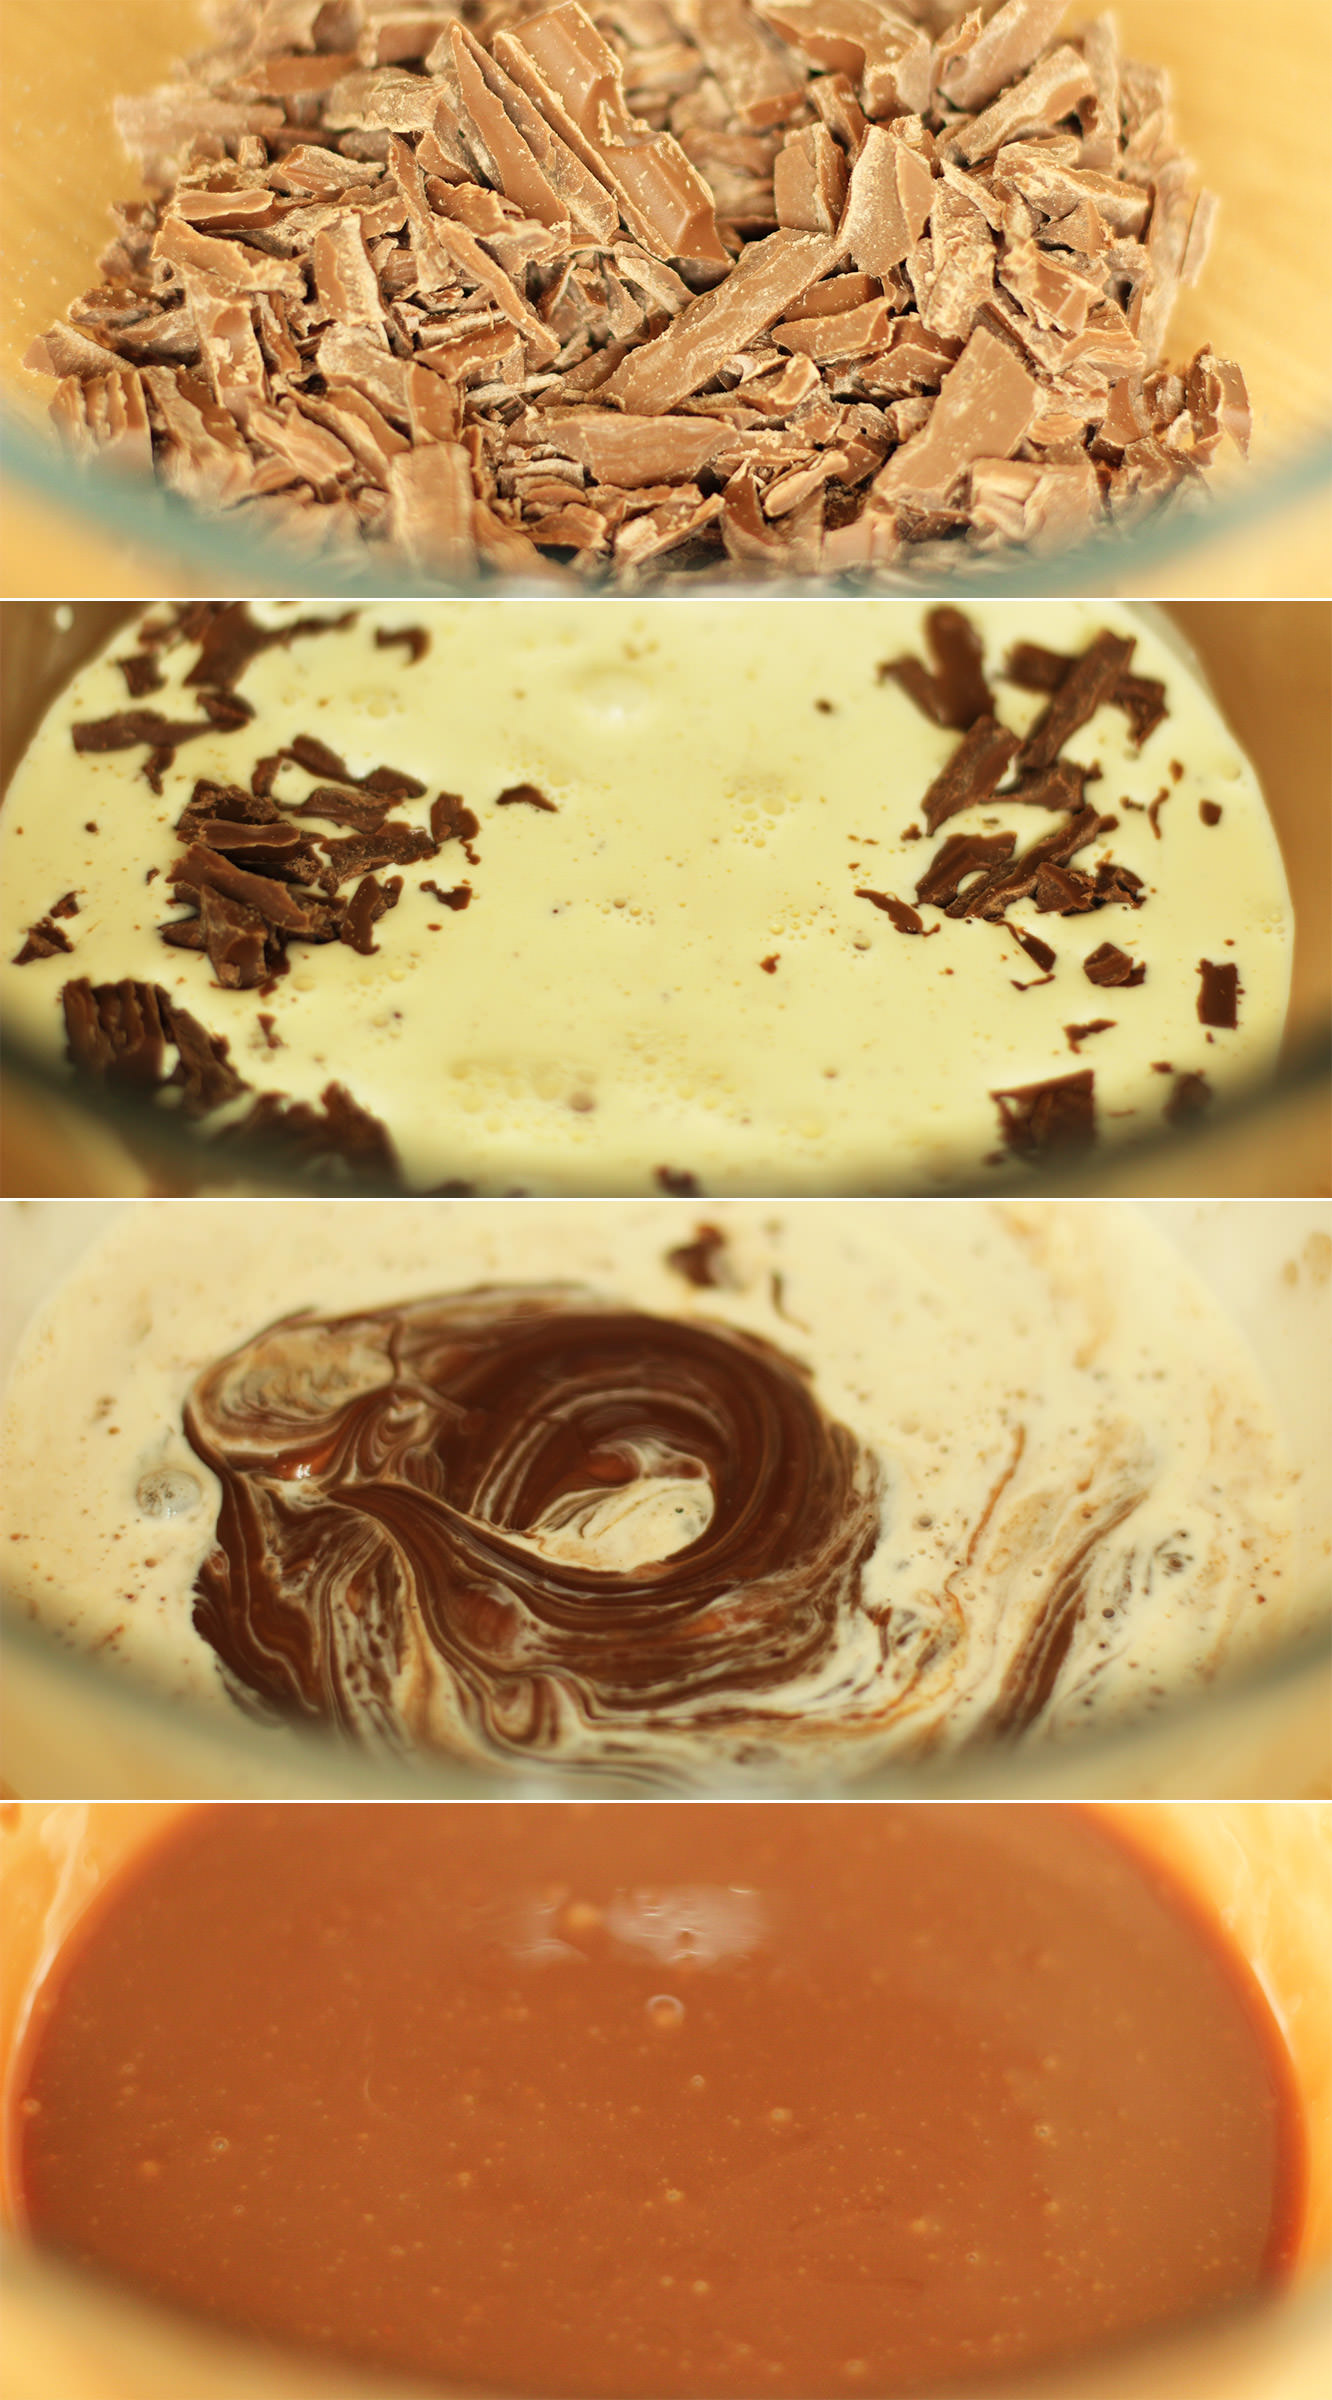
Make the ganache filling by chopping the chocolate finely and putting in a heatproof bowl. Gently heat the cream in a saucepan until you start to see little bubbles at the side and steam floating on the surface.
Pour the cream over the chocolate and use a hand whisk to melt the chocolate into the cream. Set aside to cool.

Step five
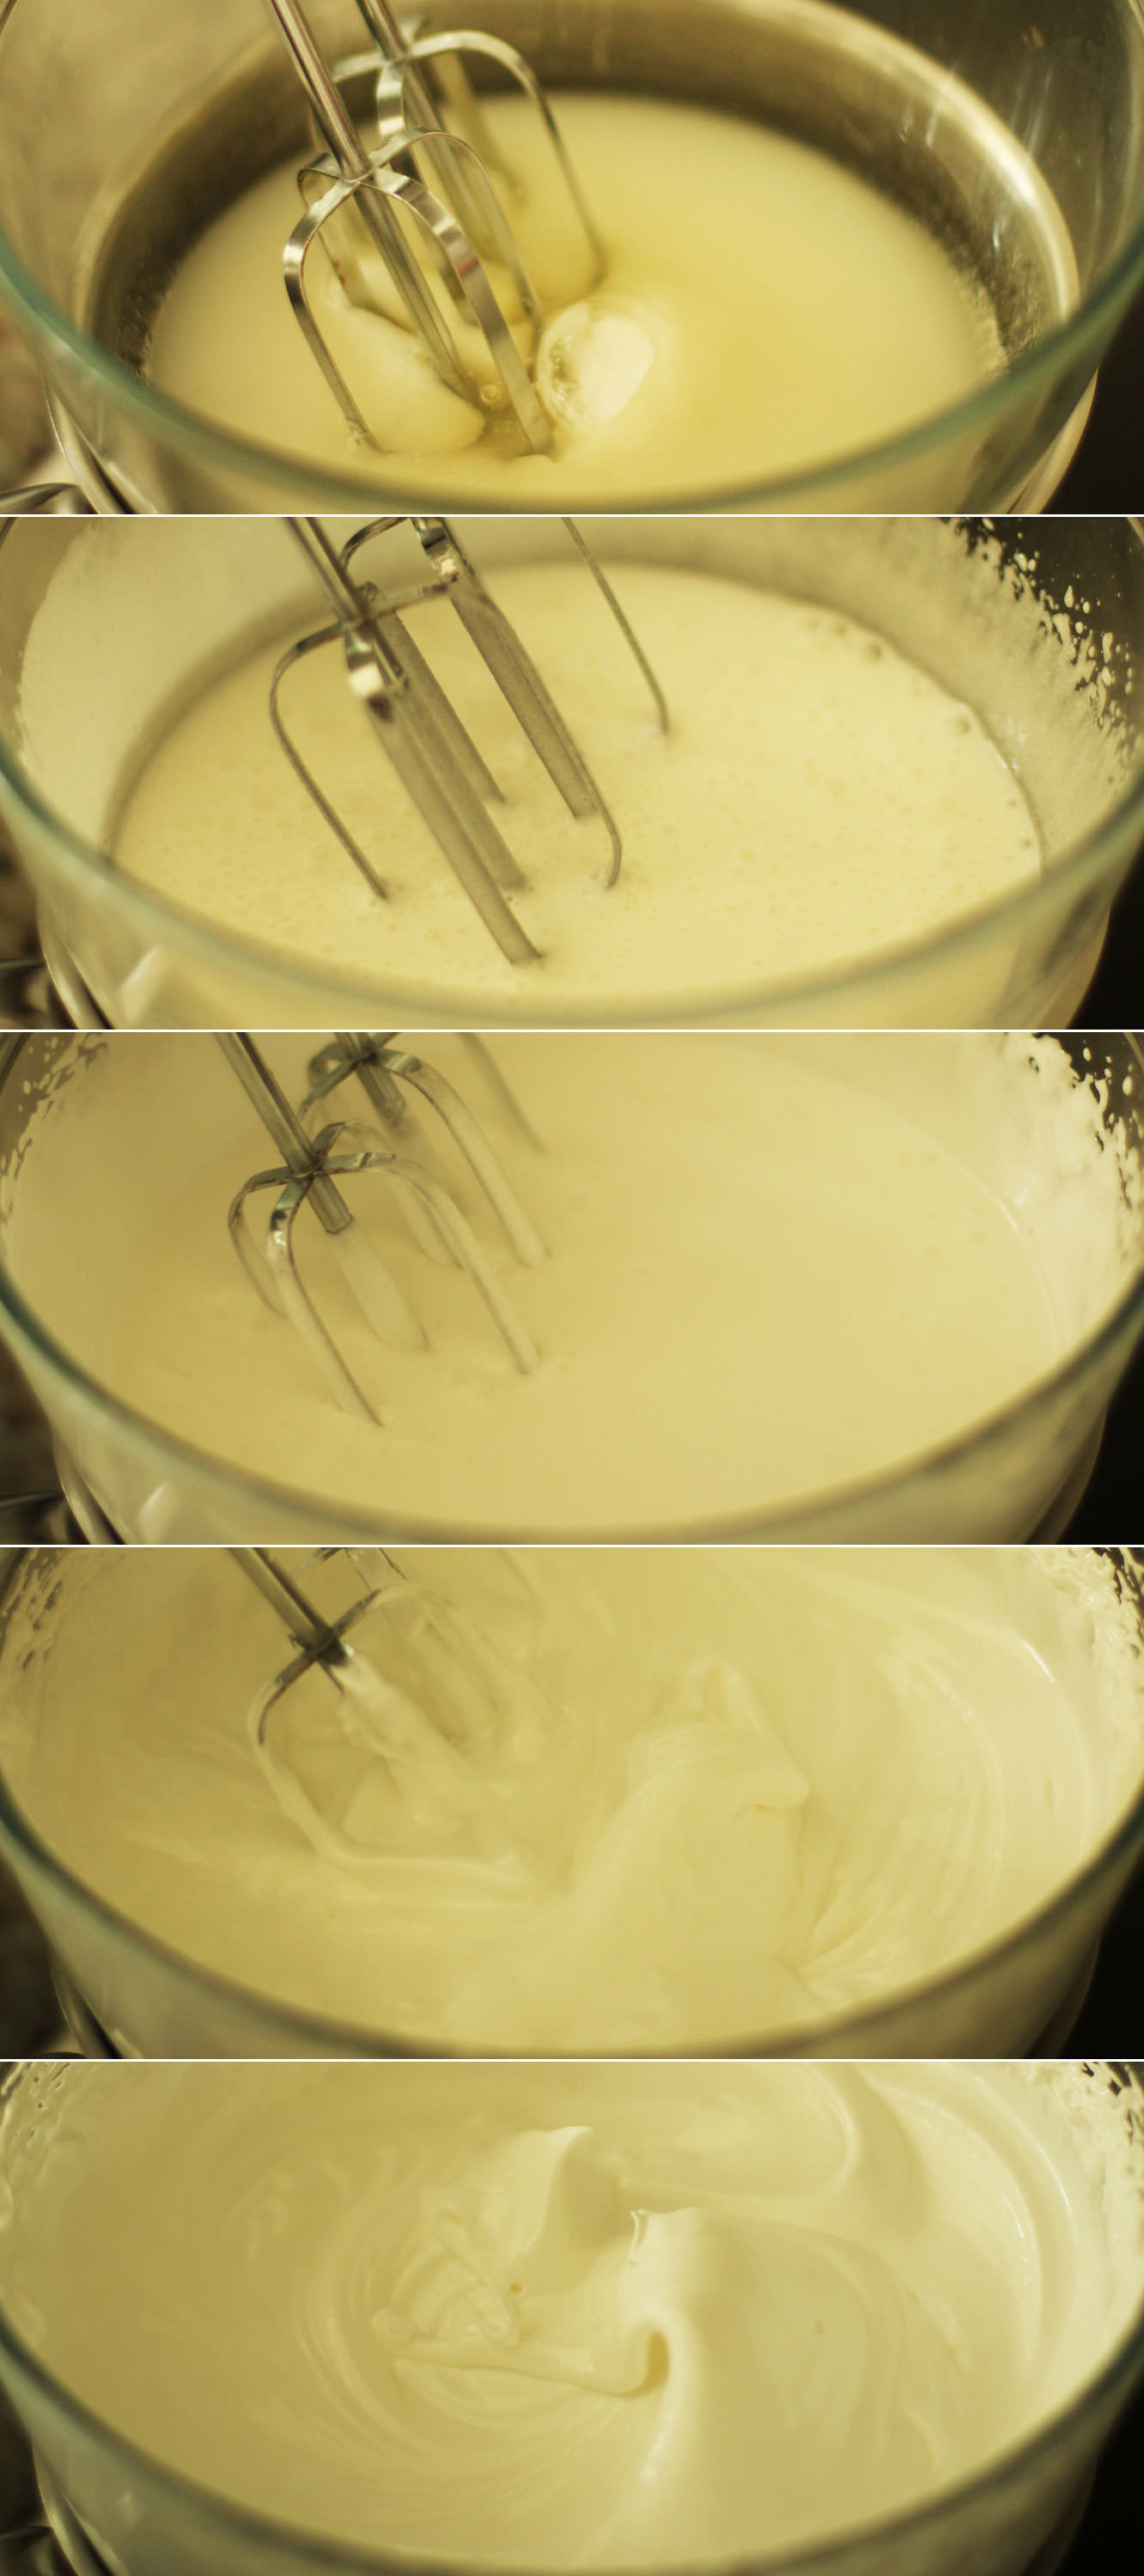
The third and final time we’re making seven minute frosting in this series, so you should be a dab hand by now. If you’ve not made this before then it’s quite straightforward, no need to be intimidated.
Pop a heatproof bowl over a pan of simmering water, making sure the water doesn’t touch the bottom of the bowl. Add the egg whites, sugar, water and cream of tartare and whisk for, well, seven minutes.
When you’re finished the mixture should be able to hold its shape, and not drop off a spoon when held upside down (stiff peaks).
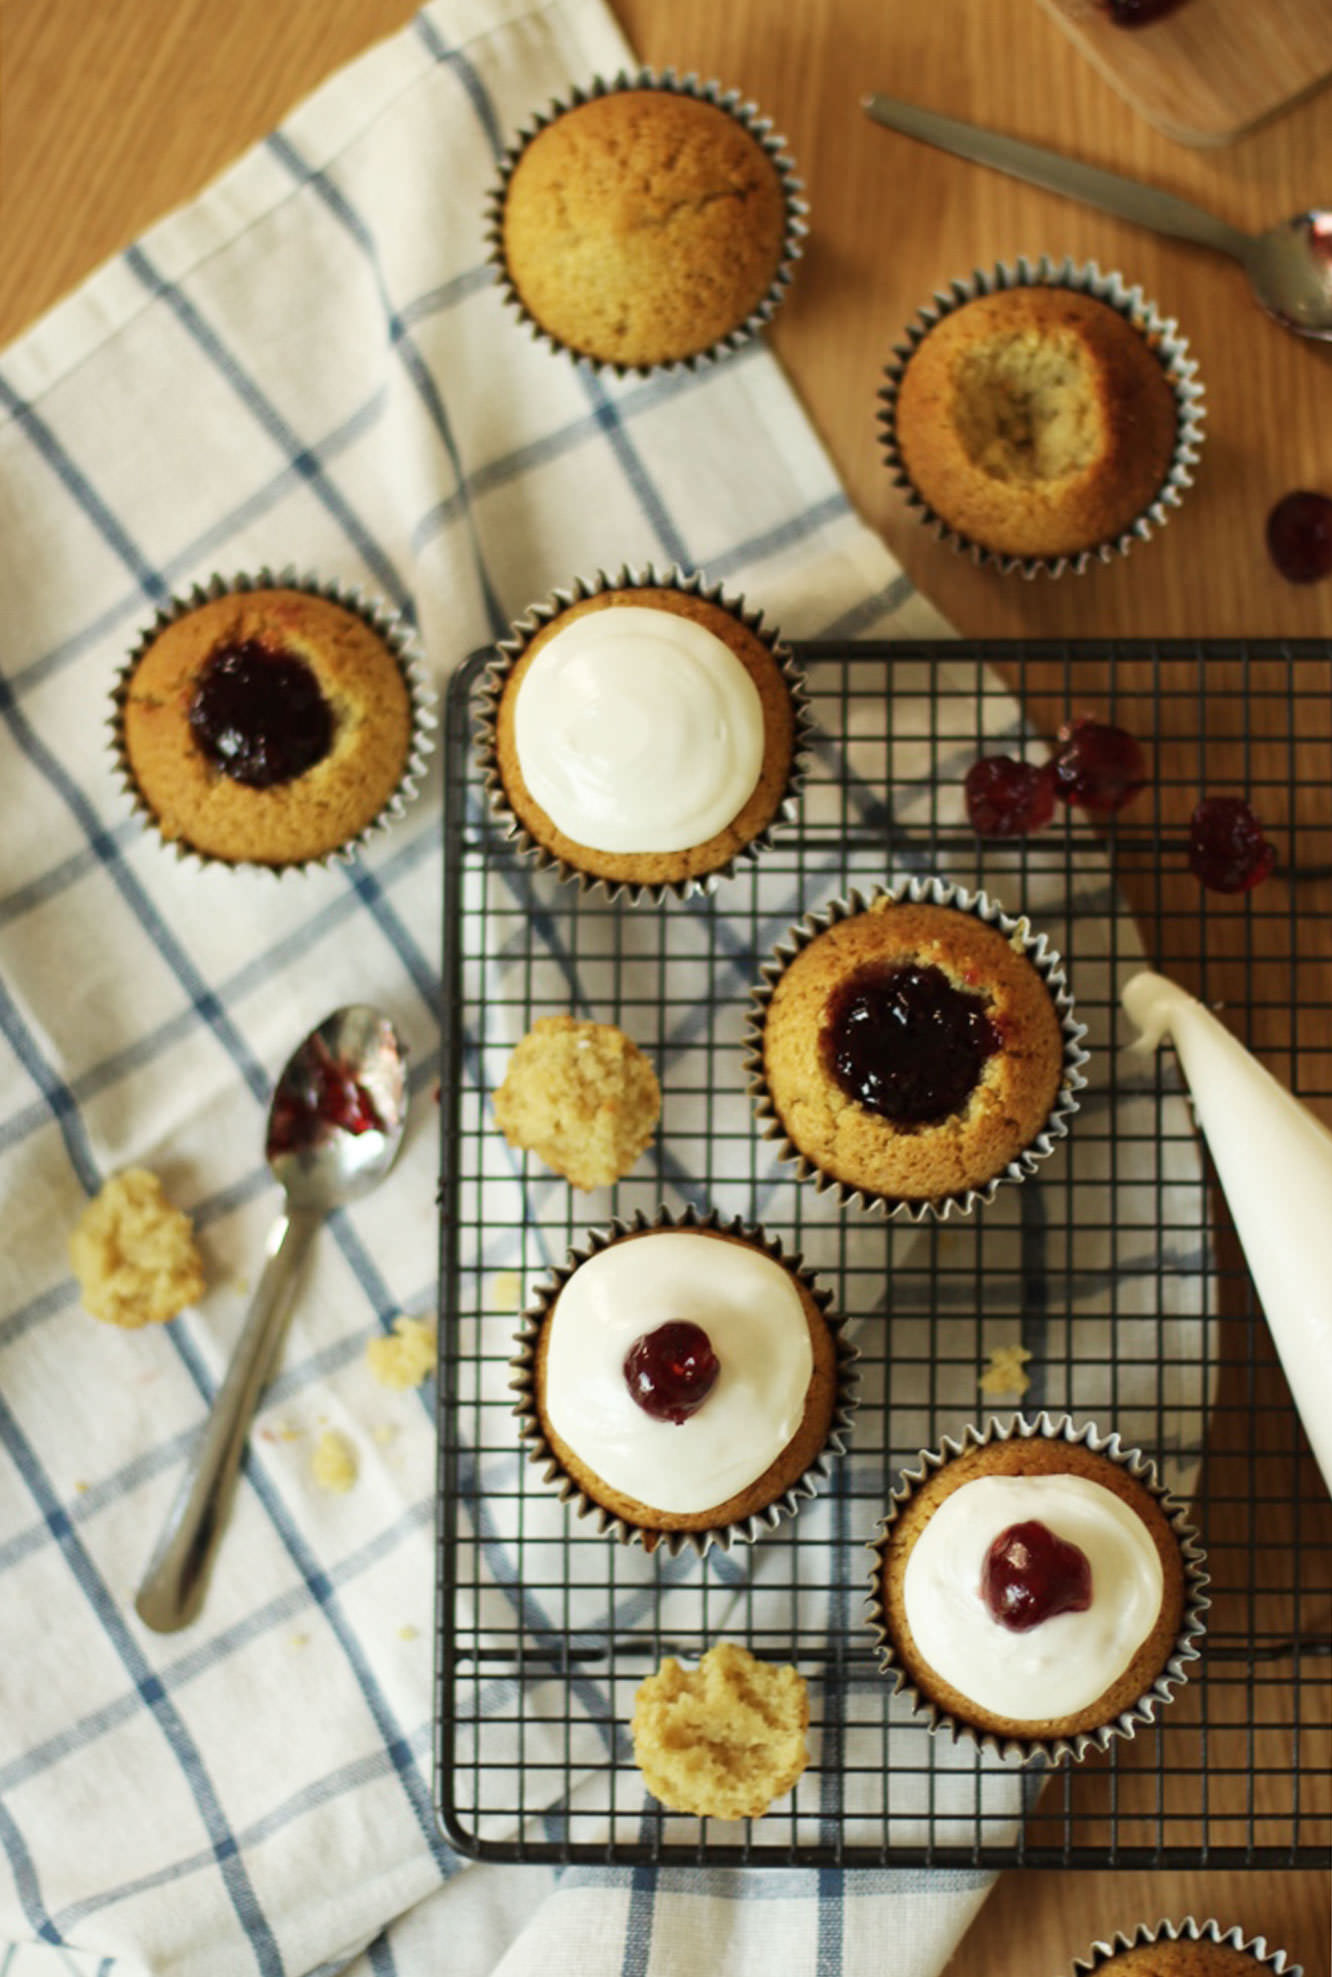
Step six
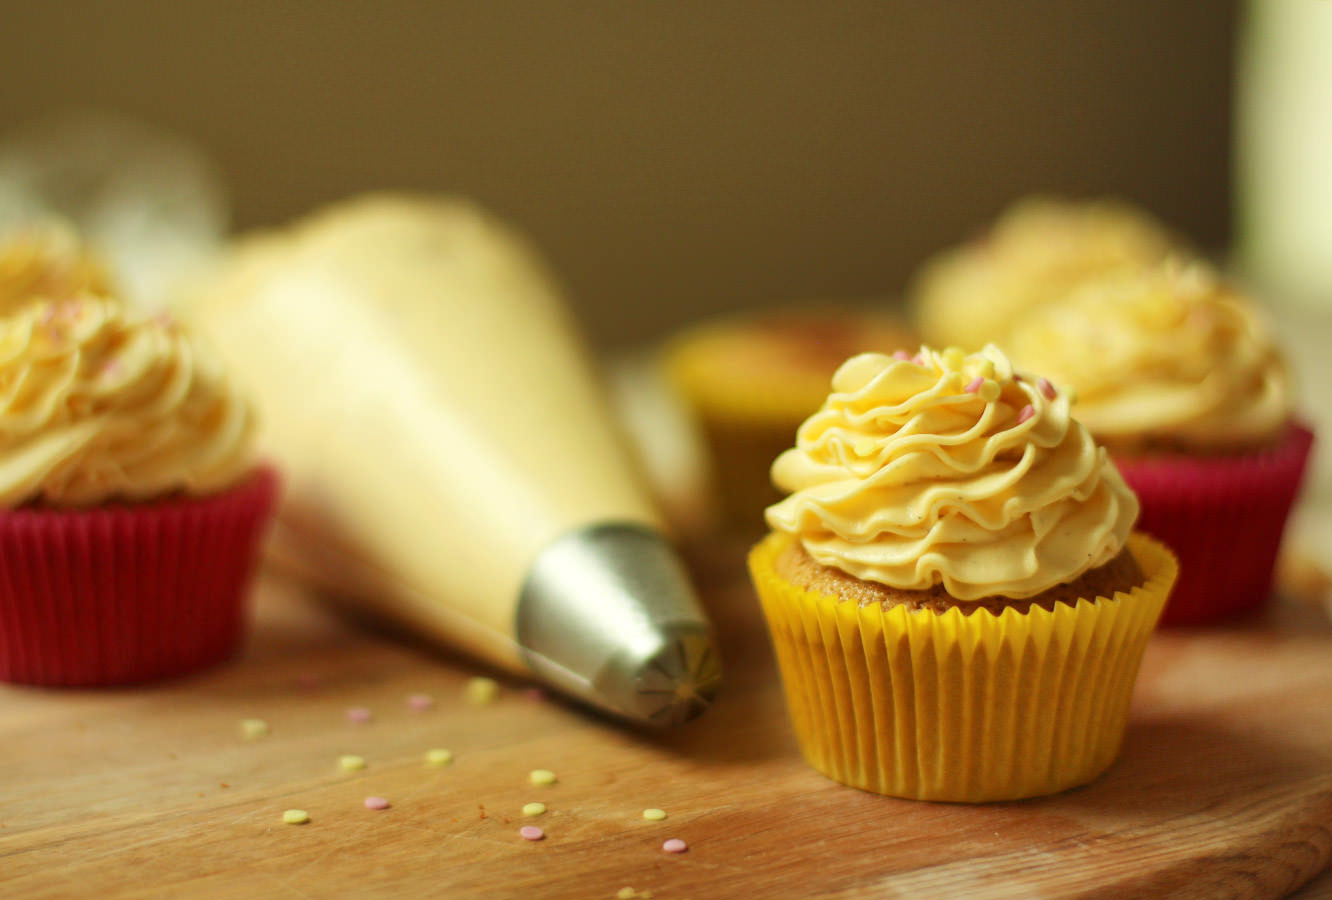
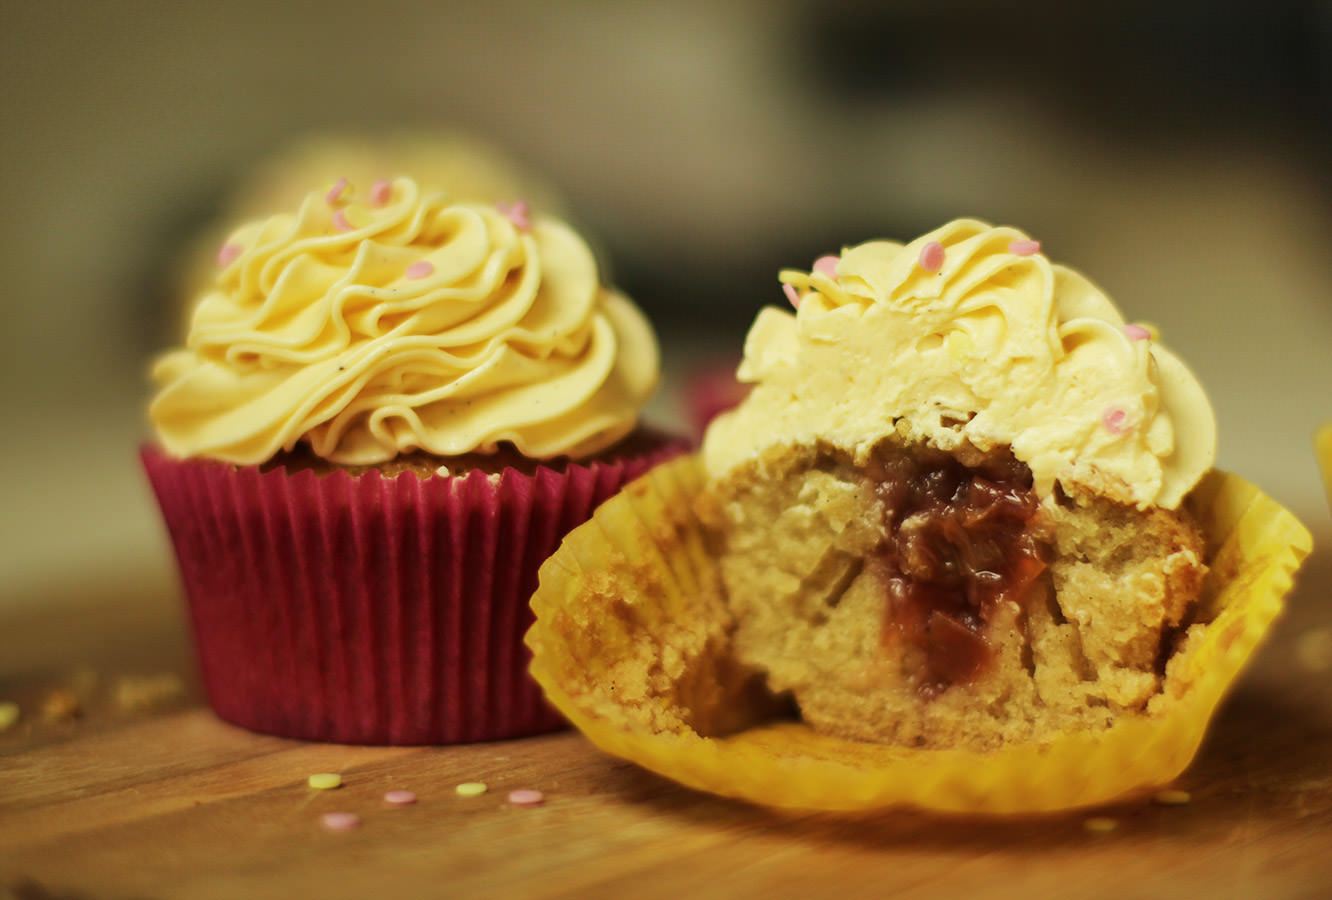
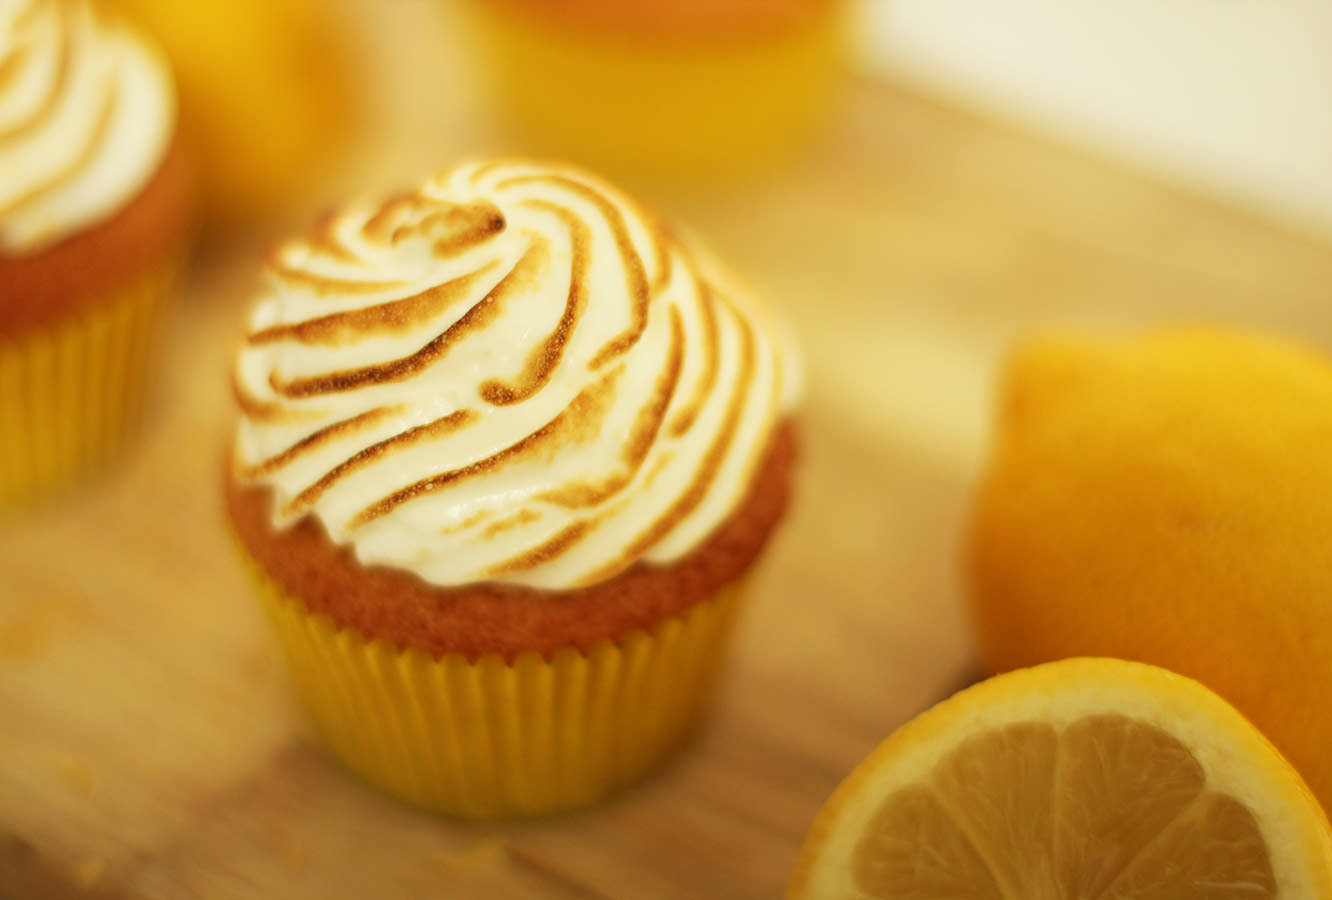
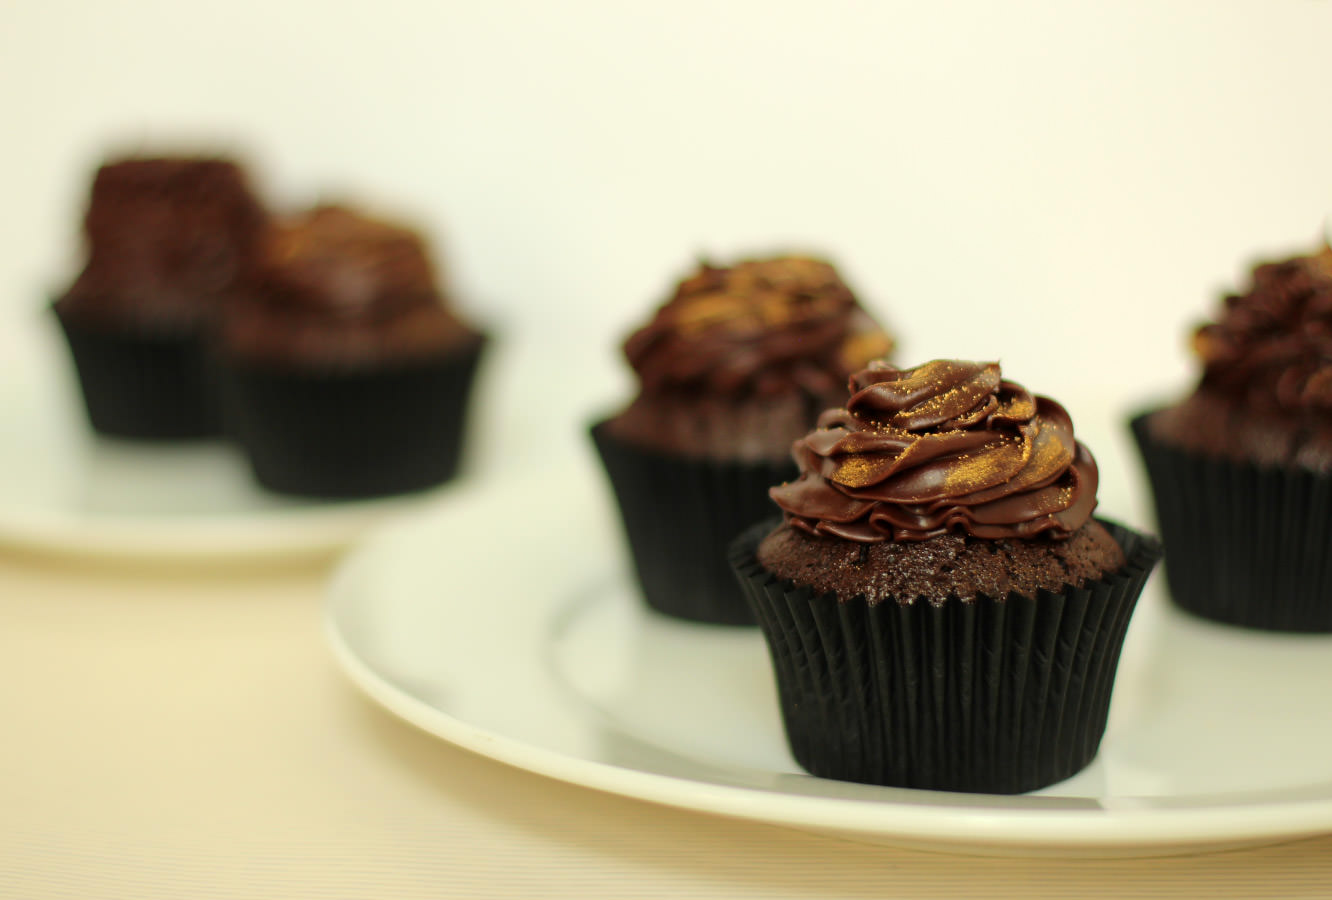
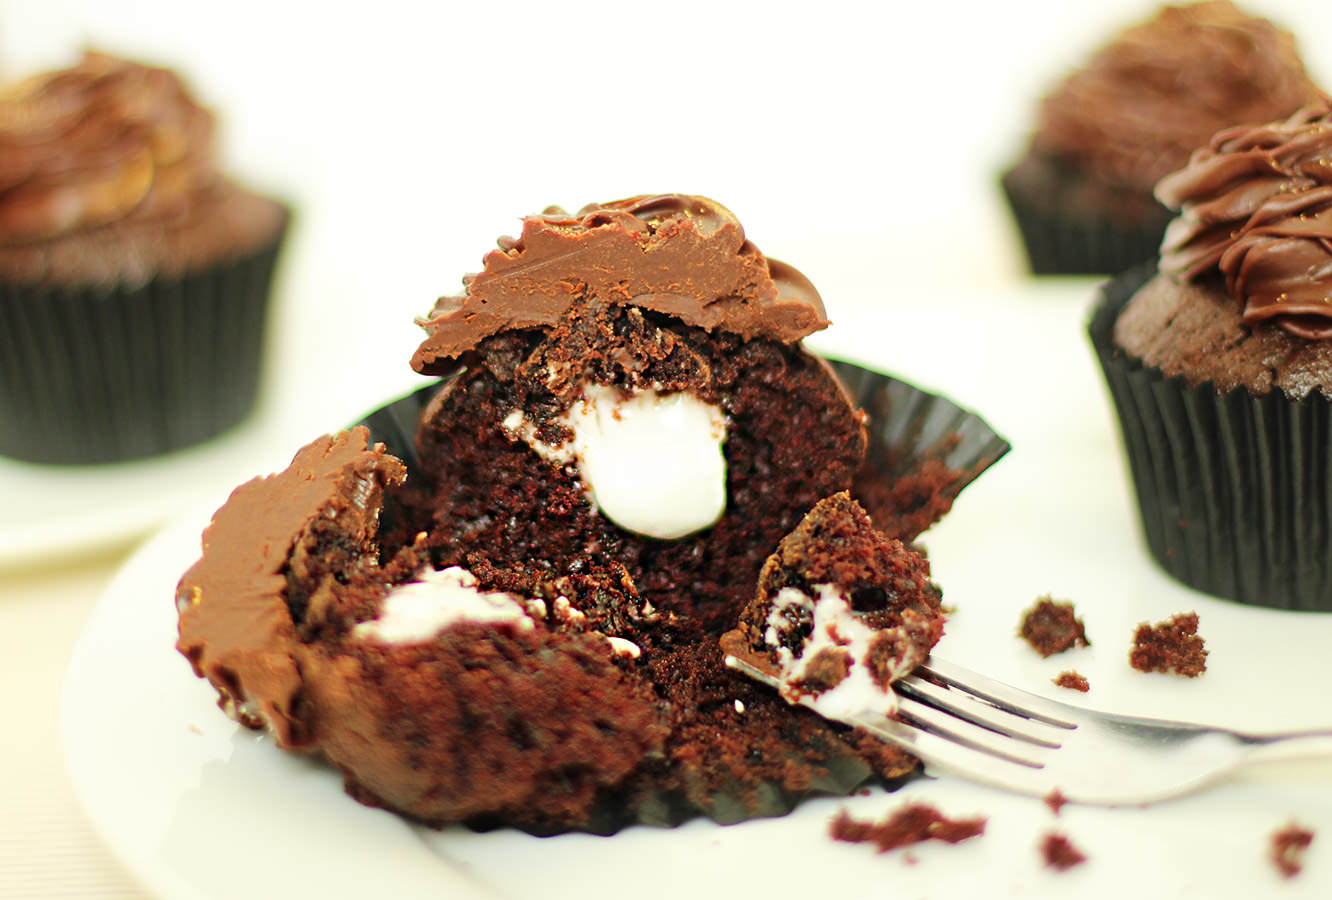
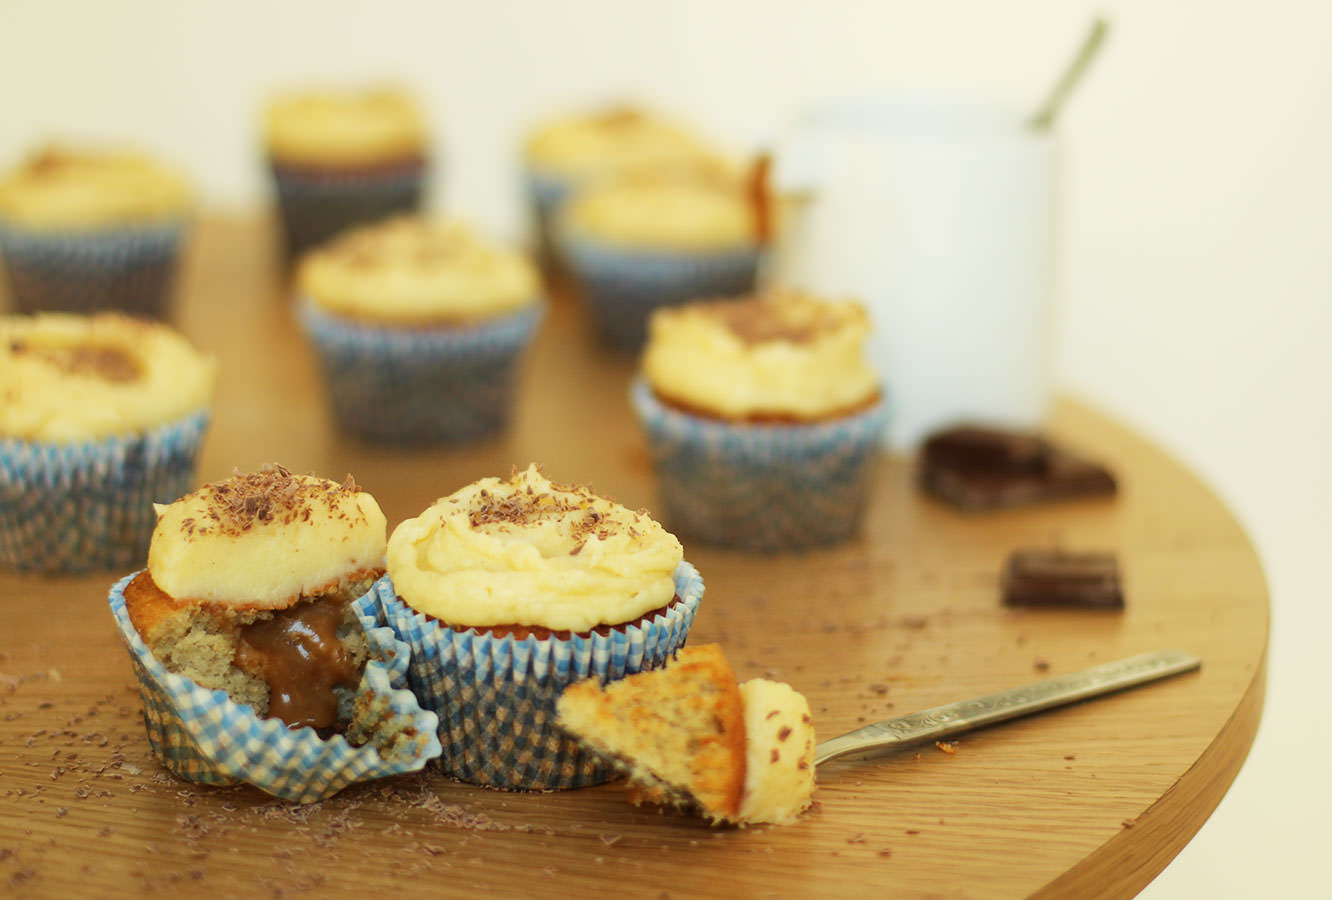
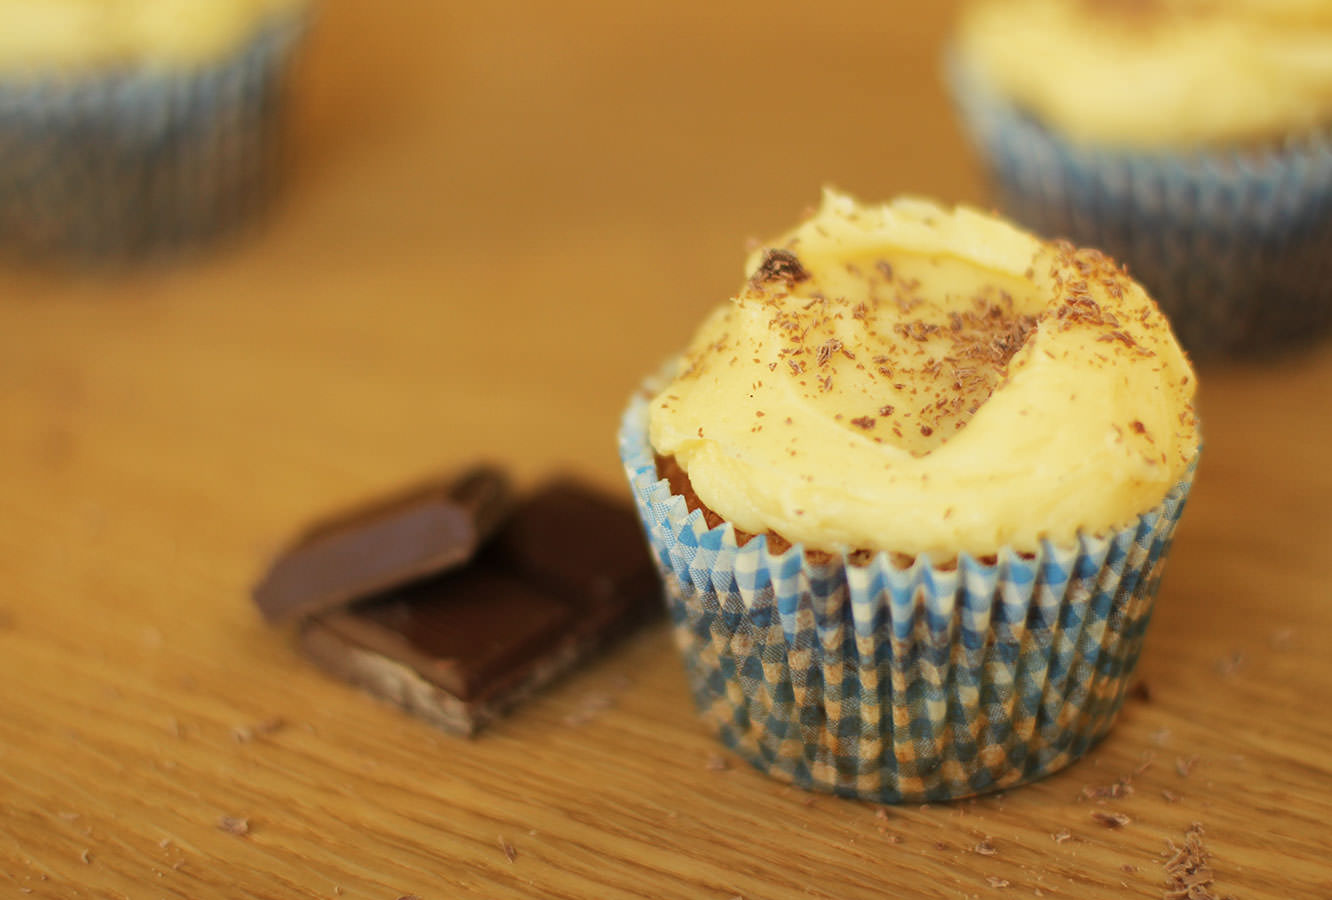
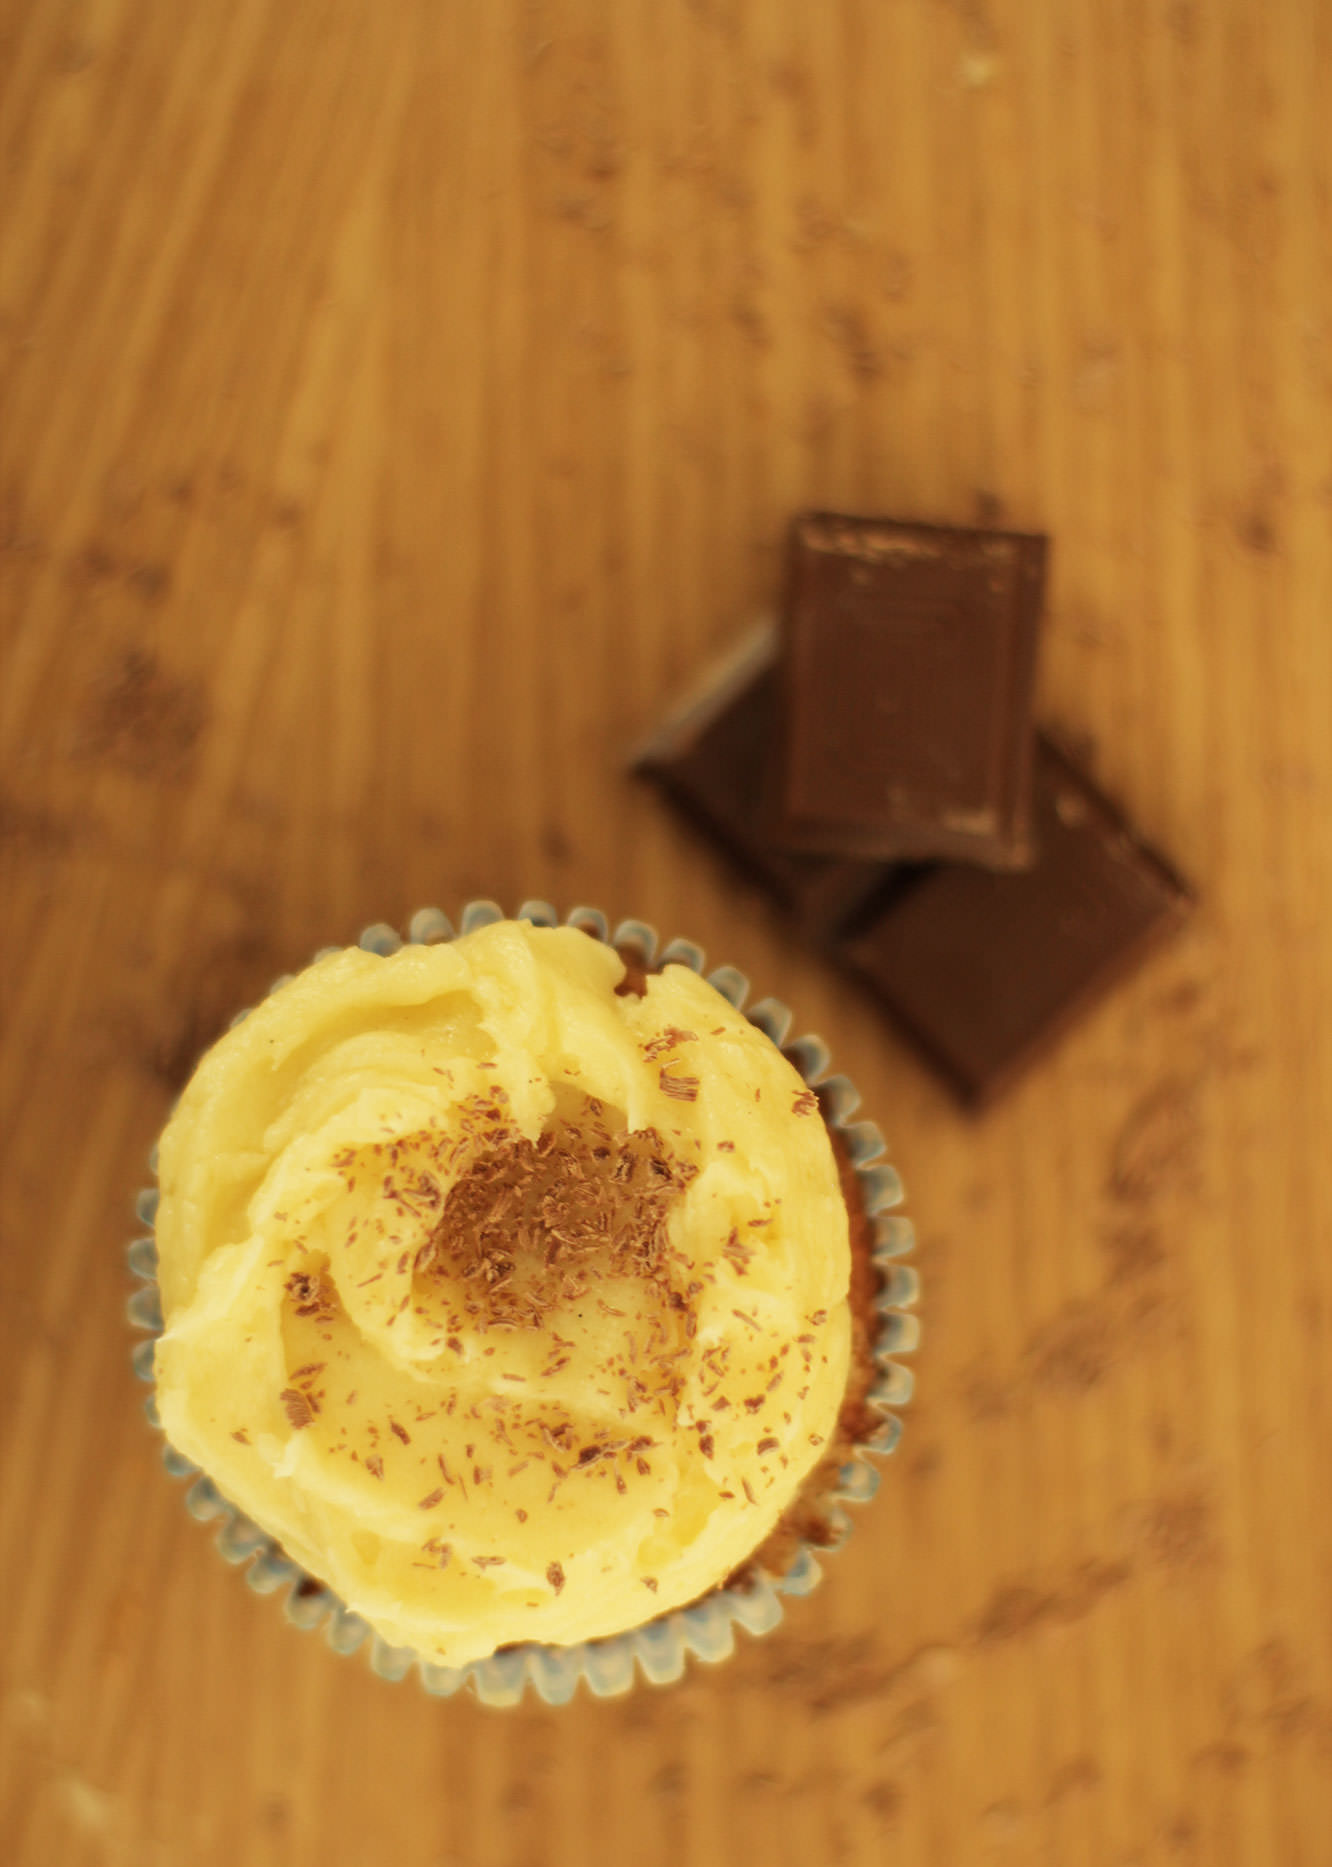
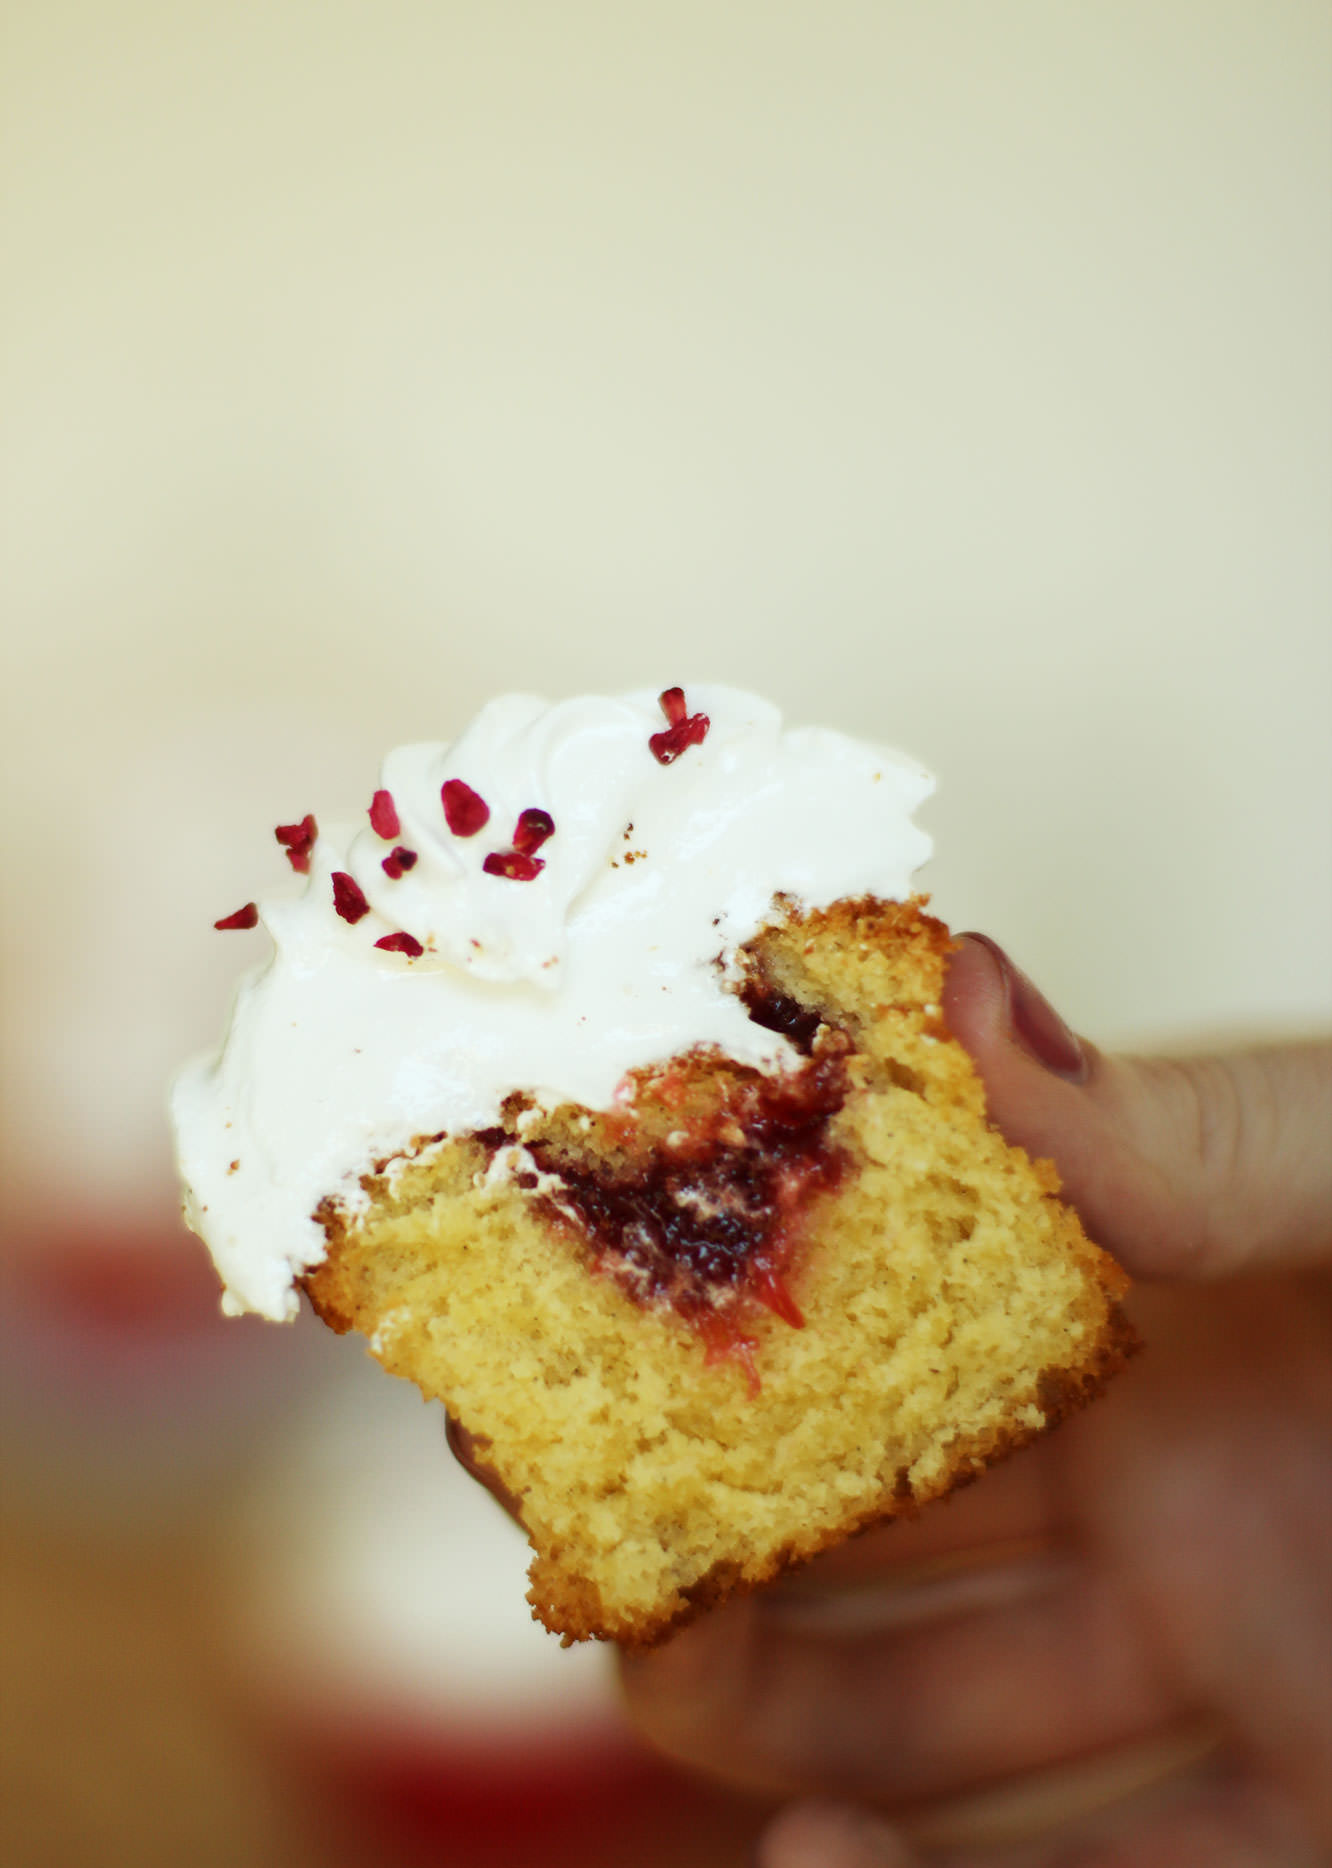
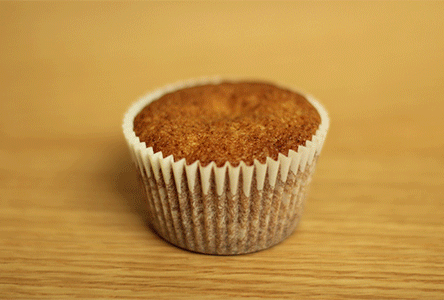
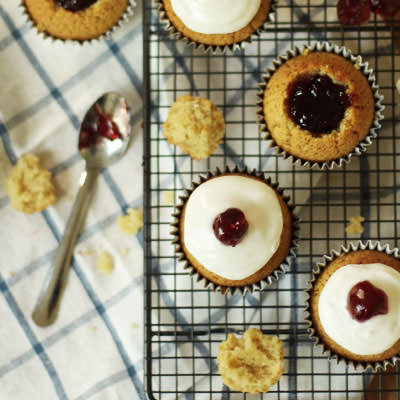
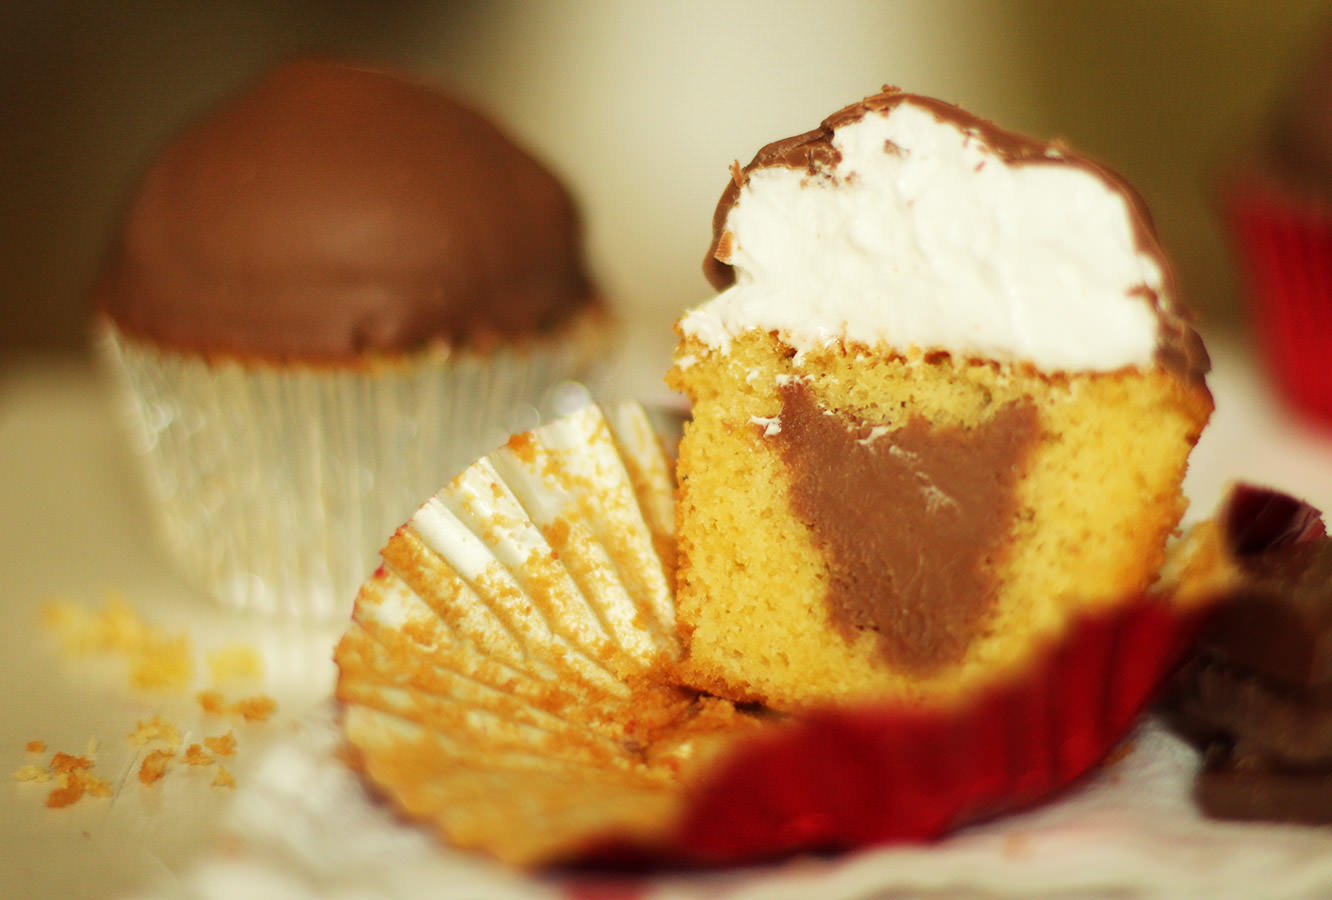
Make a hole in the cupcakes and remove the spongey bit from the cut out. Fill with ganache and pop the ‘lid’ back on. I then spread a little of the meringue frosting over the surface to even it out a little. Pipe the frosting onto the cake using a round nozzle and holding pointed directly down at the cake (perpendicular) and squeeze.
Put in the freezer for a few hours.

Step seven
Melt the chocolate either by putting in the microwave for 20 second bursts, or in a bowl over a pan of simmering water.
You need to find a shallow but wide pot/cup to use for dipping. It needs to be wide enough for the cupcake and your fingers.
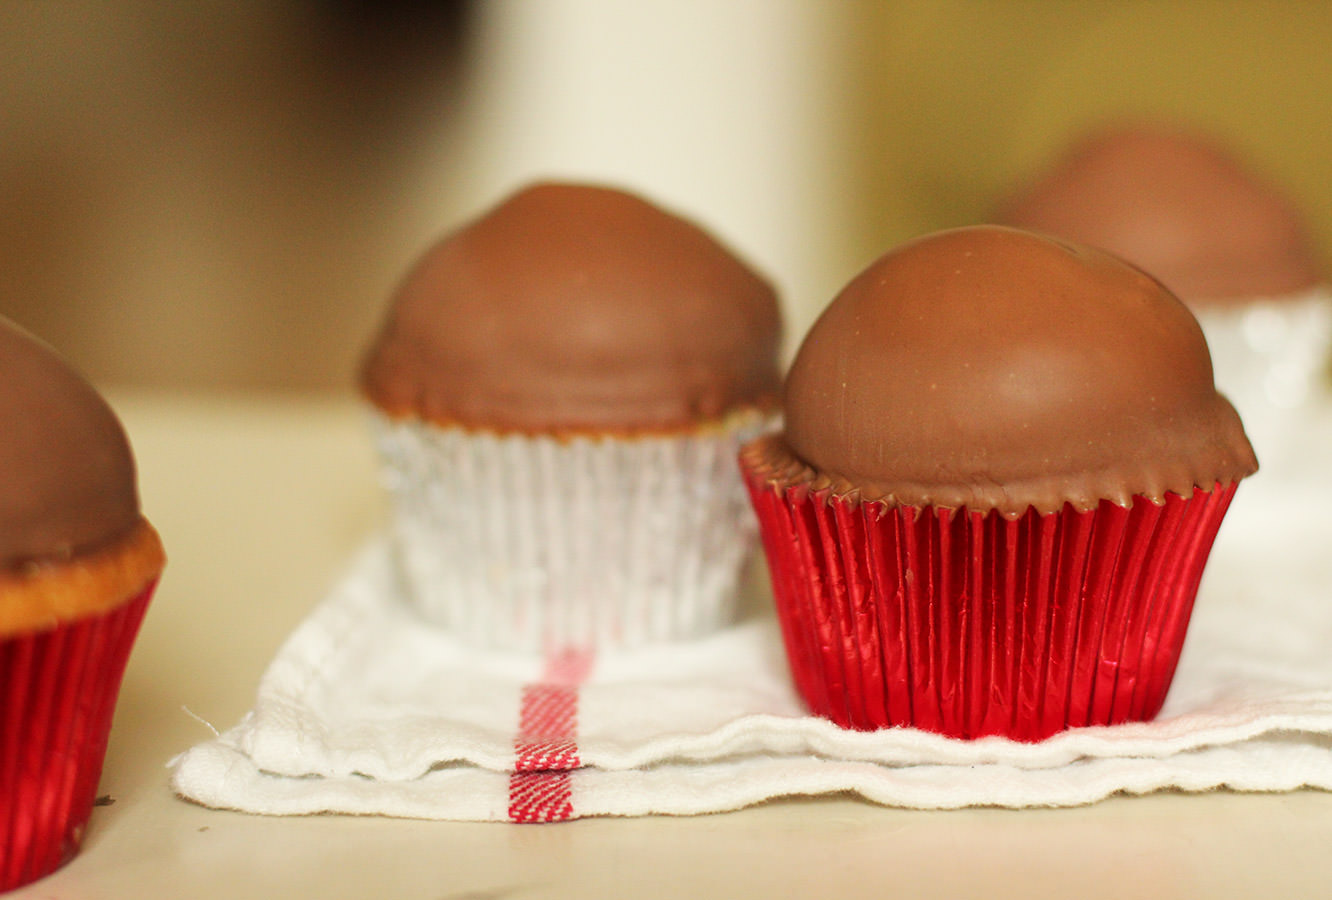
Remove the cupcakes from the freezer and dip them in the chocolate.
Leave to set.

Fin.