Afternoon folks! Making the most of my lunch break to post this week because we are officially in Christmas party season. You know what else we’re in? CHRISTMAS TREE SEASON.
Yes. That’s right, get yours out of the attic or head down to your local festive pop up, it’s time.
There’s a lovely nostalgia people have with their generations old decorations; almost everyone I’ve talked to about their tree has some kind of heirloom ornament that takes centre stage each year.
I still think it’s nice to freshen it up from time to time though, and with December costing a fortune, here are some quick and easy christmas tree decorations you can make with things lying around the house/garden.
Pine cone ornaments
Pine cones
Picture frame hangers (screw in ones)
Tip-Ex (white out)
Ribbon or string
Screw the picture hangers into the bottom of the pine cones, attach a loop of string/ribbon an paint the ends of the pine thingys with the Tip-Ex. It dries so quickly you don’t even need to put paper down.
Paper circles garland
White card
Contrasting thread
Circle punch
Sewing machine (or you could use glue/double-sided tape if you don’t have one)
Punch a load of circles out of the card. Put them through a sewing machine. Yup. THAT easy.
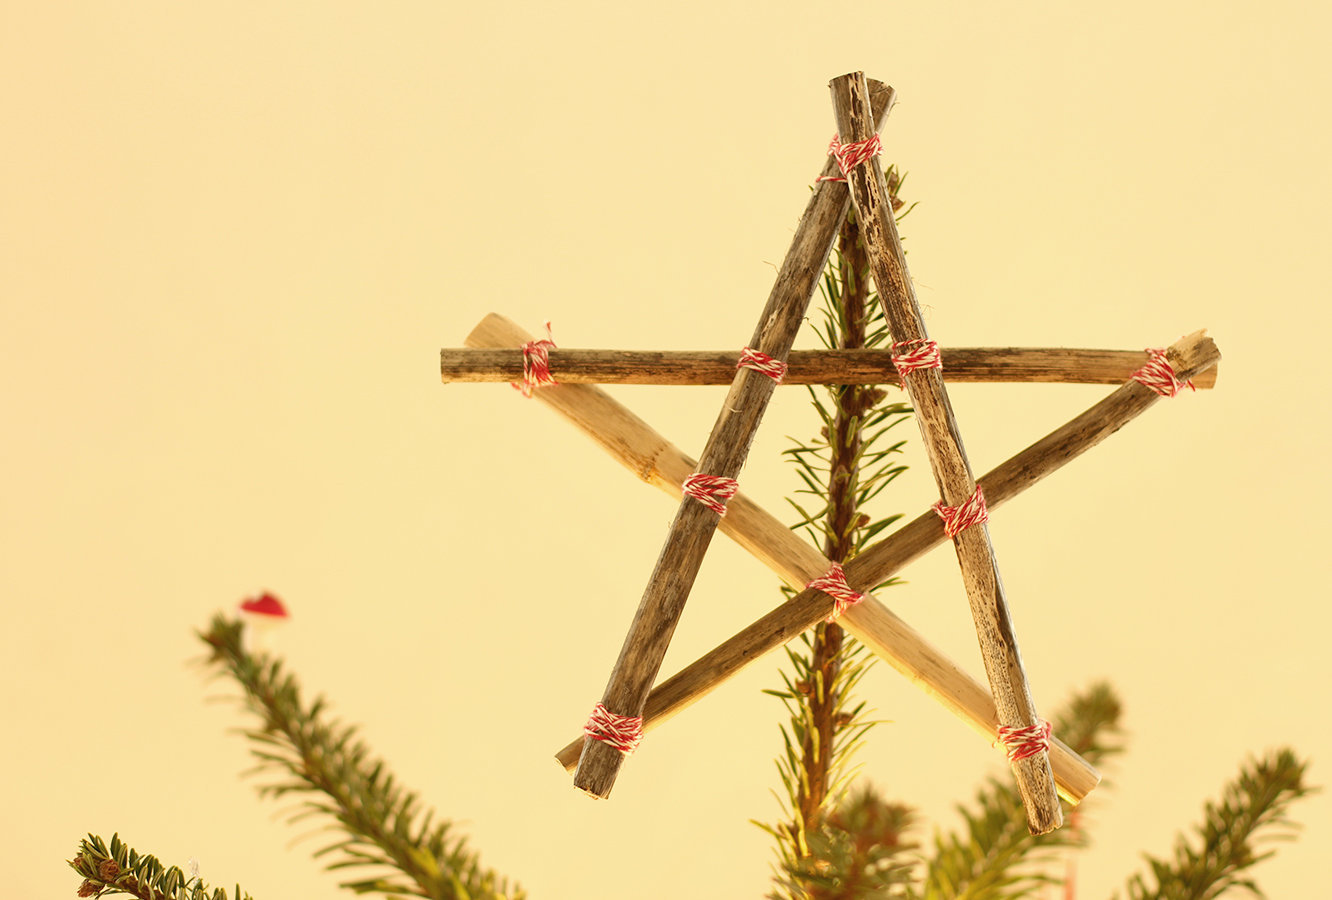
Christmas tree star
Five reasonably straight twigs
Some twine
Cut the twigs to the same length using secateurs or scissors. Tie the ends together at 45 degree angles or less. Make sure that when a twig is on top of another at one end that it goes under the next one at the other end. The only exception is the twig you started with, which when you tie it to complete the star, will probably be under both those it’s attached to. Add more twine to secure the cross overs in the middle too.
A classic case of things not turning out quite how they were meant to this week. I’m not sure exactly what I was expecting, but my housemates managed to cajole me into embracing the rustic charm of these makes nonetheless. By the end I managed to accept them as ‘not too bad after all’ and the lack of precision means that they would be a great little craft for kiddies as the winter creeps in.
With Christmas decorating just around the corner these guys are a great finishing touch as tree decorations, tags on presents and for card making. They are cheap to make and are cute little token gifts for the people you love, or at least those you like enough to want to give them something, but not enough to actually apply yourself to Christmas shopping.
You will need
A block of FIMO modelling clay
Shape cutters
Festive string or ribbon
Acrylic paint and a small paint brush
Alphabet cookie stamp, I go this from Tiger recently (or regular stamps might work)
A paperclip
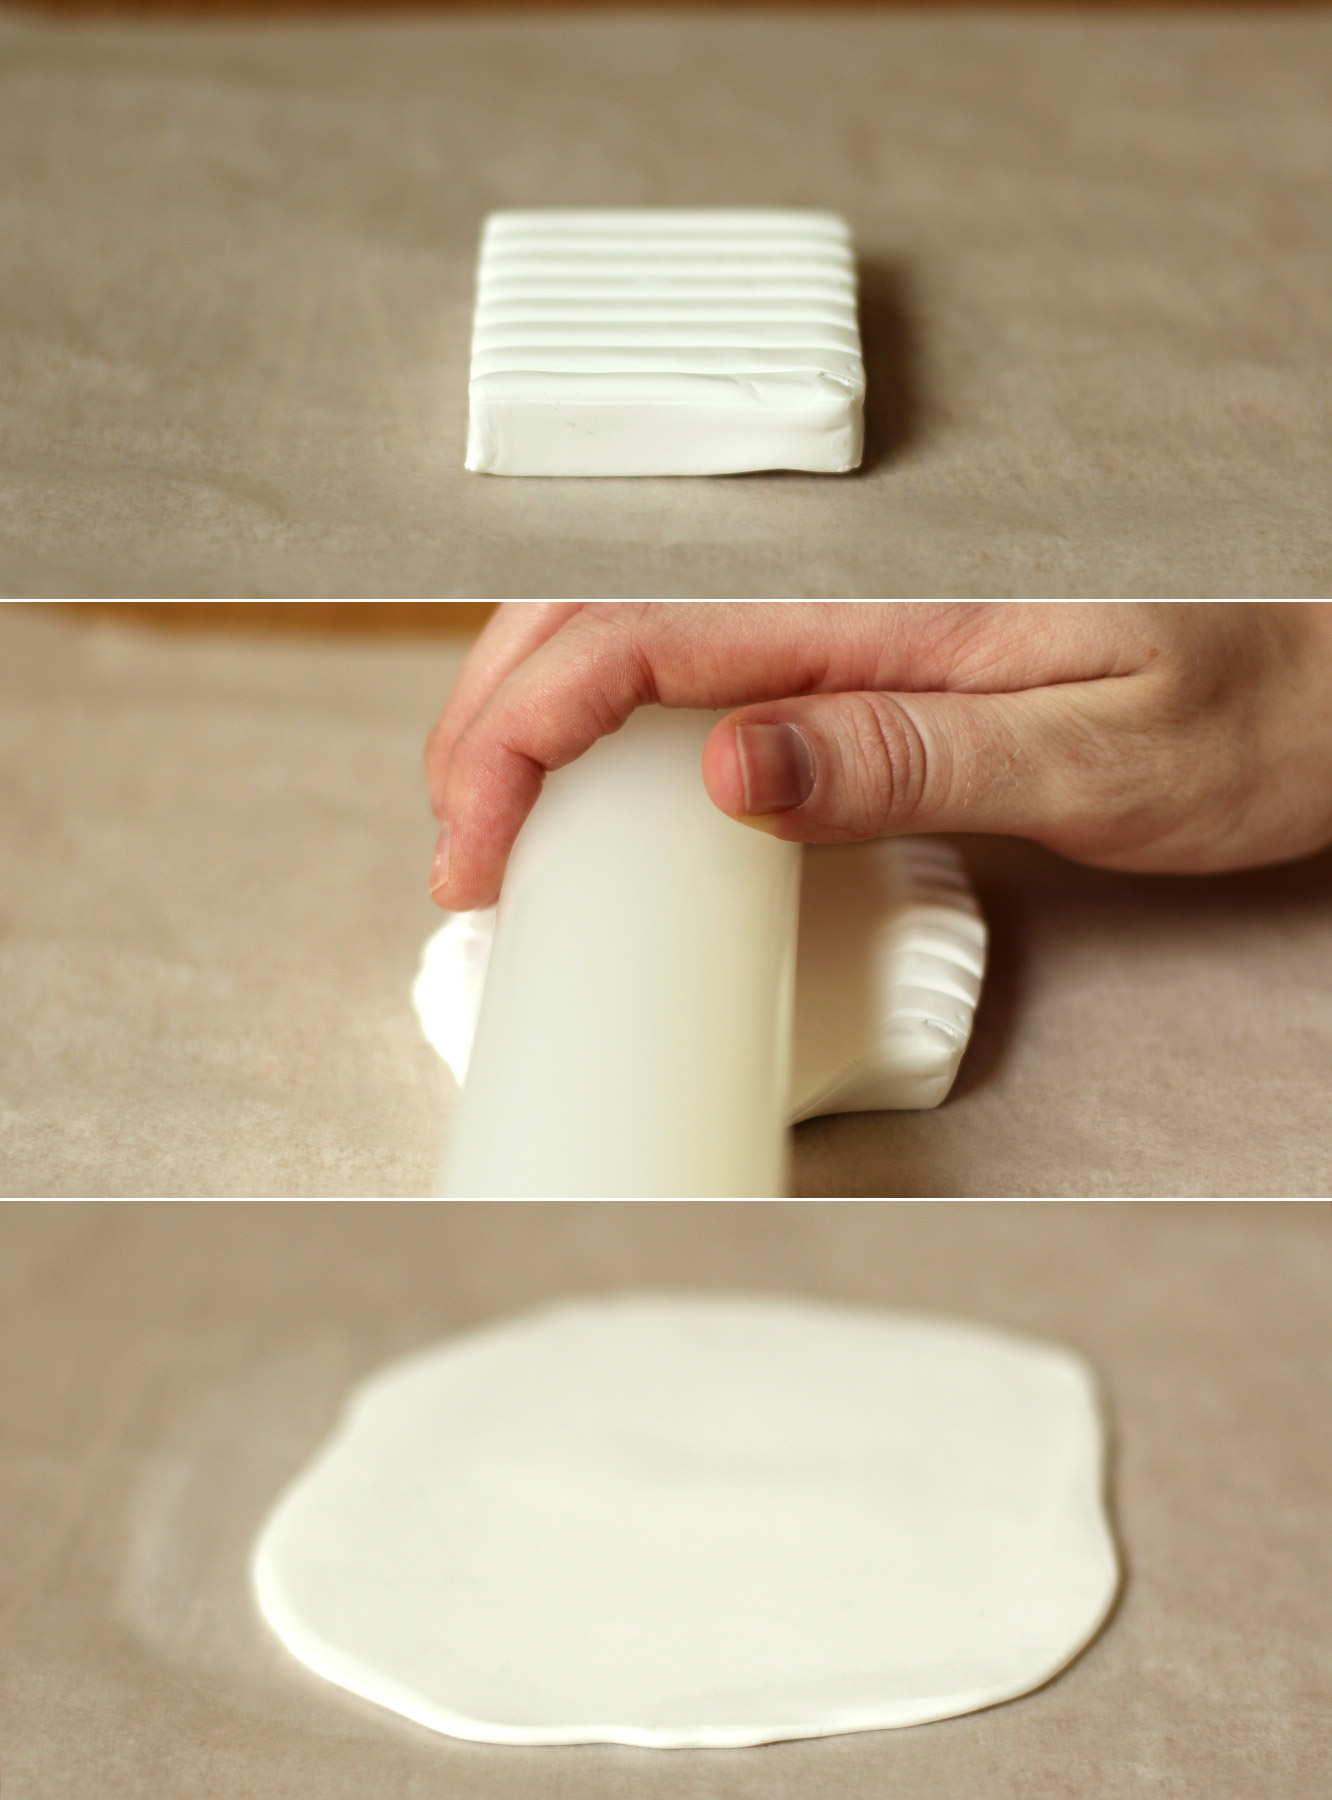
Step one
Roll the FIMO out into a thin sheet, about 2-3mm thick.
I learned a few things here. Greaseproof paper is not the easiest thing to roll this out onto, a clean surface would be better. Roll the FIMO into a ball with your hands first to warm it up a bit as it will be easier than just rolling straight onto the block. Dust will get into the FIMO so easily, it picks up EVERYTHING, so make sure you wipe your rolling pin and surface carefully.
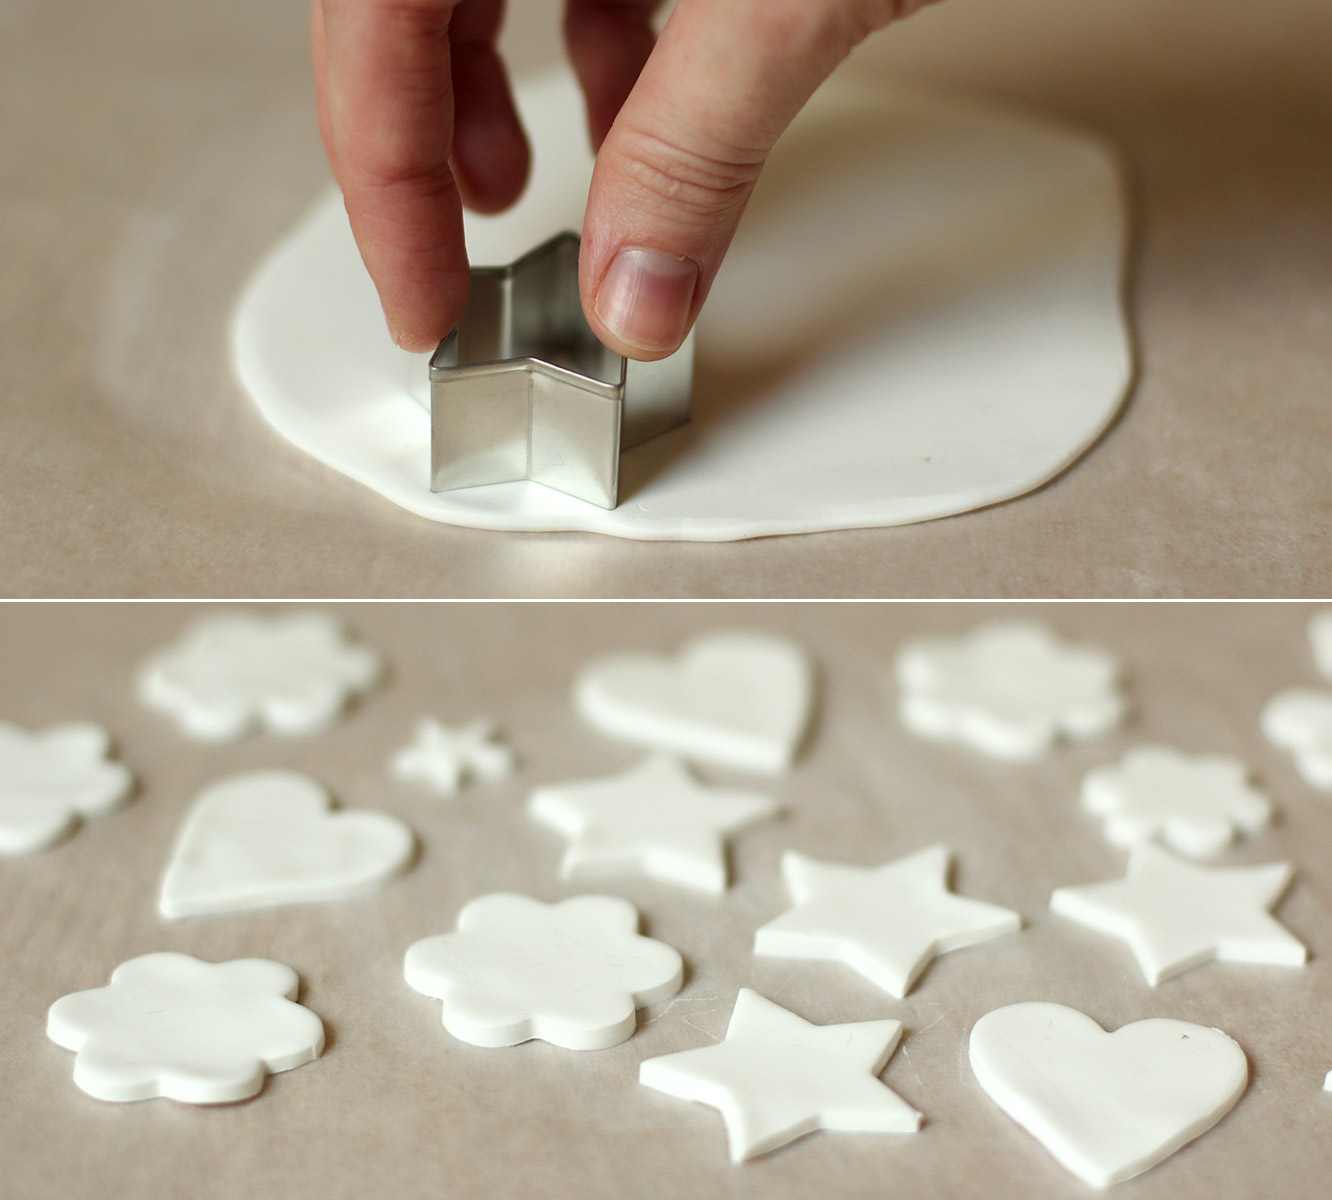
Step two
Cut out a variety of shapes. Re-roll and keep cutting until you have used all the FIMO. It’s surprising how many you get in the end out of such a small block.
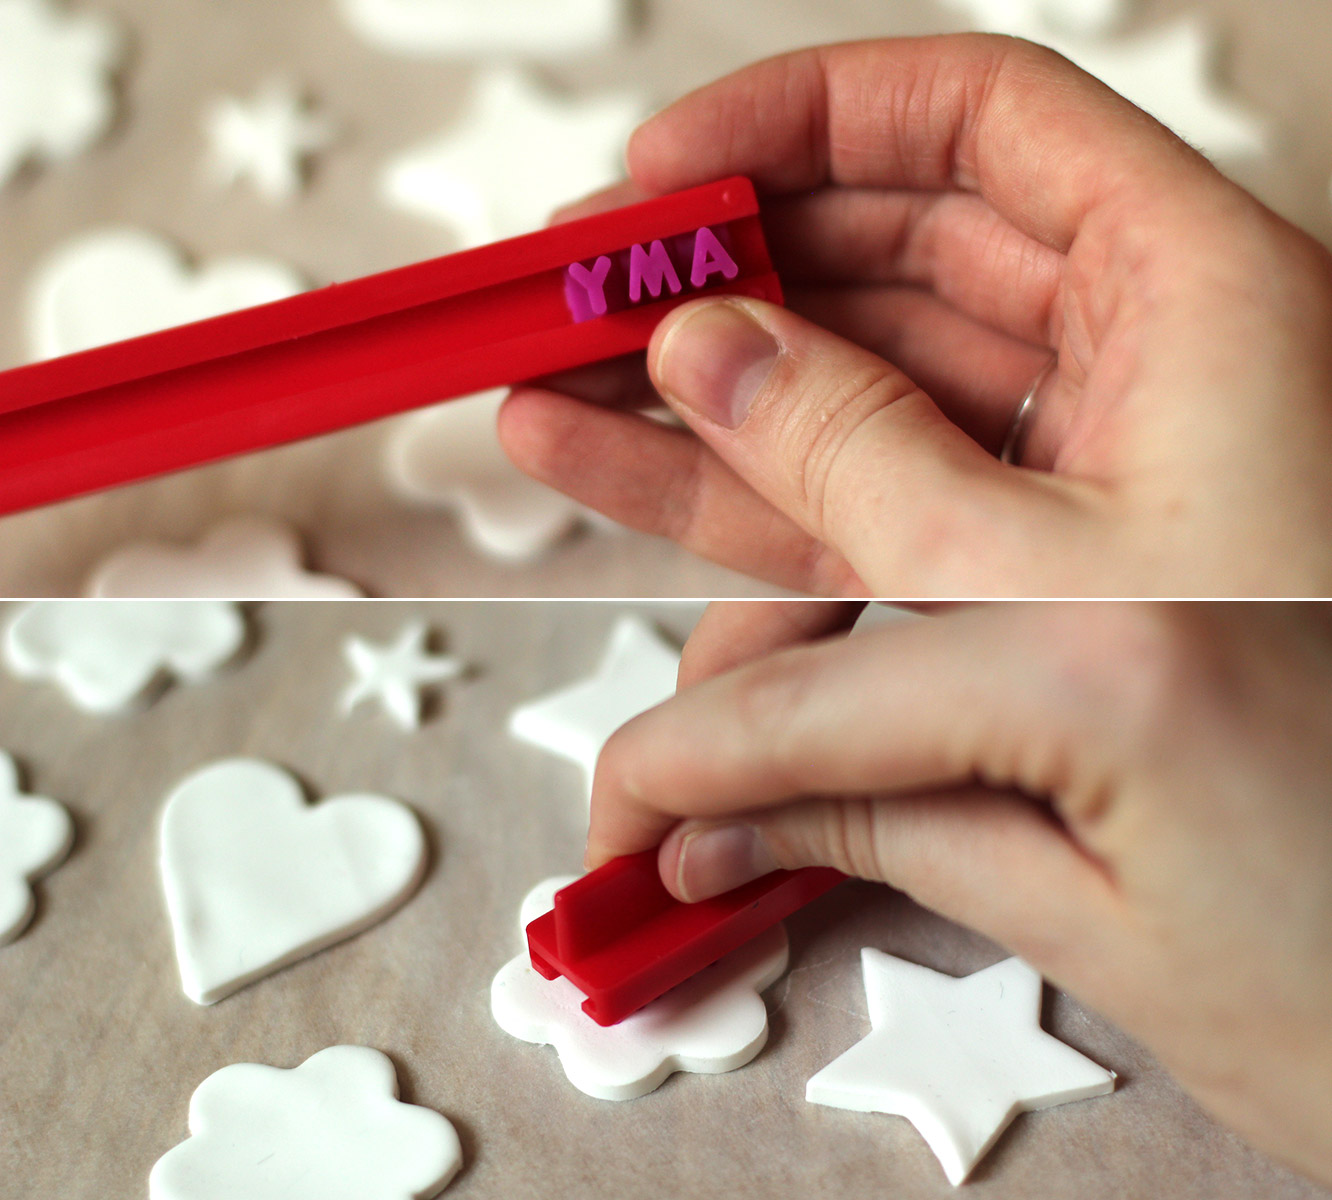
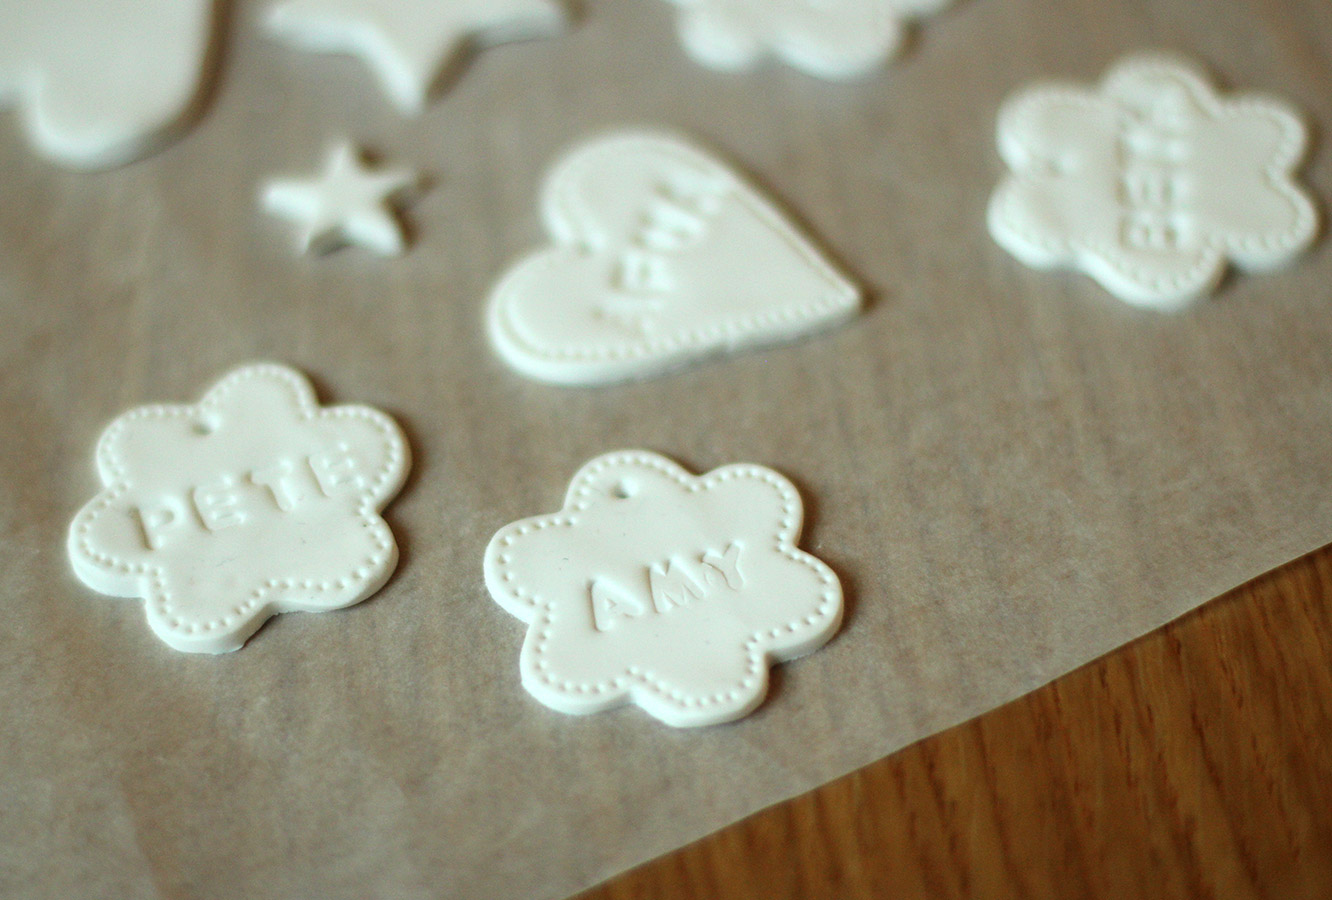
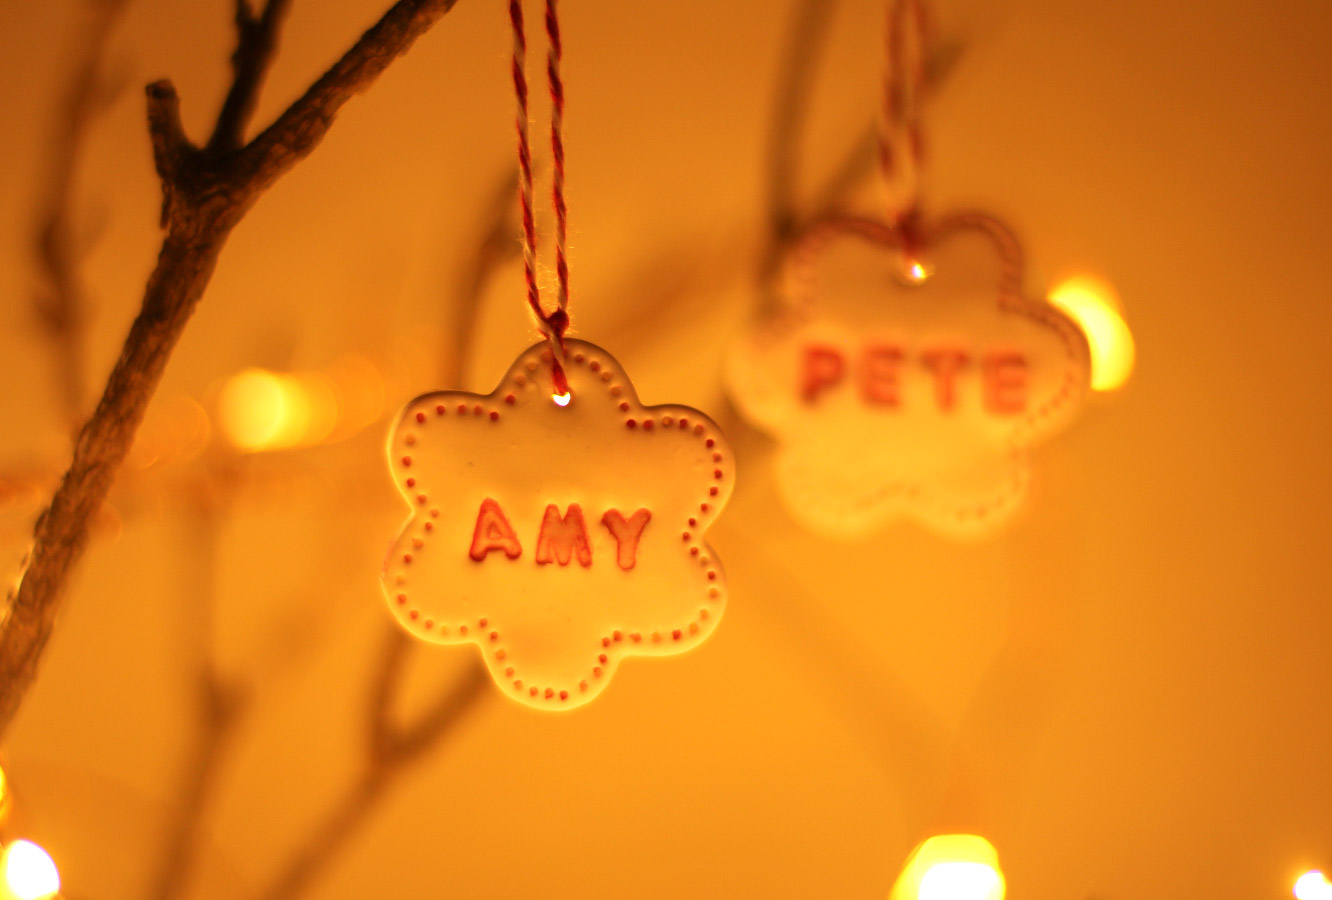
Step three
Stamp the names of your nearest and dearest into the shapes. I found that words longer than four letters were problematic. I employed some creative shortenings, although my housie Marianne was not impressed with Matz as her new nickname. It will depend on the sizes of your cutters, but you might want to do initials or words like ‘love’, ‘joy’ and ‘noel’ if there’re some long names knocking about.
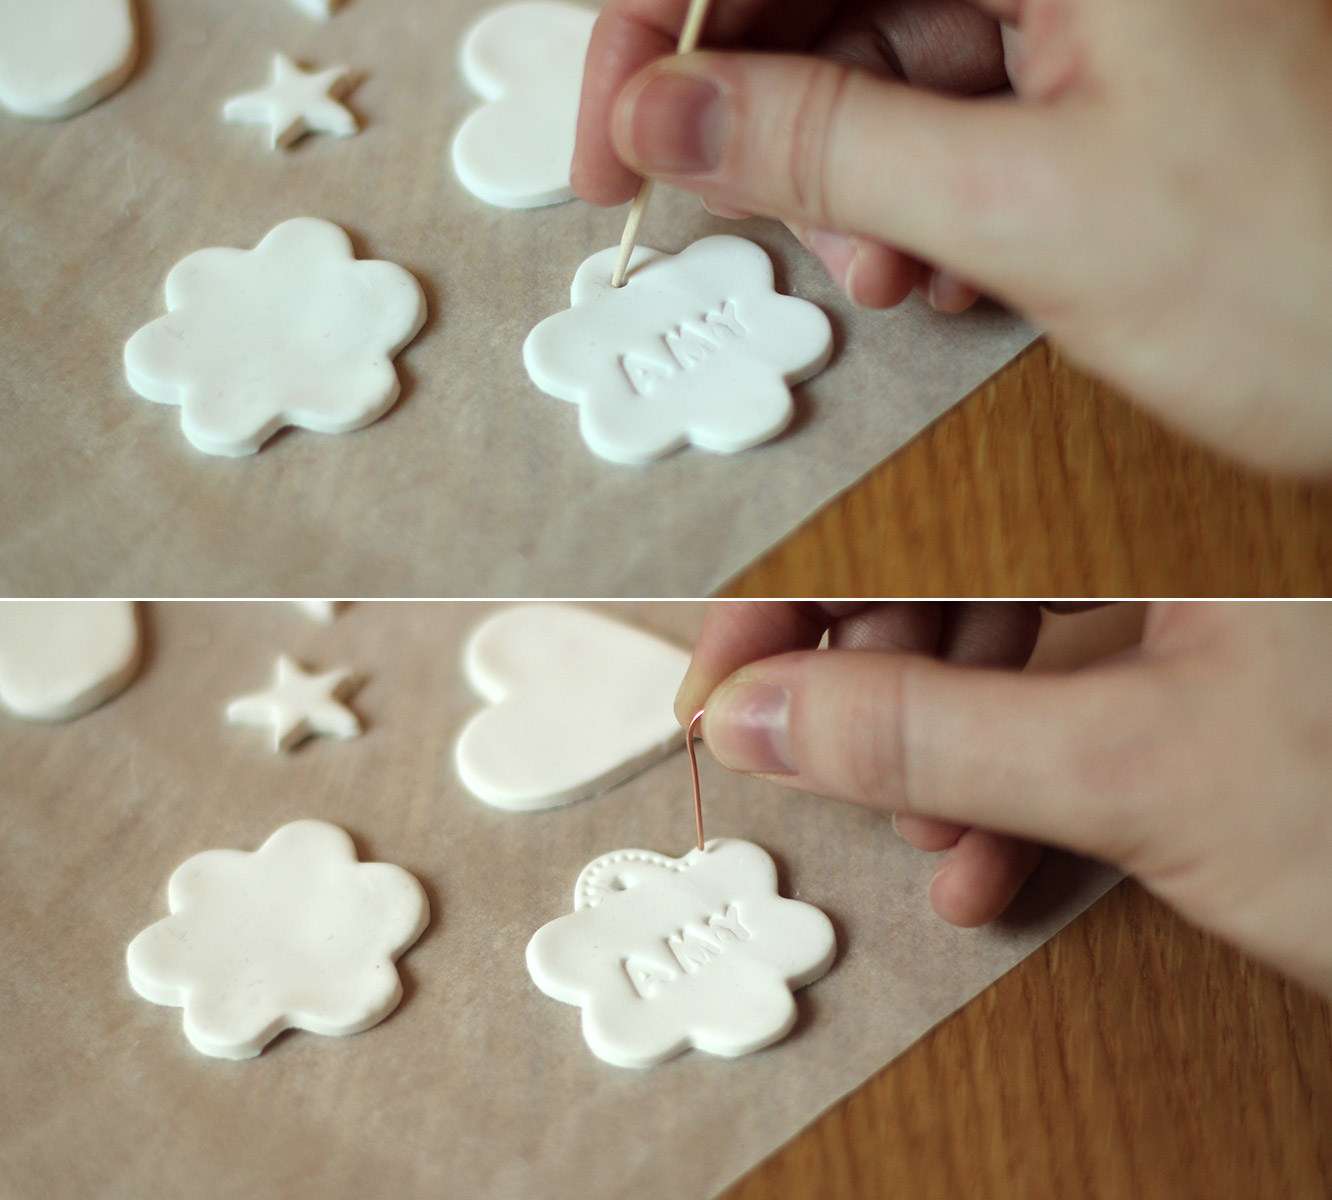
Step four
Using a cocktail stick or bent out paperclip make a hole at the top for the hanging. Wiggle the stick about in a circular motion to make sure the opening is big enough for your string or ribbon.
I then made dots all around as an edging with a paperclip.
Step five
Place on greaseproof paper and onto a tray. Bake in the oven on 100C/200F/gas mark 1 for about 30 minutes. I guessed because the packet provides zero instructions, other than to not heat it above 130C. You can tell by picking them up as they start to feel less soft and a bit lighter as they cook.
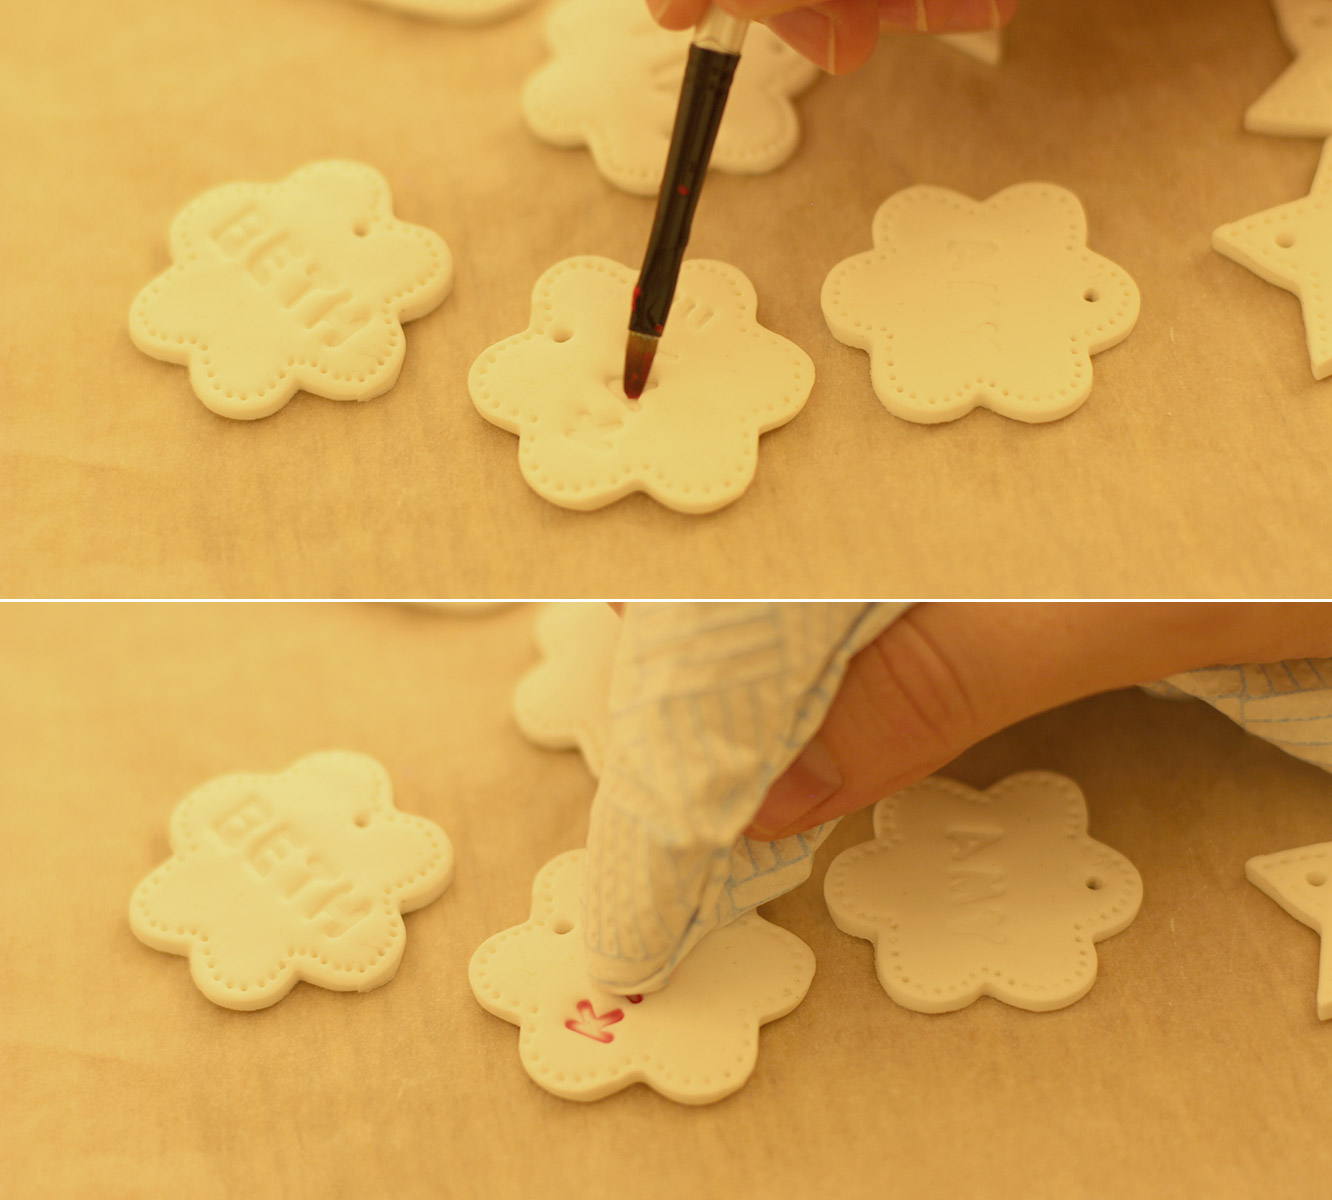
Step six
Using very watery acrylic paint, brush over the letters and the edging. Quickly dab away the excess with some clingfilm to create a rustic look.
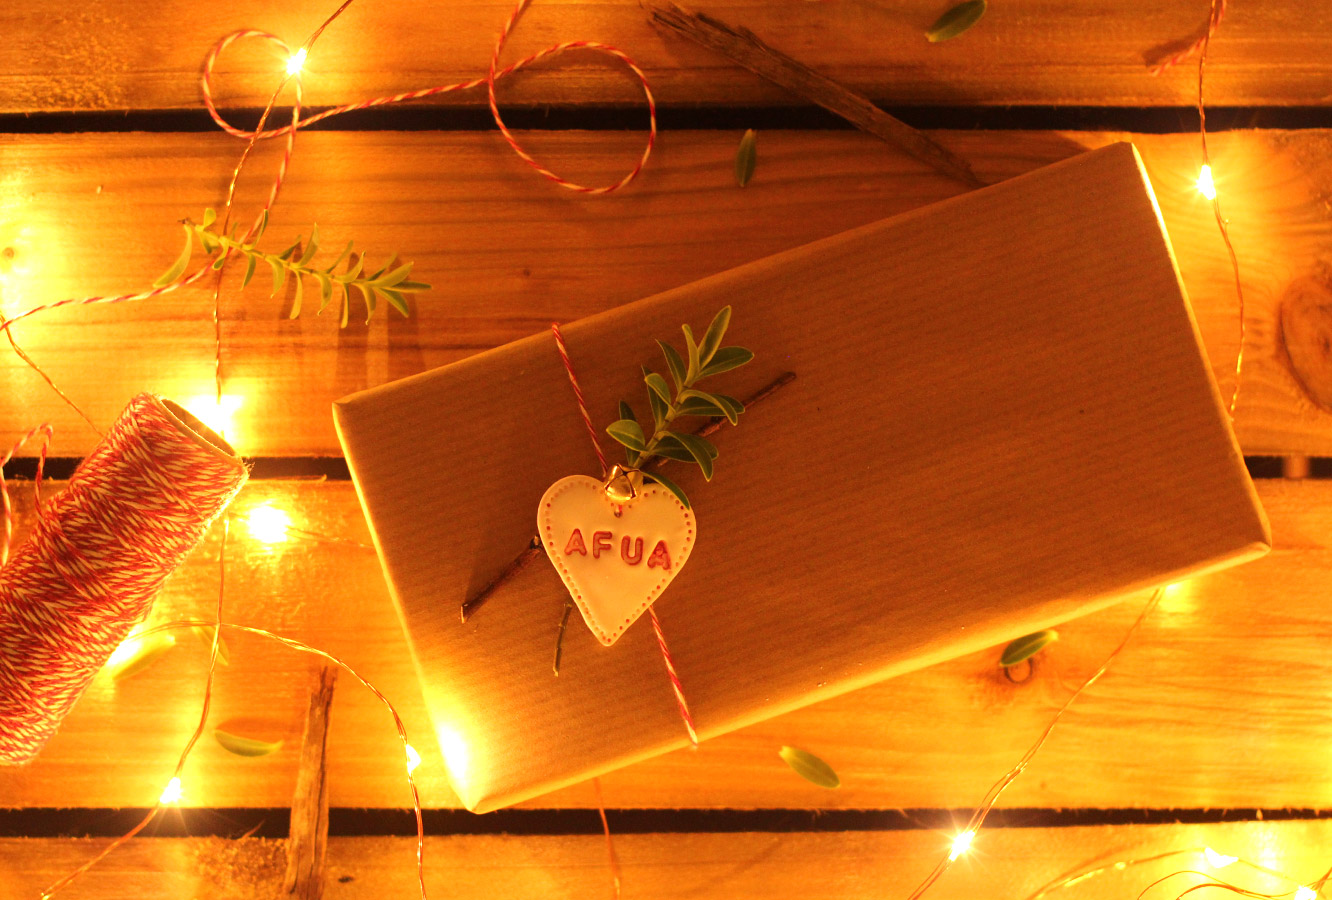
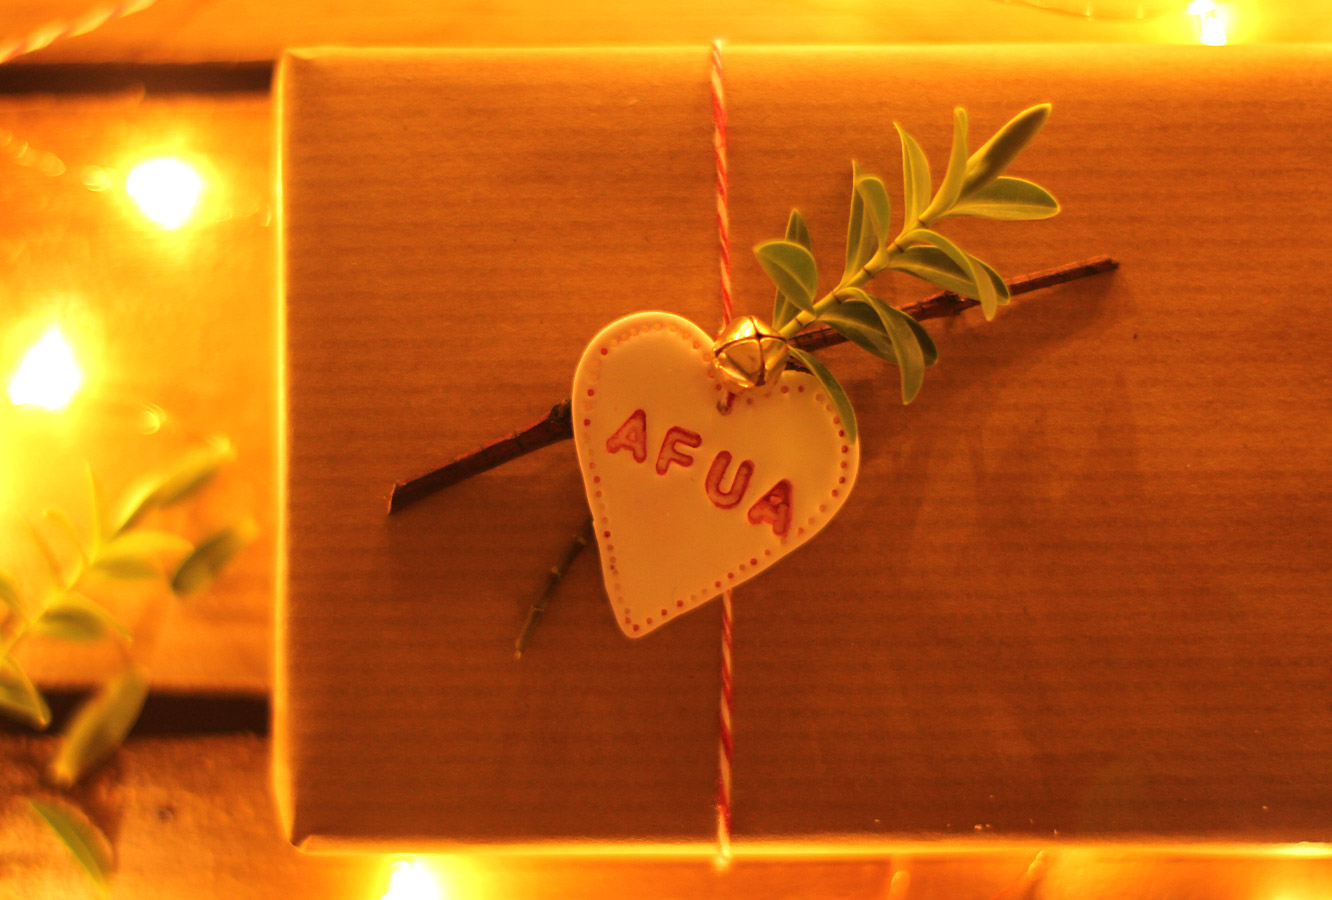
Use one: Tie up with a couple of trimmings from the garden, maybe a button/pom pom/little bell like mine. Tie with the string around a gift wrapped in brown paper.
Use two: String up and hang from a jug of twigs or your Chrimbo tree.
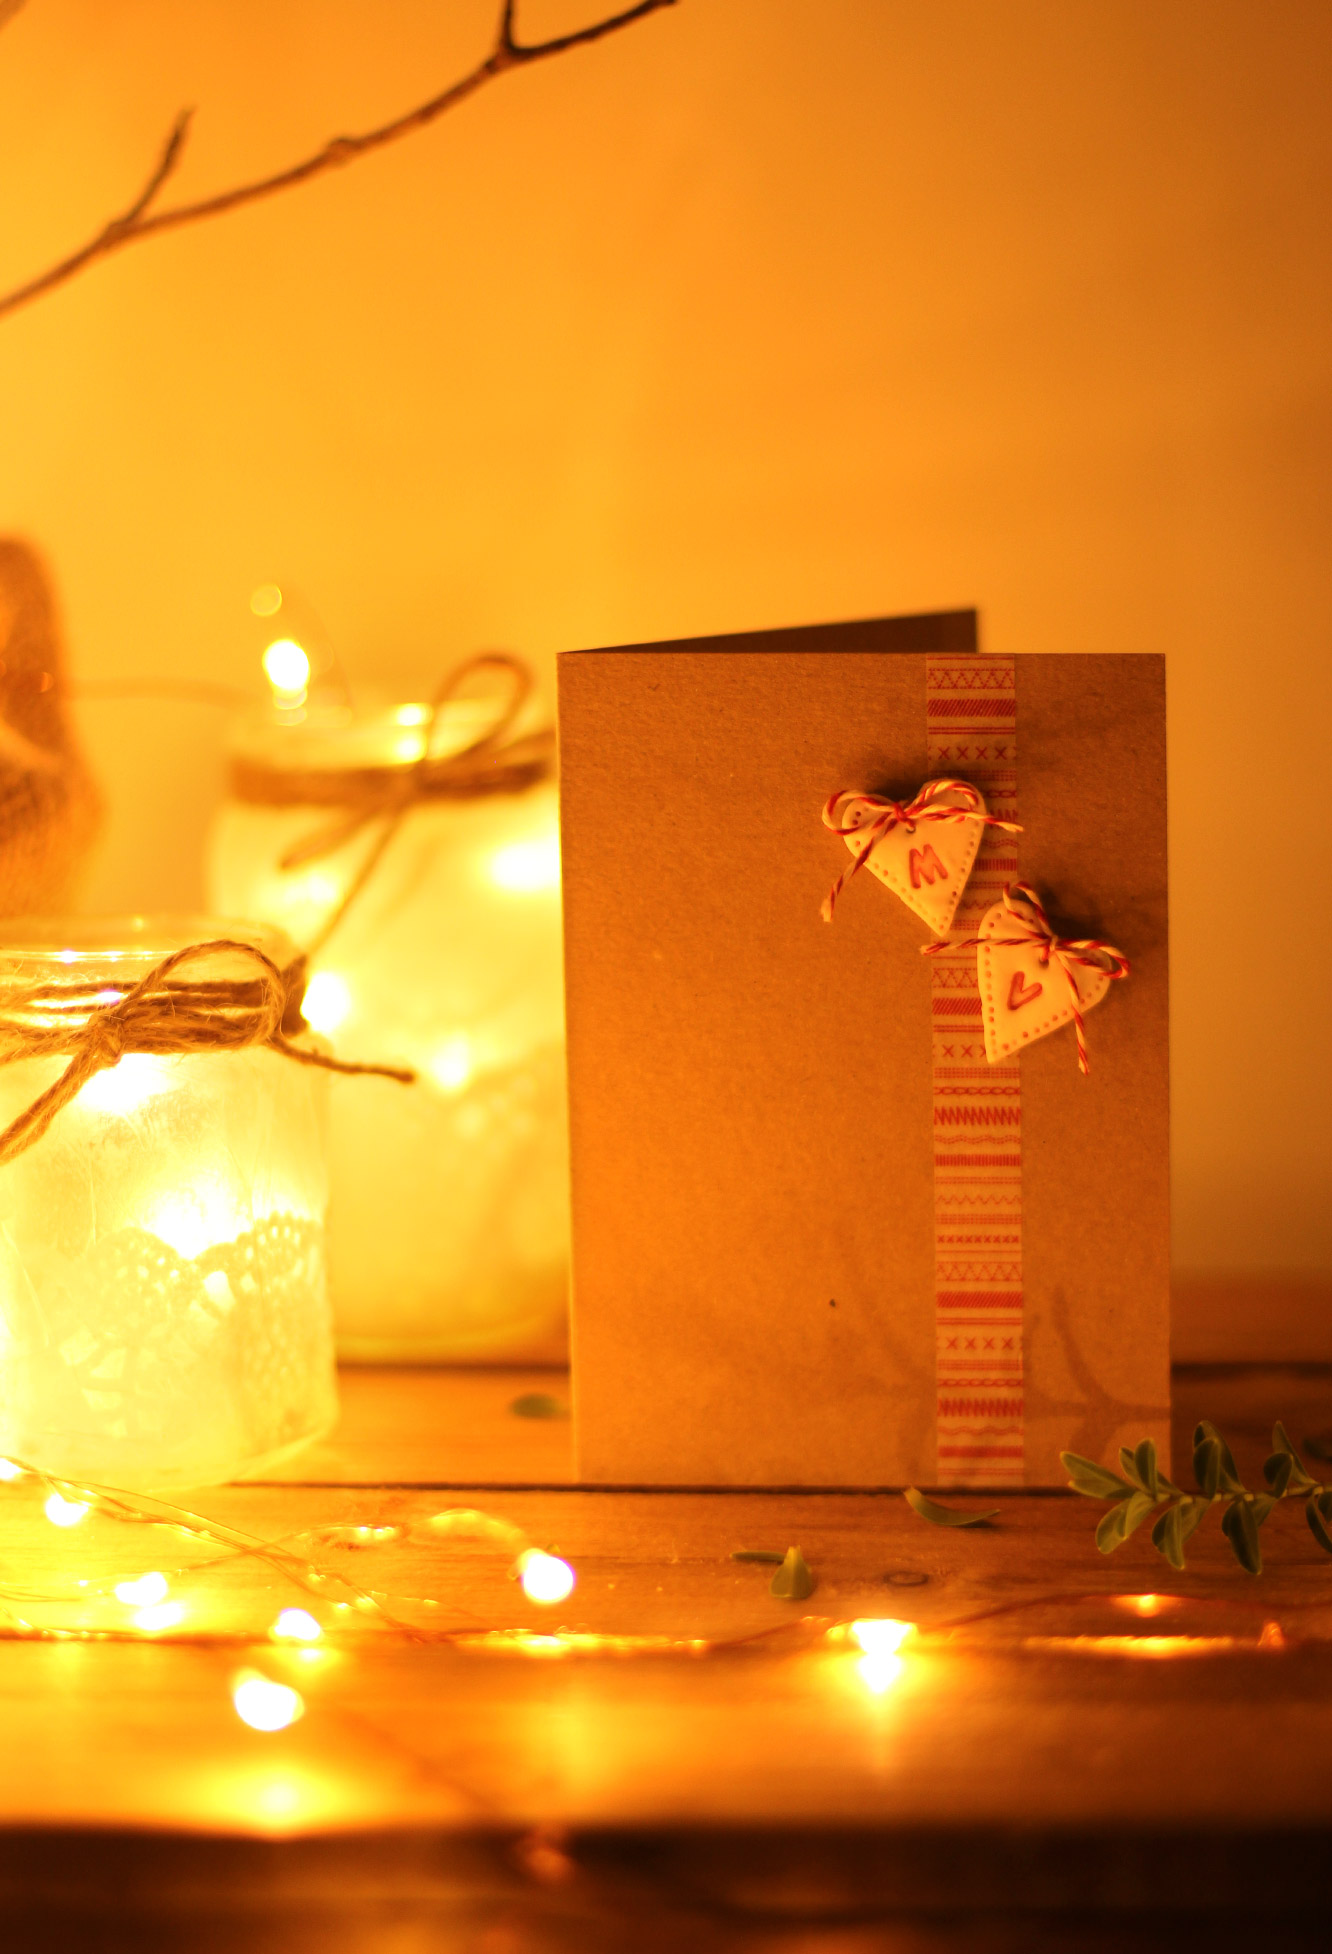
Use three: Make mini ones with initials and create a simple Christmas card with a piece of wash tape and brown card.
Friends, I am sorry. I have definitely become a little lax on the blogging front. Too busy having fun recovering from the craziness of the last few weeks and, of course, the joys of job hunting.
So back to business as usual on fabrefaction this week, no more cupcakes for a while, and as far as I know, no more hen parties. I’m sure I will find something else to do a little series on soon though.
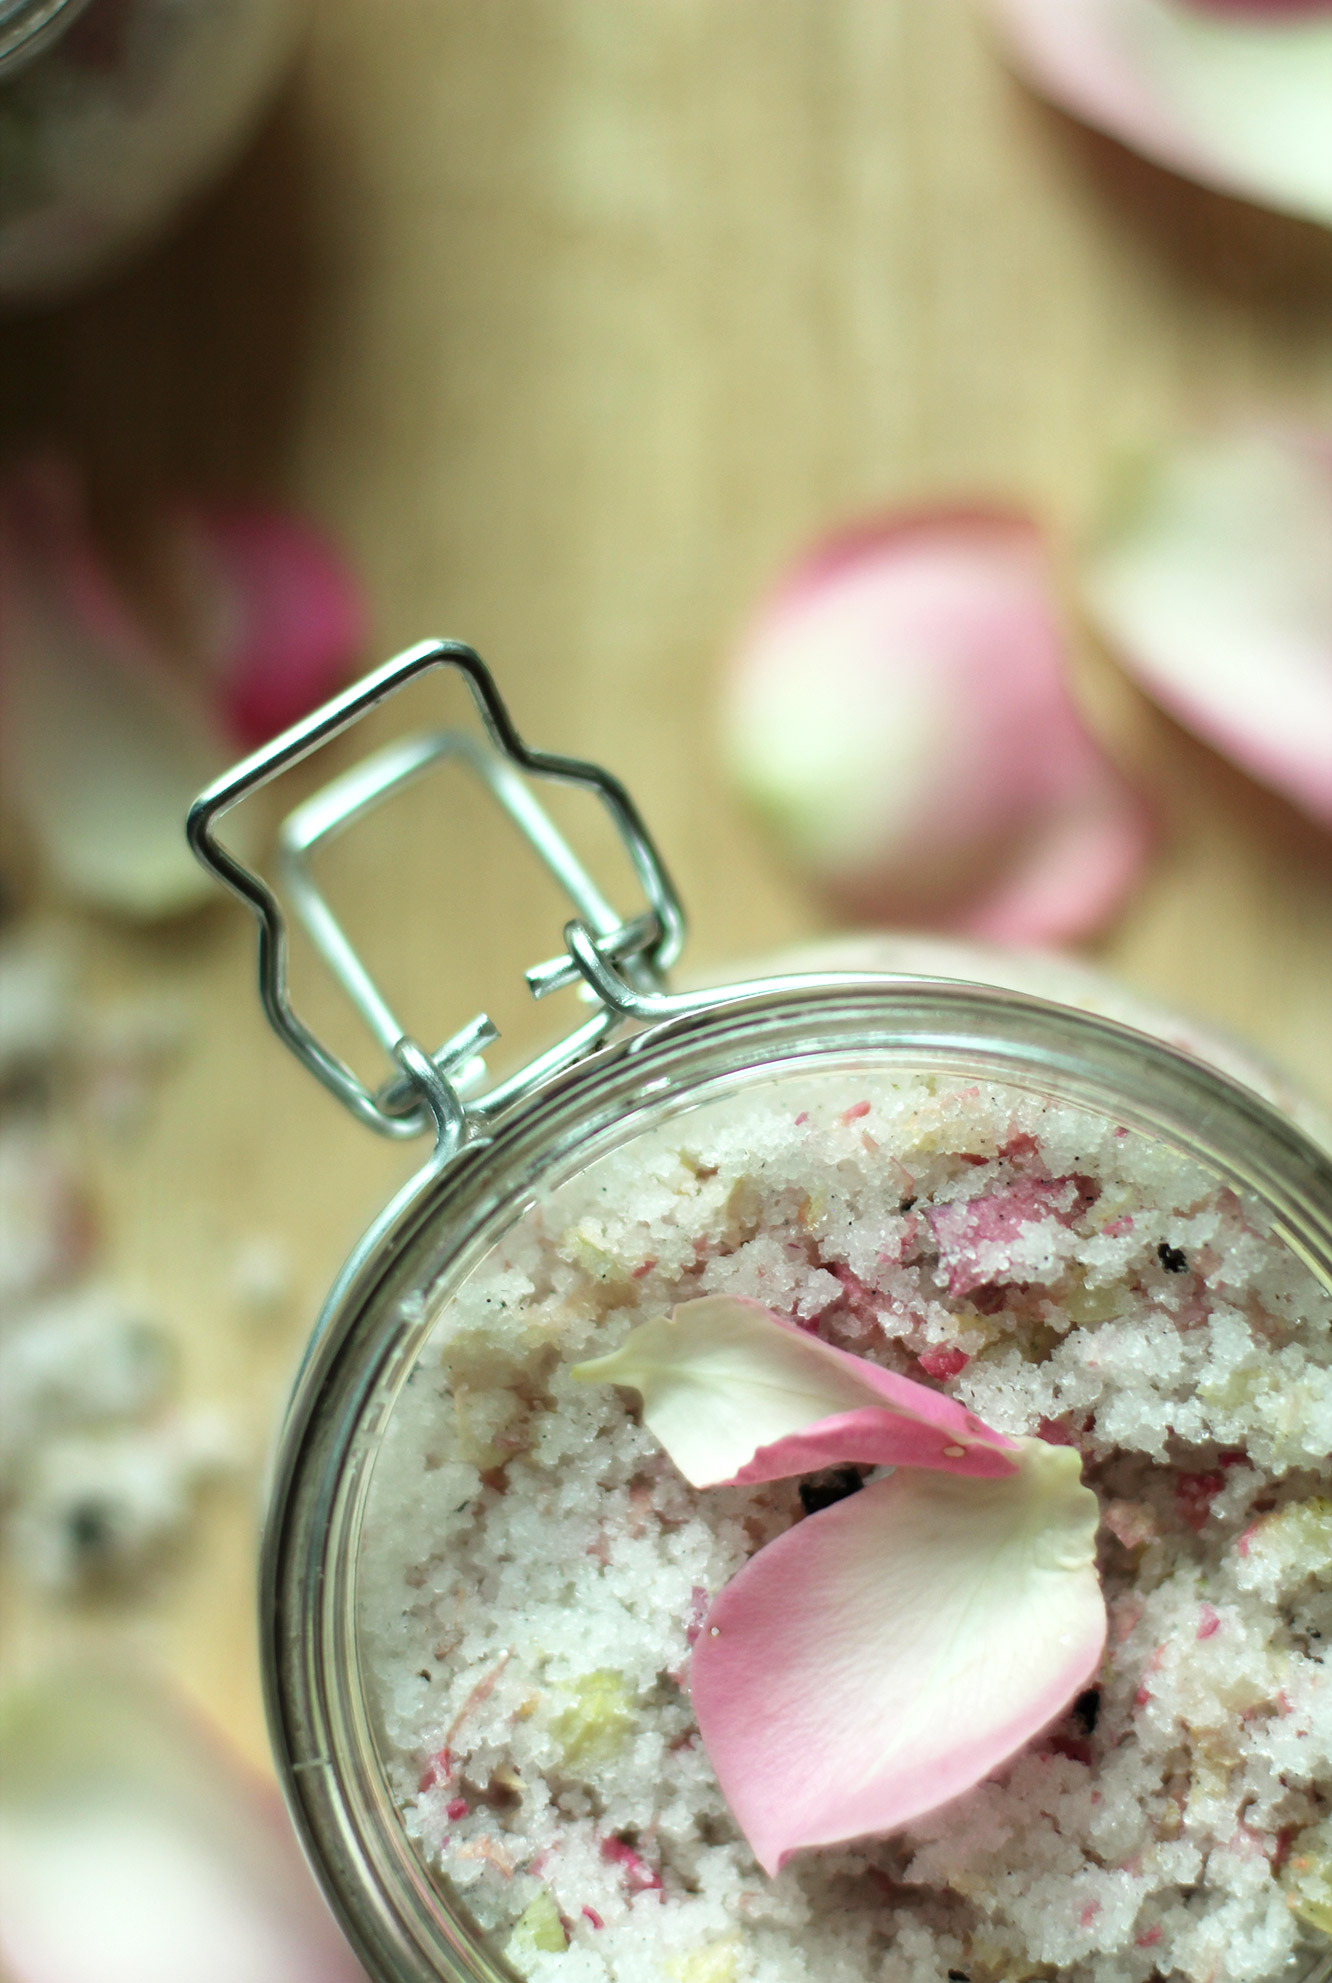
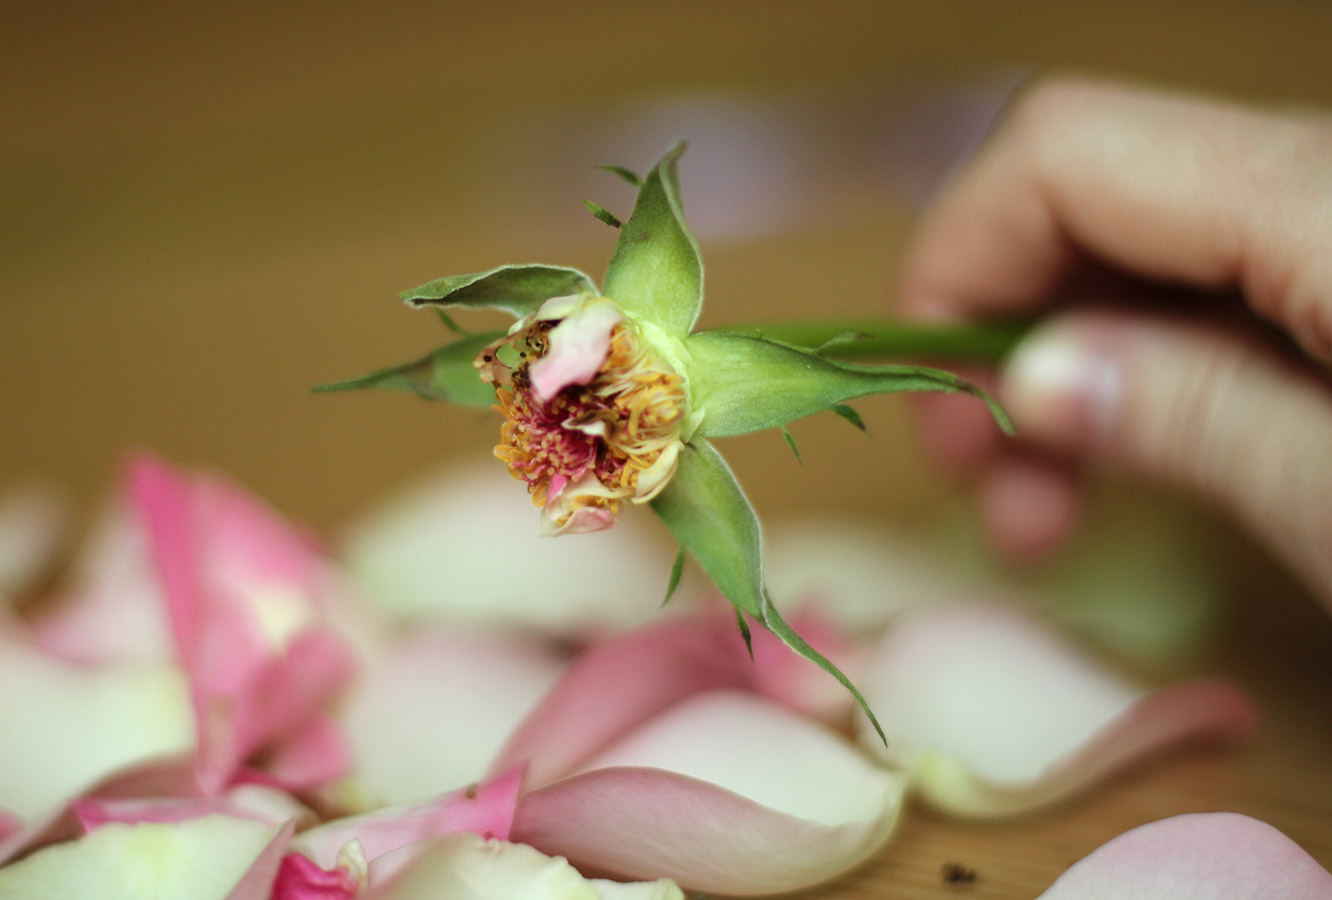
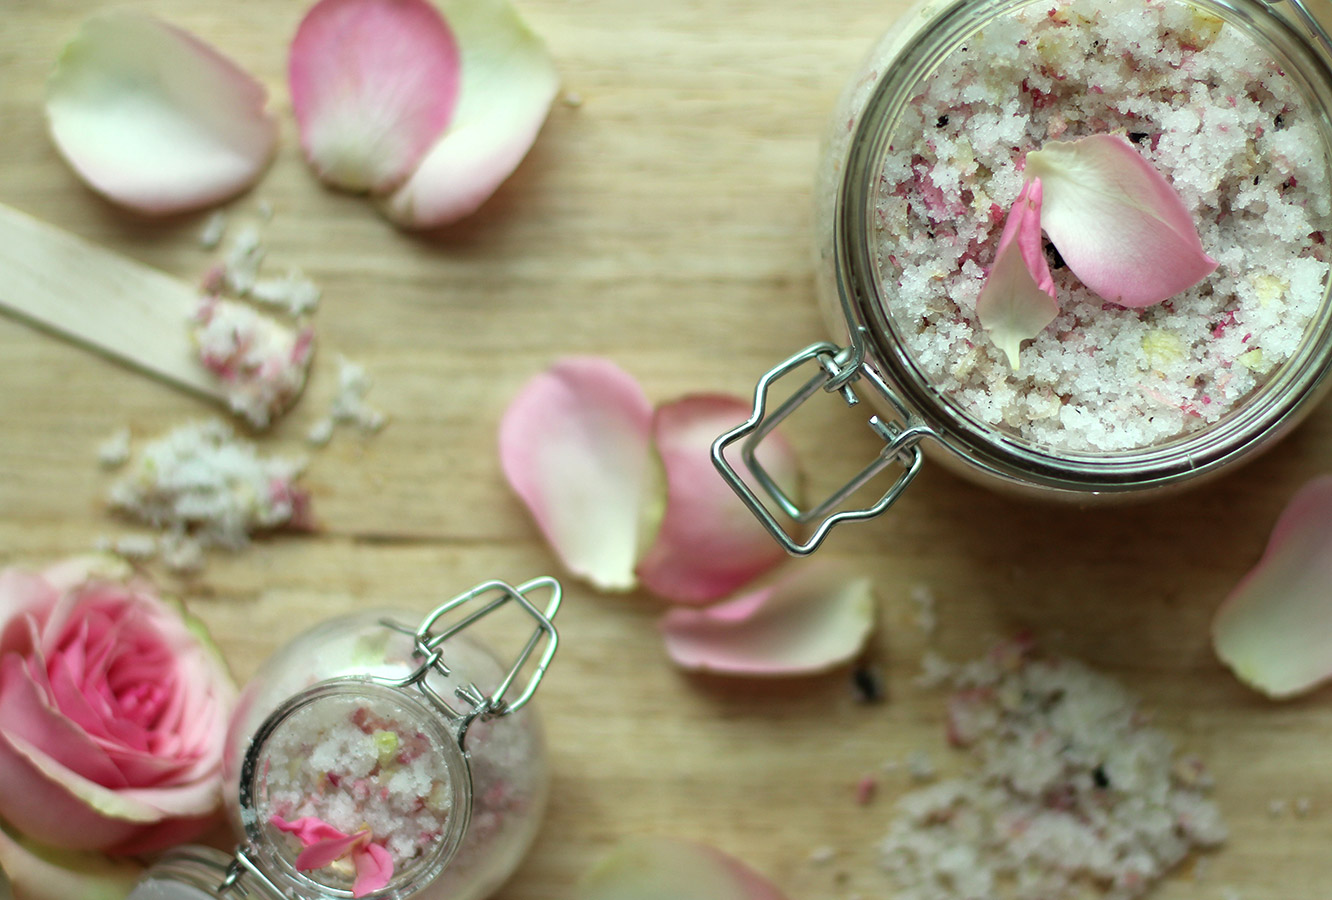
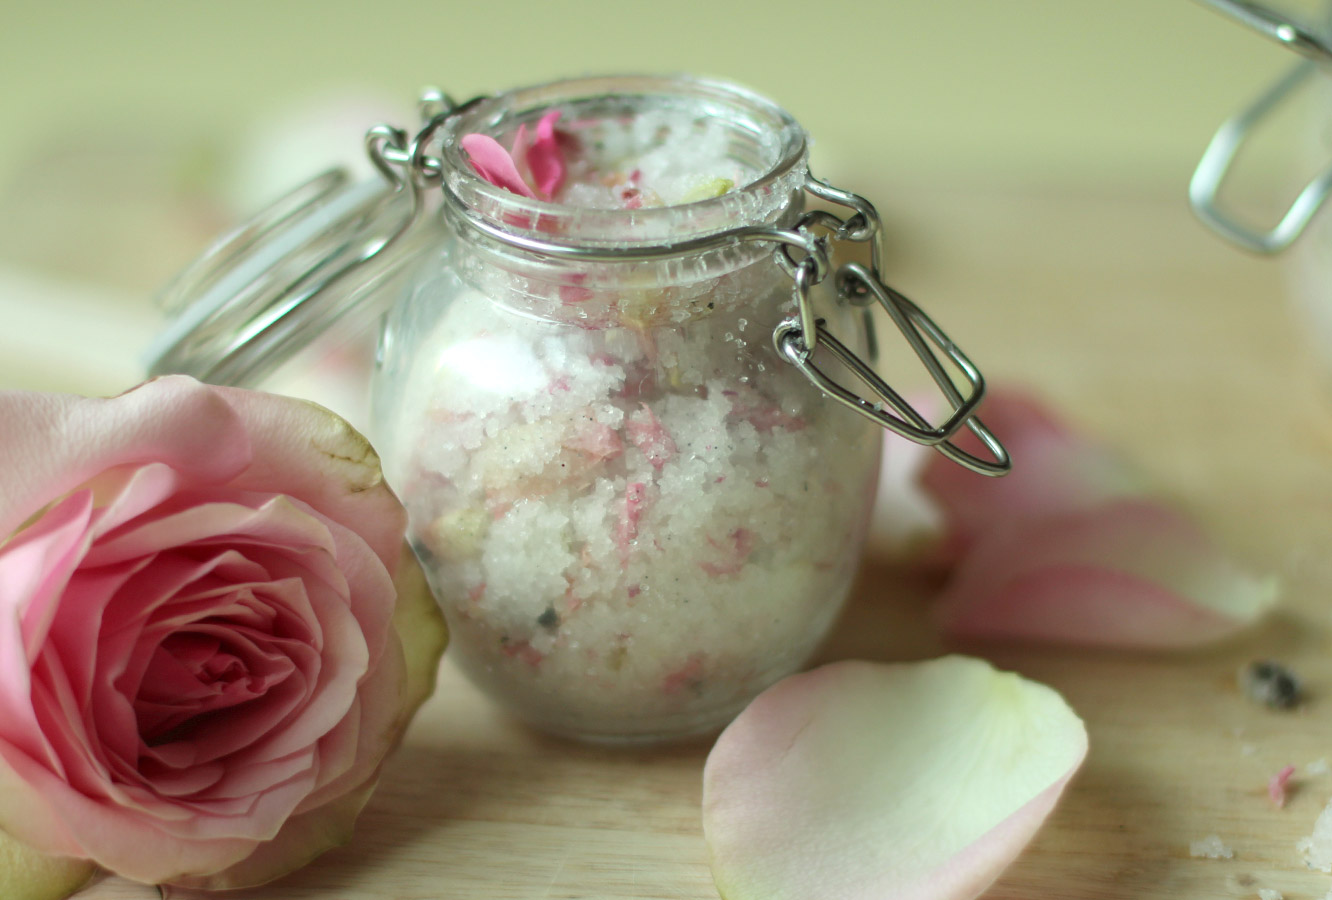
I actually did make this rose and vanilla sugar scrub from the left over flowers from Vicky’s hen party, so it’s not entirely true that we are leaving it behind. My advice is not to make this too far in advance if you’re gifting it as the petals did discolour a little.
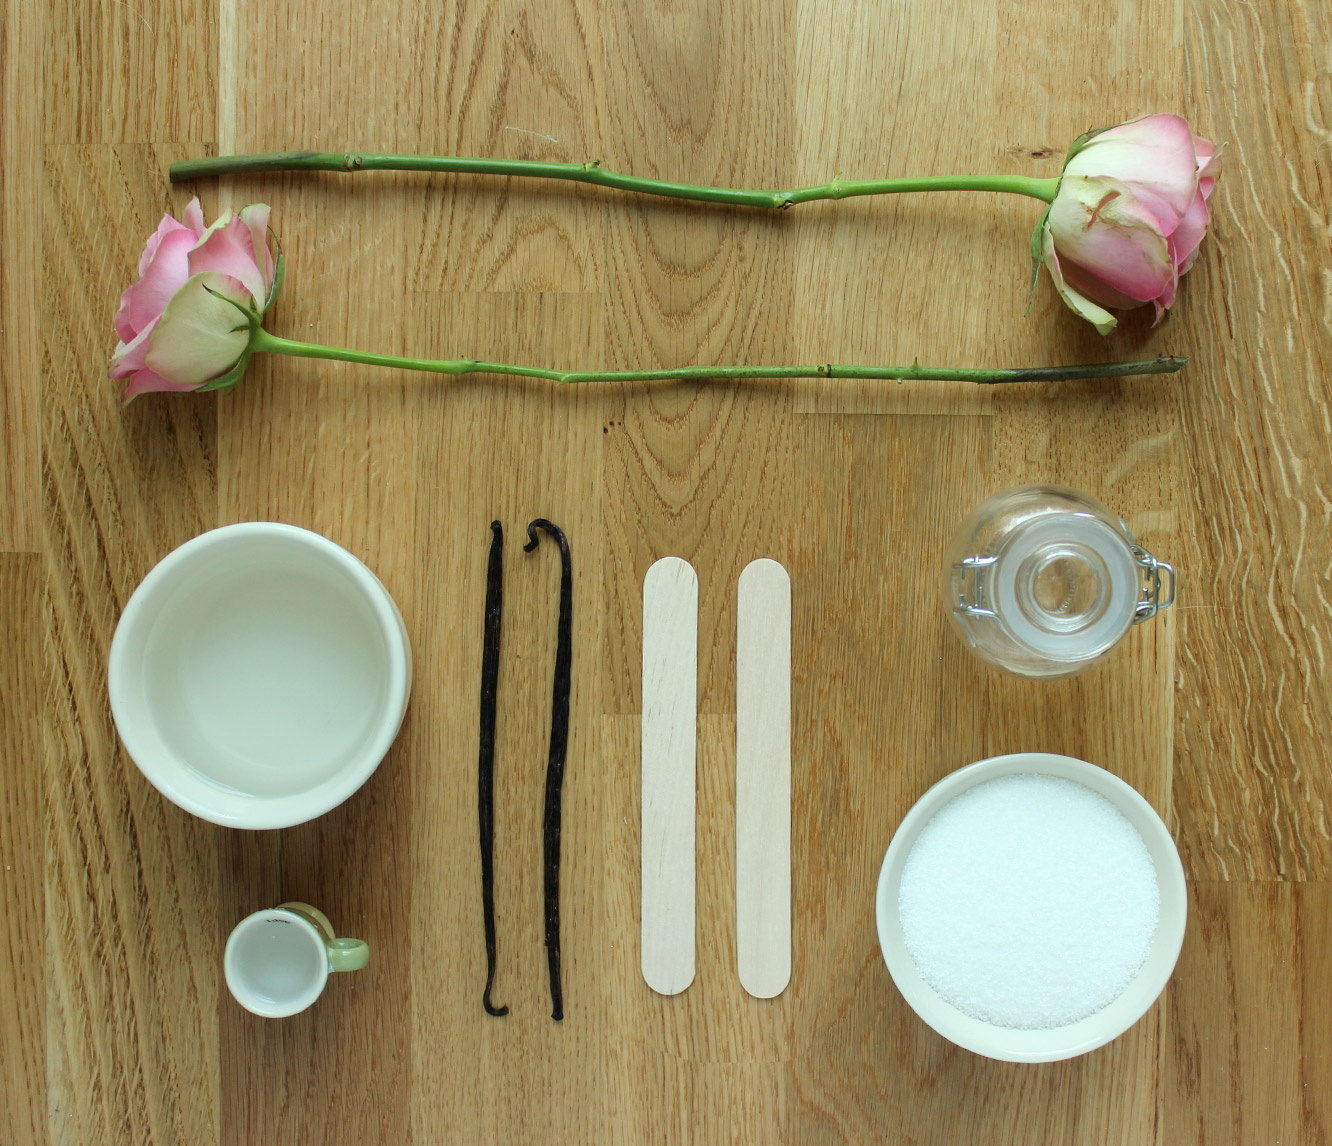
You will need
500g/1lb 2 oz granulated sugar (3 cups)
120ml/4 fl oz baby oil (1/2 cup)
4 roses
1-2 vanilla pods
1tsp rose extract
Step one
Remove the petals from the roses and spread them out over a surface you won’t need to use for a couple of days, maybe a tray or something so you can move them about with ease.
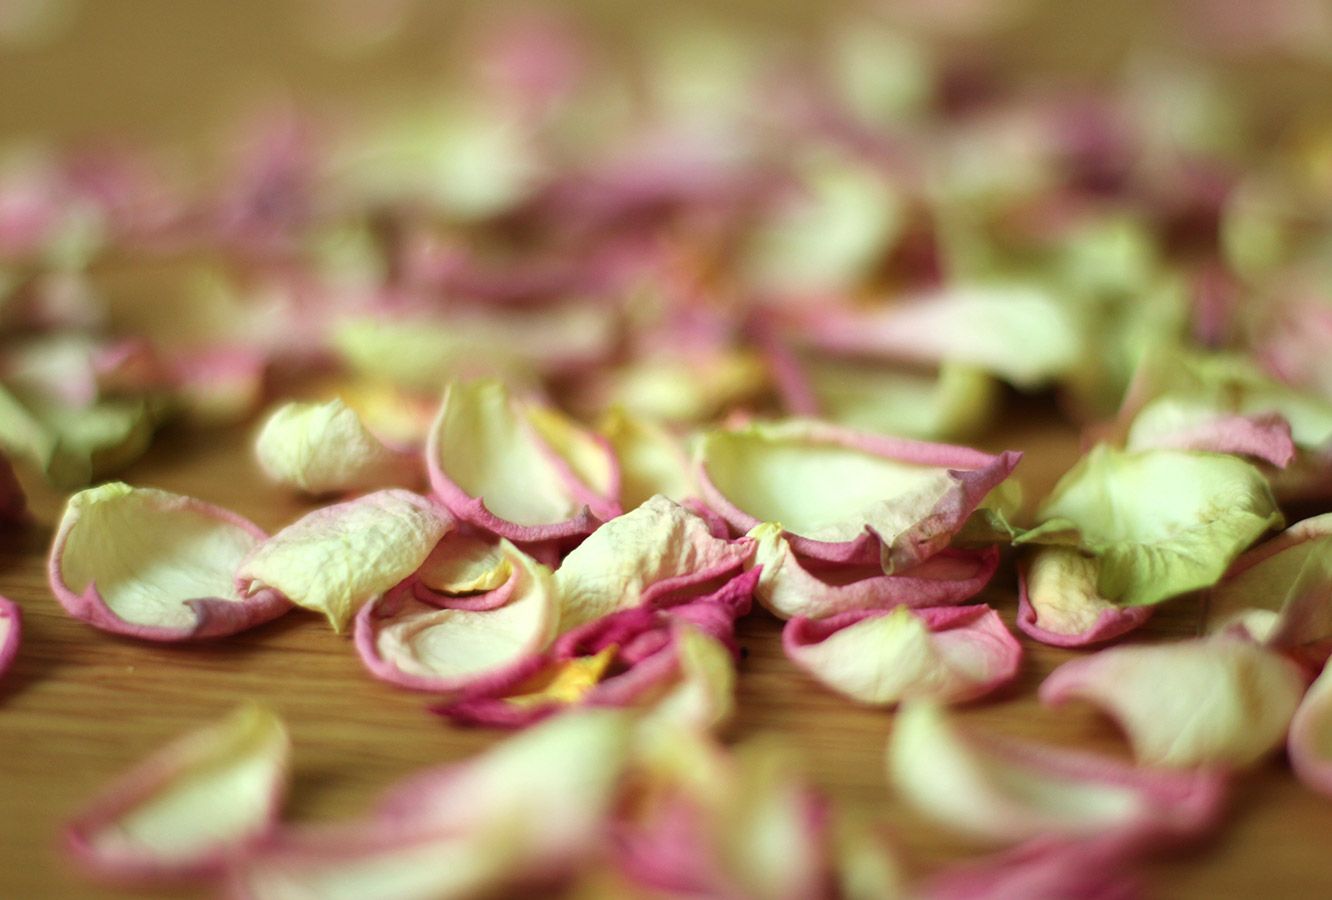
Step two
Allow the petals to dry for at least two days until the moisture has gone.
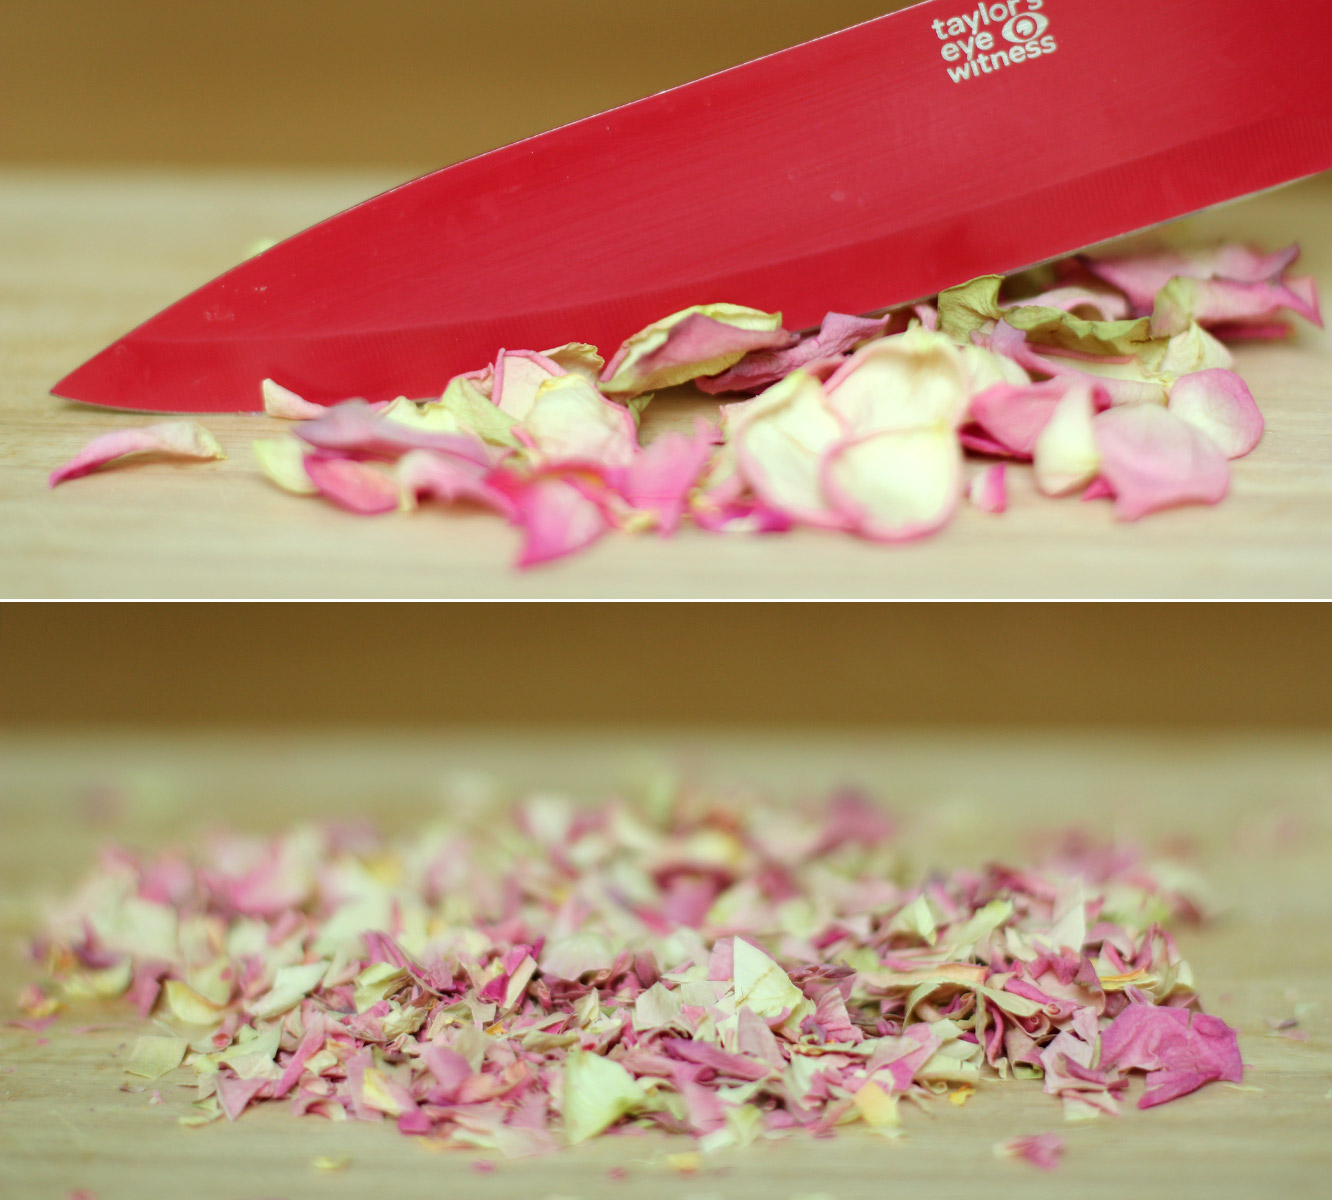
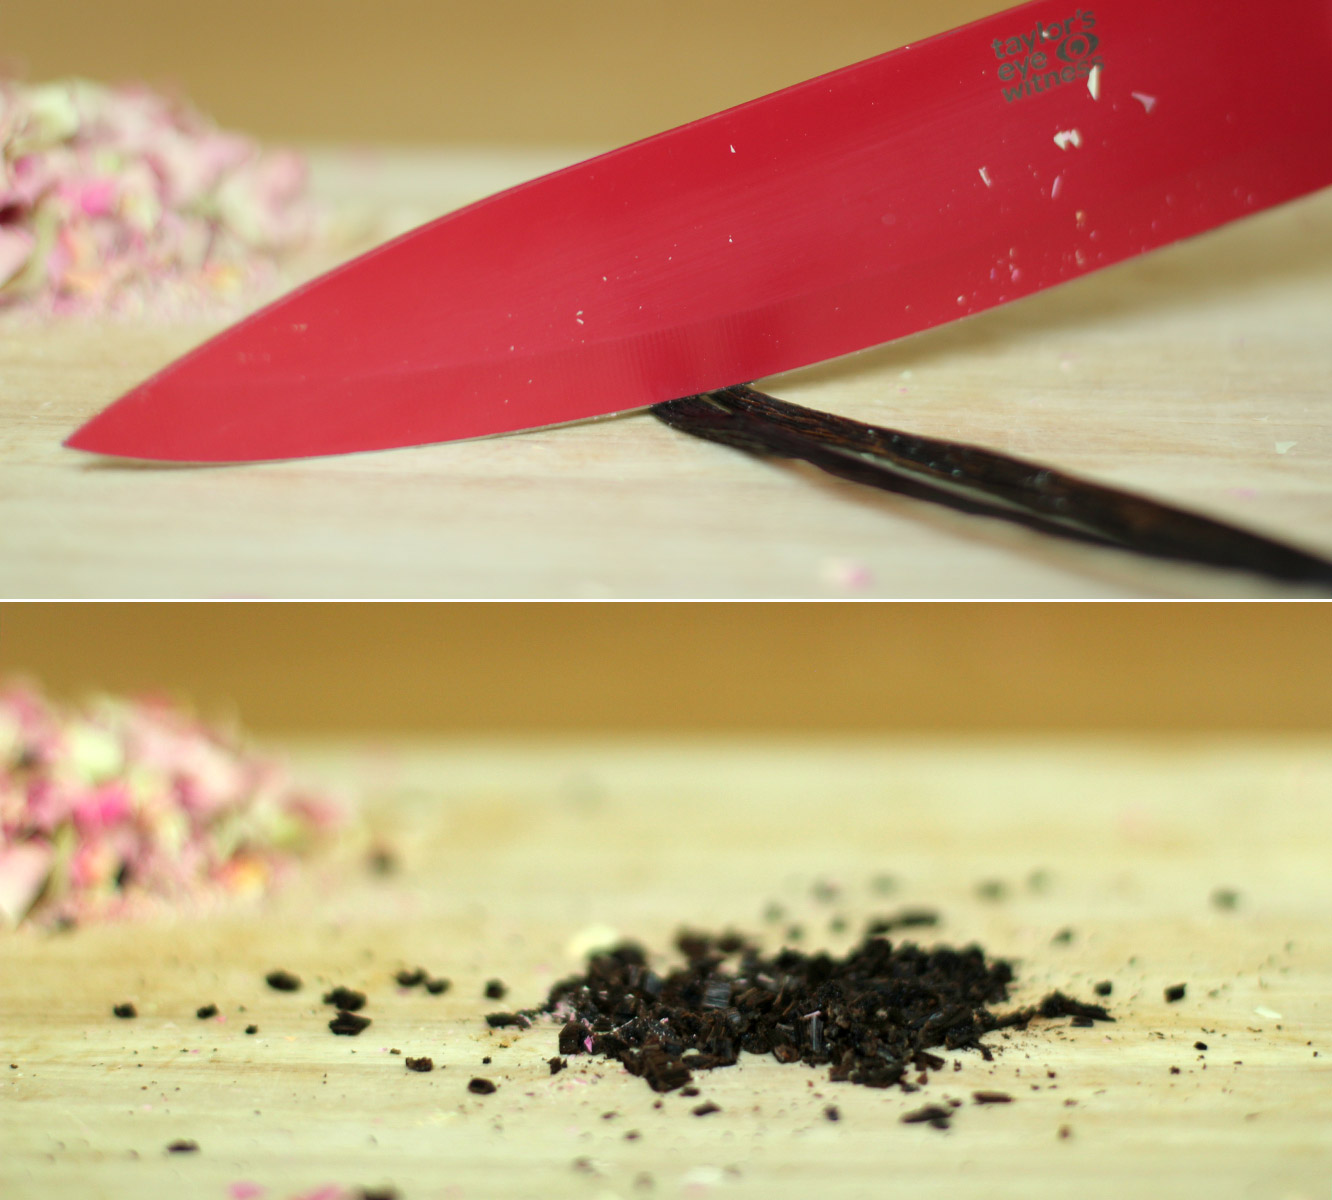
Step three
Using a sharp knife, chop the petals into small pieces.
Step four
Chop the vanilla pods up. Mine had hardened as they were fairly old so I just did it this way to add to the exfoliating feel and make it easier for myself. If yours are still soft you could slice them down the middle and scrape the beans out instead.
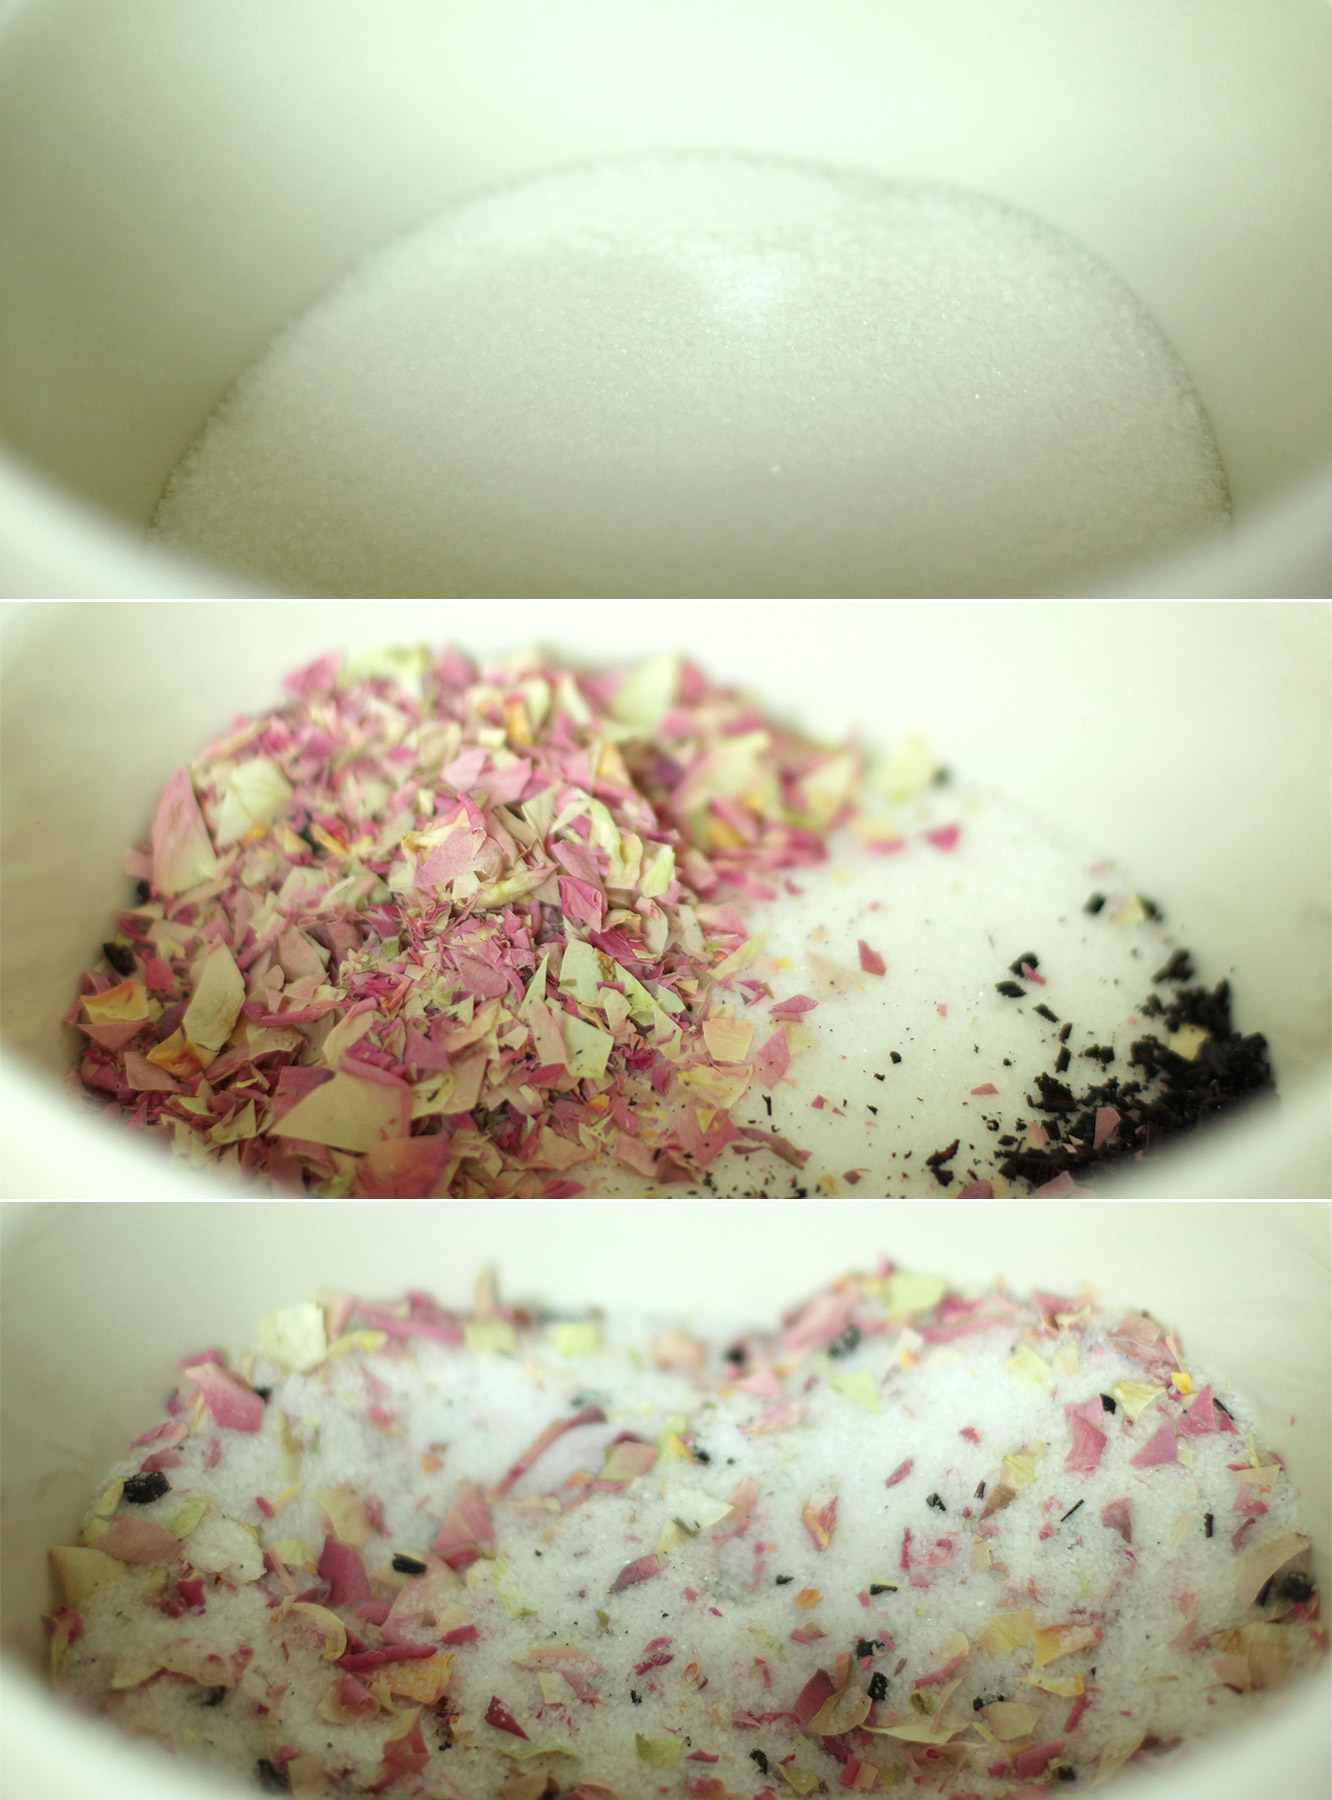
Step five
Stir together the sugar, petals and vanilla.
Step six
Add the rose extract/essence and the baby oil. Stir together until fully combined.
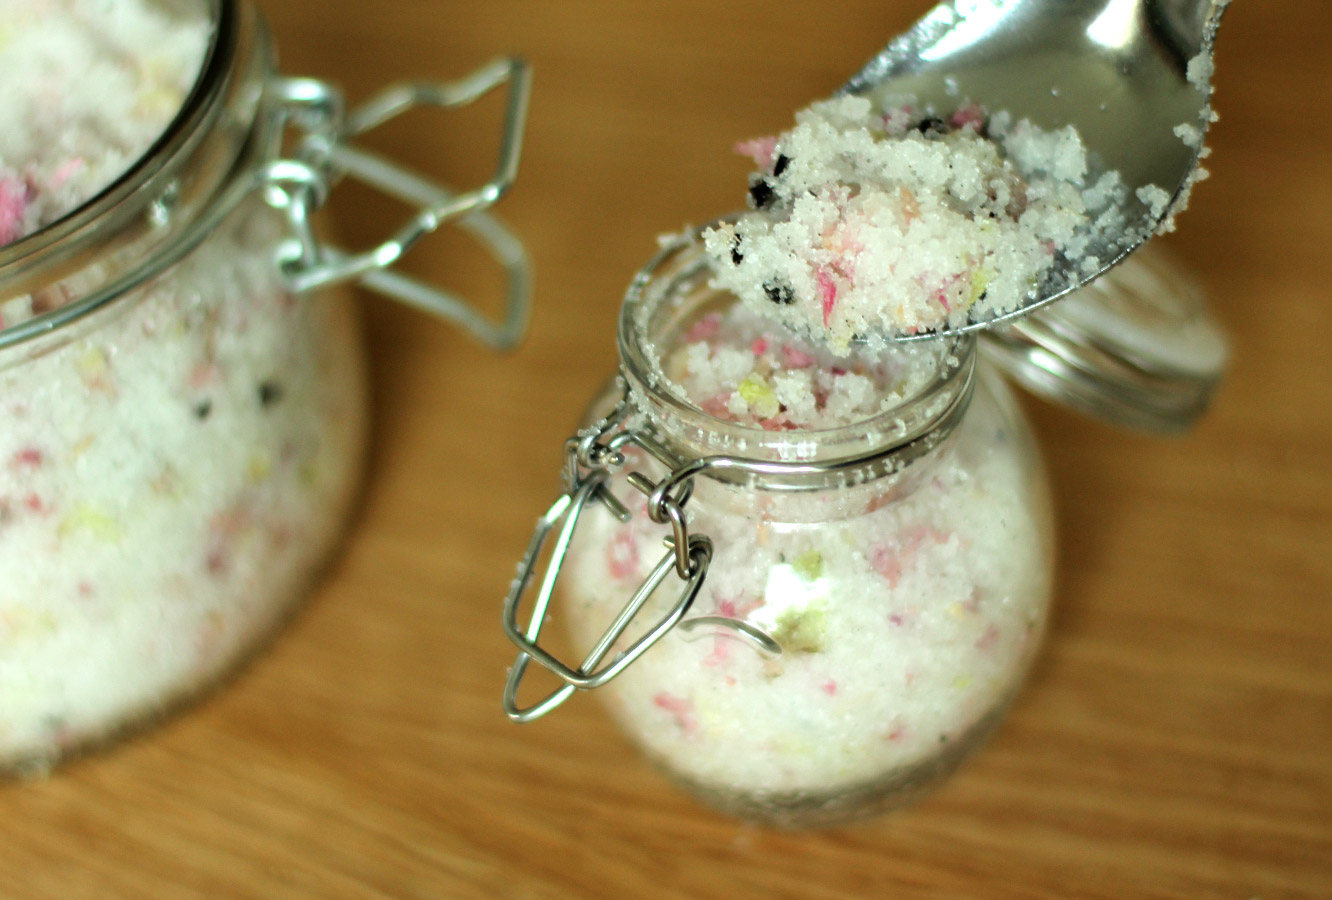
Step seven
Fill whatever pot you’re using and you’re ready to go!
Another little post about our half term day of fun. I hope you will forgive the lack of photos given I was supervising two little humans at the time.
I had promised my little friends that we would take a trip to the cinema during our visit, but it turned out there was nothing worth going to the cinema for.
Ever the crafter I decided we would recreate our own home cinema experience. I conjured up a recipe for toffee popcorn and made some popcorn boxes and tickets.
Pop the popcorn. If you’re using kernels and it’s the first time you’ve done it then you need to add some butter or unflavoured oil to a large saucepan and one or two kernels. Once they’ve popped you can add the rest.
When the majority of the corn is popped (the pan will be full), remove the pan from the heat and place the corn in a bowl. Get rid of any unpopped kernels.
Step two
Heat the butter, syrup and sugar in a pan until bubbling. Turn down to a simmer cook for 5 minutes, keep stirring so that it doesn’t catch.
Step three
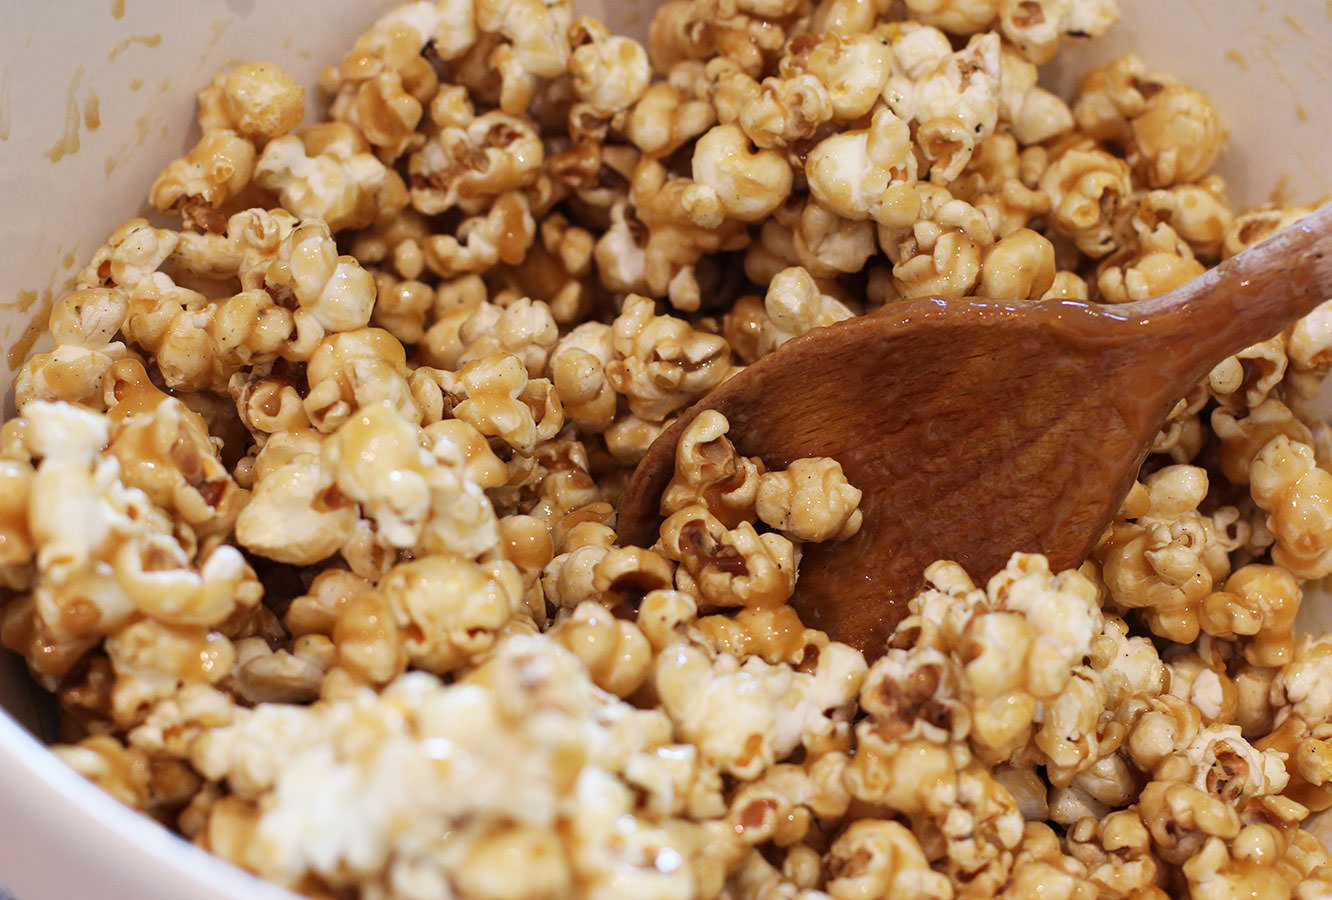
Stir the toffee into the popcorn.
Step four
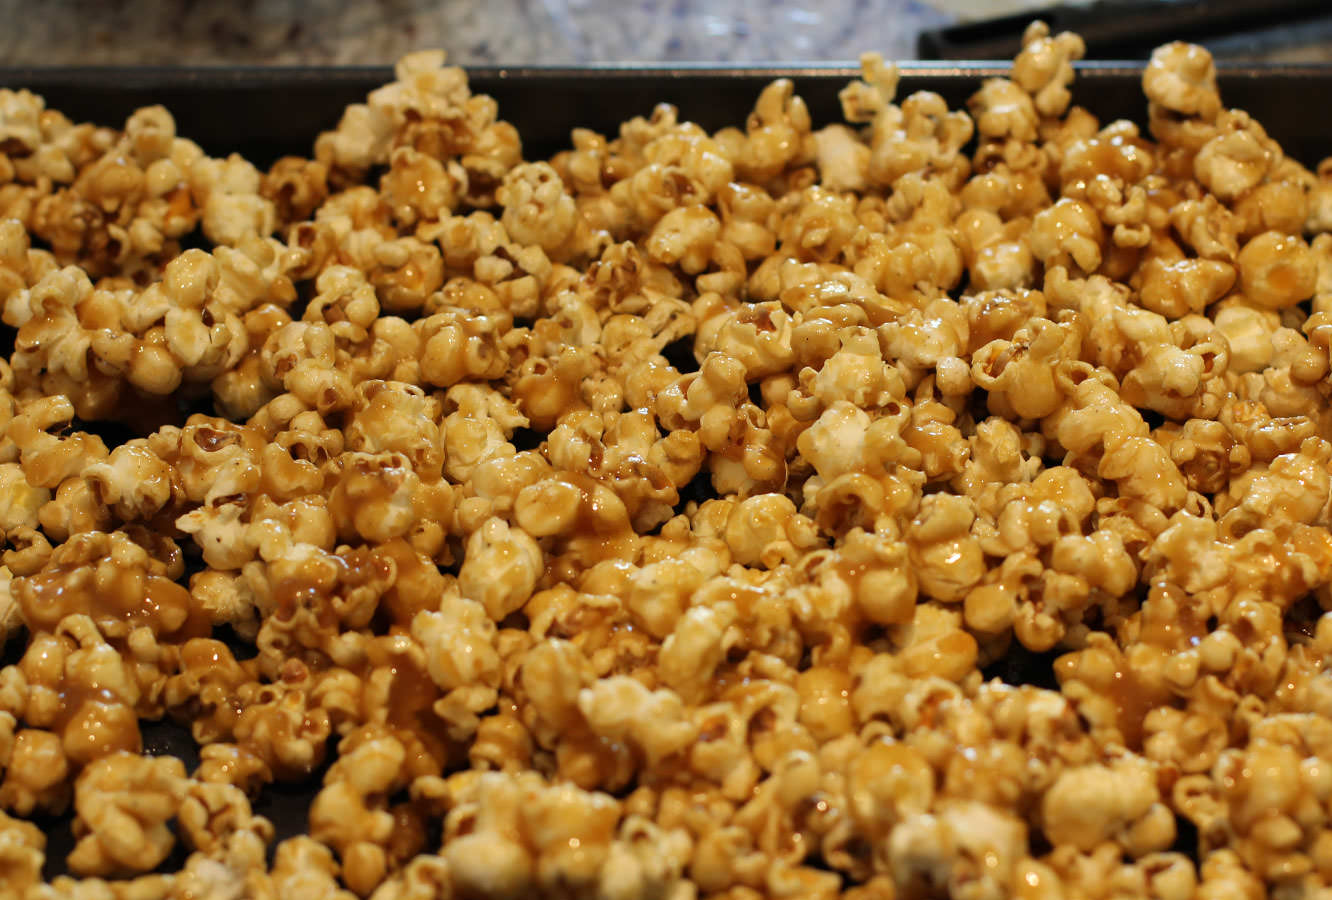
Spread out on a large baking tray. You only really want one layer of corn to stop too much of it sticking together.
Step five
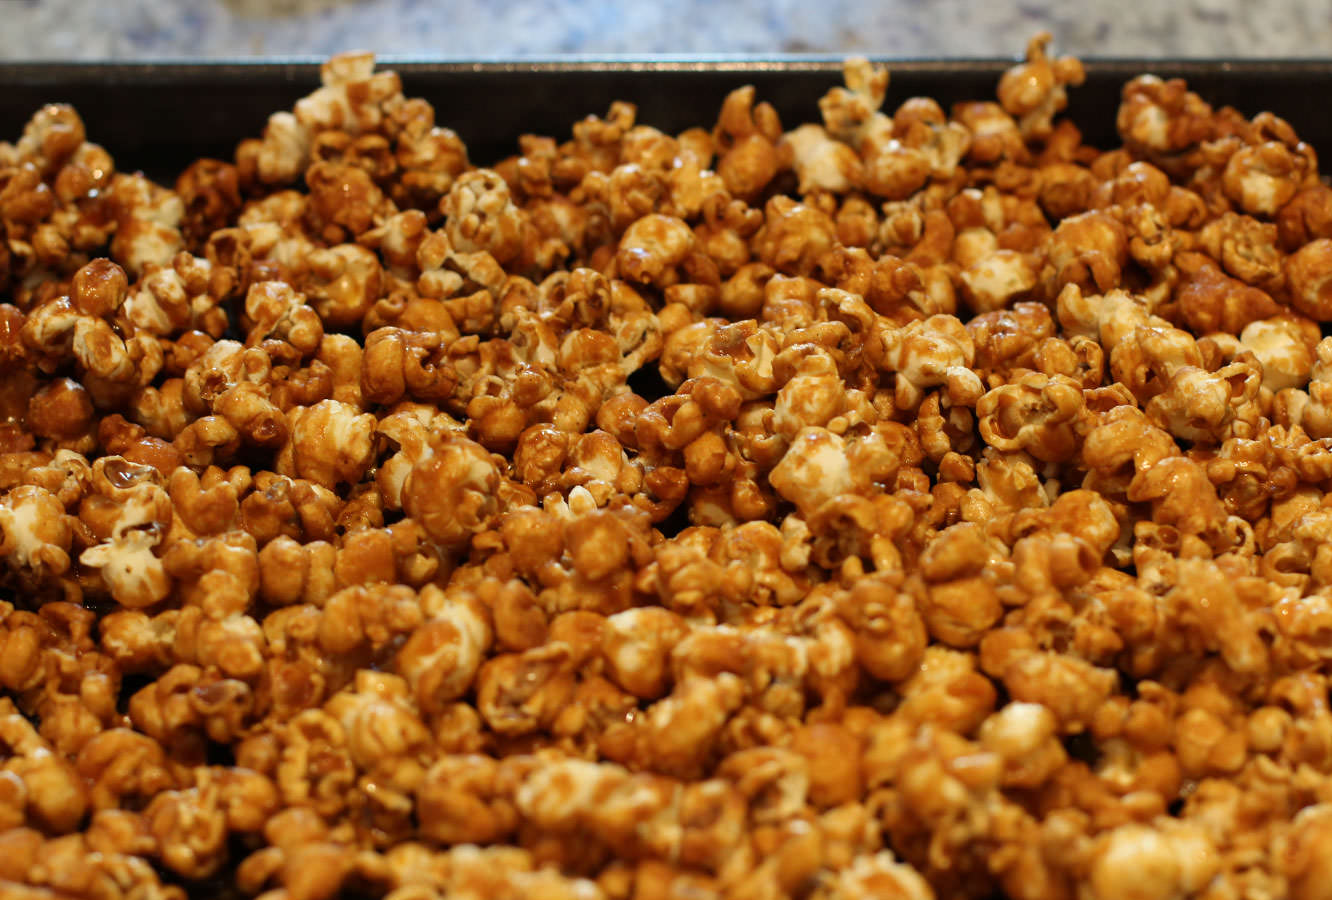
Bake until golden (about 25 mins) on 180 degrees C/gas mark 4/350 F.
Leave to cool so that it crisps up.
Step six
While the popcorn is cooling, assemble the boxes and cut out the tickets. The kiddies can help with this, or you could do it in advance.
Step seven
Put your feet up and enjoy the film. Or do what I did and placate the children with sweets and clean up feverishly in the background.
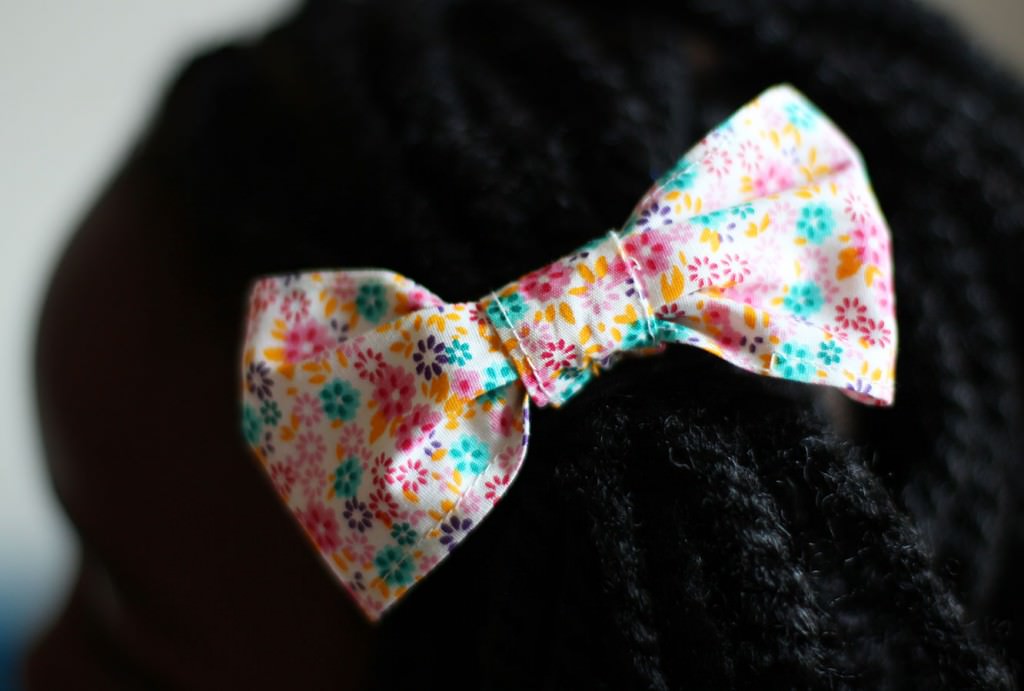
This half term holiday I had promised two little friends of mine a day in my London pad. They were very excited and had all kinds of crafty plans and ideas to keep us busy.
When thinking about what we could do on a budget, I remembered learning how to sew when not much older than them.
I was pretty impressed with these two; by the end they were using the sewing machine unaided (although for their parents’ benefit – heavily supervised!)
This is a great little project for beginners of any age, but for the reference of anyone planning to do this with children, these two are 7 and 8 and handled it very well. It would certainly be doable if you don’t have a machine too.
You will need
Cute fabric
Elasticated hair bands
Needle and thread (or a sewing machine)
Step one
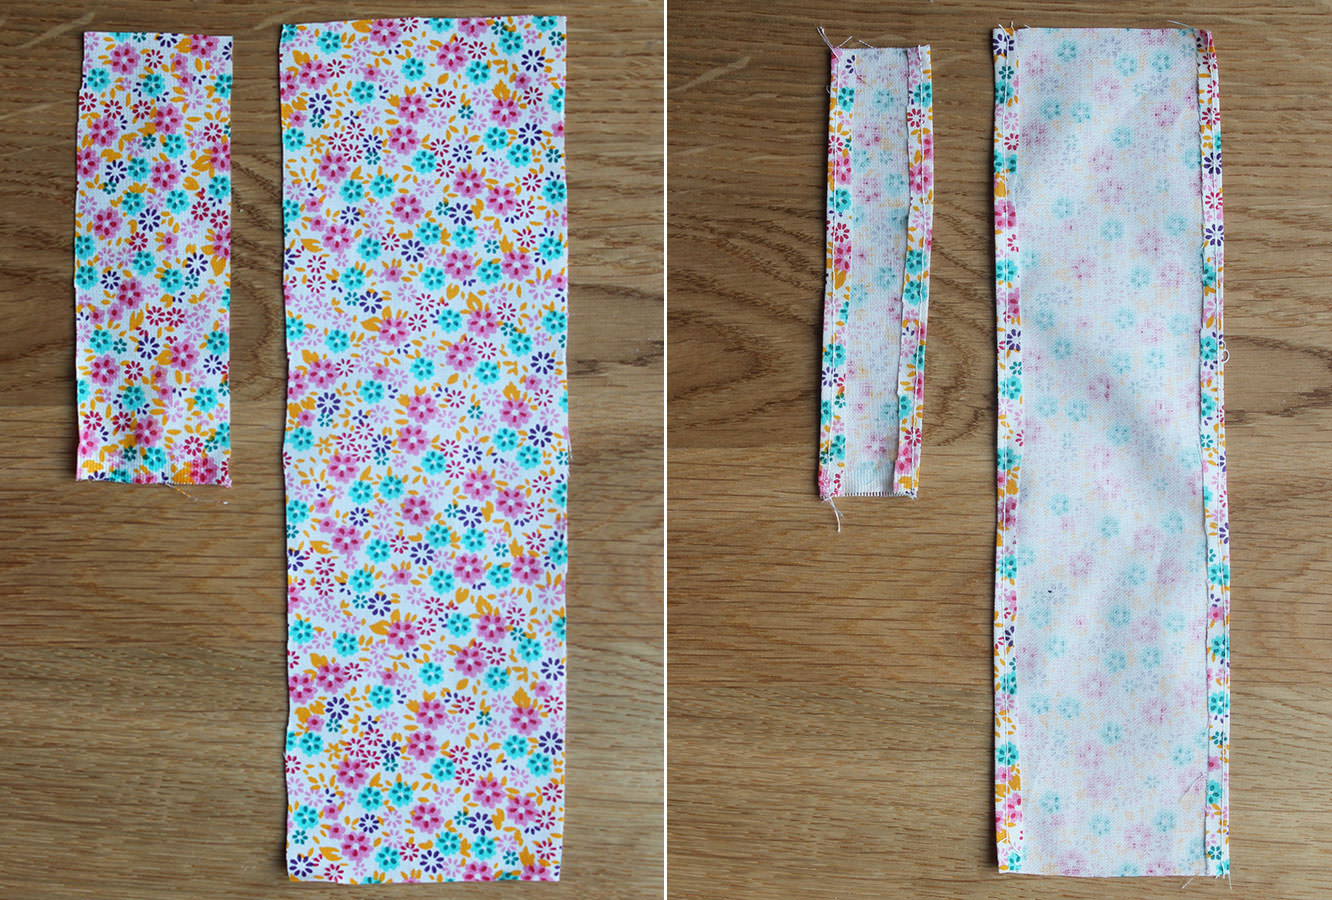
Cut two lengths of fabric, one 7cm x 22cm and the other 3.5 cm x 12 cm.
Step two
Sew a small hem along the long edges as shown above.
When doing this with the girls they used the foot while I guided it through at first, then I took a turn with the foot so they could guide, then they took the helm altogether.
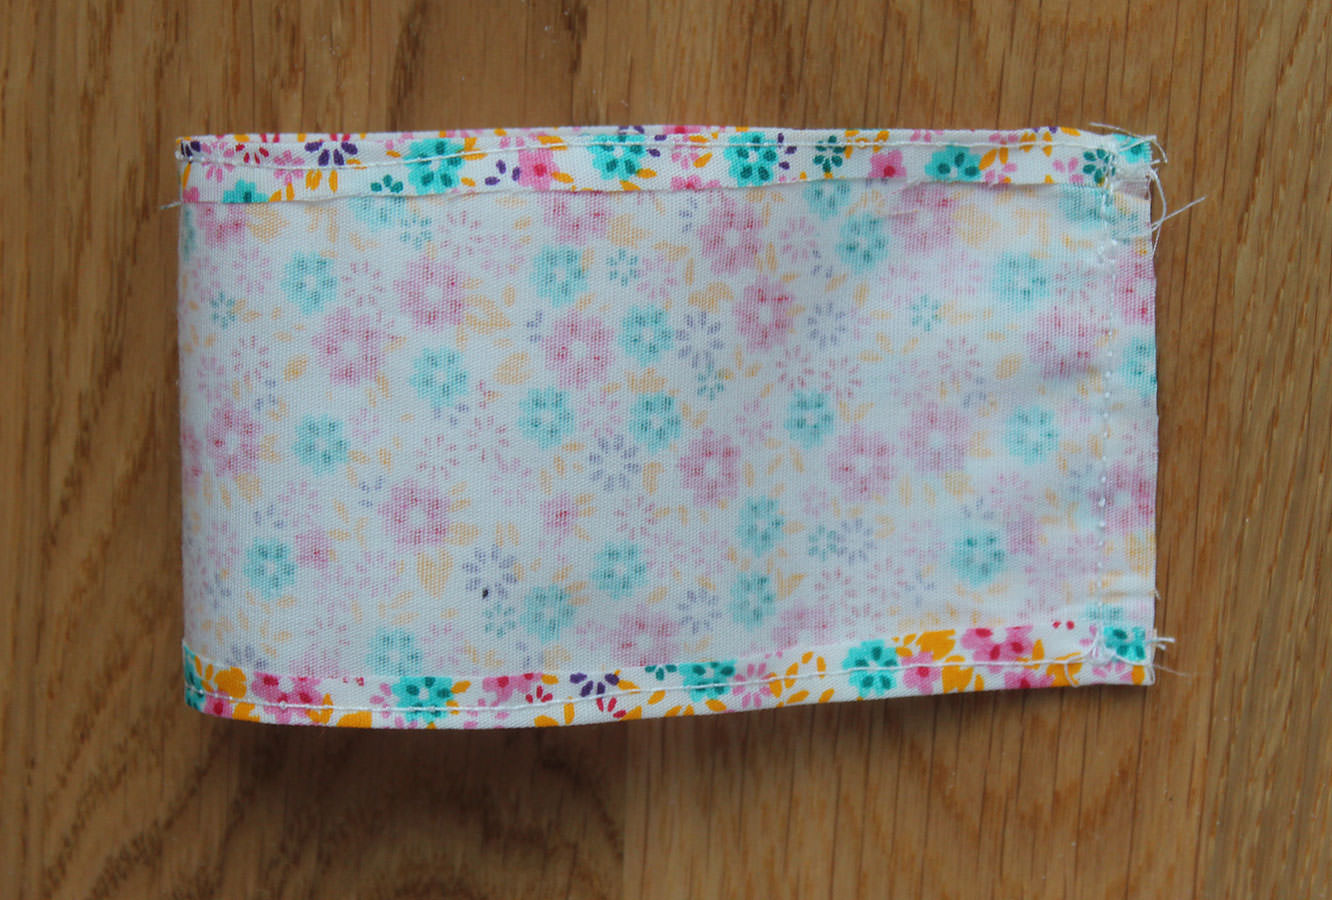
Step three
Join the larger piece with right sides facing. Turn it through so the right sides are showing.
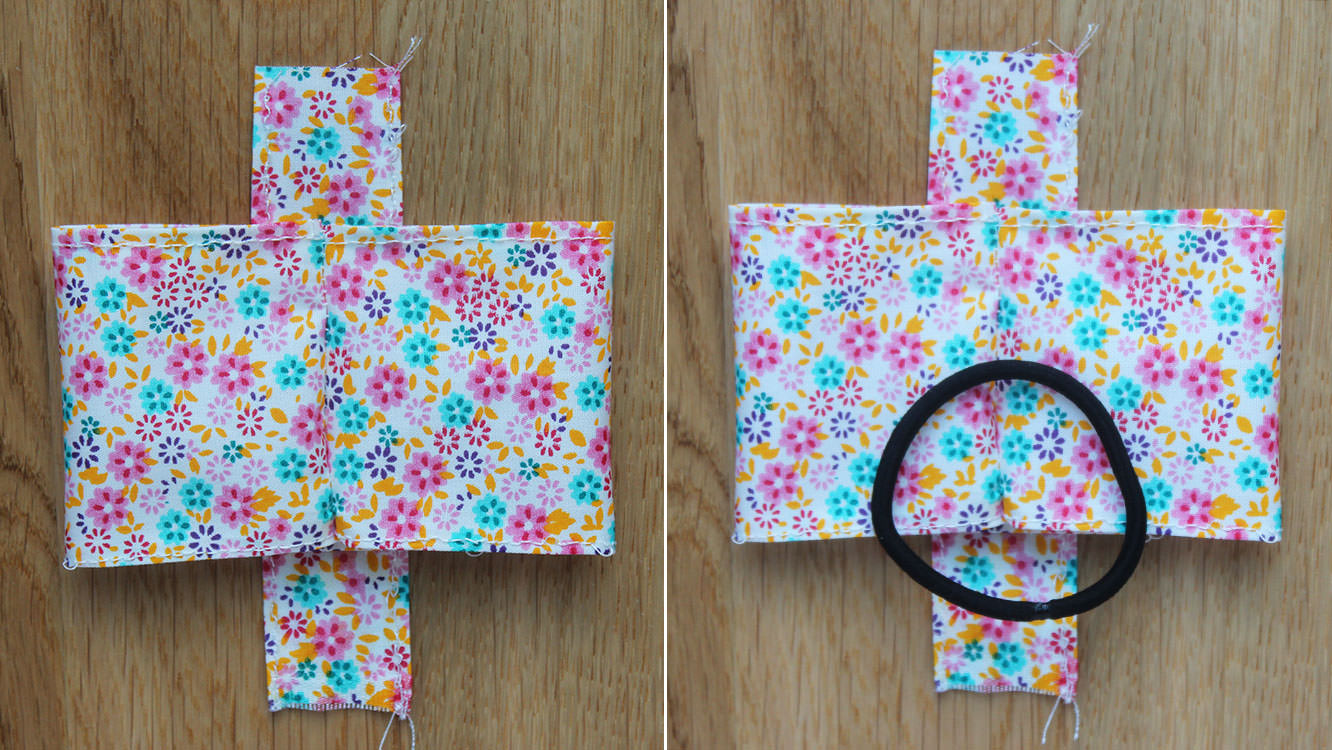
Step four
Lie the smaller strip down, right side facing upwards. Place the larger piece on top with the seam running down the centre.
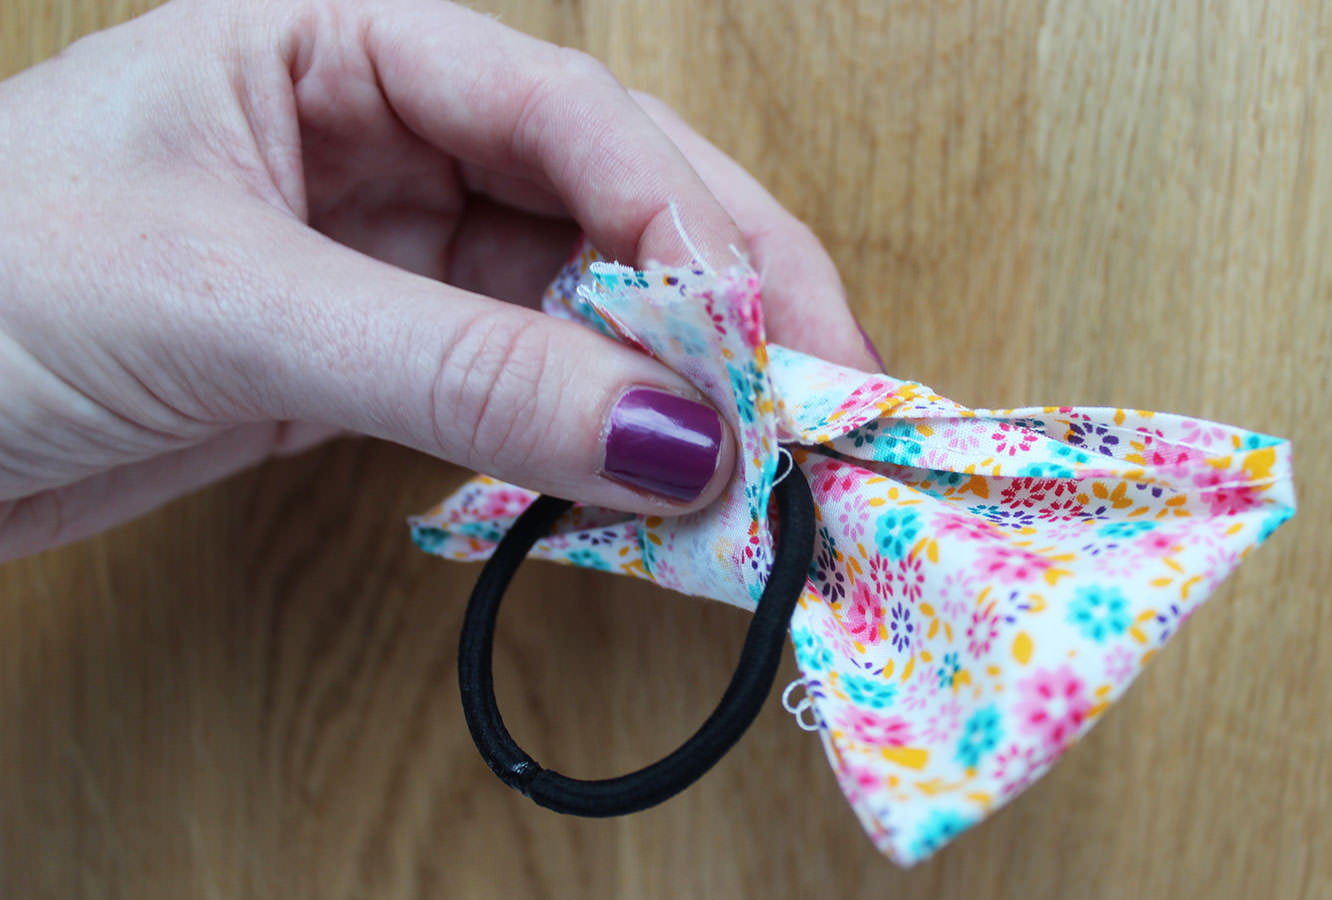
Pop the hairband on top.
Step five
Loop the smaller strip of fabric through the hair band and squeeze it all together. Don’t worry too much about the shape of the bow for now, plenty of time to sort that out later.
Step six
Sew across the smaller piece of fabric as close to main body of the bow as your machine will allow. That being said, if you are hand sewing (and therefore have a bit more control) do leave a little wiggle room.
Step seven
Chop off the excess fabric.
Step eight
Turn the loop the right way round and attach it to some hair.
Let me take you on a journey. It all starts back in 2006 when Pa and I first went to the Wildlife Photographer of the Year exhibition at the Natural History Museum. This becomes an annual event.
Fast forward to 2013, and I visit a marvellous German zoo. The Germans sure know how to do a zoo. I walk into a dark room and floor to ceiling there’s all these manatees just gazing back through the glass, floating and grinning. (I’m sure they were grinning). And I just stand there super impressed by how insane they are, so friendly looking that they are both the ugliest and cutest thing in the world. I could have stayed there all day (and not just because it was 36C outside and my skin is almost see-through) That tank of manatees was like a giant lava lamp. I mean, what?
December rolls round and we hit the exhibit, and behold, this glorious photo by Douglas Seifert. By now I’m in love. (officially this is a dugong not a manatee, but I’m no marine biologist, these things are just as wonderful)
Travelling Companions by Douglas Seifert (USA)
And now to the present day. I’ve started a blog and I’m planning projects. I think about potential subjects. I have to say, if any animals are owning the craft scene right now it’s whales and foxes. If you don’t believe me just search Pinterest for DIY whale/fox. They are in VOGUE. But I’m not the only one who watched Black Fish right? And I’m even more sure I’m not the only one with a conspiracy theory about the urban takeover being planned by our furry orange friends.
Manatees would never.
So I present to you Sea Cow Stamps. We’re setting a new trend here folks go with me on this.
Along with the above justifications, it’s no secret January is rough on the financials. So this little postlet is a little something you can do for about £3, or 50p if you already have a pad of ink somewhere in the recesses of your crafting supplies.
You will need:
A sheet of craft foam
An ink pad
Glue
Something to stick your stamp to
Craft knife and cutting mat/Scissors
Step one
Draw your design onto the foam with a pencil, try not to press too hard or you will alter the texture of your stamp.
Just draw it how you want to see it stamped in the end…don’t worry if you have a few tries, just remember which line you want to cut. I modelled mine on this snap I found on google images, I find it sometimes helpsto have a reference point.
If you’re doing this with kids try to encourage them to avoid fiddly lines etc, as you’re going to end up being the guy carving the foam all afternoon not them…
Step two
Cut out your design with a craft knife or scissors. Either is fine.
Step three
Pop your shape out of the foam and flip over. This is your chance to neaten up, I used nail scissors for accuracy. If you’re doing lines and facial features spend a little time on this bit. The pencil free side is the one you will be applying ink to.
I discovered that everything I had cut was a lot more obvious when I stamped, so don’t worry if your lines look a bit thin, you can always take more away, but you can’t put it back. It’s sort of like a haircut in that way…
Step four
Stick your shapes onto something, pencil side down (remember they need to be back to front because you’re going to flip it over).
The more solid a base the better really. I decided to do this a couple of days after bin day and there was only newspaper and toilet roll in the recycling bin. So I pinched the box from my dad’s muesli (you’re welcome dad). Honestly? This was less than ideal. The flatter and firmer your base is, the less ink you will get transferring that isn’t part of your picture, and the better force you will have to stamp with.
If you know someone handy, ask them to chop you some wood pieces. I plan on migrating these chaps over to wood at some point, I just need to get myself a saw, which I’m sure will be music to boyfriend’s ears…I’m not clumsy AT ALL.
Step five
STAMP!
This is fun. My advice – cover the table in newspaper and have a few practice goes before you go for the real thing. You’ll find if your stamps are as big as mine you need to put the stamp on some newspaper, turn the pad over and sort of dab it on, quite liberally.
Use the side of your fist to rub the stamp onto your card. Sometimes they come out better than others, I’m still yet to get exactly what I want, so just enjoy it.
If you want to do lots of different colours start with the lightest first and wipe off any excess ink with a baby wipe between colours.
I made cards with mine, see below, but I also have plans to put the whole scene together on some brown paper for gift wrap at some point, and I’m sure there’s a whole load of other things to decorate too.
I also plan to digitise my little buddies so you can print them and use them for your own. But I need to be waaay better than I am at graphics software before that happens, so I’m afraid it may take a little while.
The best thing about this project is that you can make a full set of your own stationary. Check out the envelope below. I made a speech bubble for the address, and popped the little guy on the back.
If anyone is curious about the text on the cards above, and is UK based, I got the alphabet stamps from The Range. They do loads of little alphabet blocks with different fonts and THEY ARE ONLY 99p EACH. They are my Pokemon. Literally, never go to HobbyCraft again.
Have a wonderful week chaps.
DISCLAIMER: I reserve the right to make fox or whale themed crafts in the future.


