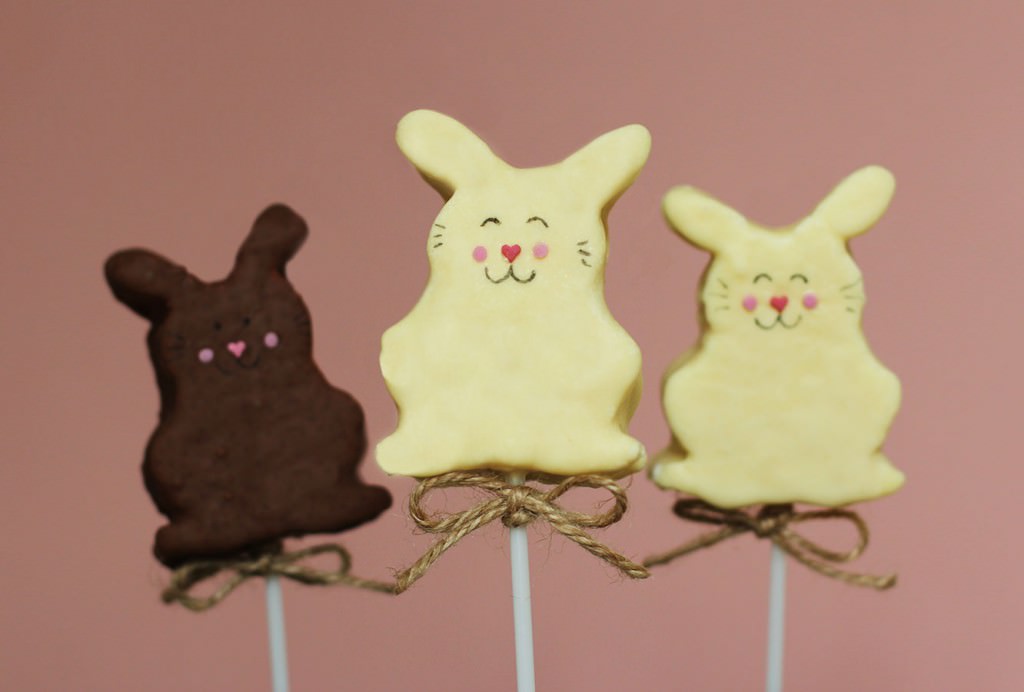
Hullo again, with Easter well and truly around the corner, here’s another cute bunny-themed bake for you.
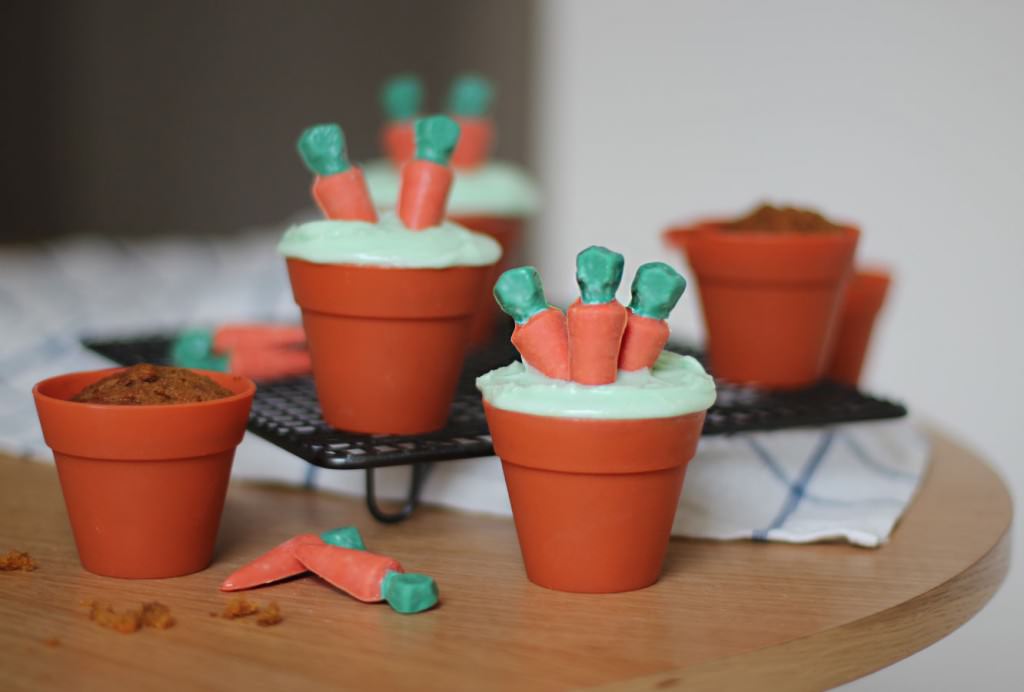
I found an adorable mould for tiny carrots online when browsing for chocolate moulds, as you do on payday…right? I couldn’t resist pairing them with the gorgeous little flowerpot shaped cupcake cases my lovely pal Taylor bought me for my birthday a couple of years back.
Anyhoo, there was an obvious flavour choice for these and I pried myself away from my usual chocolate bakes to bring you carrot muffins/cupcakes with cream cheese frosting.
This makes 6 cupcakes, so you will want to double it for more or for a single cake.
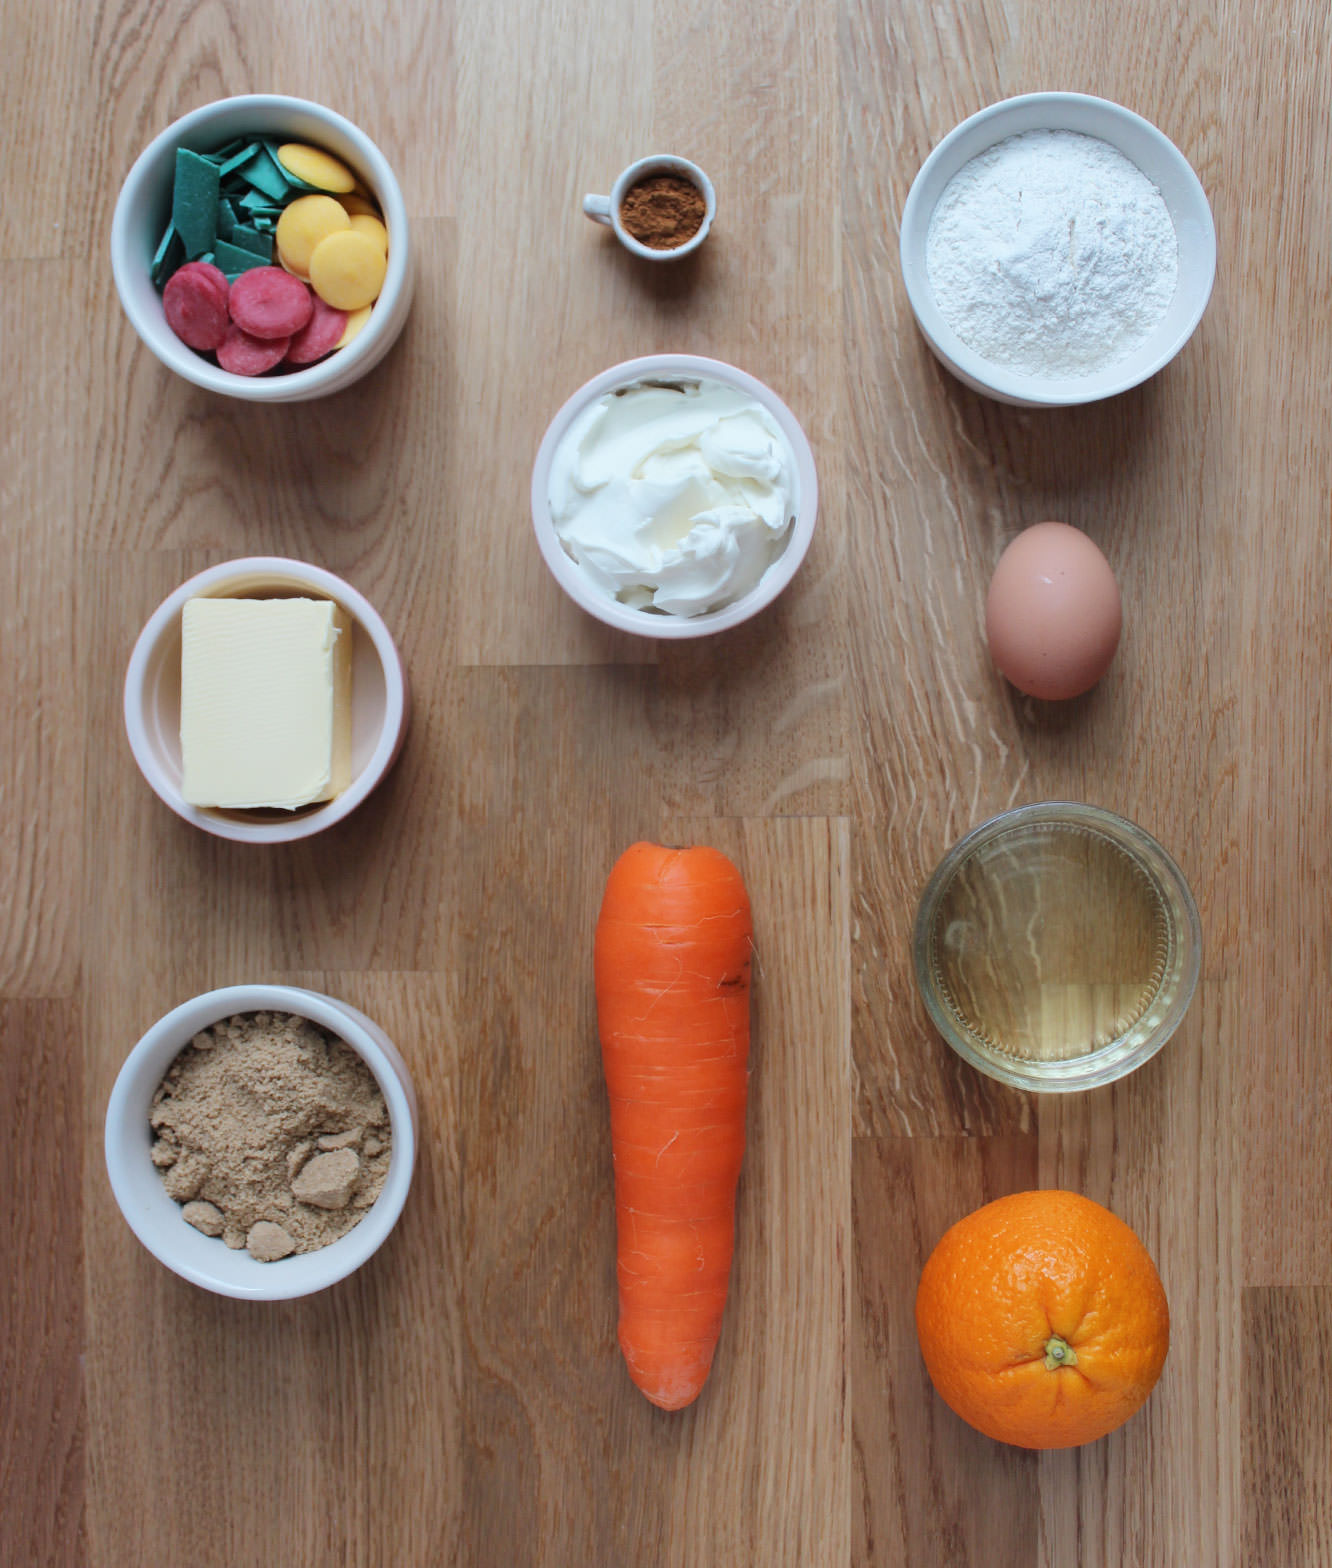
You will need
100g/3.5 oz self-raising flour
100g/3.5 oz carrot
80g/2.5 oz soft light brown sugar
75ml/2.5 fl oz sunflower/vegetable oil
1 egg
1/2 tsp bicarbonate of soda
1 tsp ground cinnamon
1/2 tsp ground nutmeg
Zest of an orange
For the icing:
75g/2.5 oz soft cream cheese (full fat)
25g/1 oz unsalted butter
100g/3.5 oz icing sugar
1 tsp vanilla extract
Green food colouring
Other:
Candy coating chips in orange (or yellow and red like me) and green
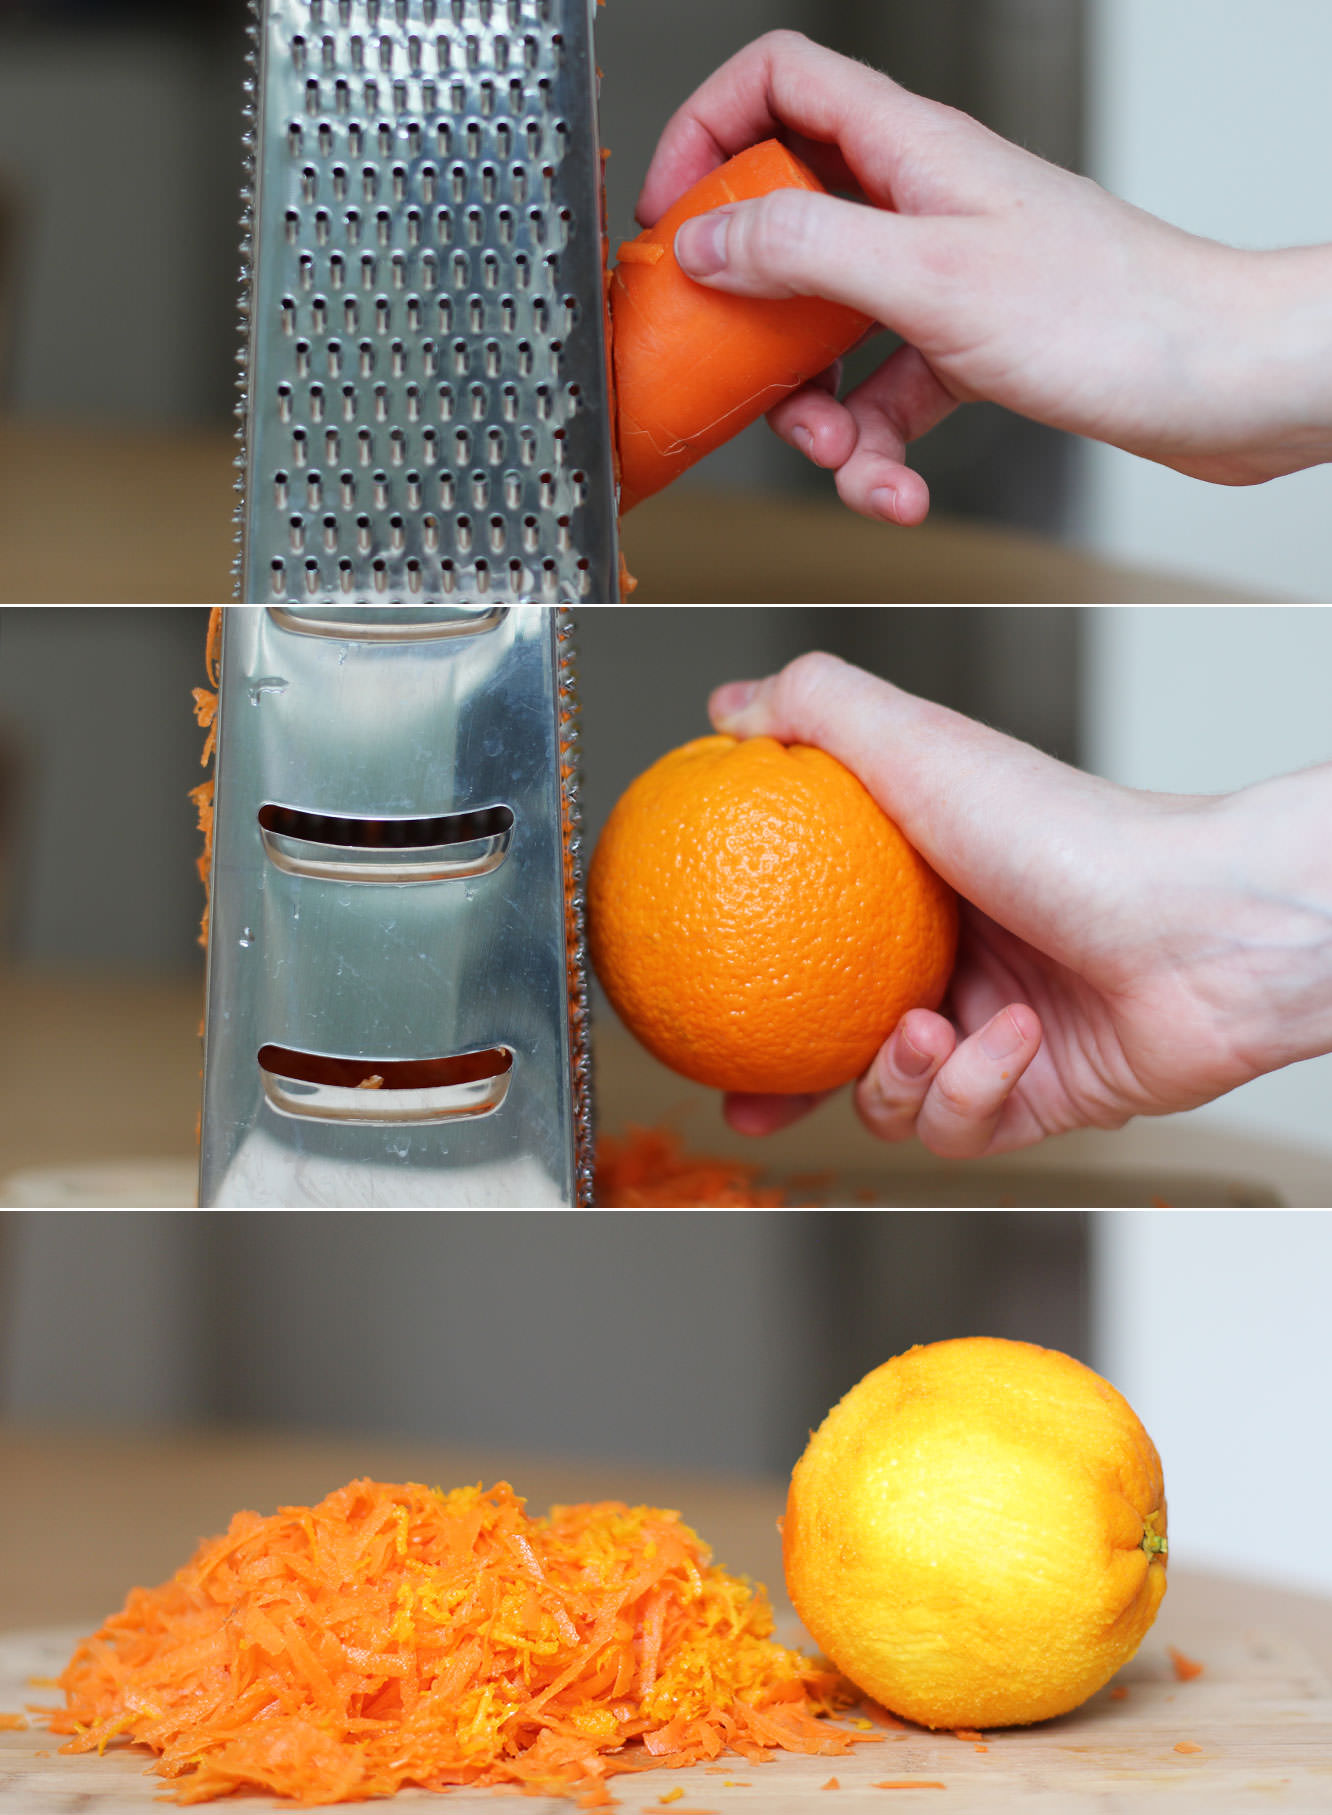
Step one
Grate the carrot on the largest setting and the skin of the orange on the smallest setting on your grater.
Step two
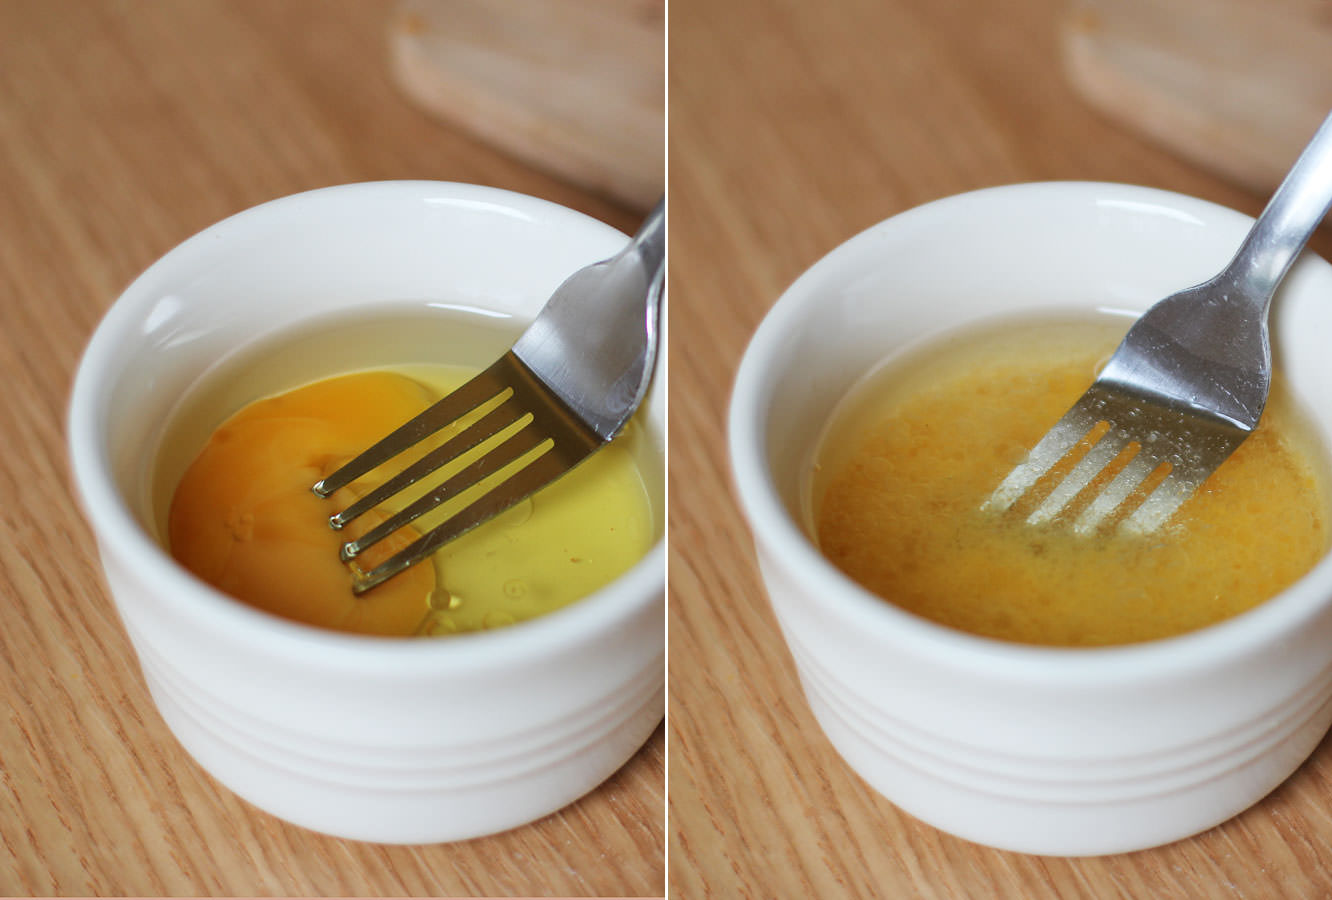
Using a fork combine the oil and the egg in a small dish.
Step three
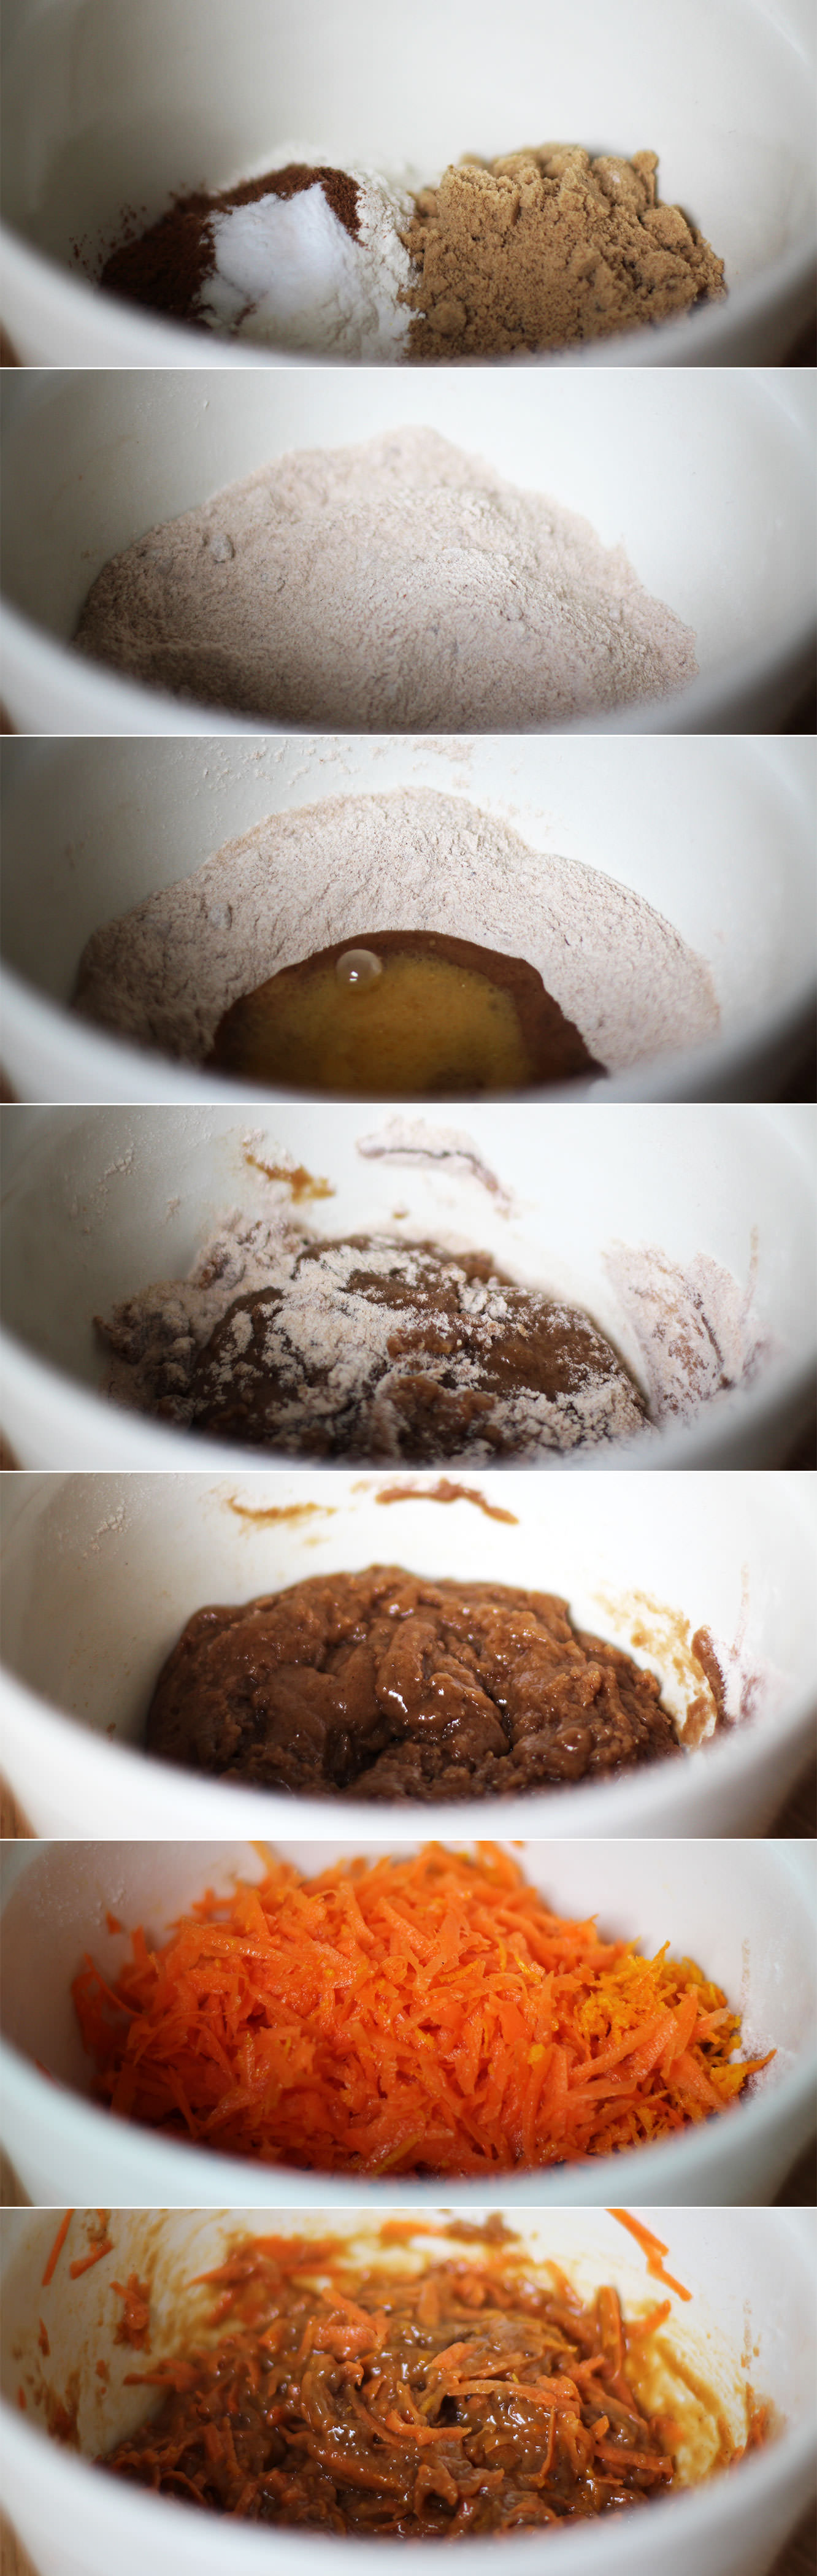
Combine the flour, sugar, spices and bicarb in a mixing bowl. Make a well in the middle and stir in the egg and oil mix. Do this in small circles to avoid lumps.
Add the carrot and orange zest (some raisins wouldn’t go amiss if you have some).
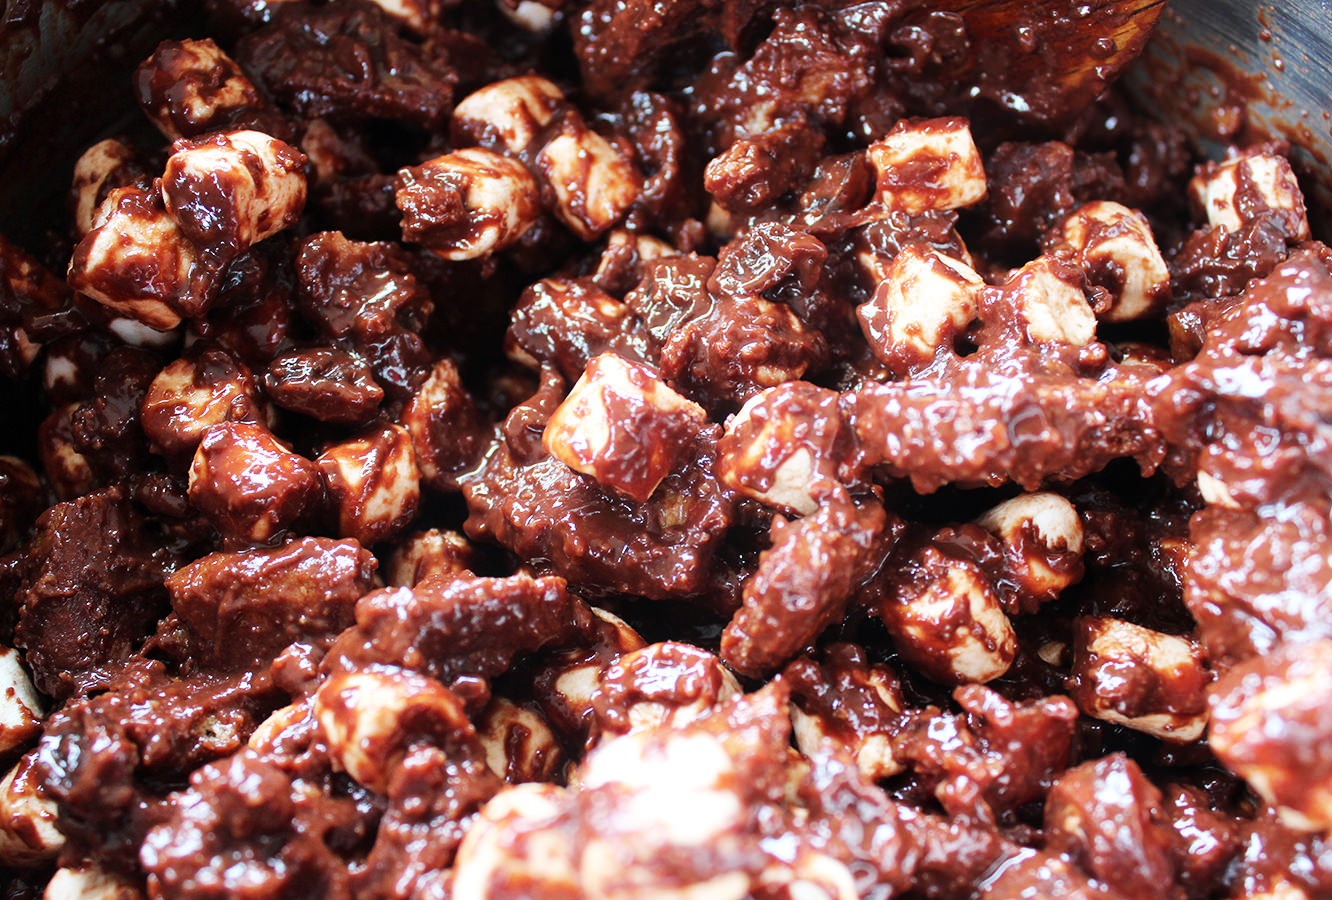
Let’s be honest. Not the most appetising looking mixture.
Step four
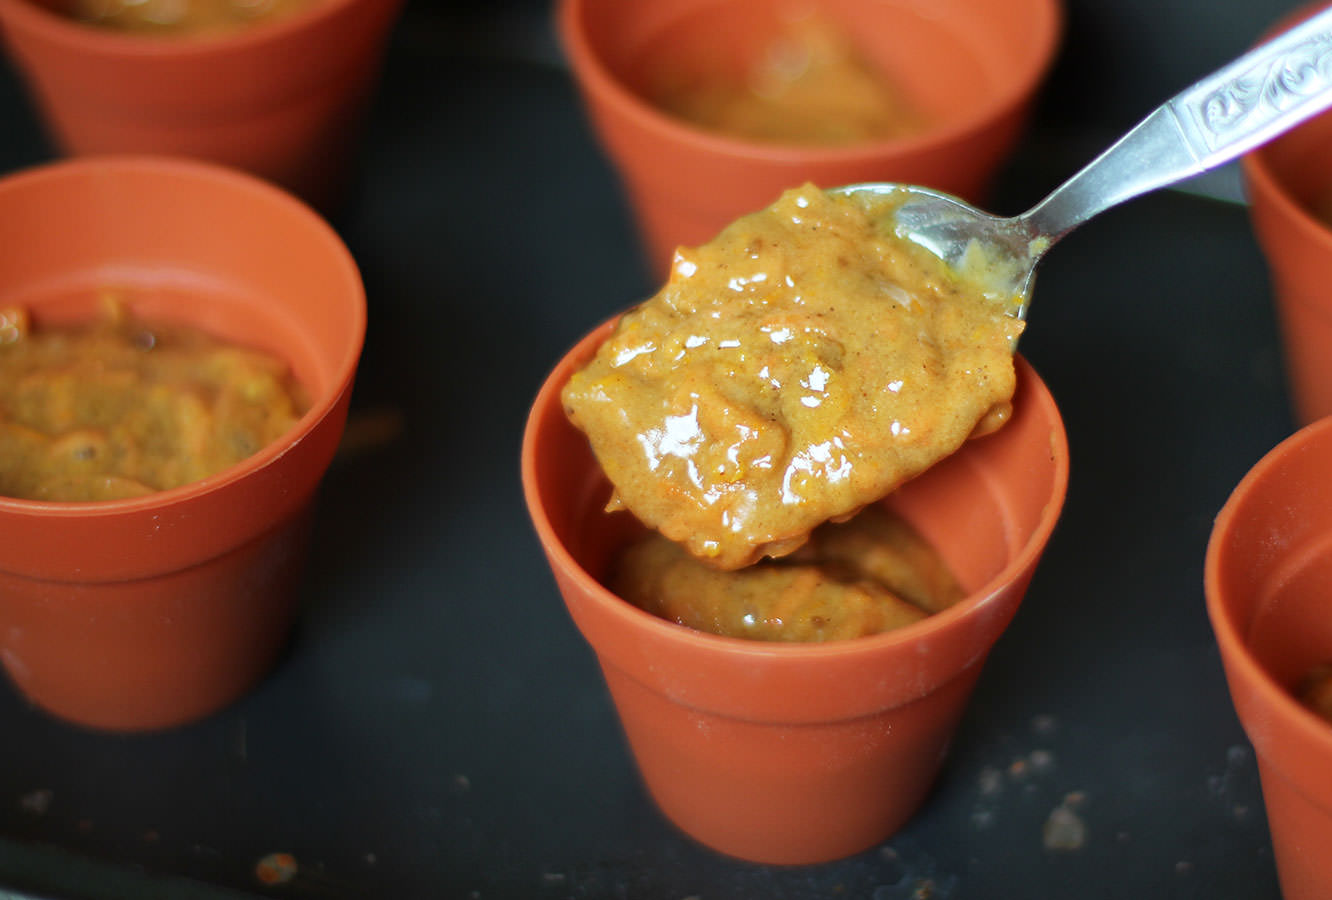
Distribute the mixture evenly between the pots.
Bake on gas mark 4/180C/350F for 20-25 minutes.
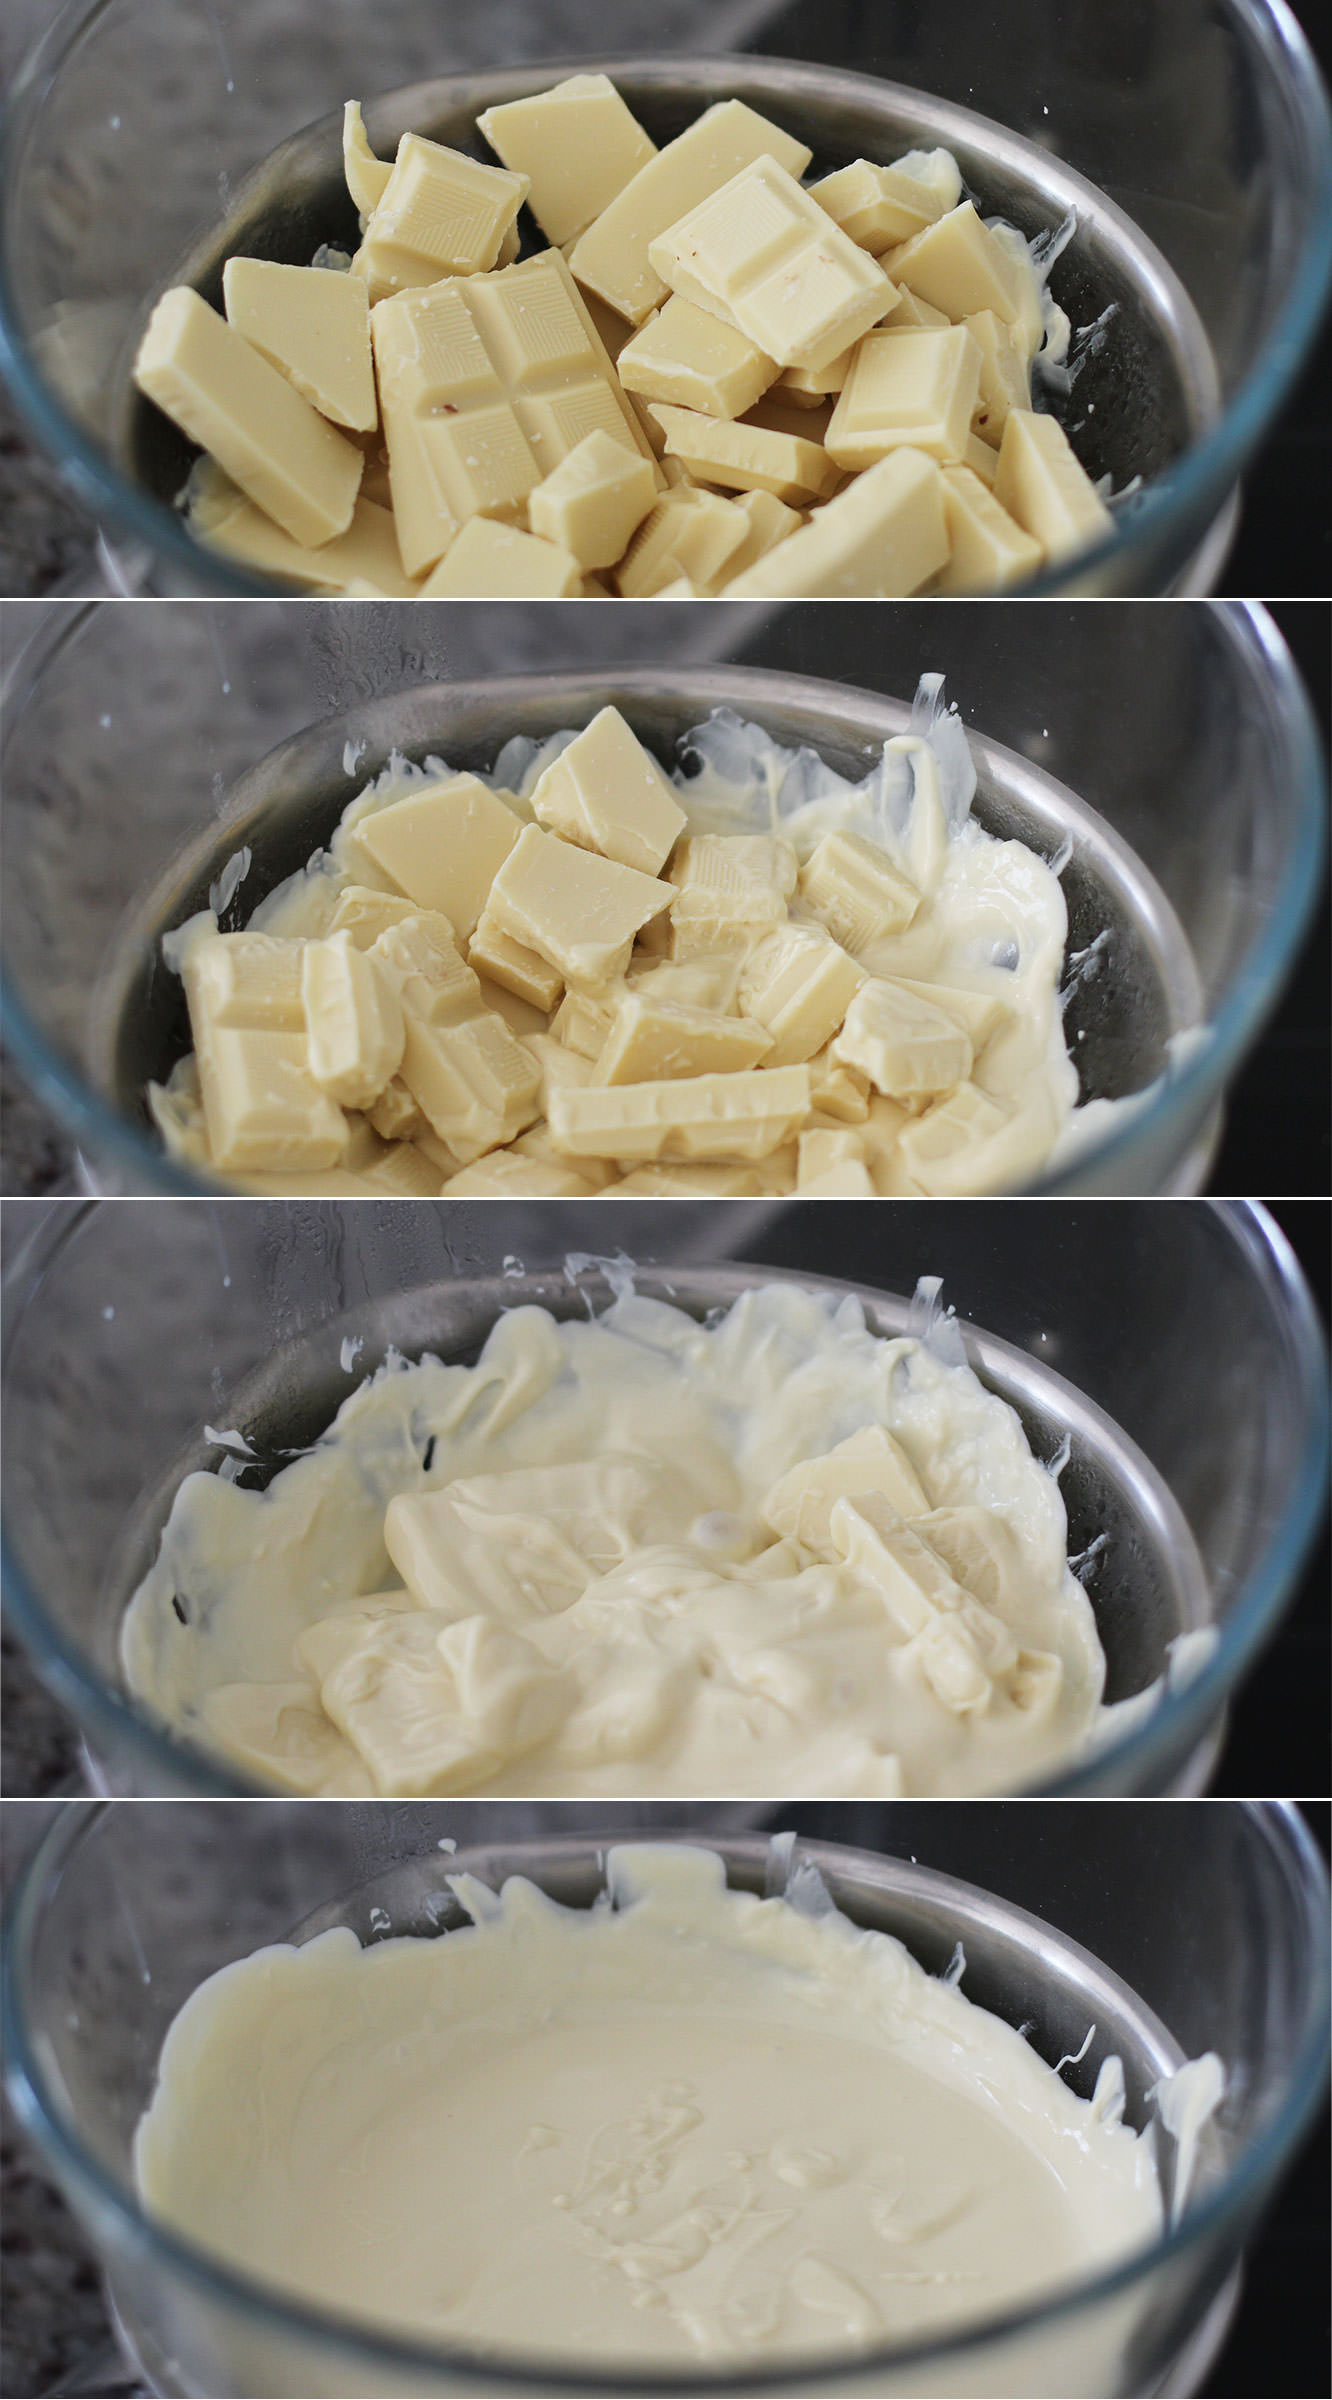
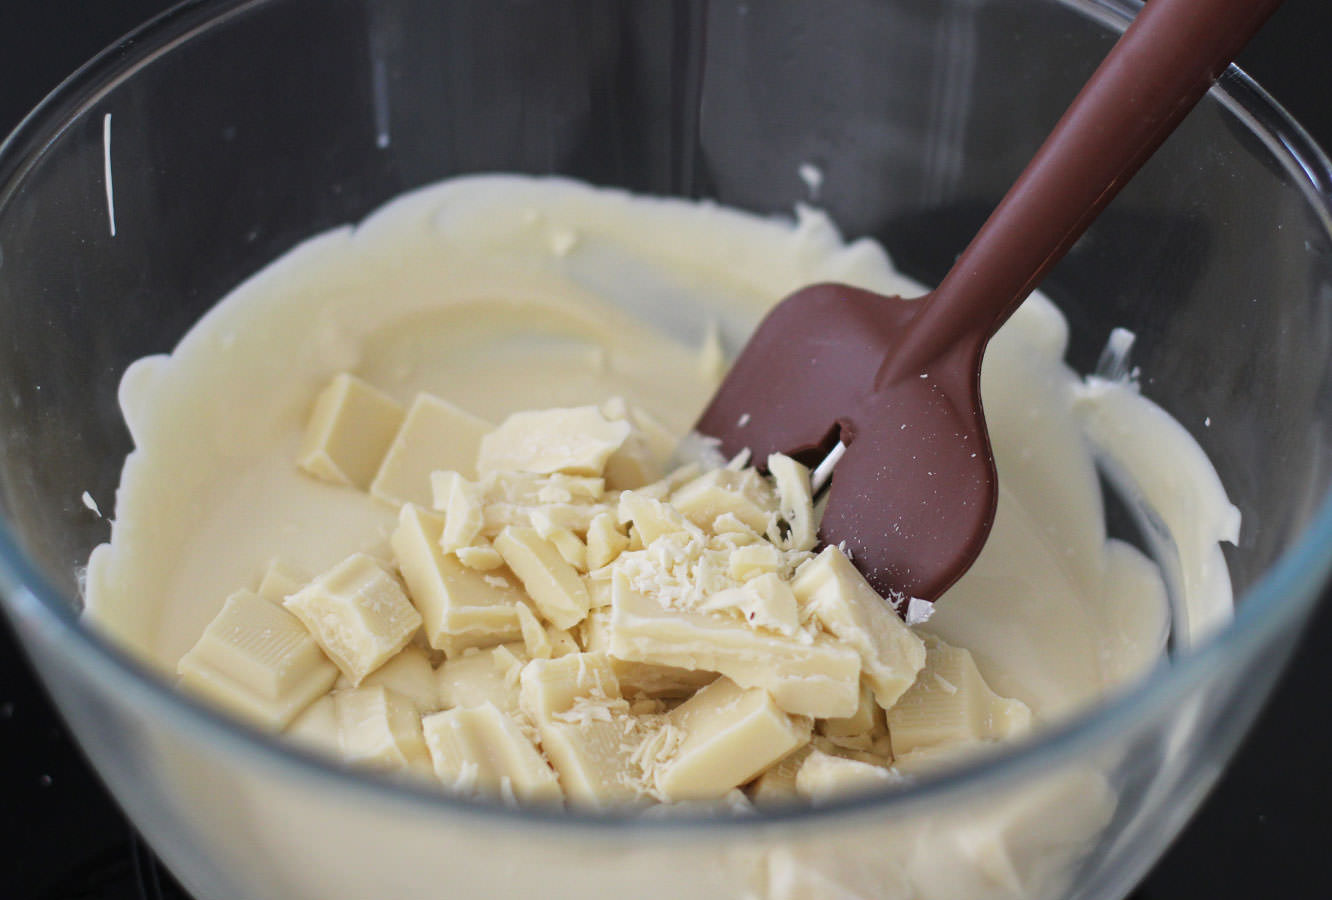
Step five
While the cakes are in the oven melt your candy chips in the microwave and fill the moulds using a piping bag. Make sure to look underneath your mould to check there’s no bubbles.
If mixing the orange from red and yellow like me I advise you to start with yellow and gradually add red to get the colour you want rather than the other way round.
Step six
Make the icing by combining the cream cheese, icing sugar, butter and food colouring. Now, I won’t lie, you may need to add a little more icing sugar to the recipe, I’ve adjusted the quantities based on a slightly runny mix that I had, but they might not be totally perfect. My apologies chaps.
Add food colouring until you have a colour you like, I didn’t want to overdo it and overshadow the carrots.
Step seven
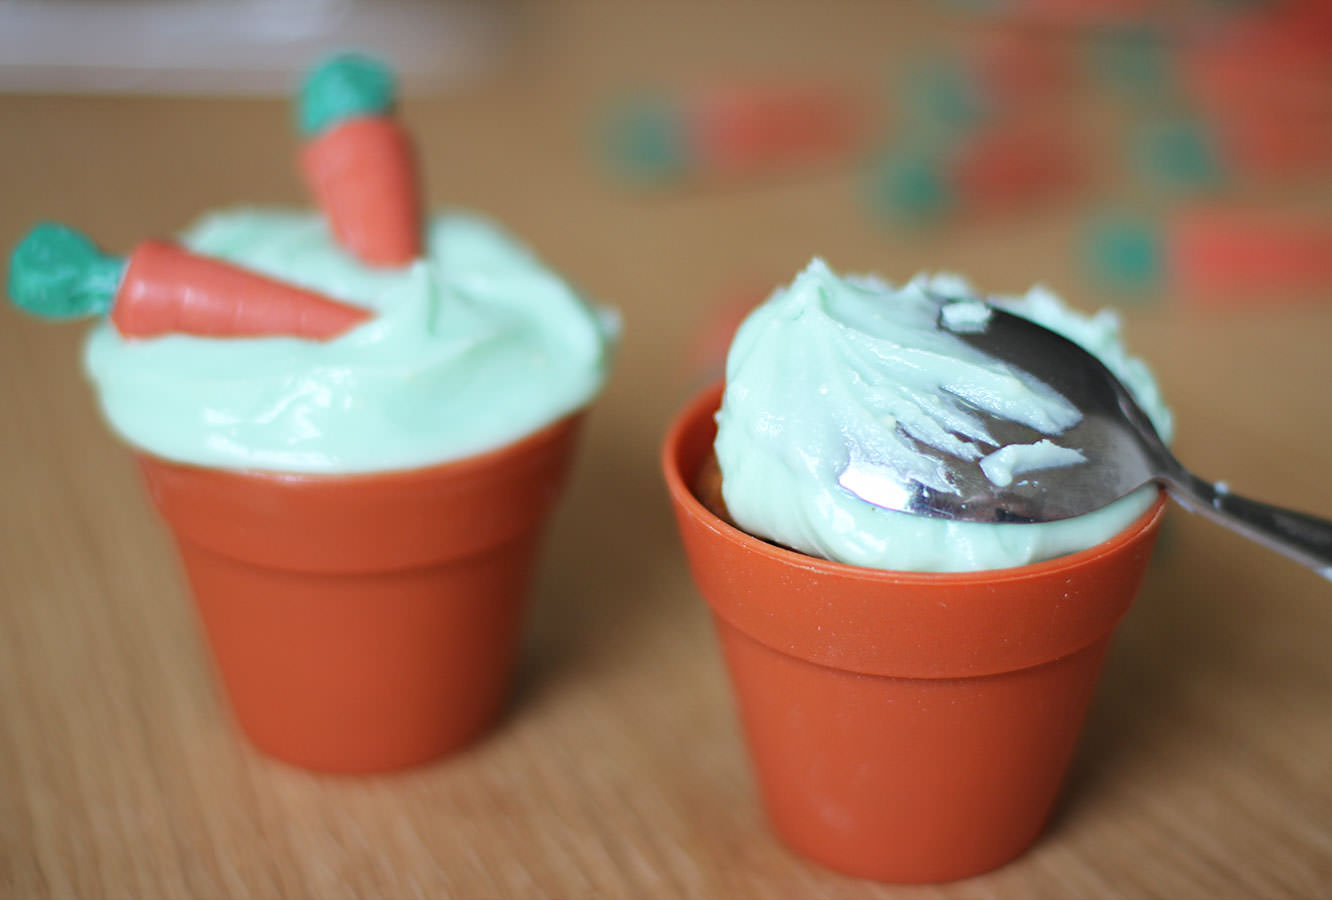
When the cakes are completely cool ice them just using a spoon. You can get more fancy if you want but personally I didn’t see the need to faff about.
Step eight
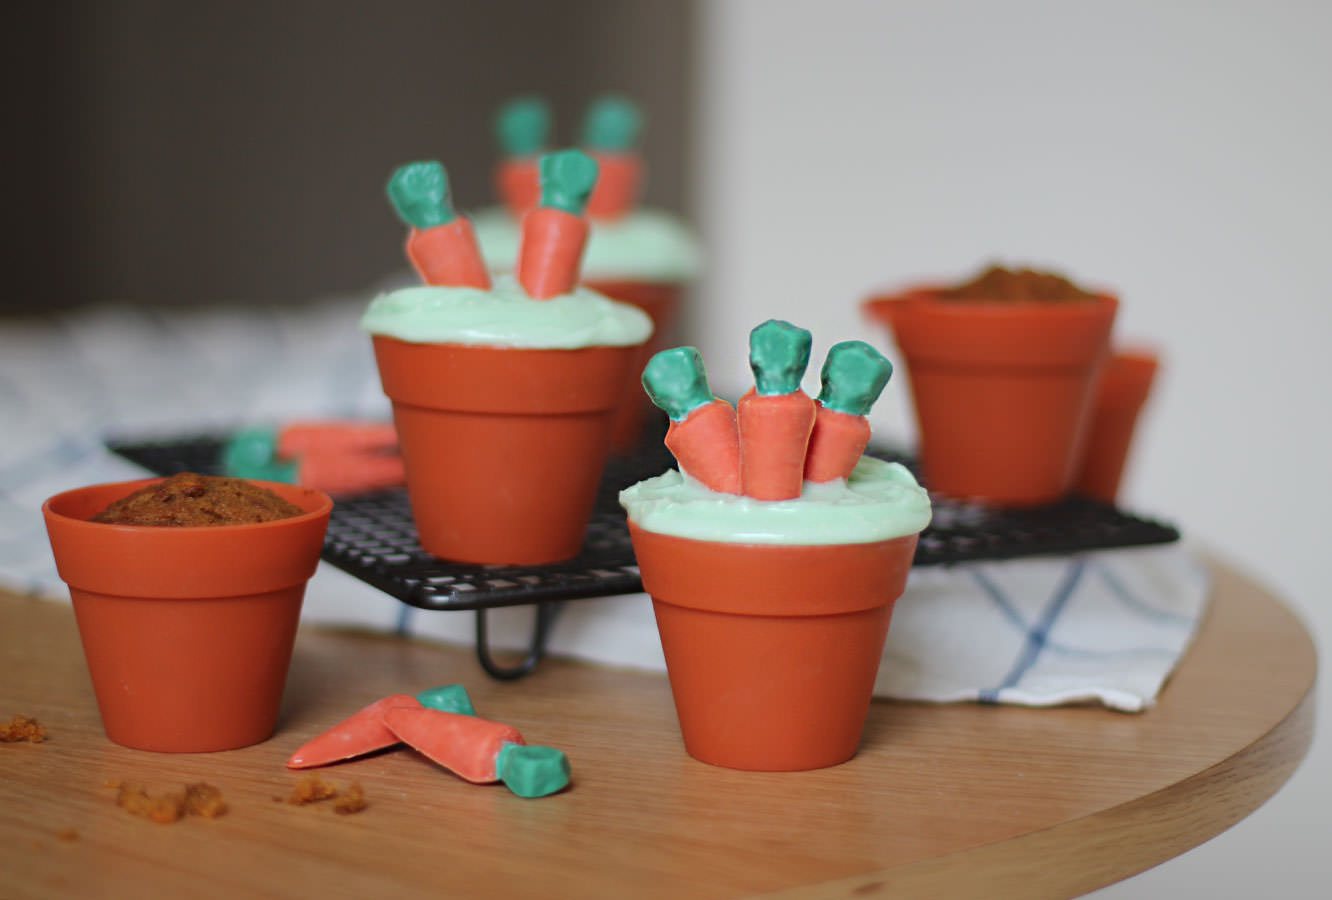
Pop the carrots in.
Voila.