Category: Favours

Cluck cluck #2

SO. I have been remiss. Friends, stalkers, I’m sorry. I didn’t mean to leave you sans blog for two whole weeks. Finishing off my graphic design portfolio kind of consumed my health, social life, eating habits and ability to hold a conversation.

But that’s done now, and I’m back. Picking up where I left off with Vicky’s hen do favours. This week it’s raspberry and white chocolate, and chocolate caramel marshmallows. Not exactly the first time I have made marshmallows on this blog. I really want you to make marshmallows guys.
hen-bachelorette-party-favours-01

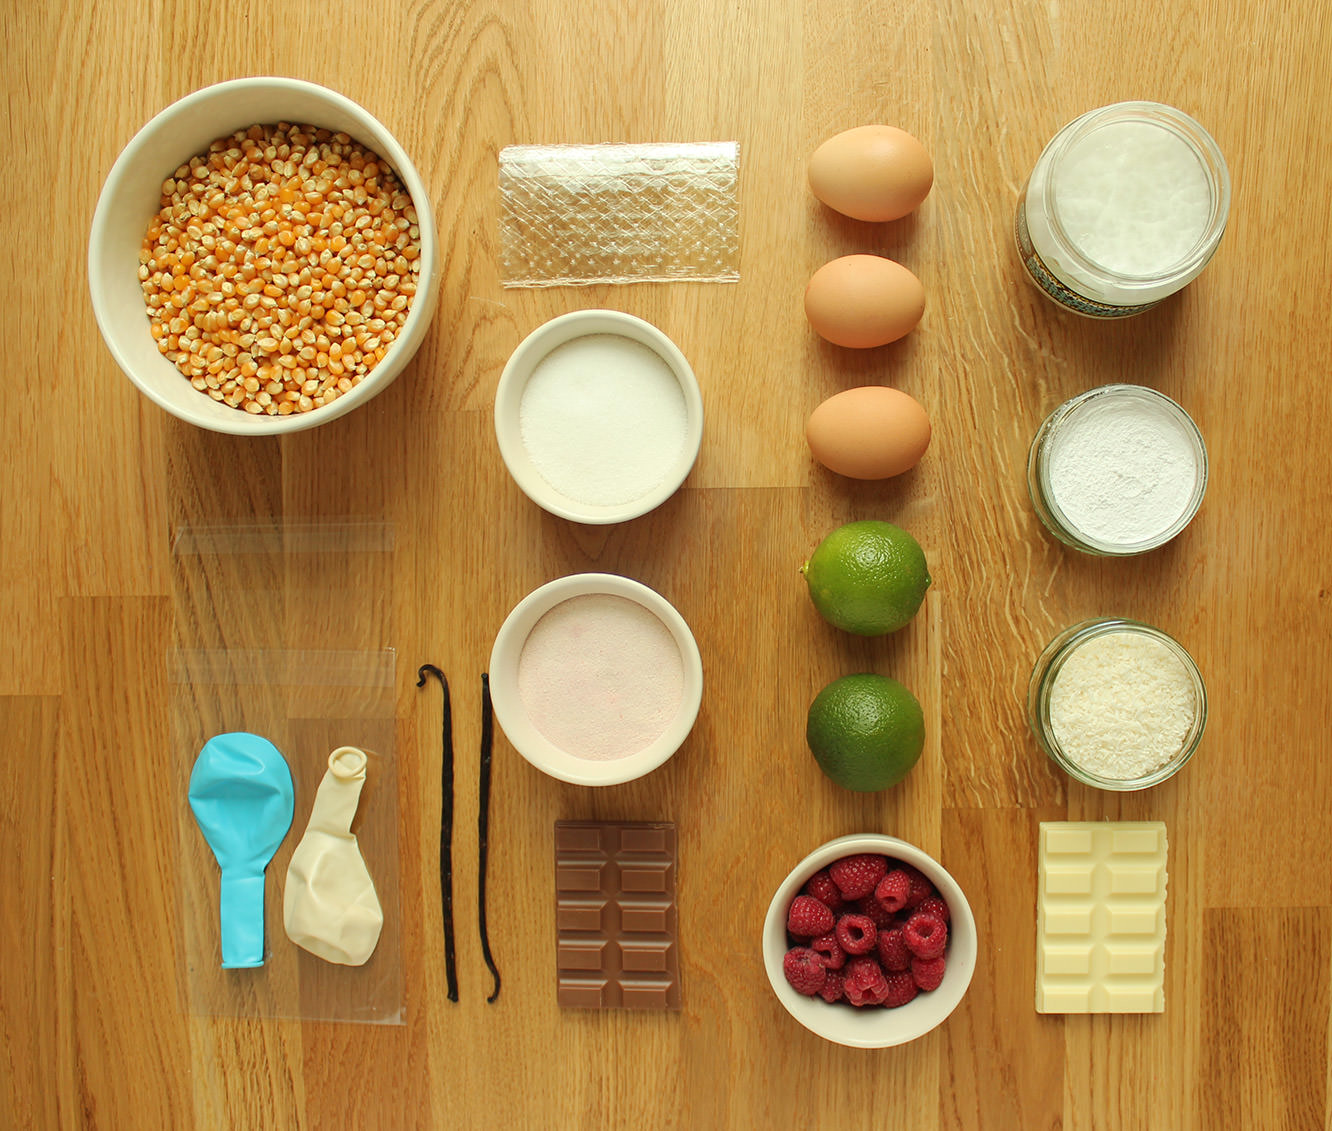
You will need

For the white chocolate and raspberry marshmallows:

9 gelatine sheets

350g/12 oz granulated sugar

2 egg whites

1 tbsp liquid glucose (you can find this in a squeezy toothpaste type tube in the baking section)


150g/5 oz raspberries

150g/5 oz white chocolate

Freeze dried raspberries (optional)

For the caramel and chocolate marshmallows:

9 gelatine sheets

300g/10.5 oz granulated sugar

2 egg whites

1 tbsp liquid glucose

2-3 tsp caramel extract (I got buttery caramel from natural professional flavours at Lakeland)

150g/5 oz milk chocolate

Cellophane card bags x 30

(makes enough for 30 favours, 150+ marshmallows)

I’ll go ahead and walk you through the process for the caramel ones then pop the changes for the raspberry below.
hen-bachelorette-party-favours-raspberry-caramel-marshmallow-recipe-02

Step one

In a cereal bowl, soak the gelatine in 150ml/5 fl oz cold water. Set aside.

Step two

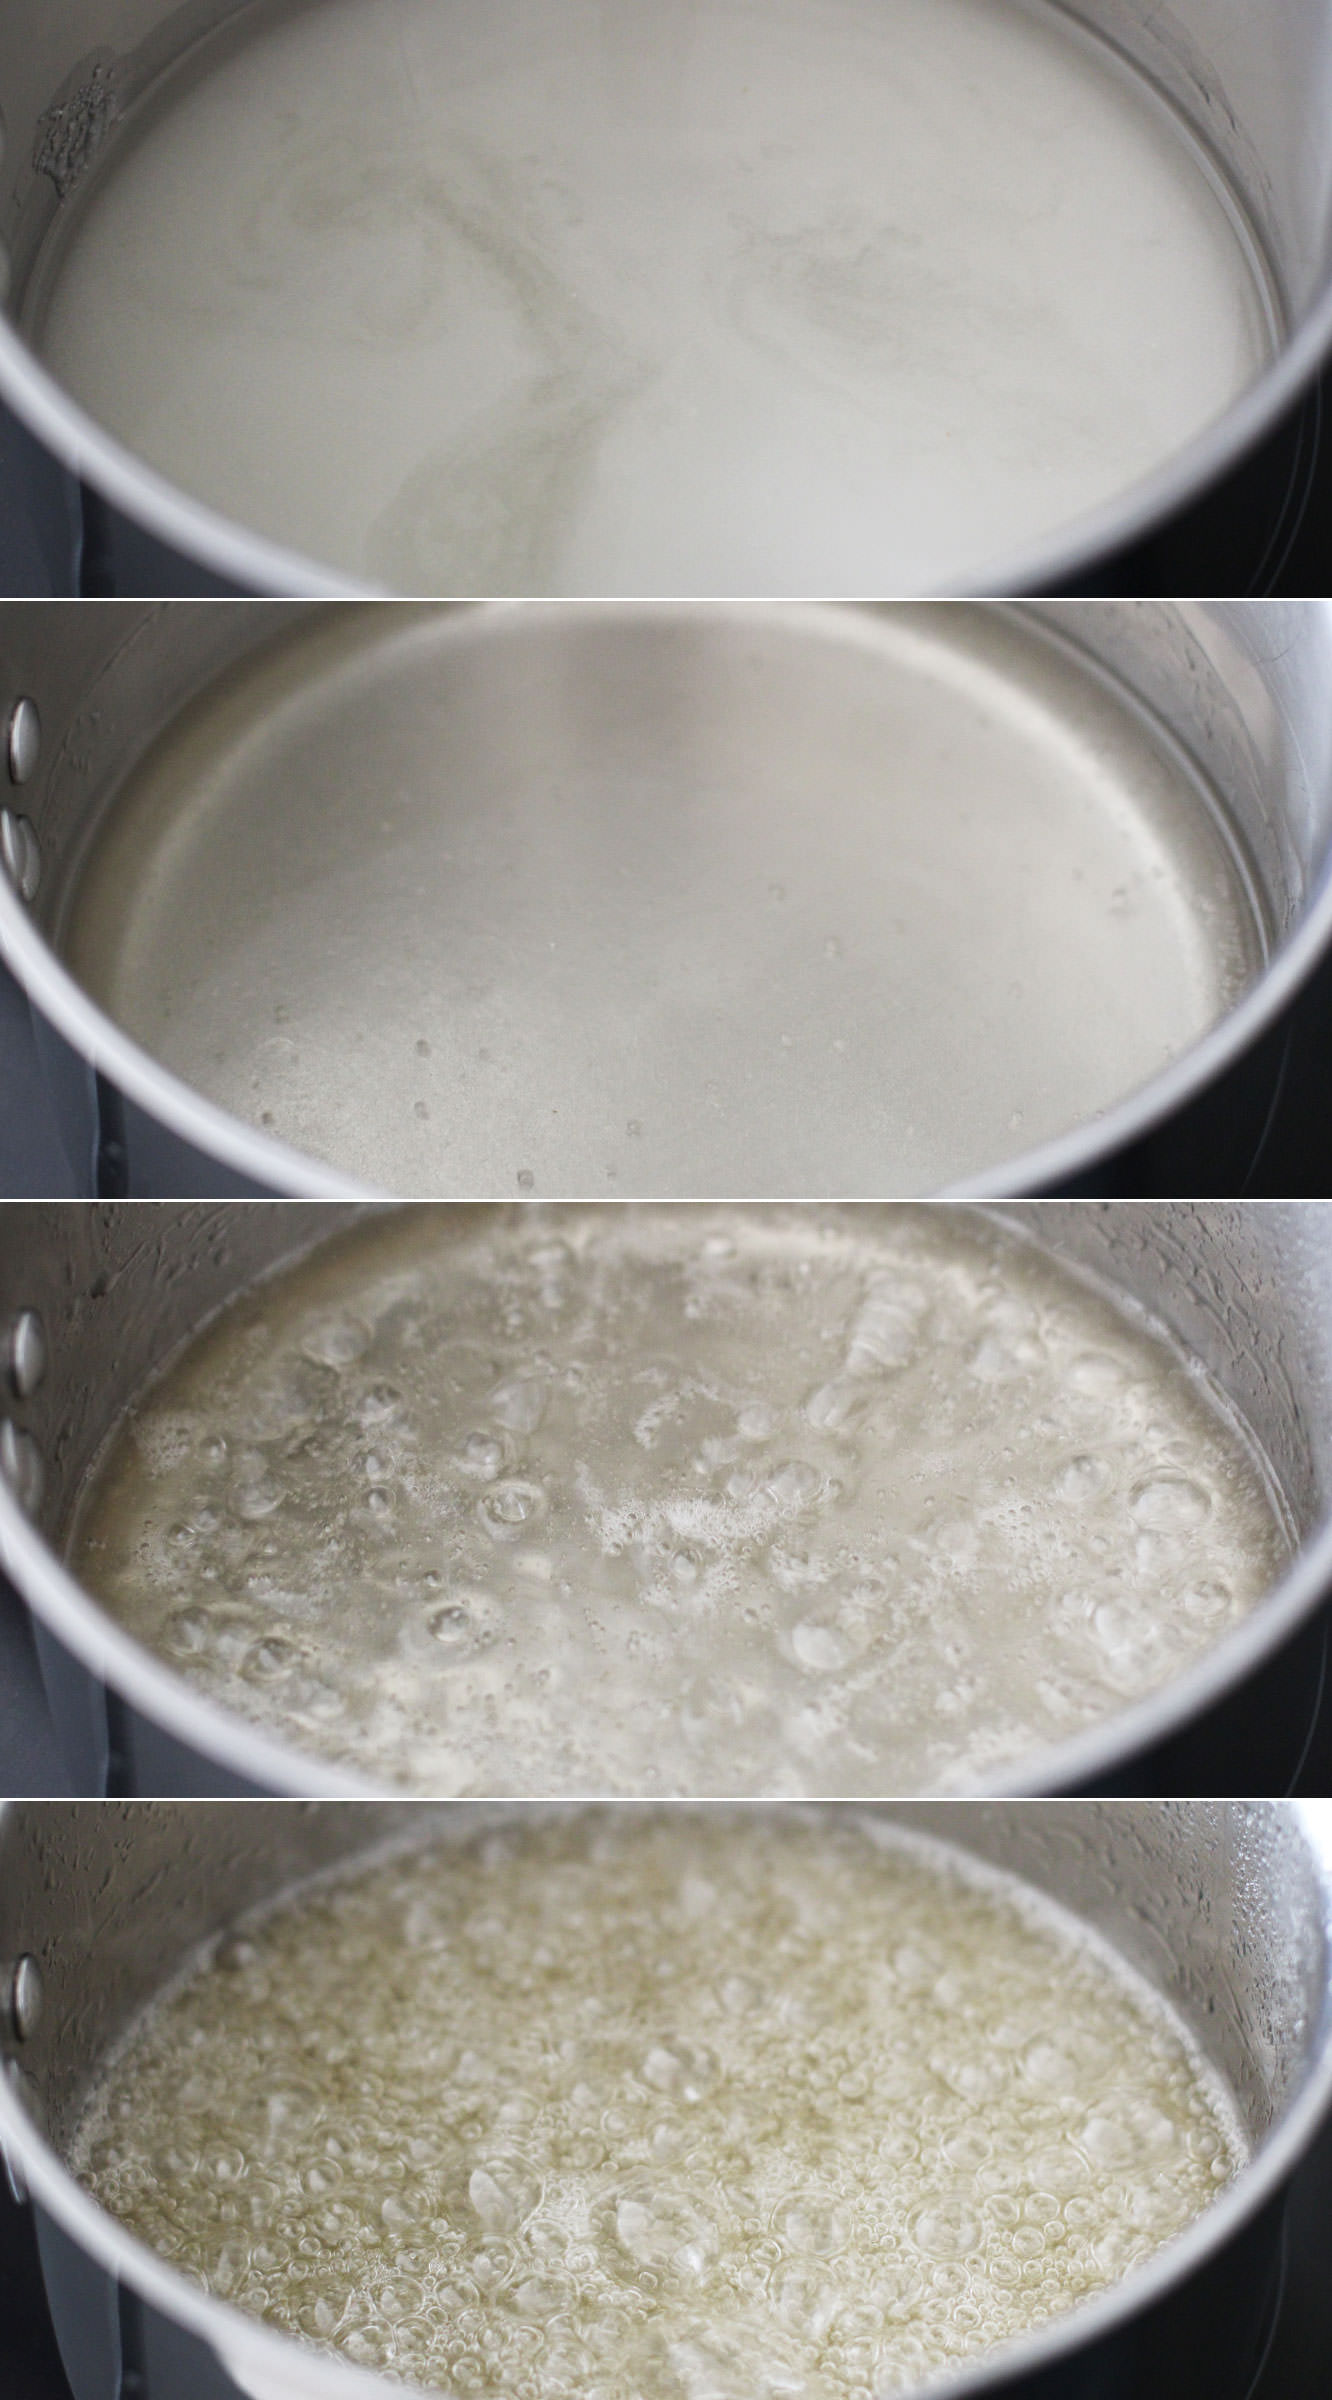
Combine the sugar, 150ml/5 fl oz water (different to the gelatine water) and the liquid glucose in a smallish saucepan.

Allow the sugar to dissolve on a low heat, and then turn it up to medium-high. Watch yourself buddy, you’re boiling sugar right now, don’t hurt it or yourself.

The temperature you want this to get to is 118 C. It will feel like it will never get there, but stay strong.
hen-bachelorette-party-favours-raspberry-caramel-marshmallow-recipe-06

Step three

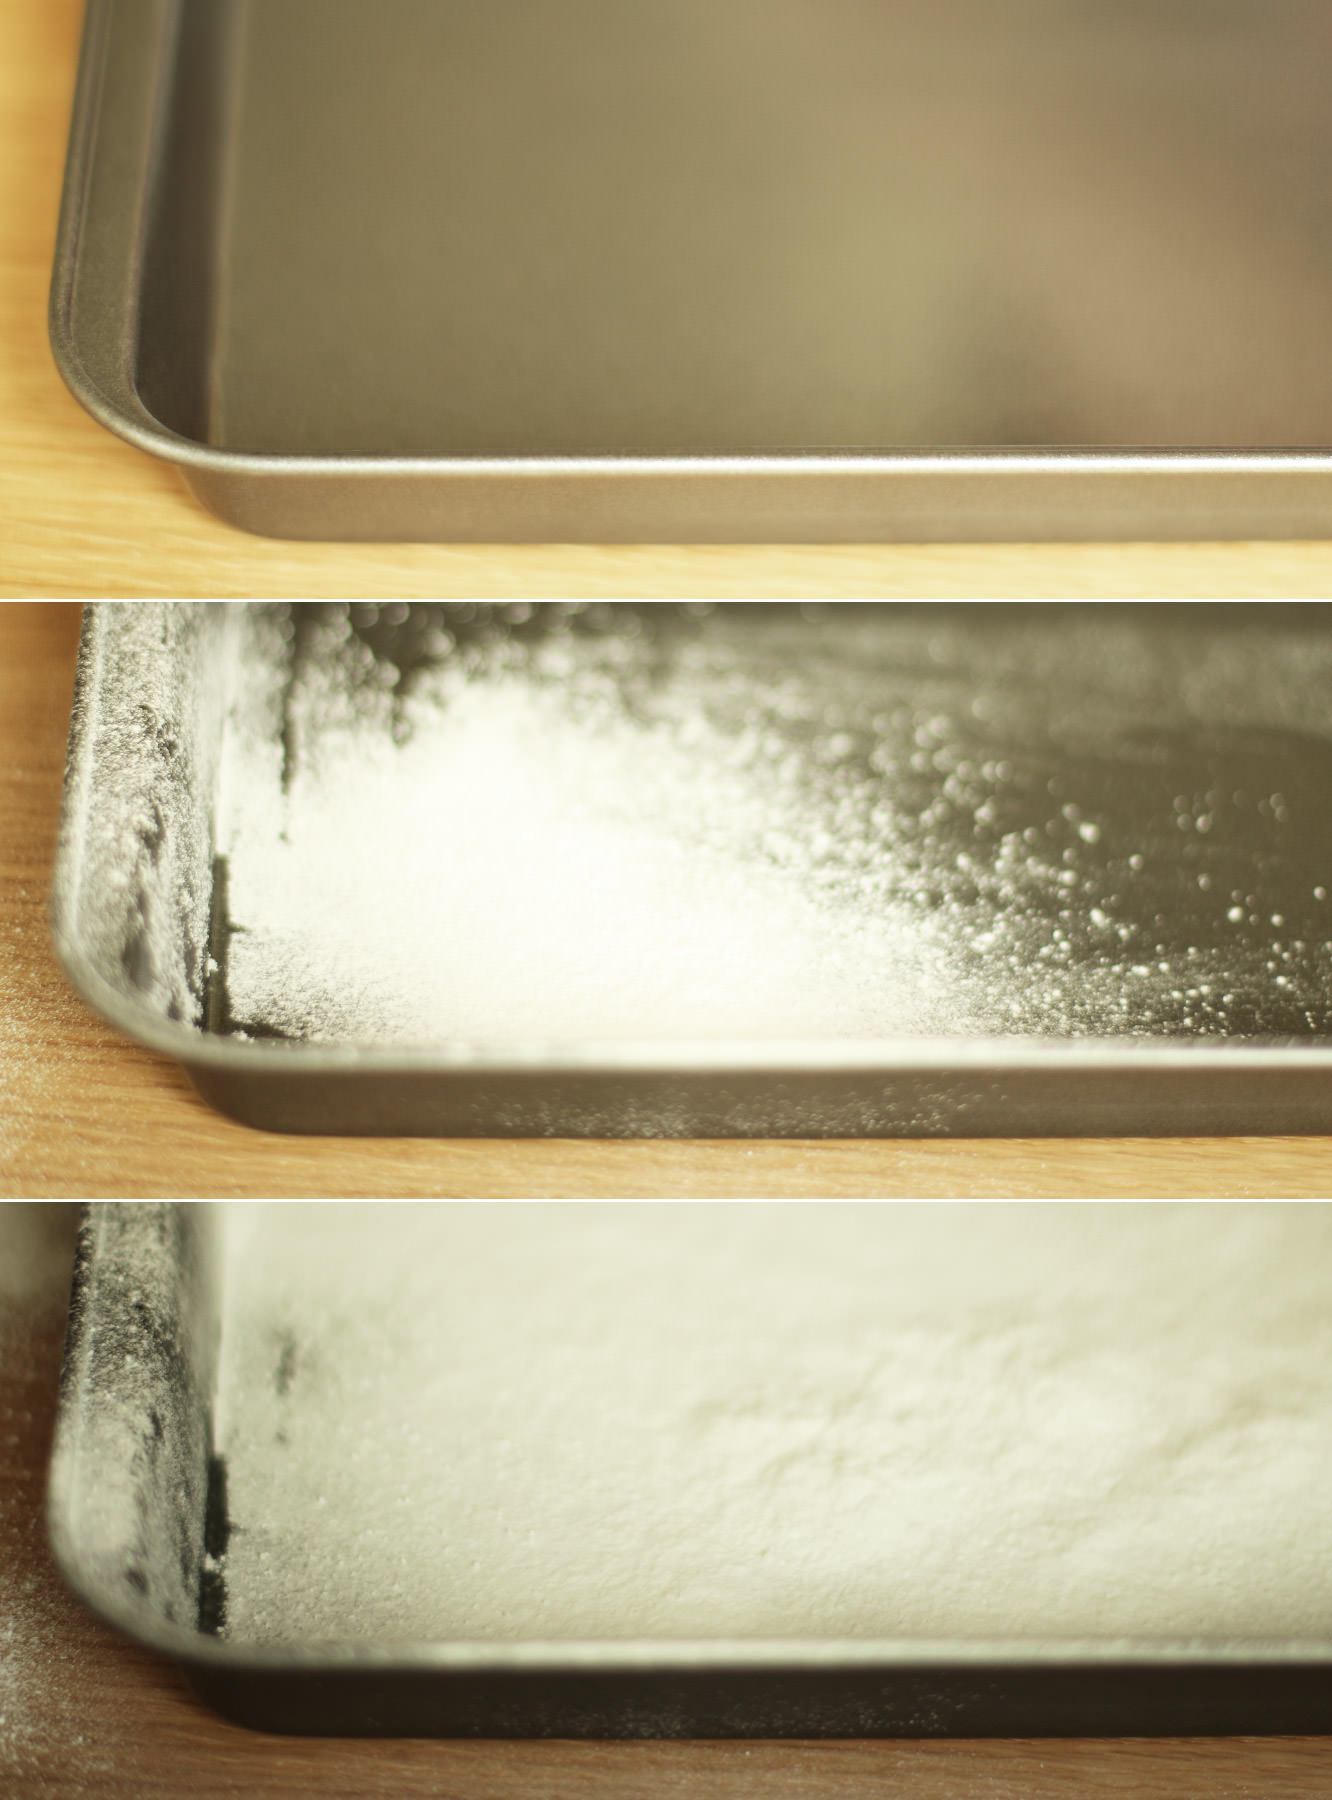
While the sugar is bubbling you can take a moment to dust your brownie tray with icing sugar. Add a small amount of olive oil first so it sticks.
hen-bachelorette-party-favours-raspberry-caramel-marshmallow-recipe-01

Step four

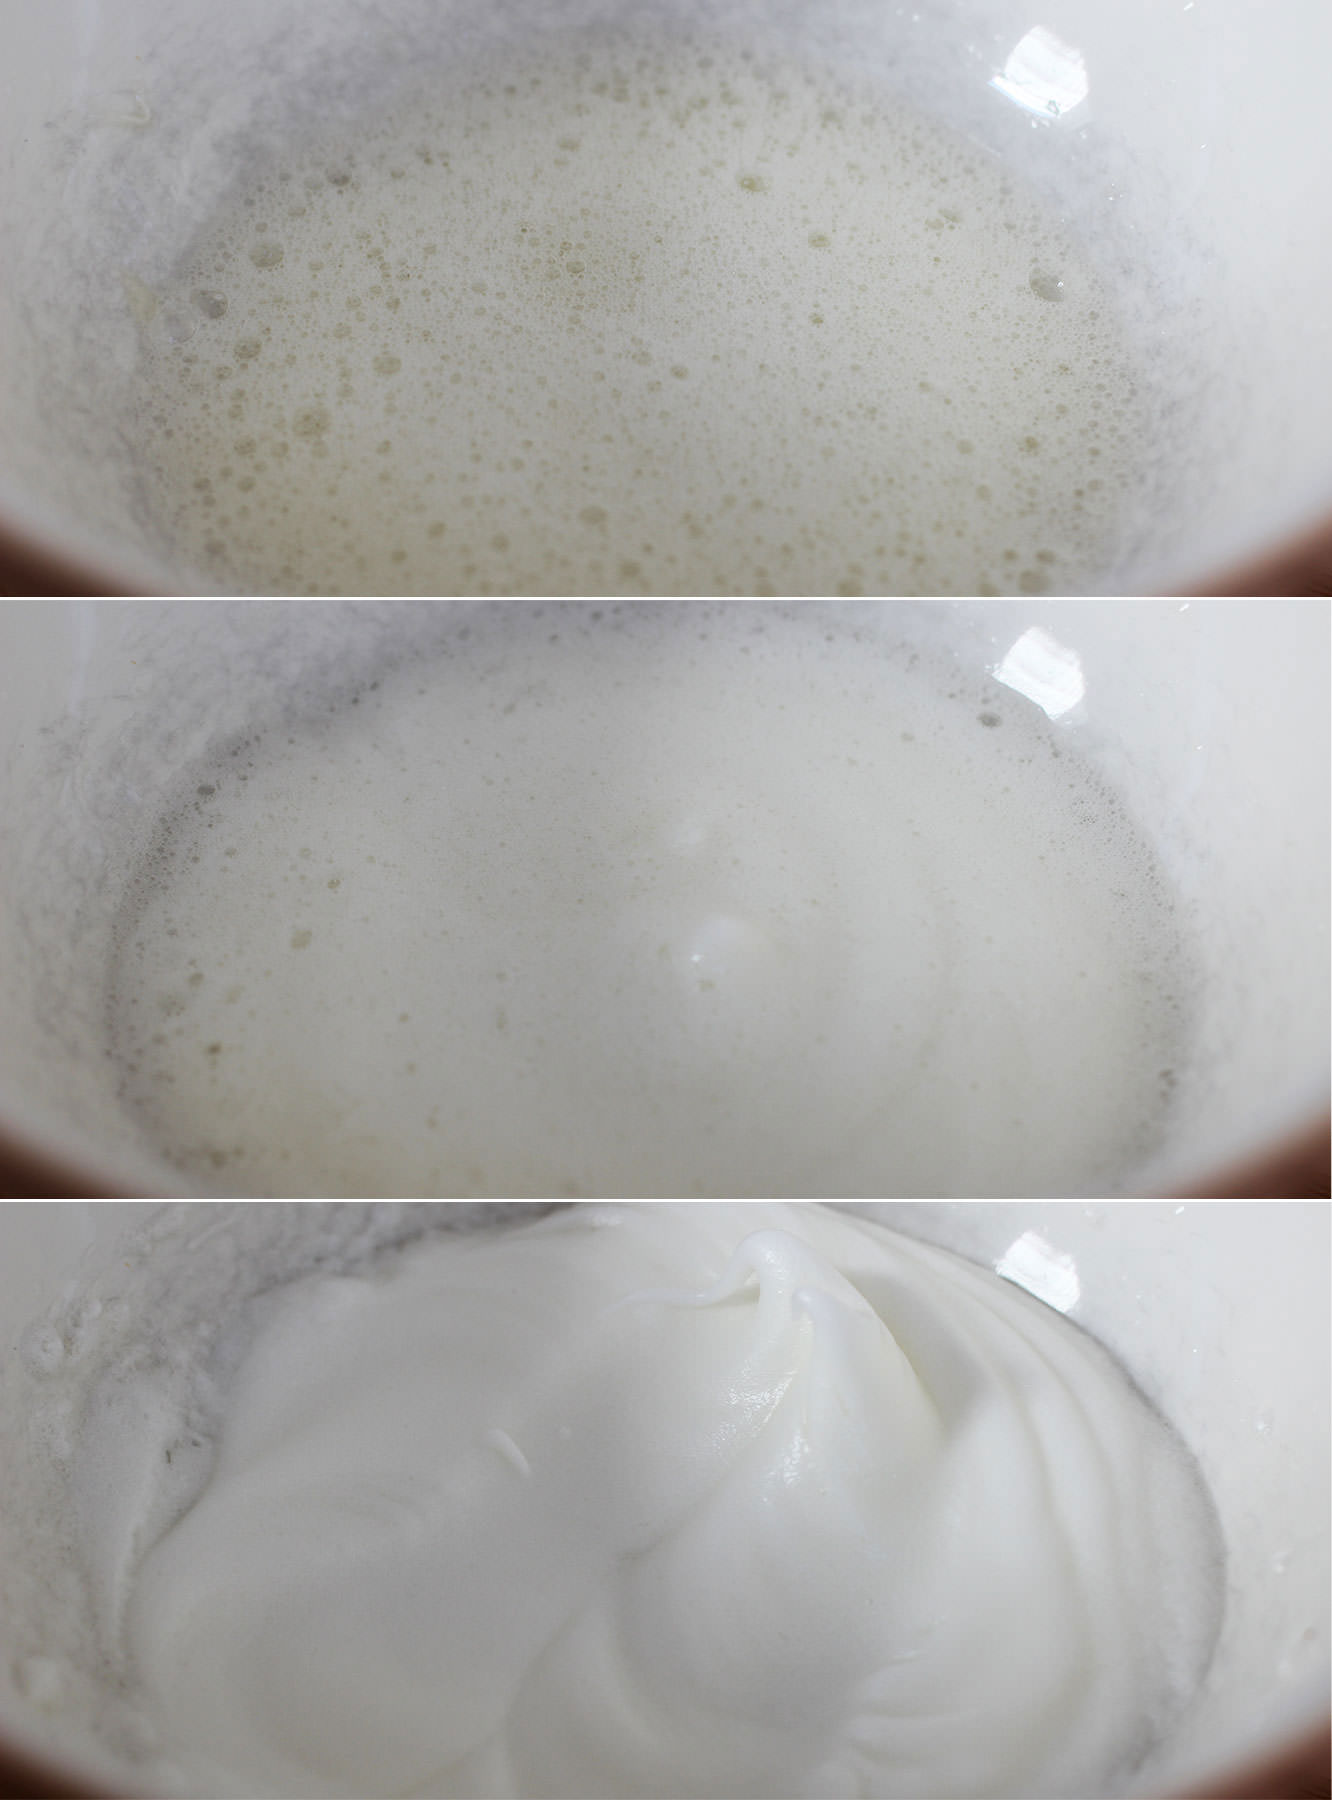
When the sugar gets to somewhere around 112-115C whisk the egg whites into stiff peaks. Take care not to use a ceramic bowl else you will get grey marks like I did. Glass or metal though and you’ll be golden.

Step five

When the sugar reaches 118C take it off the heat.

Squeeze the gelatine out a bit and add it to the sugar mix. It will bubble right up so don’t panic. It should settle pretty quickly.
hen-bachelorette-party-favours-raspberry-caramel-marshmallow-recipe-03

Step six

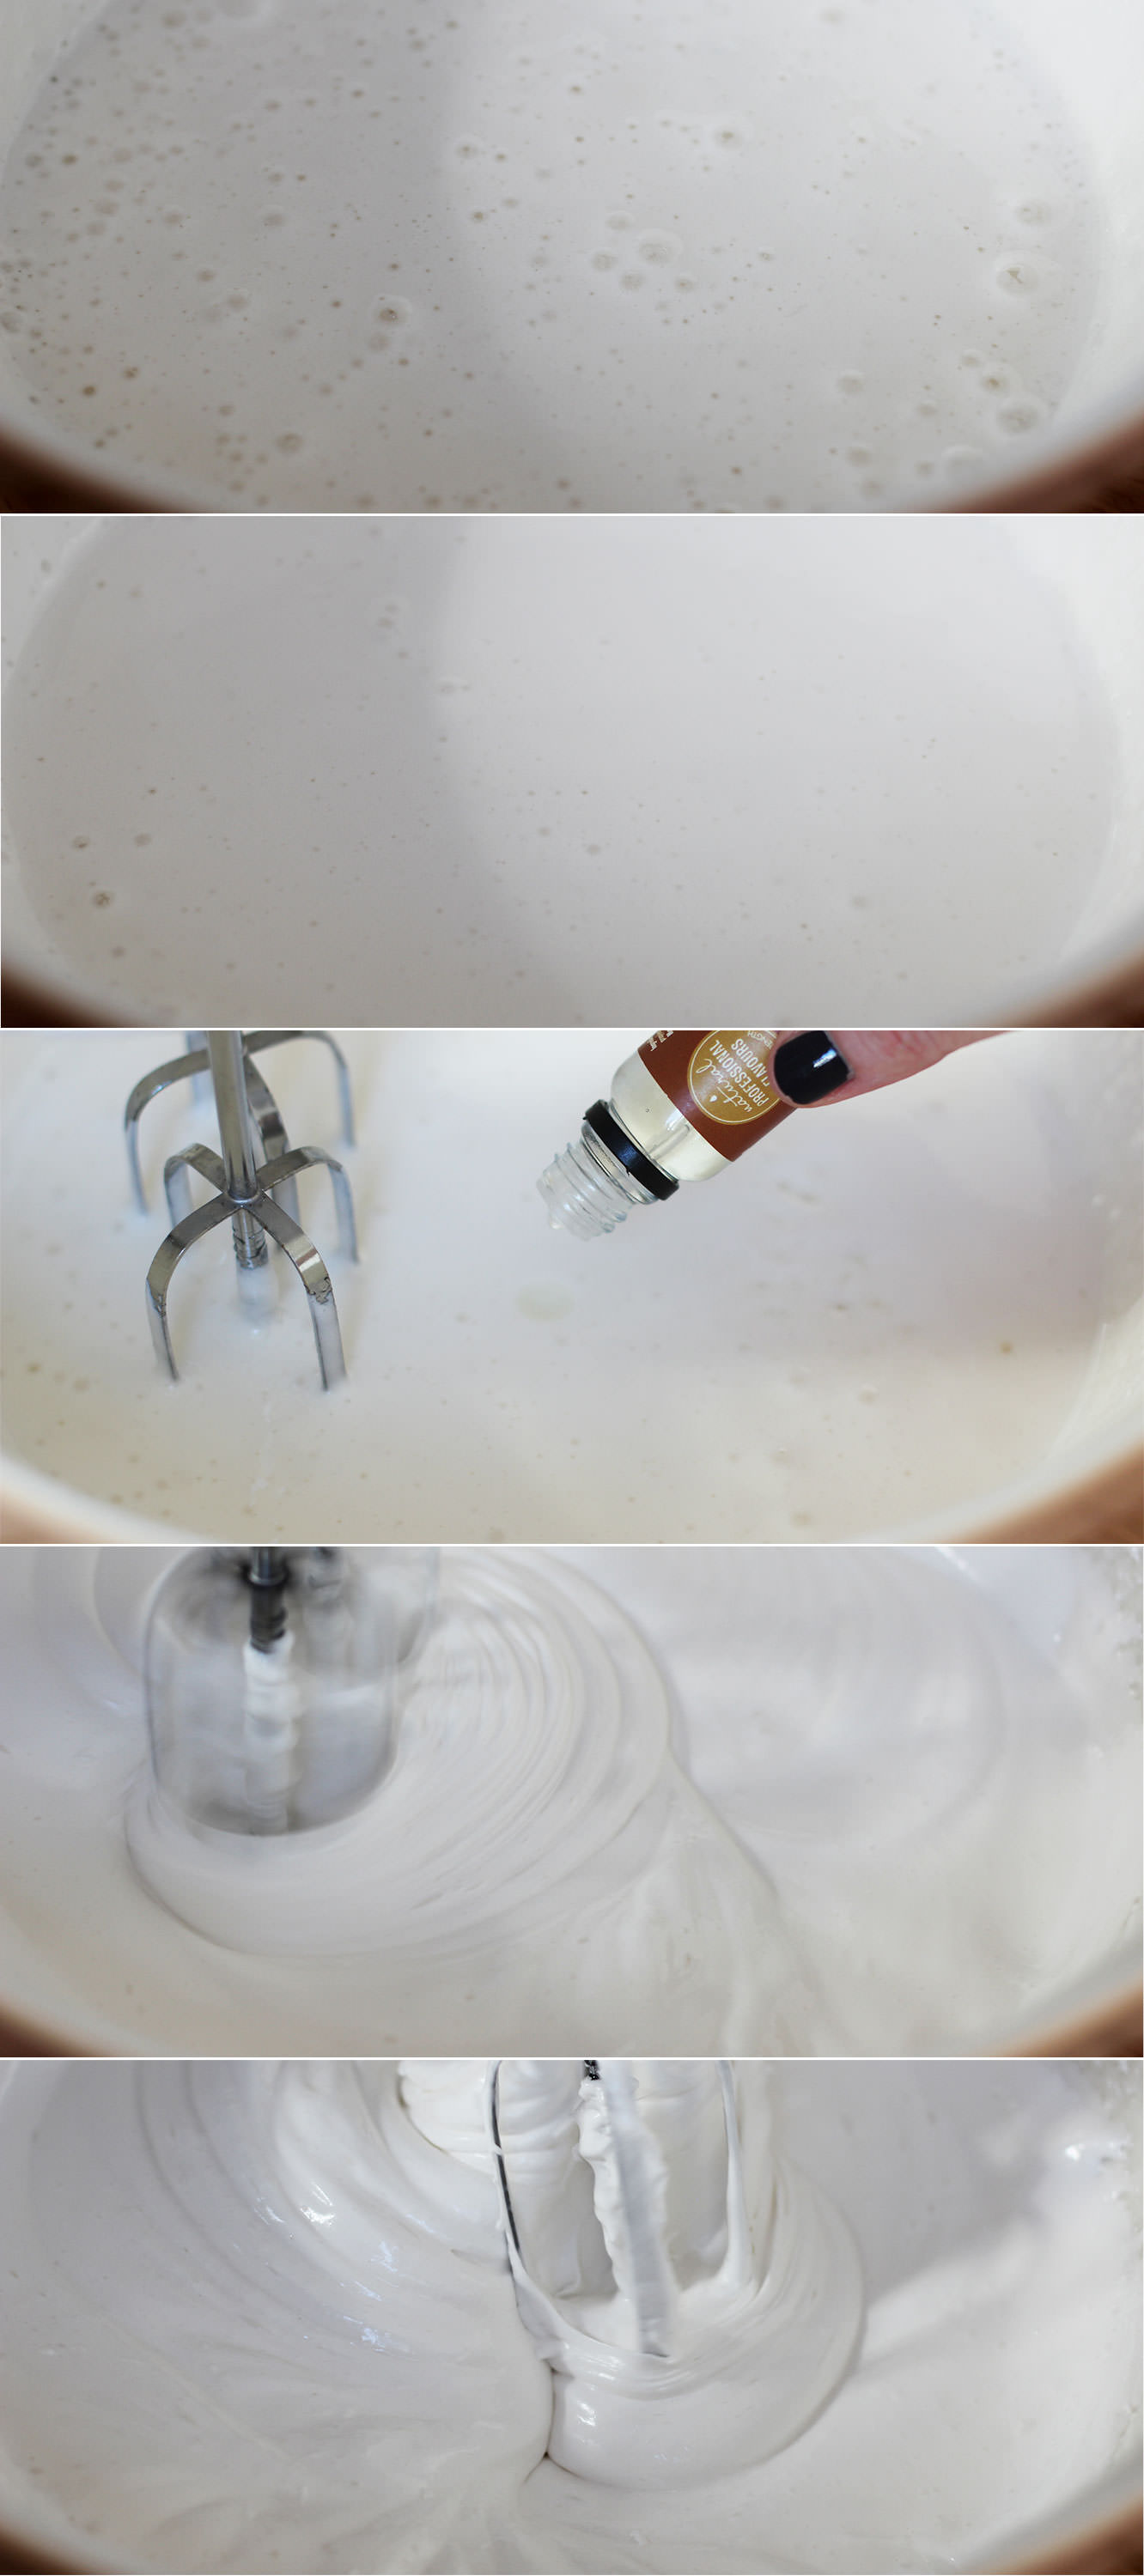
Pour the hot sugar into the eggs, but make sure you’re whisking continually to avoid a big lump of sugar at the bottom of the bowl.

Whisk until the mixture holds its shape well and is quite thick. This can take up to ten minutes.

Somewhere during the whisking (probably when you need to give your arm a rest) add the flavouring. I used buttery caramel (as mentioned in the ingredients) but they will take basically anything you fancy.
hen-bachelorette-party-favours-raspberry-caramel-marshmallow-recipe-04

Step seven

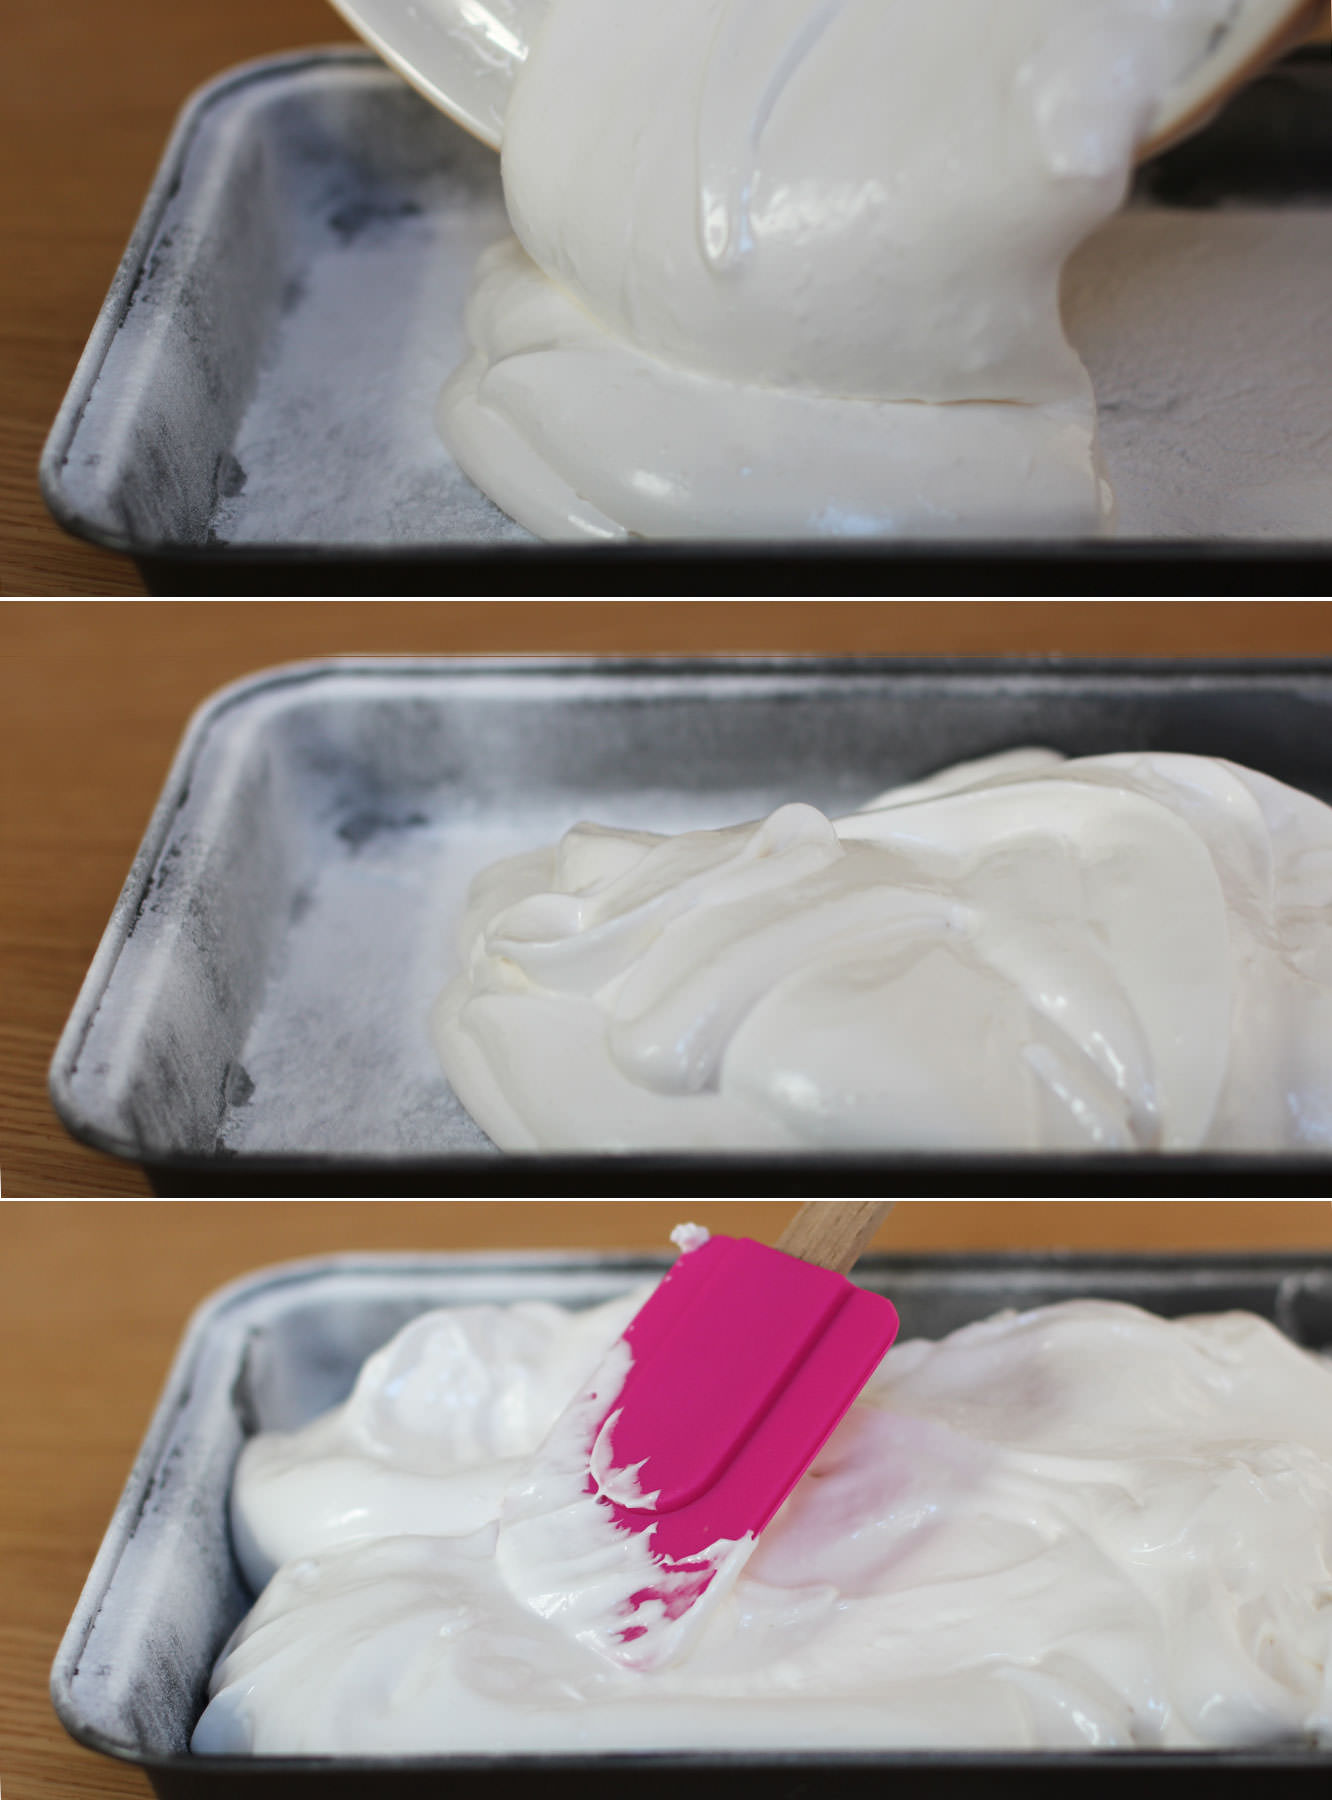
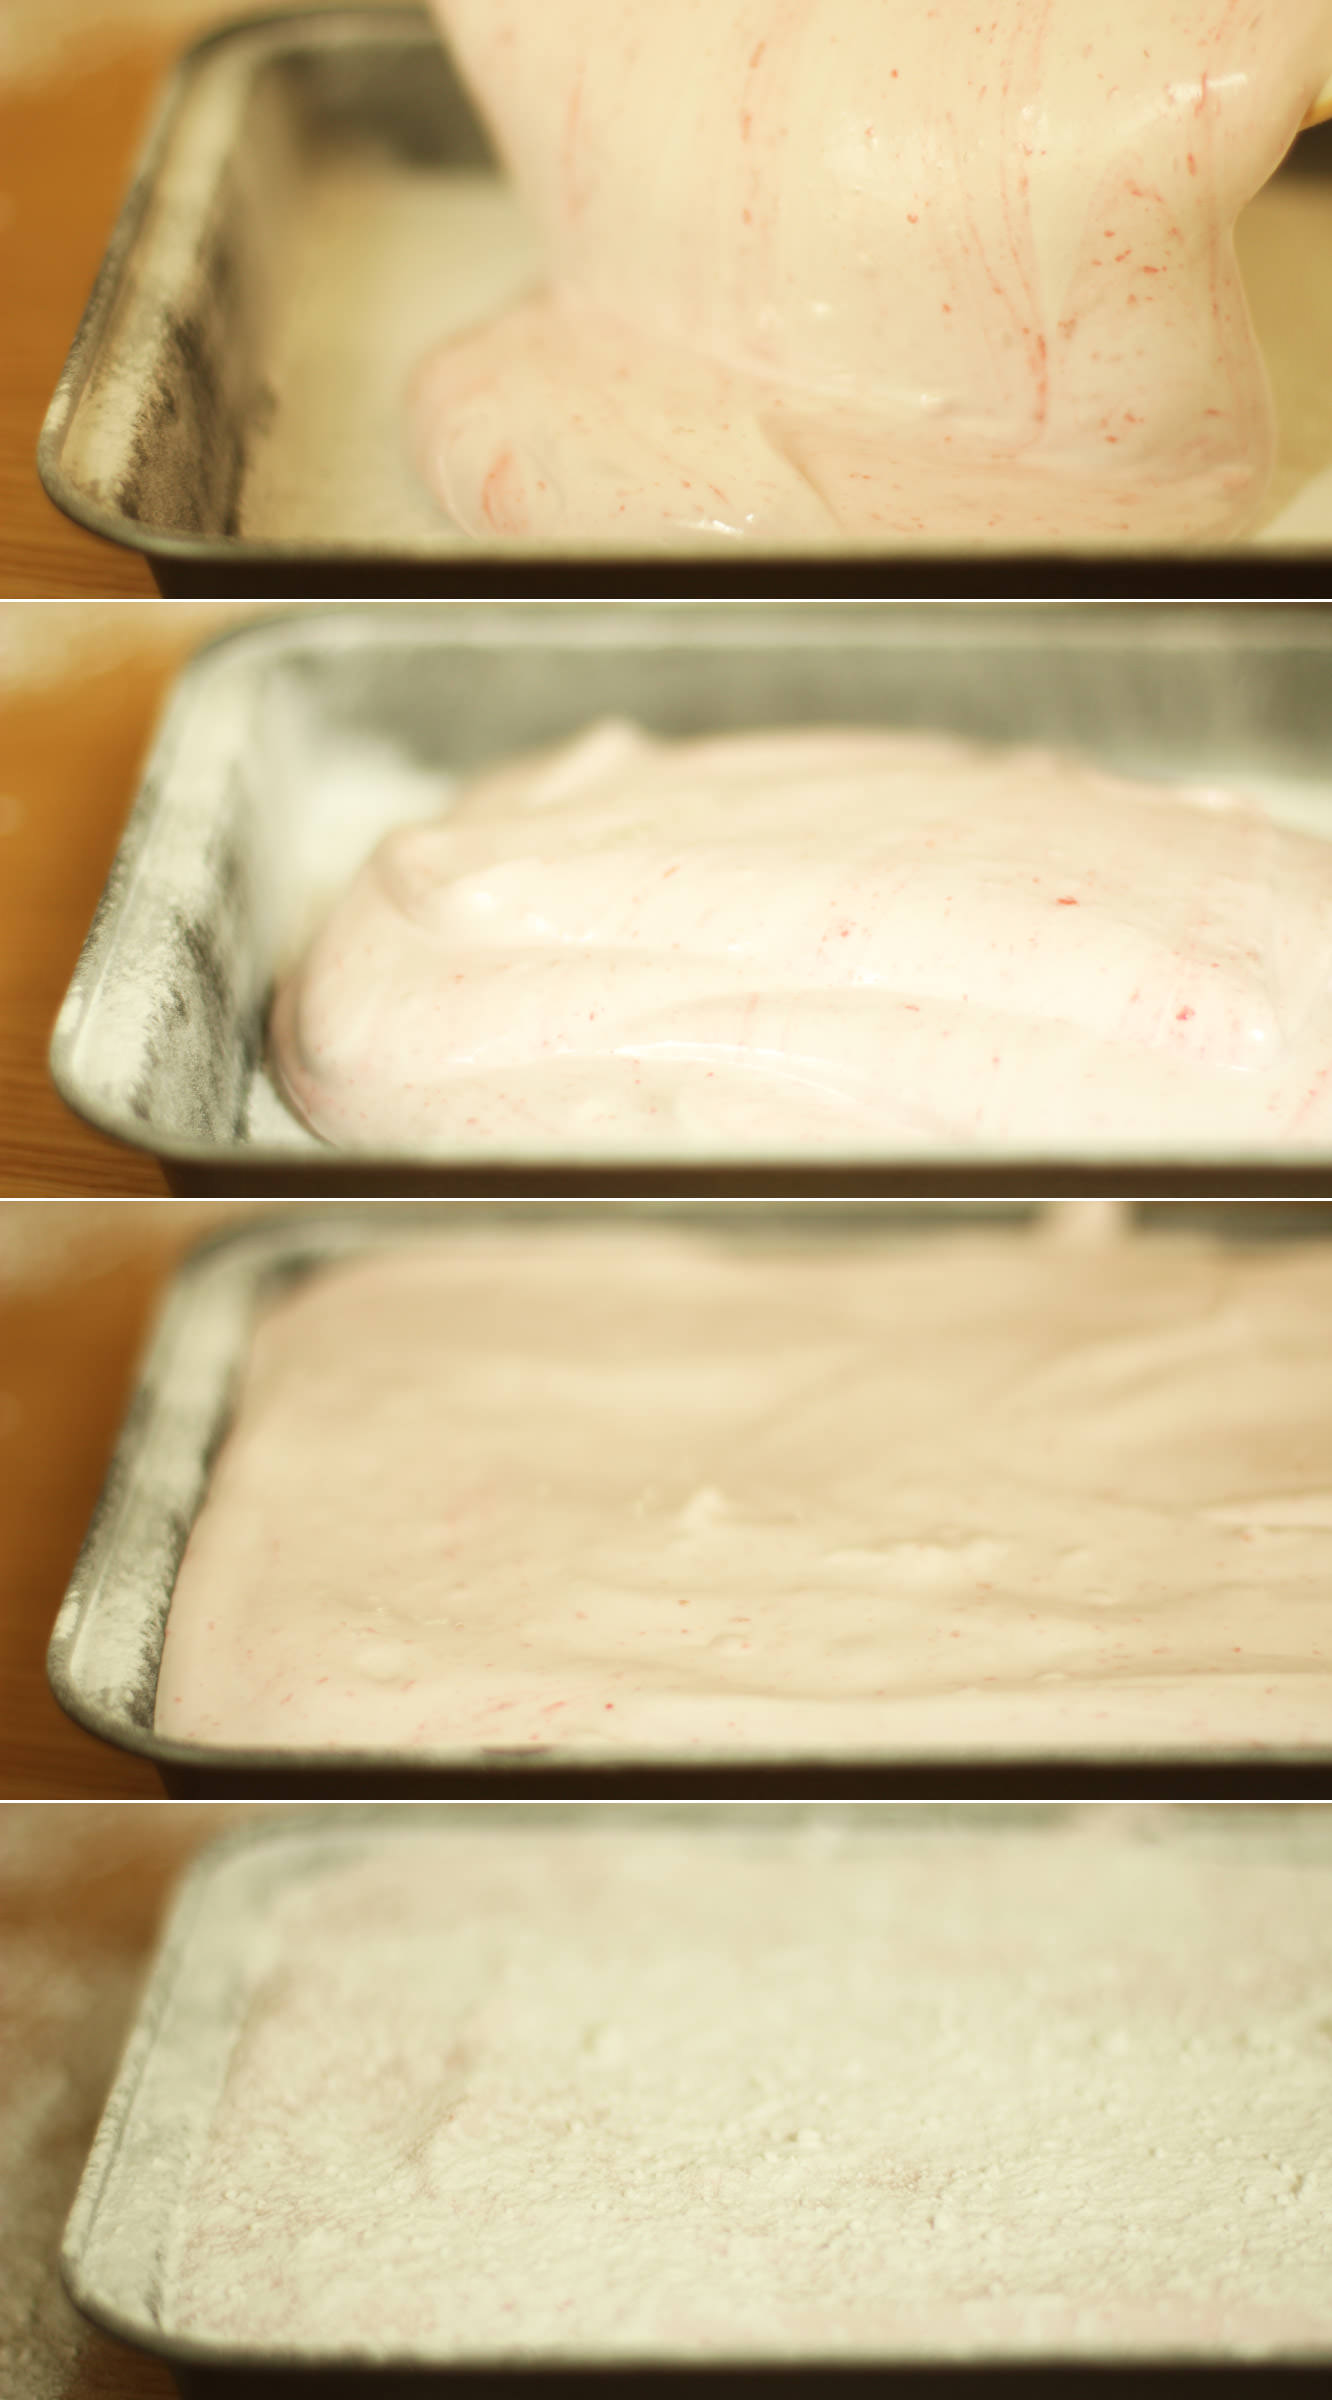
Pour the mixture into the prepared tin and smooth out as much as possible.

Dust with icing sugar and leave to set for about an hour.

For the raspberry and white chocolate marshmallows
hen-bachelorette-party-favours-raspberry-caramel-marshmallow-recipe-05

Step eight

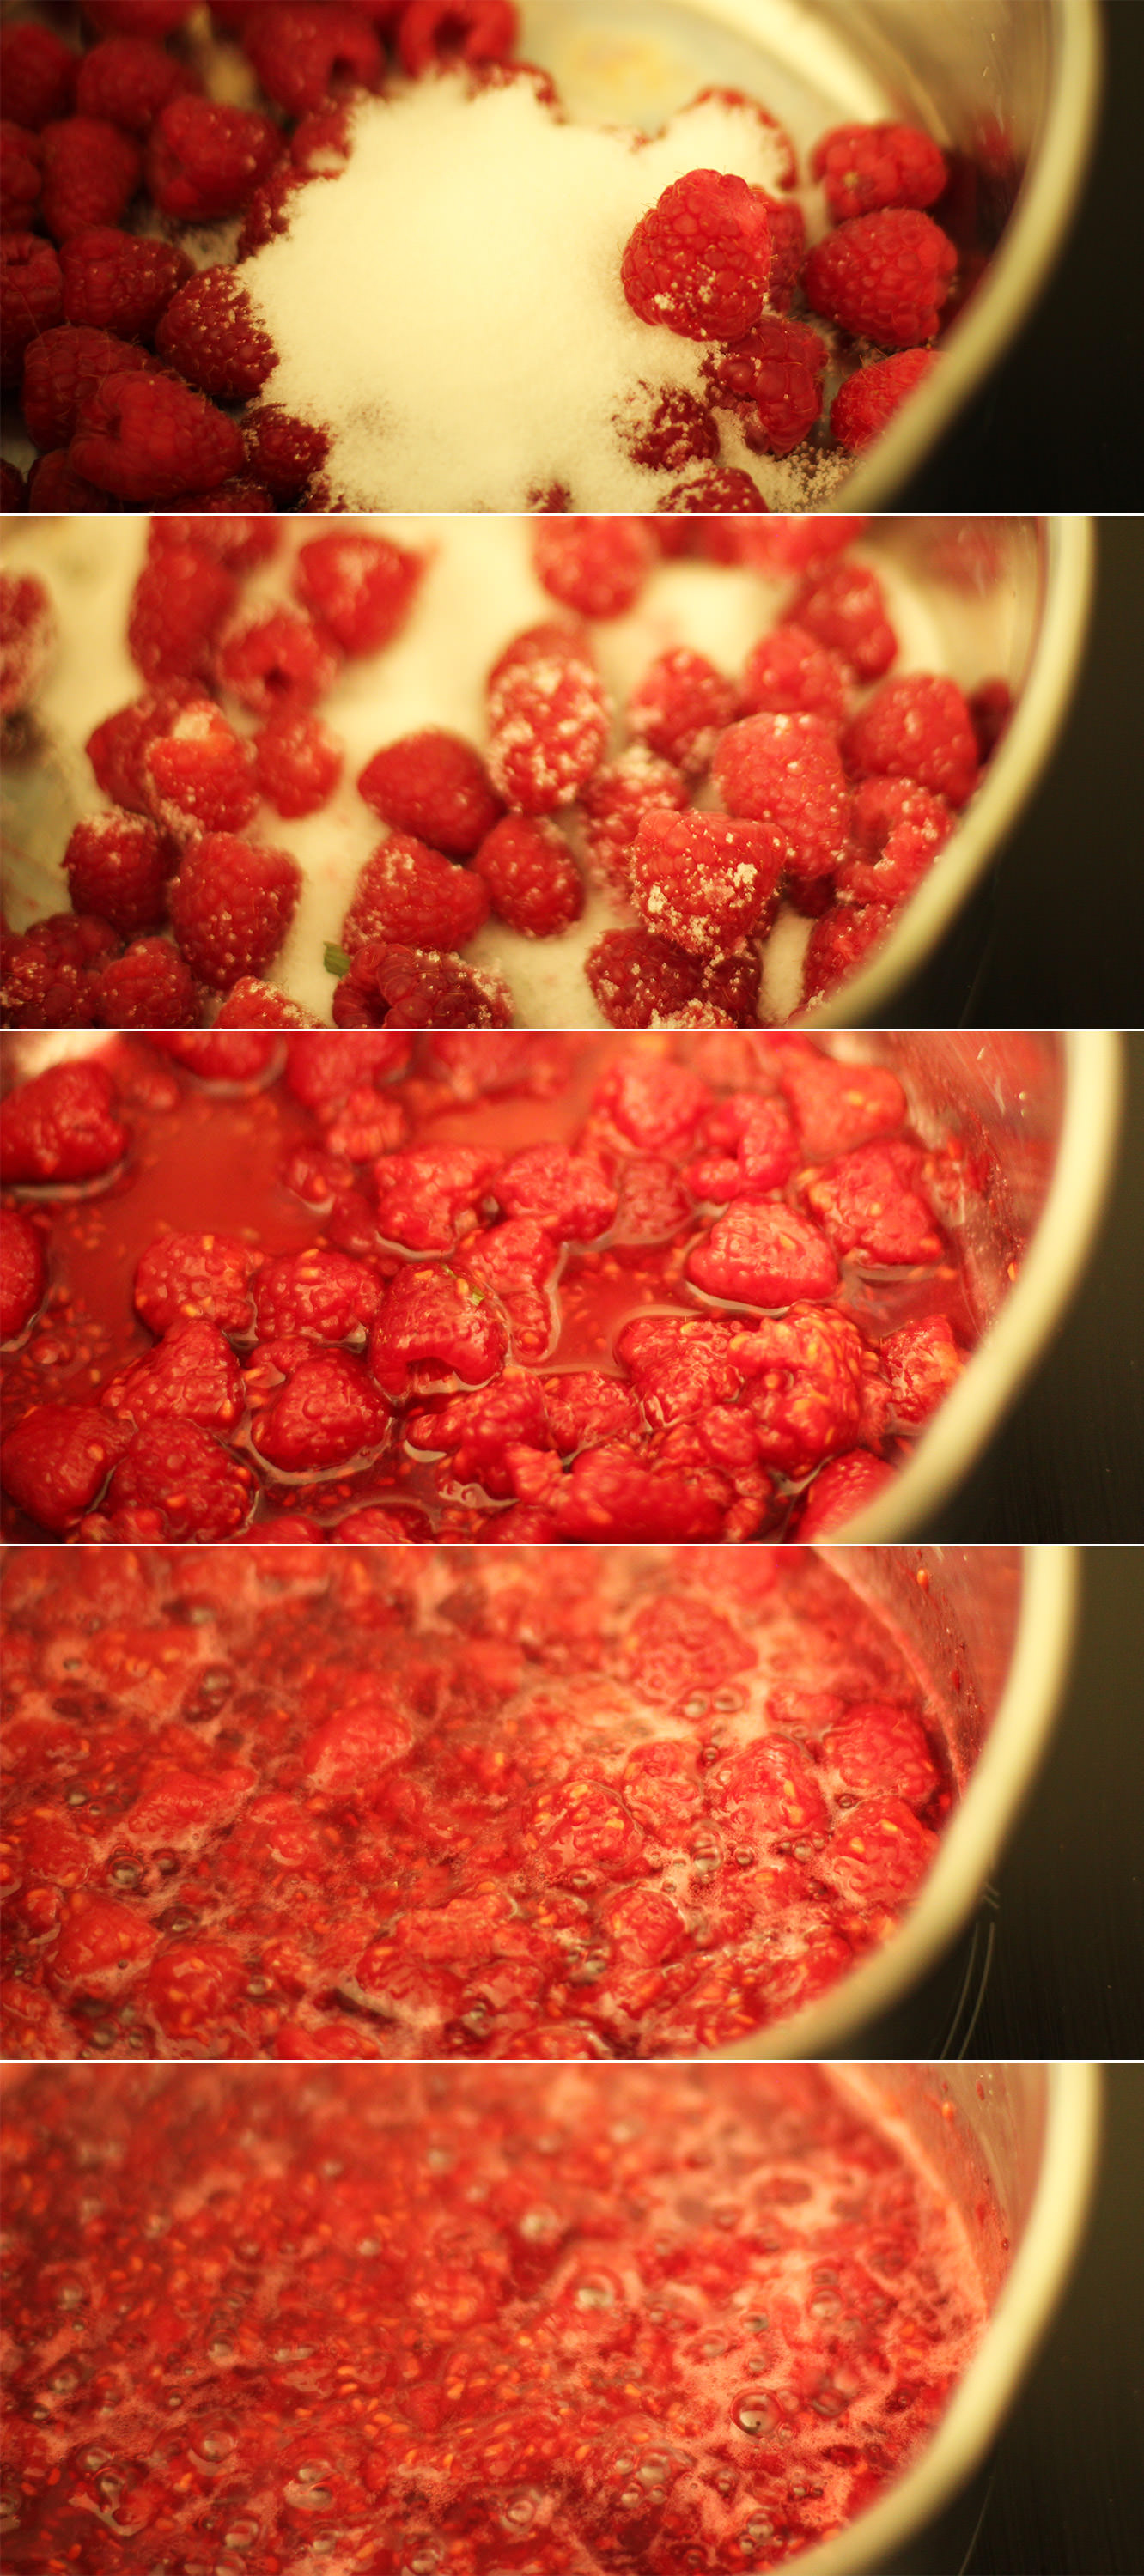
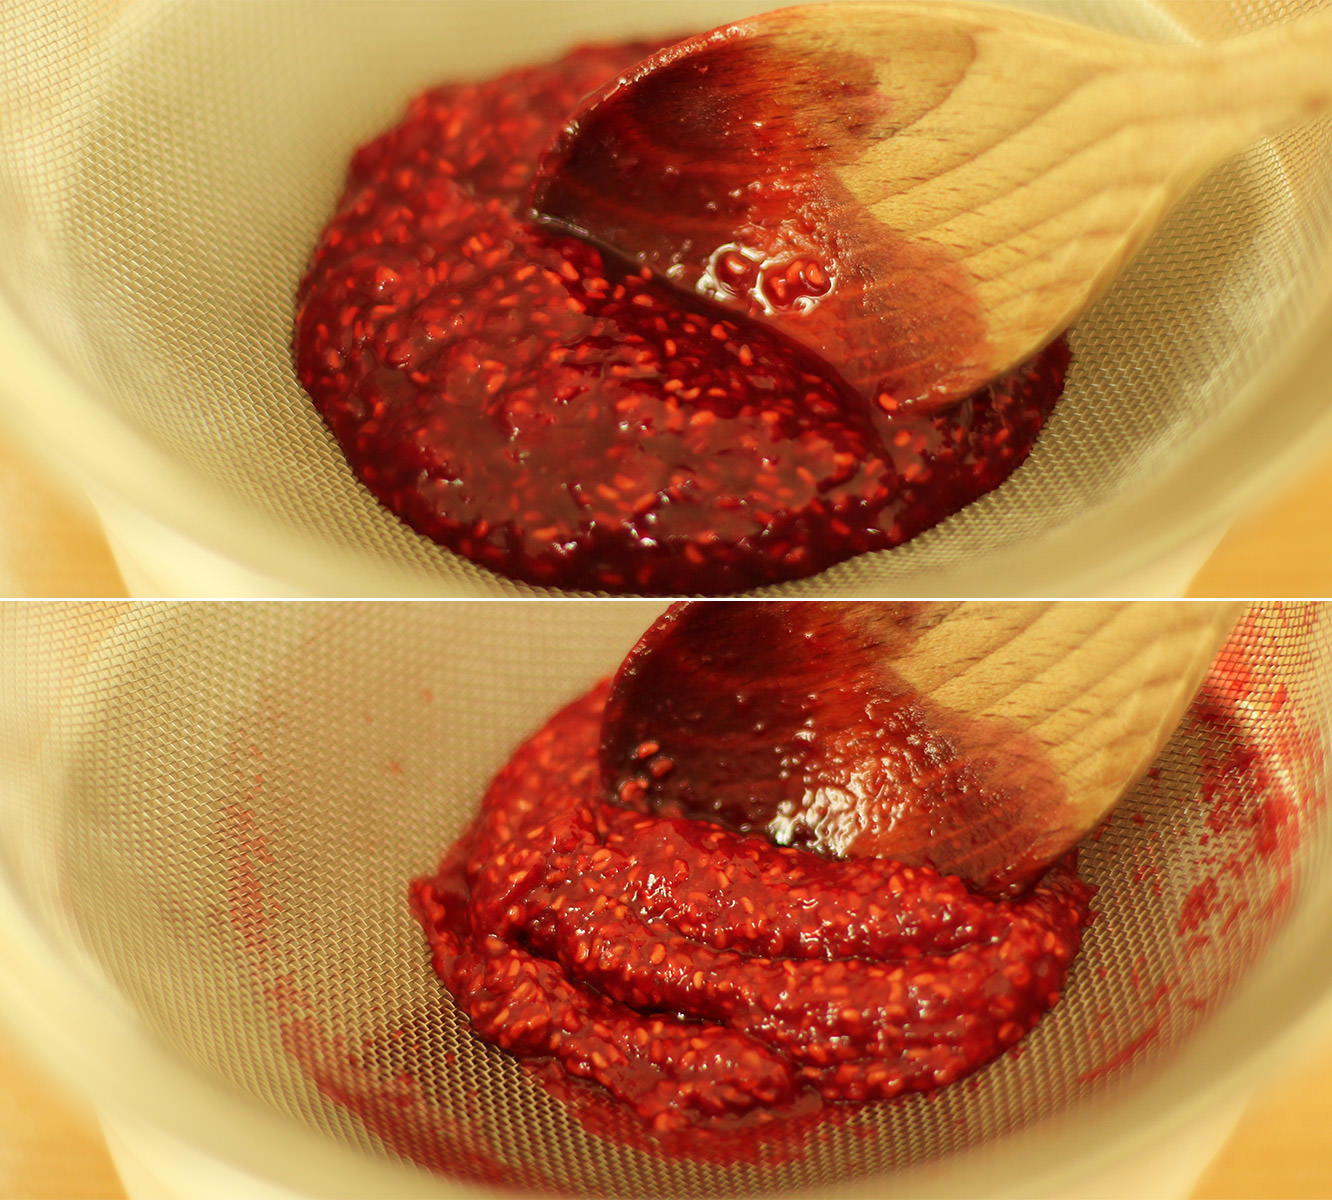
Before starting the marshmallow mix make a puree by adding the raspberries, 50g of the granulated sugar and half a tablespoon of water to a small saucepan.

Heat on a low heat until bubbling away happily. Stir while the mixture reduces (looses water) for about 5 minutes.
hen-bachelorette-party-favours-raspberry-caramel-marshmallow-recipe-07

Step nine

Strain though a sieve to remove the pips. It may need a little stirring for encouragement. Don’t forget to scrape the excess off from the underside of the sieve before throwing away the pips.
hen-bachelorette-party-favours-raspberry-caramel-marshmallow-recipe-08

Step ten

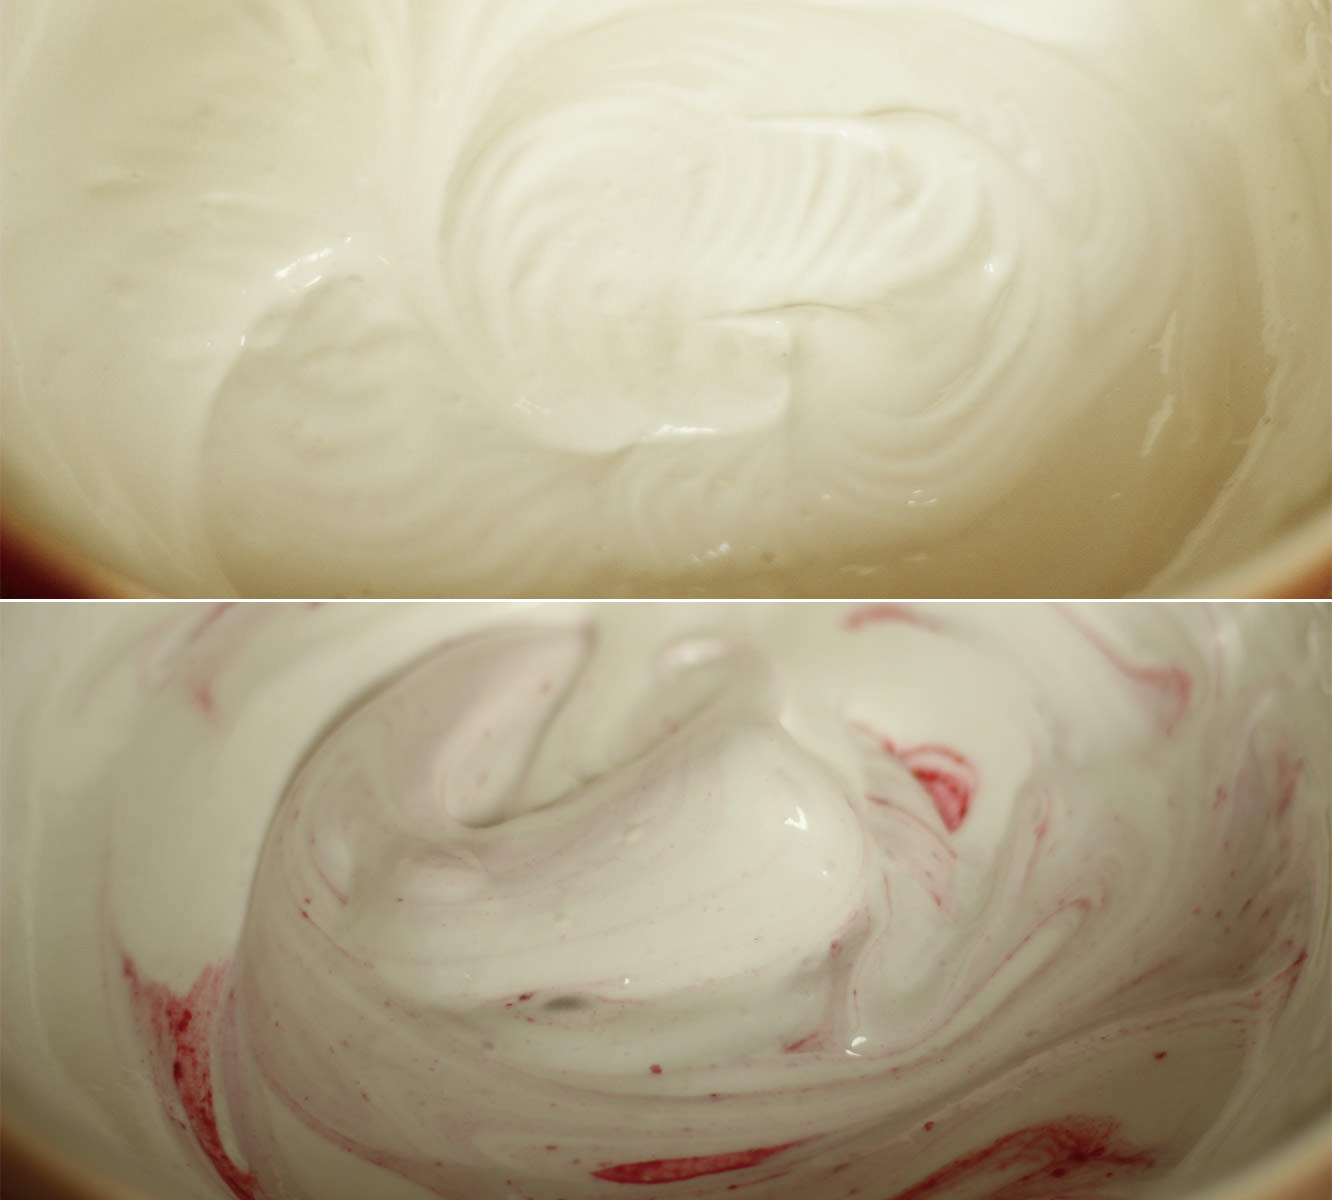
Follow the same steps at the caramel recipe, but instead of adding the extract, stir in the puree. I saved this to near the end to keep a bit of a ripple effect.
hen-bachelorette-party-favours-raspberry-caramel-marshmallow-recipe-09

Step eleven

Pour into a second dusted brownie tray and leave to set.
hen-bachelorette-party-favours-raspberry-caramel-marshmallow-recipe-10

Step twelve

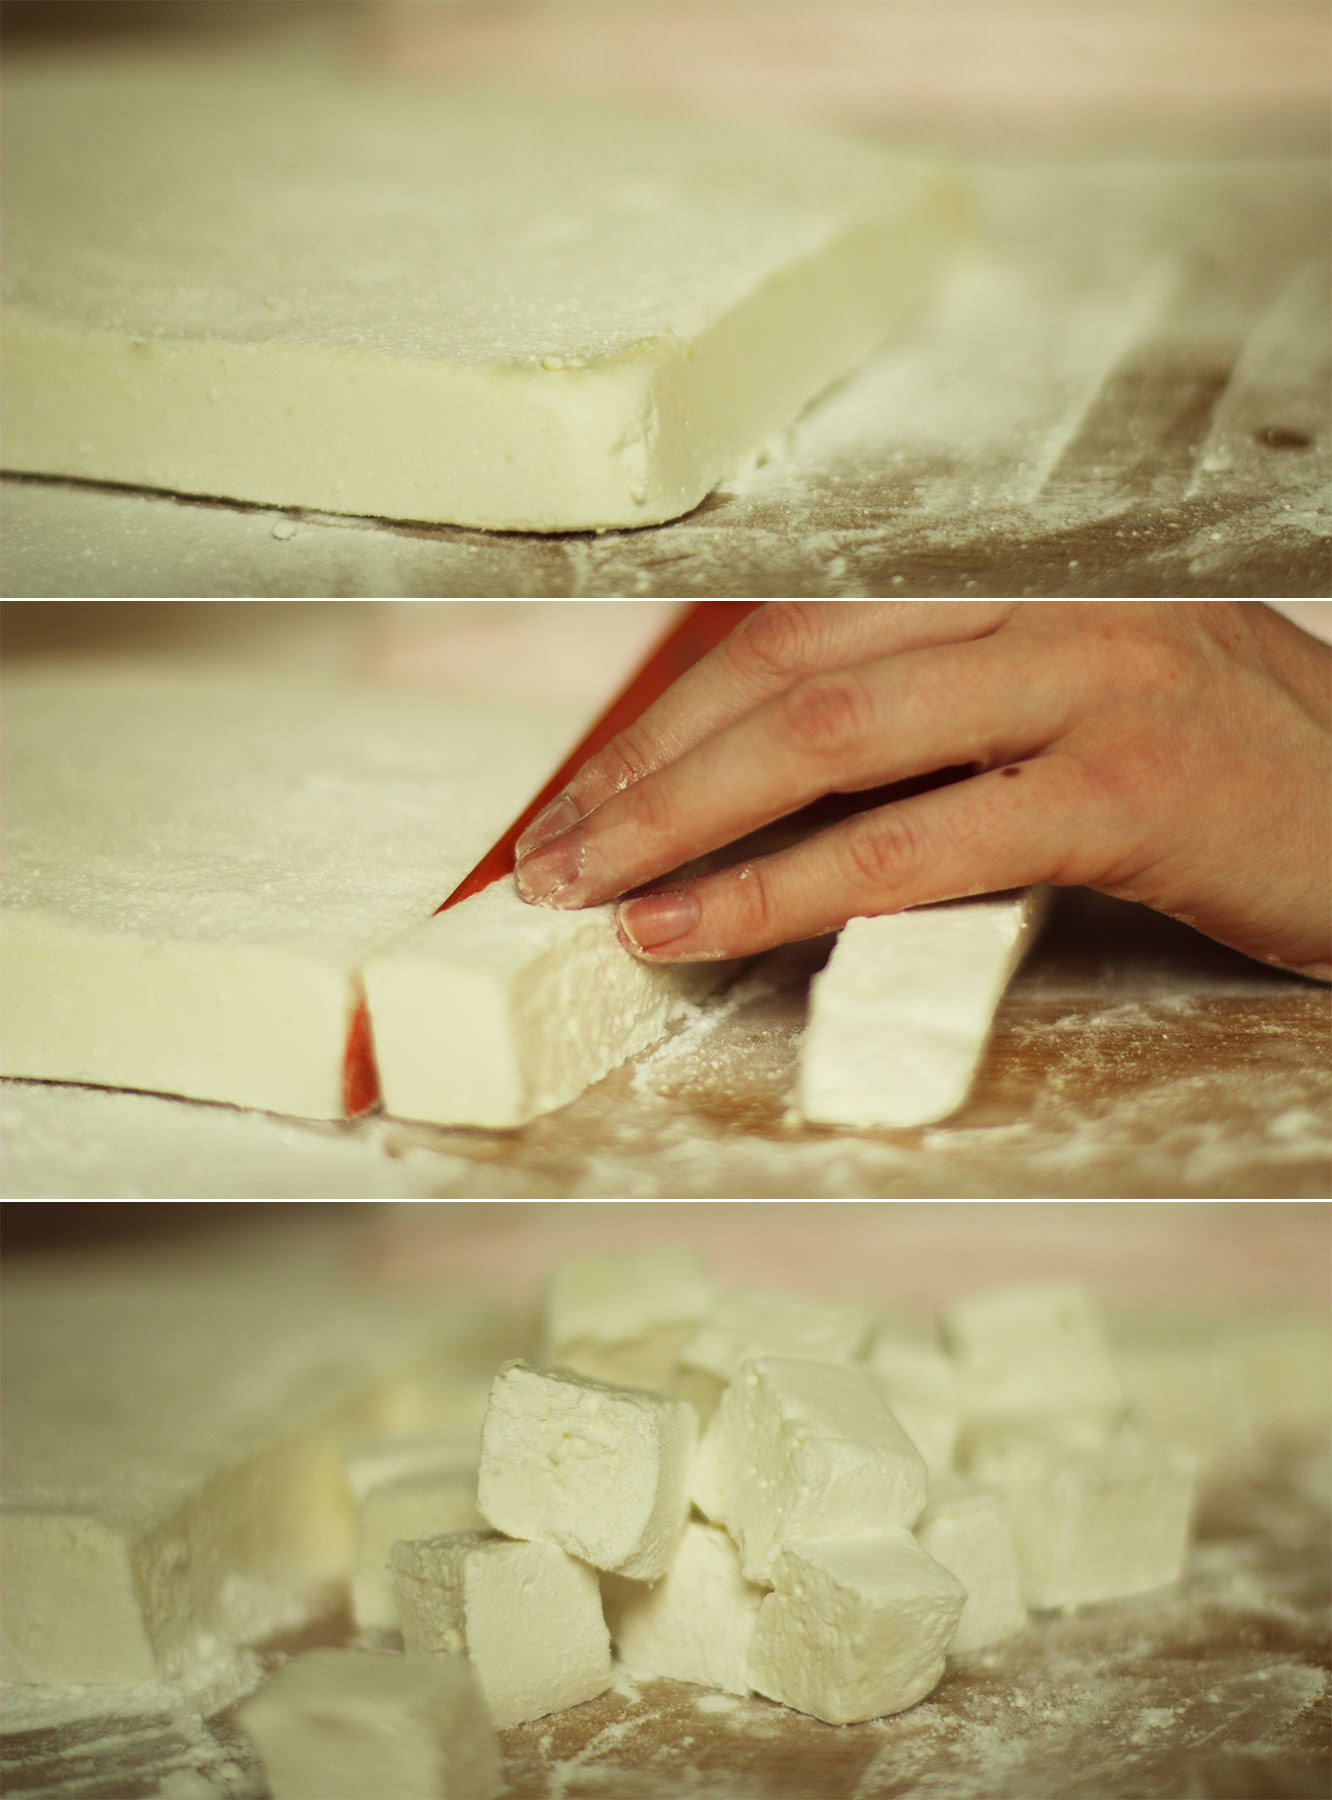
Once the marshmallows have set (at least an hour, preferably more) turn them out onto a surface dusted with icing sugar.

Cut them into cubes, and dust all the sides. Don’t worry if they are a little sticky, they will dry out a bit more.
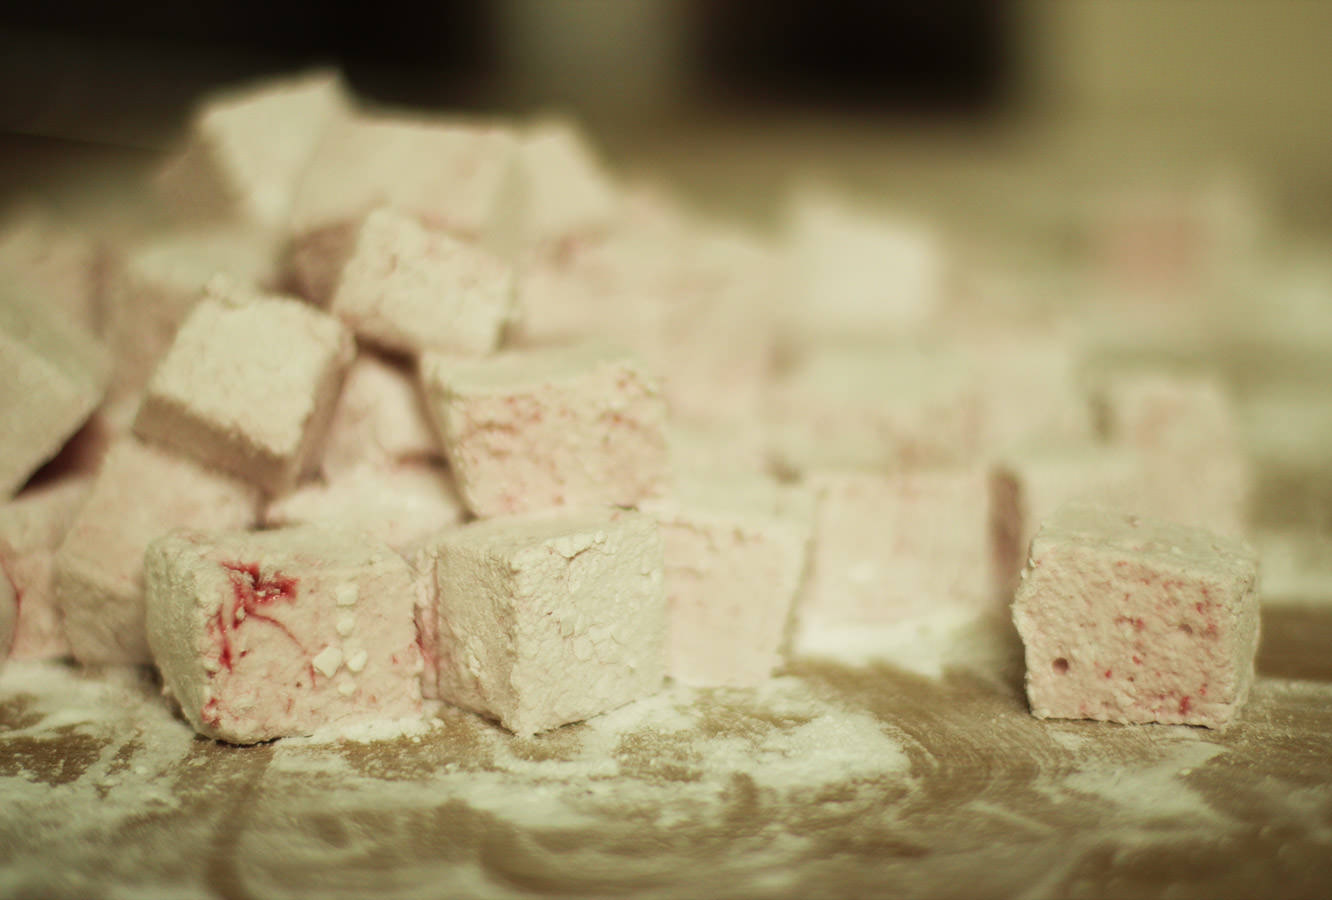
hen-bachelorette-party-favours-raspberry-caramel-marshmallow-recipe-11

Try not to eat them all just yet.

hen-bachelorette-party-favours-raspberry-caramel-marshmallow-recipe-13

Step thirteen

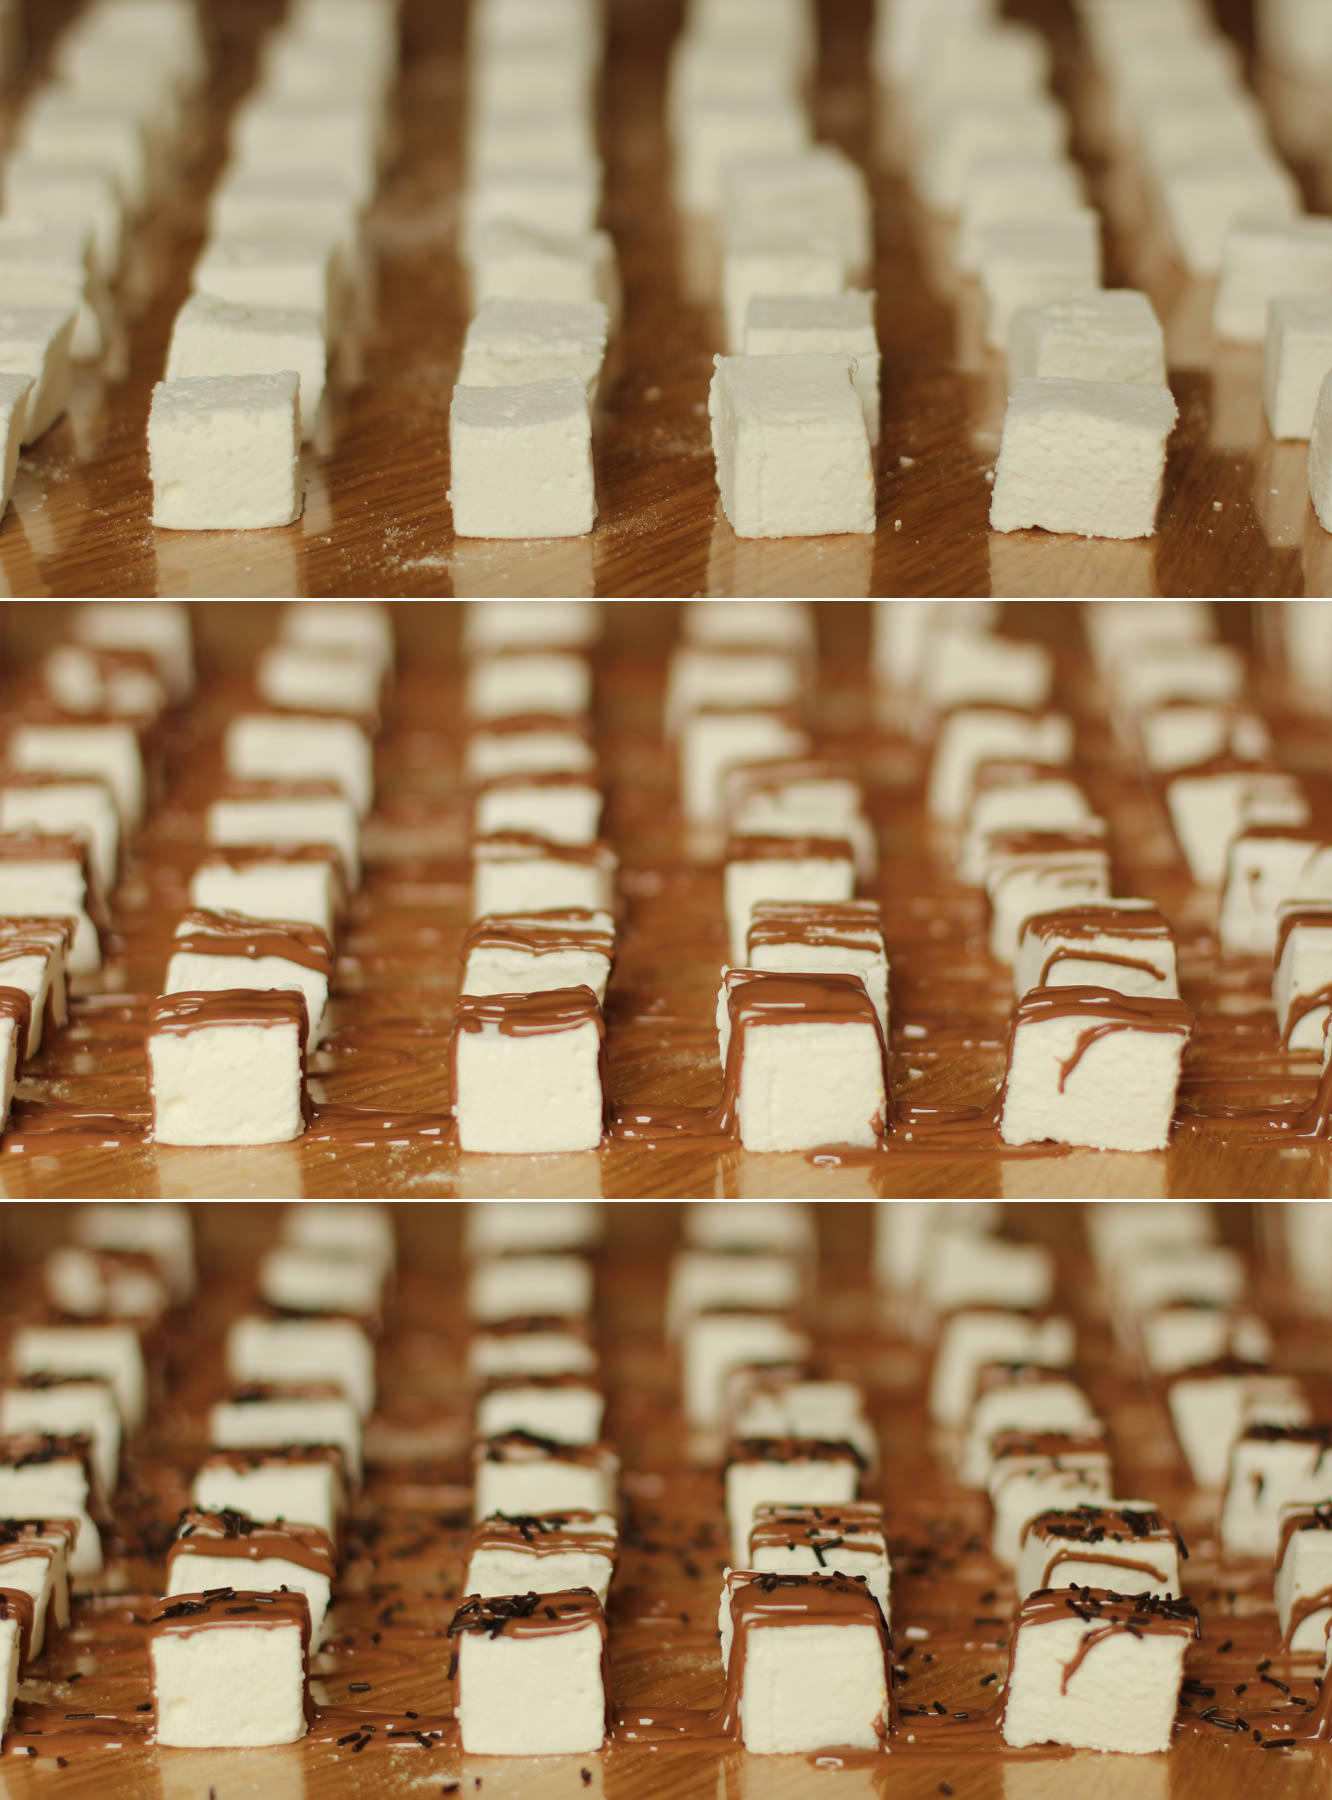
Lay the caramel marshmallows out in rows on greaseproof paper or cellophane and melt the milk chocolate. I used a piping bag to drizzle the chocolate over the marshmallows, you could use a sandwich bag and snip the corner.
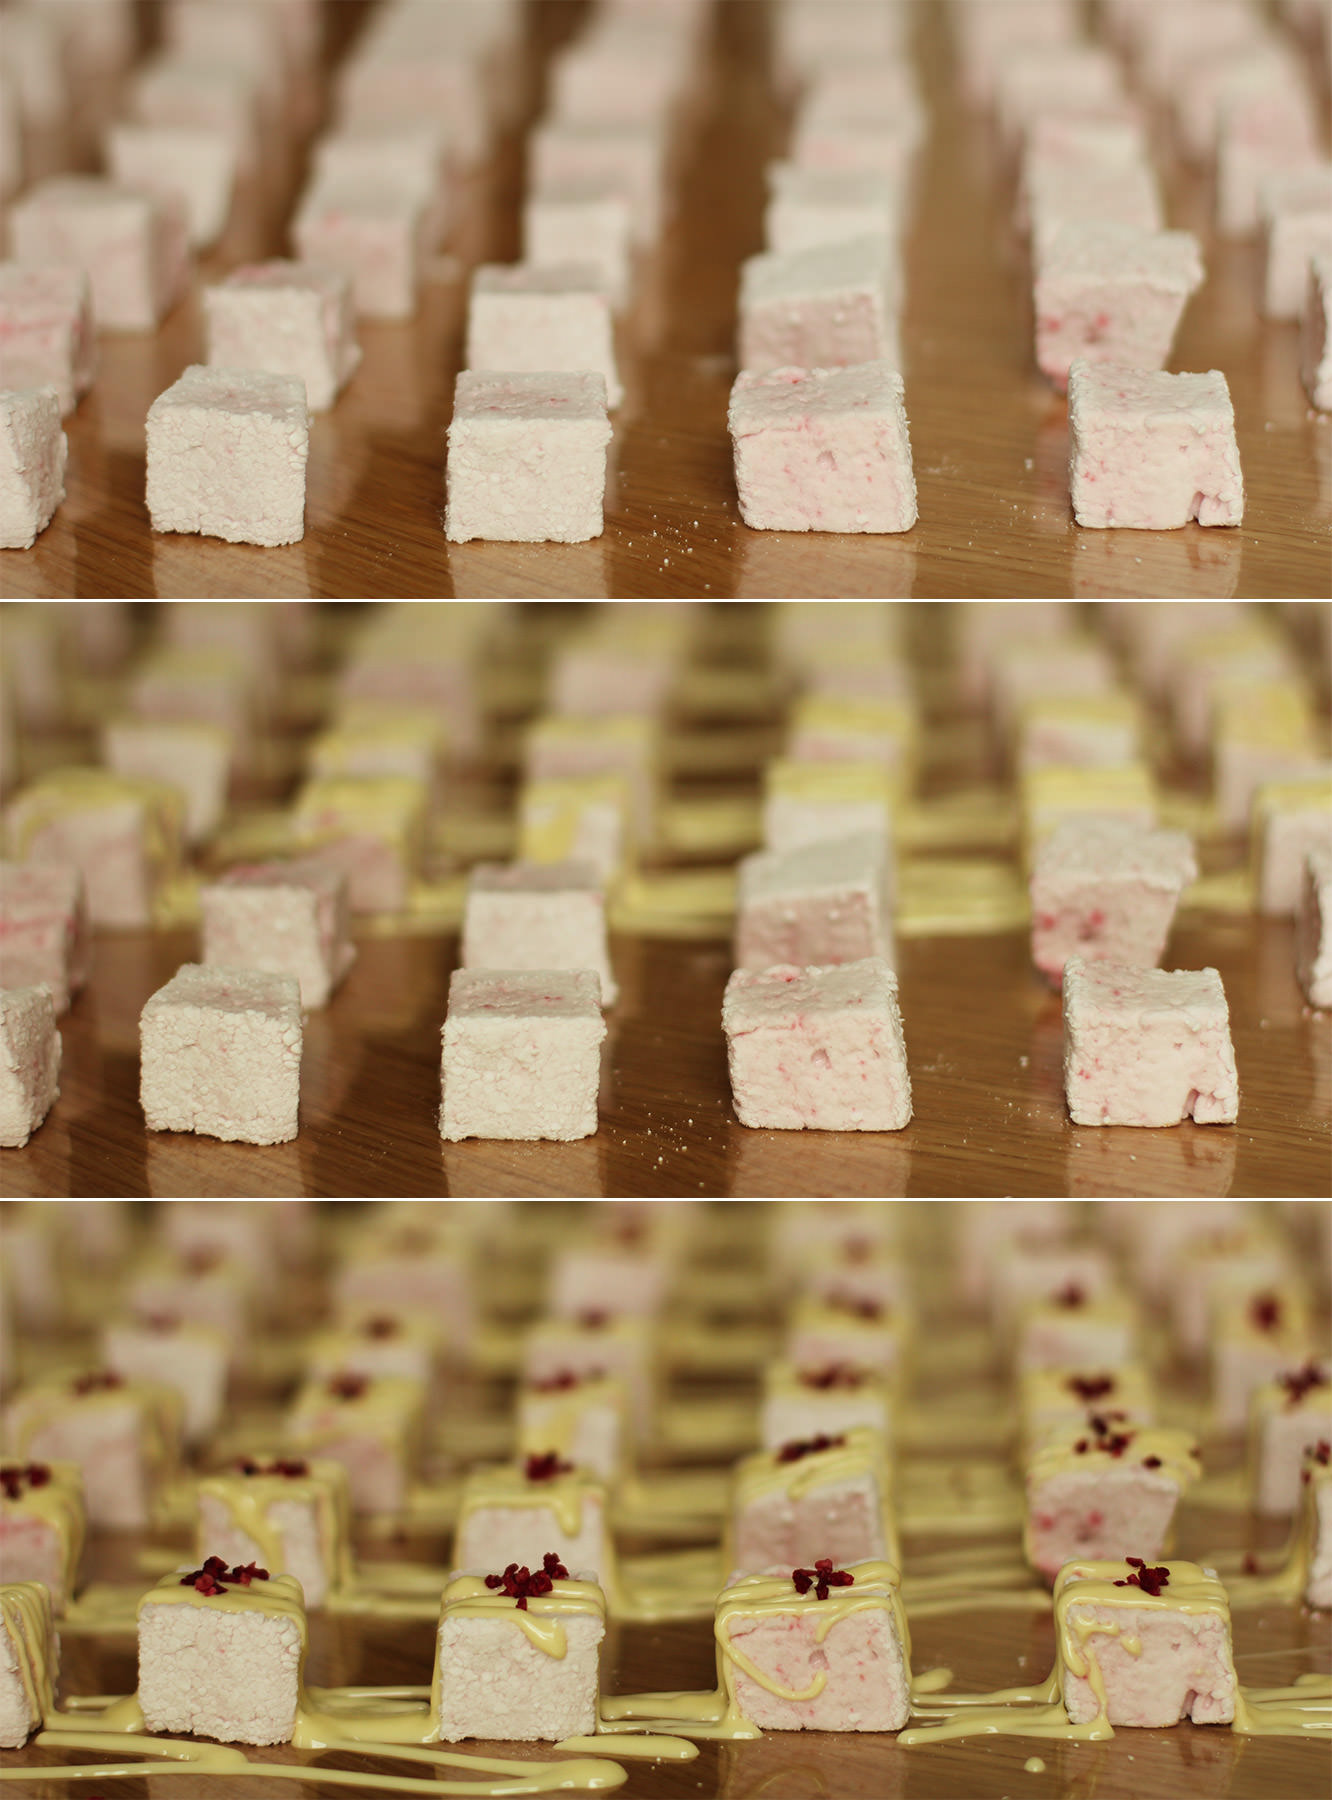
hen-bachelorette-party-favours-raspberry-caramel-marshmallow-recipe-12

Step fourteen

Repeat with the raspberry and white chocolate marshmallows.
hen-bachelorette-party-favours-raspberry-caramel-marshmallow-recipe-14

Step fifteen

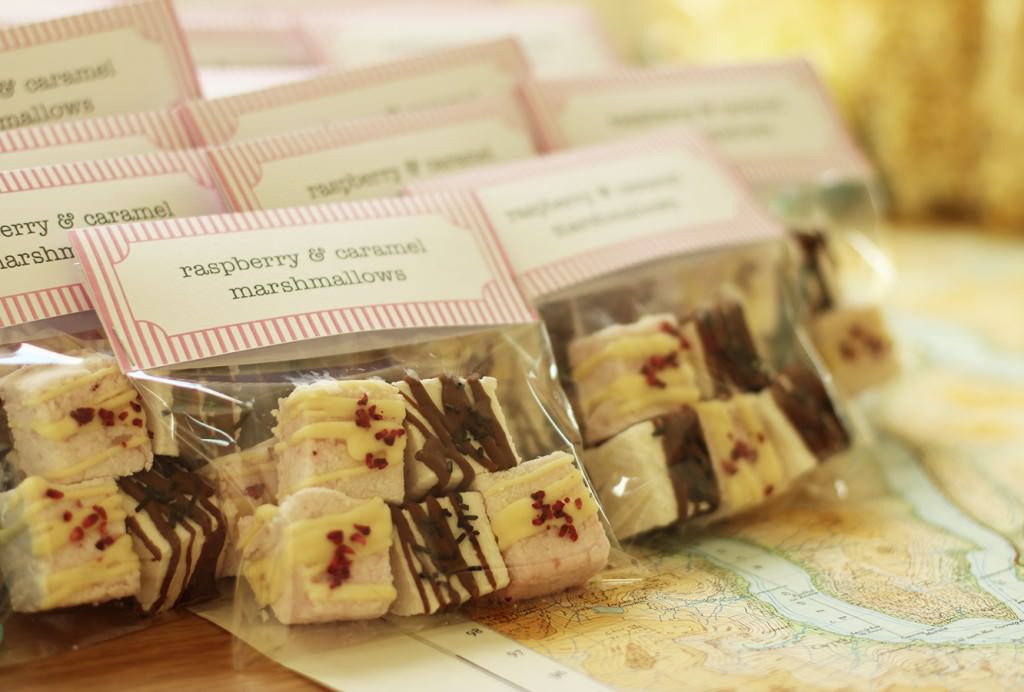
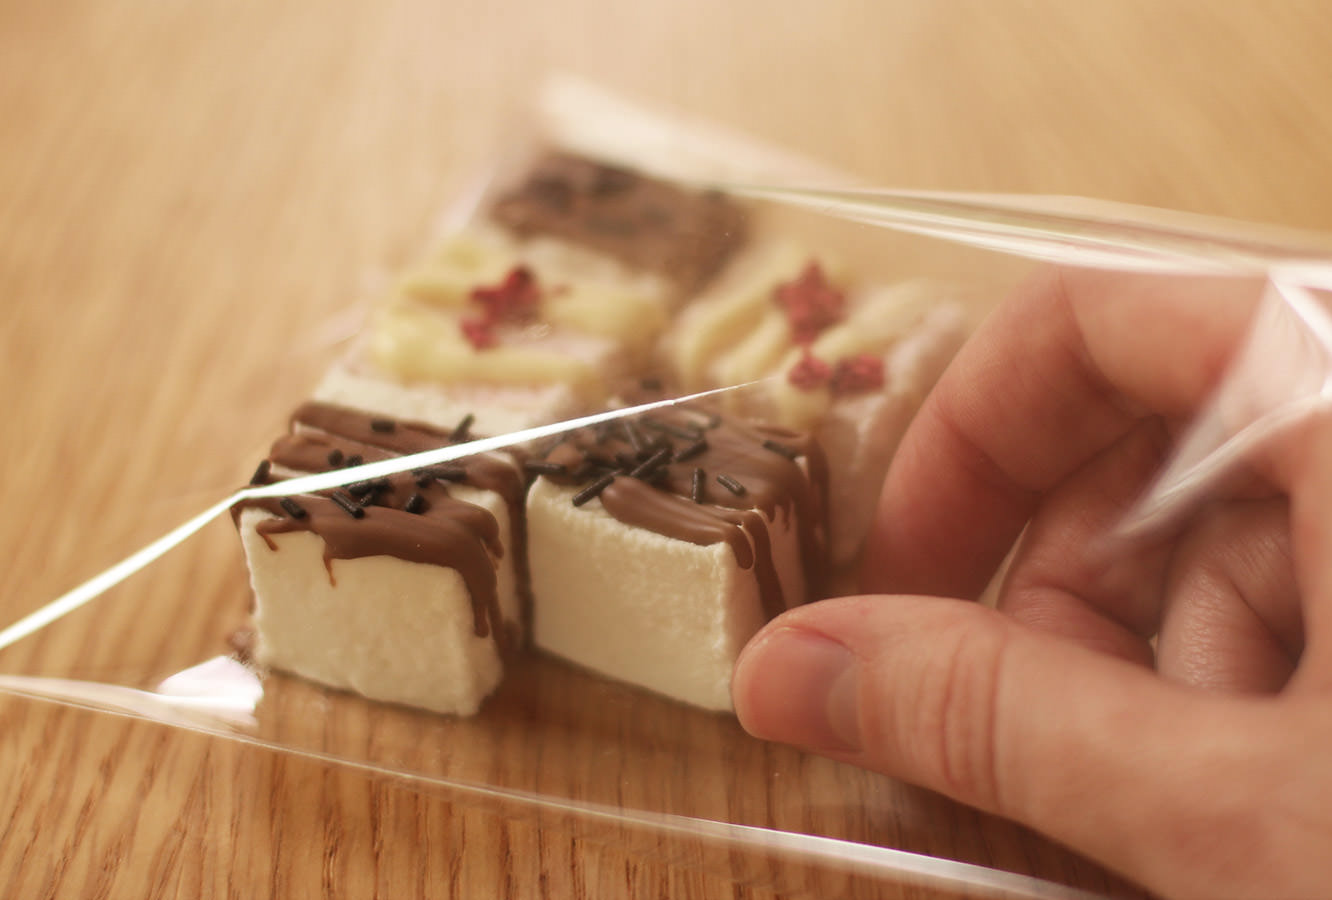
Once the chocolate has set place 5 in each bag, 2 of one flavour, 3 of the other, alternating as you go so you don’t run out of one.

As I mentioned last post I’ll be doing a wrap up post with all the finishing touches, so stay tuned for that. For now, here’s our lovely hen chowing down:
hen-bachelorette-party-favours-raspberry-caramel-marshmallow-recipe-gif

Cluck cluck #1

Hi there. First off, apologies are in order. I missed my Monday night slot this week. I am deeply entrenched in finishing my portfolio and got really, really, involved in designing a book cover, more on that another time.

ANYWAY. My lovely housemate Vicky had her Hen Party a few weekends ago. Sadly I had something I had booked up a year in advance to go to so I couldn’t make it. Sad face. Instead I thought I would leave Vicky a little surprise on the dining table so she’d know I was thinking of her while she partied on down with her hens.

This is a little four part series, showing you how to make three different little hen/bachelorette party favours at home; the final post will detail all the finishing touches. You might prefer to use them as wedding favours or for childrens’ parties instead.

Heads up: I made 30 of each recipe, so if you’re looking to make a sweet treat for an evening in, divide, divide, divide the quantities of the recipe, don’t send me the bill for your fillings.

We’re kicking off this week with a recipe for orange sherbet. I just need to clarify for the sake of my US (and possibly Canadian?) readership, we mean something different when we say sherbet. You mean sorbet. We mean sherbet.

hen-bachelorette-party-favours-01

You will need

300g/10.5 oz Icing sugar

300g/10.5 oz Granulated sugar

175g/6 oz Caster sugar

125g/4.5 oz Orange jelly powder (again, America, you mean jelly when you say jello)

1-2 tsp Yellow food colouring

1 tsp Orange extract

60 small, or 30 regular sized lollipops

Cellophane DL card bags

(makes 30)

hen-bachelorette-party-favours-orange-sherbet-recipe-01

Step one

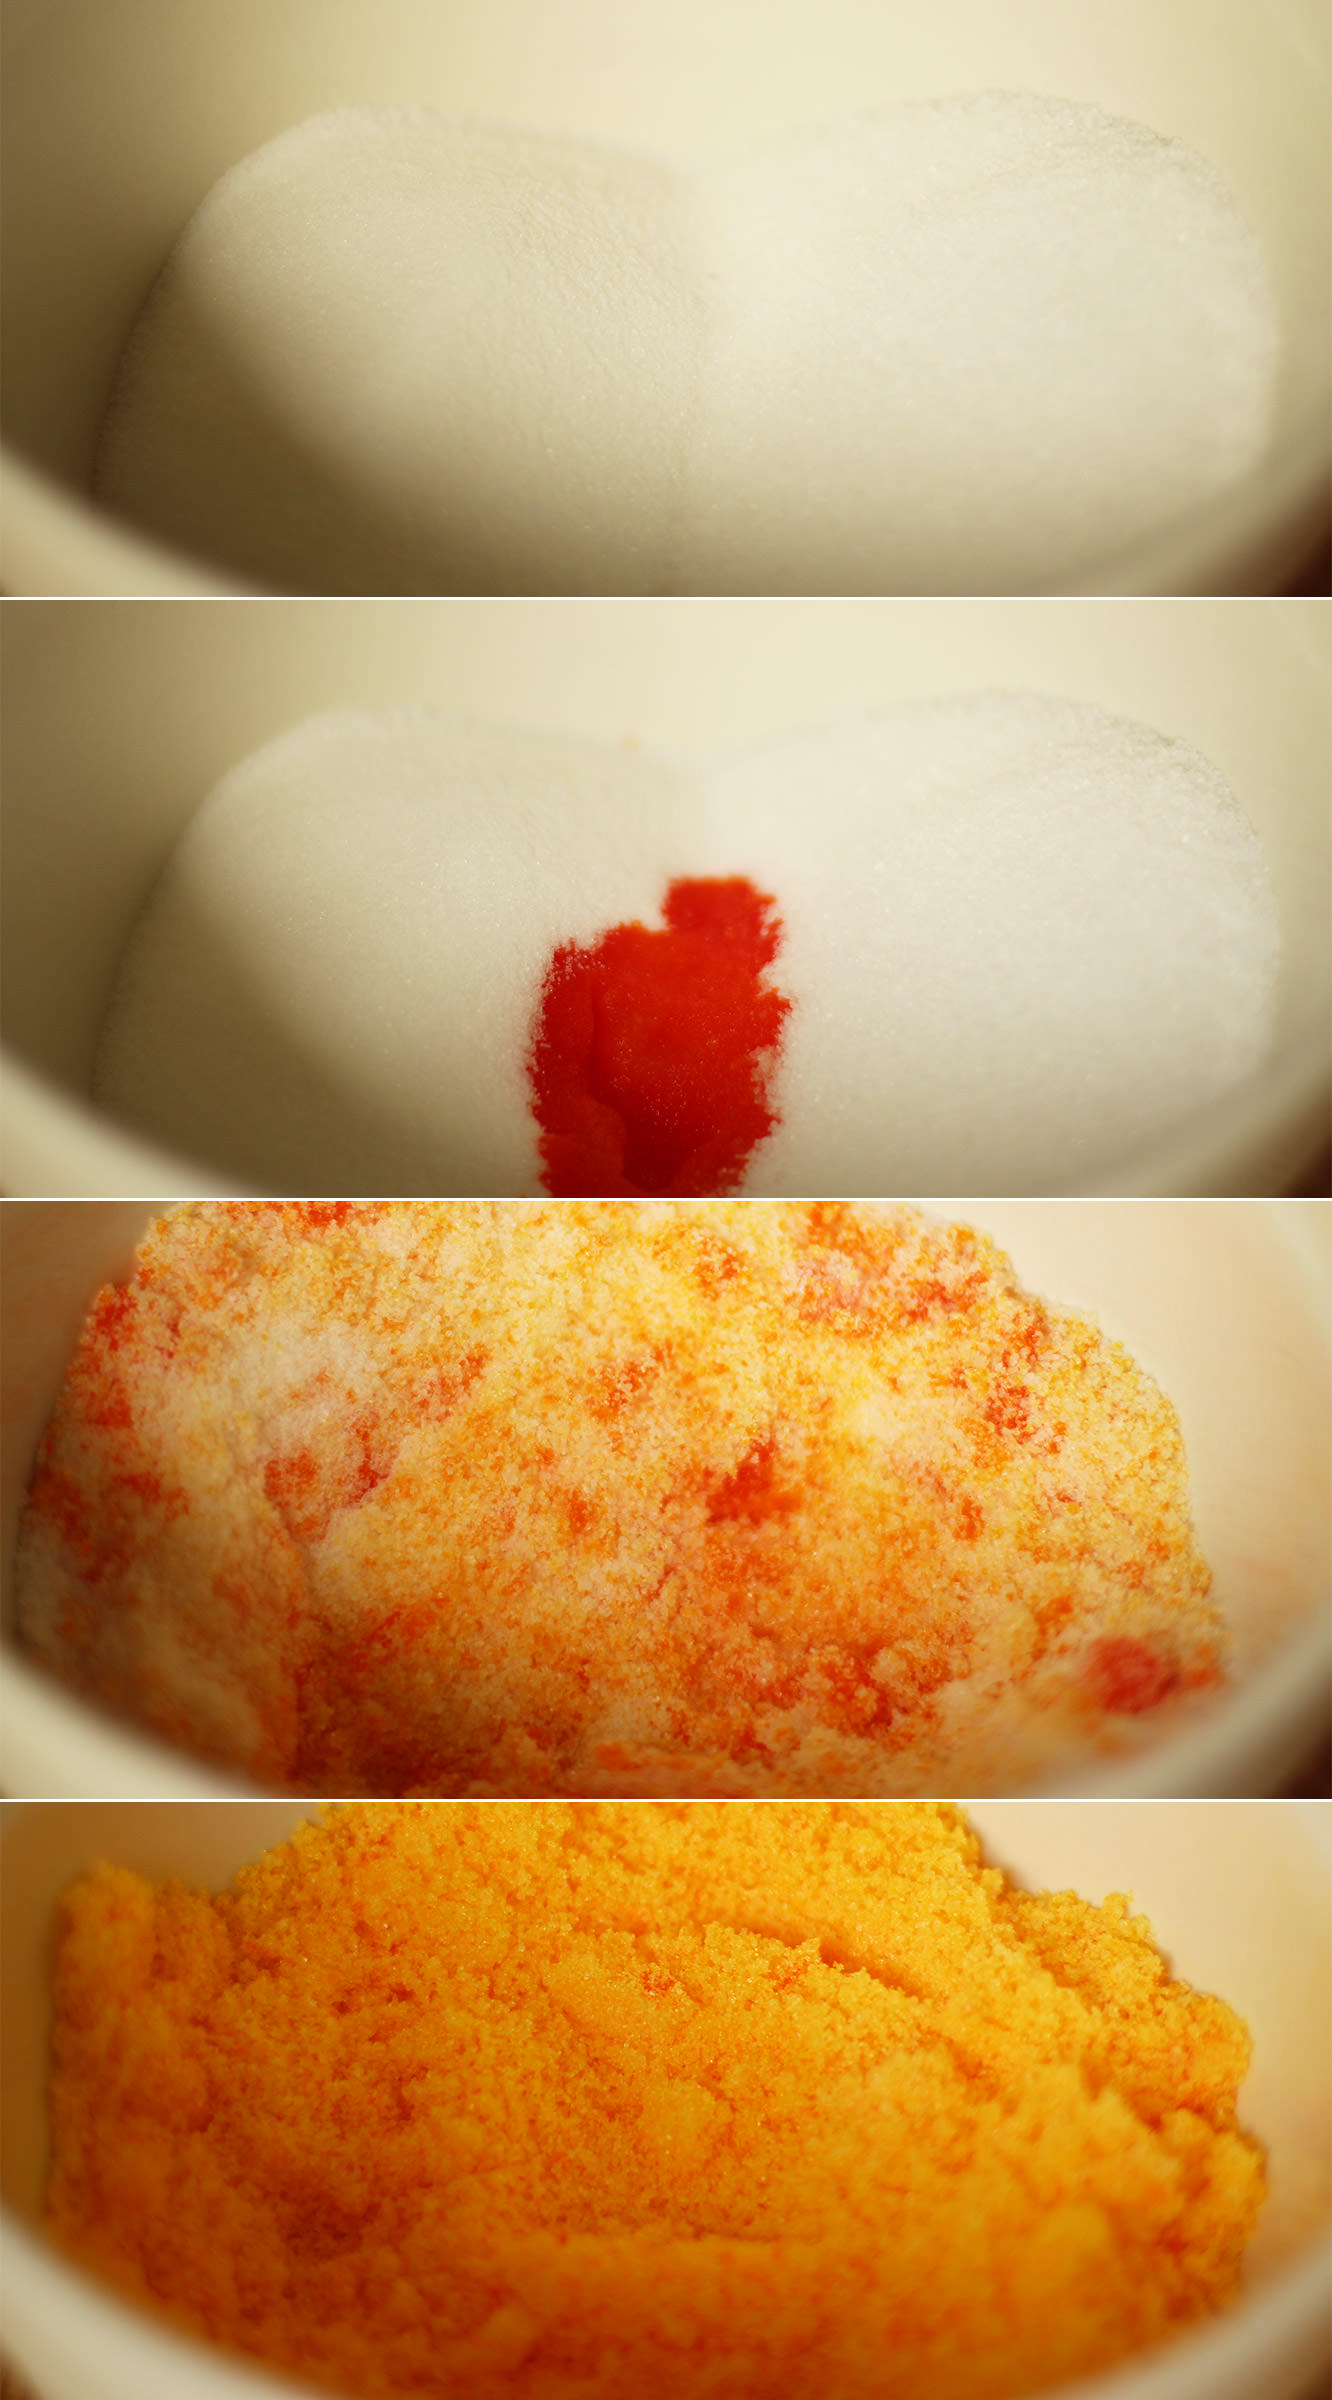
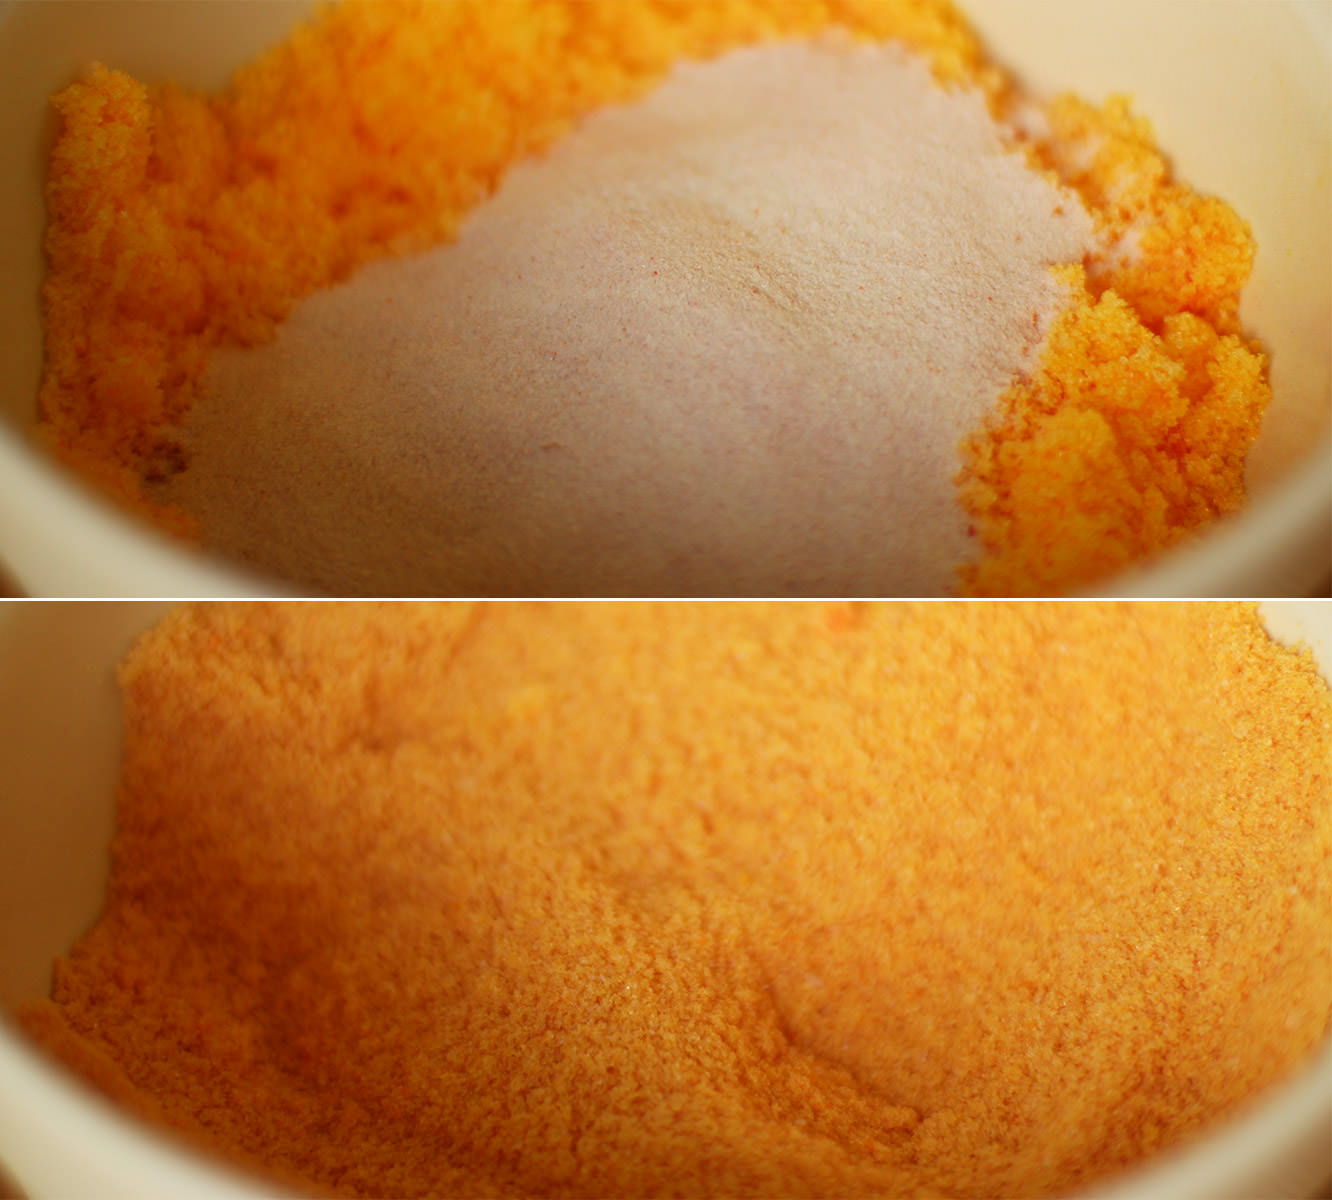
Mix together the granulated and caster sugars with the orange extract and colouring. If you want it to be a really bright colour, go for 2 tsp, I wanted a more subtle yellowy-orange so went for one.

Just in case you think I’ve lost it…the colour dilutes when you add the other ingredients.

hen-bachelorette-party-favours-orange-sherbet-recipe-02

Step two

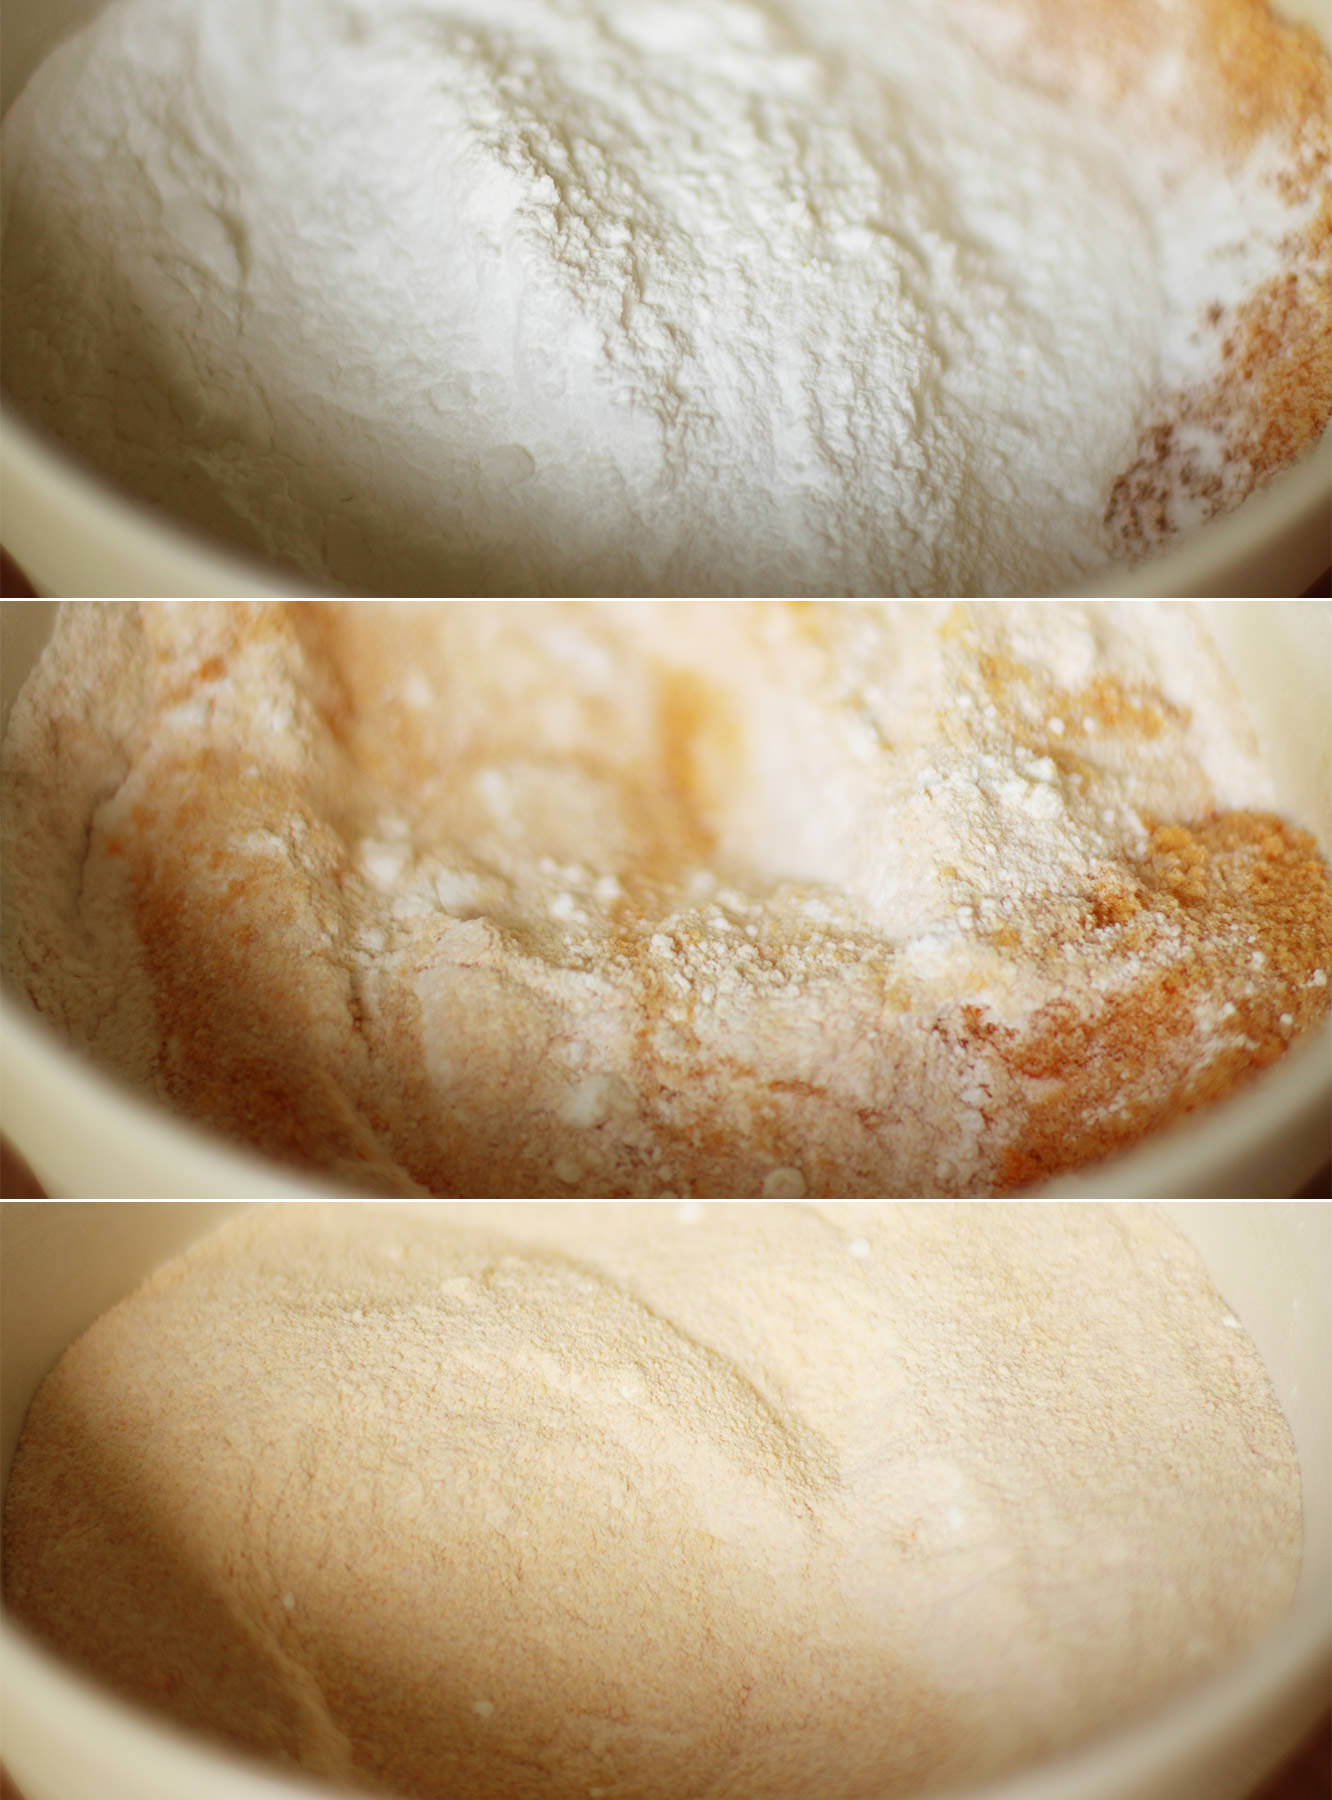
Add the jelly powder and stir again until fully combined. Give it a little taste at this point. For a stronger flavour add more jelly or more flavouring, but for the record, I think you’ll be set.

hen-bachelorette-party-favours-orange-sherbet-recipe-03

Step three

Add the icing sugar and mix again thoroughly. See, now you you know what I mean about the colour? Nice and subtle isn’t it?

hen-bachelorette-party-favours-orange-sherbet-recipe-04

Step four

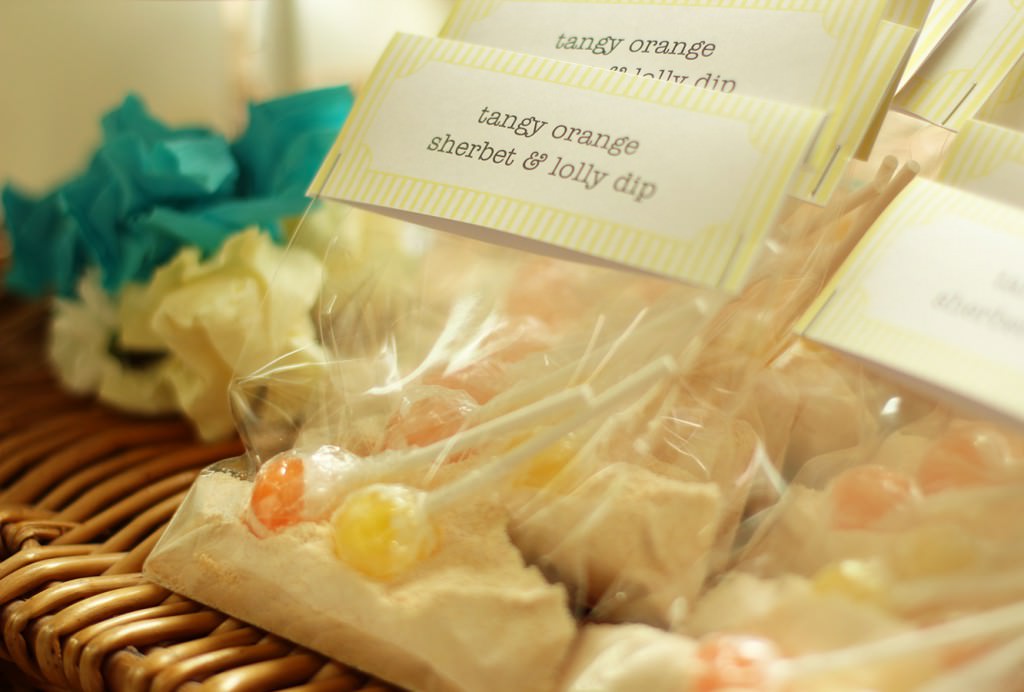
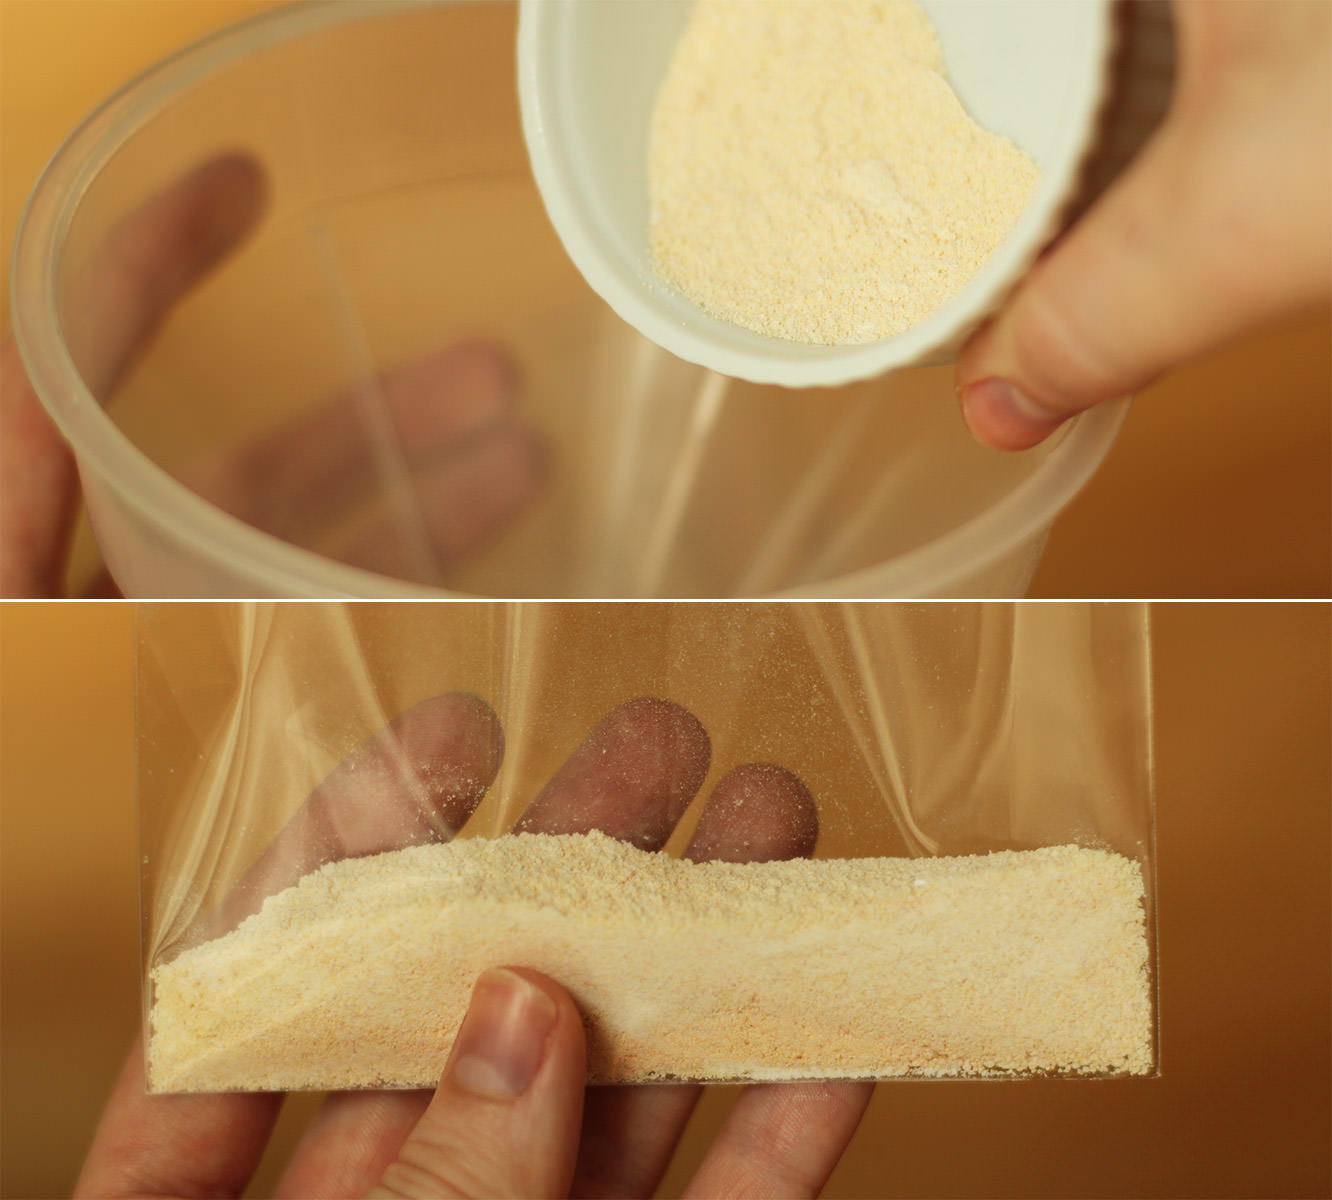
Weigh 30g portions and pour into the card bags.

That’s where I’m leaving you for today I’m afraid folks, the finishing off will be in my round up post in a few weeks. The suspense is killing you I know.

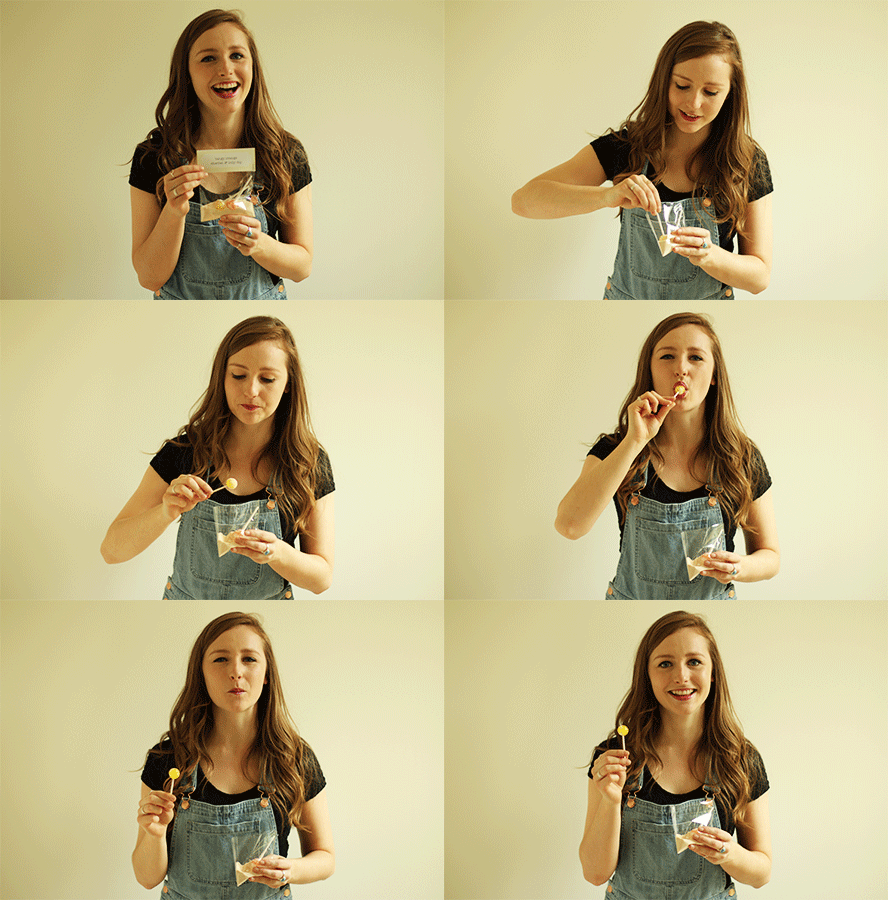
In the meantime, just when you thought you weren’t even getting a gif this week. Here’s a tinker in her dungarees:

hen-bachelorette-party-favours-orange-sherbet-recipe-gif

Have a fabulous day whatever you’re up to!

Scrub-a-dub-dub

Welcome back chaps, I hope you had a lovely weekend and are now stuffed full of last week’s roulade.

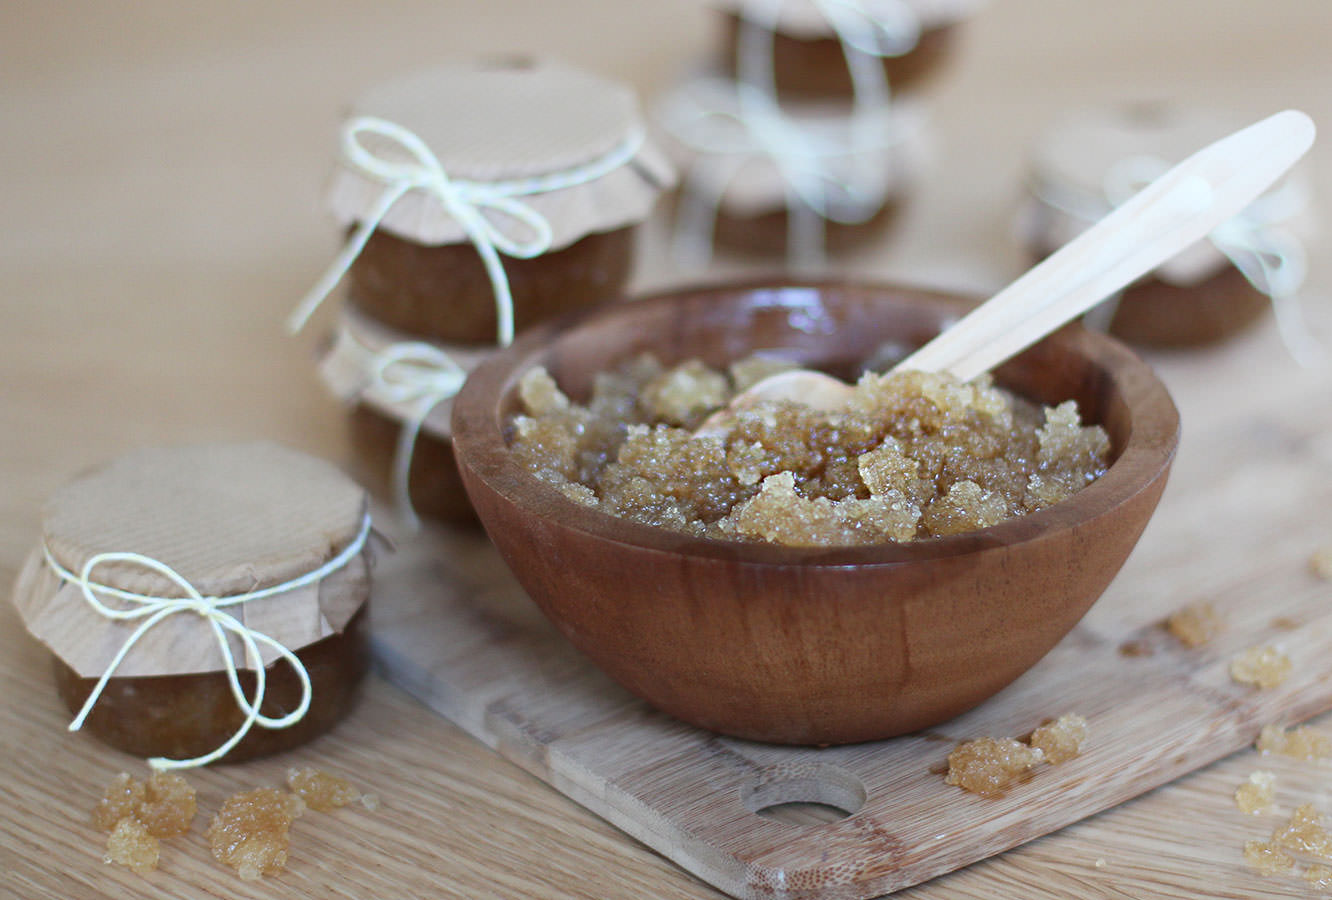
This week’s post is a little more January friendly – it doesn’t involve eating and will help save a few pennies too. Since the Christmas drinks specials season came to an end I’ve been missing a certain honey and almond hot chocolate and planning to concoct something with those flavours for fabrefaction. I didn’t expect it to not be for consumption but there you go.

I thought it would be fun to give some favours the ladies who came to our little sleepover last week. This scrub is a great little gift on the cheap and would work well for favours for a hen party/bridal shower or similar.

honey-and-almond-homemade-sugar-scrub-1
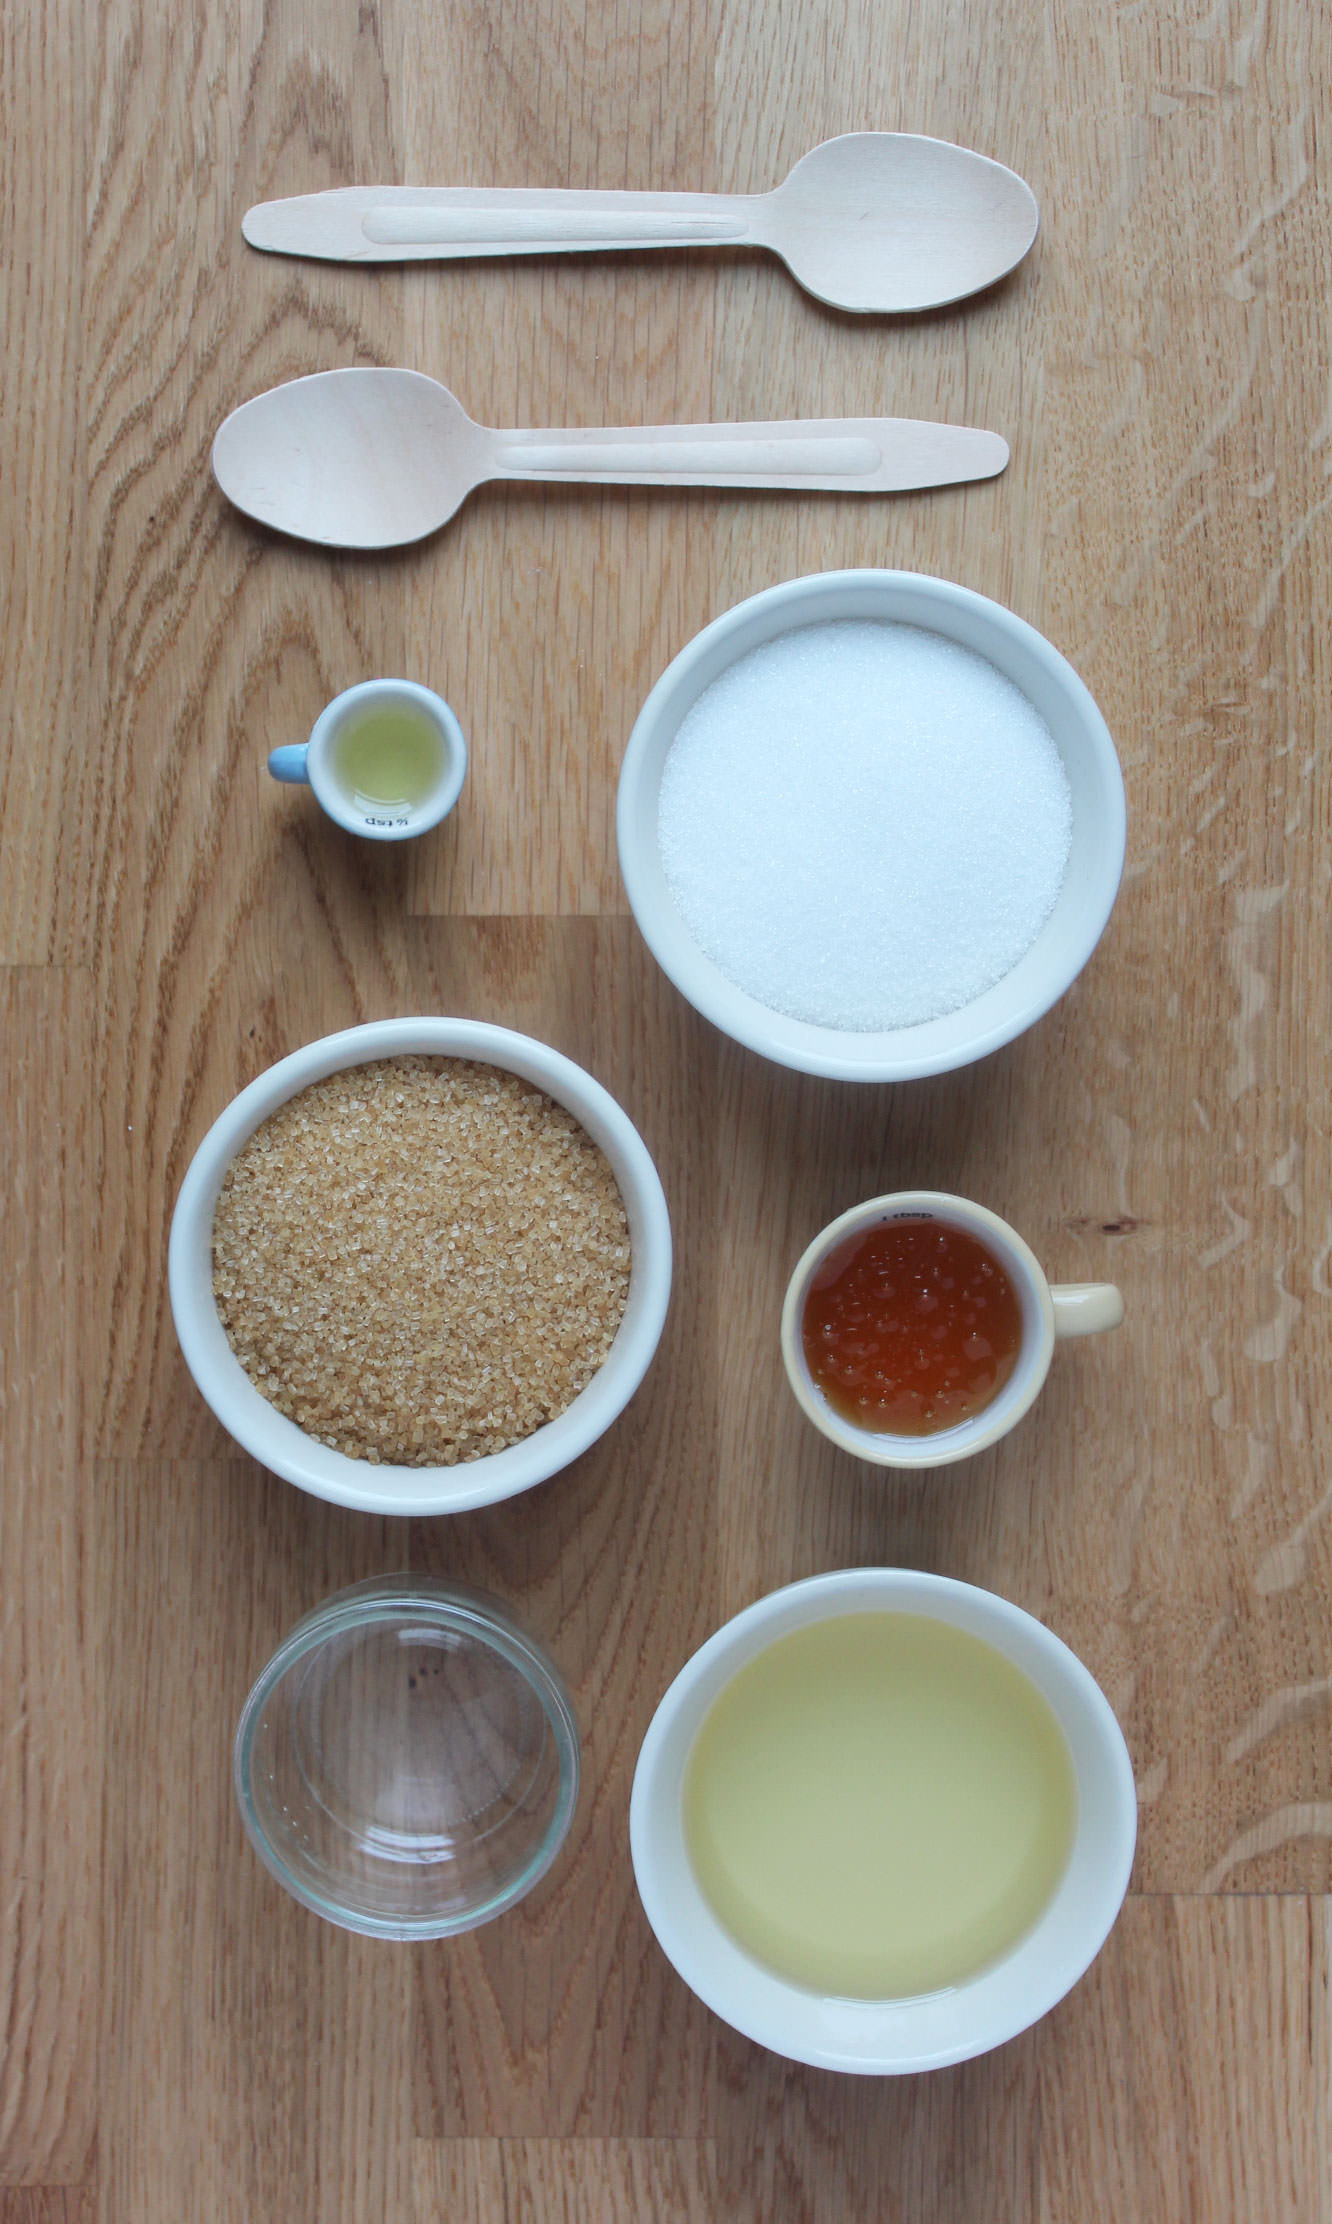
You will need

2 cups Demerara sugar

1 cup Granulated sugar

1/4 cup Walnut oil

1/2 cup Sunflower/vegetable oil

1/2 cup Clear honey

2 tsp Almond extract

(Makes six small jars)

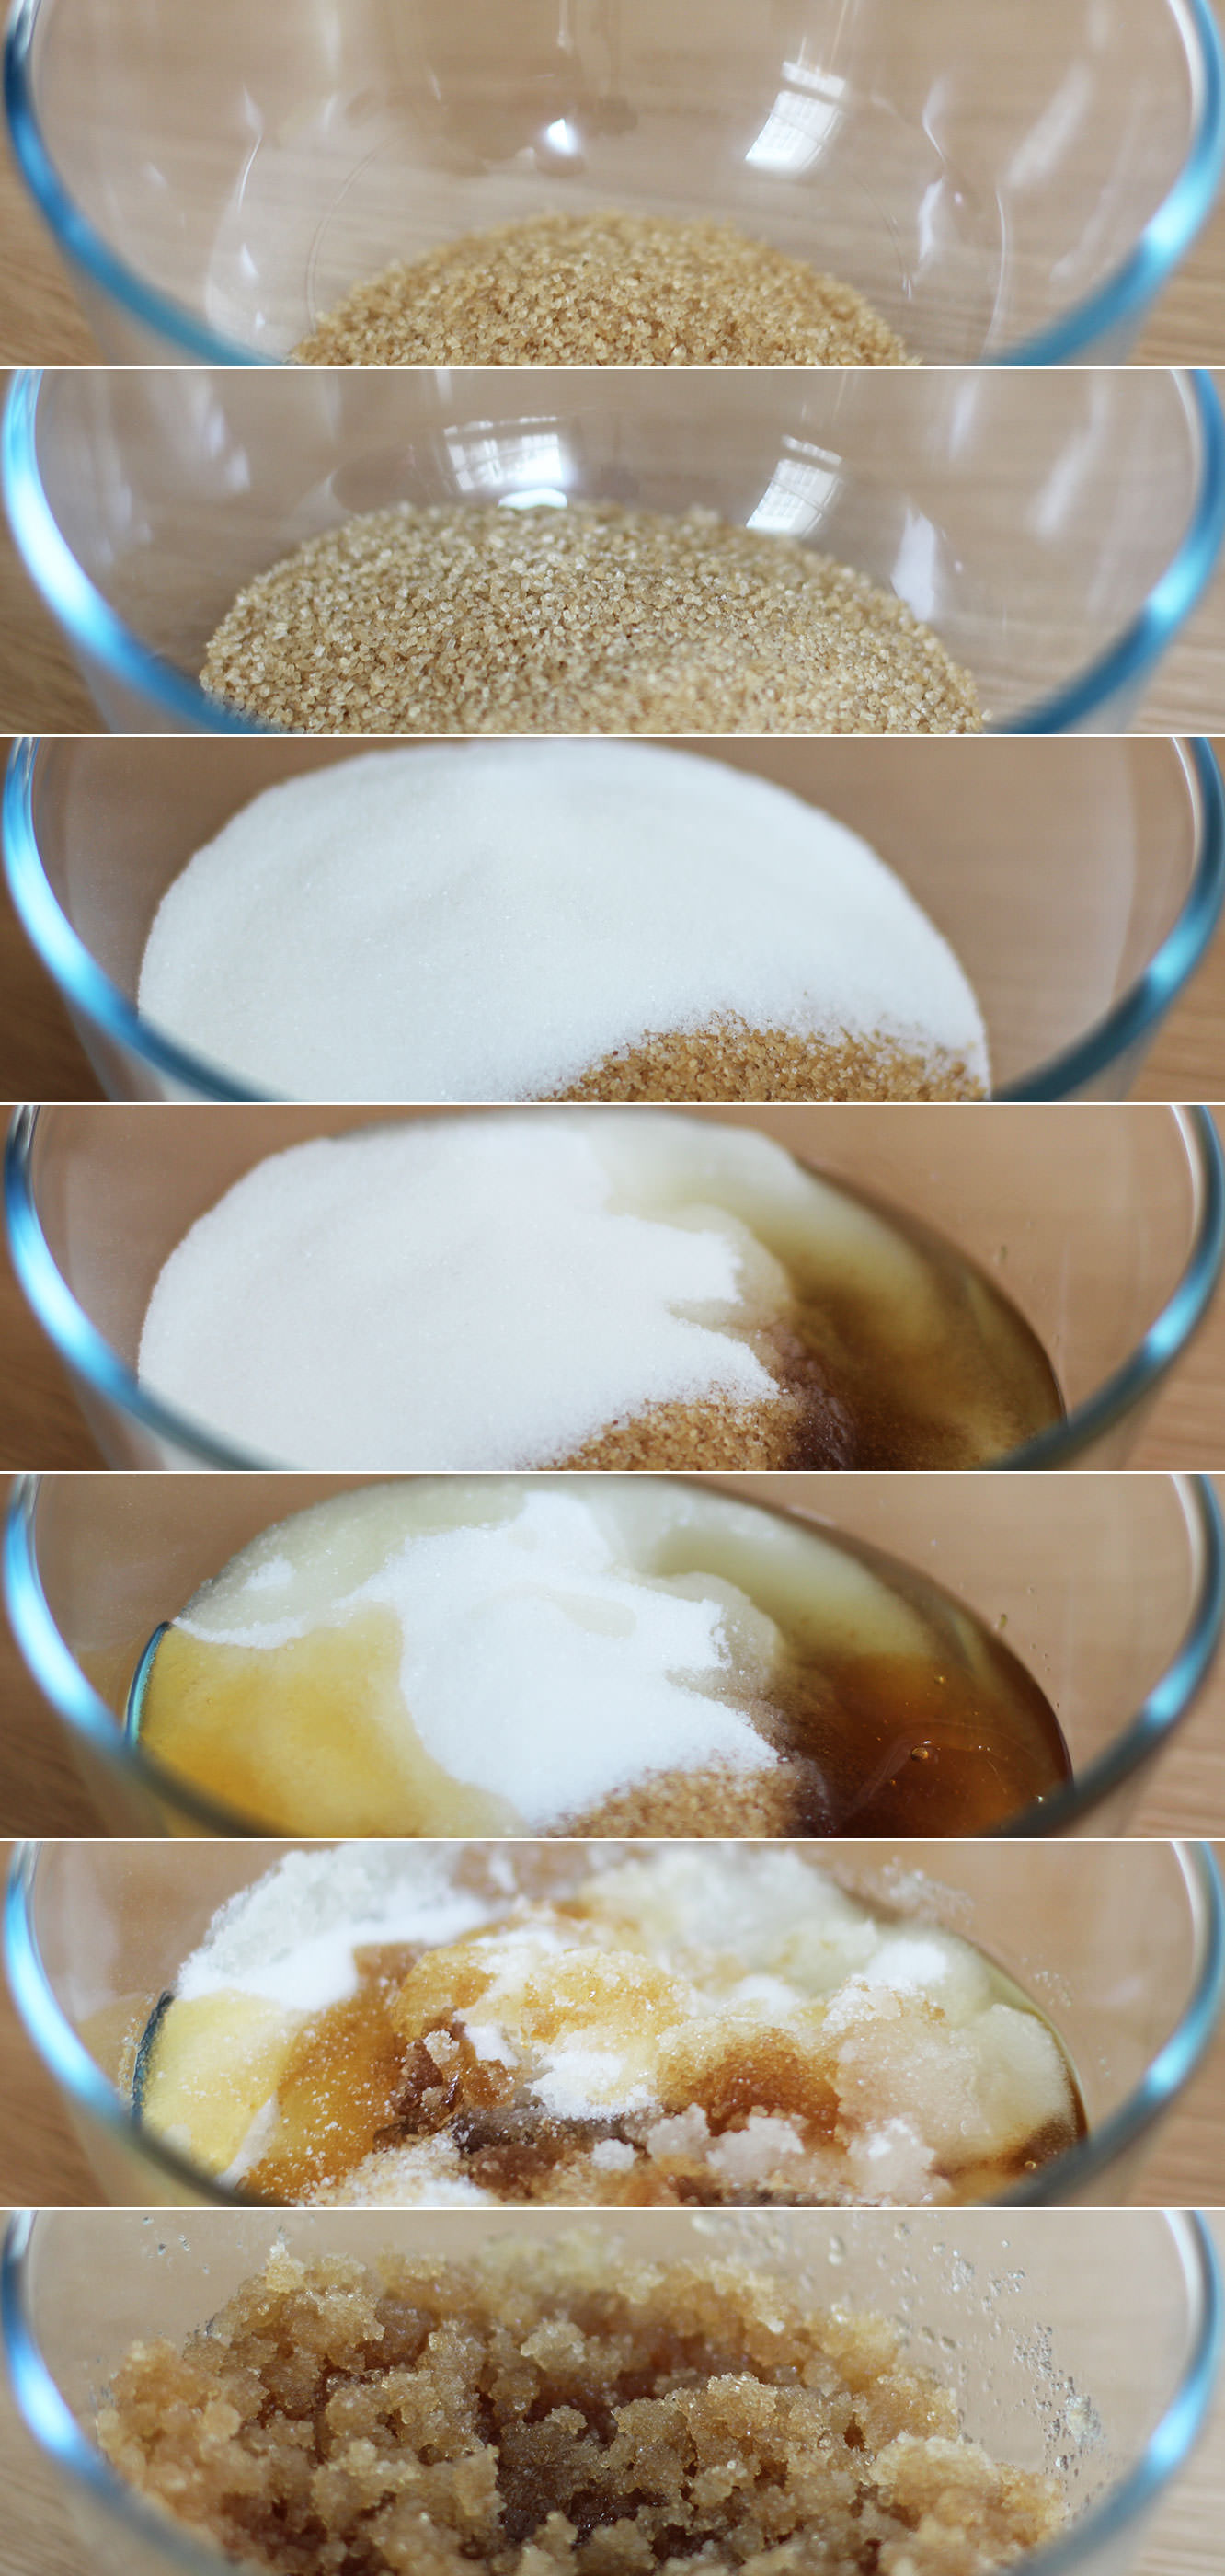
honey-and-almond-homemade-sugar-scrub-2

Step one

There really only is one step. I couldn’t even think of a gif this week.

Take all the ingredients and mix them together.

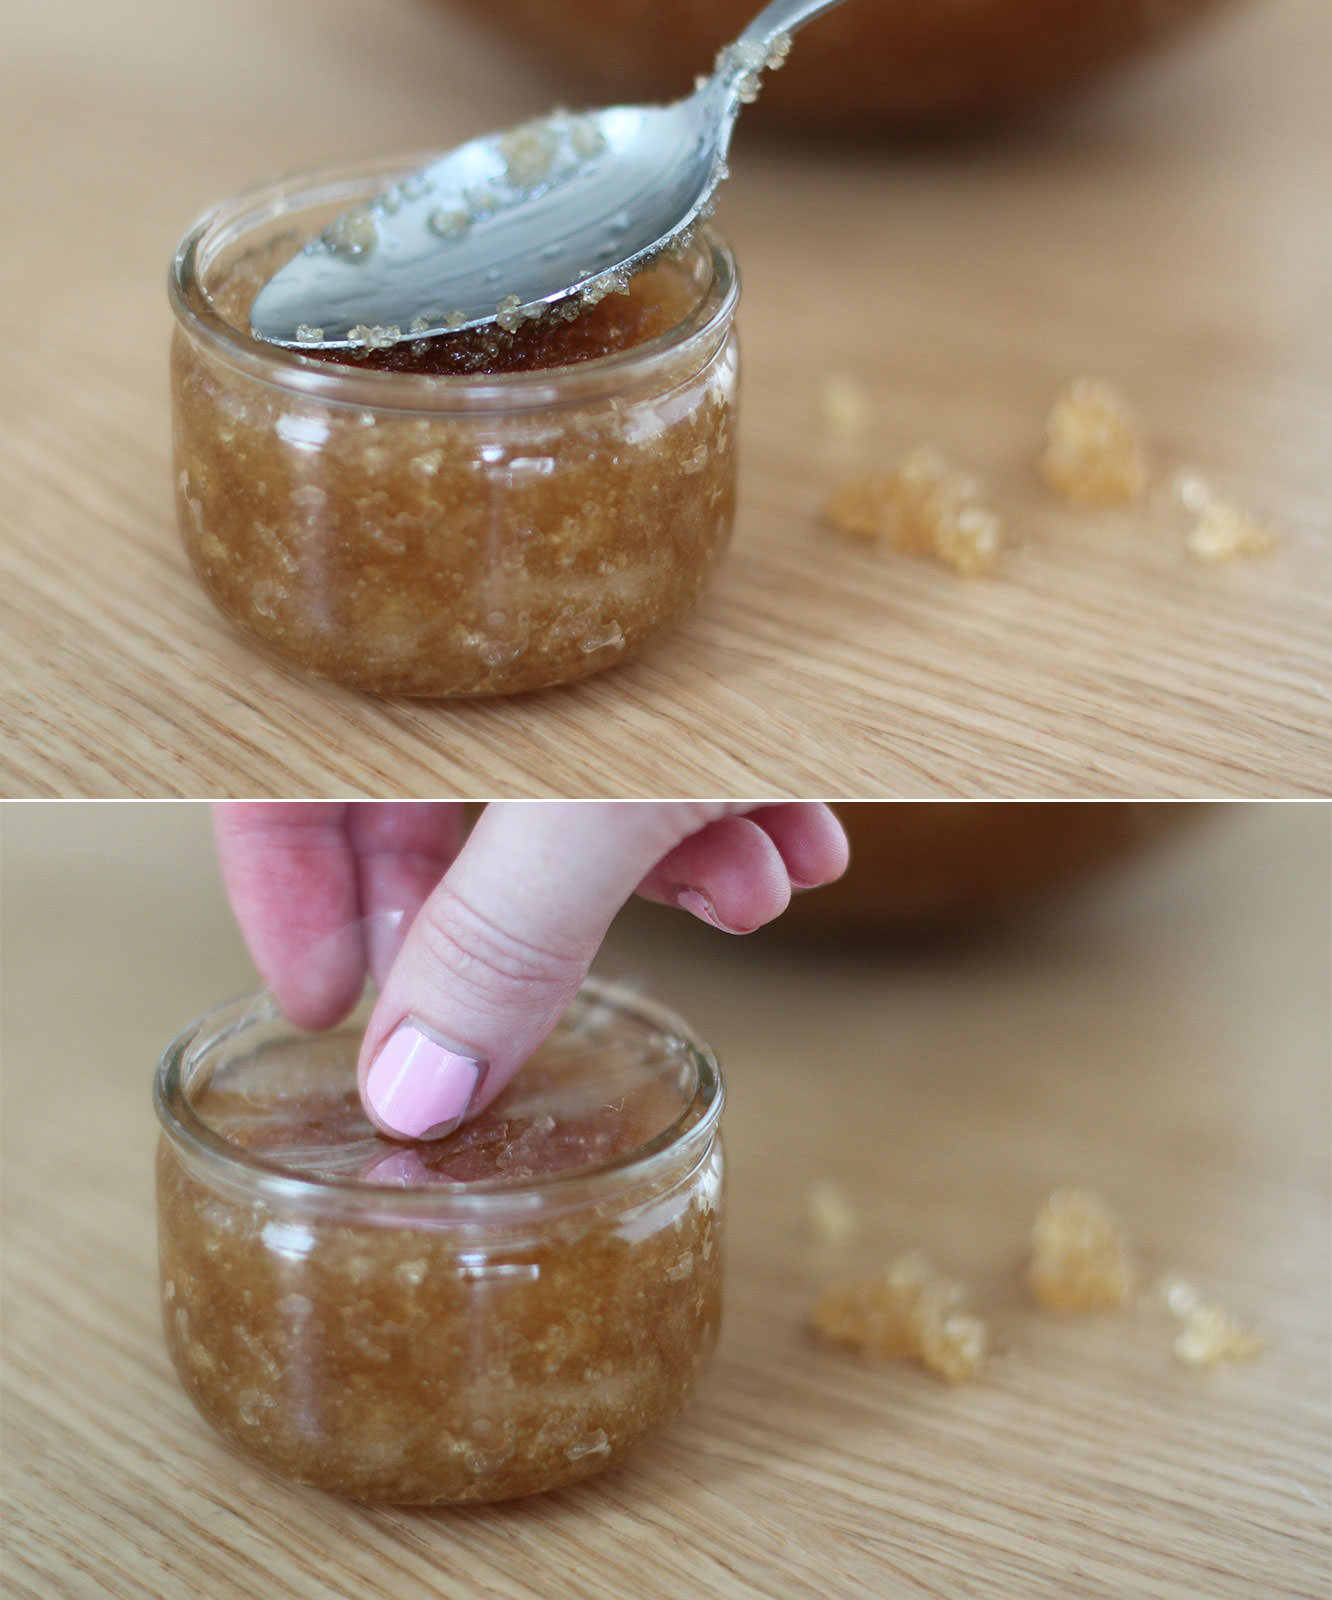
honey-and-almond-homemade-sugar-scrub-3

Step two

If you’re gifting these then you might want to use little ramekins or jars. I recommend something with a lid to be honest, I used cellophane to seal the scrub in. I’ll be honest, this was with mixed success – just keep them upright if you go for this option to stop the oil leaking.

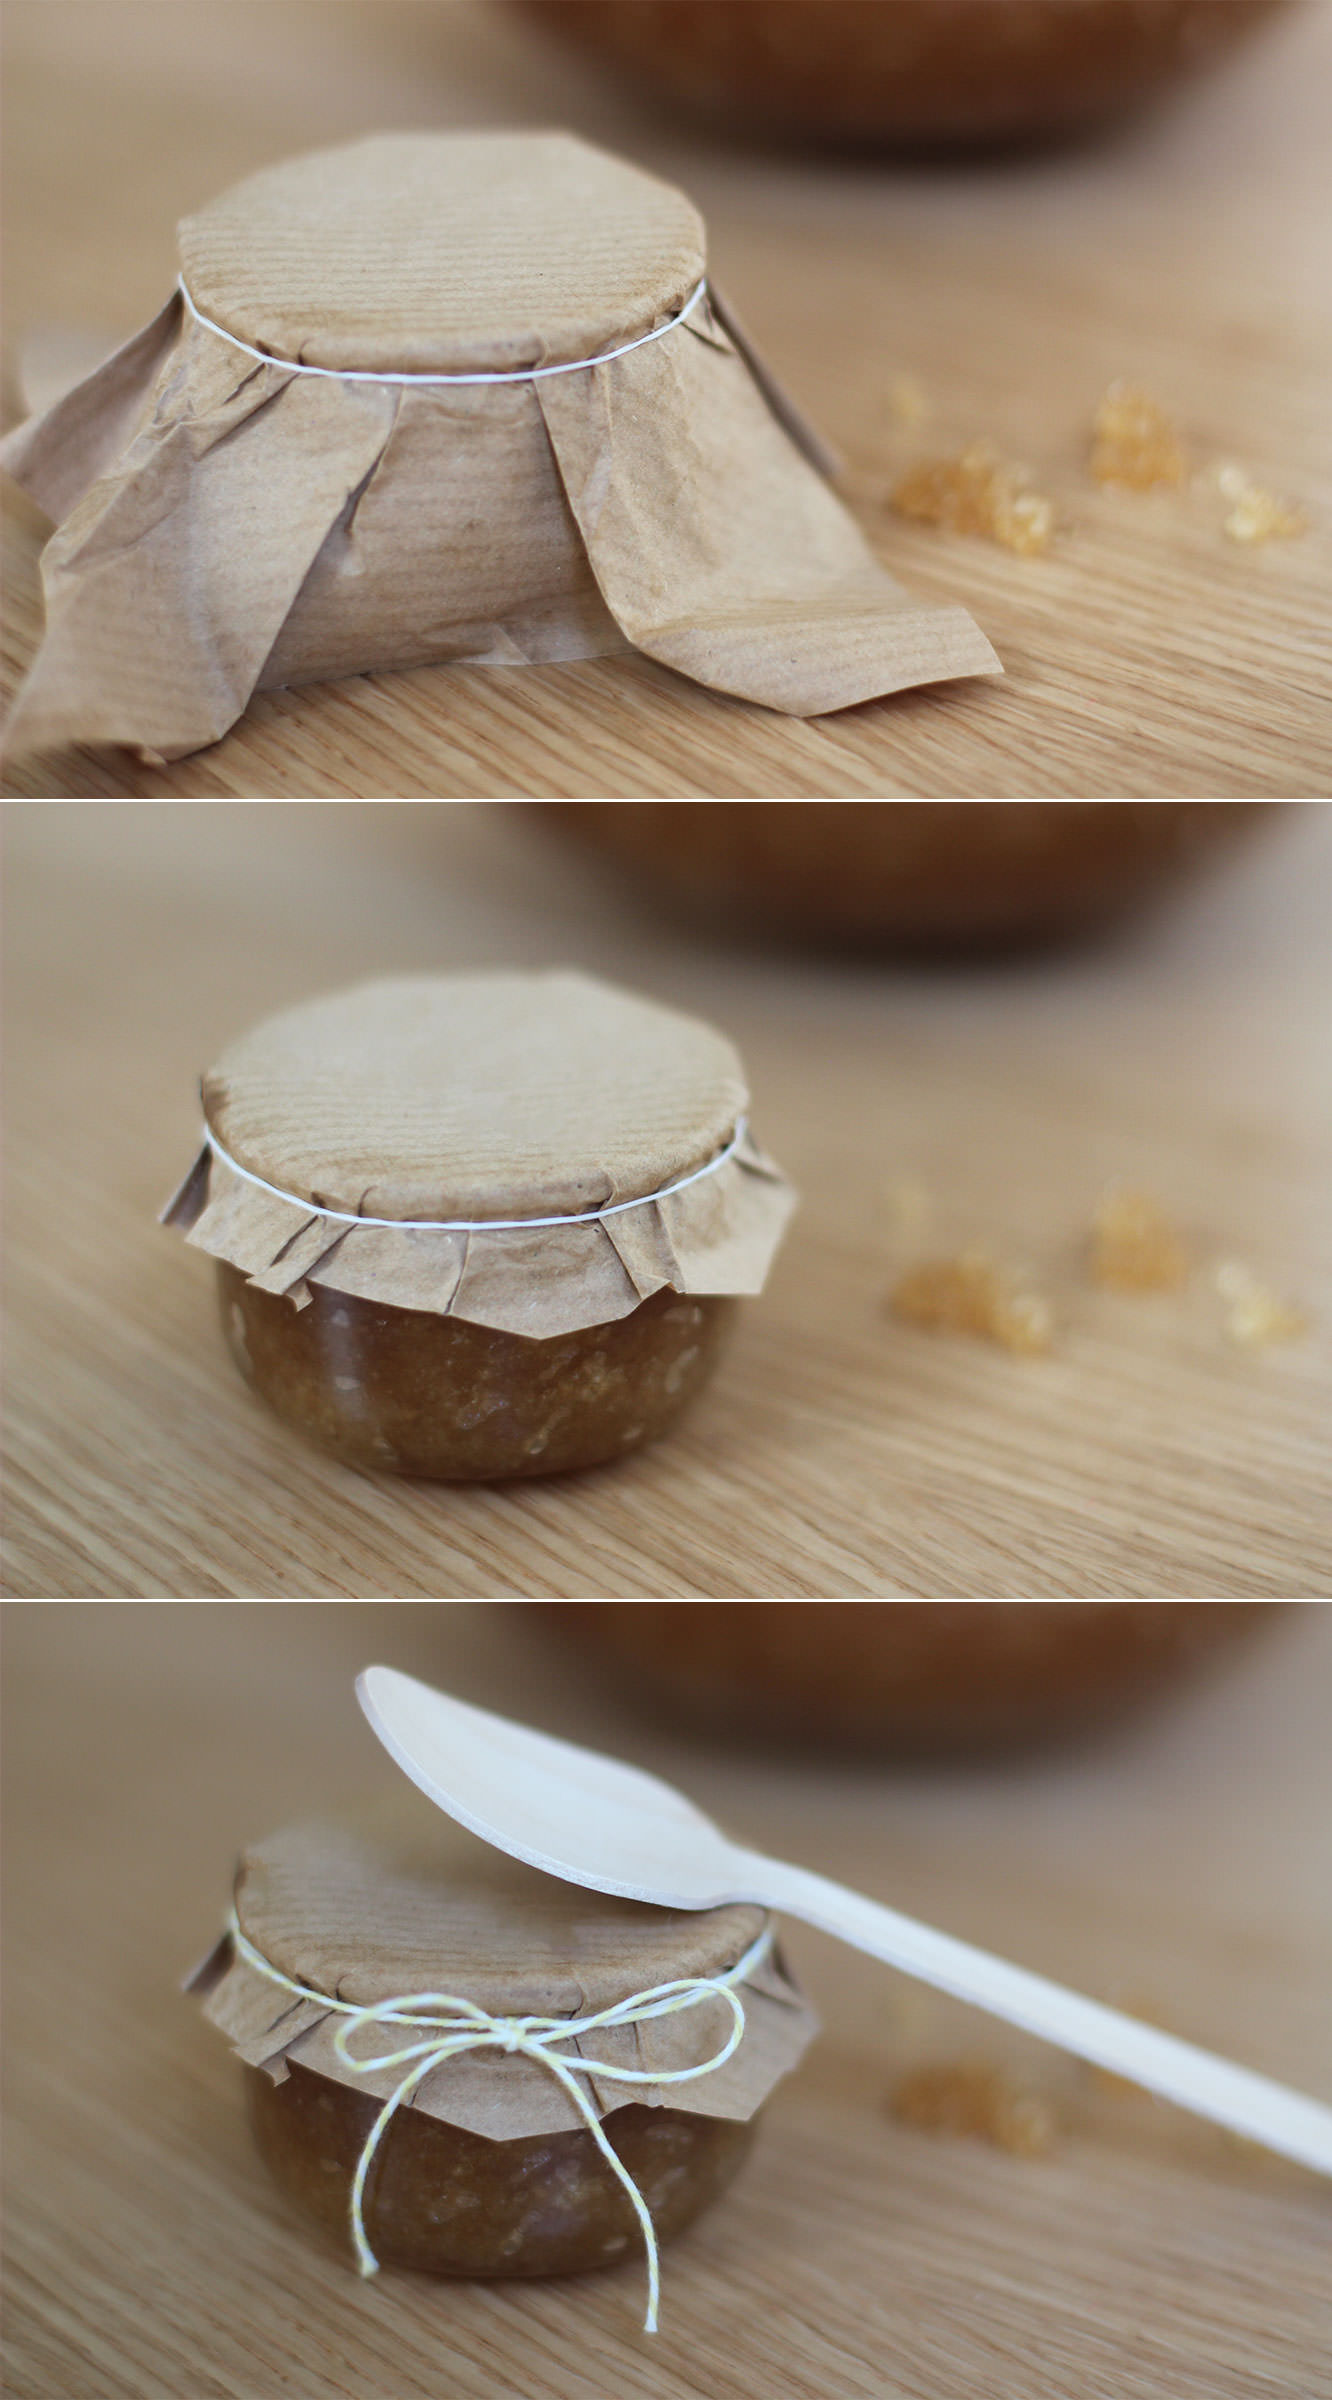
honey-and-almond-homemade-sugar-scrub-4

Step three

Using paper or fabric (I thought brown paper added nicely to the natural look and feel) cover the pots.

Make sure it;s a larger piece than required. Fasten with a loom band (find a small child who’s become bored of them and pinch a few).

Step four

Trim the edges of the paper or fabric. If using fabric I recommend pinking shears for the job to stop it fraying.

Step five

Tie a nice piece of string/twine/ribbon around the rim to cover the loom band. Depending on the size of the jar you might want to tie a small wooden spoon to it at this point (the scrub settles and needs a little stir before use).

I left the spoons loose because they looked novelty big in comparison to the jar. If you’re in the UK I got these from Tiger.

honey-and-almond-homemade-sugar-scrub-5

Happy scrubbing!