Category: Gifts

Burning the midnight oil

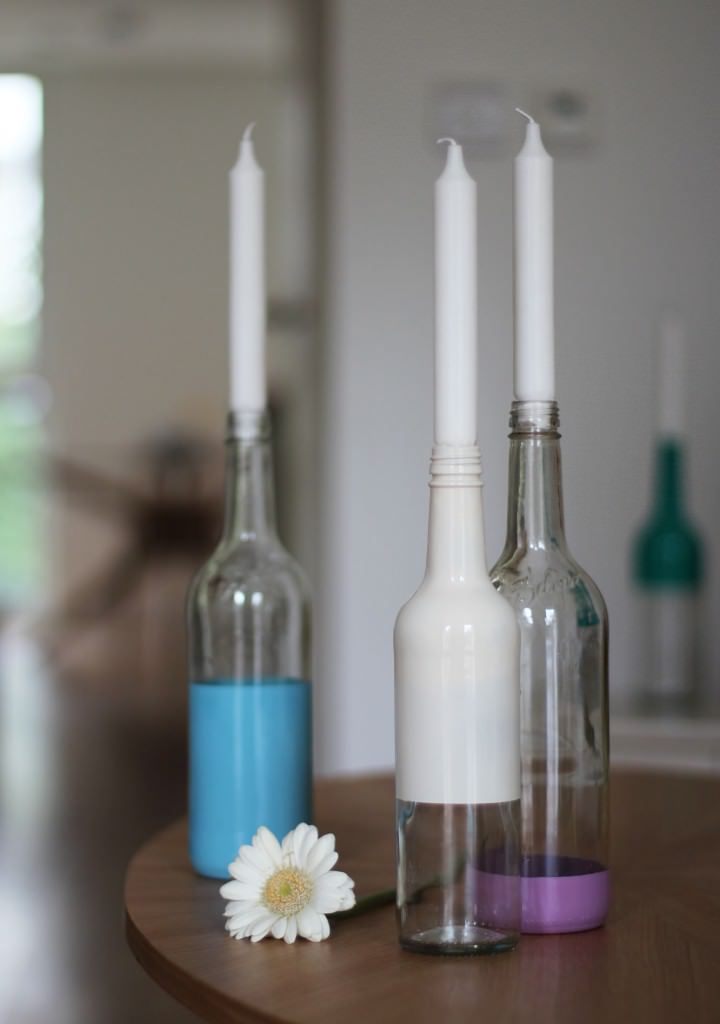
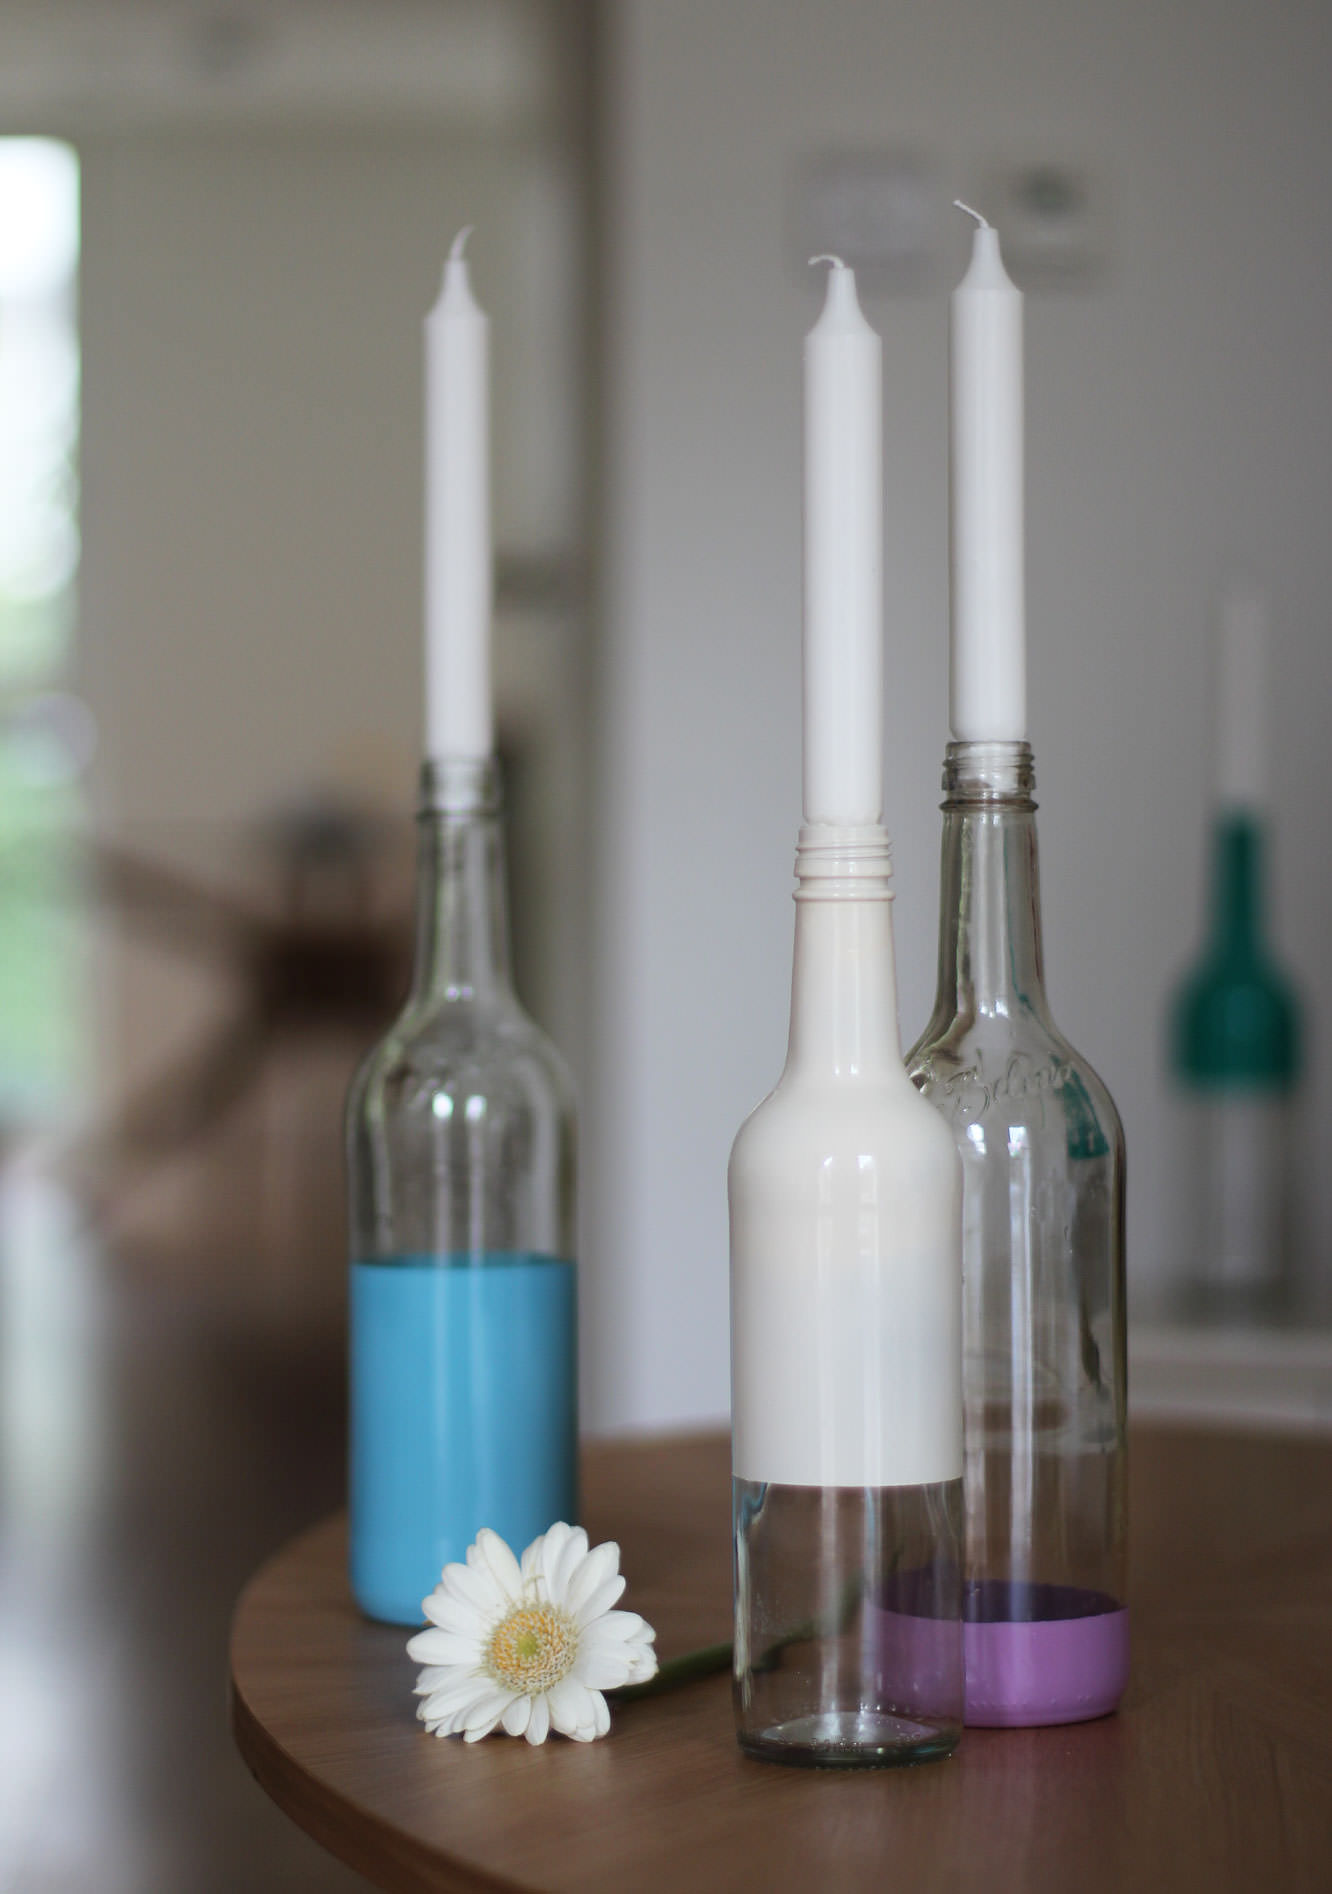
Winter is fast approaching and it’s time to get cosy. Cosy equals candles. At least it does this week, because I had left over spray paint from my mat making, and I really like spray painting things. Like really like it. In an unhealthy way.

This is a pretty easy quick make, and is satisfyingly effective. I recommend it for adding a bit of pizazz at a dinner party or even for sticking a couple of flower stems in rather than candles.
spray-paint-bottle-candle-holders-diy

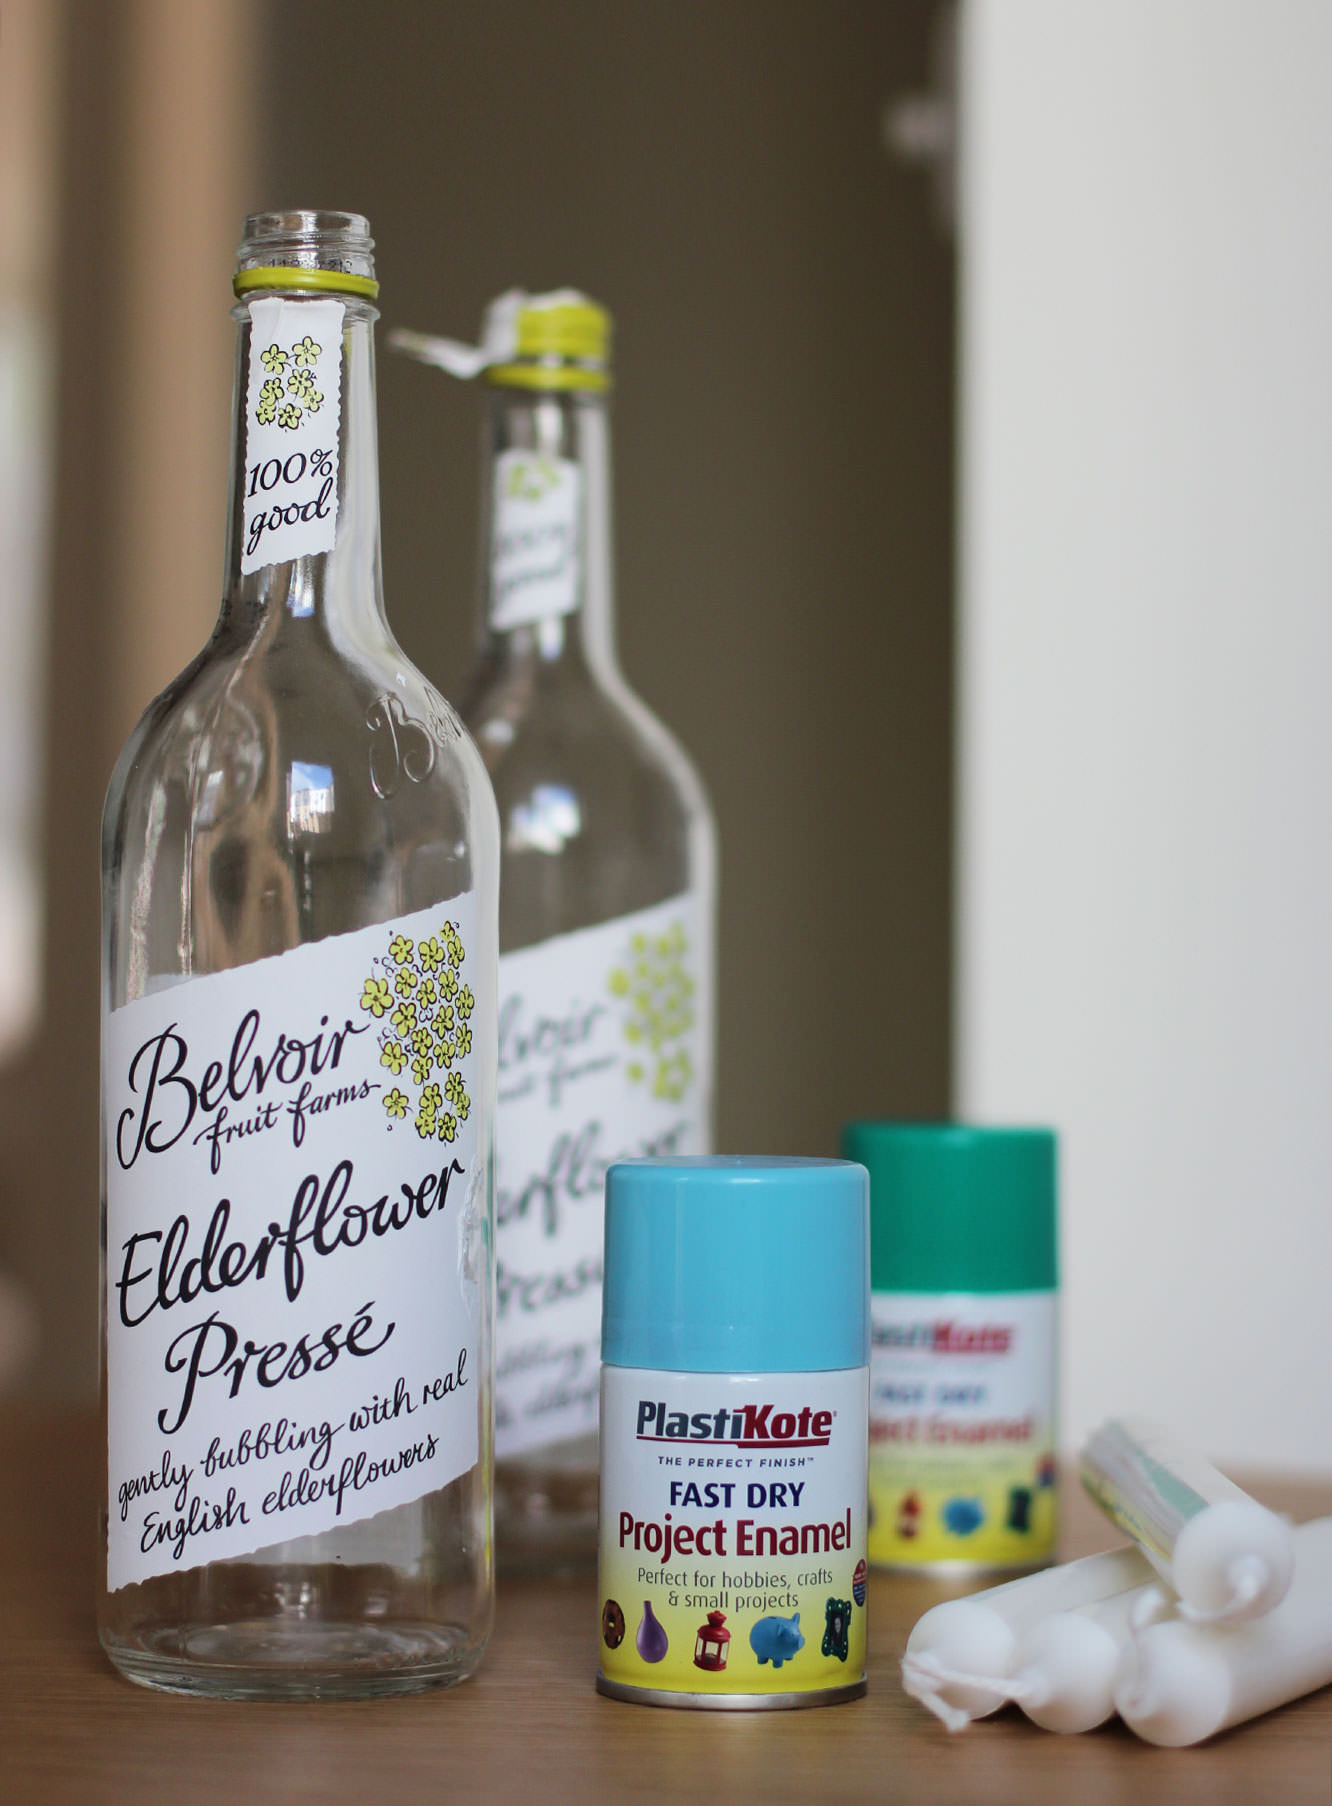
You will need

Clear glass bottles

White or cream dinner candles

Spray paint of your desired colour(s)

Newspaper and masking/washi tape
spray-paint-bottle-candle-holders-diy-2

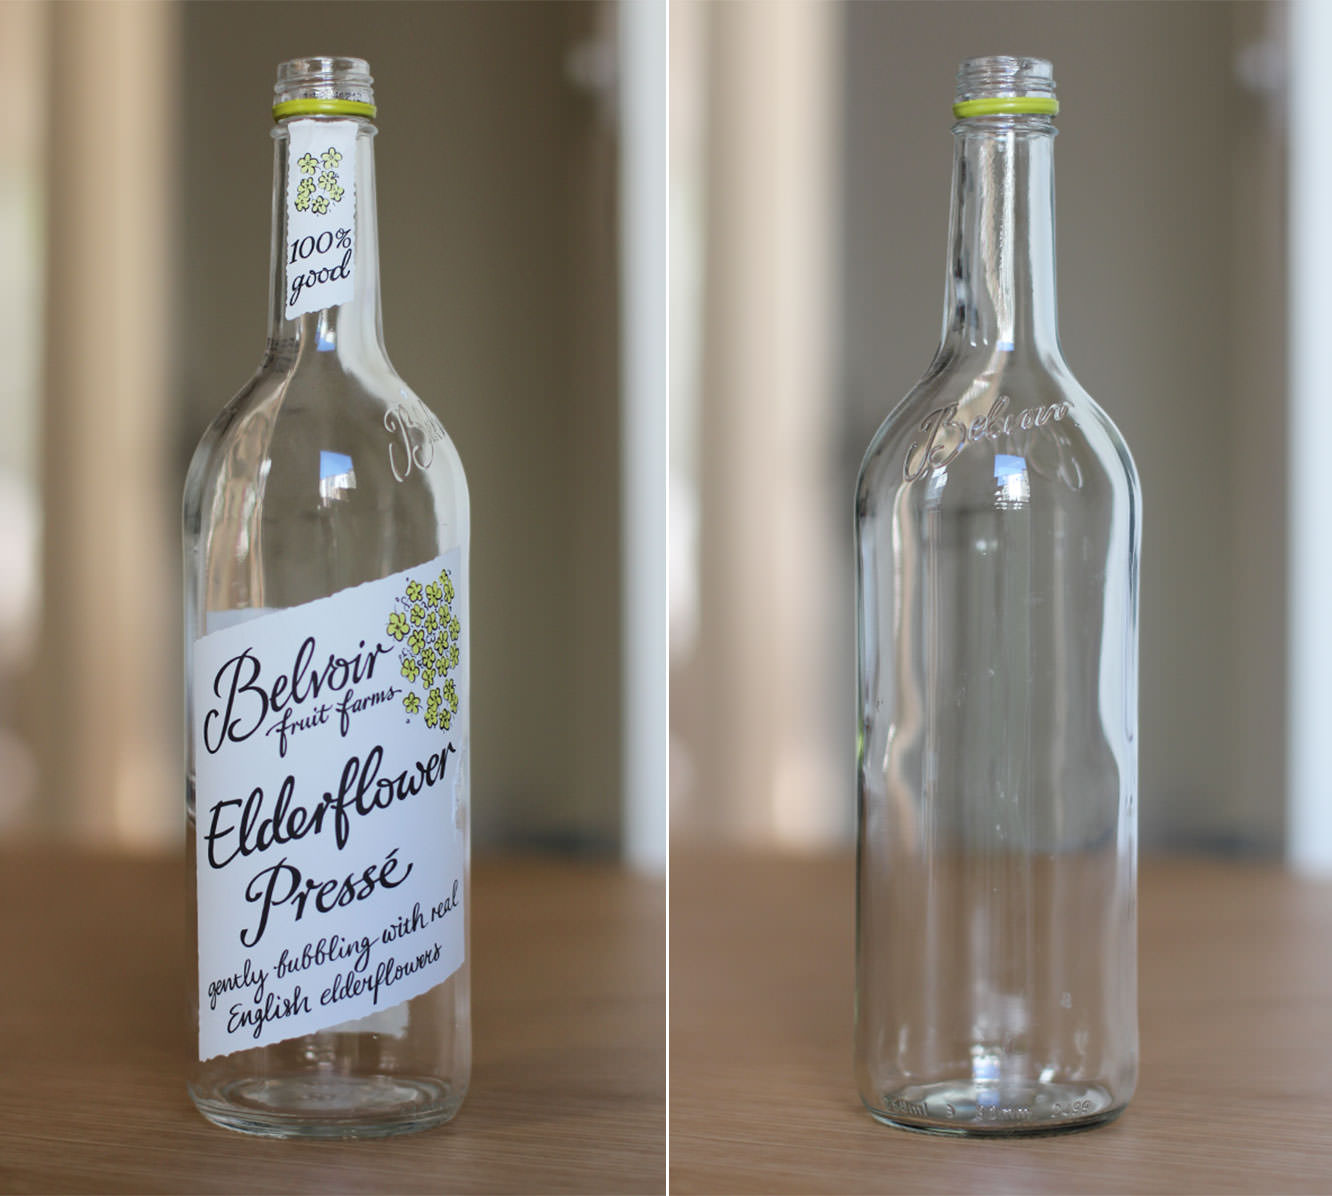
Step one

If your bottles have labels like mine did then you need to pour boiling water over them to soak alla that off.

They drink a lot of posh juice at work so I got these bad boys for free. You could also buy some from the home brew section of a Lakeland/Wilko’s; if that’s you, advance to step three and collect £200 as you pass Go.
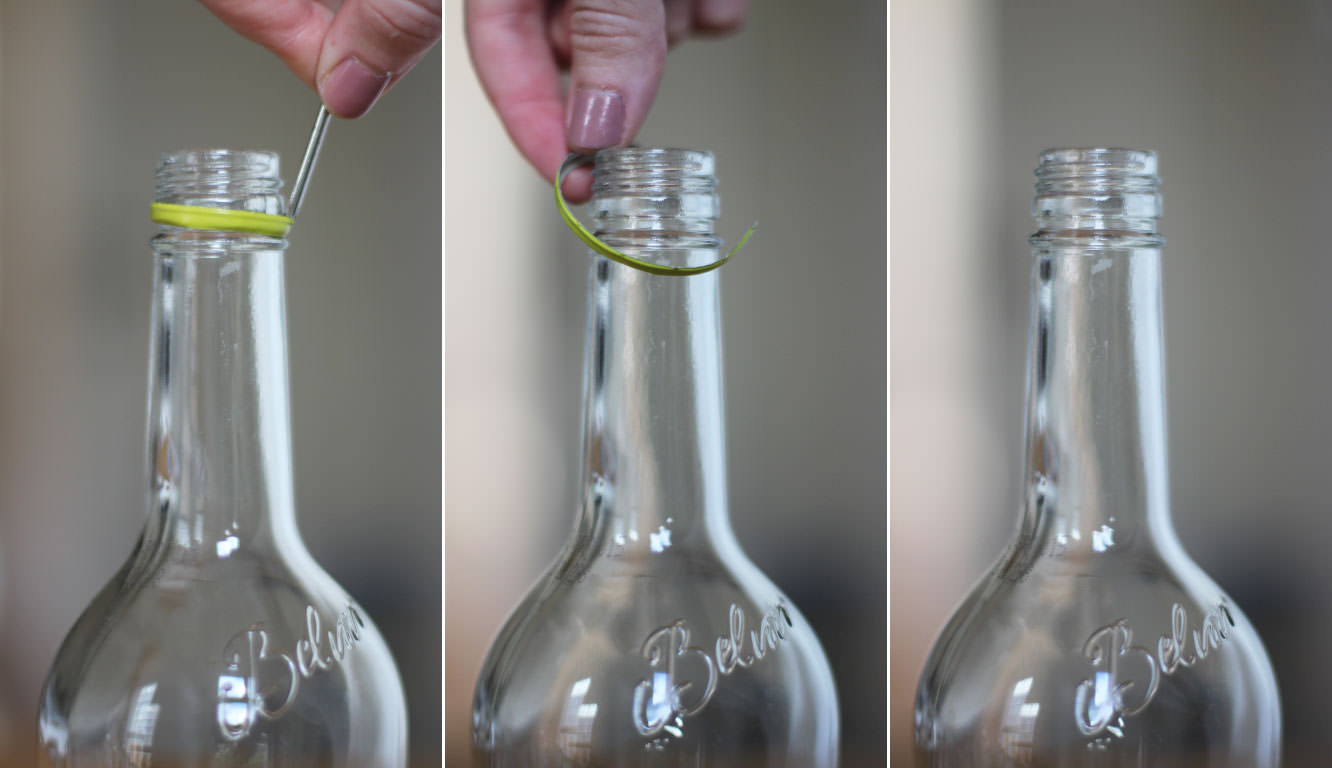
spray-paint-bottle-candle-holders-diy-3Step two

If you’re using recycled juice/wine bottles then stick a little screwdriver or a knife in the metal bit and prise it off. It’s worth not being lazy and skipping this step.
spray-paint-bottle-candle-holders-diy-4

Step three

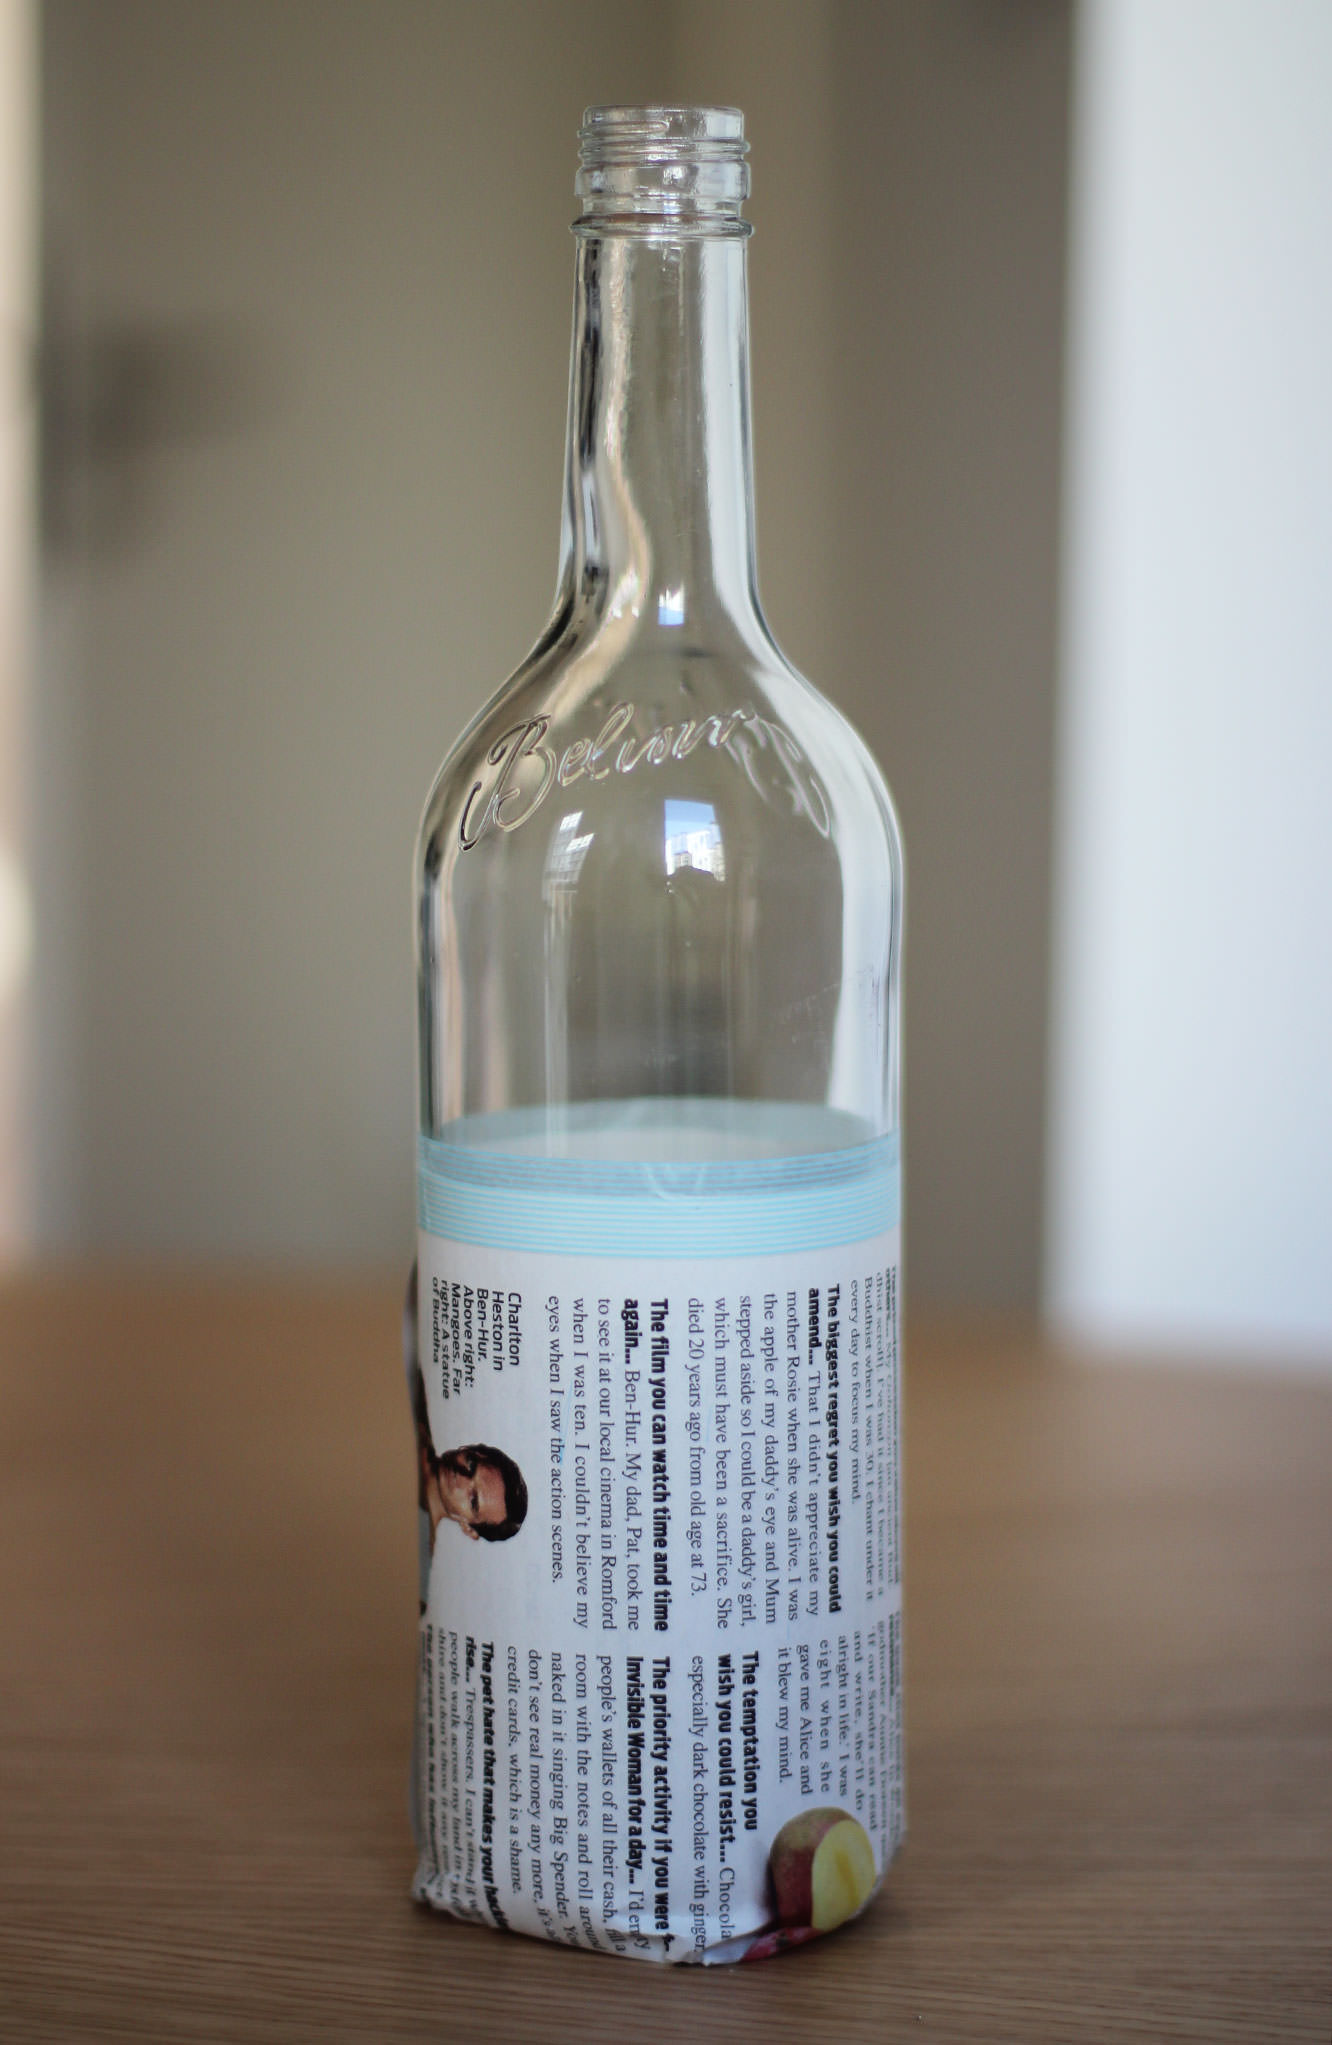
Wrap the tops or bottoms of your bottles in newspaper, securing it with wash tape or masking tape which would be a lot cheaper if you have it to hand. As you can see, I didn’t.

The more care you take over this the better as you want the lines to be as straight as possible. Otherwise your OCD friends won’t enjoy your company at your dinner party; they will be too distracted by your wonky candle holders. They will be totally justified in this.
spray-paint-bottle-candle-holders-diy-gif

Step four

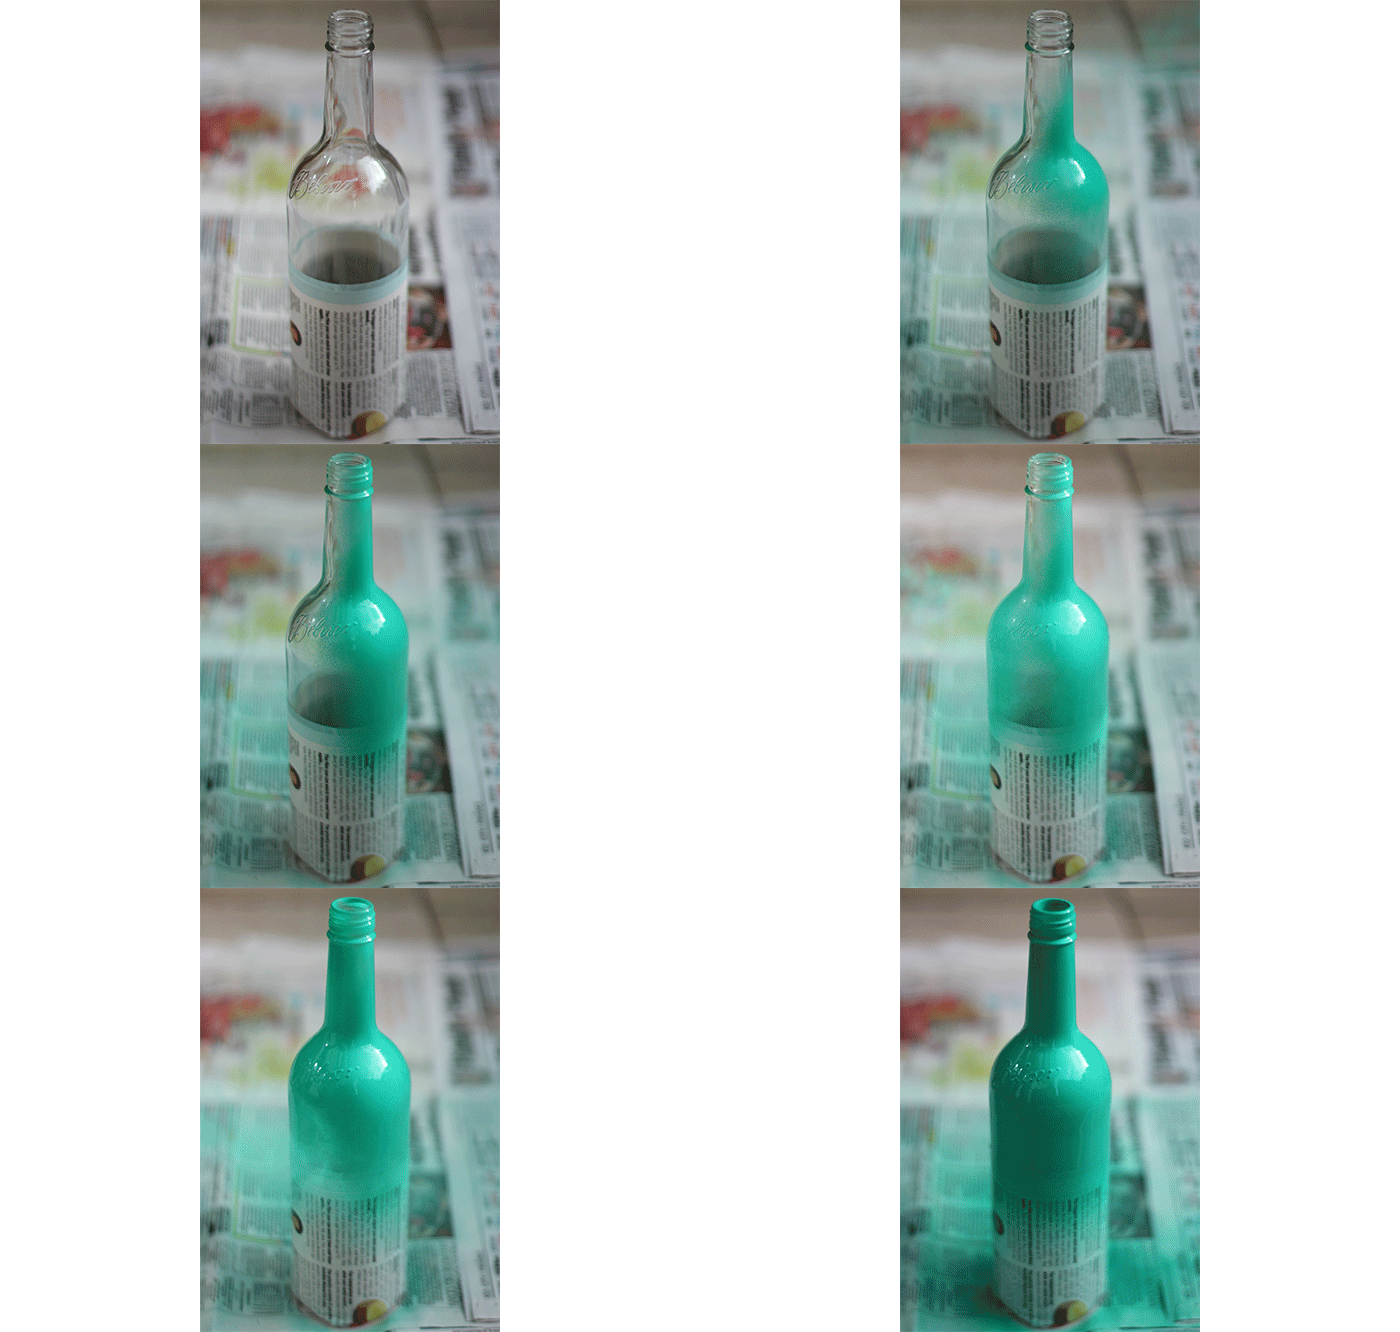
Go outside and put down some newspaper. Obviously the best time to do this is on a dry day, but let’s just see how well the British weather co-operates with you…

Shake the can of spray paint and hold about 20cm/8 inches away. Spray thoroughly until the bottle has an even, opaque colour.

Leave to dry.
spray-paint-bottle-candle-holders-diy-5

Step four – bonus tip

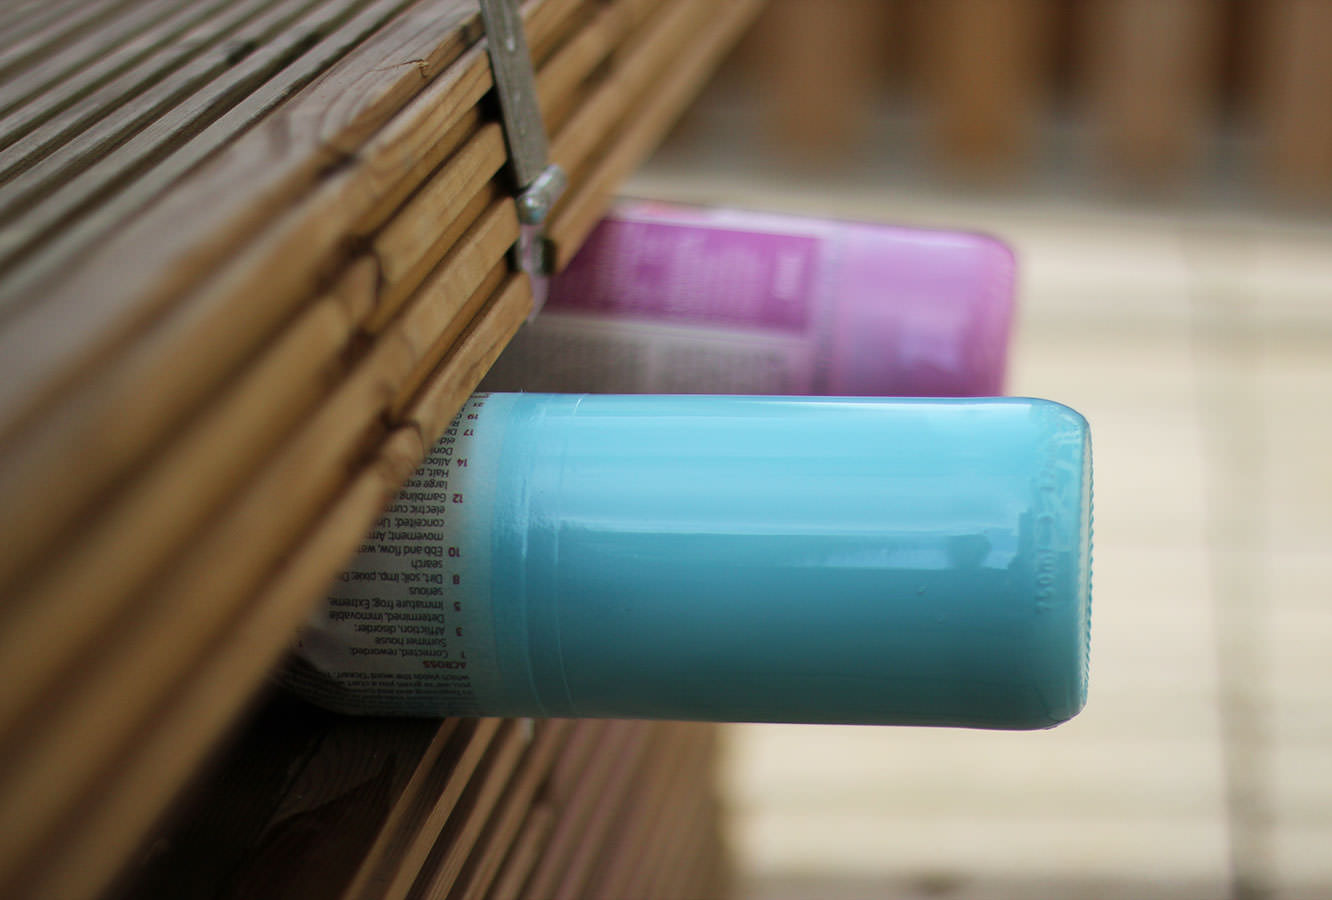
If you’ve wrapped the top of the bottle rather than the bottom, I found the easiest way was to hold the neck in my hand and spray while holding it.

In order to dry it you need to find something to wedge between so it’s sides/the bottom won’t touch anything else. You could just hold it as they don’t take long to dry at all, but I found this storage chest/bench in the garden was just the ticket.
spray-paint-bottle-candle-holders-diy-6

Step five

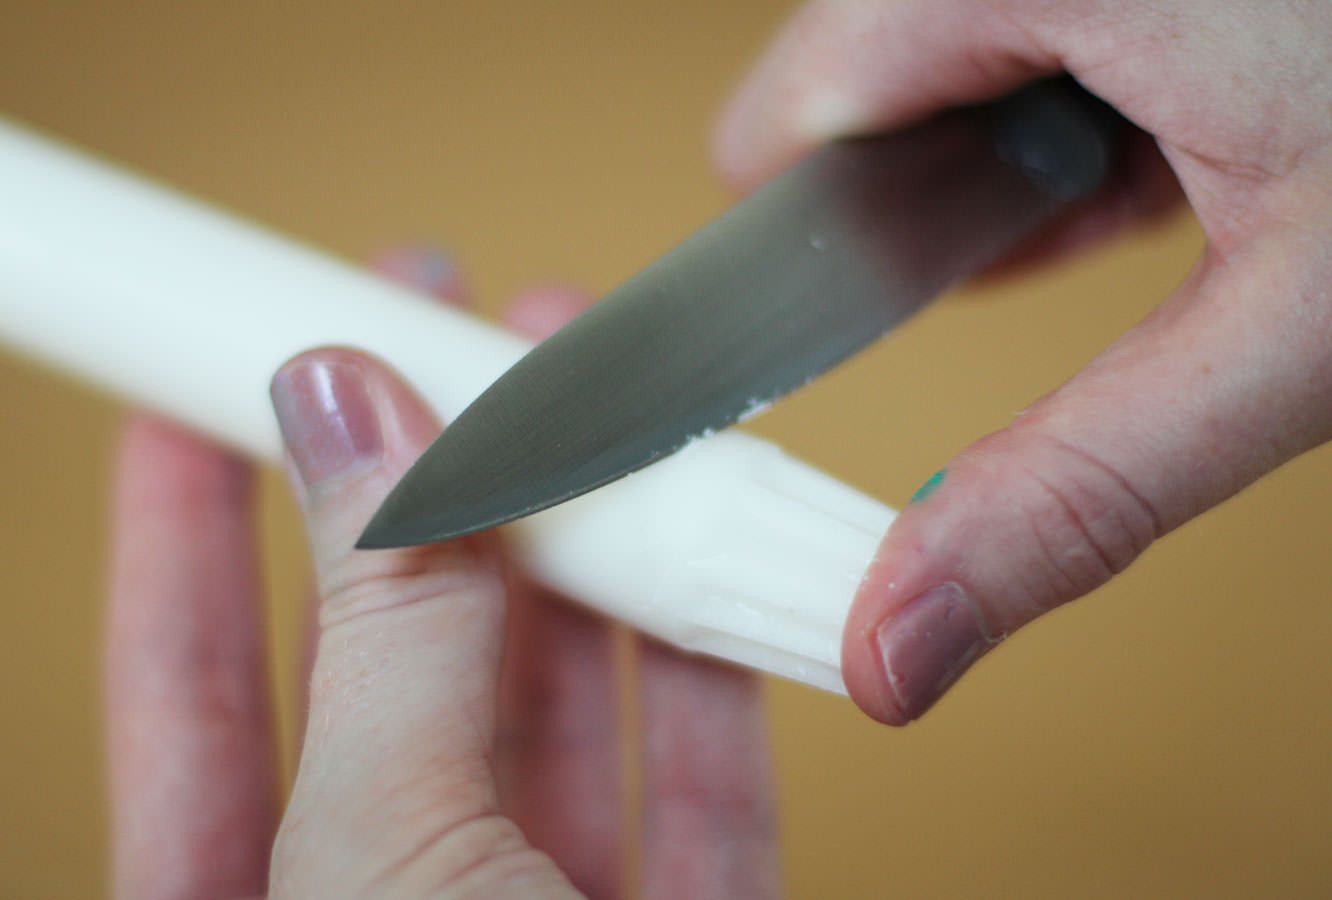
Whilst your bottles are drying you might need to do a little candle whittling. Mine had really handy grooves in them already but unfortunately were still a little on the large side, so I had to trim them down.

Just for the sake of everyone who knows how clumsy I am and would reel in horror at this picture, I still have all ten digits.
spray-paint-bottle-candle-holders-diy-7

Step six

Push candles into the bottle necks and admire.

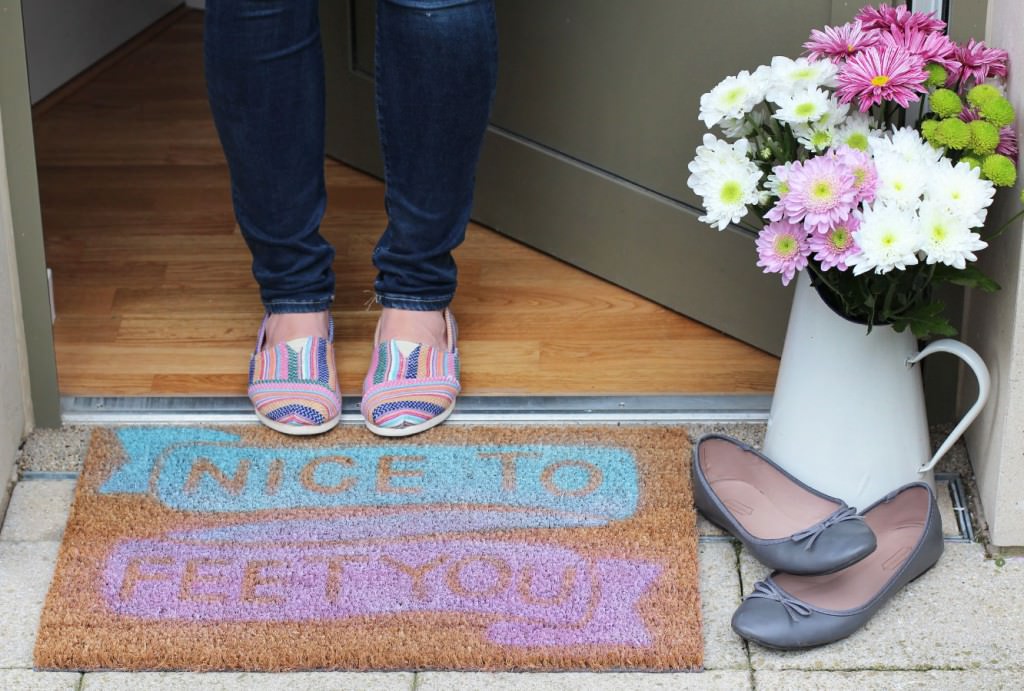
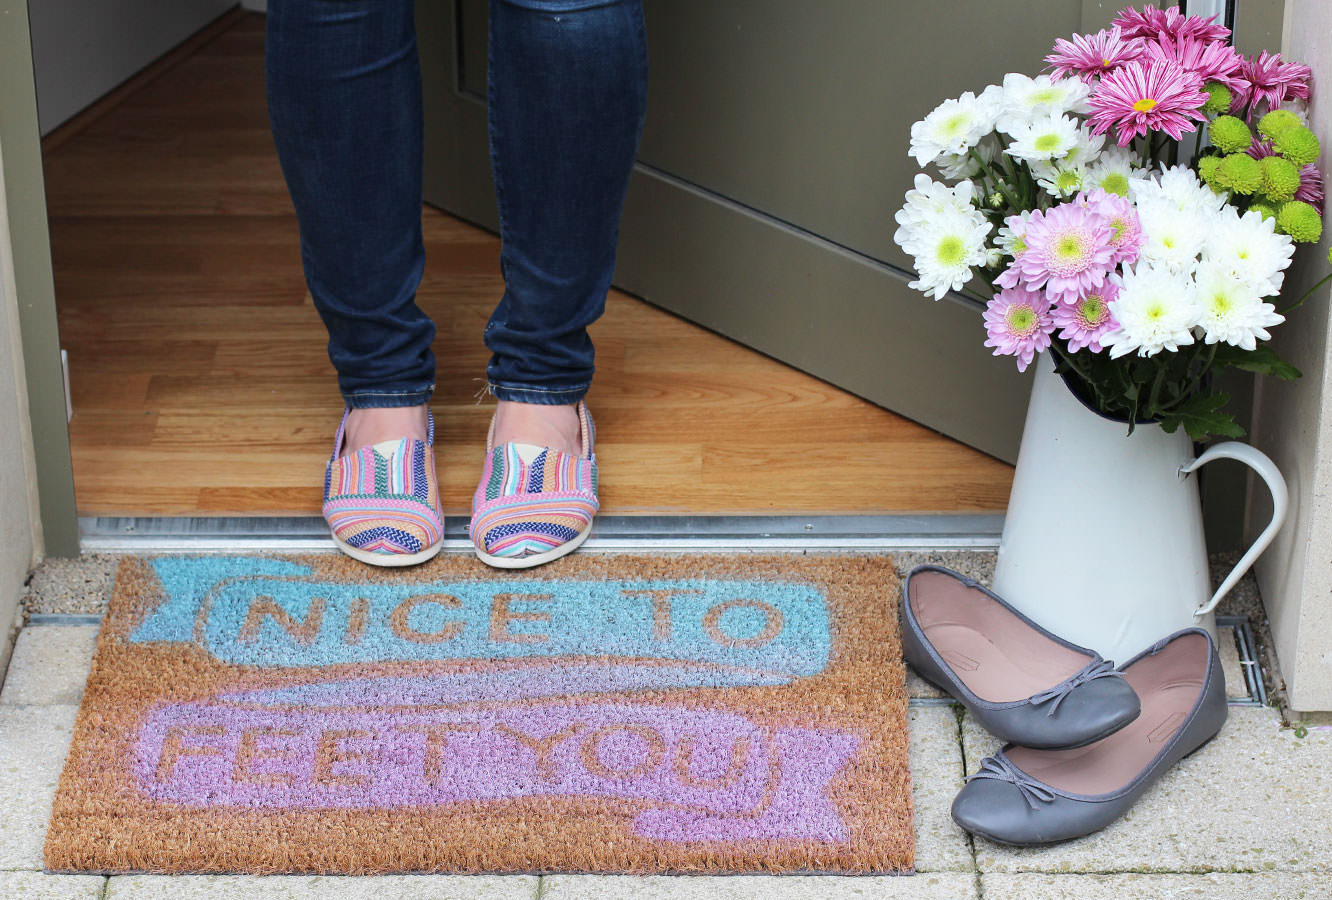
Nice to feet you

Having been ticked off by one of my nearest and dearest for producing too much food and not enough craft on the blog lately I thought it was about time I sorted that out. Plus, I’m a little bit scared of her.

Having noticed the doormats along the street were pretty much all exactly the same, and needing to acquire one, I thought of this little make.

My housemate provided the rather excellent pun for ours, I can’t take the credit for that.

This could double as a housewarming gift or wedding present too if you’re a bit strapped for cash and want to give something unique and homemade.

door-mat-diy-1

Things you need

Plain doormat (check if it’s indoor or outdoor depending where you want it. Wilkinson’s have both for about £4)

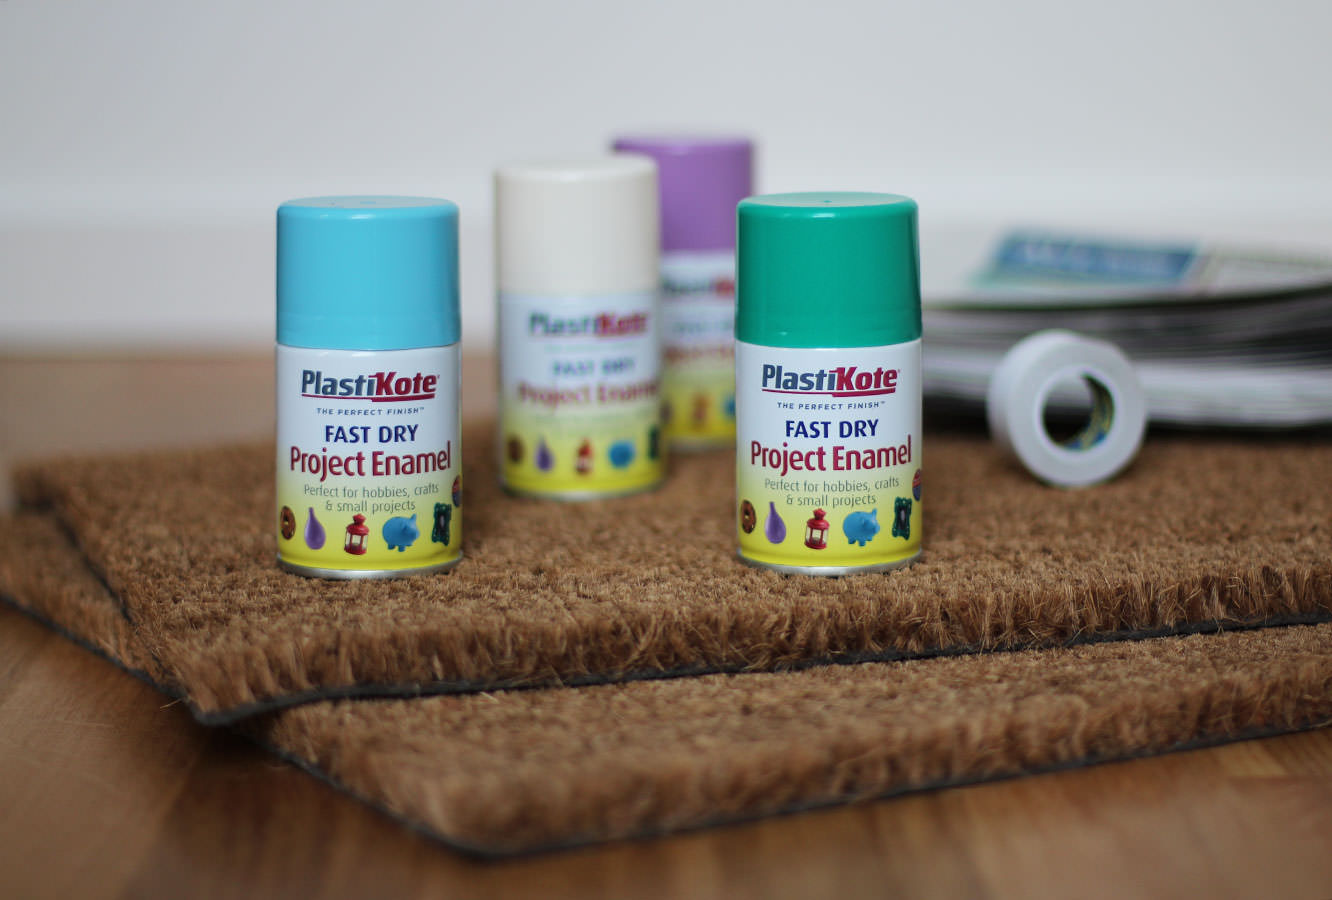
Spray paint (again, mine came from Wilko’s)

Newspaper

Double sided tape

A sheet of paper or newspaper as big as the mat.

door-mat-diy-2

Step one

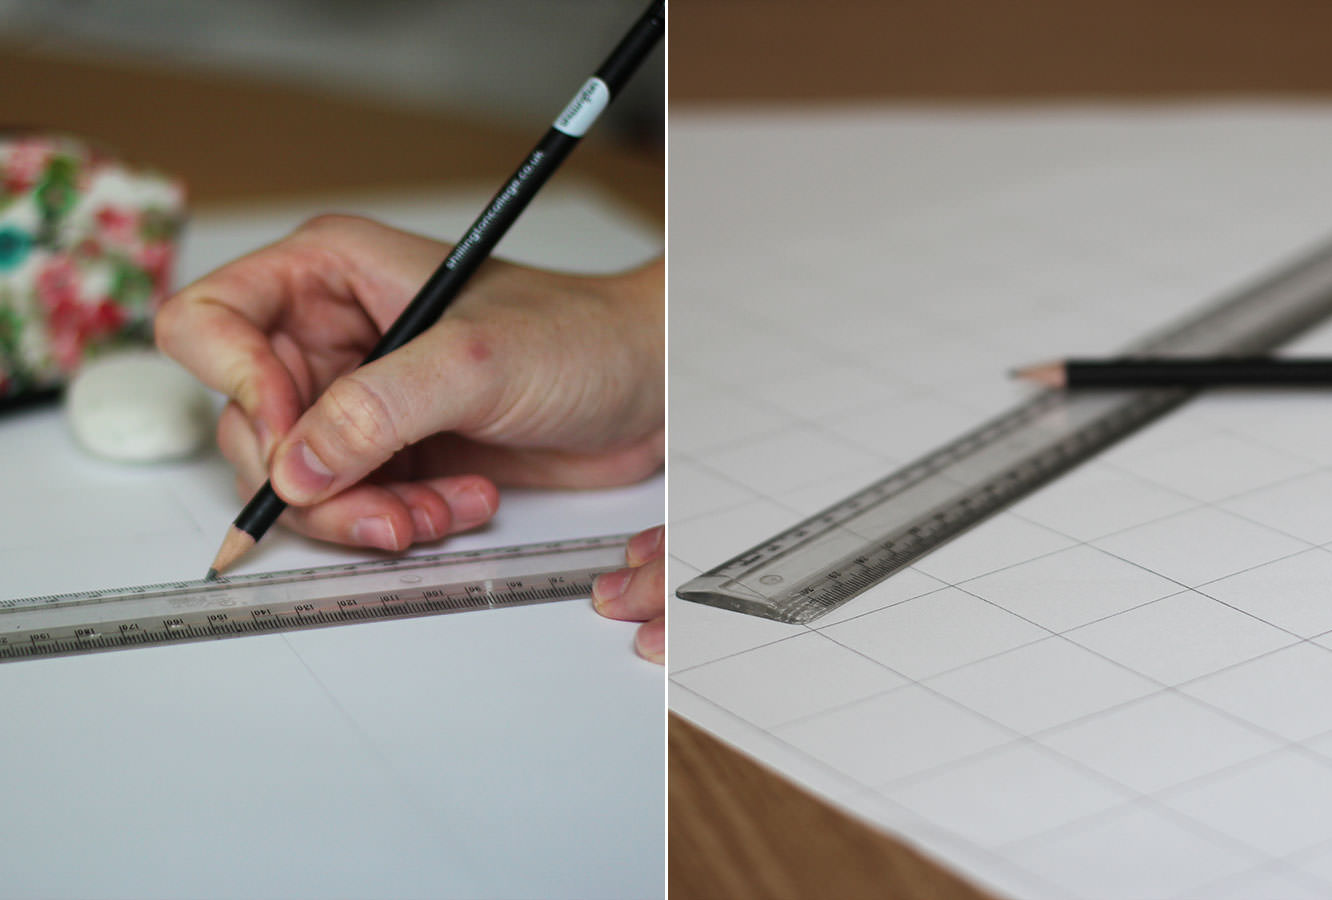
Draw a grid on your big sheet of paper. You are going to use this paper as the stencil; the grid will help you centre your design evenly and space everything out well. You don’t absolutely have to do this, but I recommend it. I just used the width of the ruler.

door-mat-diy-3

Step two

Sketch out your design.

Have a think about what you want to be sprayed and what will be mat coloured. If, like me, you are spraying the background and leaving the letters the colour of the mat make sure you keep them fairly bold and chunky. The spry has a nasty habit of creeping underneath.

door-mat-diy-4

Step three

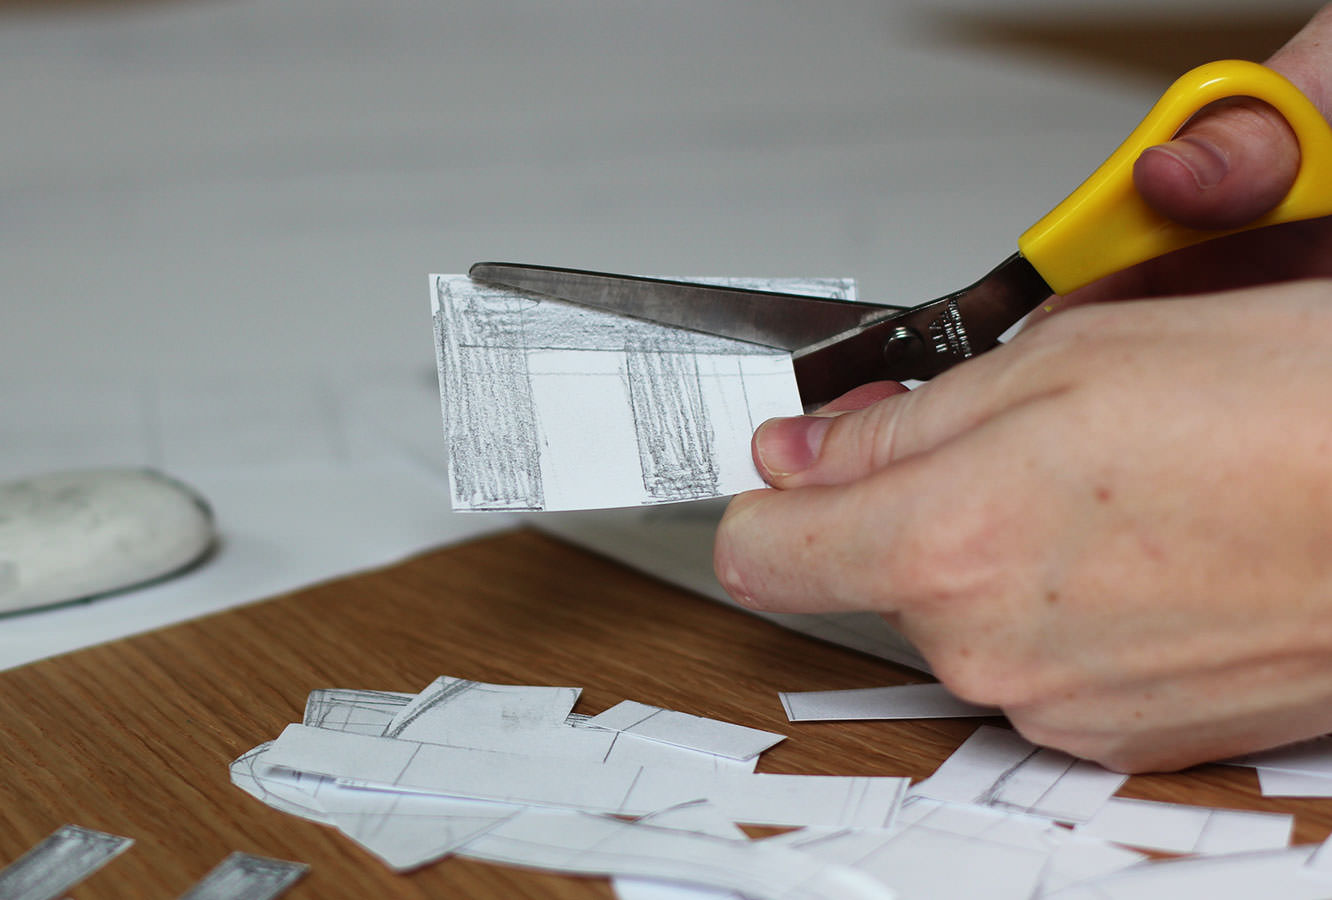
Cut out your design, leaving everything that’s meant to be mat coloured in tact and leaving gaps where the spray will go.

door-mat-diy-5

Step four

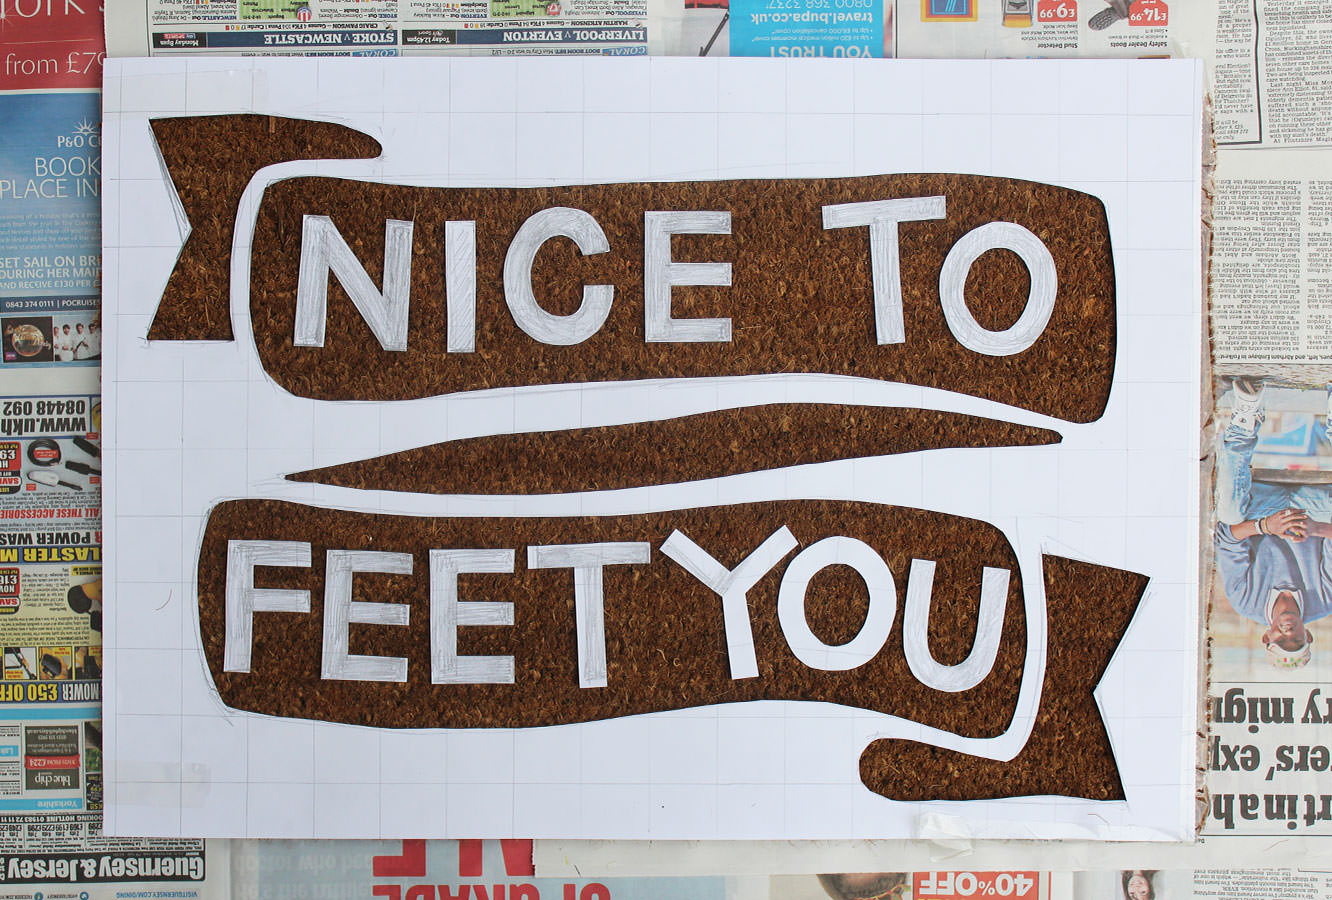
Go outside and lay out newspaper on an even surface. Place the mat on top and arrange your stencil.

I used double sided tape to secure the letters. I won’t lie, this didn’t work perfectly as they did still curl up a little, but I couldn’t think of a better solution – blu tac would have stayed in the bristles of the mat.

door-mat-diy-6

Step four

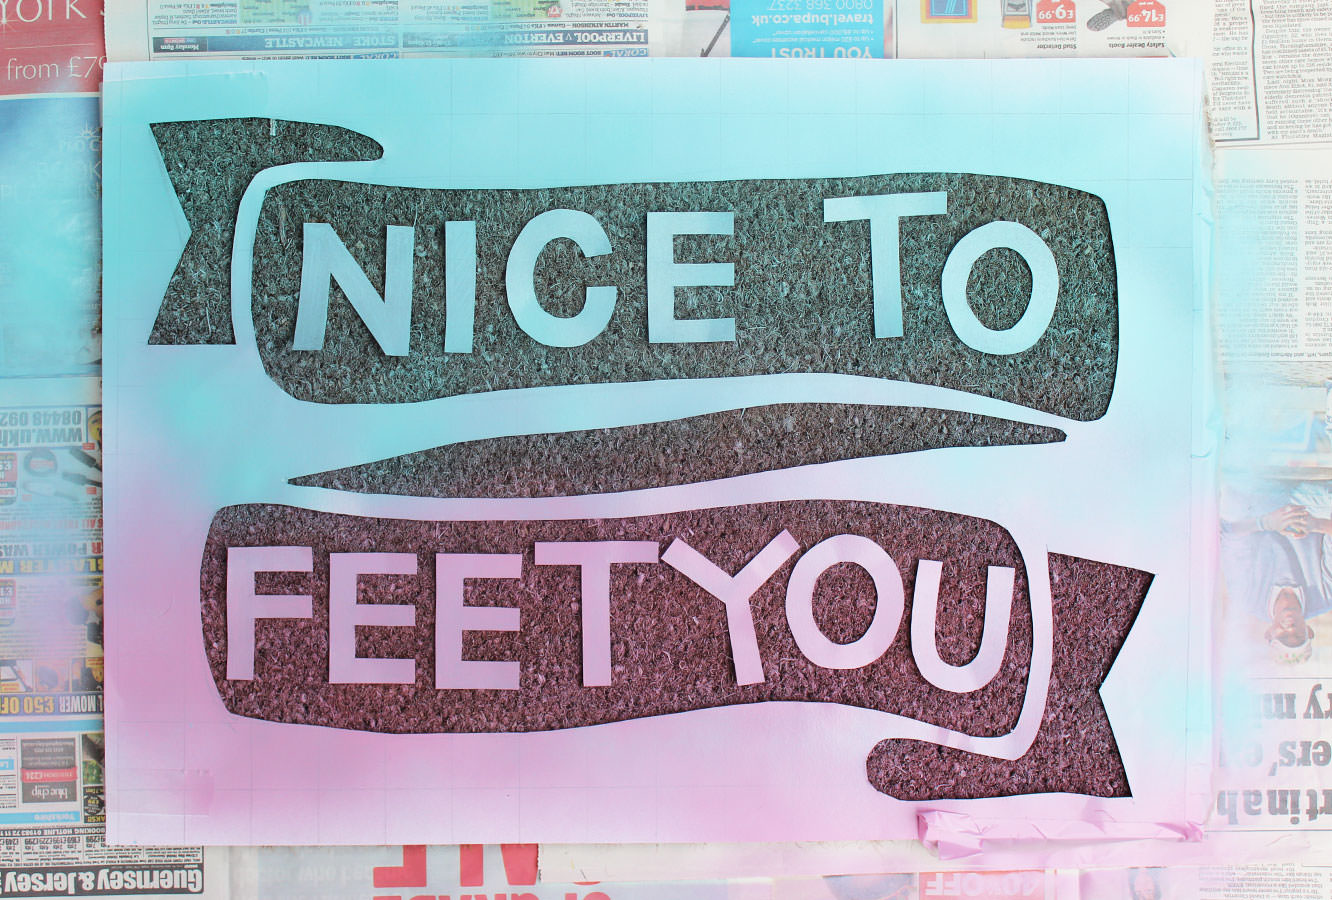
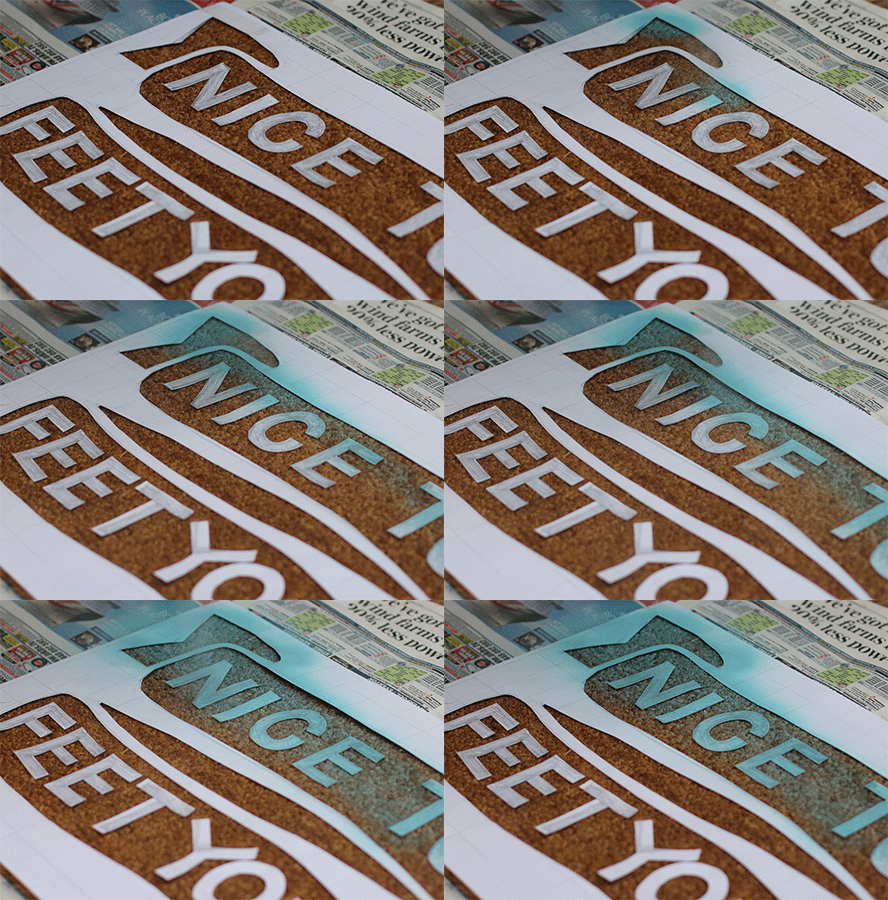
Spray away. Keep the can about 20cm away from the surface. I used two colours and sort of merged them in the middle.

Here’s a tiny gif (I apologise, it’s not my best, I was too distracted by all the spray paint flying in my face to concentrate on the photography) but I got complaints last week for not including one…

door-mat-diy-gif

Step five

Leave to dry and add another layer or two until the colour is quite pronounced. As you are most likely spraying onto a brown mat it’s unlikely you will get it totally opaque. Try to choose colours that are light and bright or really dark. The lilac colour didn’t work quite so well, so I sprayed some white on top to brighten it up a bit. The blue was good, and I think yellow might work well too.

door-mat-diy-8

Step six

Bring a smile or a roll of the eyes to your post man’s face.


Twinkle twinkle

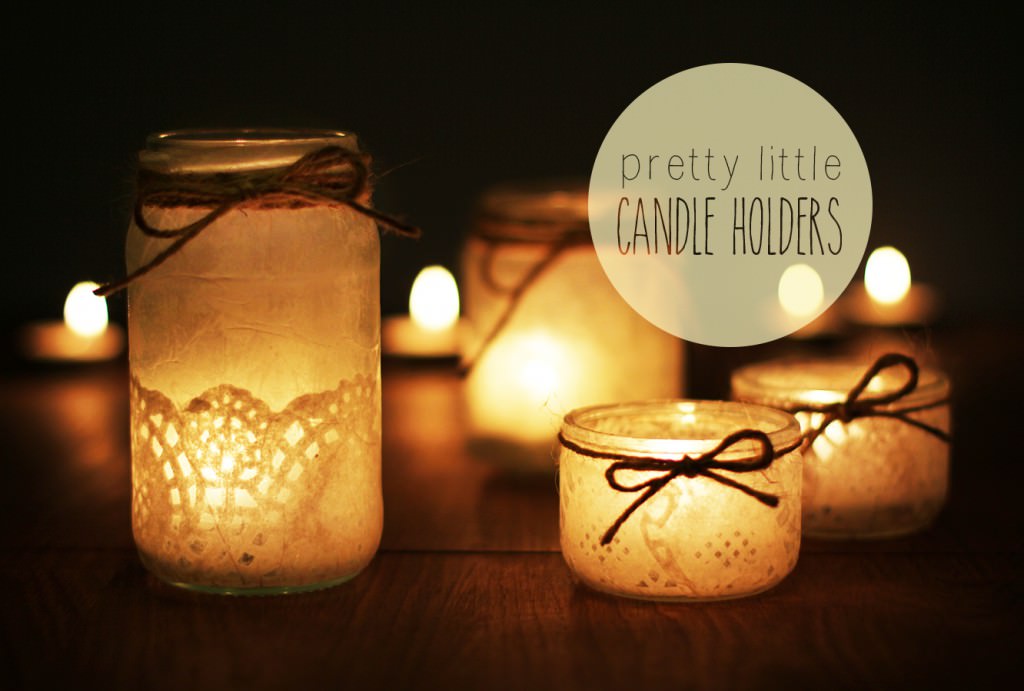
Oh hi. Thanks for stopping by. This week I’ve been putting together a little DIY project for all you people getting married this summer. Or basically anyone who likes candles. I can’t tell you just how ridiculously easy this is and it takes no time at all, so no excuses, unless you are scared of fire.
Candle-Holders

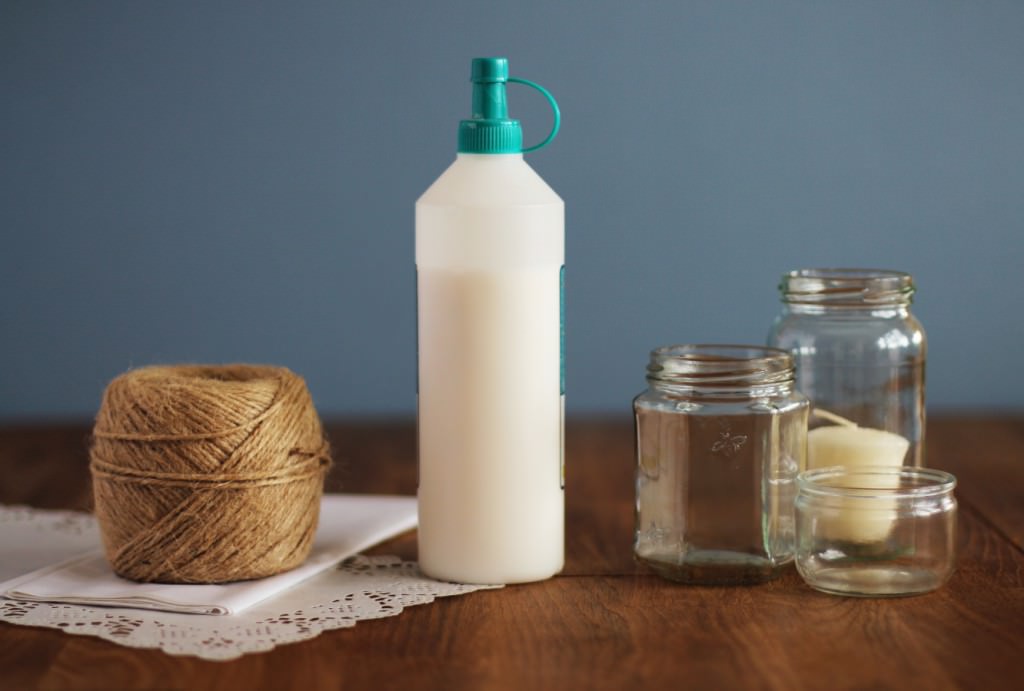
You will need

All the jam jars and glass pots you can find (a great excuse to go to France and gorge on those chocolate puddings, and a perfectly reasonable level of dedication to your craft)

Tea lights/small candles

White tissue paper

Paper doilies

Some kind of nice rustic string or ribbon (mine was from hobby craft)

PVA glue

Candle-Holders-1

Step one

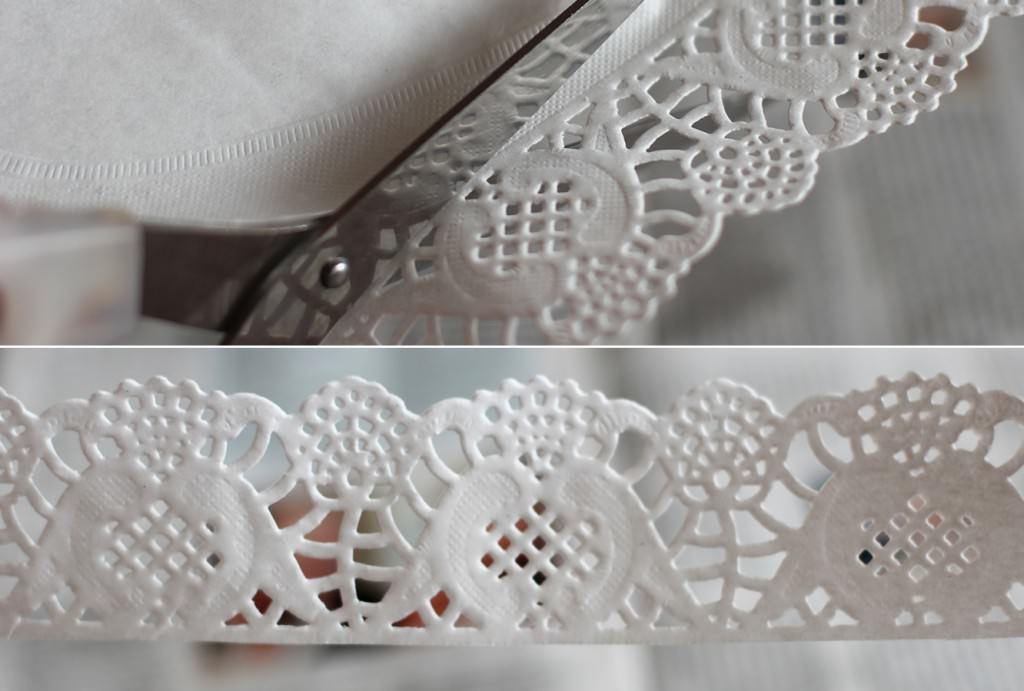
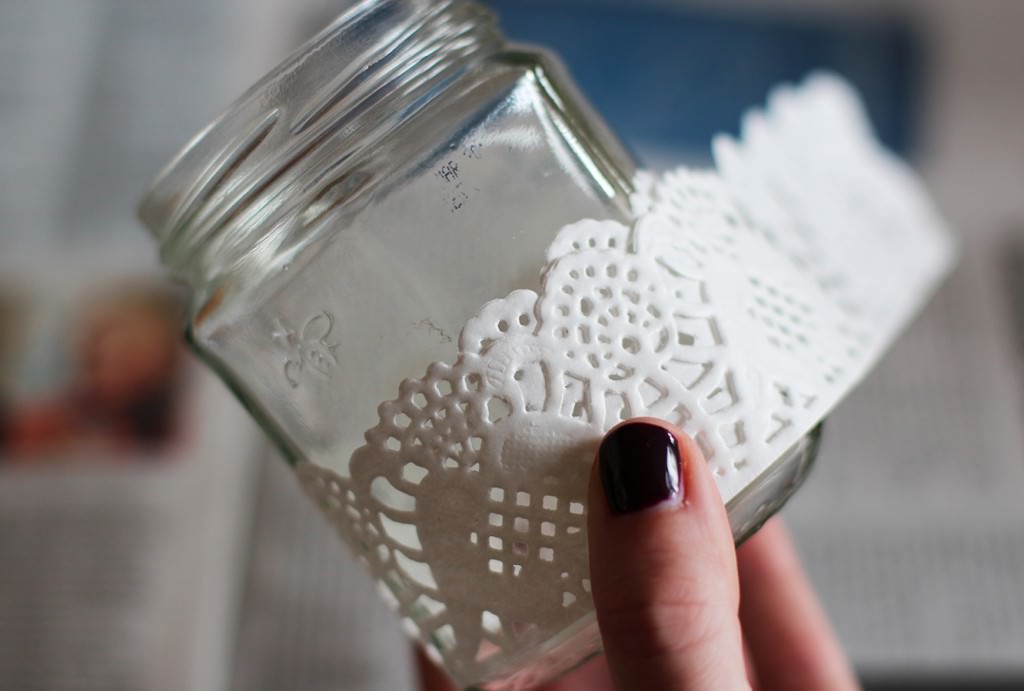
Cut the lacy bit of the doily off so you have a long strip. I found these rectangular ones in a bits and bobs shop which are ideal for wrapping round in a straight line.

Candle-Holders-2

Step two

Measure the circumference of your jam jar and cut the doily strip to size. Pro tip: when you cut it go with the natural curve of the pattern, rather than a straight line, as even if you have some overlap the join will be far less obvious.

Candle-Holders-3

Step three

Use the jar as a measure to cut a strip of tissue paper (one sheet thick) to match the height and circumference. You don’t need to be too exact as the tissue molds easily with the glue.

Candle-Holders-4

Step four

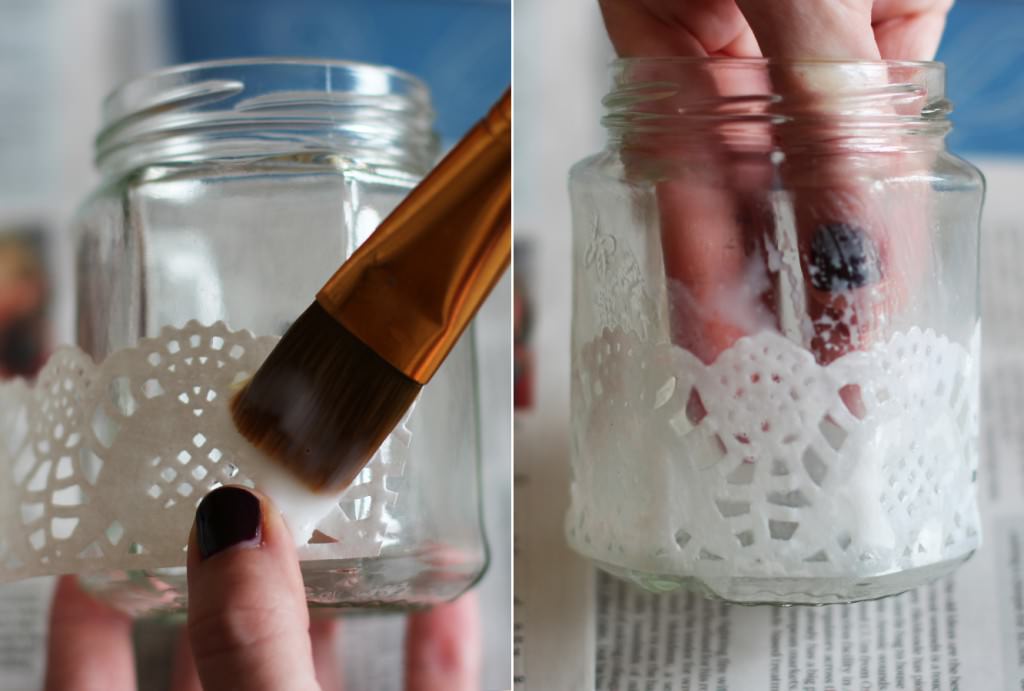
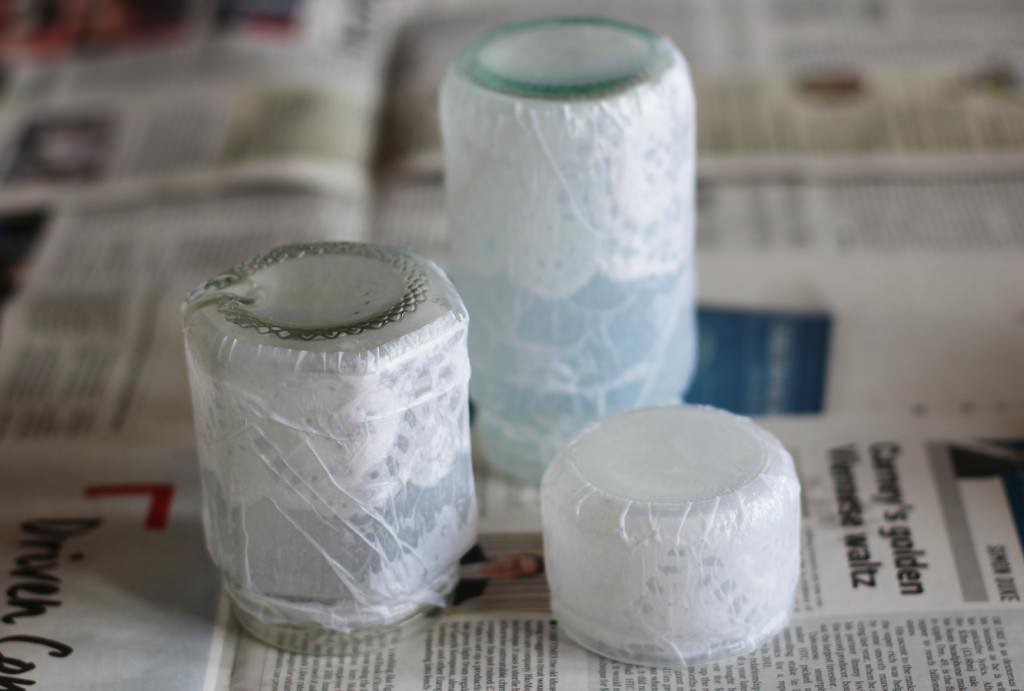
Using a mixture of PVA glue and water (about two thirds PVA to one third water) stick the doily around the bottom of the jar as shown. I put the doily onto the jar dry and then just painted over the top which worked perfectly. Pro tip #2: I know, I know, I’m spoiling you today…once you’re about half way round the doily will hold to the jar by itself so you can put your non paintbrushing hand inside it to hold steady and avoid getting glue all over yourself.

Candle-Holders-5

Step five

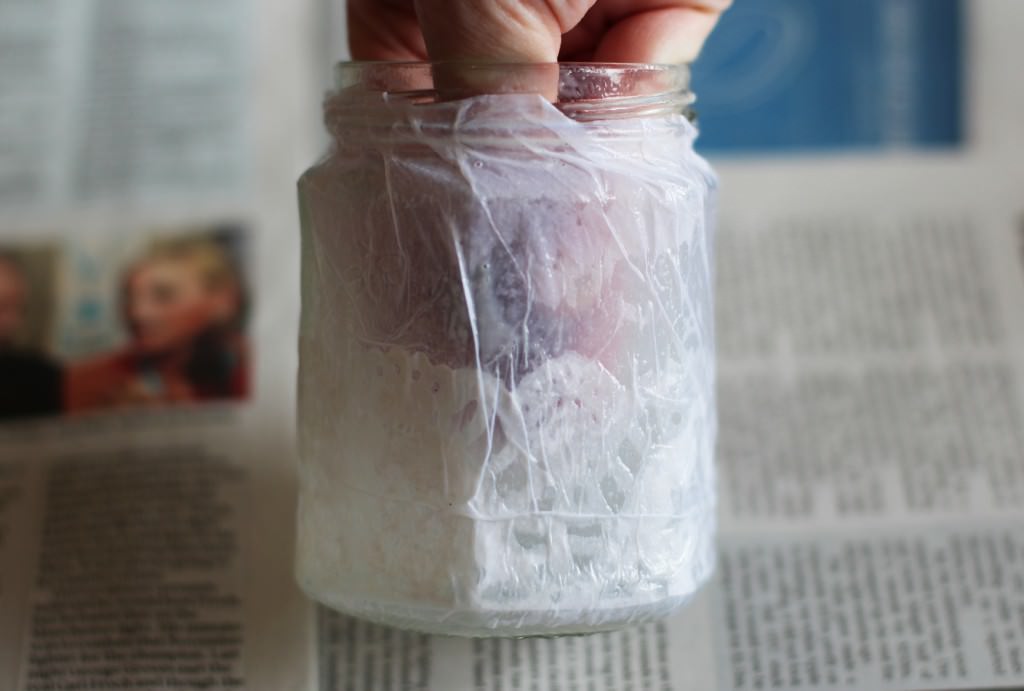
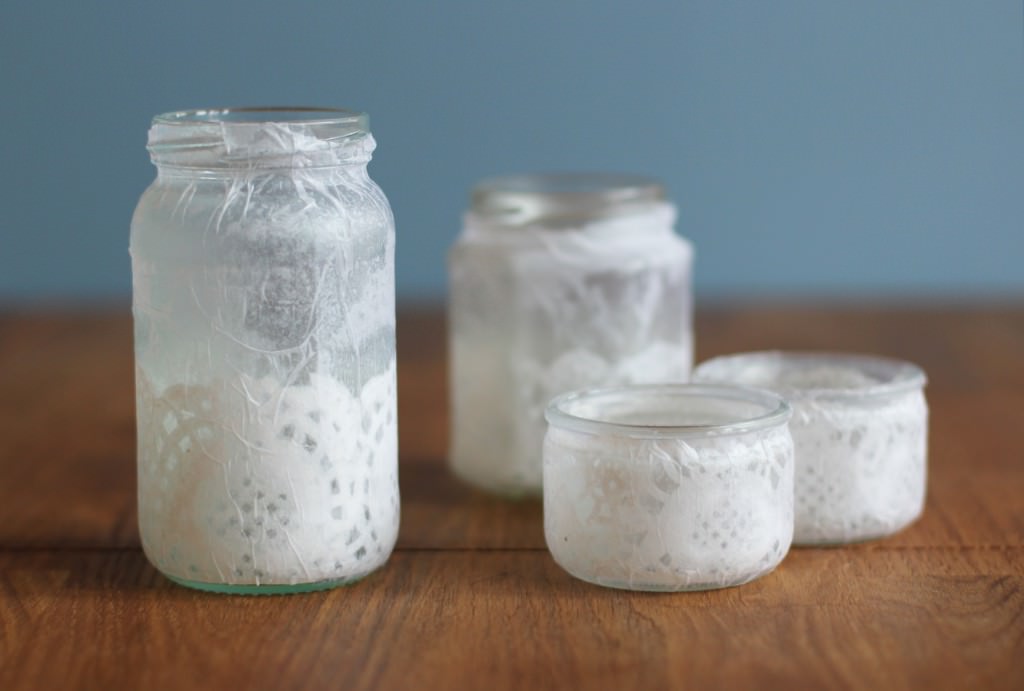
Repeat with the tissue paper, pushing it into the contours of the jar as you go. Don’t worry if it looks really scruffy at this point; it will be alright on the night.

Candle-Holders-6

Step six

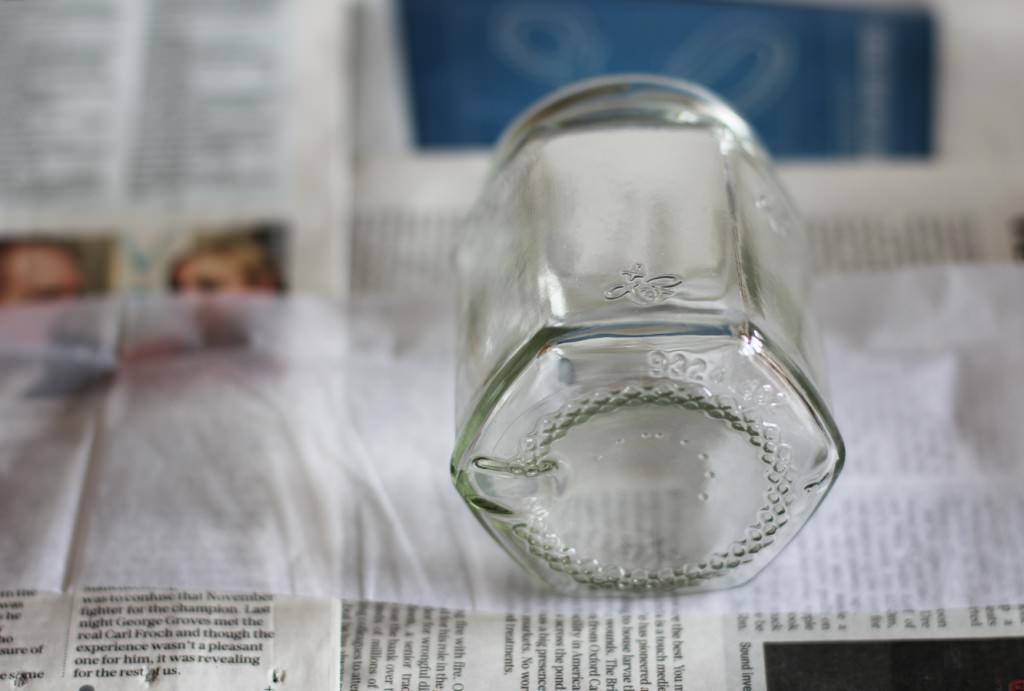
Leave upside down to dry (or on whichever is the least gluey end!)

Candle-Holders-7

Candle-Holders-8

Step seven

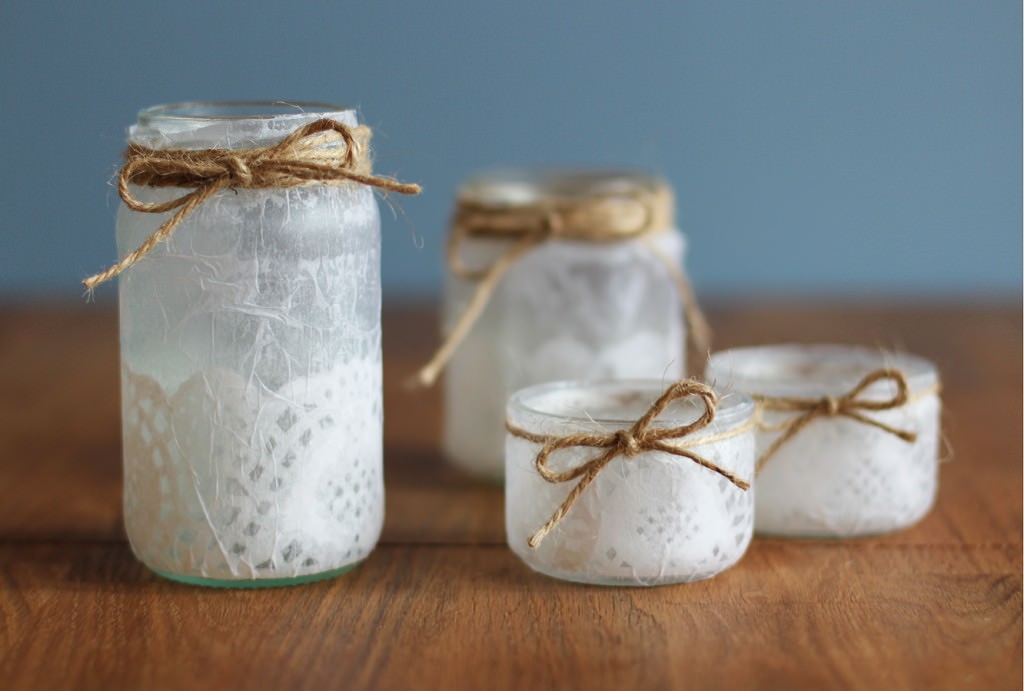
Once dry, tie some lovely little bows around the necks of your candle holders. If you made a mess of the necks in the gluing phase you can use this opportunity to wrap the string around several times and pretend it’s all part of the design.

Candle-Holders-10

Step eight

Fill with tea lights and fire.
Dear darling….

Yo. Another Monday, another blog from me. It’s sort of a cheat really, as it’s a spin off from this present I made for my friend Beth a few months ago. I made one for each week she was away travelling, I hope she’s having as much fun reading them as I had writing them. I MISS her.

I’ve been reflecting a whole lot lately on what wonderful friends I have. Beth is truly one of life’s diamonds (I promise I’m not usually this cheesy).

So if you have a special someone in your life, take a moment to make them a little love letter and let them know how much they are valued.

heart-envelope-homemade-love-letter-1

You will need

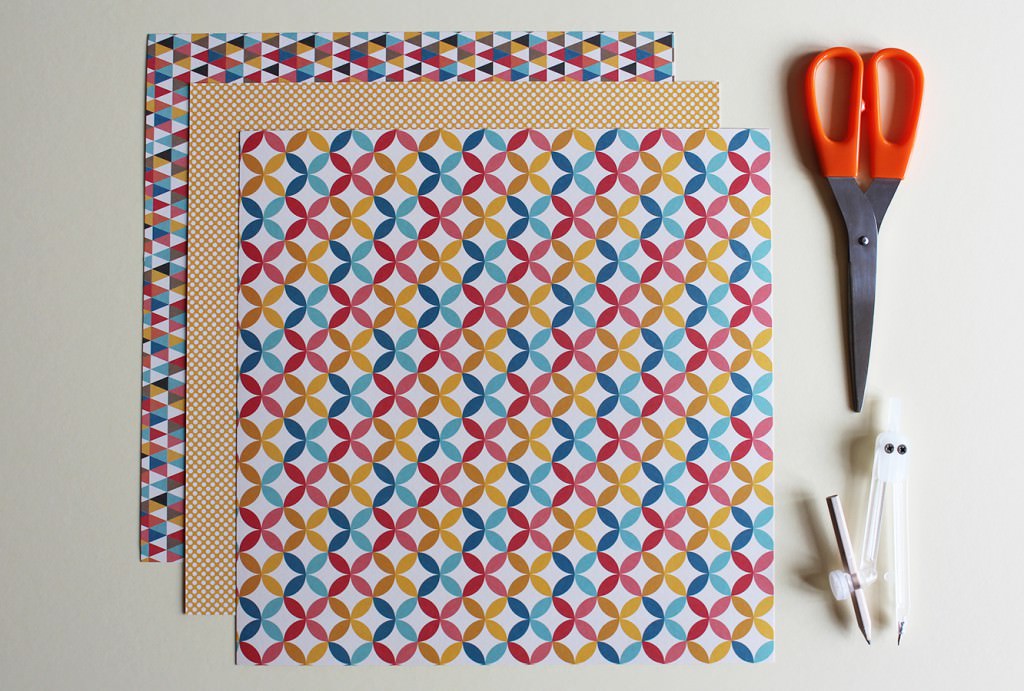
Large pieces of pretty card/paper (mine are scrapbook sheets 12″x 12″)

Something round/set of compasses

Scissors

The outpourings of your heart

heart-envelope-homemade-love-letter-2

Step one

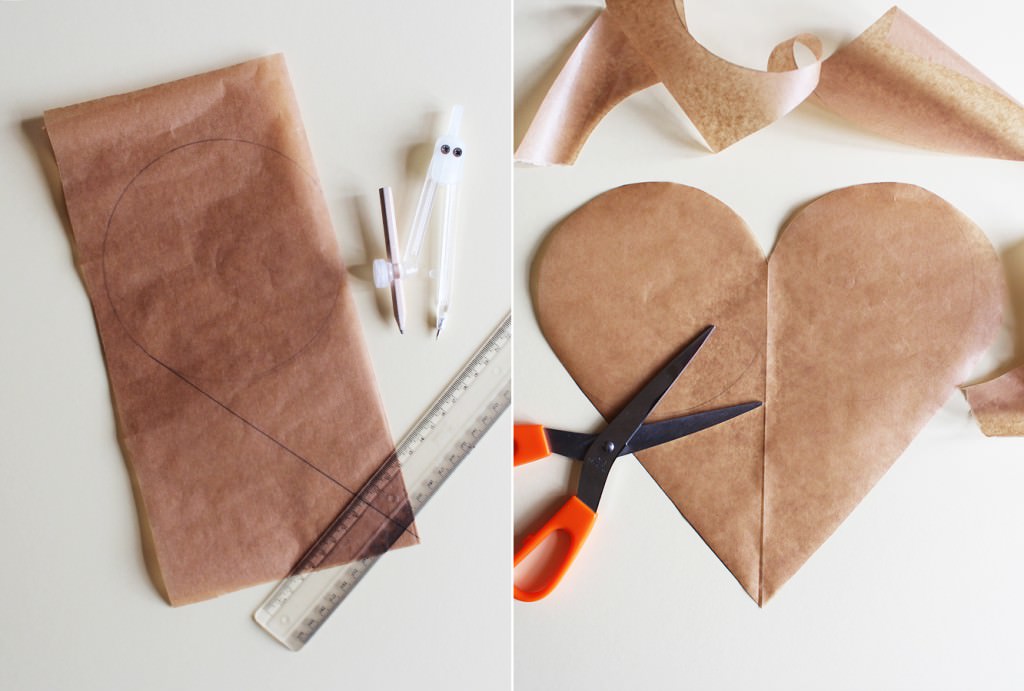
Using a piece of plain paper/newspaper/greaseproof the same size as your proper paper, make a heart template.

I did this by folding the template paper in half and drawing a circle to almost full width. Then use a ruler and draw a line from the edge of the circle towards the fold to make a point.

Cut out and unfold. Voila.

heart-envelope-homemade-love-letter-3

Step two

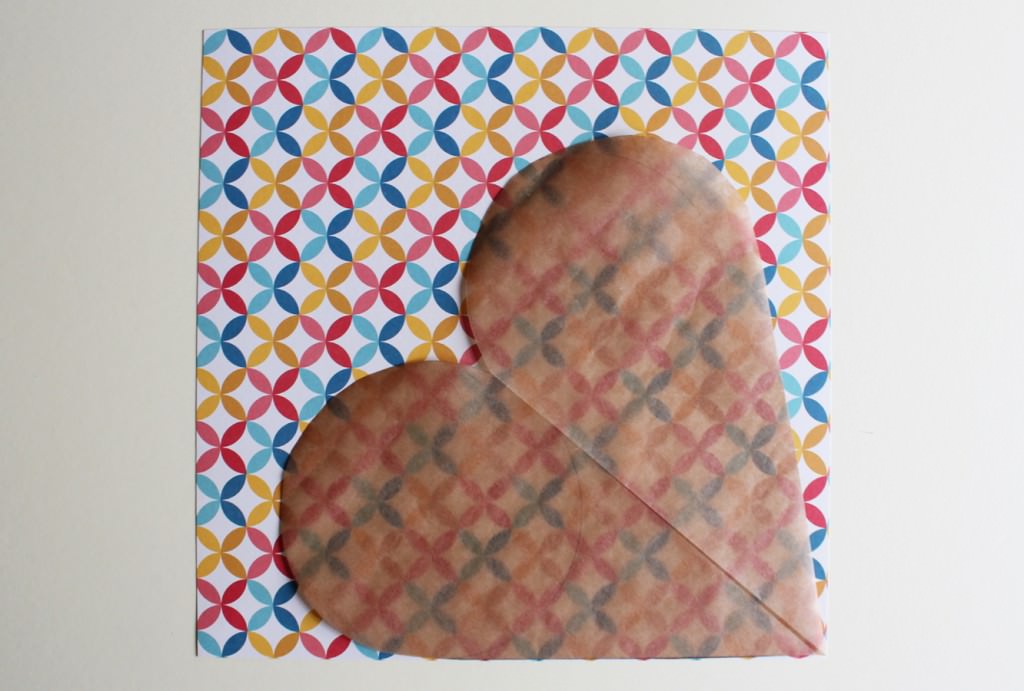
Draw round the template on your nice paper/card. Don’t be a peasant – use pencil.

heart-envelope-homemade-love-letter-4

Step three

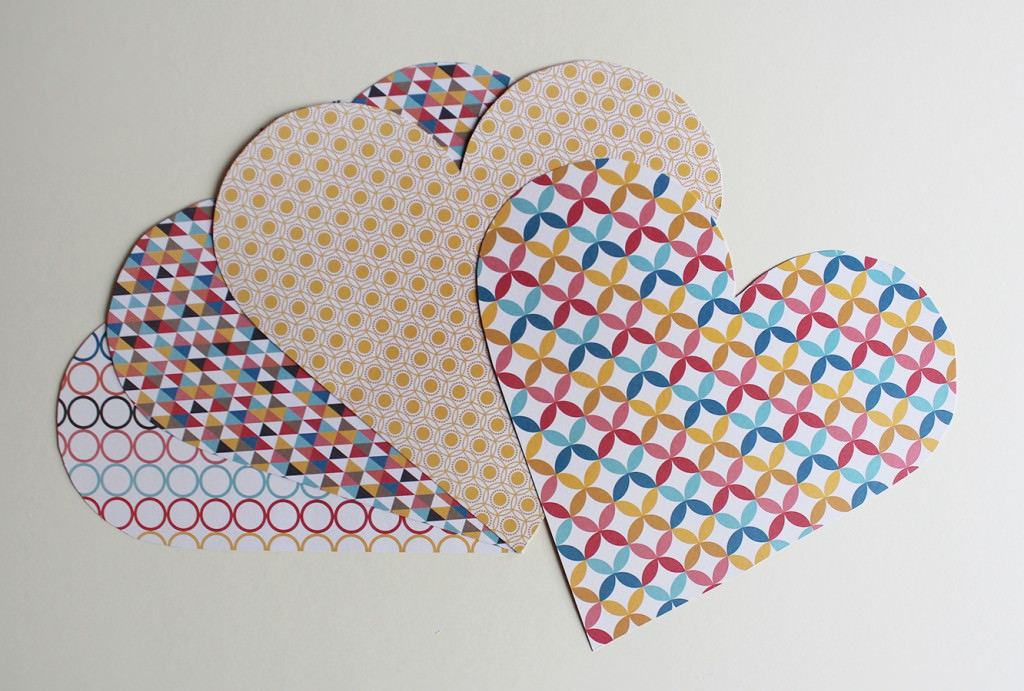
Cut out as many as you need. I appreciate for you guys this might just be one, not everyone fancies their friends as much as I do.

heart-envelope-homemade-love-letter-5

Step four

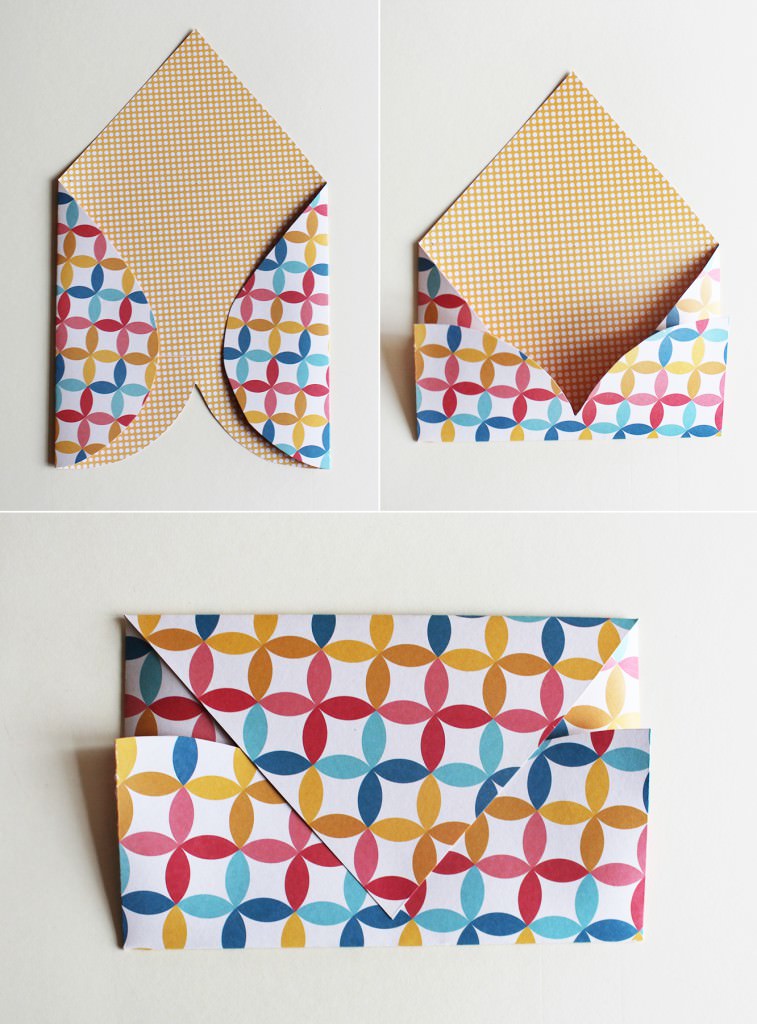
Turn the heart around so the point is facing away from you, and fold the sides in. You might want to use the scissor blades to score the lines first if you are using thicker stock.

Fold the domed bits up to make the bottom of the envelope. Finally, fold the point down to make the flap.

A disclaimer for this step is to practice on the template version first so you have the right dimensions, to make sure your envelope doesn’t have any gaps. You’ll see what I mean.

Step six

Write away.

I folded strips of A4 and stuck one section to the back of the heart so it kind of pulls out. You might prefer to write straight onto the it if your paper doesn’t have such busy patterns.

I stuck a button on each of mine to close them.

heart-envelope-homemade-love-letter-6

Enjoy telling people the people you love that they are great!

I’d tag that

Well hi. Apologies for being MIA, sometimes the blog falls victim to life’s unpredictability, but I’m back, and thanks for sticking with it.

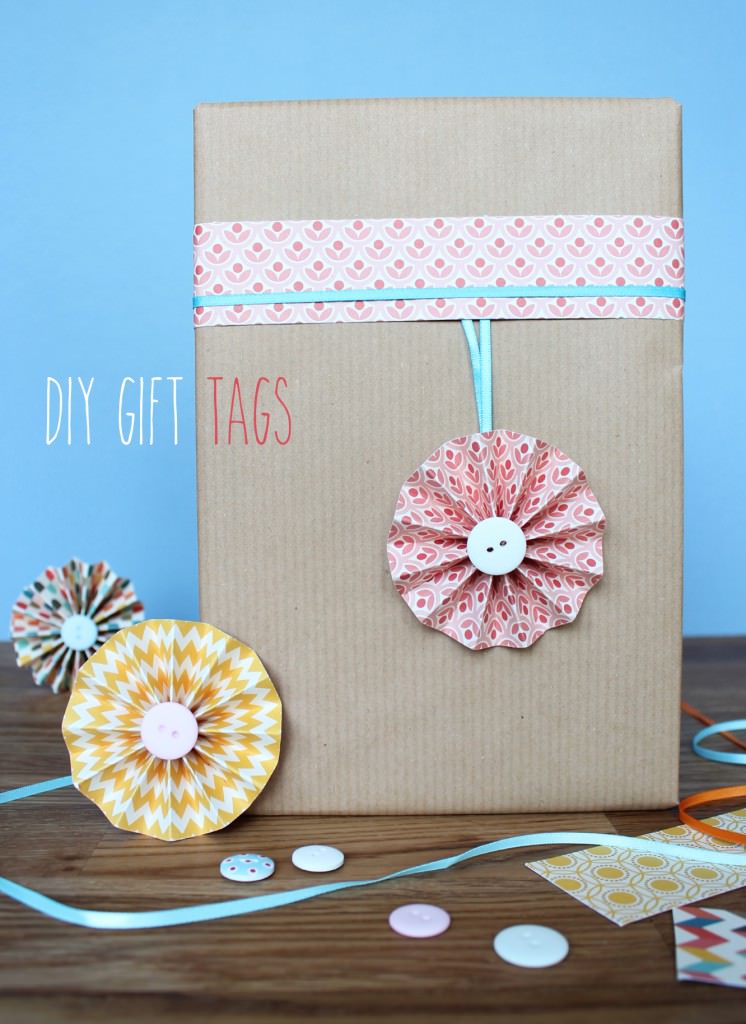
I had a birthday recently, so in honour of my stepping over the early-mid twenties boundary *weeps silently* I have devised an excellent little make to help your gifts stand out from the crowd. You can make a load of these up in one go so that you have a good stock of supplies to whip out at a moment’s notice.

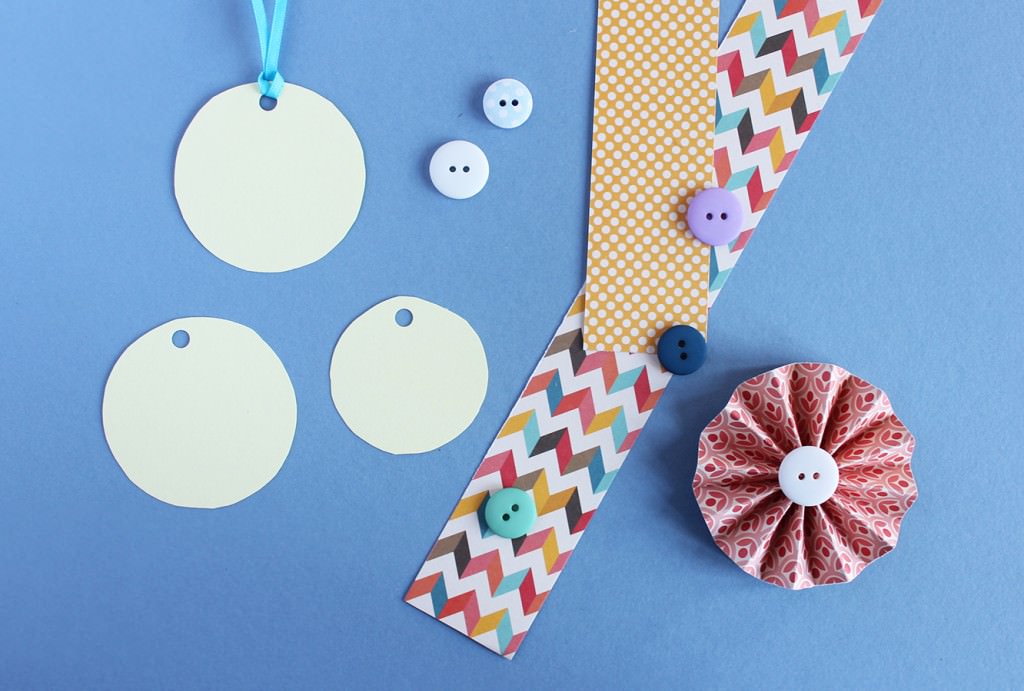
DIY-gift-tag-1

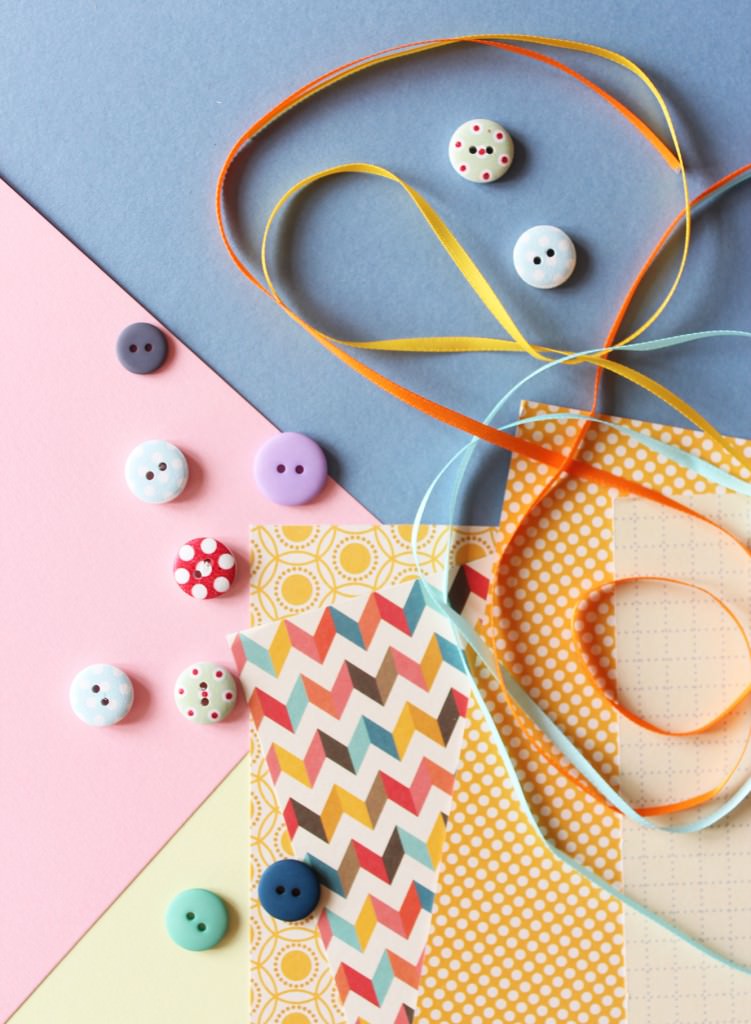
You will need

Cheerful patterned paper

Some plain card or paper

Buttons

Ribbon

Strong quick drying glue

DIY-gift-tag-2

Step one

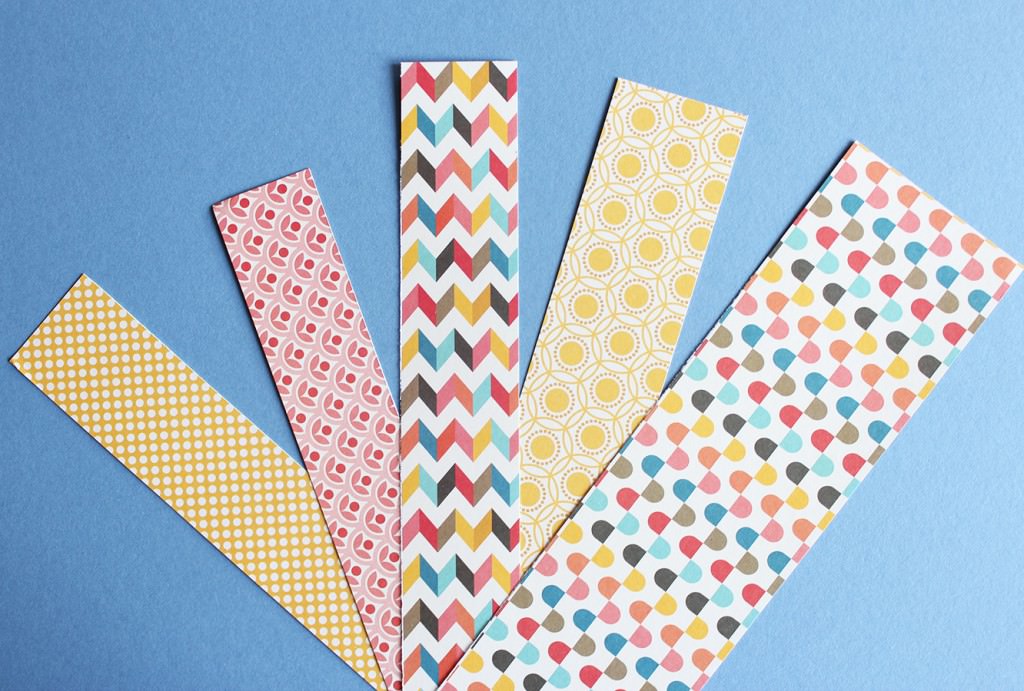
Cut your paper into long strips.

The width is up to you, but bear in mind it will be the radius of your tag. I found the thicker the strip, the longer it needs to be to work (I didn’t deserve my Maths GCSE for not knowing that instinctually) so you may need to tape two strips together if you want big tags.

All will become clear.

DIY-gift-tag-3

Step two

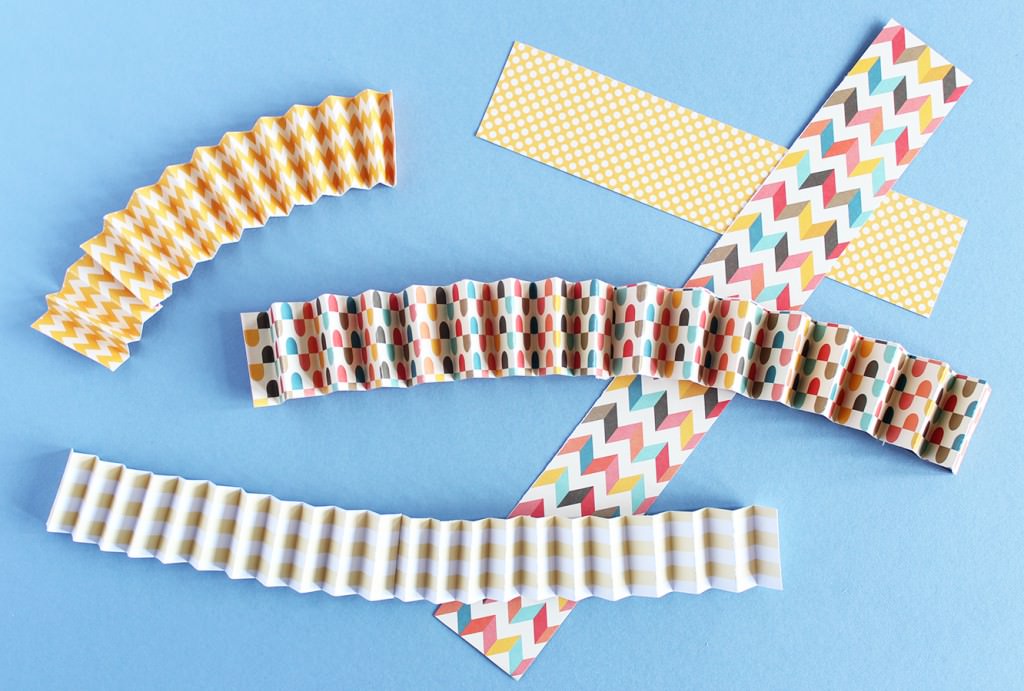
Fold the strips into a concertina (one bit forward, one back, just like in primary school when you made paper fans).

DIY-gift-tag-4

Step three

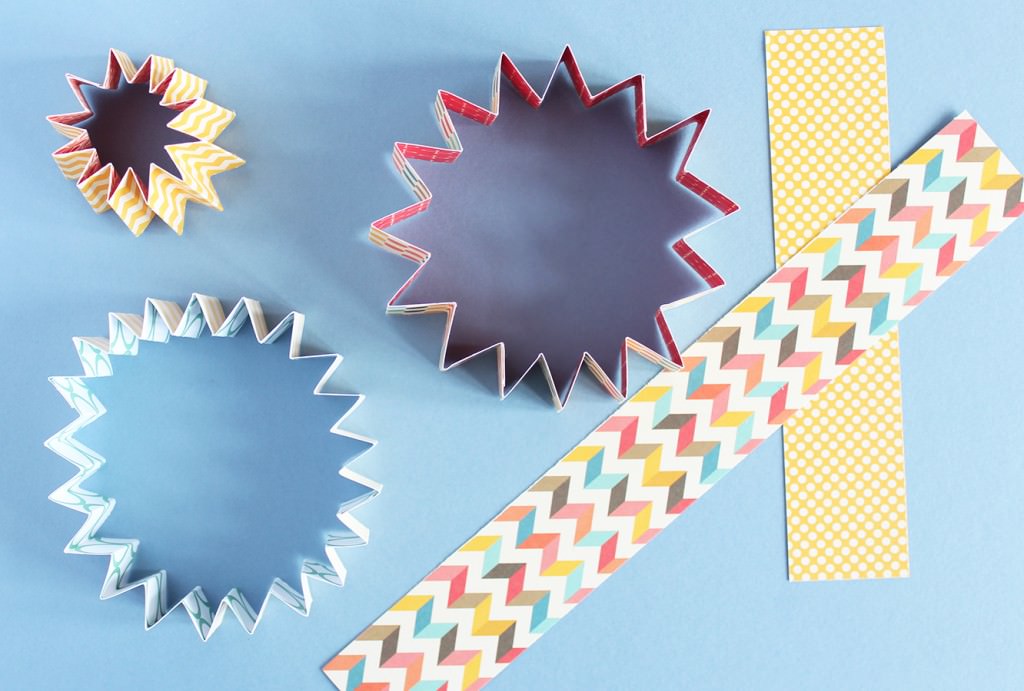
Stick together the two ends of each strip so that you have the star shape type things above.

DIY-gift-tag-5

Step four

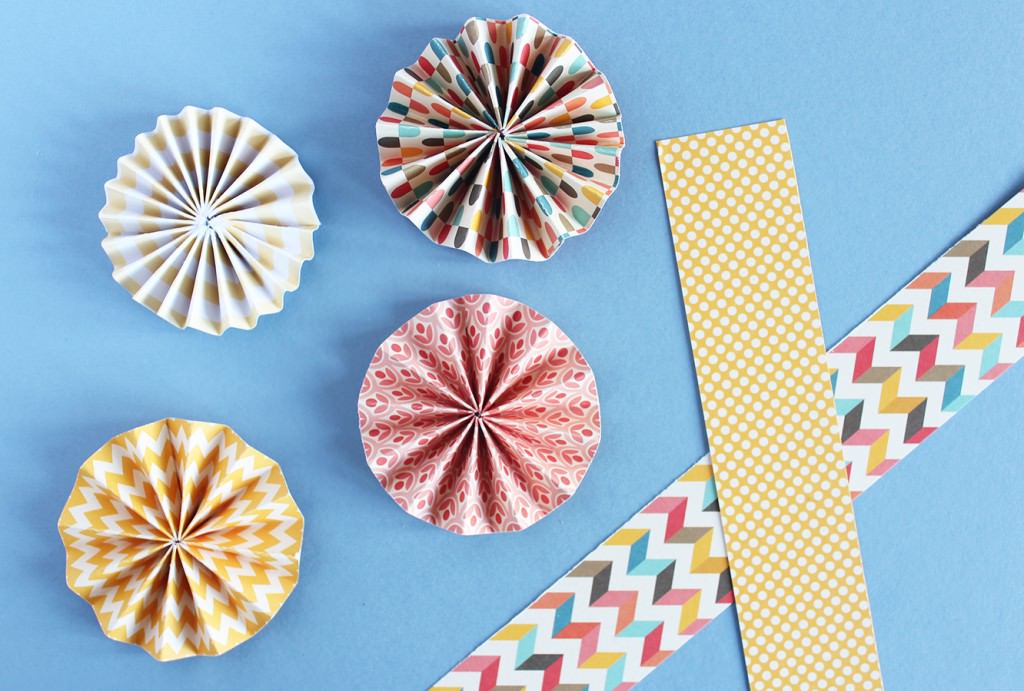
Pick up your stars and push the top edges into the middle to make these circular flowery fan things.

Put a small dab of strong glue on the centre and hold until stuck (I mean super glue really, I have zero patience for anything else, and glue burns to prove it). On that note, be careful it doesn’t drip all the way through the middle while you’re holding it – unless you want a charming new finger accessory.

DIY-gift-tag-6

Step five

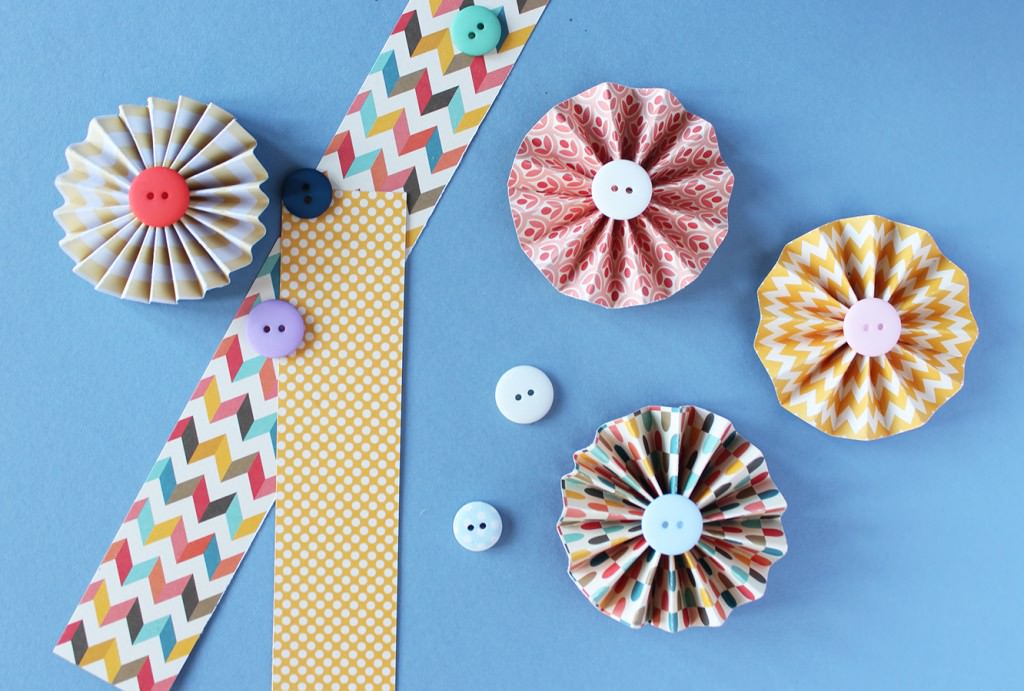
Stick a button over the join in the middle.

DIY-gift-tag-7

Step six

Find something circular that matches the size of your tags (or use a set of compasses). You want the circle to be a bit smaller than the tag itself.

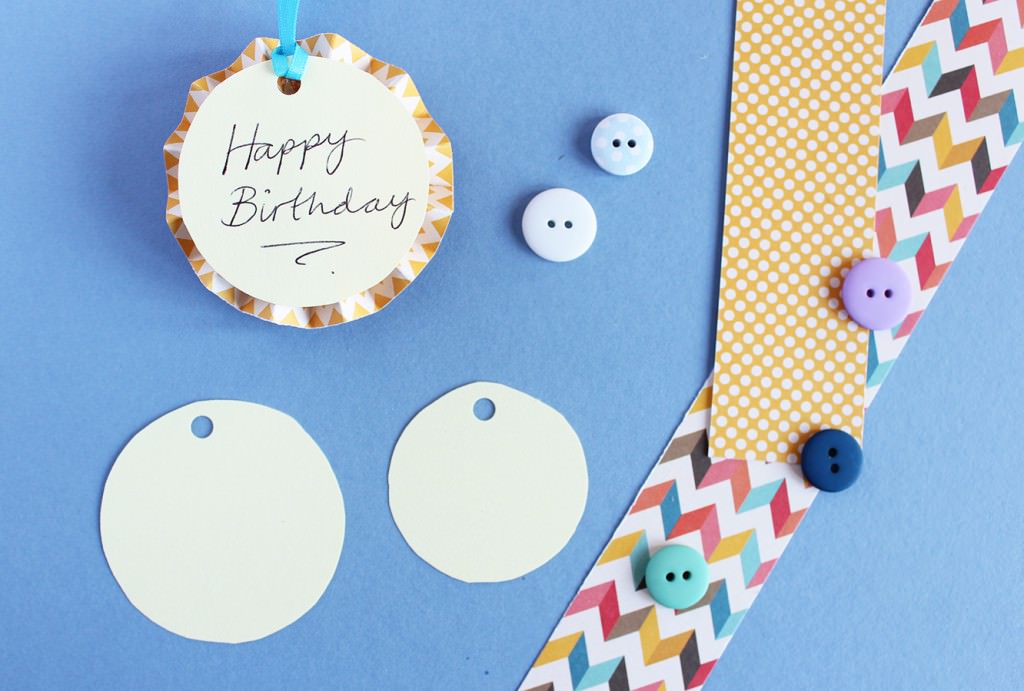
Cut said circles out from plain coloured card and use a hole punch to make, well, a hole.

Loop a short length of ribbon through the hole.

DIY-gift-tag-8

Step seven

Stick the card disks to the backs of the tags using double sided tape or glue.

Write your meaningful and heartfelt congratulations that the birthday person is still alive on the reverse.

Affix to gift.

DIY-gift-tag-9

Step eight

Smugly produce your beautifully tagged gift at the appropriate moment.

Thanks for stopping by, have a great week!

A little box of joy

In case you hadn’t noticed, Easter is fast approaching. I’m a big fan of Easter, and Spring in general. This year I’m heading to Germany to see some very wonderful people and I can’t wait.

In the meantime though, I’m busy covering everything in mini eggs and thinking up yummy Easter treats for you to get chubby eating. You’re welcome.

This one is great for kids and would make a lovely little present for the relatives or anyone else you might be seeing over the next few weeks.

Mini-Easter-Cupcakes-Recipe-1


You will need

An egg box

Coloured paper/paints

PVA glue

For the cakes

4.5 oz/125g Self raising flour

4.5 oz/125g Butter/margarine (I use stork for most cakes)

4.5 oz/125g Caster sugar

2 eggs

1tsp Vanilla extract

For the decoration

4.5 oz/125g Unsalted butter (room temperature)

2 tbsp Full fat milk

12 oz/350g Icing sugar

Food colouring

1 tsp Vanilla extract

Mini eggs

Mini cupcake/muffin cases

Makes 24

Mini-Easter-Cupcakes-Recipe-2

Step one

Decorate your egg box. This post is just a suggestion, you can paint it, or cover it in glitter, or stick cotton wool balls all over to make it look like a sheep. Your only limit is your imagination, and the fact it’s an egg box…

Rip paper into strips. The thinner the paper the better with this really, as egg boxes, I discovered, are rather lumpy, so thicker papers don’t mould around them so well.

Mix PVA and water together in a bowl that you don’t mind getting temporarily covered in glue. You want about 3 parts PVA to 1 part water (otherwise the egg box will get soggy).

Paint the glue mix onto the surface of the box and stick paper on top. Cover each strip of paper with more glue mix as you go. This is where it all gets very Art Attack. Neil Buchanan made it look so easy…

Keep going until the whole outside is covered and leave somewhere to dry. Make sure you do the box bit a good few hours in advance of using it, ideally the day before.

Mini-Easter-Cupcakes-Recipe-3

At this stage mine looked like the above, and I still thought it was a bit messy.

Mini-Easter-Cupcakes-Recipe-4

Step two

Line the edges with washi tape. I did this to neaten mine up mainly, you possibly won’t have the same issue.

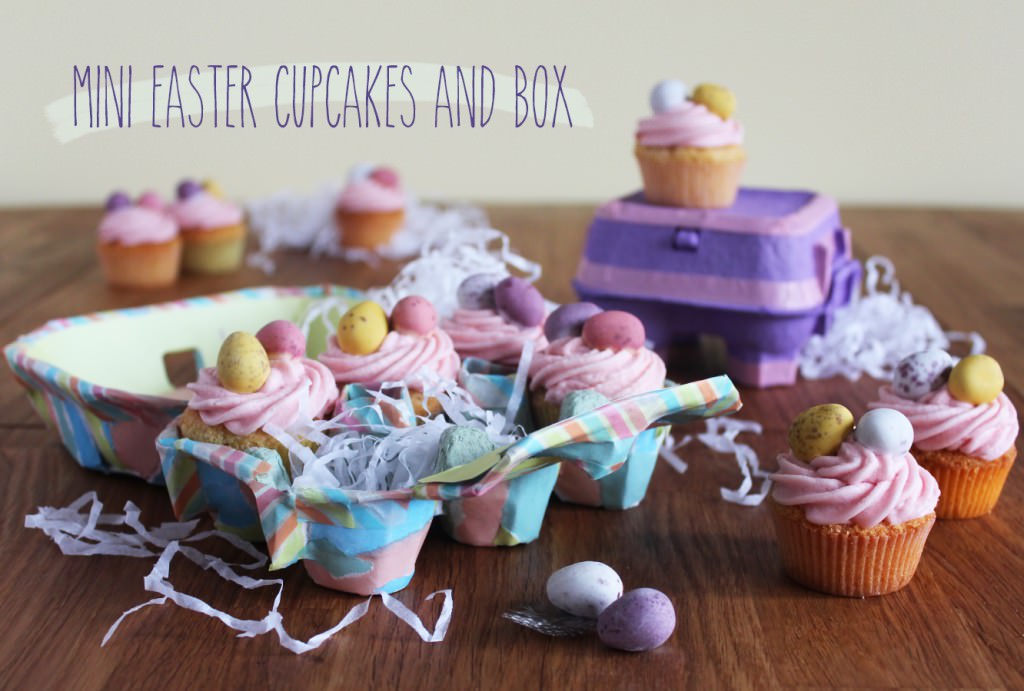
You might notice the purple box in the background…thought I would include a cheats option. That’s the box from those Cadbury’s Egg n’ Spoon things. They are amazing in case you were wondering, and now you have an excuse to buy a pack.

Cut the central doo-dahs so they are level with the rest of the sides.

Line the lid either using the same technique as before, or with cut paper and double sided tape.

Mini-Easter-Cupcakes-Recipe-5

Step three

Time to start on the cakes. I use an electric whisk to make cakes but a wooden spoon and some elbow grease is just as good.

Cream together the margarine and caster sugar. If you’re using butter bring it to room temperature before doing this. You want it to be fluffy and light like the image on the right. Honestly, Stork is the way forward for this. Cheaper too.

Mini-Easter-Cupcakes-Recipe-6

Step four

Quickly whisk/beat in the eggs and vanilla extract and then add the flour.

Stir until you have a smooth thick batter.

Heat oven to gas mark 4/180 C/350 F

Mini-Easter-Cupcakes-Recipe-7

Step five

Fill cake cases with mixture. You want them to be about two thirds full, a few of mine were too full, so if in doubt look at the above and go for a bit less!

Step six

Bake for  about 30 mins on gas mark 4/180 C/350 F. My oven is a touch special so keep an eye on yours, timings may vary.

Leave to cool completely before icing.

Step seven

Whisk together the unsalted butter, icing sugar, milk, and vanilla extract. Add food colouring of your choice.

Now, I don’t usually use a recipe for this so don’t shy away from adding a bit more icing sugar if your icing is too wet or a splash more milk if too dry.

Mini-Easter-Cupcakes-Recipe-8

Step eight

Ice your cakes and pop two mini eggs on top.

I won’t give too many piping tips as I’m still getting the hang of things myself. The general rule though is to keep the piping bag at quite an upright angle and apply even pressure.

Mini-Easter-Cupcakes-Recipe-9

Step nine

Put them in the egg box and make someone’s day that little bit more joyful.

Mini-Easter-Cupcakes-Recipe-10

My little Columbus

Several months ago now one of my absolute bests announced she was planning to desert us all for far off lands. That time is growing closer (sob), and I thought I would use the opportunity to a) make up for a missed birthday (I didn’t forget it – NOTHING is good enough for her she’s just that great) b) remind her how special she is as the pre-travel nerves begin to build and c) give you some inspiration for gifts for your globe trotting buddies.

Let me tell you a little about Beth’s trip. She’s heading out to California to be a best (wo)man in a wedding, then to Vanuatu where she’ll spend most of her time, before hopping across to Australia and New Zealand for a little look see after which it’s home to GB.

(Yes, Vanuatu is where this happened. Somehow can’t see Beth having a go.)

So here it is, a gift guide for a traveller, which you can adjust and adapt to suit your budget and your friend.

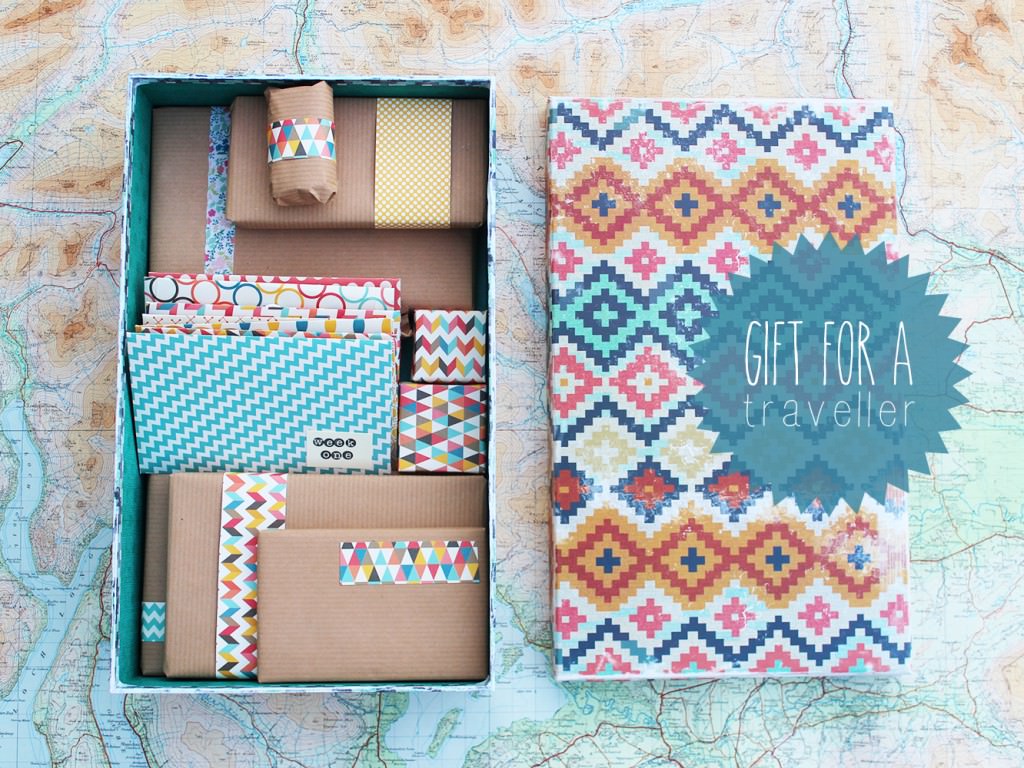
gift-for-a-traveller-4

Just building the suspense a little bit. Here’s the box…want to see what’s inside? Here you go:

gift-for-a-traveller-11

Oh everything’s wrapped up? That’s ok, I’ll open it all up just for you.

gift-for-a-traveller-1

Given that Vanuatu is a big chunk of the trip, I thought I would get a couple of travel diaries together to get her in the mood. Getting Stoned with the Savages actually includes Vanuatu, whilst Solomon Time is based around the Solomon Islands. I did my best, but Vanuatu is kind of niche. Trust Beth.

Next I figured I would find a phrase book for the official language of Vanuatu – Bislama. Again, pretty niche, but I found it, buried away in this little book of Pidgin languages. I expect fluency upon her return.

gift-for-a-traveller-9

On the theme of books, I thought it would be pretty neat if Beth wrote her own travel diary. Now…you’ve actually seen this before…hidden under that orange jacket is the book I bound! Yup. That was for Beth all along. To make a book jacket, just cut a long strip of paper or card and fold around the front and back cover.

gift-for-a-traveller-8

Something else you’ve seen before is the eye mask I made last week. Sneaky aren’t I?

I figured it’s quite a bit of flying to do. NZ to the UK is a long old journey home. So I thought she might want a bit of a nap, not always easy on a plane.

The chocolate? Some of her favourite. If it makes it as far as California, it should mean that she doesn’t have to endure Hershey’s, which is quite important (sorry America, you’re great otherwise).

gift-for-a-traveller-7

Speaking of the USA. That’s Beth’s first stop. She’s a pretty conscientious little person, and really doesn’t like to inconvenience or offend people. So I thought she’d better have some dolla at the ready. I got it all in ones (much to the lady in the post office’s confusion) this way she can tip as soon as the plane hits the tarmac. Not something we’re particularly used to in the UK.

gift-for-a-traveller-6

Now…I also wanted something a little more special to remind her how loved and special she is when she’s far away. I got her this little compass necklace from Etsy. I think it just about stays on theme without hitting cheesy.

A little word on the boxes – in case you are a bit OCD like me and want everything to match…I found these little gift boxes in one of those bits and bobs shops. They were black and silver striped (ew), so I pulled all the paper off and covered them to match the other paper items. You can’t just cover them straight over as they won’t close so you do have to endure the peeling etc. I also used accents of the paper to wrap the other gifts in to tie it all in.

gift-for-a-traveller-10

Sticking on the jewellery theme I couldn’t resist these little rings, also from Etsy. B is a huge fan of the ampersand. I am a huge fan of her.

I don’t want her to think she’s out of sight, out of mind while she’s away. I guess these are a nod towards the friendship bracelets you have as kids, but a bit classier I hope! A little something that says to Beth ‘hey, don’t forget, it’s you & me, that’s not going to change’.

gift-for-a-traveller-2

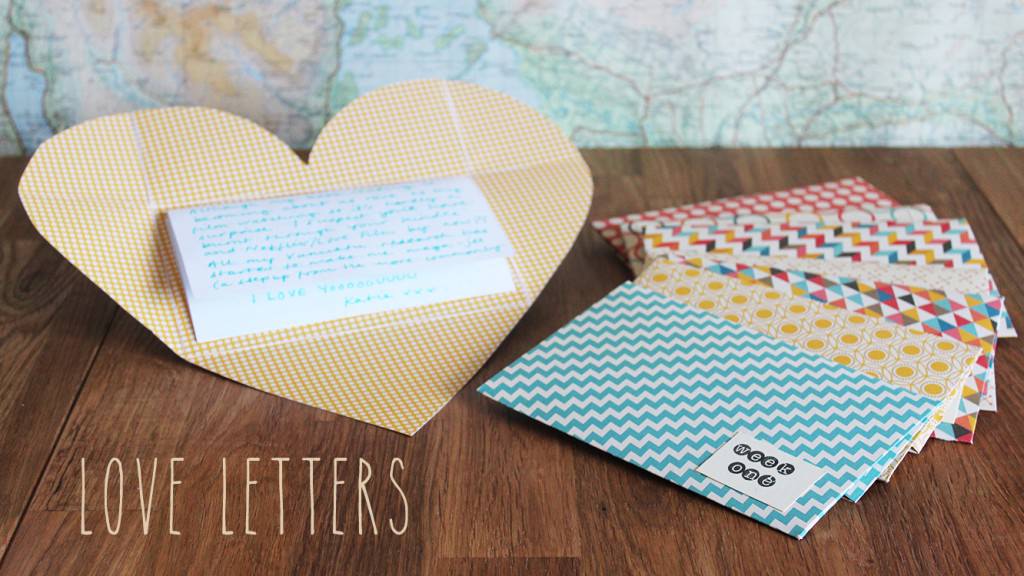
Now, as if it couldn’t get anymore romantic I also decided to write a little letter, one for each week she’s away. The envelopes open into hearts because this girl is just so so great and she needs to know just how much love there is for her.

I’ll be posting a tutorial for the envelopes soon, in case you want to write love letters to your friends too.

Well that’s everything. Except of course that now you’re probably wondering who this amazing person is?

gift-for-a-traveller

There you are. Chilling in the sunshine in her new necklace. What a stunner.

Have a great week chaps and chapettes.