Tag: kids

Stick it, hang it, tag it

A classic case of things not turning out quite how they were meant to this week. I’m not sure exactly what I was expecting, but my housemates managed to cajole me into embracing the rustic charm of these makes nonetheless. By the end I managed to accept them as ‘not too bad after all’ and the lack of precision means that they would be a great little craft for kiddies as the winter creeps in.

With Christmas decorating just around the corner these guys are a great finishing touch as tree decorations, tags on presents and for card making. They are cheap to make and are cute little token gifts for the people you love, or at least those you like enough to want to give them something, but not enough to actually apply yourself to Christmas shopping.
homemade-fimo-christmas-decoration-tag-01

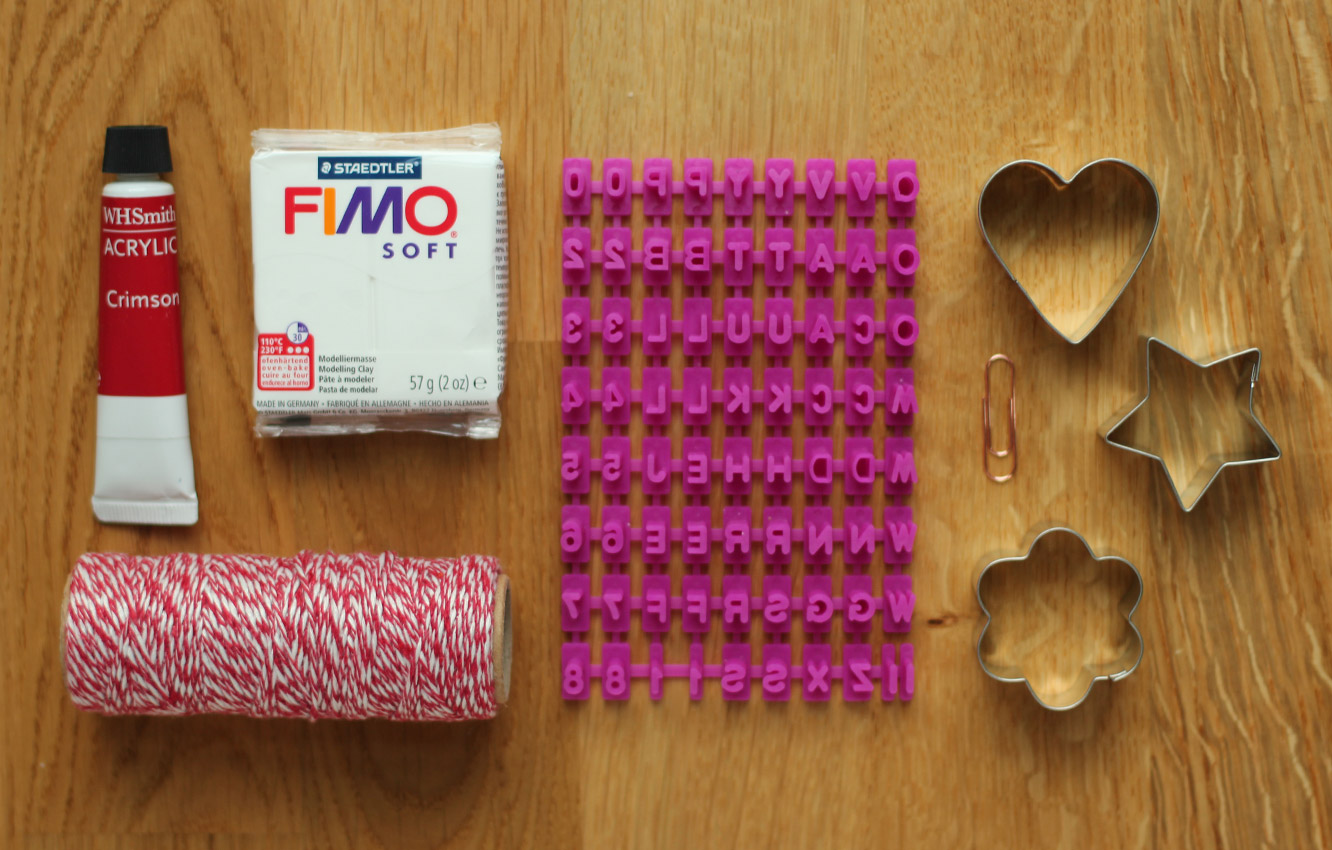
You will need

A block of FIMO modelling clay

Shape cutters

Festive string or ribbon

Acrylic paint and a small paint brush

Alphabet cookie stamp, I go this from Tiger recently (or regular stamps might work)

A paperclip
homemade-fimo-christmas-decoration-tag-02

Step one

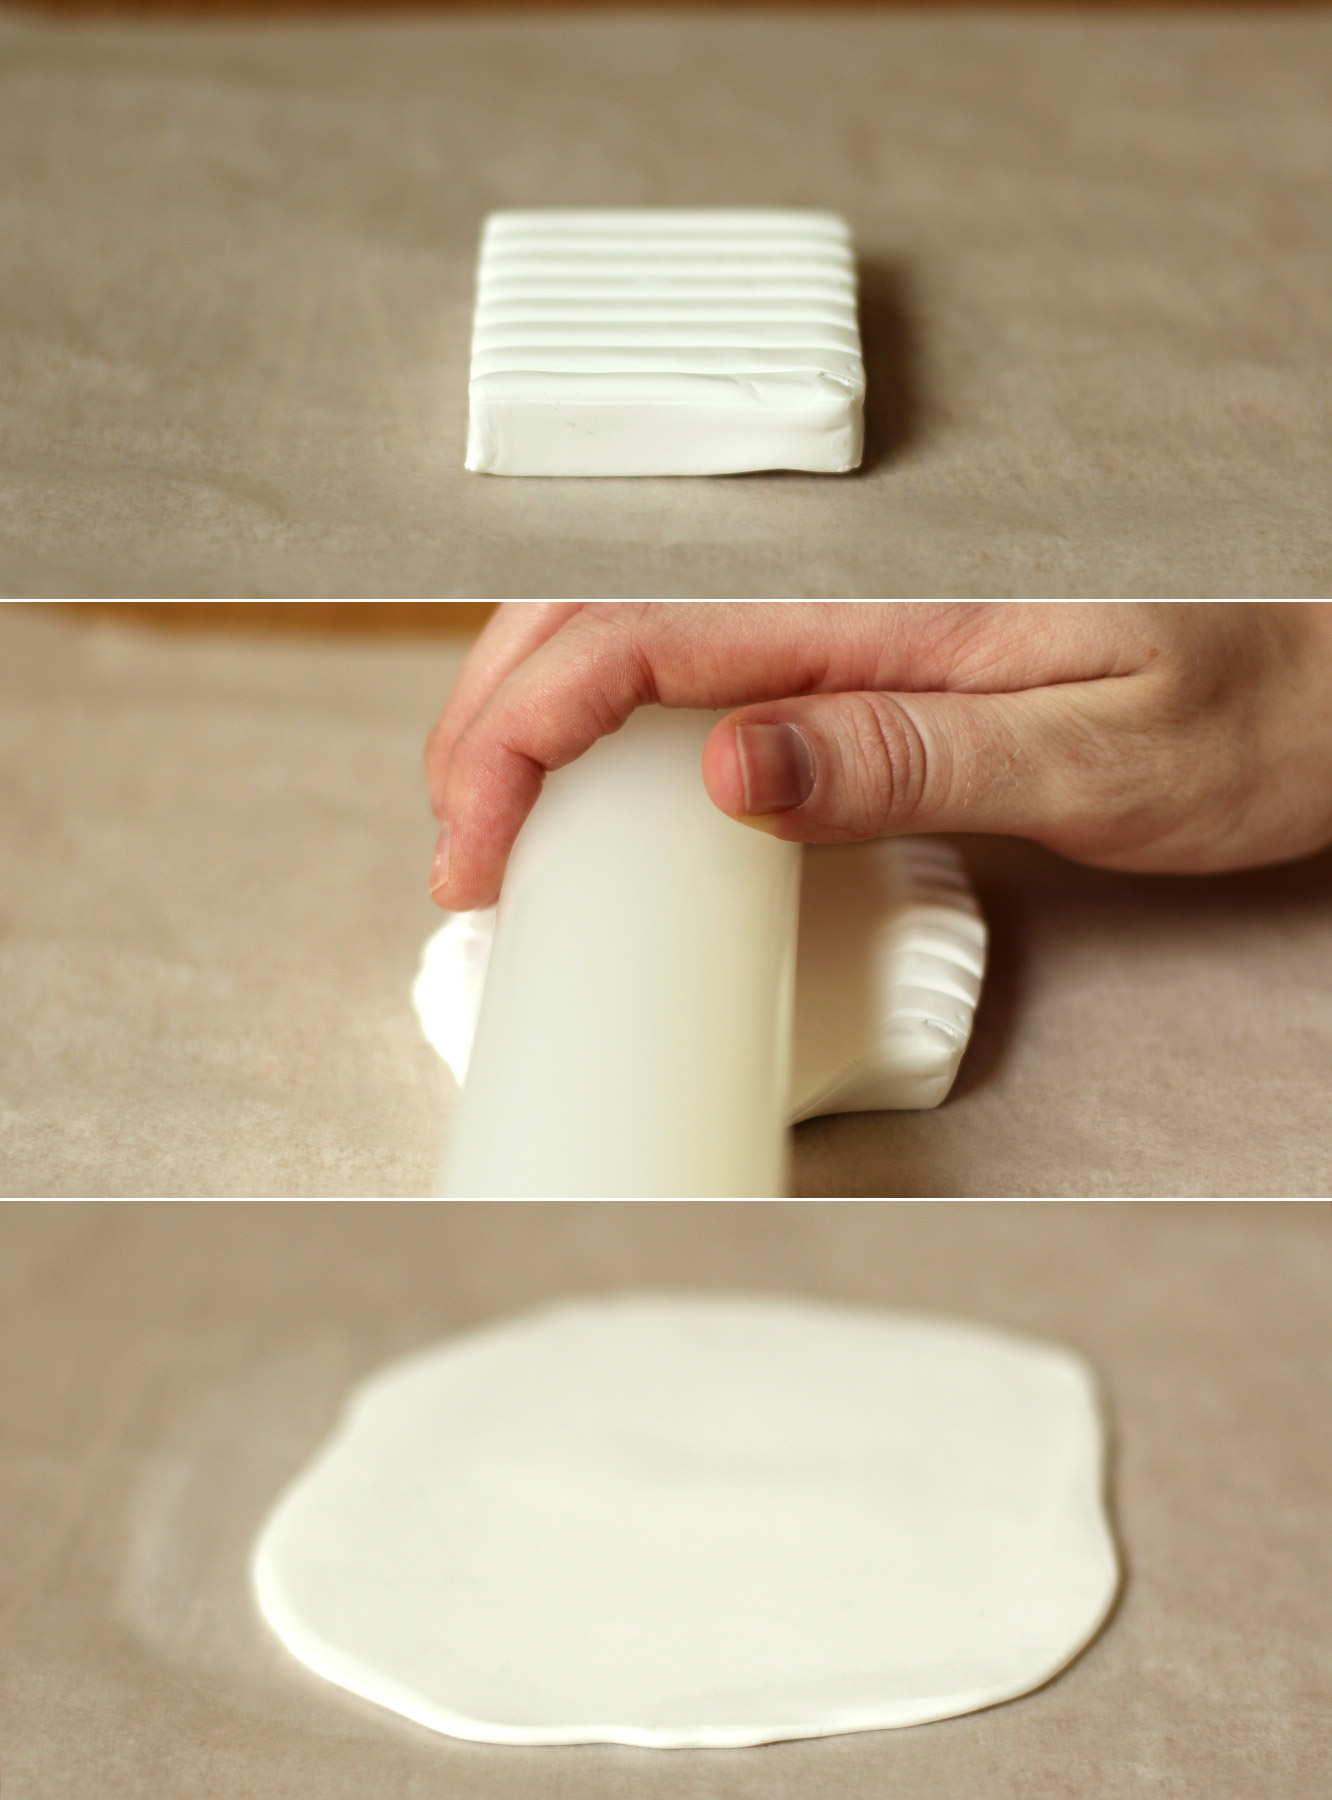
Roll the FIMO out into a thin sheet, about 2-3mm thick.

I learned a few things here. Greaseproof paper is not the easiest thing to roll this out onto, a clean surface would be better. Roll the FIMO into a ball with your hands first to warm it up a bit as it will be easier than just rolling straight onto the block. Dust will get into the FIMO so easily, it picks up EVERYTHING, so make sure you wipe your rolling pin and surface carefully.
homemade-fimo-christmas-decoration-tag-03

Step two

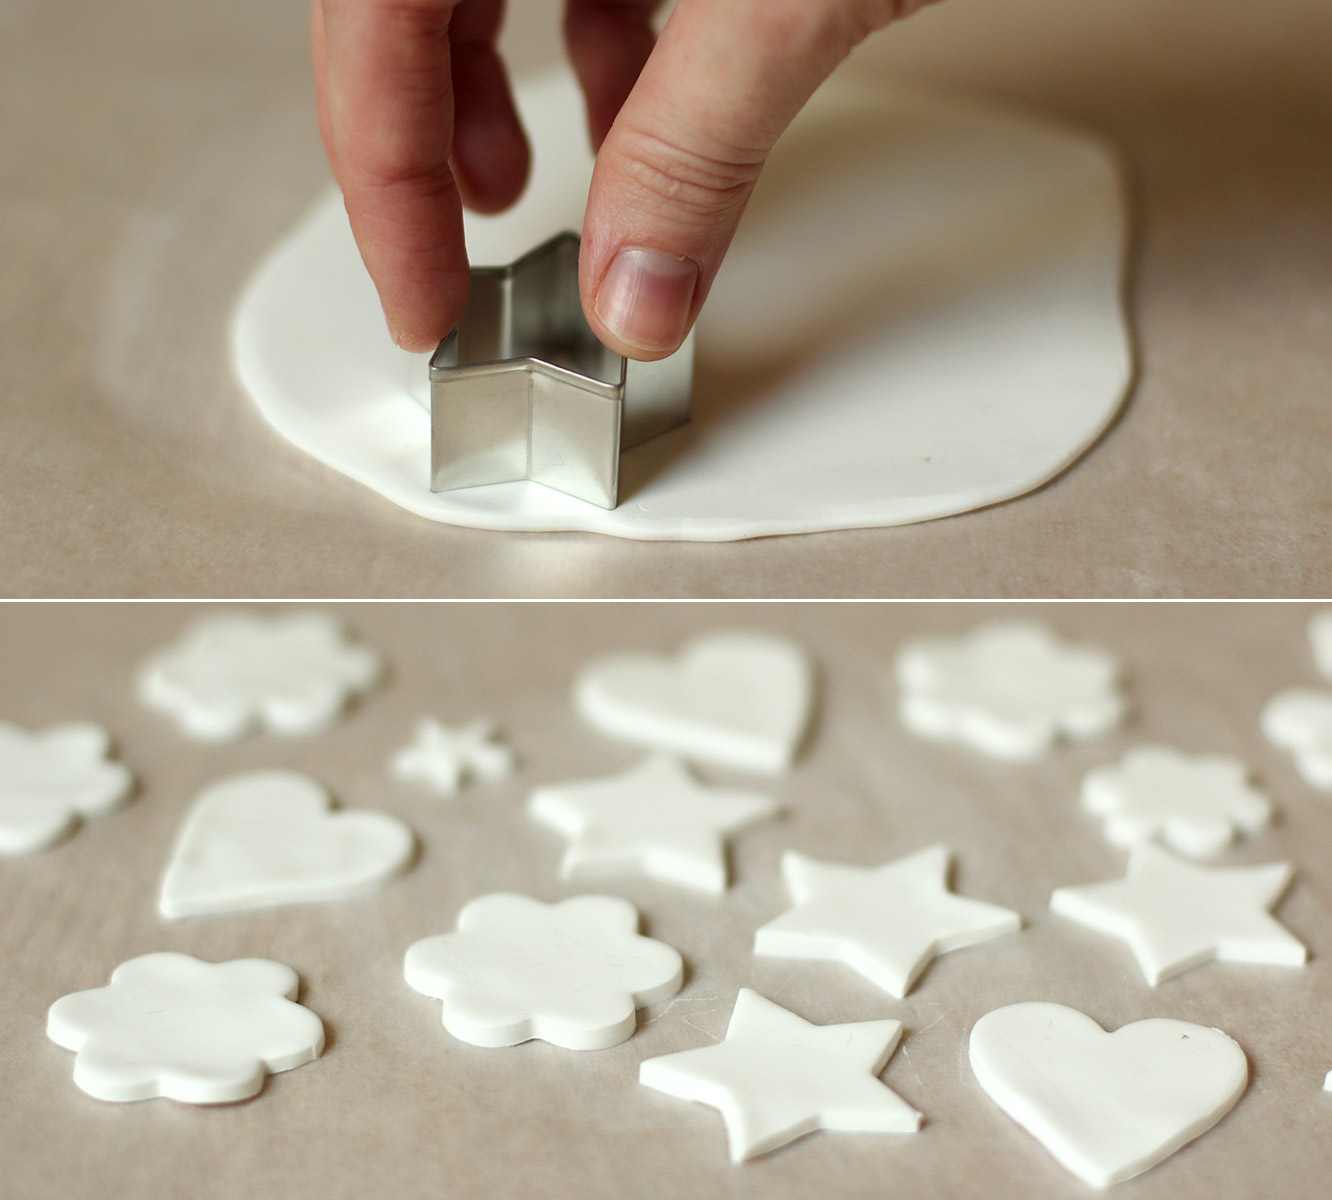
Cut out a variety of shapes. Re-roll and keep cutting until you have used all the FIMO. It’s surprising how many you get in the end out of such a small block.
homemade-fimo-christmas-decoration-tag-04

Step three

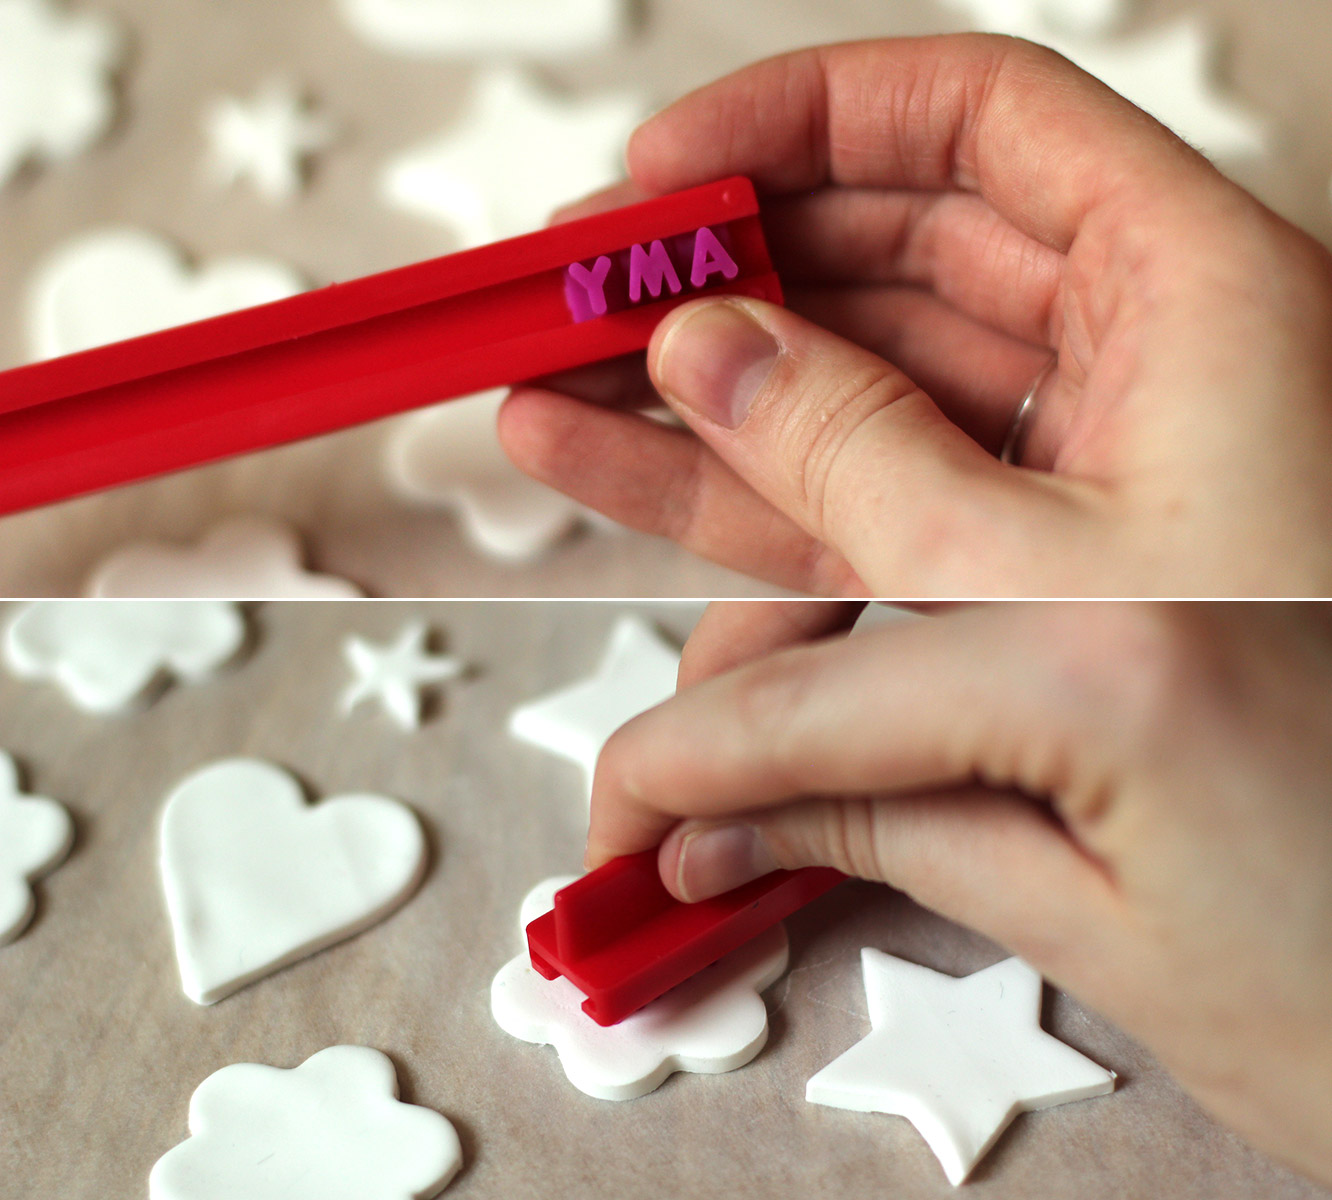
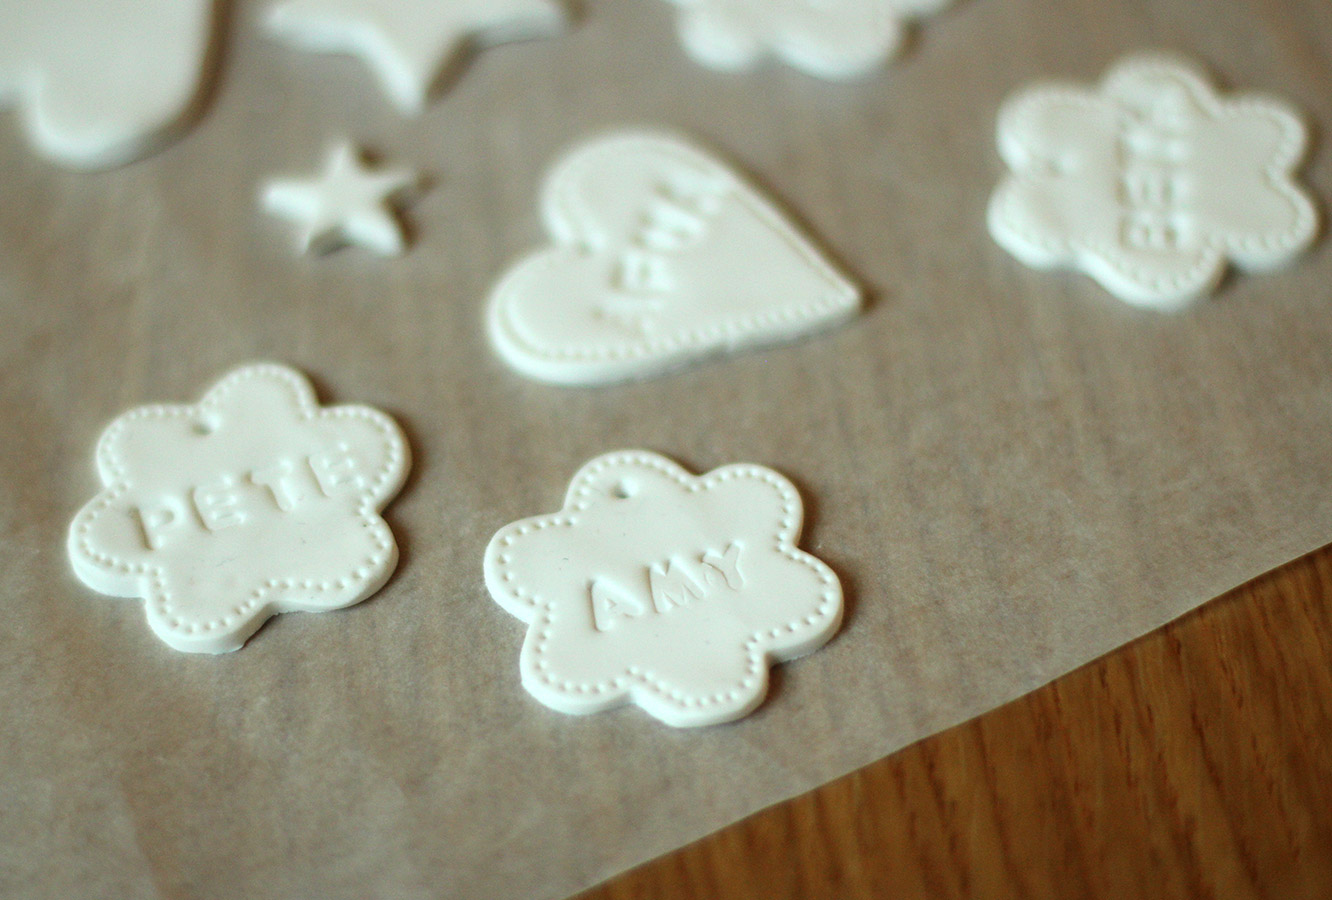
Stamp the names of your nearest and dearest into the shapes. I found that words longer than four letters were problematic. I employed some creative shortenings, although my housie Marianne was not impressed with Matz as her new nickname. It will depend on the sizes of your cutters, but you might want to do initials or words like ‘love’, ‘joy’ and ‘noel’ if there’re some long names knocking about.
homemade-fimo-christmas-decoration-tag-05

Step four

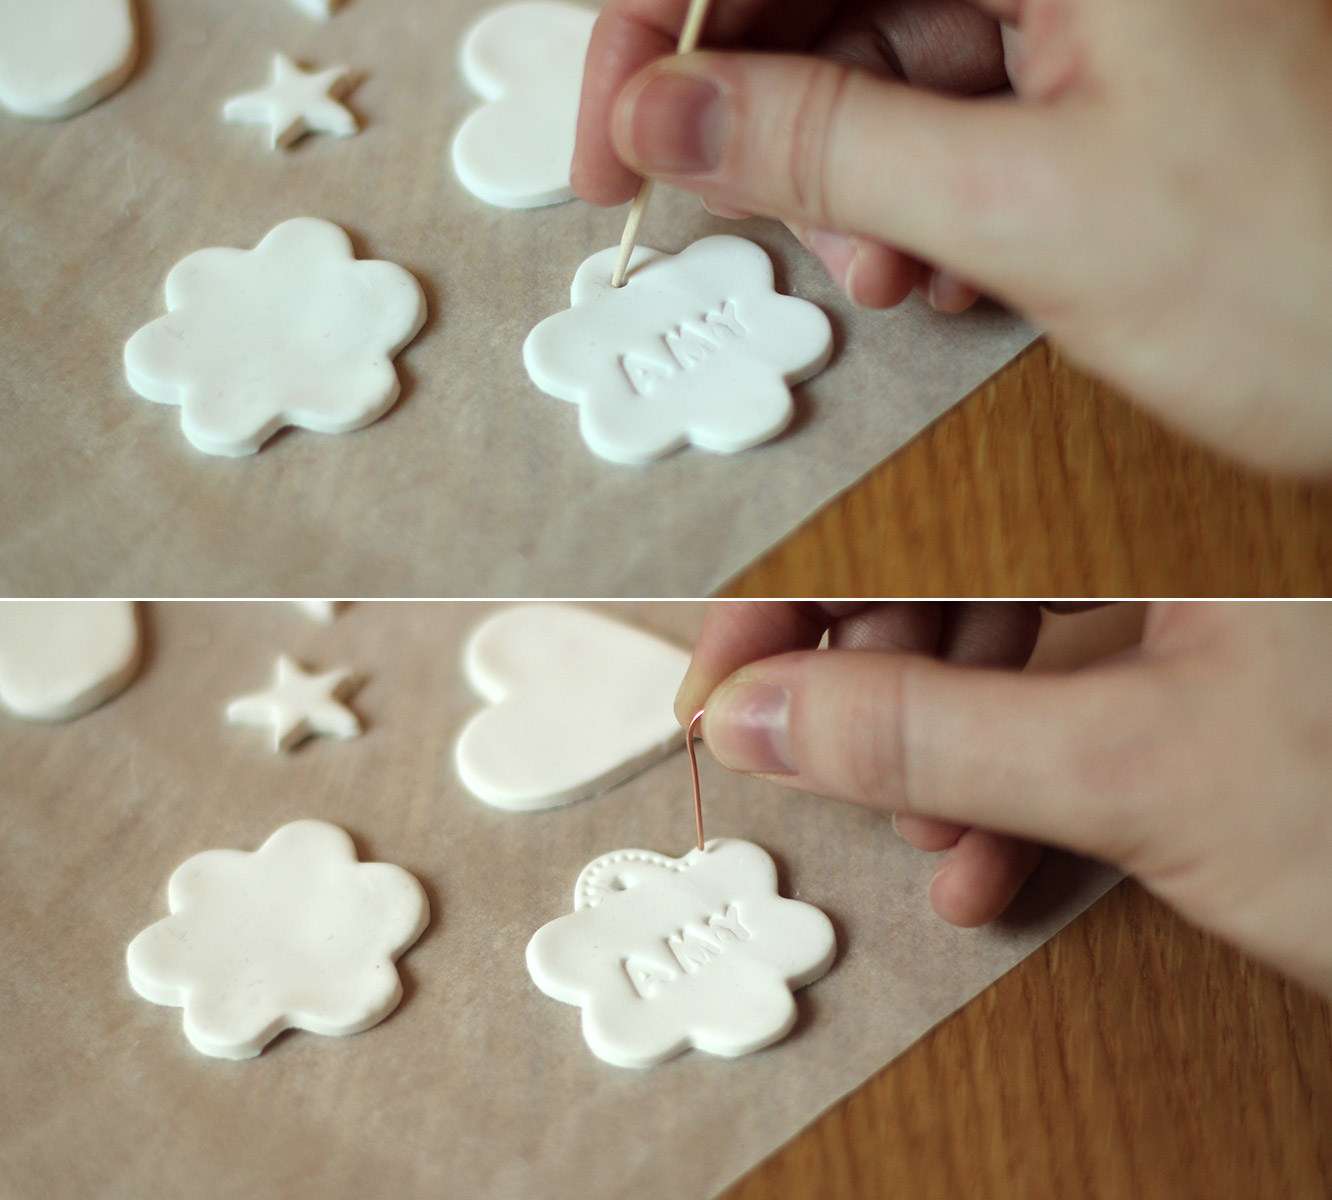
Using a cocktail stick or bent out paperclip make a hole at the top for the hanging. Wiggle the stick about in a circular motion to make sure the opening is big enough for your string or ribbon.

I then made dots all around as an edging with a paperclip.
homemade-fimo-christmas-decoration-tag-06

Step five

Place on greaseproof paper and onto a tray. Bake in the oven on 100C/200F/gas mark 1 for about 30 minutes. I guessed because the packet provides zero instructions, other than to not heat it above 130C. You can tell by picking them up as they start to feel less soft and a bit lighter as they cook.
homemade-fimo-christmas-decoration-tag-07

Step six

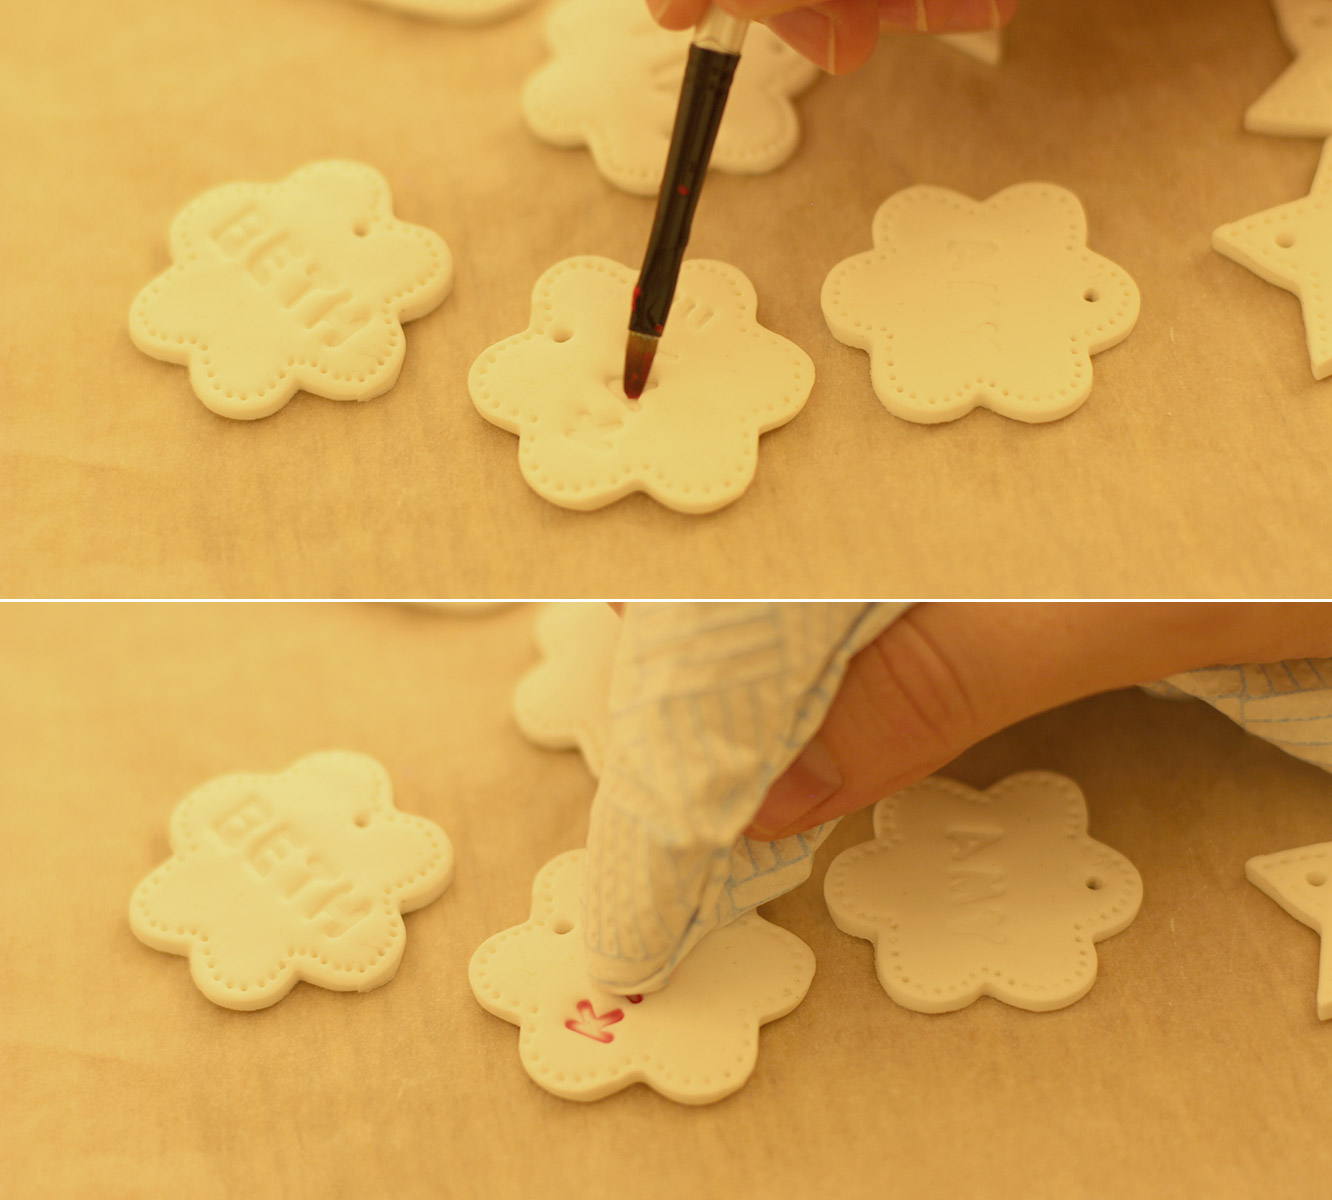
Using very watery acrylic paint, brush over the letters and the edging. Quickly dab away the excess with some clingfilm to create a rustic look.
homemade-fimo-christmas-decoration-tag-09

homemade-fimo-christmas-decoration-tag-10

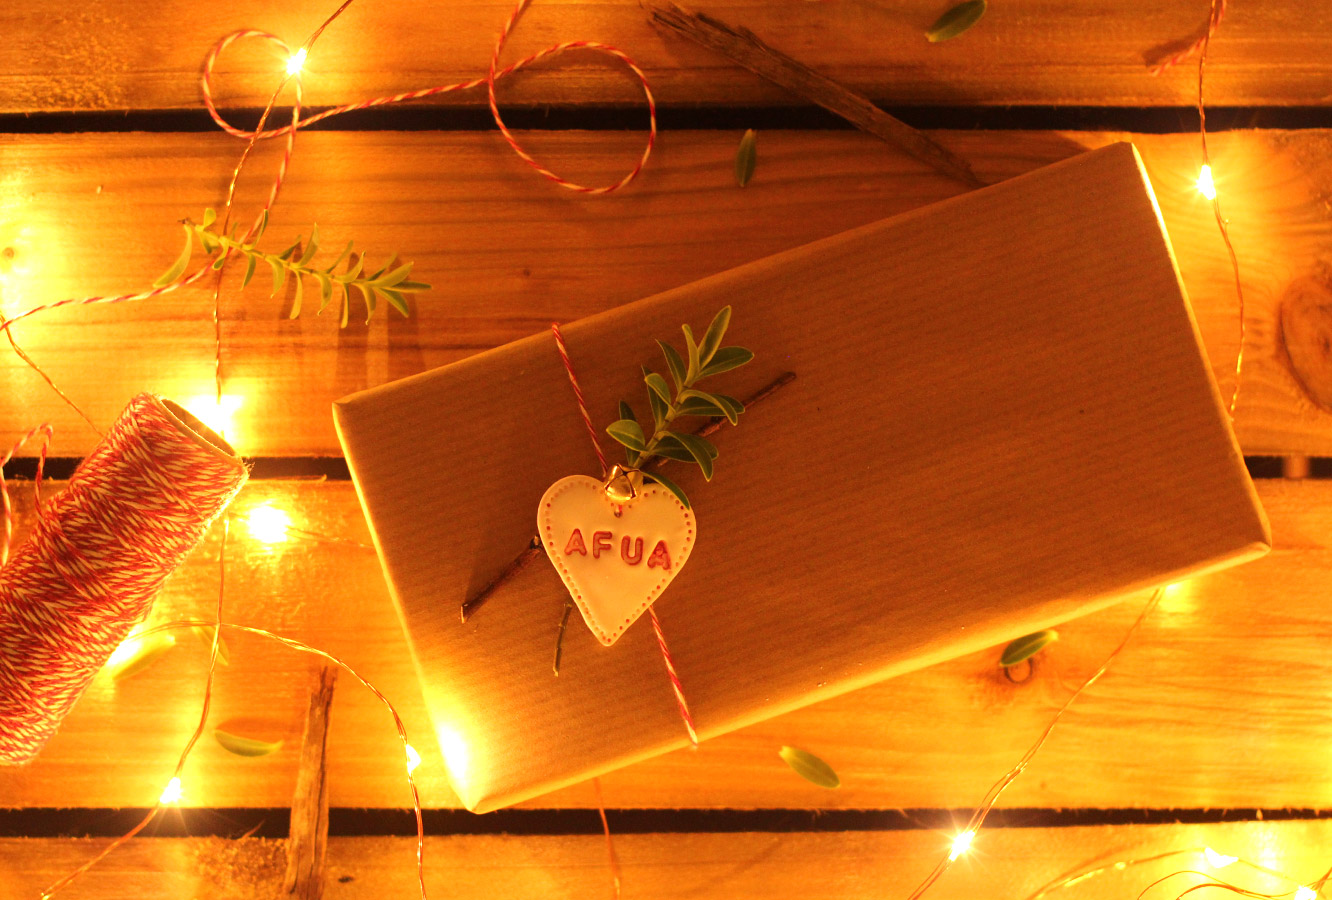
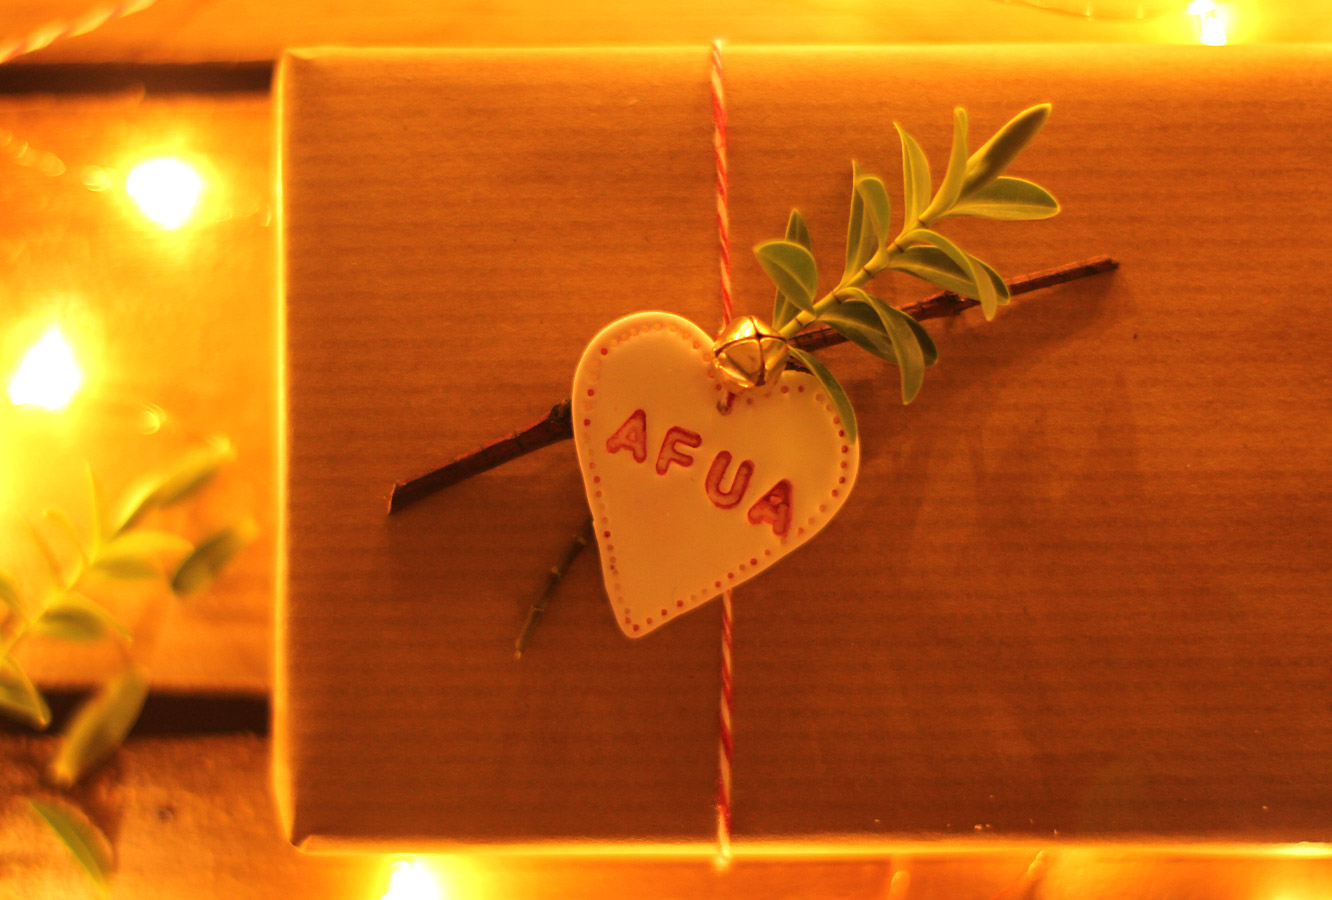
Use one: Tie up with a couple of trimmings from the garden, maybe a button/pom pom/little bell like mine. Tie with the string around a gift wrapped in brown paper.

homemade-fimo-christmas-decoration-tag-11

Use two: String up and hang from a jug of twigs or your Chrimbo tree.
homemade-fimo-christmas-decoration-tag-08

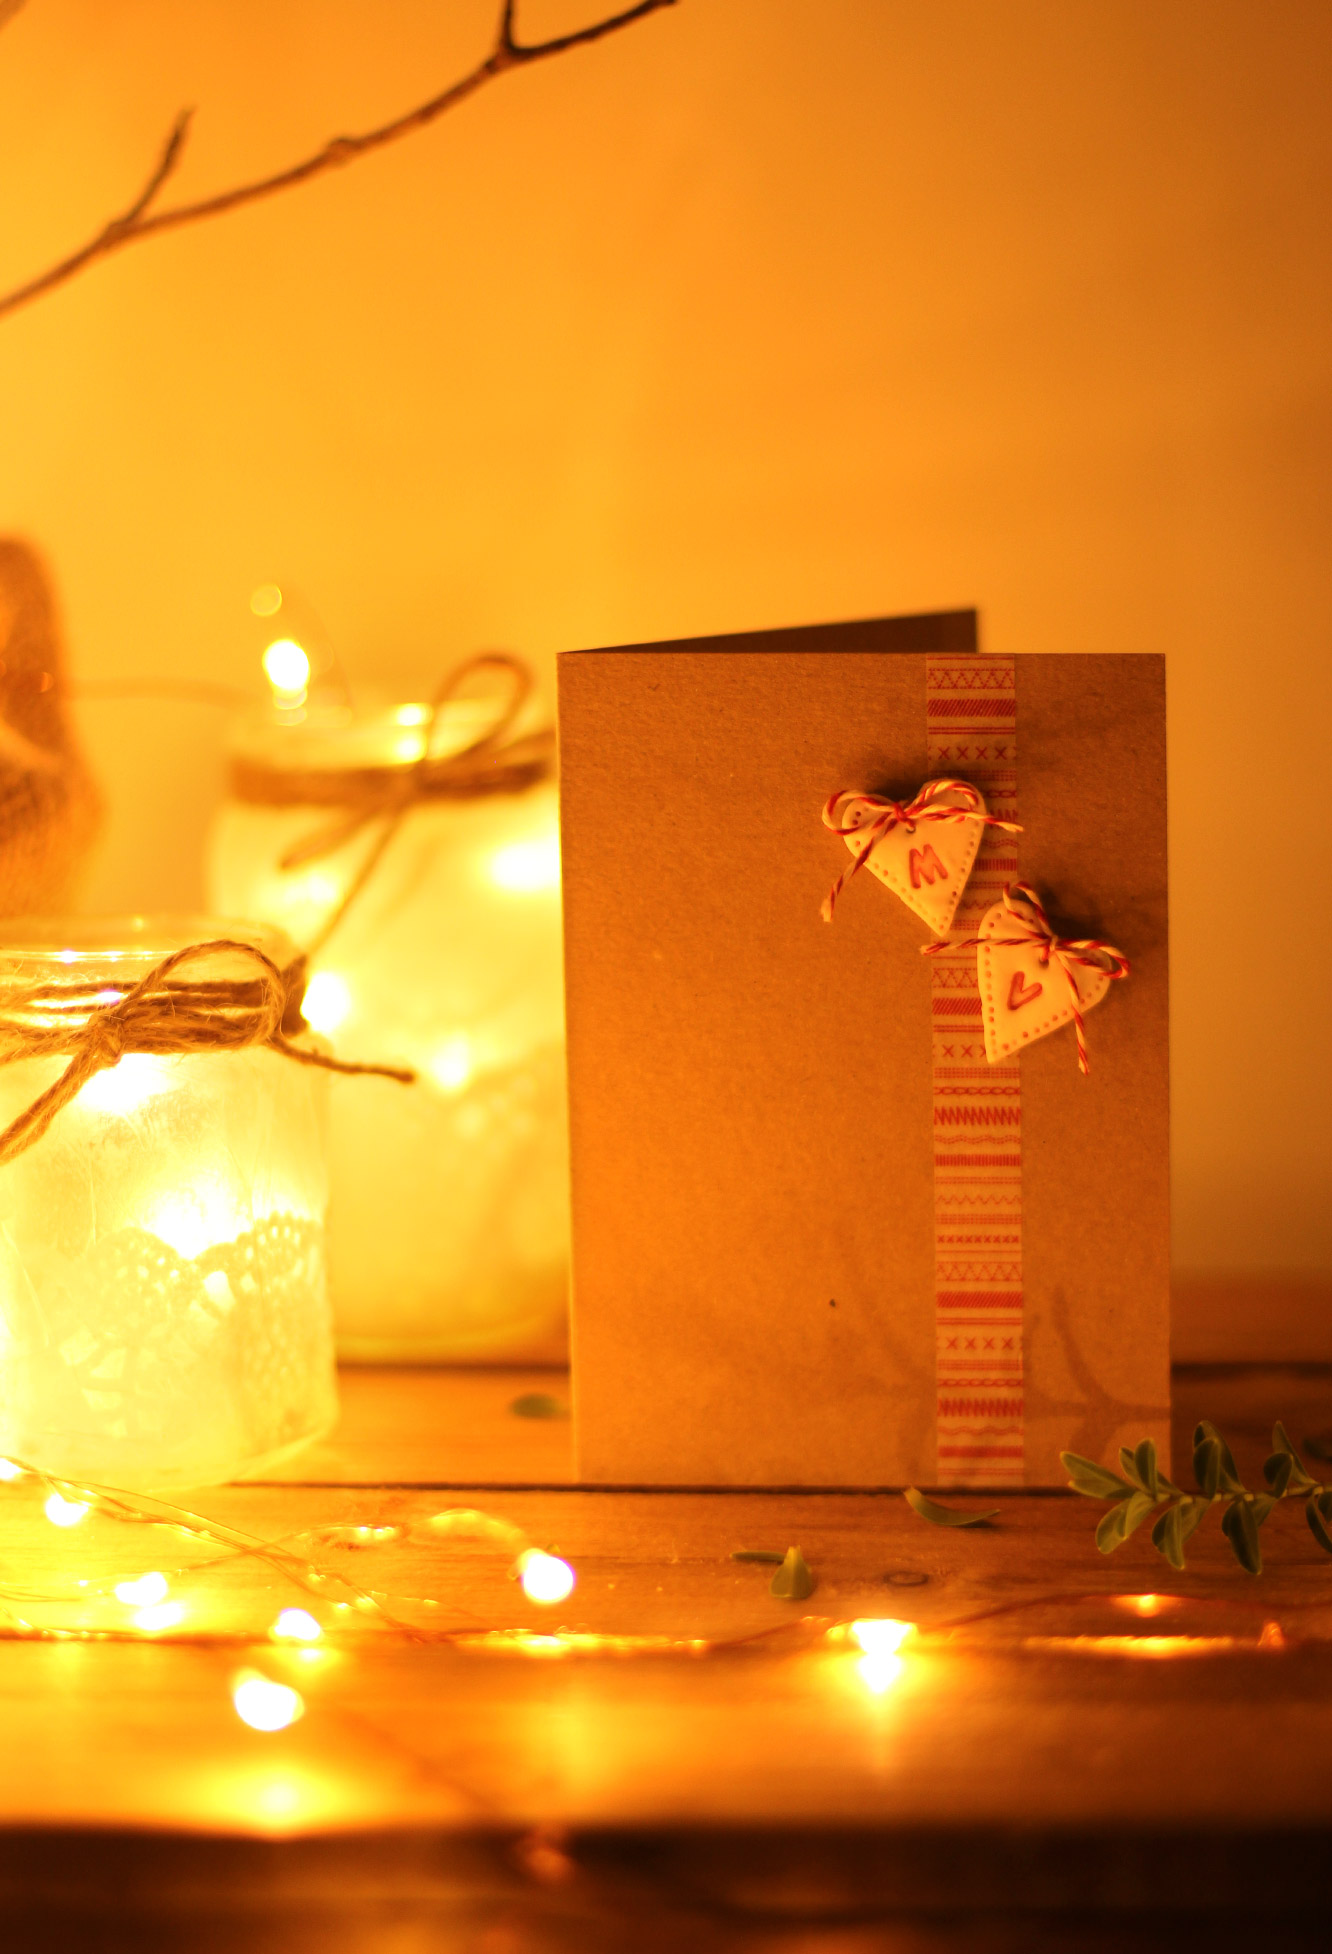
Use three: Make mini ones with initials and create a simple Christmas card with a piece of wash tape and brown card.


Katie’s home cinema

Another little post about our half term day of fun. I hope you will forgive the lack of photos given I was supervising two little humans at the time.

I had promised my little friends that we would take a trip to the cinema during our visit, but it turned out there was nothing worth going to the cinema for.

Ever the crafter I decided we would recreate our own home cinema experience. I conjured up a recipe for toffee popcorn and made some popcorn boxes and tickets.

You can download the templates for the tickets and the popcorn if you’re in a similar fix, or if you’re just looking for a cheap school holiday activity.

You will need

1/2 cup Popcorn kernels (or a bag of sweet microwaveable popcorn)

125g/4.5 oz Unsalted butter

170g/6 oz Soft light brown sugar

2 tbsp Golden syrup

The templates

Step one

Pop the popcorn. If you’re using kernels and it’s the first time you’ve done it then you need to add some butter or unflavoured oil to a large saucepan and one or two kernels. Once they’ve popped you can add the rest.

When the majority of the corn is popped (the pan will be full), remove the pan from the heat and place the corn in a bowl. Get rid of any unpopped kernels.

Step two

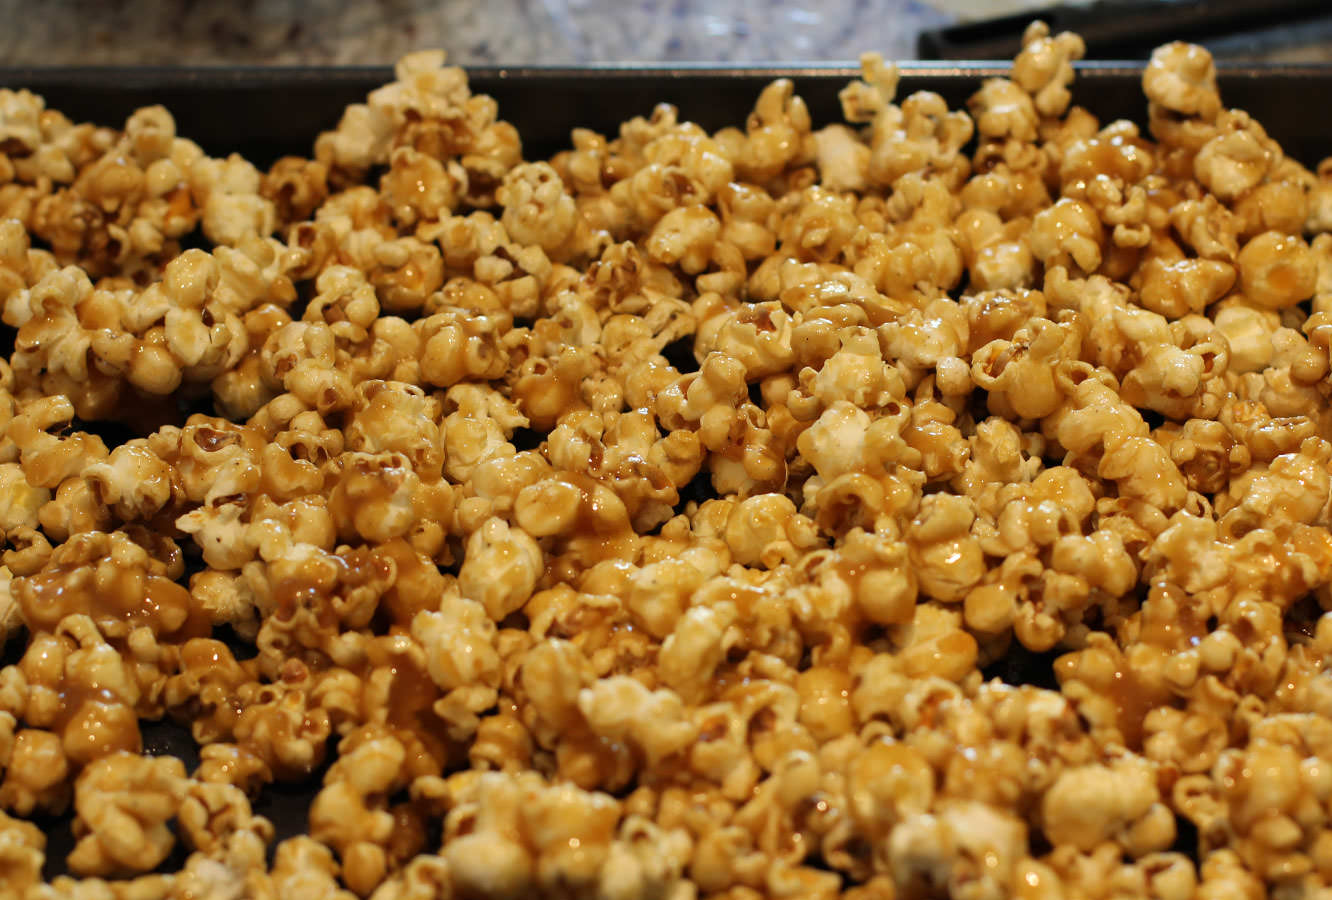
Heat the butter, syrup and sugar in a pan until bubbling. Turn down to a simmer cook for 5 minutes, keep stirring so that it doesn’t catch.

toffee-popcorn-recipe-home-cinema

Step three

Stir the toffee into the popcorn.

toffee-popcorn-recipe-home-cinema-1

Step four

Spread out on a large baking tray. You only really want one layer of corn to stop too much of it sticking together.

toffee-popcorn-recipe-home-cinema-2

Step five

Bake until golden (about 25 mins) on 180 degrees C/gas mark 4/350 F.

Leave to cool so that it crisps up.

toffee-popcorn-recipe-home-cinema-3

Step six

While the popcorn is cooling, assemble the boxes and cut out the tickets. The kiddies can help with this, or you could do it in advance.

Step seven

Put your feet up and enjoy the film. Or do what I did and placate the children with sweets and clean up feverishly in the background.

We’re gonna have a party tonight

Welcome back!

You might remember my mentioning I went on a little trip to Germany recently? I went a-visiting a wonderful little family who I miss very much. Capitalising on their crafty house guest there were some birthday preparations to be done. So aside from baking over 70 cupcakes (very popular little chap) there was the small matter of inviting other little people to come and eat them.

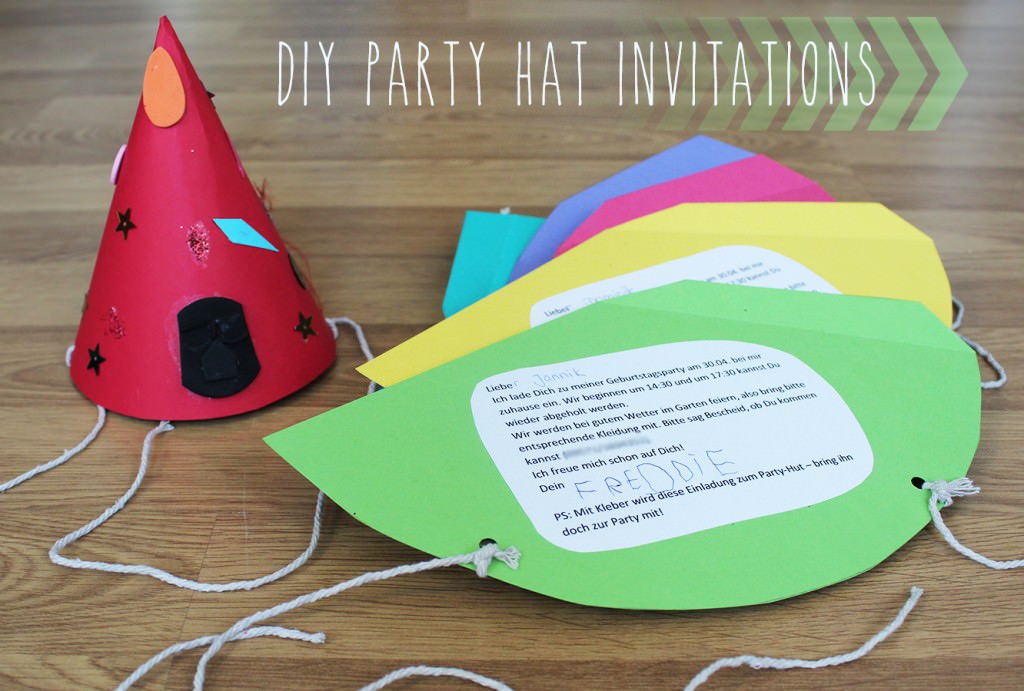
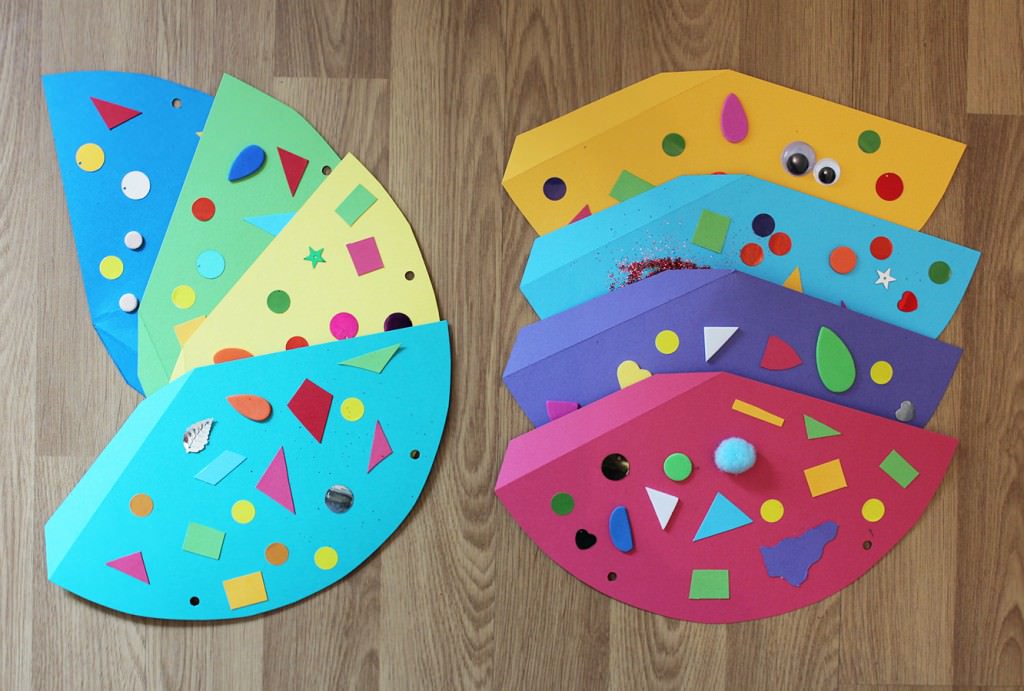
They were throwing a garden party with lots of traditional German party games, I really wish I’d have stuck around a bit longer to join in! So Mr Freddie and I crafted some invites that were fun and festive and will adapt to any theme or themeless party you’ve got going on.

kids-birthday-party-hat-invites

You will need

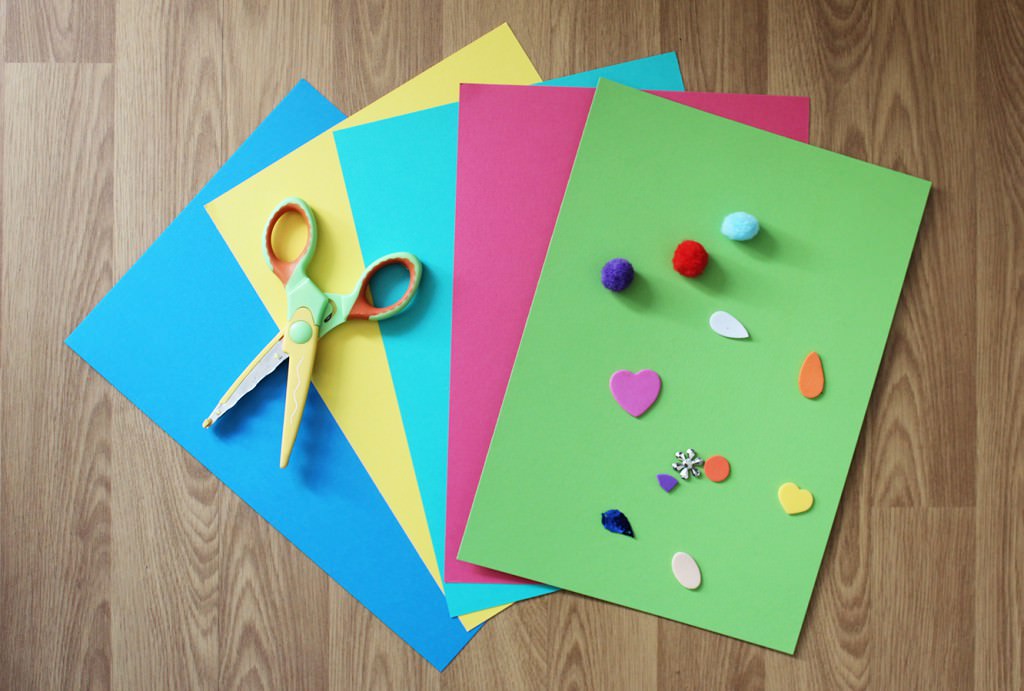
A4 Card/thick paper (one per guest and an extra for the birthday boy/girl)

Bits and bobs to decorate with

Glue

Scissors

String

A small child with an upcoming birthday

This template

kids-birthday-party-hat-invites-2

Step one

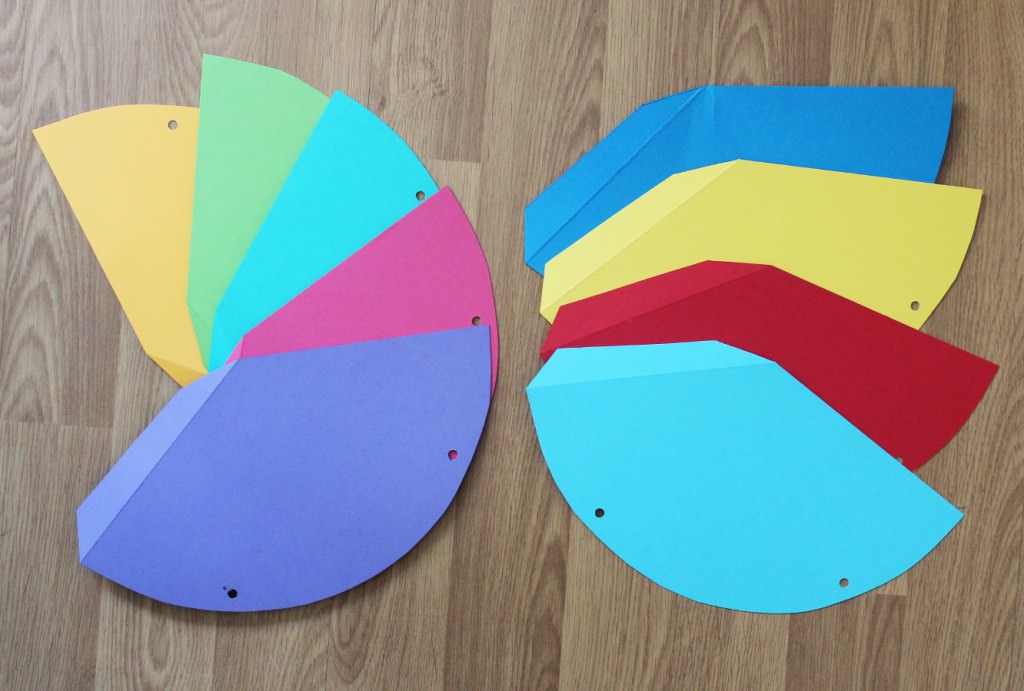
Draw round the template onto each piece of card and cut out a hat for each guest, not forgetting one for the birthday boy or girl.

Step two

Use a hole punch or something sharp poke holes in each hat (as marked on the template).

Step three

Using an open pair of scissors and a ruler score along the dotted line to create a flap.

kids-birthday-party-hat-invites-3

Step four

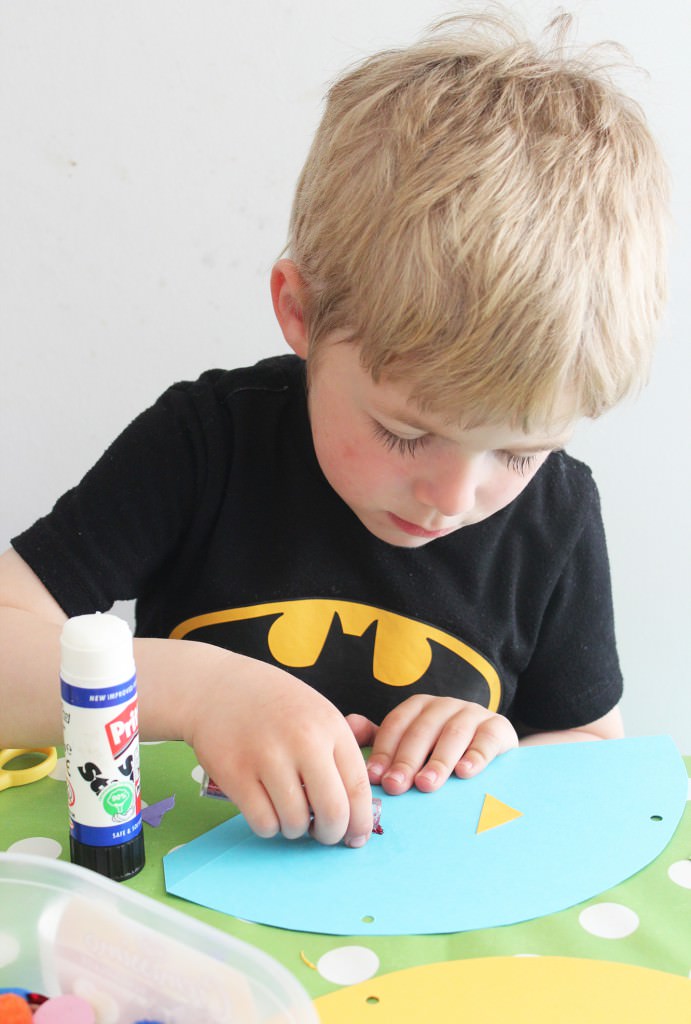
Decorate! Use your (or your child’s) imagination, Freds and I used foam shapes, stickers and glitter that mummy already had in stock. We also cut some shapes out from the left over card so as not to waste anything.

You can use whatever you can get your hands on, cut outs from old magazines/buttons/feathers/draw pictures or each child’s name. Your only limit is the attention span of the child in question!

(don’t decorate the flap)

kids-birthday-party-hat-invites-4

Step five

Cut two lengths of string for each hat. Use the child you already have in stock to get an idea of length, you need to be able to tie a bow under their chins. Doing it this way rather than one loop means they are adjustable for each guest.

kids-birthday-party-hat-invites-5 copy

Step six

Add the party details on the other side and voila! Your hats are ready to give out. Each guest is in charge of assembling their hat and bringing it with them to the party (worth having one or two spare just in case!)

To stick together just glue the flap (with the hat right side up) and stick underneath the opposite edge.

Step seven

PARTY ON

Stack ’em high!

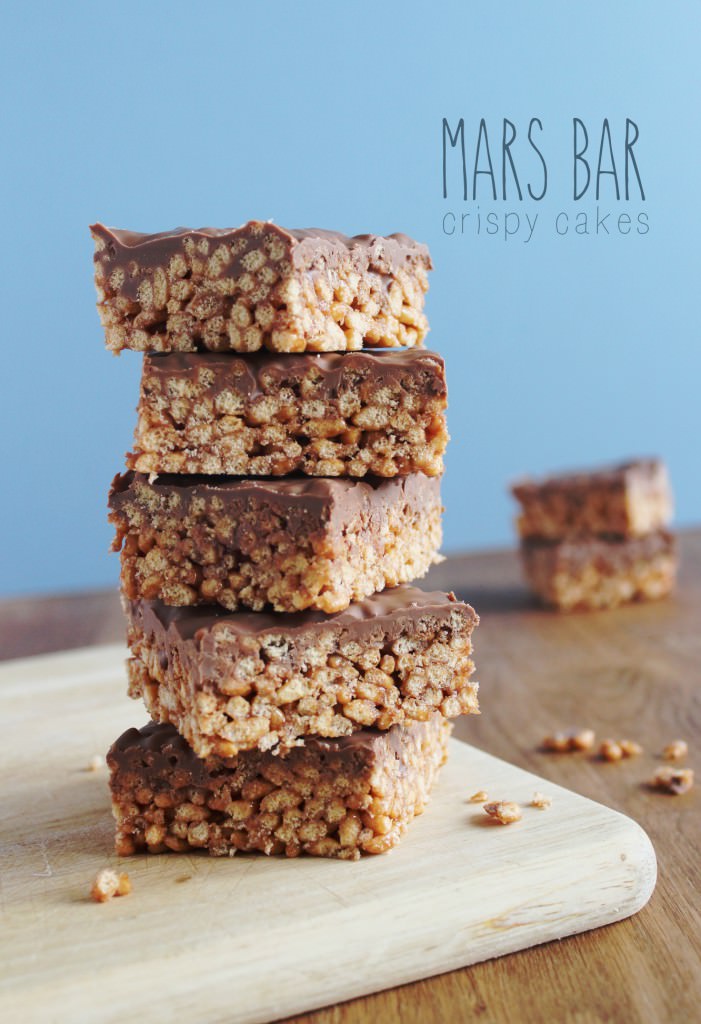
If your country doesn’t stock Mars bars then I am truly sorry…for these are delicious, and you will probably never experience the joy of tasting one. If you live in the UK then get down to your local newsagent, there’s no time to be wasting.

A little disclaimer before I begin: the combination of the fact that a) I was making these for a charity bake sale and b) I couldn’t find a regular 4 pack of Mars bars means that the recipe below is rather substantial. Divide in half or into thirds if you are baking these for home and don’t fancy obesity as a life choice (you won’t be able to stop eating them).

mars-bar-crispy-cake

You will need

6 Mars bars

3 tbsp Golden syrup

250g Unsalted butter

9 cups of Rice crispies

(this is basically a whole box – I used the cheap Tesco knock off kind, no need to break the bank)

400g Milk chocolate

An appointment with your GP to test your blood sugar levels.

Makes 24 (at least)

mars-bar-crispy-cake-2

Step one

Chop up the Mars bar.

Oh go on then, there’s at least one piece going spare…

mars-bar-crispy-cake-3

Step two

Put Mars, butter, and golden syrup in a pan on a medium heat to melt.

Those fluffy bits in the middle of the Mars bars take what feels like forever to melt, but they do get there, just keep stirring, and maybe stick a bit of Dragon’s Den on or something.

mars-bar-crispy-cake-4

Step three

Put most of the rice puffs in a big bowl. I always hold a few cups back to add later, as this isn’t an exact Science so you won’t always need them all.

Pour the melted mixture over the puffs. You probably deserve another little taste at this point.

mars-bar-crispy-cake-5

Step four

Stir together until rice crispies are evenly covered. It’s up to you whether to add the rest that you kept to one side or not, I added the whole lot to mine.

mars-bar-crispy-cake-6

Step five

Line a couple of tray bake tins with foil and distribute your mixture accordingly. Again, it’s up to you how deep/shallow you want your crispy cakes to be, so choose your tins with that in mind.

mars-bar-crispy-cake-7

Step six

Squash the mixture down with the back of a spoon until it fills the various crevices (or with your hands when you get tired of doing it the PC way – wash them first though, there are some standards to be upheld).

Make sure the mixture is squashed down firmly or it will all fall apart later. Literally.

mars-bar-crispy-cake-8

Step seven

Melt the milk chocolate and cover the top of the crispy cakes evenly. Again this will sort of depend on what tin you use and what consistency you want as to how much you need, as you want enough to cover it all. If you chose a shallower tin then you’ll need a bit more chocolate and so on.

mars-bar-crispy-cake-9

Step eight

Cut the crispy cakes into slices now before it all sets up, it’s just all a bit easier that way.

mars-bar-crispy-cake-10

Step nine

Devour.

Happy Monday all.