This is a recipe for a cake you might have spotted in my wrap up post for Vicky’s hen party. I made some vague comment about getting round to it at some point. So here it is.
Lemon drizzle is one of my go-to bakes when I’m in a rush or don’t have the energy to figure out something new. It’s super handy because often you will have the ingredients and just need to grab a lemon. It’s always a crowd pleaser and really quick and easy to make and transport. I prefer to make it in a brownie tin as a tray bake, I’m of the opinion that it bakes quicker and serves more people this way. Plus I often find loaf cakes get a bit of a dry crust while you’re waiting for the inside to cook. No such problem here.
I present to you the lemon drizzle tray bake.
Disclaimer: I usually use ounces to weigh this one out because I was brought up on ounces and gas marks (thanks mum), I’m still getting my head round grams and celsius since flying the nest. The UK will forever be trapped between the imperial and metric systems…
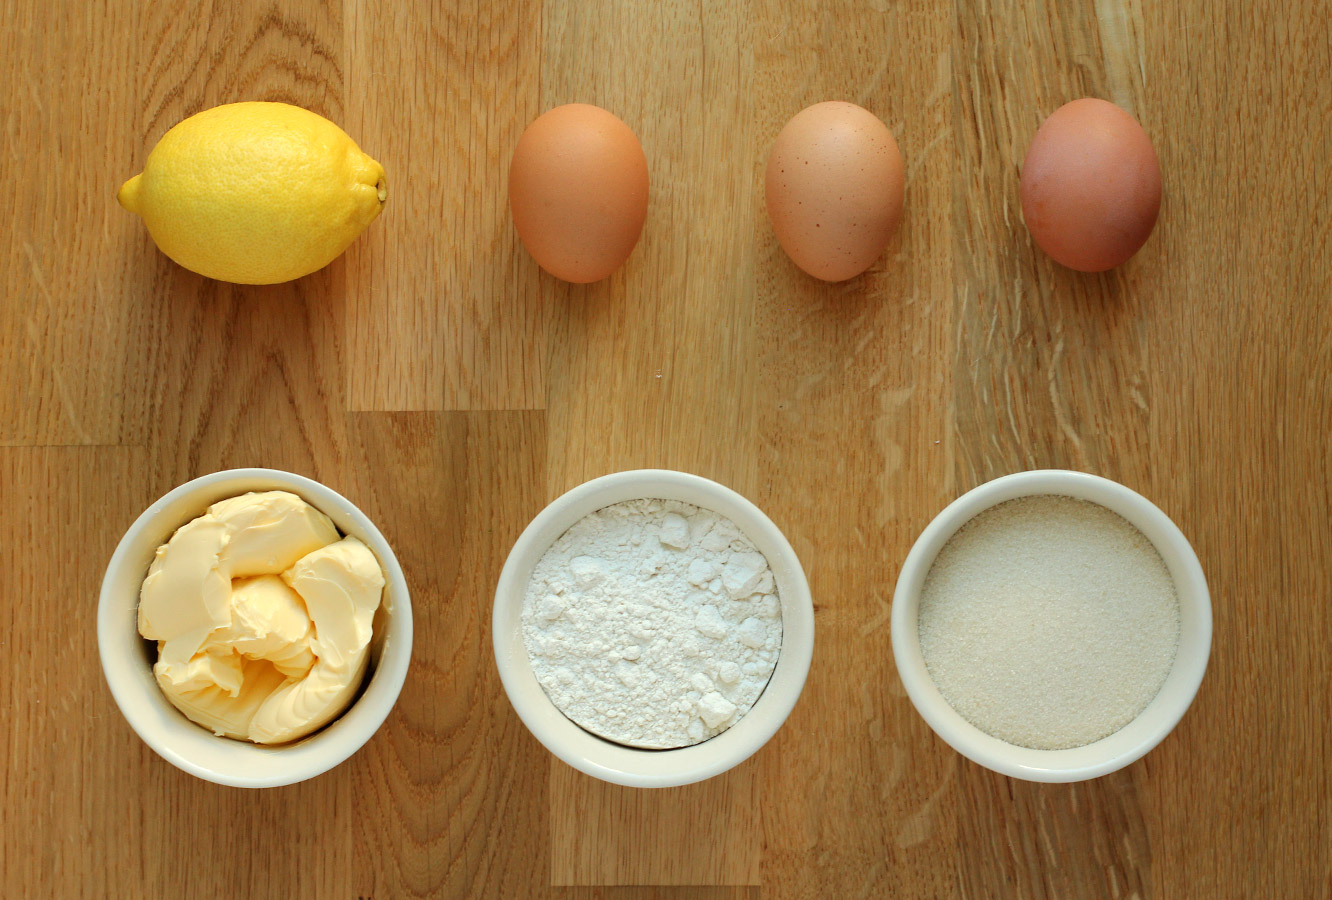
You will need
For the cake:
6 oz/170g self raising flour
6 oz/170g softened butter or margarine (I use stork)
6 oz/170g caster sugar (golden if you have it)
3 eggs
1 tsp vanilla extract
1 lemon zest
For the drizzle:
3 oz/85g caster sugar
The juice of your zested lemon
(Makes 15)
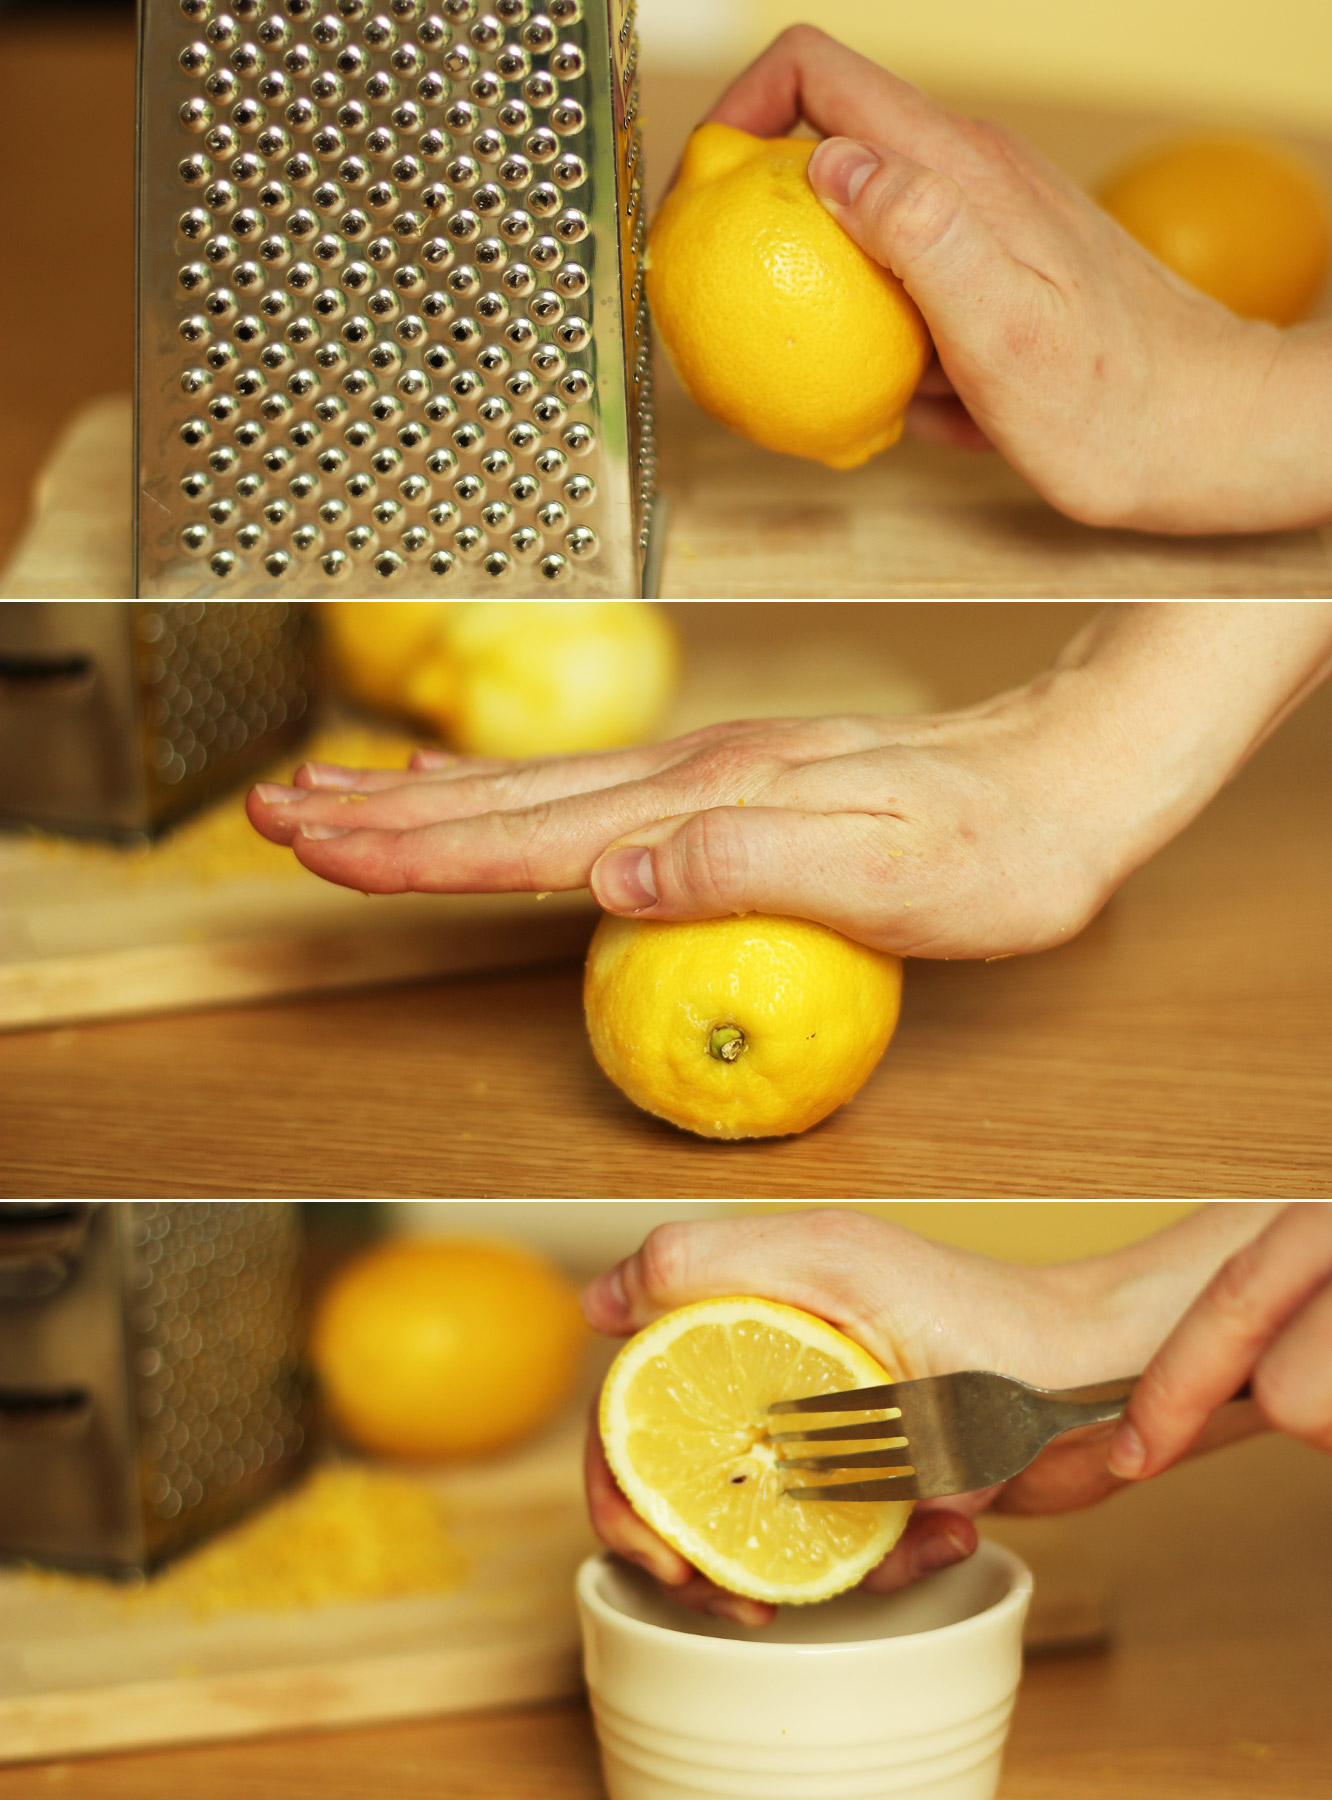
Step one
I like to sort my lemon out first and get it out of the way.
Grate the lemon on a fine setting on your grater. Place in the microwave for 10-15 seconds and roll around on the surface to release the juices. Cut in half and use a fork or a juicing thingy to squeeze as much juice as you can out of each bit.
Set the zest and juice aside.
Step two
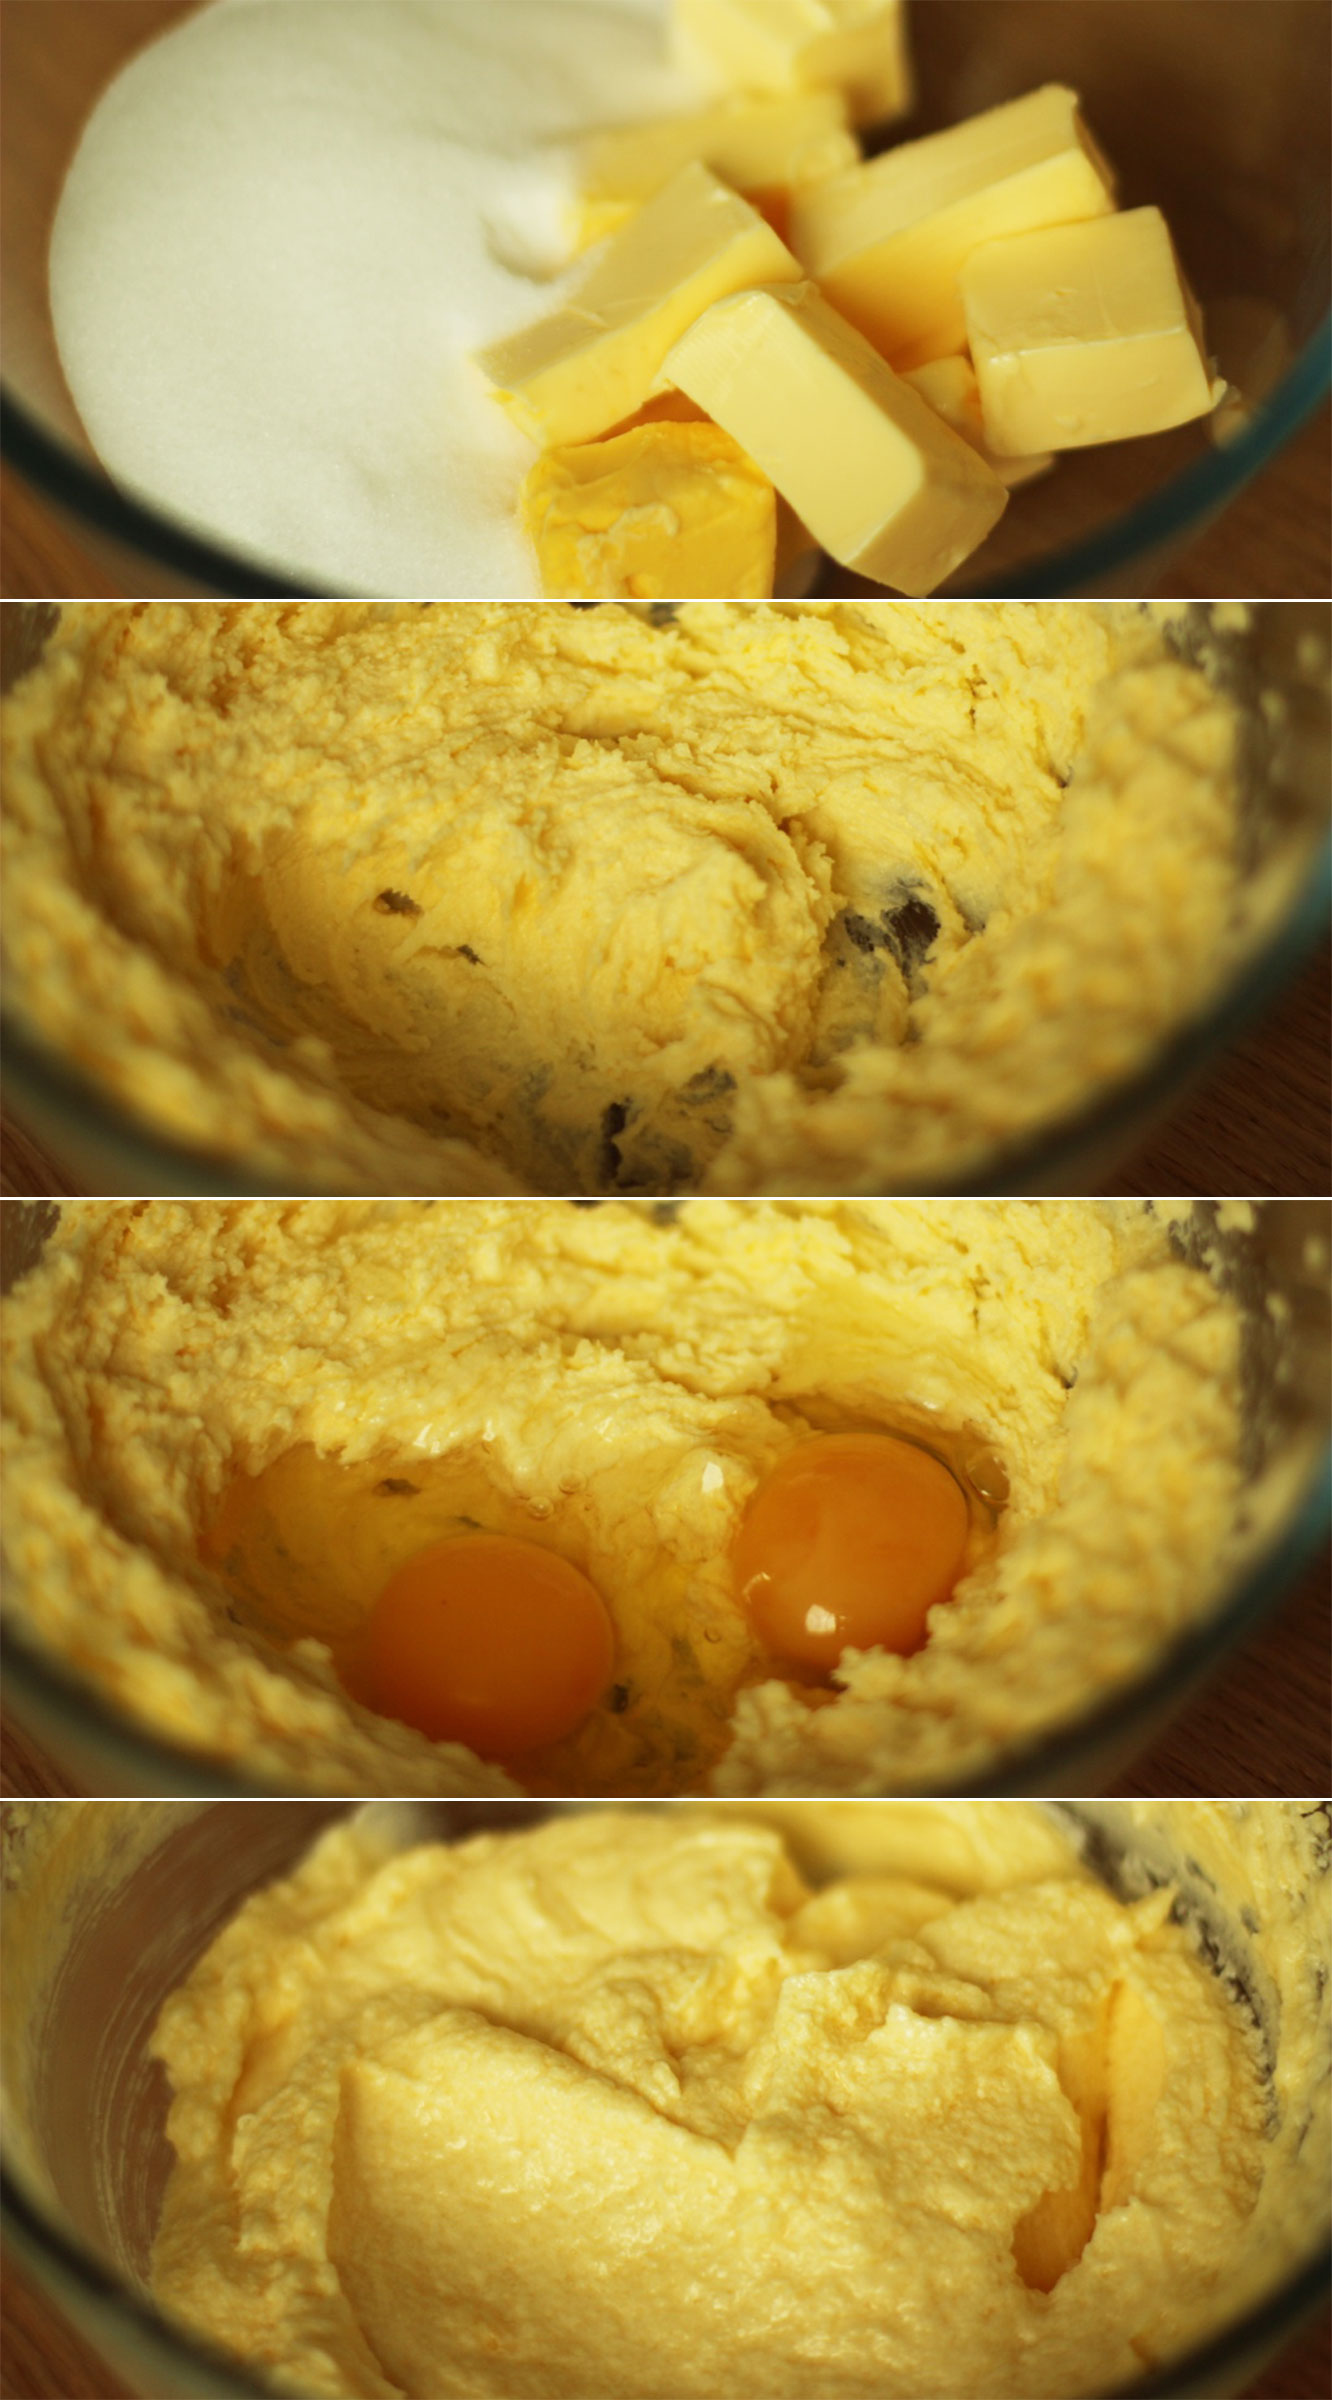
Beat together the margarine and sugar. I like to use an electric hand whisk for most cakes to keep them light and fluffy, but you can do this with a wooden spoon too.
Add the vanilla and eggs and beat again until combined. Don’t worry if the mix looks a bit split/curdled, the flour will bring it back together.
Step three
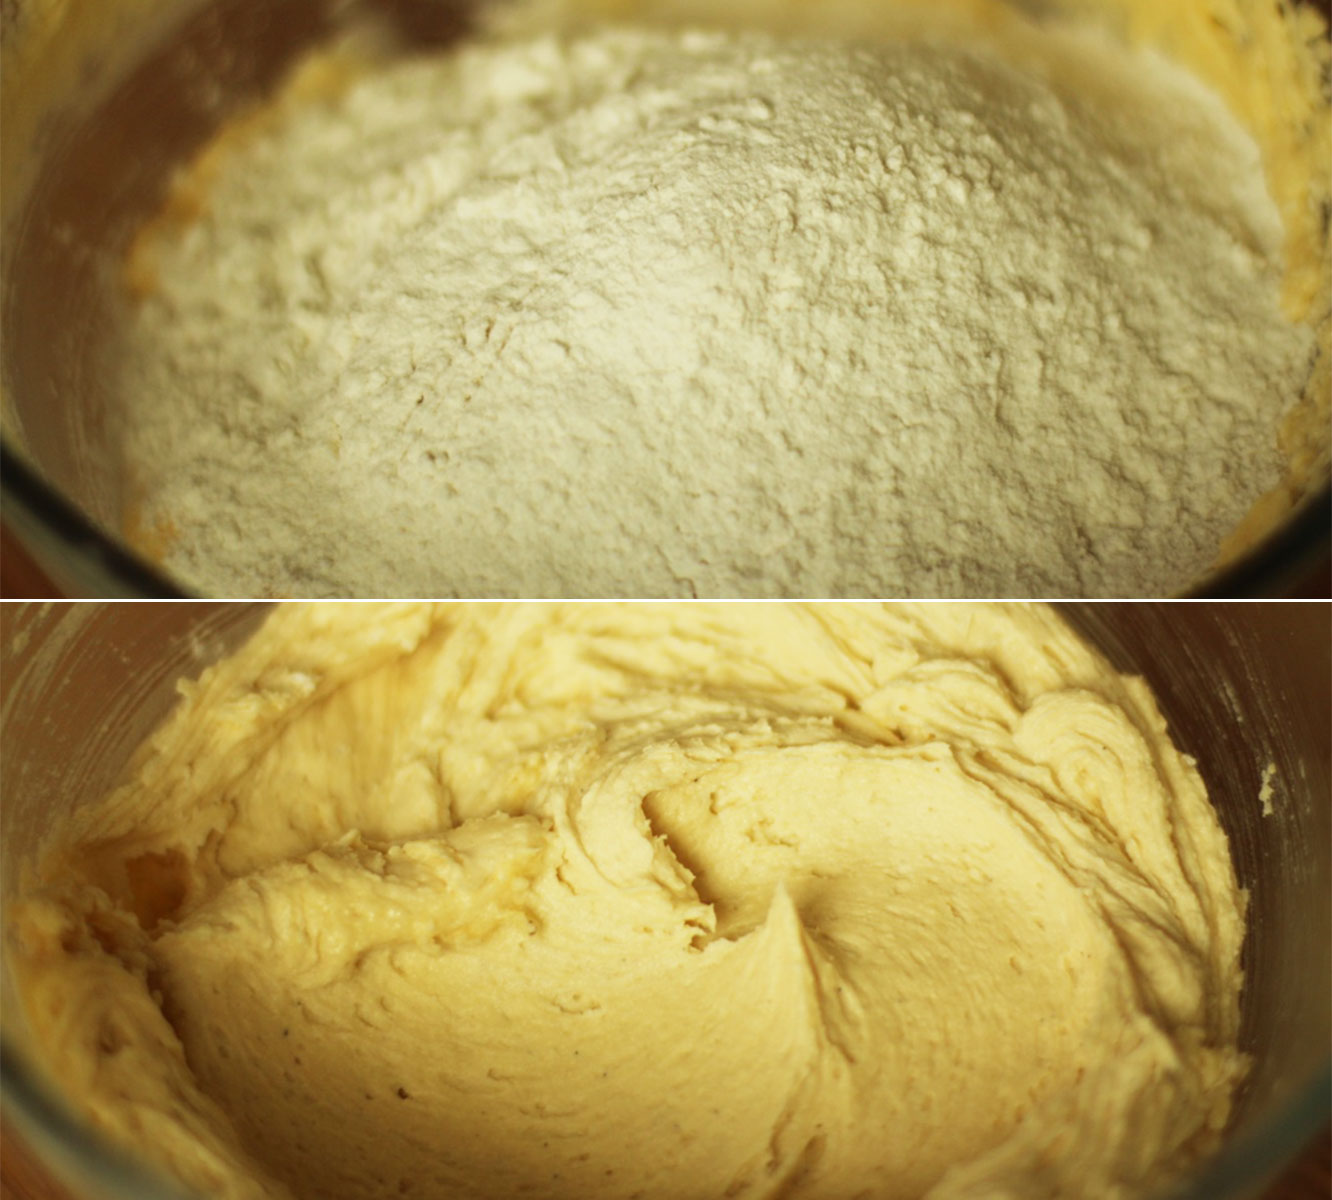
Add the flour and lemon zest and stir with your whisk (leaving the power off). Once the flour is about half combined you can turn your whisk back on to finish it. If you turn the whisk on to start with you will be wearing more flour than is in the bowl.
Step four
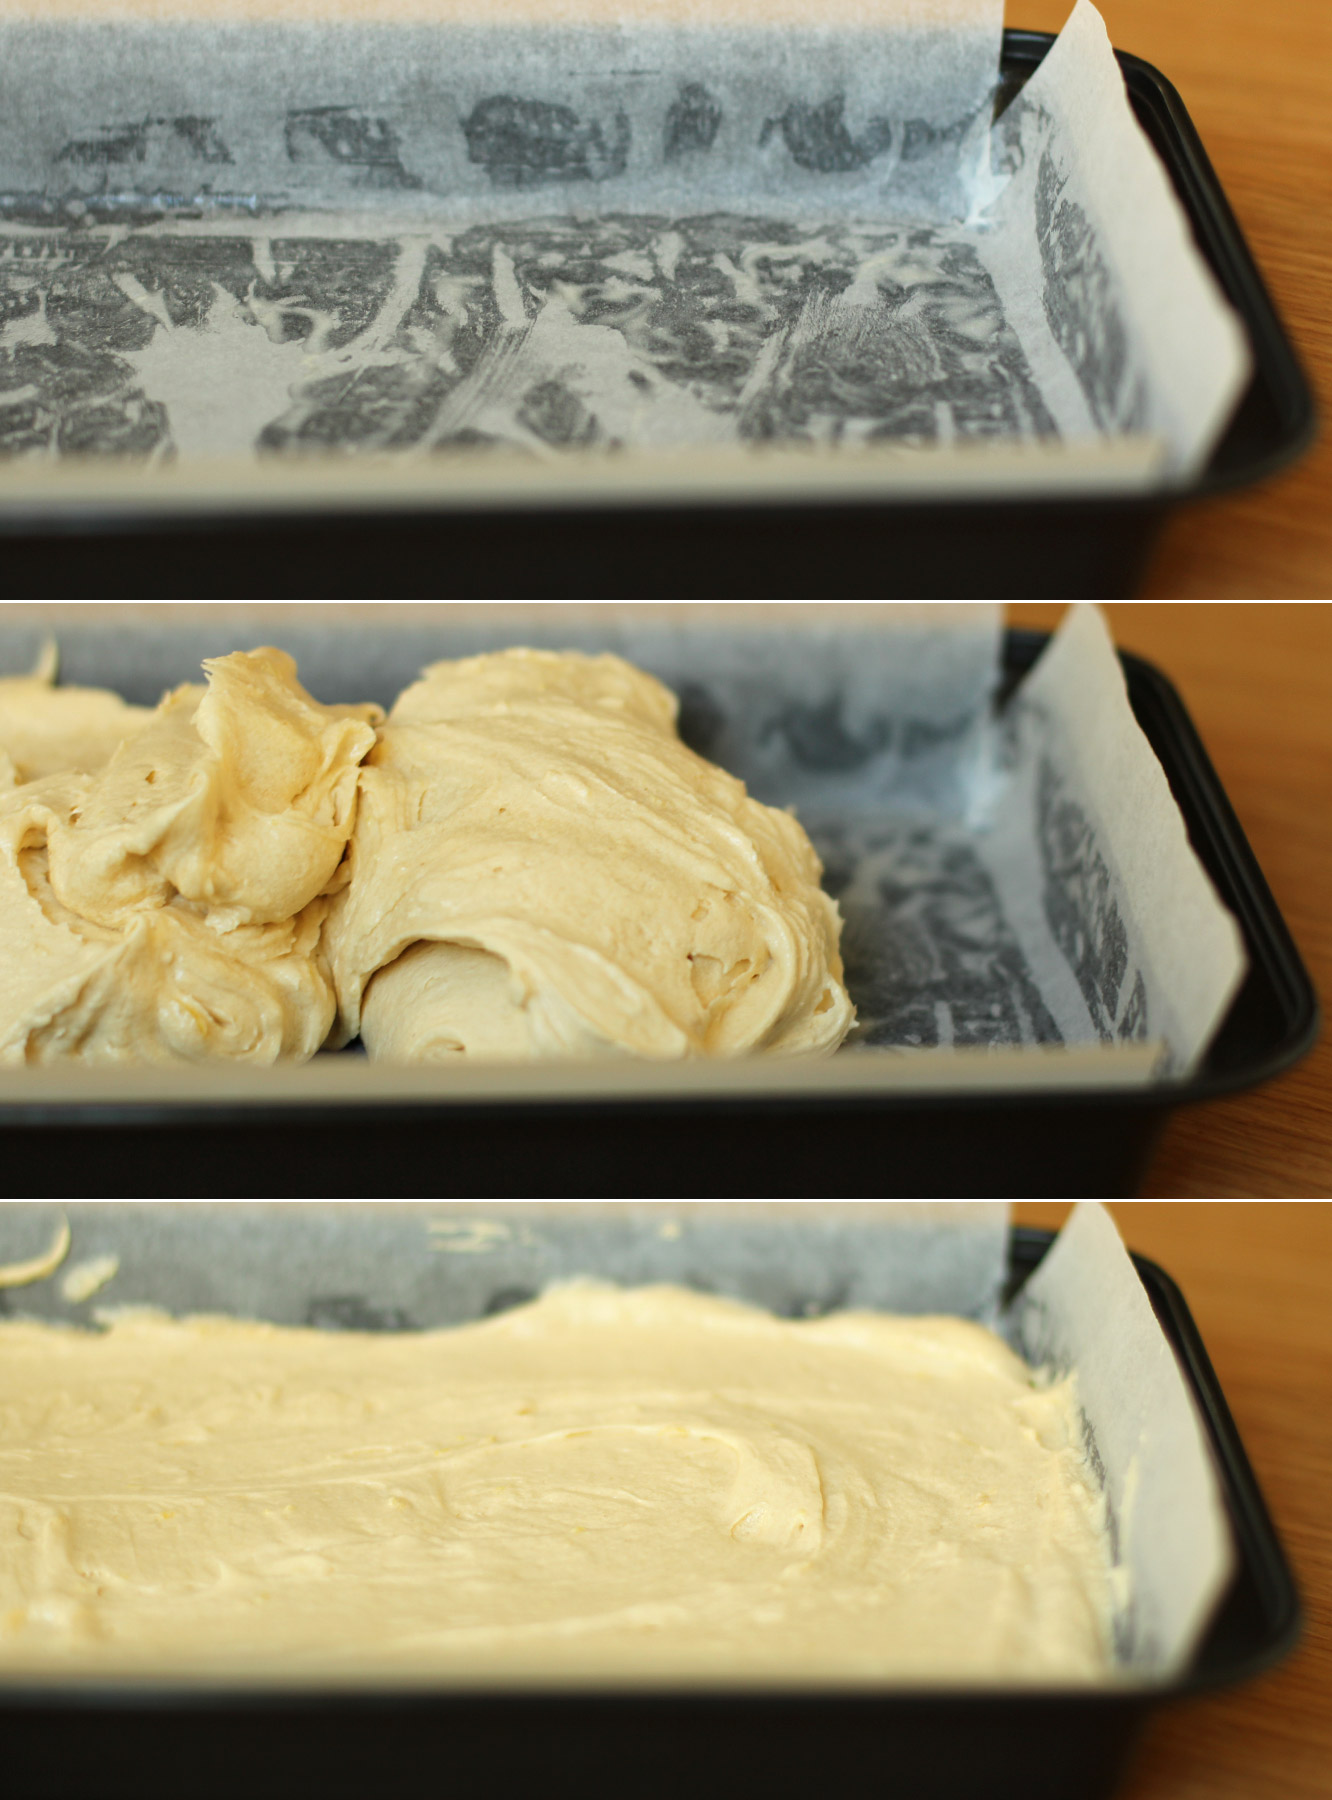
Grease and line a brownie tray. Drop the mixture into the tin and spread out gently with a wooden spoon or silicon spatula until even.
Place in a pre heated oven on gas mark 4/350F/180C for 30-35 minutes. It will go a light golden brown on top and a sharp knife poked into the middle will remove clean when it is cooked.
Step five
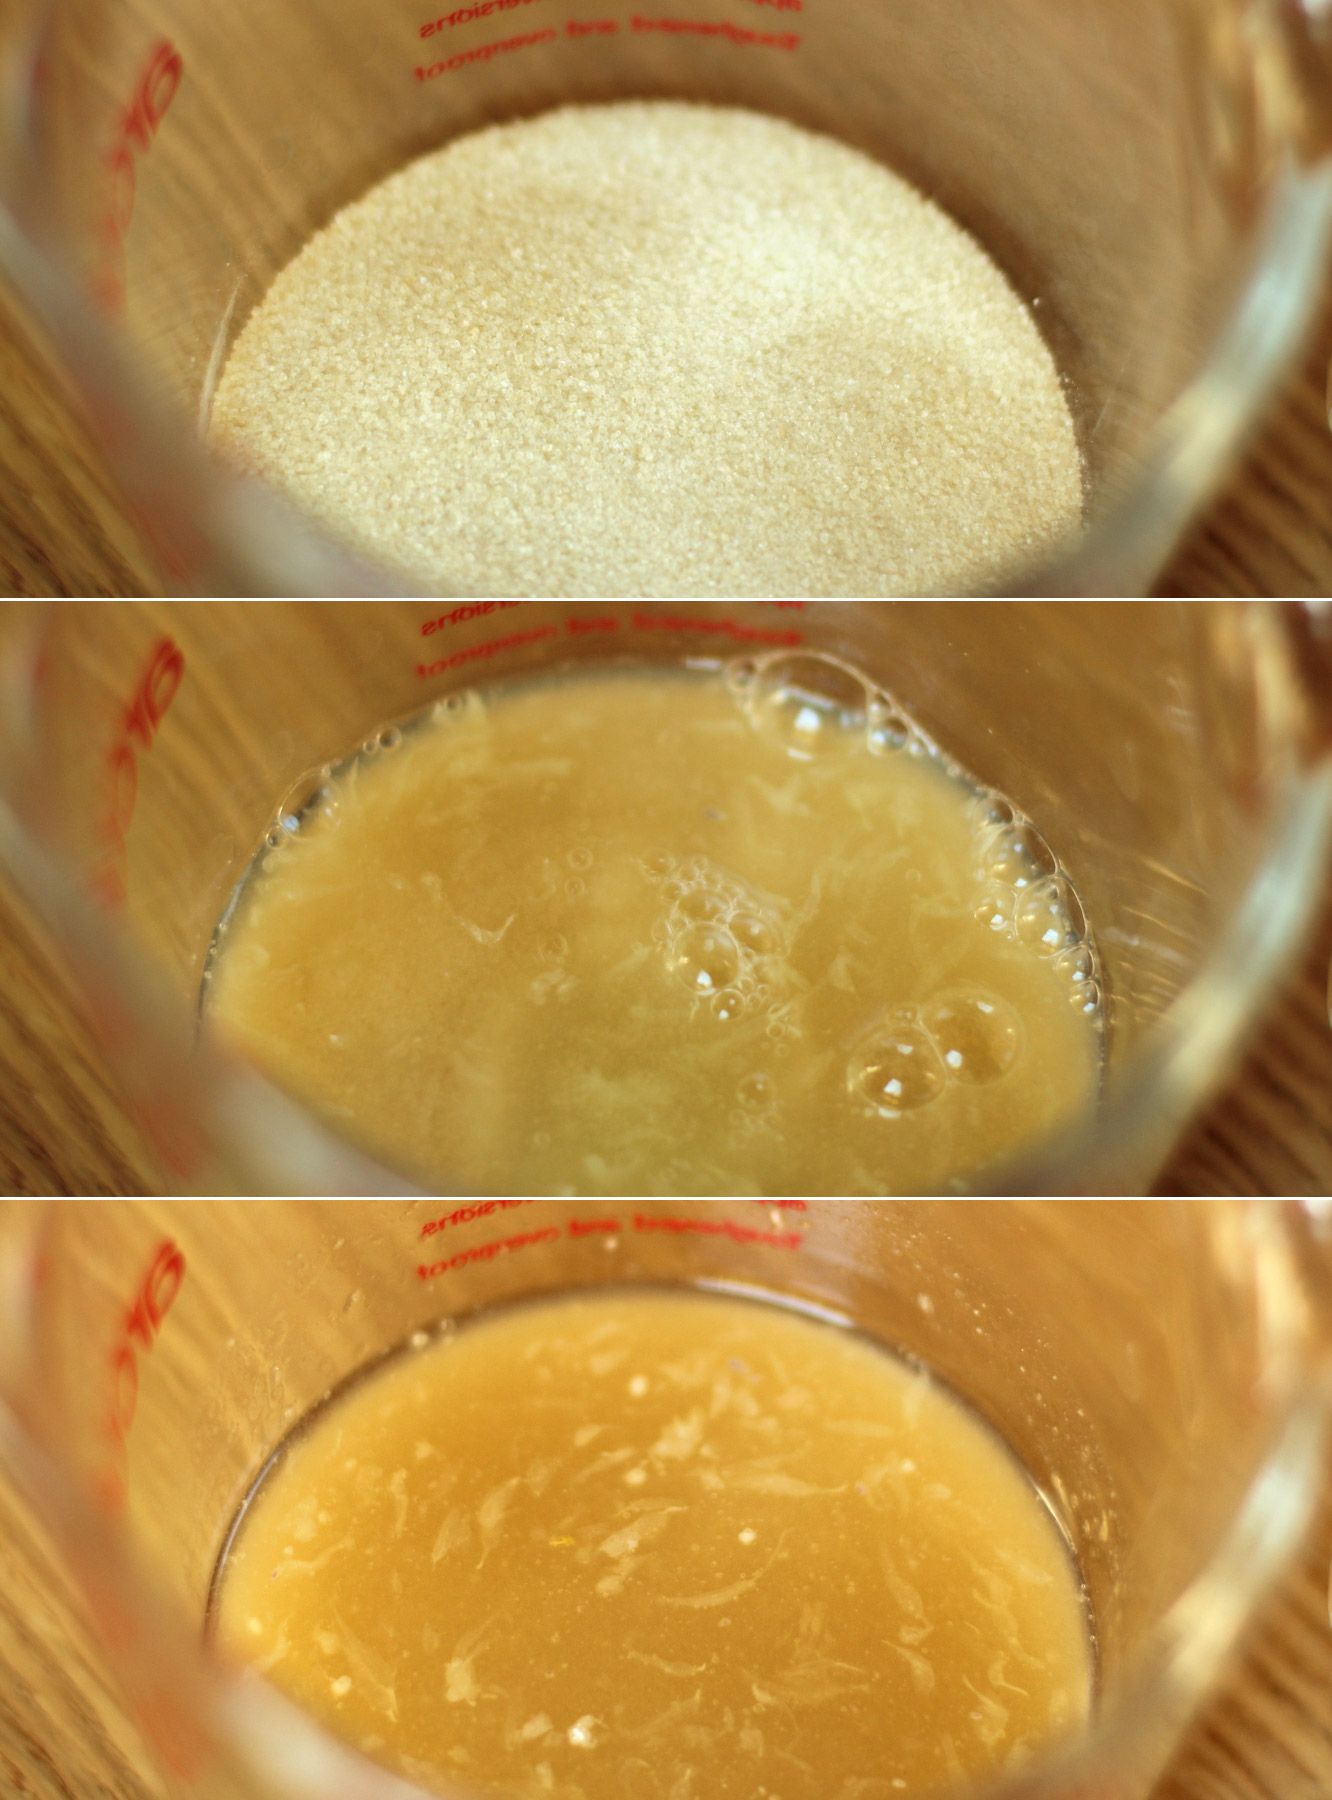
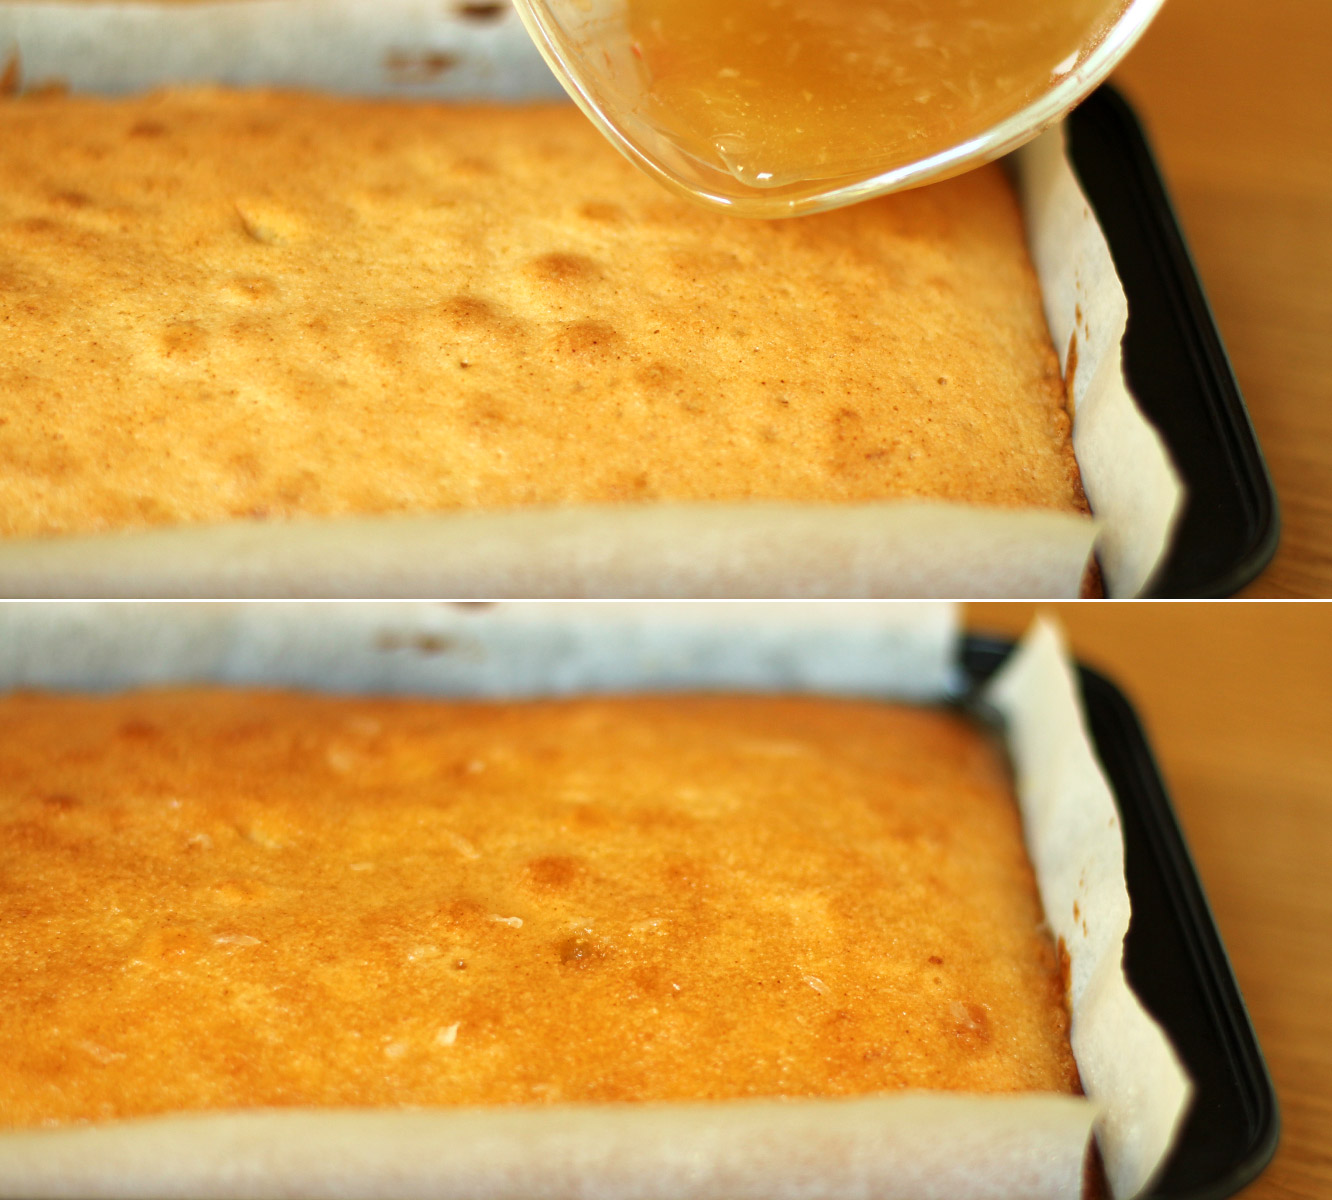
About 5 minutes before your cake is cooked, mix the 3oz/85g caster sugar with the lemon juice you squeezed earlier. You will probably need to give it another quick little stir before you pour it.
Step six
As soon as you take the cake out of the oven pour the drizzle evenly over the surface of the cake. Sometimes I take a spoon to the corners to collect the bits that have run down and redistribute them elsewhere.
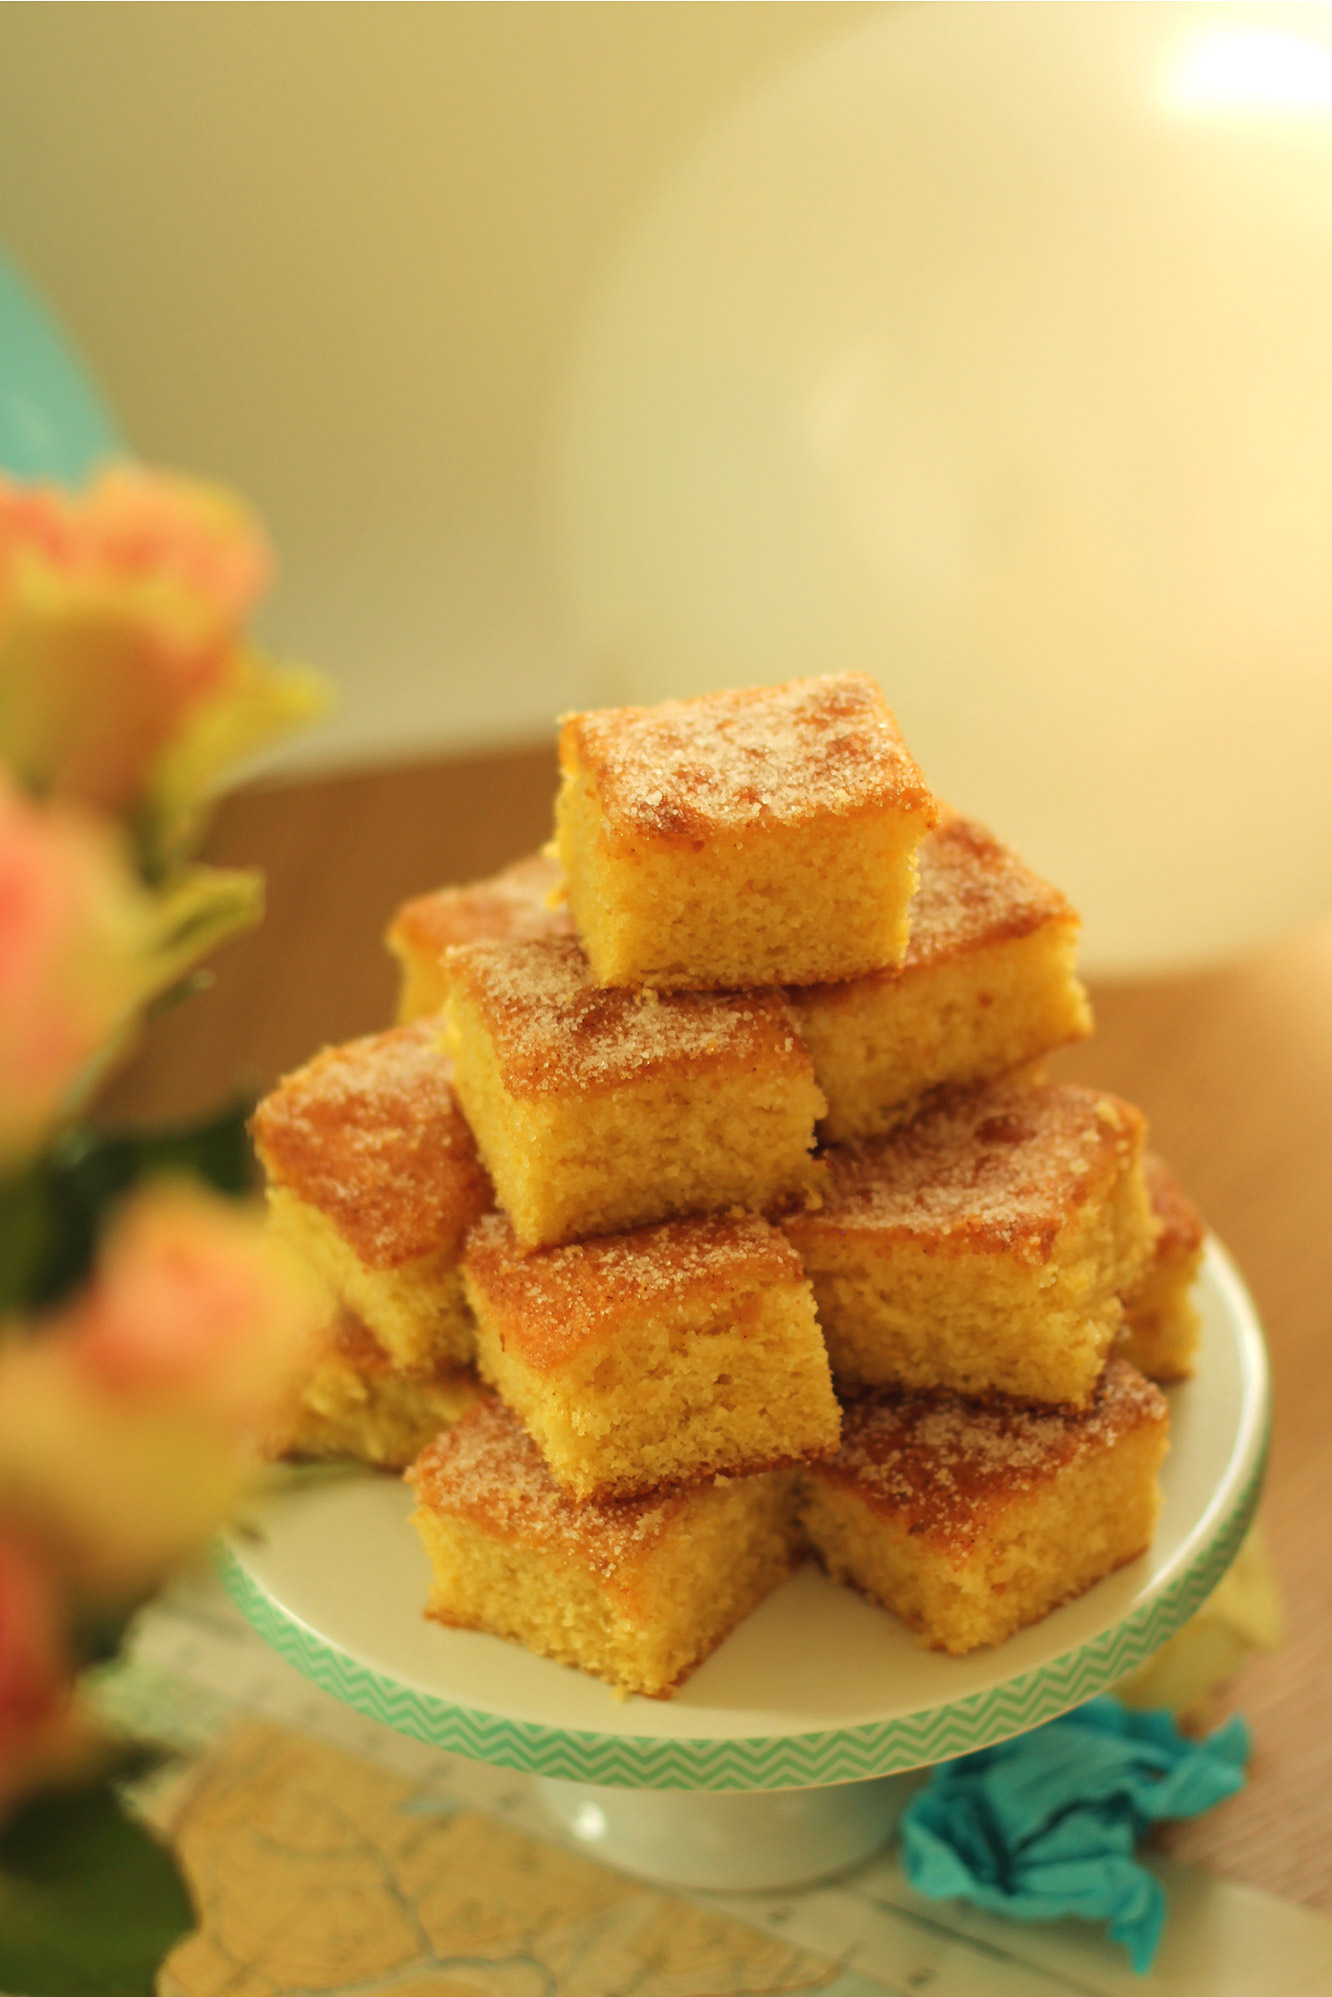
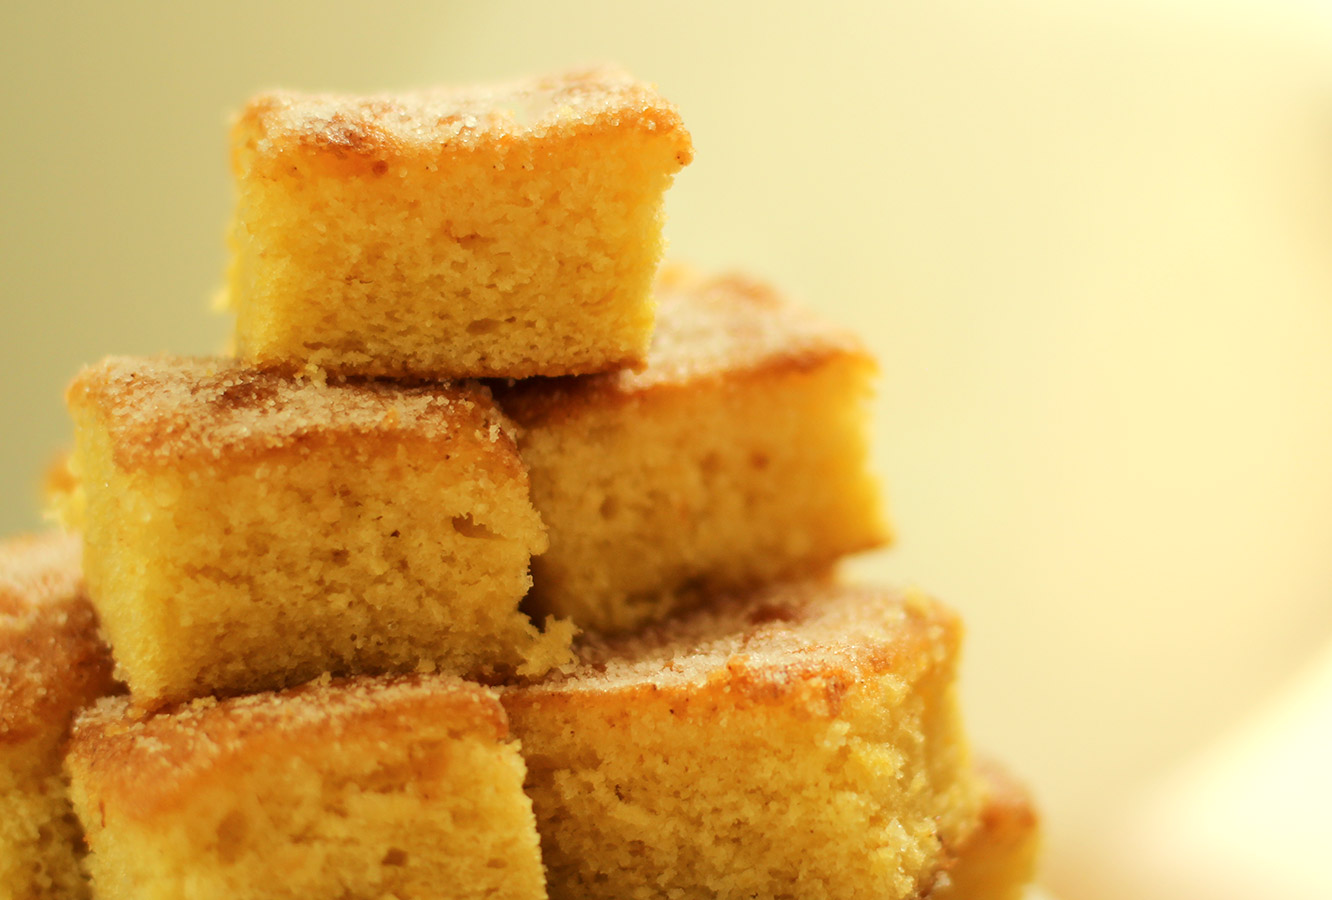
Allow to cool and cut into squares.