I’m going to call it before you do. I am a tiny bit cheating in this post. Back in November my housemate Vicky and I made Bonfire Night doughnuts. It was an epic feat of baking, one I vowed not to repeat for a very long time. That is, until my teacher at college had a birthday last week and I took to the kitchen again to make a maple themed bun in honour of his Canadian homeland.
So I confess. Given that doughnuts are a touch on the complex side, I’ve repeated many of the photos from November. It’s a lot easier to get snap happy when there’s a spare set of eyes to watch the pan of hot oil, so don’t judge me too harshly friends.
I urge you to give doughnuts a try some day.

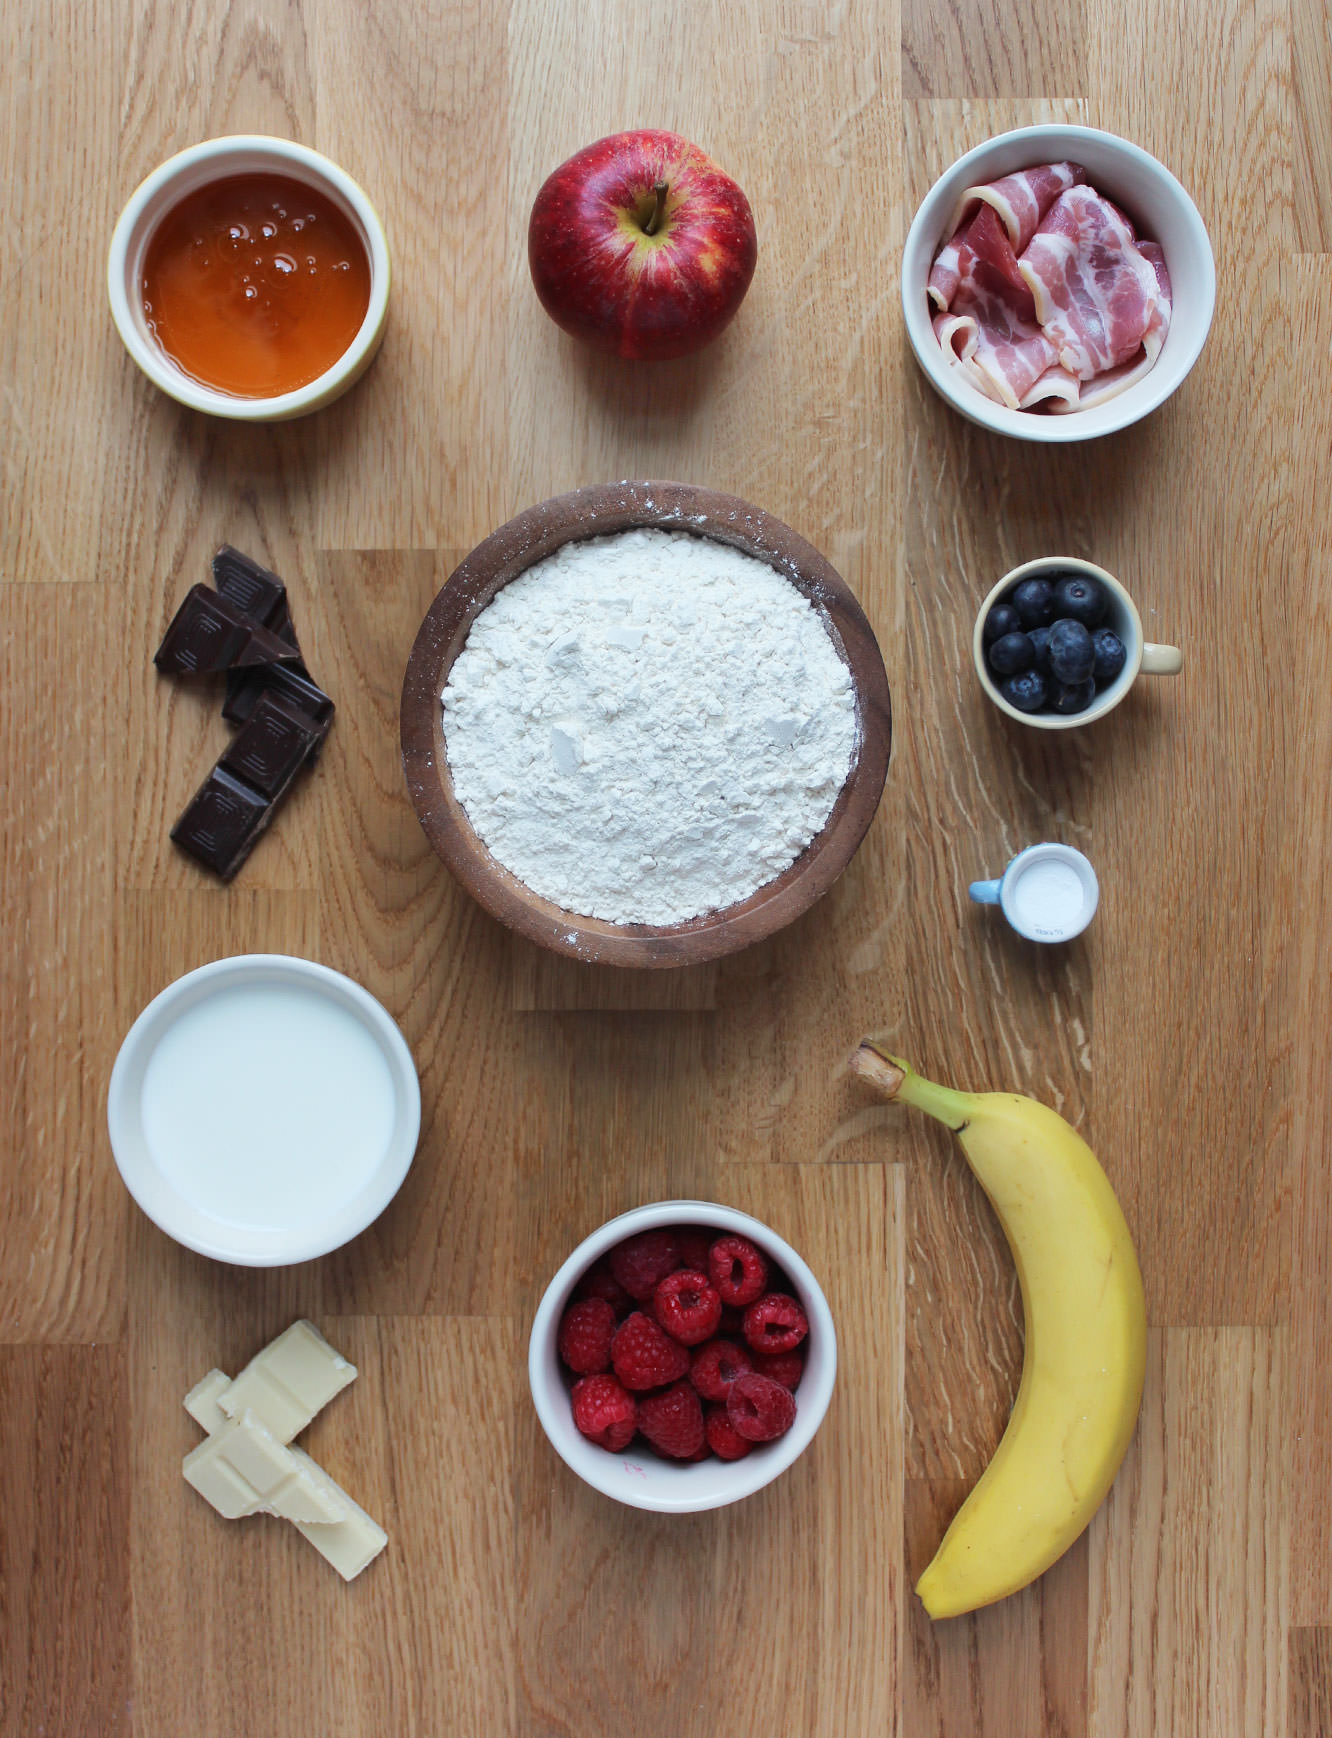
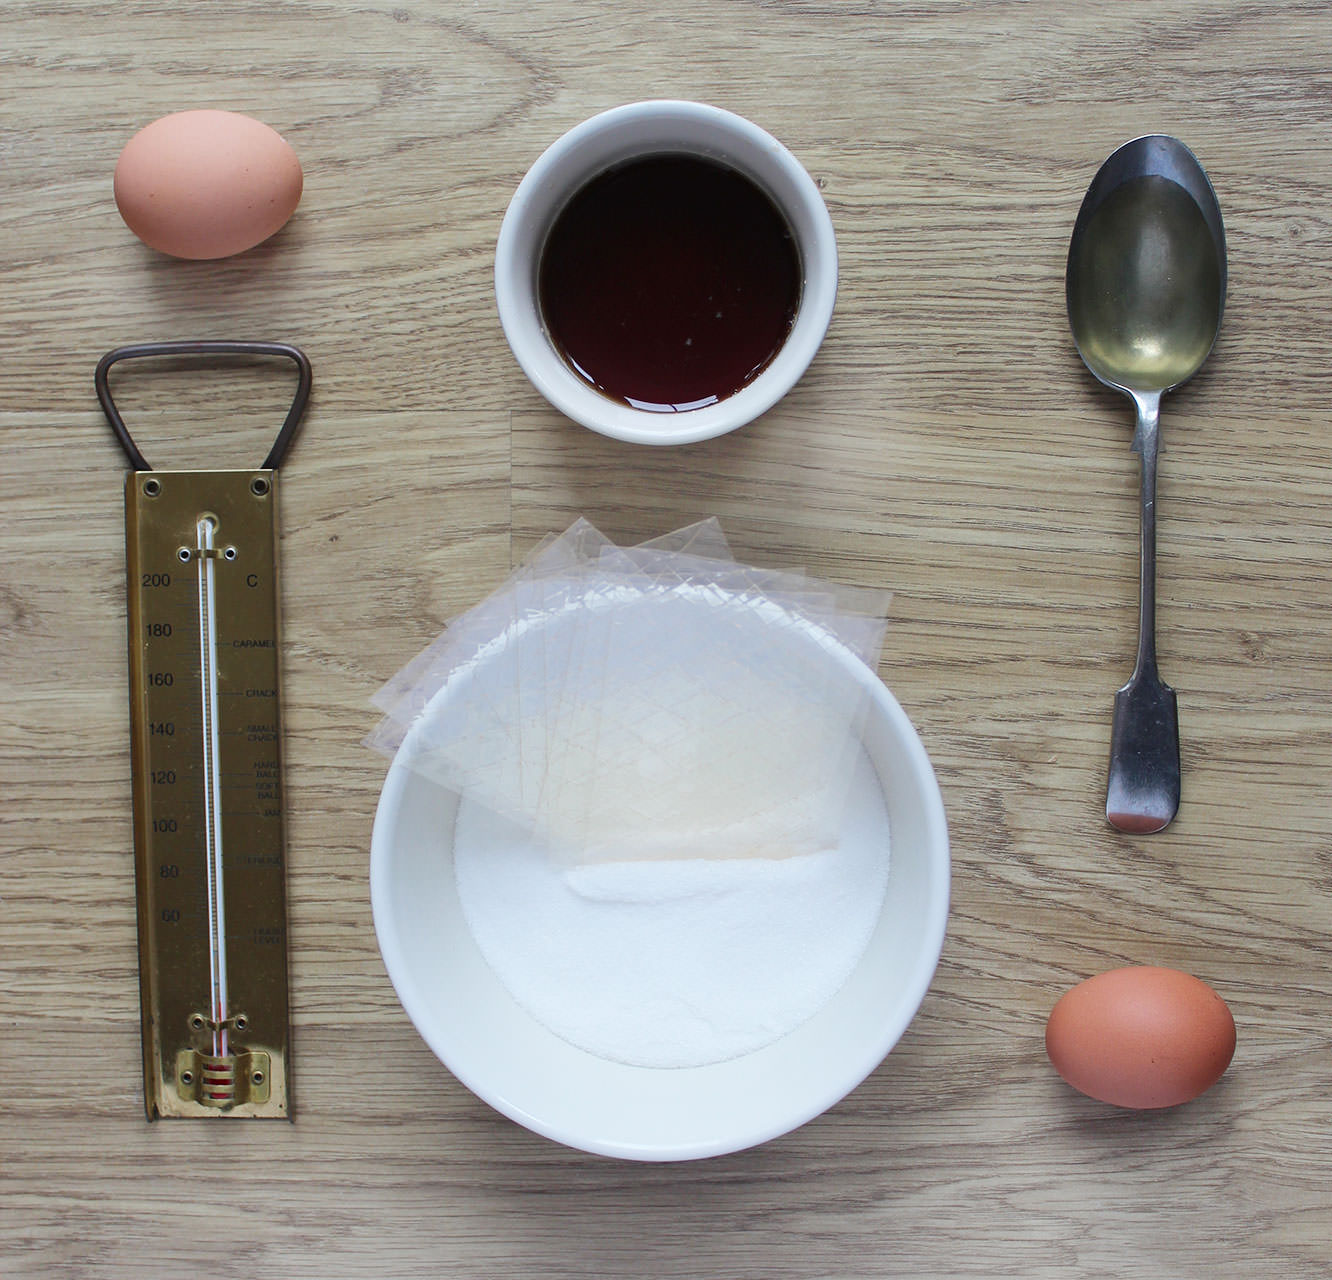
You will need
For the doughnuts:
350ml/12 fl oz Warm full fat milk
700g/1lb 8 oz Strong white bread flour
2 Eggs
70g/2.5 oz Unsalted butter
100g/3.5 oz Caster sugar
1 tsp Salt
14g/0.5 oz Dried yeast
50ml Warm water
For the filling:
300g/10.5 oz Icing sugar
125g/4.5 oz Unsalted butter
175ml/6 fl oz Maple syrup (as good as you can afford)
1 tsp Maple extract (don’t panic if you don’t have this or can’t find it, I lumped for a caramel extract in the end, and you could leave it out altogether)
For the glaze:
100ml/3 fl oz Maple syrup
100g/3.5 oz Icing sugar
25g/1 oz Unsalted butter
Extras
1.5 litres/50 fl oz Vegetable oil for frying
Sprinkles (these bronze ones are from Waitrose)
A flavour injector or piping bag with long thin nozzle
(Makes 25-30)
Step one
Put the yeast in the warm water and wait until frothy.
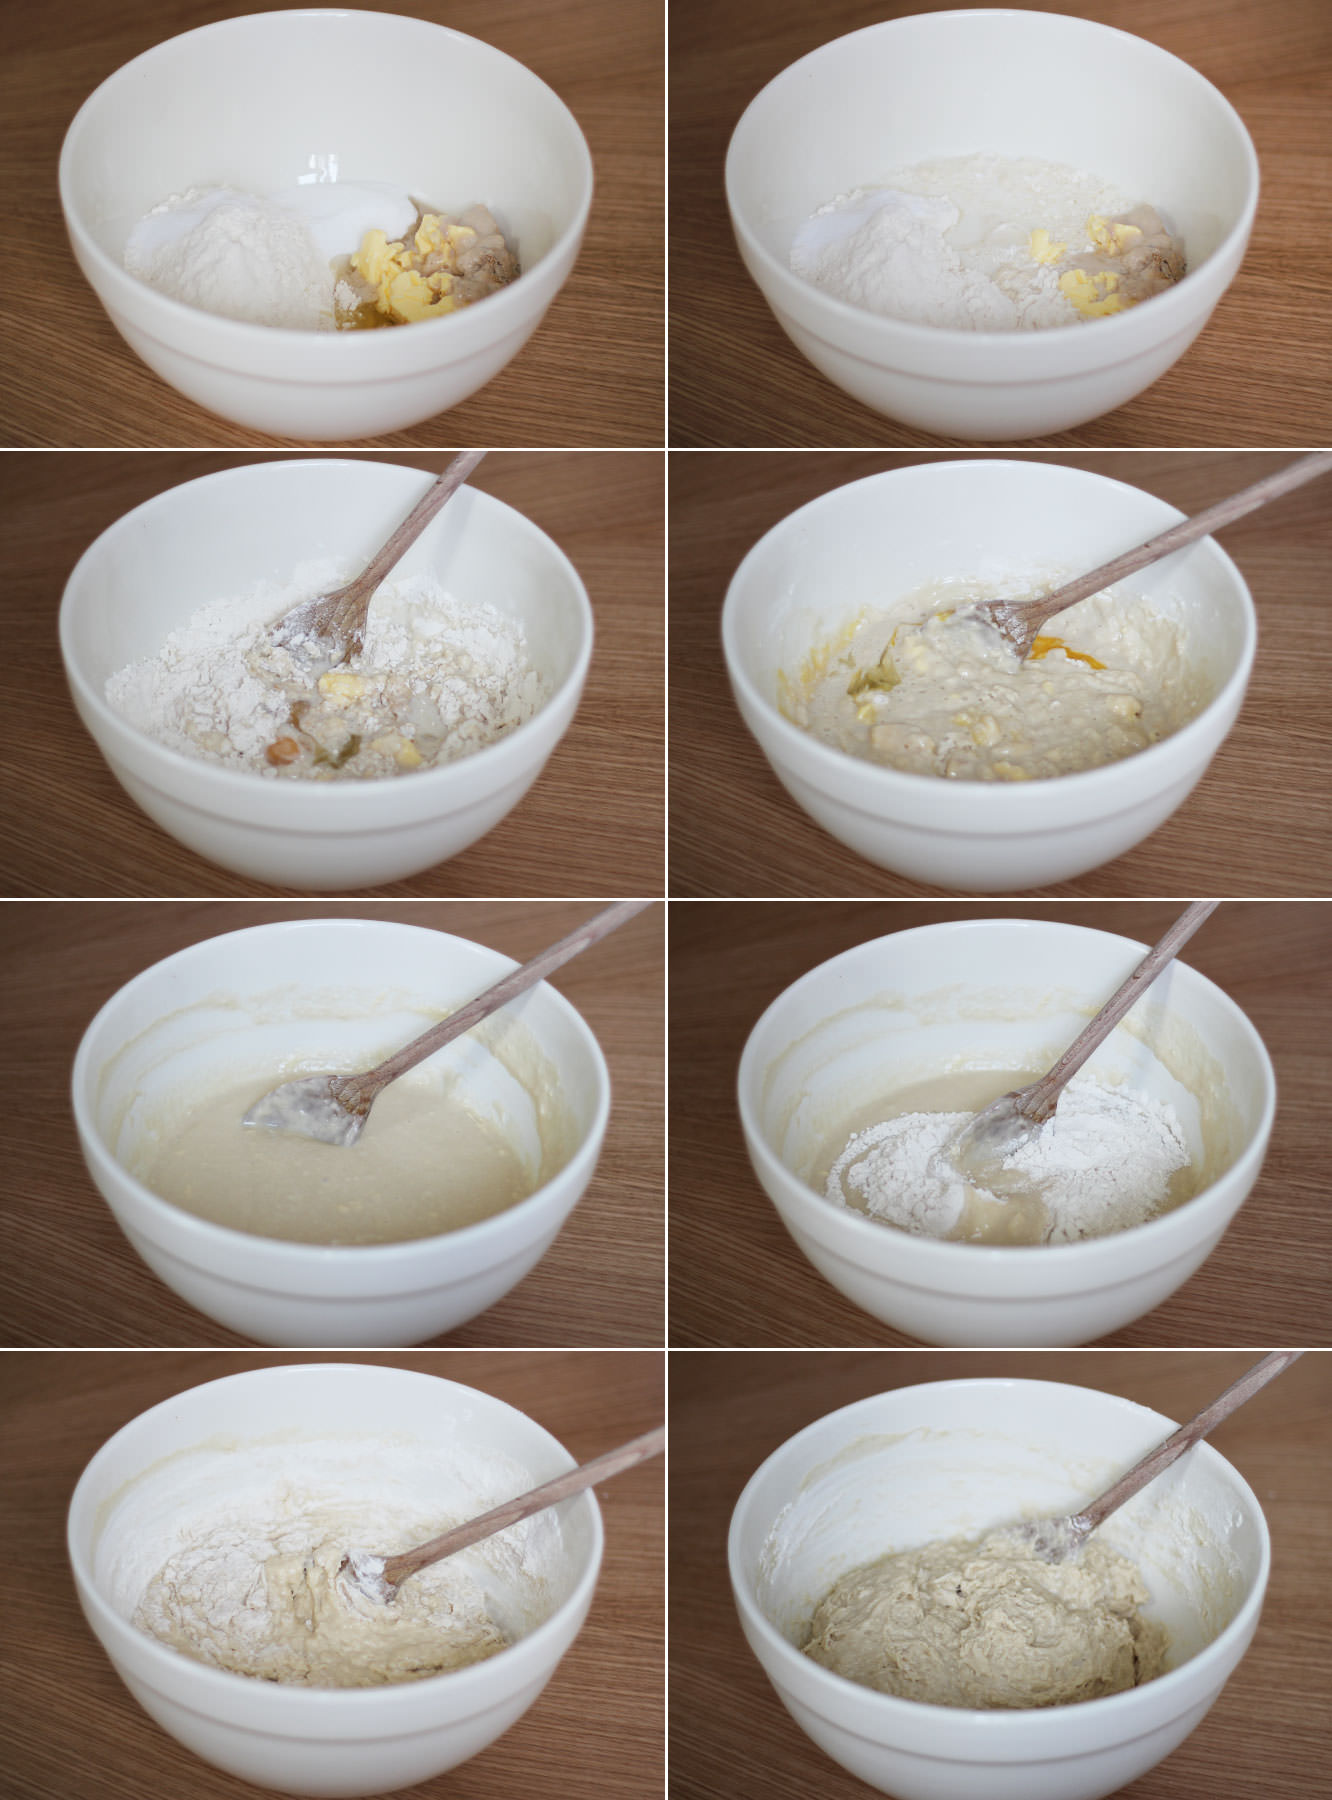
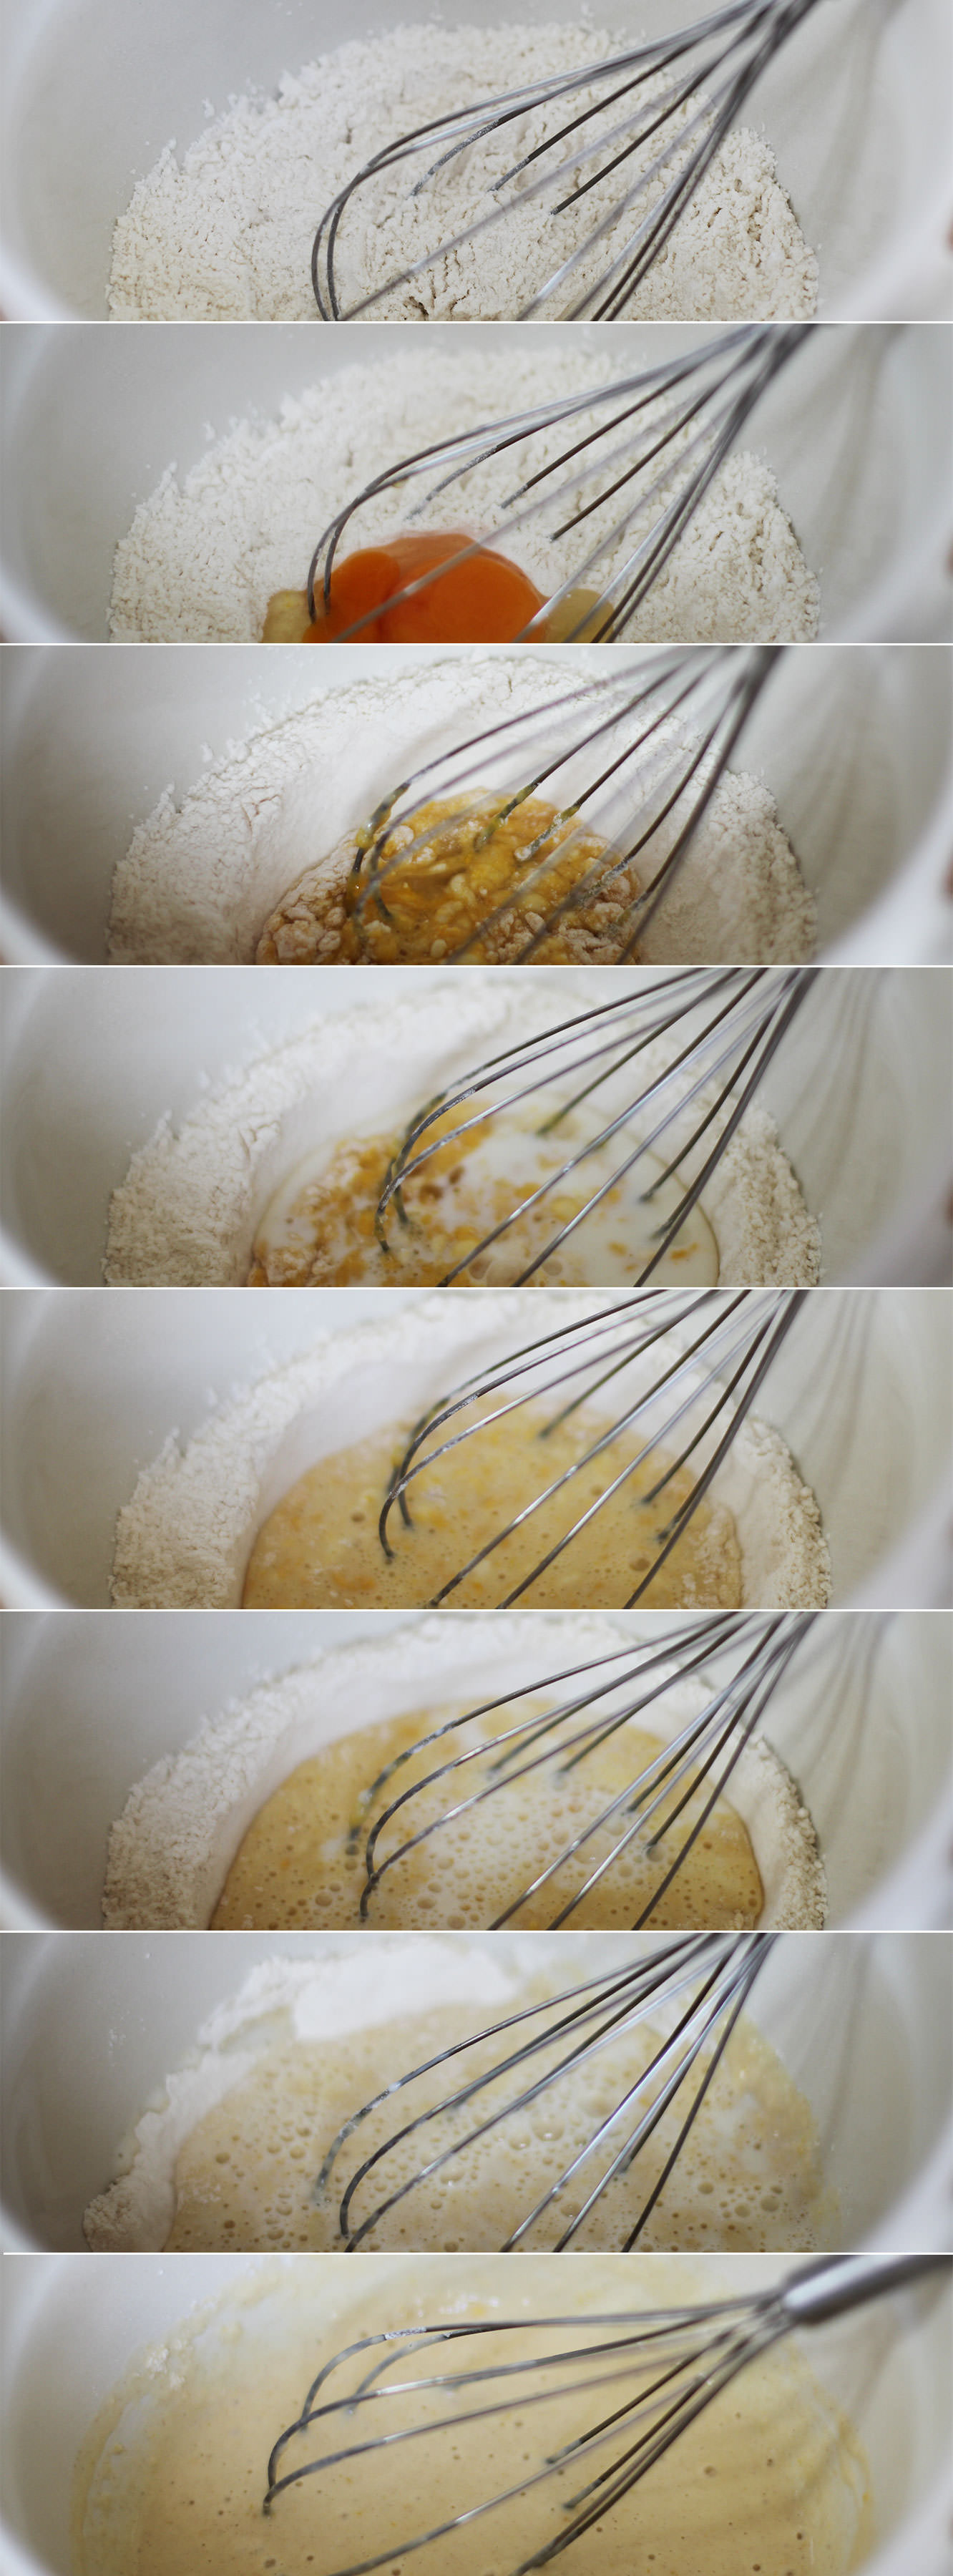
Step two
Combine half the flour with the rest of the dough ingredients (including the yeast froth).
Put the yeast and the salt on opposite sides of the bowl so the salt doesn’t prevent the yeast from doing its thang.
Step three
When the batter is smooth, gradually add the rest of the flour and stir.
The dough will be sticky but not impossible to work with. Having said that I still gave the work top a significant dusting of flour.
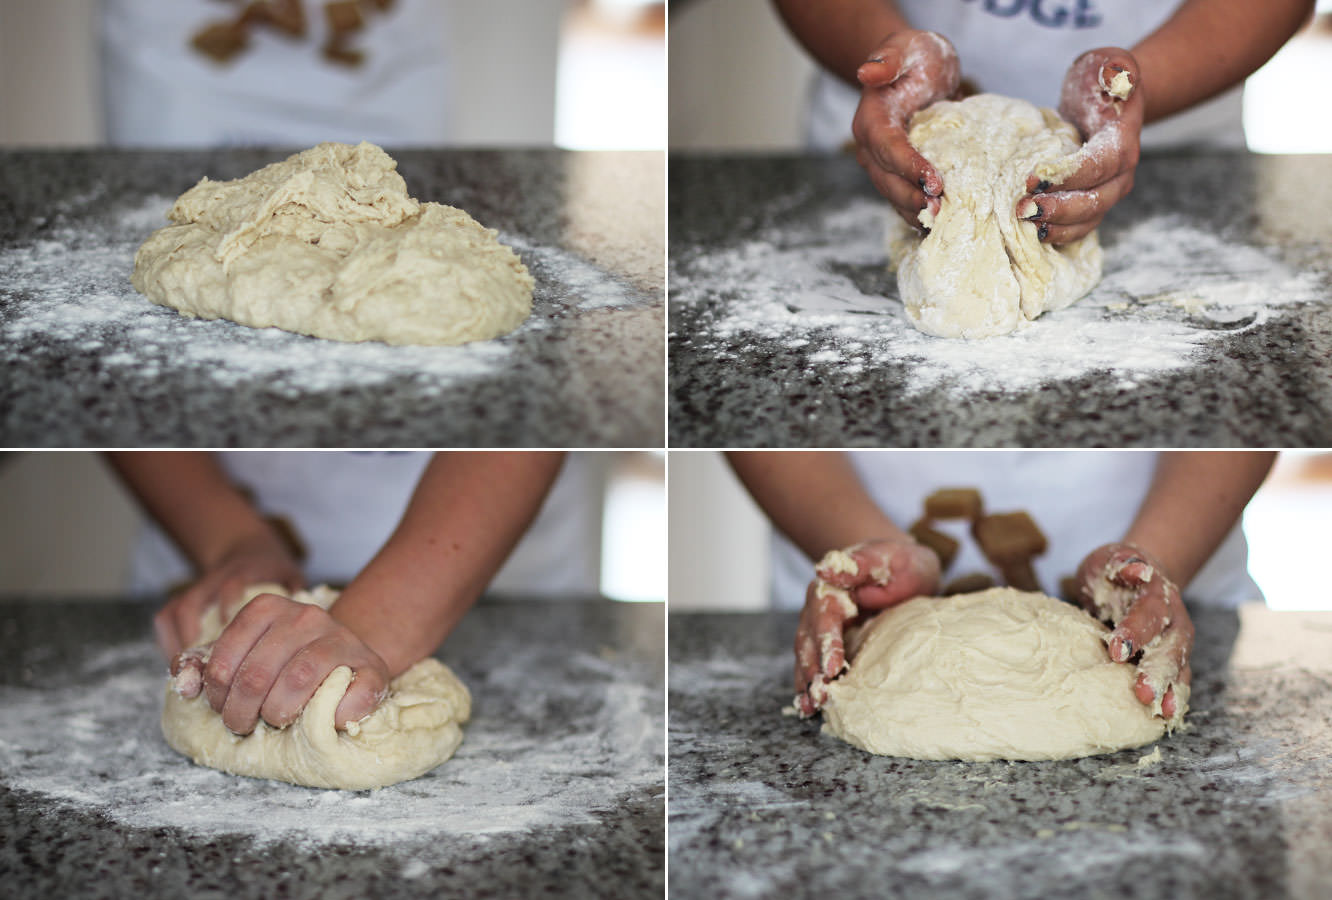
Step four
Turn the dough out onto a floured surface.
Knead for about 10 minutes, don’t worry if you have to add more flour to stop it sticking but don’t add loads and loads.
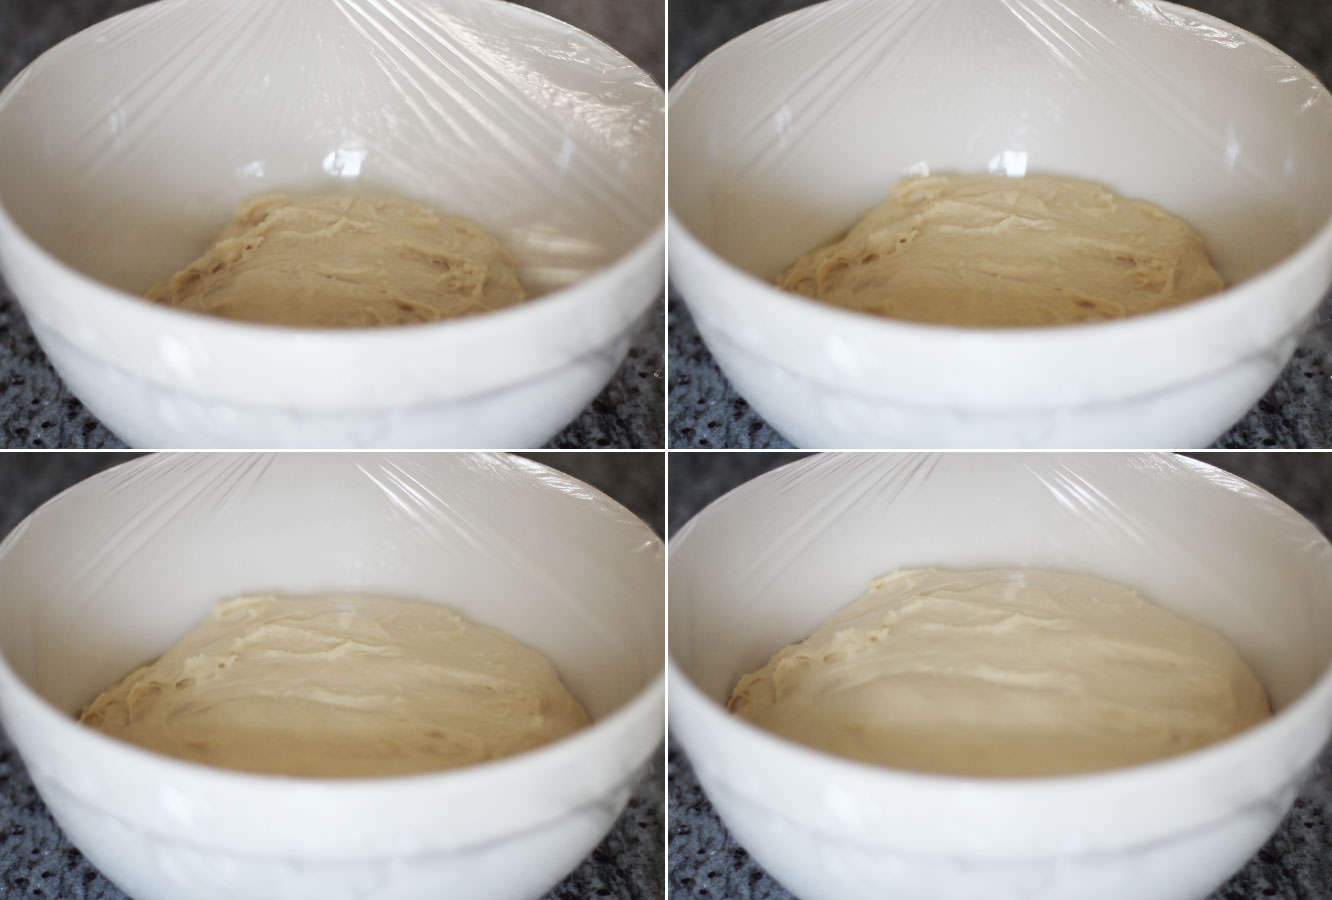
Step five
Pop it back in the bowl and cover with clingfilm. Leave in a warm dry place for 60-90 minutes or until doubled in size.

Step six
Once the dough has finished rising turn it back out of the bowl and roll out into two long strips. Cut into 30 equal pieces.

Step seven
Roll the pieces into balls and leave on a lightly dusted (with flour just in case that wasn’t obvious) surface or tray to prove.
Step eight
You’ve probably got time here to make the filling and the glaze.
Essentially for both you just need to whisk all the ingredients together in a bowl. I can’t even make that sound remotely more complicated.
Step nine
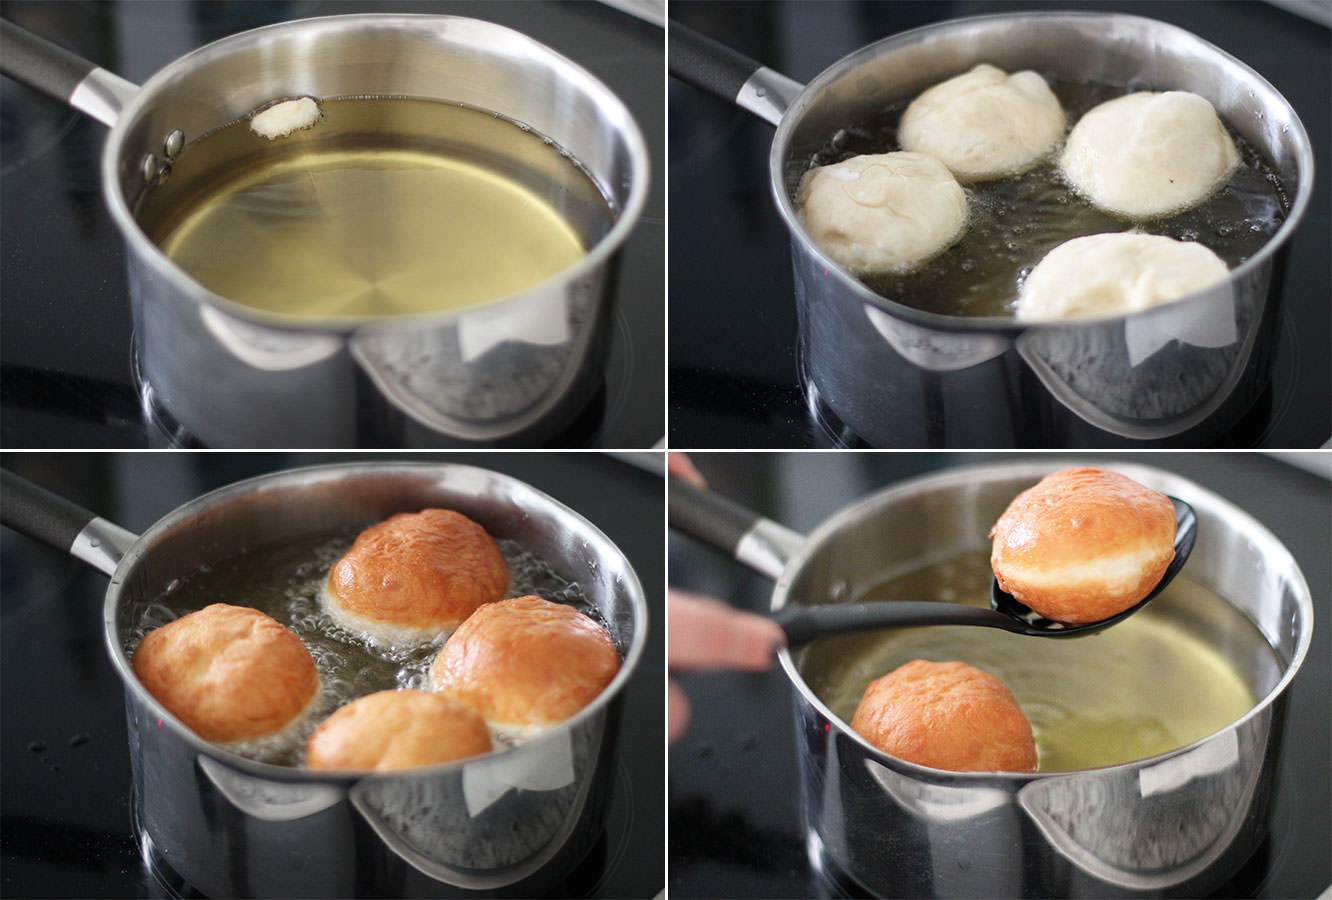
About 20 minutes after the proving has started put the oil in the pan on a low-medium heat. Definitely don’t rush this stage, it will take a long time for the oil to come to the right temperature but patience is key.
Test your oil heat with little pieces of a dough. When this tester floats and bubbles straight away you’re good to go.
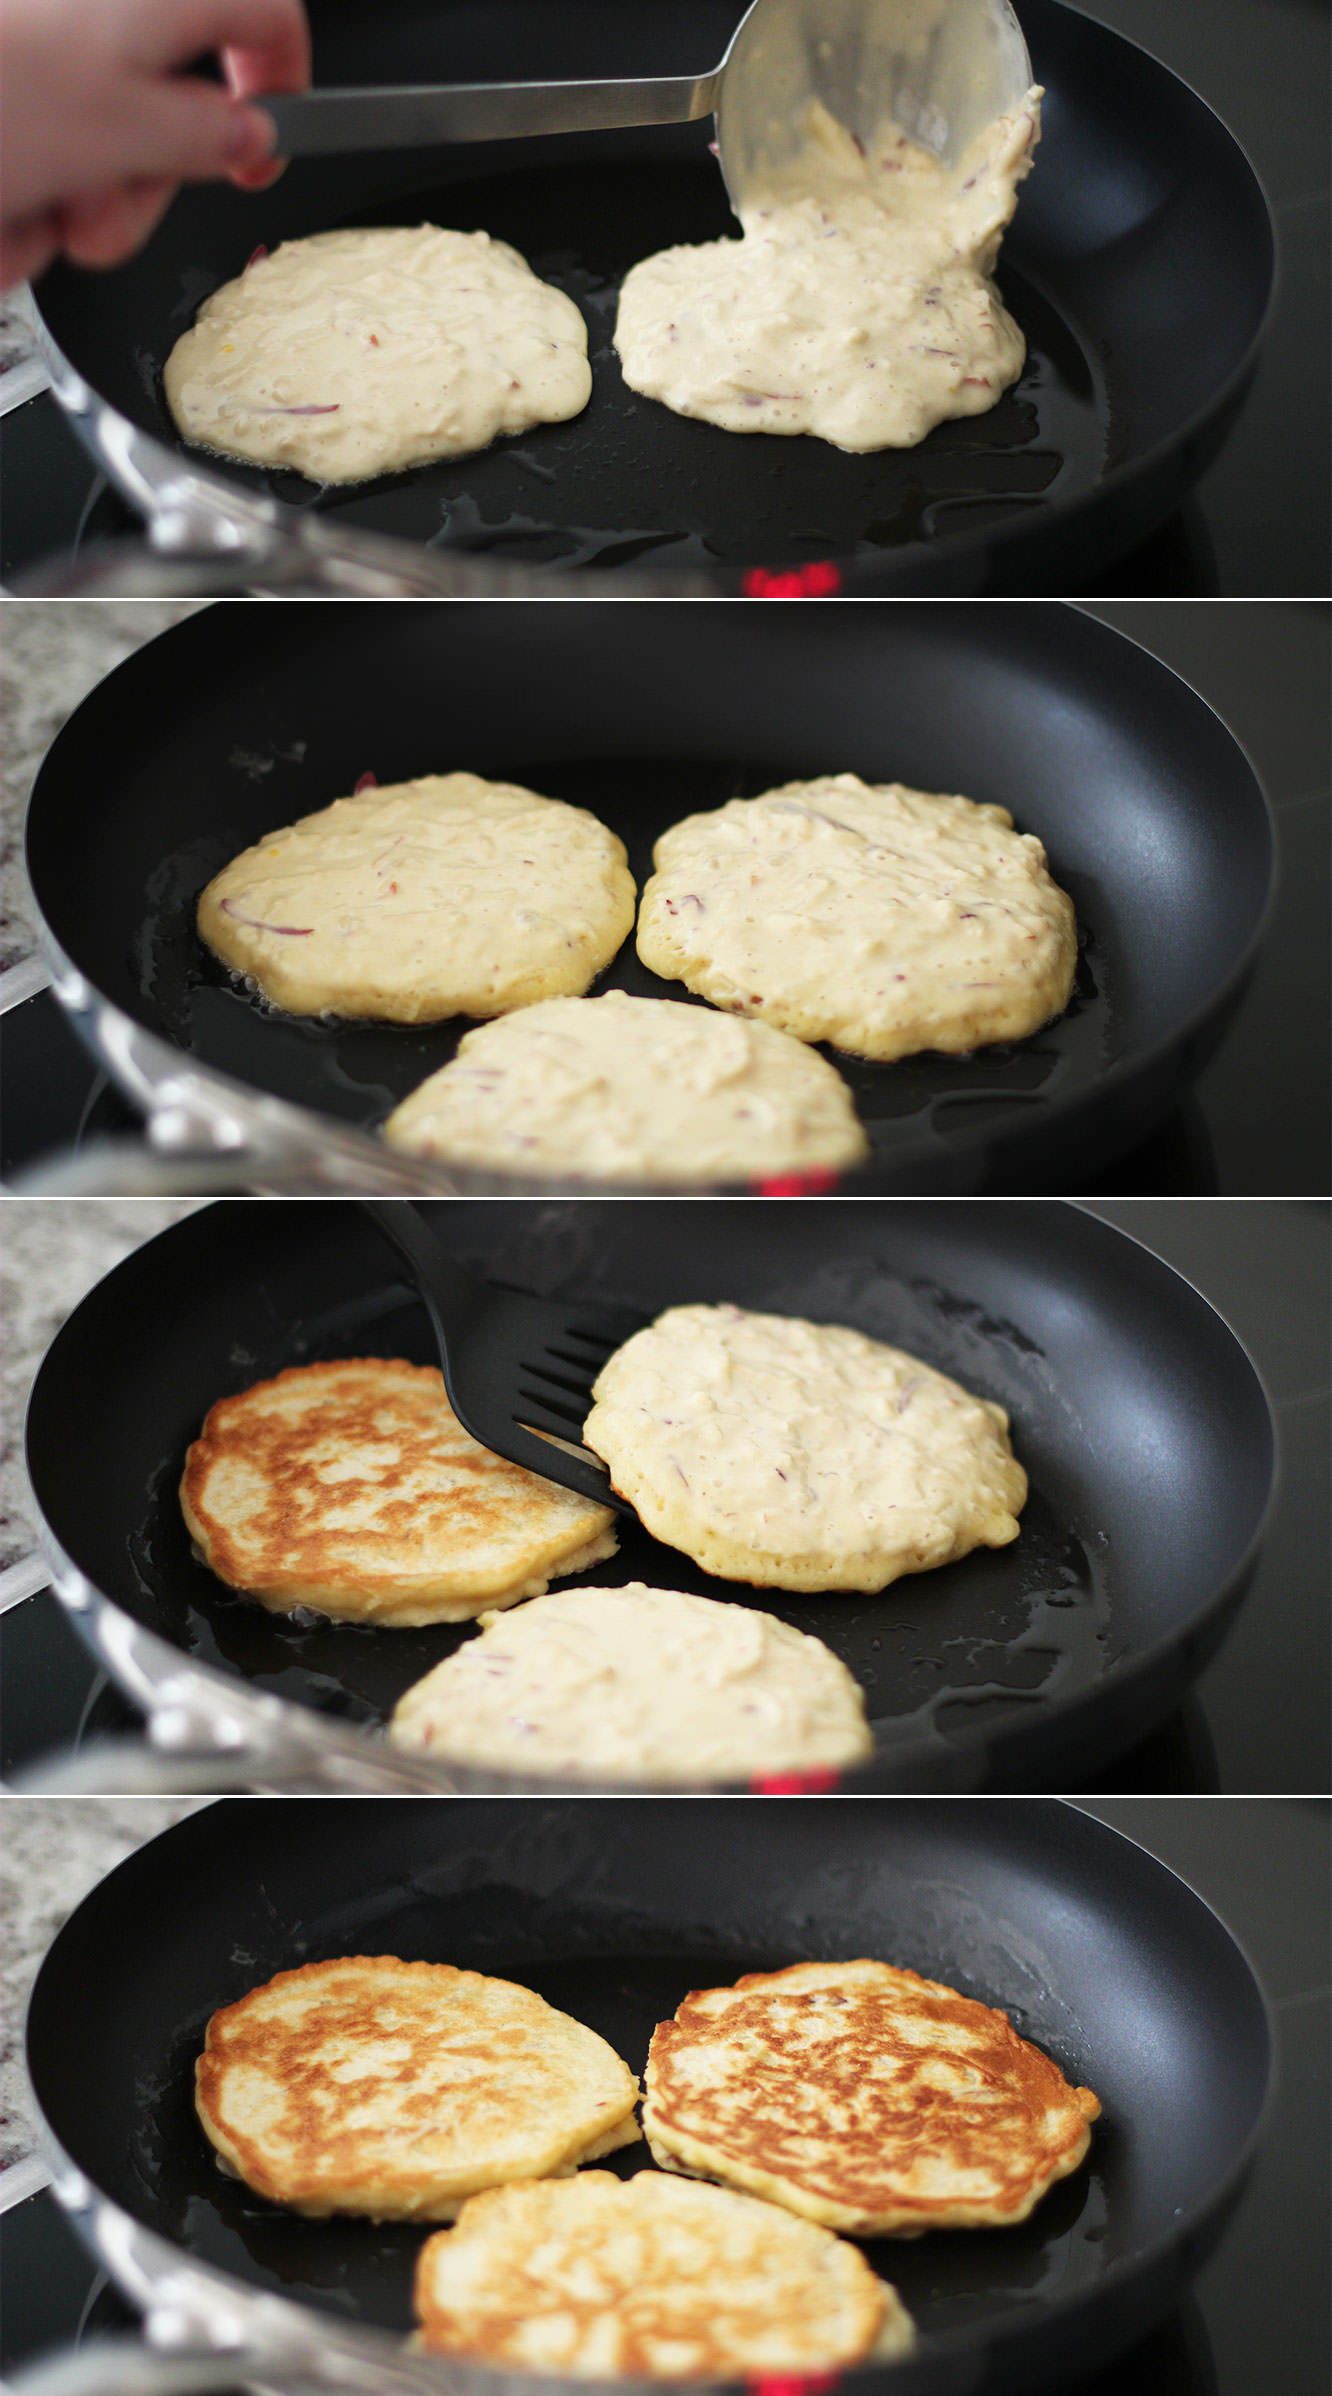
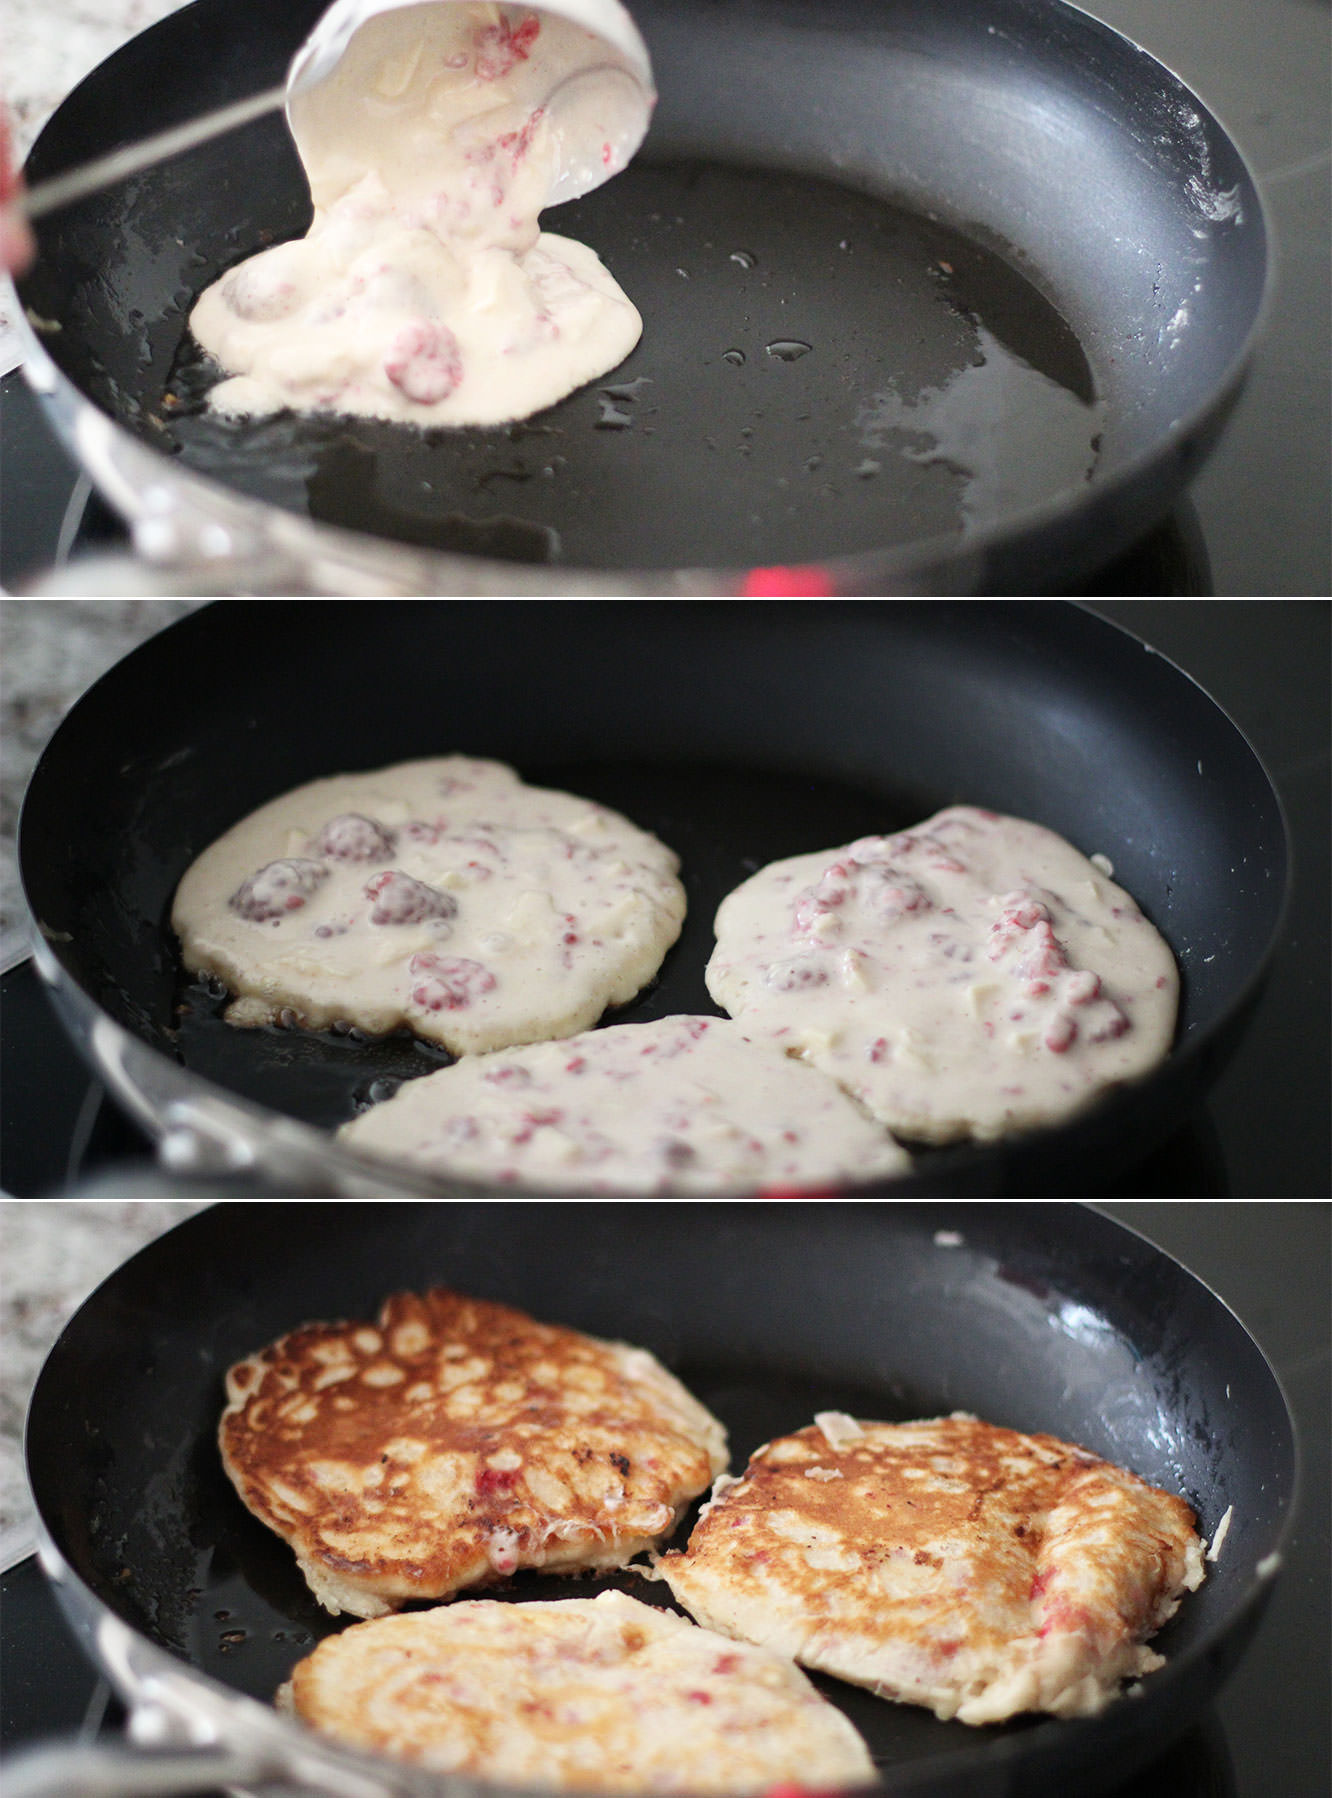
Step ten
Cook your doughnuts. I did this by eye, but I reckon it only takes about 30 seconds to a minute on each side.
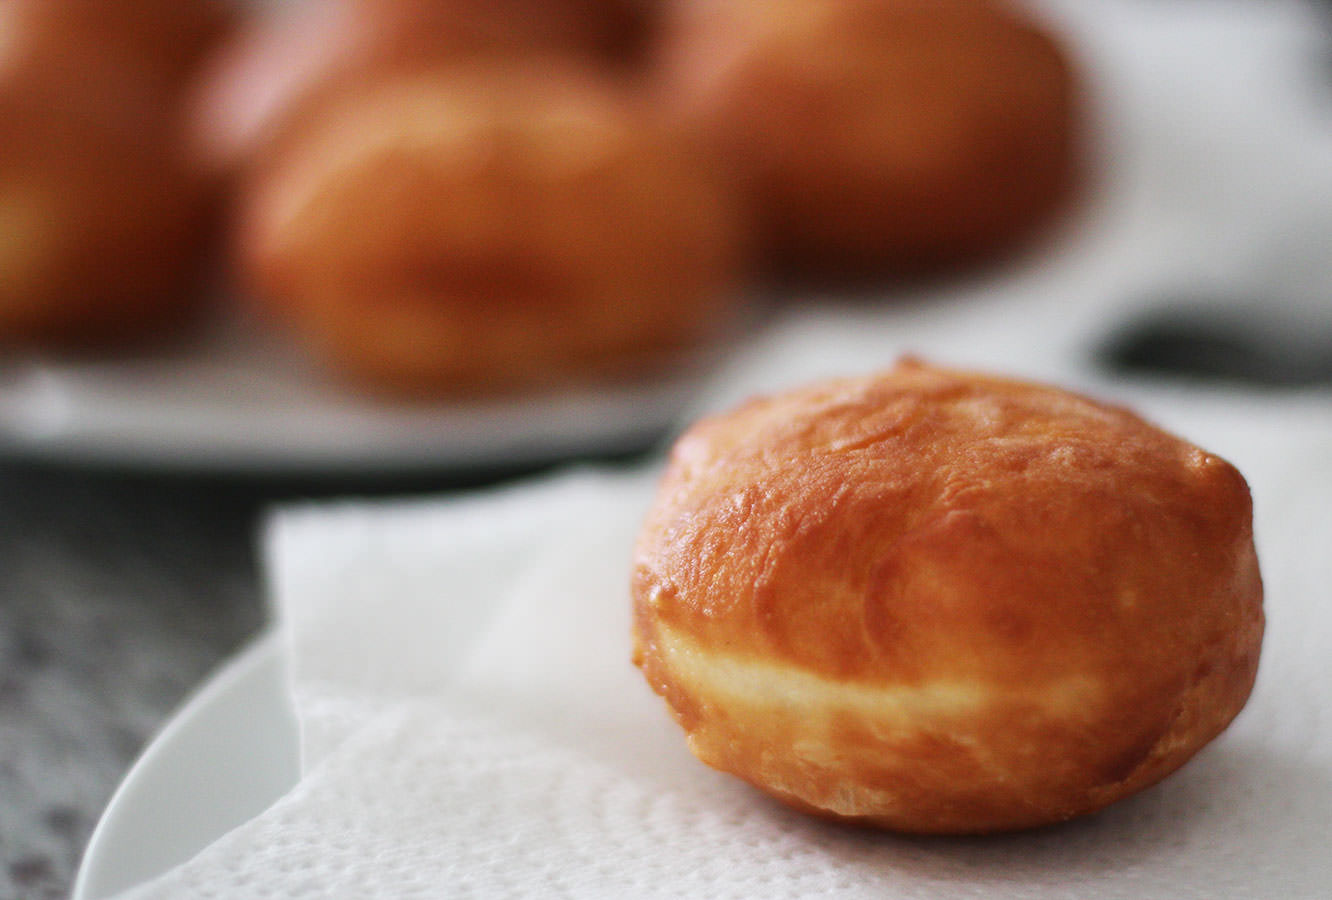
Leave your doughnuts to rest on a few sheets of kitchen roll which will soak up any excess oil.
Step eleven
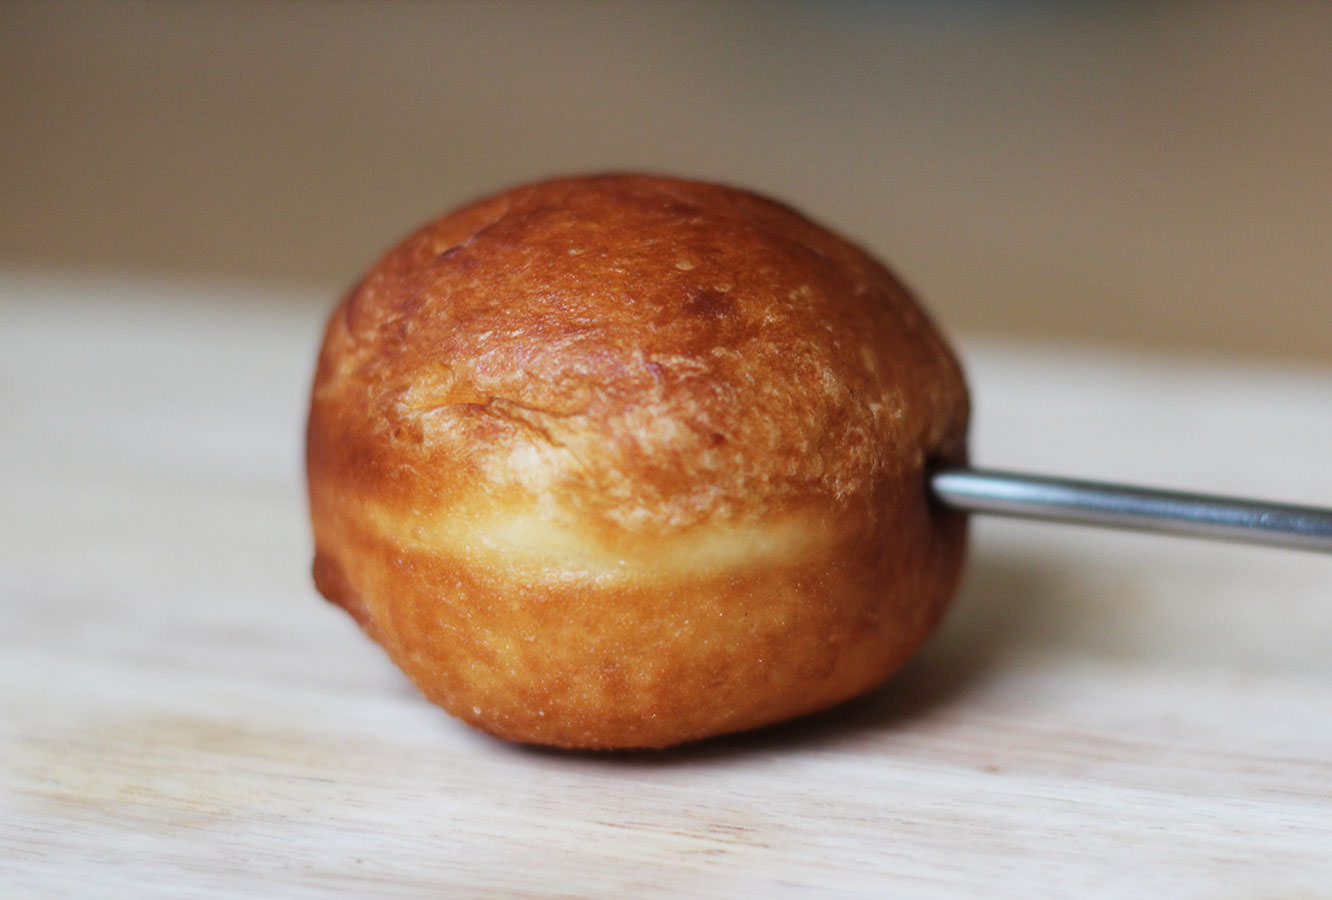
Once the doughnuts are completely cool, fill them with the maple buttercream.
My flavour injector has measurements on the side, so I went for about 10 ml in each. If you don’t have that luxury, practice piping an adequate amount of filling out so you know how much pressure to add and for how long to fill them properly.
Step twelve
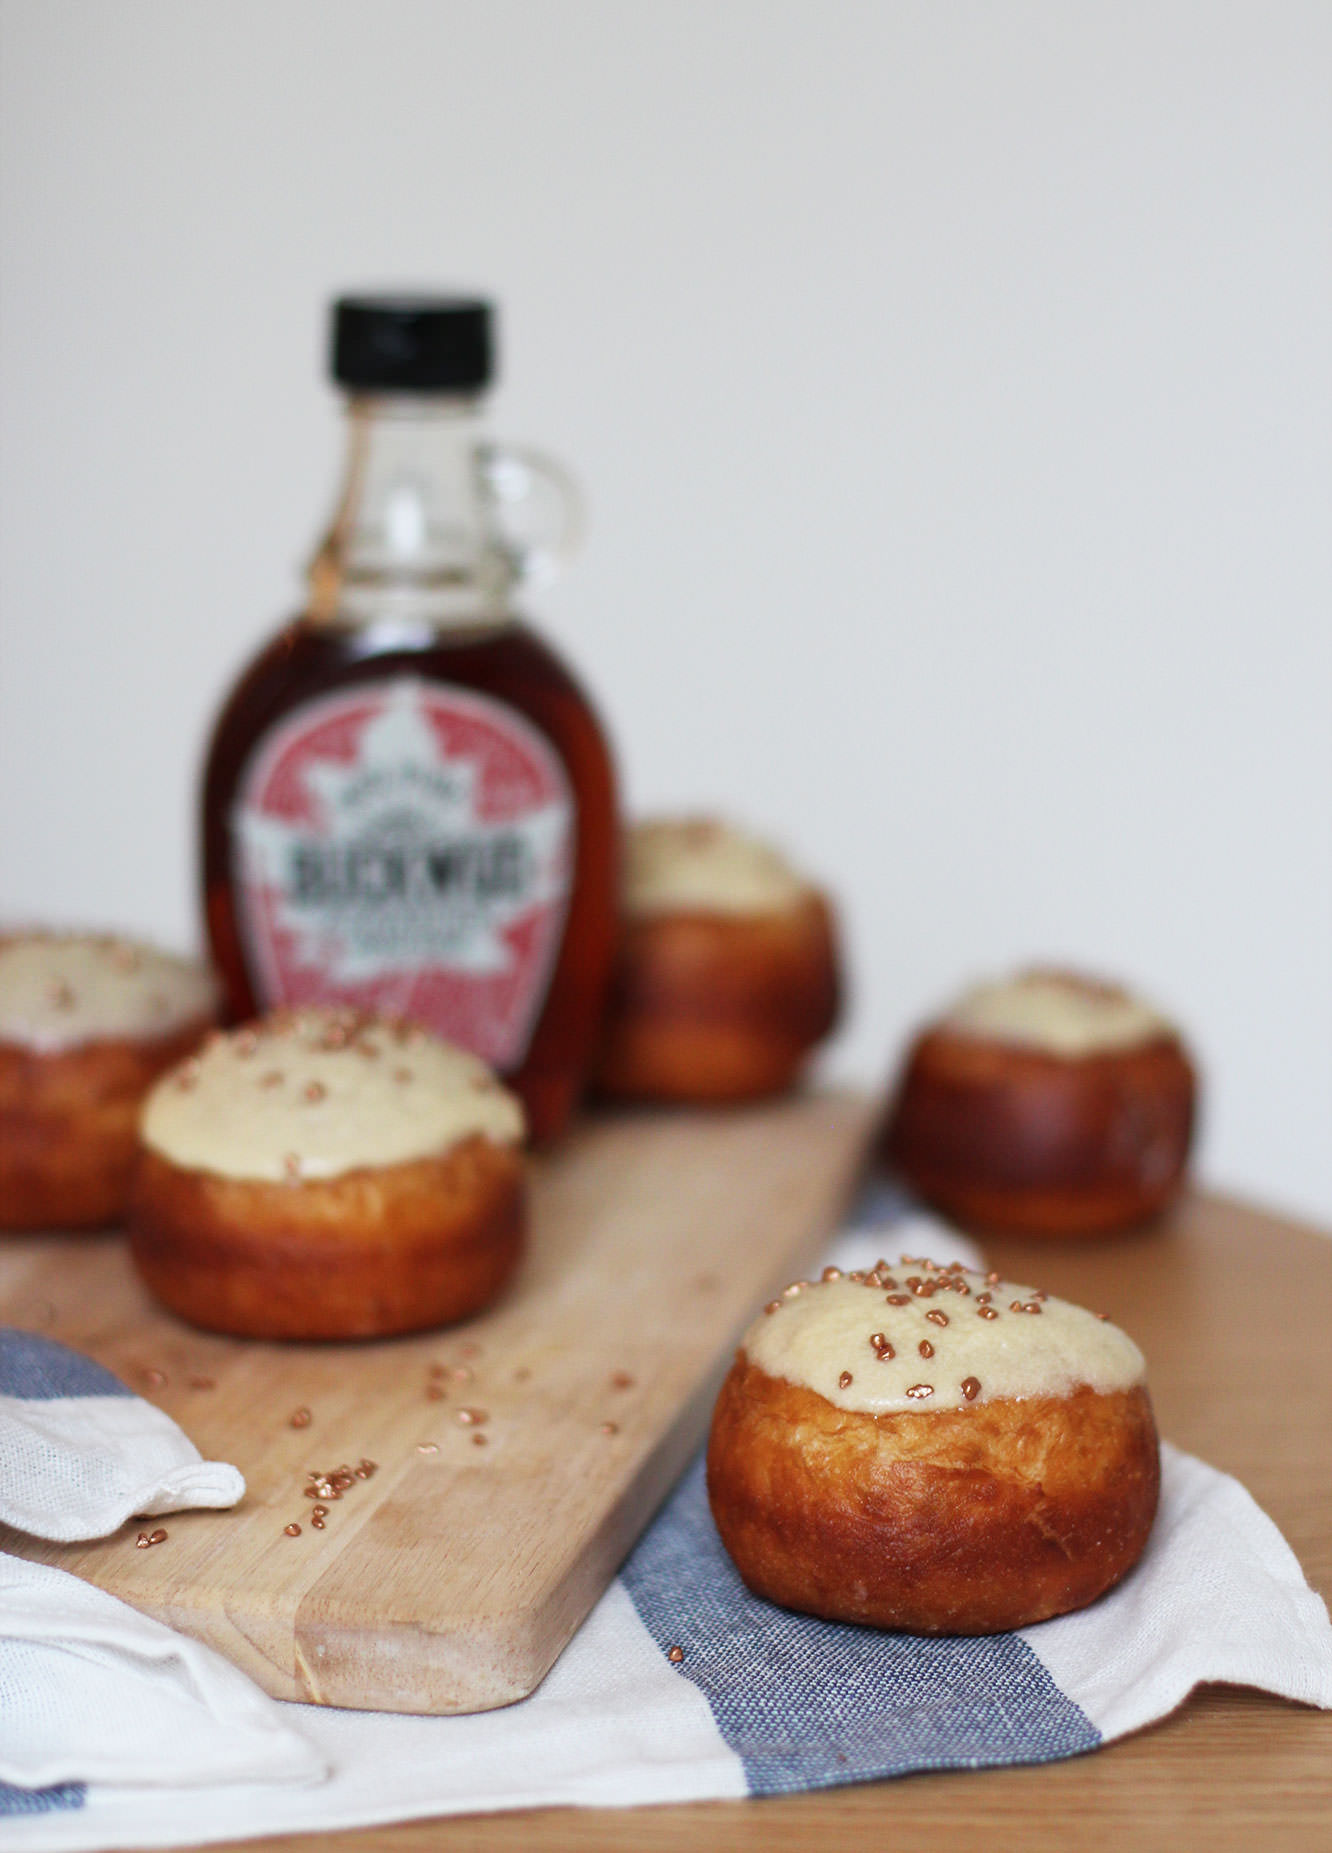
Place the glaze in a deep cereal bowl.
Turn the doughnuts upside down and dip them in the mixture. Sprinkle some, well, sprinkles, on top.
Step thirteen
Stand back and survey. You just made doughnuts my friend.


 You will need
 Step one
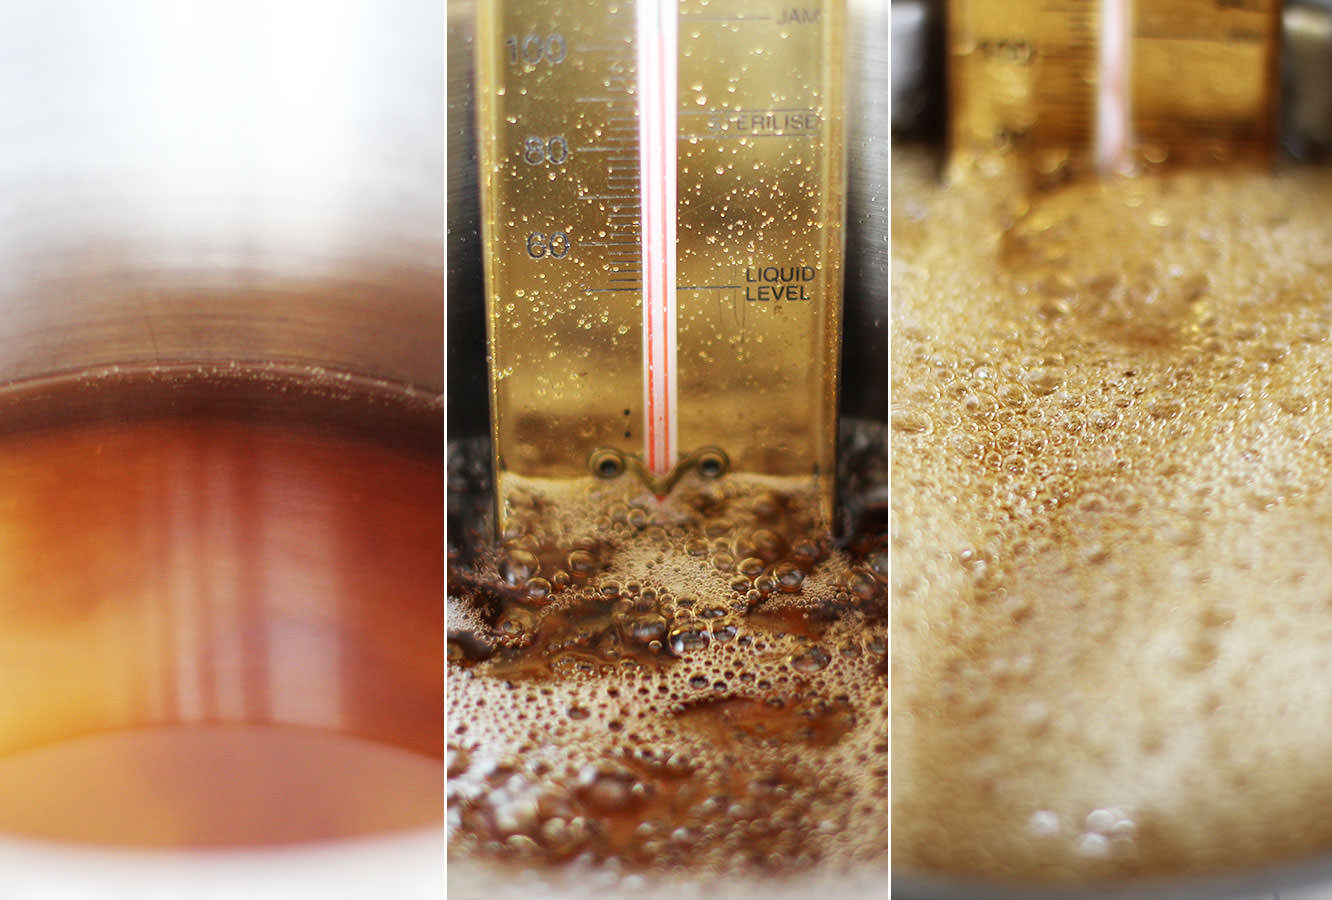 Step three
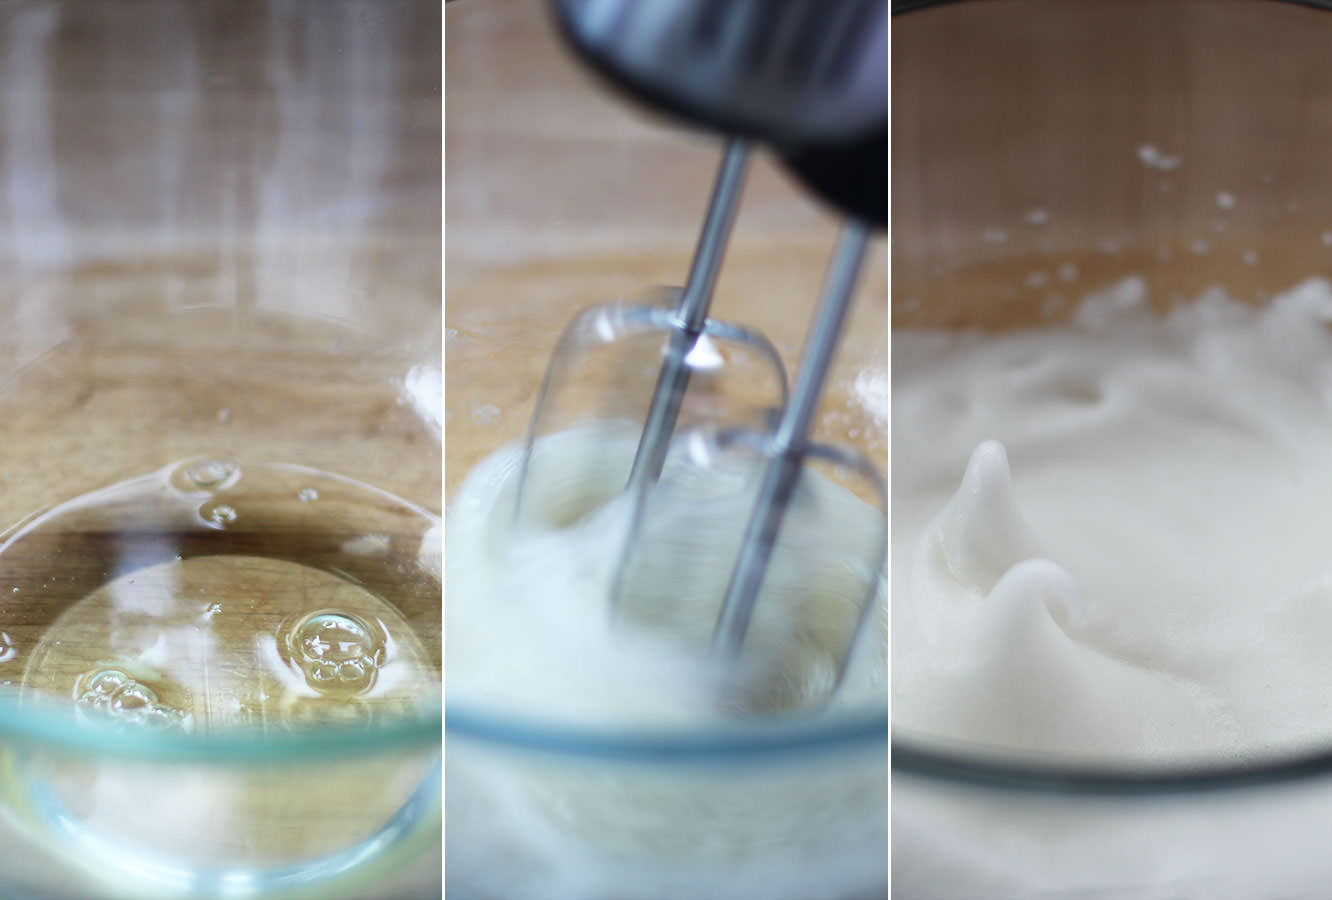 Step four
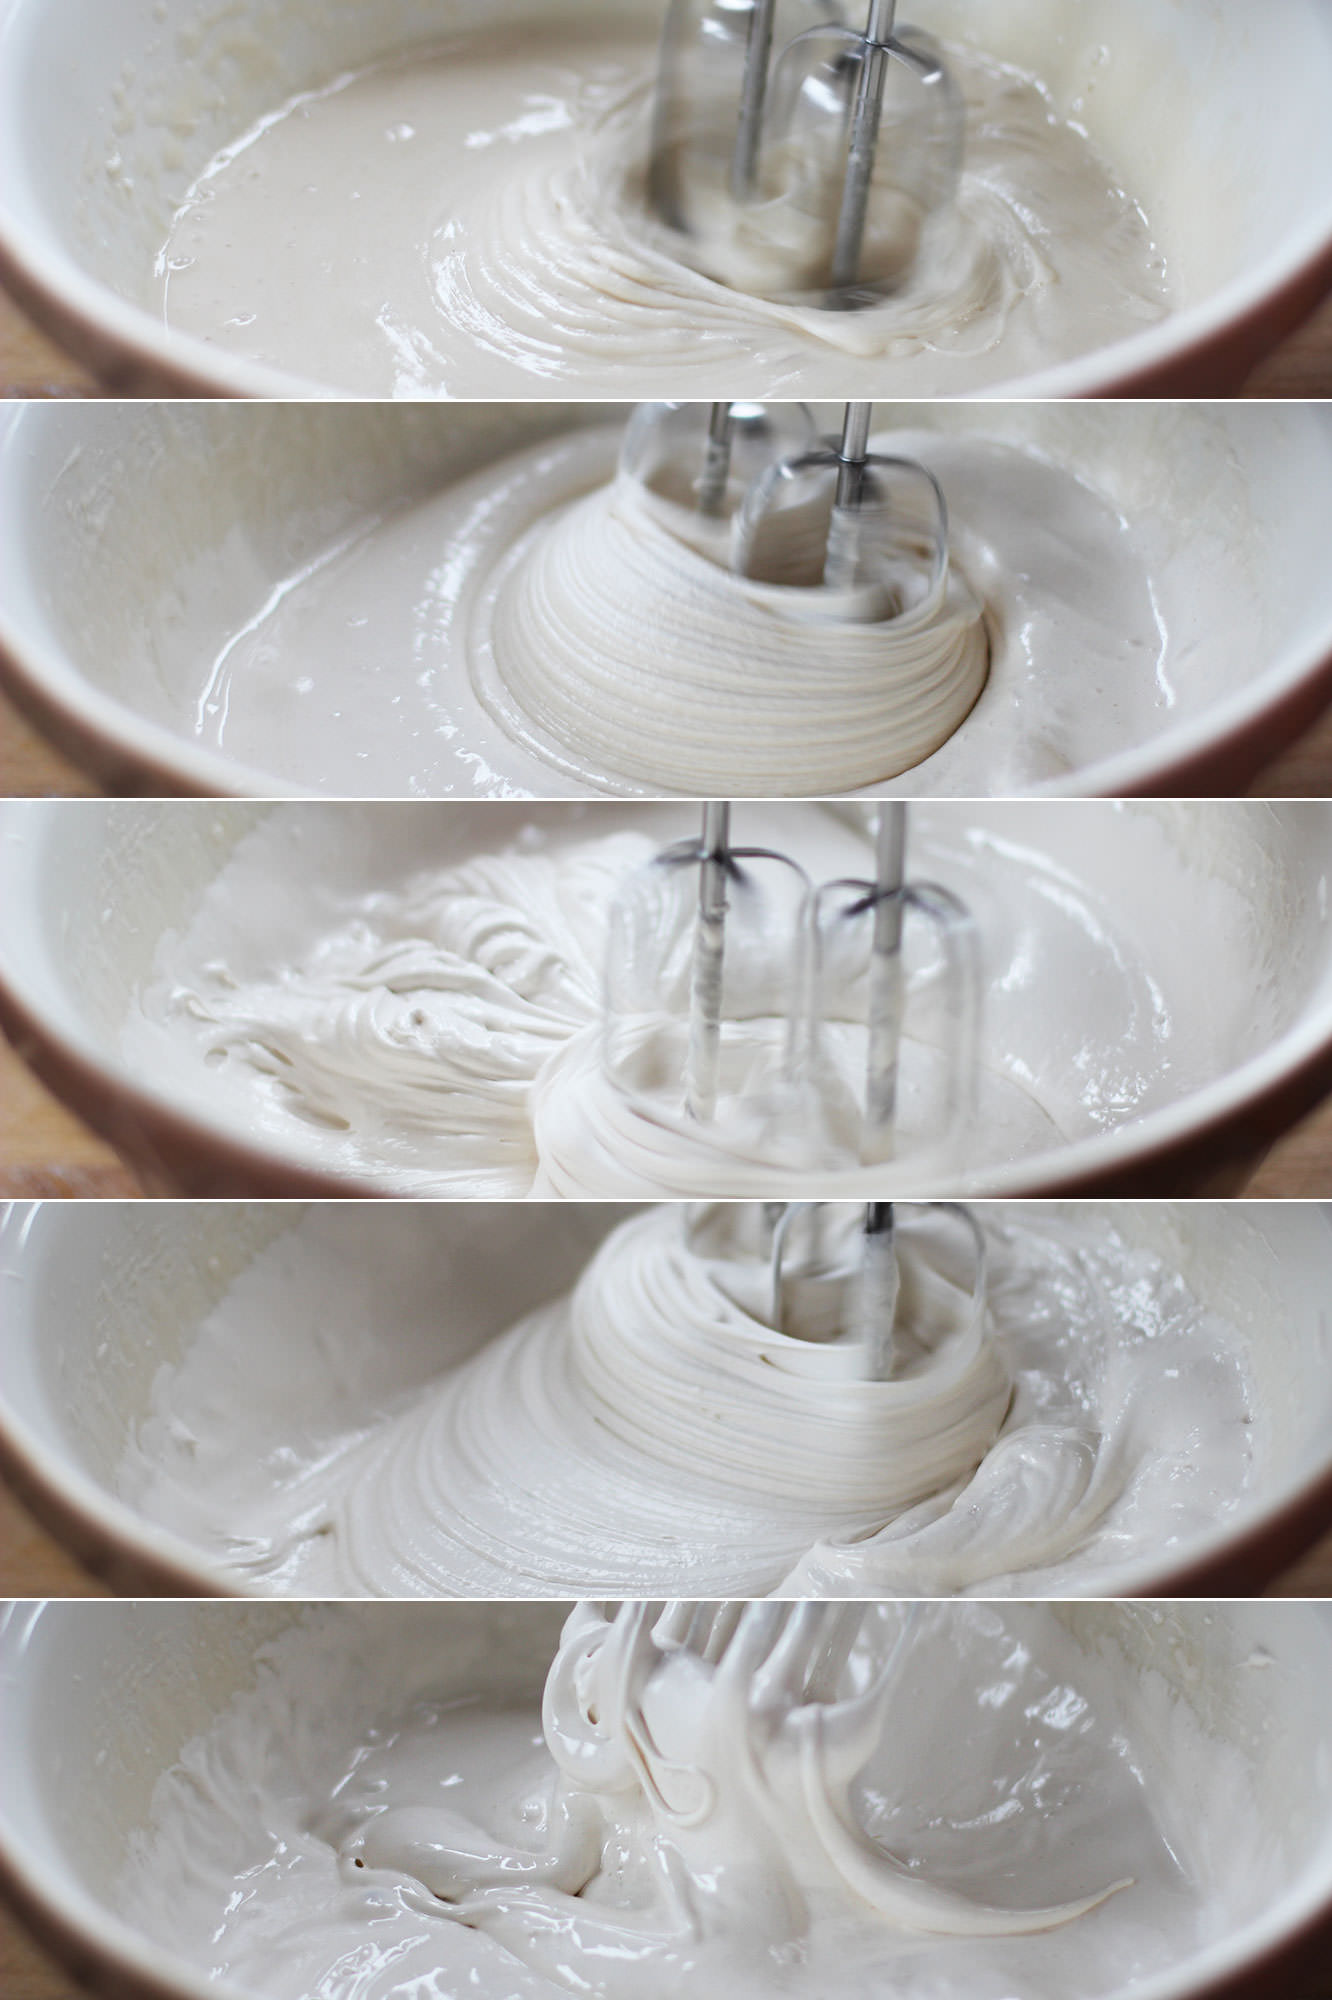 Step seven
 Step eleven
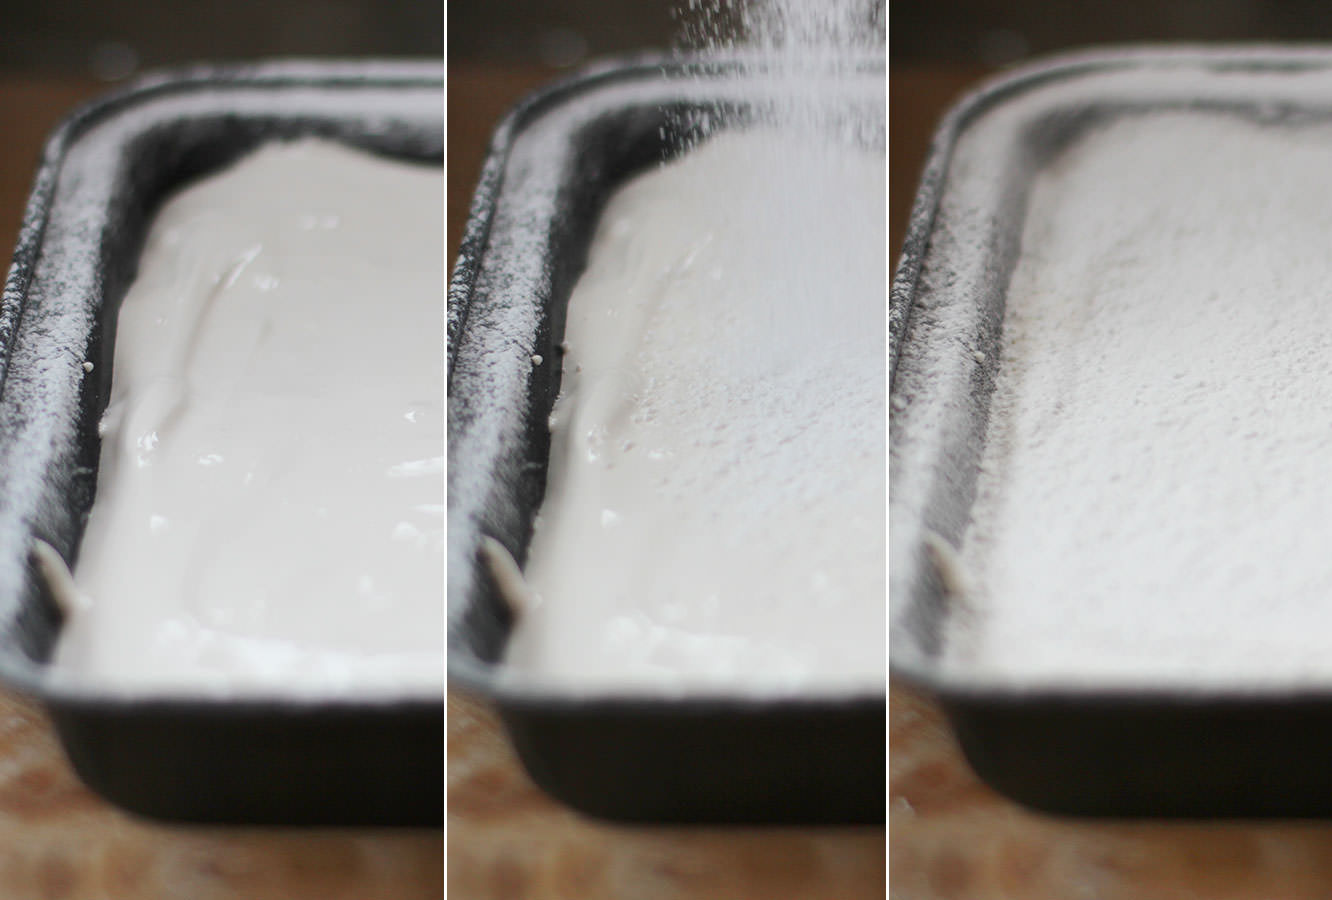 Step twelve
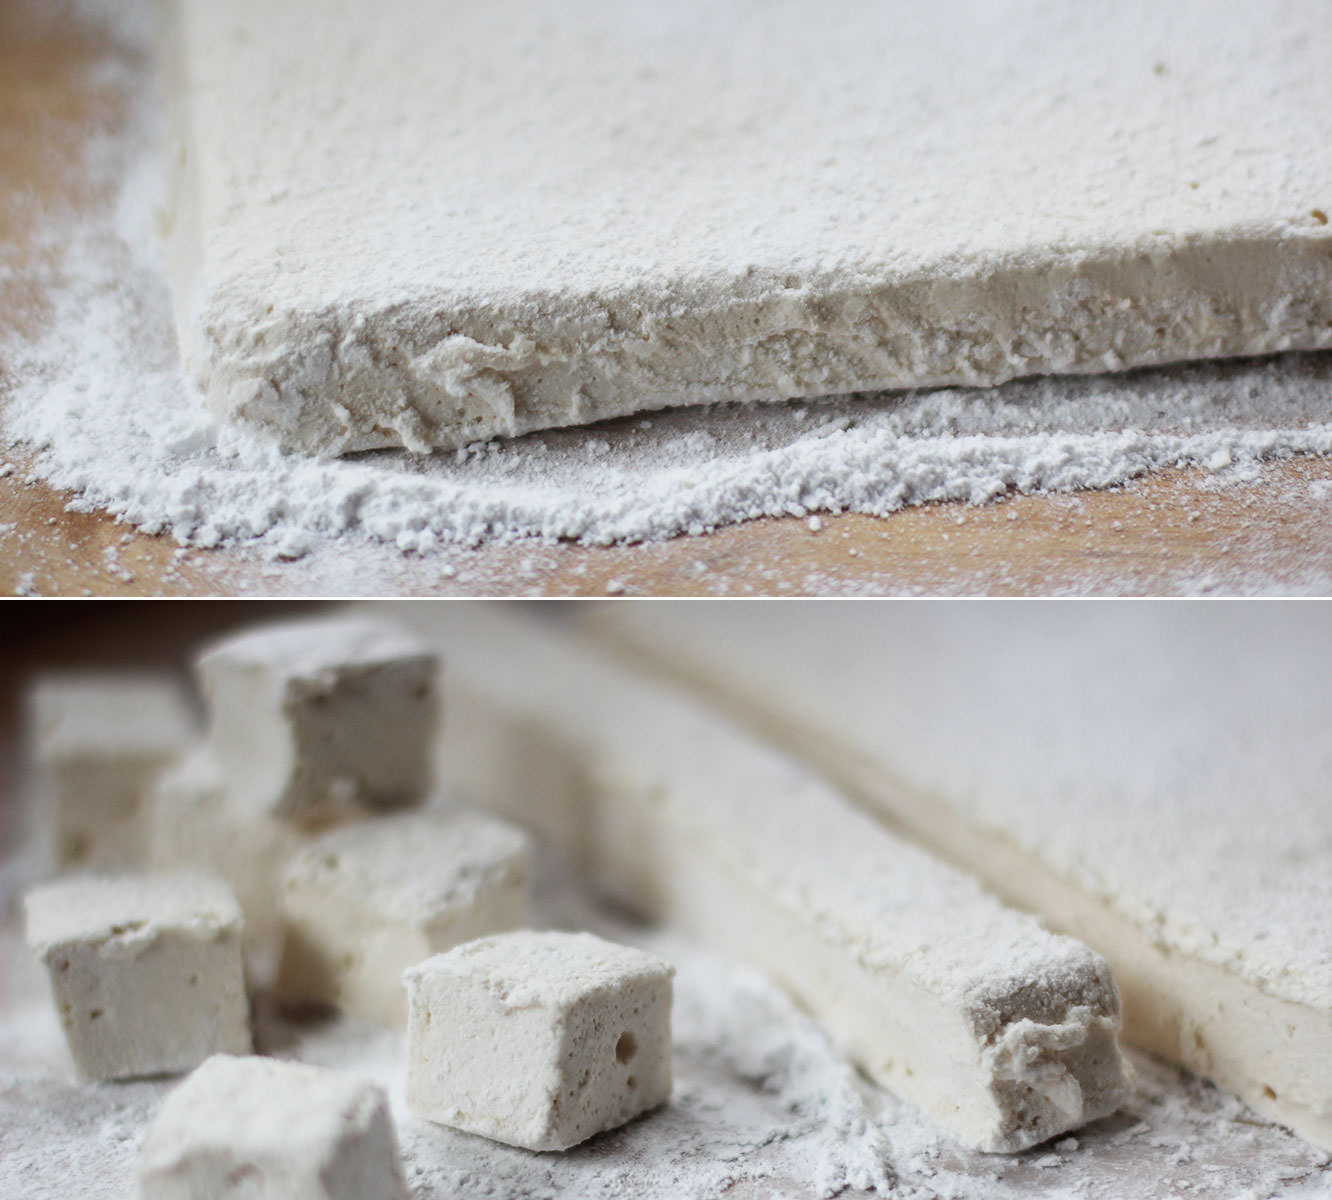 Step thirteen
 Step fourteen
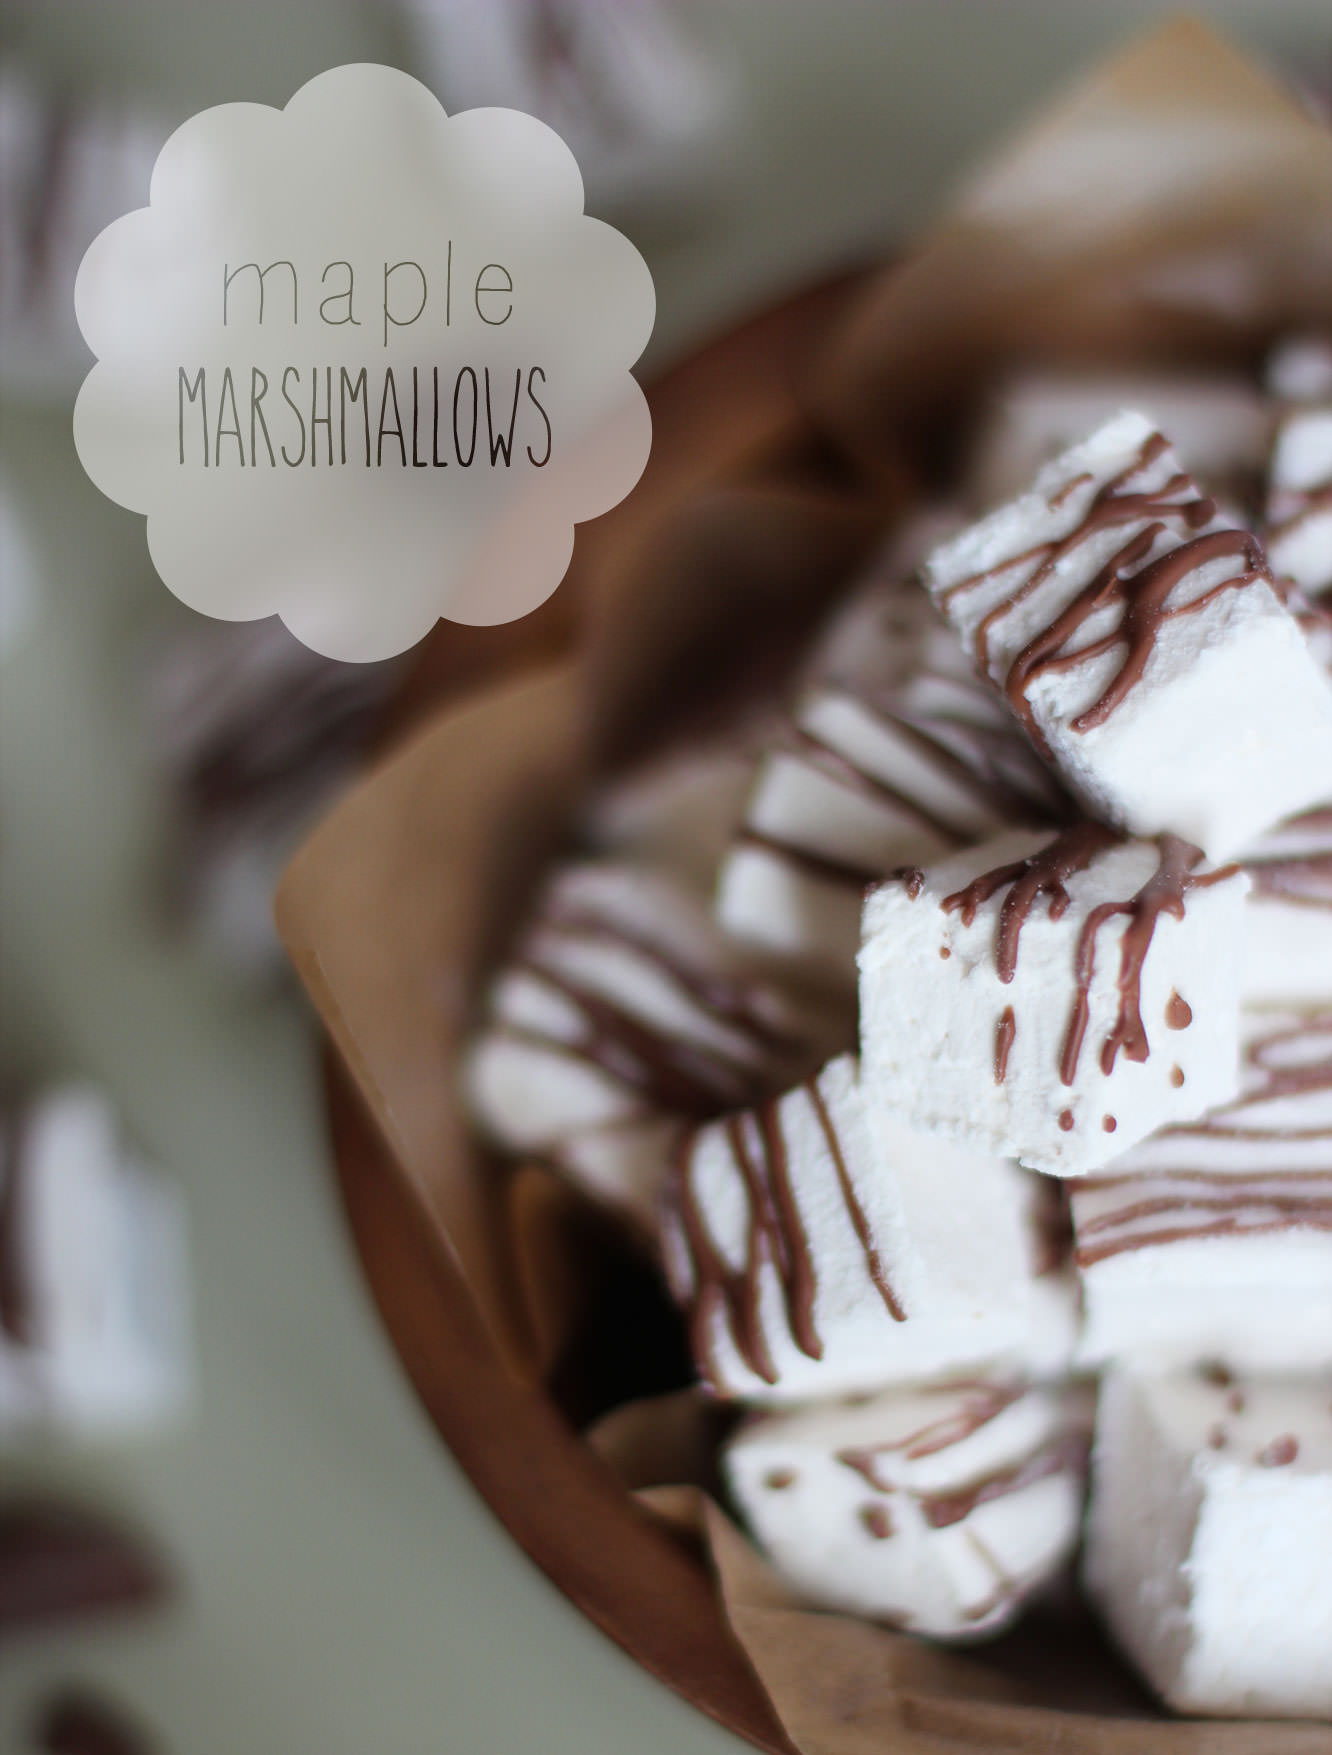 There we have it. Maple marshmallows. Nowhere near as difficult to make as I made them sound, I promise.