Category: Party

Cluck cluck #2

SO. I have been remiss. Friends, stalkers, I’m sorry. I didn’t mean to leave you sans blog for two whole weeks. Finishing off my graphic design portfolio kind of consumed my health, social life, eating habits and ability to hold a conversation.

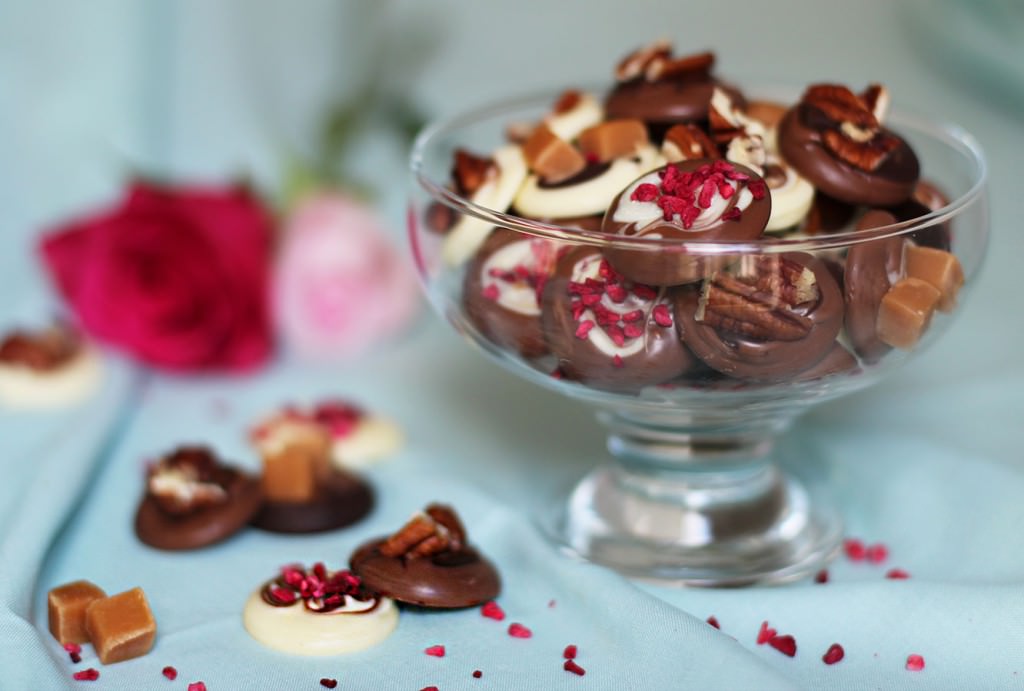
But that’s done now, and I’m back. Picking up where I left off with Vicky’s hen do favours. This week it’s raspberry and white chocolate, and chocolate caramel marshmallows. Not exactly the first time I have made marshmallows on this blog. I really want you to make marshmallows guys.
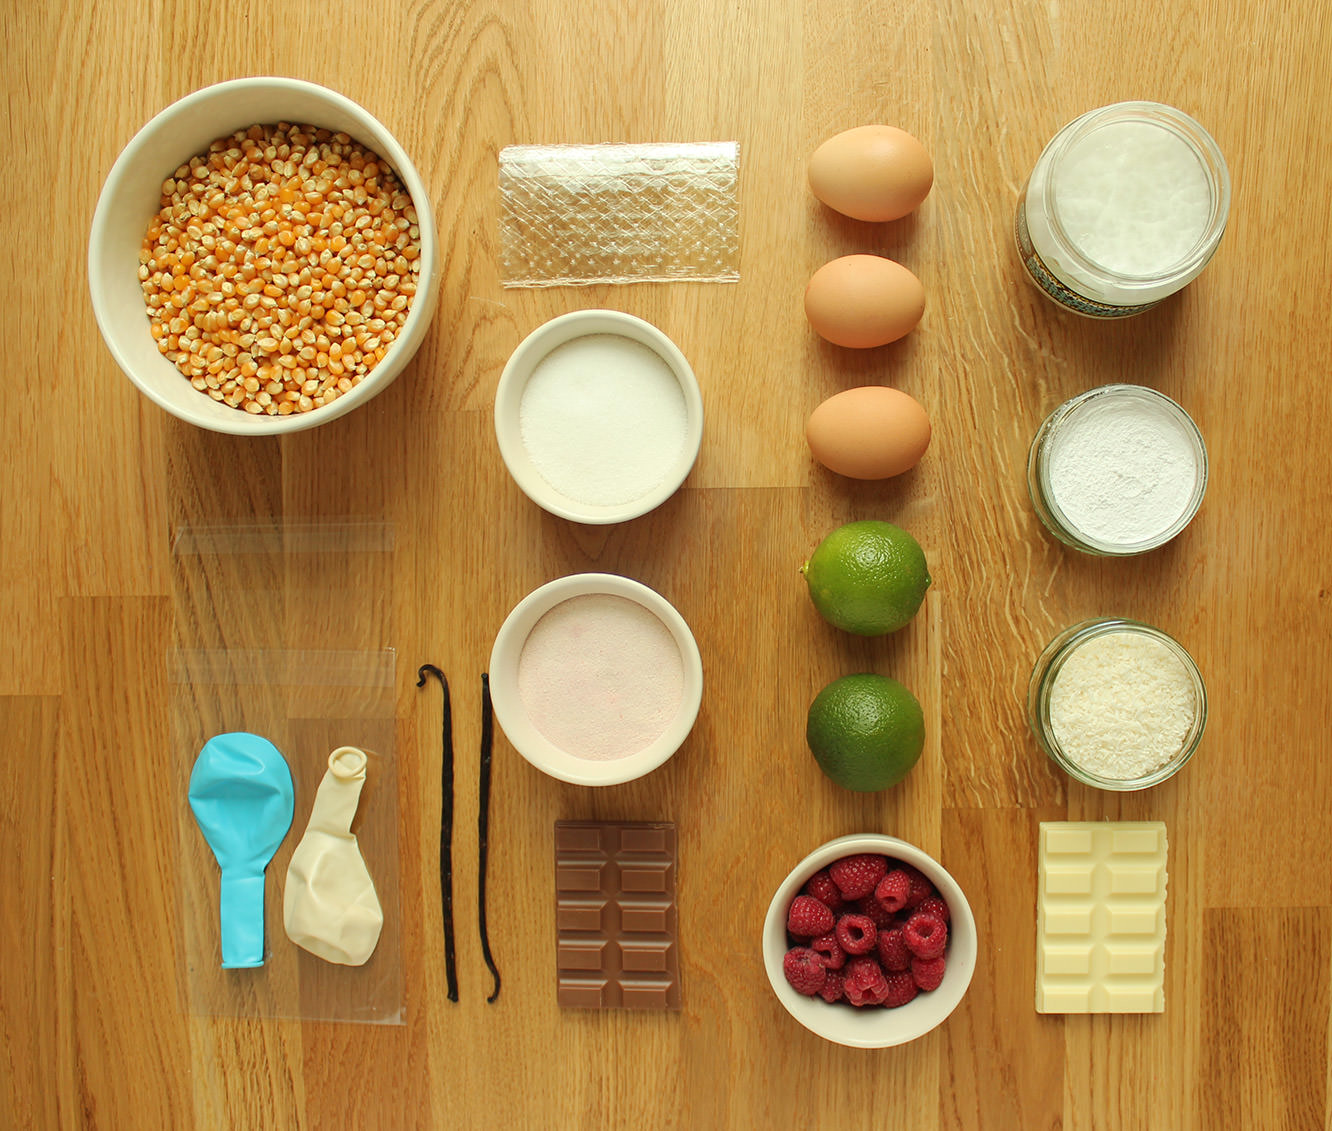
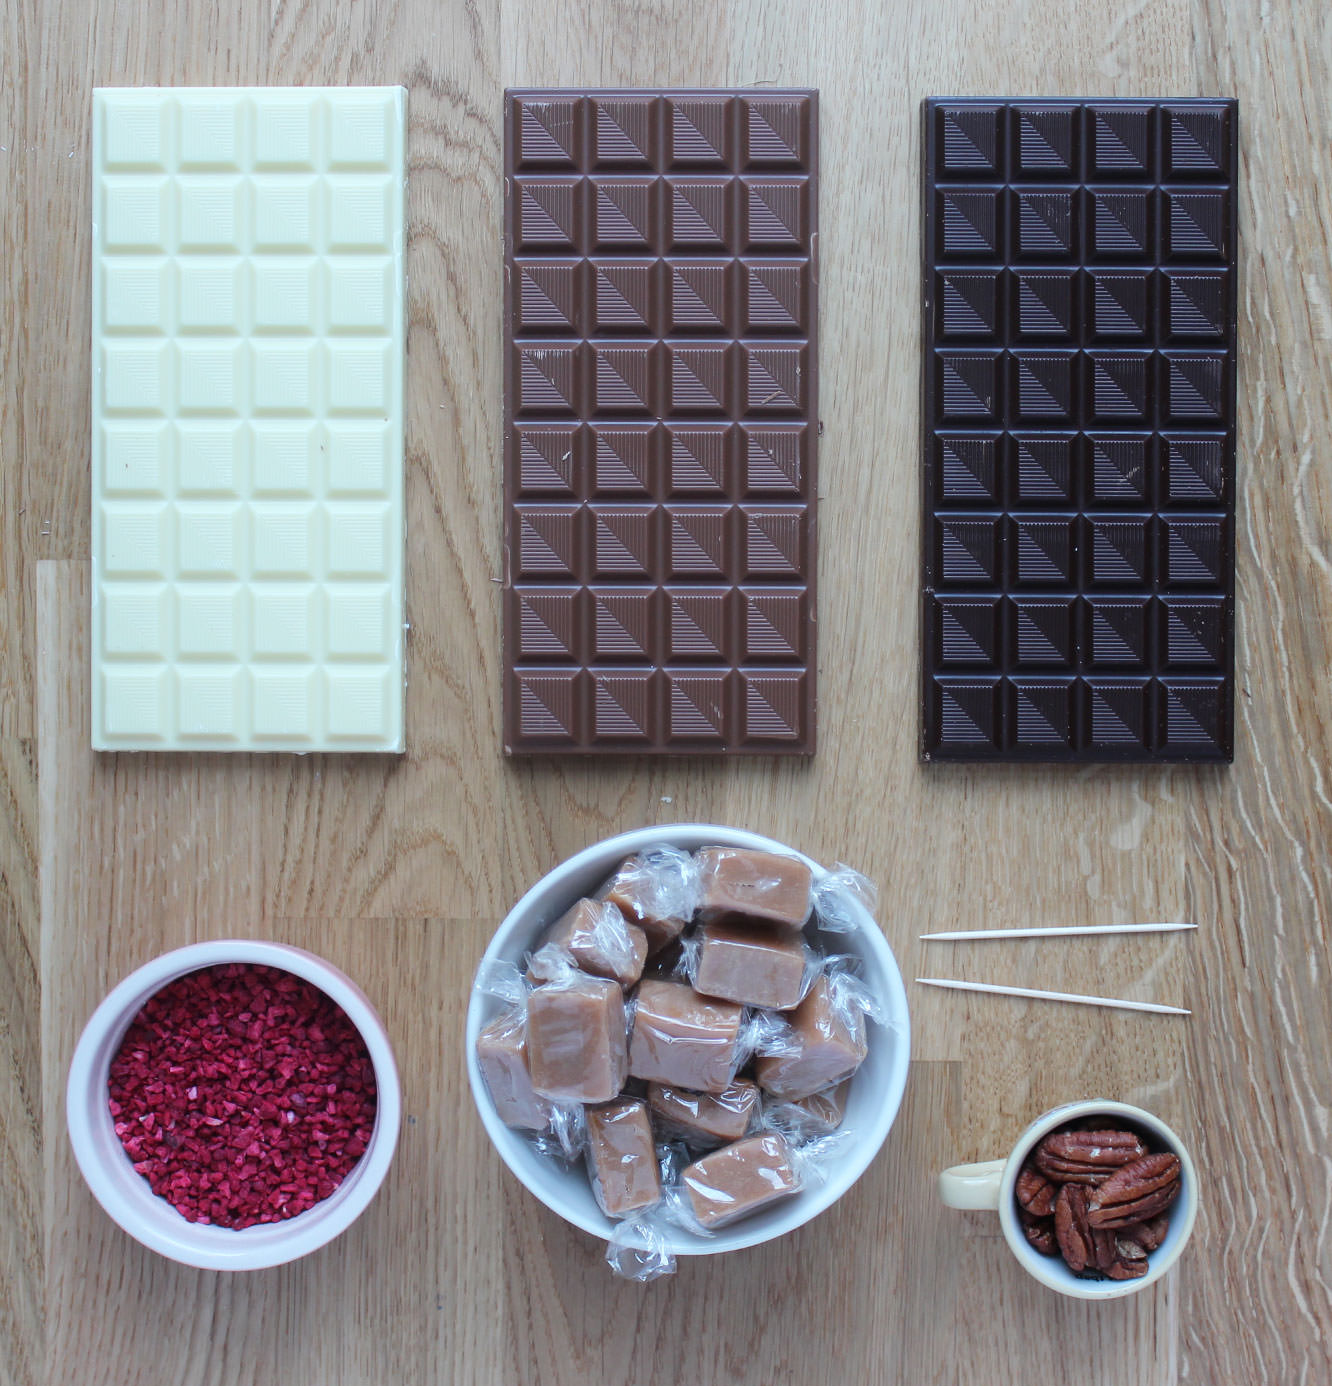
hen-bachelorette-party-favours-01

You will need

For the white chocolate and raspberry marshmallows:

9 gelatine sheets

350g/12 oz granulated sugar

2 egg whites

1 tbsp liquid glucose (you can find this in a squeezy toothpaste type tube in the baking section)


150g/5 oz raspberries

150g/5 oz white chocolate

Freeze dried raspberries (optional)

For the caramel and chocolate marshmallows:

9 gelatine sheets

300g/10.5 oz granulated sugar

2 egg whites

1 tbsp liquid glucose

2-3 tsp caramel extract (I got buttery caramel from natural professional flavours at Lakeland)

150g/5 oz milk chocolate

Cellophane card bags x 30

(makes enough for 30 favours, 150+ marshmallows)

I’ll go ahead and walk you through the process for the caramel ones then pop the changes for the raspberry below.

hen-bachelorette-party-favours-raspberry-caramel-marshmallow-recipe-02

Step one

In a cereal bowl, soak the gelatine in 150ml/5 fl oz cold water. Set aside.

Step two

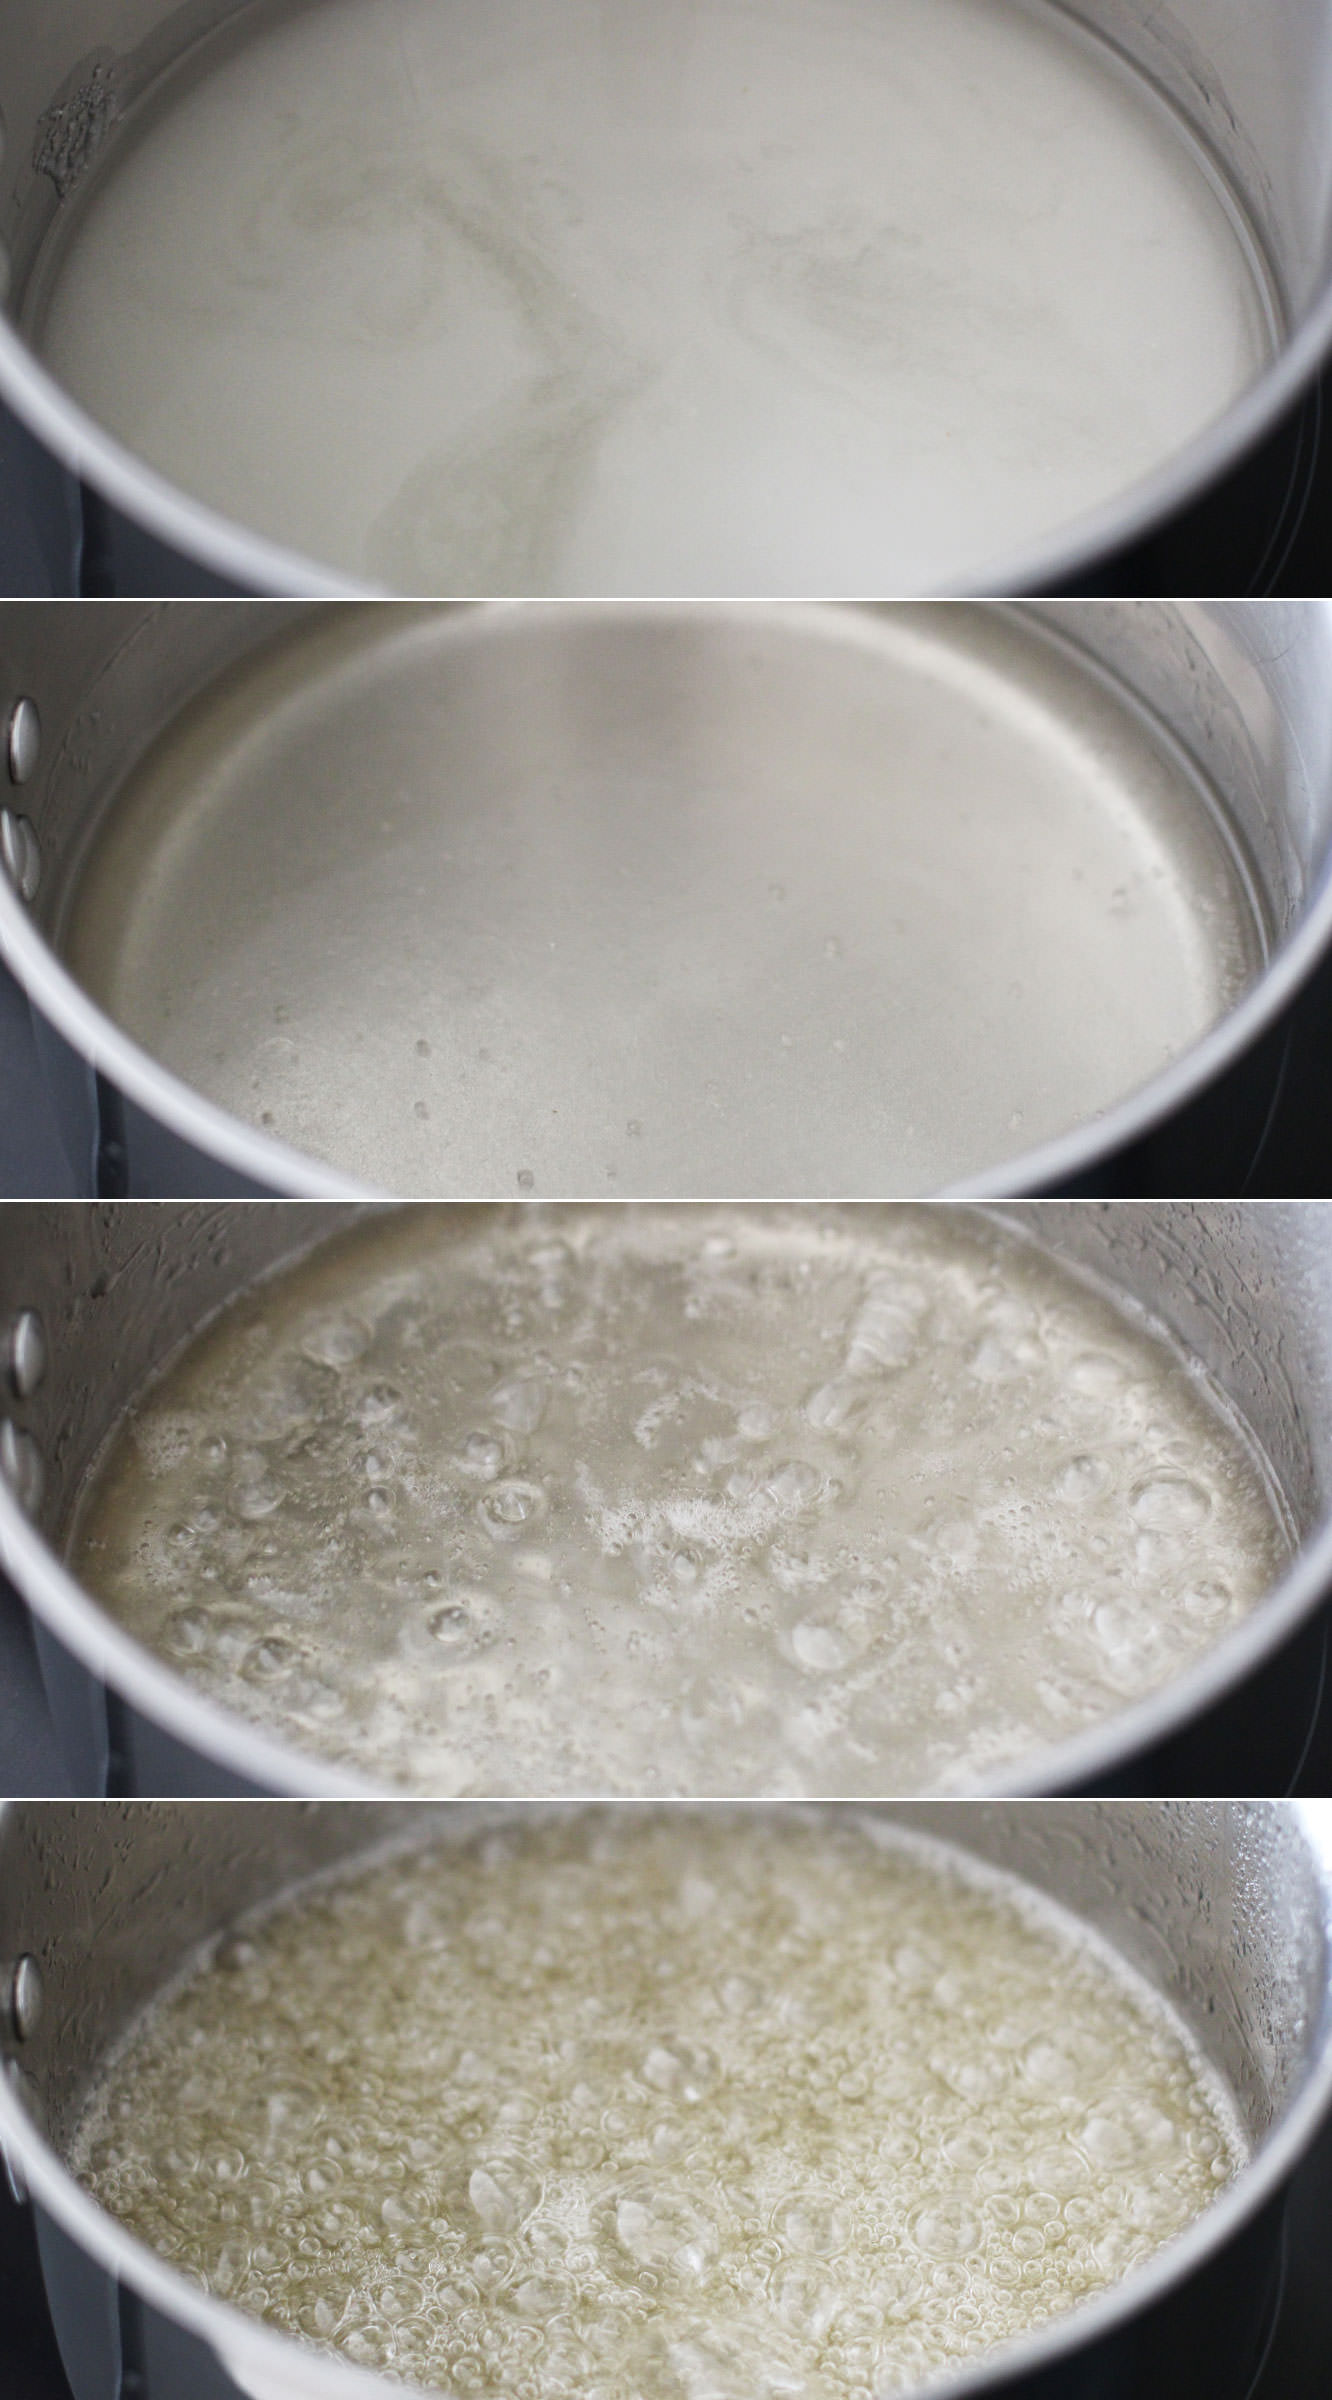
Combine the sugar, 150ml/5 fl oz water (different to the gelatine water) and the liquid glucose in a smallish saucepan.

Allow the sugar to dissolve on a low heat, and then turn it up to medium-high. Watch yourself buddy, you’re boiling sugar right now, don’t hurt it or yourself.

The temperature you want this to get to is 118 C. It will feel like it will never get there, but stay strong.

hen-bachelorette-party-favours-raspberry-caramel-marshmallow-recipe-06

Step three

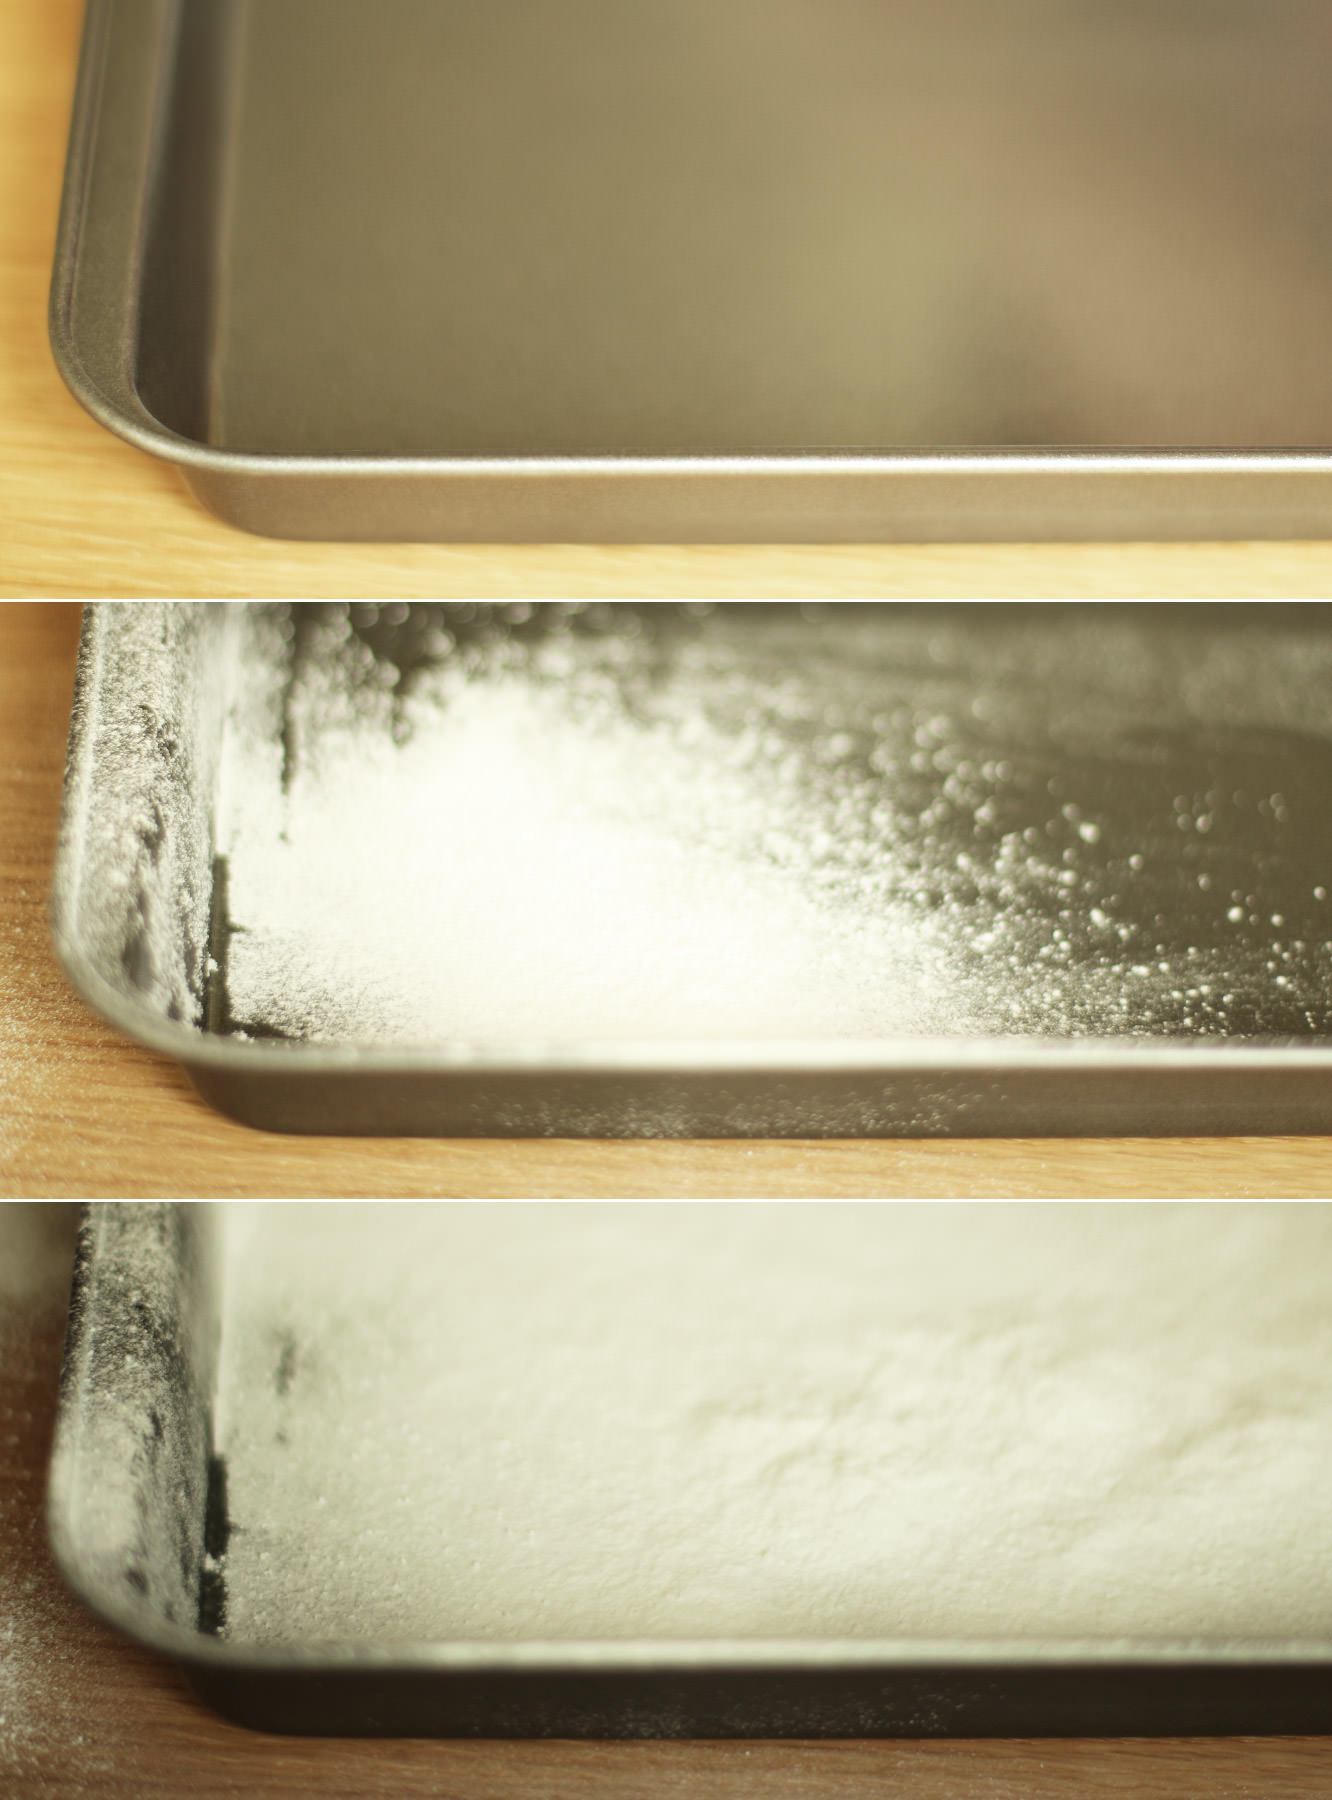
While the sugar is bubbling you can take a moment to dust your brownie tray with icing sugar. Add a small amount of olive oil first so it sticks.

hen-bachelorette-party-favours-raspberry-caramel-marshmallow-recipe-01

Step four

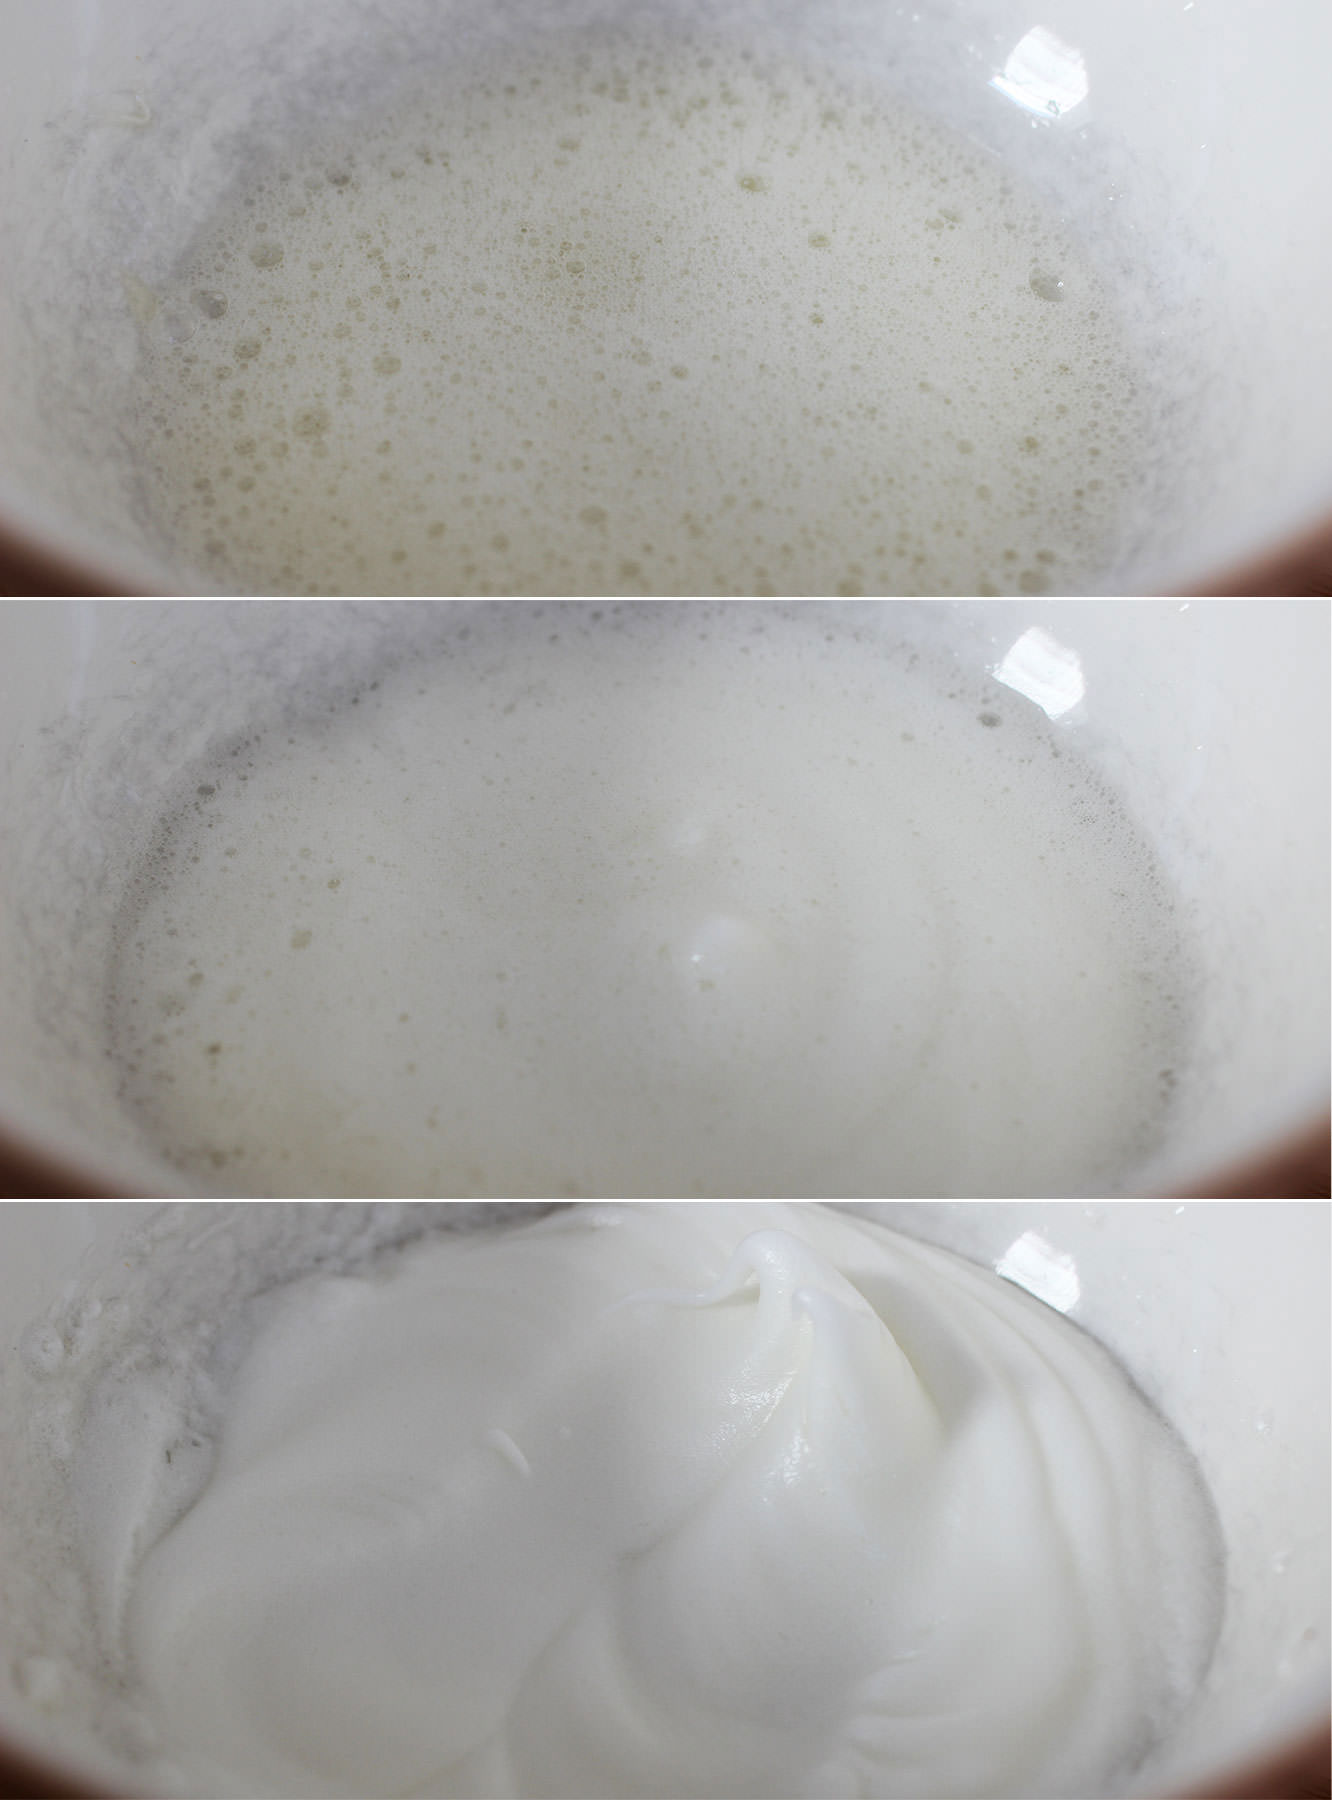
When the sugar gets to somewhere around 112-115C whisk the egg whites into stiff peaks. Take care not to use a ceramic bowl else you will get grey marks like I did. Glass or metal though and you’ll be golden.

Step five

When the sugar reaches 118C take it off the heat.

Squeeze the gelatine out a bit and add it to the sugar mix. It will bubble right up so don’t panic. It should settle pretty quickly.
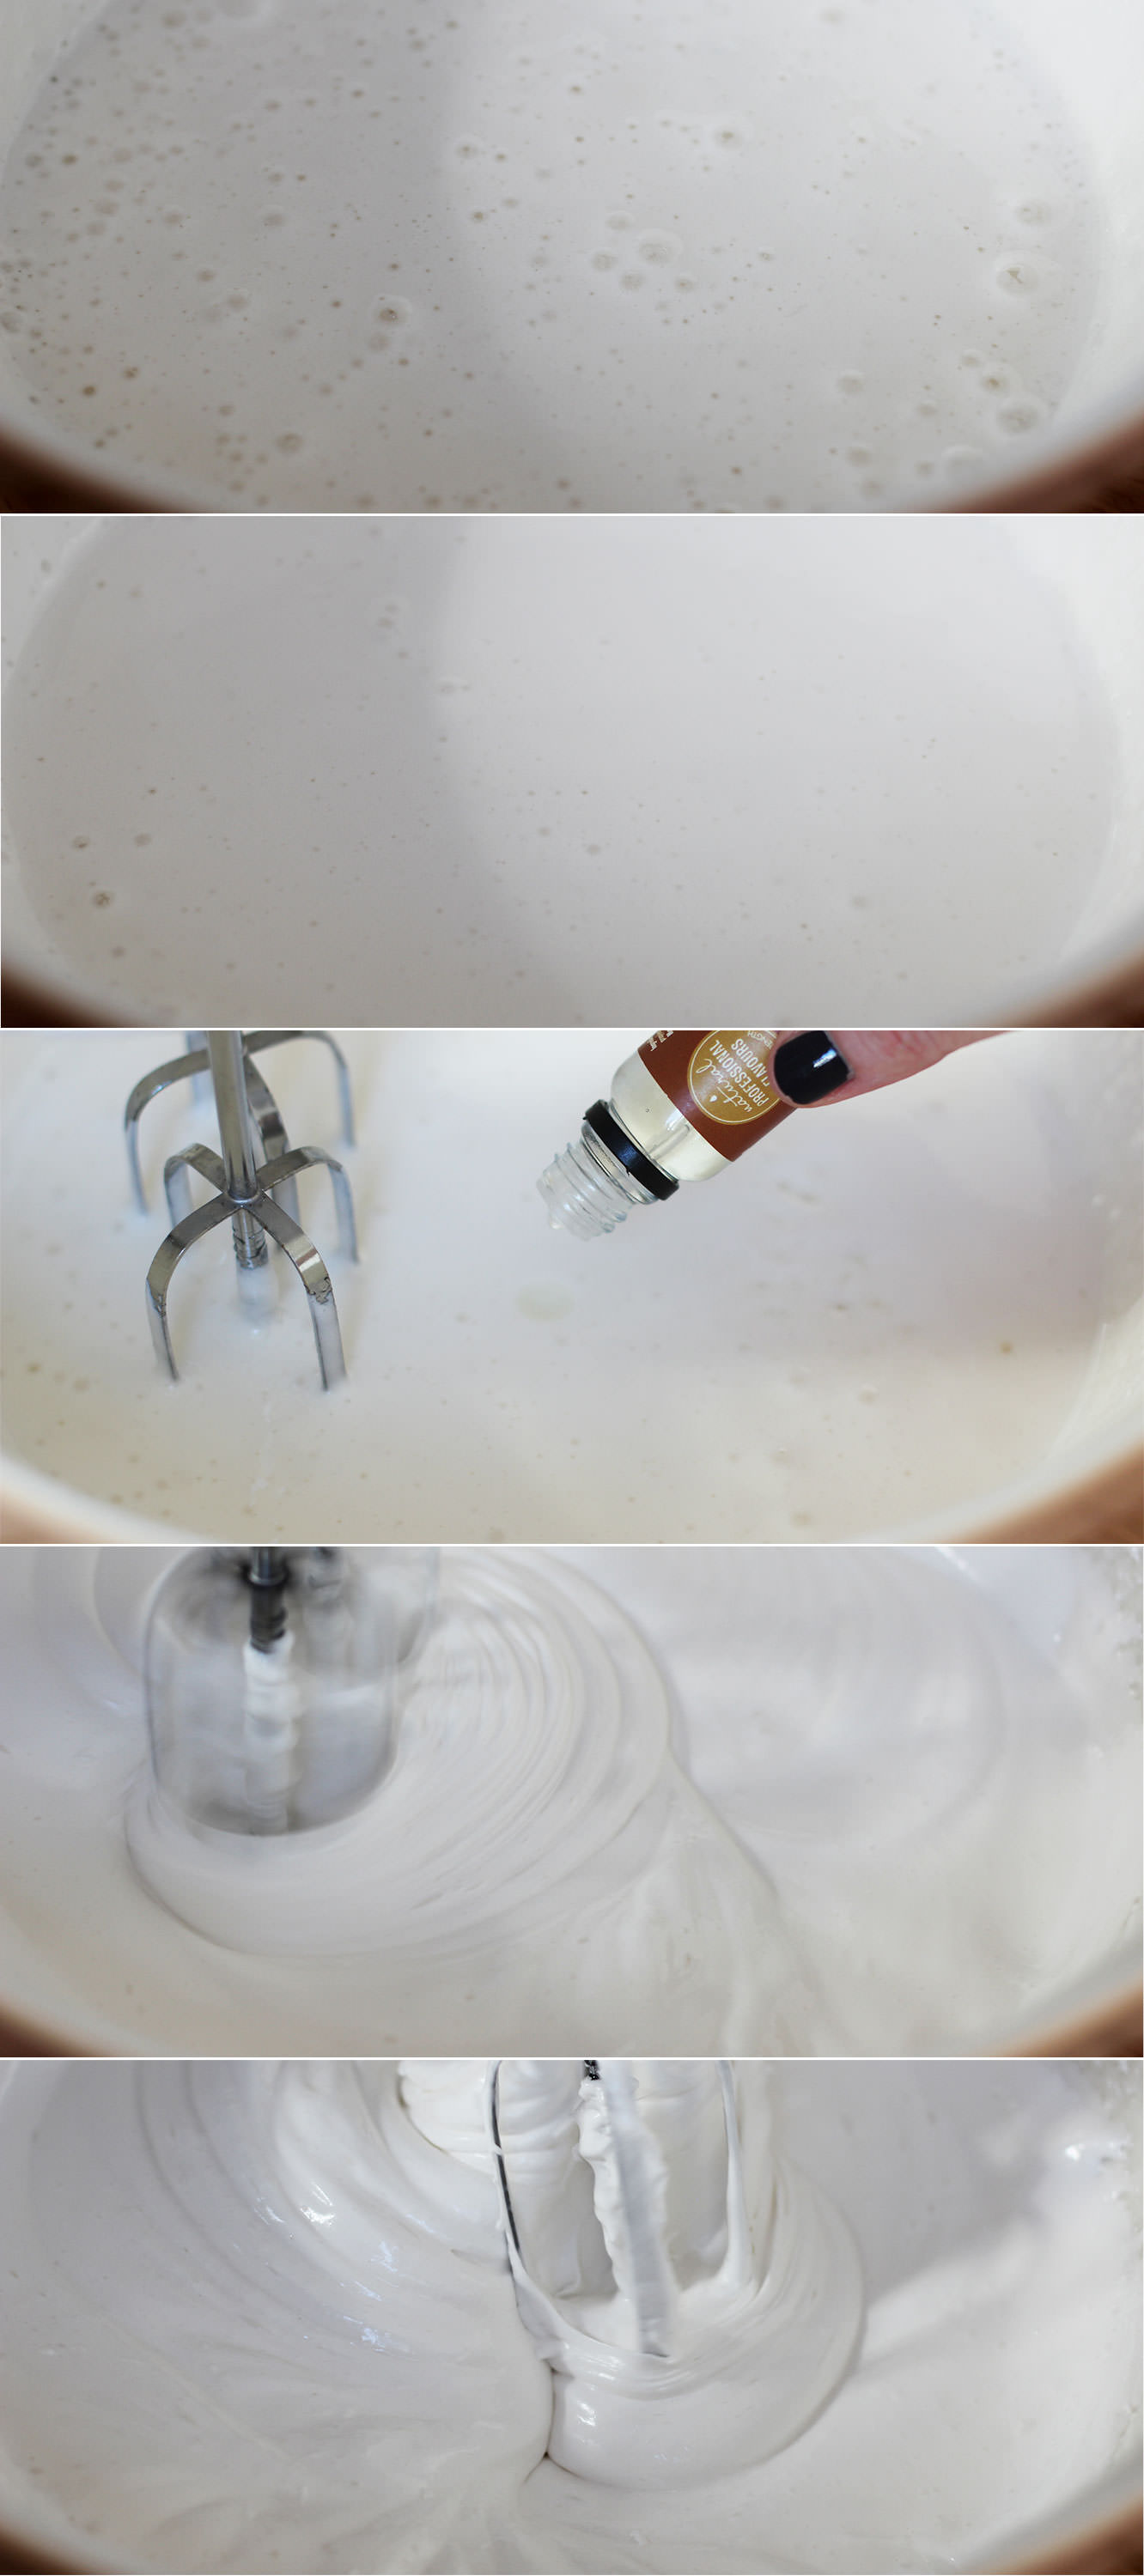
hen-bachelorette-party-favours-raspberry-caramel-marshmallow-recipe-03

Step six

Pour the hot sugar into the eggs, but make sure you’re whisking continually to avoid a big lump of sugar at the bottom of the bowl.

Whisk until the mixture holds its shape well and is quite thick. This can take up to ten minutes.

Somewhere during the whisking (probably when you need to give your arm a rest) add the flavouring. I used buttery caramel (as mentioned in the ingredients) but they will take basically anything you fancy.
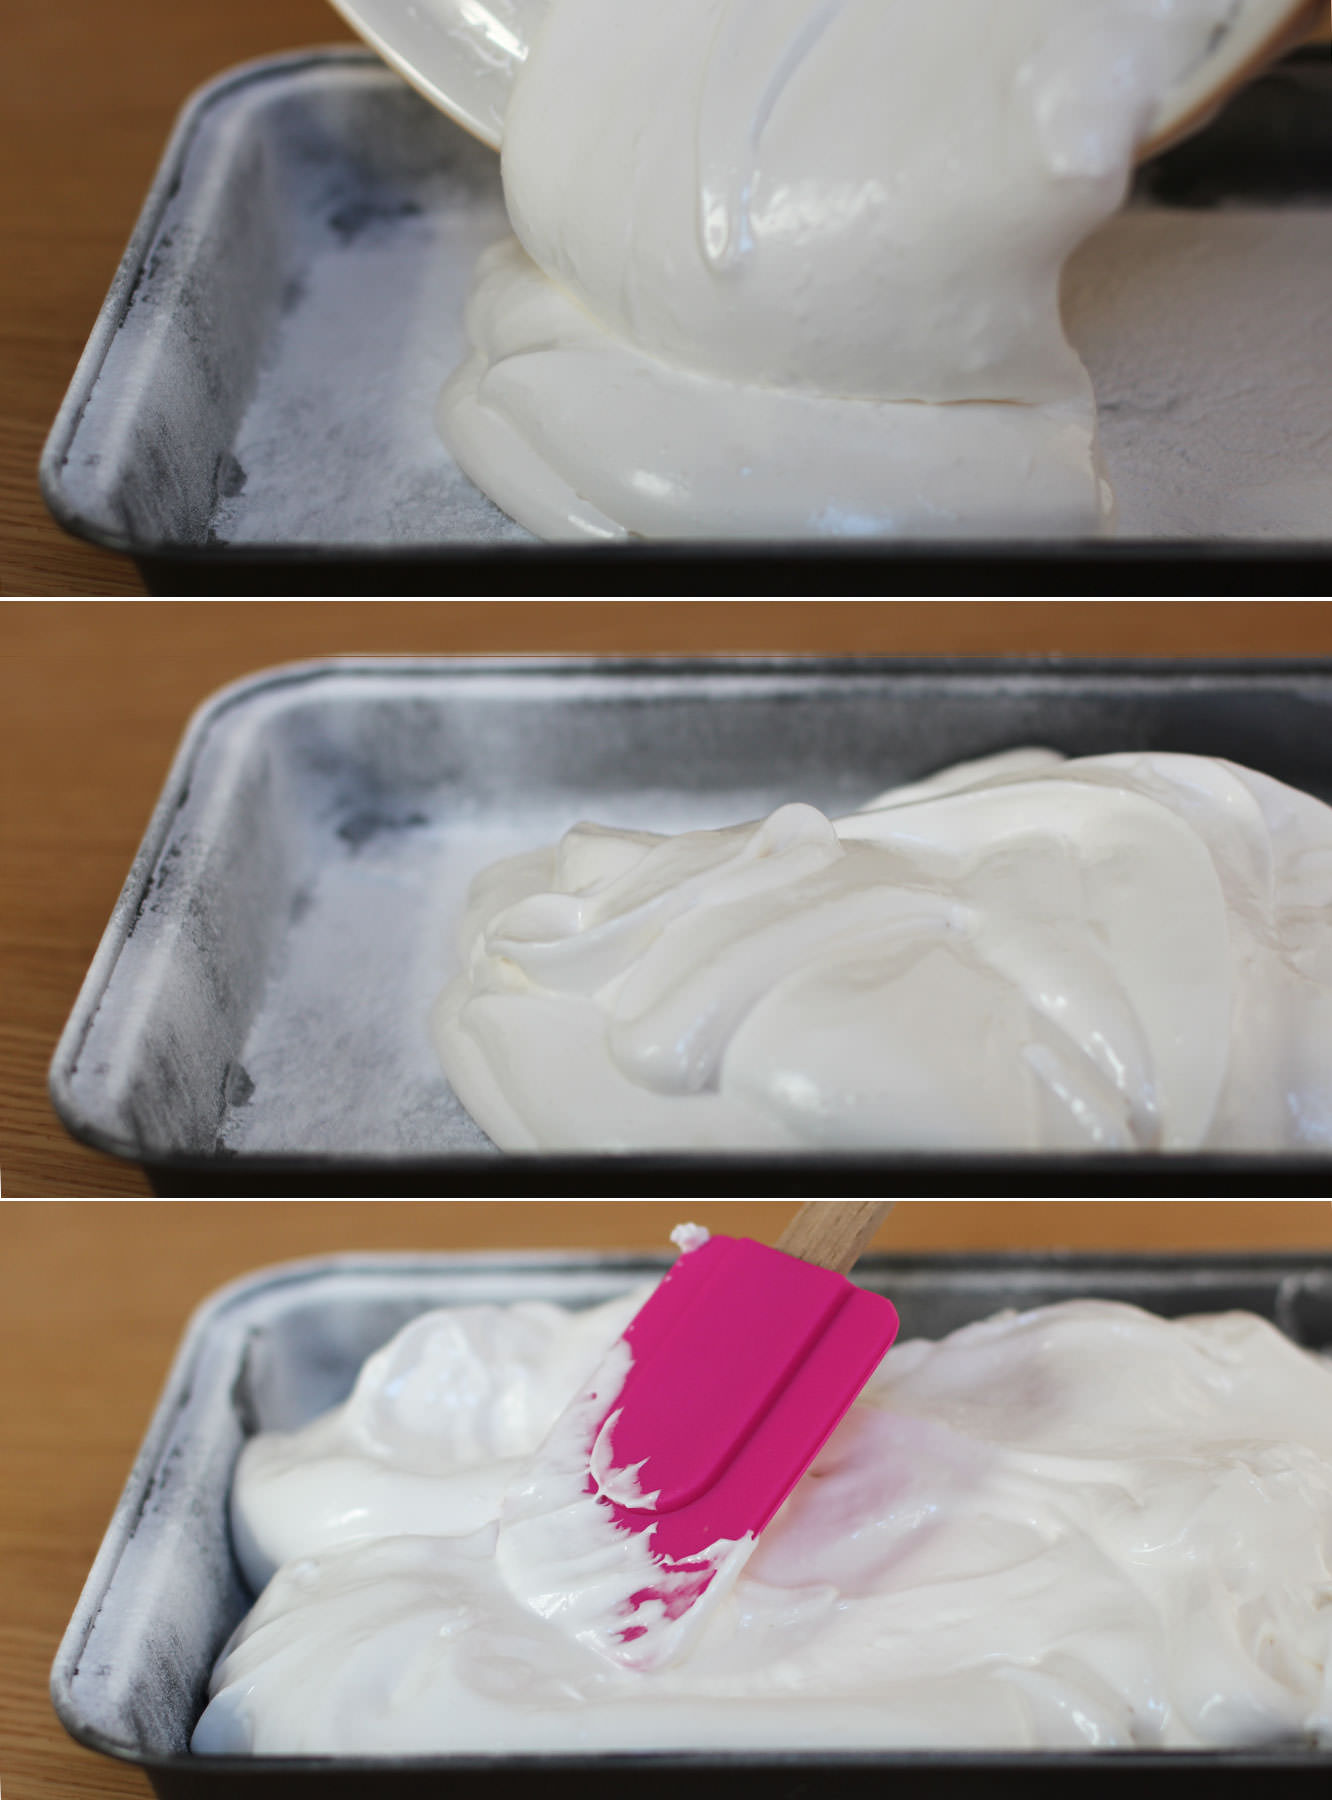
hen-bachelorette-party-favours-raspberry-caramel-marshmallow-recipe-04

Step seven

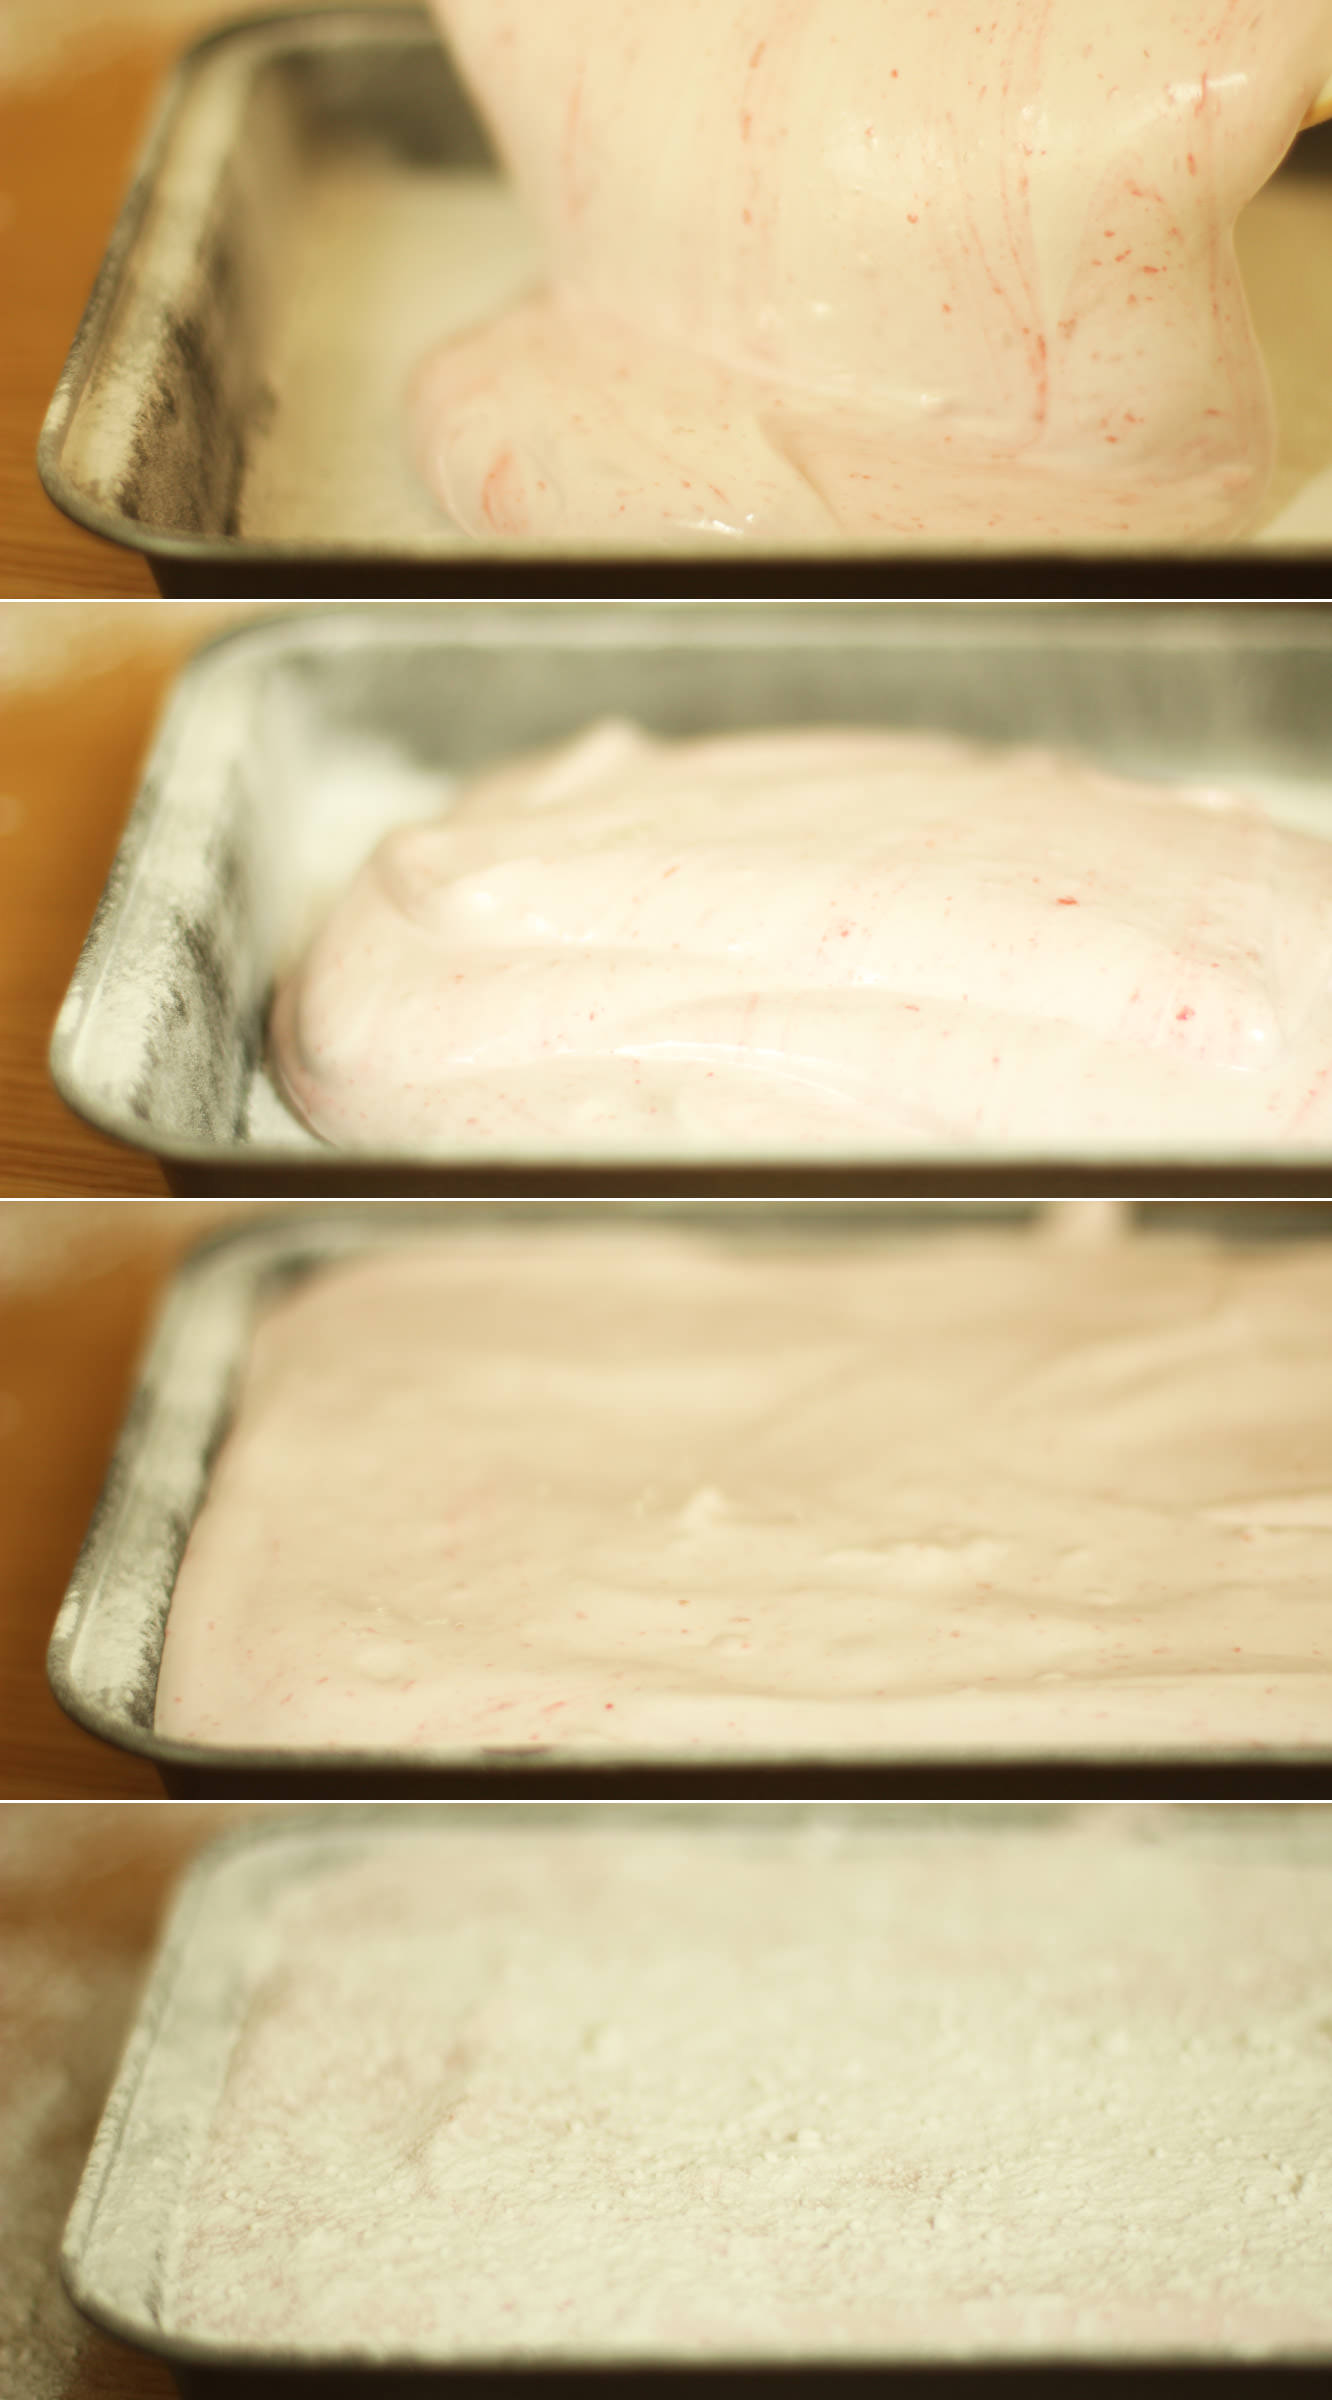
Pour the mixture into the prepared tin and smooth out as much as possible.

Dust with icing sugar and leave to set for about an hour.

For the raspberry and white chocolate marshmallows

hen-bachelorette-party-favours-raspberry-caramel-marshmallow-recipe-05

Step eight

Before starting the marshmallow mix make a puree by adding the raspberries, 50g of the granulated sugar and half a tablespoon of water to a small saucepan.

Heat on a low heat until bubbling away happily. Stir while the mixture reduces (looses water) for about 5 minutes.
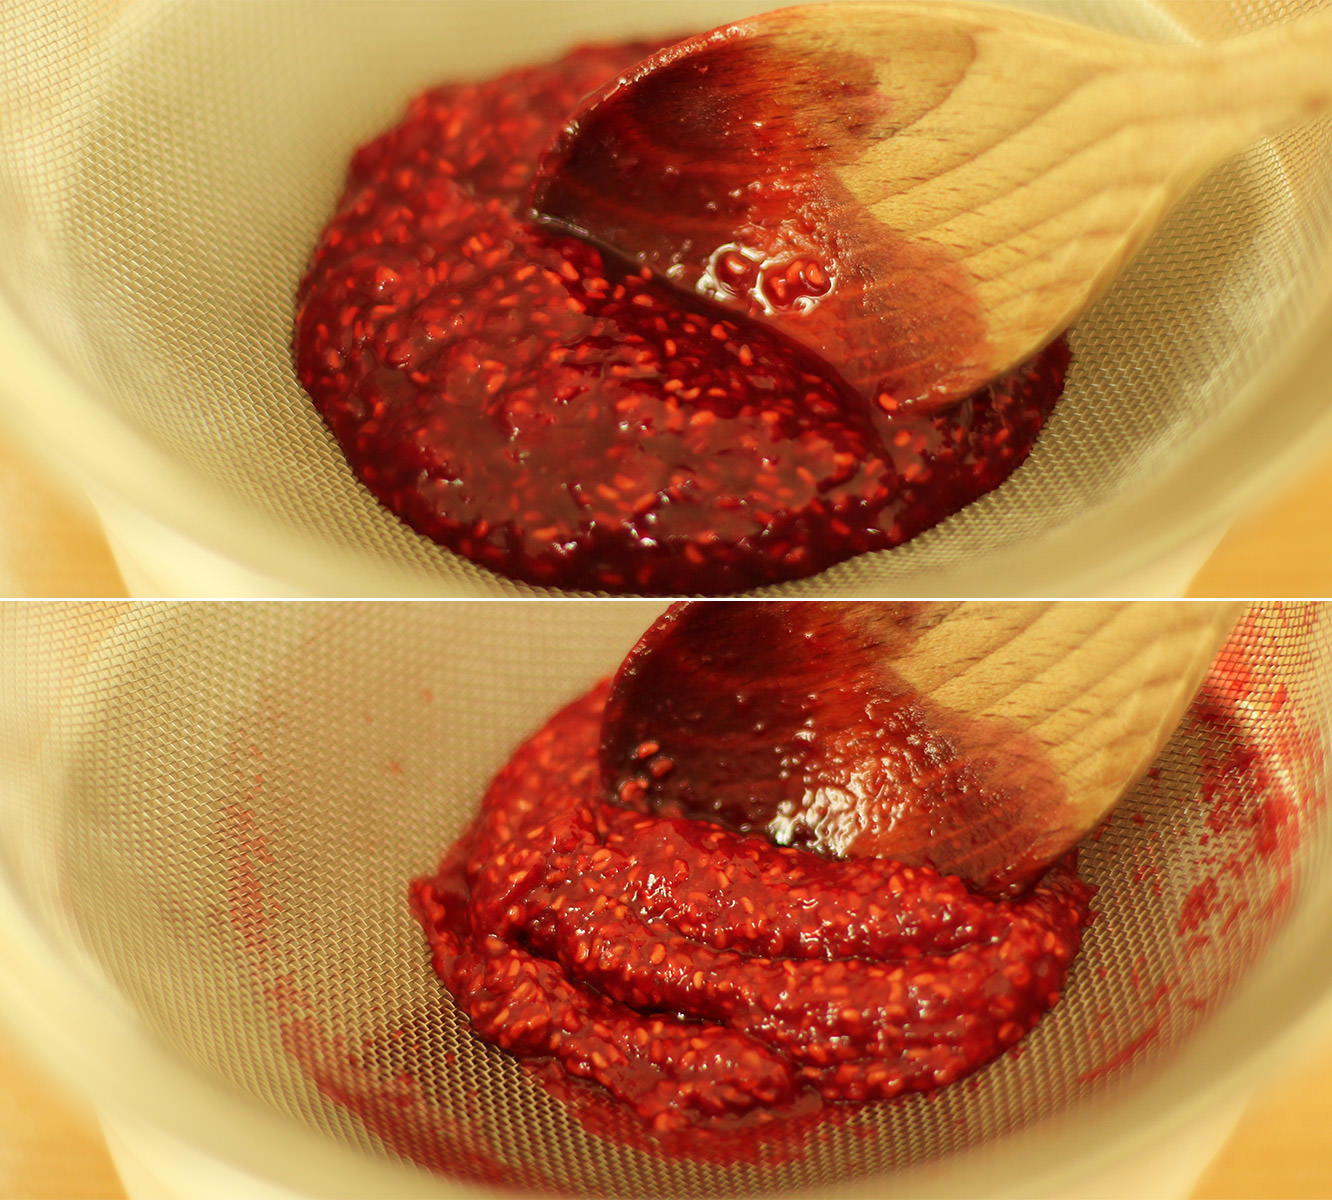
hen-bachelorette-party-favours-raspberry-caramel-marshmallow-recipe-07

Step nine

Strain though a sieve to remove the pips. It may need a little stirring for encouragement. Don’t forget to scrape the excess off from the underside of the sieve before throwing away the pips.
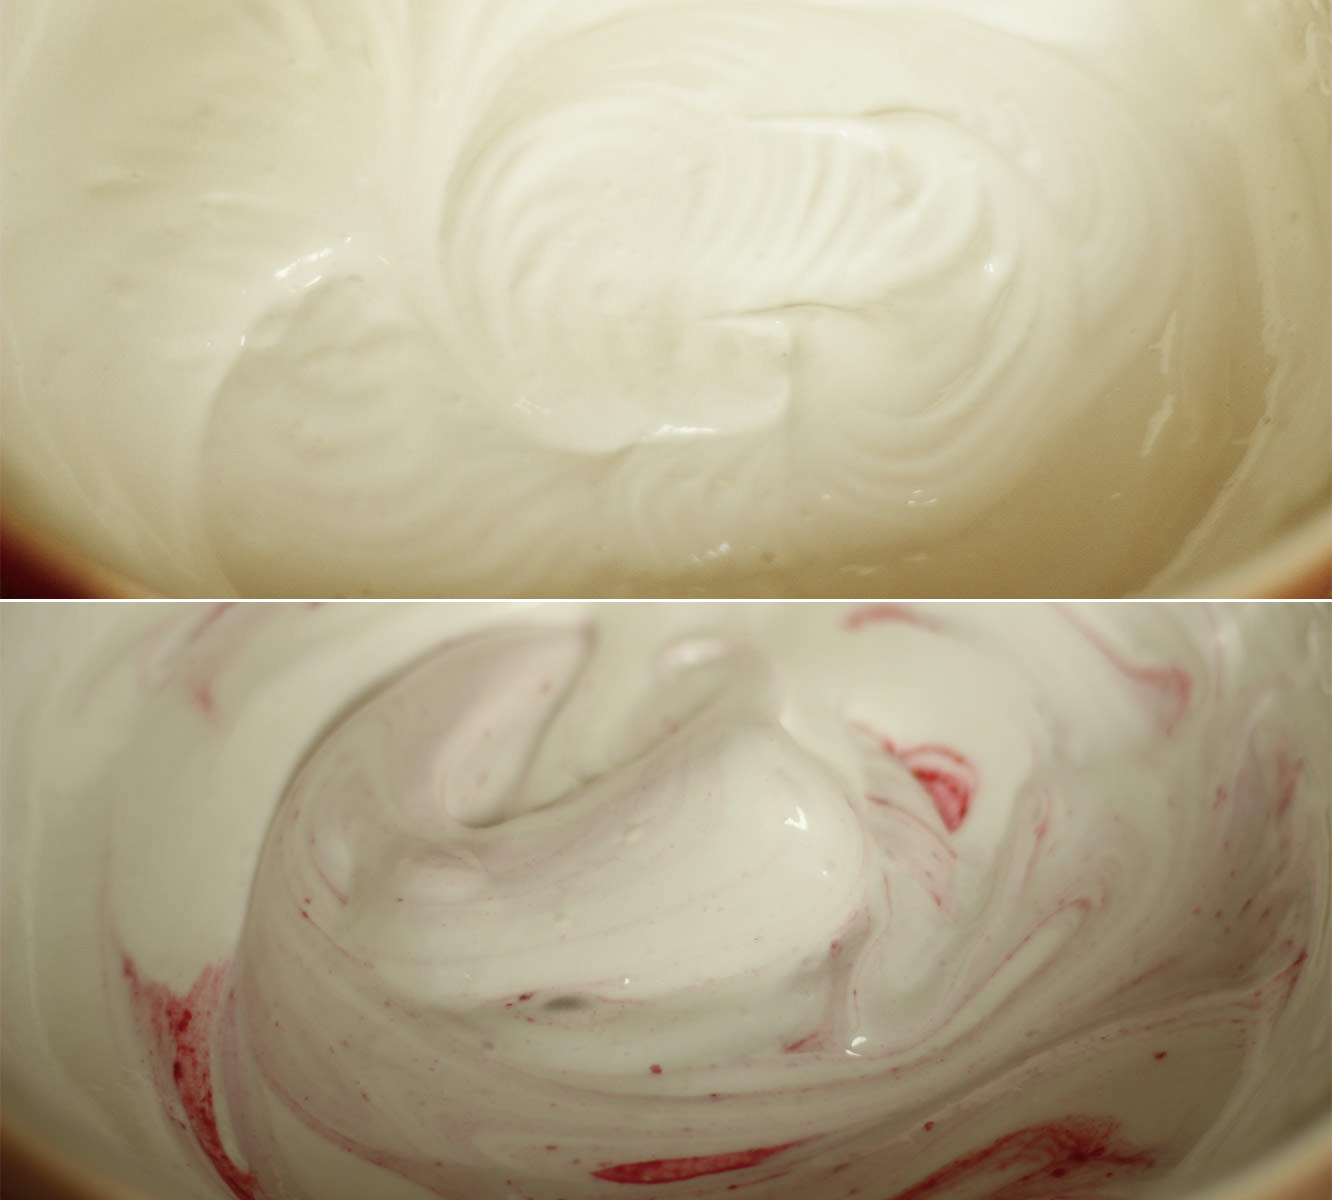
hen-bachelorette-party-favours-raspberry-caramel-marshmallow-recipe-08

Step ten

Follow the same steps at the caramel recipe, but instead of adding the extract, stir in the puree. I saved this to near the end to keep a bit of a ripple effect.

hen-bachelorette-party-favours-raspberry-caramel-marshmallow-recipe-09

Step eleven

Pour into a second dusted brownie tray and leave to set.

hen-bachelorette-party-favours-raspberry-caramel-marshmallow-recipe-10

Step twelve

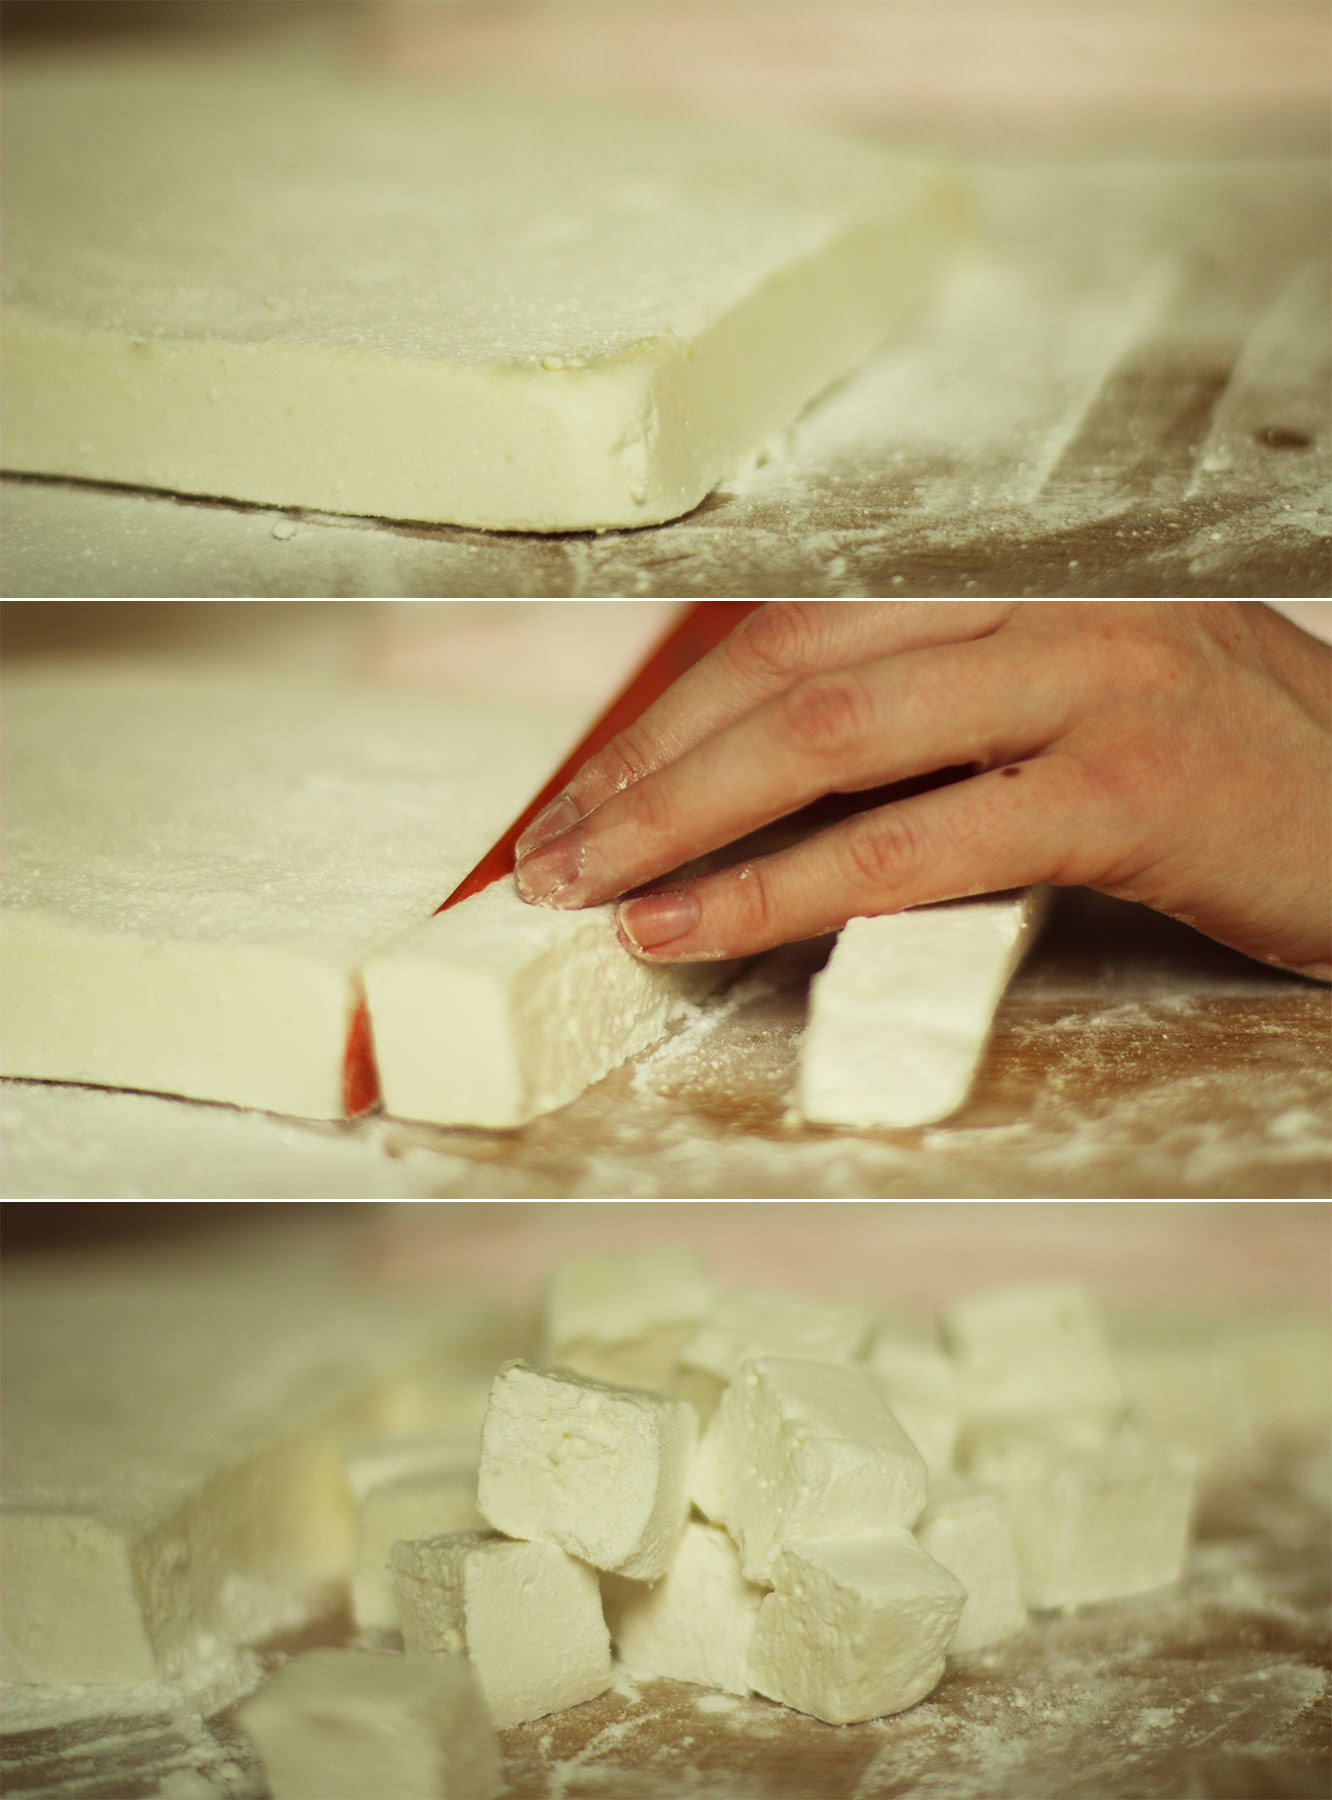
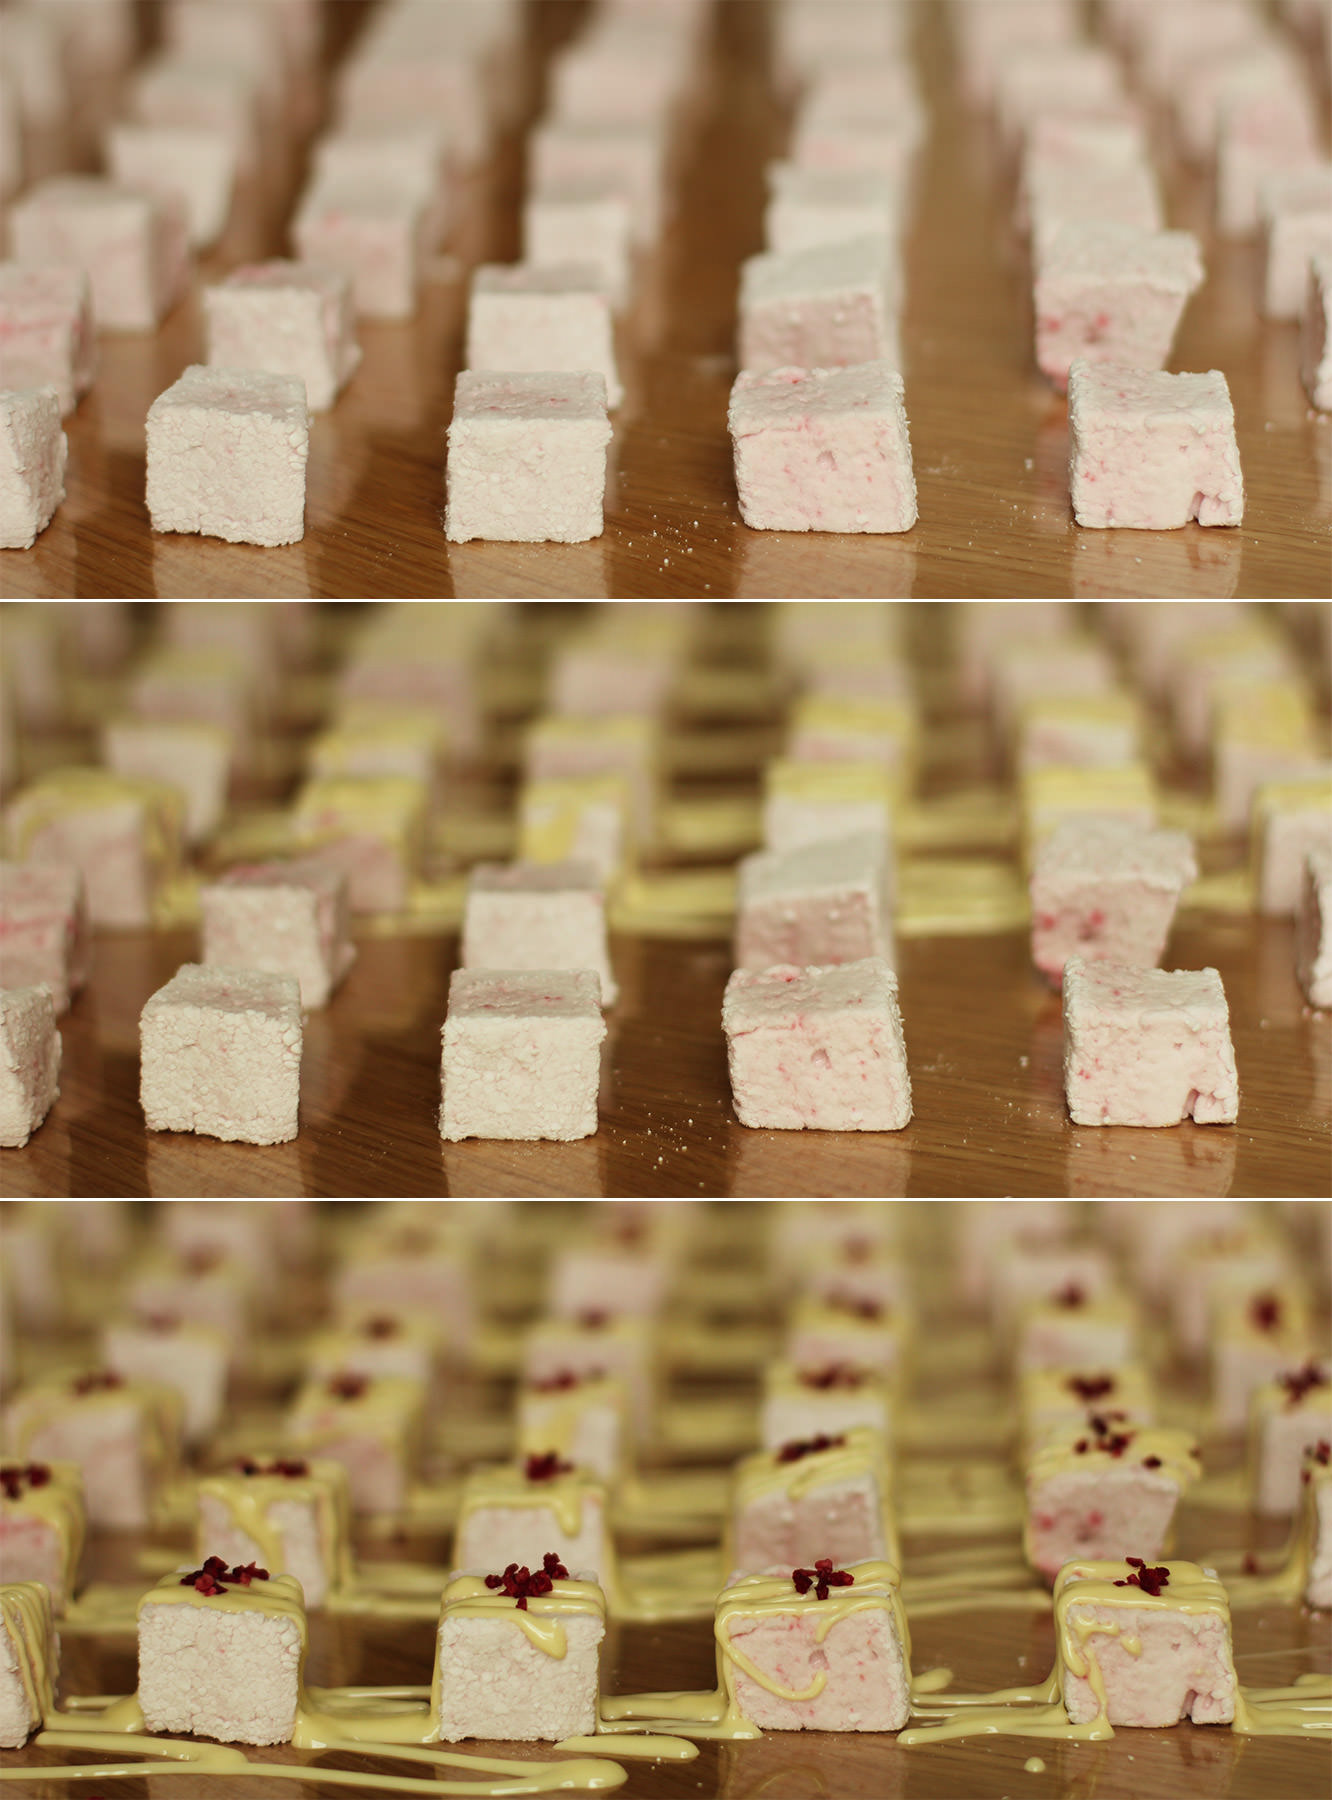
Once the marshmallows have set (at least an hour, preferably more) turn them out onto a surface dusted with icing sugar.

Cut them into cubes, and dust all the sides. Don’t worry if they are a little sticky, they will dry out a bit more.

hen-bachelorette-party-favours-raspberry-caramel-marshmallow-recipe-11

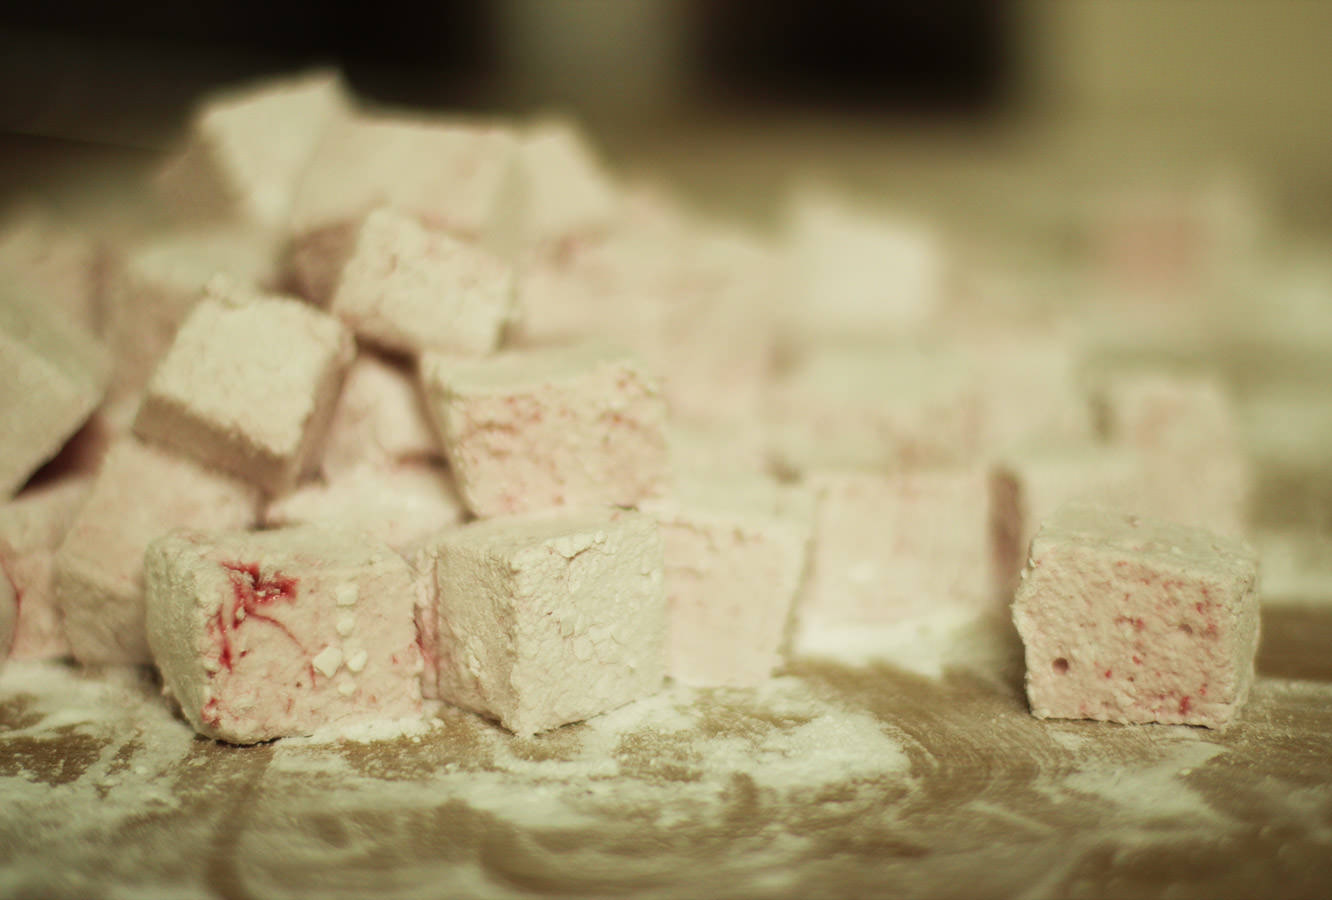
Try not to eat them all just yet.

hen-bachelorette-party-favours-raspberry-caramel-marshmallow-recipe-13

Step thirteen

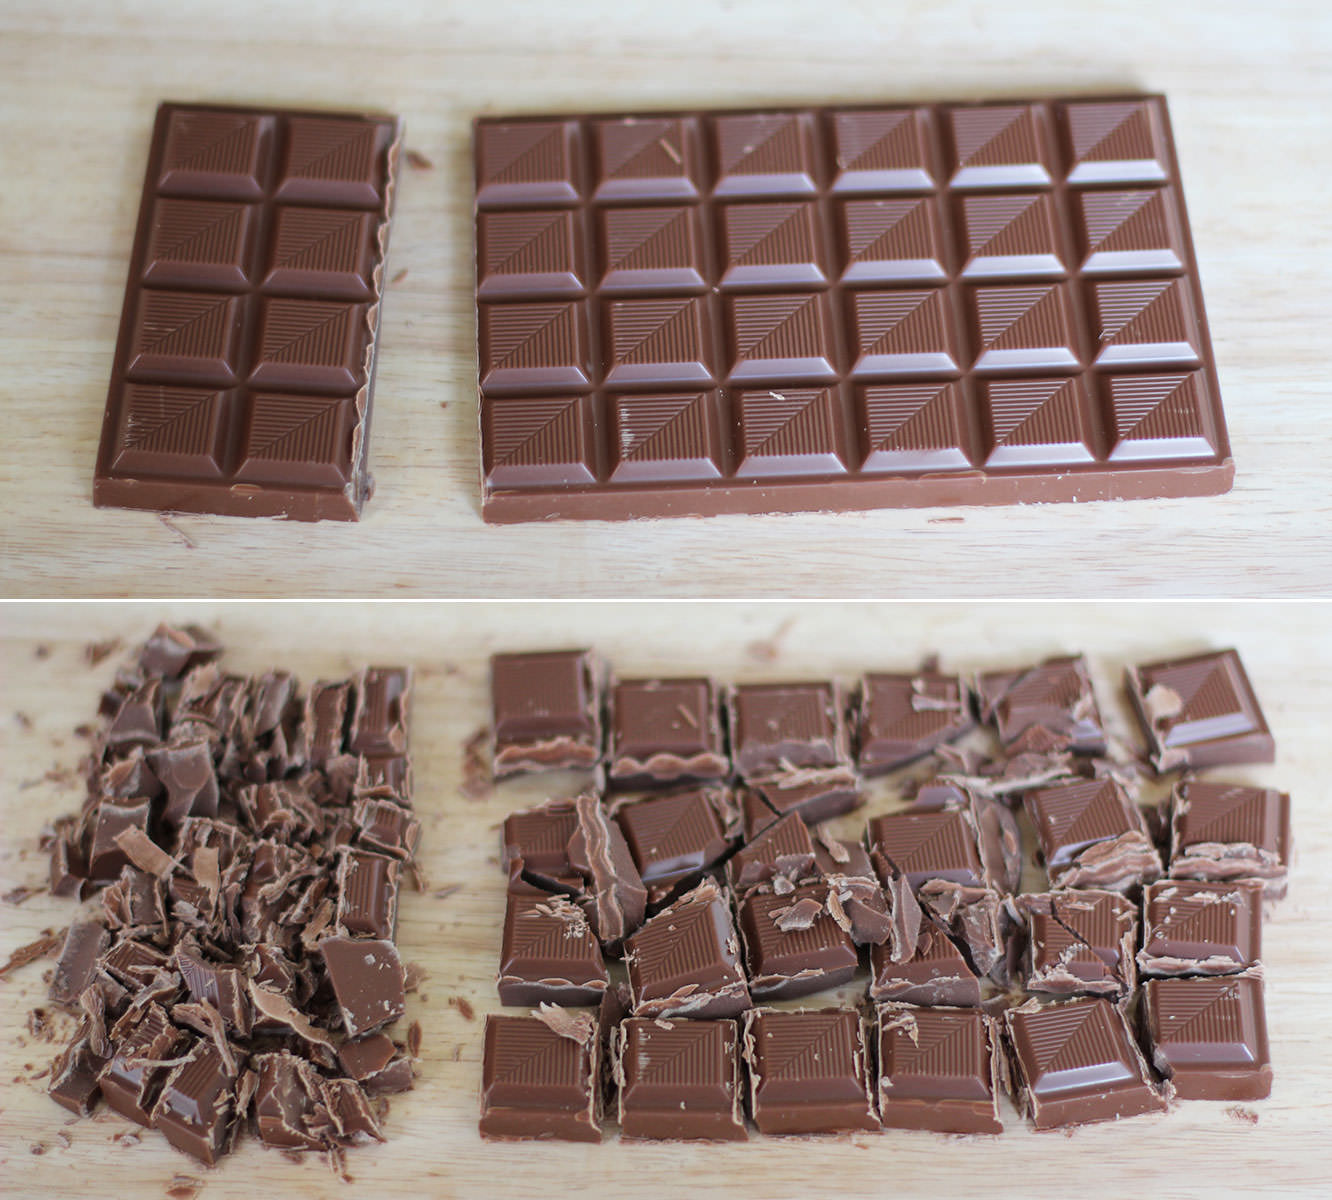
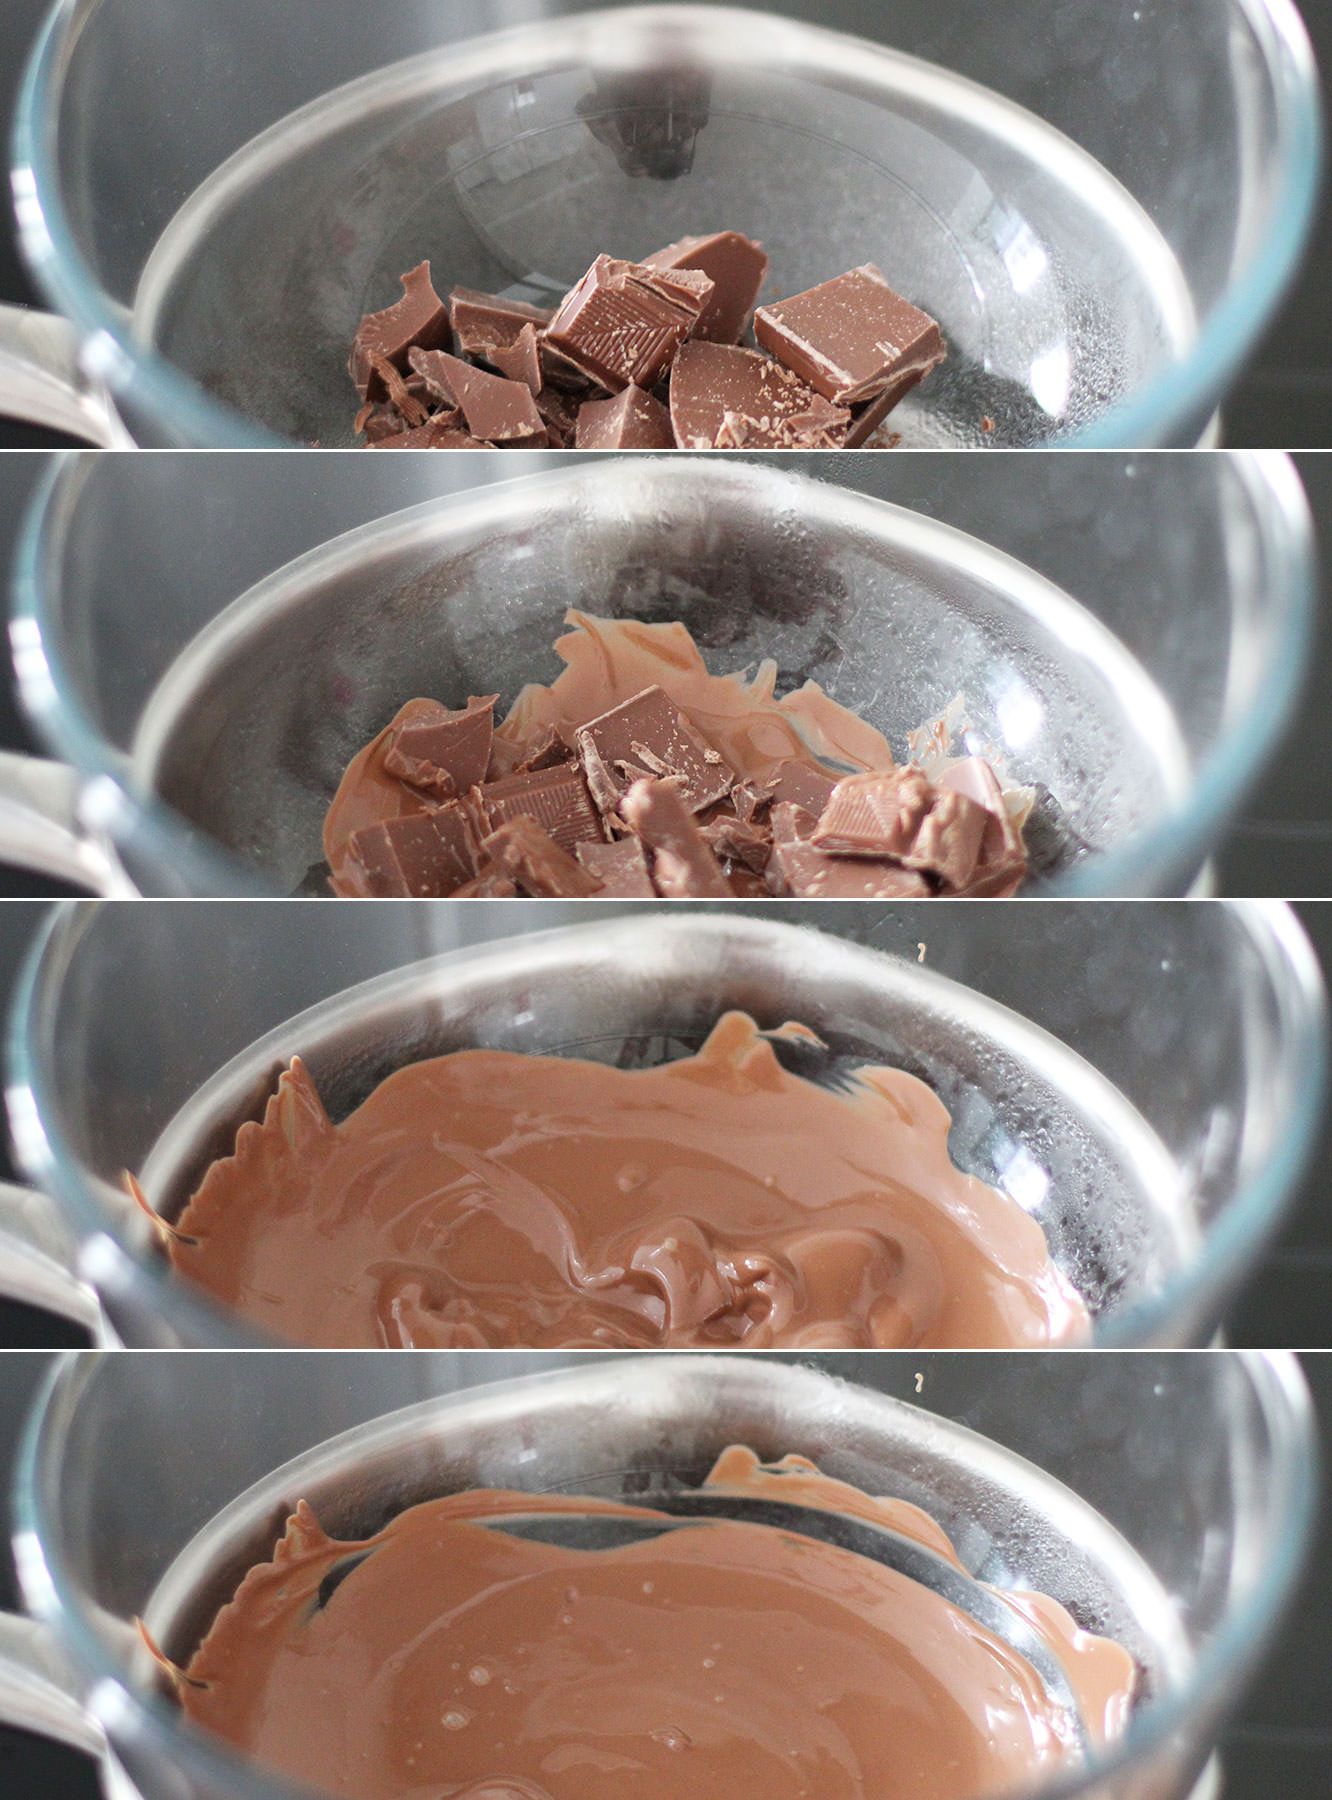
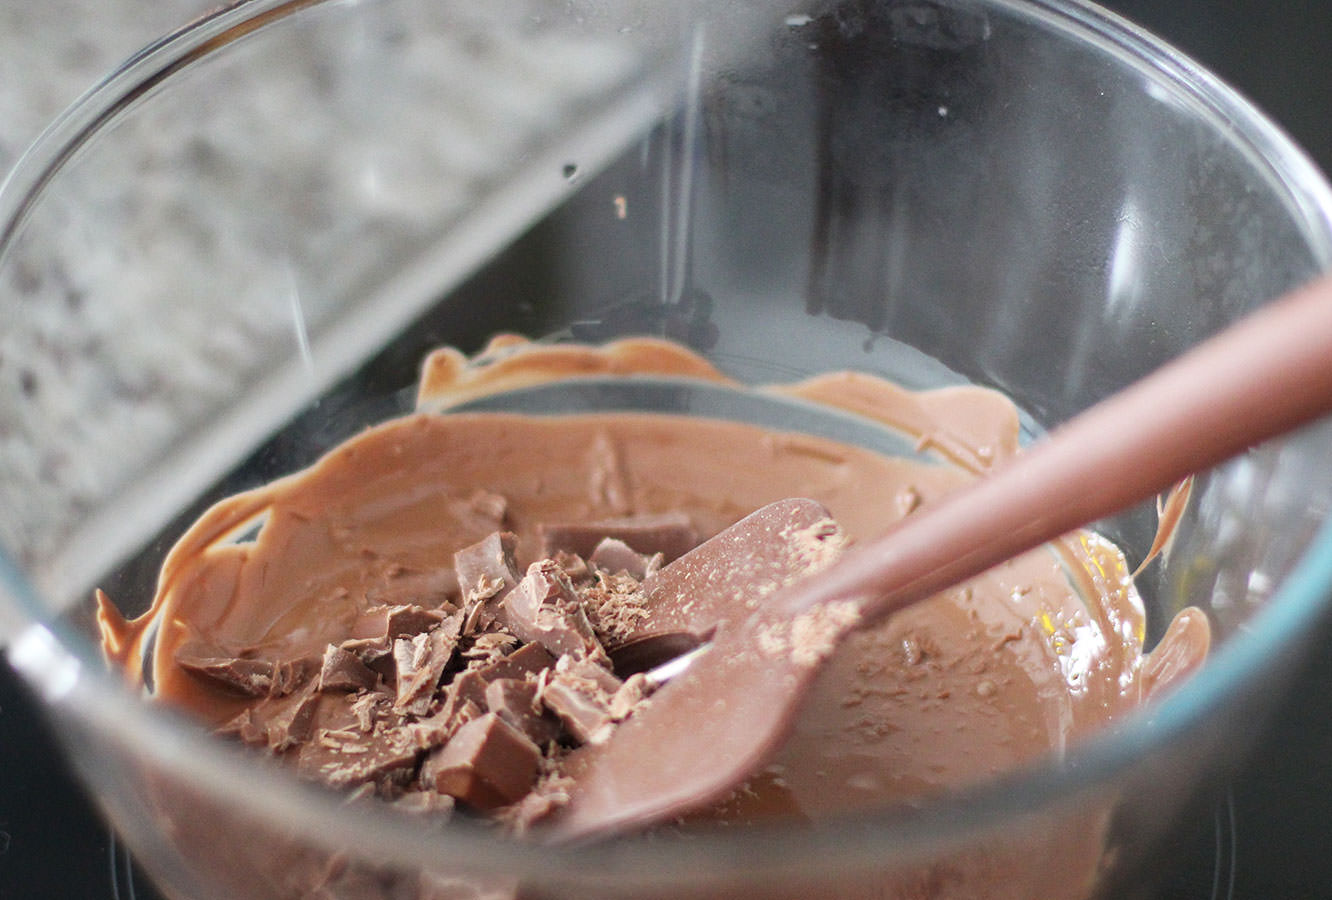
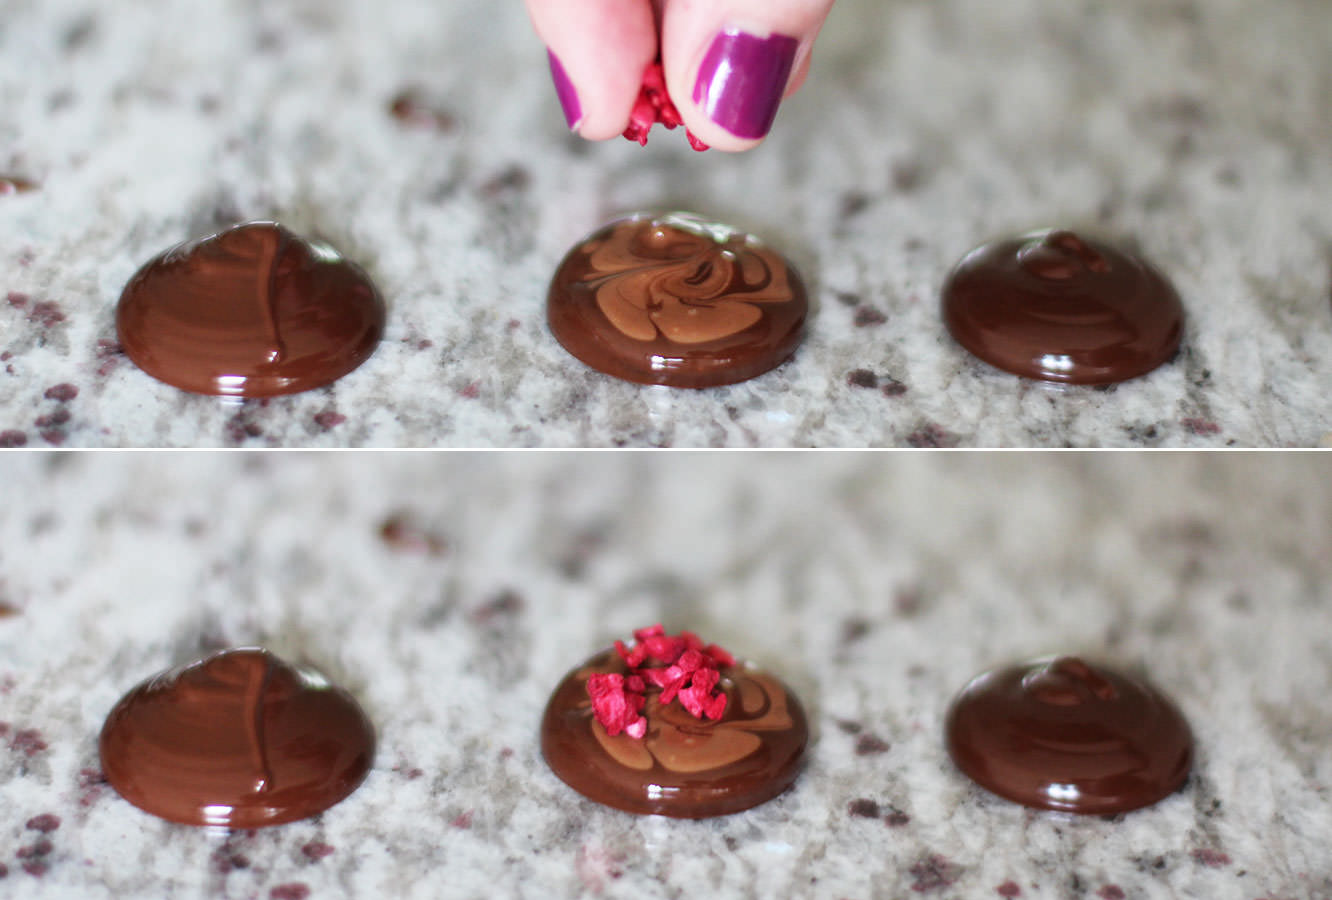
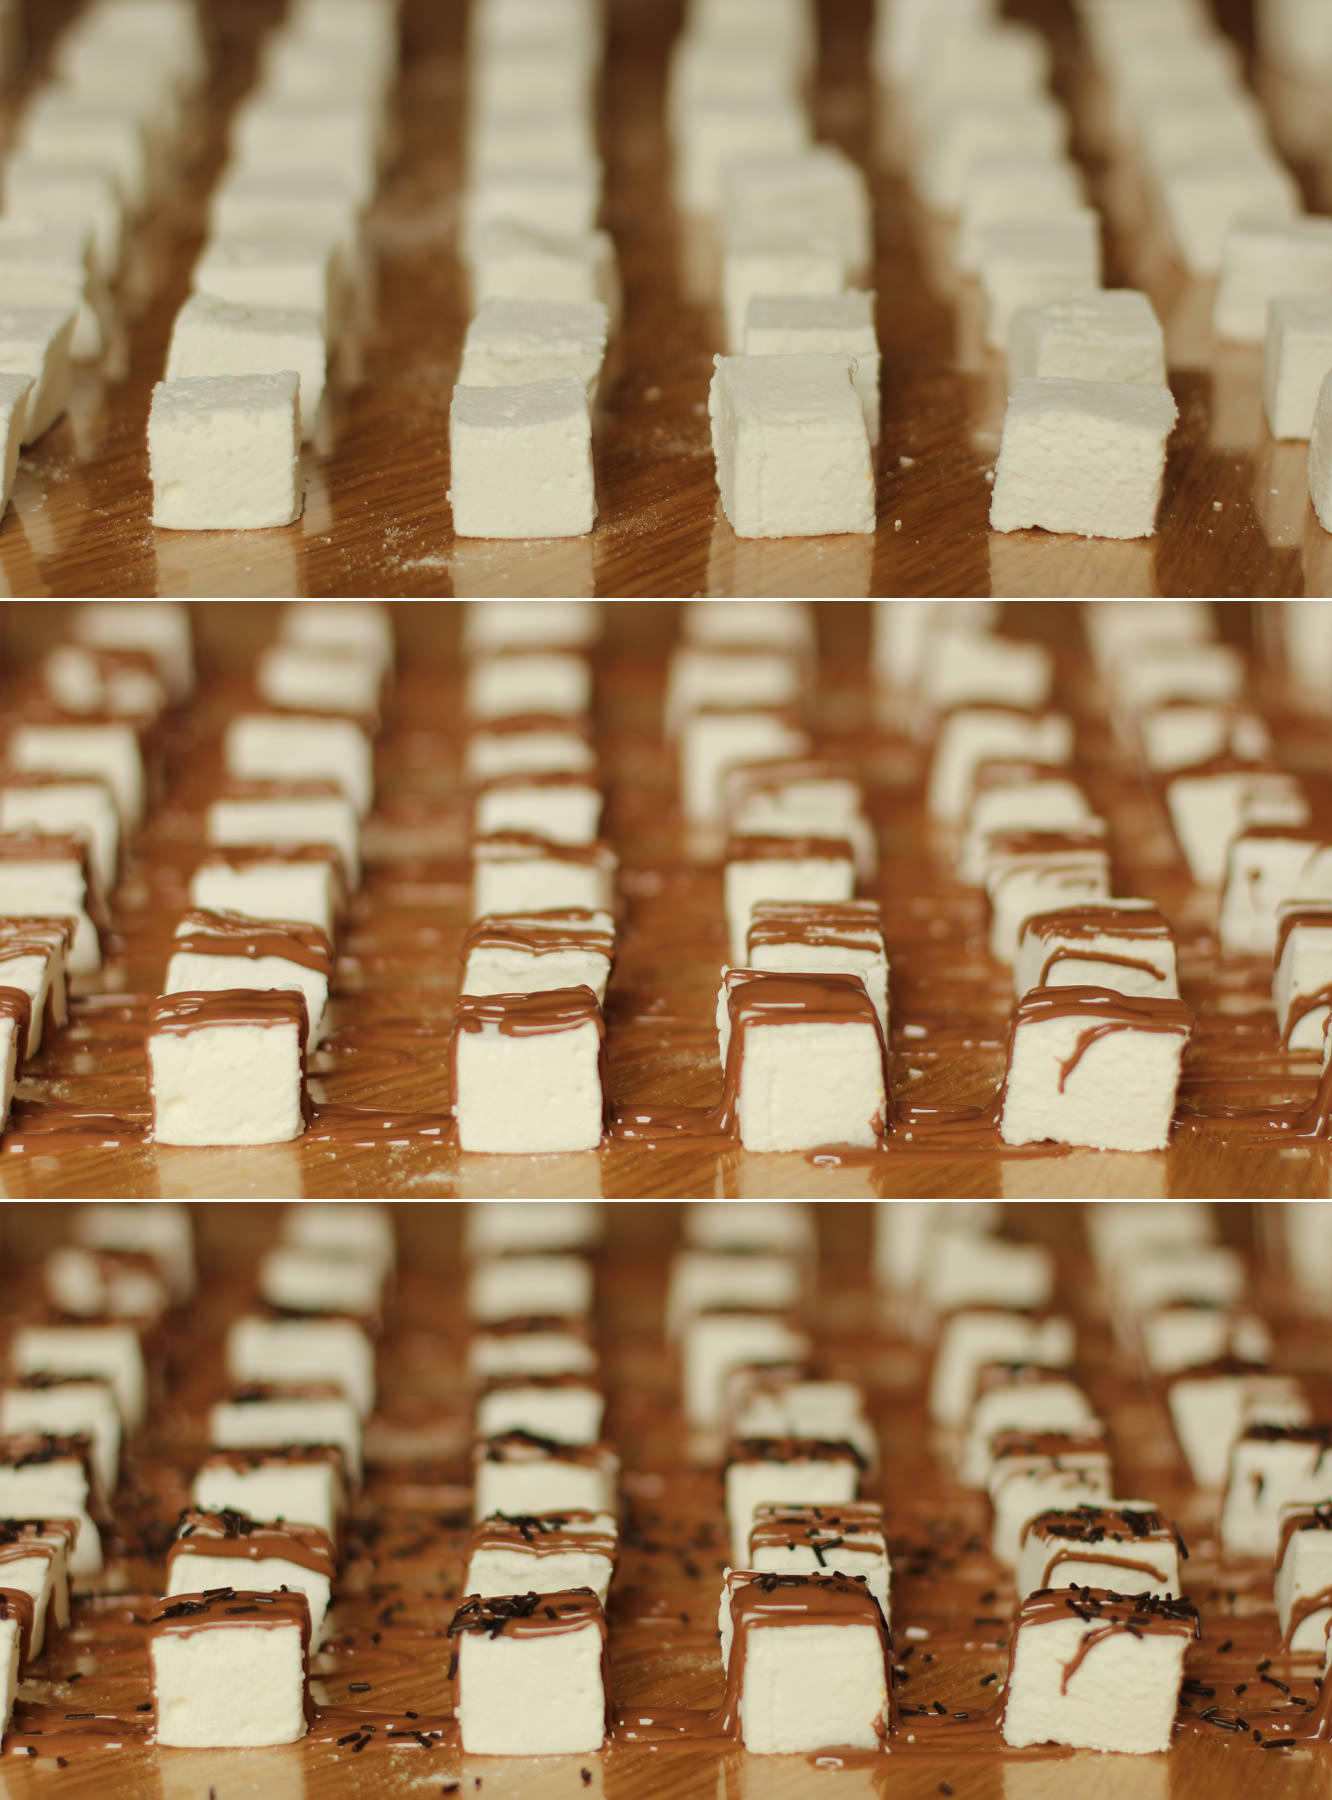
Lay the caramel marshmallows out in rows on greaseproof paper or cellophane and melt the milk chocolate. I used a piping bag to drizzle the chocolate over the marshmallows, you could use a sandwich bag and snip the corner.

hen-bachelorette-party-favours-raspberry-caramel-marshmallow-recipe-12

Step fourteen

Repeat with the raspberry and white chocolate marshmallows.
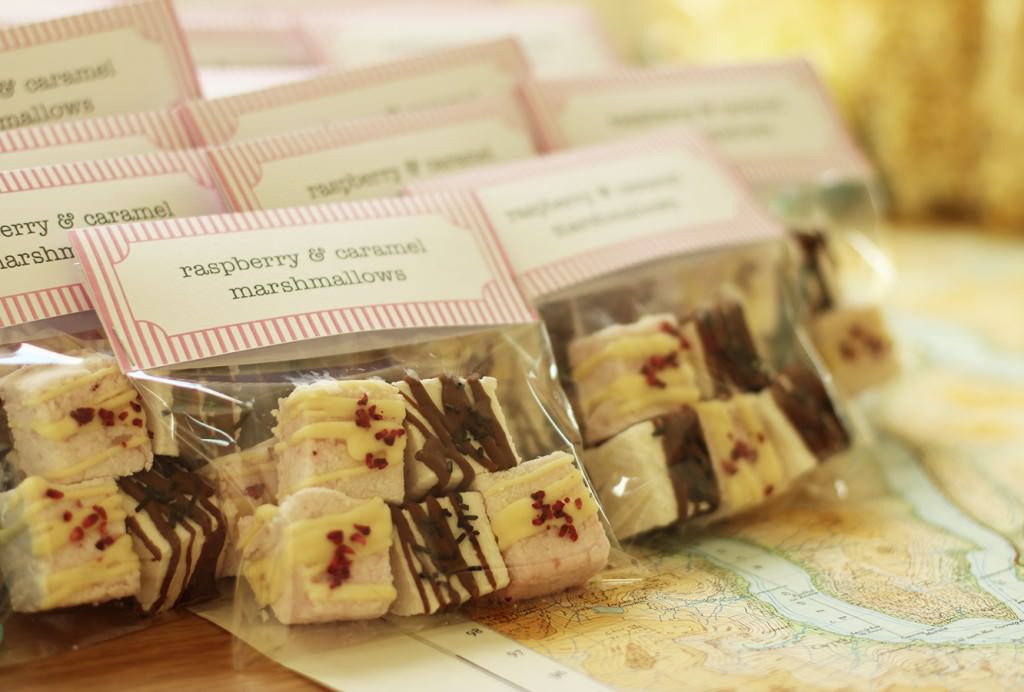
hen-bachelorette-party-favours-raspberry-caramel-marshmallow-recipe-14

Step fifteen

Once the chocolate has set place 5 in each bag, 2 of one flavour, 3 of the other, alternating as you go so you don’t run out of one.

As I mentioned last post I’ll be doing a wrap up post with all the finishing touches, so stay tuned for that. For now, here’s our lovely hen chowing down:

hen-bachelorette-party-favours-raspberry-caramel-marshmallow-recipe-gif

Banner-tastic

I’m finally going to wrap up my little series of posts from Matt and Vicky’s engagement party this week. I know, you didn’t think there could possibly be more right? Well, no party is complete without a banner.

Just in case their guests forgot, I made a little congratulations banner. A congrats banner, let’s be honest, congratulations is a long word.

home-made-party-congratulations-banner

You will need

Some pretty paper or card

A craft knife and a cutting mat (or chopping board)

Double-sided tape

String

home-made-party-congratulations-banner-2

Step one

Using a chunky font, type out the message for your banner. I think this was Futura in case you want to copy exactly (but then you would also need to find a Matt and a Vicky to congratulate).

home-made-party-congratulations-banner-3

Step two

Cut out little flag shapes big enough to house your letters, remember to leave at least half a centimetre at the top to fold over.

These are super simple to get even, just draw a rectangle with a line down the centre and then draw two diagonals from the corner to the same point on the central line. Use the first one as a template.

home-made-party-congratulations-banner-4

Step three

Glue the front of the letters and stick them face down on the back of each flag.

Use a craft knife to cut around the edge of the letter. The child in me was bizarrely satisfied by punching these out.

When cutting out letters like A and O which have a counter in them remember to keep a small stem so you don’t totally hollow them out.

home-made-party-congratulations-banner-5

Step four

Using open scissors score the top of the flag (on the back) to create a fold.

home-made-party-congratulations-banner-6

Step five

Stick double sided tape inside the fold, making sure it’s right to the top edge. Place the string in the fold and stick down.

Step six

Repeat until you have a full sentiment.

home-made-party-congratulations-banner-7

Ta da!

Miniature carb loading

So. Guys. 2015 happened. Happy New Year to you all!

Probably the last thing all you resolution makers need is this blog post. Just know that deep down I support your diet, but if you ever want to fall off the wagon in a carb-tacular way, I’m here for you, holding mini filled potato skins.

These bitesize chaps were more of the nibbles I made for Matt and Vicky’s party and they disappeared pretty quickly, despite being a bit of a random addition to the table. I know Vicky’s brother has been waiting on tenterhooks for this blog post. Edward, apologies for the delay.

mini-filled-potato-skins-recipe-1

You will need

15 New potatoes

3 Rashers of smoked bacon (or a couple of spring onions if you’re a veggie)

300ml Sour cream

100g/5 oz Red Leicester/Double Gloucester/Cheddar cheese

Salt and pepper

mini-filled-potato-skins-recipe-2

Step one

Using the finest setting on your grater grate the cheese so you’re ready to go. The last thing you need is hold ups preventing you from eating these sooner.

Cook the bacon until crispy and trim into tiny tiny pieces. Scissors are key.

Step two

Put the new potatoes in a roasting tin with a blob of butter and cook on gas mark 6/200C/400F for 45 minutes. Keep an eye on them, but honestly, I’d like to meet a man who has managed to overcook a jacket potato.

mini-filled-potato-skins-recipe-3

Step three

Once the potatoes are cool enough to handle cut them in half and scoop out the potato inside. Get as much out as you can without ripping the skins. Place the empty skins back into the roasting tin in a somewhat orderly fashion.

Step four

Add 150-200ml of the sour cream to the potato and season. Mash until smooth/you loose the will to make filled potato skins at all. But seriously though, don’t give up, that’s the key to smooth mash.

You might need to add a little more sour cream, but save some for dipping.

Step five

Stir in the bacon.

Step six

Avoid the urge to just eat mix with a spoon. Or does everyone else not love mashed potato as much as me?

mini-filled-potato-skins-recipe-gif

Step seven

Refill the potato skins and sprinkle the cheese on top.

Step eight

Put back into the oven until they are fully reheated and the cheese has melted.

mini-filled-potato-skins-recipe-4

Step nine

Eat all thirty before anyone else arrives.

Drip drop

A couple of months ago my lovely housemate got engaged. A couple of weeks ago we celebrated that fact.

I decided I wanted to make some party food. Given that we’re fast approaching Christmas (I mean, it’s the 17th November already, what?) this little series of posts should furnish your party season with delightful nibbles and may double as last minute Christmas present/hostess gifts.

This one falls into the second category, so get online and buy yourself some cellophane bags and a roll of ribbon, your colleagues and your milk man will never have been happier. Well, I hope their lives are better than that, but either way, there won’t be any disappointment, and that’s all anyone’s looking for at Christmas.

chocolate-drop-party-nibbles

Things you need

200g/7 oz White chocolate

200g/7 oz Milk chocolate

200g/7 oz Dark chocolate

Decorations (I used freeze dried raspberries, fudge pieces and pecans)

Cocktail sticks

Piping bags or strong sandwich bags.

Cellophane (from a florist or a craft shop, or you can use greaseproof but the bottoms won’t be shiny)

Food thermometer (ideally)

chocolate-drop-party-nibbles-1

Step 0.5

Prepare your toppings if they need preparing. I wanted my drops to be quite small so I chopped up my fudge and pecans.

chocolate-drop-party-nibbles-2

Step one

Now. This is the first time I have actually tempered chocolate. It was easier than I expected and well worth it for the shiny finish. I encourage it. I also encourage the purchase of a thermospatula. I’m not being paid to say that, it’s changed my life (in a small but significant way).

If you’re joining me on the tempering train you need to split the chocolate into a third/two thirds split. Ignore the photo above and just chop it all into big chunks.  I learned as I went with this one.

chocolate-drop-party-nibbles-3

Step two

Place a heatproof bowl over a pan of simmering water; make sure the water isn’t touching the pan.

Add two thirds of the chocolate and allow to melt slowly. Stir occasionally. Mainly so you can feel like you’re doing something productive.

Bring to 45 degrees C and remove from the heat.

chocolate-drop-party-nibbles-5

Step three

Add the rest of the chocolate and stir until its melted in. Keep stirring until the whole lot has cooled to 28 degrees C.

Step four

Place back on the heat and bring to 32 degree C.

Step five

Take back off the heat and dry the bottom of the bowl with a tea towel. Trust me, you don’t want water in your chocolate.

Step six

Pour into a piping bag.

Don’t trim the end yet. In fact, once you have twisted the opening to close it you should push any chocolate in the tip end back towards the rest, otherwise it will cool and solidify there while you’re tempering the rest.

Step seven

Repeat with the rest of the chocolate.

chocolate-drop-party-nibbles-gif

Step eight

Lay down the cellophane and start piping.

You want to hold the piping bag at a 90 degree angle to the table and squeeze. The chocolate will flood into a lovely little pool.

Add a small blob of another colour on top and swirl about with a cocktail stick to create a marbled effect.

chocolate-drop-party-nibbles-6

Step nine

Sprinkle your decorations on top.

Some cranberries would go down well for christmas drops, but I was explicitly instructed not to buy any. These freeze dried raspberries looked rather pretty and tasted good too. See children? Compromise isn’t always bad.

chocolate-drop-party-nibbles-7

Step ten

Keep going until you run out of chocolate/the will to live. But look…so shiny. You did well to temper it, it was worth it after all.

chocolate-drop-party-nibbles-8

Step eleven

Go forth and make someone’s day.