
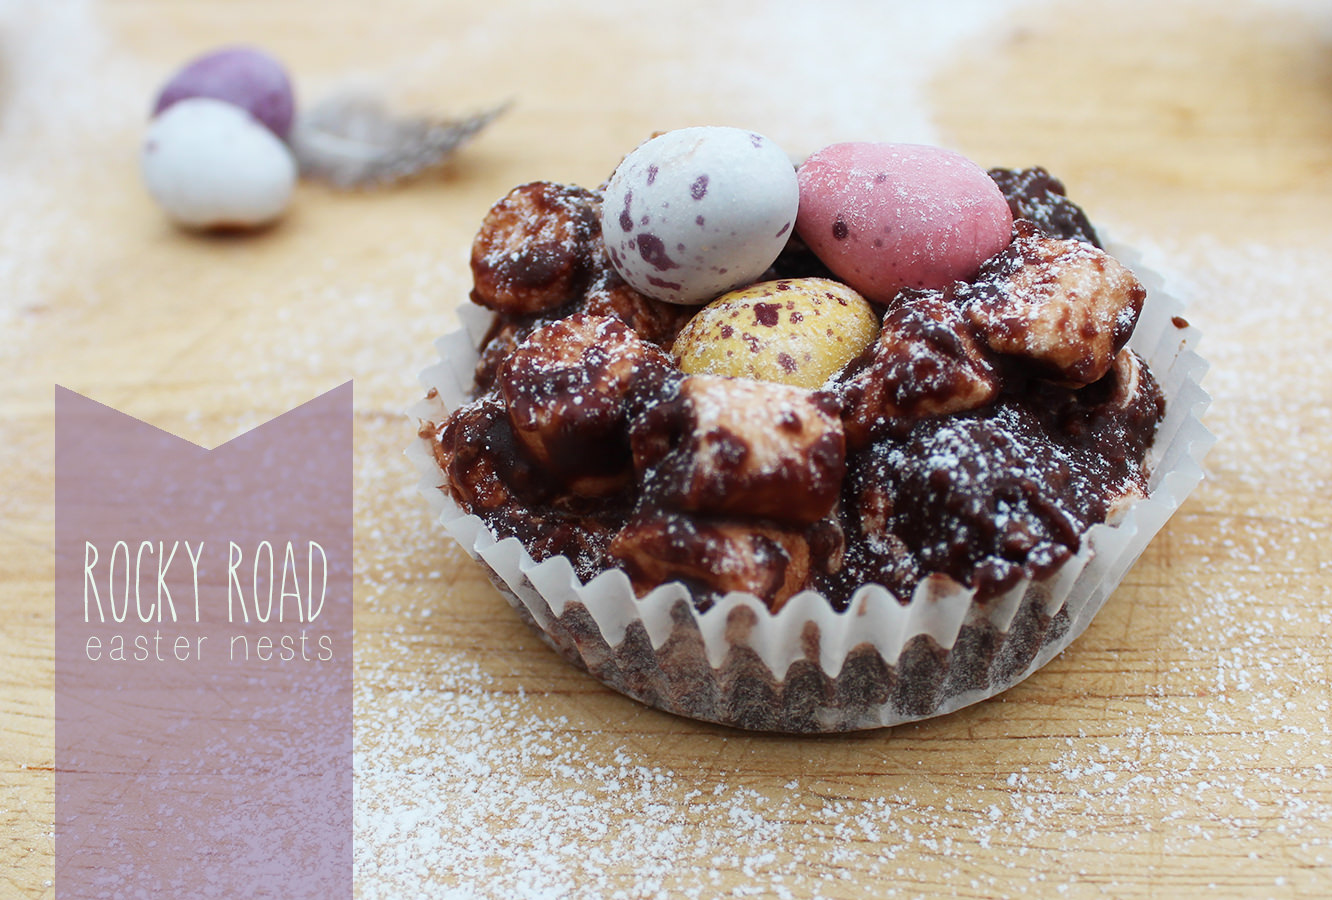
It’s such a lovely time of year, the sun is shining and the shops are full of mini eggs. What’s not to love?
This little idea popped into my head when I was putting out the snacks for an open day (I sort of swing by a university law school and do admissions in my spare time/to get paid). Anyway, after opening the rice crispy bites, and popping one in my mouth (it’s good manners to make sure everything is in order for the guests) I moved on to unpacking the rocky road. BINGO. Rocky road Easter nests were born!
As if that hasn’t sold it well enough to you, these look far more realistic than your regular festive treat, and you will never touch a box of shredded wheat again once you’ve tried them. Just as easy to make with kiddies and more ingredients so more fun to be had.
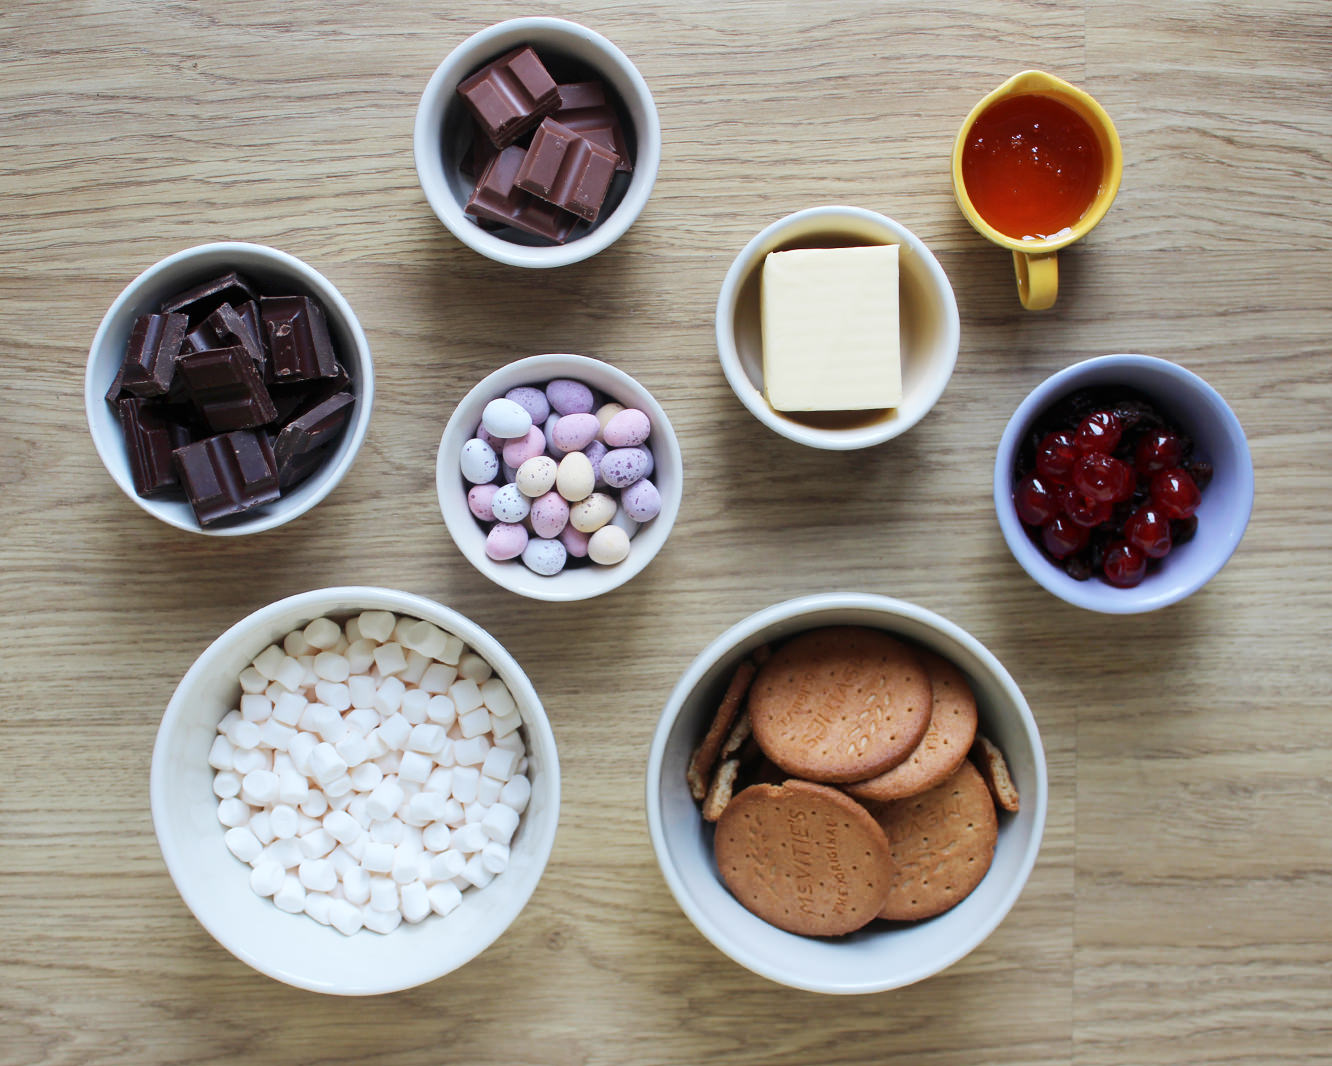
You will need
200g/7 oz Dark chocolate
100g/3.5 oz Milk chocolate
125g/4.5 oz Unsalted butter
3 tbsp Golden syrup
200g/7 0z Digestive biscuits
100g/3.5 oz Mini marshmallows
Generous handful of seedless raisins
15 Glace cherries (cut into quarters)
Bag of mini eggs
Fairy cake cases
Icing sugar to dust
Makes 15
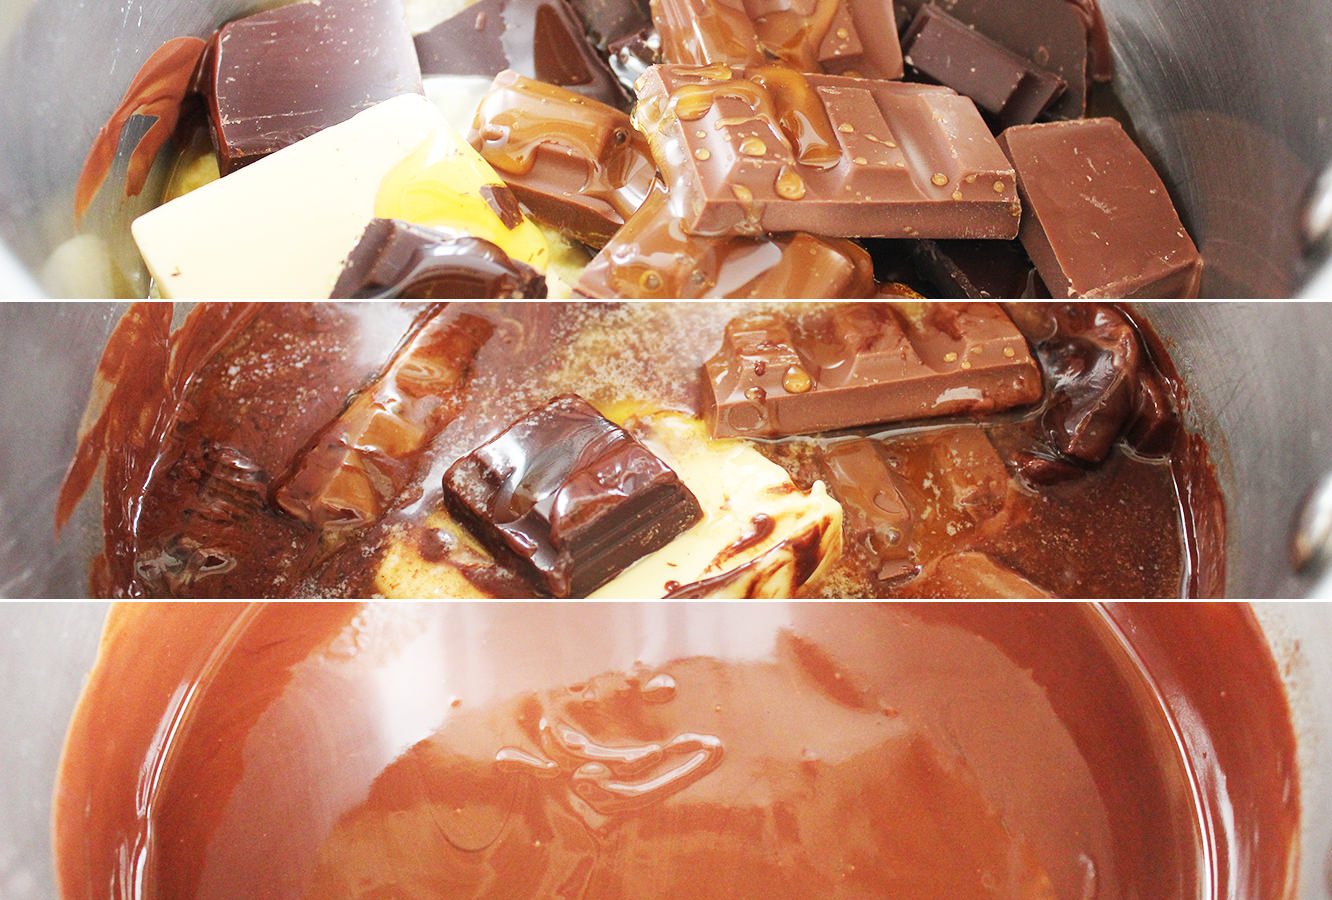
Step one
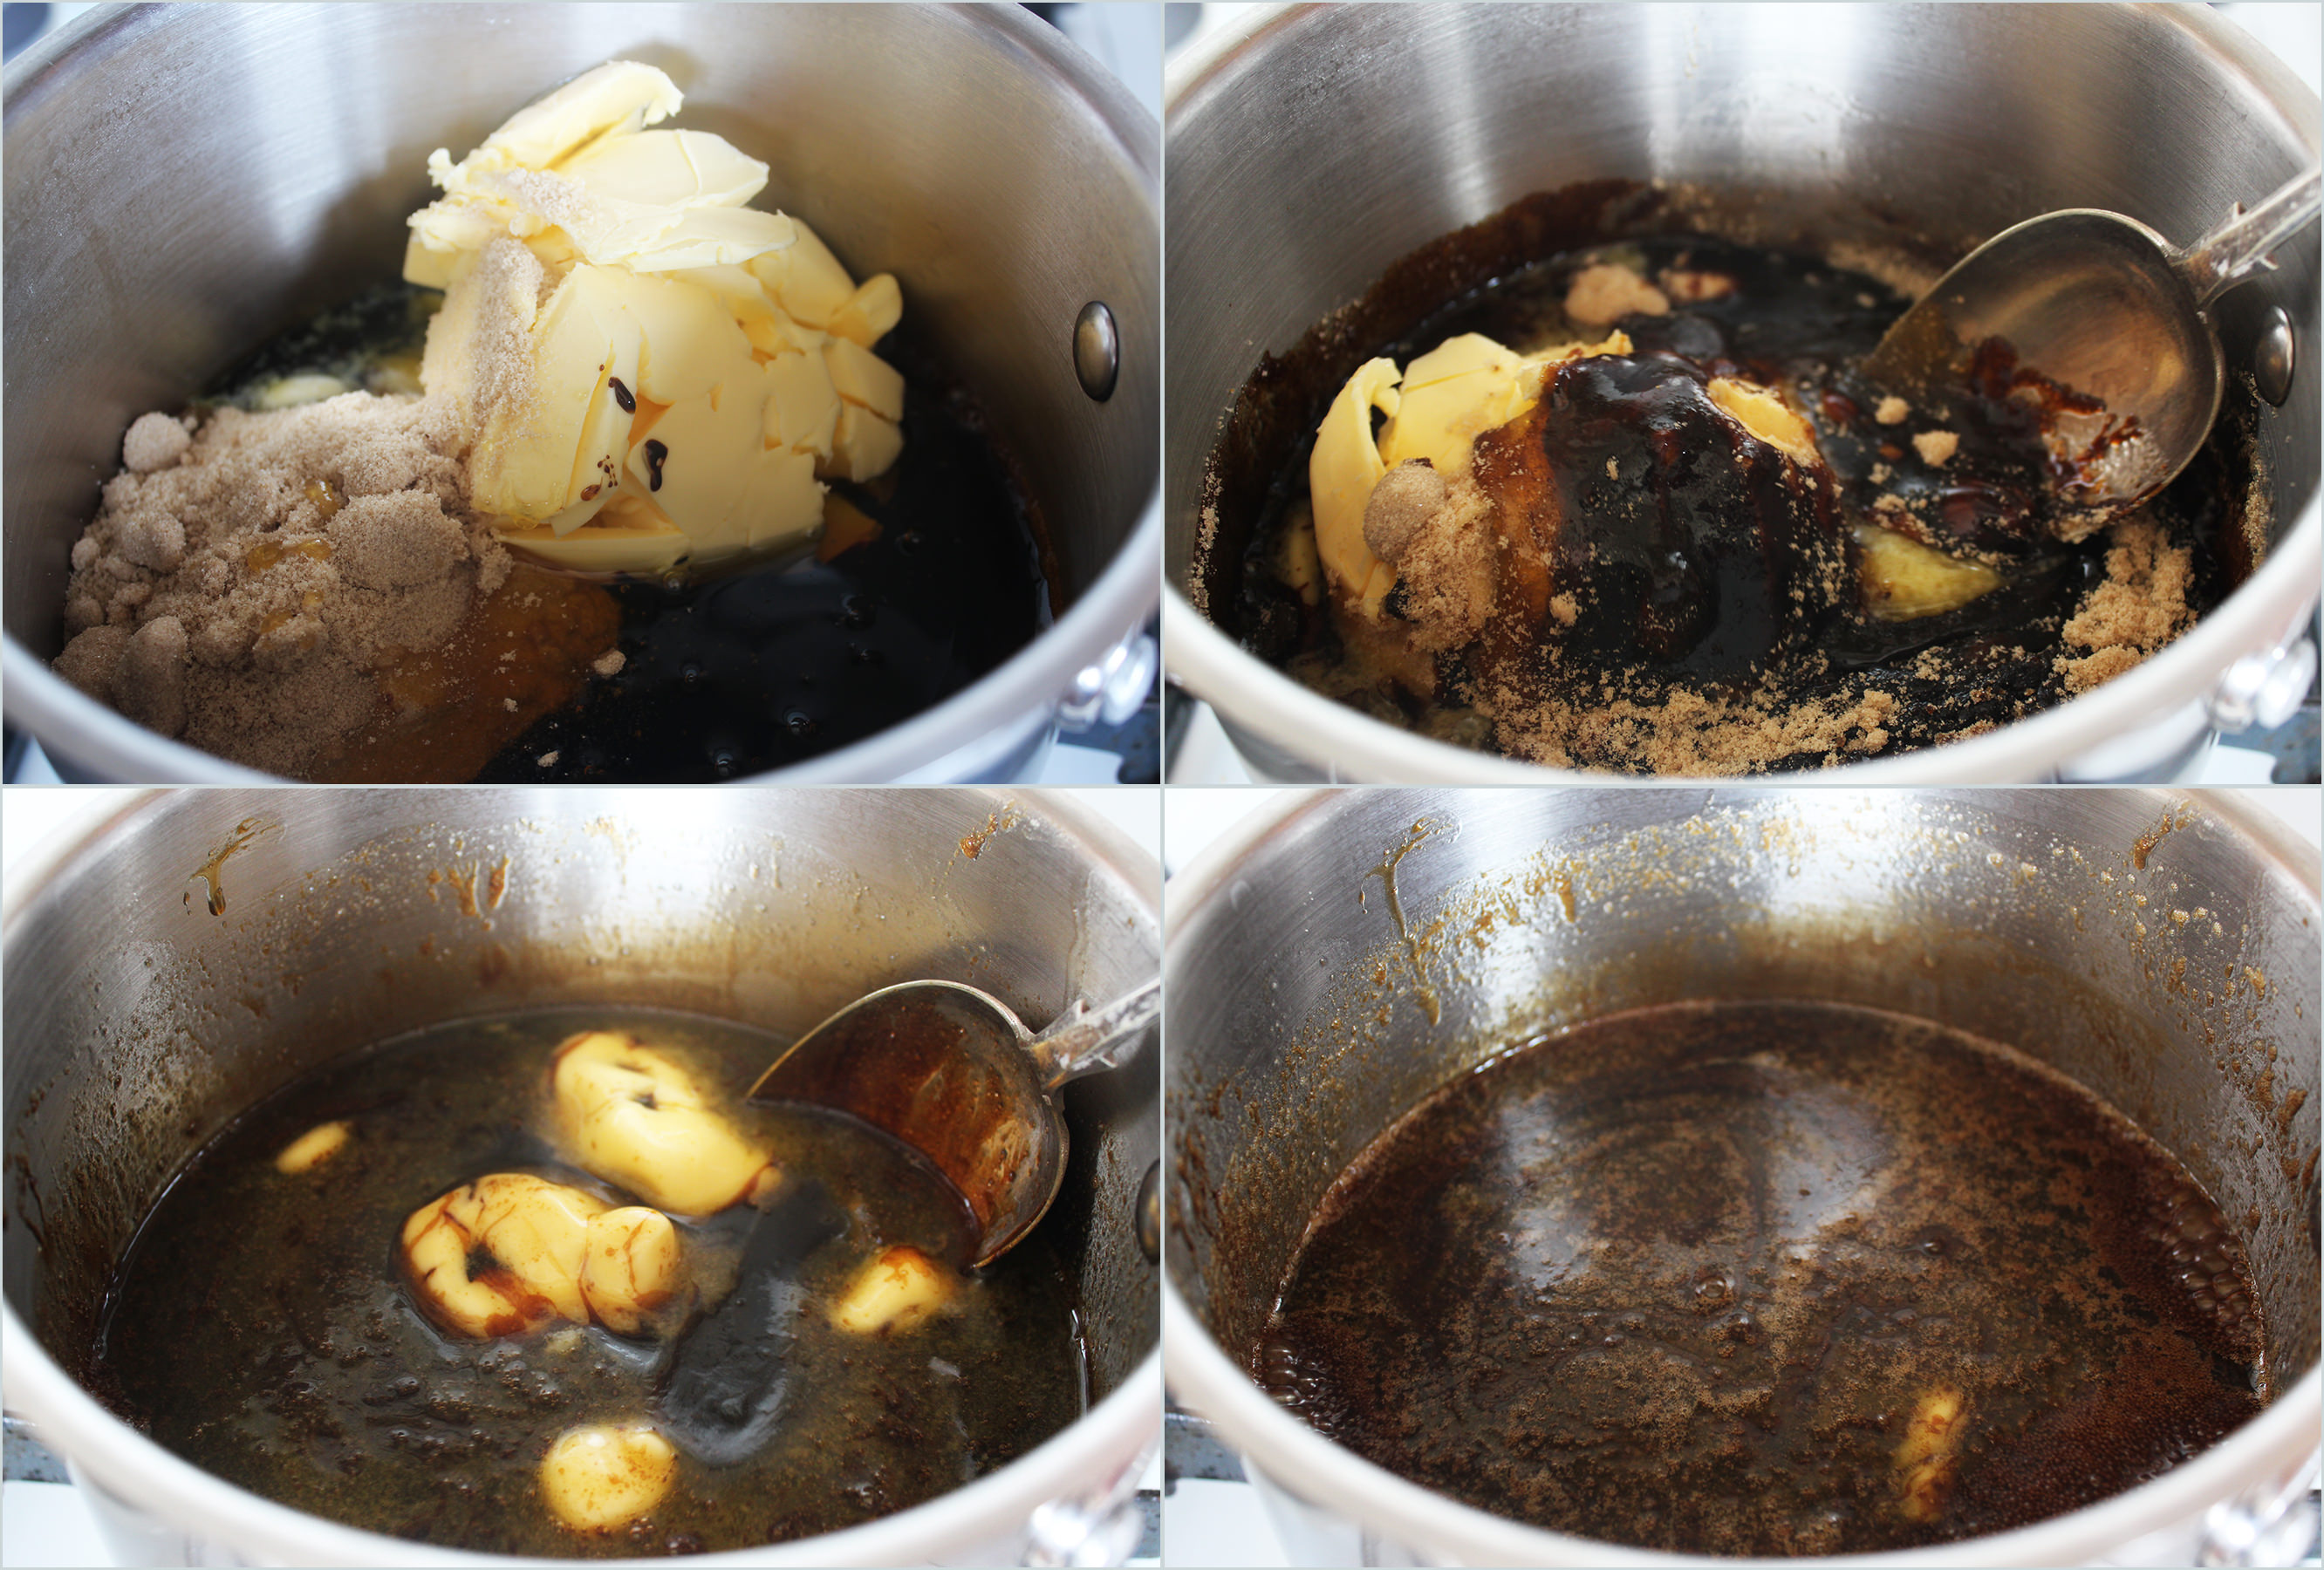
Melt the dark chocolate, milk chocolate, butter and golden syrup in a sauce pan.
Go slowly, burning chocolate is one of life’s saddest occurrences.
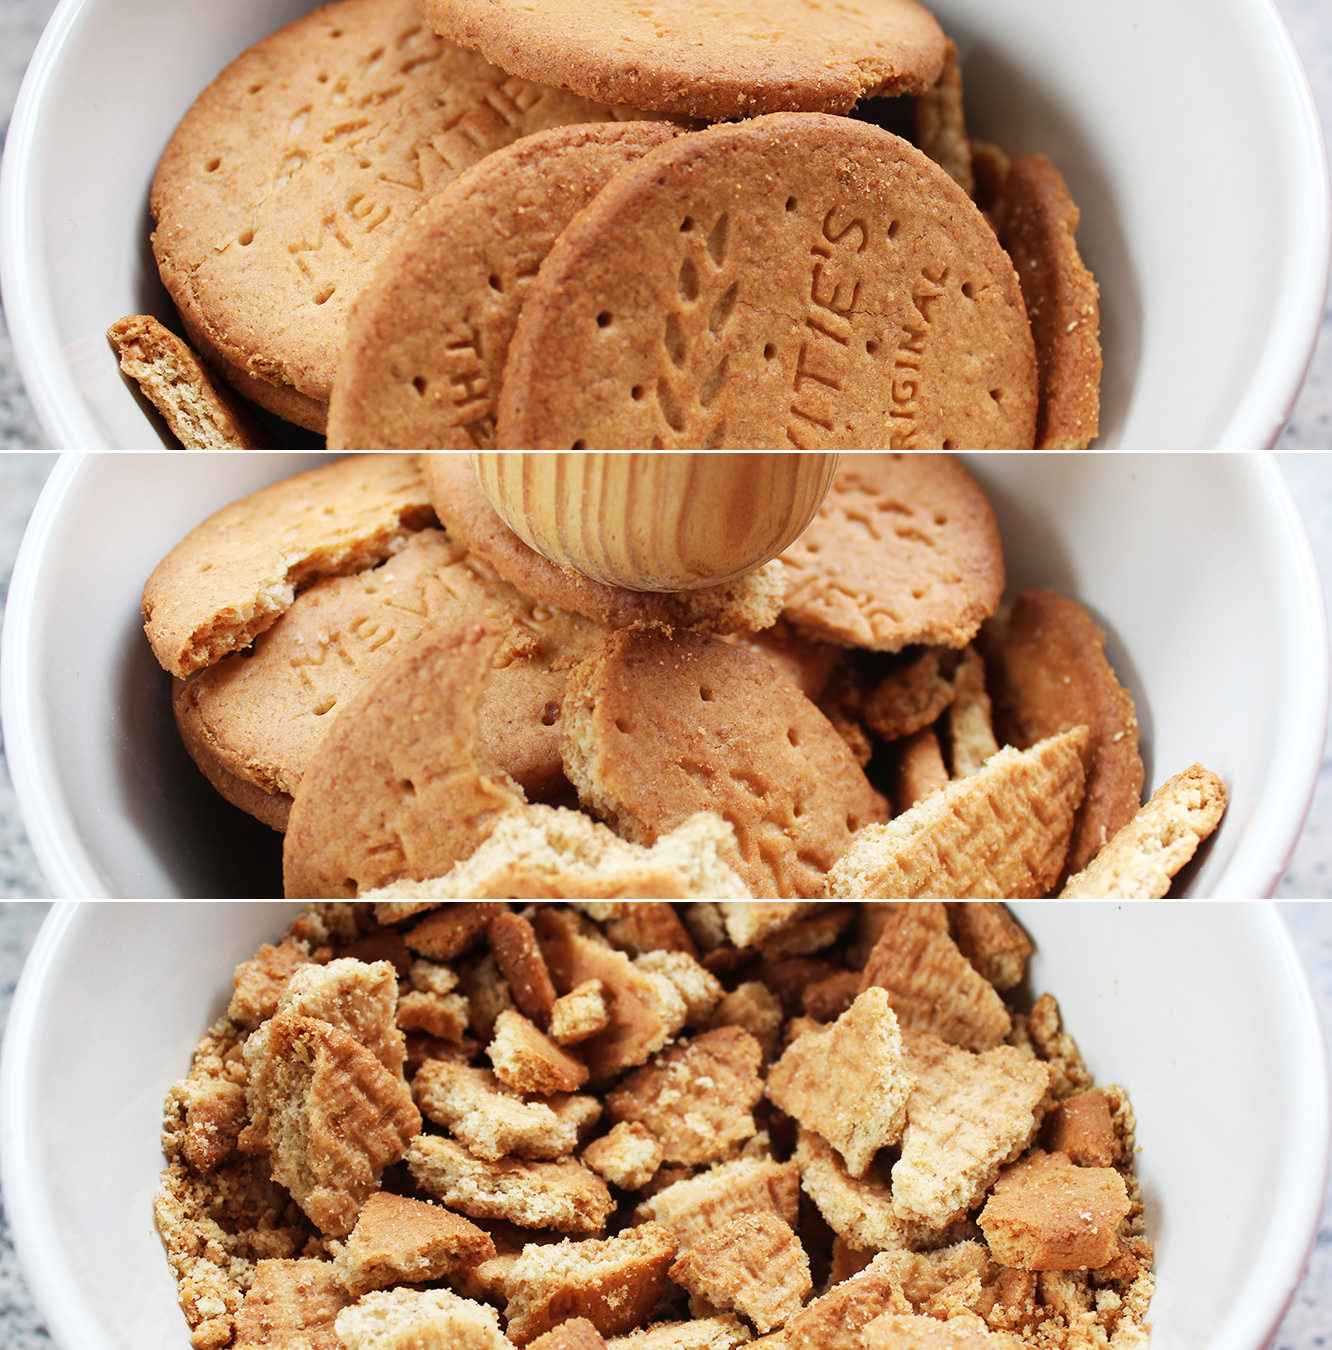
Step two
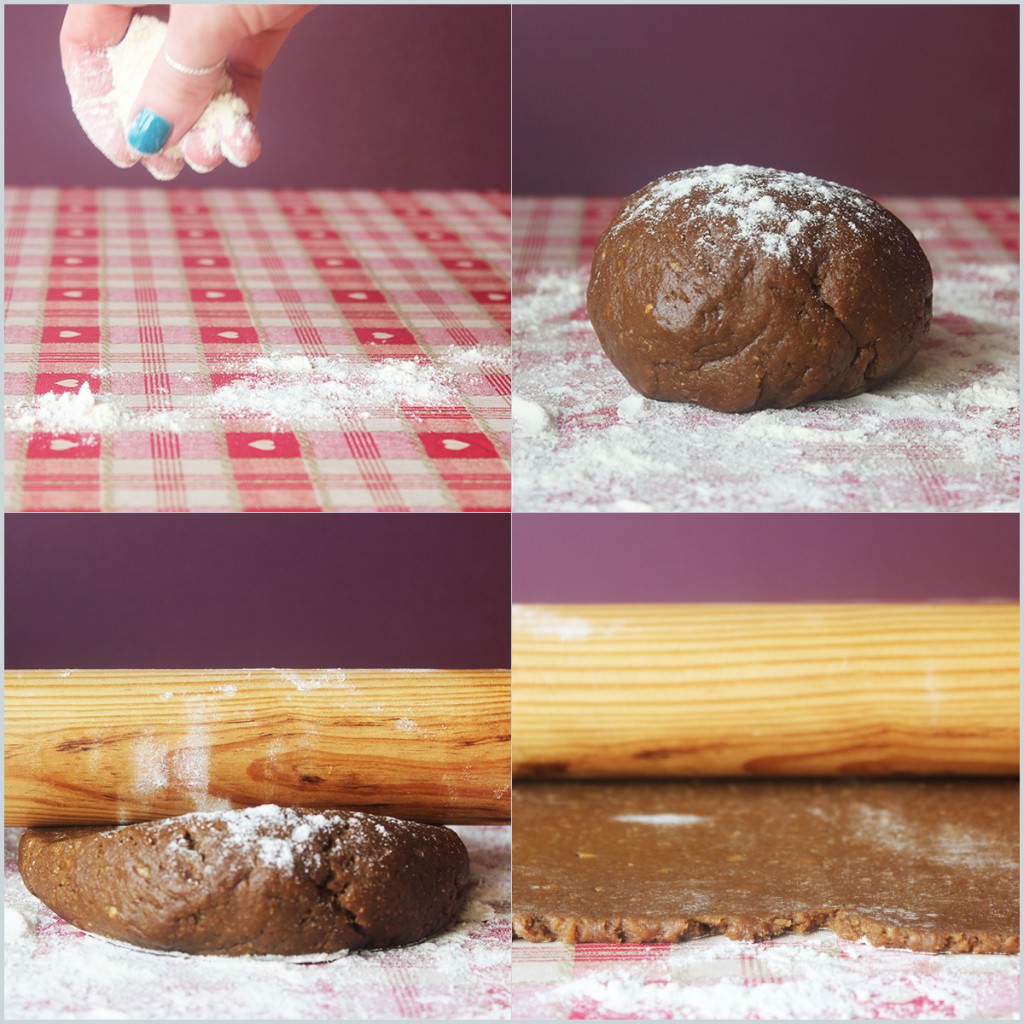
While the chocolate is melting, but without getting too distracted, crush up the digestive biscuits with the end of a rolling pin.
Or your fist if you’re having a particularly bad day.
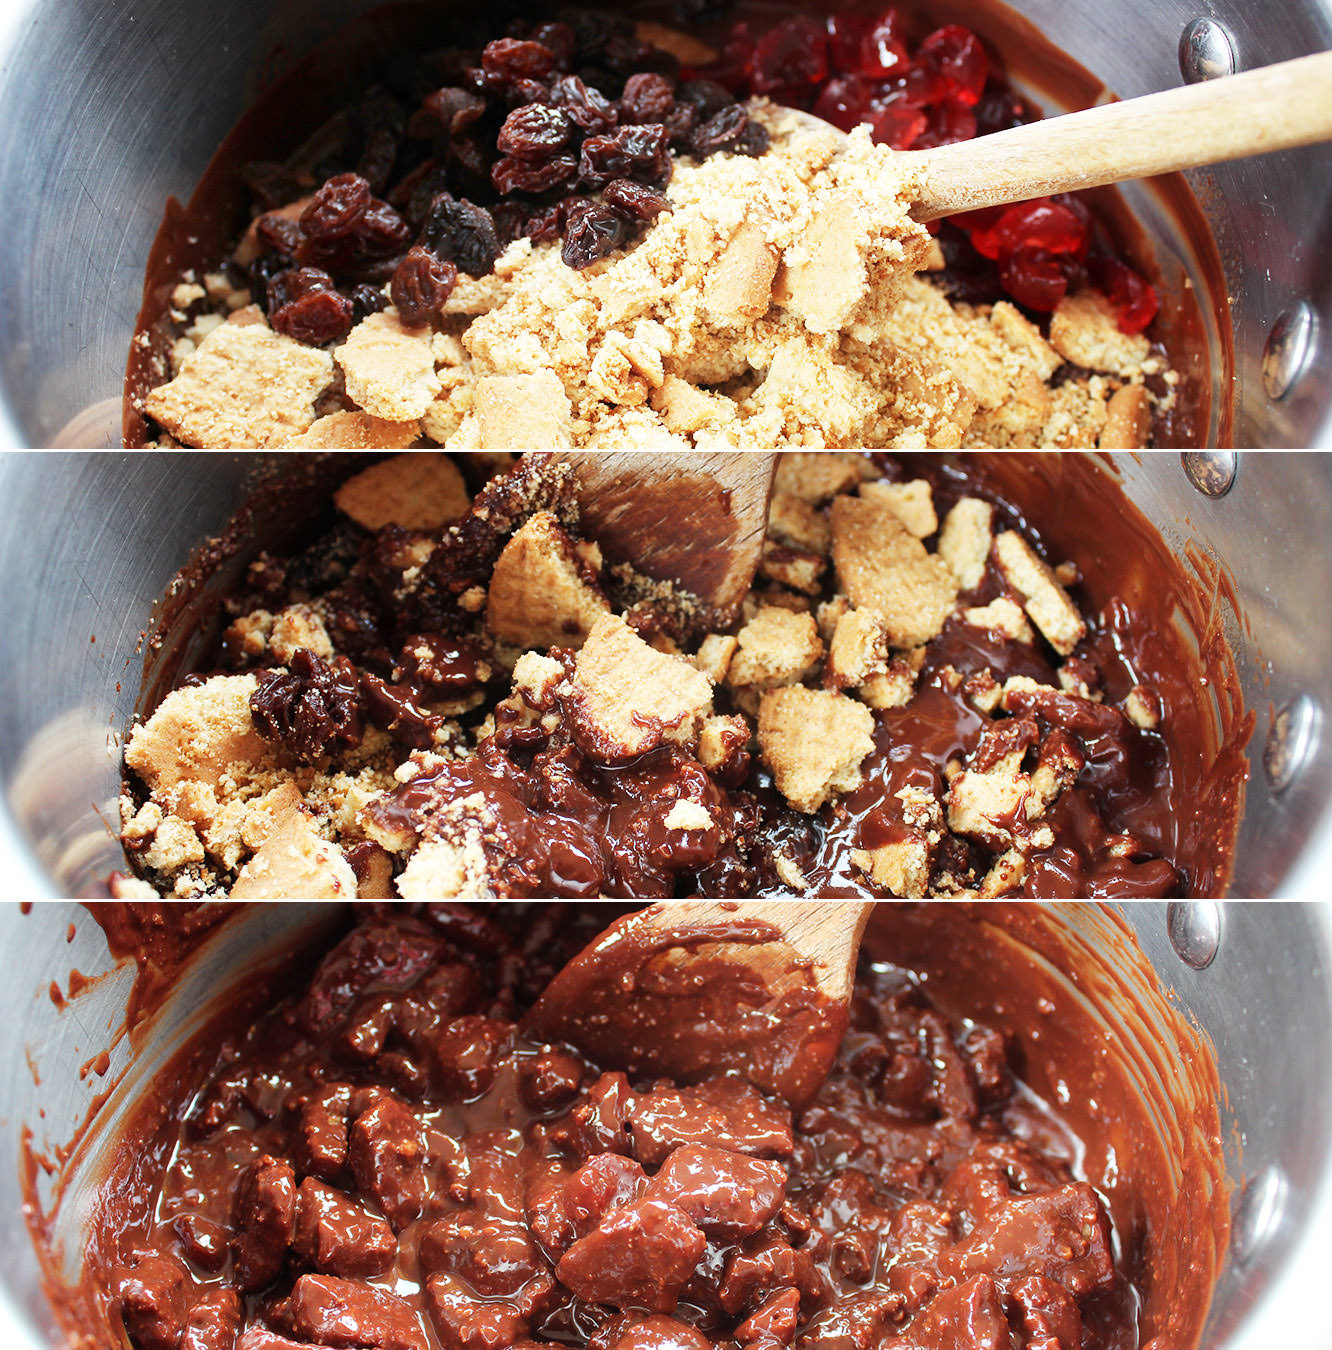
Step three
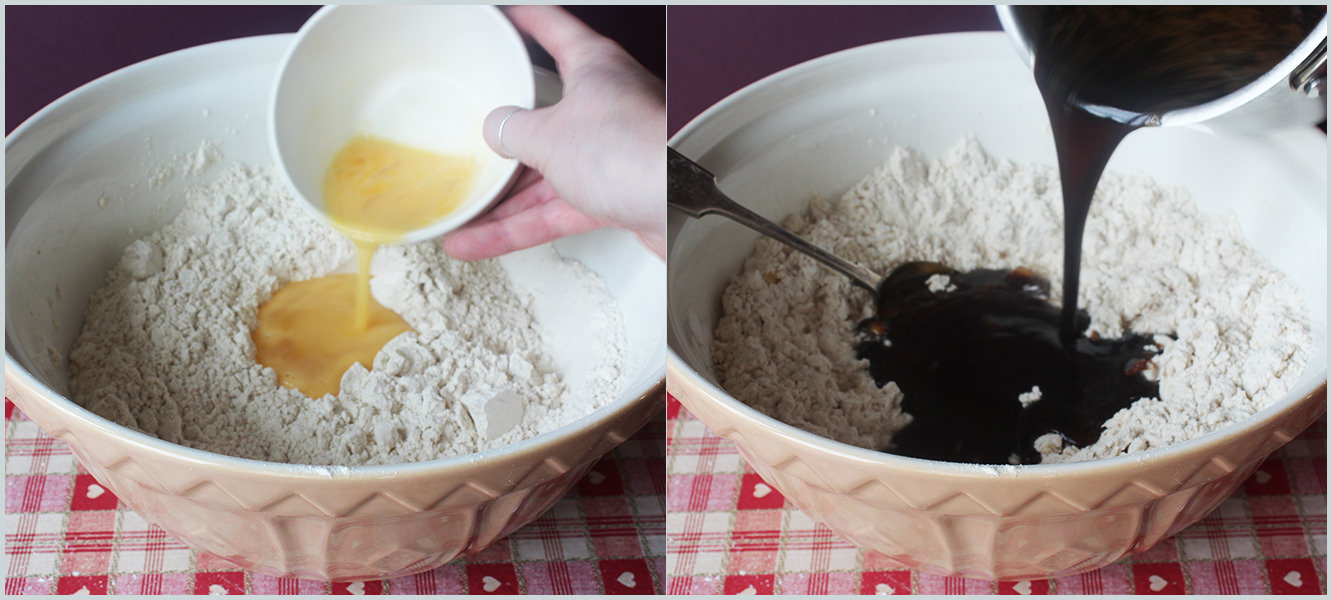
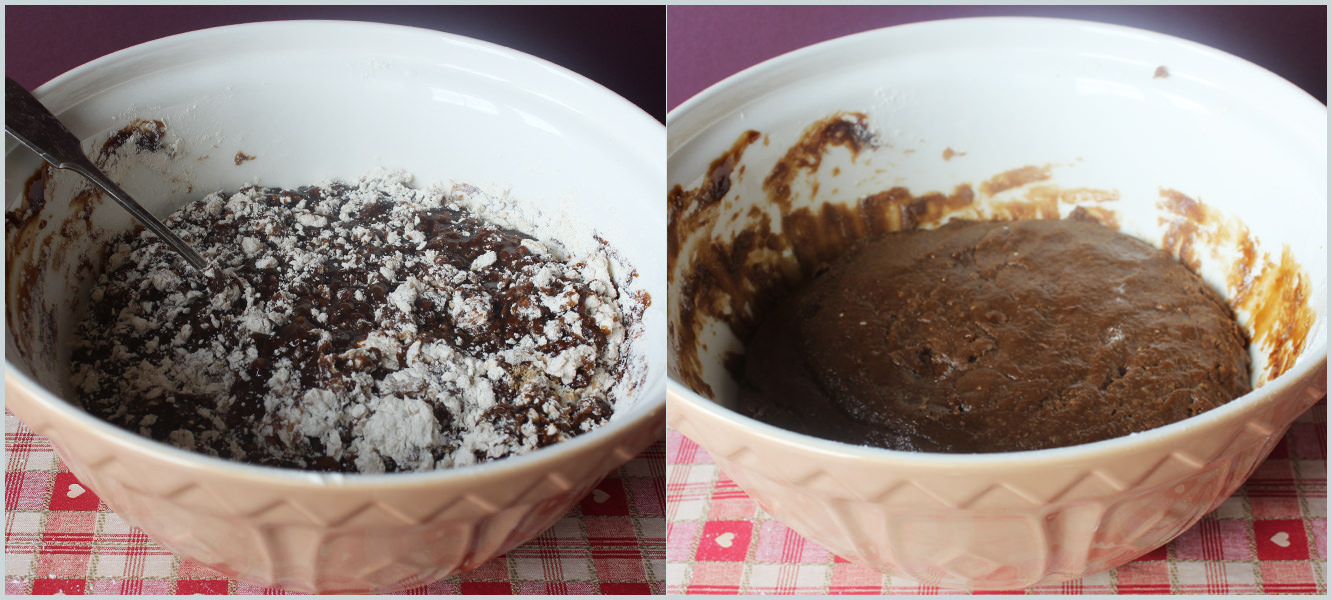
Stir the biscuit, cherries and raisins into the chocolate. Leave the marshmallows alone for the moment.
In case you weren’t gifted with common sense, this should be off the heat by now.
Set to one side.
Step four
This is the clever bit, or at least I like to think so.
I figured nests aren’t the strange conical shape of cupcake cases, and I didn’t want to end up mail ordering some weird and wonderful baking cases that met my specifications, so I just adapted the regular ones.
I say regular, but I’m not convinced these are actually universal. Before America convinced us that muffin-sized cakes covered in mountains of buttercream (the cupcake we know and love) were the way forward, us Brits had a more modest little bun – the fairy cake. Do other countries have these too? Answers on a post card please.
Anyway, my dear ma has been chastising me about using up the many a fairy cake case we have gathering dust in the cupboard while I burn through the muffin cases to make my cupcakes. They just aren’t cool anymore mum.
Until now.
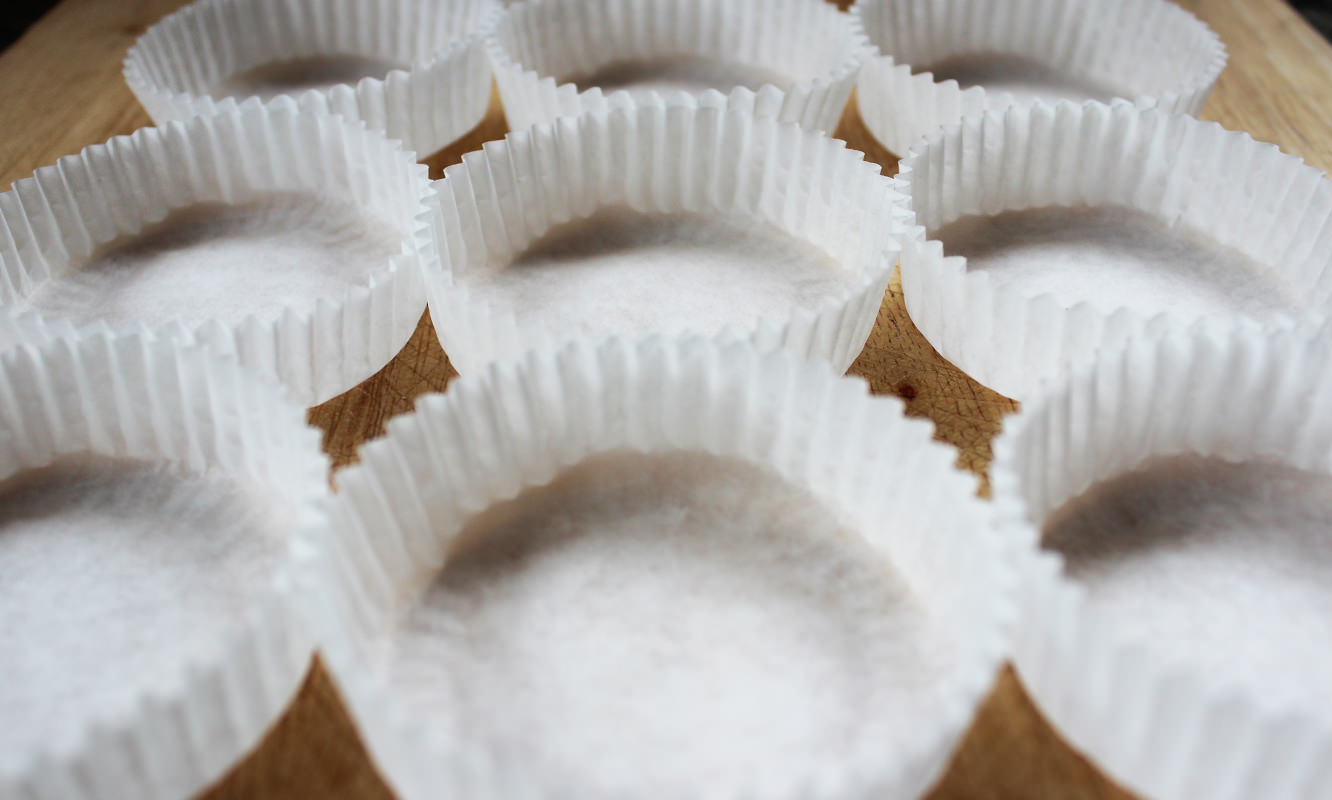
The fairy cake cases are the perfect size for this, although, of course, whatever size you have should work the same way (you will just have a slightly different number of nests at the end).
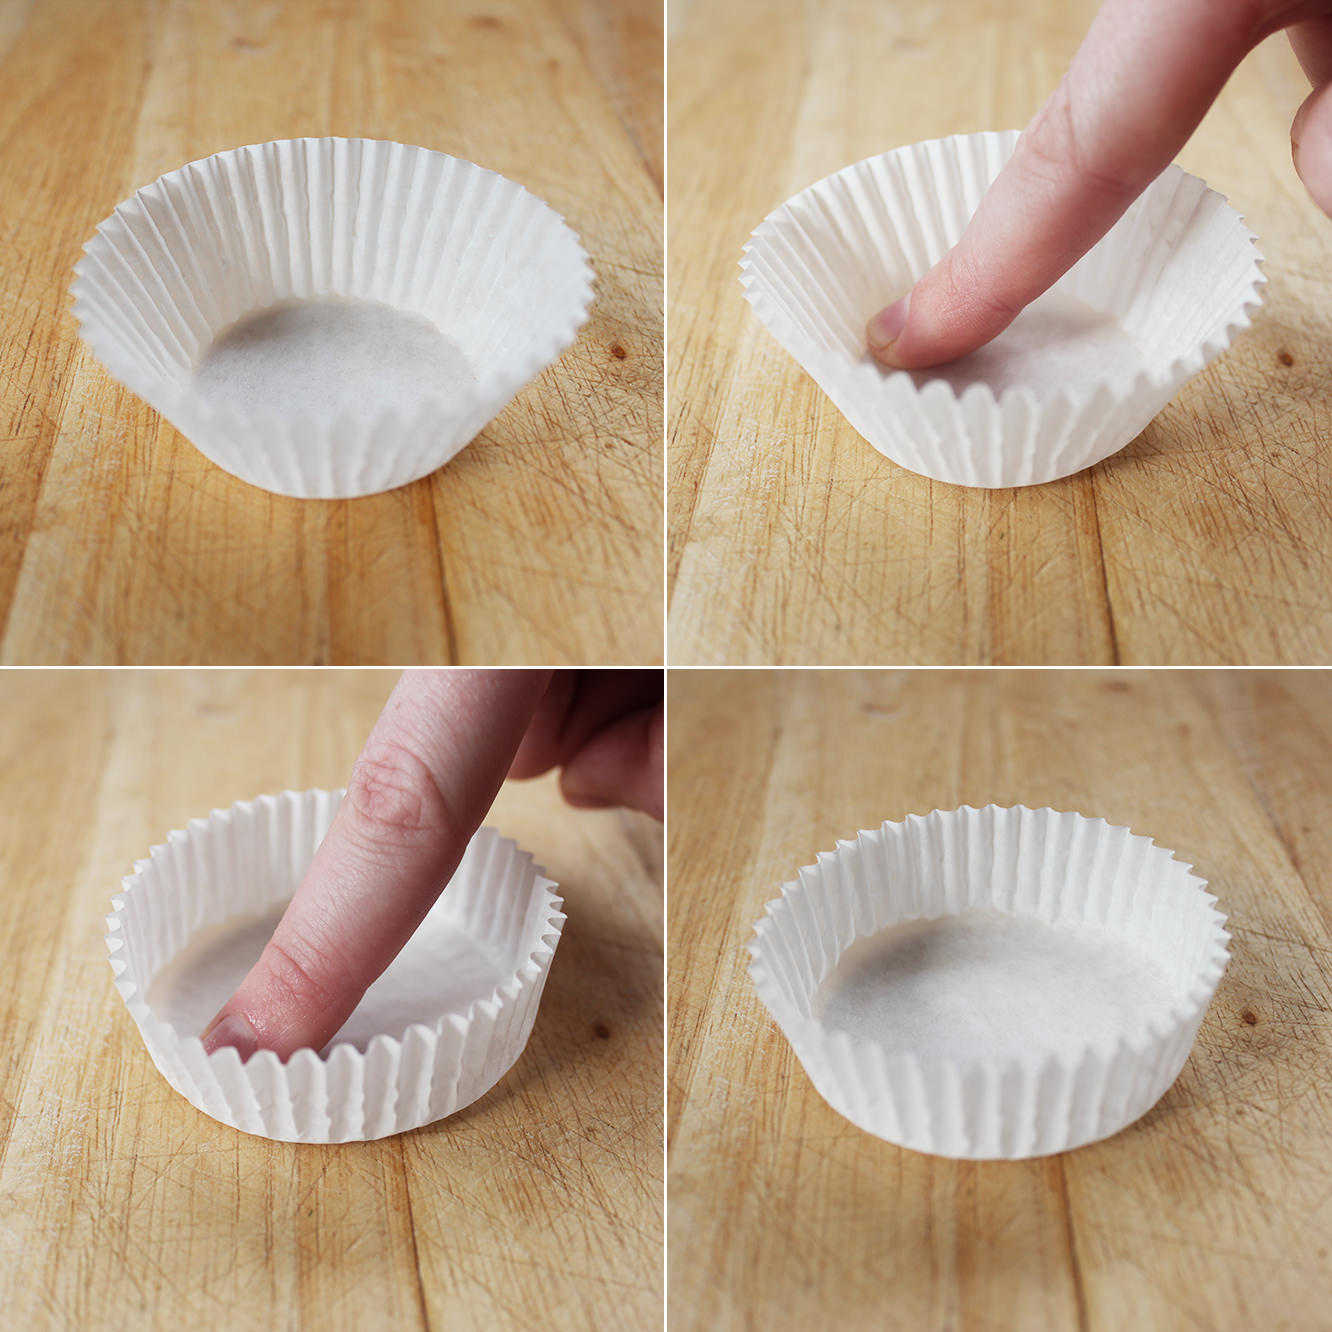
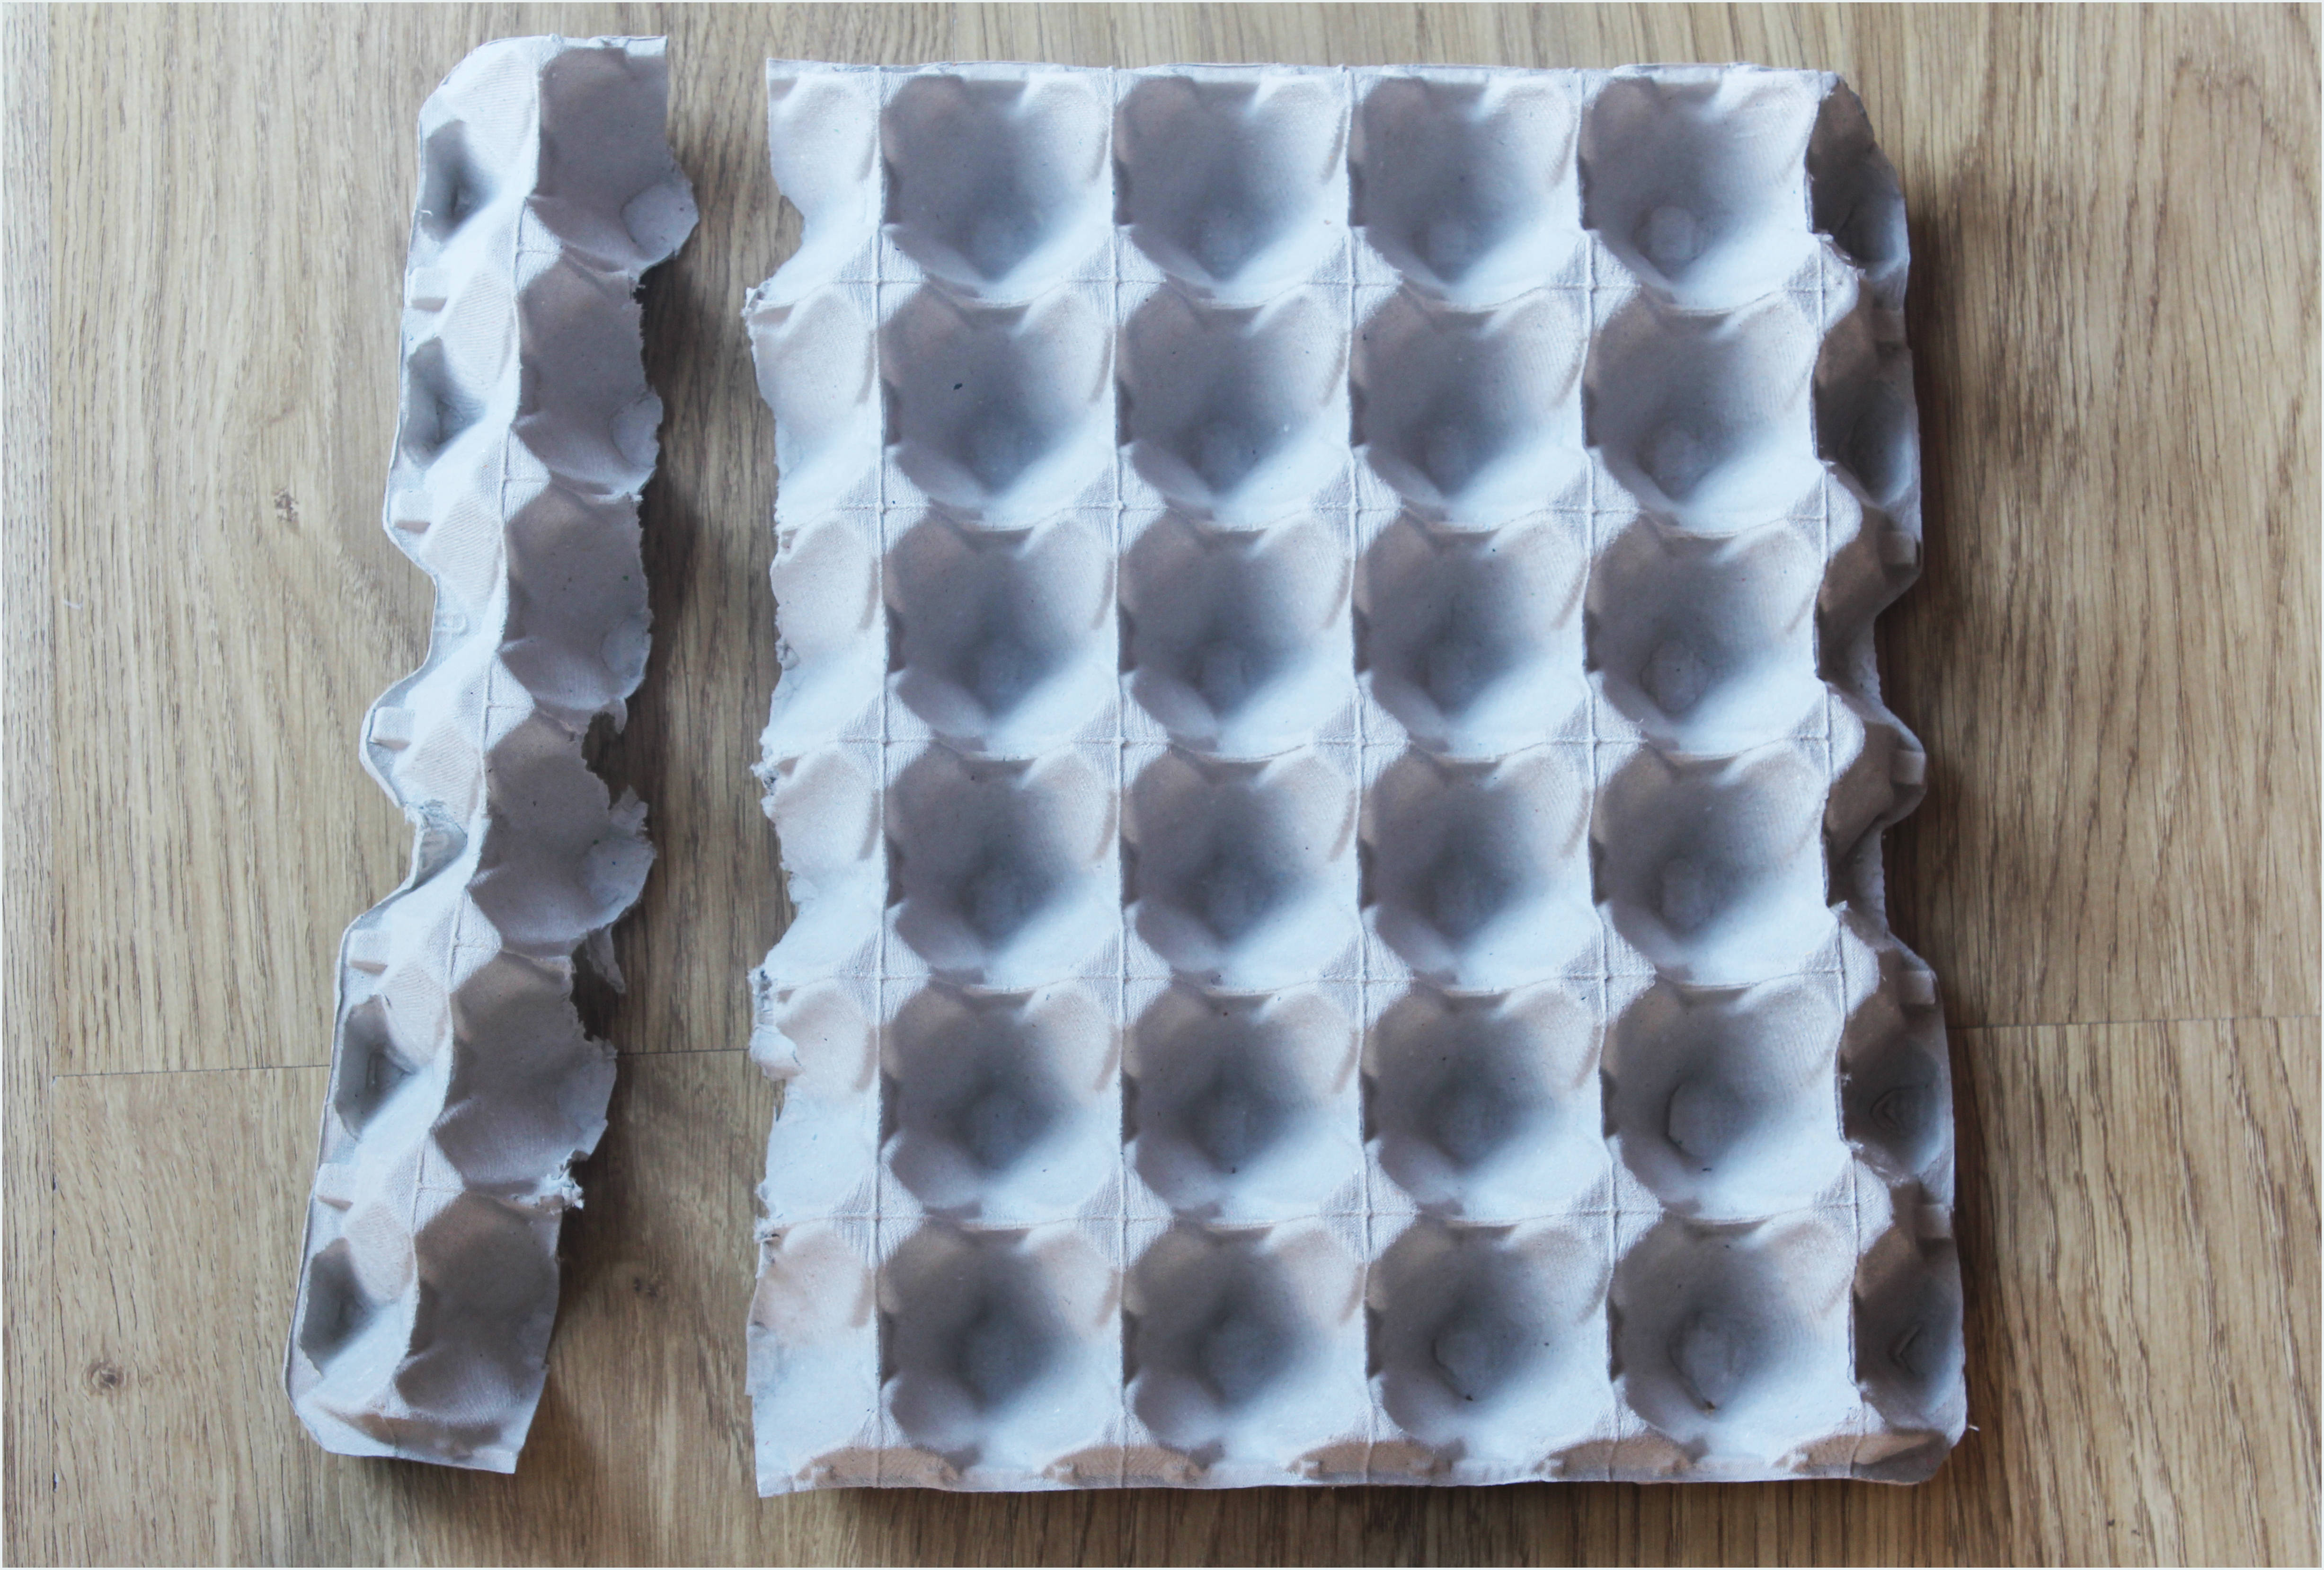
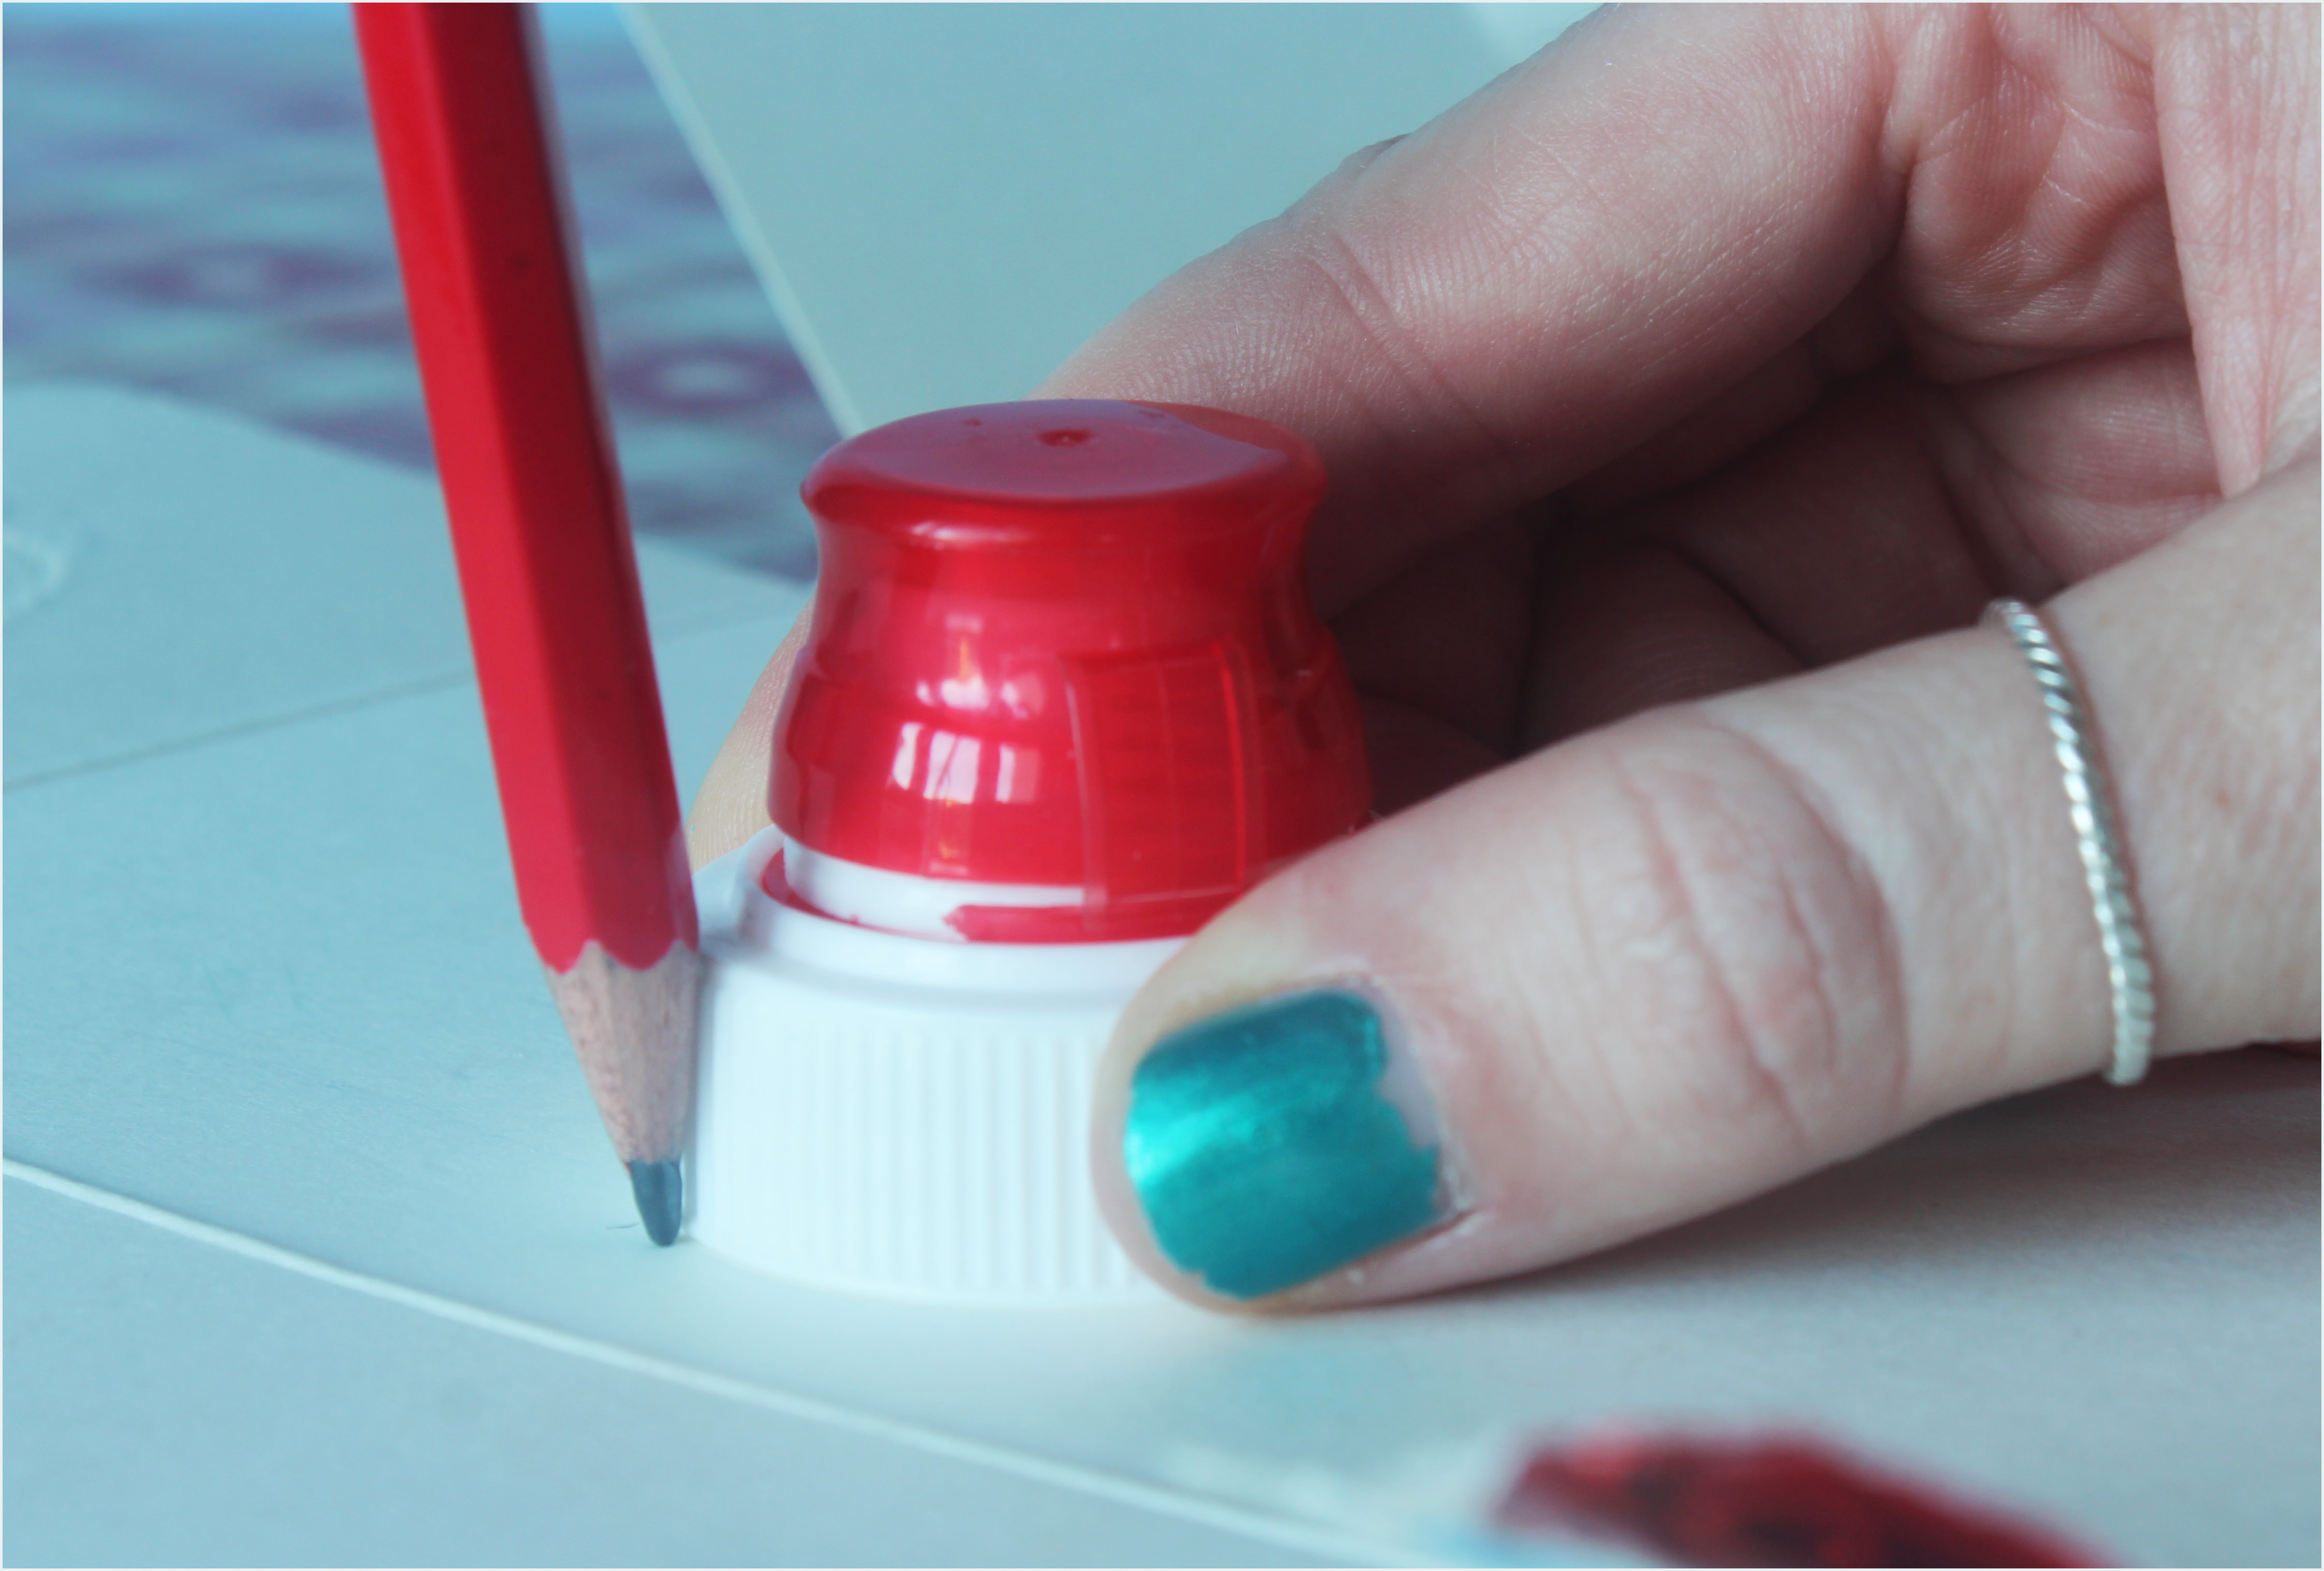
Basically you just run your finger around the inside edge of the case in circles until it opens out and has short straight walls as pictured.
Step four
Repeat x 15
Step five
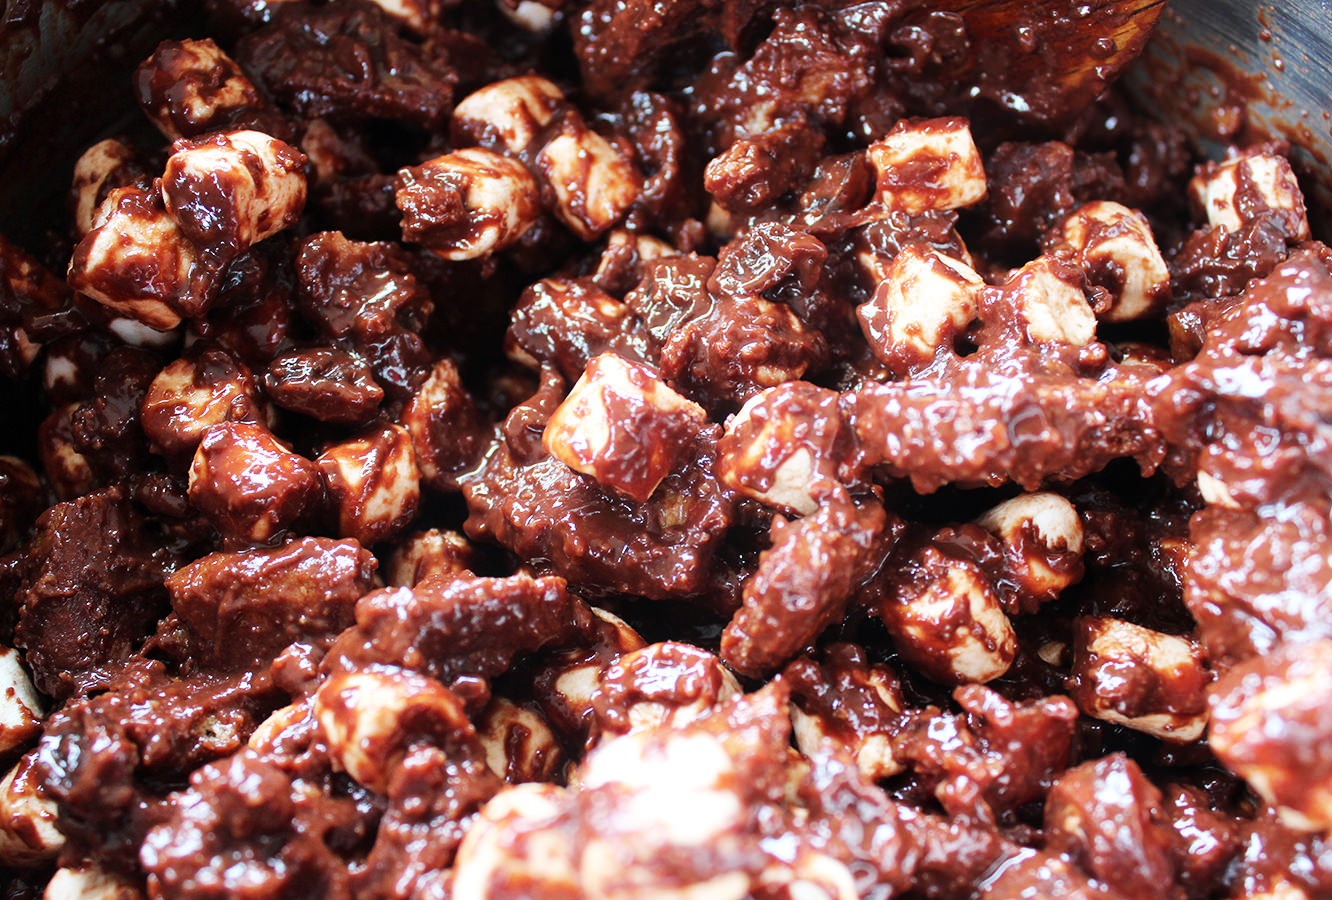
The chocolate mix should now have cooled sufficiently to not melt your marshmallows to mush.
Stir them in…you will still have to work fairly quickly.

Step six
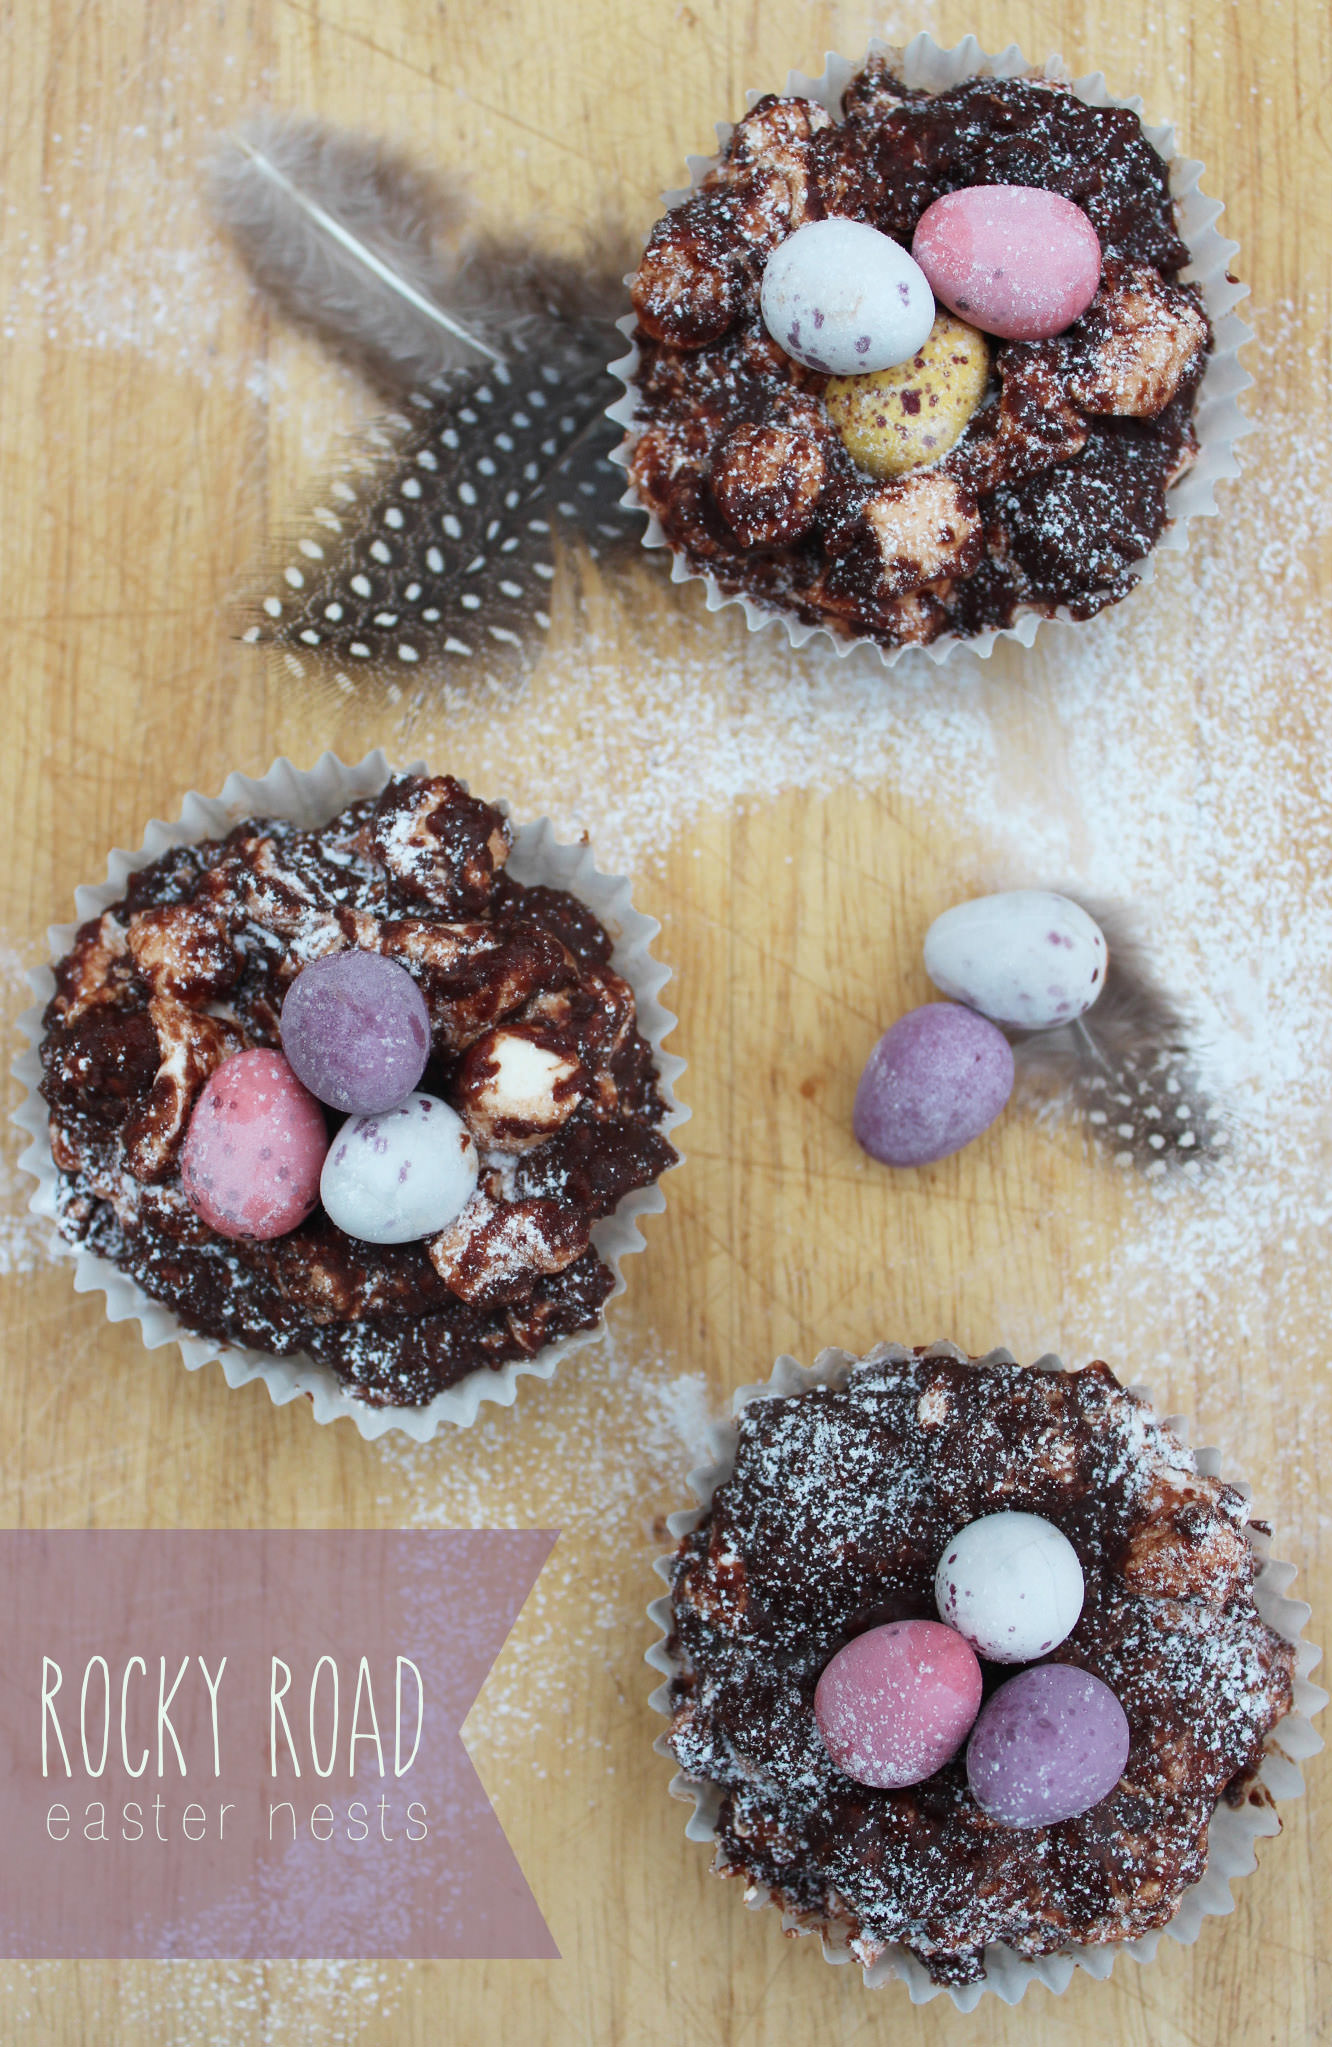
Spoon mixture into cases and stick eggs in the nests. Don’t be tight, give at least three to each one.
Step seven
Put in the fridge to set.
Dust in icing sugar before serving, you can afford to be a bit more liberal than I was. After I’d taken the pictures I dropped the spoon on one and it actually looked a lot better with a heavier dusting.
Step eight
Get chubby.
Have a great week guys!
Oh, and you may have noticed I’ve moved my site – I’m trying to figure out what impact that has on the people who were already following me, I’ll keep you posted!


