Hi there. First off, apologies are in order. I missed my Monday night slot this week. I am deeply entrenched in finishing my portfolio and got really, really, involved in designing a book cover, more on that another time.
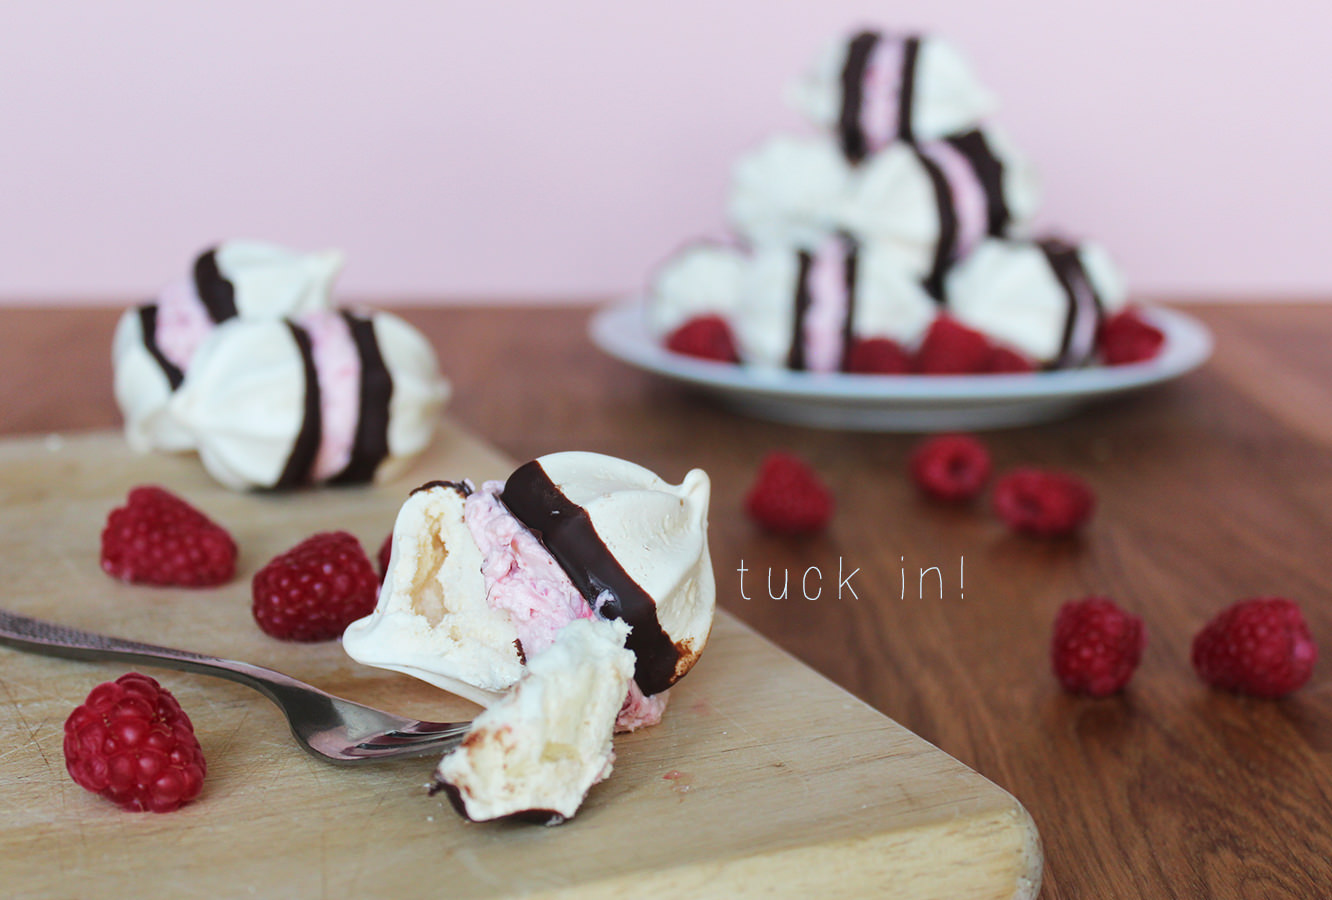
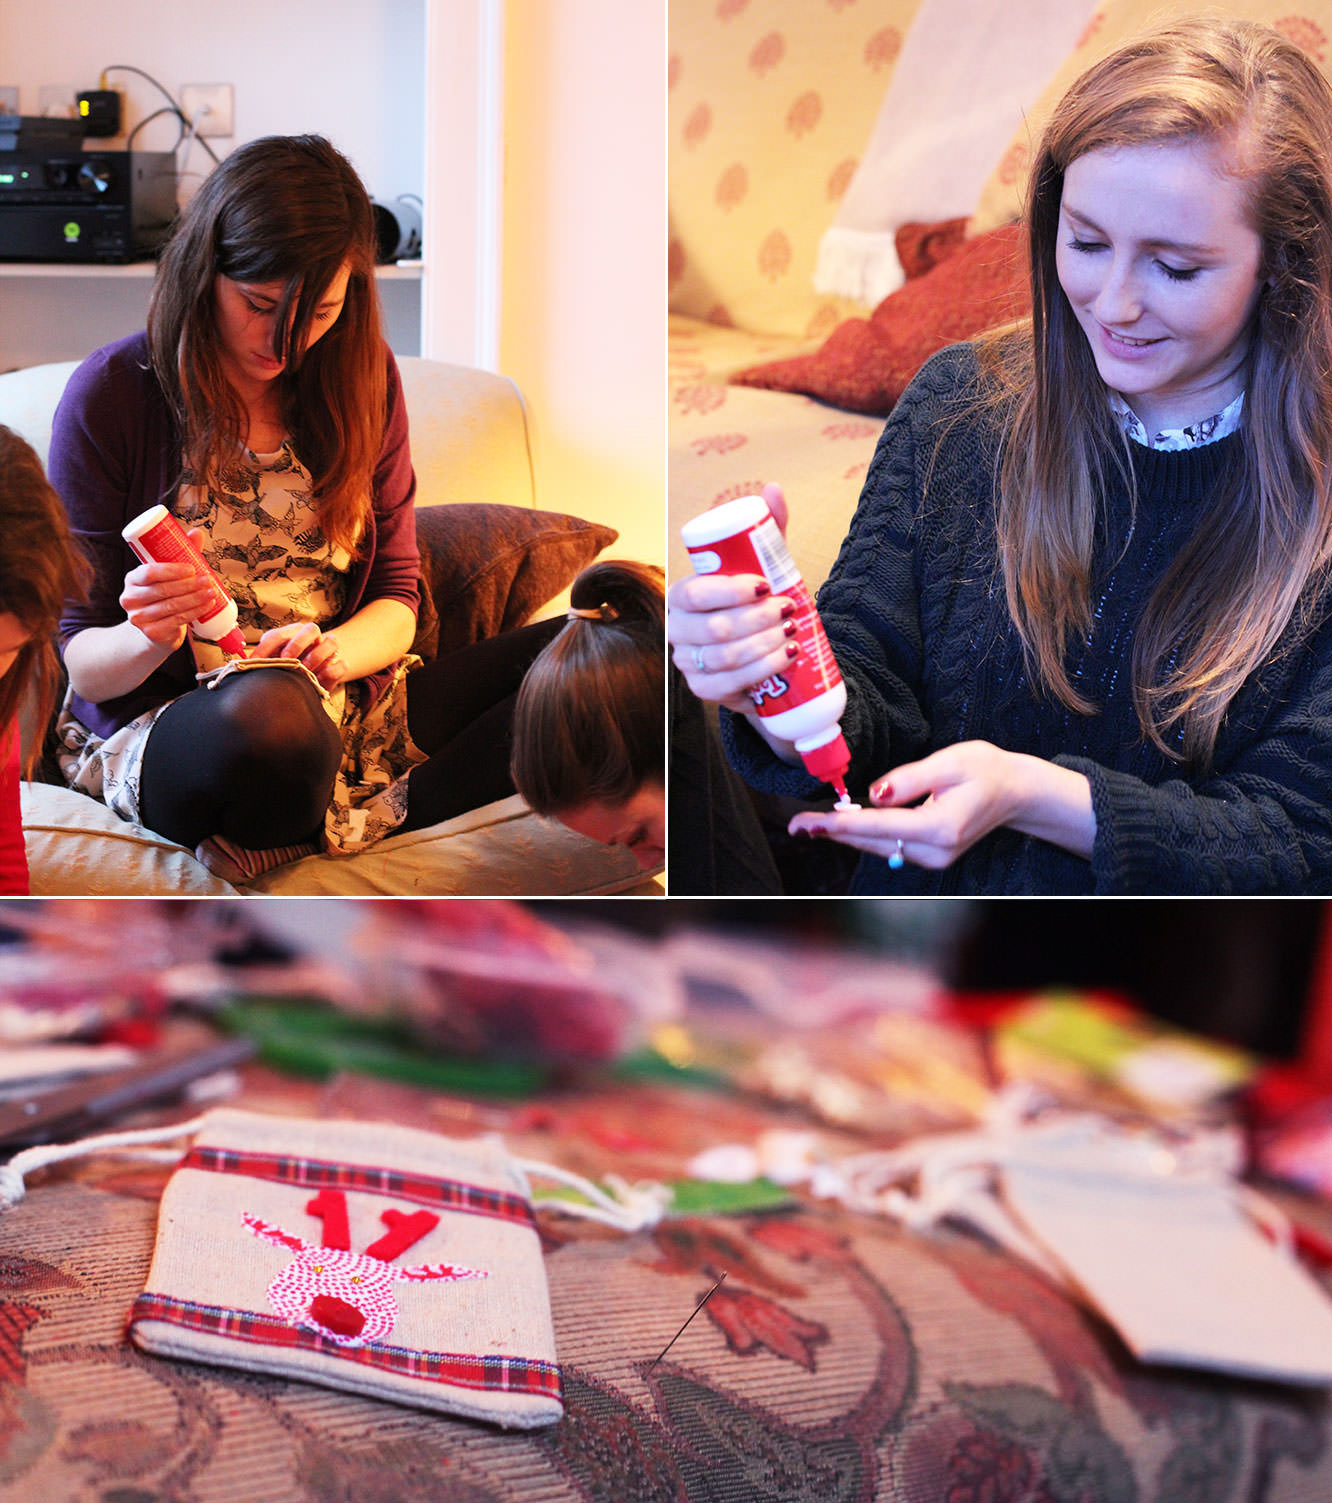
ANYWAY. My lovely housemate Vicky had her Hen Party a few weekends ago. Sadly I had something I had booked up a year in advance to go to so I couldn’t make it. Sad face. Instead I thought I would leave Vicky a little surprise on the dining table so she’d know I was thinking of her while she partied on down with her hens.
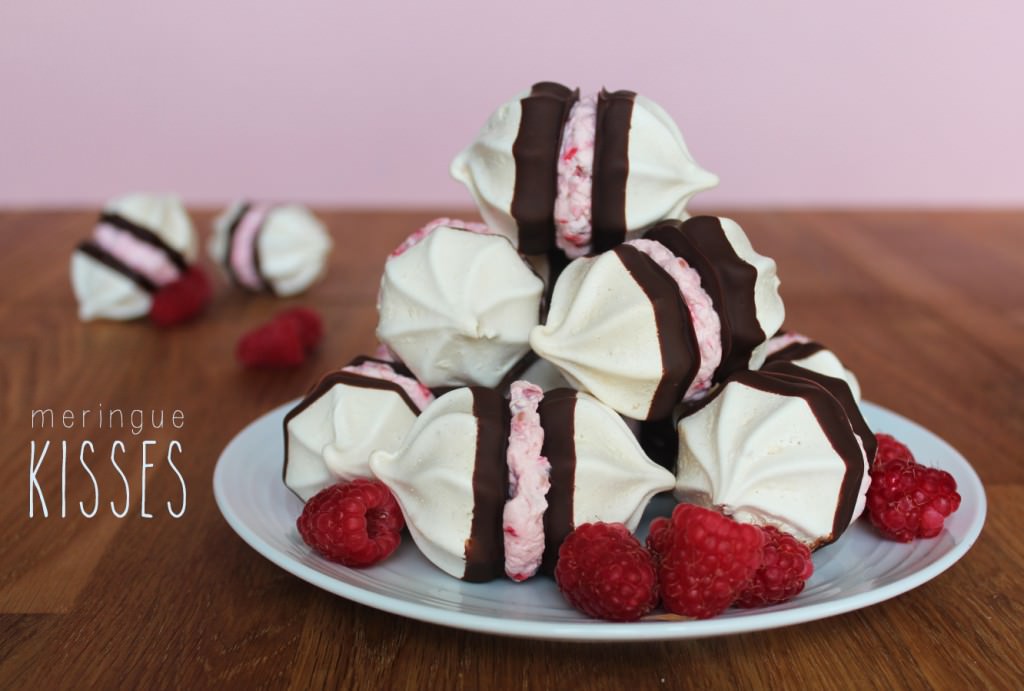
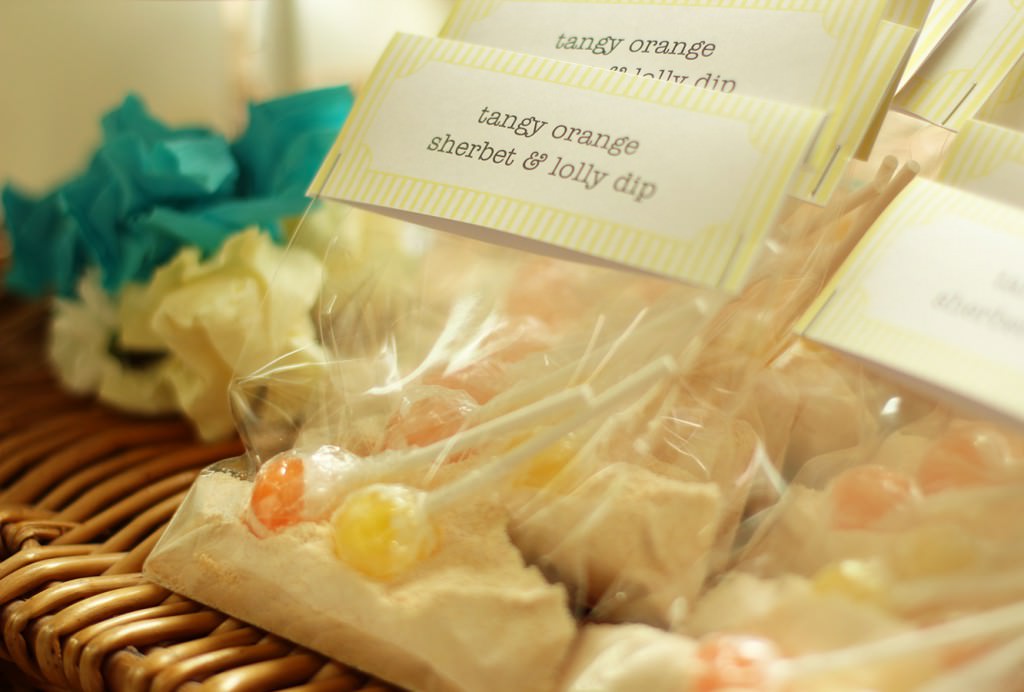
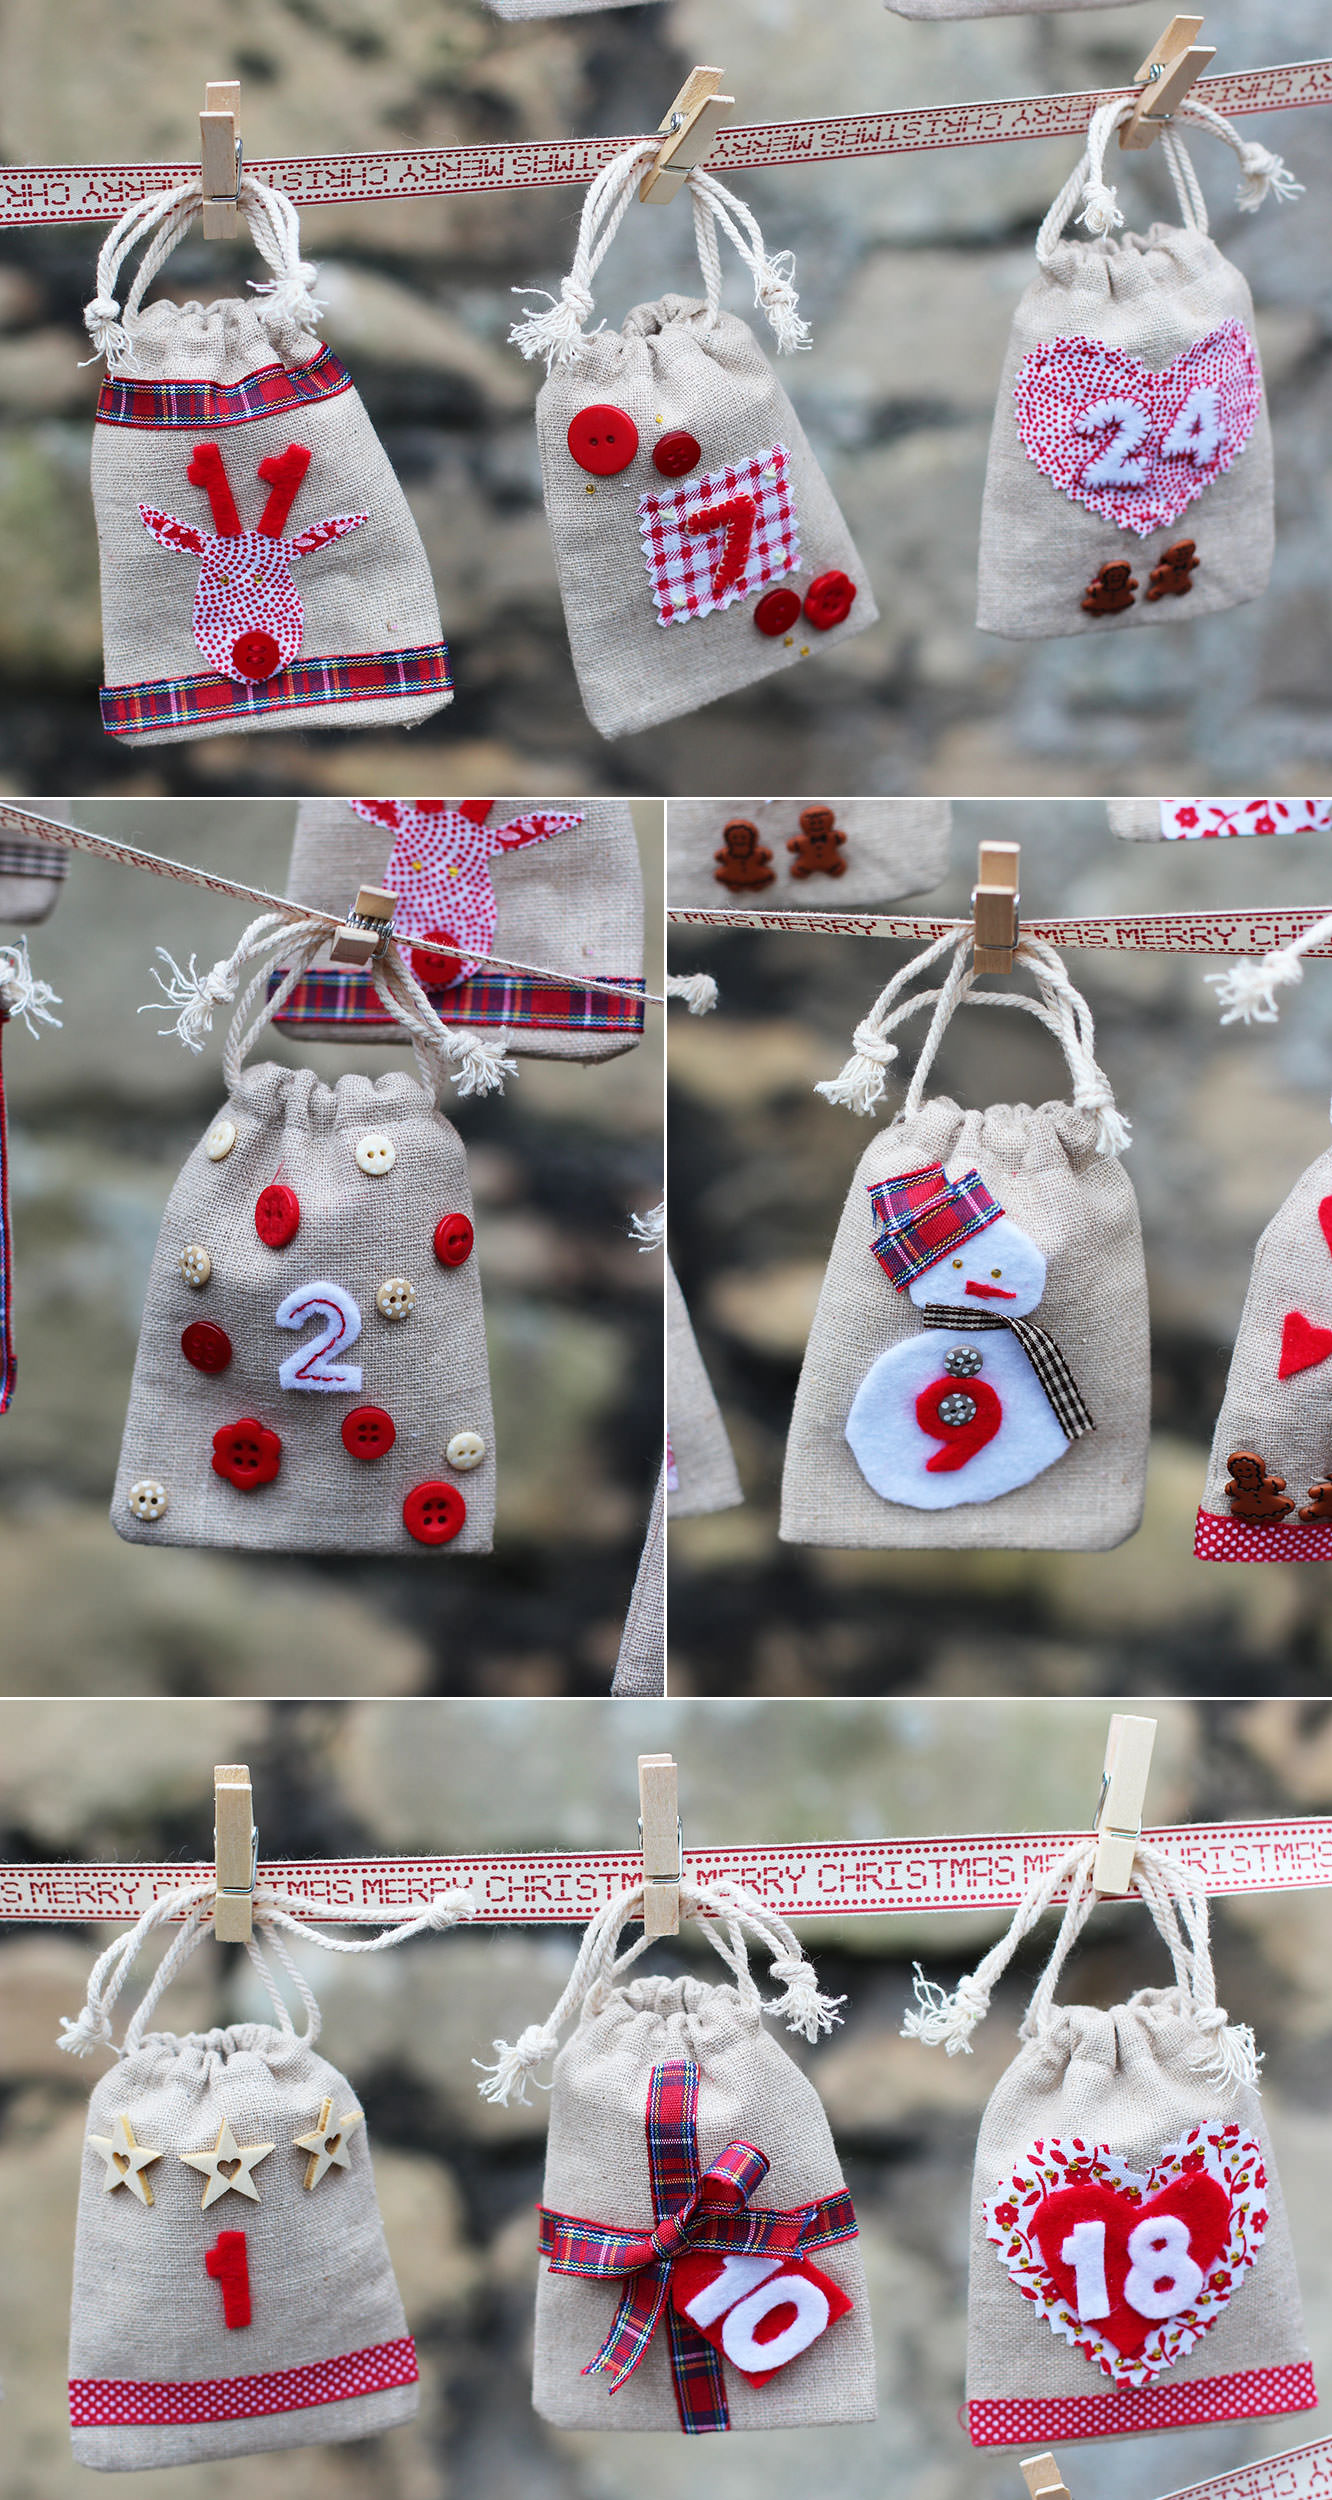
This is a little four part series, showing you how to make three different little hen/bachelorette party favours at home; the final post will detail all the finishing touches. You might prefer to use them as wedding favours or for childrens’ parties instead.
Heads up: I made 30 of each recipe, so if you’re looking to make a sweet treat for an evening in, divide, divide, divide the quantities of the recipe, don’t send me the bill for your fillings.
We’re kicking off this week with a recipe for orange sherbet. I just need to clarify for the sake of my US (and possibly Canadian?) readership, we mean something different when we say sherbet. You mean sorbet. We mean sherbet.
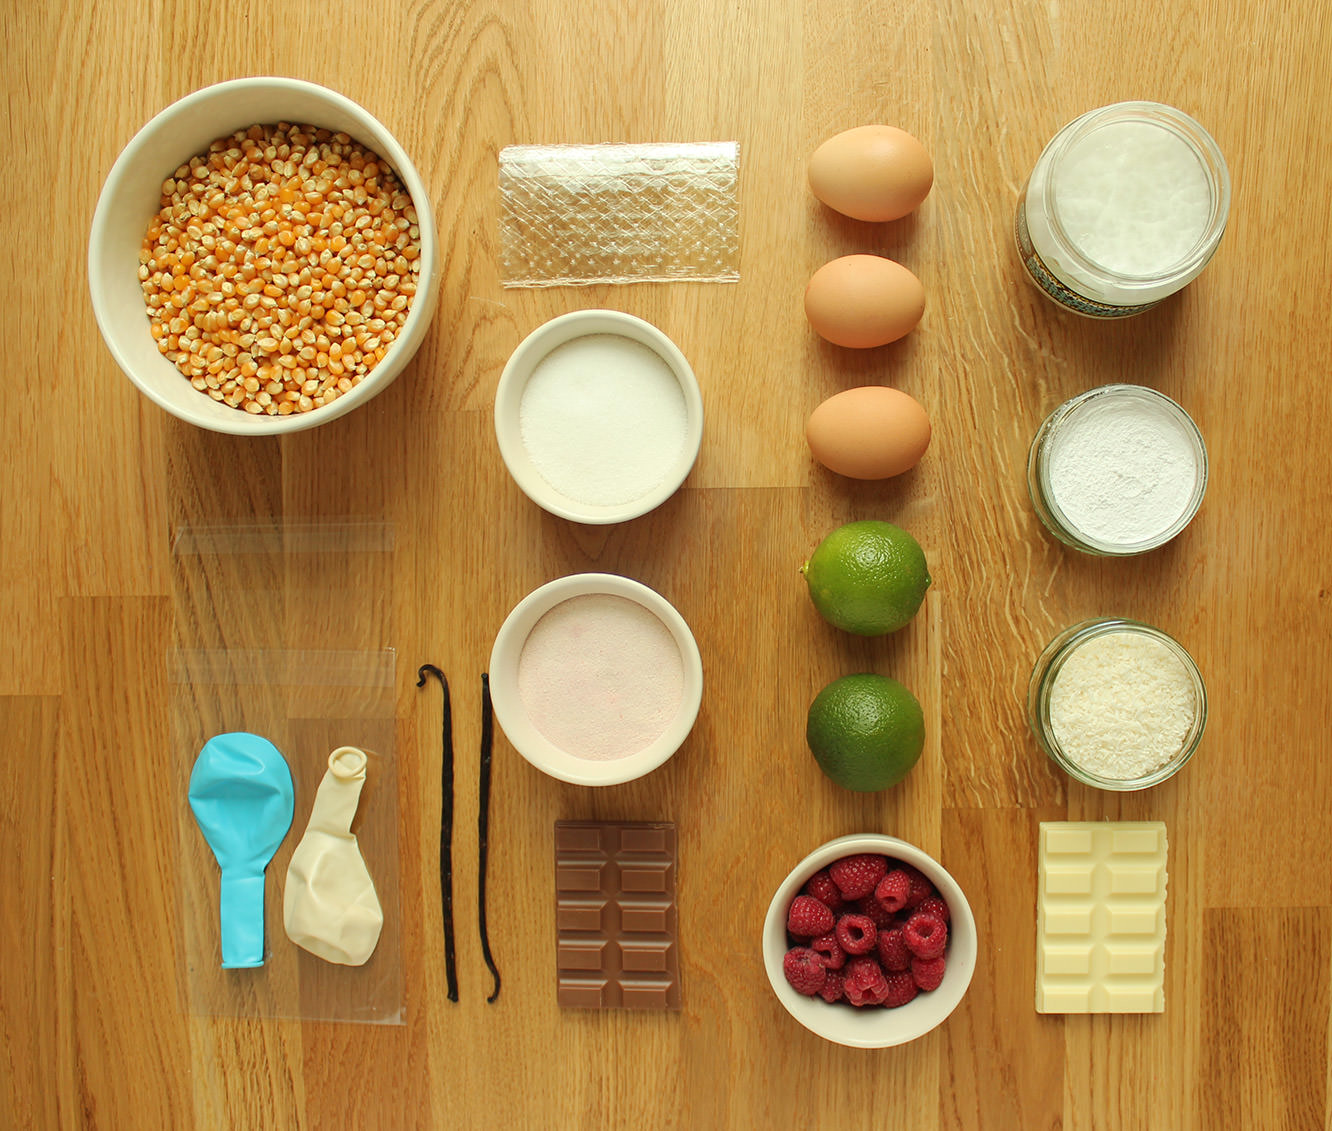
You will need
300g/10.5 oz Icing sugar
300g/10.5 oz Granulated sugar
175g/6 oz Caster sugar
125g/4.5 oz Orange jelly powder (again, America, you mean jelly when you say jello)
1-2 tsp Yellow food colouring
1 tsp Orange extract
60 small, or 30 regular sized lollipops
Cellophane DL card bags
(makes 30)
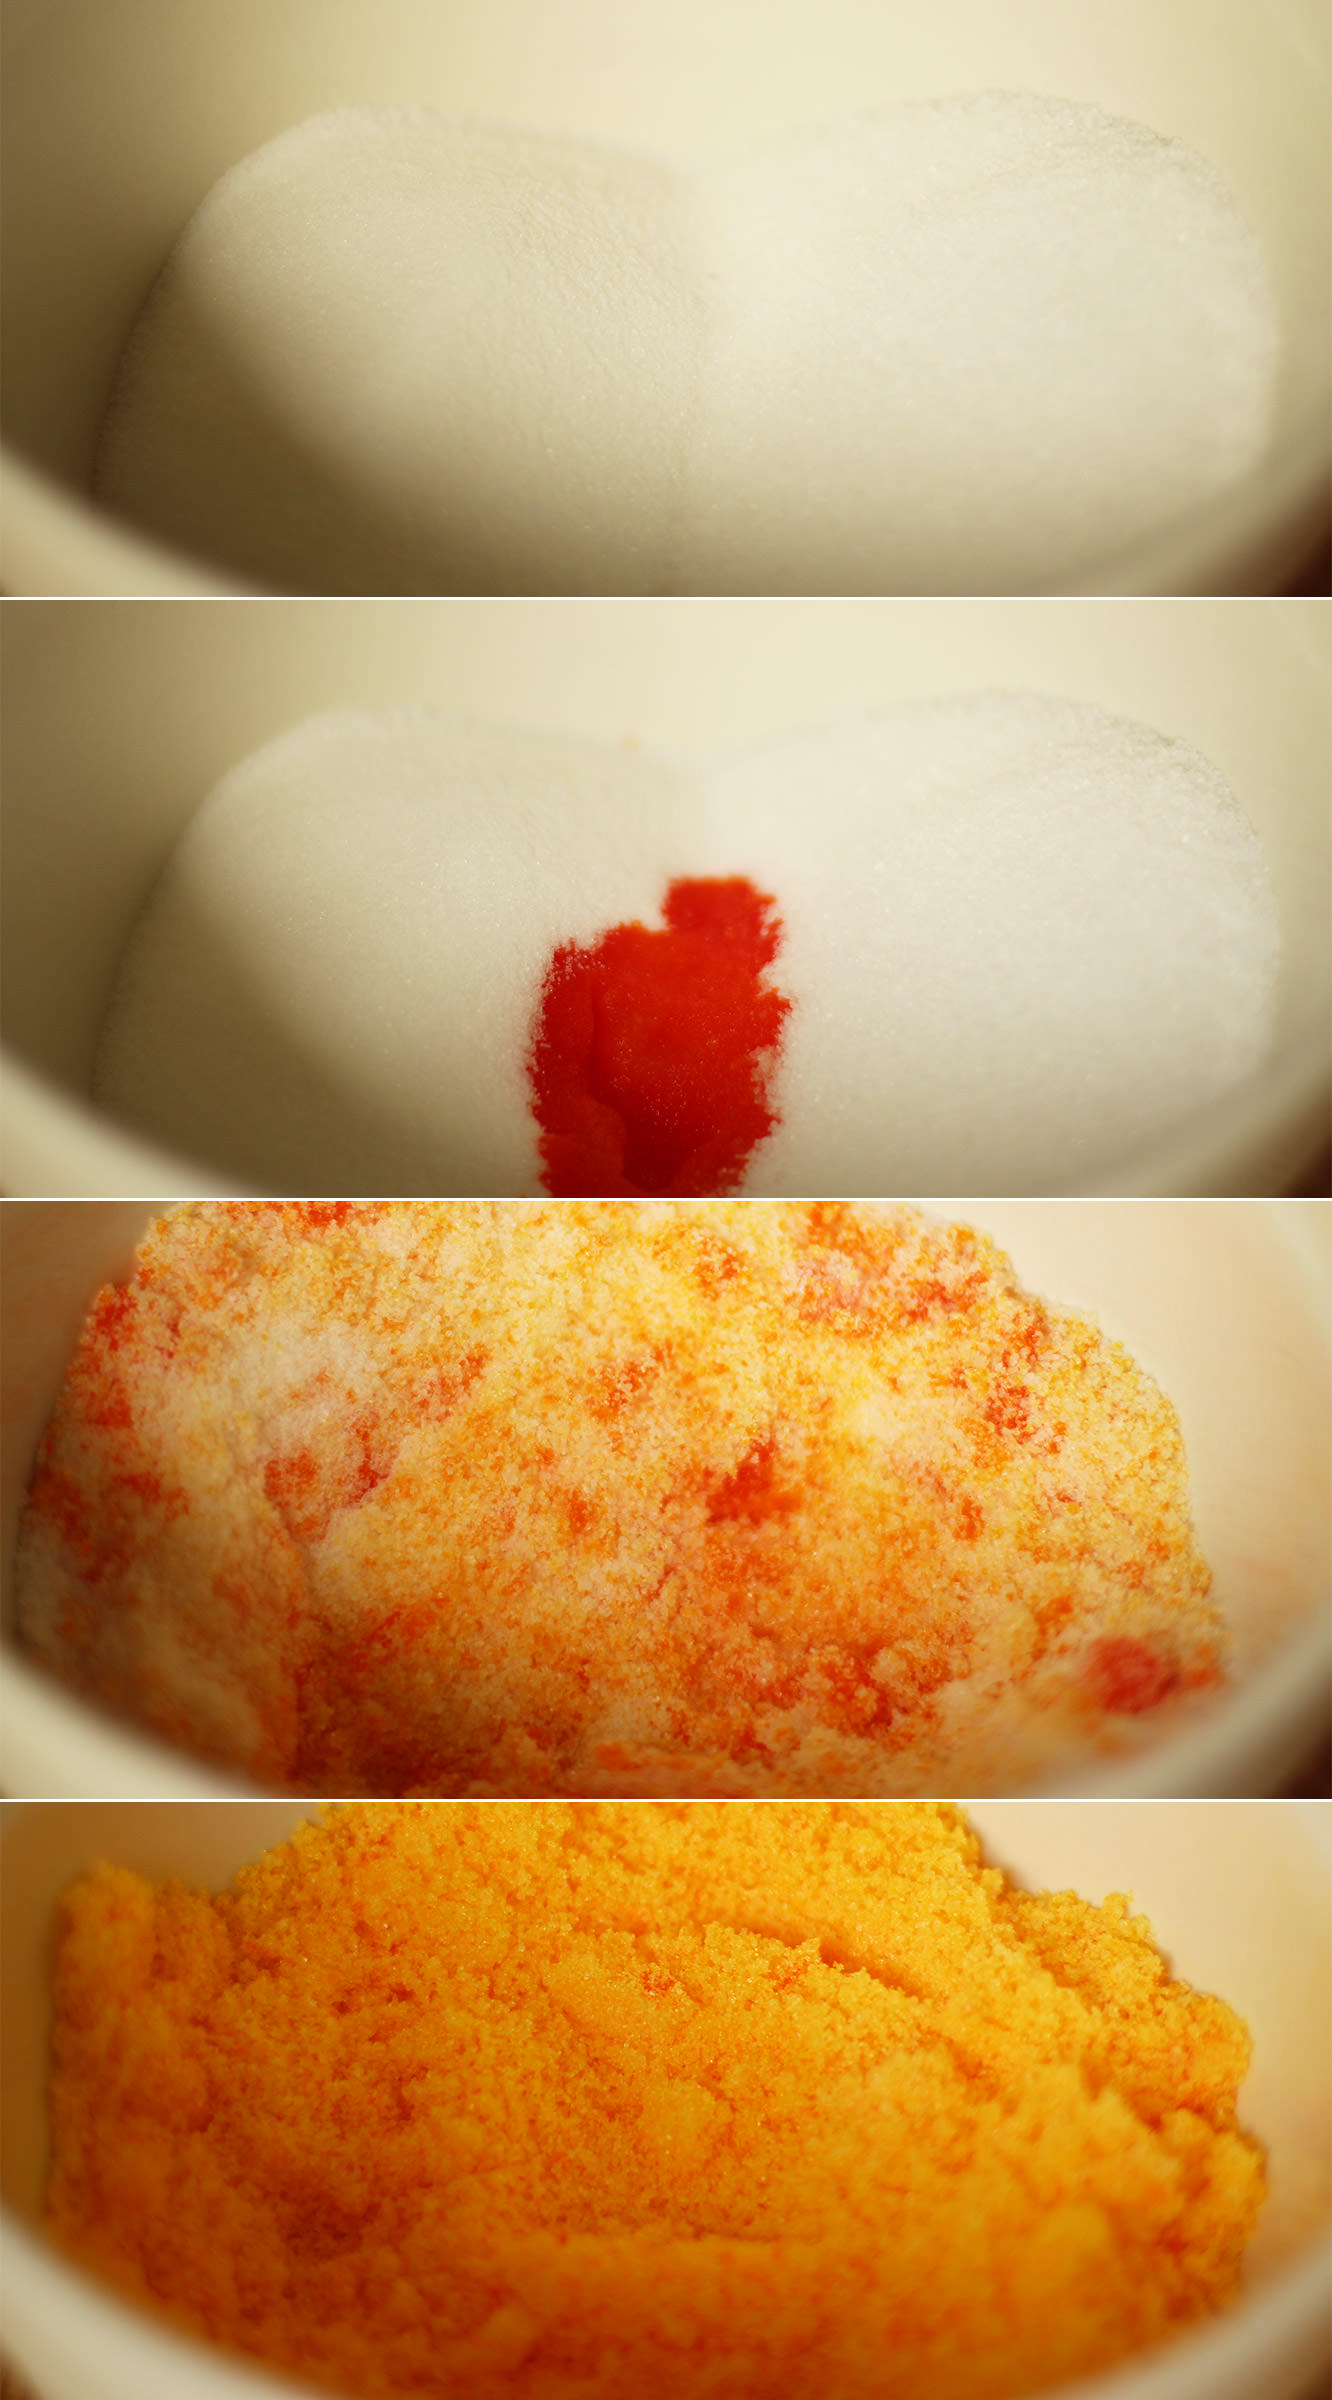
Step one
Mix together the granulated and caster sugars with the orange extract and colouring. If you want it to be a really bright colour, go for 2 tsp, I wanted a more subtle yellowy-orange so went for one.
Just in case you think I’ve lost it…the colour dilutes when you add the other ingredients.
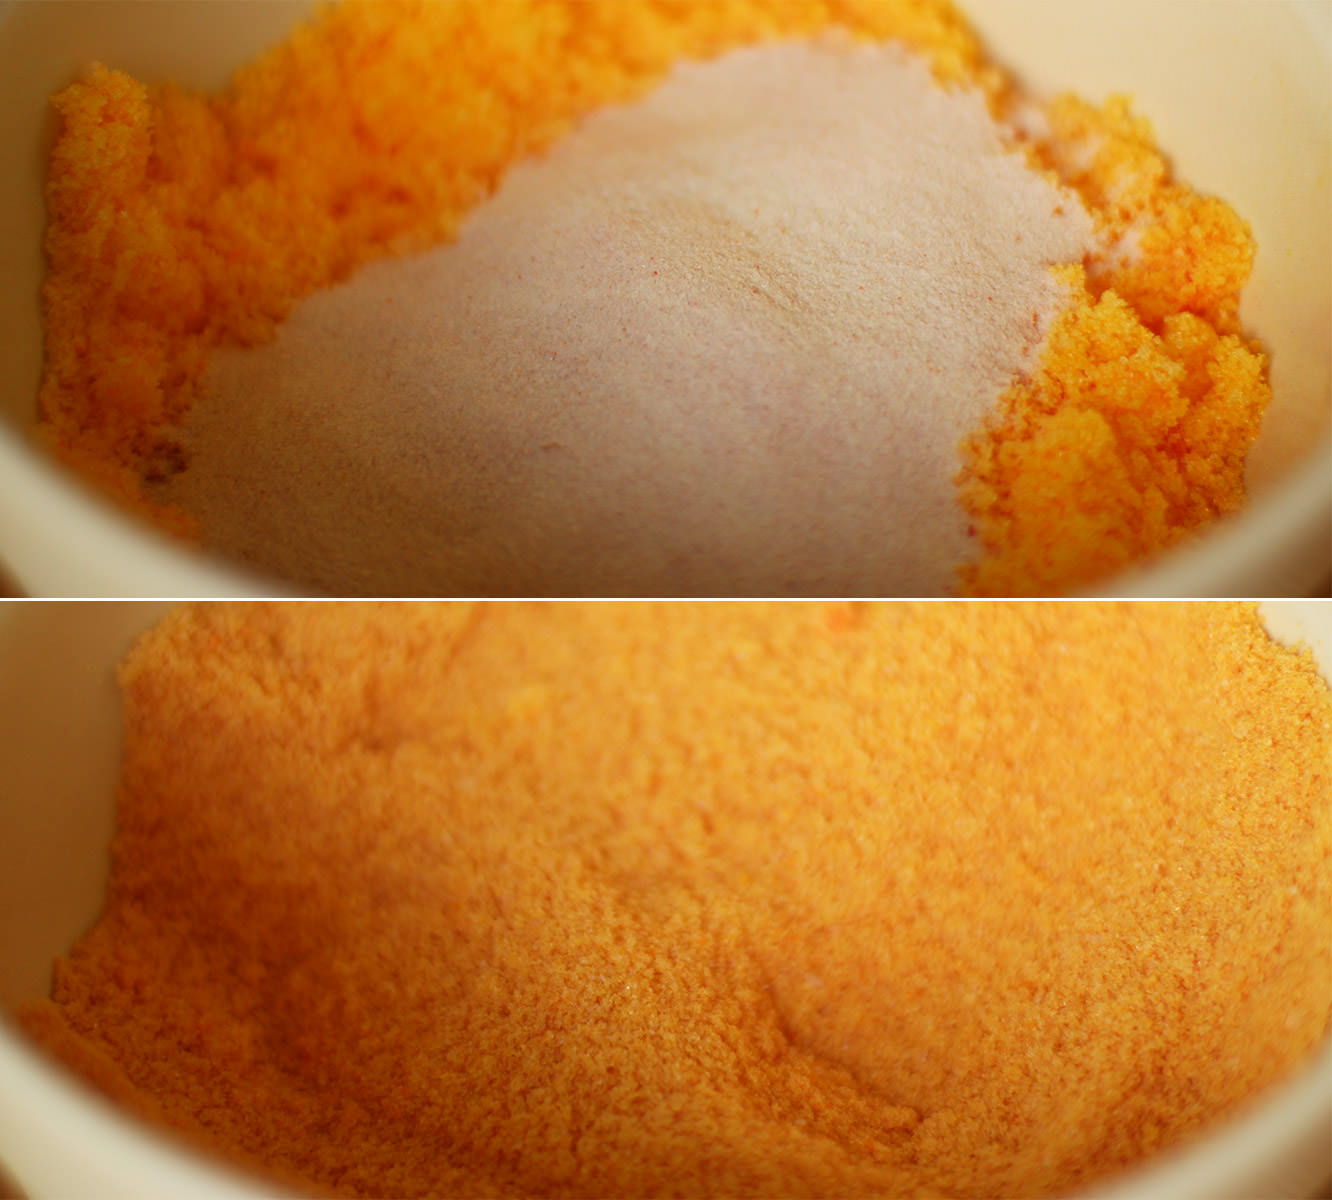
Step two
Add the jelly powder and stir again until fully combined. Give it a little taste at this point. For a stronger flavour add more jelly or more flavouring, but for the record, I think you’ll be set.
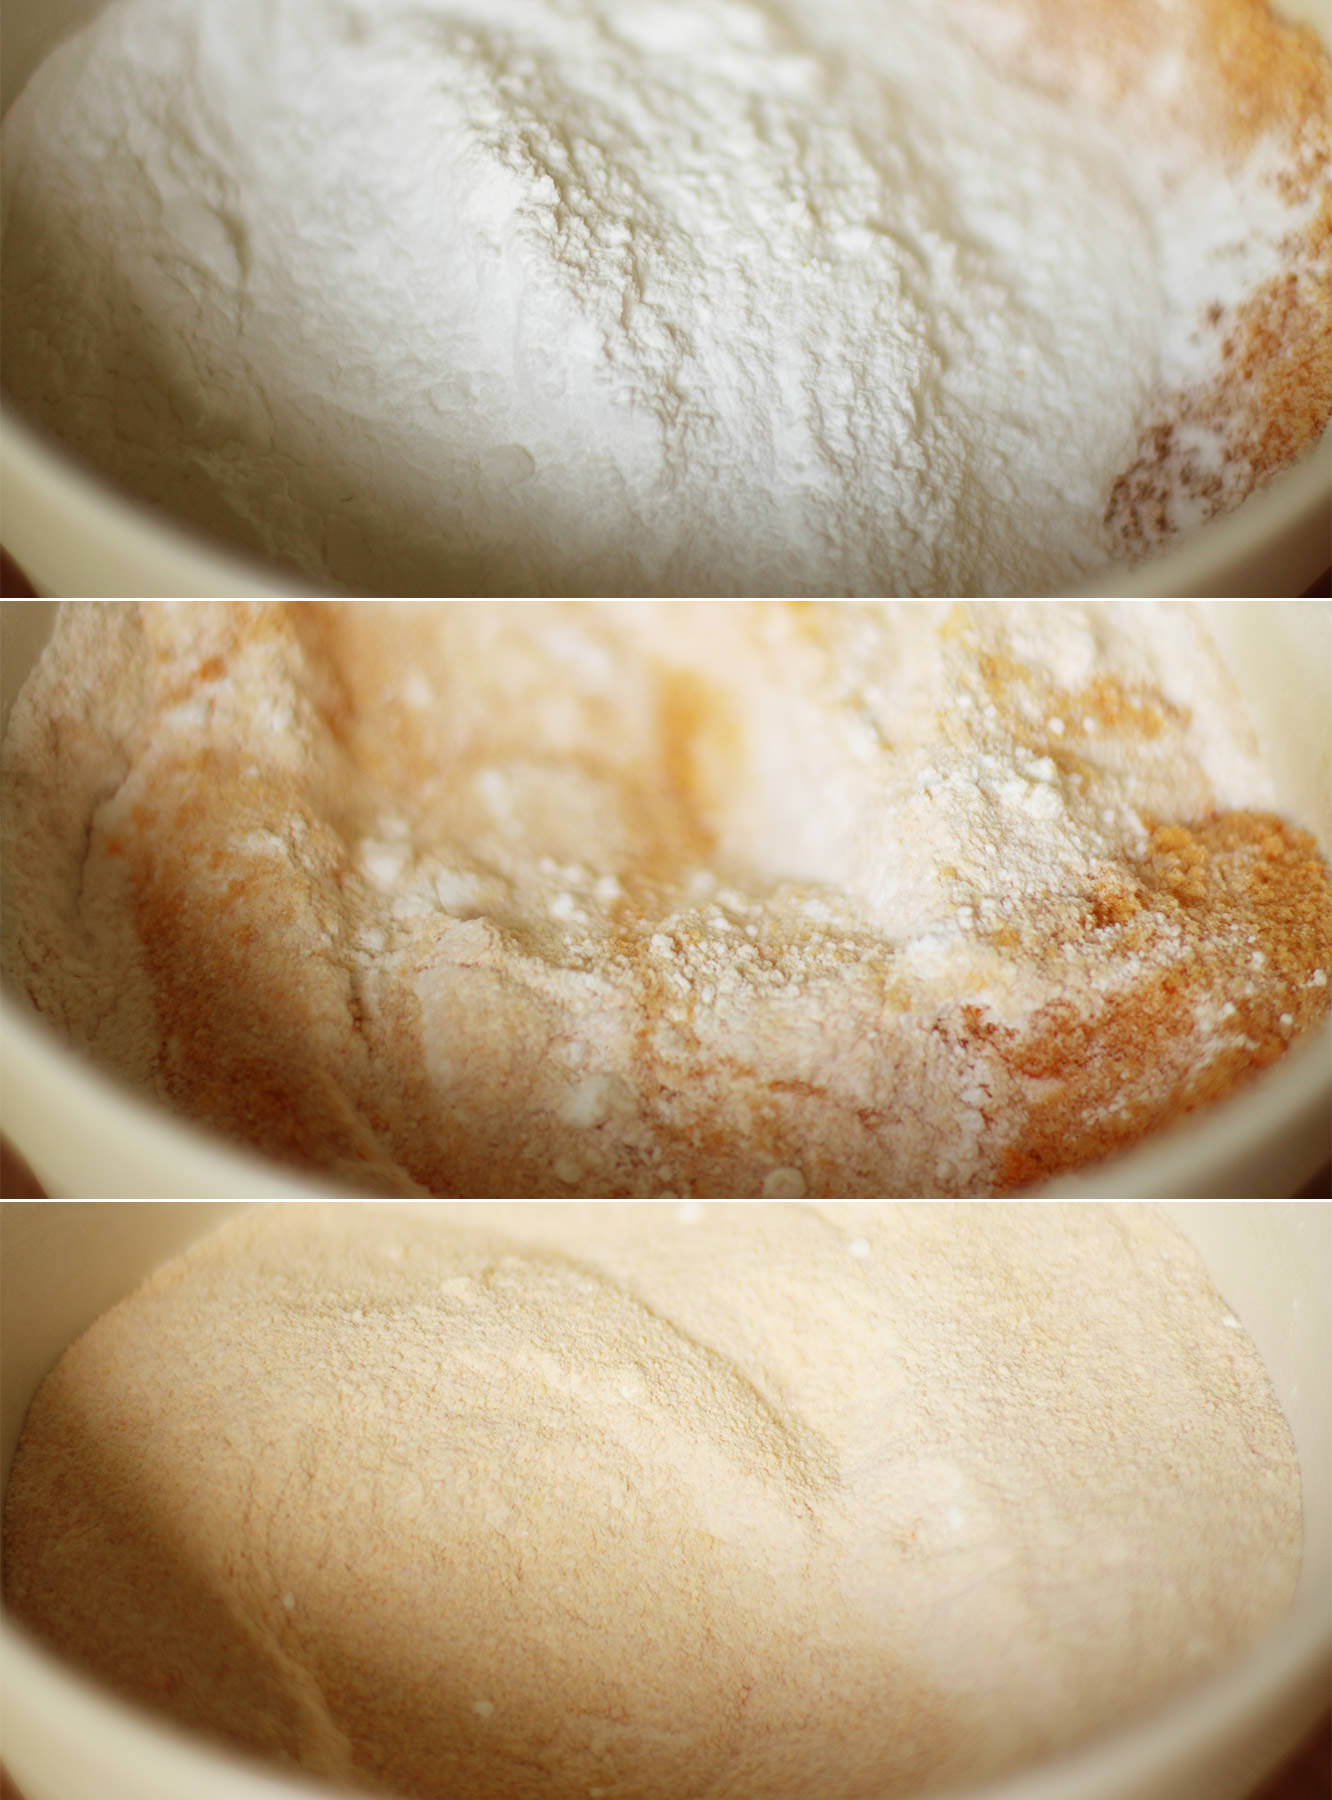
Step three
Add the icing sugar and mix again thoroughly. See, now you you know what I mean about the colour? Nice and subtle isn’t it?
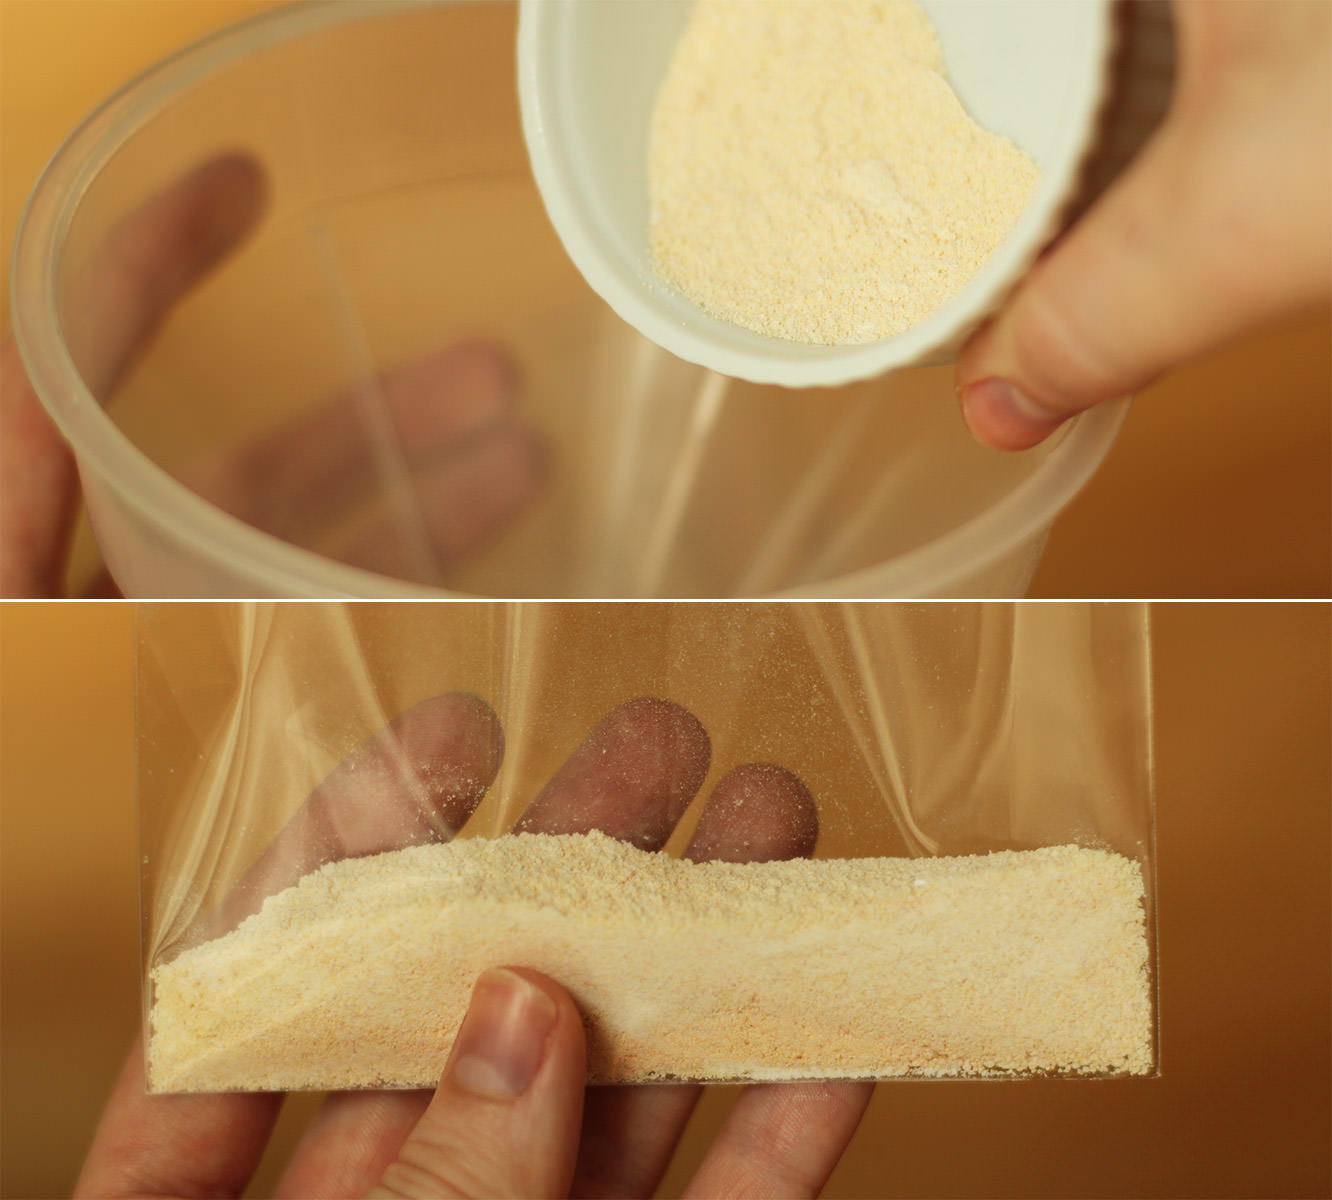
Step four
Weigh 30g portions and pour into the card bags.
That’s where I’m leaving you for today I’m afraid folks, the finishing off will be in my round up post in a few weeks. The suspense is killing you I know.
In the meantime, just when you thought you weren’t even getting a gif this week. Here’s a tinker in her dungarees:
Have a fabulous day whatever you’re up to!


 You will need
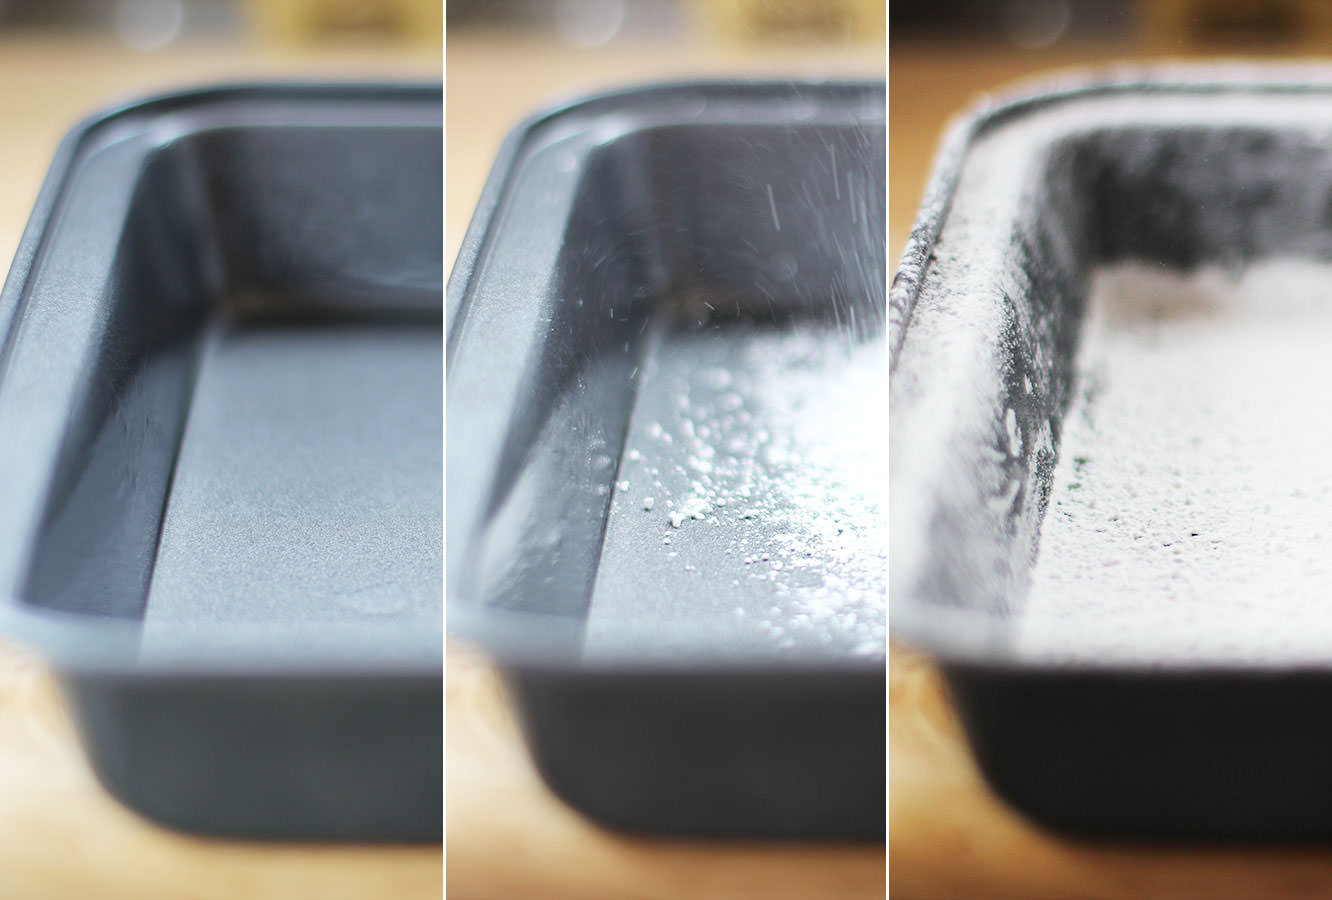 Step one
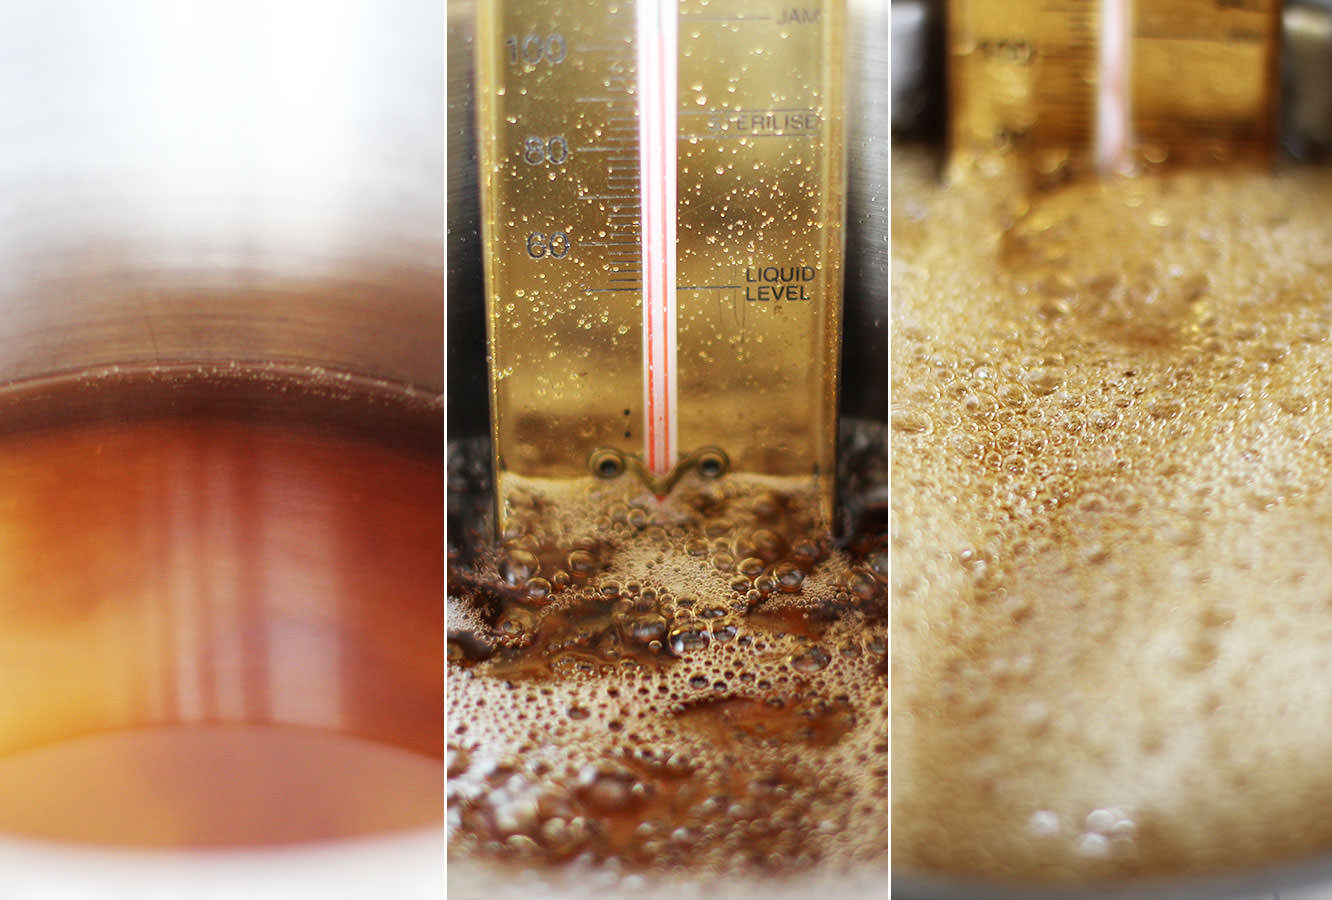 Step three
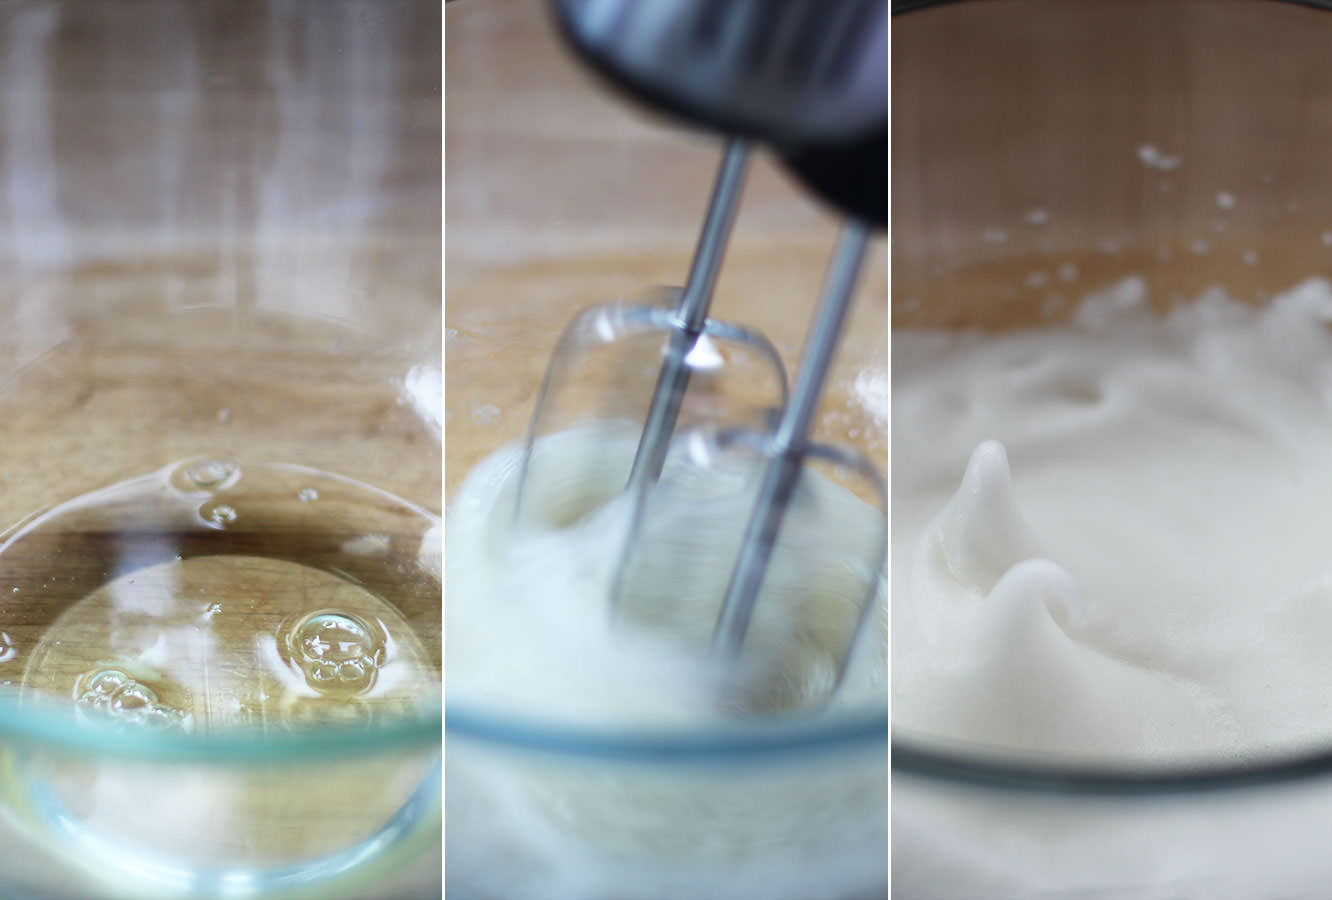 Step four
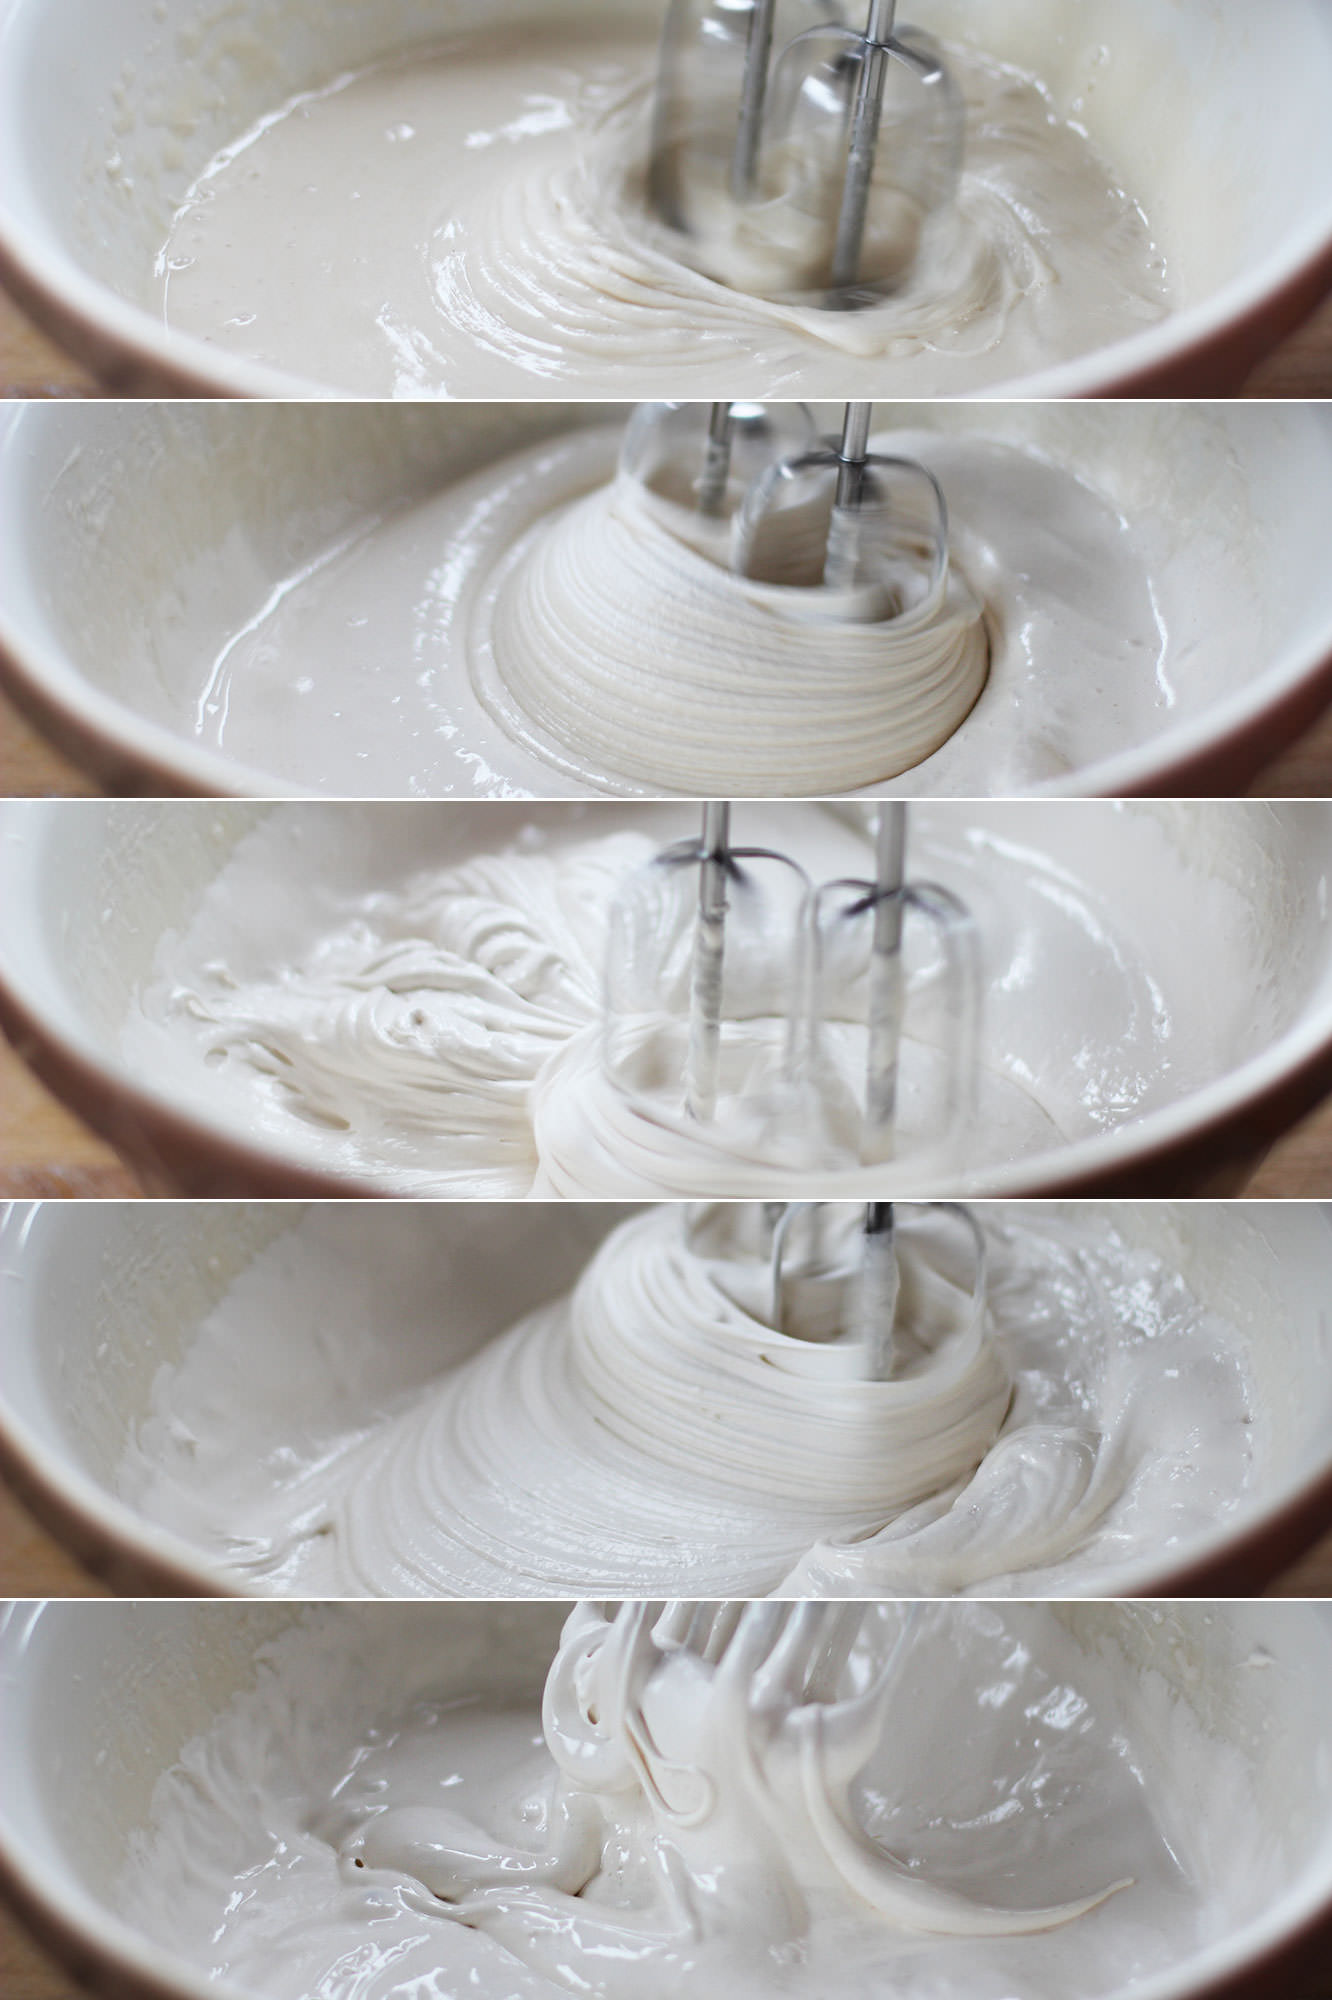 Step seven
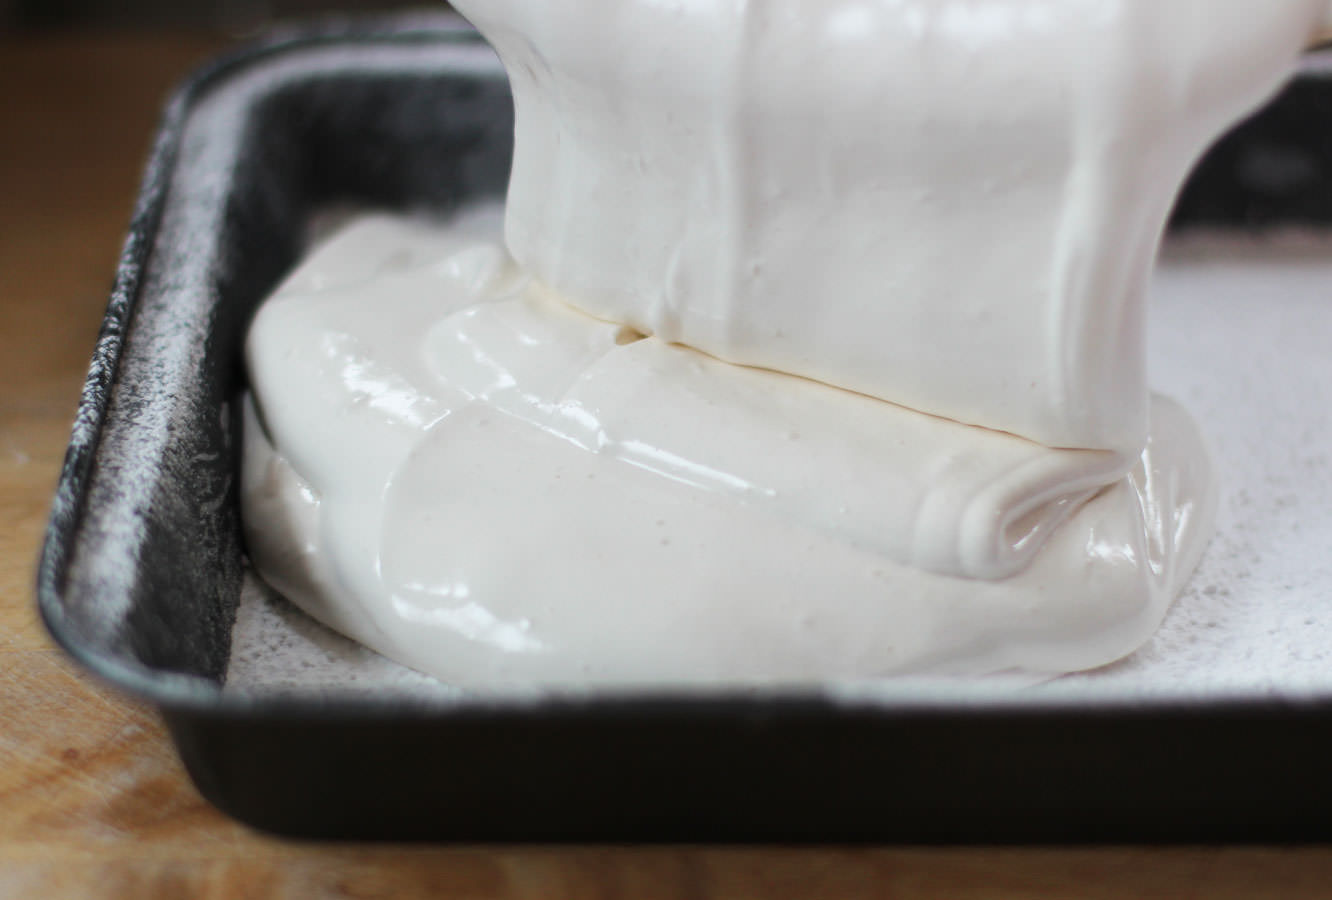 Step eleven
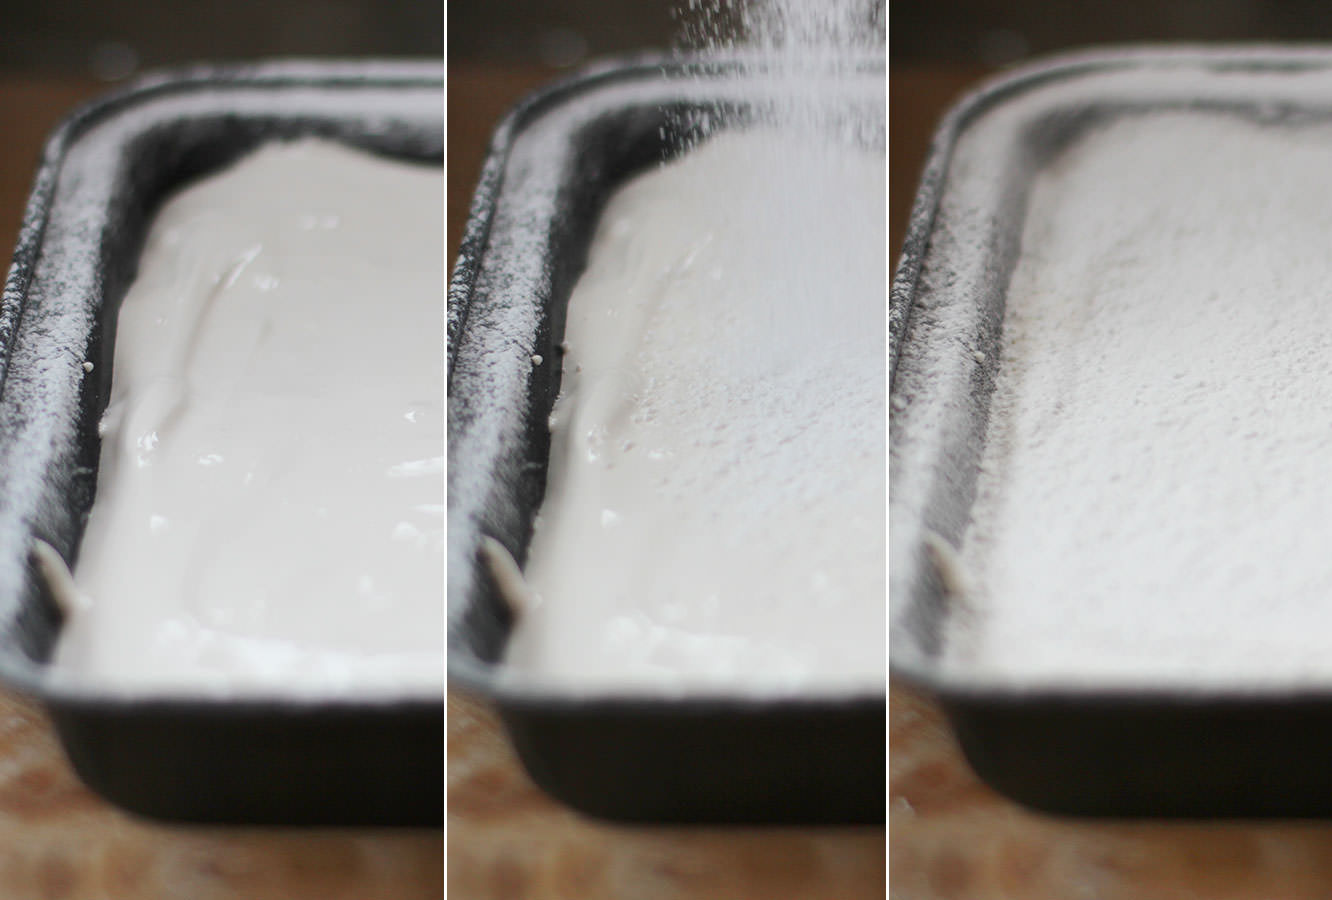 Step twelve
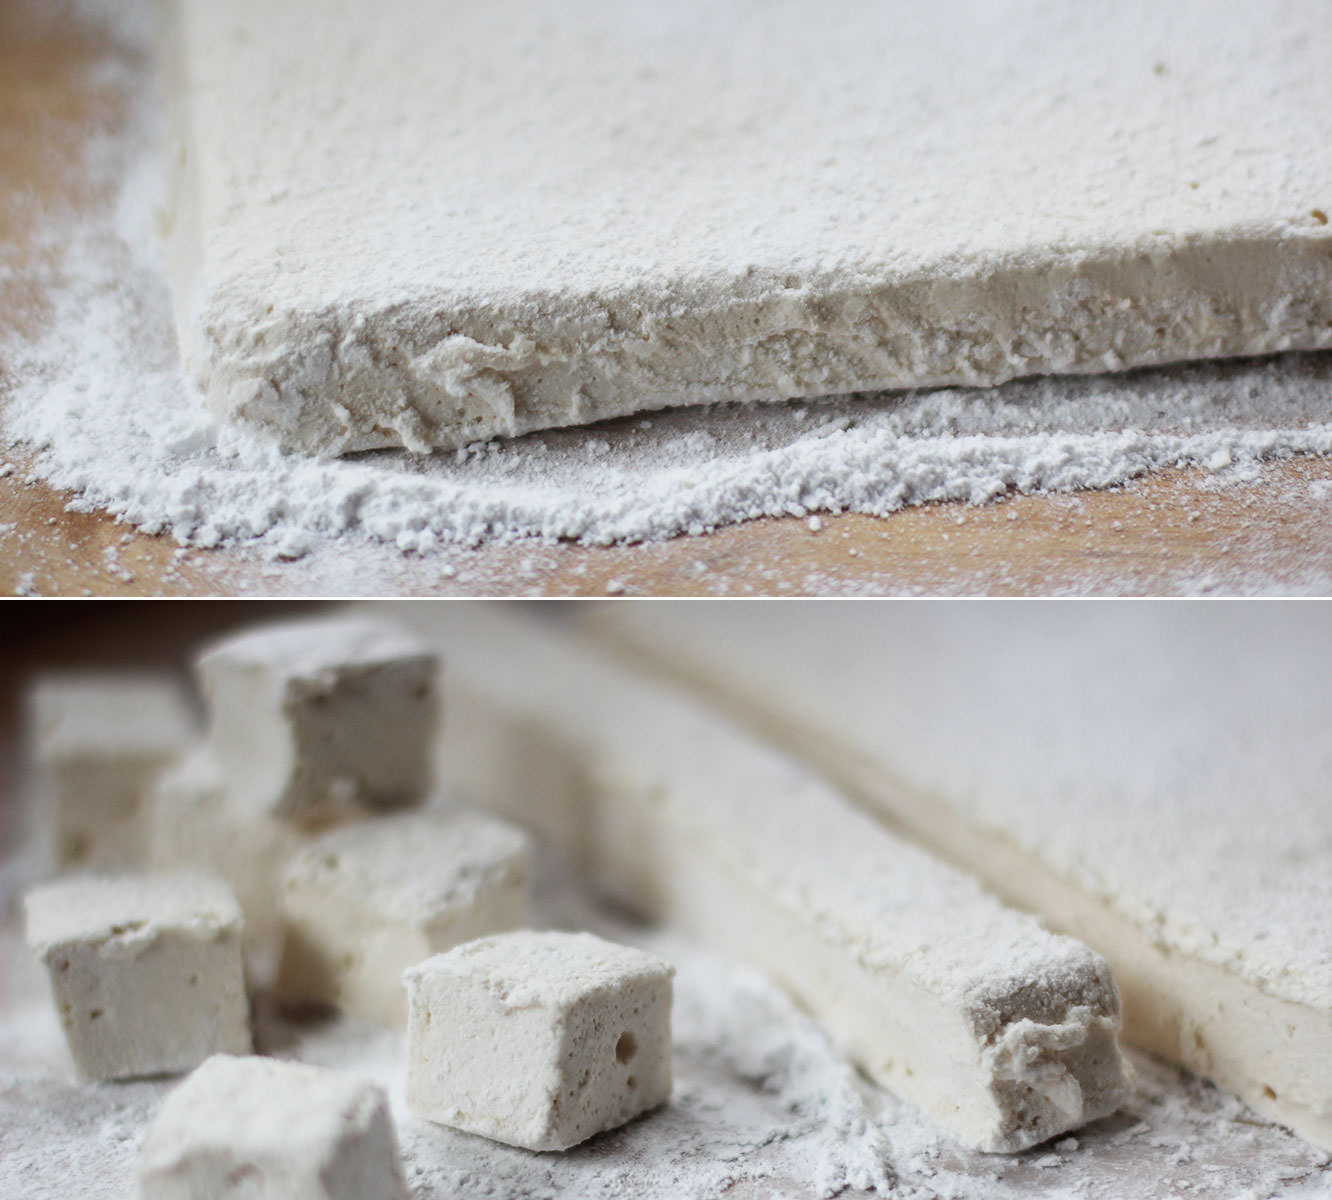 Step thirteen
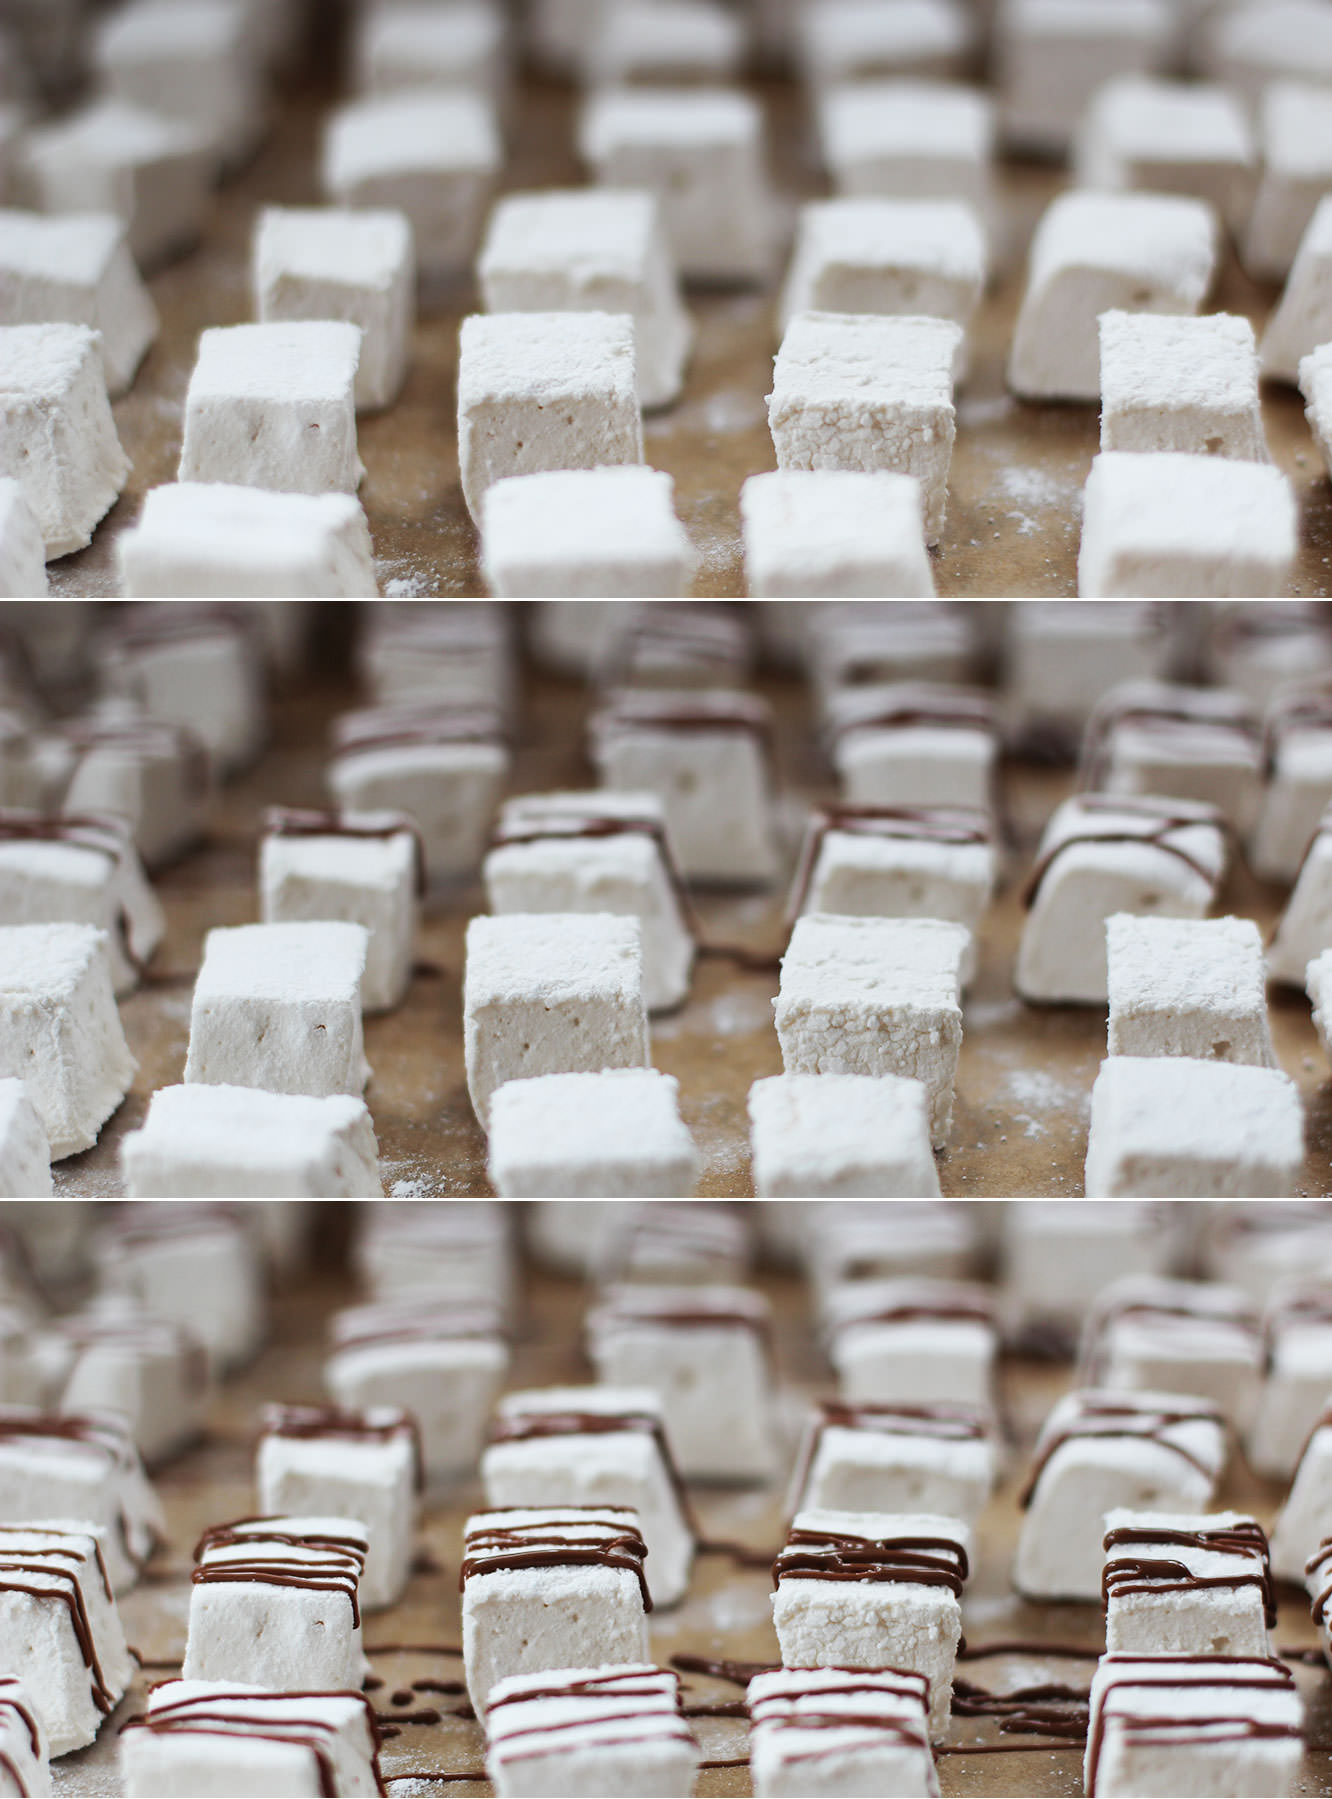 Step fourteen
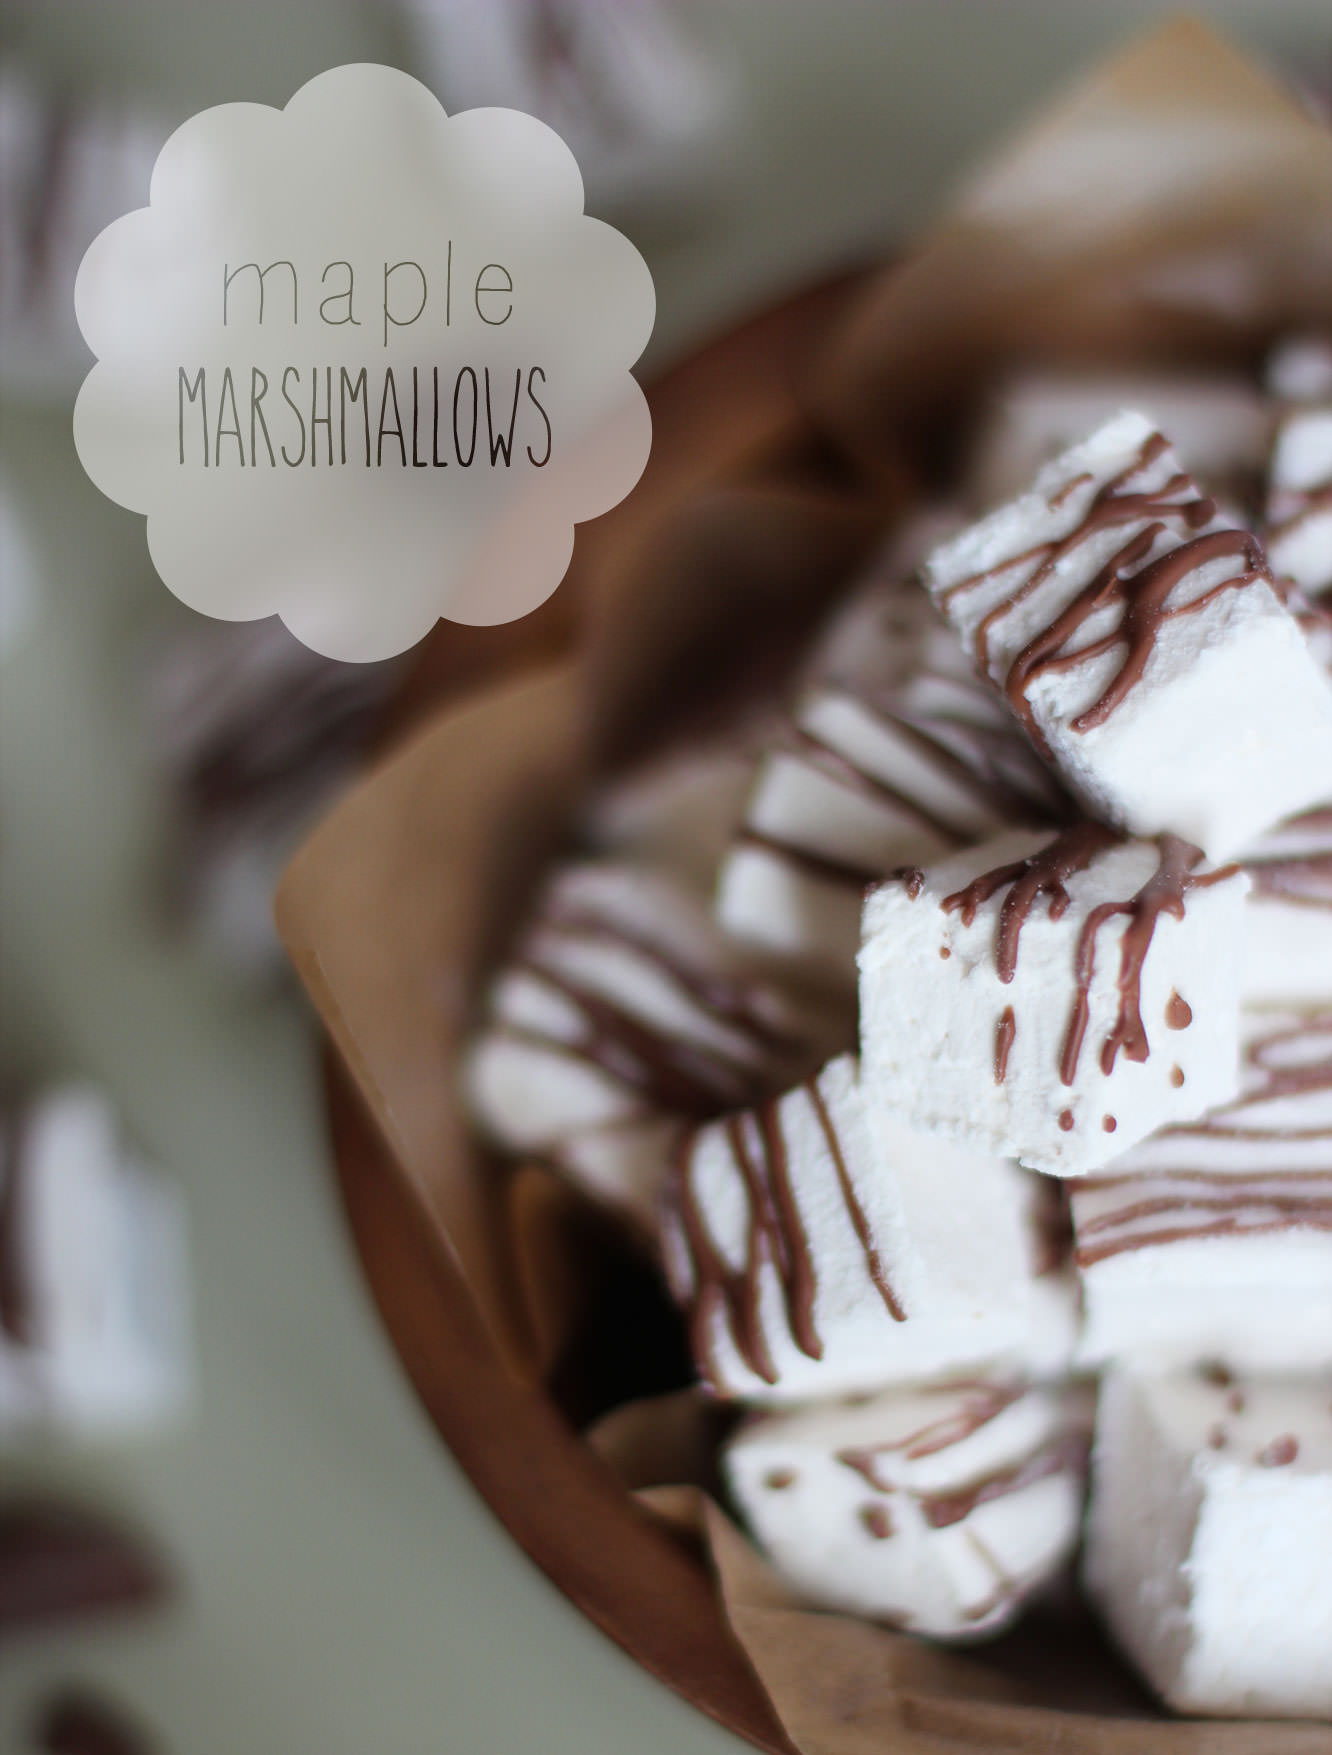 There we have it. Maple marshmallows. Nowhere near as difficult to make as I made them sound, I promise.
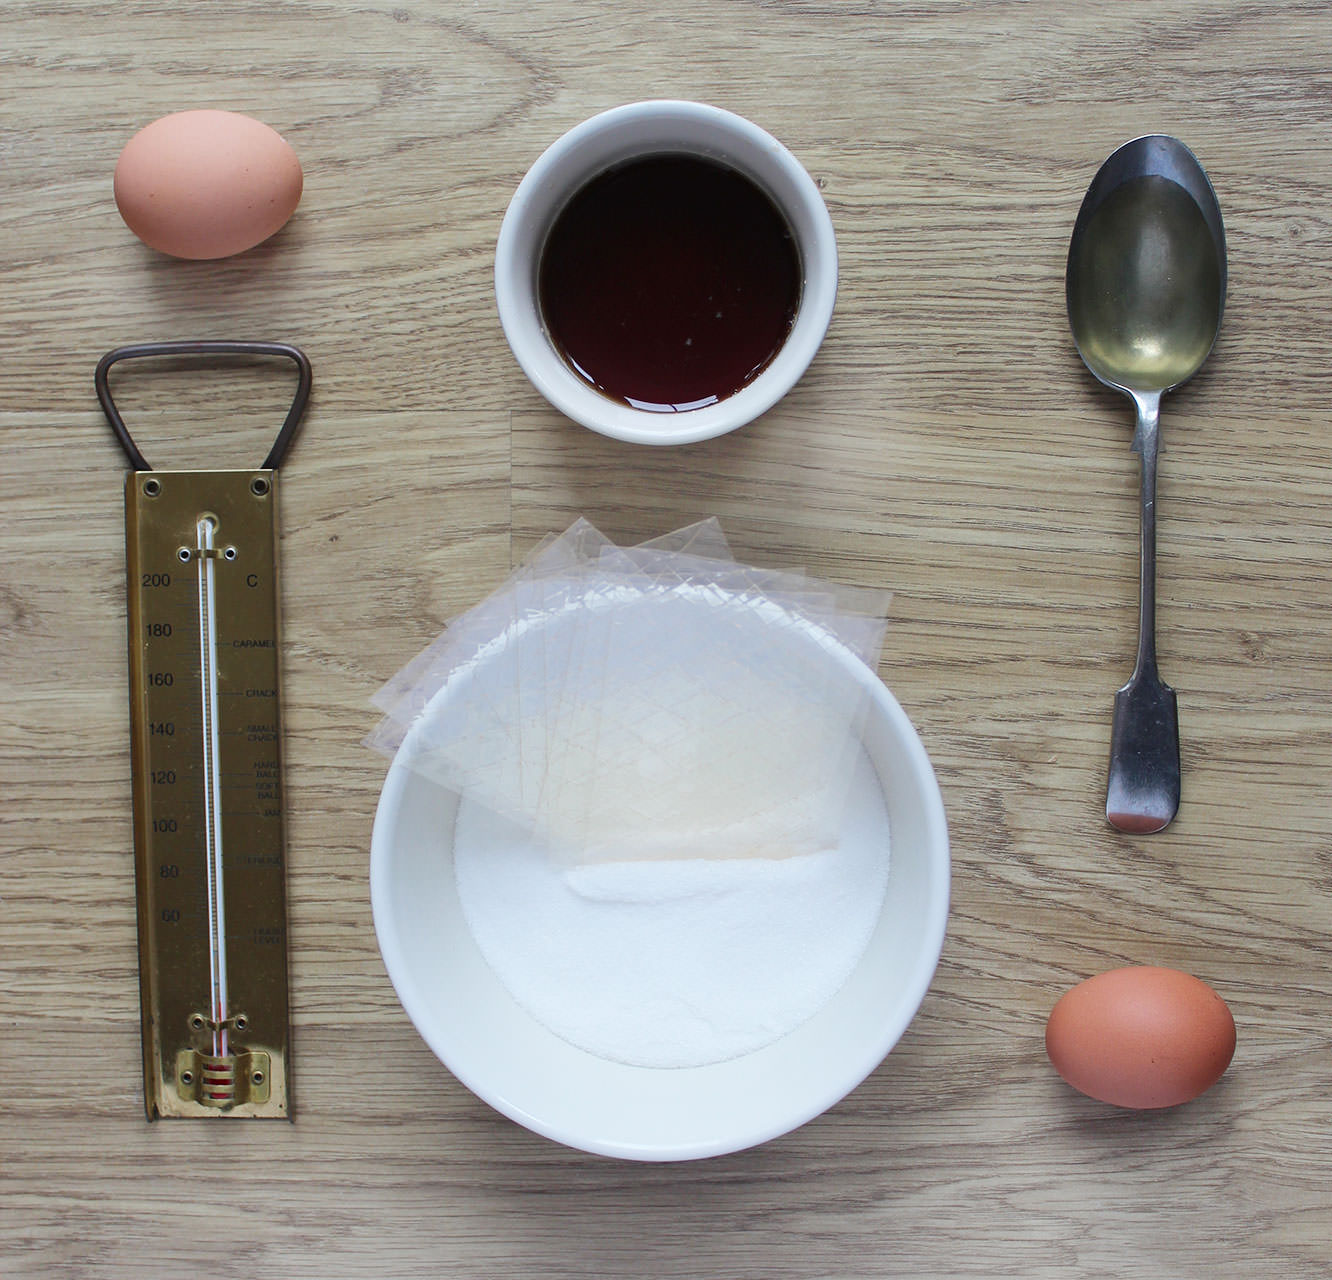
 You will need
 Step one
 Step two
 Step three
 Step four
 Step five
 Step six
 Step seven
 Step eight
 Step ten