Recently I have been partying down with some of the lovely hens (bachelorettes for those of you across the pond) in my life who are getting married this summer. My friends are definitely going wedding crazy at the moment, and with hen parties springing up every other weekend I thought I would put together a yummy recipe for any keen party planners, or any of you who fancied a new afternoon tea recipe.
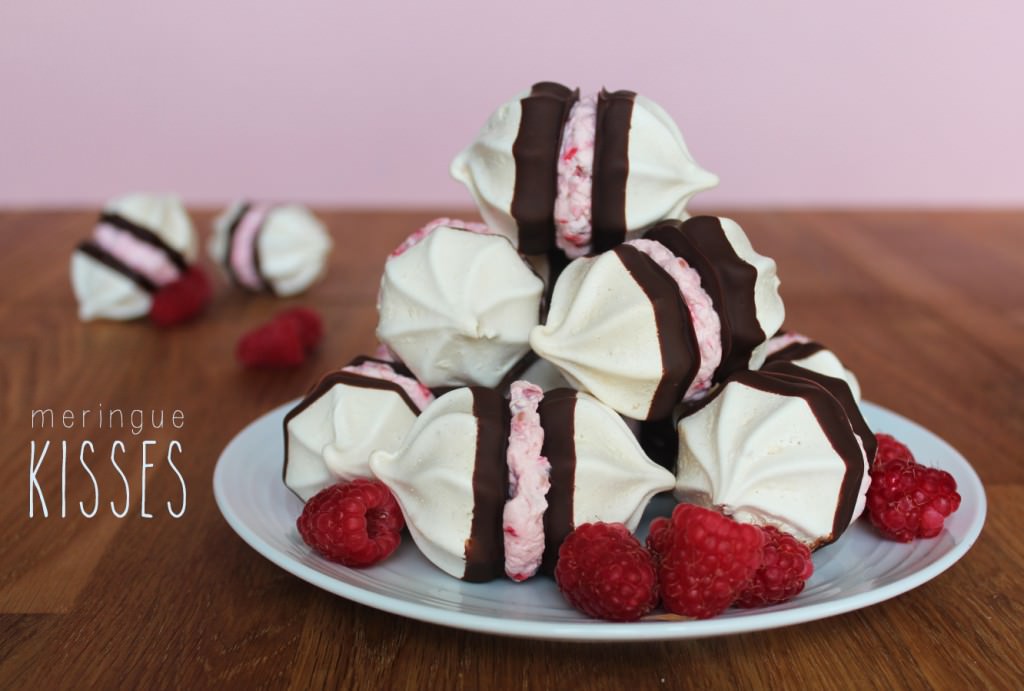
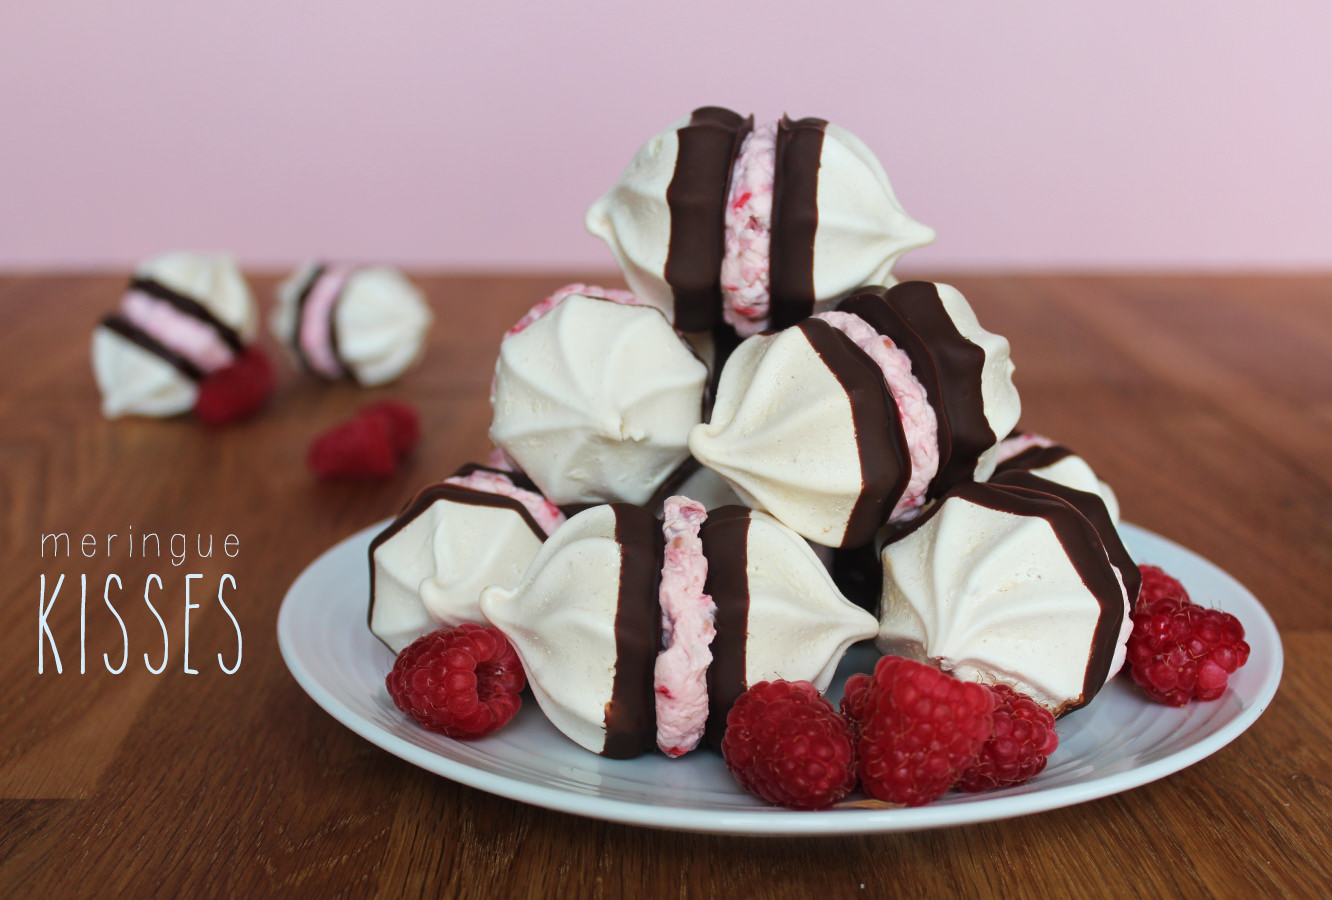
Introducing these lovely little meringue kisses. Although any of the wedding party who are on diets might want to look away now…

You will need
2 egg whites
110g/4 oz caster sugar
100g/3.5 oz dark chocolate
150ml double cream
75g/2.5 oz raspberries
Makes 20

Step one
Separate eggs whites into a glass or metal mixing bowl (plastic tends to hold a bit of grease, gross I know, but this will stop your egg whites fluffing like they should).
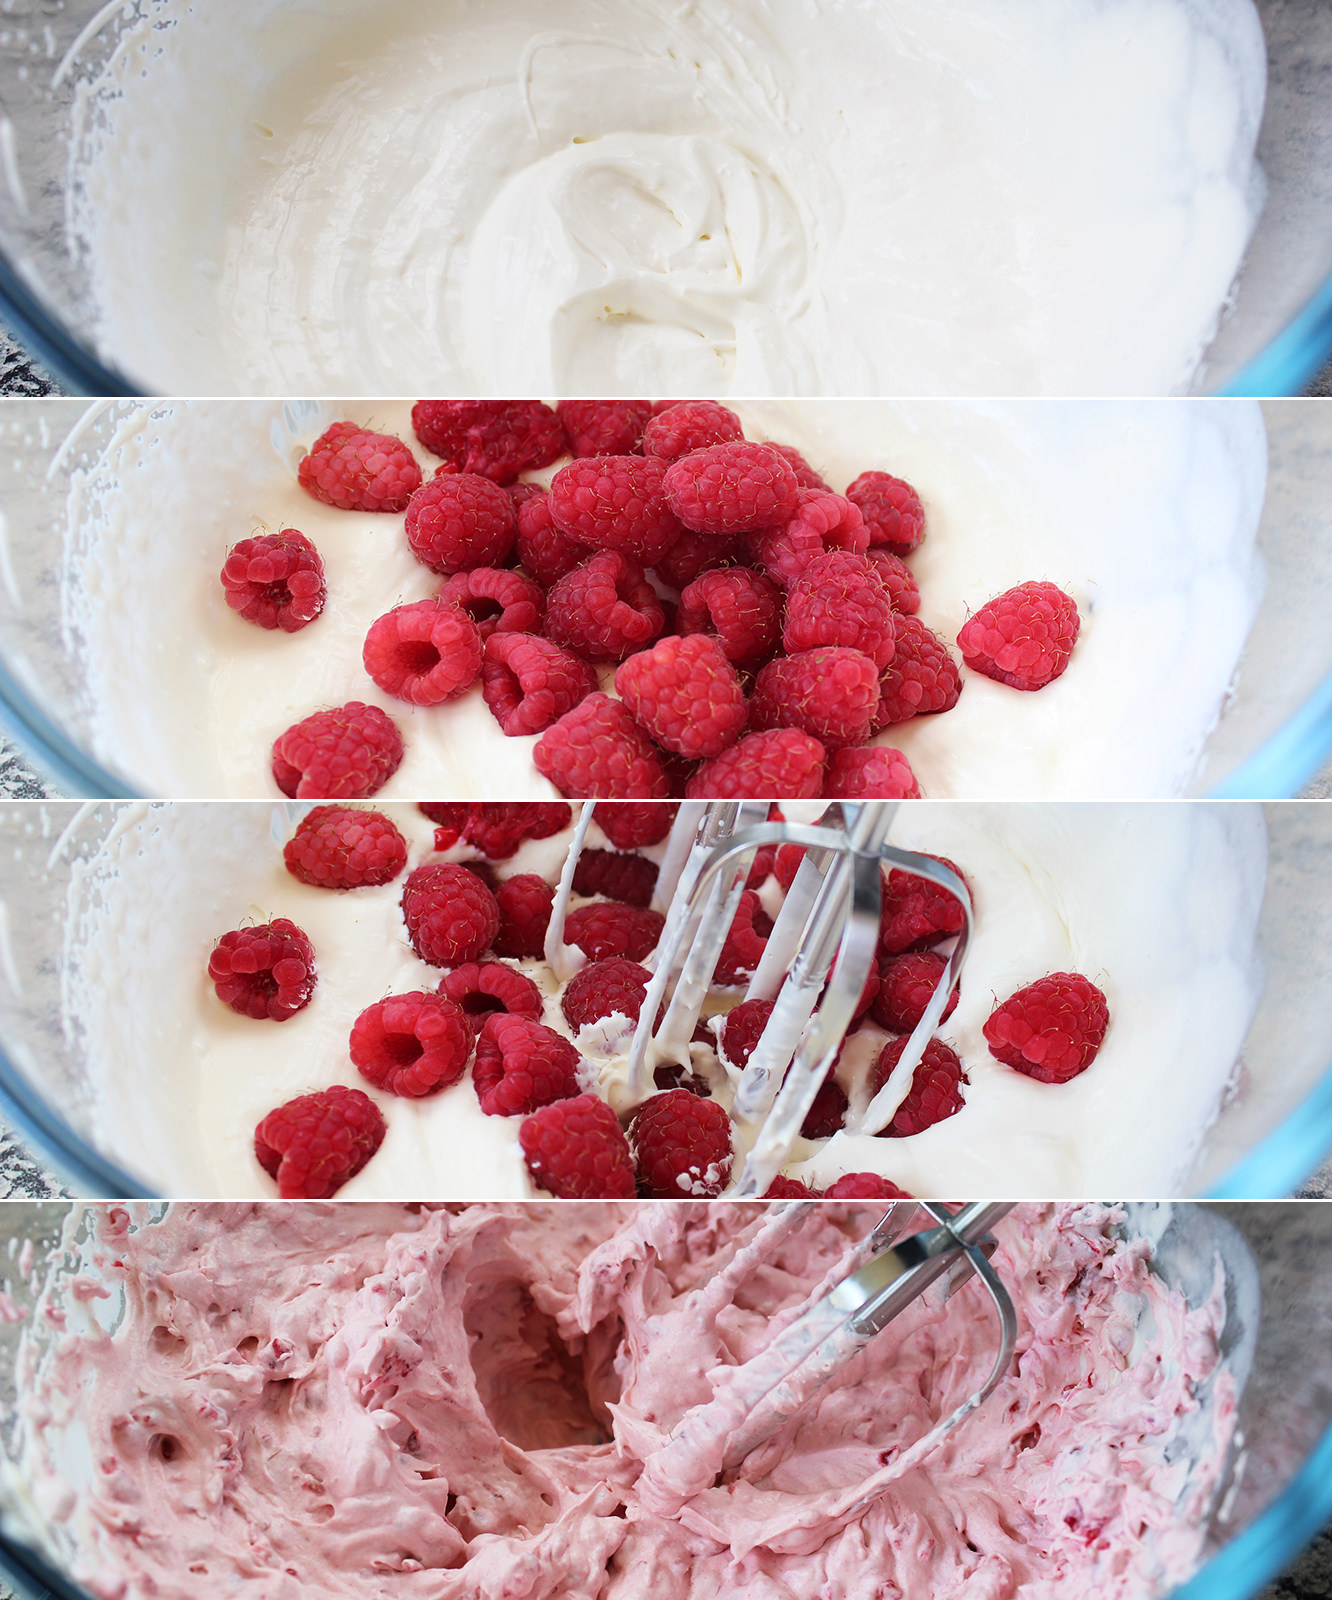
Use an electronic whisk (or a really strong arm) to whip the whites until they double in size and start to stiffen up.
Once they look kind of like the third photo start adding in the sugar as you whisk.
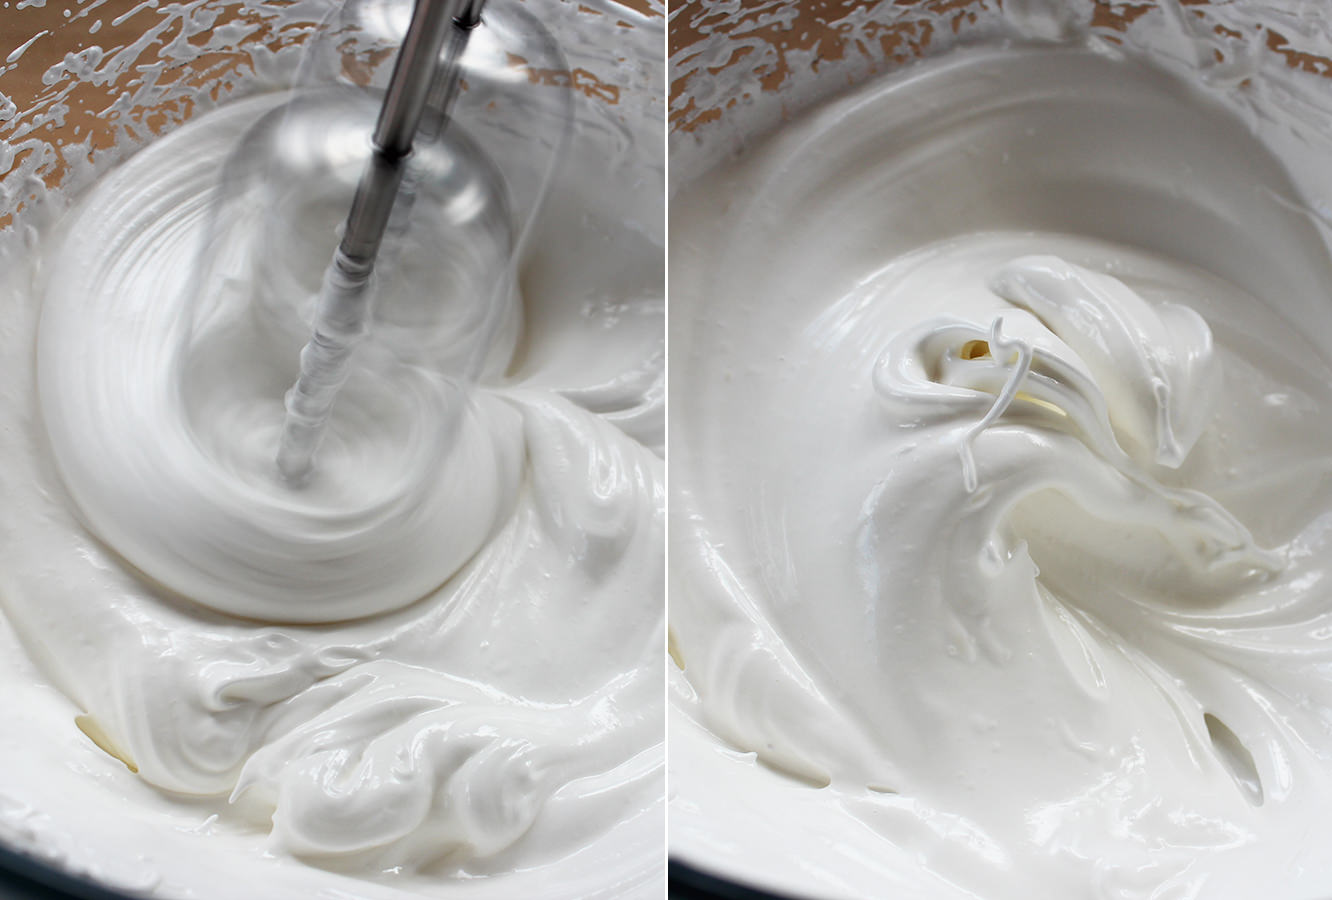
Step one and a half
Keep whisking until you have what’s known in the biz as stiff peaks. If you’re a bit unsure, turn your bowl upside down, if your mix doesn’t fall out then you’re good to go, if it does then I’m sorry.
Step two
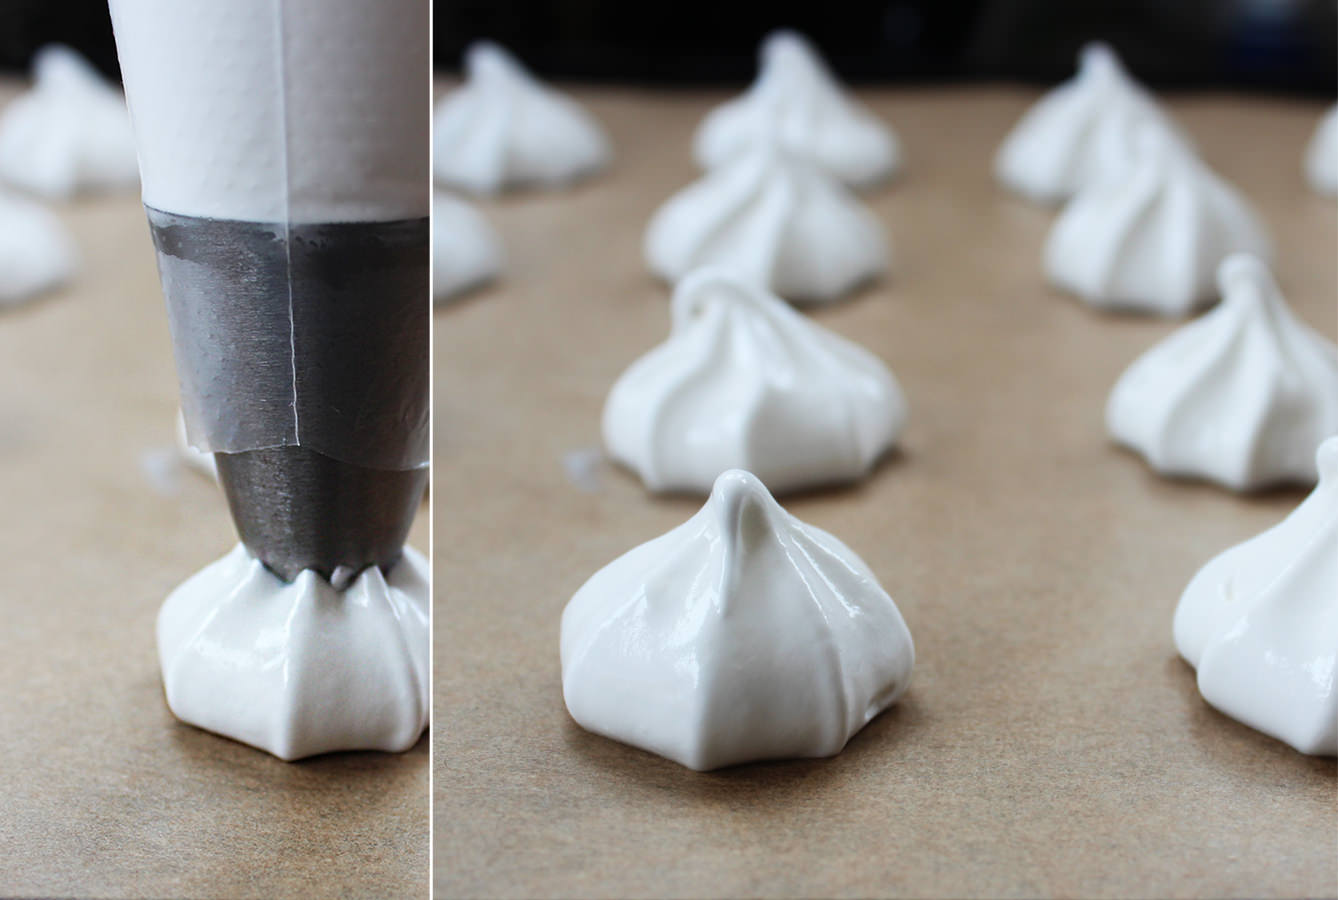
Cover two baking trays in greaseproof paper or baking parchment. Don’t whatever you do grease this, use a dab of meringue in each corner to secure it to the tray.
Fill a piping bag with the meringue mix and pipe lots of little blobs. Hold the piping bag about 2cm away from the tray at a 90 degree angle and squeeze down, once your meringue has reached the desired spread (say 4cm wide?) pull away quickly.
Remember to pipe in pairs, no odd numbers, and leave a little space for these to expand.
Step three
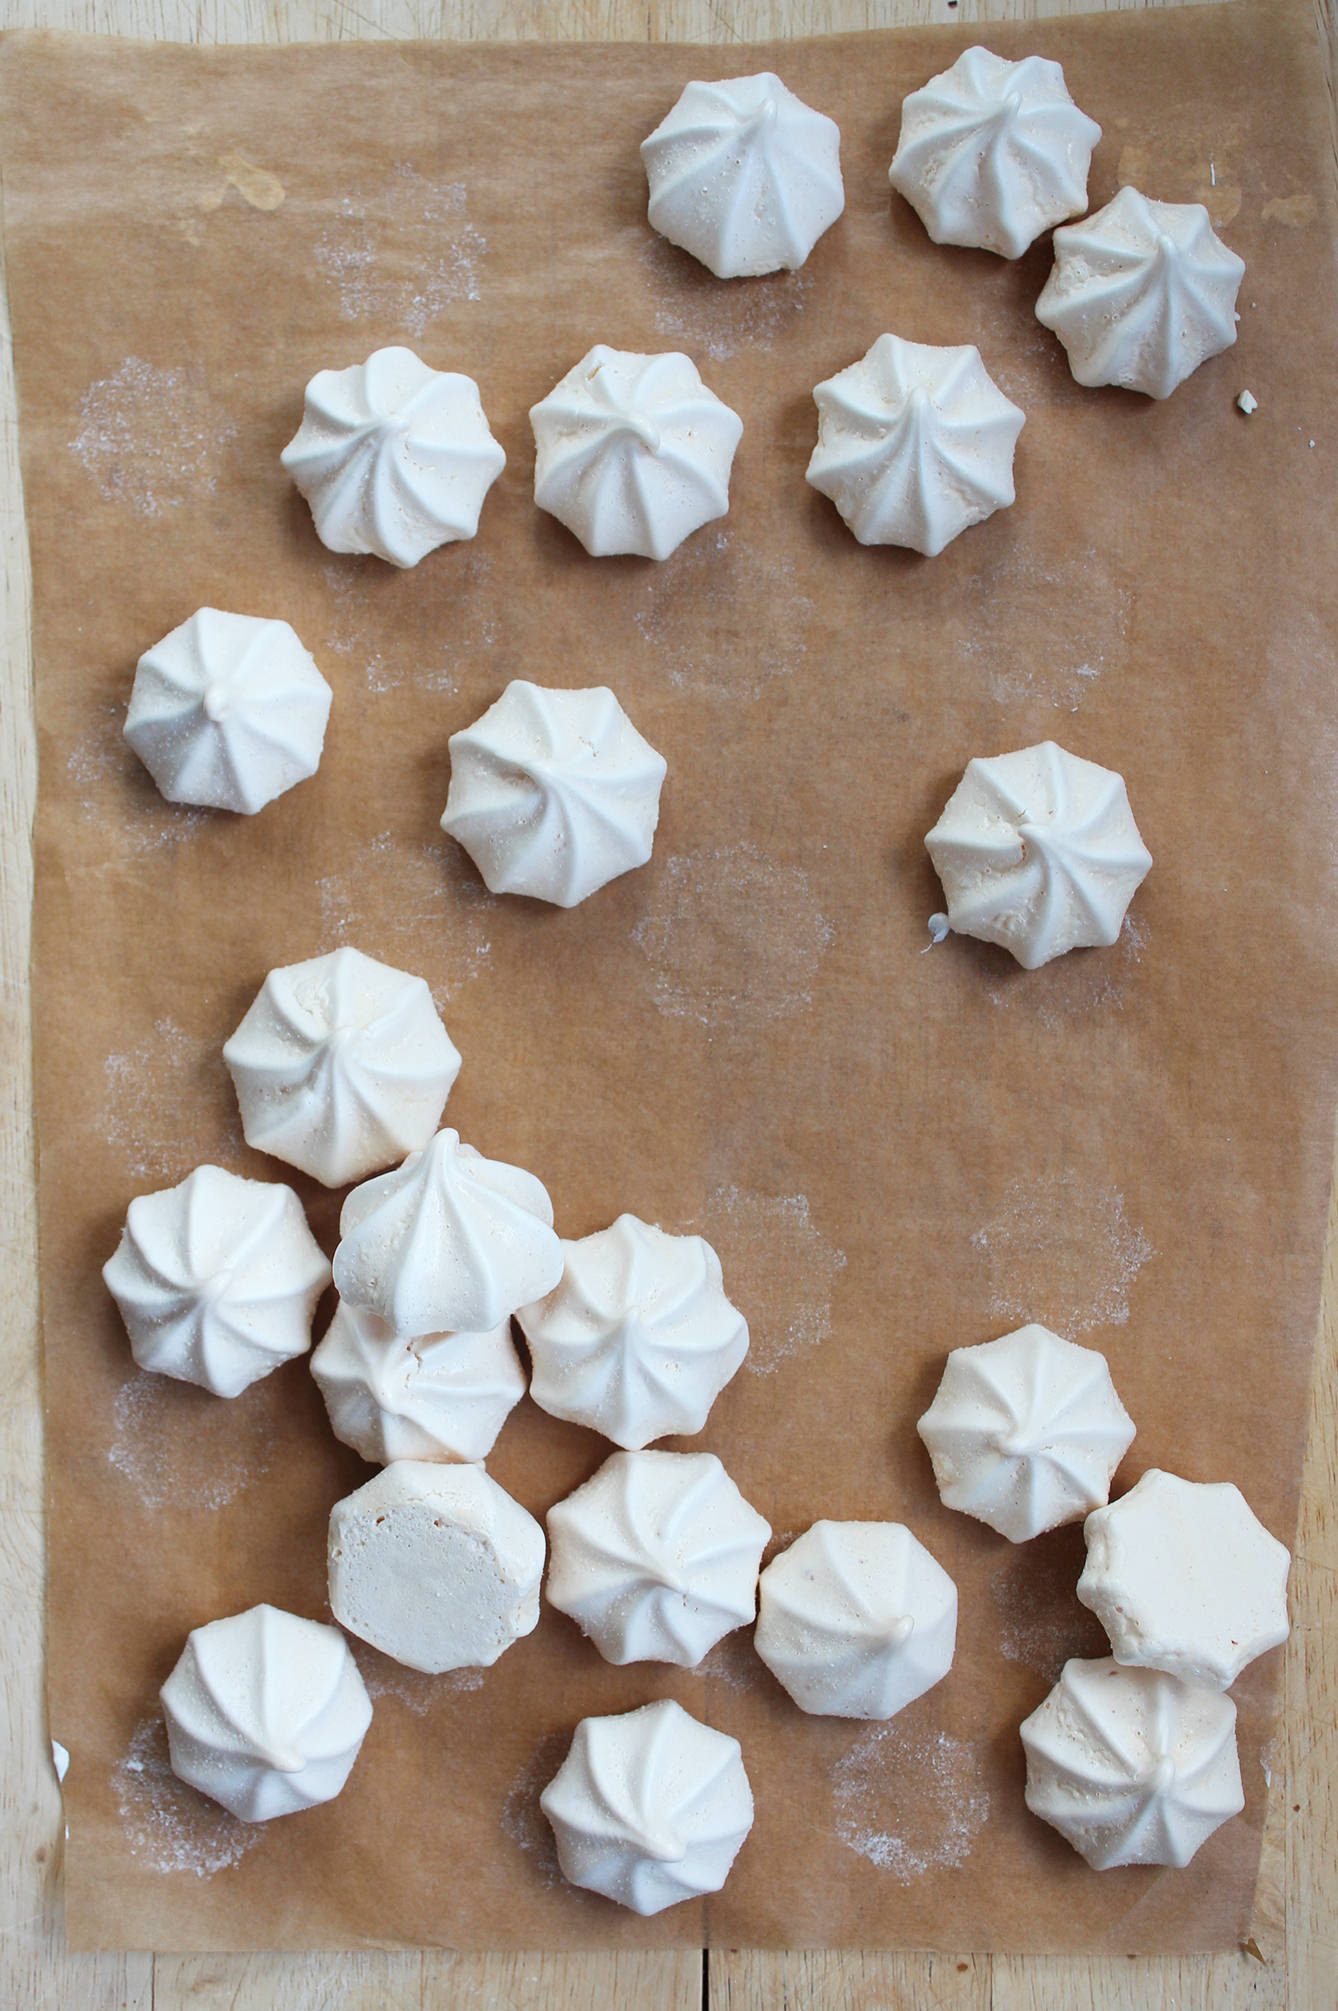
Bake.
Gas Mark 1/2, 130 degrees C or 250 degree F for 40 minutes to an hour. I know, that’s really unhelpful, but I sort of went jogging, and my oven is a law unto itself.
Once you can see they’ve grown and have developed shells, turn the oven off and wait for it to cool before removing them. If you need to take a peek by opening the oven door, try not to throw it wide, or your meringues will crack.
Step four
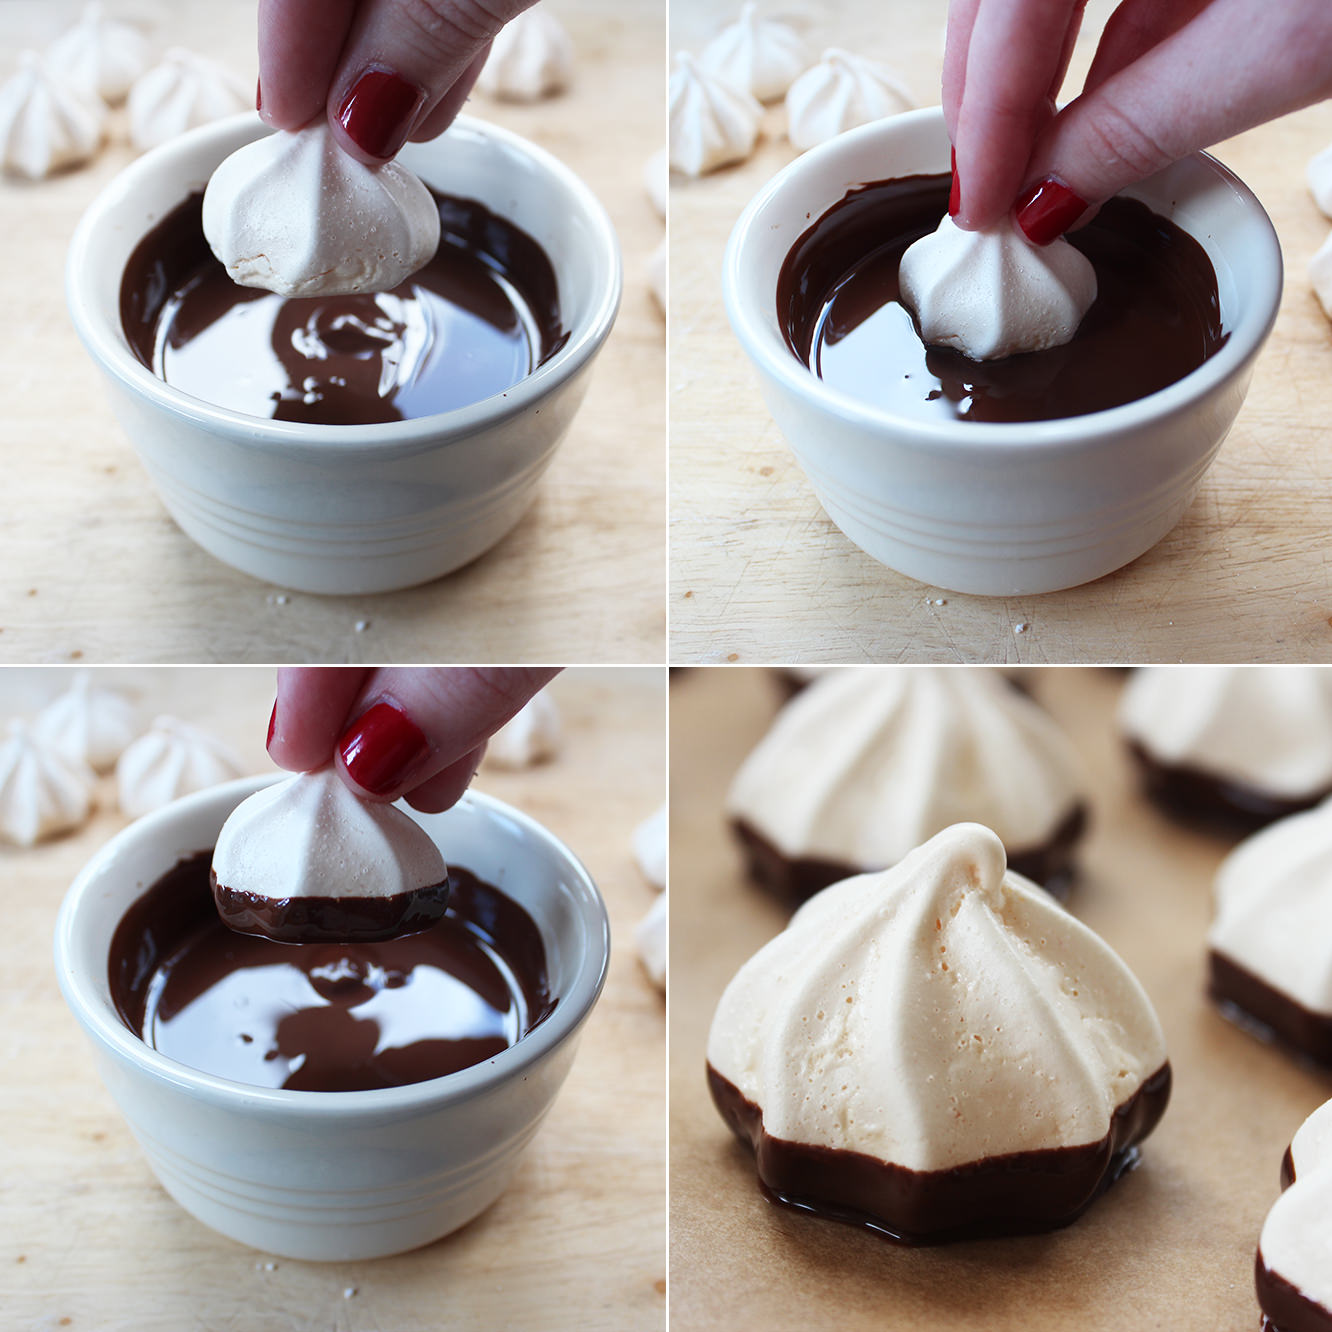
Melt the dark chocolate in a small bowl/ramekin. Do this gradually in the microwave so you don’t burn the chocolate.
Dip each meringue so that the bottom an a little bit of the side is covered. Sit on greaseproof paper and leave to set.
Step five
Whisk the double cream until it has doubled in size and is beginning to hod it’s shape.
Add the raspberries and whisk some more. This is pretty satisfying for some reason.
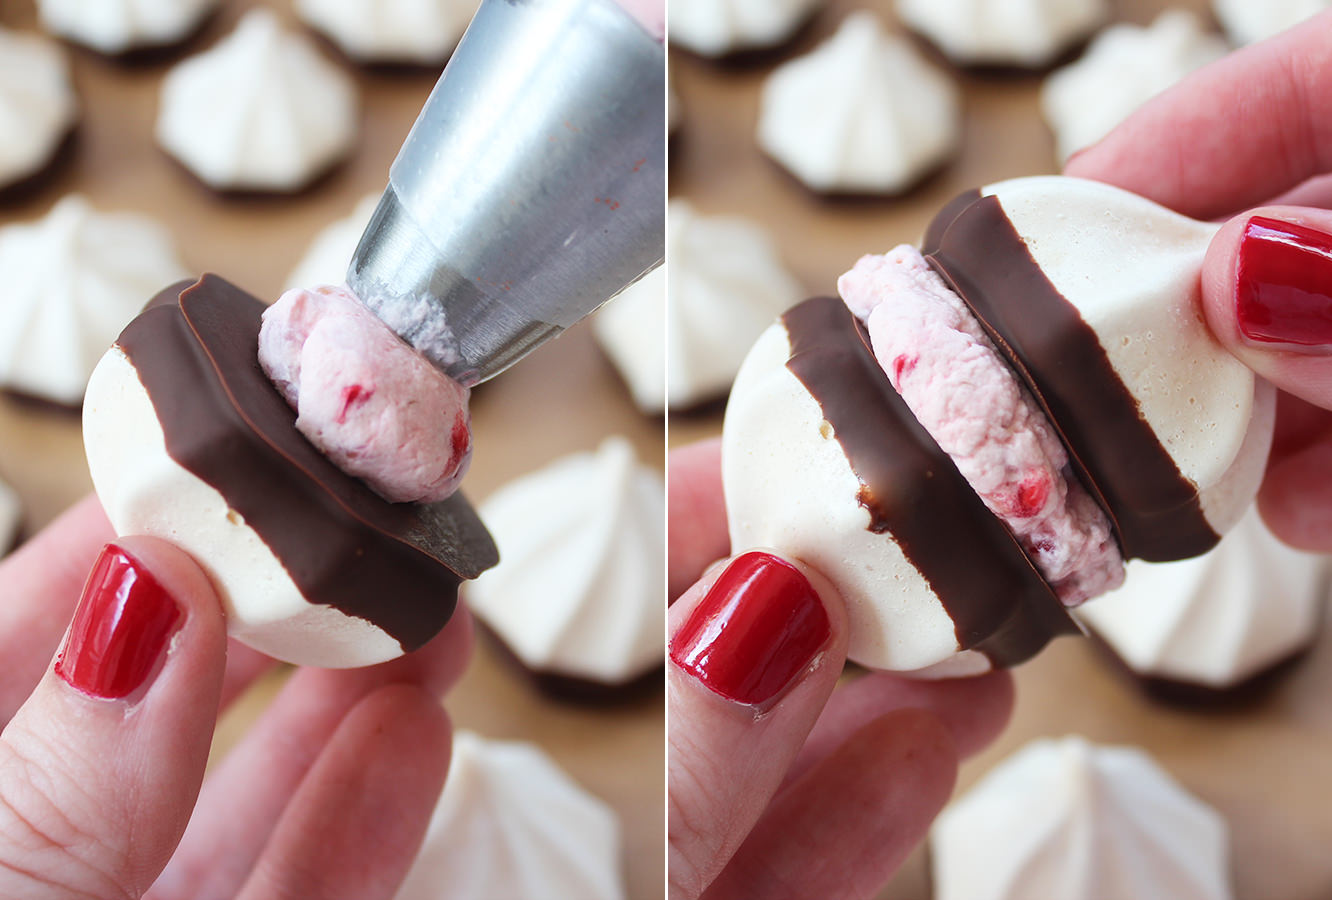
Step six
Pipe the raspberry cream onto a shell and squish another one on top. Repeat until finished.
Step seven
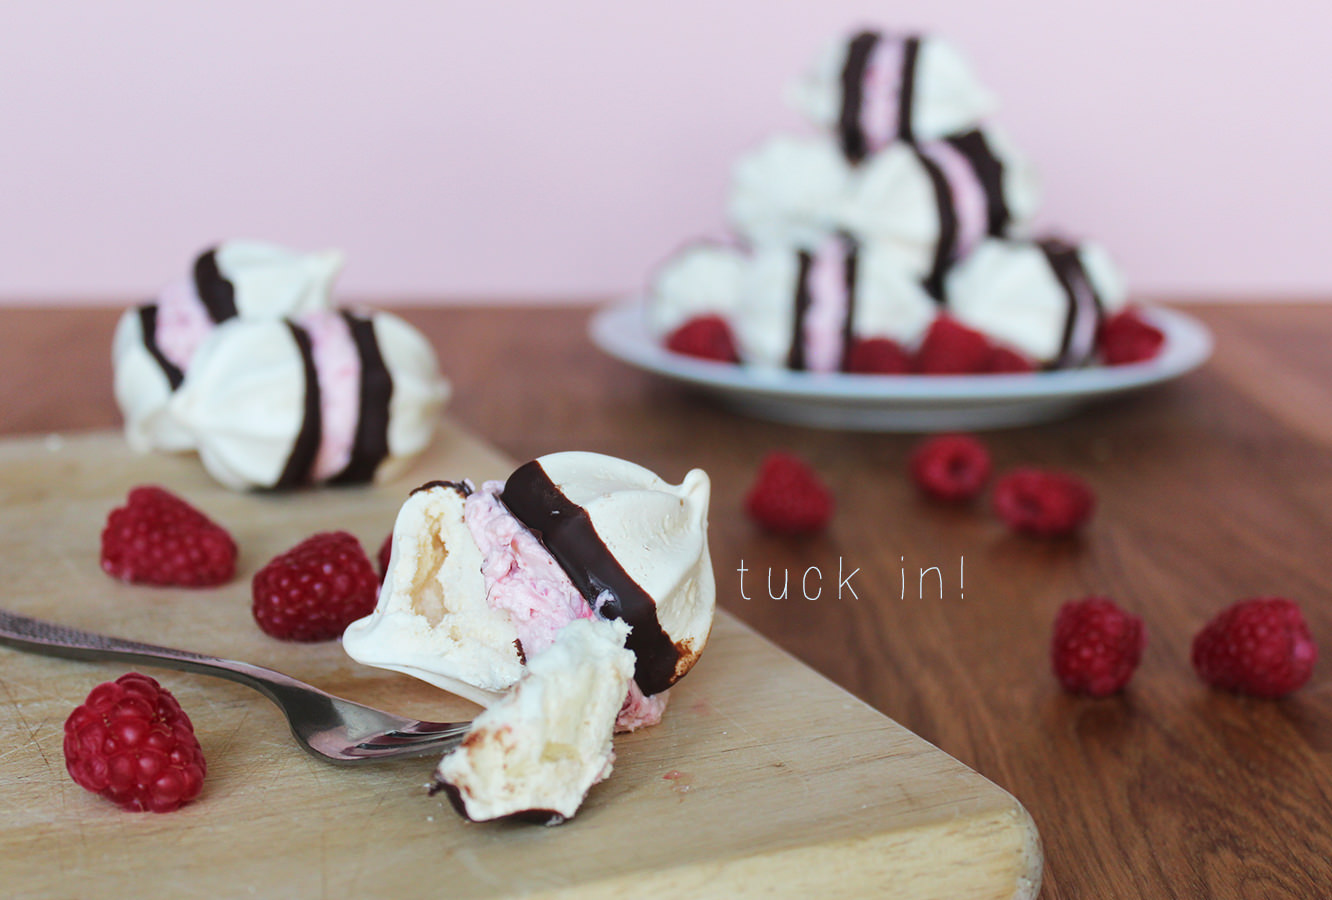
Enjoy!