Some years (every year) I have grand plans for home made gifts and decorations at Christmas. Rarely does this materialise in the lovely relaxed and whimsical way it looks in my head. Generally I end up covered in the contents of my baking cupboard feeling totally harassed by the number of hampers I’ve decided to make.
If you’re anything like me, or if you’re completely handmade/craft-phobic in the first place, this one is for you. Three super quick festive crafts to brighten up the house and fill up stockings at the last minute. You don’t need an ounce of artistic/baking ability for any of these. So no excuses.
#1: Cute Christmas bunting
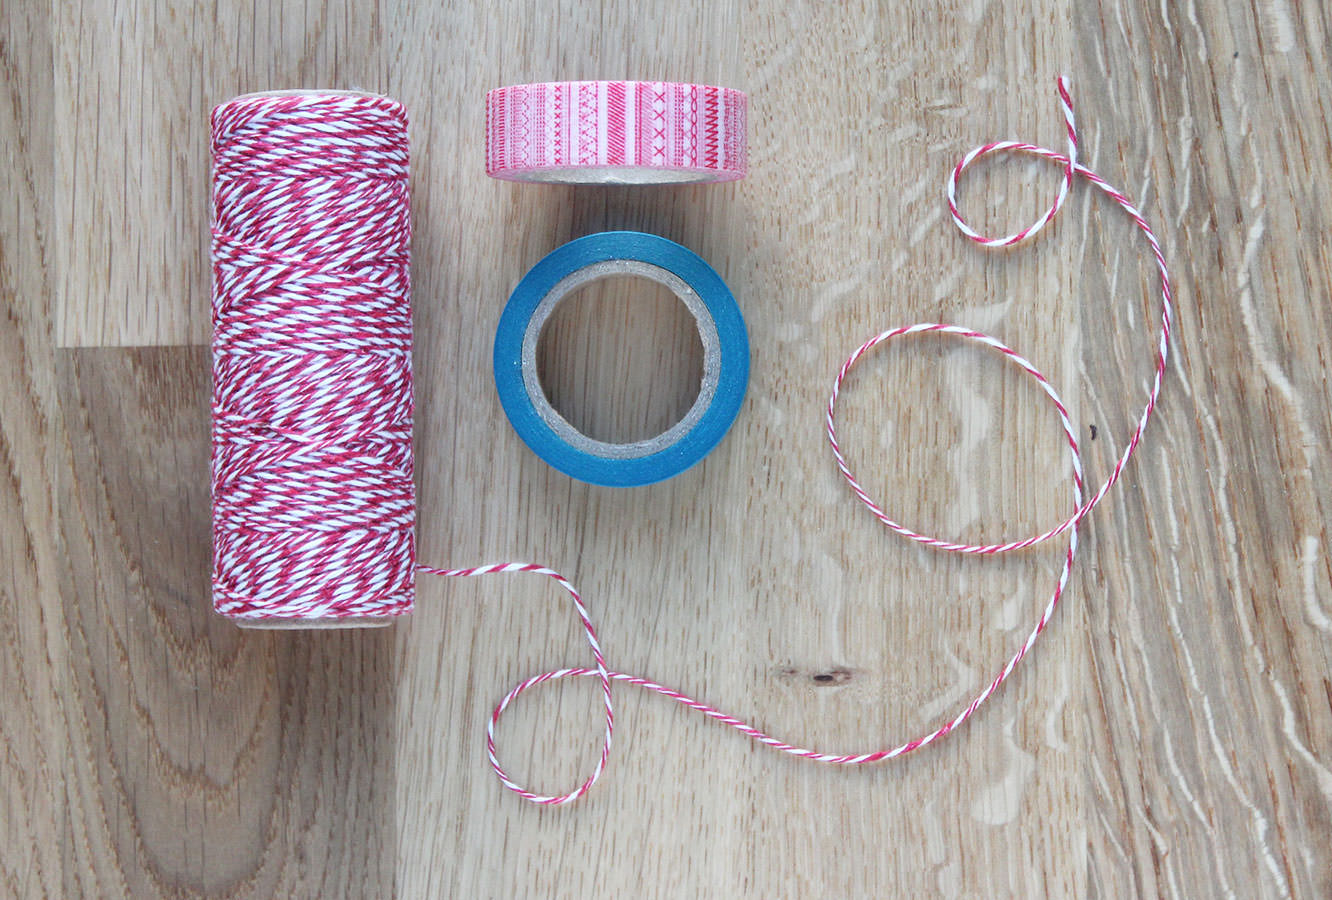
You will need
String (I got this two colour spool from Tiger for £1)
Christmassy washi-tape

Step one
Cut a random length of tape and place the string in the middle. If you really want to punish yourself you can try and make them all the same length, but I really like them random and it’s much easier that way too.
For this step I cut loads and stuck them on the edge of the table so I had them ready and did them in batches so I wasn’t constantly cutting one then sticking it etc etc.
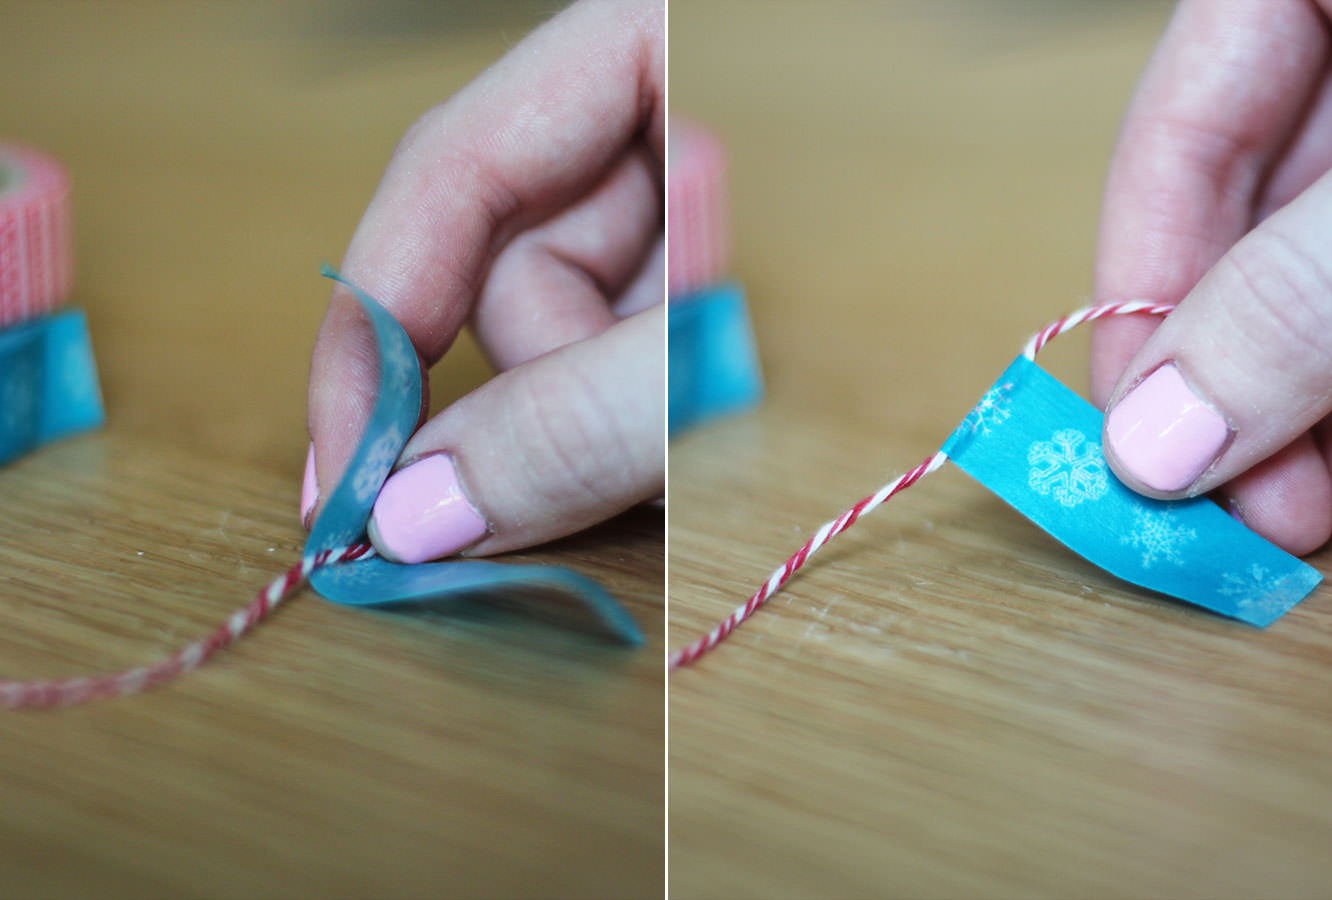
Step two
Fold over the wash tape and stick together. Again, I found it easier to do this step in bulk and then snip them in one go (see below).
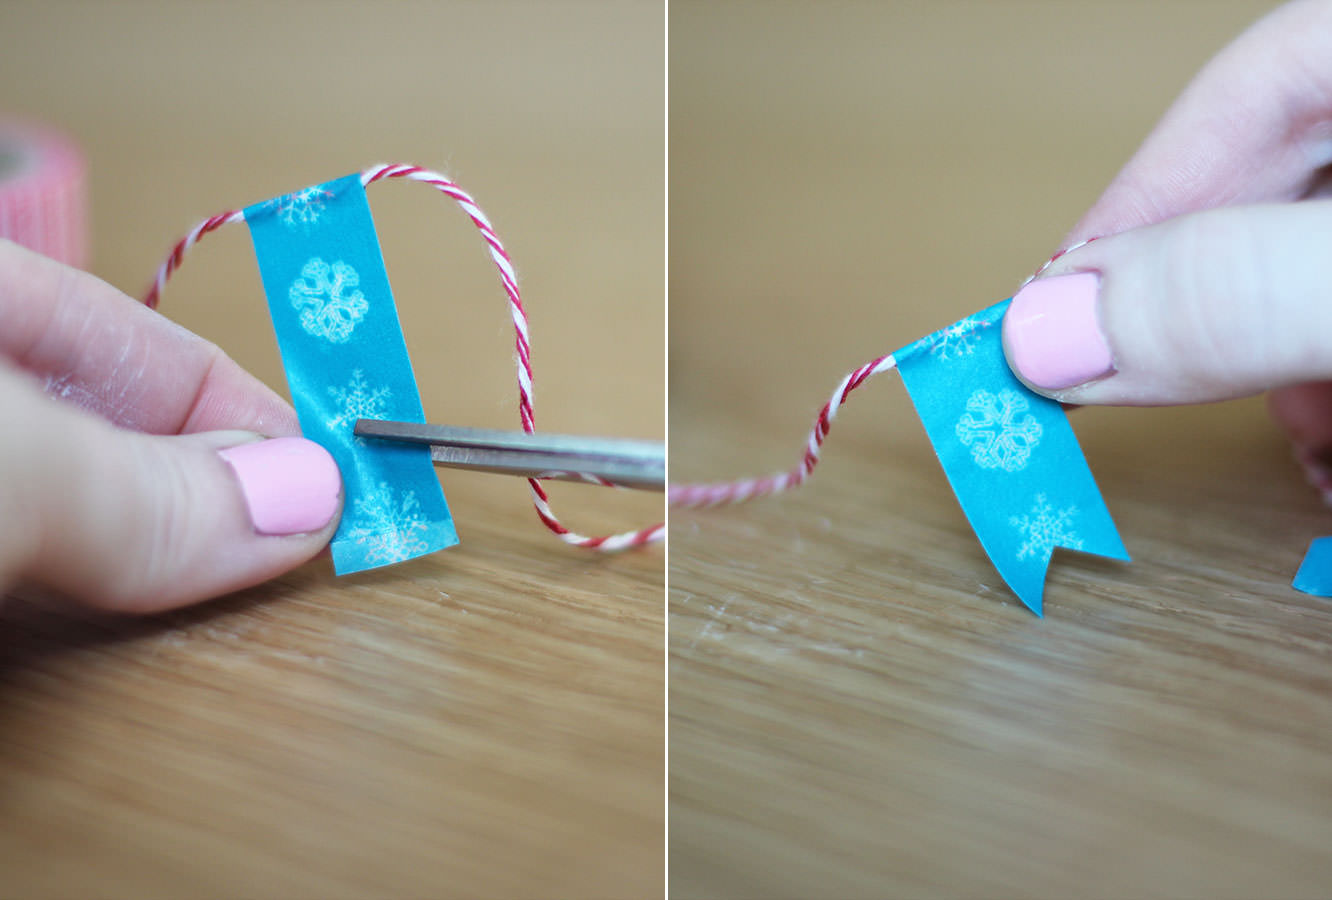
Step three
Cut an upside-down ‘v’ shape into the end.
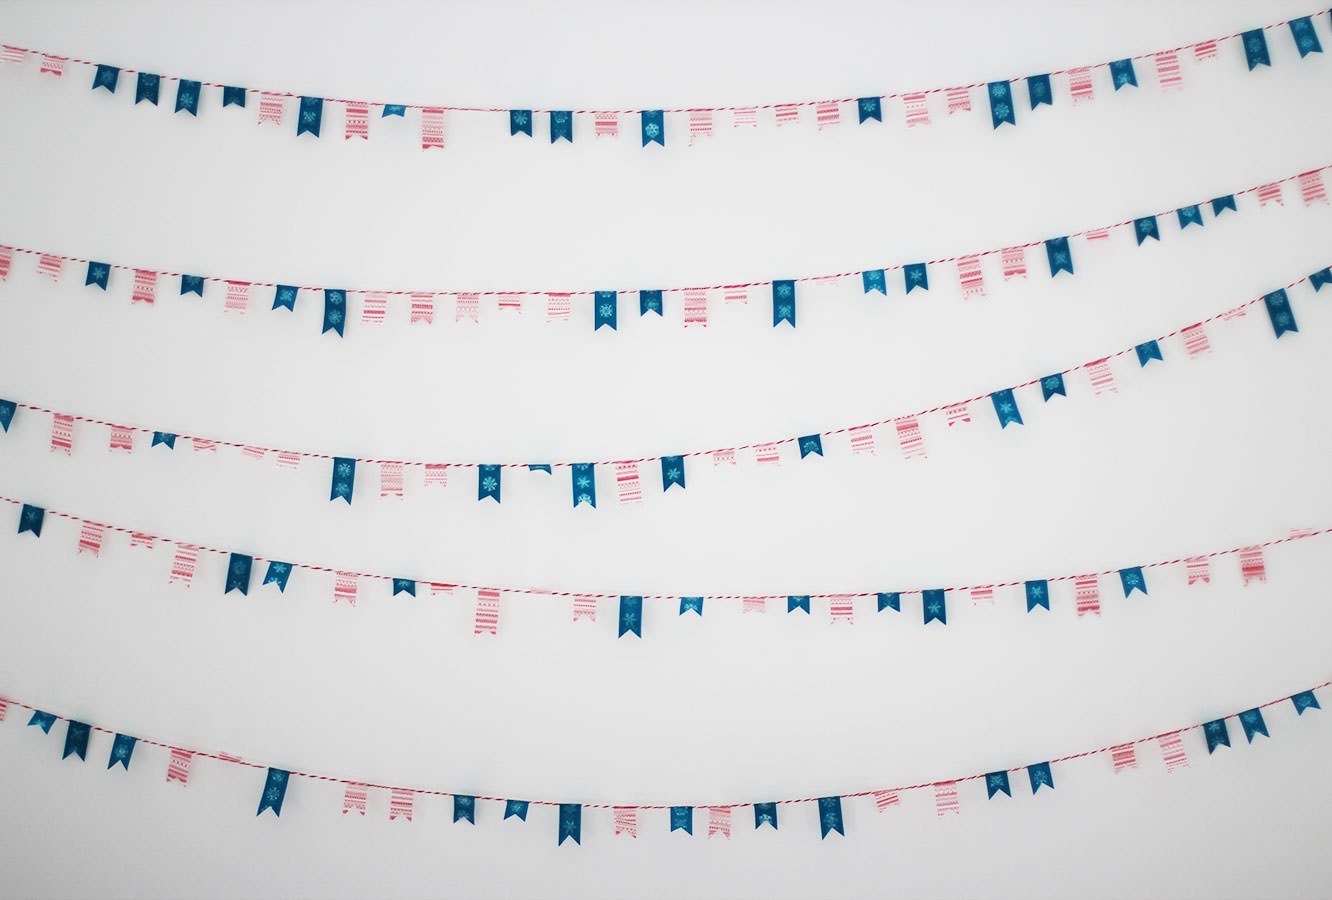
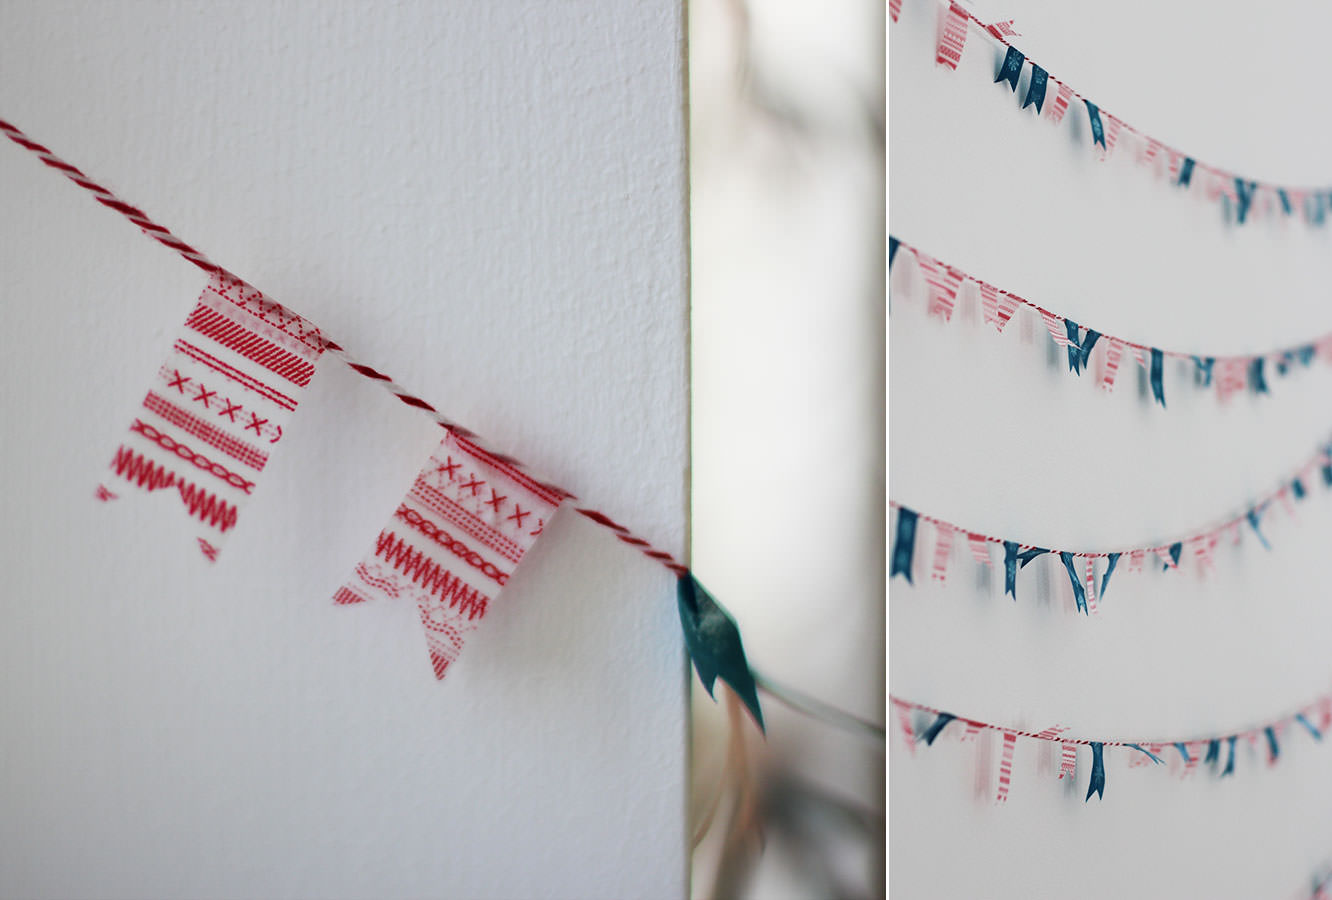
Step four
Hang them.
#2: Twig decoration

You will need
Some twigs foraged from the nearest tree
White or cream spray paint
Fairy lights or decorations
Jug/vase/plant pot
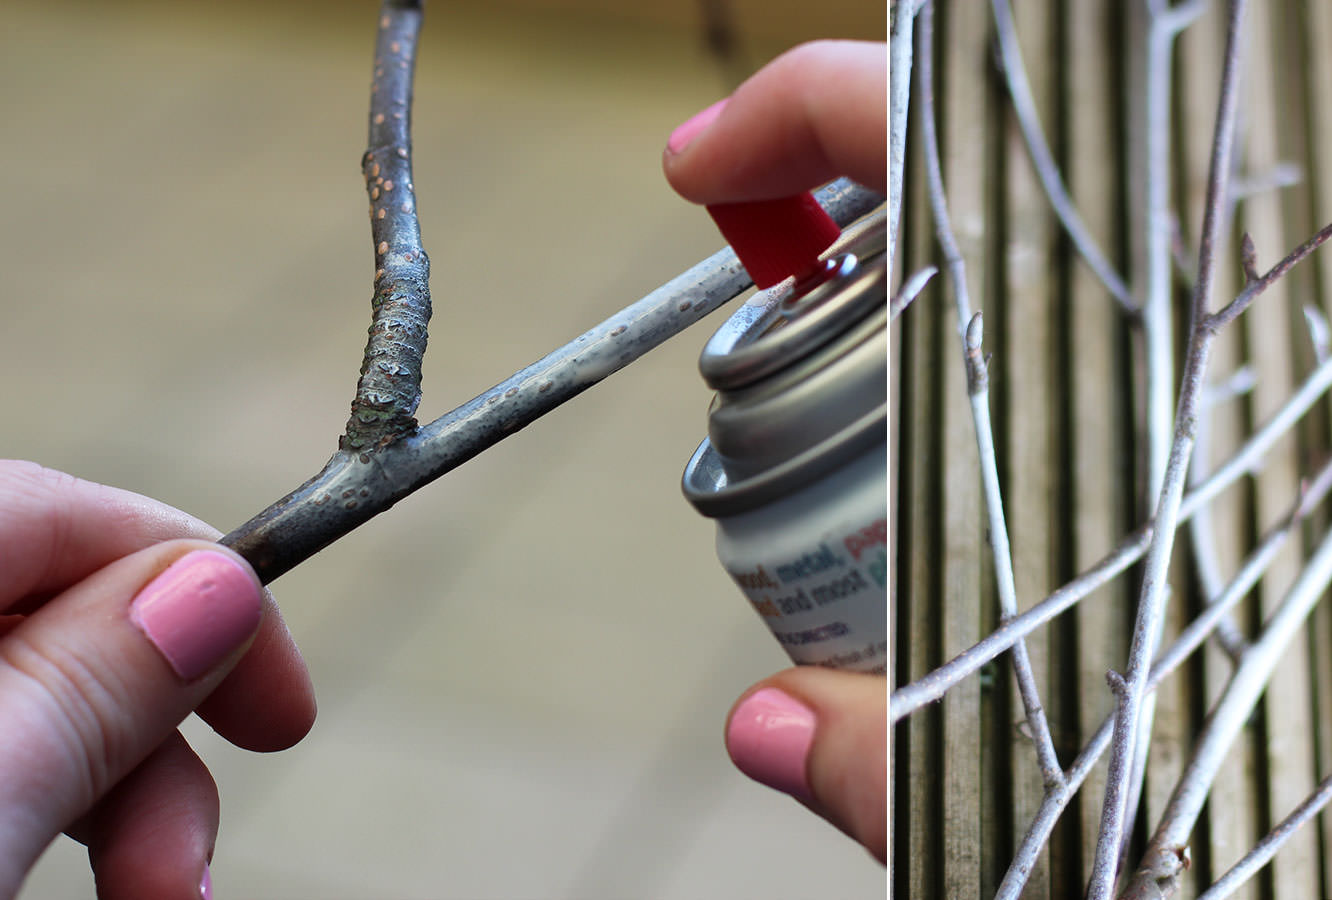
Step one
Spray twigs.
Step two
Place in holder.
Step three
Decorate.
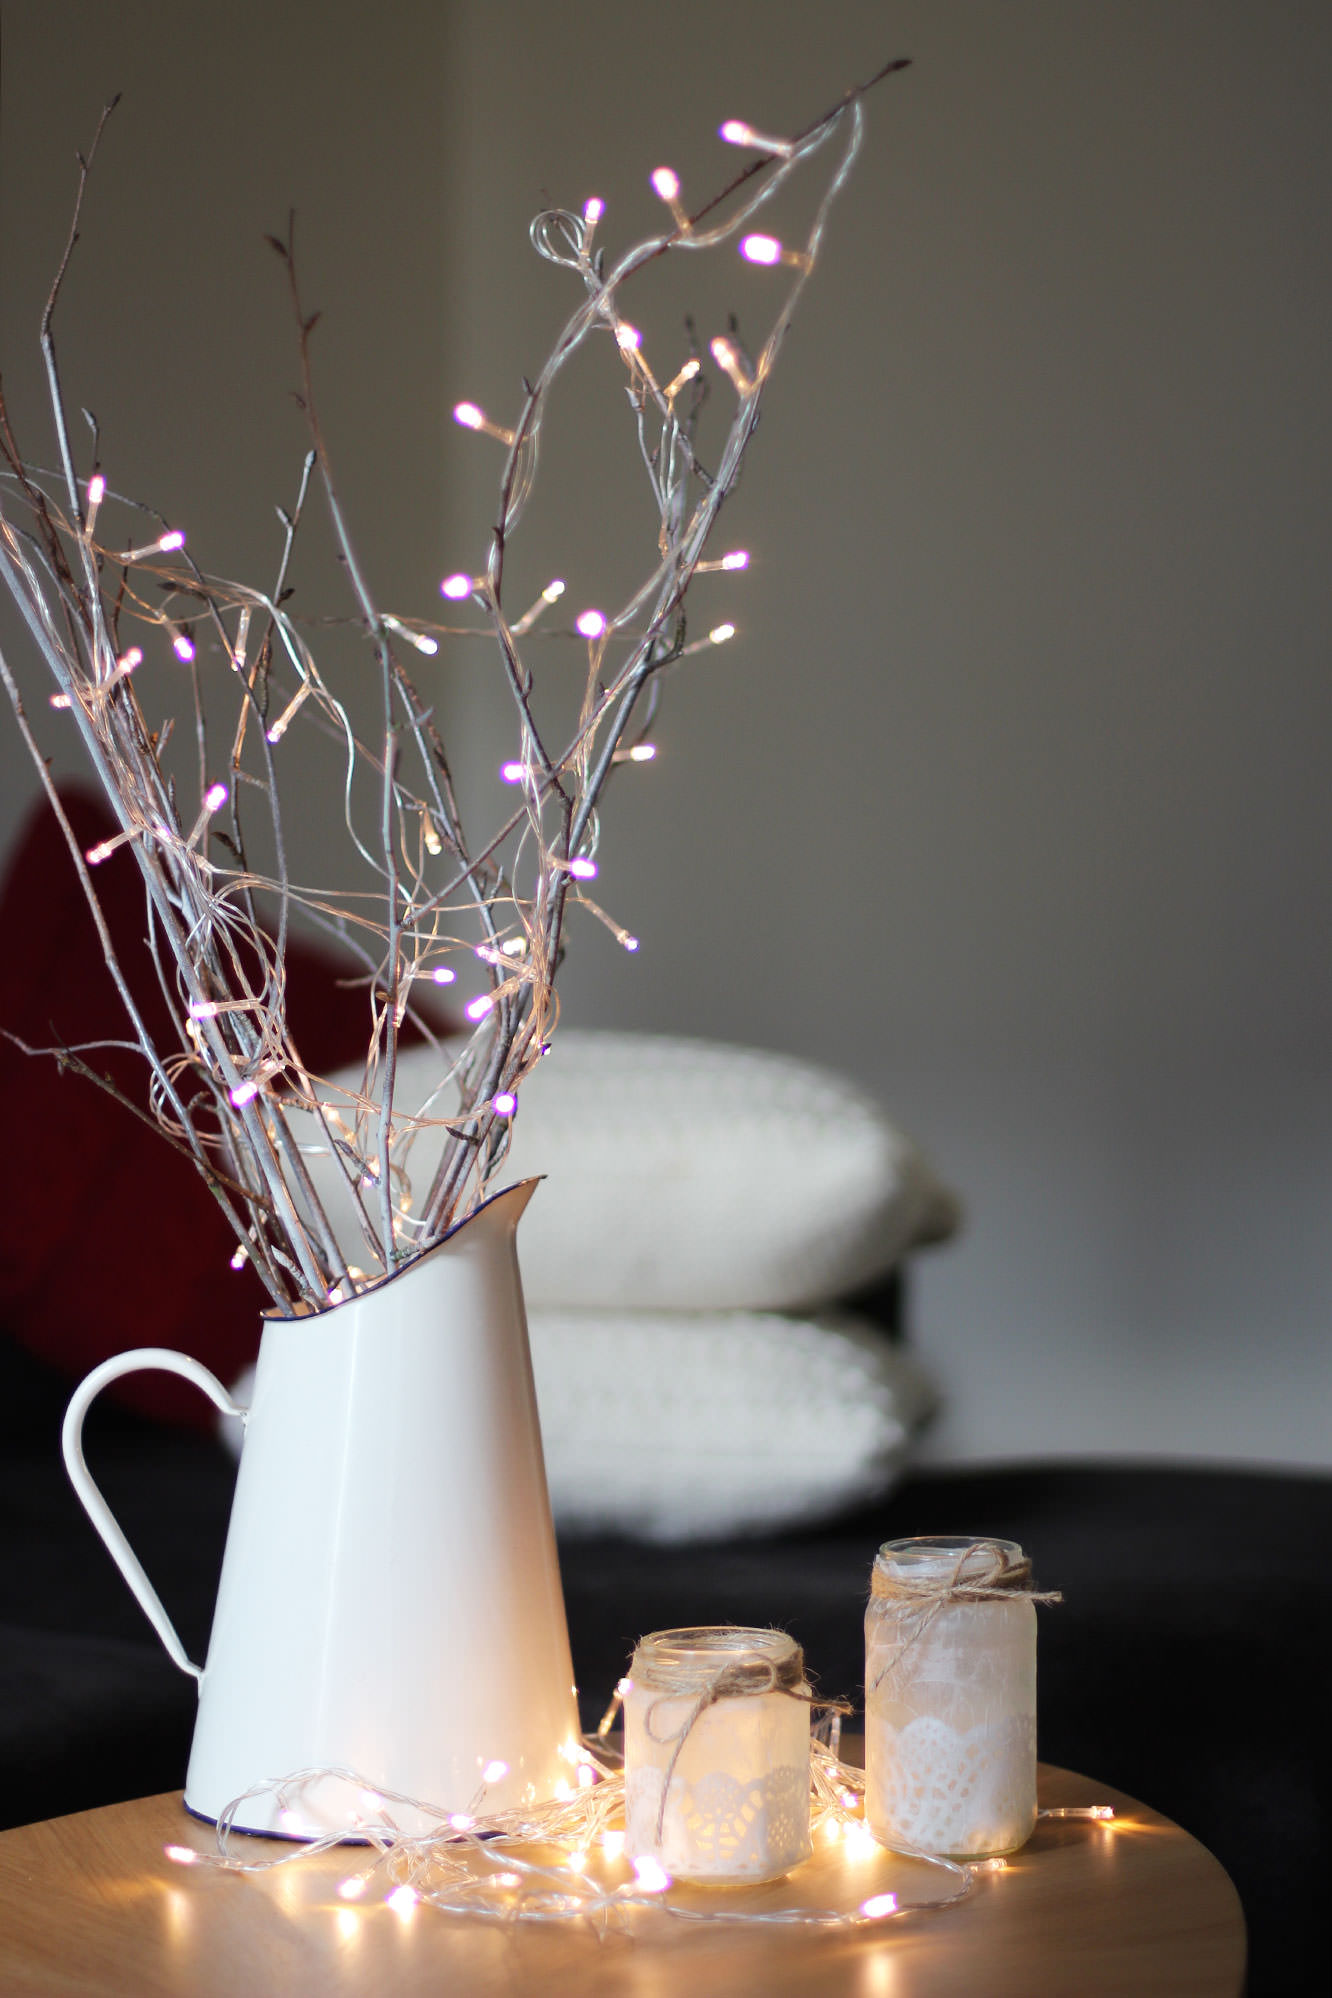
Just in case you want the tutorial, here’s how to make the candle holders in the photo.
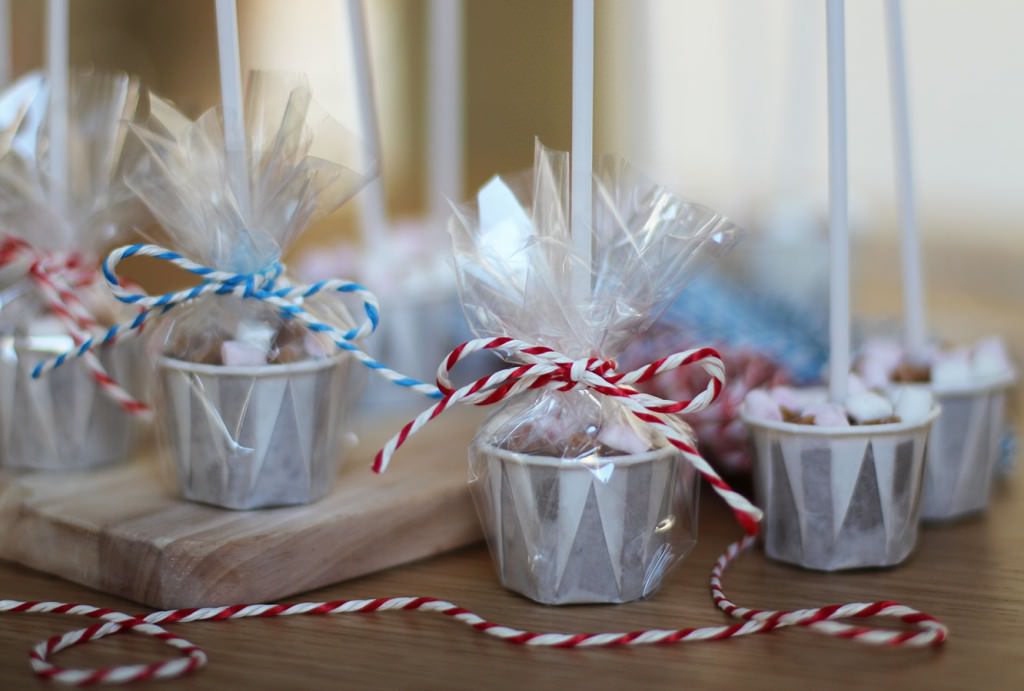
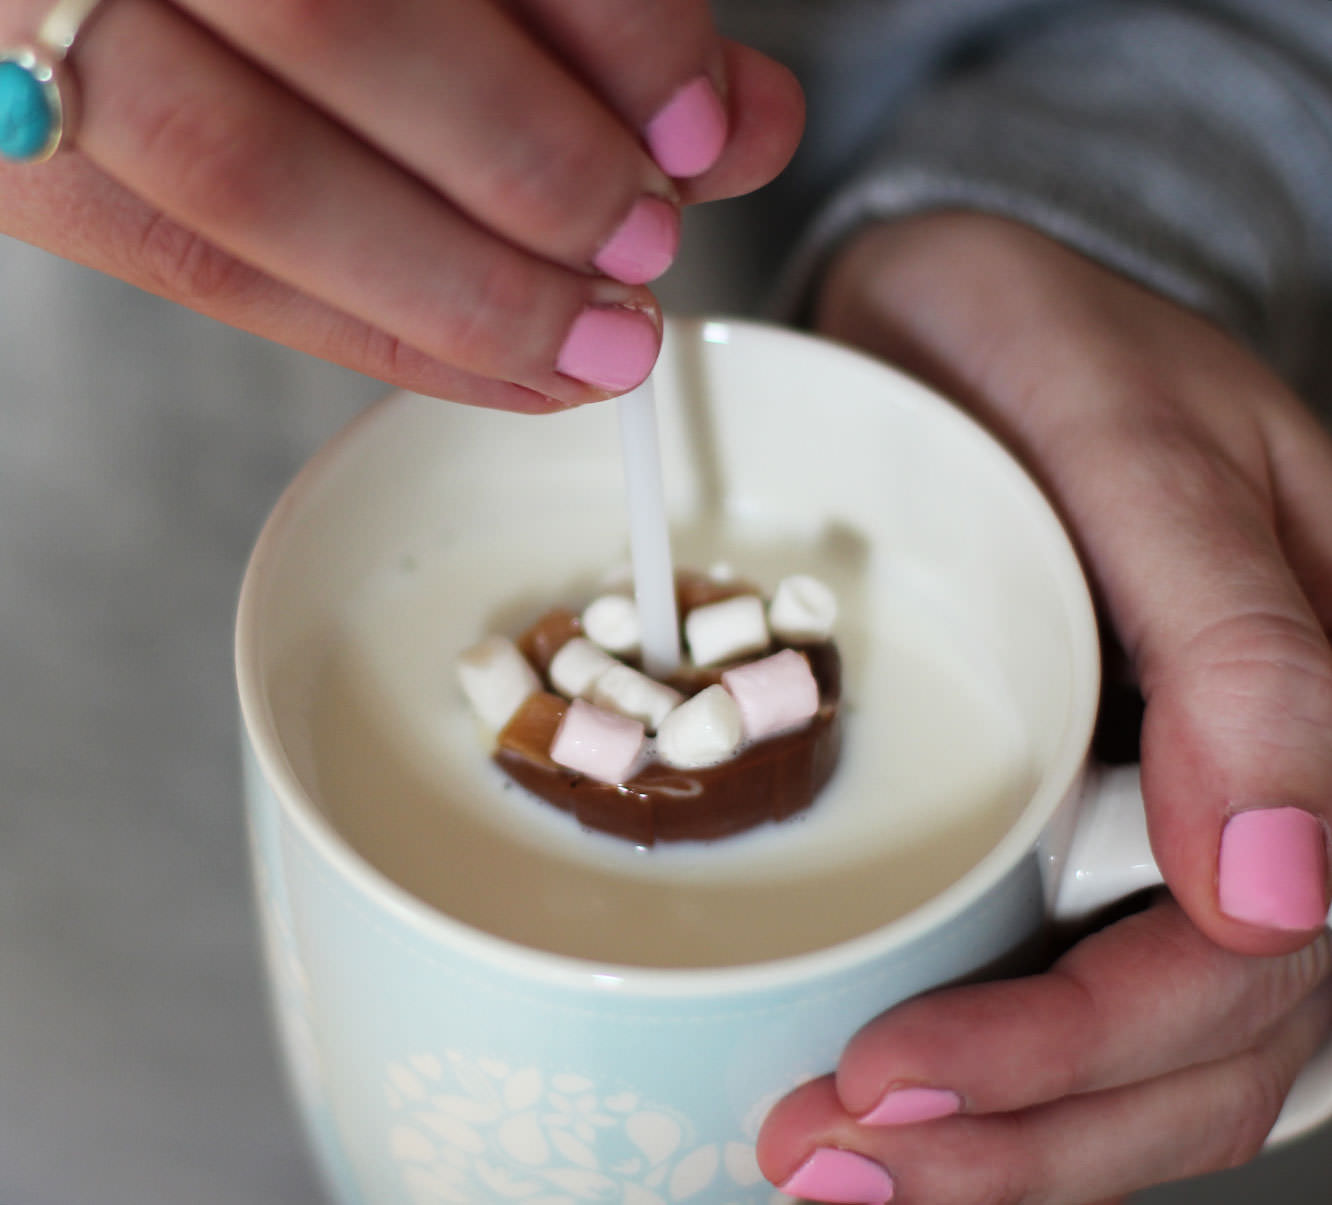
#3: Hot chocolate stirrers
I saw one of these at the shops today, it was £3! These make a great little stocking filler, present topper-upper or gifts for the neighbours. Just swirl into hot milk for a luxury hot chocolate.
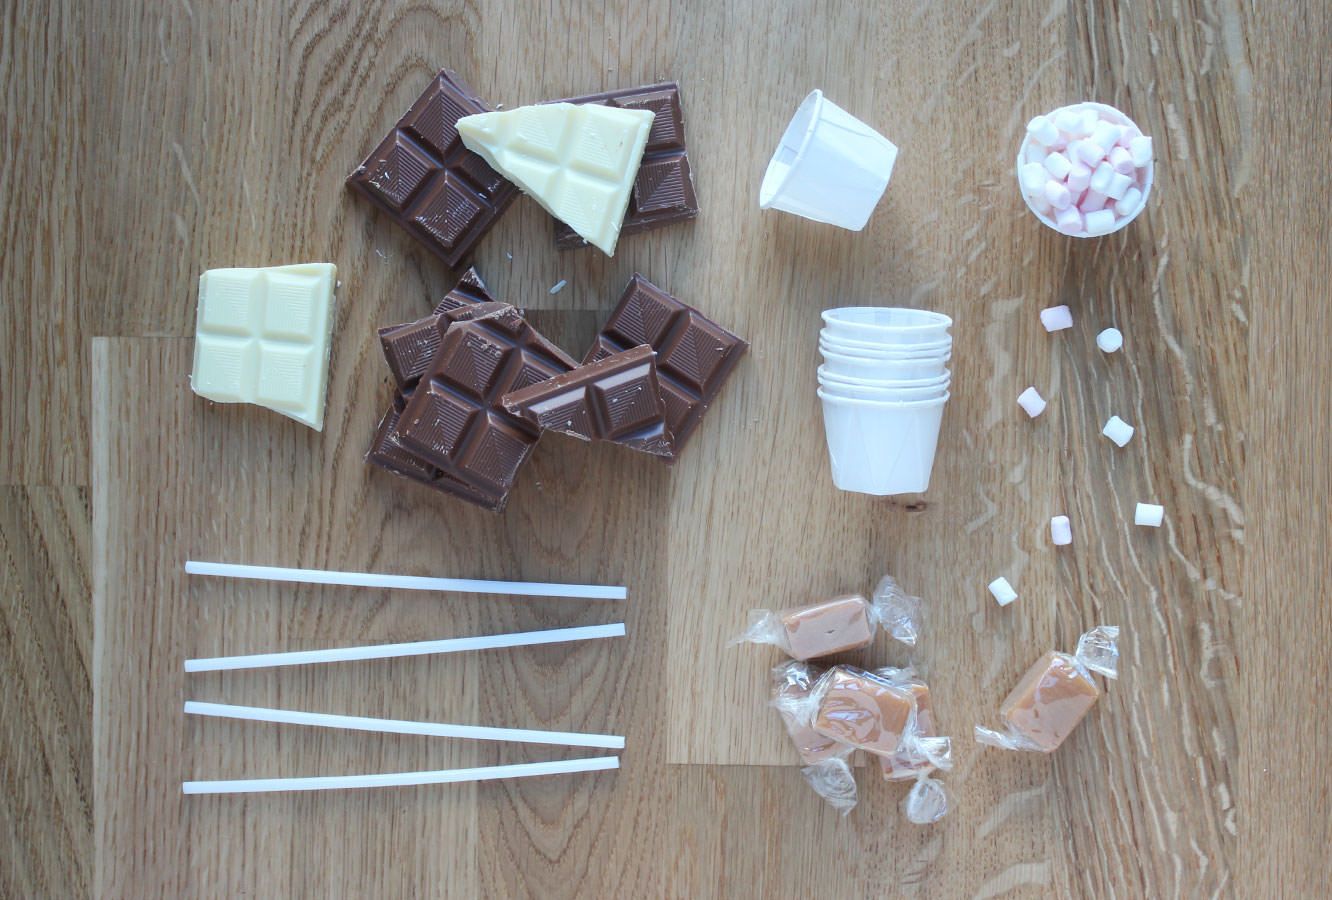
You will need
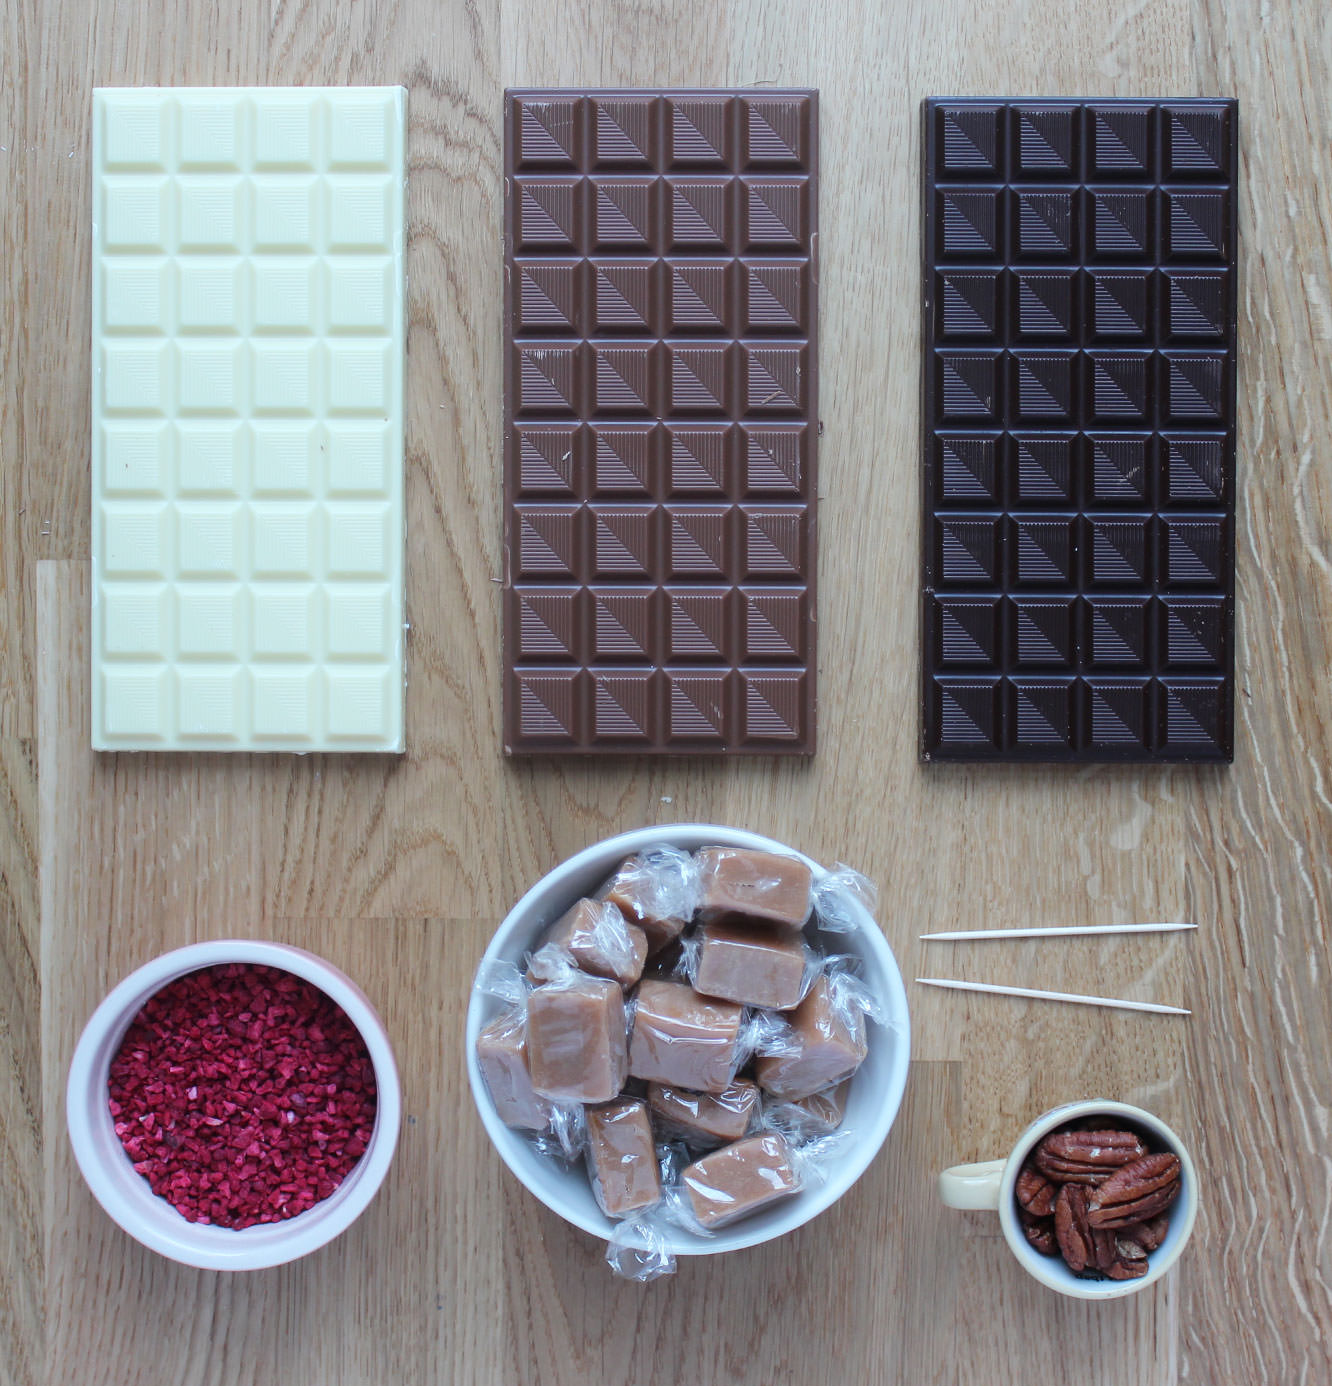
400g/ 14oz Milk chocolate
50g/ 1.5oz White chocolate
Condiment cups (if the closest McDonalds doesn’t have these you can buy them online, or use mini-muffin cases)
Mini mini marshmallows (these tiny fellows are from Waitrose)
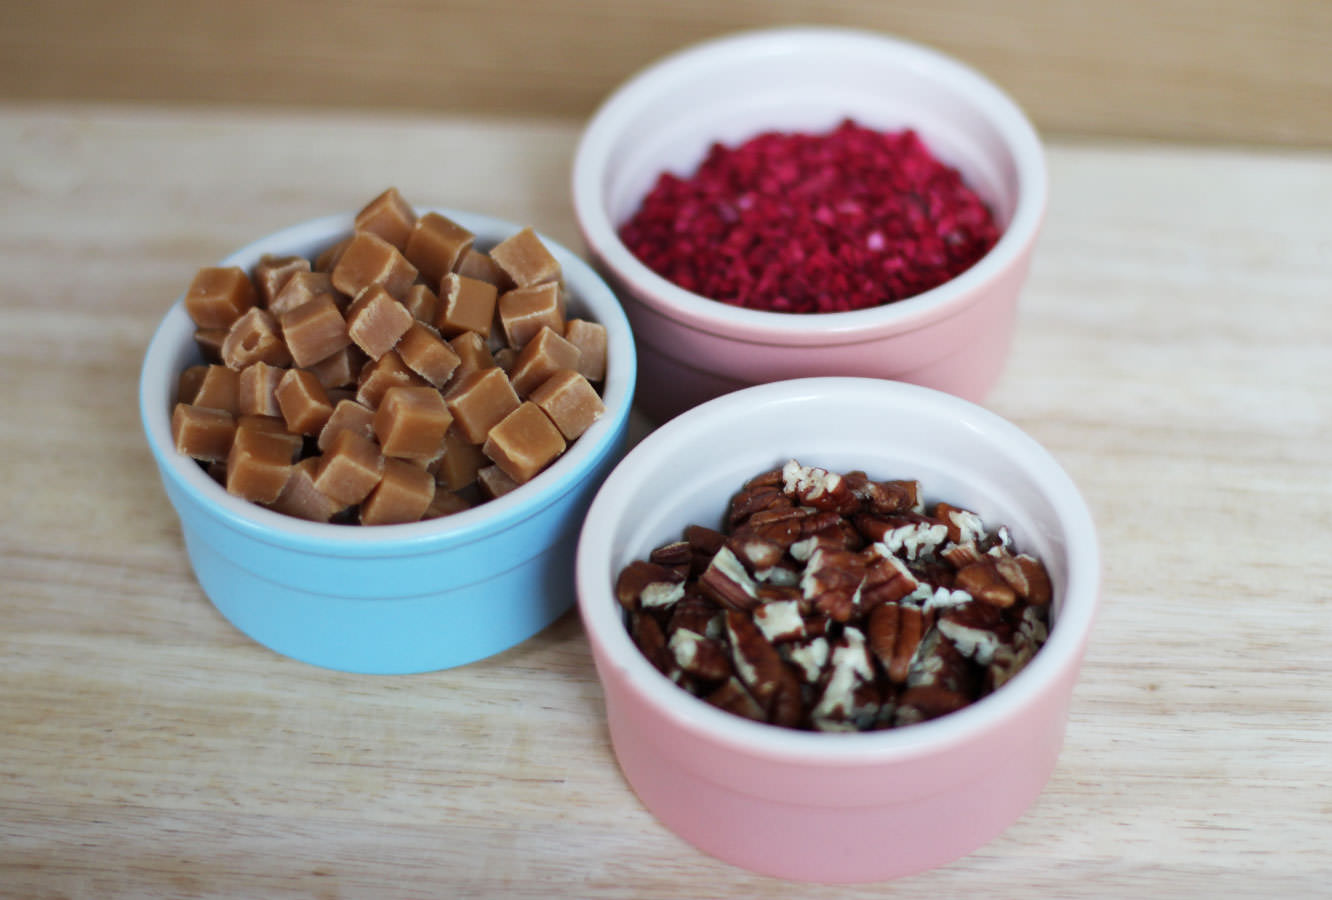
Fudge pieces
Cake pop sticks
Edible glitter (optional)
(Makes 10-12. You need roughly 35g chocolate per cup so adjust the above to suit the number of hot chocolates you want to make).
For wrapping
Cellophane roll (available online or from craft shops)
Chrismassy ribbon or string

Step one
Chop the fudge into little chunks so that they’re roughly in proportion with the marshmallows.
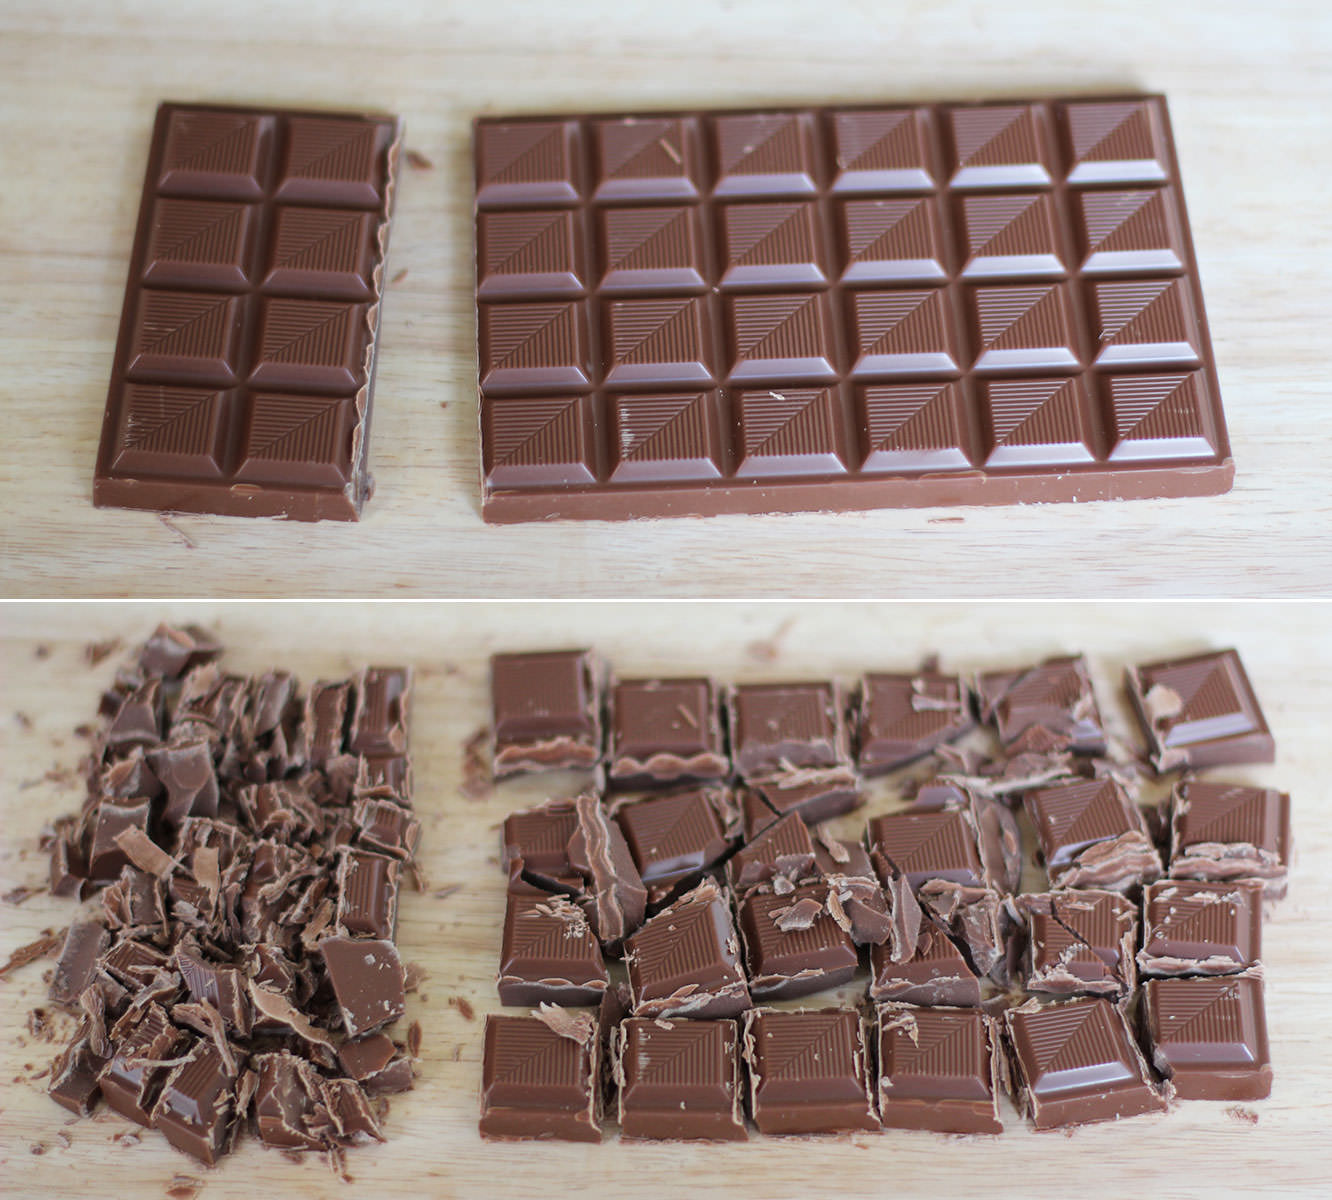
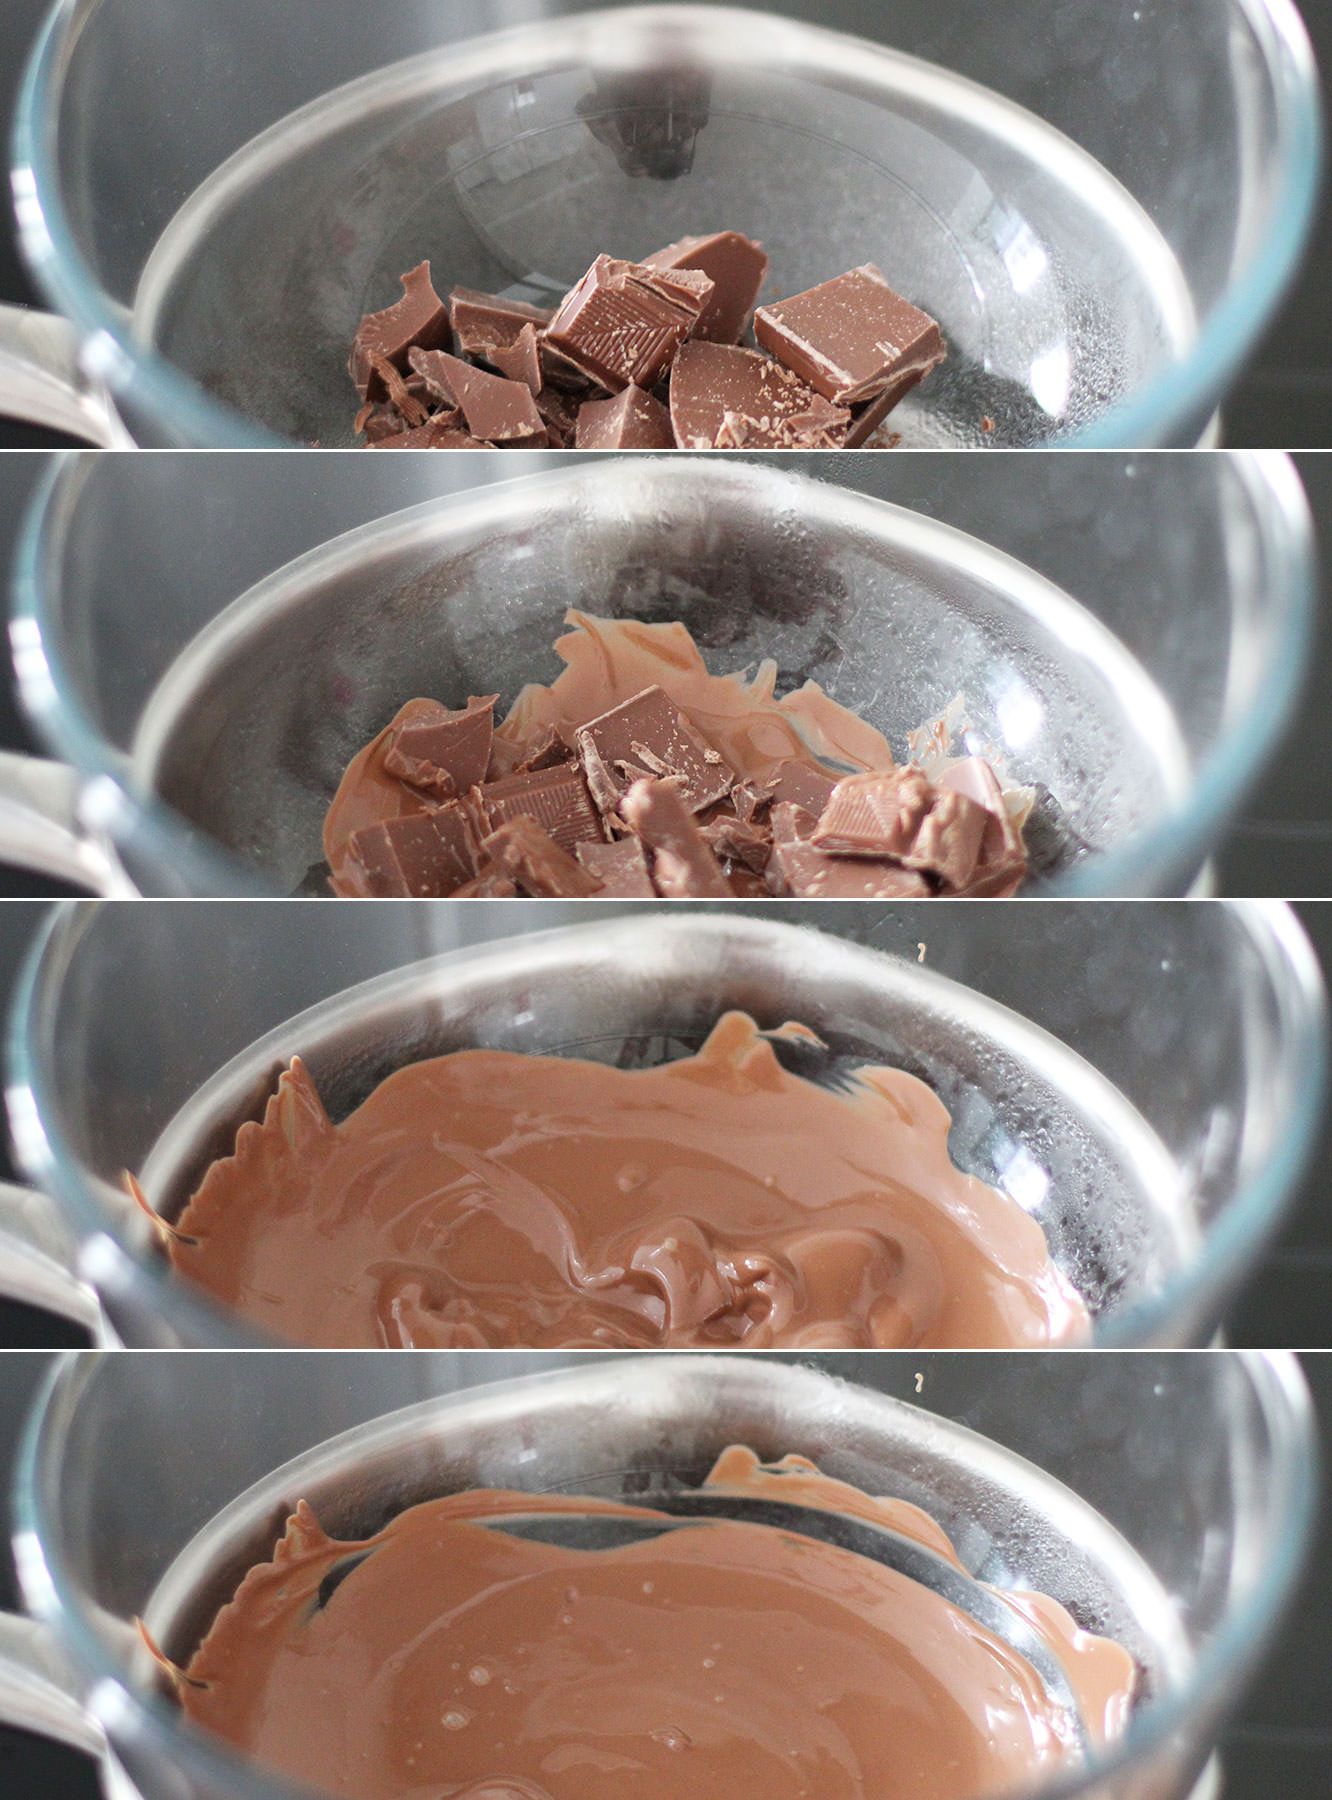
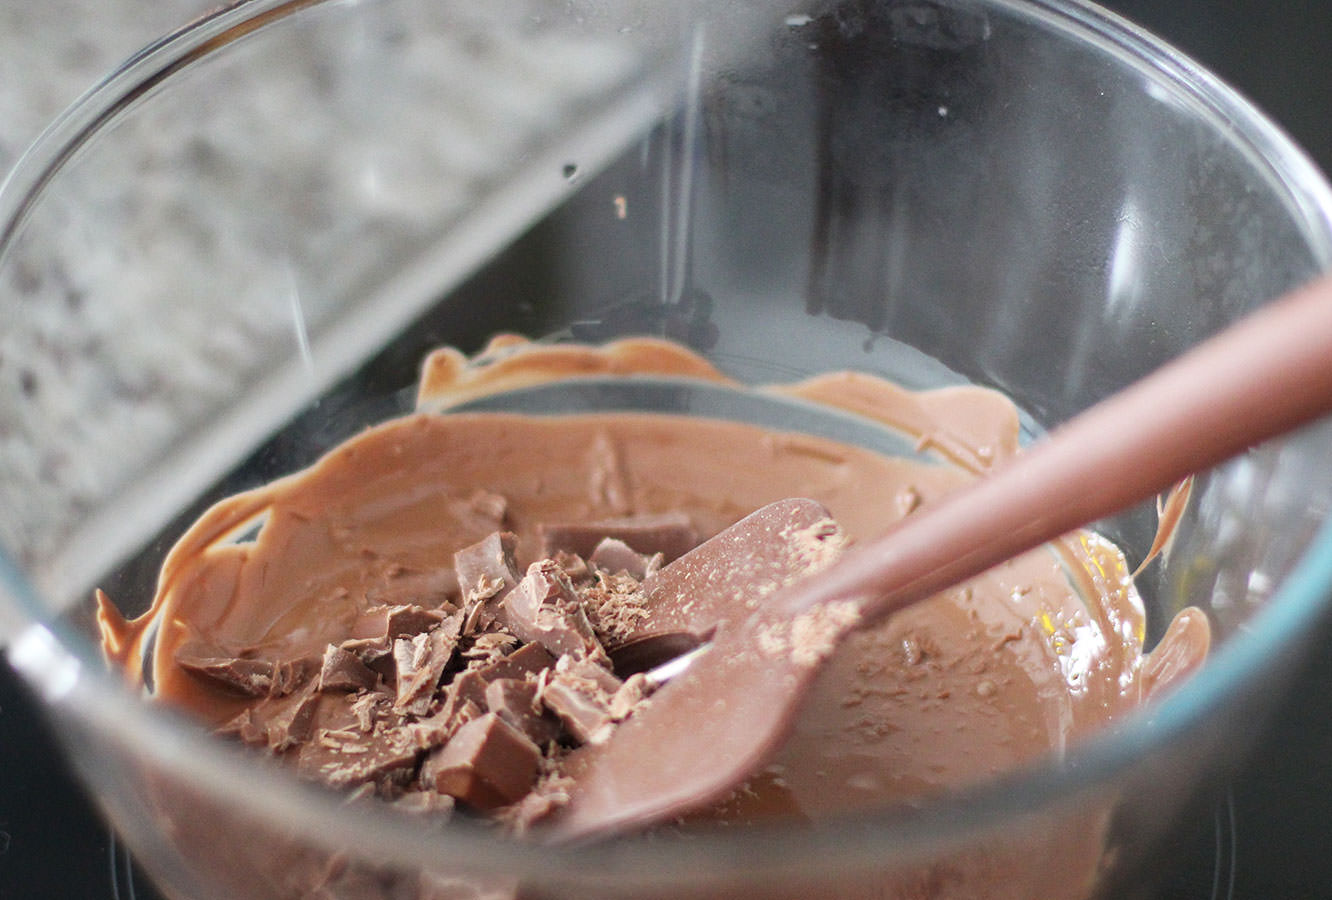
Step two
Melt the chocolate slowly in the microwave and put into piping bags. You can temper it if you want, but given that you won’t see much of it, it might not be worthwhile. I go into a bit more detail as to how to temper chocolate here.
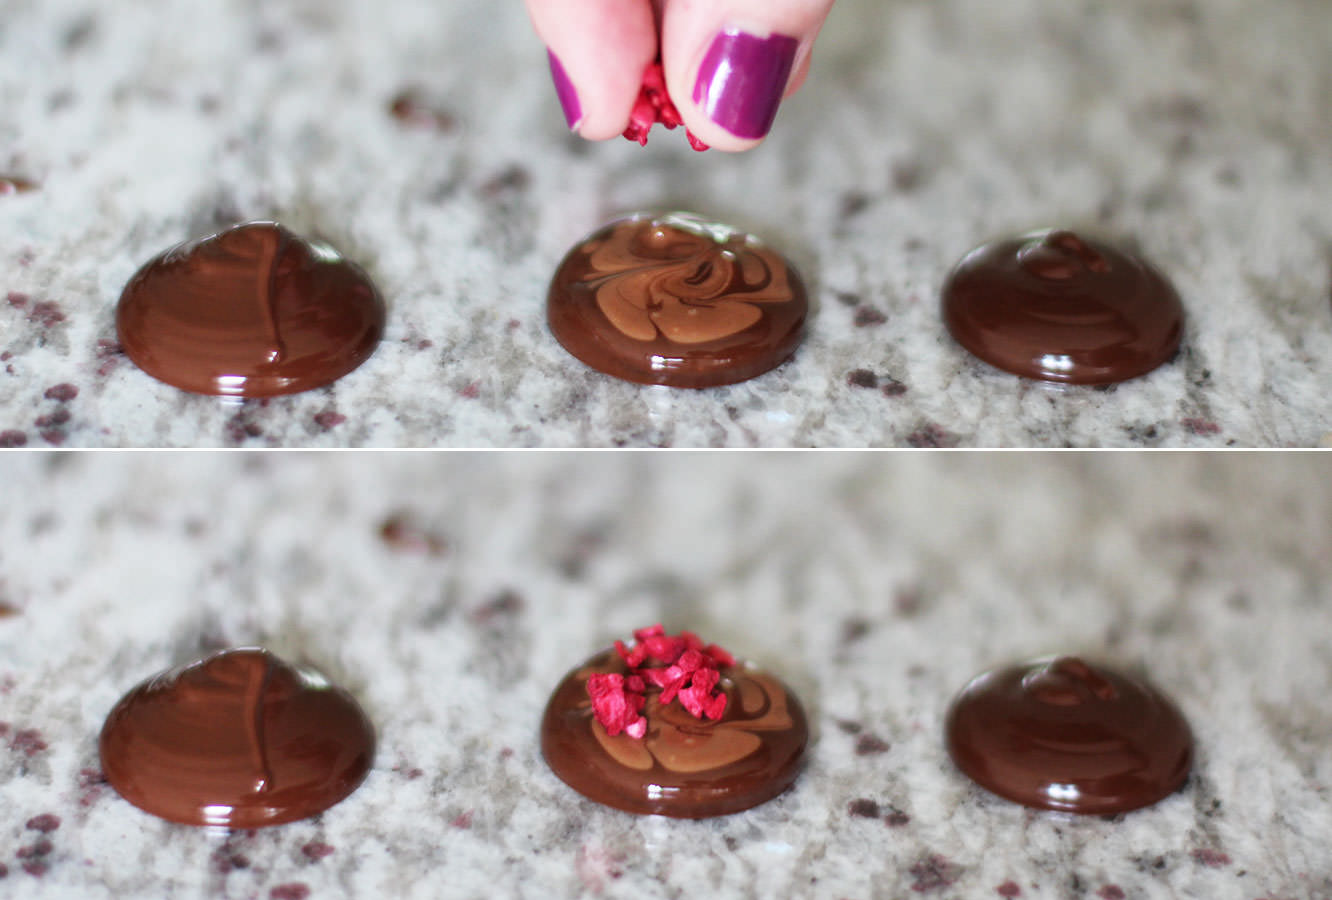
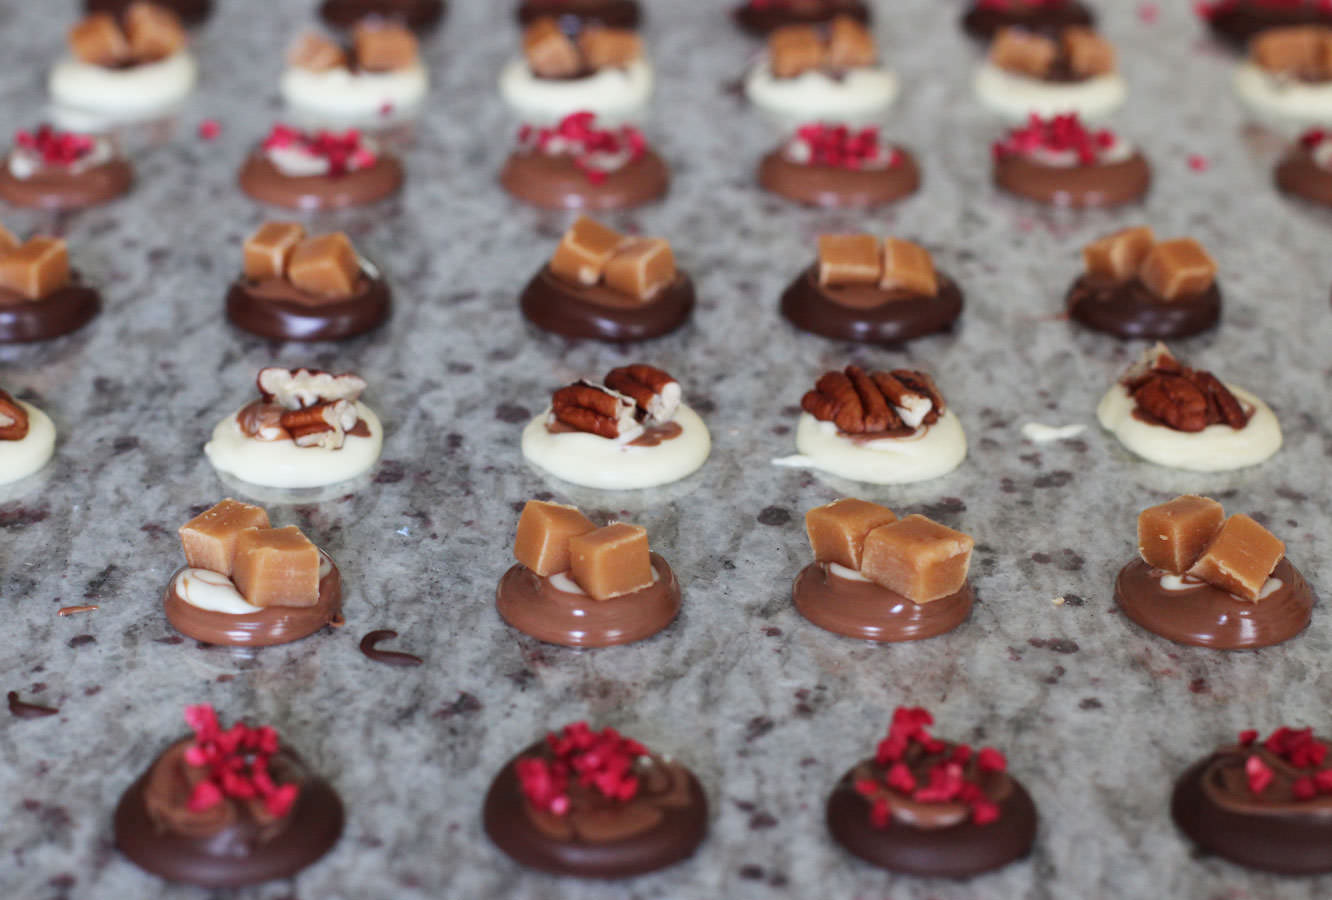
Step three
Fill cup to near the brim with milk chocolate. Add a little white and swirl in with a cocktail stick.
Place stick in and surround with fudge and marshmallows.
Leave to set.
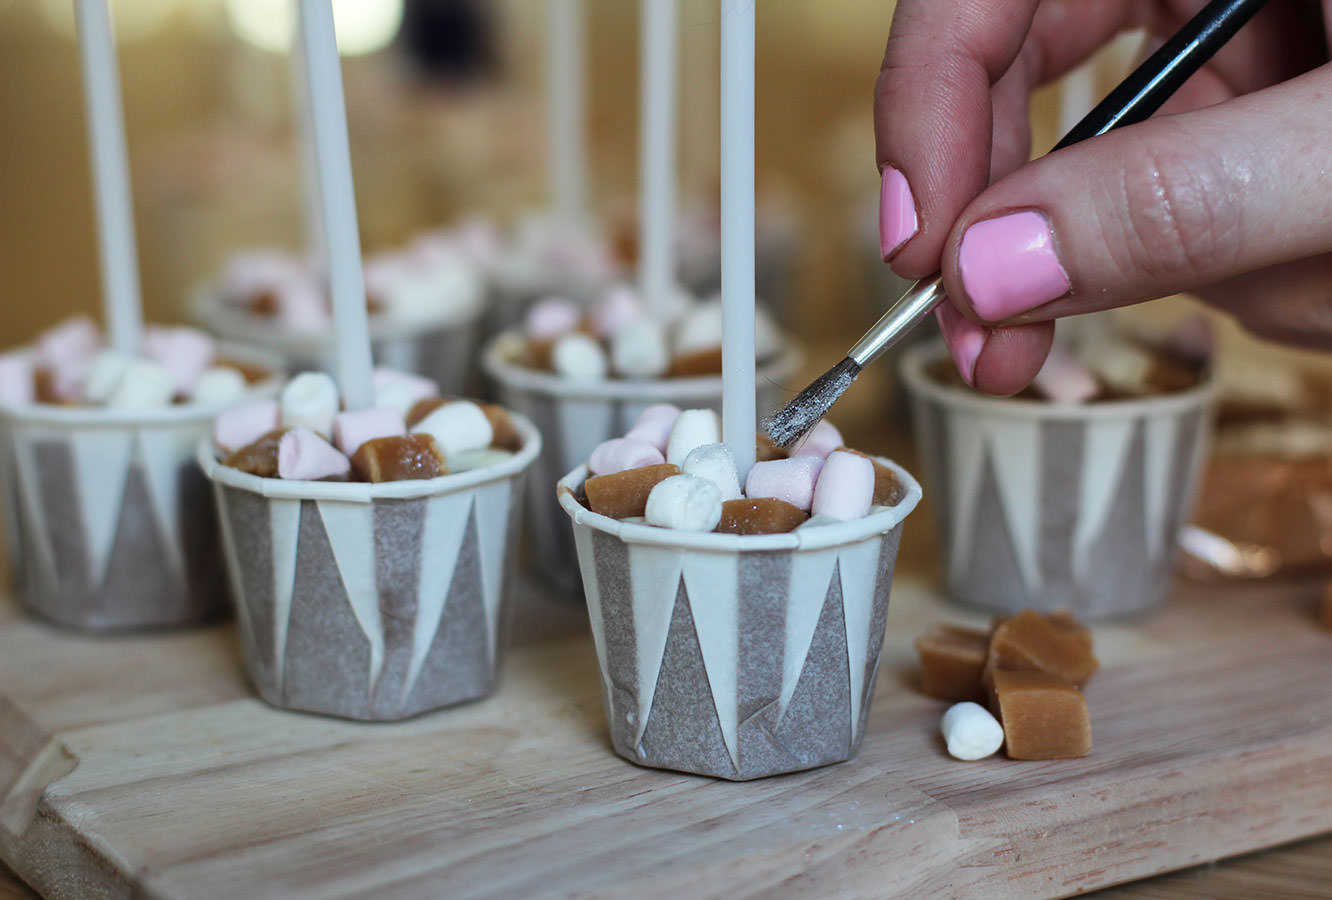
Step four
Dust on a little glitter.
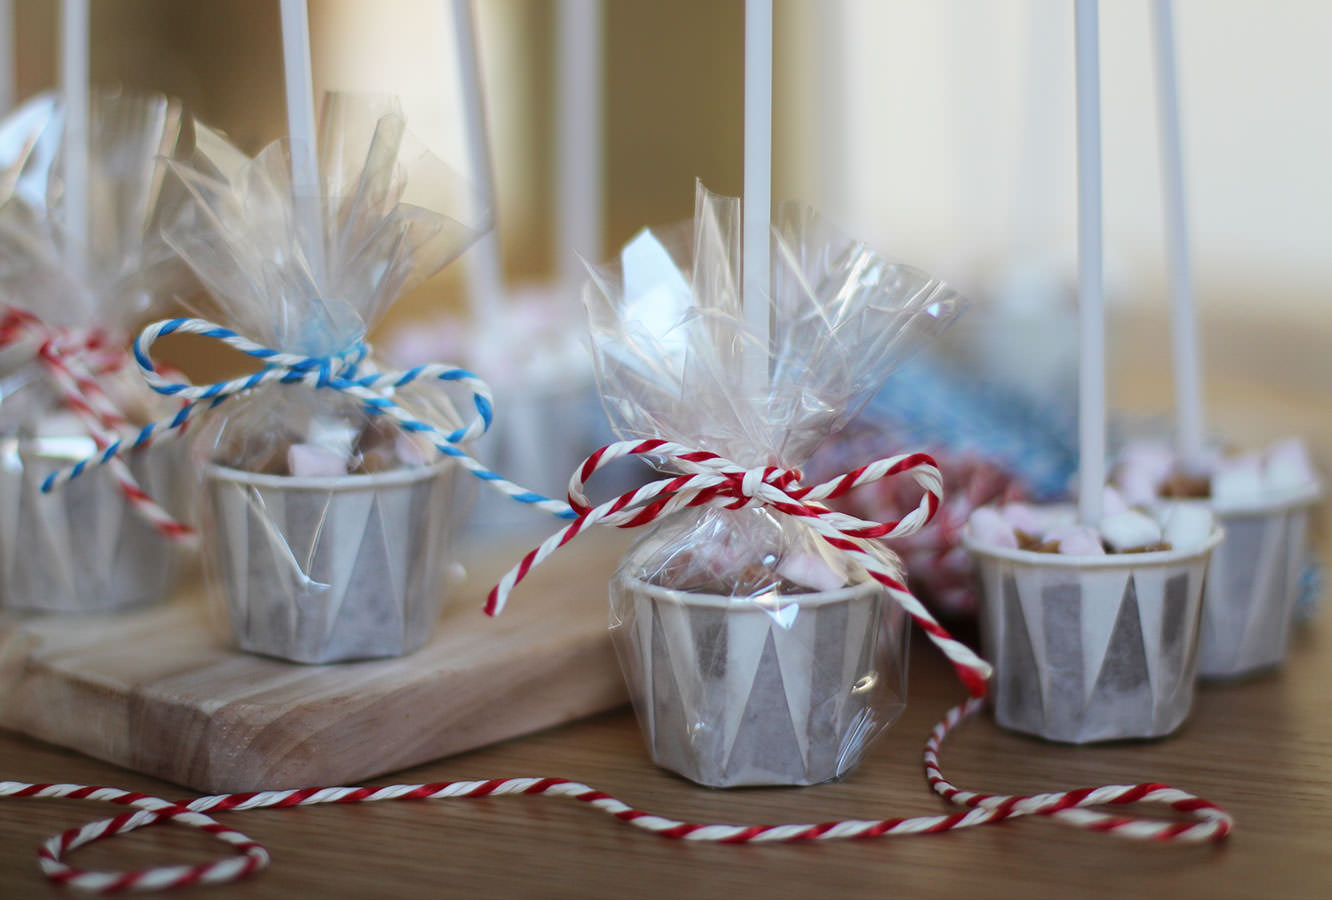
Step five
Wrap up. Cut a square of cellophane wrap and place cup in the centre, bring corners up to the middle and secure. I used a loom band to do this, you could use a small elastic band or go straight in with the ribbon/string.
Trim off the corners and ‘foof’.
Go on. There must be one spare you can treat yourself to?