Category: Celebrations

O little town of gingerbread

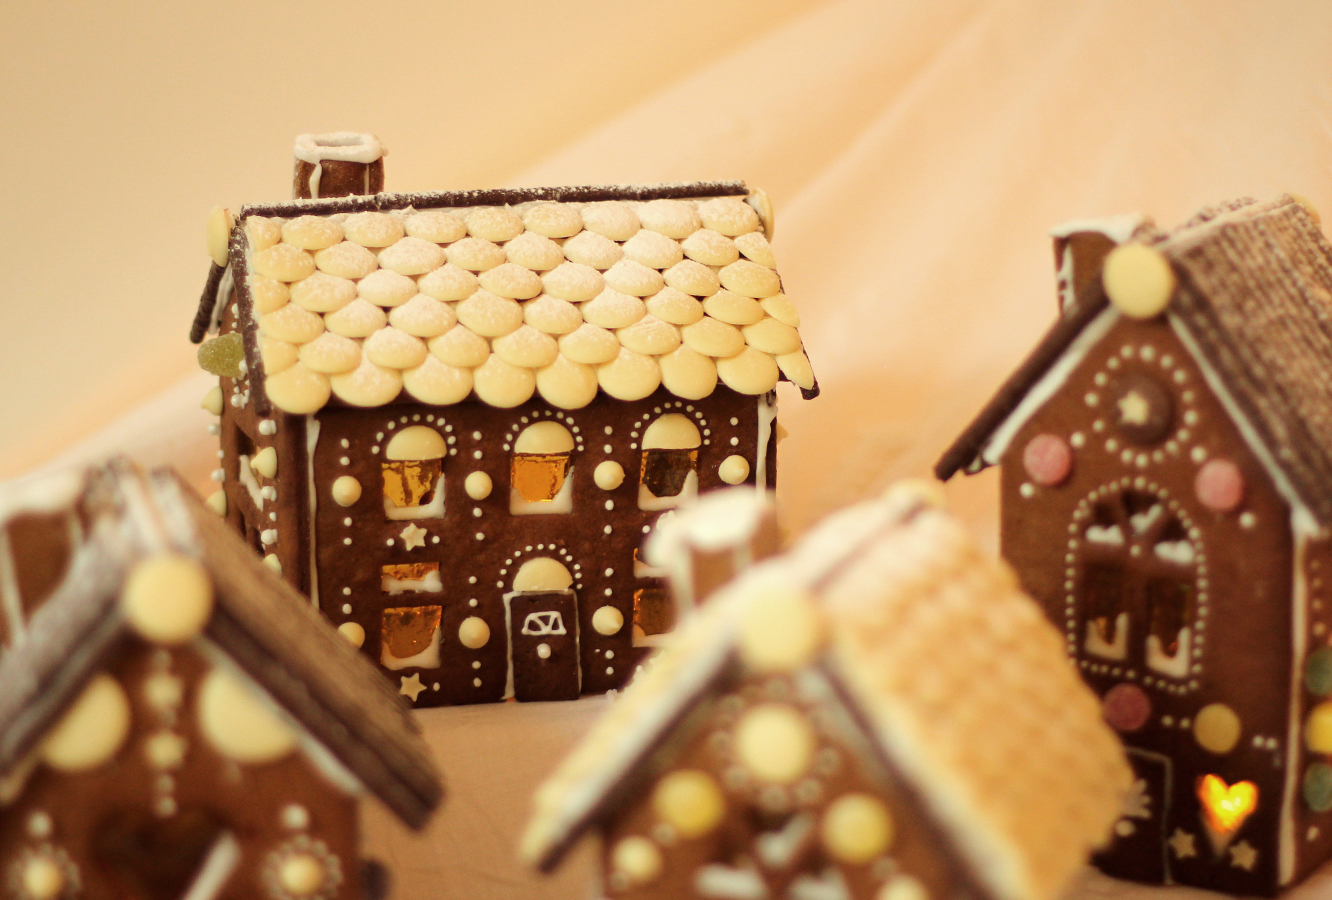
So this is later than the usual Monday night. But I hope you’ll forgive me when you see the contents, and when you remember it’s December and that I now have a full-time job.

SPEAKING OF WHICH, I have been fortunate enough to join a team full of kind and kooky misfits, who have made the last three months super fun.

This year, when considering my yearly gingerbread offering I deliberated over how I might transport one into work to share the joy. But when you make gingerbread houses like this and this and get the central line tube to work, even the thought of attempting that makes you sweat.

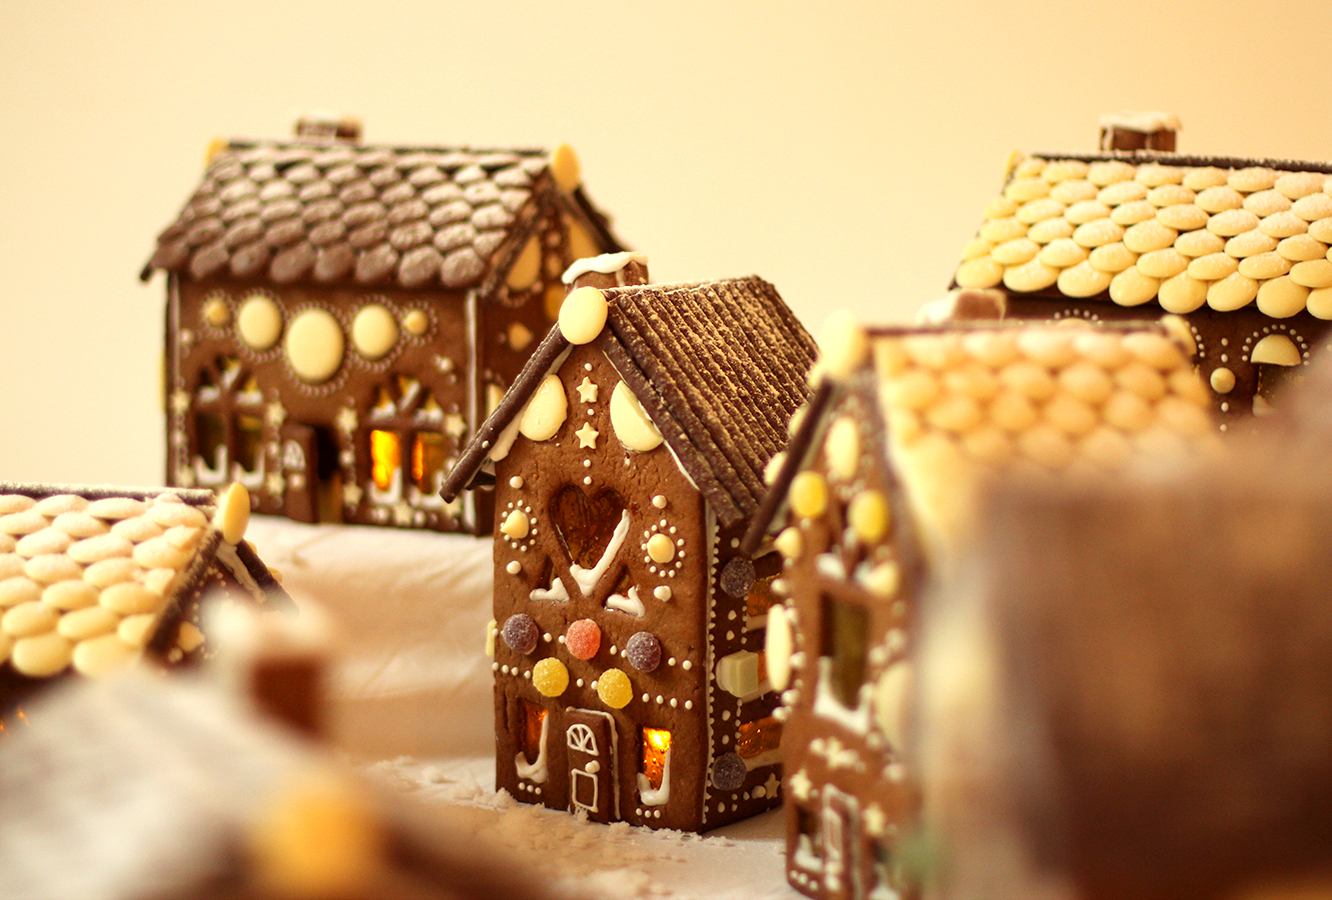
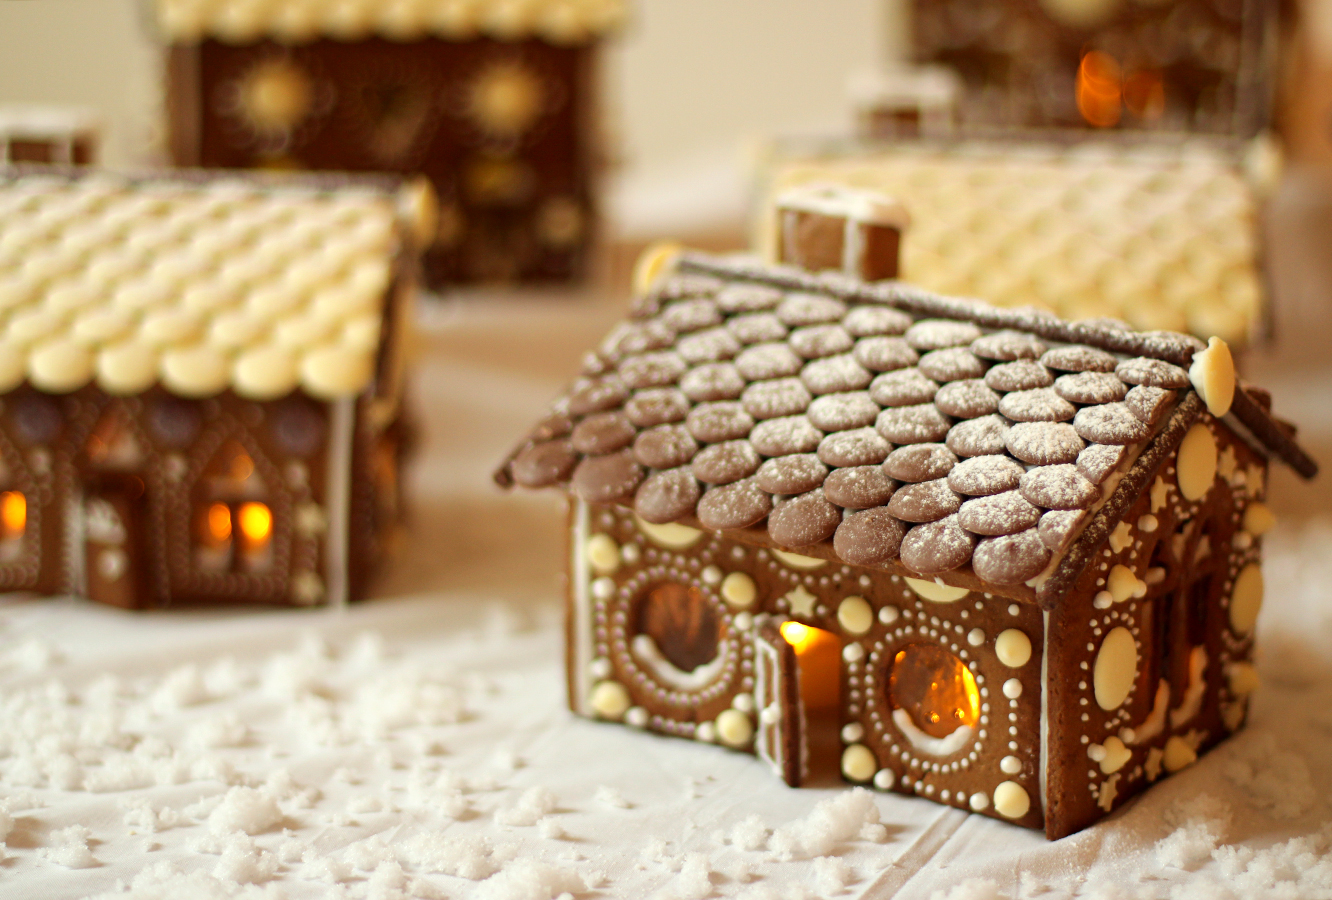
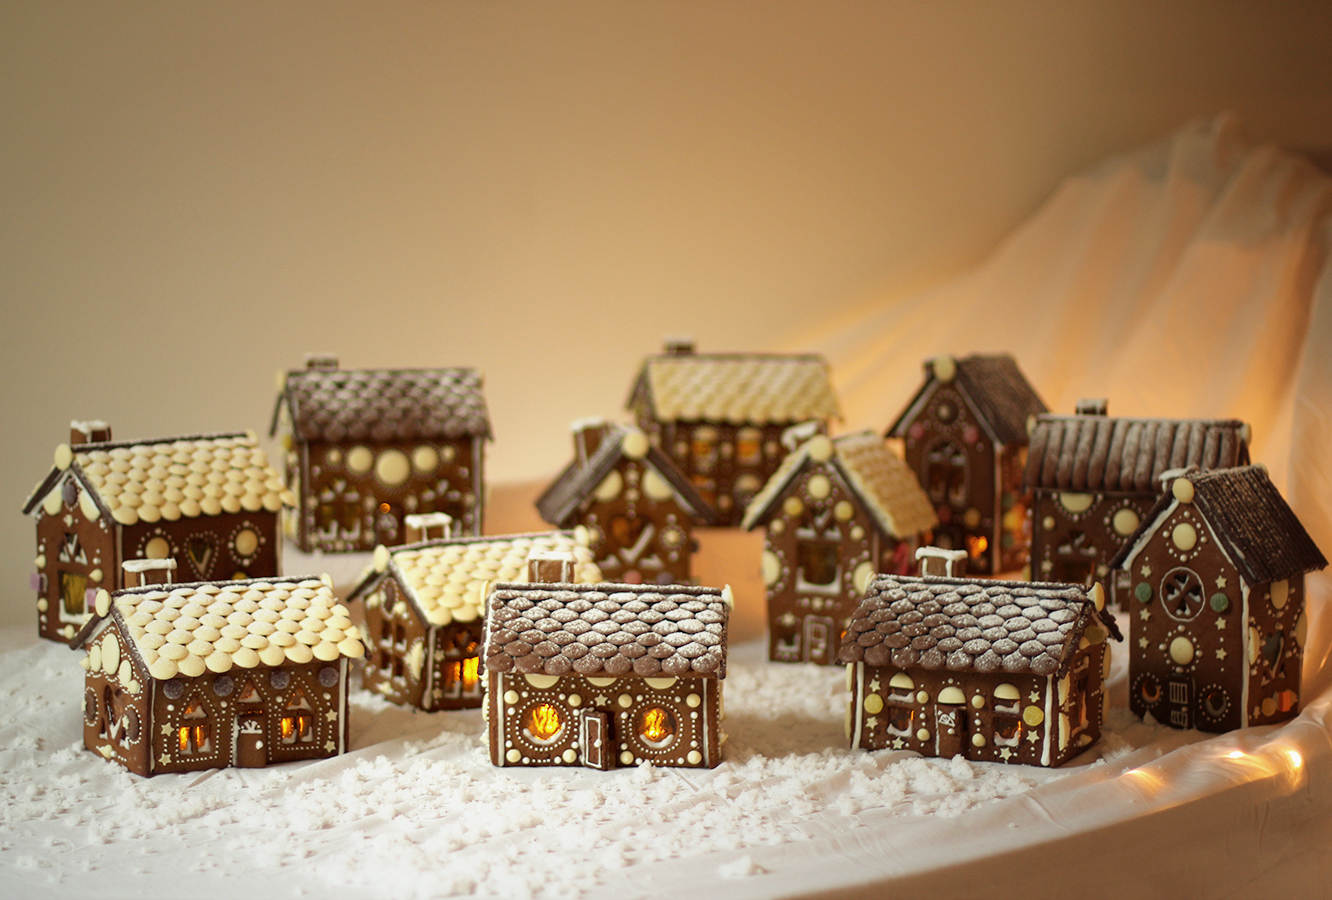
The obvious answer? Make little ones for everyone. Sure. That’s not mental at all.
gingerbread-house-village-recipe-guide-01

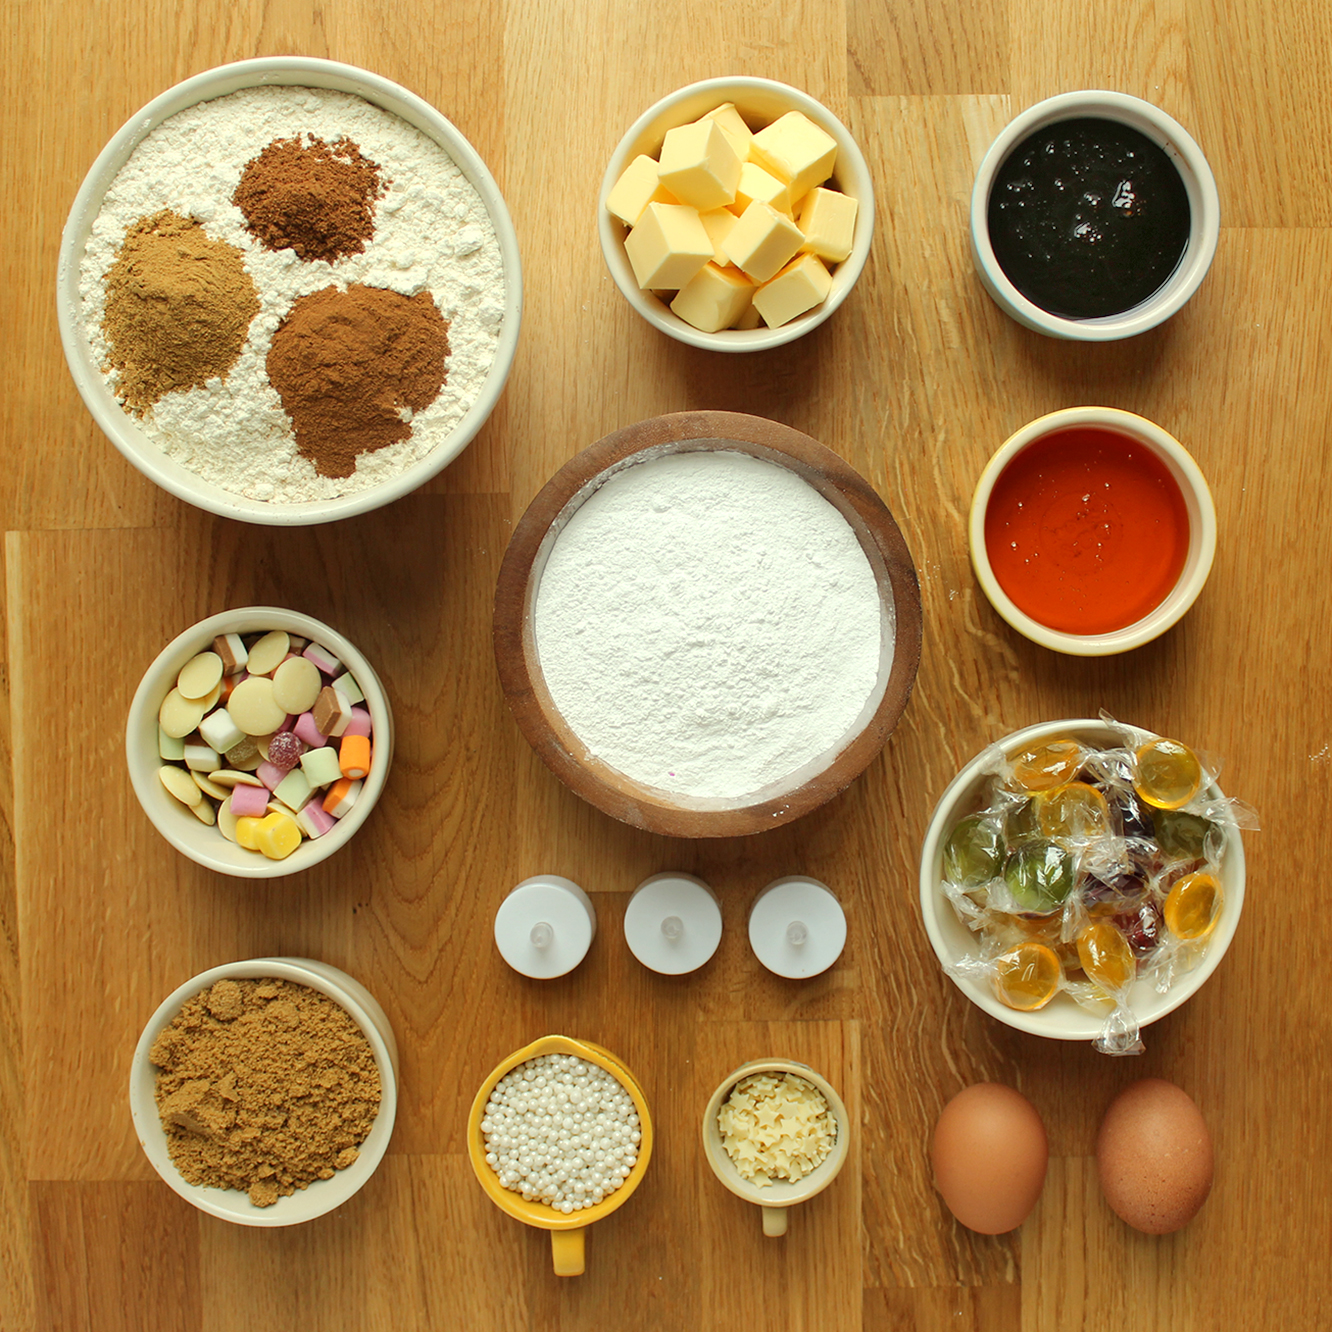
You will need:

1lb 10.5 oz/750g/5 cups plain flour

5oz/140g/1 cup soft brown sugar

7oz/200g/1 cup unsalted butter

2 eggs

5 tbsp treacle

8 tbsp golden syrup

1 tsp salt

1 tsp baking powder

2 tsp ground ginger

2 tsp cinnamon

1 tsp nutmeg

A box of royal icing (read notes below)

The template

ALL THE SWEETS (including boiled sweets for the windows)

LED tea lights if you want it to look like there’s a fire on inside

Some notes:

  • The quantities above make 4 little houses. Yes, I made 3 batches of mixture. It will make about one medium to large house, both the links in the blurb above required a batch and a quarter or so.
  • For the roofs I use either chocolate buttons, fingers or matchmakers. The roof on house one is the right size for chocolate finger biscuits, matchmakers are great because they are long, but they are narrow so you need quite a few. Roughly it works out like this per roof for these templates: one box of matchmakers, two boxes of fingers, and two bags of buttons (based on Sainsbury’s own 3 for £1 bags)
  • You need a lot of royal icing, get a few boxes, I used 3 for 12 houses.
  • For the bases I use a thick cardboard box covered in tinfoil. You could buy a cake board, but then you have to work out if your house will fit, or make it to fit the board. I prefer to make the base to fit the house, less restrictive that way.
  • For a bit of advice on template making for bigger houses click here
  • You are unlikely to complete all this in one day, as you need to let the dough cool before rolling it out, just a little FYI.
gingerbread-house-village-recipe-guide-02

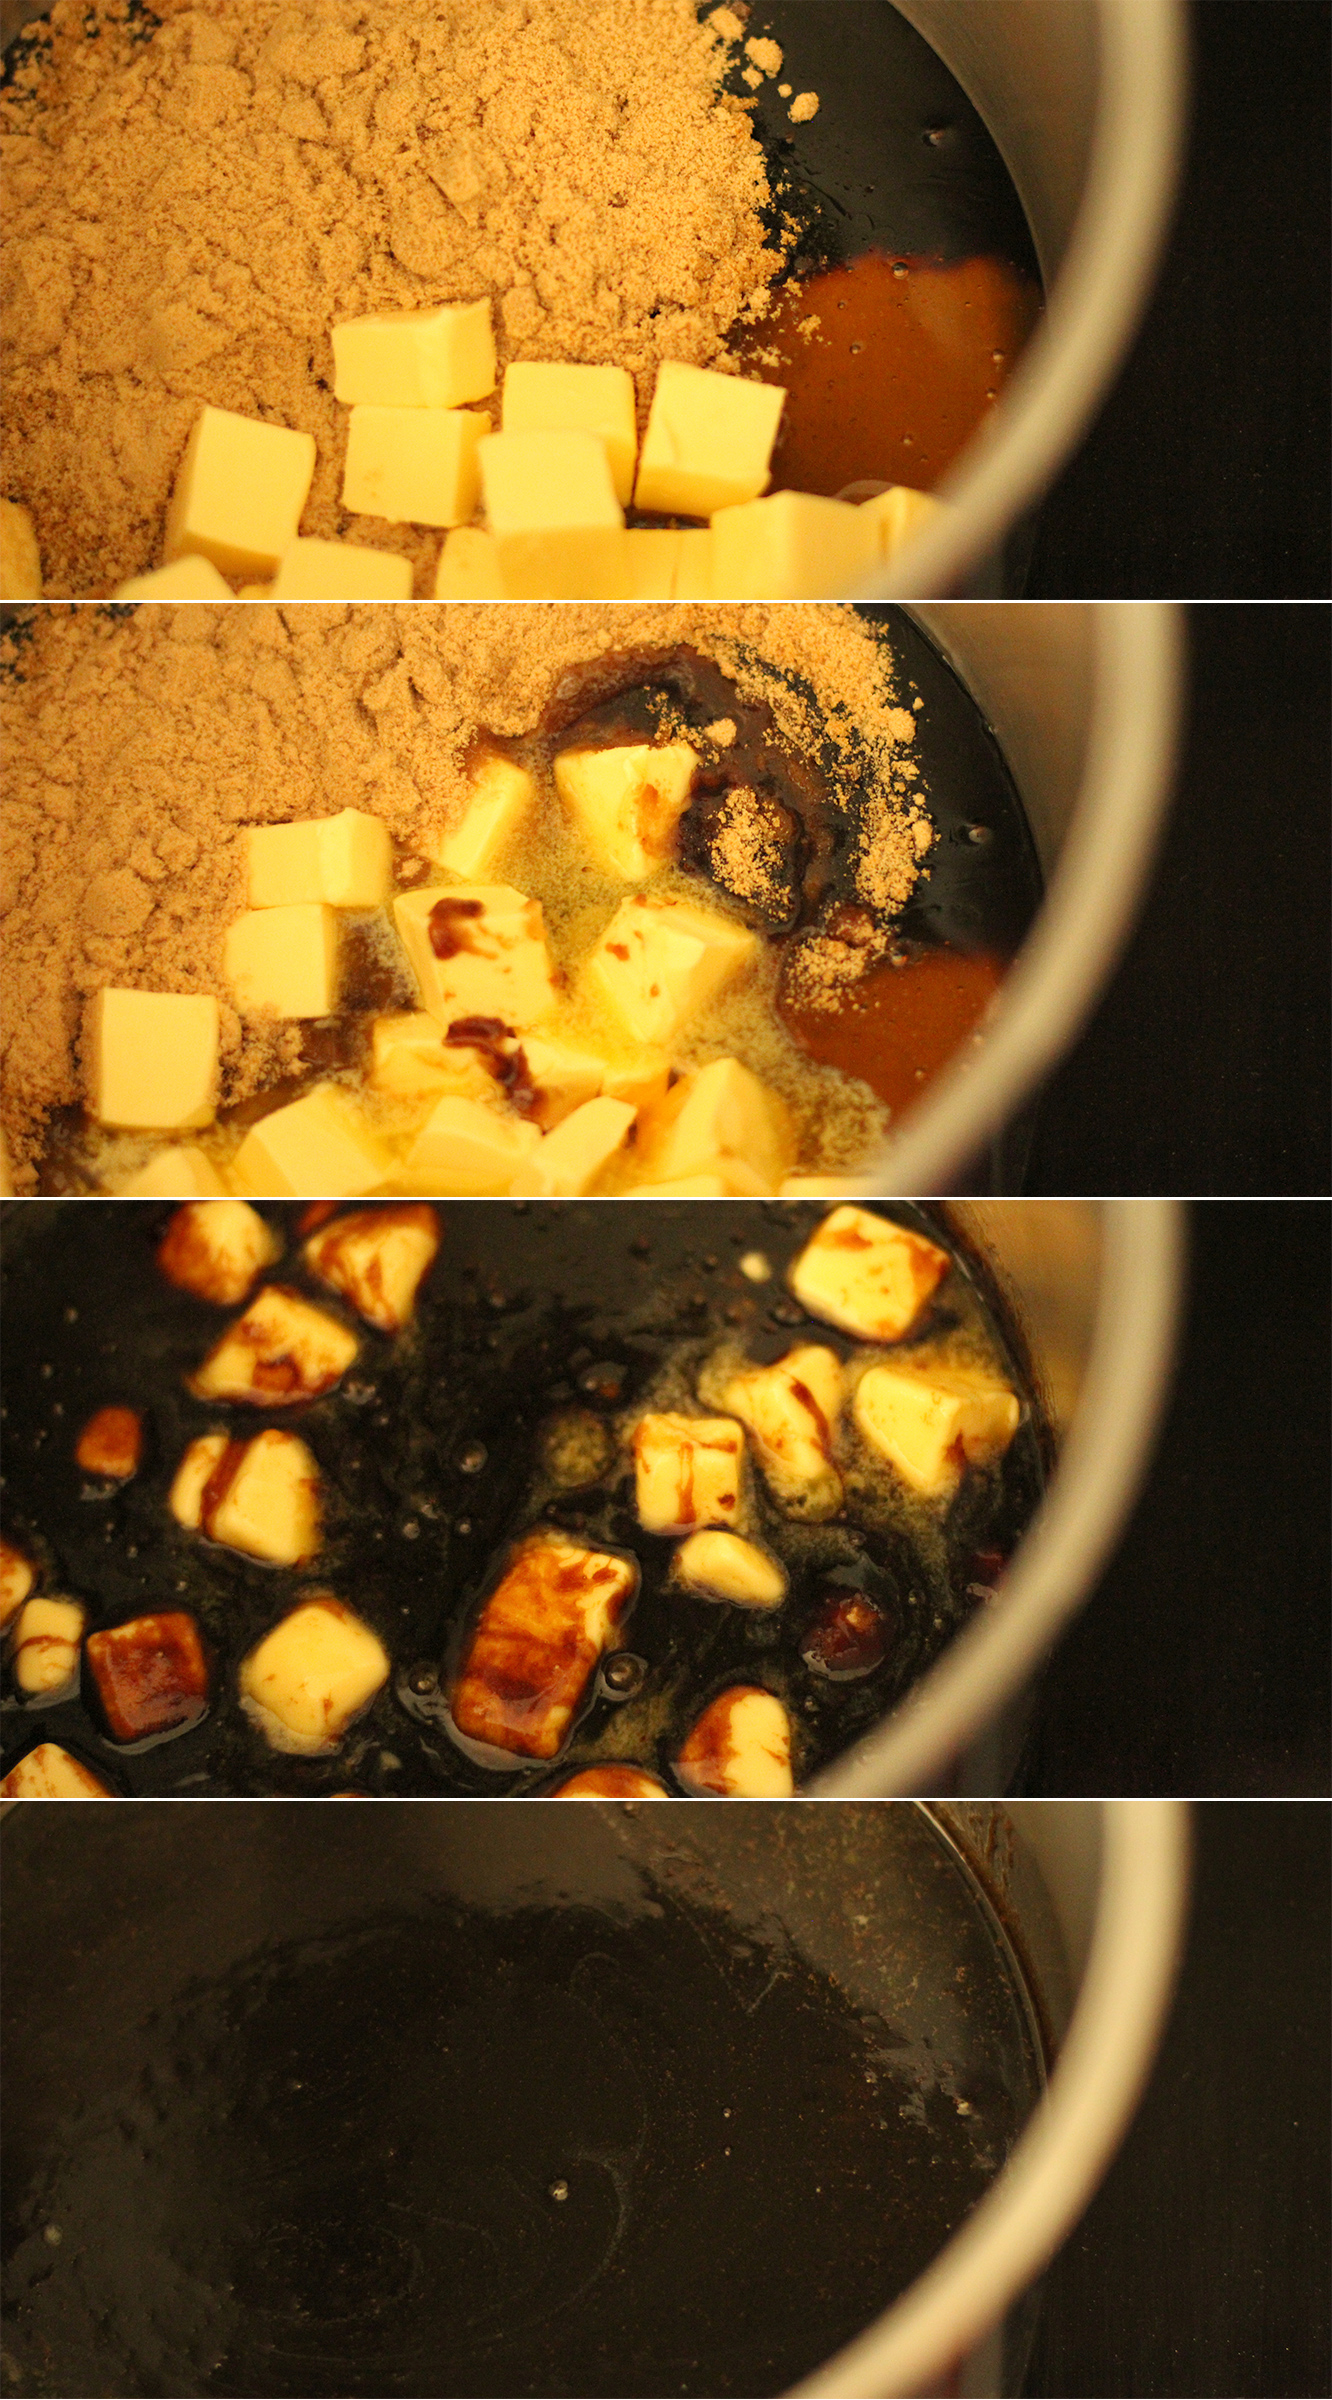
Step one

In a saucepan melt together the butter, treacle, sugar and golden syrup. Try not to let it get too hot.
gingerbread-house-village-recipe-guide-03

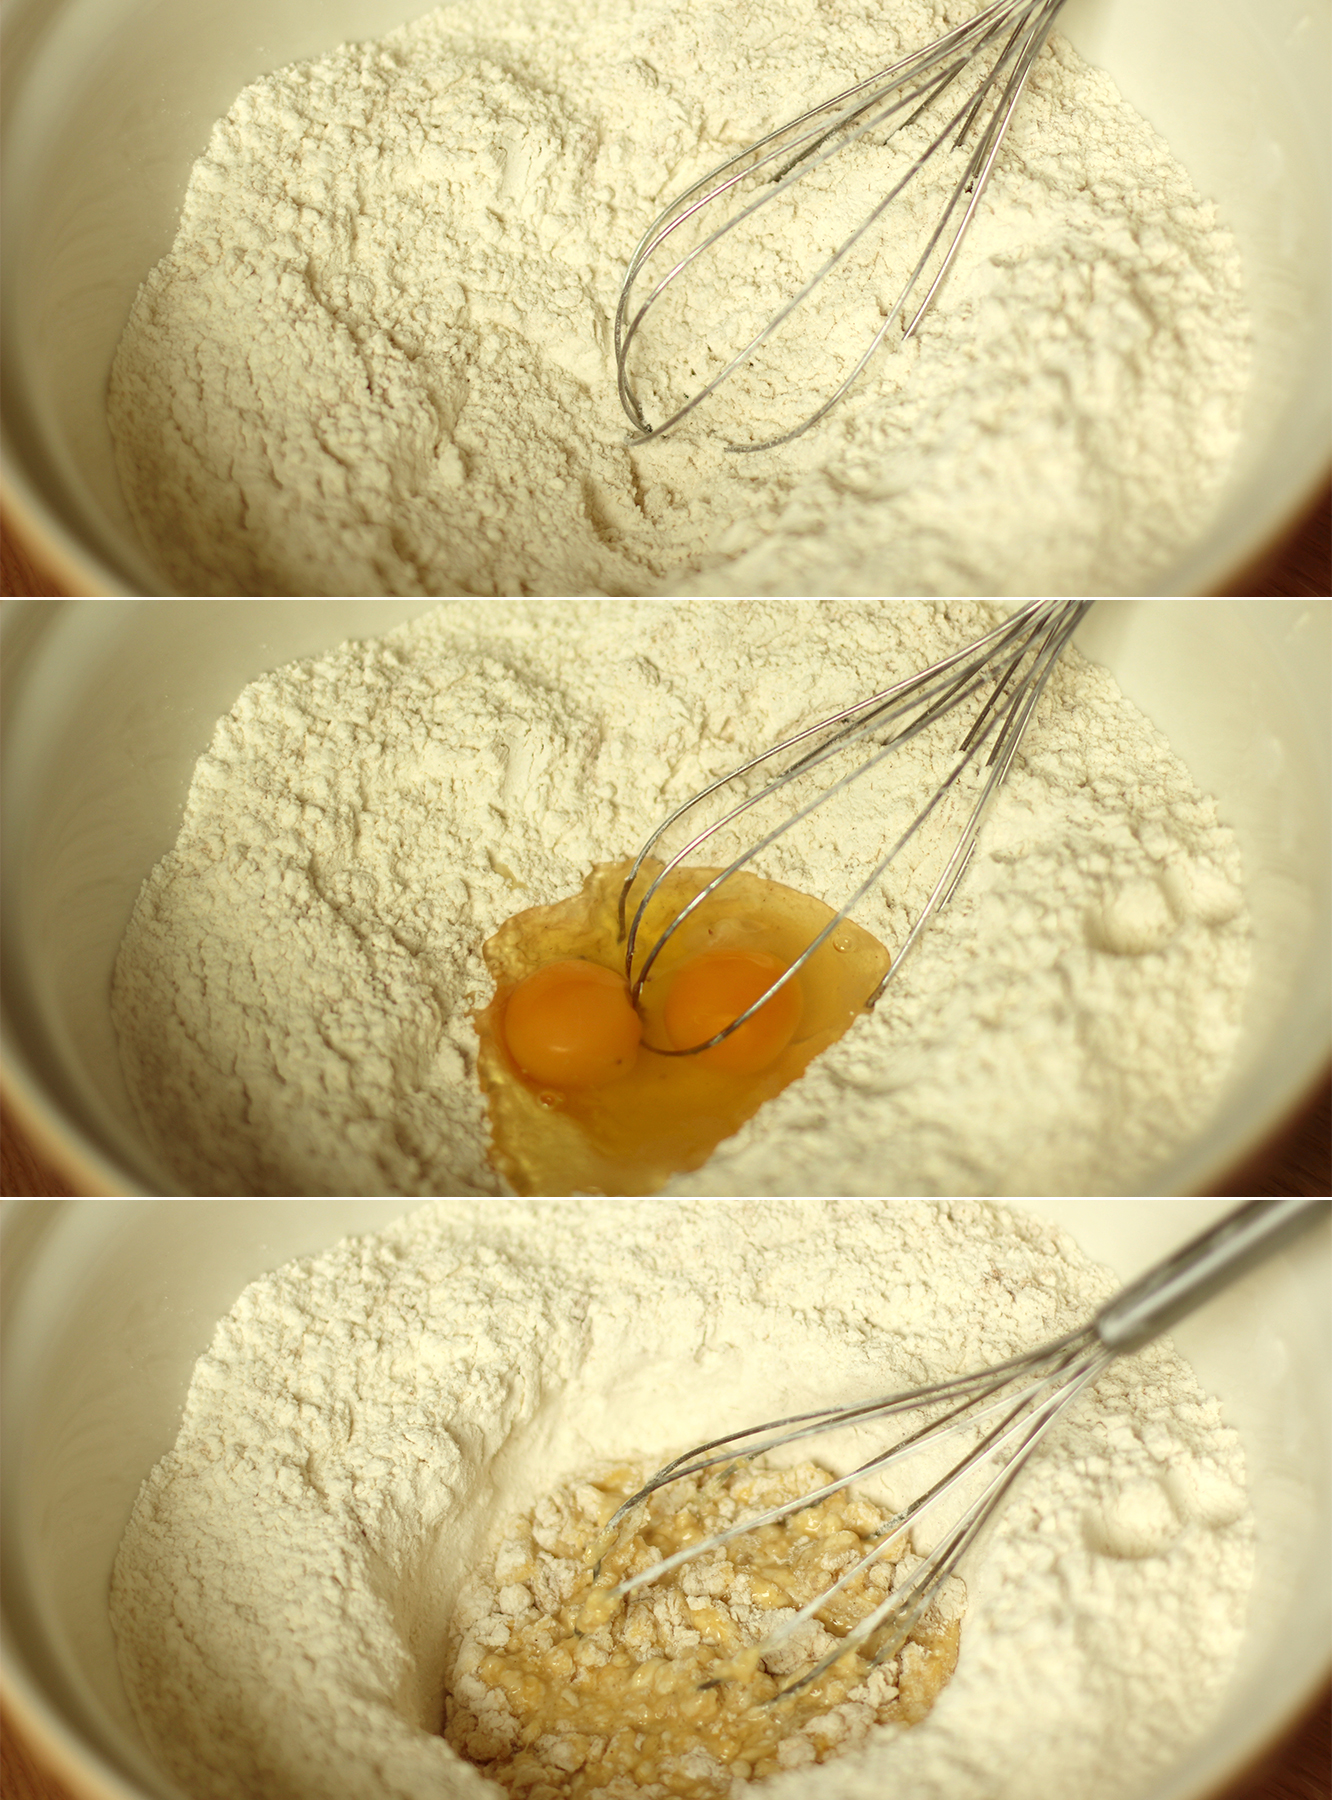
Step two

Mix together the spices, salt and flour together and make a well in the middle. Add the eggs and use a hand whisk to break them up. Start making small circles to incorporate the flour.
gingerbread-house-village-recipe-guide-04

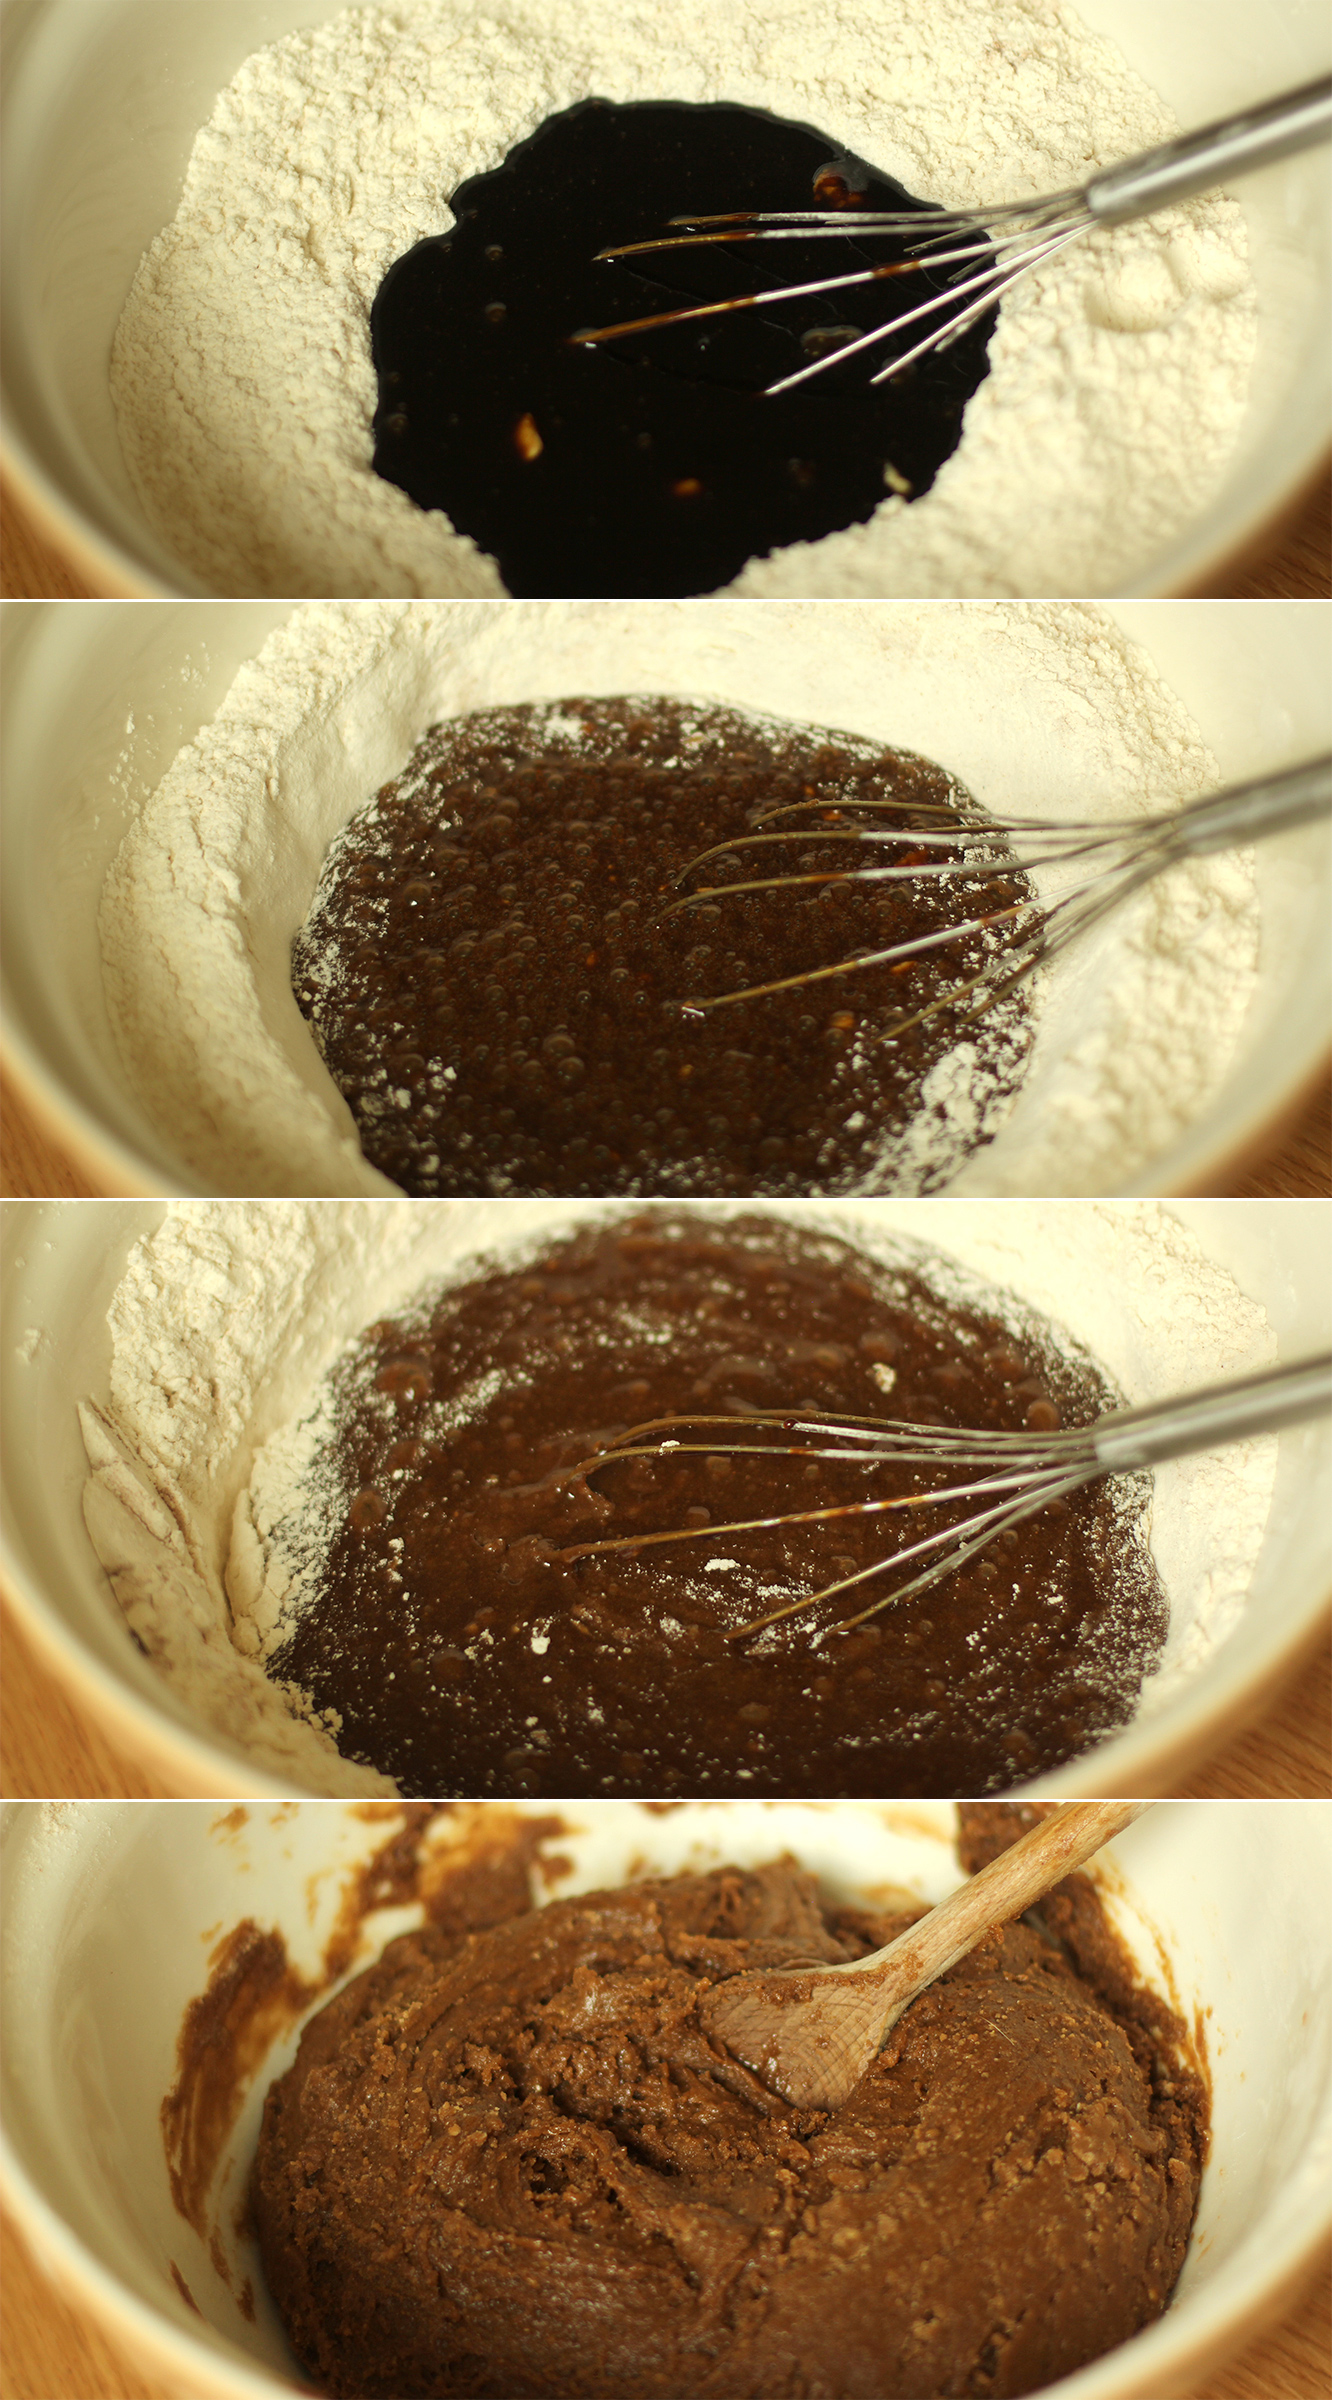
Step three

Pour the treacle mix into the well and continue mixing with the whisk for as long as you can until it becomes too hard to stir. Swap the whisk for a wooden spoon until fully combined.

Allow to cool. Put it outside if it’s cold or in the fridge to speed up the process. It will be sticky but don’t add more flour.
gingerbread-house-village-recipe-guide-05

Step four

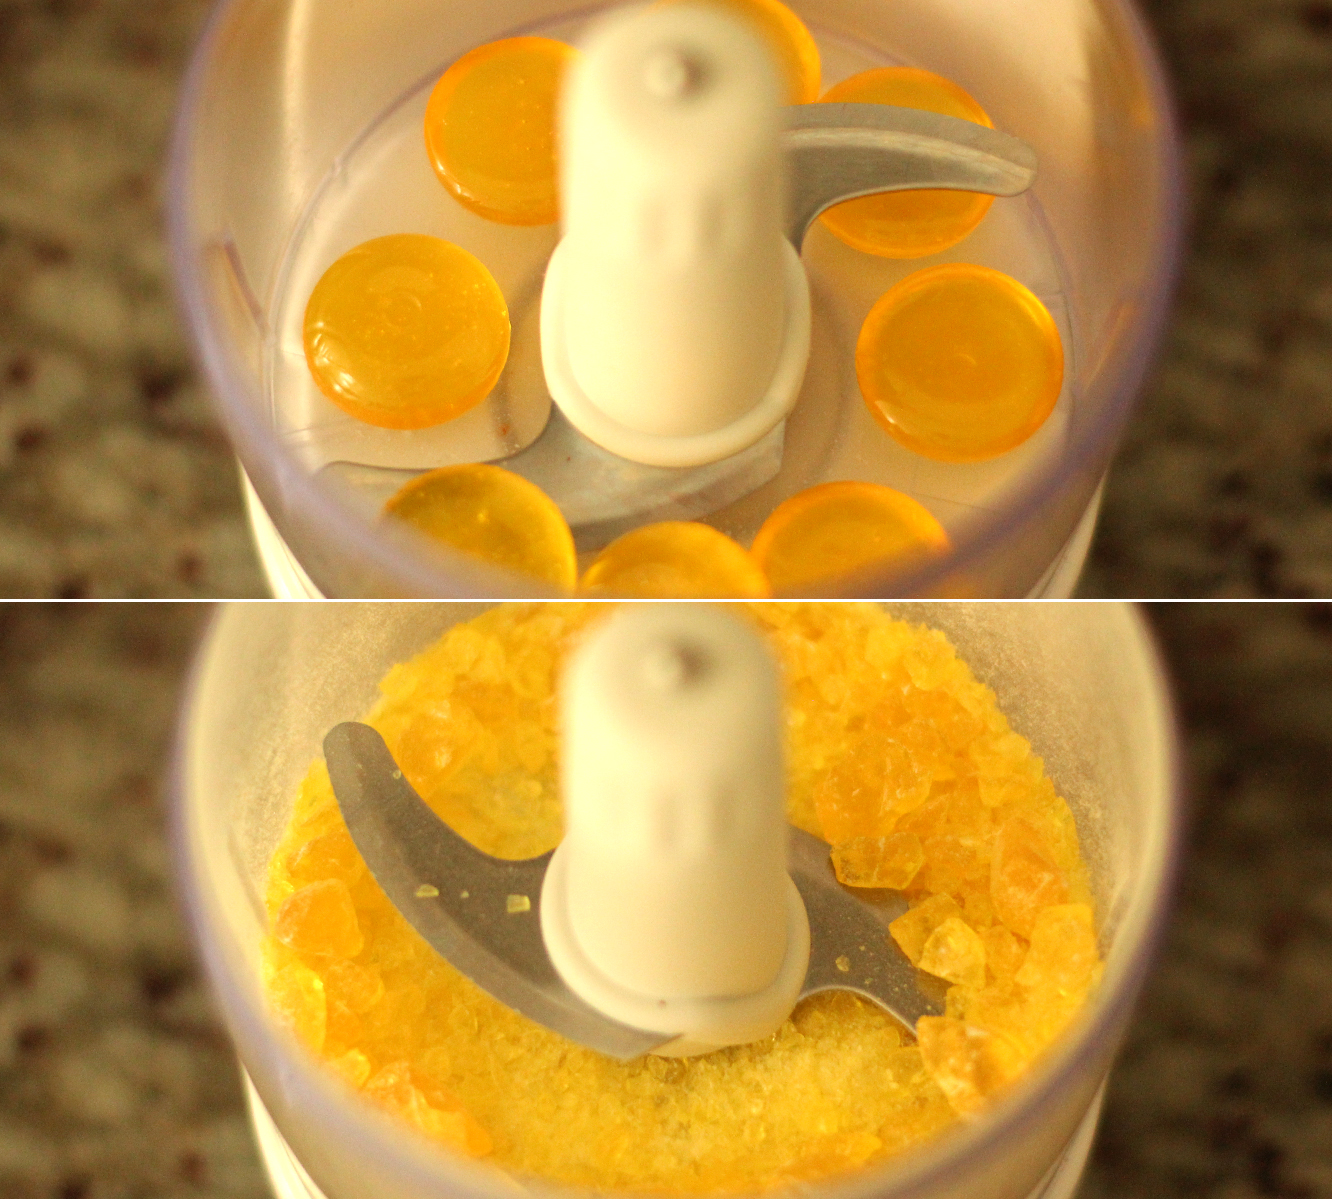
Bash up hard boiled sweets with a rolling pin in a sandwich bag, or use this life changing gadget, the mini food processor, to mush them instead.
gingerbread-house-village-recipe-guide-06

Step five

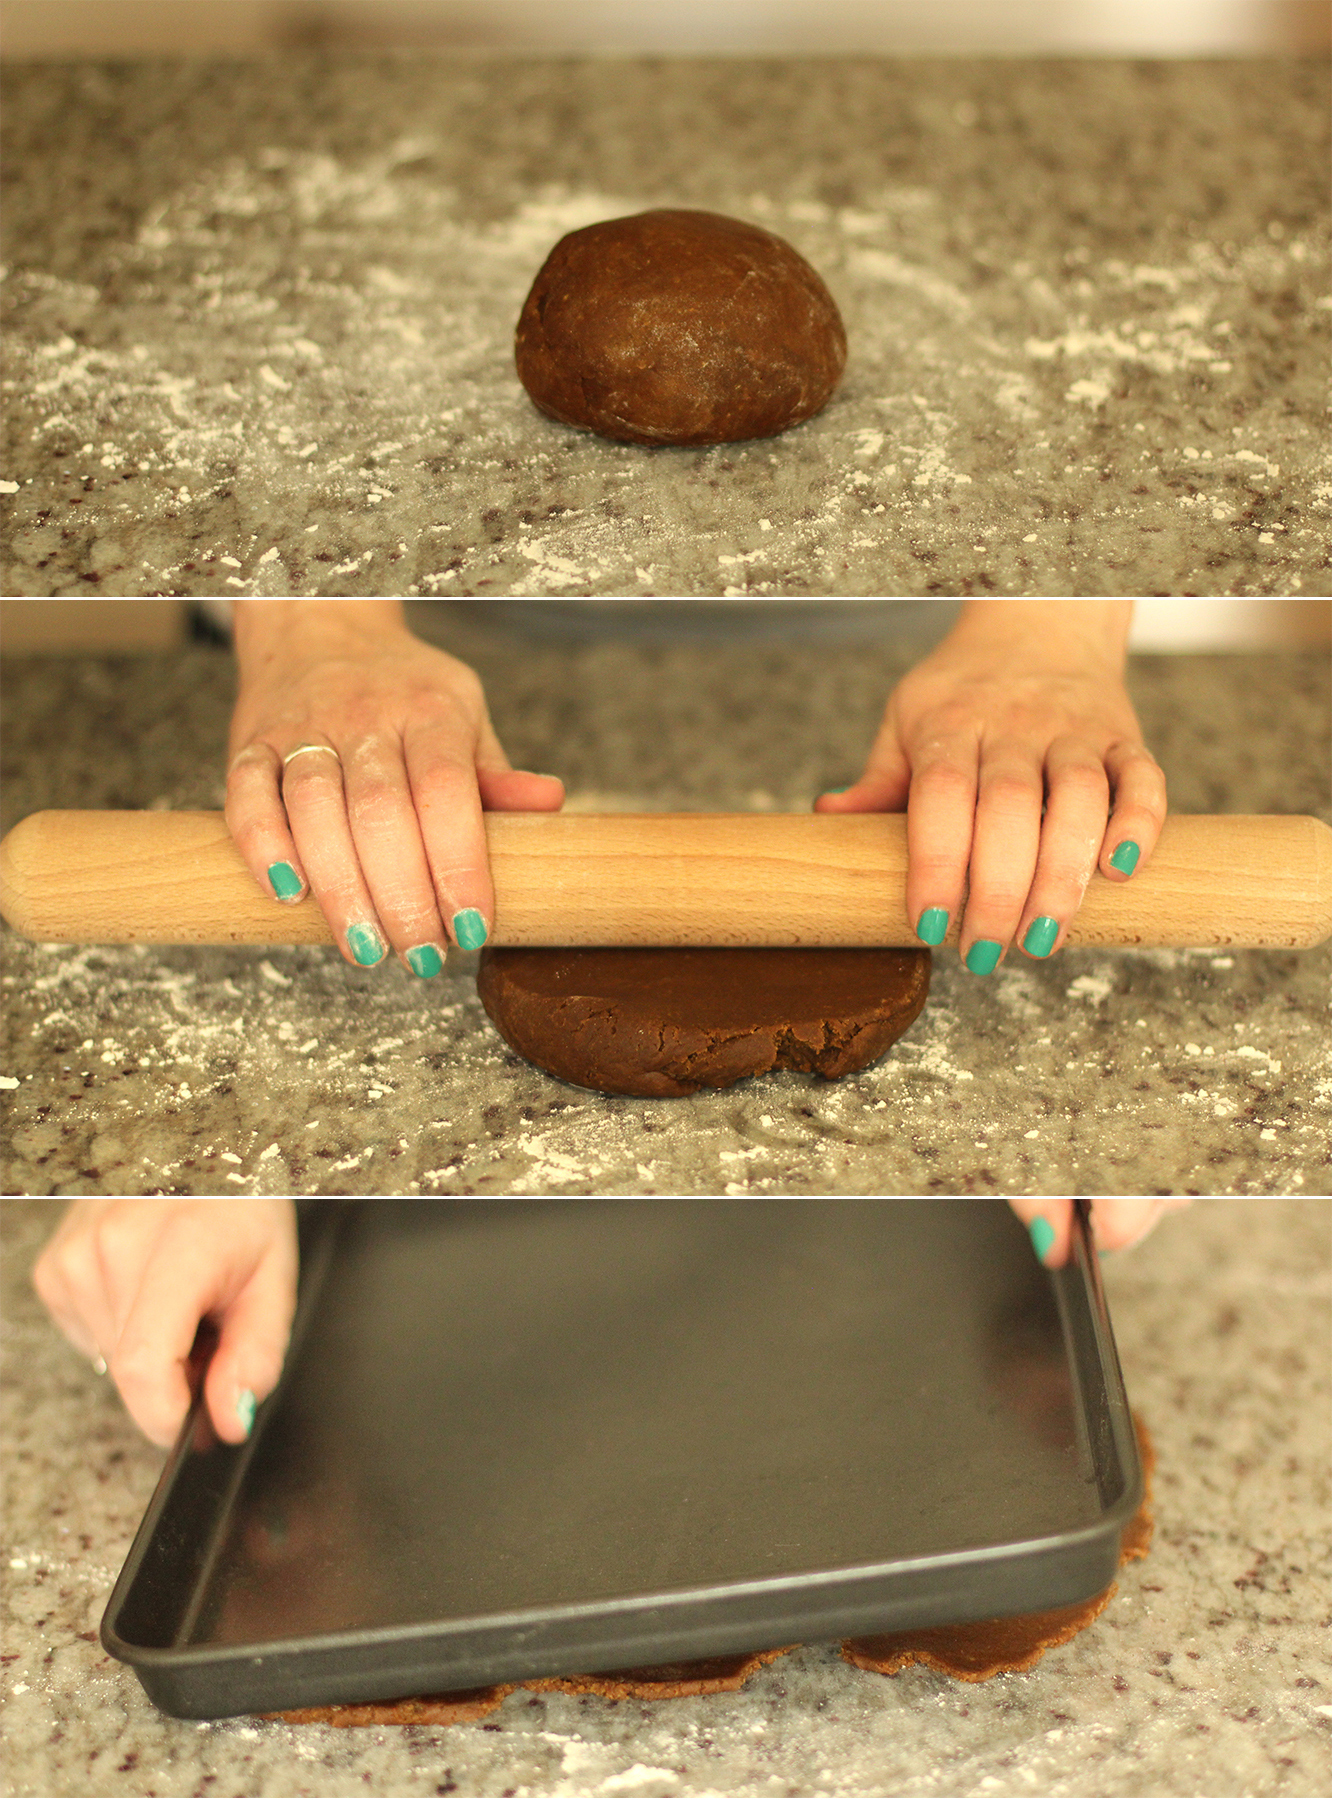
Once the dough has cooled it’s time to roll out the houses. Big, flat baking trays are best for this.

Flour a surface and roll out the dough in batches. You will probably need to use a knife and a metal spoon to extract the mix from the bowl. Don’t fight it, it’s a winning formula structure-wise.

Roll a piece of dough to the same size as your tray for maximum efficiency re:oven space.
gingerbread-house-village-recipe-guide-07

Step six

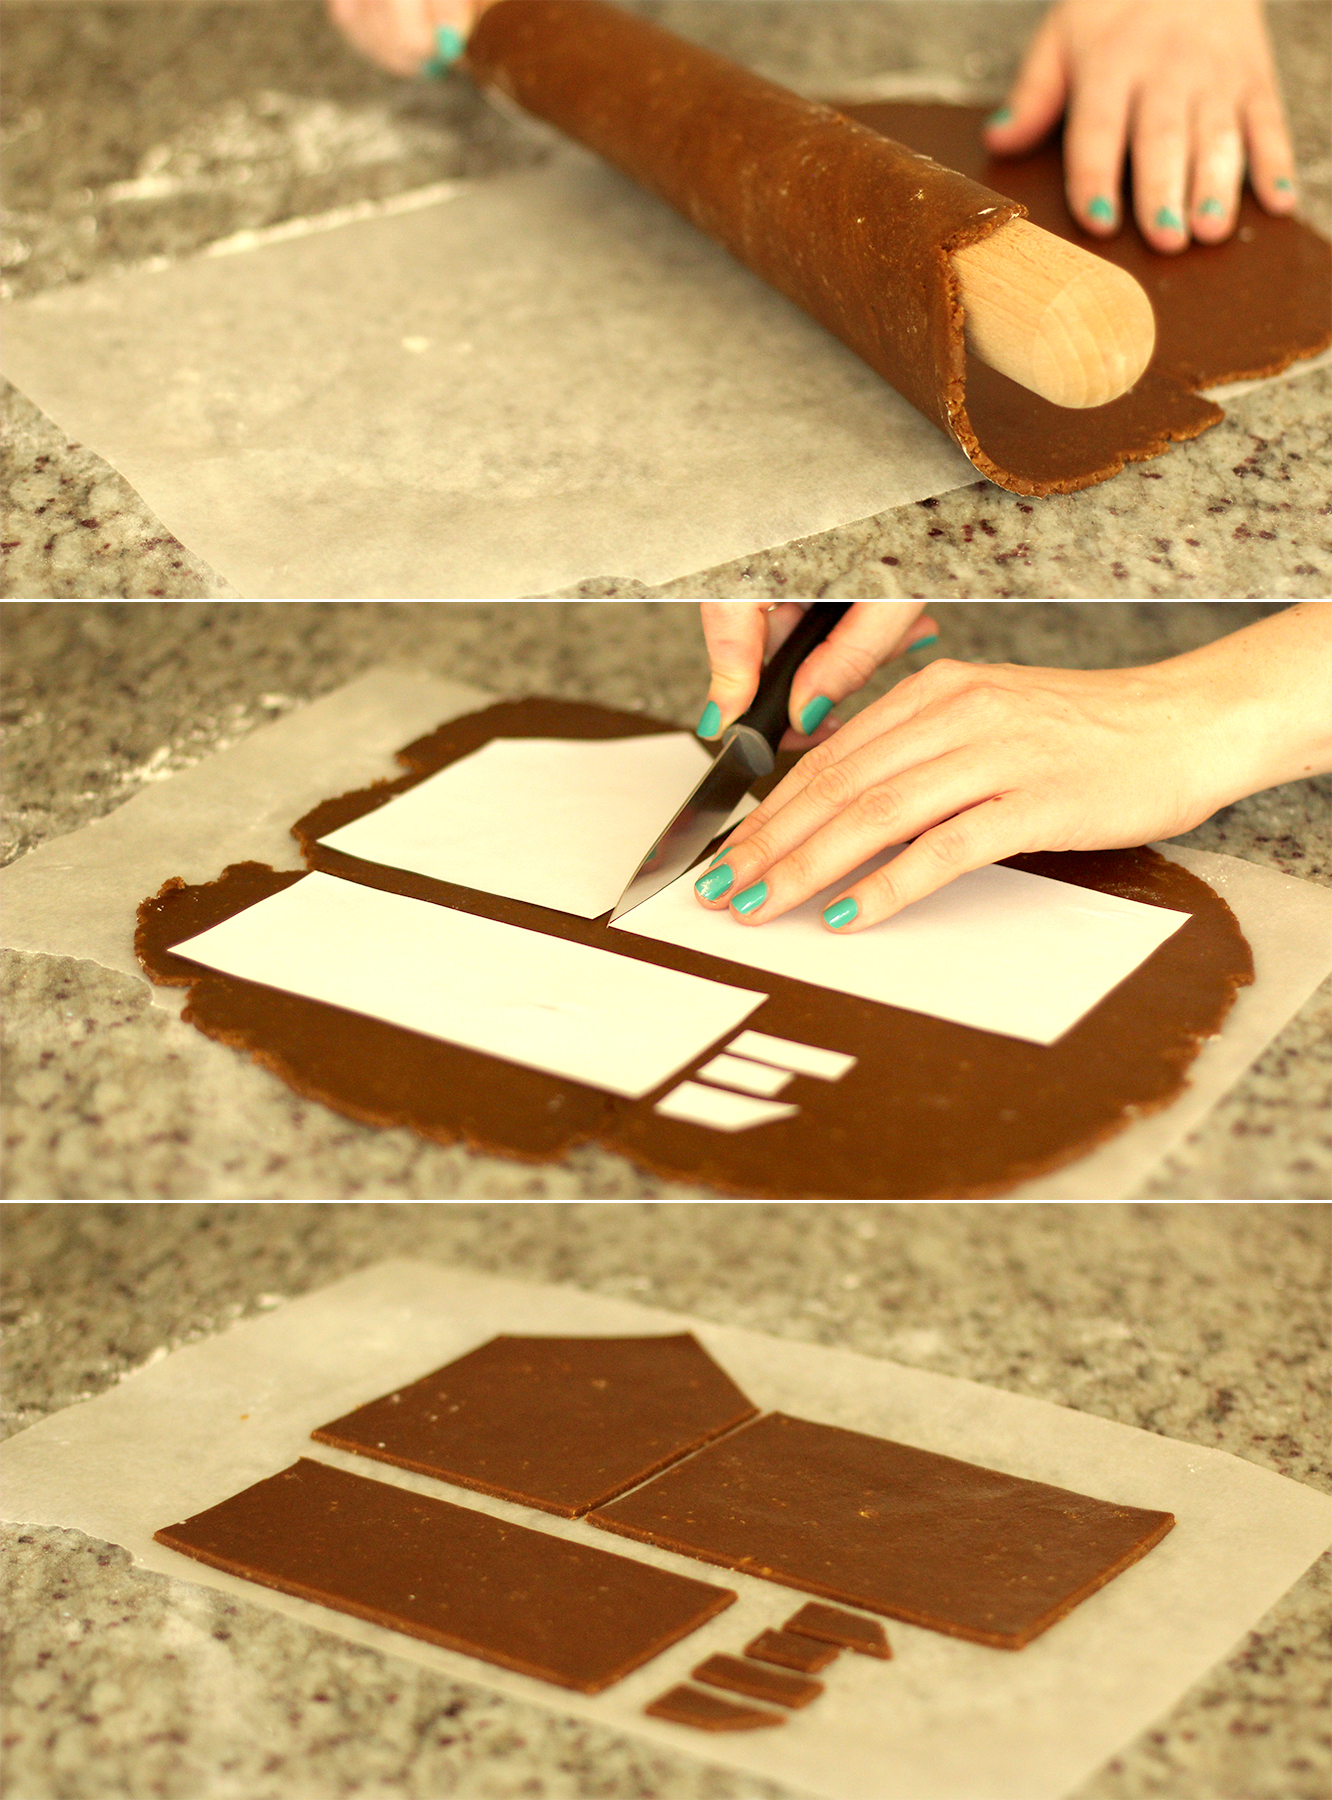
Use the rolling pin to lift the gingerbread onto a piece of gingerbread the size of your tray. It is essential to do this before cutting; it stops you stretching individual pieces out of shape when you move them.

Use the templates and a knife to cut the panels out. Contrary to the image above it’s best to do batches of the same shape – that way the bake is the right amount of time for that sized piece. The most obvious way to explain that little ramble is that the chimney pieces will cook a lot quicker than the side panel for example.
gingerbread-house-village-recipe-guide-08

Step seven

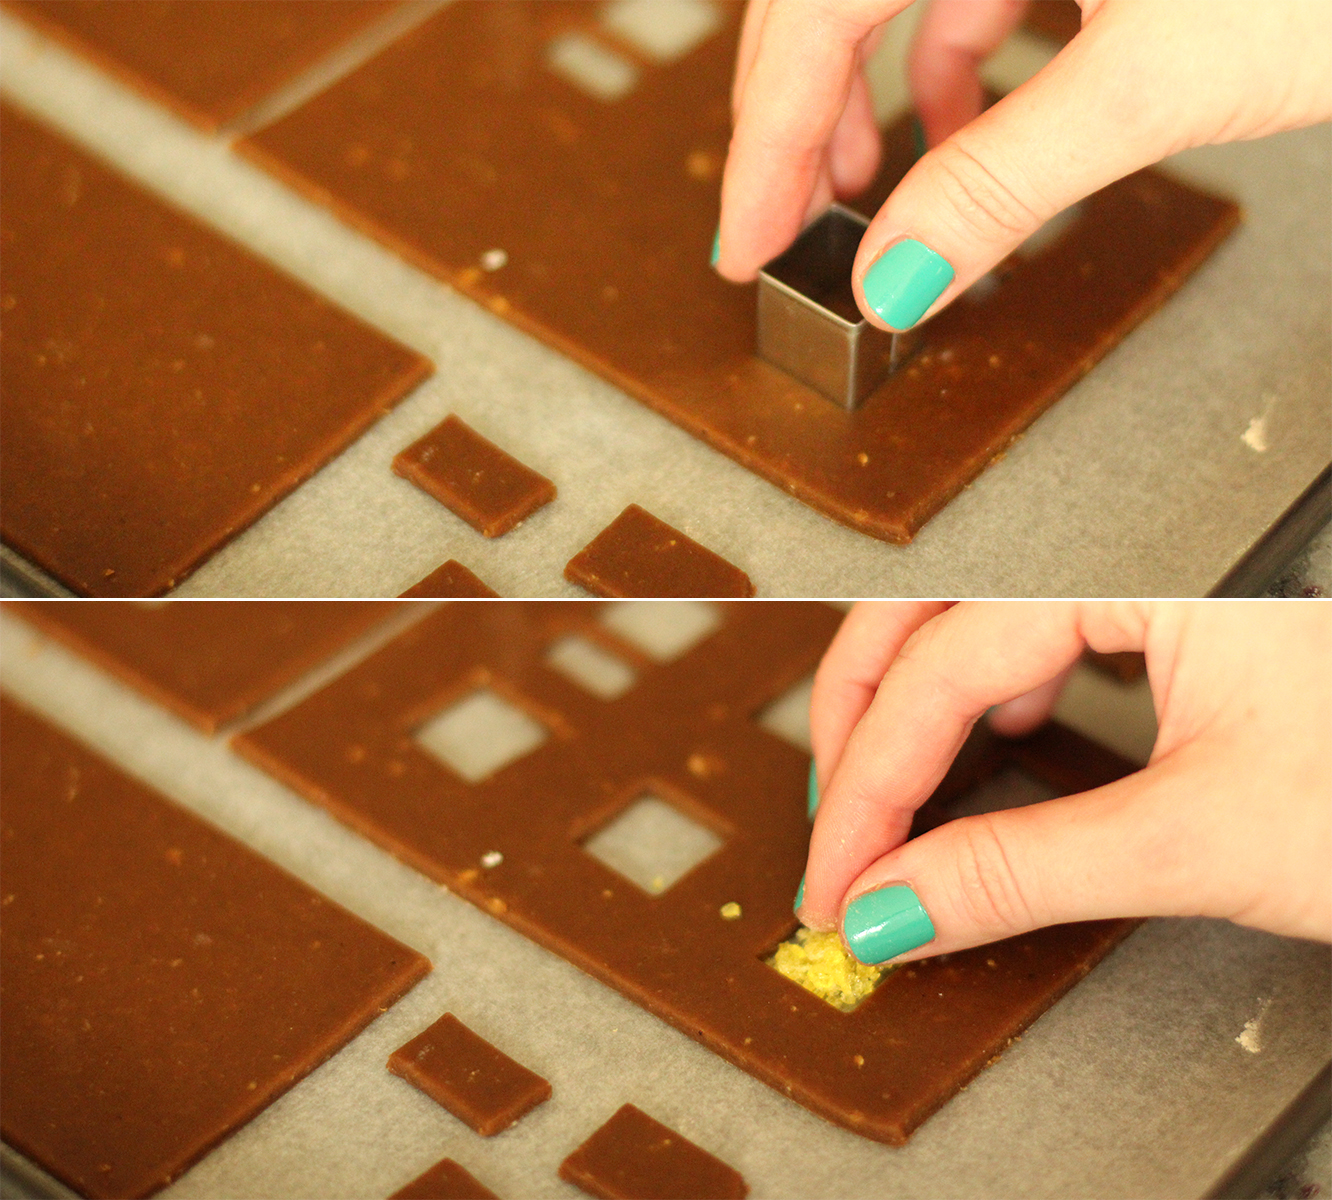
Transfer the gingerbread onto the tray and cut out window shapes. This year I invested in a little cutter set of different shapes and sizes. It was amazing. Total gingerbread game changer.

Fill the gaps with the sweet crumbs. This is why you need baking paper. Otherwise the sweets melt and glue your house to the tray.

Bake on 180C/gas mark 4/350F for 10-15 minutes. Over-cooked is preferable as they need to be able to stand up, and they will get softer as they sit out.
gingerbread-house-village-recipe-guide-10

Step eight

Time to assemble. Mix together the royal icing making sure it’s really thick, it will stick better and dry quicker if it’s opaque white and not that sticky to touch.

If you’re making a big house, have a spare pair of hands at the ready and/or a lot of glasses and bottles to prop things against.

These little ones are actually really easy to put together in comparison.

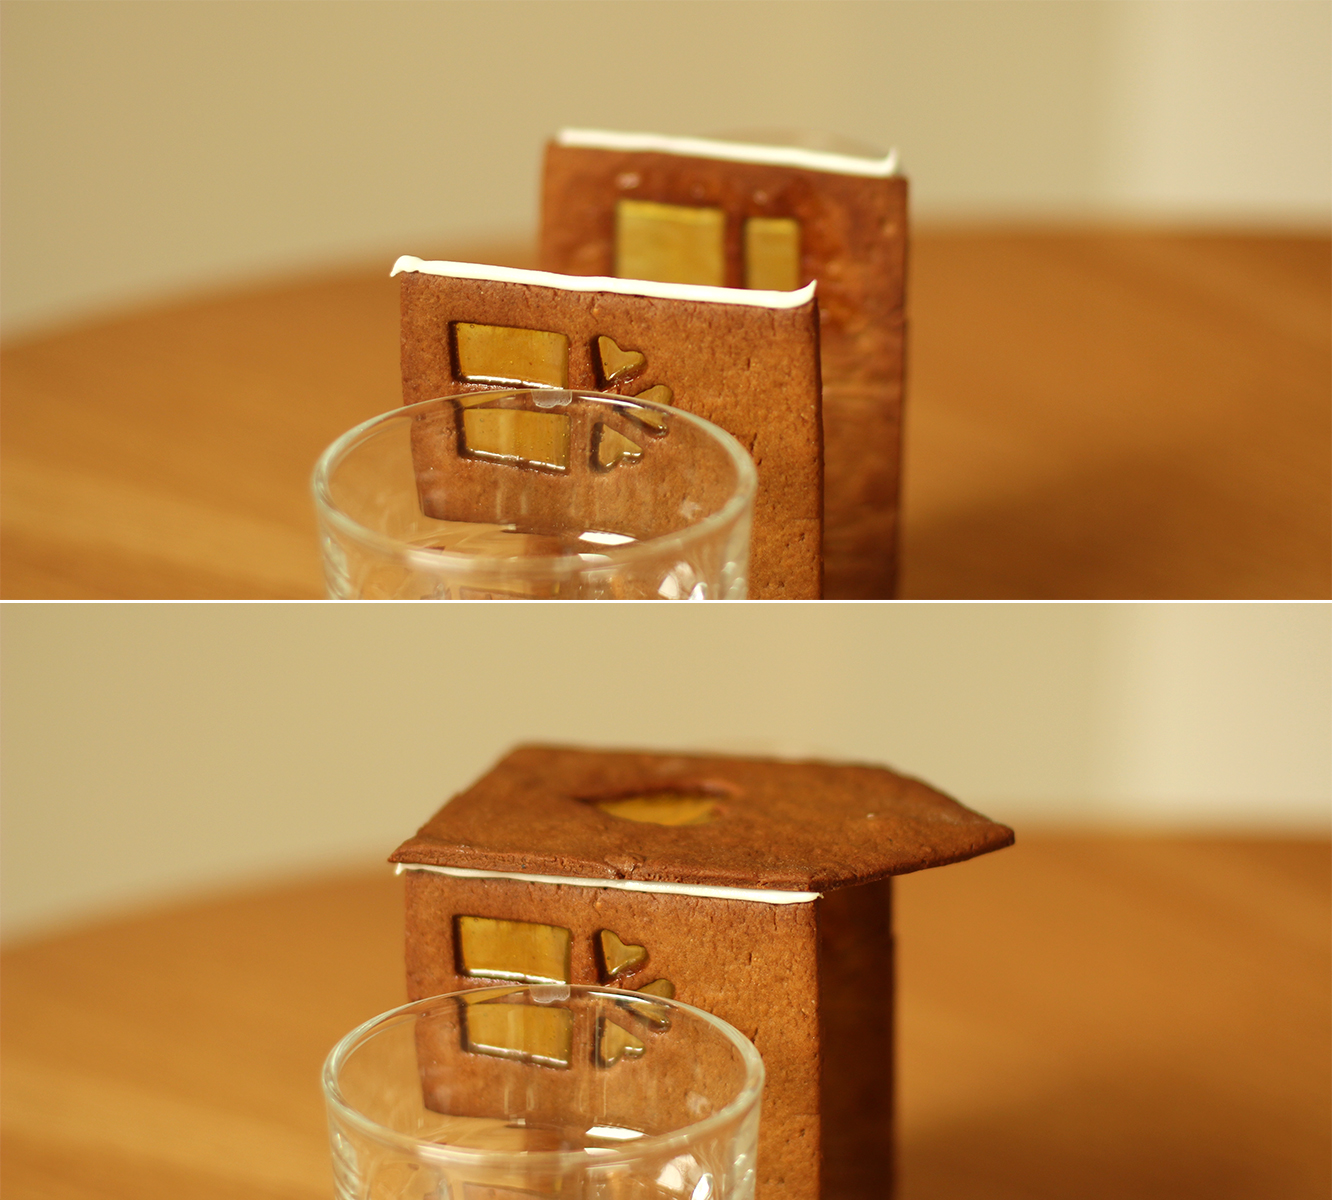
Start with one side flat on the table. Pipe two even strips along each edge. Stick the two matching sides to this piece, propping them up with a glass so you have your hands free.

gingerbread-house-village-recipe-guide-10

Step nine

Pipe along the top edges and stick the final side piece on the top.
gingerbread-house-village-recipe-guide-11

Step ten

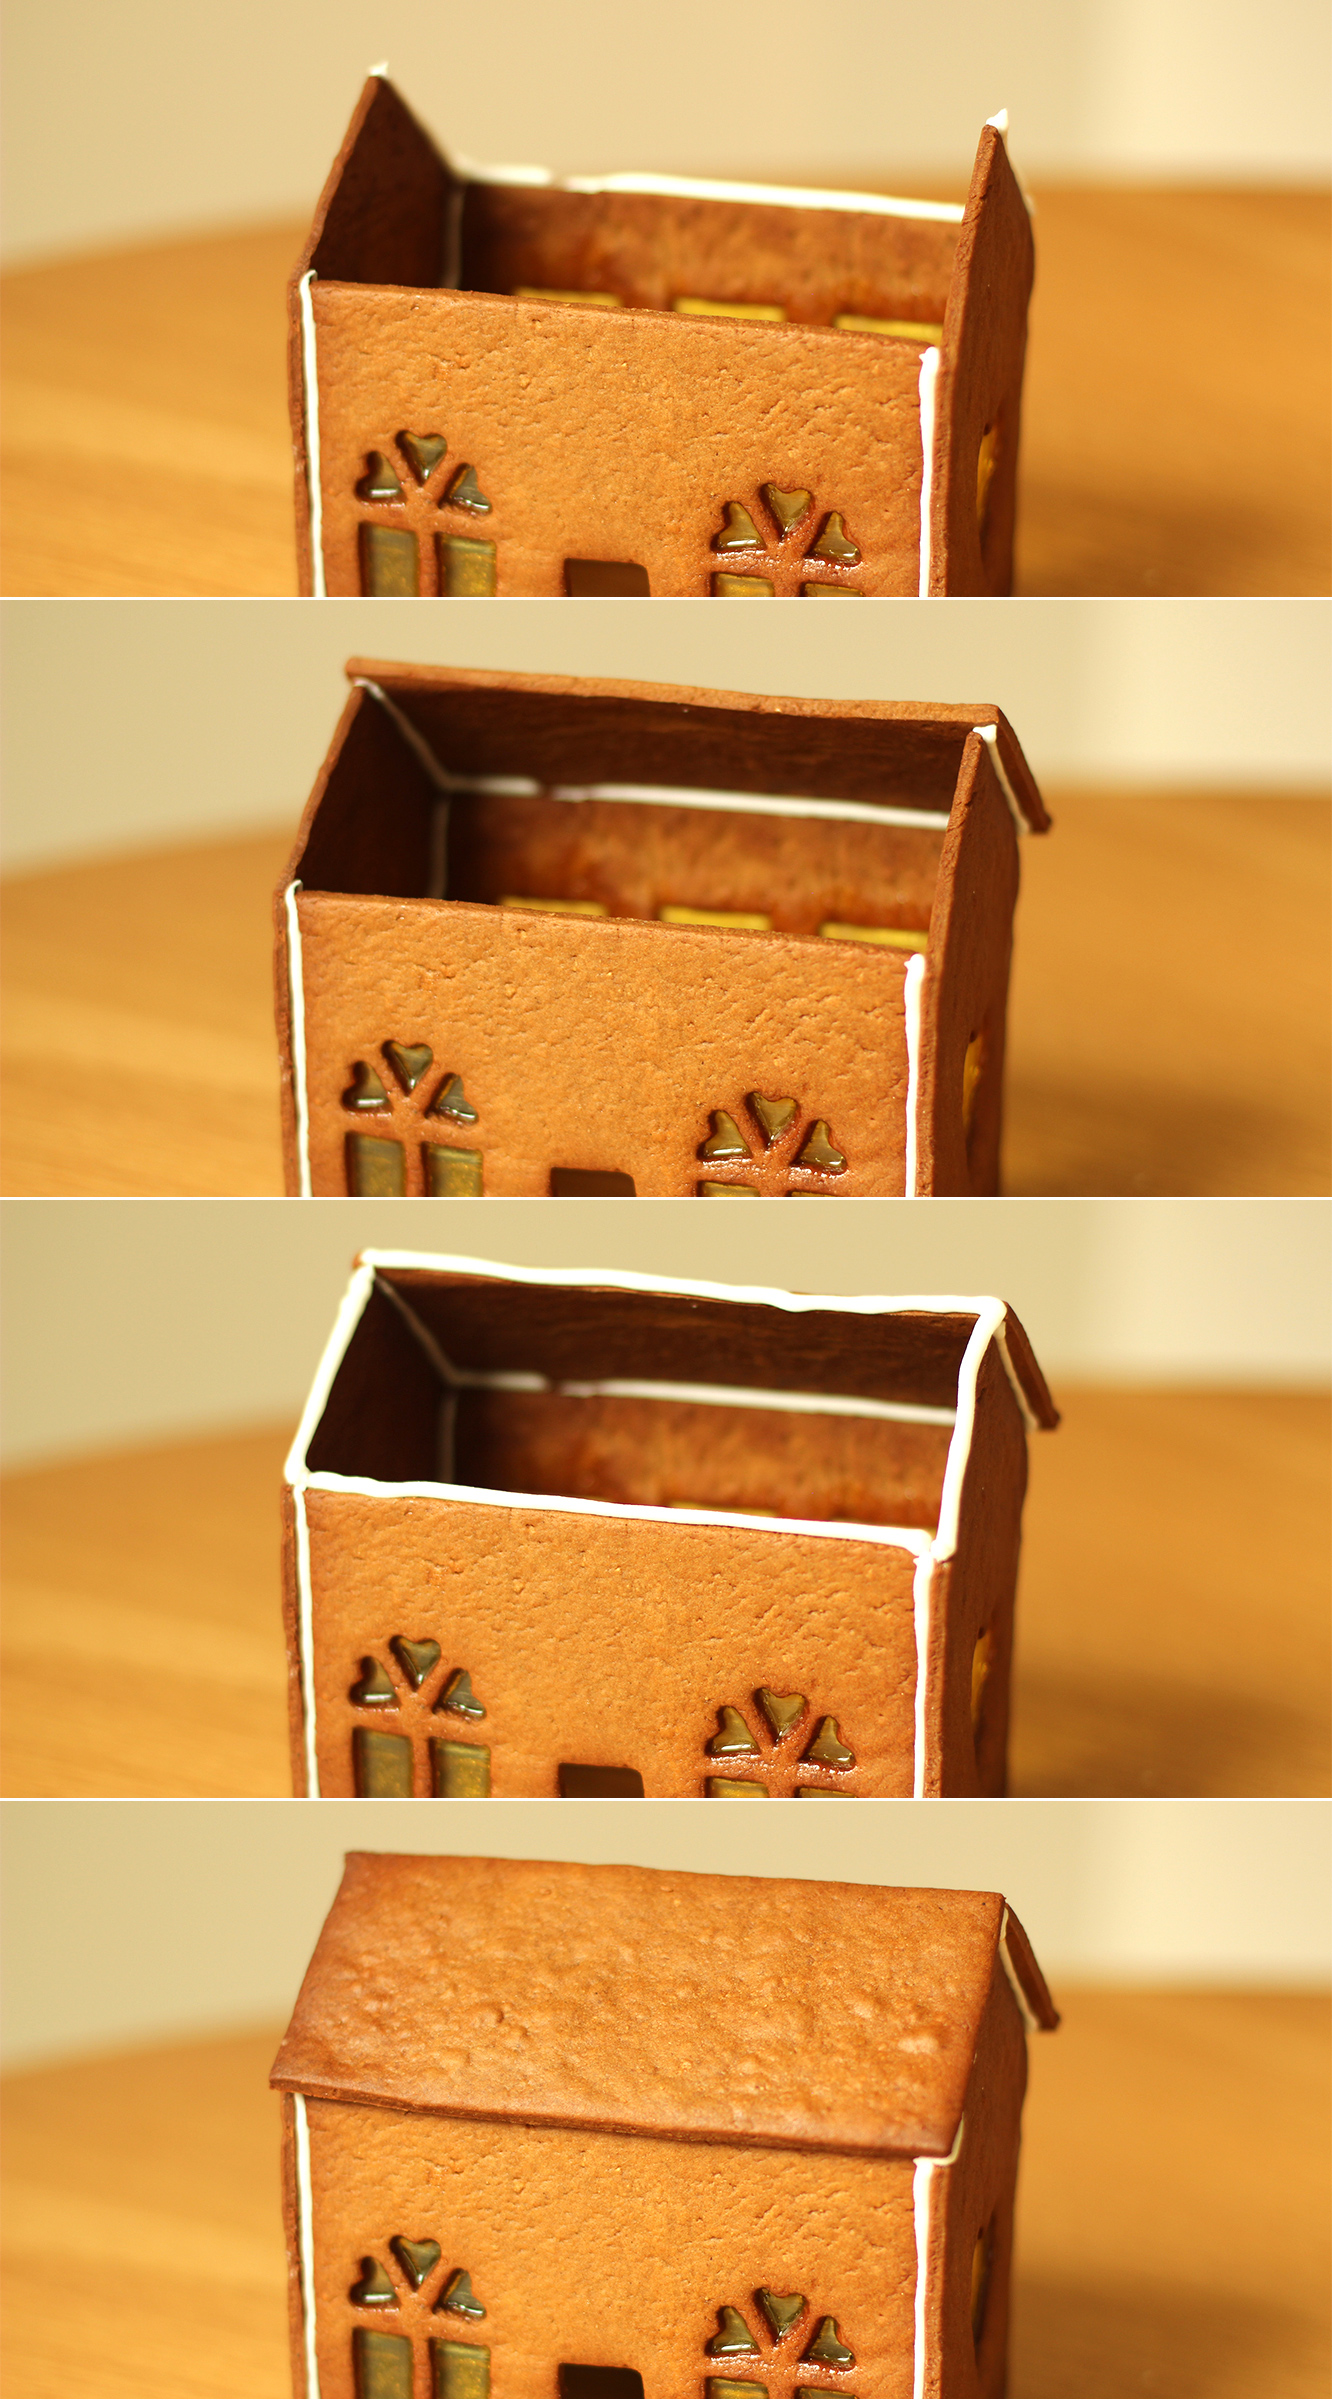
Flip the house upright. If you’re making a big house put it straight on the base at this stage and pipe on the inside corners to re-inforce the house. Less important with these little guys. They are actually great ‘starter houses’. Yes I do a bit hate myself that I say that, and many of my other tips with ZERO irony.

Pipe along the back sloped edges and the back. Stick down a roof panel. The straighter edge should be at the top, as you are more likely to cover irregularities at the bottom with a bit of overhang.

Pipe the top of the roof, the sides and edge. Stick the other roof panel down.
gingerbread-house-village-recipe-guide-12

Step eleven

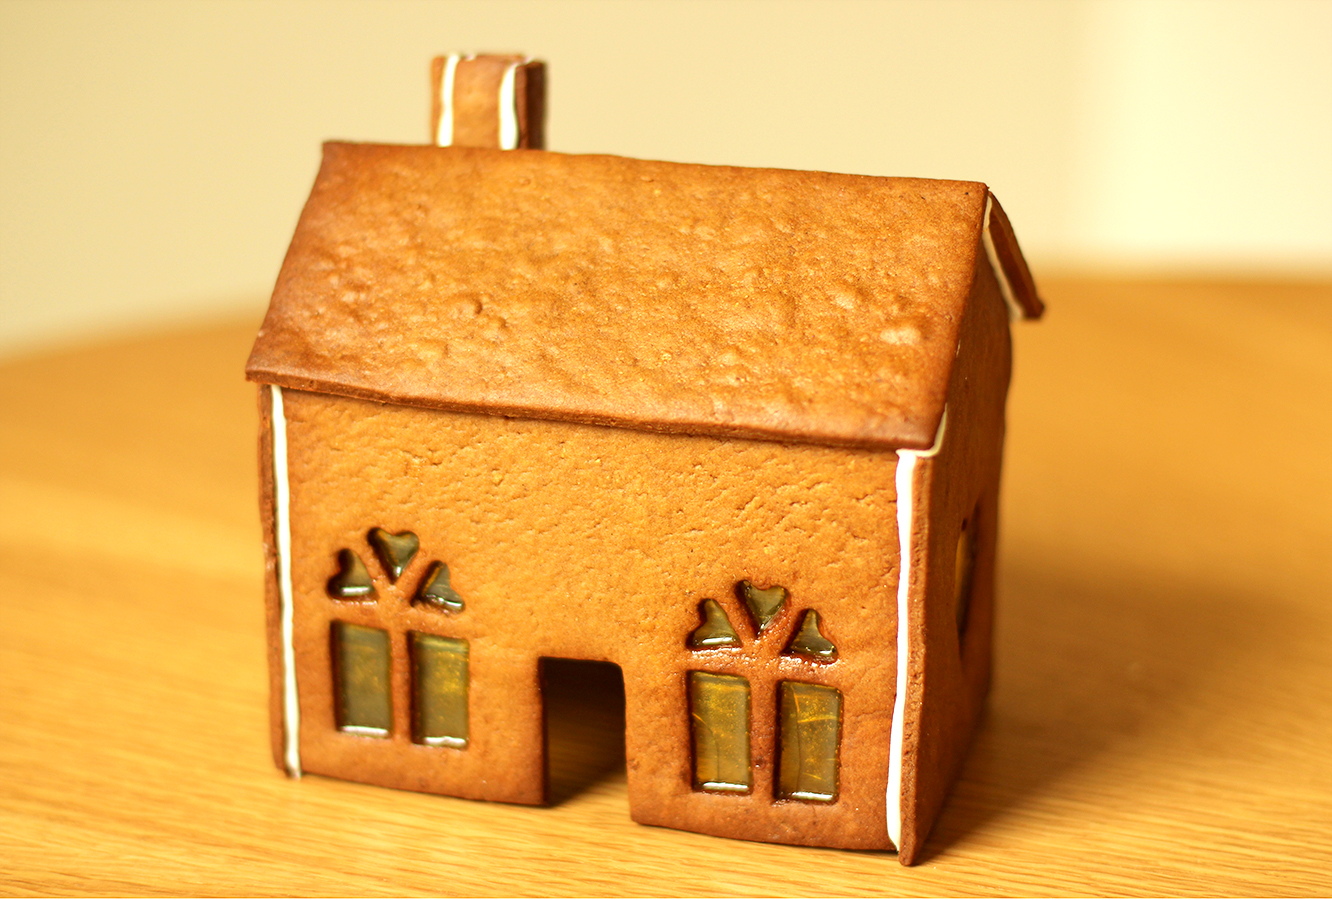
Make the chimney in the same way, and attach it to the roof.
gingerbread-house-village-recipe-guide-13

Step twelve

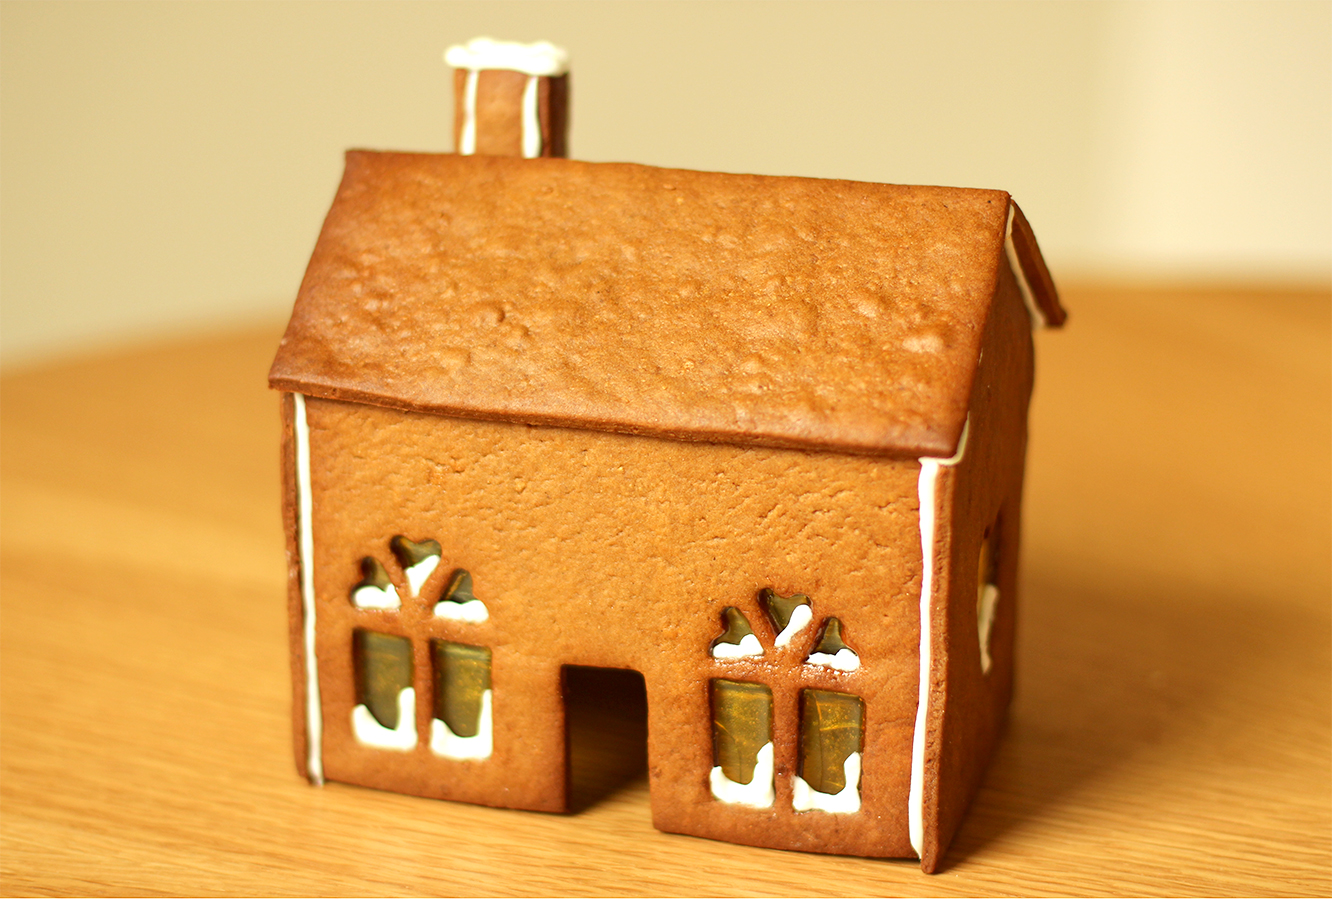
Pipe some snow in the windows while the piping bag still has quite a thick opening.
gingerbread-house-village-recipe-guide-14

Step thirteen

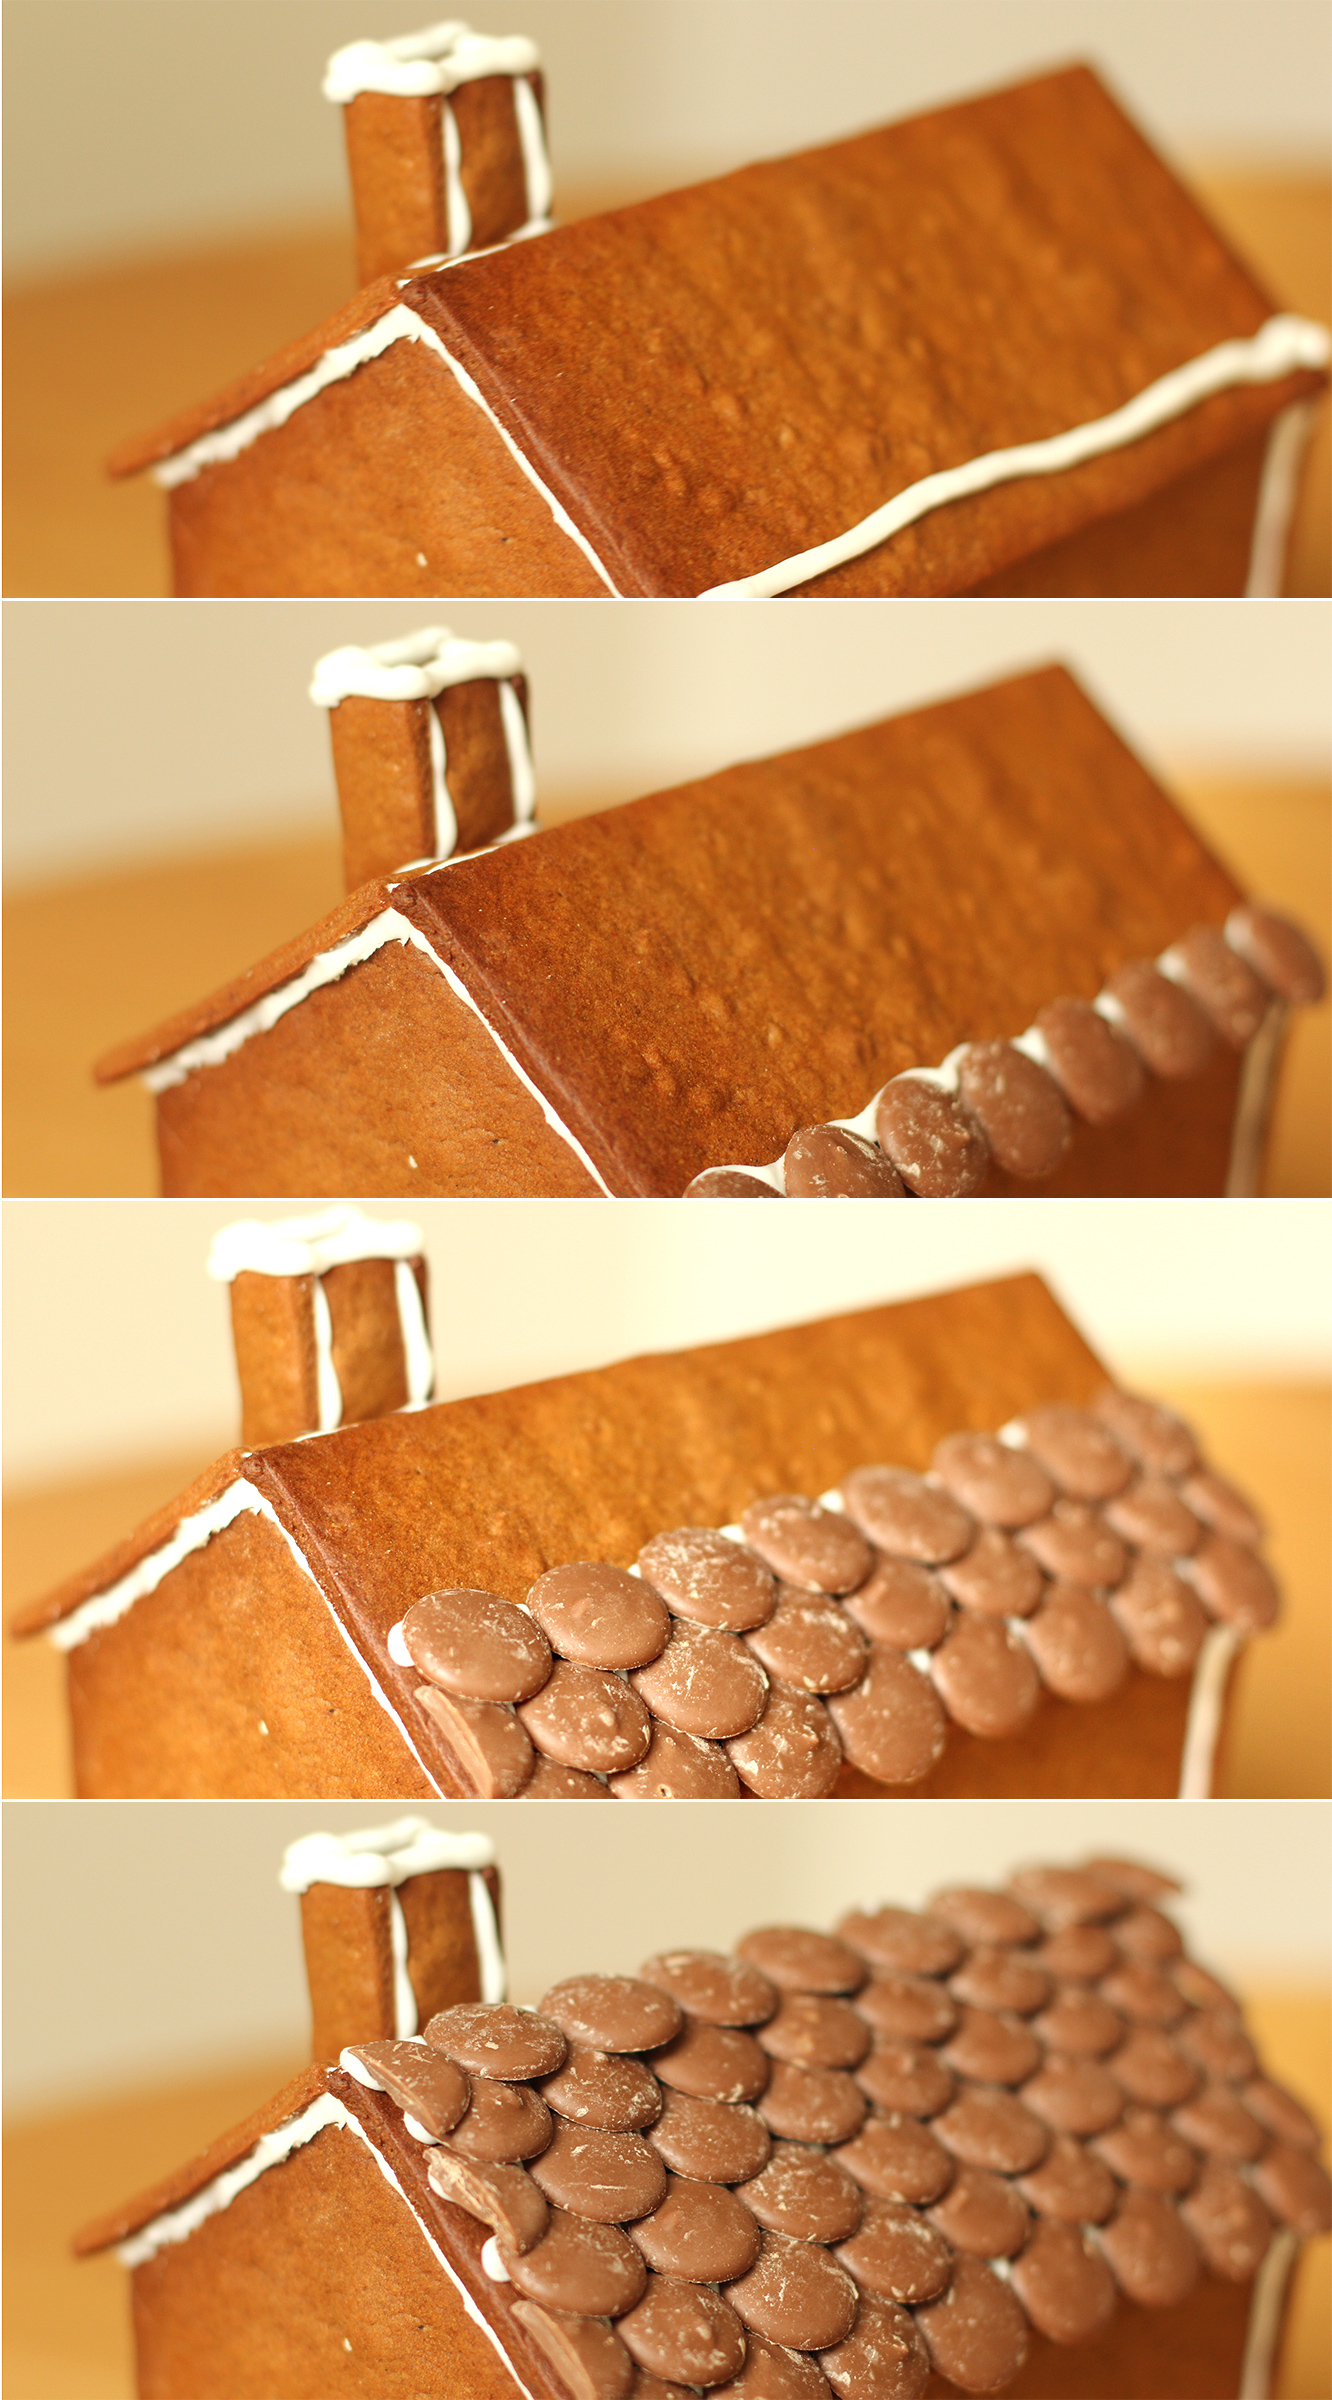
Start tiling! Make sure the first layer overhangs the bottom of the roof, and build up subsequent layers by overlapping them as shown.
gingerbread-house-village-recipe-guide-15

Step fourteen

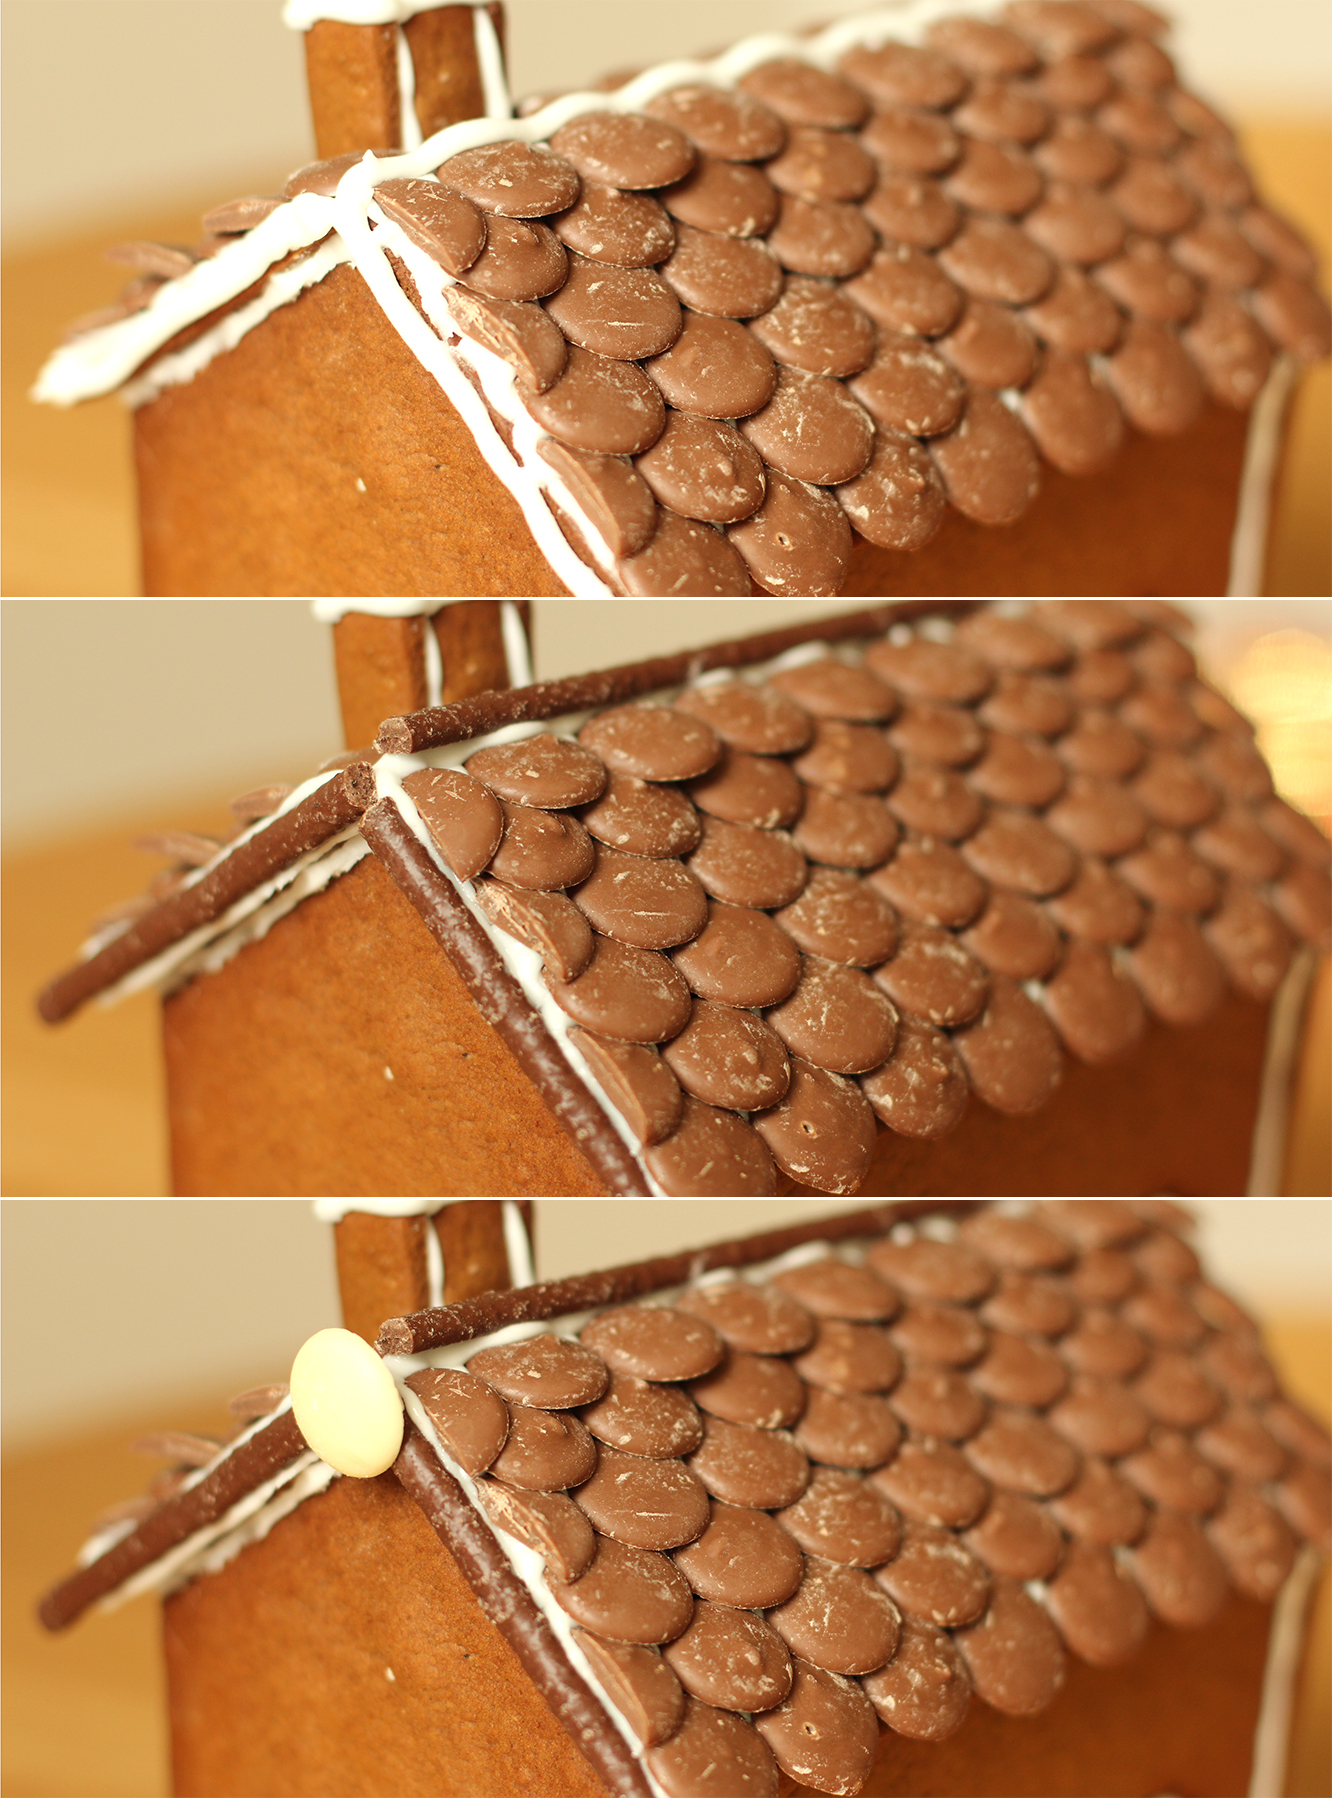
Neaten up the edges with chocolate fingers or matchmakers and a chocolate button or two. A row of dolly mixtures along the top, or mini marshmallows looks cute too.
gingerbread-house-village-recipe-guide-16

Step fifteen

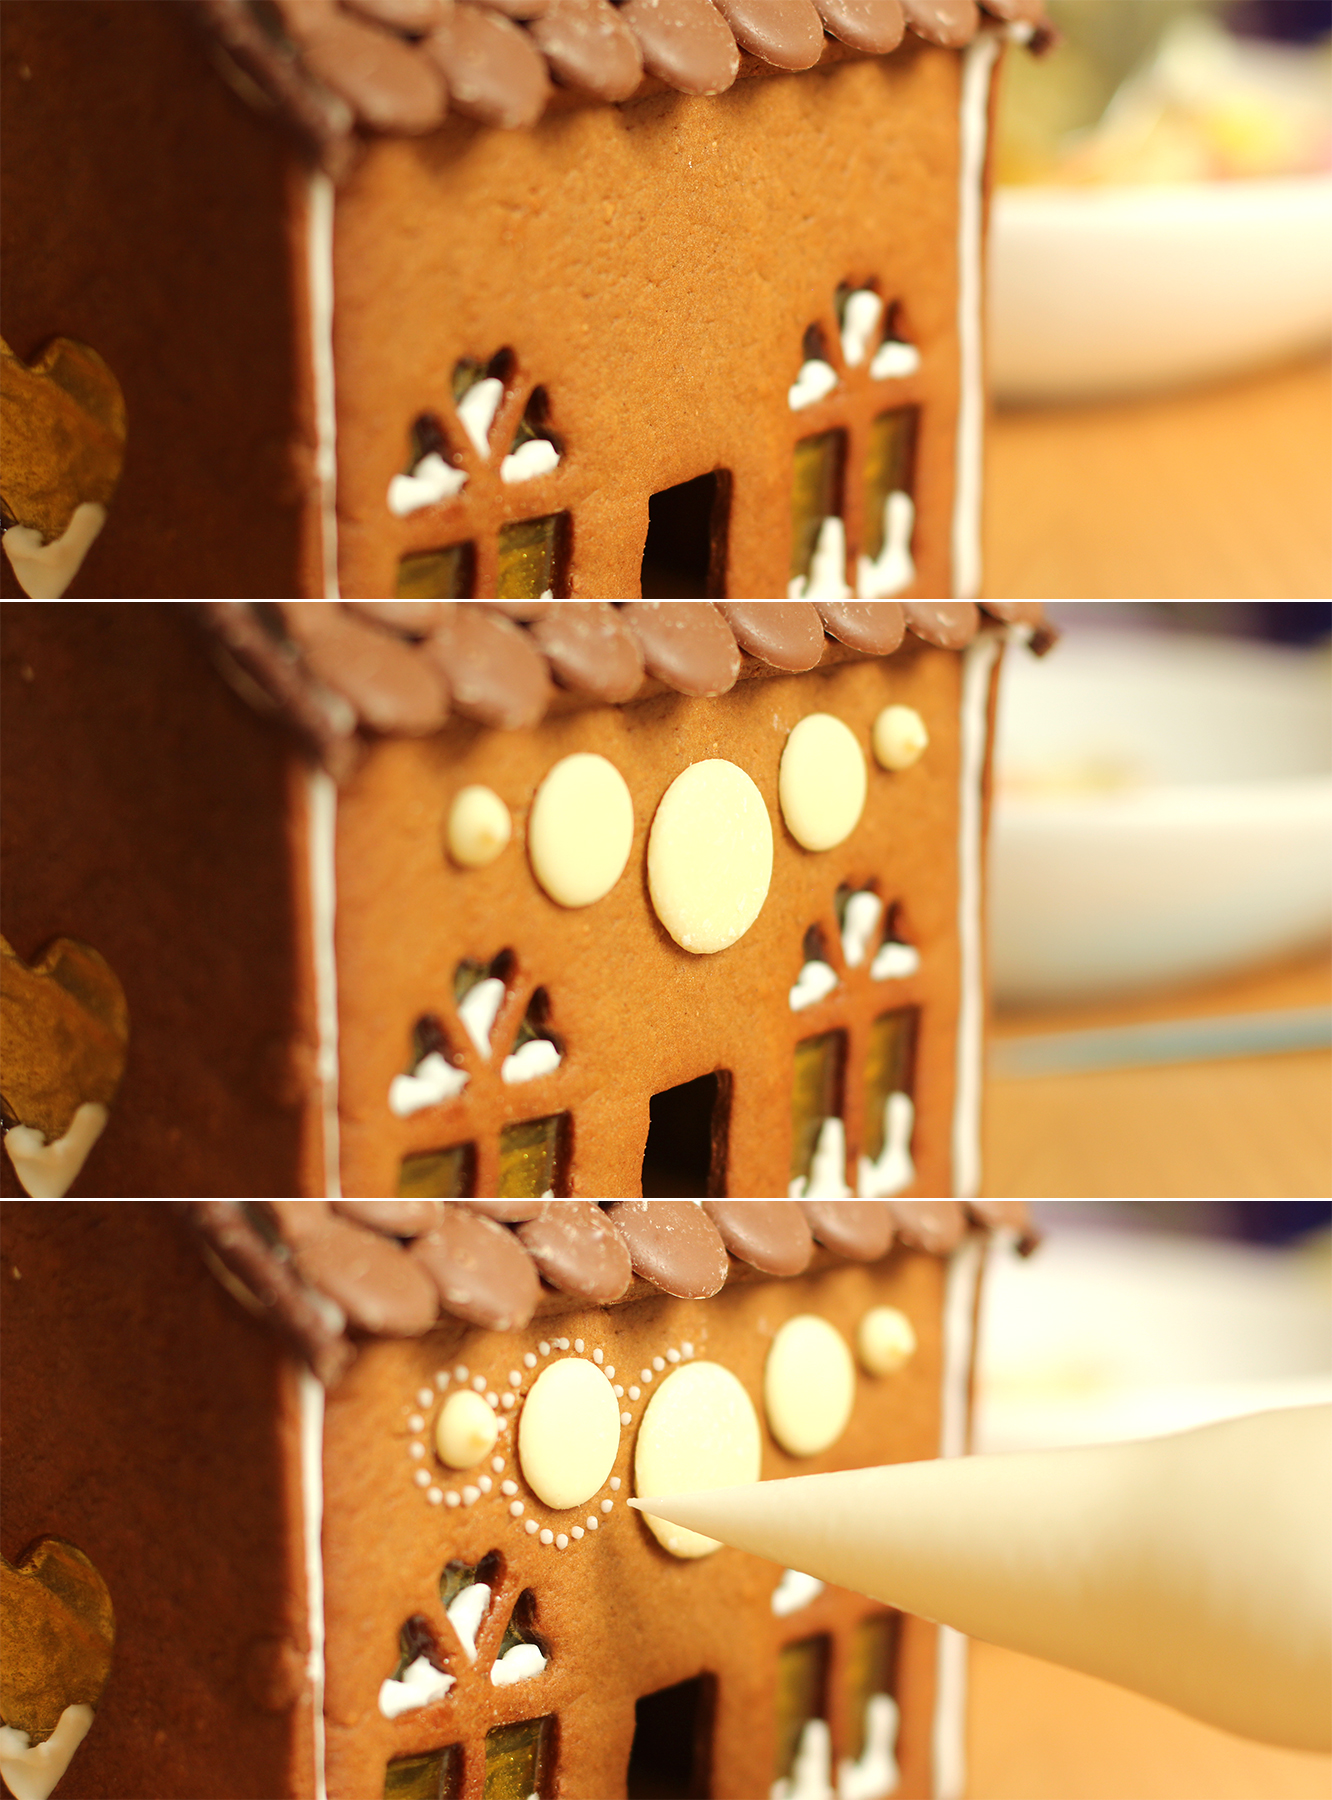
Continue to decorate the sides and the back. I find a much narrower nozzle on the piping bag is good for this. I like putting these little dots around things.
gingerbread-house-village-recipe-guide-18

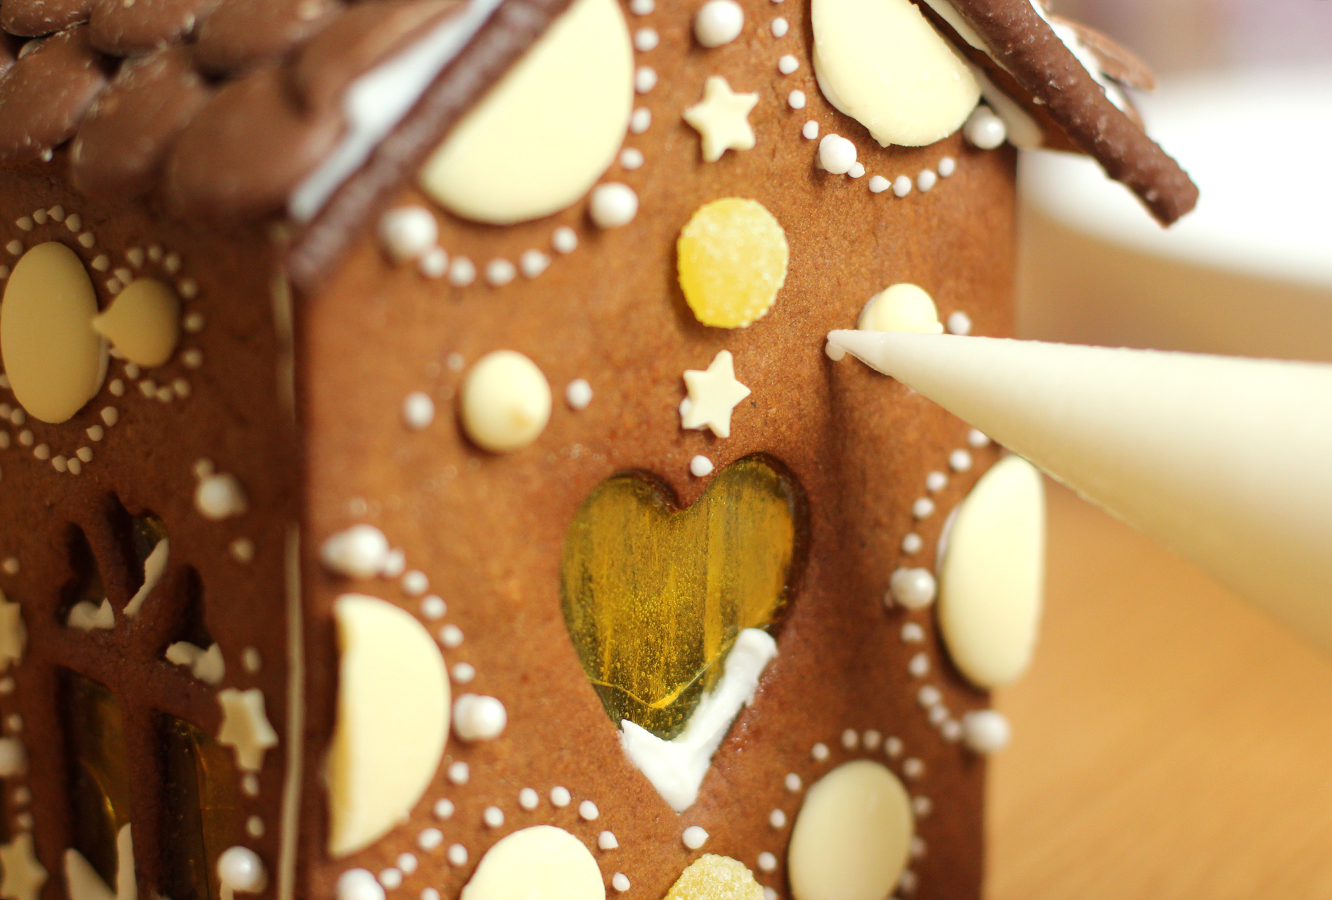
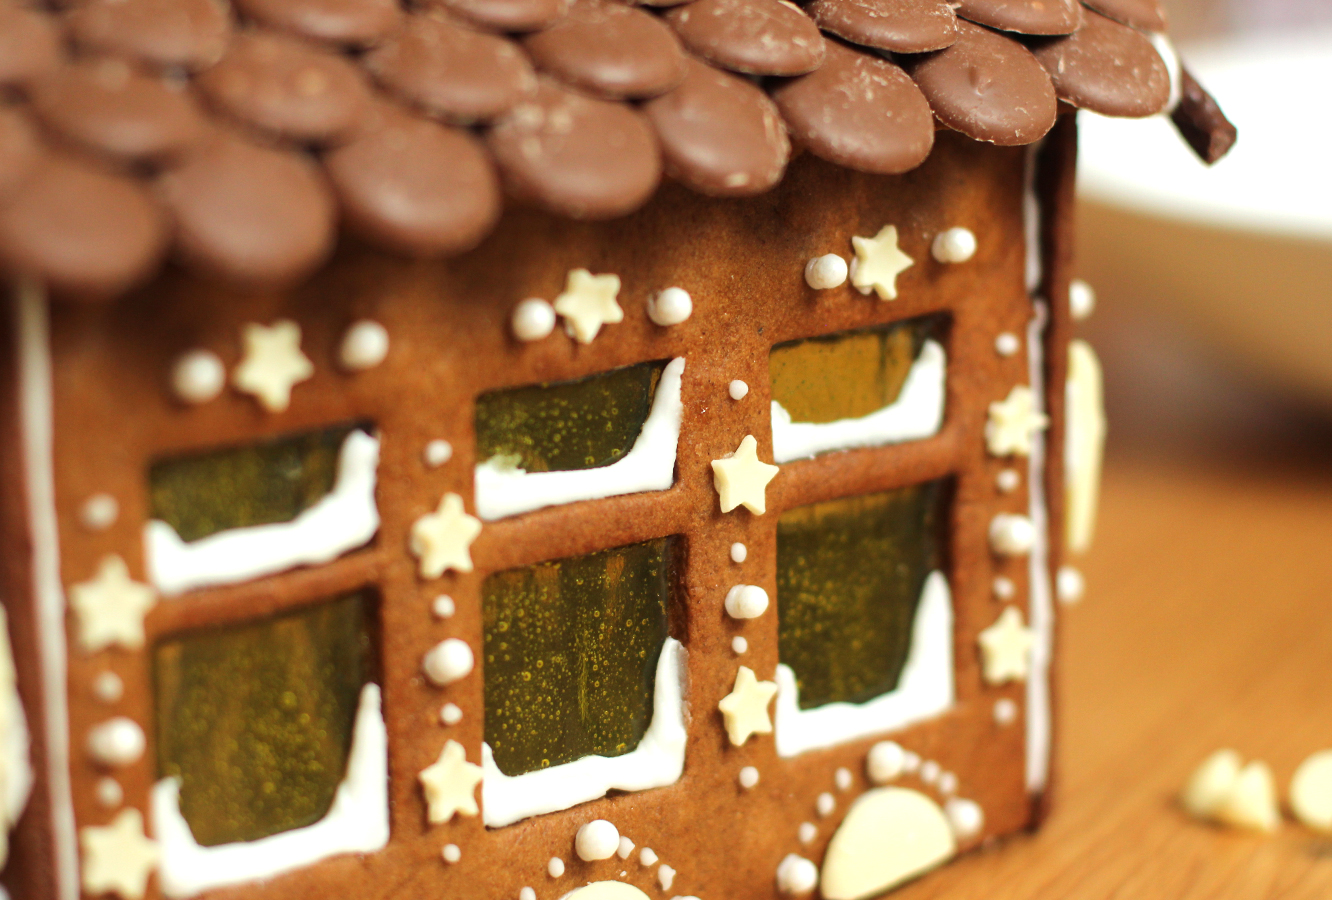
This year I used a lot of white chocolate buttons, I don’t have much choice in the local small supermarkets nearby. Silver balls, mini stars, chocolate drops and other round sweets are amongst my favourites for the decorations.
gingerbread-house-village-recipe-guide-19

gingerbread-house-village-recipe-guide-20

Step sixteen

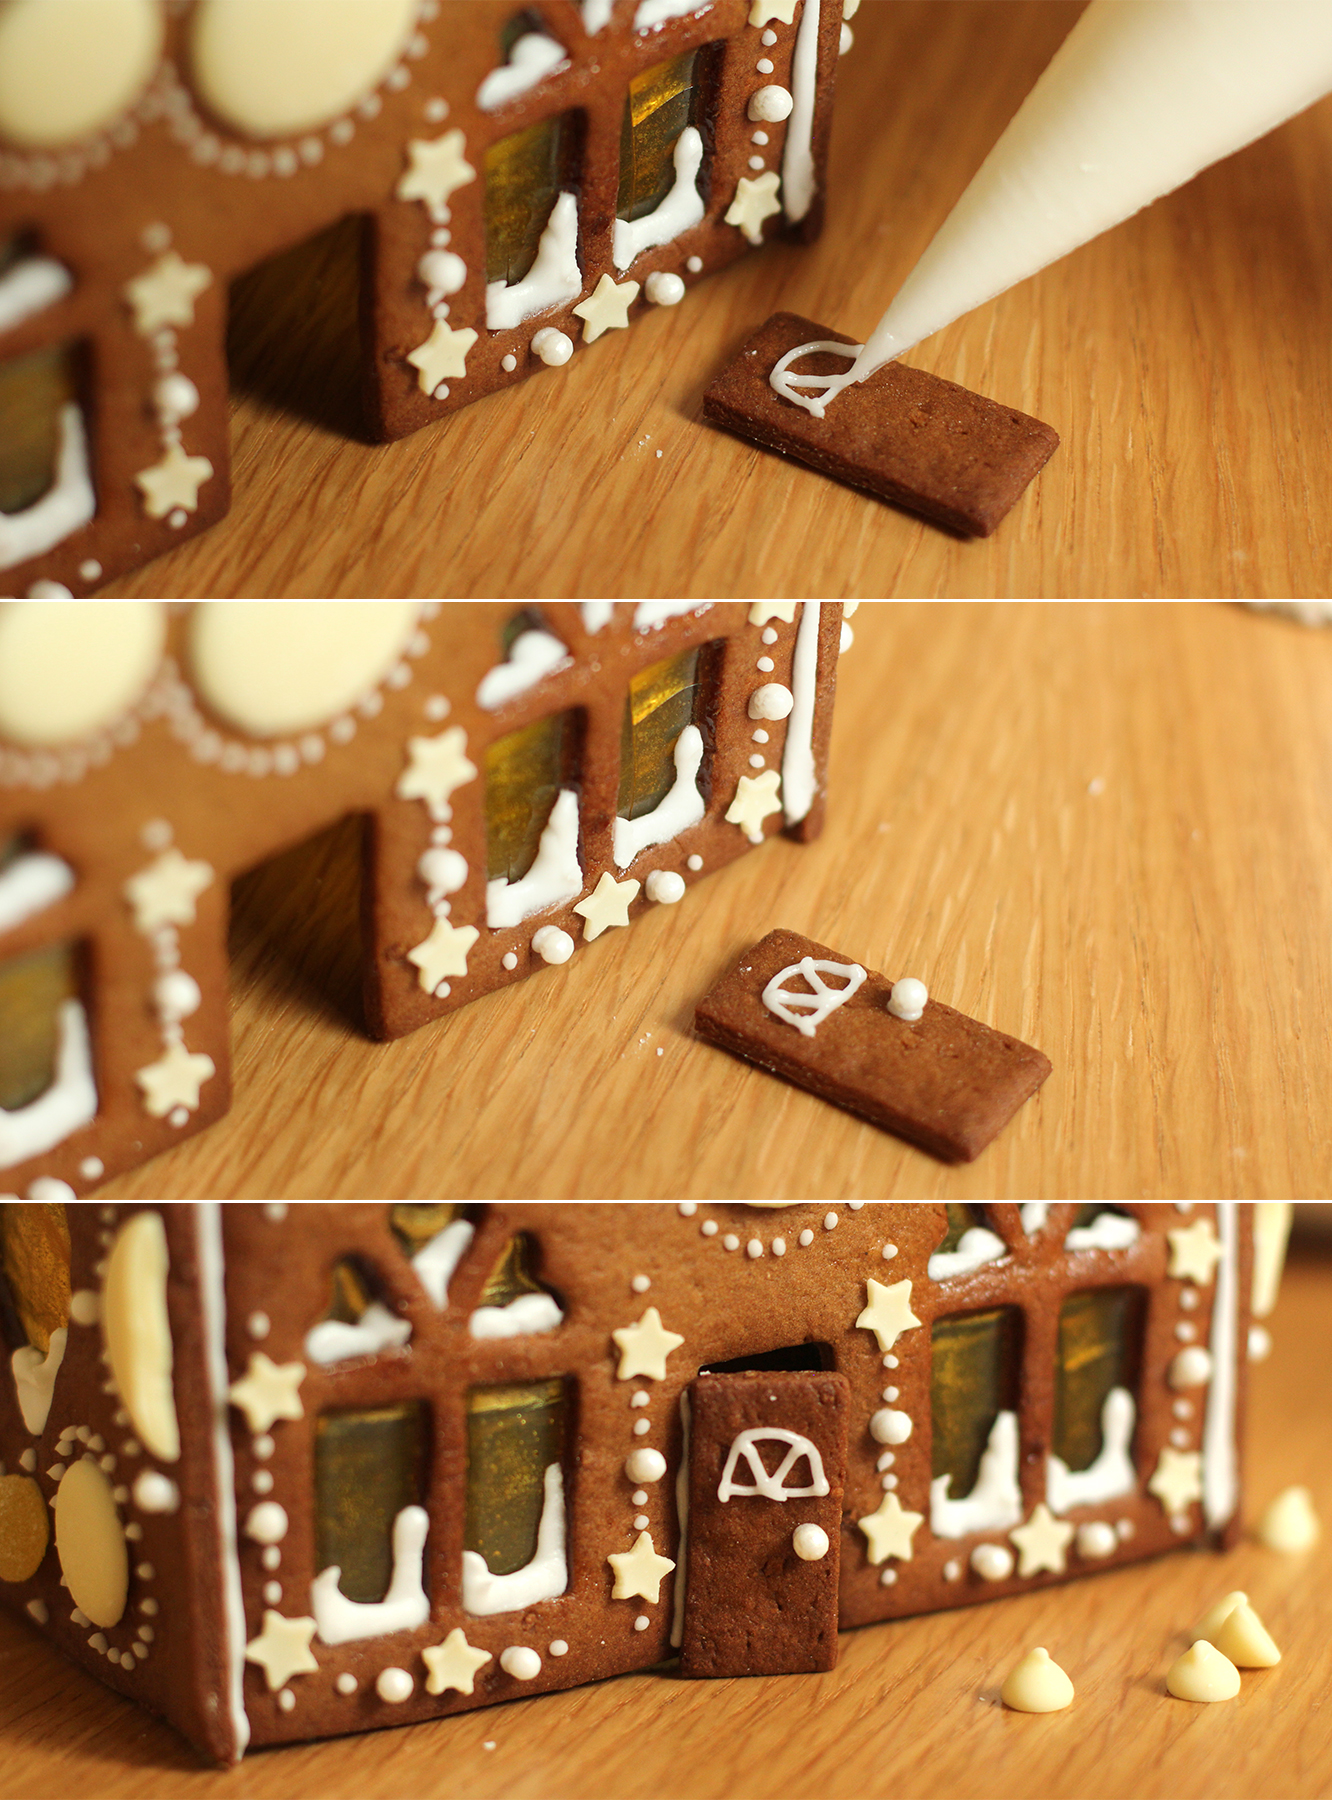
Don’t forget the little door! I wouldn’t attach it at this stage if you are doing a big house, because you need to squeeze the tea lights through it. The little ones can just be placed over the top of them as they don’t need to be attached to a base at this stage.
gingerbread-house-village-recipe-guide-gif

Step seventeen

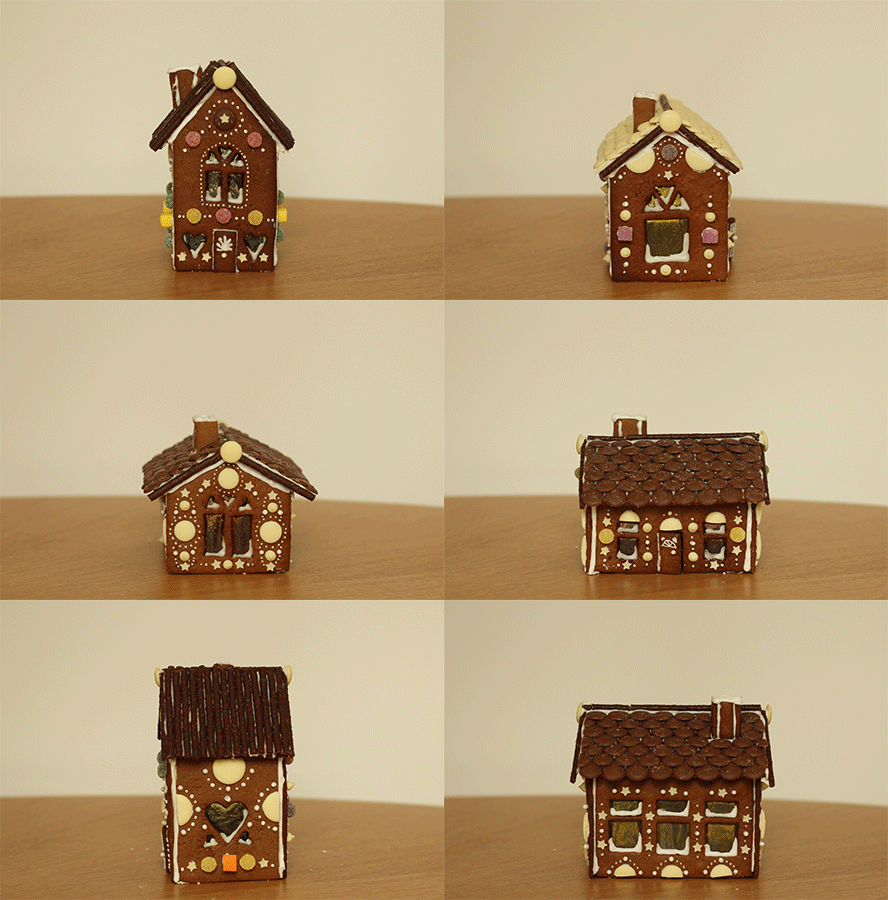
Keep making them.

gingerbread-house-village-recipe-guide-25

gingerbread-house-village-recipe-guide-24
gingerbread-house-village-recipe-guide-22

gingerbread-house-village-recipe-guide-21

Here’s a snap of me (with the reddest face, thanks blushing reflex) that was insisted upon, and all but one of us (come back Saskia!) in the obligatory family photo.

gingerbread-house-village-recipe-guide-27

gingerbread-house-village-recipe-guide-26

How did I get them into work? A special train, a suitcase and some blankets.


It’s as easy as one, two, tree

Afternoon folks! Making the most of my lunch break to post this week because we are officially in Christmas party season. You know what else we’re in? CHRISTMAS TREE SEASON.

Yes. That’s right, get yours out of the attic or head down to your local festive pop up, it’s time.

There’s a lovely nostalgia people have with their generations old decorations; almost everyone I’ve talked to about their tree has some kind of heirloom ornament that takes centre stage each year.

I still think it’s nice to freshen it up from time to time though, and with December costing a fortune, here are some quick and easy christmas tree decorations you can make with things lying around the house/garden.

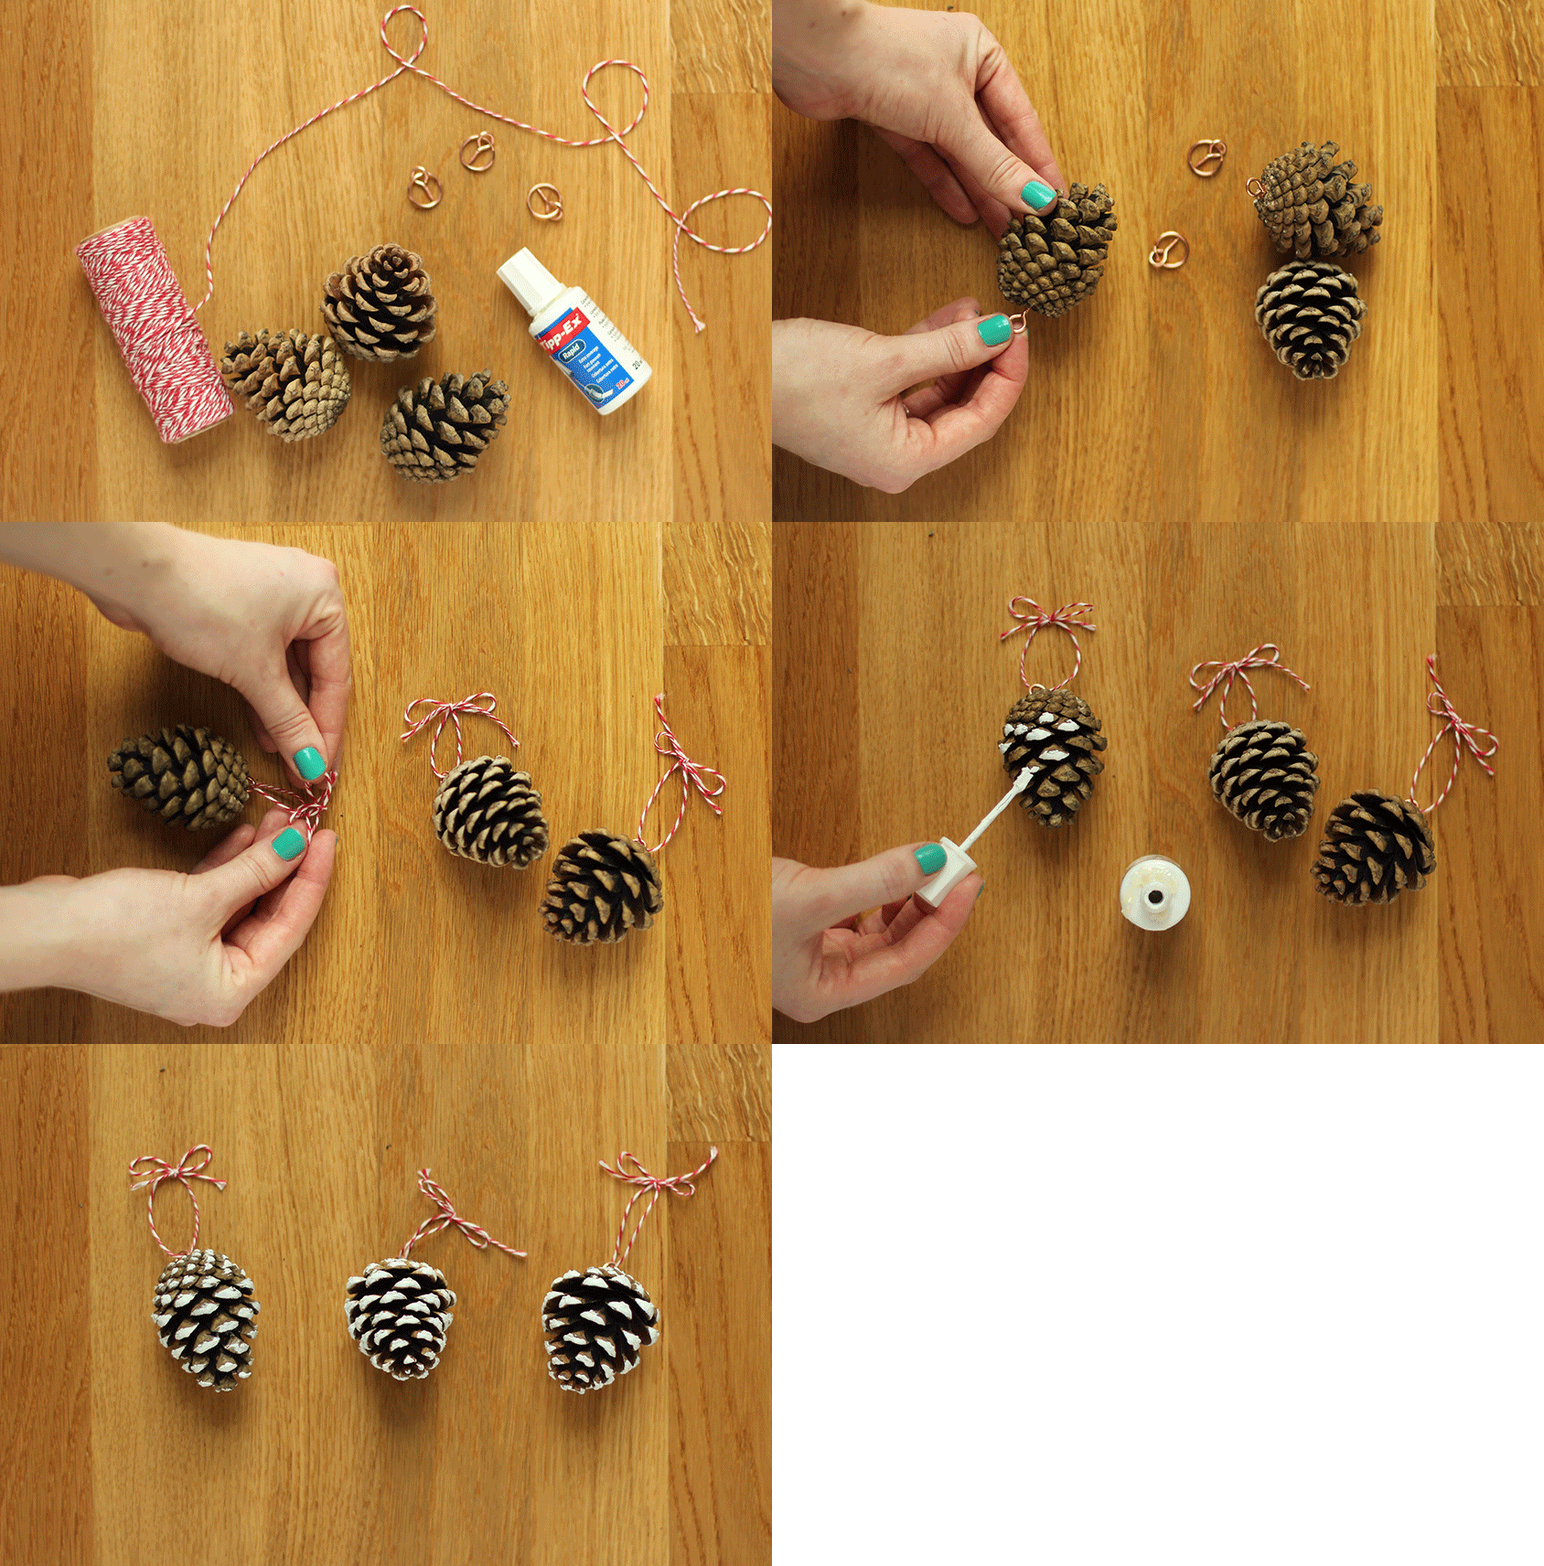
Pine cone ornaments

Pine cones

Picture frame hangers (screw in ones)

Tip-Ex (white out)

Ribbon or string

Quick-easy-christmas-decorations-pine-cone-tree-ornaments

Quick-easy-christmas-decorations-pine-cone-tree-ornaments-1

Screw the picture hangers into the bottom of the pine cones, attach a loop of string/ribbon an paint the ends of the pine thingys with the Tip-Ex. It dries so quickly you don’t even need to put paper down.

Paper circles garland

White card

Contrasting thread

Circle punch

Sewing machine (or you could use glue/double-sided tape if you don’t have one)

Quick-easy-christmas-decorations-tree-garland

Quick-easy-christmas-decorations-tree-garland-1

Punch a load of circles out of the card. Put them through a sewing machine. Yup. THAT easy.

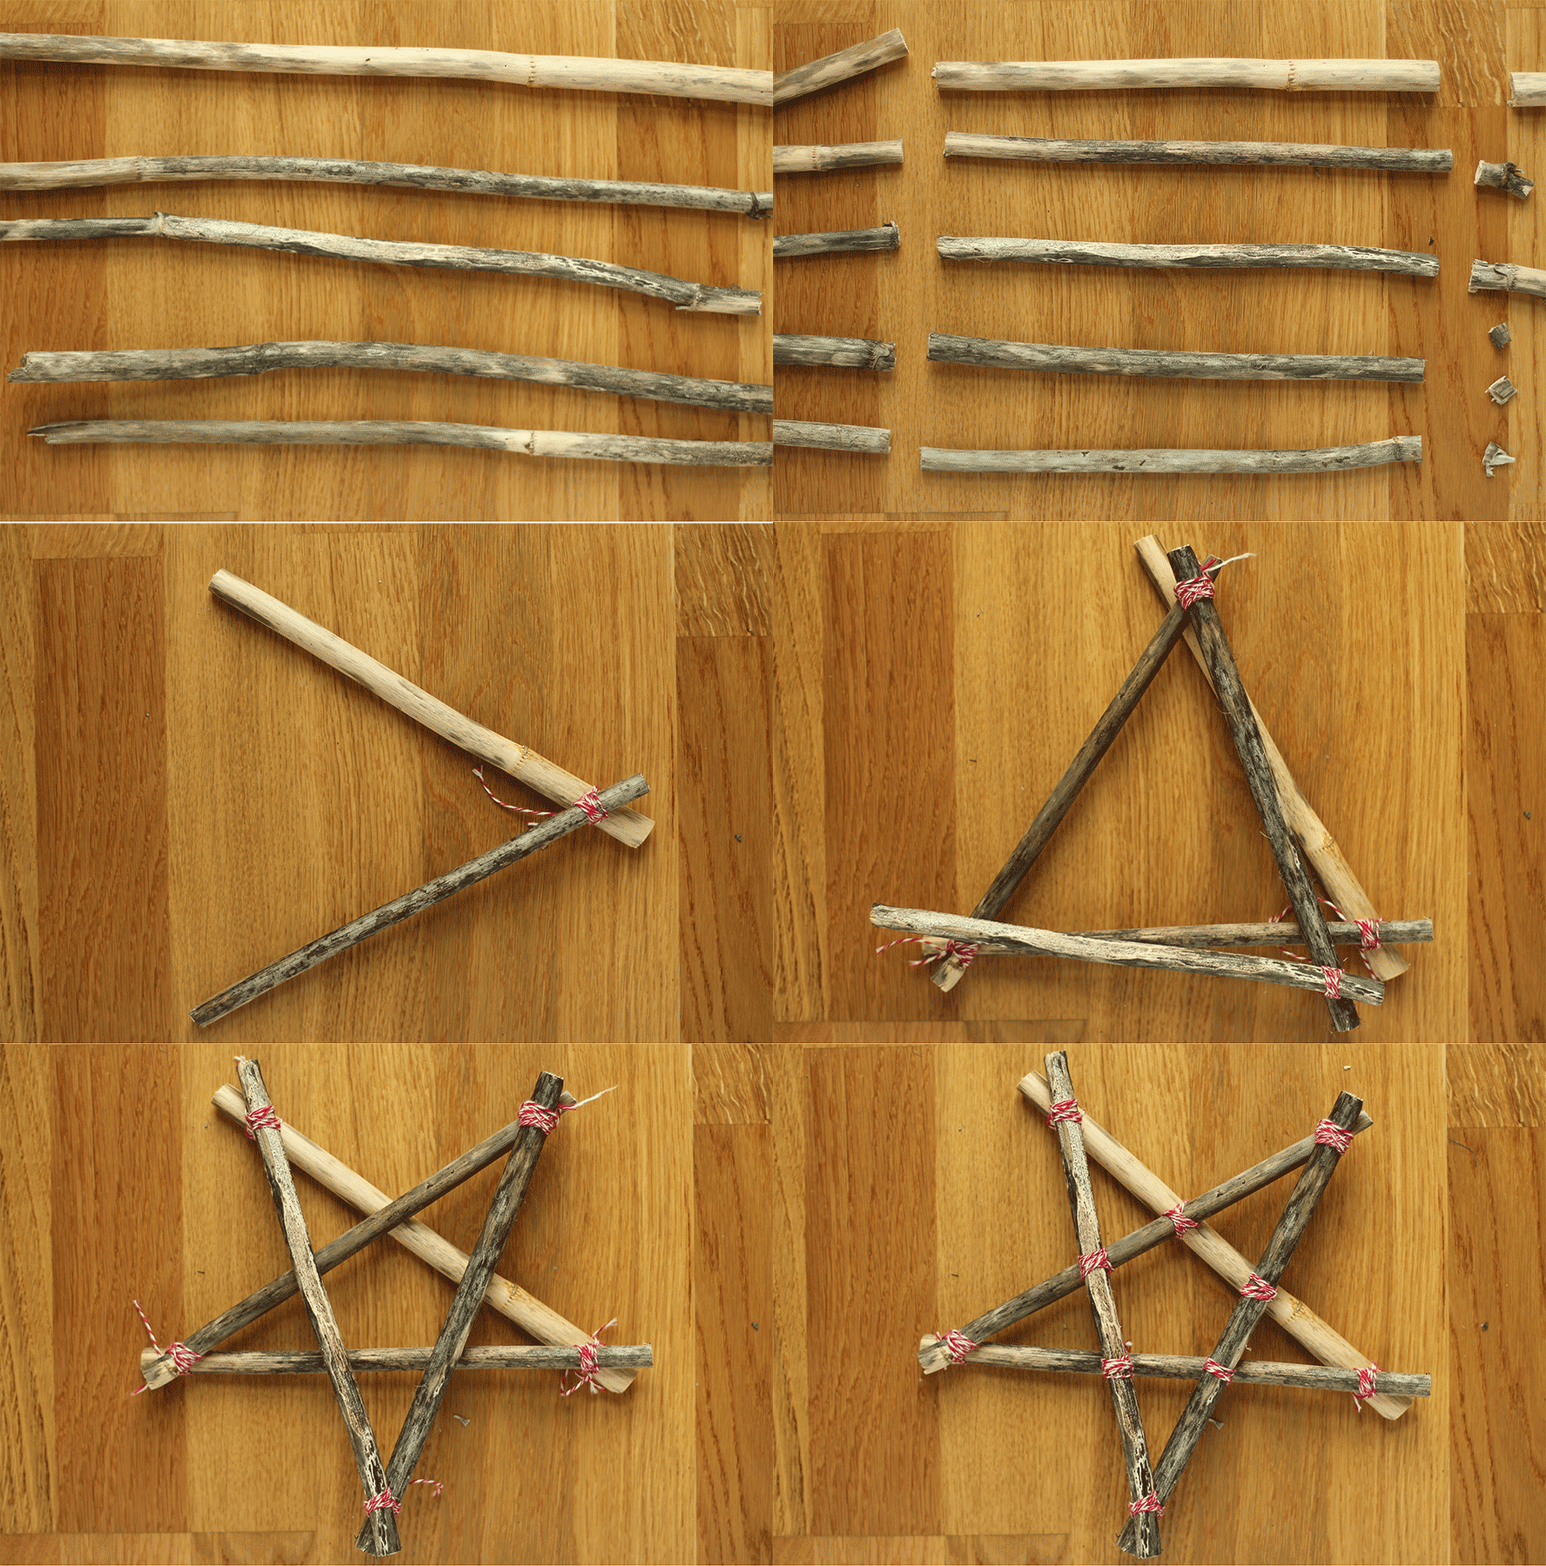
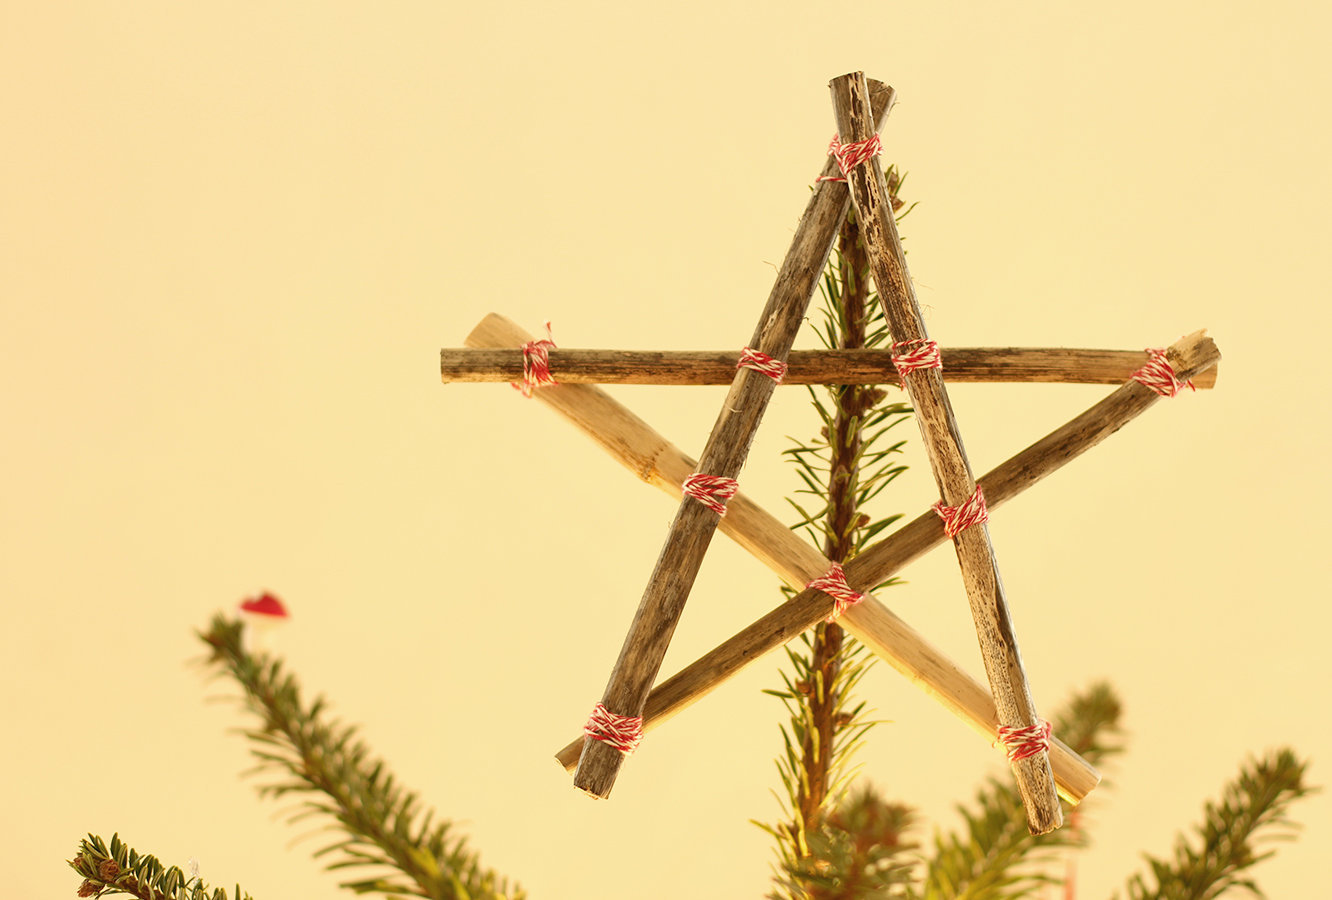
Christmas tree star

Five reasonably straight twigs

Some twine

Quick-easy-christmas-decorations-tree-star

Quick-easy-christmas-decorations-tree-star-1

Cut the twigs to the same length using secateurs or scissors. Tie the ends together at 45 degree angles or less. Make sure that when a twig is on top of another at one end that it goes under the next one at the other end. The only exception is the twig you started with, which when you tie it to complete the star, will probably be under both those it’s attached to. Add more twine to secure the cross overs in the middle too.


Santa Claus is coming to town

Two years of fabrefaction.co.uk friends. Yup. THAT HAPPENED. Thank you for the support and the loving, please keep sharing, commenting and messaging me; I love hearing from you and seeing what you’ve made.

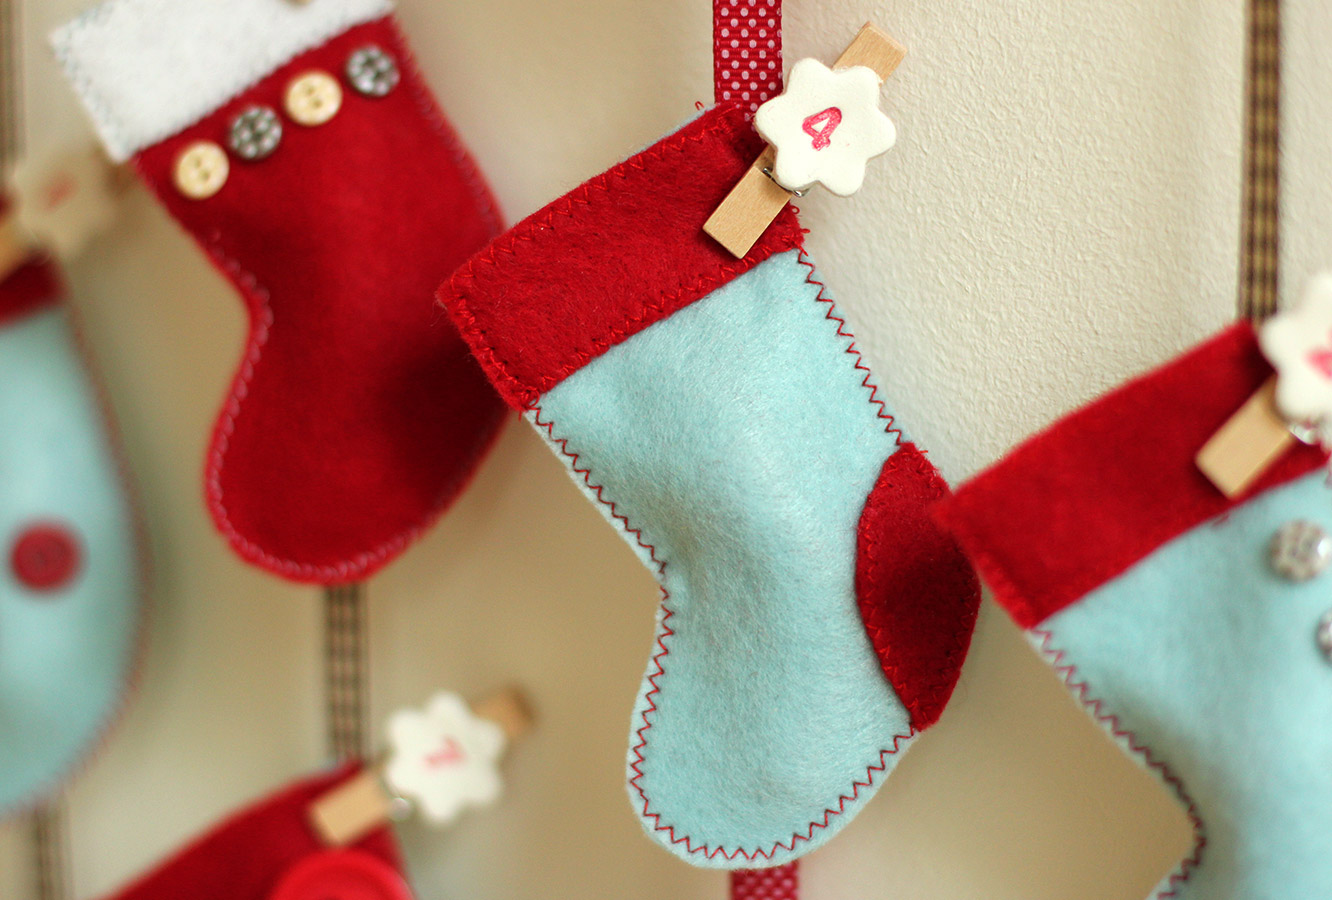
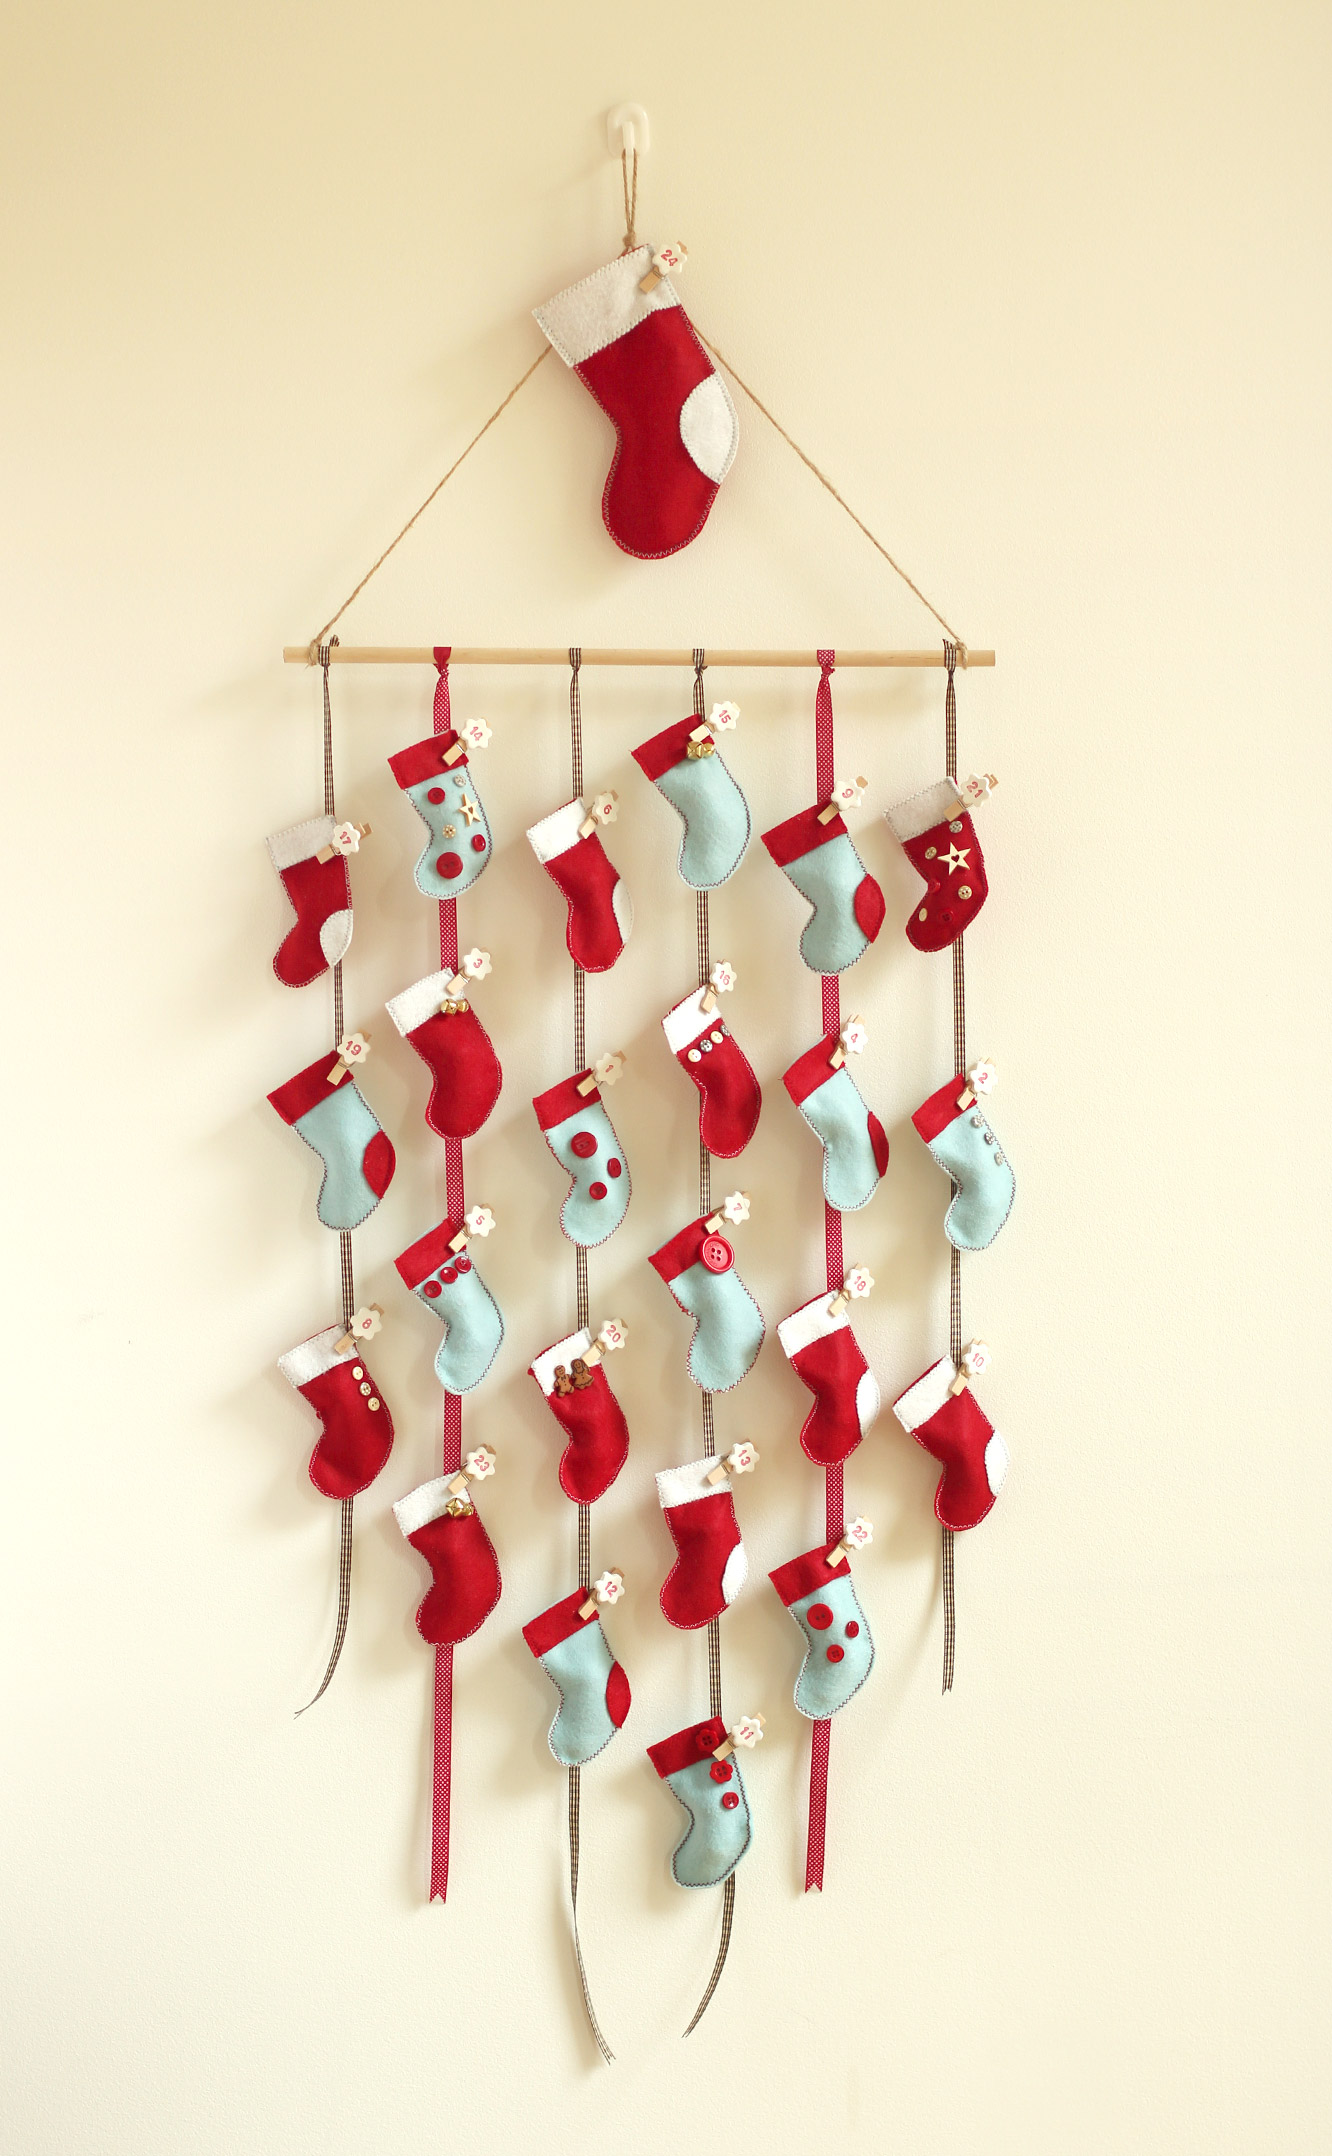
In keeping with my first post ever, and the one year anniversary post of this little blog, here’s another lovely advent calendar for you to make.

“Oh but advent starts next week, I don’t have time!” Yes, yes you do. I made this in a day. Less than really when you consider I went out for breakfast and dinner. You could even take the easy way out and glue instead of sew.

This particular calendar is a labour of love for my very hardworking and wonderful sister. Poor duck got jealous of mine once, and this year I thought it was about time she had something a little more permanent so she never forgets again. Thanks for your love and support sib.

homemade-advent-calendar-mini-stockings-01

You will need

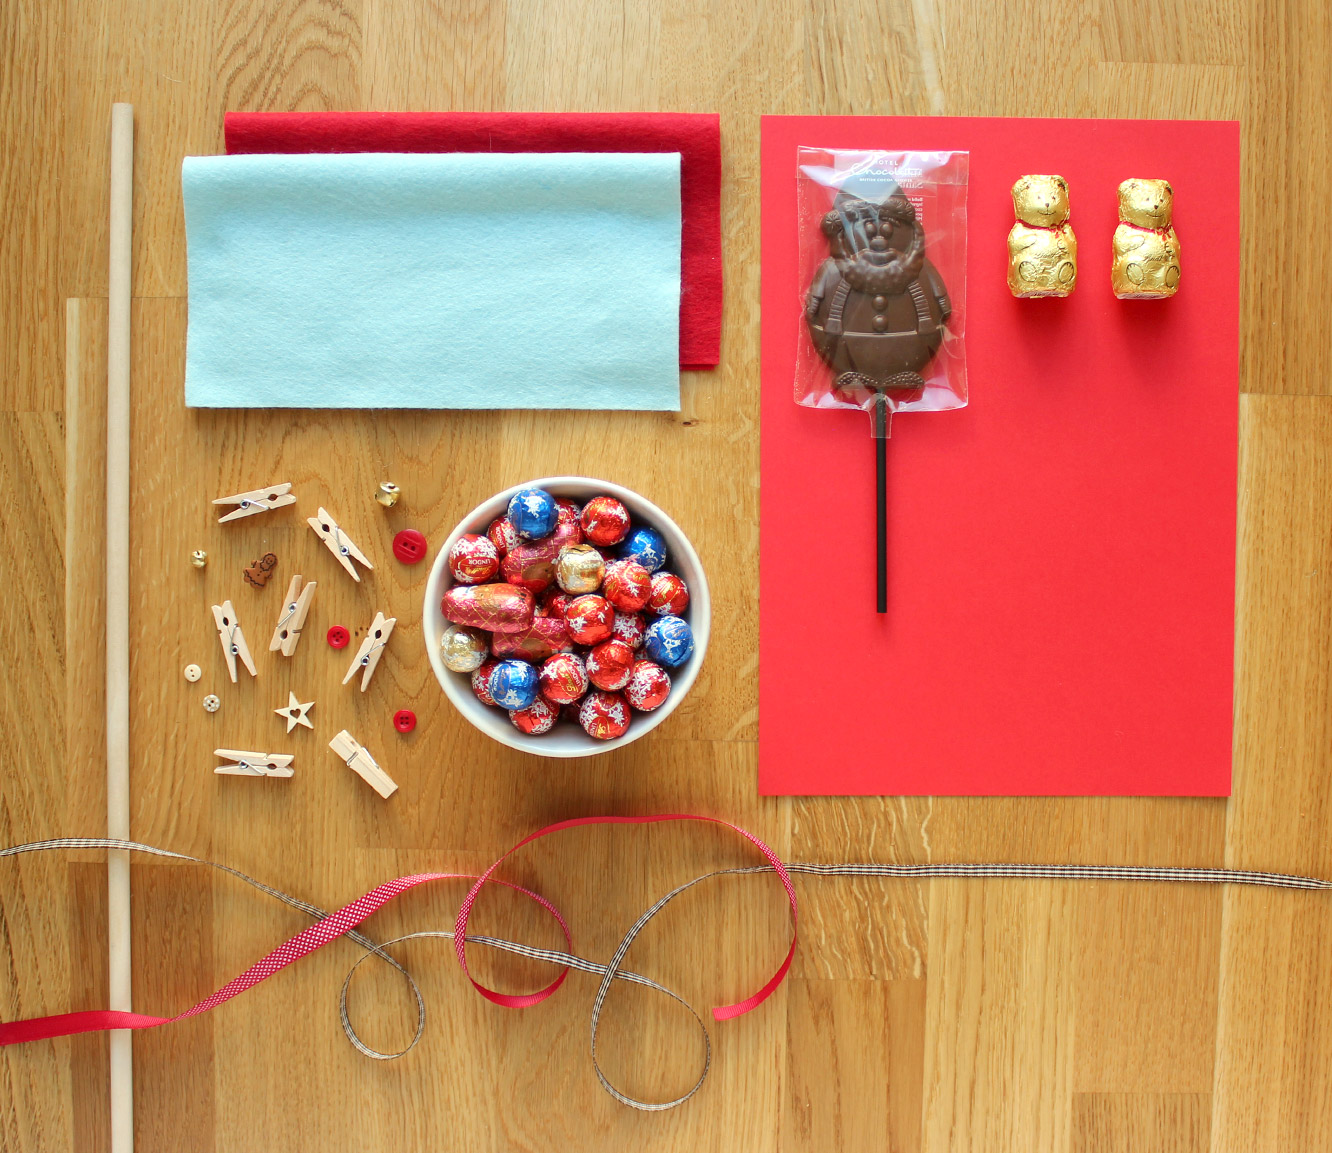
A dowel rod (40cm) (or a wire coat hanger)

Festive looking string or ribbon

Felt (I bought two packs of 5 felt squares from John Lewis, you’d probably need 6 or so A4 sheets)

24-48 chocolates (I used mini Lindor truffles (there are 22 in a bag) and some woodland friends from Waitrose)

Something a bit more special for Christmas eve

24 miniature pegs (I got these from Tiger)

Buttons etc to decorate

FIMO or air dry clay

A marker pen or ink and mini number stamps

This template for the stockings

homemade-advent-calendar-mini-stockings-02

Step one

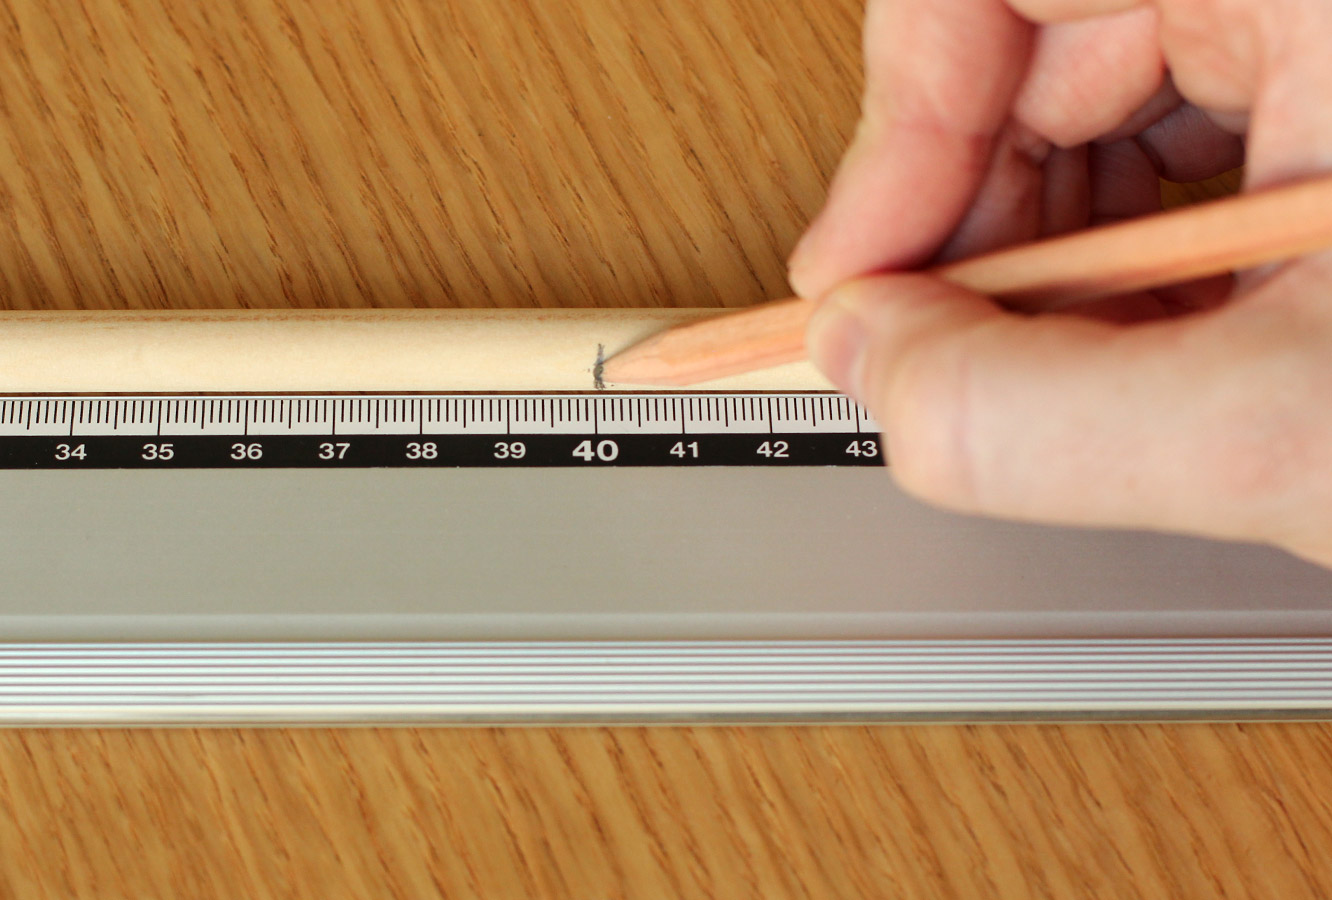
Depending on the length of your dowel you might need to cut it down. Mark the cut point at 40cm.

homemade-advent-calendar-mini-stockings-03

Step two

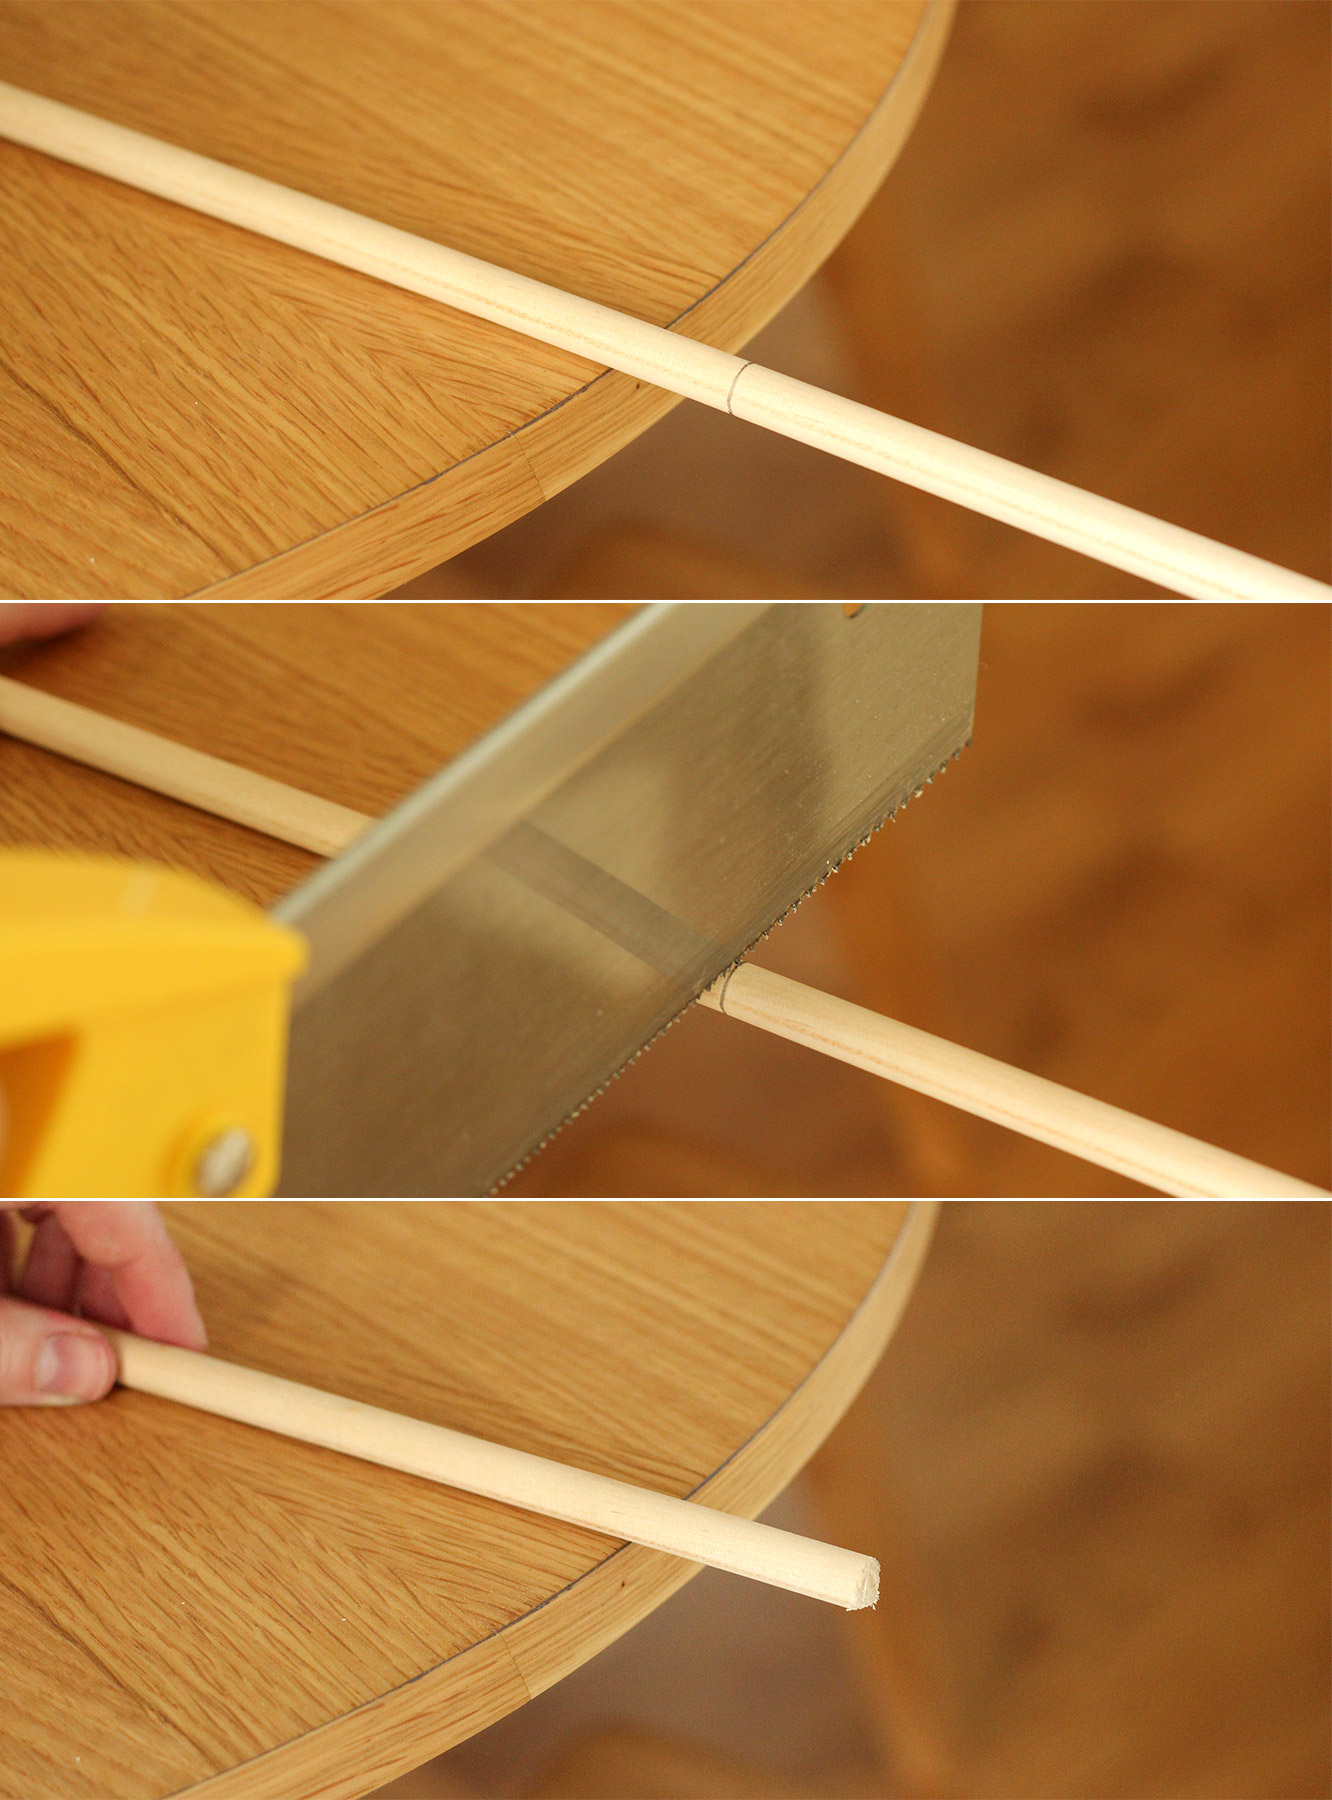
Cut the end of the dowel off. Those of you into wood work (of which I am sure there are plenty) don’t judge me for my saw, I’m relatively confident after using it that it wasn’t the right choice.

homemade-advent-calendar-mini-stockings-04

Step three

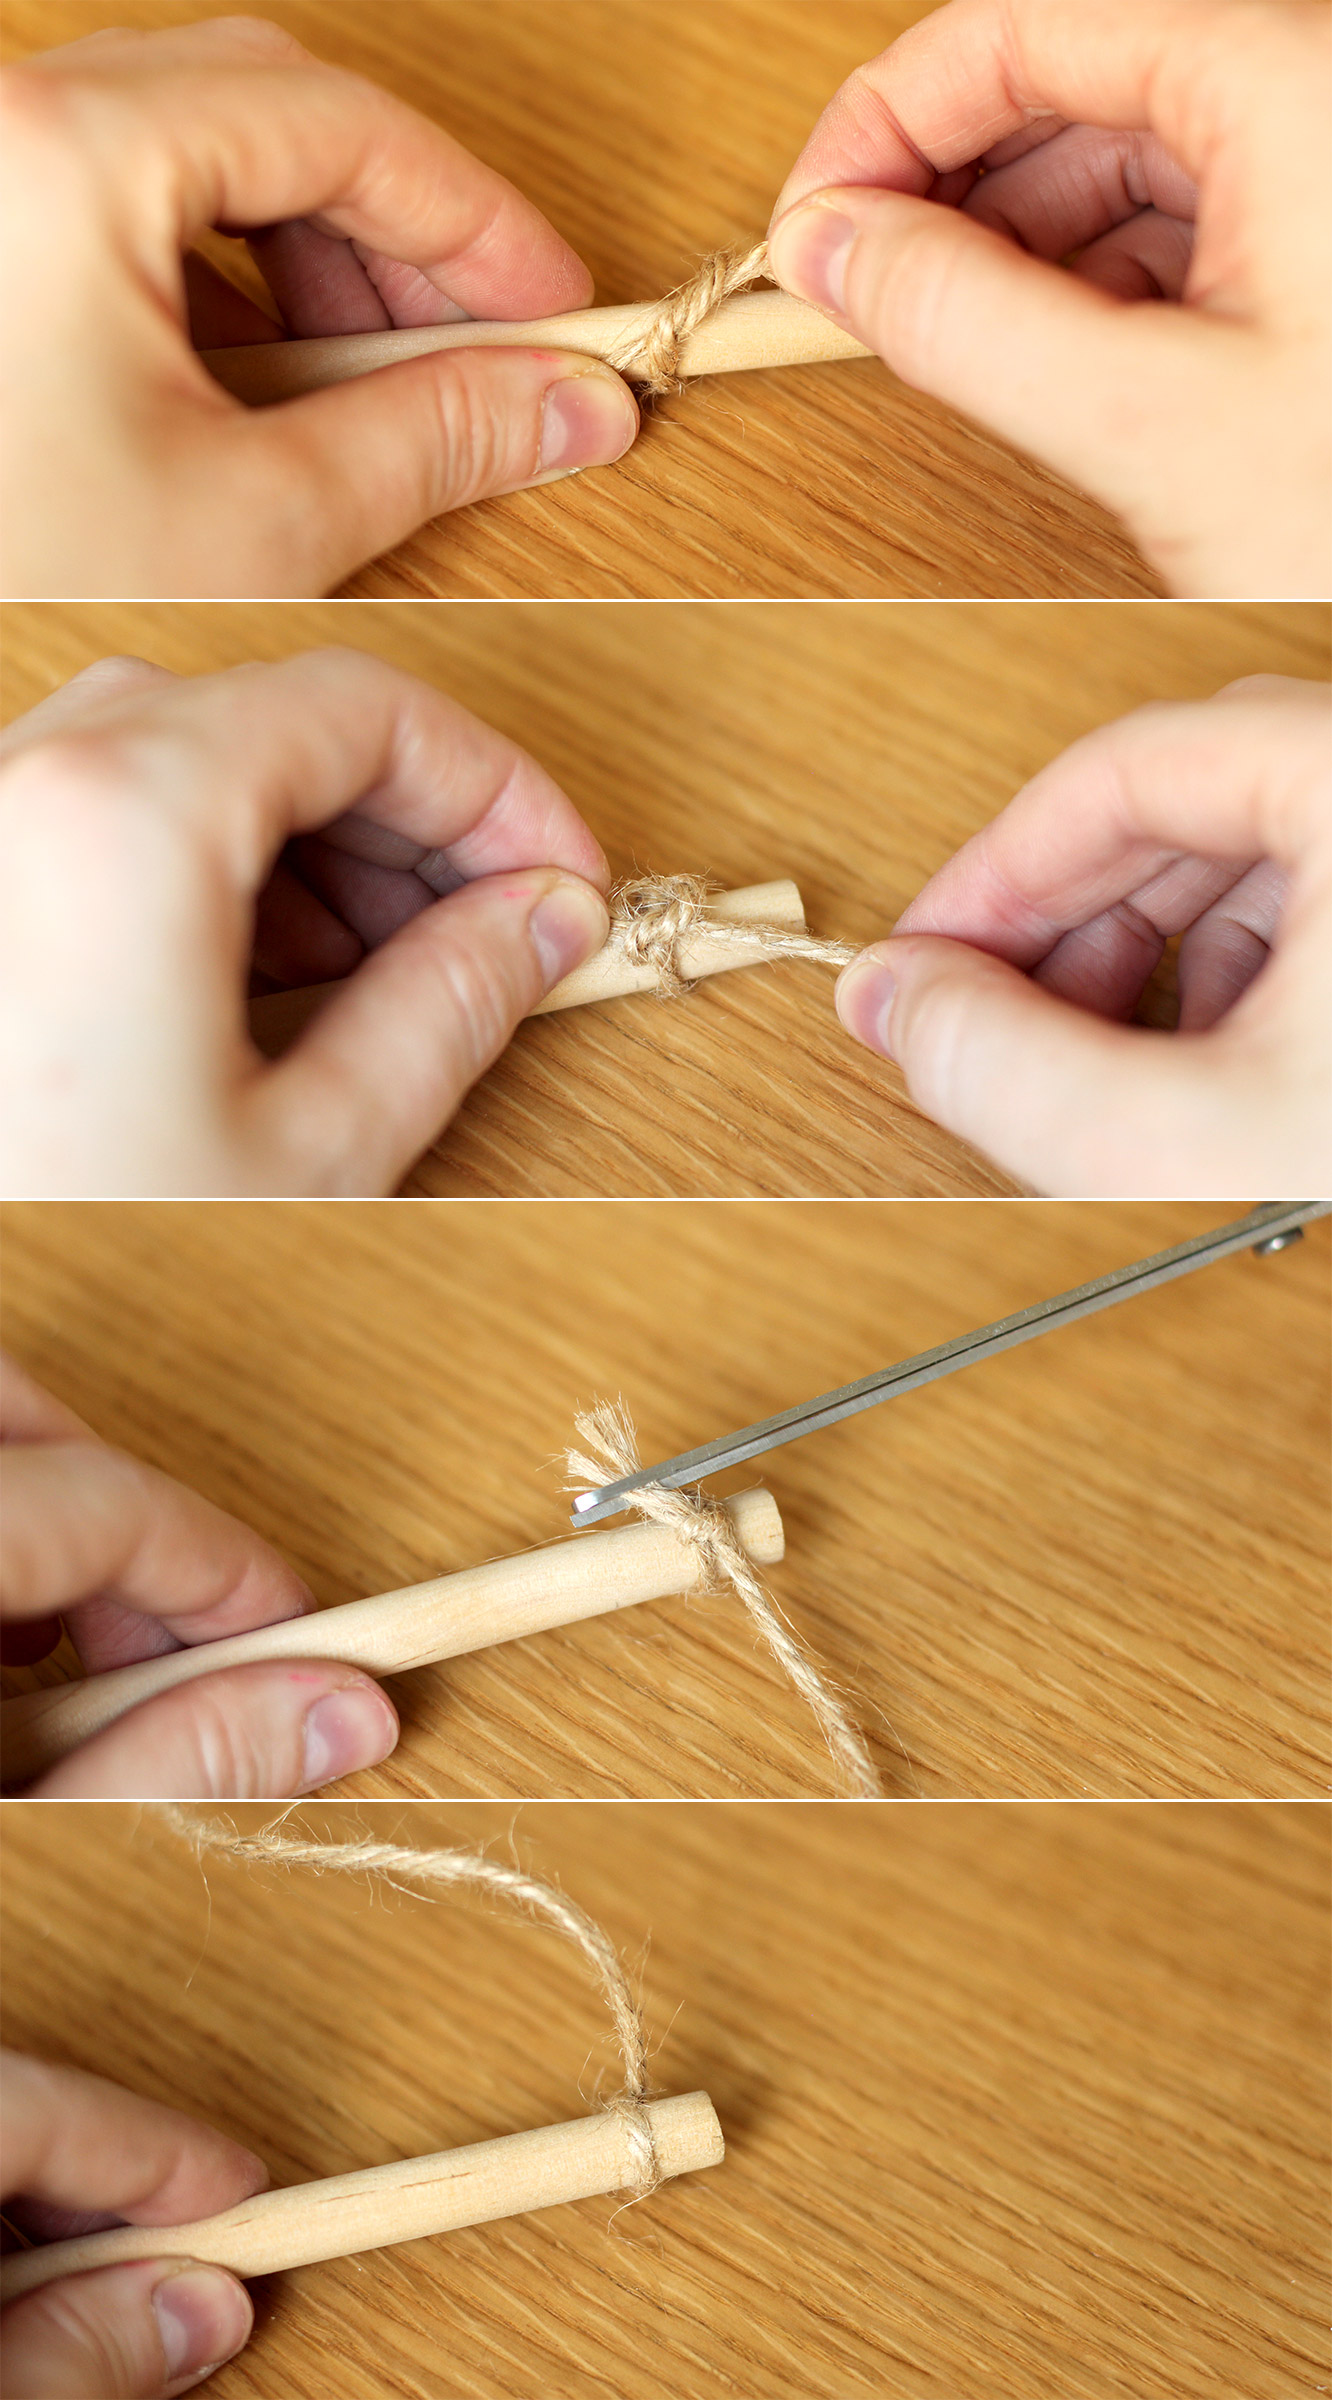
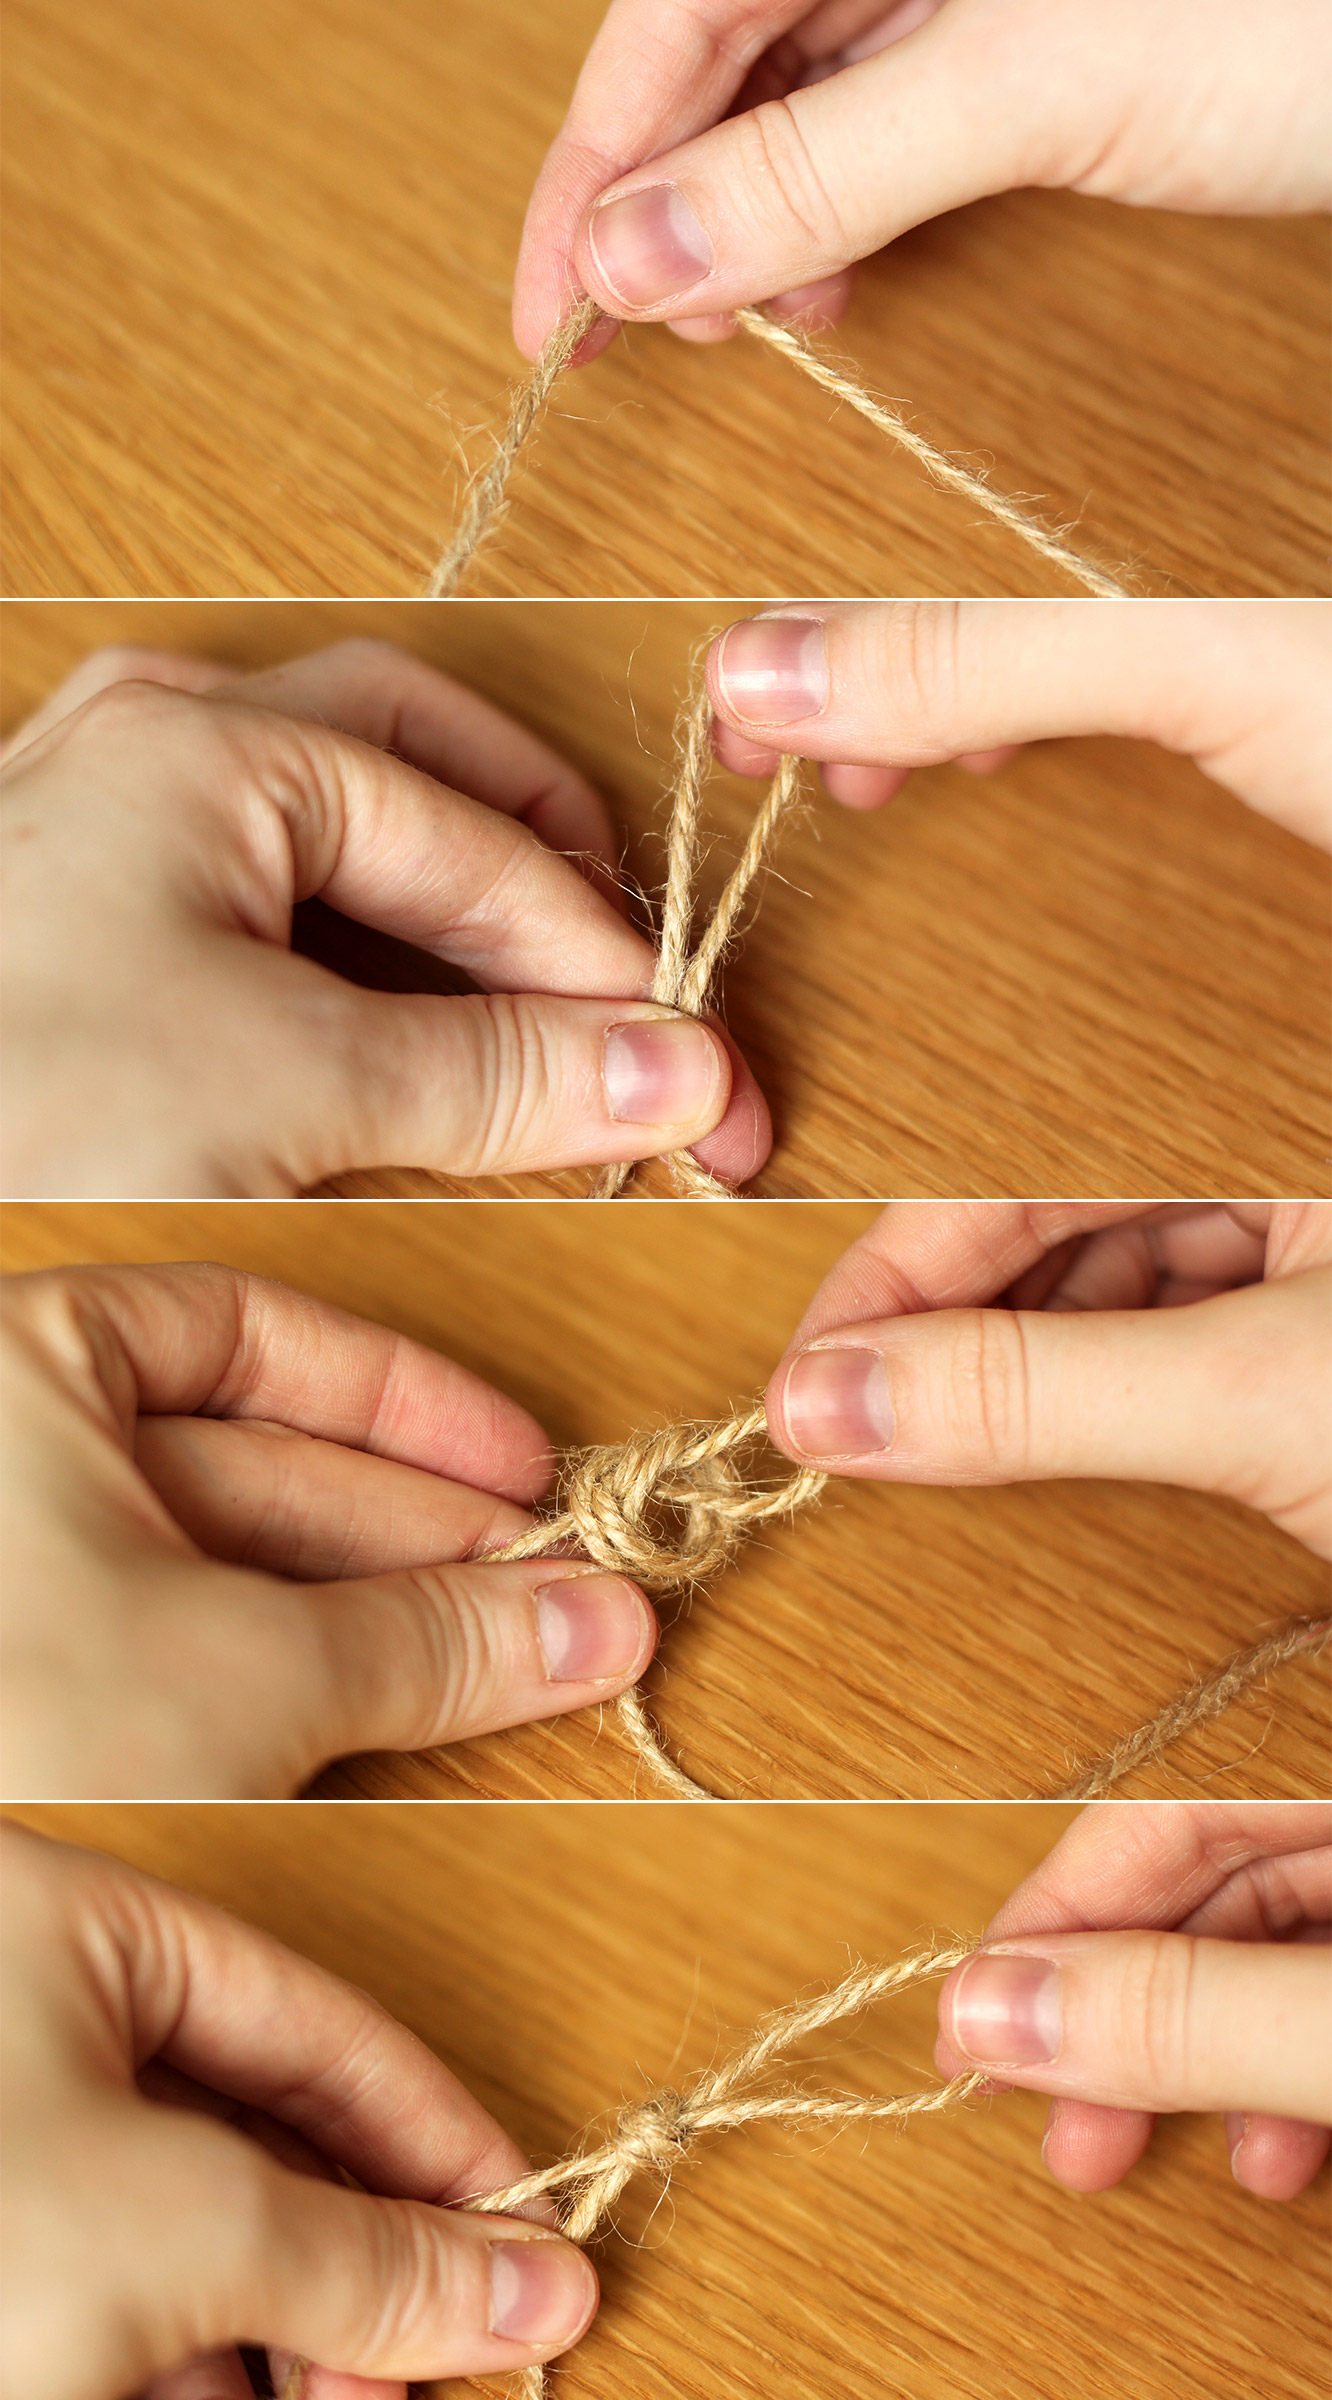
measure a length of twine/string/ribbon about twice the length of the wood and double knot tie it onto either end. You might want to add a little glue to secure it. Make sure to turn it so the knot is at the back.

homemade-advent-calendar-mini-stockings-05

Step four

Hold the centre point of the twine and allow the rod to hang off the side of the table. Make sure it’s level and tie a knot in the middle so that you have a loop to use for hanging.

homemade-advent-calendar-mini-stockings-06

Step five

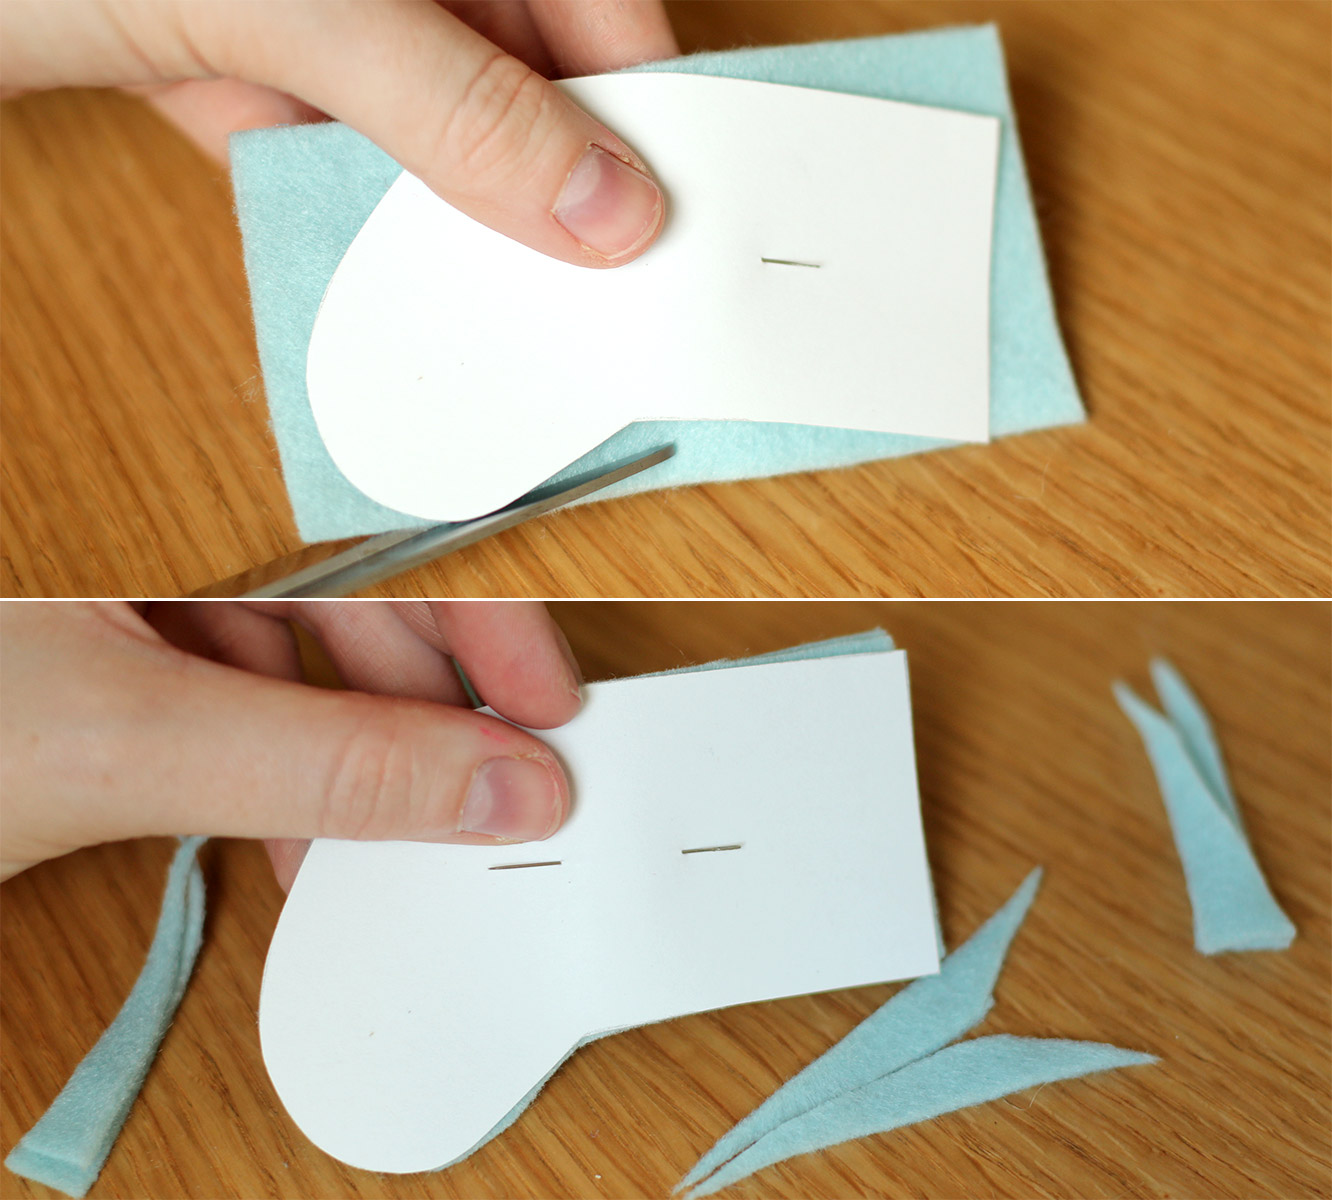
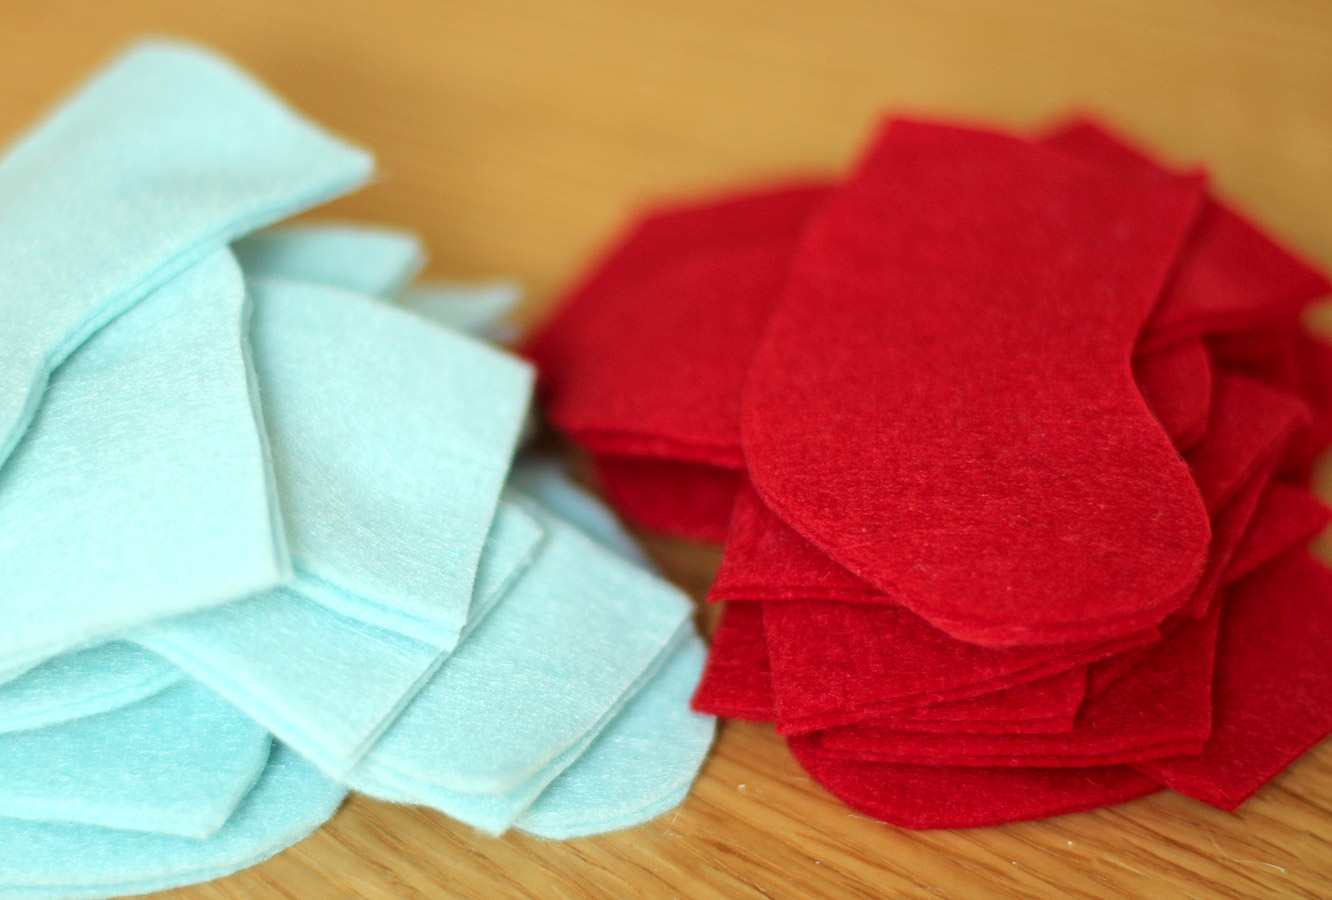
Using the template cut out 23 mini stockings (2 pieces of felt for each). I cut through two layers at a time, and squeezed 8 cut outs from each square of felt. If you bought A4 sheets I imagine you’ll get 10-12.

homemade-advent-calendar-mini-stockings-07

Step six

Keep cutting.

homemade-advent-calendar-mini-stockings-08

Step seven

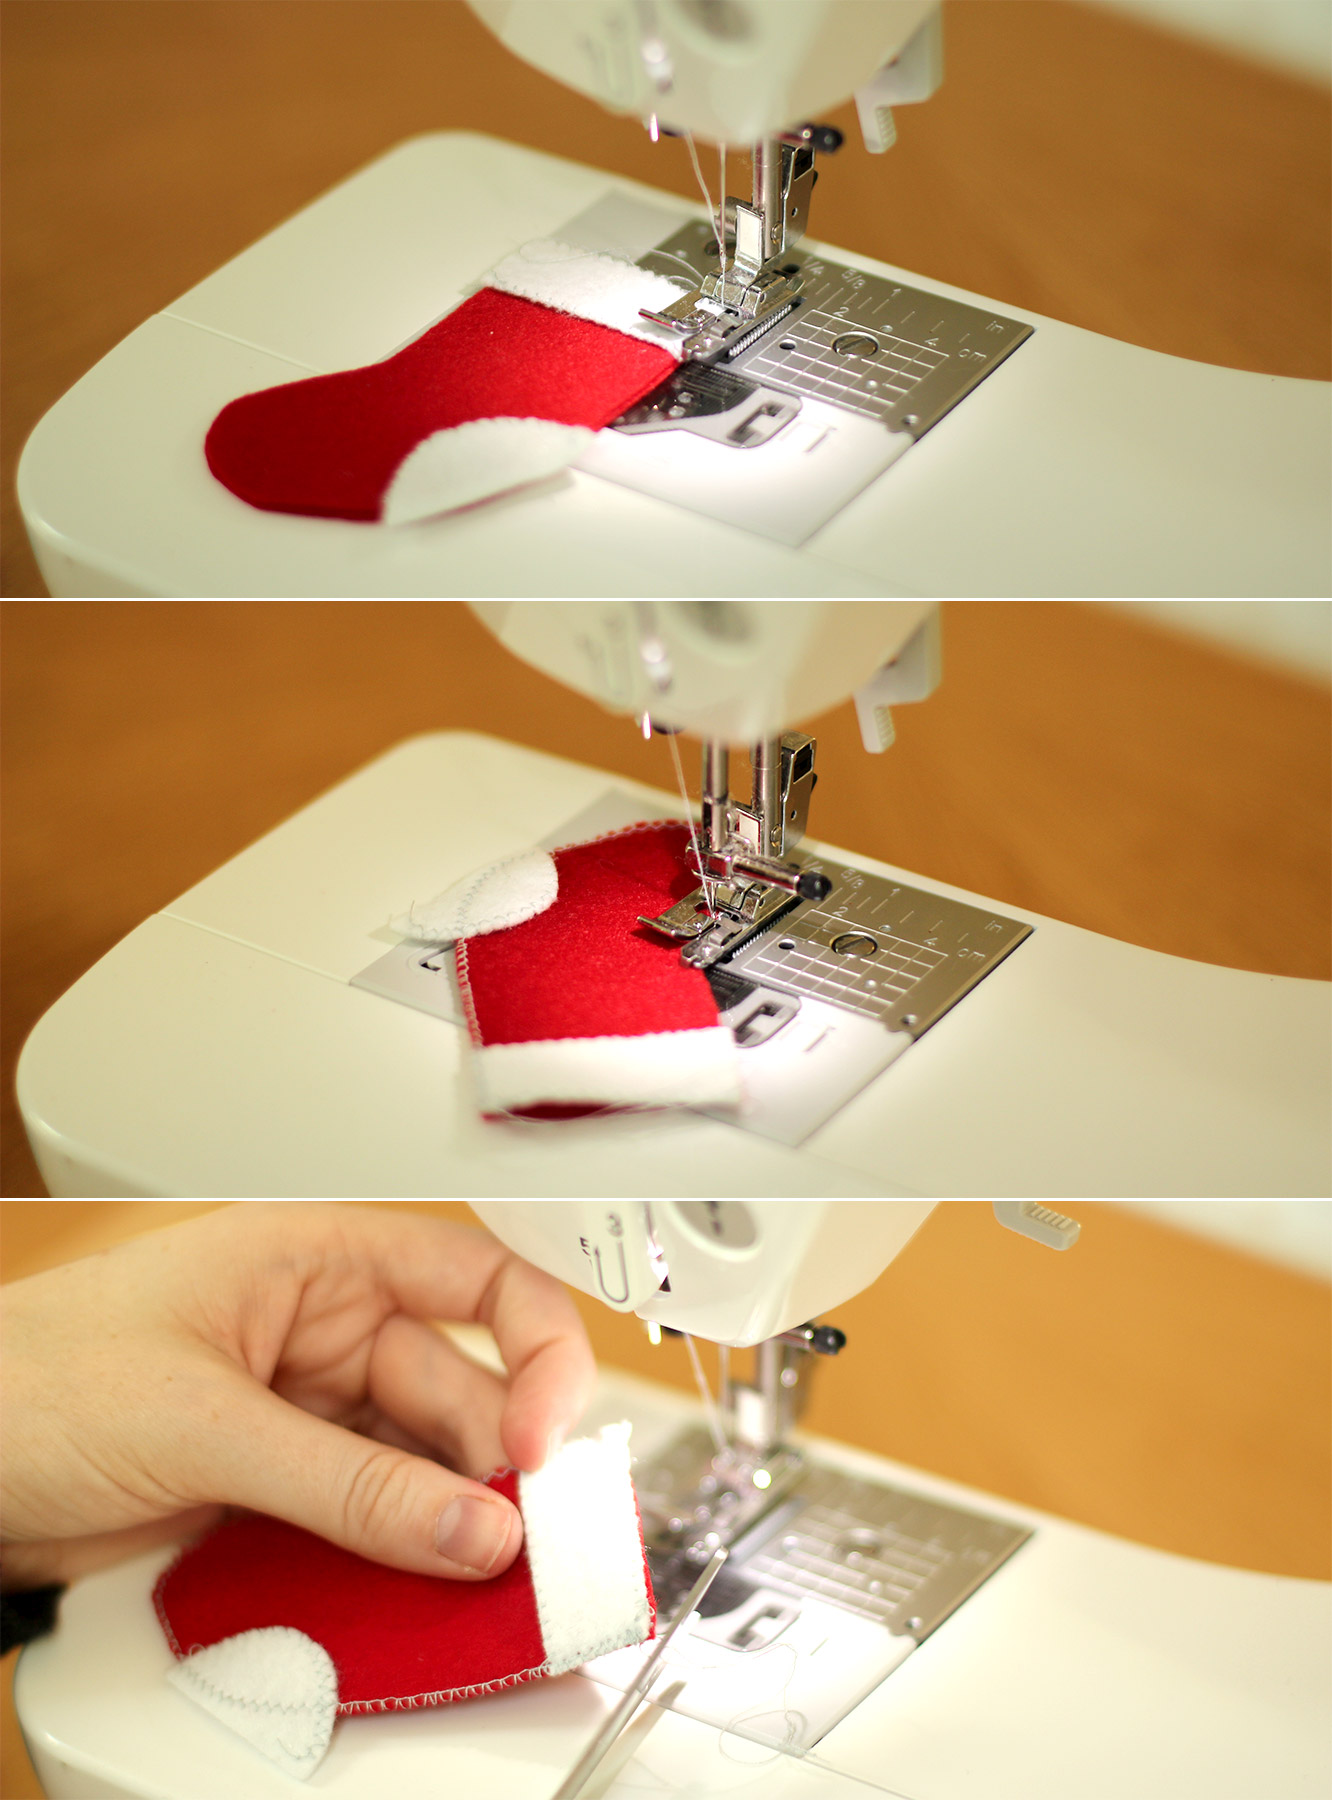
Sew the stockings together using an overlocking or zig zag stitch. I edged the white bits separately before attaching them and left the heel hanging over the edge.

If you are making this for next Christmas, feel free to hand sew. I cover how to blanket stitch here. If you want this ready in time for this advent I recommend borrowing a sewing machine or using glue.

homemade-advent-calendar-mini-stockings-09

Step eight

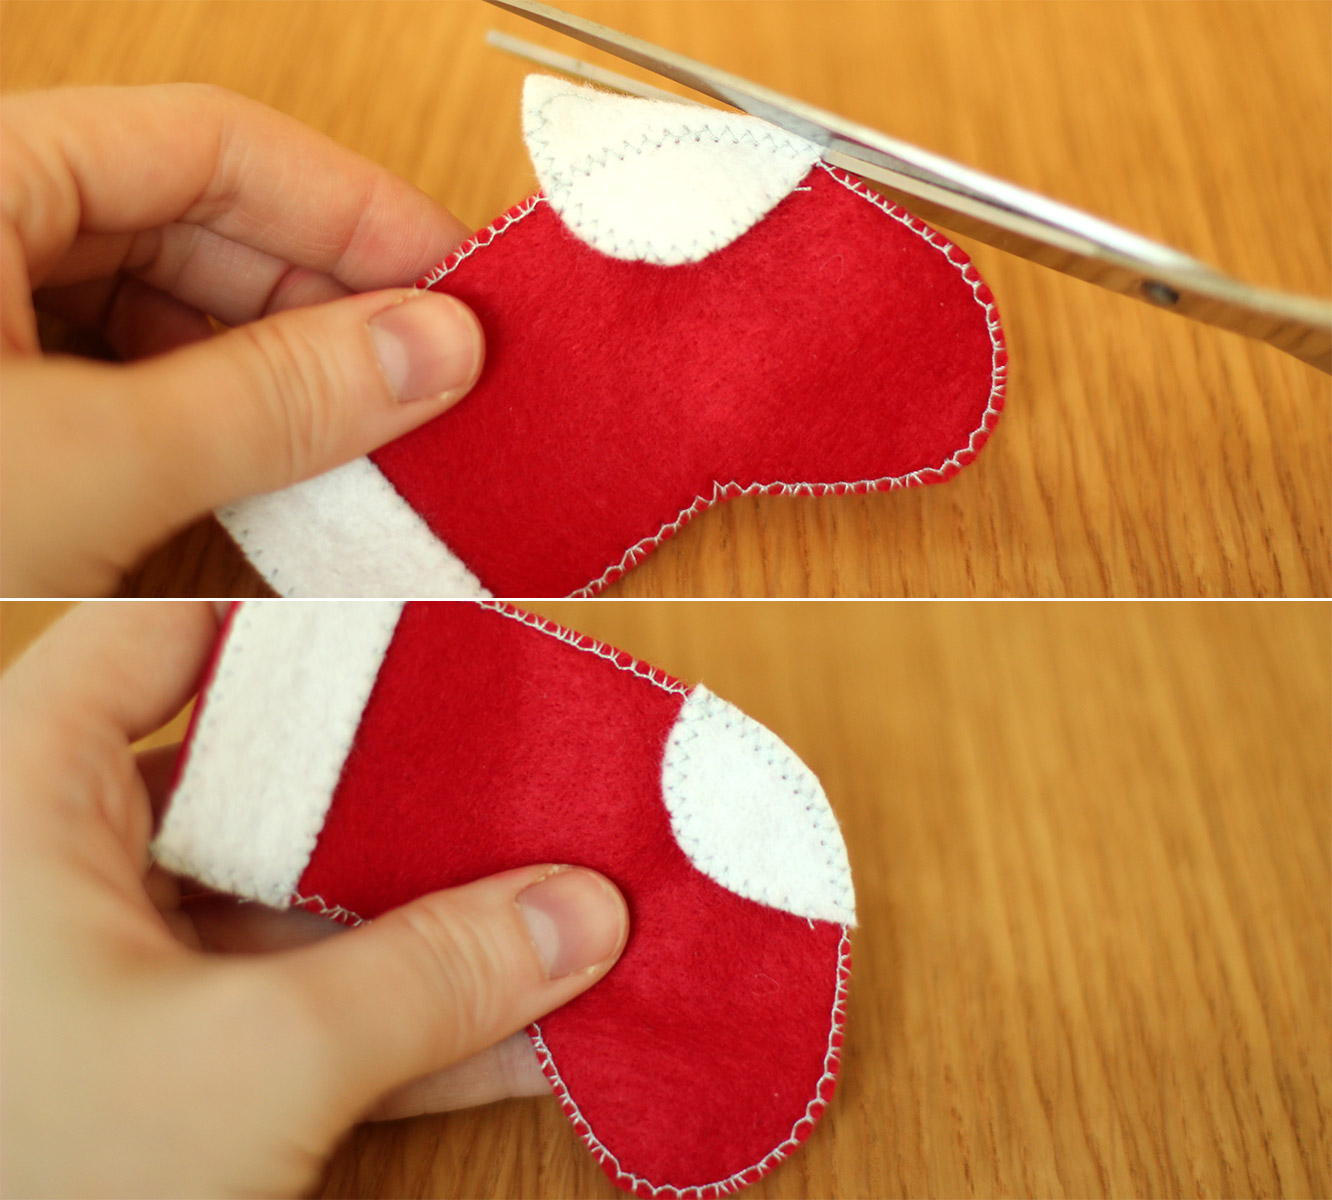
Cut the excess off the heel of the stocking and any loose threads.

homemade-advent-calendar-mini-stockings-10

Step eight and a half

(Totally missed this step on the original post)

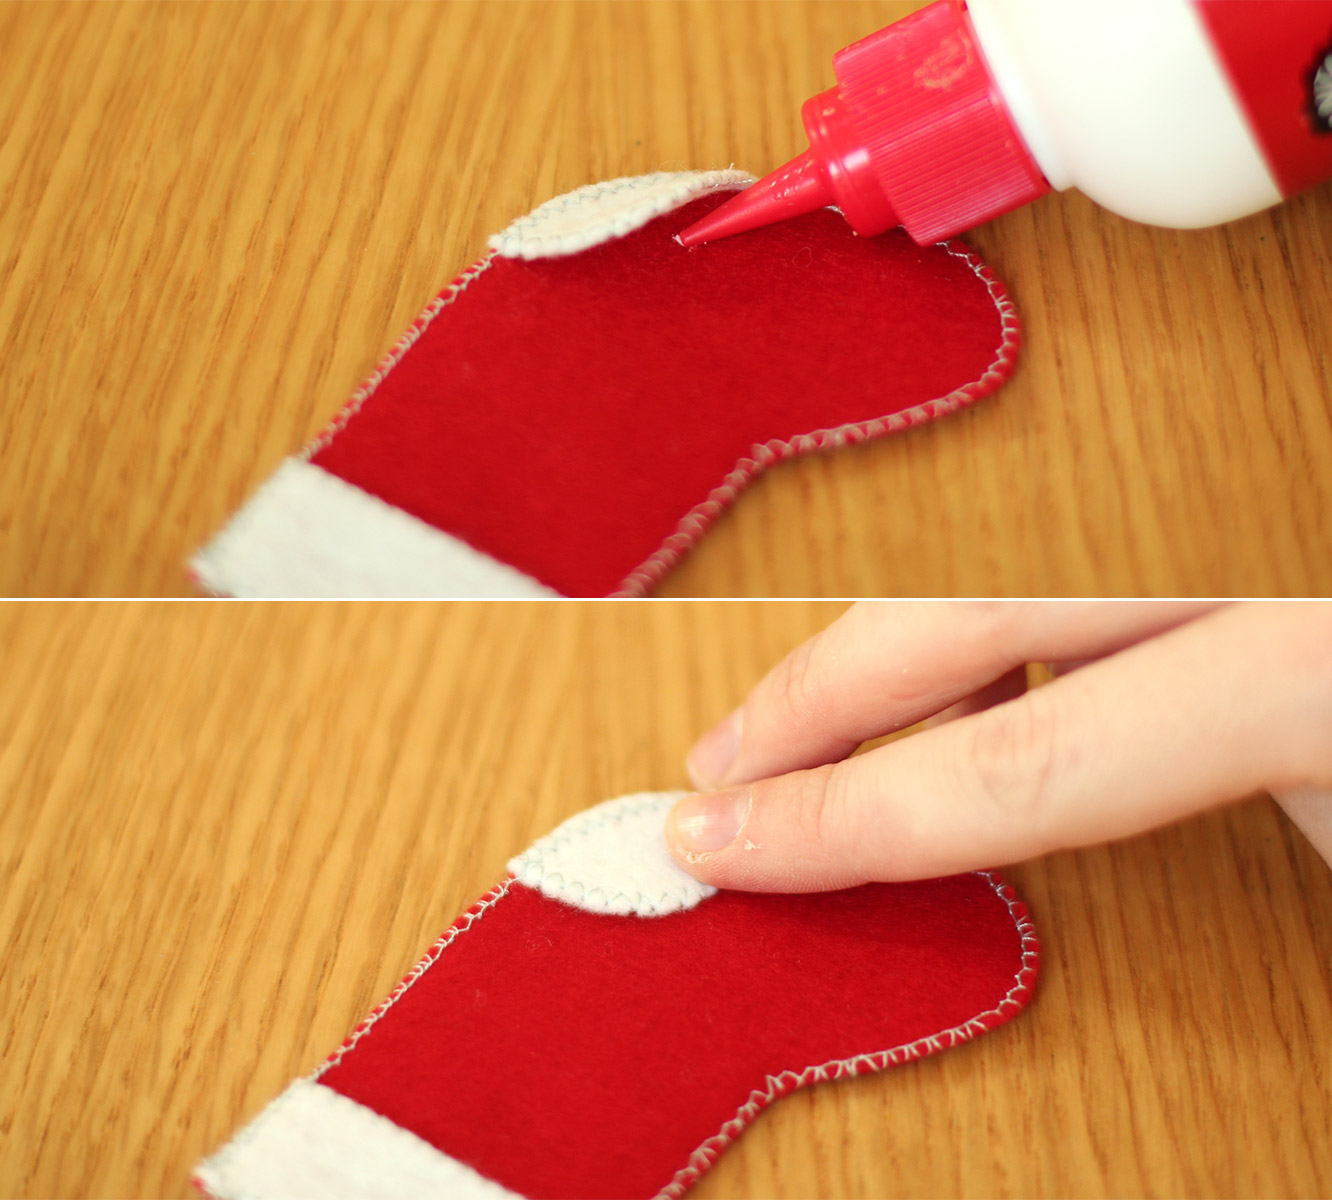
Secure the heel with a little dab of glue, but make sure it doesn’t soak through and stick the stocking together.

homemade-advent-calendar-mini-stockings-11

Step nine

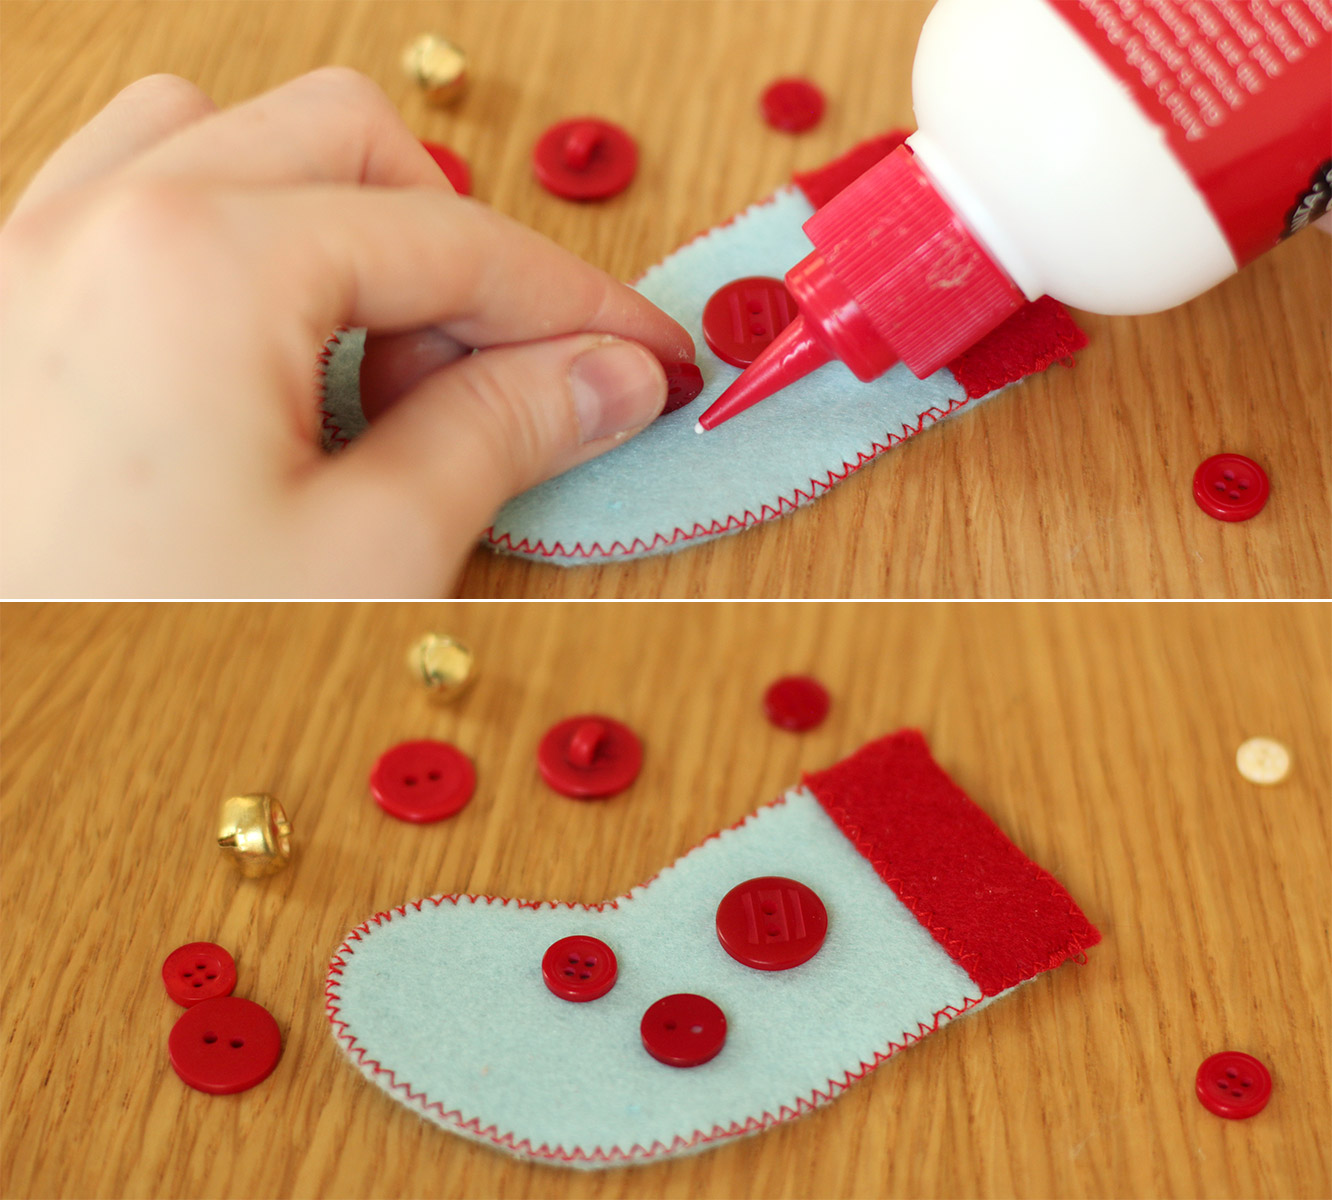
I decided not to sew heels on all of them as I wanted a bit of variation. So I used some of the embellishments from last year’s advent calendar to decorate. Glue is acceptable here I reckon, otherwise you really need to sew them on before sewing them together.

Repeat until you have 23 little stockings and one big one.

homemade-advent-calendar-mini-stockings-15

Step ten

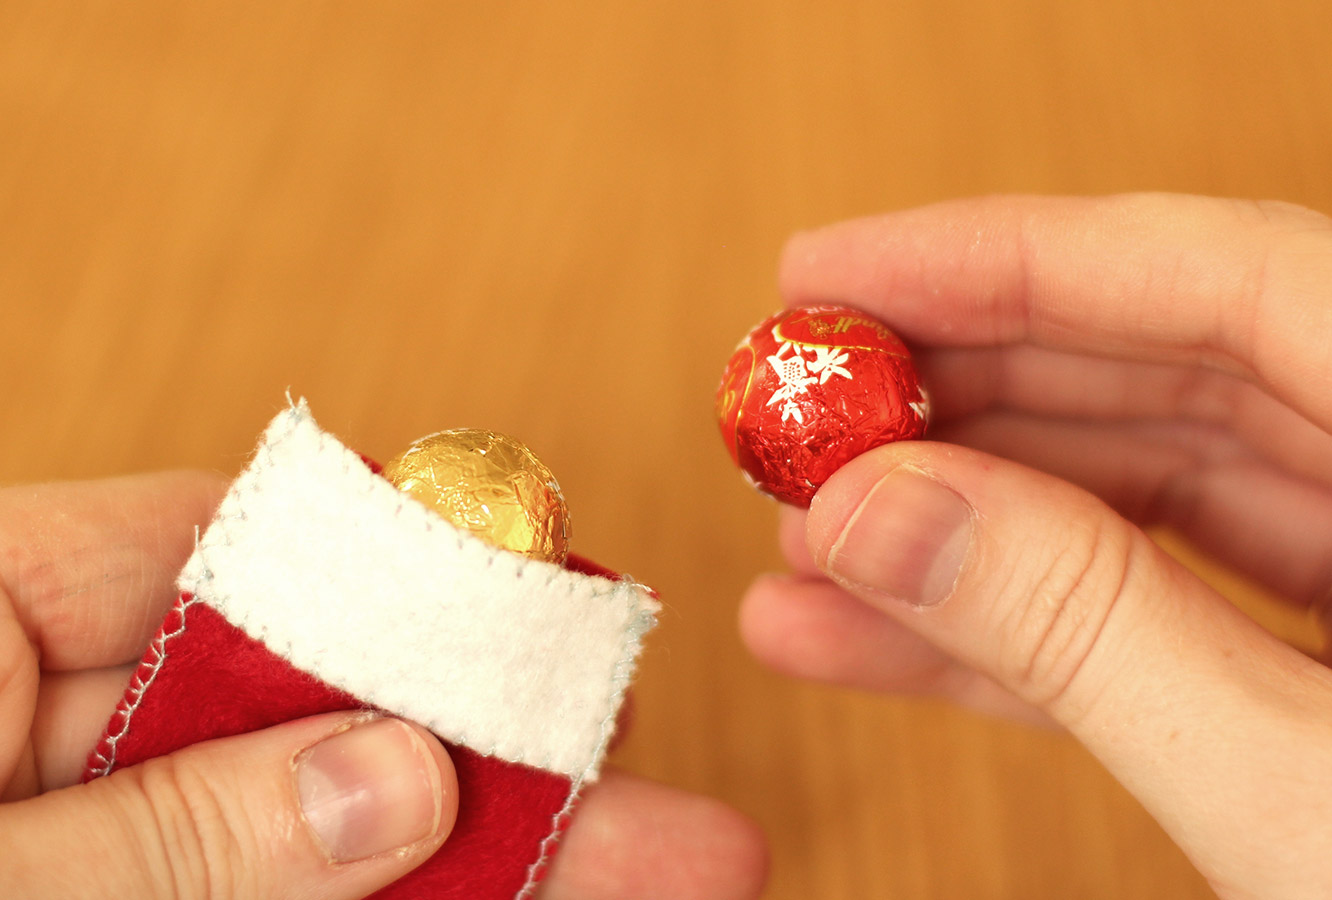
Fill your little stockings as you go, they look very cute as they stack up.

homemade-advent-calendar-mini-stockings-12

Step eleven

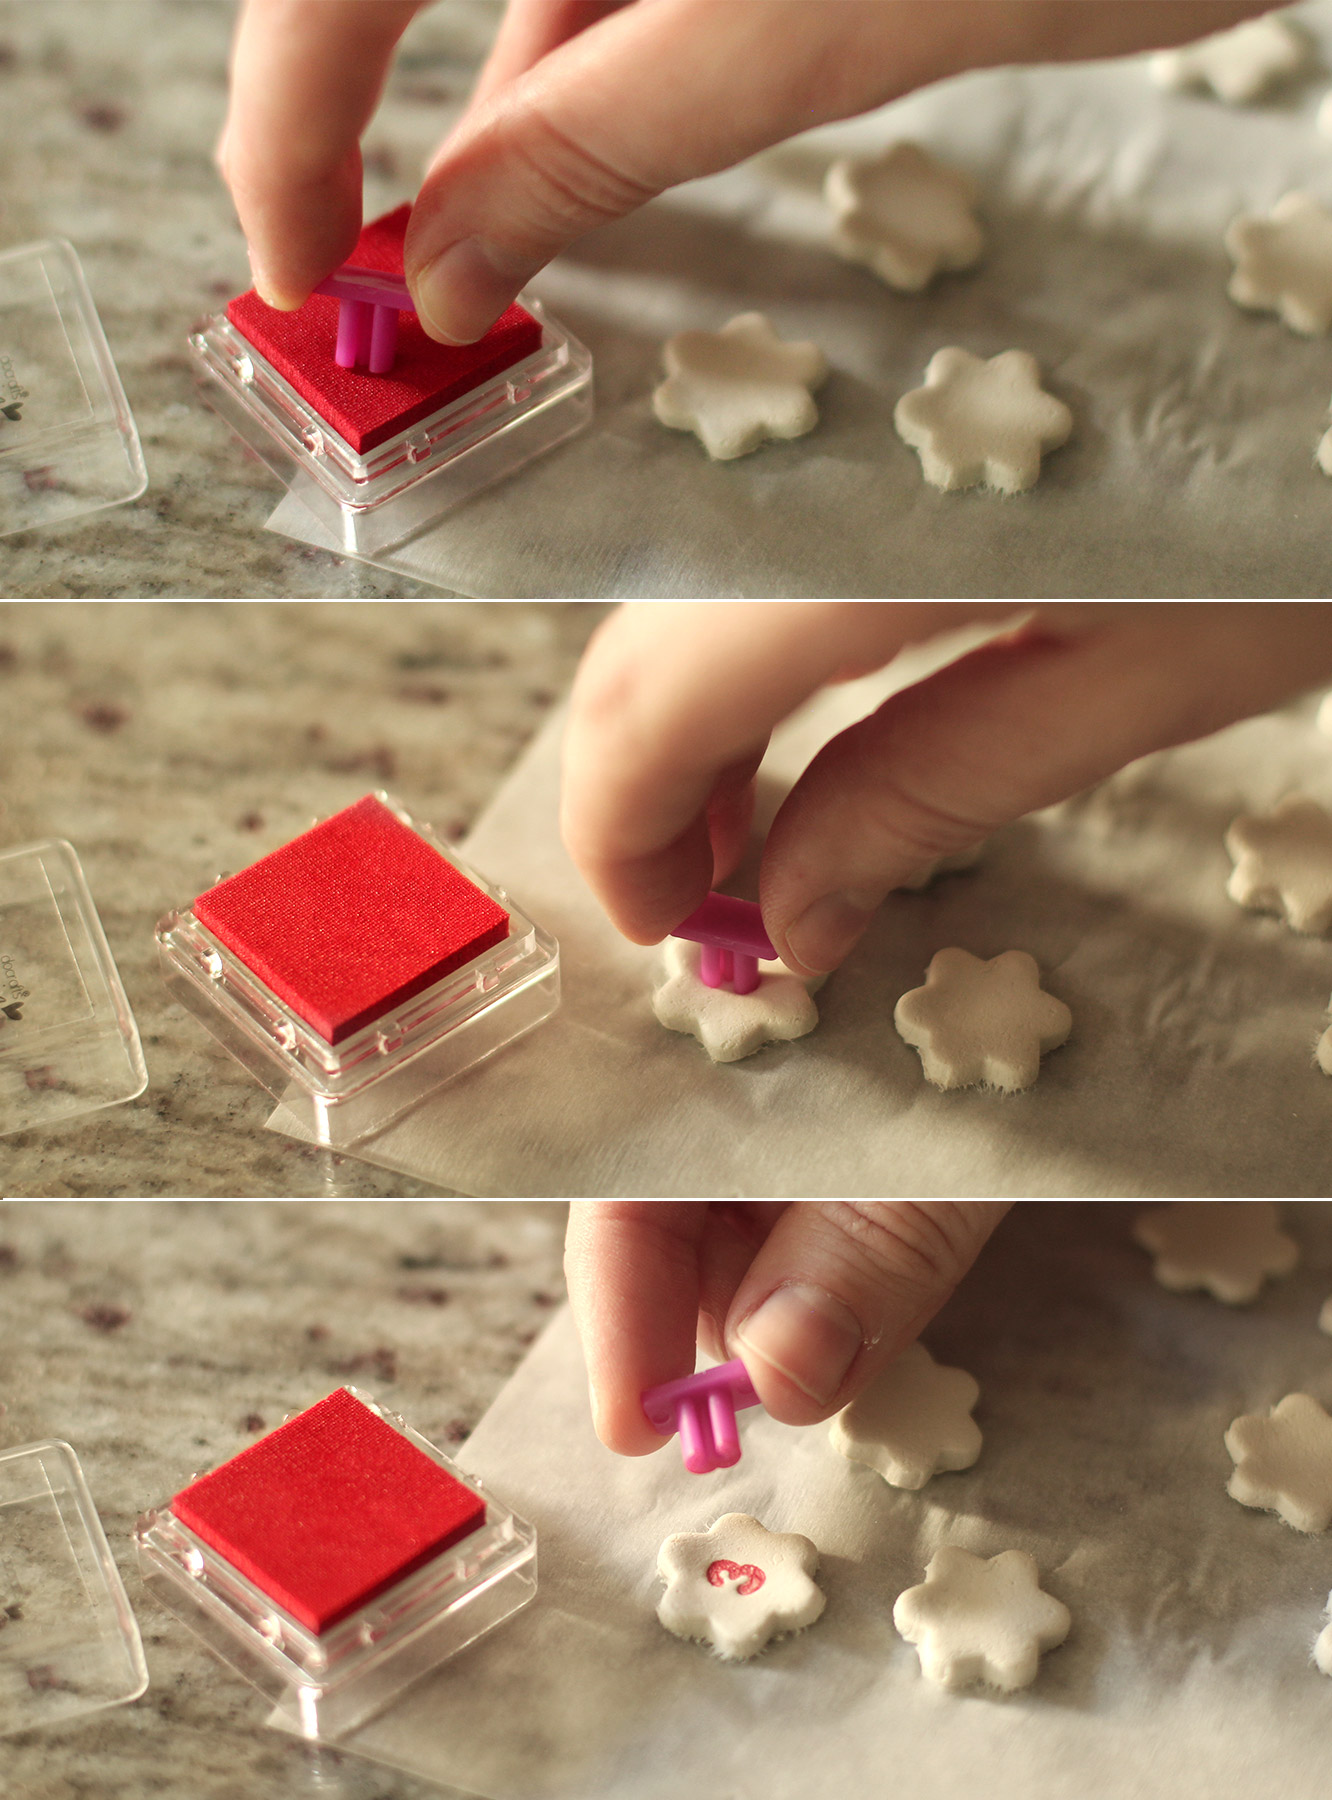
After a few learning lessons from last week, I made the number markers with air dry clay. I found it easier to work with than FIMO. It also worked really well to ink the stamps before pressing them into the shapes.

This is entirely optional, you could write the numbers on the pegs, stamp them, make circles of card instead etc etc.

homemade-advent-calendar-mini-stockings-13

Step twelve

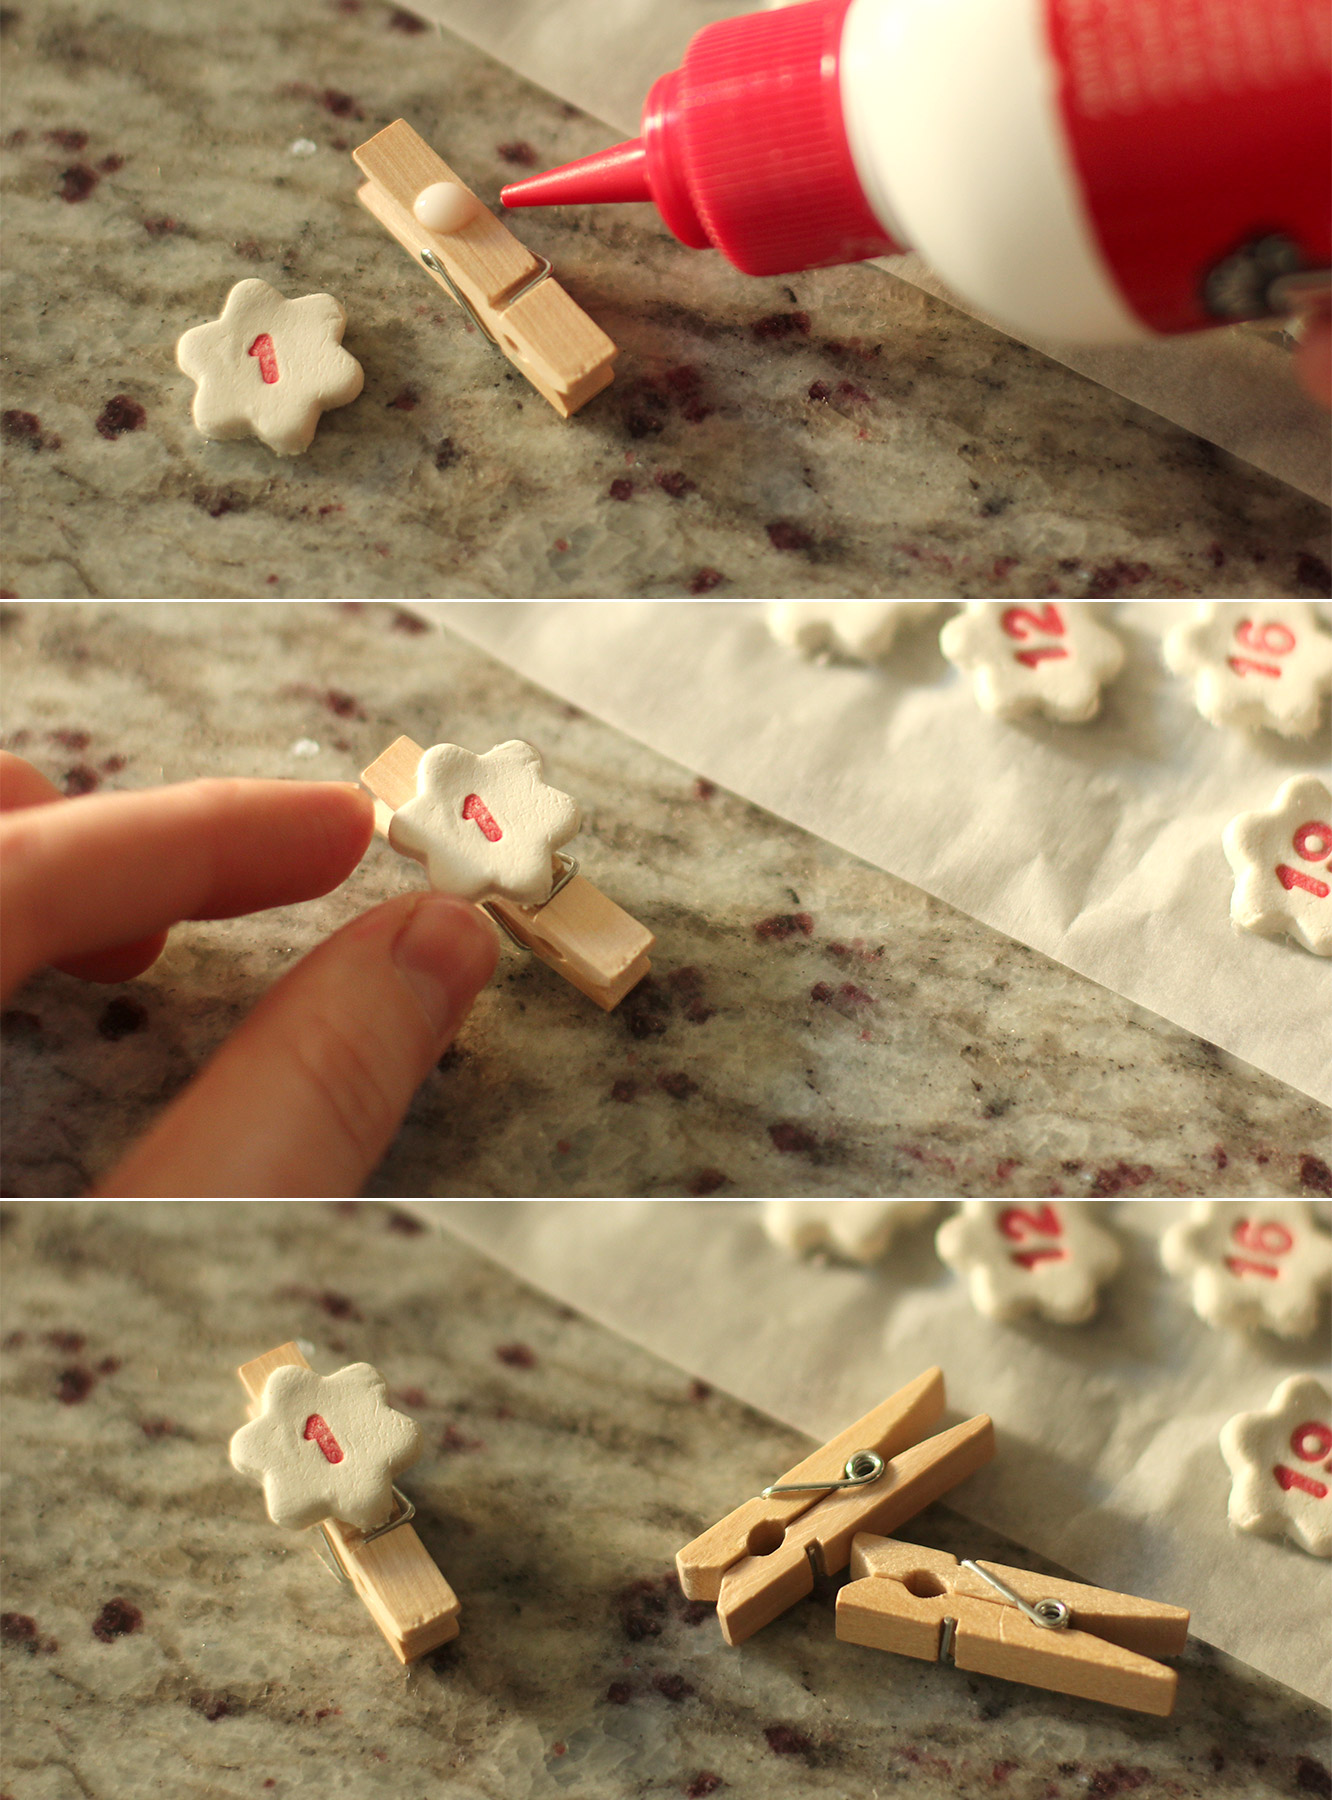
Once the shapes have dried out (no cooking required with this clay), stick them to the pegs with enough space at the top to open and shut the peg without squashing them.

homemade-advent-calendar-mini-stockings-14

Step thirteen

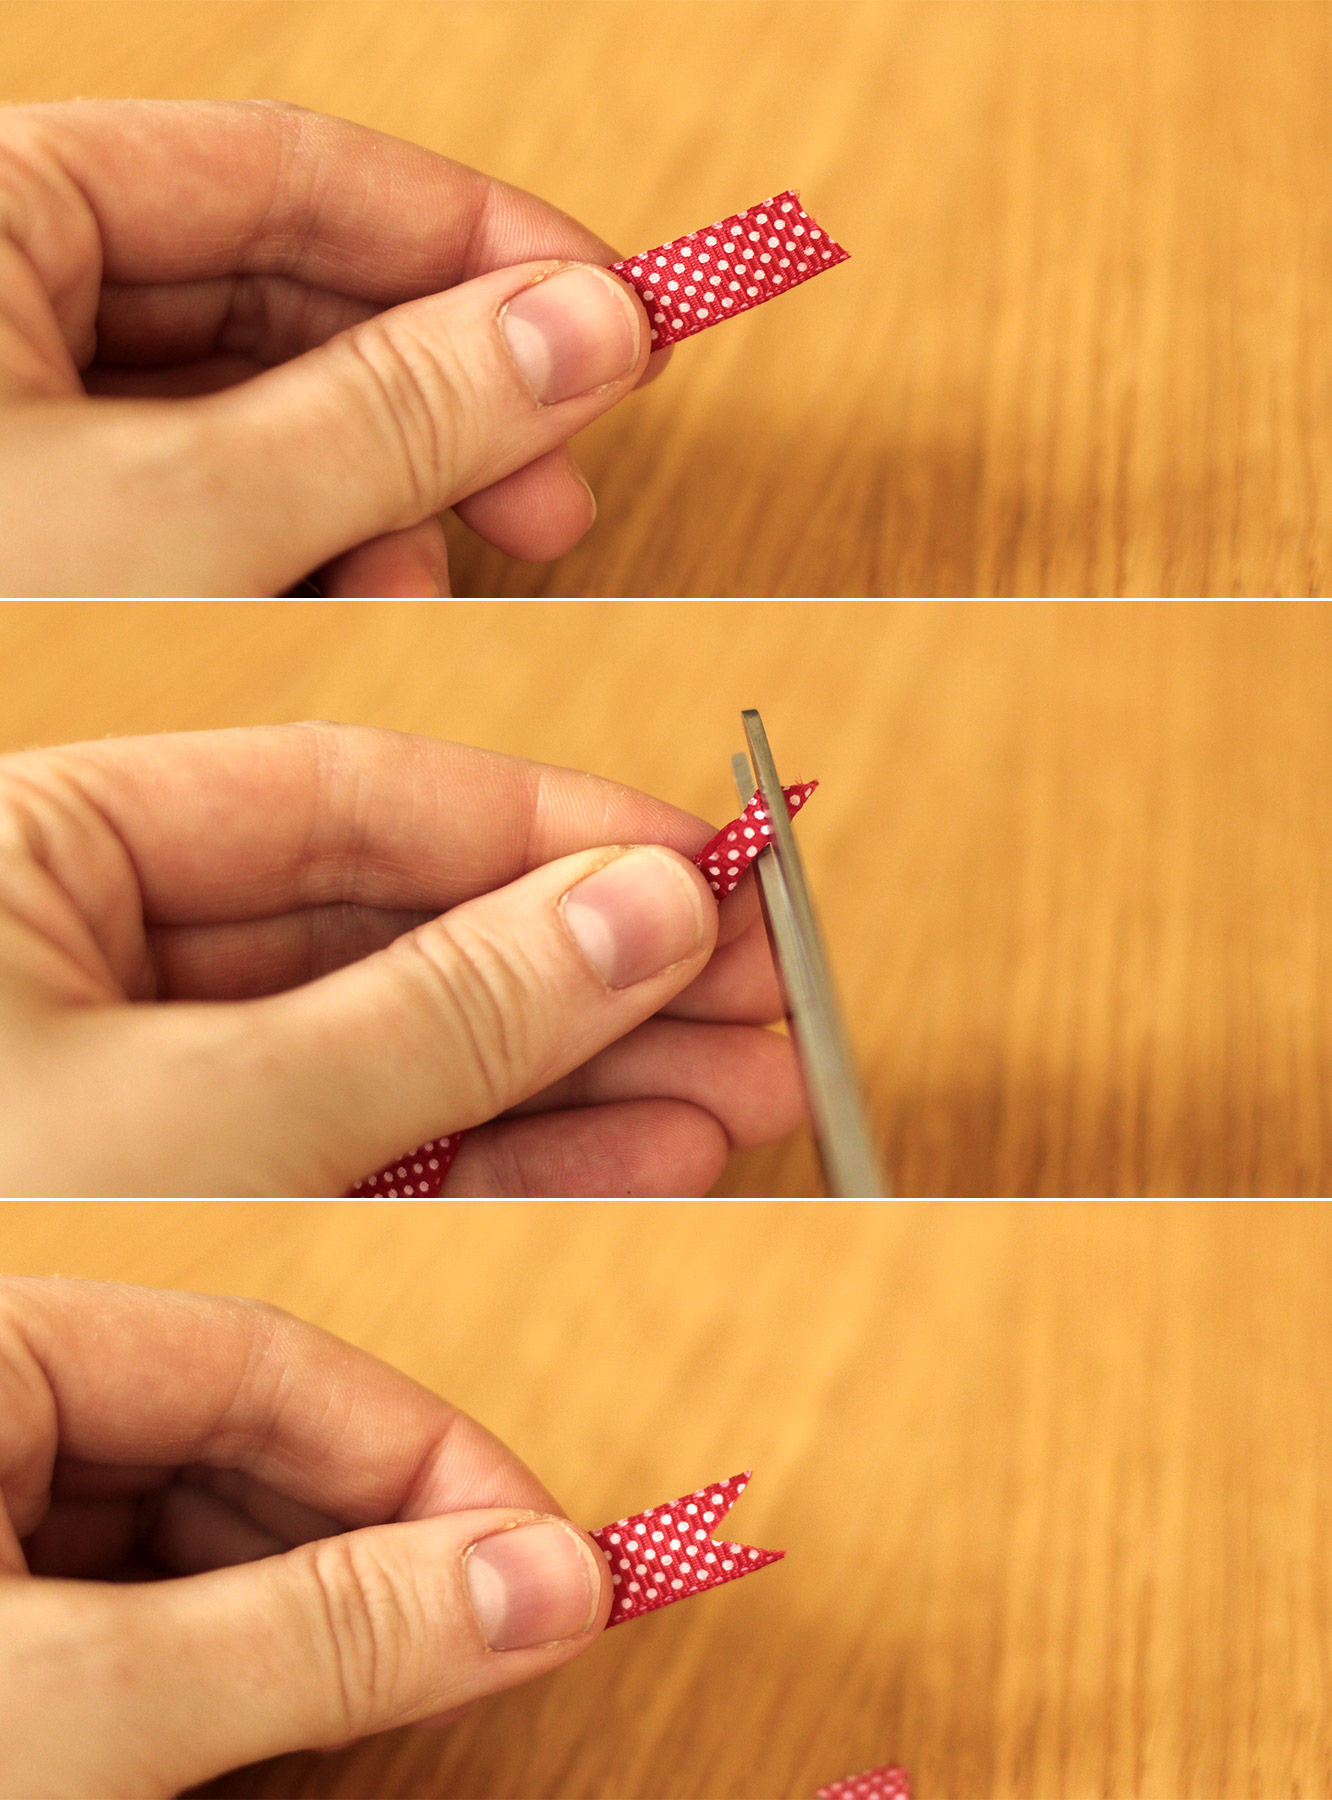
Cut 6 lengths of ribbon. I decided to taper mine at different lengths, as you can see in the final photos. To shape the ends nicely, fold the ribbon in half and cut diagonally on the fold to create a v-shaped cut.

homemade-advent-calendar-mini-stockings-gif

Step fourteen

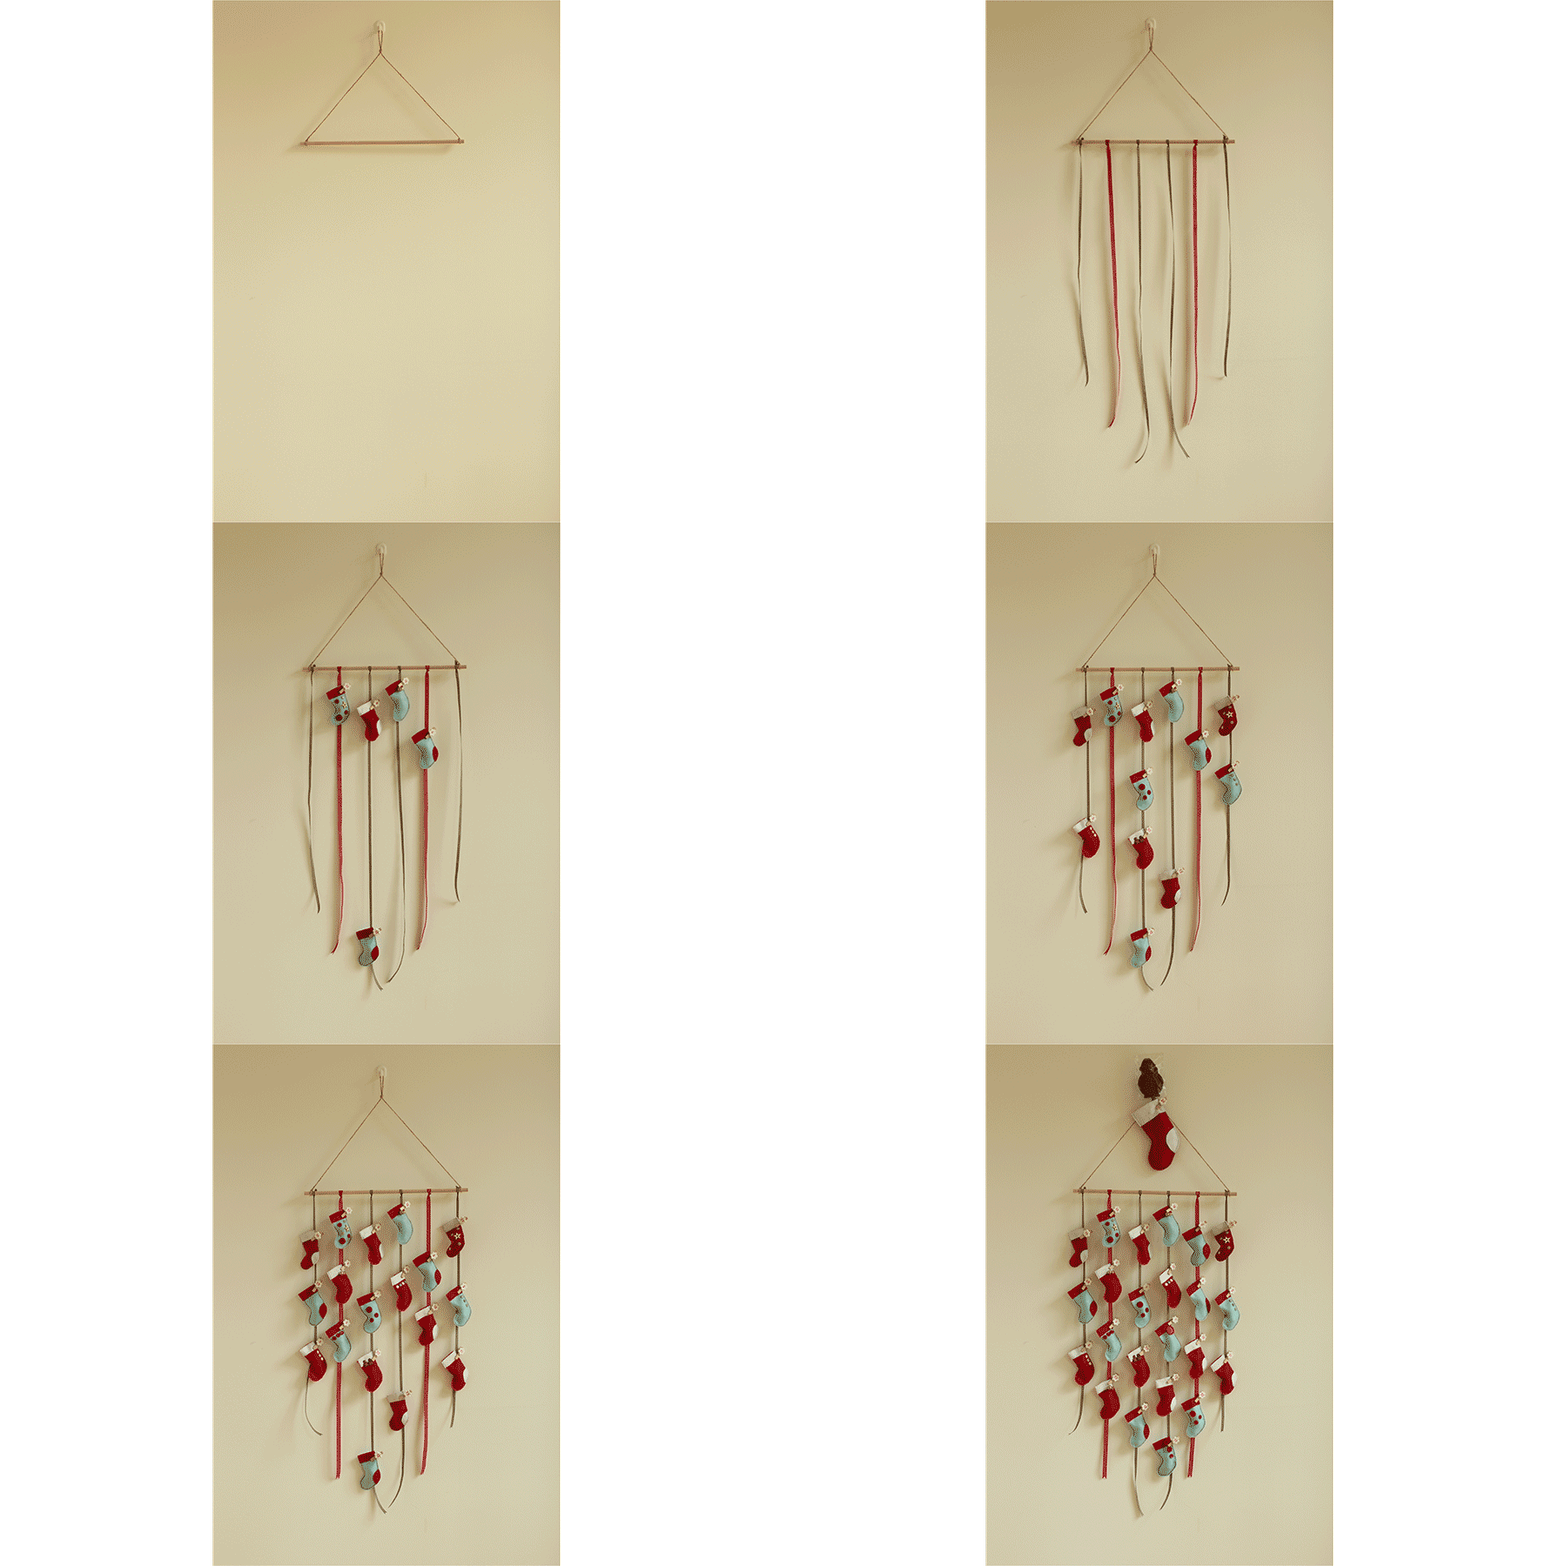
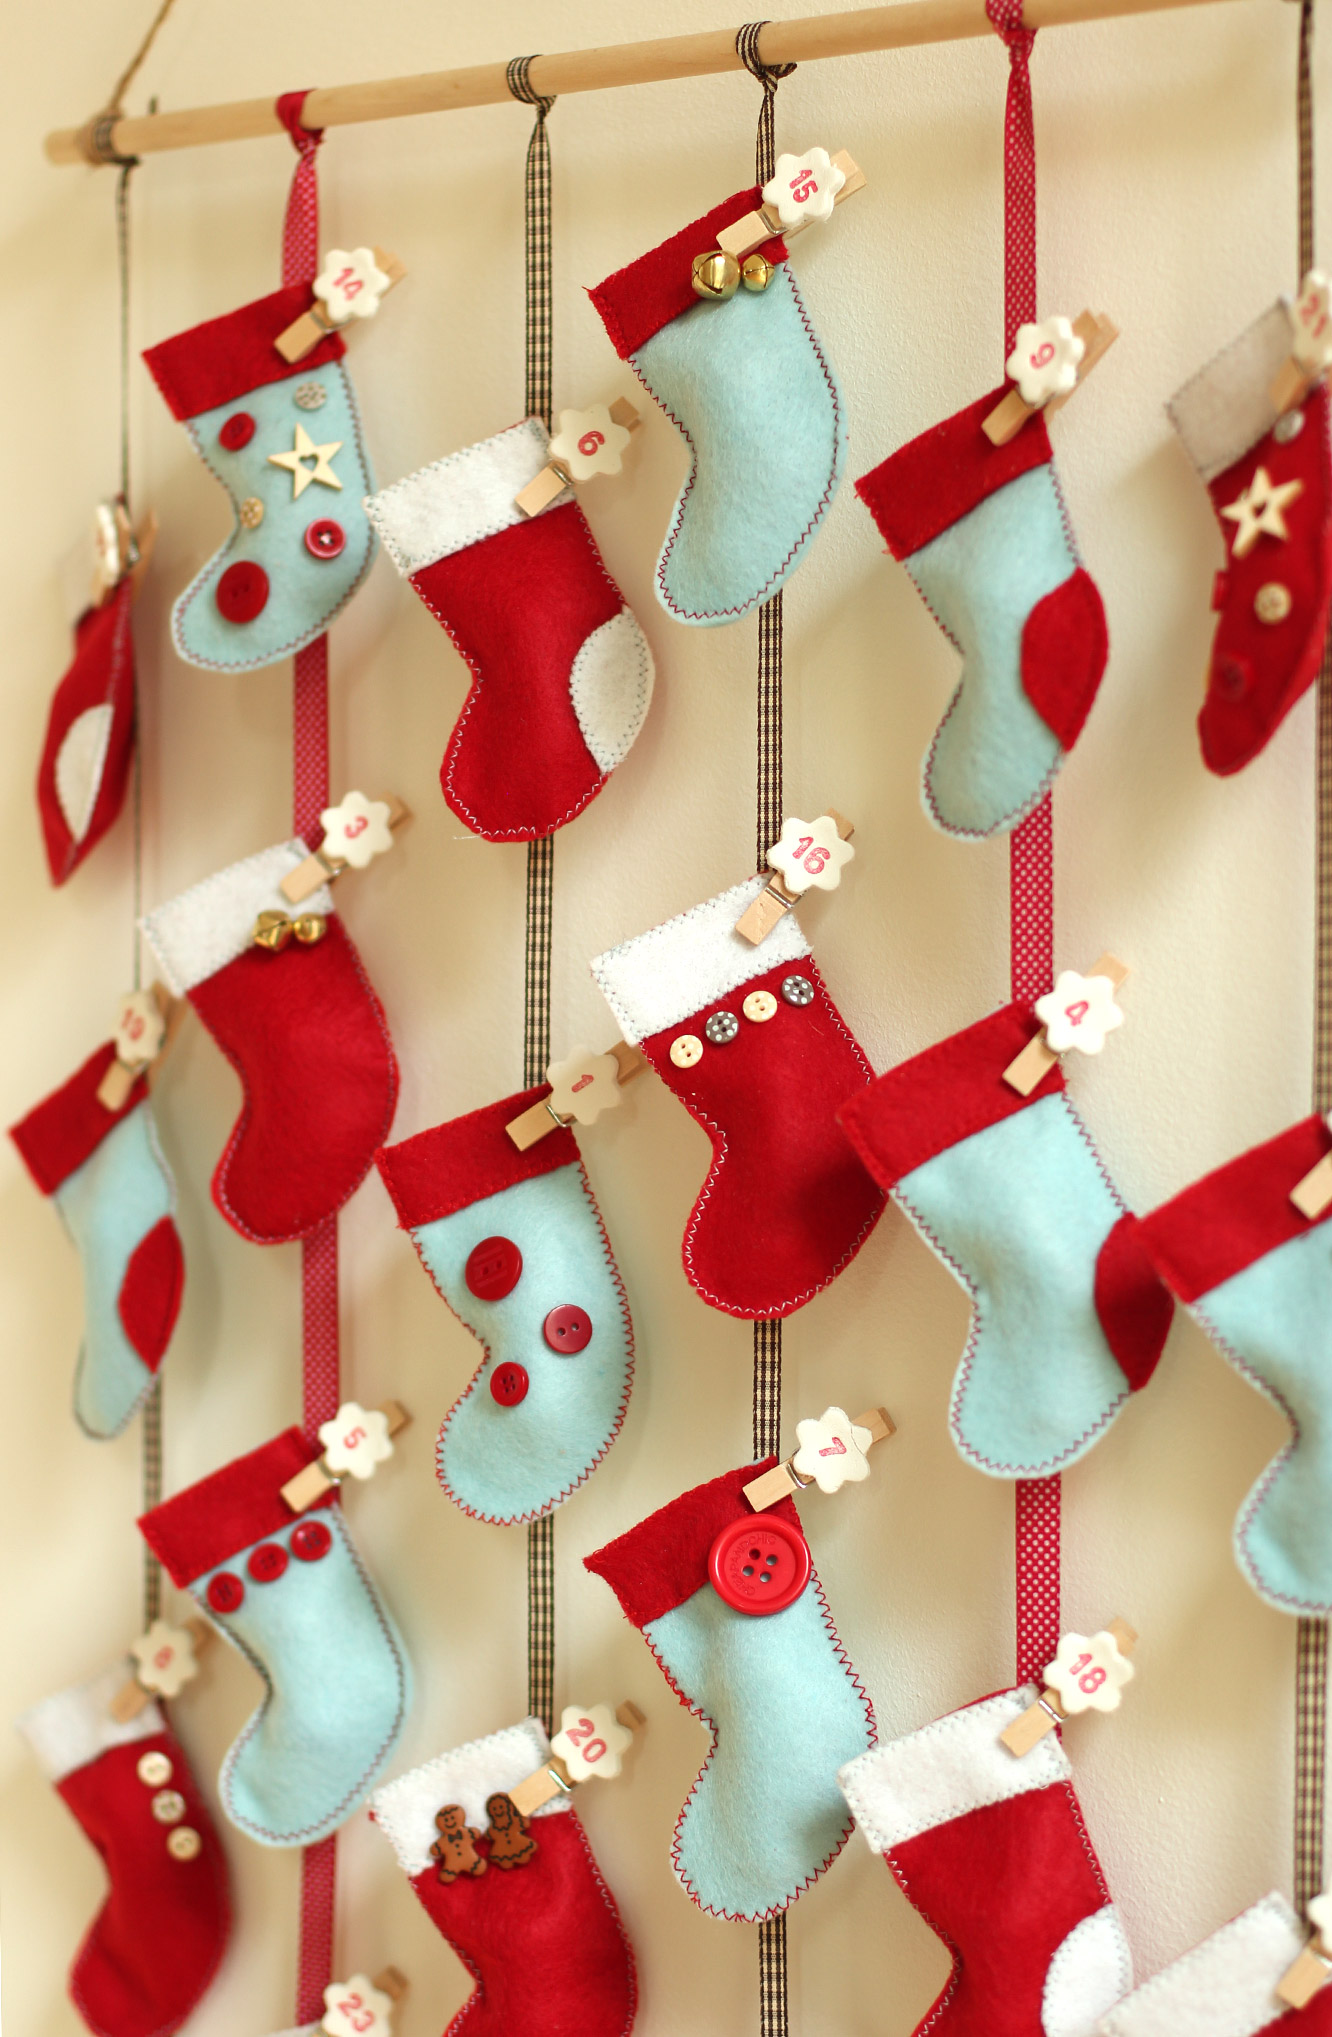
Tie the ribbons onto the rod and peg the stockings on.

homemade-advent-calendar-mini-stockings-18

homemade-advent-calendar-mini-stockings-17

homemade-advent-calendar-mini-stockings-16

Happy Christmas FiFi xx

Stick it, hang it, tag it

A classic case of things not turning out quite how they were meant to this week. I’m not sure exactly what I was expecting, but my housemates managed to cajole me into embracing the rustic charm of these makes nonetheless. By the end I managed to accept them as ‘not too bad after all’ and the lack of precision means that they would be a great little craft for kiddies as the winter creeps in.

With Christmas decorating just around the corner these guys are a great finishing touch as tree decorations, tags on presents and for card making. They are cheap to make and are cute little token gifts for the people you love, or at least those you like enough to want to give them something, but not enough to actually apply yourself to Christmas shopping.

homemade-fimo-christmas-decoration-tag-01

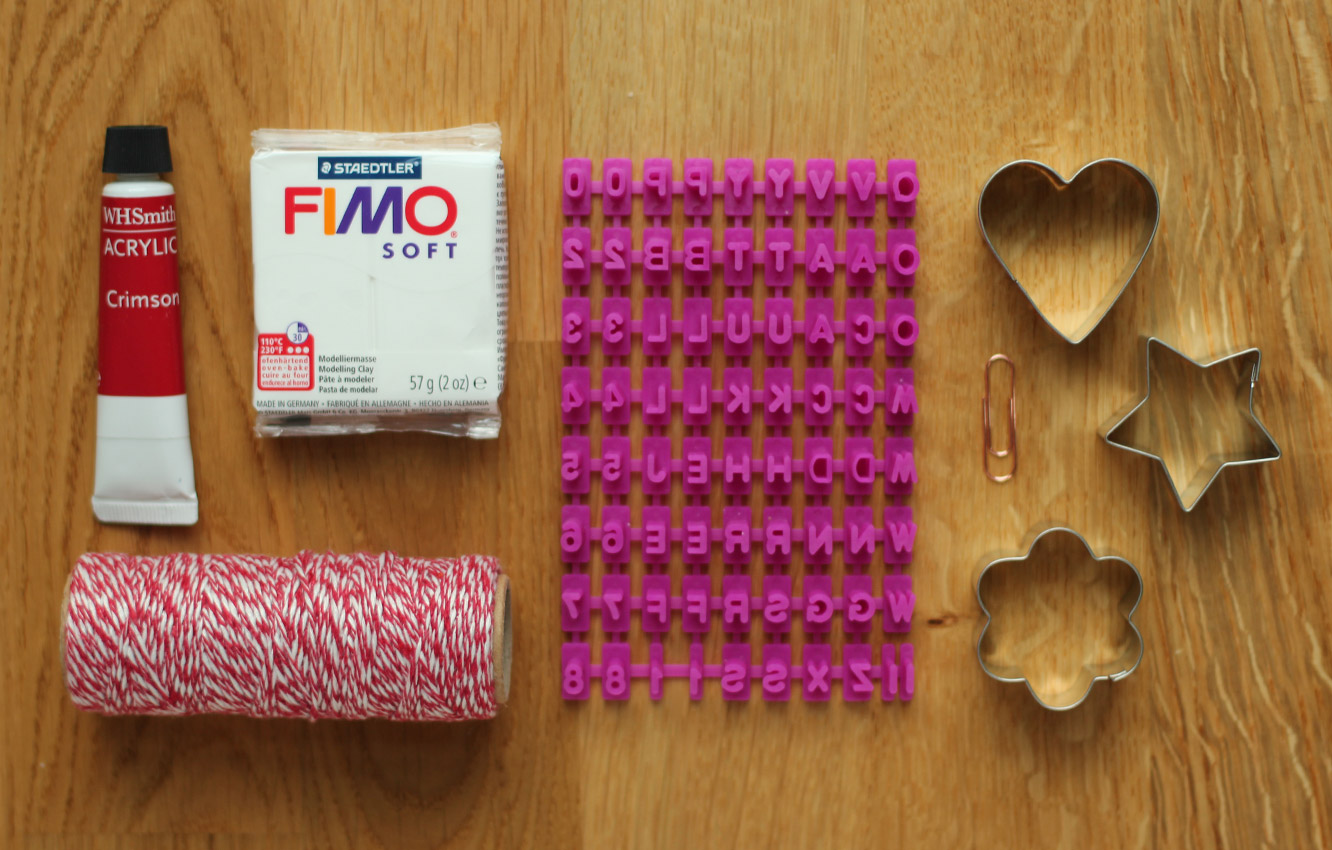
You will need

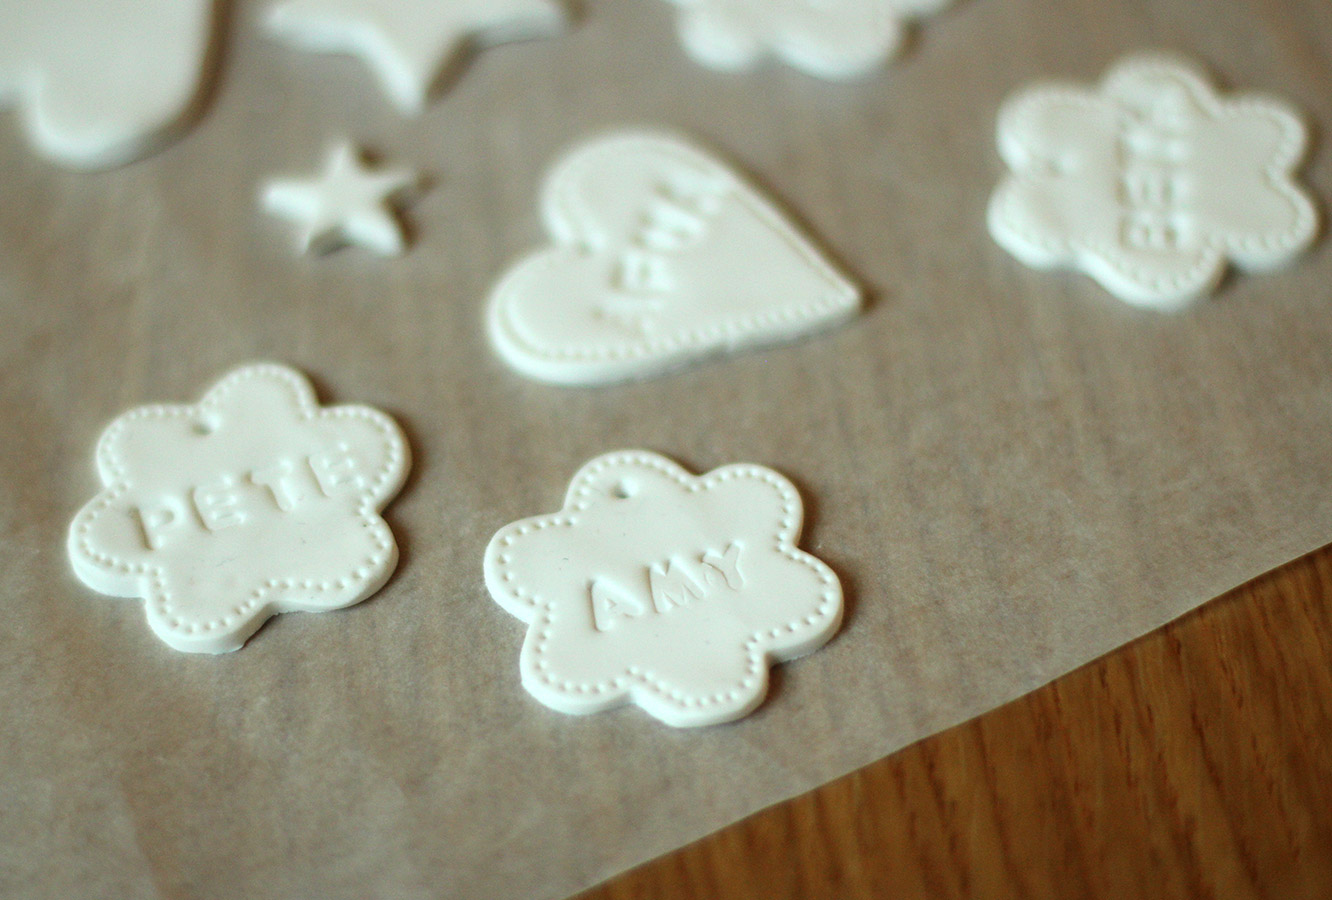
A block of FIMO modelling clay

Shape cutters

Festive string or ribbon

Acrylic paint and a small paint brush

Alphabet cookie stamp, I go this from Tiger recently (or regular stamps might work)

A paperclip

homemade-fimo-christmas-decoration-tag-02

Step one

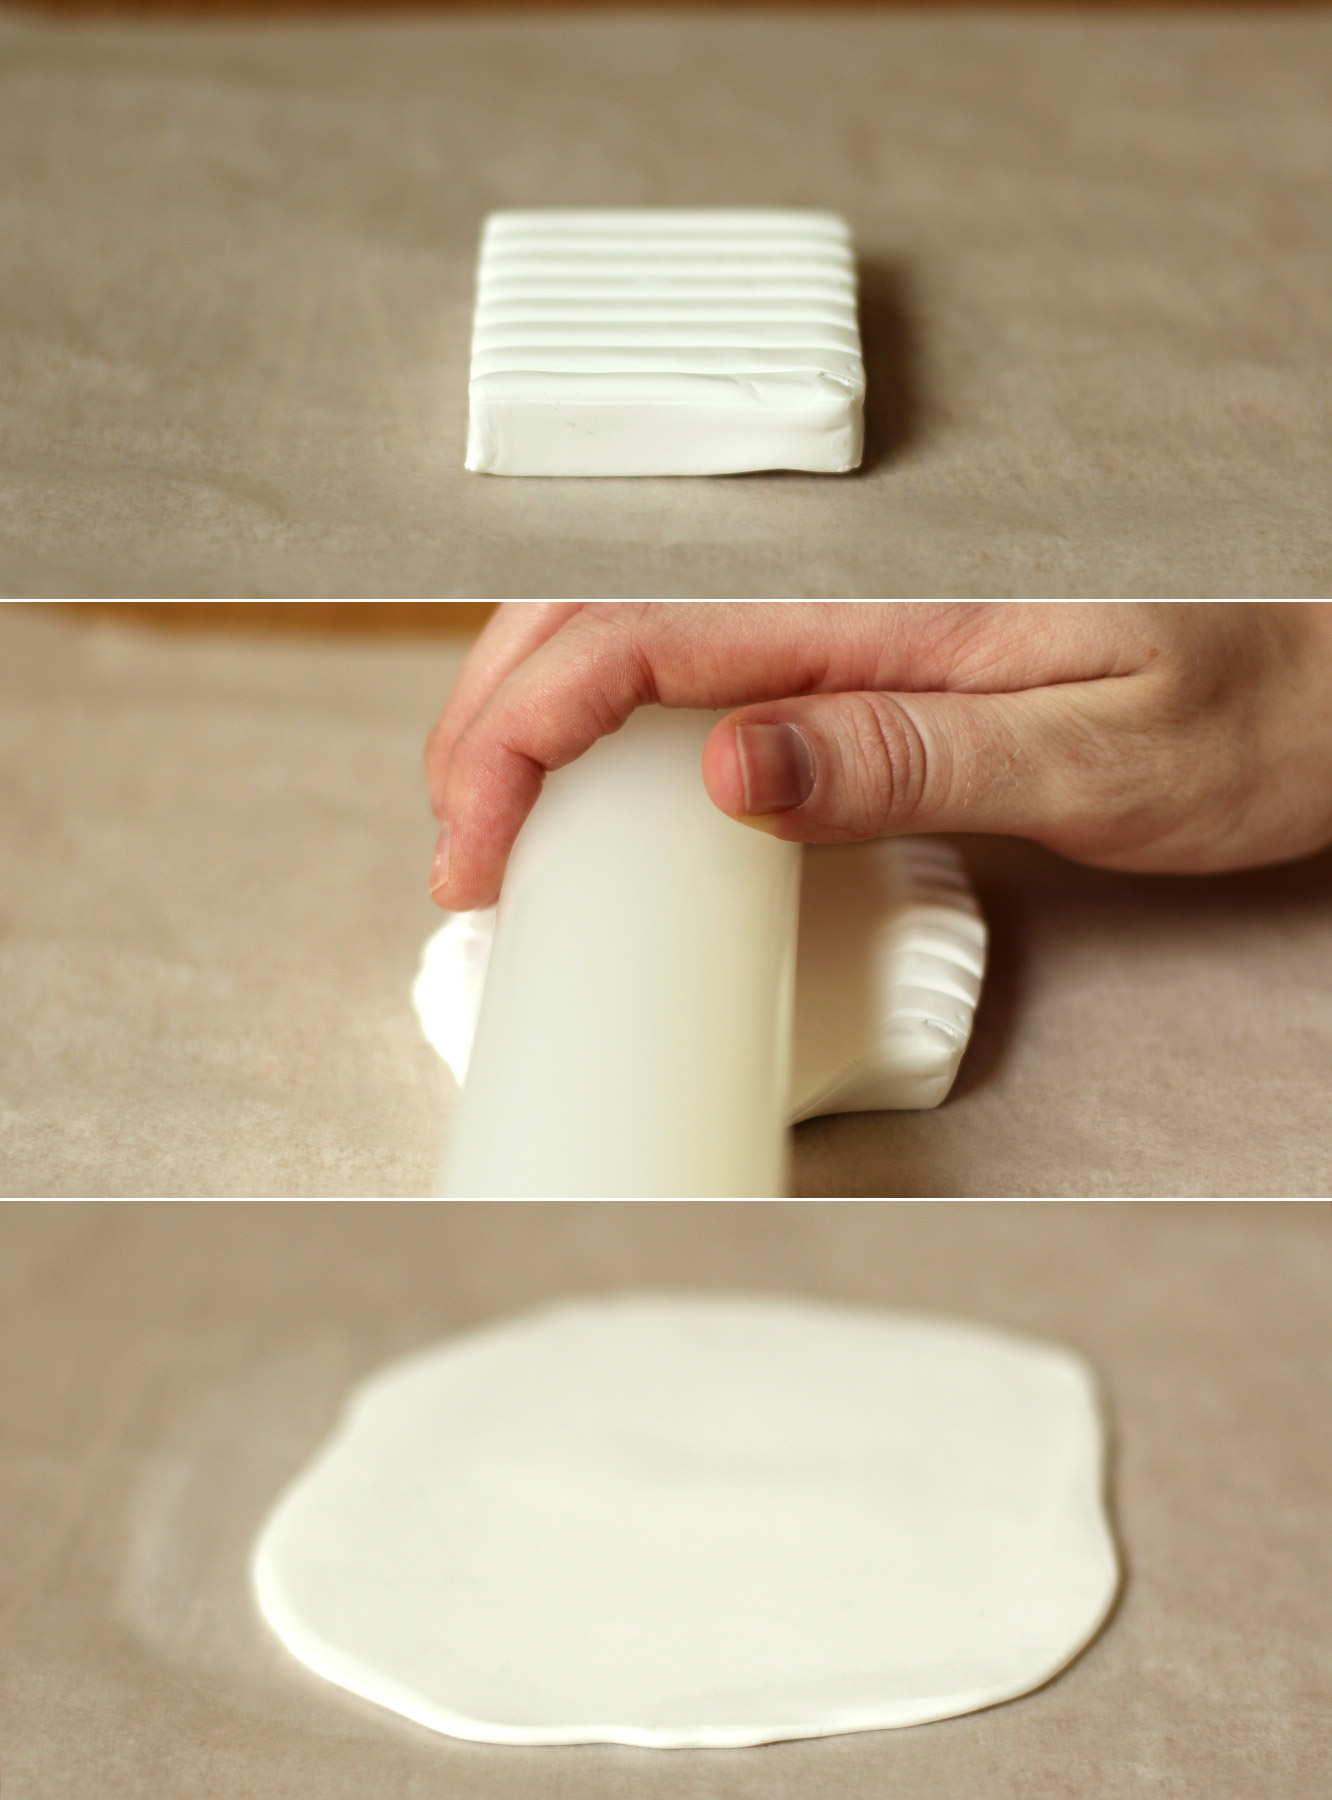
Roll the FIMO out into a thin sheet, about 2-3mm thick.

I learned a few things here. Greaseproof paper is not the easiest thing to roll this out onto, a clean surface would be better. Roll the FIMO into a ball with your hands first to warm it up a bit as it will be easier than just rolling straight onto the block. Dust will get into the FIMO so easily, it picks up EVERYTHING, so make sure you wipe your rolling pin and surface carefully.

homemade-fimo-christmas-decoration-tag-03

Step two

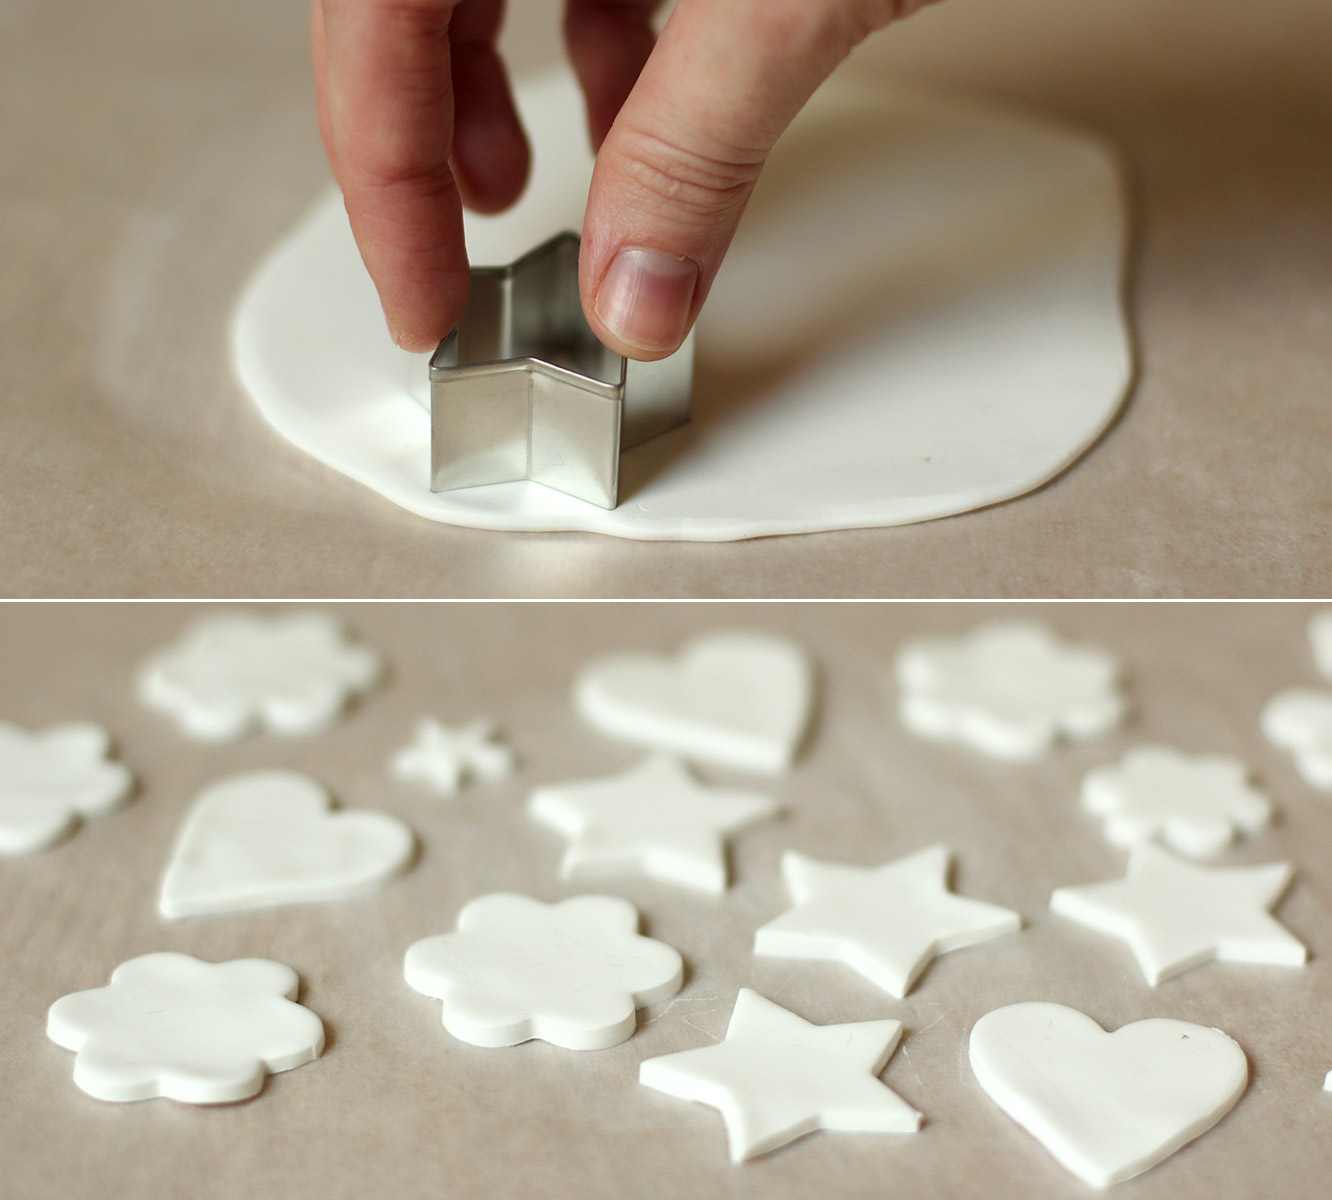
Cut out a variety of shapes. Re-roll and keep cutting until you have used all the FIMO. It’s surprising how many you get in the end out of such a small block.

homemade-fimo-christmas-decoration-tag-04

Step three

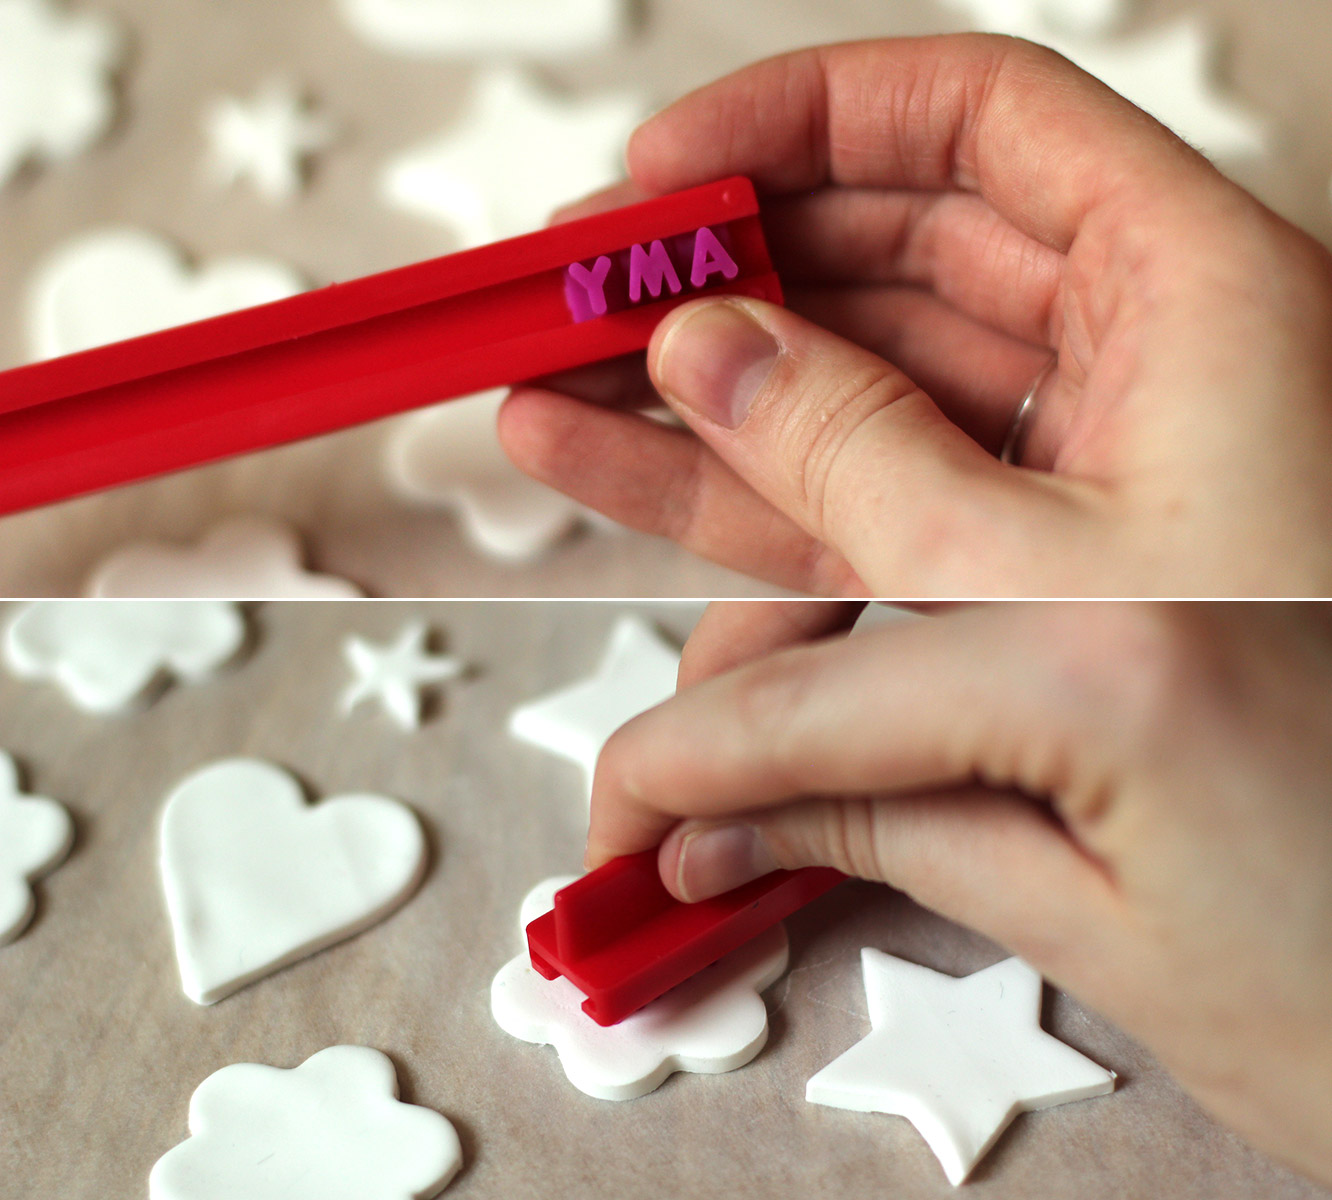
Stamp the names of your nearest and dearest into the shapes. I found that words longer than four letters were problematic. I employed some creative shortenings, although my housie Marianne was not impressed with Matz as her new nickname. It will depend on the sizes of your cutters, but you might want to do initials or words like ‘love’, ‘joy’ and ‘noel’ if there’re some long names knocking about.

homemade-fimo-christmas-decoration-tag-05

Step four

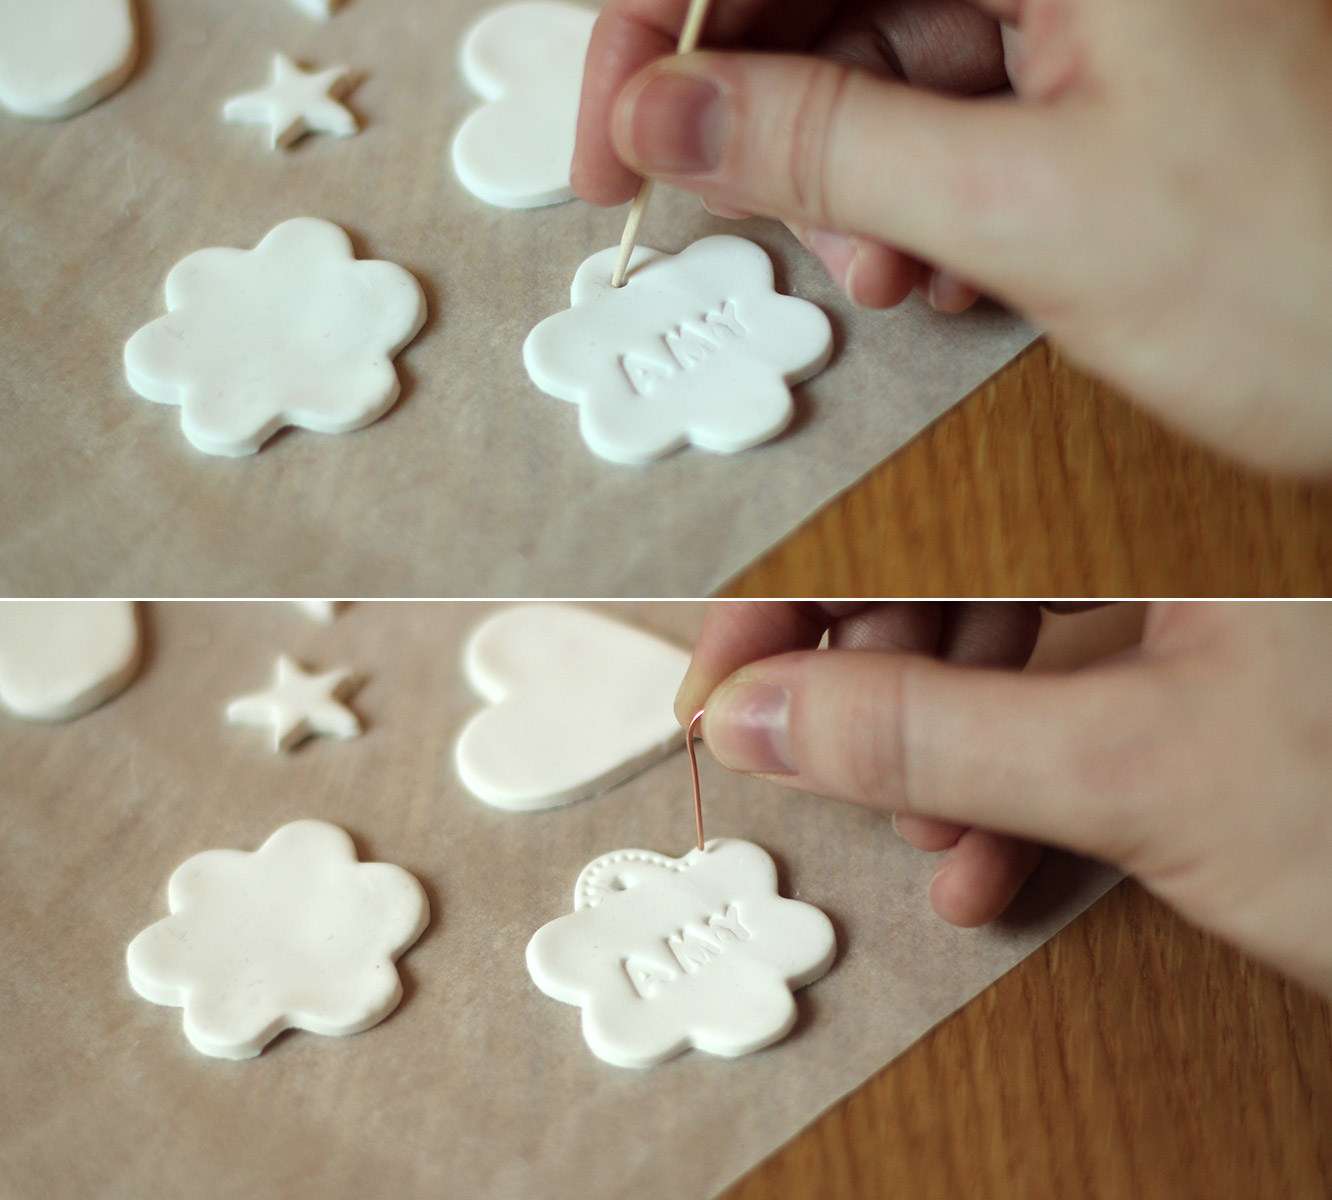
Using a cocktail stick or bent out paperclip make a hole at the top for the hanging. Wiggle the stick about in a circular motion to make sure the opening is big enough for your string or ribbon.

I then made dots all around as an edging with a paperclip.

homemade-fimo-christmas-decoration-tag-06

Step five

Place on greaseproof paper and onto a tray. Bake in the oven on 100C/200F/gas mark 1 for about 30 minutes. I guessed because the packet provides zero instructions, other than to not heat it above 130C. You can tell by picking them up as they start to feel less soft and a bit lighter as they cook.

homemade-fimo-christmas-decoration-tag-07

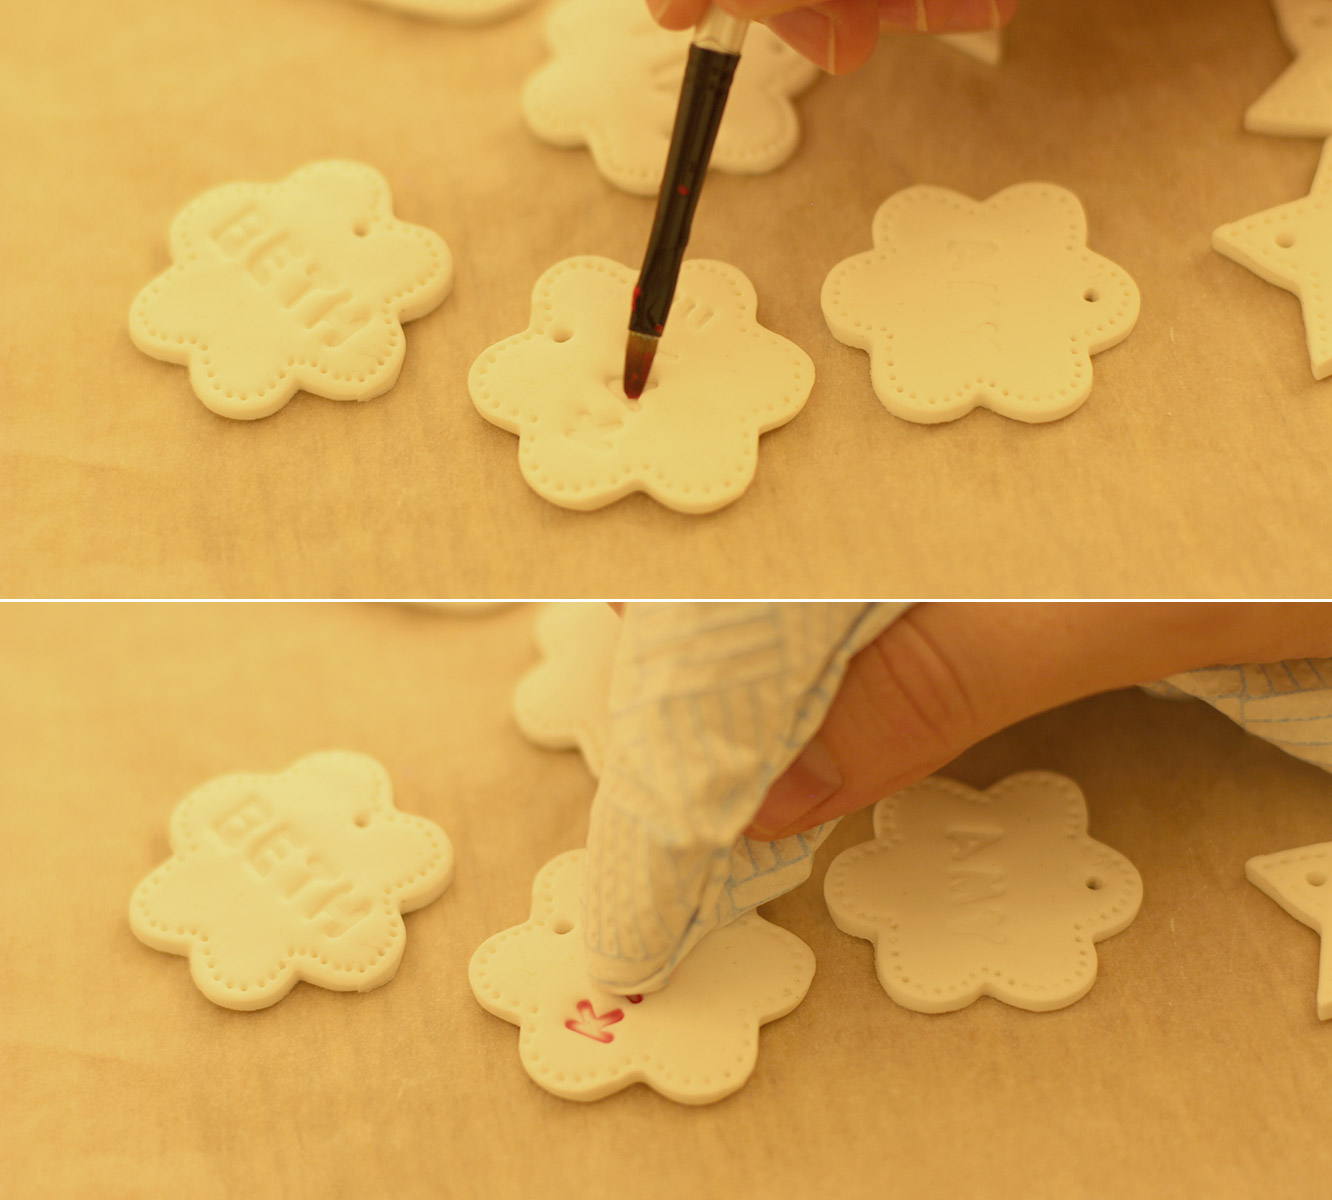
Step six

Using very watery acrylic paint, brush over the letters and the edging. Quickly dab away the excess with some clingfilm to create a rustic look.

homemade-fimo-christmas-decoration-tag-09

homemade-fimo-christmas-decoration-tag-10

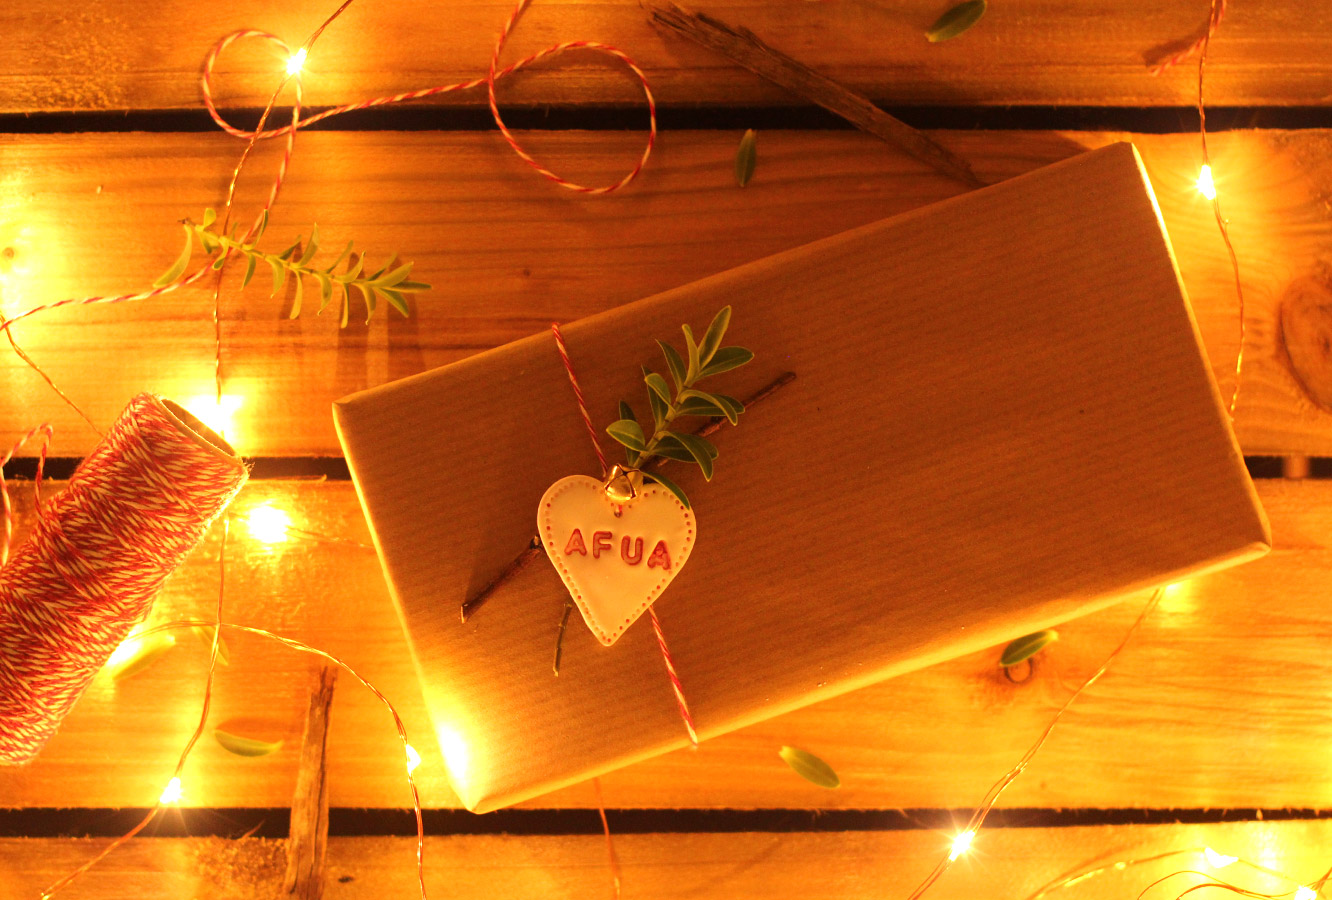
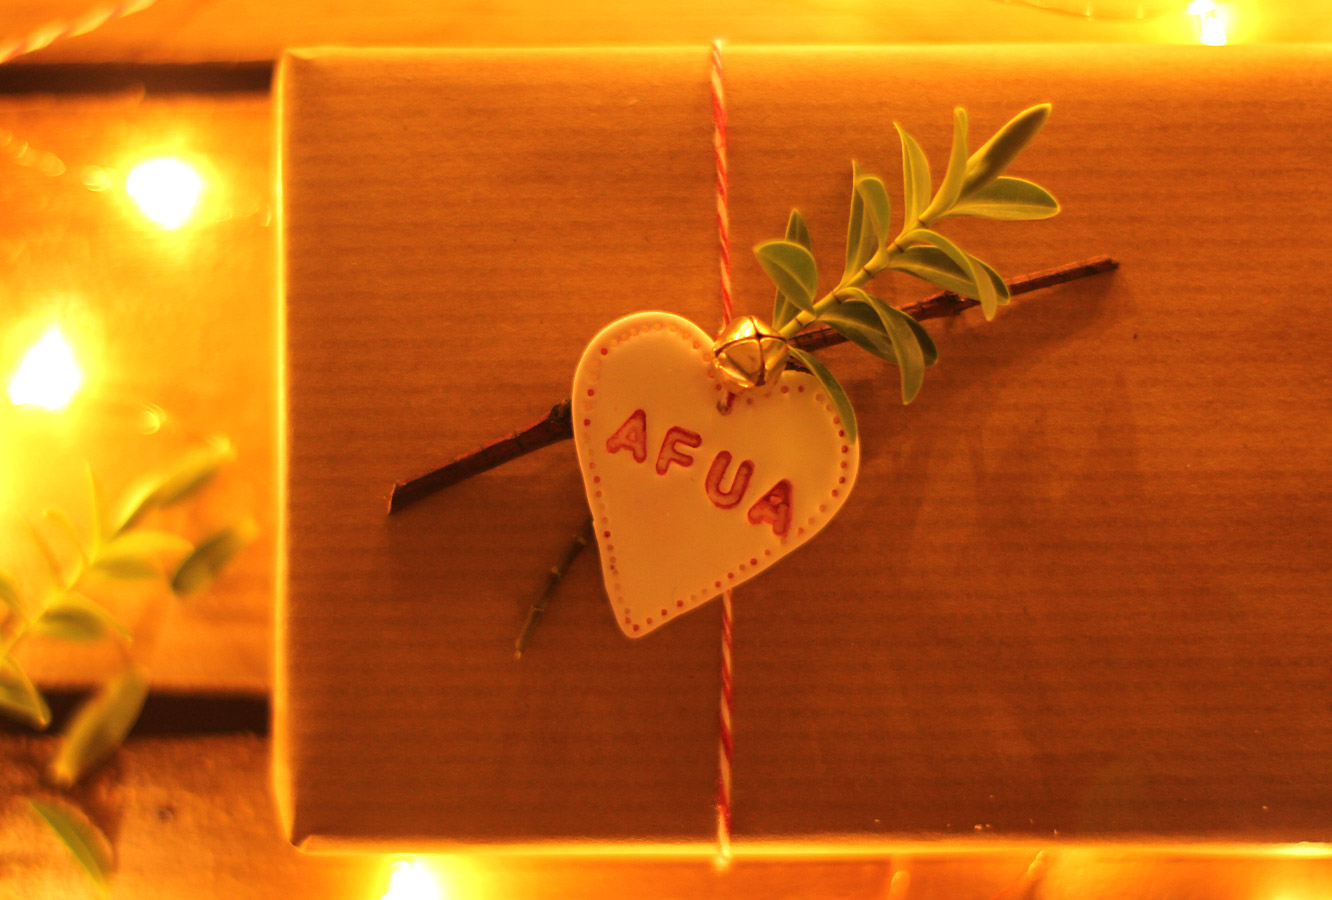
Use one: Tie up with a couple of trimmings from the garden, maybe a button/pom pom/little bell like mine. Tie with the string around a gift wrapped in brown paper.

homemade-fimo-christmas-decoration-tag-11

Use two: String up and hang from a jug of twigs or your Chrimbo tree.

homemade-fimo-christmas-decoration-tag-08

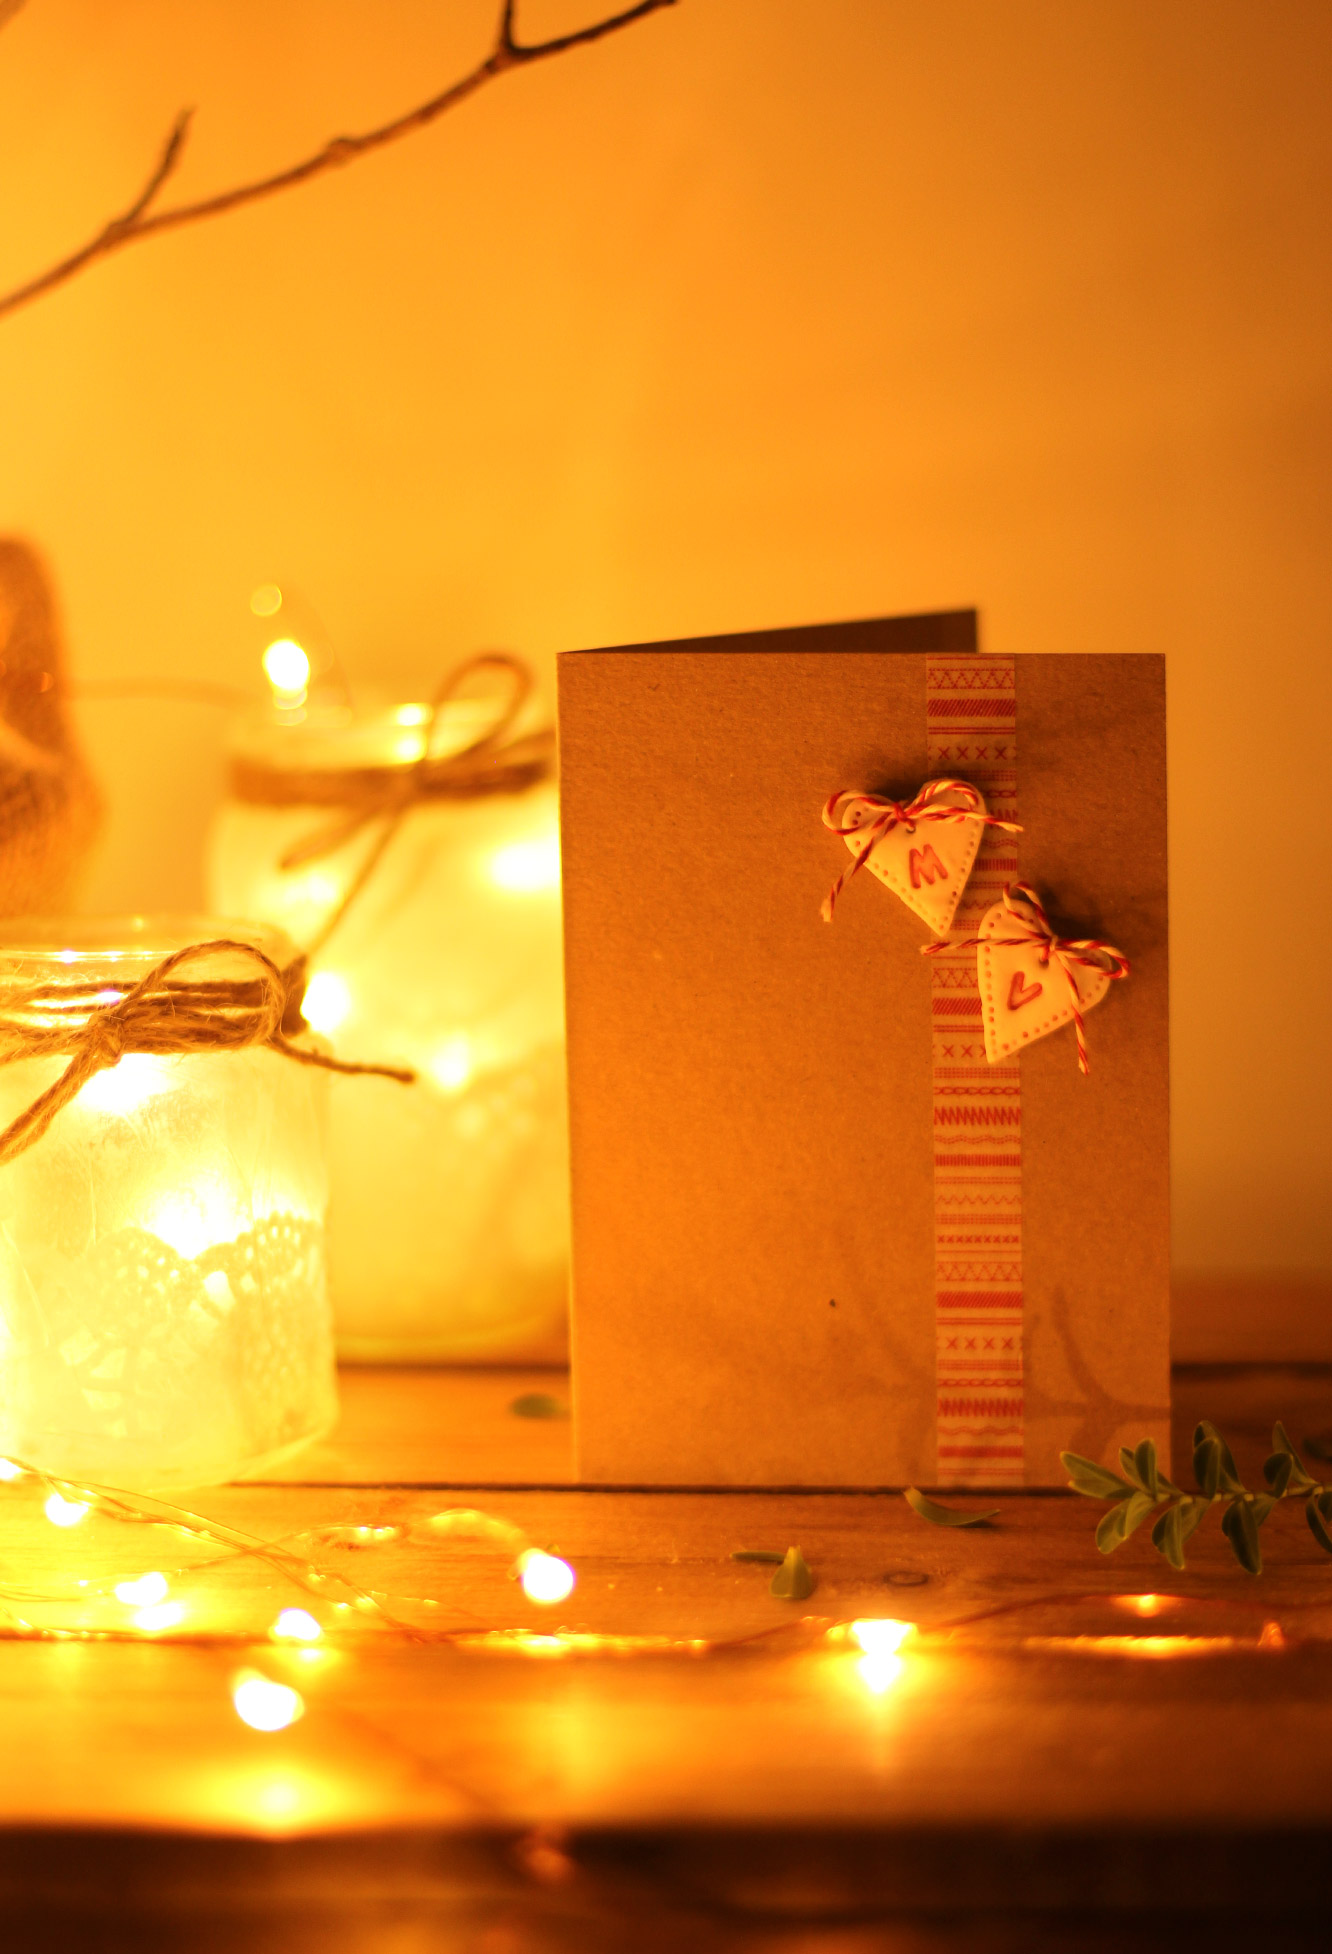
Use three: Make mini ones with initials and create a simple Christmas card with a piece of wash tape and brown card.


Oh hey honey

October 31st. 19C in London, beautiful sunshine.

November 1st. Fog, cold, winter has arrived.

Don’t you just love the British weather?! Its unpredictability is a constant irritation to me but I do adore the seasons. I’m very glad I don’t live somewhere that’s variations on one temperature all year round.

It’s starting to feel a little festive this week at Fabrefaction HQ. It’s bonfire night on Thursday, and we are having a housewarming party this weekend to welcome the new housies. It would be rude not to provide our guests with some treats, and even ruder not to acknowledge the approach of Mr Frost.

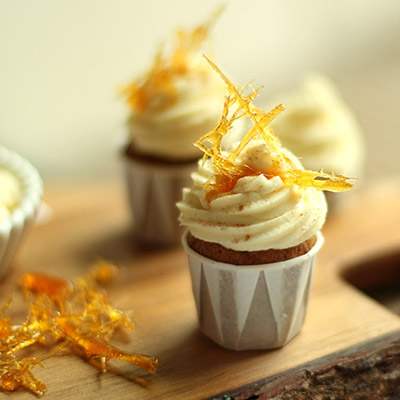
So here we are, the perfect recipe to bridge autumn and winter, mini gingerbread and honey cupcakes. If you don’t fancy the hassle you could always make this as a traybake, perhaps doubling the recipe (I halved it).

ginger-and-honey-cupcake-recipe-1

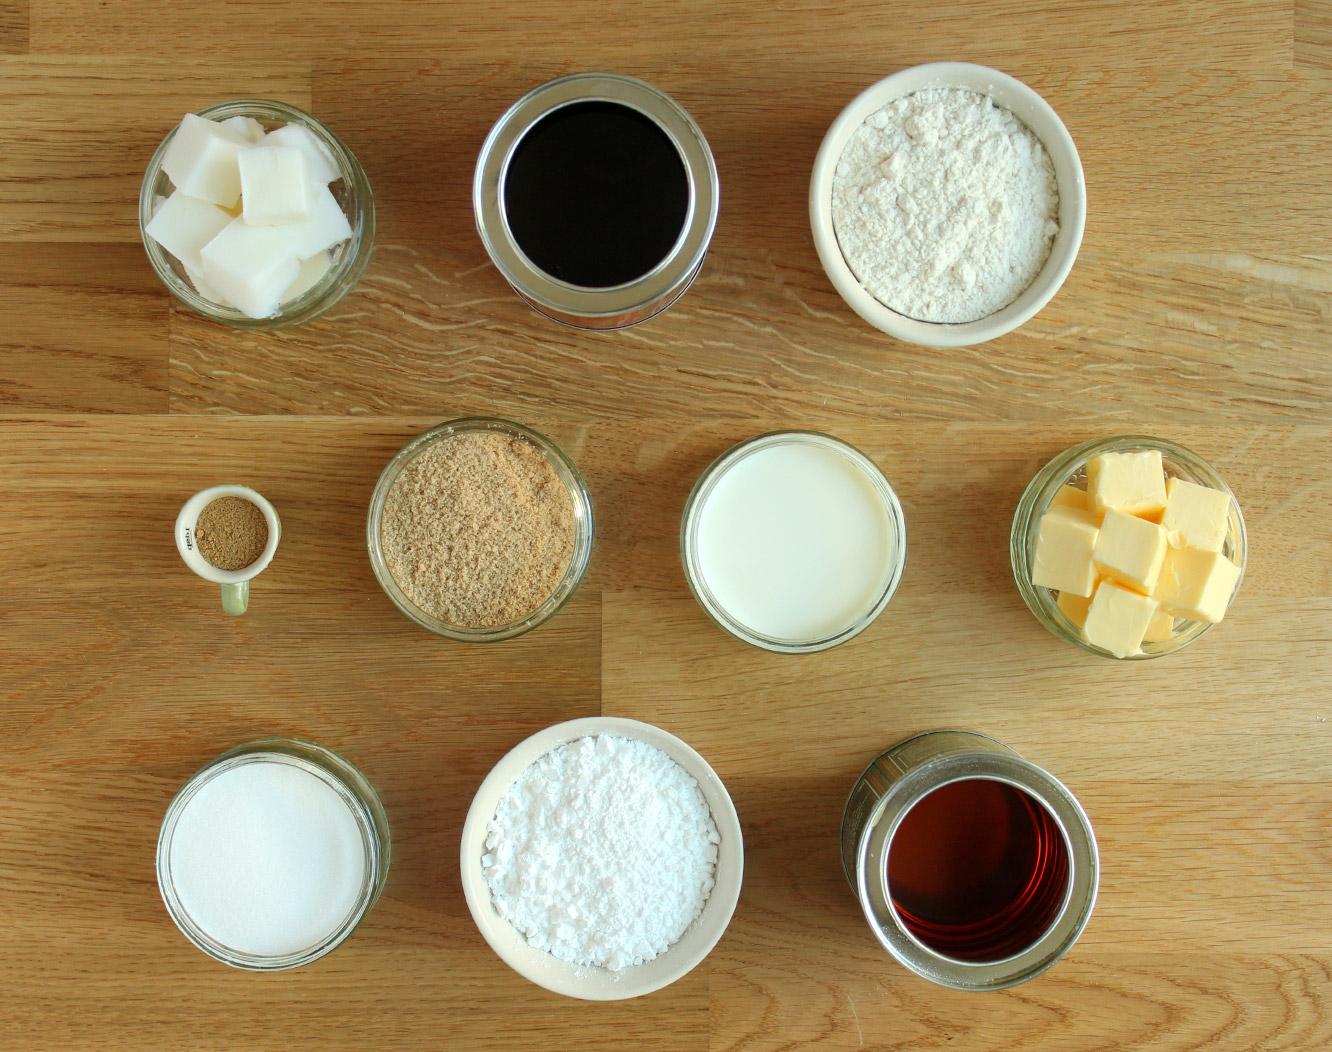
You will need

For the cake:

250g/9 oz plain flour

100g/3.5 oz golden syrup

75g/2.5 oz light soft brown sugar

75g/2.5 oz lard (yes, lard)

40g/1.5 oz treacle

140ml/4.5 fl oz milk

1 egg

1 tsp ground ginger (feel free to add more)

1 tsp bicarbonate of soda

For the icing:

300g/10.5 oz icing sugar

150g/5.25 oz unsalted butter

6 tbsp runny honey

For the sugar shards:

100g/3.5 oz caster sugar

(makes 35 mini cakes)

ginger-and-honey-cupcake-recipe-2

Step one

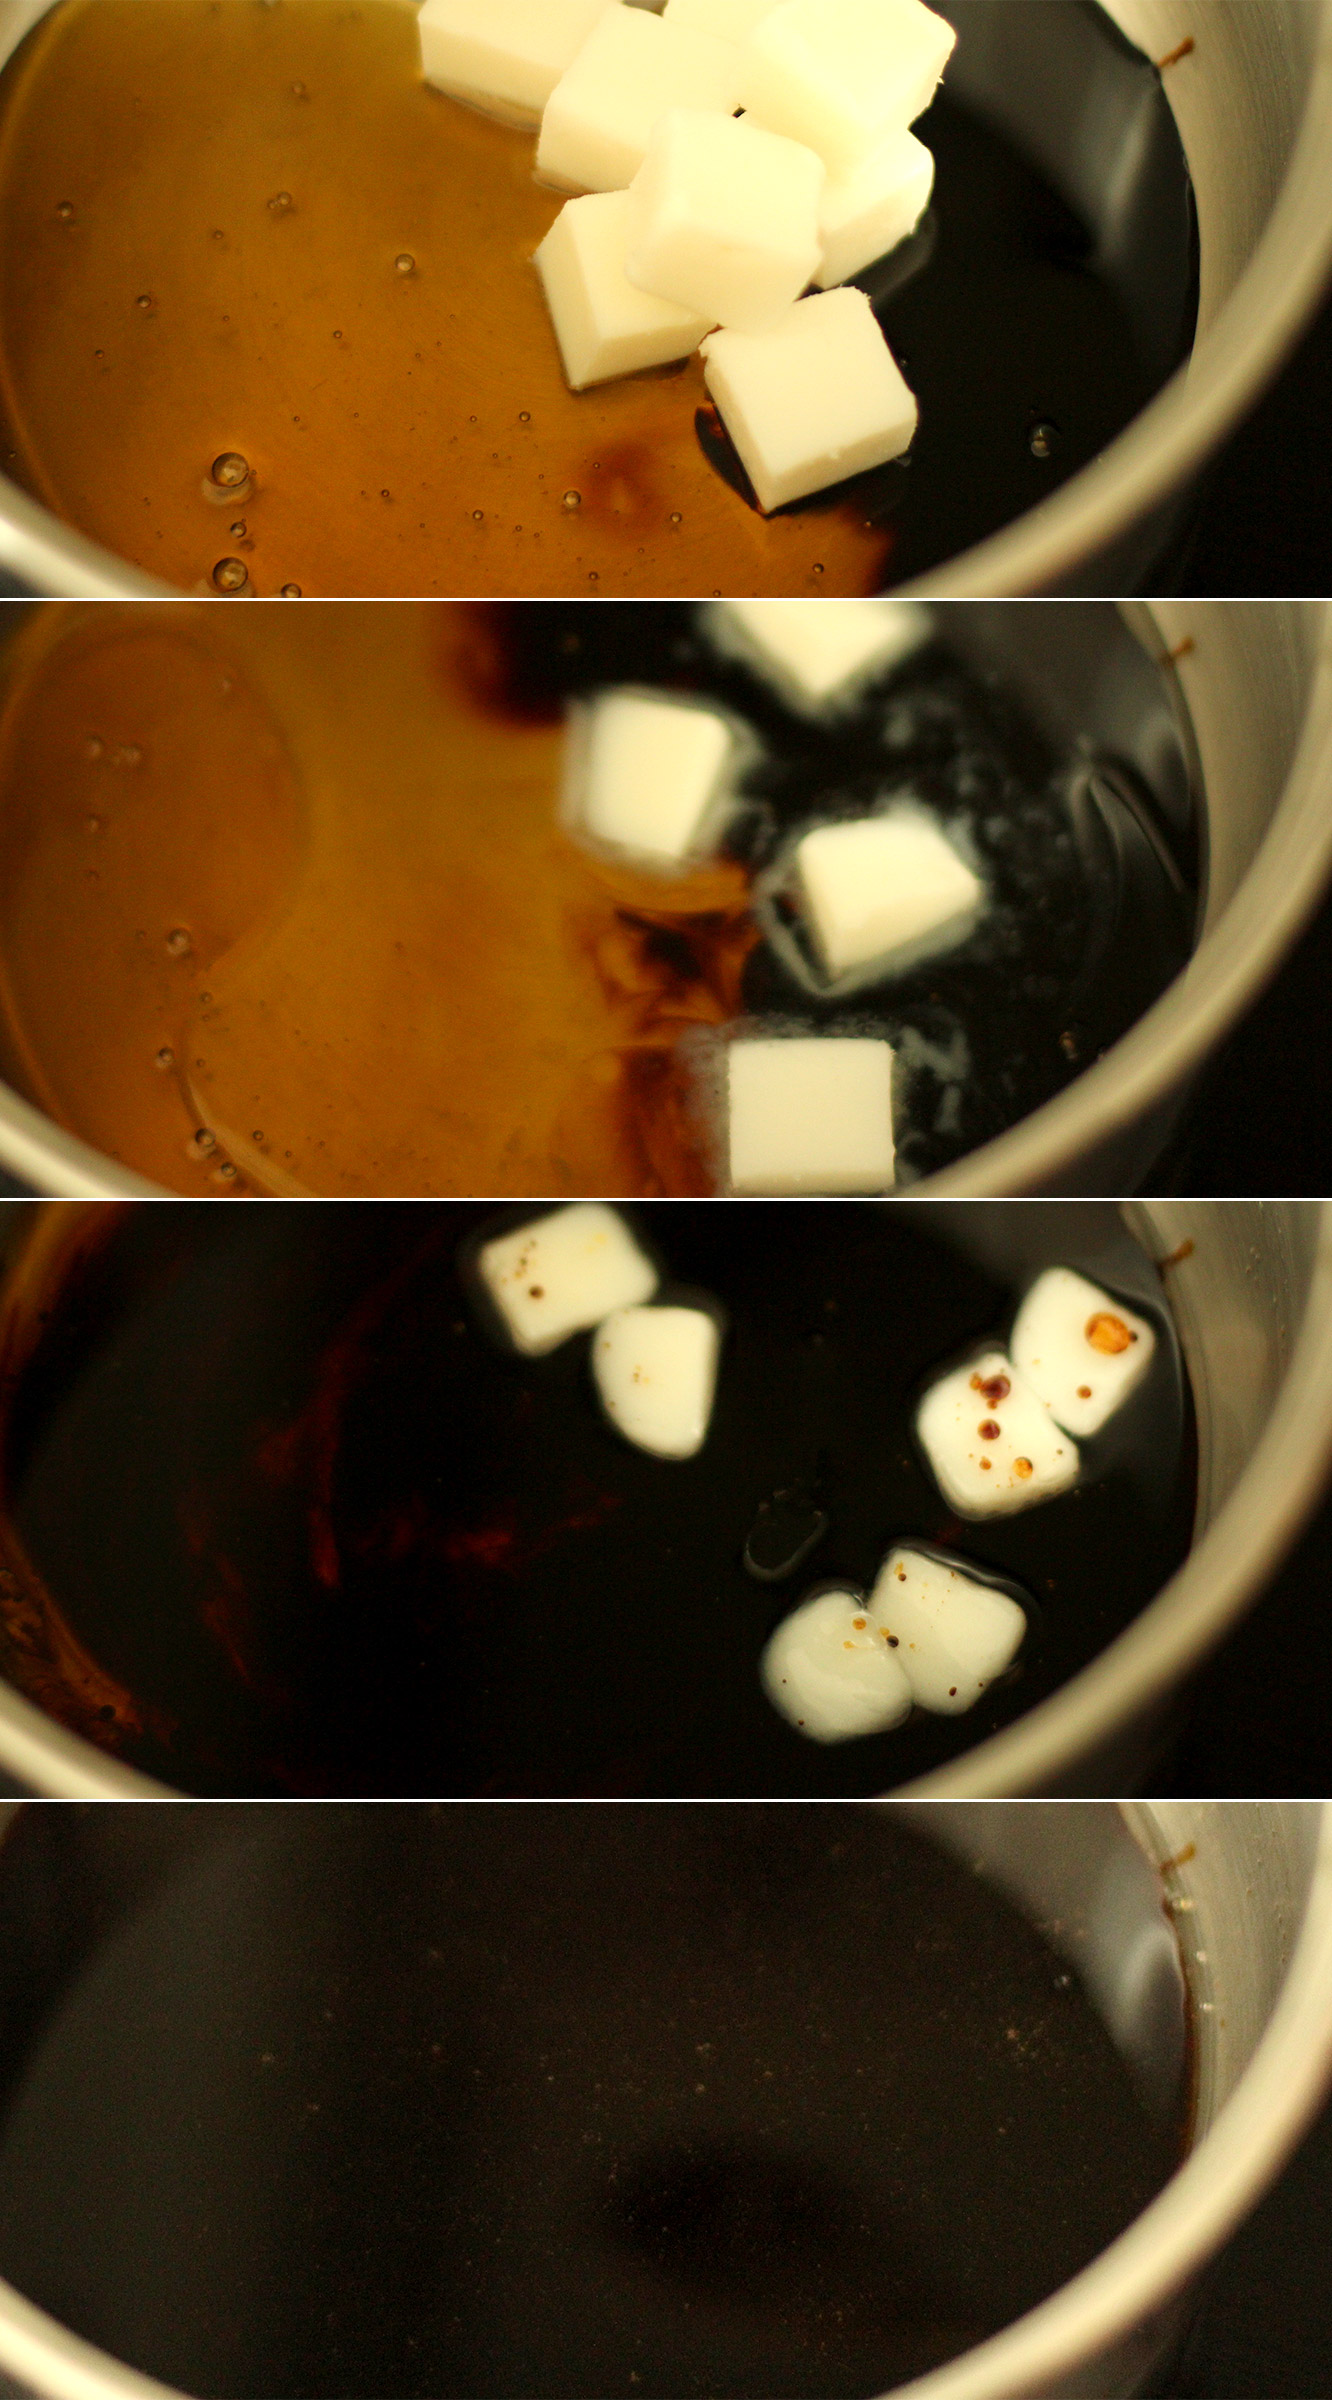
Melt the lard, golden syrup and treacle over a low heat.

Yes the lard will separate and create a glossy sheen on the surface, and yes you will think how unappetising it looks, but trust me on this one…it’s one of those recipes passed from generation to generation in my family, I’m just giving it a little facelift and daren’t replace the lard, just in case somehow Grandma is watching.

ginger-and-honey-cupcake-recipe-3

Step two

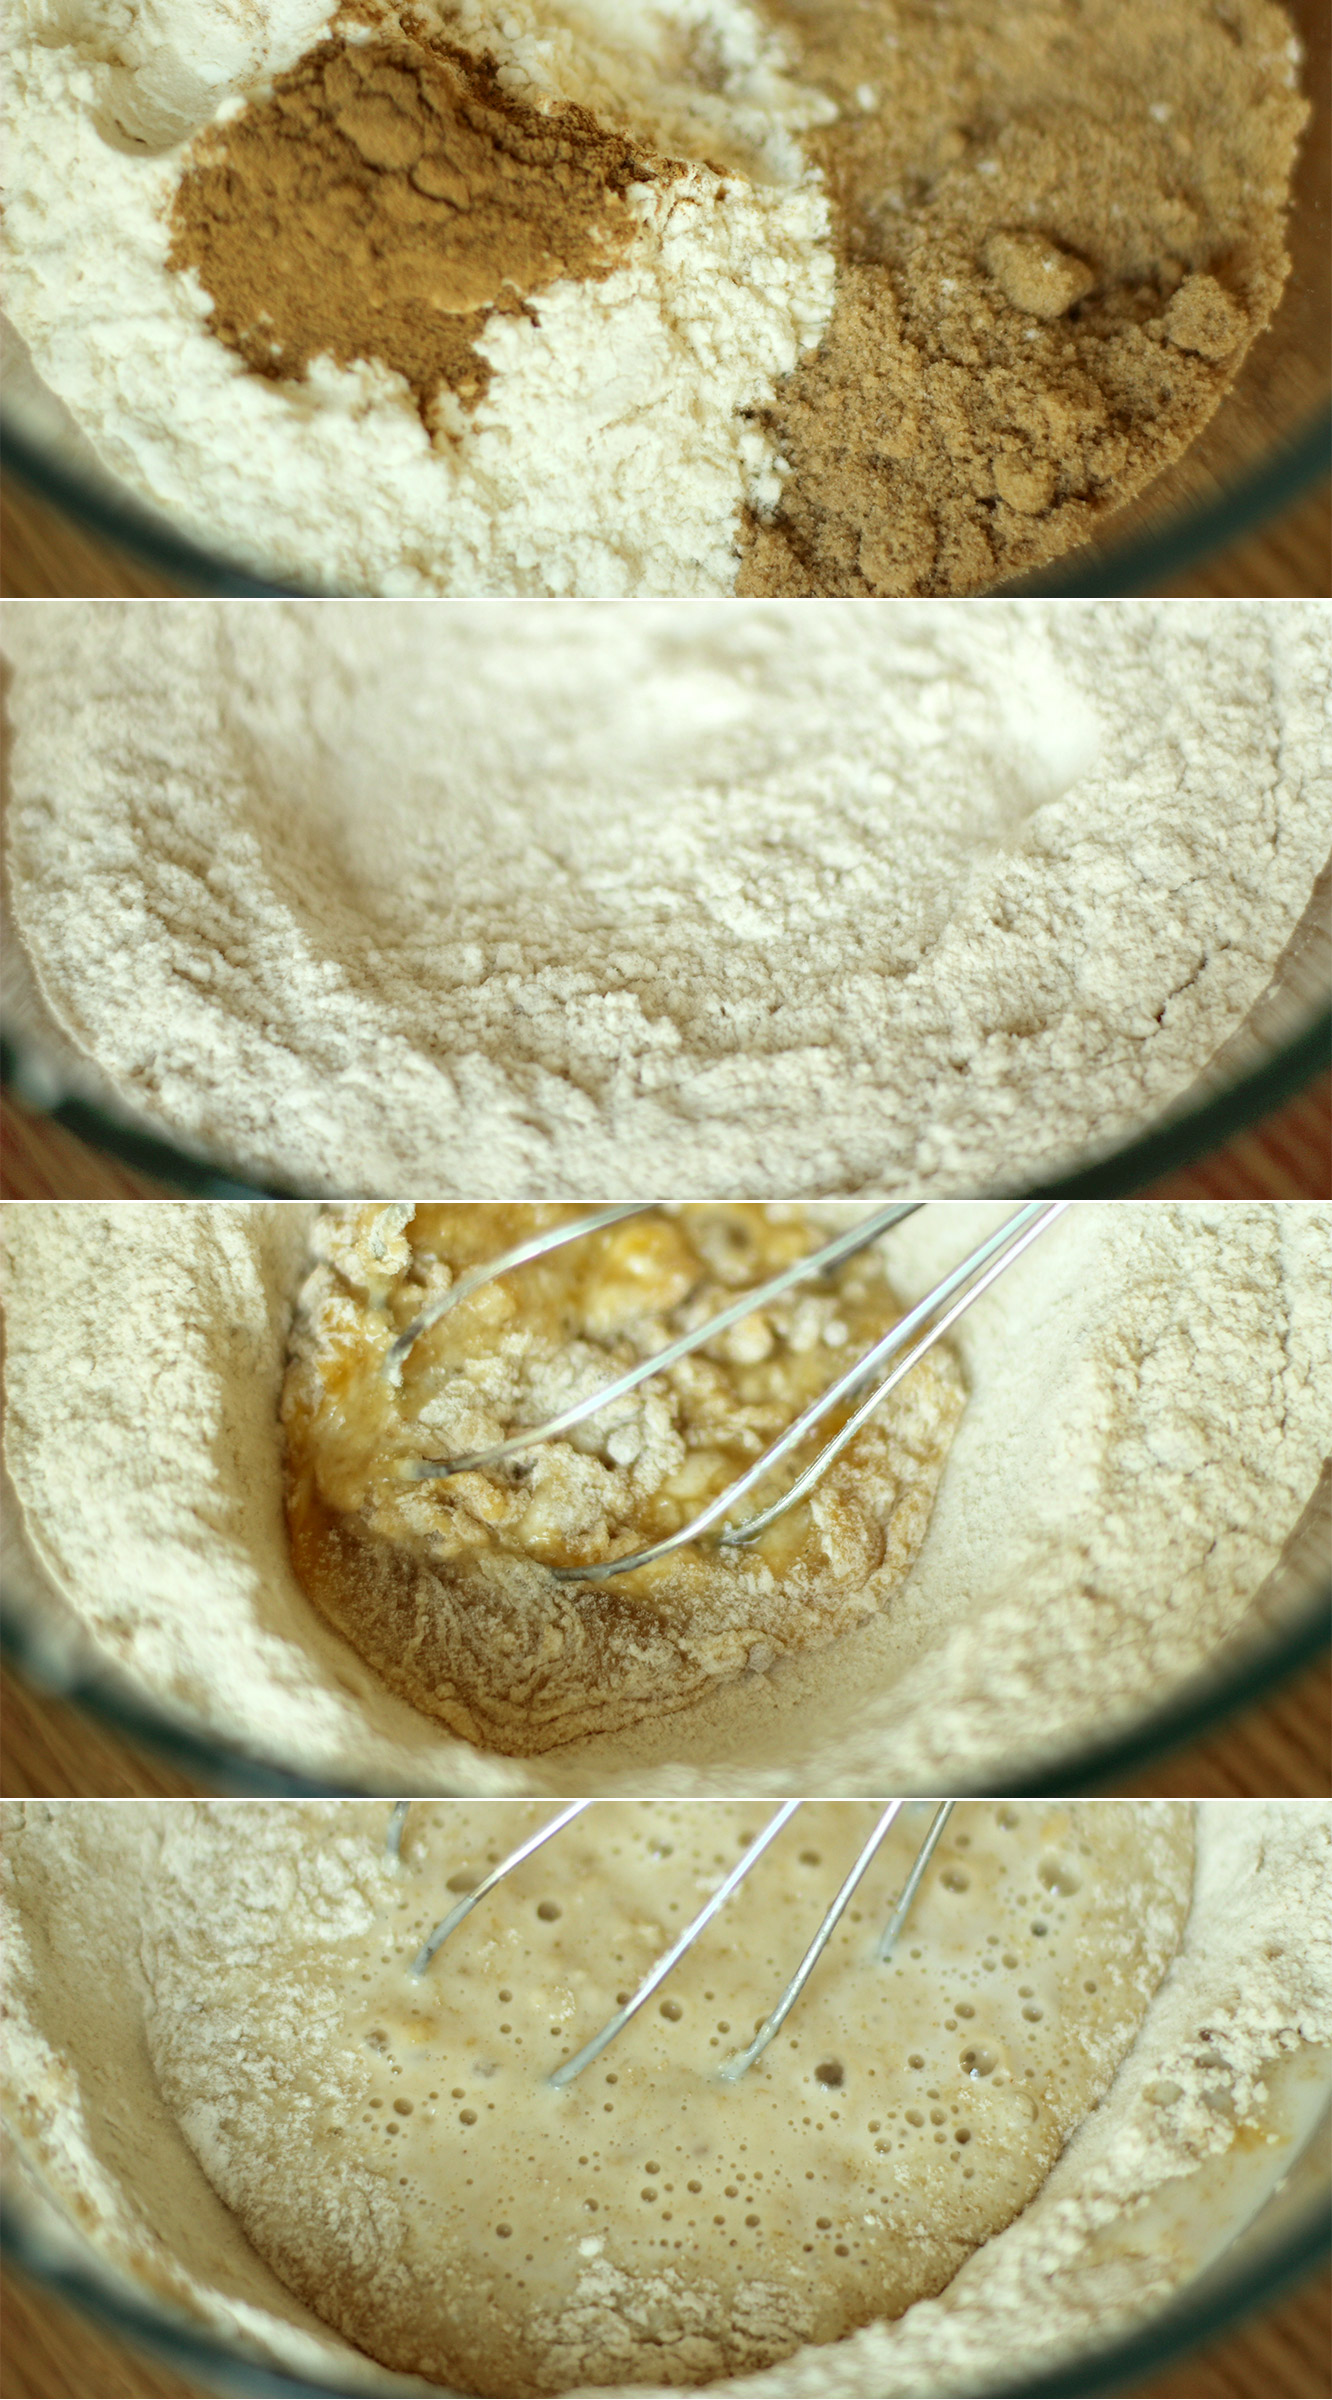
Combine the sugar, ginger, flour and bicarbonate of soda.

Make a well in the middle and start to whisk in the egg. Stop when you get to the consistency in the third picture down because otherwise you risk making lumps you won’t be able to get out.

Step three

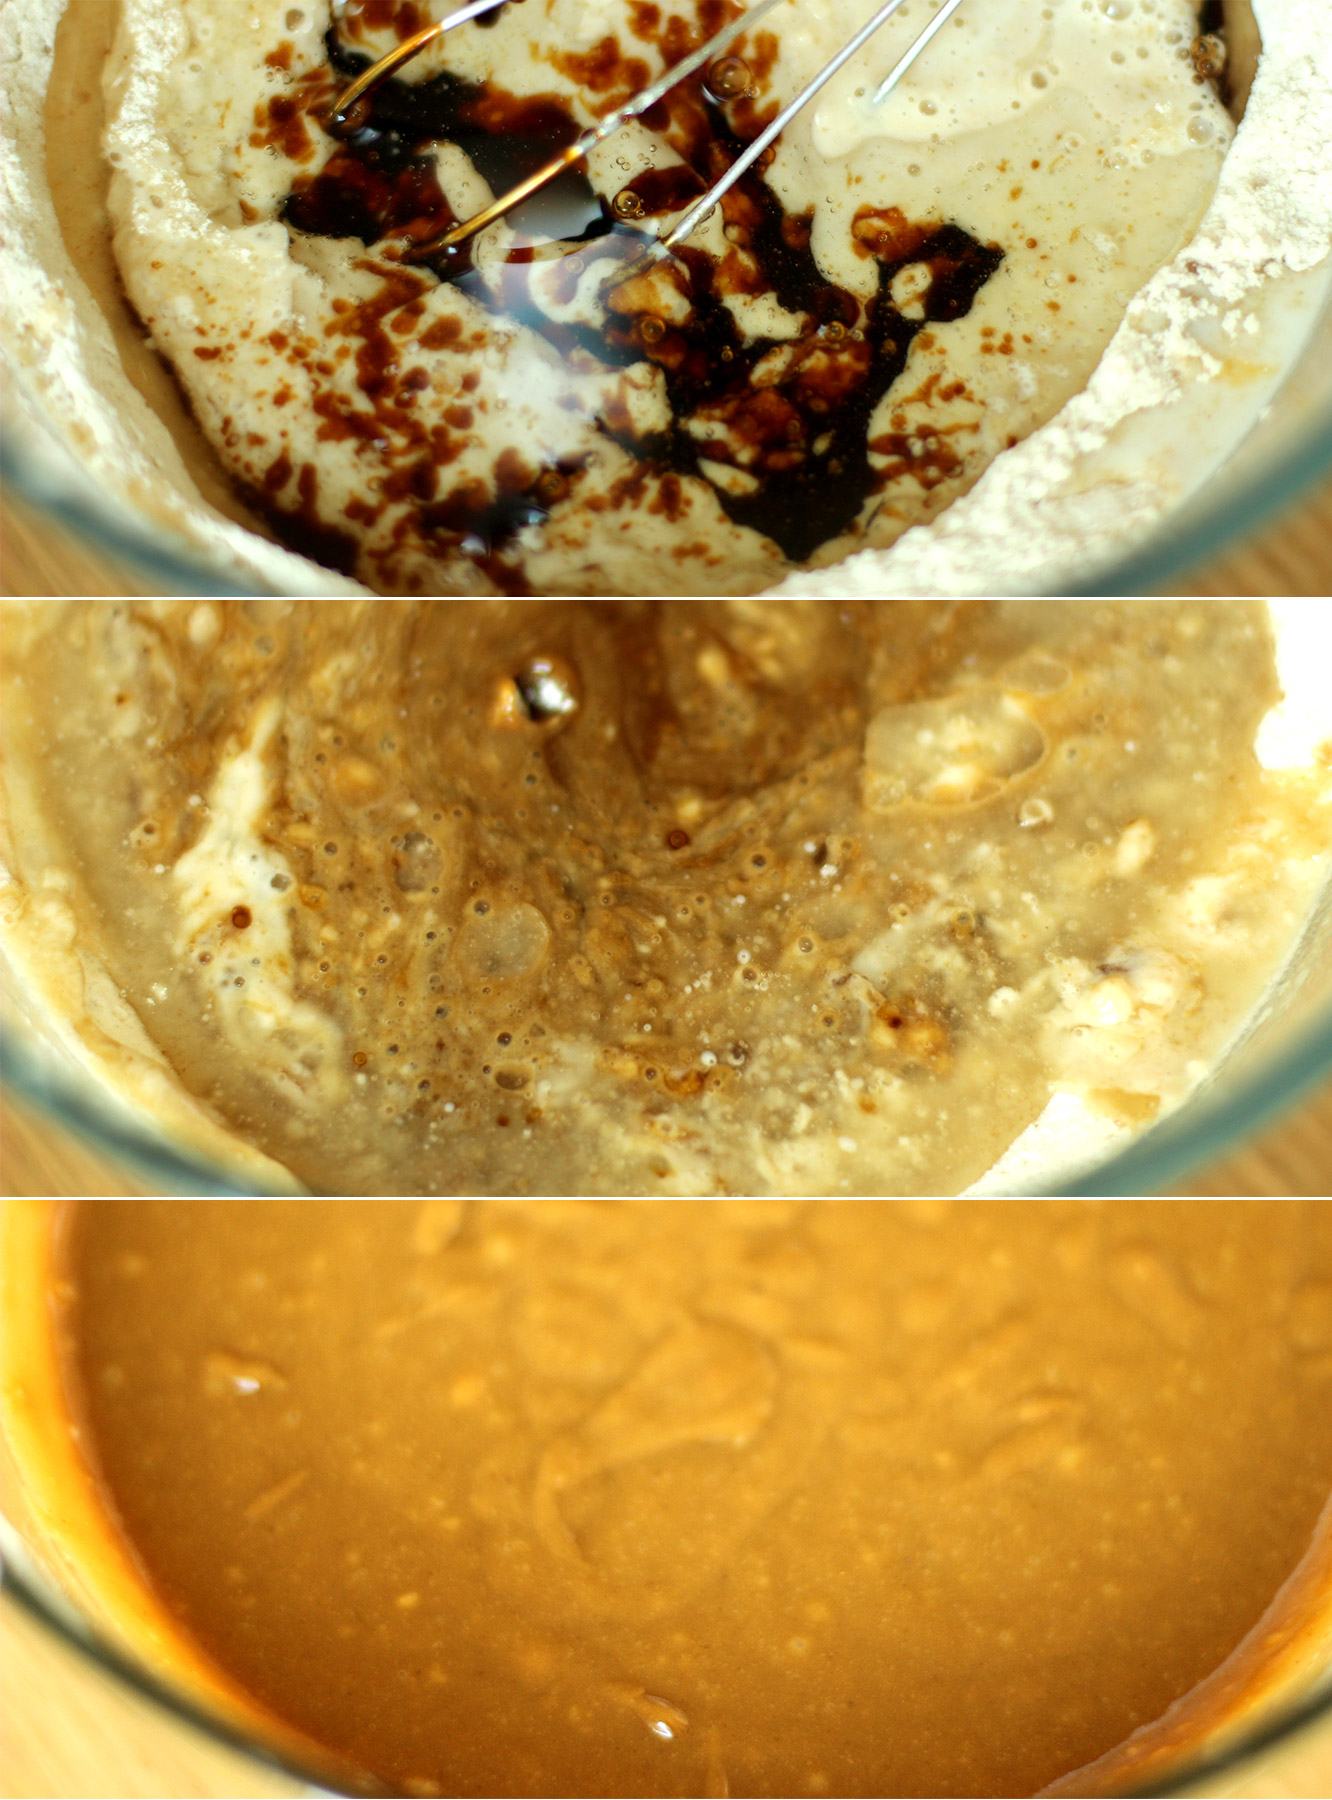
Pop the milk in the microwave to heat for 30 seconds to a minute until warm. Add to the centre of the mixture and continue to whisk gently until the milk and the egg are combined, but again don’t try and mix in all the flour.

ginger-and-honey-cupcake-recipe-4

Step four

Pour in the melted treacle, golden syrup and lard mix and stir until it’s all mixed together.

ginger-and-honey-cupcake-recipe-5

Step five

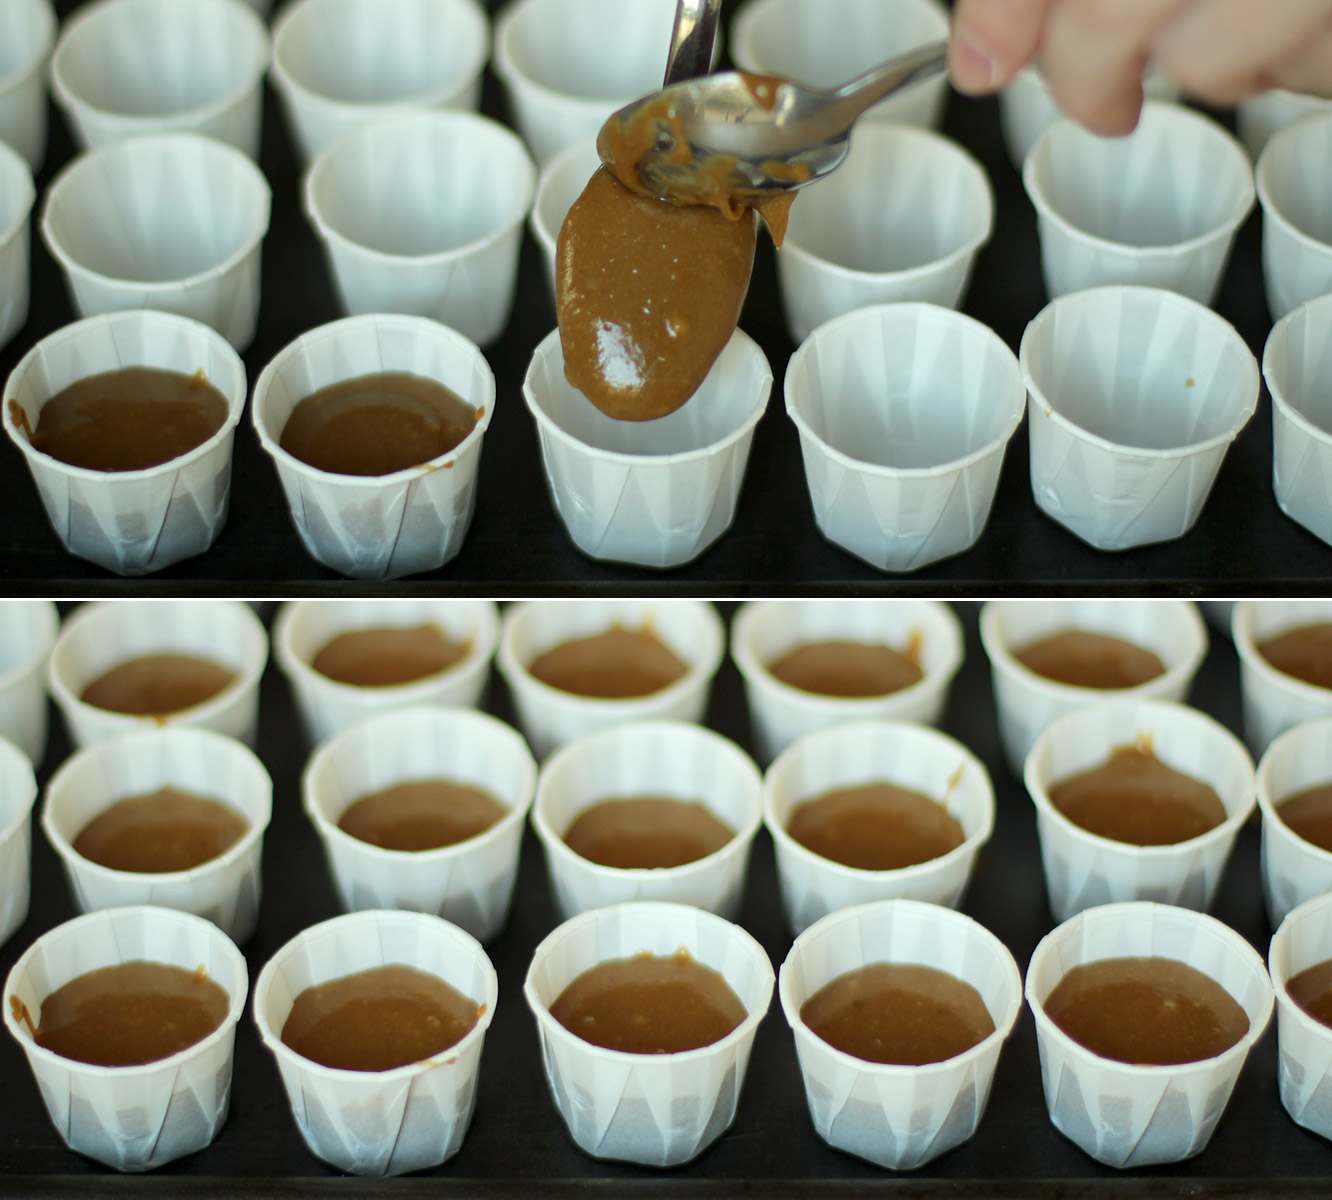
Spoon the mixture into your cases. I got a bulk order of these paper condiment cups last year for the hot chocolate stirrers I made for Christmas. I will NEVER find a way to use them all up.

If you have normal mini cupcake/muffin cases the same rules apply, about a teaspoon and a half of mixture in each. You will probably need to put them in a muffin tin though. These little cases had enough of their own structure so I put them on a baking tray.

Bake for 15 minutes on 180C/gas mark 4/350F.

ginger-and-honey-cupcake-recipe-6

Step six

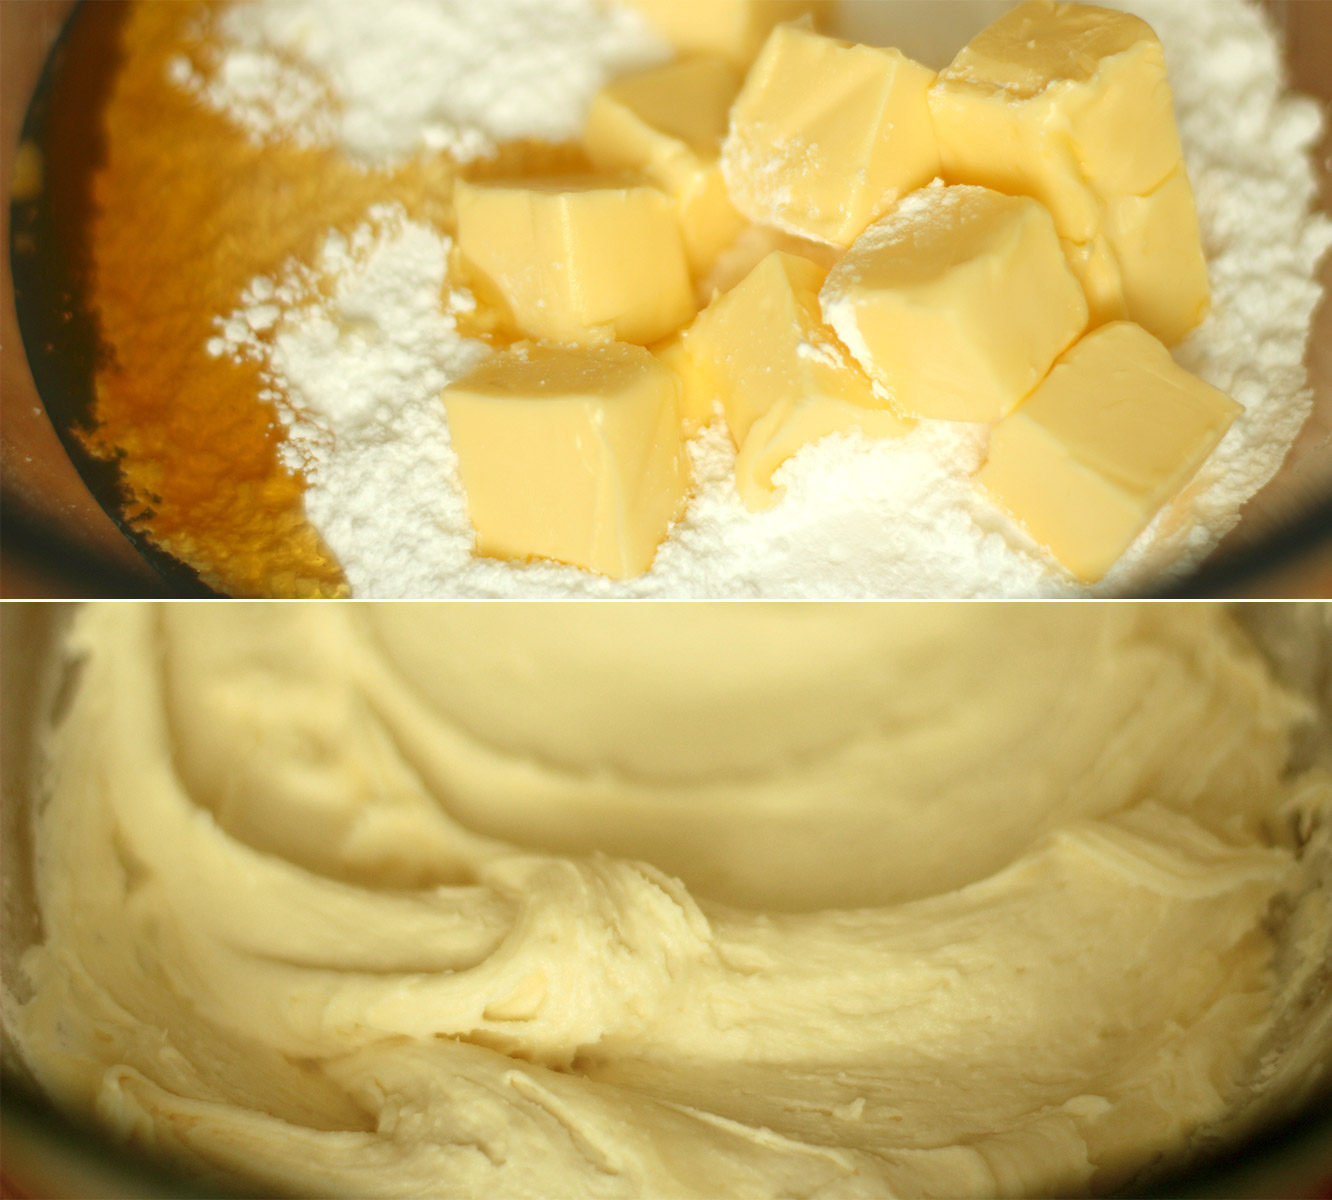
Whisk together the icing/frosting ingredients, make sure to cover your bowl with a tea towel; icing sugar will make your kitchen sticky for weeks otherwise.

Step seven

Confession time. I didn’t photograph this stage. Partly because I was a bit grumpy, partly because my camera was running out of battery and partly because my level of clumsiness, hot sugar and baking selfies are not a strong combination. Forgive me.

All you need to do to make the decorative caramel shards is gently heat the caster sugar in a saucepan until the vast majority has melted and turned caramel in colour. Don’t stir, don’t swish, just wait.

Remove from heat and lay out a sheet of greaseproof paper. With a fork trail the caramel back and forth across the paper. It will need to cool a little until it is stringy enough to do this, but it will get there. You don’t have to make individual cake toppers, just criss cross to make one massive one and break it up to get the shards.

It’s waaaaaay easier than you’d think and super effective looking.

(If you aren’t eating your cakes that day I recommend saving this step until the day of. I’m freeing most of mine bare and decorating them on party day)

ginger-and-honey-cupcake-recipe-gif

Step eight

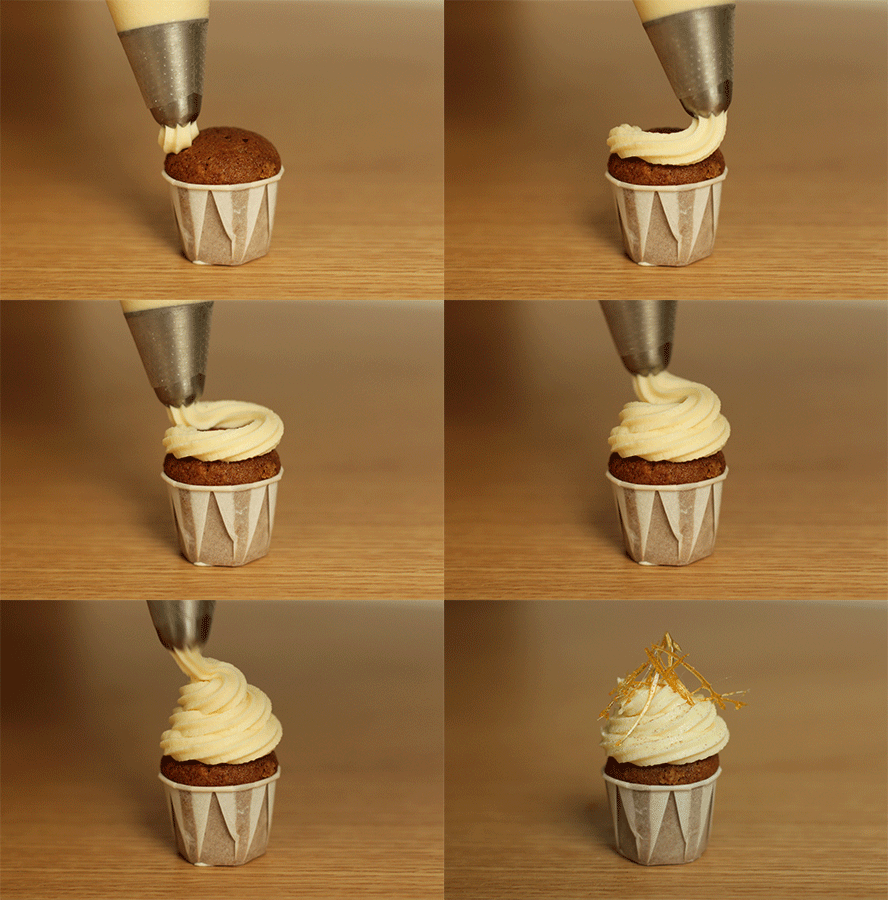
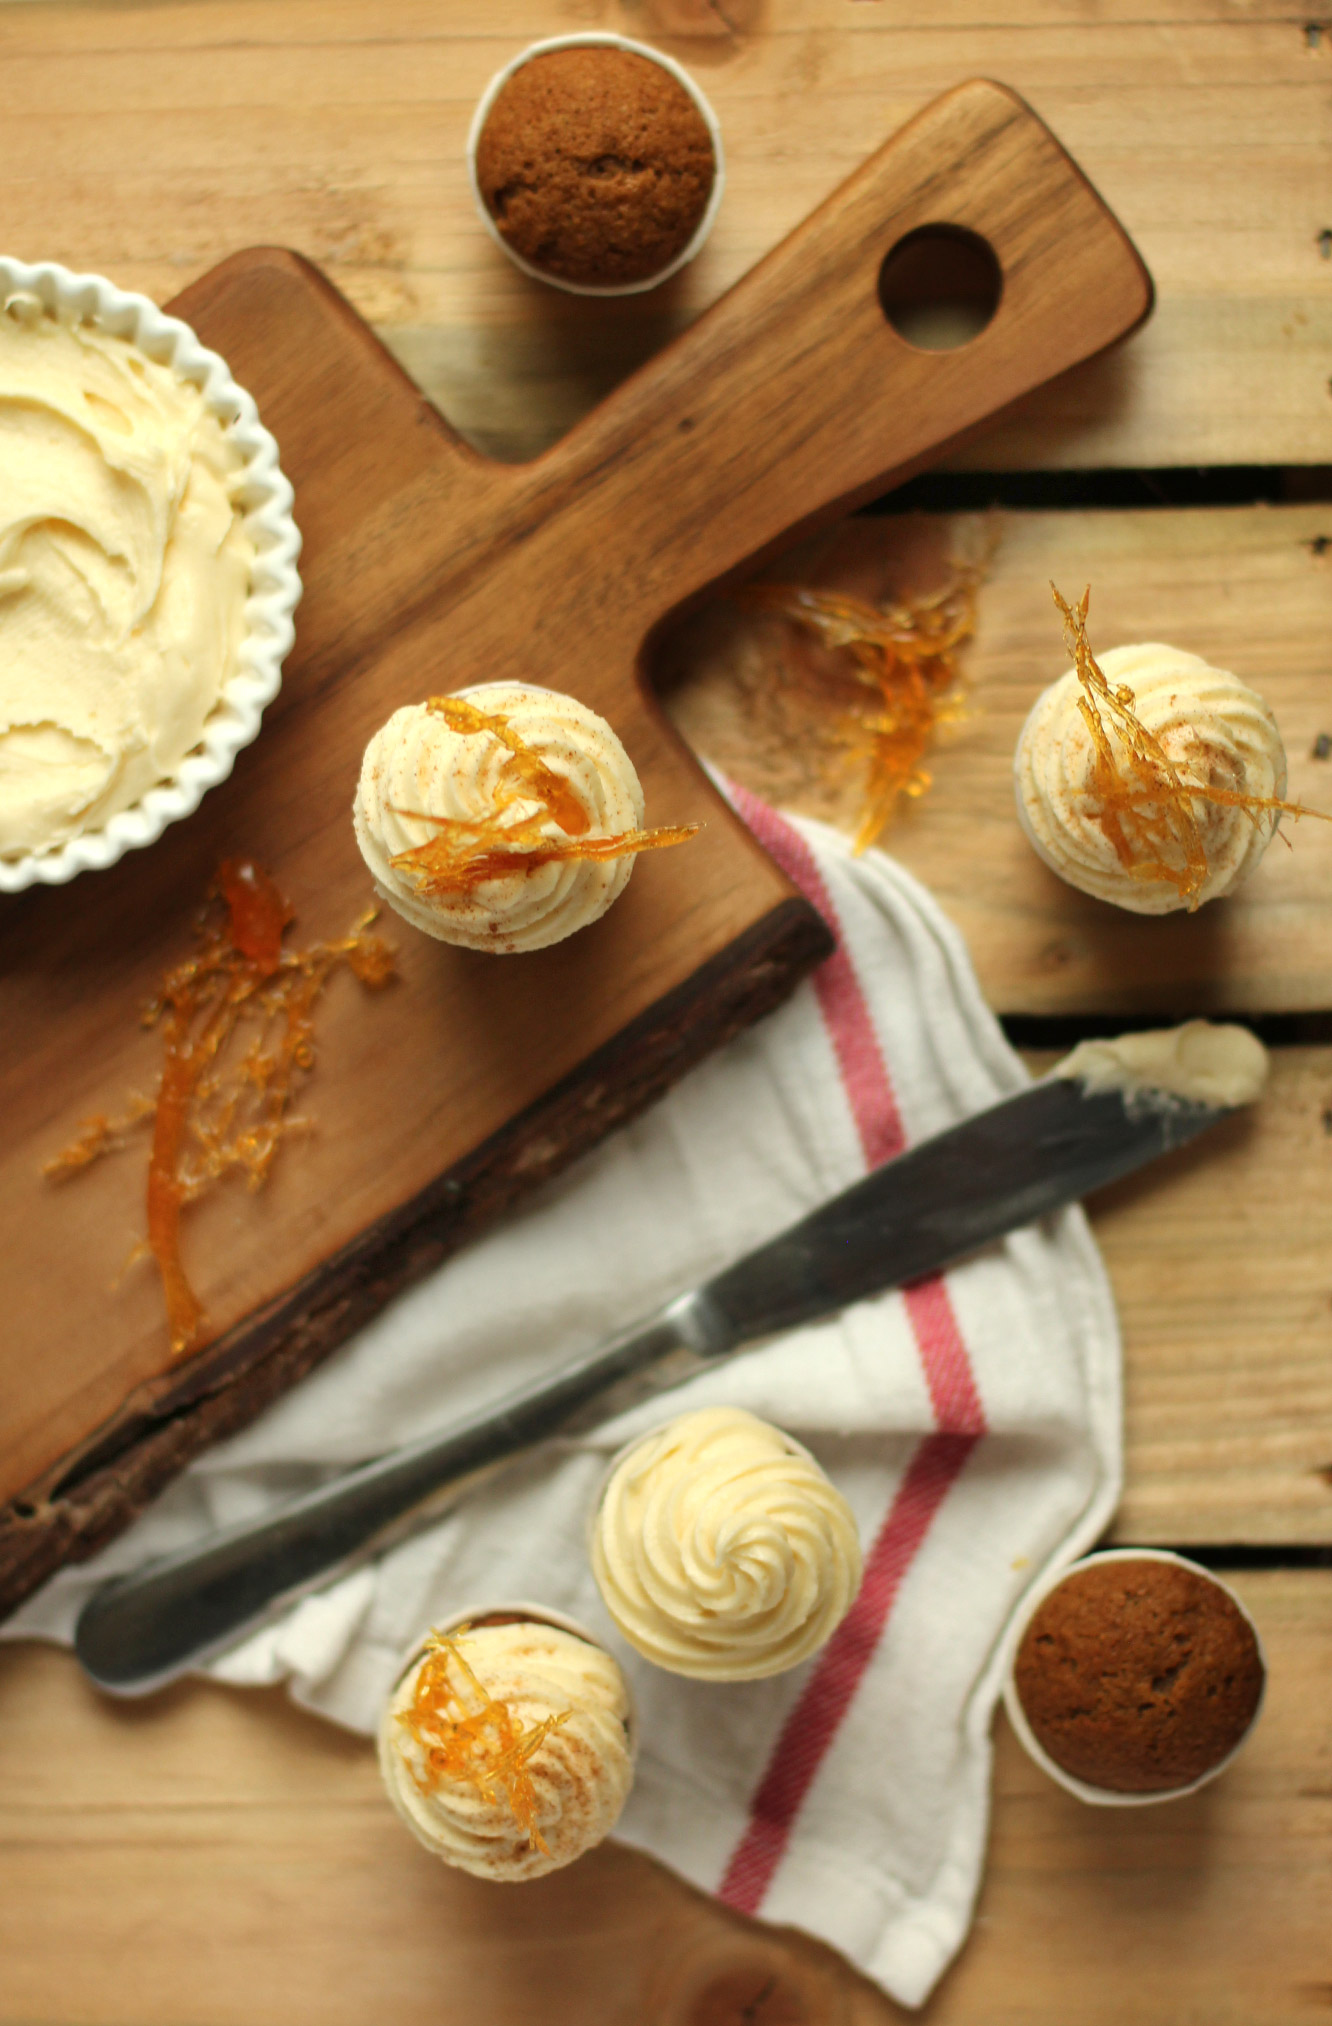
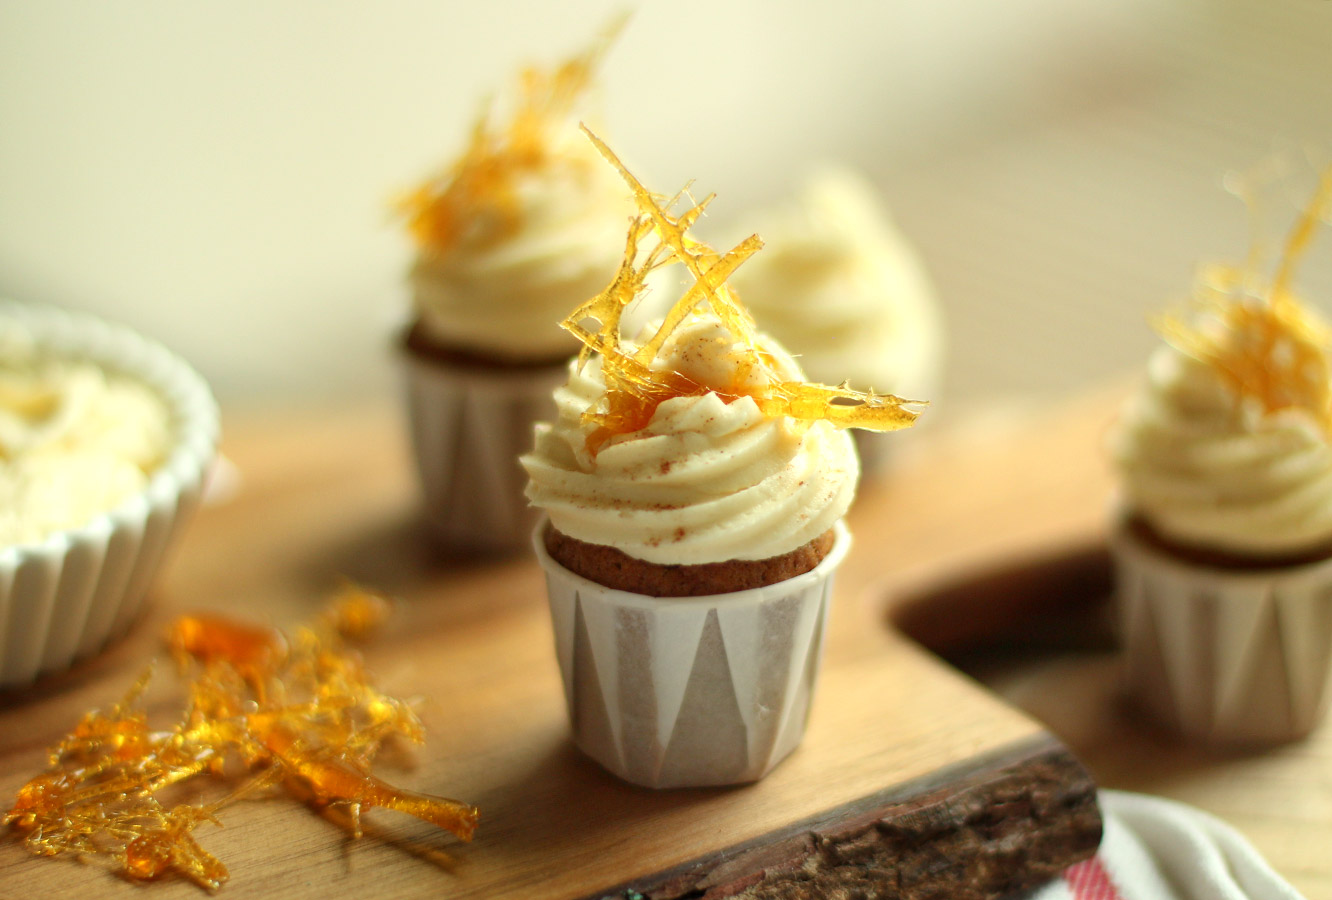
Ice your cakes however you please, I’m a diehard fan of the piping bag. I sprinkled a little bit of cinnamon on mine before adding the caramel shards.

ginger-and-honey-cupcake-recipe-8

ginger-and-honey-cupcake-recipe-7

Enjoy!


If you go down to the woods today…

This weekend saw the baby shower of a rather lovely lady by the name of Anna. You may (but probably won’t) remember us celebrating Anna’s hen party a while back, well now she’s about to pop a sprog would you believe?

Anna is a rather large fan of gnomes. Yeah, that was my reaction too, but you learn to embrace it after a while…she’s very endearing that way. Well, our friend Taylor (party planner extraordinaire and all round kindred spirit when it comes to carrying things out to obsessive levels of detail) decided to throw Anna a woodland themed shower. I know right? Cute. I totally took my camera and promptly forgot to take photos of all the lovely things; gingerbread fawns, woodland creature bunting, sausage roll snails and toadstool cupcakes to name just a few.

Anyway, other than baking some little flowerpot grassy gnome type cupcakes, I decided my contribution would be to carry the theme into my present and make a small selection of woodland characters to entertain baby upon her arrival into the world.

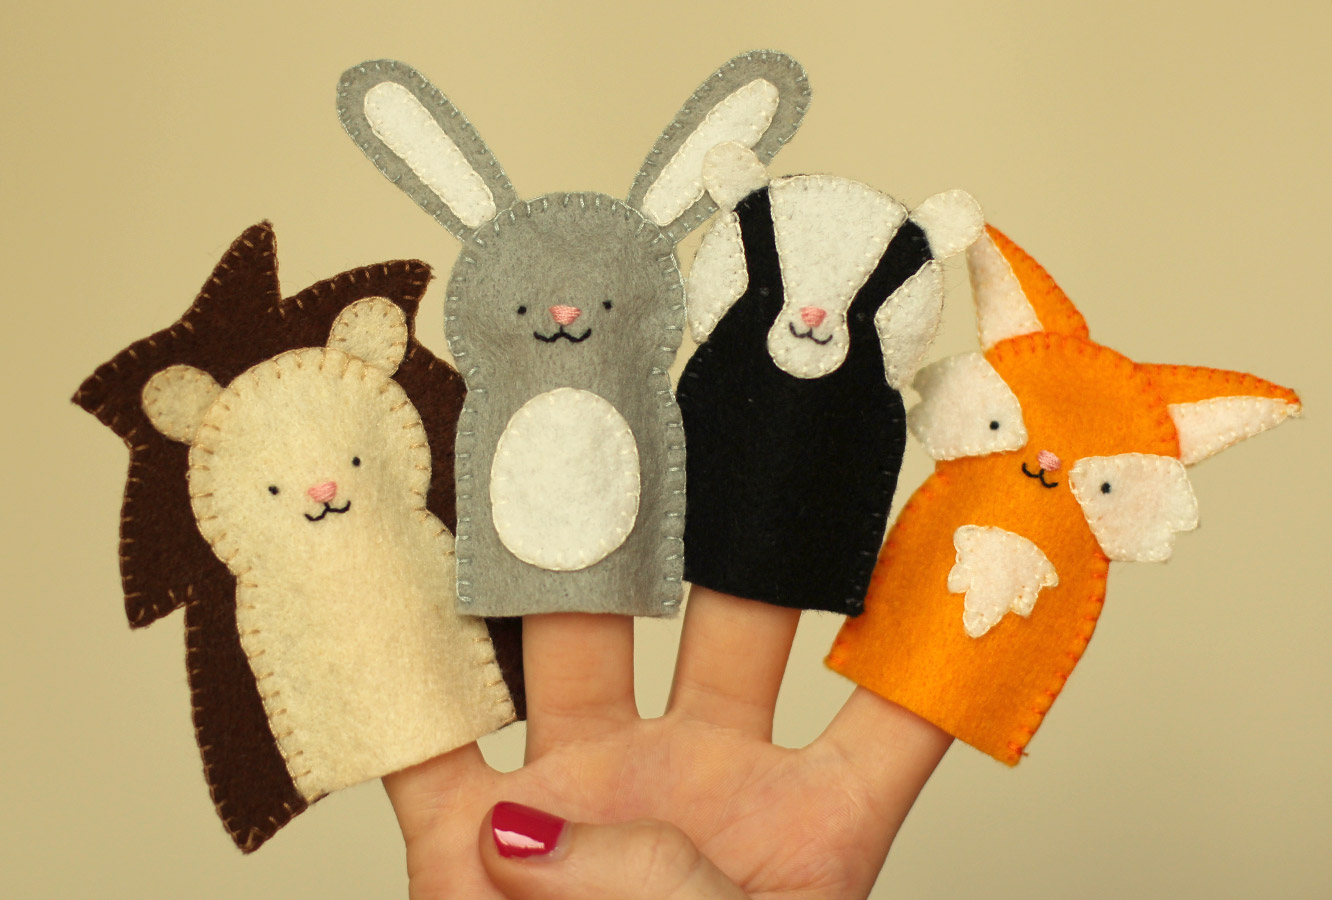
So here’s how to make your very own arsenal of woodland animal finger puppets, with a downloadable template of course.

how-to-make-finger-puppets-01

You will need

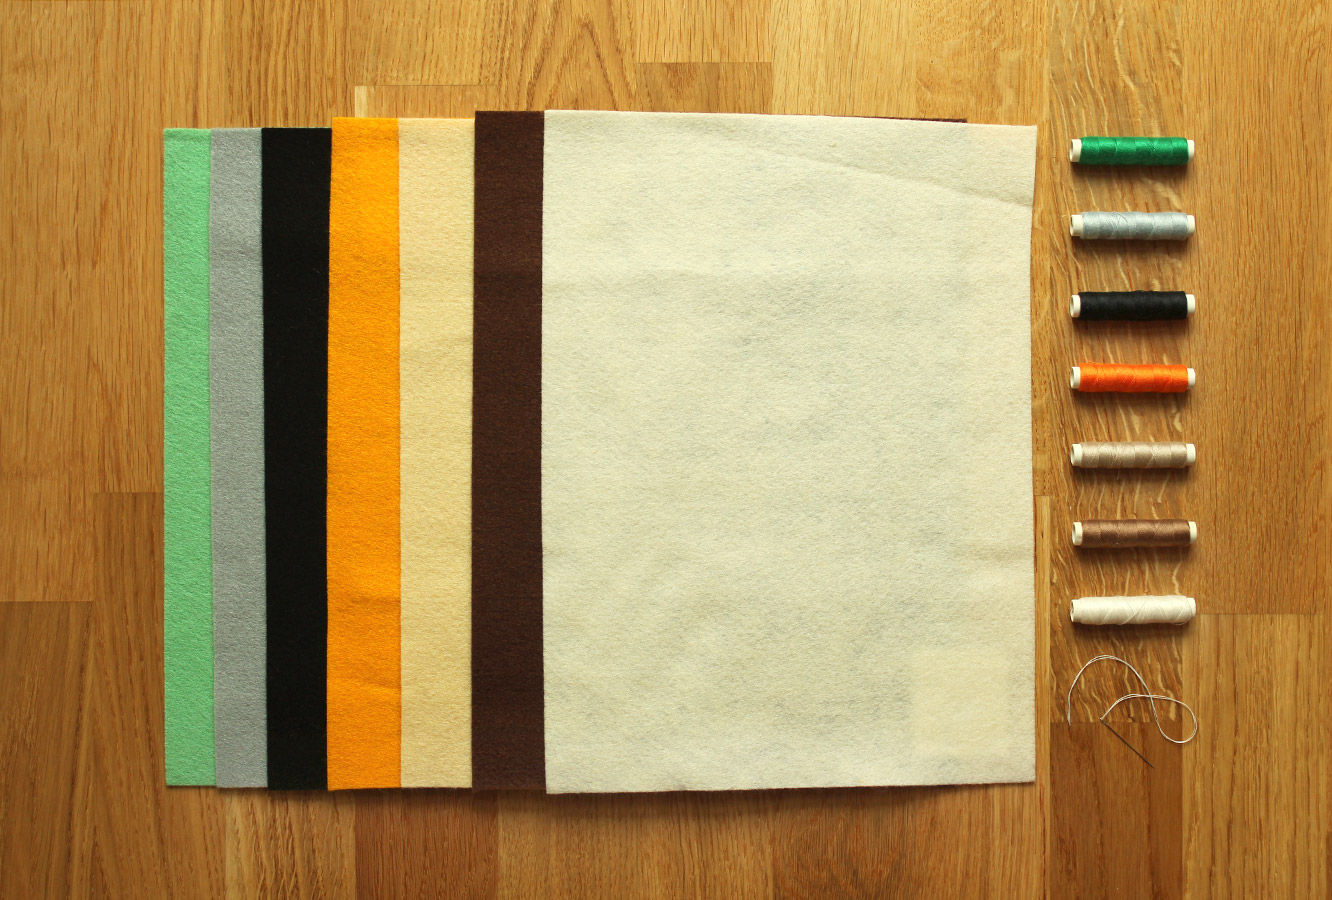
Felt (for the patterns I have provided you need brown, beige, white, black, grey and orange)

Thread in corresponding colours

A needle

This free downloadable template

how-to-make-finger-puppets-02

Step one

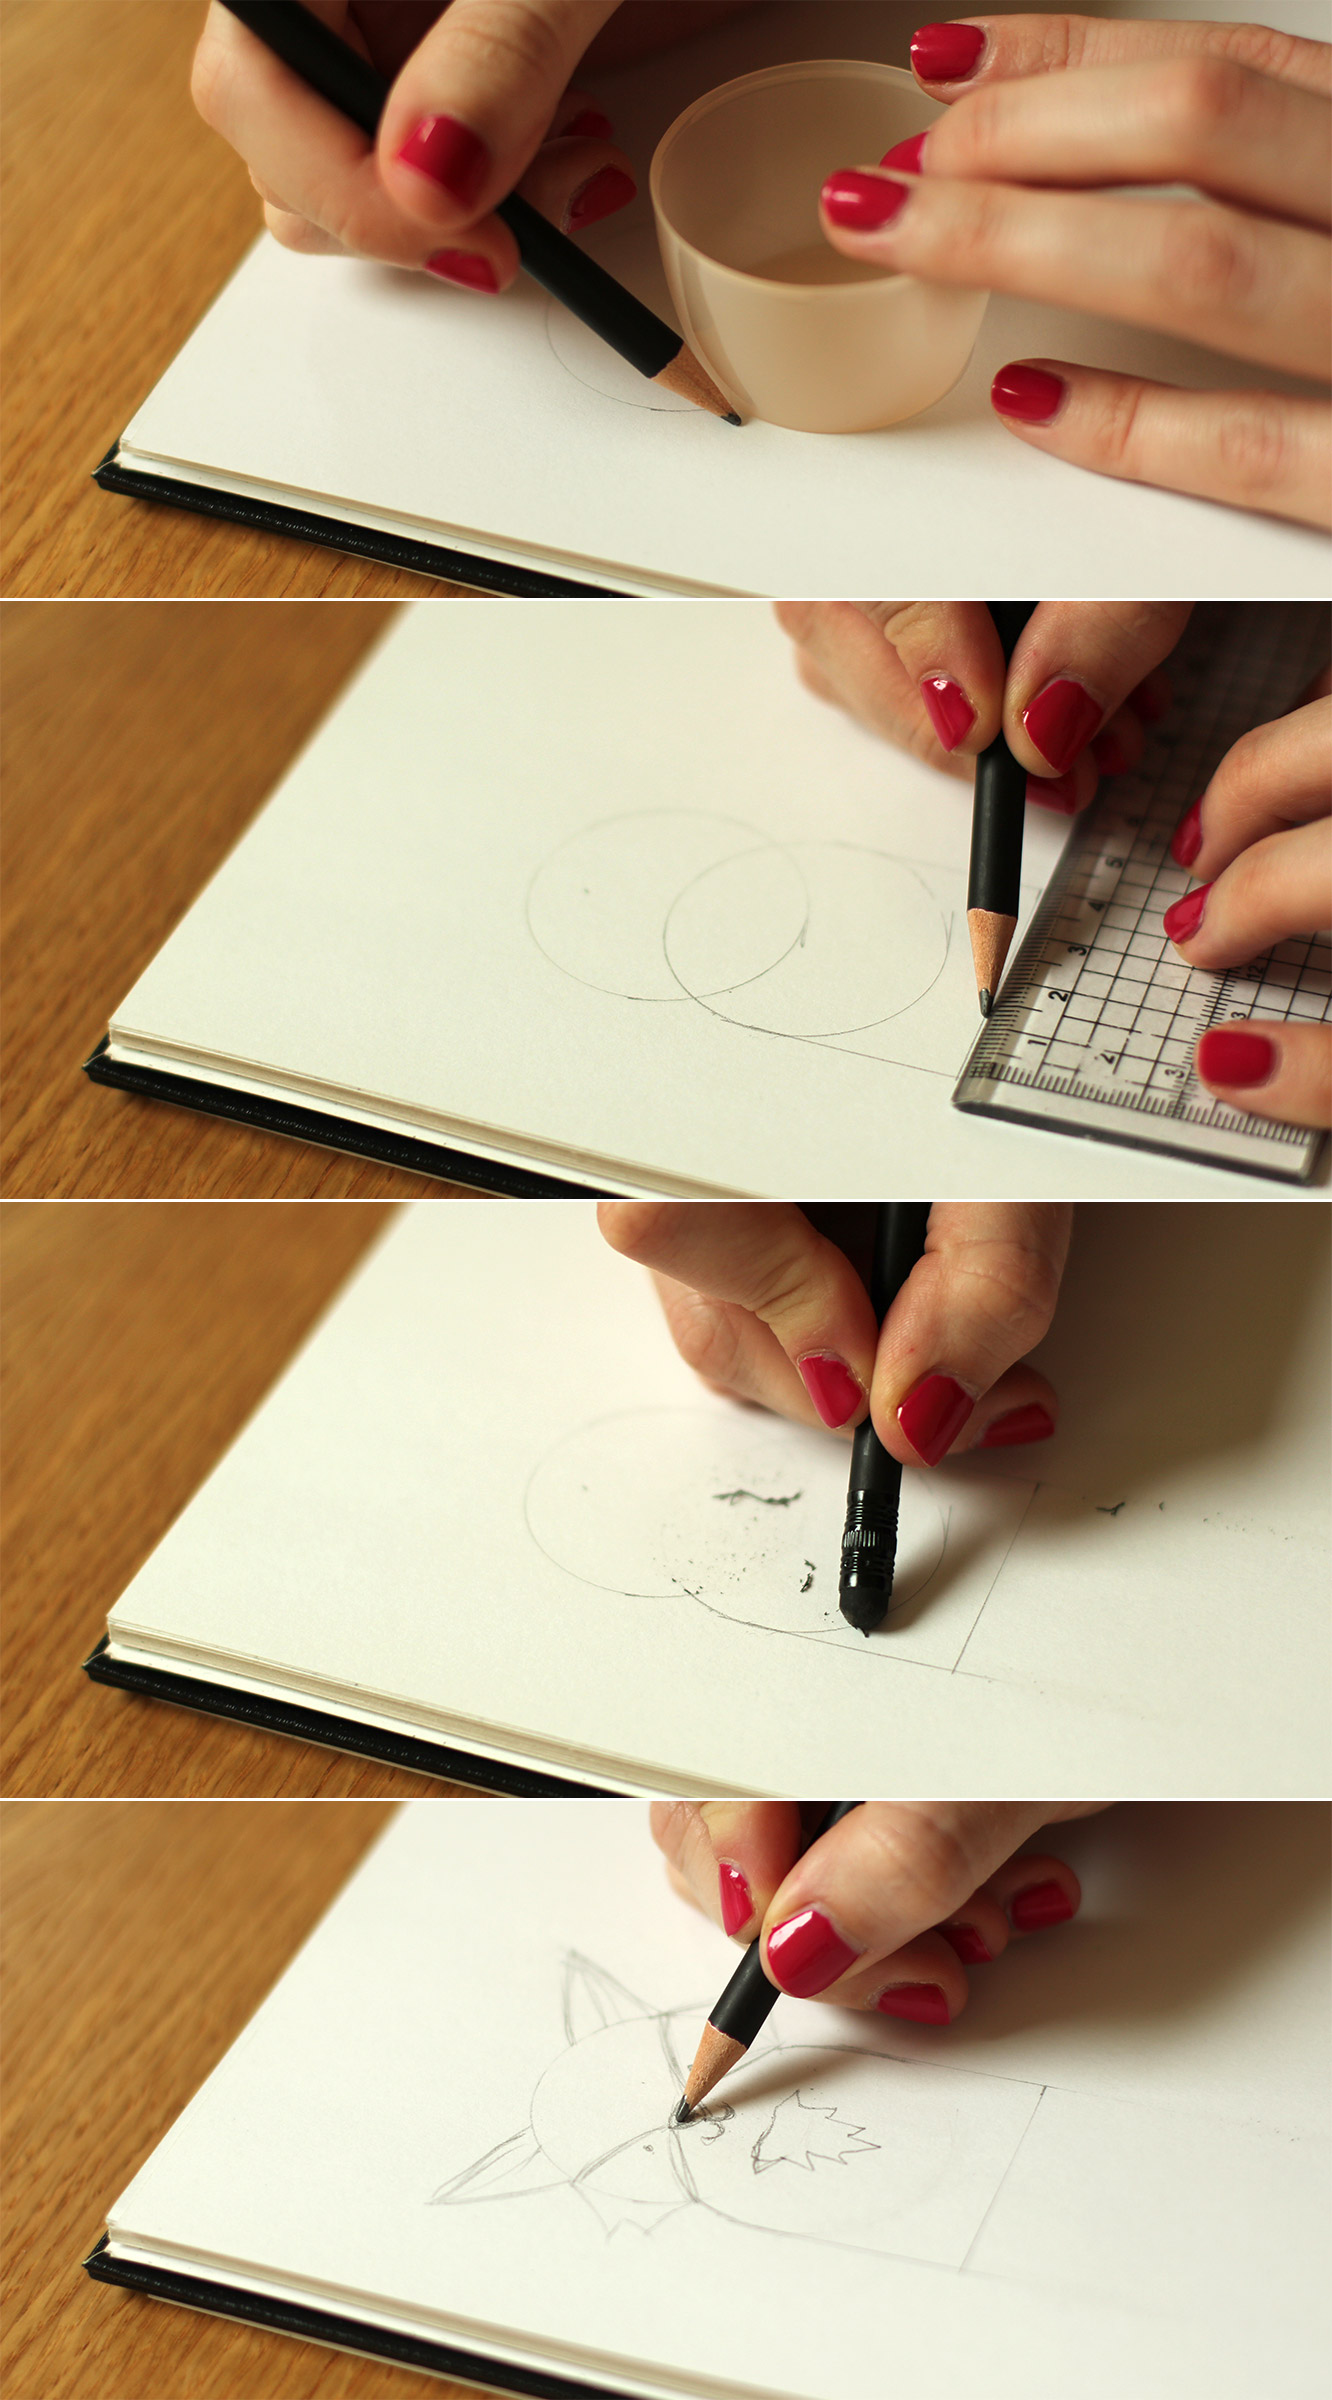
This is entirely optional. If you want to draw your own characters (or expand on the set I’ve provided) You will need to draw out a few designs. I used a deodorant can lid and a ruler to keep basic shape of my characters consistent.

If you want to cheat you could just trace the shape off the printable and add your own features to it.

how-to-make-finger-puppets-03

Step two

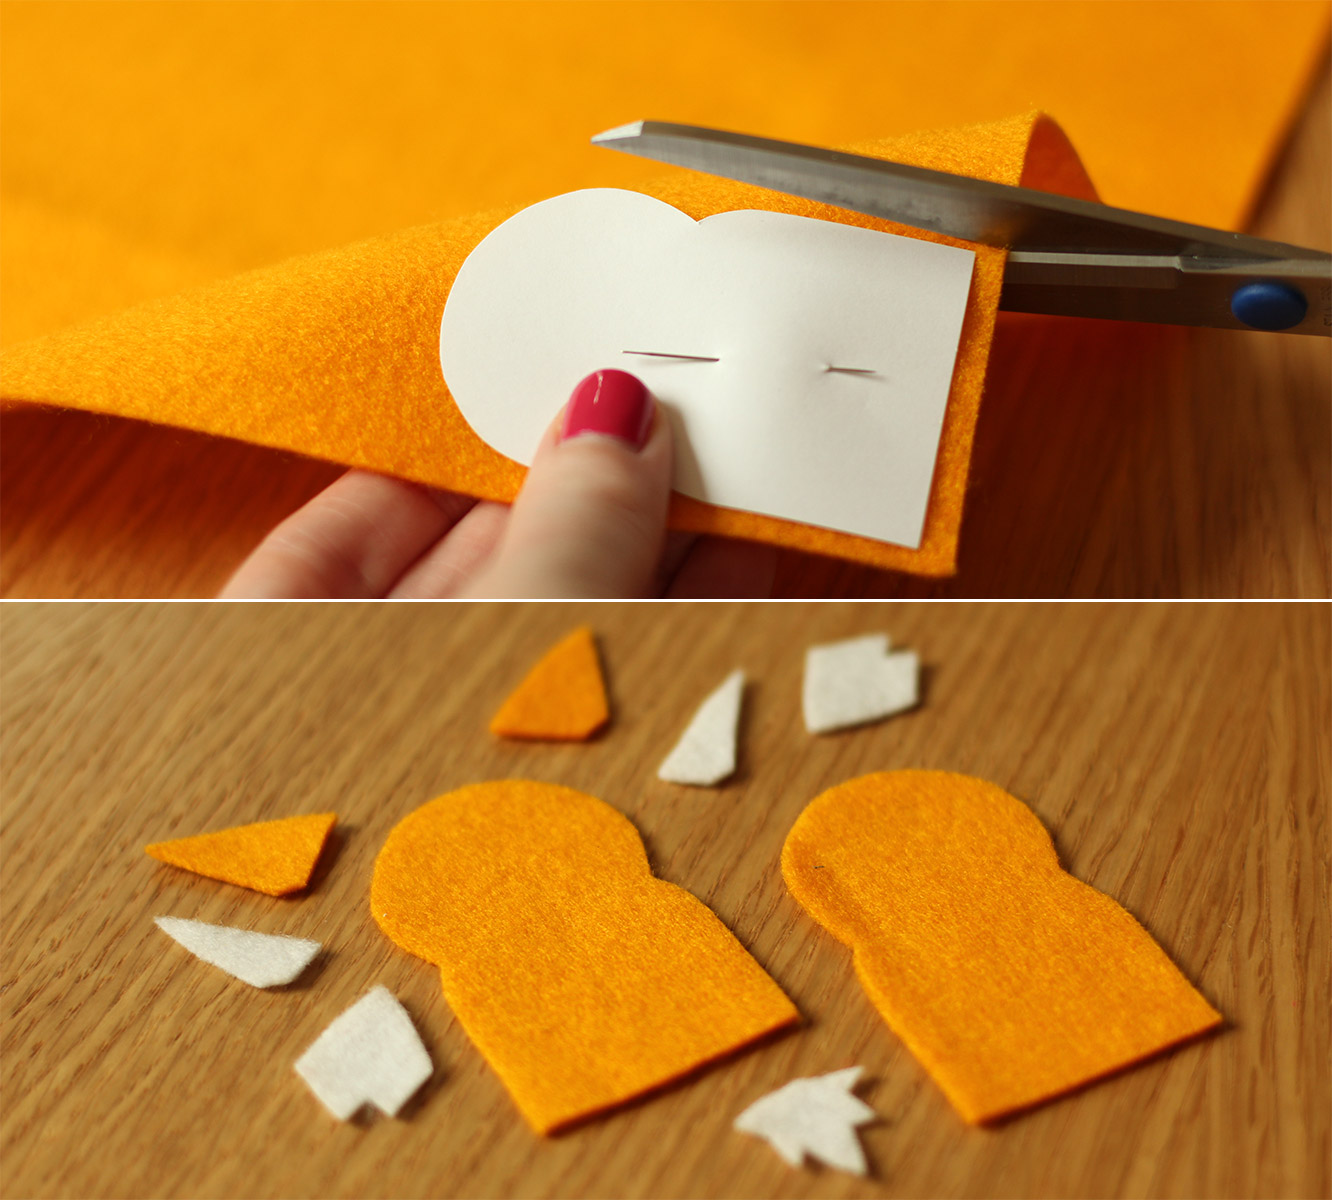
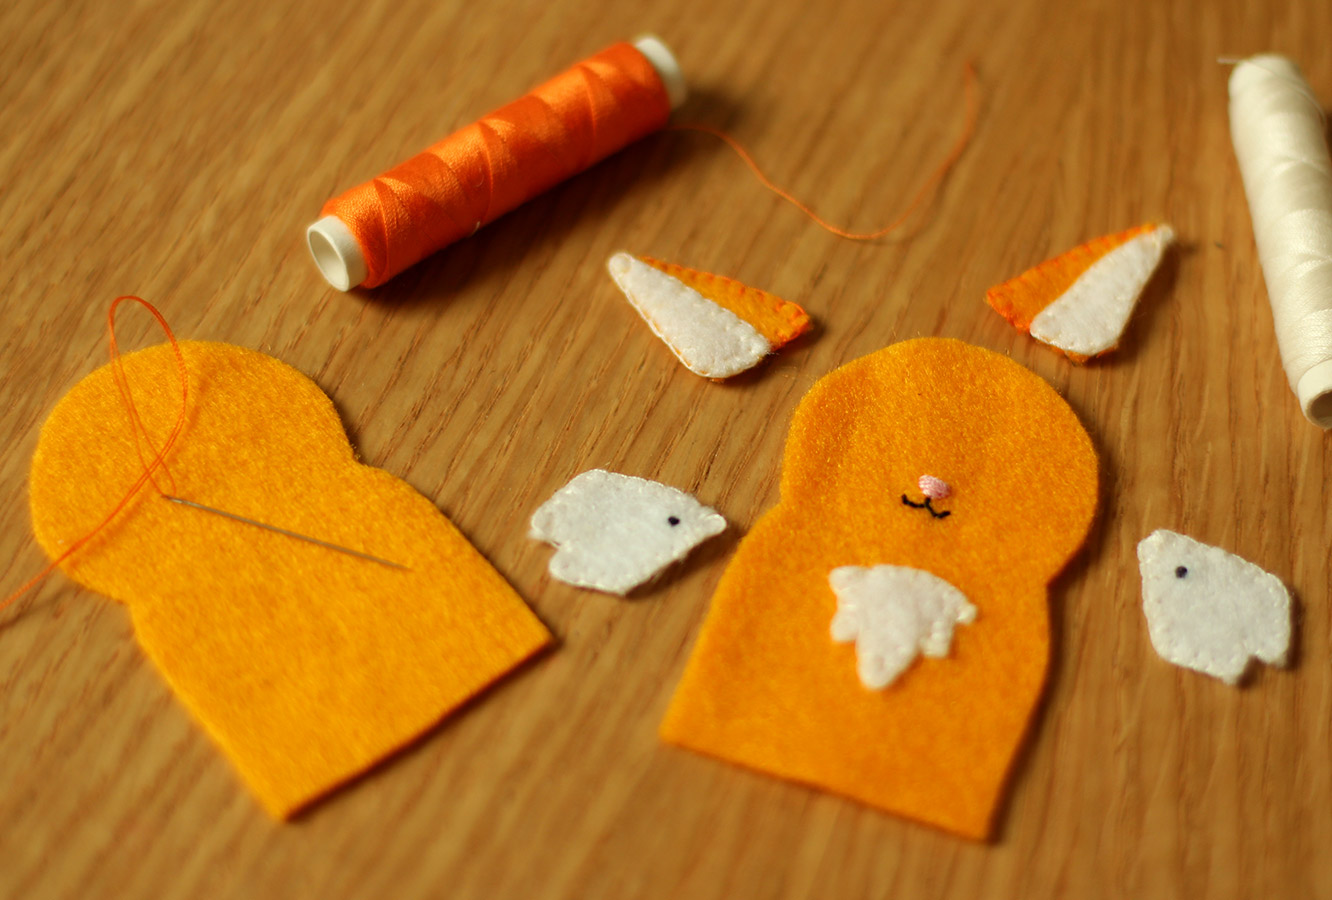
Cut out all the shapes in the relevant coloured felt.

how-to-make-finger-puppets-04

Step three

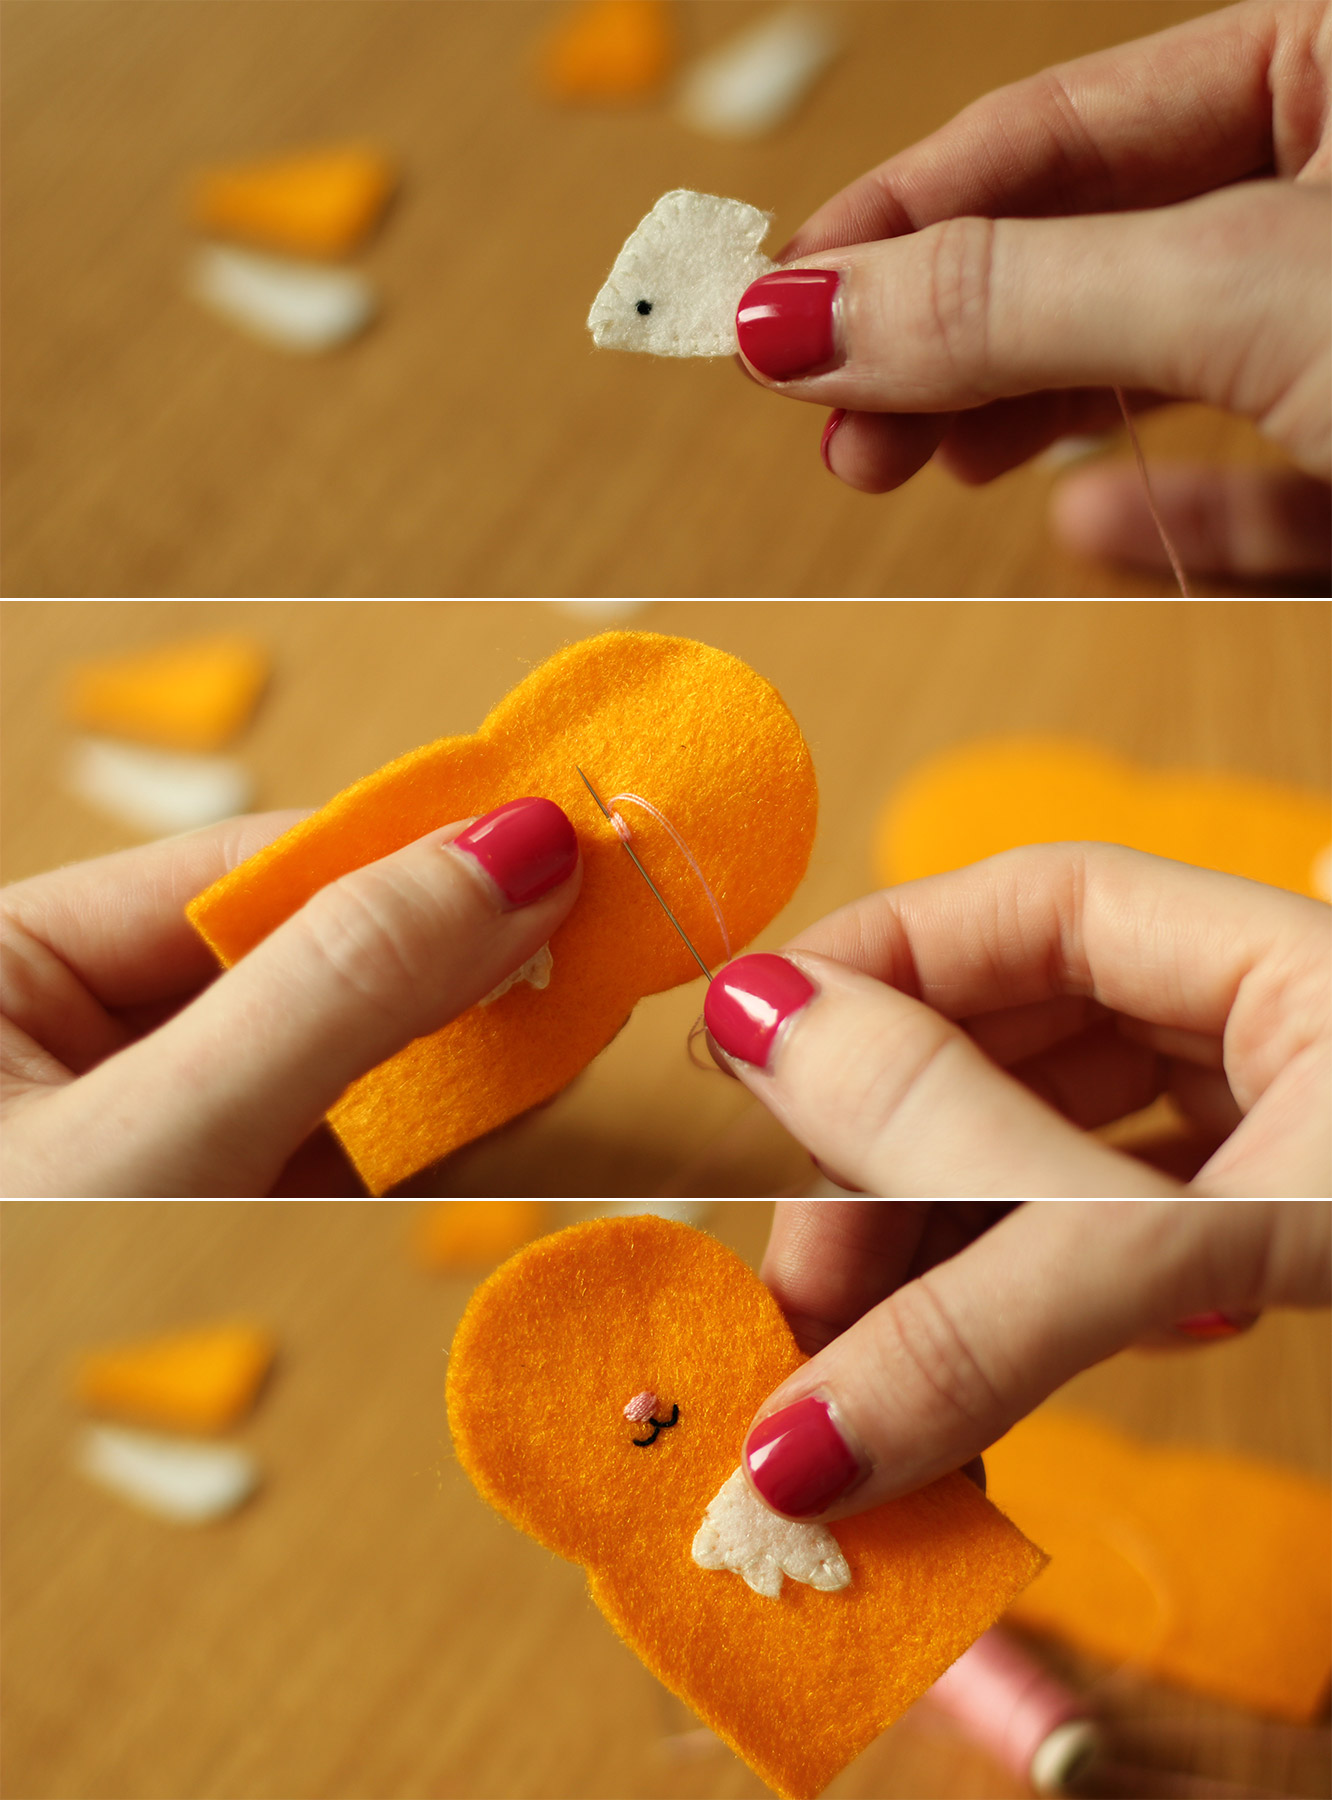
Sew on the faces, I just used simple stitches overlapping them for the noses and just a little line of backstitch for the mouths. No fancy embroidery techniques here.

how-to-make-finger-puppets-05

Step four

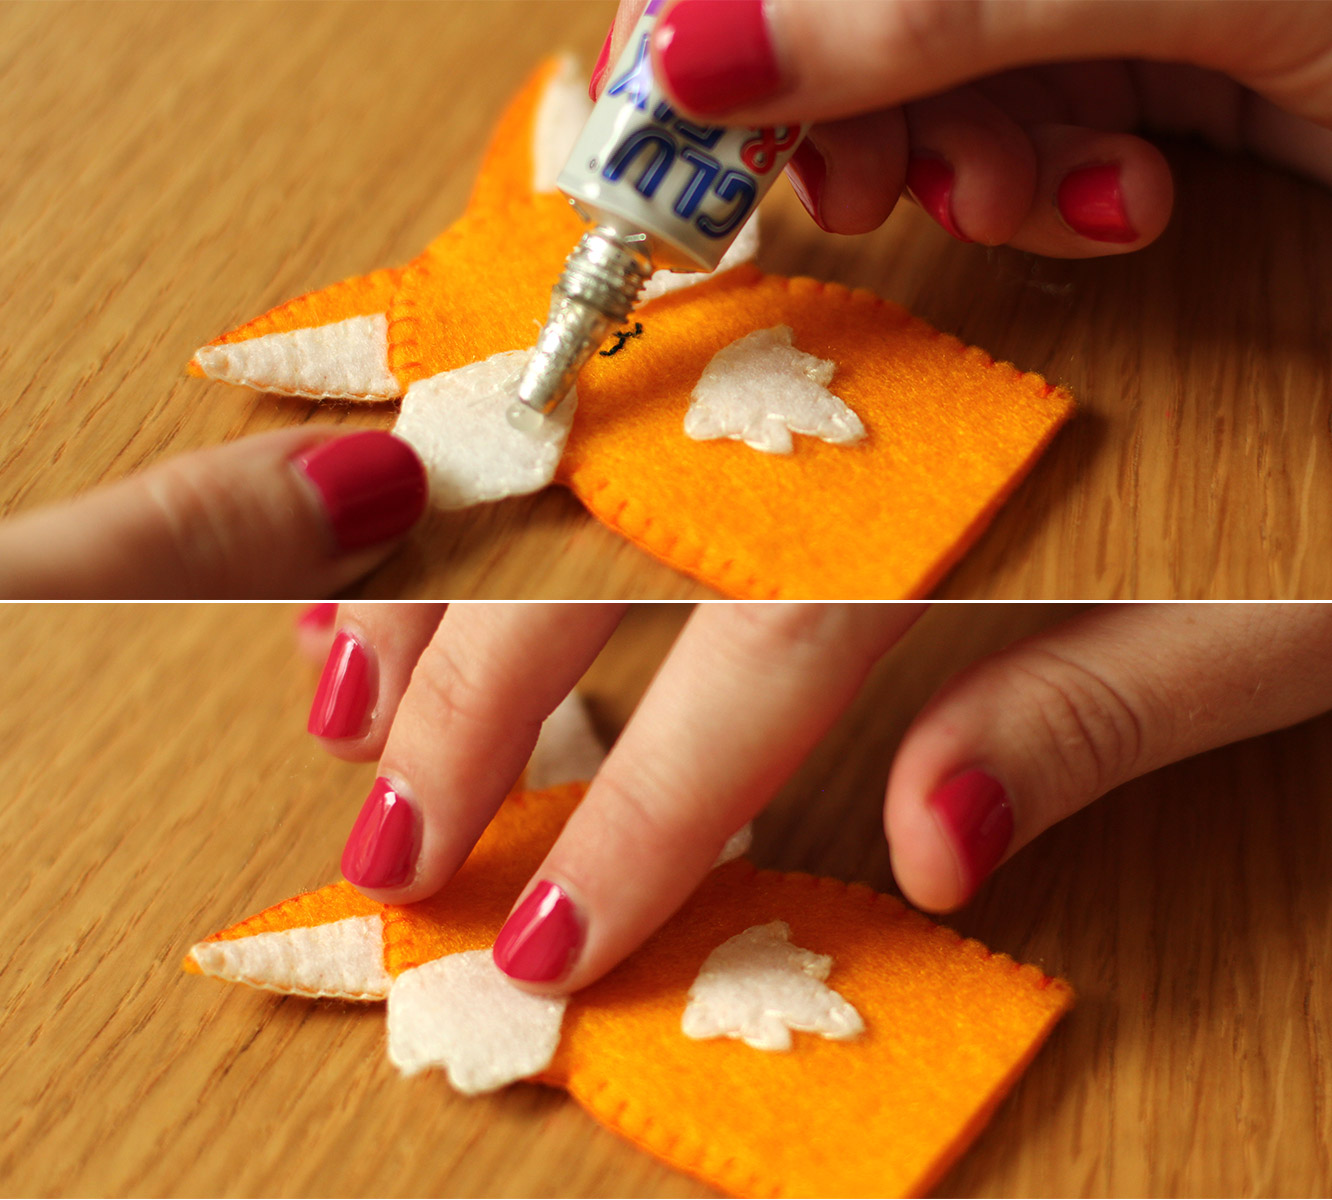
Edge all the remaining features/bits of fur with blanket stitch (see below). You will notice that for the fox I sewed the tummy fur straight onto the puppet but left the cheeks separate to glue on later. With the badger I sewed his cheeks straight on because they followed the shape of his face and I just found it less logistically challenging somehow.

how-to-make-finger-puppets-06

Step five

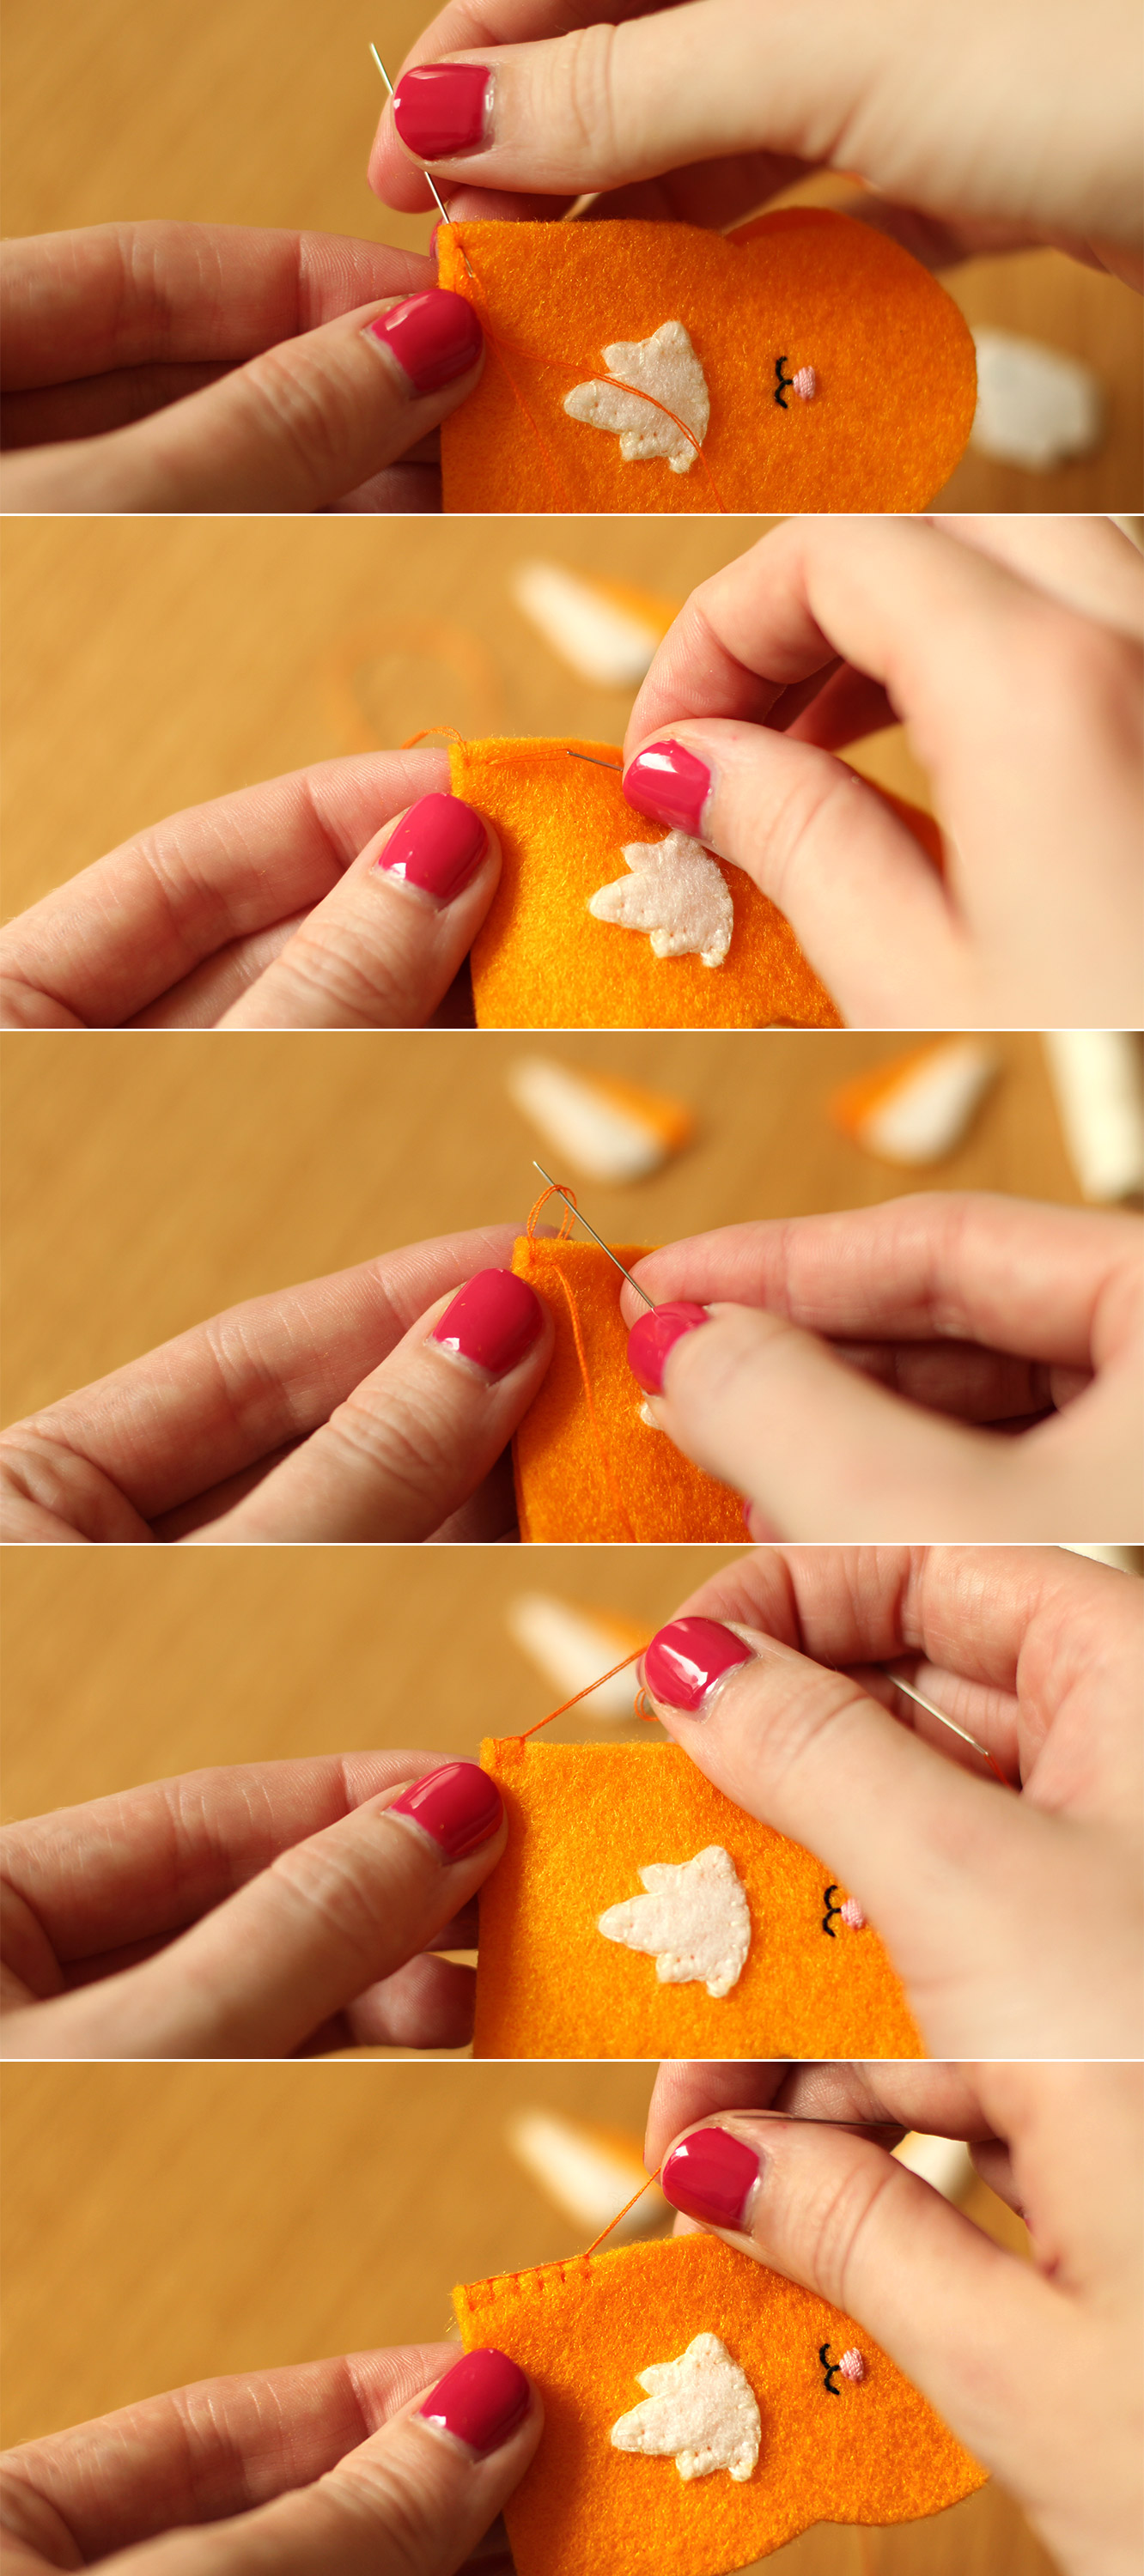
Blanket stitch the back and front of the puppet together. Utilising the memory bank of primary school sewing club for me, thanks Mrs Gothard, nailed it.

You basically need to put the needle through the felt at the height you want your stitching, and as you pull the thread through catch the loop so that it is held at the top. I’m sure the youtube can furnish you with a useful tutorial if my description and photos fail to do the job.

You need to include the ears as you go round, I just came back through at the top of the first stitch so my loop was on top of the felt to keep the effect going. I know, I wouldn’t understand that explanation either.

how-to-make-finger-puppets-07

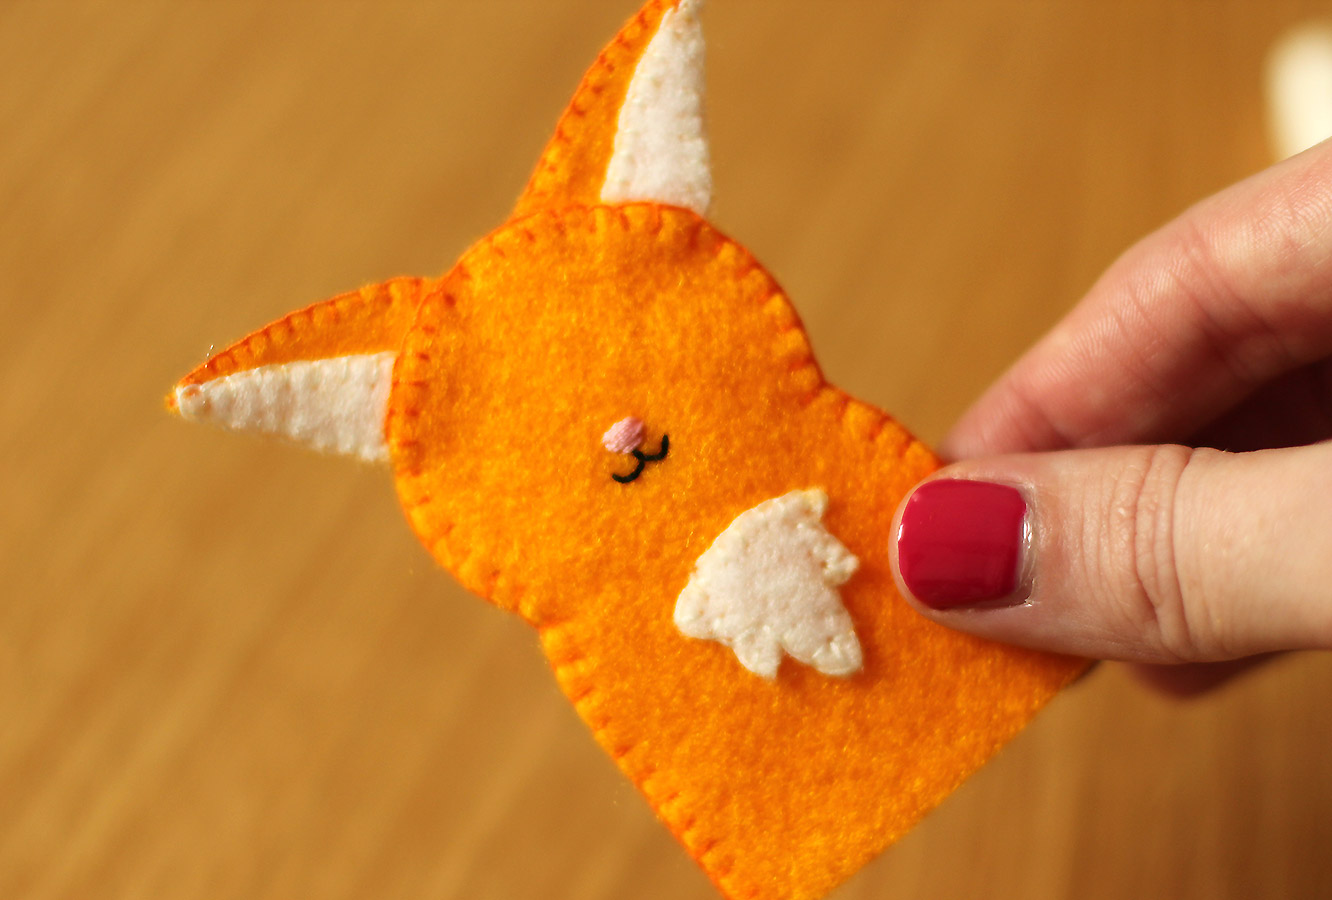
Step six

By this point if you’ve managed to follow any of my hapless instructions you will have yourself a blind little fox. On second thoughts, maybe we should have just started with the hedgehog.

how-to-make-finger-puppets-08

Step seven

It’s ok to cheat. Just glue his eyes and fluff on, pop him over a fork or something just to make sure the glue doesn’t soak through and seal him shut.

how-to-make-finger-puppets-gif-01

Step eight

Make your fox some furry little friends.

how-to-make-finger-puppets-09

Cluck cluck #4

Allo again.

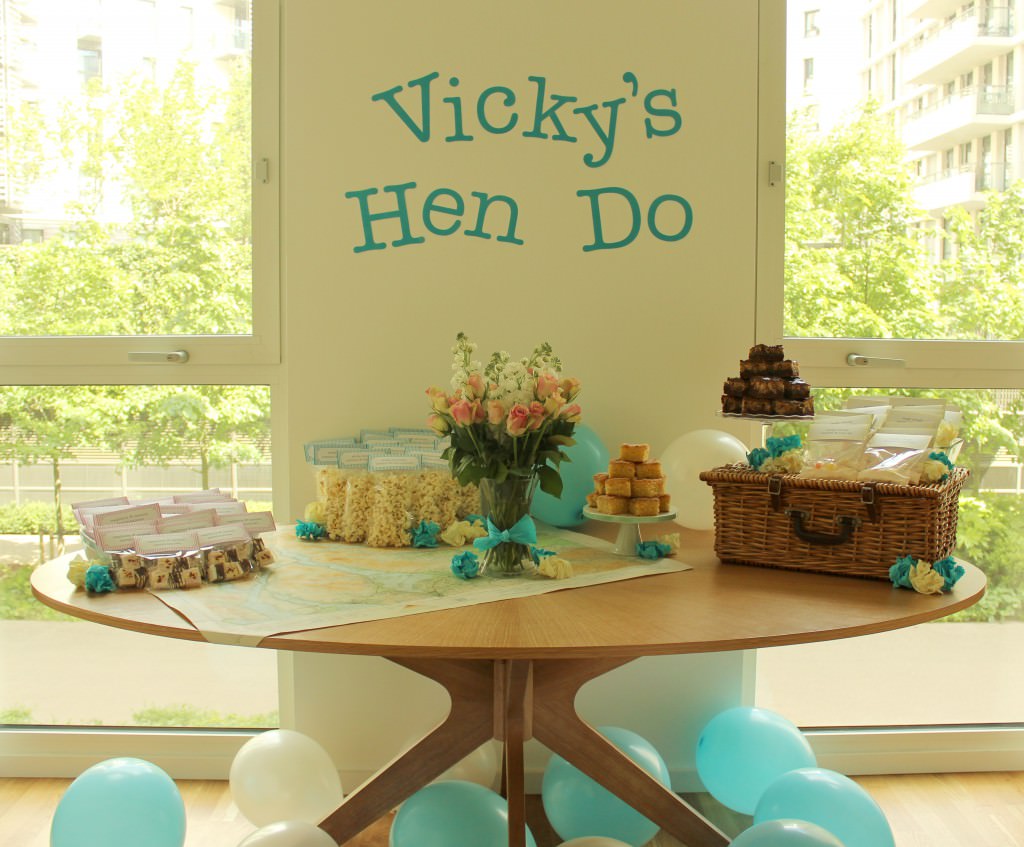
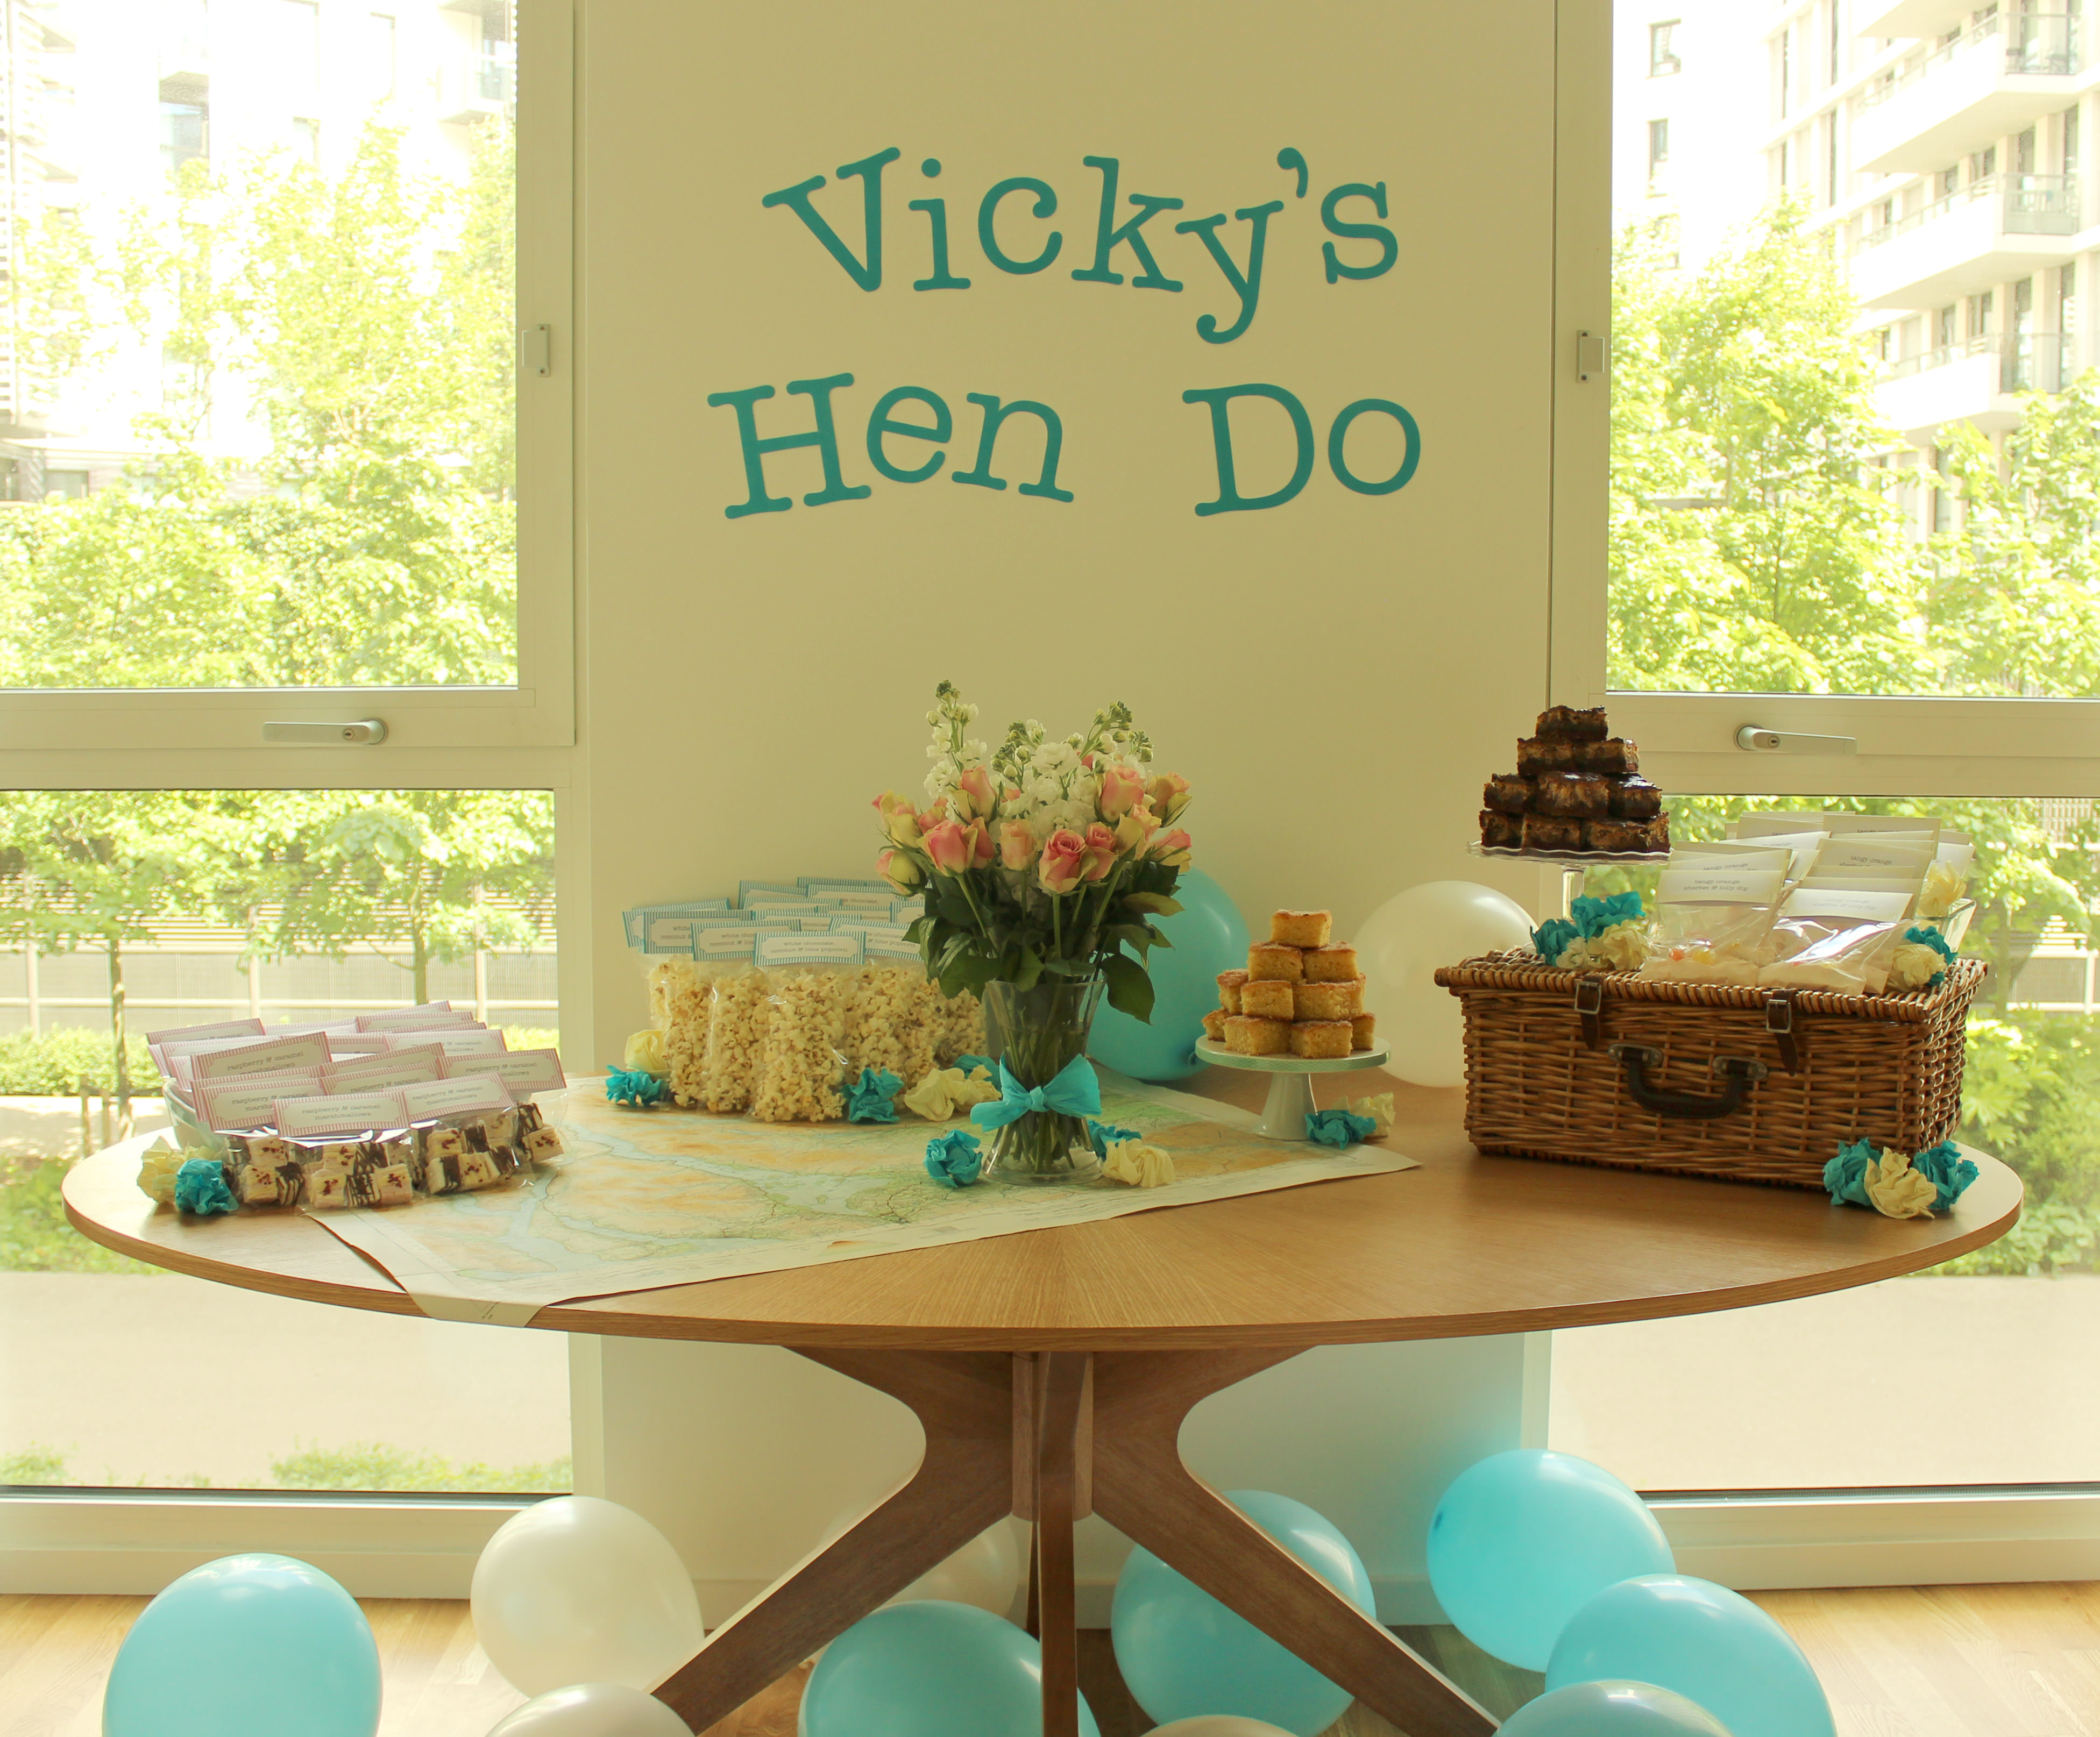
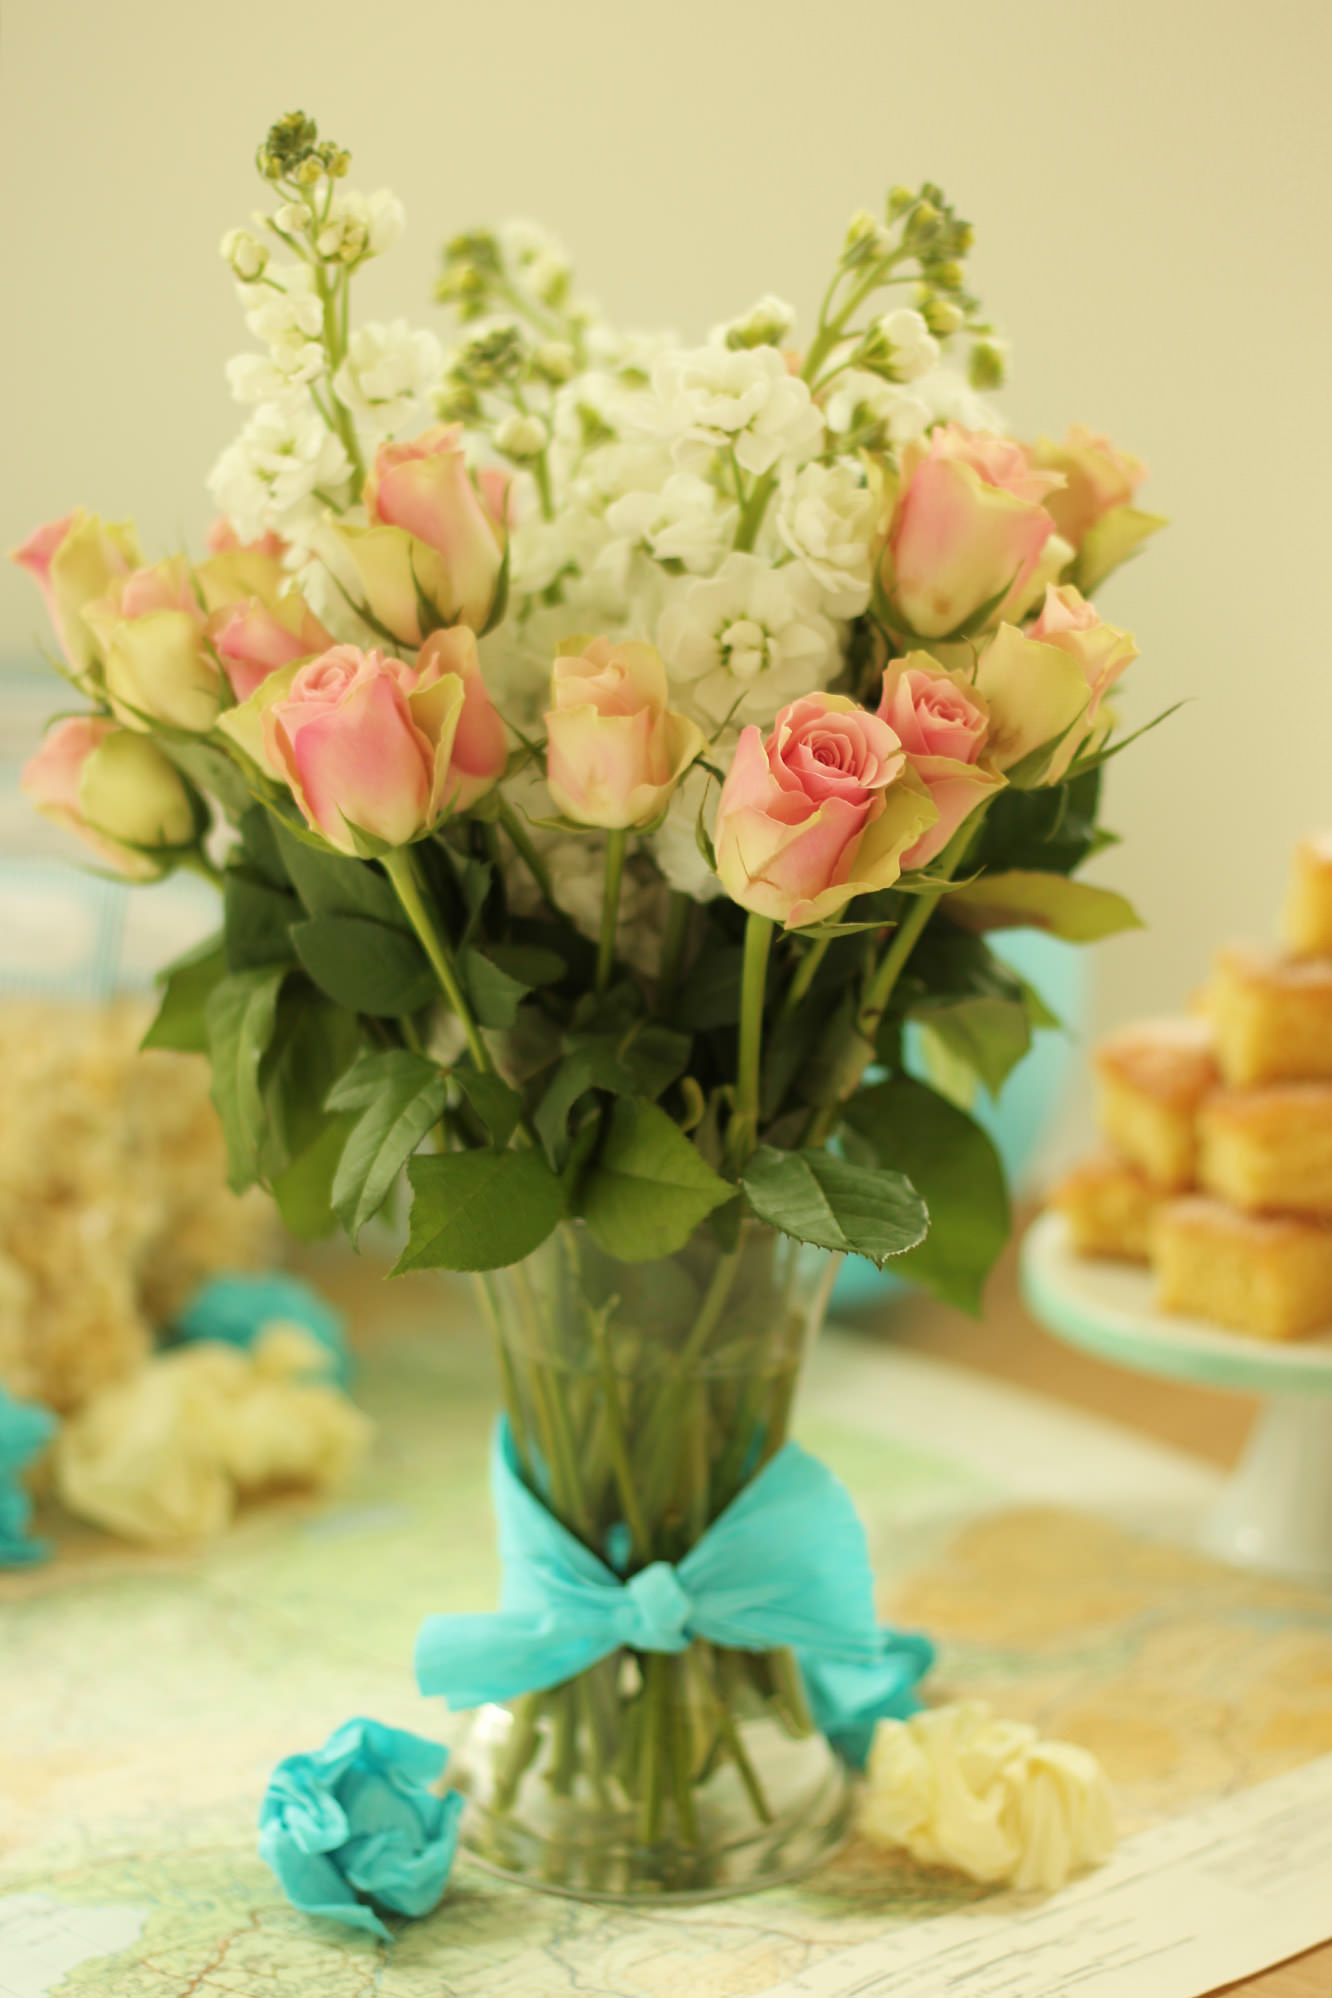
Wrapping up Vicky’s Hen Do this week with the finishing touches. You will have to excuse the fact I just scrunched up crepe paper. The plan was to make flowers, but, you know, it was 2am by the time I got to them.

In case you need a recap of the recipes in this series:

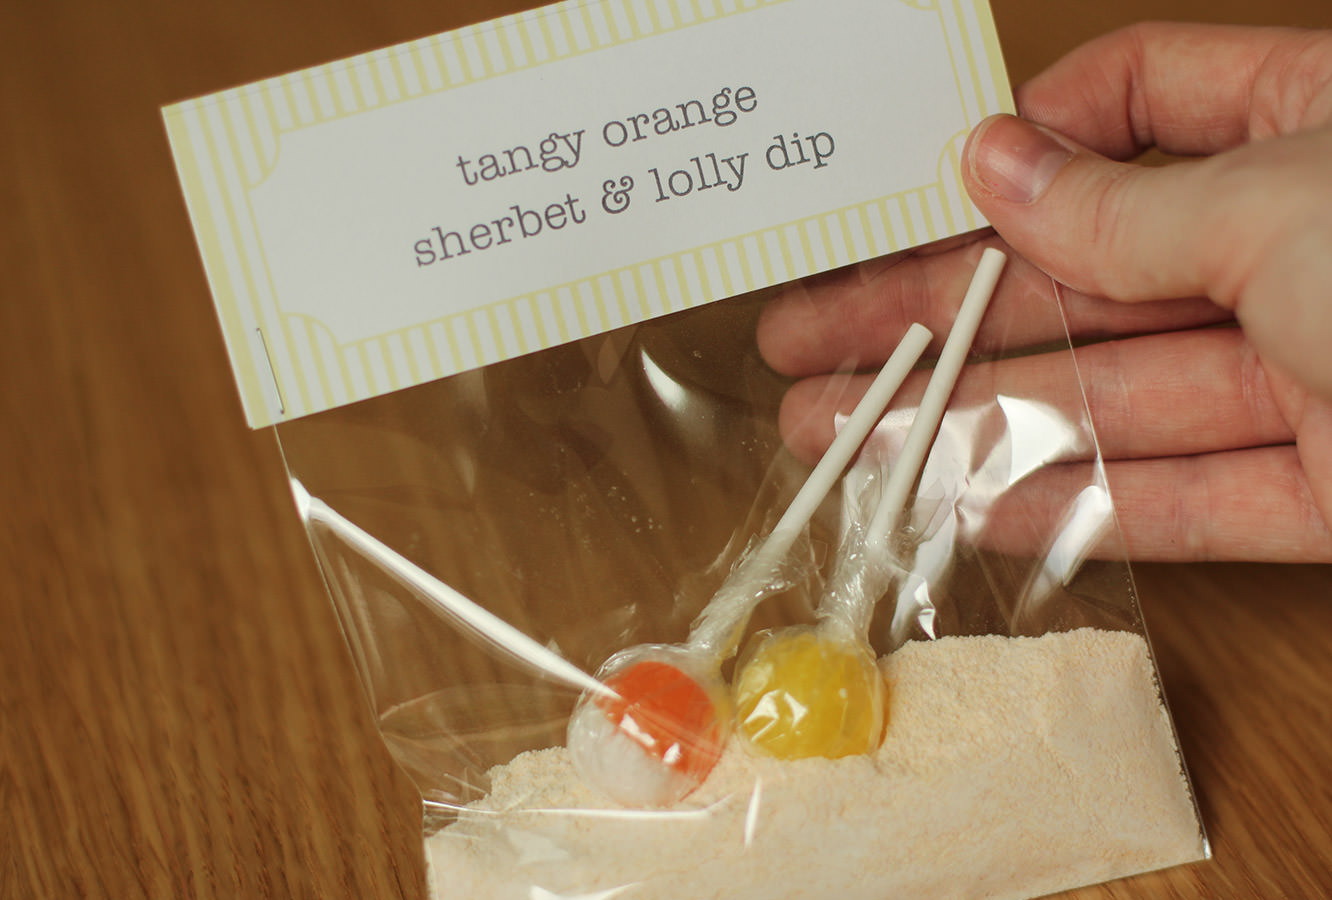
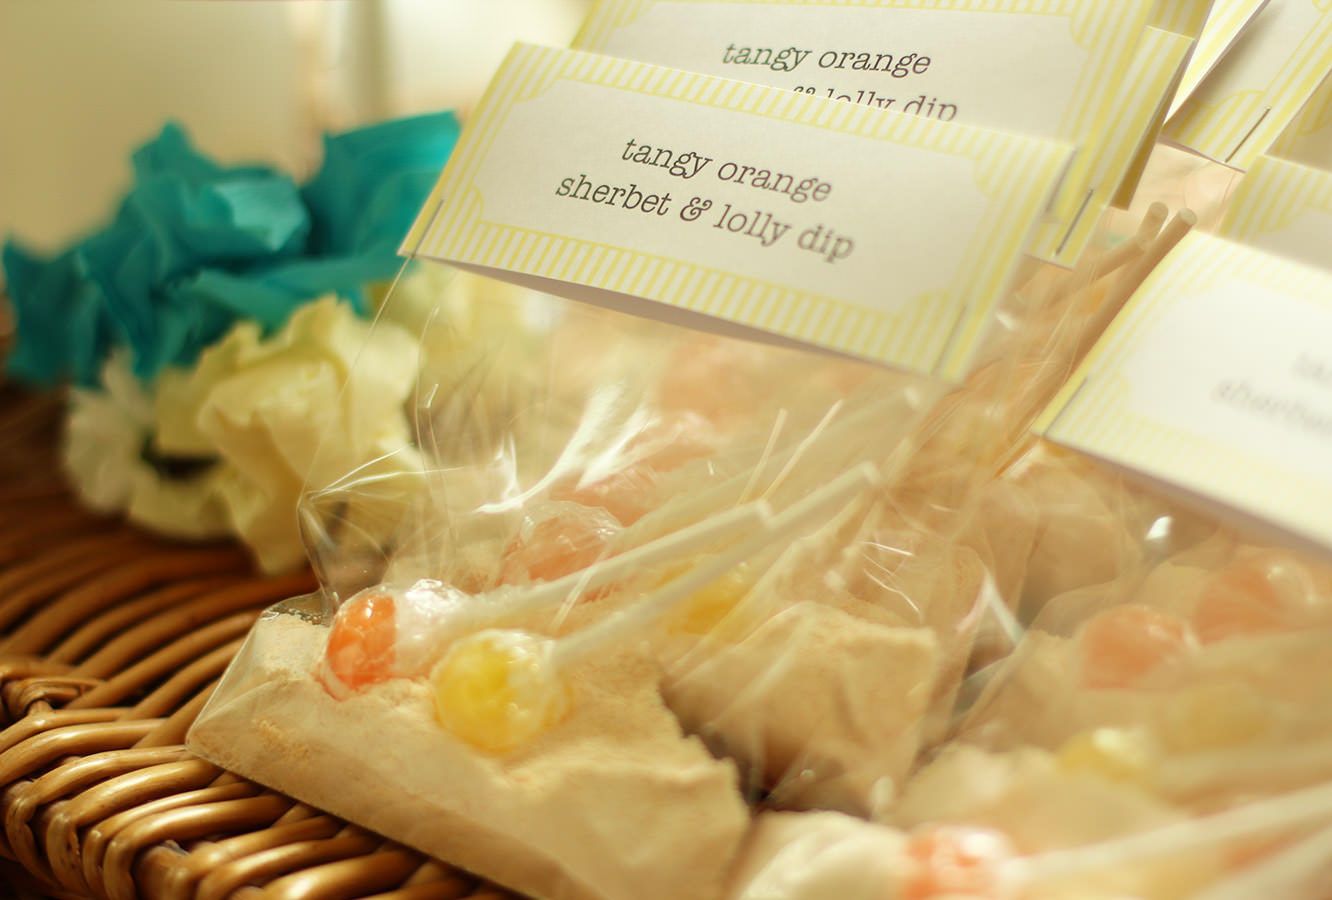
Tangy orange sherbet and lolly dip

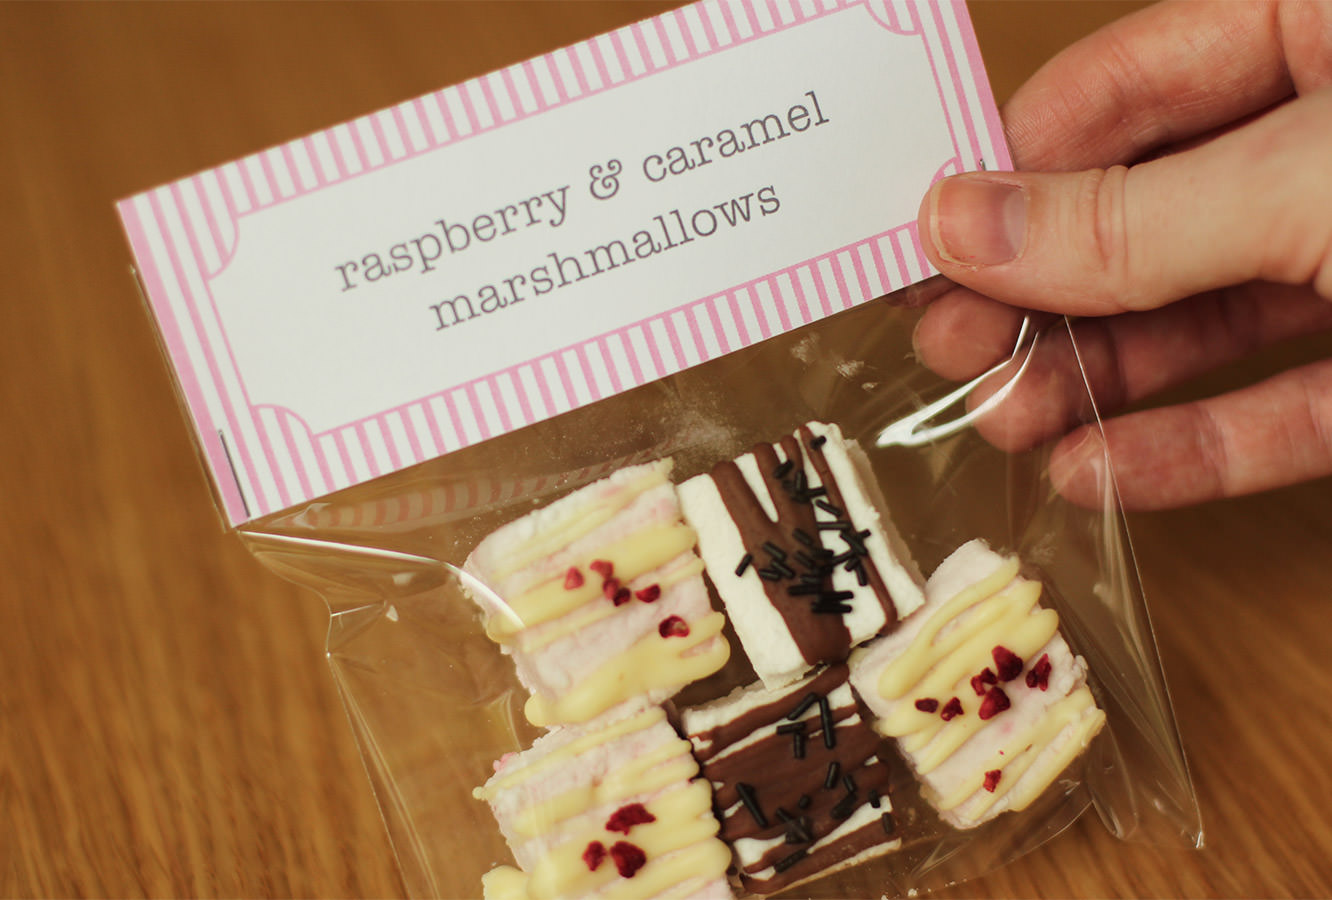
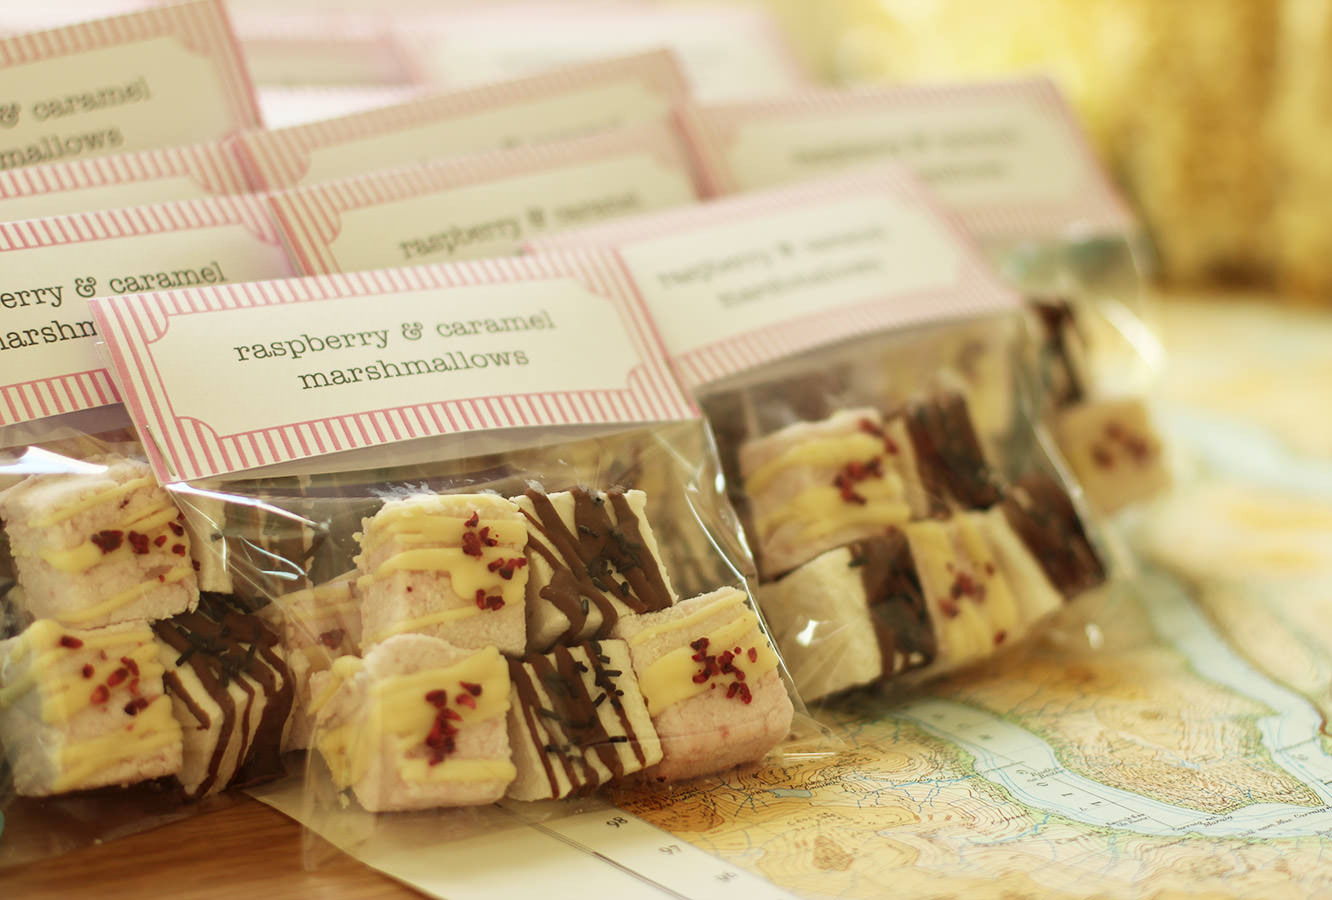
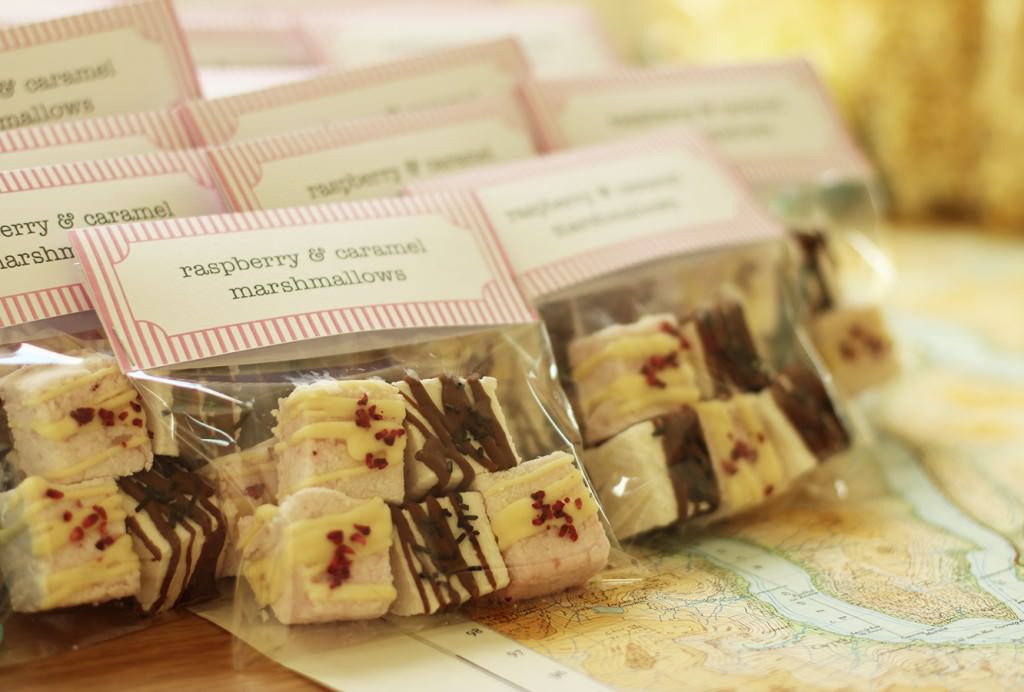
Raspberry and caramel marshmallows

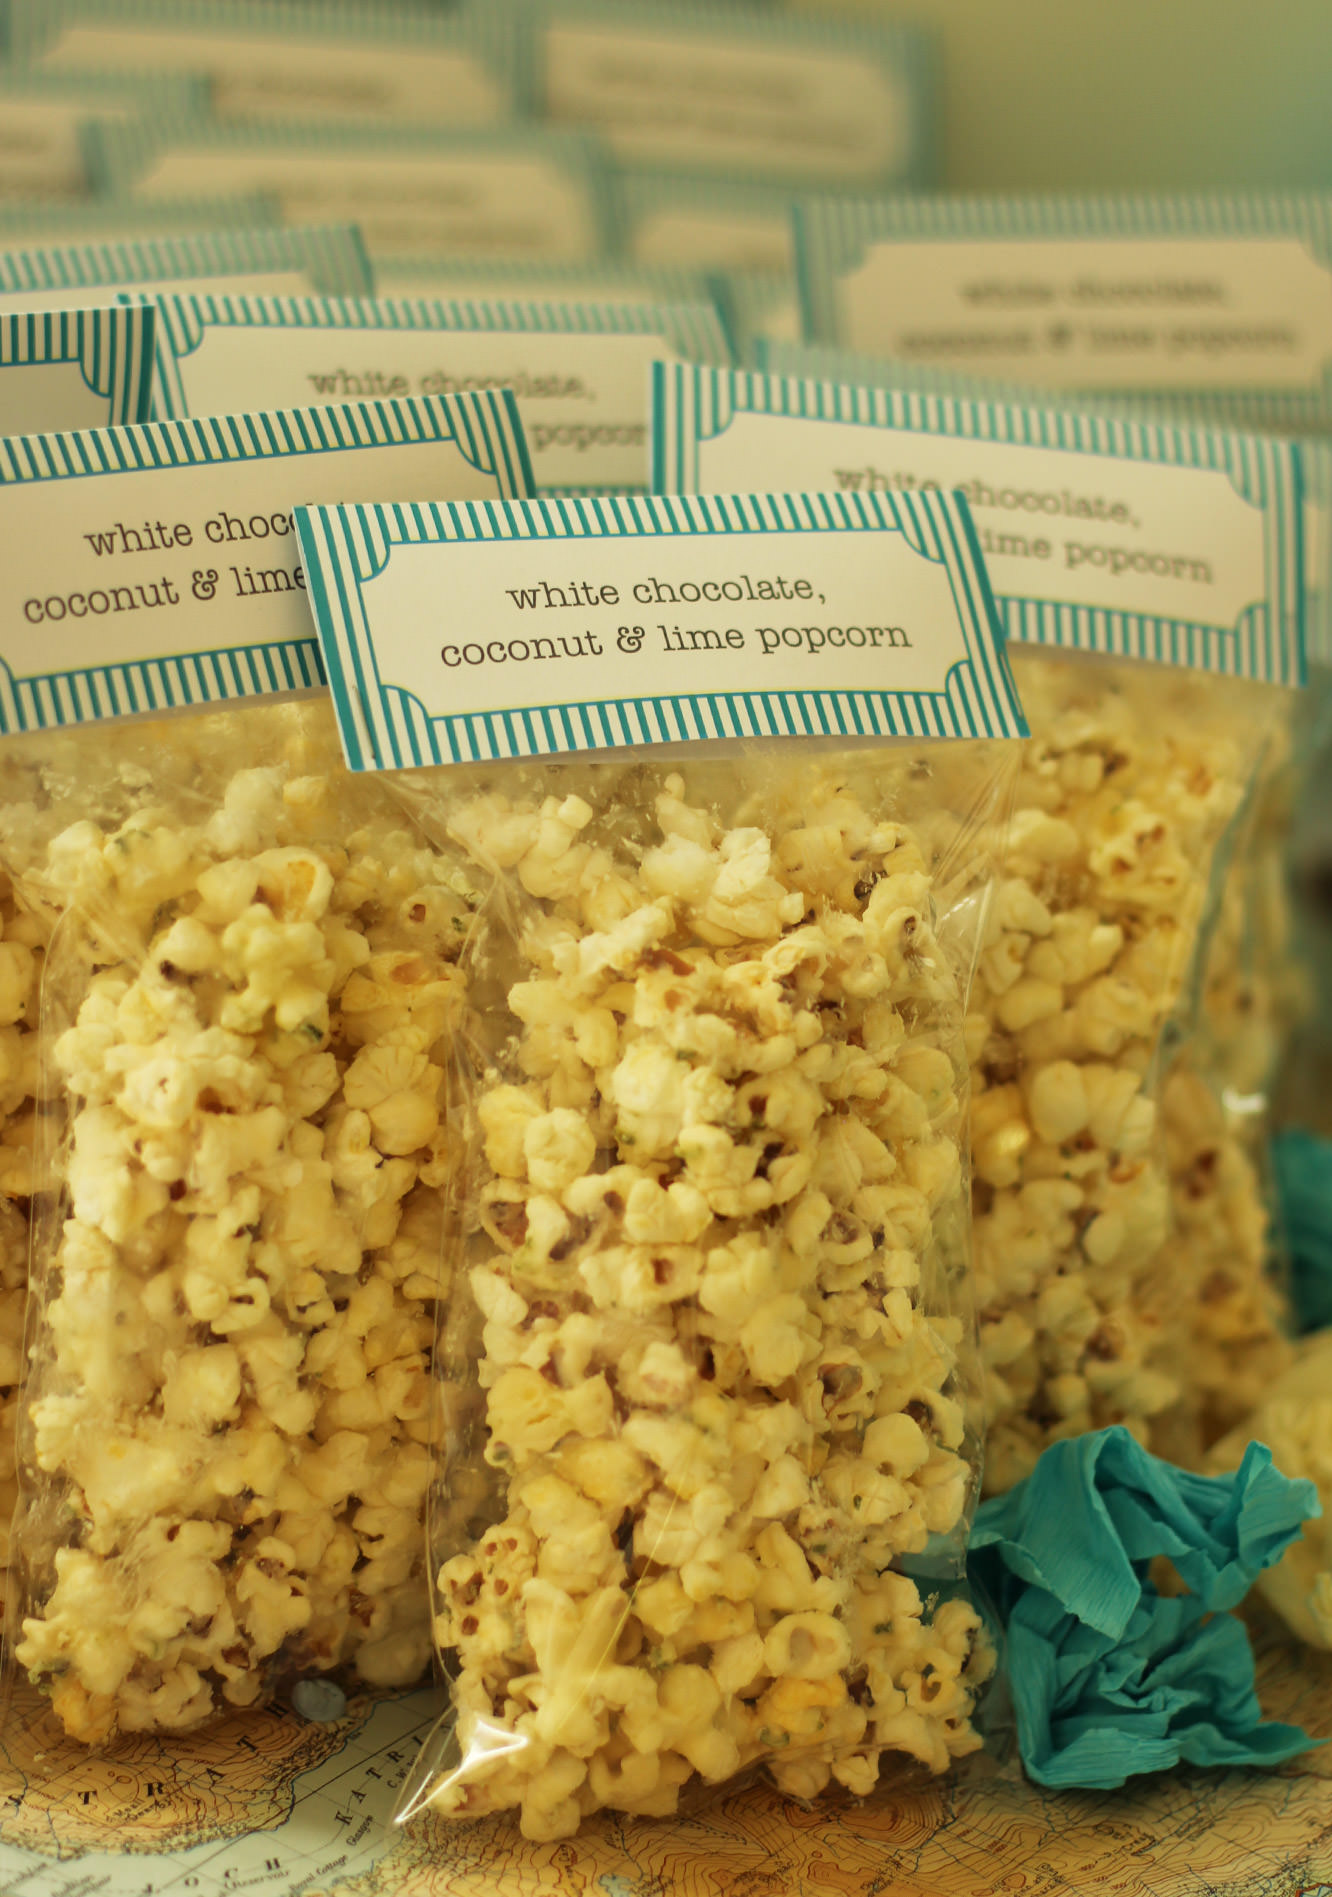
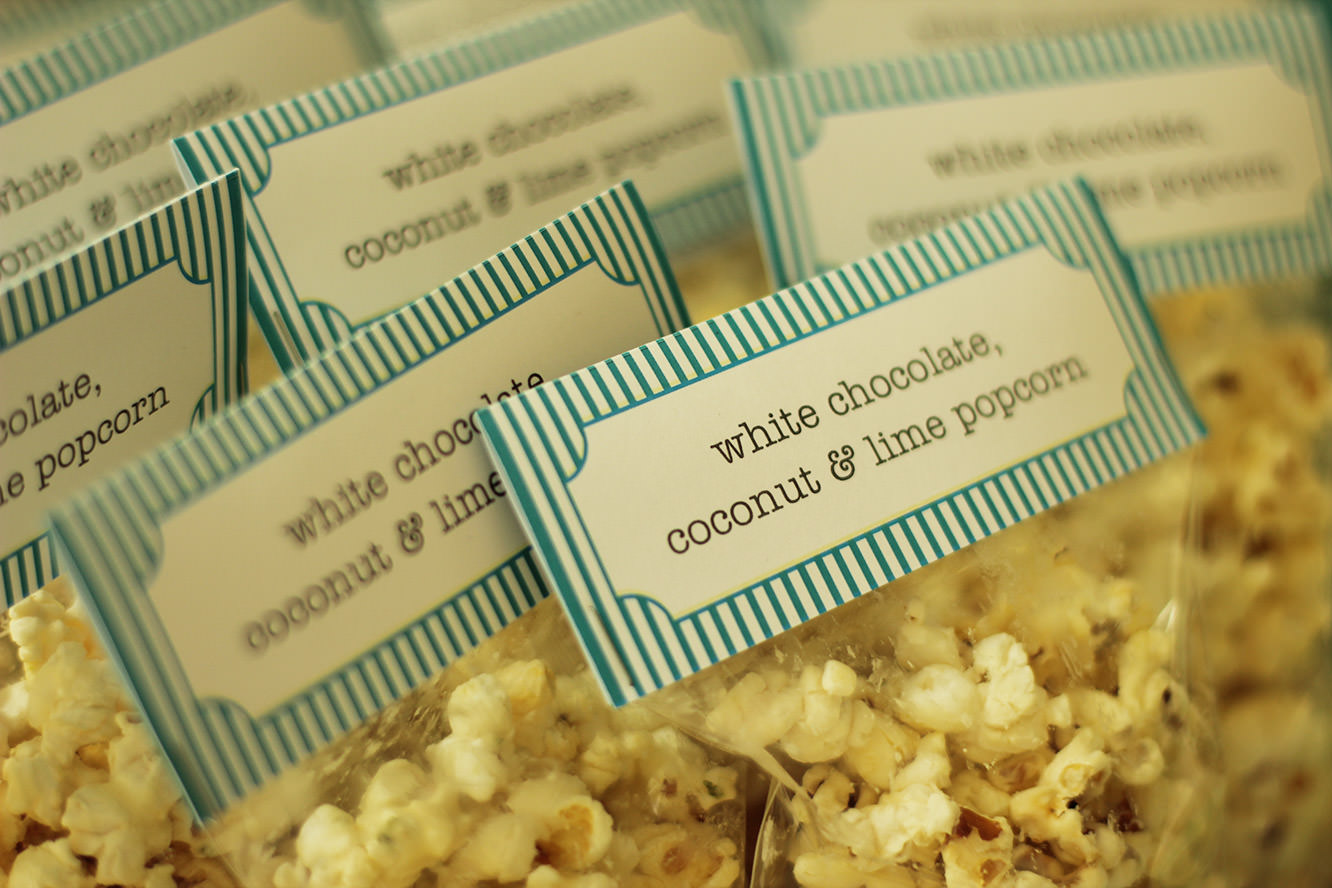
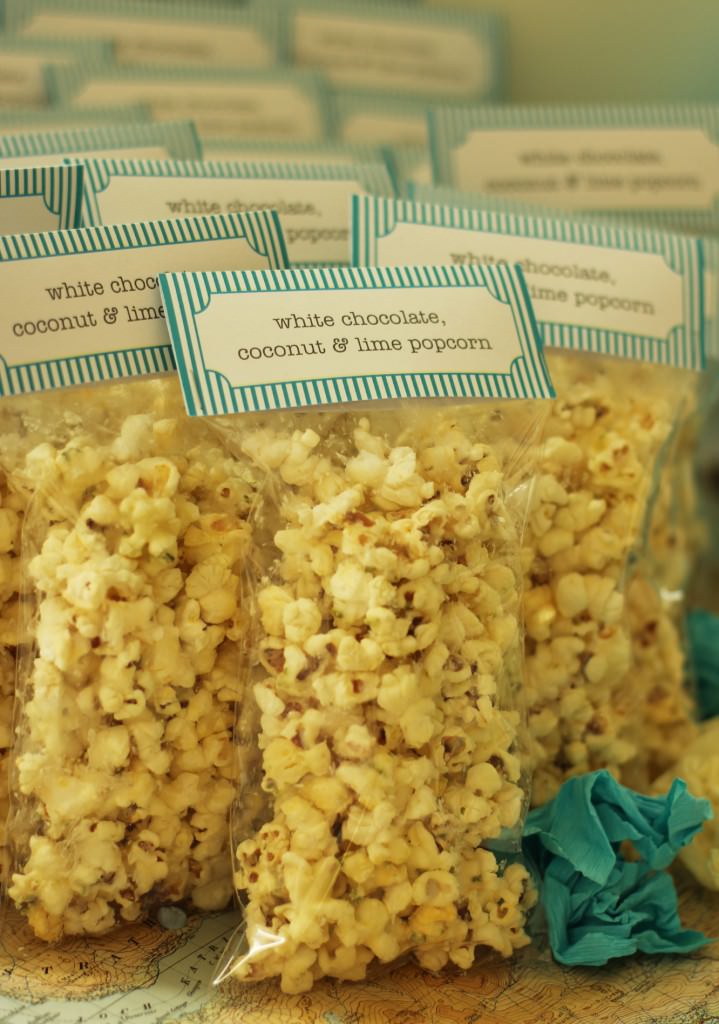
White chocolate, coconut and lime popcorn

hen-bachelorette-party-favours-01

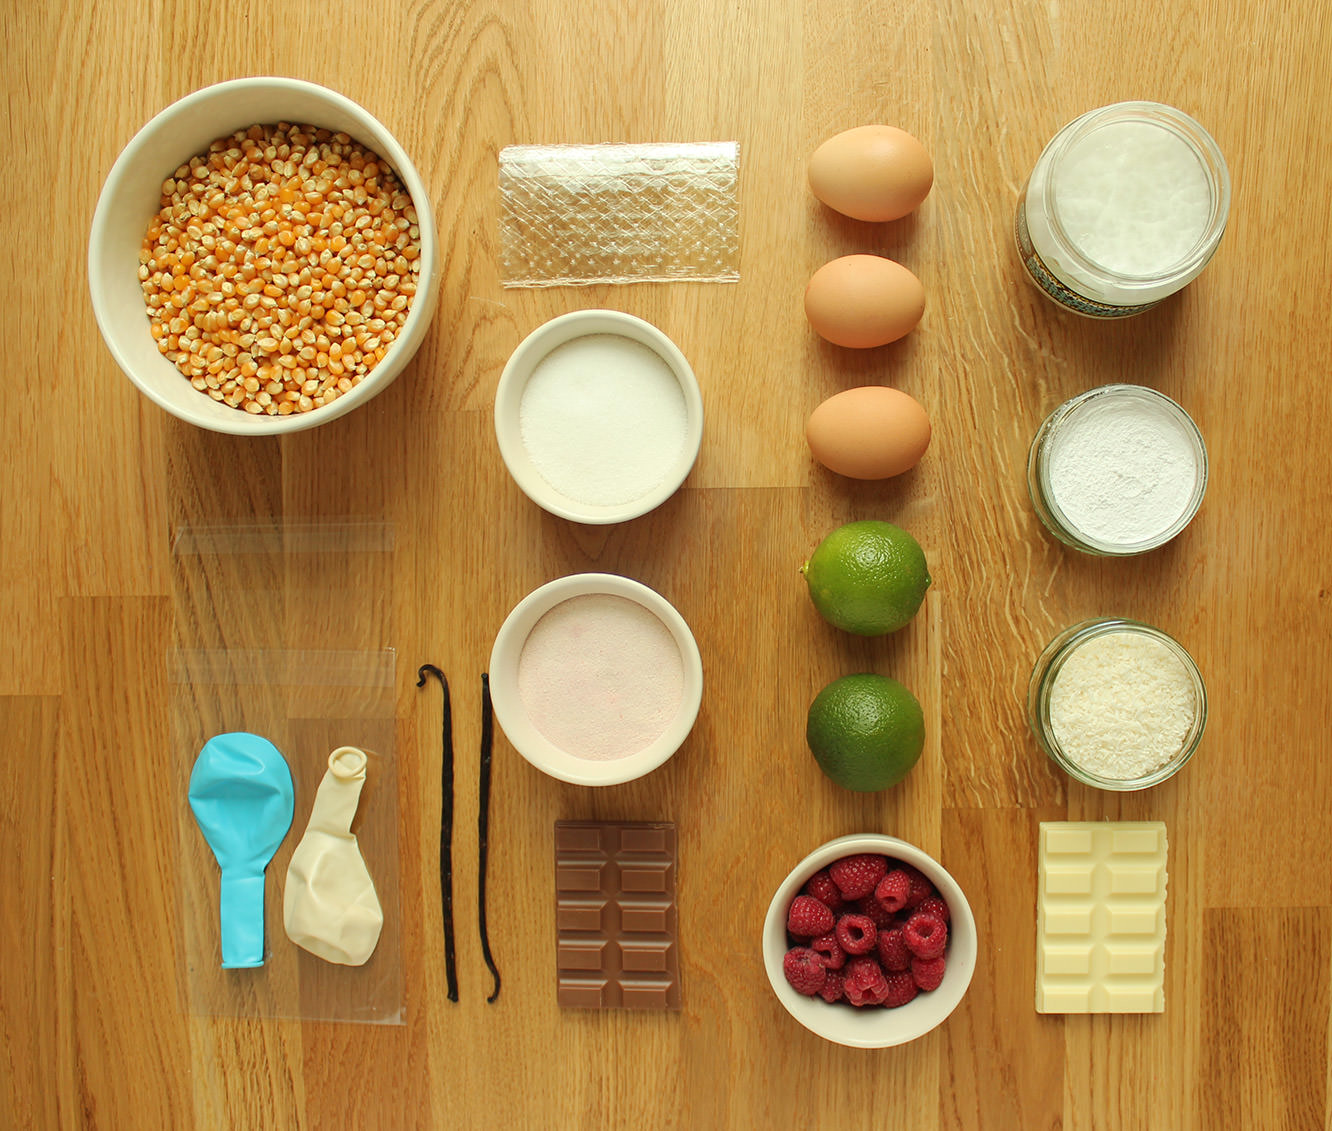
You will need

Cellophane card bags

Balloons

These labels (it’s quite possible your bride’s name isn’t Vicky. I used American Typewriter for the font for the sign)

hen-bachelorette-party-favours-raspberry-caramel-marshmallow-recipe-14

hen-bachelorette-party-favours-orange-sherbet-recipe-04

Step one

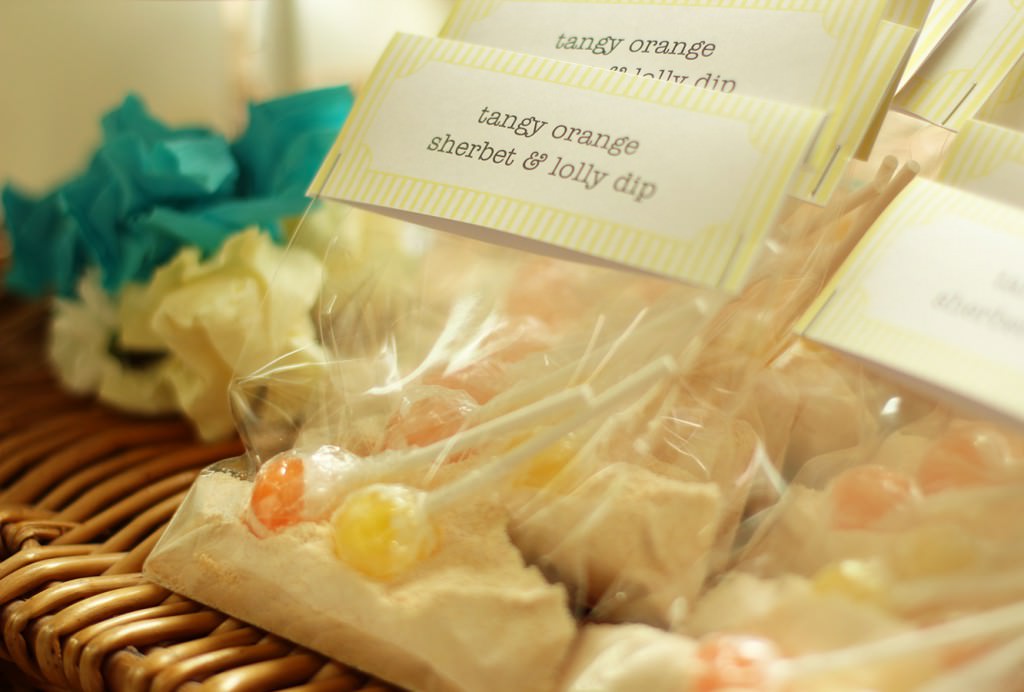
Fill the card bags with your favours.

hen-bachelorette-party-favours-03

Step two

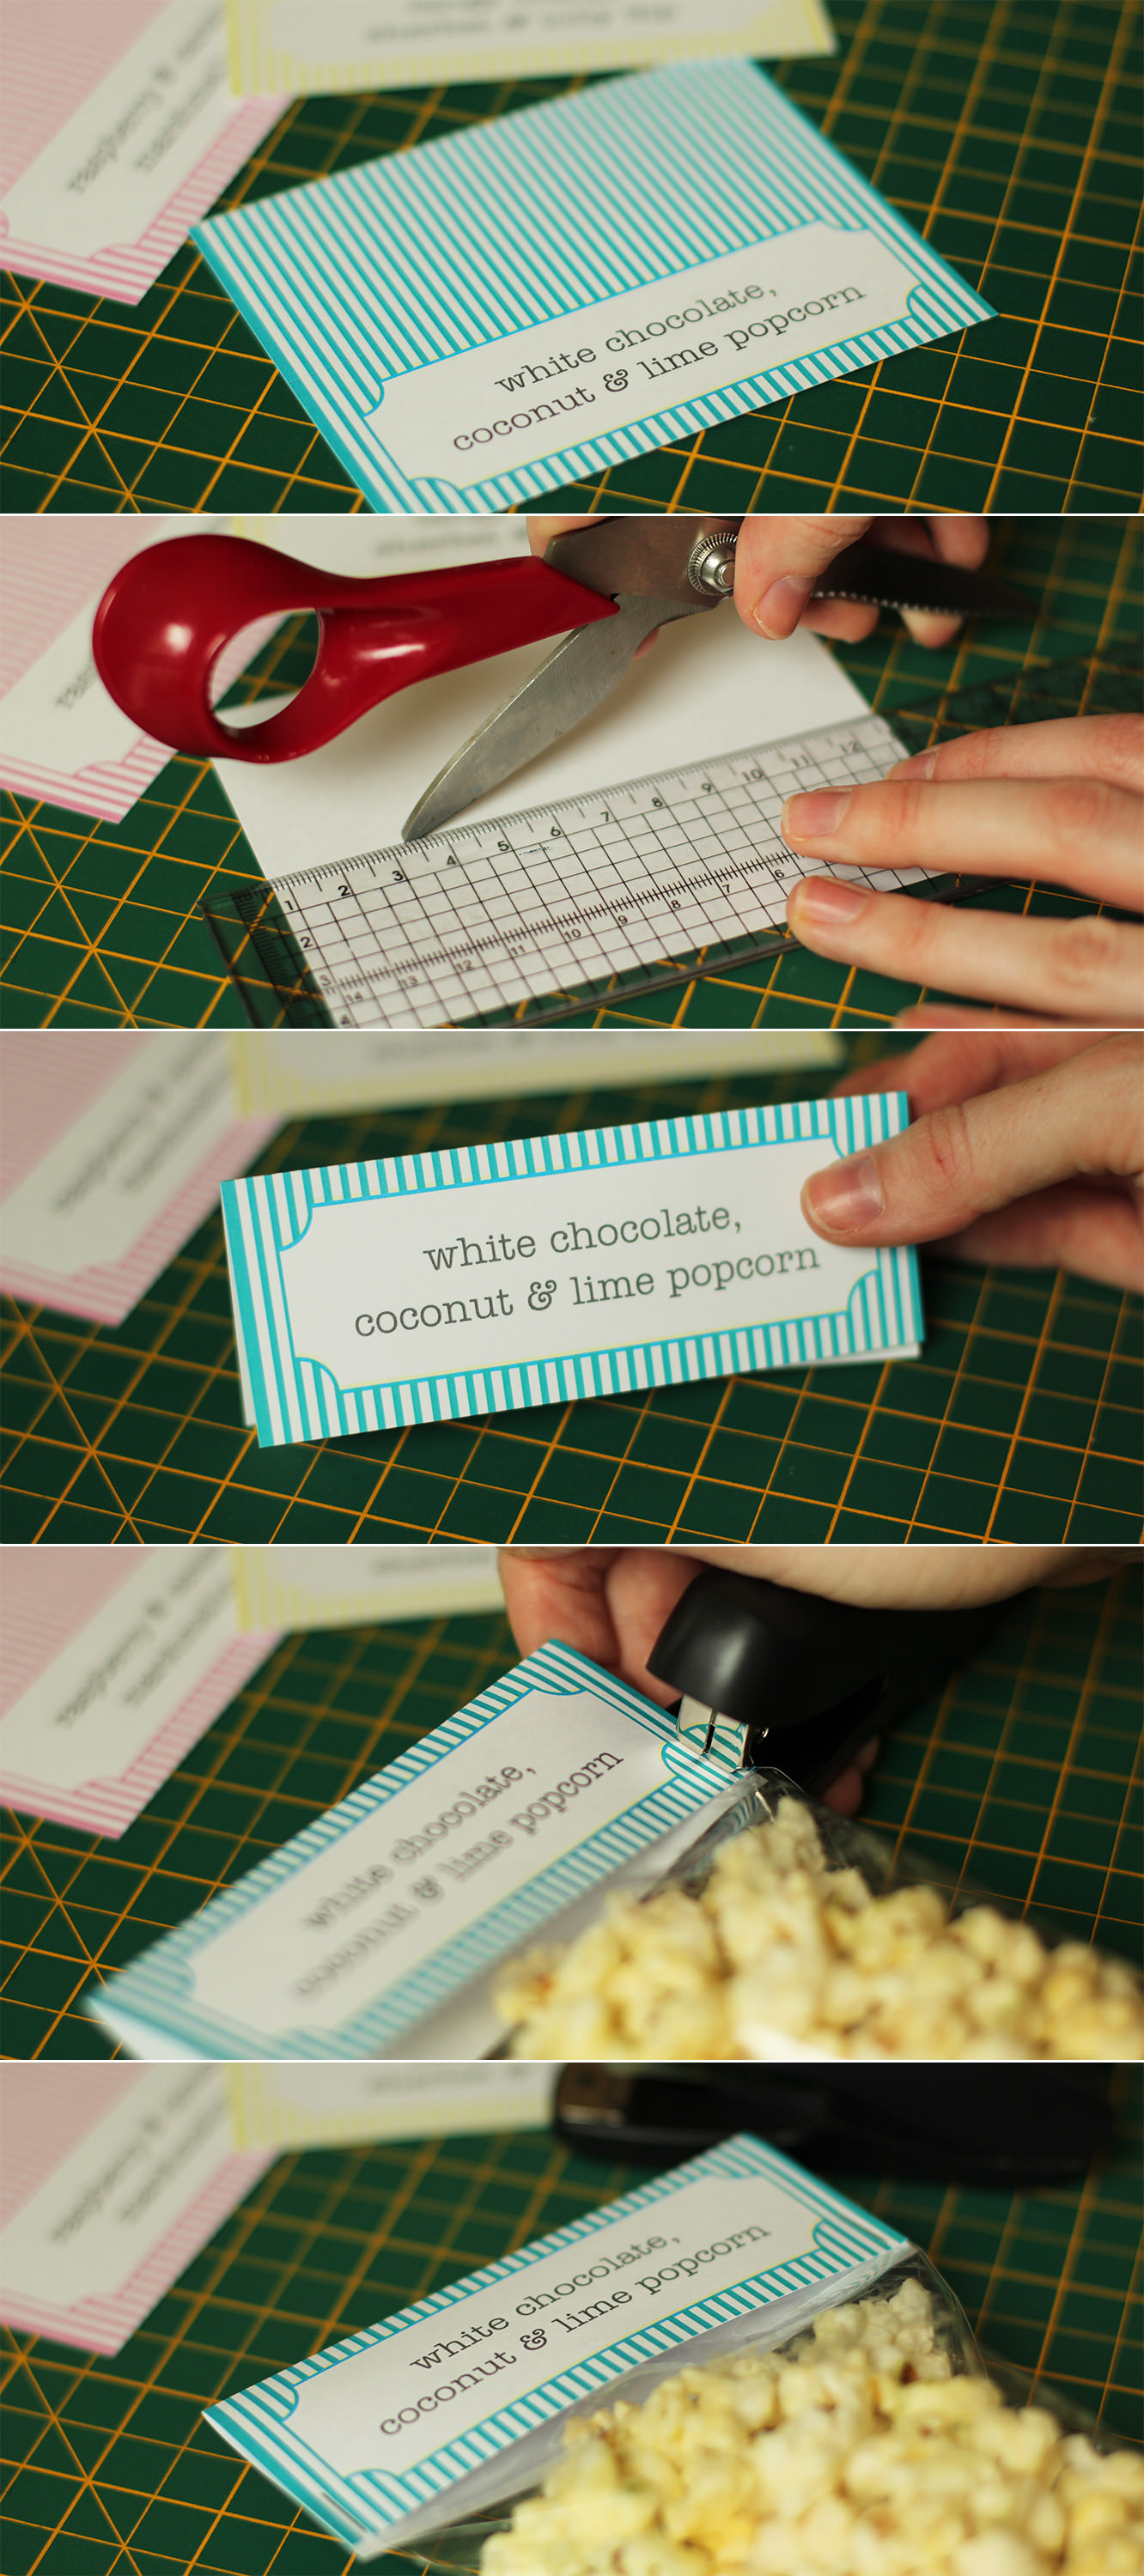
Print enough of the labels for the number of favours you have. These templates will fit a DL card bag.

Cut them out and score on the back down the centre. Fold in half.

Fold the top of the bag down and staple the label over the top, ensuring the staple secures the bag shut. This is especially important with the sherbet.

hen-bachelorette-party-favours-06

hen-bachelorette-party-favours-07

hen-bachelorette-party-favours-04

Step three

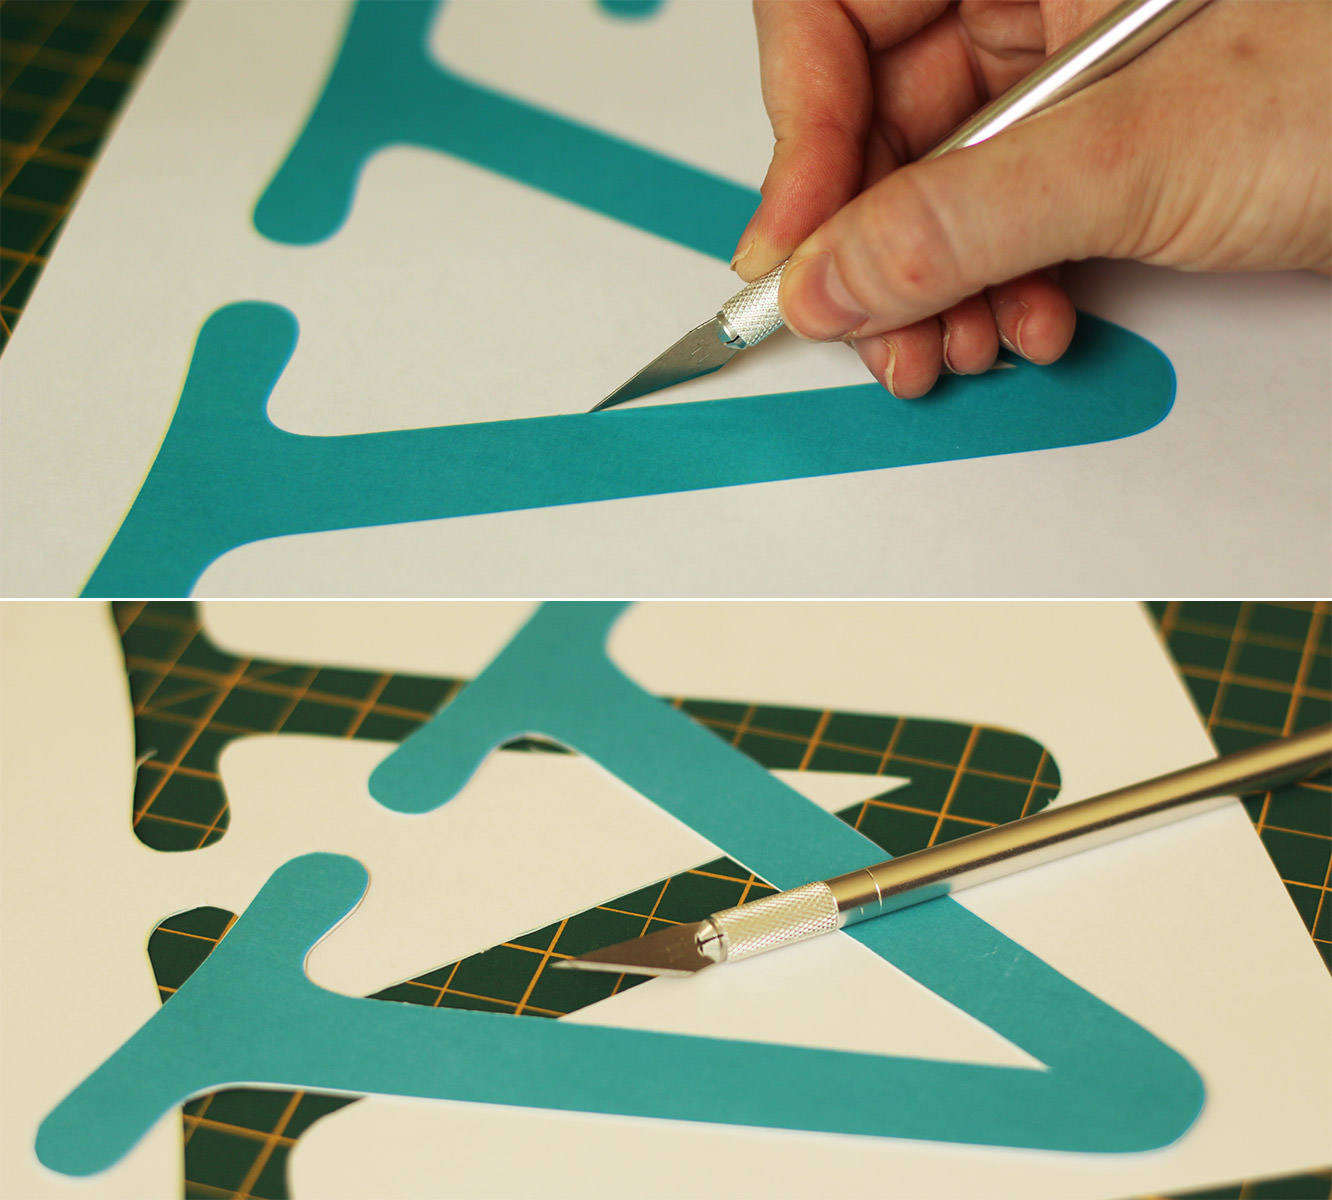
Cut the letters out of for the sign.

hen-bachelorette-party-favours-15

Step four

Using blu-tac stick the letters to the wall.

Step five

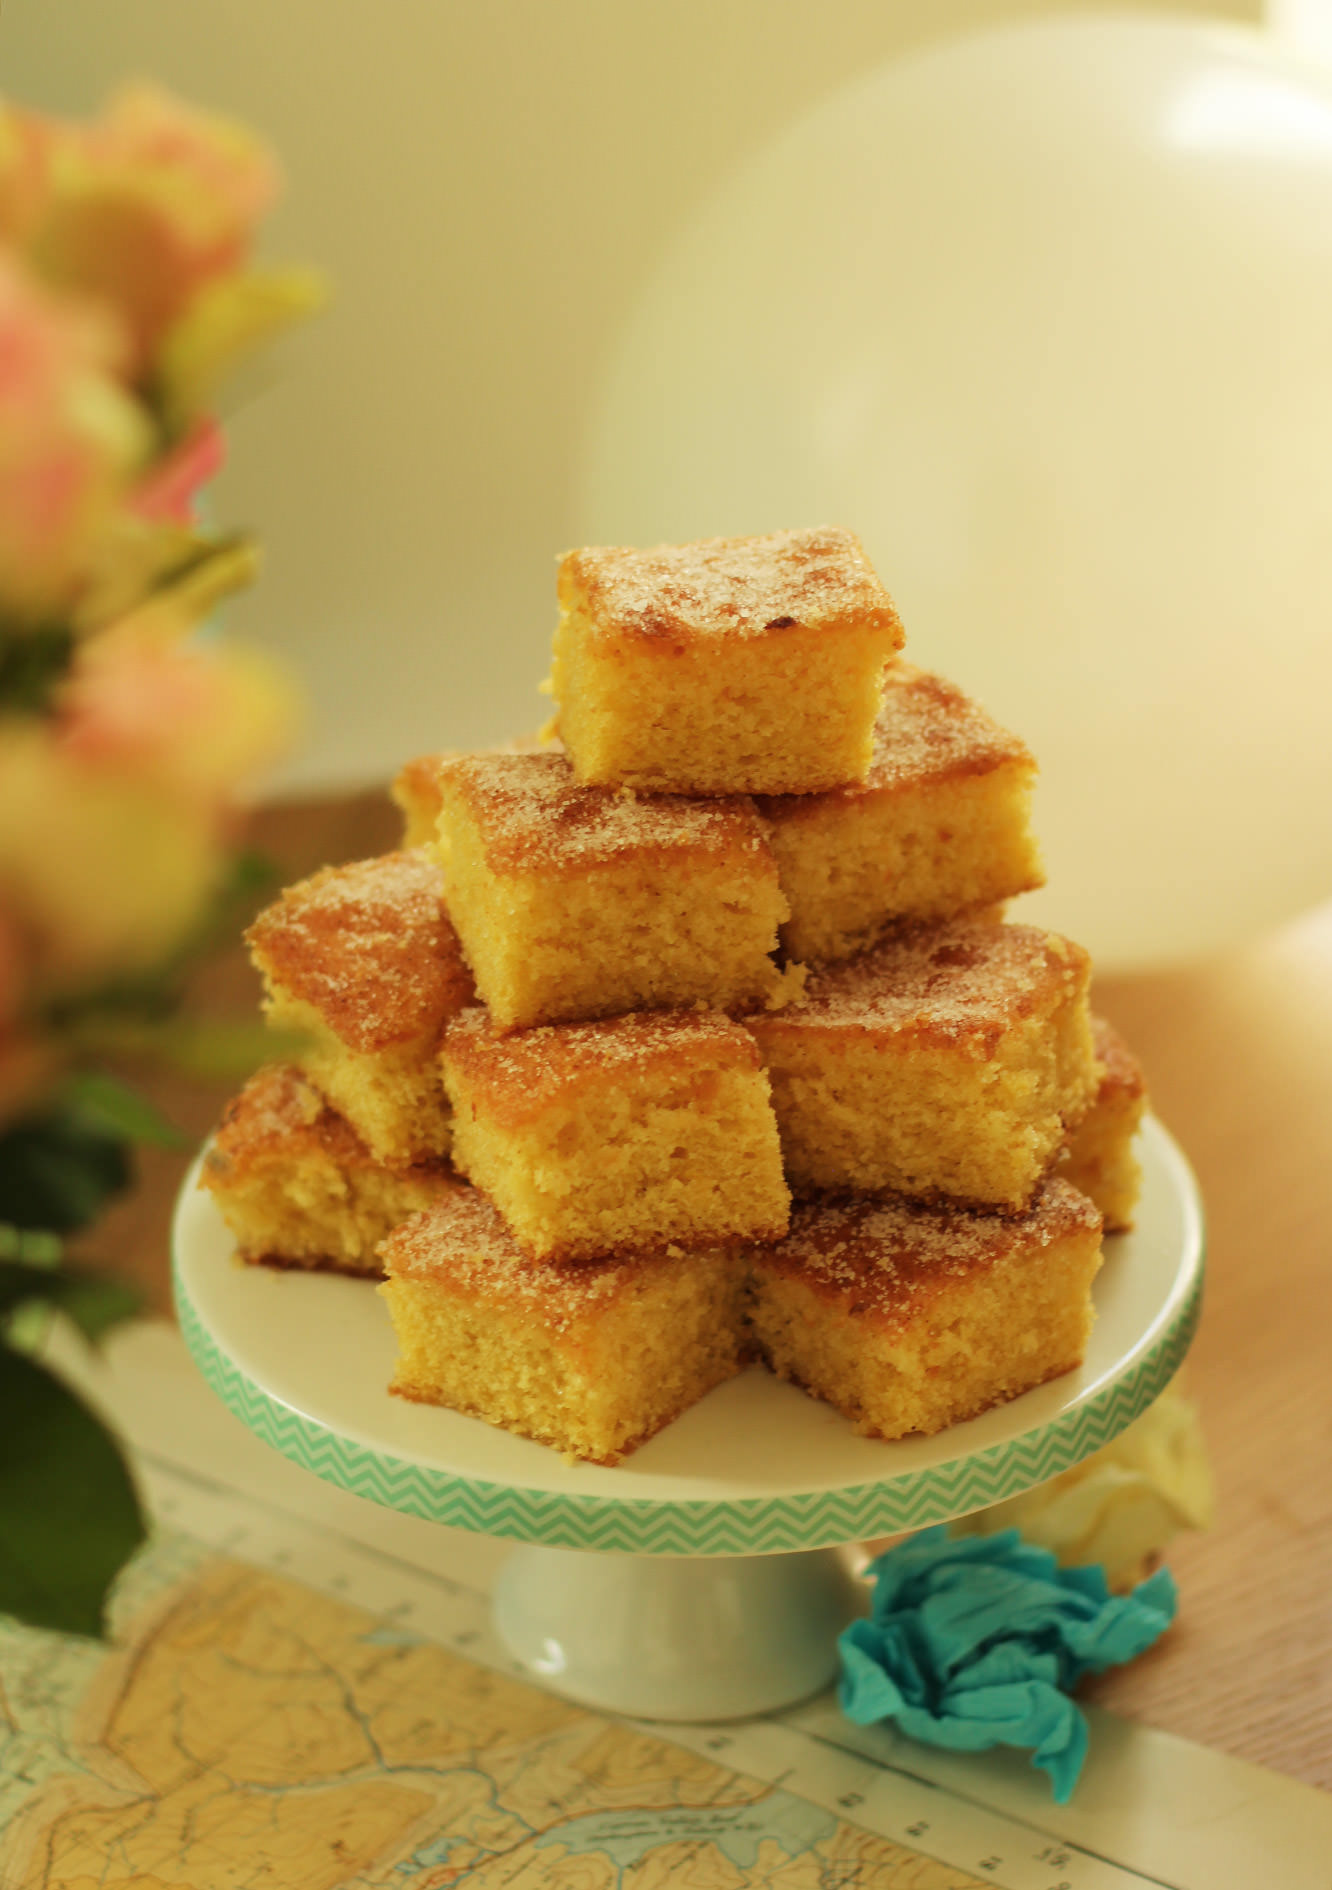
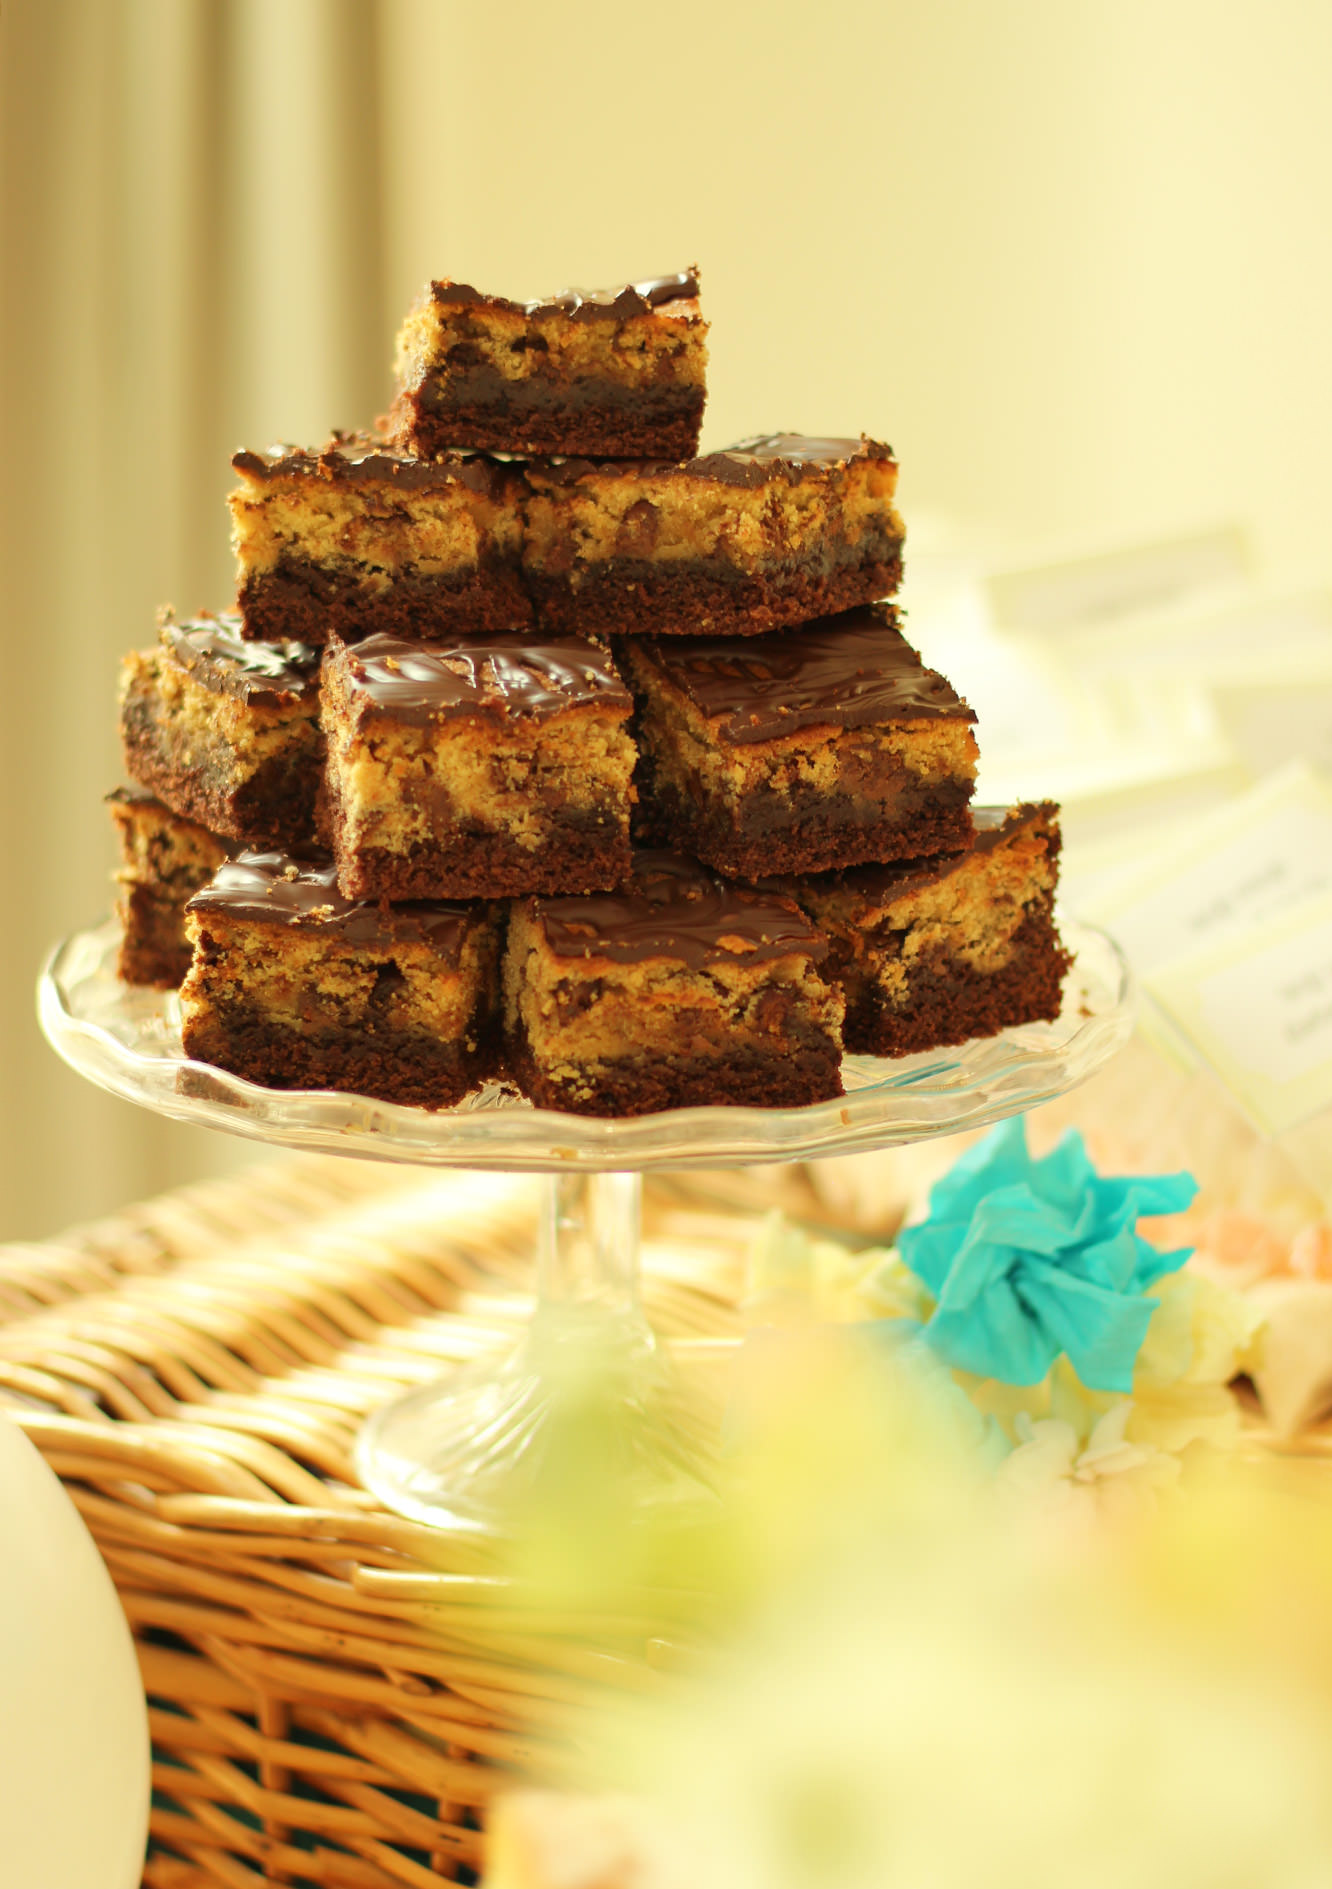
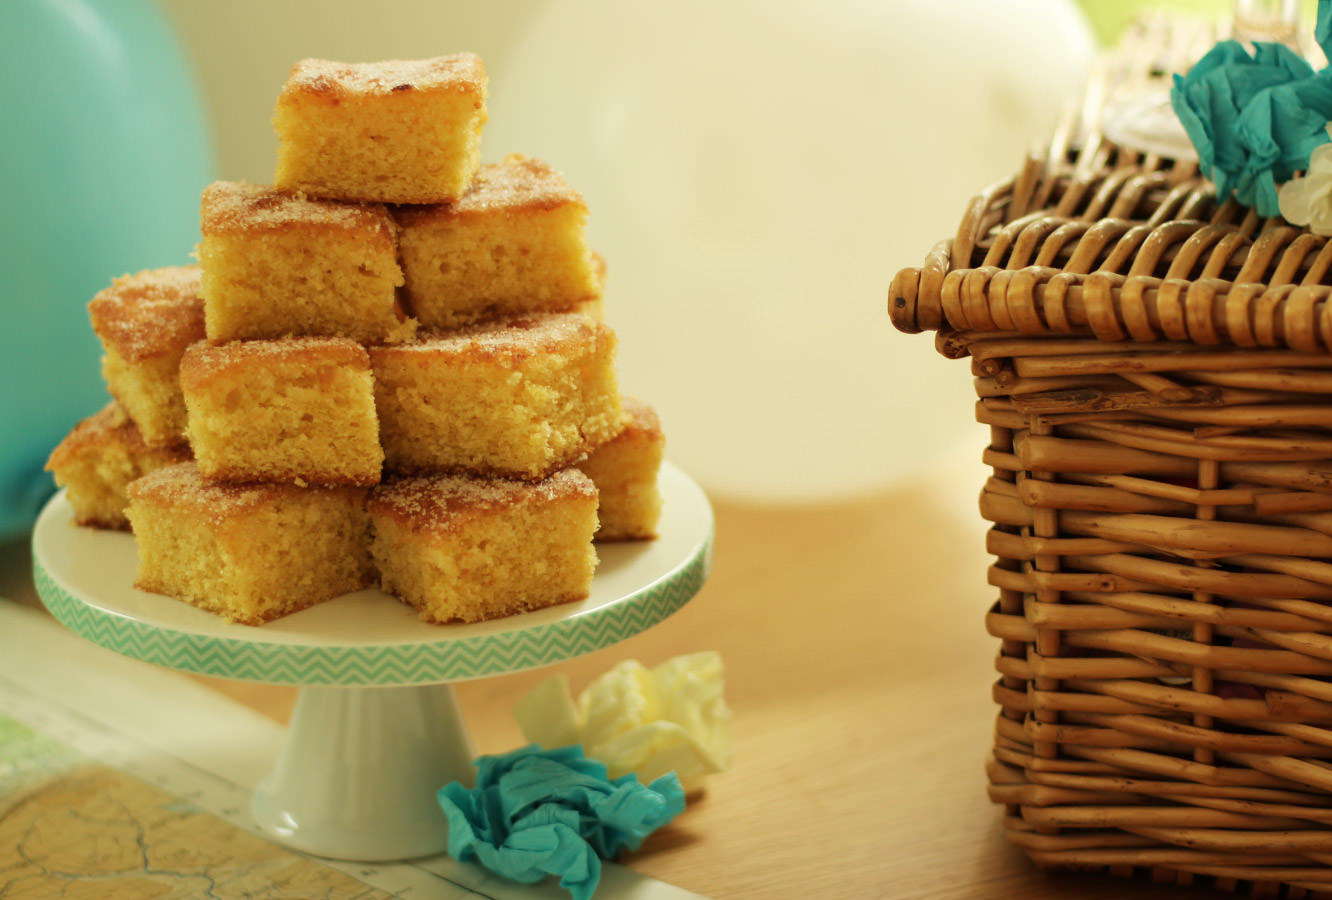
Assemble. You’ll notice I baked a few treats and got some flowers too. The cookie dough brownie recipe has appeared on the blog before, and I’ll get to the lemon drizzle soon.

hen-bachelorette-party-favours-19

hen-bachelorette-party-favours-09

hen-bachelorette-party-favours-11

hen-bachelorette-party-favours-10

hen-bachelorette-party-favours-13

hen-bachelorette-party-favours-12

hen-bachelorette-party-favours-16

hen-bachelorette-party-favours-18

hen-bachelorette-party-favours-17

hen-bachelorette-party-favours-08

There you go. All set to throw a lovely hen party/bridal shower of your own.

hen-bachelorette-party-favours-02


Cluck cluck #3

It seems a bit strange to be writing this. Not least because the last few weeks were crazy and I got out of the habit of blogging, but mainly because the hen in question is now a WIFE.

What’s that? You wanna see? Oh ok then, here she is…

IMG_6228

As you can see from the size of that smile, we all had a ball. It was an amazing day.

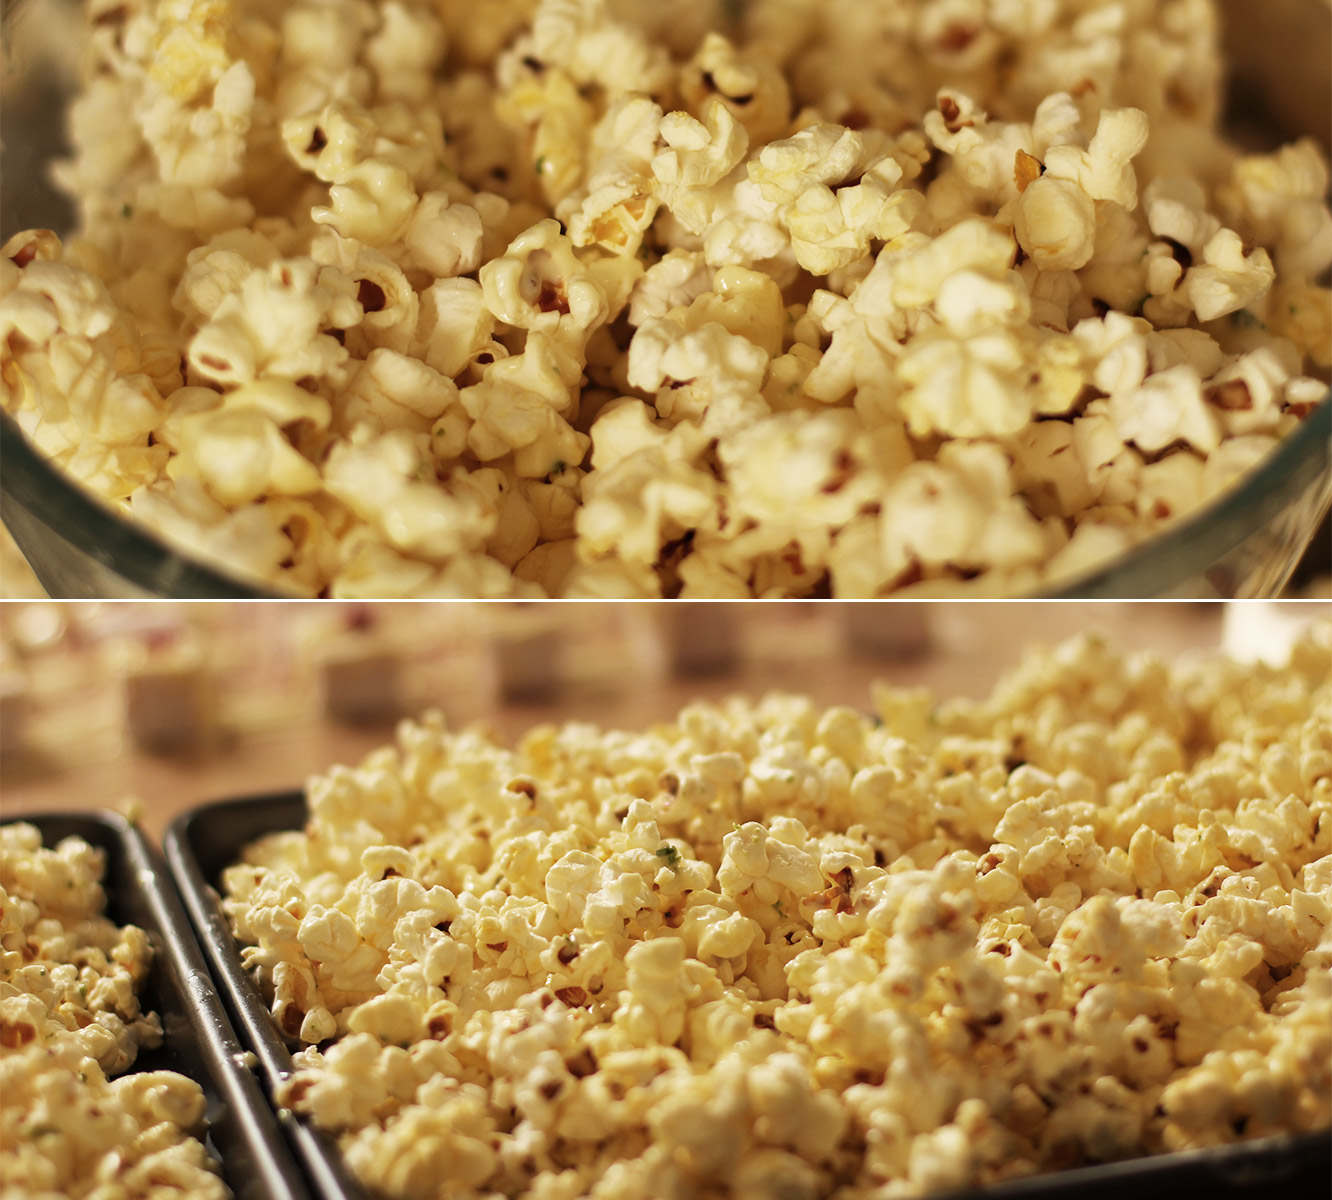
But let’s step back a month or three and finish off her favours. This was without a doubt the guests’ fave recipe so, ladies, all of you who asked me for it, sorry it took so long! Without further ado here is the recipe for white chocolate, lime and coconut popcorn.

Remember to downscale the below if you’re making for a smaller group/movie night.

hen-bachelorette-party-favours-01

You will need

450g/1lb plain popcorn kernels

600g/1lb 5oz white chocolate

Coconut oil

2 limes (zest)

hen-bachelorette-party-favours-lime-white-chocolate-coconut-popcorn-recipe-01

Step one

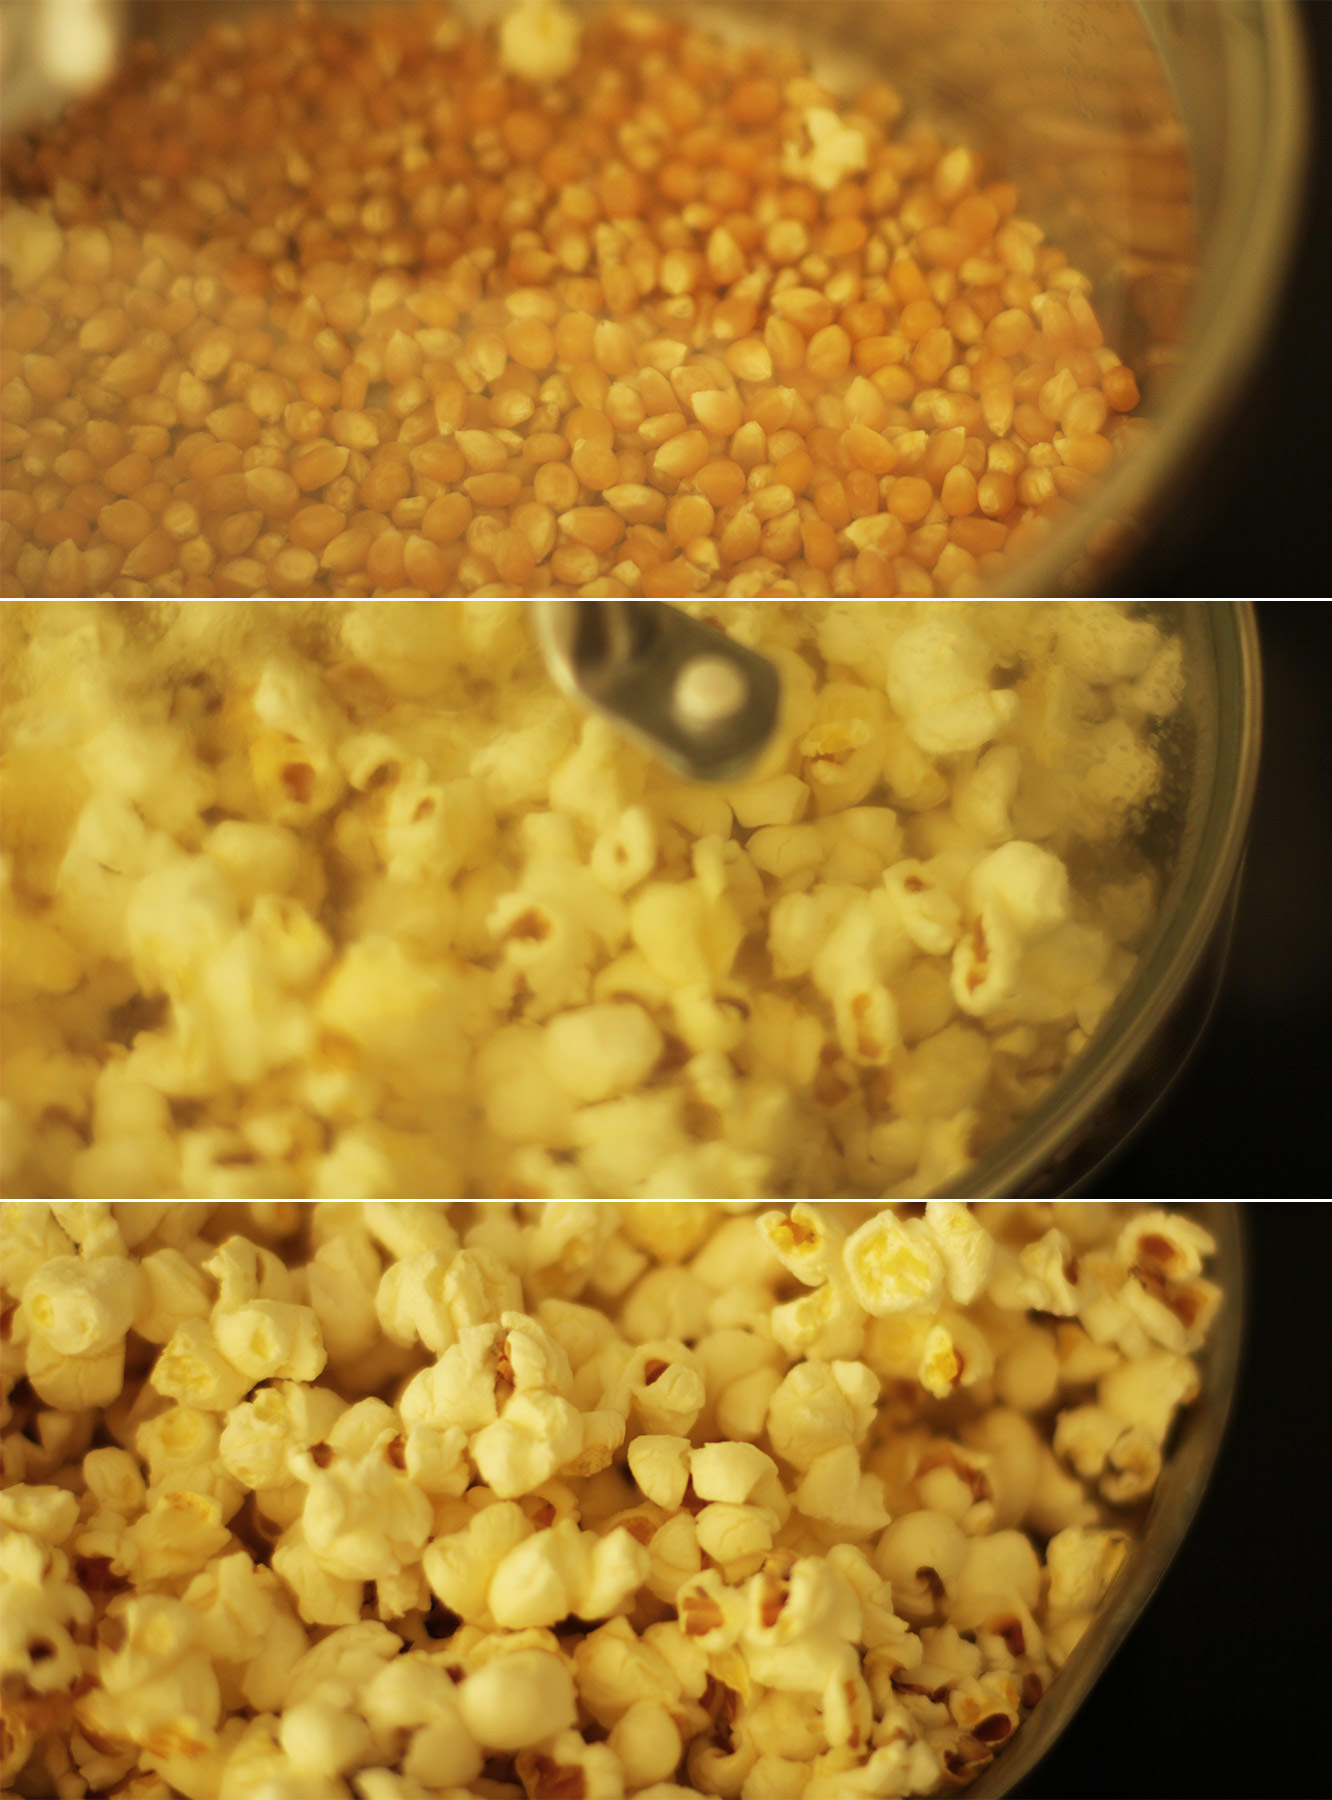
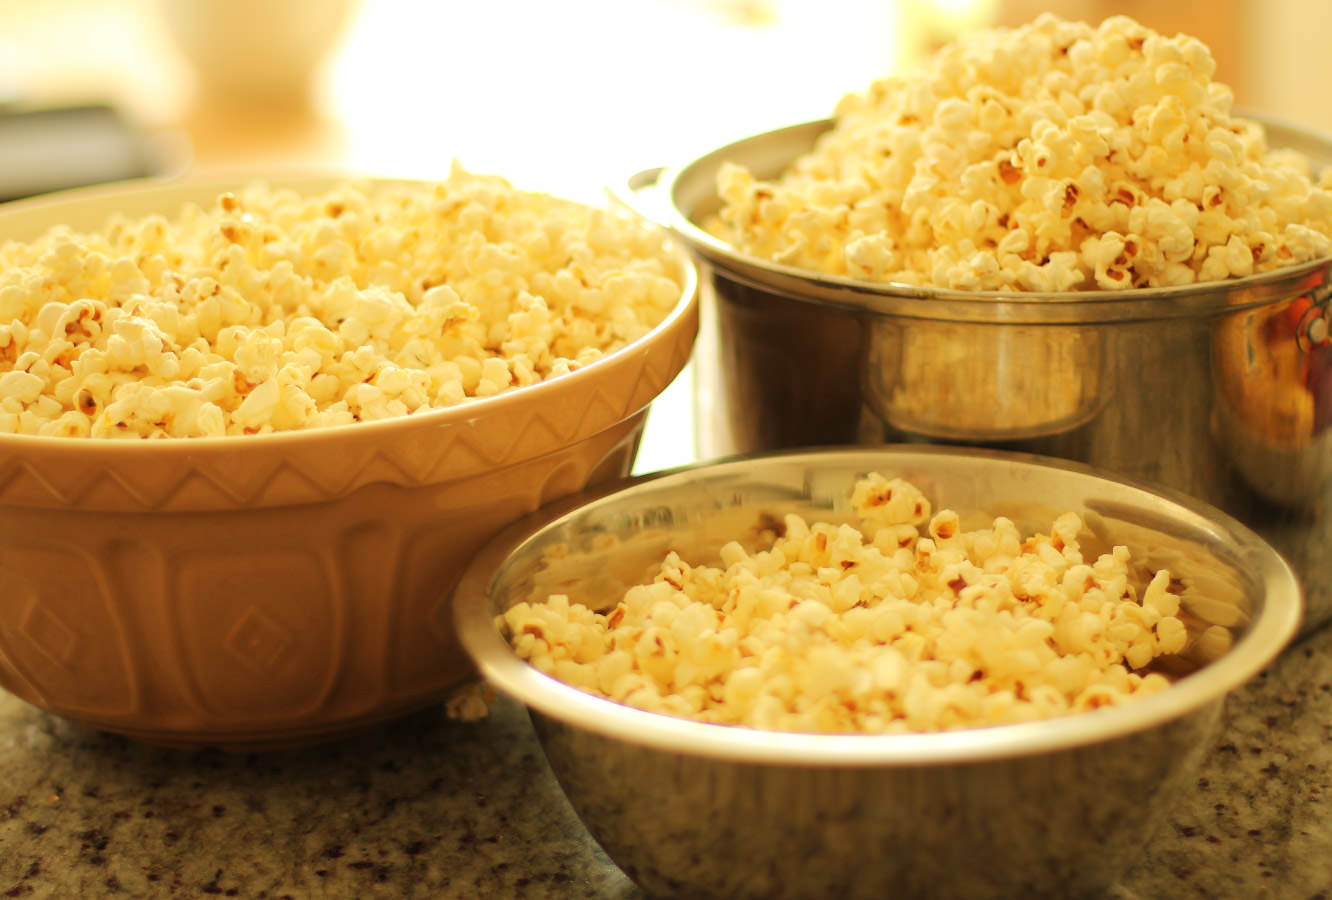
You’re going to want to get a biiiiiig pan (one with a lid unless you want to be finding popcorn in corners for years). You also need several bowls to decant the popcorn into and definitely don’t try to pop it all in one go, I think i did three or four batches.

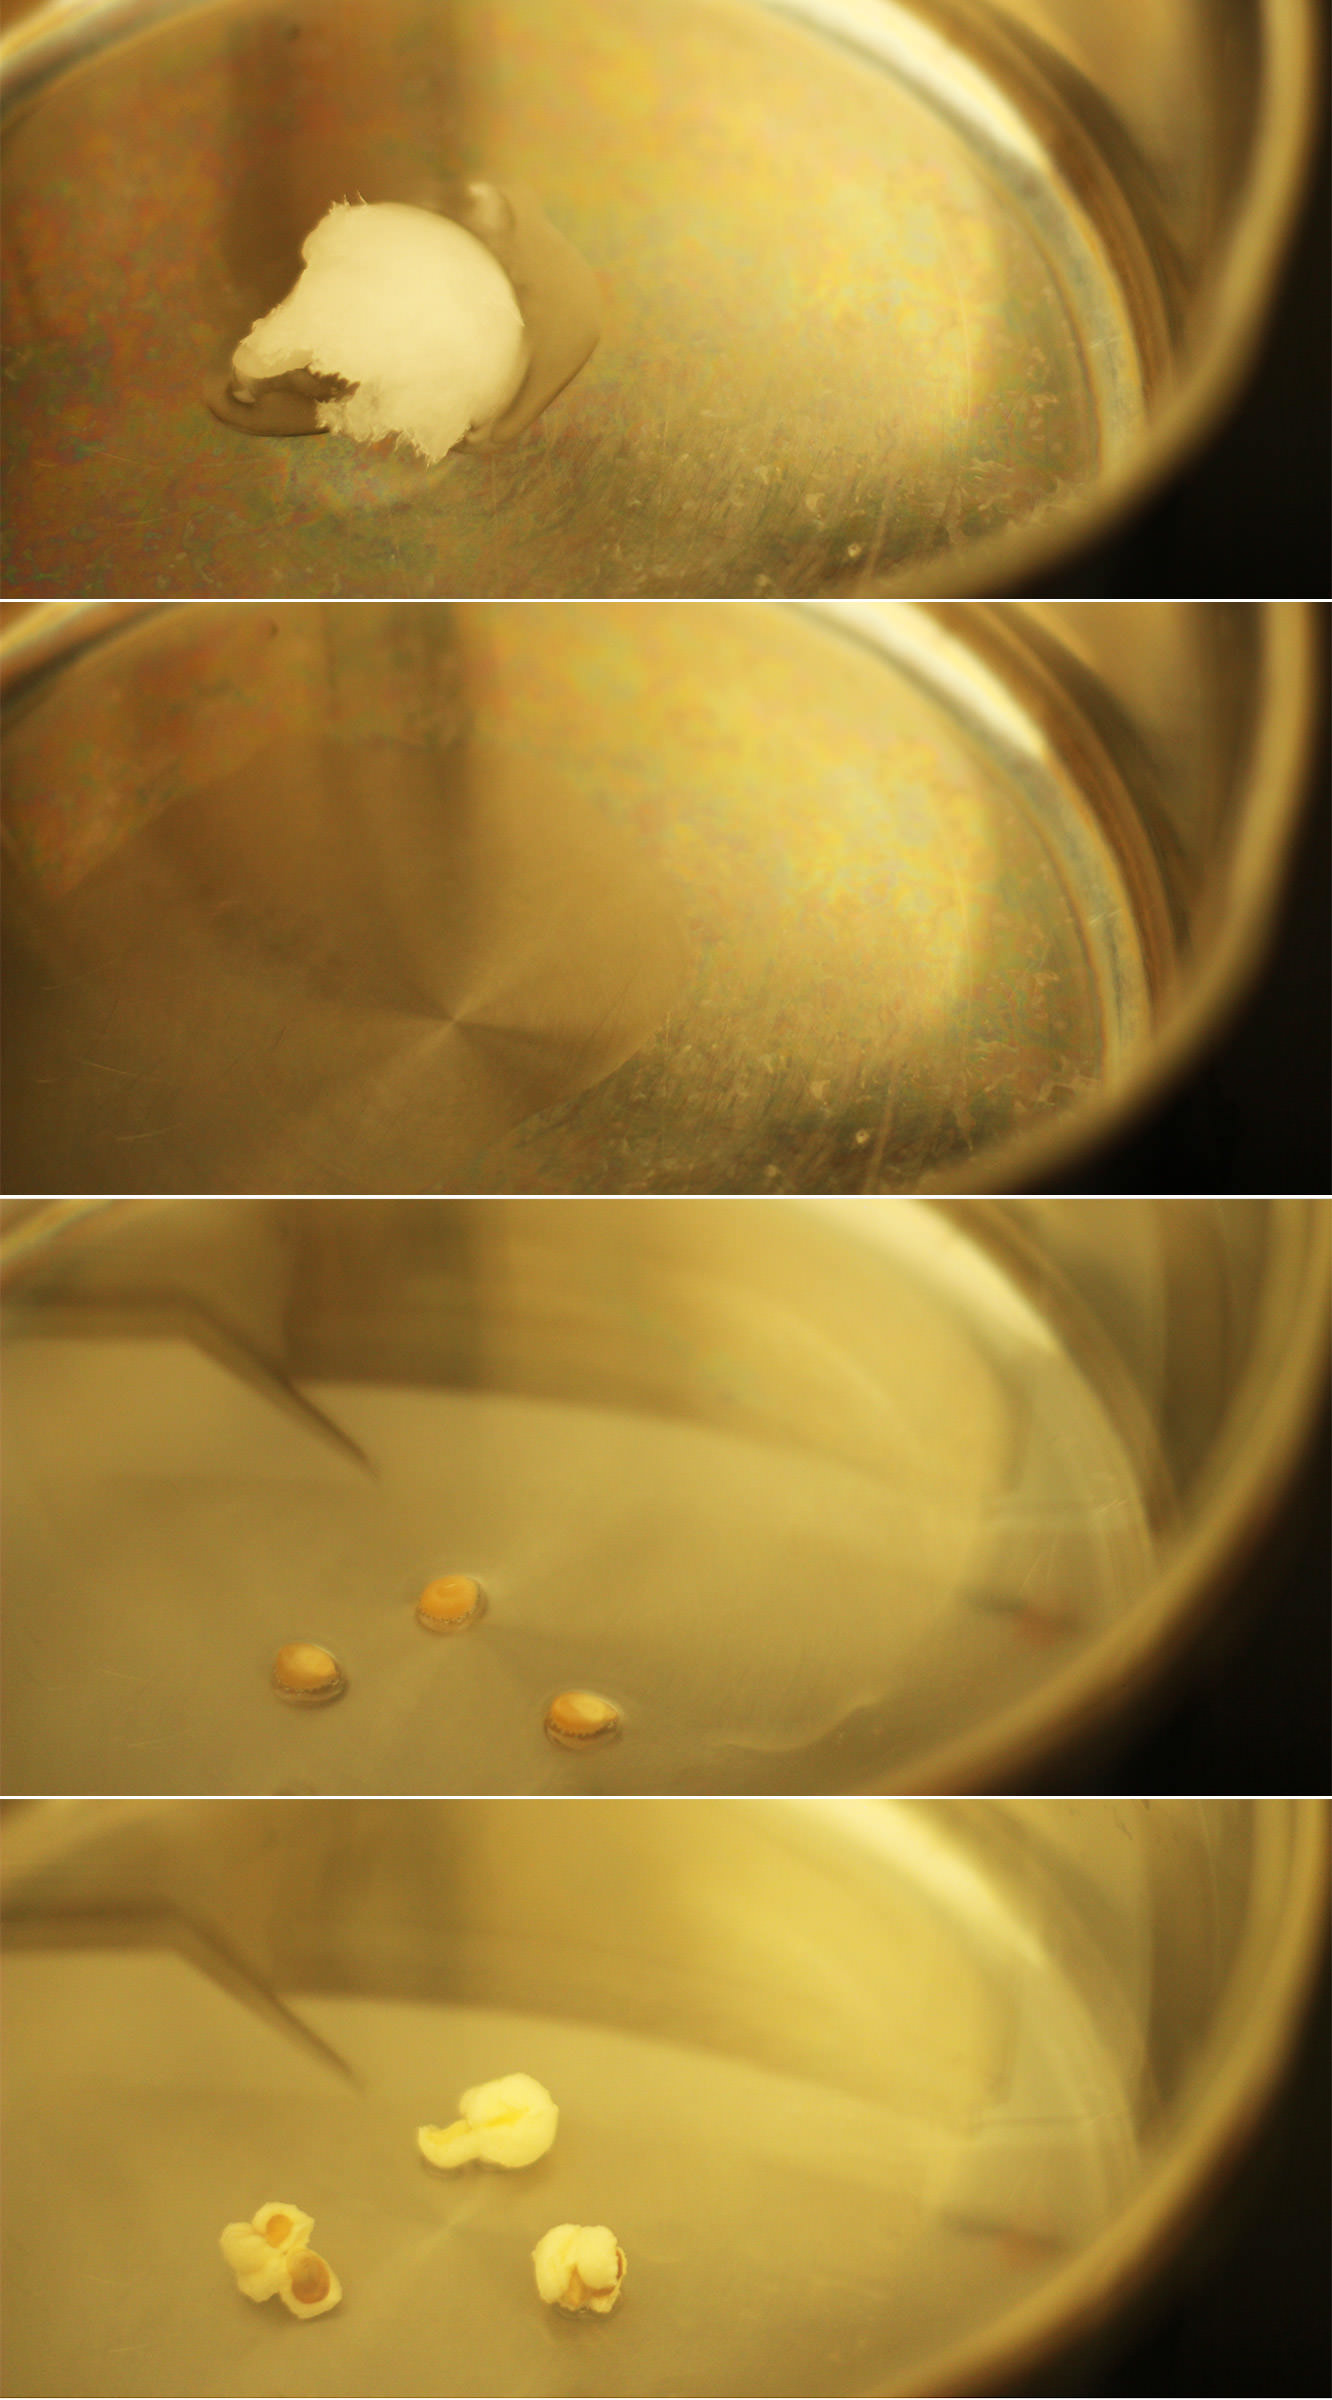
So. Pop the pan on a med-low heat, and drop a tablespoon of coconut oil in the pan. Add three kernels or so and wait patiently for them to pop.

Don’t put all the kernels in straight away otherwise you will burn some.

hen-bachelorette-party-favours-lime-white-chocolate-coconut-popcorn-recipe-02

Step two

Once the three test kernels have popped pour a load more in to cover the bottom of the pan and replace the lid.

As the kernels start to pop I generally shake the pan a intermittently and hover it above the heat. If the popping slows down, place it fully back on the heat for a few seconds.

When the pan is filling up and there’s a couple of seconds between pops remove it from the heat and pour the popcorn into a bowl.

hen-bachelorette-party-favours-lime-white-chocolate-coconut-popcorn-recipe-03

Step three

Repeat repeat repeat until you’ve used alla that popping corn.

hen-bachelorette-party-favours-lime-white-chocolate-coconut-popcorn-recipe-04

Step four

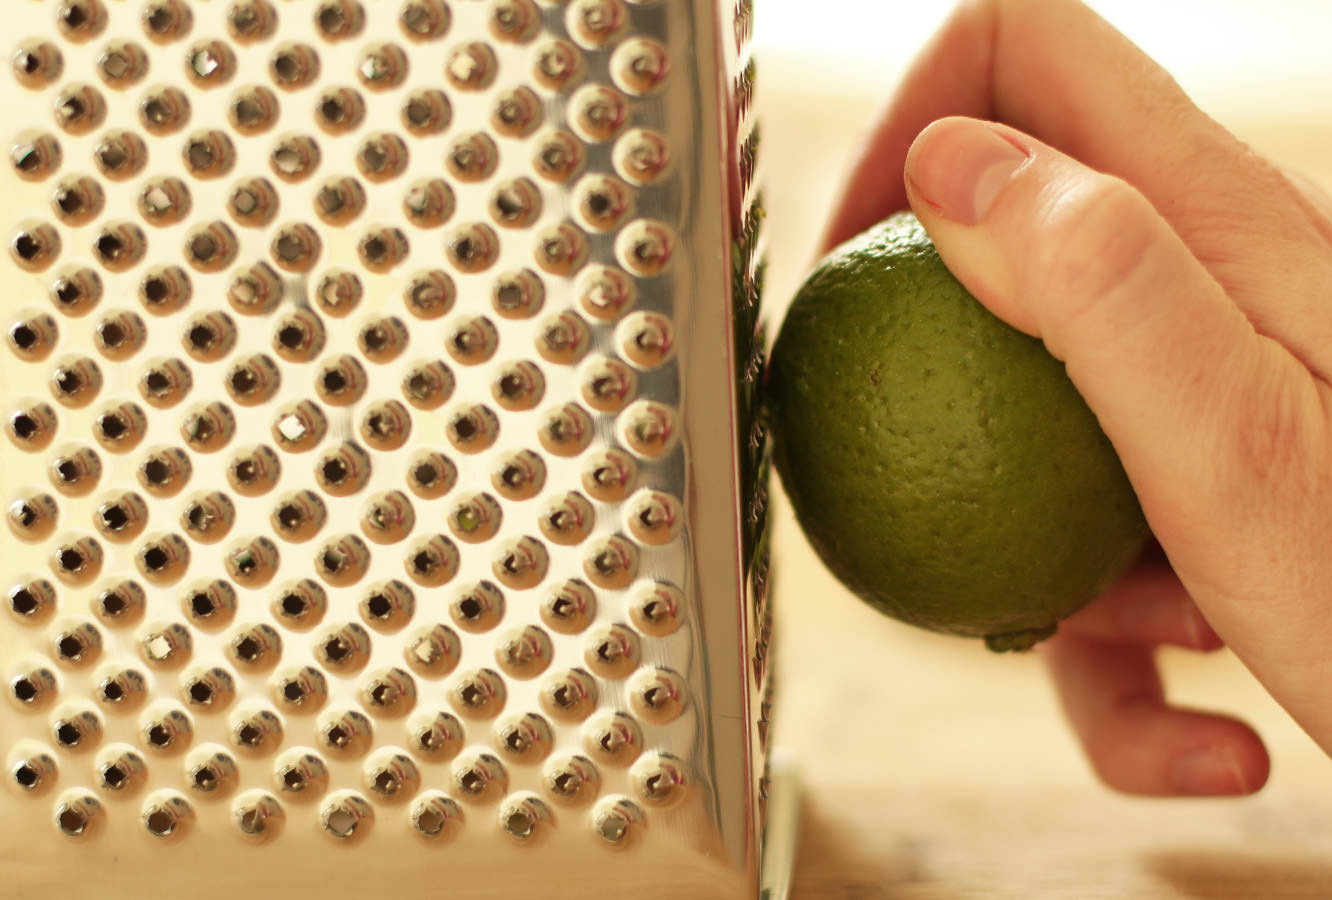
Zest the limes on the smallest ‘setting’ on your grater.

Step five

Melt the white chocolate in a heatproof bowl. As there’s quite a lot of it, it’s really probably better to do this over a pan of boiling water. Otherwise you risk leaving some foil in there, almost blowing up your microwave and burning 600g of chocolate. There might be a small rage blackout to follow.

While the chocolate is still warm stir in a heaped tablespoon of coconut oil.

hen-bachelorette-party-favours-lime-white-chocolate-coconut-popcorn-recipe-05

Step six

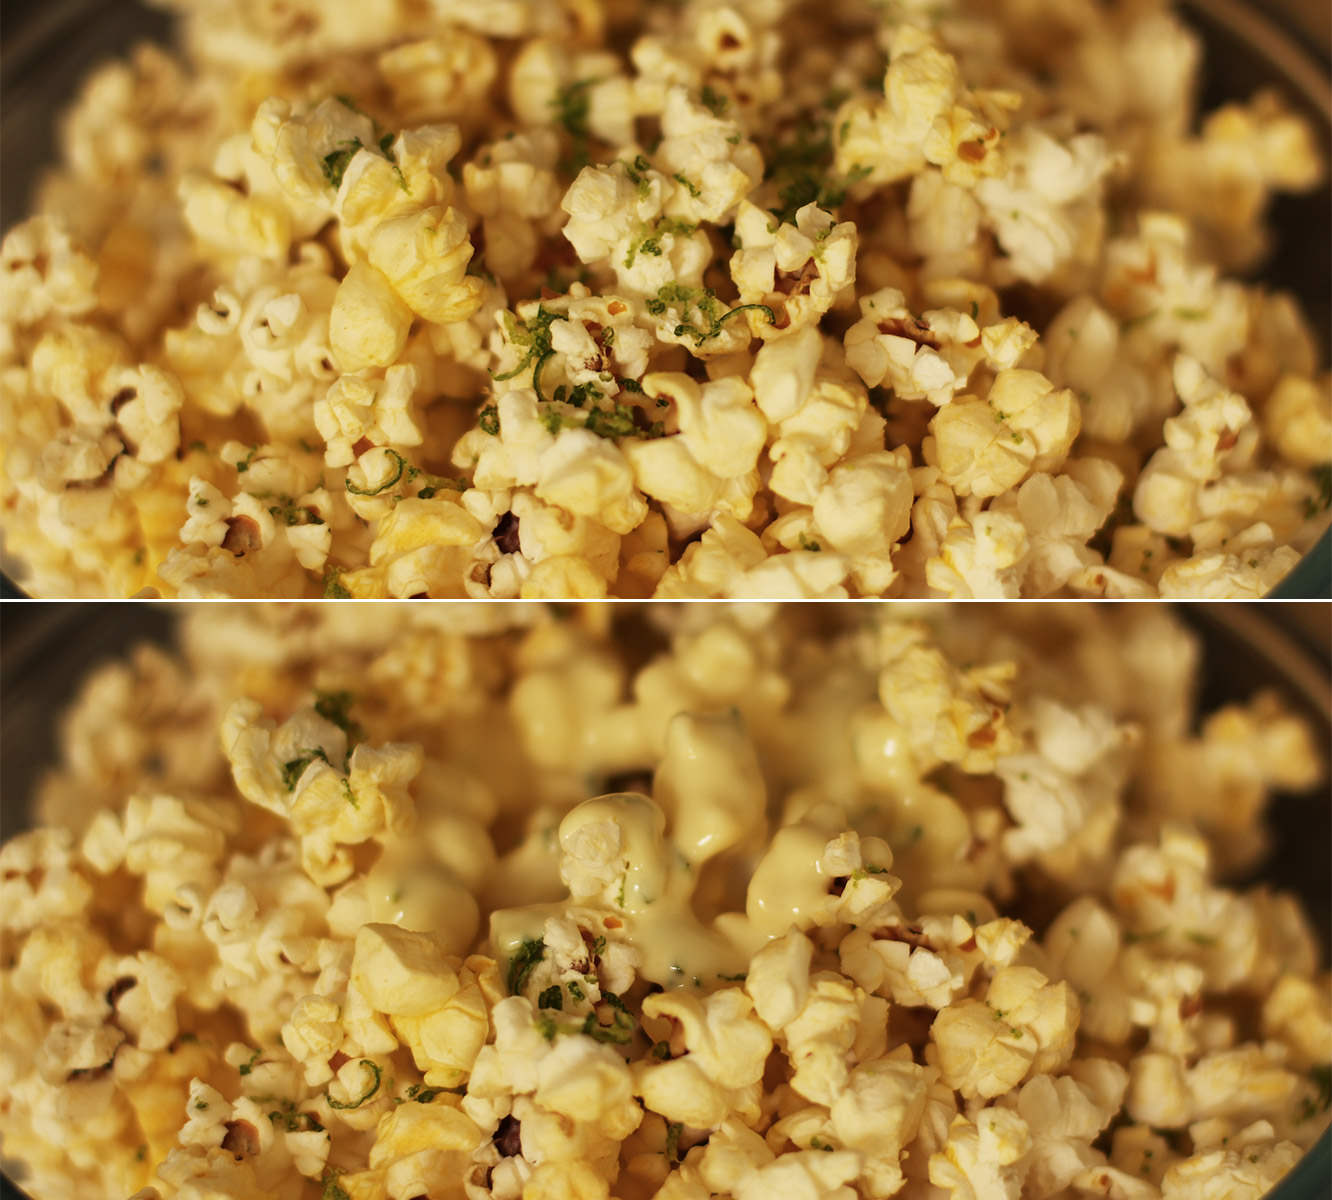
This is the tricky bit, you sort of need to distribute the chocolate and lime evenly amongst your batches of popcorn.

hen-bachelorette-party-favours-lime-white-chocolate-coconut-popcorn-recipe-06

Step seven

Stir in the chocolate as well as you can and spread out on baking trays to set. The chocolate won’t fully harden because of the oil but it’s nice that way, I promise.

hen-bachelorette-party-favours-lime-white-chocolate-coconut-popcorn-recipe-gif

That’s all folks.

Final instalment next week – the bringing of everything together.

Cluck cluck #2

SO. I have been remiss. Friends, stalkers, I’m sorry. I didn’t mean to leave you sans blog for two whole weeks. Finishing off my graphic design portfolio kind of consumed my health, social life, eating habits and ability to hold a conversation.

But that’s done now, and I’m back. Picking up where I left off with Vicky’s hen do favours. This week it’s raspberry and white chocolate, and chocolate caramel marshmallows. Not exactly the first time I have made marshmallows on this blog. I really want you to make marshmallows guys.

hen-bachelorette-party-favours-01

You will need

For the white chocolate and raspberry marshmallows:

9 gelatine sheets

350g/12 oz granulated sugar

2 egg whites

1 tbsp liquid glucose (you can find this in a squeezy toothpaste type tube in the baking section)


150g/5 oz raspberries

150g/5 oz white chocolate

Freeze dried raspberries (optional)

For the caramel and chocolate marshmallows:

9 gelatine sheets

300g/10.5 oz granulated sugar

2 egg whites

1 tbsp liquid glucose

2-3 tsp caramel extract (I got buttery caramel from natural professional flavours at Lakeland)

150g/5 oz milk chocolate

Cellophane card bags x 30

(makes enough for 30 favours, 150+ marshmallows)

I’ll go ahead and walk you through the process for the caramel ones then pop the changes for the raspberry below.

hen-bachelorette-party-favours-raspberry-caramel-marshmallow-recipe-02

Step one

In a cereal bowl, soak the gelatine in 150ml/5 fl oz cold water. Set aside.

Step two

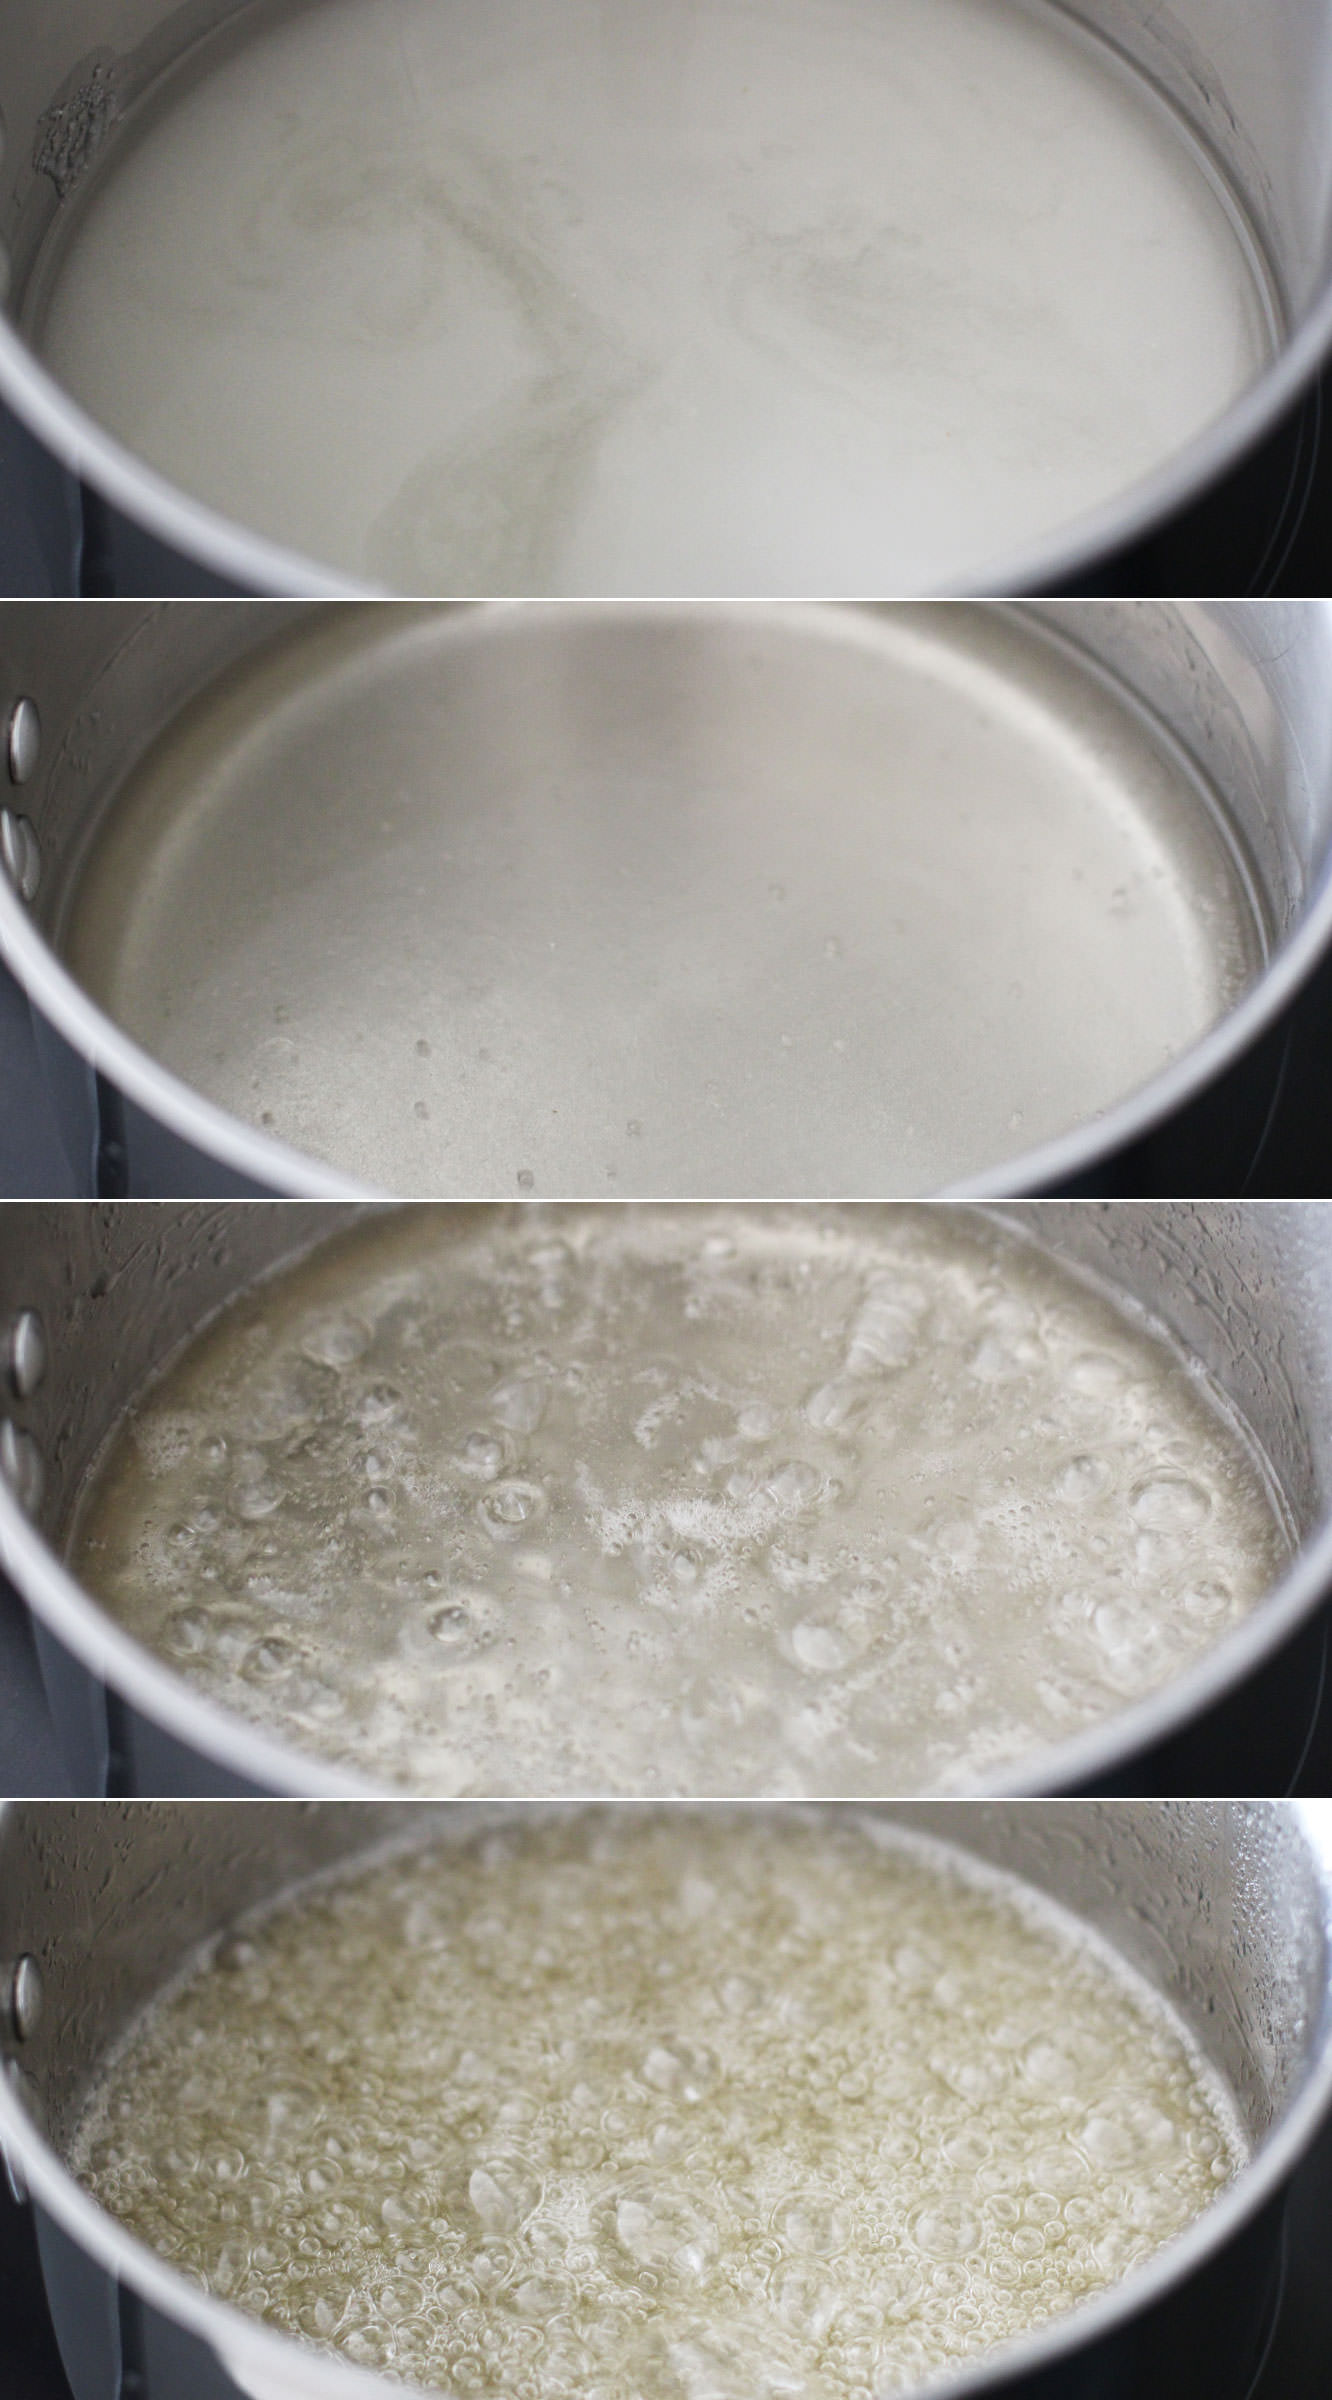
Combine the sugar, 150ml/5 fl oz water (different to the gelatine water) and the liquid glucose in a smallish saucepan.

Allow the sugar to dissolve on a low heat, and then turn it up to medium-high. Watch yourself buddy, you’re boiling sugar right now, don’t hurt it or yourself.

The temperature you want this to get to is 118 C. It will feel like it will never get there, but stay strong.

hen-bachelorette-party-favours-raspberry-caramel-marshmallow-recipe-06

Step three

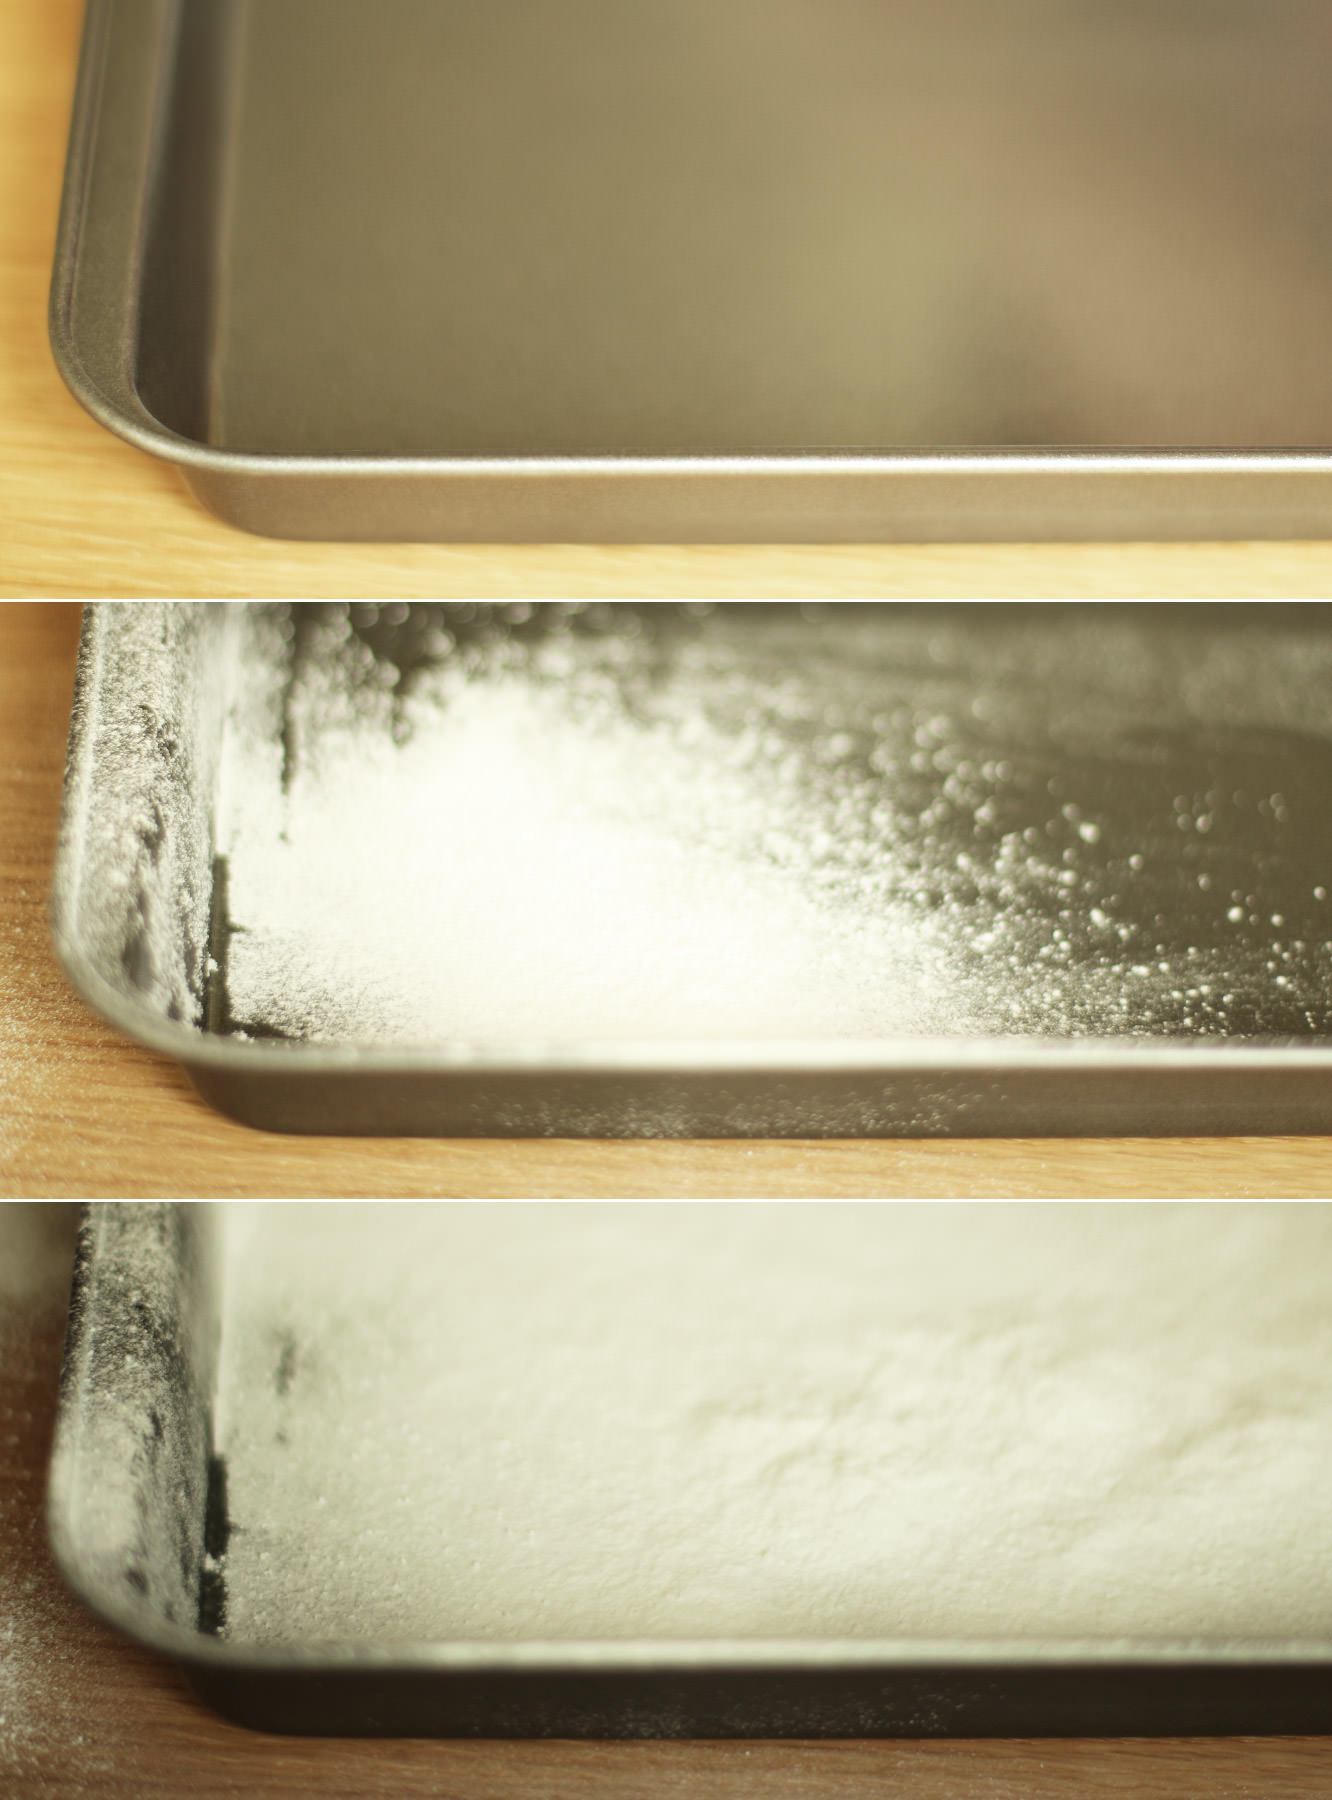
While the sugar is bubbling you can take a moment to dust your brownie tray with icing sugar. Add a small amount of olive oil first so it sticks.

hen-bachelorette-party-favours-raspberry-caramel-marshmallow-recipe-01

Step four

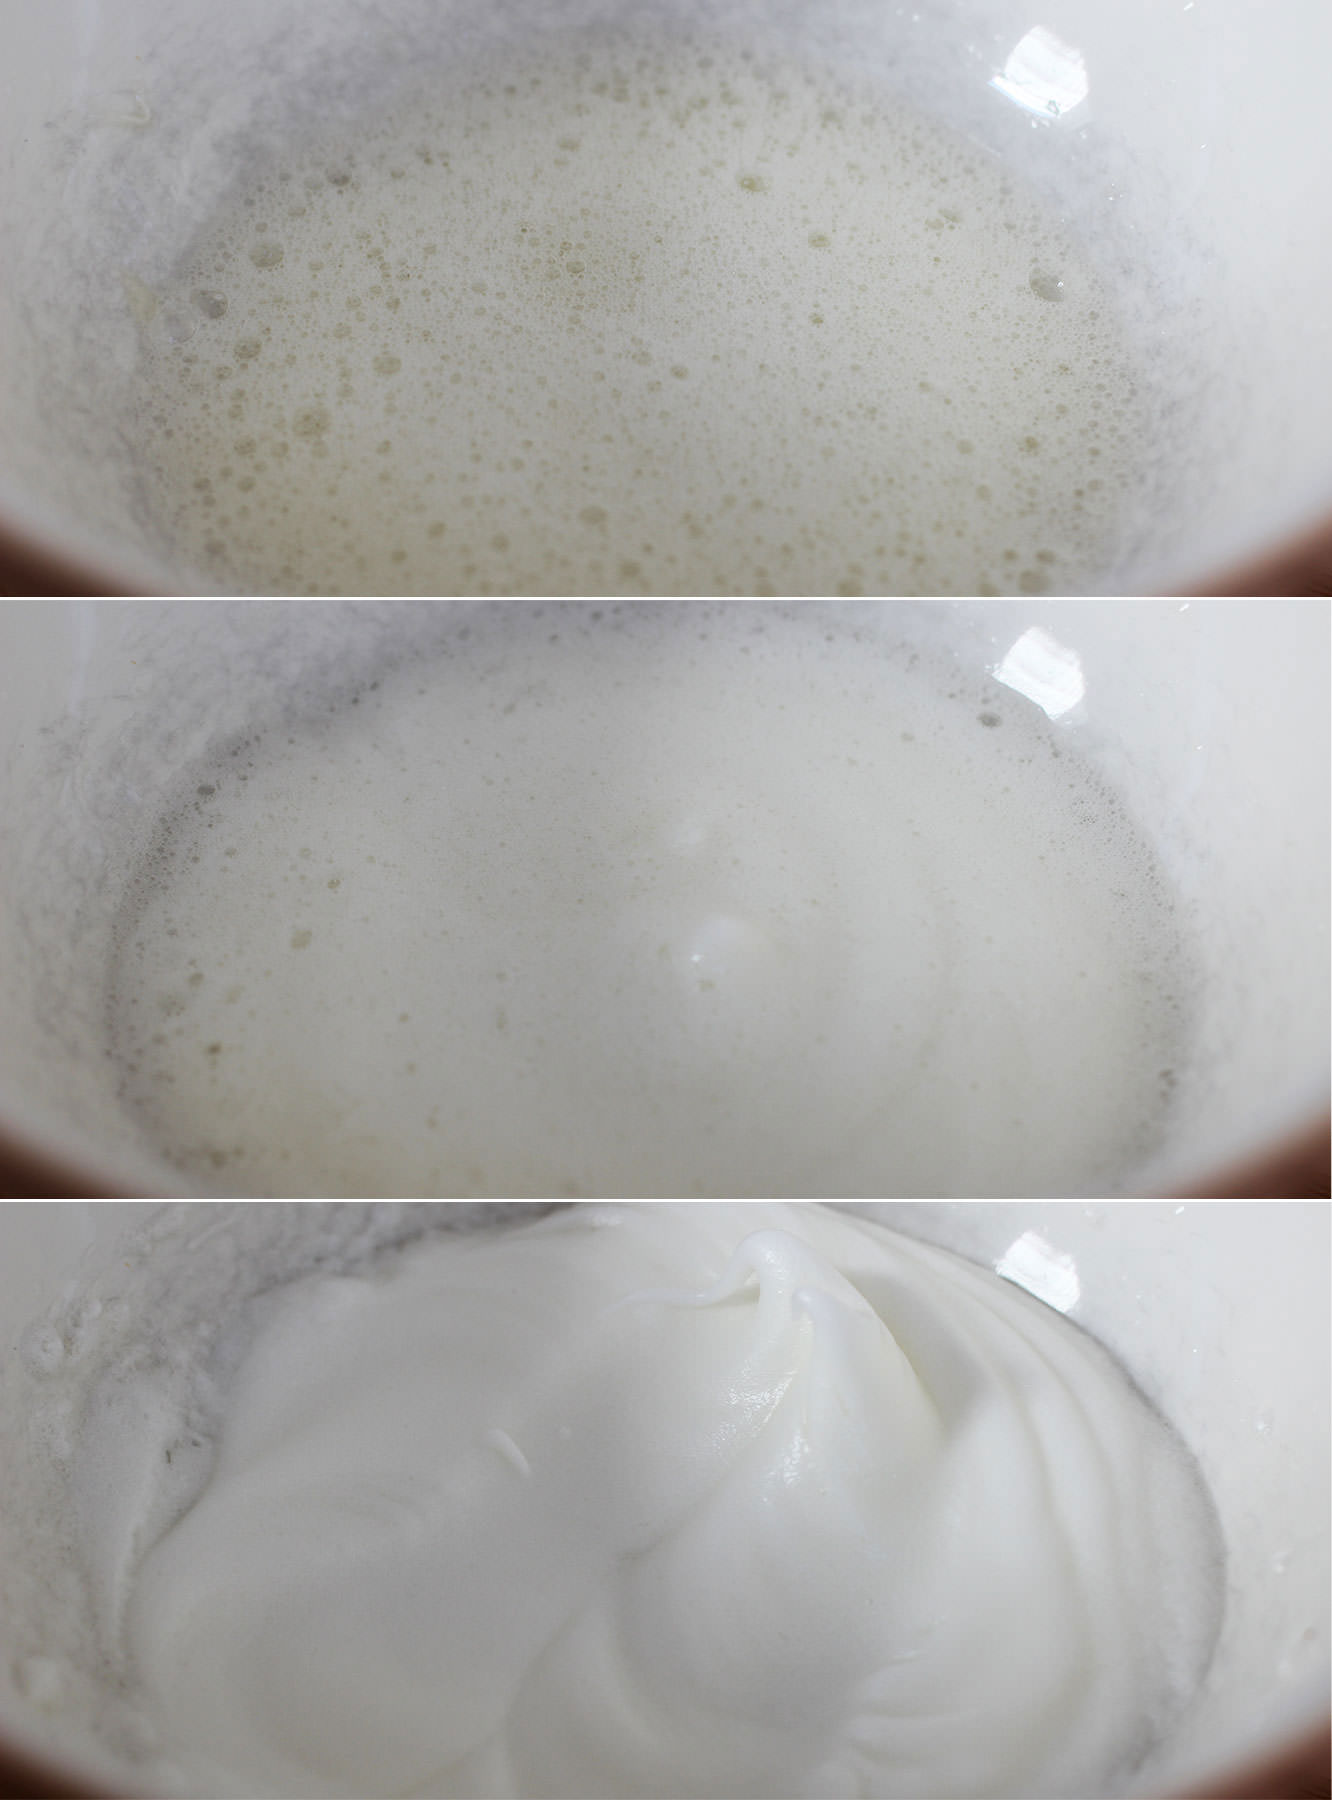
When the sugar gets to somewhere around 112-115C whisk the egg whites into stiff peaks. Take care not to use a ceramic bowl else you will get grey marks like I did. Glass or metal though and you’ll be golden.

Step five

When the sugar reaches 118C take it off the heat.

Squeeze the gelatine out a bit and add it to the sugar mix. It will bubble right up so don’t panic. It should settle pretty quickly.

hen-bachelorette-party-favours-raspberry-caramel-marshmallow-recipe-03

Step six

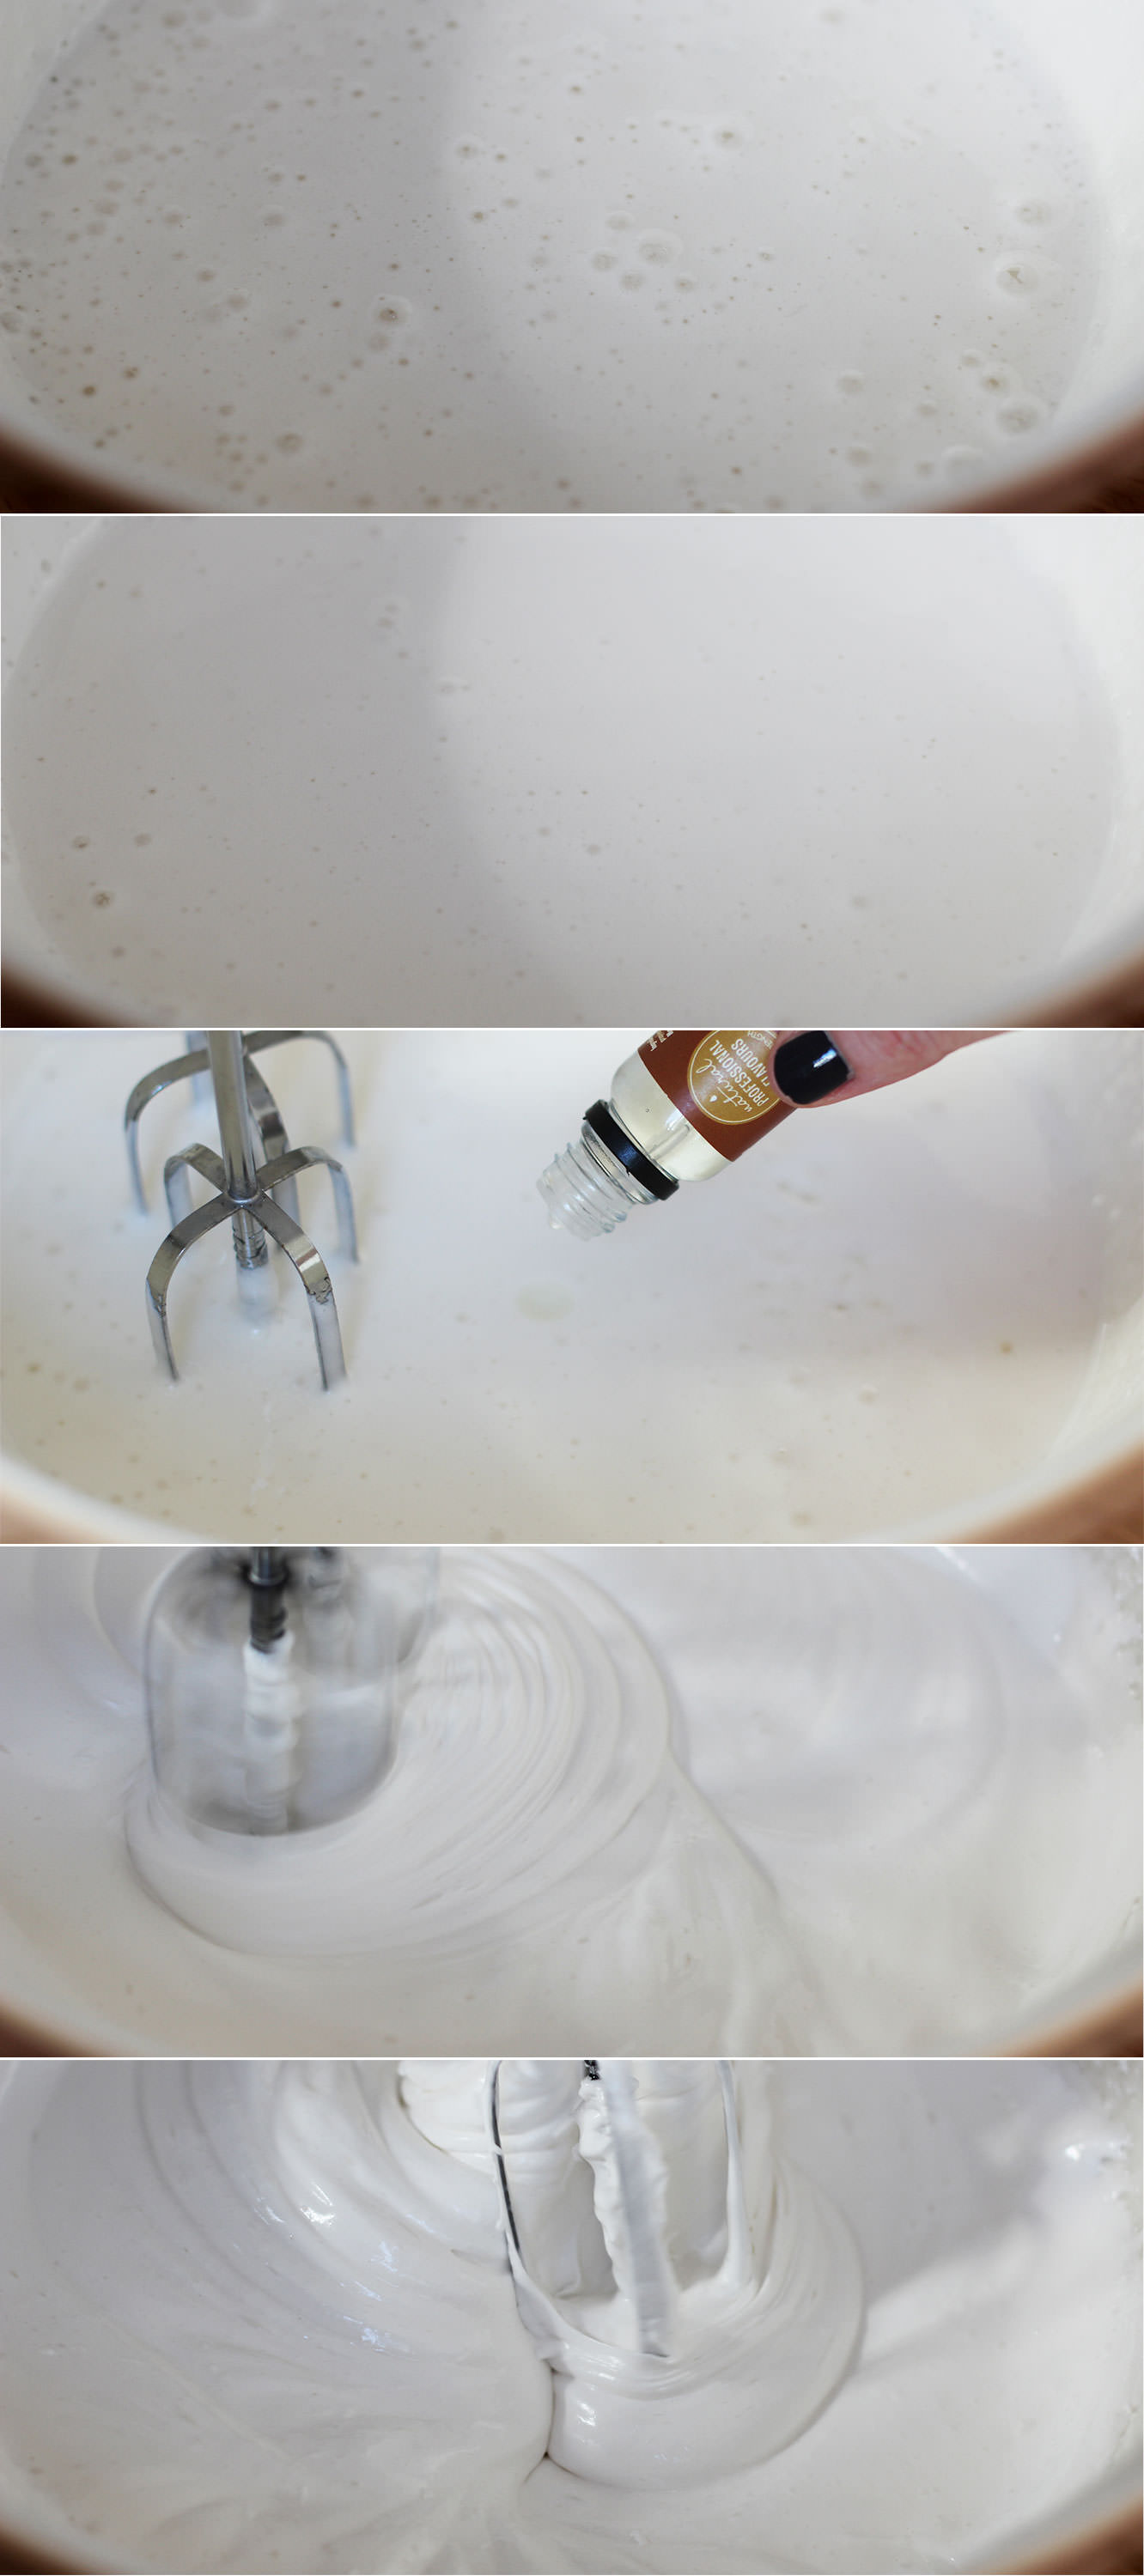
Pour the hot sugar into the eggs, but make sure you’re whisking continually to avoid a big lump of sugar at the bottom of the bowl.

Whisk until the mixture holds its shape well and is quite thick. This can take up to ten minutes.

Somewhere during the whisking (probably when you need to give your arm a rest) add the flavouring. I used buttery caramel (as mentioned in the ingredients) but they will take basically anything you fancy.

hen-bachelorette-party-favours-raspberry-caramel-marshmallow-recipe-04

Step seven

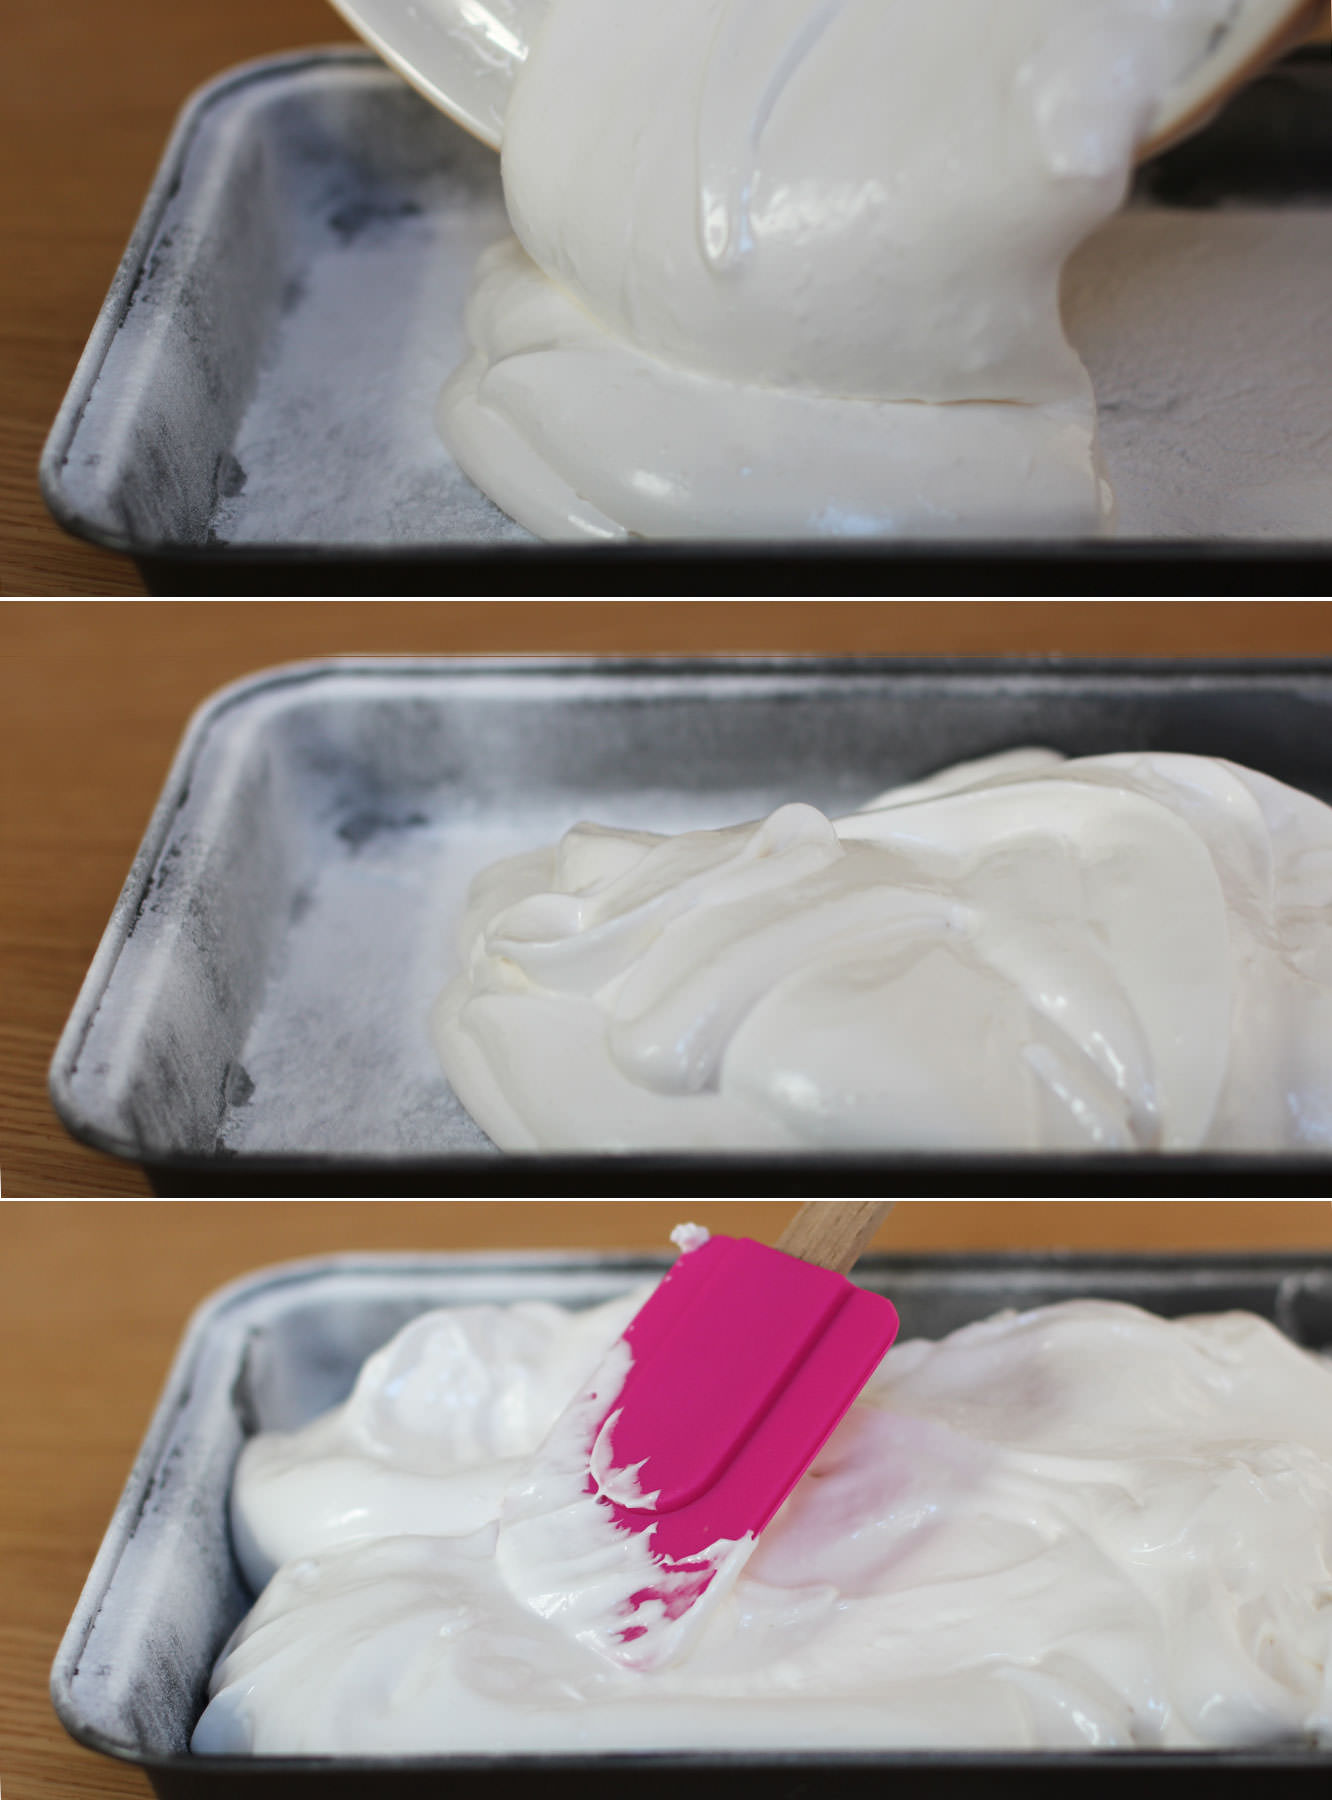
Pour the mixture into the prepared tin and smooth out as much as possible.

Dust with icing sugar and leave to set for about an hour.

For the raspberry and white chocolate marshmallows

hen-bachelorette-party-favours-raspberry-caramel-marshmallow-recipe-05

Step eight

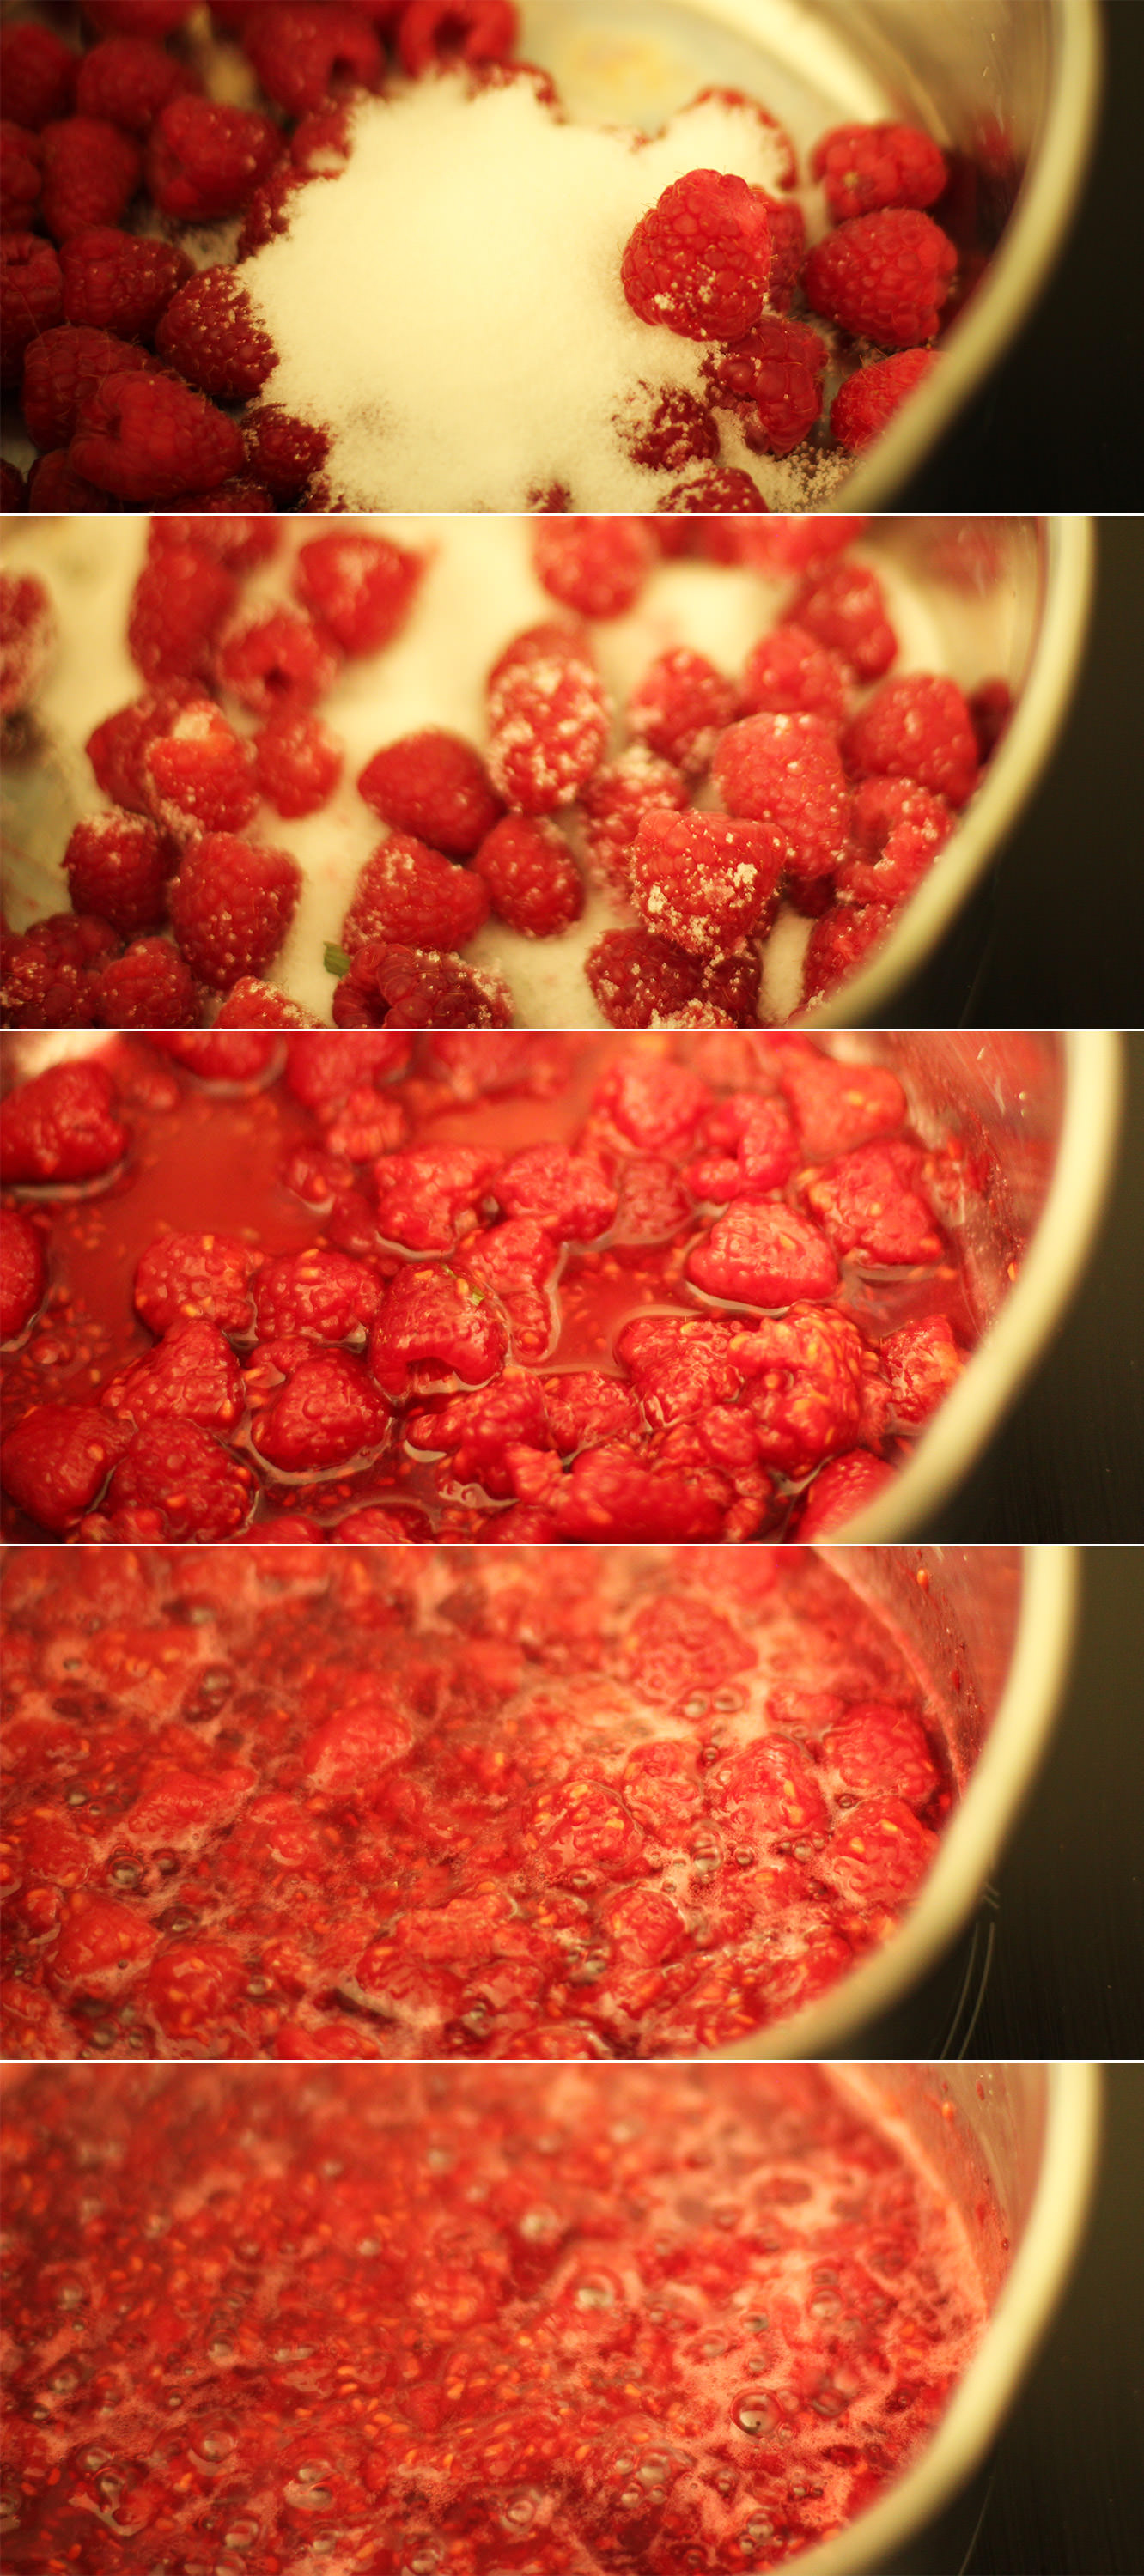
Before starting the marshmallow mix make a puree by adding the raspberries, 50g of the granulated sugar and half a tablespoon of water to a small saucepan.

Heat on a low heat until bubbling away happily. Stir while the mixture reduces (looses water) for about 5 minutes.

hen-bachelorette-party-favours-raspberry-caramel-marshmallow-recipe-07

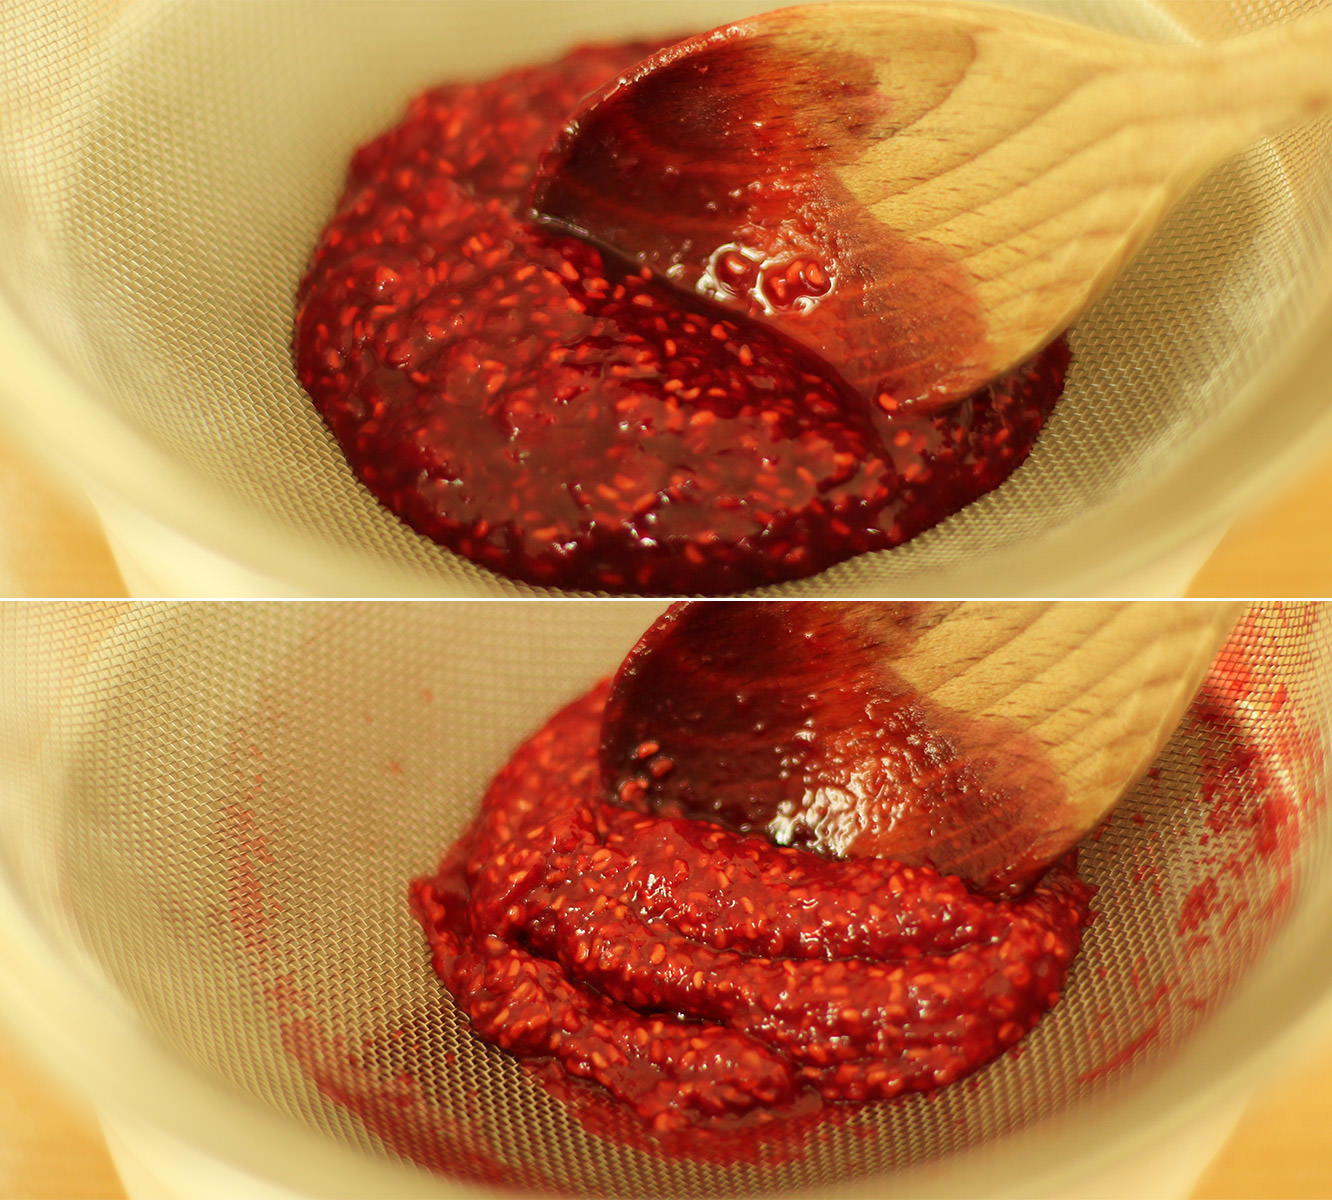
Step nine

Strain though a sieve to remove the pips. It may need a little stirring for encouragement. Don’t forget to scrape the excess off from the underside of the sieve before throwing away the pips.

hen-bachelorette-party-favours-raspberry-caramel-marshmallow-recipe-08

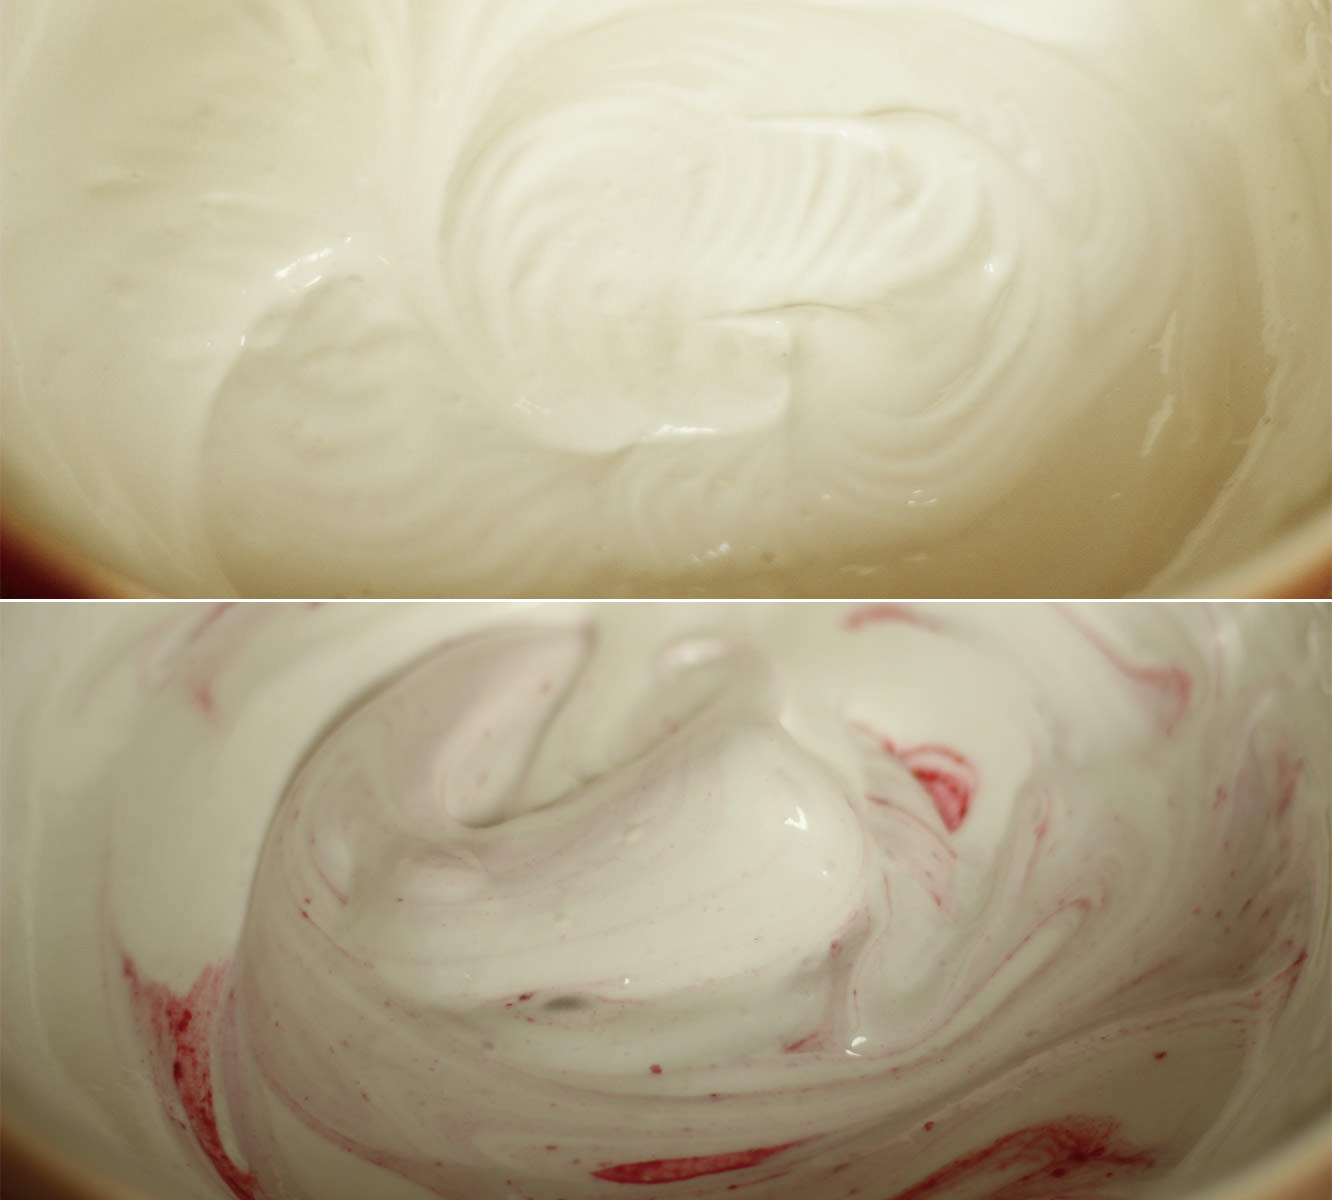
Step ten

Follow the same steps at the caramel recipe, but instead of adding the extract, stir in the puree. I saved this to near the end to keep a bit of a ripple effect.

hen-bachelorette-party-favours-raspberry-caramel-marshmallow-recipe-09

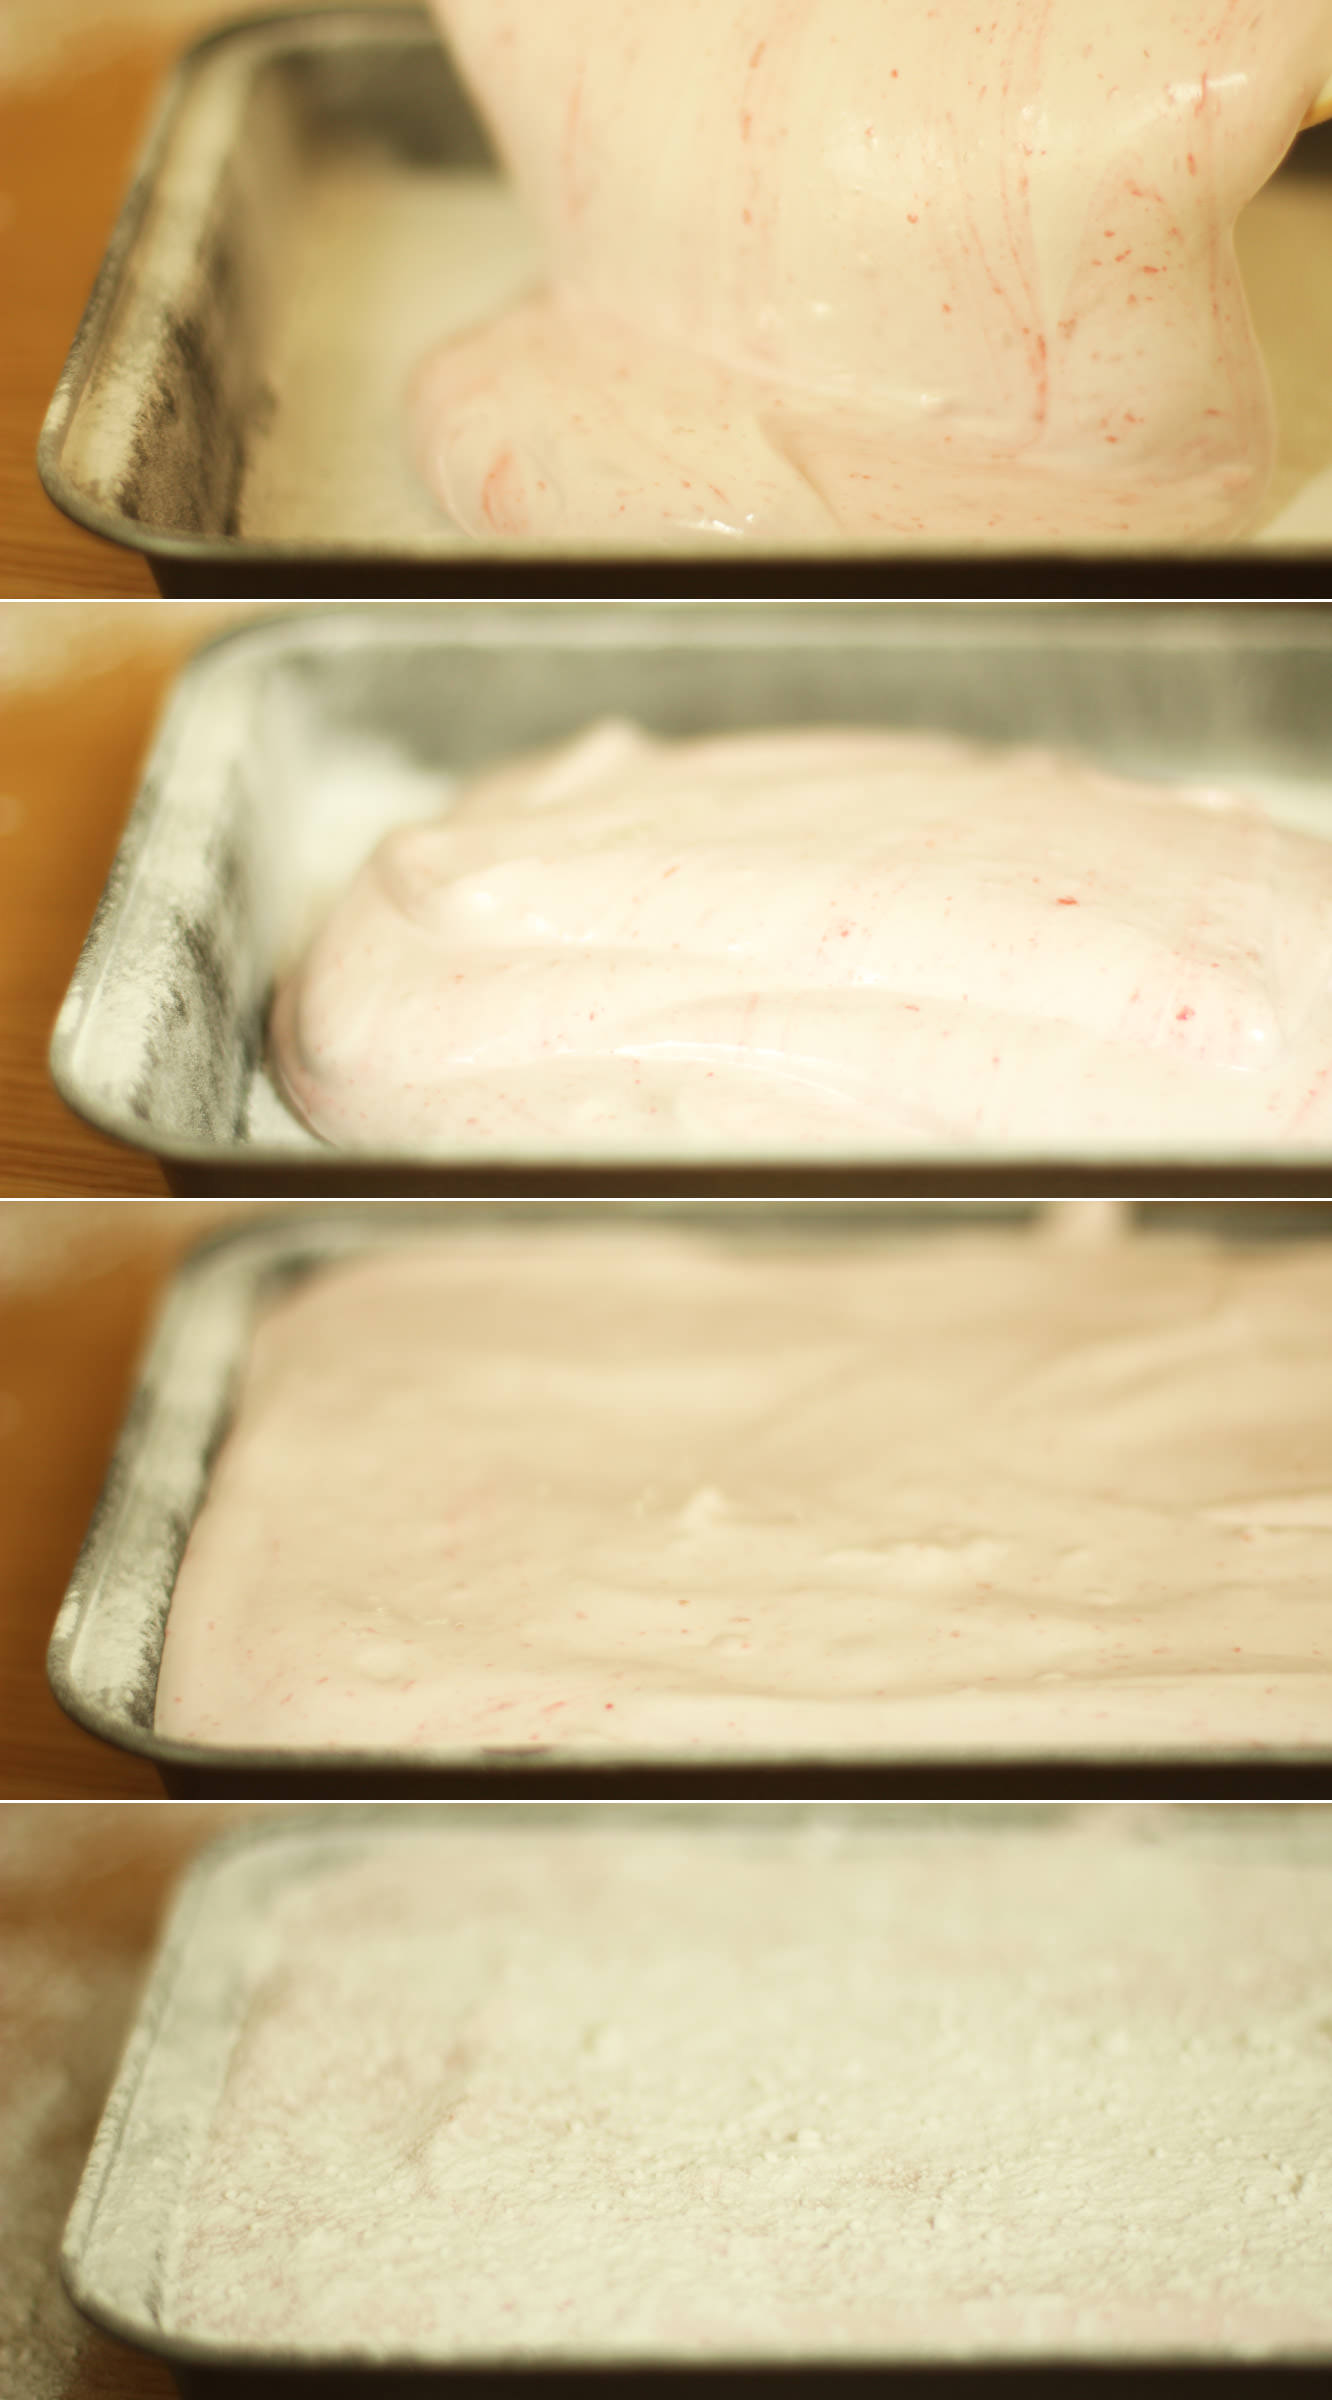
Step eleven

Pour into a second dusted brownie tray and leave to set.

hen-bachelorette-party-favours-raspberry-caramel-marshmallow-recipe-10

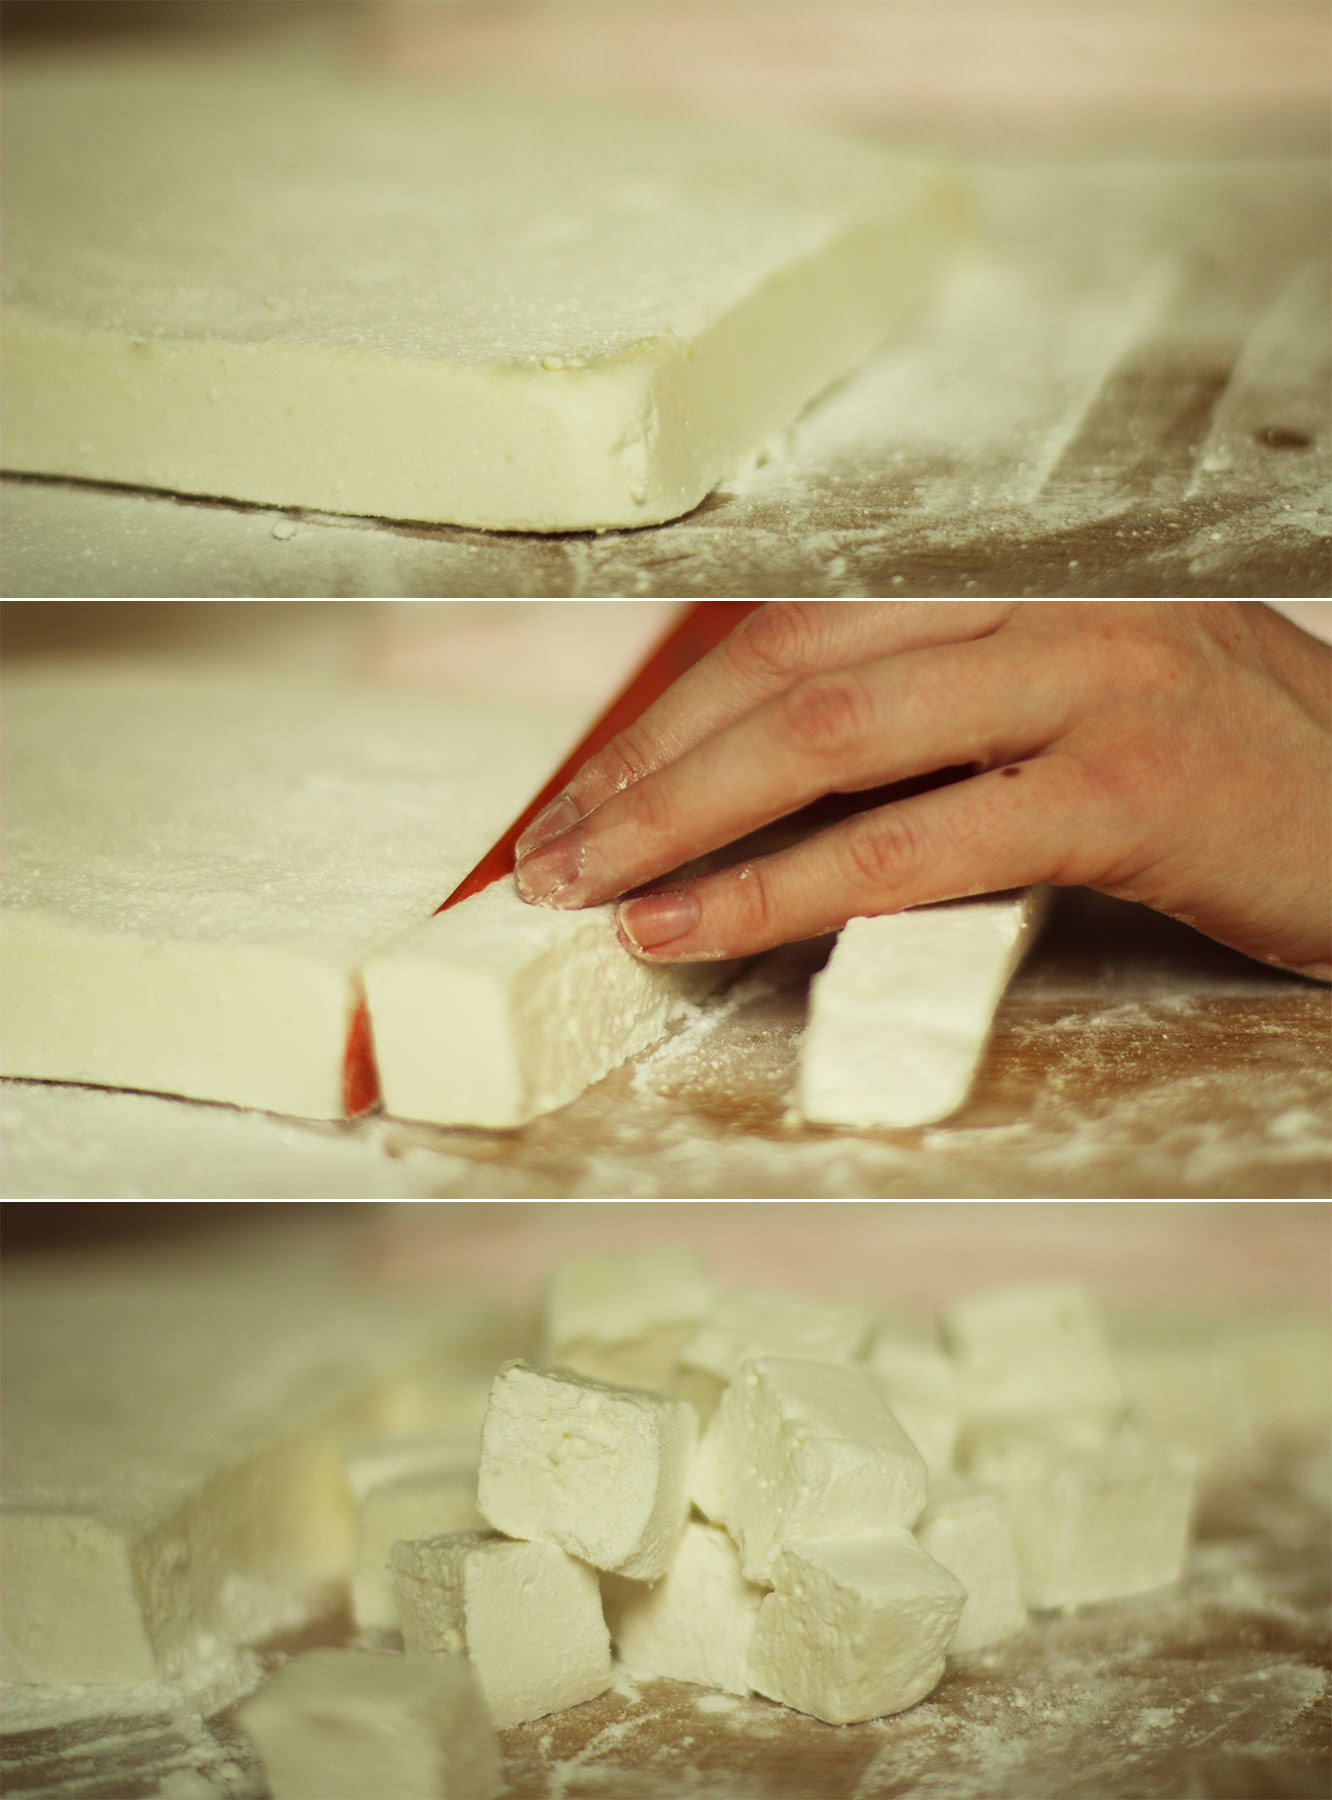
Step twelve

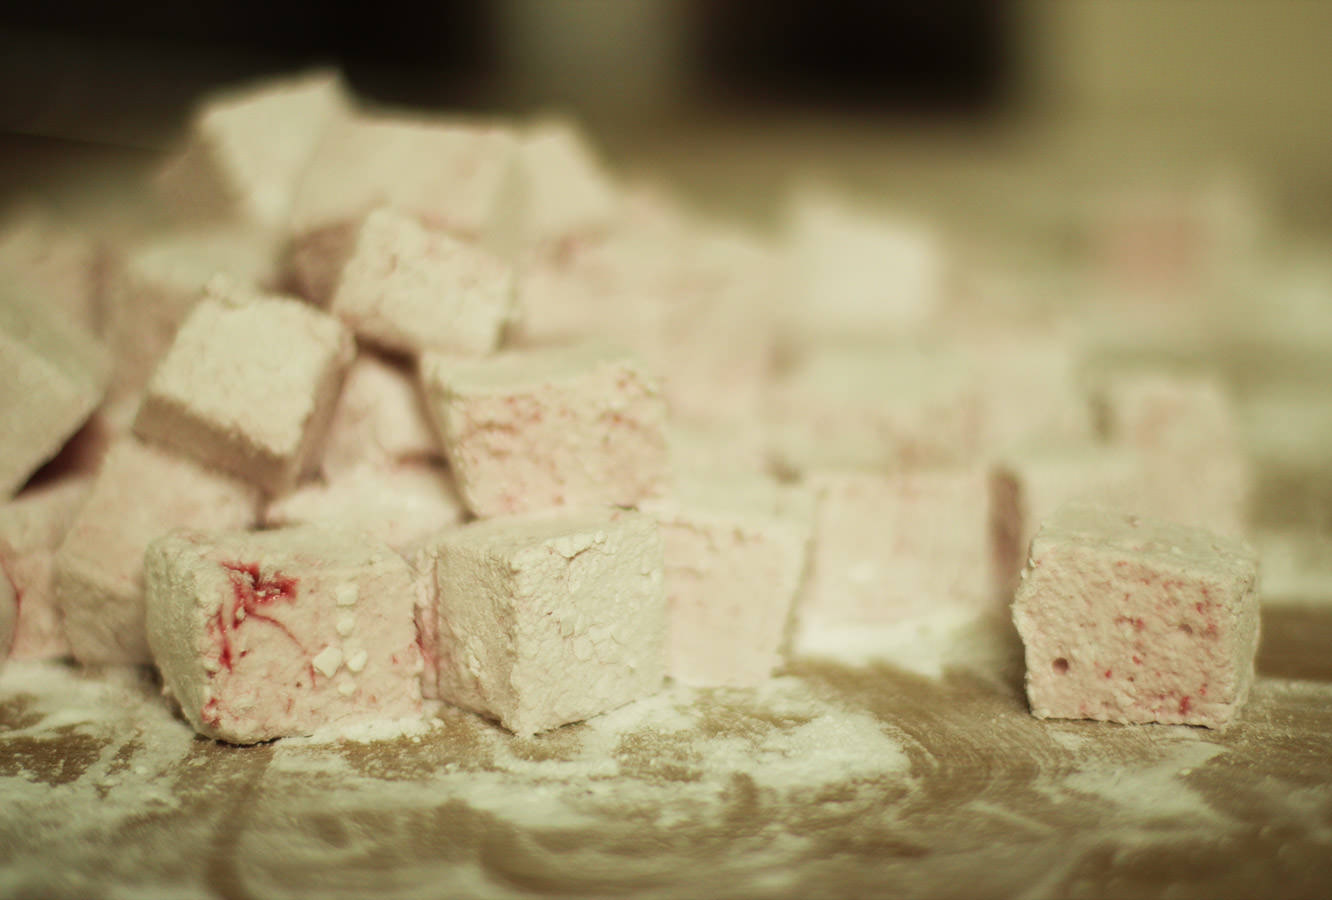
Once the marshmallows have set (at least an hour, preferably more) turn them out onto a surface dusted with icing sugar.

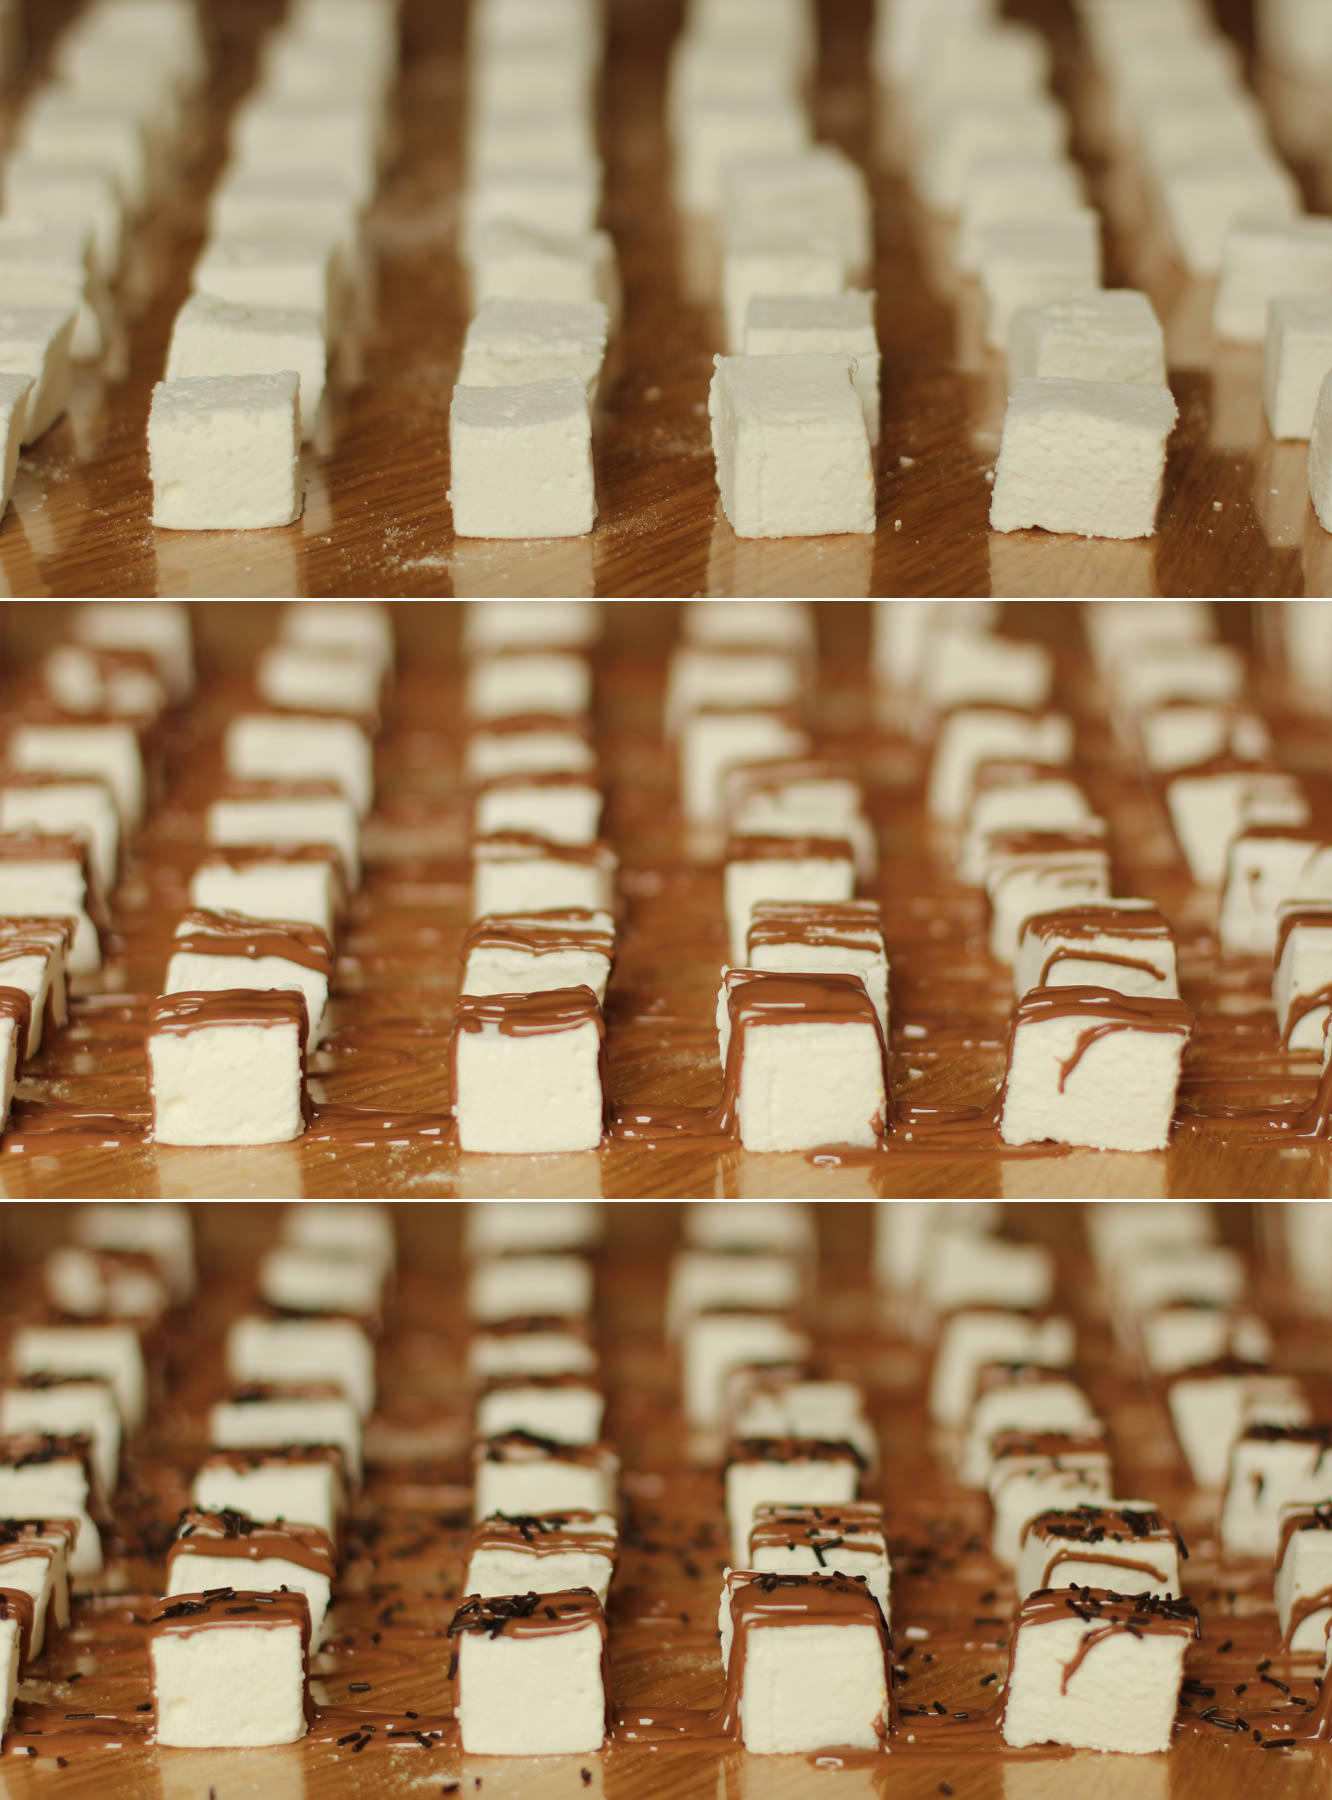
Cut them into cubes, and dust all the sides. Don’t worry if they are a little sticky, they will dry out a bit more.

hen-bachelorette-party-favours-raspberry-caramel-marshmallow-recipe-11

Try not to eat them all just yet.

hen-bachelorette-party-favours-raspberry-caramel-marshmallow-recipe-13

Step thirteen

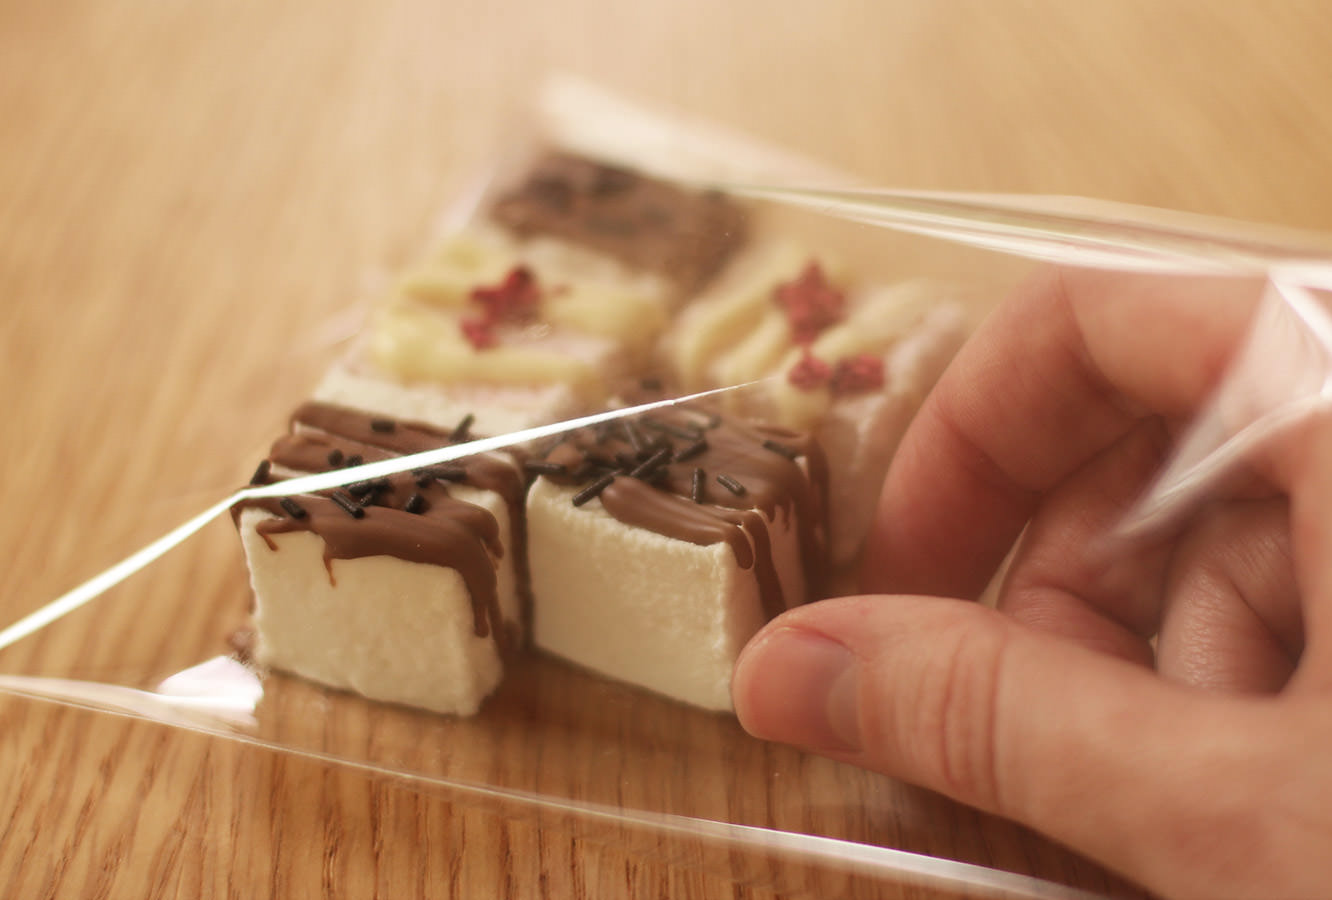
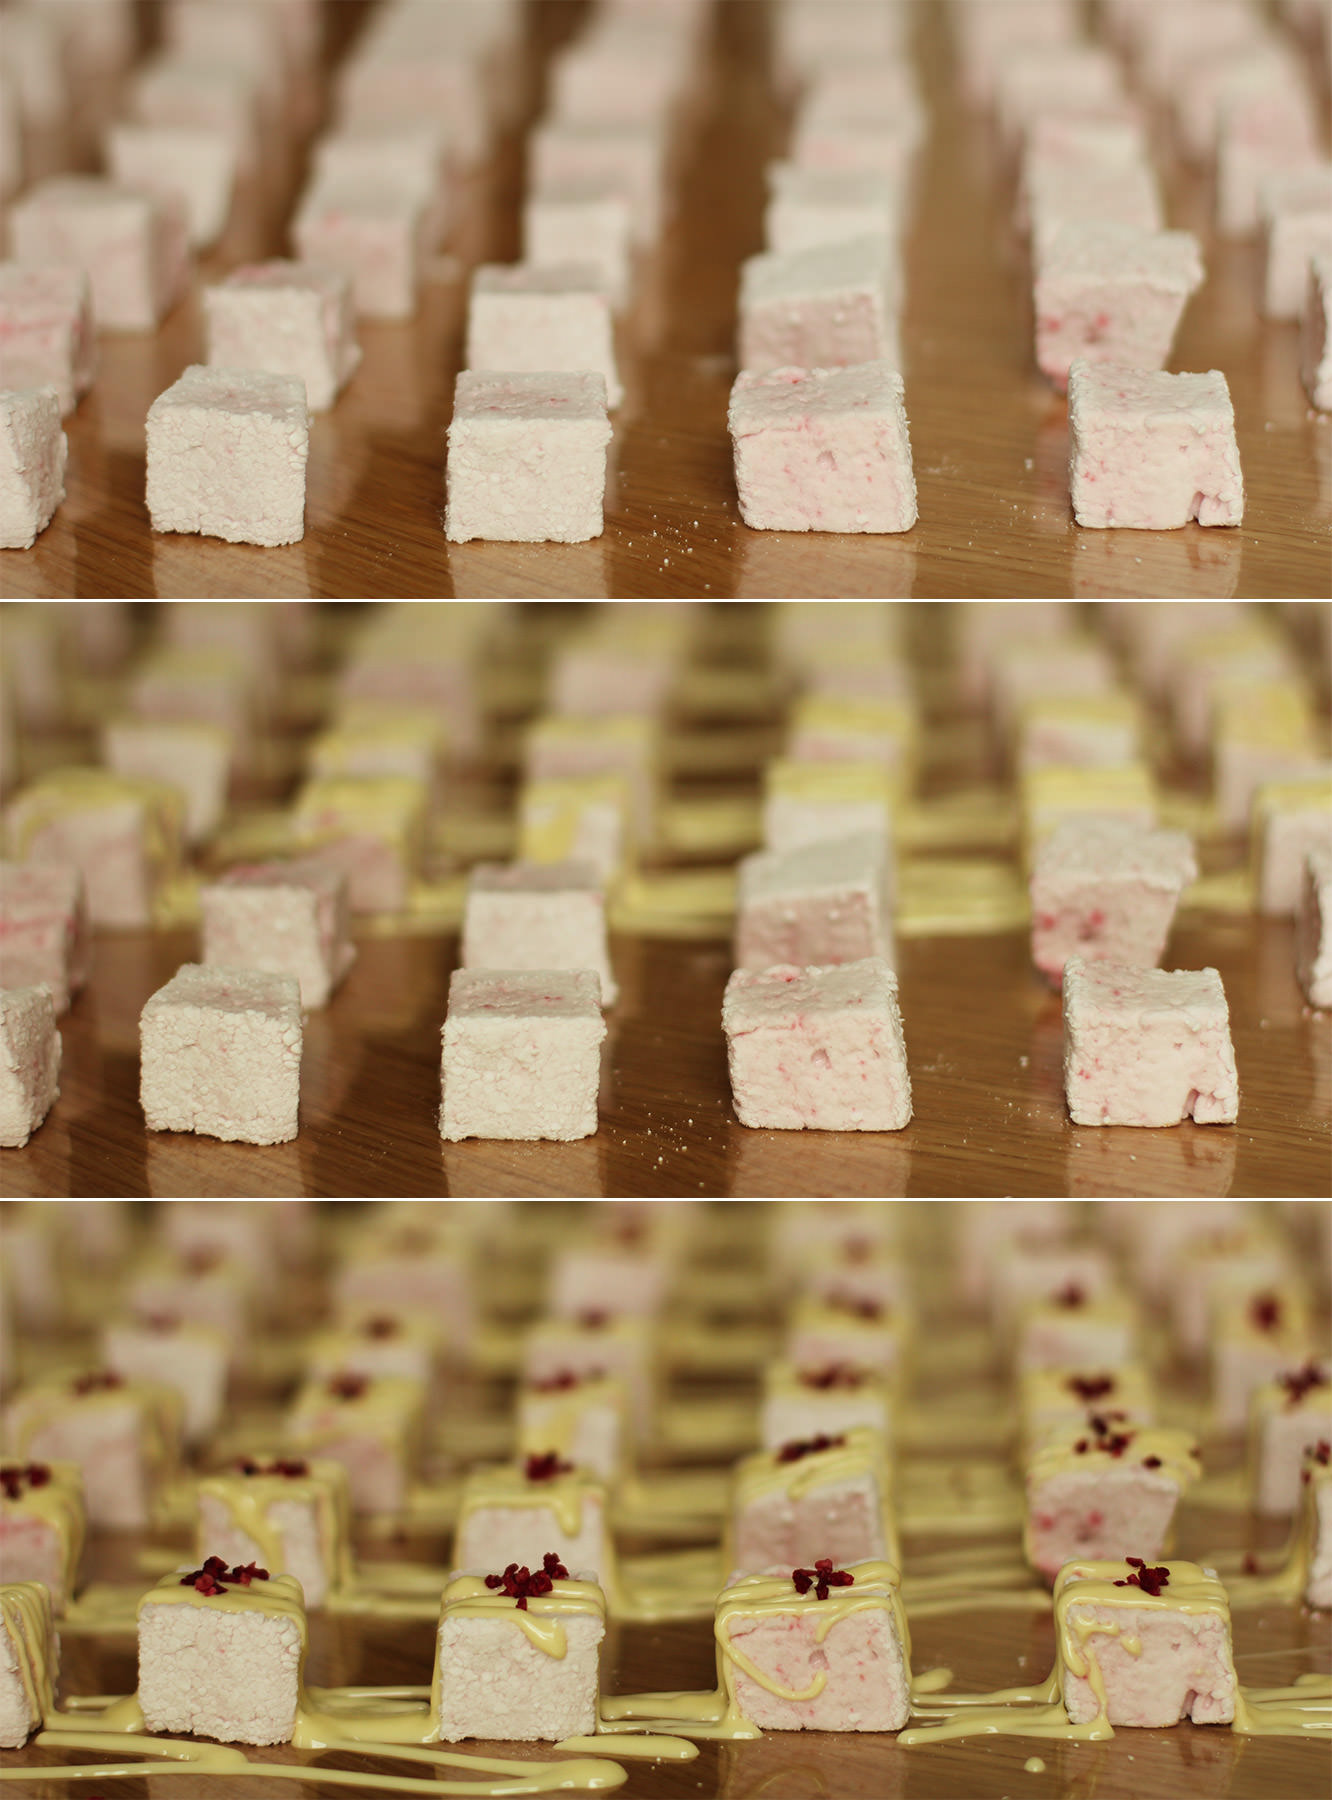
Lay the caramel marshmallows out in rows on greaseproof paper or cellophane and melt the milk chocolate. I used a piping bag to drizzle the chocolate over the marshmallows, you could use a sandwich bag and snip the corner.

hen-bachelorette-party-favours-raspberry-caramel-marshmallow-recipe-12

Step fourteen

Repeat with the raspberry and white chocolate marshmallows.

hen-bachelorette-party-favours-raspberry-caramel-marshmallow-recipe-14

Step fifteen

Once the chocolate has set place 5 in each bag, 2 of one flavour, 3 of the other, alternating as you go so you don’t run out of one.

As I mentioned last post I’ll be doing a wrap up post with all the finishing touches, so stay tuned for that. For now, here’s our lovely hen chowing down:

hen-bachelorette-party-favours-raspberry-caramel-marshmallow-recipe-gif

Cluck cluck #1

Hi there. First off, apologies are in order. I missed my Monday night slot this week. I am deeply entrenched in finishing my portfolio and got really, really, involved in designing a book cover, more on that another time.

ANYWAY. My lovely housemate Vicky had her Hen Party a few weekends ago. Sadly I had something I had booked up a year in advance to go to so I couldn’t make it. Sad face. Instead I thought I would leave Vicky a little surprise on the dining table so she’d know I was thinking of her while she partied on down with her hens.

This is a little four part series, showing you how to make three different little hen/bachelorette party favours at home; the final post will detail all the finishing touches. You might prefer to use them as wedding favours or for childrens’ parties instead.

Heads up: I made 30 of each recipe, so if you’re looking to make a sweet treat for an evening in, divide, divide, divide the quantities of the recipe, don’t send me the bill for your fillings.

We’re kicking off this week with a recipe for orange sherbet. I just need to clarify for the sake of my US (and possibly Canadian?) readership, we mean something different when we say sherbet. You mean sorbet. We mean sherbet.

hen-bachelorette-party-favours-01

You will need

300g/10.5 oz Icing sugar

300g/10.5 oz Granulated sugar

175g/6 oz Caster sugar

125g/4.5 oz Orange jelly powder (again, America, you mean jelly when you say jello)

1-2 tsp Yellow food colouring

1 tsp Orange extract

60 small, or 30 regular sized lollipops

Cellophane DL card bags

(makes 30)

hen-bachelorette-party-favours-orange-sherbet-recipe-01

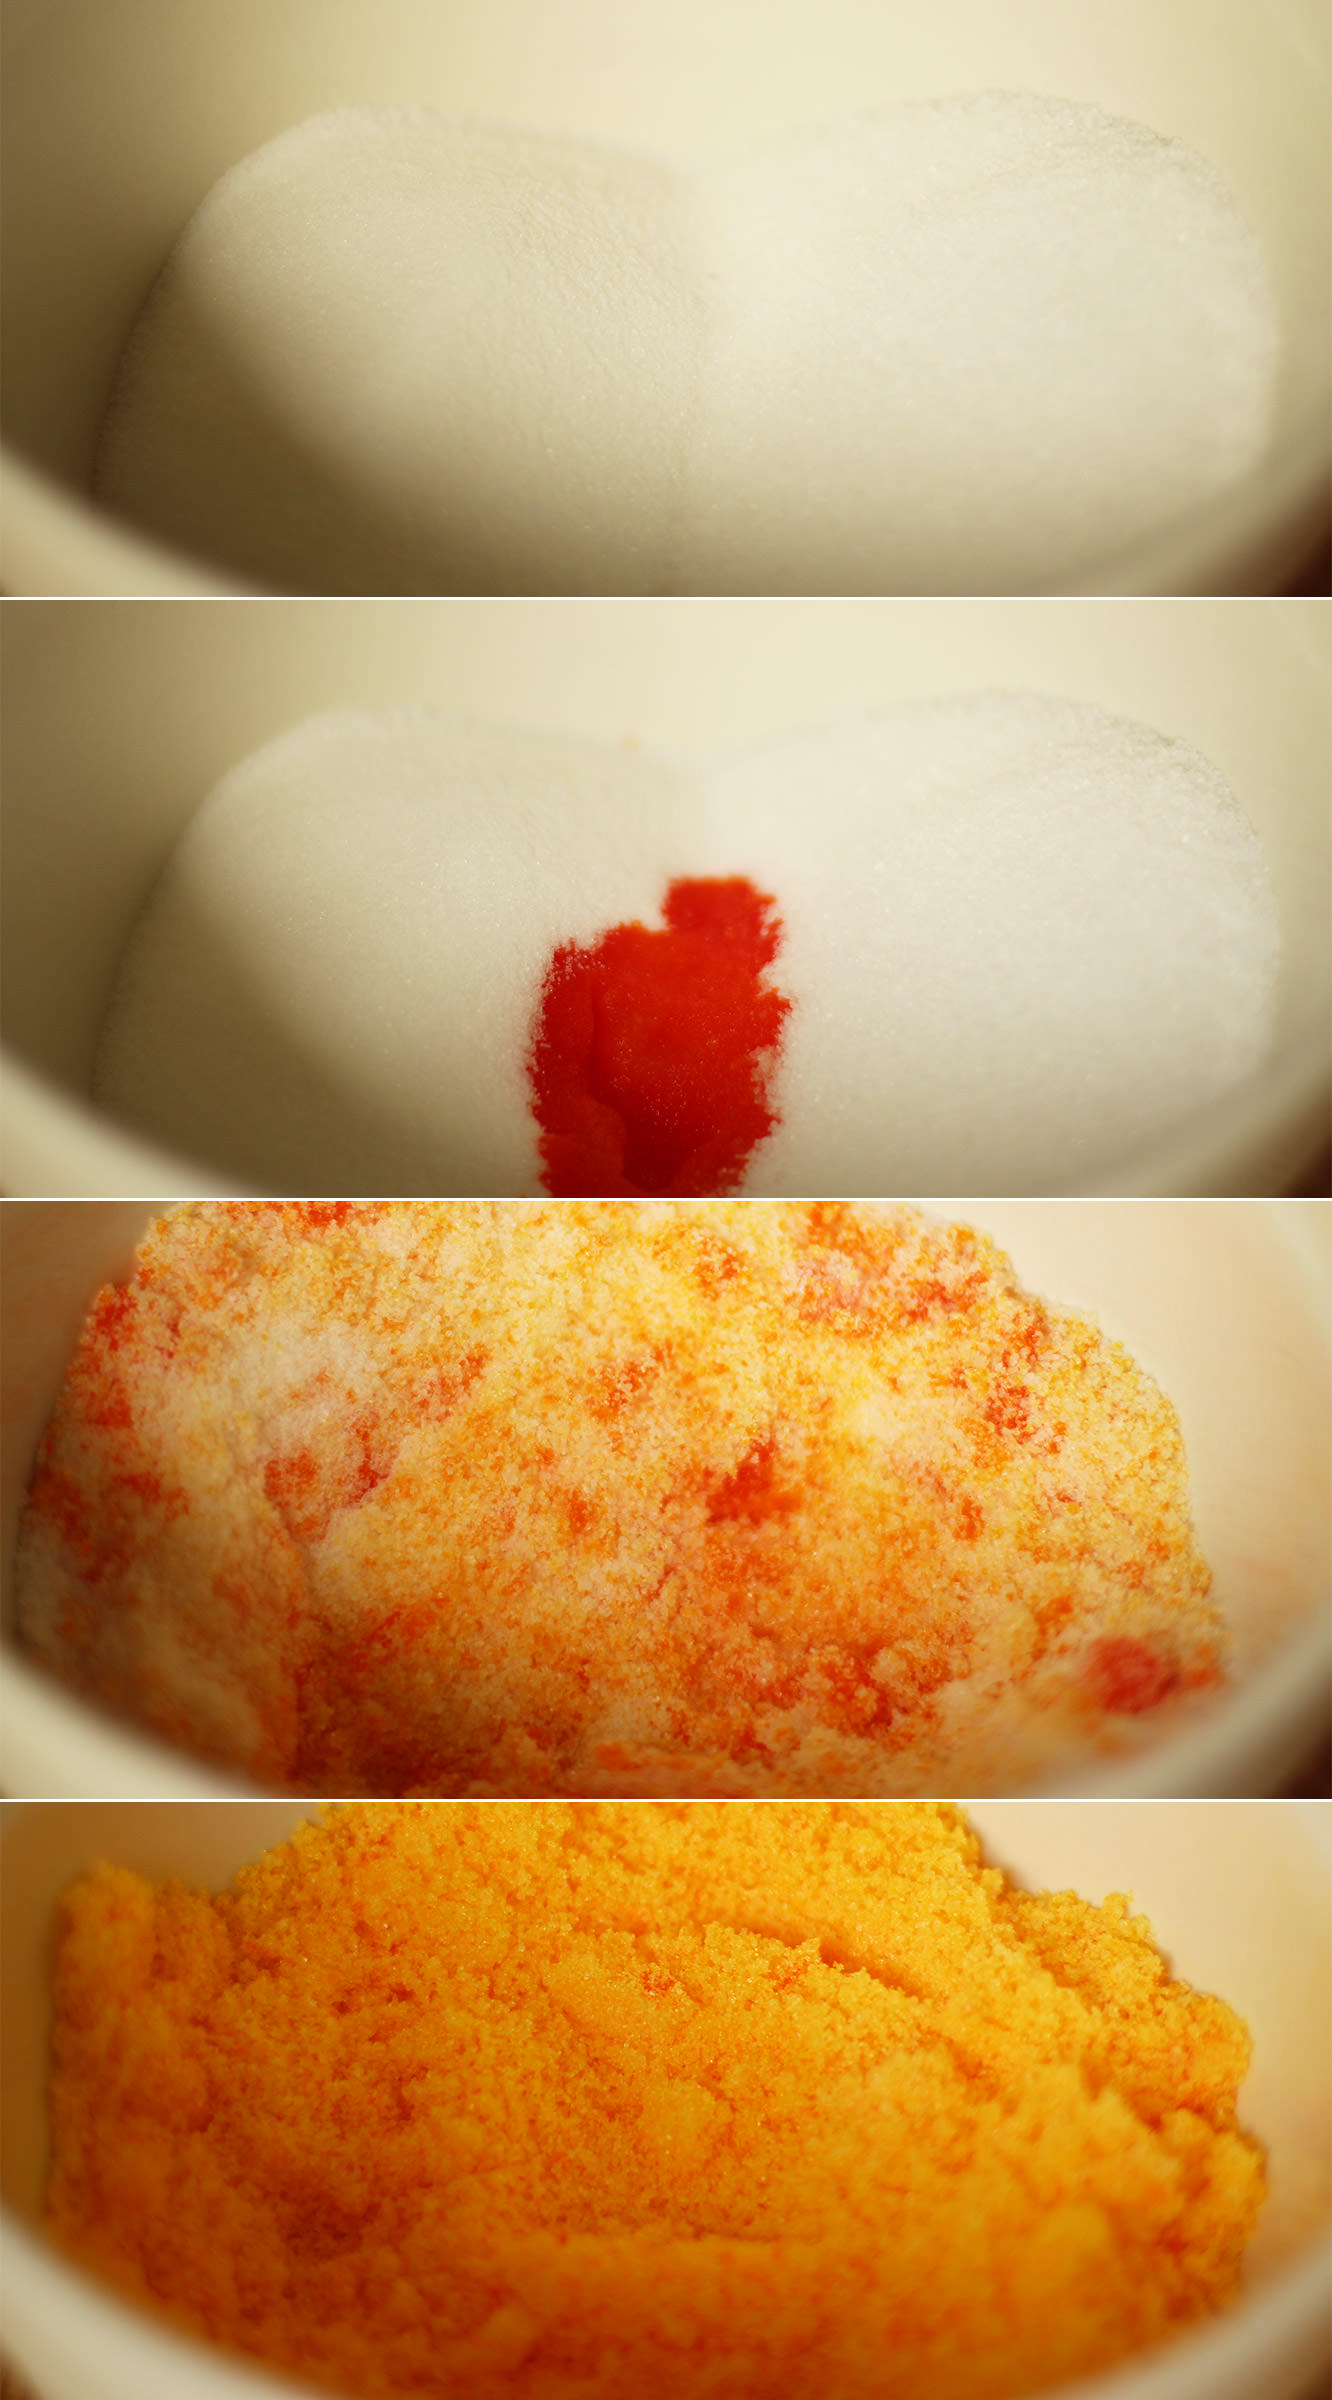
Step one

Mix together the granulated and caster sugars with the orange extract and colouring. If you want it to be a really bright colour, go for 2 tsp, I wanted a more subtle yellowy-orange so went for one.

Just in case you think I’ve lost it…the colour dilutes when you add the other ingredients.
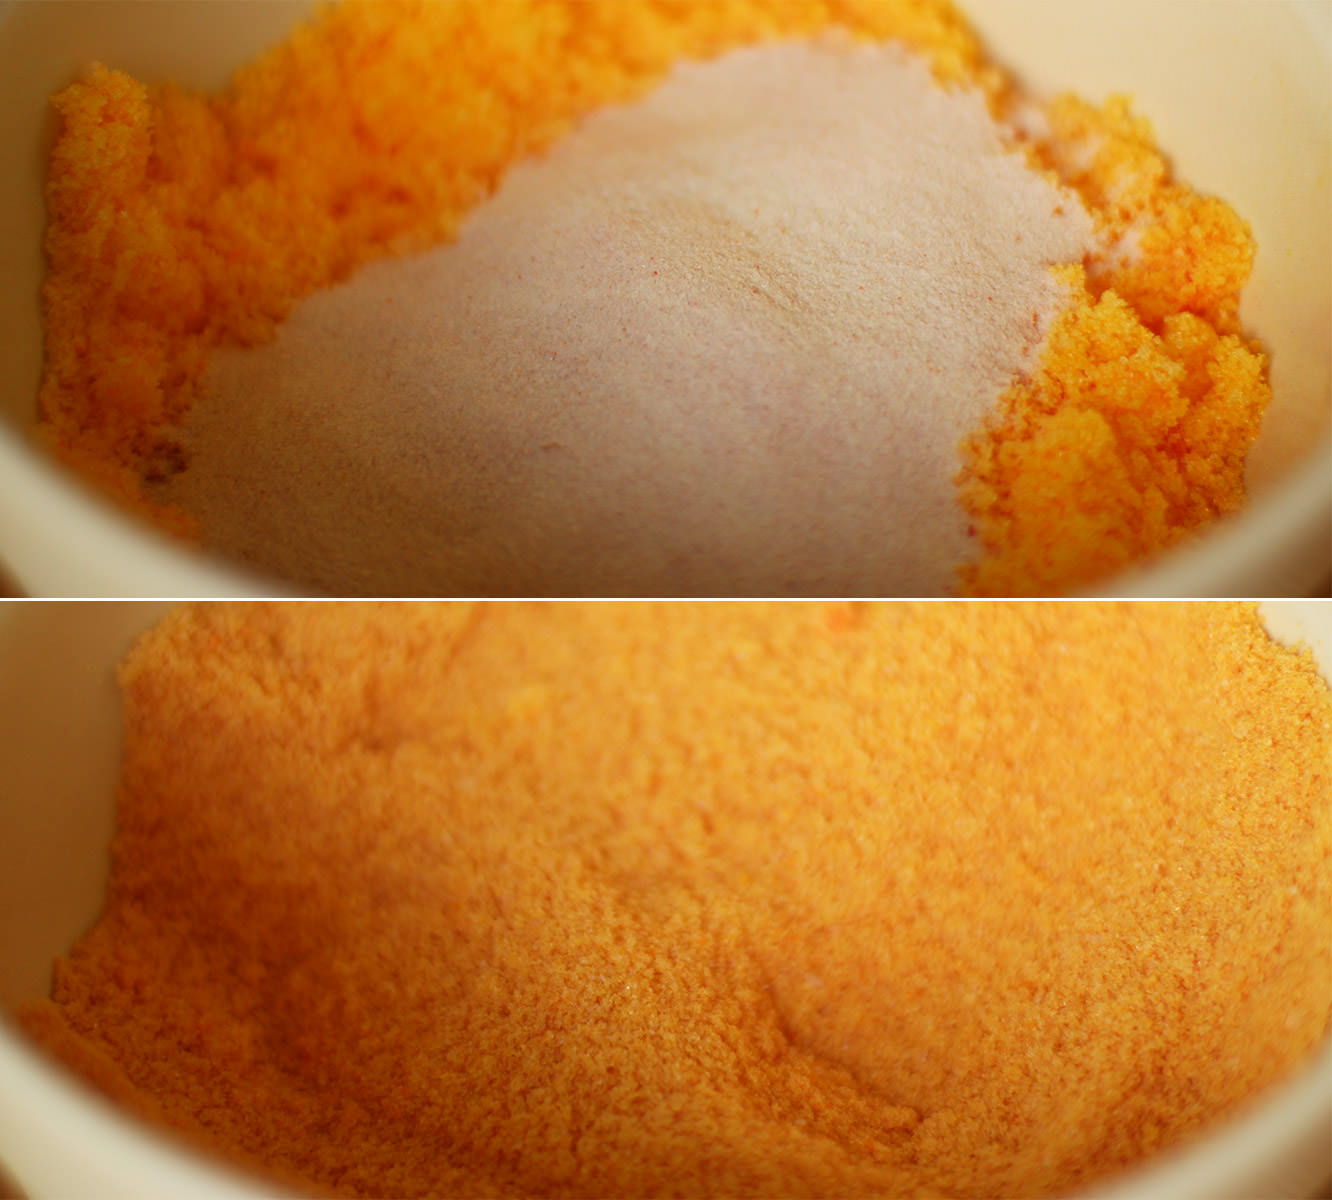
hen-bachelorette-party-favours-orange-sherbet-recipe-02

Step two

Add the jelly powder and stir again until fully combined. Give it a little taste at this point. For a stronger flavour add more jelly or more flavouring, but for the record, I think you’ll be set.

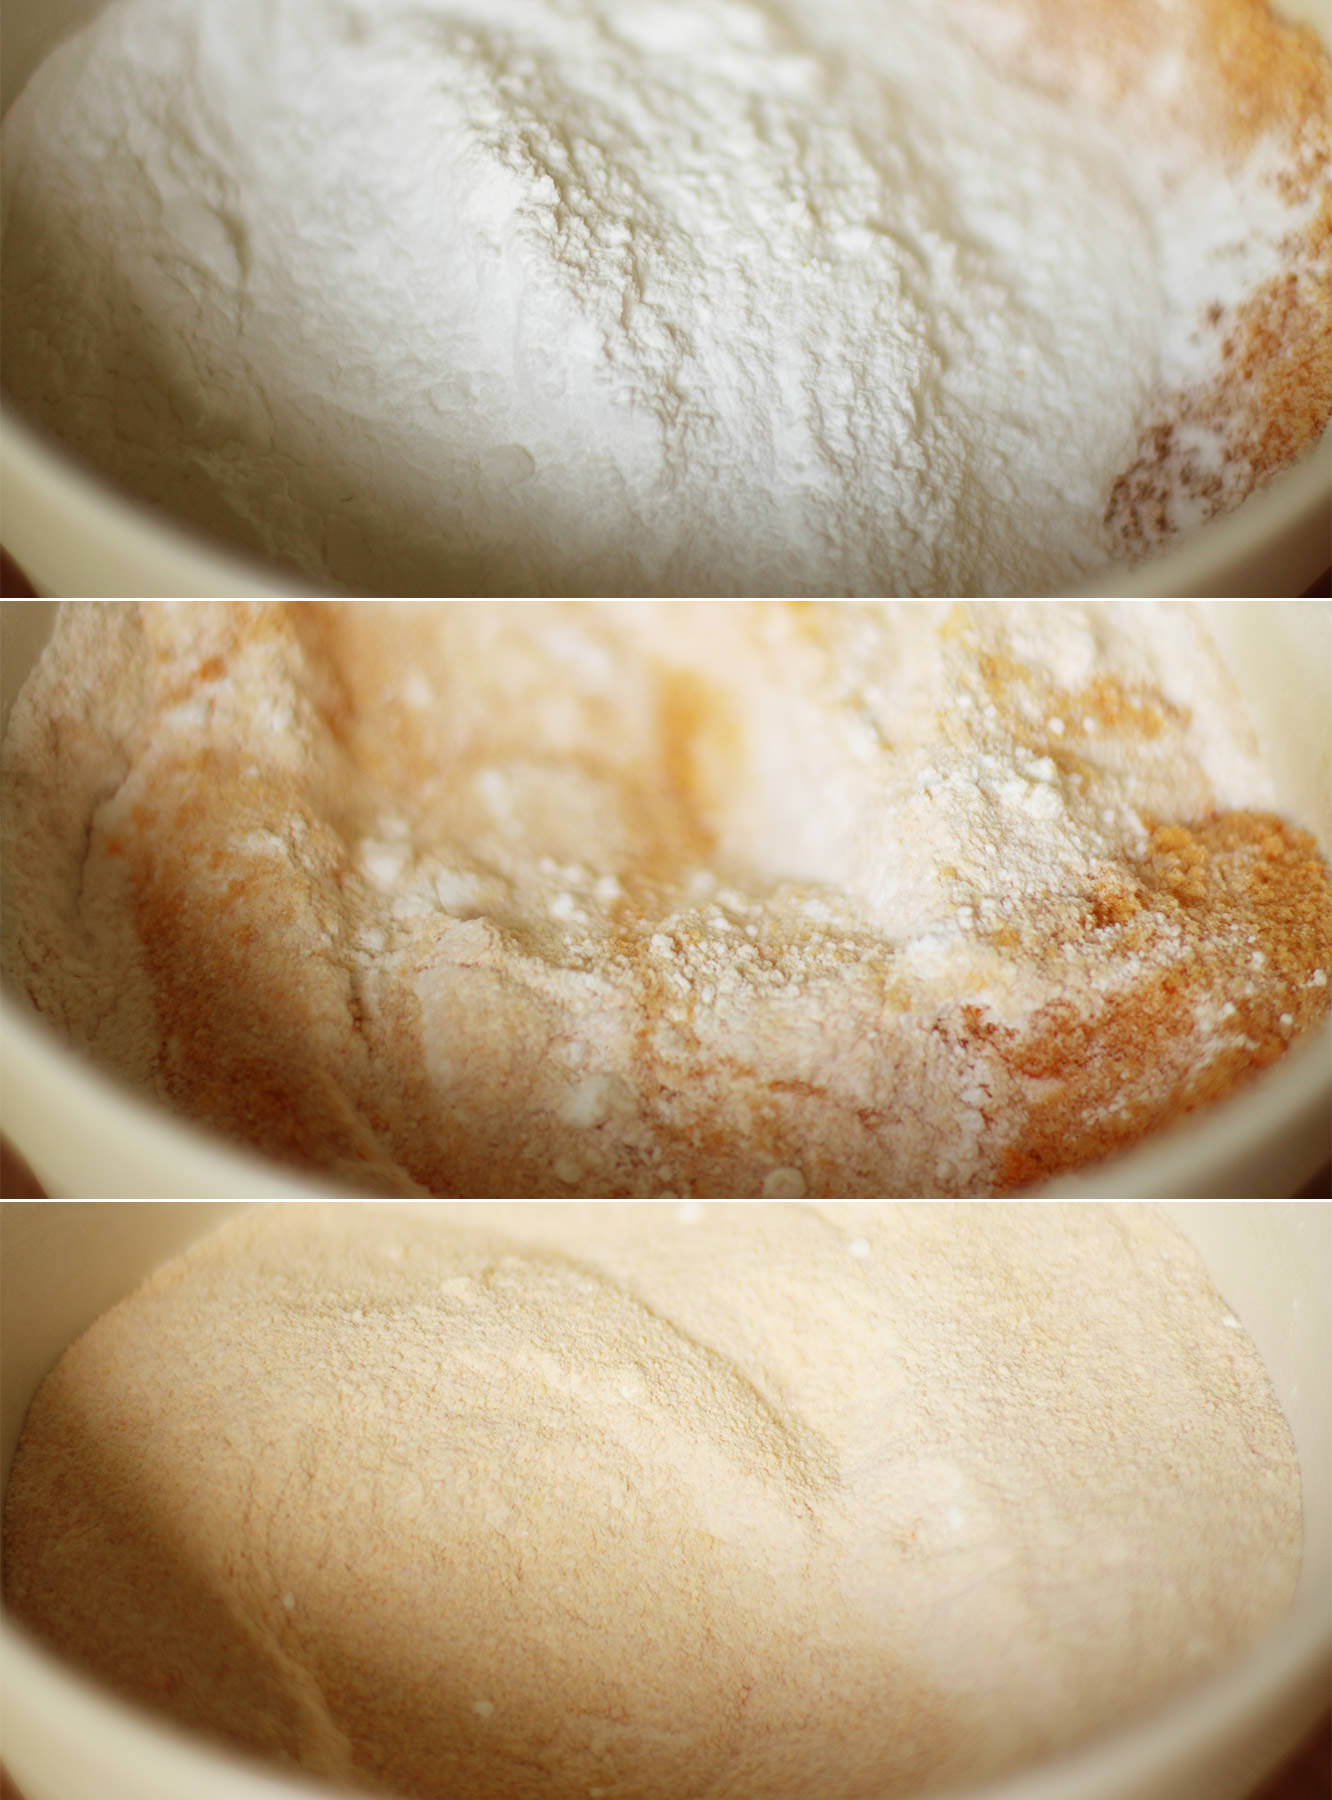
hen-bachelorette-party-favours-orange-sherbet-recipe-03

Step three

Add the icing sugar and mix again thoroughly. See, now you you know what I mean about the colour? Nice and subtle isn’t it?

hen-bachelorette-party-favours-orange-sherbet-recipe-04

Step four

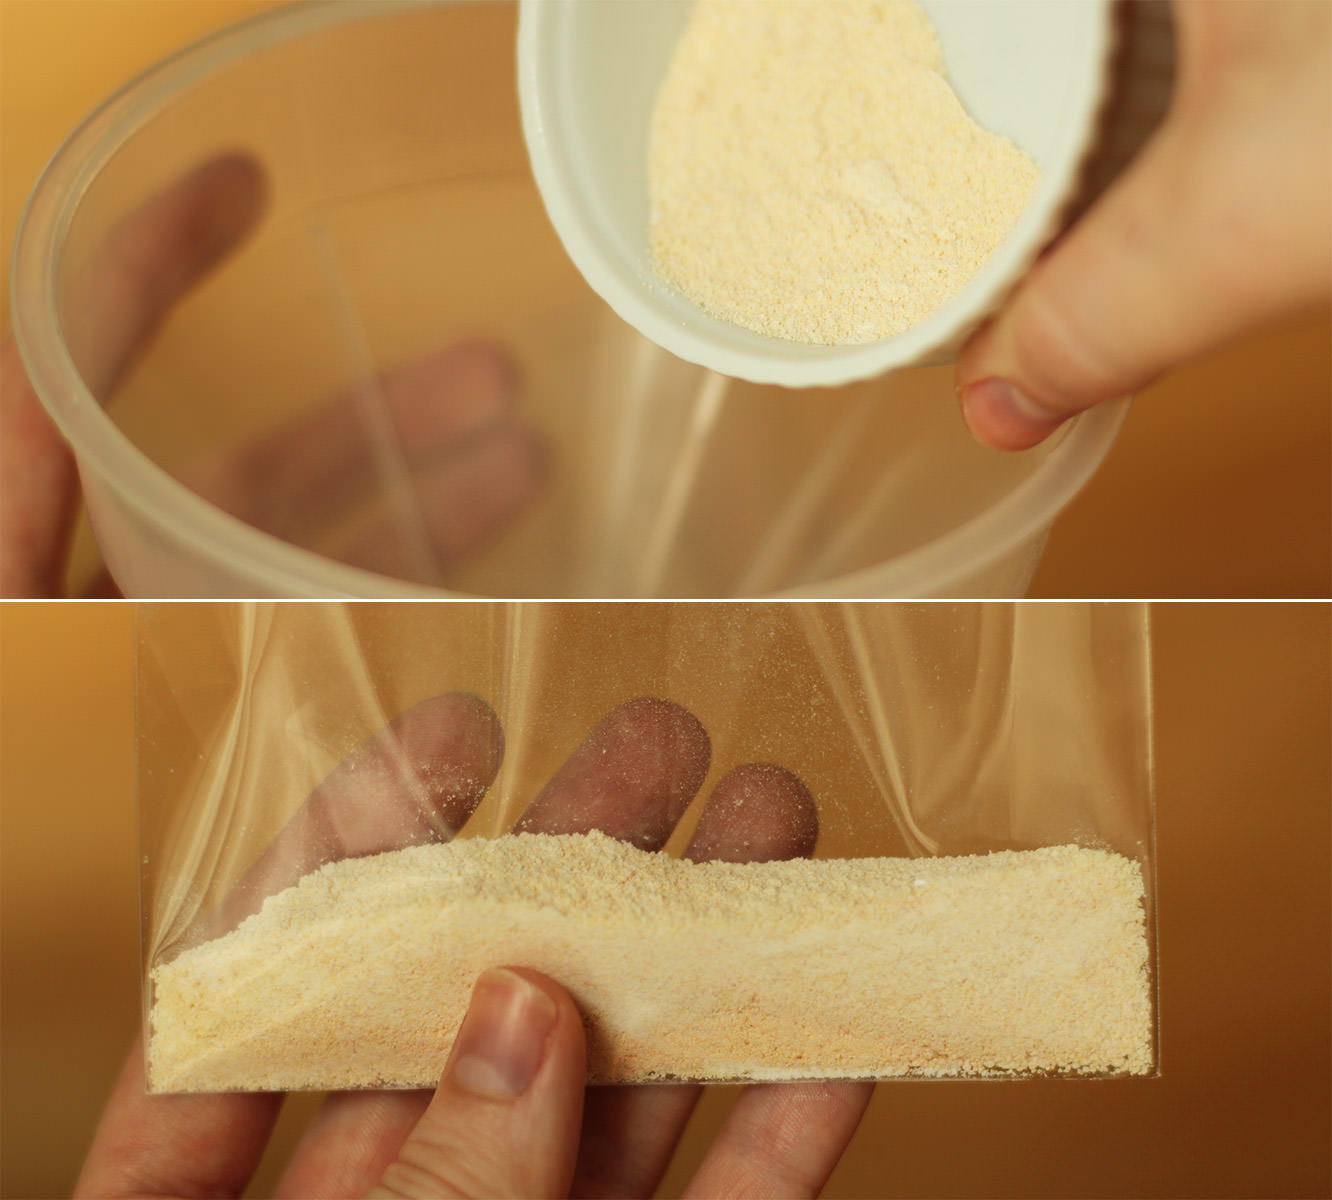
Weigh 30g portions and pour into the card bags.
That’s where I’m leaving you for today I’m afraid folks, the finishing off will be in my round up post in a few weeks. The suspense is killing you I know.
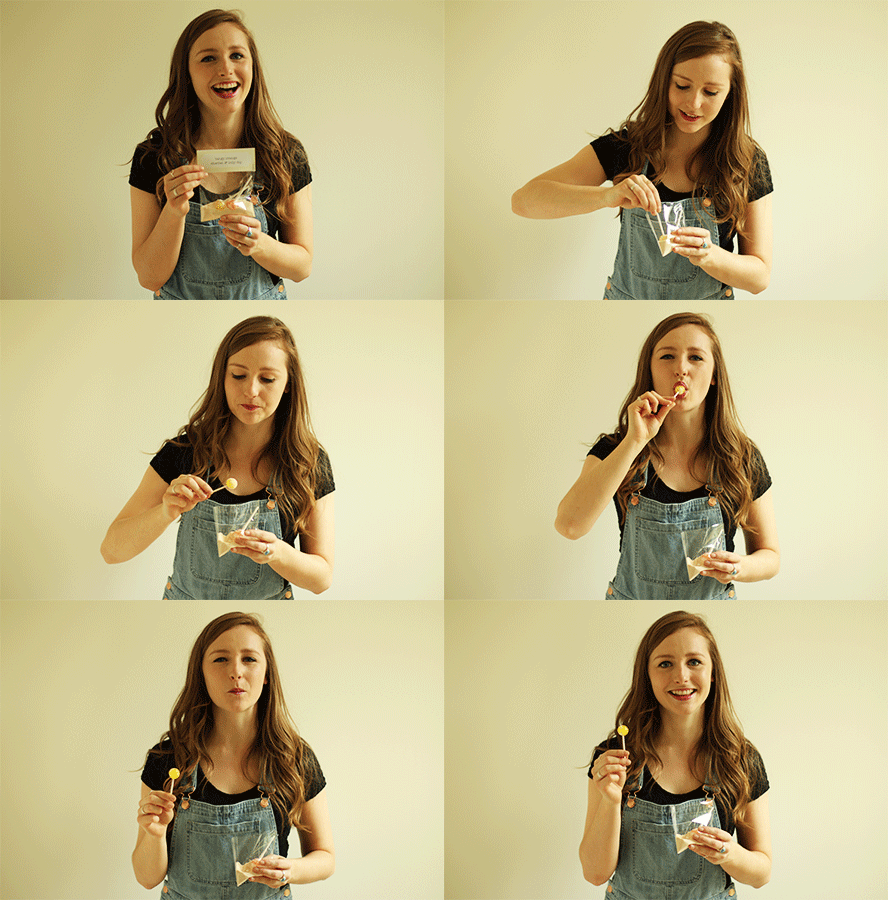
In the meantime, just when you thought you weren’t even getting a gif this week. Here’s a tinker in her dungarees:

hen-bachelorette-party-favours-orange-sherbet-recipe-gif

Have a fabulous day whatever you’re up to!