Category: Surprisingly Simple

cookie dough + chocolate brownie = yum

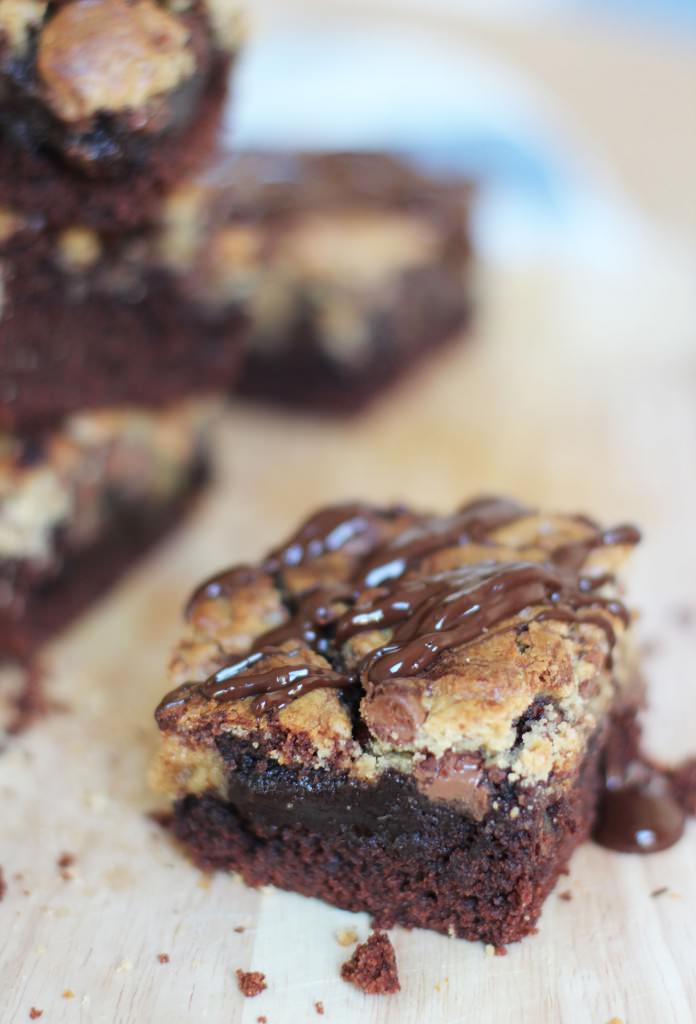
I used to make a cheat’s version of this recipe with two packet mixes, and recently I just thought to myself, ‘I wonder if this would taste better if I made the batters from scratch’. Oh boy does it.

You just have to find an excuse to make this and eat it warm from the oven with some ice cream. It’s very easy and quite a bit more impressive than regular brownies.

cookie-dough-brownie-recipe-0

You will need

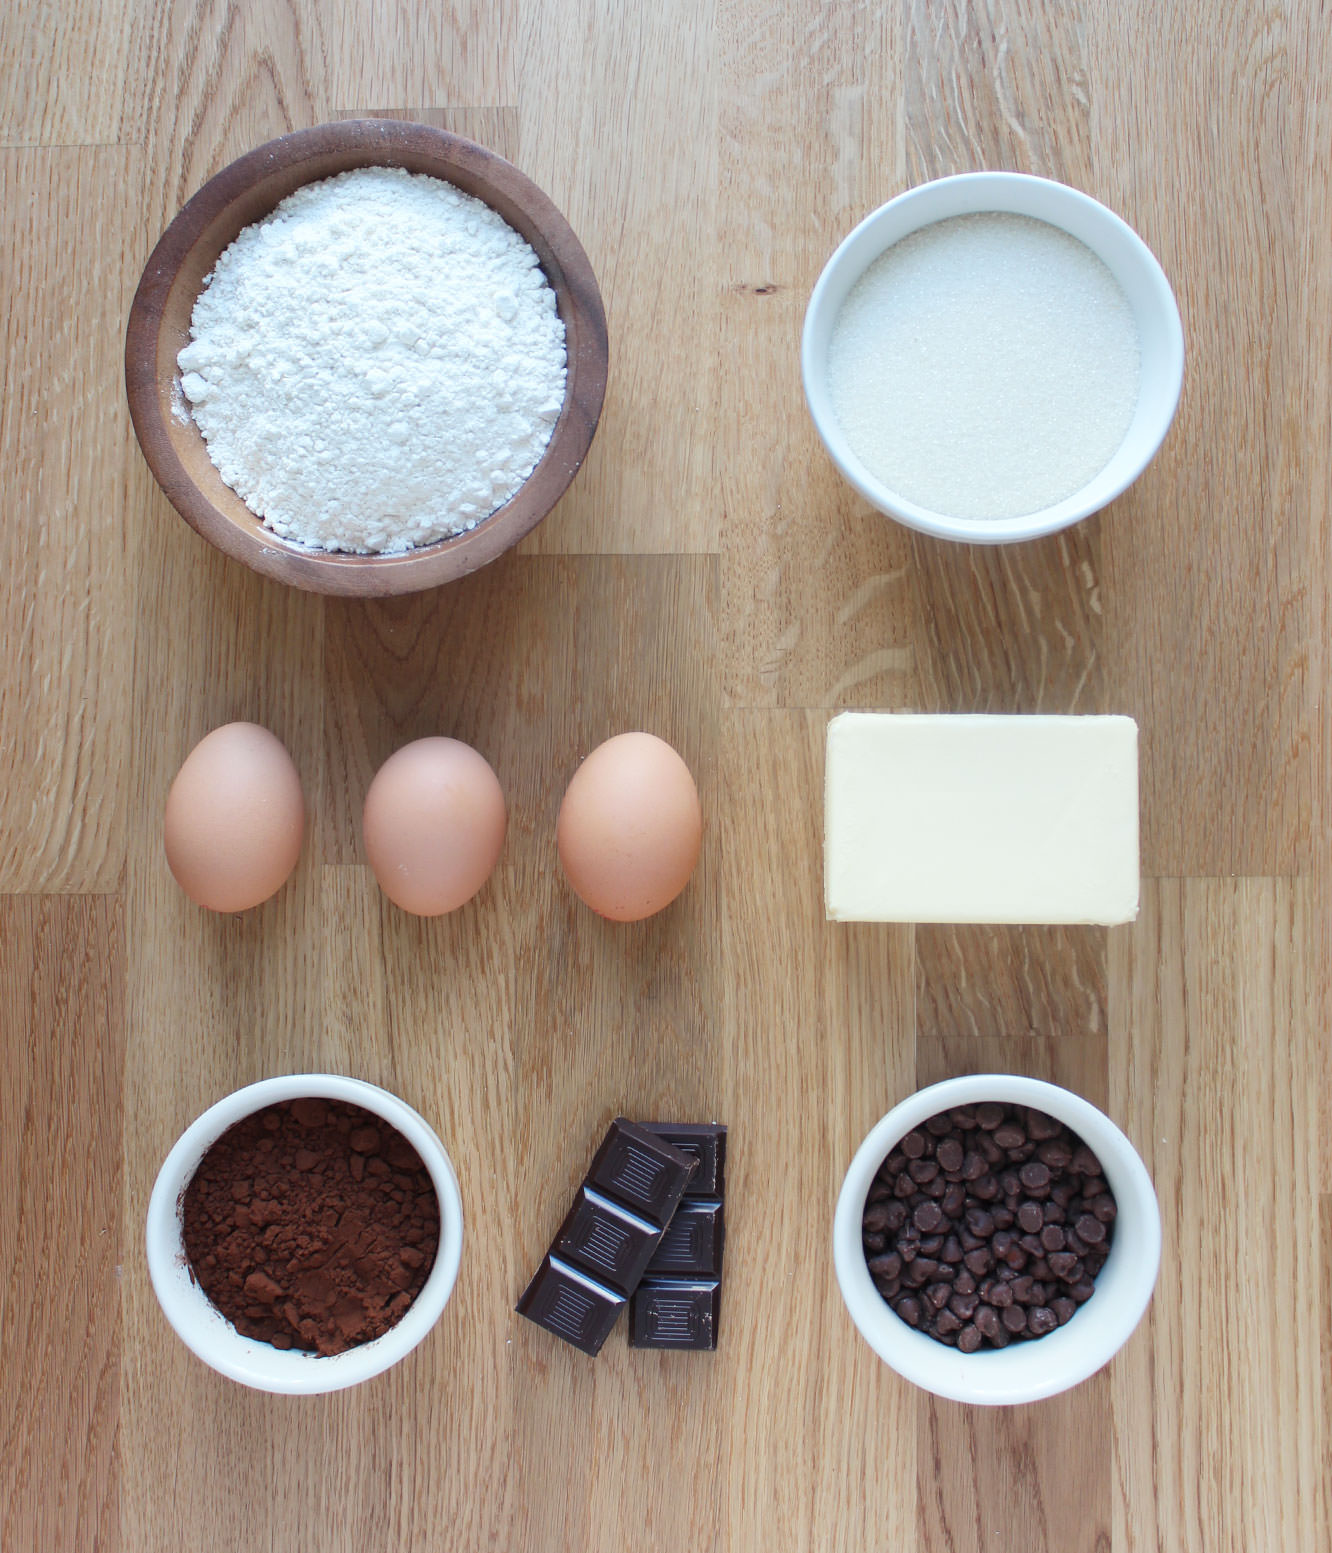
For the brownie batter:

300g/10.5 oz Caster sugar (golden if you have it)

170g/6 oz Unsalted butter

170g/6 oz Plain flour

45g/1.5 oz Cocoa powder

3 Eggs

1/2 tsp Baking powder

For the cookie dough:

170g/6 oz Plain flour

100g/3.5 oz Soft light brown sugar

100g/3.5 oz Milk chocolate chips

60g/2 oz Unsalted butter

1 Egg

1 tbsp Golden syrup

1/2 tsp Baking powder

Extra

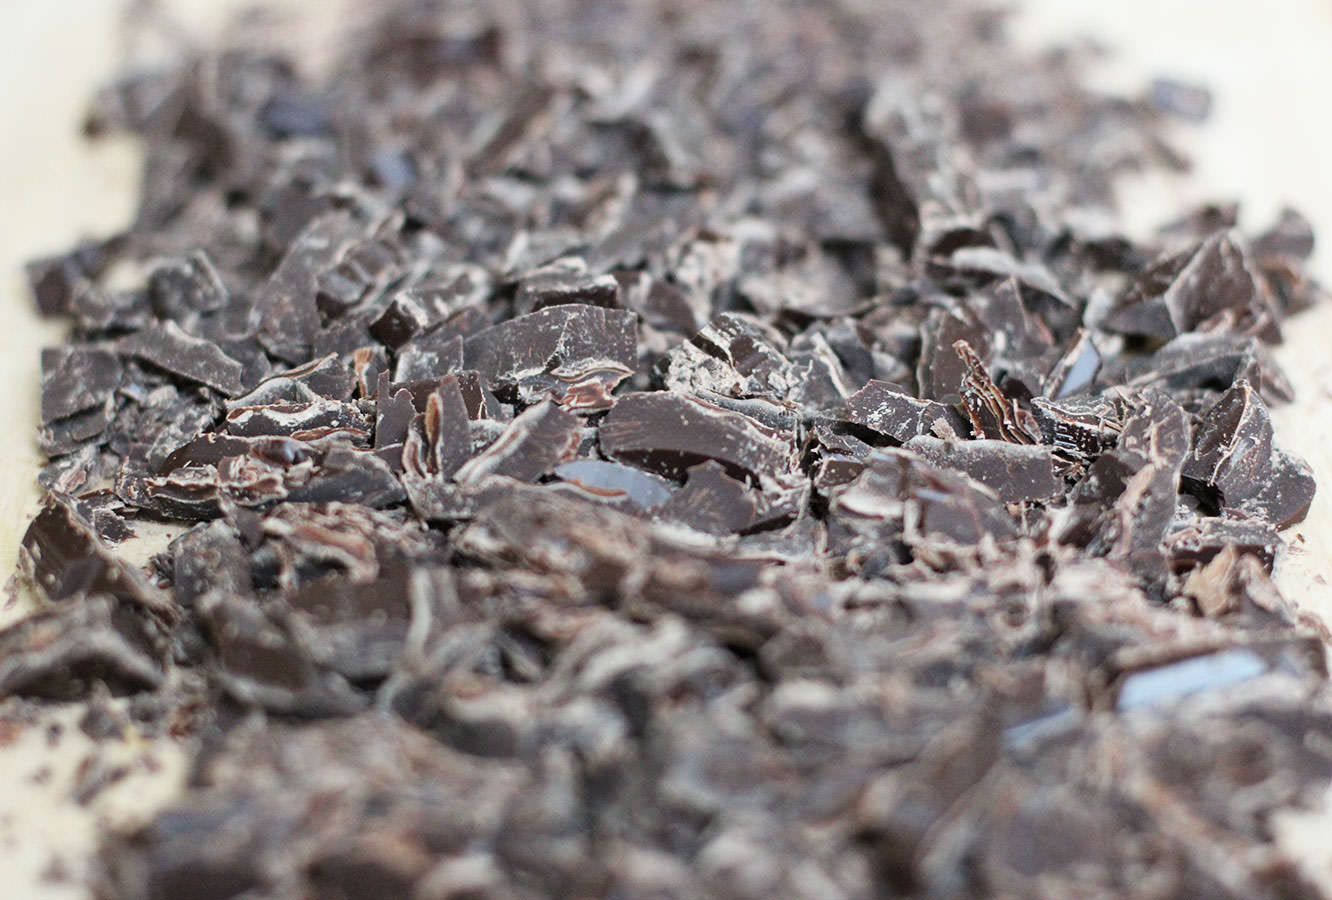
45g/1.5 oz Dark chocolate
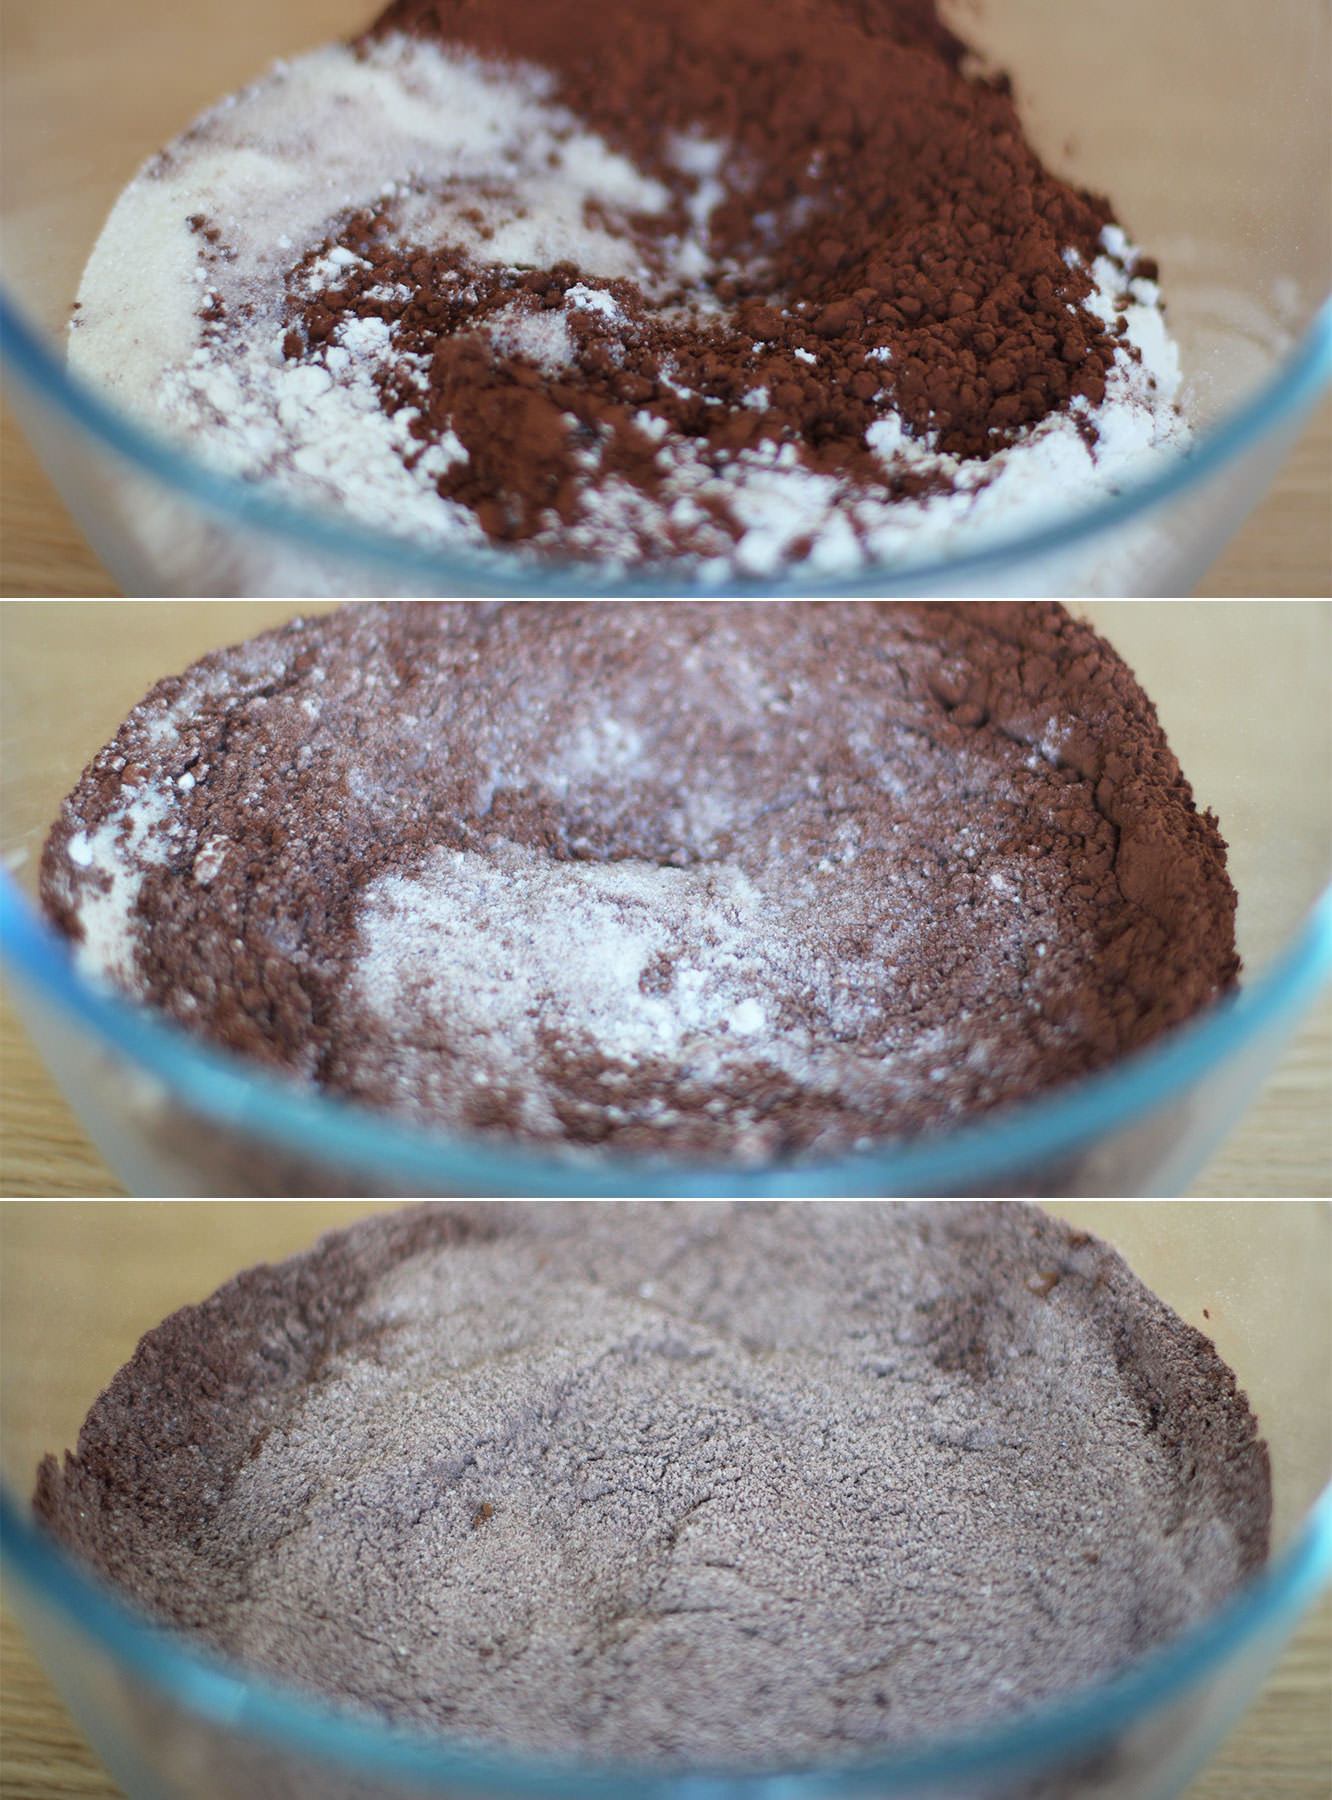
cookie-dough-brownie-recipe

Step one

Starting with the brownie batter, mix together the baking powder, sugar, flour and cocoa powder.
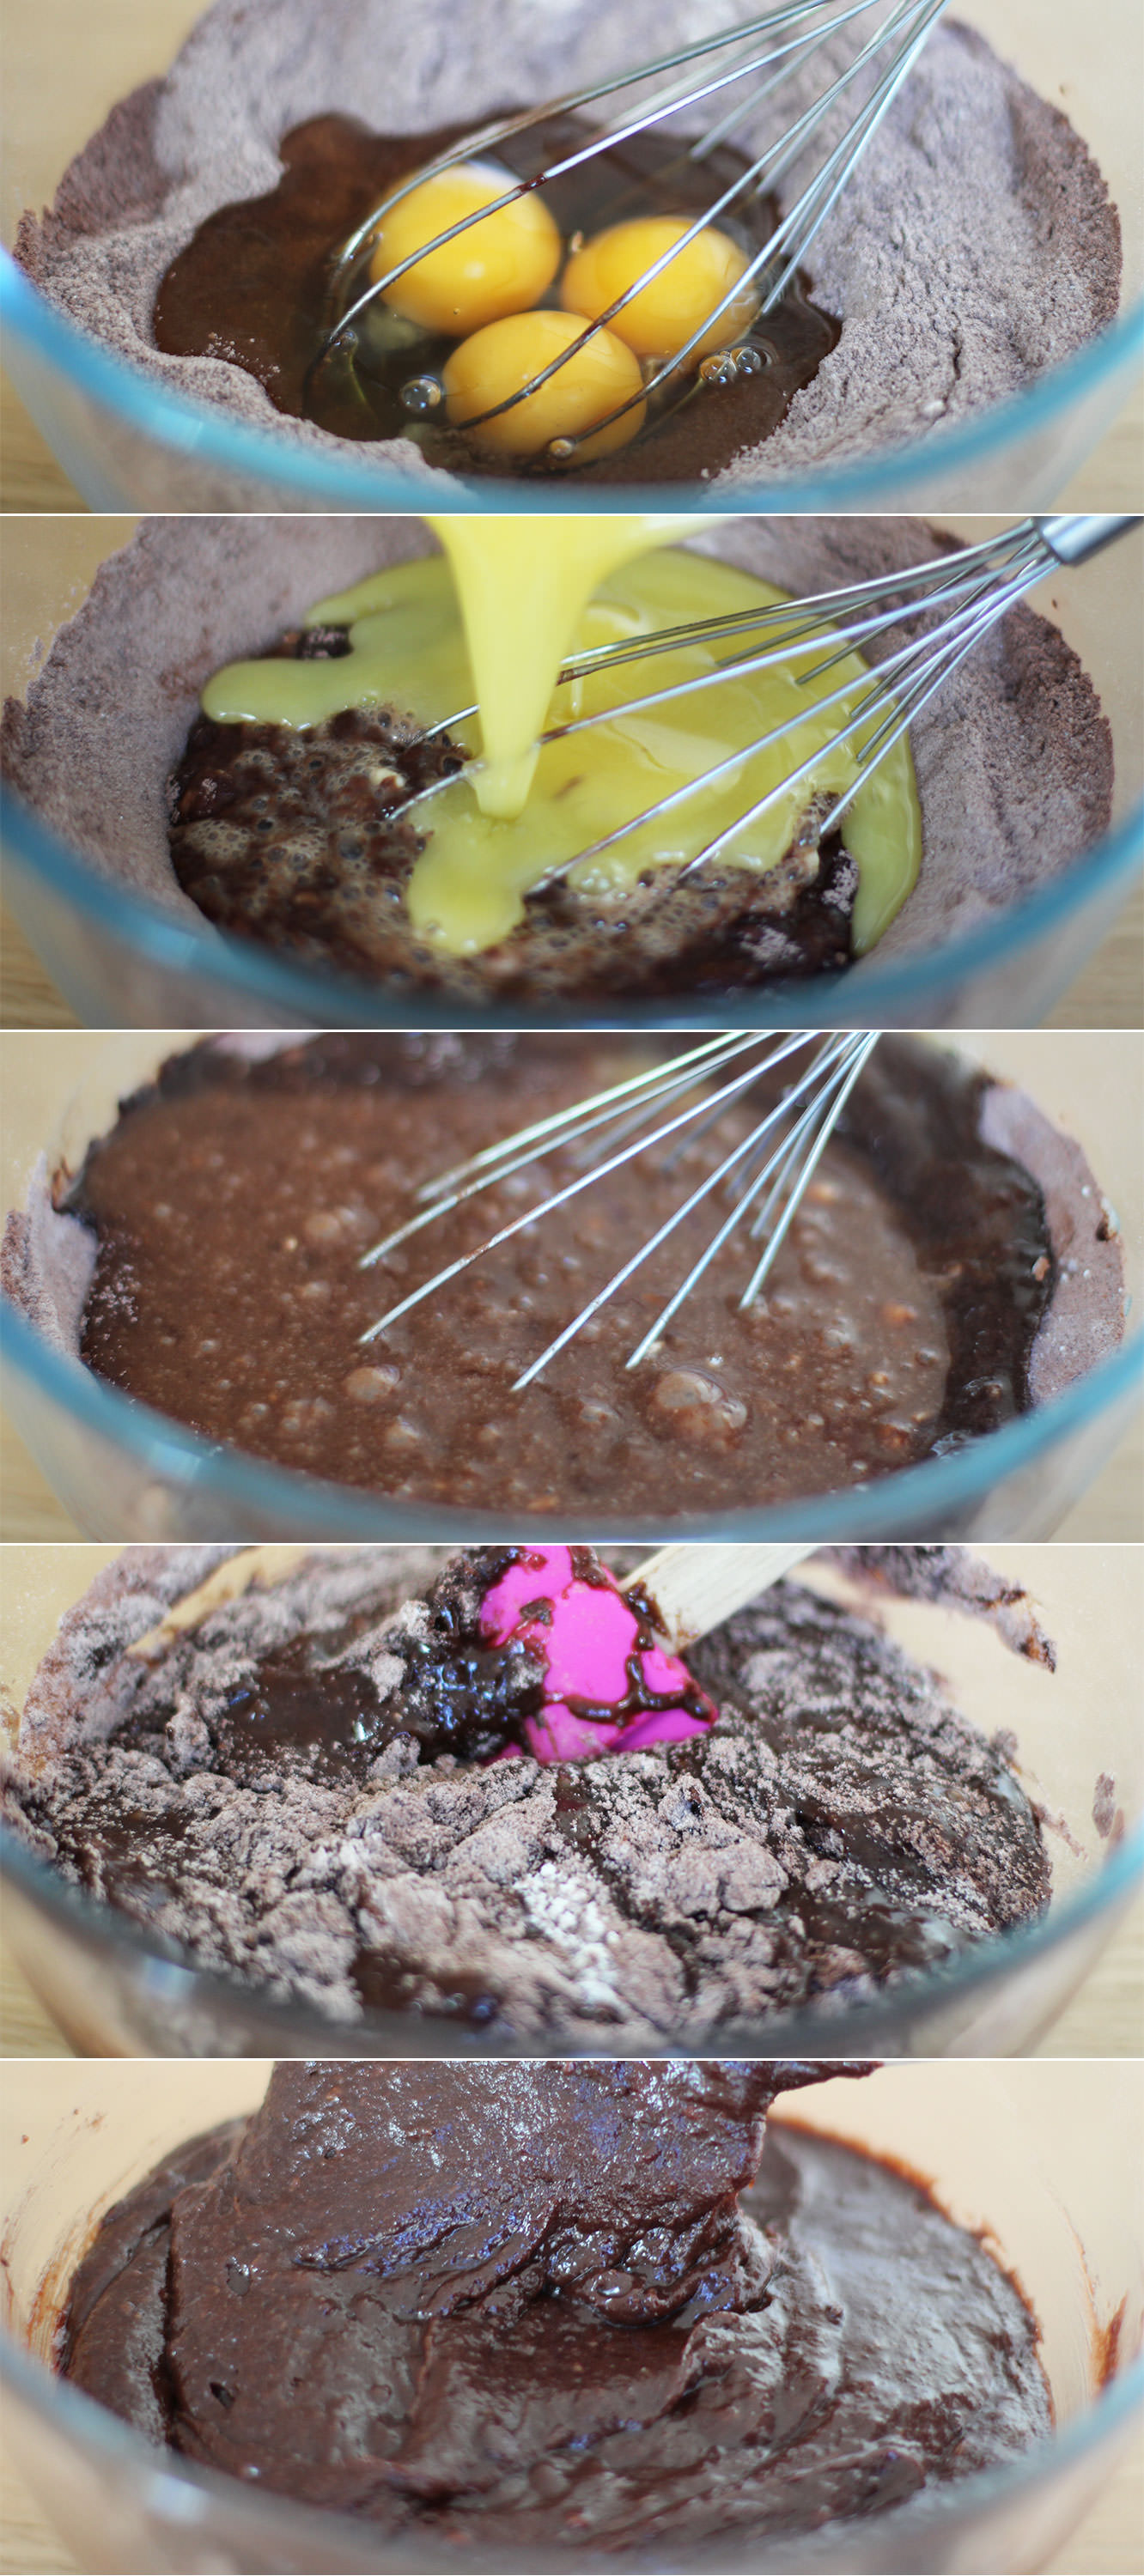
cookie-dough-brownie-recipe-1

Step two

Make a well in the middle of your dry ingredients and add the eggs. Using a hand whisk, combine gradually using small circles in the centre of the batter.

Step three

Melt the butter in the microwave. Only until it has just about dissolved mind, or it will cook the eggs and this is not intended to be a recipe for scrambled egg brownie.

Step four

Add the butter into the mixture and continue with your little circles until most of the flour is combined, then use a spatula or wooden spoon to fold in the rest.
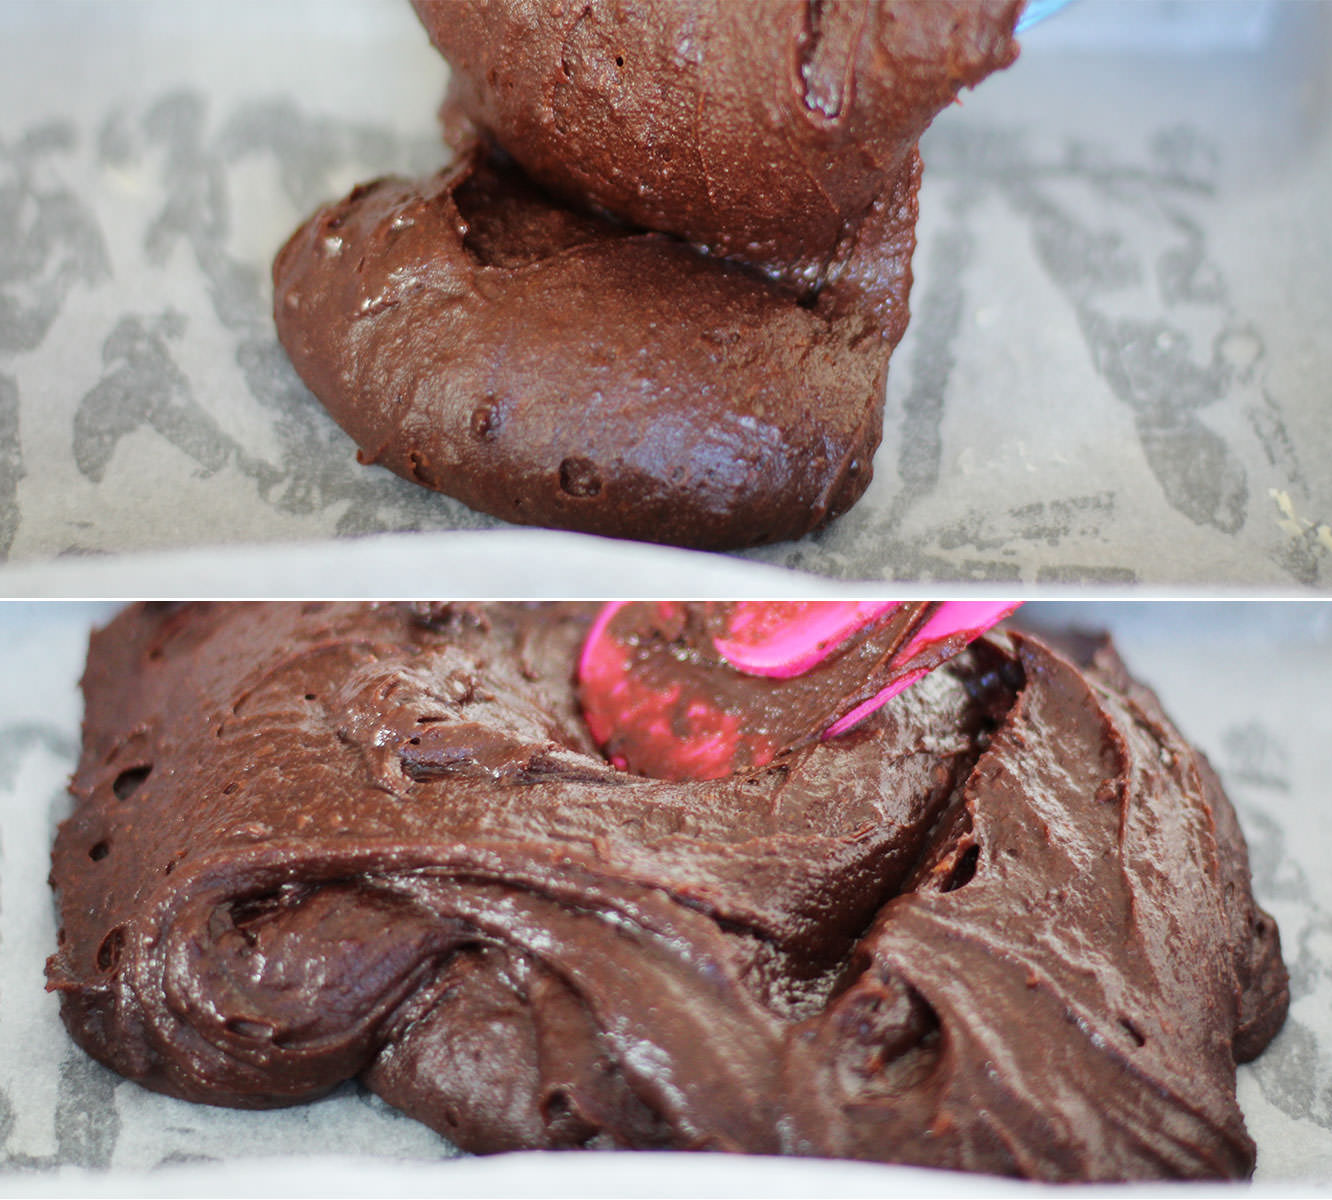
cookie-dough-brownie-recipe-2

Step five

Pour into a greased and lined brownie tray and gently spread into the corners.

Get a teaspoon and eat a bit. You know you want to.

Moving on to the cookie dough…

cookie-dough-brownie-recipe-3

Step six

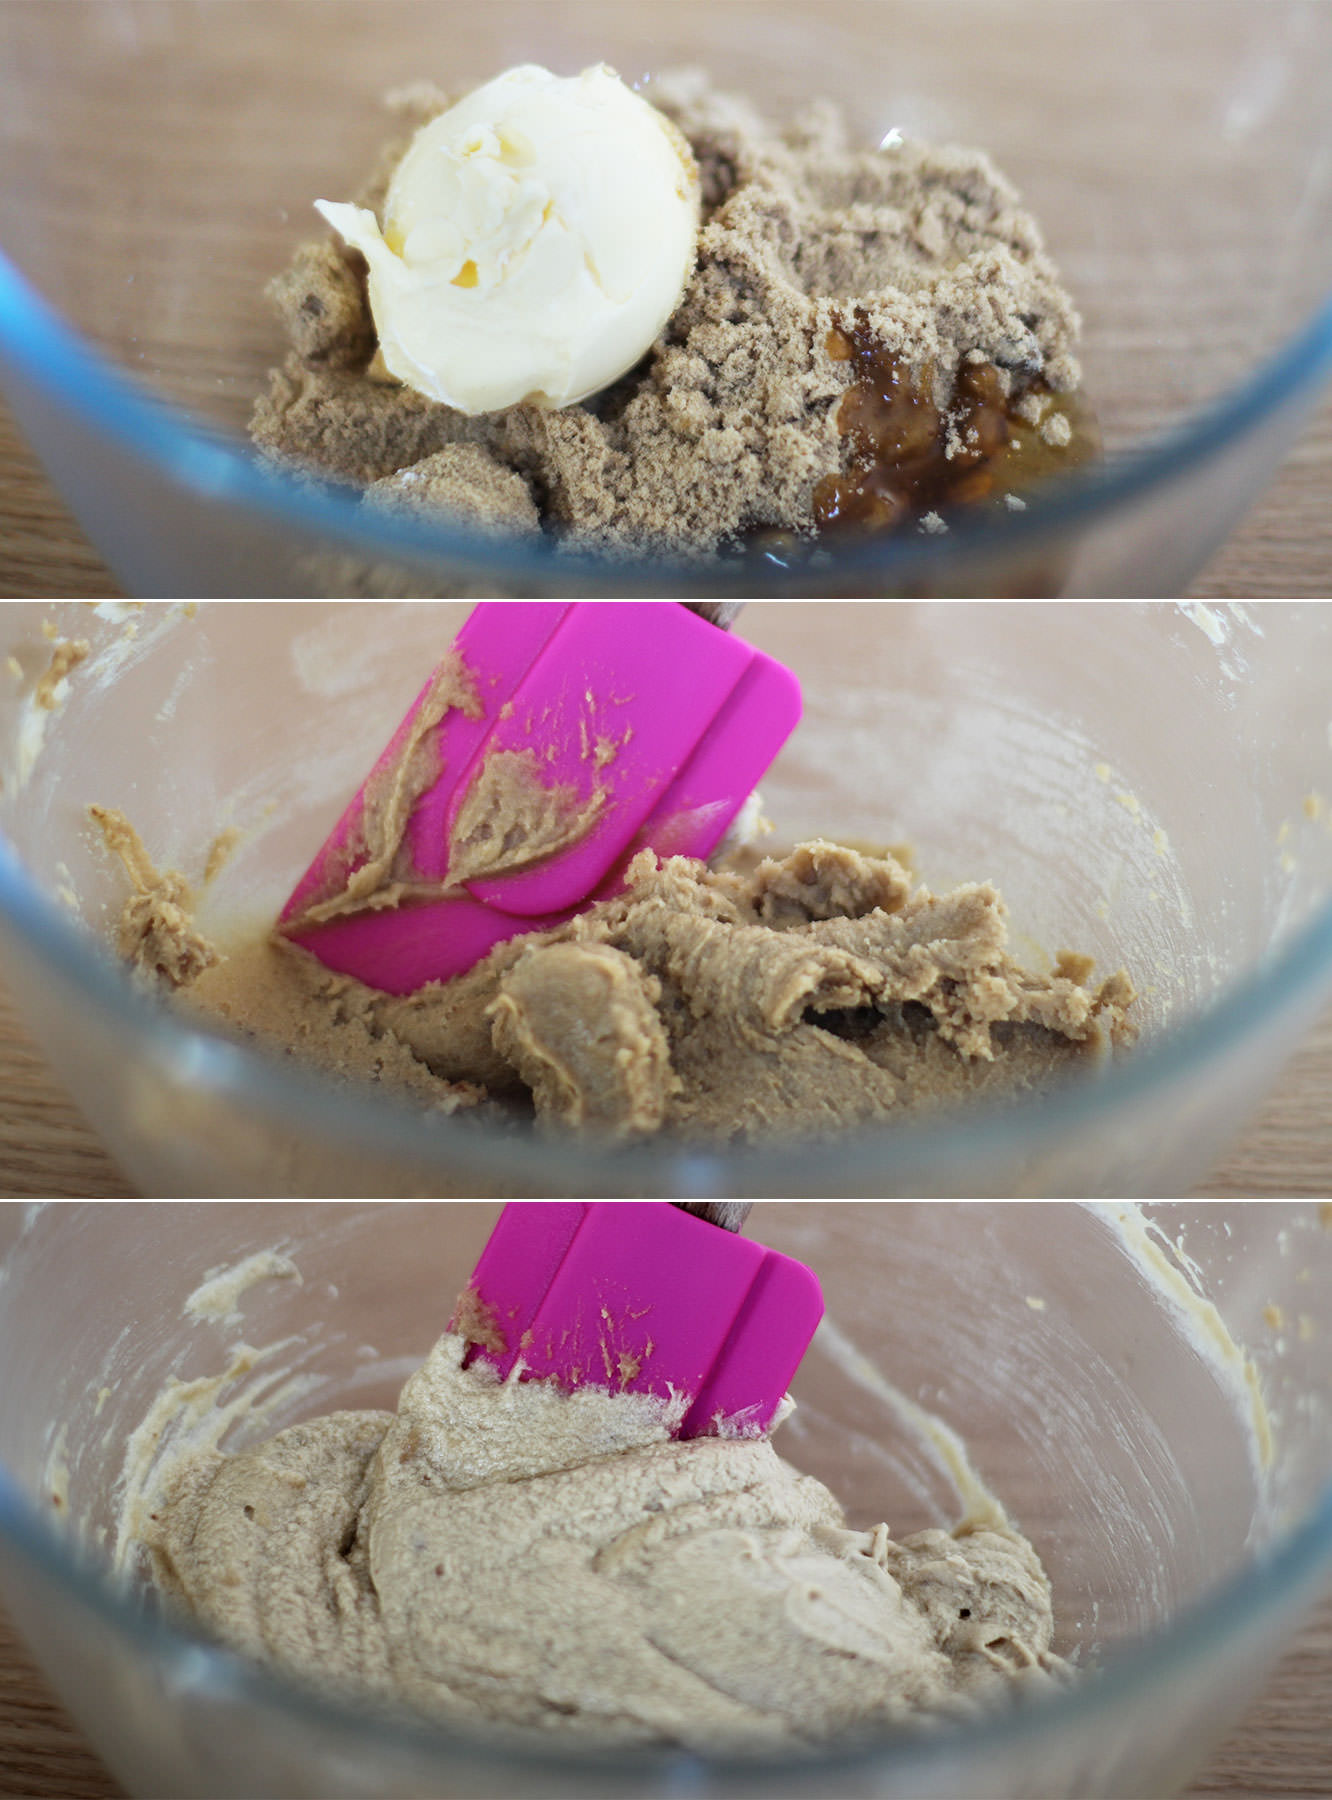
Beat together the butter, soft brown sugar and golden syrup. You might find it easier/quicker to use an electric whisk.

Step seven

Beat in the egg until pale, light and fluffy.
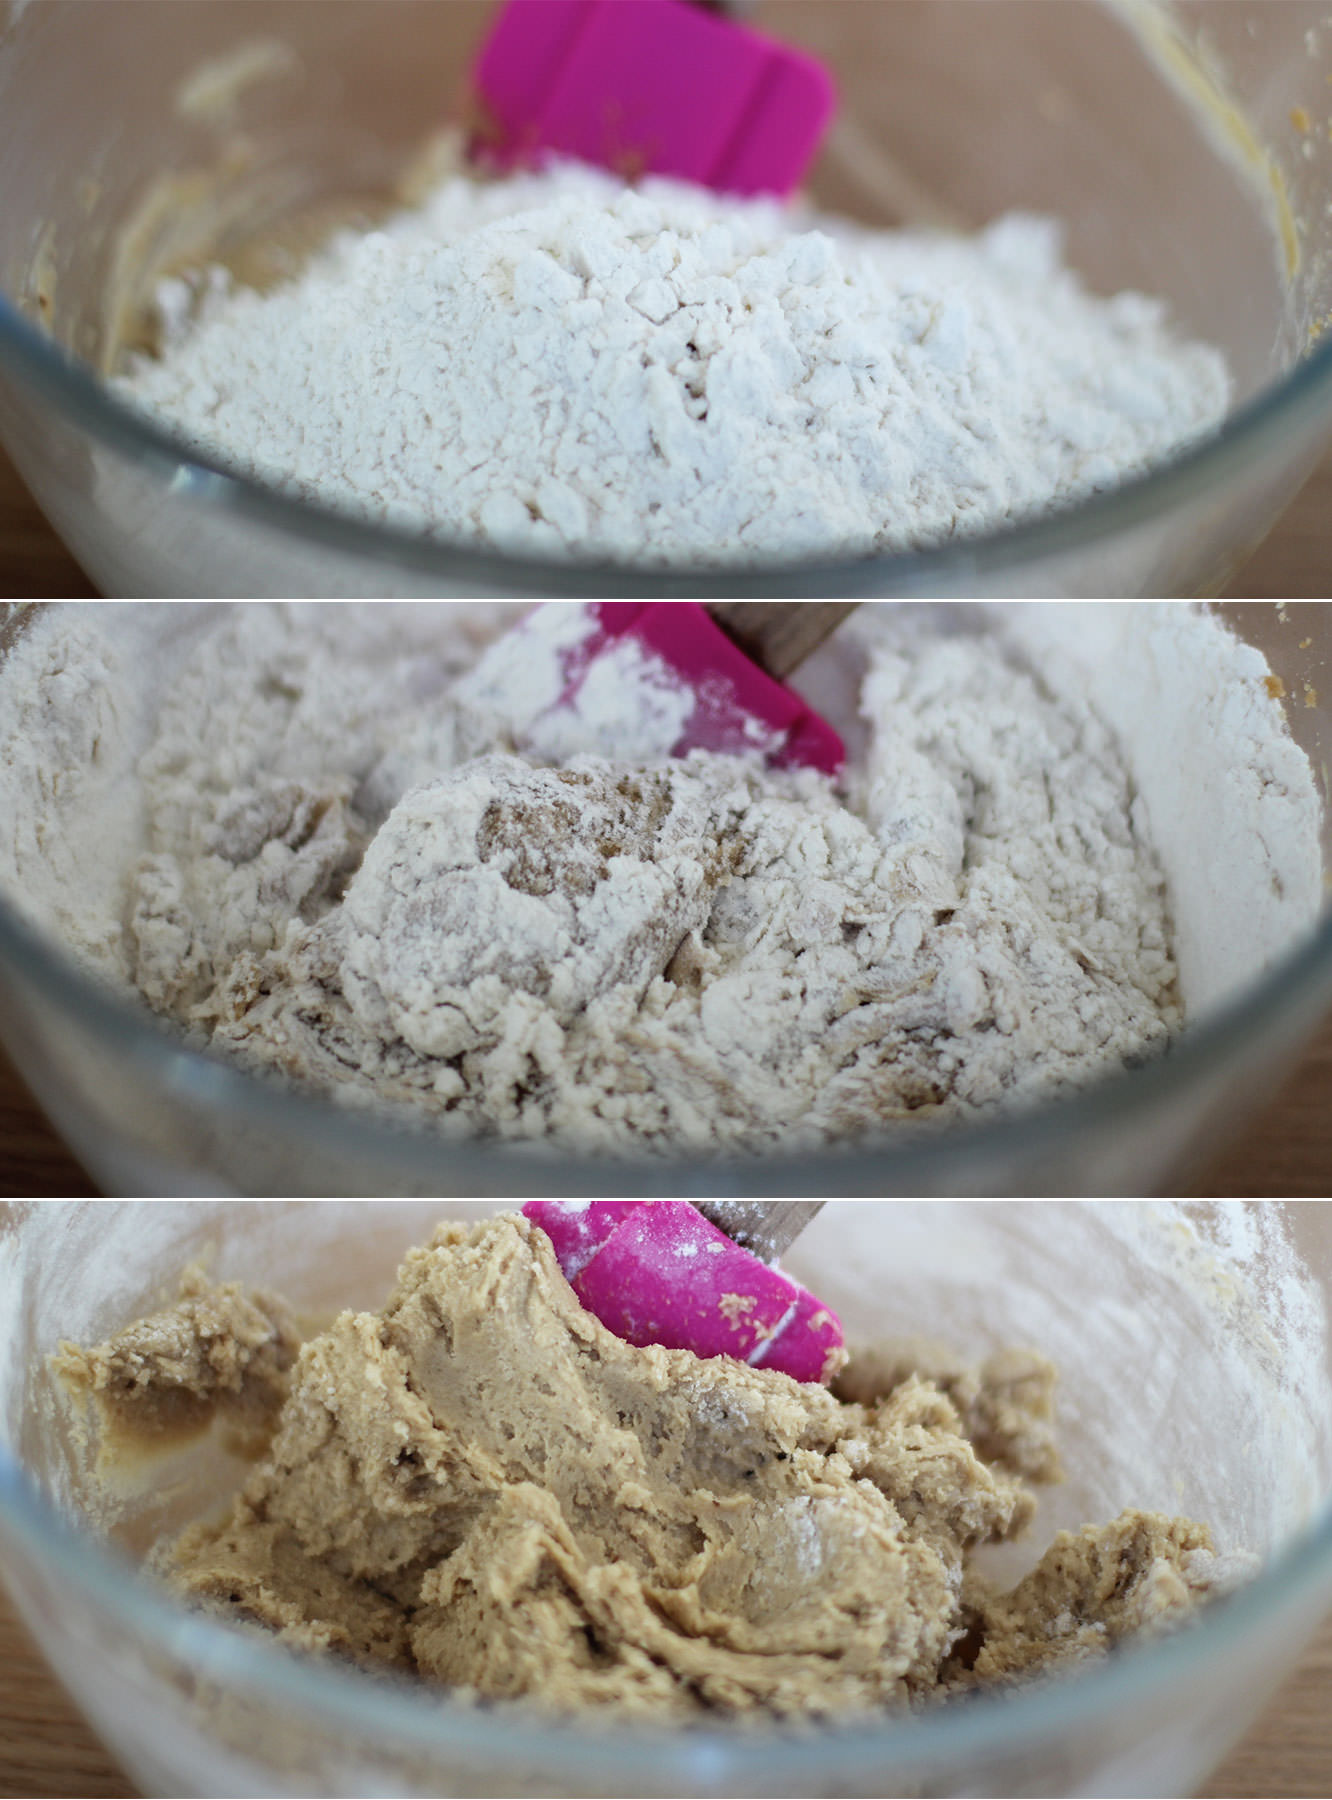
cookie-dough-brownie-recipe-4

Step eight

Fold in the flour and baking powder until you have a smooth dough.
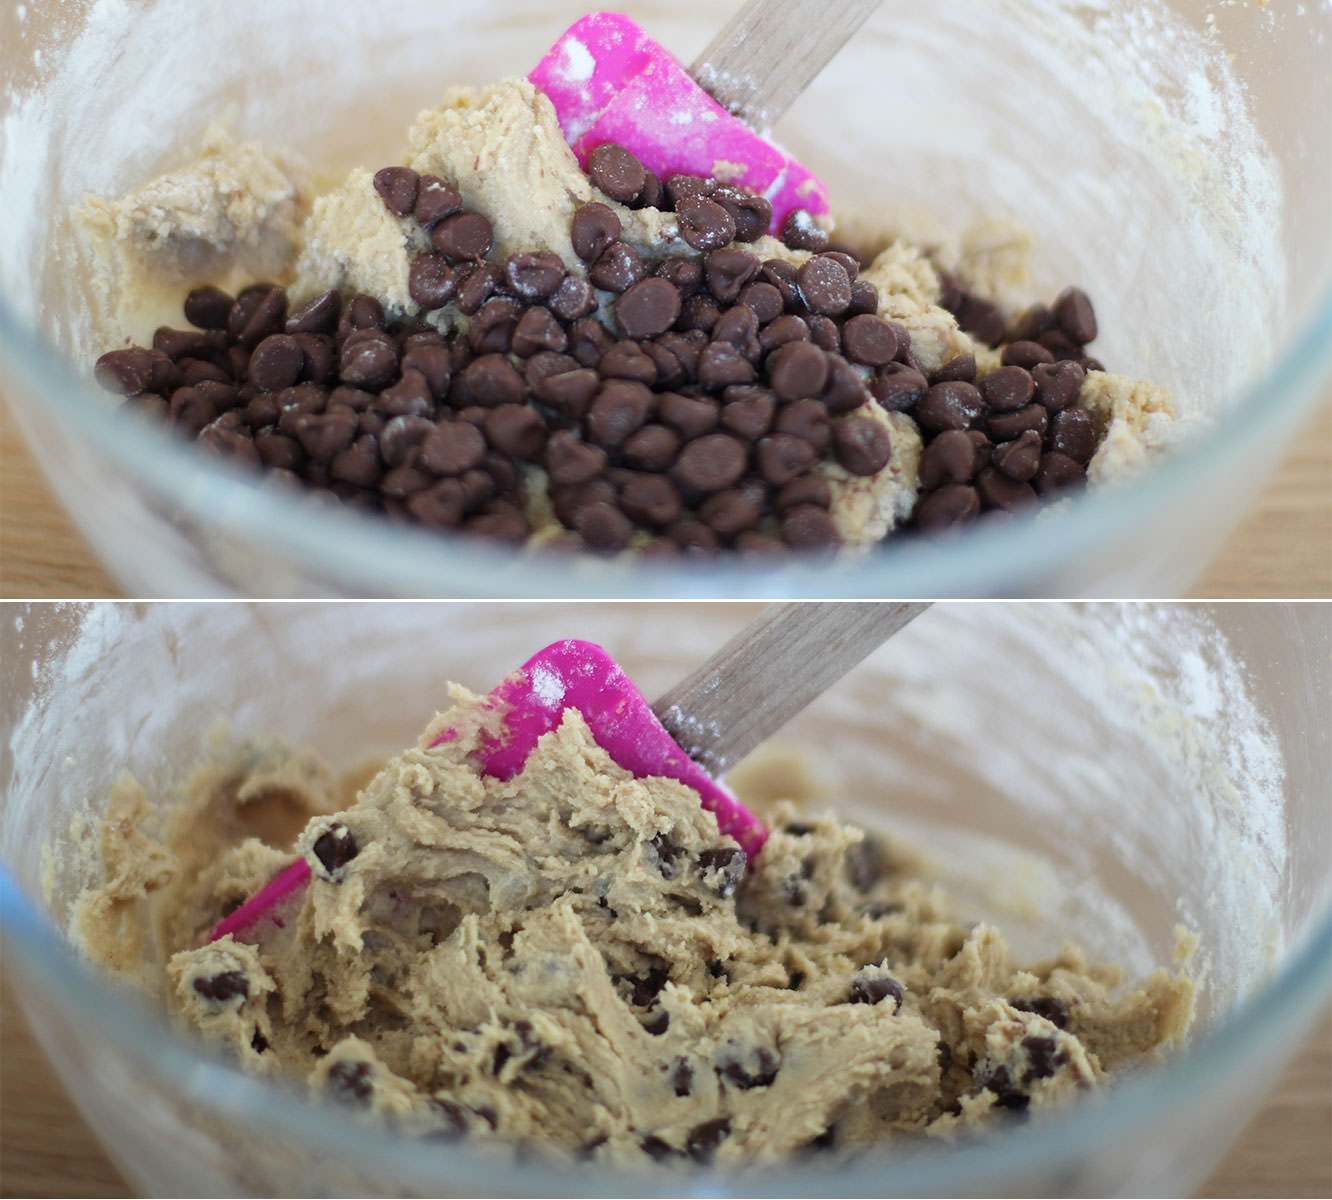
cookie-dough-brownie-recipe-5

Step nine

Add the chocolate chips.

Time for another little taste.
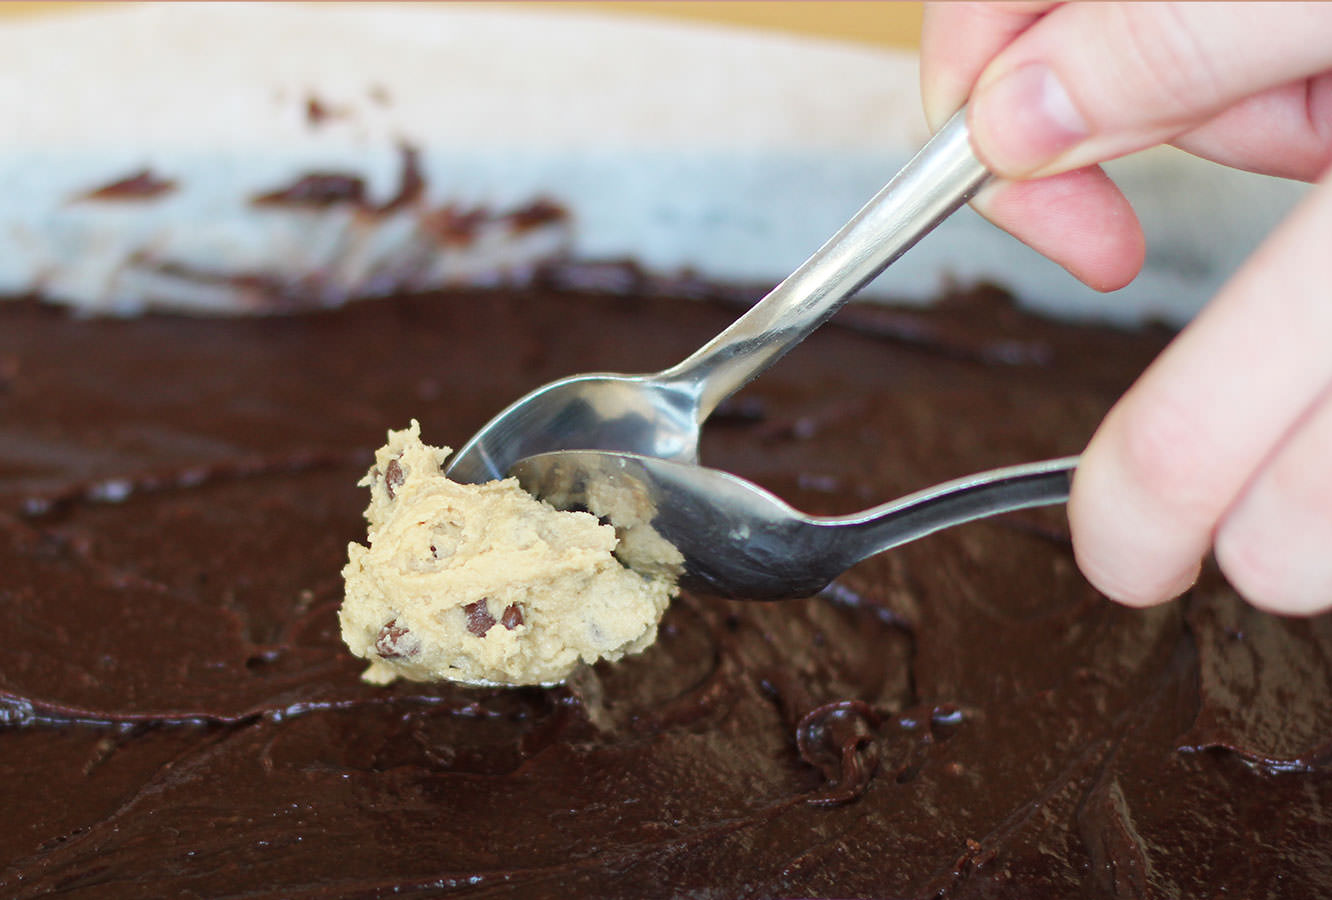
cookie-dough-brownie-recipe-7

Step ten

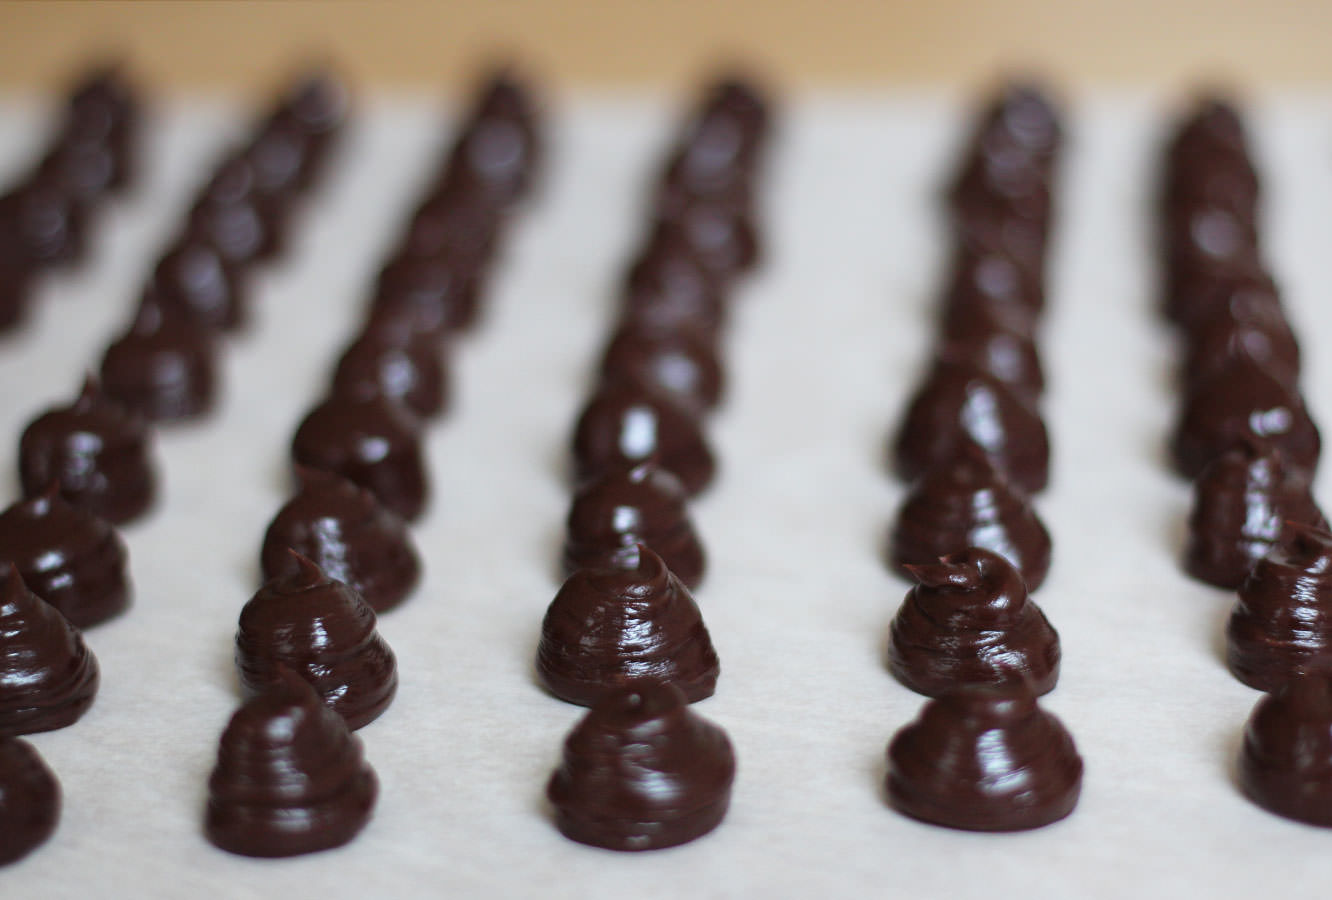
Using a pair of teaspoons drop blobs of the batter onto the surface of the brownie mixture.
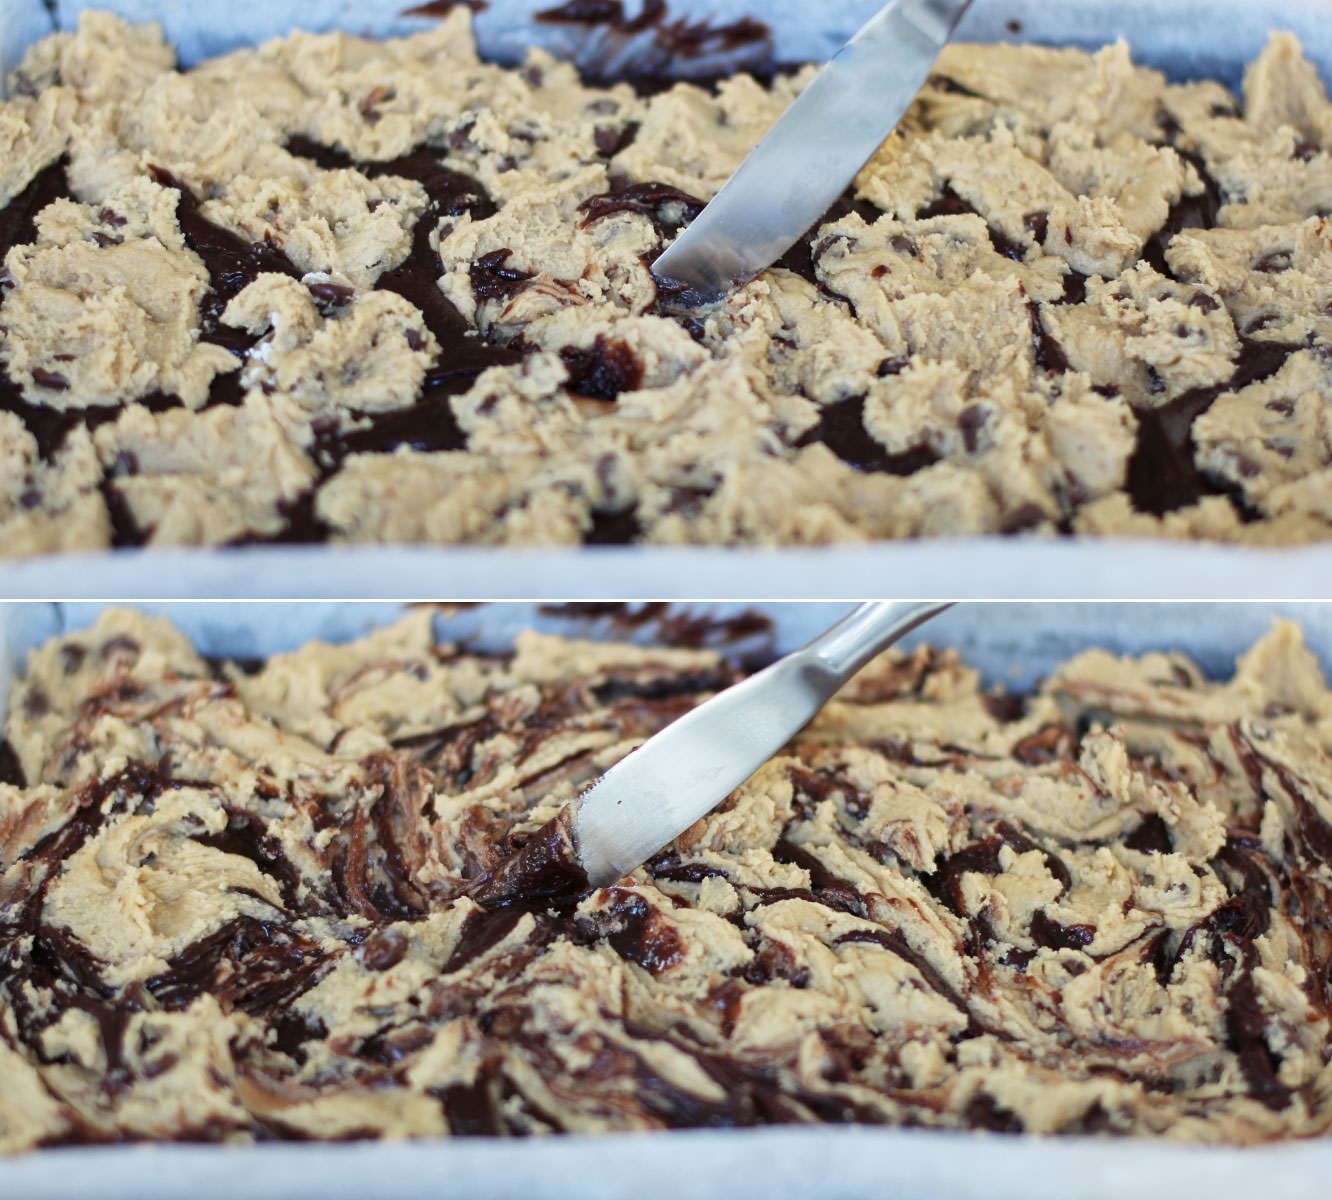
cookie-dough-brownie-recipe-gif

cookie-dough-brownie-recipe-6

Step eleven

Push the cookie dough blobs down a bit with the back of a spoon and use a butter knife to make a marbled effect on top.

Step twelve

Bake in the oven for 30-35 minutes on 180C/350F/gas mark 4. You want there to still be a bit of fudgey chocolate between the brownie and cookie so be careful not to over do it.

Step thirteen

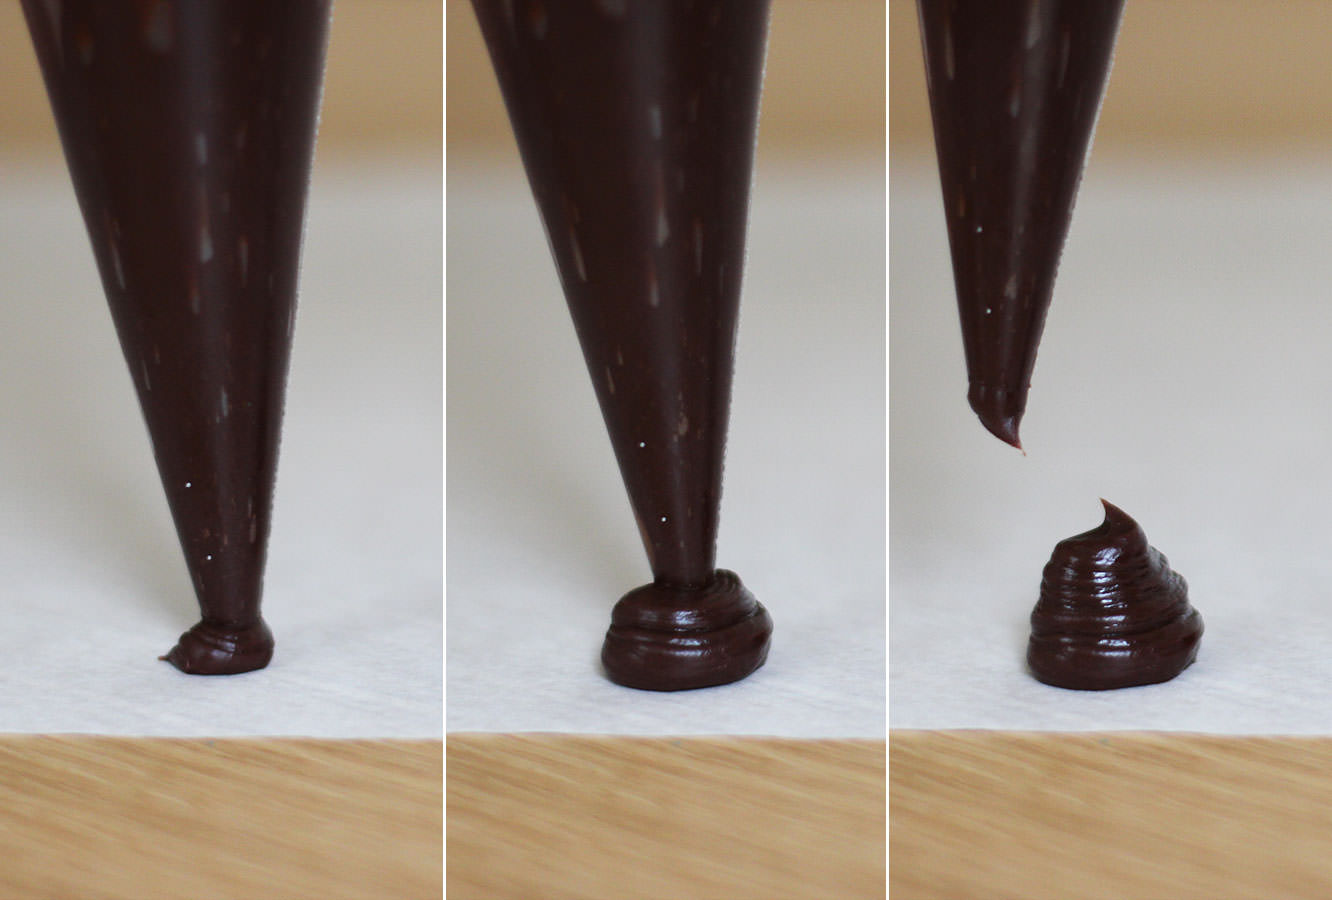
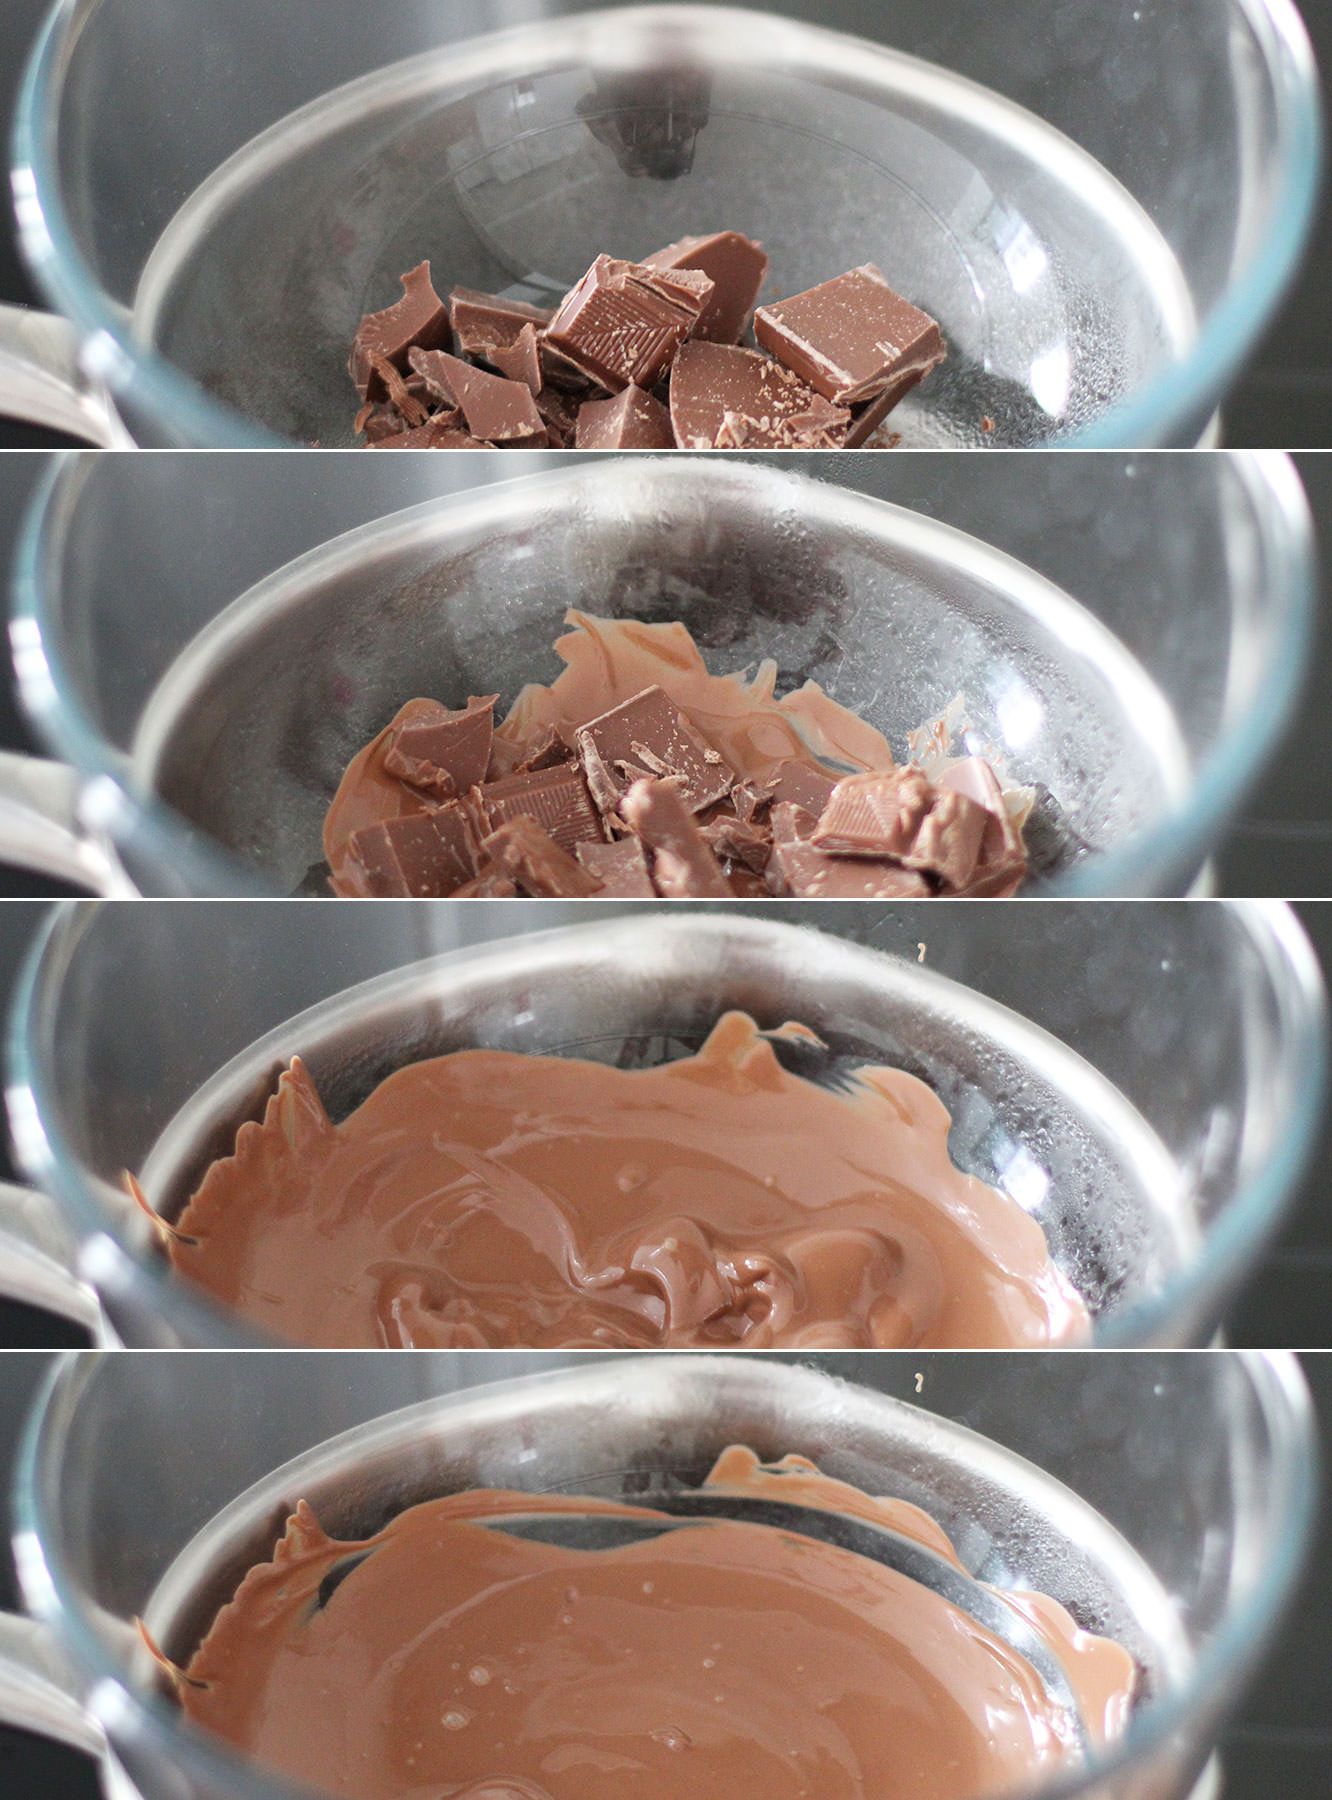
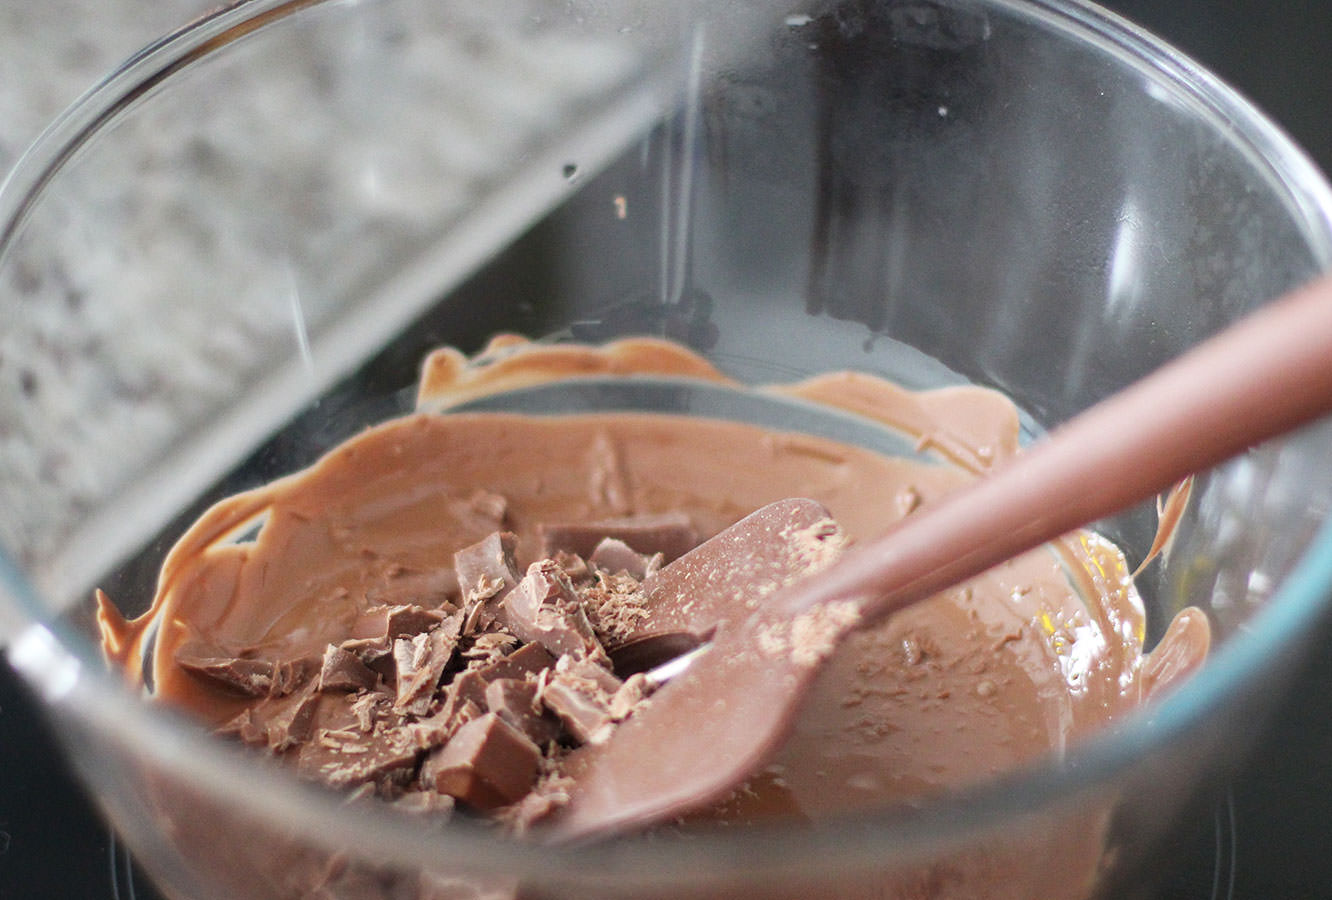
Melt the dark chocolate in the microwave and drizzle over with a spoon.

cookie-dough-brownie-recipe-8

cookie-dough-brownie-recipe-9

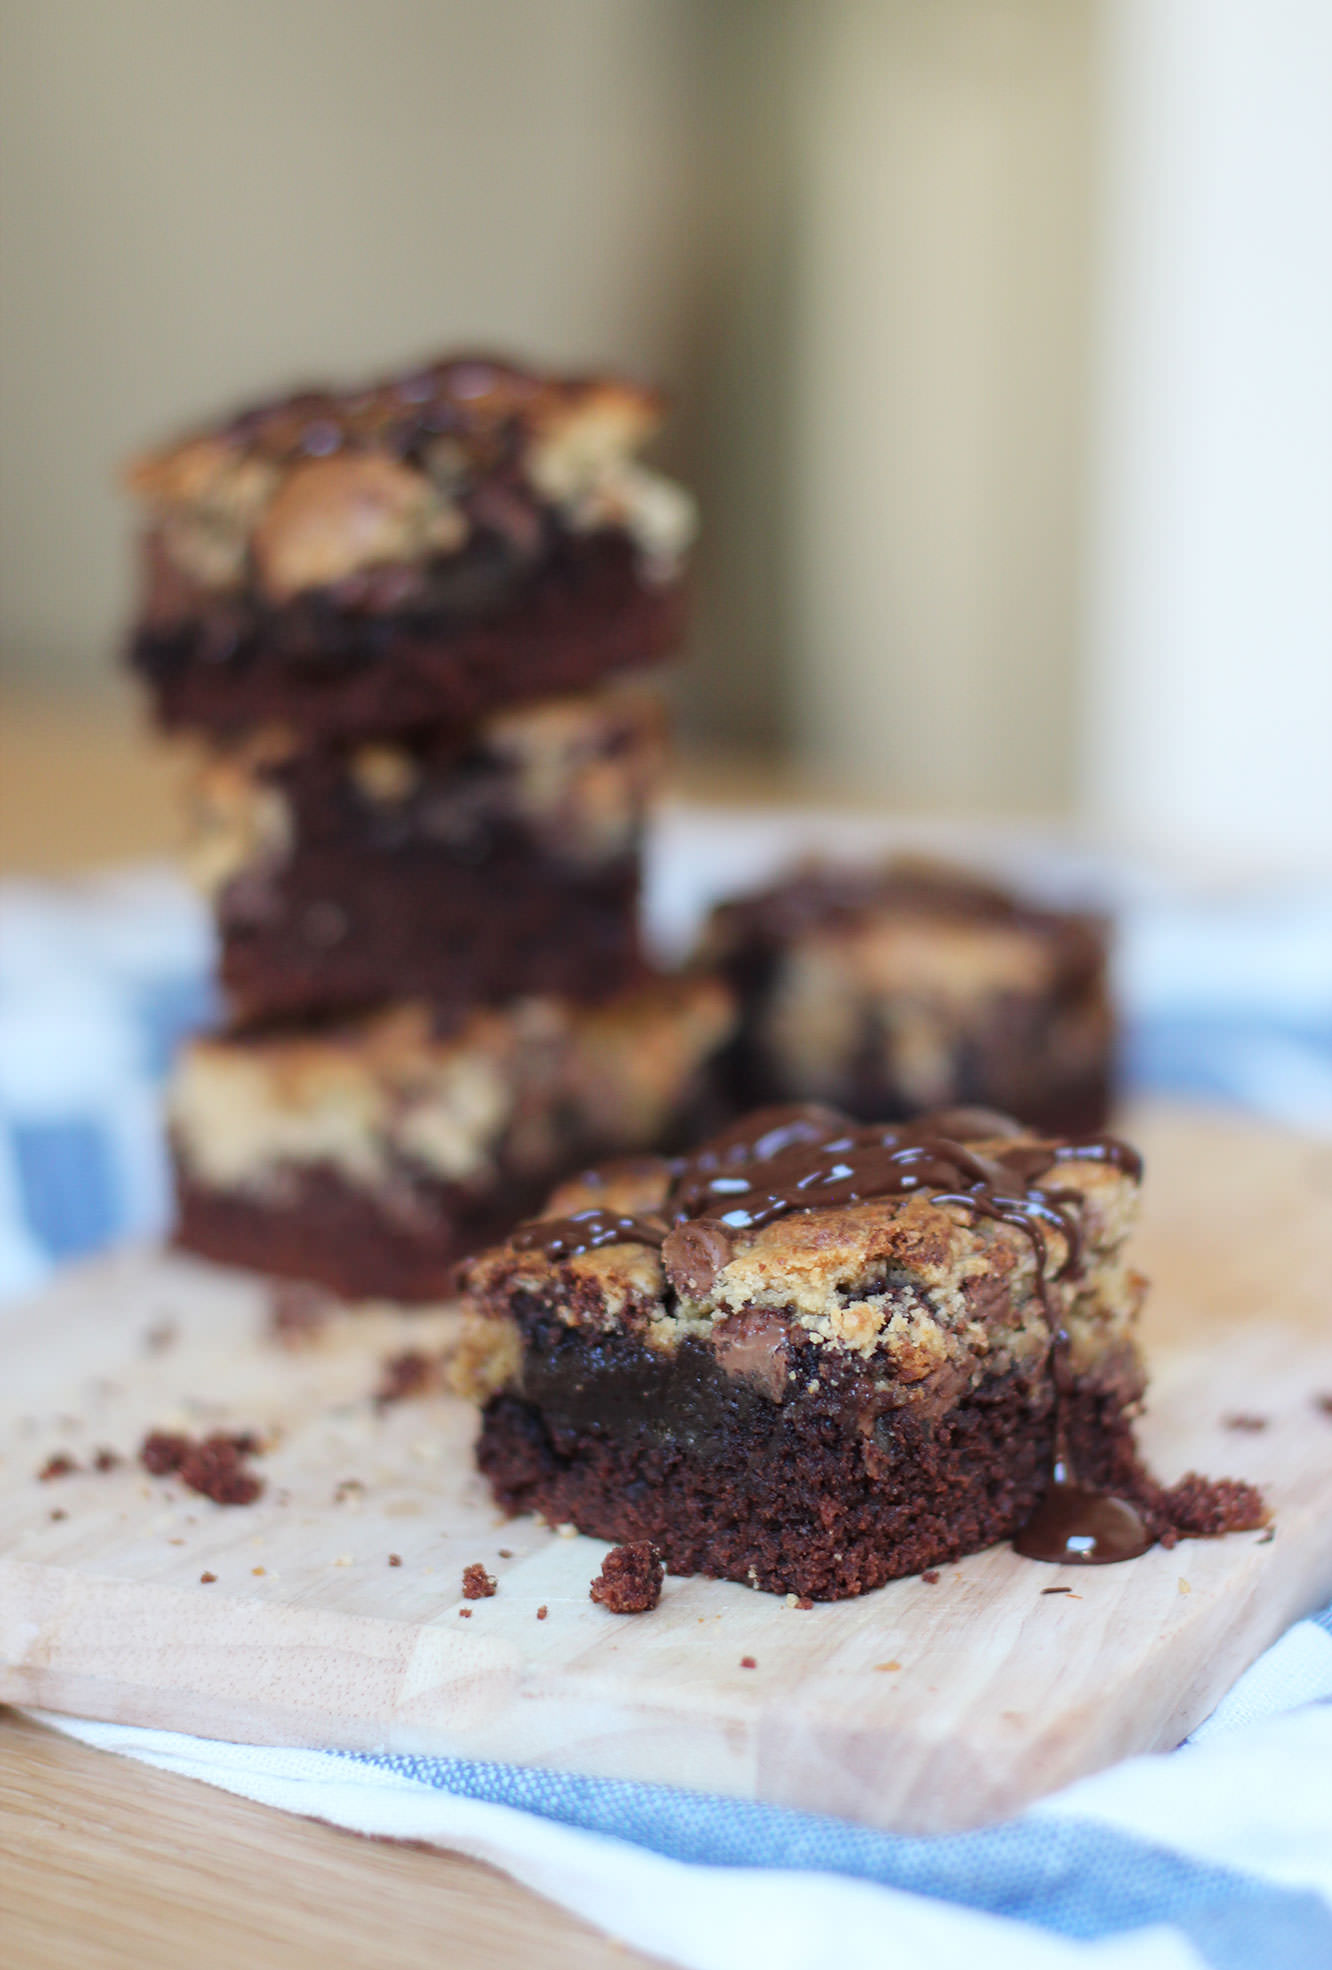
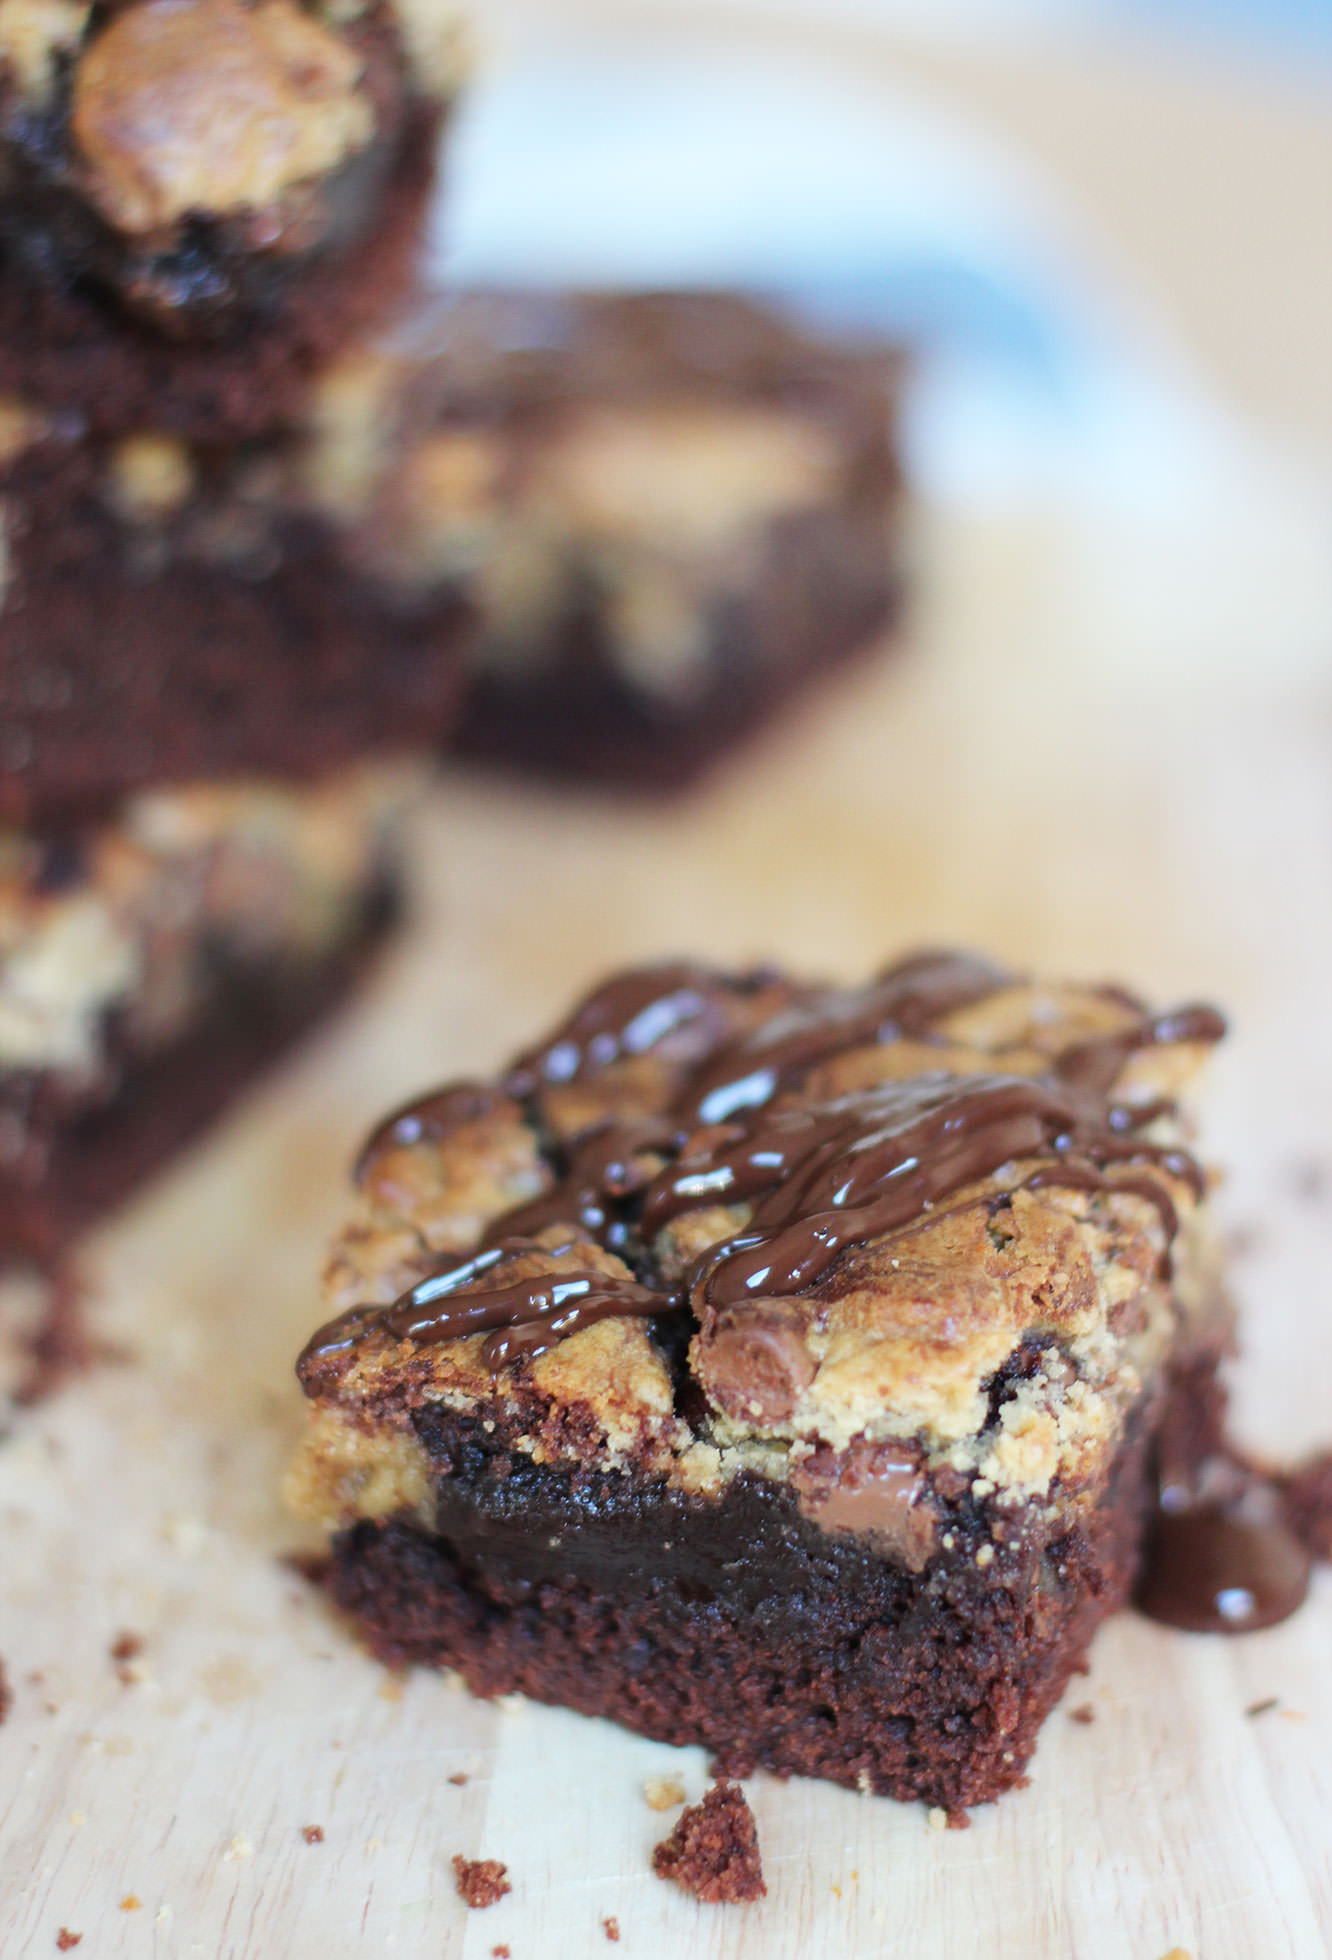
Yeah. You are so welcome.

Little pudding

This week two celebrations collided when my lovely teacher at college had a special birthday and we crept ever closer to the 25th December. Thankfully, teach didn’t mind the seasonally confused gift – Happy Birthday Lana!

This week it’s Christmas pudding truffles, surprisingly easy to make, and with a large yield they are perfect for last minute gifts on a budget.

christmas-pudding-truffles-recipe

You will need

300g/10.5 oz Dark chocolate

100g/3.5 oz White chocolate

300ml/10.5 fl oz Double cream

30g/1 oz Unsalted butter

Red sprinkles

Cocoa and caster sugar for dusting

(Makes 60-70)

christmas-pudding-truffles-recipe-1

Step one

Chop the dark chocolate finely using a bread knife. Resist the urge to eat it all.

christmas-pudding-truffles-recipe-2

Step two

Heat the cream and butter gently in a saucepan. Wait until it starts to bubble and steam dances across the surface. There is no need to let it boil, as Mary Berry always says – chocolate melts in a child’s pocket.

Step three

Take the cream off the heat and whisk into the chocolate until fully melted. Place in the fridge to speed up the setting process.

christmas-pudding-truffles-recipe-3

Step four

Check regularly on the truffle mix, don’t let it harden fully. Once a spoonful holds its shape when dropped onto the rest of the mixture it’s pipe-able.

Place into a piping bag, and, holding it perpendicular to the greaseproof paper (which you have put down as instructed, um, nowhere in this post) squeeze downwards. Don’t worry if these are a bit misshapen, it’s just to make sure they’re roughly the same size.

christmas-pudding-truffles-recipe-gif

christmas-pudding-truffles-recipe-4

Step five

Pipe pipe pipe.

Leave to set a bit longer, preferably with a window open to cool the truffle down quickly. The truffles won’t thank your winter central heating.

christmas-pudding-truffles-recipe-5

Step six

When the truffles are set roll them into balls. You will need fairly cold hands for this, so rinse them in cold water.

Step seven

Dust the truffles in cocoa and caster sugar. I mixed these at random so I’m not sure on quantities, but I used about two thirds caster sugar to a third cocoa powder.

I dusted as I rolled, as hands warm the outside of the truffles so the caster sugar will stick.

christmas-pudding-truffles-recipe-6

Step eight

Melt the white chocolate slowly in the microwave, pipe little splodges and drop some red sprinkles on top. I got these from Sainsbury’s, so not too hard to track down.

christmas-pudding-truffles-recipe-8

Leave the white chocolate to set and pack away your truffles into little bags or boxes and spread the Christmas (or Birthday) cheer!

Drip drop

A couple of months ago my lovely housemate got engaged. A couple of weeks ago we celebrated that fact.

I decided I wanted to make some party food. Given that we’re fast approaching Christmas (I mean, it’s the 17th November already, what?) this little series of posts should furnish your party season with delightful nibbles and may double as last minute Christmas present/hostess gifts.

This one falls into the second category, so get online and buy yourself some cellophane bags and a roll of ribbon, your colleagues and your milk man will never have been happier. Well, I hope their lives are better than that, but either way, there won’t be any disappointment, and that’s all anyone’s looking for at Christmas.

chocolate-drop-party-nibbles

Things you need

200g/7 oz White chocolate

200g/7 oz Milk chocolate

200g/7 oz Dark chocolate

Decorations (I used freeze dried raspberries, fudge pieces and pecans)

Cocktail sticks

Piping bags or strong sandwich bags.

Cellophane (from a florist or a craft shop, or you can use greaseproof but the bottoms won’t be shiny)

Food thermometer (ideally)

chocolate-drop-party-nibbles-1

Step 0.5

Prepare your toppings if they need preparing. I wanted my drops to be quite small so I chopped up my fudge and pecans.

chocolate-drop-party-nibbles-2

Step one

Now. This is the first time I have actually tempered chocolate. It was easier than I expected and well worth it for the shiny finish. I encourage it. I also encourage the purchase of a thermospatula. I’m not being paid to say that, it’s changed my life (in a small but significant way).

If you’re joining me on the tempering train you need to split the chocolate into a third/two thirds split. Ignore the photo above and just chop it all into big chunks.  I learned as I went with this one.

chocolate-drop-party-nibbles-3

Step two

Place a heatproof bowl over a pan of simmering water; make sure the water isn’t touching the pan.

Add two thirds of the chocolate and allow to melt slowly. Stir occasionally. Mainly so you can feel like you’re doing something productive.

Bring to 45 degrees C and remove from the heat.

chocolate-drop-party-nibbles-5

Step three

Add the rest of the chocolate and stir until its melted in. Keep stirring until the whole lot has cooled to 28 degrees C.

Step four

Place back on the heat and bring to 32 degree C.

Step five

Take back off the heat and dry the bottom of the bowl with a tea towel. Trust me, you don’t want water in your chocolate.

Step six

Pour into a piping bag.

Don’t trim the end yet. In fact, once you have twisted the opening to close it you should push any chocolate in the tip end back towards the rest, otherwise it will cool and solidify there while you’re tempering the rest.

Step seven

Repeat with the rest of the chocolate.

chocolate-drop-party-nibbles-gif

Step eight

Lay down the cellophane and start piping.

You want to hold the piping bag at a 90 degree angle to the table and squeeze. The chocolate will flood into a lovely little pool.

Add a small blob of another colour on top and swirl about with a cocktail stick to create a marbled effect.

chocolate-drop-party-nibbles-6

Step nine

Sprinkle your decorations on top.

Some cranberries would go down well for christmas drops, but I was explicitly instructed not to buy any. These freeze dried raspberries looked rather pretty and tasted good too. See children? Compromise isn’t always bad.

chocolate-drop-party-nibbles-7

Step ten

Keep going until you run out of chocolate/the will to live. But look…so shiny. You did well to temper it, it was worth it after all.

chocolate-drop-party-nibbles-8

Step eleven

Go forth and make someone’s day.

Twinkle twinkle

Oh hi. Thanks for stopping by. This week I’ve been putting together a little DIY project for all you people getting married this summer. Or basically anyone who likes candles. I can’t tell you just how ridiculously easy this is and it takes no time at all, so no excuses, unless you are scared of fire.

Candle-Holders

You will need

All the jam jars and glass pots you can find (a great excuse to go to France and gorge on those chocolate puddings, and a perfectly reasonable level of dedication to your craft)

Tea lights/small candles

White tissue paper

Paper doilies

Some kind of nice rustic string or ribbon (mine was from hobby craft)

PVA glue

Candle-Holders-1

Step one

Cut the lacy bit of the doily off so you have a long strip. I found these rectangular ones in a bits and bobs shop which are ideal for wrapping round in a straight line.

Candle-Holders-2

Step two

Measure the circumference of your jam jar and cut the doily strip to size. Pro tip: when you cut it go with the natural curve of the pattern, rather than a straight line, as even if you have some overlap the join will be far less obvious.

Candle-Holders-3

Step three

Use the jar as a measure to cut a strip of tissue paper (one sheet thick) to match the height and circumference. You don’t need to be too exact as the tissue molds easily with the glue.

Candle-Holders-4

Step four

Using a mixture of PVA glue and water (about two thirds PVA to one third water) stick the doily around the bottom of the jar as shown. I put the doily onto the jar dry and then just painted over the top which worked perfectly. Pro tip #2: I know, I know, I’m spoiling you today…once you’re about half way round the doily will hold to the jar by itself so you can put your non paintbrushing hand inside it to hold steady and avoid getting glue all over yourself.

Candle-Holders-5

Step five

Repeat with the tissue paper, pushing it into the contours of the jar as you go. Don’t worry if it looks really scruffy at this point; it will be alright on the night.

Candle-Holders-6

Step six

Leave upside down to dry (or on whichever is the least gluey end!)

Candle-Holders-7

Candle-Holders-8

Step seven

Once dry, tie some lovely little bows around the necks of your candle holders. If you made a mess of the necks in the gluing phase you can use this opportunity to wrap the string around several times and pretend it’s all part of the design.

Candle-Holders-10

Step eight

Fill with tea lights and fire.

Churronimoooo

Hmm, blogging Monday seems to gradually becoming blogging Tuesday, apologies chaps.

I’ve been on my travels up and down the country recently (well, mainly side to side actually). So not a huge amount of crafting has been a-happening.

One such weekend was spent with some of my bests in NW London, and at brunch time I took my camera out and started snapping. We decided that churros bites  were the order of the day (if you don’t know what churros are, then you’ve not really lived yet, fact).

None of us had made them before and at least one of us was terrified by the prospect of a pan fire (no deep fat fryer for us). It was actually gob-smackingly easy and very fun, so go on, have a go.

how-to-make-churros-1

You will need

1 cup Water

2 and 1/2 tbsp Caster sugar (plus some for coating)

1/2 tsp Salt

1 cup Plain flour

1L Vegetable oil

Ground cinnamon (for coating)

100-200g Chocolate (for dipping)

Serves 4 (recipe sourced at allrecipes.com)

how-to-make-churros-2

Step one

In a saucepan combine the cup of water, 2 and 1/2 tablespoons of sugar, salt, and 2 tbsp vegetable oil.

Heat over a medium heat until sugar has dissolved and mixture comes to the boil.

how-to-make-churros-4

Step two

Take water off the heat and pour in a cup of plain flour.

how-to-make-churros-5

Step two and a half

Stir stir stir.

The mix will a) get too heavy for a whisk very quickly b) get very lumpy very quickly c) look plain wrong.

Persevere though, if you keep mixing you will manage to smooth it out considerably in a matter of minutes. I promise.

how-to-make-churros-6

Step three

Heat the rest of the oil in a sizeable pan. SLOWLY.

You want it to be on no more than a medium heat the whole time, and this will take a while. You know the oil is at the right temperature when you drop a little mixture in and it bubbles and floats rather than sinking to the bottom.

how-to-make-churros-7

Step four

Fill a large piping bag with the mix and squeeze to the end.

A star shaped nozzle will give you the most authentic looking churros, but I would advise a fairly small one. Ours was the biggest in the pack, and the chunkiness turned our churros into churros bites fairly early on…we didn’t want to end up with only 4 massive ones…less space for the chocolate that way.

how-to-make-churros-8

Step five

Pipe into the pan. We had one person piping and another using a pair of scissors to snip the mixture in at a desired length. Manageable with one person though I suspect – if you don’t have a helper.

This is where you need to keep an eye on the heat because if you’re not careful you risk cooking/burning the outside and then having uncooked dough within. We learned by doing on this one!

So keep the pan on a low-medium heat and just cook them by eye. Even the most novice chef can see when one of these is ready.

how-to-make-churros-9

Step six

Lift the churros out of the pan and drain on a plate covered with a few sheets of kitchen roll.

A slotted spoon would be ideal for this if you have one.

how-to-make-churros-10

Step seven

Cover another plate in caster sugar and cinnamon (adjust quantities to taste), and roll drained churros around until coated in the mix.

how-to-make-churros-11

Step eight

Stack em high!

how-to-make-churros-12

Step nine

While the churros are cooking, draining, and being coated, task somebody with melting the chocolate.

Do this in the microwave and don’t get impatient. A 30 second blast followed by some 10 seconds with stirring in between will do the trick.

how-to-make-churros-14

Step ten

Eat until you can’t move.