Tag: caramel

Schultüten

Guten Tag friends! This week’s blog post is inspired by a lovely German tradition that warmed my little heart when I was told about it.

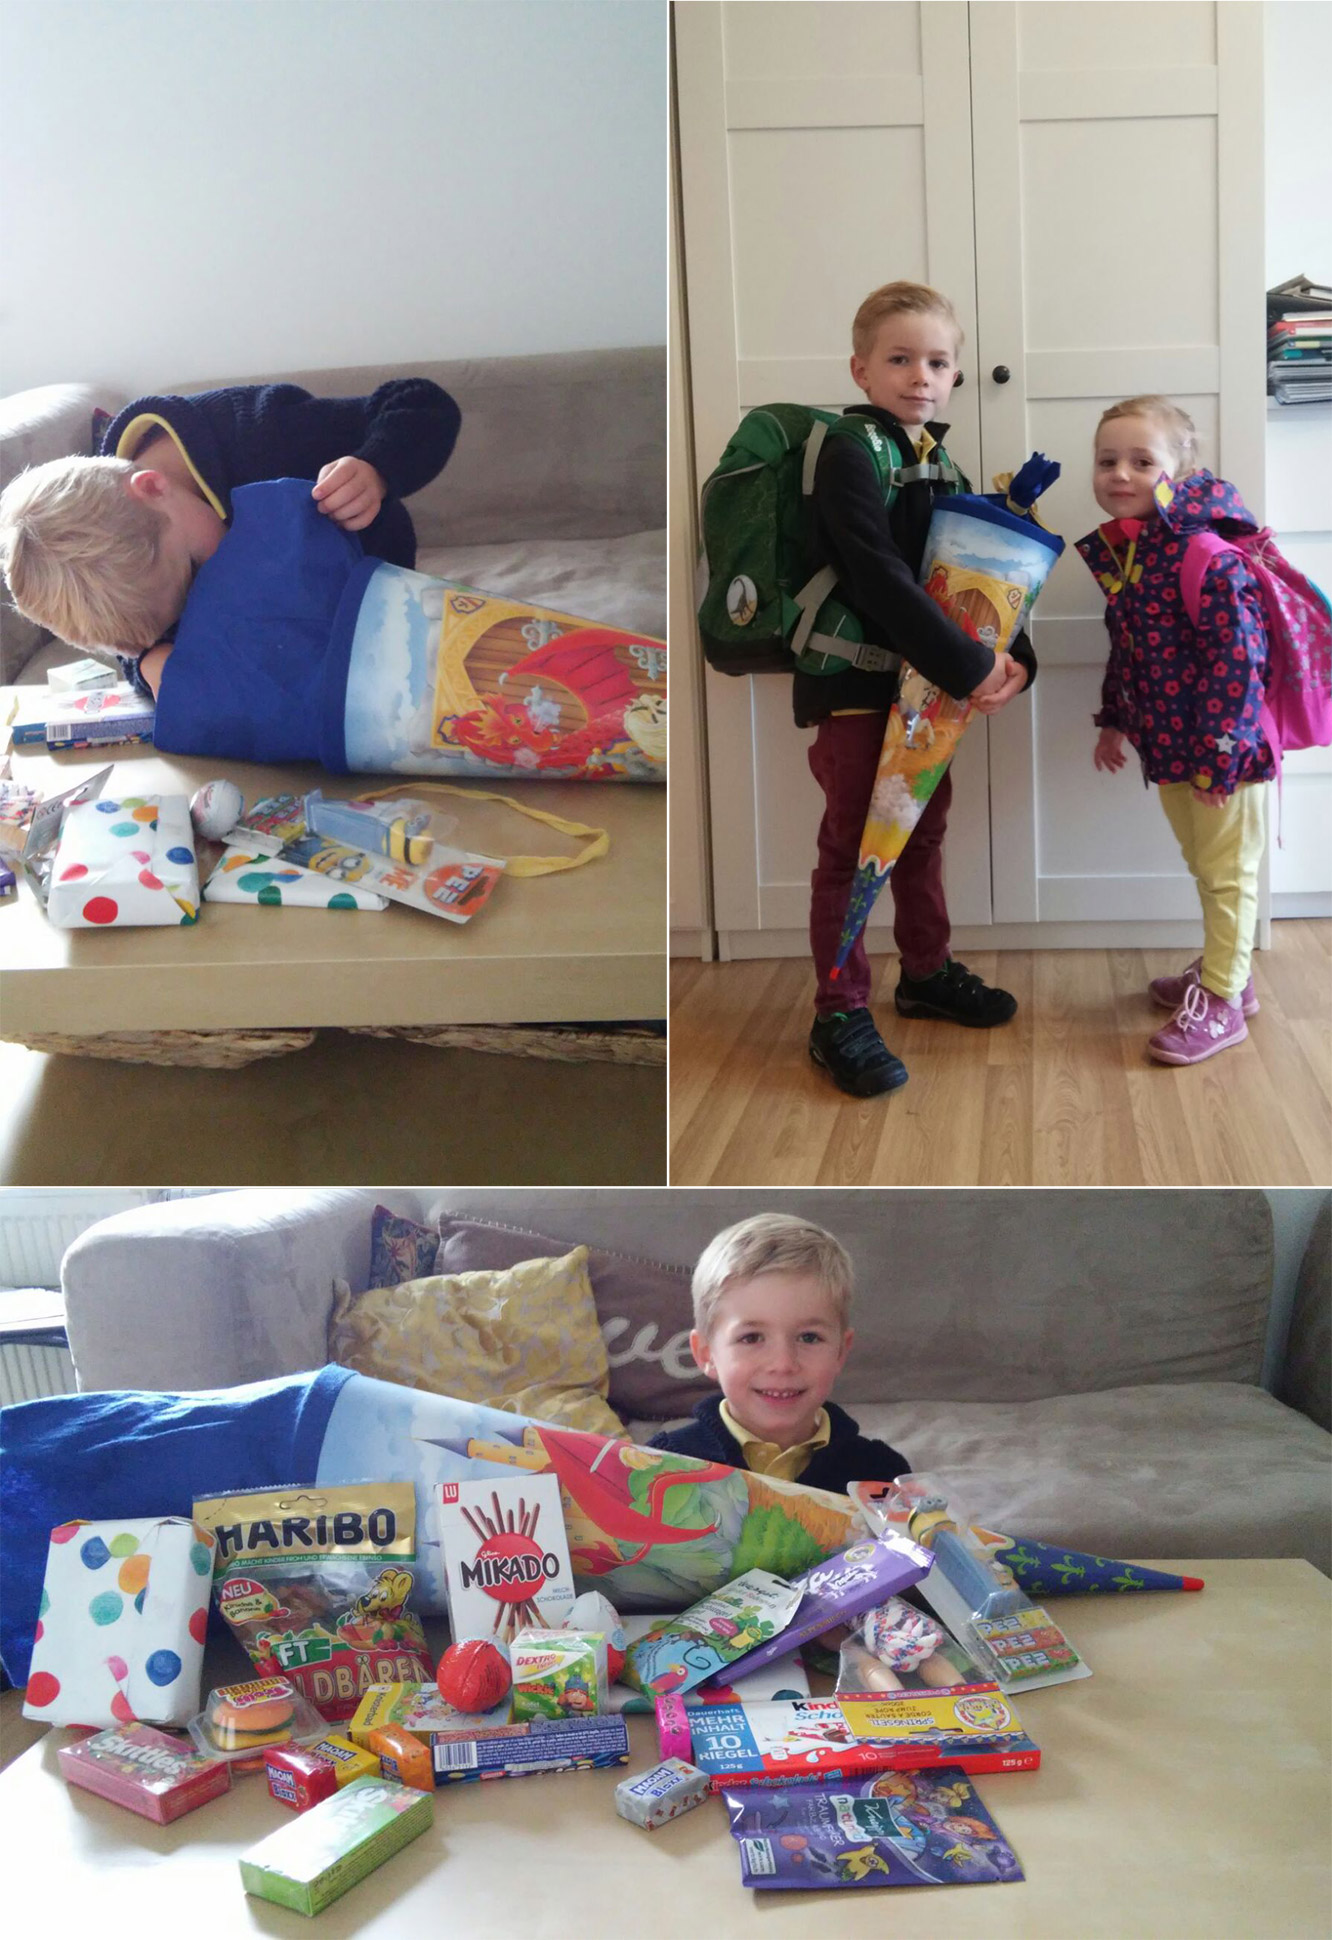
A few weeks ago I was sent these photos of a very beloved little boy; you might remember way back when we helped him make birthday party invites? Well, about 18 months later and it was the first day of school for our young sir.
Schultüten

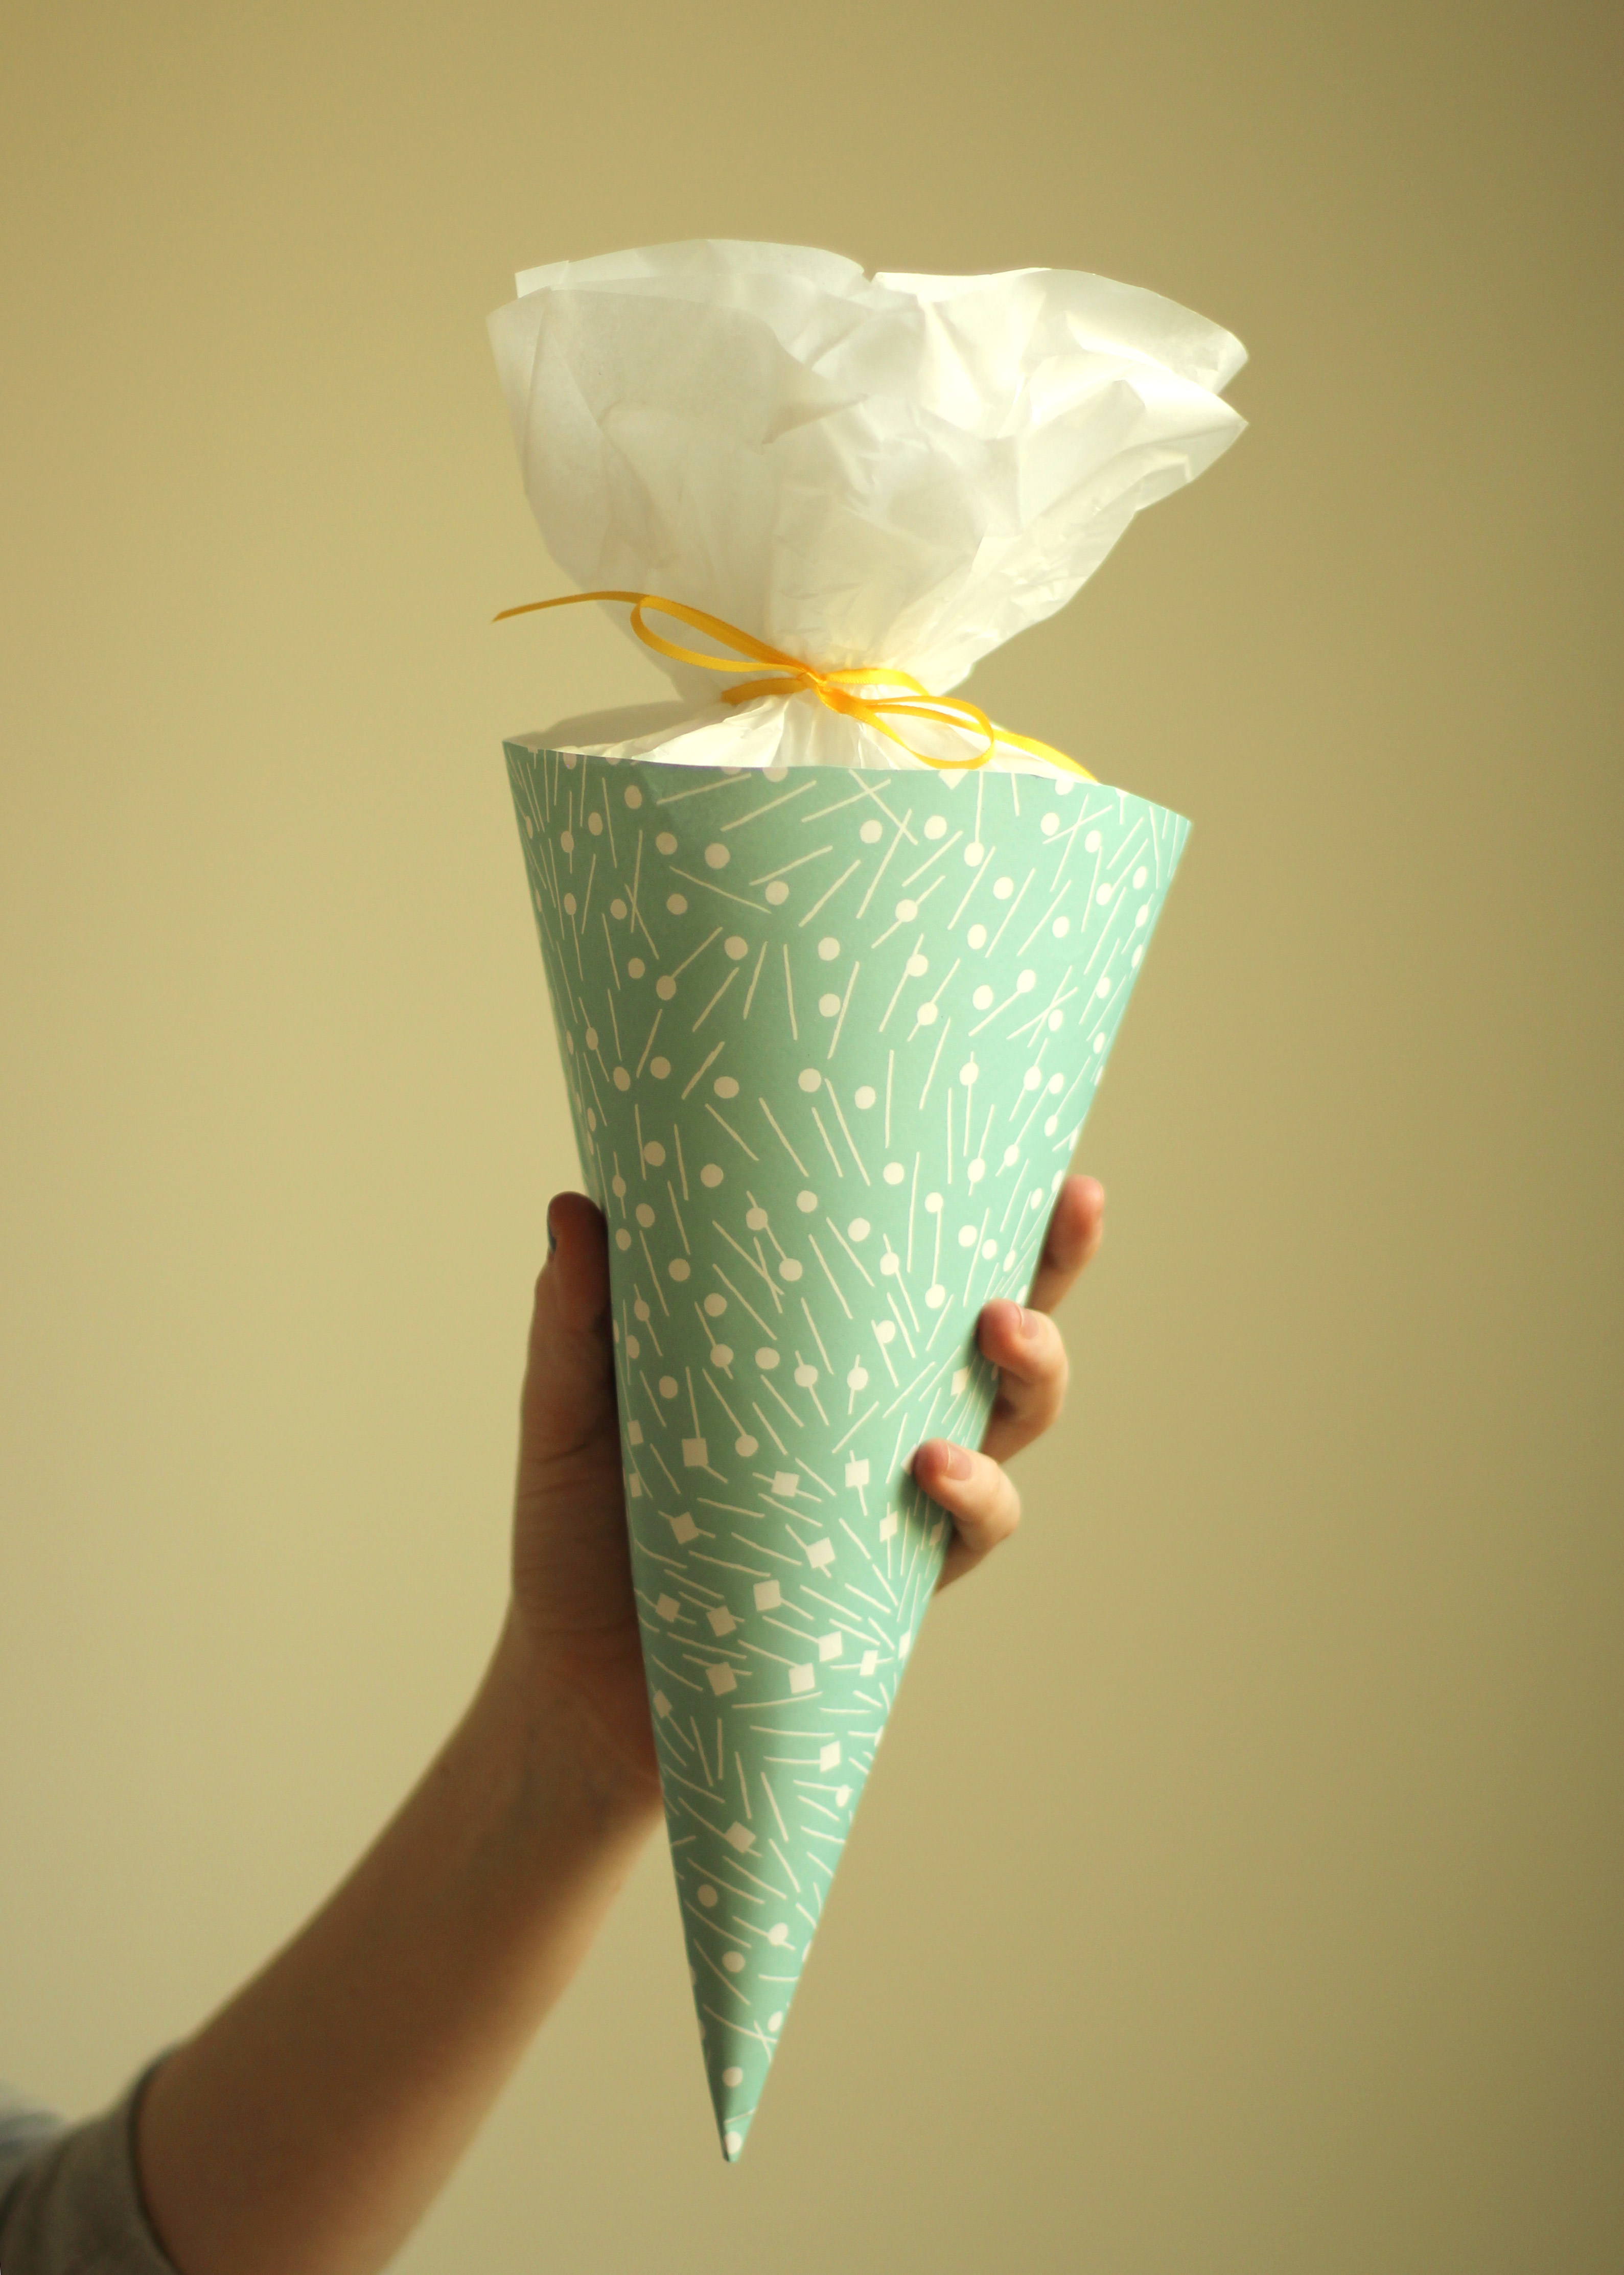
What is that thing he’s holding I hear you cry? My exact response, and I didn’t have the benefit of seeing the contents like you guys at first. Well, I’m reliably informed that in Germany children get a Schultüten on their first day of school, a cone full of lovely treats. The best part is that sometimes adults get a mini version for their first day at a new job. Cute or what?!

I considered making myself one for my new job a few weeks ago, but that is mildly tragic. Thankfully, to rescue me from celebrating myself in that slightly embarrassing way, my friend Matt (who also happens to be Vicky’s husband) managed to land himself one starting this week, yay Matt. Enter Katie and her Schultüten.

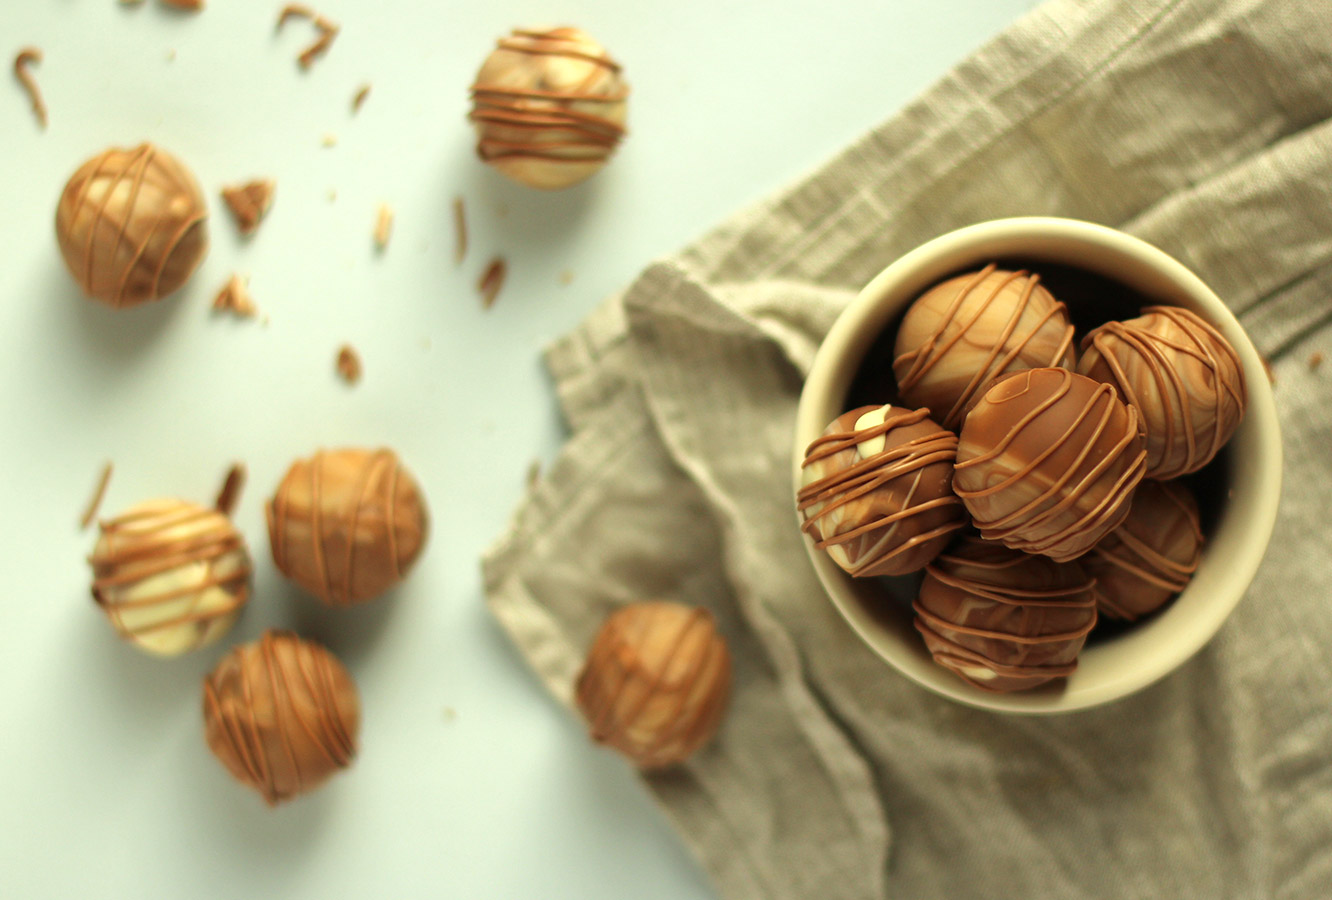
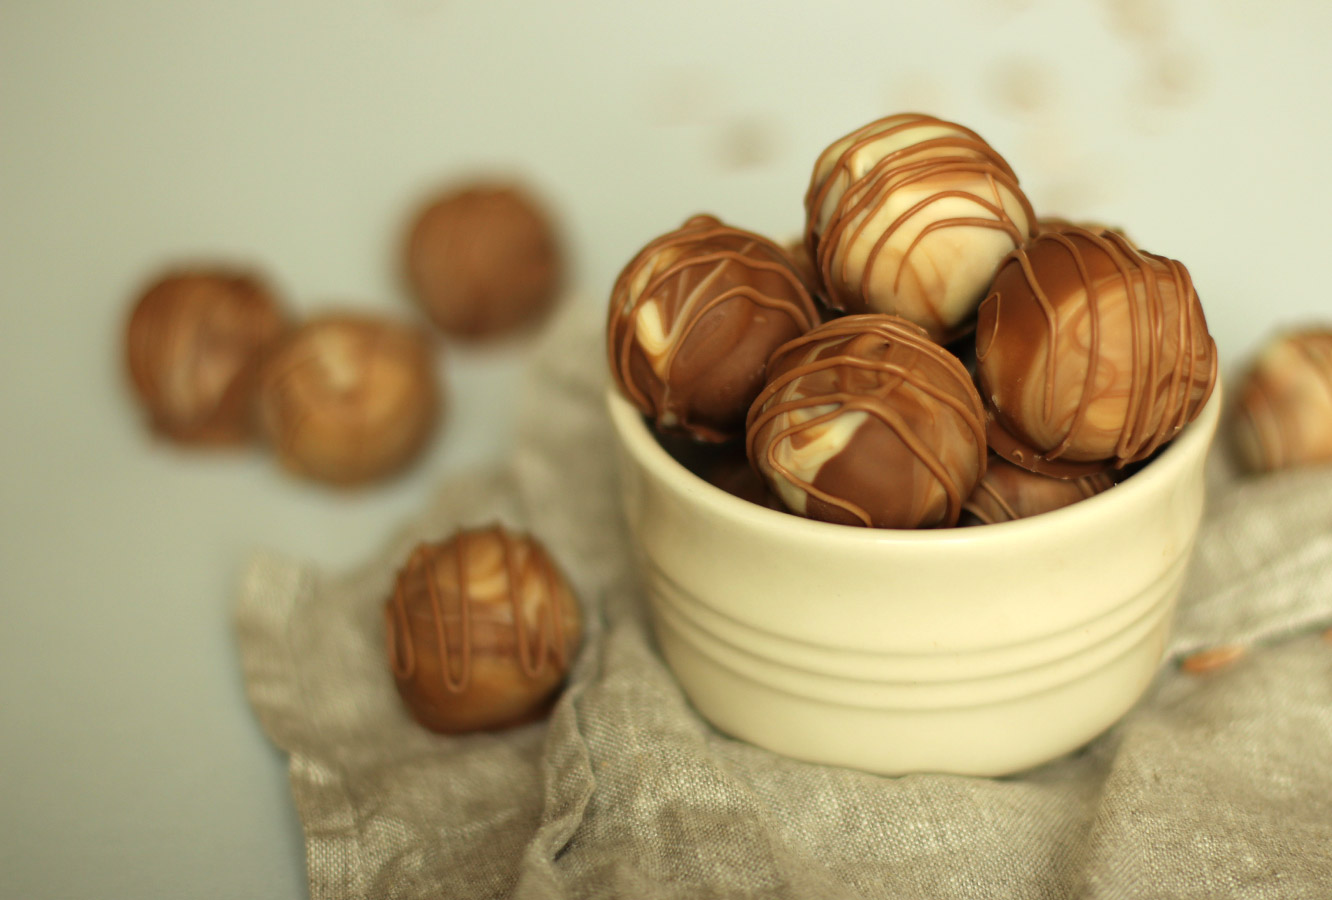
By the way, I did take some of these truffles into work myself, and to brag not to brag, but one of my new colleagues described them as “chocolates worthy of a transcontinental move”. I may have asked her to workshop her review a little until we got to that point, and in return I will probably end up making some for her to give her boyfriend to encourage such a move.

Moving on. From THE LONGEST introduction to any blog post ever, I really shouldn’t write these tired.
marbled-caramel-truffle-recipe

You will need

For the truffles:

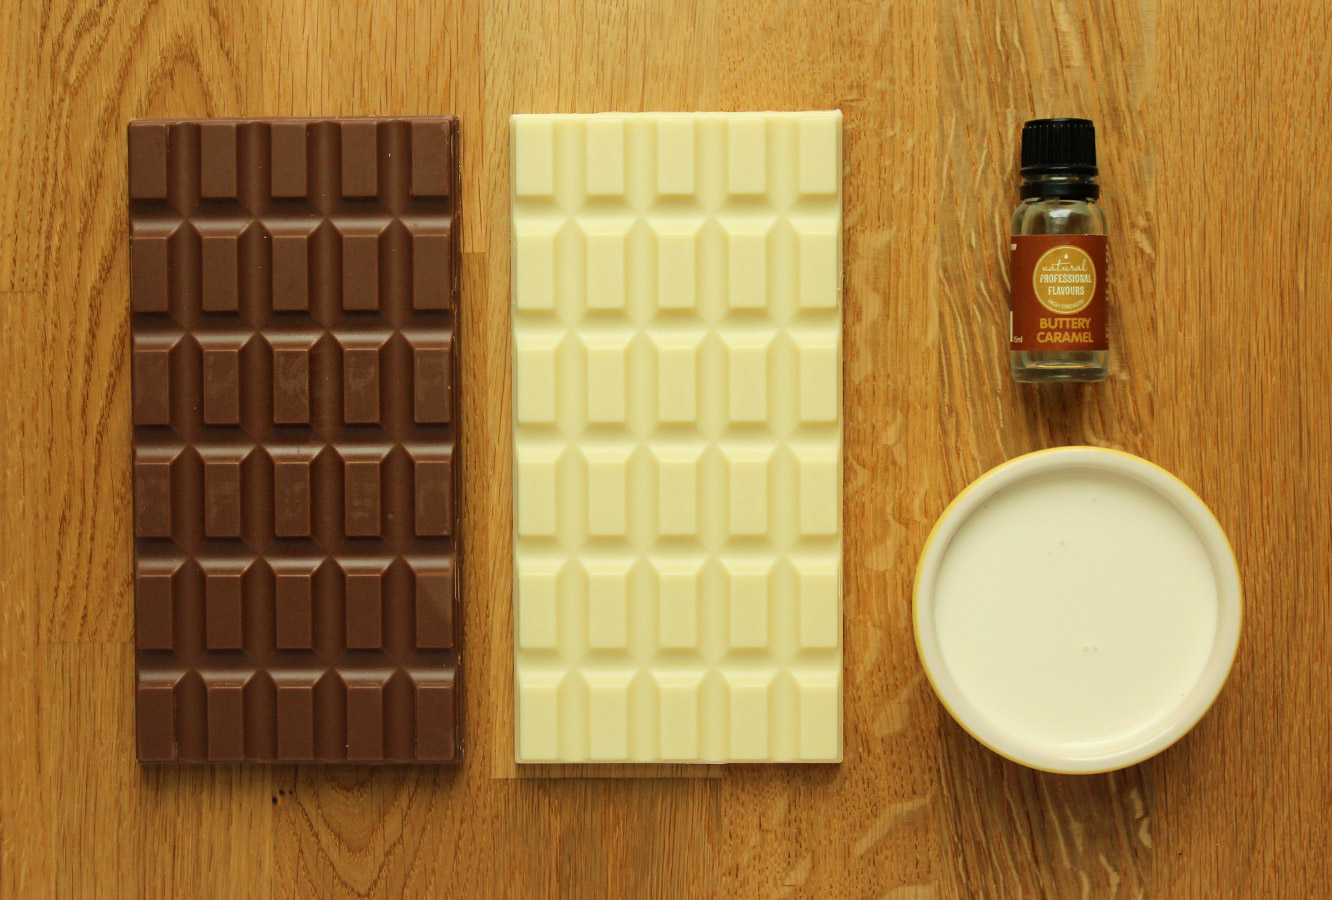
400g/14 oz milk chocolate

400g/14 oz white chocolate

180ml/6 fl oz double cream

Caramel flavouring (I swear by Natural Professional Flavours – buttery caramel)

(makes up to 40 truffles)

For the cone:

Nice quality wrapping paper (I got mine from Foyles if you’re in the UK)

Tissue paper (preferably a colour that doesn’t clash with your choice of paper)

Ribbon

Double sided tape
marbled-caramel-truffle-recipe-2

Step one

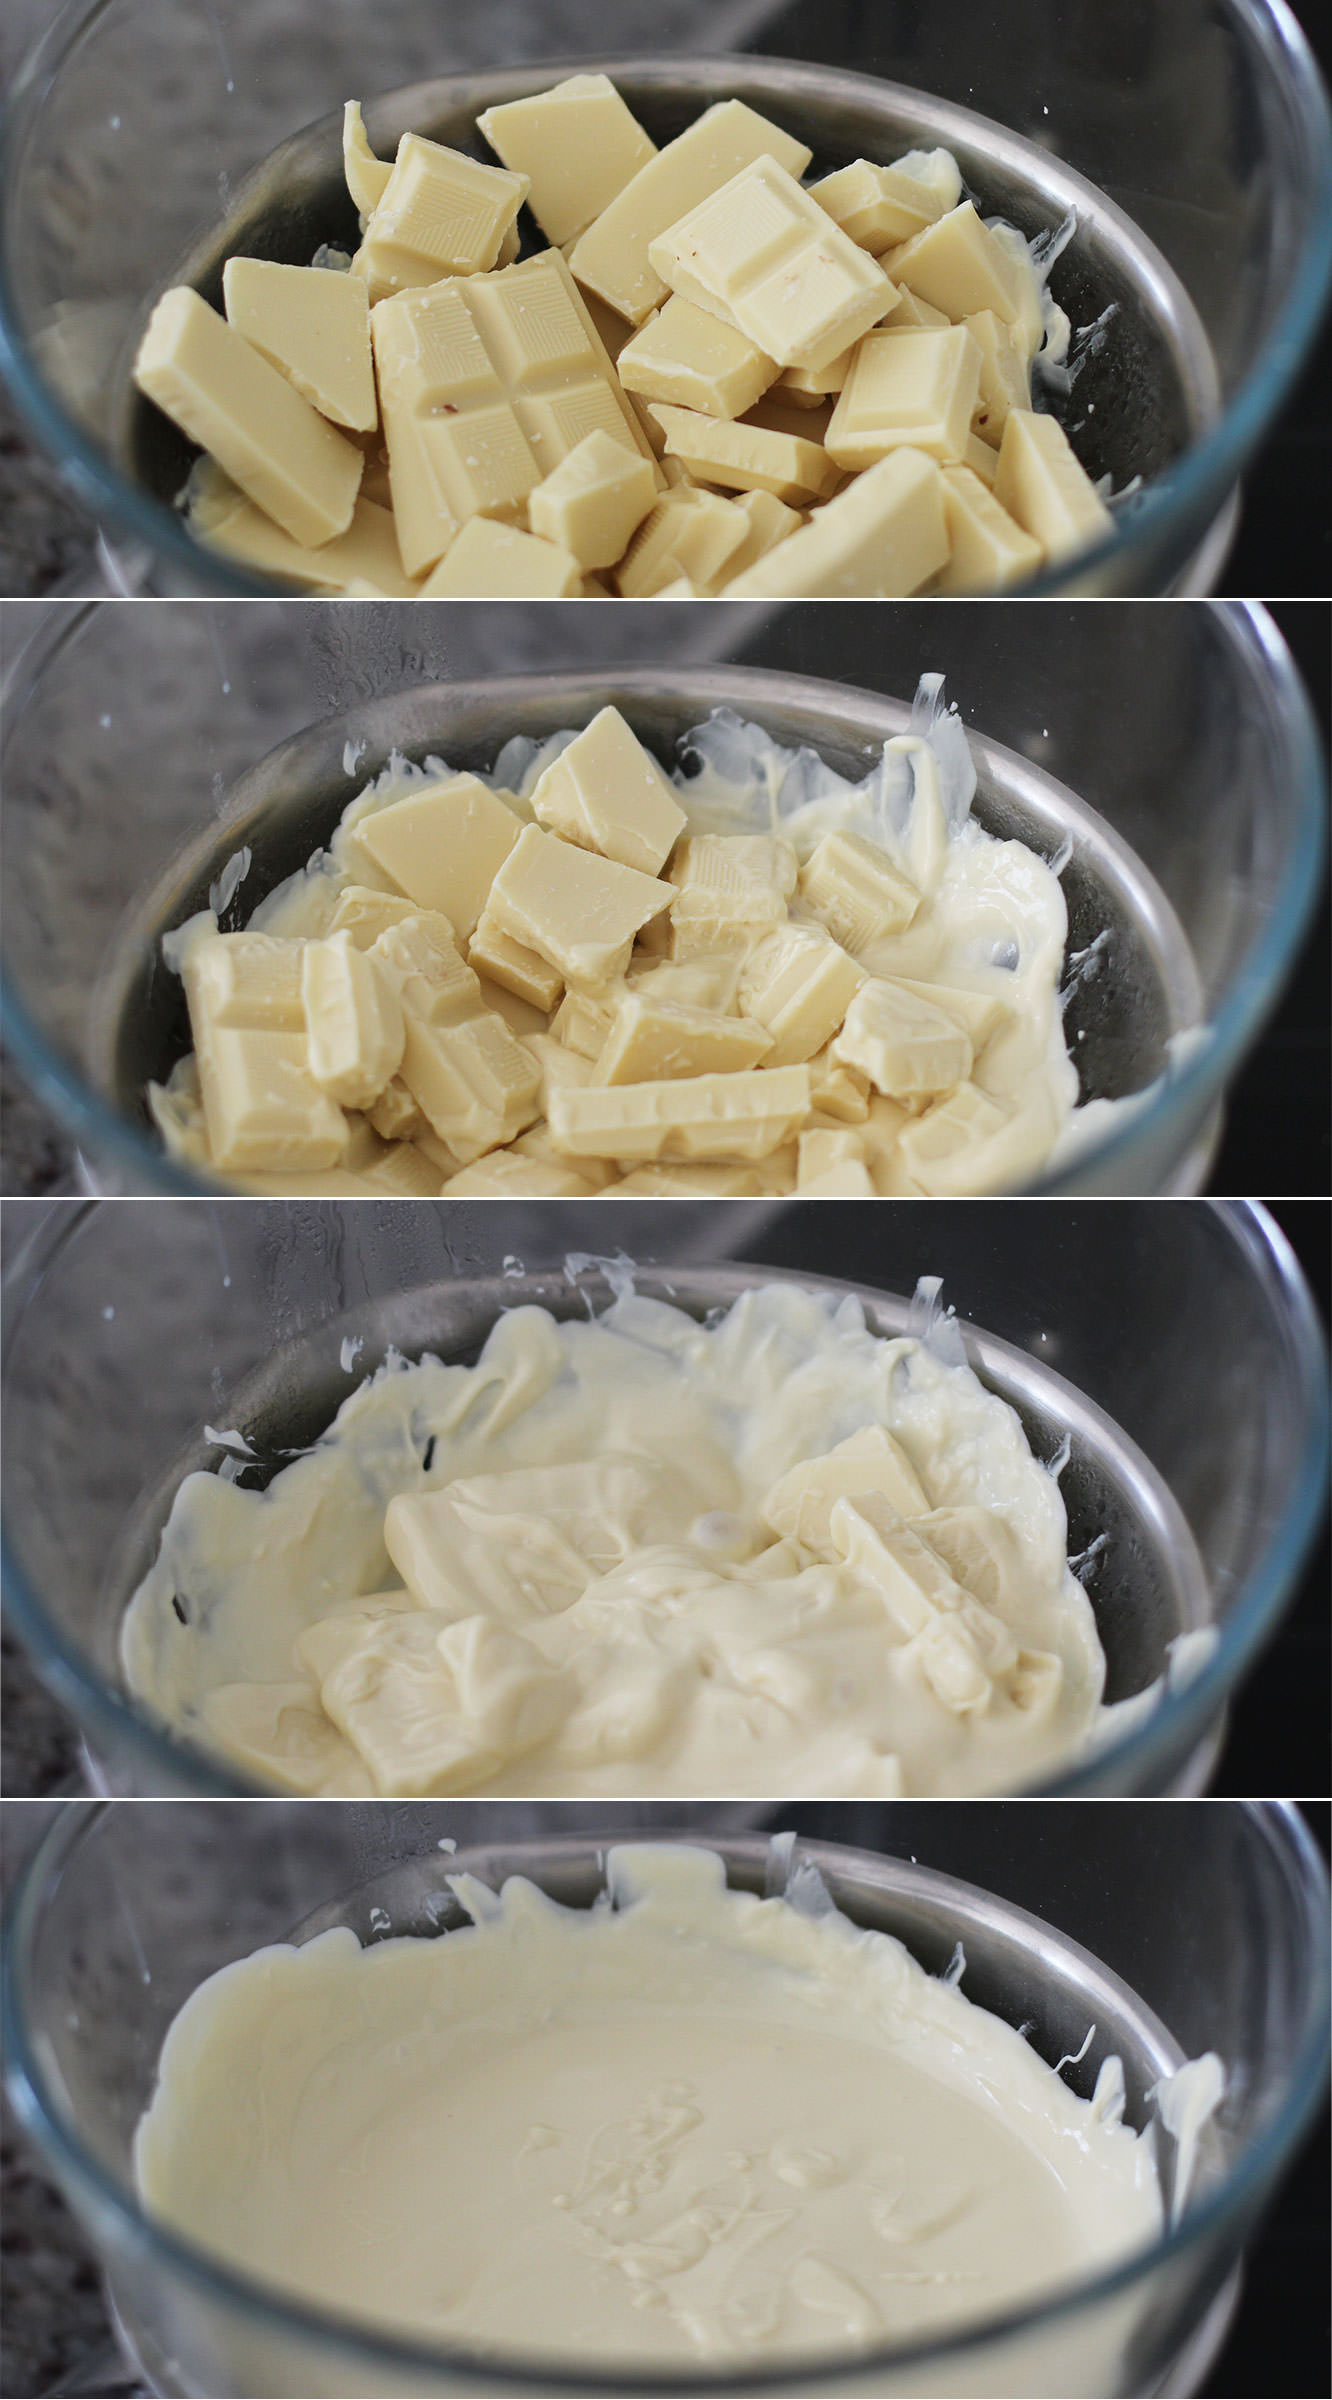
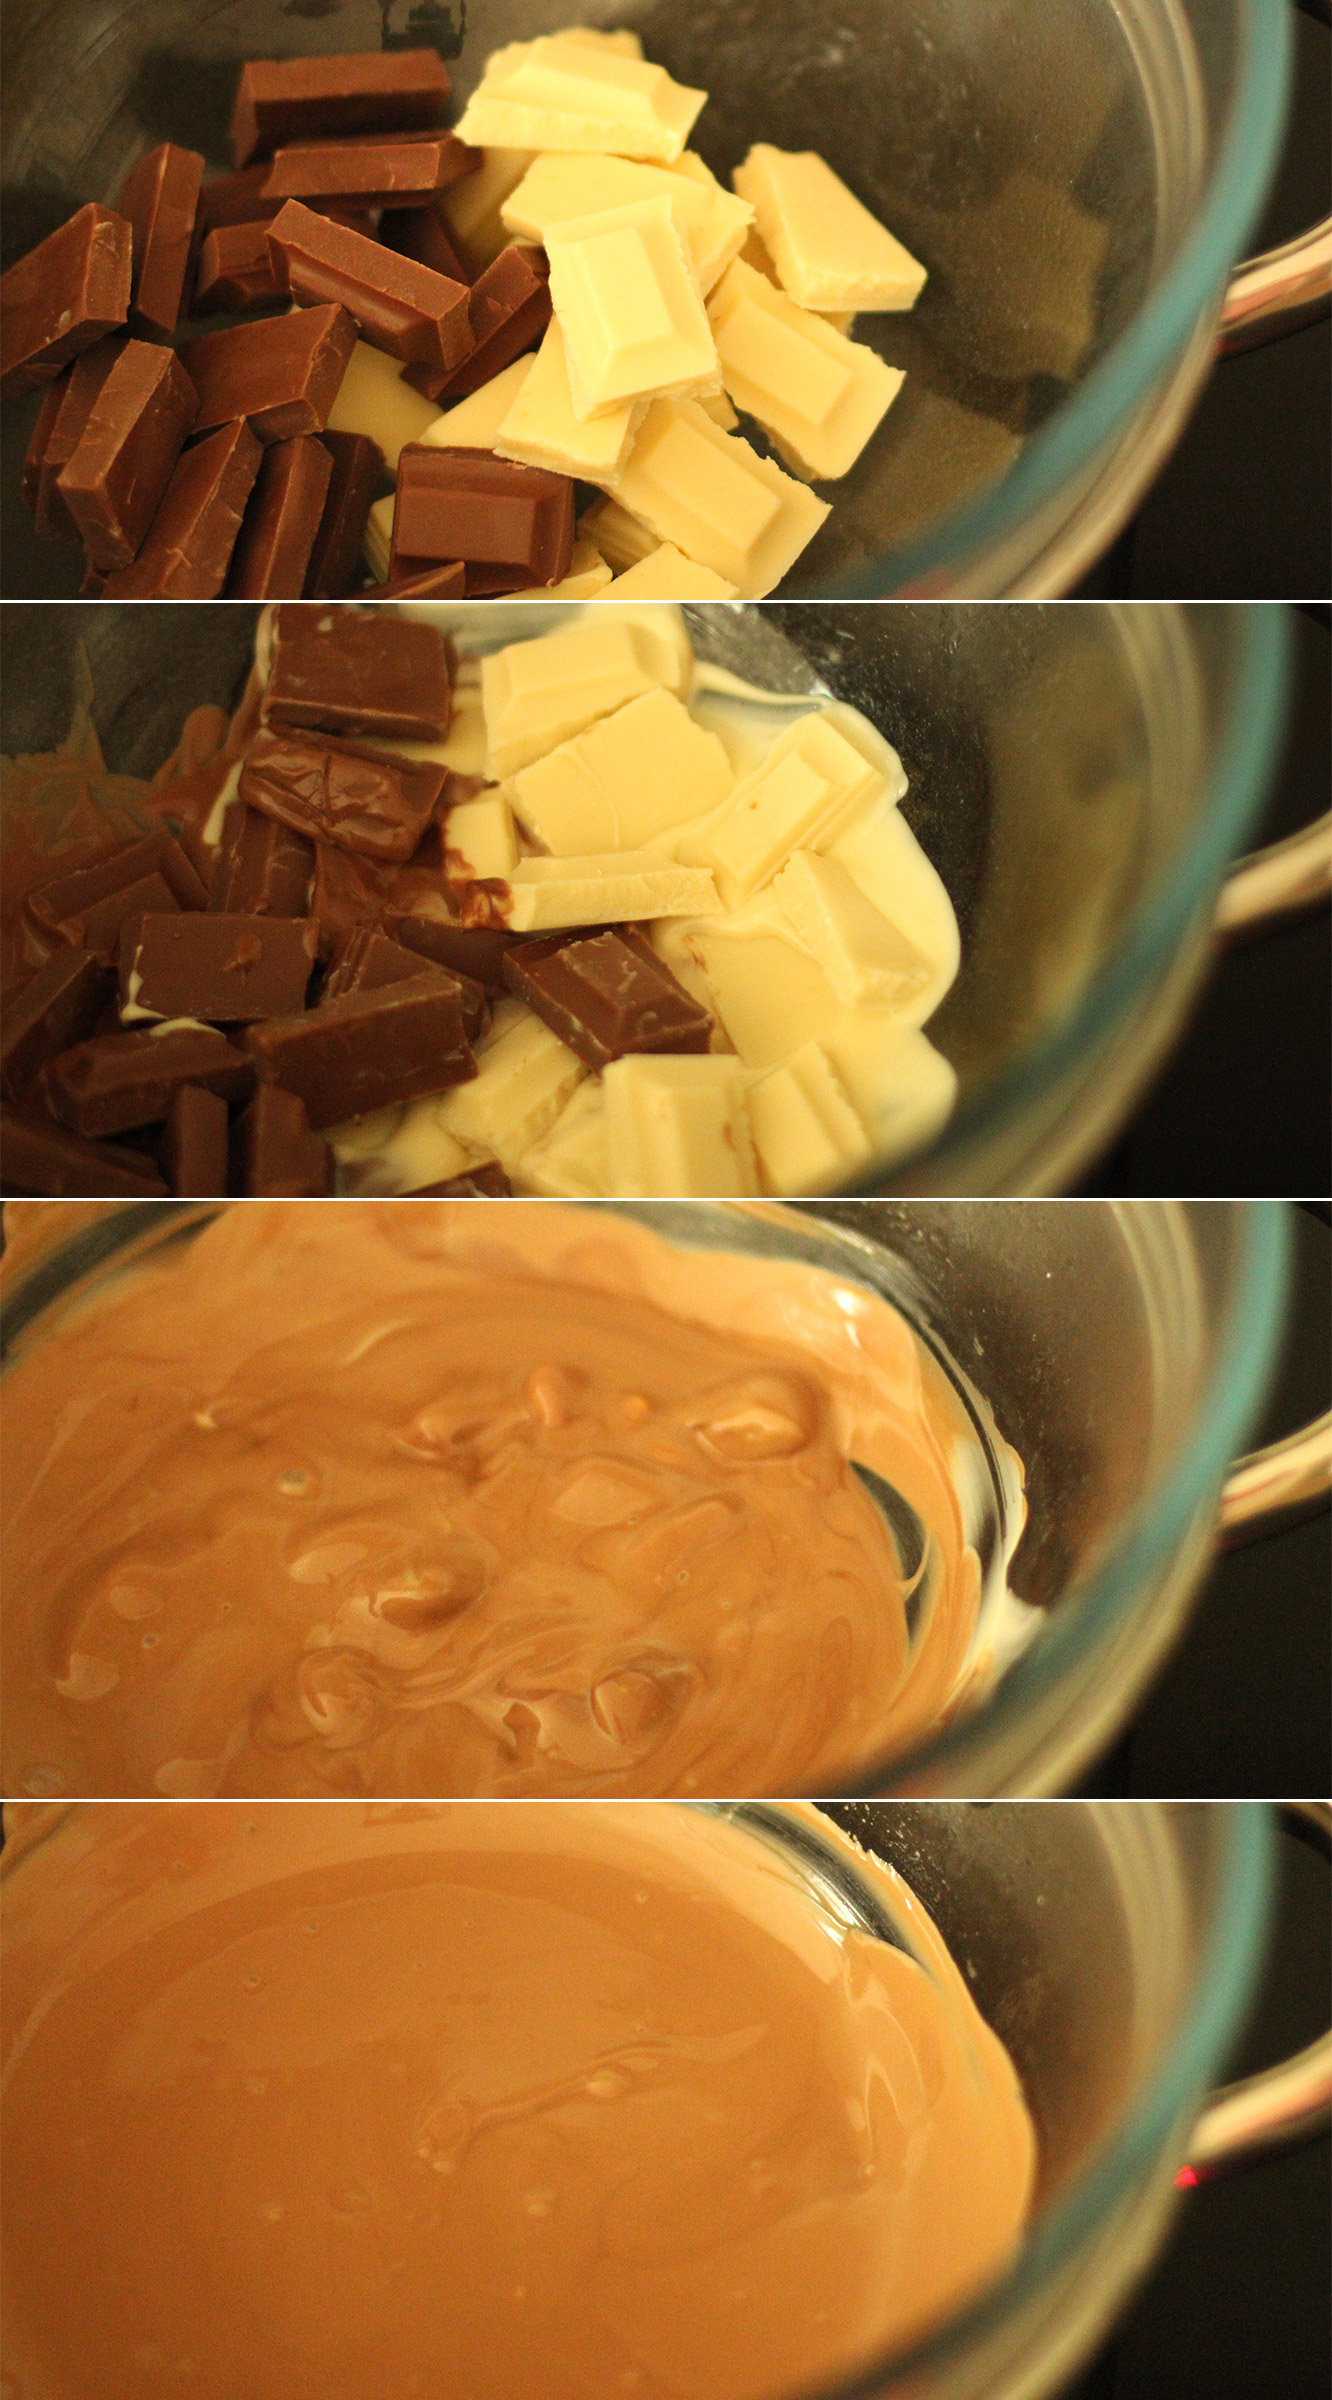
Melt 200g of each chocolate in a heatproof bowl over a pan of simmering water.
marbled-caramel-truffle-recipe-3

Step two

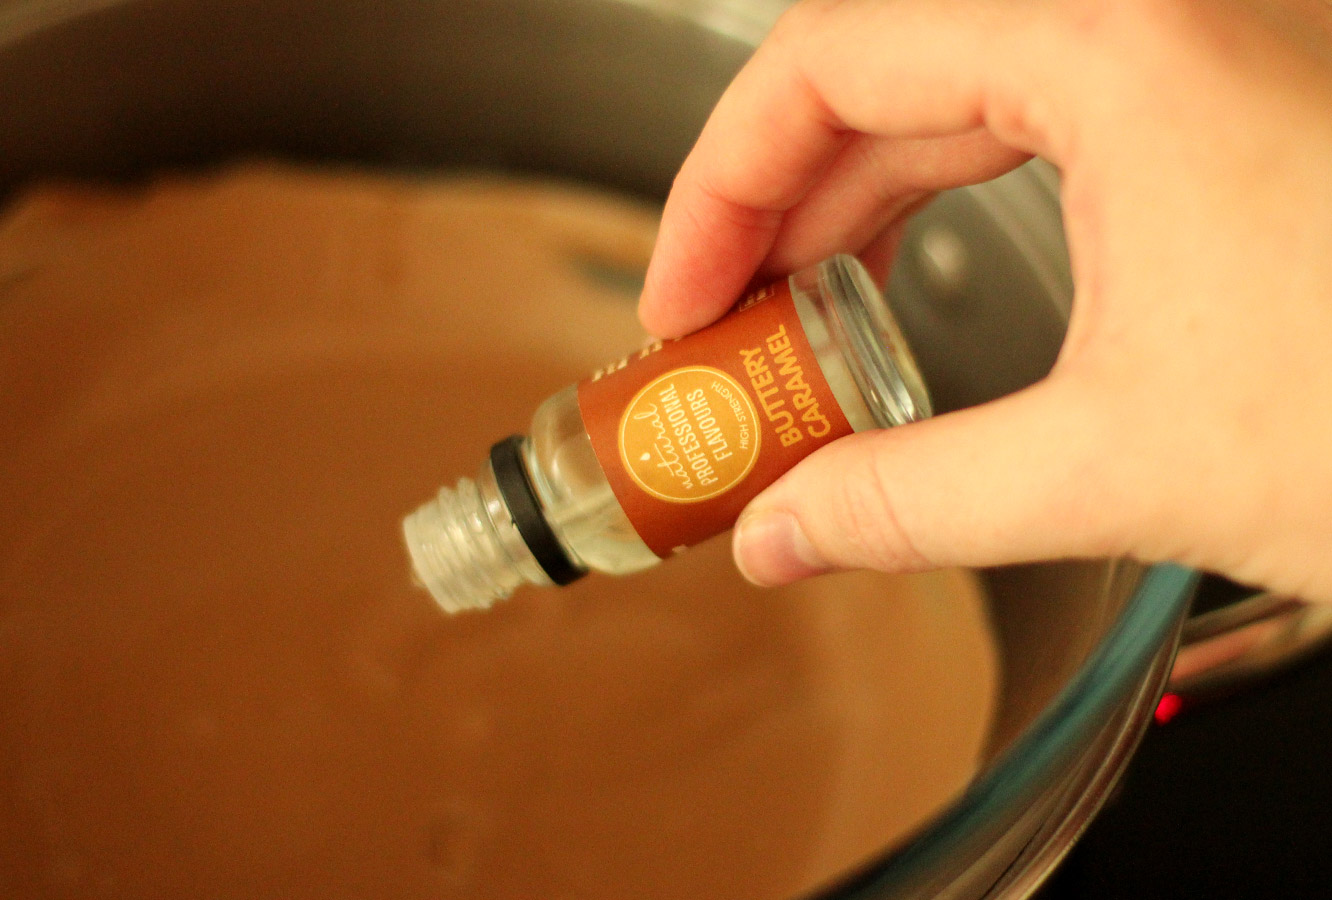
Add 1 tsp or so of the caramel flavouring (you can use other brands of flavouring by the way, a lot of supermarkets offer a caramel flavour now).

This is really just a great excuse to taste test the melted chocolate until you’re happy with it. It’s ok if this takes a few spoonfuls, being a perfectionist is a good thing.
marbled-caramel-truffle-recipe-4

Step three

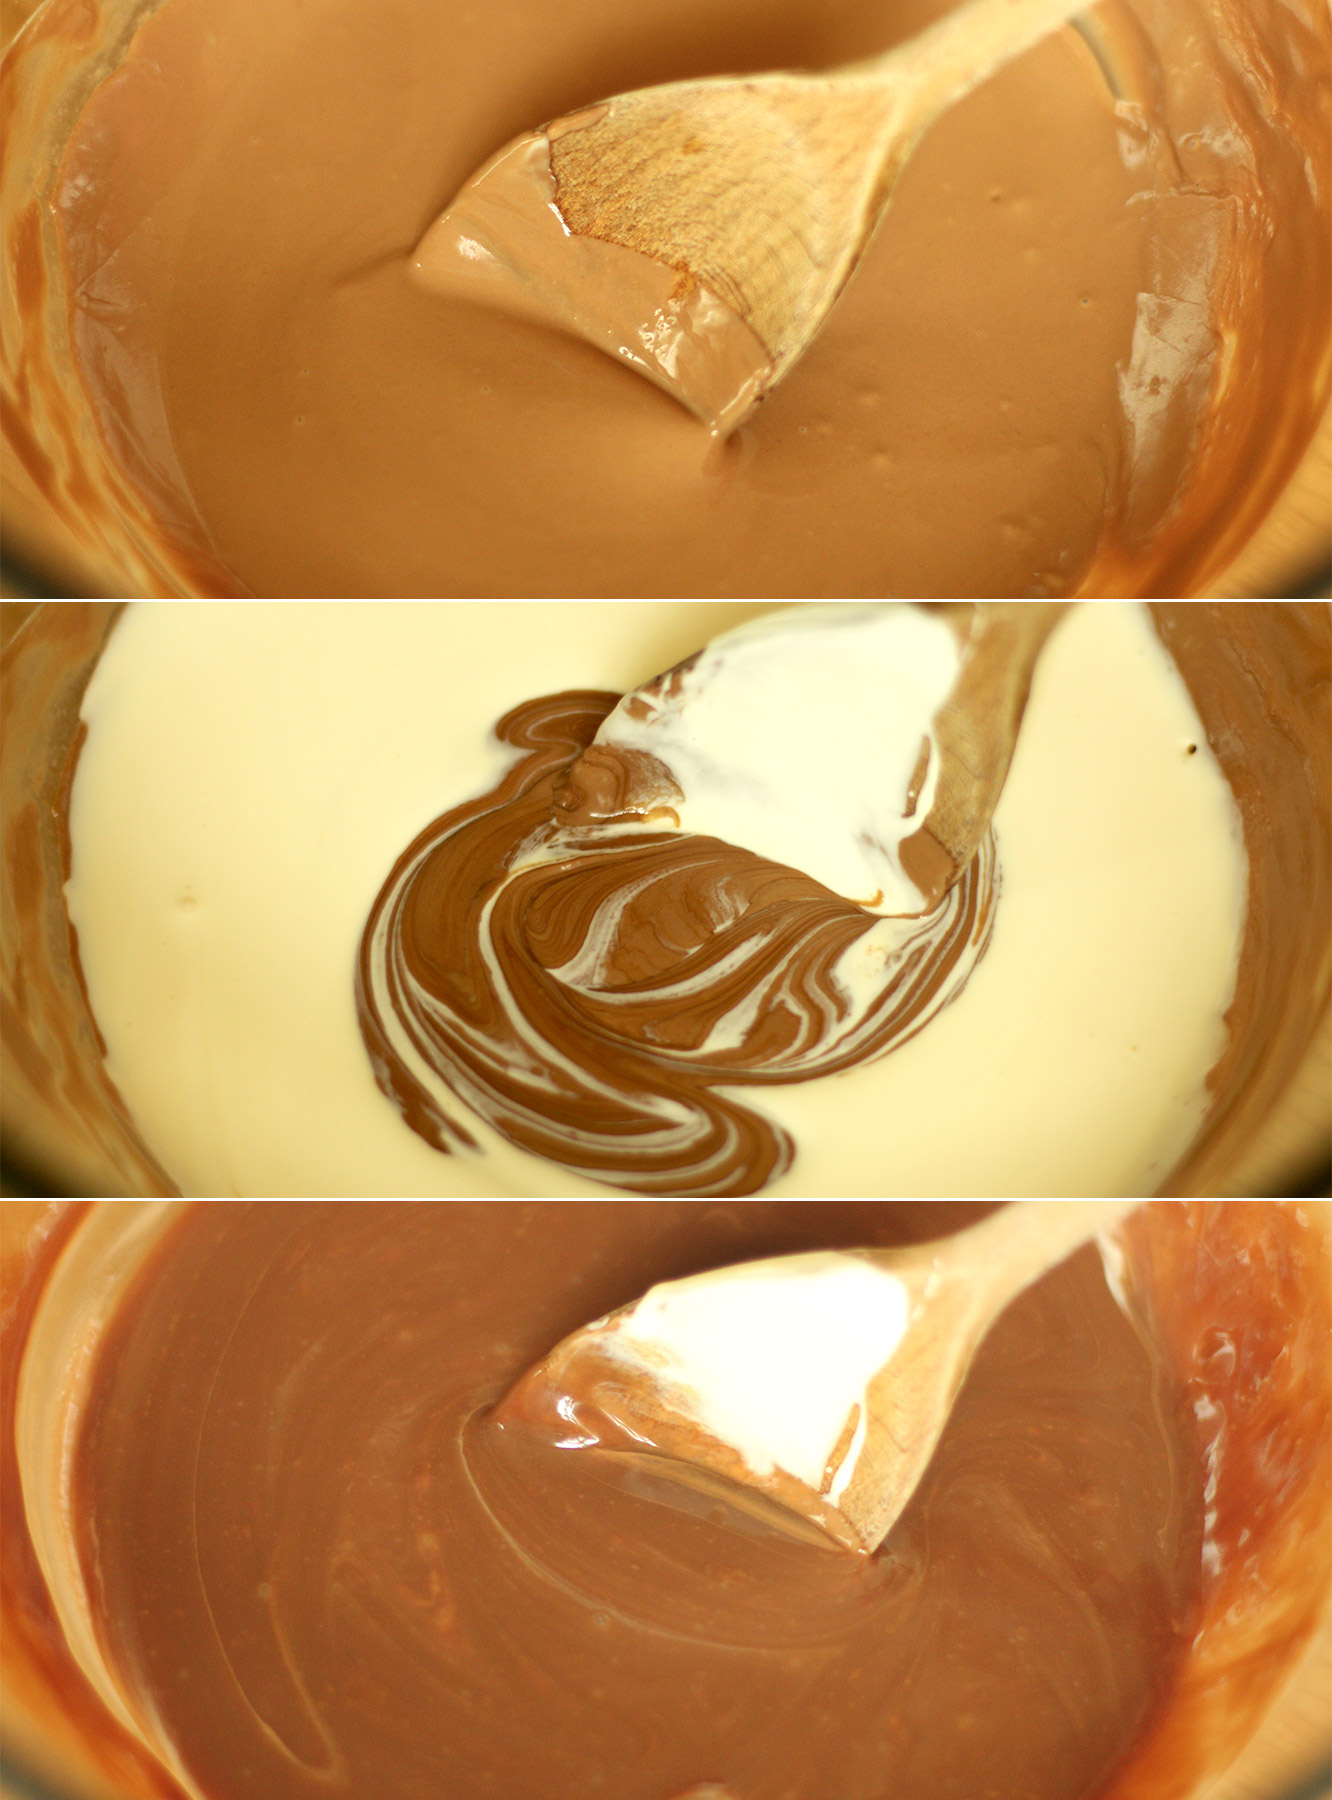
Remove the chocolate from the heat and stir in the cream until fully combined. You will probably need to leave this to set for a while.

Leave it on the side if you have time, the fridge if you’re slightly hurried, or even the freezer if you’re desperate to take photos for your blog in the fading natural light (thanks winter).
marbled-caramel-truffle-recipe-gif-1

Step four

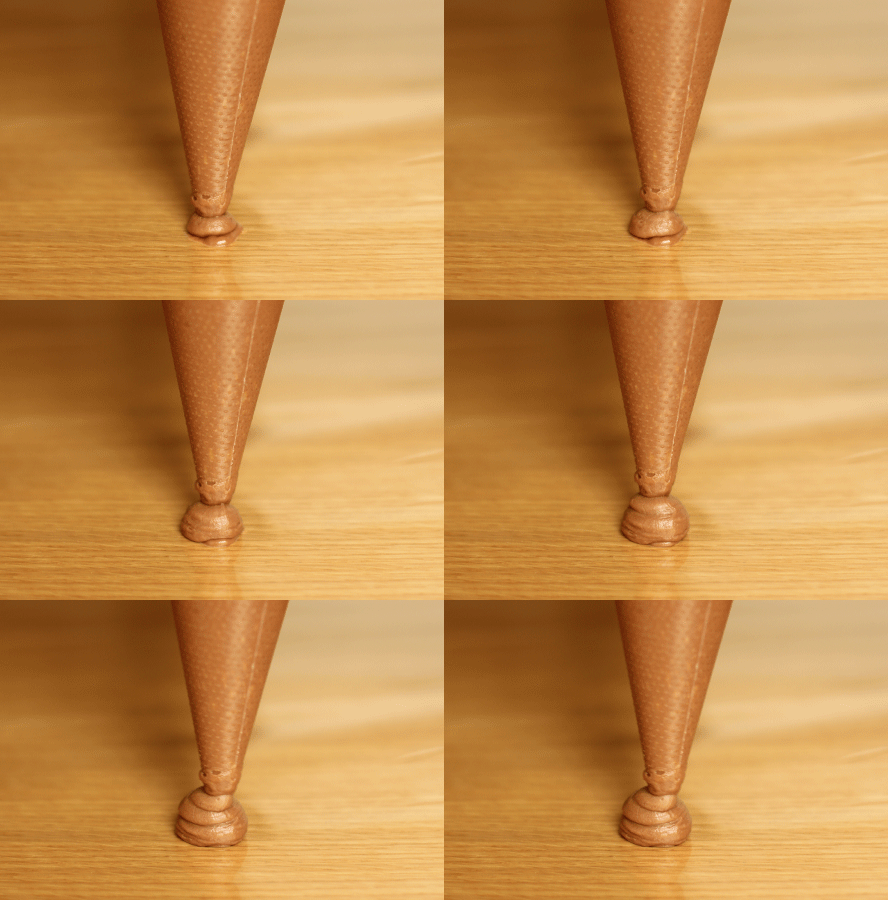
Once the mixture is pipe-able, lay out a sheet of cellophane or greaseproof paper and pipe out evenly sized blobs (yes, that’s the technical term). They need to be about, well, truffle sized, whatever that means to you pal.
marbled-caramel-truffle-recipe-5

Step five

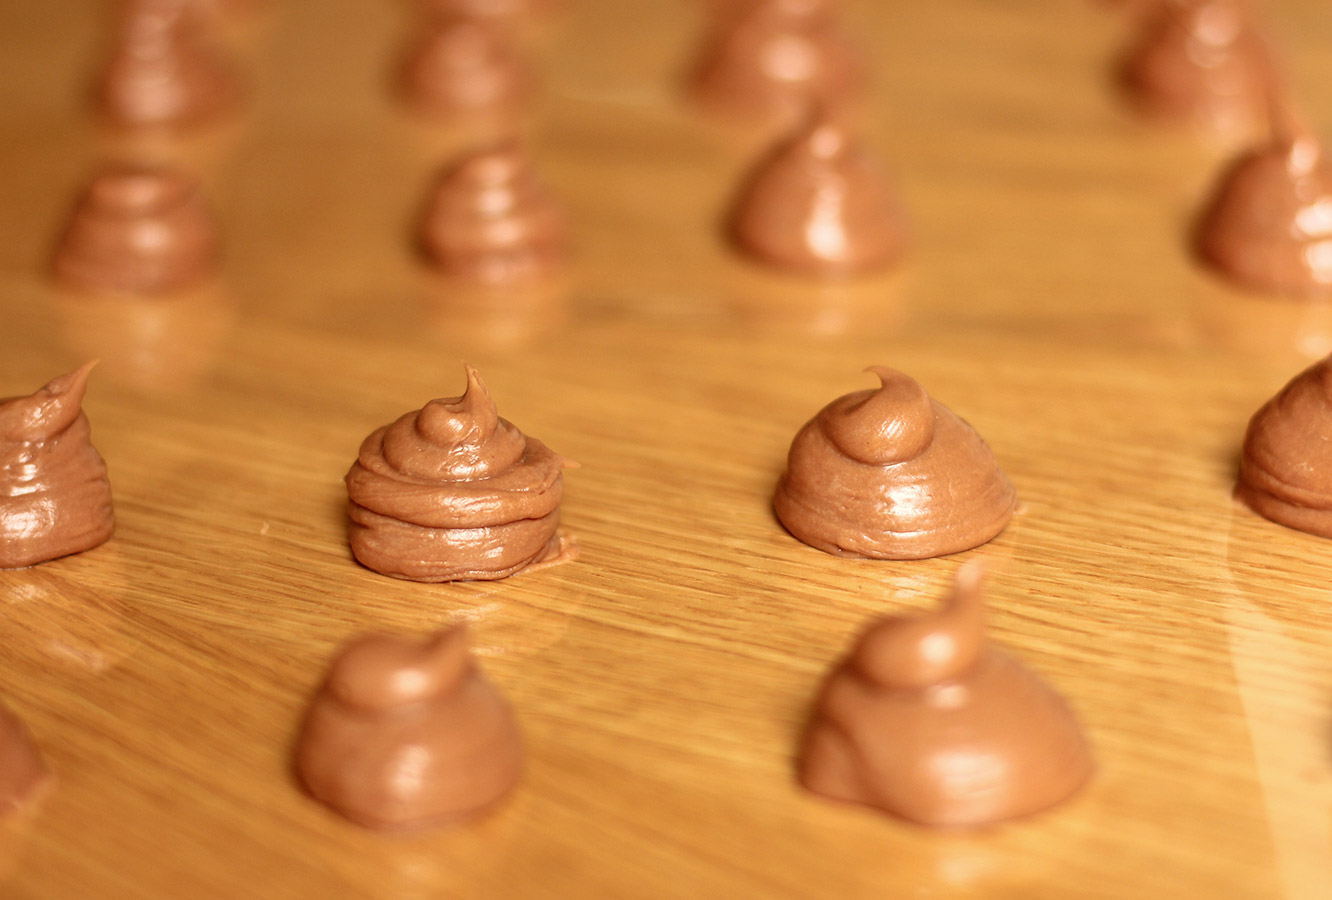
Leave to set, you can put them in the fridge if you want to.

They look appetising, don’t they?
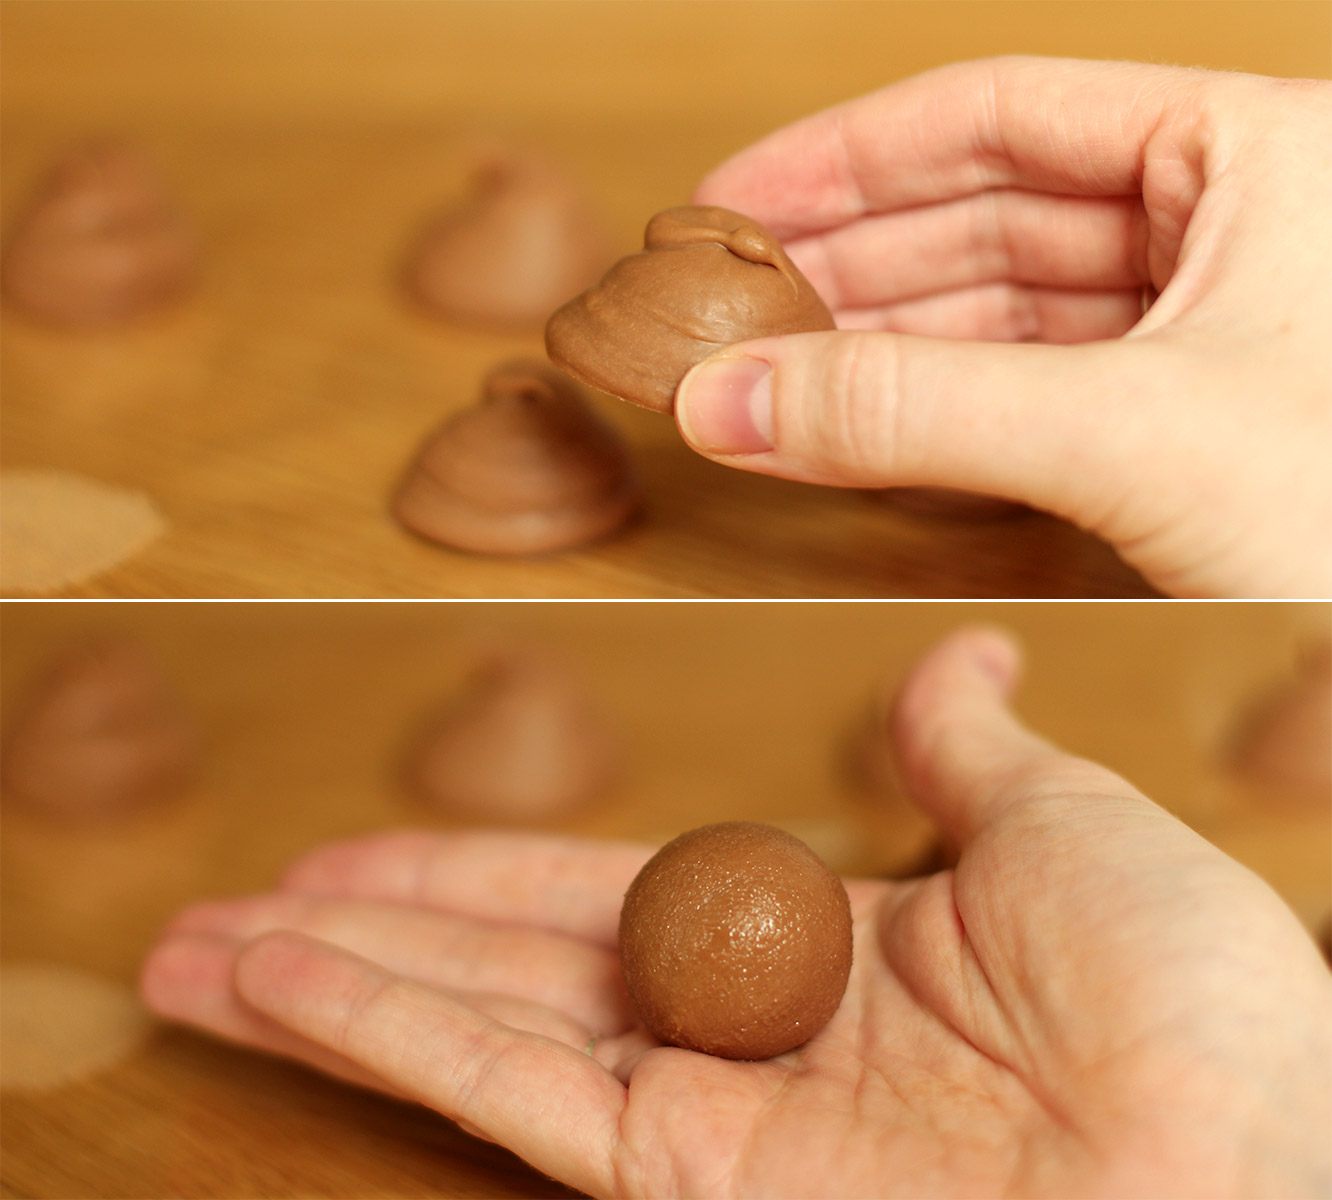
marbled-caramel-truffle-recipe-6

Step six

With clean and cold hands (clue: wash them under the cold tap). Squash the piped shapes a little with your fingers and roll into a ball between your palms.

You will probably need to wash your hands a few times as you go as they will start to melt as your hands warm up.

I then put mine back in the fridge while I melted the chocolate for coating.
marbled-caramel-truffle-recipe-gif-2

Step seven

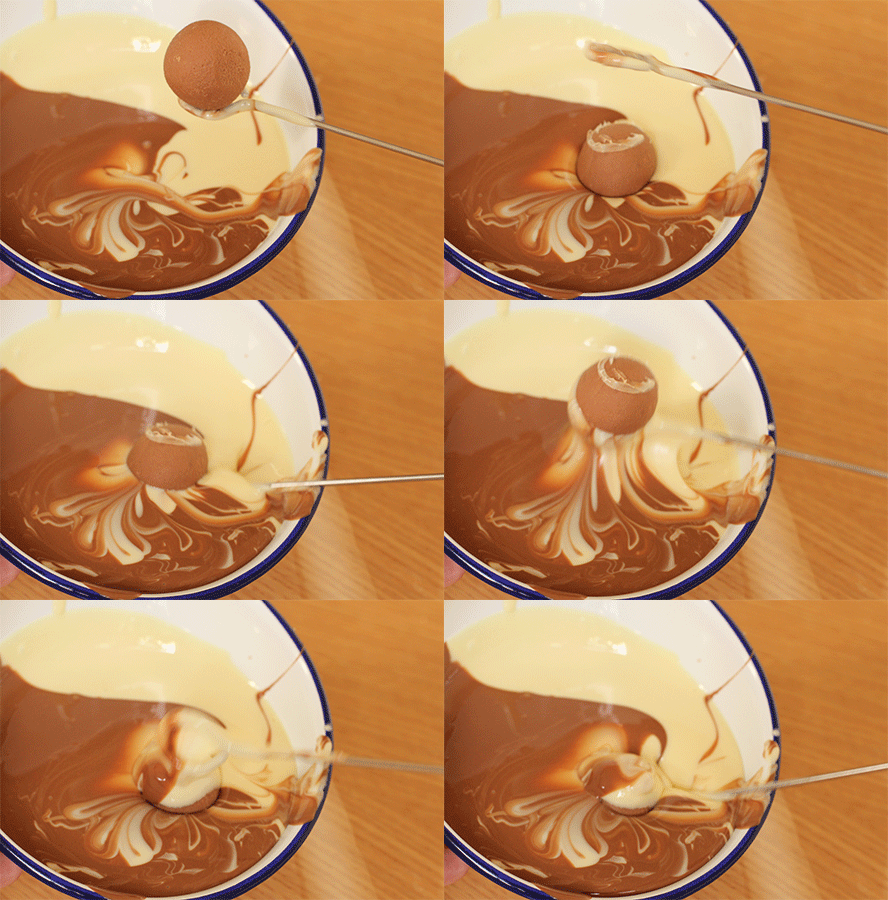
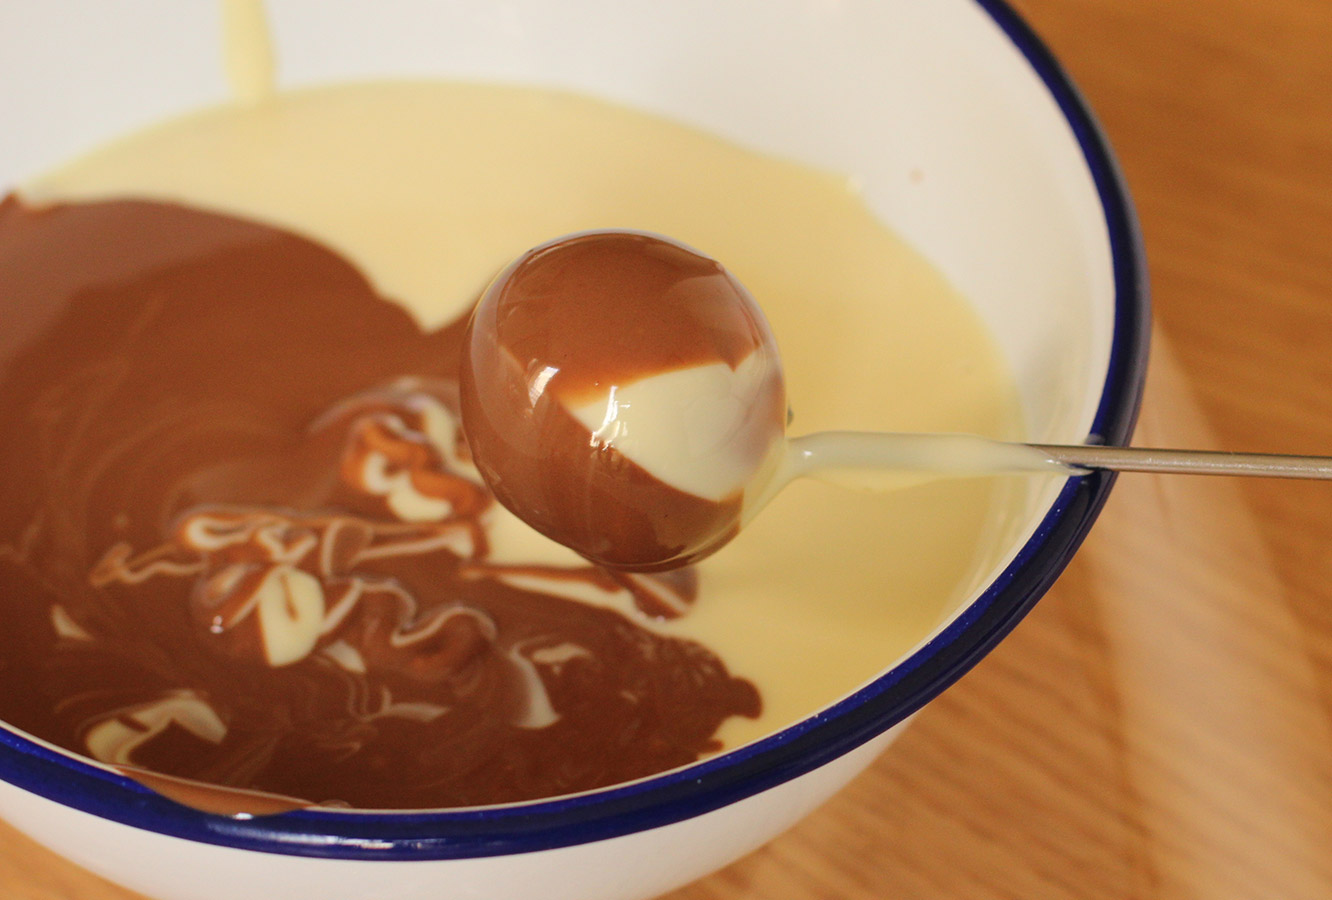
Melt the remaining white and milk chocolate separately and pour simultaneously into a small, deepish container or bowl. This is to get a marbled effect on the outside, but you could always stir them together if you don’t fancy the look of that.

Using either a plastic fork with the middle prongs taken out, or the end of a metal kebab skewer, dip the truffle centres in the chocolate.
marbled-caramel-truffle-recipe-7

Step eight

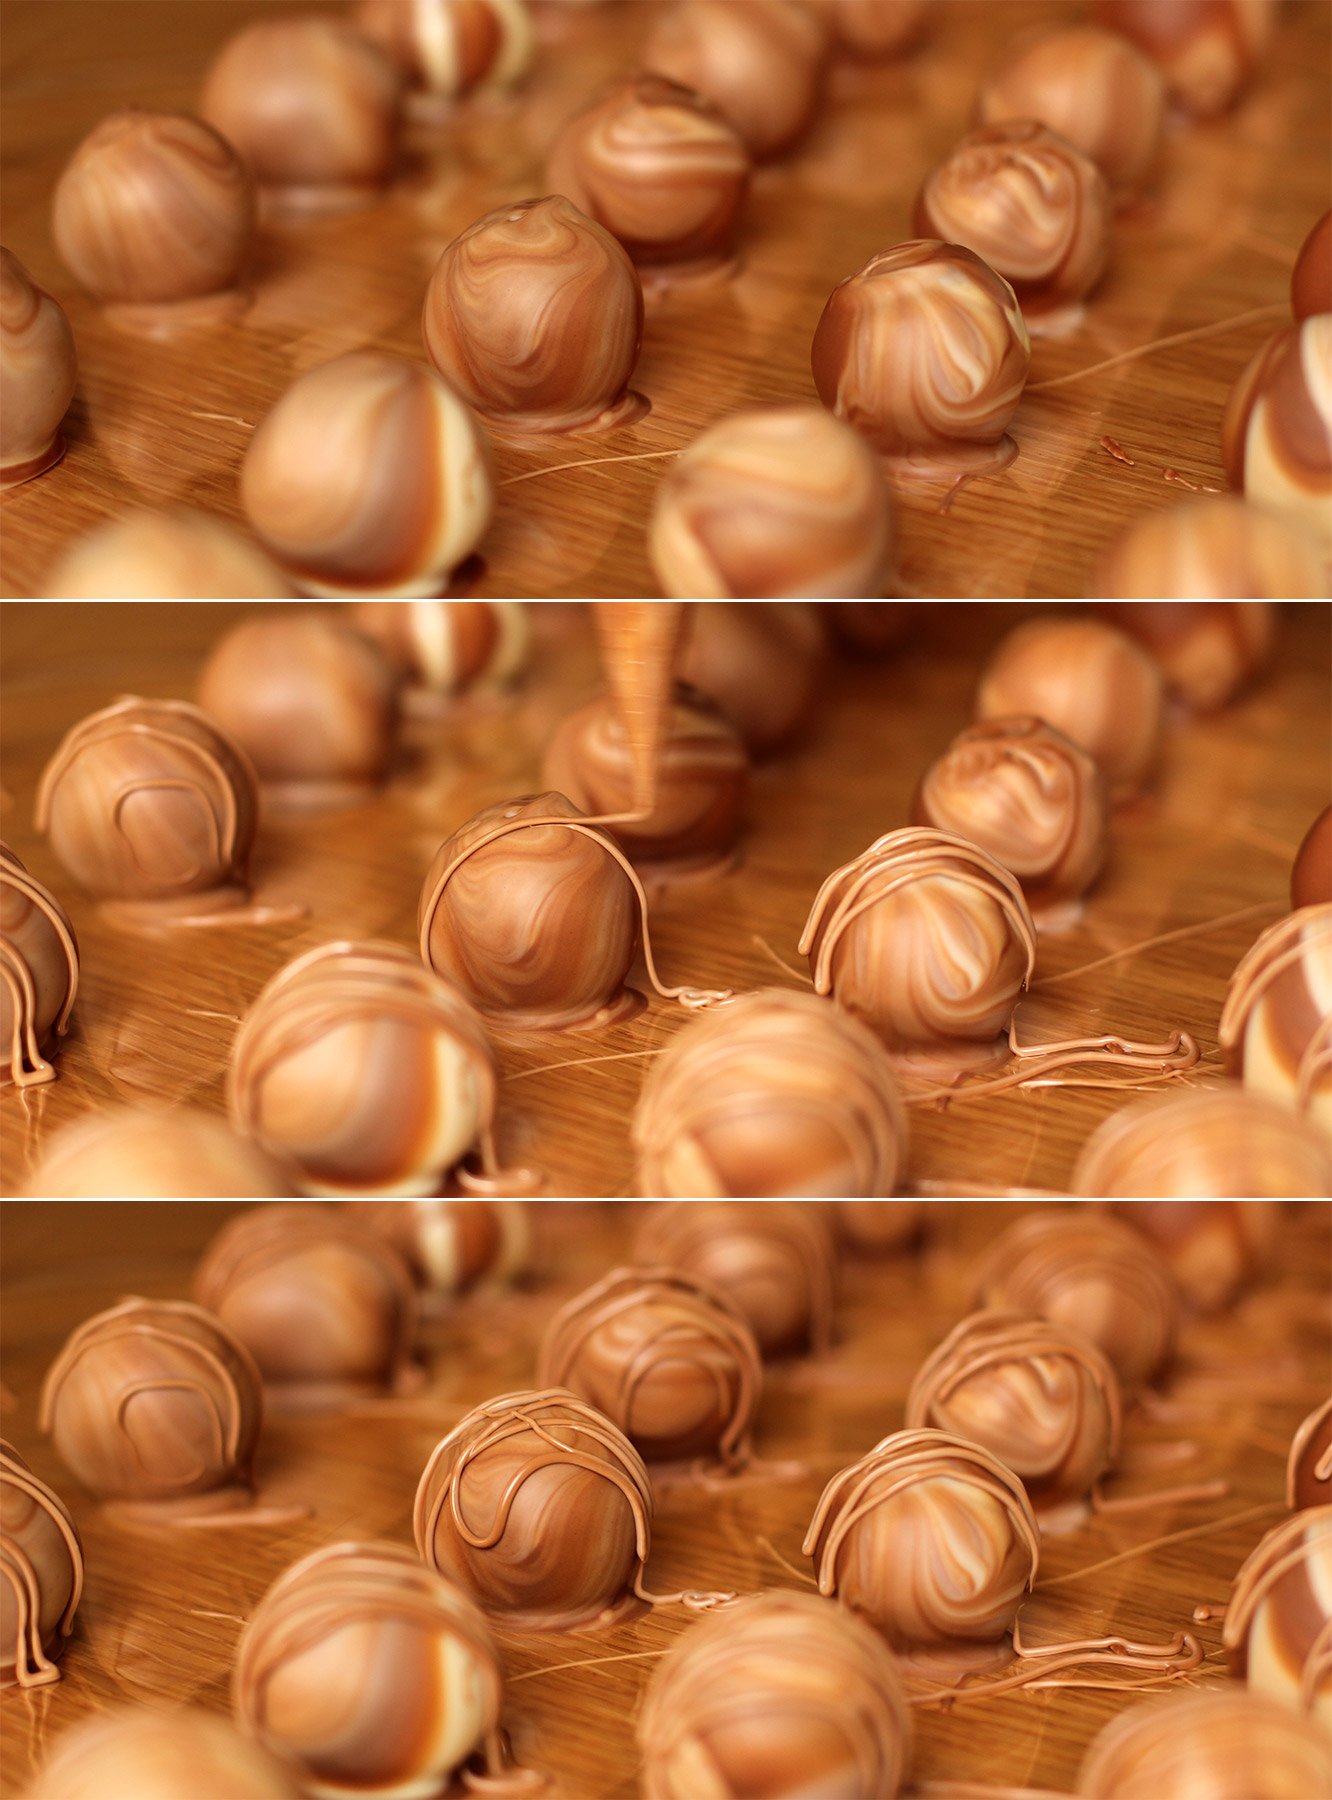
Repeat until you’re out of truffles. Leave to set. This time, don’t shortcut with the fridge, you want them to set at room temperature so that they don’t melt at room temperature.
marbled-caramel-truffle-recipe-8

Step nine

Put the leftover dipping chocolate in a piping bag and drizzle over the truffles.

Put the remaining melted chocolate in your mouth with a spoon. Or just pipe it straight in there.
marbled-caramel-truffle-recipe-10

Step ten

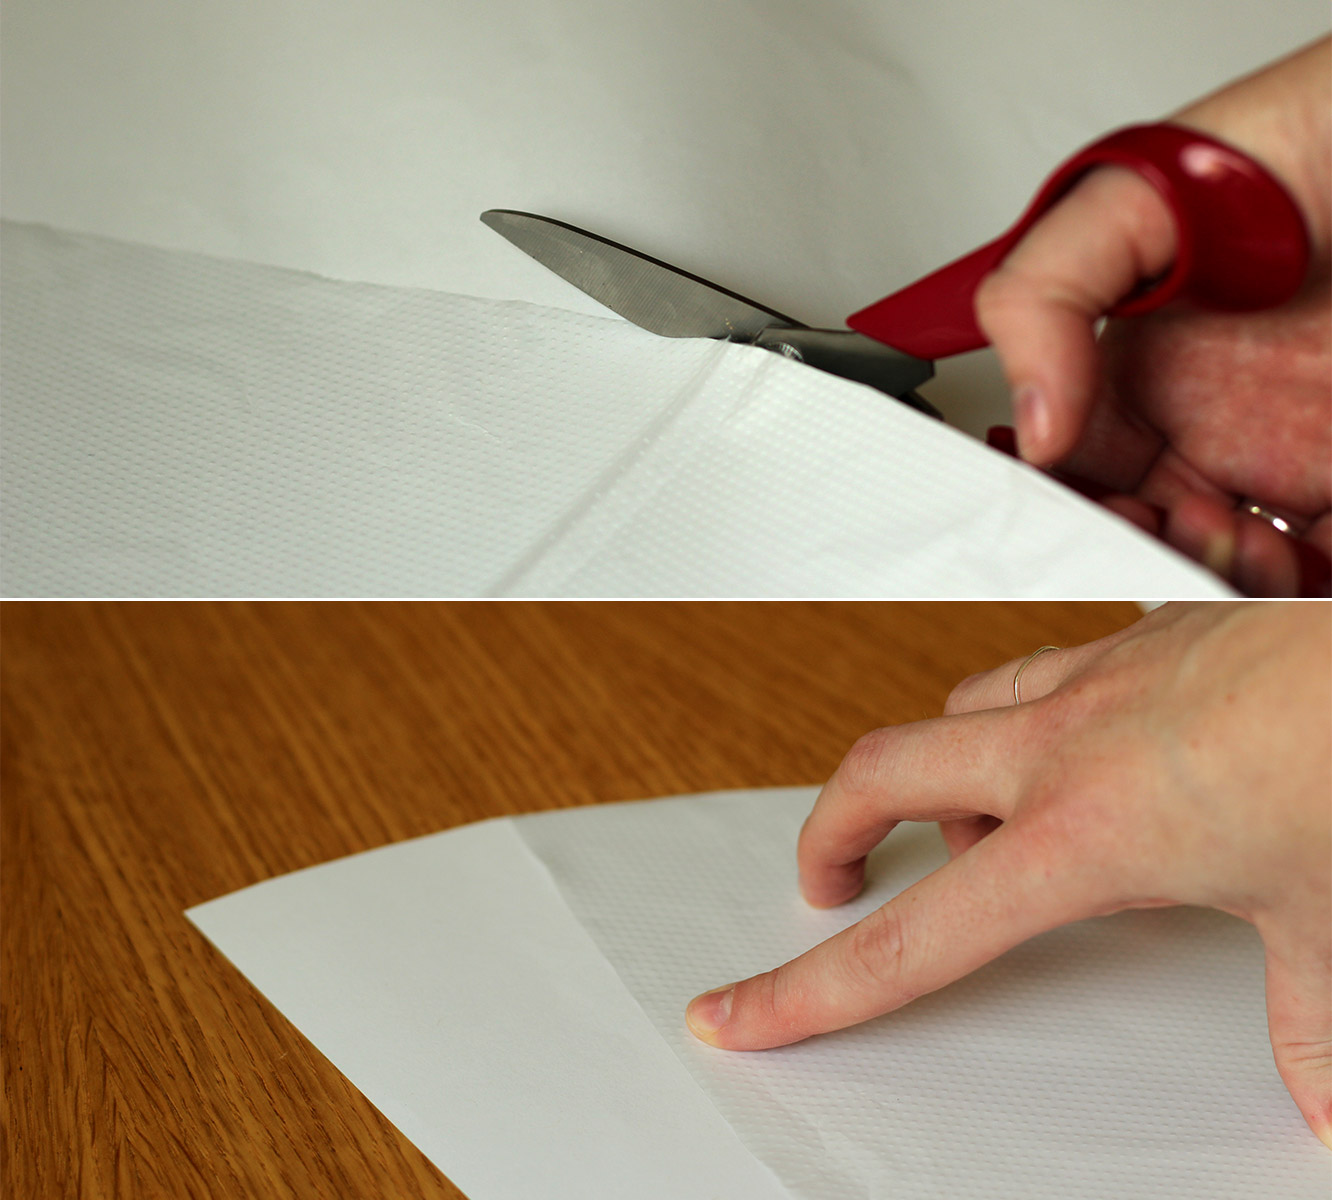
Cut open a piping bag so that it lies flat and use it as a template to cut round. Add a little extra on one side for overlap, and snip the pointy end off the bottom so it’s flat.
marbled-caramel-truffle-recipe-9

Step eleven

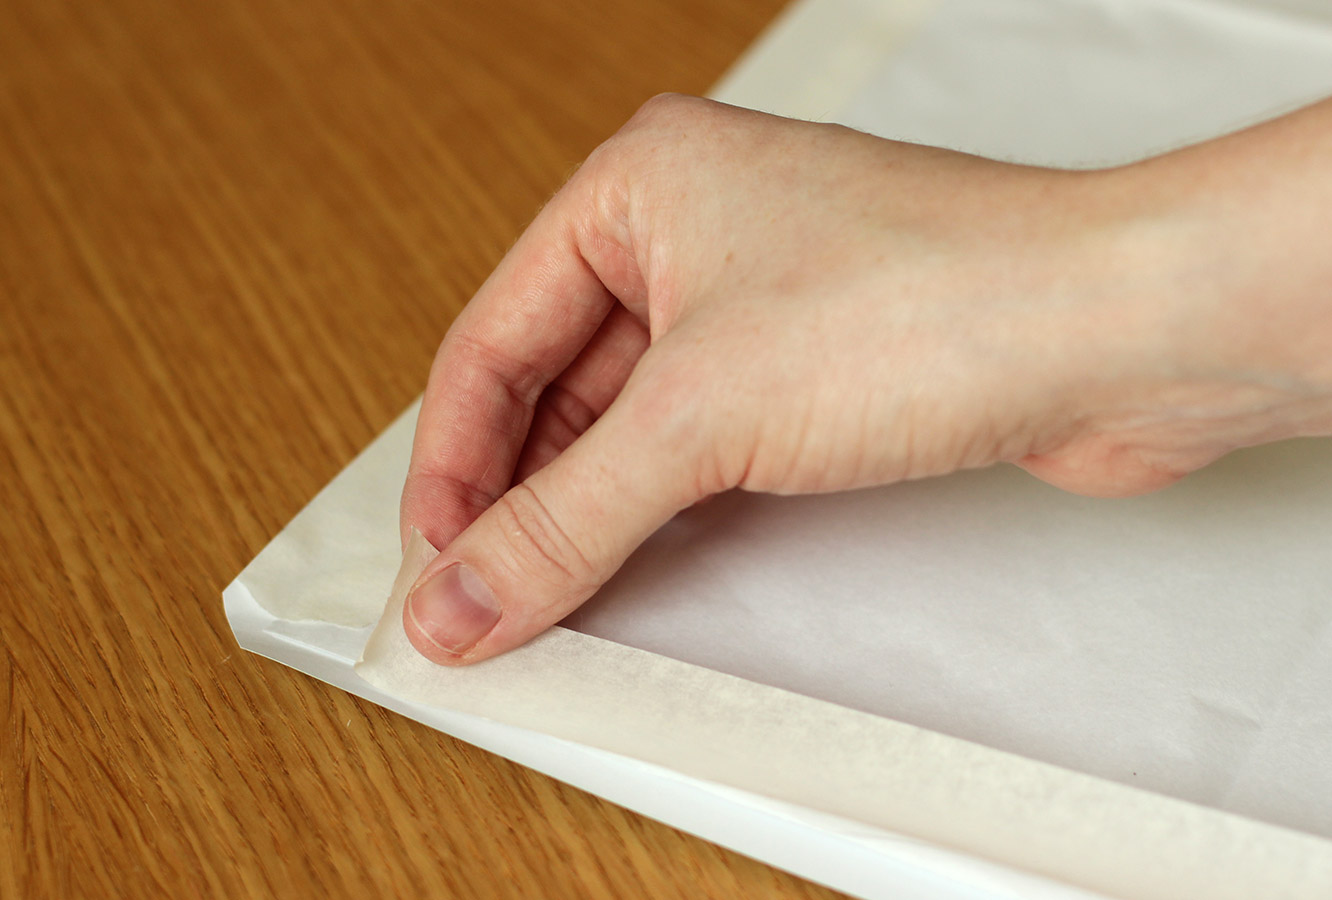
Cut three or four sheets of tissue paper to the same shape, but add another 10 cm to the top.

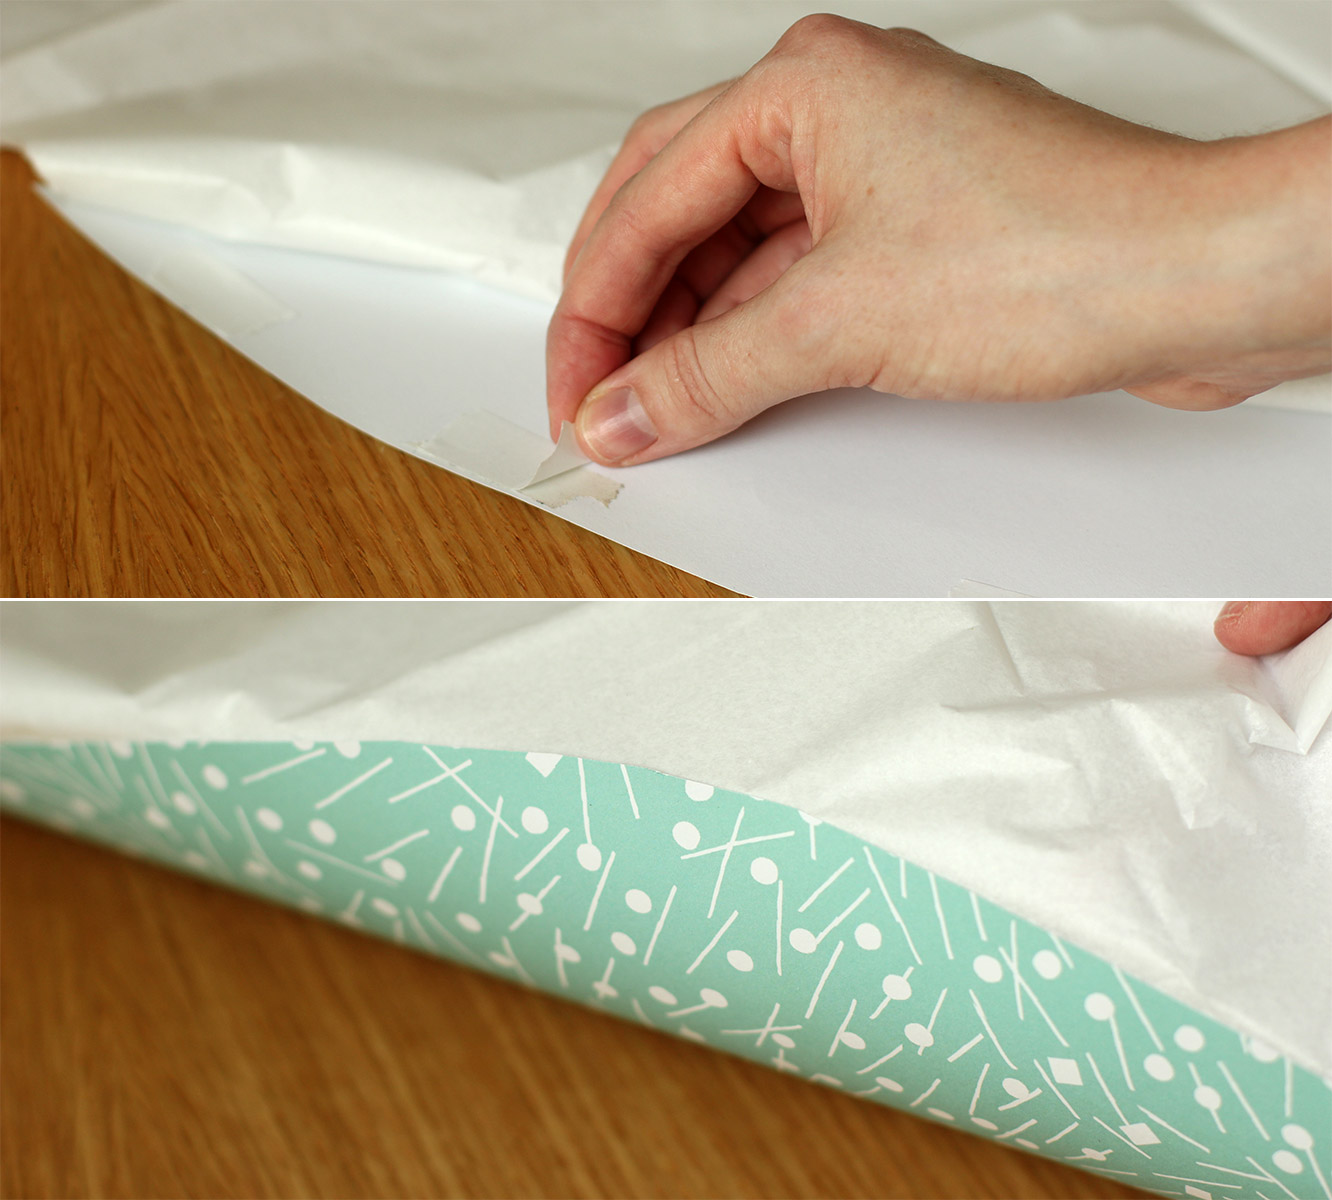
Tape the straight edges of the tissue to the wrong side of the wrapping paper.
marbled-caramel-truffle-recipe-12

Step twelve

Fold back the top of the tissue paper on the large curved edge. Place double-sided tape around the edge and fold the tissue back over so that it is stuck the whole way round the top.
marbled-caramel-truffle-recipe-13

Step thirteen

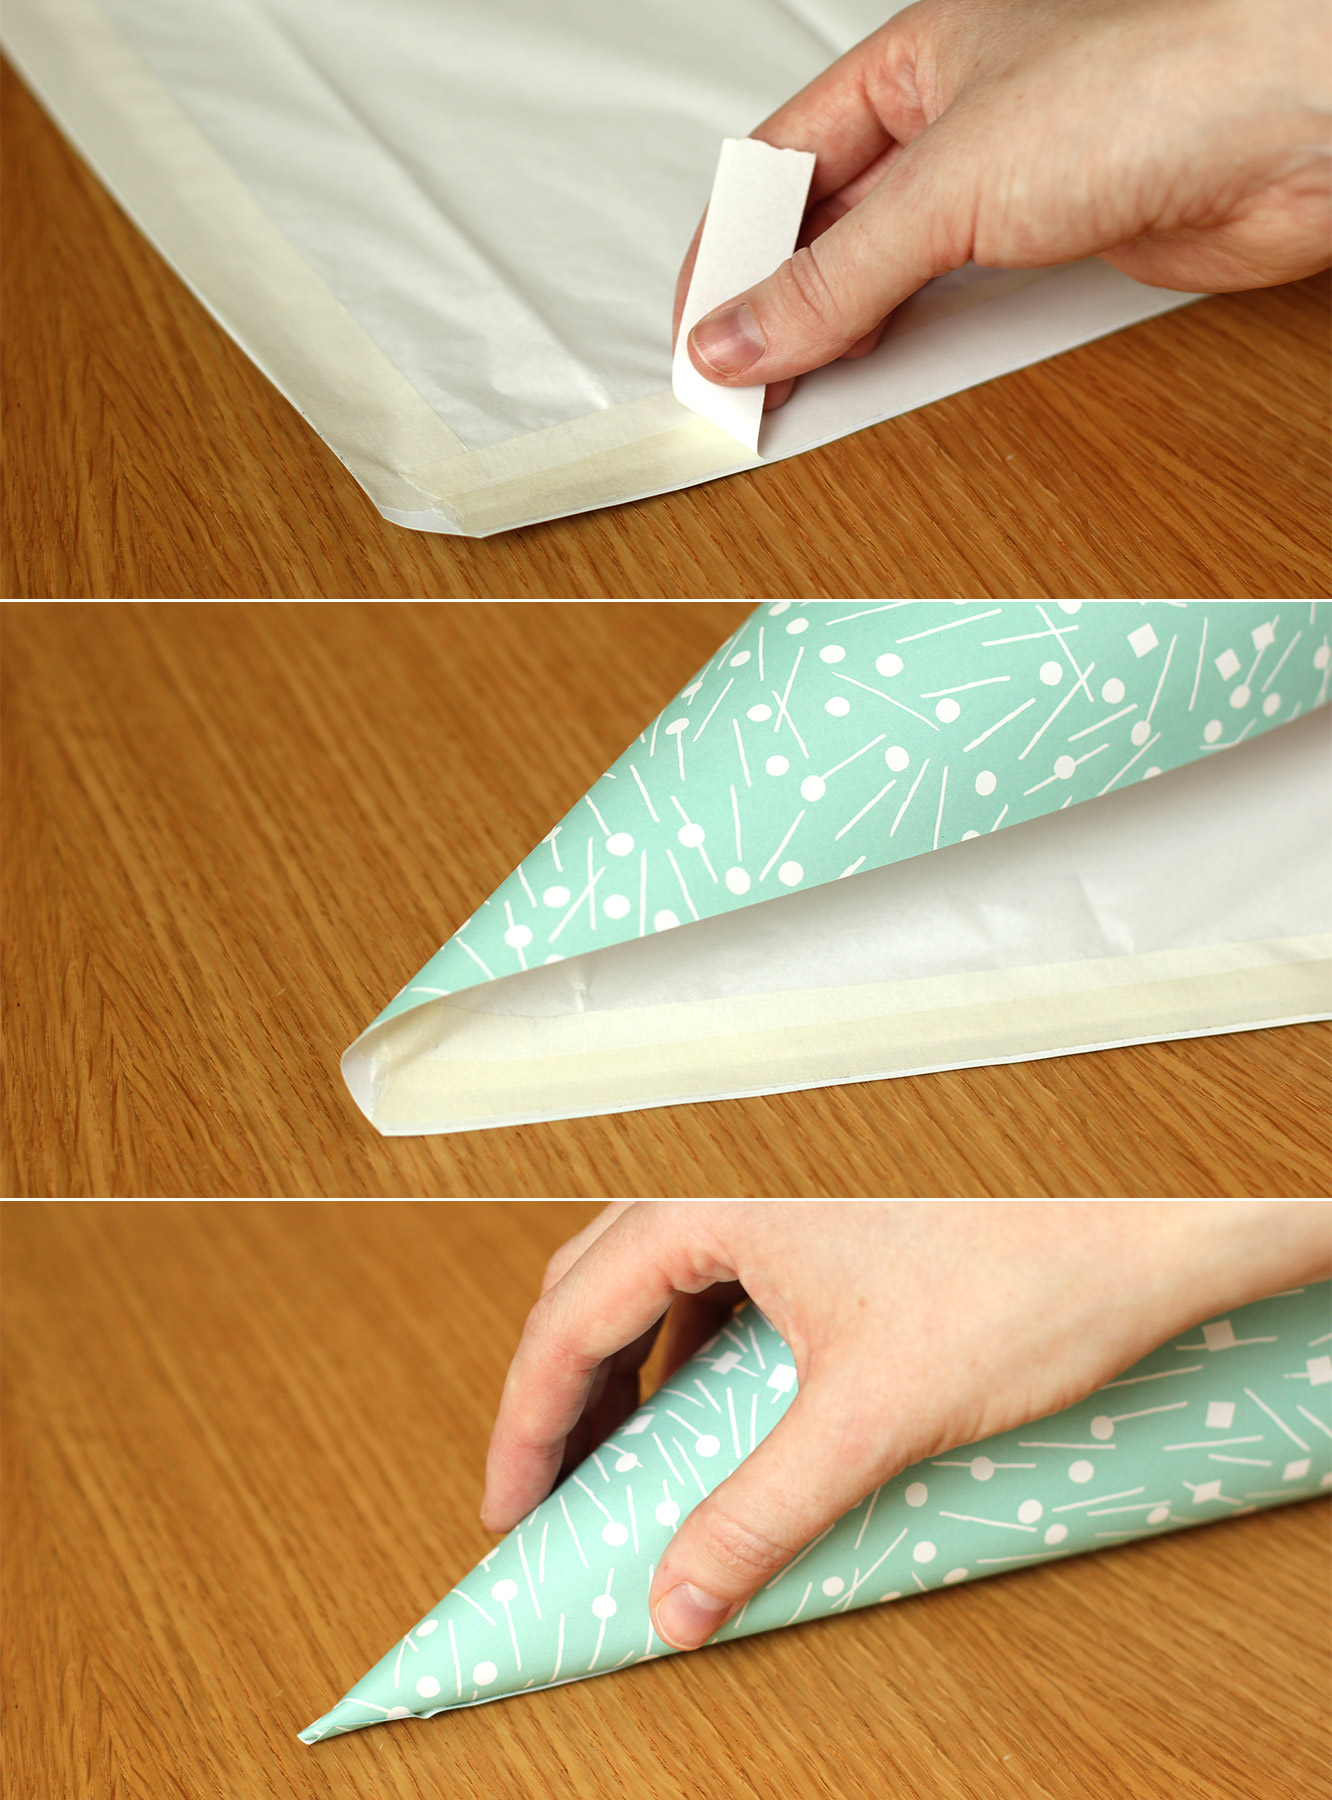
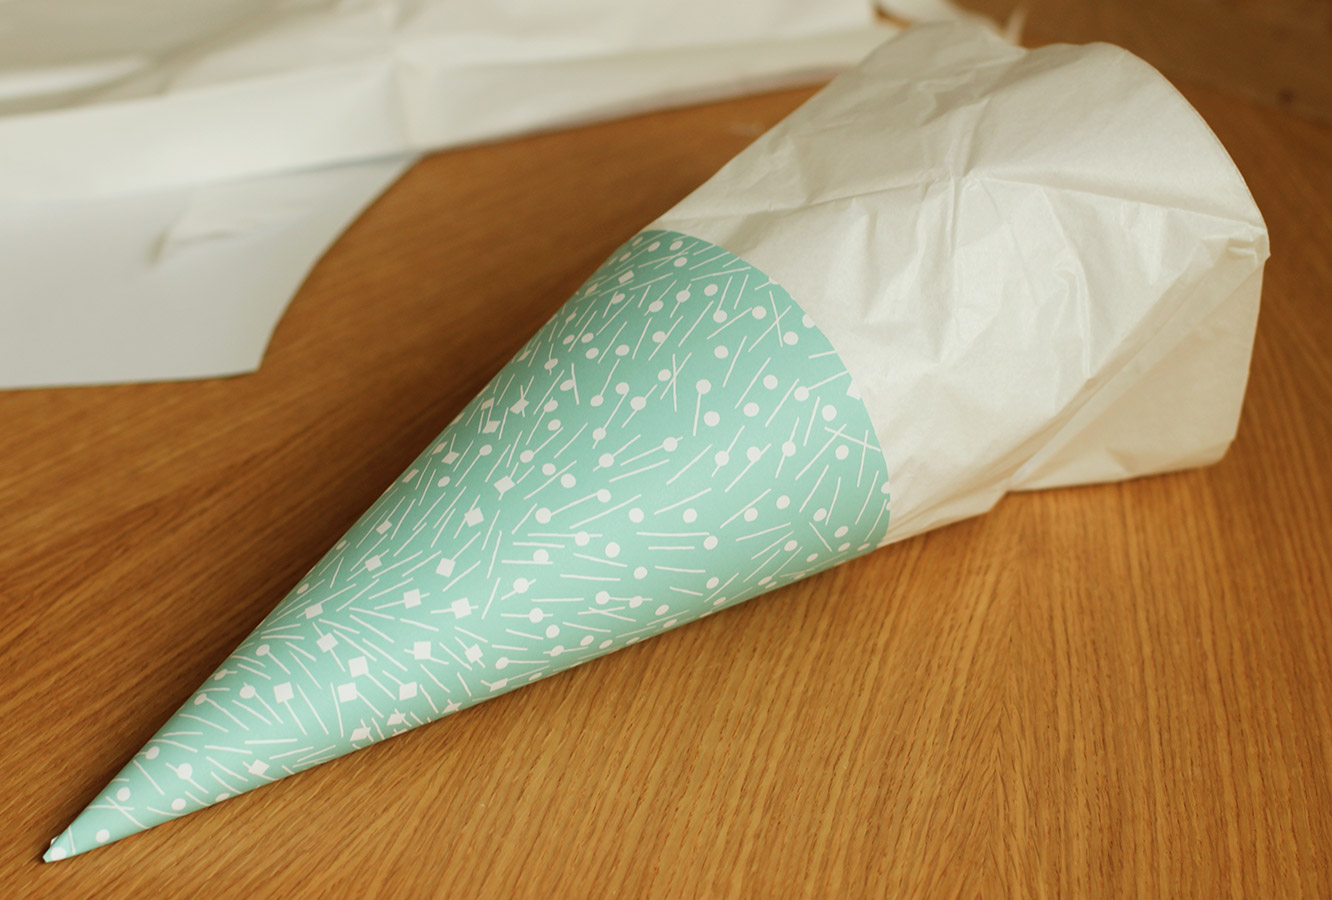
Use another strip of double-sided tape down the straight edge to roll the paper into a conical shape. You should have something like the below.
marbled-caramel-truffle-recipe-14

Step fourteen

Fill another piping bag with truffles and place in the cone, or Schultüten, and tie up the top with a piece of ribbon.
marbled-caramel-truffle-recipe-17

Voila!
marbled-caramel-truffle-recipe-15

marbled-caramel-truffle-recipe-16

Cluck cluck #2

SO. I have been remiss. Friends, stalkers, I’m sorry. I didn’t mean to leave you sans blog for two whole weeks. Finishing off my graphic design portfolio kind of consumed my health, social life, eating habits and ability to hold a conversation.

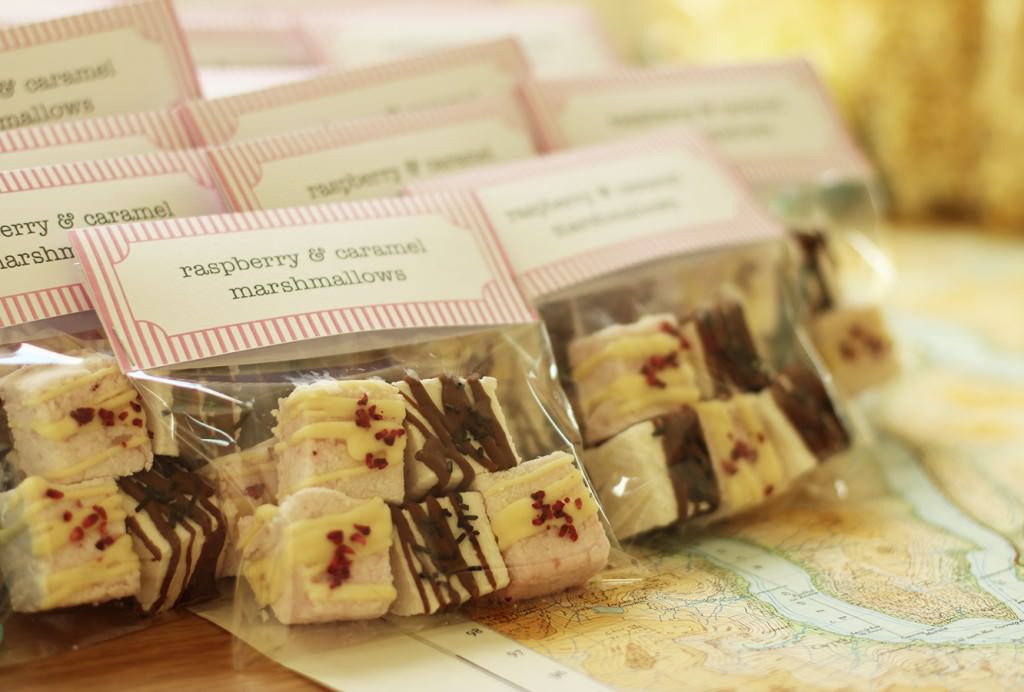
But that’s done now, and I’m back. Picking up where I left off with Vicky’s hen do favours. This week it’s raspberry and white chocolate, and chocolate caramel marshmallows. Not exactly the first time I have made marshmallows on this blog. I really want you to make marshmallows guys.

hen-bachelorette-party-favours-01

You will need

For the white chocolate and raspberry marshmallows:

9 gelatine sheets

350g/12 oz granulated sugar

2 egg whites

1 tbsp liquid glucose (you can find this in a squeezy toothpaste type tube in the baking section)


150g/5 oz raspberries

150g/5 oz white chocolate

Freeze dried raspberries (optional)

For the caramel and chocolate marshmallows:

9 gelatine sheets

300g/10.5 oz granulated sugar

2 egg whites

1 tbsp liquid glucose

2-3 tsp caramel extract (I got buttery caramel from natural professional flavours at Lakeland)

150g/5 oz milk chocolate

Cellophane card bags x 30

(makes enough for 30 favours, 150+ marshmallows)

I’ll go ahead and walk you through the process for the caramel ones then pop the changes for the raspberry below.

hen-bachelorette-party-favours-raspberry-caramel-marshmallow-recipe-02

Step one

In a cereal bowl, soak the gelatine in 150ml/5 fl oz cold water. Set aside.

Step two

Combine the sugar, 150ml/5 fl oz water (different to the gelatine water) and the liquid glucose in a smallish saucepan.

Allow the sugar to dissolve on a low heat, and then turn it up to medium-high. Watch yourself buddy, you’re boiling sugar right now, don’t hurt it or yourself.

The temperature you want this to get to is 118 C. It will feel like it will never get there, but stay strong.

hen-bachelorette-party-favours-raspberry-caramel-marshmallow-recipe-06

Step three

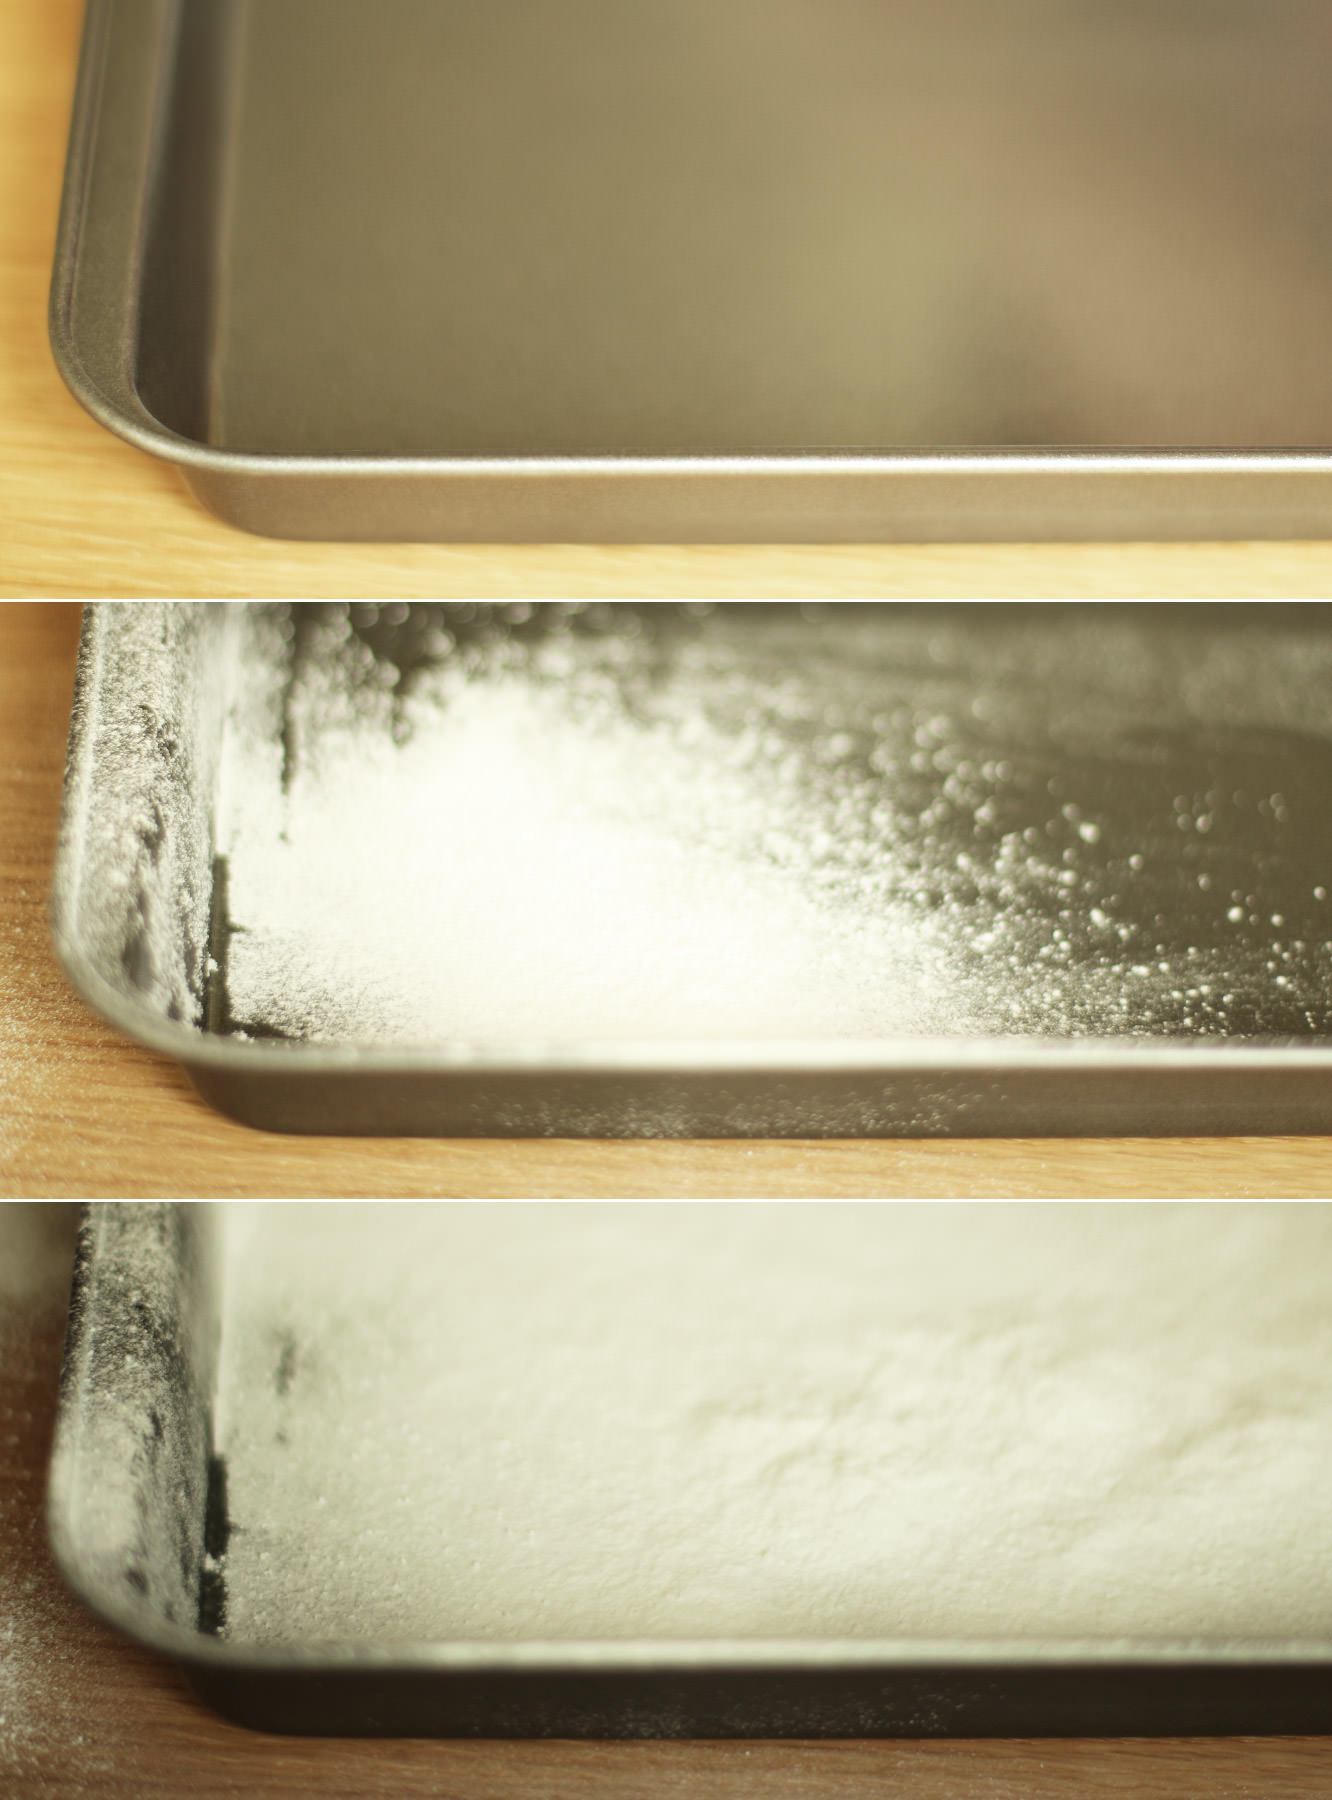
While the sugar is bubbling you can take a moment to dust your brownie tray with icing sugar. Add a small amount of olive oil first so it sticks.

hen-bachelorette-party-favours-raspberry-caramel-marshmallow-recipe-01

Step four

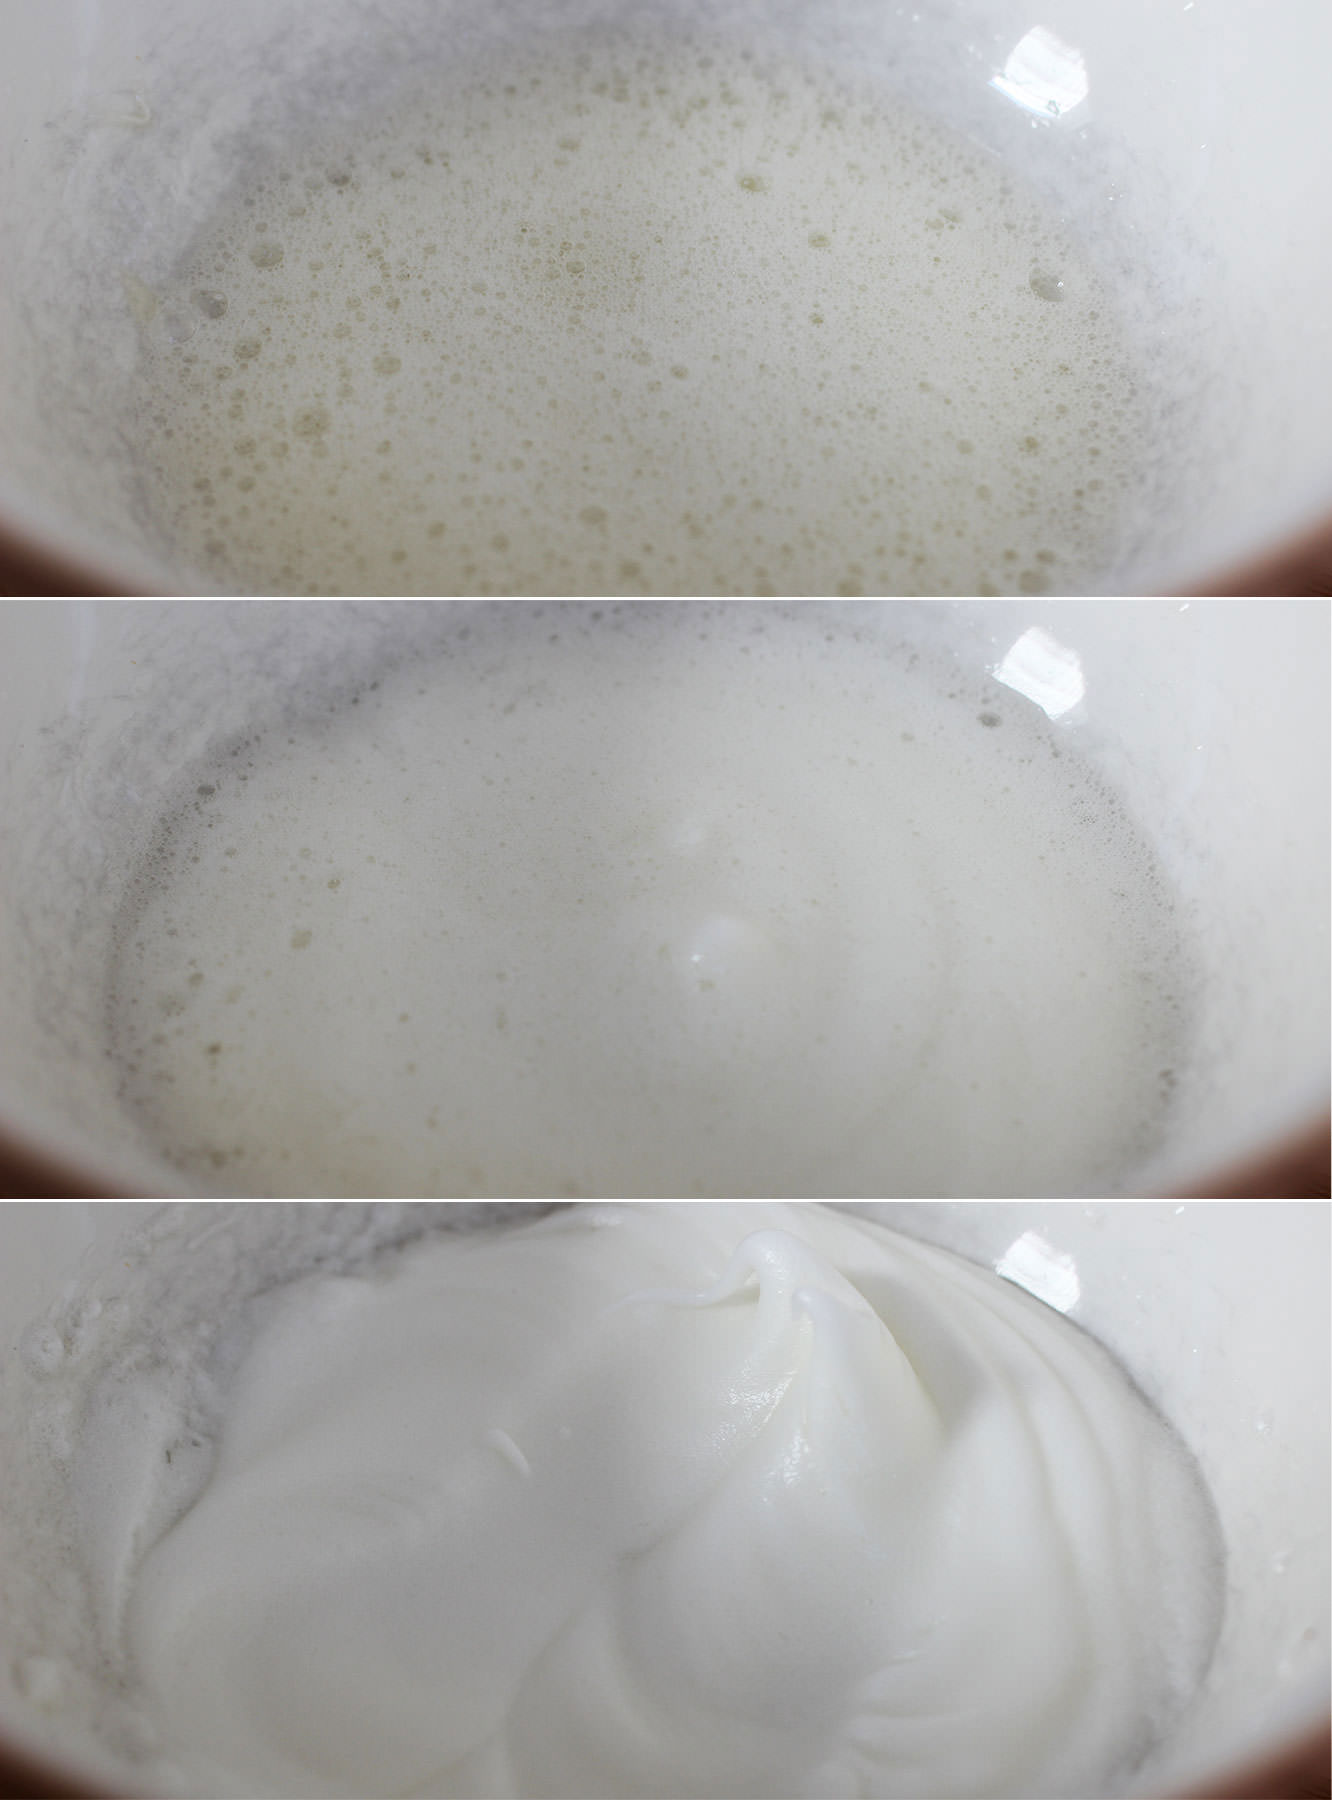
When the sugar gets to somewhere around 112-115C whisk the egg whites into stiff peaks. Take care not to use a ceramic bowl else you will get grey marks like I did. Glass or metal though and you’ll be golden.

Step five

When the sugar reaches 118C take it off the heat.

Squeeze the gelatine out a bit and add it to the sugar mix. It will bubble right up so don’t panic. It should settle pretty quickly.

hen-bachelorette-party-favours-raspberry-caramel-marshmallow-recipe-03

Step six

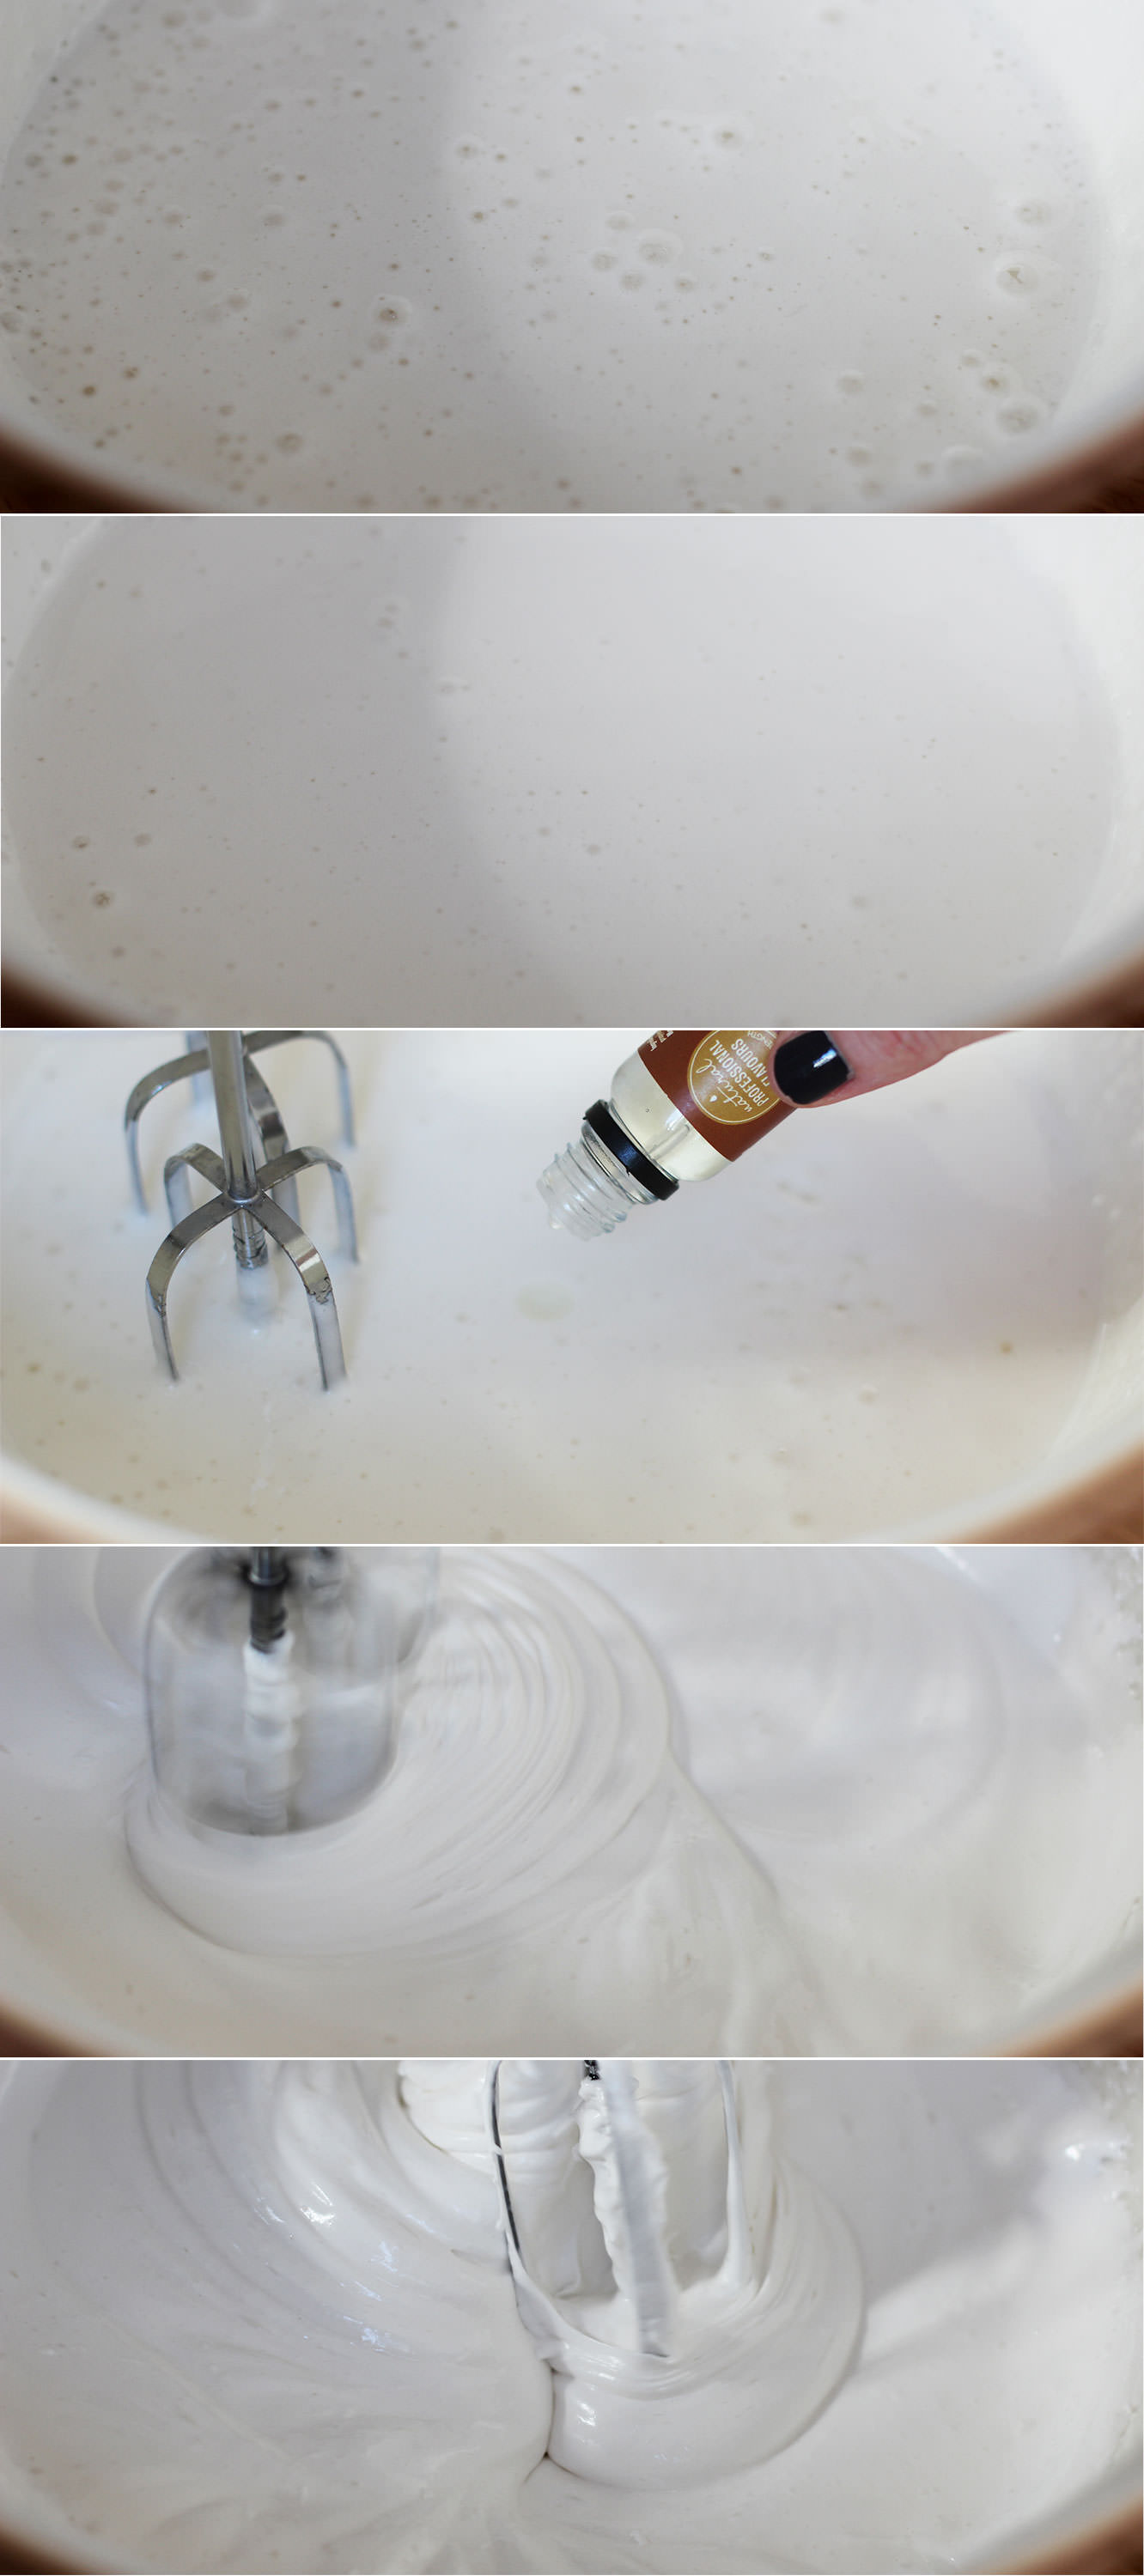
Pour the hot sugar into the eggs, but make sure you’re whisking continually to avoid a big lump of sugar at the bottom of the bowl.

Whisk until the mixture holds its shape well and is quite thick. This can take up to ten minutes.

Somewhere during the whisking (probably when you need to give your arm a rest) add the flavouring. I used buttery caramel (as mentioned in the ingredients) but they will take basically anything you fancy.

hen-bachelorette-party-favours-raspberry-caramel-marshmallow-recipe-04

Step seven

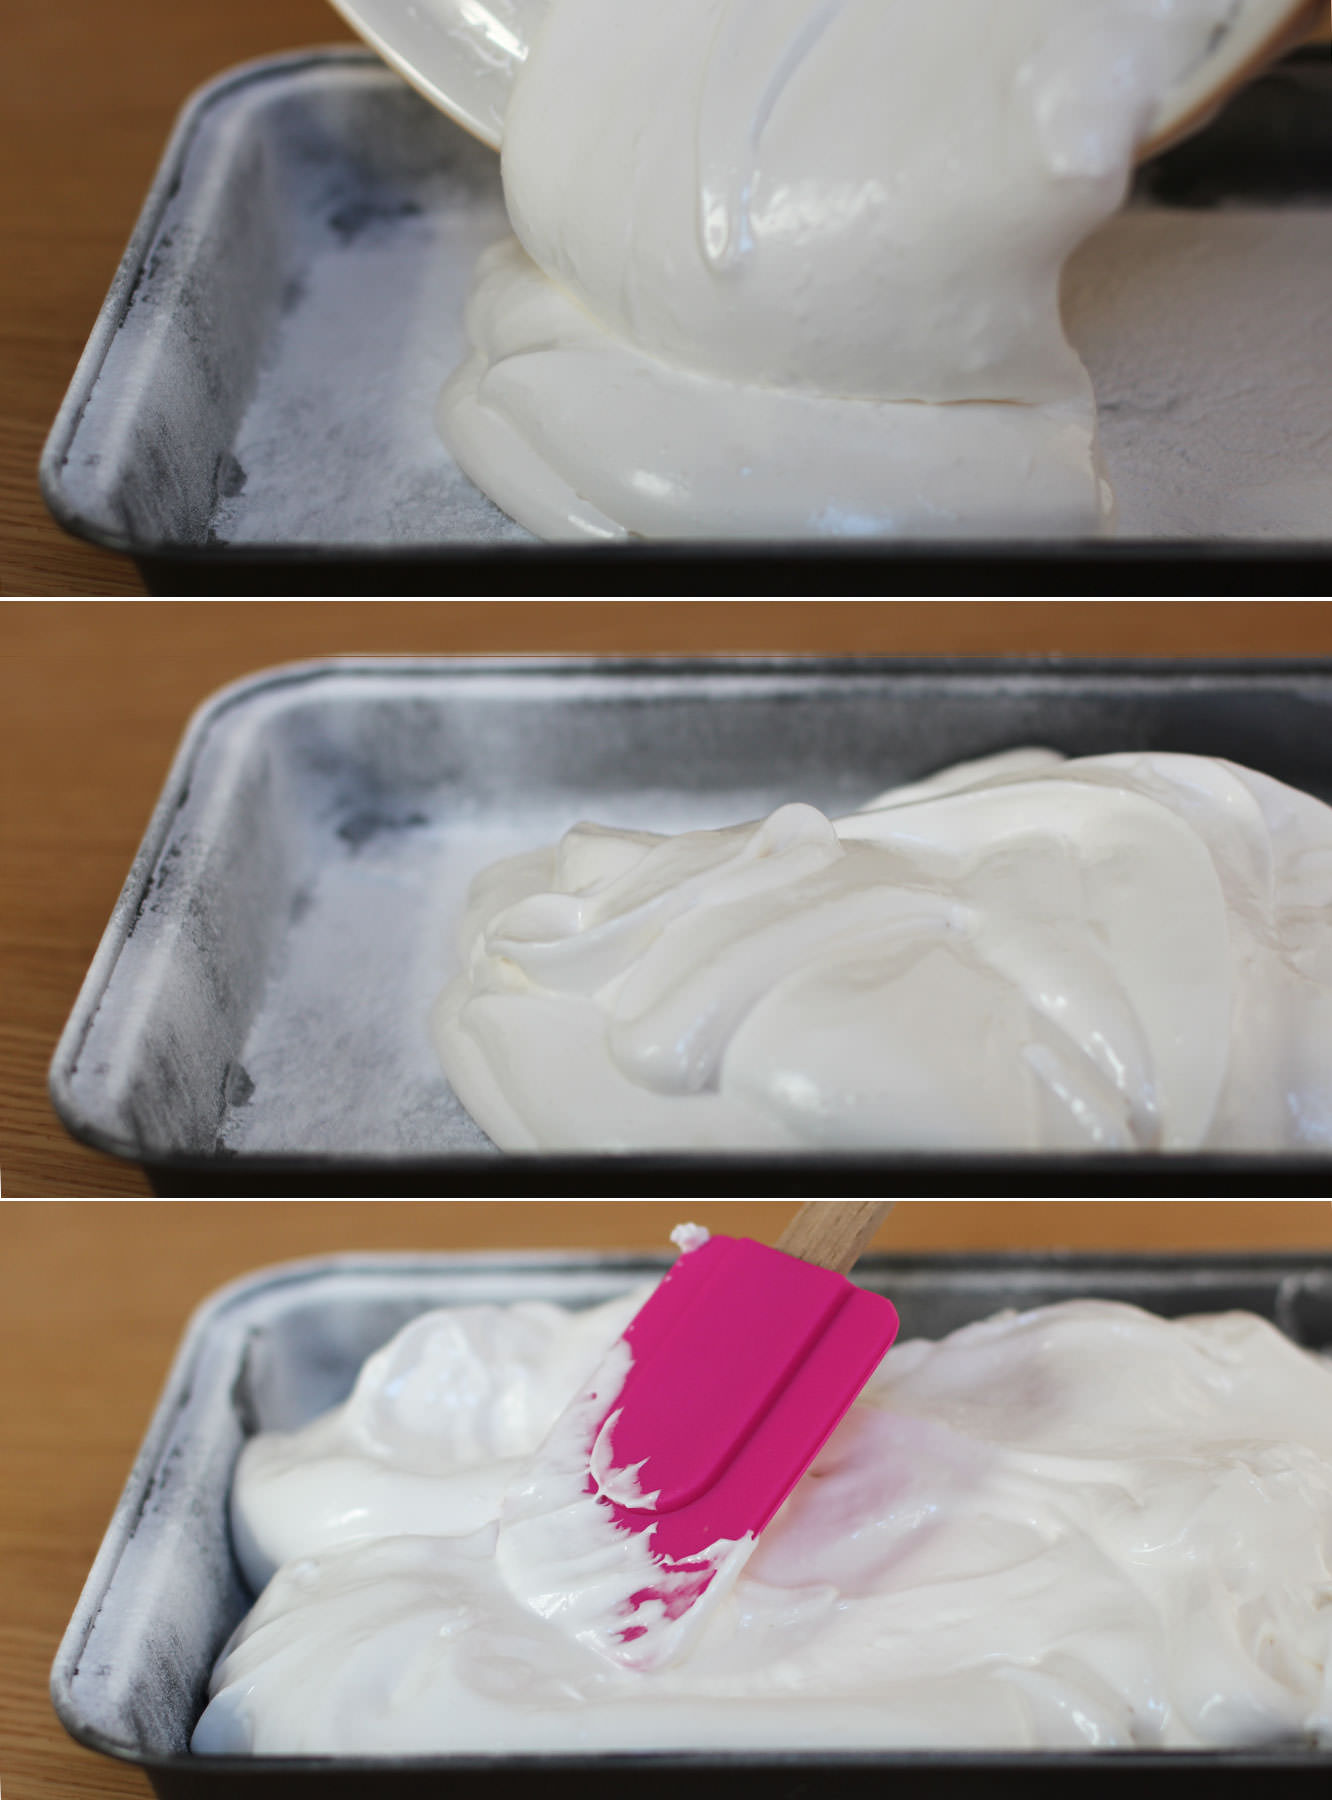
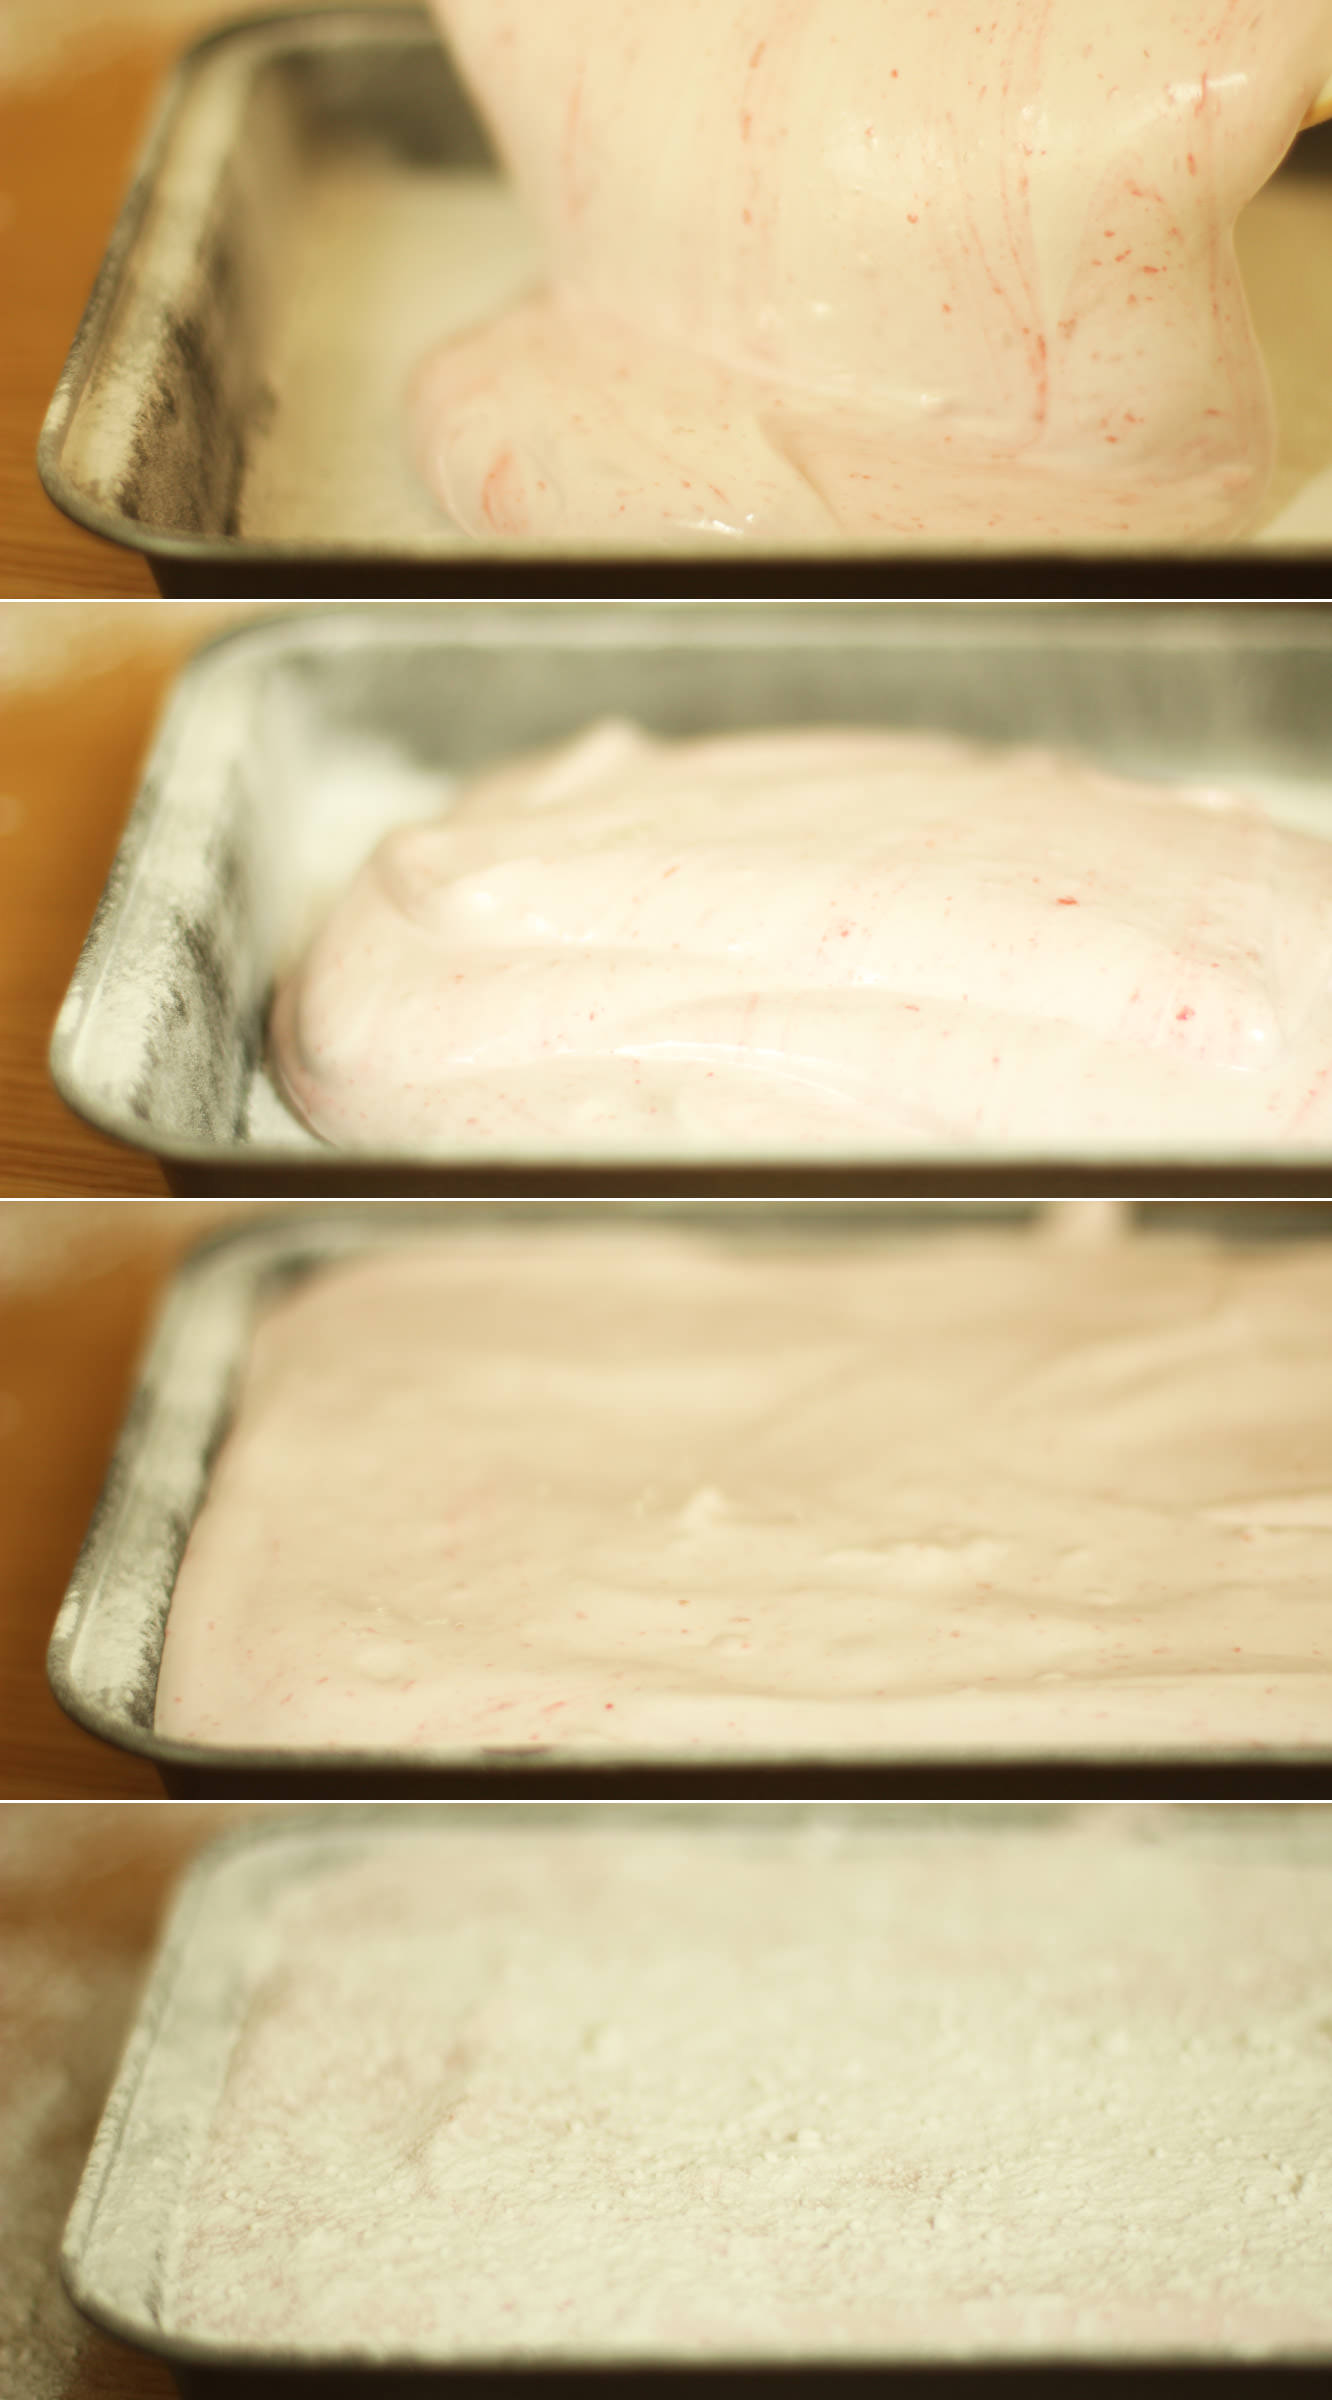
Pour the mixture into the prepared tin and smooth out as much as possible.

Dust with icing sugar and leave to set for about an hour.

For the raspberry and white chocolate marshmallows

hen-bachelorette-party-favours-raspberry-caramel-marshmallow-recipe-05

Step eight

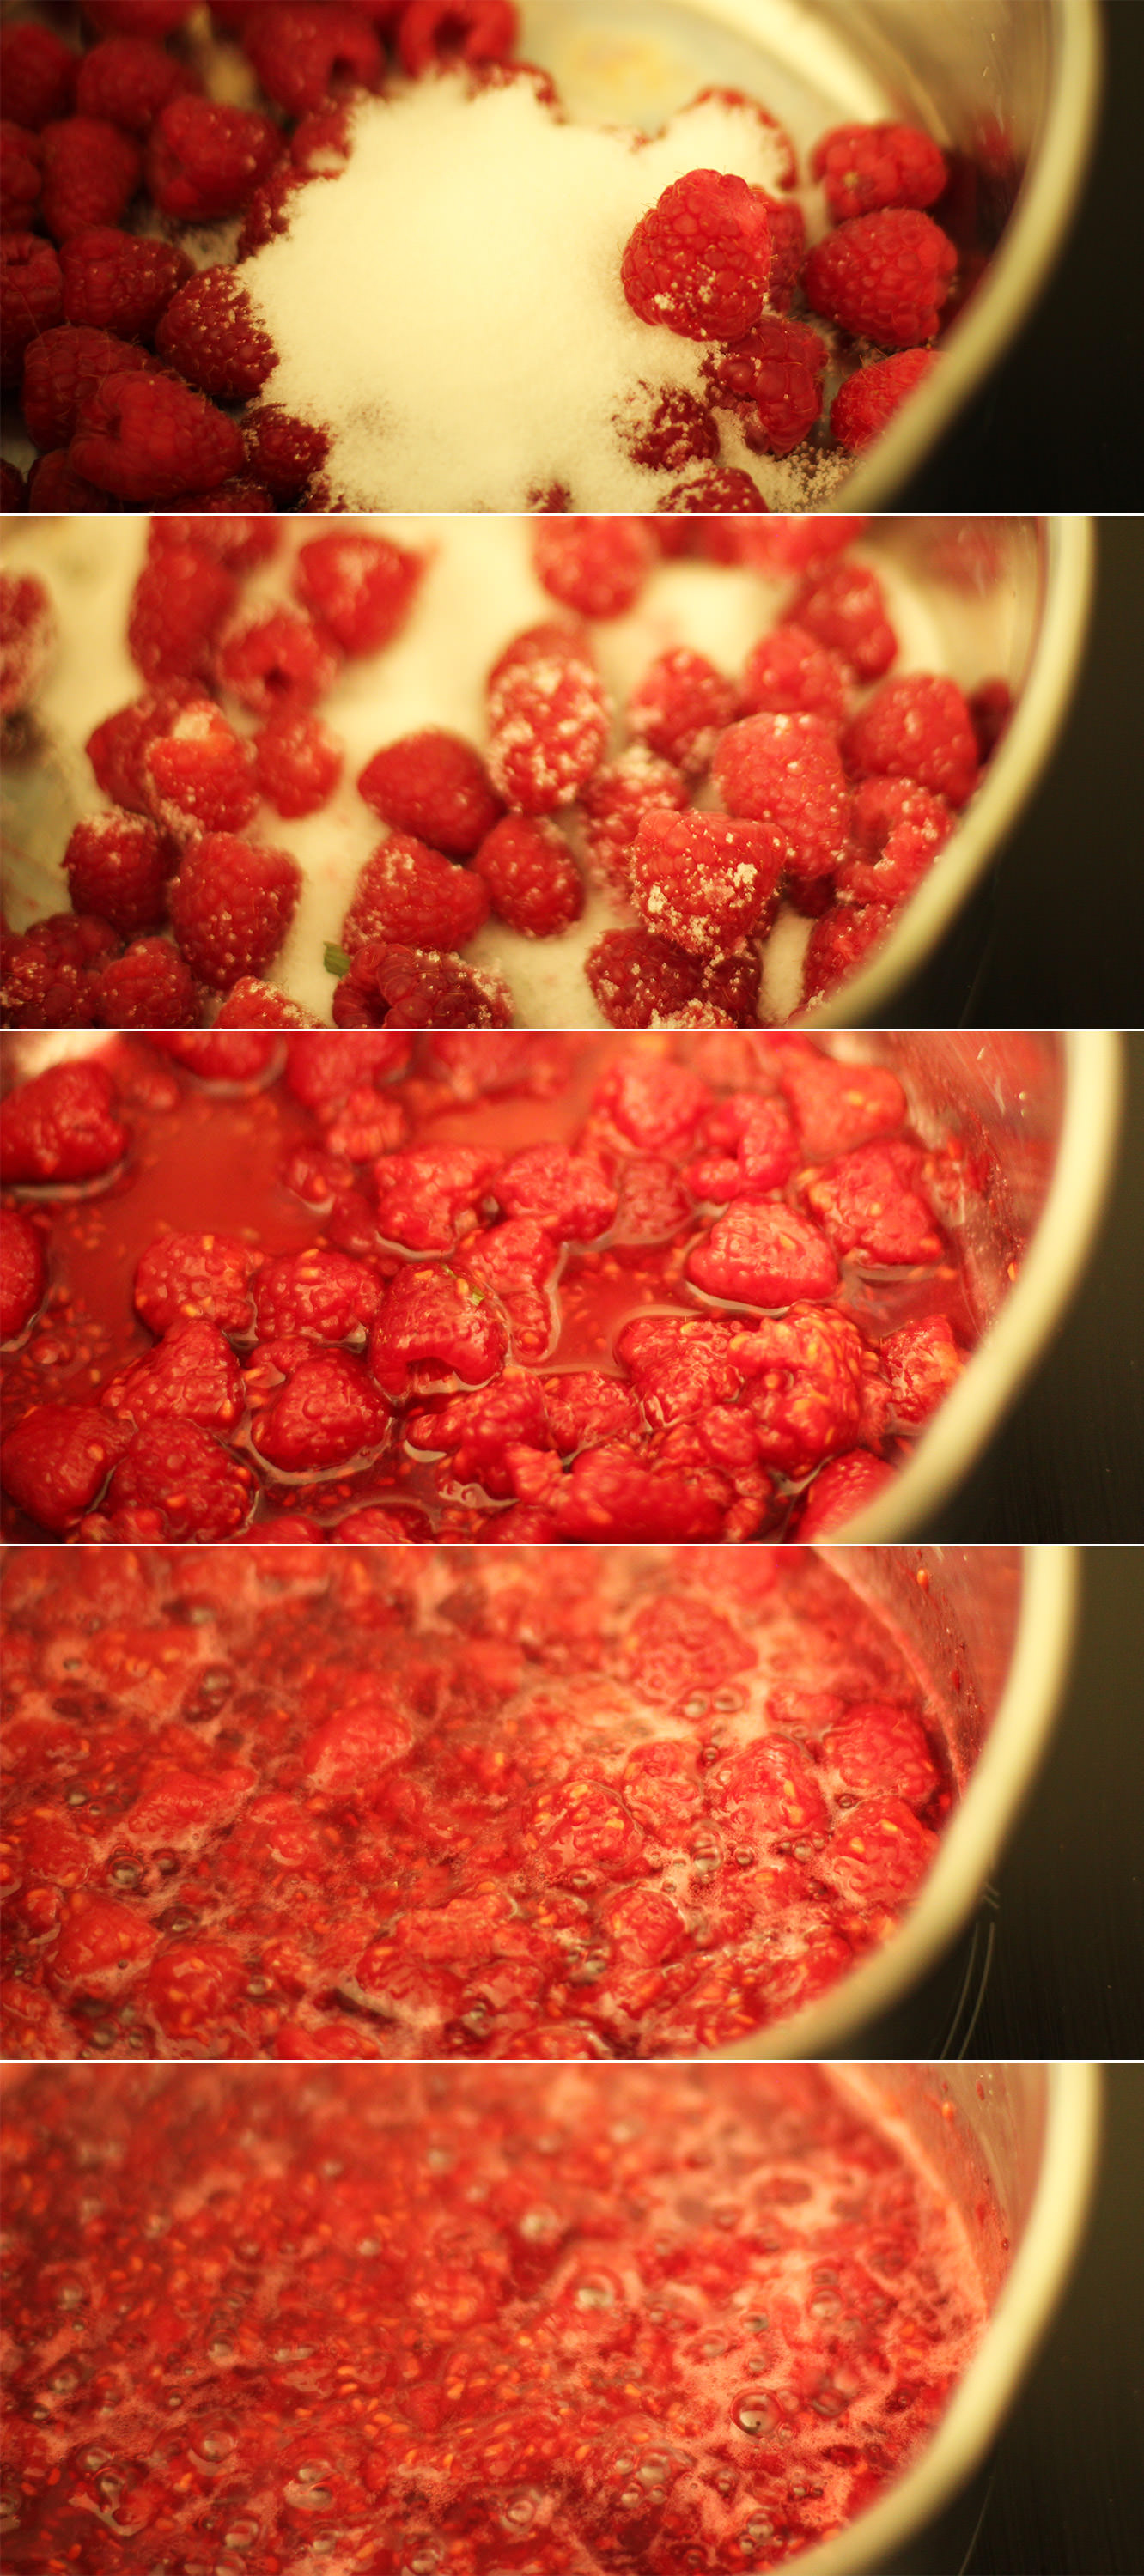
Before starting the marshmallow mix make a puree by adding the raspberries, 50g of the granulated sugar and half a tablespoon of water to a small saucepan.

Heat on a low heat until bubbling away happily. Stir while the mixture reduces (looses water) for about 5 minutes.

hen-bachelorette-party-favours-raspberry-caramel-marshmallow-recipe-07

Step nine

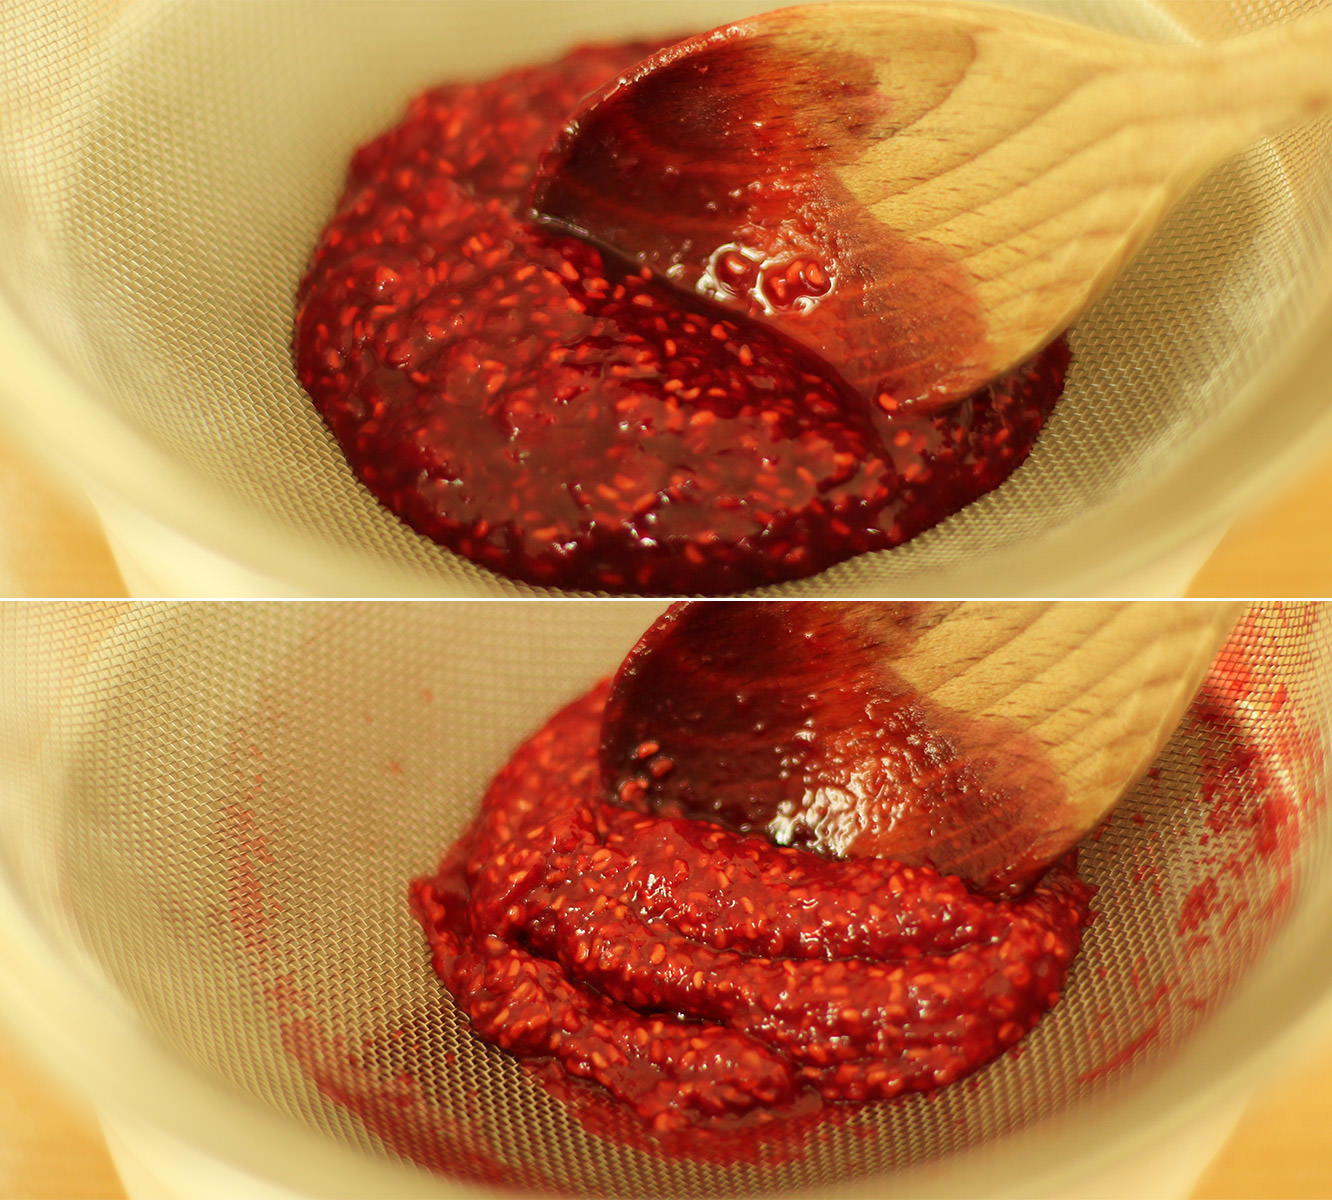
Strain though a sieve to remove the pips. It may need a little stirring for encouragement. Don’t forget to scrape the excess off from the underside of the sieve before throwing away the pips.

hen-bachelorette-party-favours-raspberry-caramel-marshmallow-recipe-08

Step ten

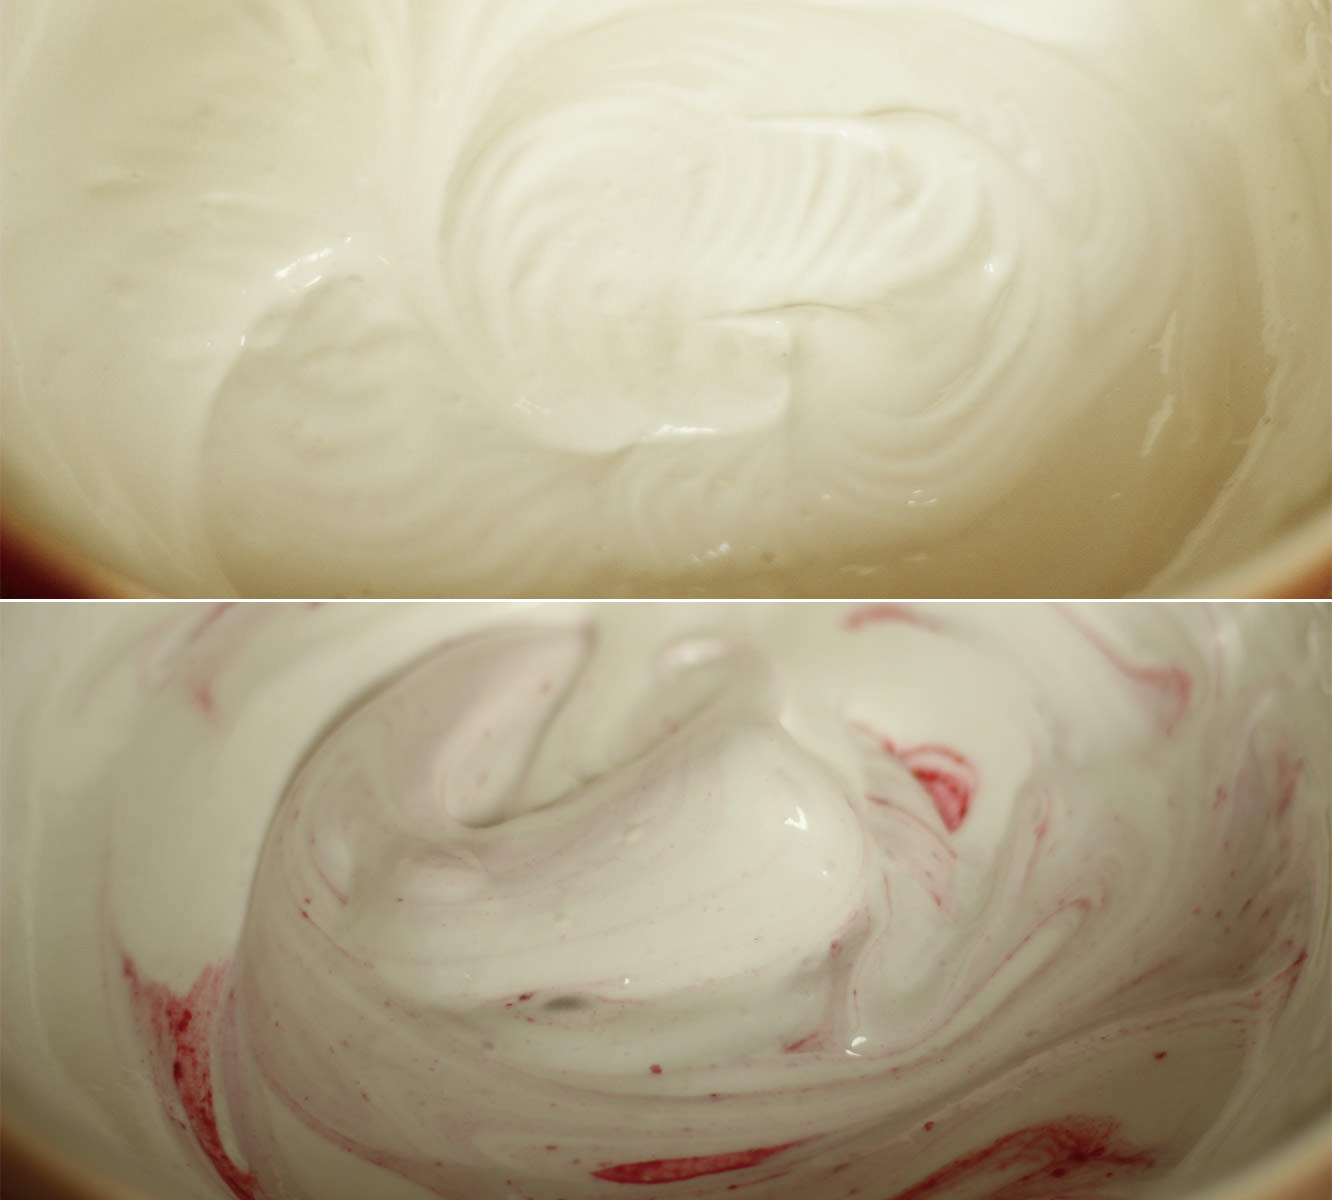
Follow the same steps at the caramel recipe, but instead of adding the extract, stir in the puree. I saved this to near the end to keep a bit of a ripple effect.

hen-bachelorette-party-favours-raspberry-caramel-marshmallow-recipe-09

Step eleven

Pour into a second dusted brownie tray and leave to set.

hen-bachelorette-party-favours-raspberry-caramel-marshmallow-recipe-10

Step twelve

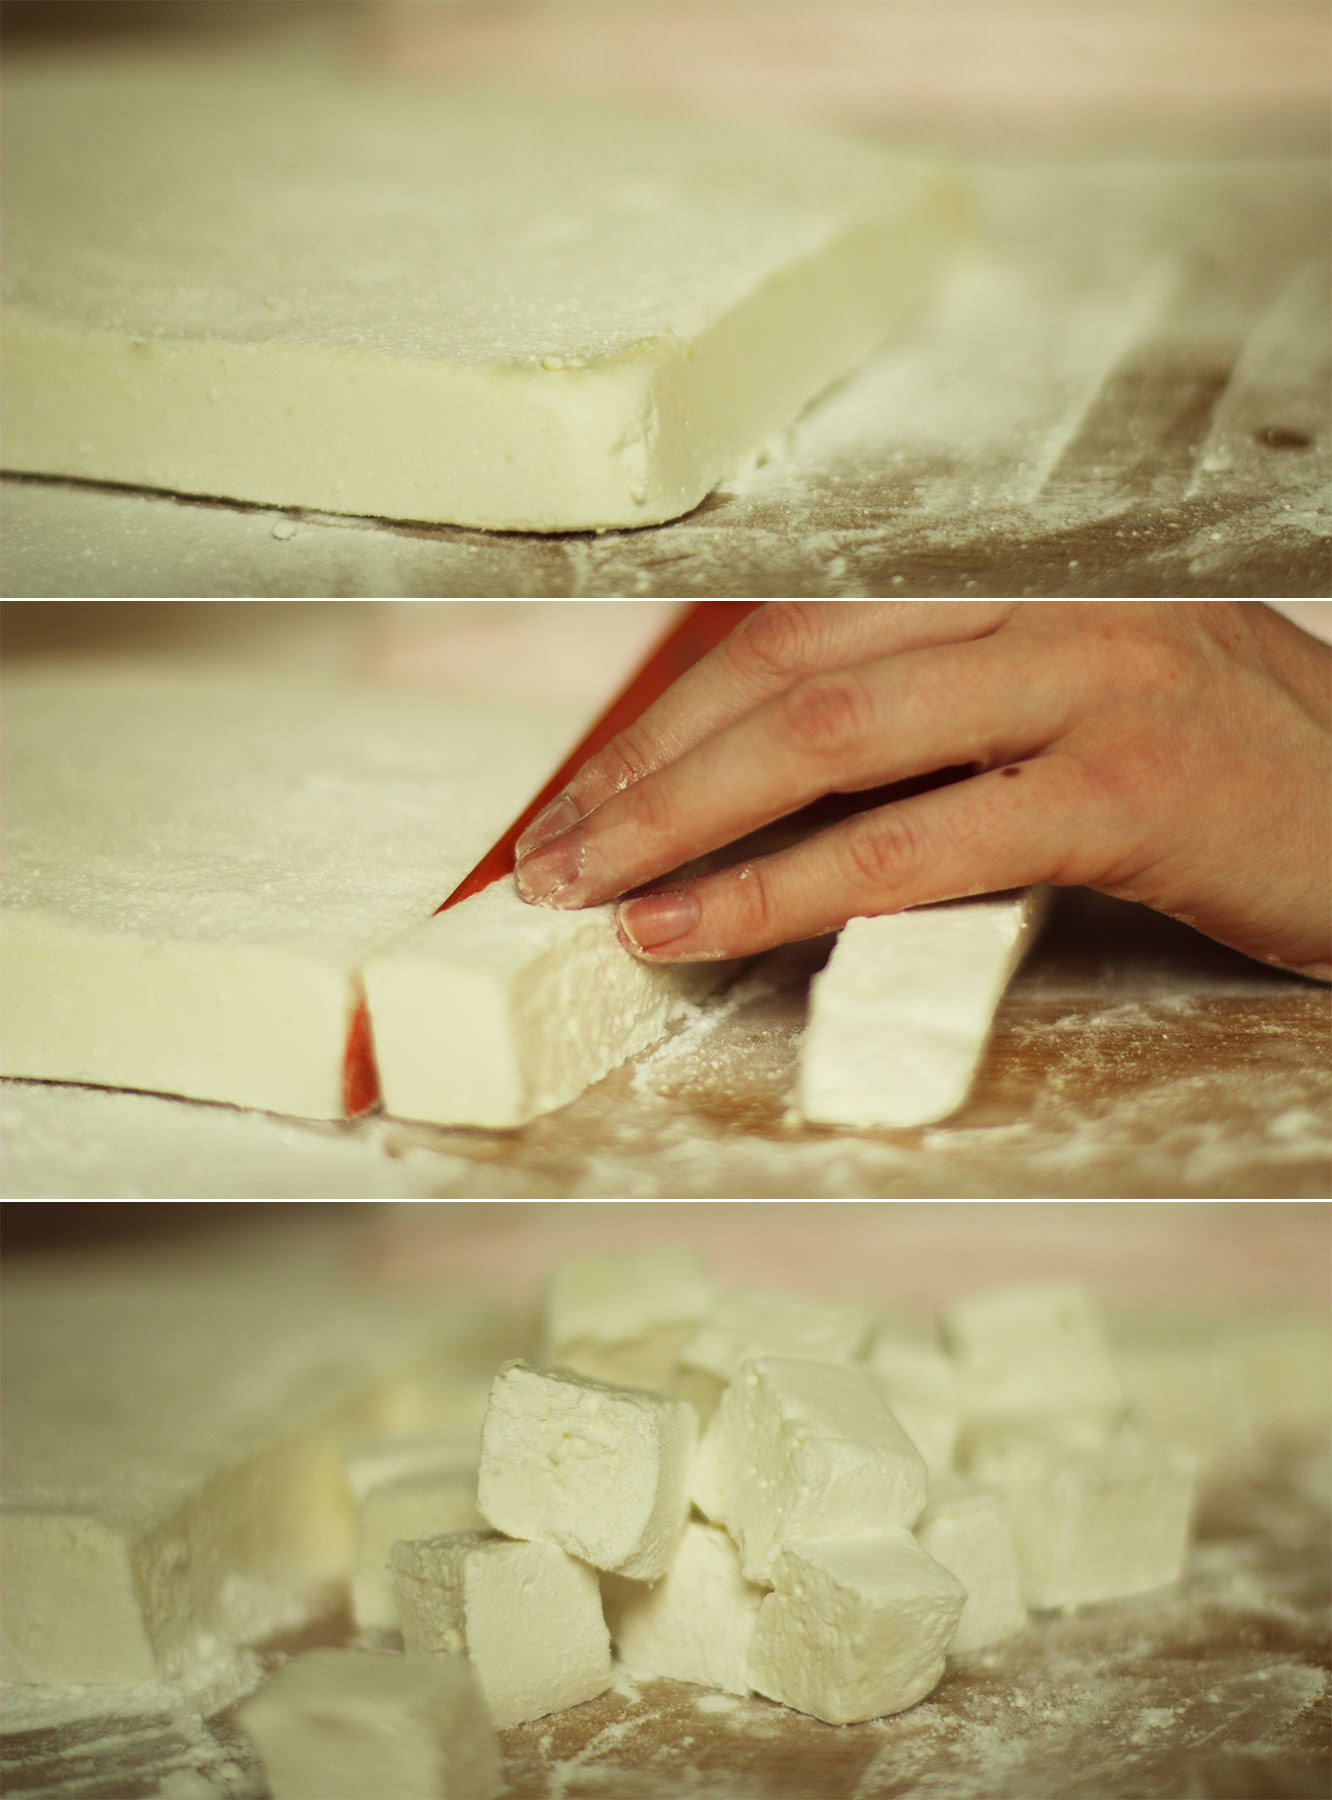
Once the marshmallows have set (at least an hour, preferably more) turn them out onto a surface dusted with icing sugar.

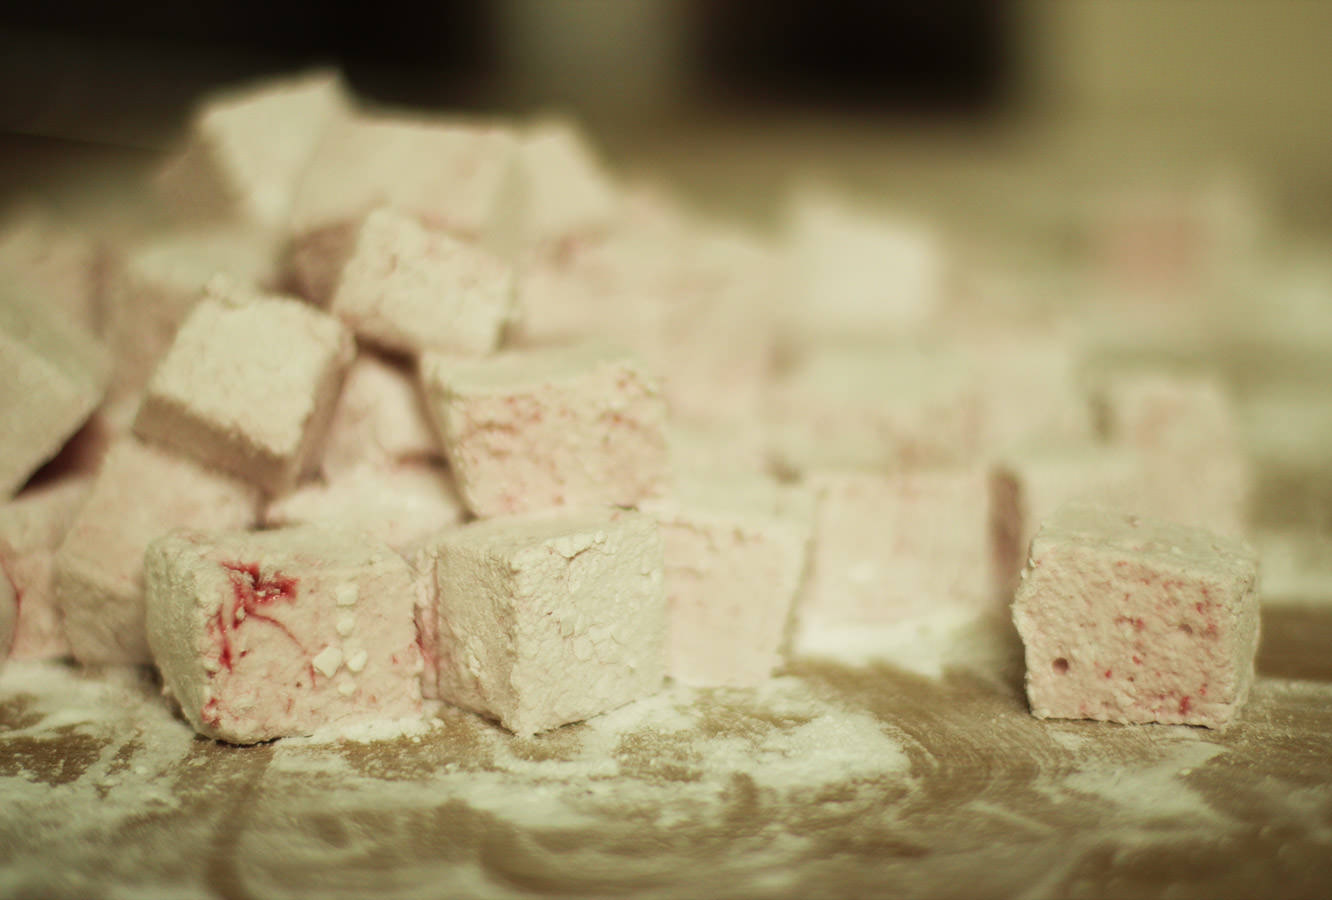
Cut them into cubes, and dust all the sides. Don’t worry if they are a little sticky, they will dry out a bit more.

hen-bachelorette-party-favours-raspberry-caramel-marshmallow-recipe-11

Try not to eat them all just yet.

hen-bachelorette-party-favours-raspberry-caramel-marshmallow-recipe-13

Step thirteen

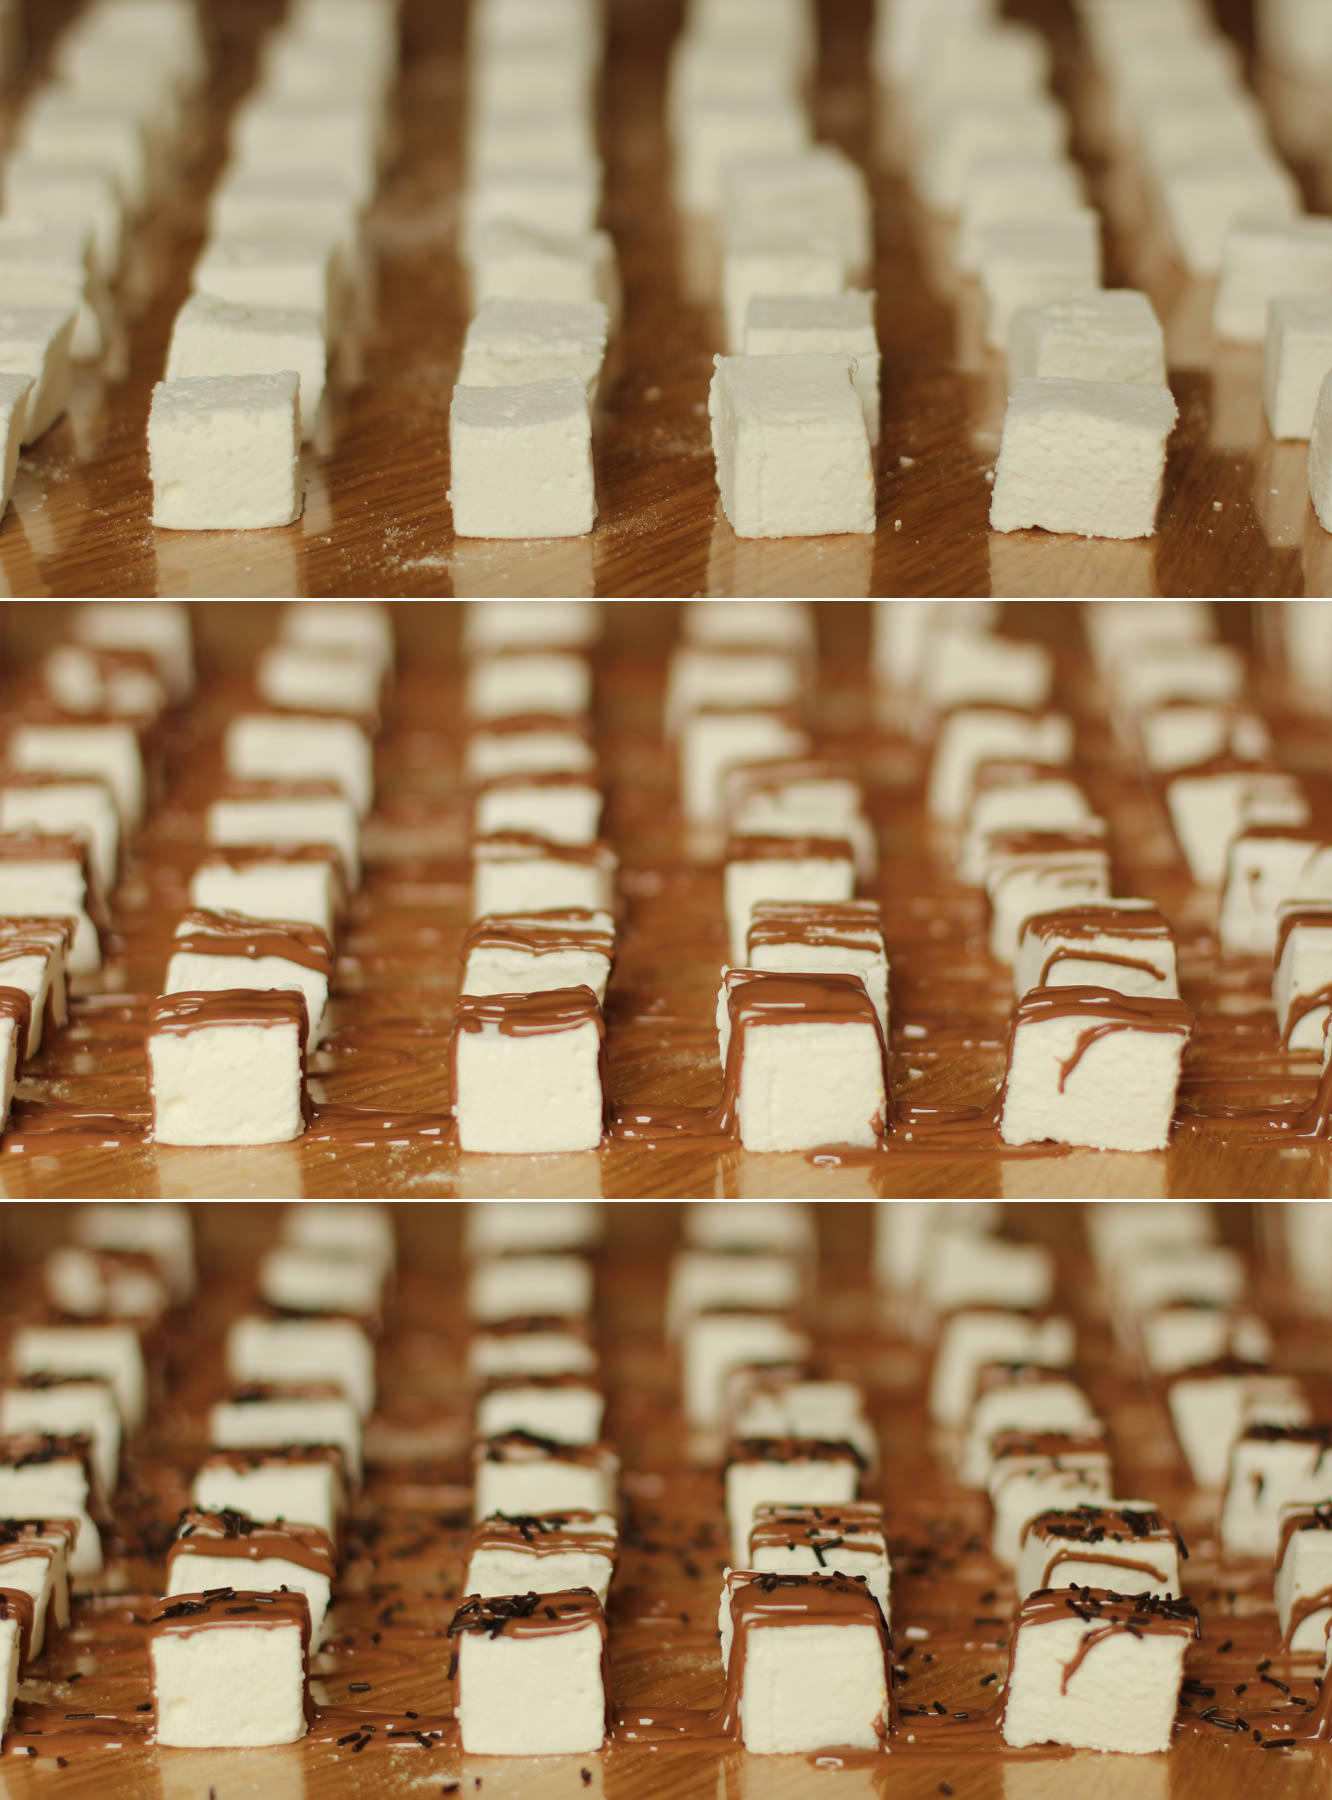
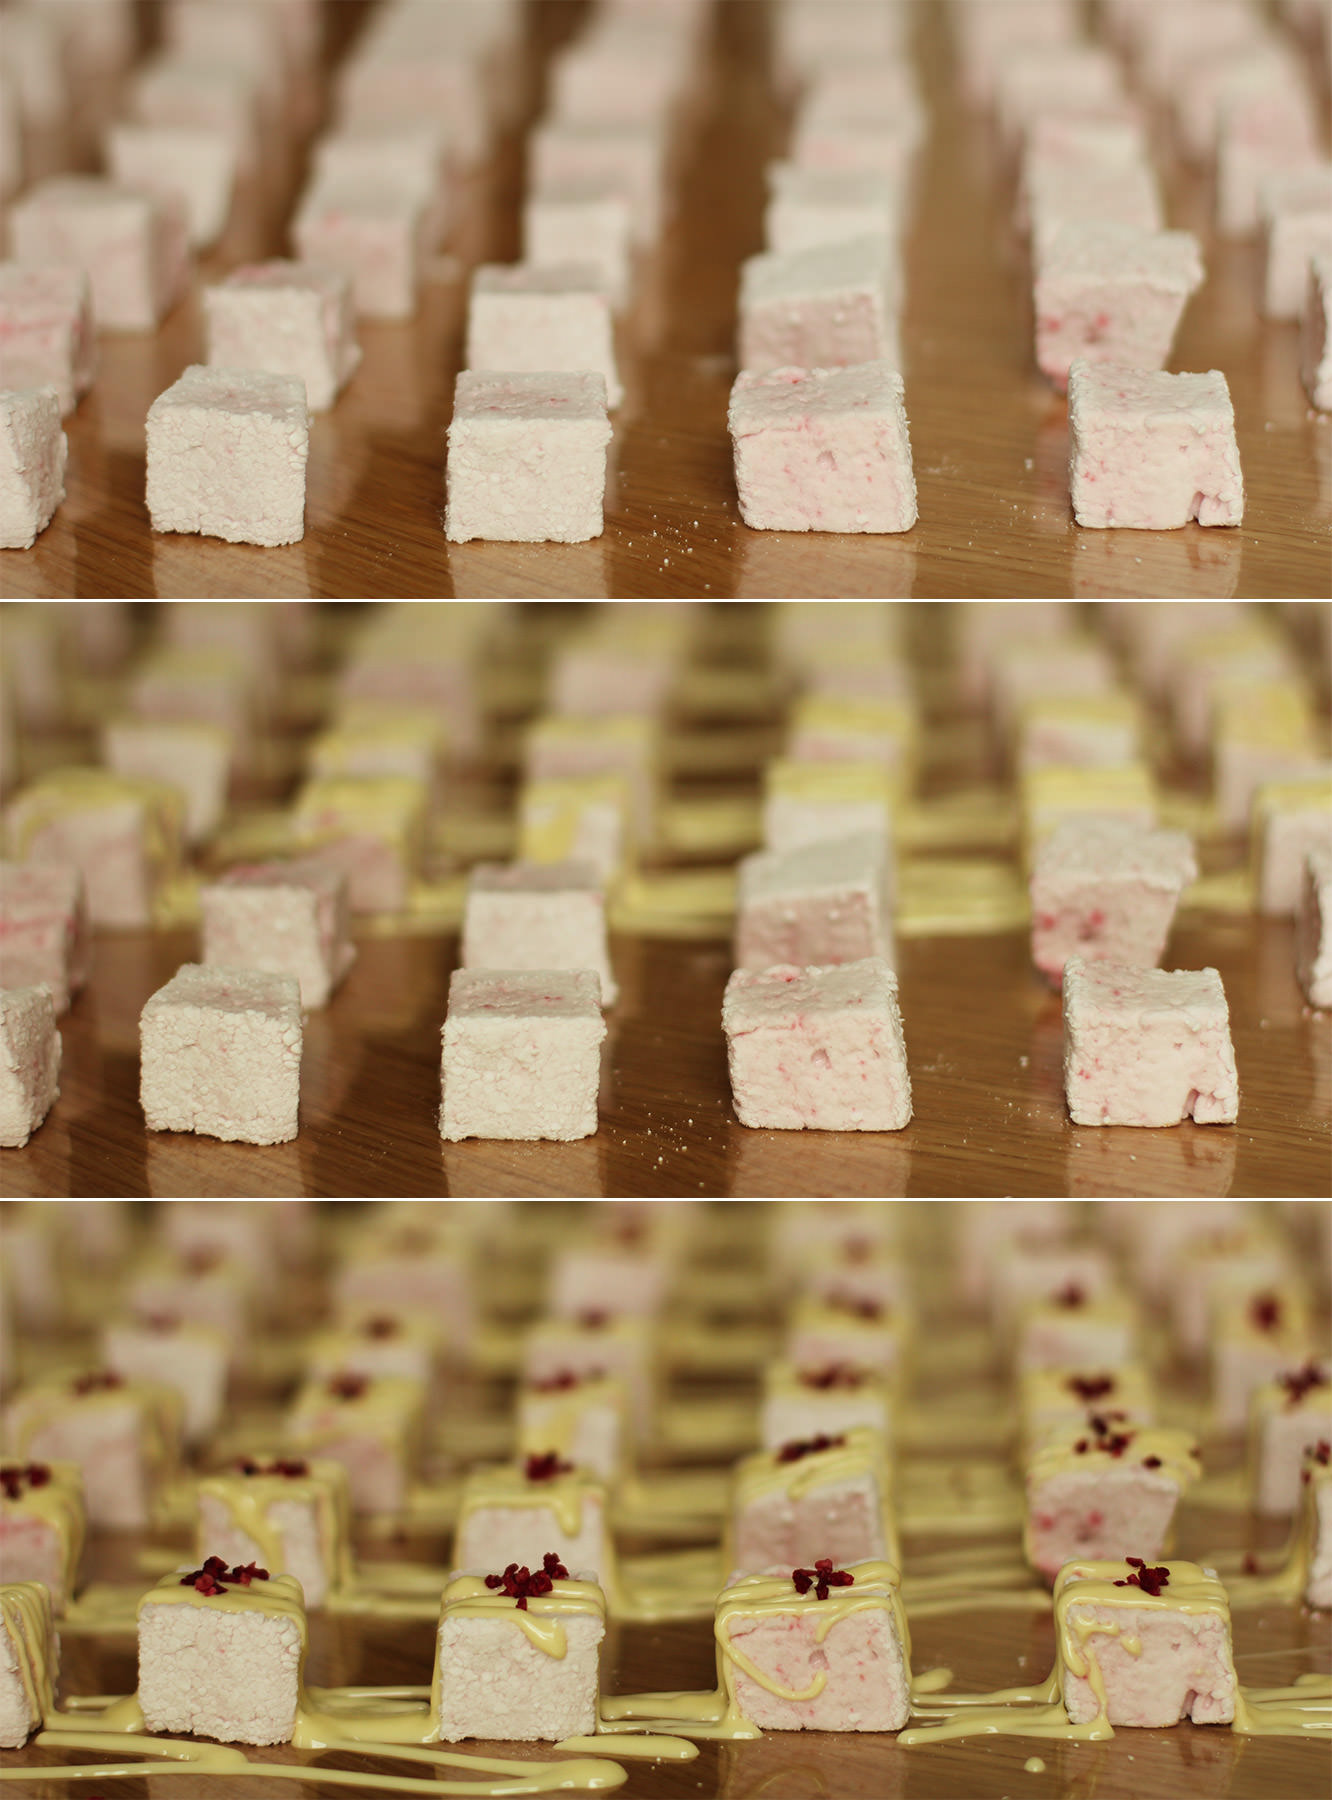
Lay the caramel marshmallows out in rows on greaseproof paper or cellophane and melt the milk chocolate. I used a piping bag to drizzle the chocolate over the marshmallows, you could use a sandwich bag and snip the corner.

hen-bachelorette-party-favours-raspberry-caramel-marshmallow-recipe-12

Step fourteen

Repeat with the raspberry and white chocolate marshmallows.

hen-bachelorette-party-favours-raspberry-caramel-marshmallow-recipe-14

Step fifteen

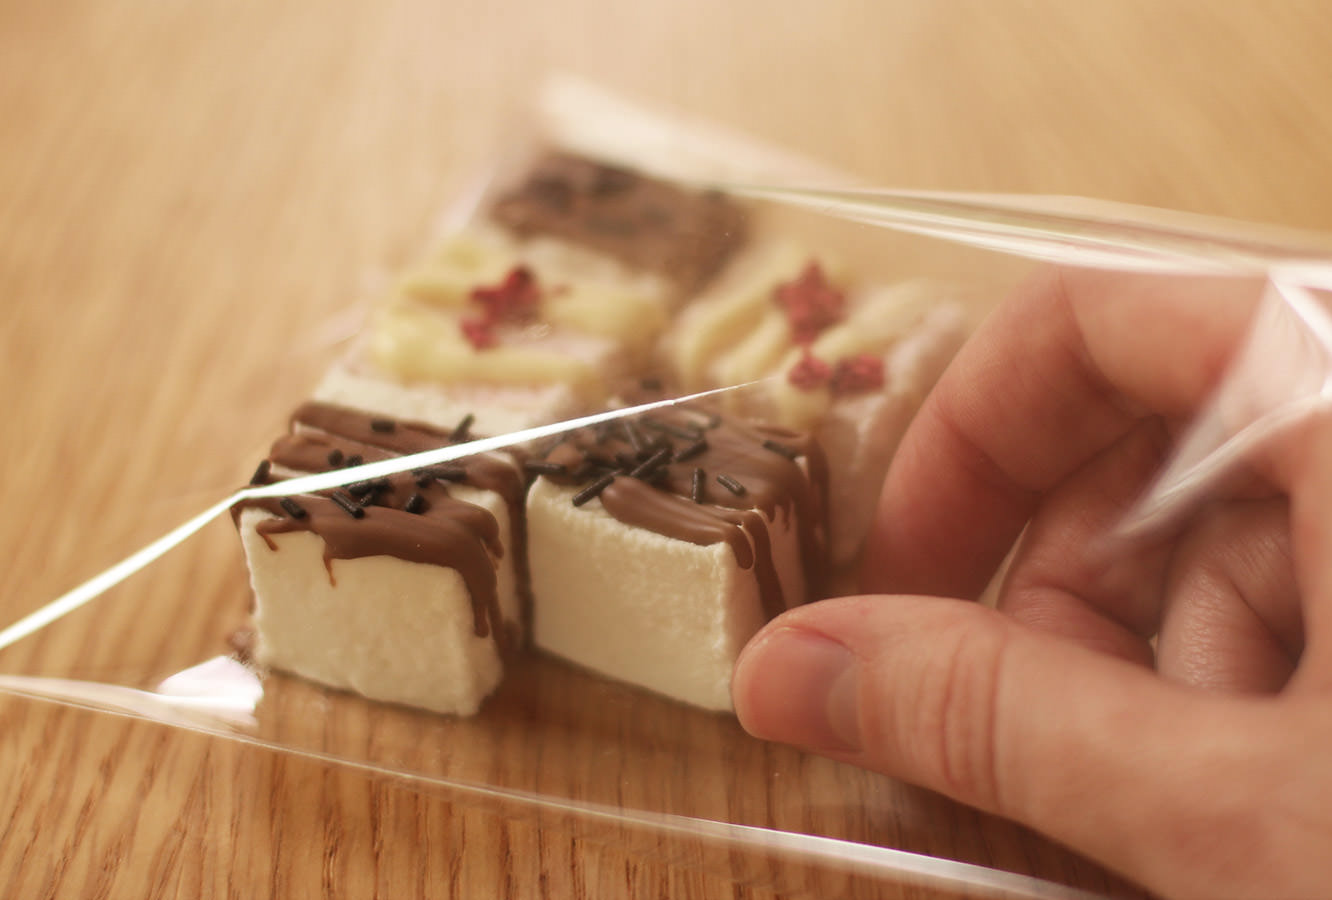
Once the chocolate has set place 5 in each bag, 2 of one flavour, 3 of the other, alternating as you go so you don’t run out of one.

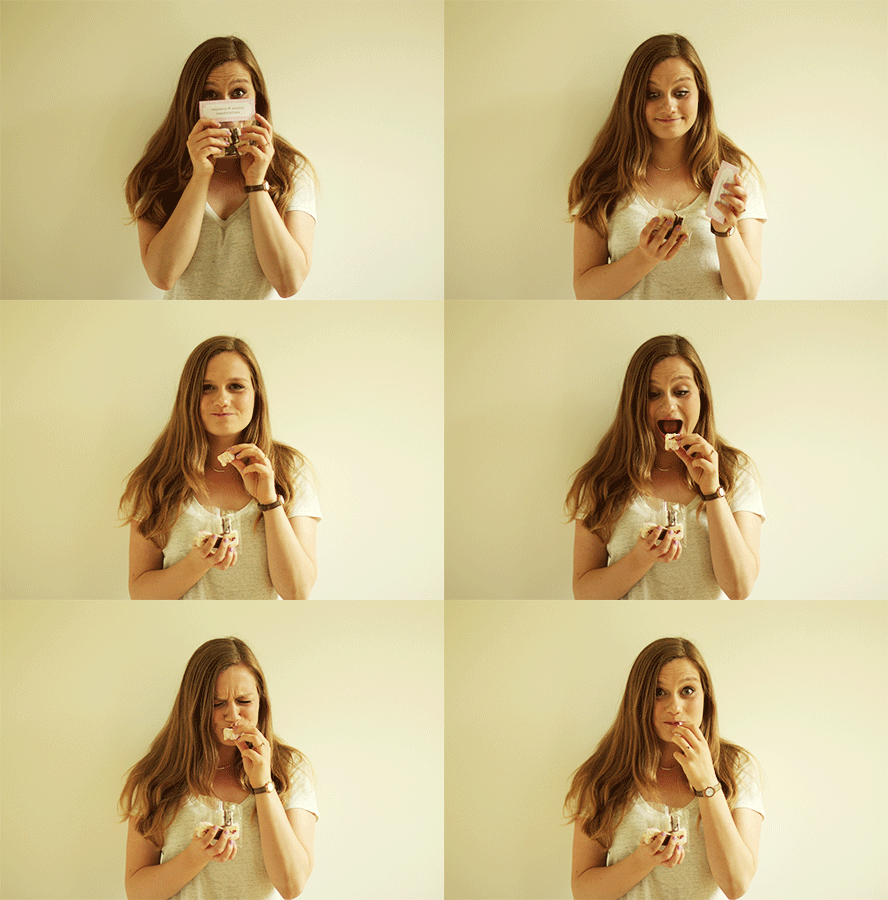
As I mentioned last post I’ll be doing a wrap up post with all the finishing touches, so stay tuned for that. For now, here’s our lovely hen chowing down:

hen-bachelorette-party-favours-raspberry-caramel-marshmallow-recipe-gif

Hippity-poppity

It’s almost EASTER.

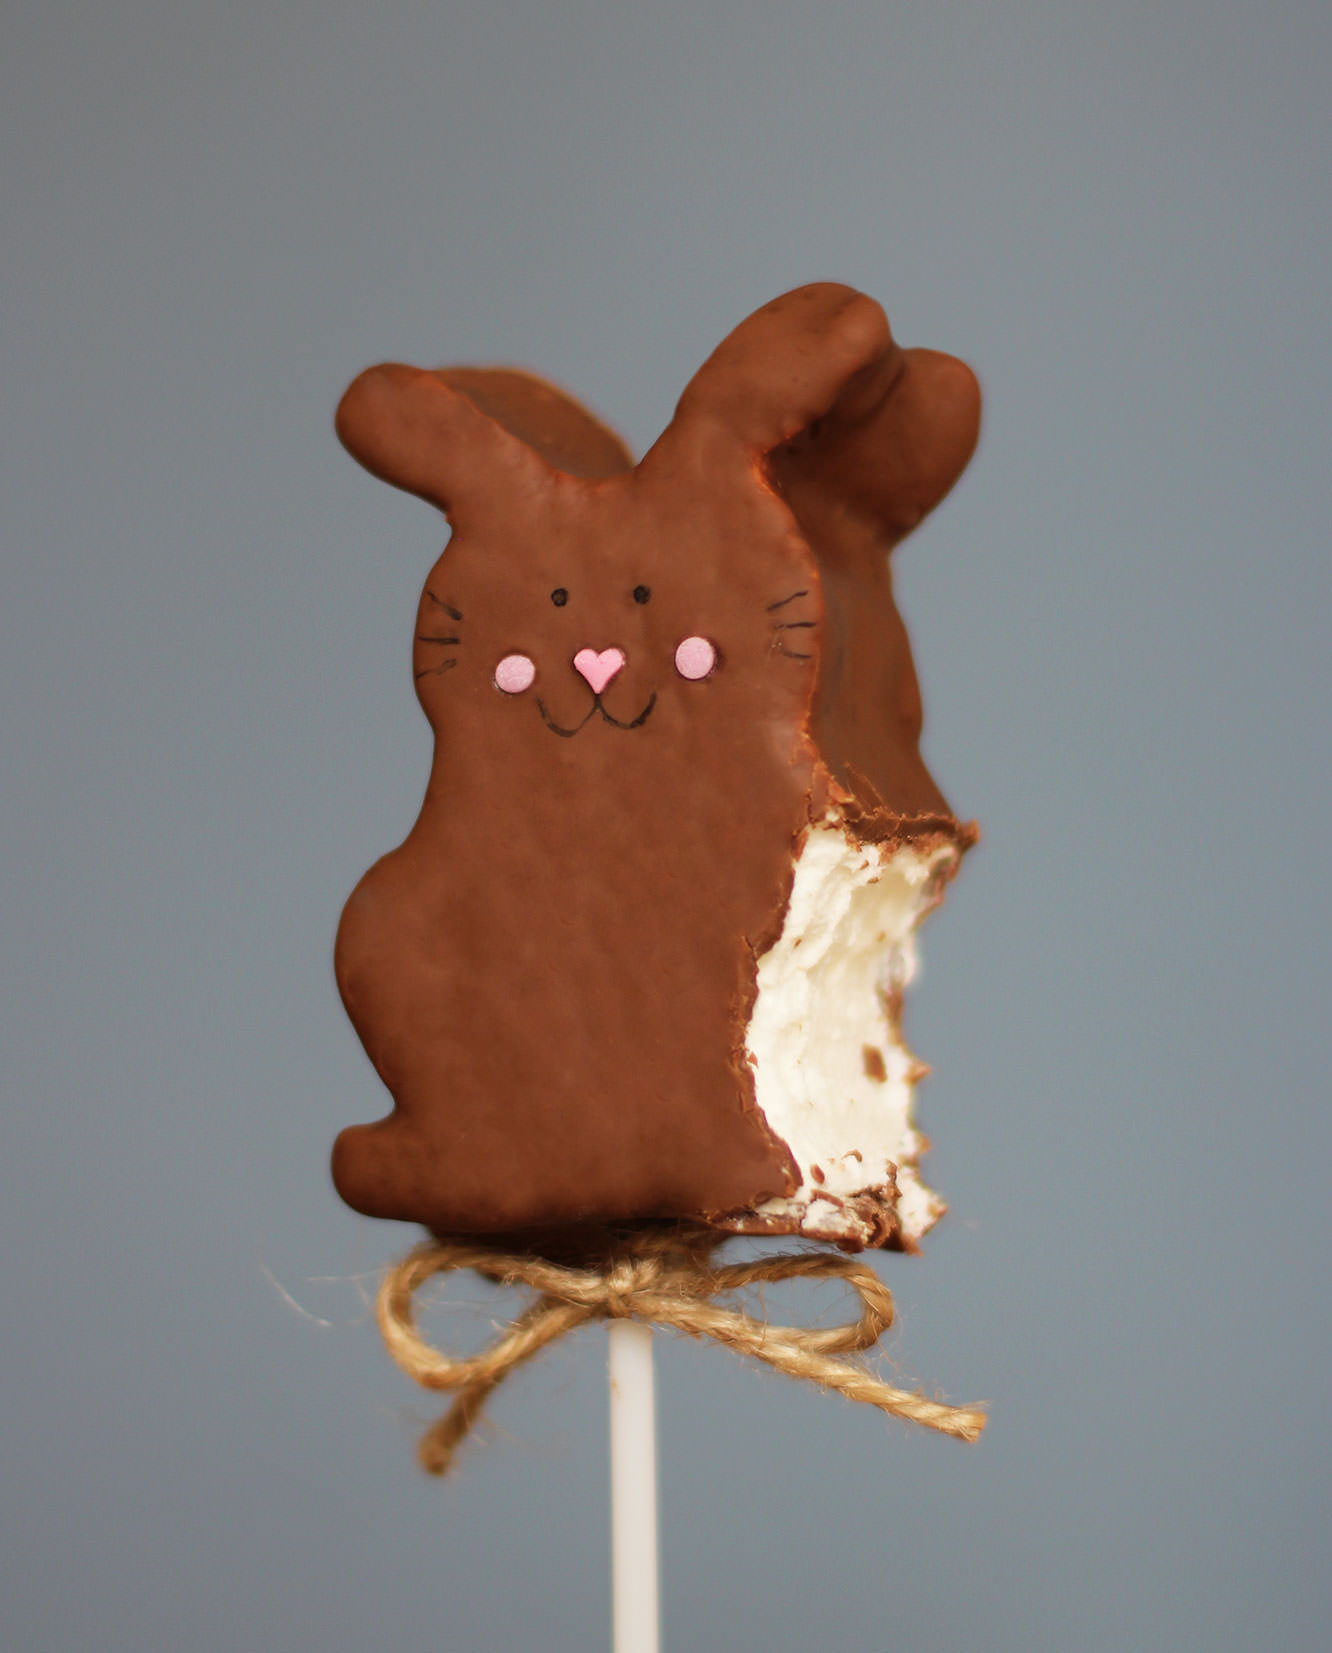
I’ve had these little bunny pops in my mind’s eye for a while now. I’ll precursor this post with saying they don’t look exactly how I imagined. Sure, they do look a bit like Pikachu, but they are scrummy, so I vote worth the time if you’ve a free afternoon and a healthy dose of patience in your arsenal.

caramel-chocolate-marshmallow-bunny-pops-recipe

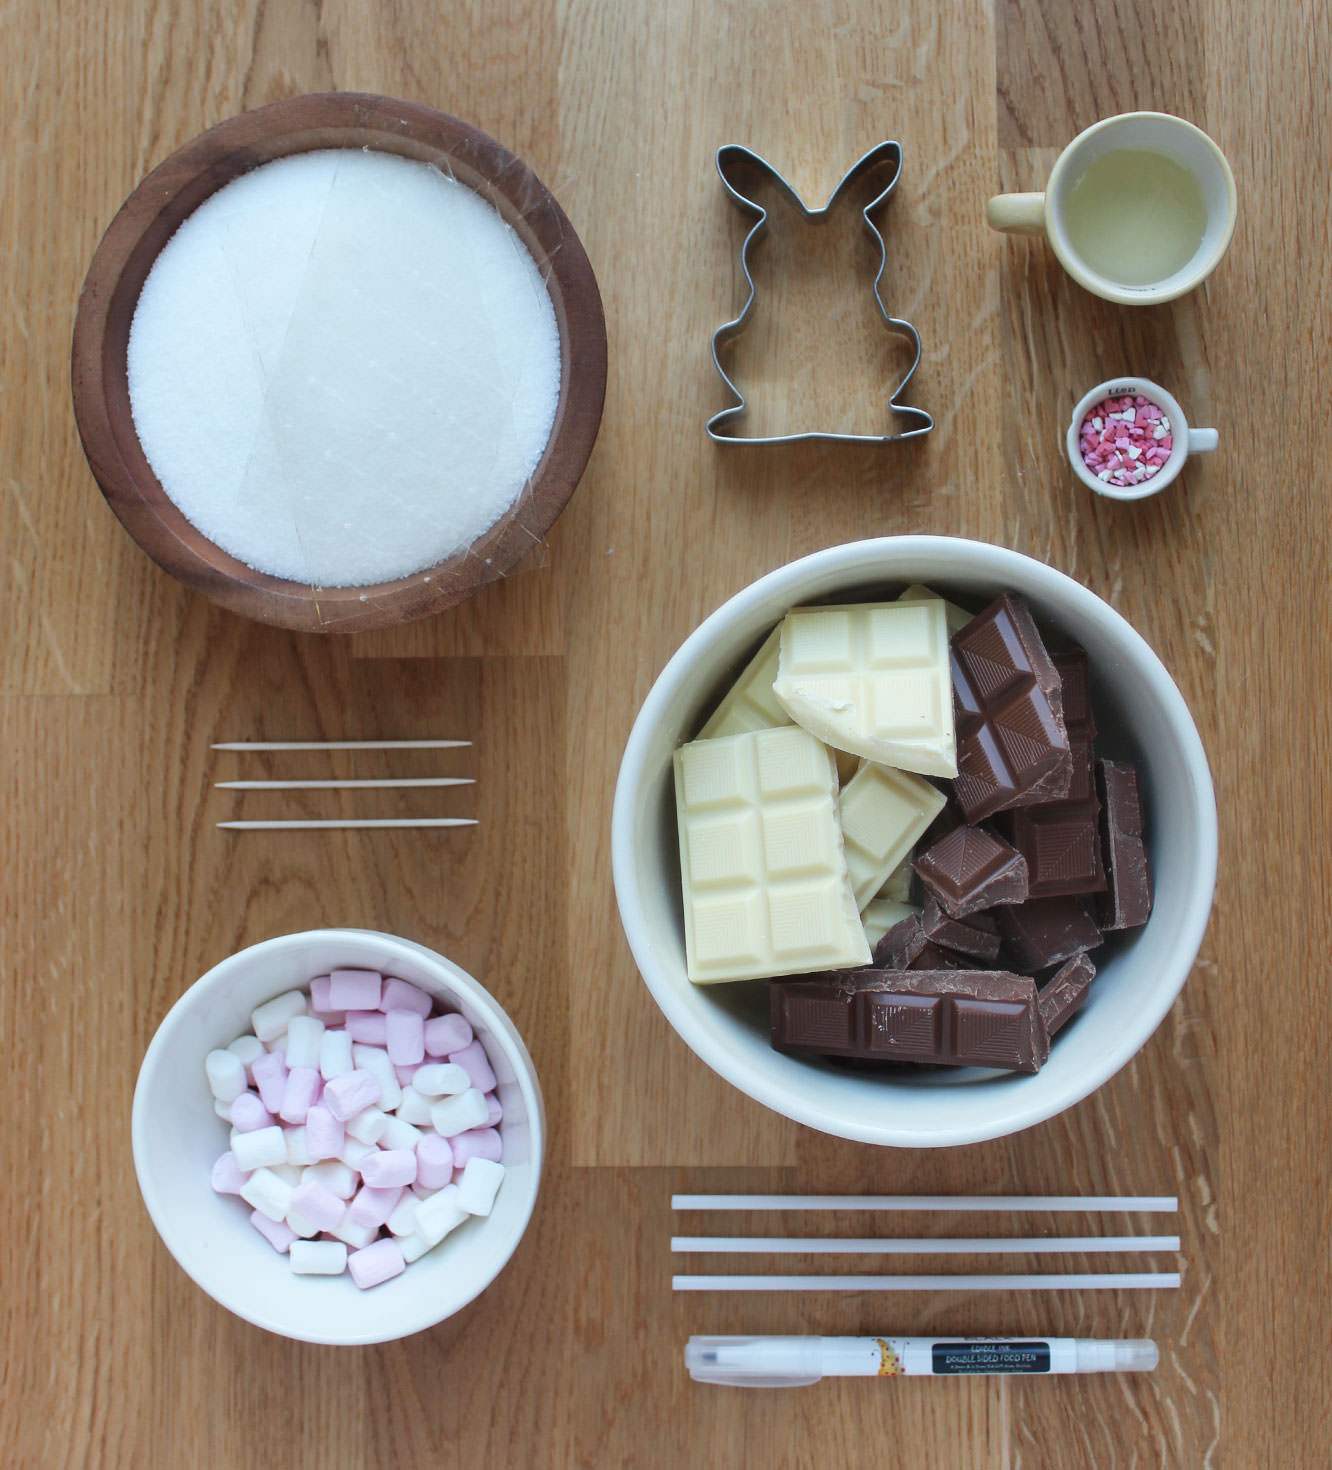
You will need

9 gelatine sheets

300g/10.5 oz granulated sugar

2 egg whites

1 tbsp liquid glucose (you can find this in a squeezy toothpaste type tube in the baking section)

2-3 tsp extract of your choice (but I HIGHLY recommend ‘buttery caramel’ from the natural professional flavours range – bought at Lakeland)

600-800g/1lb 5 oz – 1lb 12 oz chocolate for dipping (having sampled milk and white, I’d go white)

Sugar confetti for faces

Edible ink pen (or melted dark chocolate and a cocktail stick)

Icing sugar for dusting

A sugar thermometer

A bunny cutter (I got this from Amazon)

A handful of mini marshmallows (for fluffy bunny tails)

Cake pop sticks

caramel-chocolate-marshmallow-bunny-pops-recipe-2

Step one

In a cereal bowl, soak the gelatine in 150ml/5 fl oz cold water. Set aside.

Step two

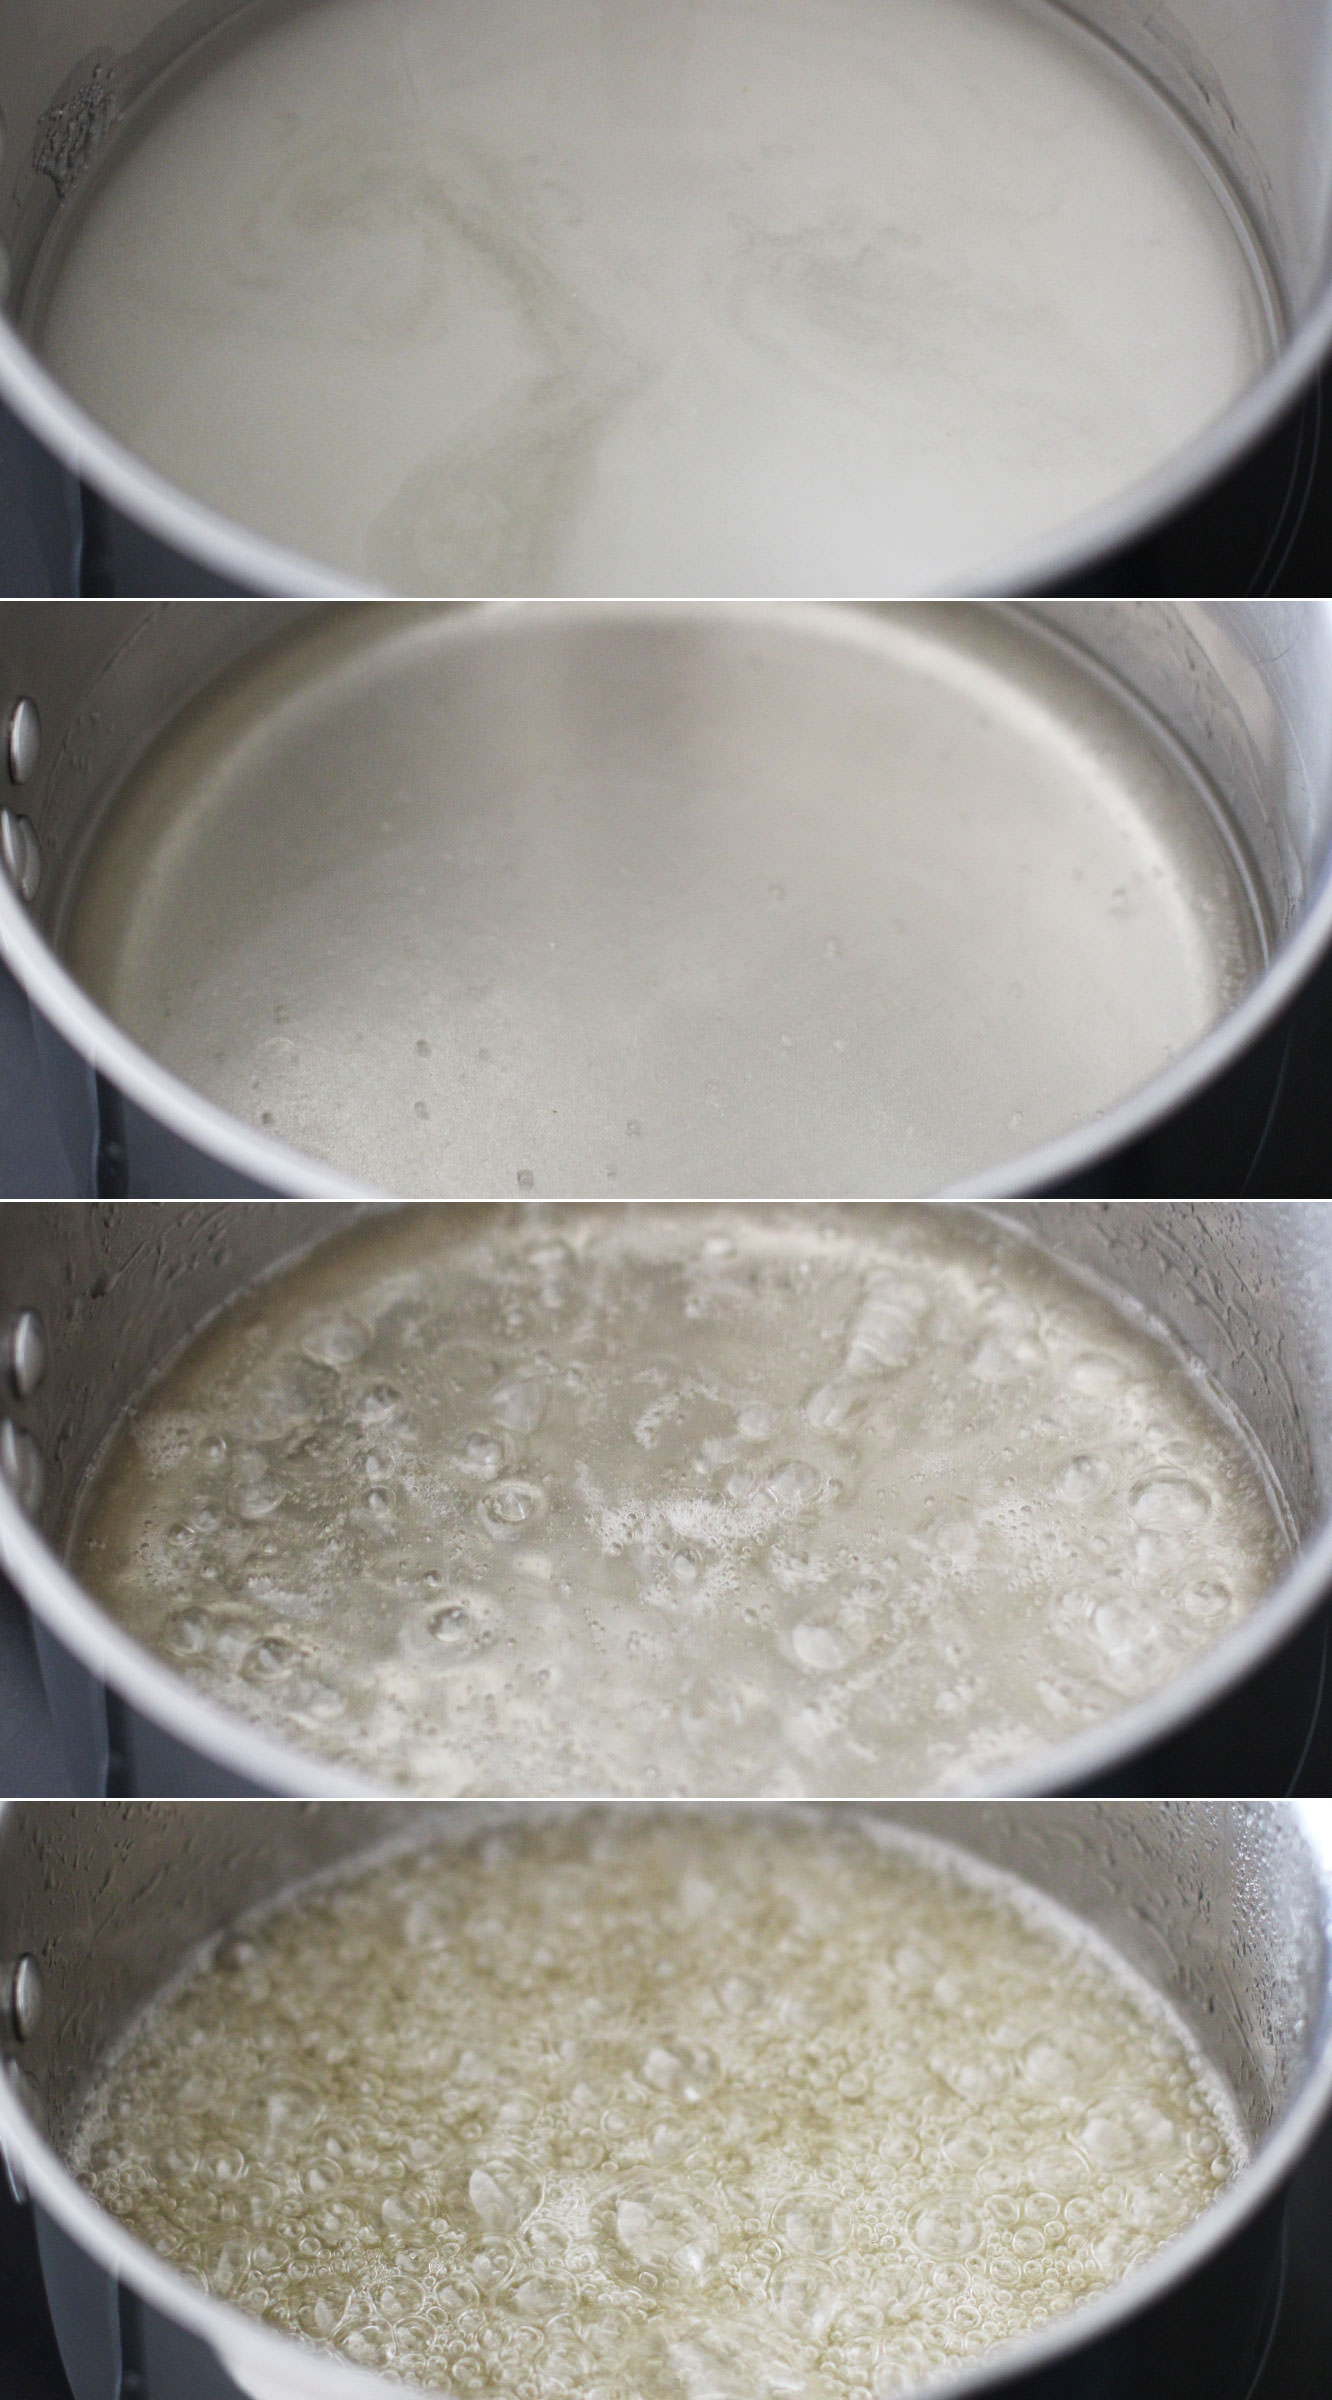
Combine the sugar, 150ml/5 fl oz water (different to the gelatine water) and the liquid glucose in a smallish saucepan. Allow the sugar to dissolve on a low heat, and then turn it up to medium-high. Be careful not to burn the sugar or any of your extremities.

The temperature you want this to get to is 118 C. It will feel like it will never get there, but stay strong.

maple-marshmallow-recipe-1

Step three

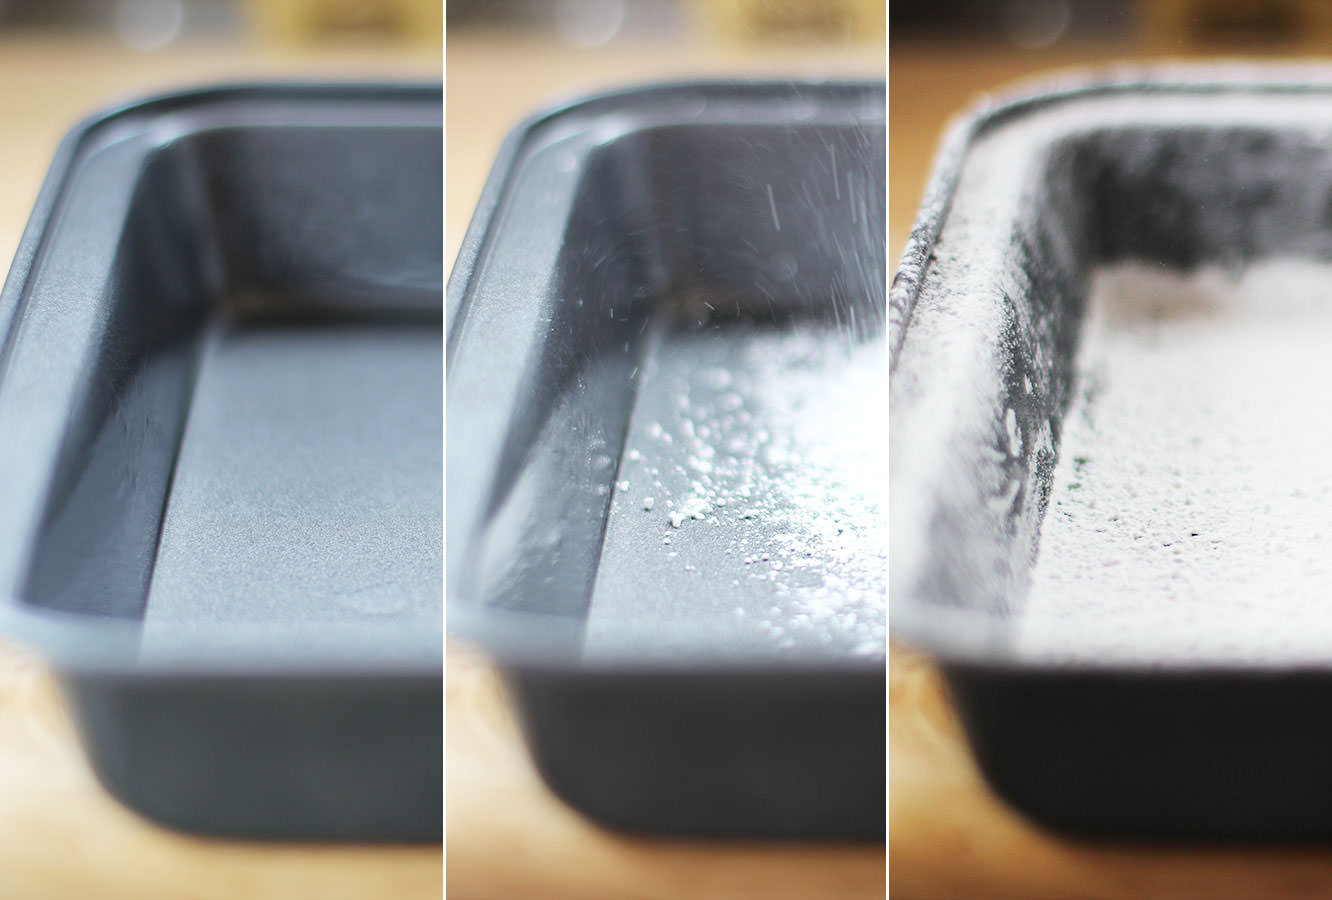
While the sugar is bubbling away take the opportunity to dust a brownie tin with icing sugar. Use a really small amount of olive oil before dusting to hold the icing sugar to the pan.

caramel-chocolate-marshmallow-bunny-pops-recipe-1

Step four

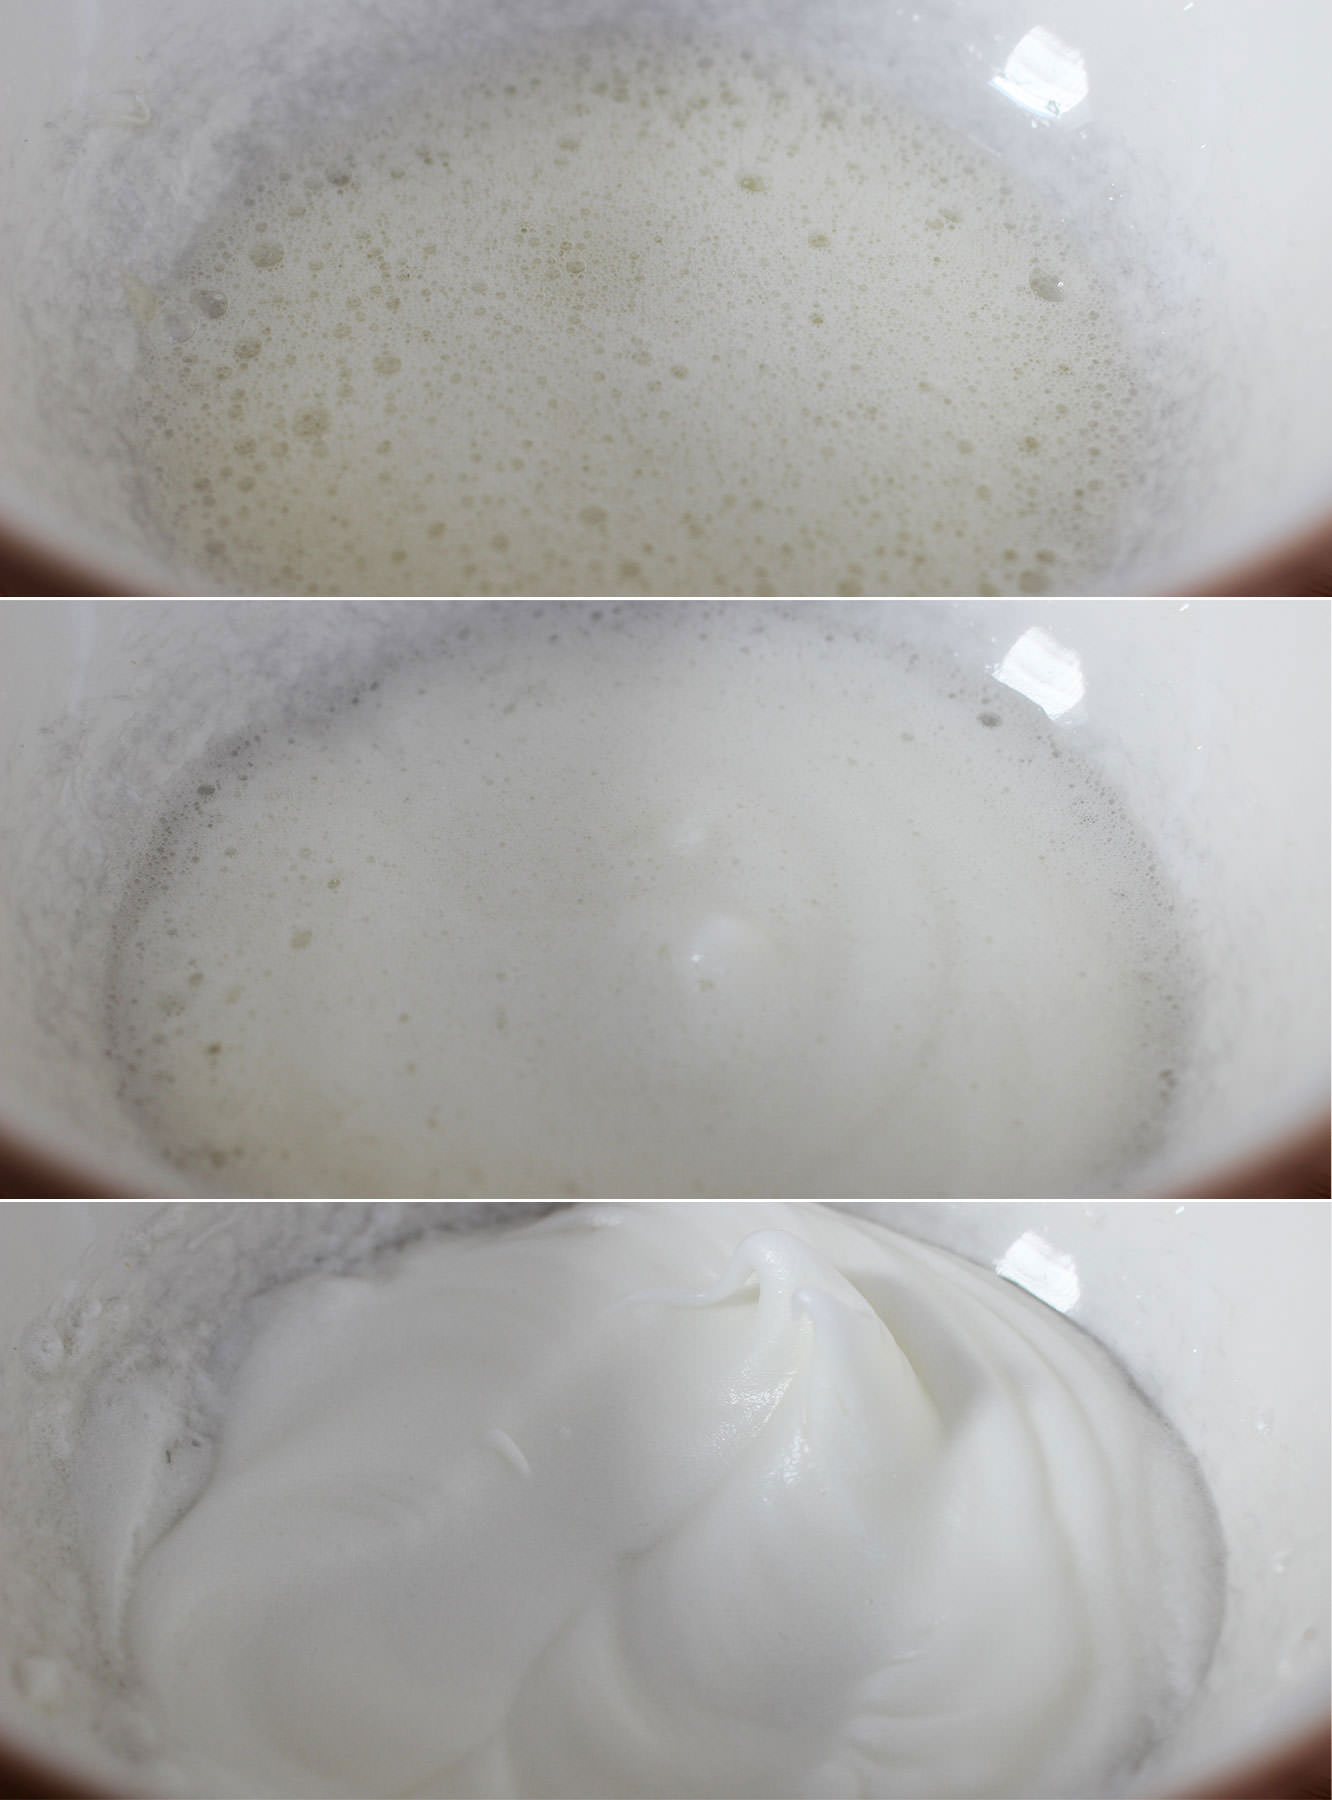
Place the egg whites in a metal or glass bowl, never plastic. Or you know, if you want to wreck your lovely Mason Cash bowl by using an electric whisk on it, by all means do. Those handsome grey marks? You could have those too.

When the sugar gets to somewhere around 112-115C whisk the egg whites into stiff peaks.

Step five

When the sugar reaches 118C take it off the heat.

Squeeze the gelatine out a bit and add it to the sugar mix. It will bubble right up so don’t panic. It should settle pretty quickly.

caramel-chocolate-marshmallow-bunny-pops-recipe-3

Step six

Pour the hot sugar into the eggs, but make sure you’re whisking continually to avoid a big lump of sugar at the bottom of the bowl.

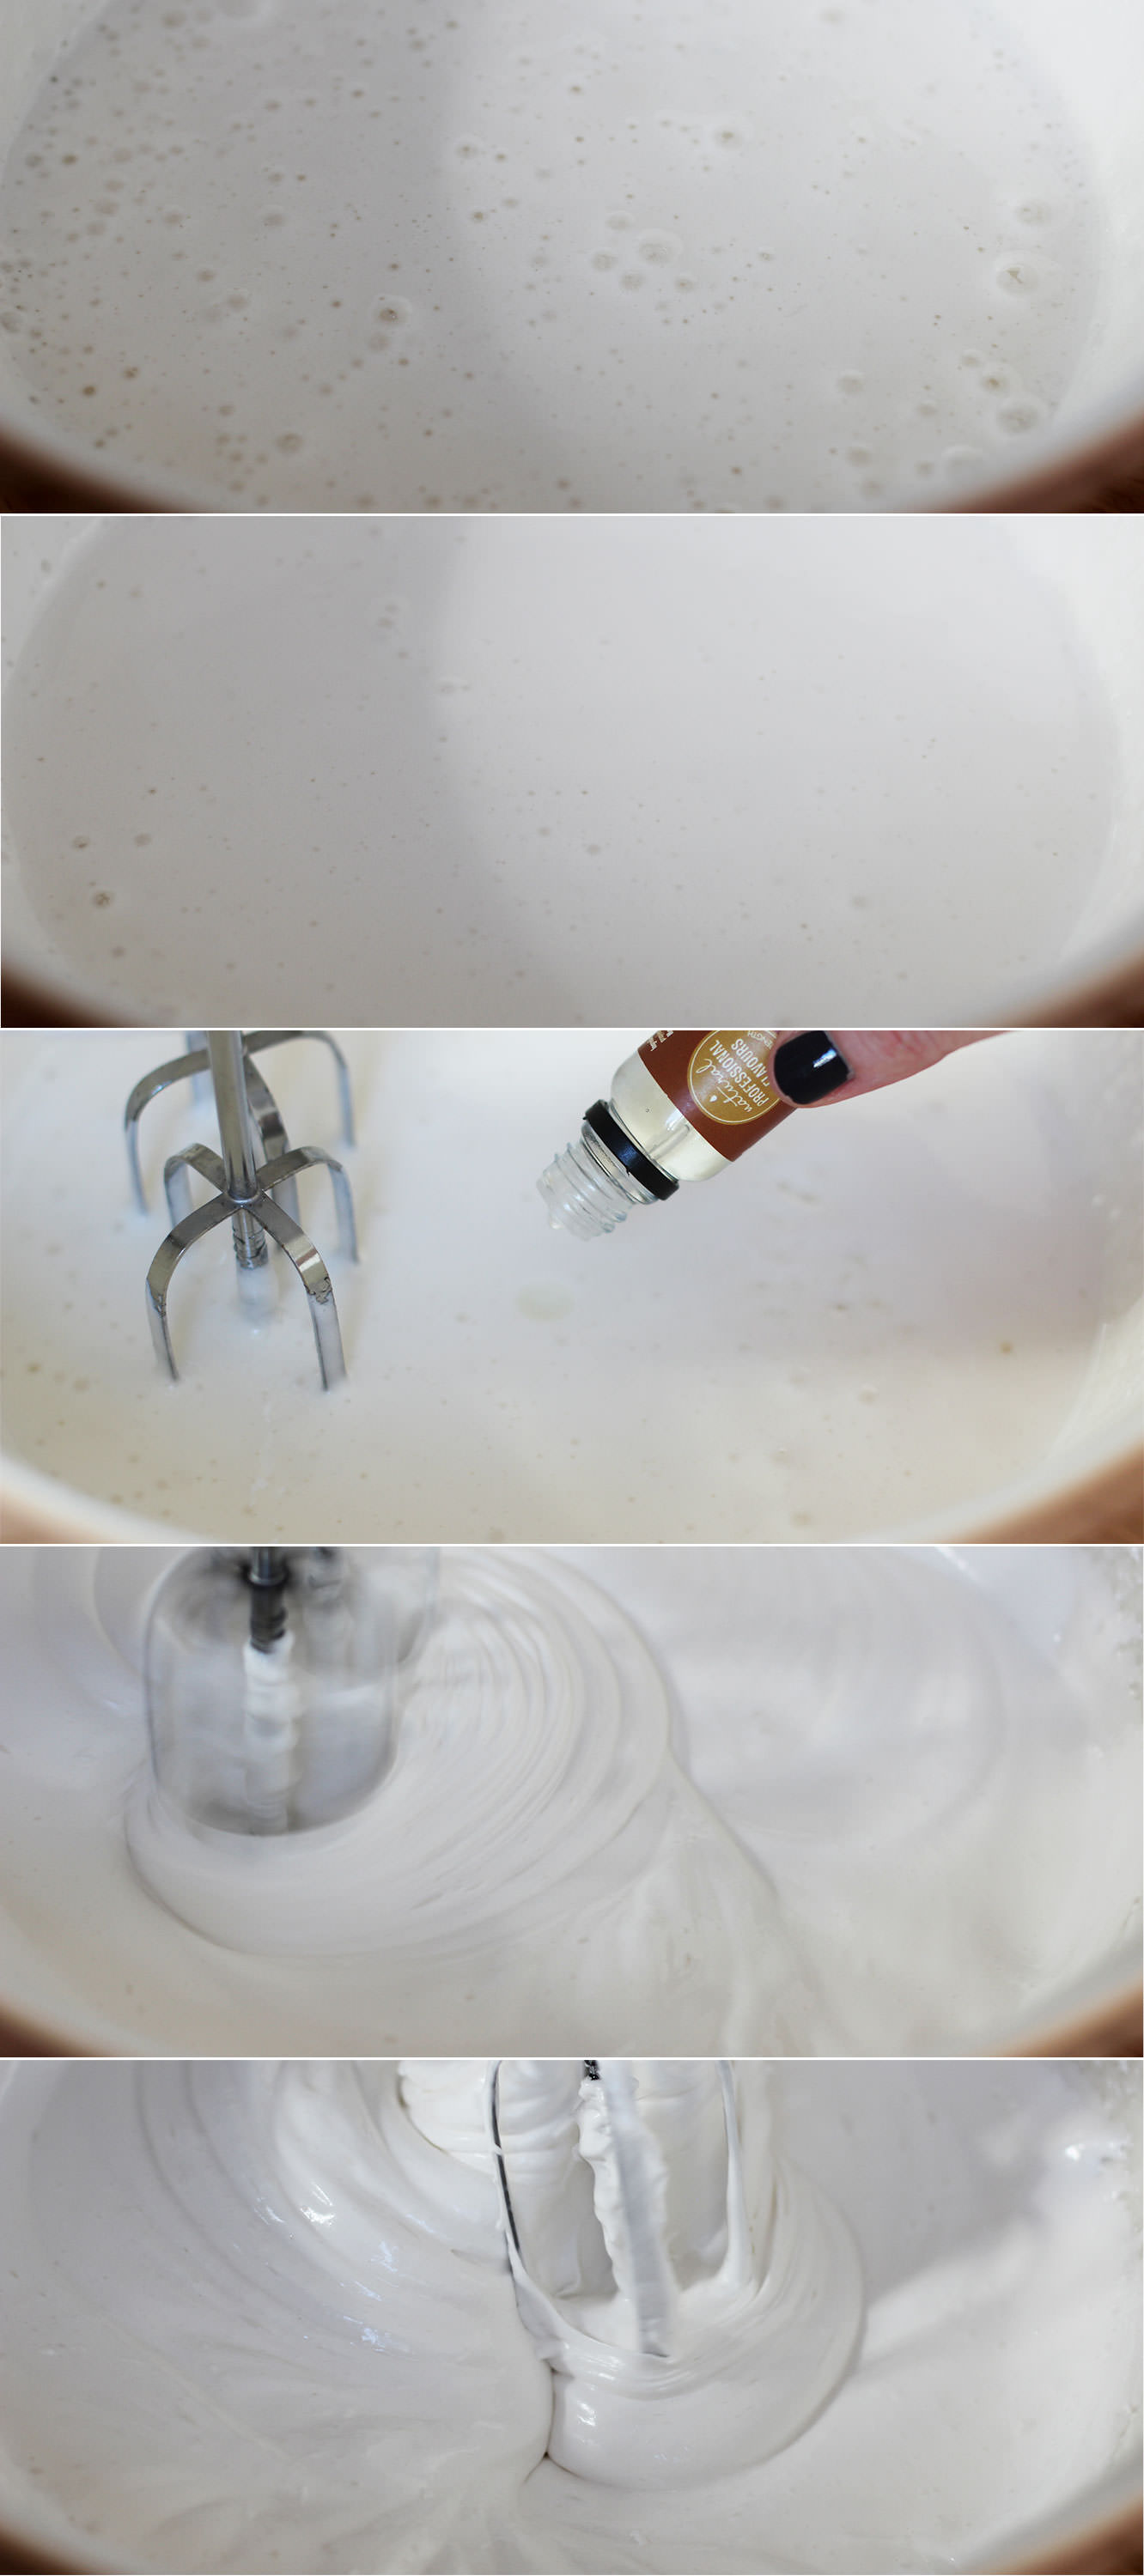
Whisk until the mixture holds its shape well and is quite thick. This can take up to ten minutes.

Somewhere during the whisking (probably when you need to give your arm a rest) add the flavouring. Vanilla extract is lovely in these but they will take basically anything you fancy. Like I said in the ingredients list I really recommend ‘Buttery Caramel’ from the Natural Professional Flavours brand.

caramel-chocolate-marshmallow-bunny-pops-recipe-4

Step seven

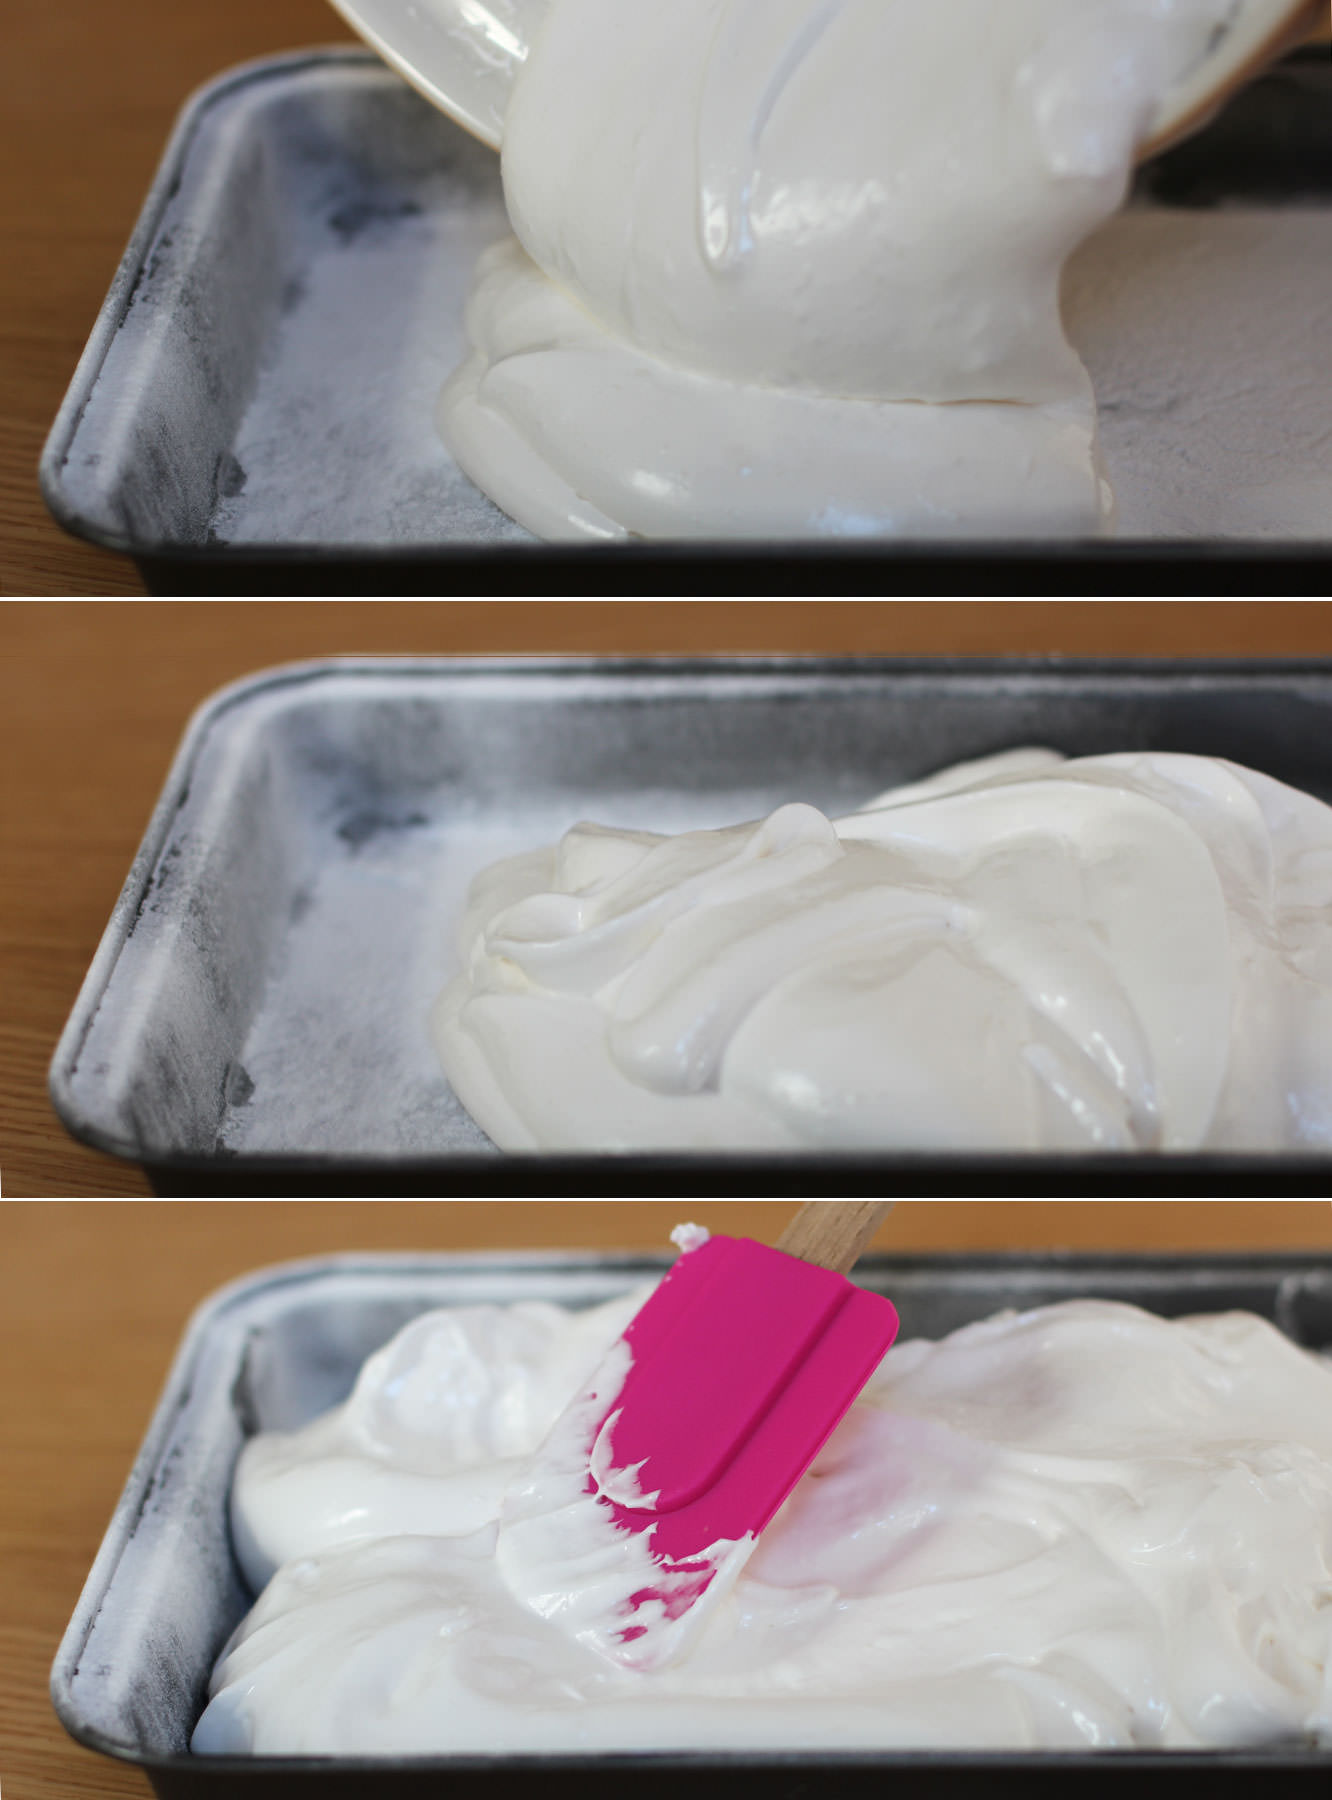
Pour the mixture into the prepared tin and smooth out as much as possible.

Dust with icing sugar and leave to set for about an hour.

caramel-chocolate-marshmallow-bunny-pops-recipe-5

Step eight

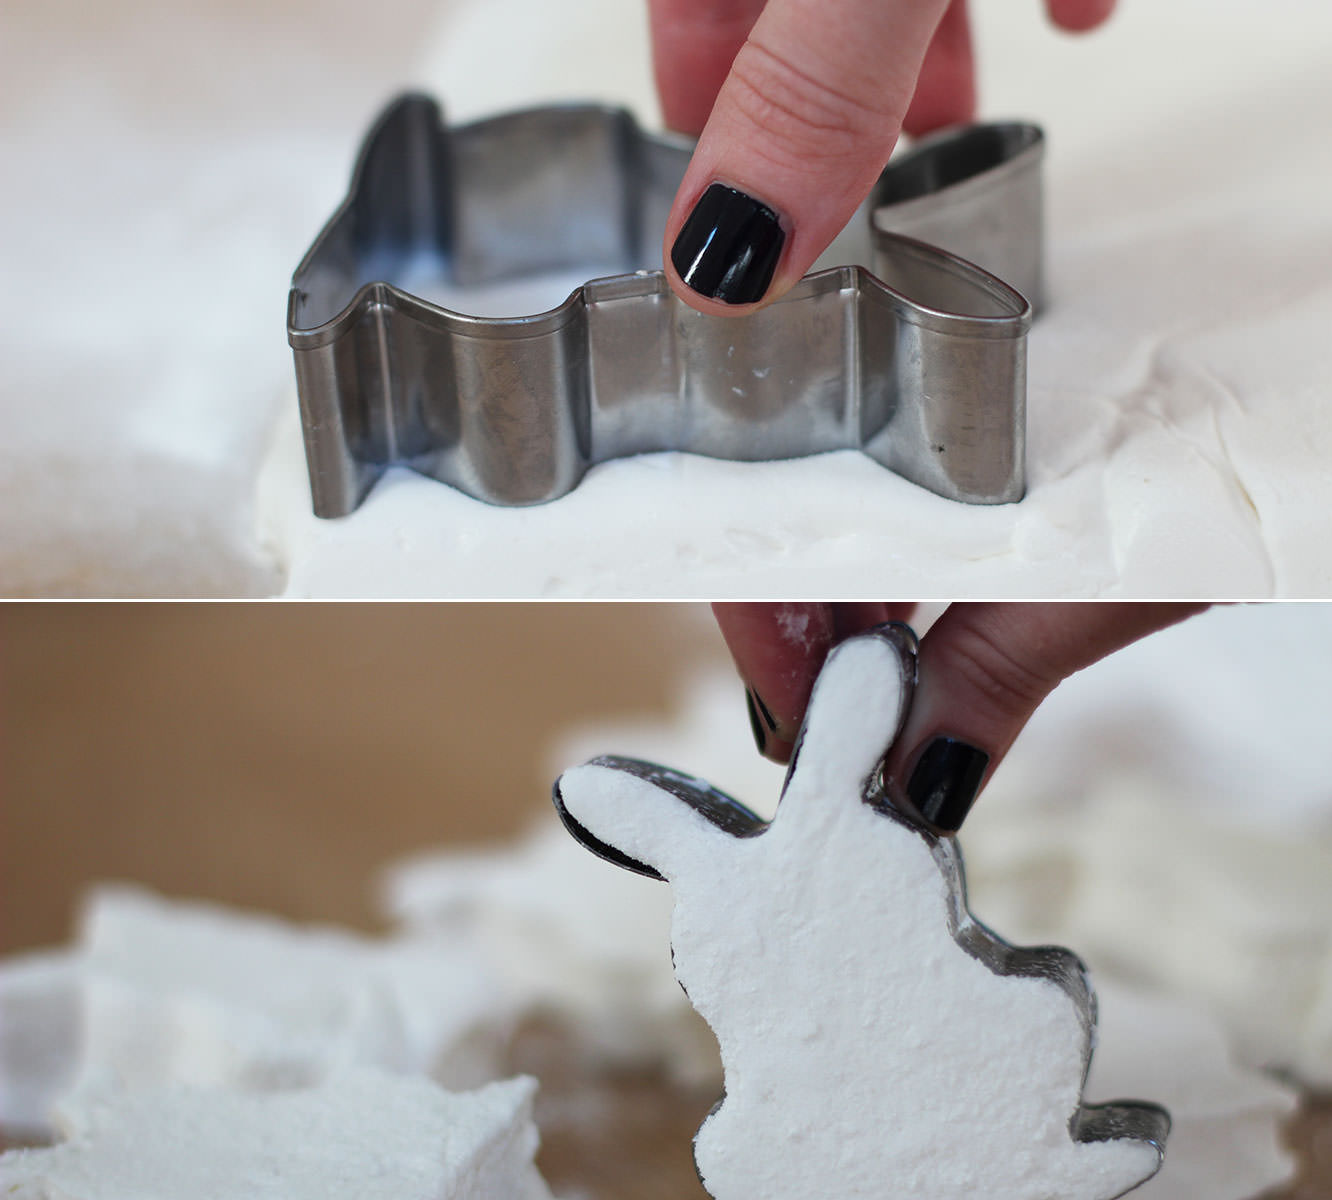
Turn the marshmallow out onto a clean surface.

Cut as many bunnies as you can out of the sheet of marshmallow. This will vary depending on your tin and cutter size. I got nine out of mine.

caramel-chocolate-marshmallow-bunny-pops-recipe-6

Step nine

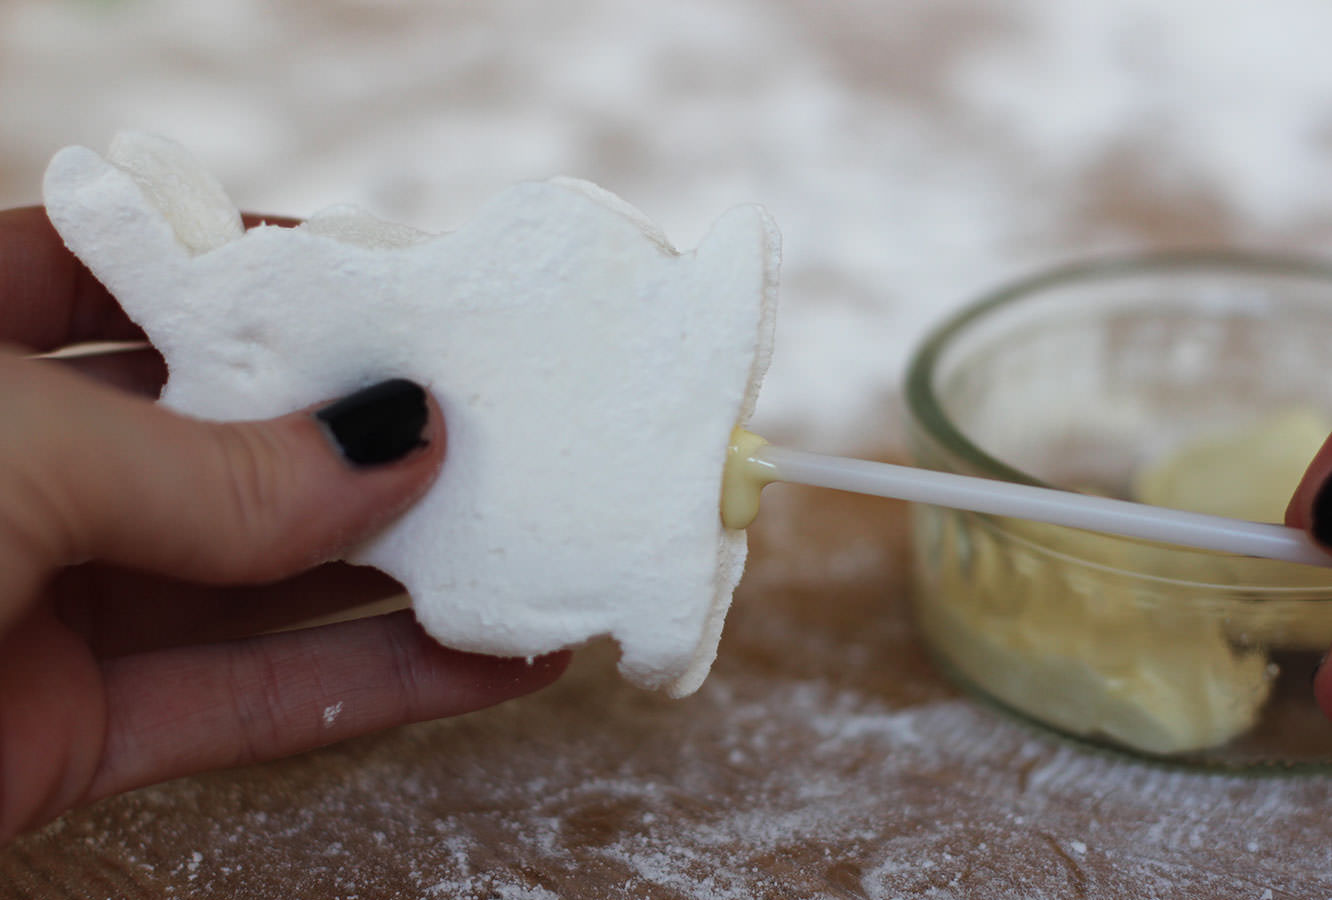
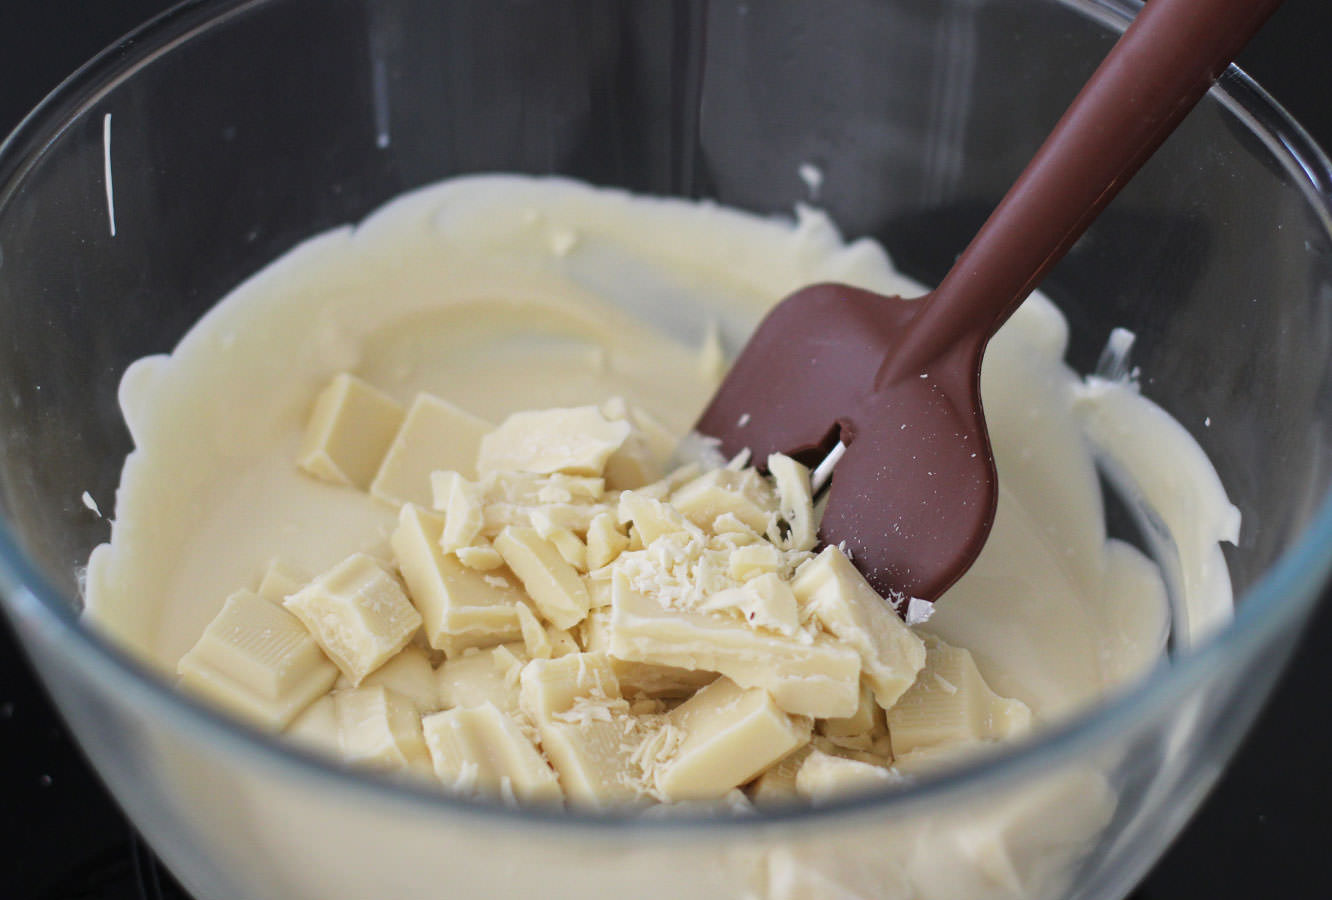
Melt a couple of pieces of chocolate in the microwave.

Dip the cake pop sticks in and push them into the bottom of the bunnies. I put mine in up to the head to increase stability. Leave to set.

caramel-chocolate-marshmallow-bunny-pops-recipe-7

Step ten

I recommend tempering the chocolate. Then you will get a nice snap when you bite into the pops and you can use the remaining chocolate to do something like this. Don’t feel you have to though, it will work without.

caramel-chocolate-marshmallow-bunny-pops-recipe-8

To temper, melt two thirds of the chocolate over a pan of boiling water and allow it to reach 45C. Remove it from the heat and add the rest of the chocolate. This should melt in and cool it down quicker. Stir it to cool down to 25C. Place it back on the heat to get it back up to 28C.

caramel-chocolate-marshmallow-bunny-pops-recipe-gif

Step eleven

Place the chocolate into a small deep bowl (or I actually found with the milk chocolate that a glass works really well).

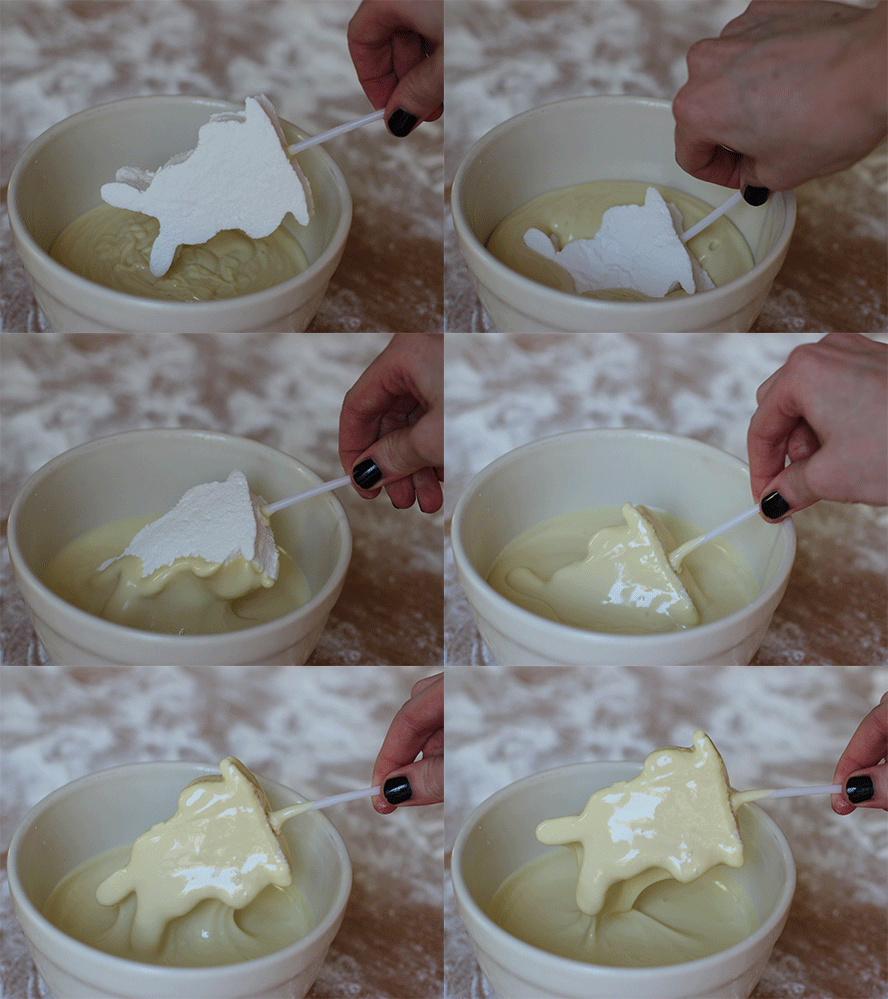
Dip the bunnies in and make sure to coat well. Allow excess chocolate to drip off, twirl it round to get an even, smooth coating.

This is where I ran into a spot of difficulty and filled my left hand with bunny pops that were covered in melted chocolate. I suggest you a) get a spare pair of willing hands, b) get a block of florist’s oasis/cake pop stand to stick them in, c) accept the back of them won’t be beautiful and lay them down on cellophane or greaseproof paper.

Step twelve

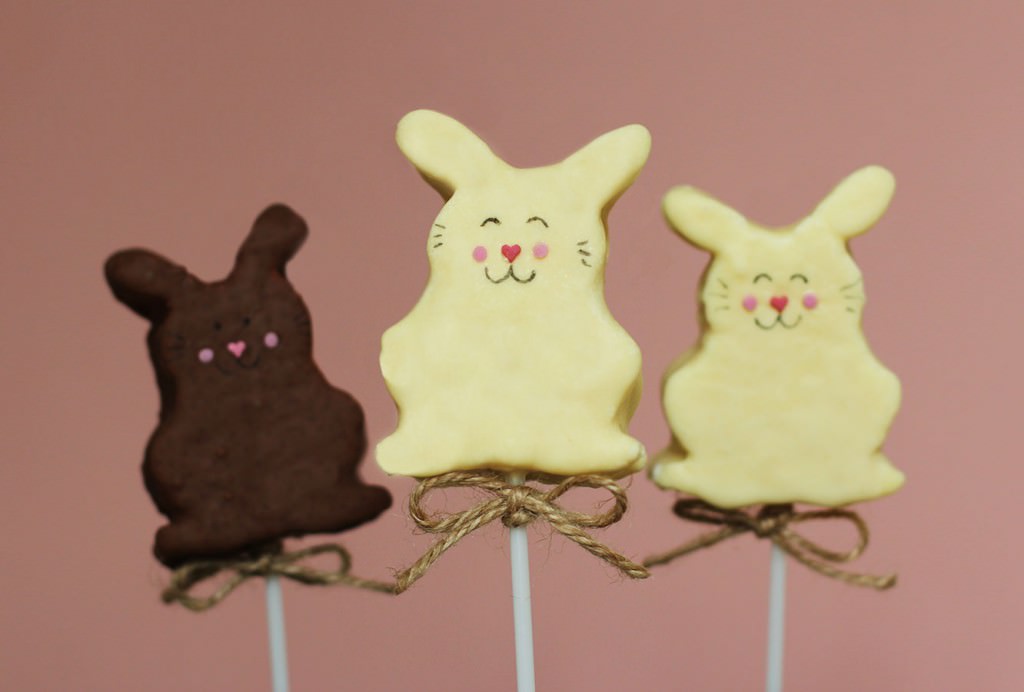
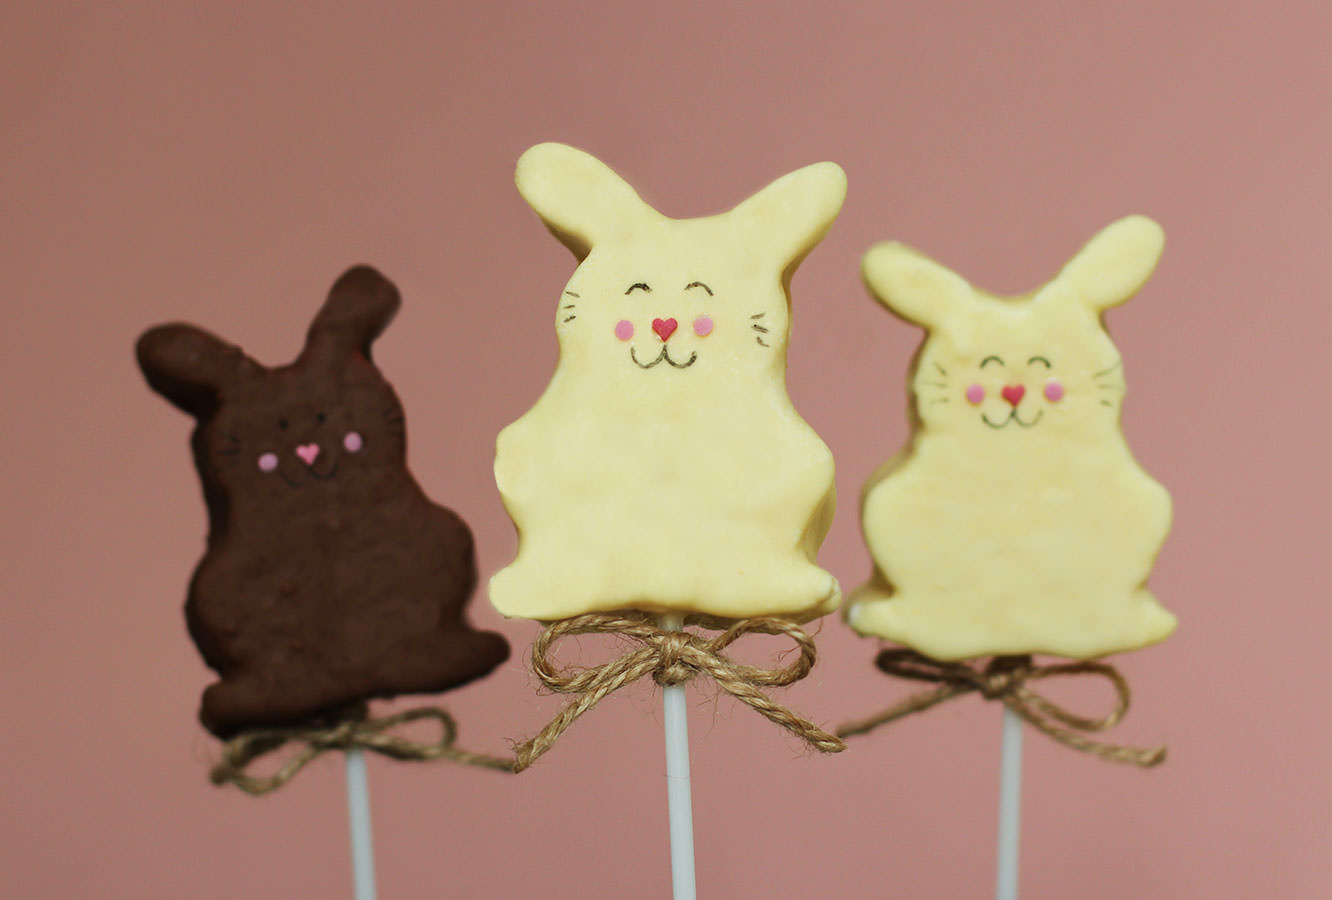
Once dry, add their little faces and tails. I used a cocktail stick with a small amount of melted chocolate to stick on sugar decorations. I got the little hearts I used for the noses from Tiger, and I can’t be sure about the circles for the cheeks.

I drew the faces on with an edible ink pen I bought online. You could use a cocktail stick and some dark chocolate if you prefer.

caramel-chocolate-marshmallow-bunny-pops-recipe-9

caramel-chocolate-marshmallow-bunny-pops-recipe-10

Step thirteen

Tie a piece of twine or ribbon around the stick and make a day a little bit happier.

Dough-nutty

You might notice there’s a different pair of disembodied hands in the post this week. That’s because my lovely housemate was on half term, and ever since we watched this year’s GBBO we have wanted to make our own doughnuts (I’ve been informed donut is the wrong way to spell it). Thanks for your help Vicky and for very patiently allowing me to photograph the occasion.

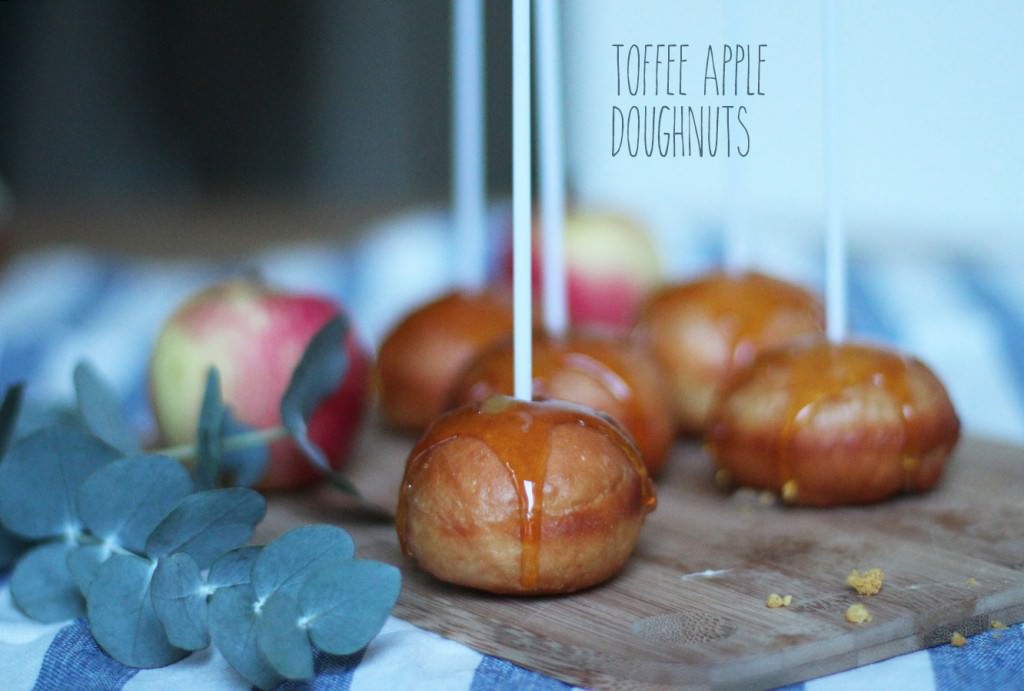
We’re having a little get together for bonfire/fireworks night on Wednesday and we thought we would make some appropriately themed treats. We bring to you a doughnut double whammy, flavoured with toffee apple and cinder toffee.

Disclaimer – these aren’t quick to make, but they are IN-credible, I was very sad to put them into the freezer, and I hope they emerge as delicious as they went in.

toffee-apple-cinder-toffee-dougnut-recipe

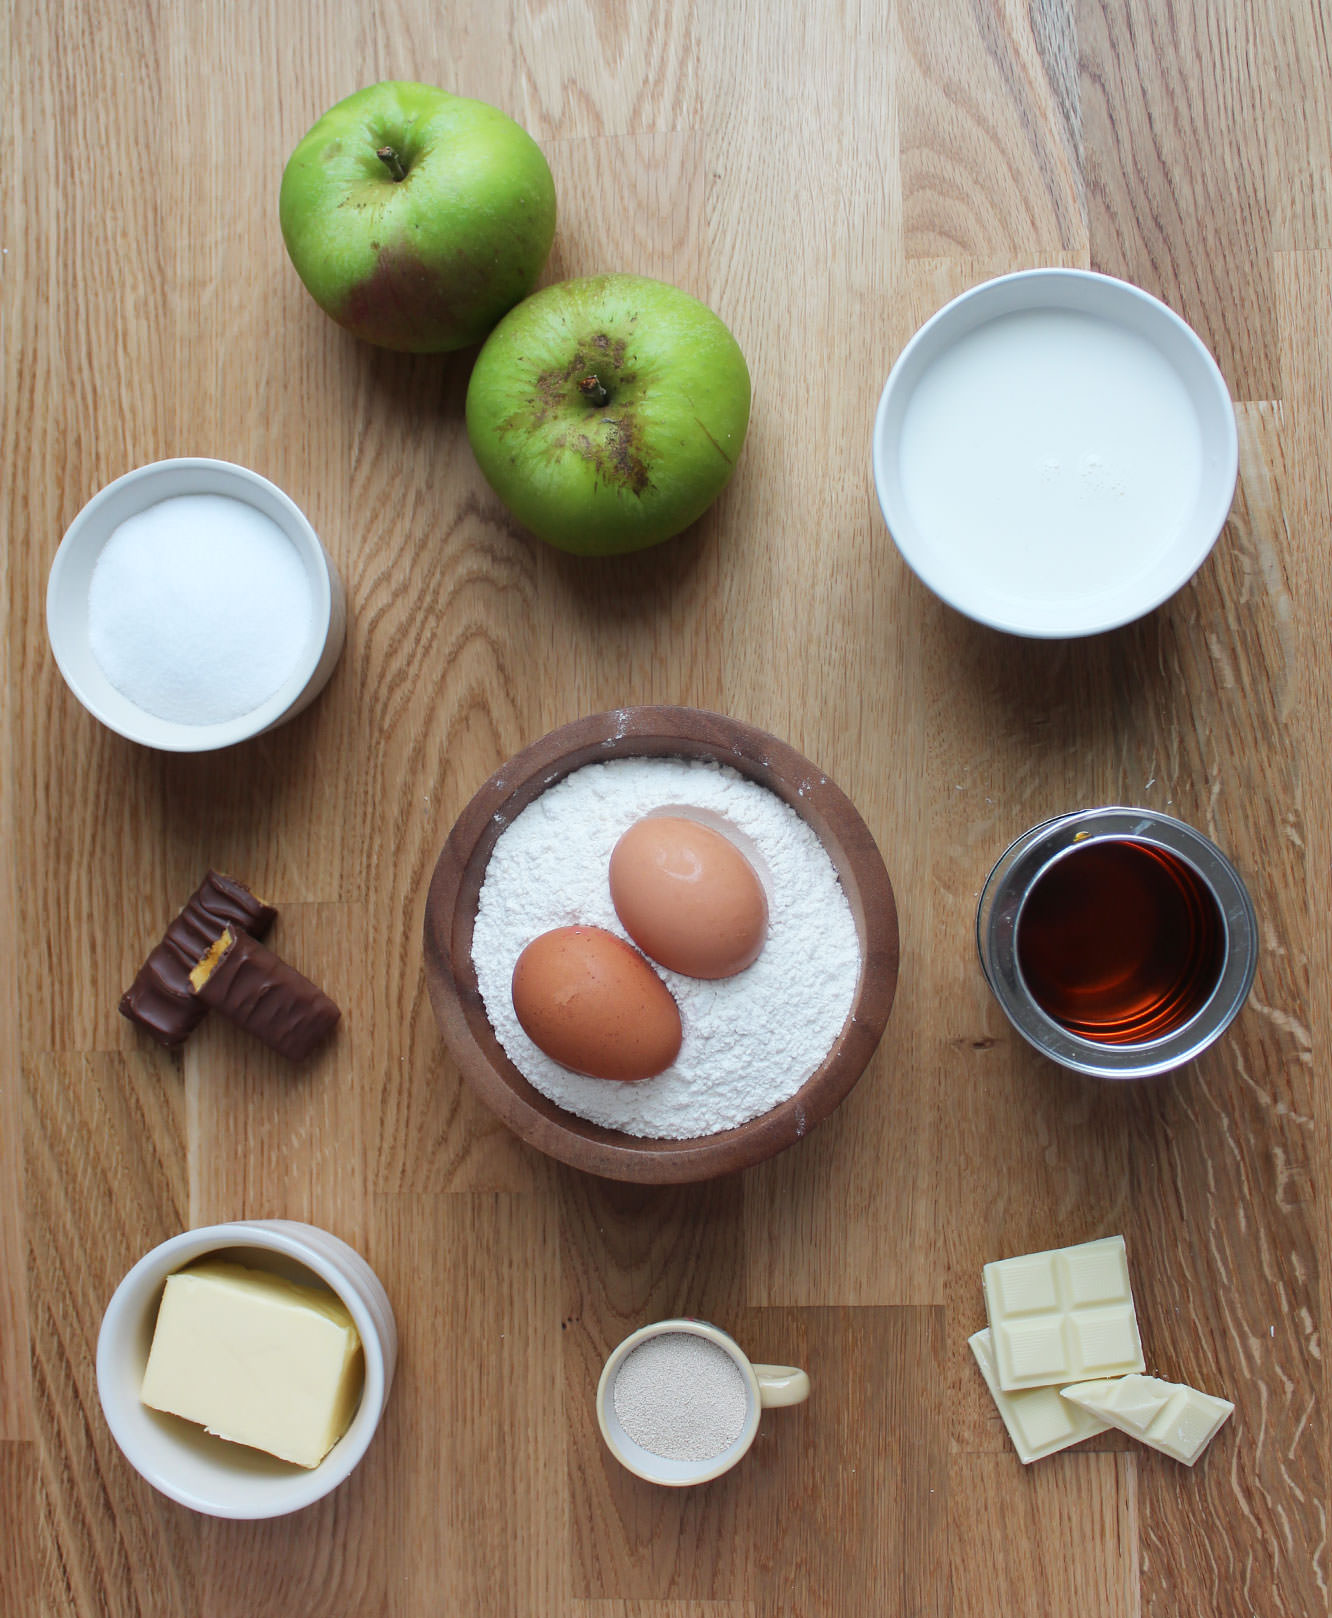
You will need

Please note: doughnut recipe makes 30, so the extra flavourings recipes are for 15 of each. If you want to make just one of the versions you will need to double the quantities of the fillings and toppings or halve the doughnut mix.

For the doughnuts:

350ml/12 fl oz Warm full fat milk

700g/1lb 8 oz Strong white bread flour

2 Eggs

70g/2.5 oz Unsalted butter

100g/3.5 oz Caster sugar

1 tsp Salt

14g/0.5 oz Dried yeast

50ml Warm water

For the toffee apple version:

2 Bramley (cooking) apples

3 tbsp Soft light brown sugar

1 tbsp Water

300g/10.5 oz Granulated sugar

6 tbsp Water

For the cinder toffee version:

200g/7 oz White chocolate

2 Crunchie bars/some cinder toffee

1.5-2 tbsp Golden syrup

1.5-2 tbsp Full fat milk

150g/5.5 oz Icing sugar

50g/3.5 oz Unsalted butter

1 tsp Vanilla extract

Extras:

1.5 litres/50 fl oz Vegetable oil for frying

15 Cake pop sticks for the ‘toffee apples’

Flavour injector (if you don’t have one of these, a long thin piping nozzle should also work)

toffee-apple-cinder-toffee-dougnut-recipe-1

Step one

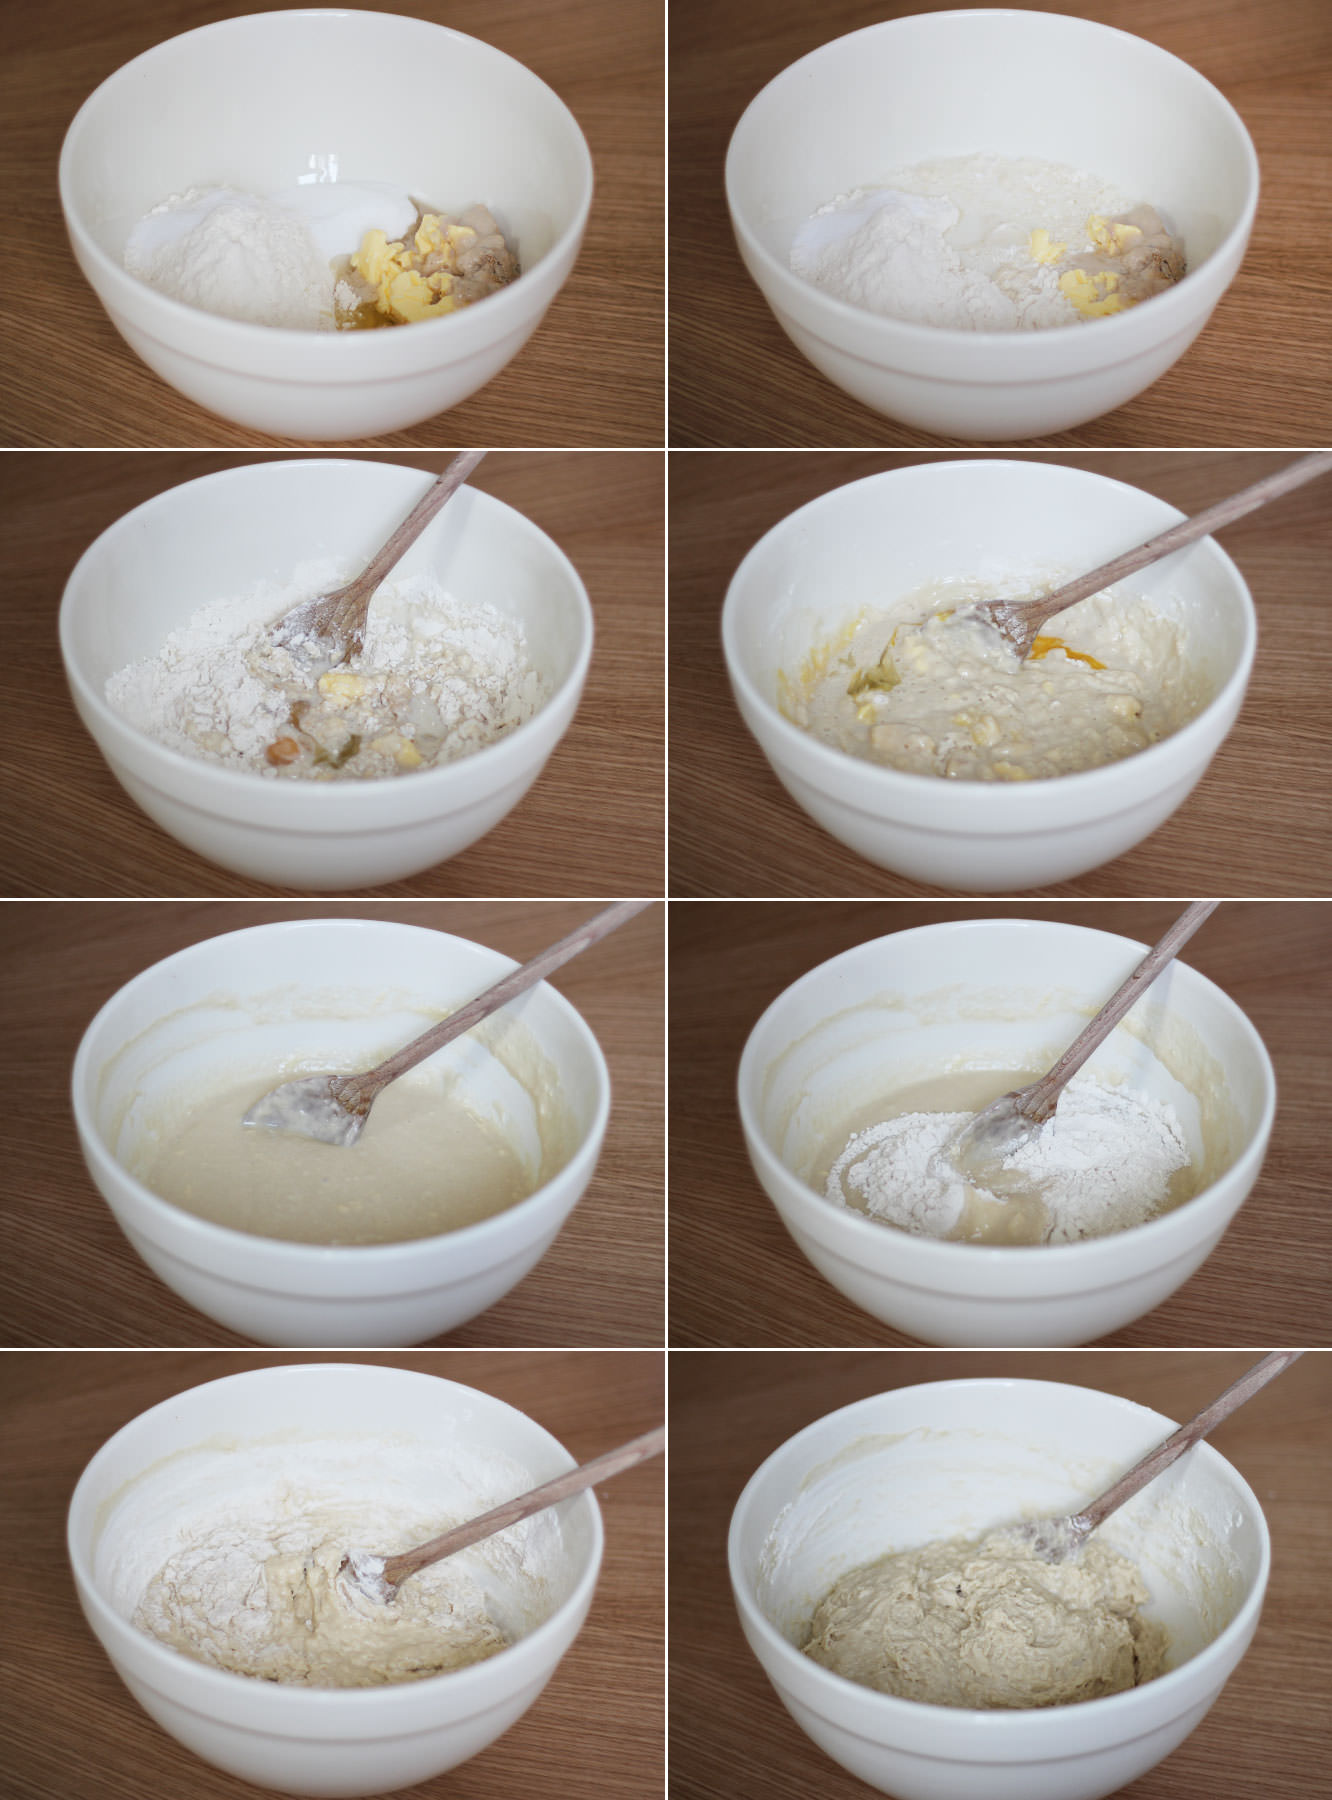
Put the yeast in the warm water and wait until frothy.

Step two

Combine half the flour with the rest of the dough ingredients (including the yeast froth). Remember to put the yeast and the salt on opposite sides of the bowl, they don’t get on.

Step three

When the batter is smooth, gradually add the rest of the flour and stir. The dough should be sticky but not impossible to work with. Vicky and I found we had to add a lot of flour in kneading so I’ve adjusted the recipe for y’all.

toffee-apple-cinder-toffee-dougnut-recipe-2

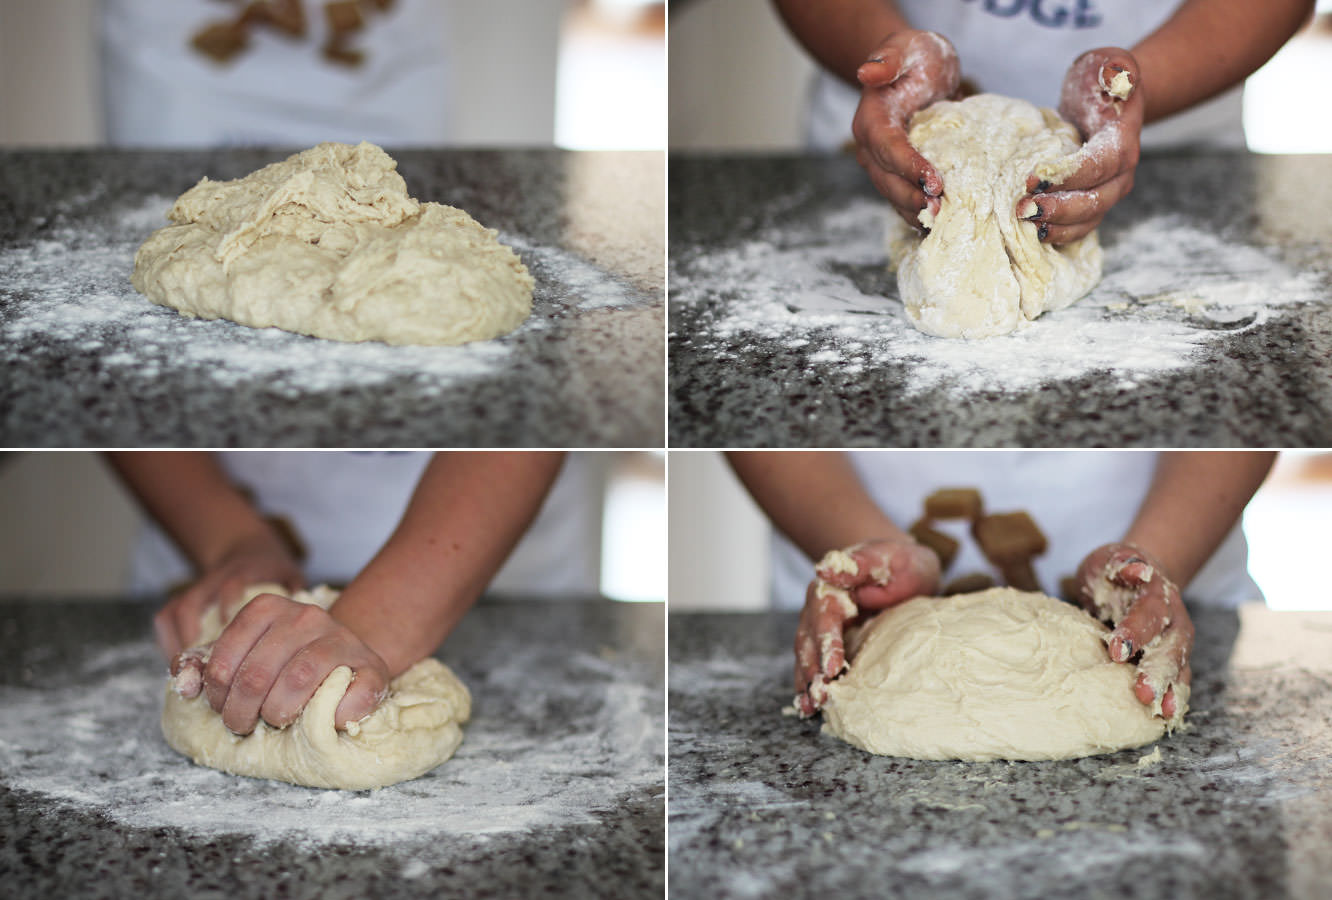
Step four

Turn the dough out onto a floured surface and knead for 5-10 minutes. It’ll still be quite sticky, don’t sweat it.

toffee-apple-cinder-toffee-dougnut-recipe-3

Step five

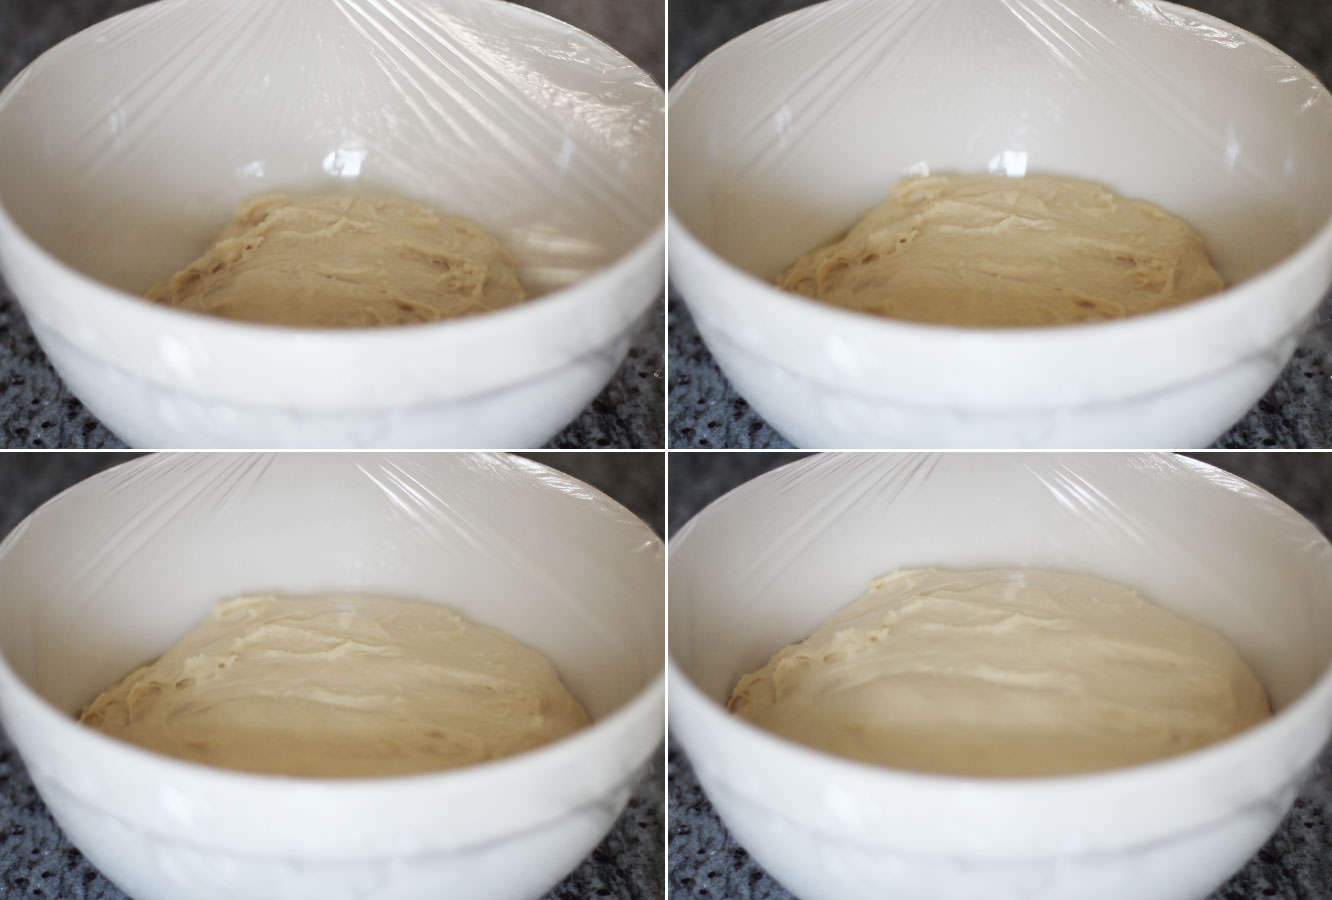
Place in a lightly oiled bowl and leave to rise for an hour or until doubled in size. While that’s going on you can prepare your toppings and fillings.

toffee-apple-cinder-toffee-dougnut-recipe-6

Step six

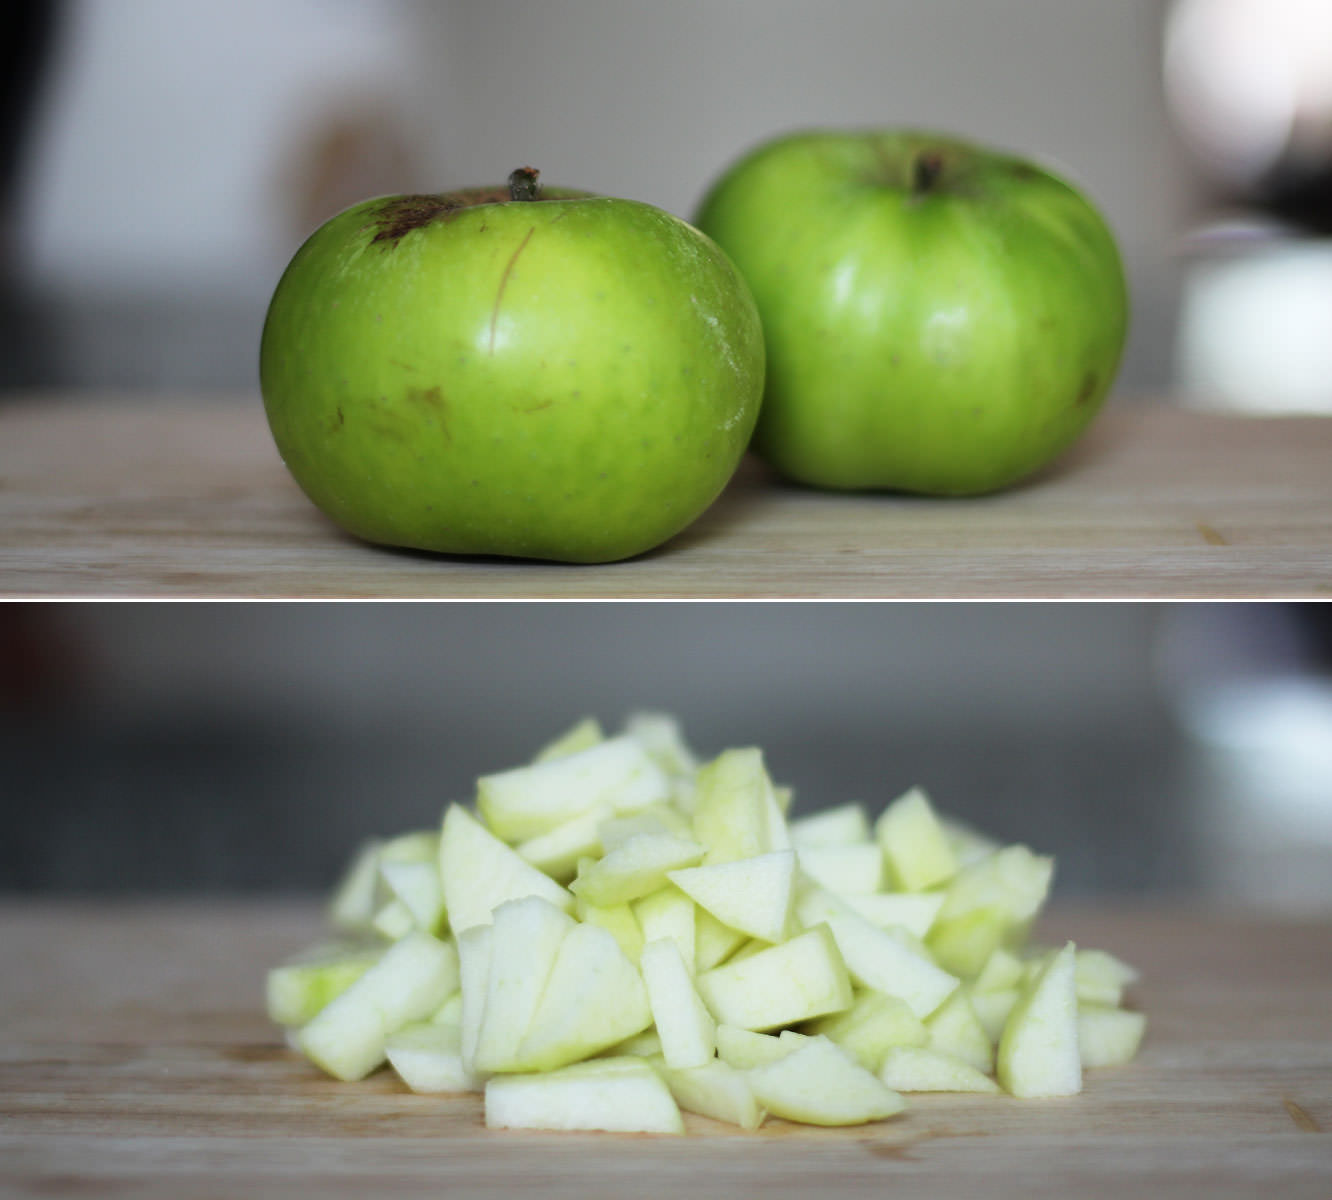
For the puree which will fill the toffee apple doughnuts, peel and chop the apples into small chunks.

toffee-apple-cinder-toffee-dougnut-recipe-7

Step seven

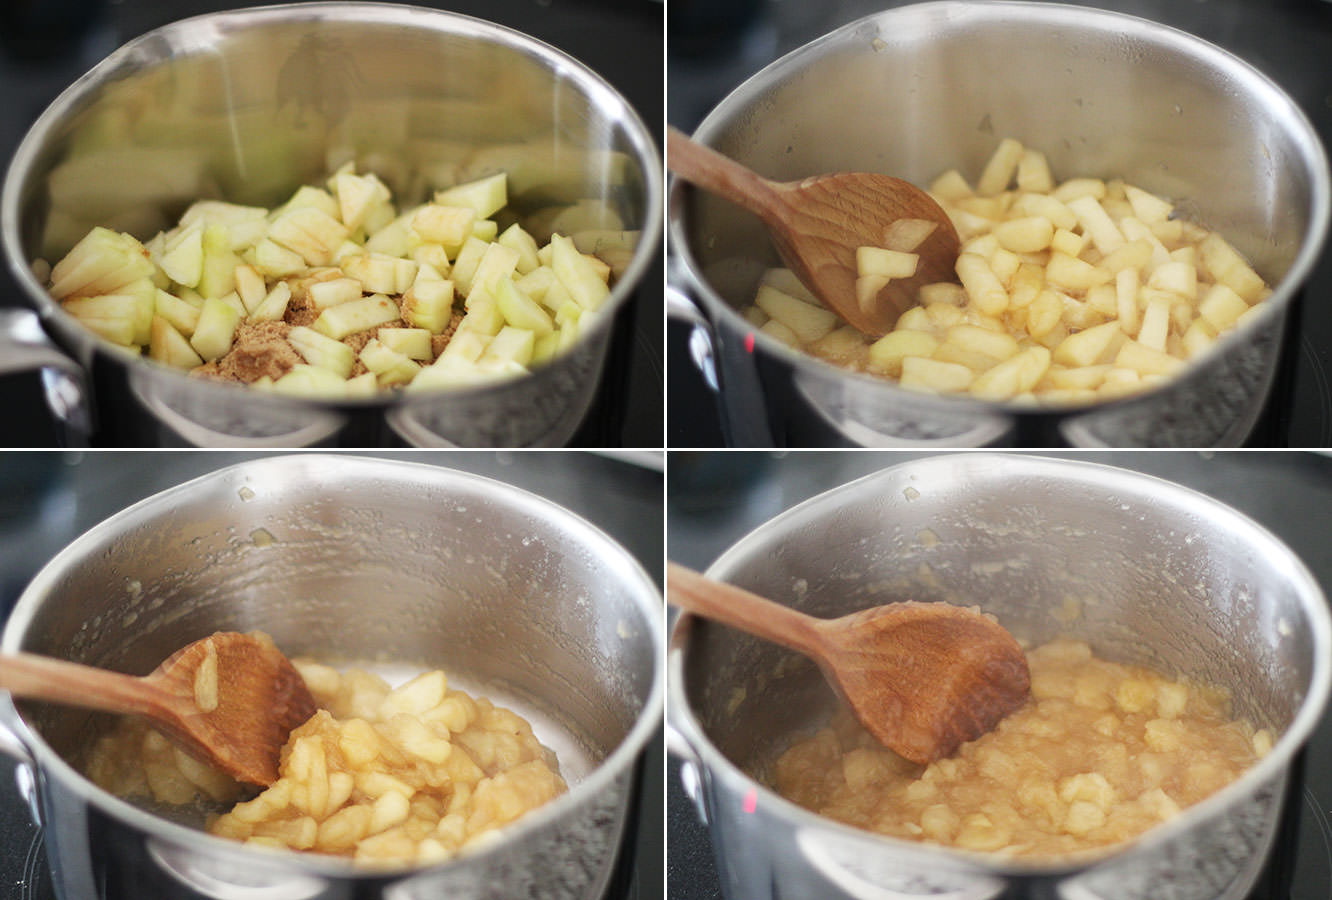
Place the apples in a saucepan with the 3 tablespoons of soft brown sugar and 1 tablespoon of water. Heat on medium until the apples have reduced.

Step eight

If you have one, use a food processor to liquidise the apple mixture. If you don’t, do what we did and use a potato masher and then pass the mix through a sieve.

toffee-apple-cinder-toffee-dougnut-recipe-8

Step nine

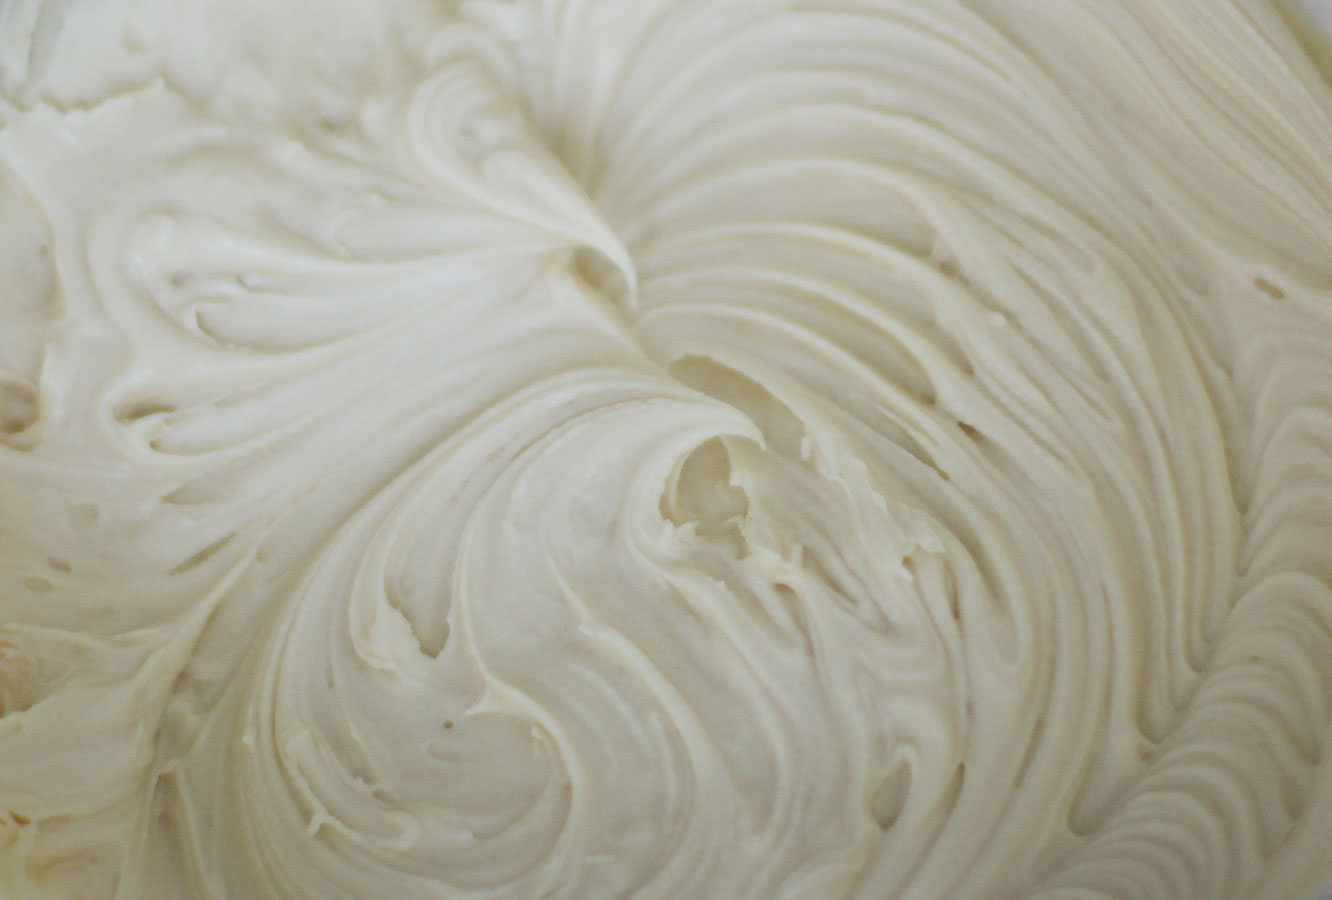
To make the filling for the cinder toffee donuts combine the butter, icing sugar, milk, golden syrup and vanilla extract. Whisk until smooth and set aside.

toffee-apple-cinder-toffee-dougnut-recipe-4

Step ten

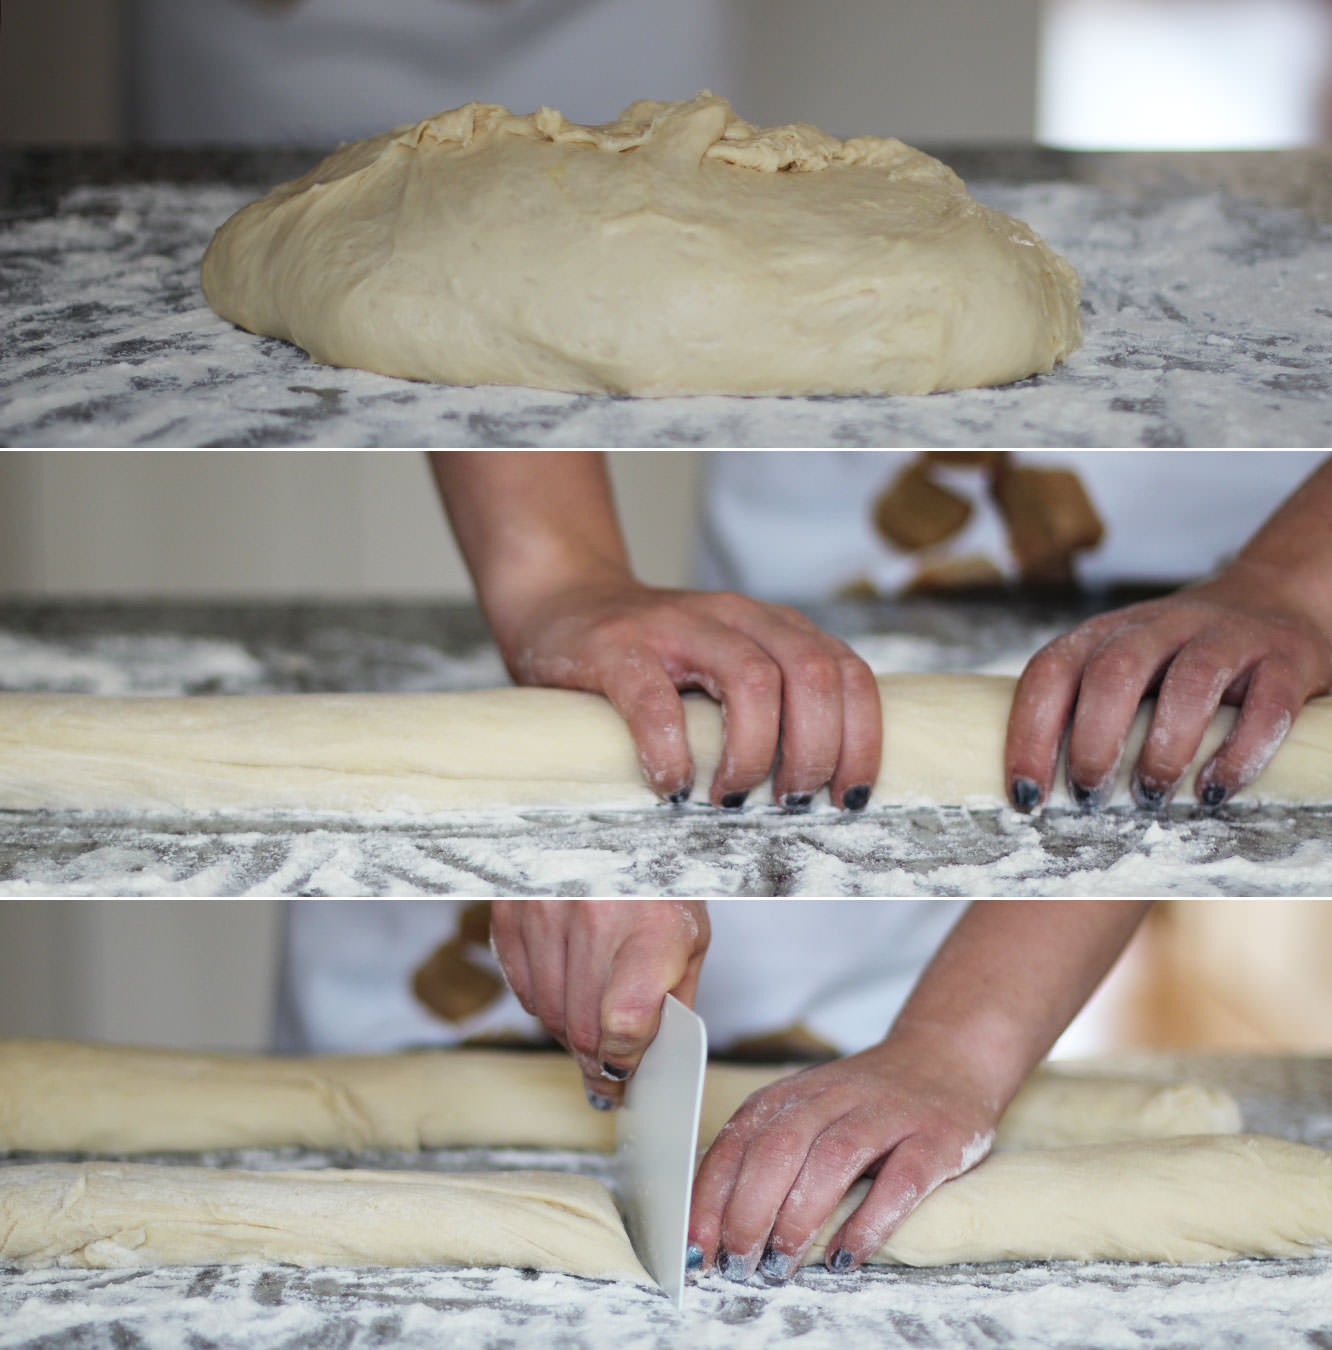
Tip the risen dough onto a floured work surface. Squeeze into a long sausage shape and chop into 30 pieces.

toffee-apple-cinder-toffee-dougnut-recipe-5

Step eleven

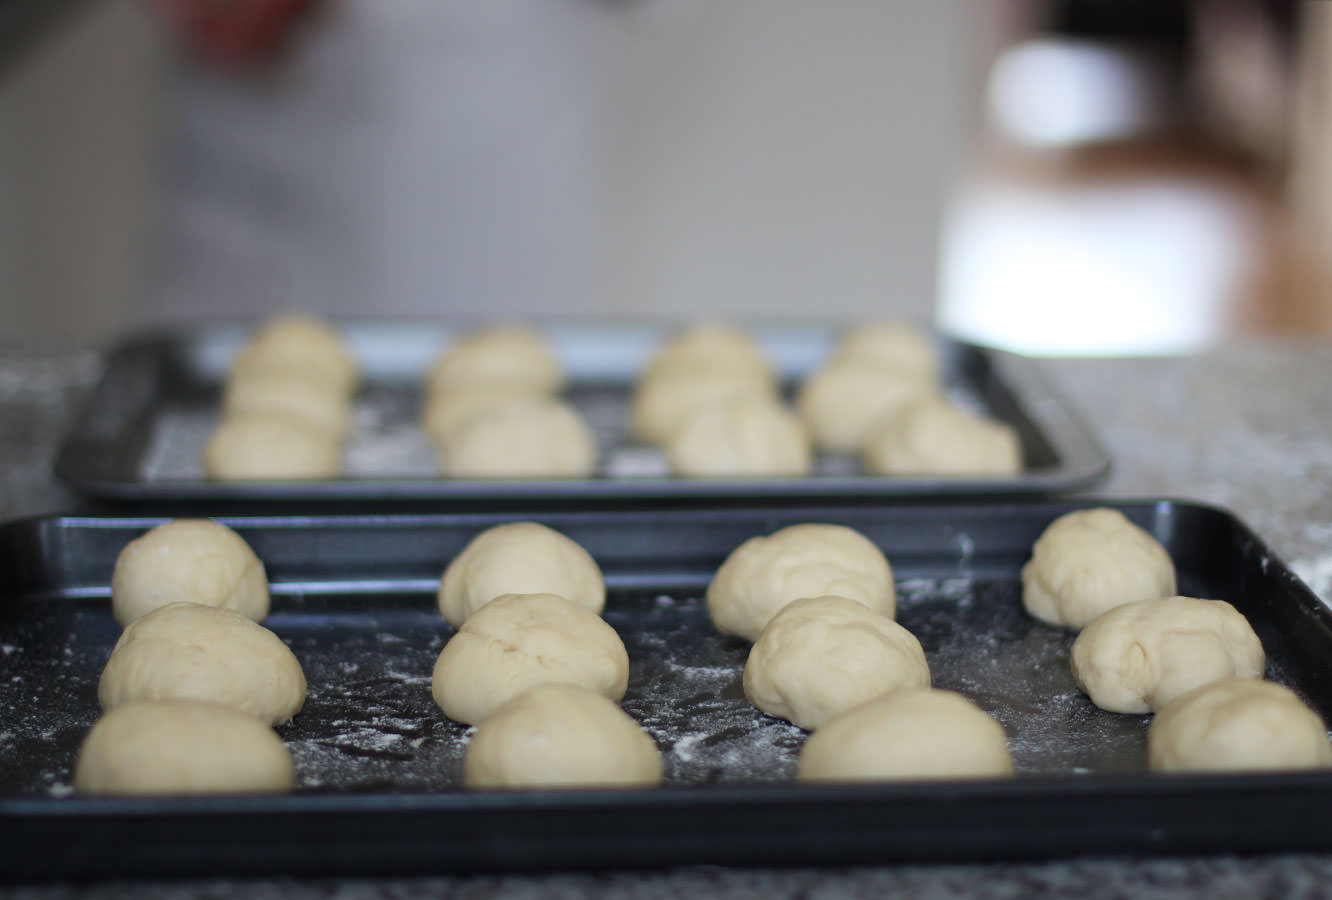
Roll into balls and leave on a tray to prove for another hour. Make sure you leave plenty of space. The picture above was before these rose, and they almost filled the tray after.

toffee-apple-cinder-toffee-dougnut-recipe-9

Step twelve

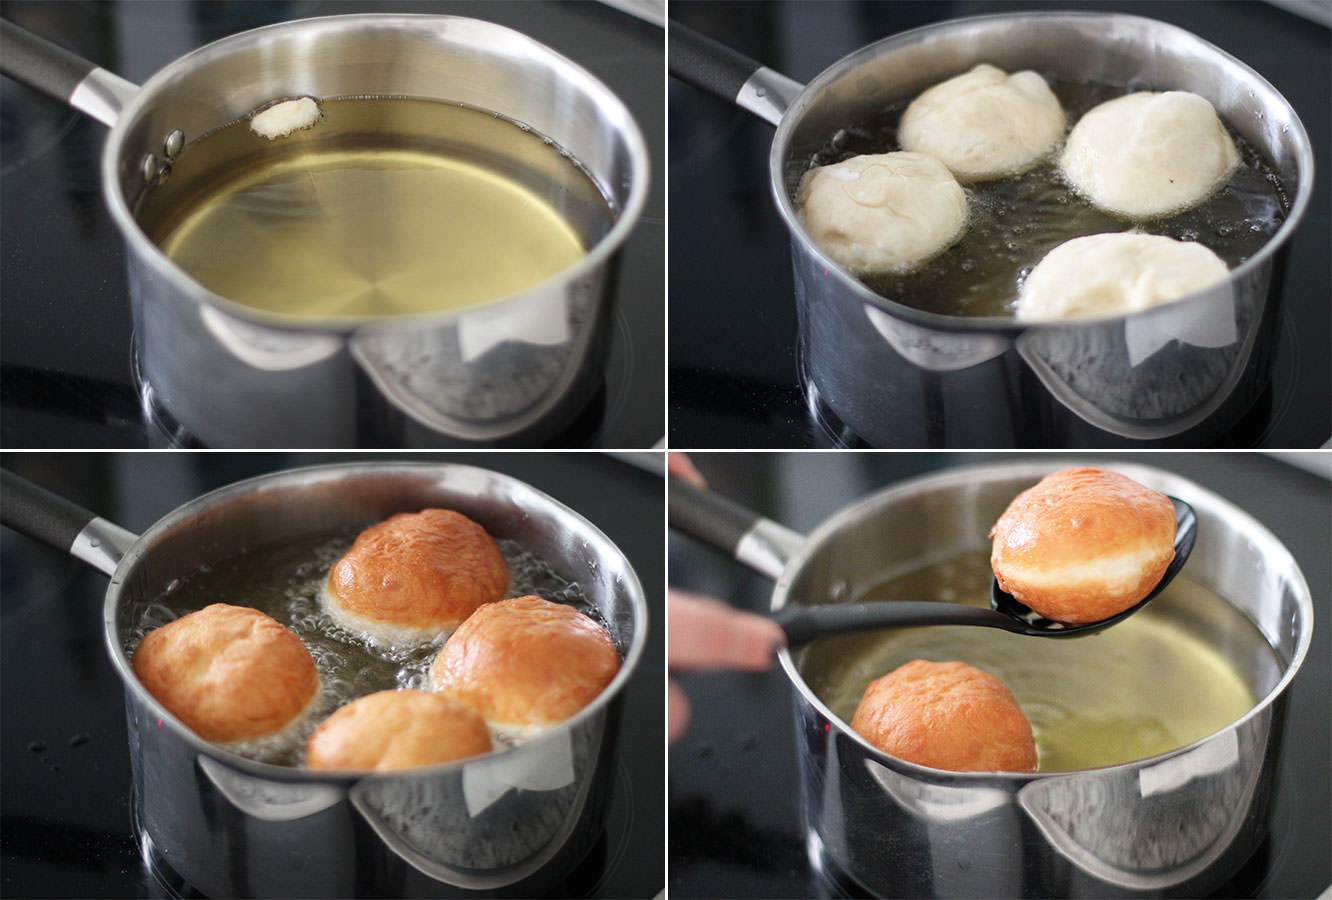
About 20 minutes before the doughnuts have finished their second rise, begin to heat the oil.

It’s beyond important that you heat the oil really slowly on a low heat to avoid risking a pan fire. There’s no reason to worry as long as you heat this gradually.

Test your oil heat with little pieces of a doughnut. When the sample floats and bubbles straight away you’re good to go.

toffee-apple-cinder-toffee-dougnut-recipe-10

Step thirteen

Fry the doughnuts in batches, you will get a good idea when to turn them pretty quickly, it only takes a few minutes for them to get golden.

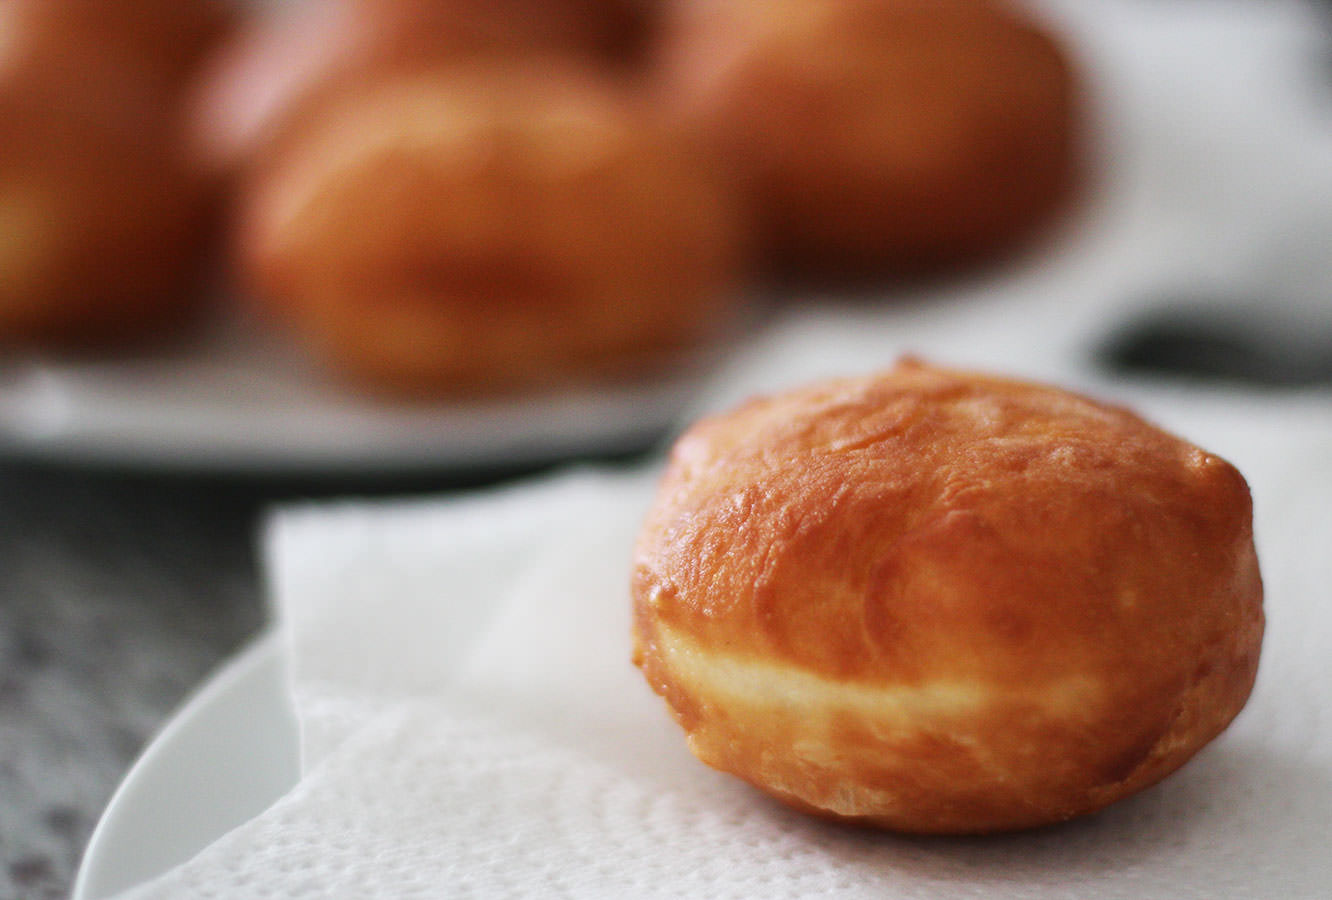
Leave your doughnuts to rest on a few sheets of kitchen roll which will soak up any excess oil.

toffee-apple-cinder-toffee-dougnut-recipe-11

Step fourteen

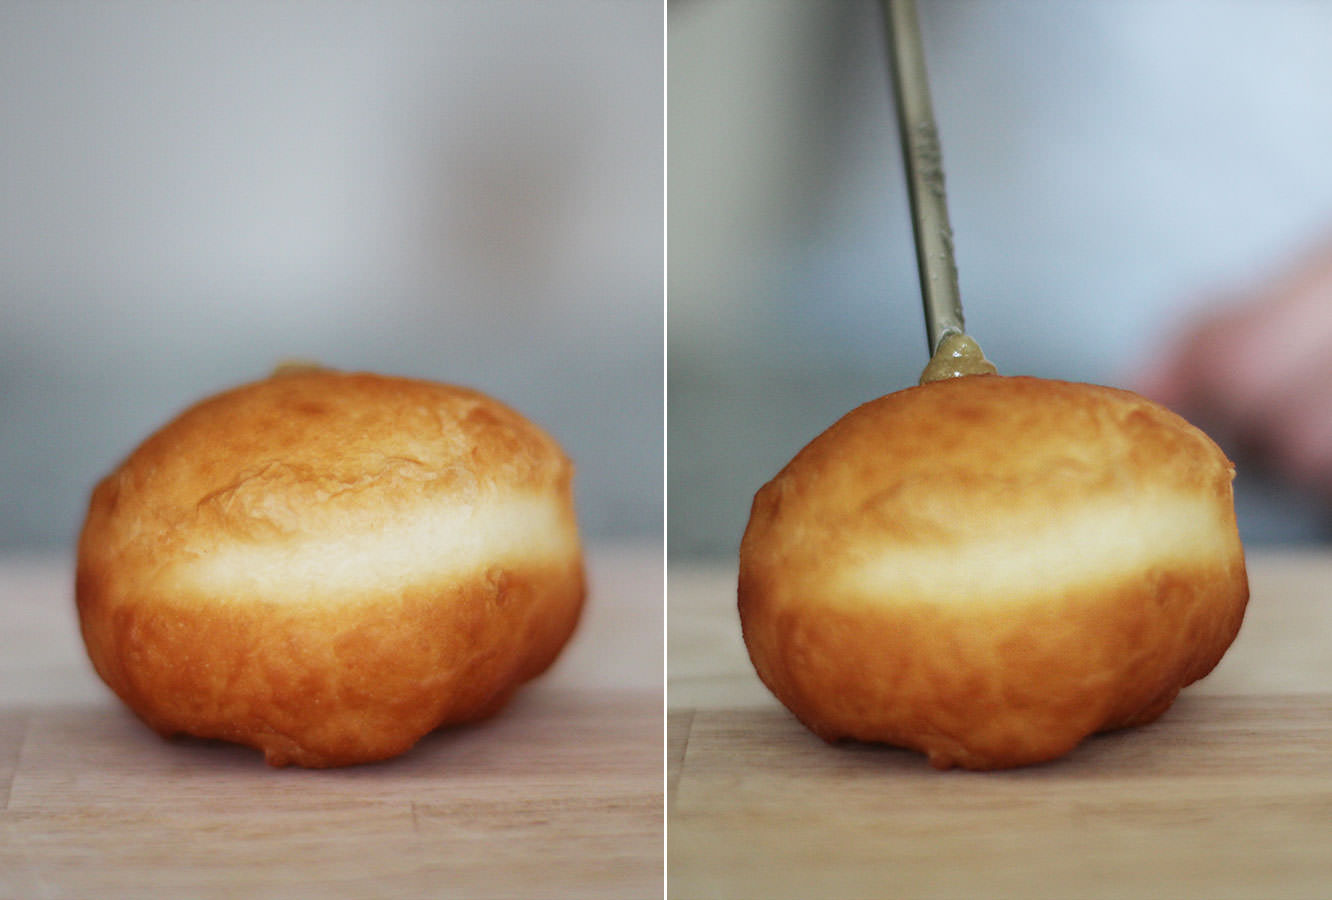
When the doughnuts are completely cooled inject 15 of them with the apple puree and 15 with the cinder toffee filling.

We went in at the top because we knew we were going to cover the holes, otherwise you would use the side. For those of you with a flavour injector (and of course that will be most of you…) we did 10 ml per doughnut.

toffee-apple-cinder-toffee-dougnut-recipe-gif

Step fifteen

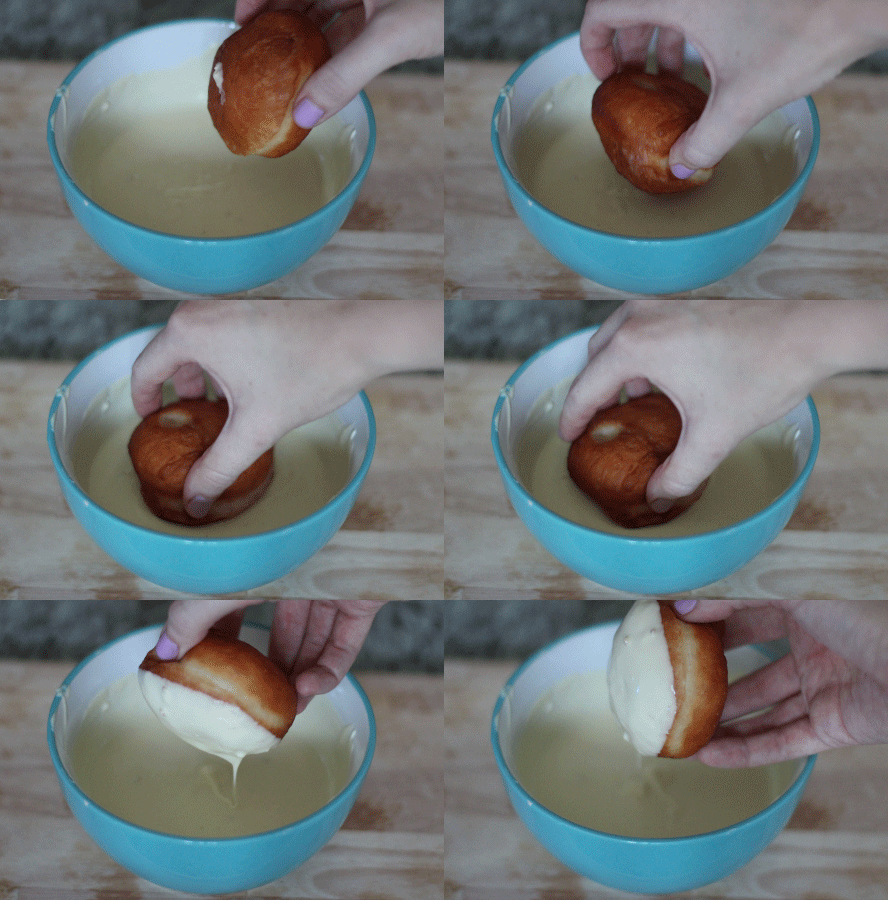
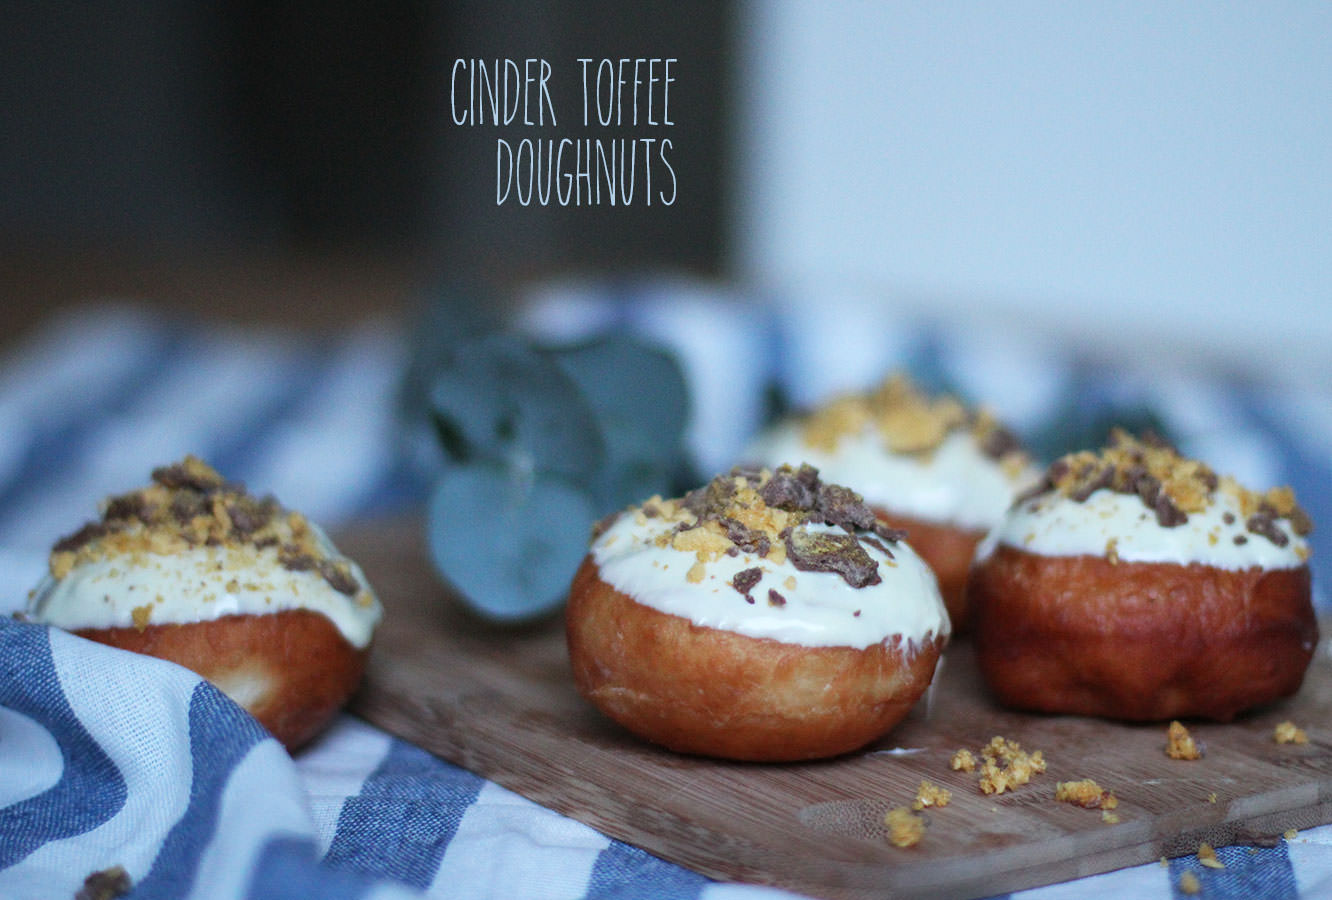
For the cinder toffee doughnuts you need to crush up the crunchie bars (easily done when they’re in their wrappers) and melt the white chocolate. Do this slowly in the microwave to avoid burning it.

Dip the doughnuts  in the chocolate to coat the upside down top, and sprinkle with crunchie pieces. Leave to one side for the chocolate to set.

toffee-apple-cinder-toffee-dougnut-recipe-12

Step fifteen

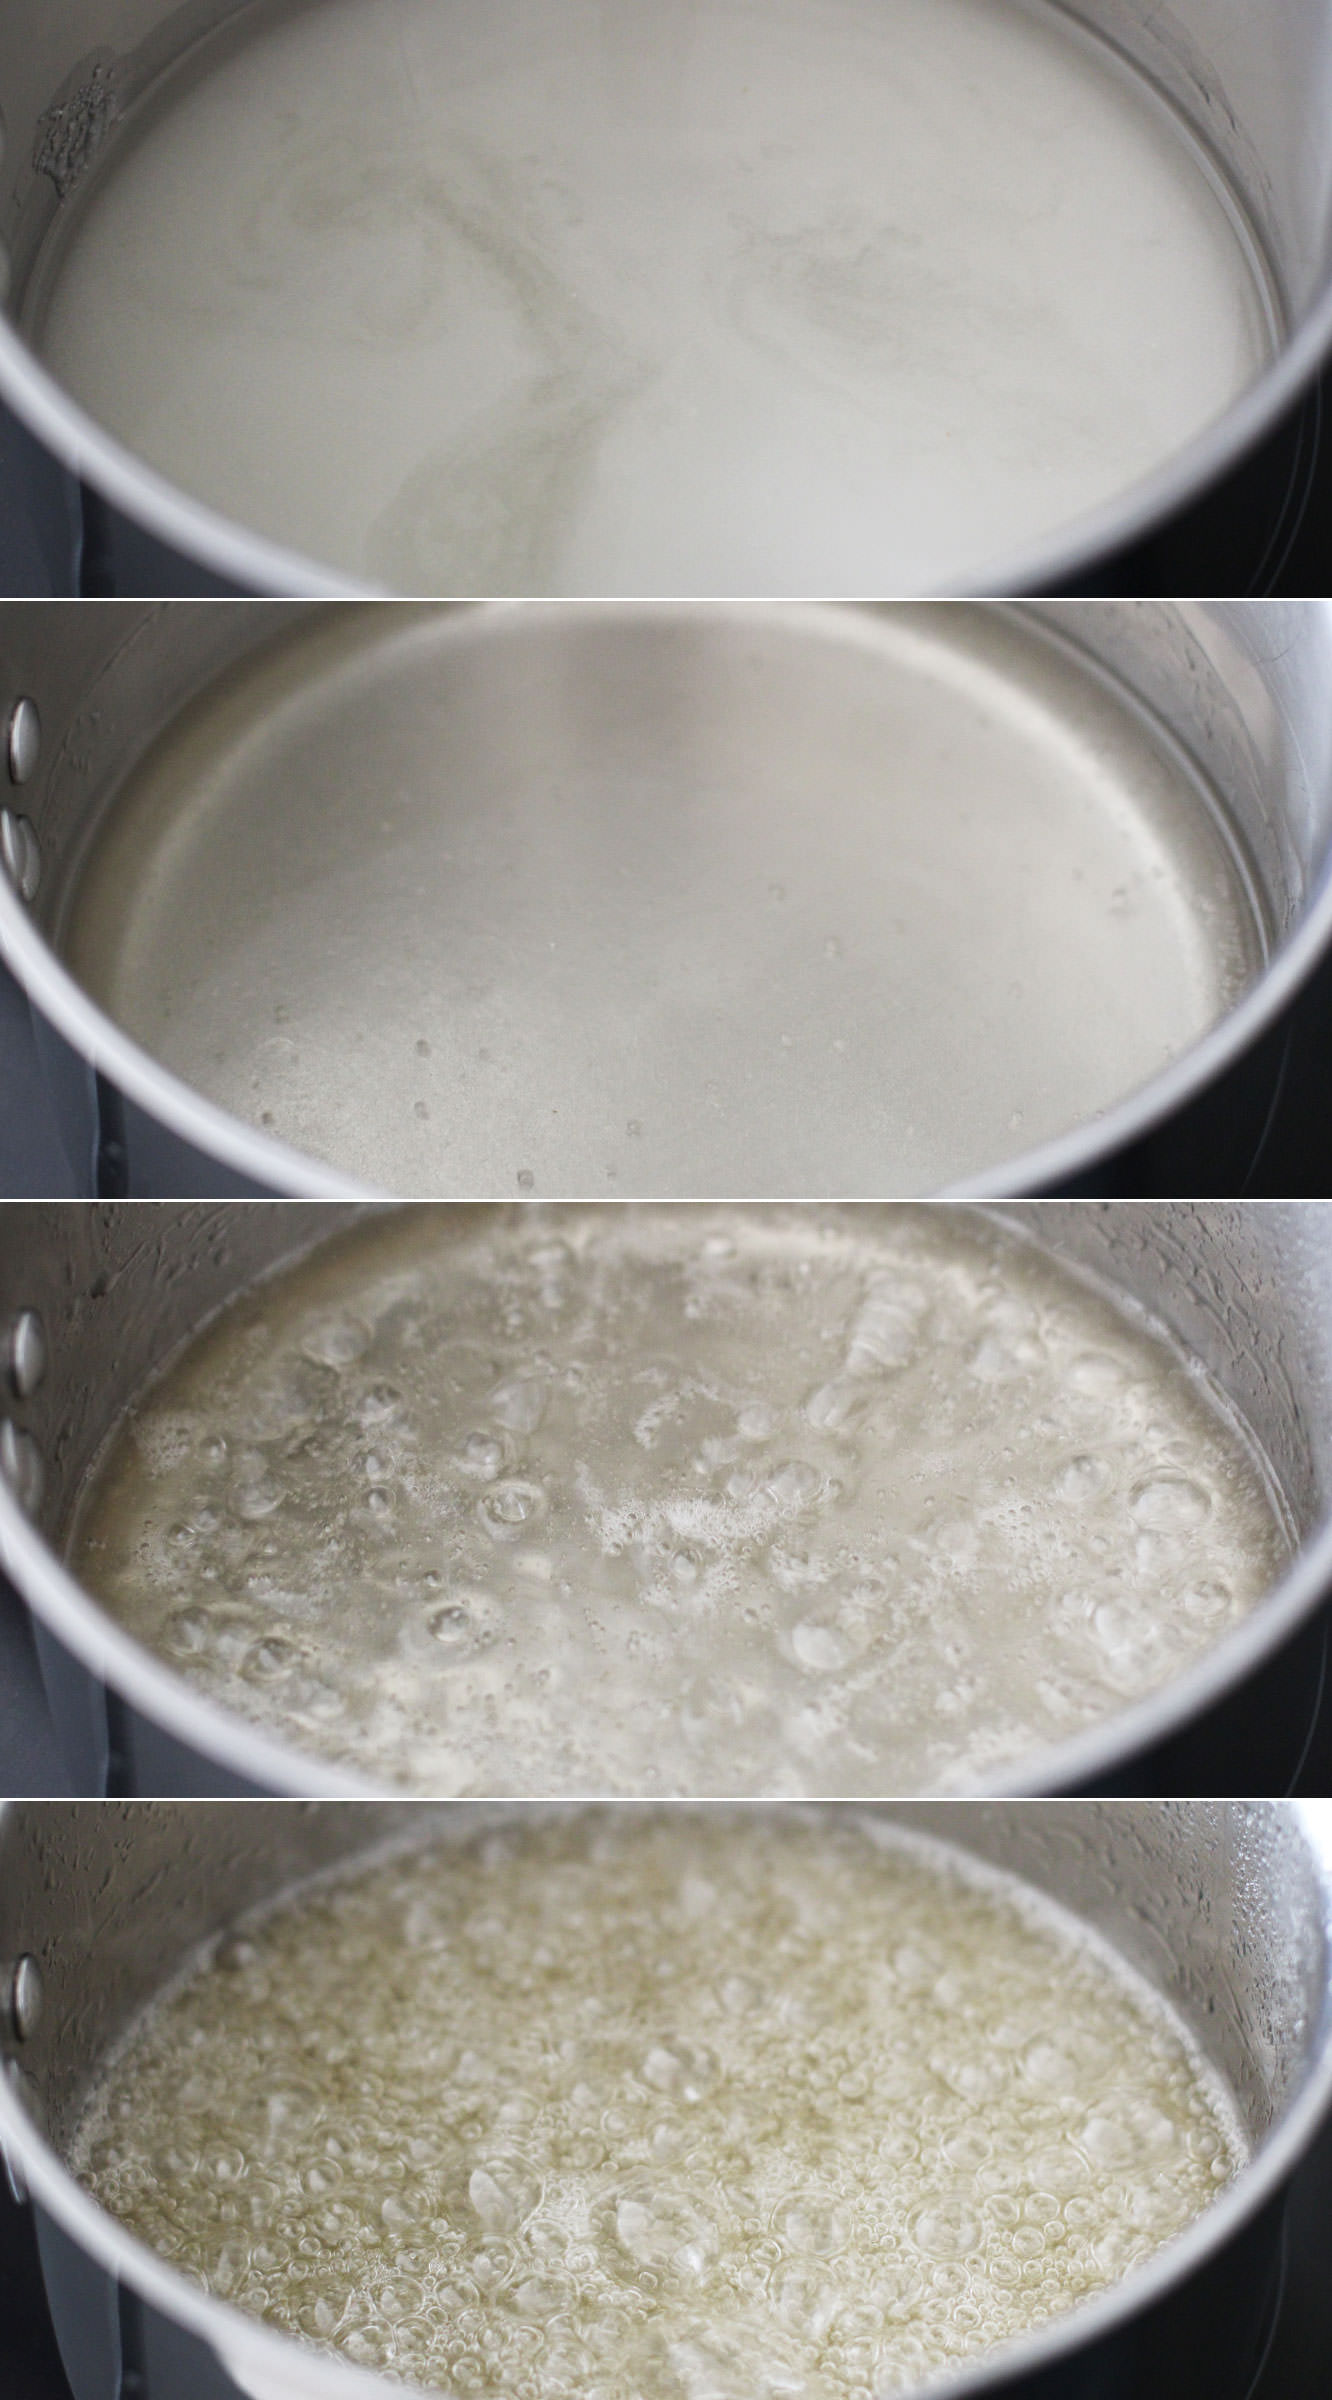
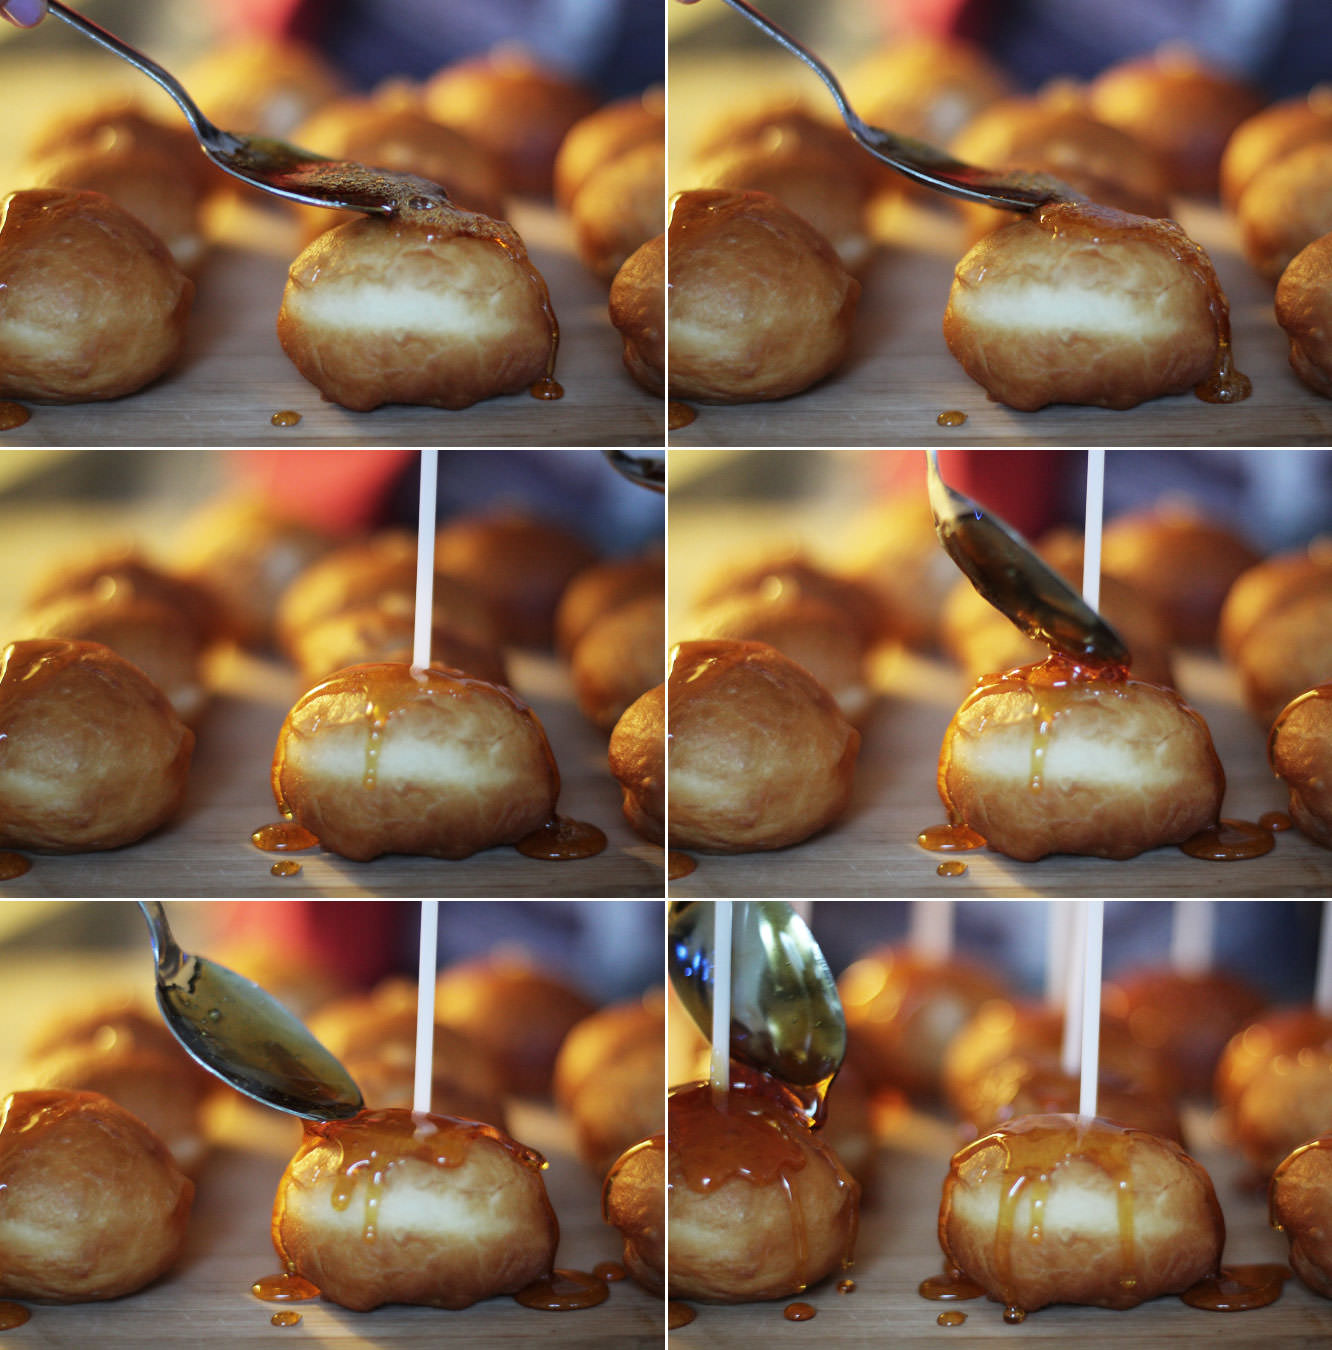
Make a hard caramel by combining the 300g of granulated sugar and 6 tbsp water in a saucepan.

Heat on a low-medium heat until the mixture takes on a dark honey colour. Do not stir it as the sugar will crystallise. I’m afraid I did this by eye so I don’t have a temperature, but use the pictures above for a reference point for the colour and you’ll be fine, it’s not an exact science.

Remove from heat and cool by dipping the bottom of the saucepan in a mixing bowl full of cold water.

Spoon over the top of the doughnuts. I did one layer on each and popped the sticks in, then went back once the caramel got a little thicker (this happens as it cools) to do another and to secure the sticks in place.

toffee-apple-cinder-toffee-dougnut-recipe-13

toffee-apple-cinder-toffee-dougnut-recipe-14

Step sixteen

Chow down.