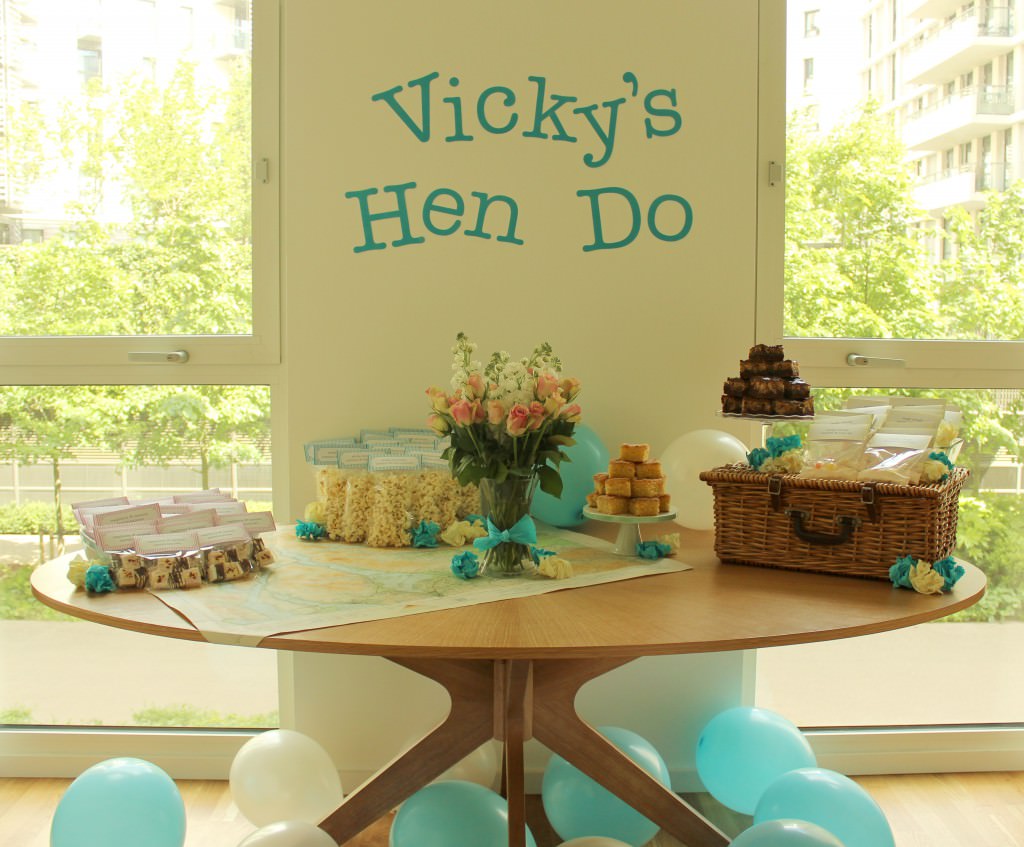
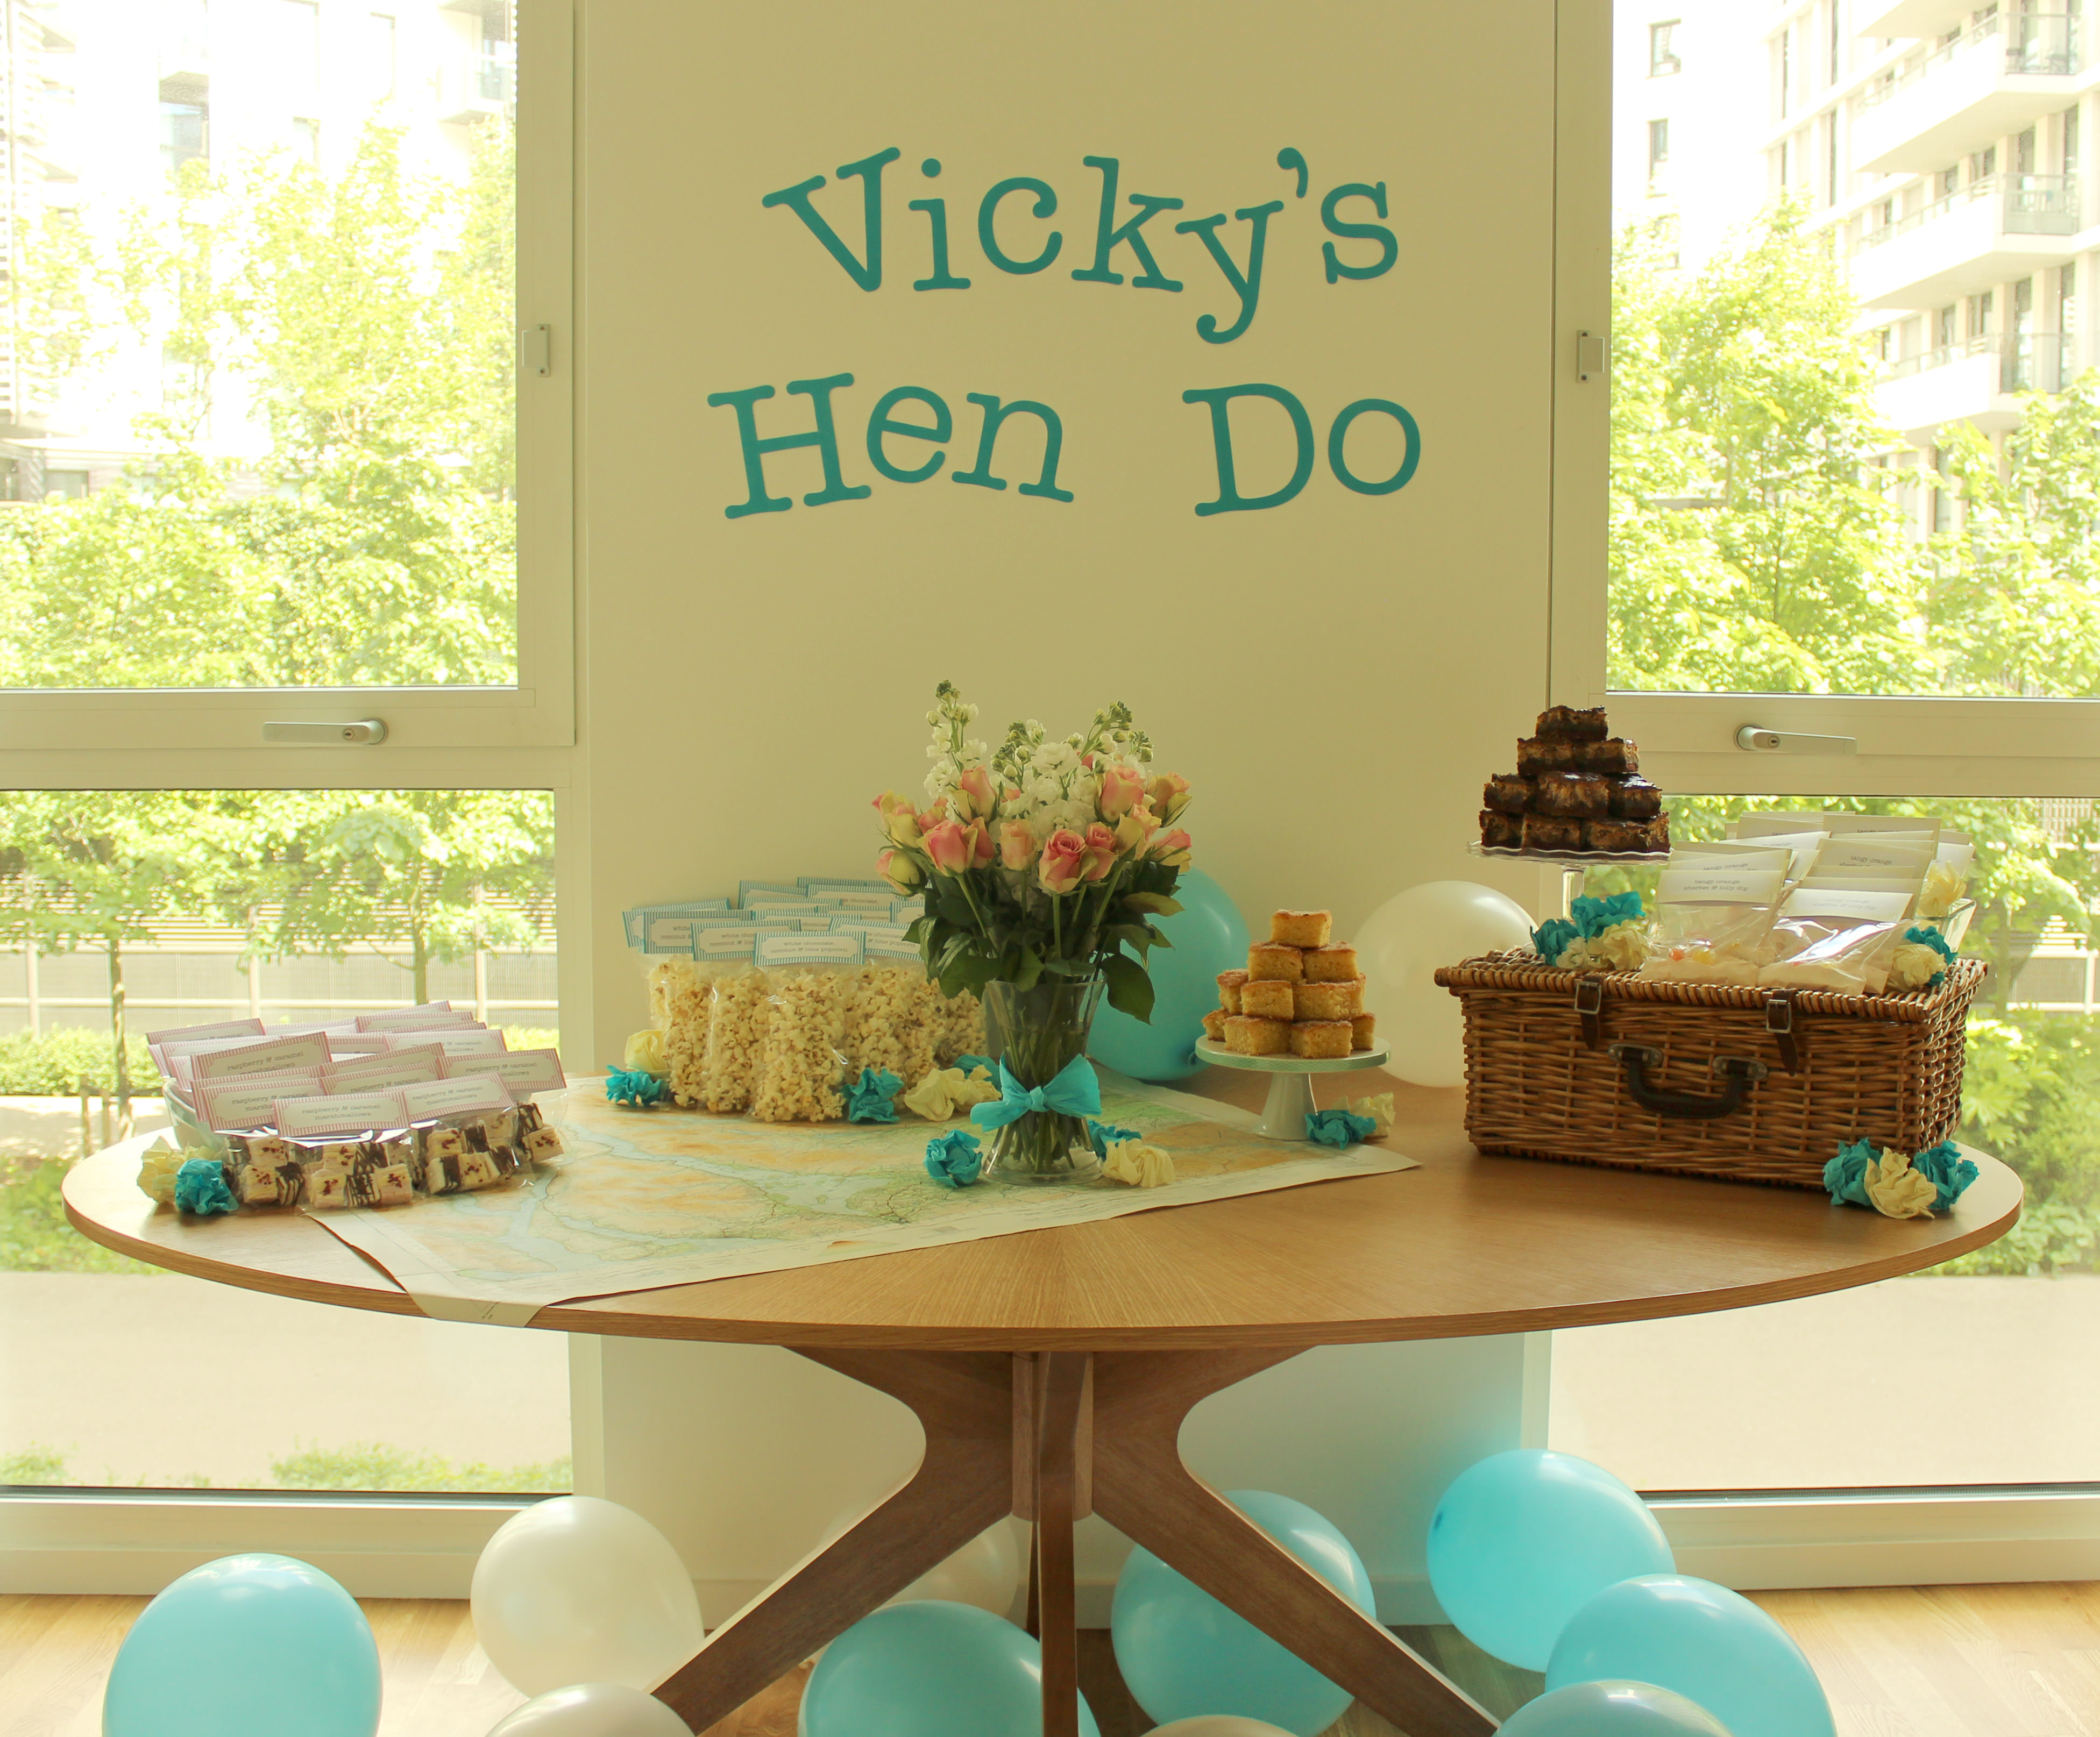
Wrapping up Vicky’s Hen Do this week with the finishing touches. You will have to excuse the fact I just scrunched up crepe paper. The plan was to make flowers, but, you know, it was 2am by the time I got to them.
In case you need a recap of the recipes in this series:
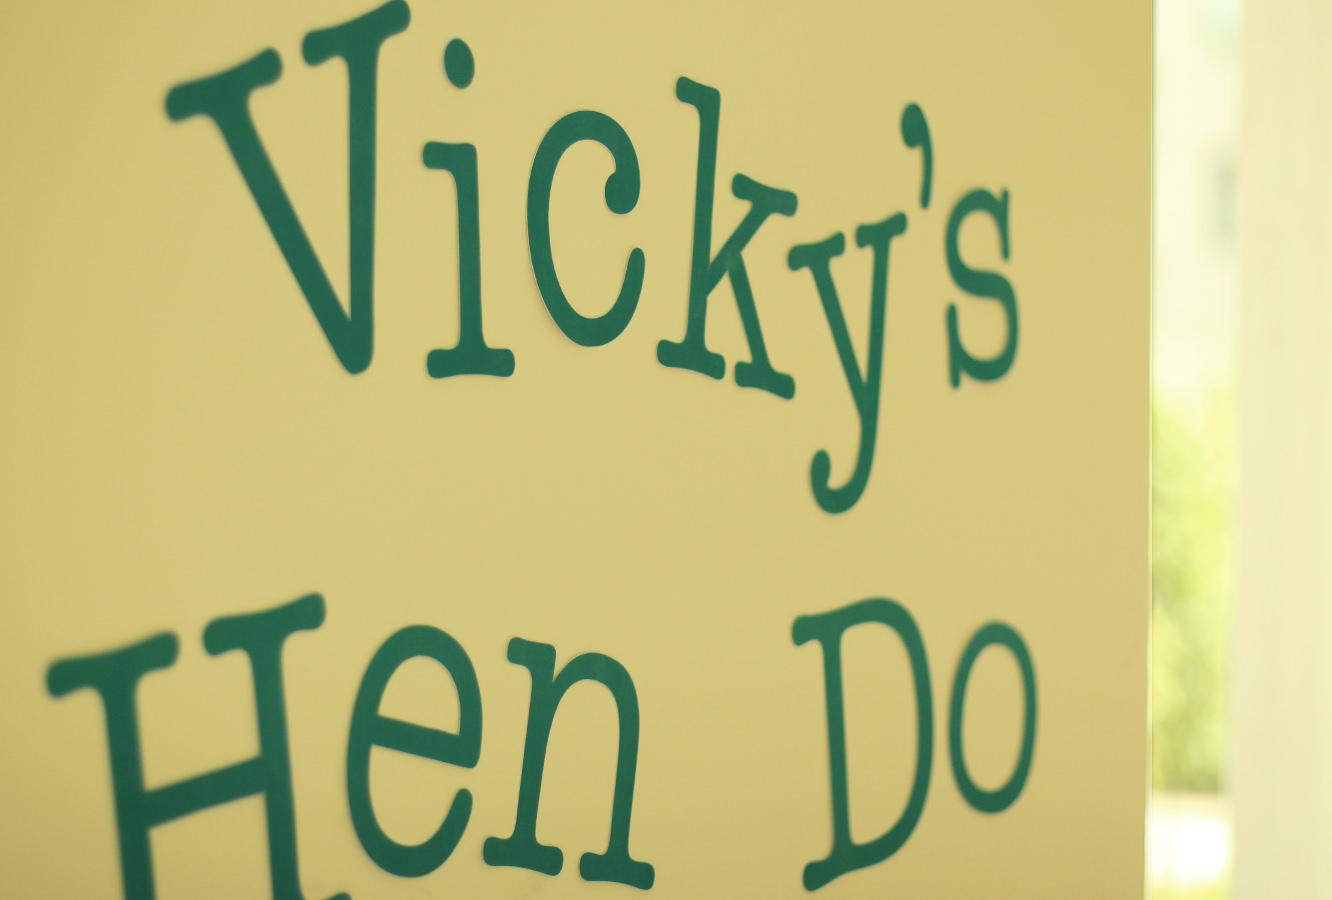
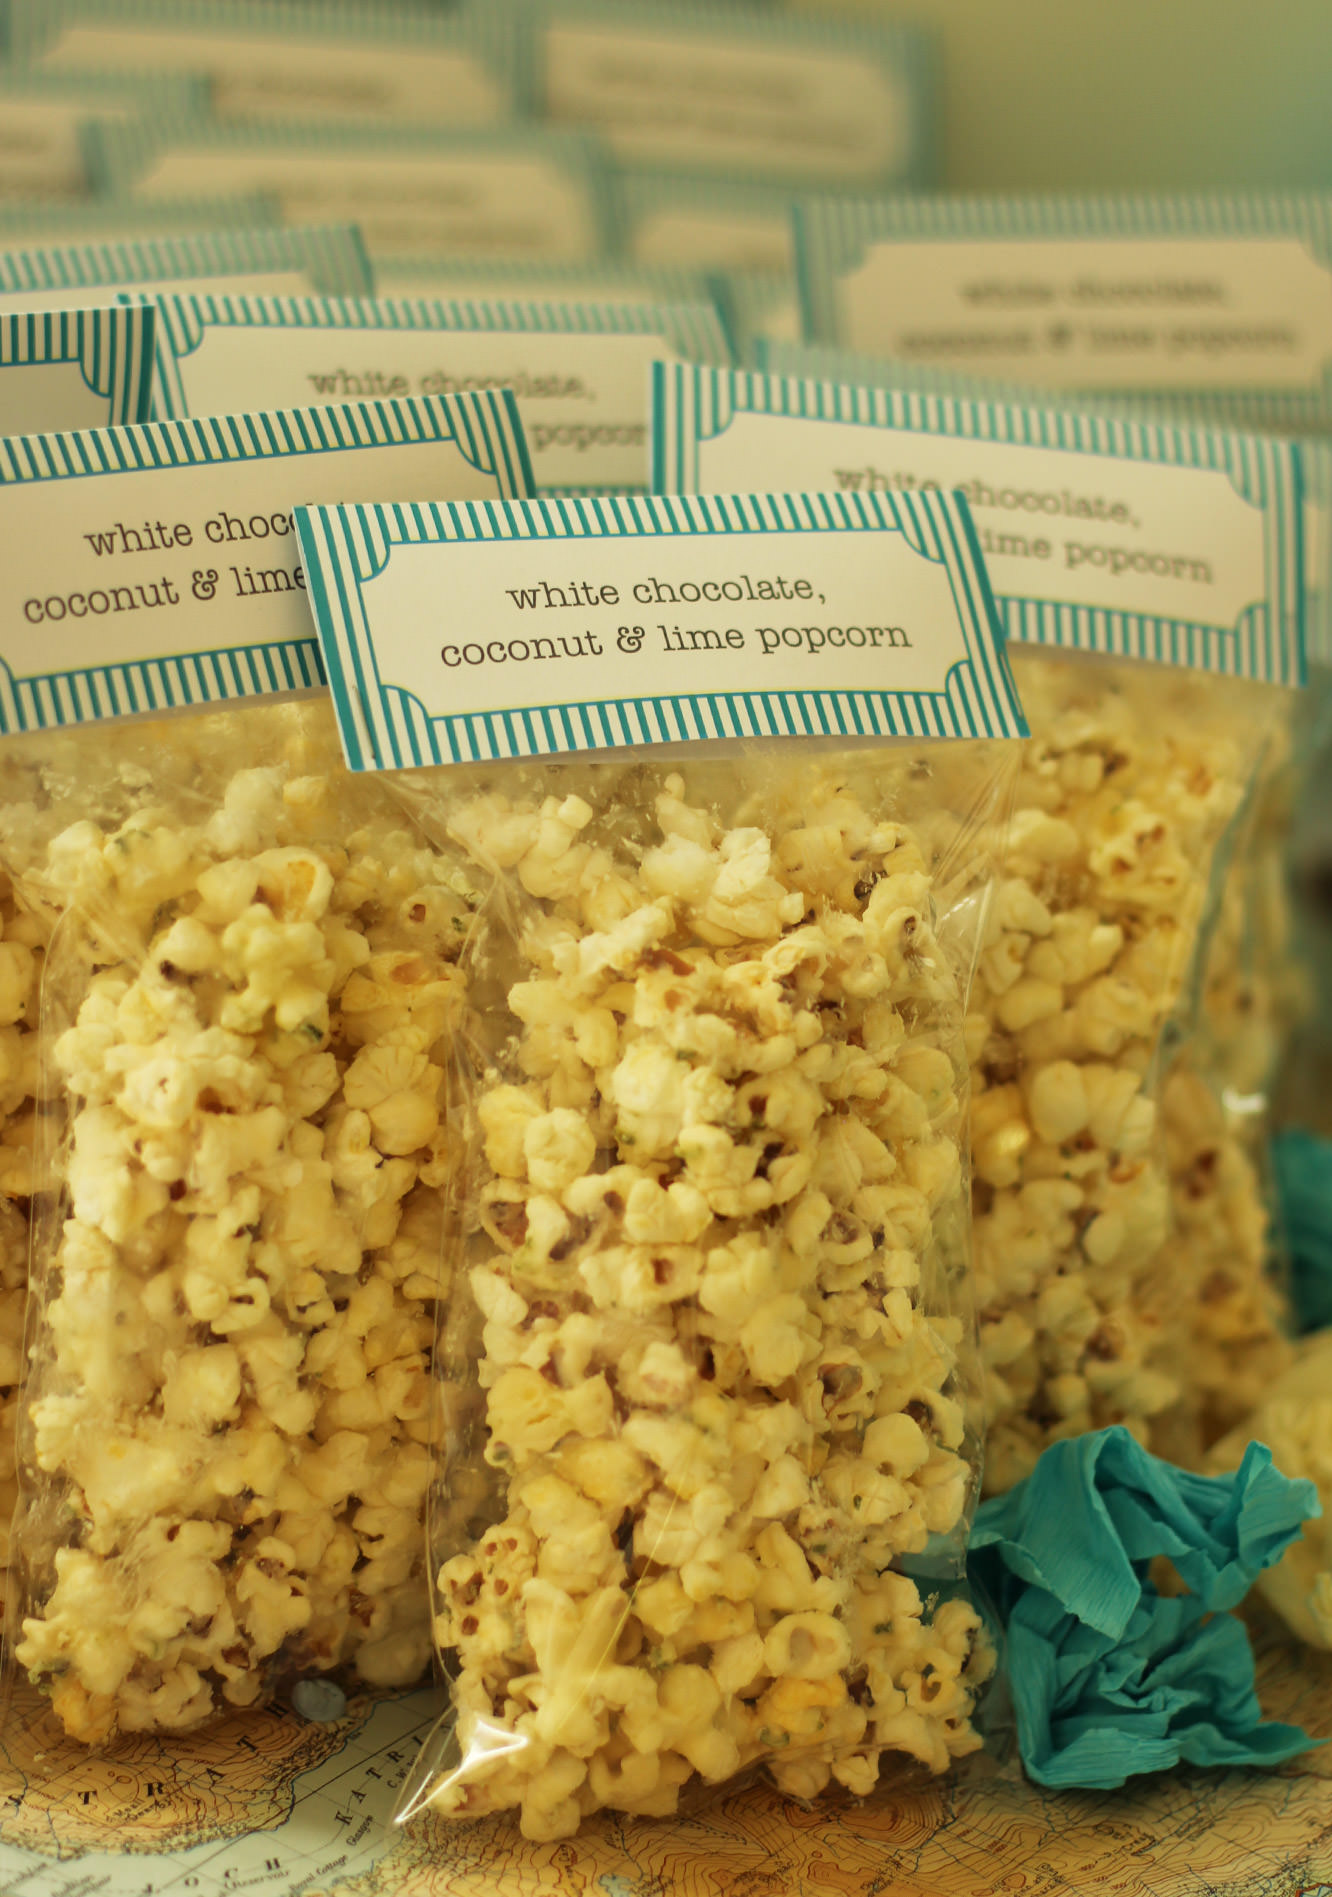
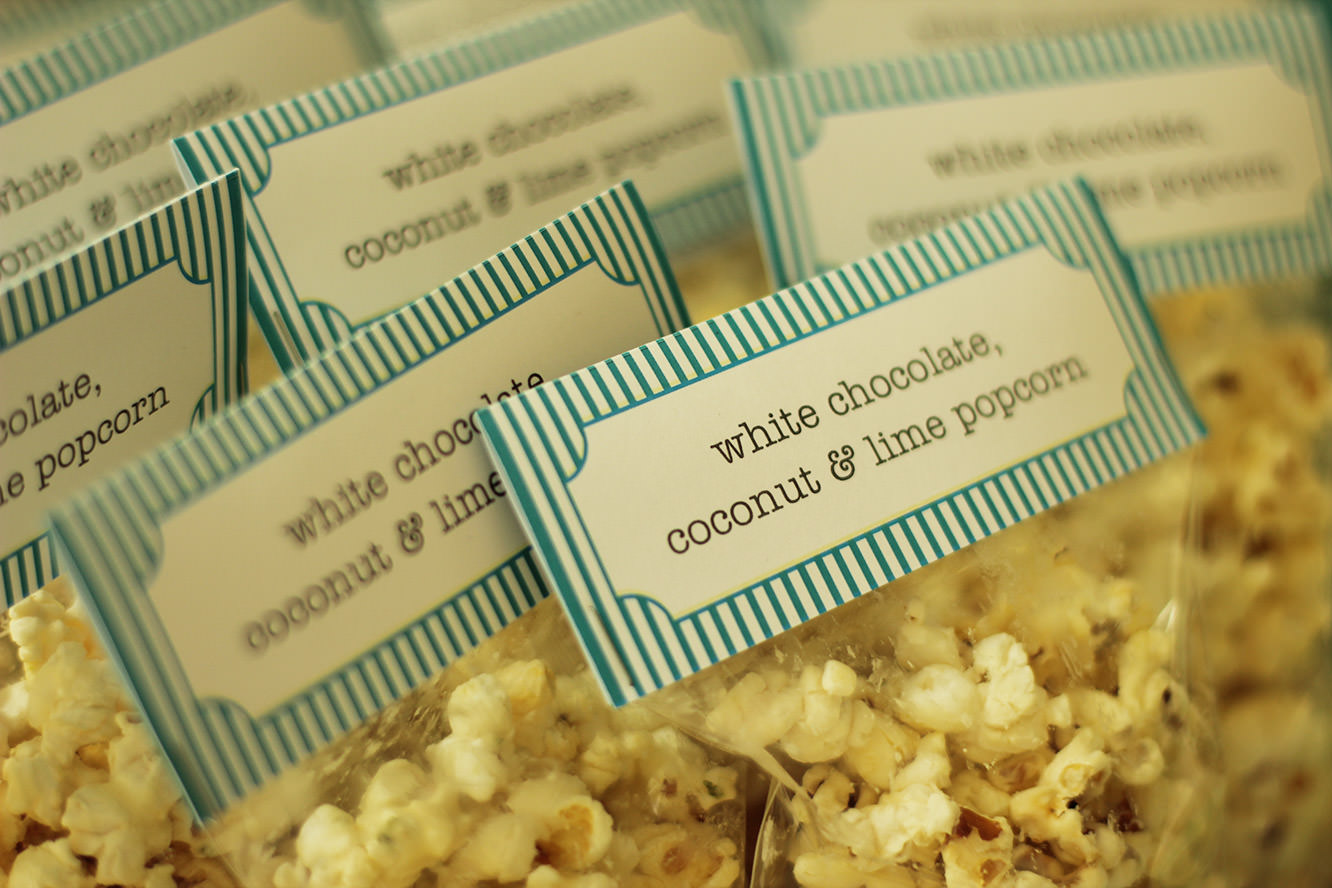
These labels (it’s quite possible your bride’s name isn’t Vicky. I used American Typewriter for the font for the sign)
Step one
Fill the card bags with your favours.
Step two
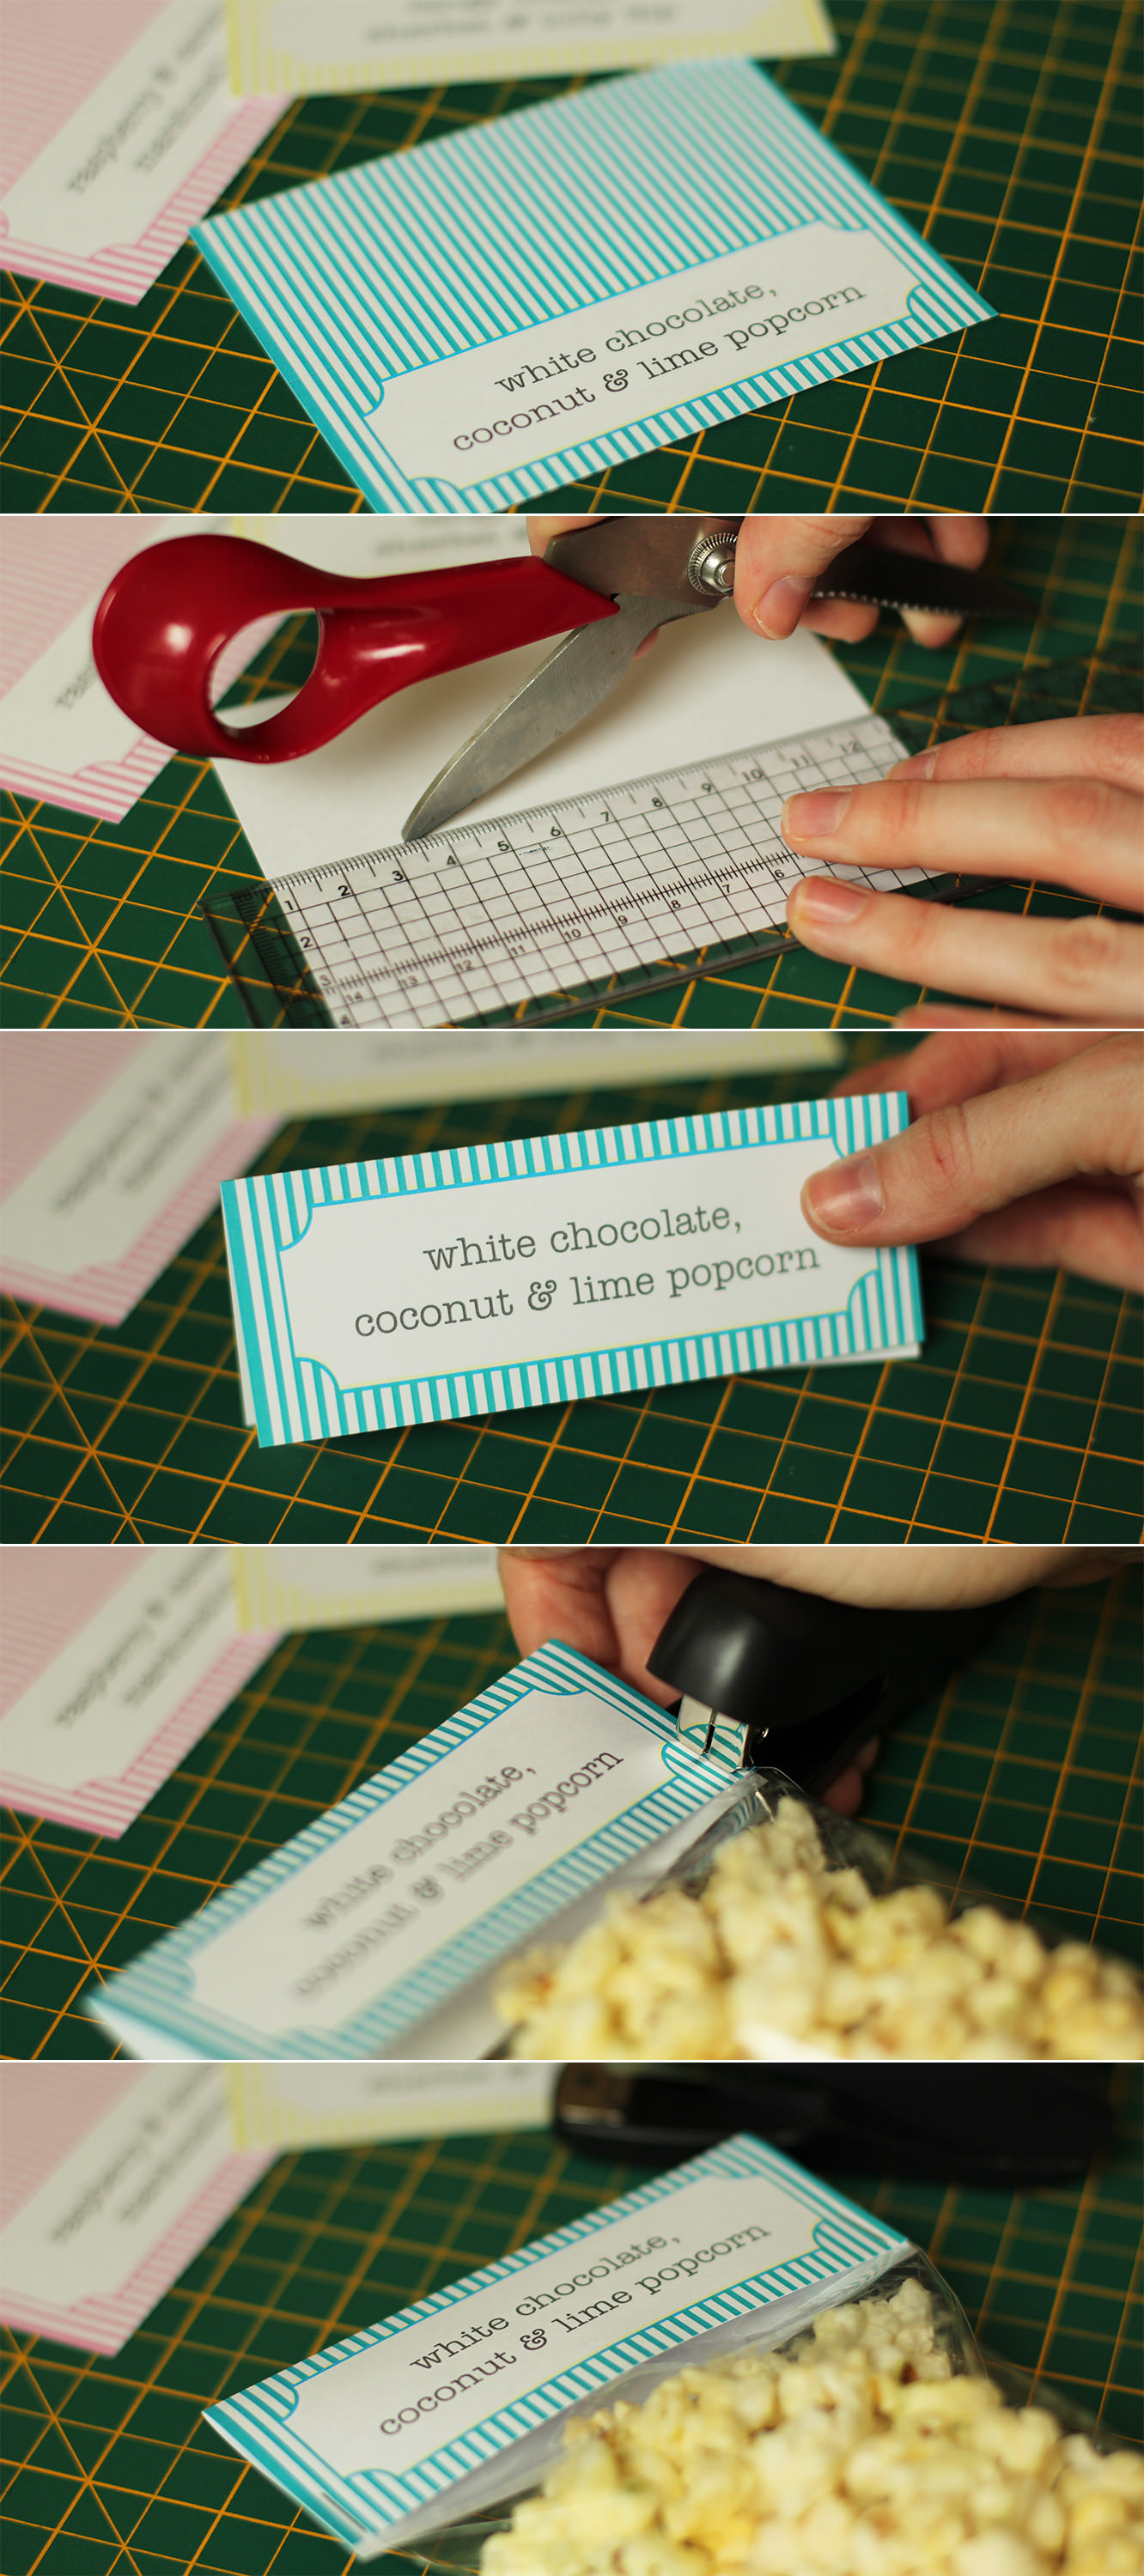
Print enough of the labels for the number of favours you have. These templates will fit a DL card bag.
Cut them out and score on the back down the centre. Fold in half.
Fold the top of the bag down and staple the label over the top, ensuring the staple secures the bag shut. This is especially important with the sherbet.
Step three
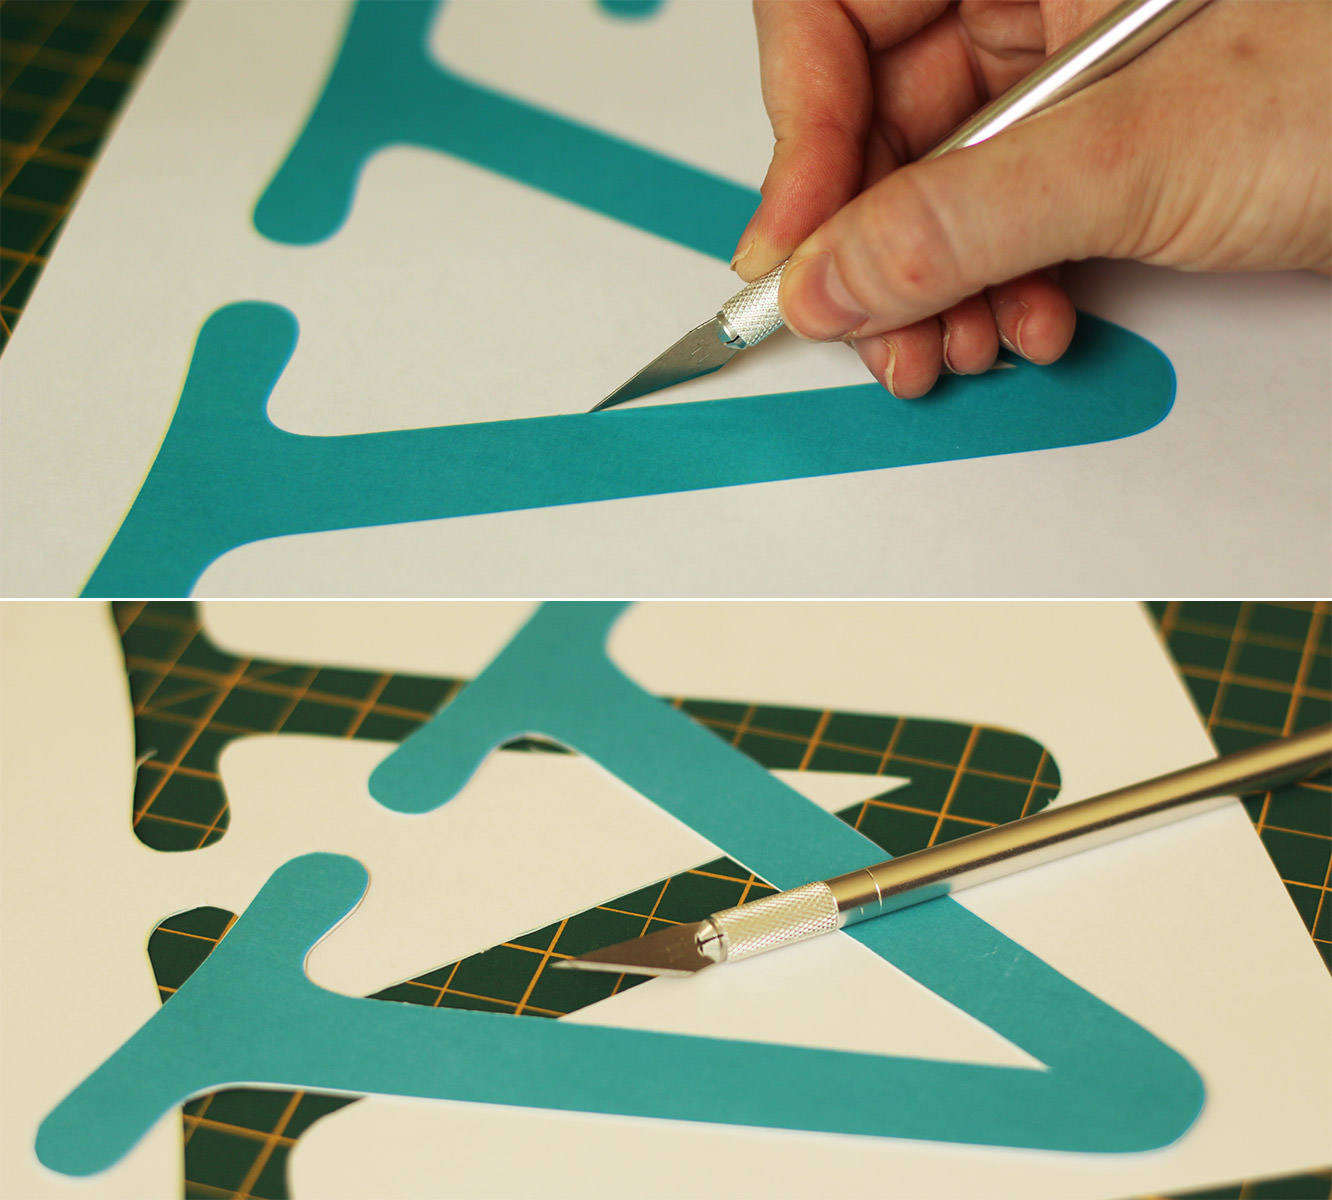
Cut the letters out of for the sign.
Step four
Using blu-tac stick the letters to the wall.
Step five
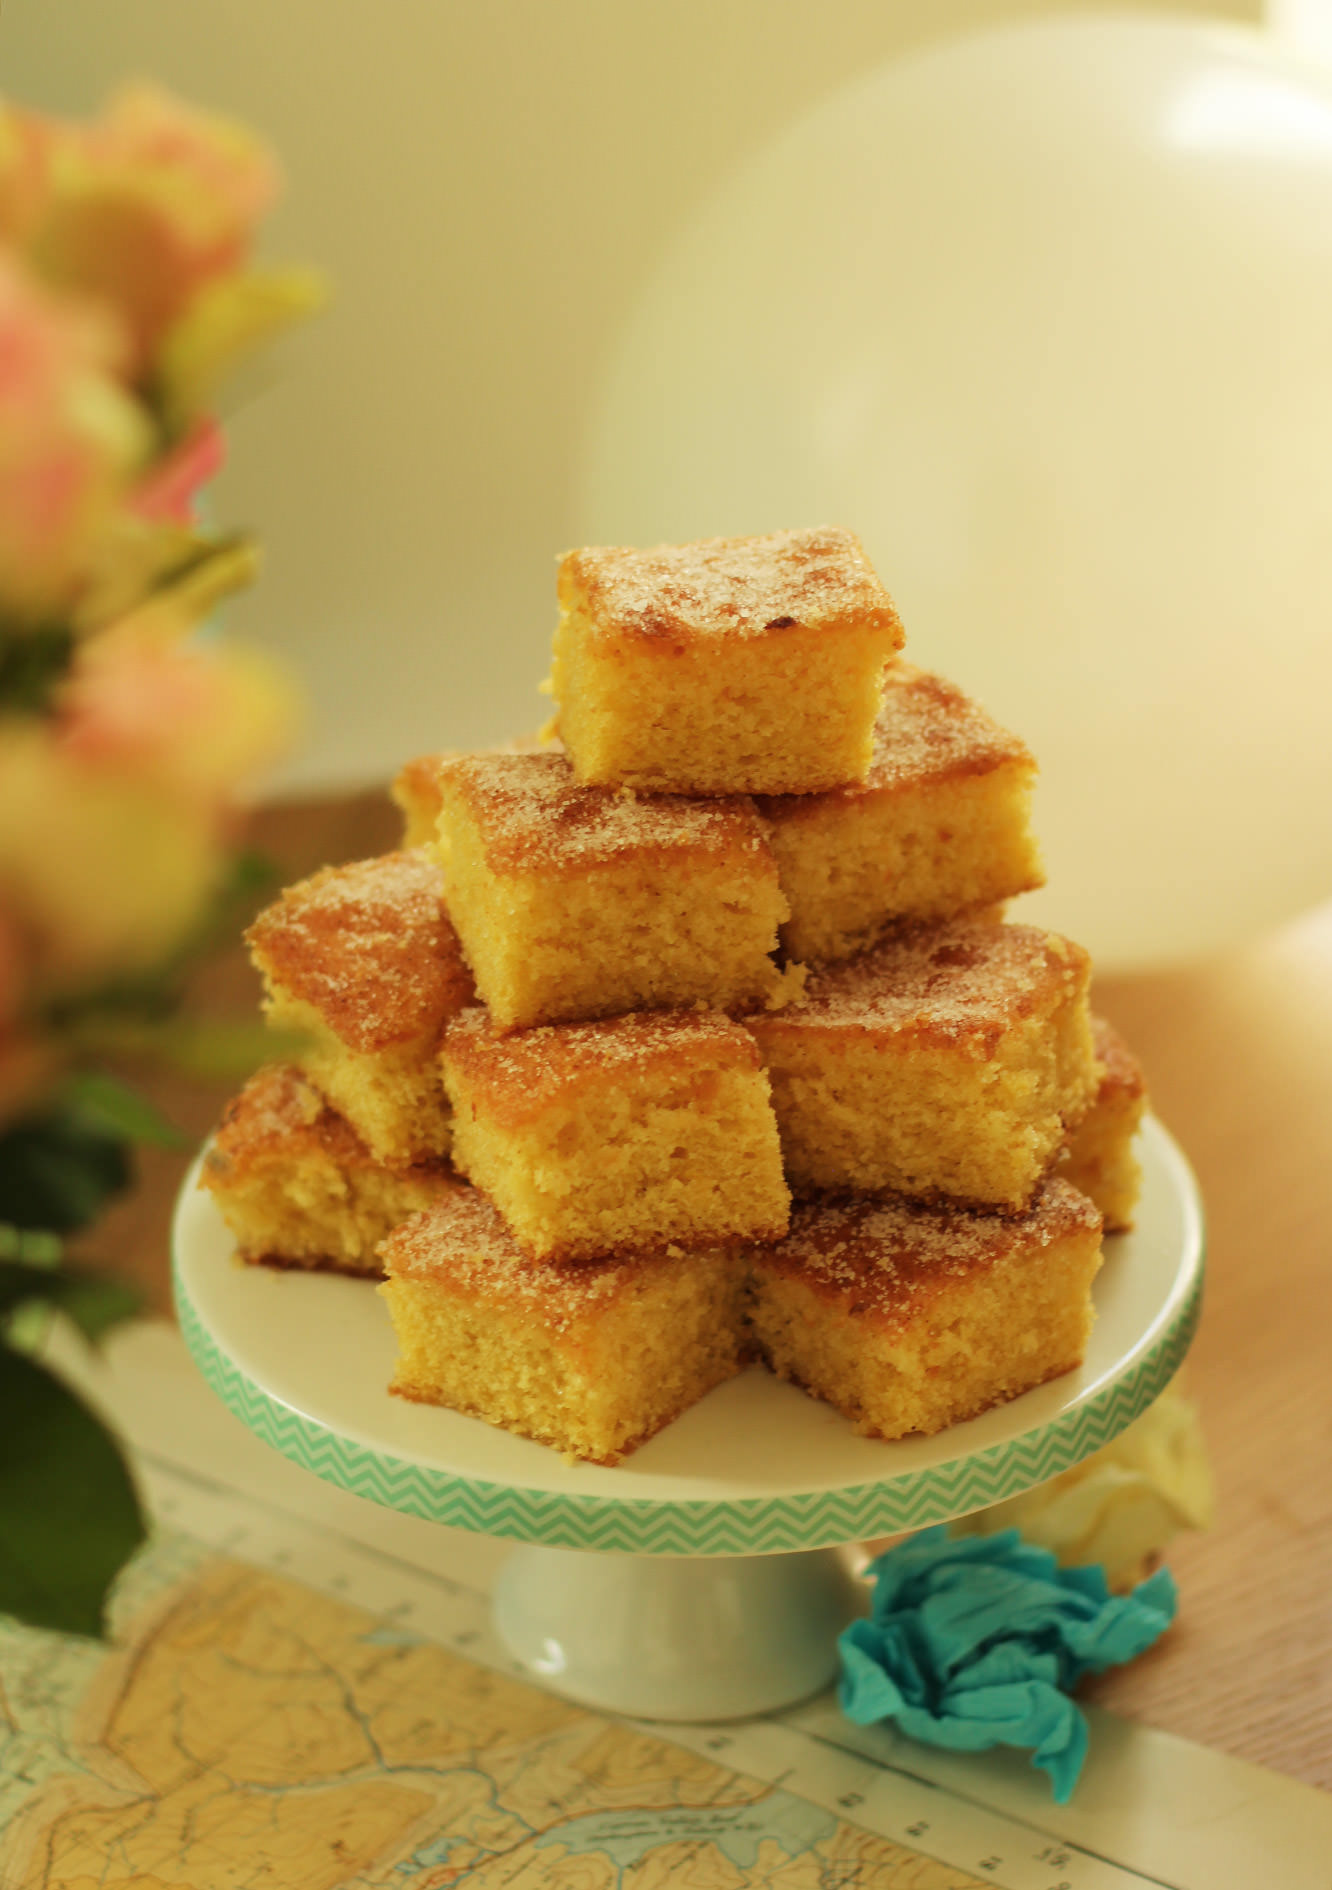
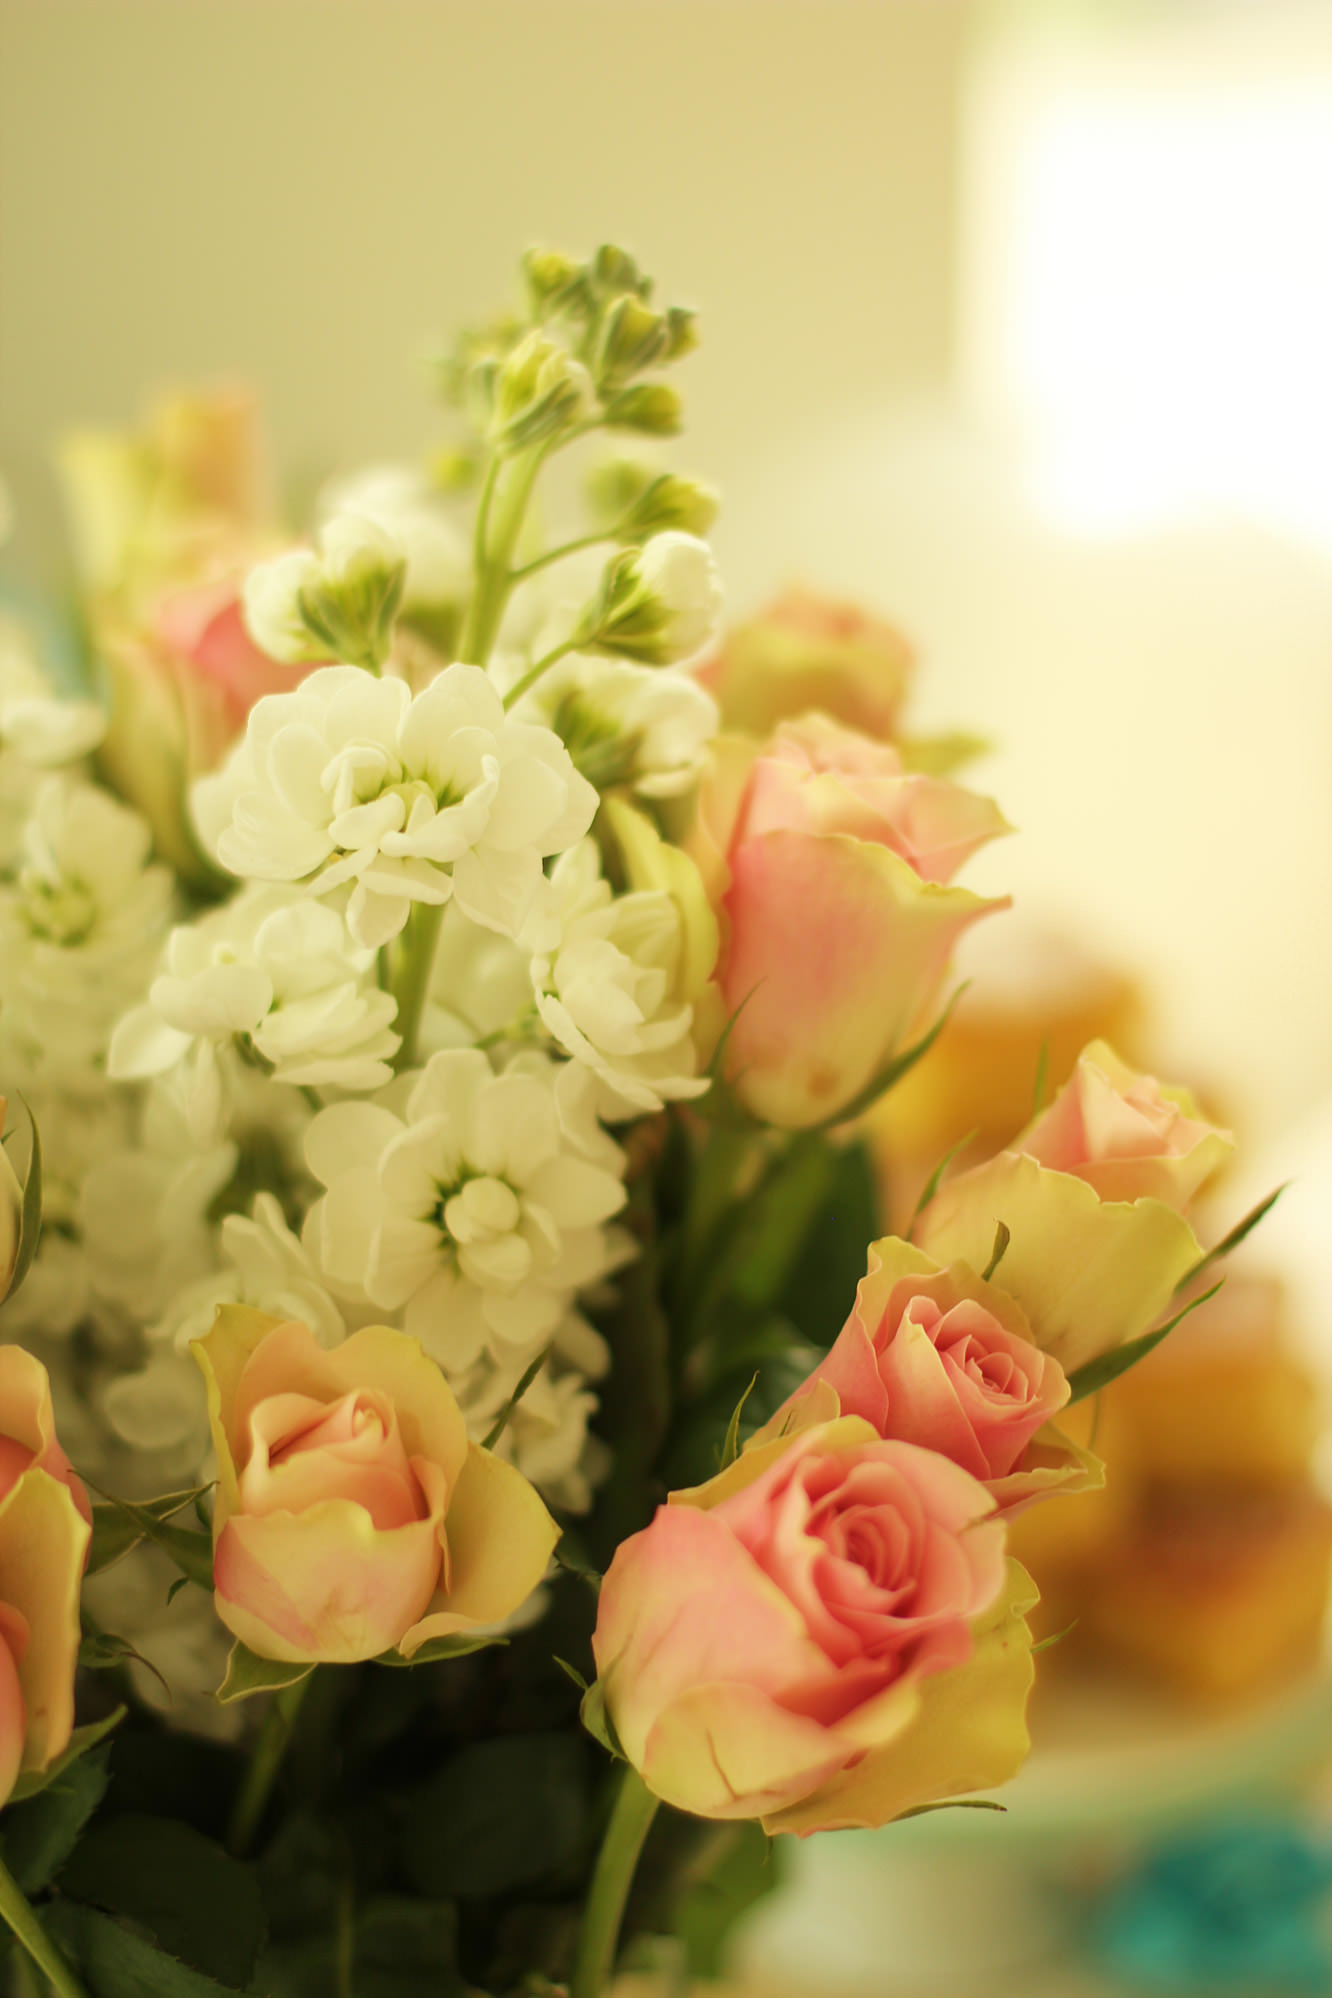
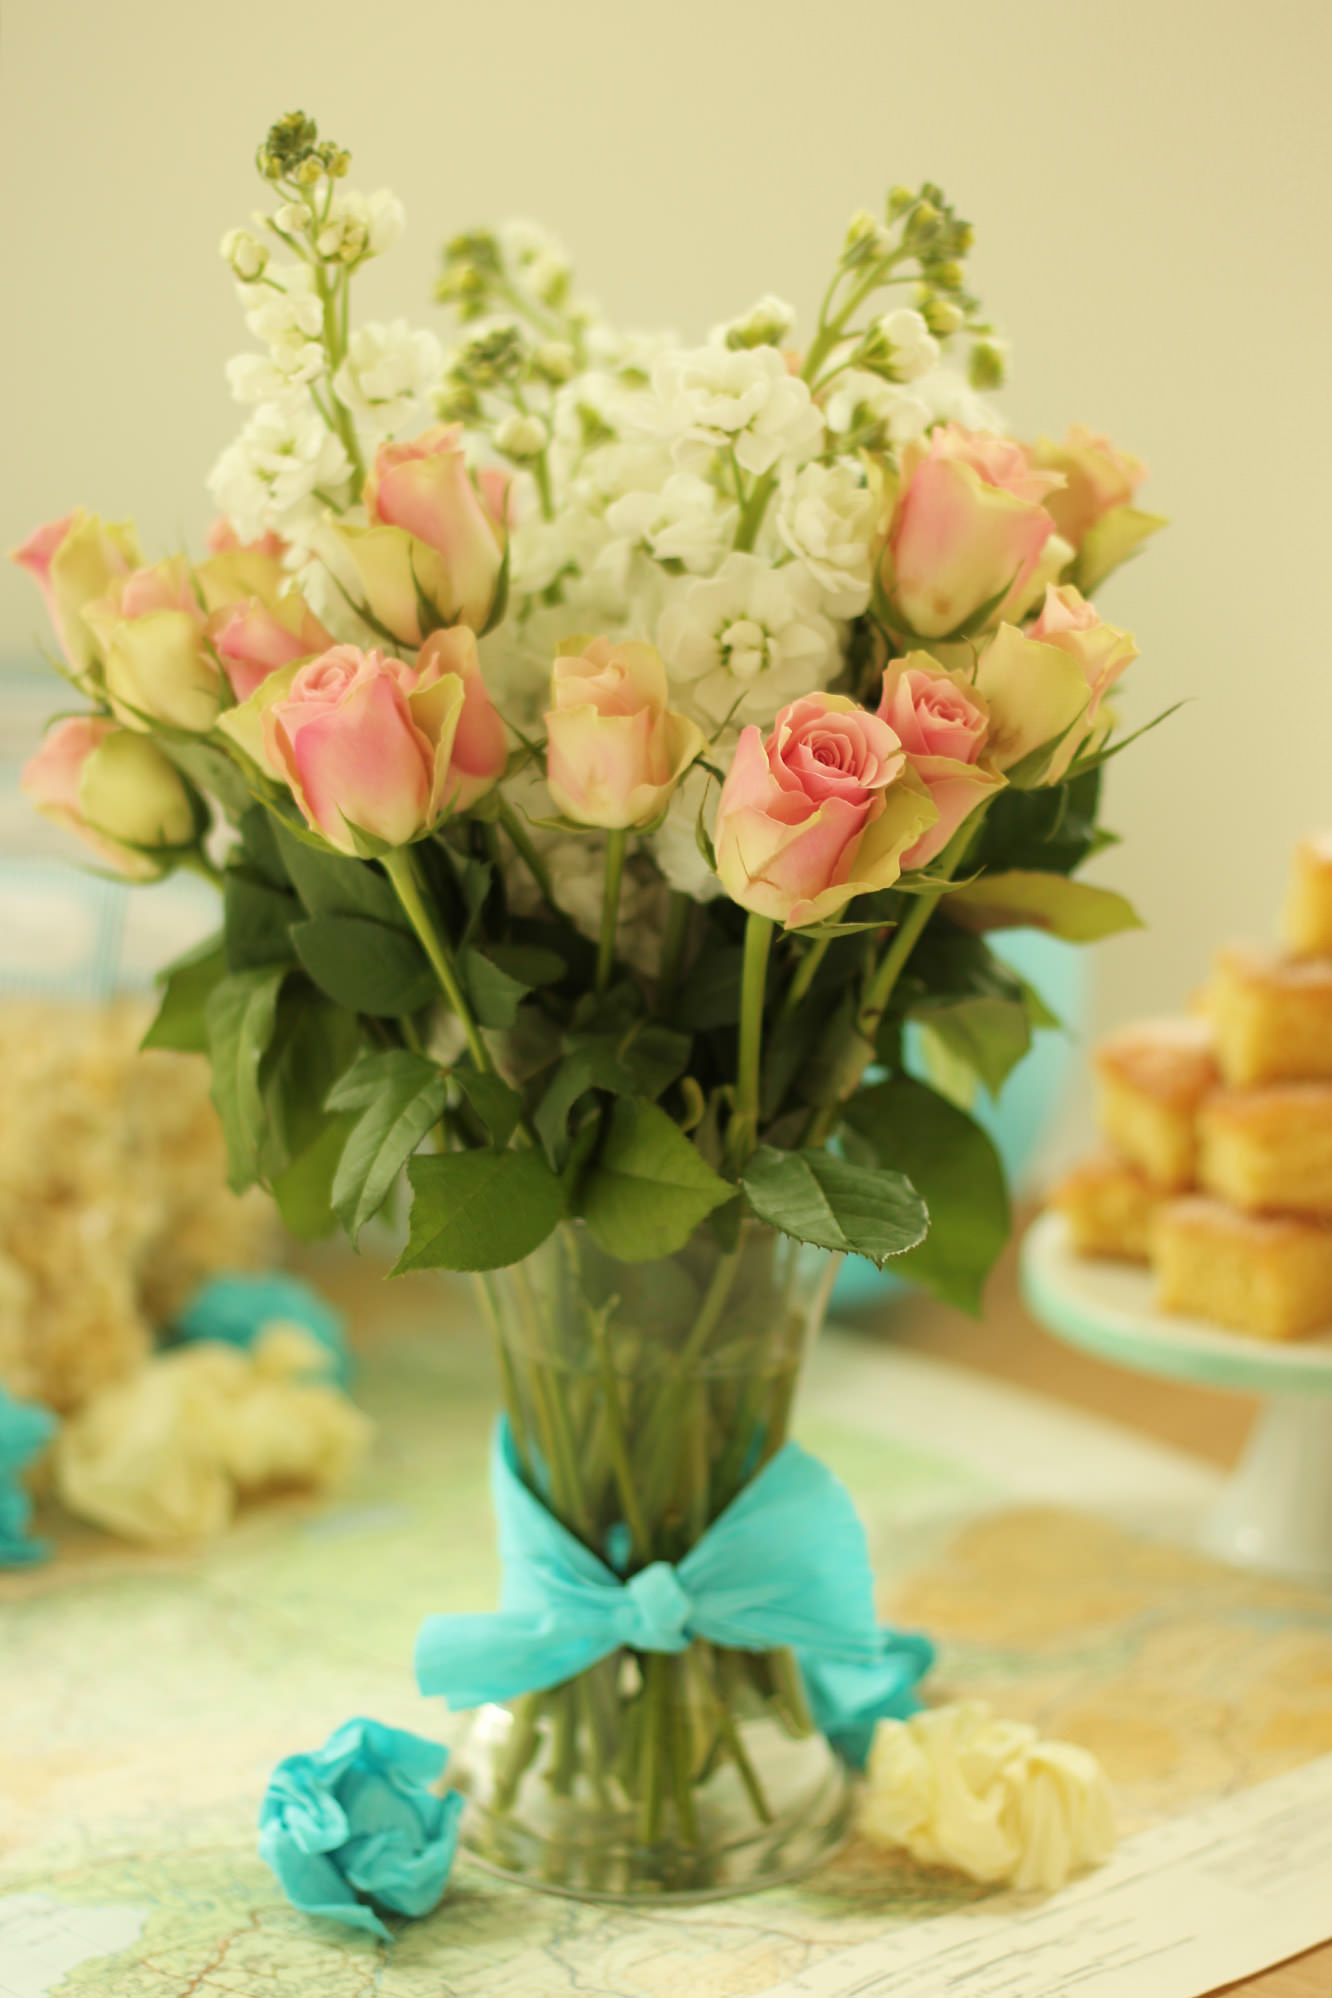
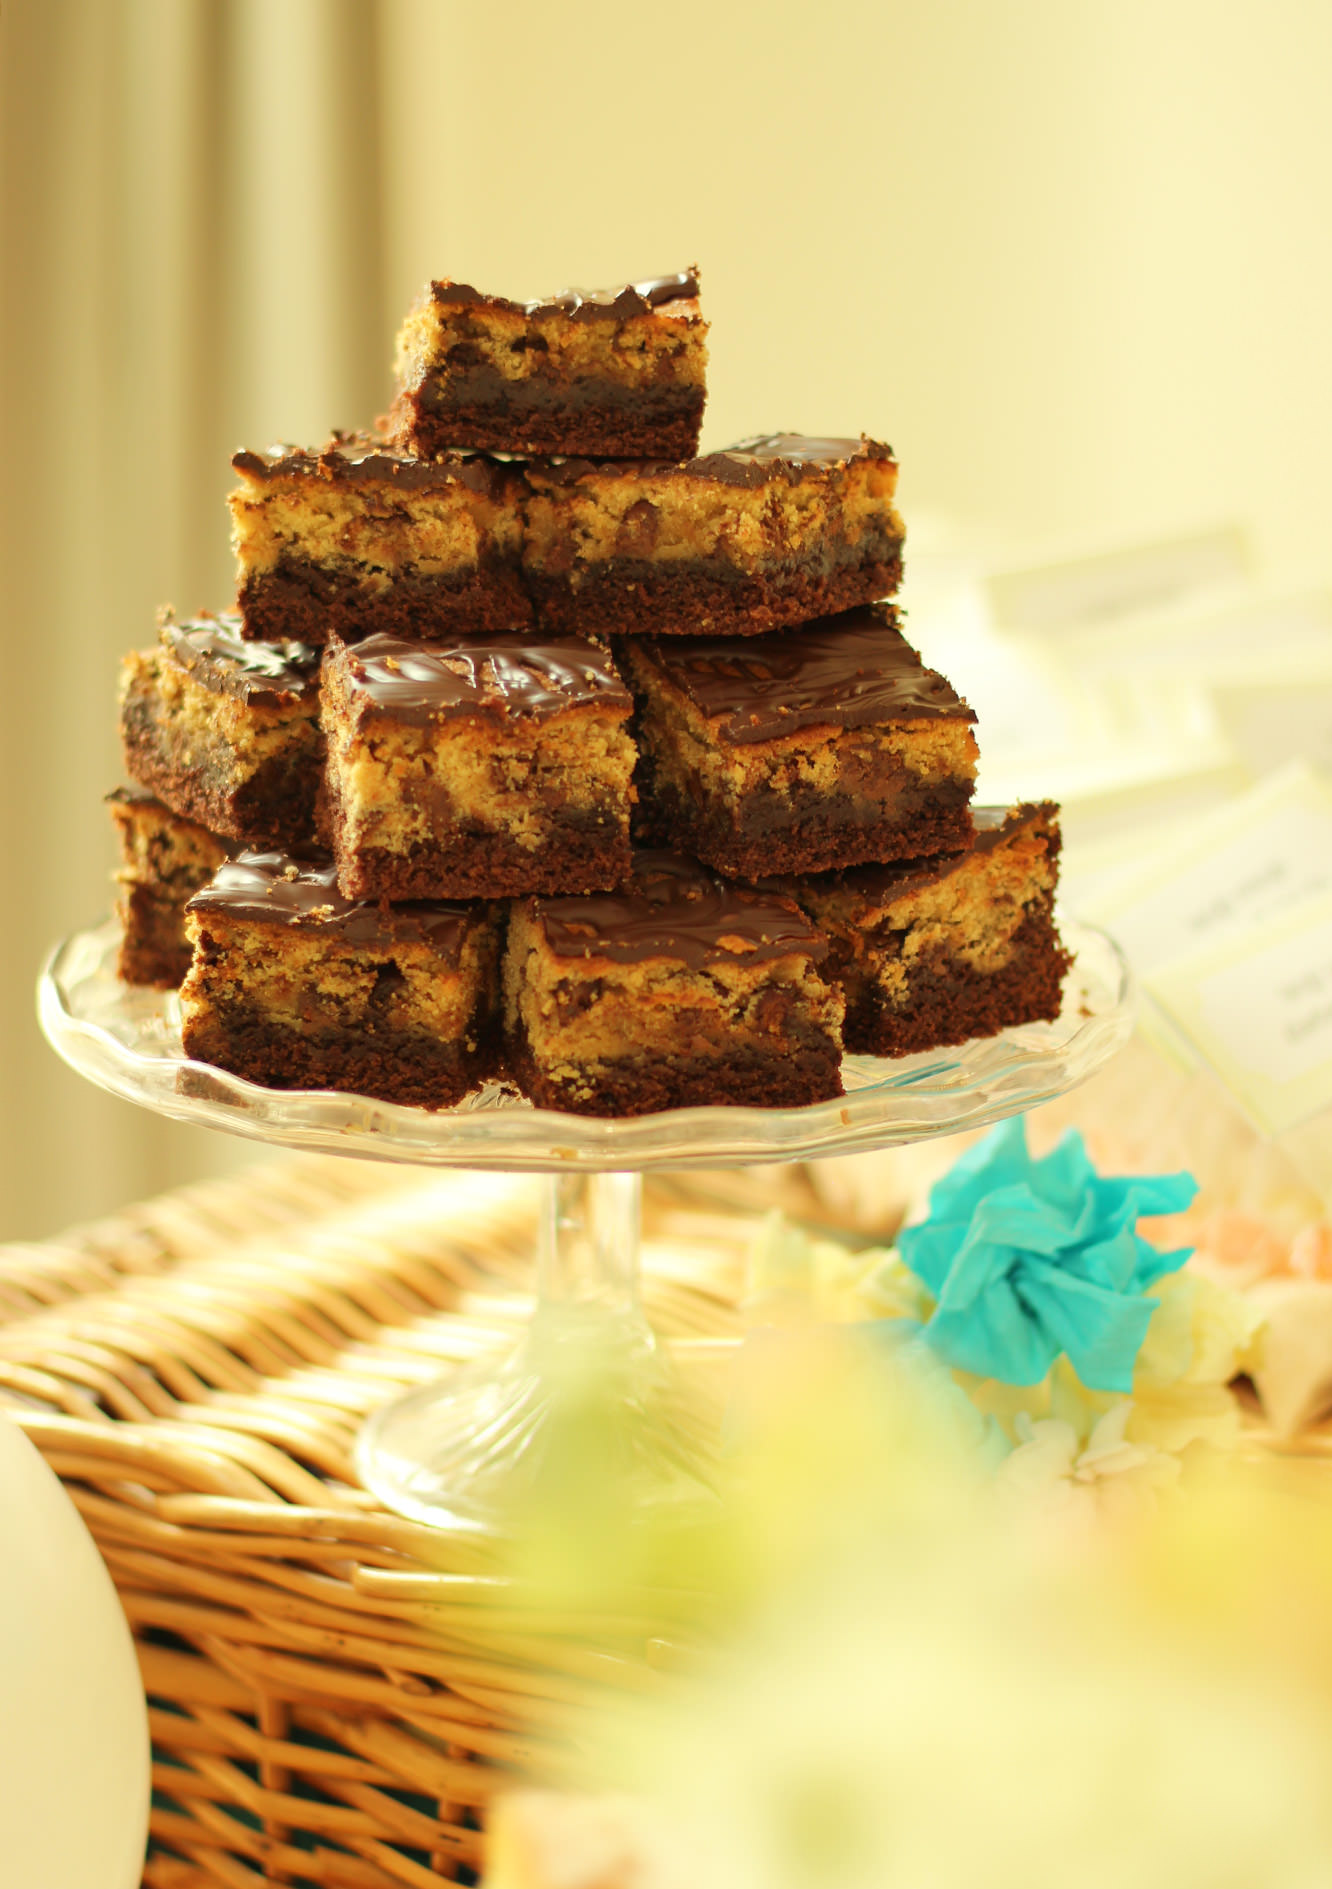
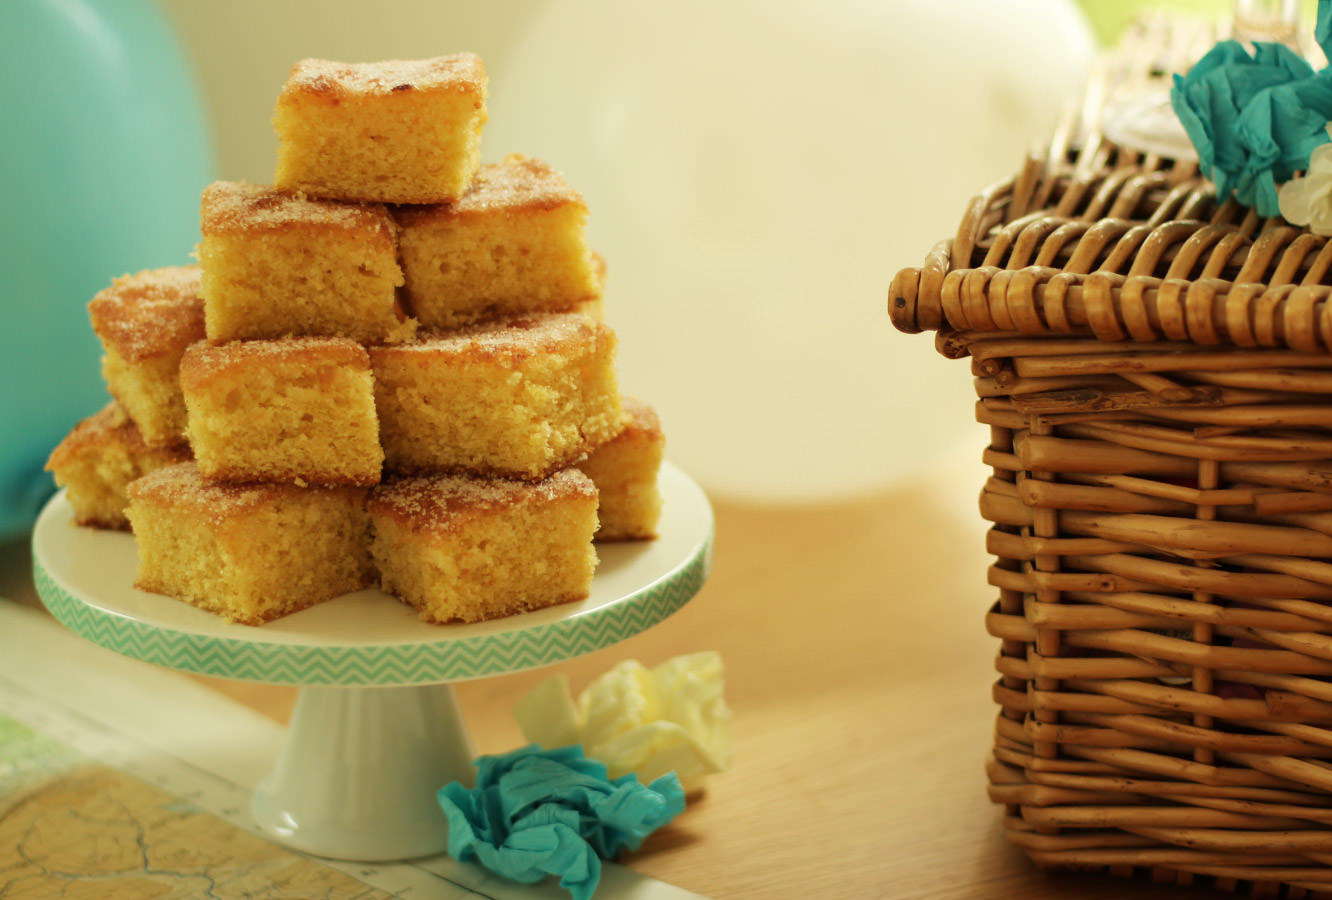
Assemble. You’ll notice I baked a few treats and got some flowers too. The cookie dough brownie recipe has appeared on the blog before, and I’ll get to the lemon drizzle soon.
There you go. All set to throw a lovely hen party/bridal shower of your own.
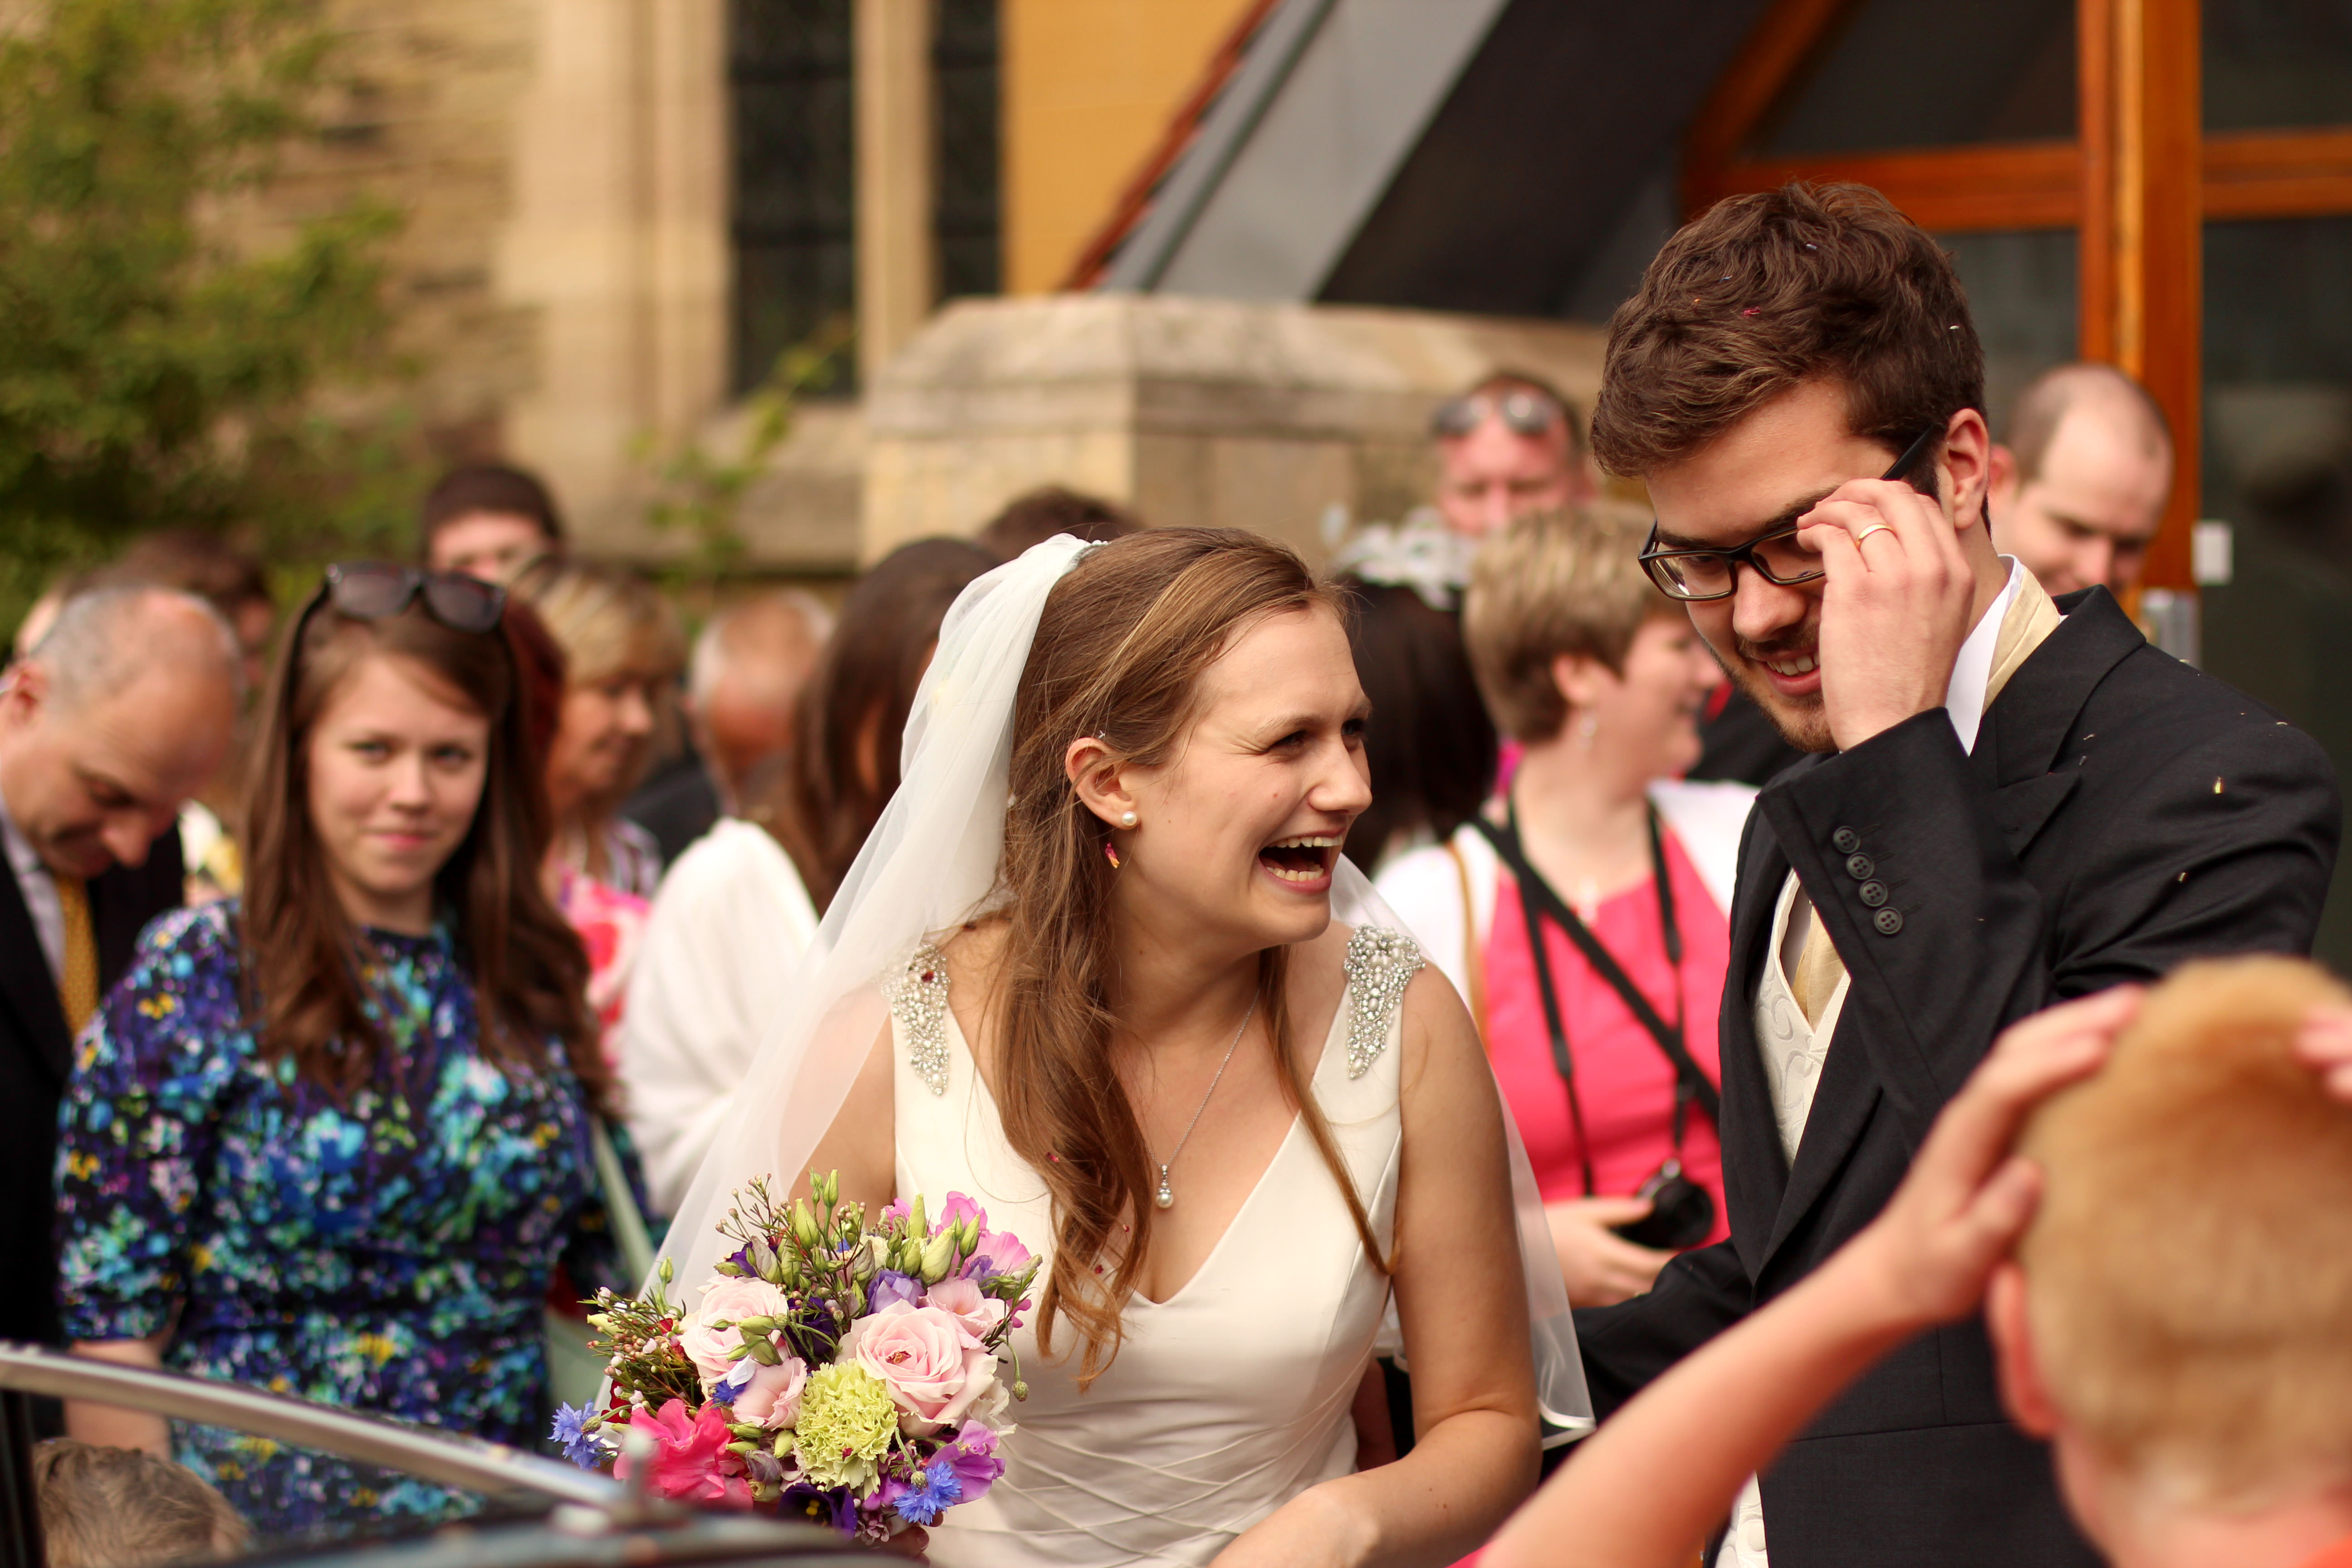
It seems a bit strange to be writing this. Not least because the last few weeks were crazy and I got out of the habit of blogging, but mainly because the hen in question is now a WIFE.
What’s that? You wanna see? Oh ok then, here she is…
As you can see from the size of that smile, we all had a ball. It was an amazing day.
But let’s step back a month or three and finish off her favours. This was without a doubt the guests’ fave recipe so, ladies, all of you who asked me for it, sorry it took so long! Without further ado here is the recipe for white chocolate, lime and coconut popcorn.
Remember to downscale the below if you’re making for a smaller group/movie night.
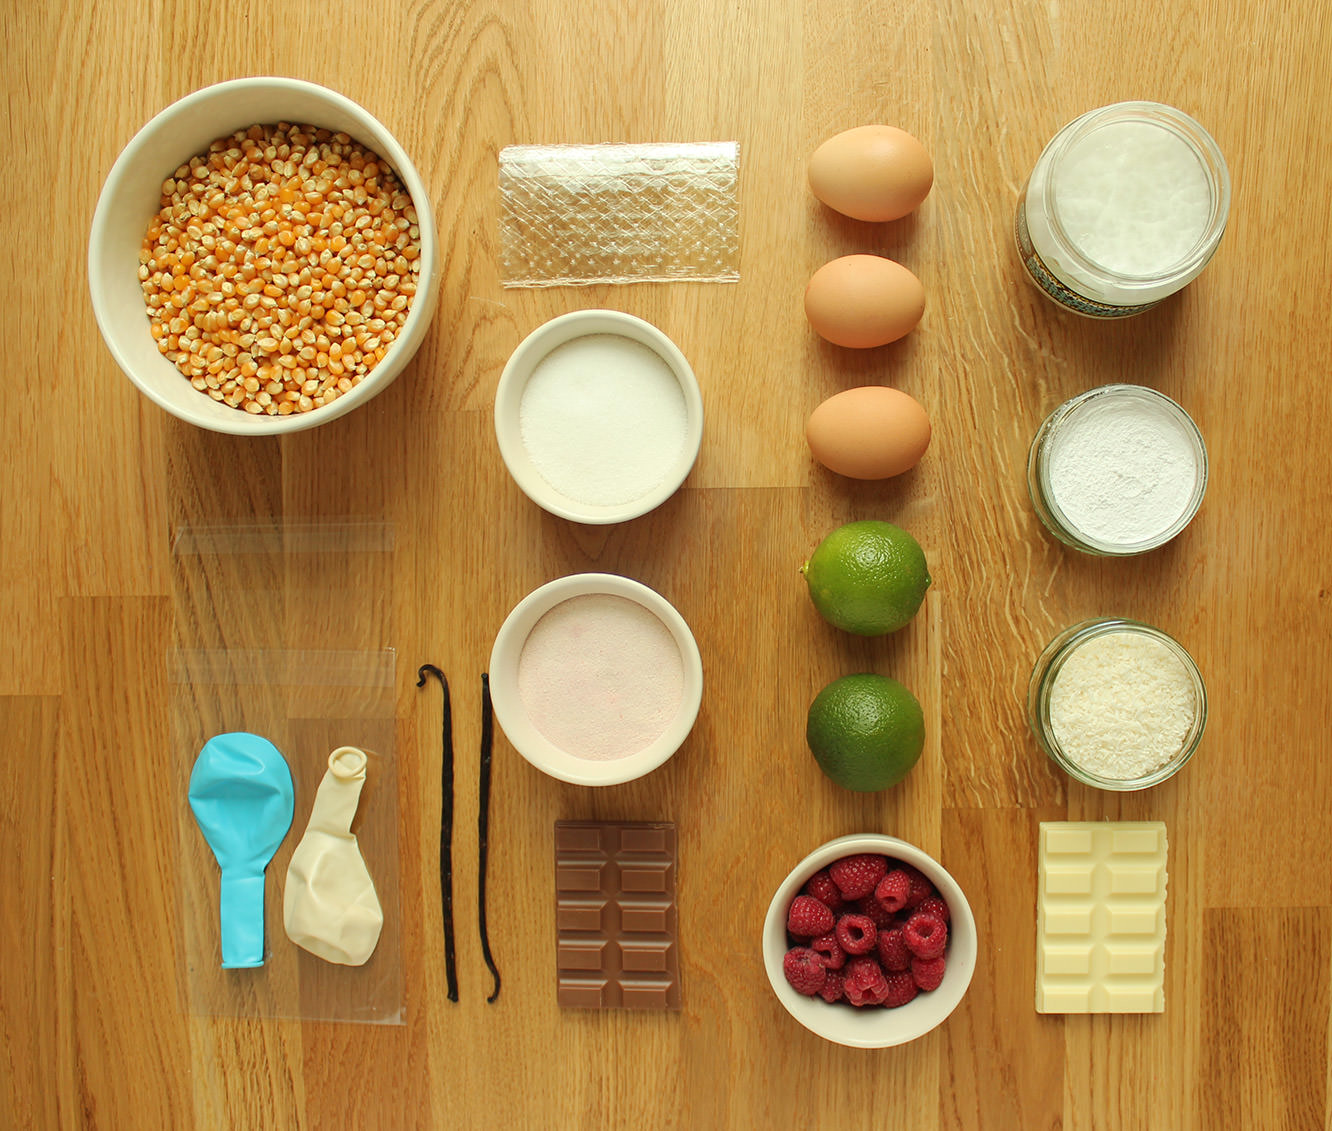
You will need
450g/1lb plain popcorn kernels
600g/1lb 5oz white chocolate
Coconut oil
2 limes (zest)
Step one
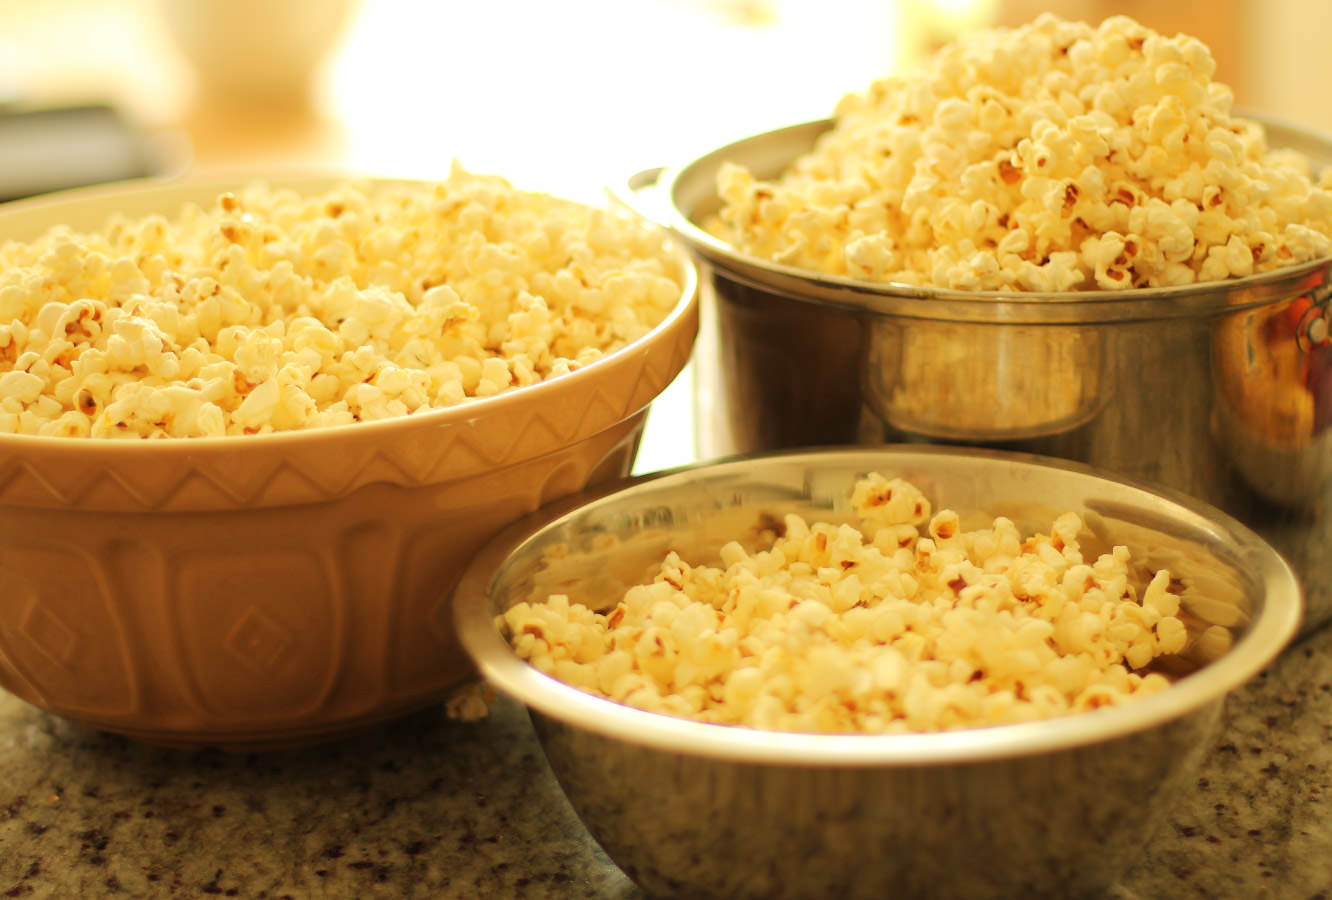
You’re going to want to get a biiiiiig pan (one with a lid unless you want to be finding popcorn in corners for years). You also need several bowls to decant the popcorn into and definitely don’t try to pop it all in one go, I think i did three or four batches.
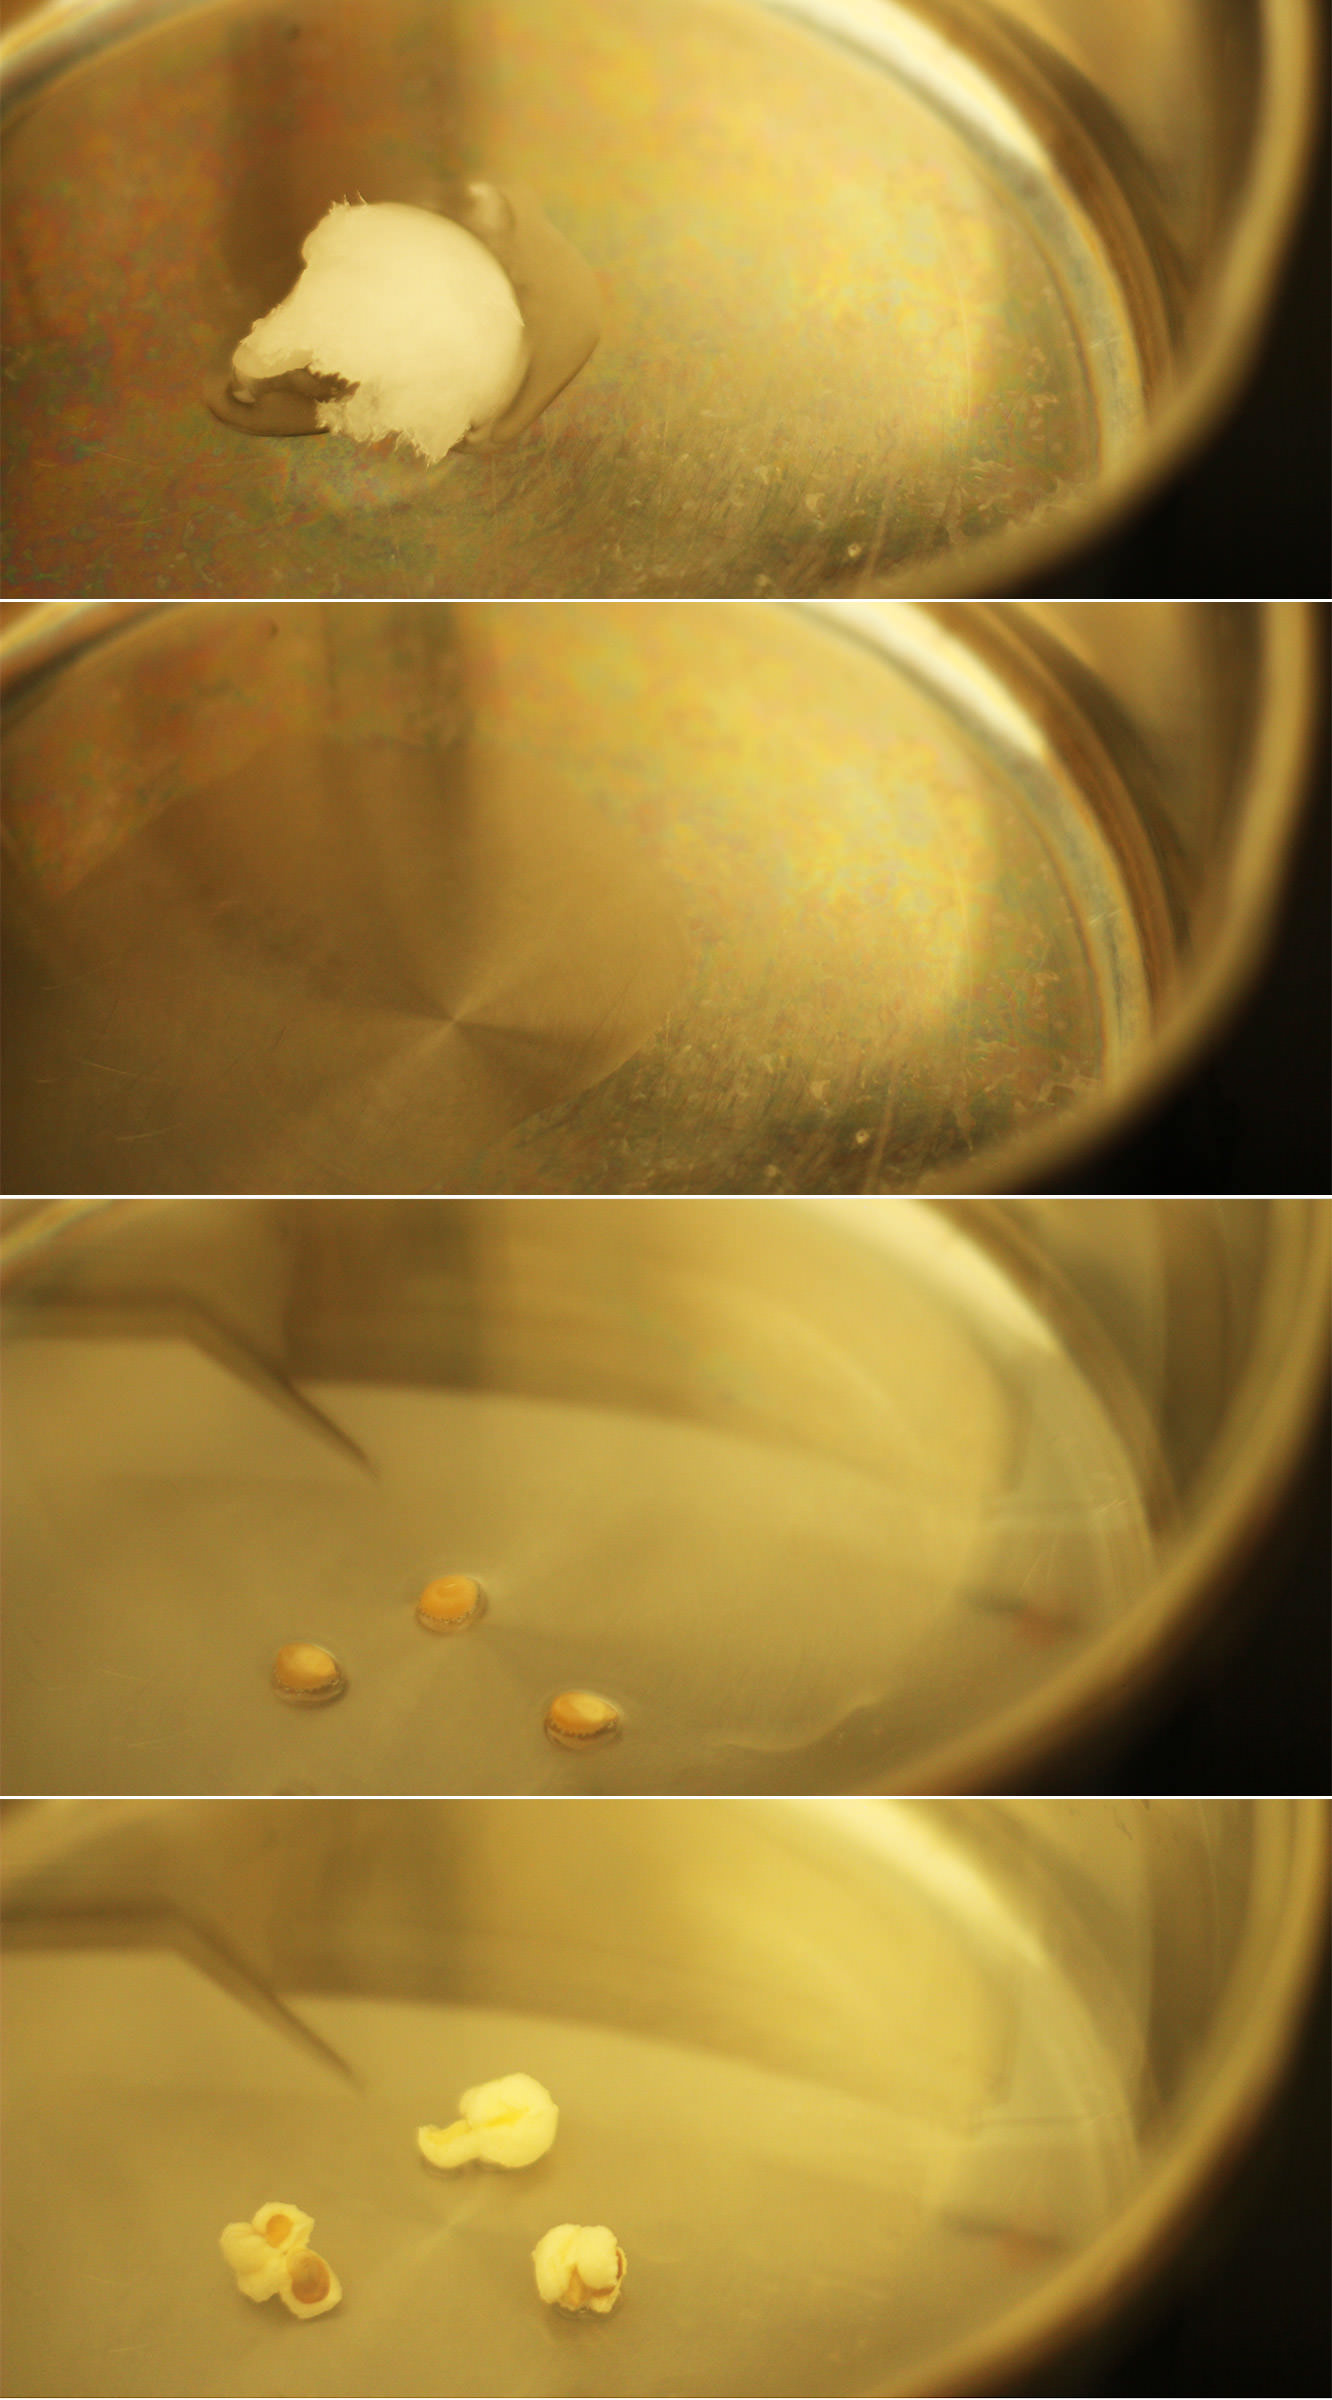
So. Pop the pan on a med-low heat, and drop a tablespoon of coconut oil in the pan. Add three kernels or so and wait patiently for them to pop.
Don’t put all the kernels in straight away otherwise you will burn some.
Step two
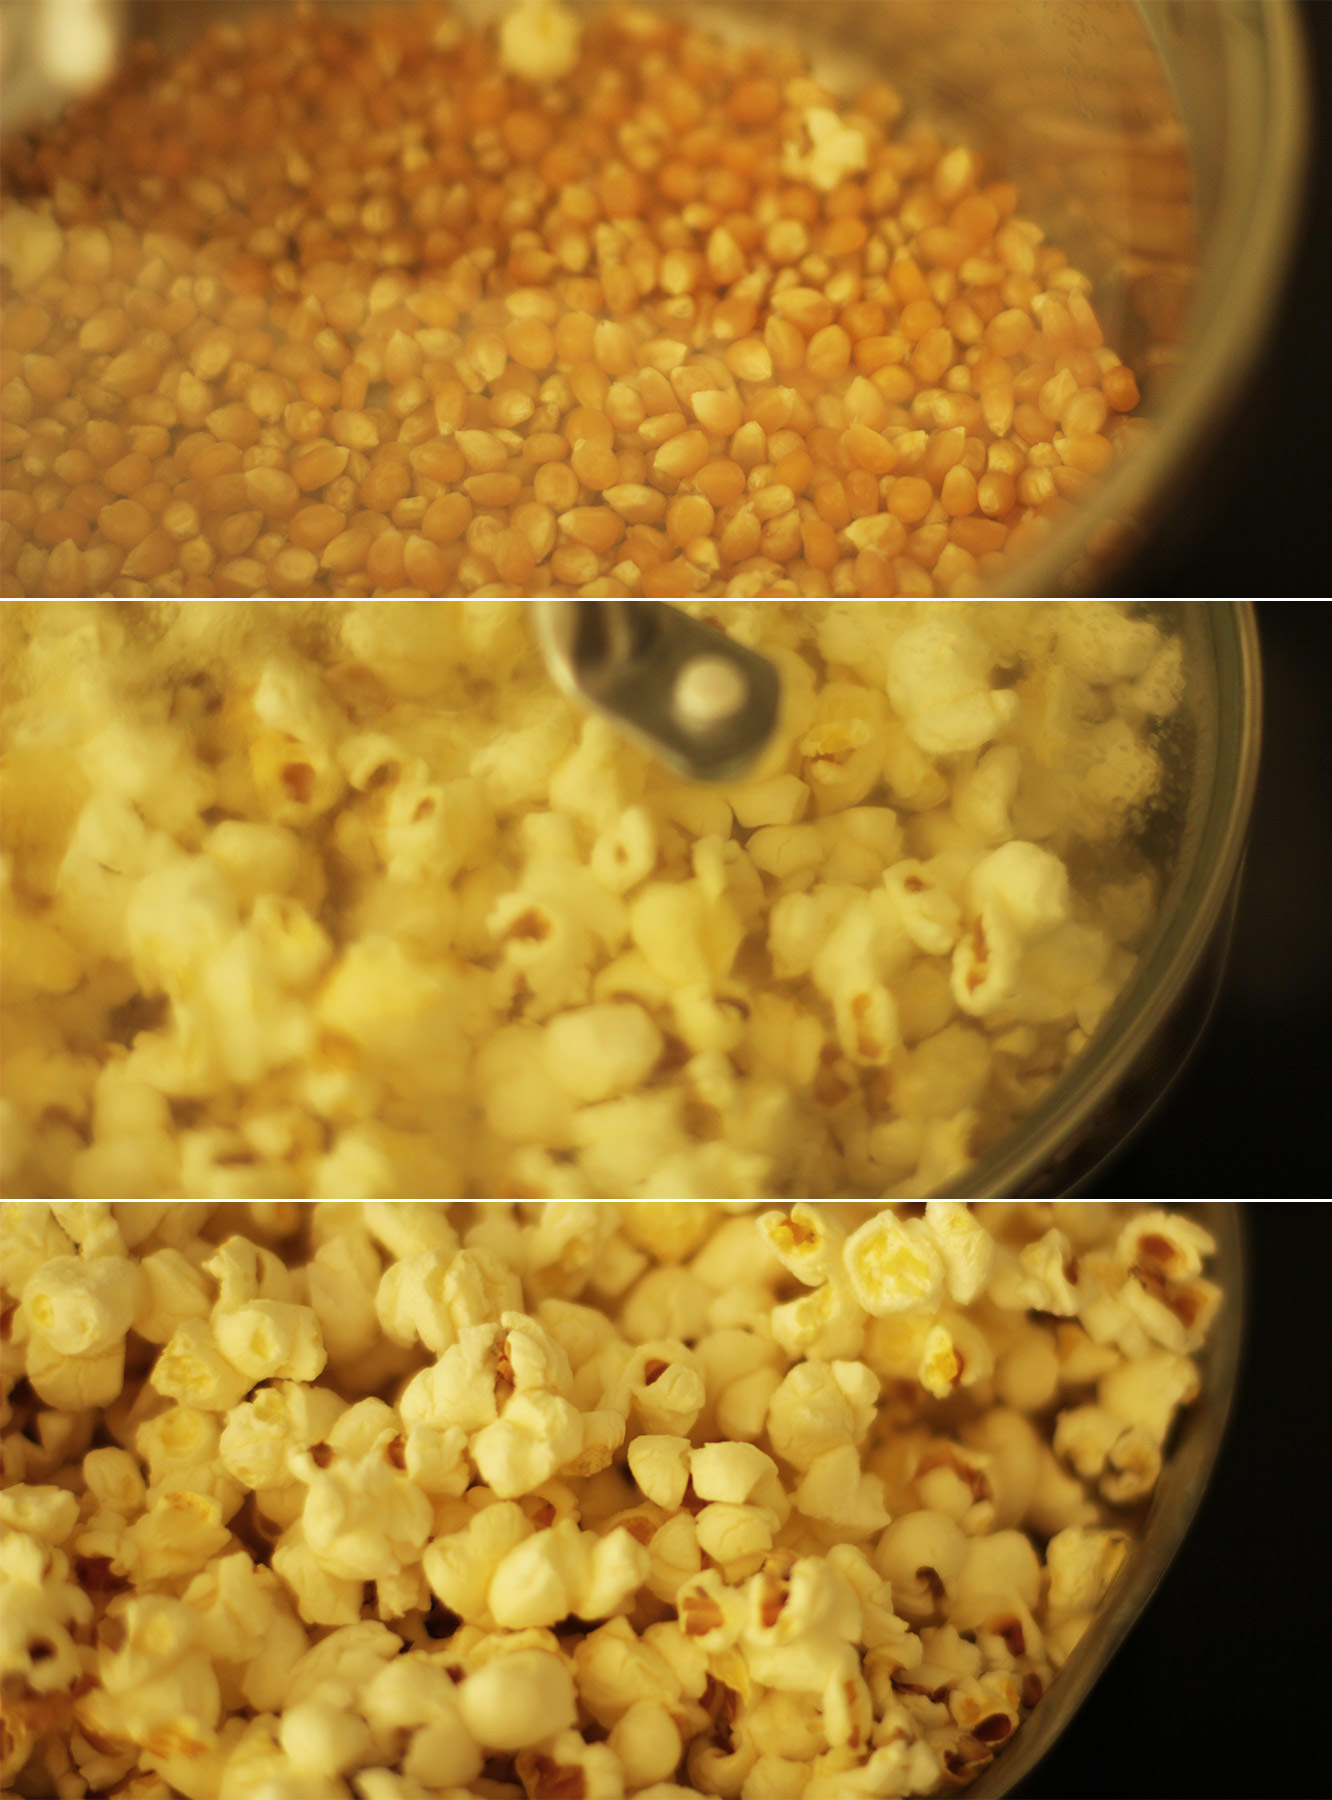
Once the three test kernels have popped pour a load more in to cover the bottom of the pan and replace the lid.
As the kernels start to pop I generally shake the pan a intermittently and hover it above the heat. If the popping slows down, place it fully back on the heat for a few seconds.
When the pan is filling up and there’s a couple of seconds between pops remove it from the heat and pour the popcorn into a bowl.
Step three
Repeat repeat repeat until you’ve used alla that popping corn.
Step four
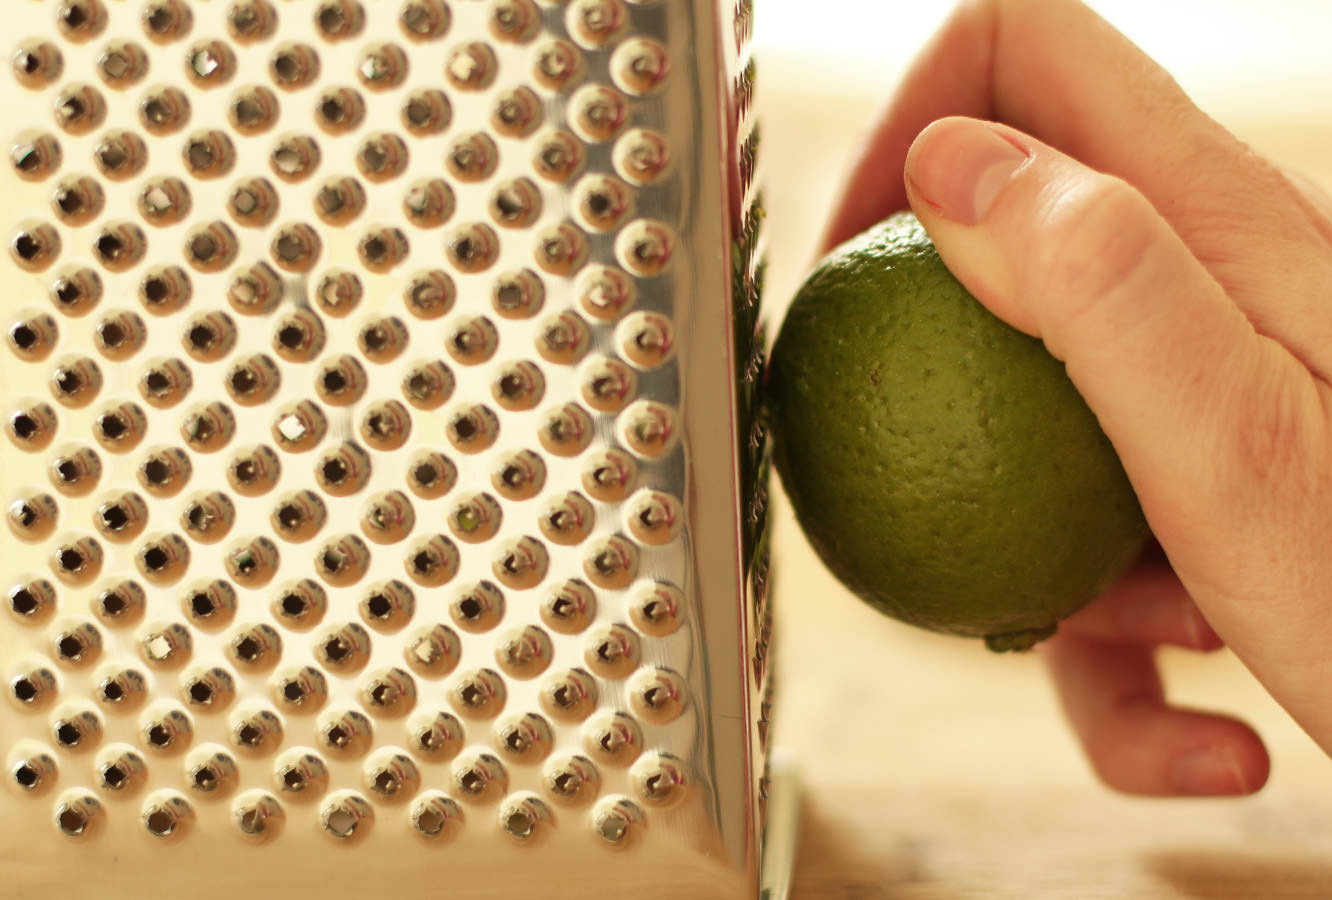
Zest the limes on the smallest ‘setting’ on your grater.
Step five
Melt the white chocolate in a heatproof bowl. As there’s quite a lot of it, it’s really probably better to do this over a pan of boiling water. Otherwise you risk leaving some foil in there, almost blowing up your microwave and burning 600g of chocolate. There might be a small rage blackout to follow.
While the chocolate is still warm stir in a heaped tablespoon of coconut oil.
Step six
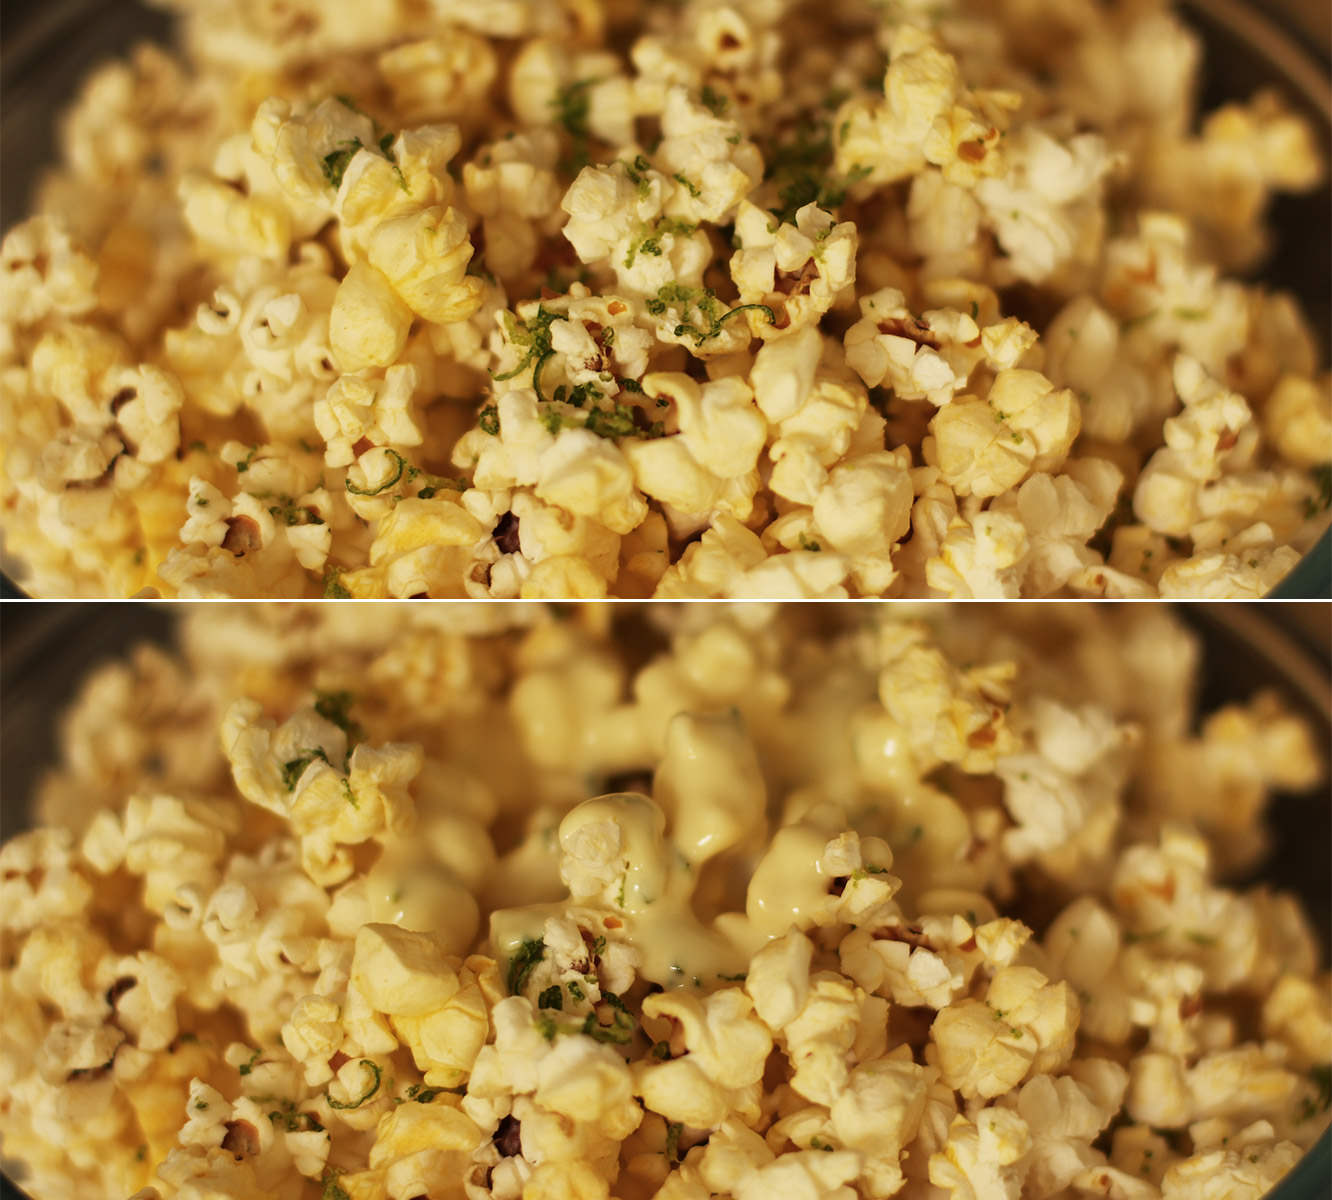
This is the tricky bit, you sort of need to distribute the chocolate and lime evenly amongst your batches of popcorn.
Step seven
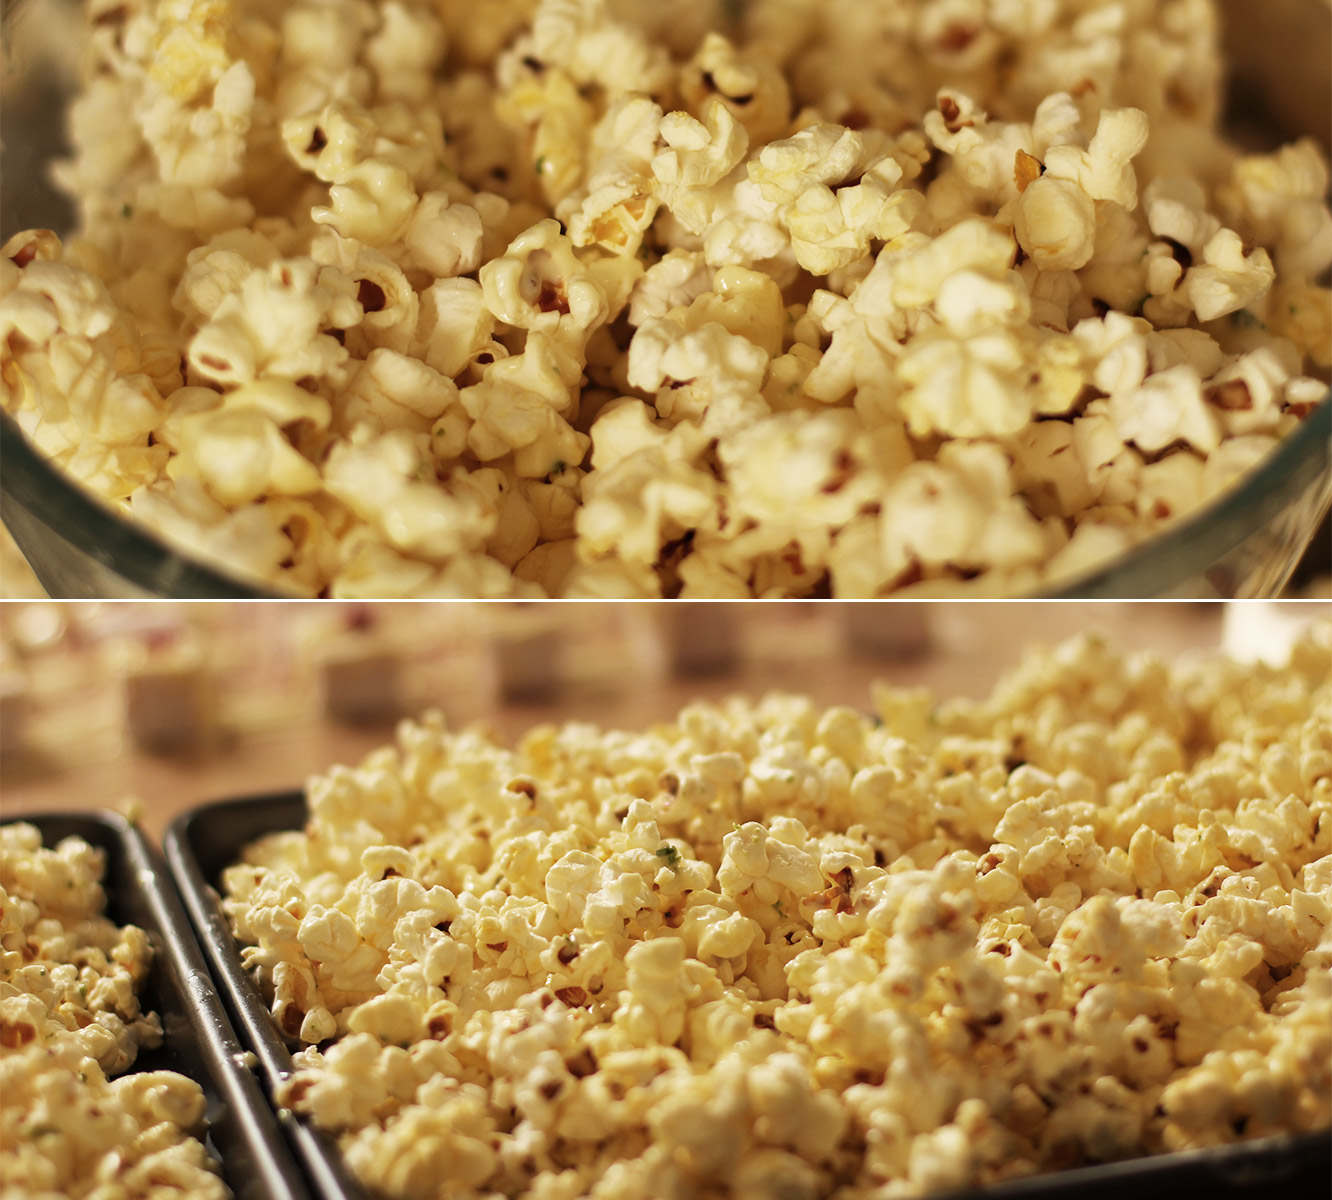
Stir in the chocolate as well as you can and spread out on baking trays to set. The chocolate won’t fully harden because of the oil but it’s nice that way, I promise.
That’s all folks.
Final instalment next week – the bringing of everything together.
SO. I have been remiss. Friends, stalkers, I’m sorry. I didn’t mean to leave you sans blog for two whole weeks. Finishing off my graphic design portfolio kind of consumed my health, social life, eating habits and ability to hold a conversation.
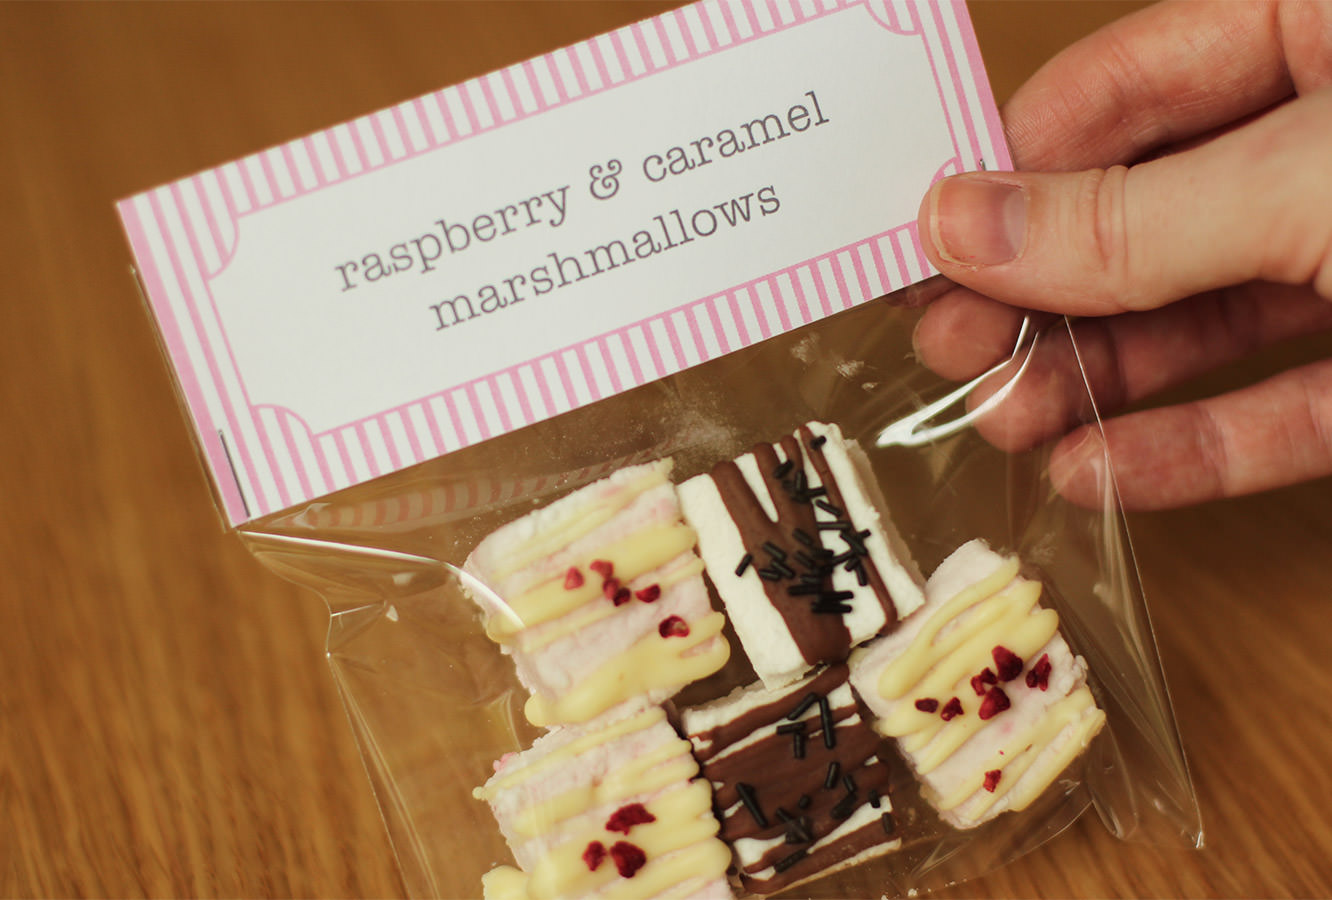
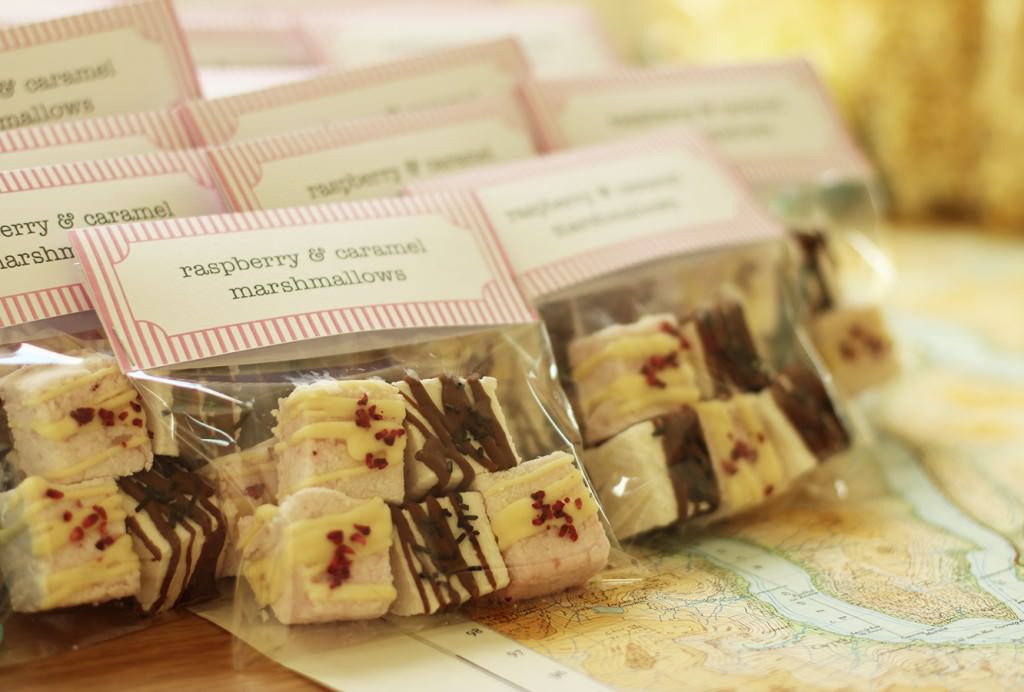
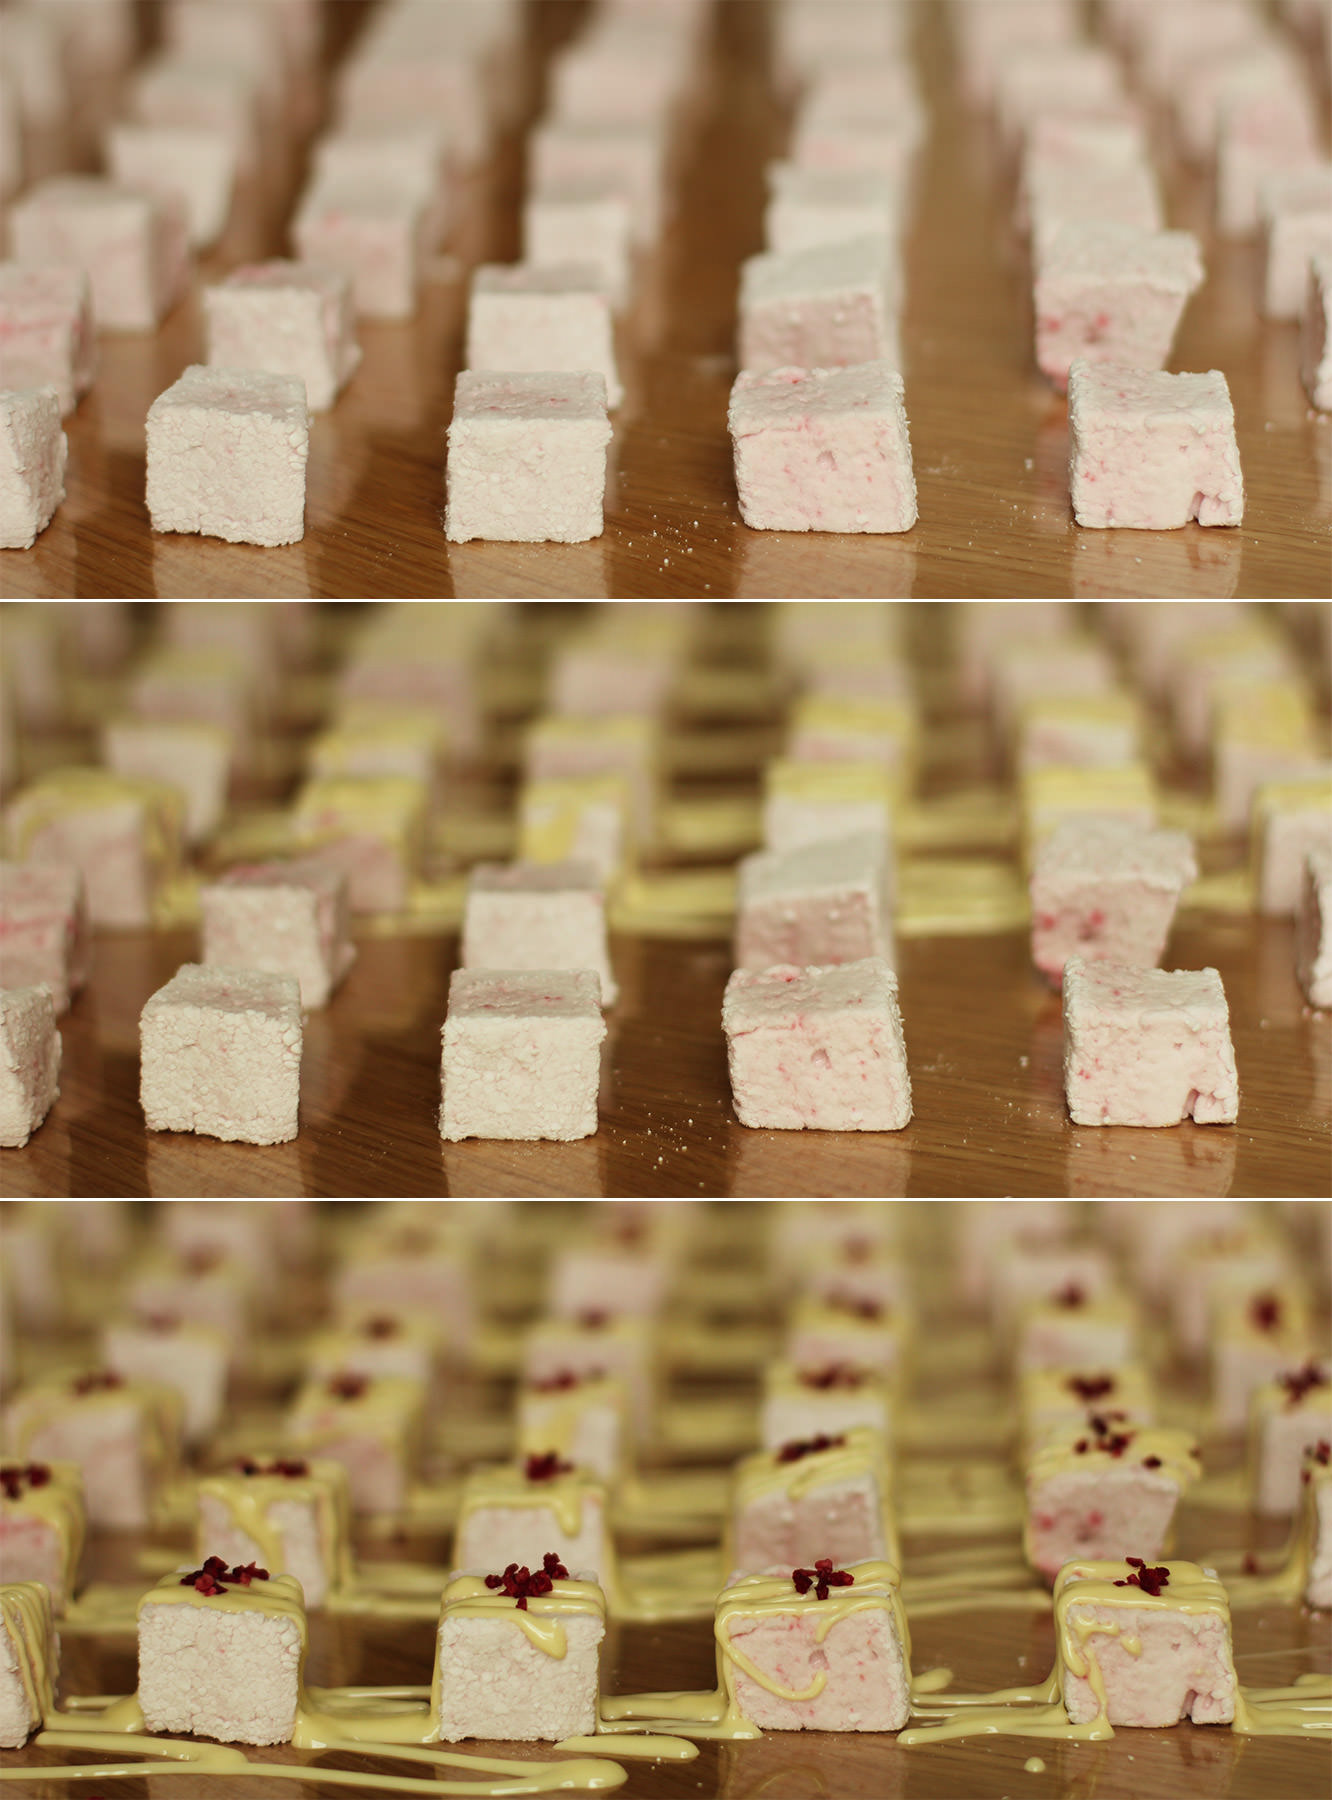
But that’s done now, and I’m back. Picking up where I left off with Vicky’s hen do favours. This week it’s raspberry and white chocolate, and chocolate caramel marshmallows. Not exactly the first time I have made marshmallows on this blog. I really want you to make marshmallows guys.
You will need
For the white chocolate and raspberry marshmallows:
9 gelatine sheets
350g/12 oz granulated sugar
2 egg whites
1 tbsp liquid glucose (you can find this in a squeezy toothpaste type tube in the baking section)
150g/5 oz raspberries
150g/5 oz white chocolate
Freeze dried raspberries (optional)
For the caramel and chocolate marshmallows:
9 gelatine sheets
300g/10.5 oz granulated sugar
2 egg whites
1 tbsp liquid glucose
2-3 tsp caramel extract (I got buttery caramel from natural professional flavours at Lakeland)
150g/5 oz milk chocolate
Cellophane card bags x 30
(makes enough for 30 favours, 150+ marshmallows)
I’ll go ahead and walk you through the process for the caramel ones then pop the changes for the raspberry below.
Step one
In a cereal bowl, soak the gelatine in 150ml/5 fl oz cold water. Set aside.
Step two
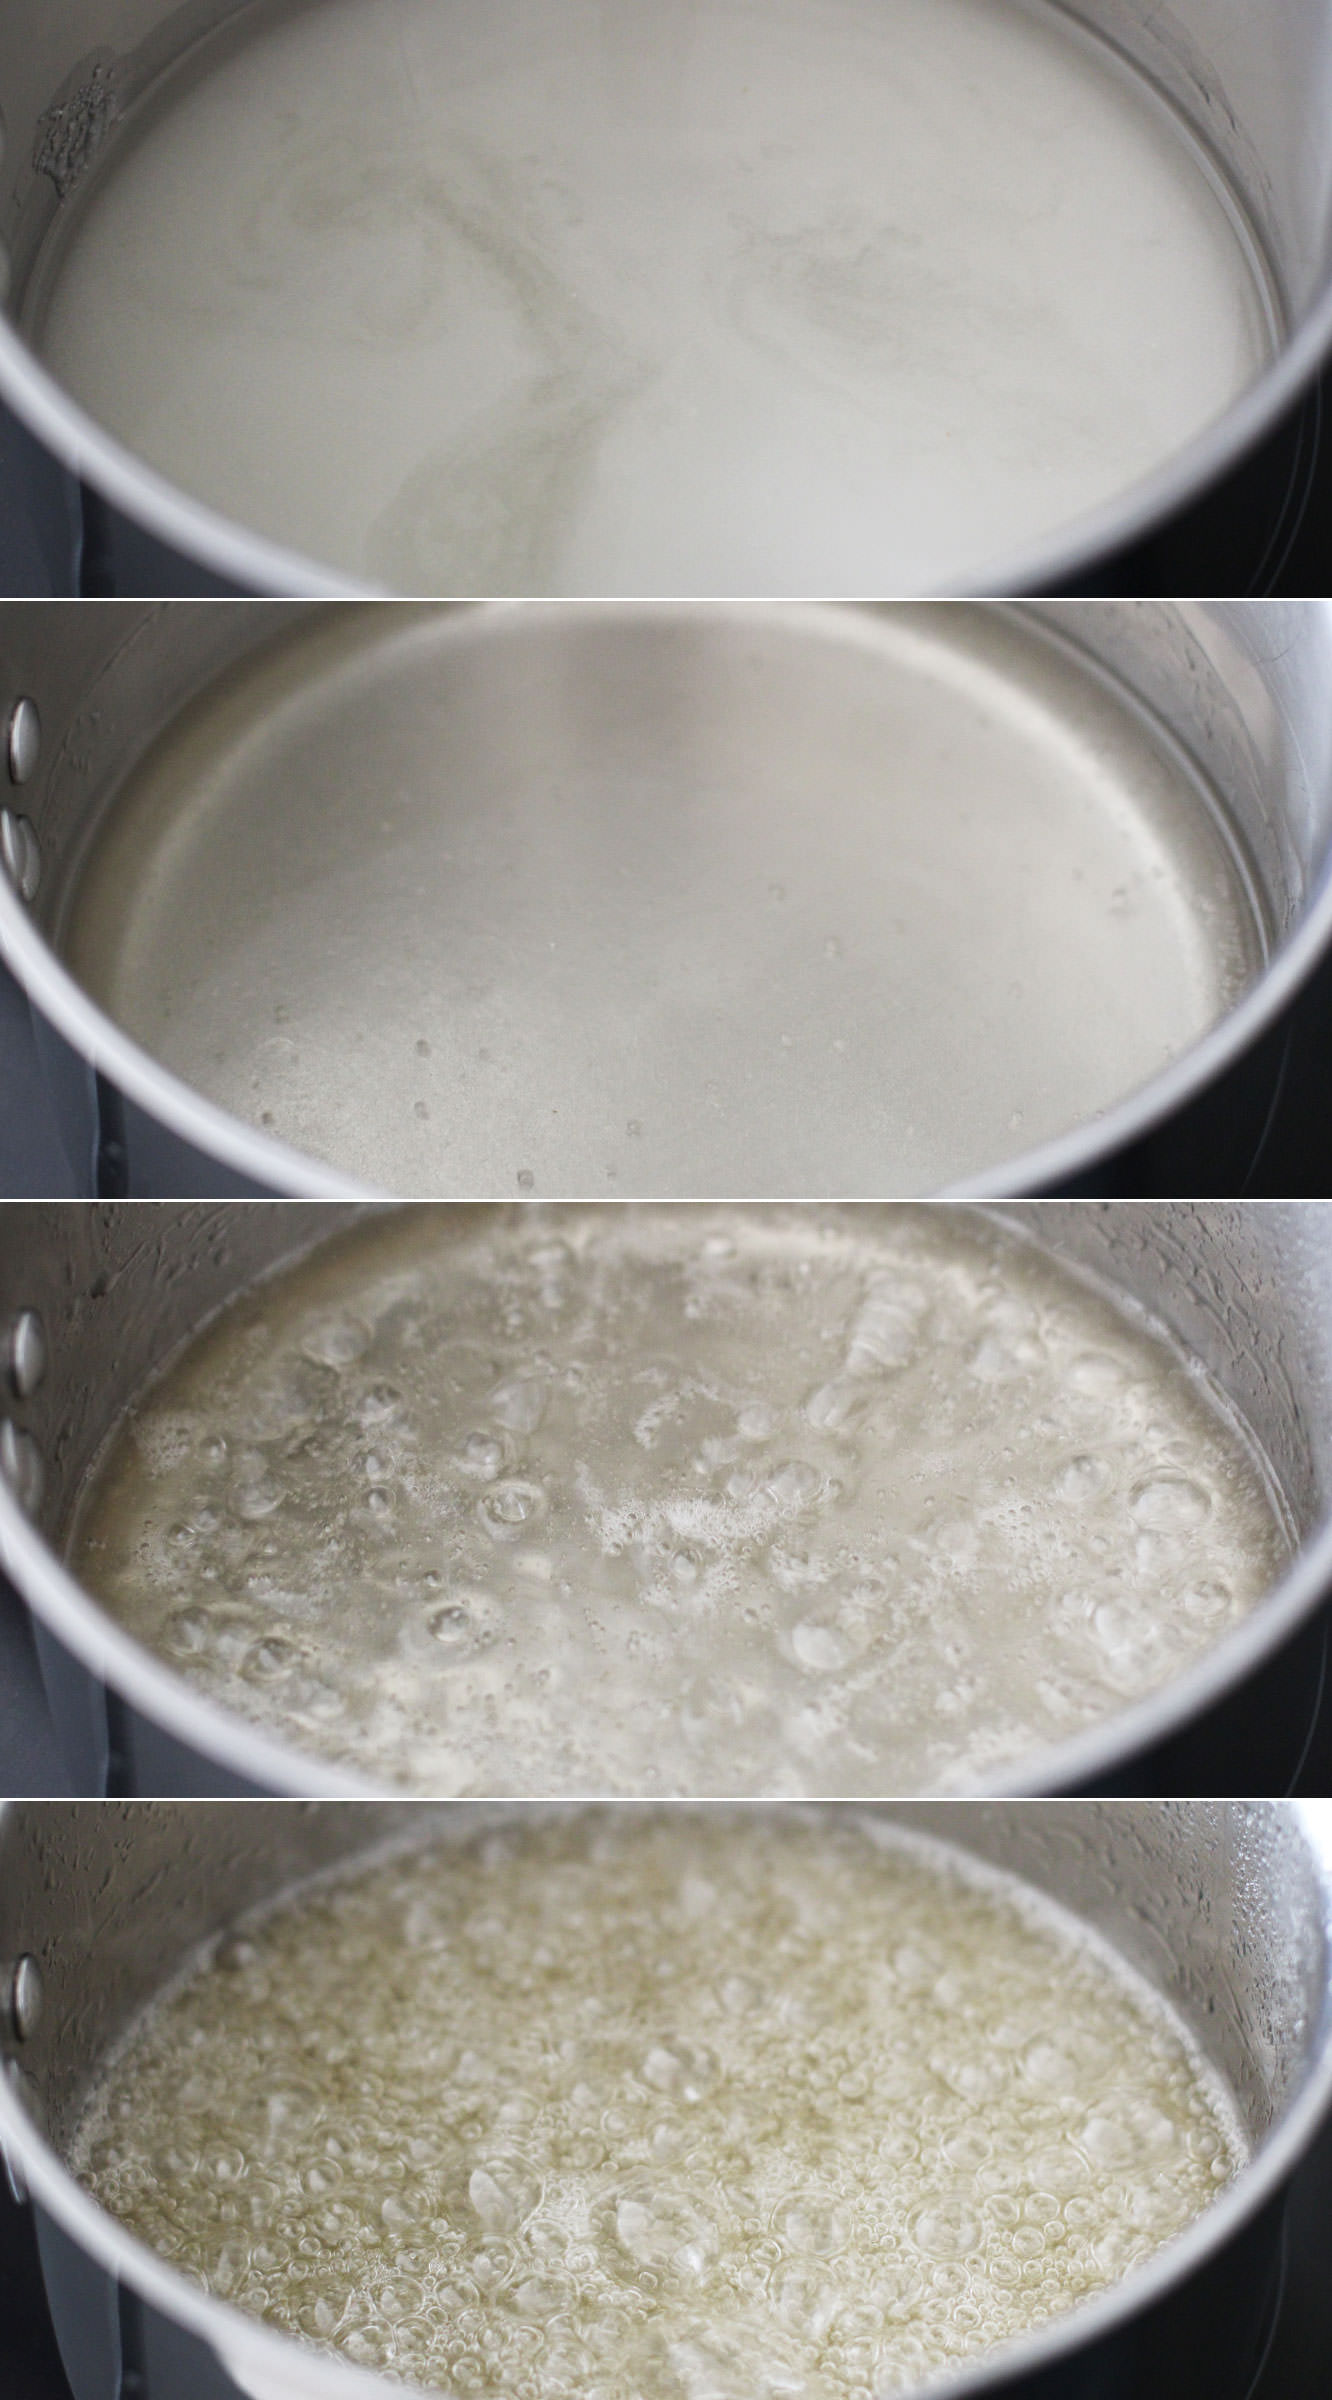
Combine the sugar, 150ml/5 fl oz water (different to the gelatine water) and the liquid glucose in a smallish saucepan.
Allow the sugar to dissolve on a low heat, and then turn it up to medium-high. Watch yourself buddy, you’re boiling sugar right now, don’t hurt it or yourself.
The temperature you want this to get to is 118 C. It will feel like it will never get there, but stay strong.
Step three
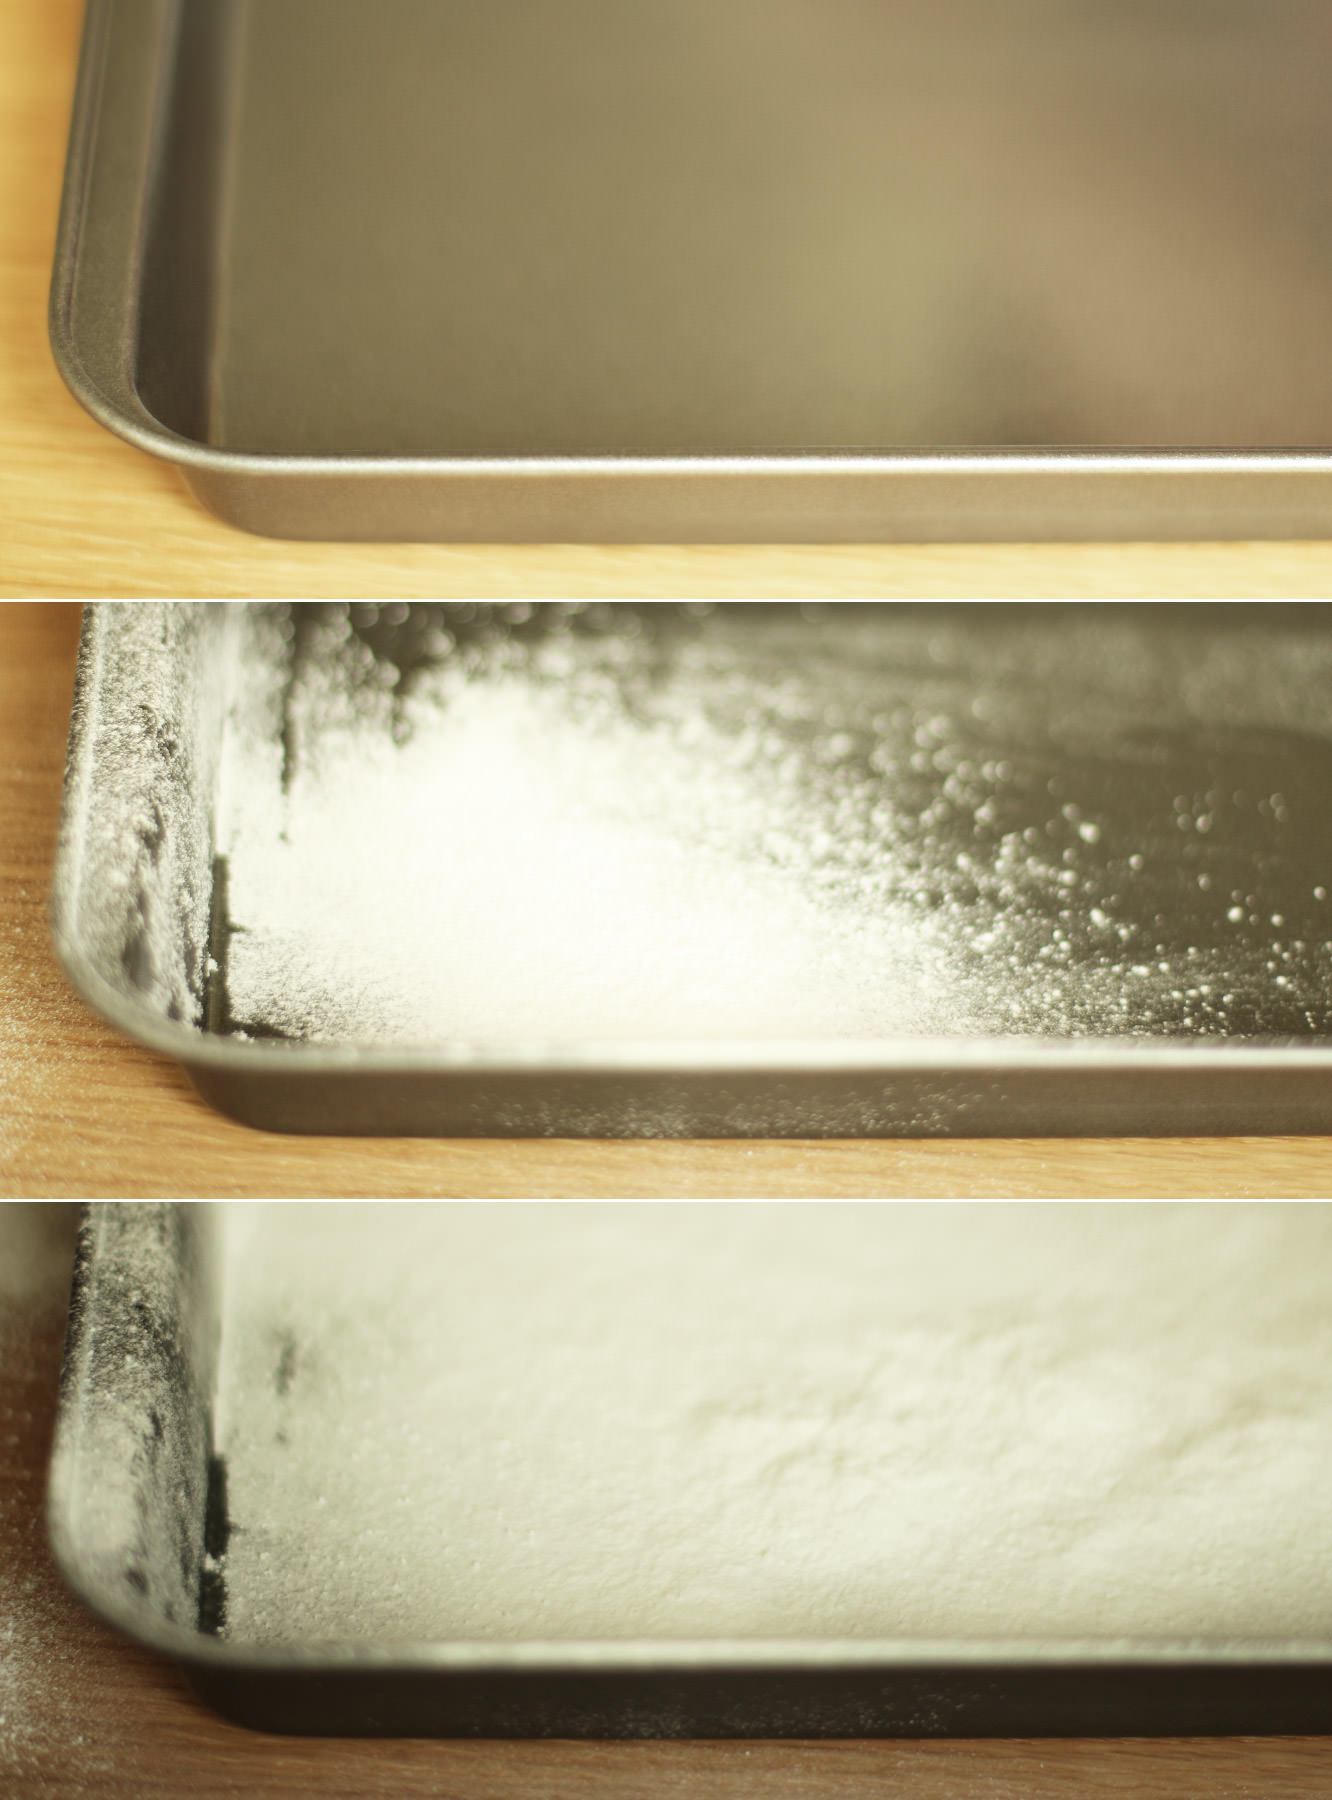
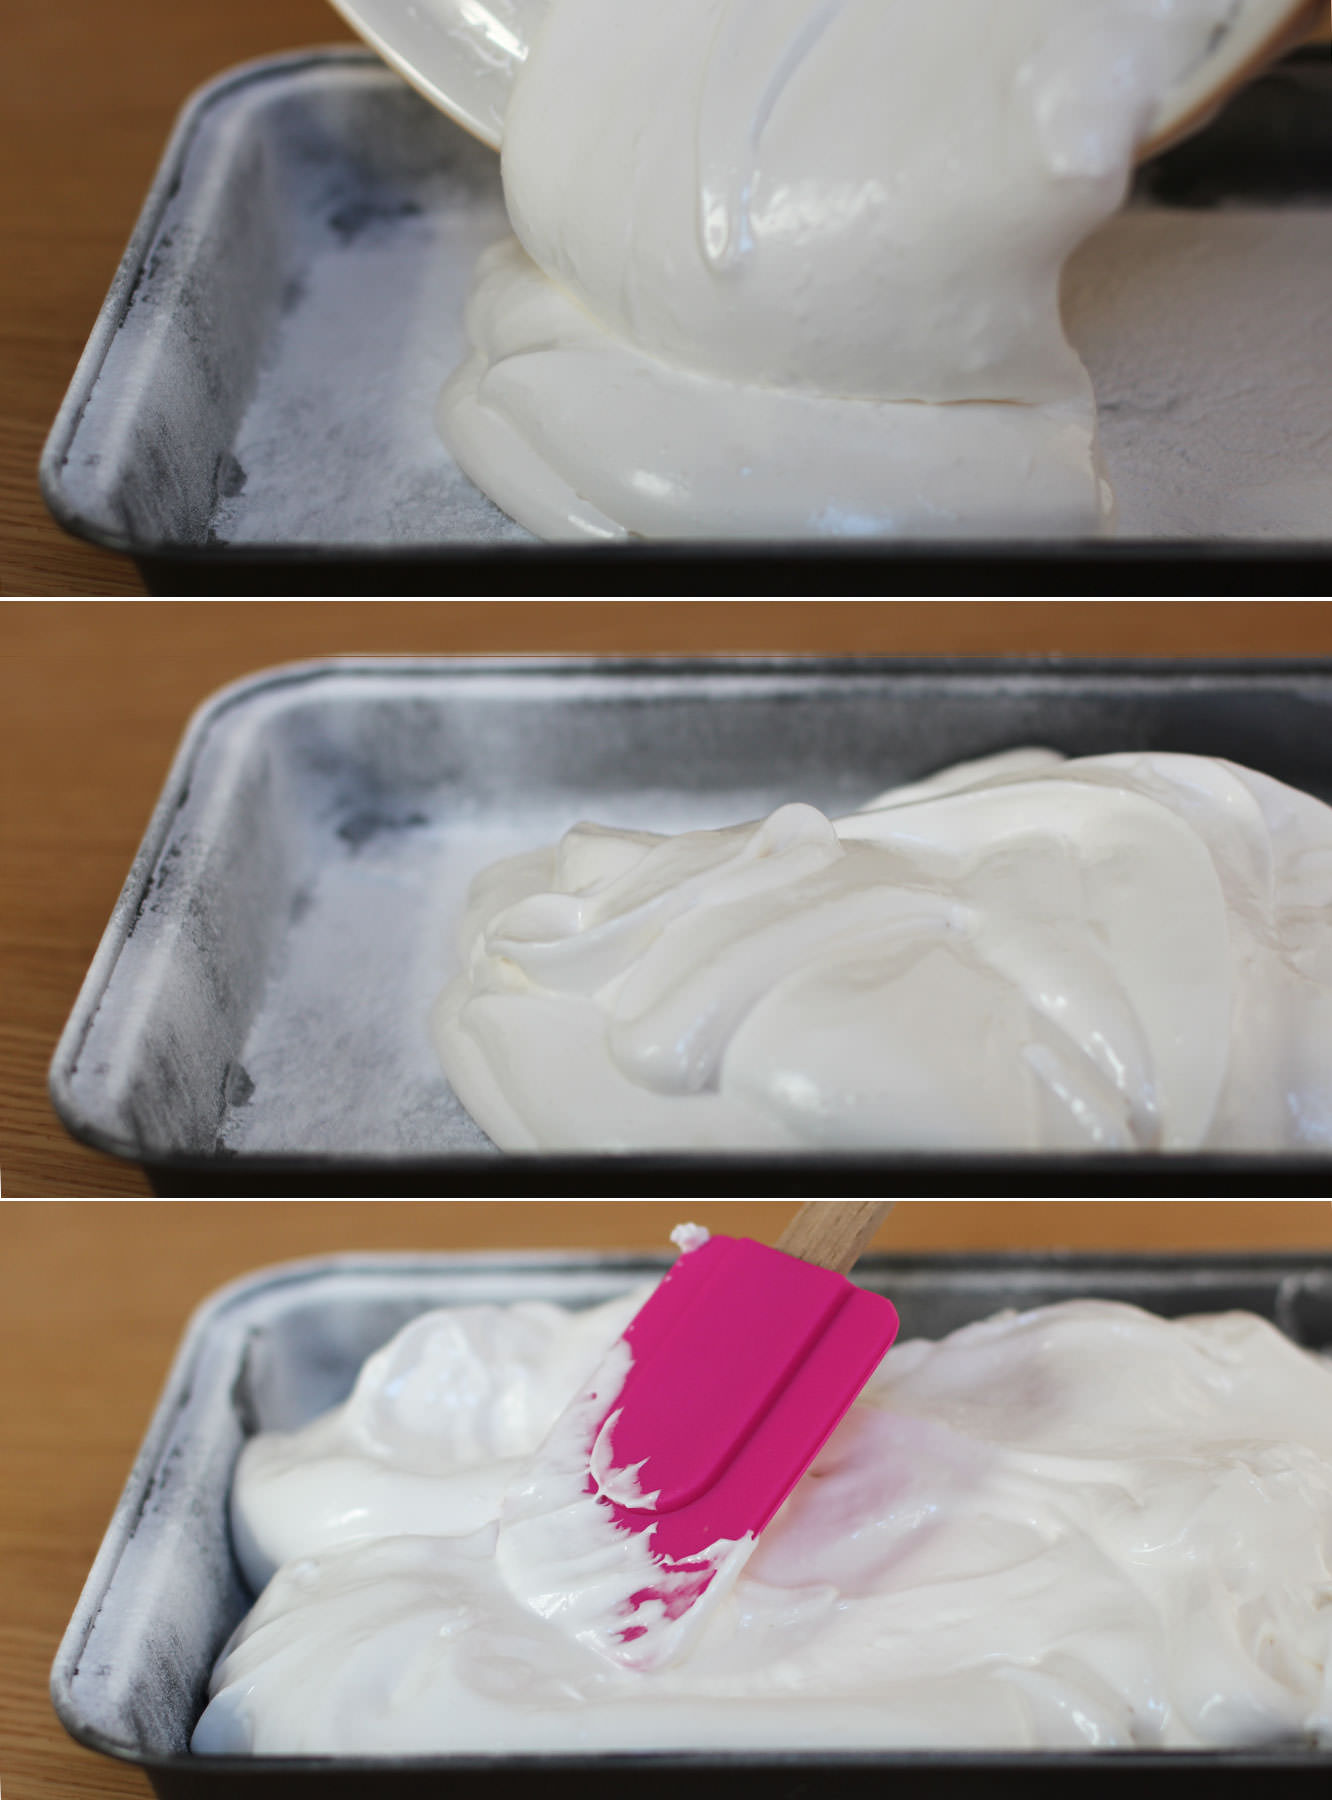
While the sugar is bubbling you can take a moment to dust your brownie tray with icing sugar. Add a small amount of olive oil first so it sticks.
Step four
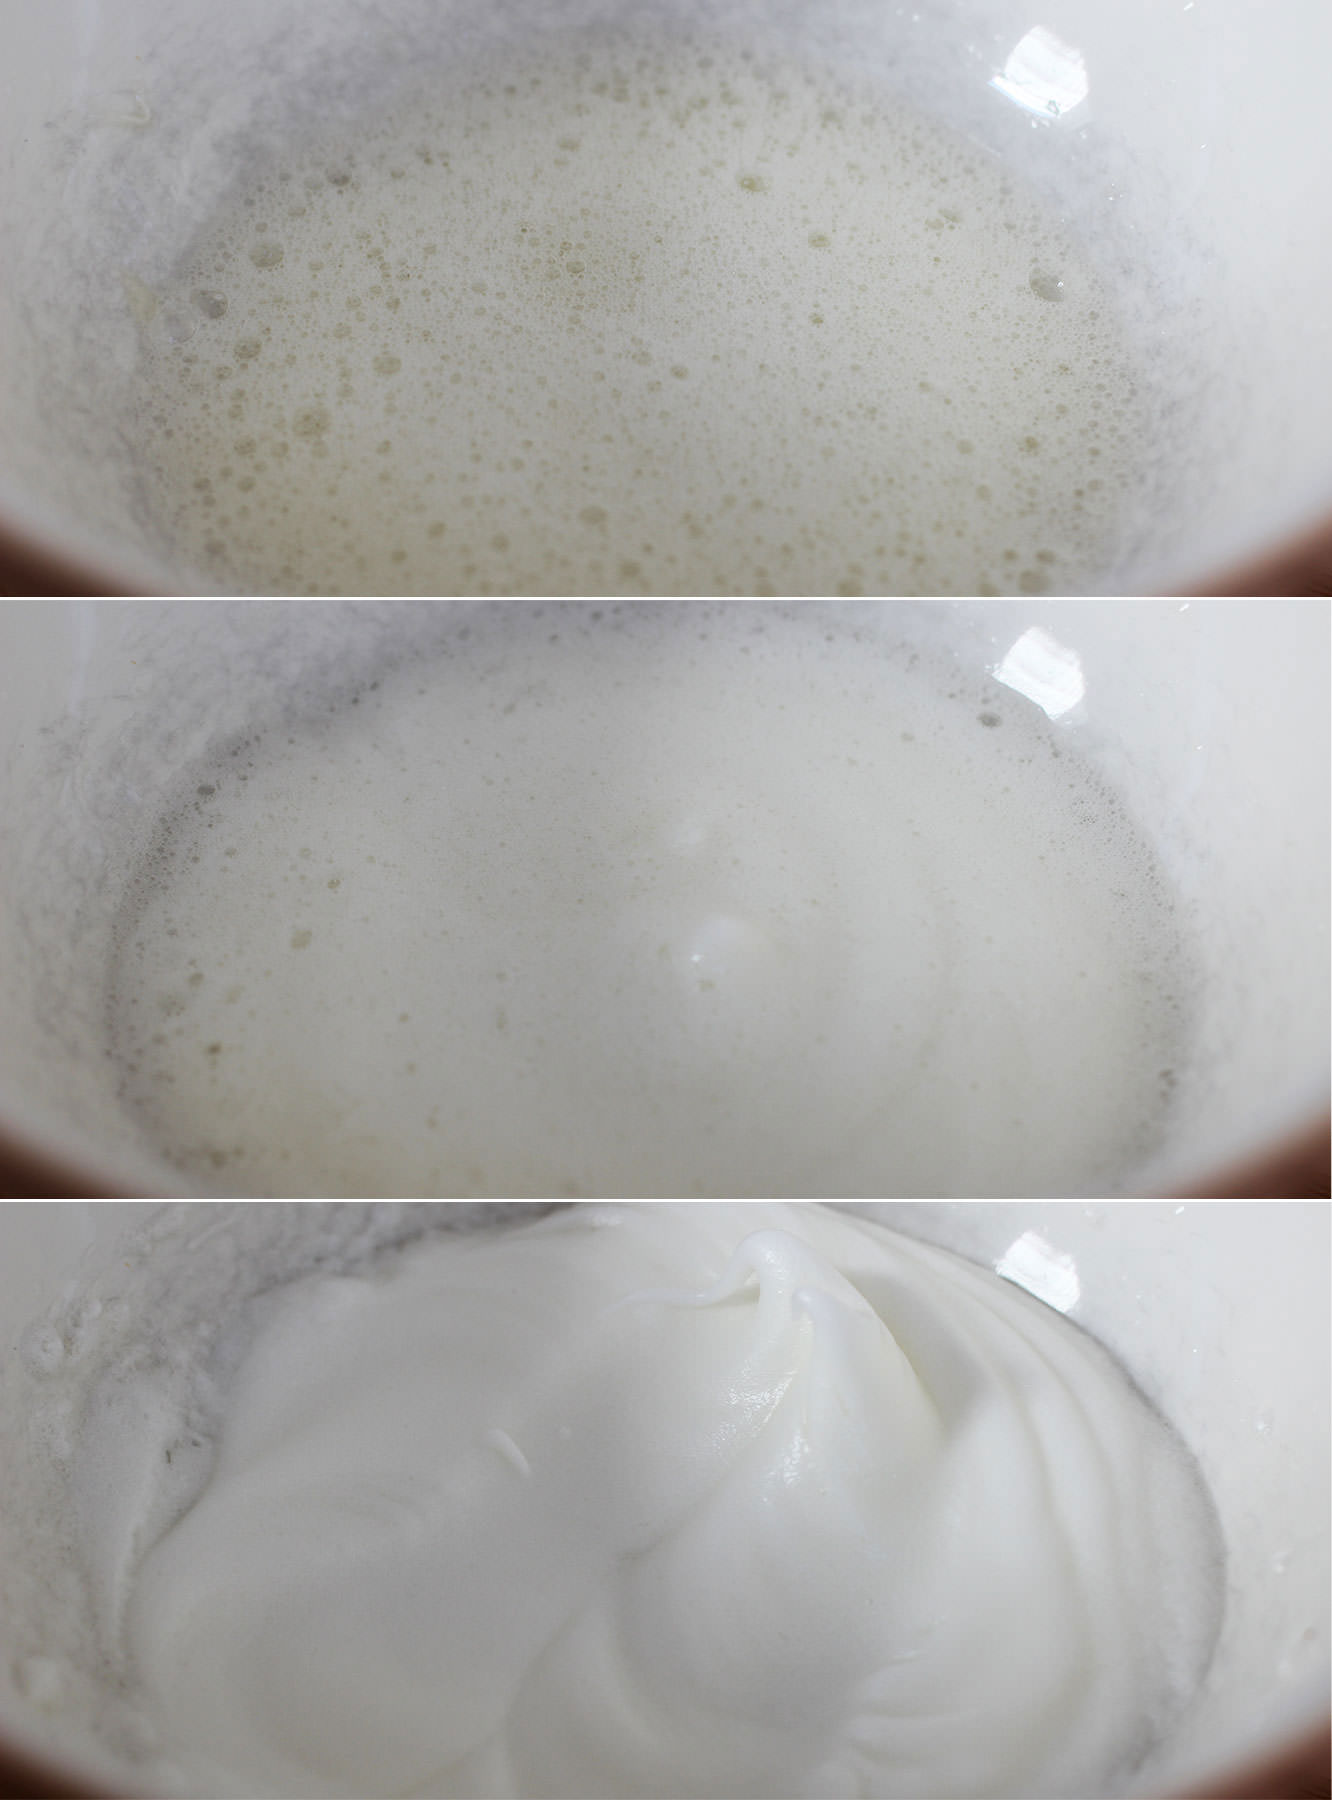
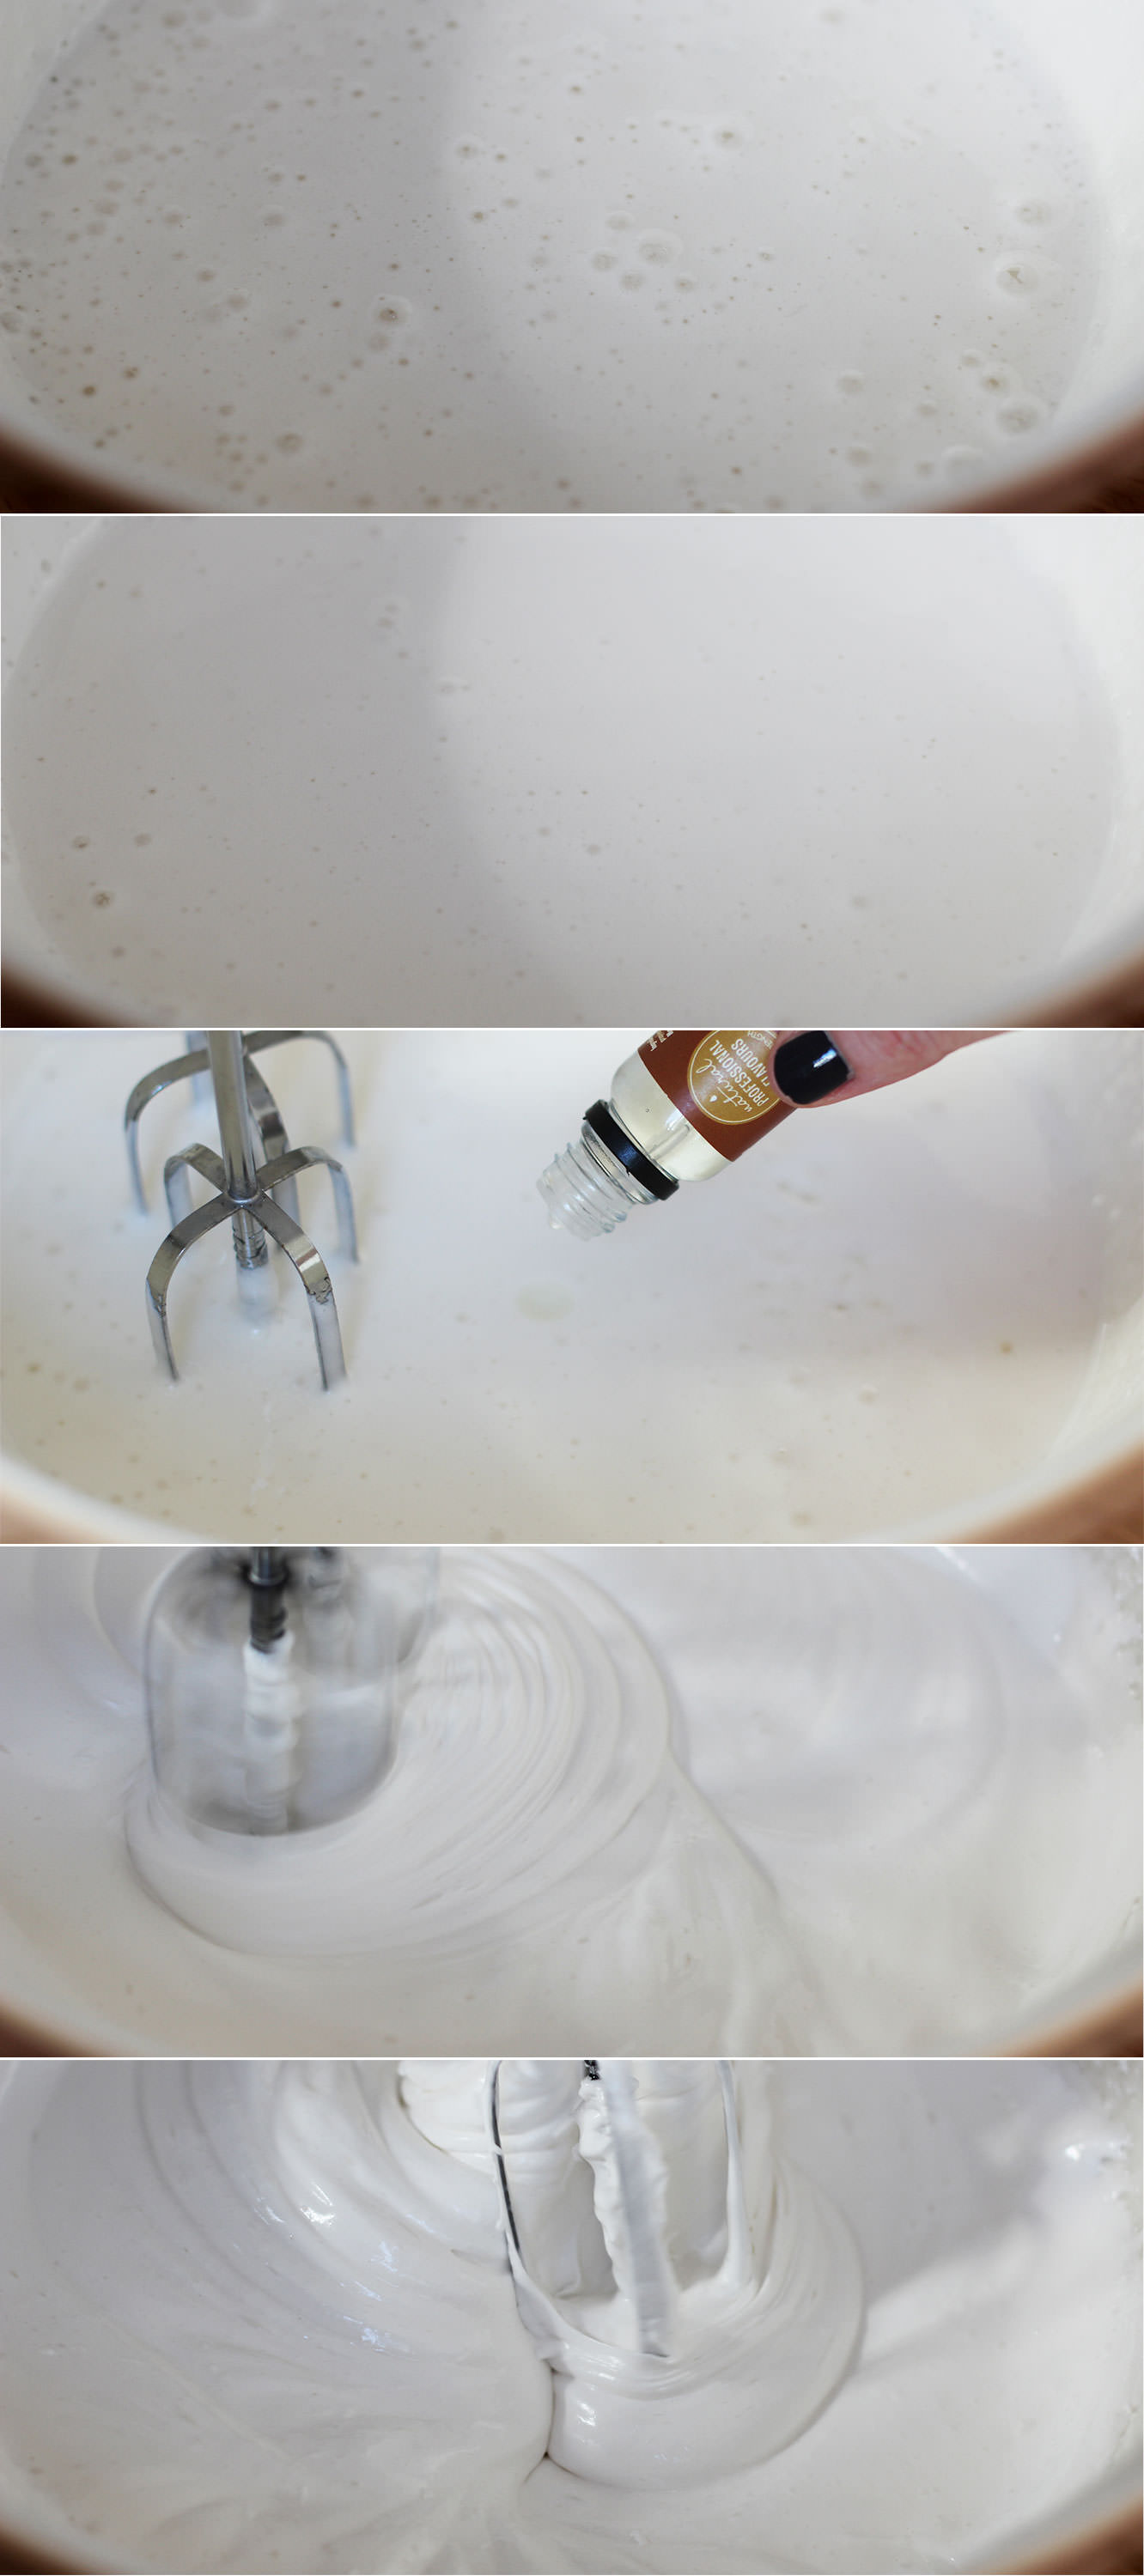
When the sugar gets to somewhere around 112-115C whisk the egg whites into stiff peaks. Take care not to use a ceramic bowl else you will get grey marks like I did. Glass or metal though and you’ll be golden.
Step five
When the sugar reaches 118C take it off the heat.
Squeeze the gelatine out a bit and add it to the sugar mix. It will bubble right up so don’t panic. It should settle pretty quickly.
Step six
Pour the hot sugar into the eggs, but make sure you’re whisking continually to avoid a big lump of sugar at the bottom of the bowl.
Whisk until the mixture holds its shape well and is quite thick. This can take up to ten minutes.
Somewhere during the whisking (probably when you need to give your arm a rest) add the flavouring. I used buttery caramel (as mentioned in the ingredients) but they will take basically anything you fancy.
Step seven
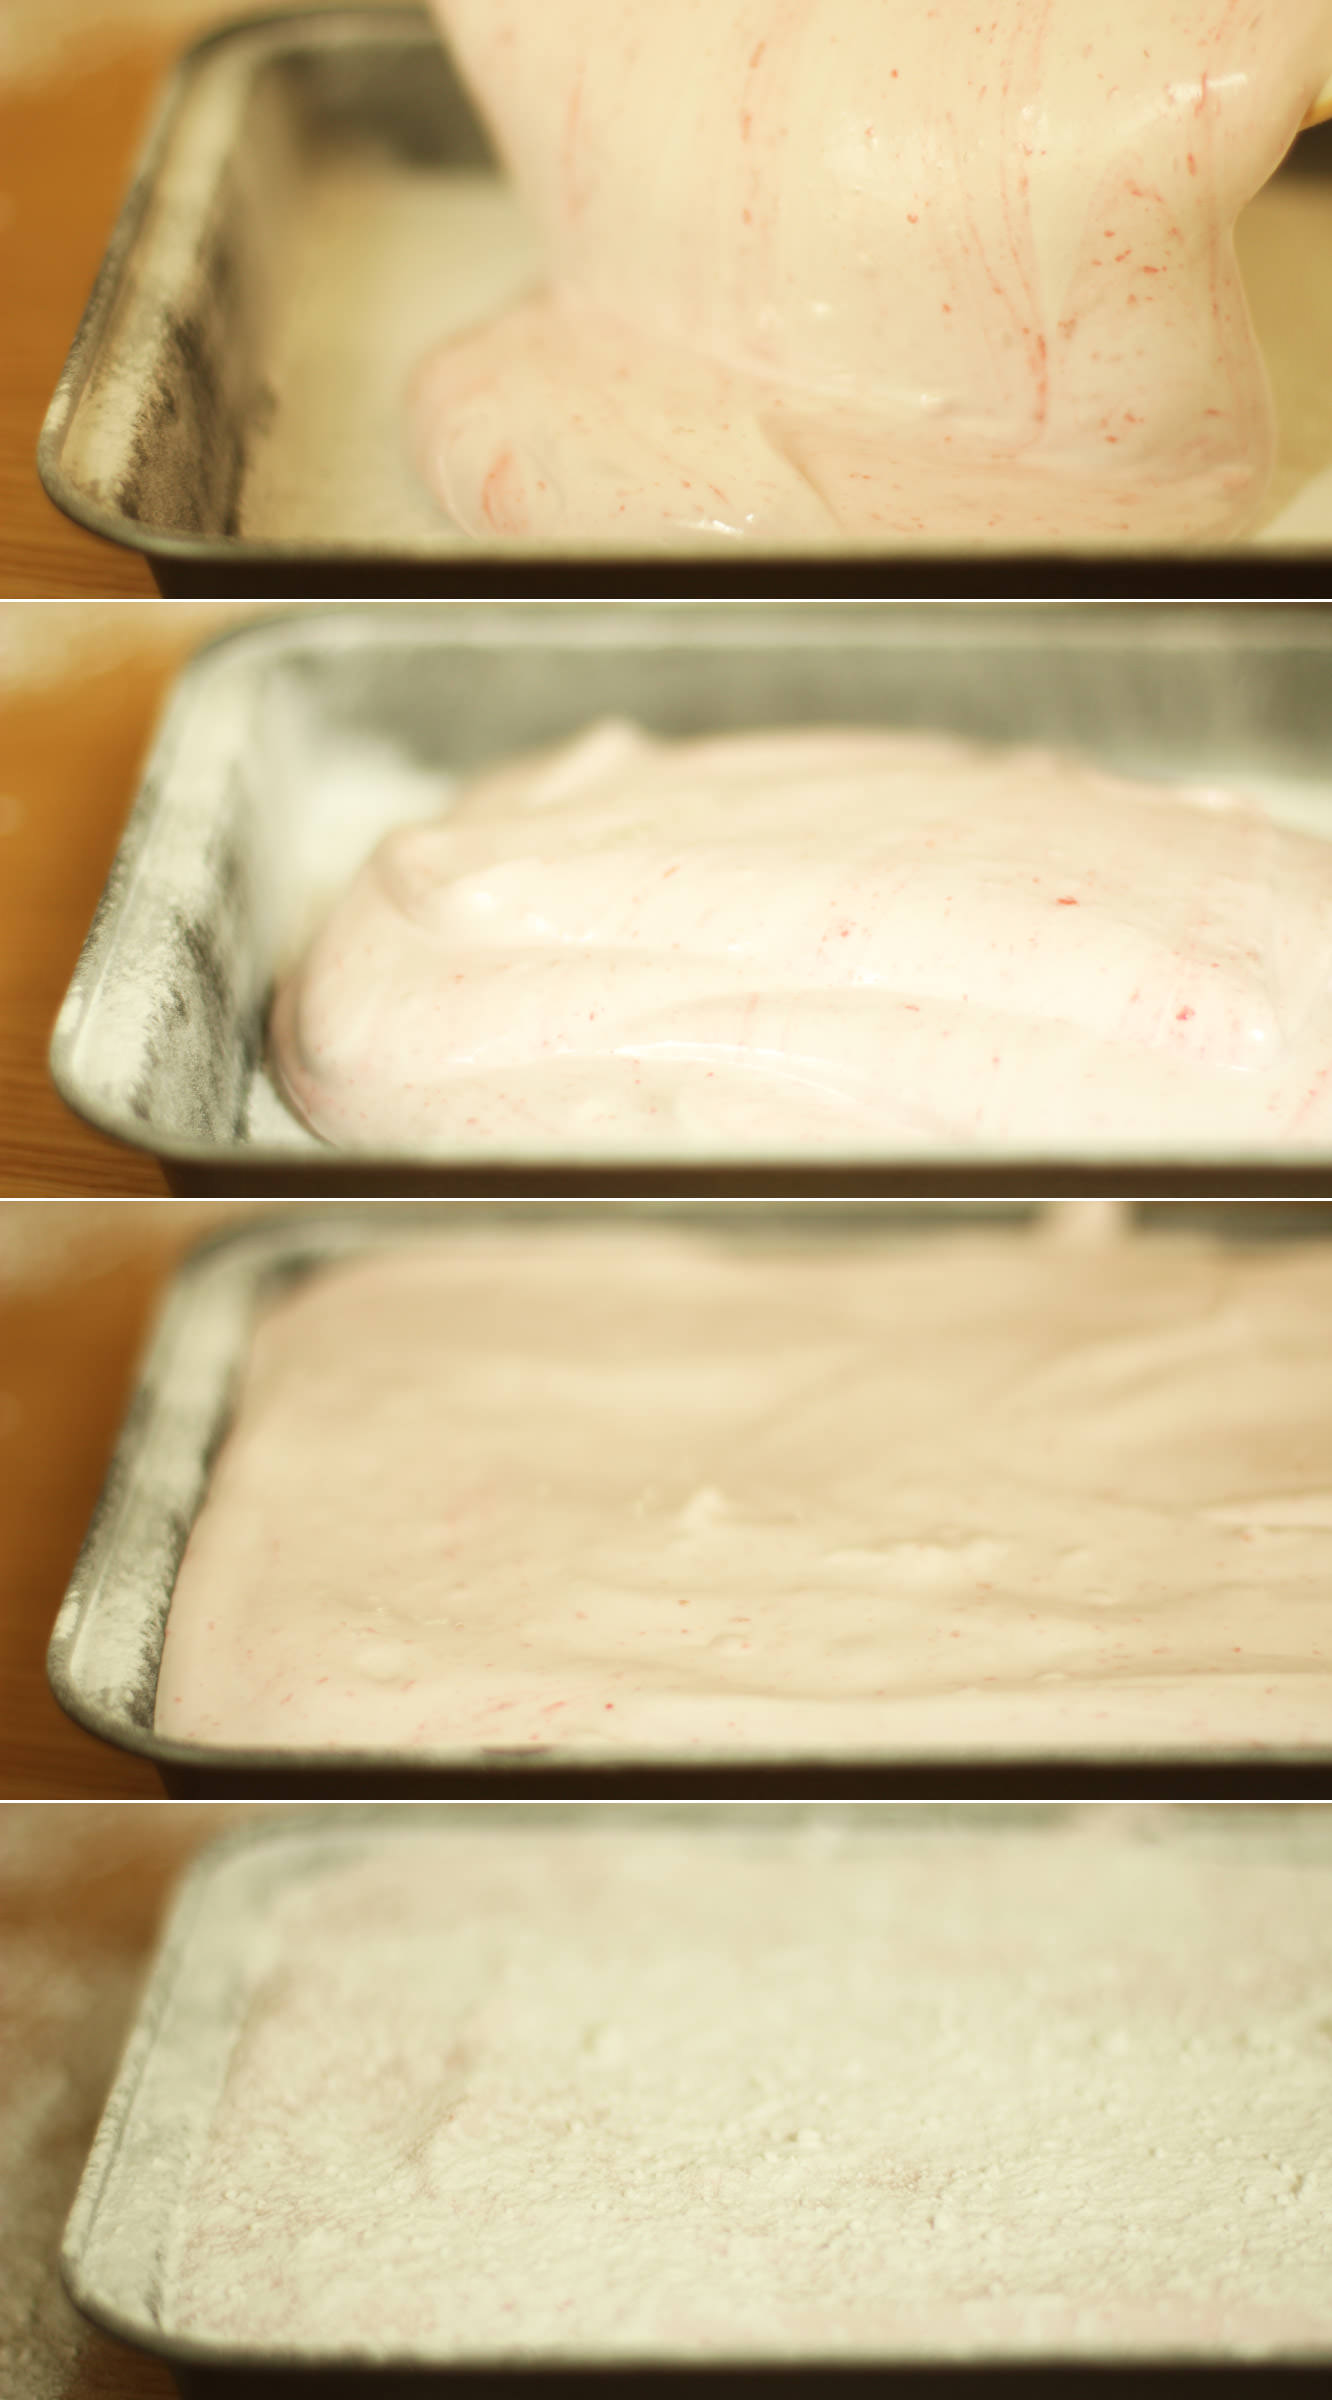
Pour the mixture into the prepared tin and smooth out as much as possible.
Dust with icing sugar and leave to set for about an hour.
For the raspberry and white chocolate marshmallows
Step eight
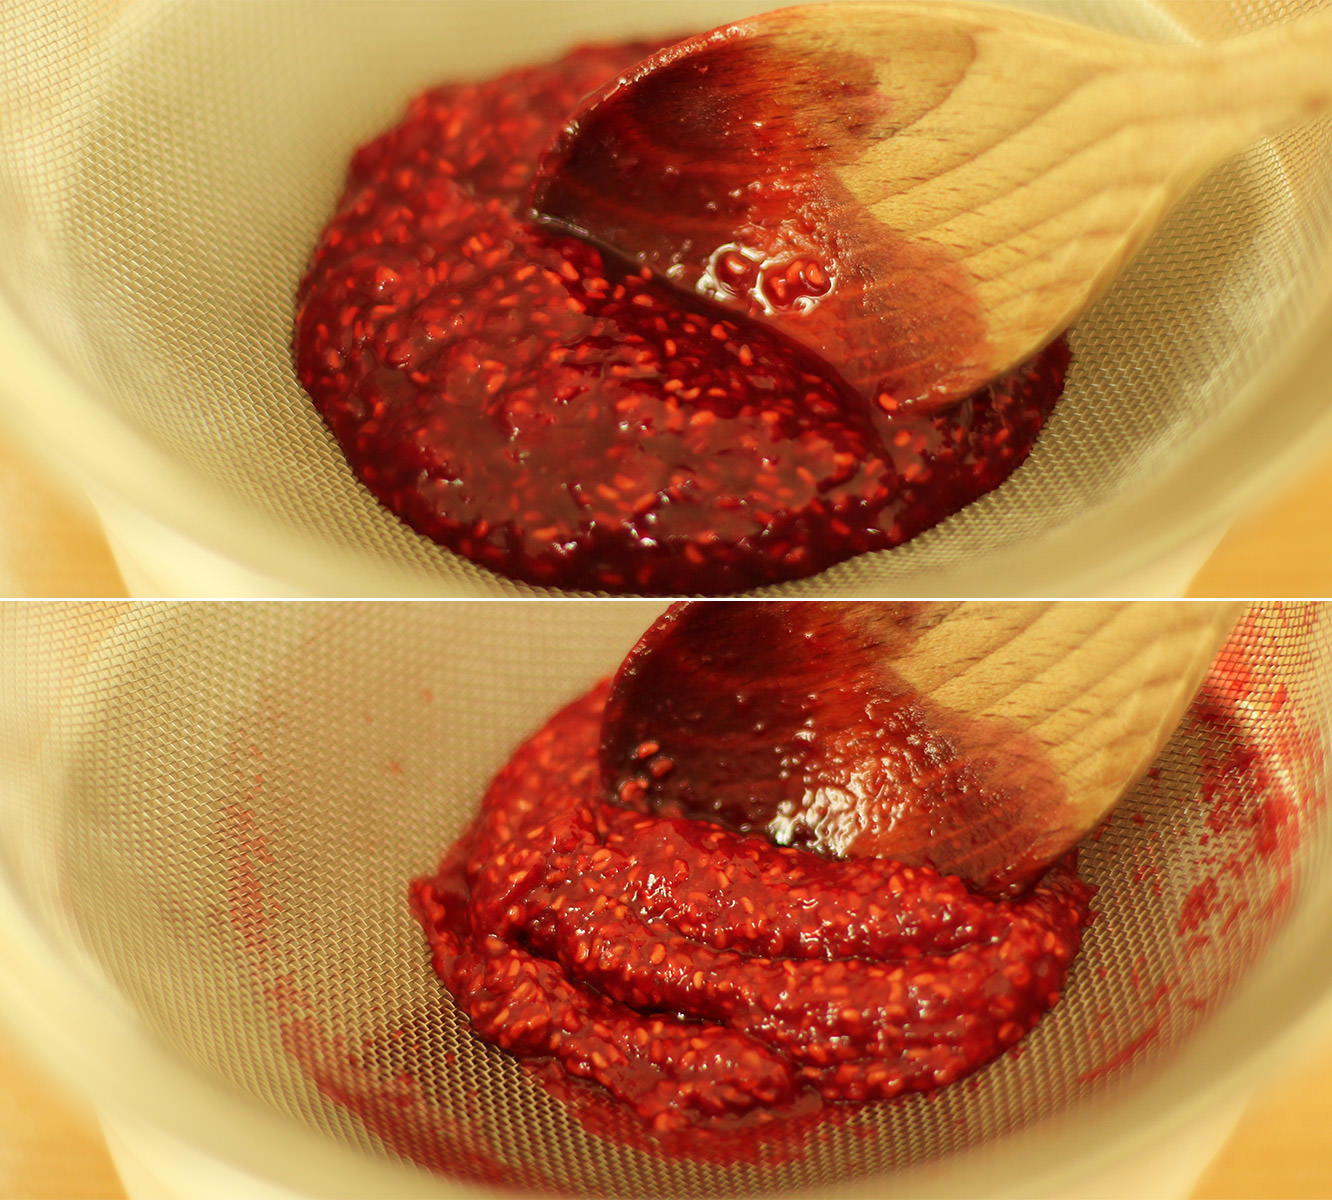
Before starting the marshmallow mix make a puree by adding the raspberries, 50g of the granulated sugar and half a tablespoon of water to a small saucepan.
Heat on a low heat until bubbling away happily. Stir while the mixture reduces (looses water) for about 5 minutes.
Step nine
Strain though a sieve to remove the pips. It may need a little stirring for encouragement. Don’t forget to scrape the excess off from the underside of the sieve before throwing away the pips.
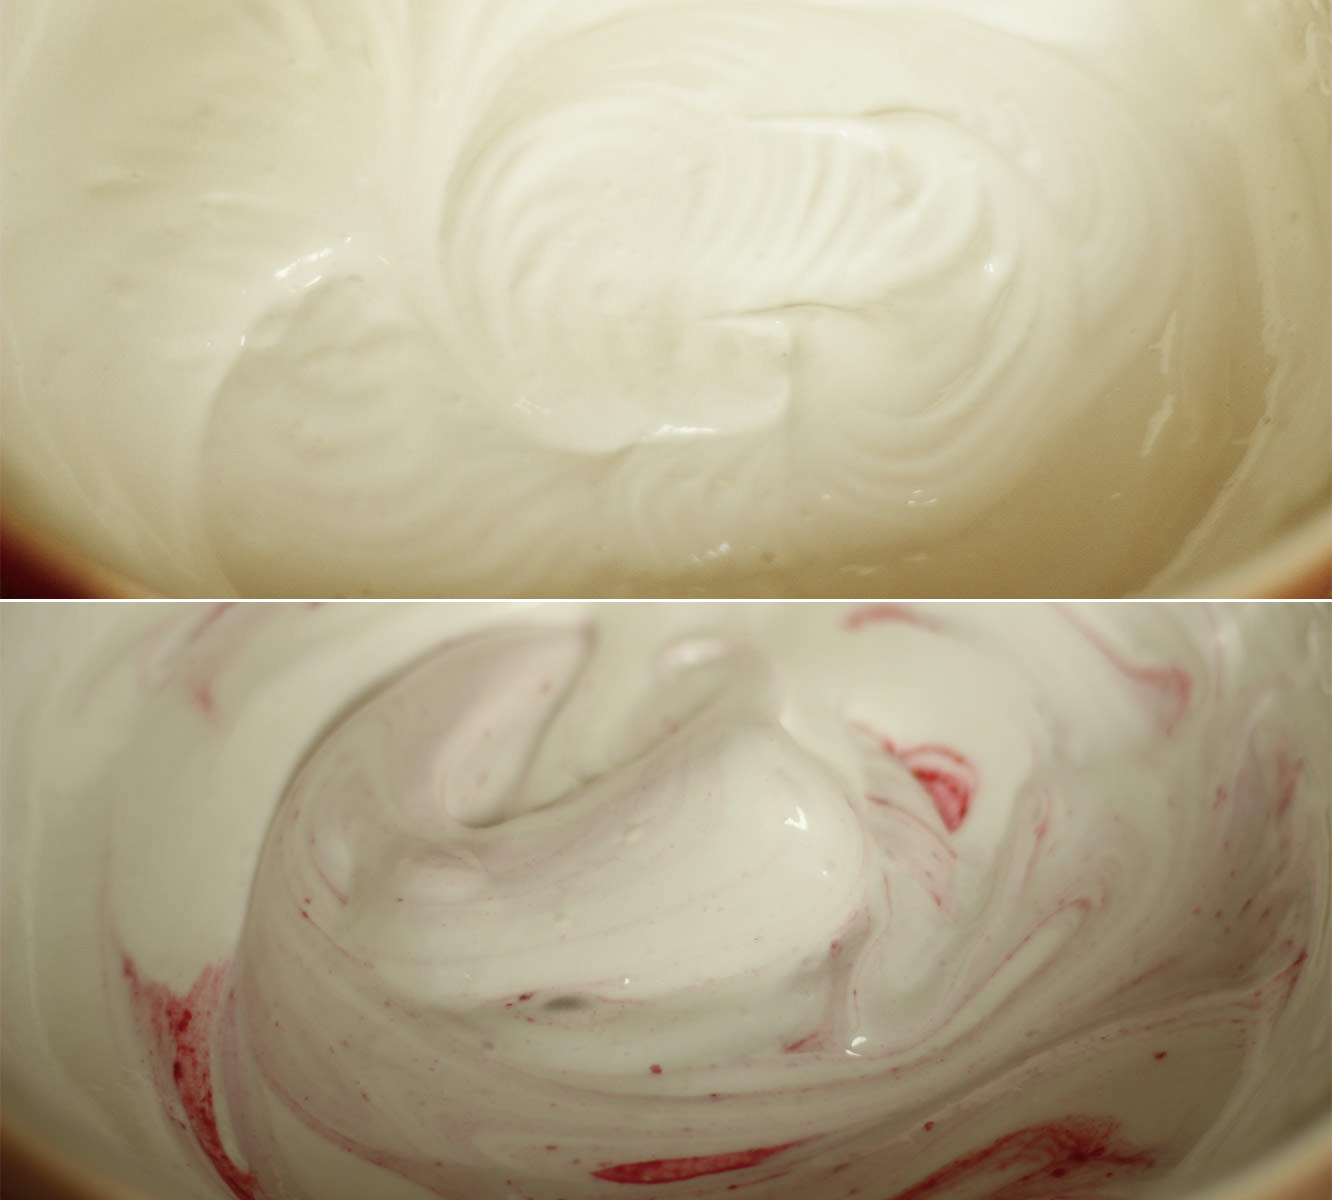
Step ten
Follow the same steps at the caramel recipe, but instead of adding the extract, stir in the puree. I saved this to near the end to keep a bit of a ripple effect.
Step eleven
Pour into a second dusted brownie tray and leave to set.
Step twelve
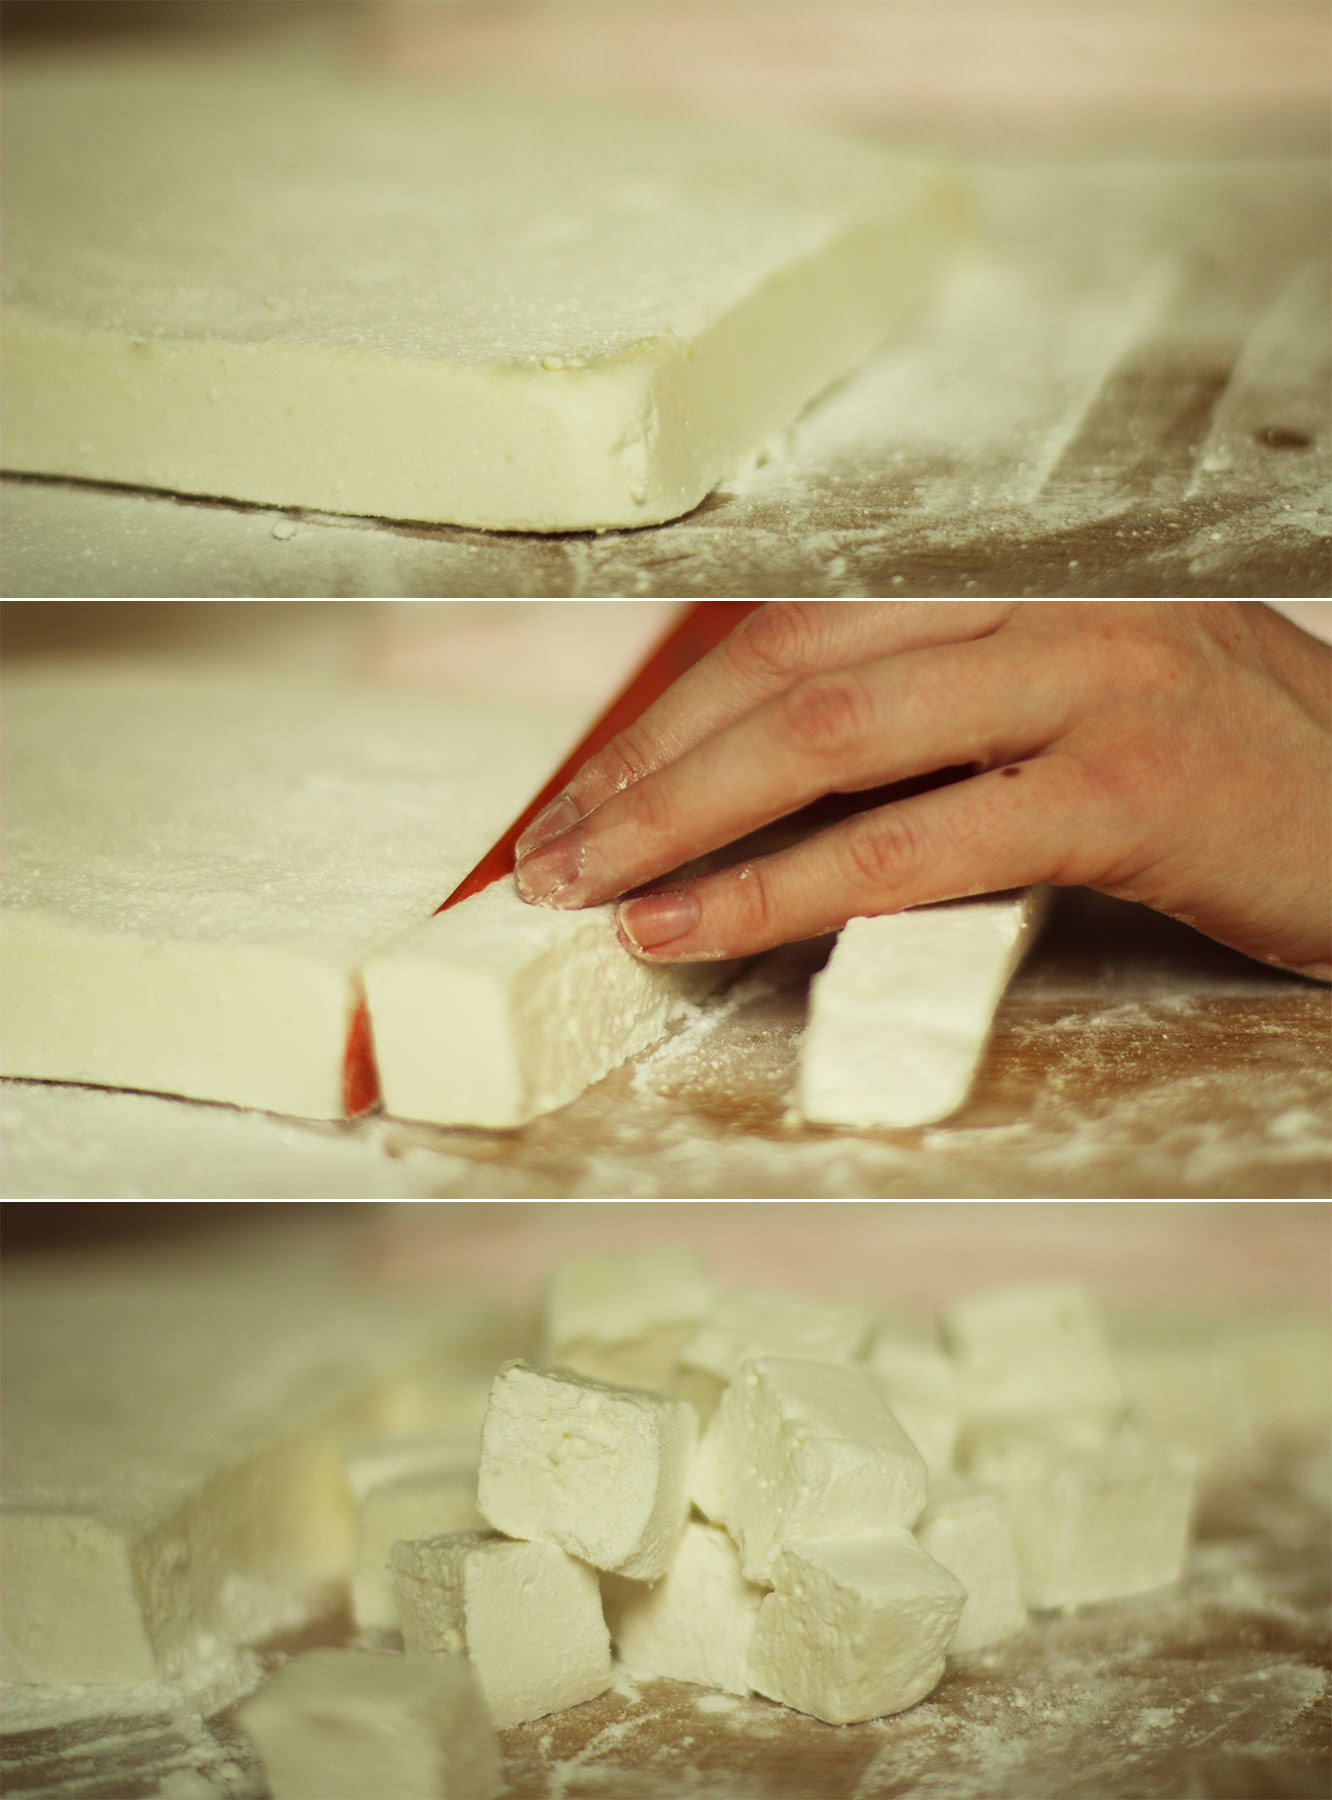
Once the marshmallows have set (at least an hour, preferably more) turn them out onto a surface dusted with icing sugar.
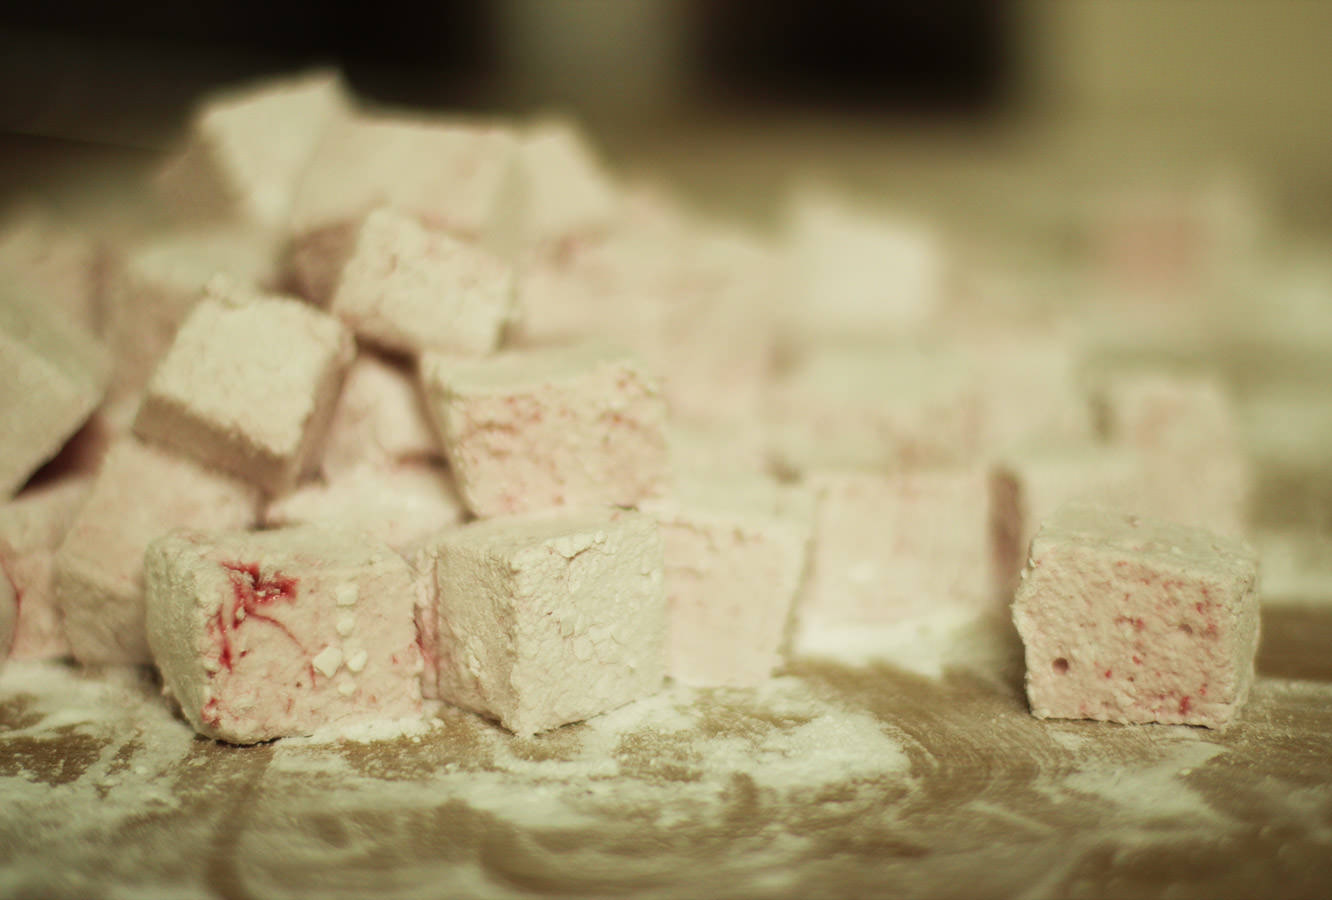
Cut them into cubes, and dust all the sides. Don’t worry if they are a little sticky, they will dry out a bit more.
Try not to eat them all just yet.
Step thirteen
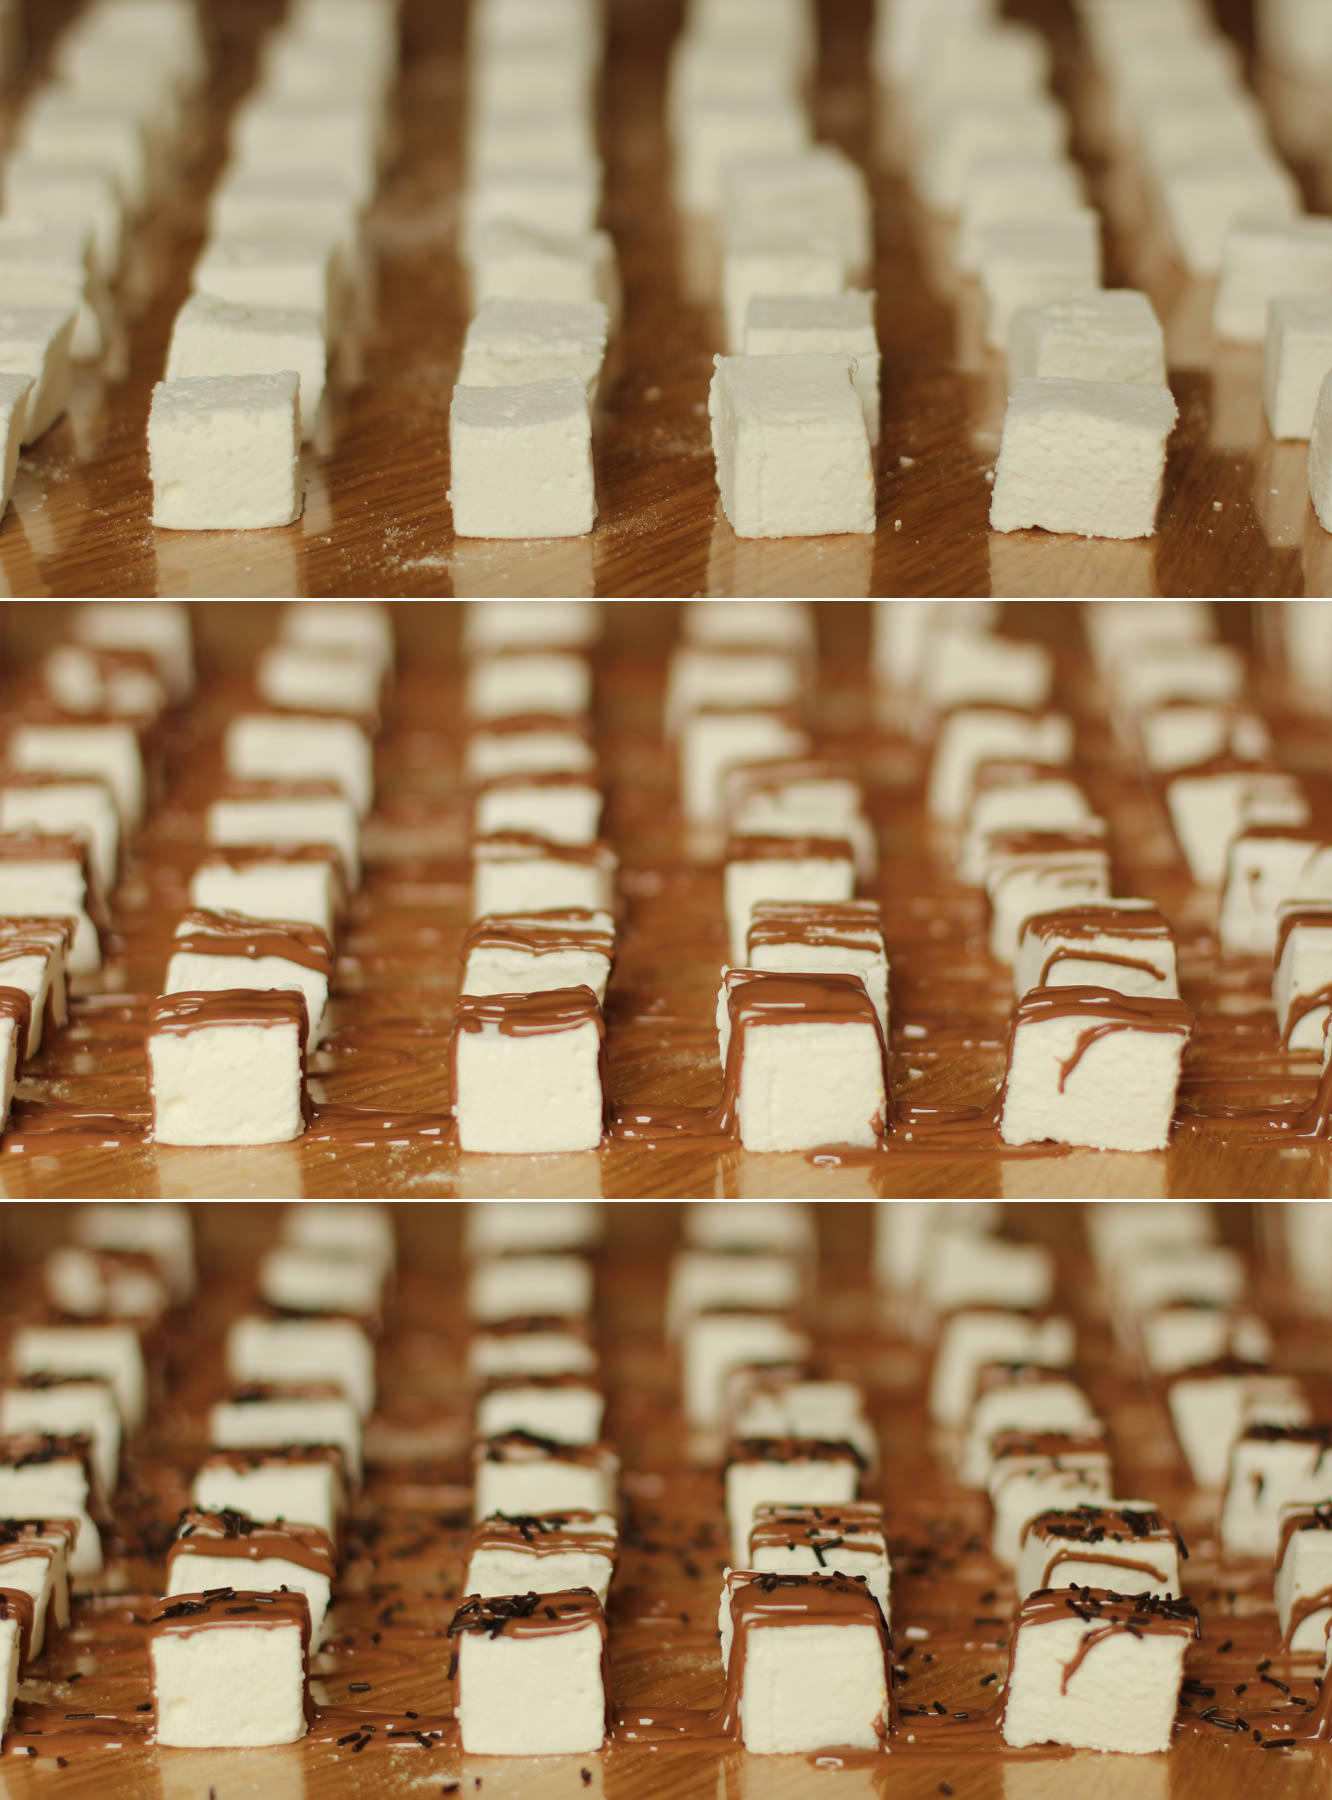
Lay the caramel marshmallows out in rows on greaseproof paper or cellophane and melt the milk chocolate. I used a piping bag to drizzle the chocolate over the marshmallows, you could use a sandwich bag and snip the corner.
Step fourteen
Repeat with the raspberry and white chocolate marshmallows.
Step fifteen
Once the chocolate has set place 5 in each bag, 2 of one flavour, 3 of the other, alternating as you go so you don’t run out of one.
As I mentioned last post I’ll be doing a wrap up post with all the finishing touches, so stay tuned for that. For now, here’s our lovely hen chowing down:
Hi there. First off, apologies are in order. I missed my Monday night slot this week. I am deeply entrenched in finishing my portfolio and got really, really, involved in designing a book cover, more on that another time.
ANYWAY. My lovely housemate Vicky had her Hen Party a few weekends ago. Sadly I had something I had booked up a year in advance to go to so I couldn’t make it. Sad face. Instead I thought I would leave Vicky a little surprise on the dining table so she’d know I was thinking of her while she partied on down with her hens.
This is a little four part series, showing you how to make three different little hen/bachelorette party favours at home; the final post will detail all the finishing touches. You might prefer to use them as wedding favours or for childrens’ parties instead.
Heads up: I made 30 of each recipe, so if you’re looking to make a sweet treat for an evening in, divide, divide, divide the quantities of the recipe, don’t send me the bill for your fillings.
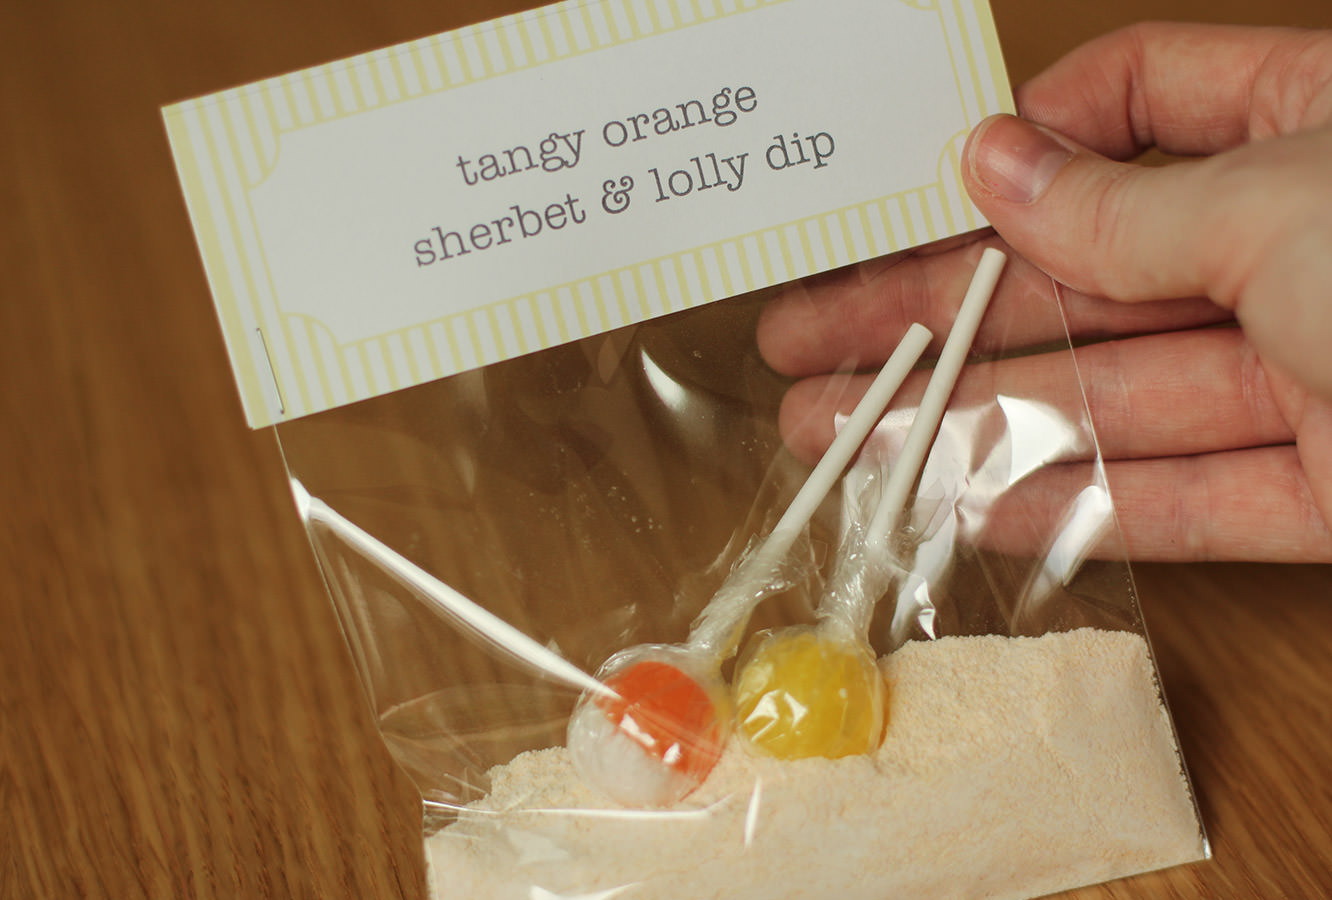
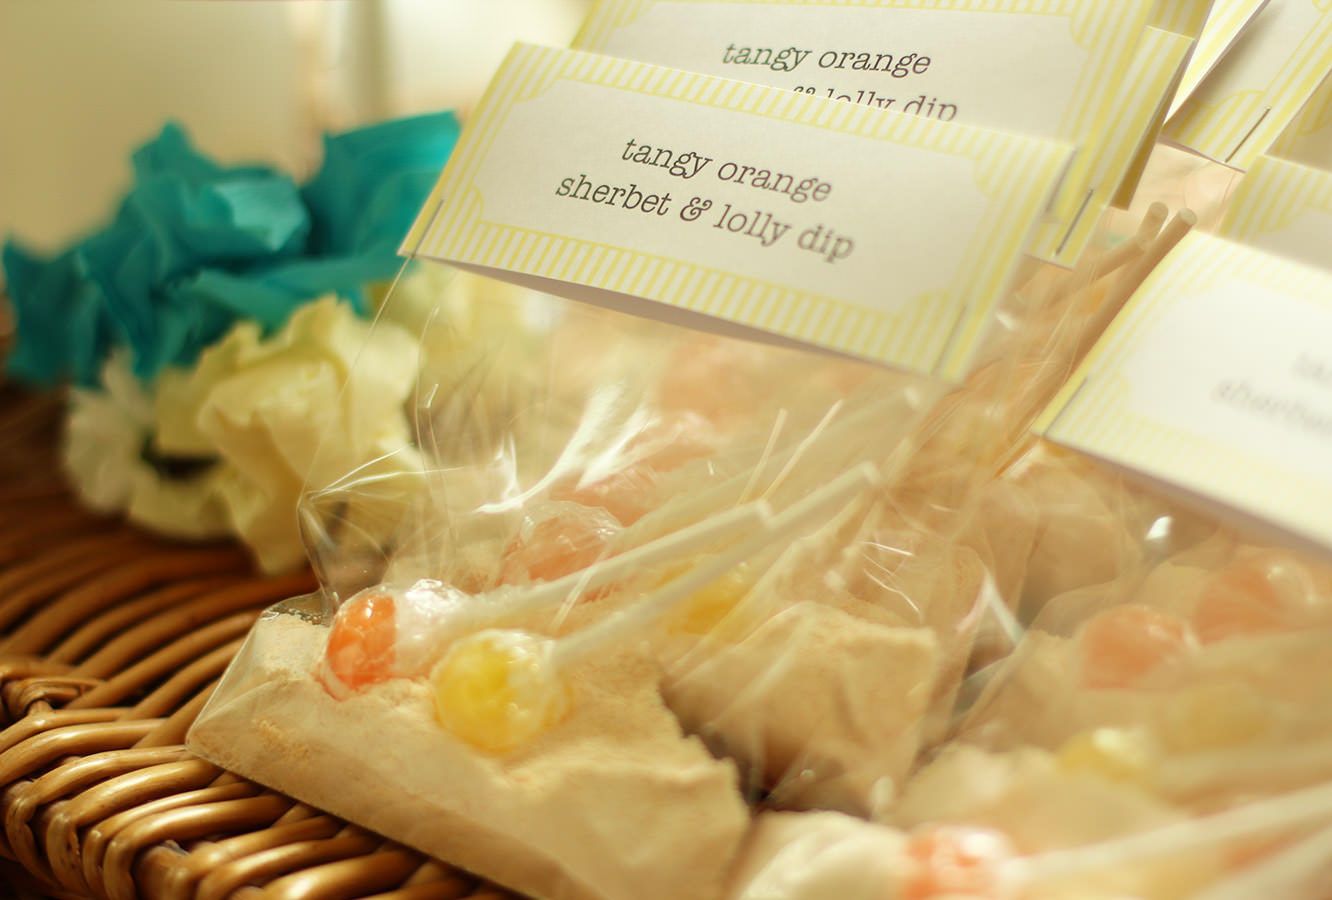
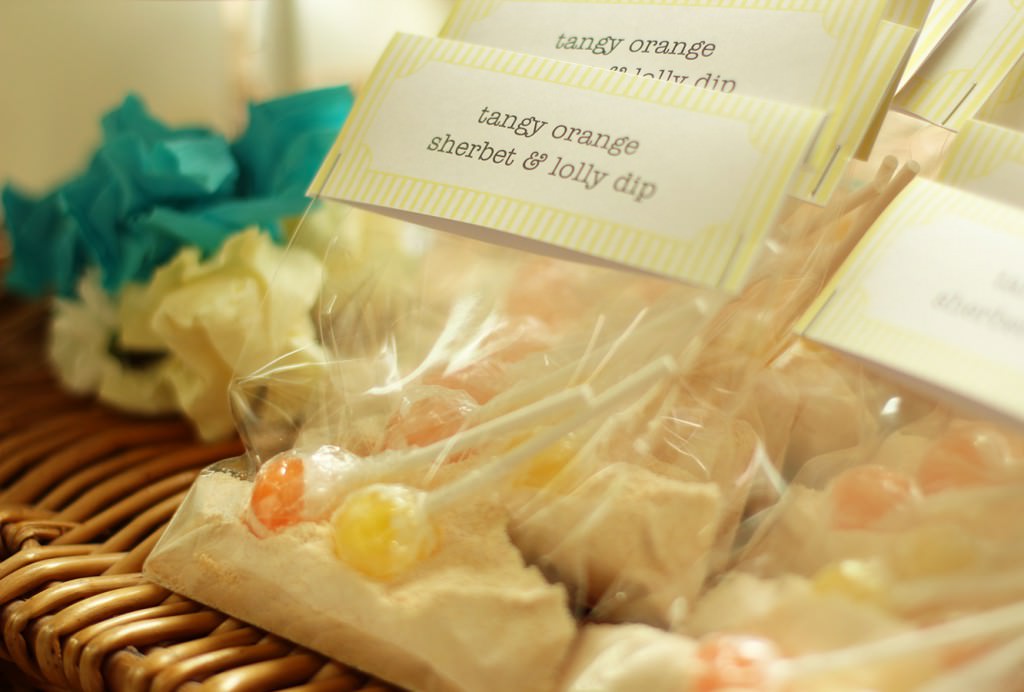
We’re kicking off this week with a recipe for orange sherbet. I just need to clarify for the sake of my US (and possibly Canadian?) readership, we mean something different when we say sherbet. You mean sorbet. We mean sherbet.
You will need
300g/10.5 oz Icing sugar
300g/10.5 oz Granulated sugar
175g/6 oz Caster sugar
125g/4.5 oz Orange jelly powder (again, America, you mean jelly when you say jello)
1-2 tsp Yellow food colouring
1 tsp Orange extract
60 small, or 30 regular sized lollipops
Cellophane DL card bags
(makes 30)
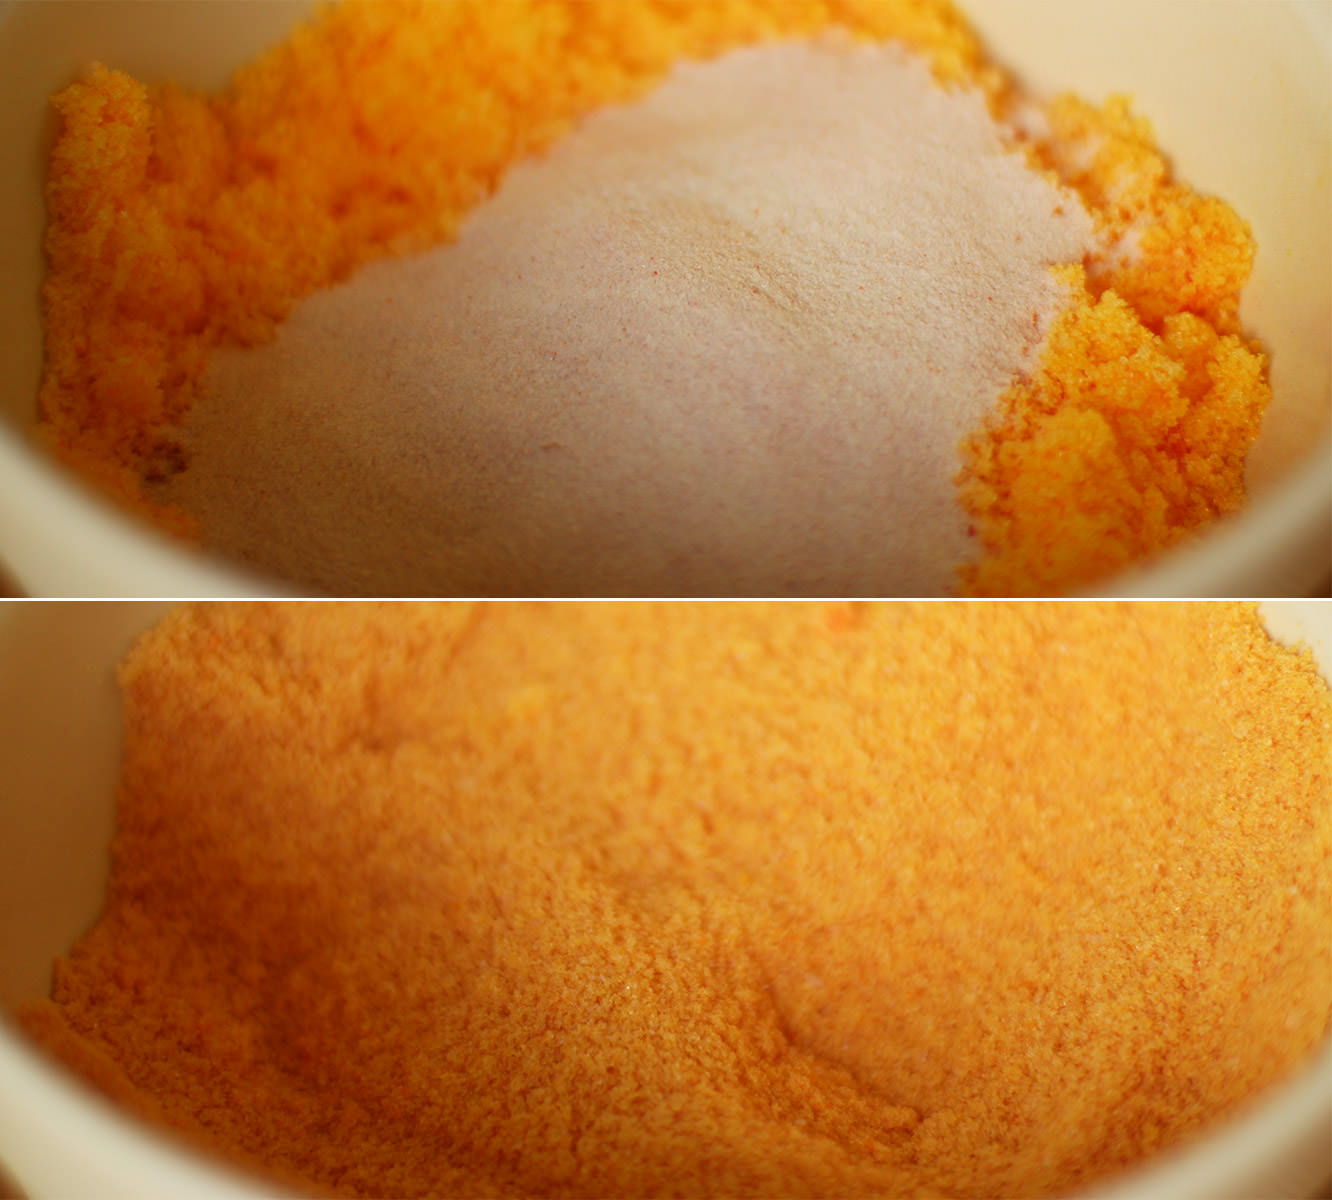
Step one
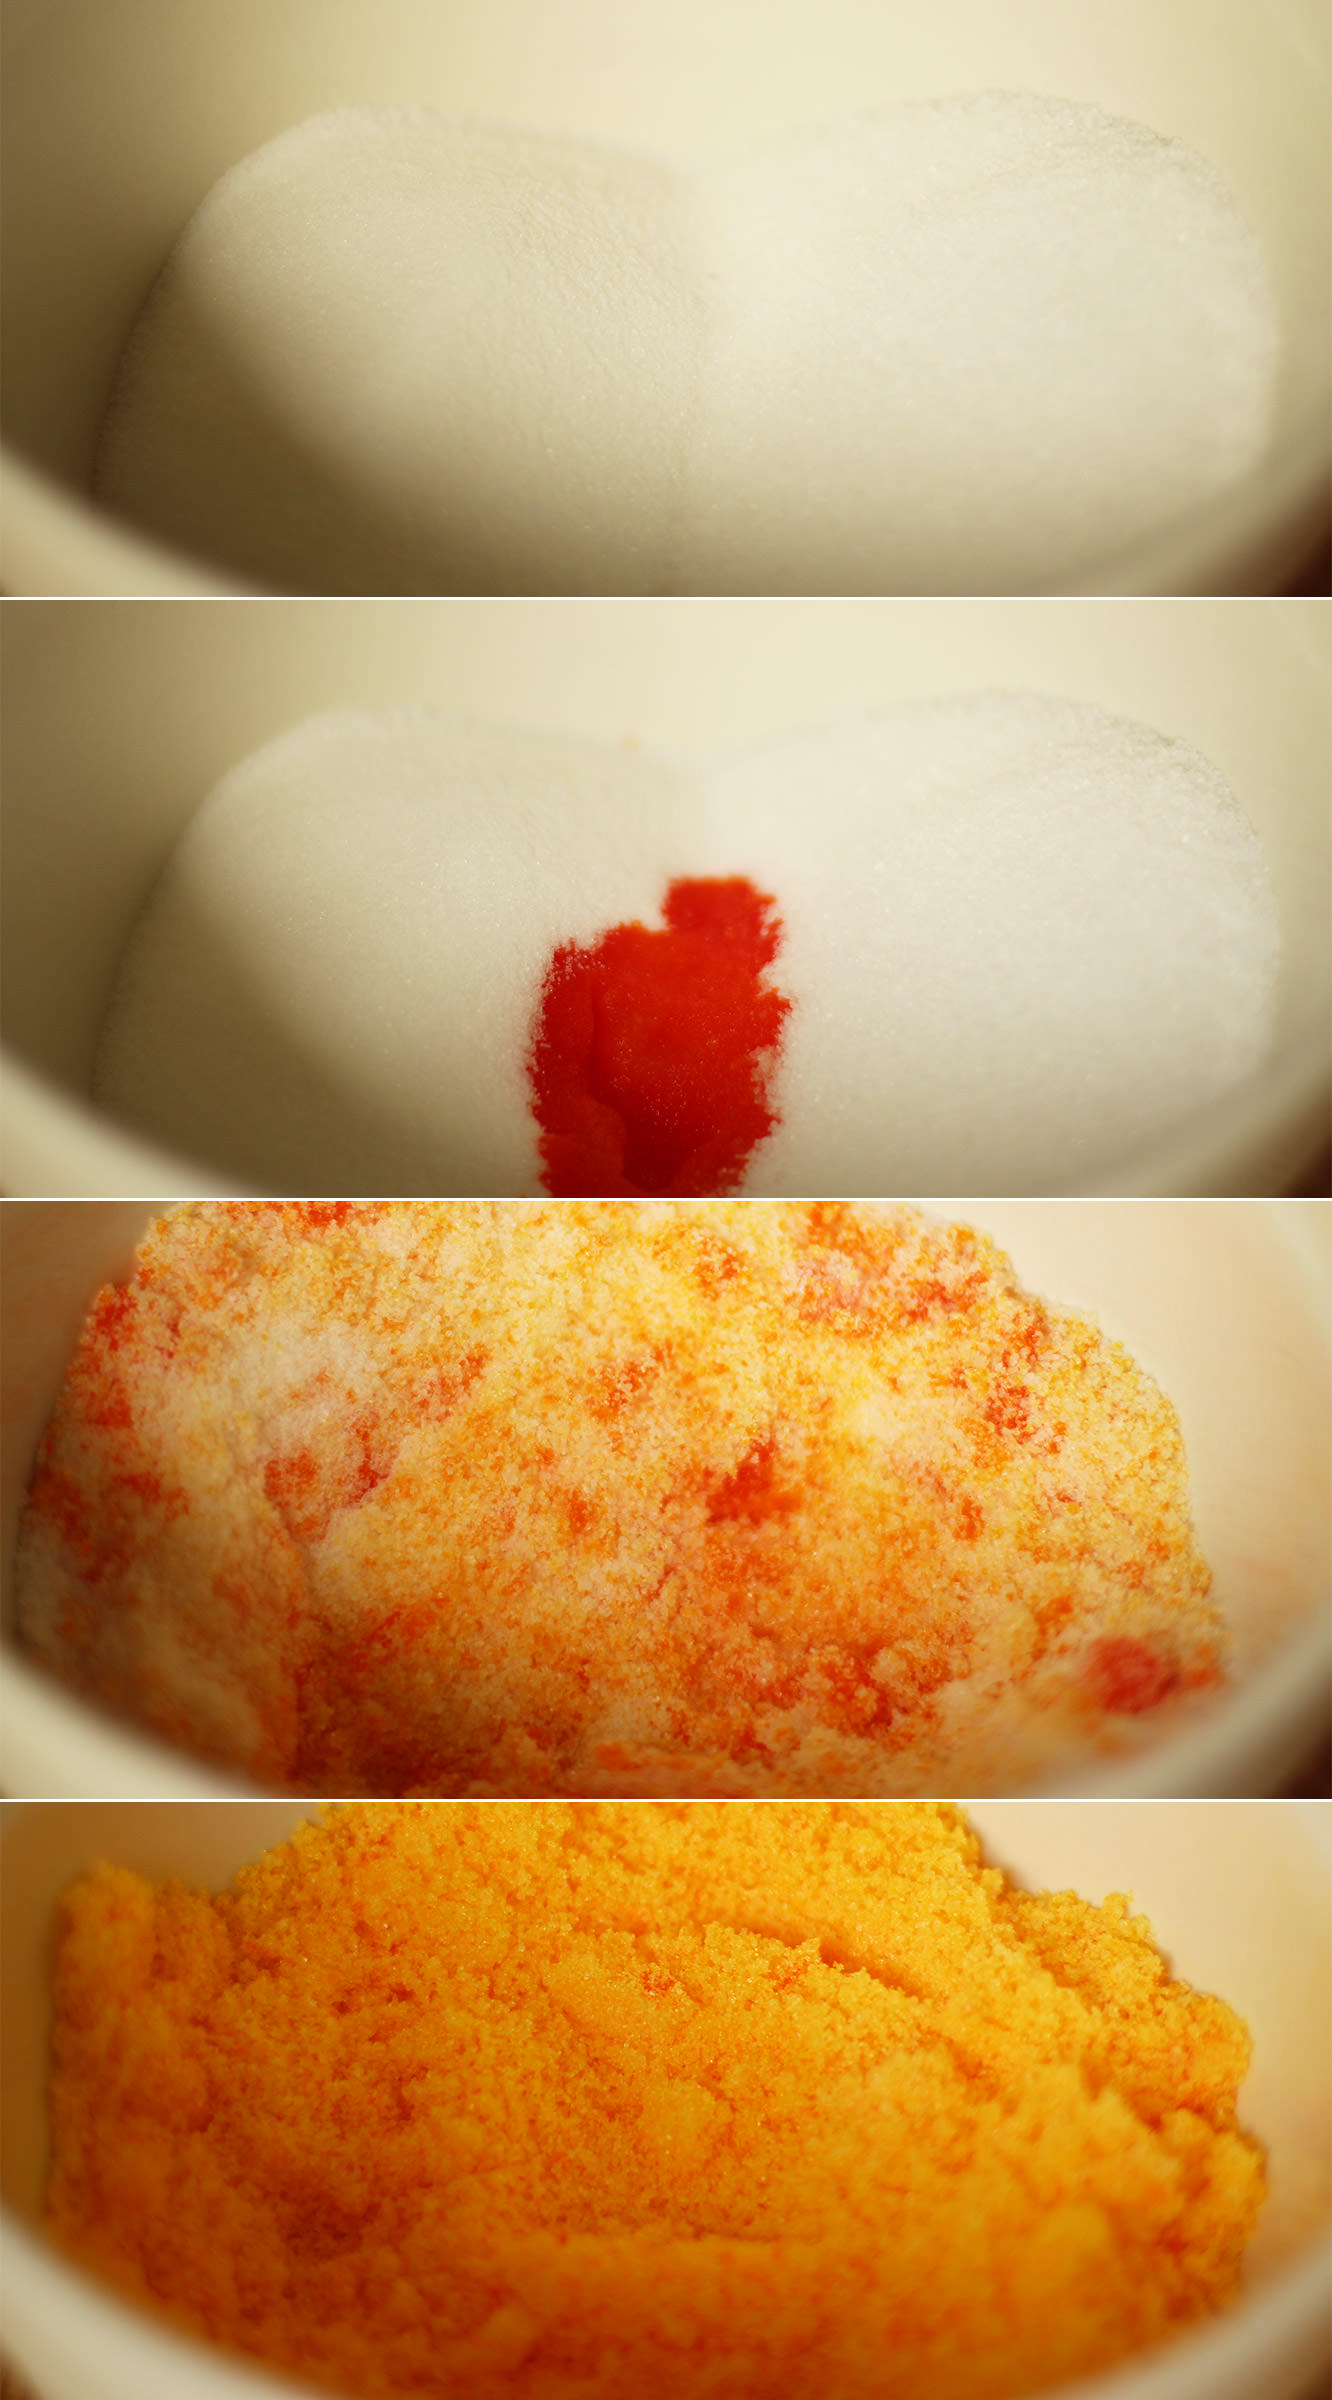
Mix together the granulated and caster sugars with the orange extract and colouring. If you want it to be a really bright colour, go for 2 tsp, I wanted a more subtle yellowy-orange so went for one.
Just in case you think I’ve lost it…the colour dilutes when you add the other ingredients.
Step two
Add the jelly powder and stir again until fully combined. Give it a little taste at this point. For a stronger flavour add more jelly or more flavouring, but for the record, I think you’ll be set.
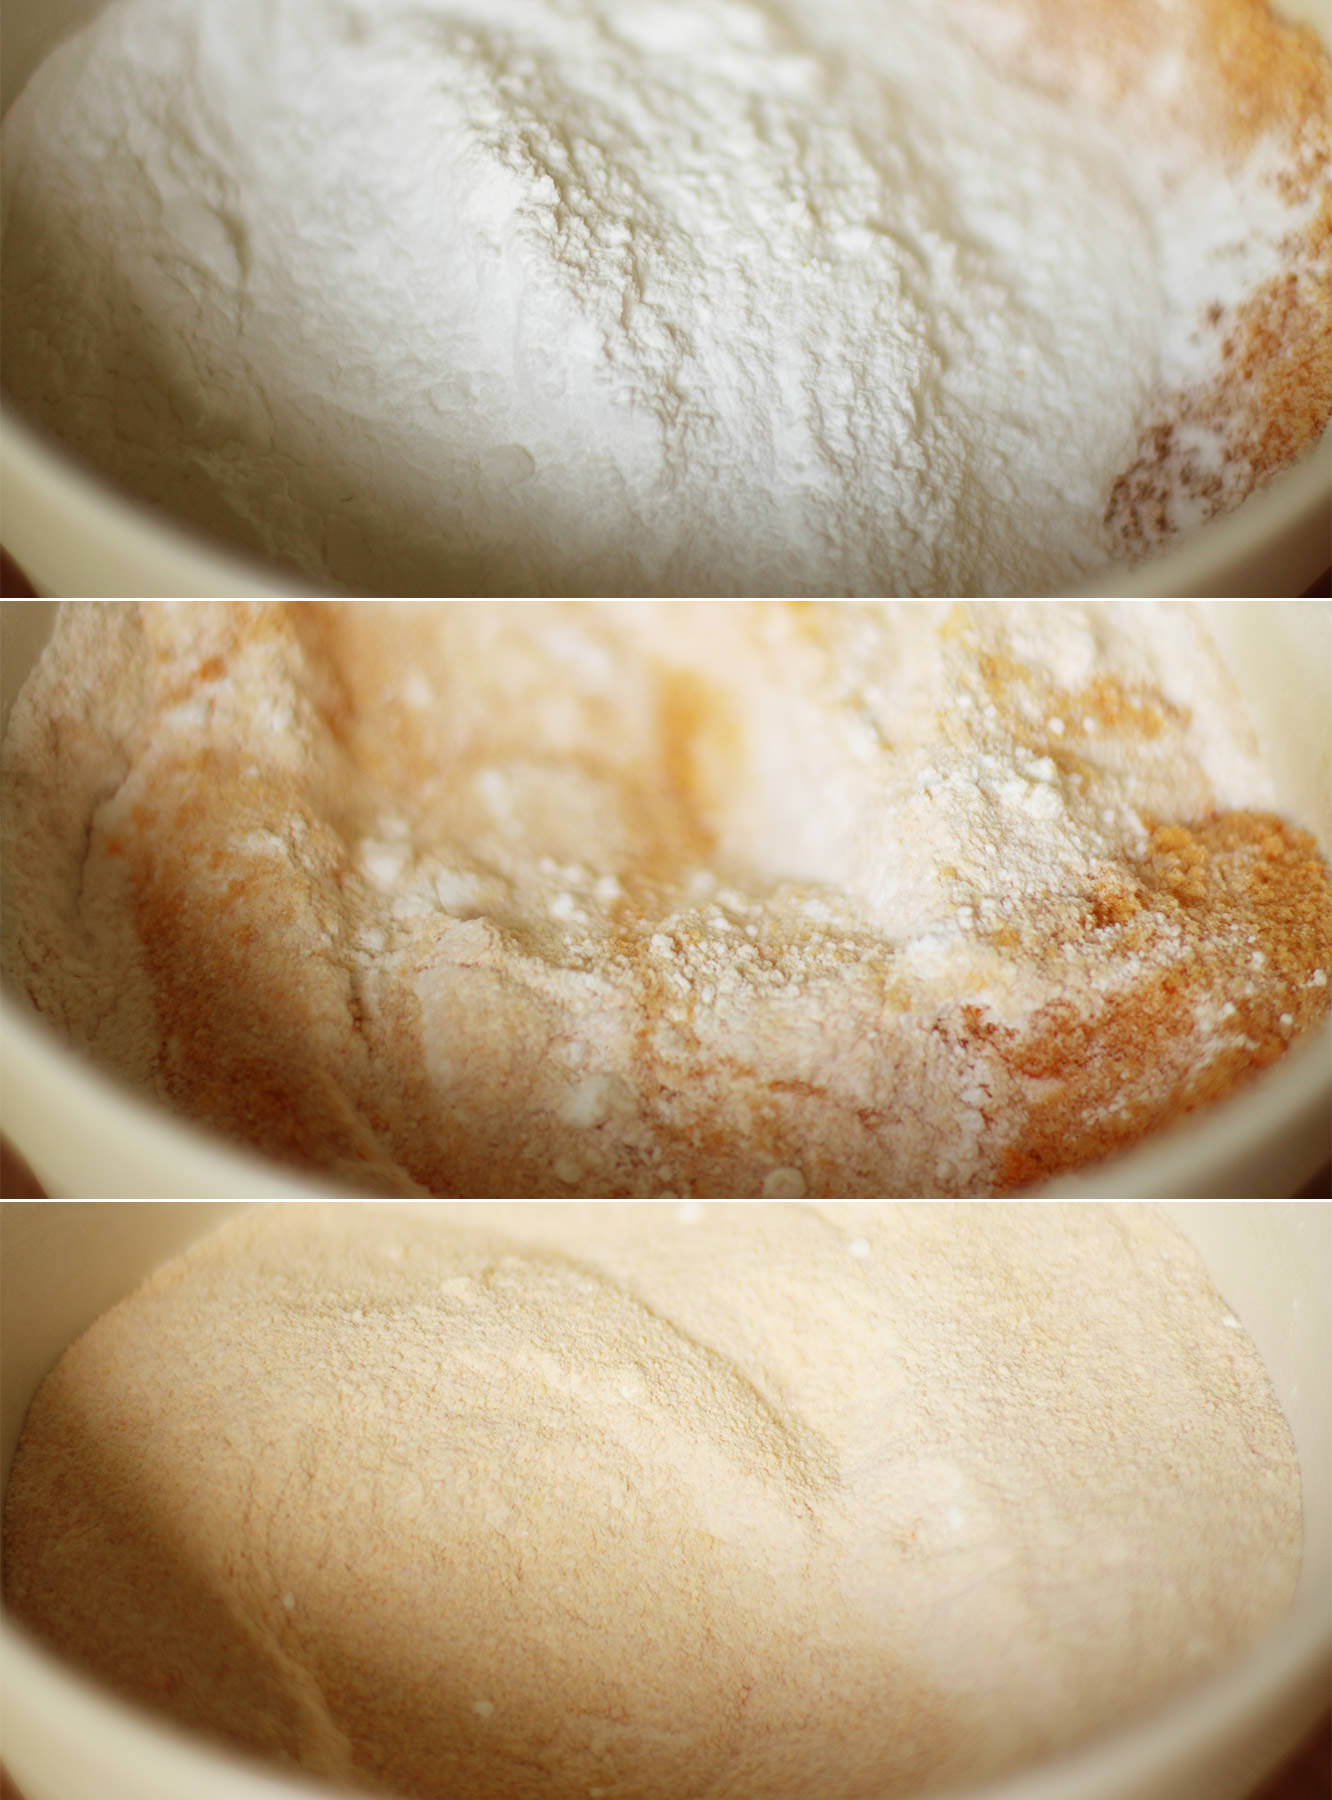
Step three
Add the icing sugar and mix again thoroughly. See, now you you know what I mean about the colour? Nice and subtle isn’t it?
Step four
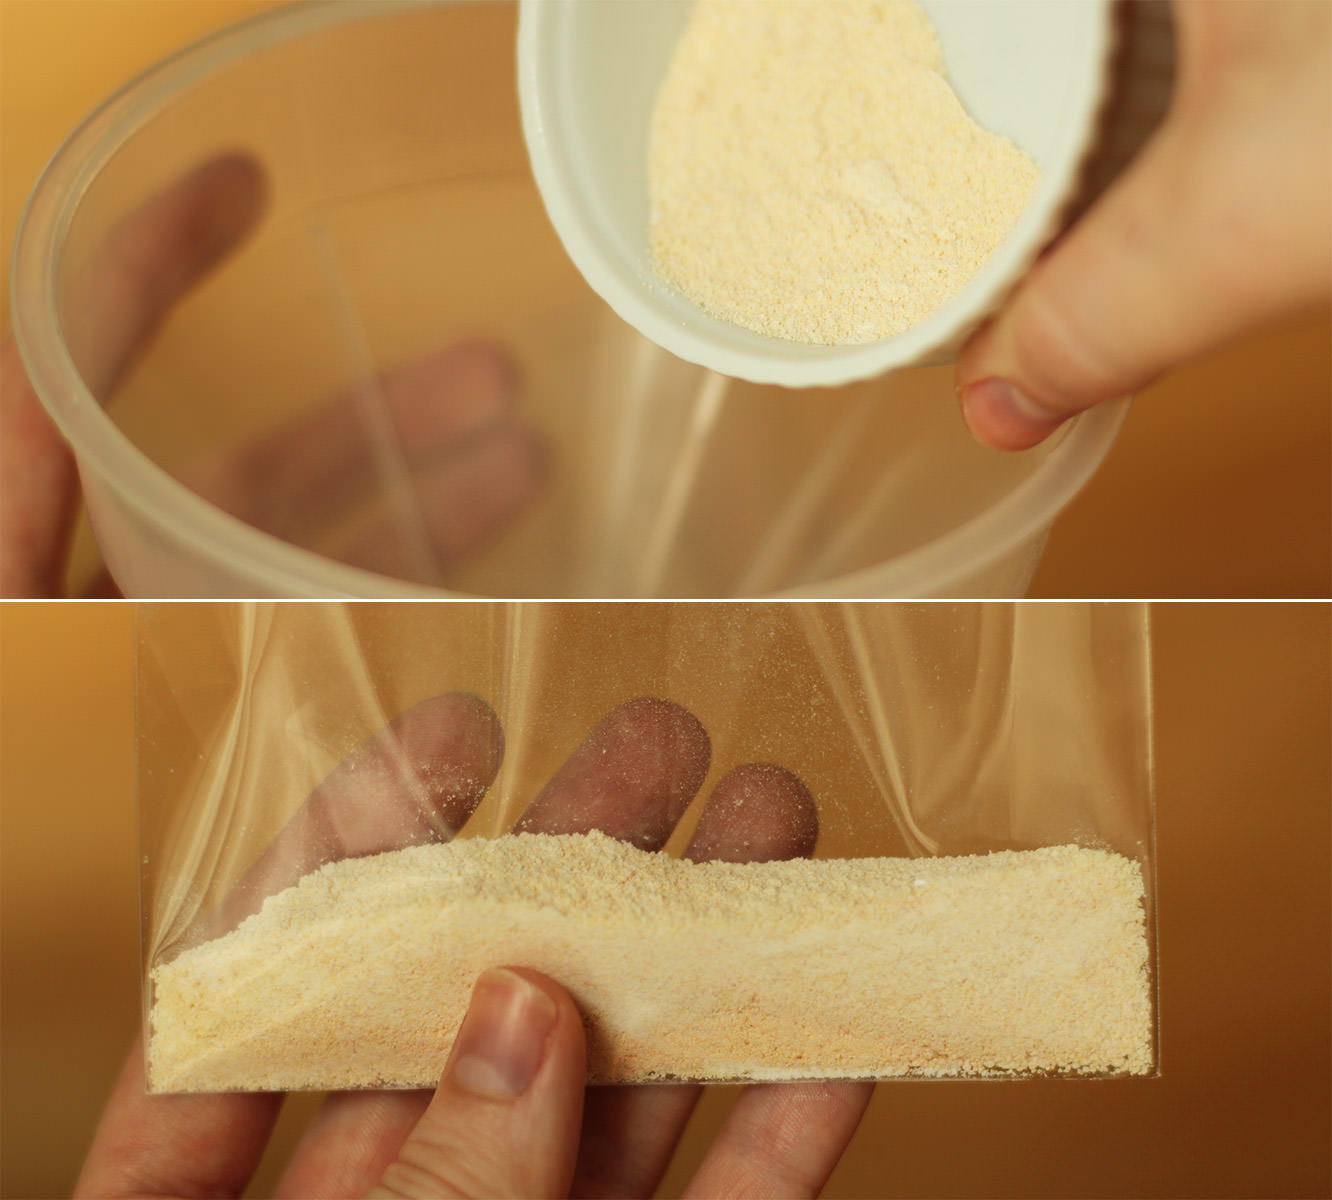
Weigh 30g portions and pour into the card bags.
That’s where I’m leaving you for today I’m afraid folks, the finishing off will be in my round up post in a few weeks. The suspense is killing you I know.
In the meantime, just when you thought you weren’t even getting a gif this week. Here’s a tinker in her dungarees:
Fanfare please! We have reached the final post of the British favourites series. This has been fun, and I hope you’ve enjoyed it, but I for one am looking forward to eating something other than cupcakes soon. Safe to say my family and friends have enjoyed themselves the past few weeks. I should probably do a detox series next.
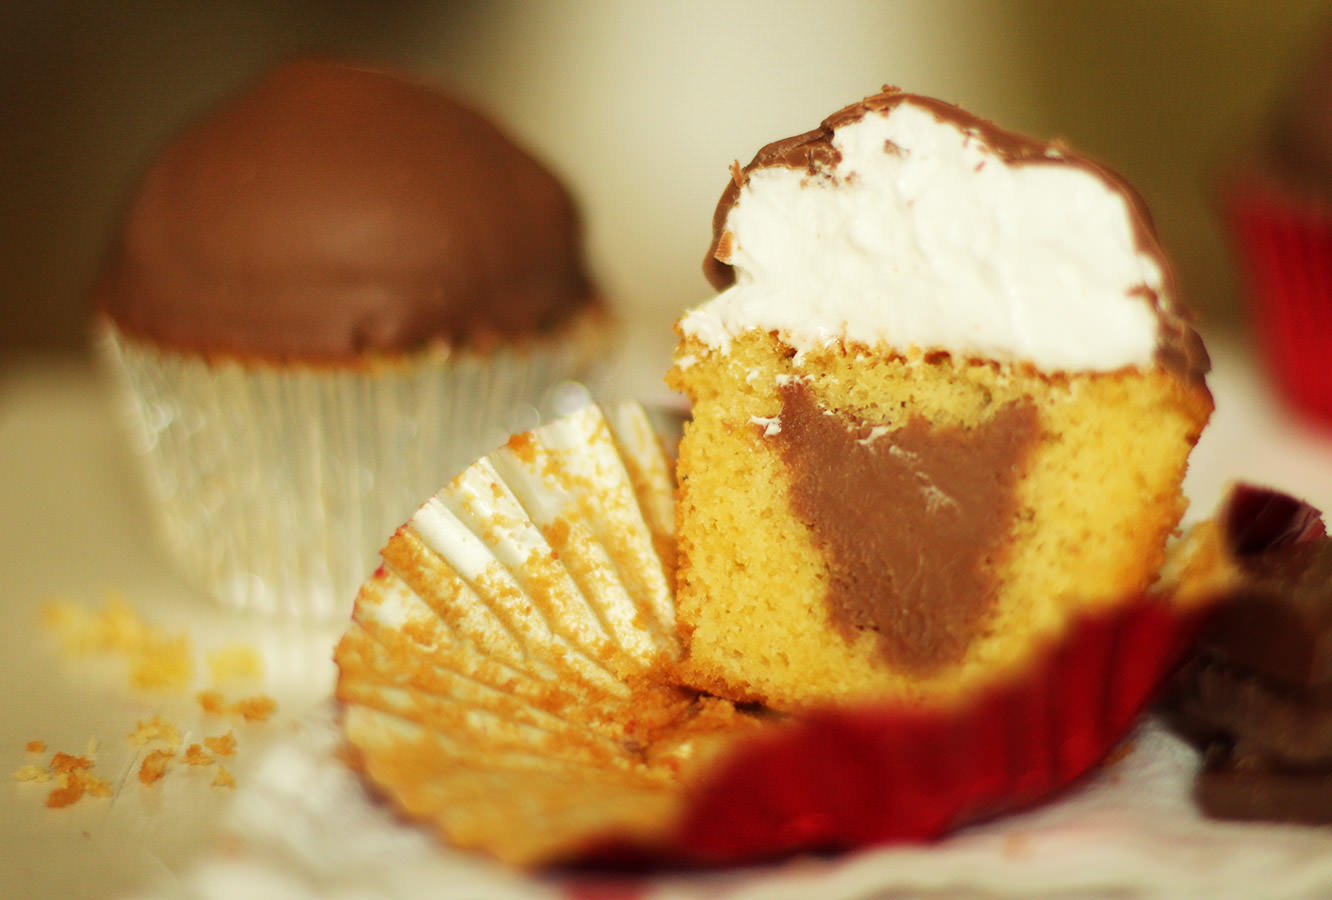
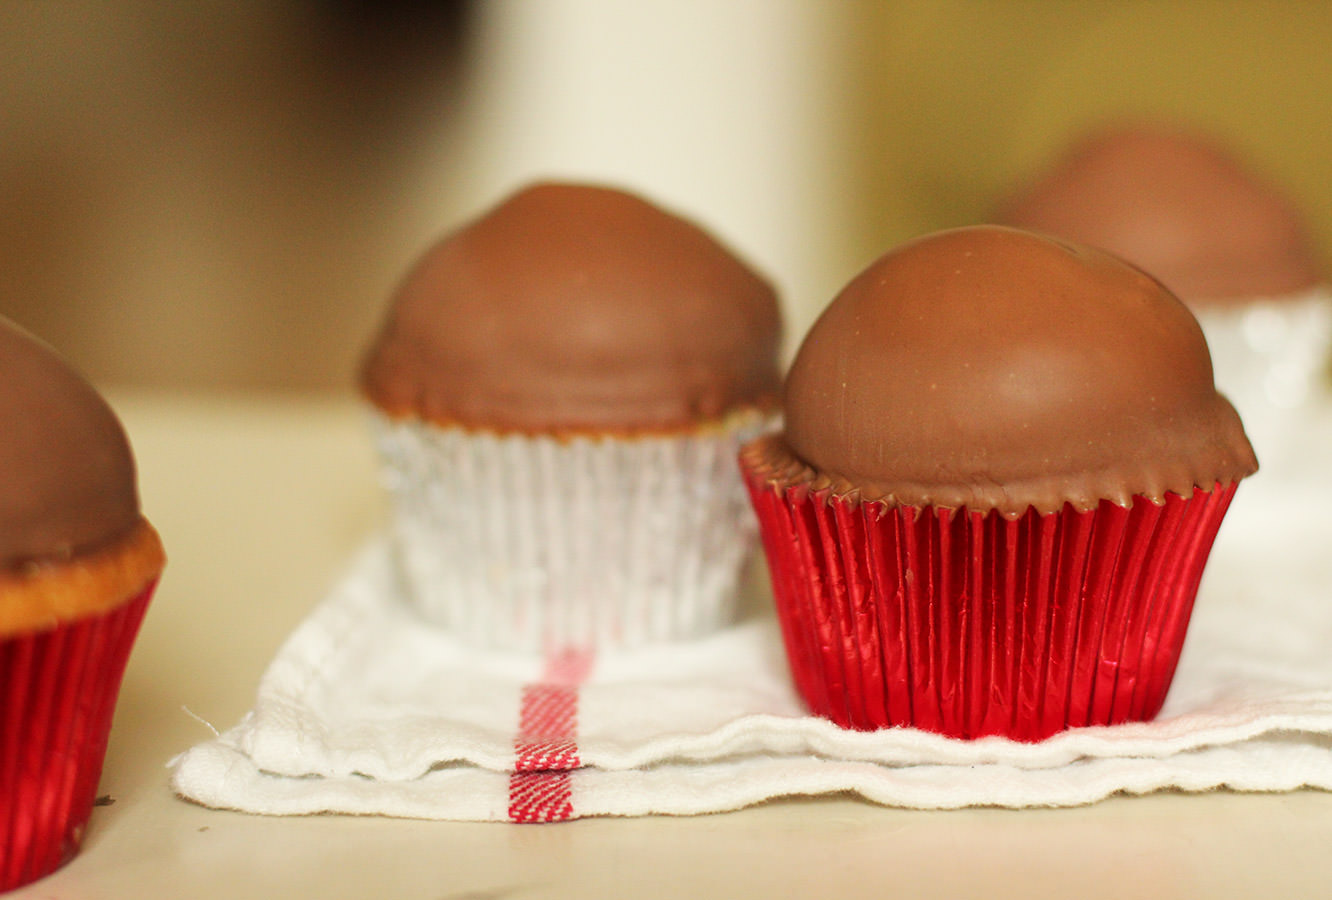
What better way to top this all off than with the Tunnock’s tea cake? The Tunnock’s bakery was founded in 1890, I’m not sure when the idea of the teacake popped into Mr Tunnock’s head but I’m sure glad it did.
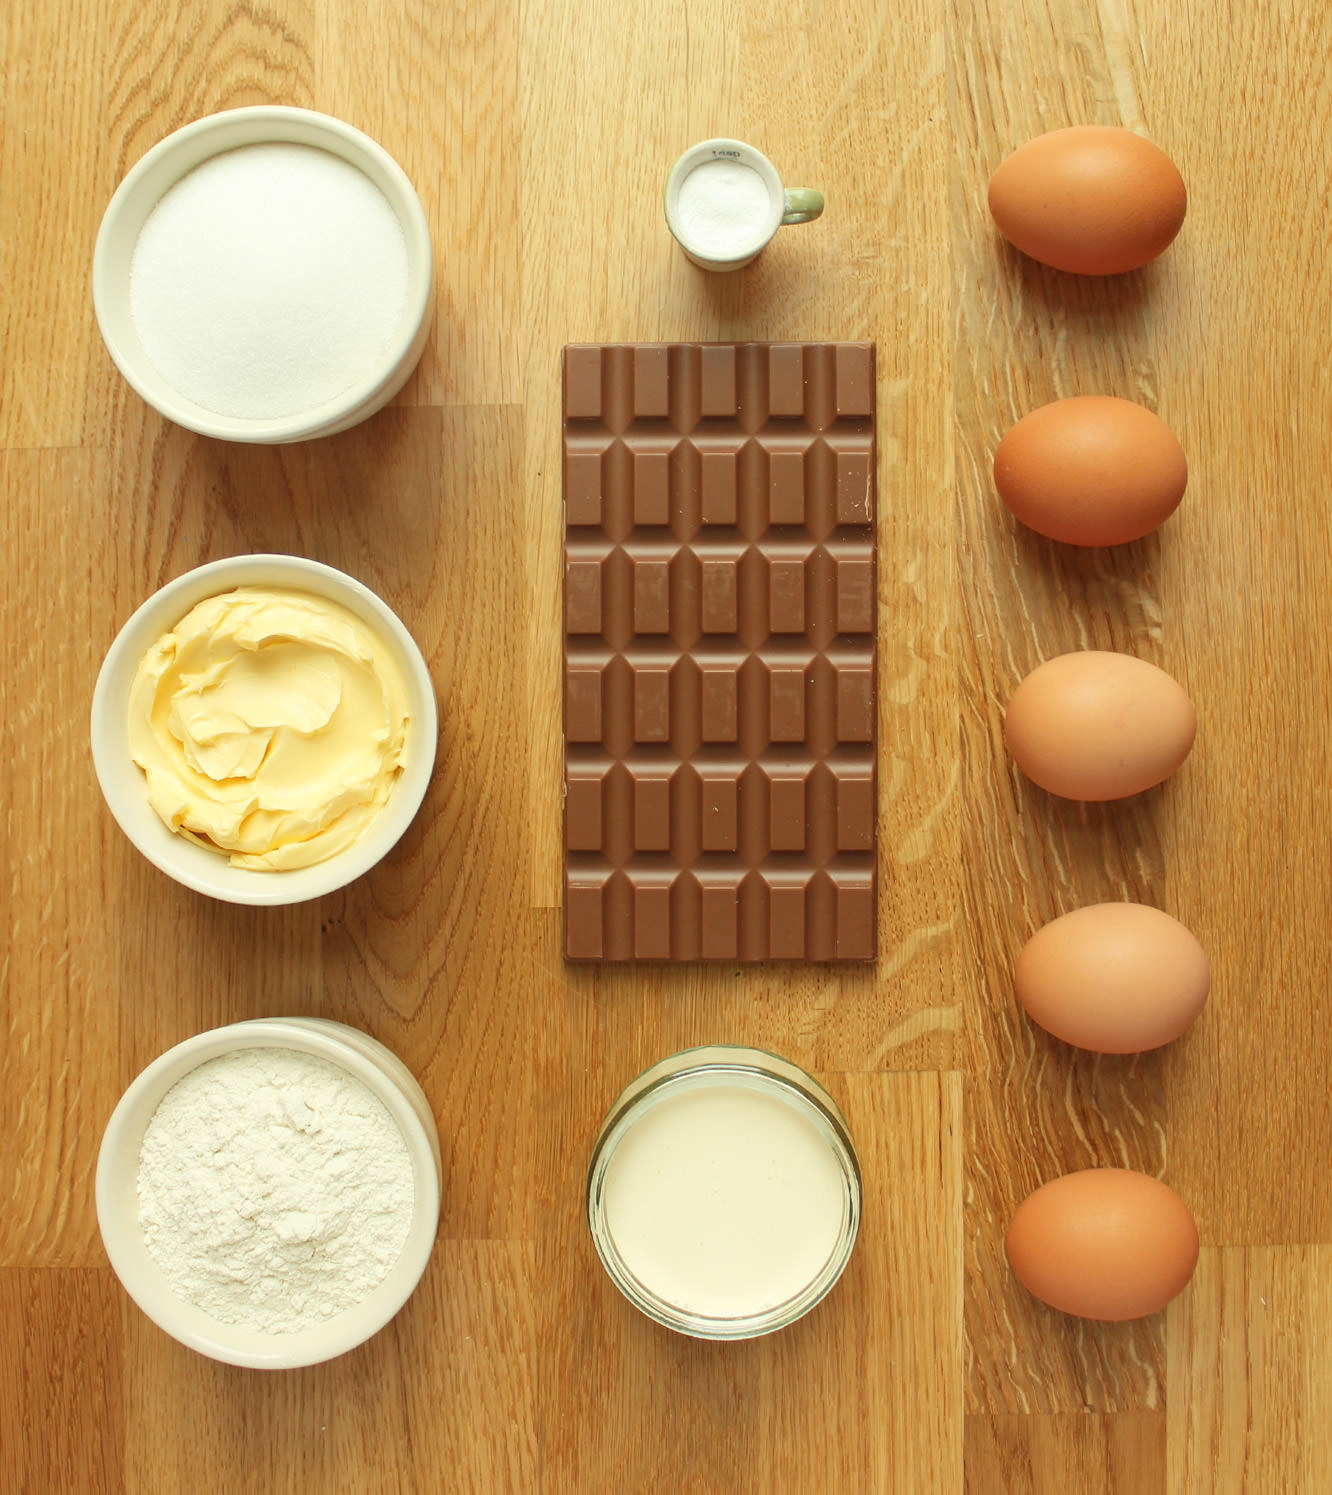
You will need
For the cake:
185g/6.5 oz self raising flour
185g/6.5 oz butter/margarine (I use Stork)
185g/6.5 oz caster sugar
3 eggs
1 tsp bicarbonate of soda
1 tsp vanilla extract/paste
For the filling:
200g/7 oz milk chocolate
150ml/5 fl oz double cream
For the frosting/icing:
2 egg whites
225g/8oz caster sugar
1/2 tsp cream of tartar
75ml/2.5 fl oz water
250g/9oz milk chocolate (for coating)
(makes 12)
Step one
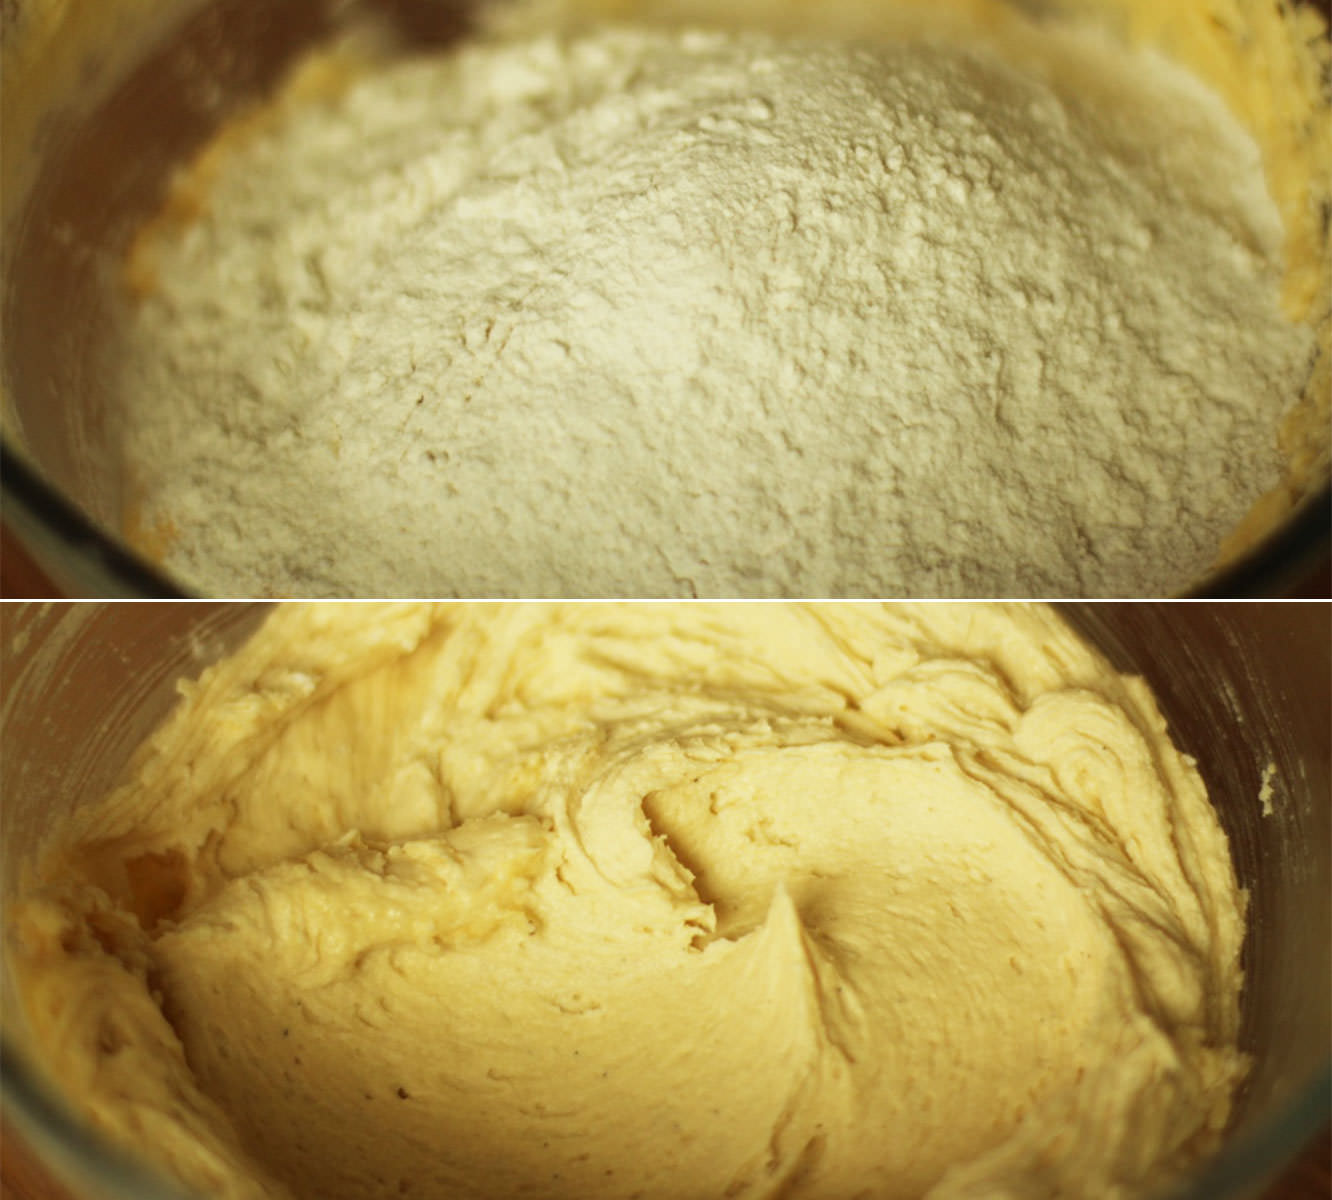
Beat together the butter and sugar until light and fluffy. If you have an electric whisk it’d be a good idea to use it.
Add the eggs and whisk again until combined.
Step two
Pop in the vanilla extract, flour and bicarbonate of soda and whisk again. You might want to pre-stir a little before turning on the whisk to avoid flour going everywhere.
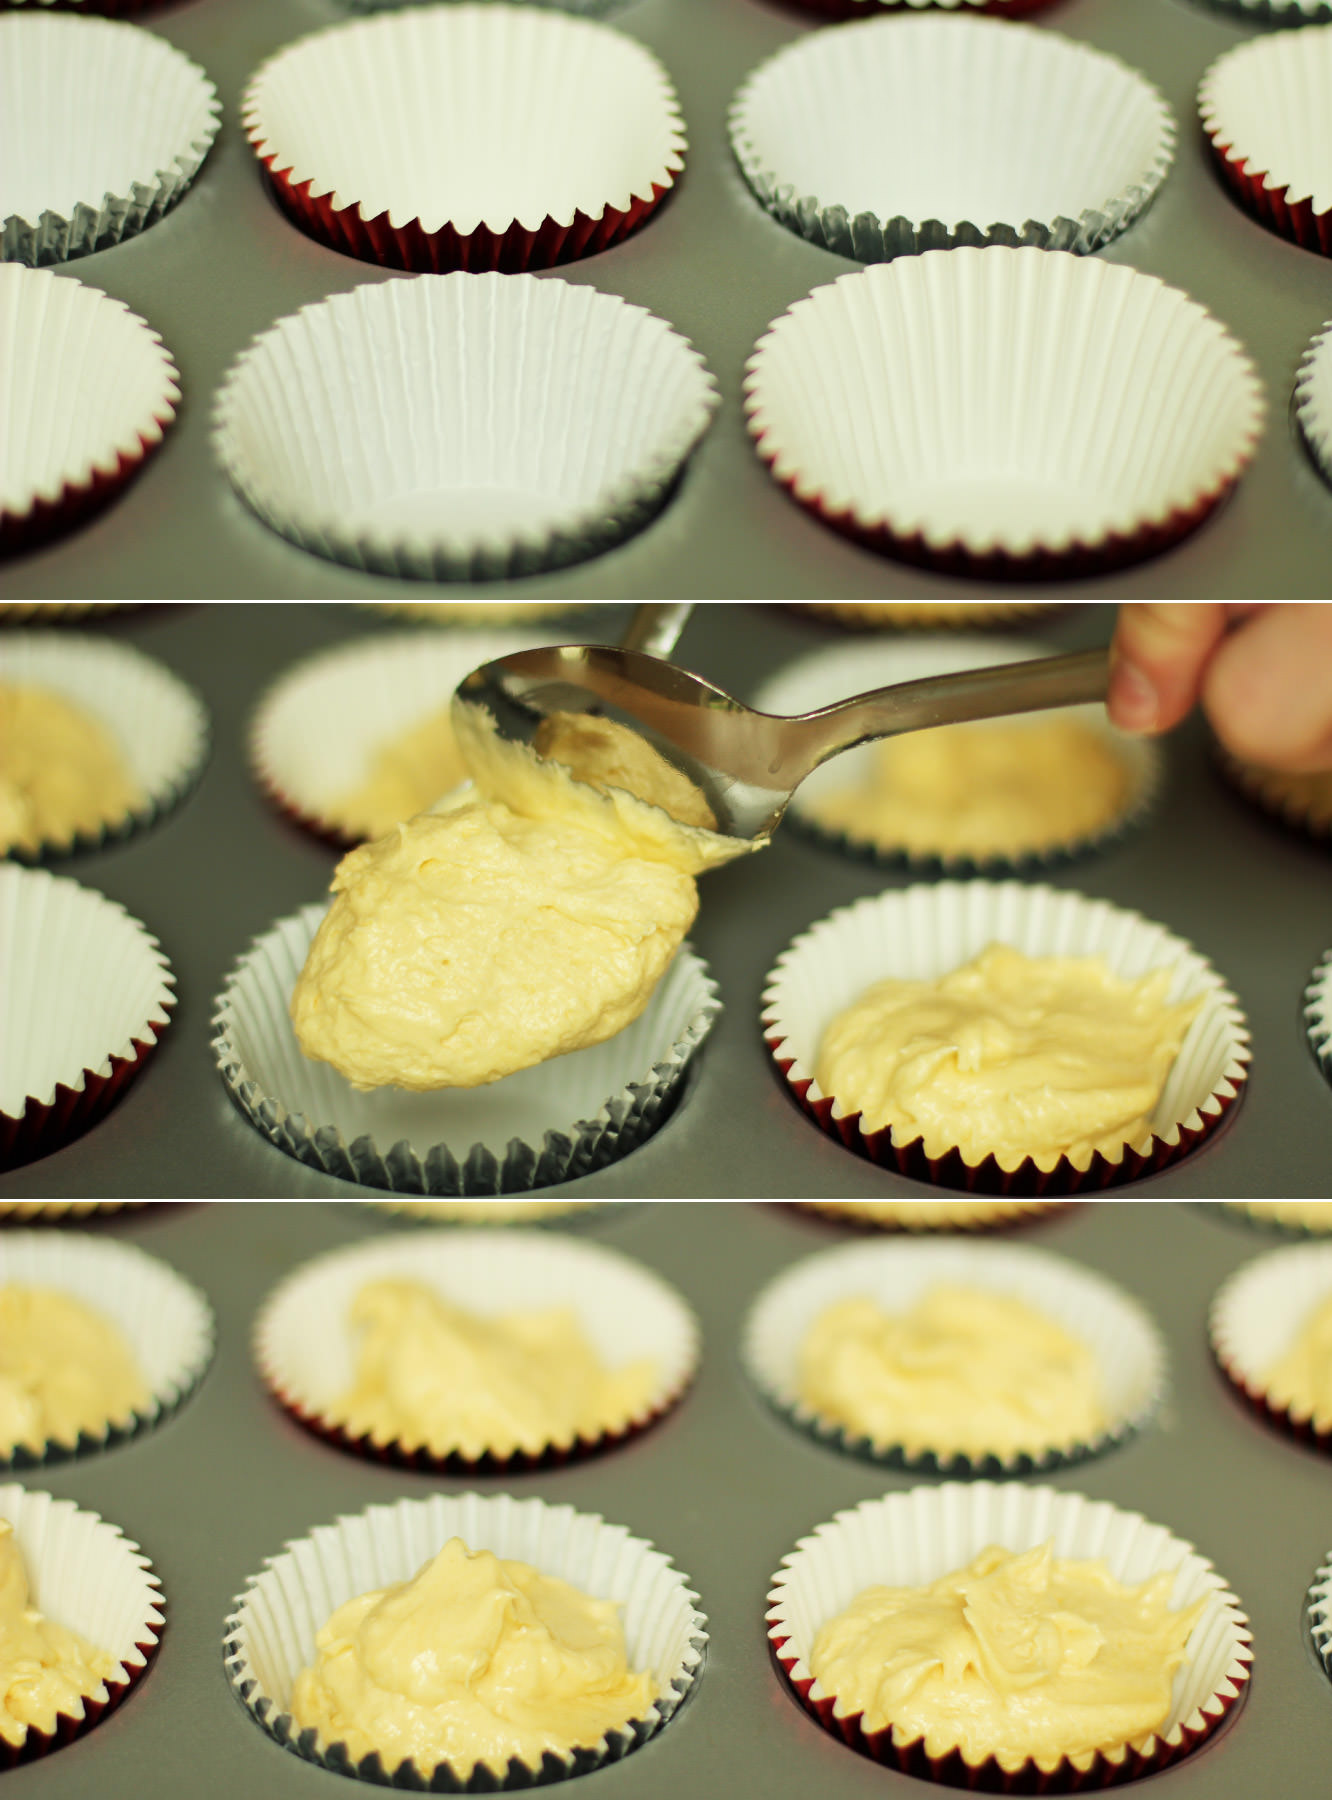
Step three
Spoon the mixture into cases (preferably silver and red foil ones to stay on brand) and bake in a preheated oven on gas mark 4/180C/350F for 20-25 minutes.
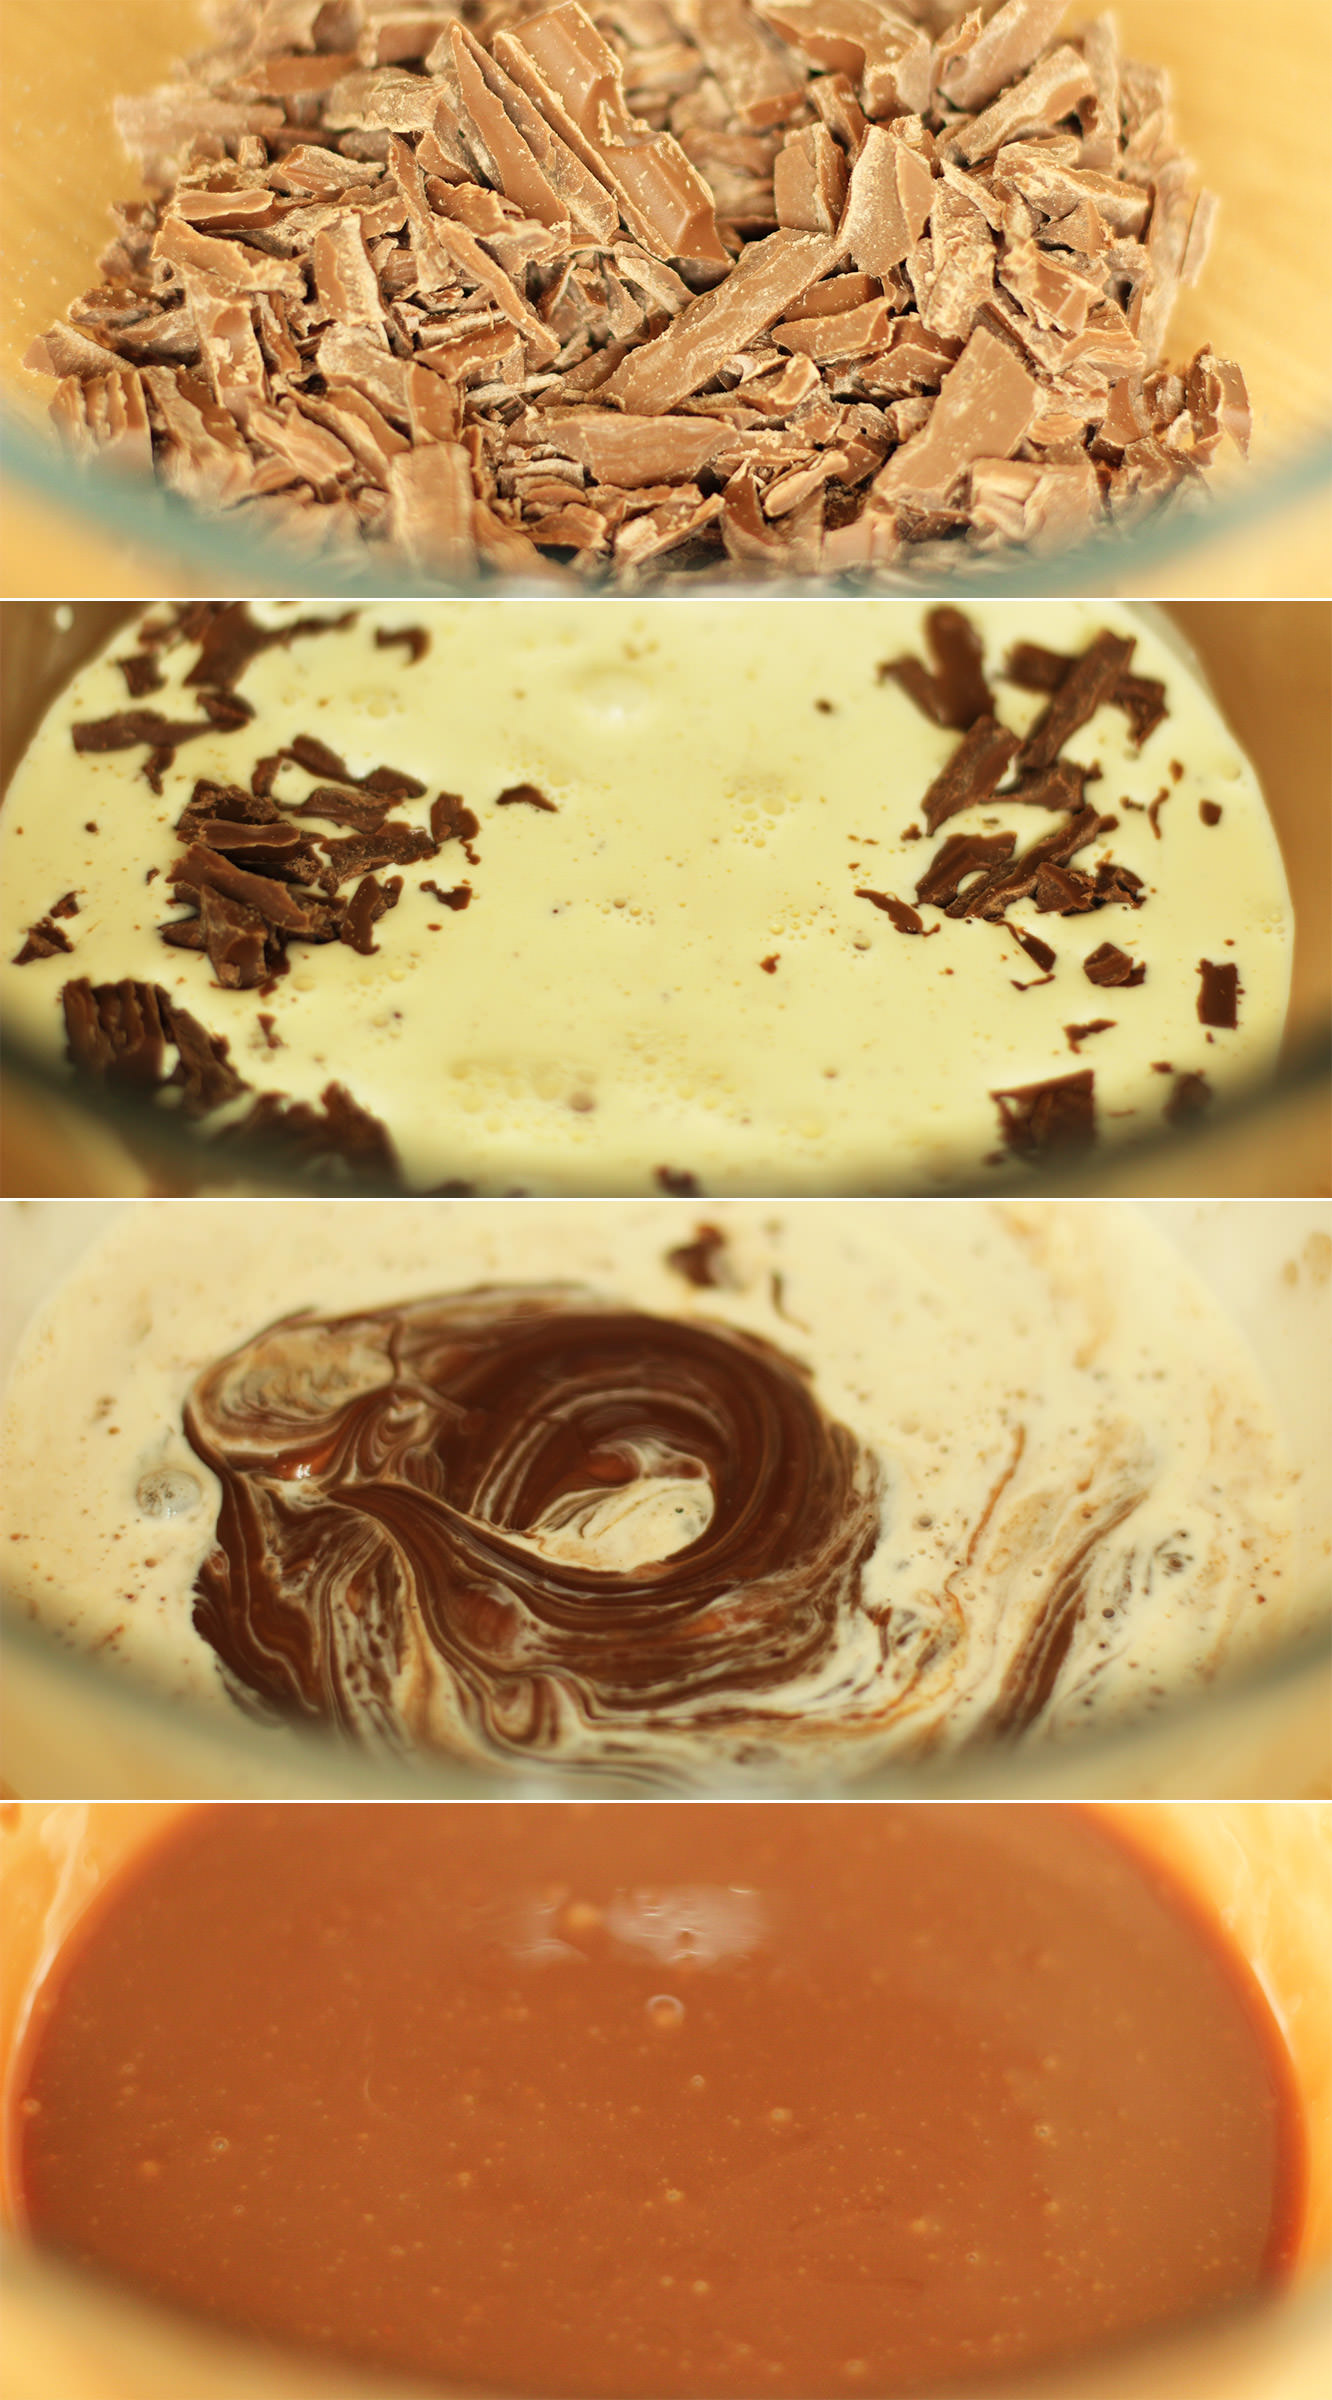
Step four
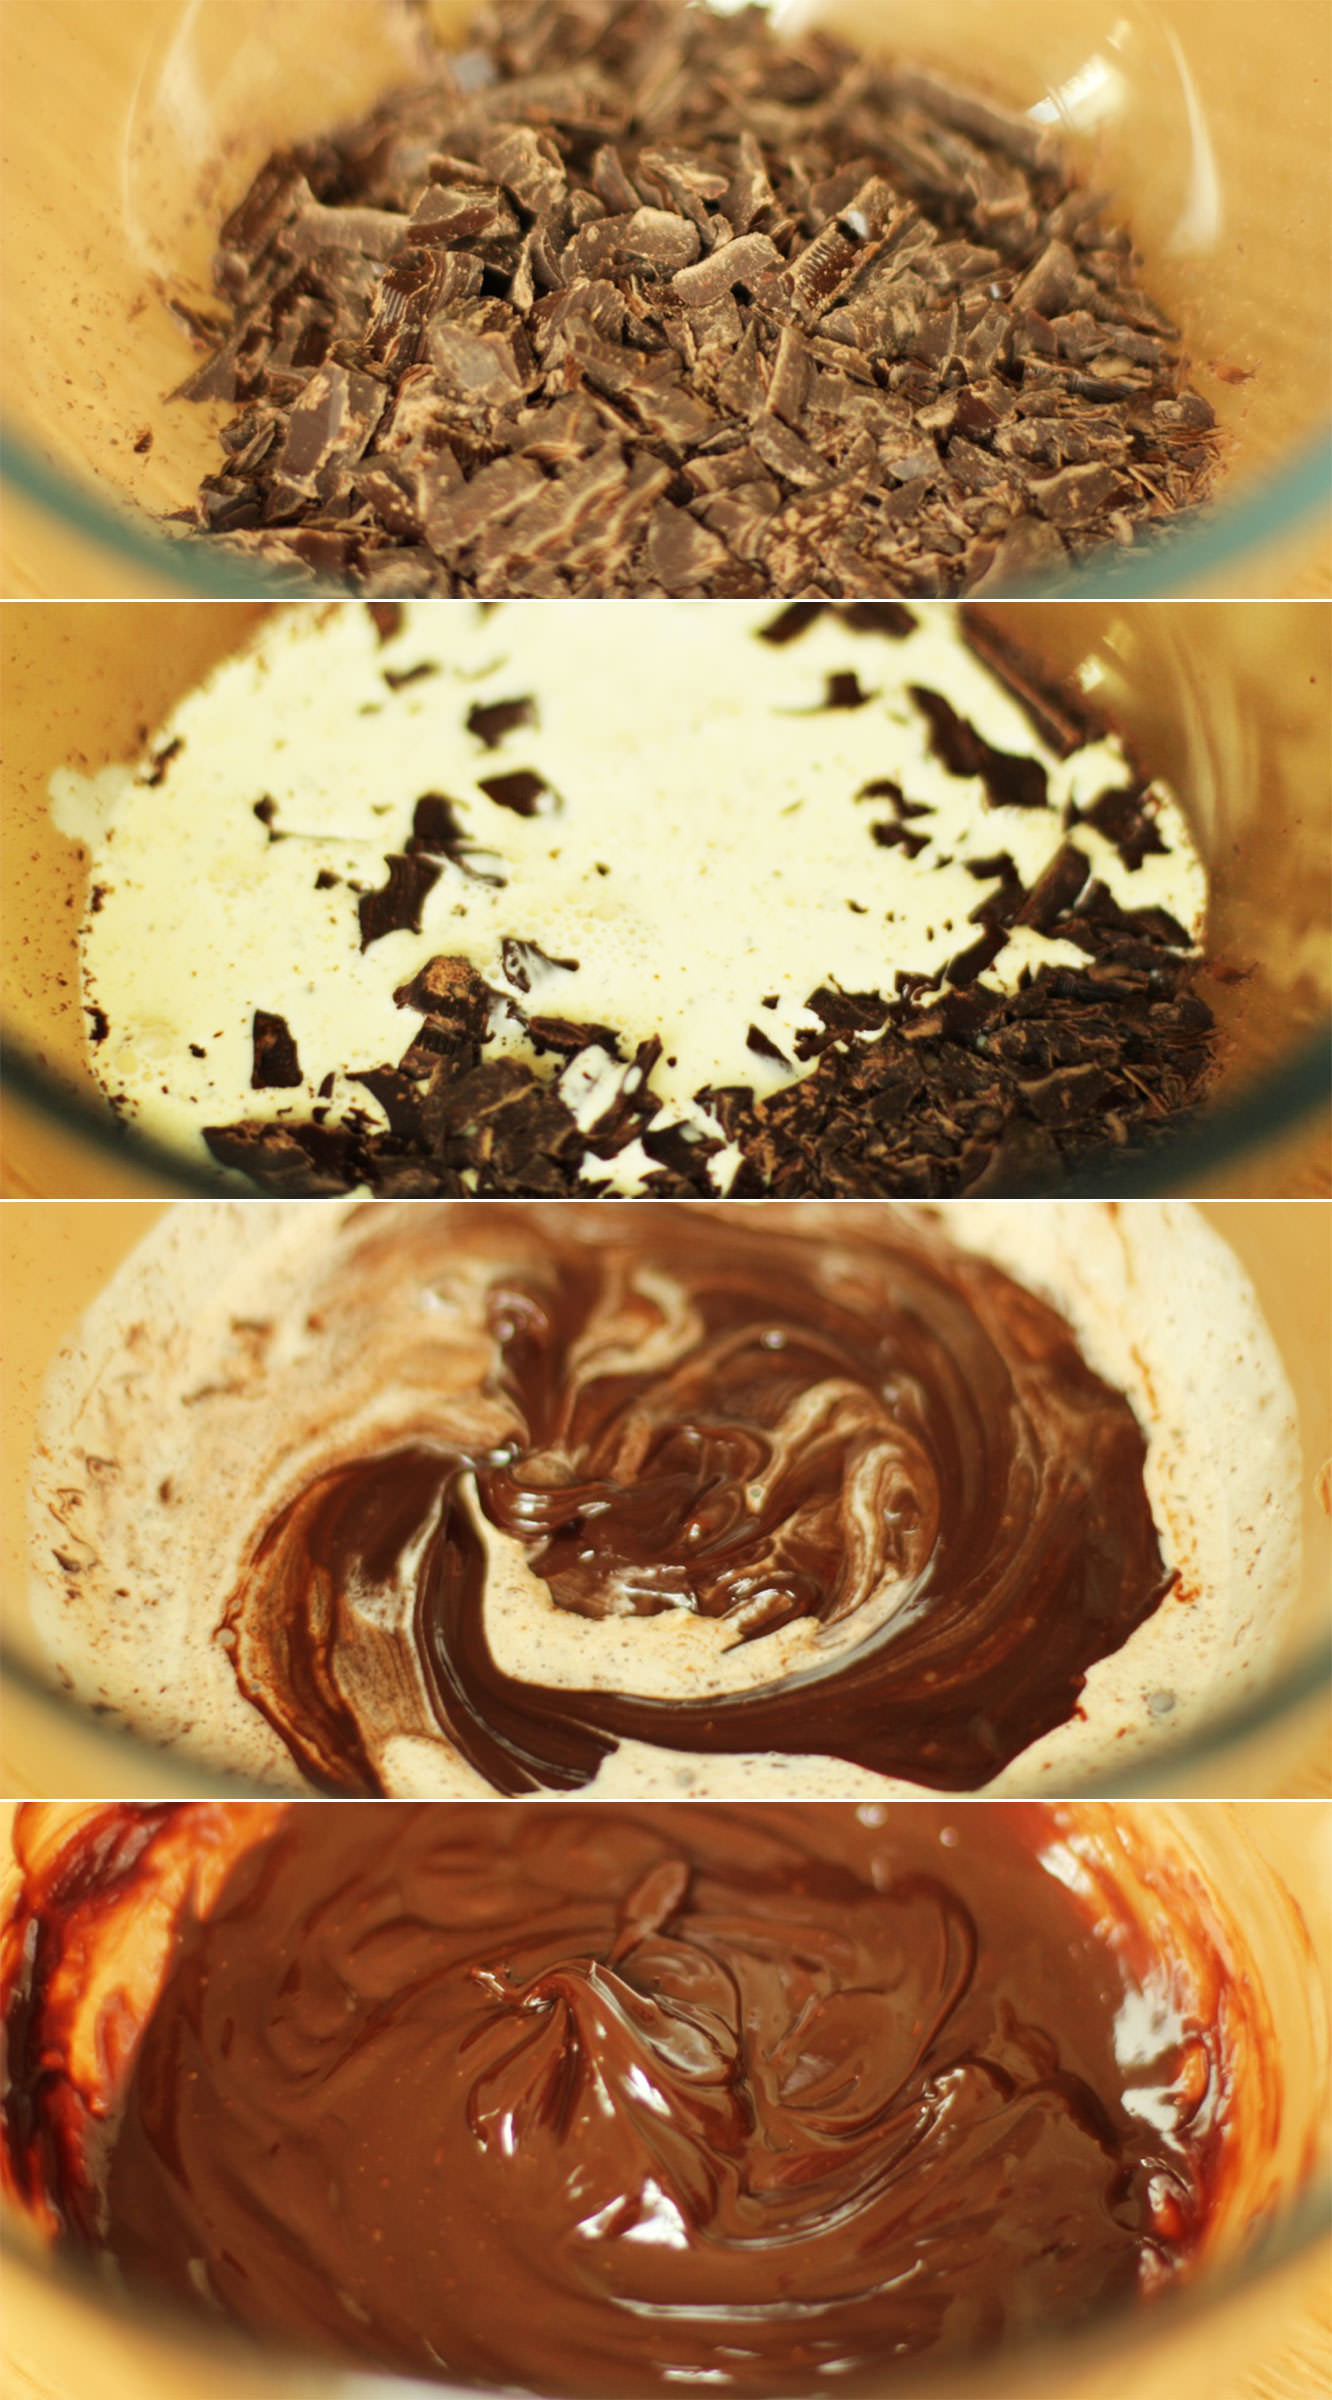
Make the ganache filling by chopping the chocolate finely and putting in a heatproof bowl. Gently heat the cream in a saucepan until you start to see little bubbles at the side and steam floating on the surface.
Pour the cream over the chocolate and use a hand whisk to melt the chocolate into the cream. Set aside to cool.
Step five
The third and final time we’re making seven minute frosting in this series, so you should be a dab hand by now. If you’ve not made this before then it’s quite straightforward, no need to be intimidated.
Pop a heatproof bowl over a pan of simmering water, making sure the water doesn’t touch the bottom of the bowl. Add the egg whites, sugar, water and cream of tartare and whisk for, well, seven minutes.
When you’re finished the mixture should be able to hold its shape, and not drop off a spoon when held upside down (stiff peaks).
Step six
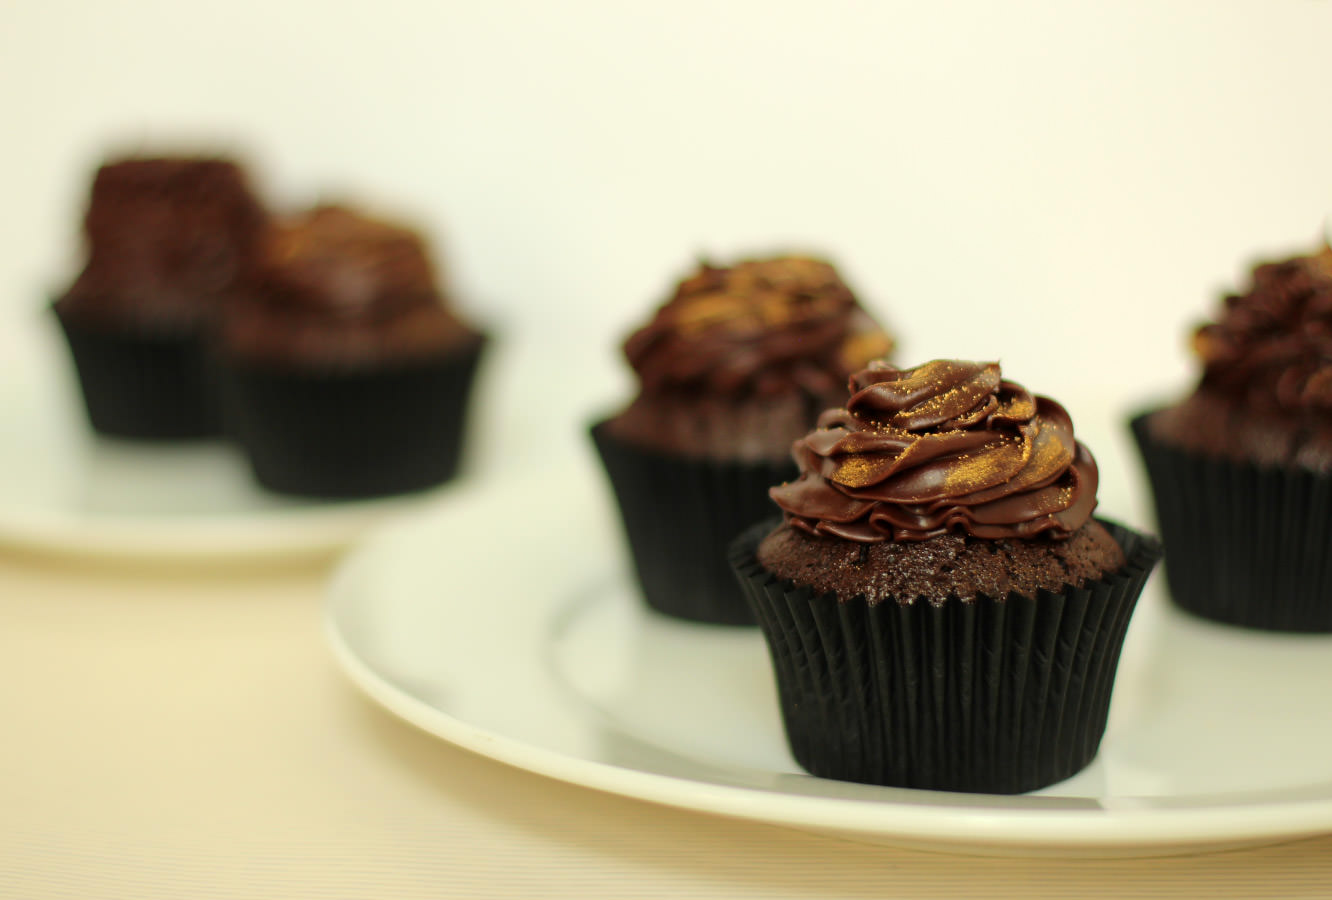
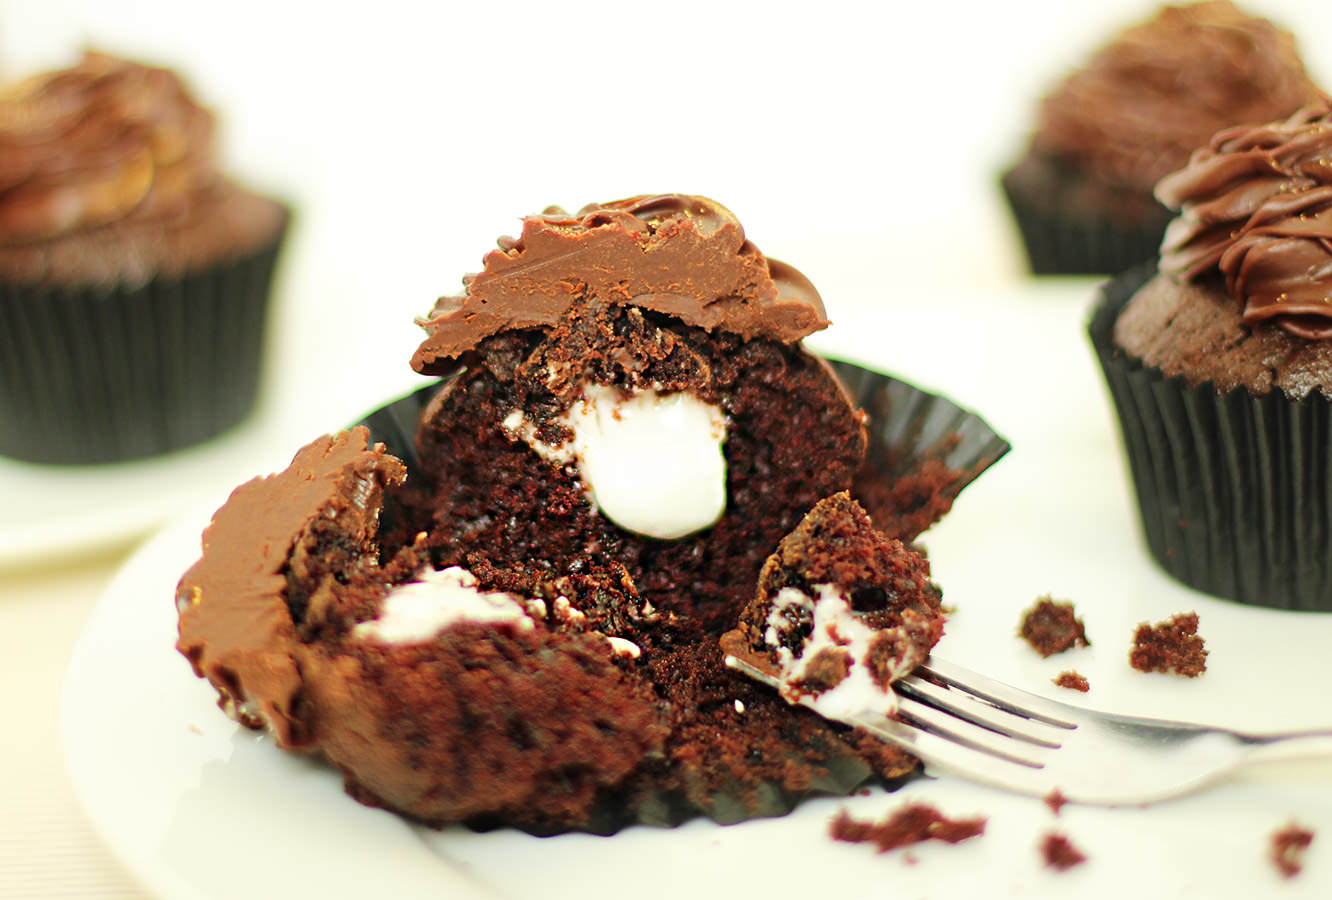
Make a hole in the cupcakes and remove the spongey bit from the cut out. Fill with ganache and pop the ‘lid’ back on. I then spread a little of the meringue frosting over the surface to even it out a little. Pipe the frosting onto the cake using a round nozzle and holding pointed directly down at the cake (perpendicular) and squeeze.
Put in the freezer for a few hours.
Step seven
Melt the chocolate either by putting in the microwave for 20 second bursts, or in a bowl over a pan of simmering water.
You need to find a shallow but wide pot/cup to use for dipping. It needs to be wide enough for the cupcake and your fingers.
Remove the cupcakes from the freezer and dip them in the chocolate.
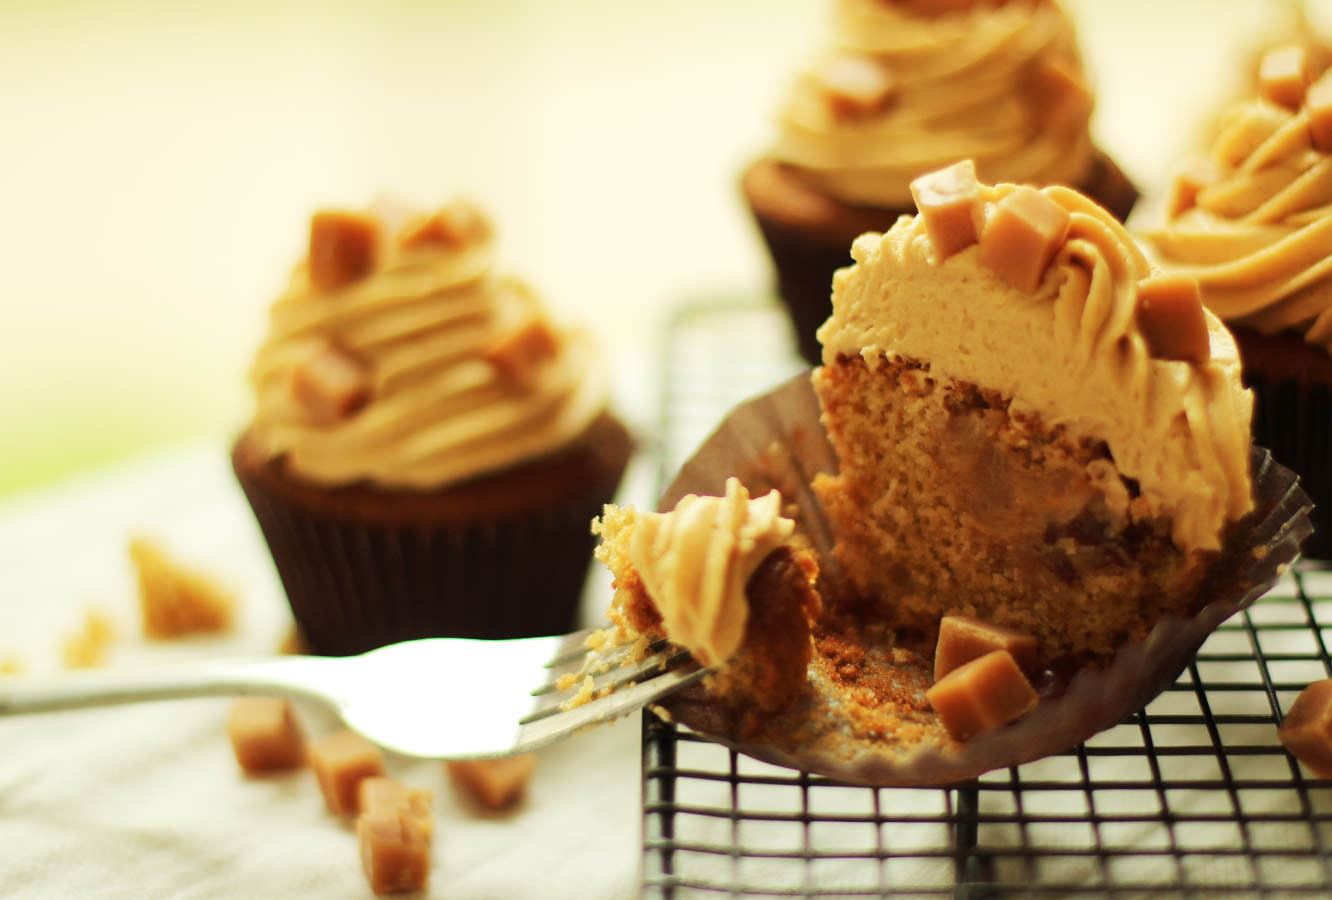
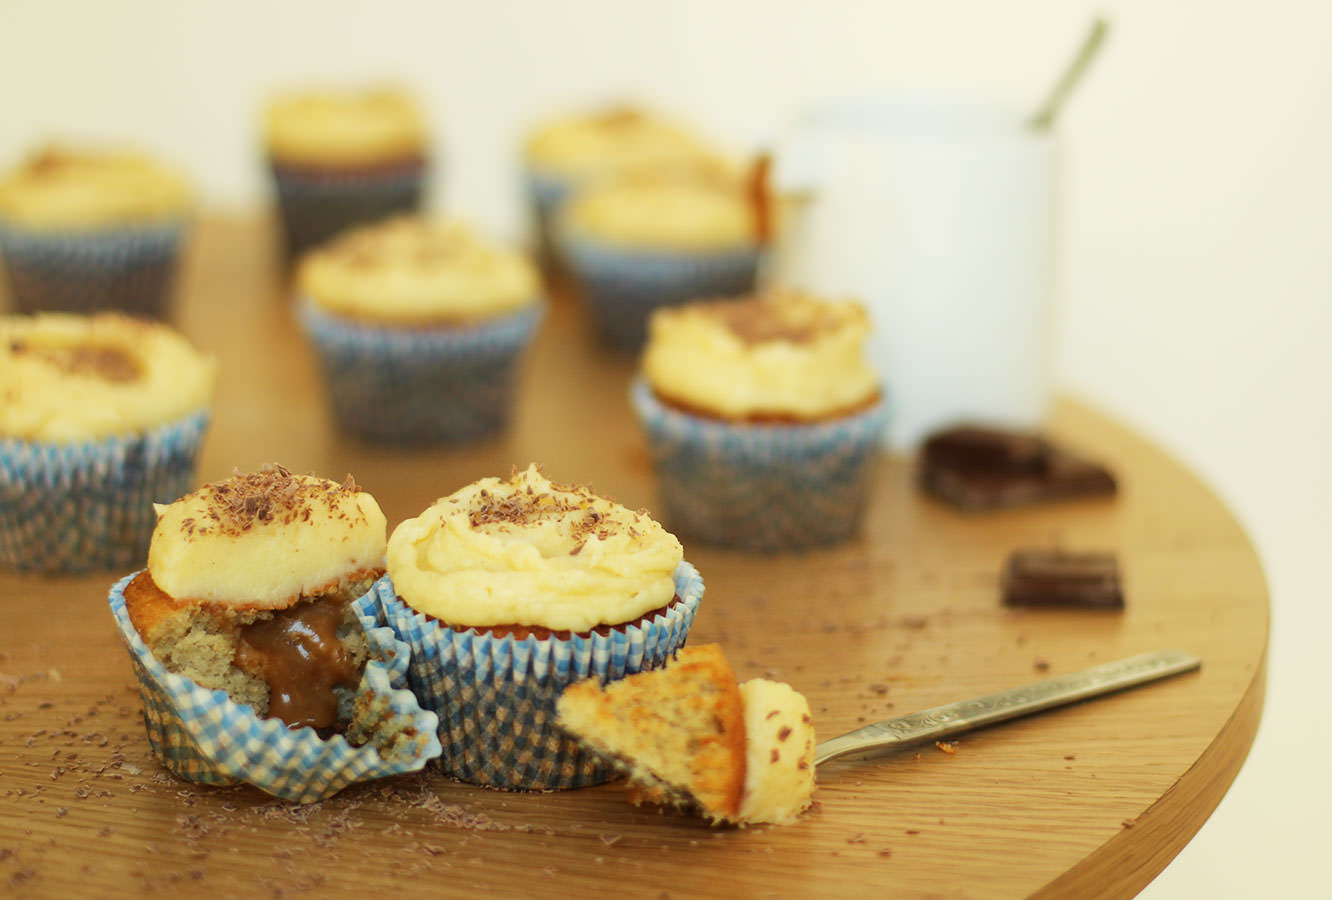
There’s no way I could sleep at night if I didn’t include this next dessert in my British Favourites series.
I mean, I could probably sleep at night, I sleep like a baby, but sticky toffee pudding is one of the best puds Britain has produced. It wouldn’t be right not to feature it here.
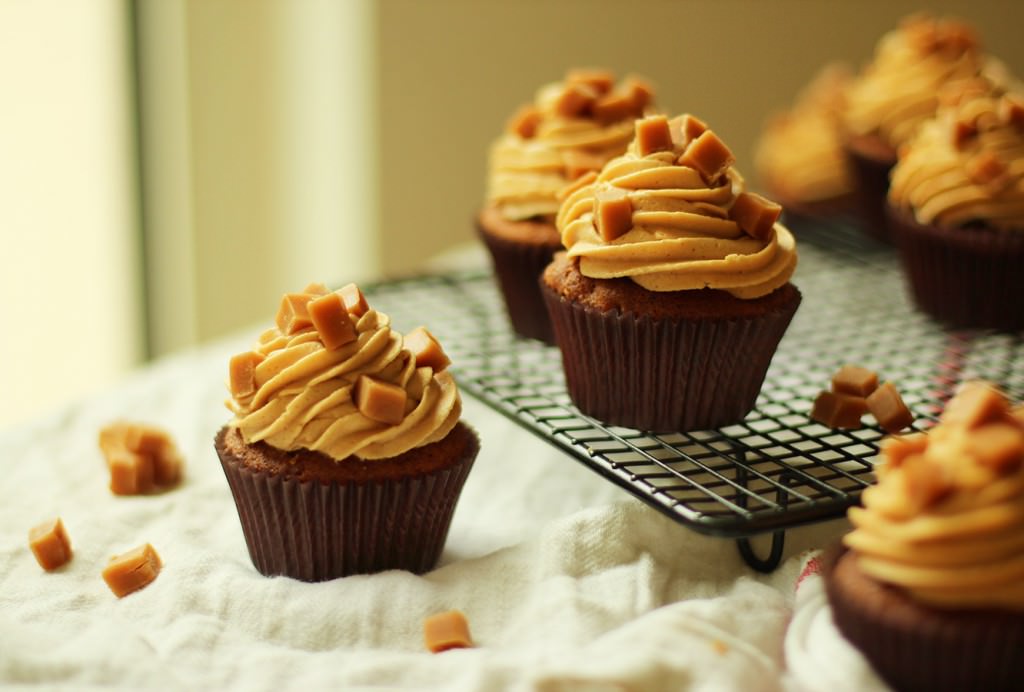
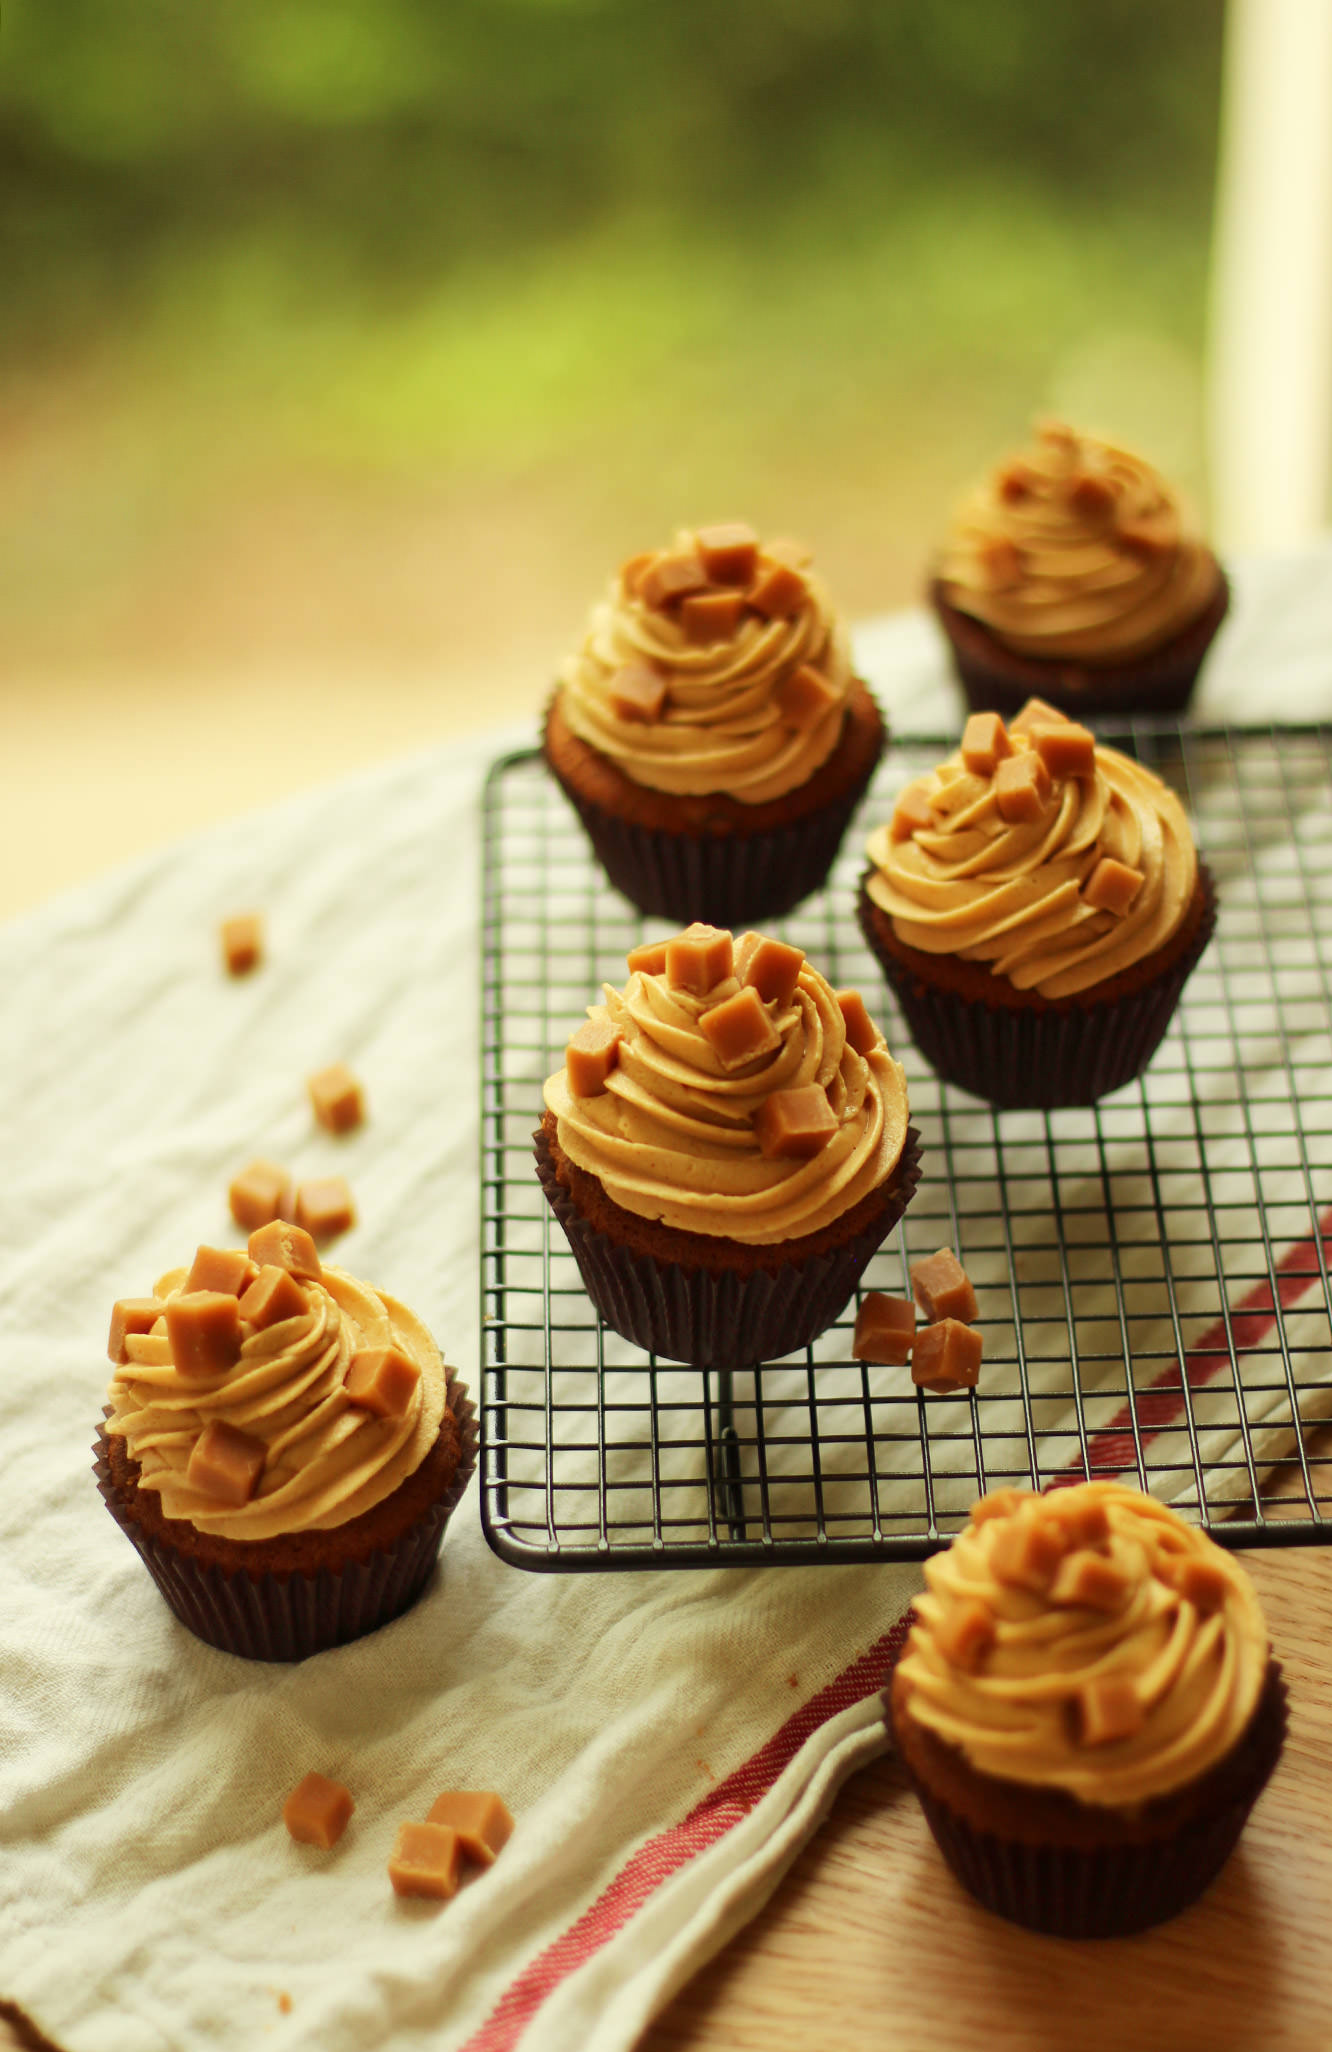
So without further ado, here’s the recipe for sticky toffee cupcakes, enjoy my friends.
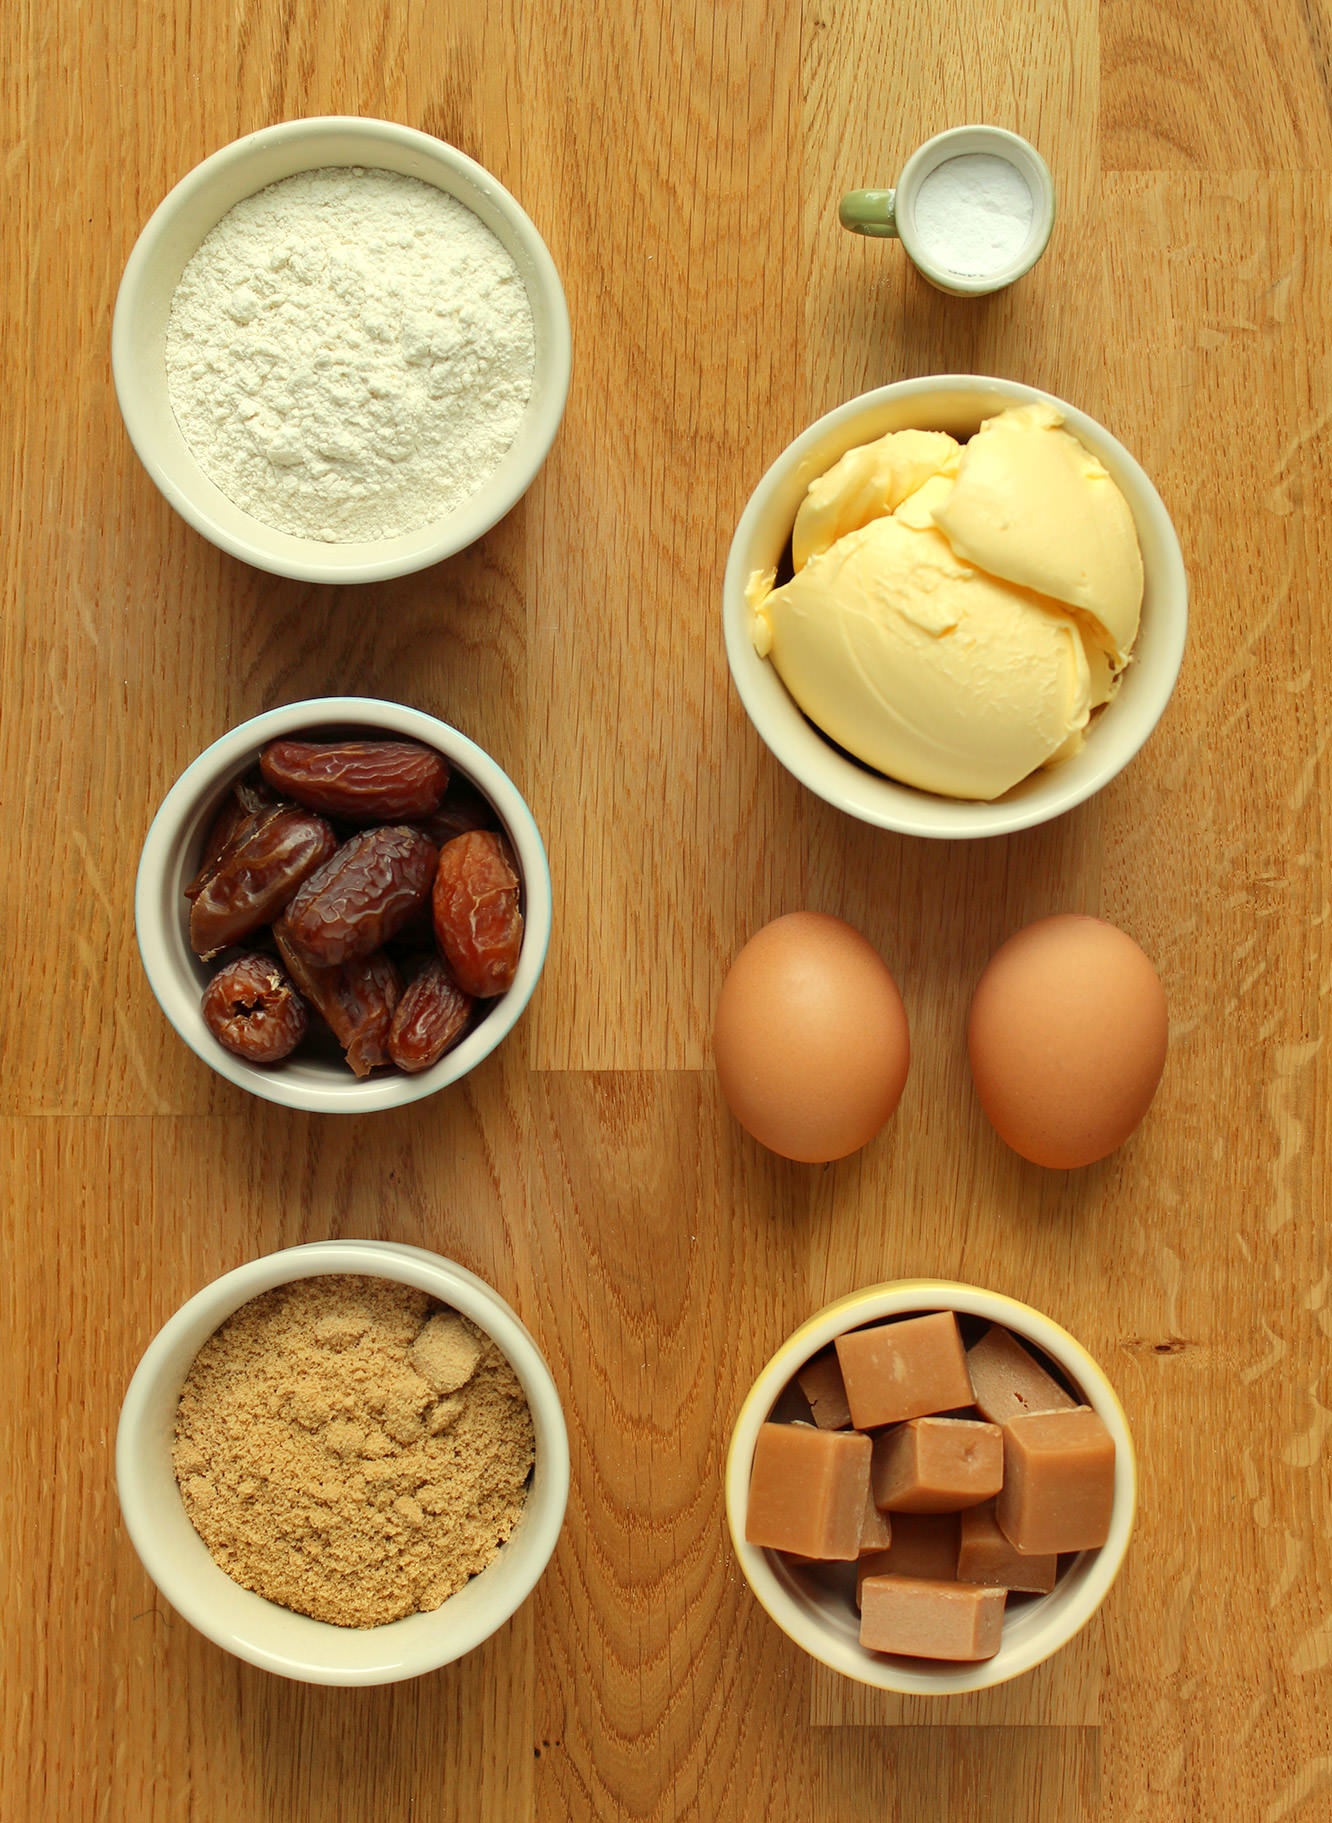
You will need
For the cakes:
200g/7 oz plain flour
160g/5.5 oz soft brown sugar
100g/3.5 oz unsalted butter/margarine (I use Stork for cakes)
150g/5 oz dates (medjool)
2 eggs
1 tsp bicarbonate of soda
For the toffee filling:
200g/7 oz sweetened condensed milk (half a tin)
100g/3.5 oz soft brown sugar
100g/3.5 oz unsalted butter (used salted if you prefer salted caramel to a more dulce de leche/toffee flavour)
50ml/1.75 fl oz double cream
For the toffee frosting/icing:
400g/14 oz of the toffee filling
100g/3.5 oz unsalted butter
100g/3.5 oz icing sugar
Dairy fudge pieces for decoration
(makes 12)
Step one
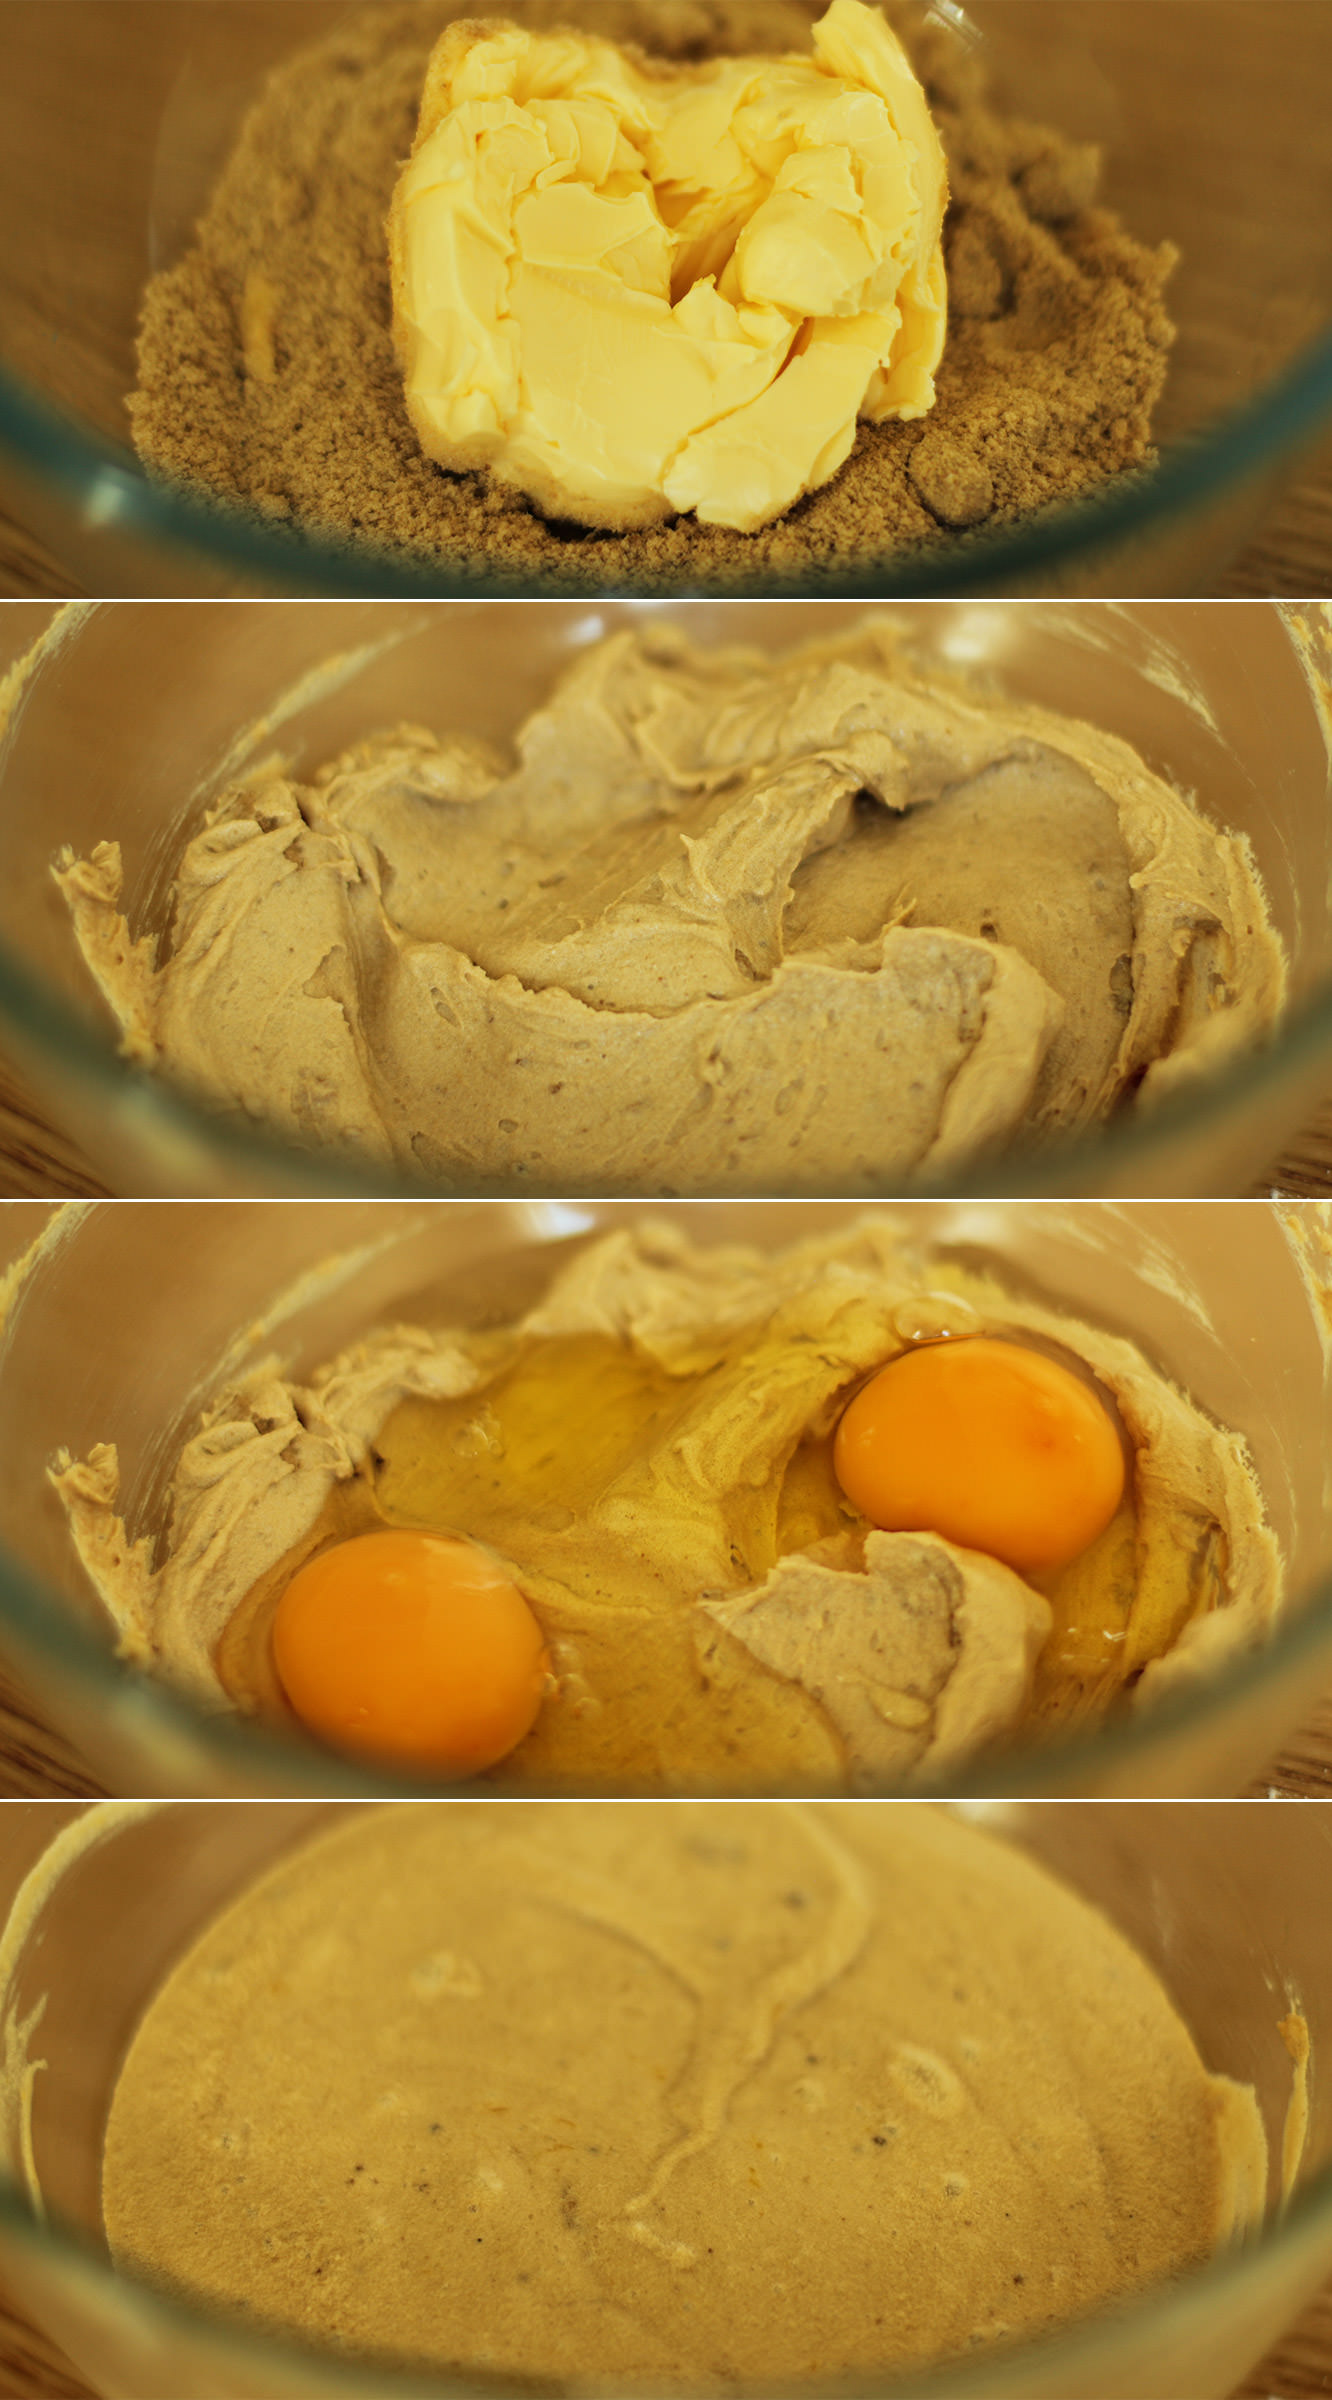
Cakes first chaps.
Whisk together the sugar and butter until smooth. Add the eggs and whisk again until the mix is fully combined.
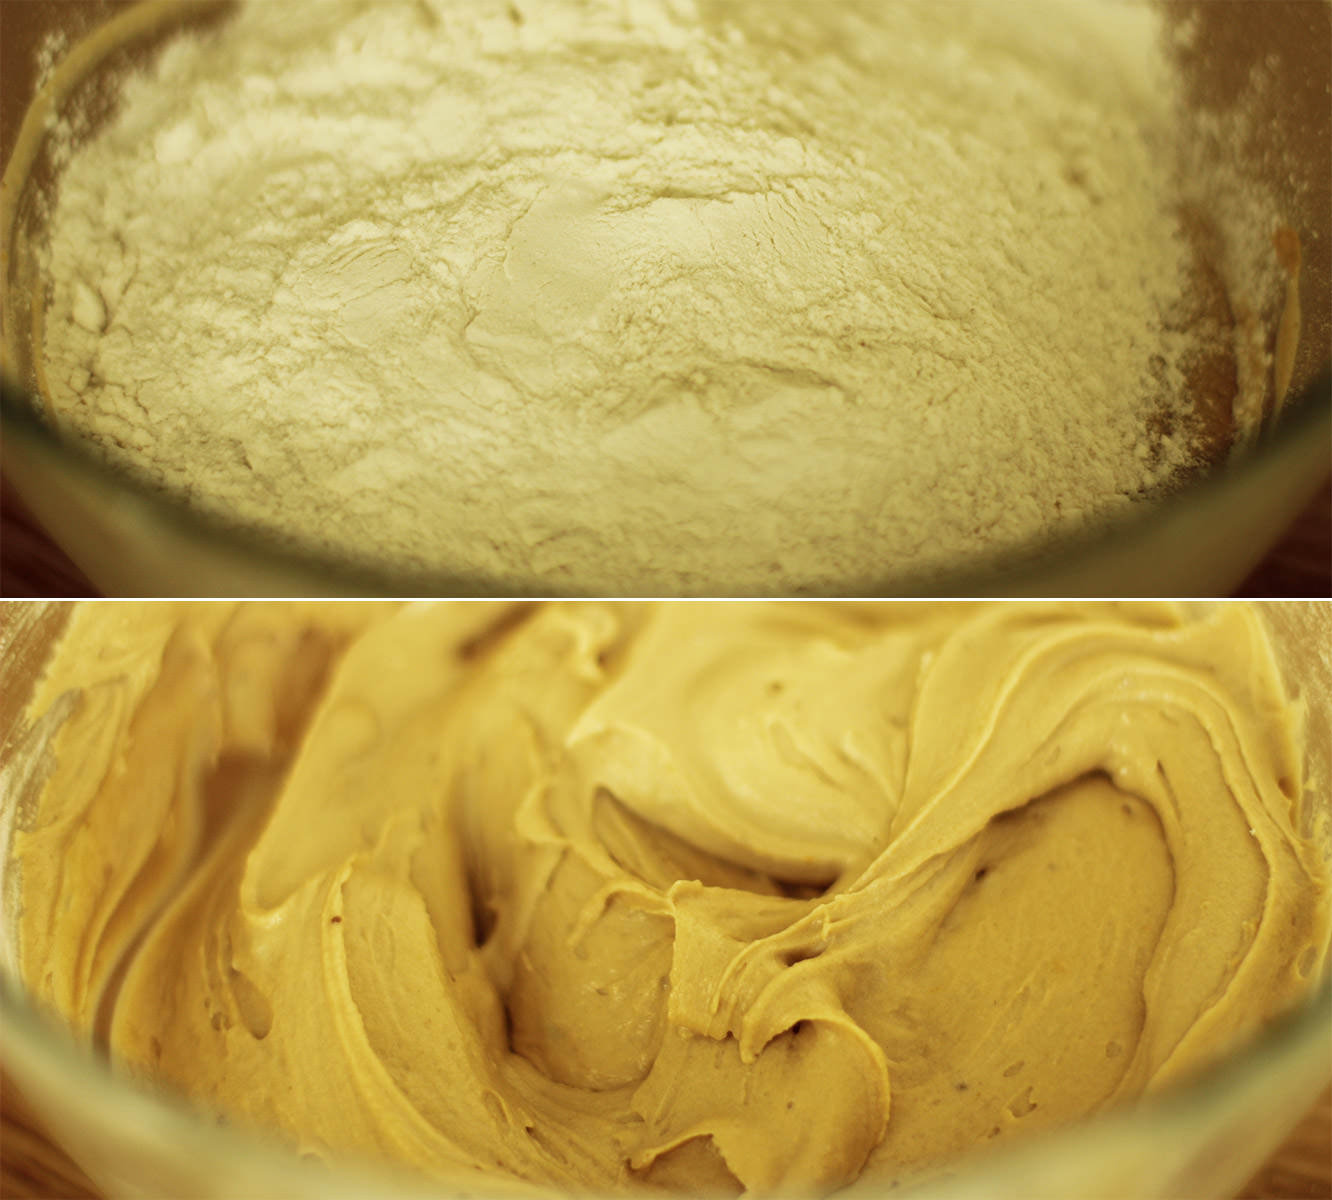
Step two
Add the flour and bicarbonate of soda and whisk again. The batter should be light and fluffy.
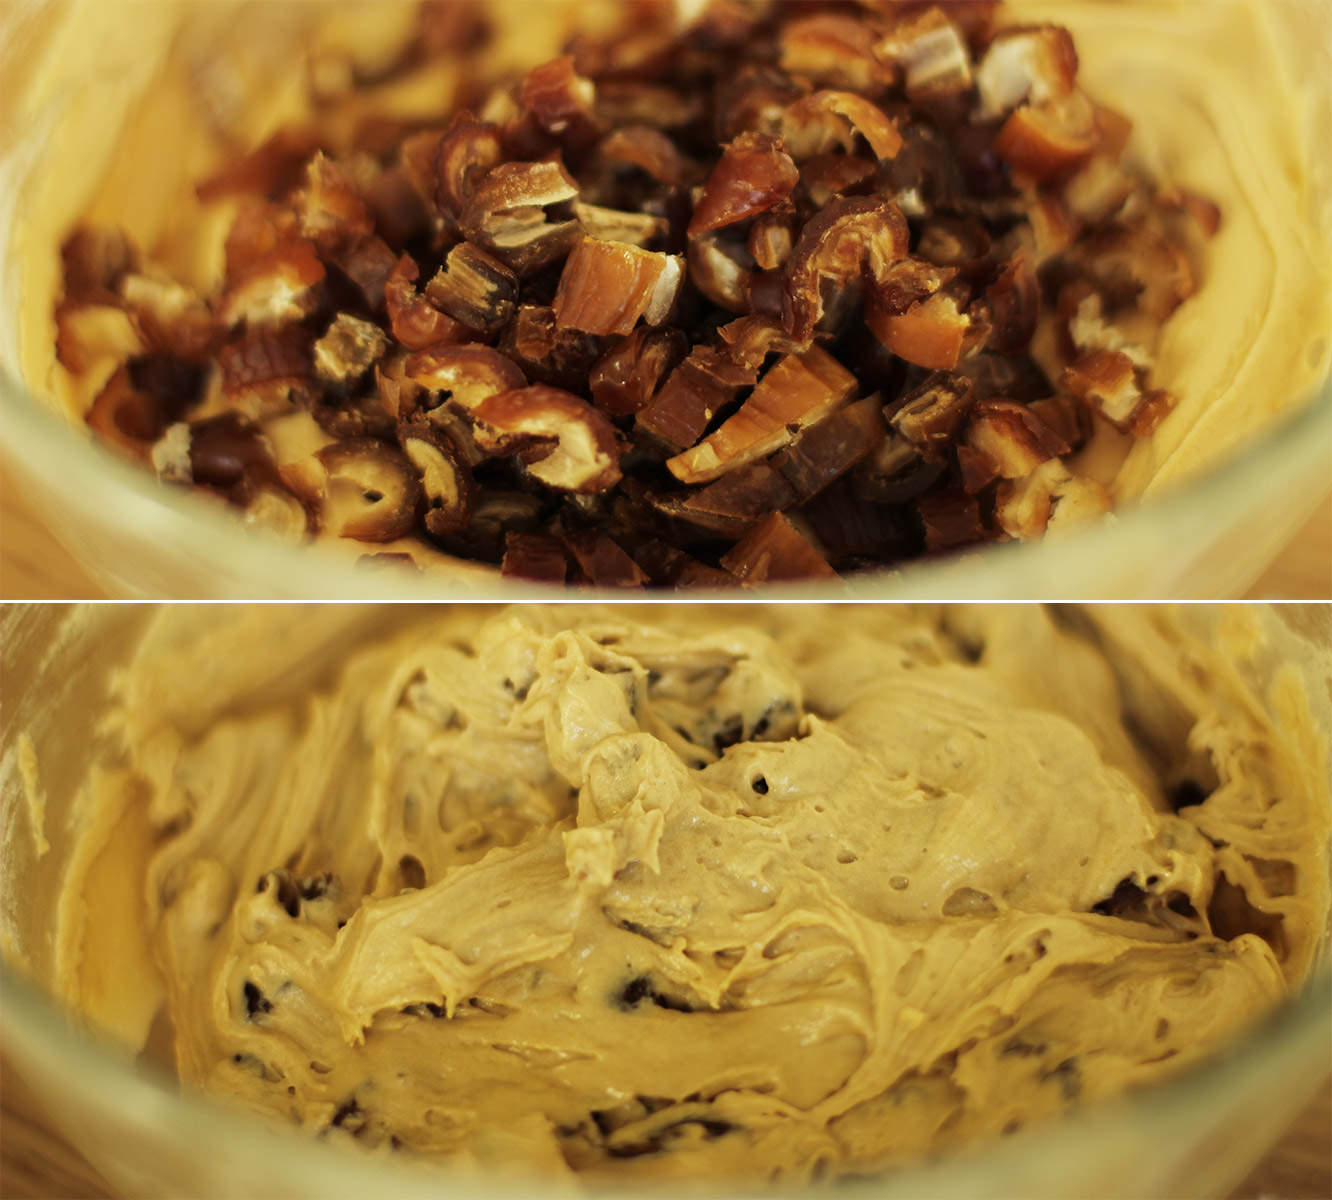
Step three
Chop the dates up into the mixture. I just used scissors for this.
Stir in so they are evenly distributed.
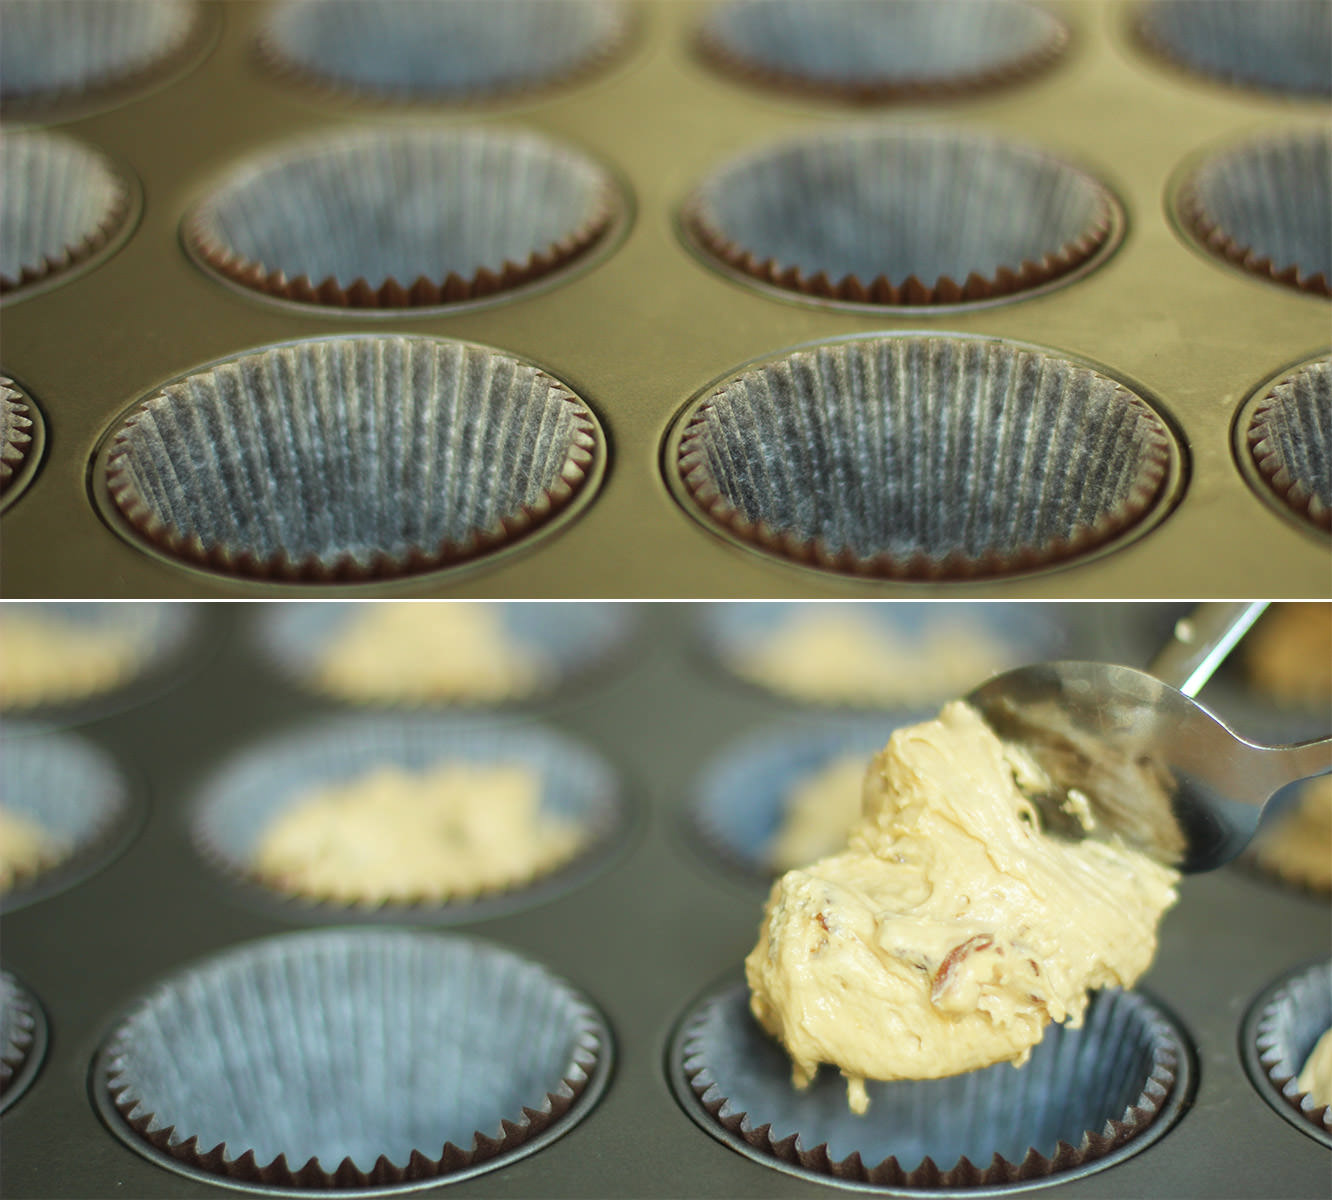
Step four
Spoon the mixture into cupcake cases. Two dessert spoons in each should do the trick.
Bake on gas mark 4/180C/350F for 20-25 minutes. I overdid mine a bit so perhaps closer to the 20 minute end is better.
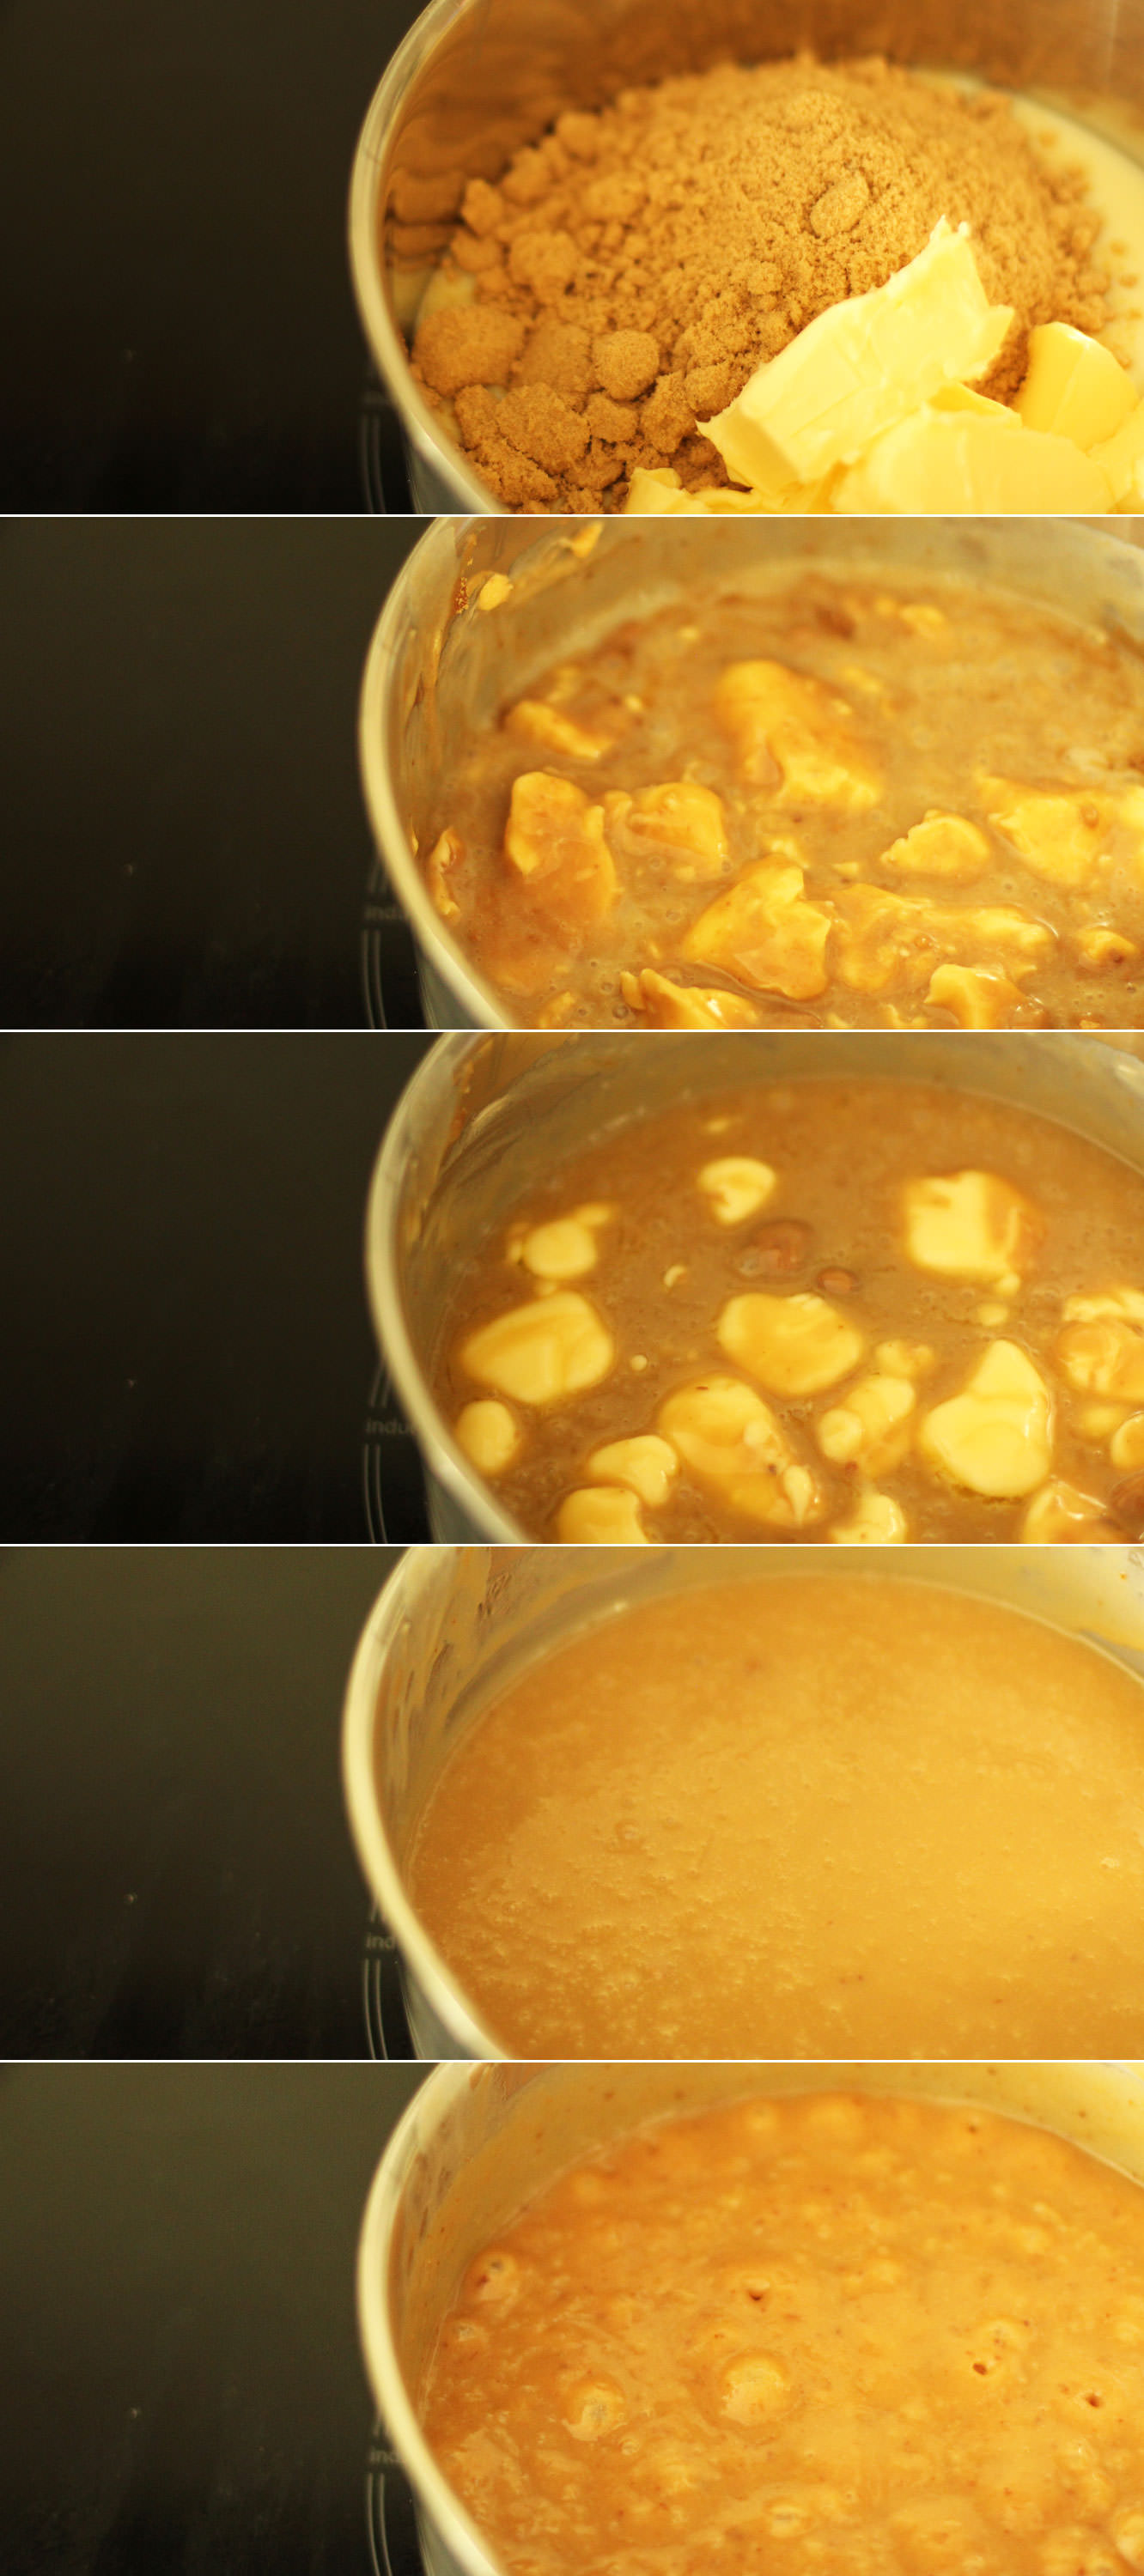
Step five
Place all of the filling ingredients into a saucepan and put on a low-medium heat until all are melted.
Turn the heat up until the mix reaches a gentle boil. Cook for 5-10 minutes, stirring constantly.
Remove from heat, pour into a heatproof bowl and leave to cool, you can pop in in the fridge after about half an hour to speed up the process.
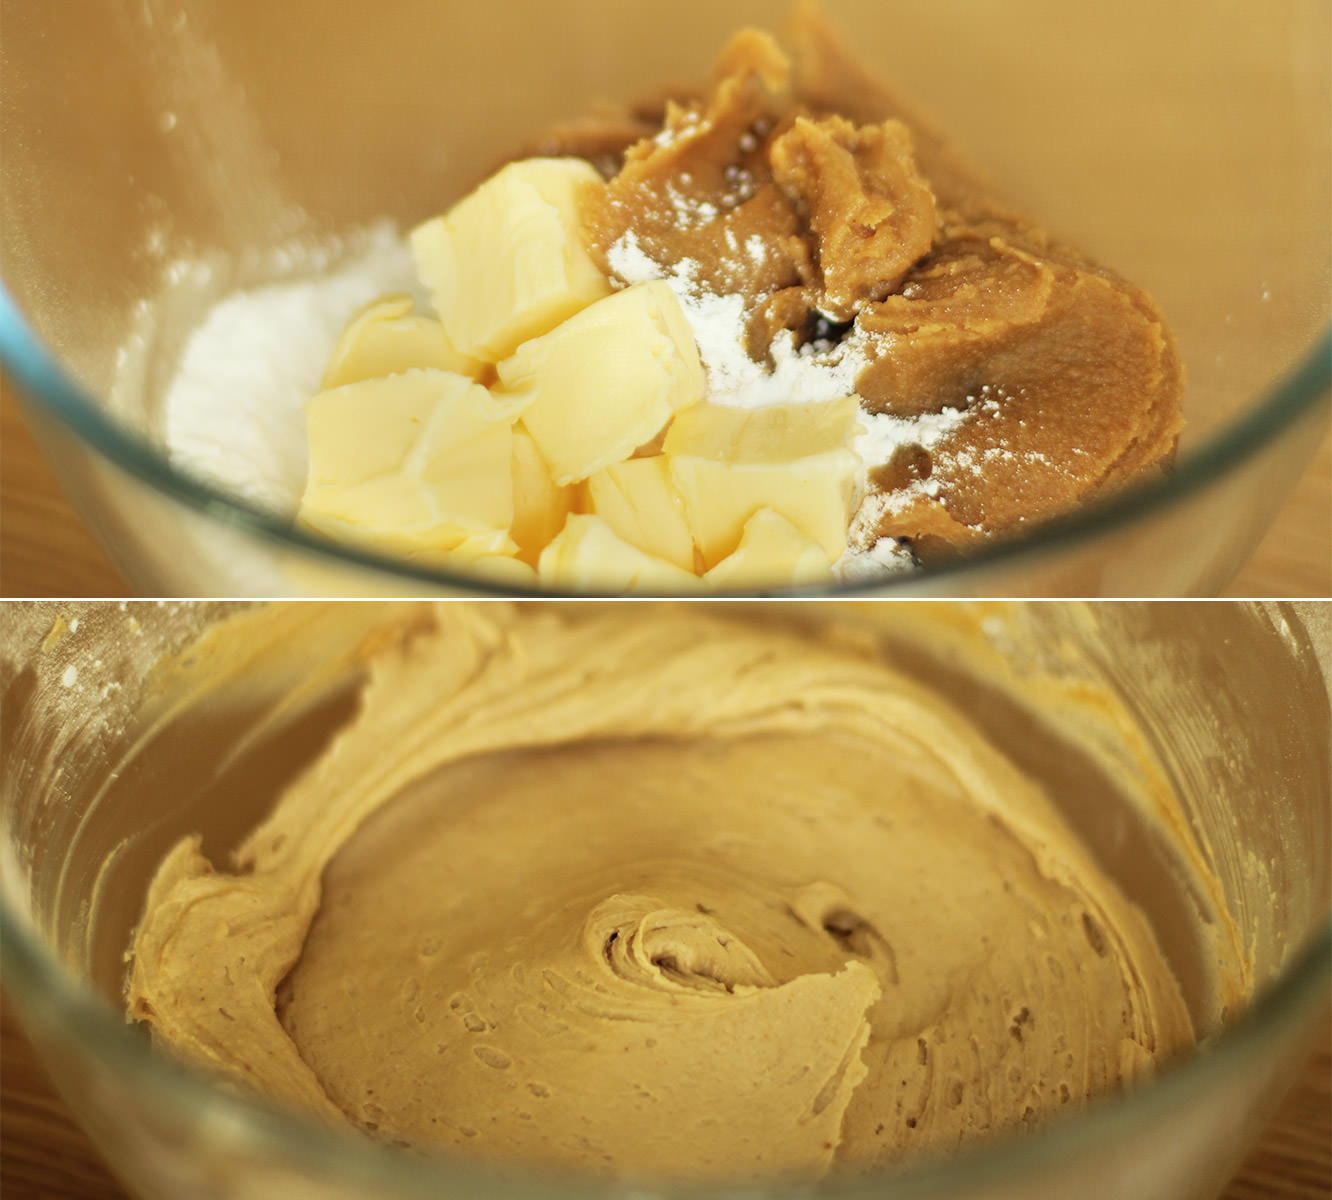
Step six
For the toffee frosting add 400g of the toffee mix to 100g of butter and 100g of icing sugar. The butter and toffee should be at room temperature.
Step seven
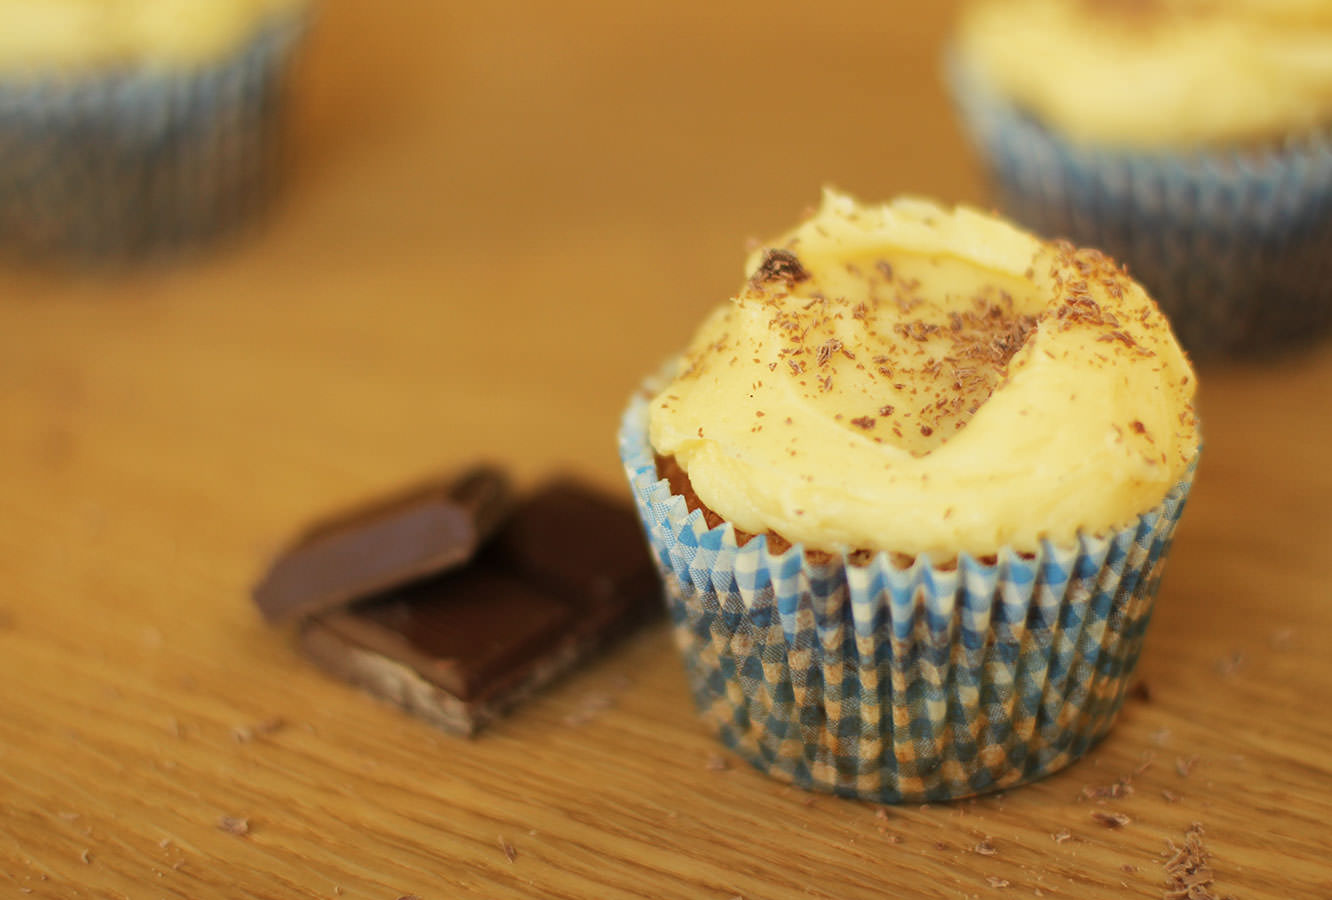
Cut a hole in the middle of the cupcakes and remove the sponge bit, keeping the top. Fill with the remaining toffee and replace the cake lid. Pipe on the frosting and sprinkle with dairy fudge pieces. You can buy these in the home baking section but I prefer to buy the big bags of individually wrapped ones and chop them into smaller pieces myself. You get WAY more for your money that way.
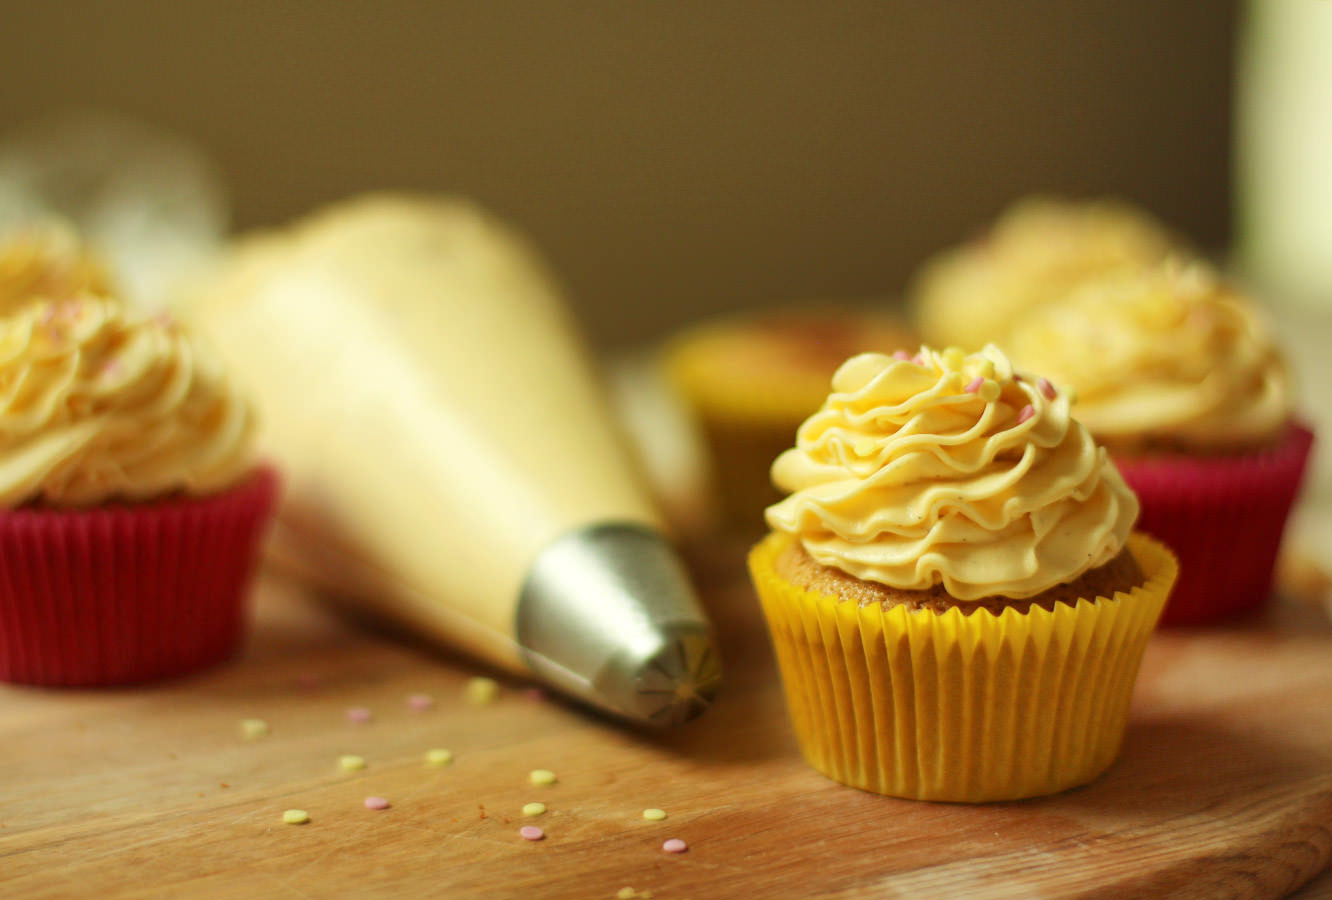
If you’ve been following this blog for a while, you might remember my dear mother’s ventures into gardening. Last year I made a rhubarb and honey cake from one of her crops, and this year’s slotted in nicely into this cupcake series. For where would the British public be without rhubarb and custard?
Ok, let’s be honest. We’d probably be fine without rhubarb and custard. I’m not even sure people eat it that much nowadays. But it is pretty nice baked into a cupcake, they really are a great pair. Maybe we ought to resurrect it. Starting now.
Go forth and bake people of Britain (and the rest of the world too if you’re reading this).
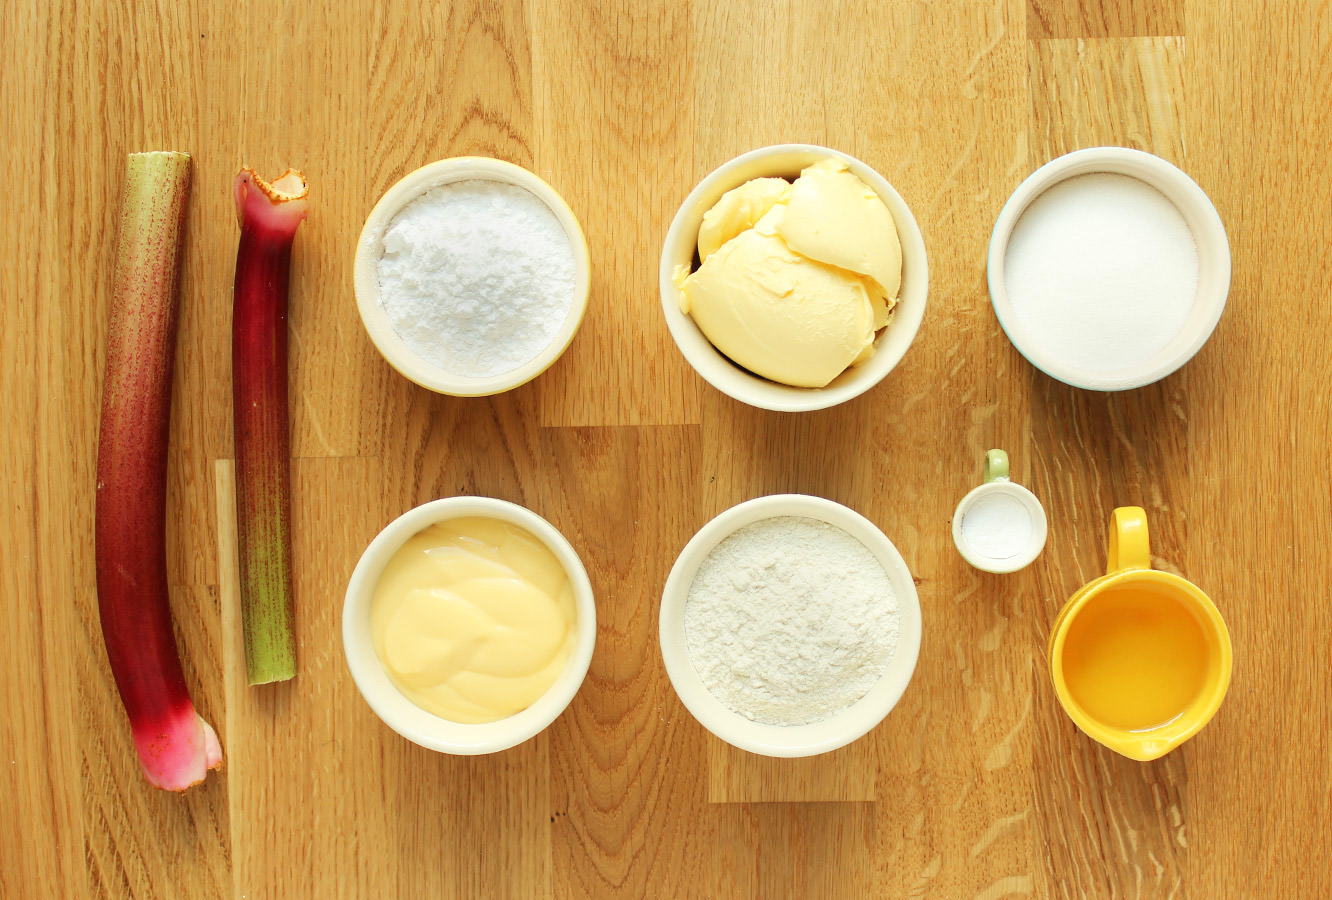
You will need
For the cakes:
250g/8.75 oz plain flour
250g/8.75 oz caster sugar
300ml/10 fl oz water
6 tbsp vegetable oil
1 tsp bicarbonate of soda
1 tsp cider vinegar
1 tsp vanilla extract
For the rhubarb filling:
200g/7 oz rhubarb
6 tbsp granulated sugar
3 tbsp water
For the custard frosting/icing:
250g/8.75 oz unsalted butter
225g/8 oz packet custard (yes, I used a carton of ambrosia, so sue me)
75g/2.5 oz icing sugar
Vanilla pod/paste (extract is fine, but I wanted the flecks)
(makes 12)
Step one
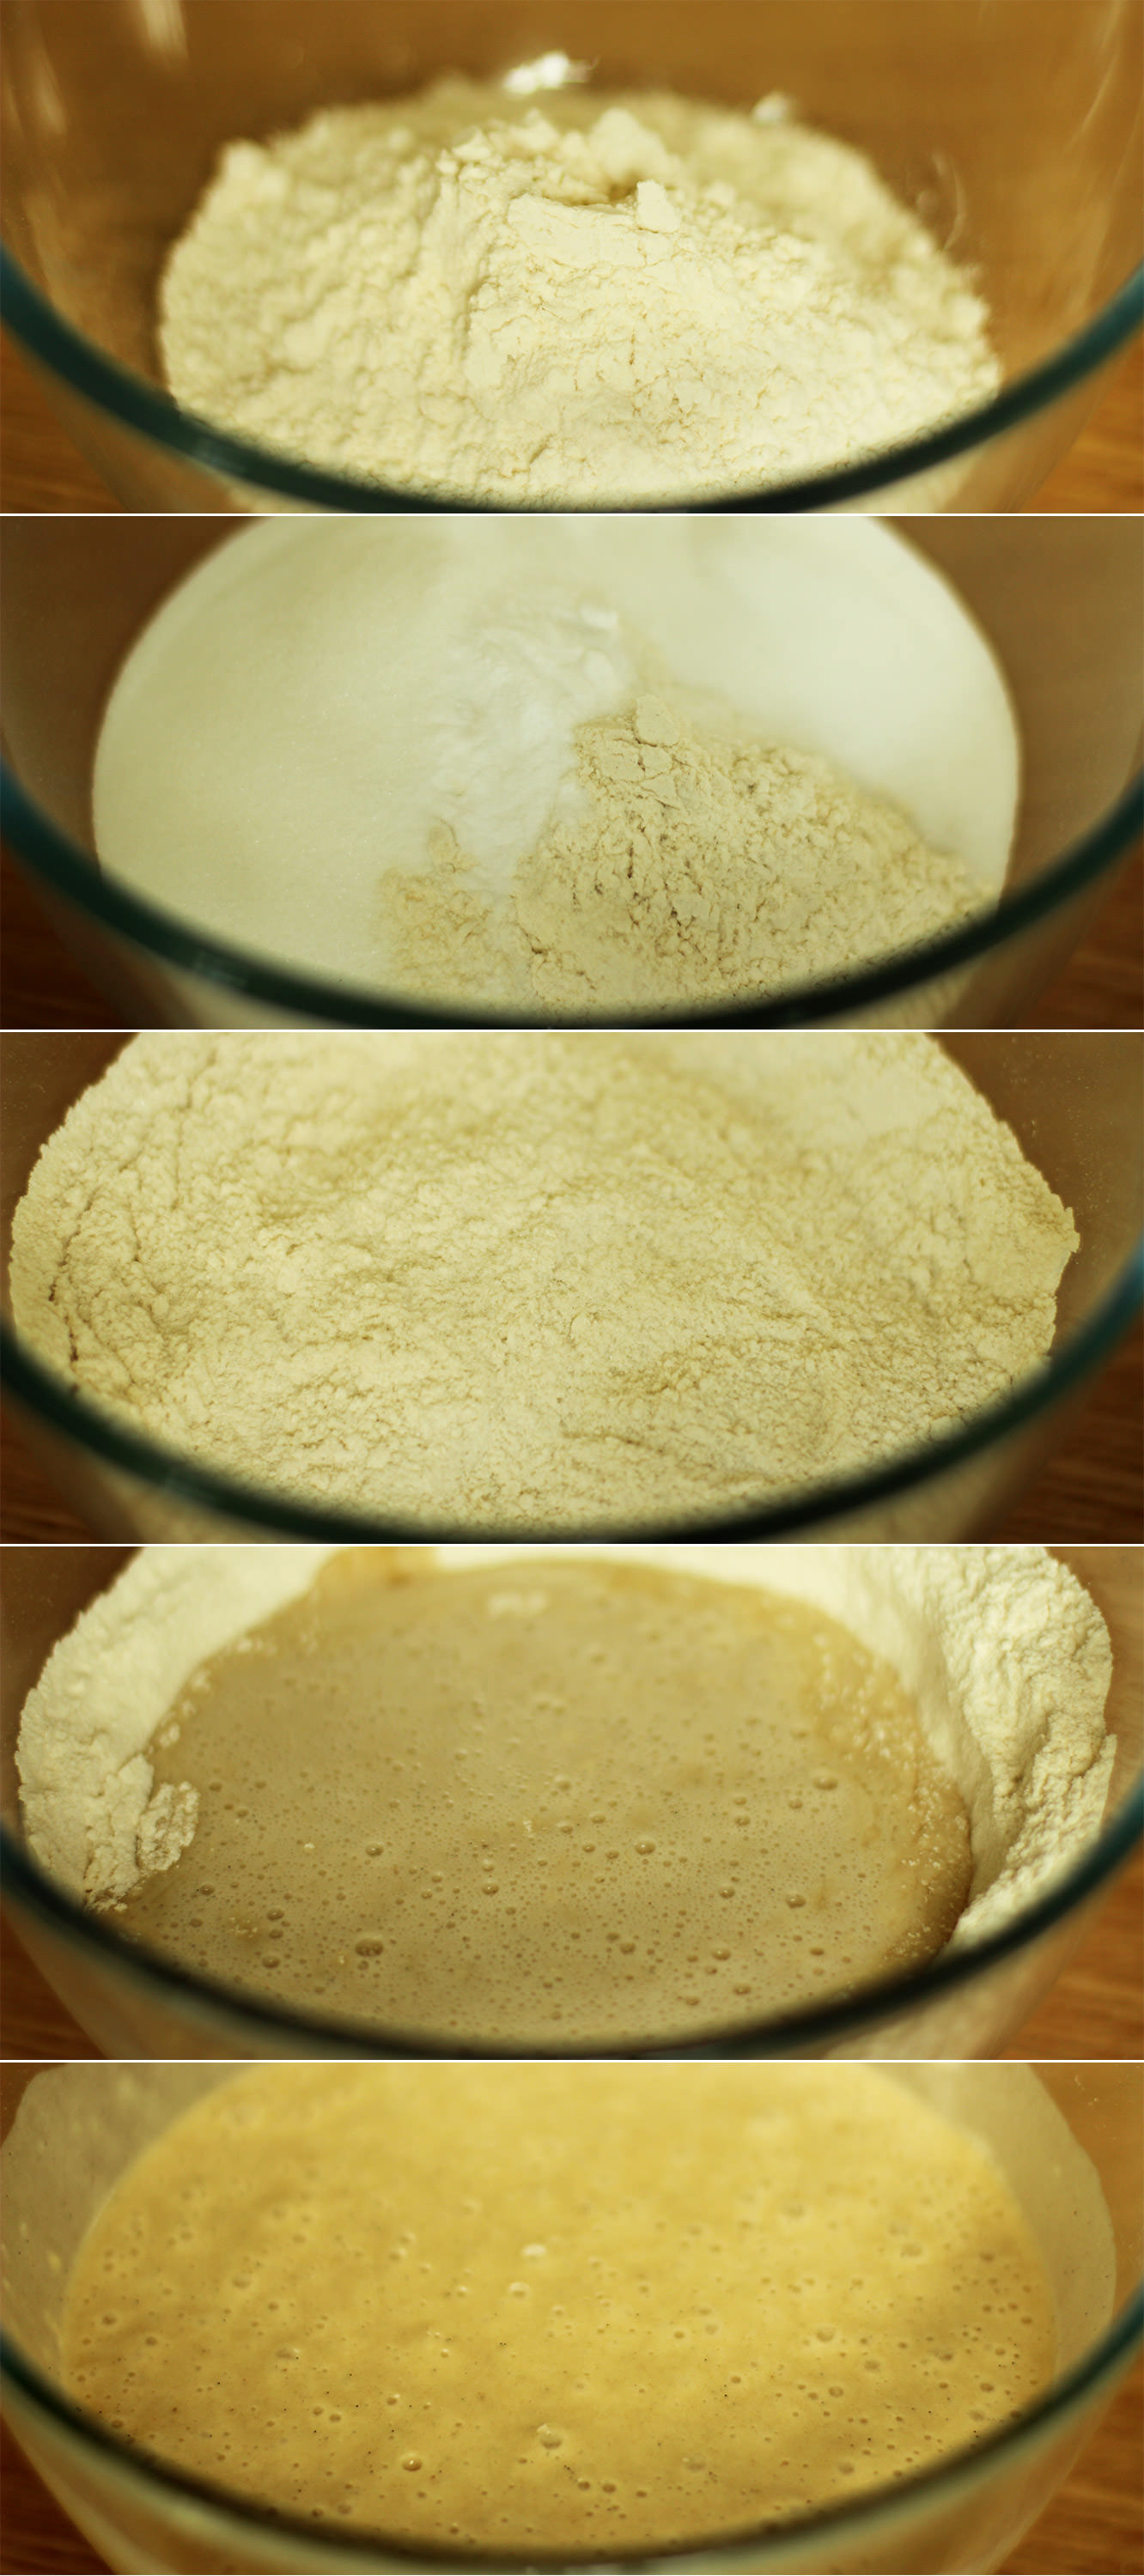
Start with the cupcakes. Combine the dry ingredients and make a well in the middle.
Pour the water, oil, extract and vinegar into the centre. Using a hand whisk, stir in small circles, gradually widening the circle until the dry ingredients are fully incorporated. Doing it gradually prevents lumps of flour in the batter.
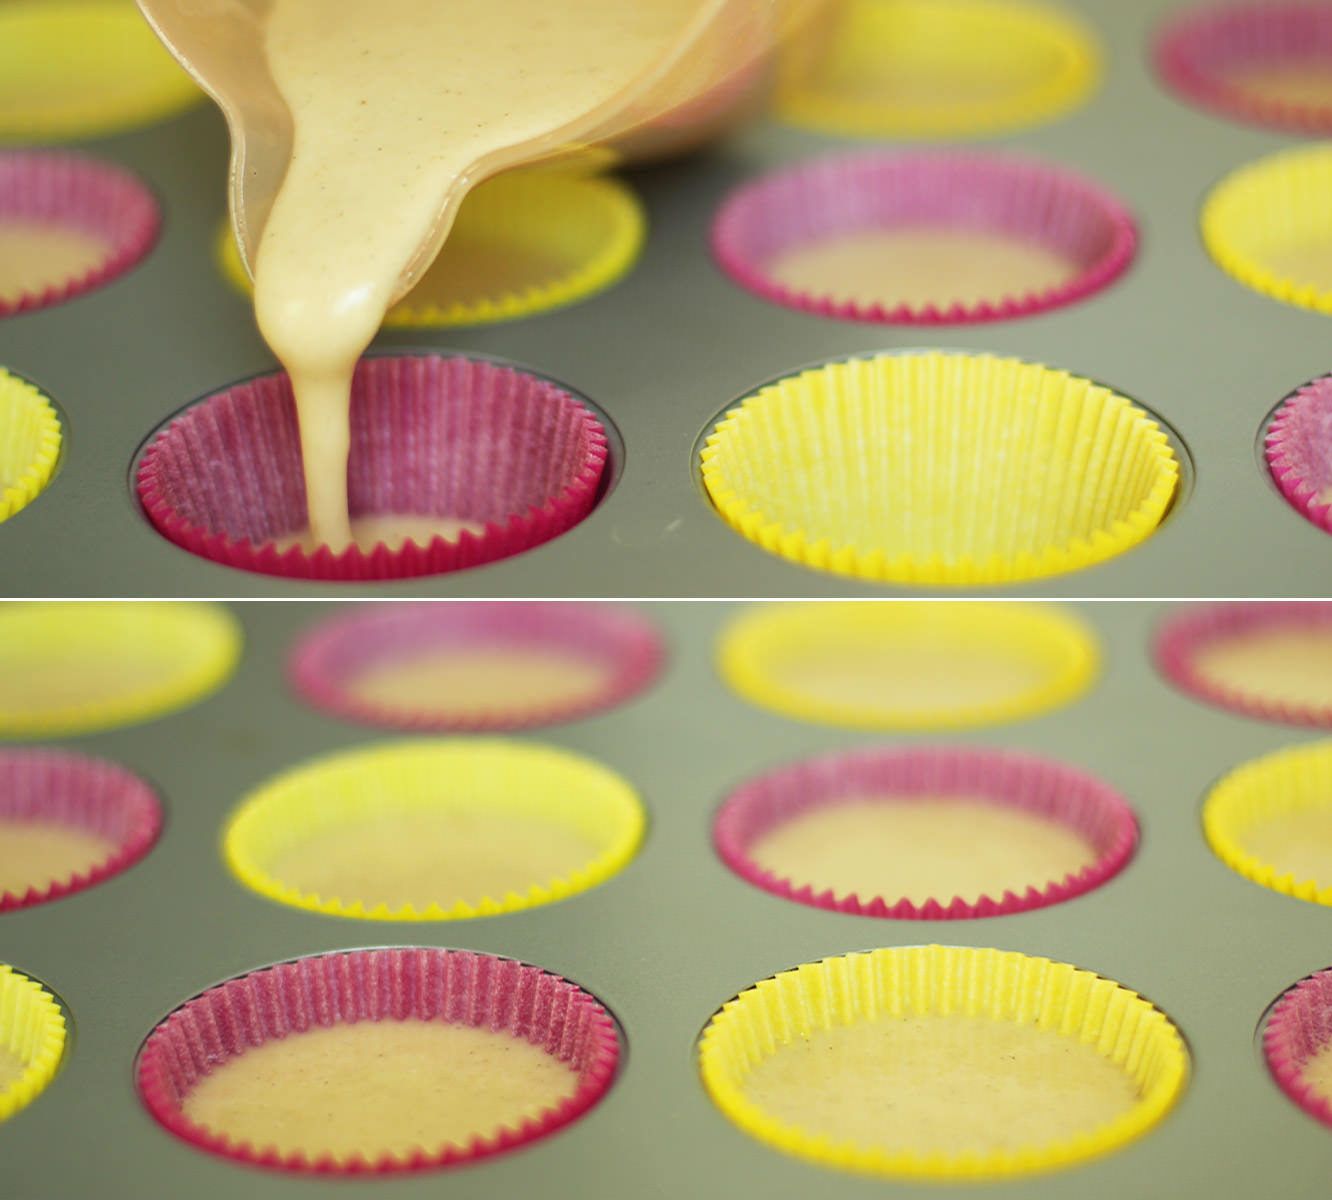
Step two
Use a jug to pour the batter into the cases. Bake on gas mark 4/350F/180C for 20-25 minutes.
Step three
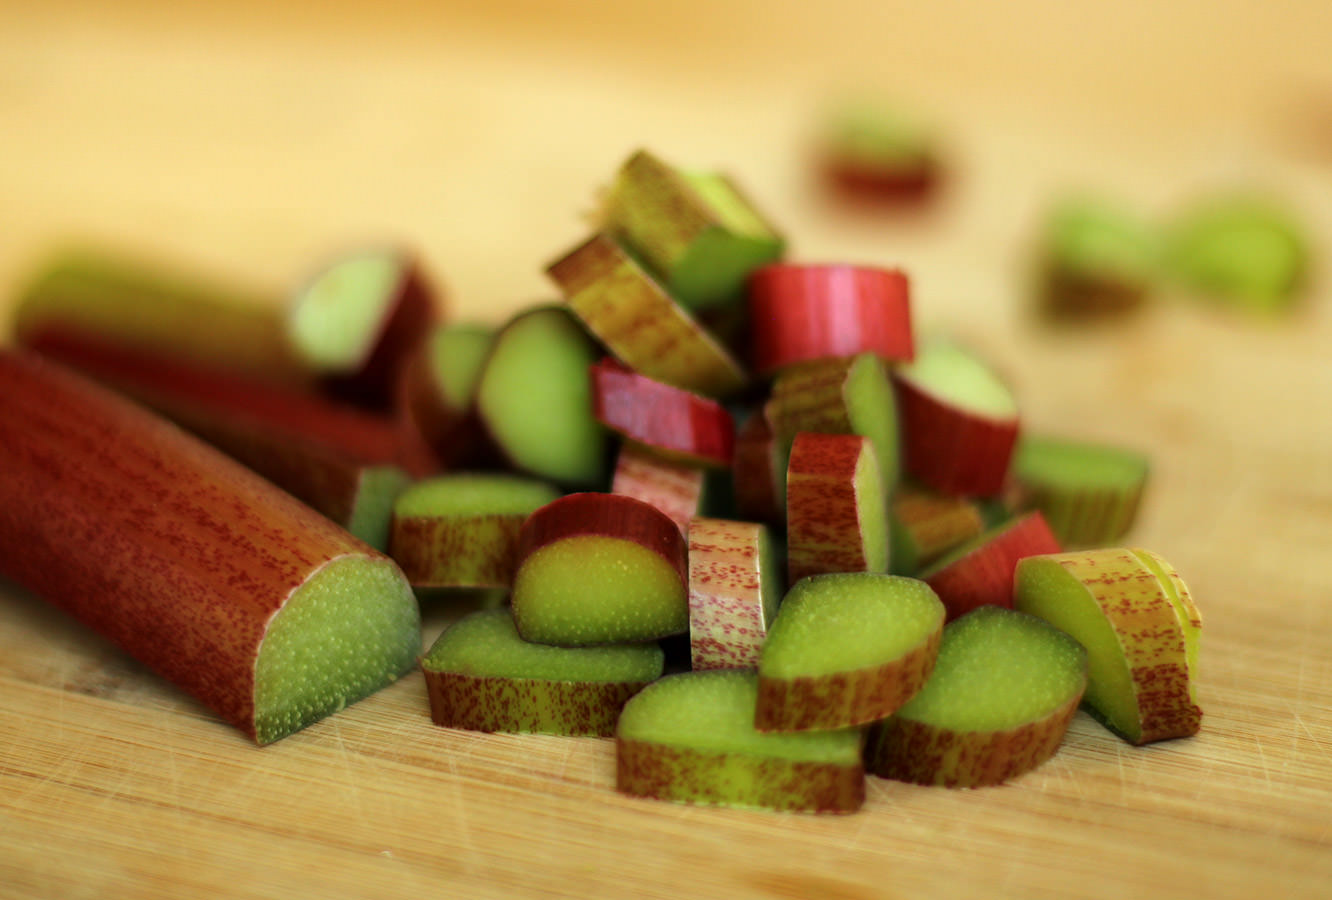
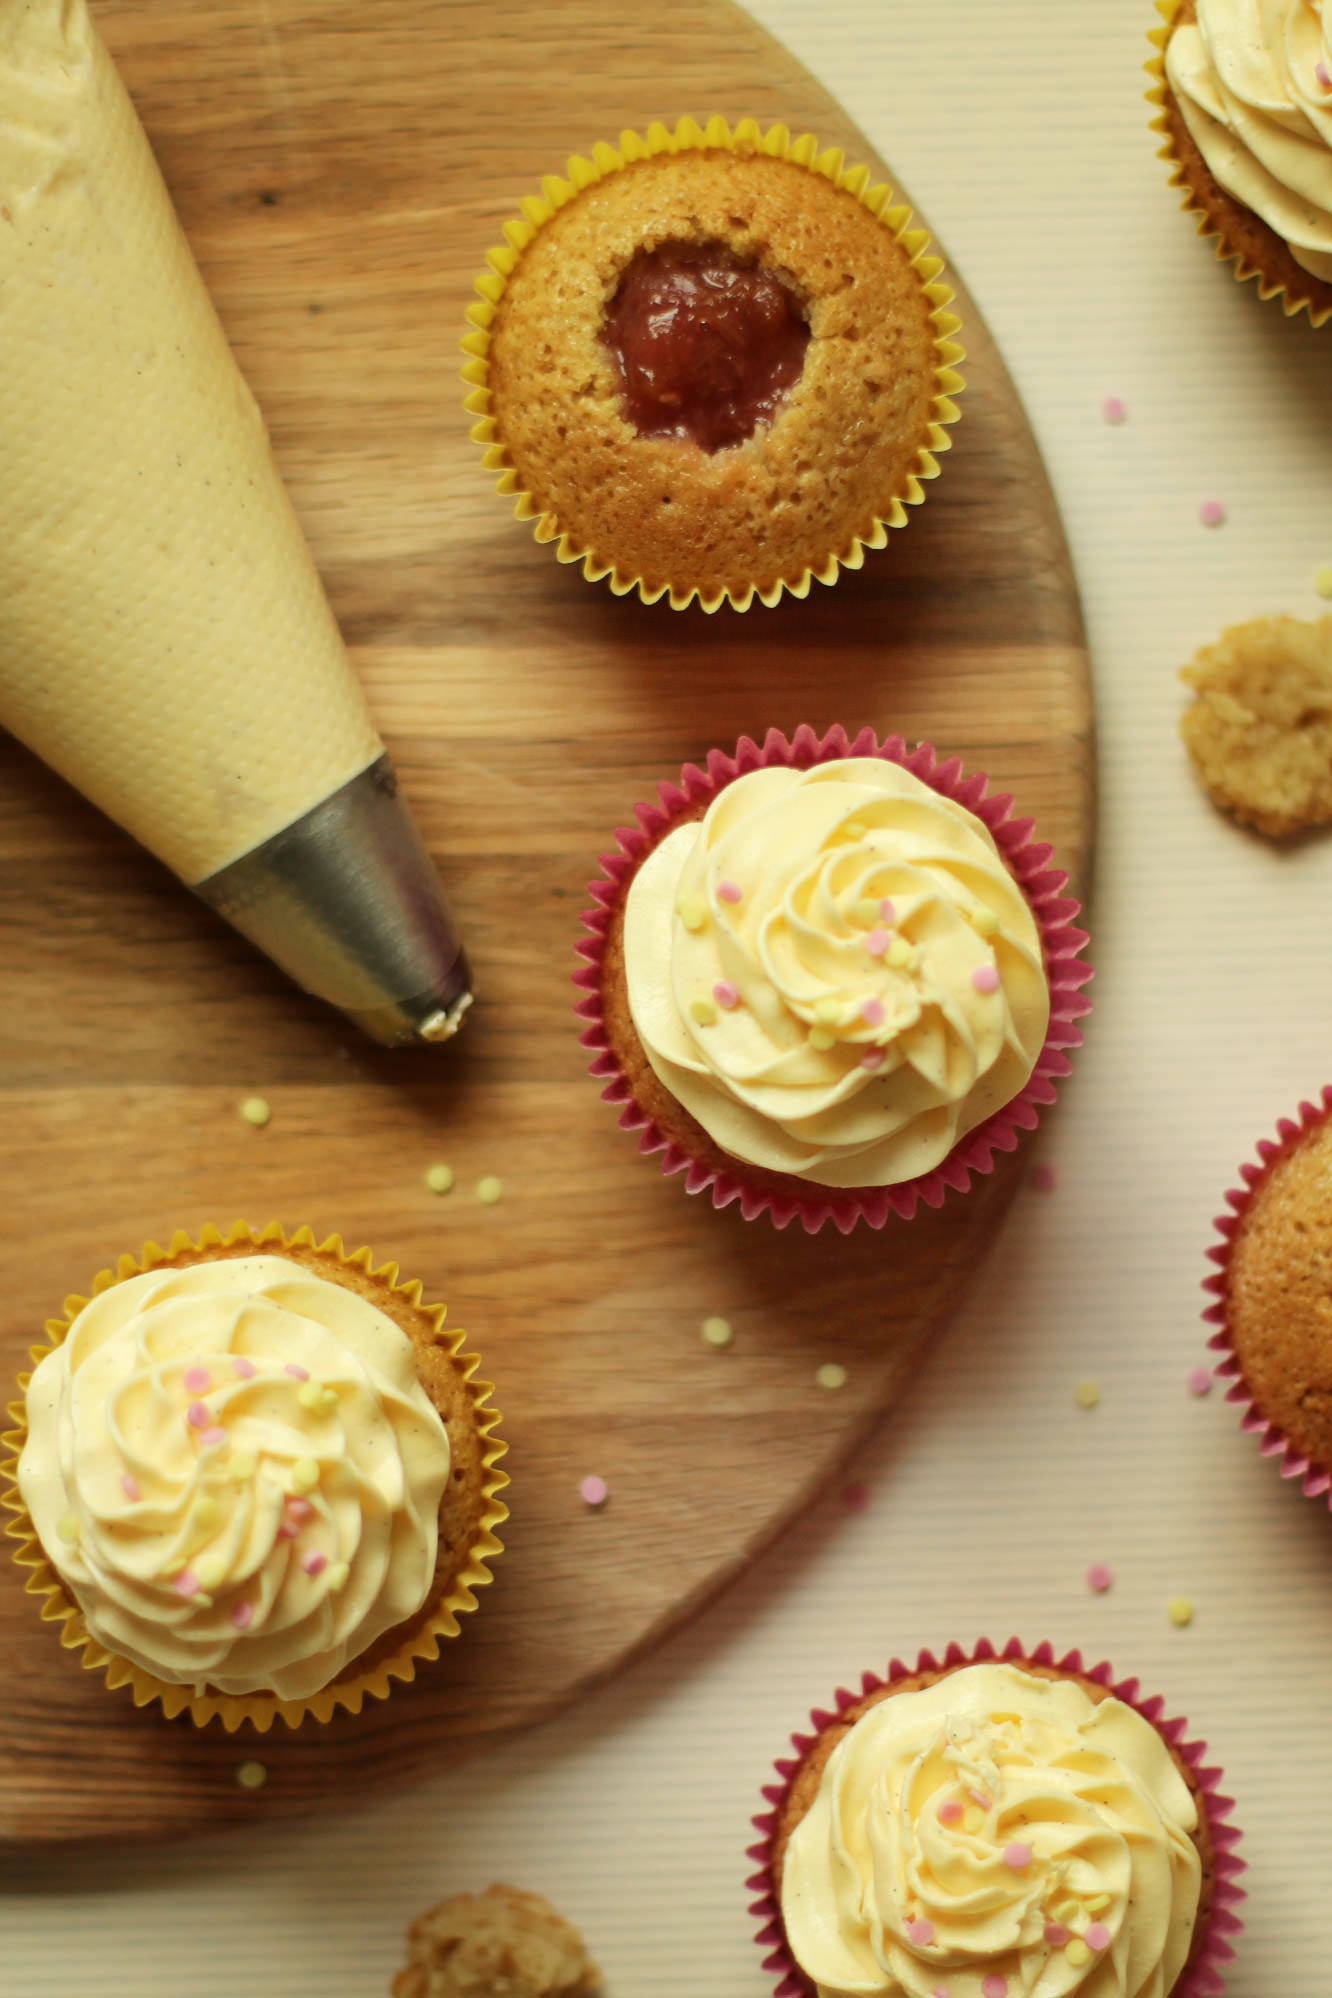
Chop the rhubarb into small slices.
Step four
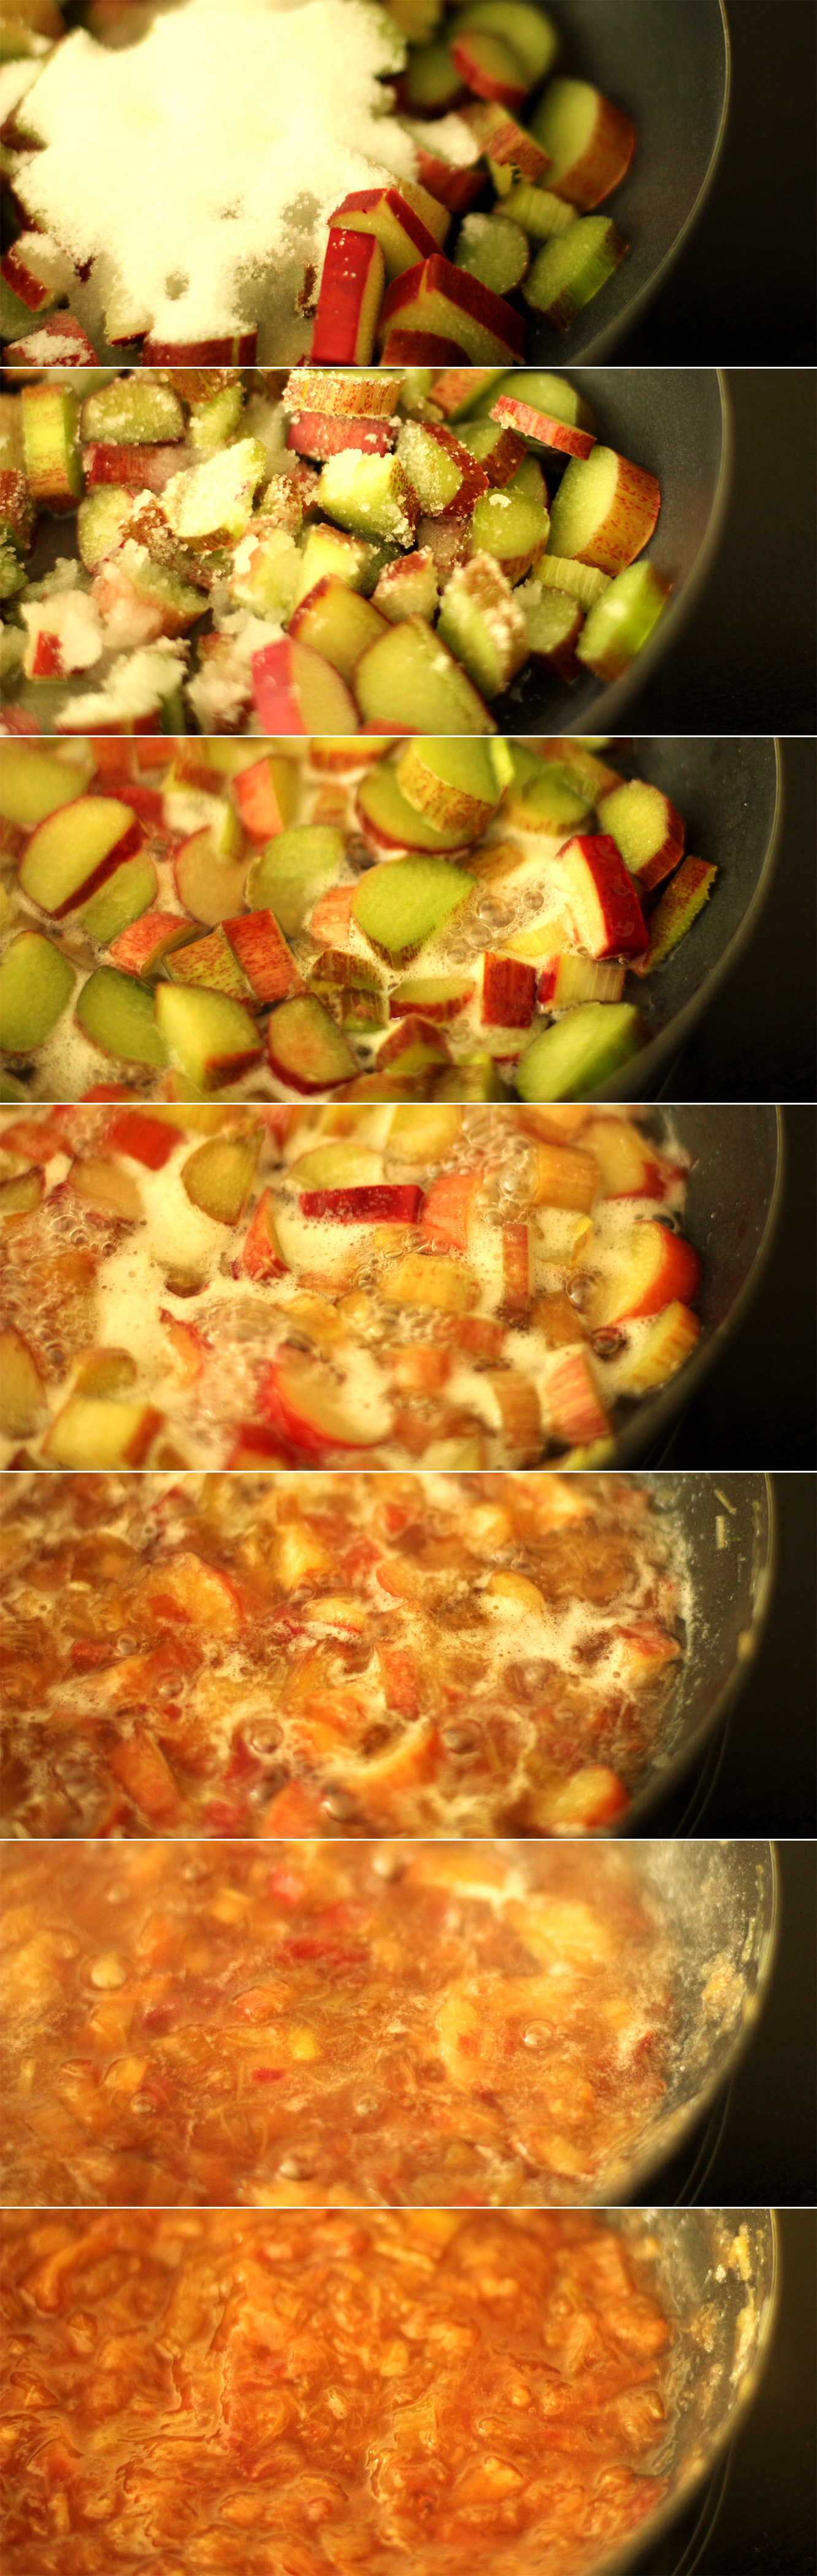
Put the rhubarb, water and sugar into a frying pan and set to a low-medium temperature. Once the sugar has dissolved, turn the heat up and bring to a simmer.
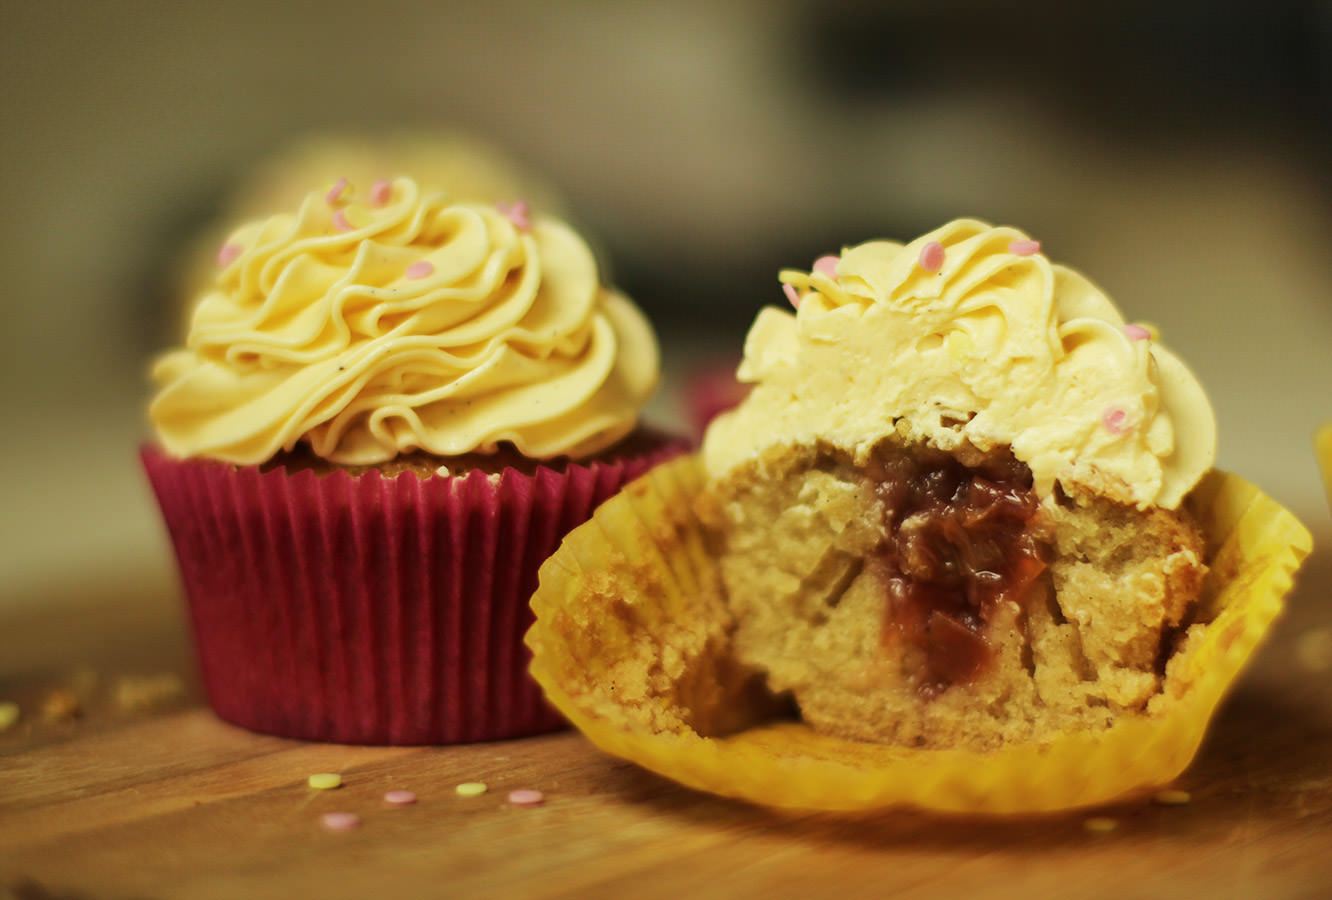
The rhubarb will break down and the whole thing will start to resemble jam. Allow it to thicken a bit, about 10 minutes on the heat will do the trick.
If you want to you could sieve this into more of a rhubarb puree. I didn’t bother and they were still tasty. Just to reassure you, everything softens enough so there’s no weird stringy texture or anything.
Set aside to cool.
Step five
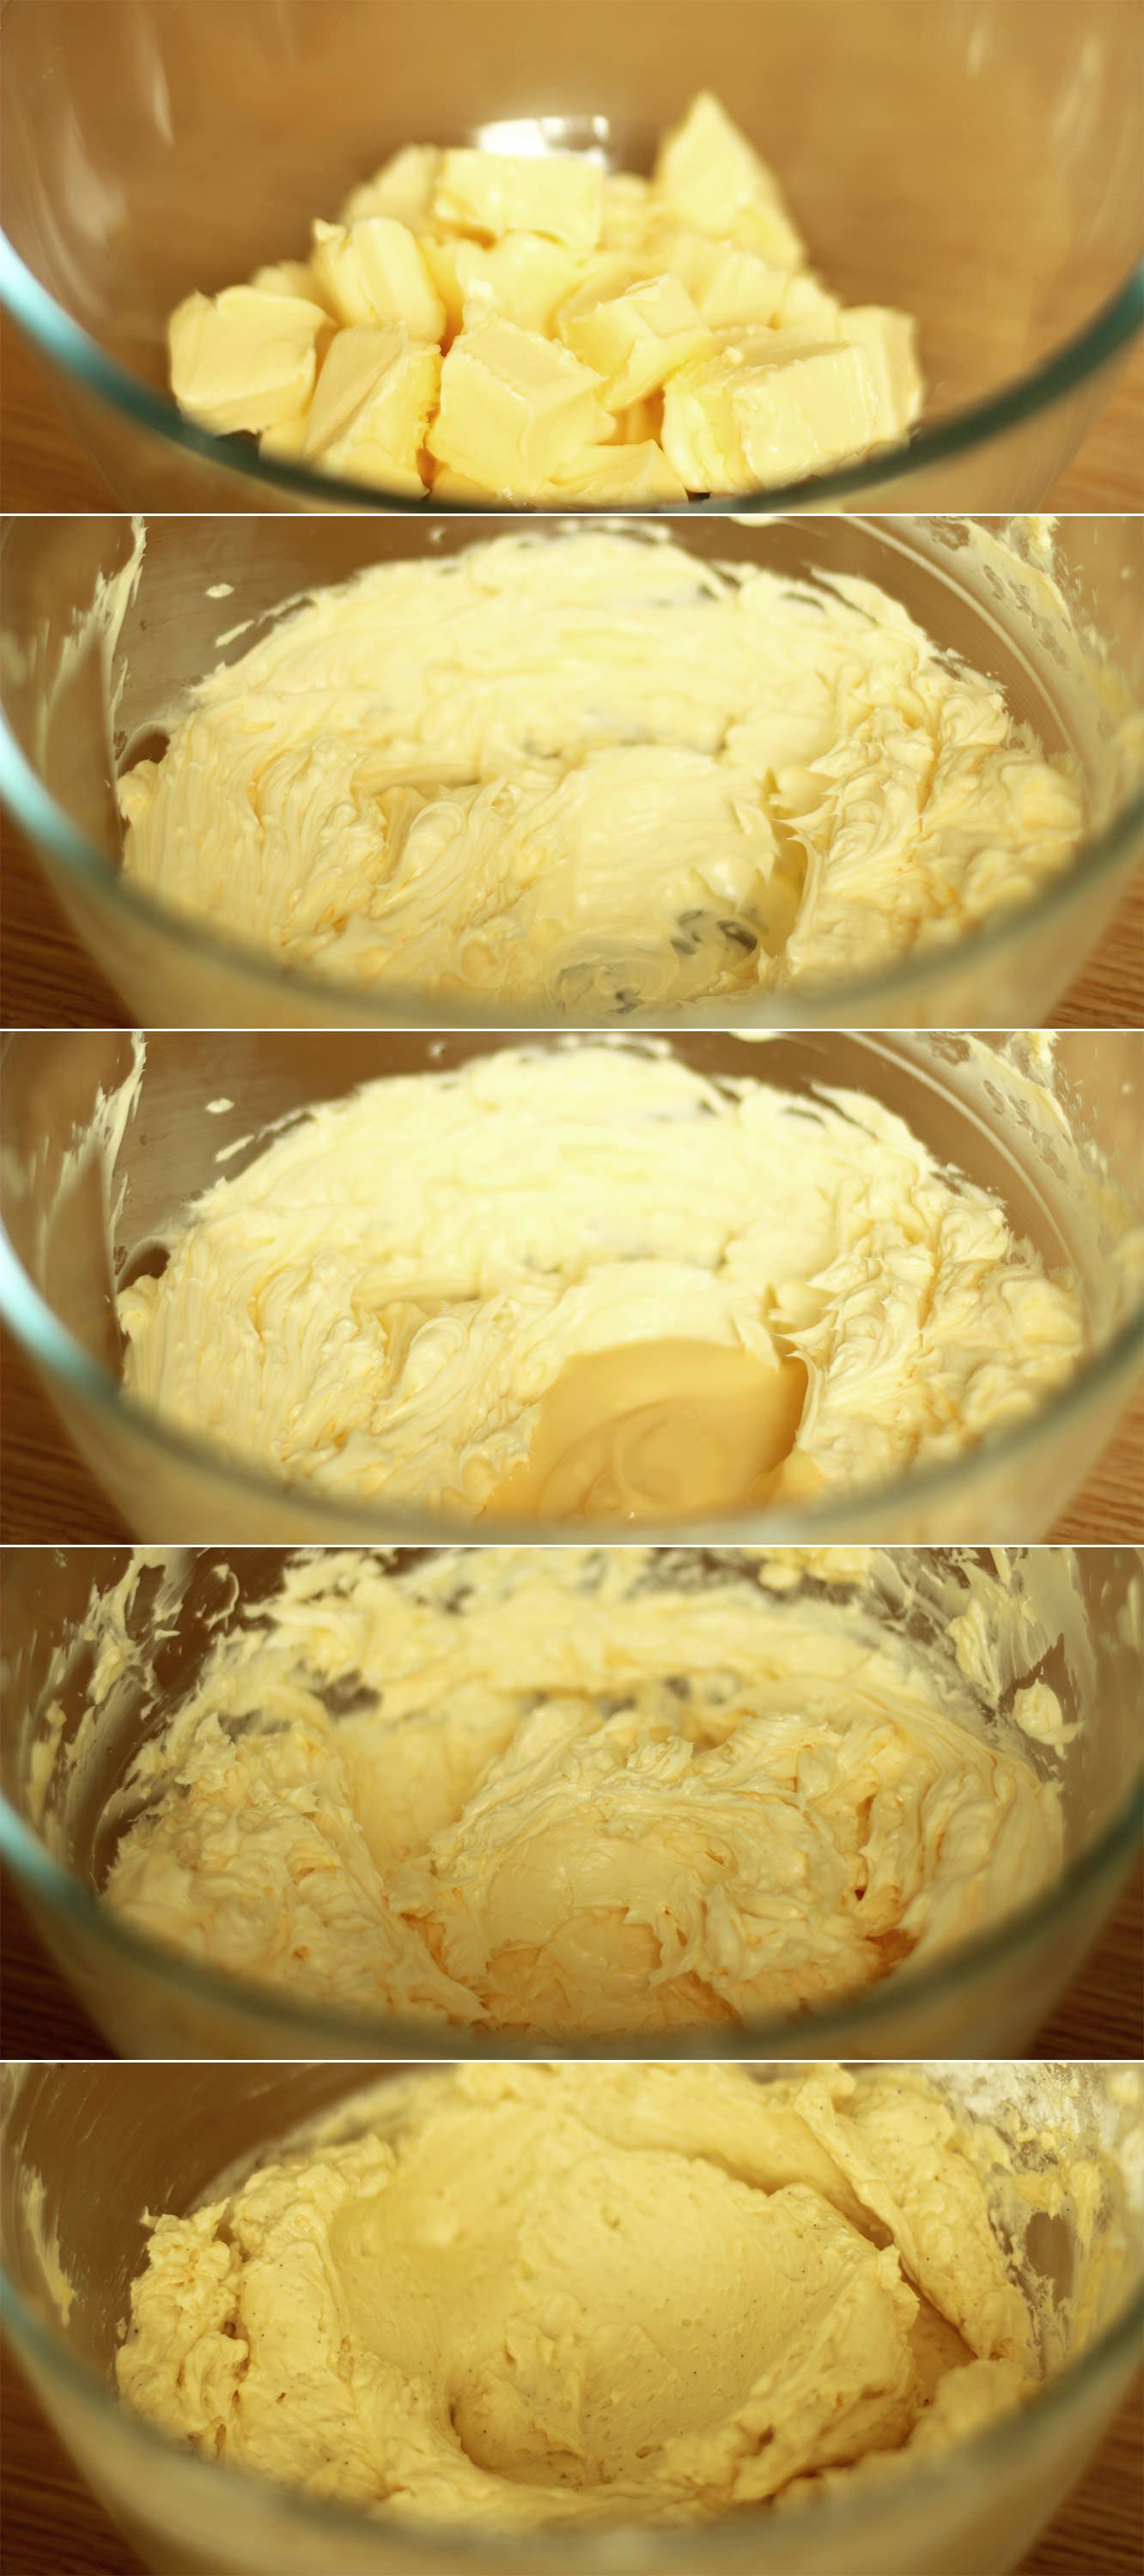
For the custard buttercream whisk the butter with an electric whisk until smooth, light and fluffy.
Add the custard a few tablespoons at a time, whisking in between. You can add the icing sugar and vanilla somewhere in the middle there.
This is a slight wandering from the German buttercream recipes that use custard and butter. I needed a little sweetener to take away a little from the butter flavour.
Step six
Cut a hole in the cupcake and remove the sponge bit, keeping just the top. Fill with rhubarb and replace the cake ‘lid’. Pipe on the buttercream and some sprinkles if you have them.
I won’t regale you with the tale of trying to fuel said blowtorch because it’s an epic tragedy to rival those of the Greeks. However, at LAST the correct butane was obtained and I held FIRE in my hands. It’s dangerous really. I’m incredibly clumsy. But hey, I’ve wanted one for years, and I was not disappointed.
You don’t actually need a blowtorch for this recipe, but I think everyone should have one so we can compare notes.
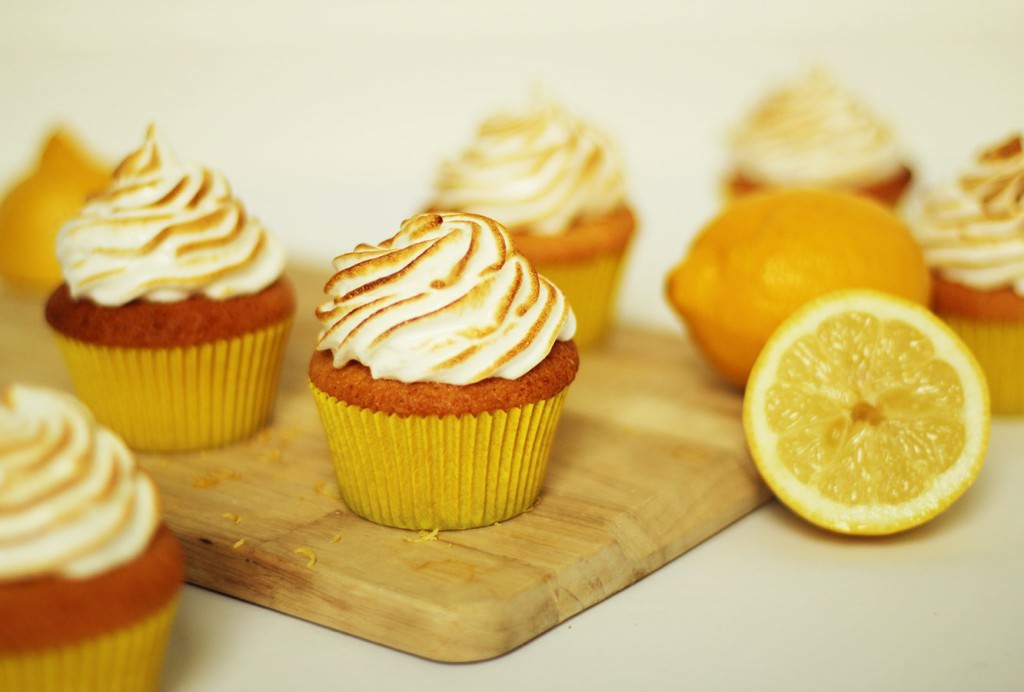
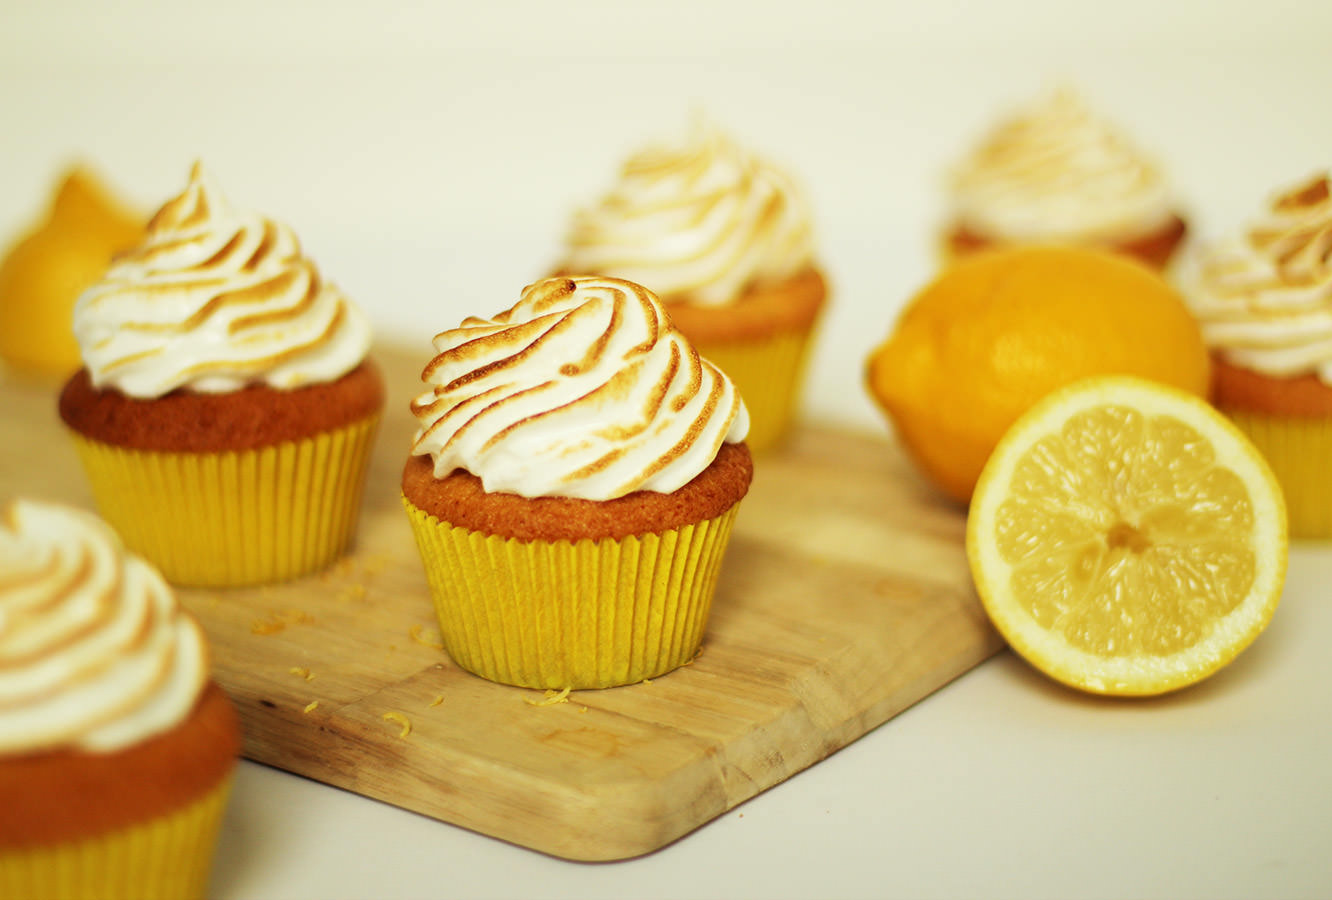
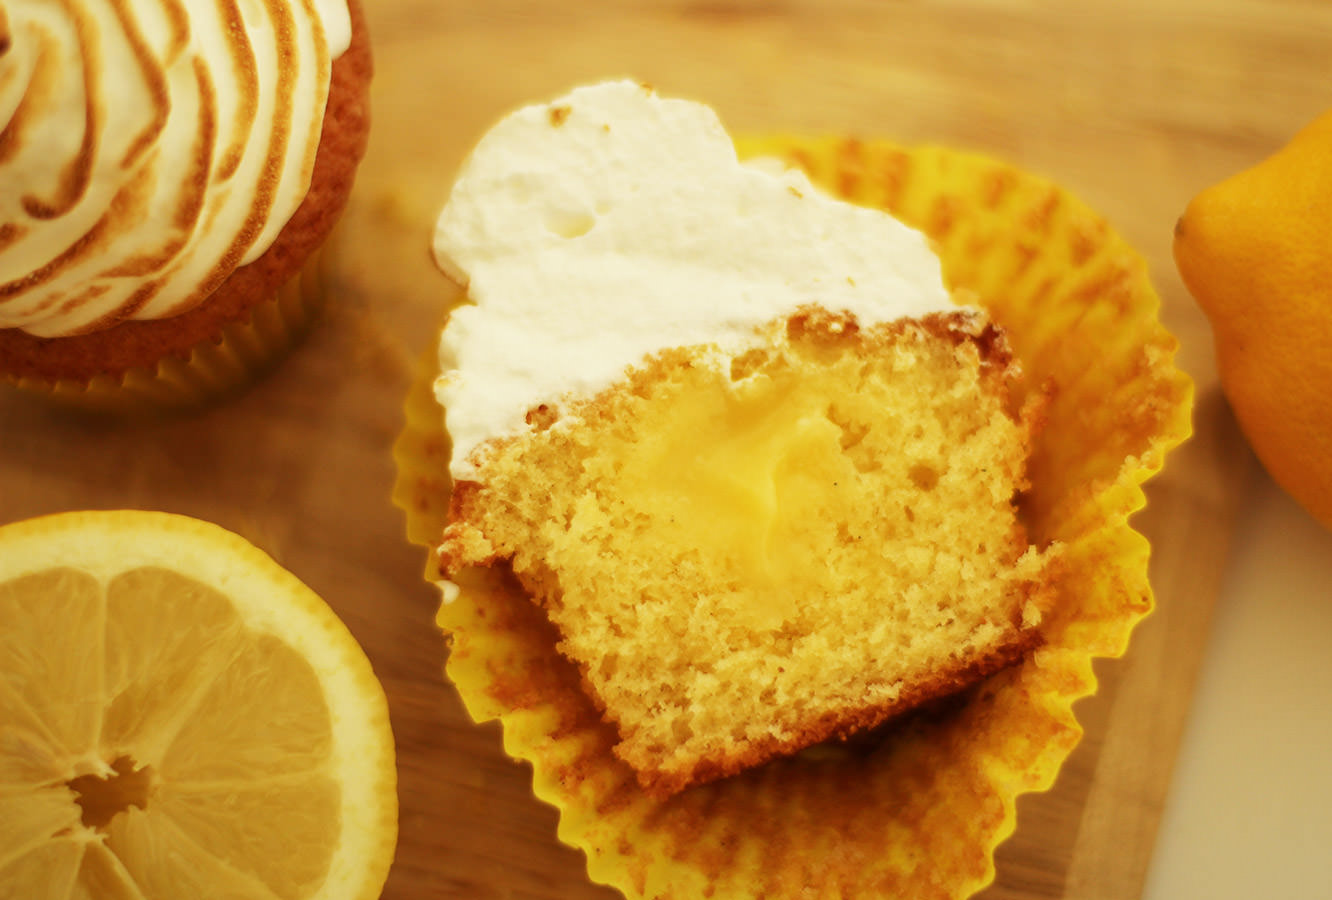
So moving on from my pyromaniac tendencies…my mum’s lemon meringue pie takes some beating. And by that, I mean, nobody has beaten it. Ever. I have a separate stomach that’s just for lemon meringue pie.
There would be no completing this British favourites series (not that we’re completing it today, buckle up friend) without lemon meringue pie. I’m actually a bit torn, because how can you convert something as delicious as lemon meringue into a cupcake recipe? Well. I tried it. They’re pretty yummy.
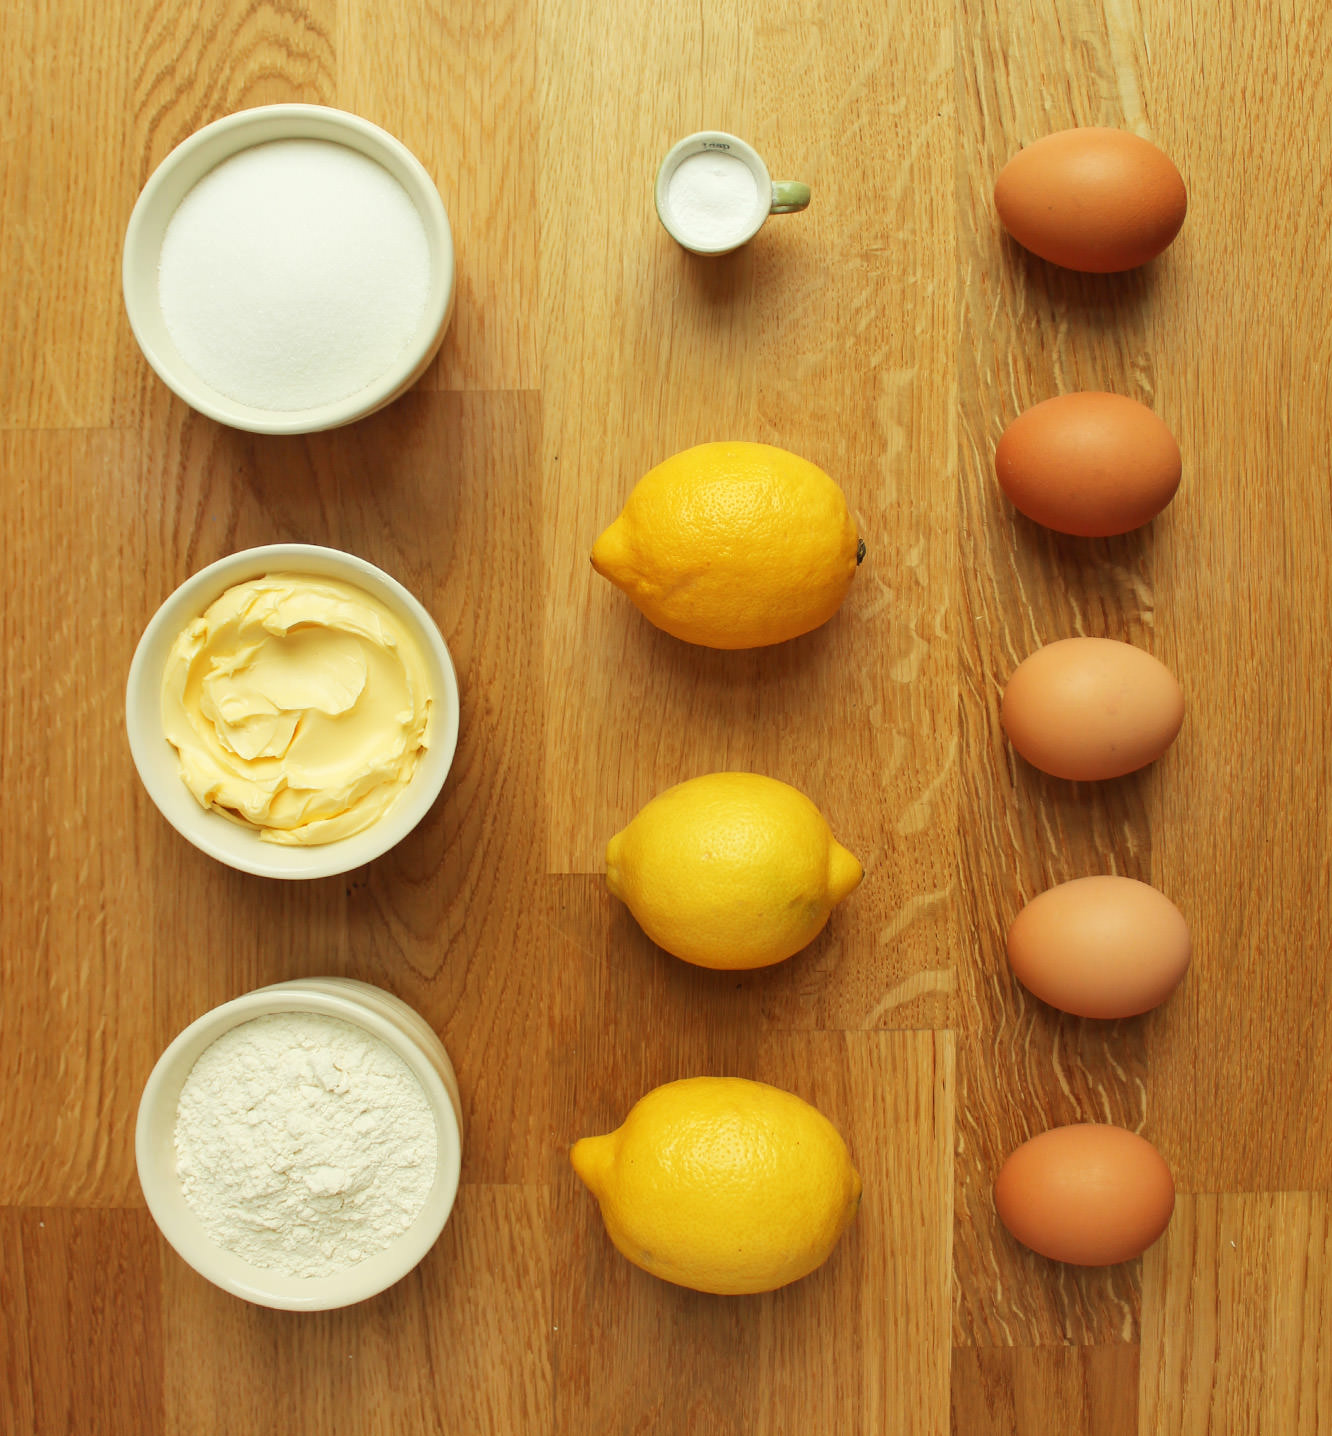
You will need
For the cake:
185g/6.5 oz self raising flour
185g/6.5 oz butter/margarine (I use Stork)
185g/6.5 oz caster sugar
3 eggs
1 tsp bicarbonate of soda
1 tsp vanilla extract/paste
For the frosting/icing:
2 egg whites
225g/8oz caster sugar
1/2 tsp cream of tartar
75ml/2.5 fl oz water
BLOWTORCH (optional)
For the lemon curd:
2 whole eggs
1 egg yolk
85g/3 oz caster sugar
60g/2 oz butter
90ml/3 fl oz freshly squeezed lemon juice (2 lemons should do)
Zest of two lemons
(makes 12)
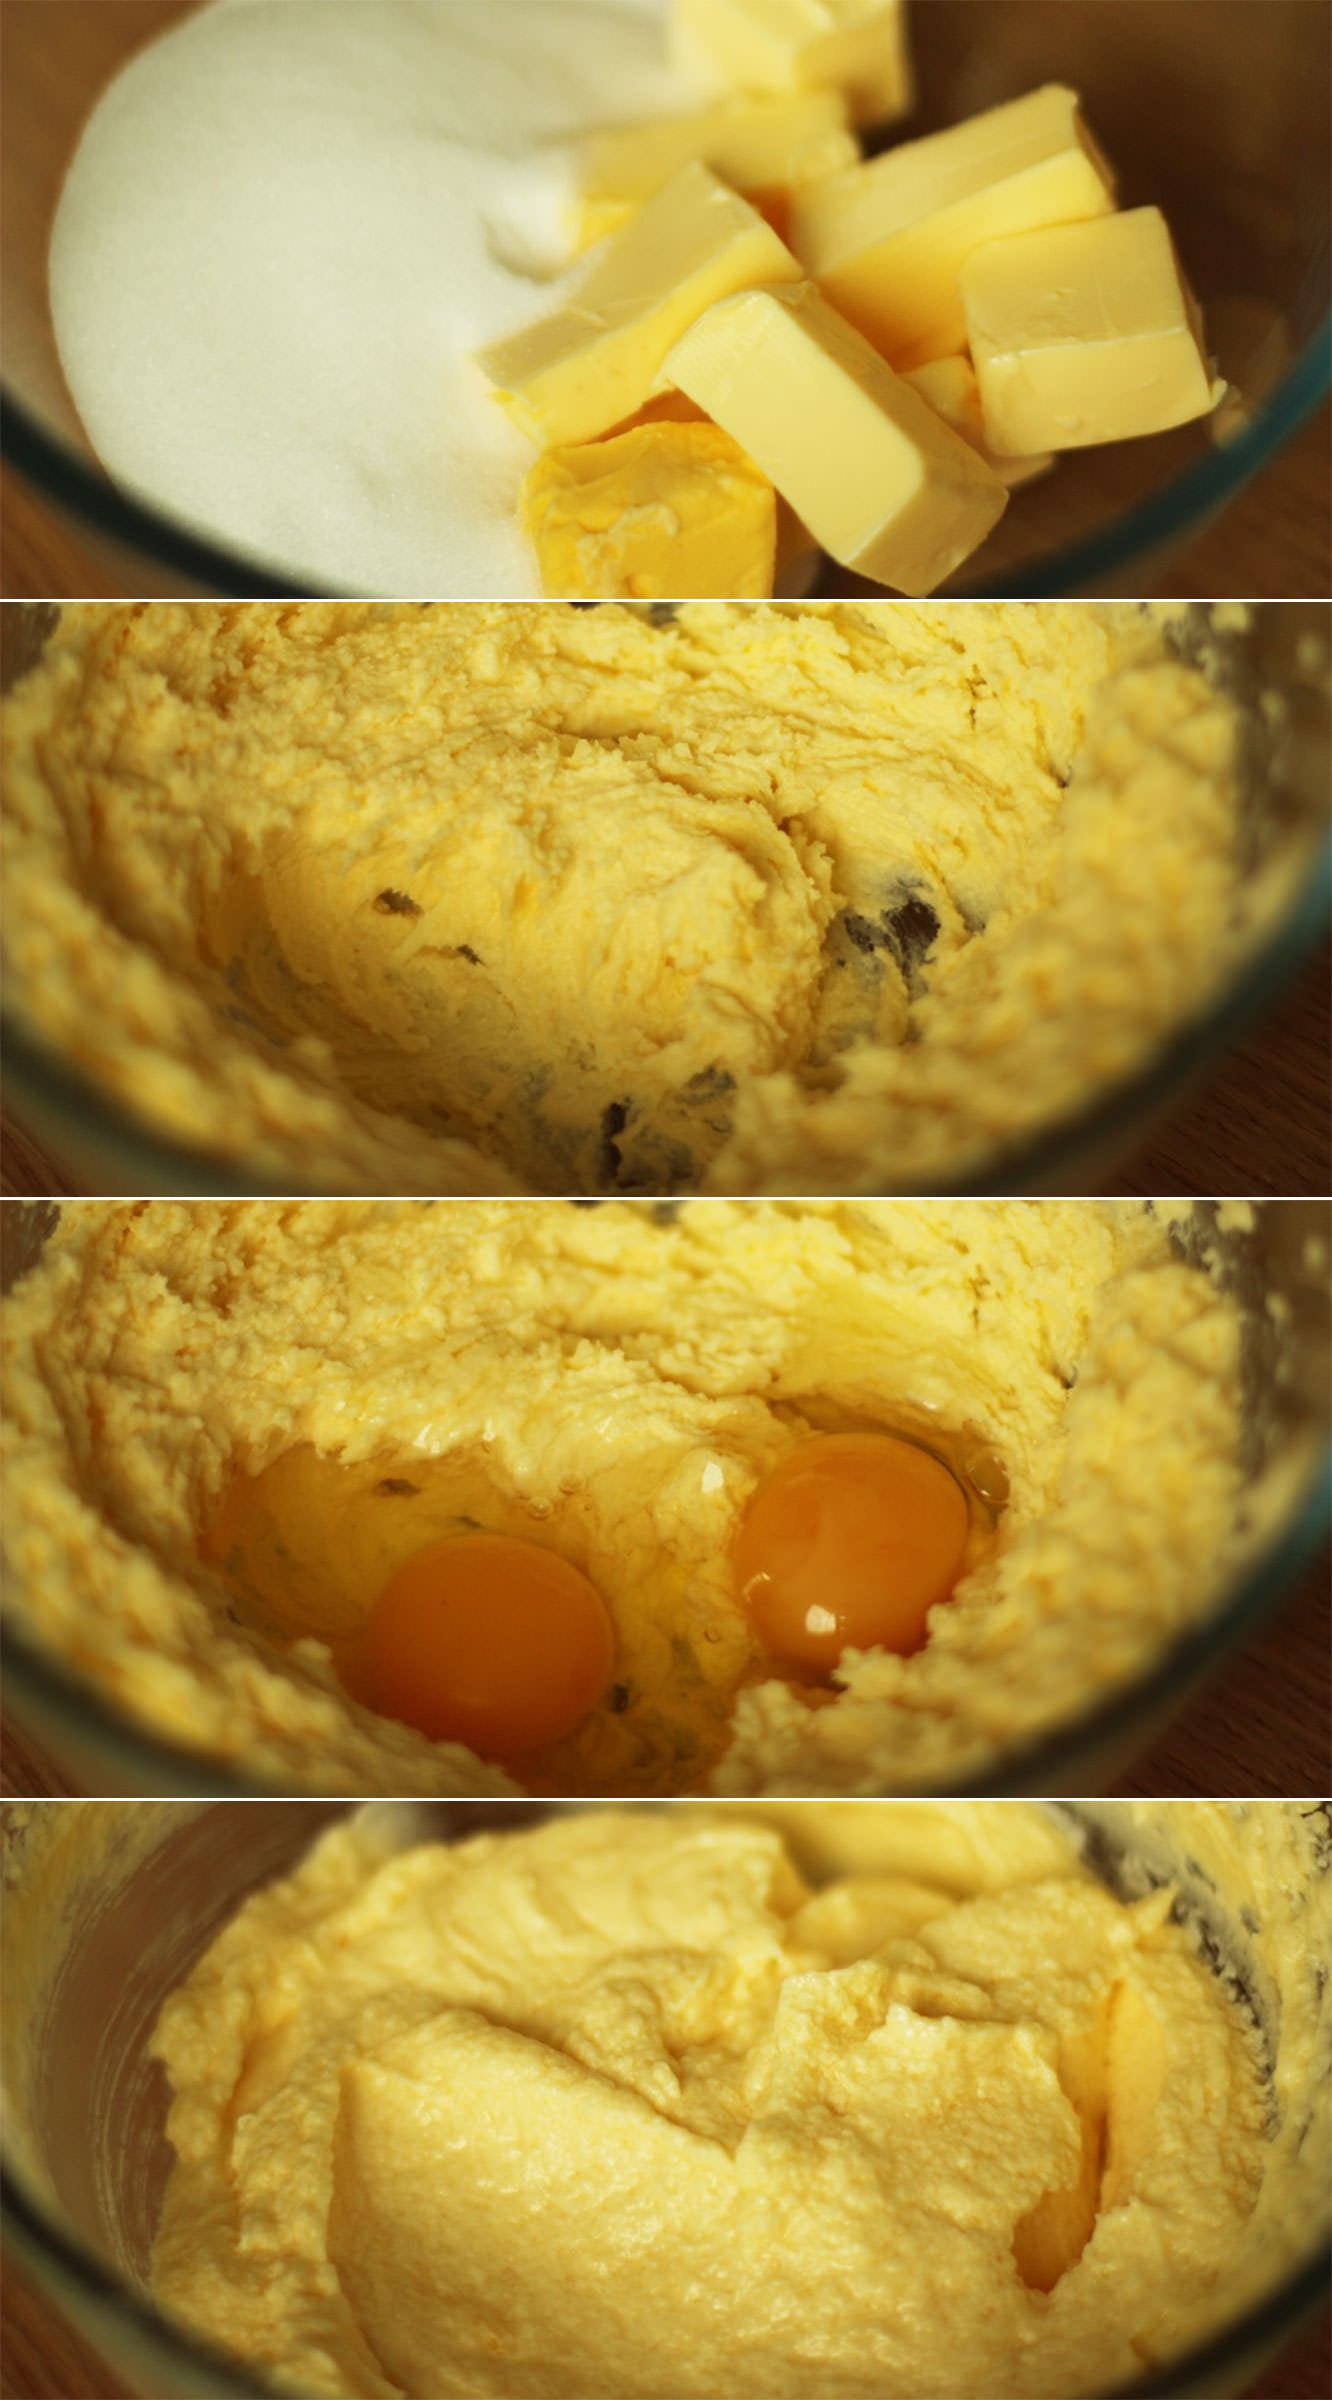
Step one
Using an electric whisk (if you have one, otherwise a wooden spoon will do), whisk together the butter/margarine and sugar.
Add the eggs once the batter is light and fluffy and beat again until combined.
Step two
Add the flour and bicarbonate of soda, vanilla essence if you have it, and whisk until you have a lovely airy consistency.
Step three
Spoon the batter into 12 cupcake cases and bake for 20-25 minutes on 350F/180C/gas mark 4.
Once out of the oven leave to cool completely.
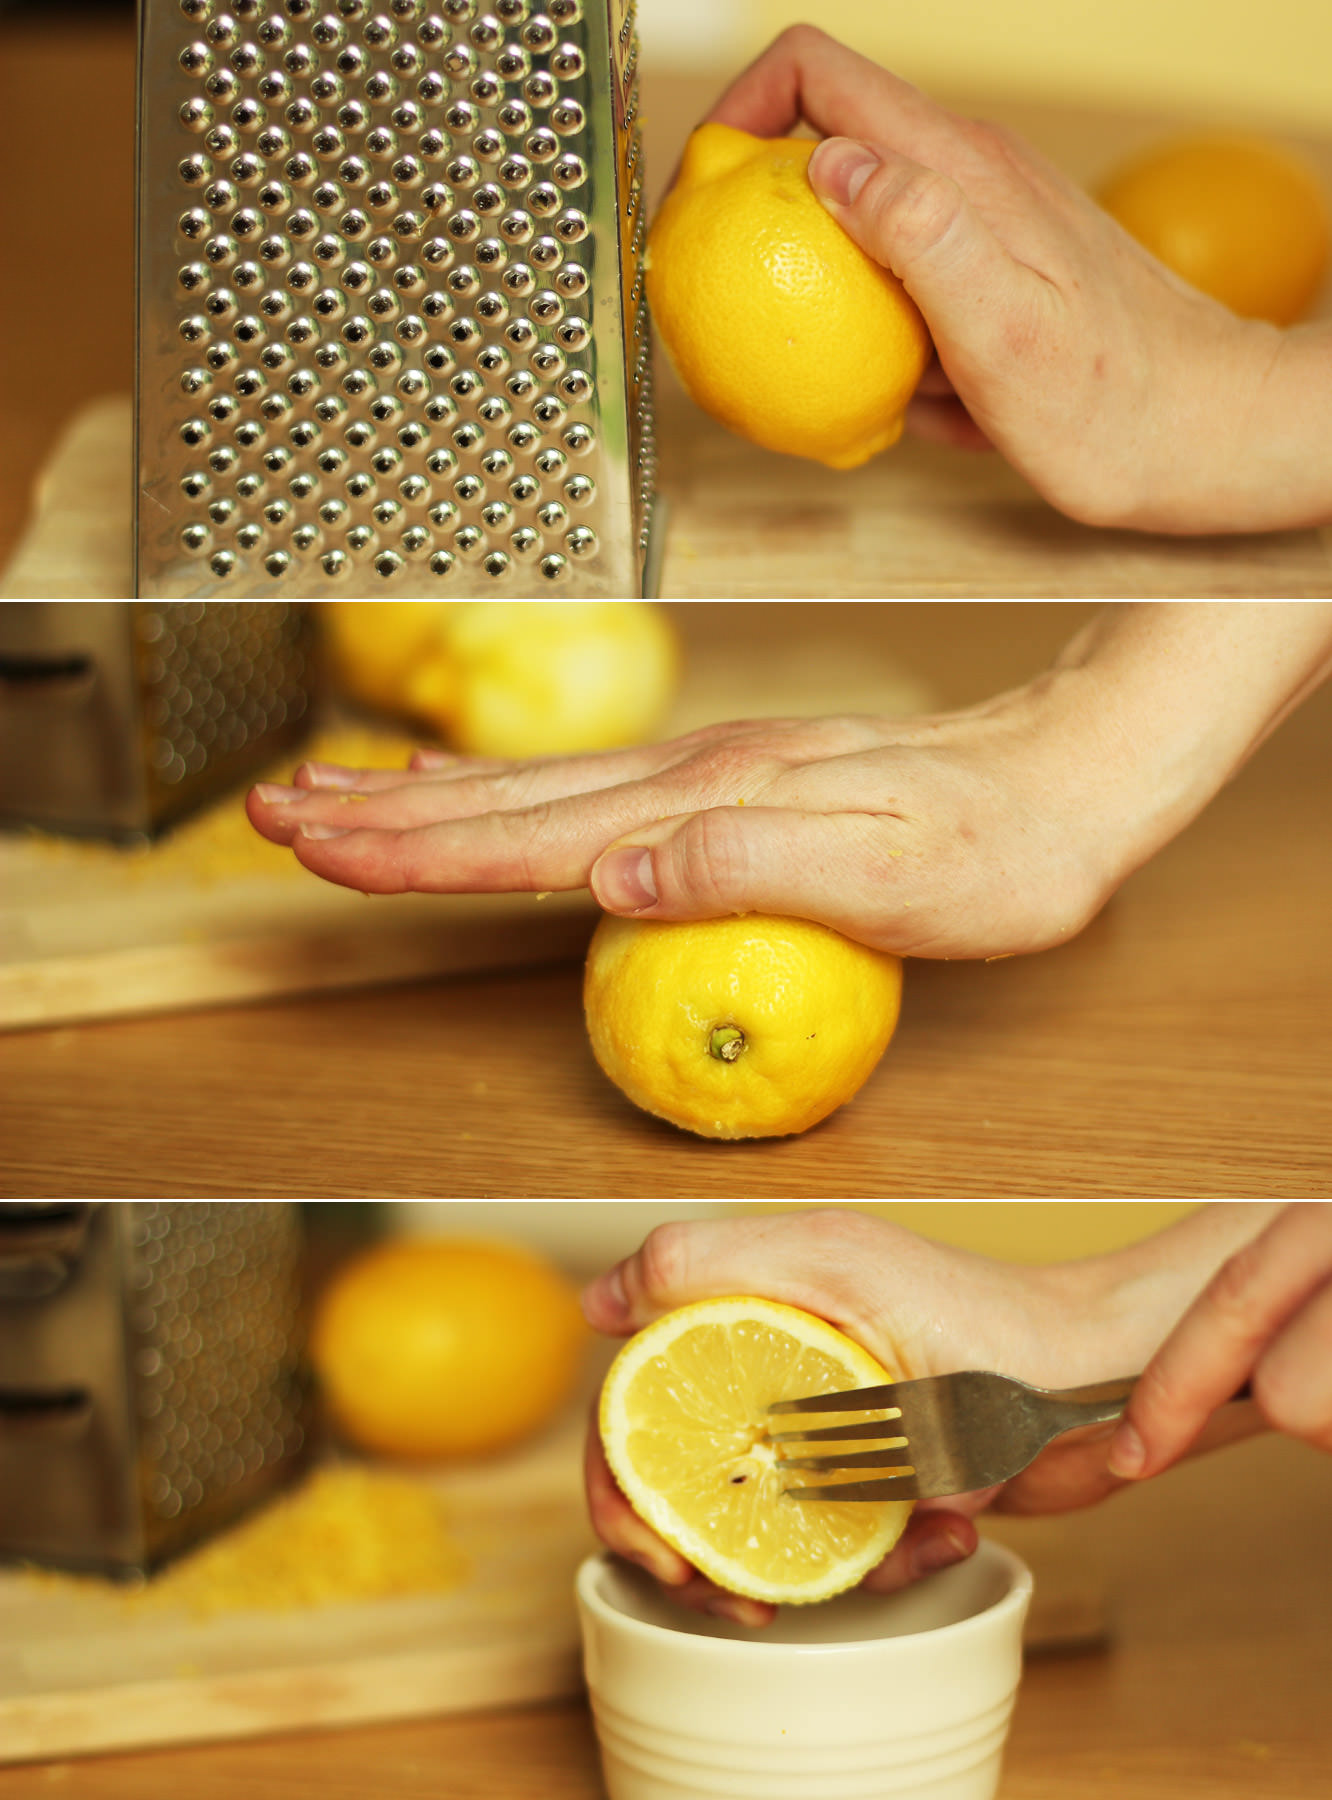
Step four
Zest the lemons.
Roll them around on a smooth, clean surface pressing down firmly. You can also pop them in the microwave for 10-20 seconds. This is all in aide of releasing the juices.
Squeeze the juice until you have 90ml, don’t worry if you’re slightly over or under.
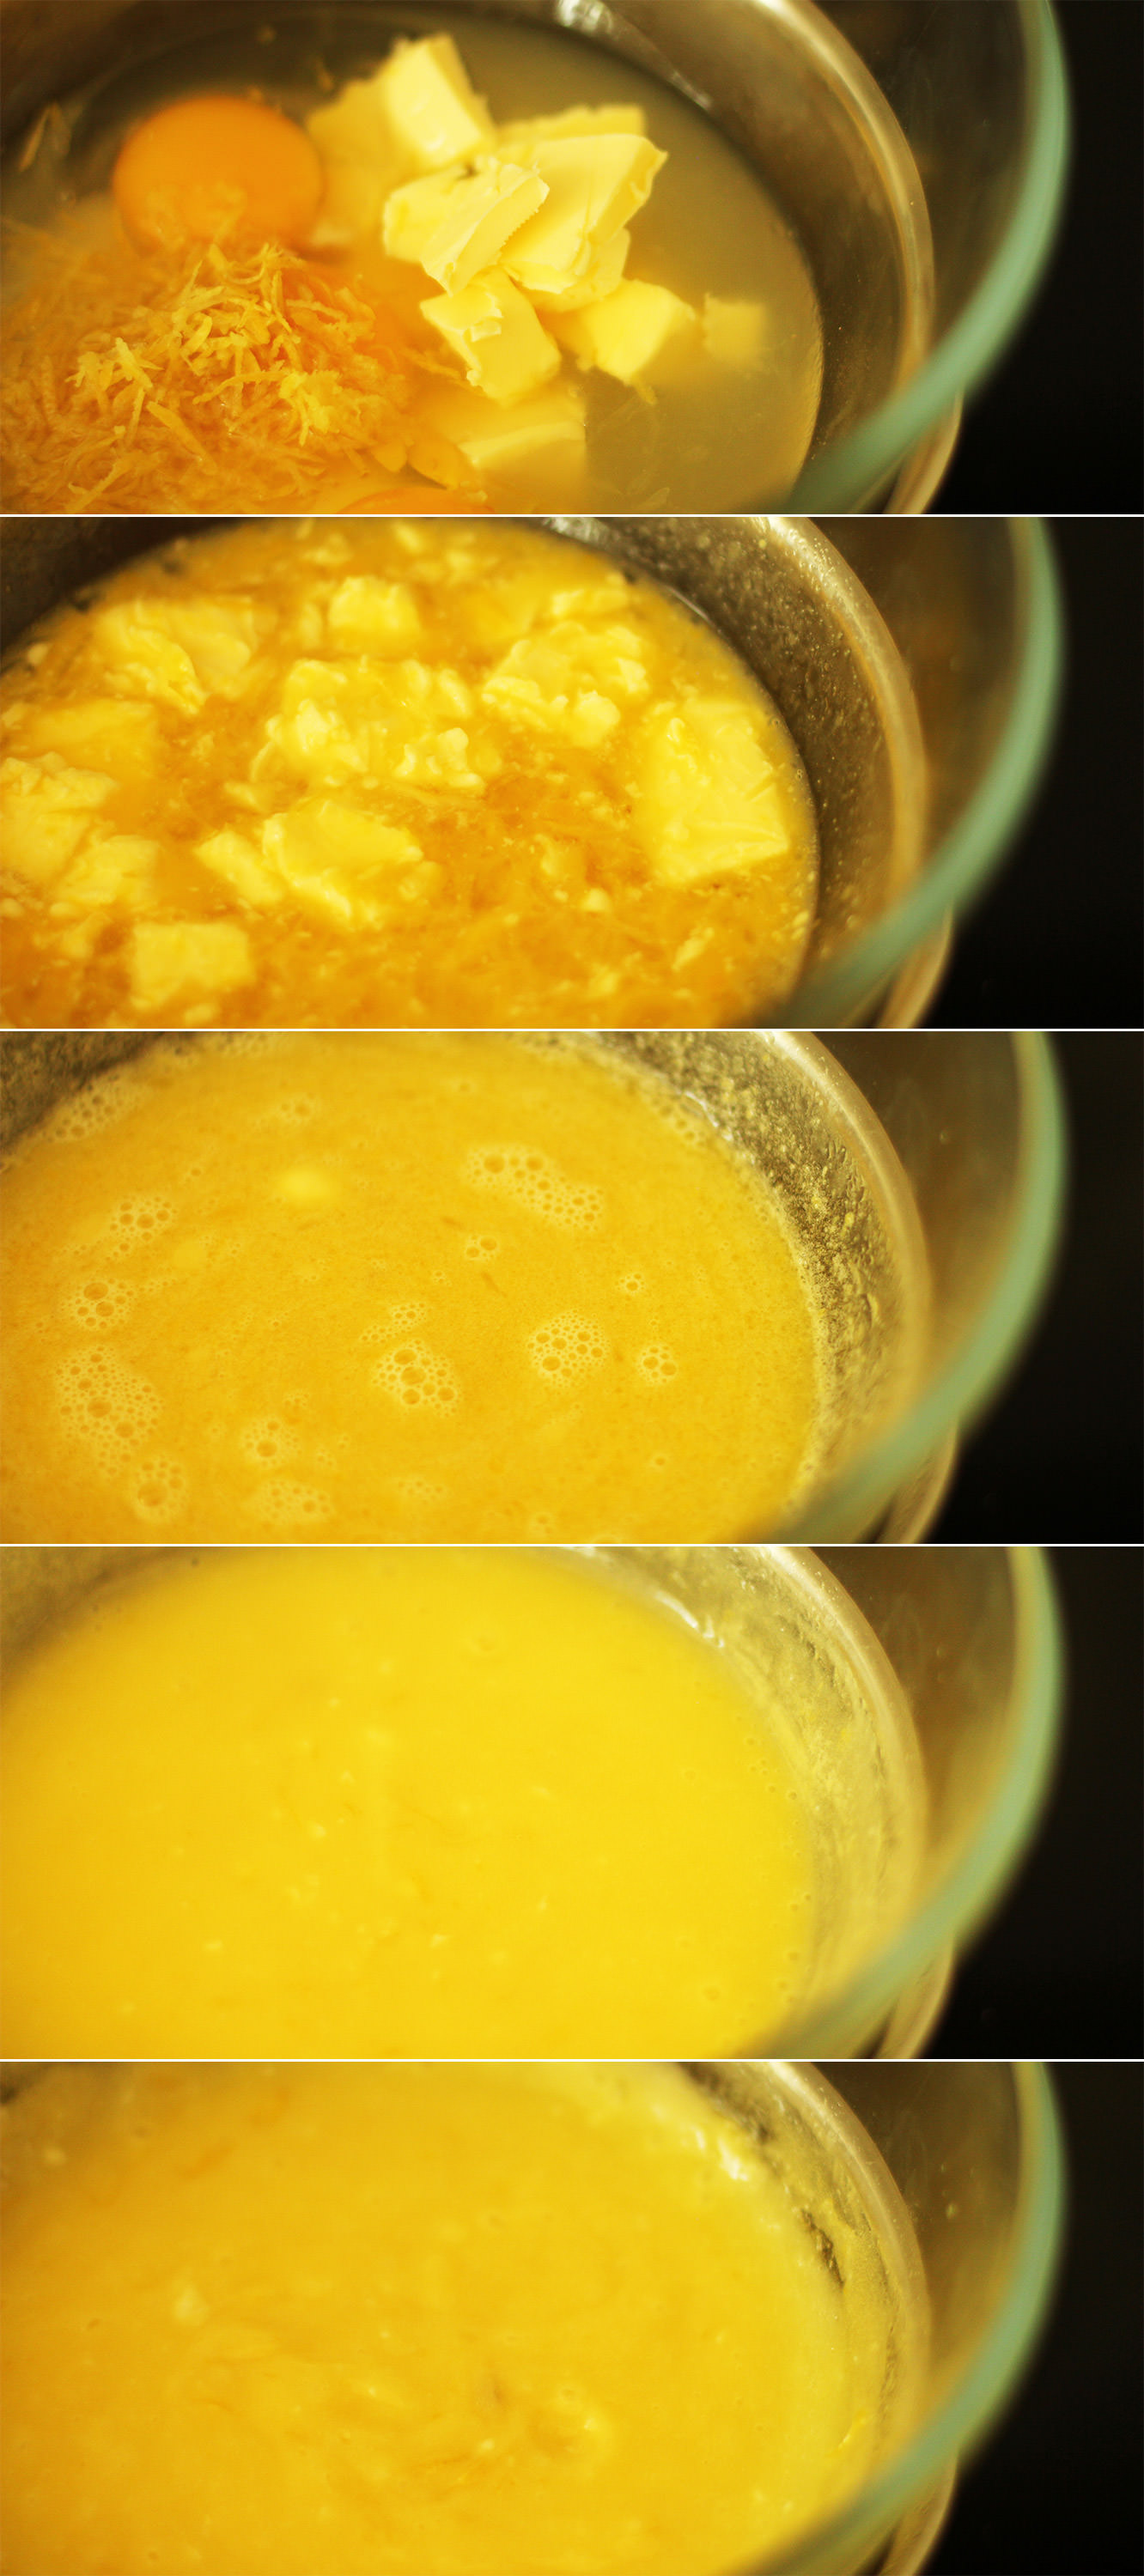
Step five
Set a heatproof bowl above a pan of barely simmering water, ensuring the water isn’t touching the bottom of the bowl.
Add all the curd ingredients.
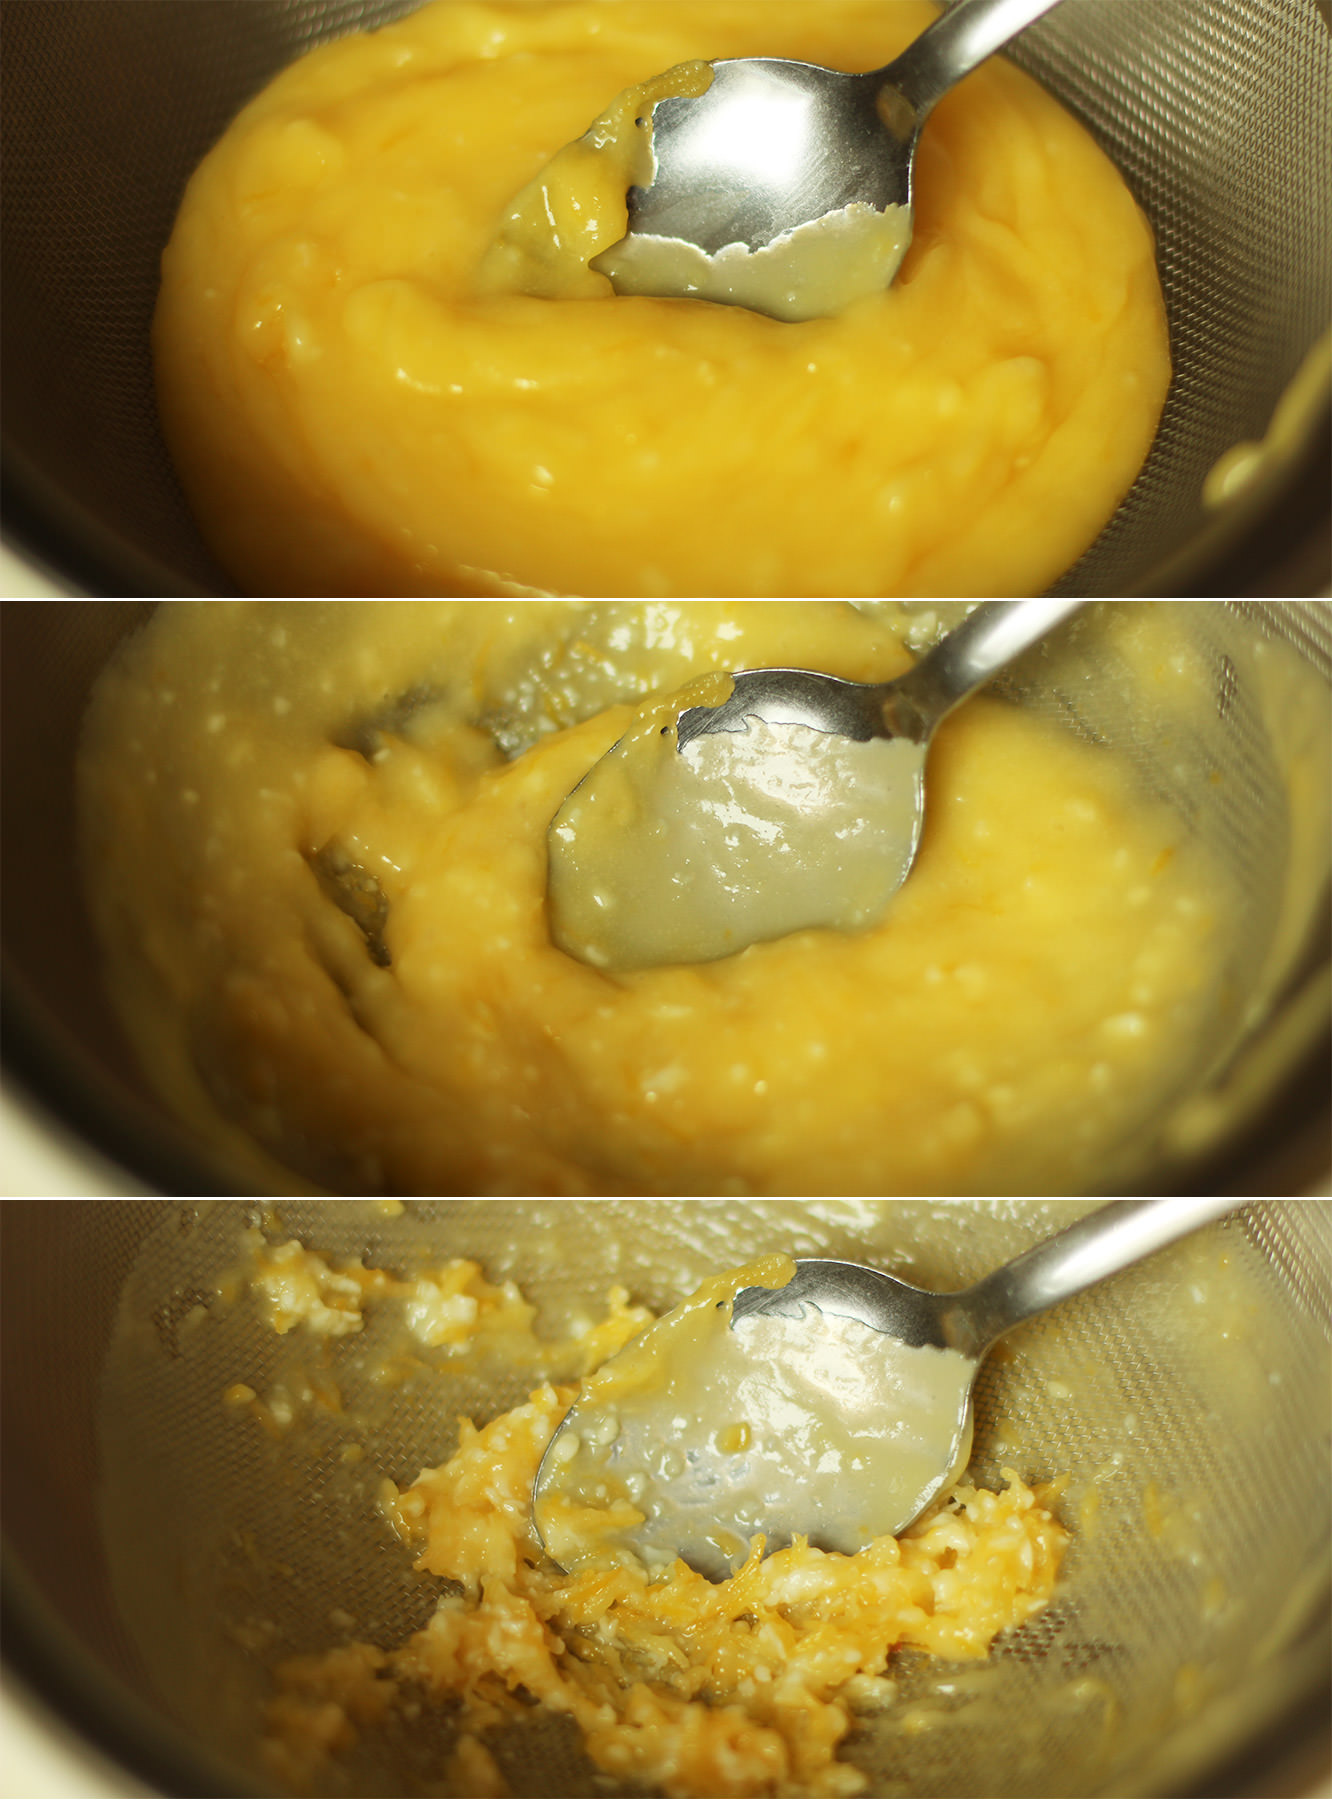
I’ve sort of been judging the readiness of this by eye. I reckon it takes around 10 minutes for the curd to thicken.
Whisk intermittently and just keep an eye on it. It will thicken more when it cools but ensure that it coats the back of a metal spoon before removing from the heat.
Step six
Sieve the curd by stirring it through with a metal spoon.
Pop it in the fridge to cool it down quicker if you need to.
Step six
This is the second time I’ve made swiss meringue/seven minute frosting in this series. It’s so much easier than you would think.
Put the water, sugar, cream of tartar and egg whites into a heatproof bowl. This should be placed over a pan of simmering water. Again, don’t let the water touch the bottom of the bowl.
Whisk it for seven minutes, don’t leave it. It should be able to hold its own shape and not fall off the whisk when you lift it. If it’s not stiff enough just keep whisking for another minute or two.
Step seven
Cut a hole out out of the middle of the cupcakes and chop off the triangular bit, keeping the ‘lid’. Fill with curd and place the lid back on.
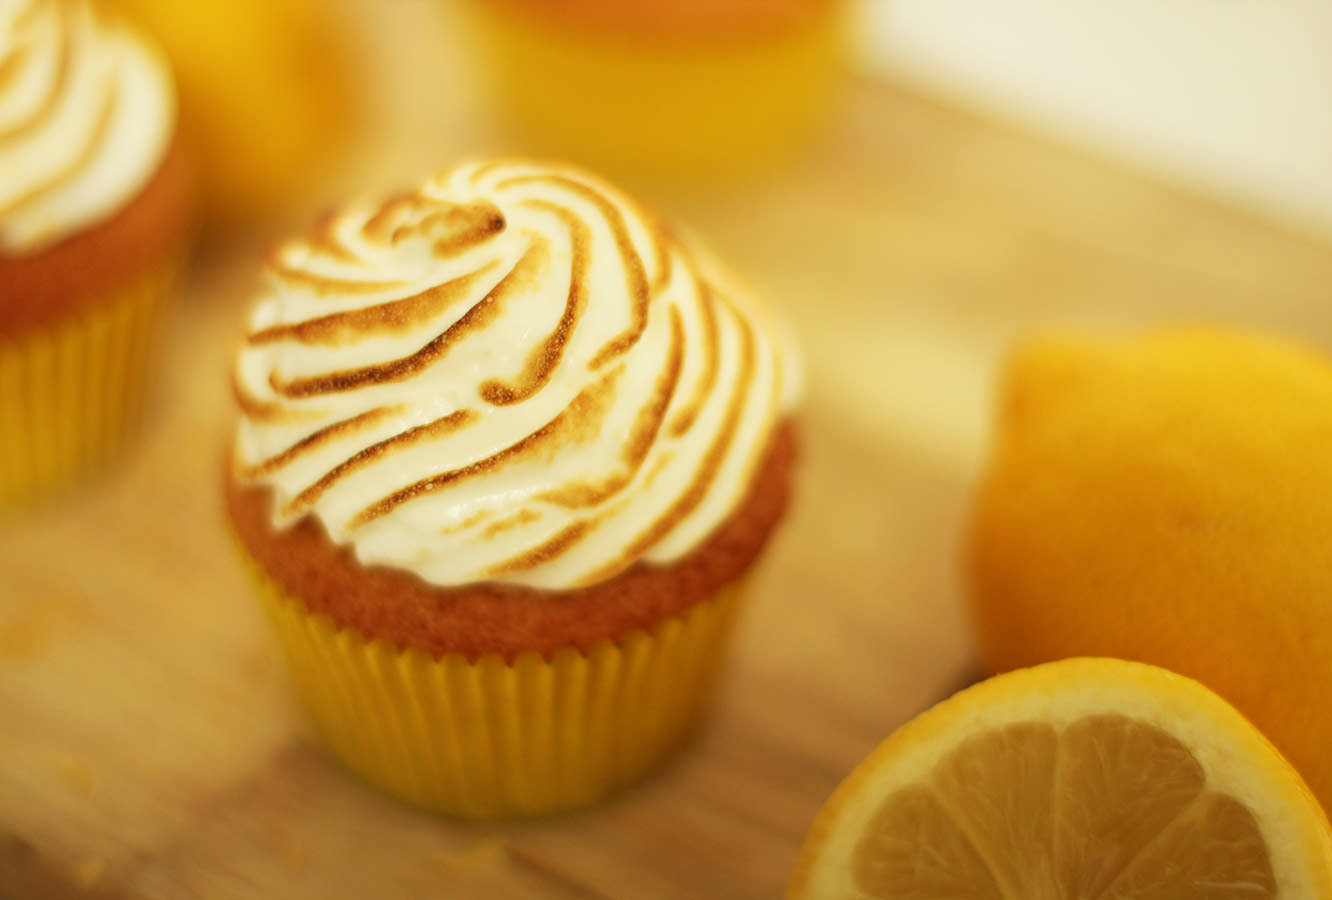
Pipe the frosting on, or even spoon on like a proper old fashioned lemon meringue pie.
If you have a blowtorch, singe that bad boy. If you don’t, look at your feet and have a little sad moment. Don’t worry though, your cupcakes will still be delicious.
Week five of the British favourites cupcakes, and before we begin, I have a minor claim to fame on this one. My grandad used to engrave the embossing plates for the clock that characterises this evening treat. You know the old one with all the swirls n’ stuff.
Any guesses? The After Eight dinner mint you say? Dang straight.
Now, I know mint as a flavour polarises people, but I’m generally a fan. I can do away with a whole box of these if I’m in the right mood.
As far as the cake version goes, you don’t have to go too crazy, a little hint of mint really sets off the dark chocolate in this recipe nicely. The cake is made without eggs and butter so it’s light and fluffy allowing for a nice rich ganache icing. This is probably one of the easiest recipes in this little series, so if baking makes you nervous, start here.
As I’ve started sounding like the baking equivalent of a used car salesman we better make a start.
You will need
For the cakes:
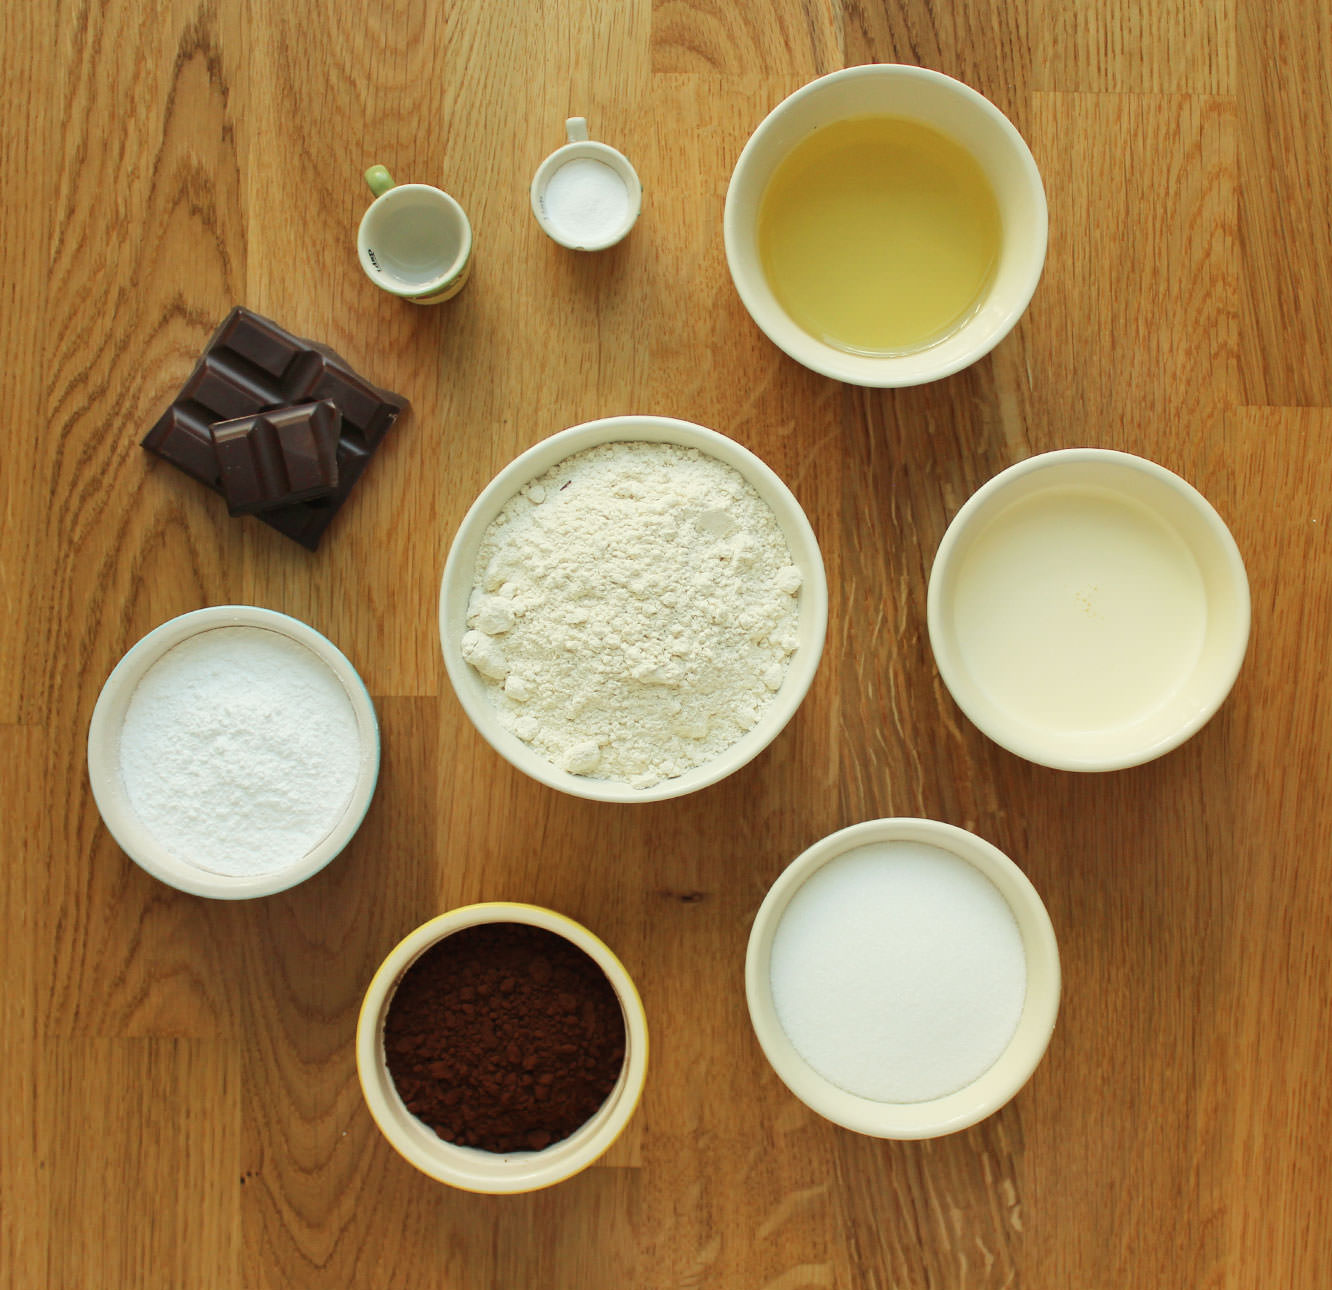
250g/8.5 oz plain flour
250g/8.5 oz caster sugar
30g/1 oz cocoa powder
300ml/10 fl oz water
6 tbsp vegetable oil
1 tsp bicarbonate of soda
1 tsp cider vinegar
1 tsp vanilla extract
For the filling:
150g/5.5 oz icing sugar
1 1/2 tbsp water
1 tsp peppermint extract
For the ganache icing:
175ml/6 fl oz double cream
250g/8.5 oz dark chocolate
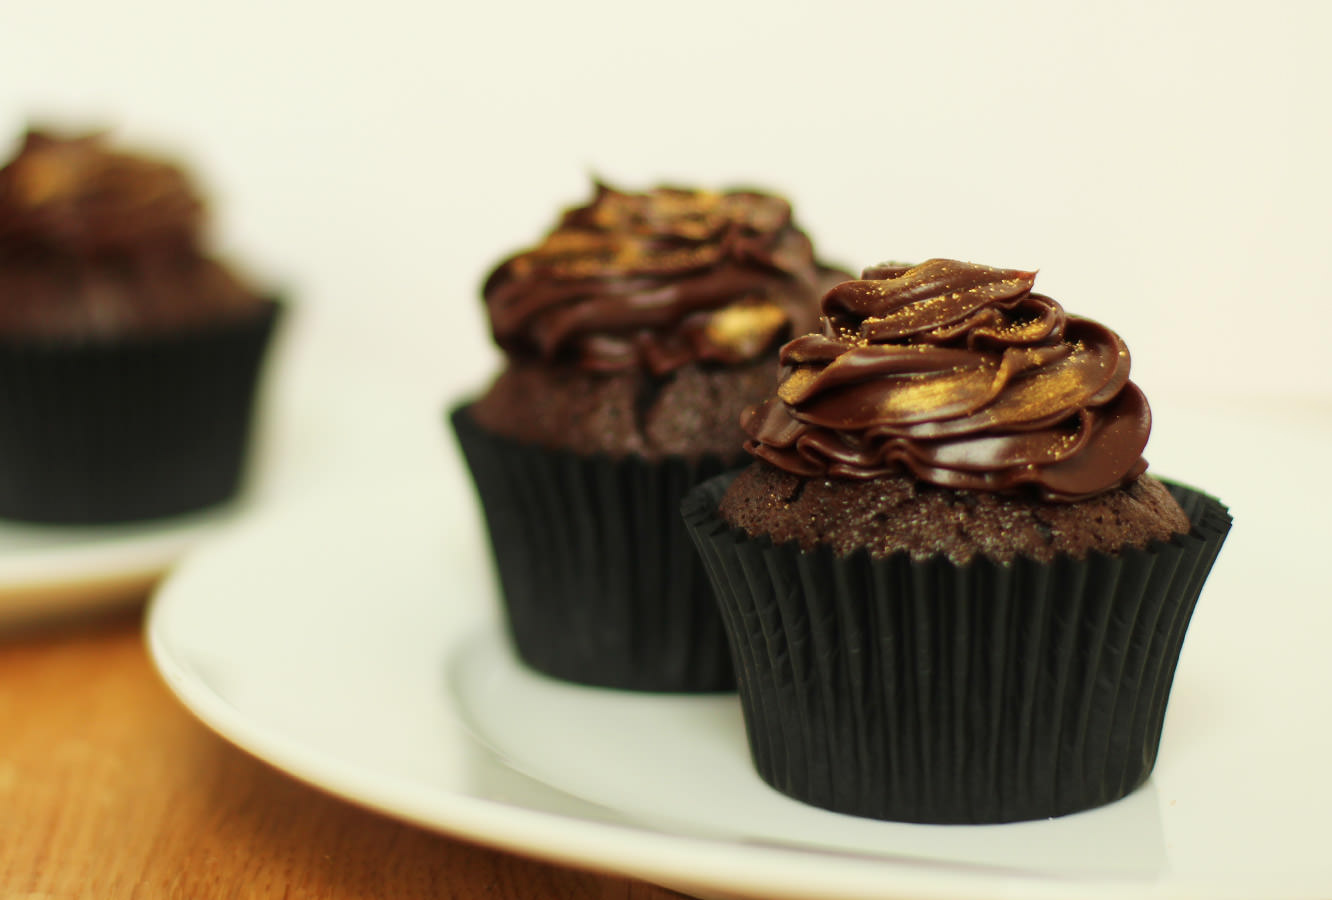
The little extras (you know, it’s polite to stay on brand):
Edible gold powder
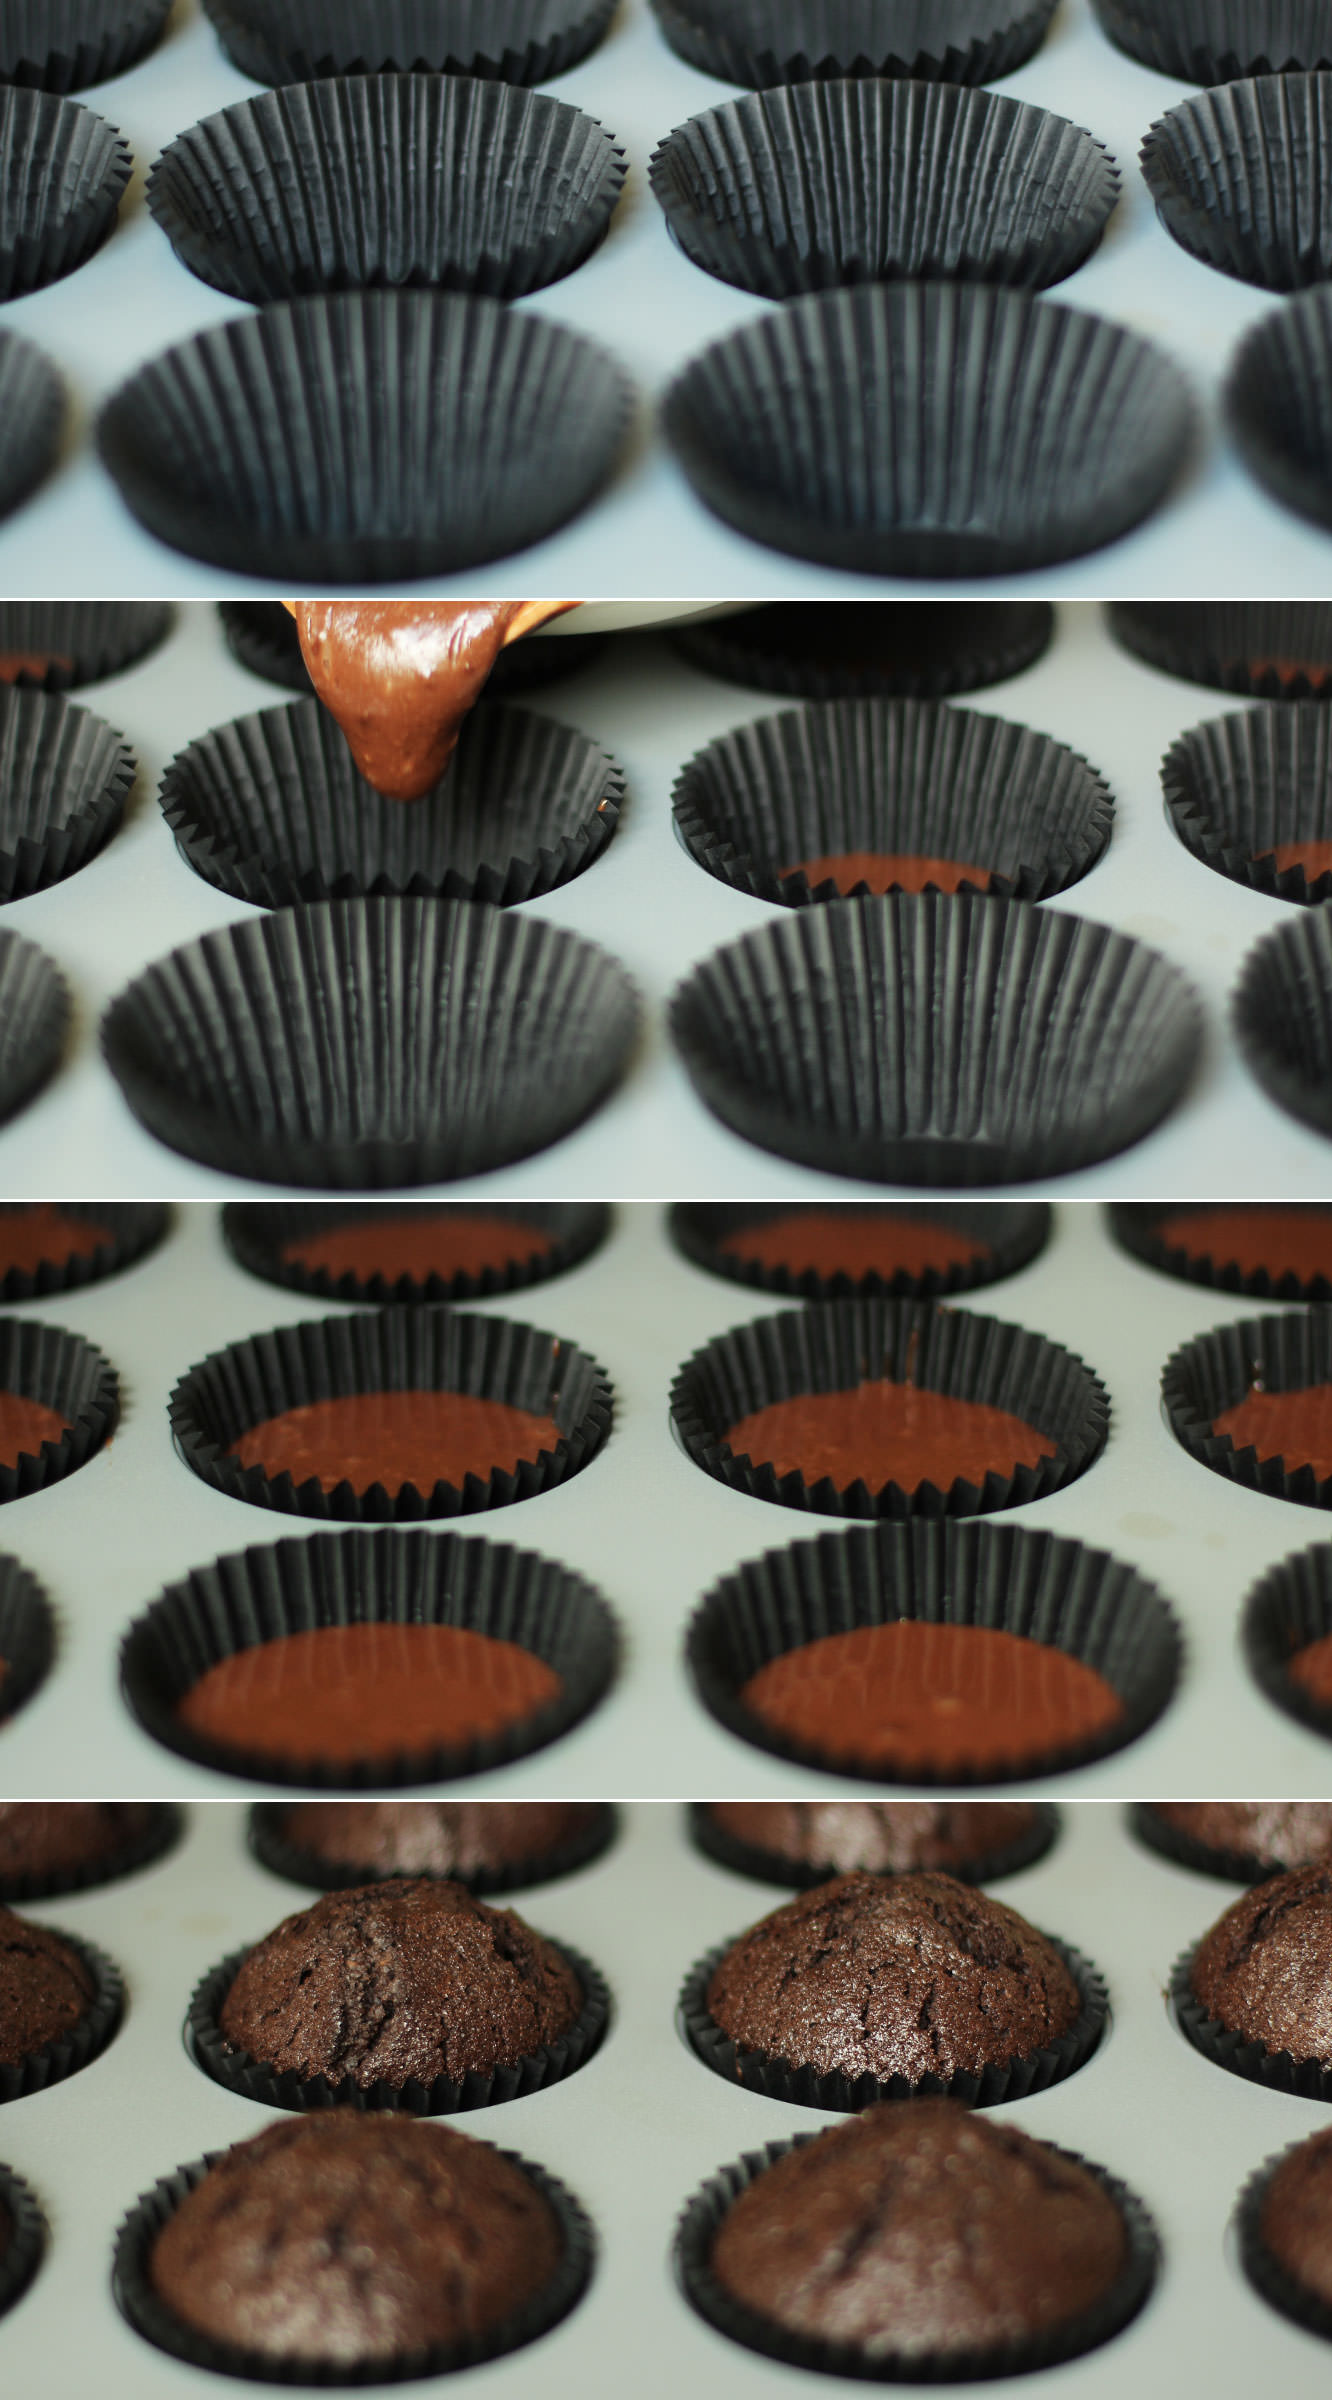
Black muffin/cupcake cases
(makes 12)
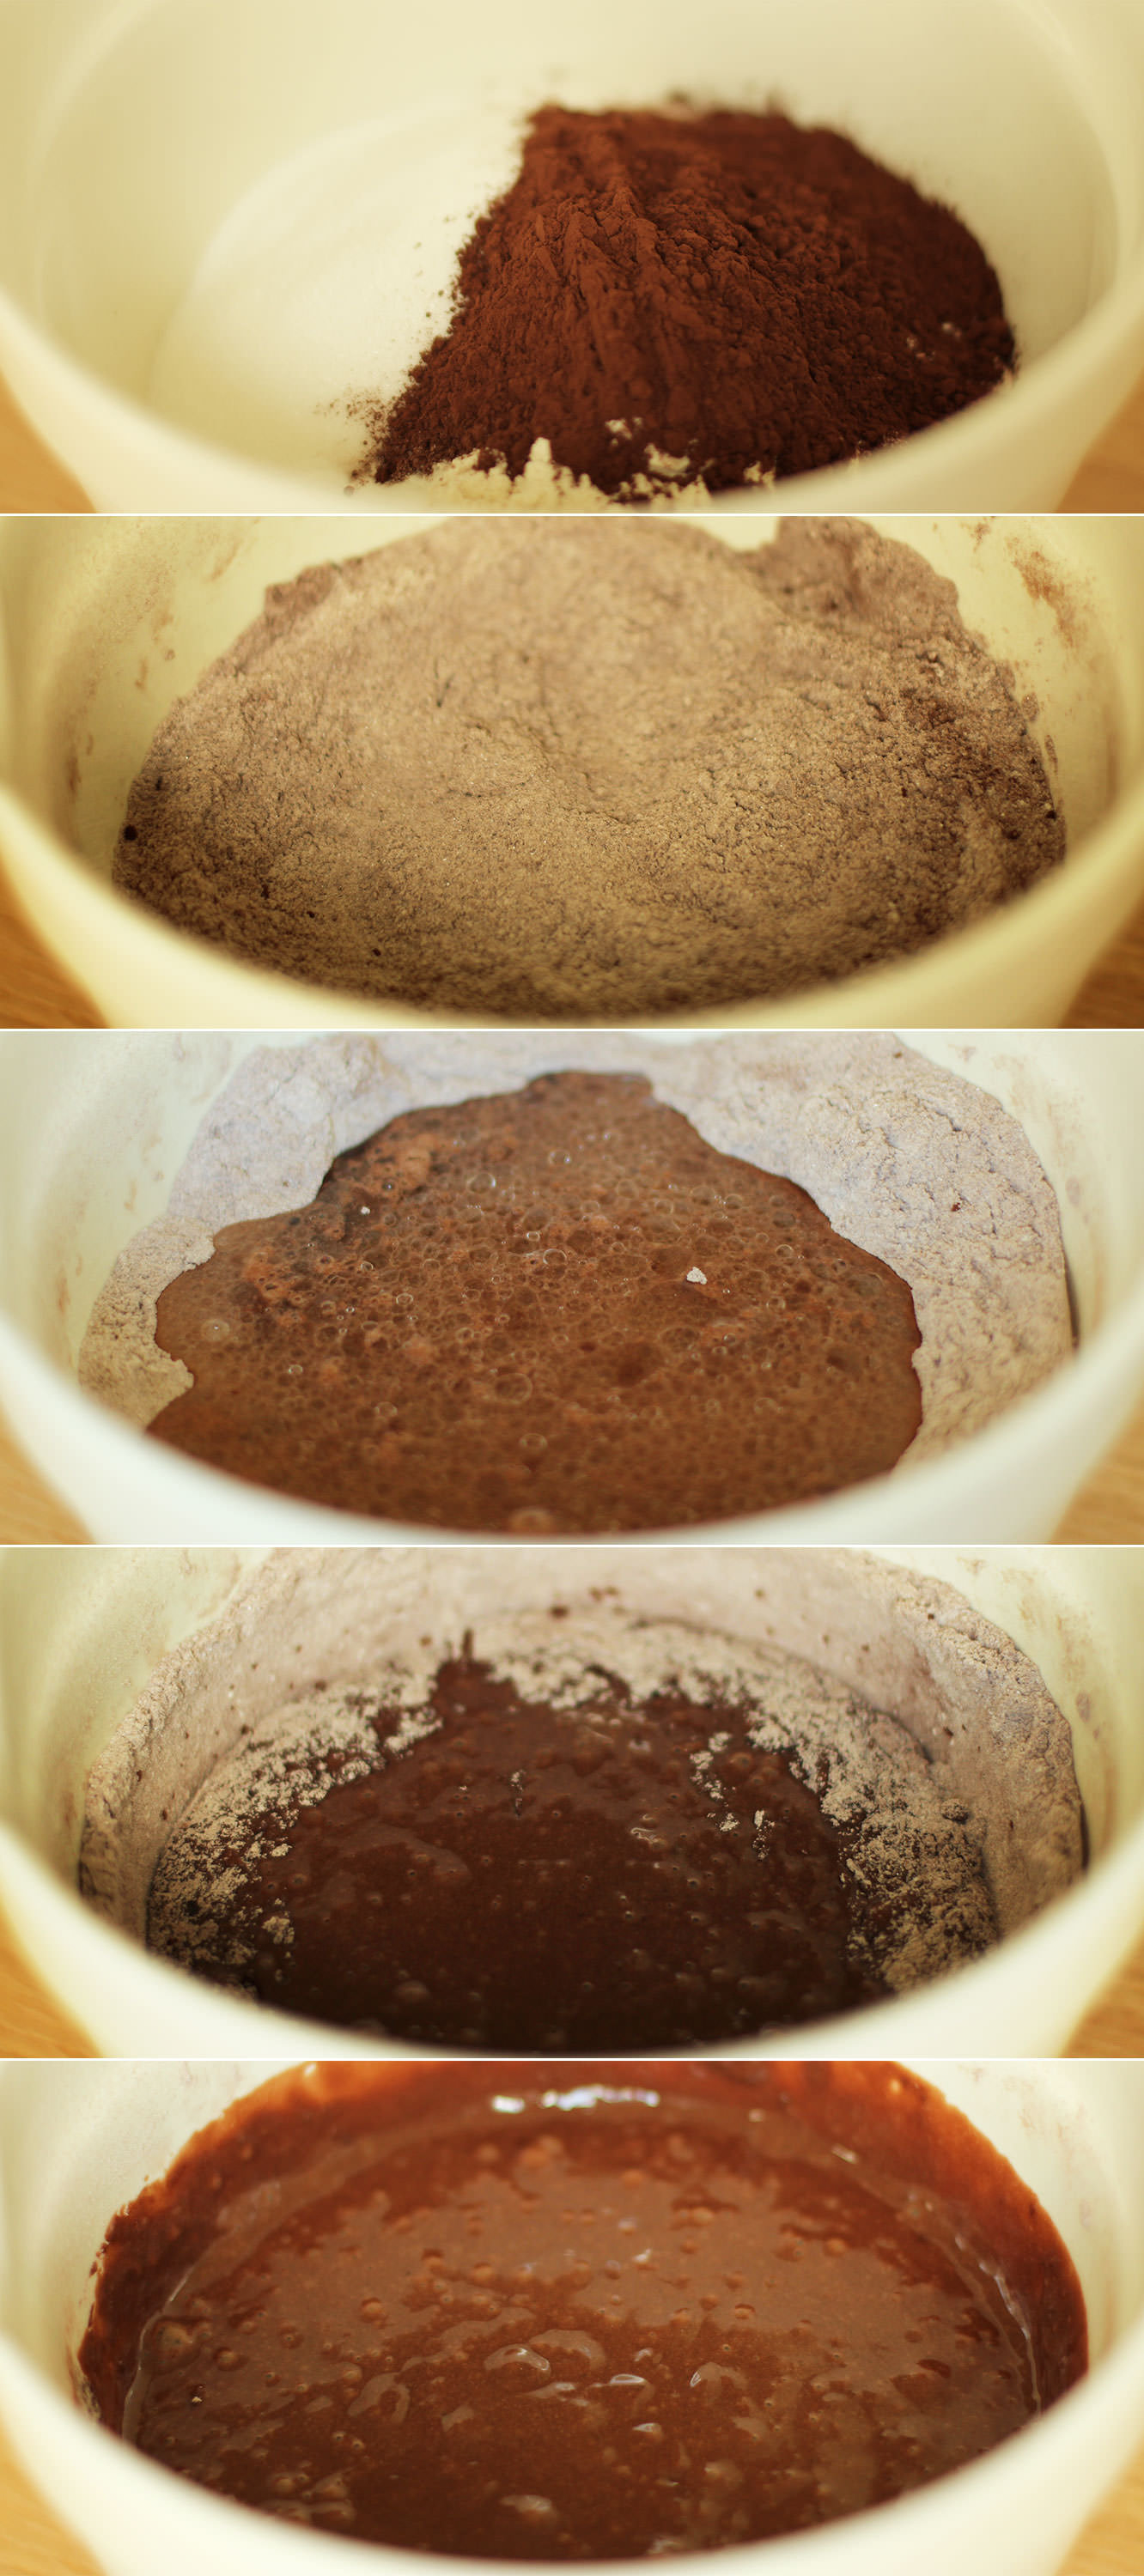
Step one
To make the cakes, mix together the caster sugar, cocoa powder, bicarbonate of soda and plain flour.
Make a well in the middle.
Step two
In a jug combine the oil, water, vanilla extract and vinegar.
Pour the wet ingredients into the middle of the dry ones. Using a hand whisk stir in small circles at the middle to gradually incorporate the dry ingredients without getting lumps.
Step three
Pour the mixture into 12 cupcake cases. The mix will be fairly worryingly close to the tops of the cases but you shouldn’t have any problems, they aren’t the biggest risers.
To do this, I usually put the batter back into the jug I used for the wet ingredients in step two because it’s pretty runny.
Step four
Bake on 180C/350F/gas mark 4 for 20-25 minutes.
Step five
Finely chop the dark chocolate and place in a heatproof bowl. People who have been reading my blog for a while will be sick of hearing this, but a bread knife does a great job on chocolate. You can chop it real thin without bits flying off everywhere.
Gently heat the cream in a saucepan until it just begins to bubble. Stir constantly. It doesn’t take long for it to heat to this point so not a time to go and hang your washing out.
Once the cream has heated pour over the chocolate and stir with a whisk until fully combined.
Step six
Combine the filling ingredients. I felt it fairly unnecessary to photograph this bit. I reckon you’ll manage just fine on your own.
Step seven
Fill and ice the cupcakes. Remove a bit of cake from the middle by running a small knife around in a circle. Cut the pointed bit off, fill the hole and place just the lid on top.
Pipe on the ganache using your favourite nozzle. You’ll know it’s cool enough when a spoonful of mixture holds its shape when dropped back onto the rest.
Step eight
If you have it, paint on the gold powder. I’m a sucker for the details. You can get this kind of thing fairly cheaply at most UK supermarkets nowadays.
Eat them at any time in the day you like. I recommend breakfast personally, there’s an 8 in the morning too.
Burning the midnight oil to bring you this week’s British favourite. The reason being is that my rather lovely friend took me along to a screen printing workshop for a little birthday treat tonight. If you want to have a cheeky stalk there’s a *few* pictures on Instagram.
Back to this week though, and the question of a another cupcake and a few bananas. Of course, it’s about time the classic banoffee pie made an appearance in this little series. There’re few things that pair better than banana and caramel in my opinion, so it took quite a lot of focus not to just make the toffee filling and skip off to the garden with a bowl of banana to suffocate in sauce. I mean, if you’re going to eat fruit, do it right.
So, without further ado, here go the banoffee pie cupcakes.
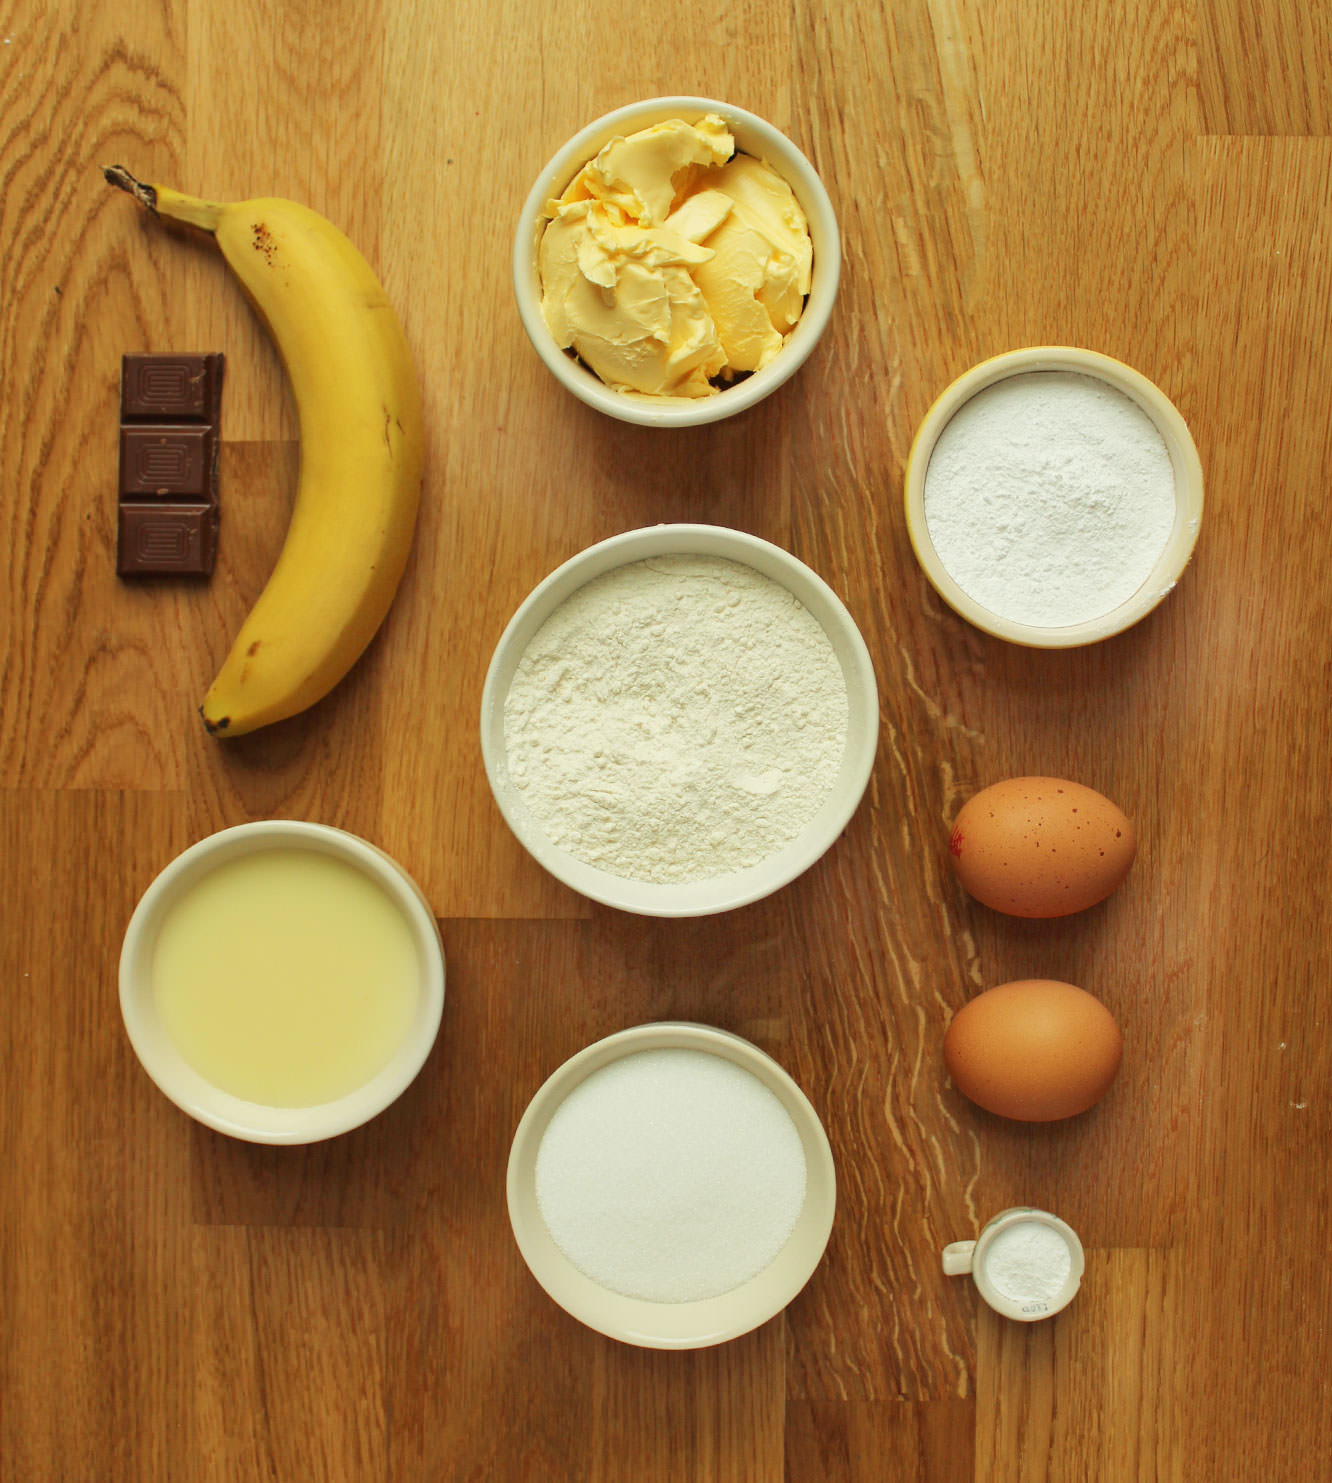
You will need
For the cakes:
140g/5 oz self raising flour
140g/5 oz caster sugar
140g/5 oz unsalted butter/margarine
2 eggs
2 ripe-over ripe bananas
1 tsp baking powder
For the filling:
200g/7 oz sweetened condensed milk (half a tin)
100g/3.5 oz soft brown sugar
100g/3.5 oz unsalted butter (used salted if you prefer salted caramel to a more dulce de leche/toffee flavour)
50ml/1.75 fl oz double cream
For the frosting/icing
350g/12.5 oz icing sugar
250g/9 oz unsalted butter (room temperature)
150ml/5 fl oz double cream
Vanilla essence/paste/pod
(makes 12)
Step one
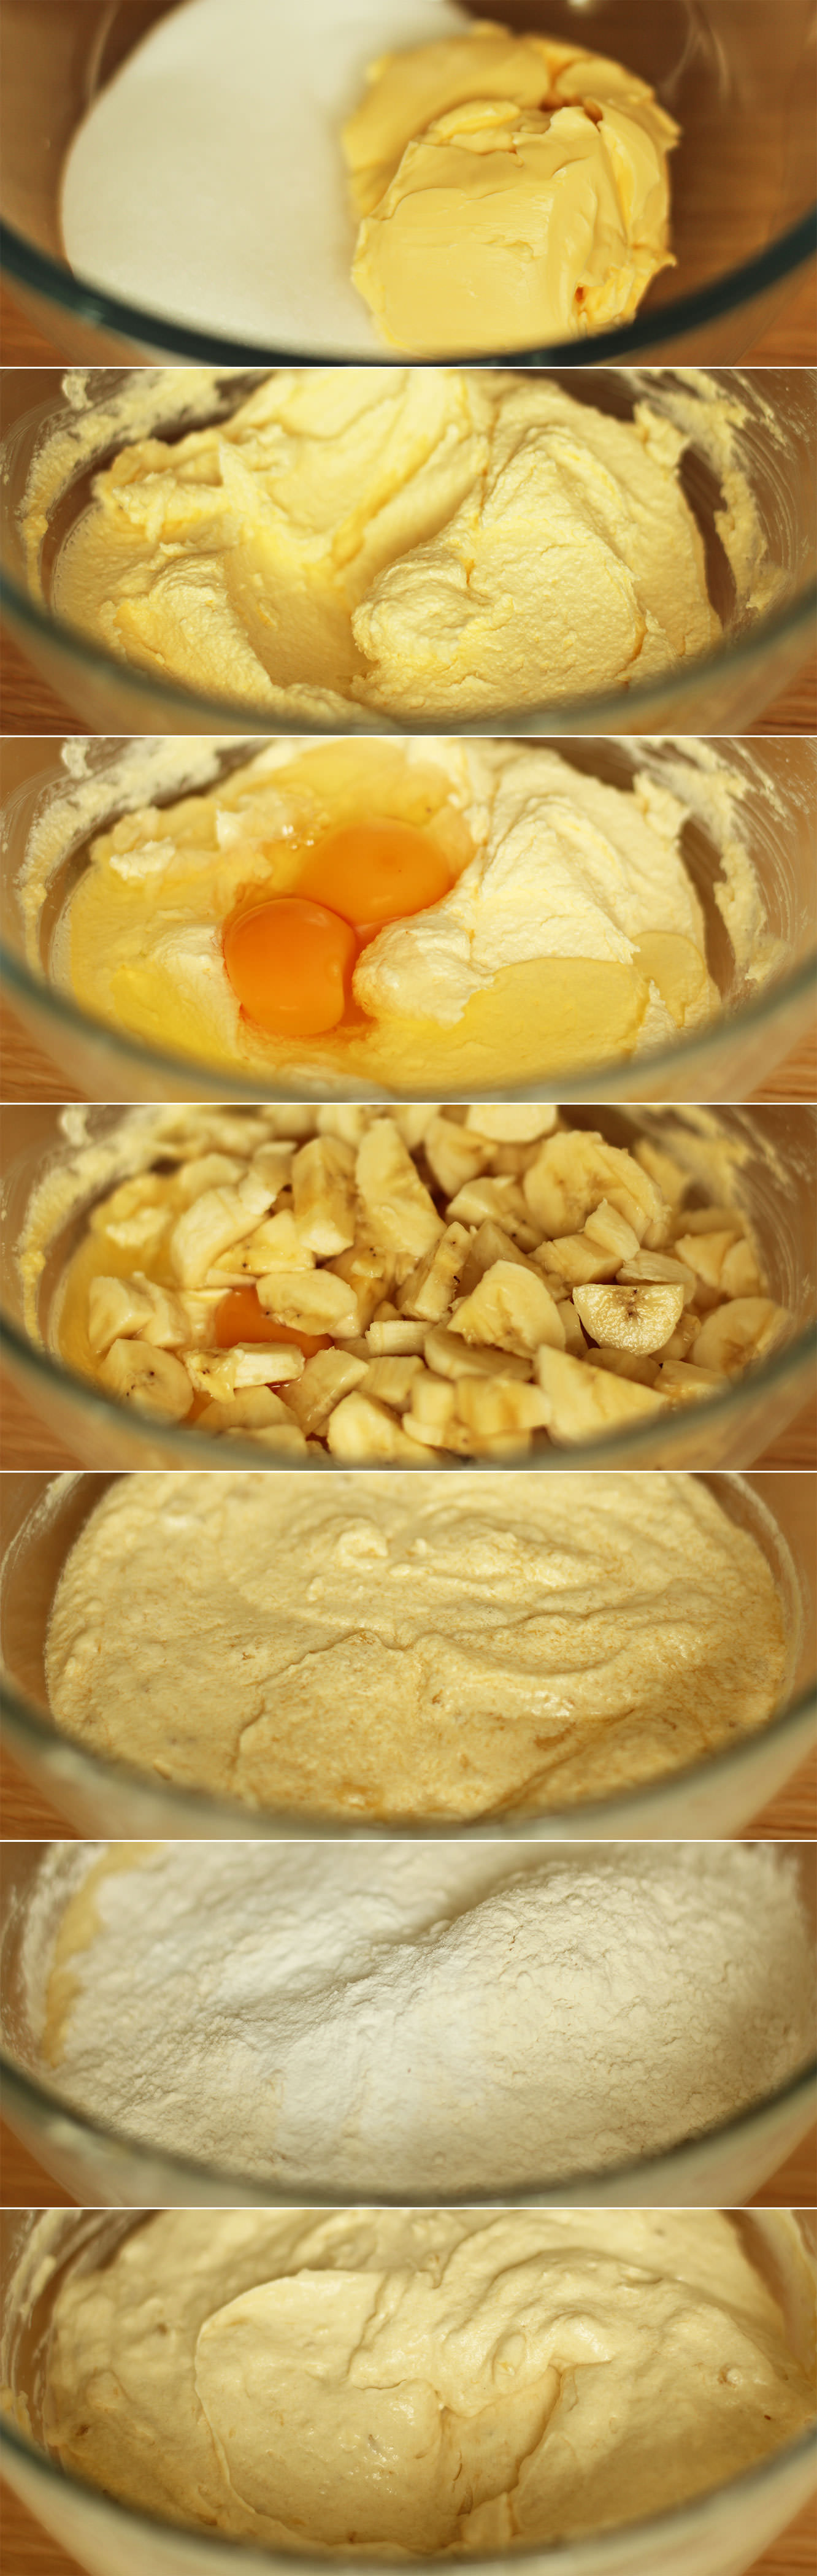
Using an electric whisk if you have one, a wooden spoon if not, beat together the butter/margarine and caster sugar until light and fluffy. I use Stork margarine for sponge as it’s pretty cheap and does the trick well.
Step two
Chop up the banana. You can mash it if you want but the whisk kinda does the work for you so why bother? The riper the bananas the more intense the flavour.
Add the eggs and banana to the mix and whisk until combined.
Step three
Whisk in the flour and baking powder, stir it in a little first with the beaters to prevent a mushroom cloud of flour hitting you in the face.
Step four
Distribute the mixture evenly between 12 cupcake/muffin cases. Usually about two rounded dessert spoons in each is a nice amount.
Step five
Bake on gas mark 4/350F/180C for 20-25 minutes until golden brown and springy to the touch.
Step six
While the cakes are in the oven, make the filling by combining all the ingredients in a small/medium saucepan.
Gently melt the mixture on a low heat and then turn it up to medium. Boil slowly for 7-10 minutes stirring the whole time. See those flecks in my mix? Took my eyes off the prize.
Allow to cool completely before use.
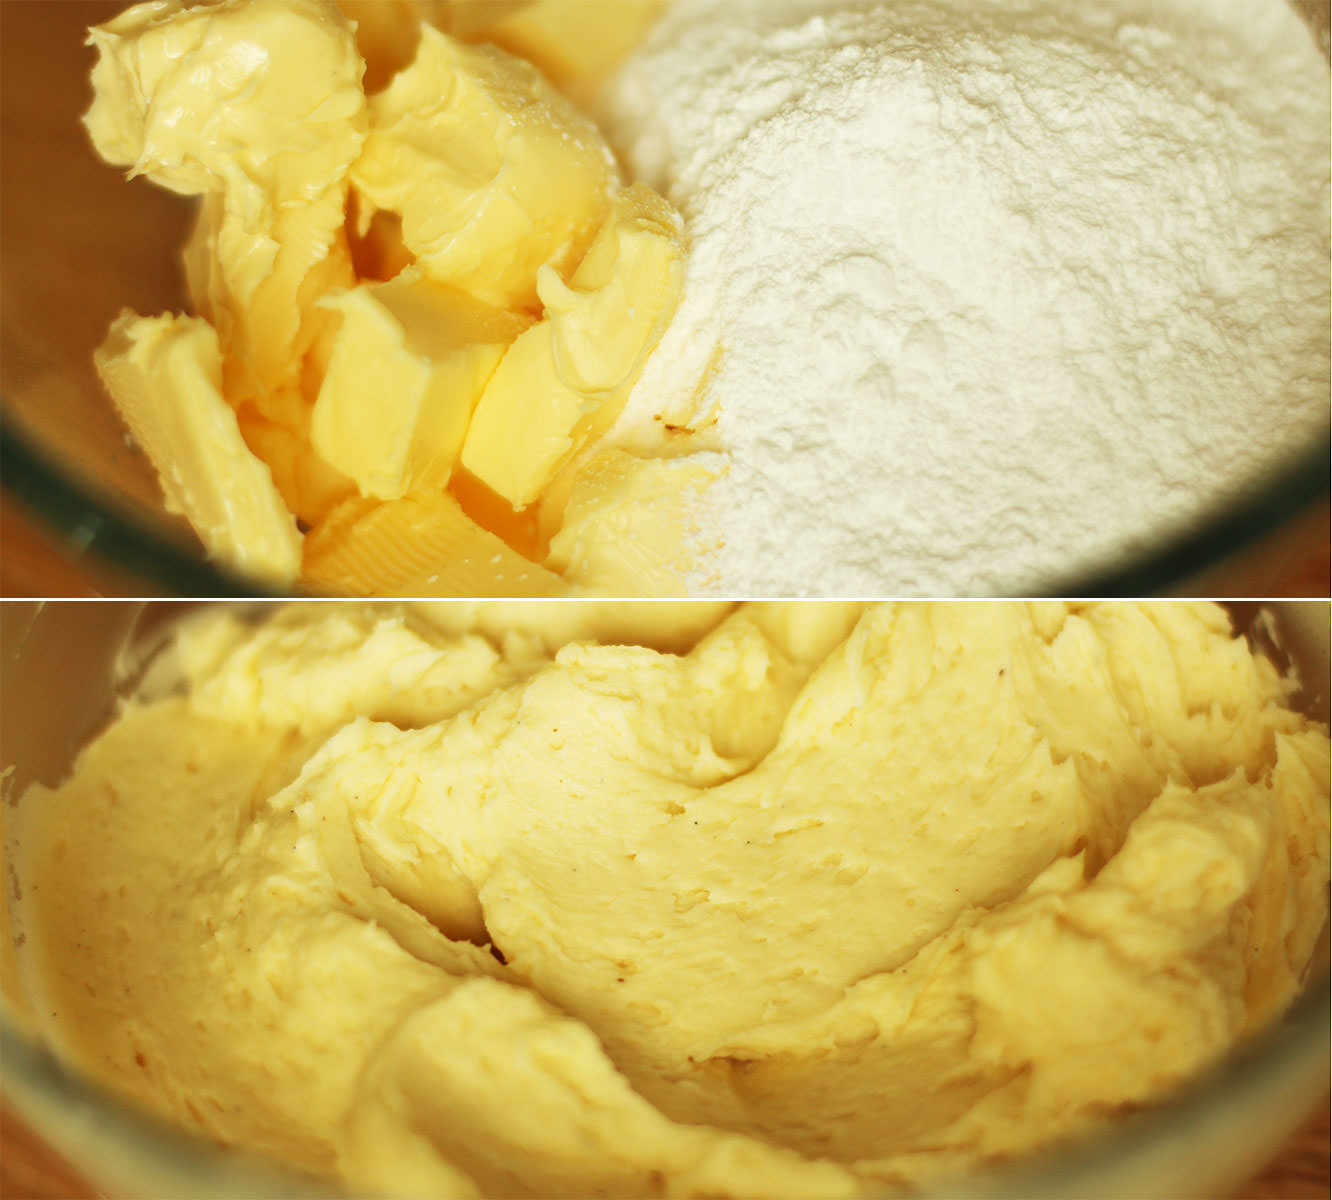
Step seven
Combine the icing ingredients by gently stirring the icing sugar and butter together before putting the whisk on the lowest setting. Add the cream and the vanilla once they’ve started to combine. The double cream will thicken it nicely and add a lightness to the texture.
It’s really yummy but probably not the best for piping consistency, so I wouldn’t dream up fancy decoration with this one. That’s pretty consistent with a banoffee pie anyway, when was the last time you saw a pretty one of those? Yeah. Exactly.
Step eight
If you’ve been following this series so far then you know the drill by now. Cut a hole in the cupcake with a small sharp knife and discard the middle bit, keeping only the lid. Fill with the toffee sauce and replace the cake lid. Spread the icing on top and grate over a little chocolate for an authentic look.