Category: Baking

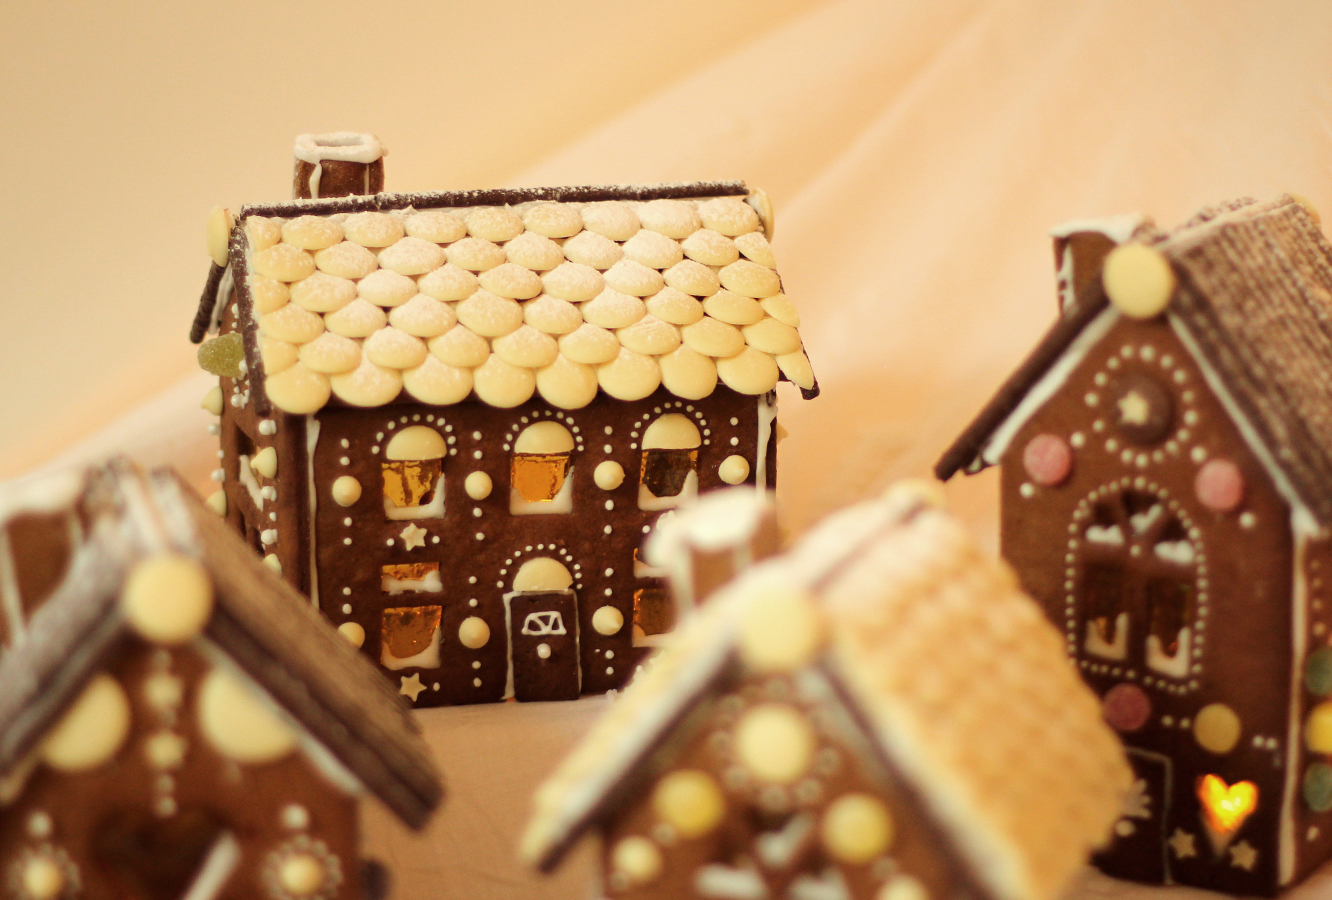
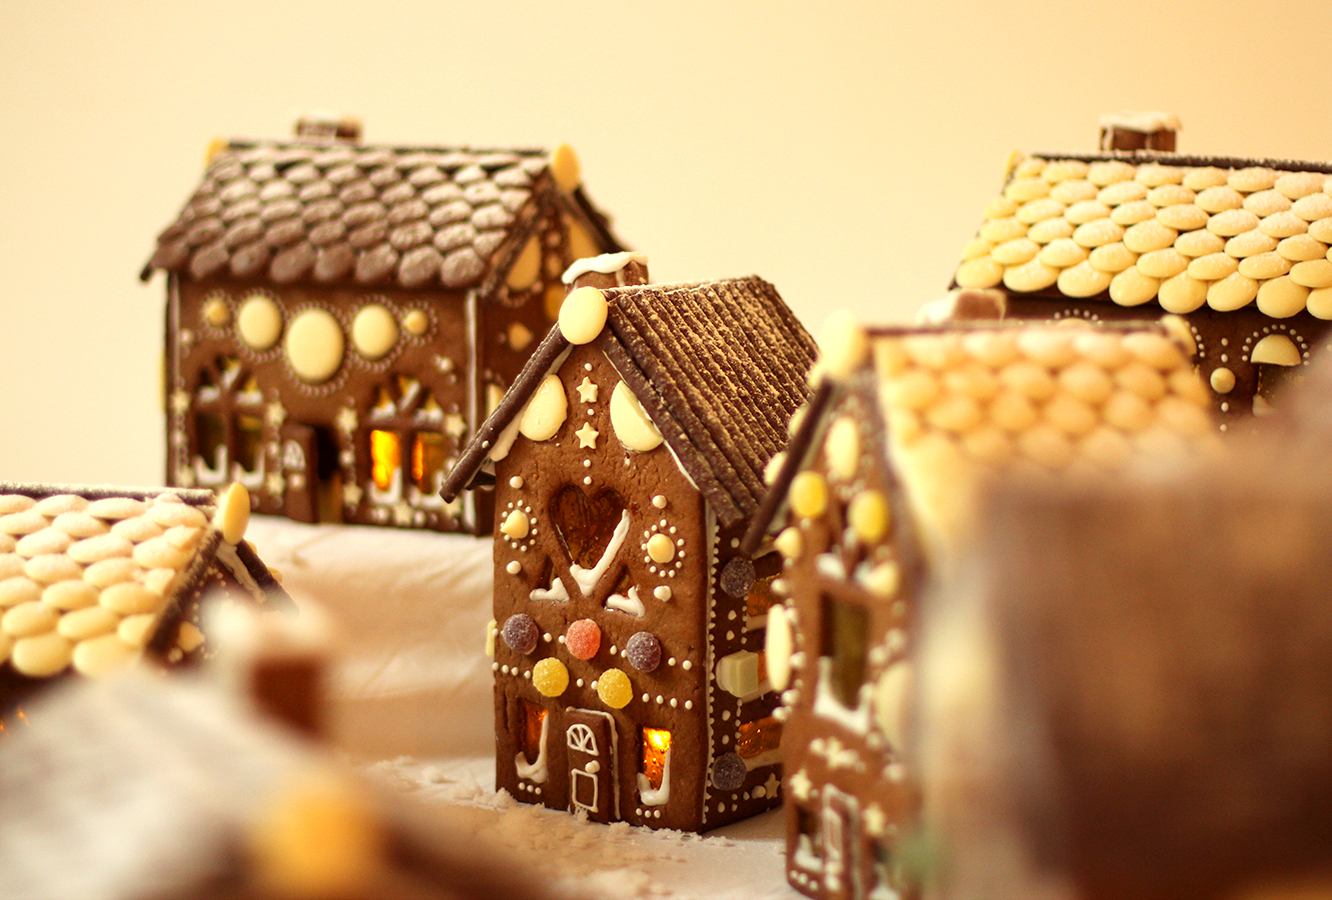
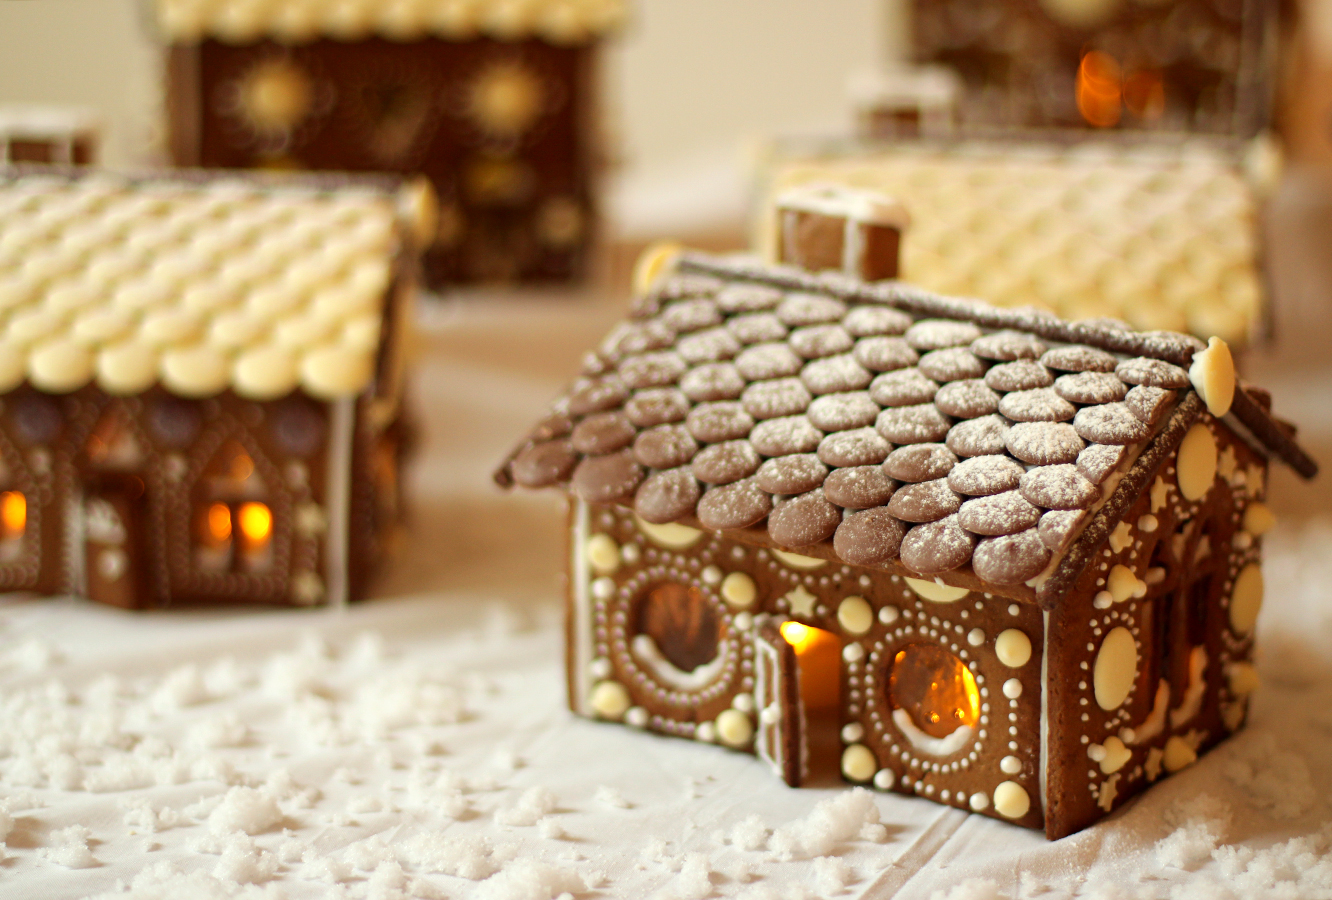
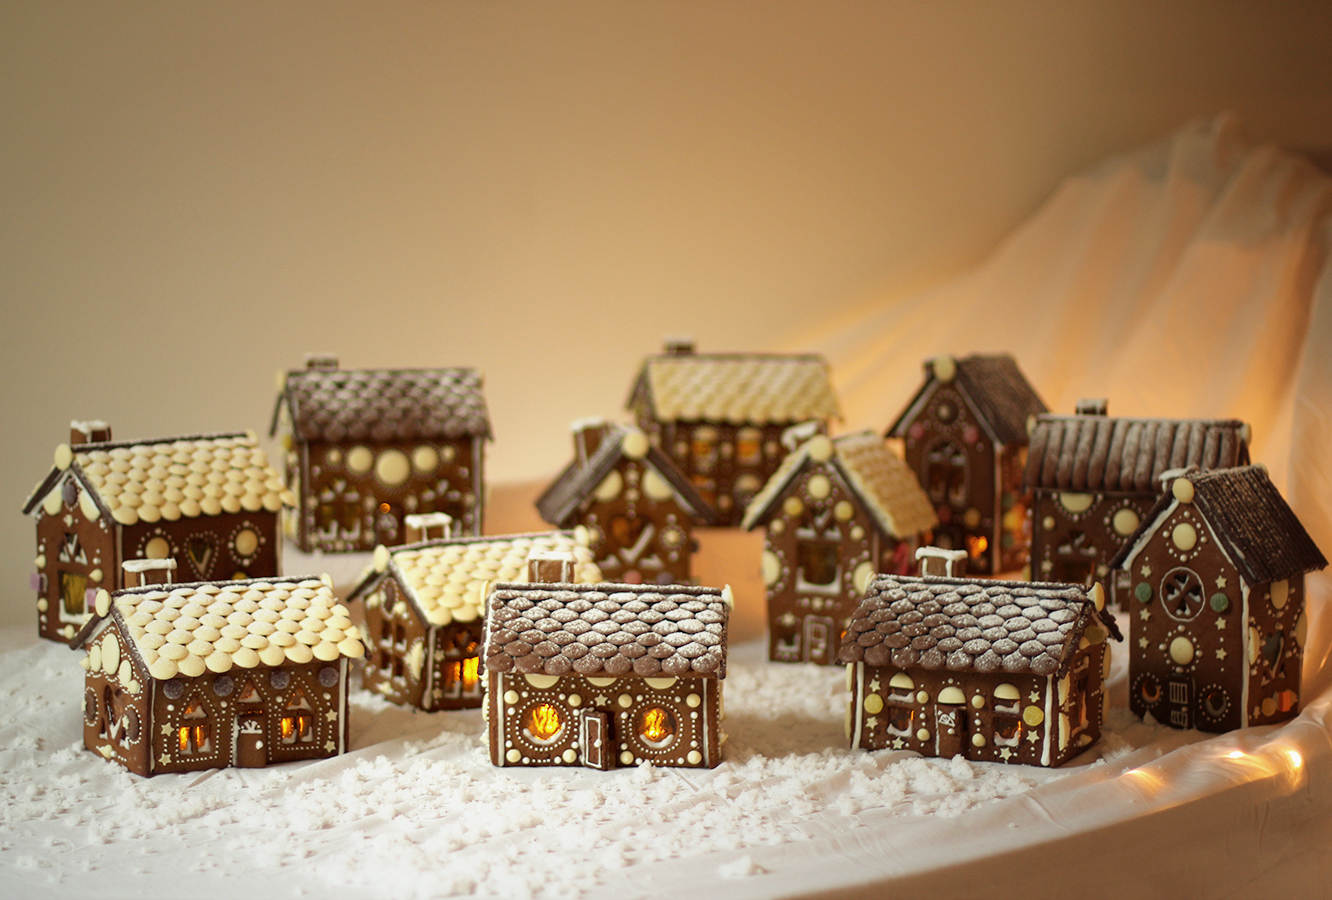
O little town of gingerbread

So this is later than the usual Monday night. But I hope you’ll forgive me when you see the contents, and when you remember it’s December and that I now have a full-time job.

SPEAKING OF WHICH, I have been fortunate enough to join a team full of kind and kooky misfits, who have made the last three months super fun.

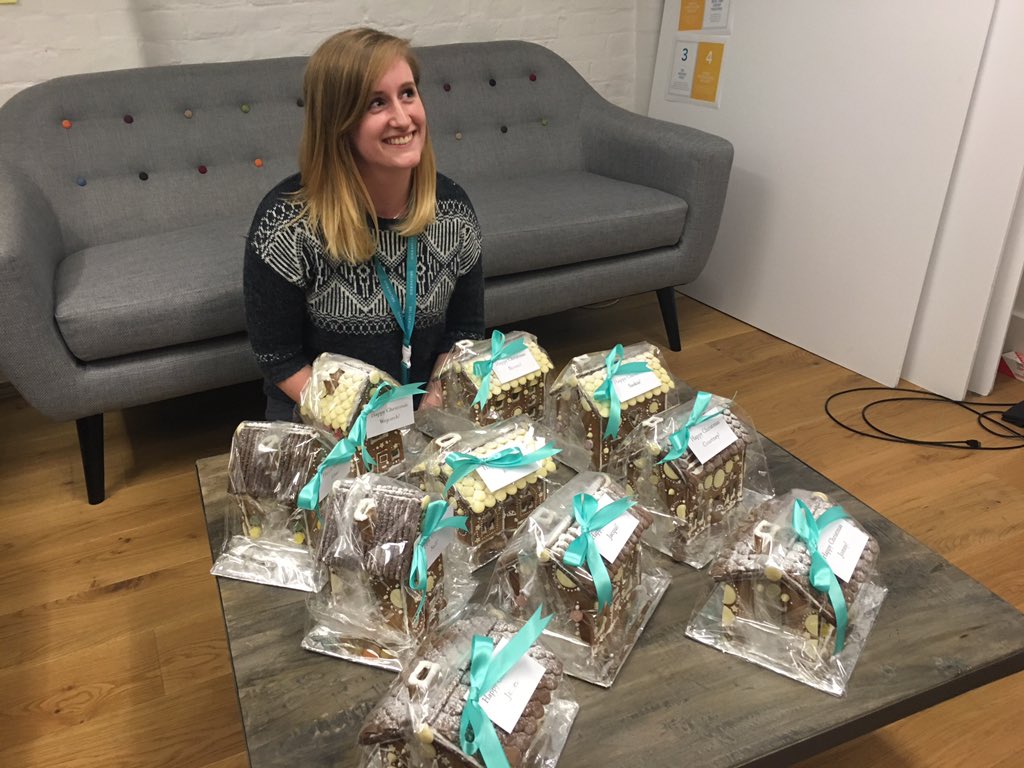
This year, when considering my yearly gingerbread offering I deliberated over how I might transport one into work to share the joy. But when you make gingerbread houses like this and this and get the central line tube to work, even the thought of attempting that makes you sweat.

The obvious answer? Make little ones for everyone. Sure. That’s not mental at all.
gingerbread-house-village-recipe-guide-01

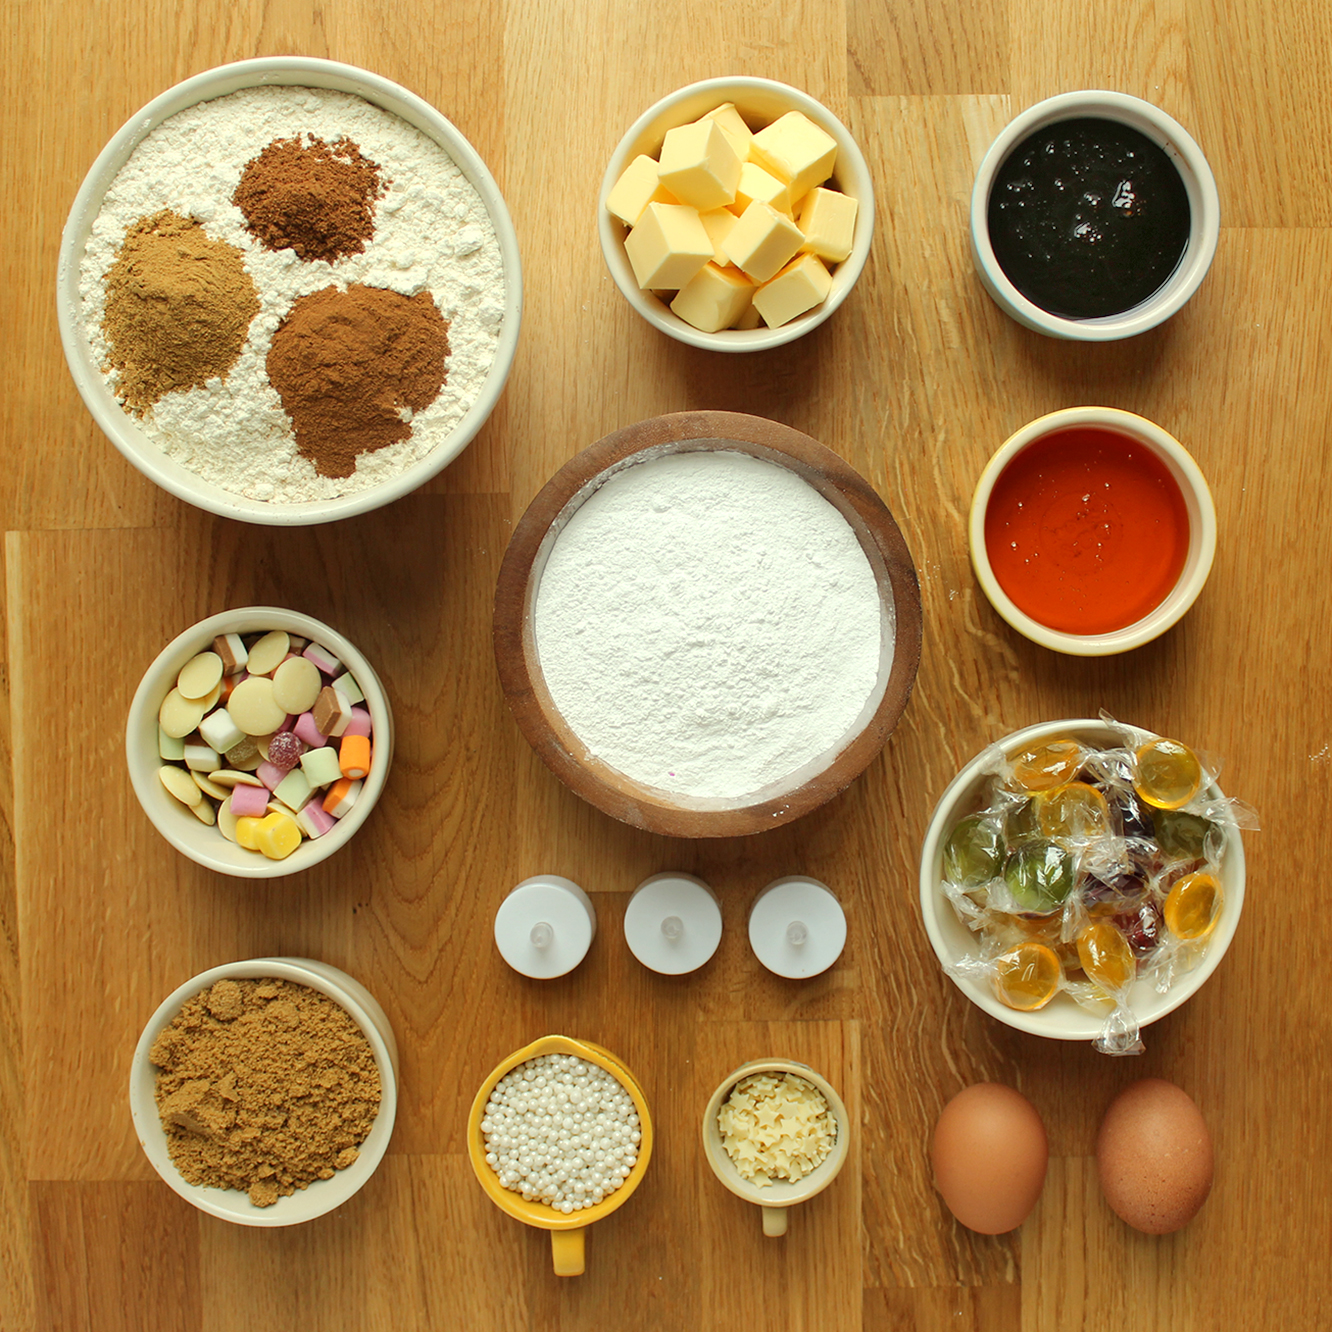
You will need:

1lb 10.5 oz/750g/5 cups plain flour

5oz/140g/1 cup soft brown sugar

7oz/200g/1 cup unsalted butter

2 eggs

5 tbsp treacle

8 tbsp golden syrup

1 tsp salt

1 tsp baking powder

2 tsp ground ginger

2 tsp cinnamon

1 tsp nutmeg

A box of royal icing (read notes below)

The template

ALL THE SWEETS (including boiled sweets for the windows)

LED tea lights if you want it to look like there’s a fire on inside

Some notes:

  • The quantities above make 4 little houses. Yes, I made 3 batches of mixture. It will make about one medium to large house, both the links in the blurb above required a batch and a quarter or so.
  • For the roofs I use either chocolate buttons, fingers or matchmakers. The roof on house one is the right size for chocolate finger biscuits, matchmakers are great because they are long, but they are narrow so you need quite a few. Roughly it works out like this per roof for these templates: one box of matchmakers, two boxes of fingers, and two bags of buttons (based on Sainsbury’s own 3 for £1 bags)
  • You need a lot of royal icing, get a few boxes, I used 3 for 12 houses.
  • For the bases I use a thick cardboard box covered in tinfoil. You could buy a cake board, but then you have to work out if your house will fit, or make it to fit the board. I prefer to make the base to fit the house, less restrictive that way.
  • For a bit of advice on template making for bigger houses click here
  • You are unlikely to complete all this in one day, as you need to let the dough cool before rolling it out, just a little FYI.
gingerbread-house-village-recipe-guide-02

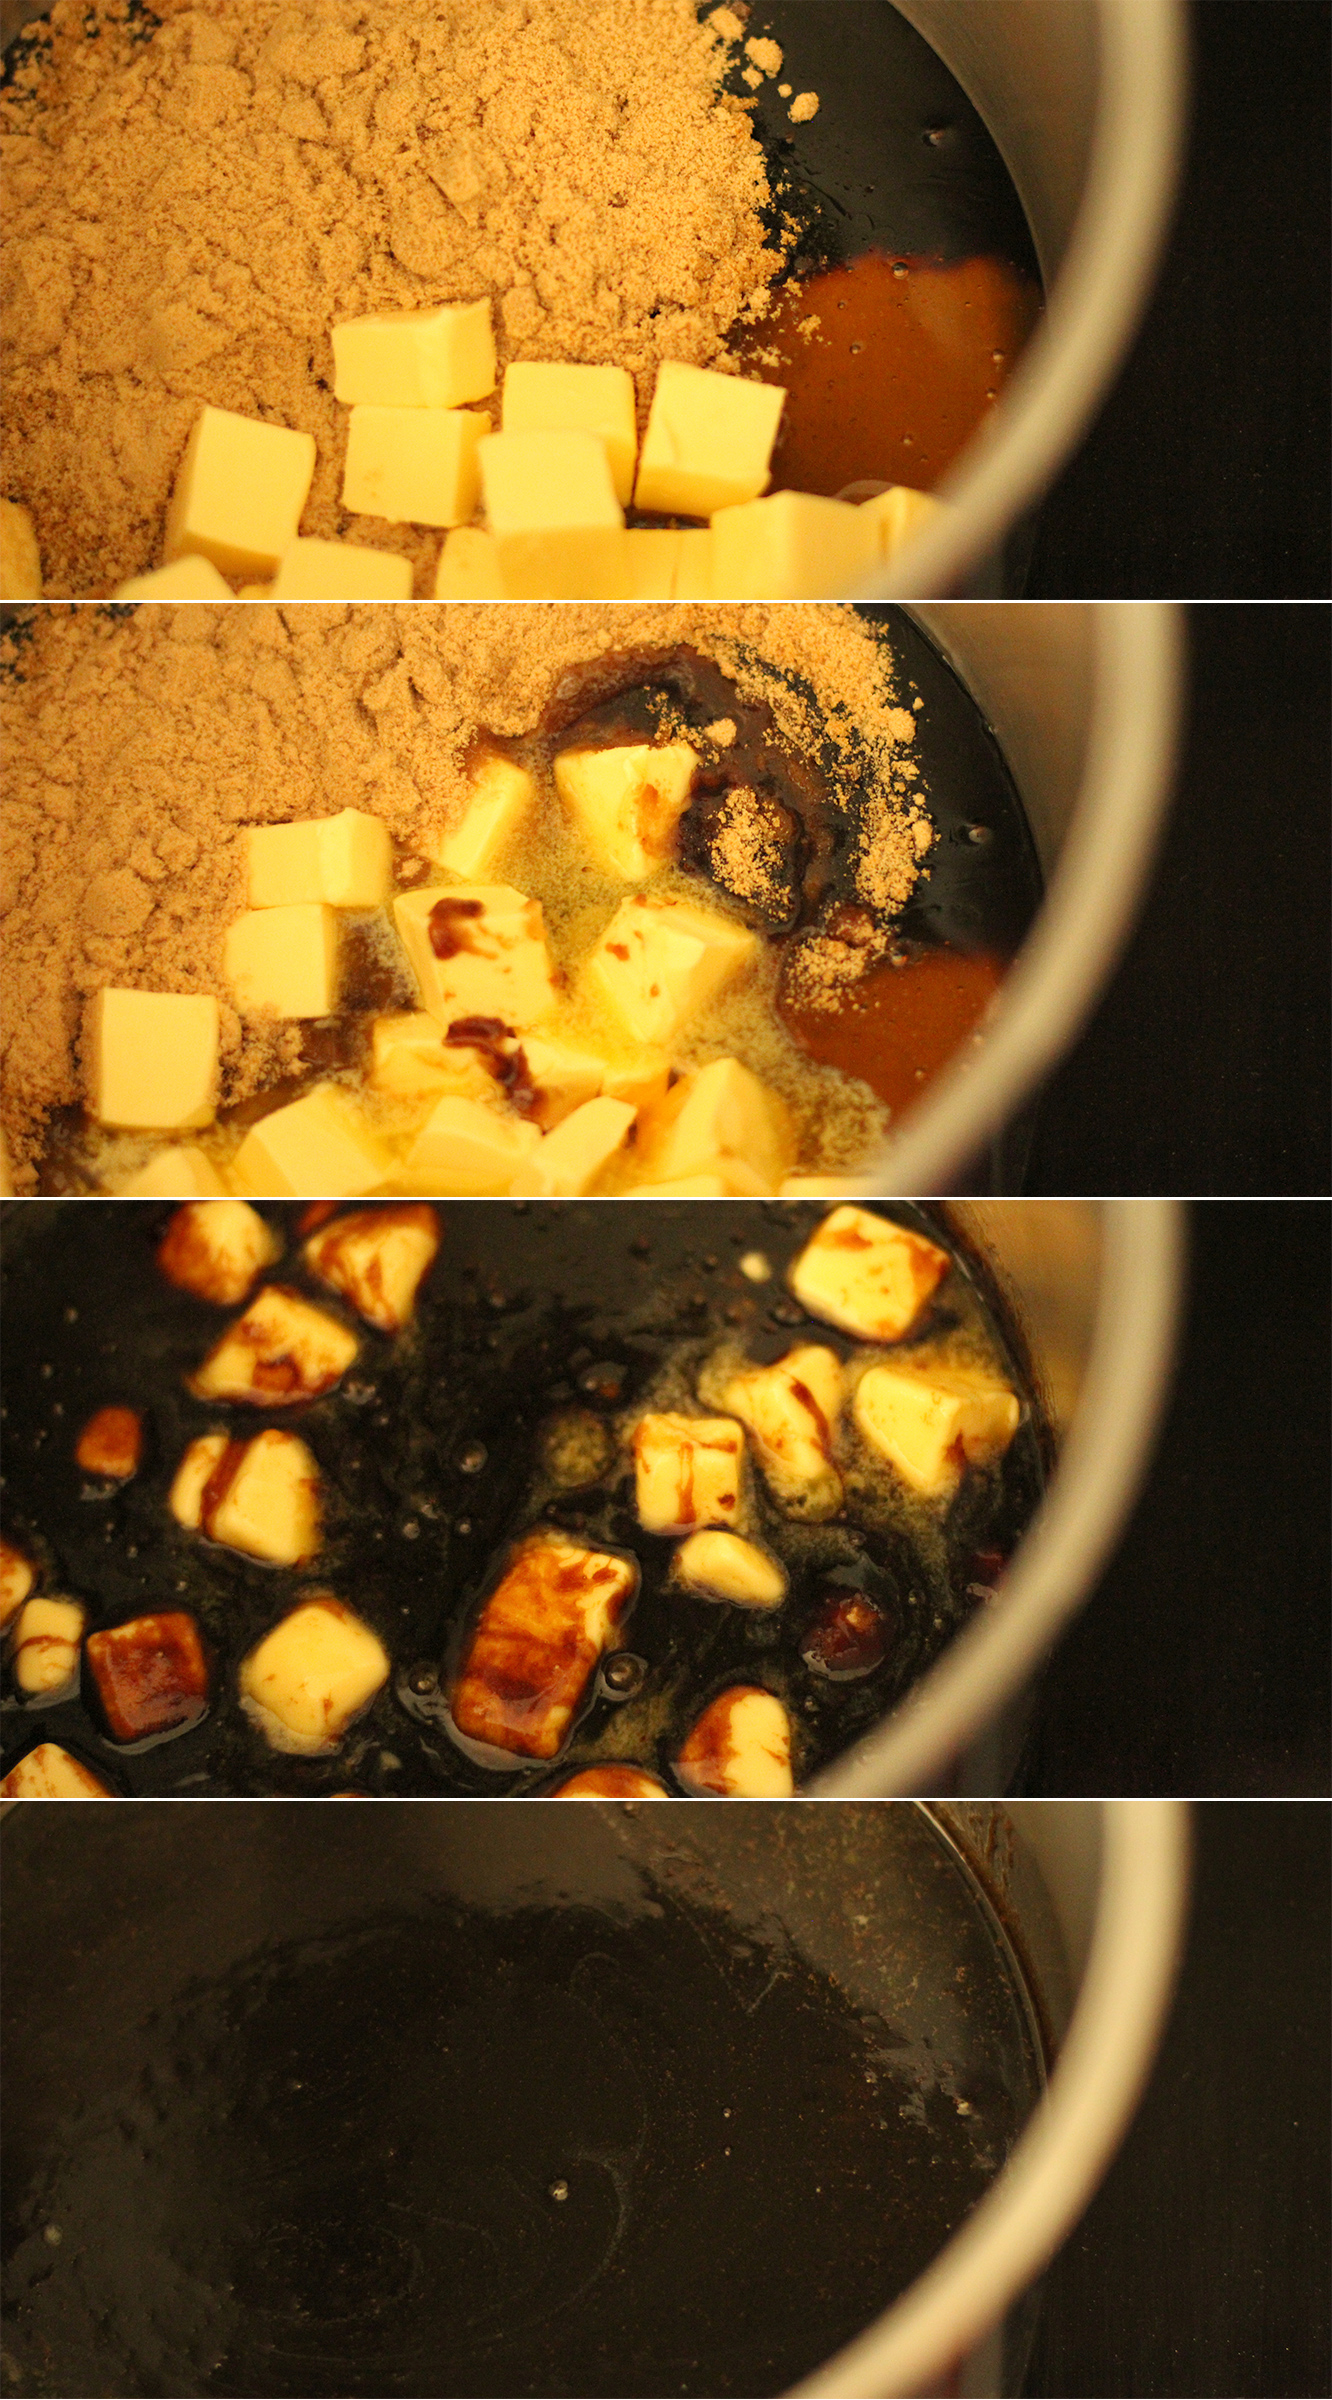
Step one

In a saucepan melt together the butter, treacle, sugar and golden syrup. Try not to let it get too hot.
gingerbread-house-village-recipe-guide-03

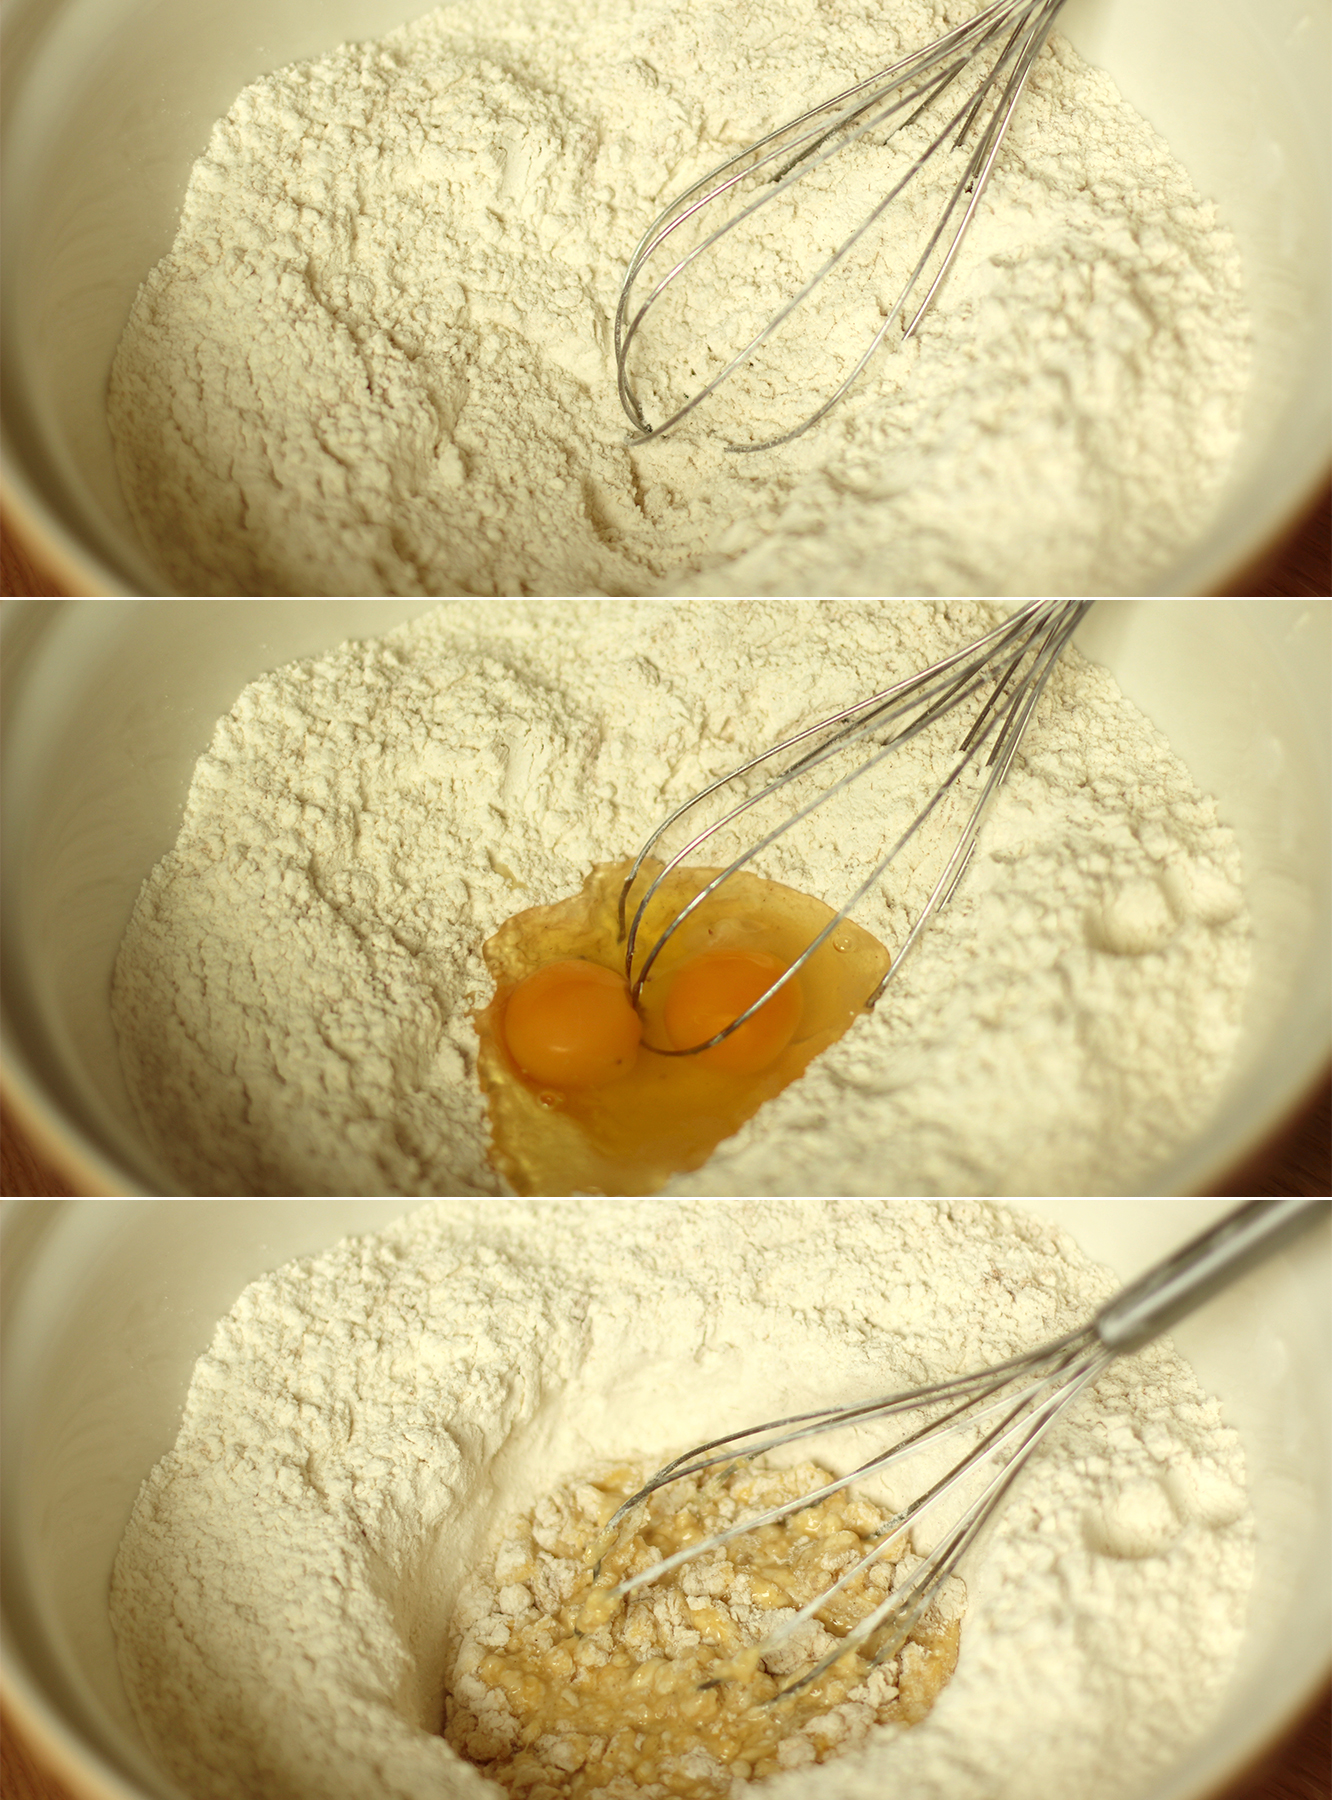
Step two

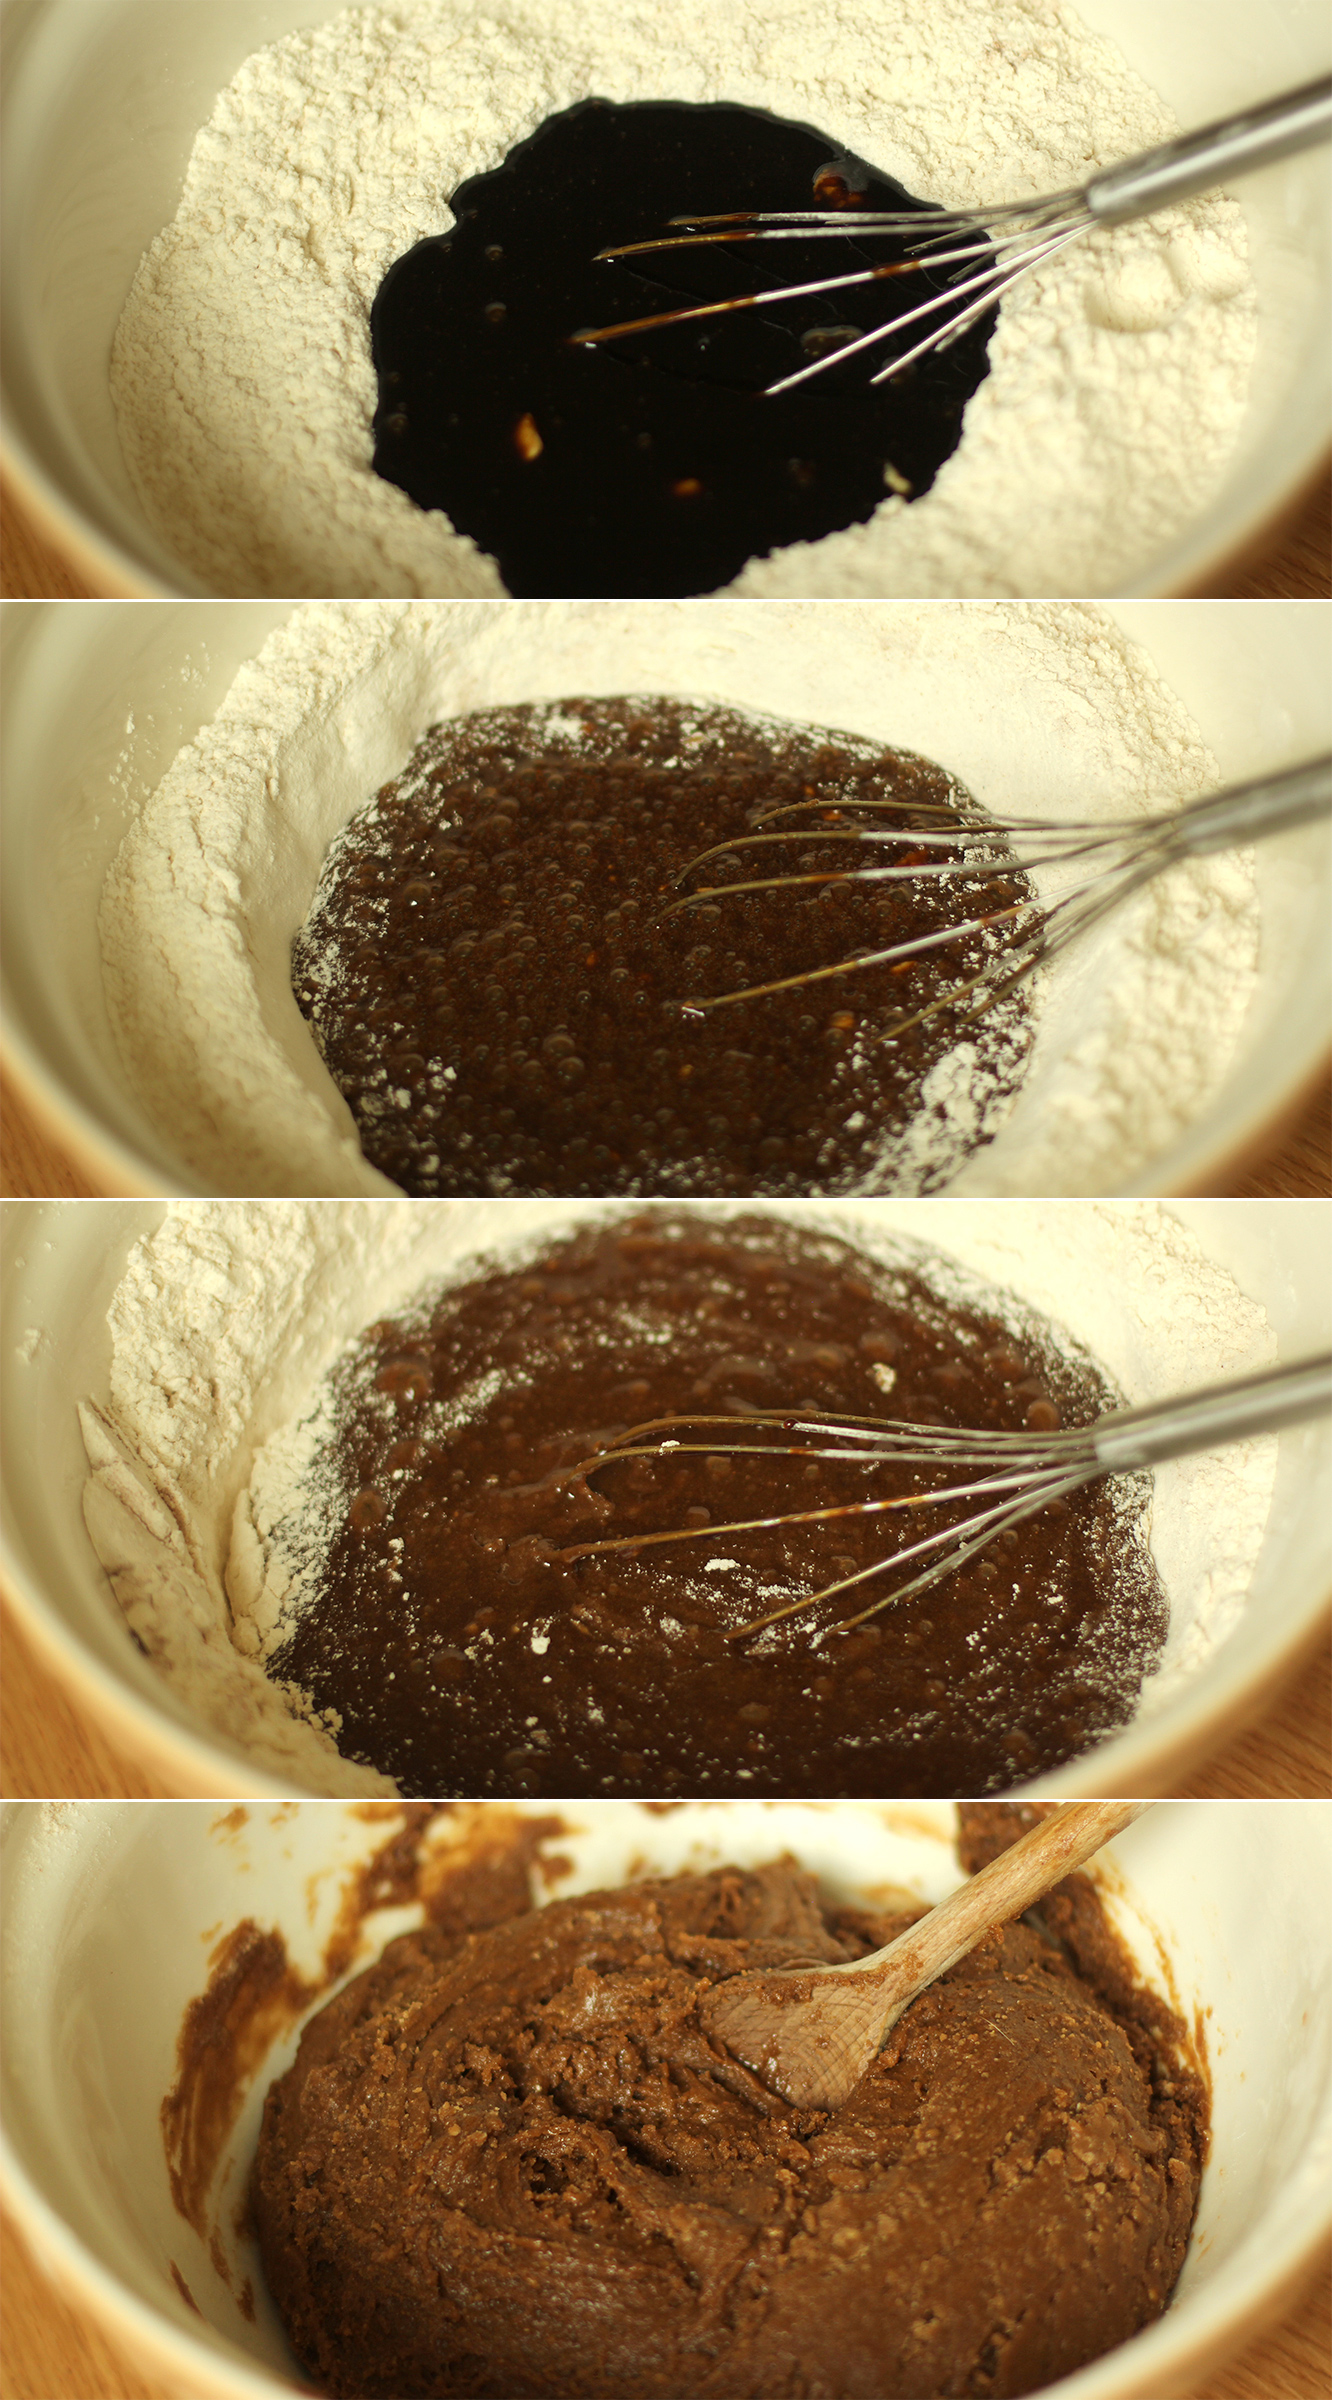
Mix together the spices, salt and flour together and make a well in the middle. Add the eggs and use a hand whisk to break them up. Start making small circles to incorporate the flour.
gingerbread-house-village-recipe-guide-04

Step three

Pour the treacle mix into the well and continue mixing with the whisk for as long as you can until it becomes too hard to stir. Swap the whisk for a wooden spoon until fully combined.

Allow to cool. Put it outside if it’s cold or in the fridge to speed up the process. It will be sticky but don’t add more flour.
gingerbread-house-village-recipe-guide-05

Step four

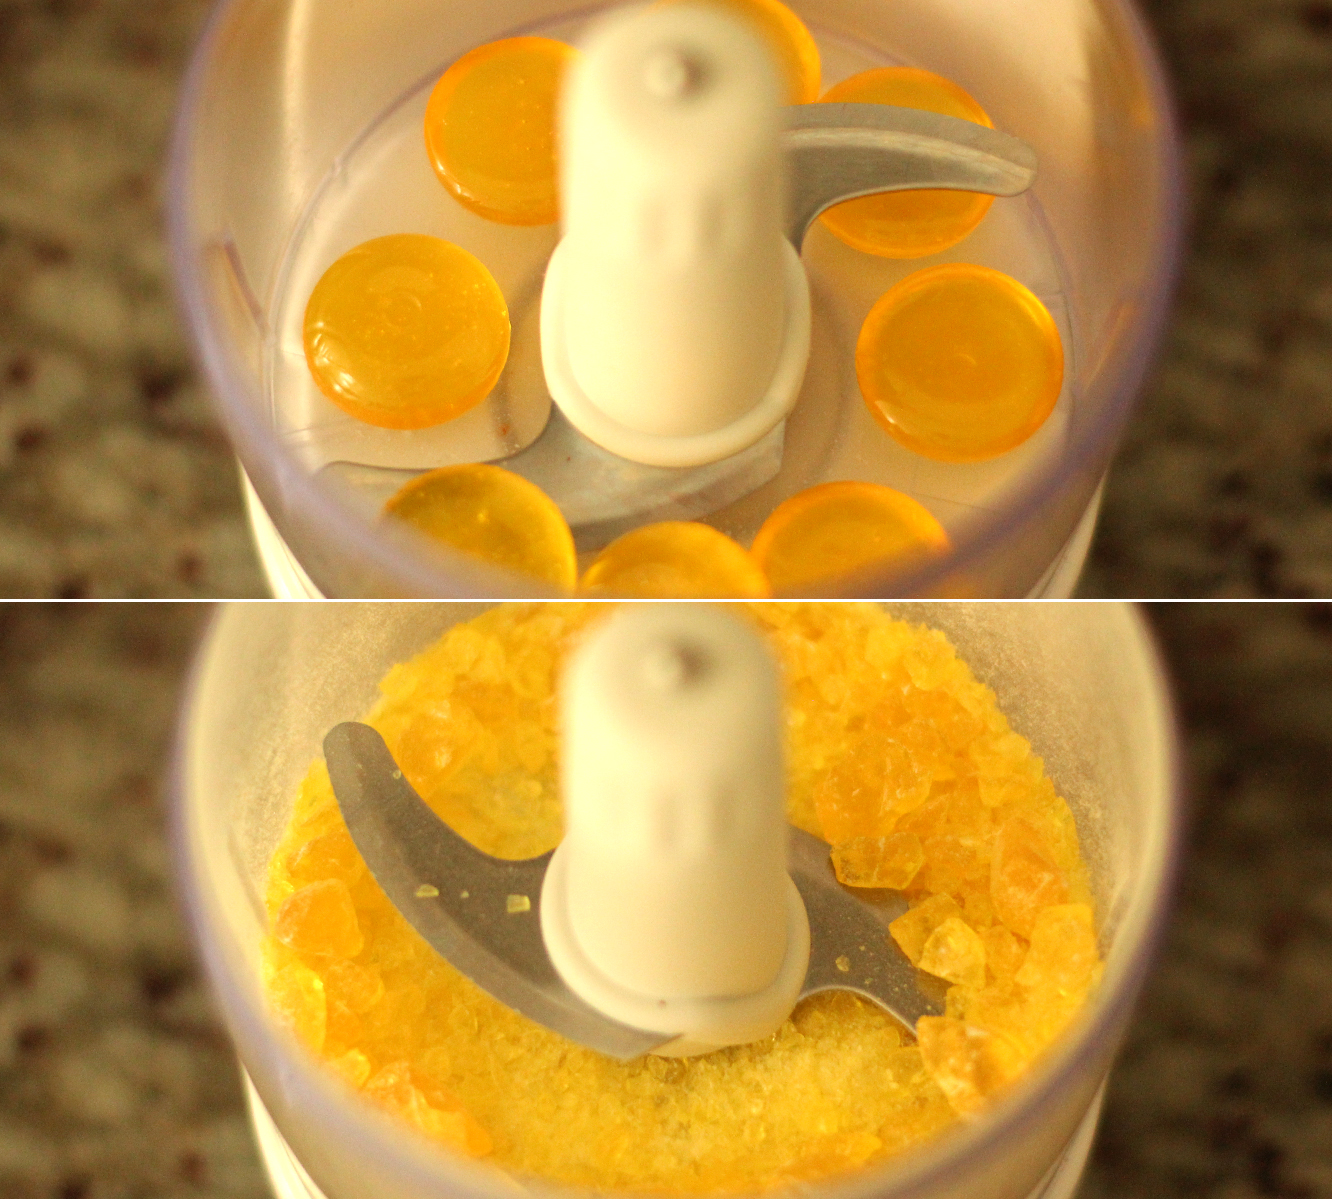
Bash up hard boiled sweets with a rolling pin in a sandwich bag, or use this life changing gadget, the mini food processor, to mush them instead.
gingerbread-house-village-recipe-guide-06

Step five

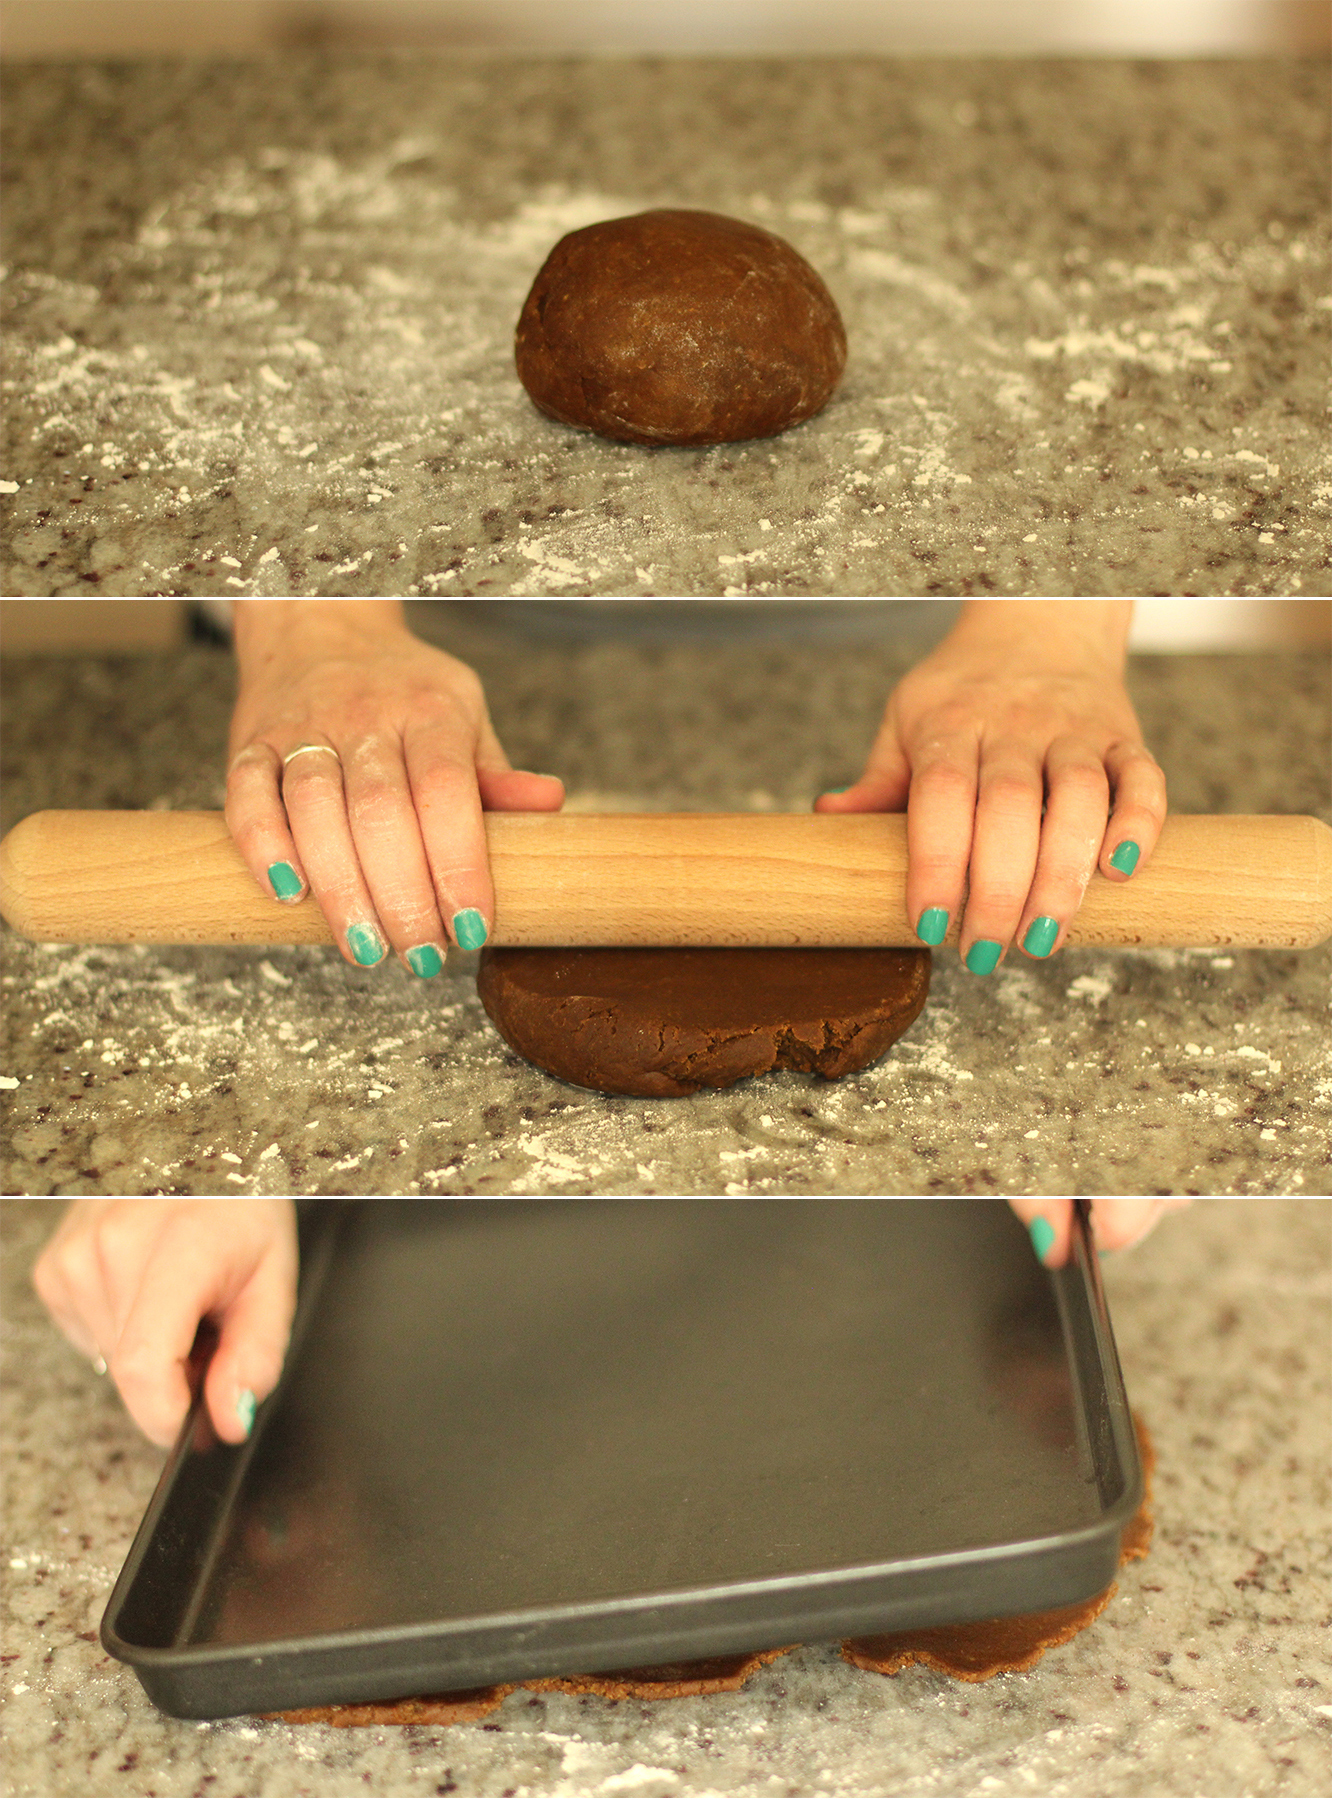
Once the dough has cooled it’s time to roll out the houses. Big, flat baking trays are best for this.

Flour a surface and roll out the dough in batches. You will probably need to use a knife and a metal spoon to extract the mix from the bowl. Don’t fight it, it’s a winning formula structure-wise.

Roll a piece of dough to the same size as your tray for maximum efficiency re:oven space.
gingerbread-house-village-recipe-guide-07

Step six

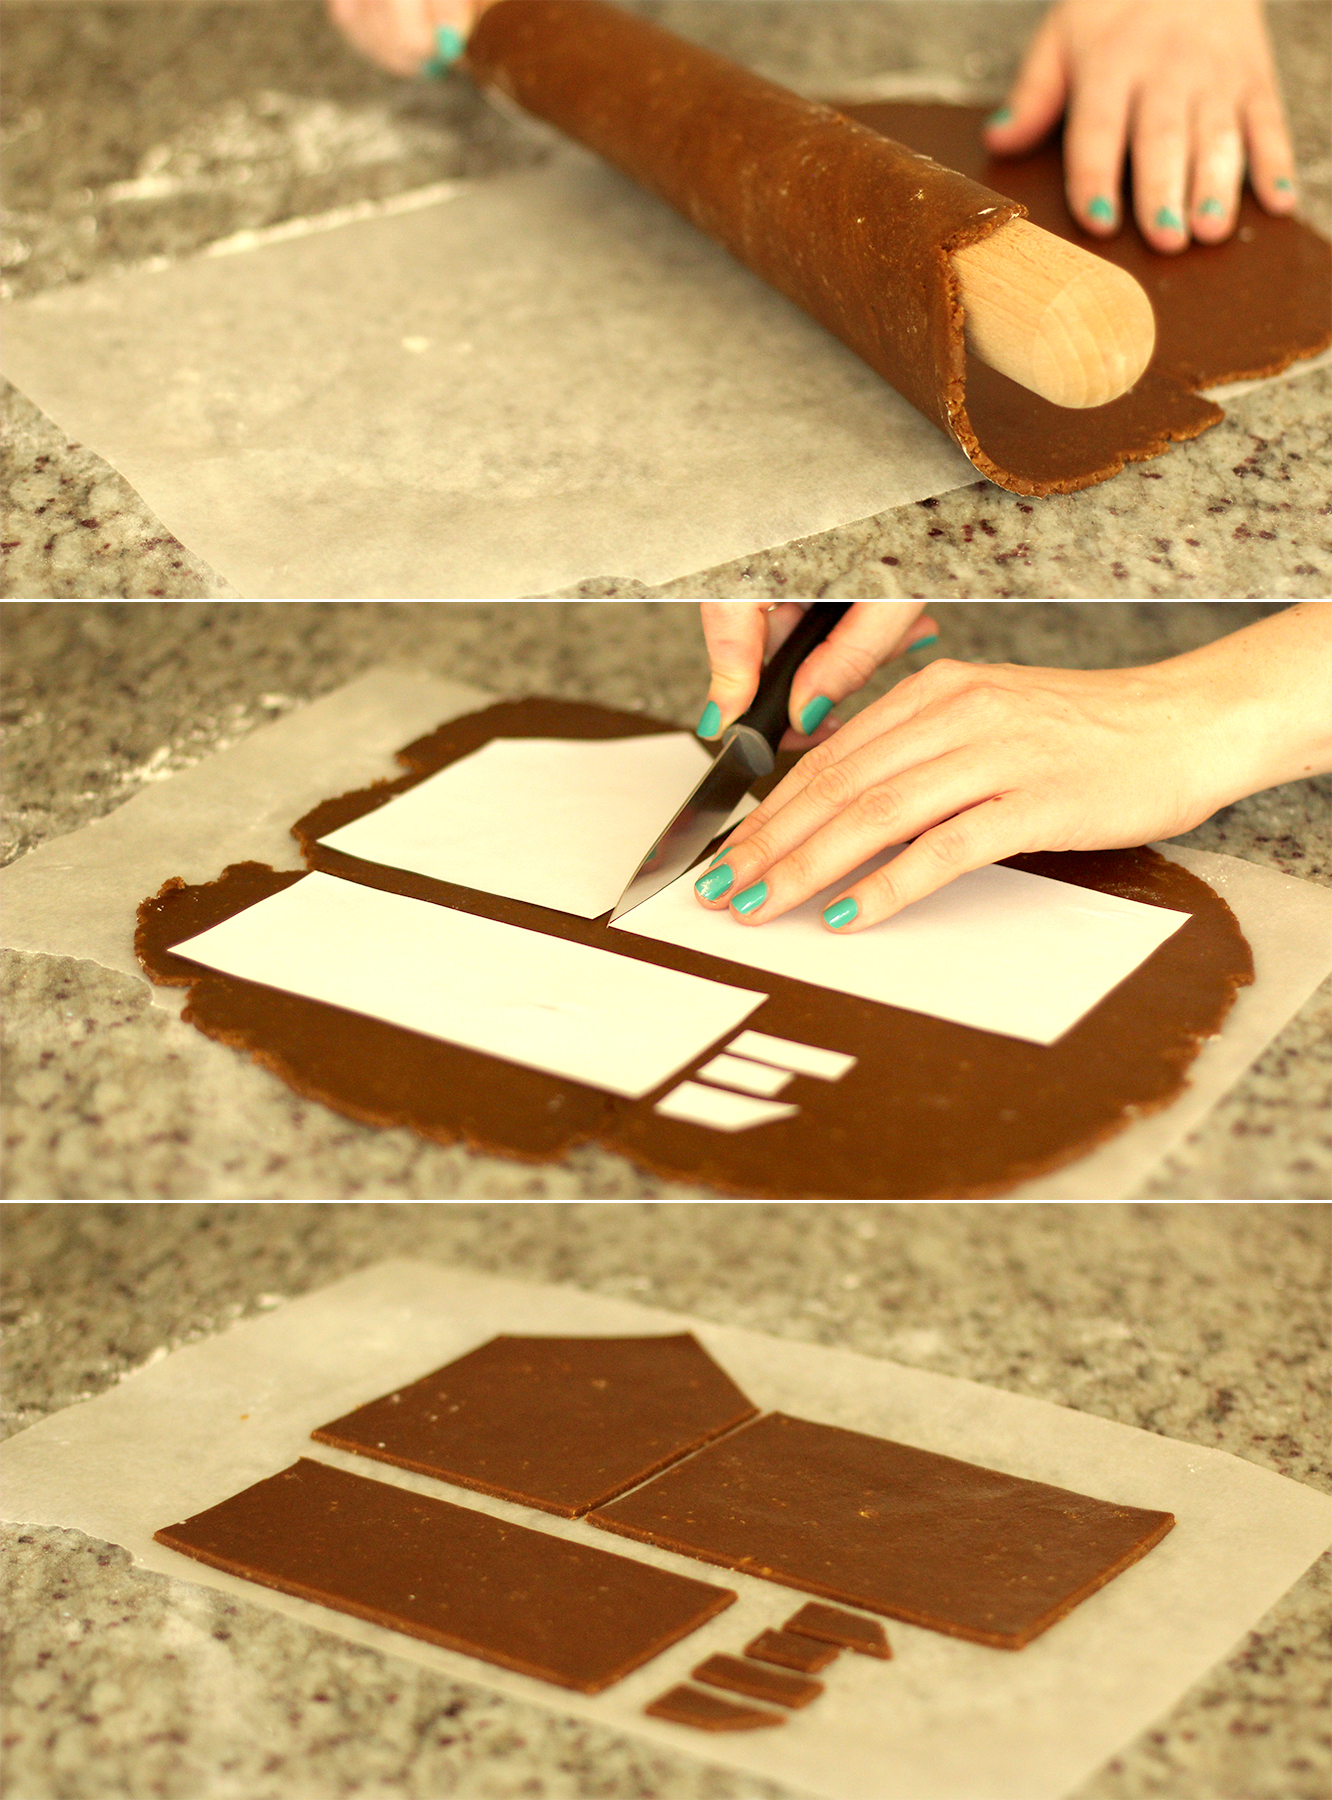
Use the rolling pin to lift the gingerbread onto a piece of gingerbread the size of your tray. It is essential to do this before cutting; it stops you stretching individual pieces out of shape when you move them.

Use the templates and a knife to cut the panels out. Contrary to the image above it’s best to do batches of the same shape – that way the bake is the right amount of time for that sized piece. The most obvious way to explain that little ramble is that the chimney pieces will cook a lot quicker than the side panel for example.
gingerbread-house-village-recipe-guide-08

Step seven

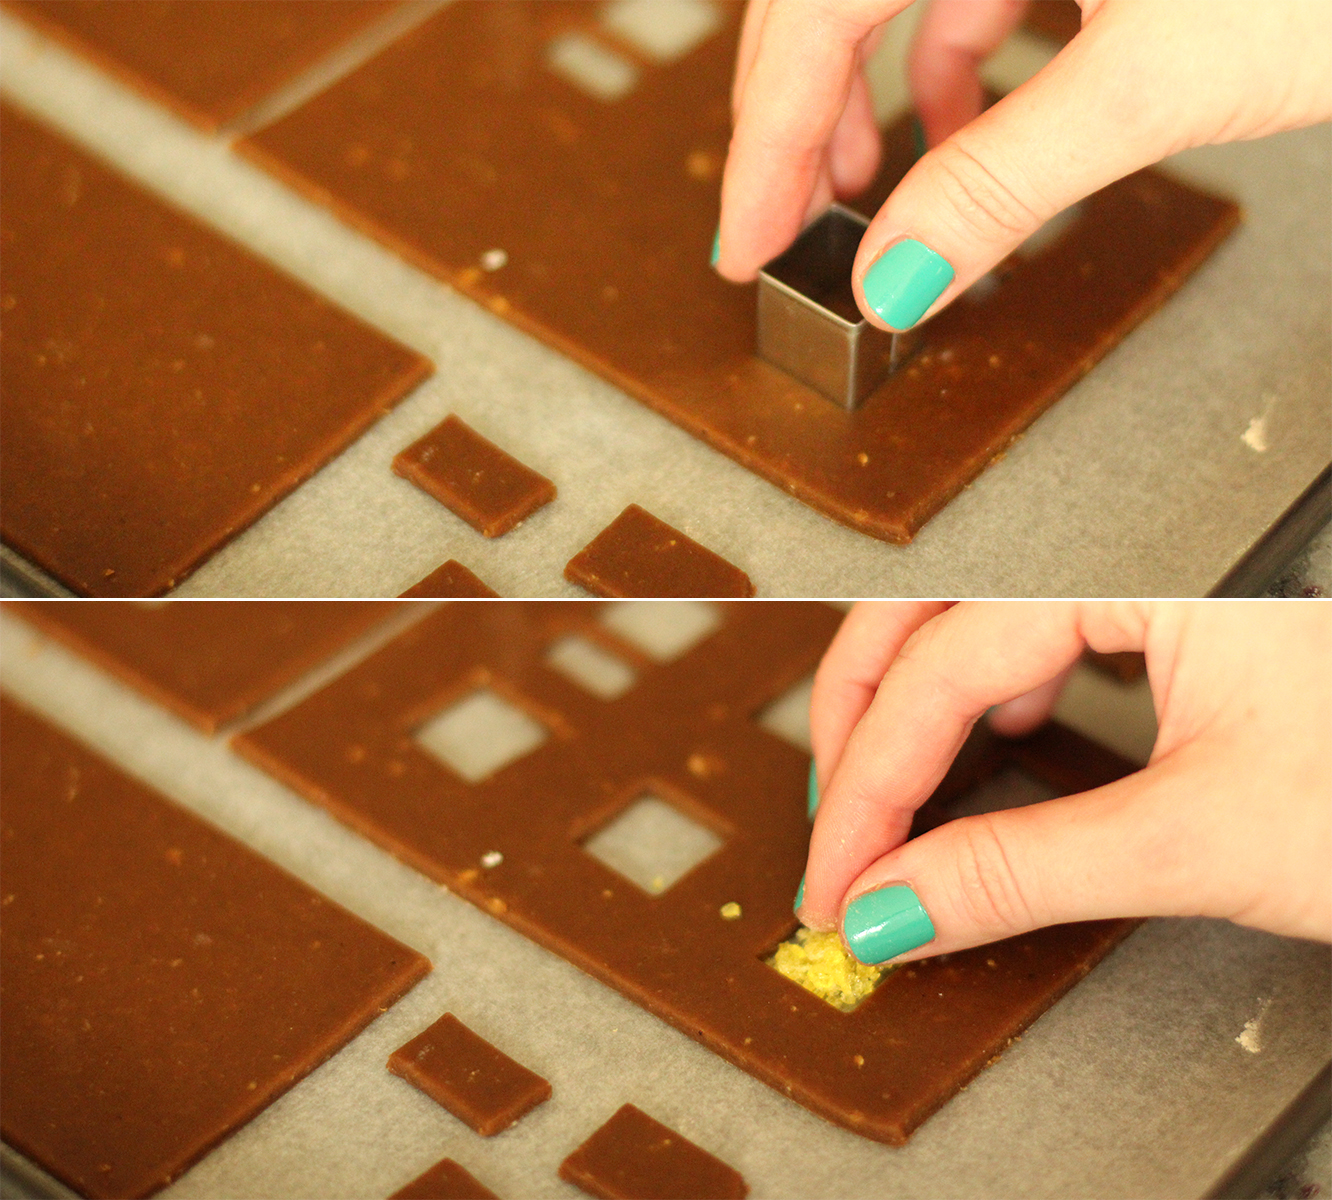
Transfer the gingerbread onto the tray and cut out window shapes. This year I invested in a little cutter set of different shapes and sizes. It was amazing. Total gingerbread game changer.

Fill the gaps with the sweet crumbs. This is why you need baking paper. Otherwise the sweets melt and glue your house to the tray.

Bake on 180C/gas mark 4/350F for 10-15 minutes. Over-cooked is preferable as they need to be able to stand up, and they will get softer as they sit out.
gingerbread-house-village-recipe-guide-10

Step eight

Time to assemble. Mix together the royal icing making sure it’s really thick, it will stick better and dry quicker if it’s opaque white and not that sticky to touch.

If you’re making a big house, have a spare pair of hands at the ready and/or a lot of glasses and bottles to prop things against.

These little ones are actually really easy to put together in comparison.

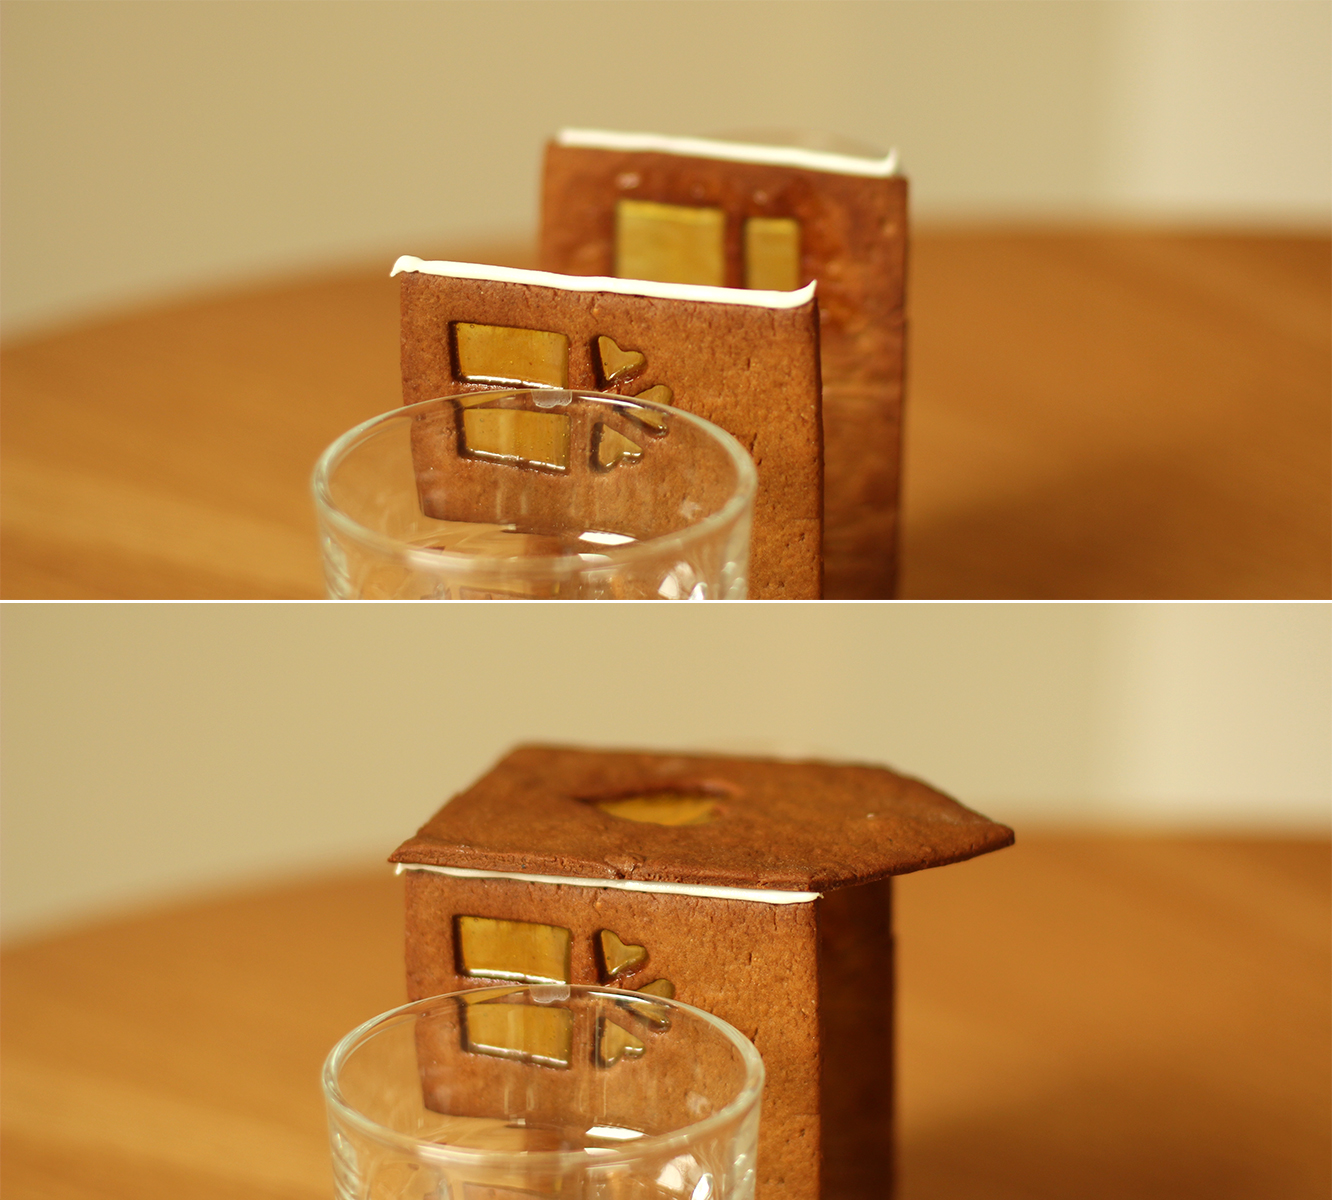
Start with one side flat on the table. Pipe two even strips along each edge. Stick the two matching sides to this piece, propping them up with a glass so you have your hands free.

gingerbread-house-village-recipe-guide-10

Step nine

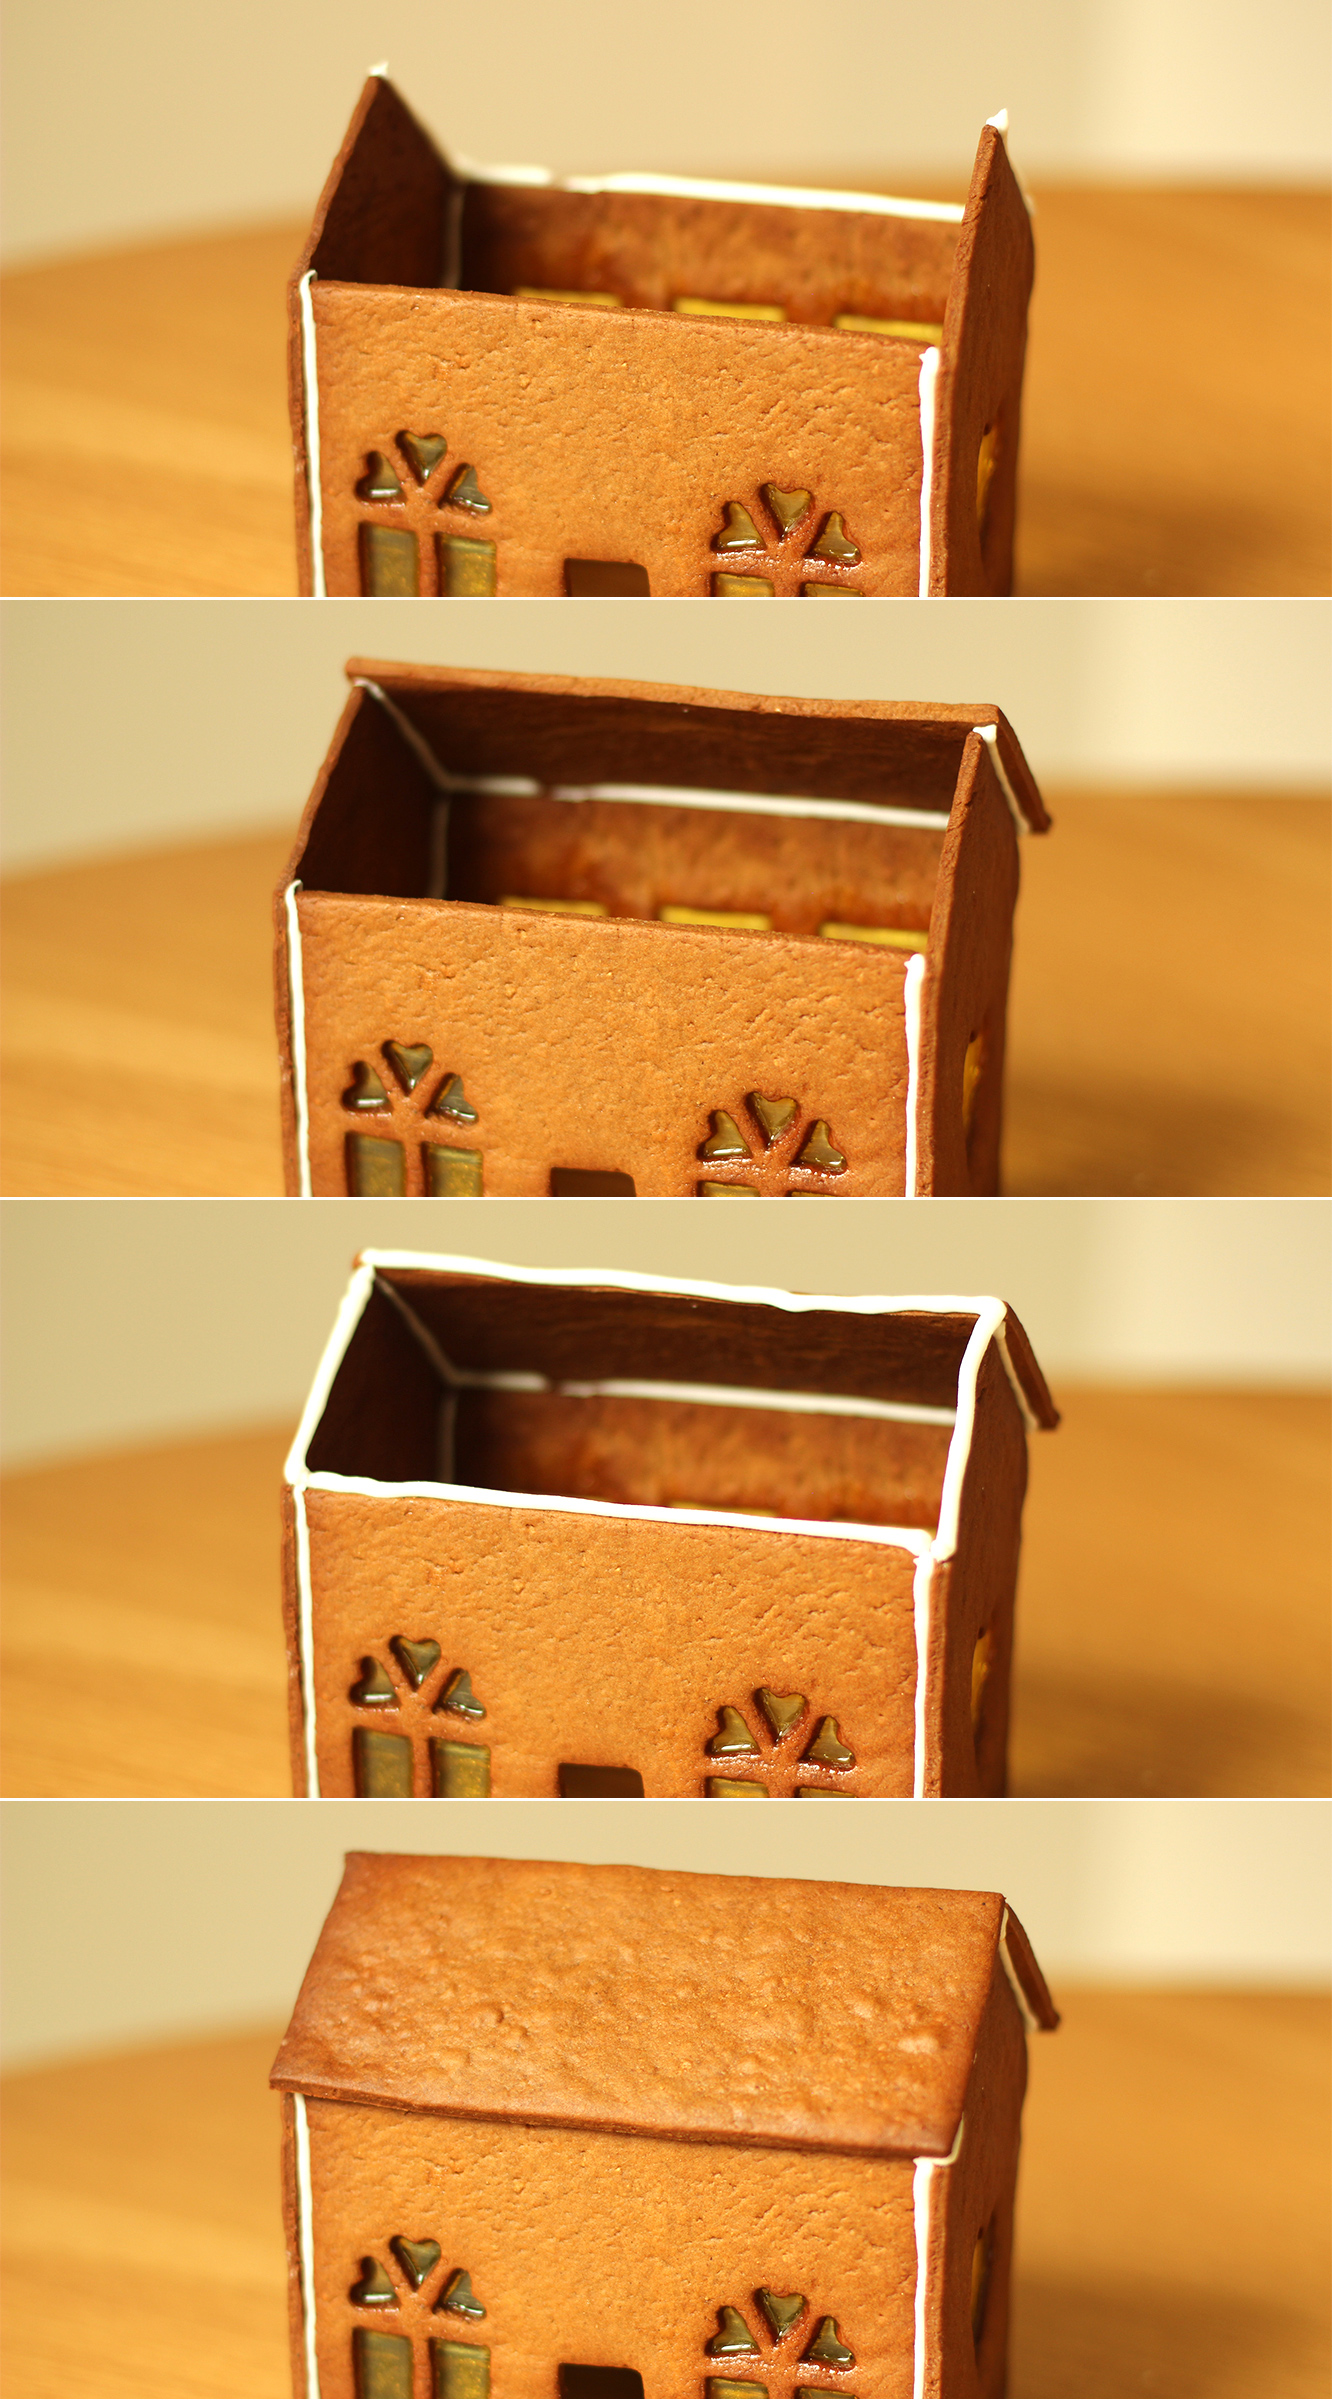
Pipe along the top edges and stick the final side piece on the top.
gingerbread-house-village-recipe-guide-11

Step ten

Flip the house upright. If you’re making a big house put it straight on the base at this stage and pipe on the inside corners to re-inforce the house. Less important with these little guys. They are actually great ‘starter houses’. Yes I do a bit hate myself that I say that, and many of my other tips with ZERO irony.

Pipe along the back sloped edges and the back. Stick down a roof panel. The straighter edge should be at the top, as you are more likely to cover irregularities at the bottom with a bit of overhang.

Pipe the top of the roof, the sides and edge. Stick the other roof panel down.
gingerbread-house-village-recipe-guide-12

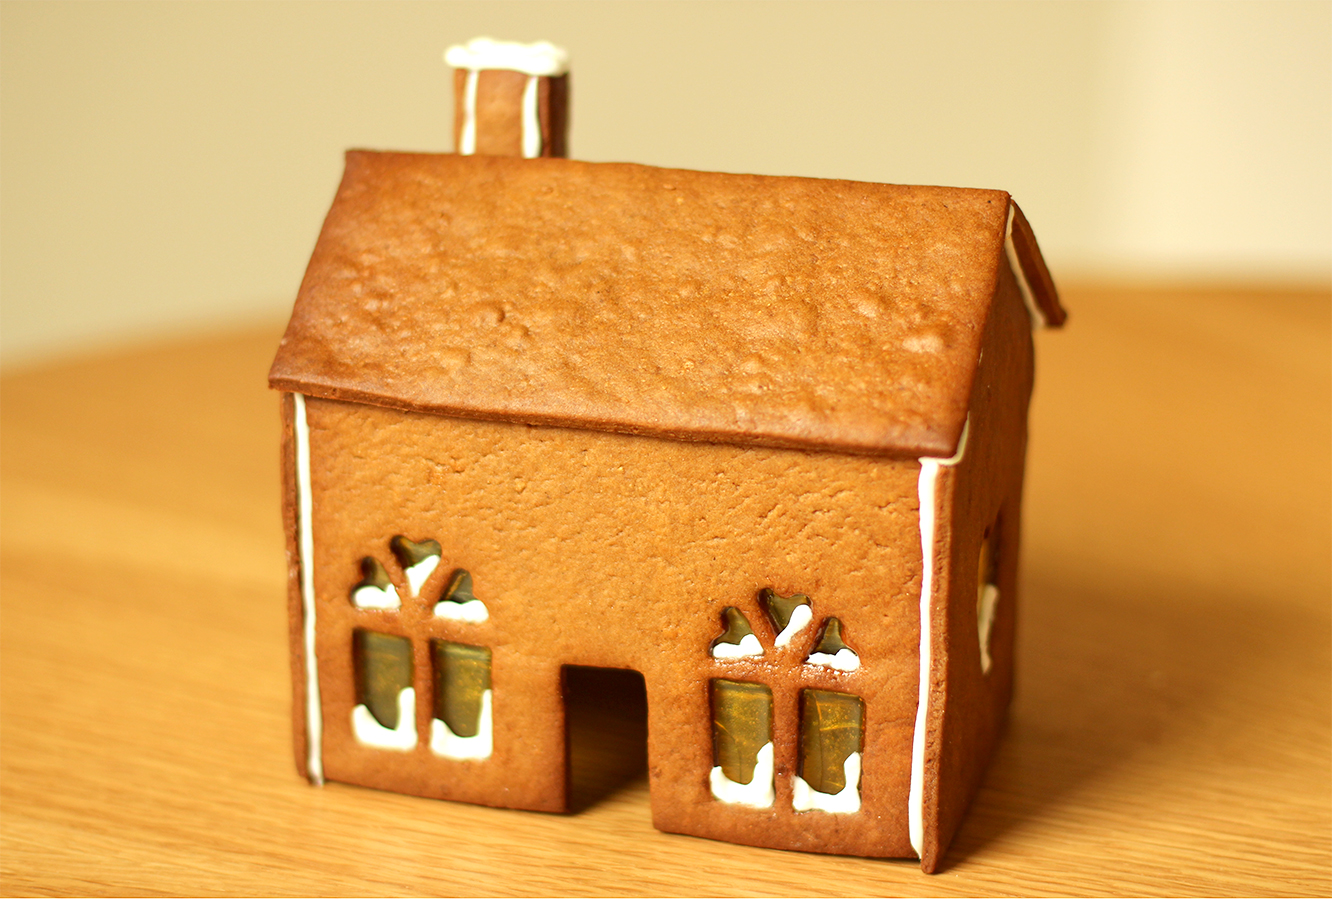
Step eleven

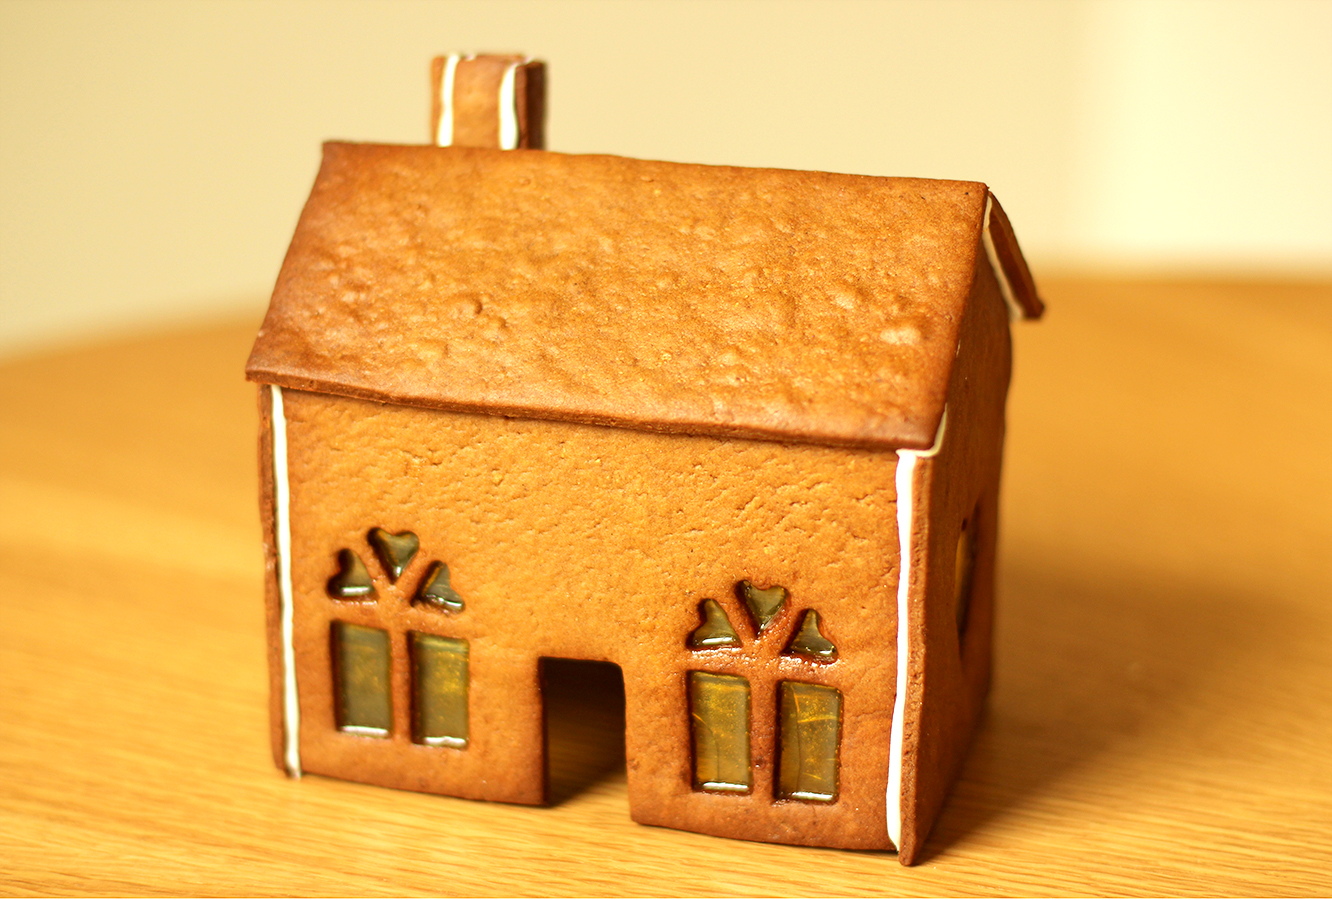
Make the chimney in the same way, and attach it to the roof.
gingerbread-house-village-recipe-guide-13

Step twelve

Pipe some snow in the windows while the piping bag still has quite a thick opening.
gingerbread-house-village-recipe-guide-14

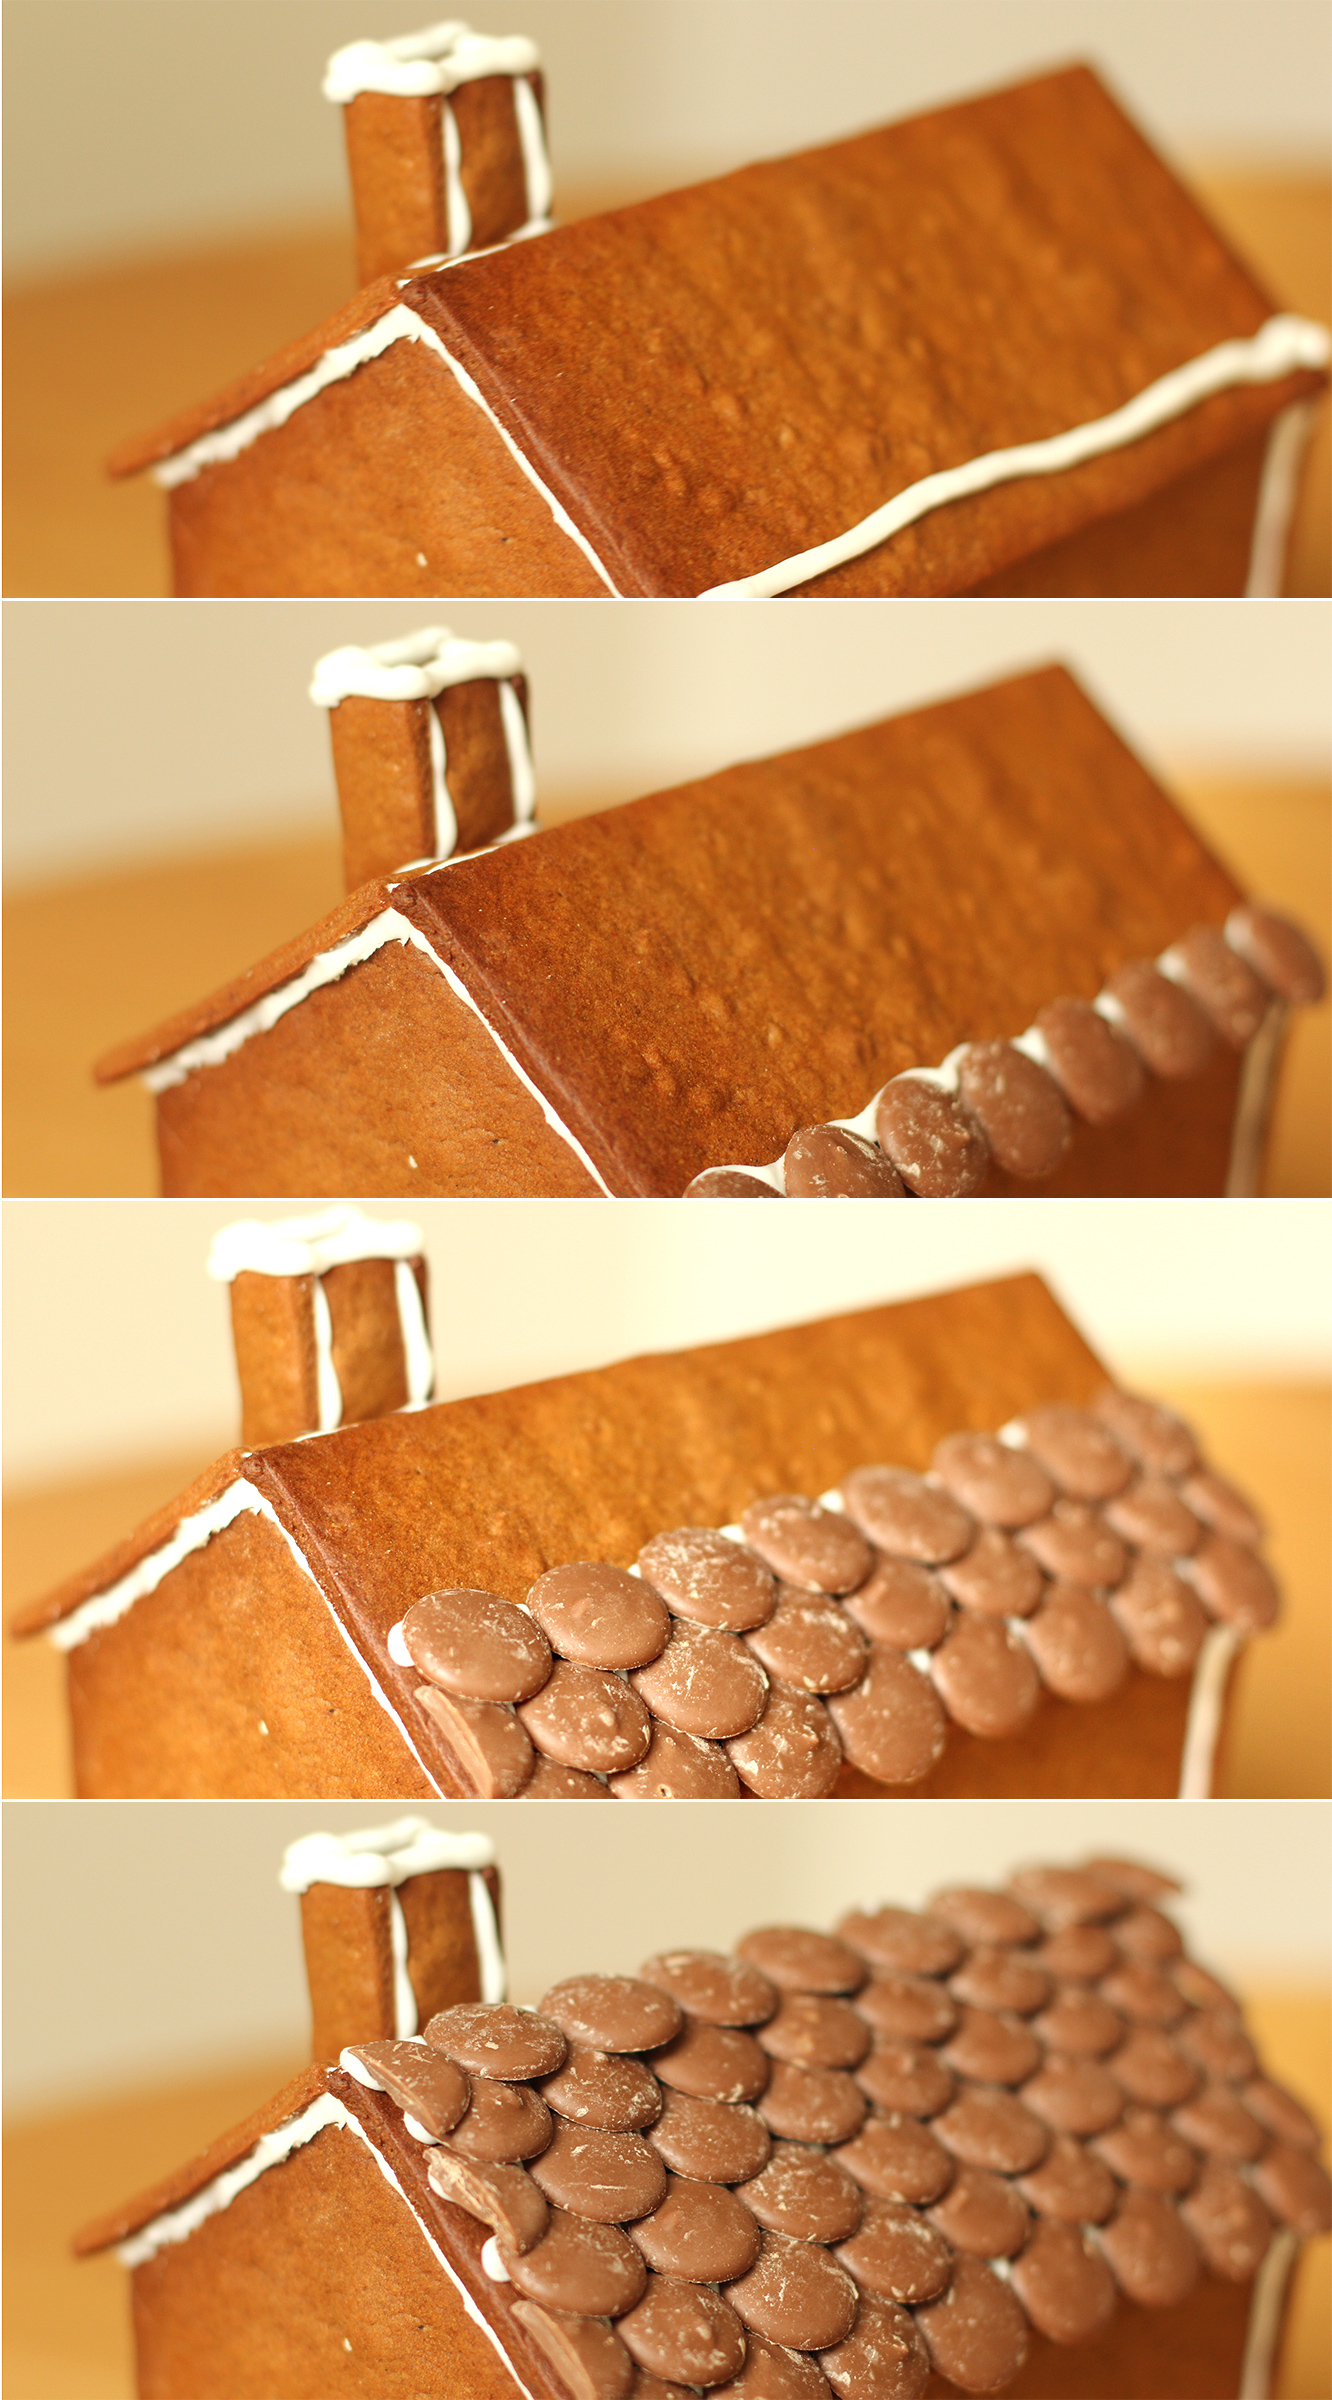
Step thirteen

Start tiling! Make sure the first layer overhangs the bottom of the roof, and build up subsequent layers by overlapping them as shown.
gingerbread-house-village-recipe-guide-15

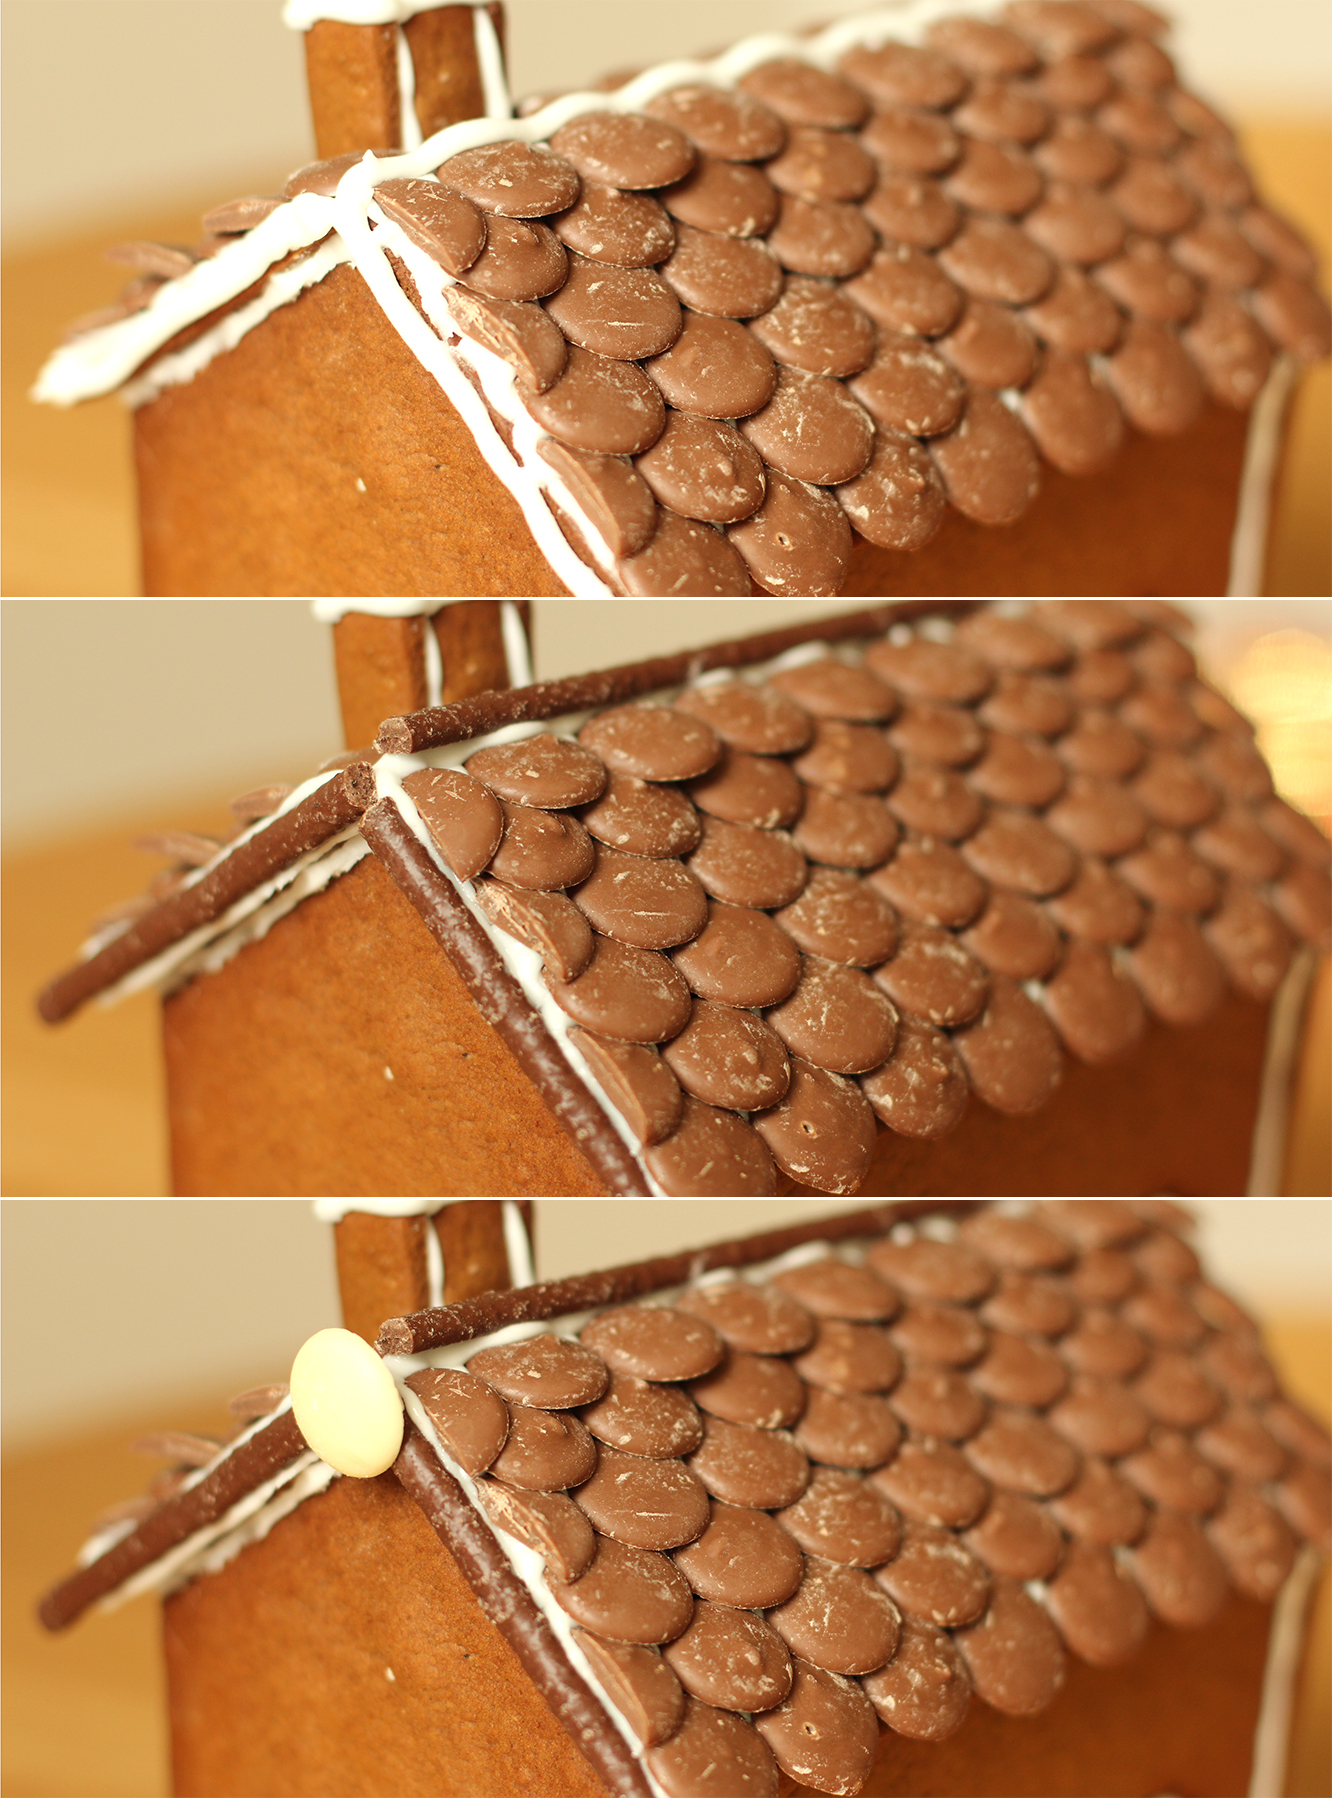
Step fourteen

Neaten up the edges with chocolate fingers or matchmakers and a chocolate button or two. A row of dolly mixtures along the top, or mini marshmallows looks cute too.
gingerbread-house-village-recipe-guide-16

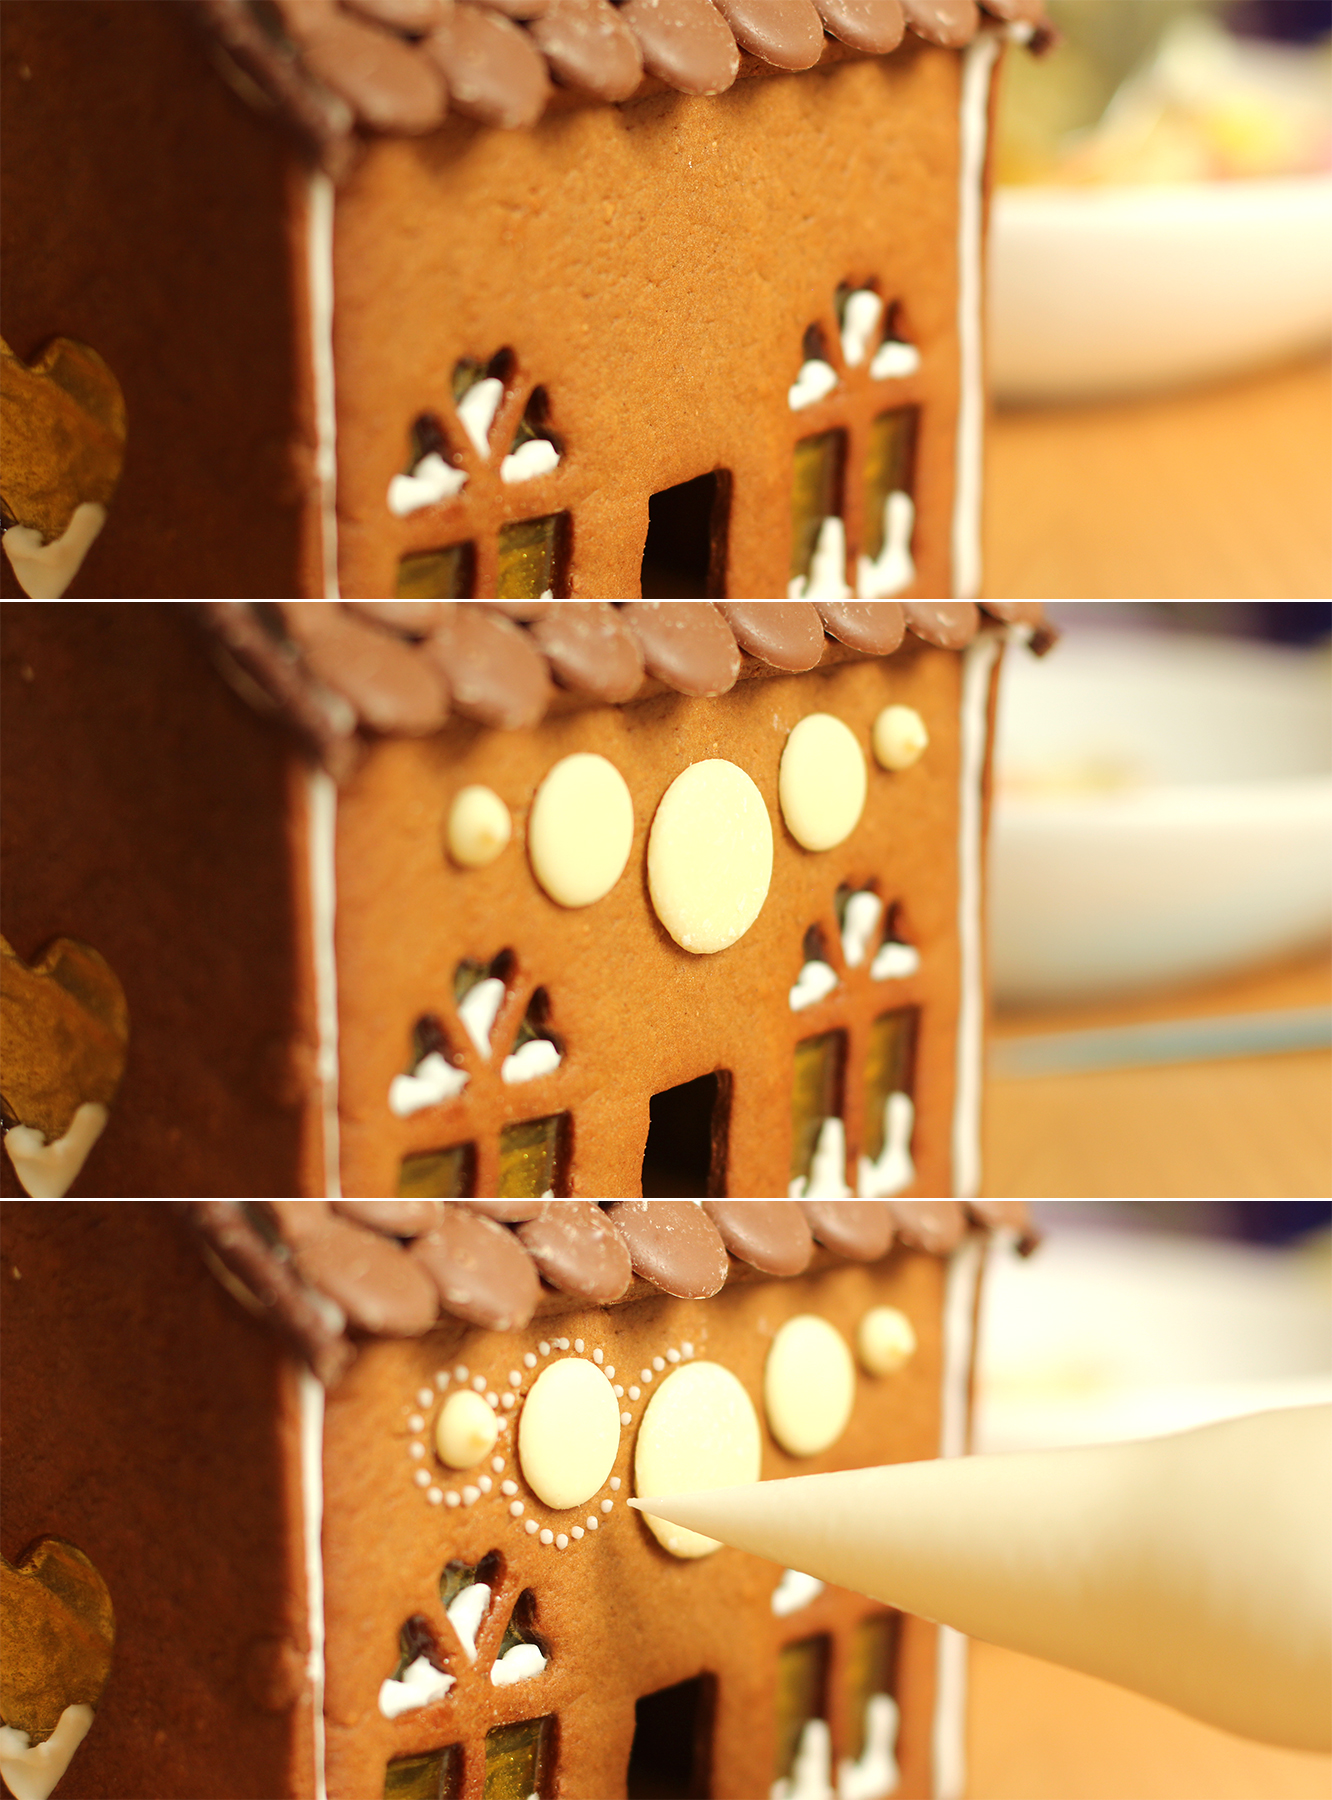
Step fifteen

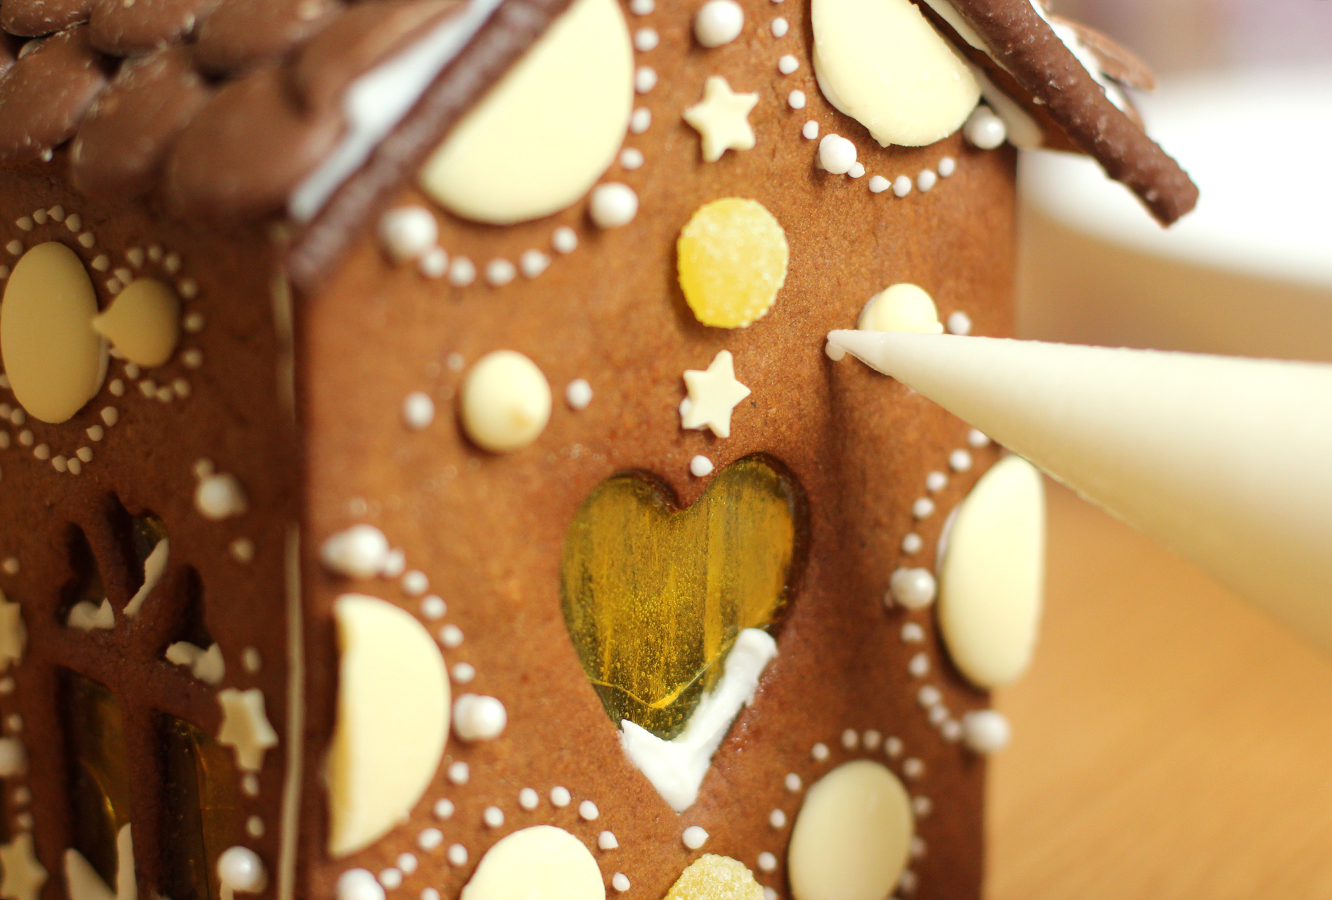
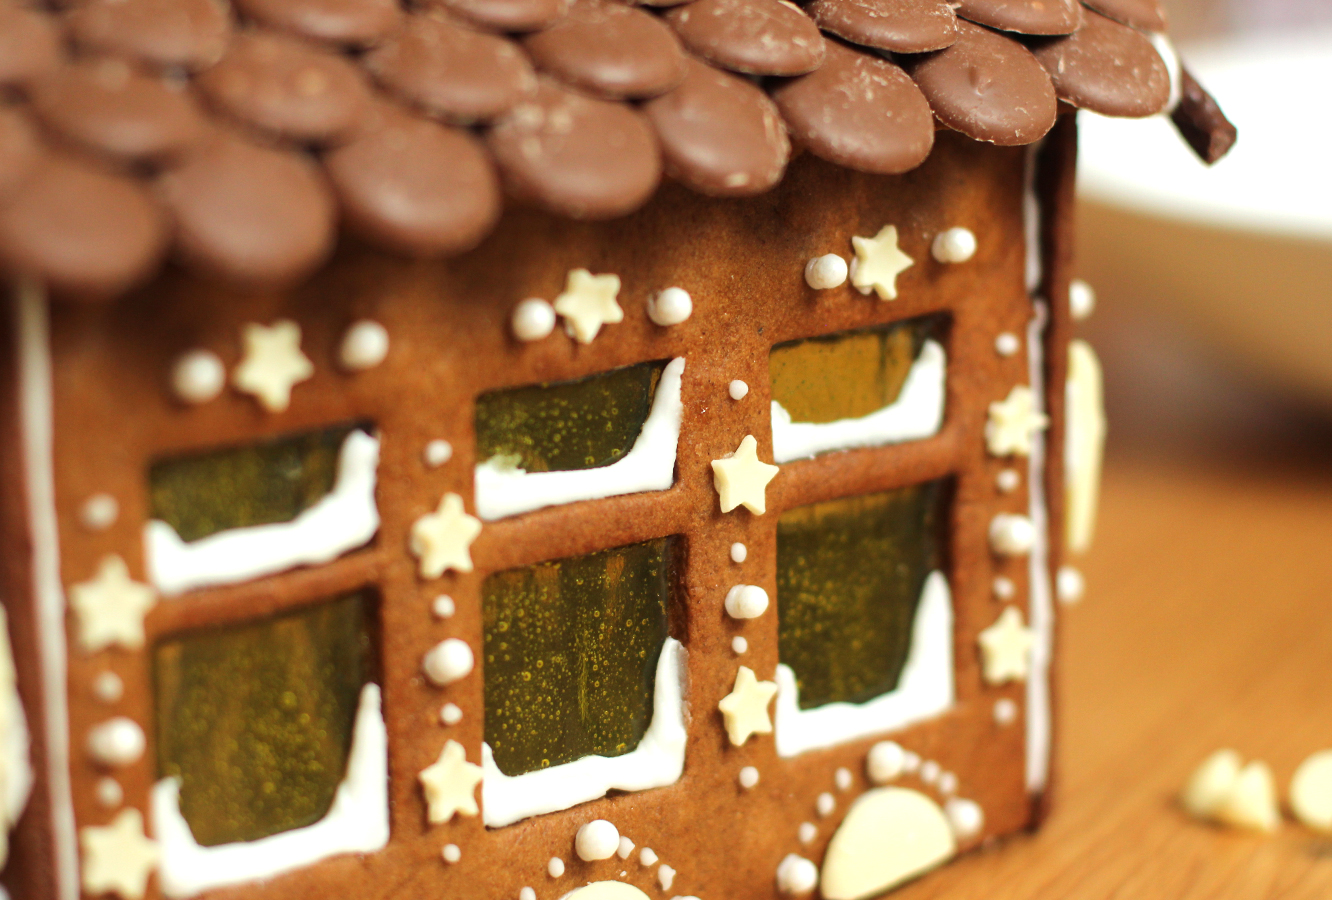
Continue to decorate the sides and the back. I find a much narrower nozzle on the piping bag is good for this. I like putting these little dots around things.
gingerbread-house-village-recipe-guide-18

This year I used a lot of white chocolate buttons, I don’t have much choice in the local small supermarkets nearby. Silver balls, mini stars, chocolate drops and other round sweets are amongst my favourites for the decorations.
gingerbread-house-village-recipe-guide-19

gingerbread-house-village-recipe-guide-20

Step sixteen

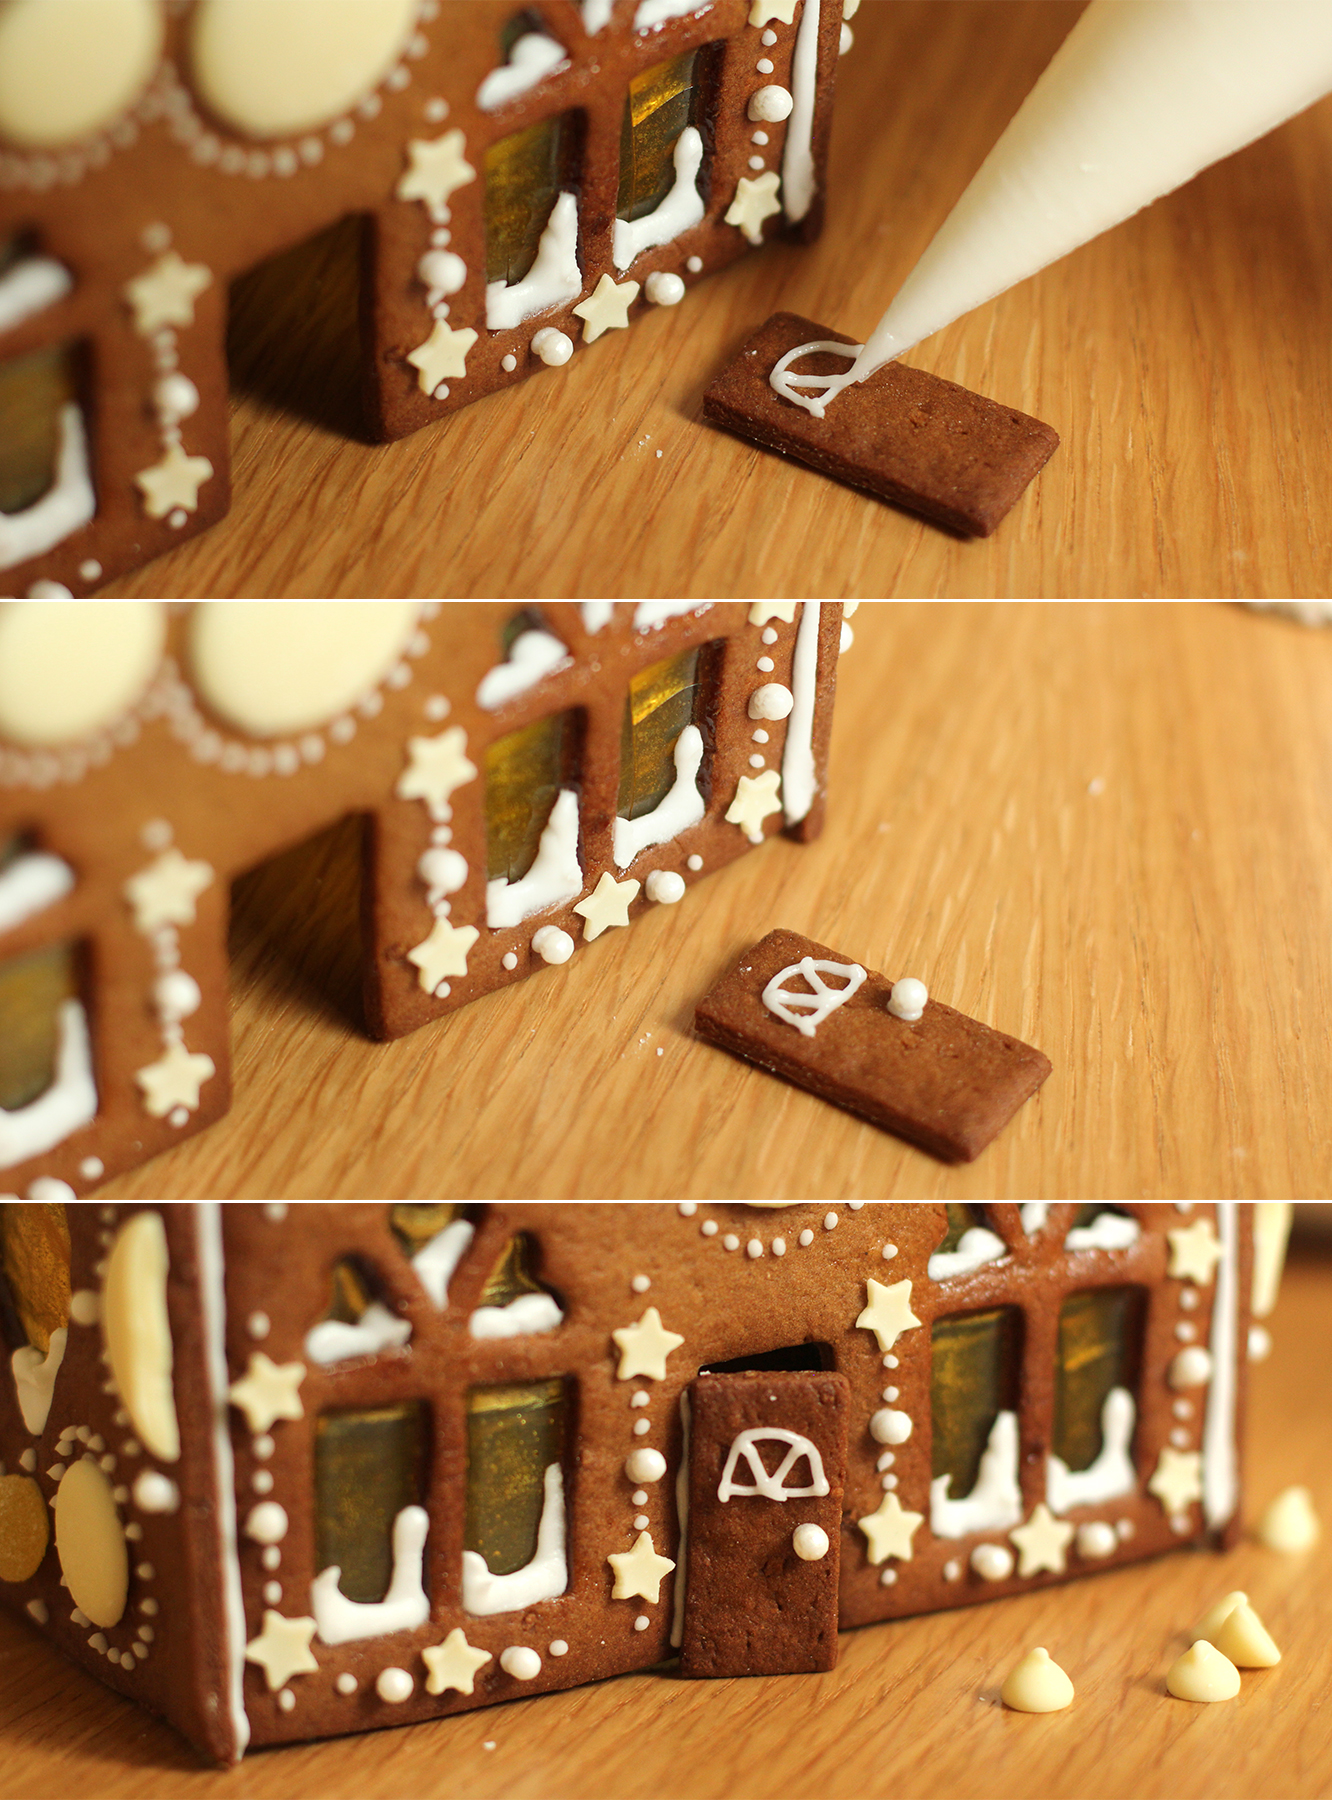
Don’t forget the little door! I wouldn’t attach it at this stage if you are doing a big house, because you need to squeeze the tea lights through it. The little ones can just be placed over the top of them as they don’t need to be attached to a base at this stage.
gingerbread-house-village-recipe-guide-gif

Step seventeen

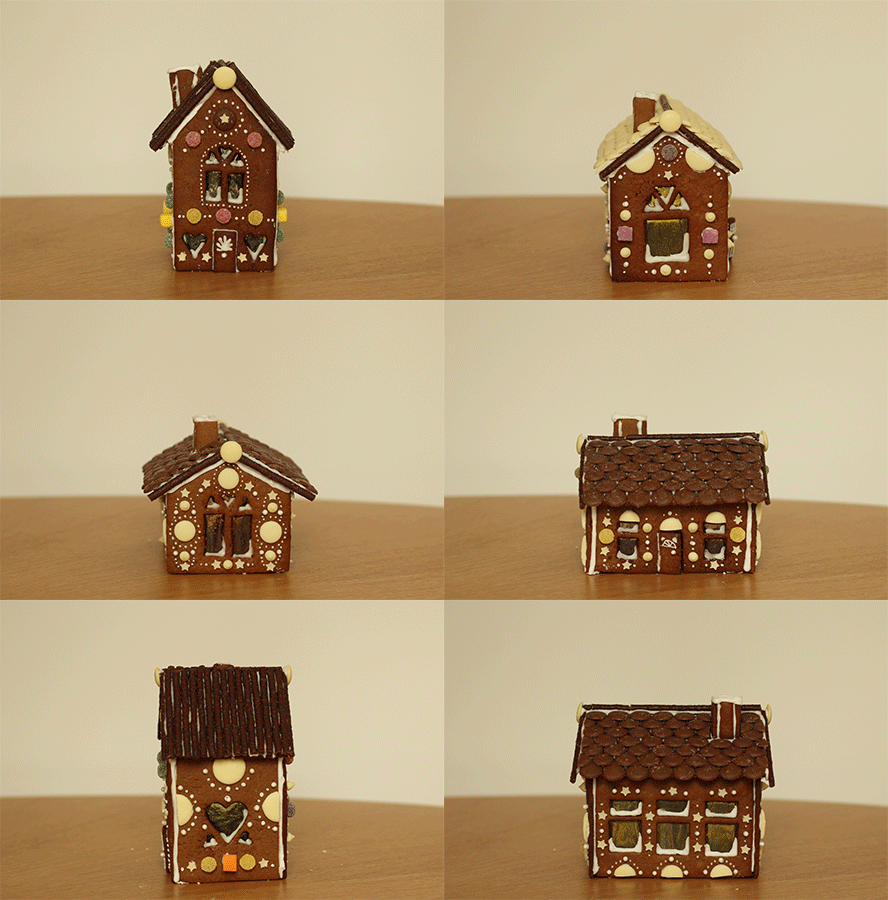
Keep making them.

gingerbread-house-village-recipe-guide-25

gingerbread-house-village-recipe-guide-24
gingerbread-house-village-recipe-guide-22

gingerbread-house-village-recipe-guide-21

Here’s a snap of me (with the reddest face, thanks blushing reflex) that was insisted upon, and all but one of us (come back Saskia!) in the obligatory family photo.
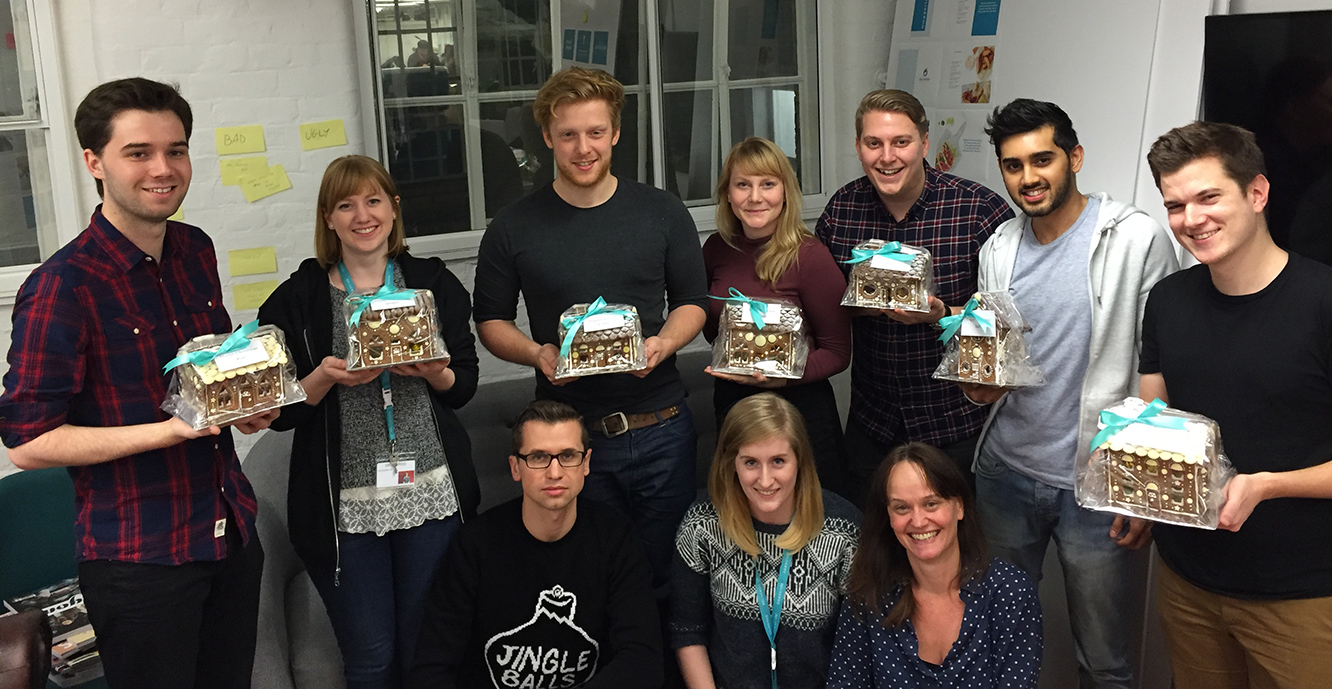
gingerbread-house-village-recipe-guide-27

gingerbread-house-village-recipe-guide-26

How did I get them into work? A special train, a suitcase and some blankets.


Oh hey honey

October 31st. 19C in London, beautiful sunshine.

November 1st. Fog, cold, winter has arrived.

Don’t you just love the British weather?! Its unpredictability is a constant irritation to me but I do adore the seasons. I’m very glad I don’t live somewhere that’s variations on one temperature all year round.

It’s starting to feel a little festive this week at Fabrefaction HQ. It’s bonfire night on Thursday, and we are having a housewarming party this weekend to welcome the new housies. It would be rude not to provide our guests with some treats, and even ruder not to acknowledge the approach of Mr Frost.

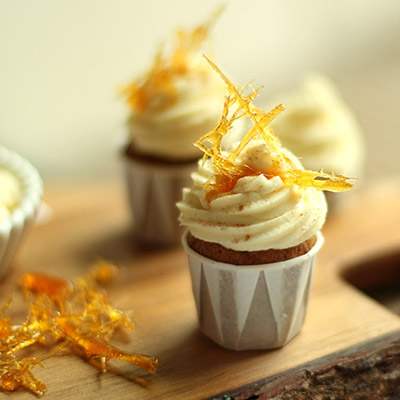
So here we are, the perfect recipe to bridge autumn and winter, mini gingerbread and honey cupcakes. If you don’t fancy the hassle you could always make this as a traybake, perhaps doubling the recipe (I halved it).

ginger-and-honey-cupcake-recipe-1

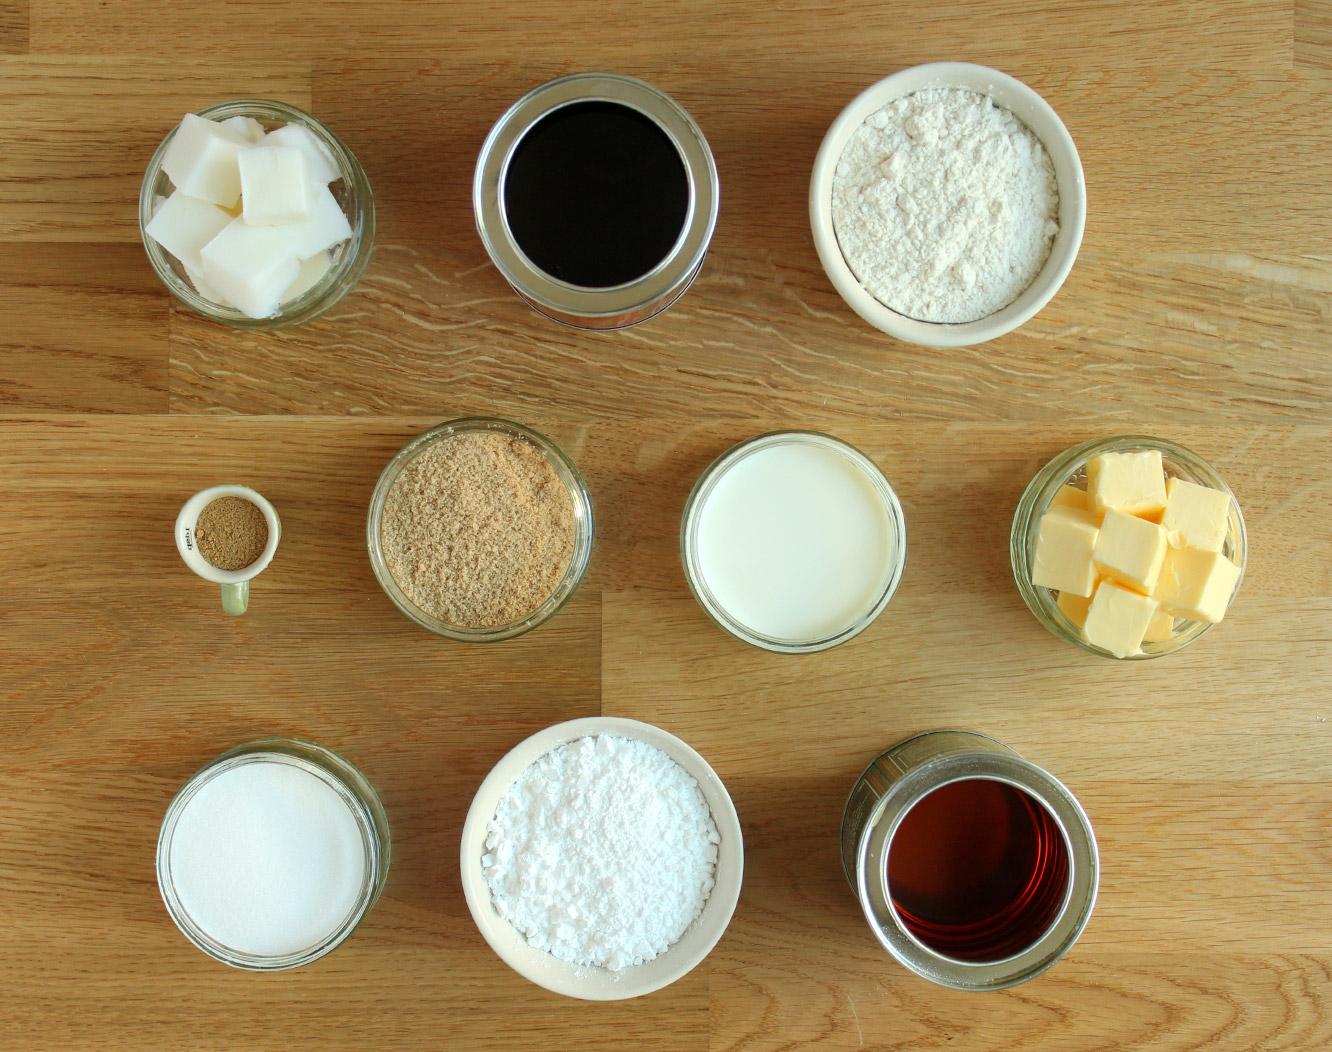
You will need

For the cake:

250g/9 oz plain flour

100g/3.5 oz golden syrup

75g/2.5 oz light soft brown sugar

75g/2.5 oz lard (yes, lard)

40g/1.5 oz treacle

140ml/4.5 fl oz milk

1 egg

1 tsp ground ginger (feel free to add more)

1 tsp bicarbonate of soda

For the icing:

300g/10.5 oz icing sugar

150g/5.25 oz unsalted butter

6 tbsp runny honey

For the sugar shards:

100g/3.5 oz caster sugar

(makes 35 mini cakes)

ginger-and-honey-cupcake-recipe-2

Step one

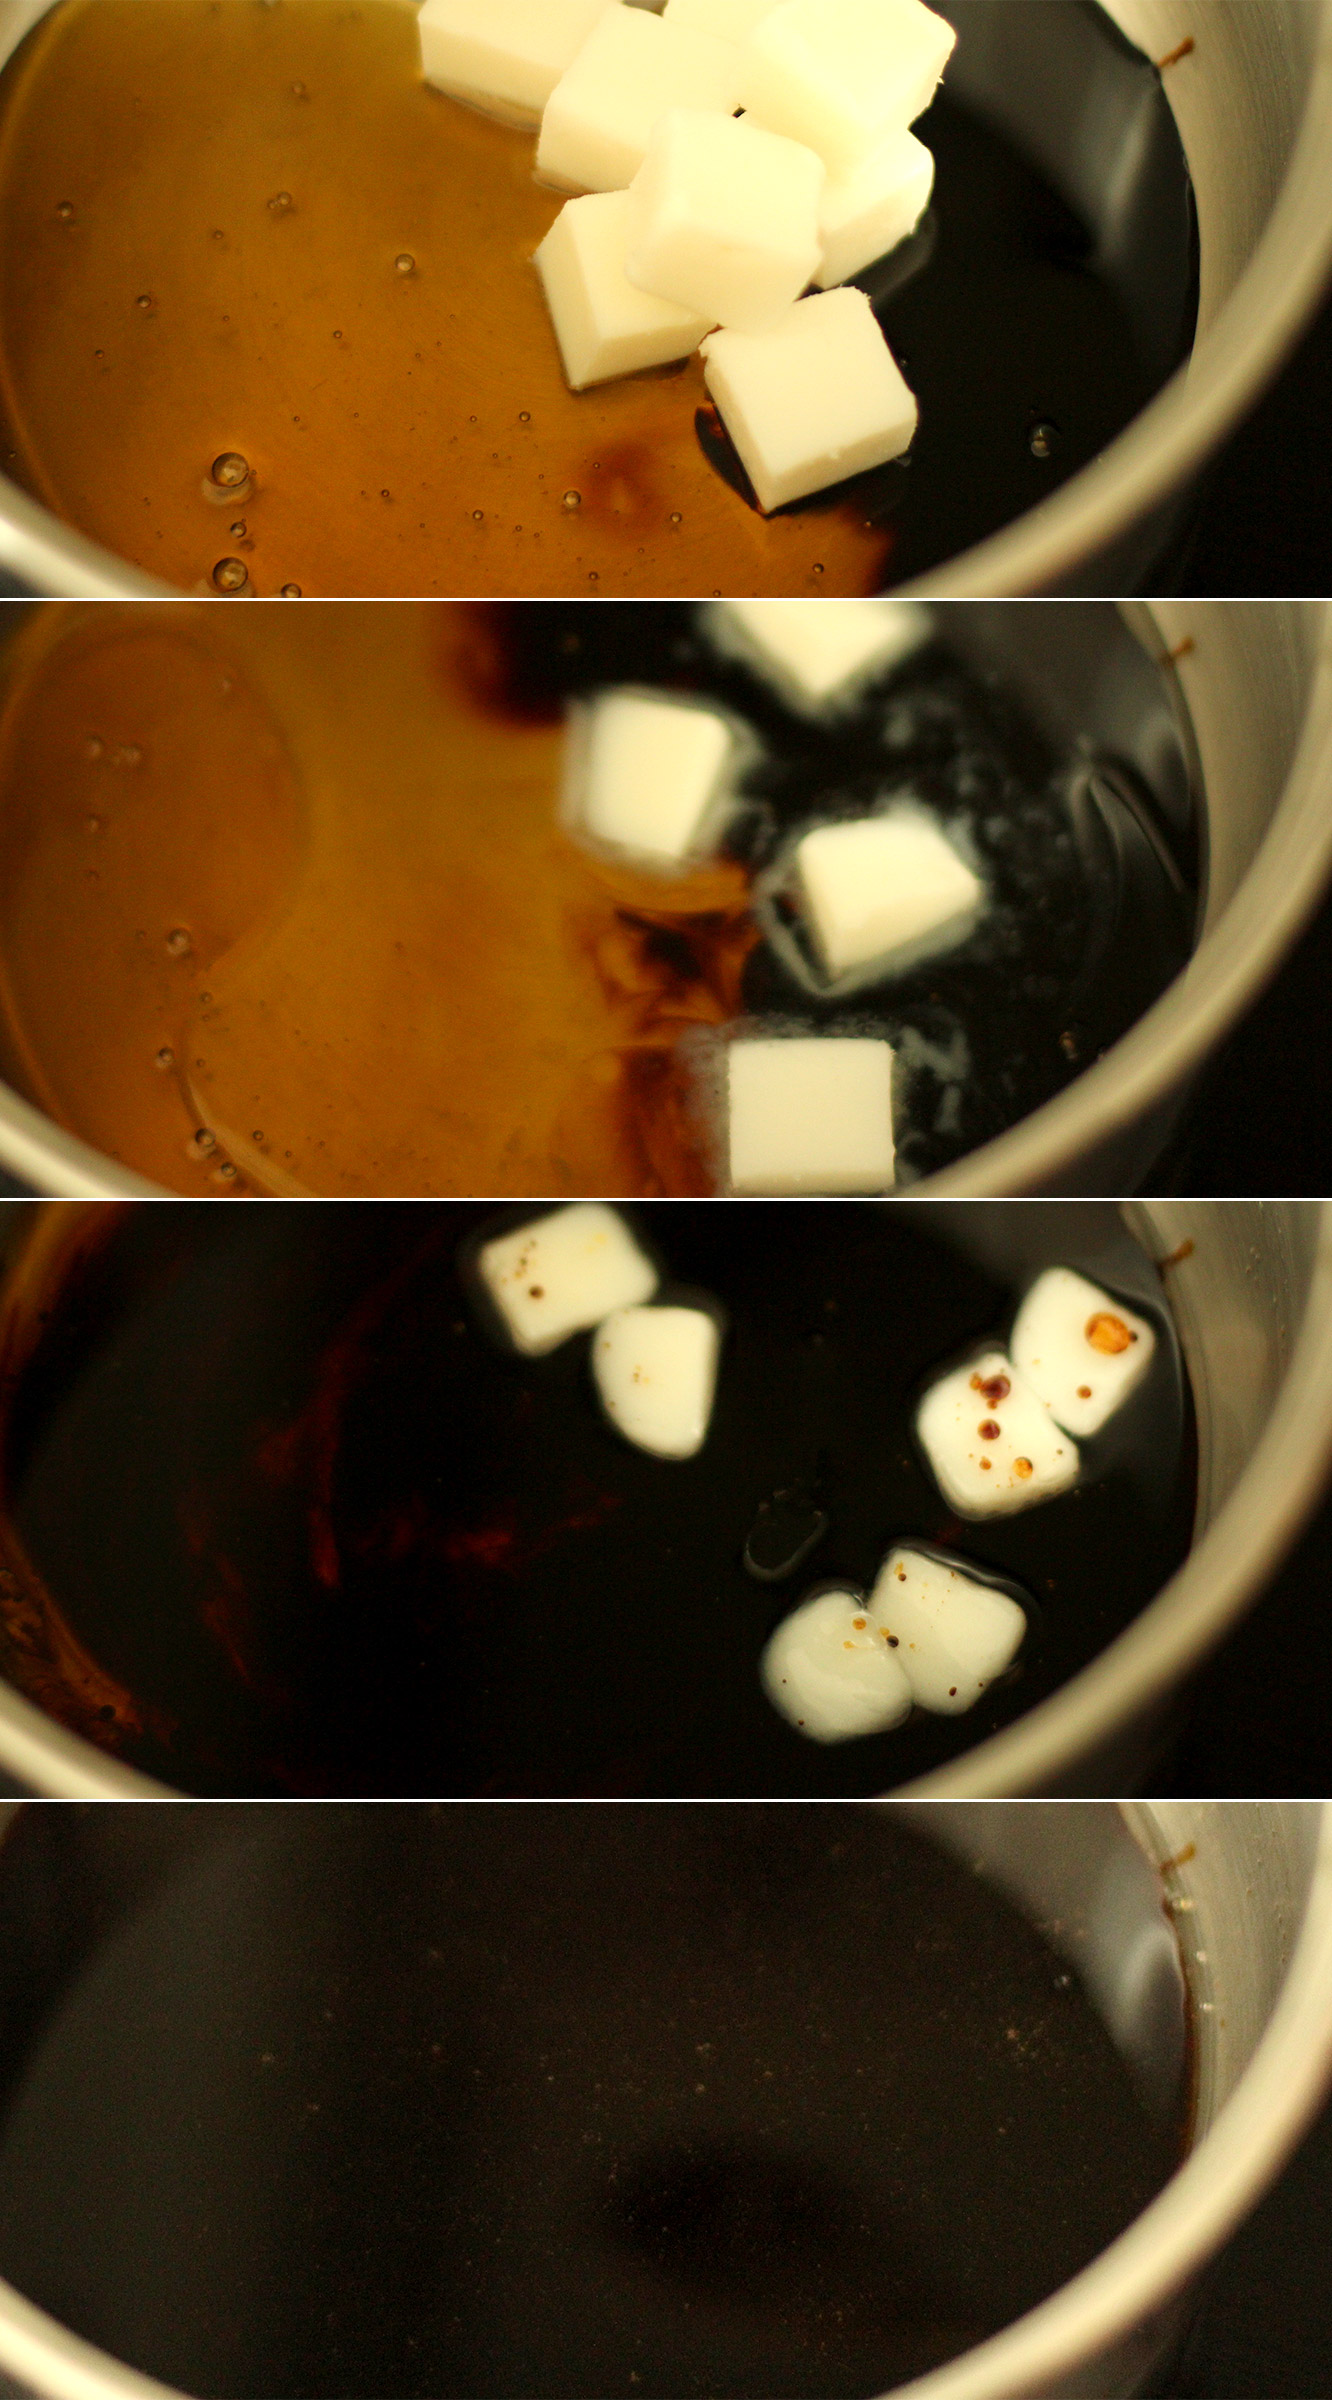
Melt the lard, golden syrup and treacle over a low heat.

Yes the lard will separate and create a glossy sheen on the surface, and yes you will think how unappetising it looks, but trust me on this one…it’s one of those recipes passed from generation to generation in my family, I’m just giving it a little facelift and daren’t replace the lard, just in case somehow Grandma is watching.

ginger-and-honey-cupcake-recipe-3

Step two

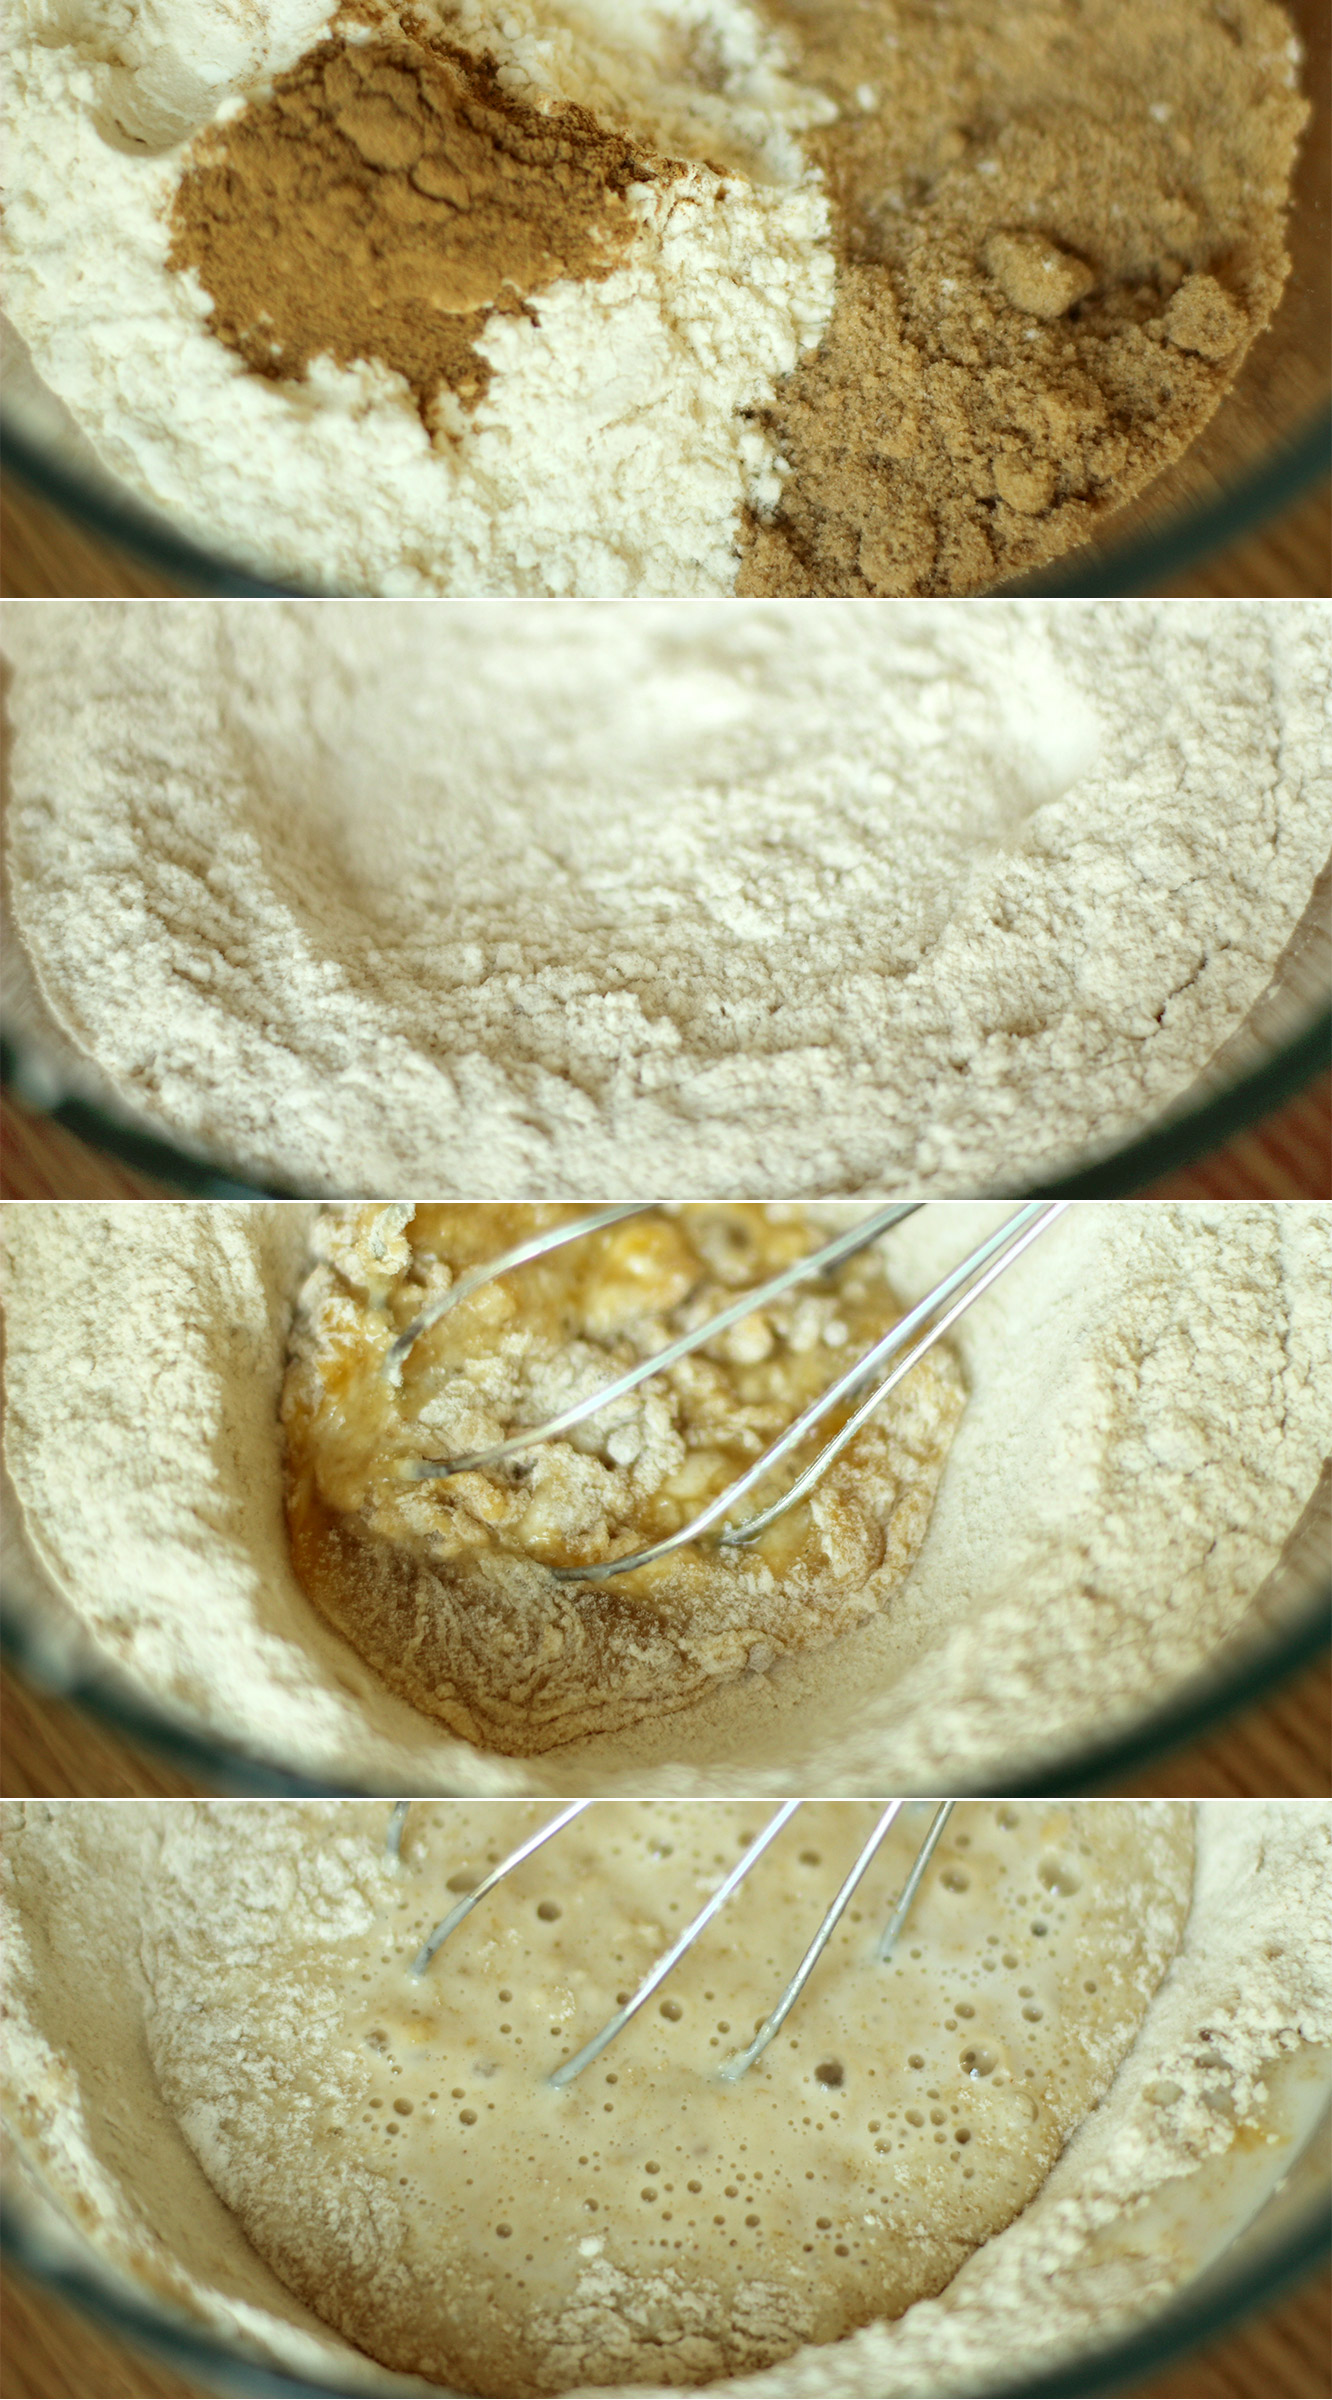
Combine the sugar, ginger, flour and bicarbonate of soda.

Make a well in the middle and start to whisk in the egg. Stop when you get to the consistency in the third picture down because otherwise you risk making lumps you won’t be able to get out.

Step three

Pop the milk in the microwave to heat for 30 seconds to a minute until warm. Add to the centre of the mixture and continue to whisk gently until the milk and the egg are combined, but again don’t try and mix in all the flour.

ginger-and-honey-cupcake-recipe-4

Step four

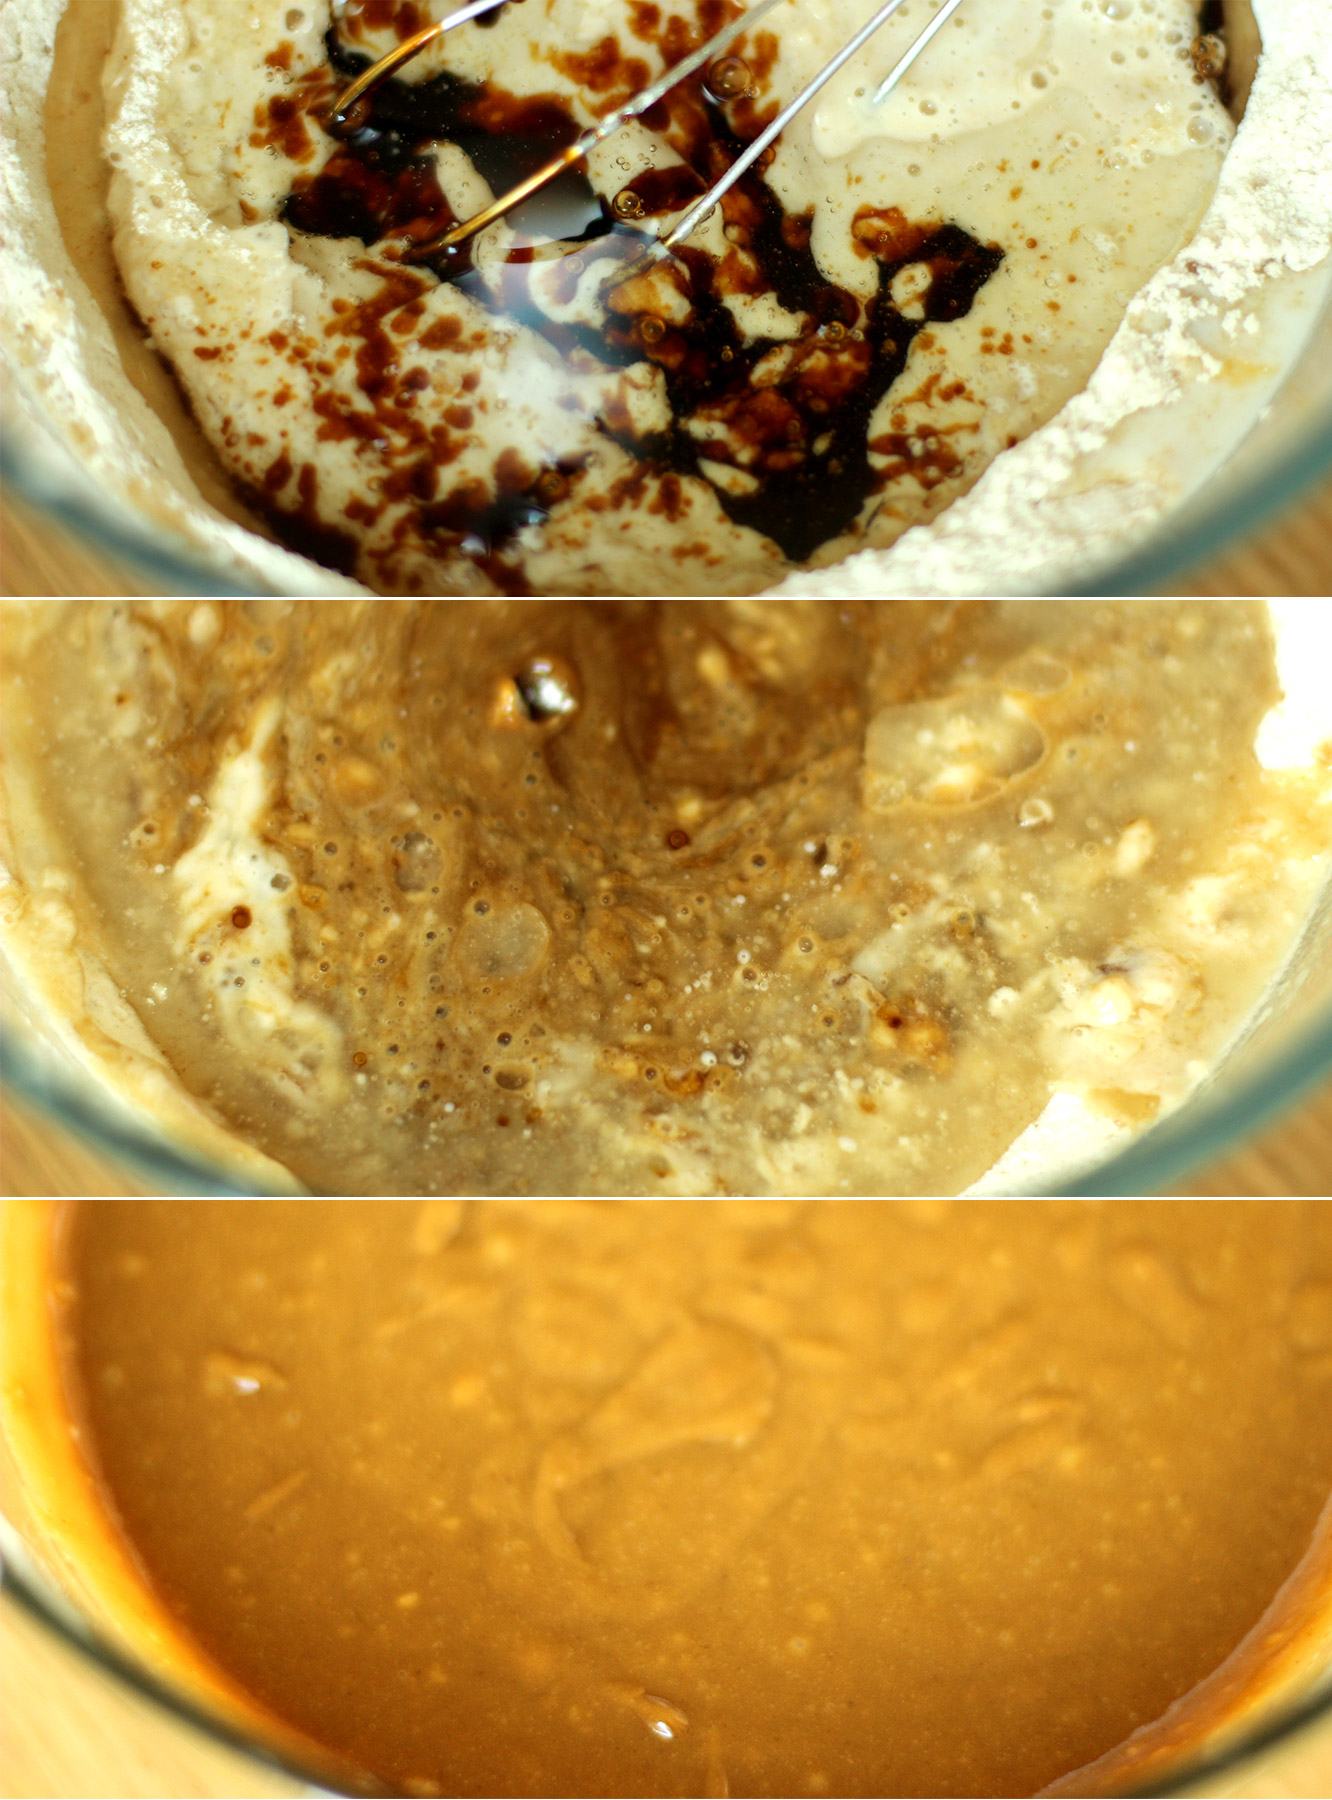
Pour in the melted treacle, golden syrup and lard mix and stir until it’s all mixed together.

ginger-and-honey-cupcake-recipe-5

Step five

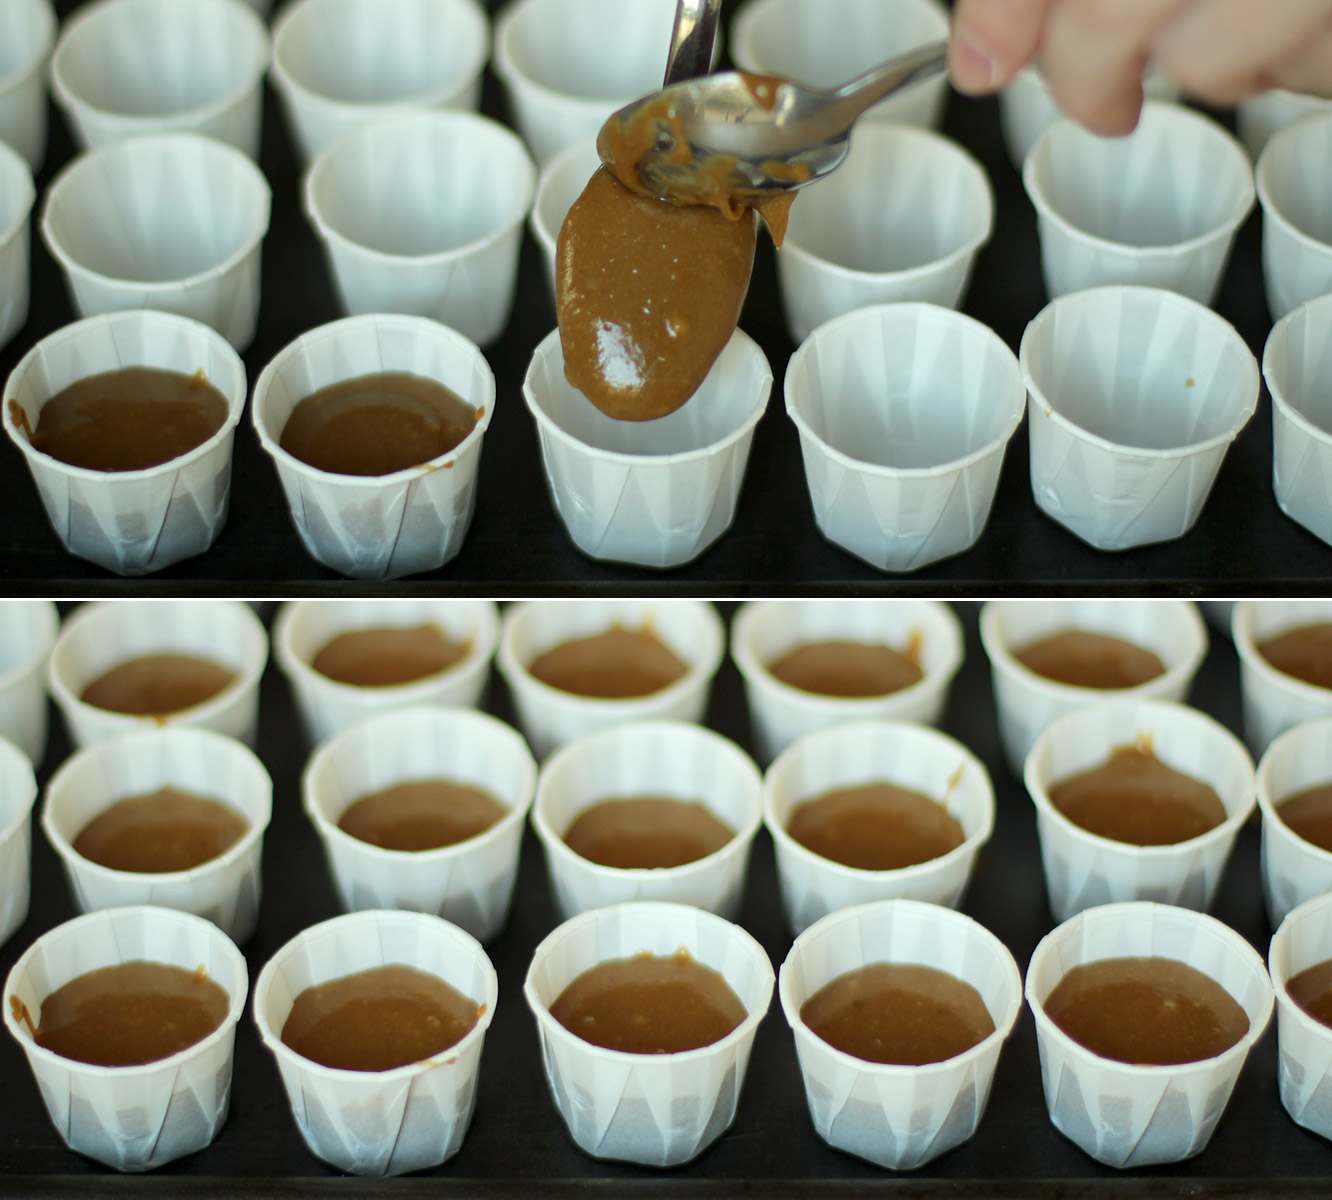
Spoon the mixture into your cases. I got a bulk order of these paper condiment cups last year for the hot chocolate stirrers I made for Christmas. I will NEVER find a way to use them all up.

If you have normal mini cupcake/muffin cases the same rules apply, about a teaspoon and a half of mixture in each. You will probably need to put them in a muffin tin though. These little cases had enough of their own structure so I put them on a baking tray.

Bake for 15 minutes on 180C/gas mark 4/350F.

ginger-and-honey-cupcake-recipe-6

Step six

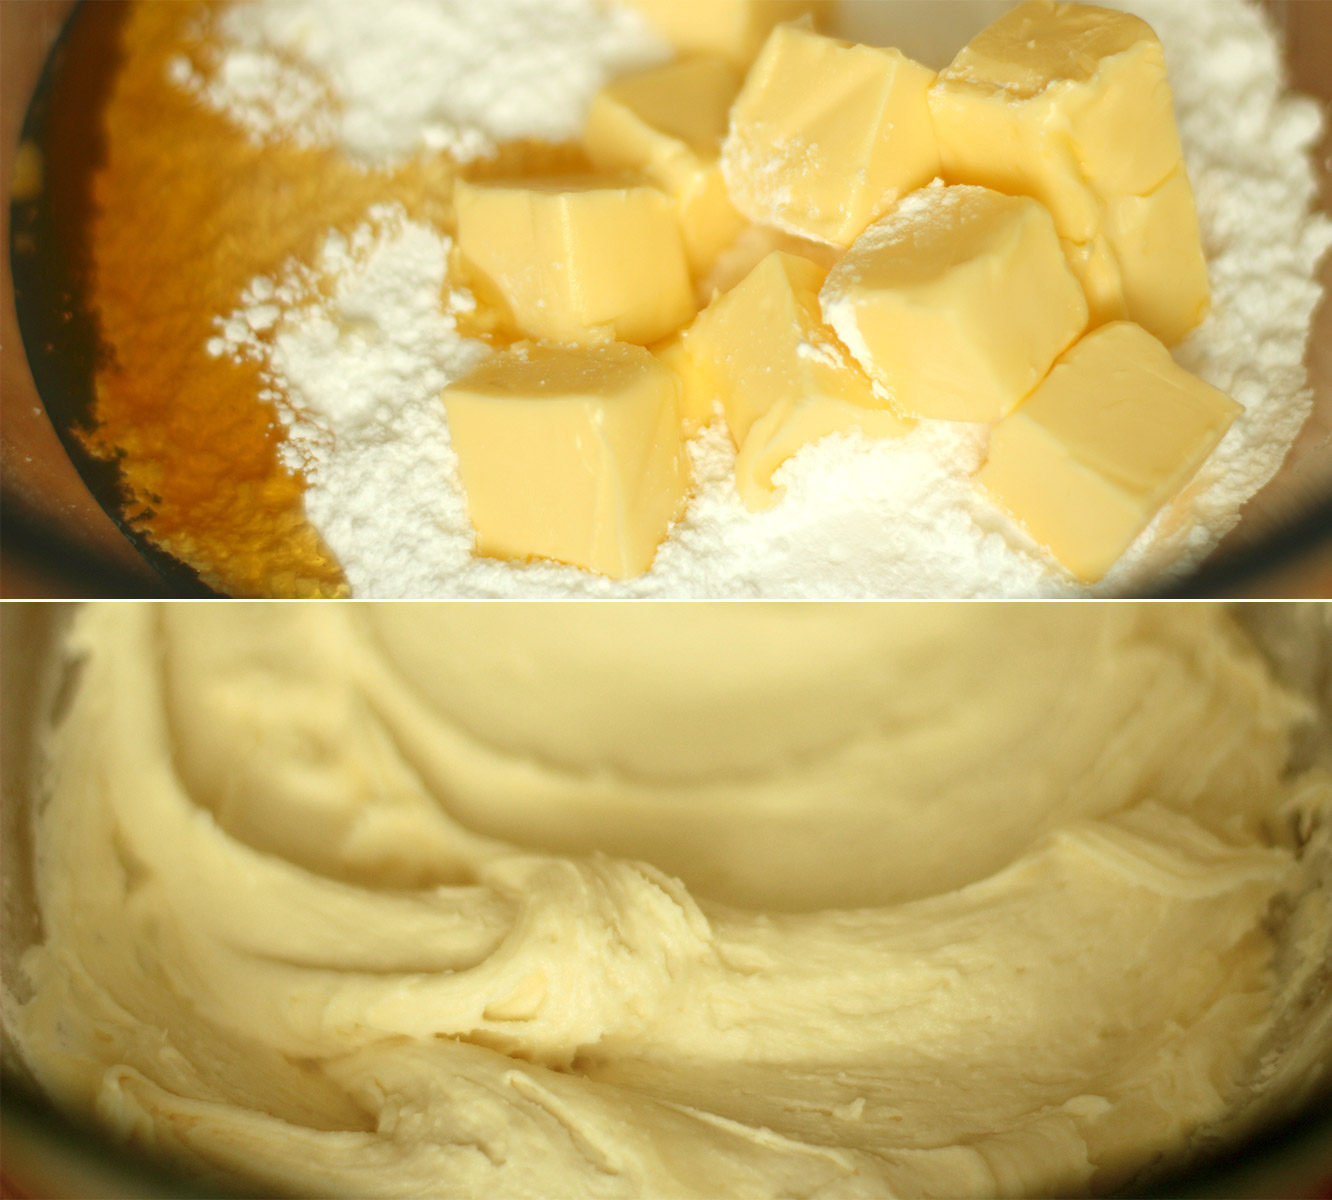
Whisk together the icing/frosting ingredients, make sure to cover your bowl with a tea towel; icing sugar will make your kitchen sticky for weeks otherwise.

Step seven

Confession time. I didn’t photograph this stage. Partly because I was a bit grumpy, partly because my camera was running out of battery and partly because my level of clumsiness, hot sugar and baking selfies are not a strong combination. Forgive me.

All you need to do to make the decorative caramel shards is gently heat the caster sugar in a saucepan until the vast majority has melted and turned caramel in colour. Don’t stir, don’t swish, just wait.

Remove from heat and lay out a sheet of greaseproof paper. With a fork trail the caramel back and forth across the paper. It will need to cool a little until it is stringy enough to do this, but it will get there. You don’t have to make individual cake toppers, just criss cross to make one massive one and break it up to get the shards.

It’s waaaaaay easier than you’d think and super effective looking.

(If you aren’t eating your cakes that day I recommend saving this step until the day of. I’m freeing most of mine bare and decorating them on party day)

ginger-and-honey-cupcake-recipe-gif

Step eight

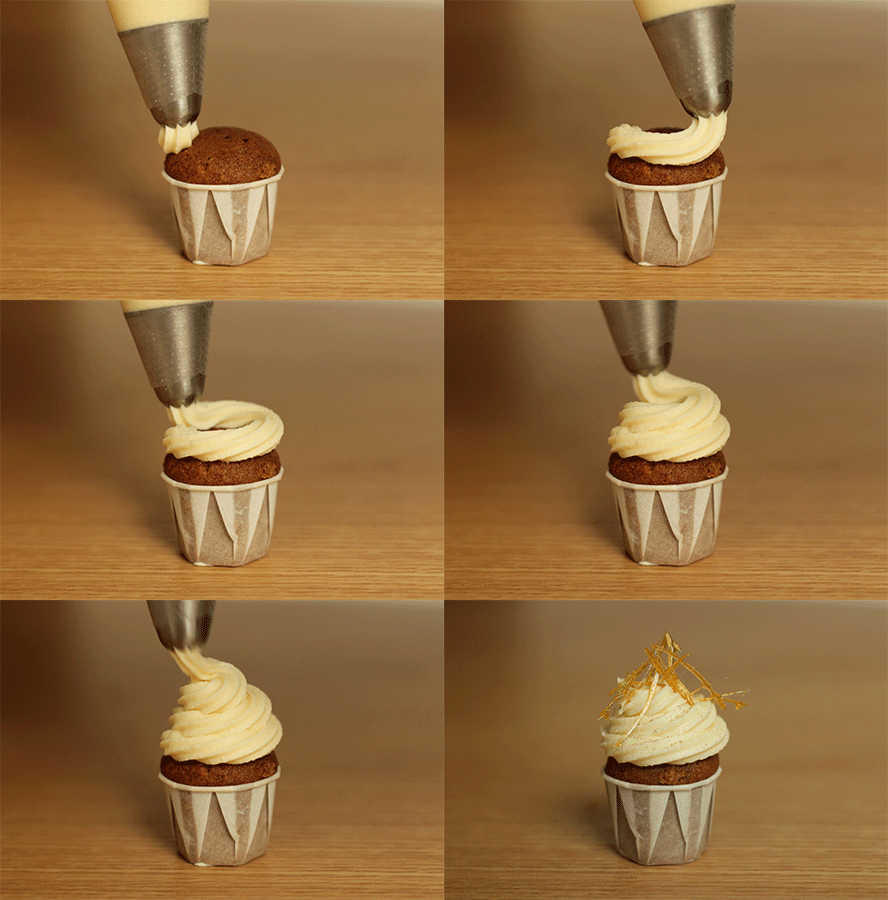
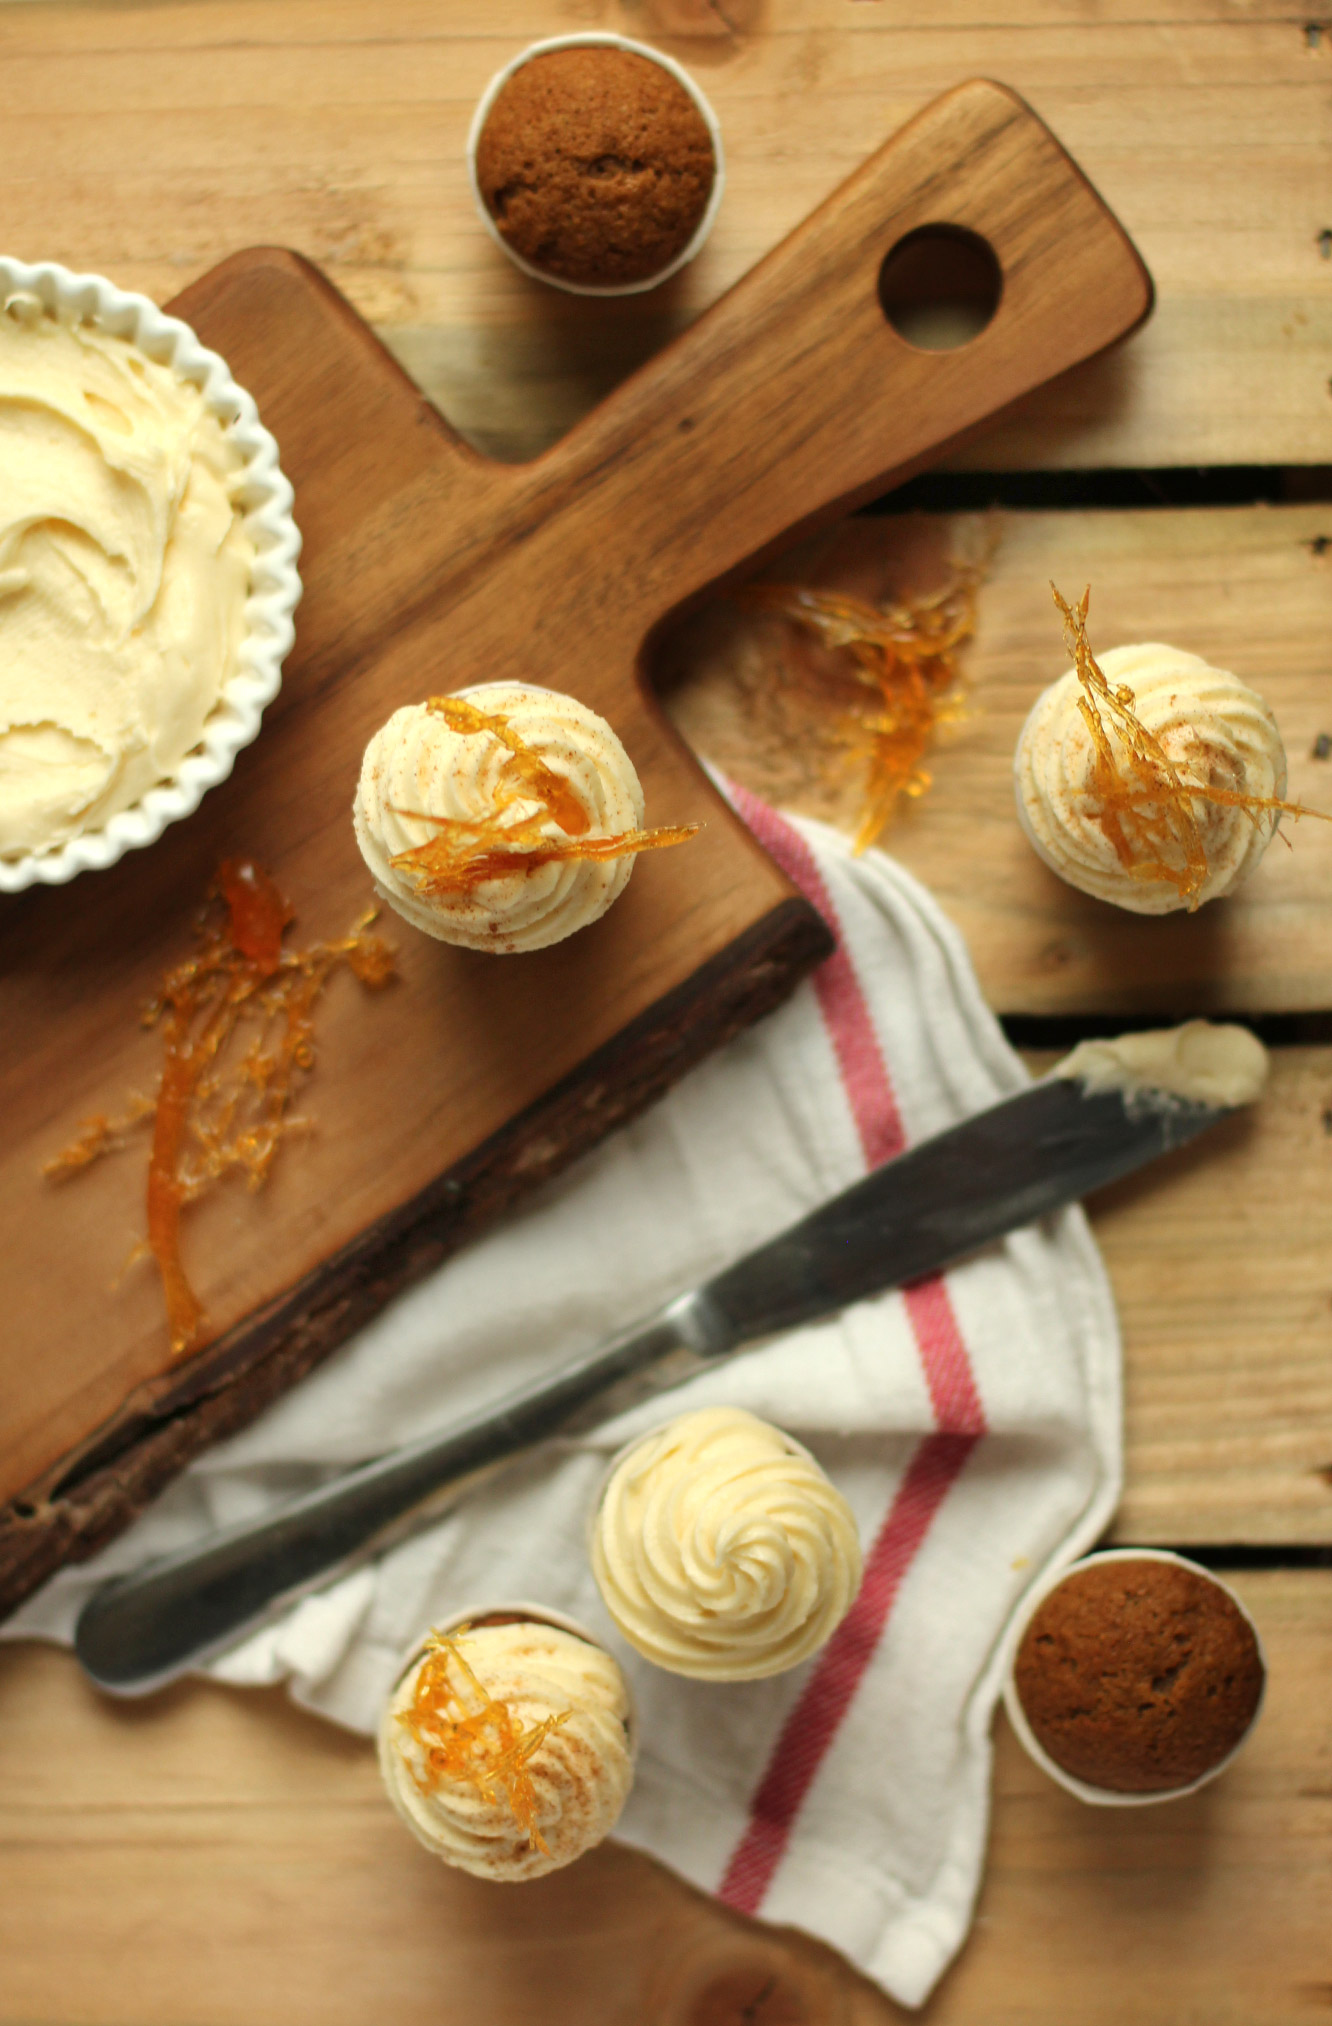
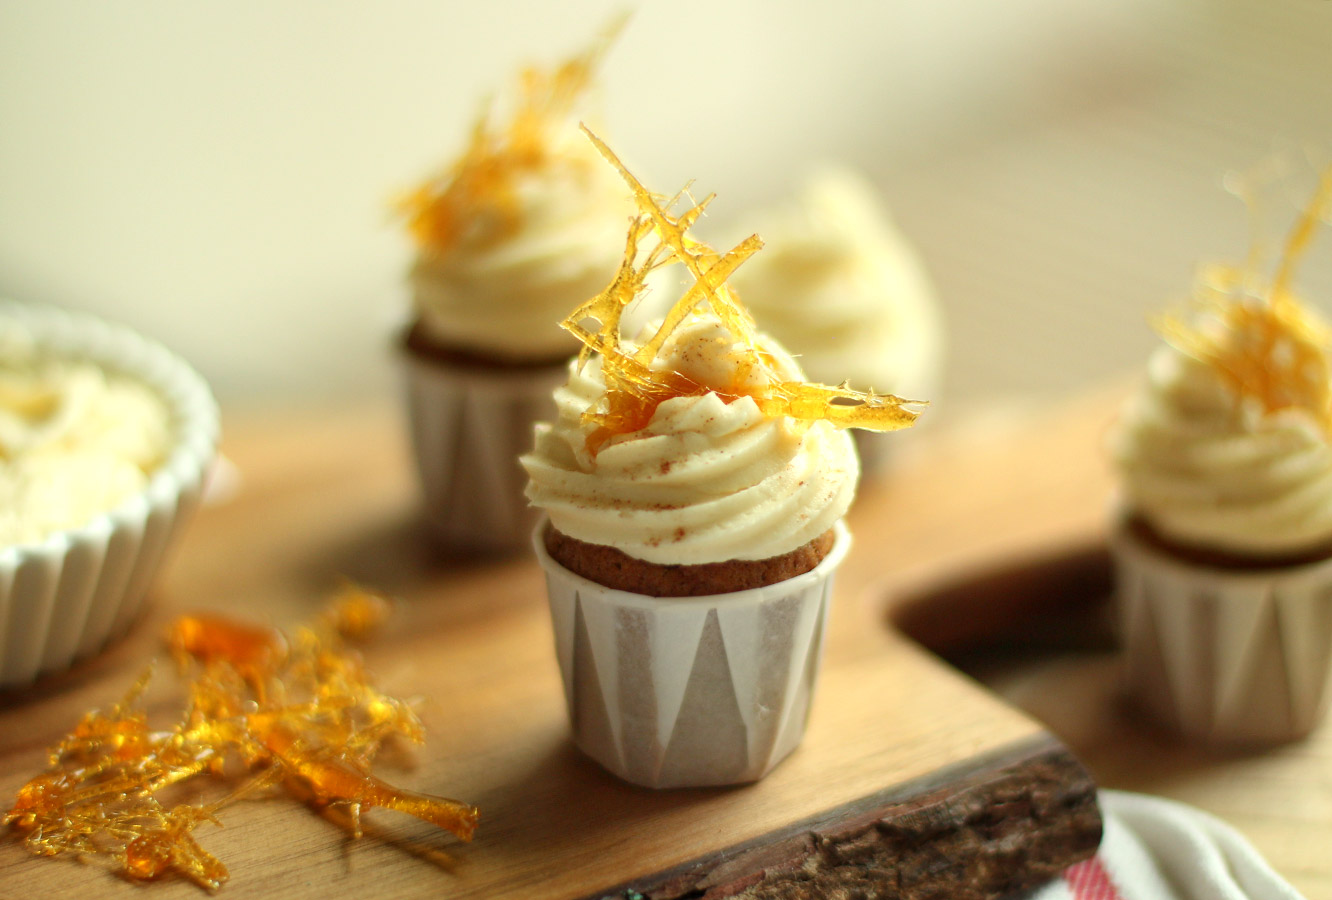
Ice your cakes however you please, I’m a diehard fan of the piping bag. I sprinkled a little bit of cinnamon on mine before adding the caramel shards.

ginger-and-honey-cupcake-recipe-8

ginger-and-honey-cupcake-recipe-7

Enjoy!


The humble crumble

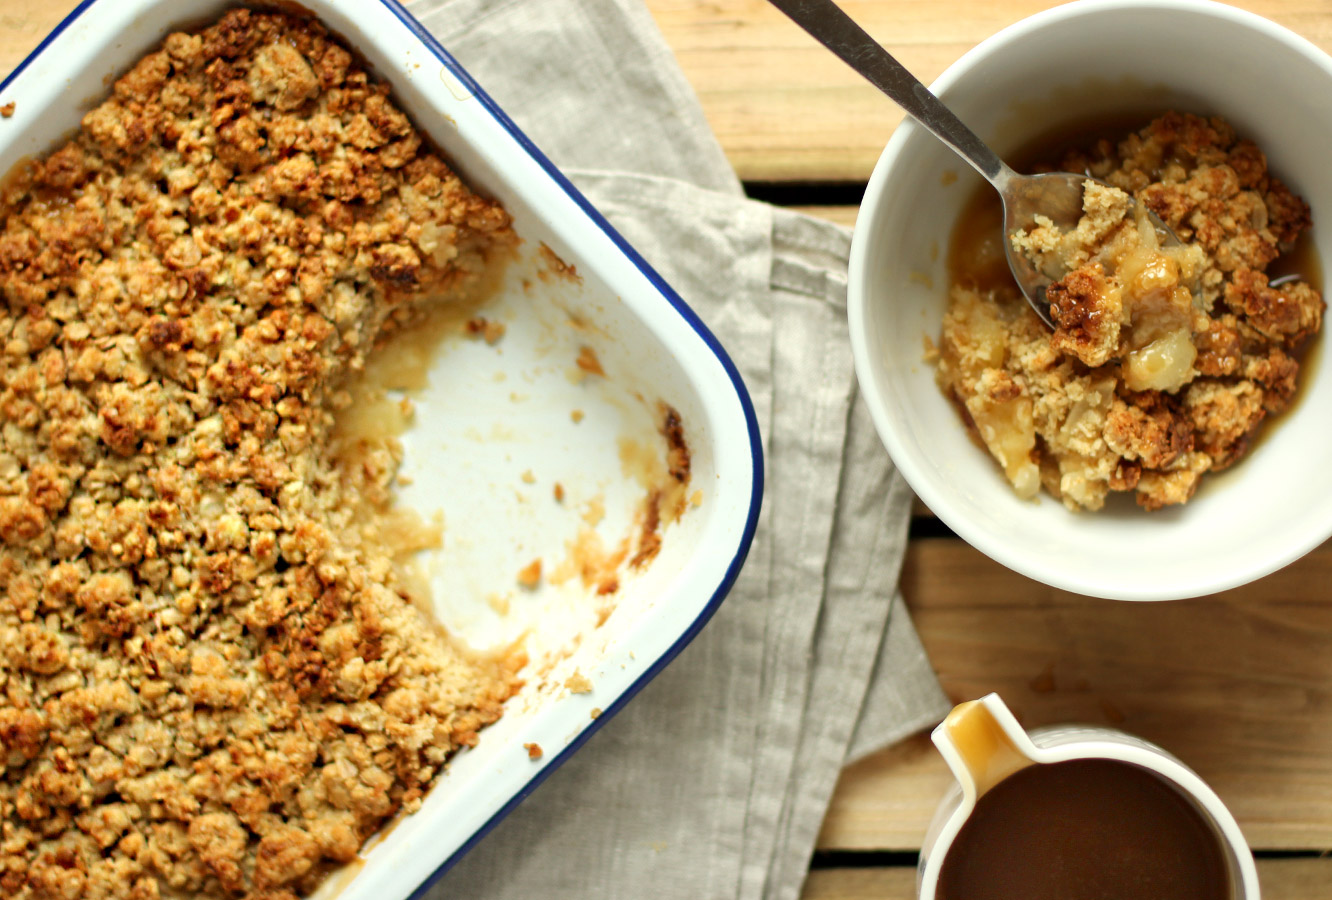
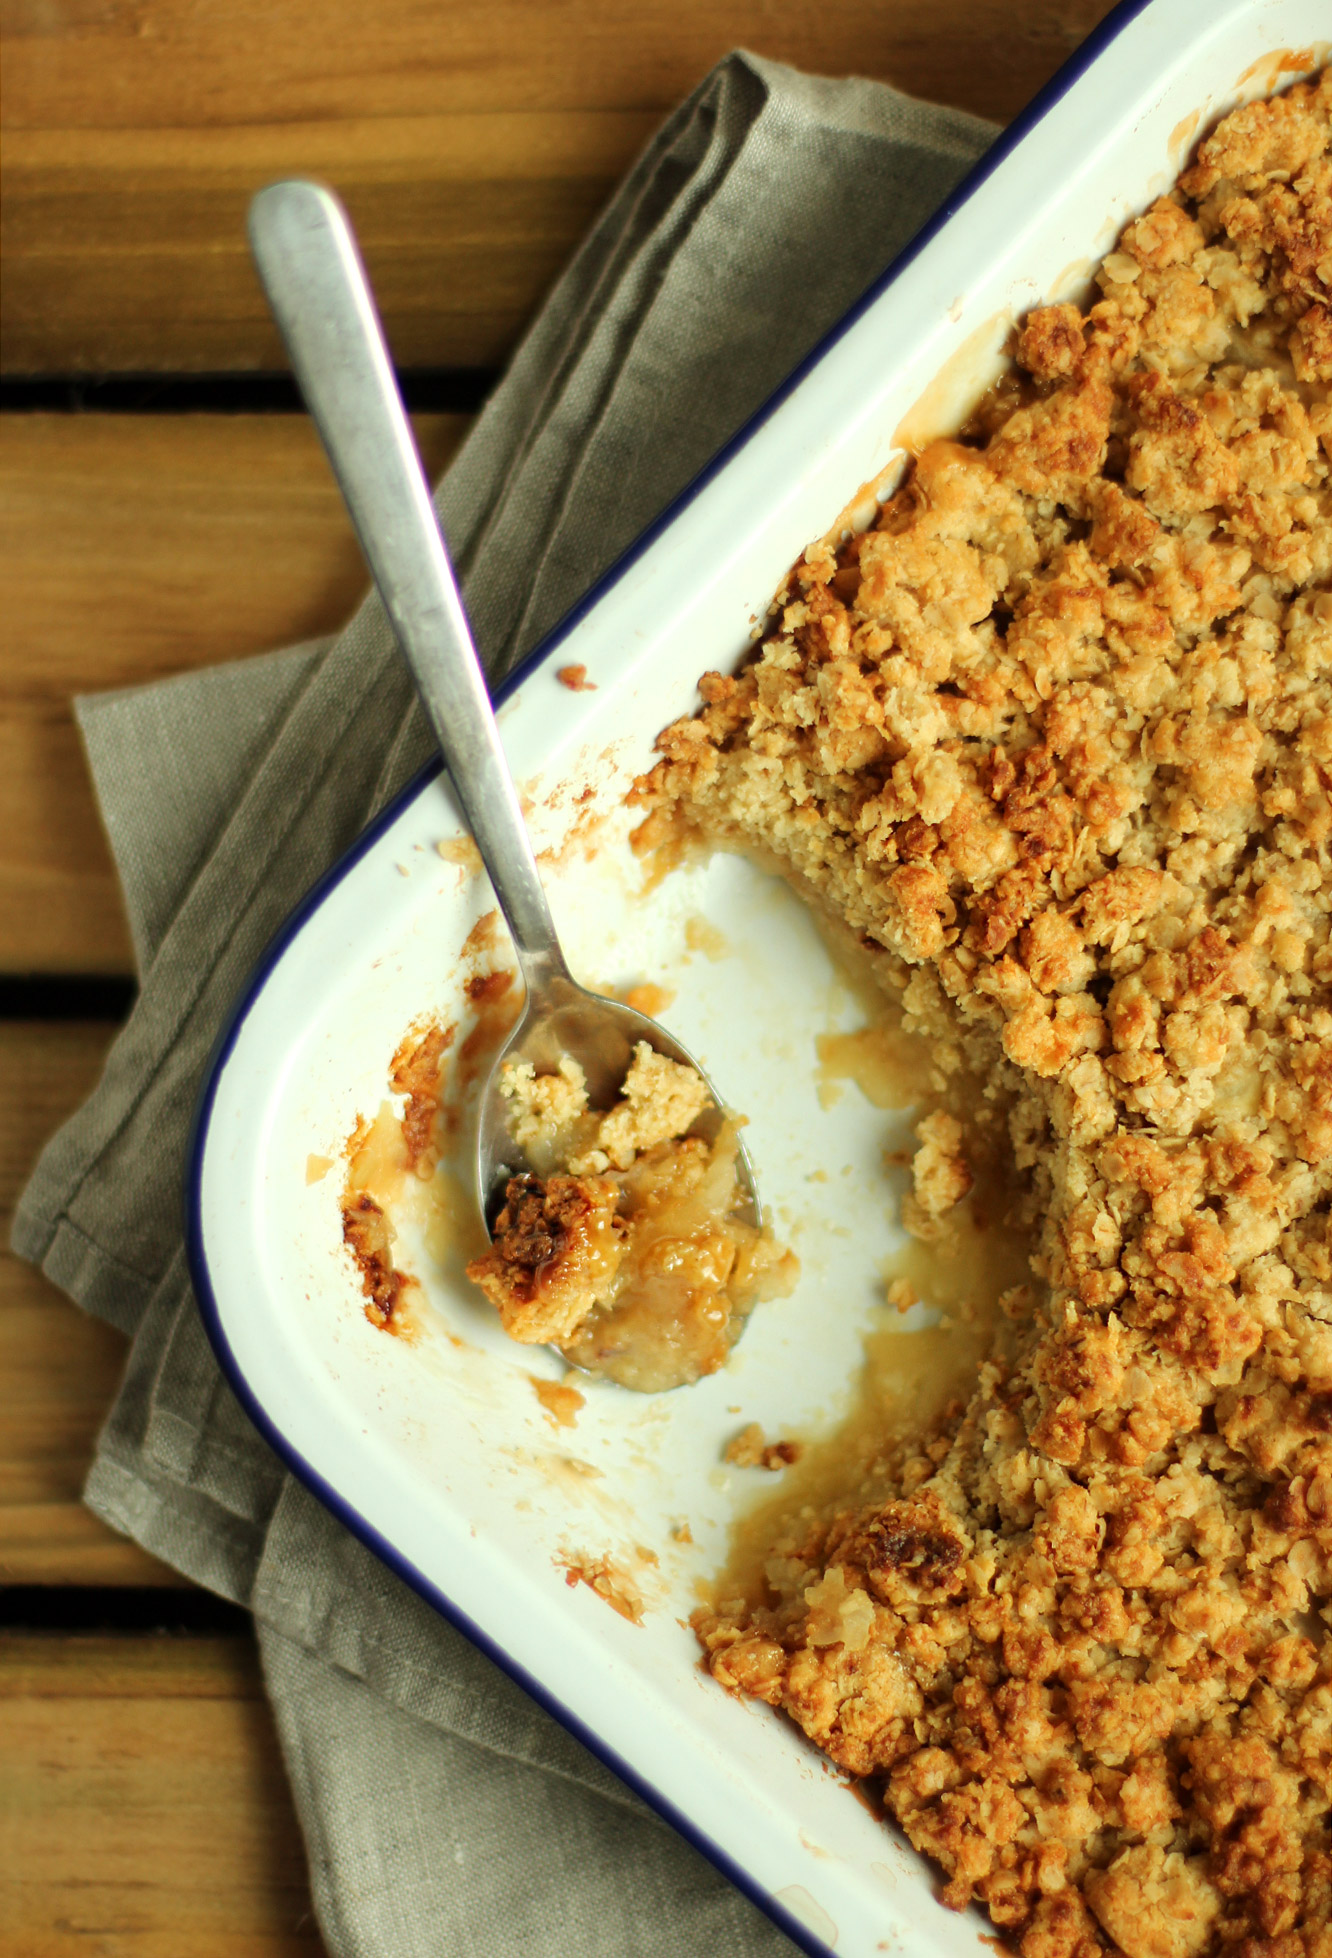
When it comes to autumn blogging, I just can’t get away from apple related ideas. It’s a well known fact that toffee flavours go well with apple so I thought I might wheel out the salted caramel recipe for this week’s post.

We had this after a large roast on Sunday and it was the perfect pud for a cosy autumn afternoon. One of my housemates (self proclaimed crumble connoisseur) called it “the zenith of desserts”, just saying, perhaps this crumble is not so humble after all.

The great thing about crumble is that it’s so quick to make and you can do it in advance, either cooked or uncooked and pop it in the fridge until you need it.

apple-salted-caramel-crumble-recipe

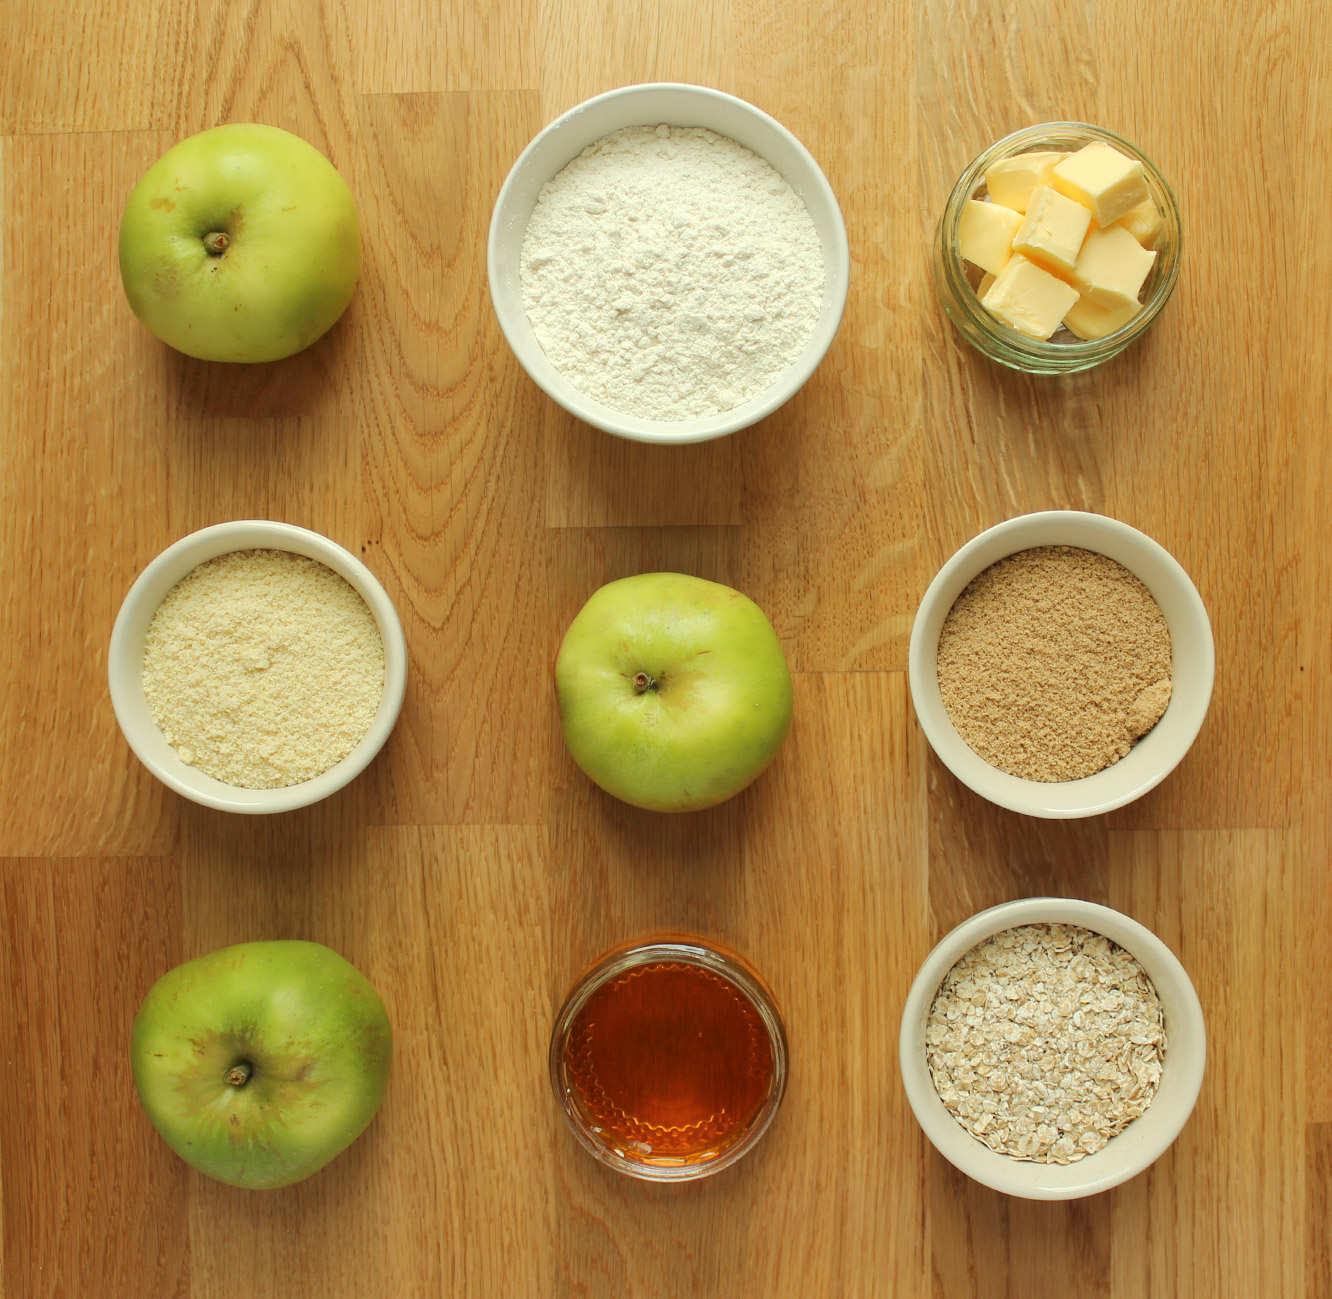
You will need

For the crumble:

140g/5 oz unsalted butter

125g/4.5 oz porridge oats

75g/2.75 oz ground almonds

50g/1.75 oz plain flour

50g/1.75 oz caster sugar

2 tbsp clear honey

4 cooking apples (bramley)

For the salted caramel:

100g/3.5 oz salted butter

80g/3 oz soft brown sugar

100ml/3.5 fl oz double cream

2 tbsp golden syrup

2 tsp salt

(Serves 6)

Apologies to those of you who spotted the missing ingredients list for a while there!

apple-salted-caramel-crumble-recipe-1

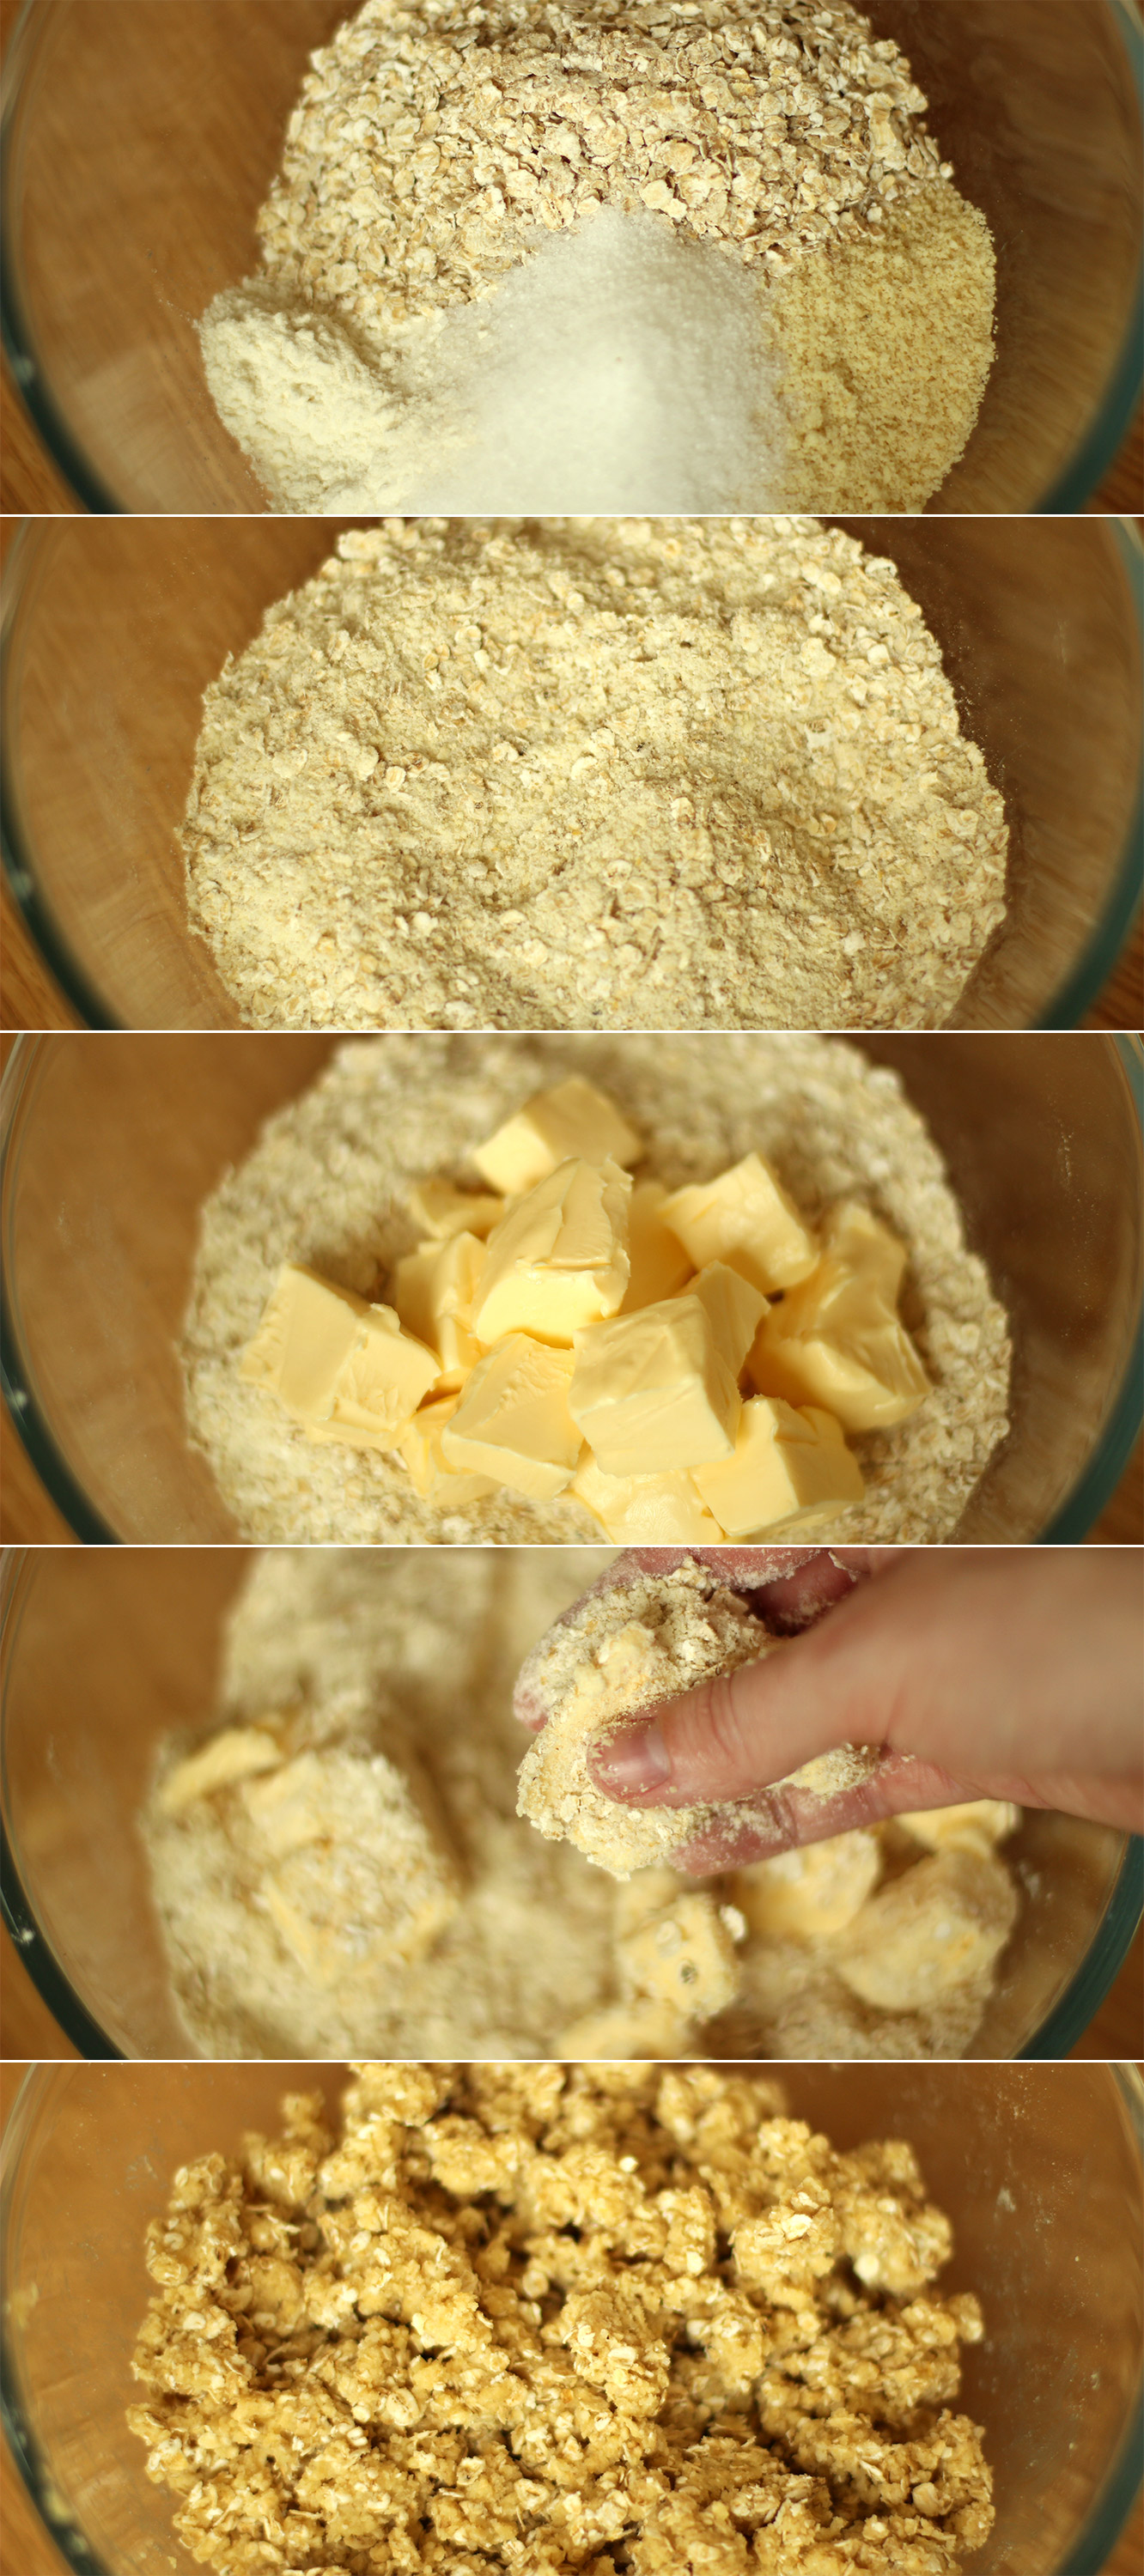
Step one

Mix together the dry ingredients for the crumble topping (almonds, flour, oats and sugar).

Step two

Rub in the butter with your hands, it’s better if it’s cold as the mix will breadcrumb a bit more. Mine was a little on the soft side because I got distracted and left it on the counter for a while.

apple-salted-caramel-crumble-recipe-2

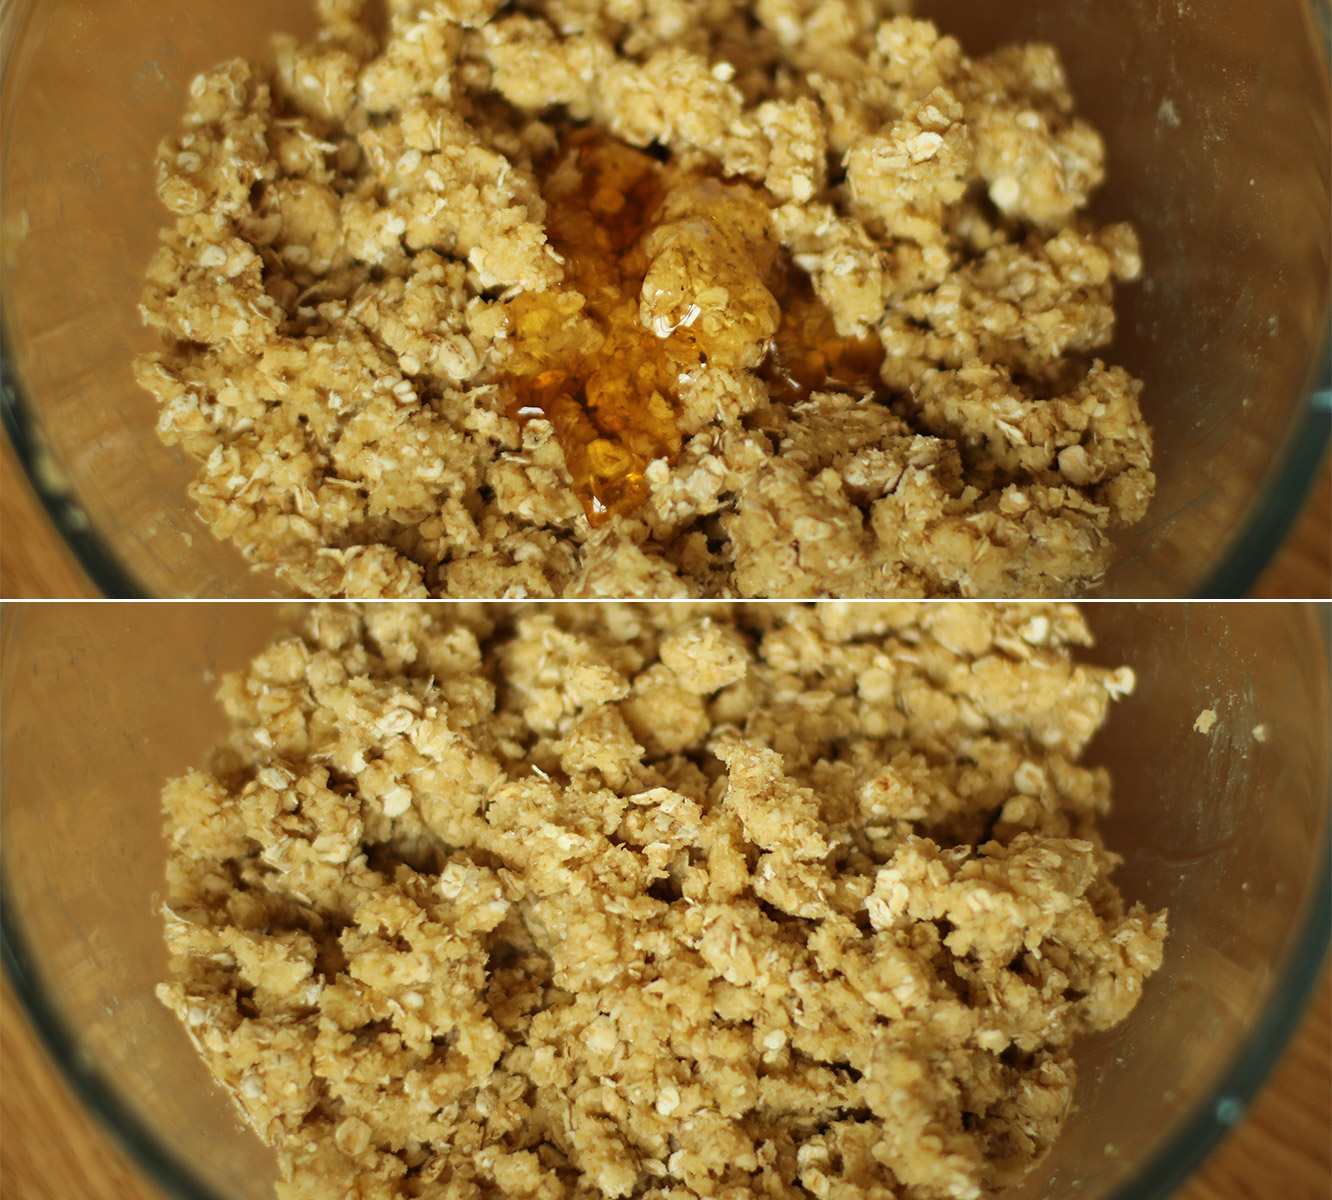
Step three

Add the honey and mix in with a wooden spoon.

Put it in the fridge until needed.

apple-salted-caramel-crumble-recipe-4

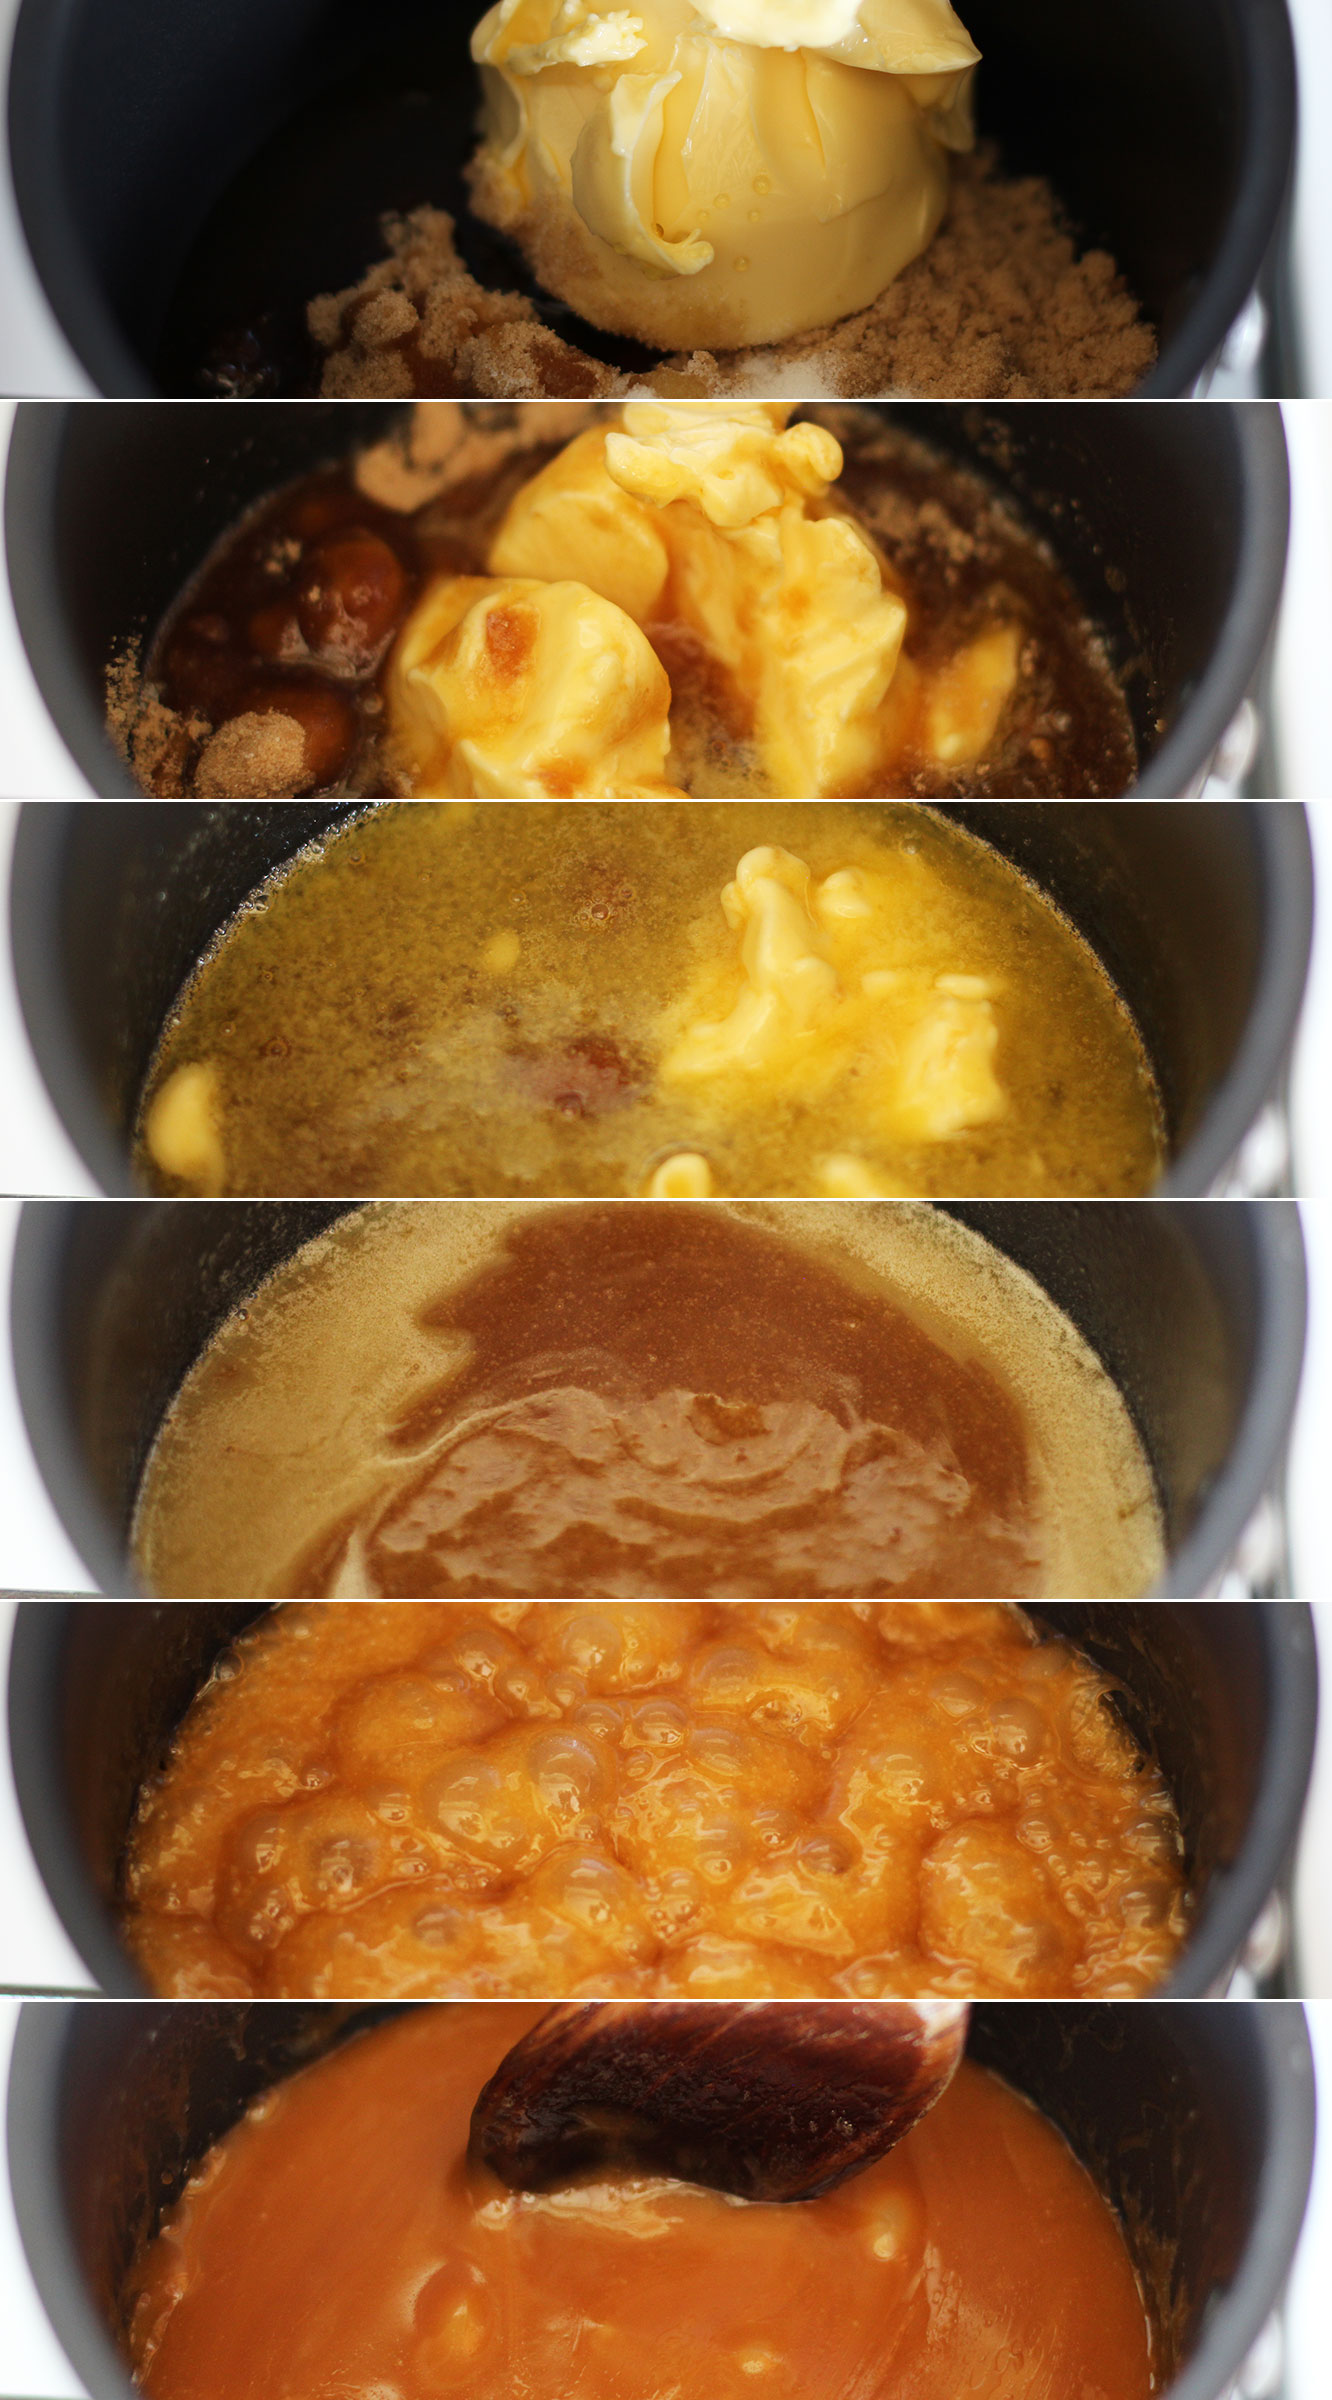
Step four

Place all the ingredients for the salted caramel into a saucepan (minus the cream).

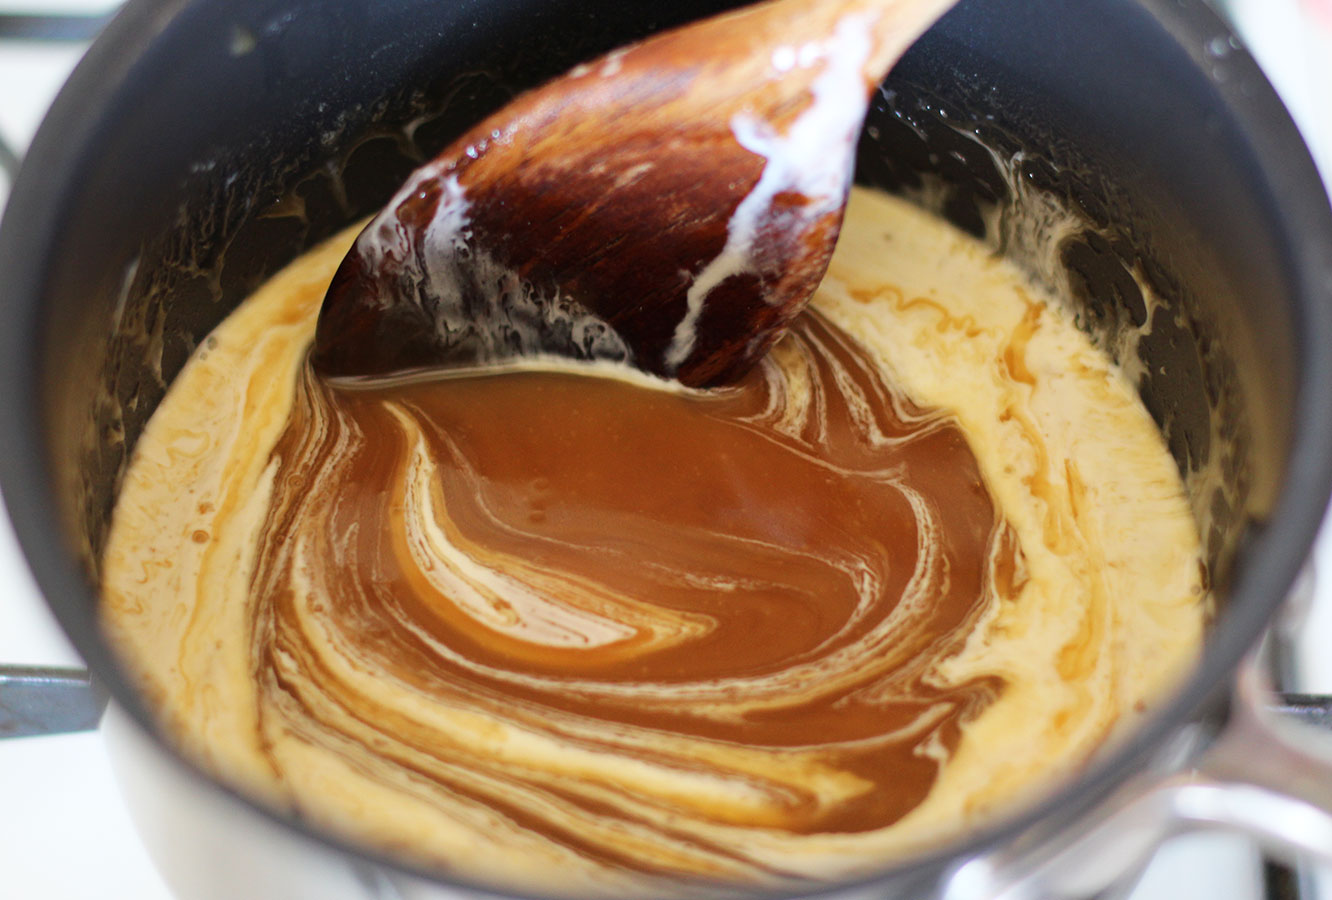
Heat gently until the butter is melted and the sugar dissolved and then bring to a simmer. Simmer for about 10 minutes. Stir regularly so that it doesn’t catch and burn. Leave to cool for fifteen minutes to half an hour.

apple-salted-caramel-crumble-recipe-5

Step five

Once the caramel has cooled for a little while add the cream and stir until combined.

apple-salted-caramel-crumble-recipe-3

Step six

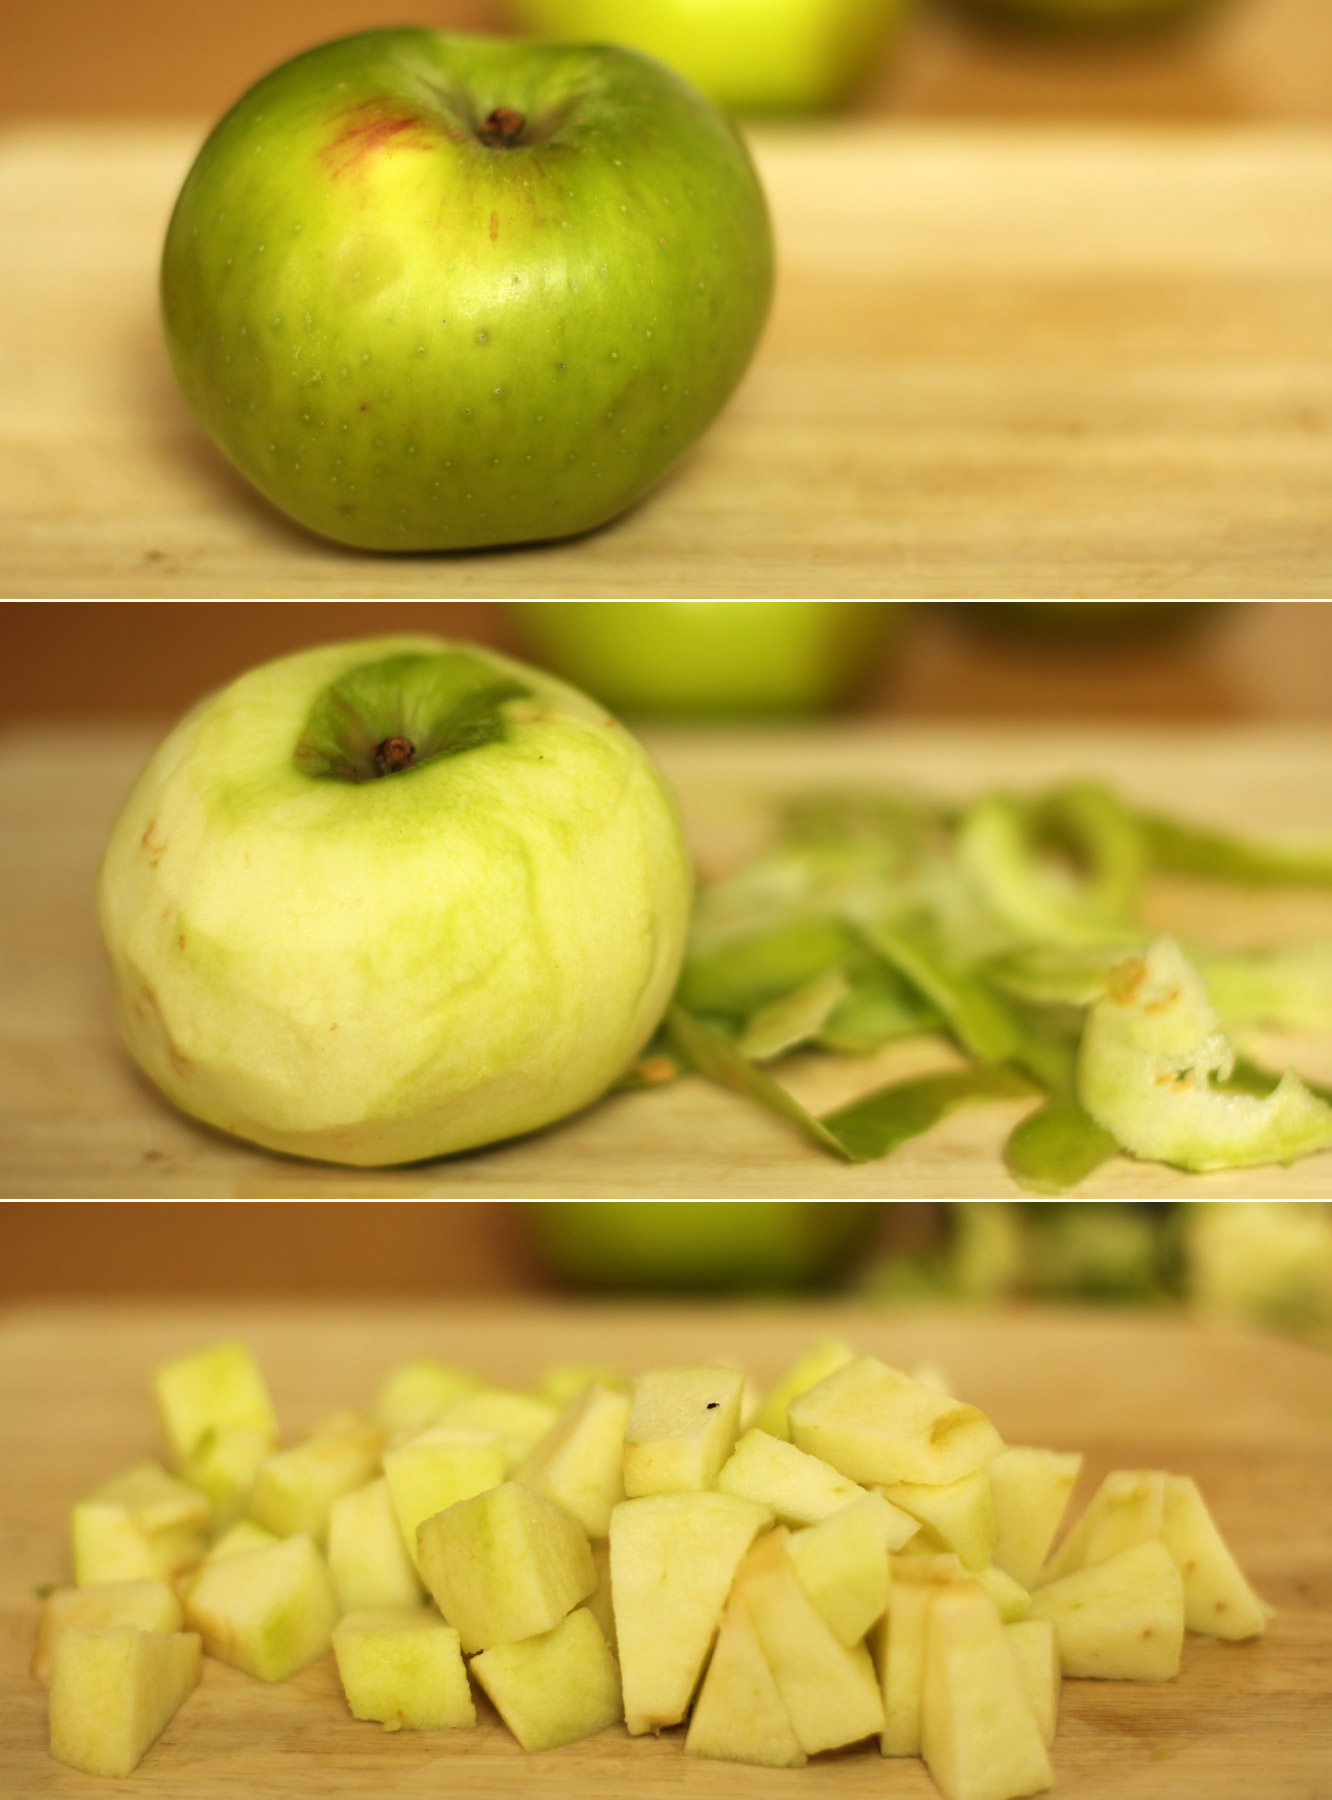
Peel and chop the apples.

apple-salted-caramel-crumble-recipe-gif

Step seven

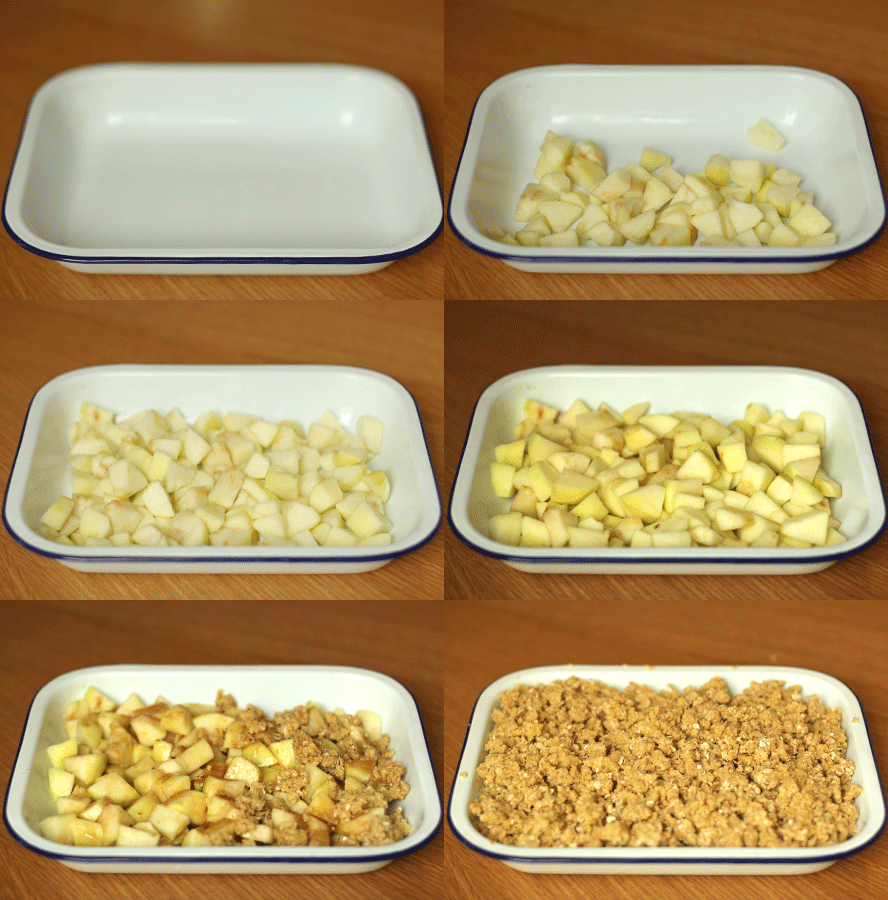
Put the apples in the bottom of your dish, sprinkle with a little light brown sugar. Pour just a third to a half of the caramel sauce over the apples and cover with the crumble mixture.

Step eight

Bake with on 180C/350F/gas mark 4 for 40 minutes.

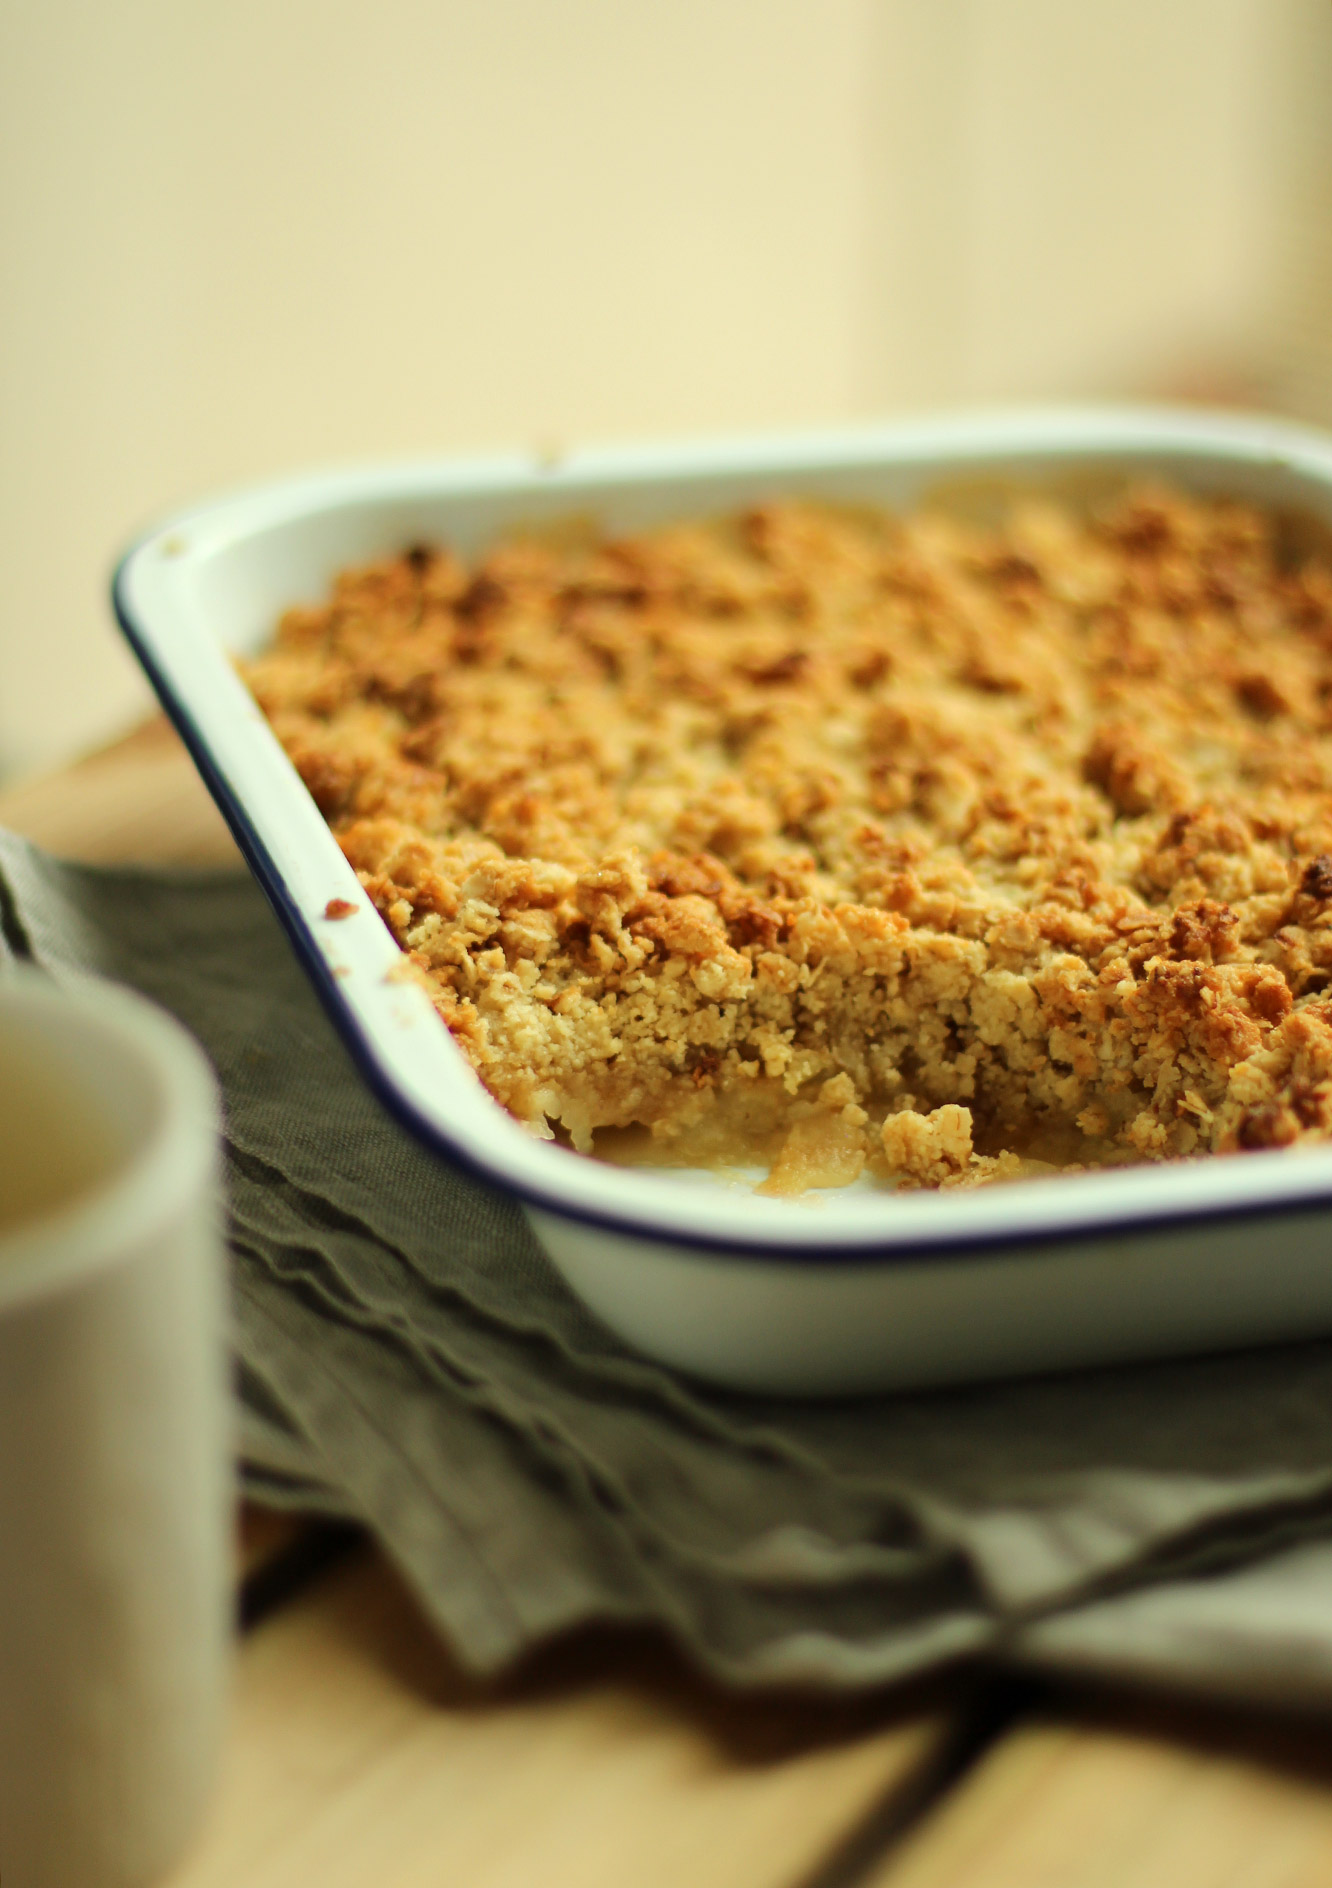
Boom. The zenith of desserts.
apple-salted-caramel-crumble-recipe-6

apple-salted-caramel-crumble-recipe-7

apple-salted-caramel-crumble-recipe-8

Until next time.


Save it for a drizzly day

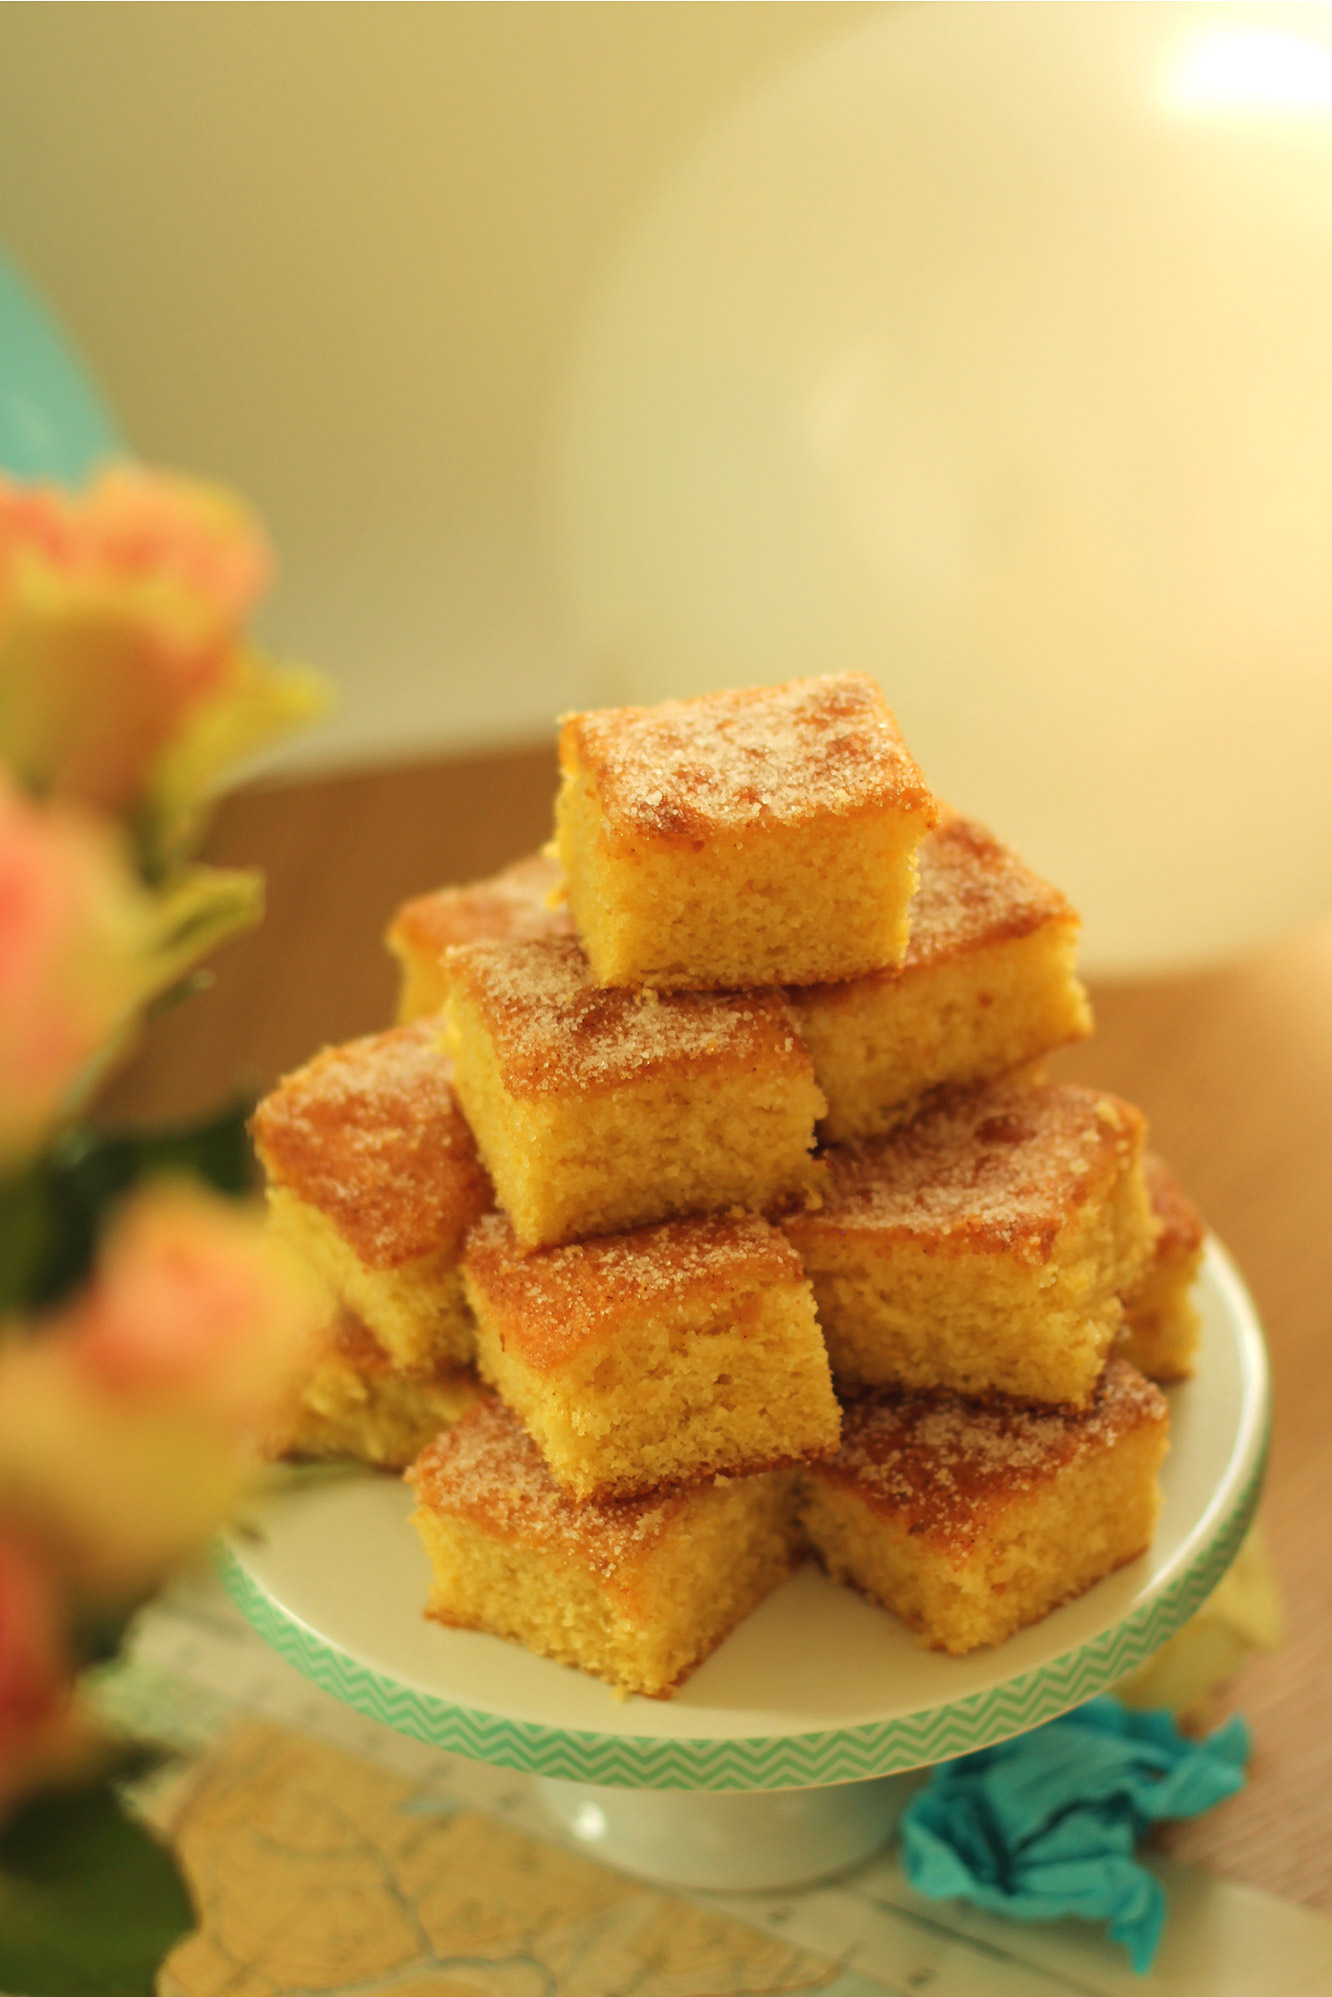
This is a recipe for a cake you might have spotted in my wrap up post for Vicky’s hen party. I made some vague comment about getting round to it at some point. So here it is.
Lemon drizzle is one of my go-to bakes when I’m in a rush or don’t have the energy to figure out something new. It’s super handy because often you will have the ingredients and just need to grab a lemon. It’s always a crowd pleaser and really quick and easy to make and transport. I prefer to make it in a brownie tin as a tray bake, I’m of the opinion that it bakes quicker and serves more people this way. Plus I often find loaf cakes get a bit of a dry crust while you’re waiting for the inside to cook. No such problem here.
I present to you the lemon drizzle tray bake.

Disclaimer: I usually use ounces to weigh this one out because I was brought up on ounces and gas marks (thanks mum), I’m still getting my head round grams and celsius since flying the nest. The UK will forever be trapped between the imperial and metric systems…

easy-lemon-drizzle-cake-recipe-01

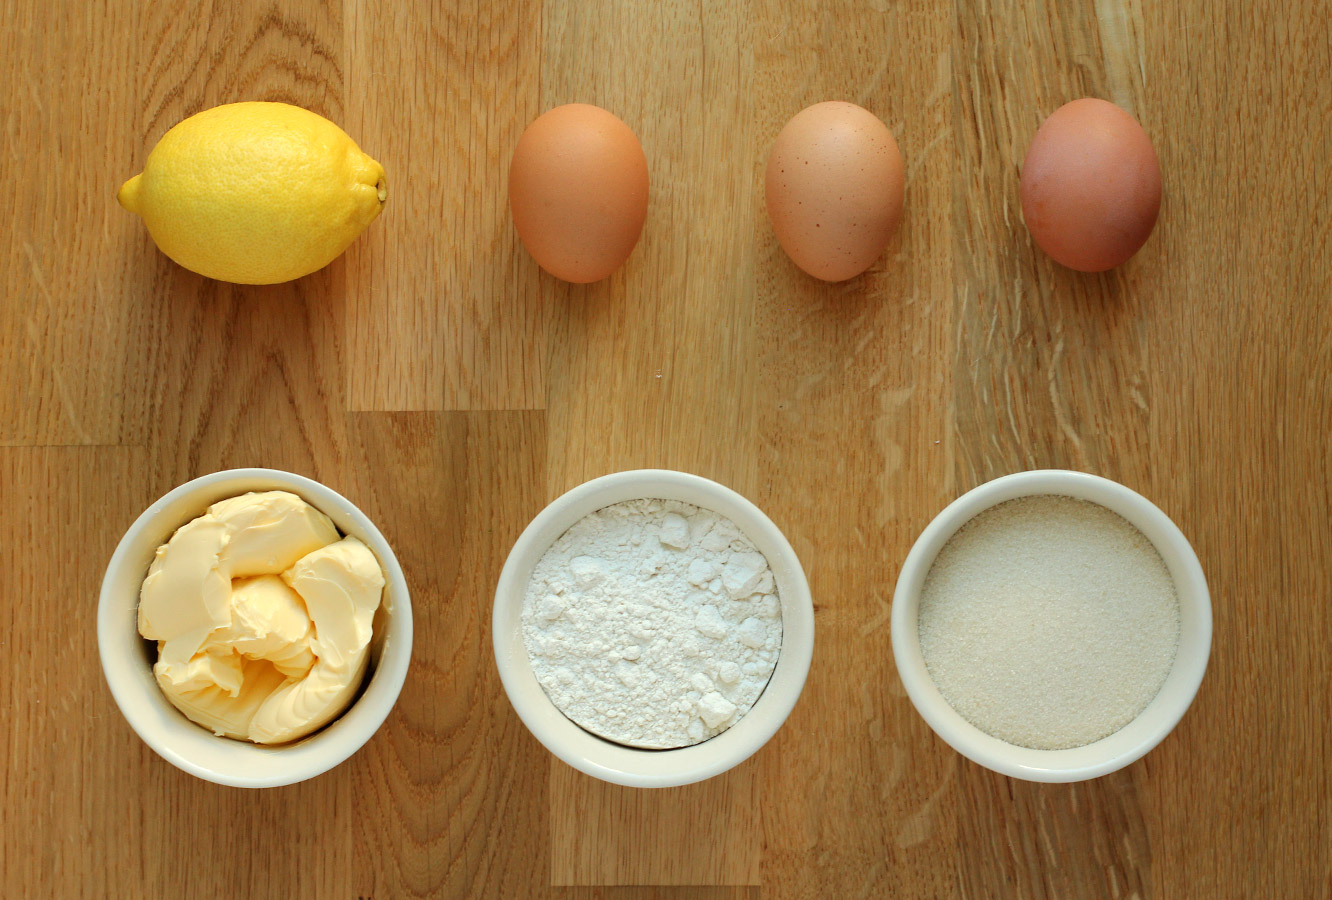
You will need

For the cake:

6 oz/170g self raising flour

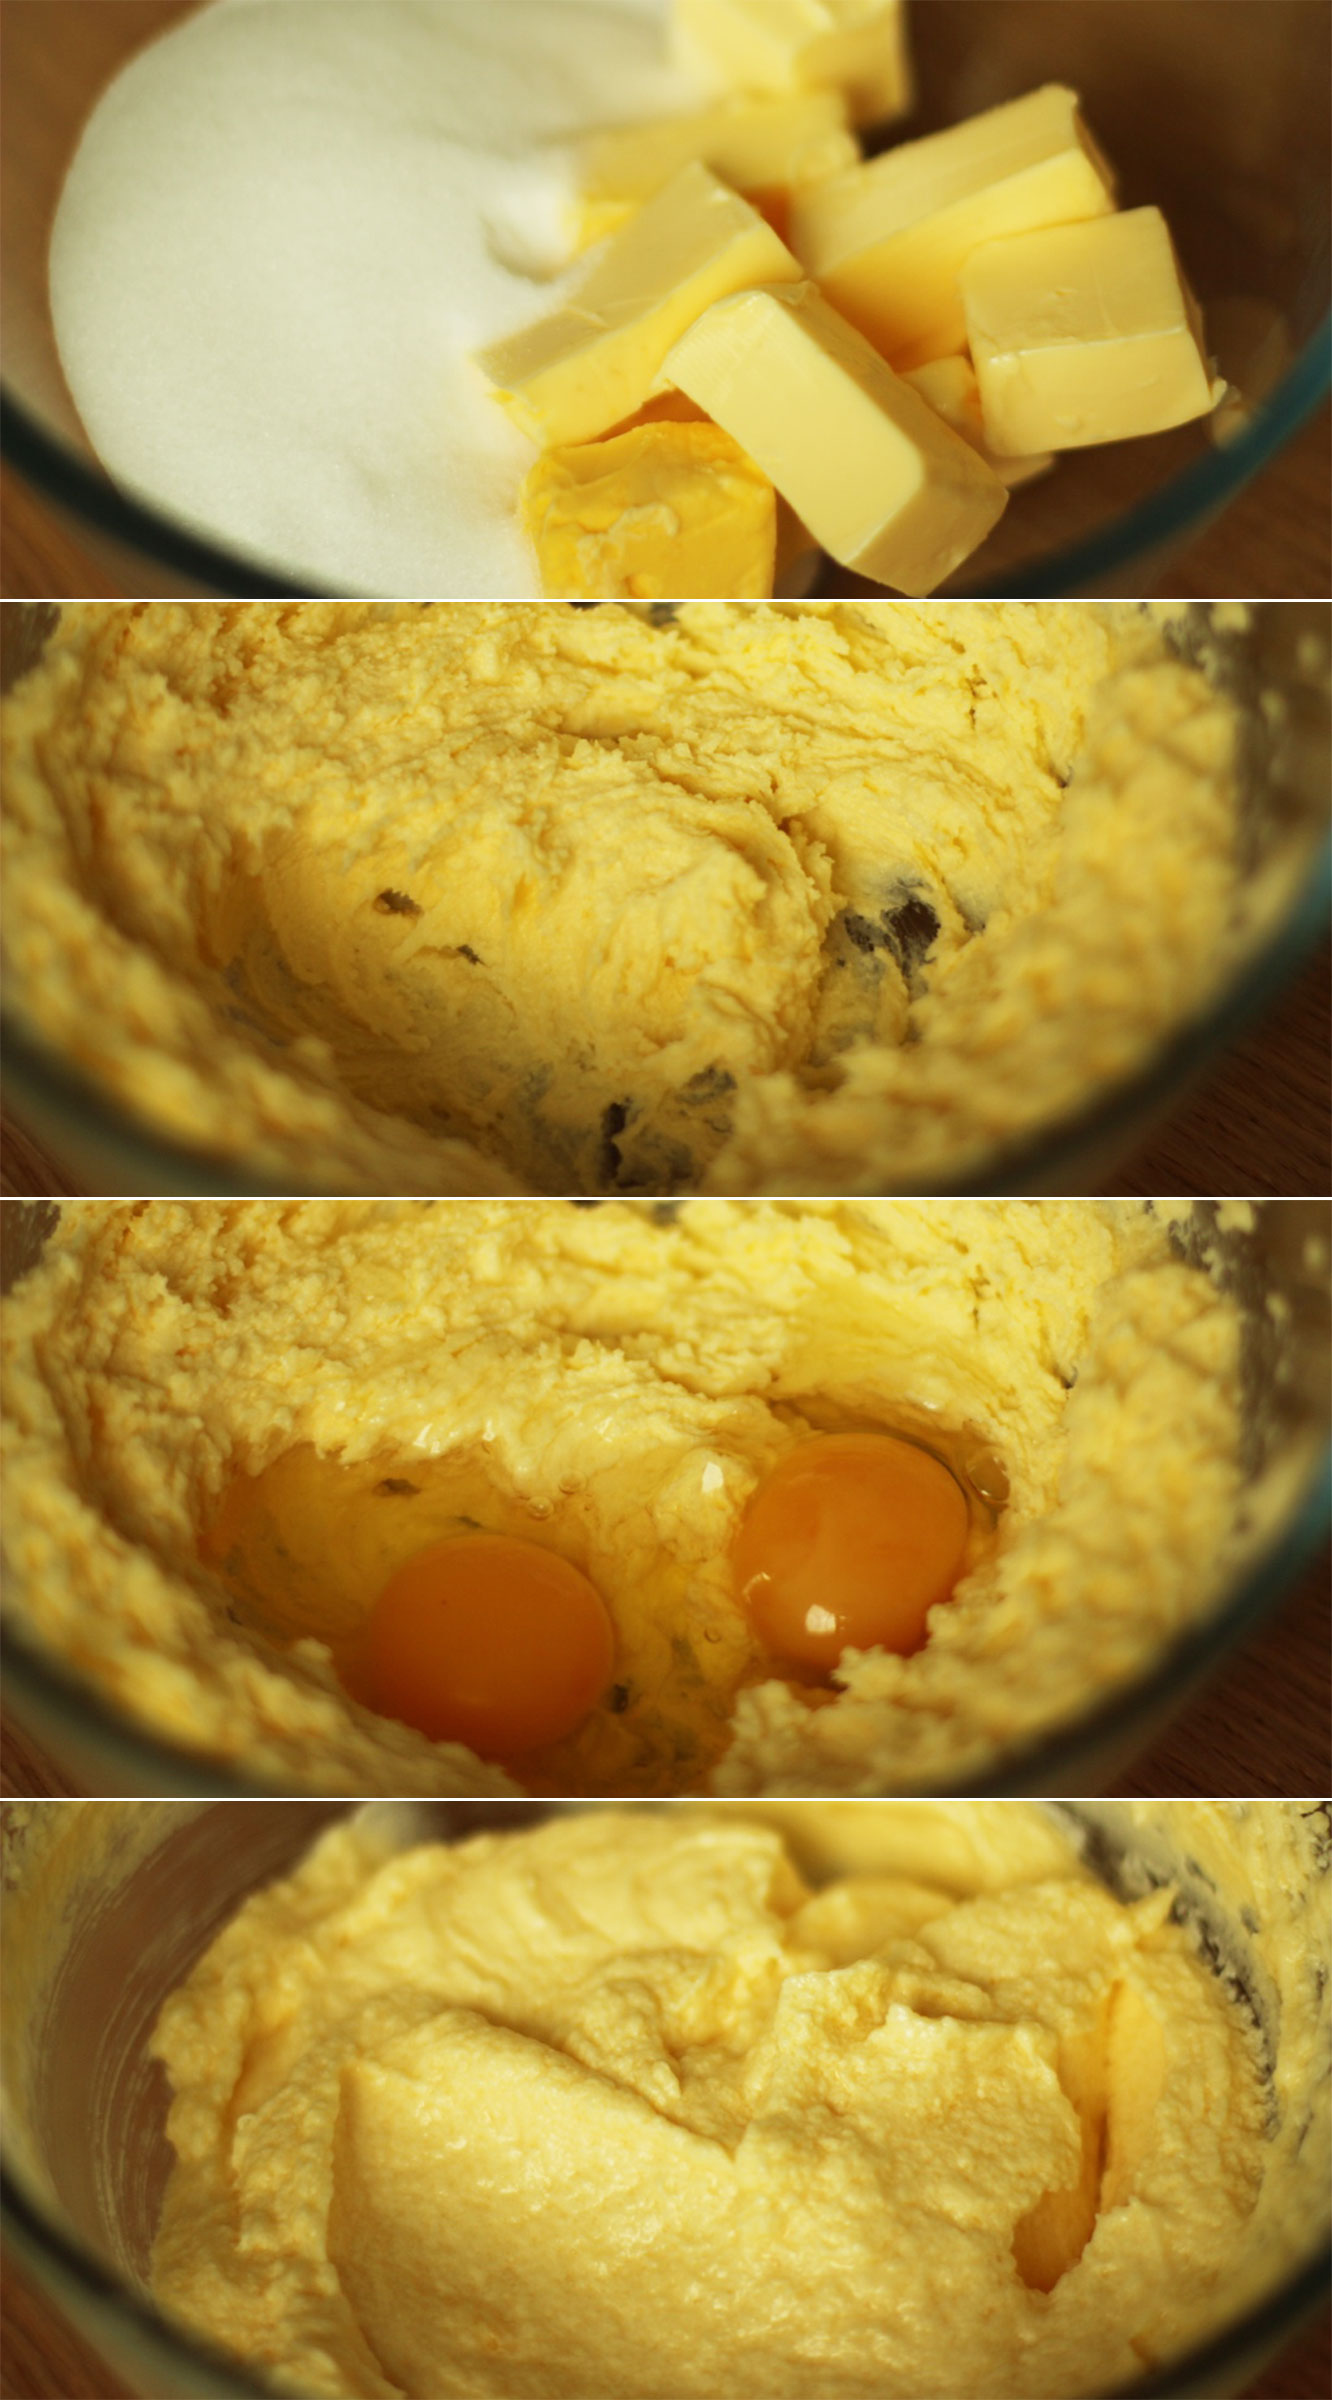
6 oz/170g softened butter or margarine (I use stork)

6 oz/170g caster sugar (golden if you have it)

3 eggs

1 tsp vanilla extract

1 lemon zest

For the drizzle:

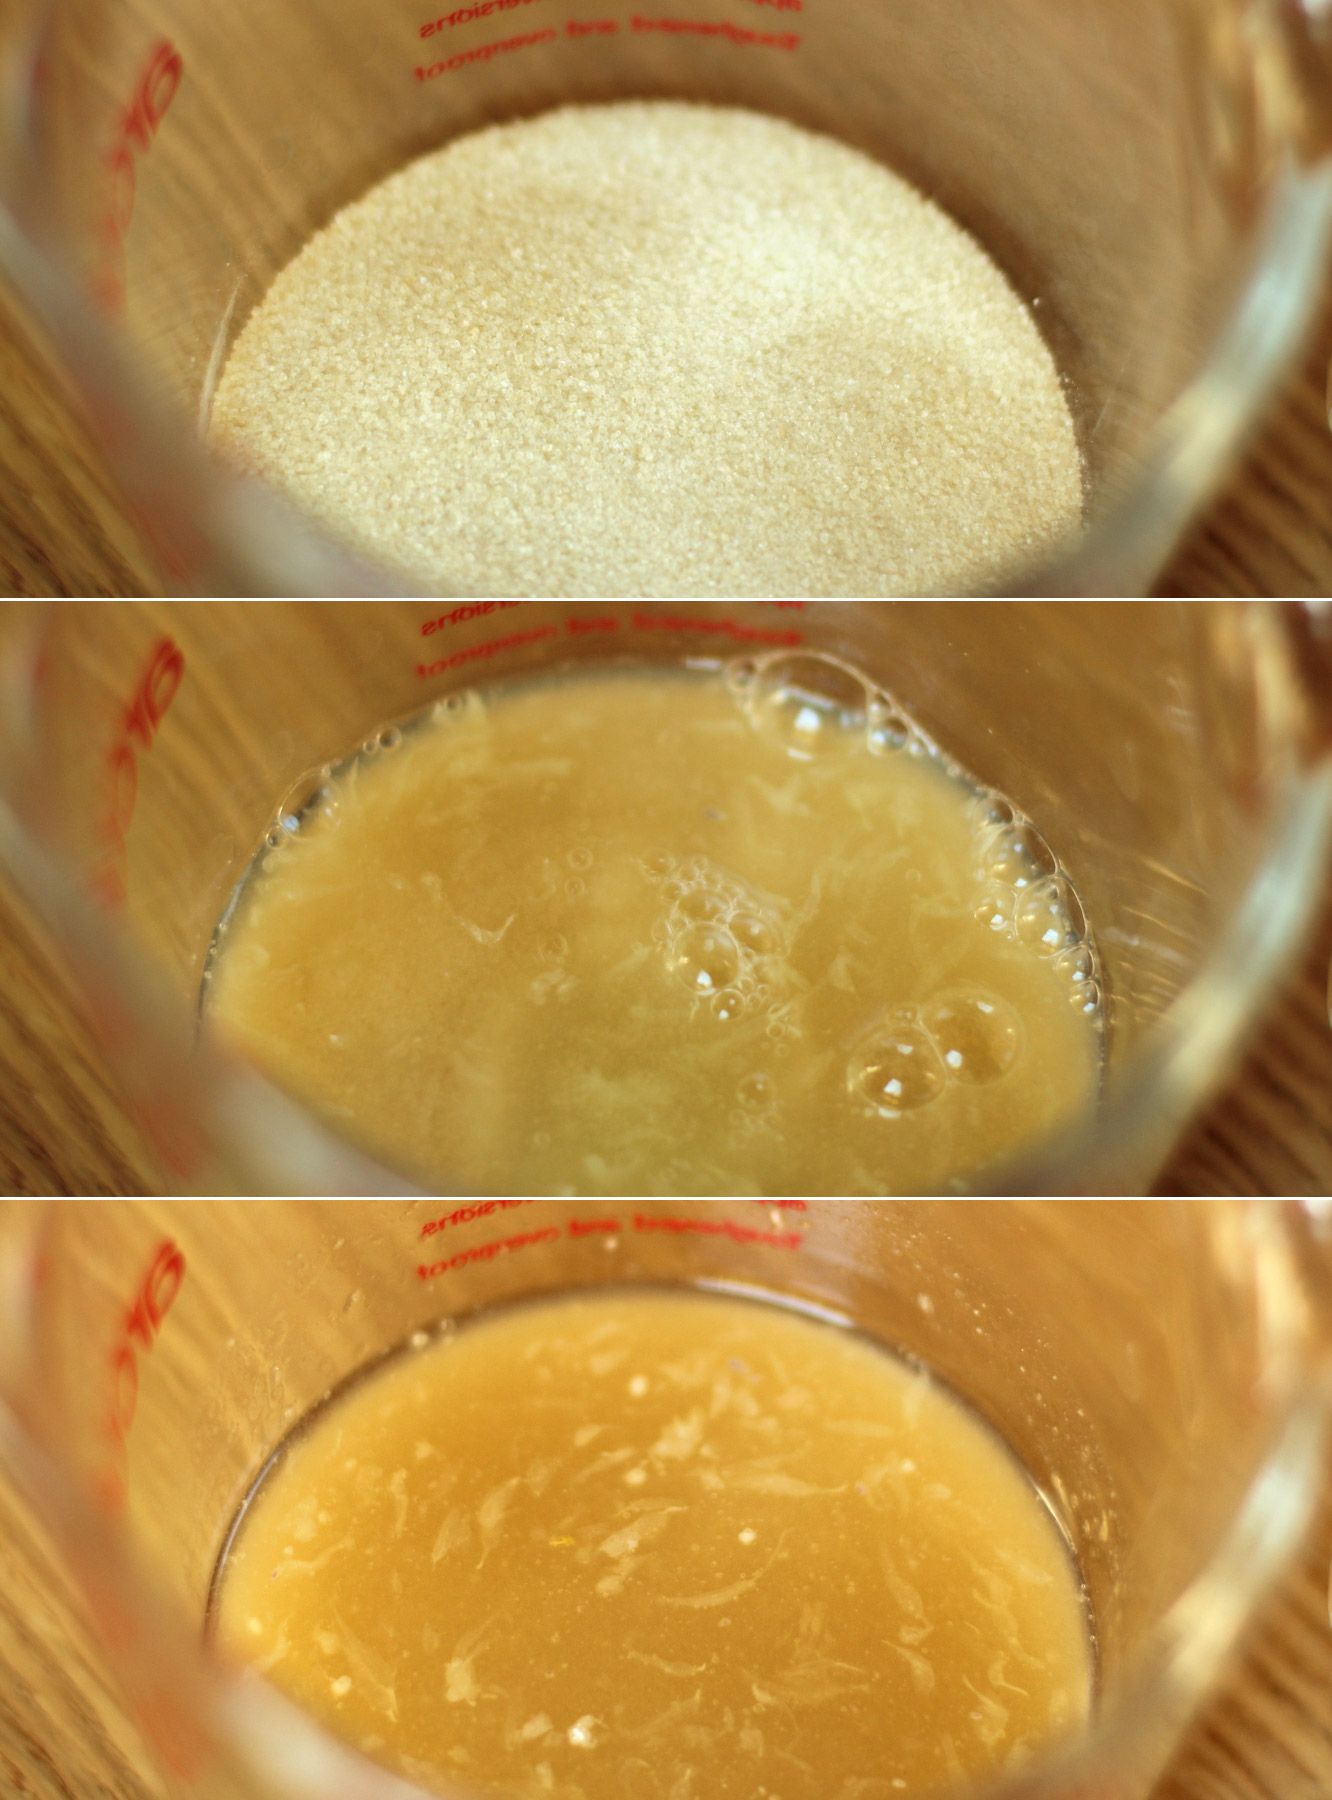
3 oz/85g caster sugar

The juice of your zested lemon

(Makes 15)

easy-lemon-drizzle-cake-recipe-04

Step one

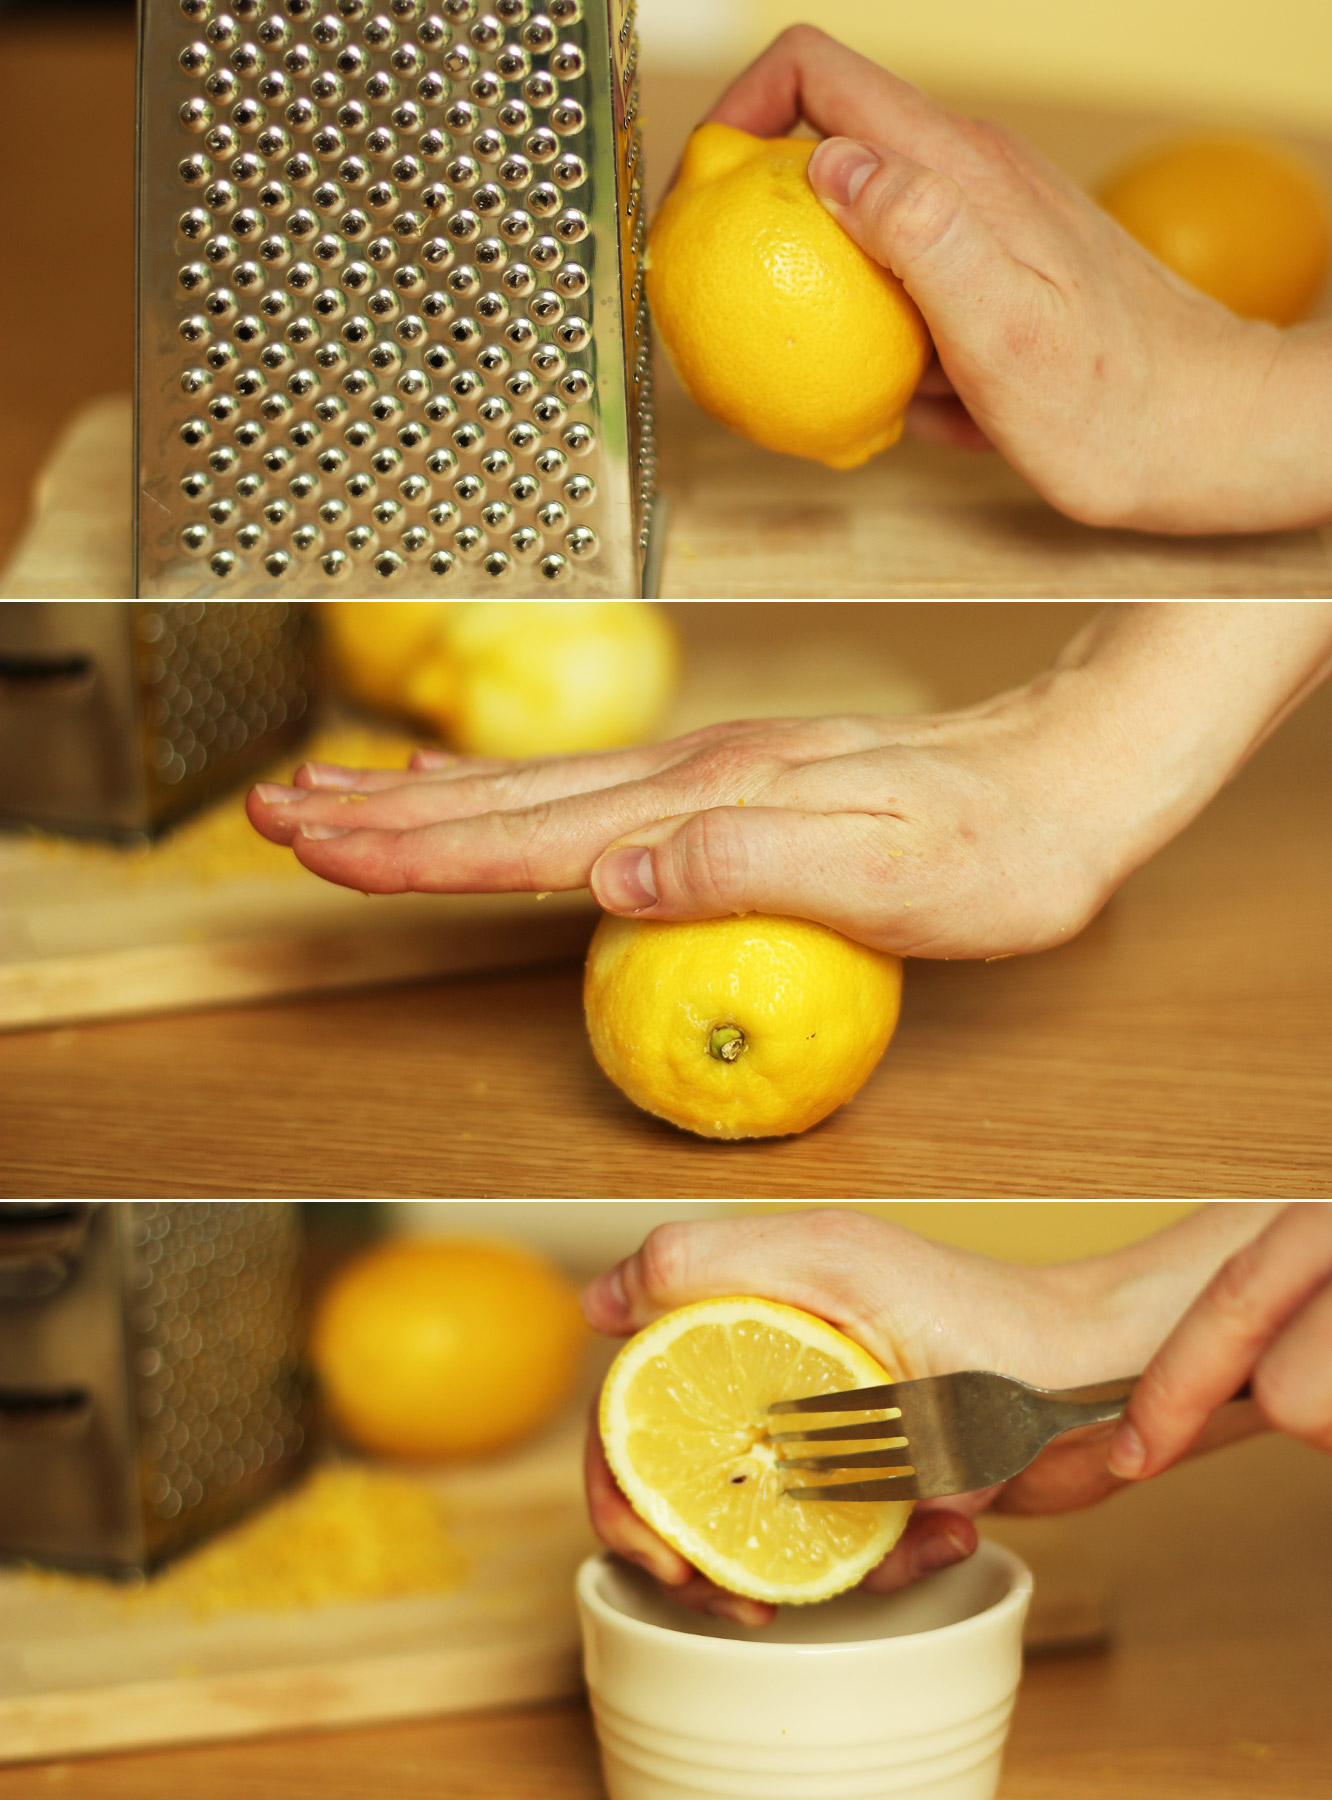
I like to sort my lemon out first and get it out of the way.

Grate the lemon on a fine setting on your grater. Place in the microwave for 10-15 seconds and roll around on the surface to release the juices. Cut in half and use a fork or a juicing thingy to squeeze as much juice as you can out of each bit.
Set the zest and juice aside.

easy-lemon-drizzle-cake-recipe-02

Step two

Beat together the margarine and sugar. I like to use an electric hand whisk for most cakes to keep them light and fluffy, but you can do this with a wooden spoon too.

Add the vanilla and eggs and beat again until combined. Don’t worry if the mix looks a bit split/curdled, the flour will bring it back together.

easy-lemon-drizzle-cake-recipe-03

Step three

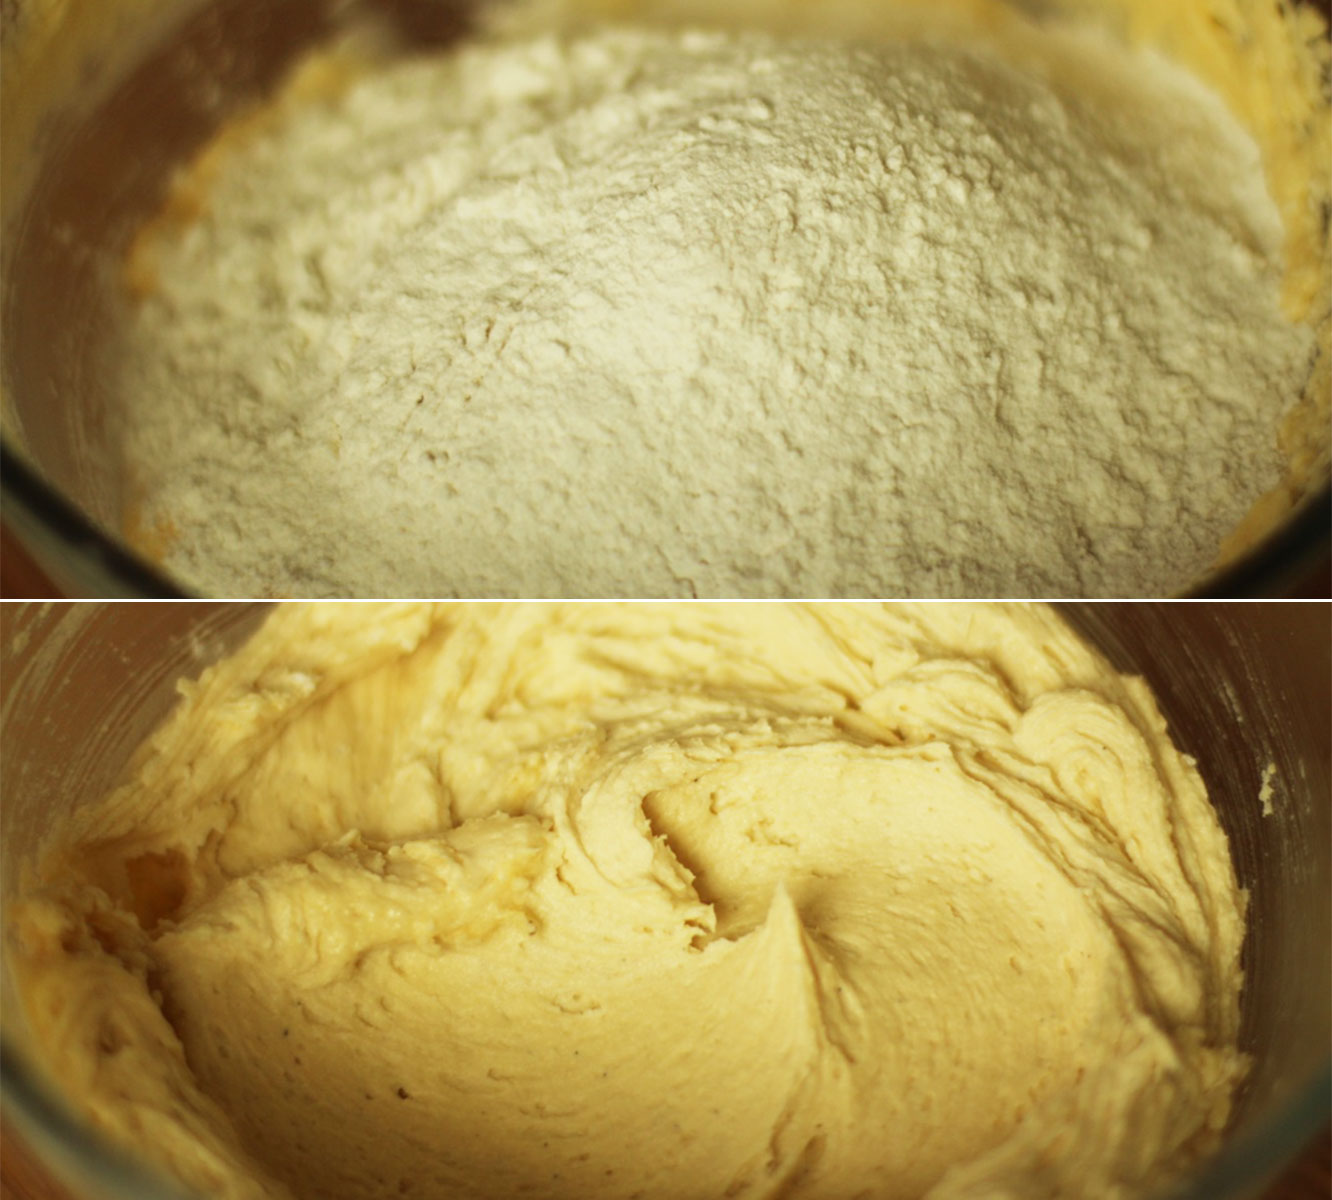
Add the flour and lemon zest and stir with your whisk (leaving the power off). Once the flour is about half combined you can turn your whisk back on to finish it. If you turn the whisk on to start with you will be wearing more flour than is in the bowl.

easy-lemon-drizzle-cake-recipe-05

Step four

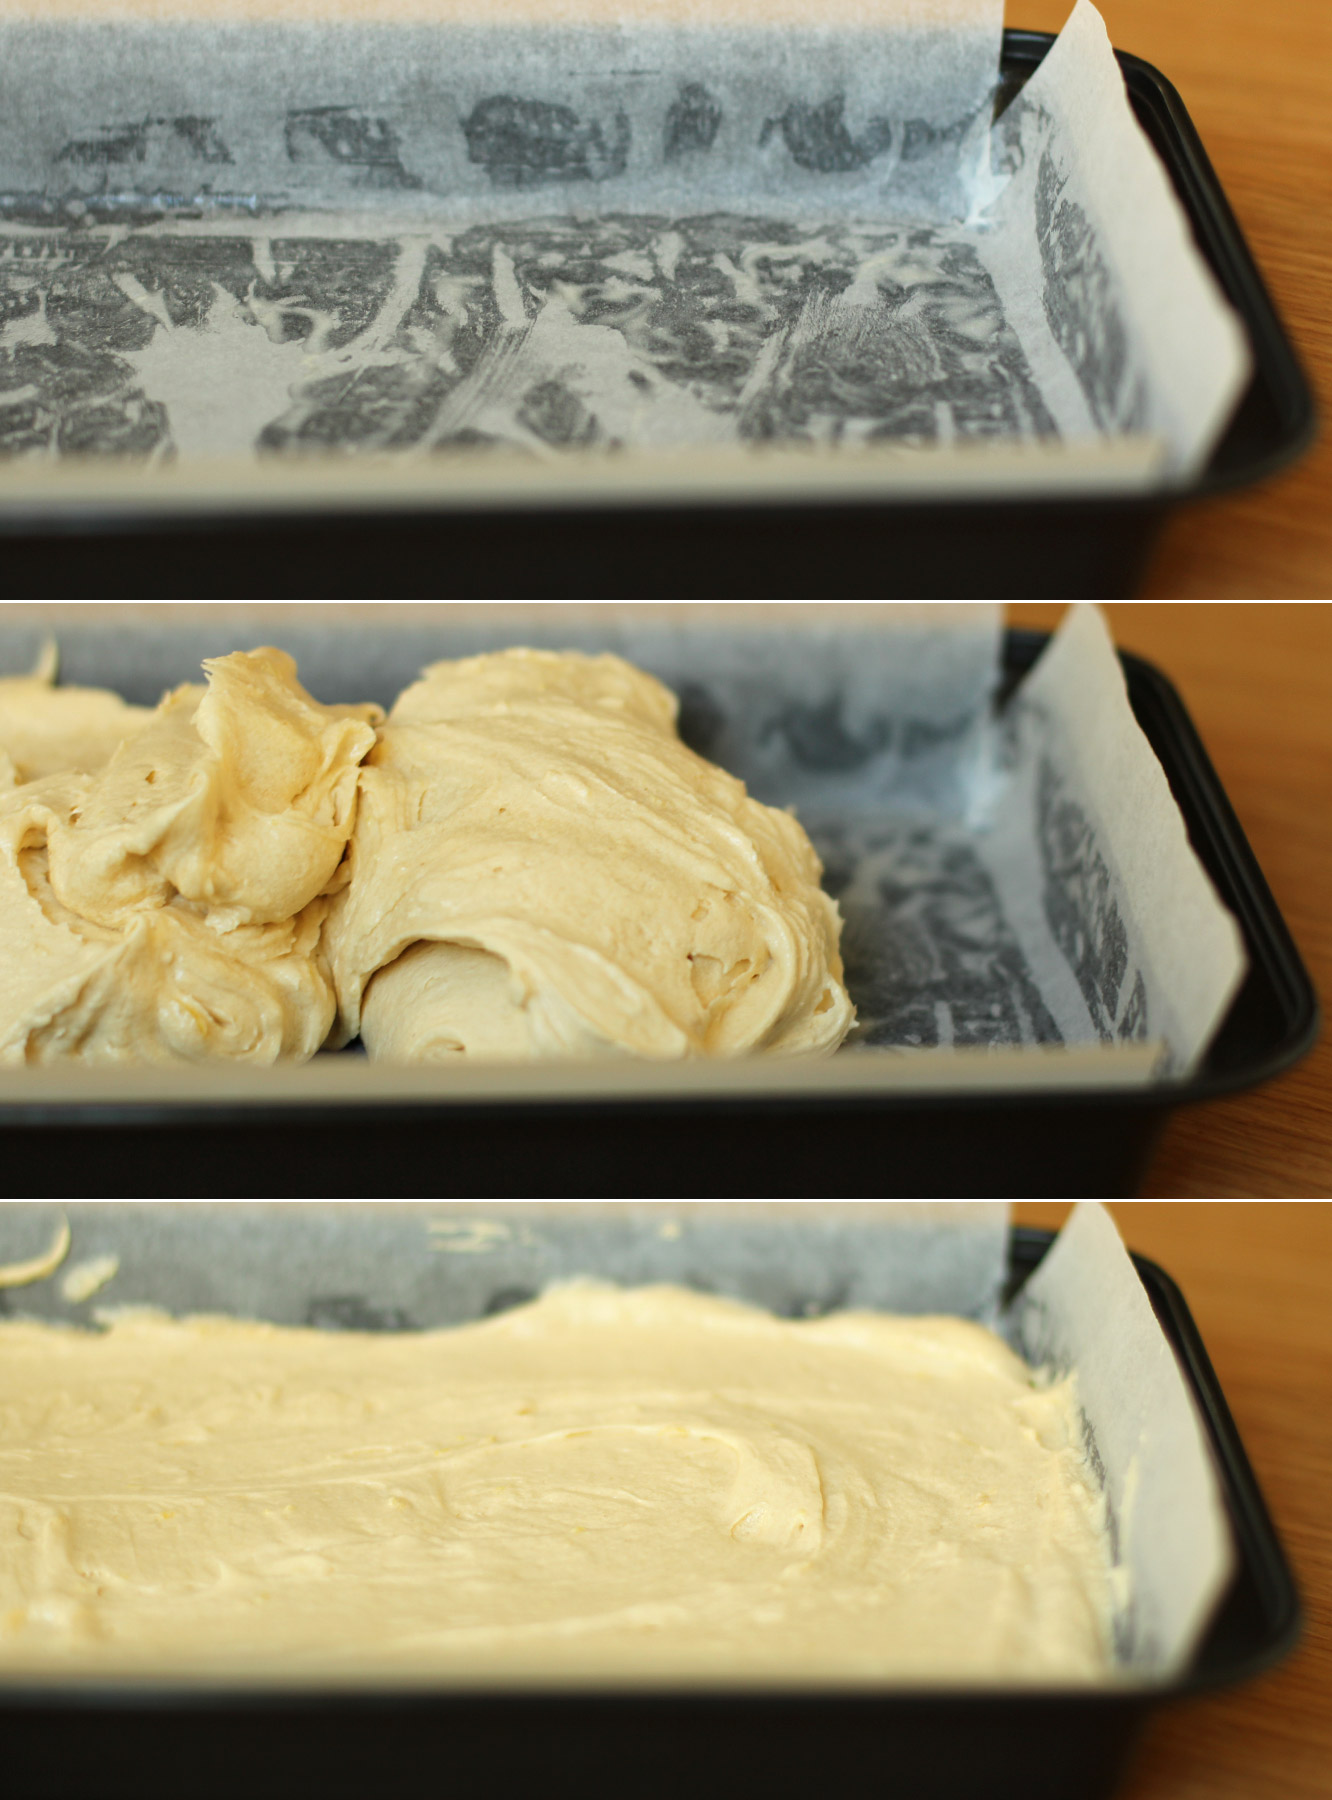
Grease and line a brownie tray. Drop the mixture into the tin and spread out gently with a wooden spoon or silicon spatula until even.

Place in a pre heated oven on gas mark 4/350F/180C for 30-35 minutes. It will go a light golden brown on top and a sharp knife poked into the middle will remove clean when it is cooked.

easy-lemon-drizzle-cake-recipe-06

Step five

About 5 minutes before your cake is cooked, mix the 3oz/85g caster sugar with the lemon juice you squeezed earlier. You will probably need to give it another quick little stir before you pour it.

easy-lemon-drizzle-cake-recipe-07

Step six

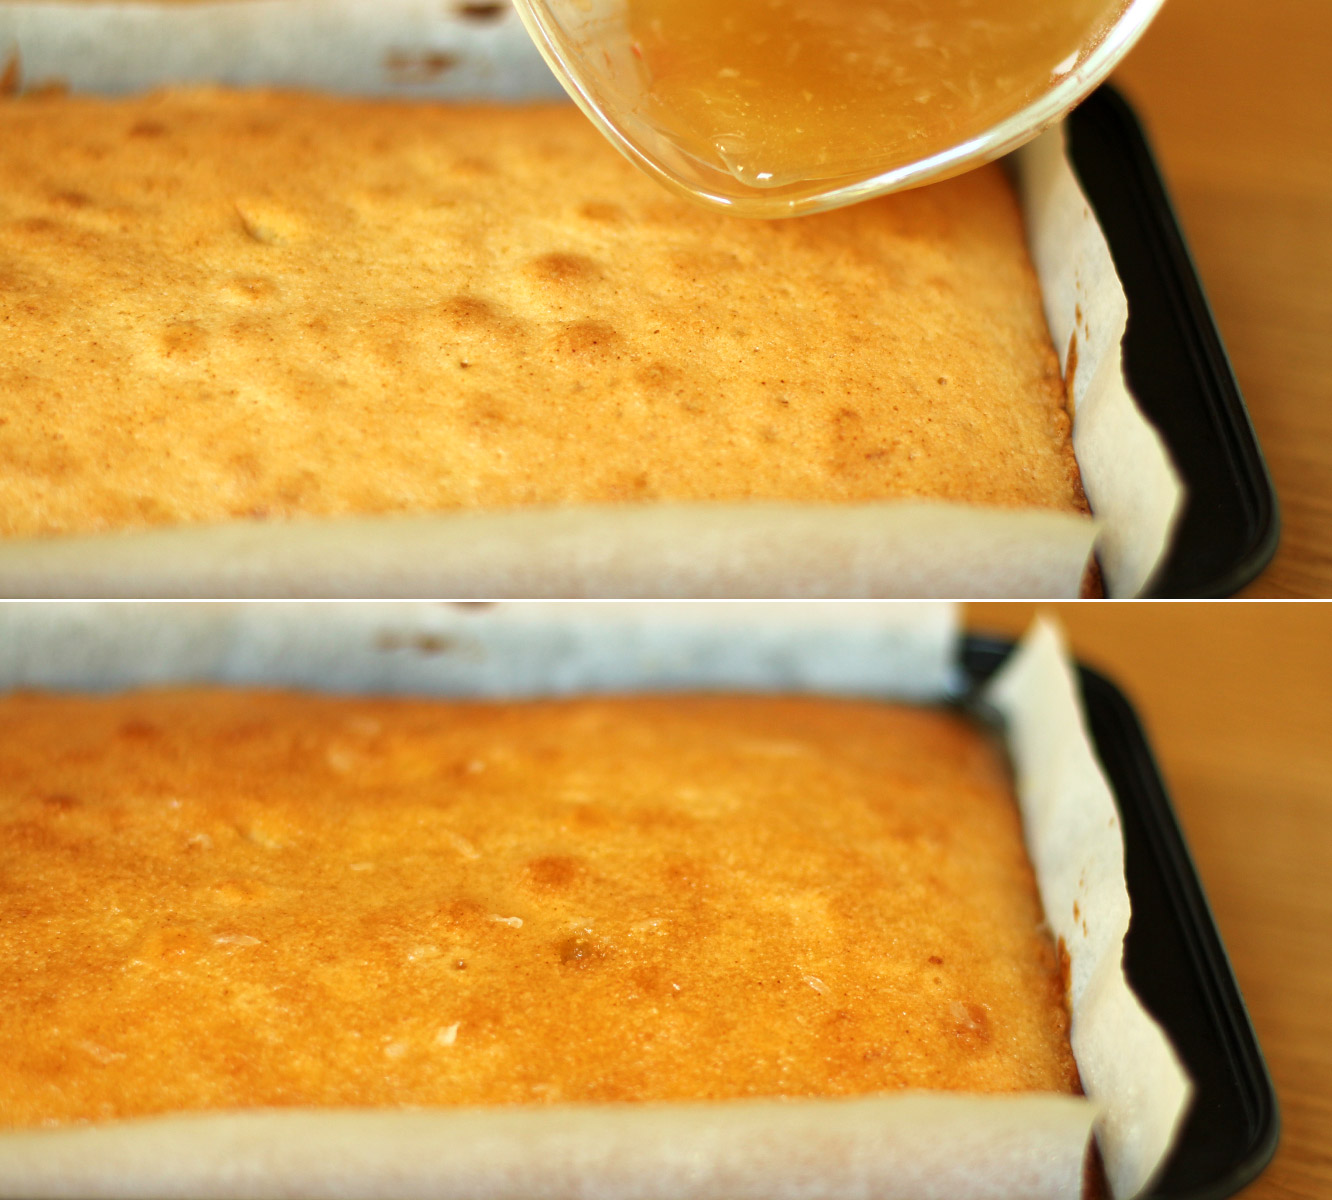
As soon as you take the cake out of the oven pour the drizzle evenly over the surface of the cake. Sometimes I take a spoon to the corners to collect the bits that have run down and redistribute them elsewhere.

easy-lemon-drizzle-cake-recipe-08

easy-lemon-drizzle-cake-recipe-09

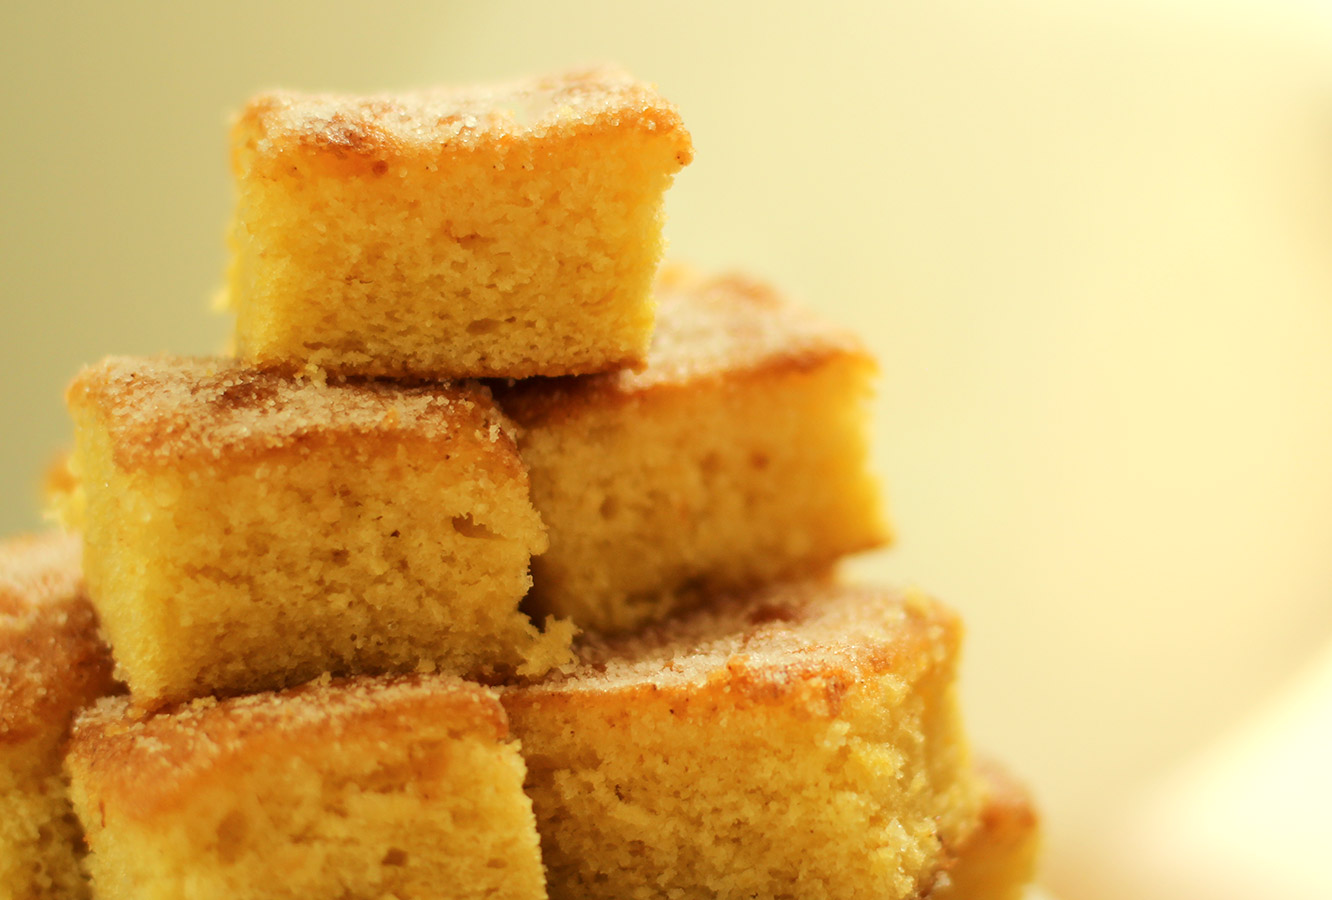
Allow to cool and cut into squares.

Choco-mania

It has been too long without a post featuring chocolate, hasn’t it? That question was rhetorical.

In case you hadn’t noticed from perusing this blog, I’m a pretty big fan of the stuff. If you bake these then you will be too, or a bigger fan at the end of it. They are gooey, rich and wonderful even if I do say so myself.

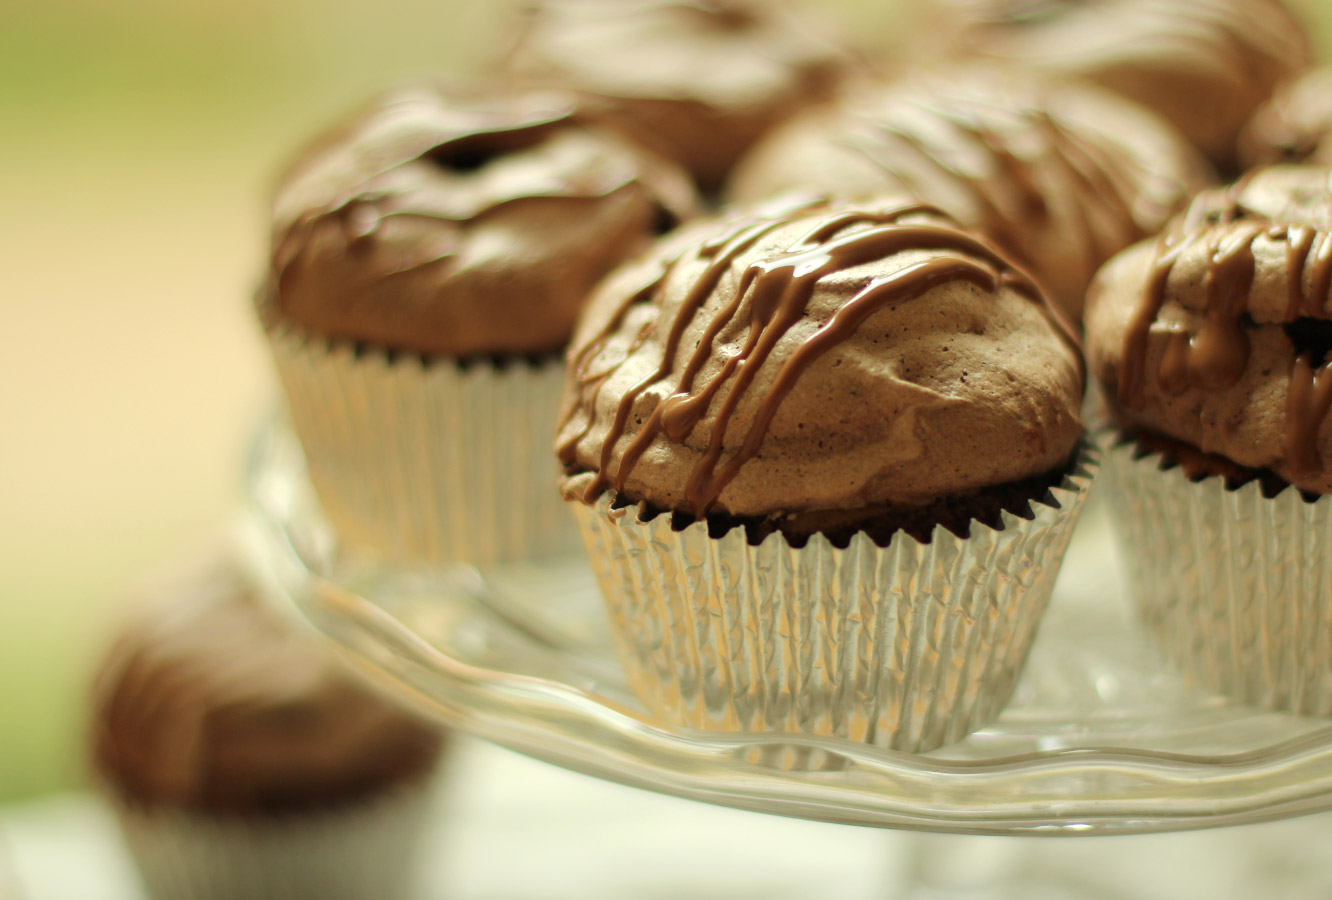
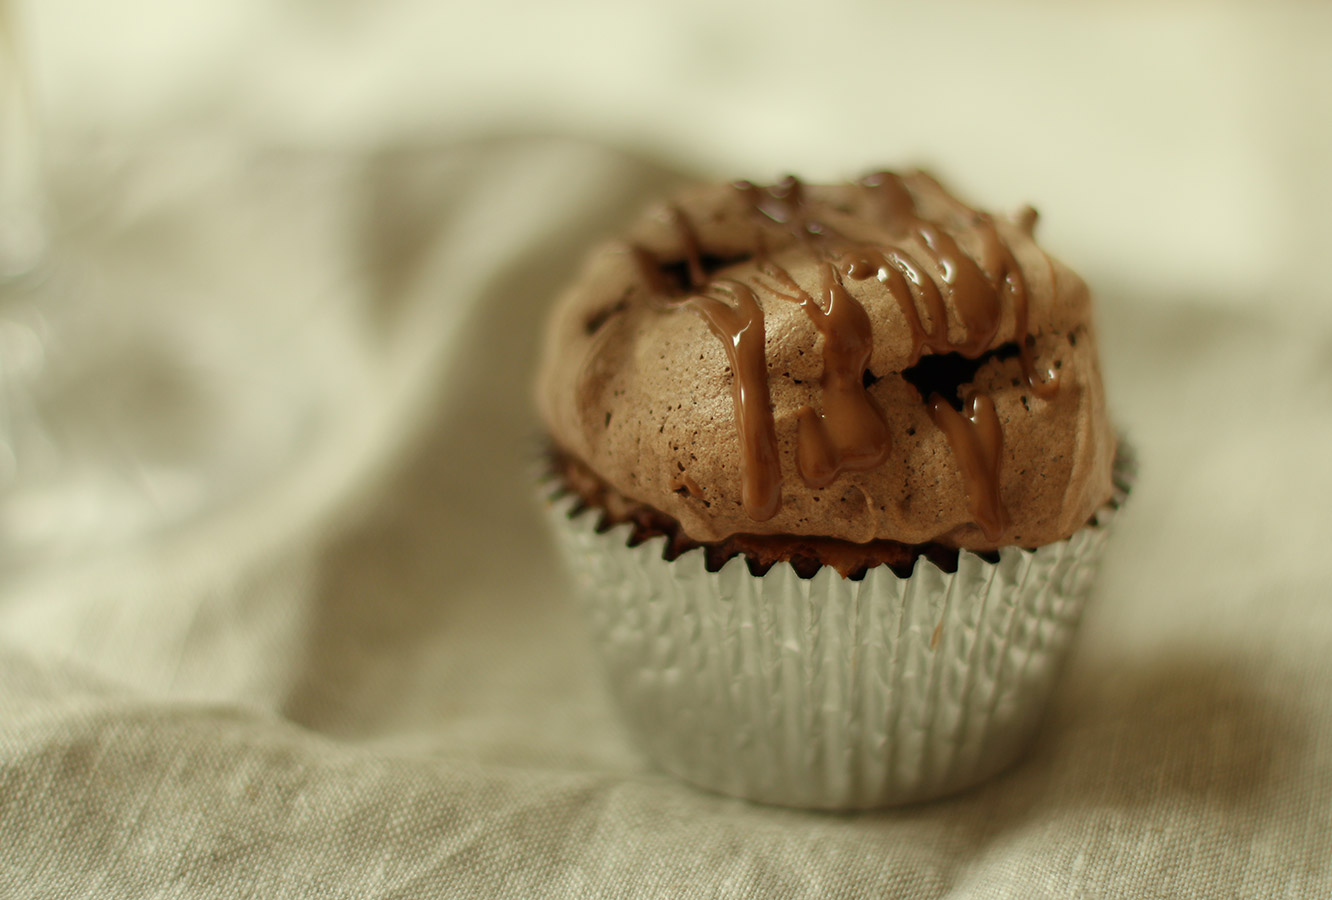
Welcome, friend, to death by chocolate brownie meringue cupcakes.

chocolate-meringue-brownie-cupcake-recipe-1

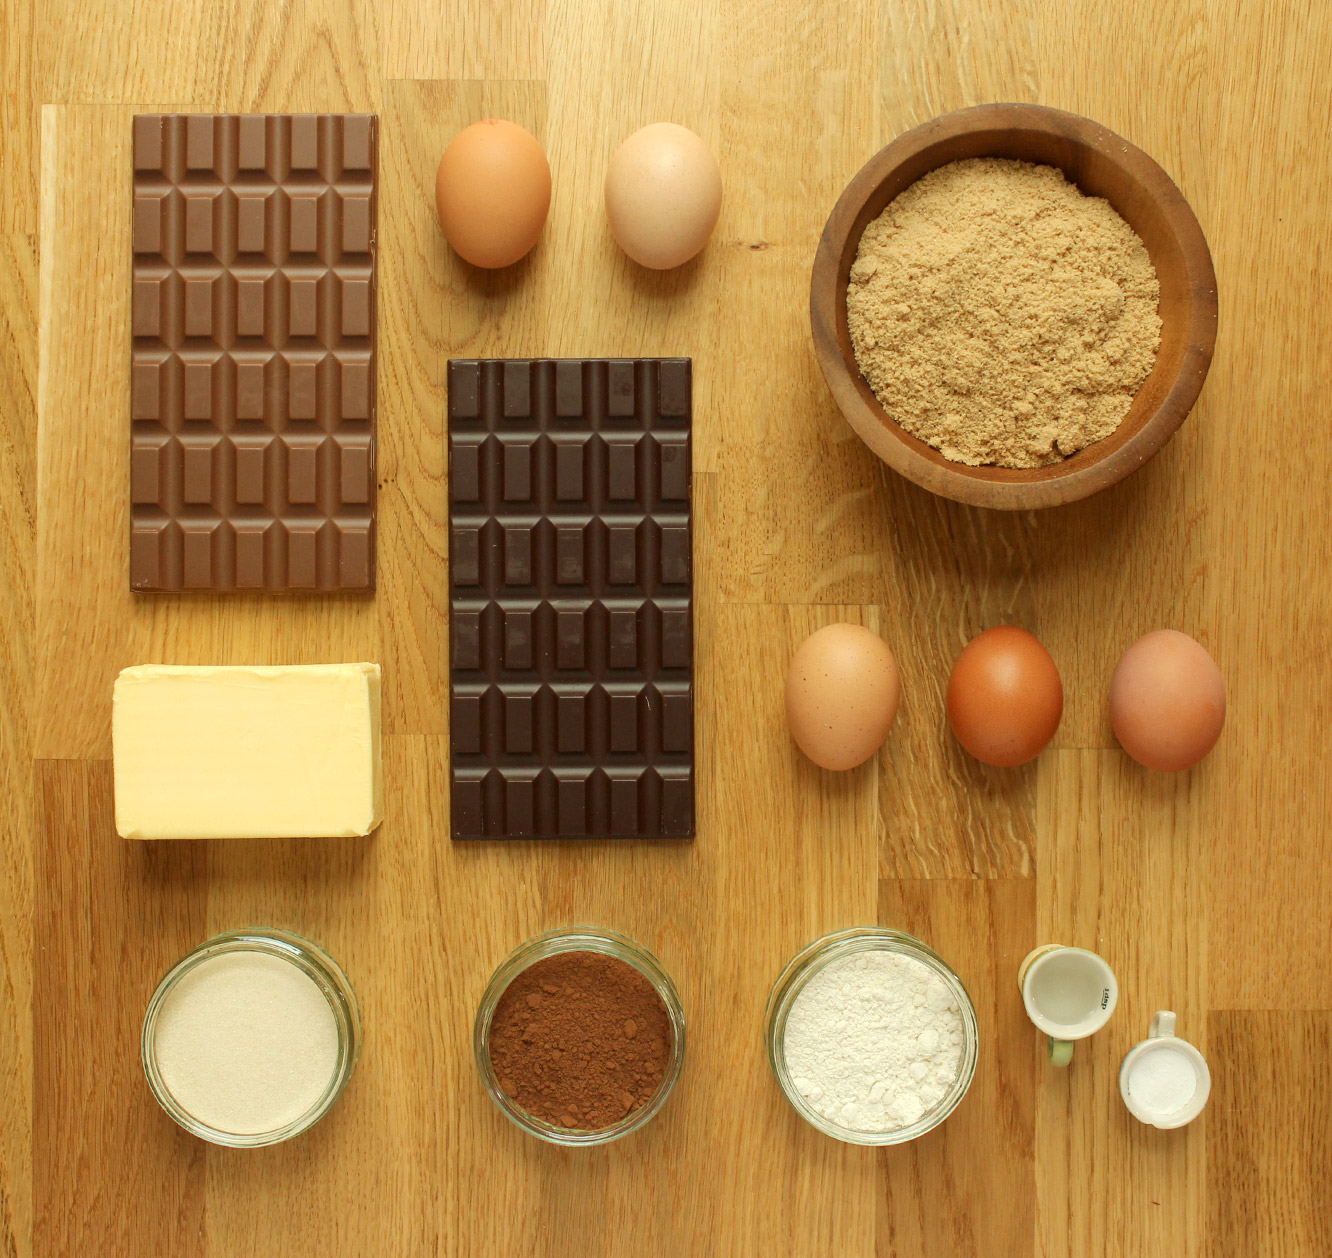
You will need

For the brownie:

250g/9 oz unsalted butter

250g/9 oz soft brown sugar (either light or dark is fine)

200g/7 oz dark chocolate

150g/5.5 oz milk chocolate

85g/3 oz plain flour

3 eggs

1 tsp baking powder

For the meringue

300g/10.5 oz golden caster sugar

100g/3.5 oz cocoa powder

6 egg whites

1-2 tsp cornflour

(makes 16-18)

chocolate-meringue-brownie-cupcake-recipe-2

Step one

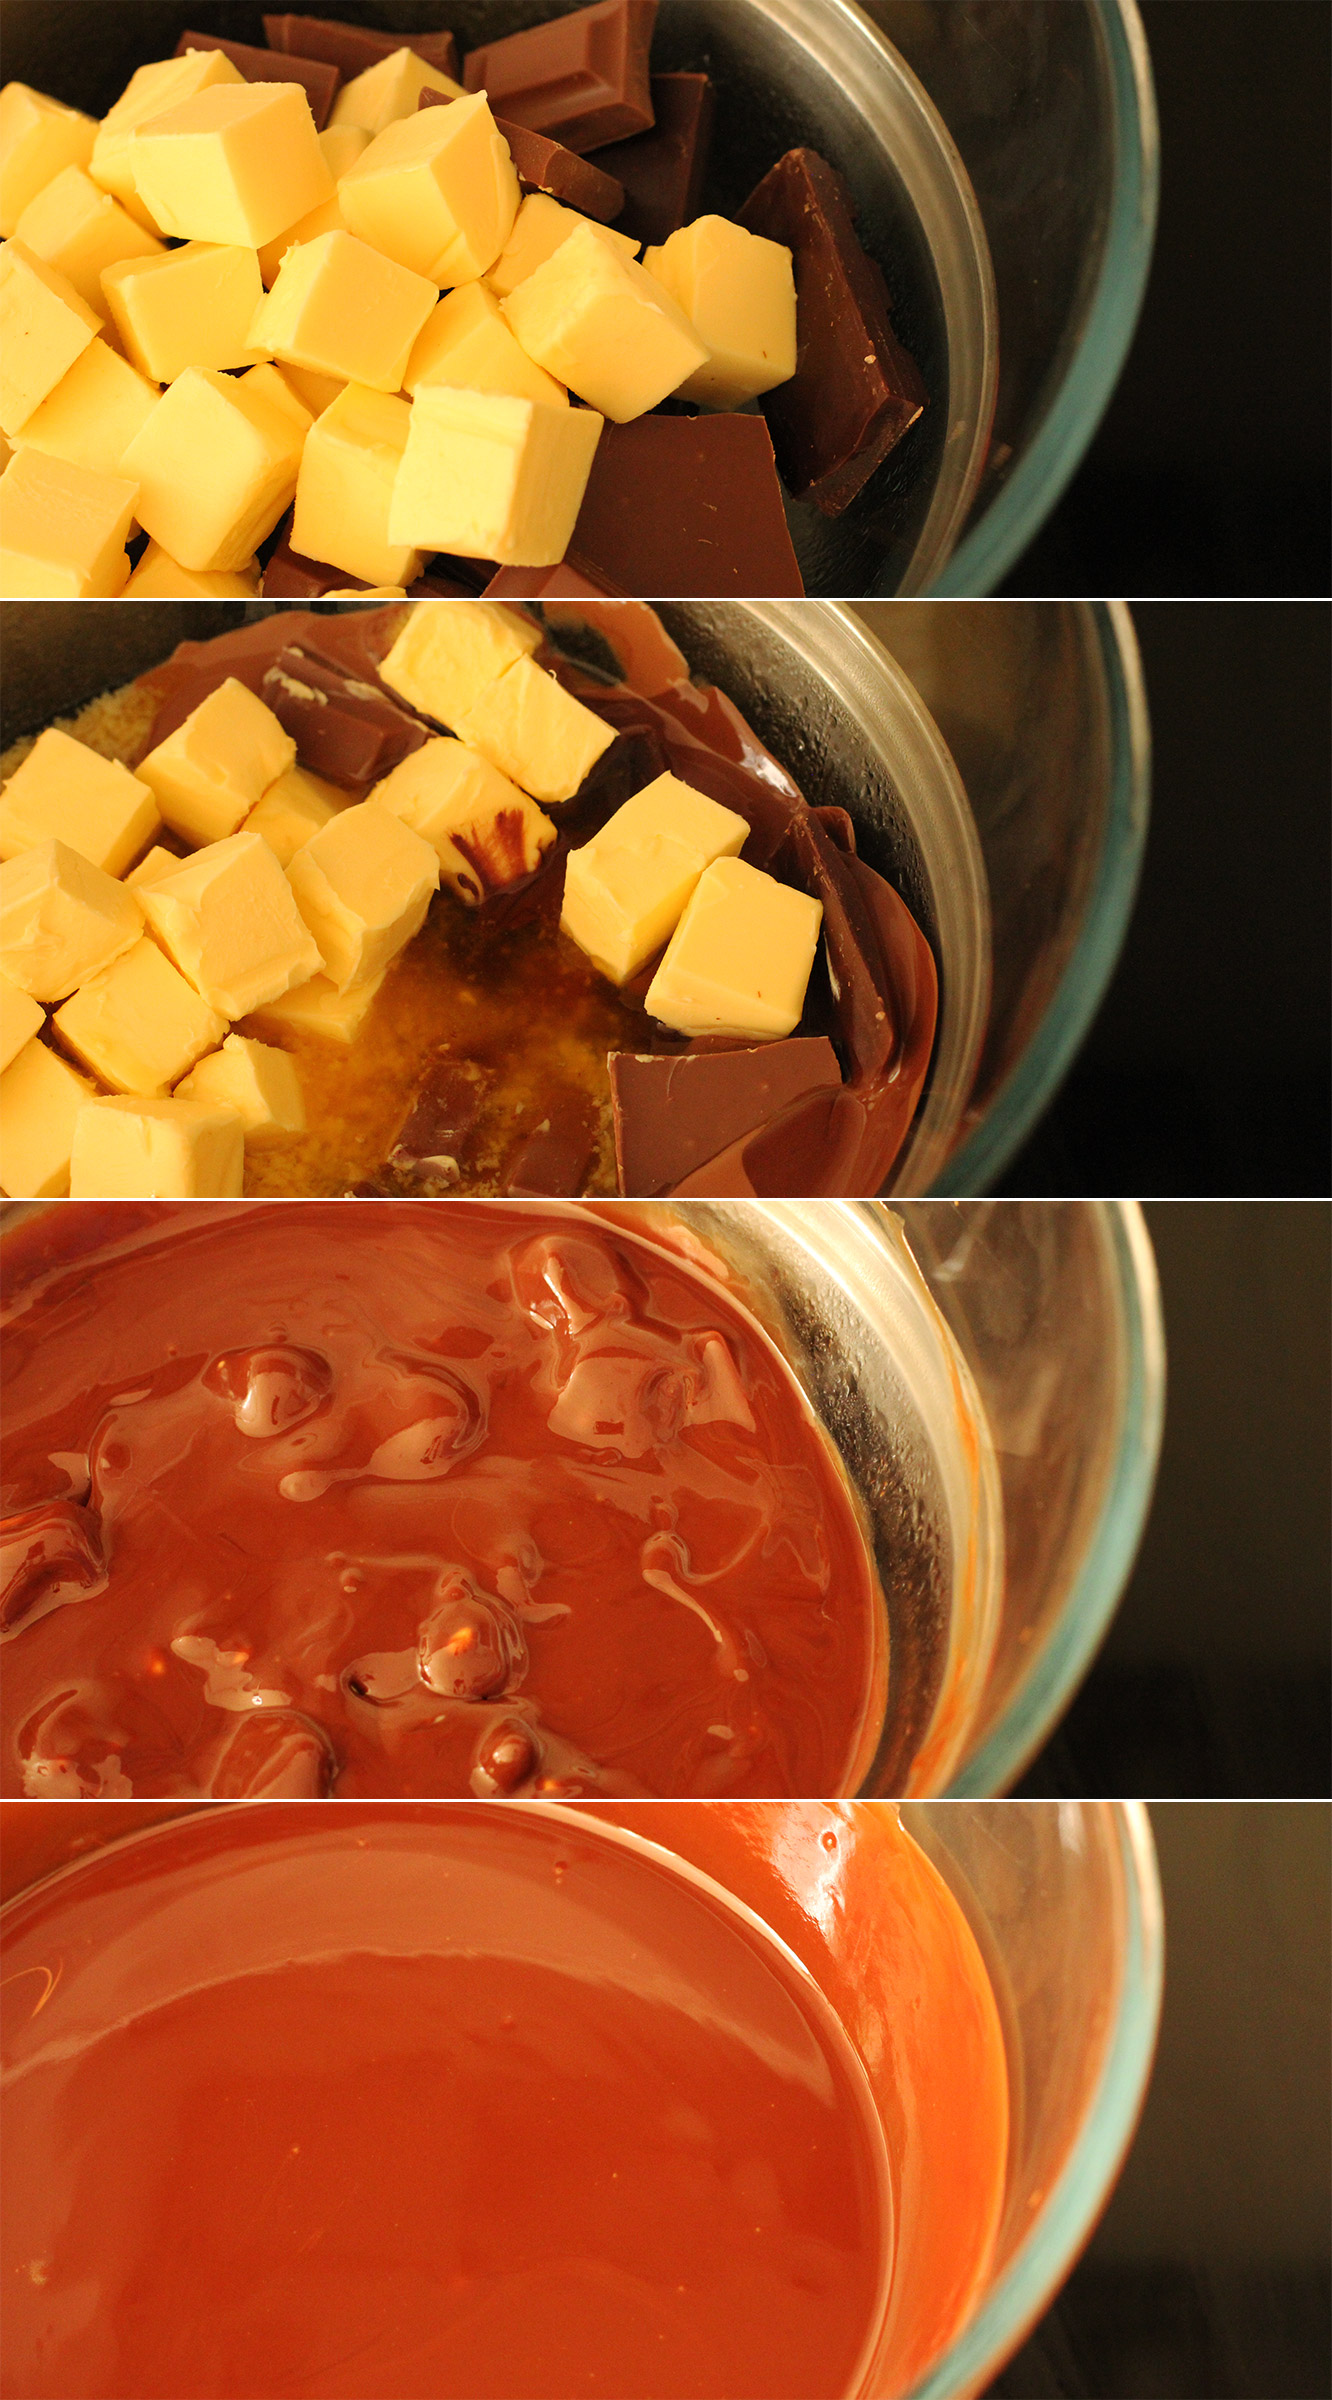
Place a heatproof bowl over a pan of simmering water and add the dark and milk chocolate along with the butter. Remove from the heat once fully melted.

chocolate-meringue-brownie-cupcake-recipe-3

Step two

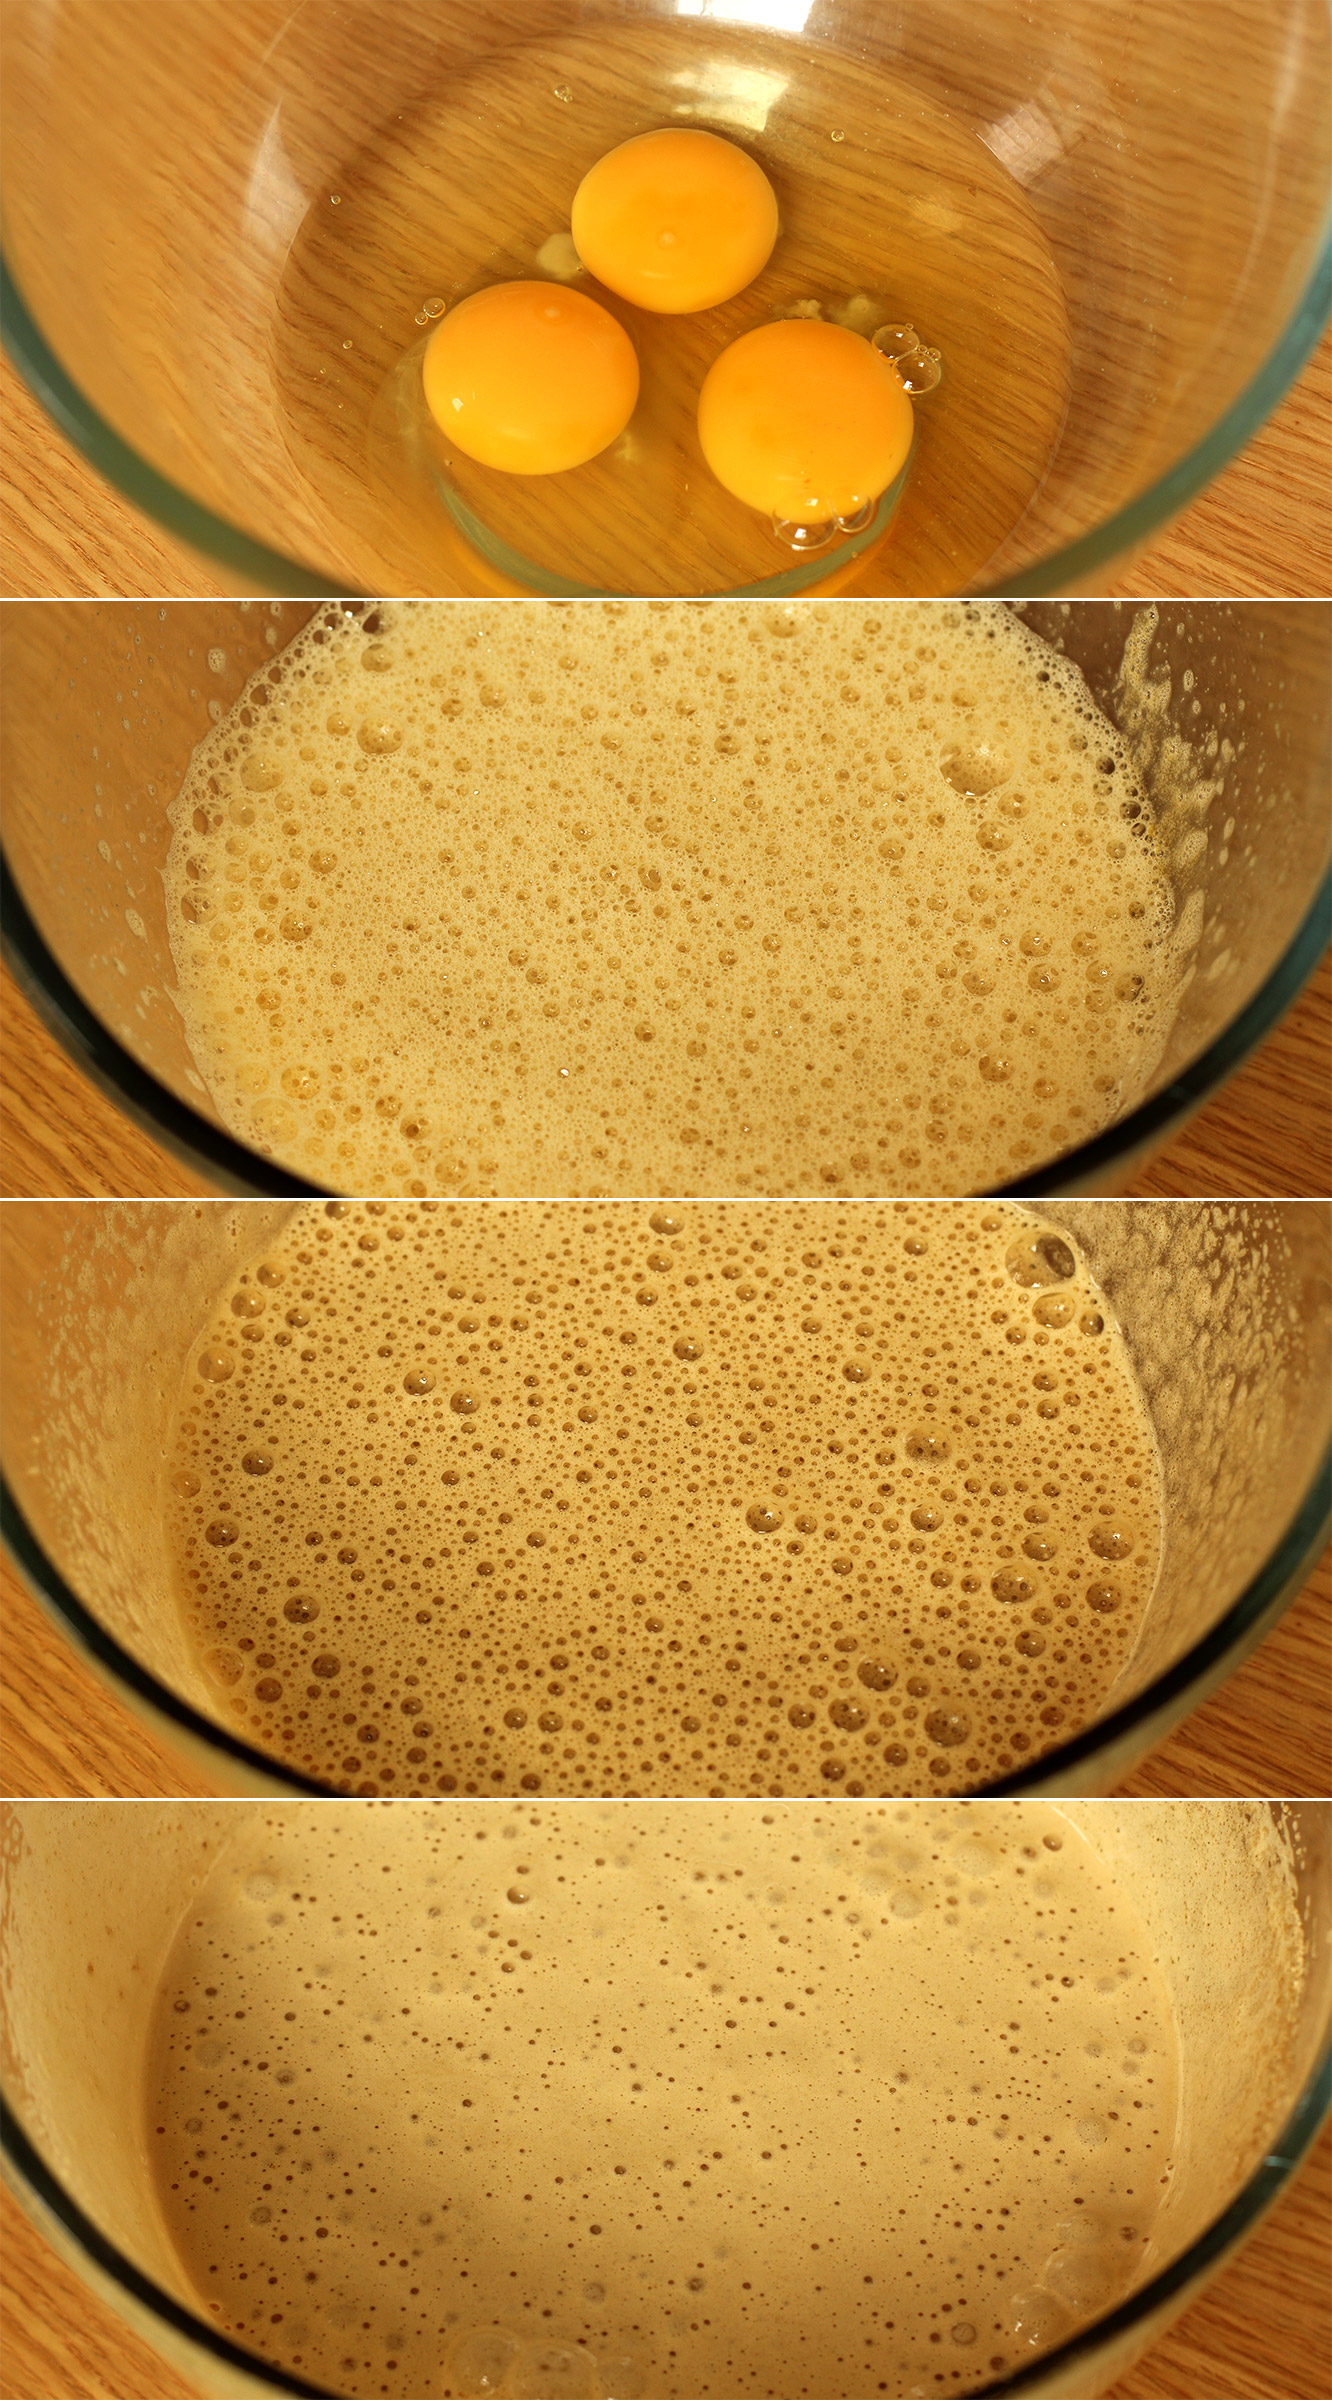
Whisk the eggs with an electric whisk, adding the sugar as you go in thirds. Keep whisking until the mix starts to thicken and goes glossy. Thin ribbons of the mixture should remain visible on the surface when you remove the beaters.

chocolate-meringue-brownie-cupcake-recipe-4

Step three

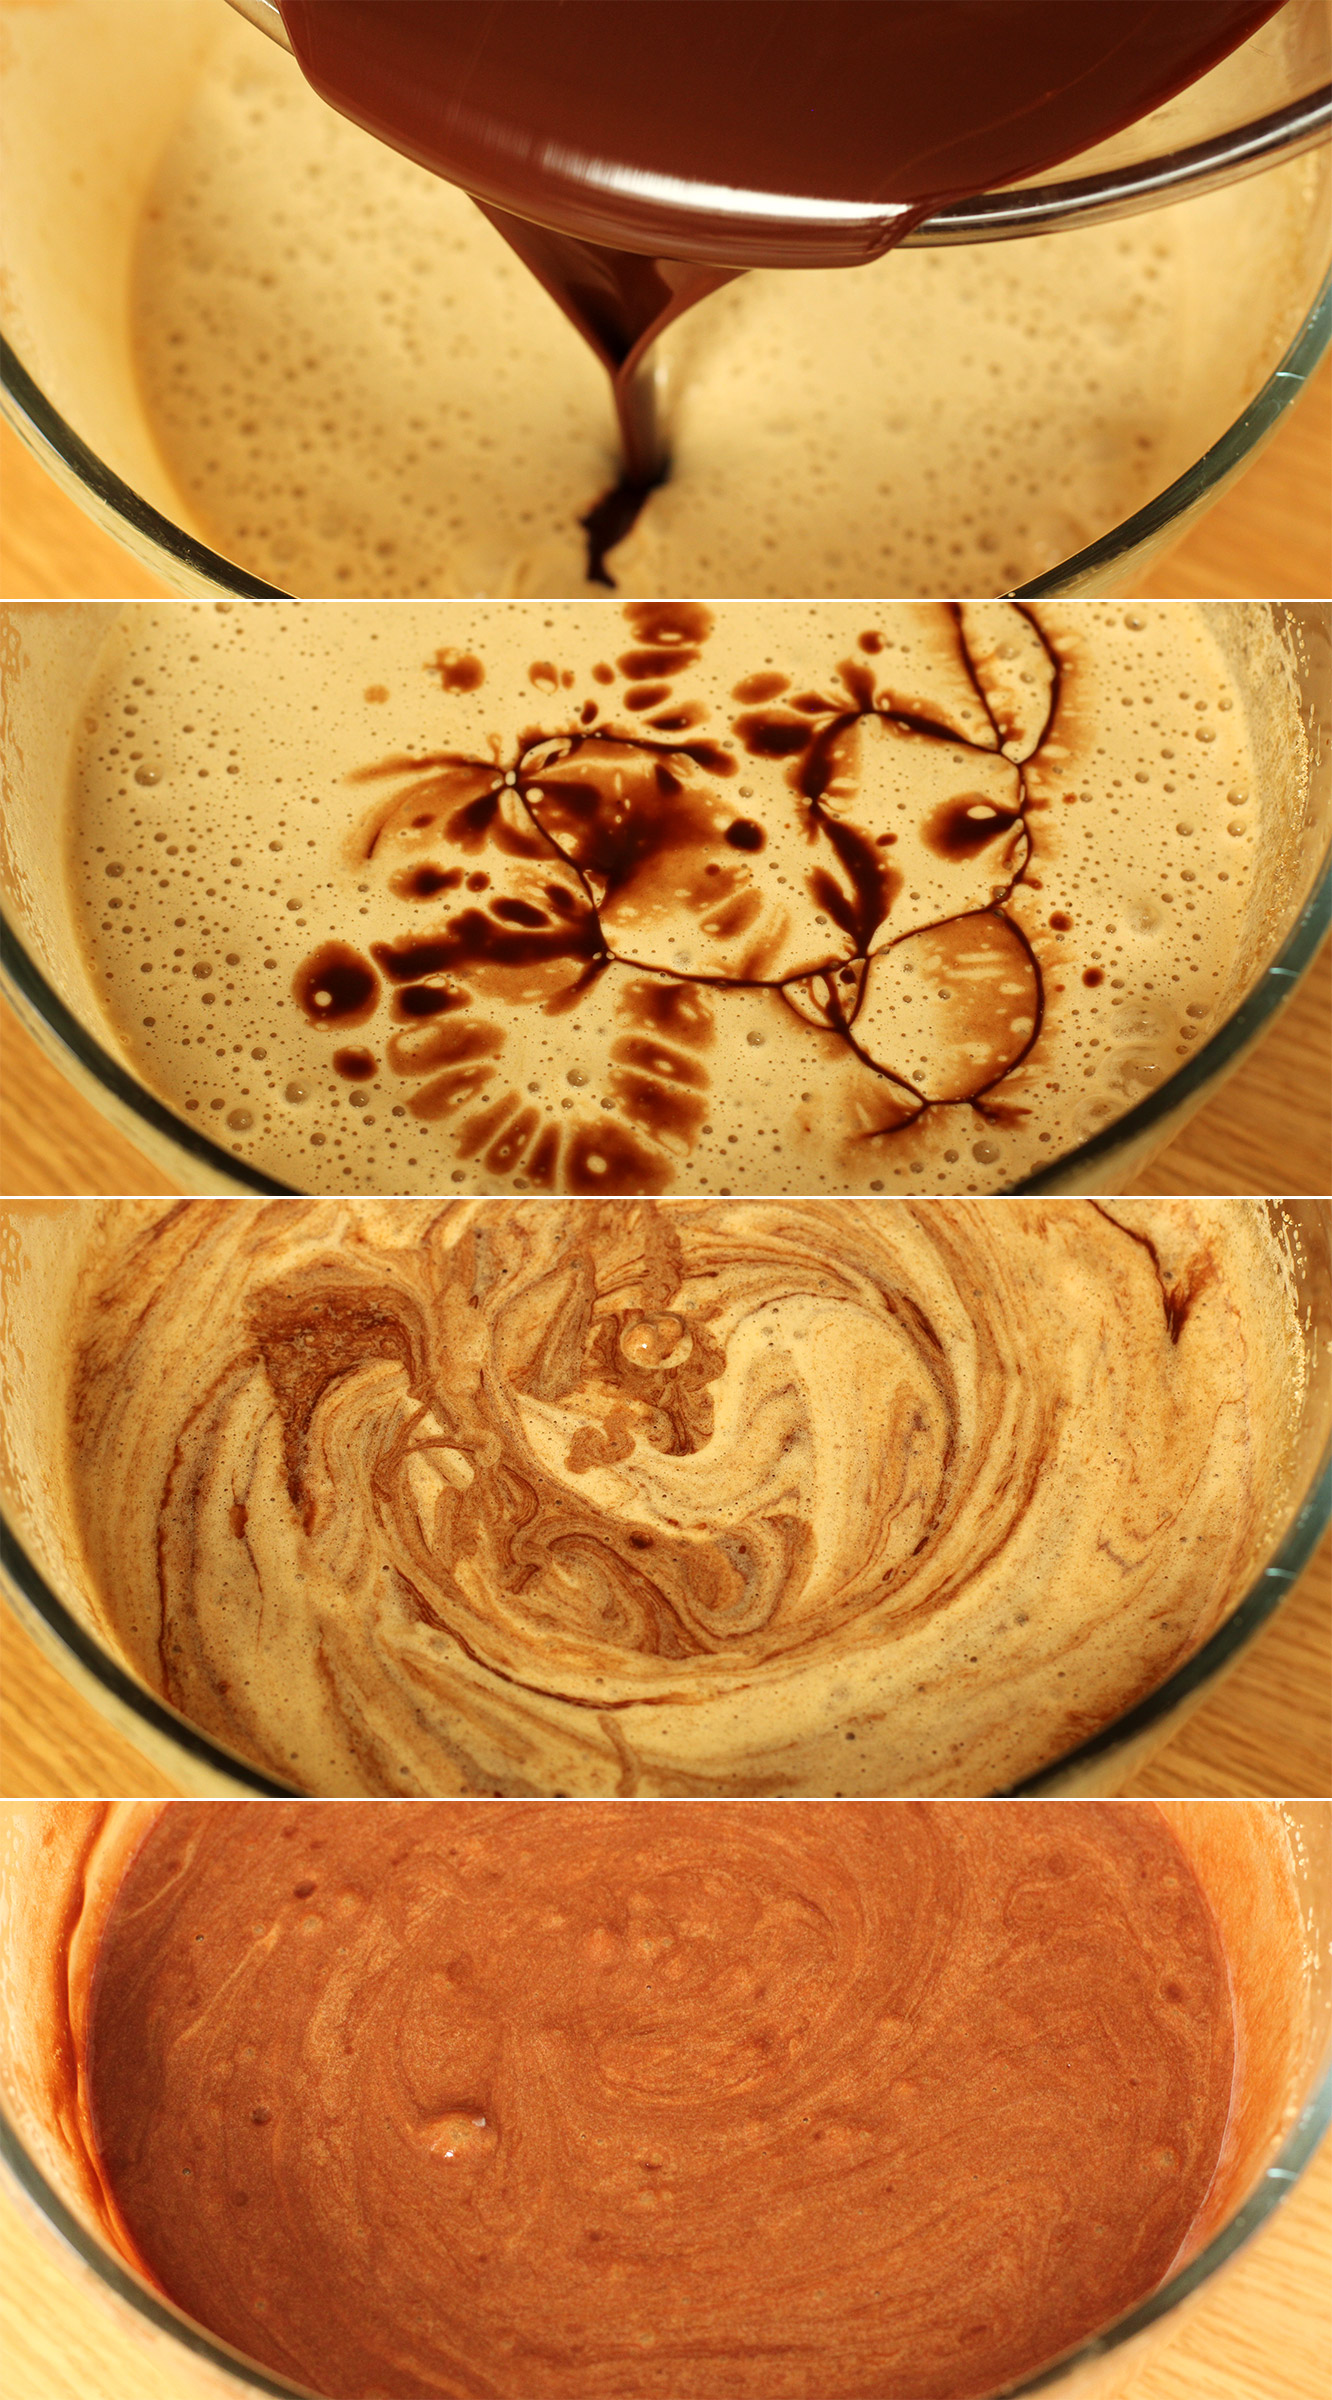
Pour the melted chocolate mixture into the eggs and stir gently with a metal spoon or a spatula until well combined.

chocolate-meringue-brownie-cupcake-recipe-5

Step three and a half

A careful reader spotted I missed out this step, thanks Gill!

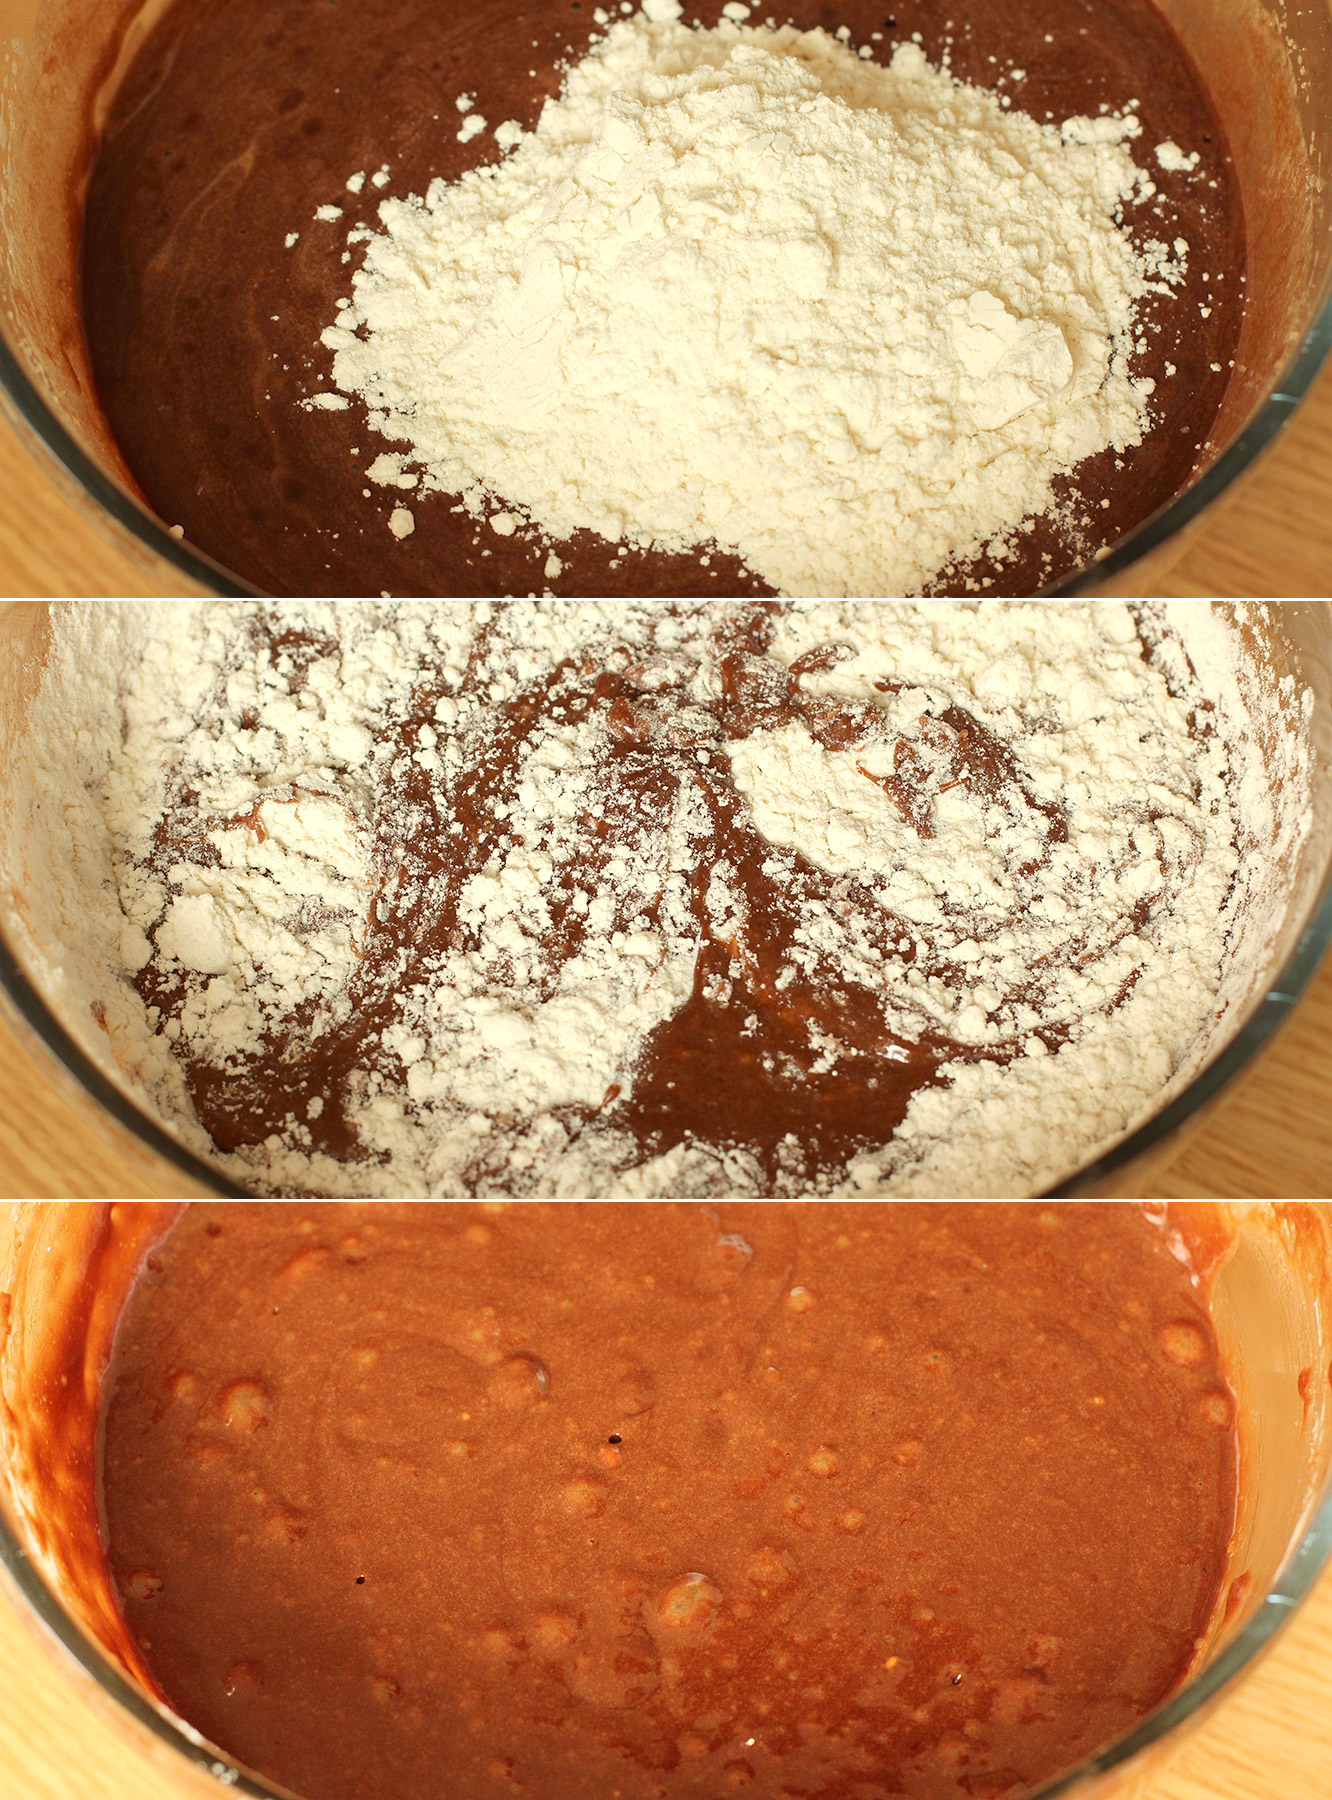
Gently fold in the flour and baking powder.

chocolate-meringue-brownie-cupcake-recipe-6

Step four

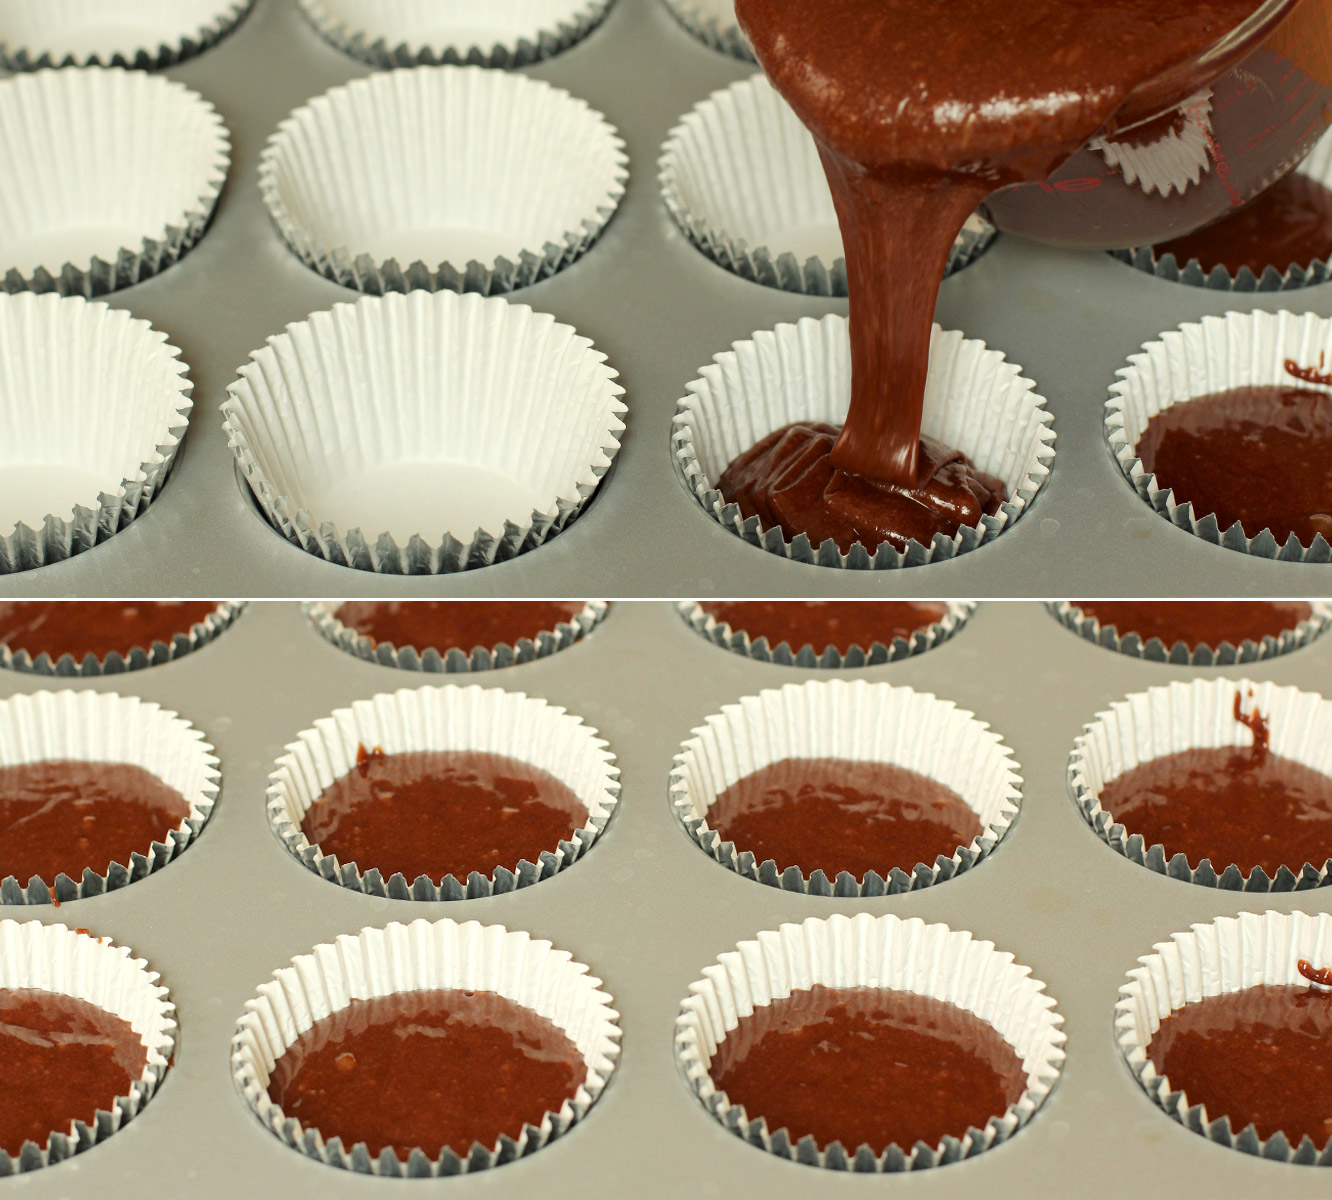
Using a jug, fill the cupcake cases between two-thirds and three quarters full.

Bake in a preheated oven on 180C/gas mark 4/350F for 25 minutes.

chocolate-meringue-brownie-cupcake-recipe-7

Step five

With about 5 minutes to go on the baking of the brownies, make the meringues.

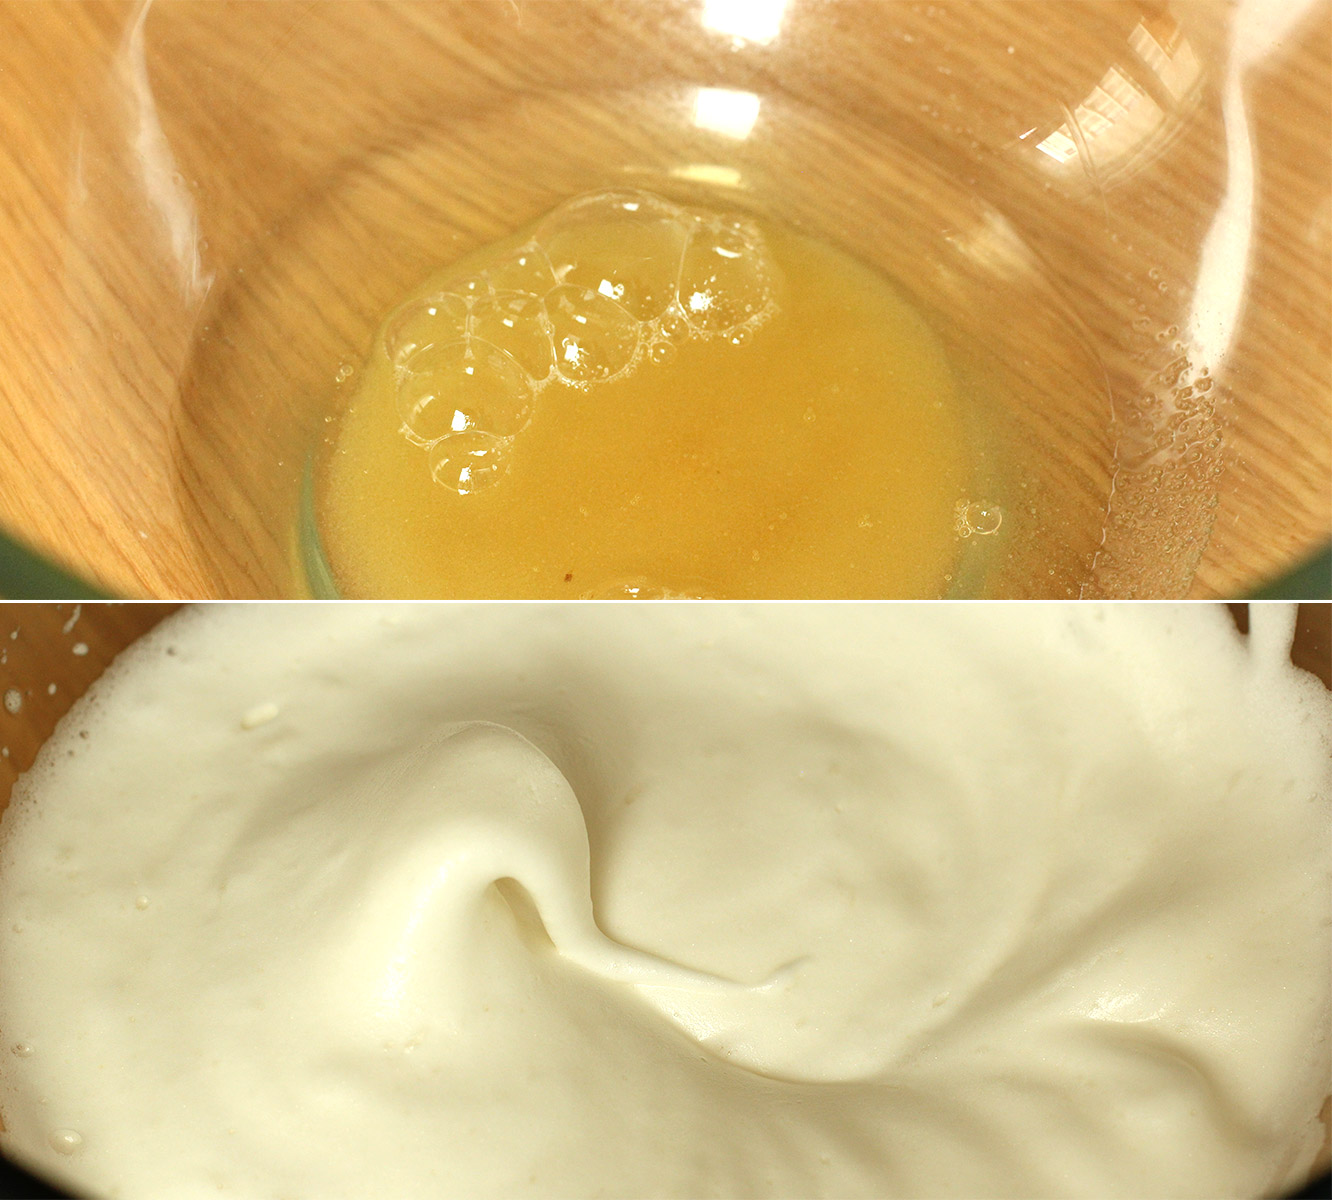
Add a third of the golden caster sugar to the egg whites and start to whisk them until they are stiff. Basically, when you can turn the bowl upside down without anything falling out you’re good to go.

chocolate-meringue-brownie-cupcake-recipe-8

Step six

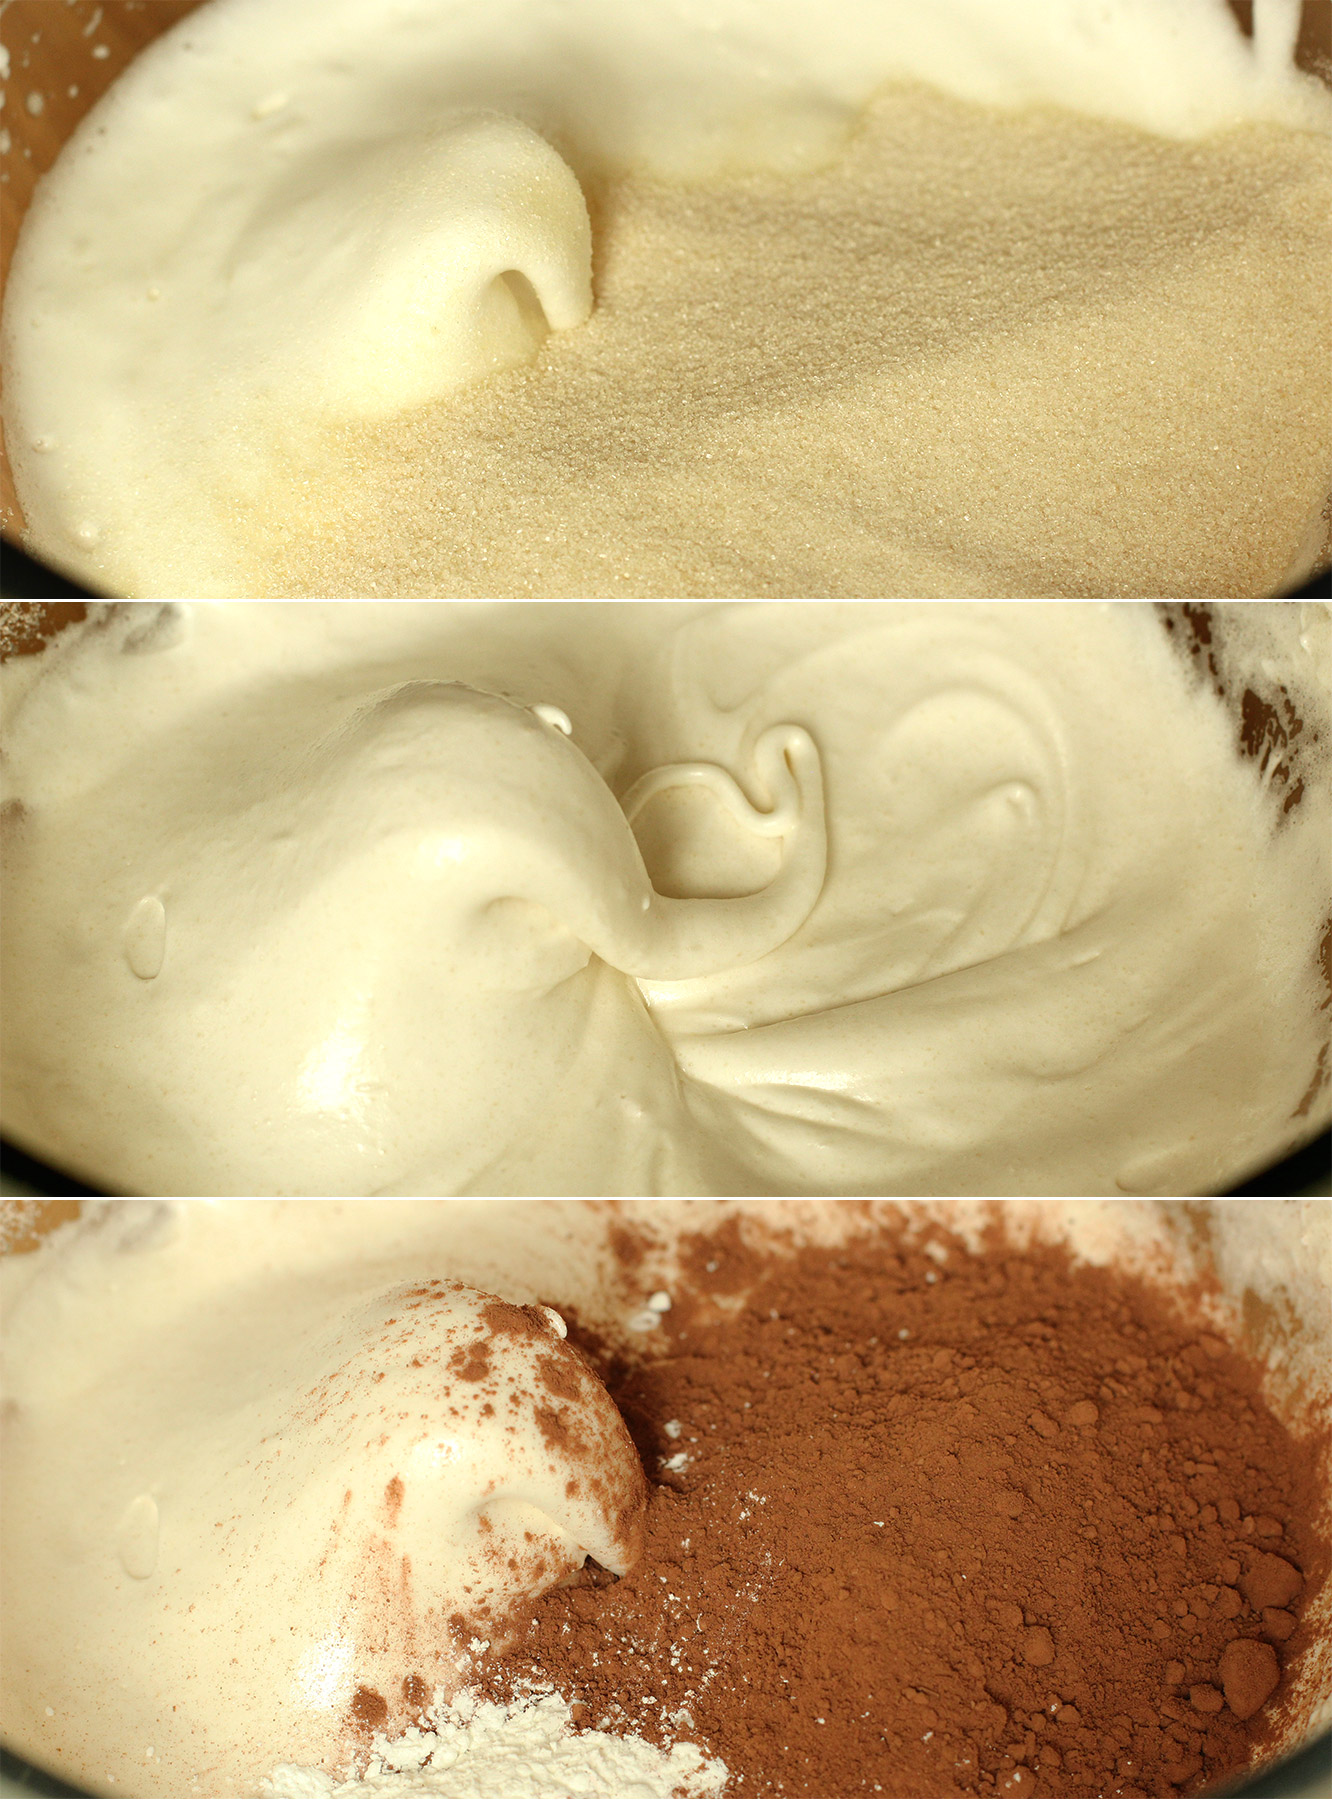
Beat in the rest of the sugar for another minute or two.

Step seven

Fold in the cocoa and cornflour. Do this as if you are stirring a bowl of kittens. Try not to hurt your meringue.

chocolate-meringue-brownie-cupcake-recipe-9

Step eight

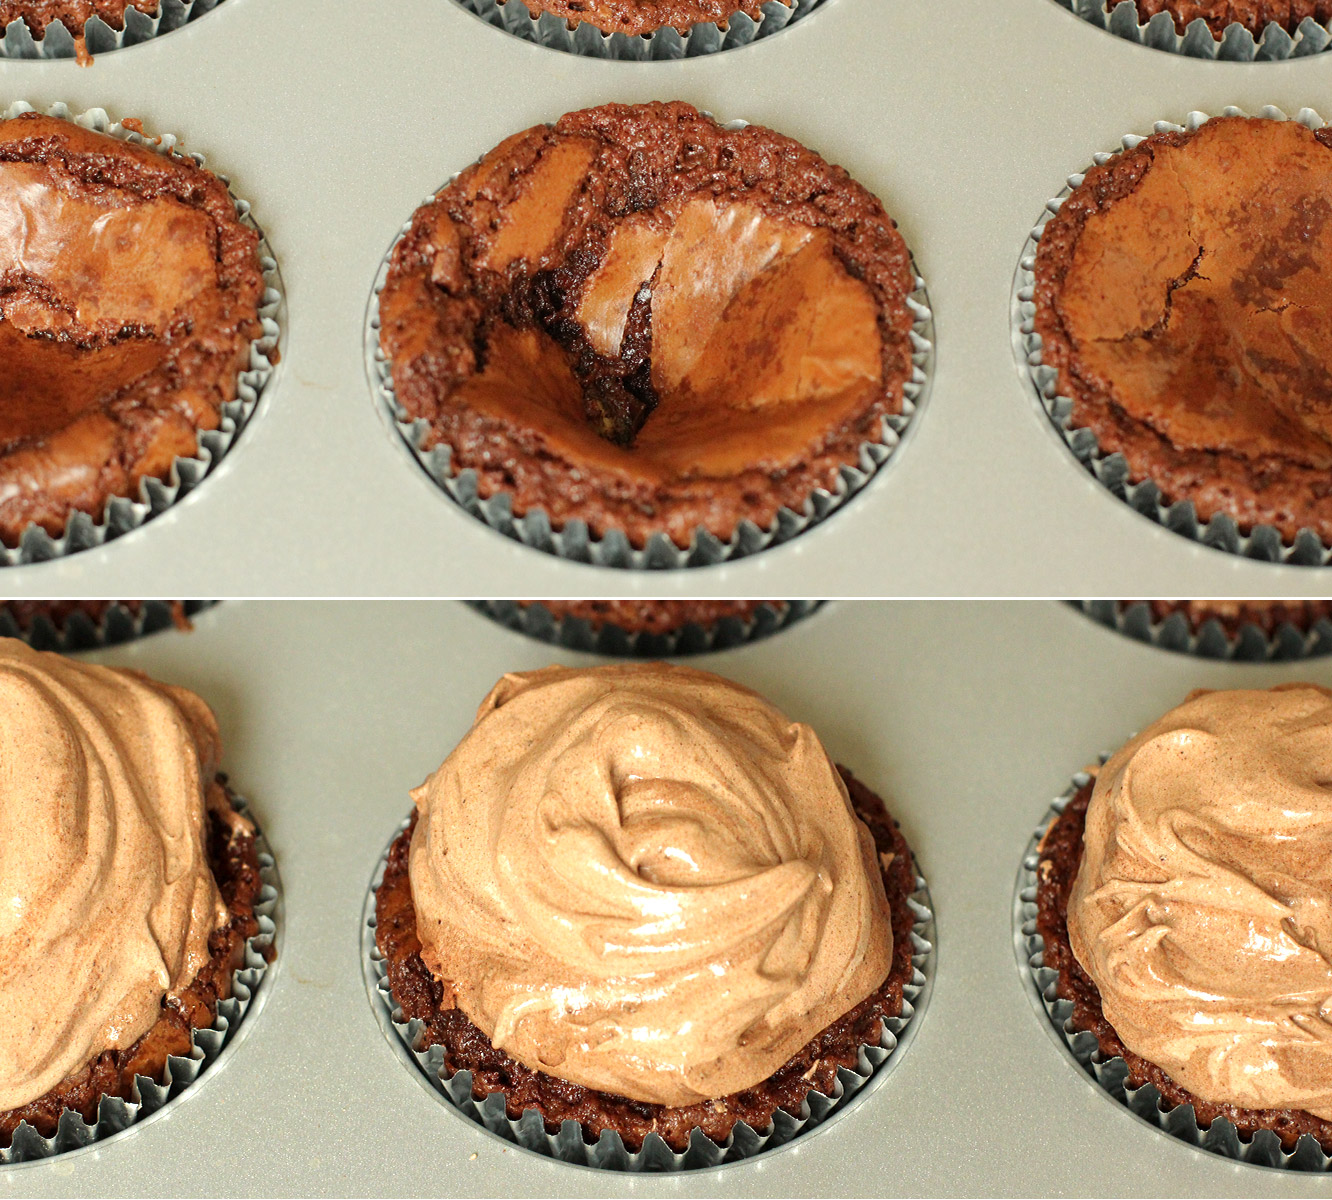
Remove the brownies from the oven. Don’t worry, they sink, one day I might bother to adjust the recipe accordingly to stop that happening but they are so tasty the way they are.

Scoop the meringue onto the cupcakes, you can pipe them if you’re feeling fancy/getting to the piping nozzles wouldn’t involve the contents of your cupboard falling on your head.

Step nine

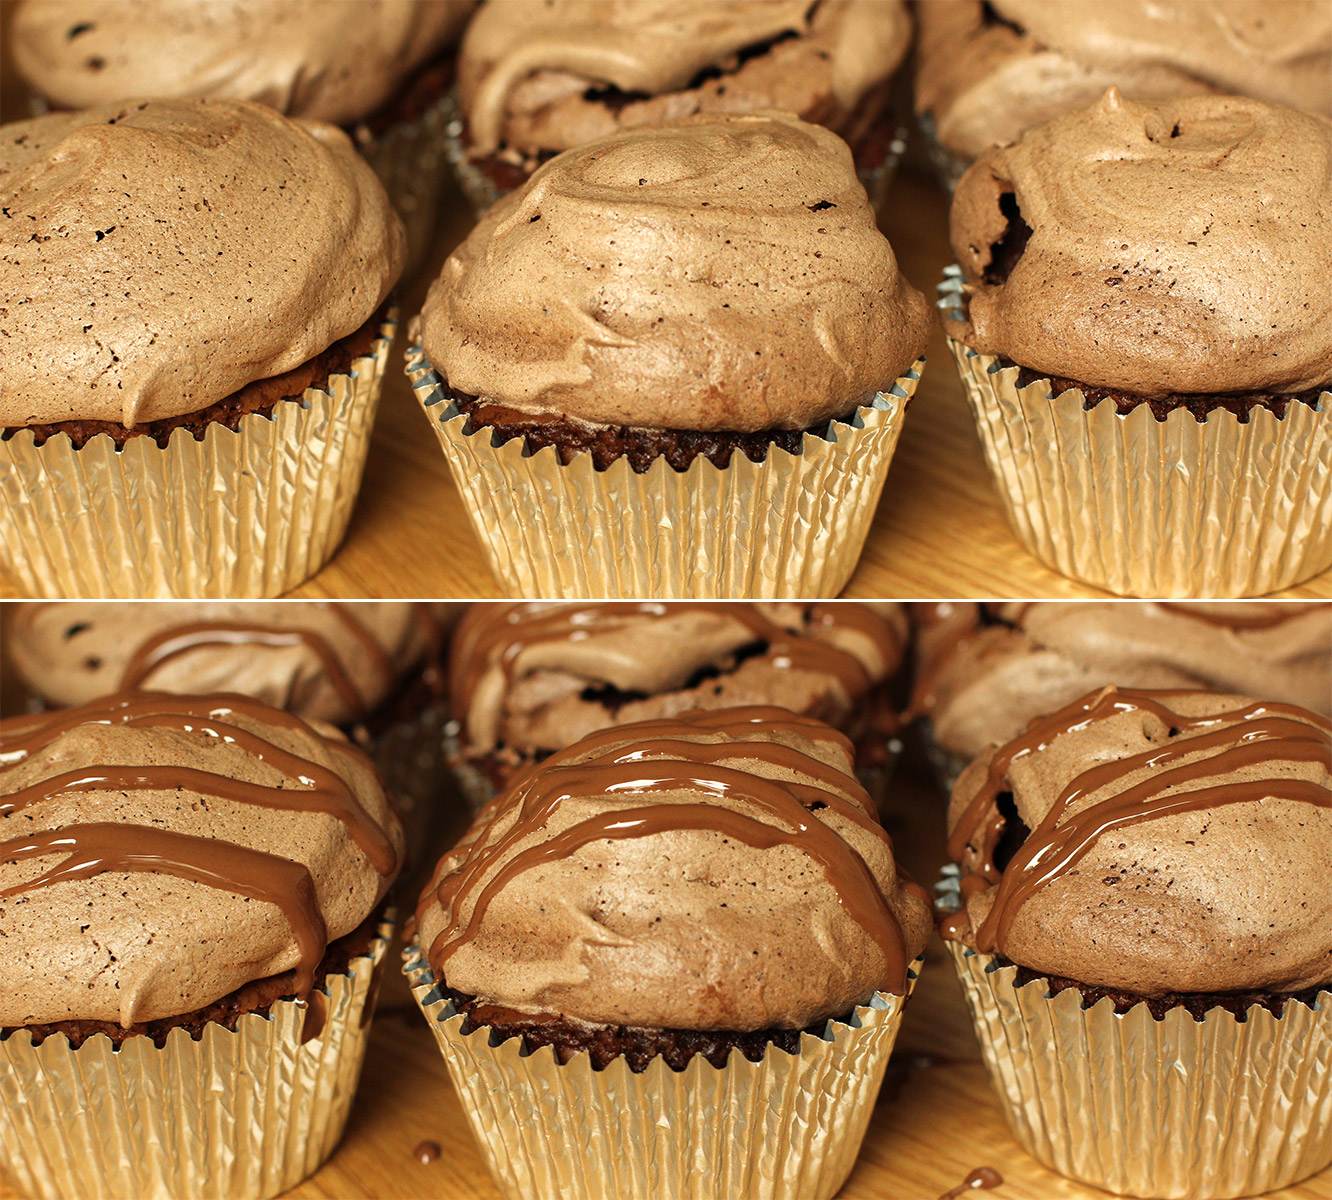
Return to the oven and turn it down to 140C/gas mark 1/275F. Bake for a further 30 minutes. Then turn the oven off but leave the door closed and allow to cool inside the oven for as long as you can resist them.

chocolate-meringue-brownie-cupcake-recipe-10

Step ten

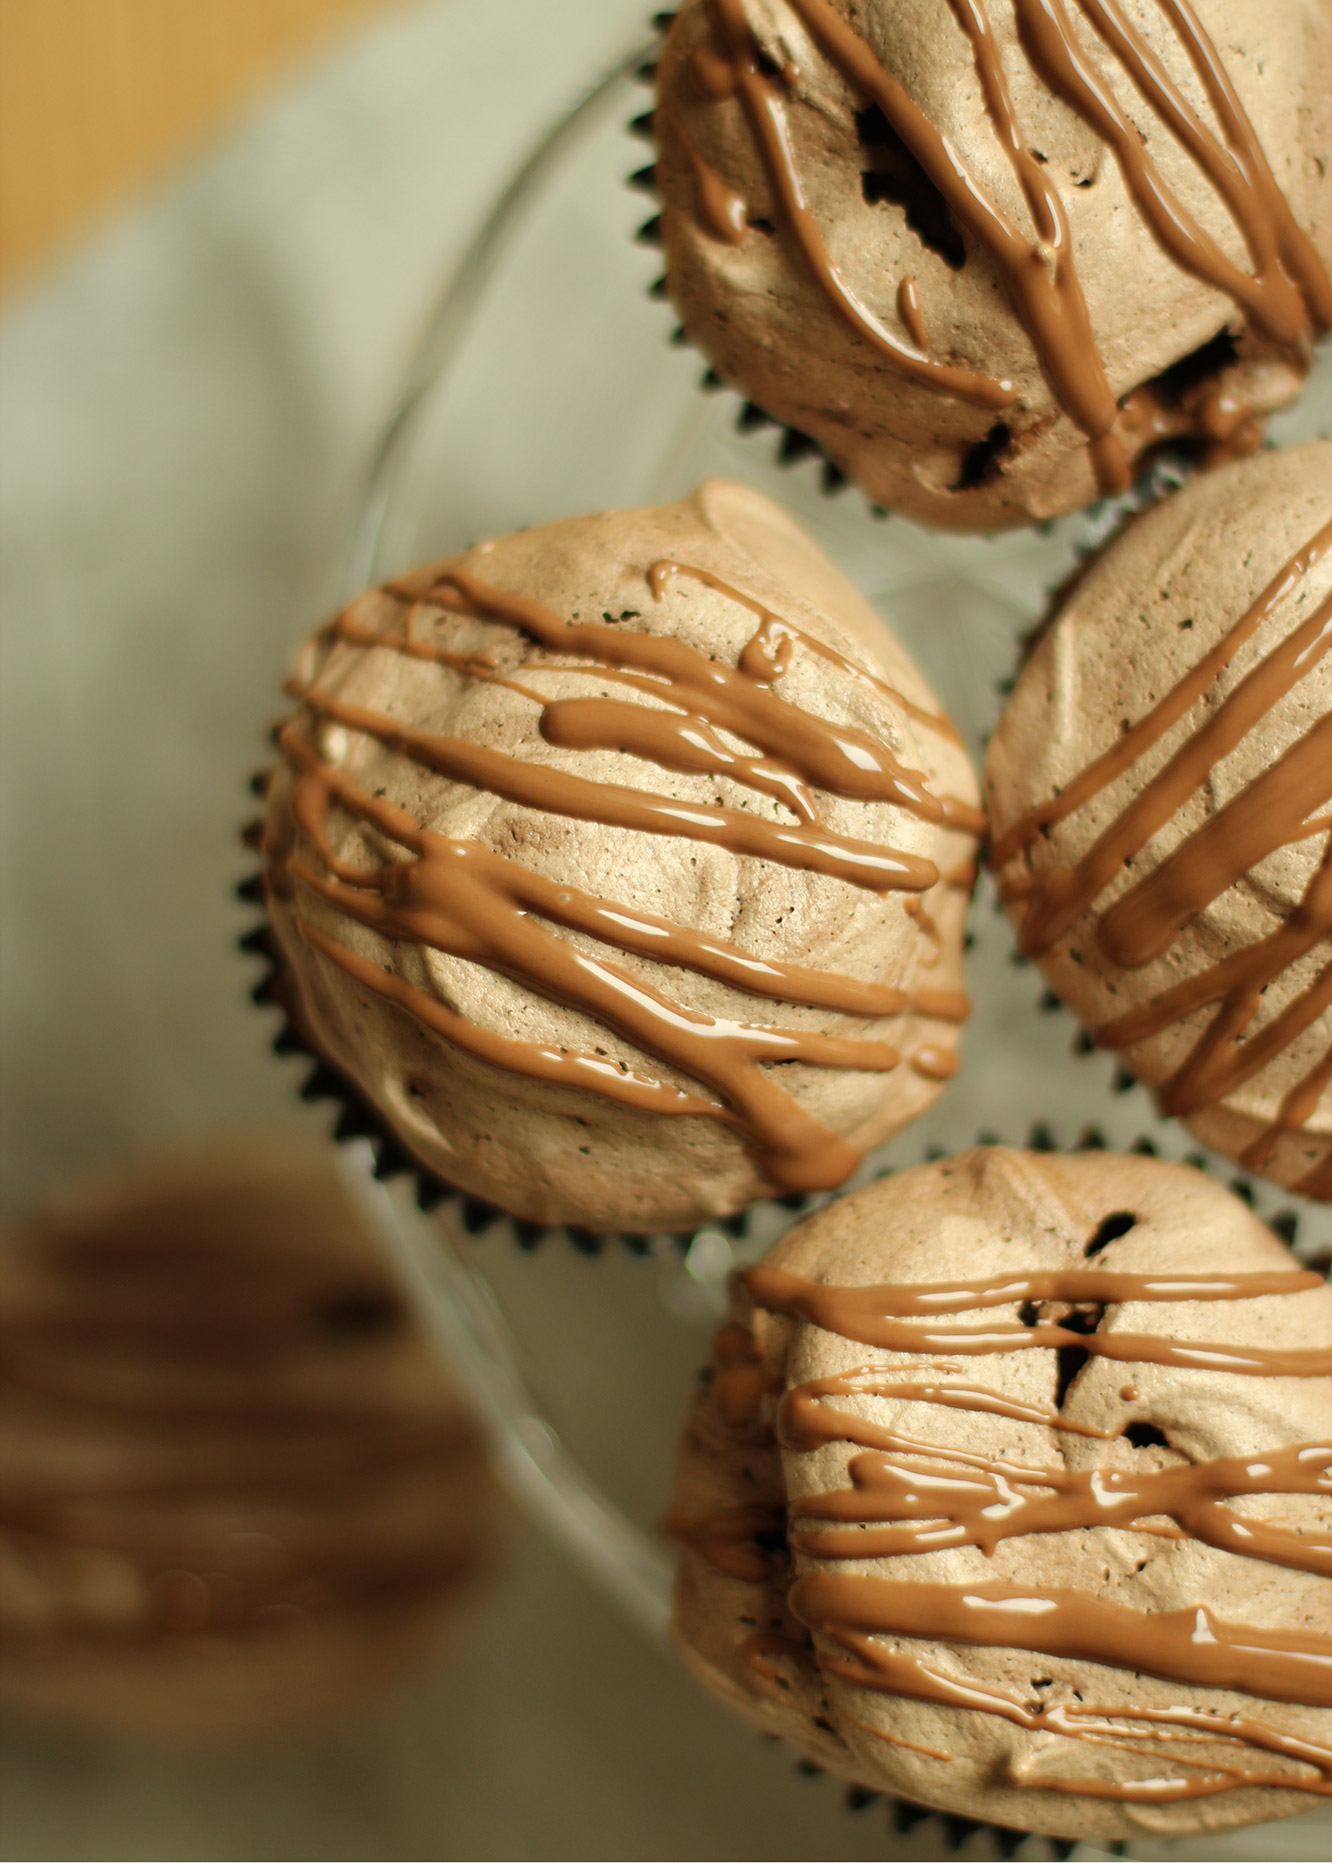
You probably bought your chocolate in 200g bars, meaning that if you haven’t scoffed it already you will have 50g milk chocolate left over. Melt this down and drizzle on top.

If you’ve eaten it already, there’s no shame in that, and your cakes will still be delicious.

chocolate-meringue-brownie-cupcake-recipe-gif

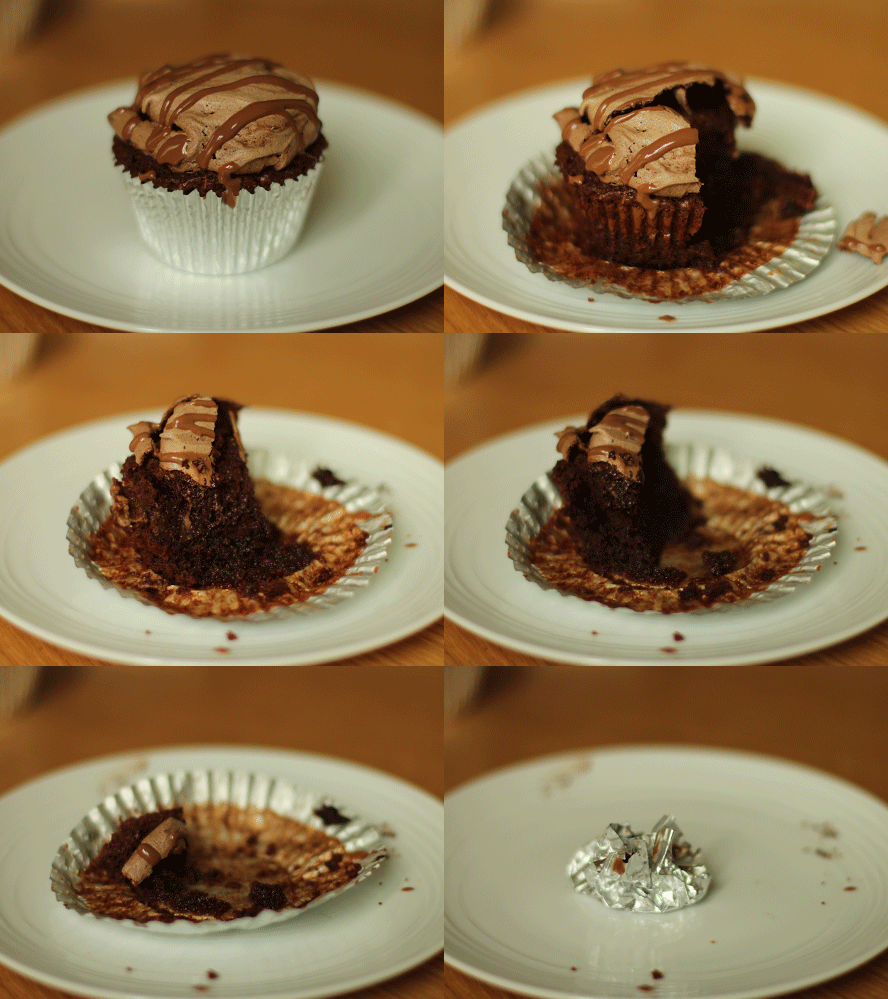
I thought the gif this week should benefit me. So for the sake of the blog I just HAD to eat one.

chocolate-meringue-brownie-cupcake-recipe-11

chocolate-meringue-brownie-cupcake-recipe-13

chocolate-meringue-brownie-cupcake-recipe-12

See you next week pals.

Crisp autumn pie

I realise it’s been a while since I did something quite fancy, and while people seem to prefer to make the easy ones, there’s definitely some love for the posts with lots of steps too.

With the return of my favourite season (I’m really fair-skinned, so shoot me if I don’t adore summer like the rest of you) and a little dinner party this weekend, I figured the only way to round off my housemate’s uh-mazing main course was with a little homage to the apple.

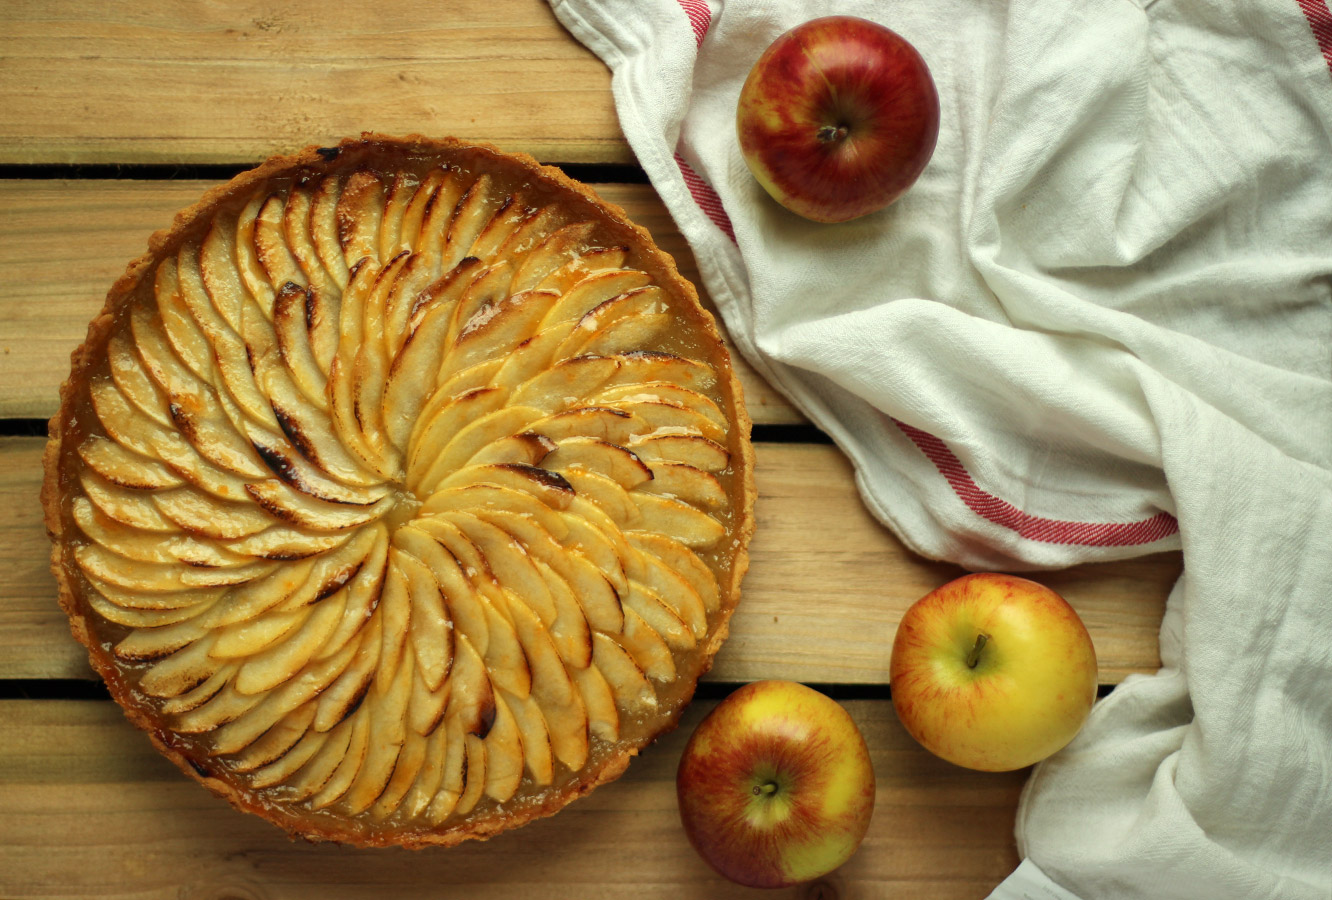
Without further ado here’s a recipe for a rather yummy apple and frangipane tart.

apple-frangipane-almond-tart-pie-1

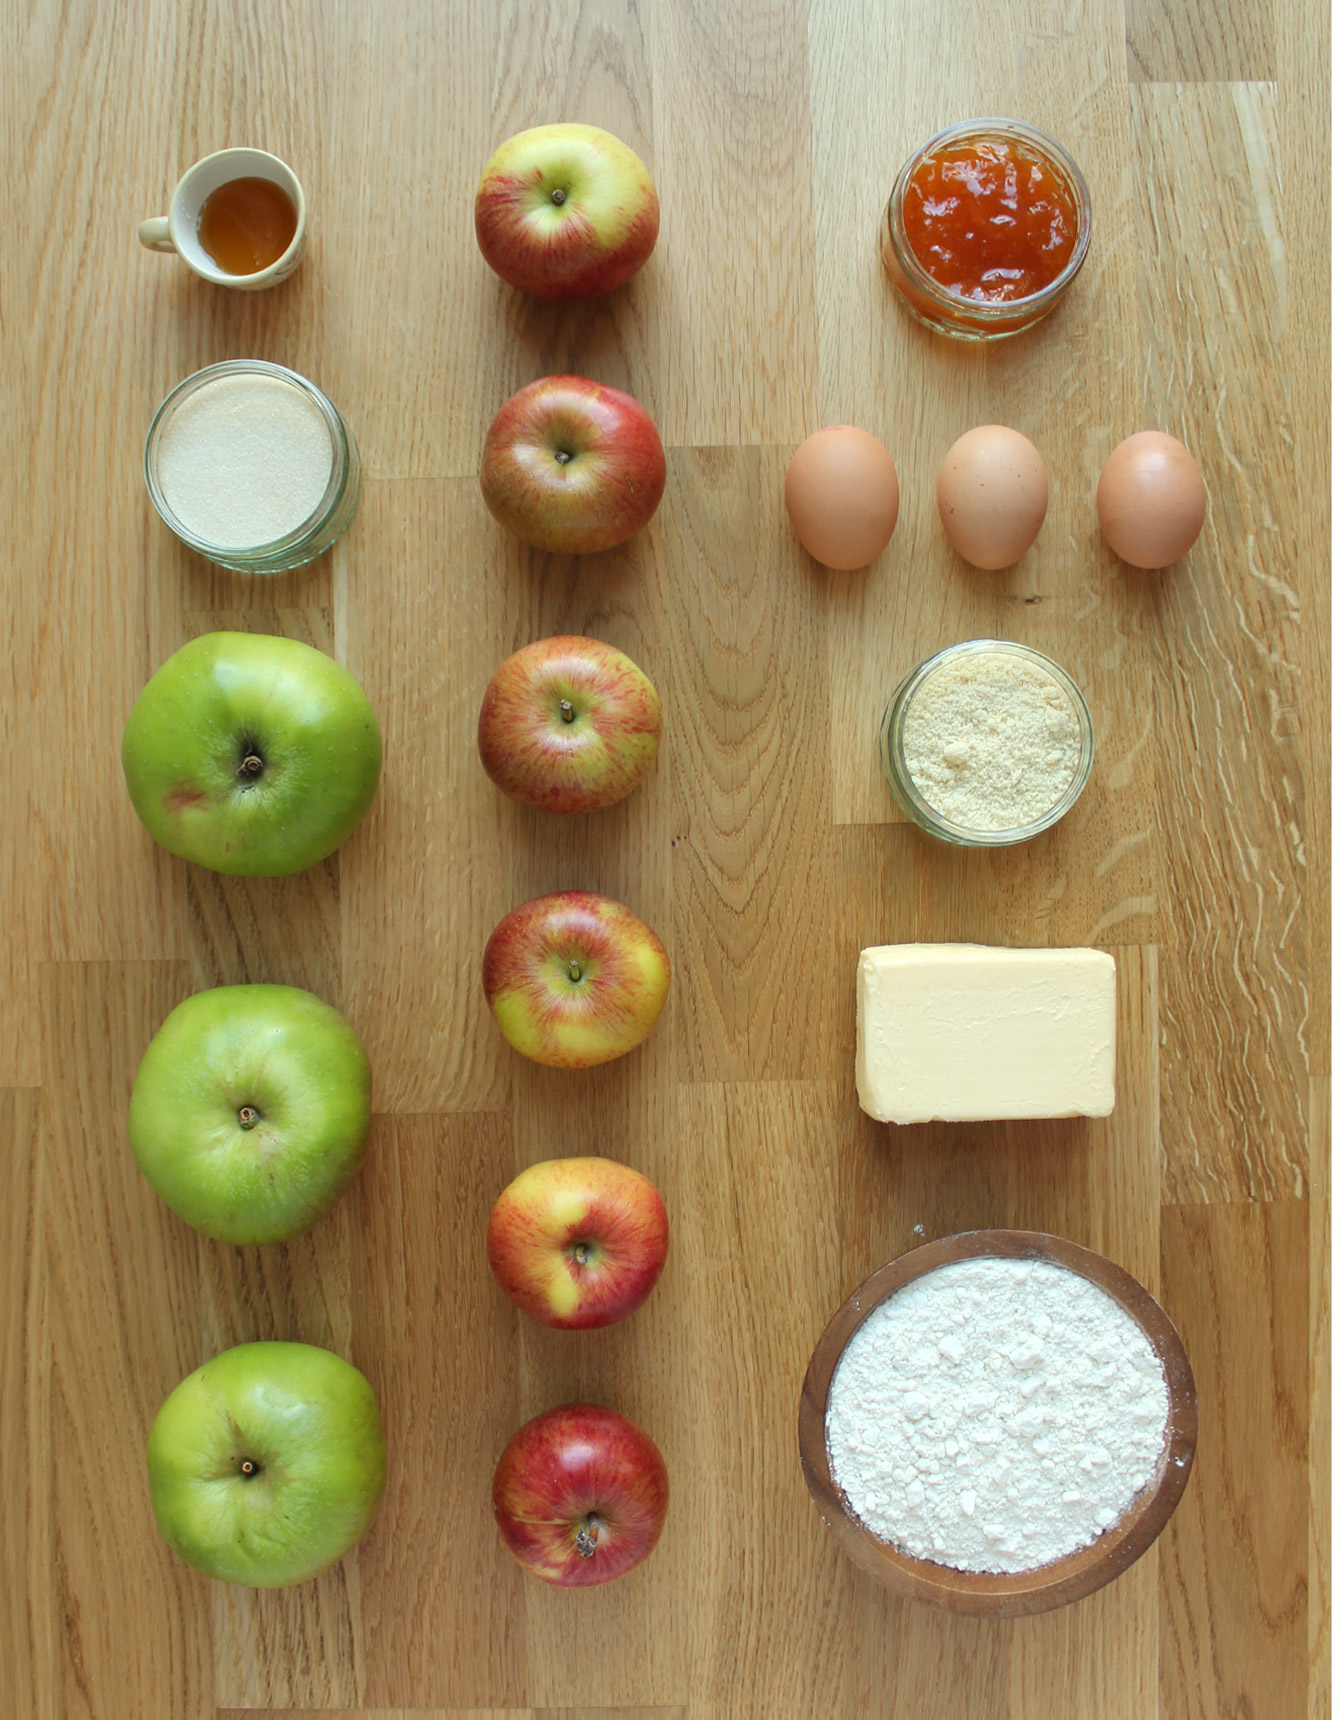
You will need

For the pastry:

300g/10.5 oz plain flour

170g/6 oz unsalted butter

30g/1 oz golden caster sugar

50ml/1.75 fl oz milk

1 egg yolk

A pinch of salt

For the frangipane:

70g/2.5 oz ground almonds

60g/2 oz unsalted butter

50g/1.75 oz golden caster sugar

40g/1.5 oz plain flour

1 egg

1-2 tsp almond extract (optional, but apple will likely overpower the almond a bit)

For the apple filling:

3 bramley cooking apples

100g/3.5 oz golden caster sugar

10g/0.5 oz unsalted butter

50ml/1.75 oz water

2-3 tbsp clear honey

For the topping:

4-5 braeburn apples (probably any eating apples would work)

2-3 tbsp apricot jam (for the glaze)

(My dish was 25cm and for quiches/pies, but there would be enough pastry and filling to do a slightly larger, shallower tart, perhaps up to 29cm or so).

apple-frangipane-almond-tart-pie-2

Step one

Start by making the sweet shortcrust pastry.

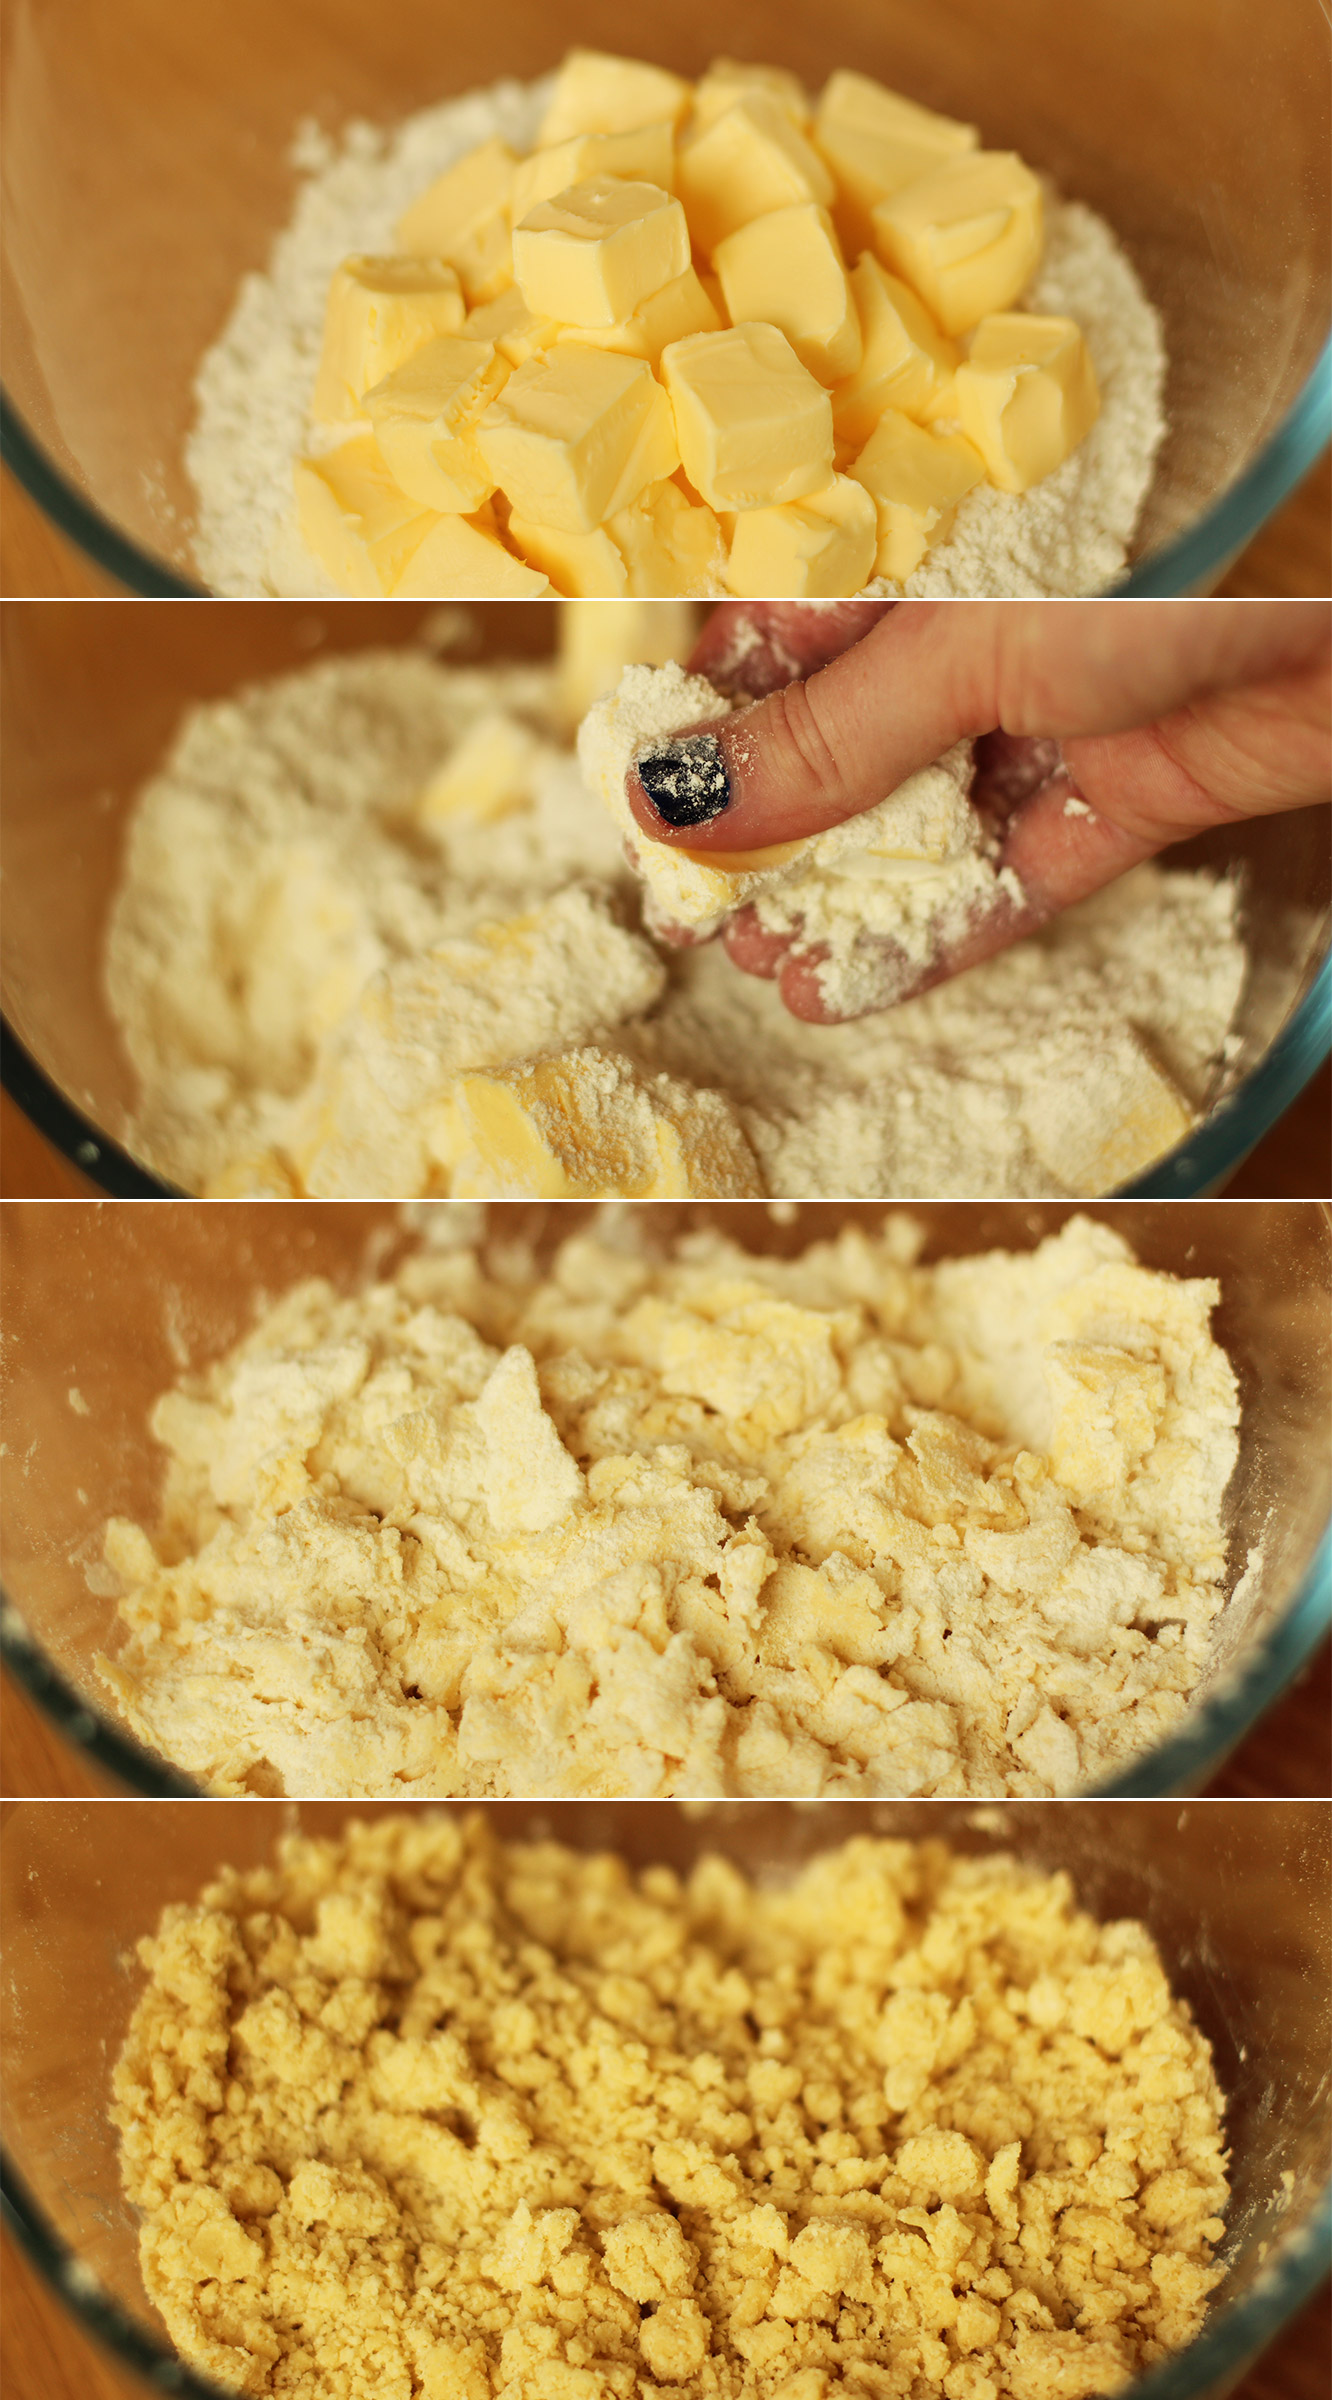
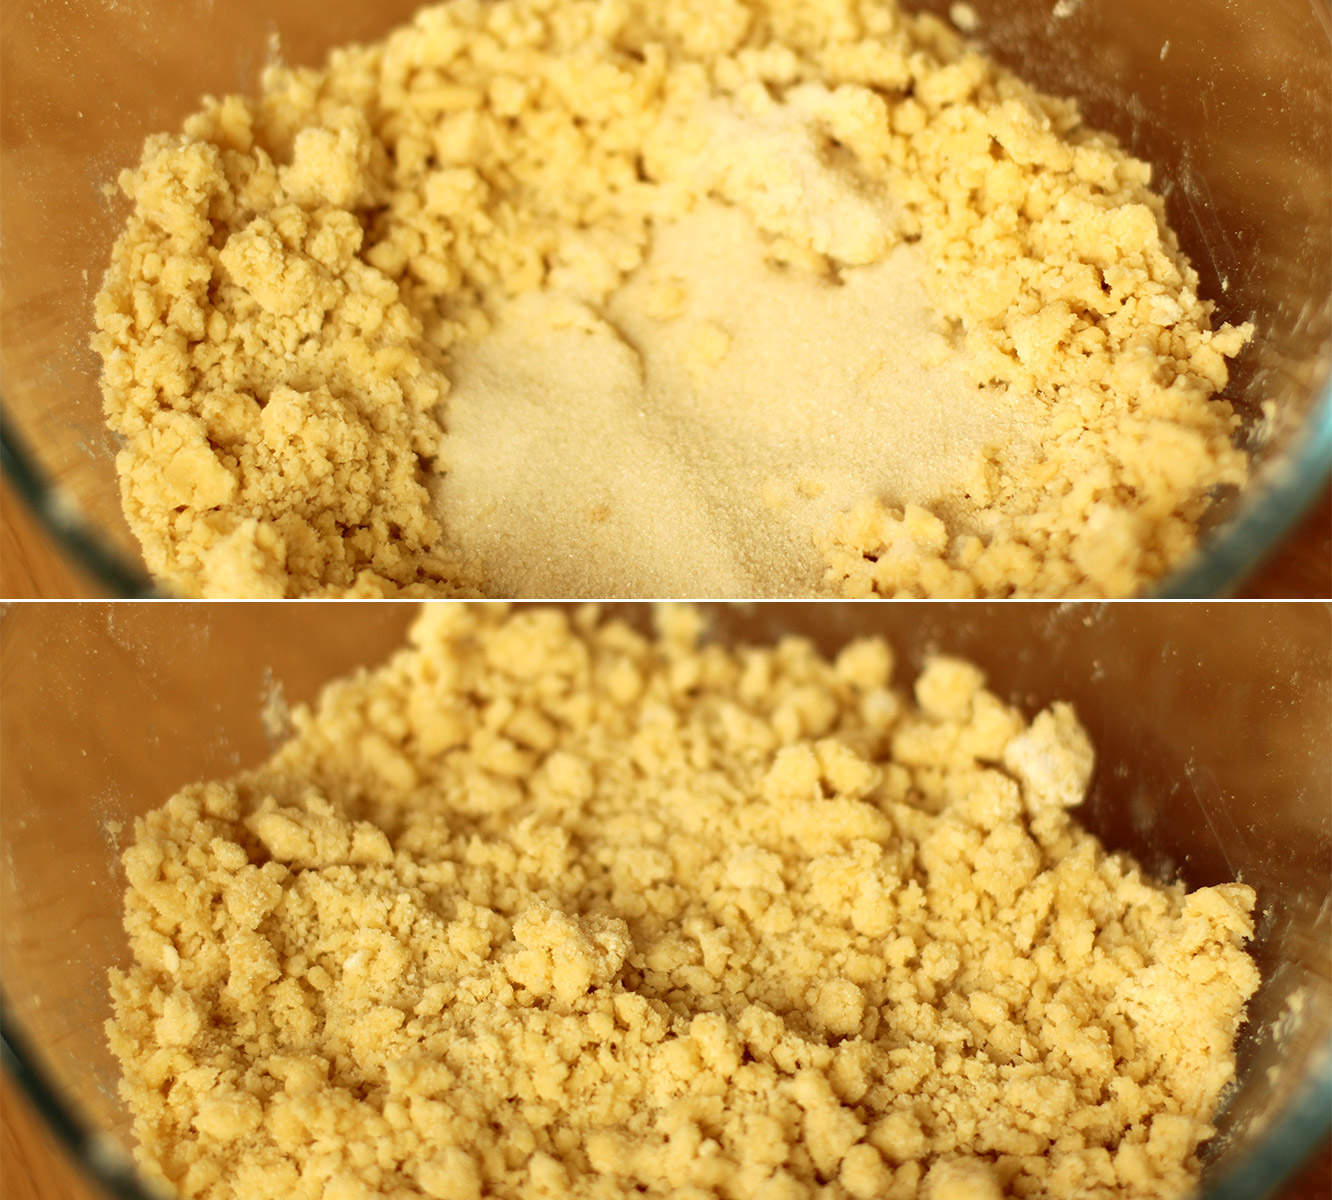
First cube the butter and pop that into the plain flour. Using your fingers, rub the butter and flour together to get a crumb-like texture.

The colder your butter the better and the smaller the crumbs you will be able to get. My house is waaaaaaarm, so as you can see, mine was a tad lumpy at this stage.

If you have a food processor I am led to believe you can do this bit in that very quickly and easily. But we can’t all be posh like you so (clean) fingers are just fine too.

apple-frangipane-almond-tart-pie-3

Step two

Stir in the caster sugar.

apple-frangipane-almond-tart-pie-4

Step three

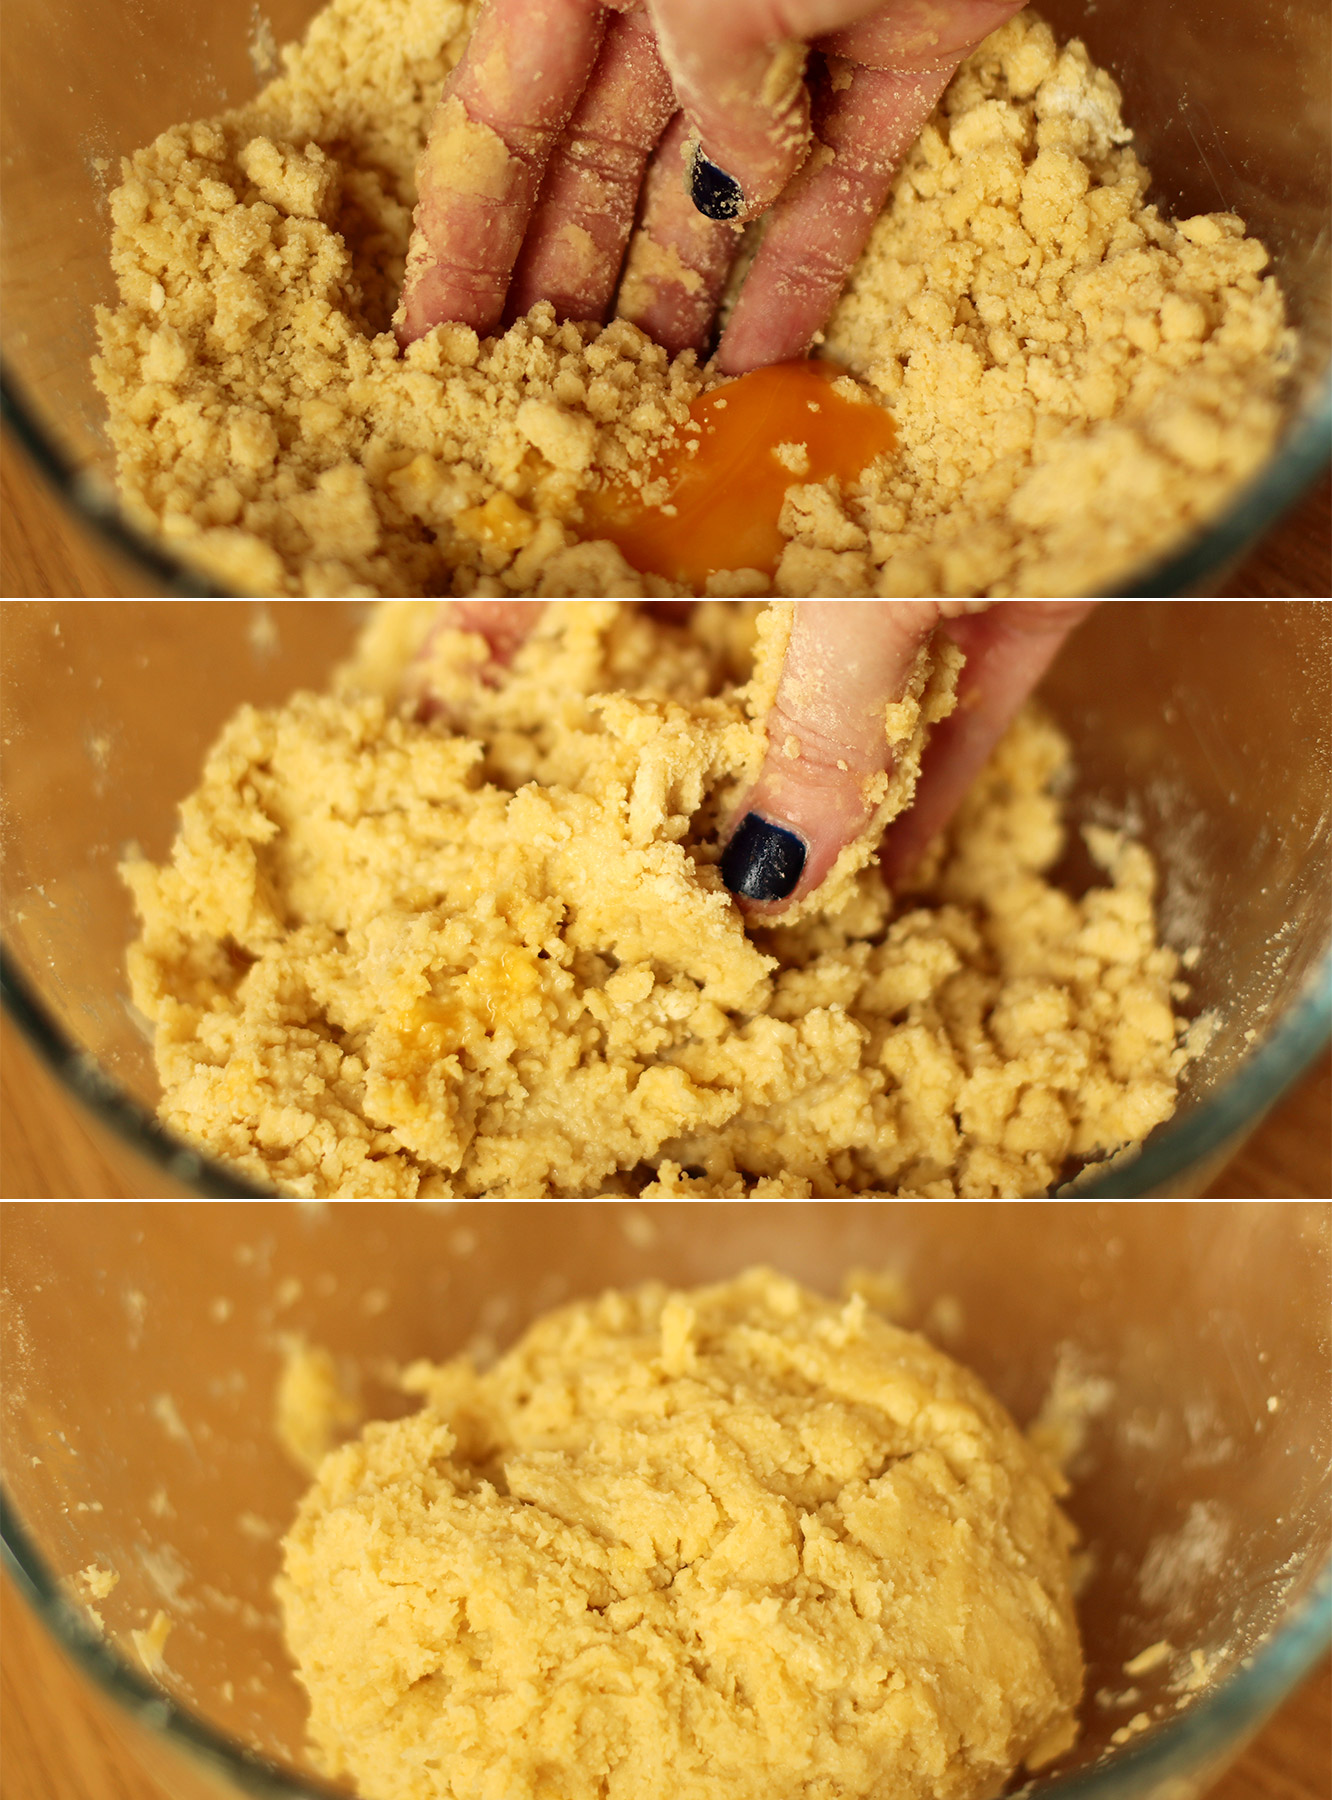
Make a well in the middle for the milk and egg yolk. Fairly sure you can guess what’s next…put yolk and milk in said well.

Bring the mixture together with your hands. It may be a bit crumbly so you can tip it onto a worktop and knead it together slightly to combine, but be careful not to over work it.

Wrap it in clingfilm and put it in the fridge for at least an hour.

apple-frangipane-almond-tart-pie-5

Step four

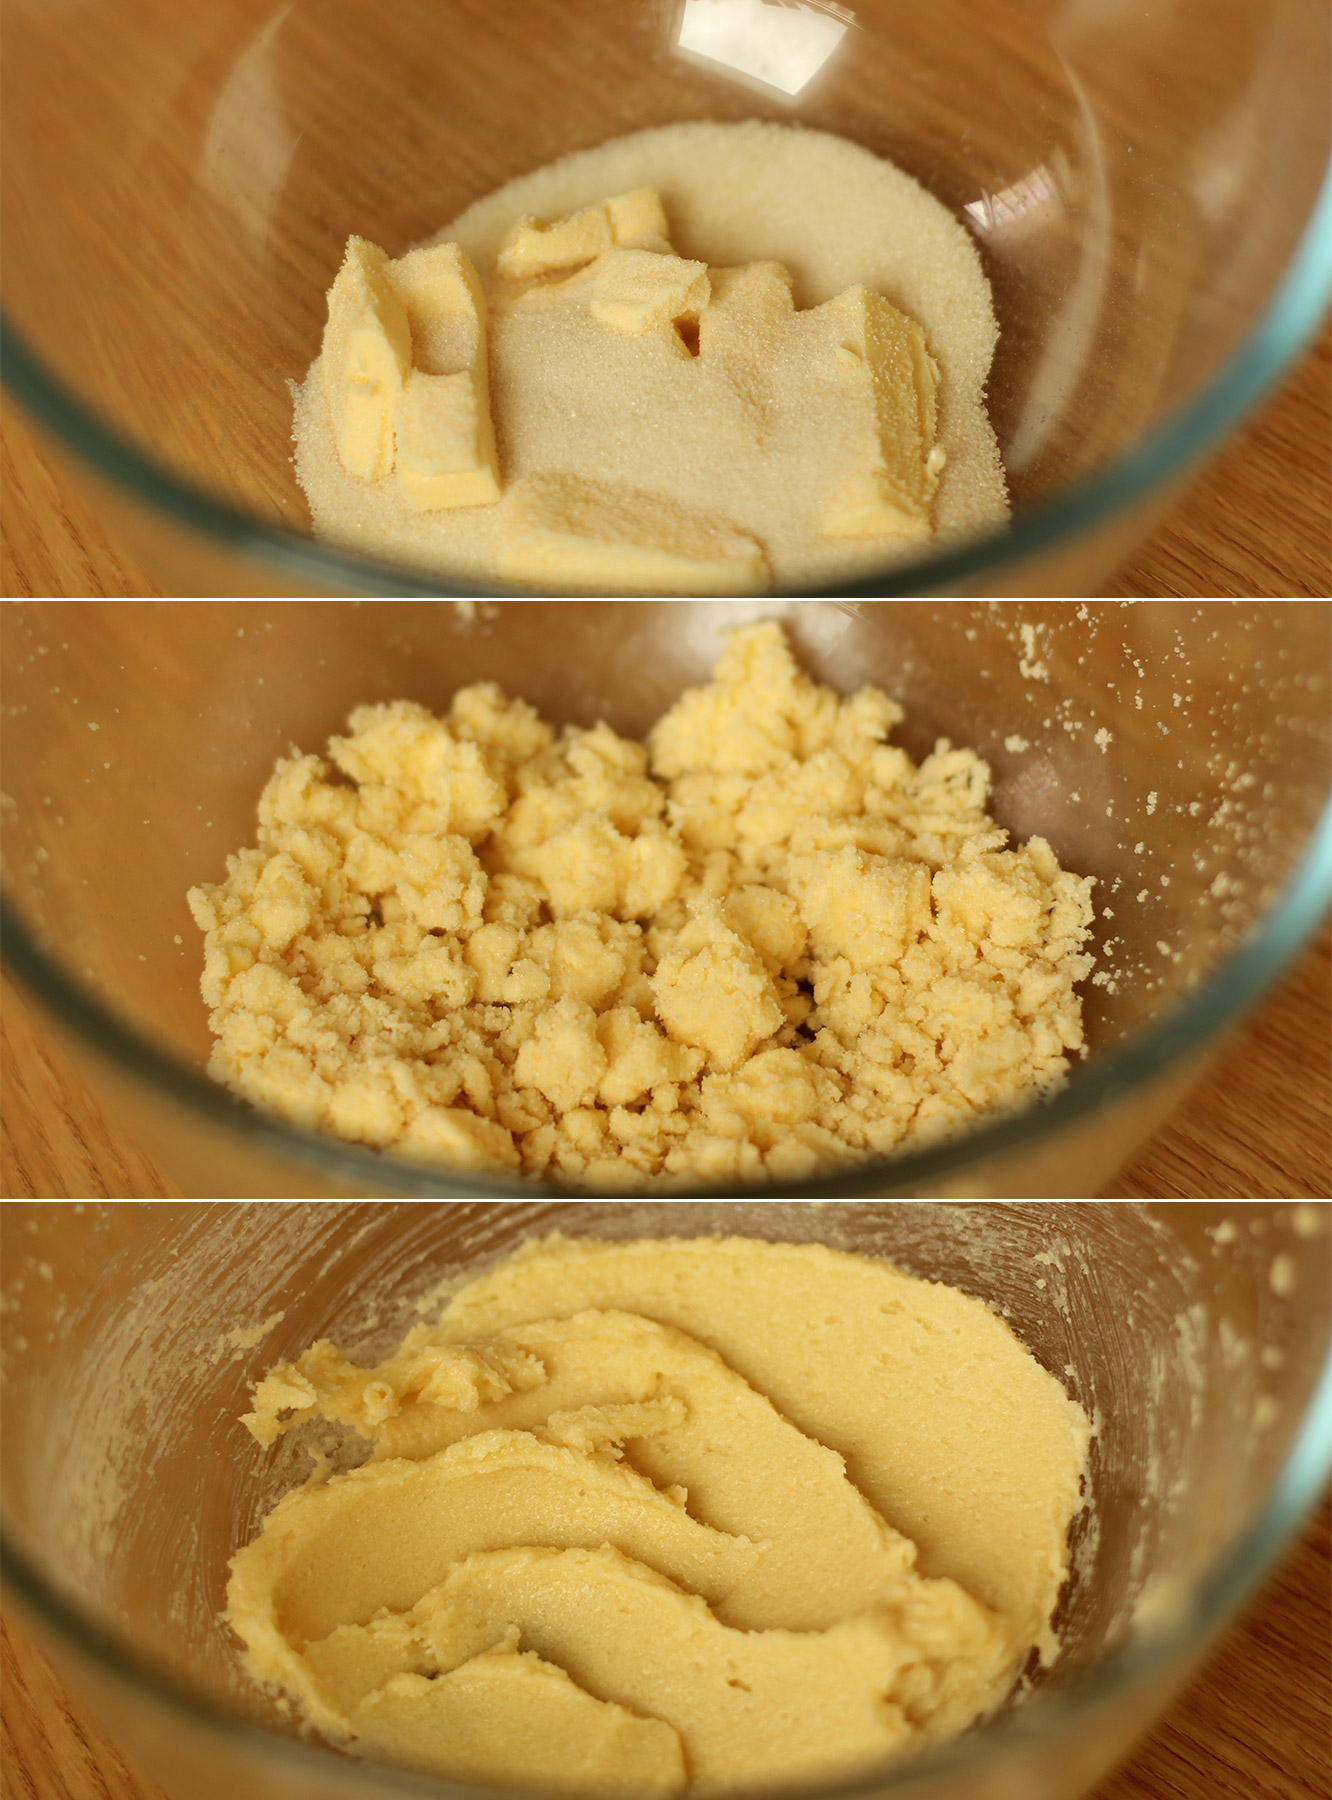
Frangipane making time. Using an electric whisk (or a wooden spoon and some strong arms) beat together the butter and sugar until smooth and fluffy.

apple-frangipane-almond-tart-pie-6

Step five

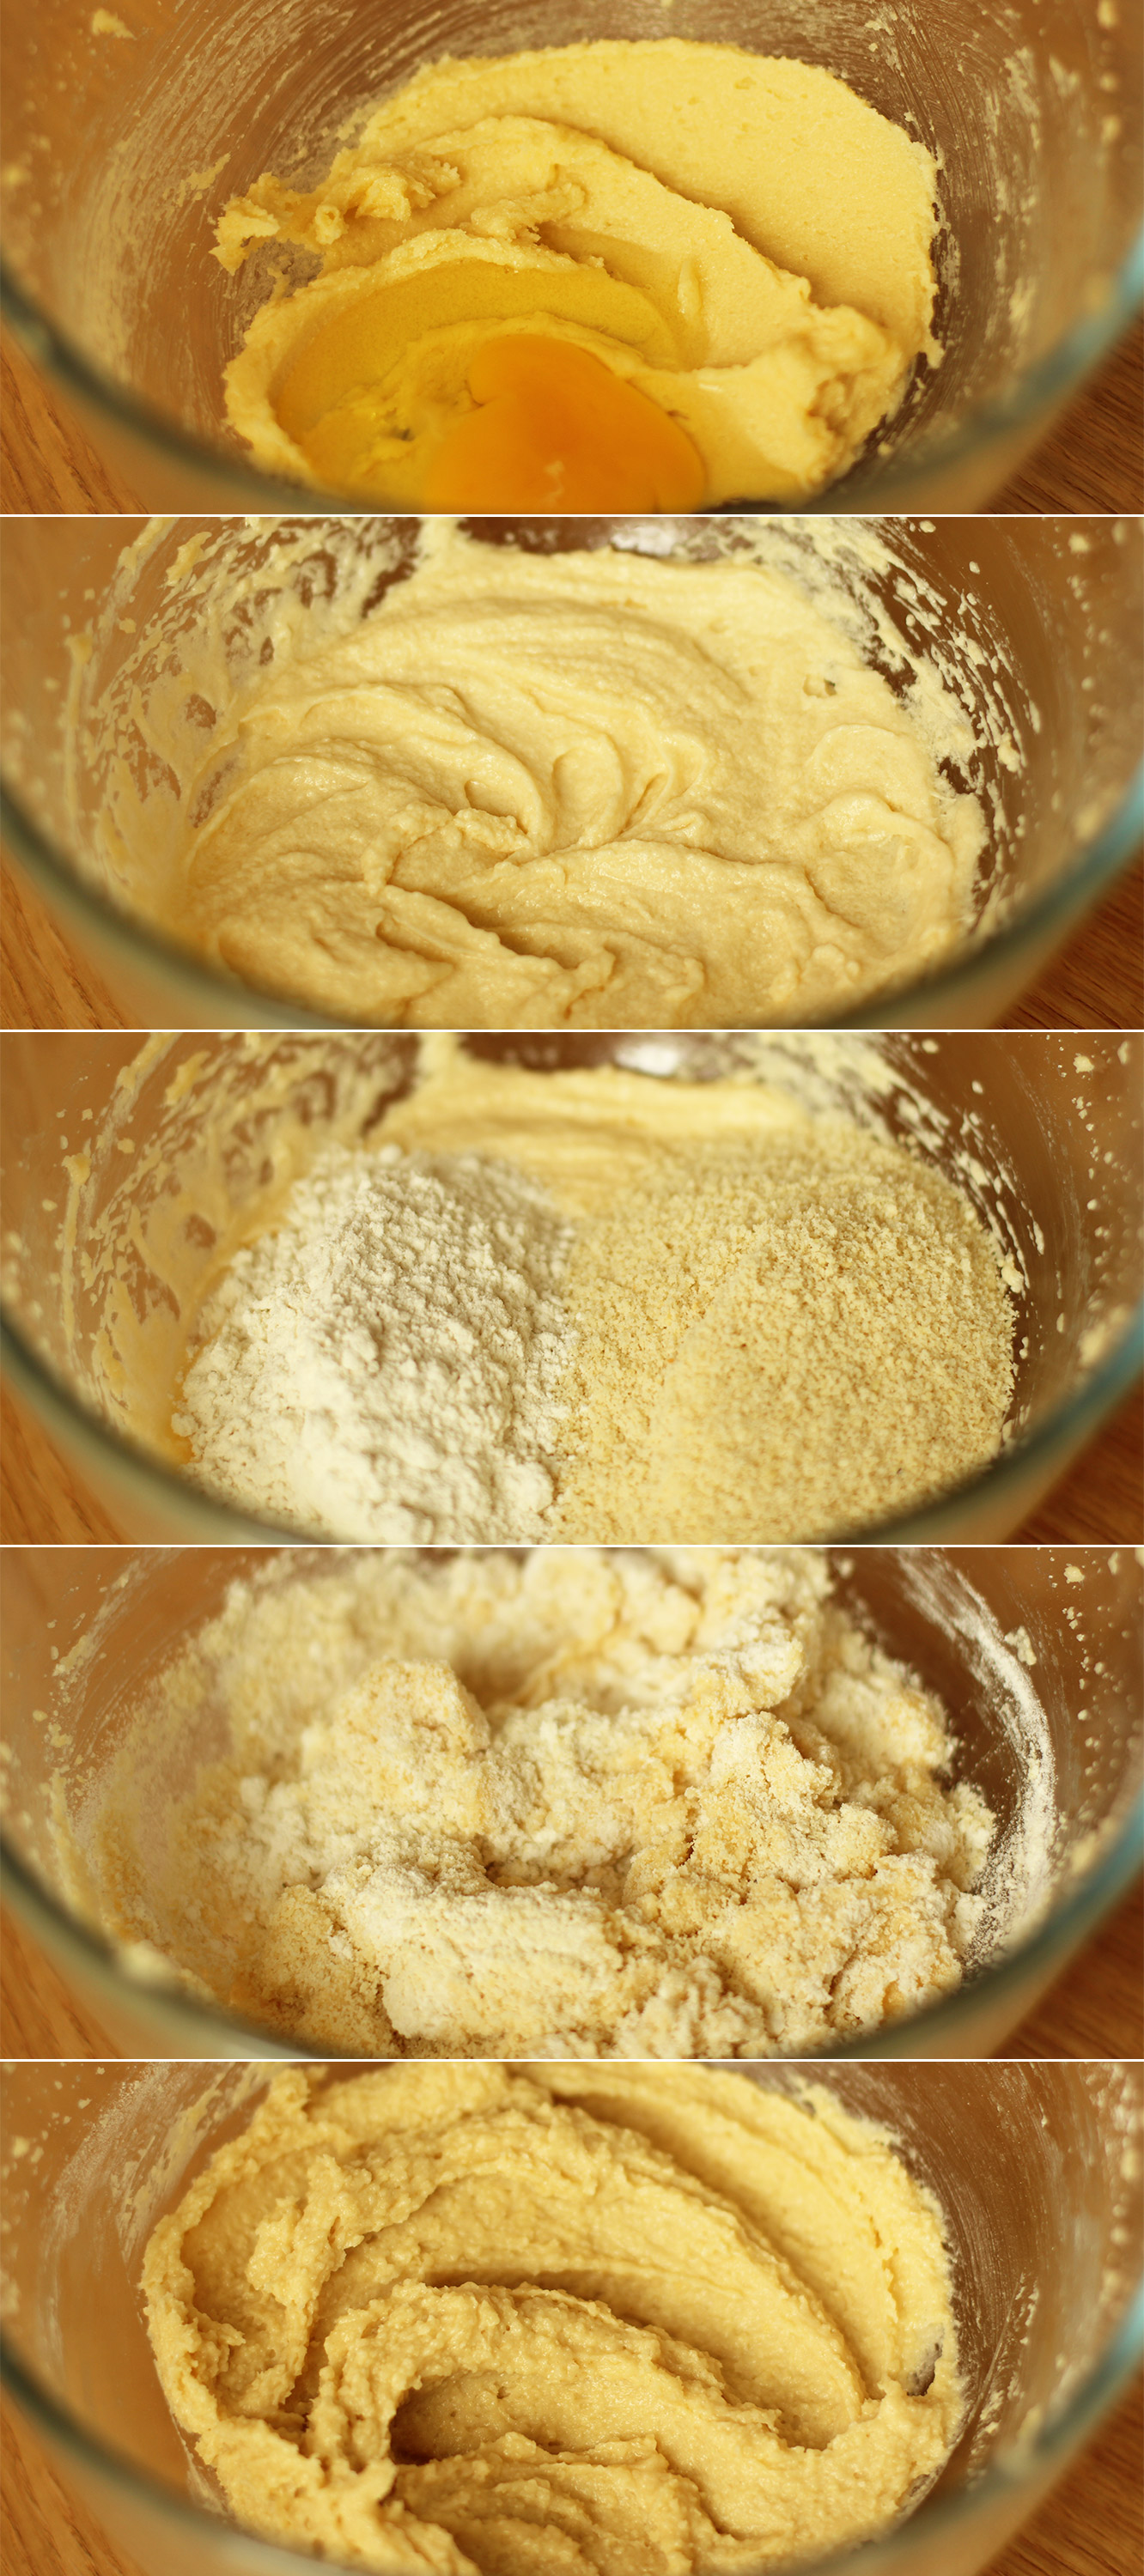
Add the egg and beat again with the whisk.

Stir in the almonds, almond extract and the flour.

Voila. Set aside.

apple-frangipane-almond-tart-pie-7

Step six

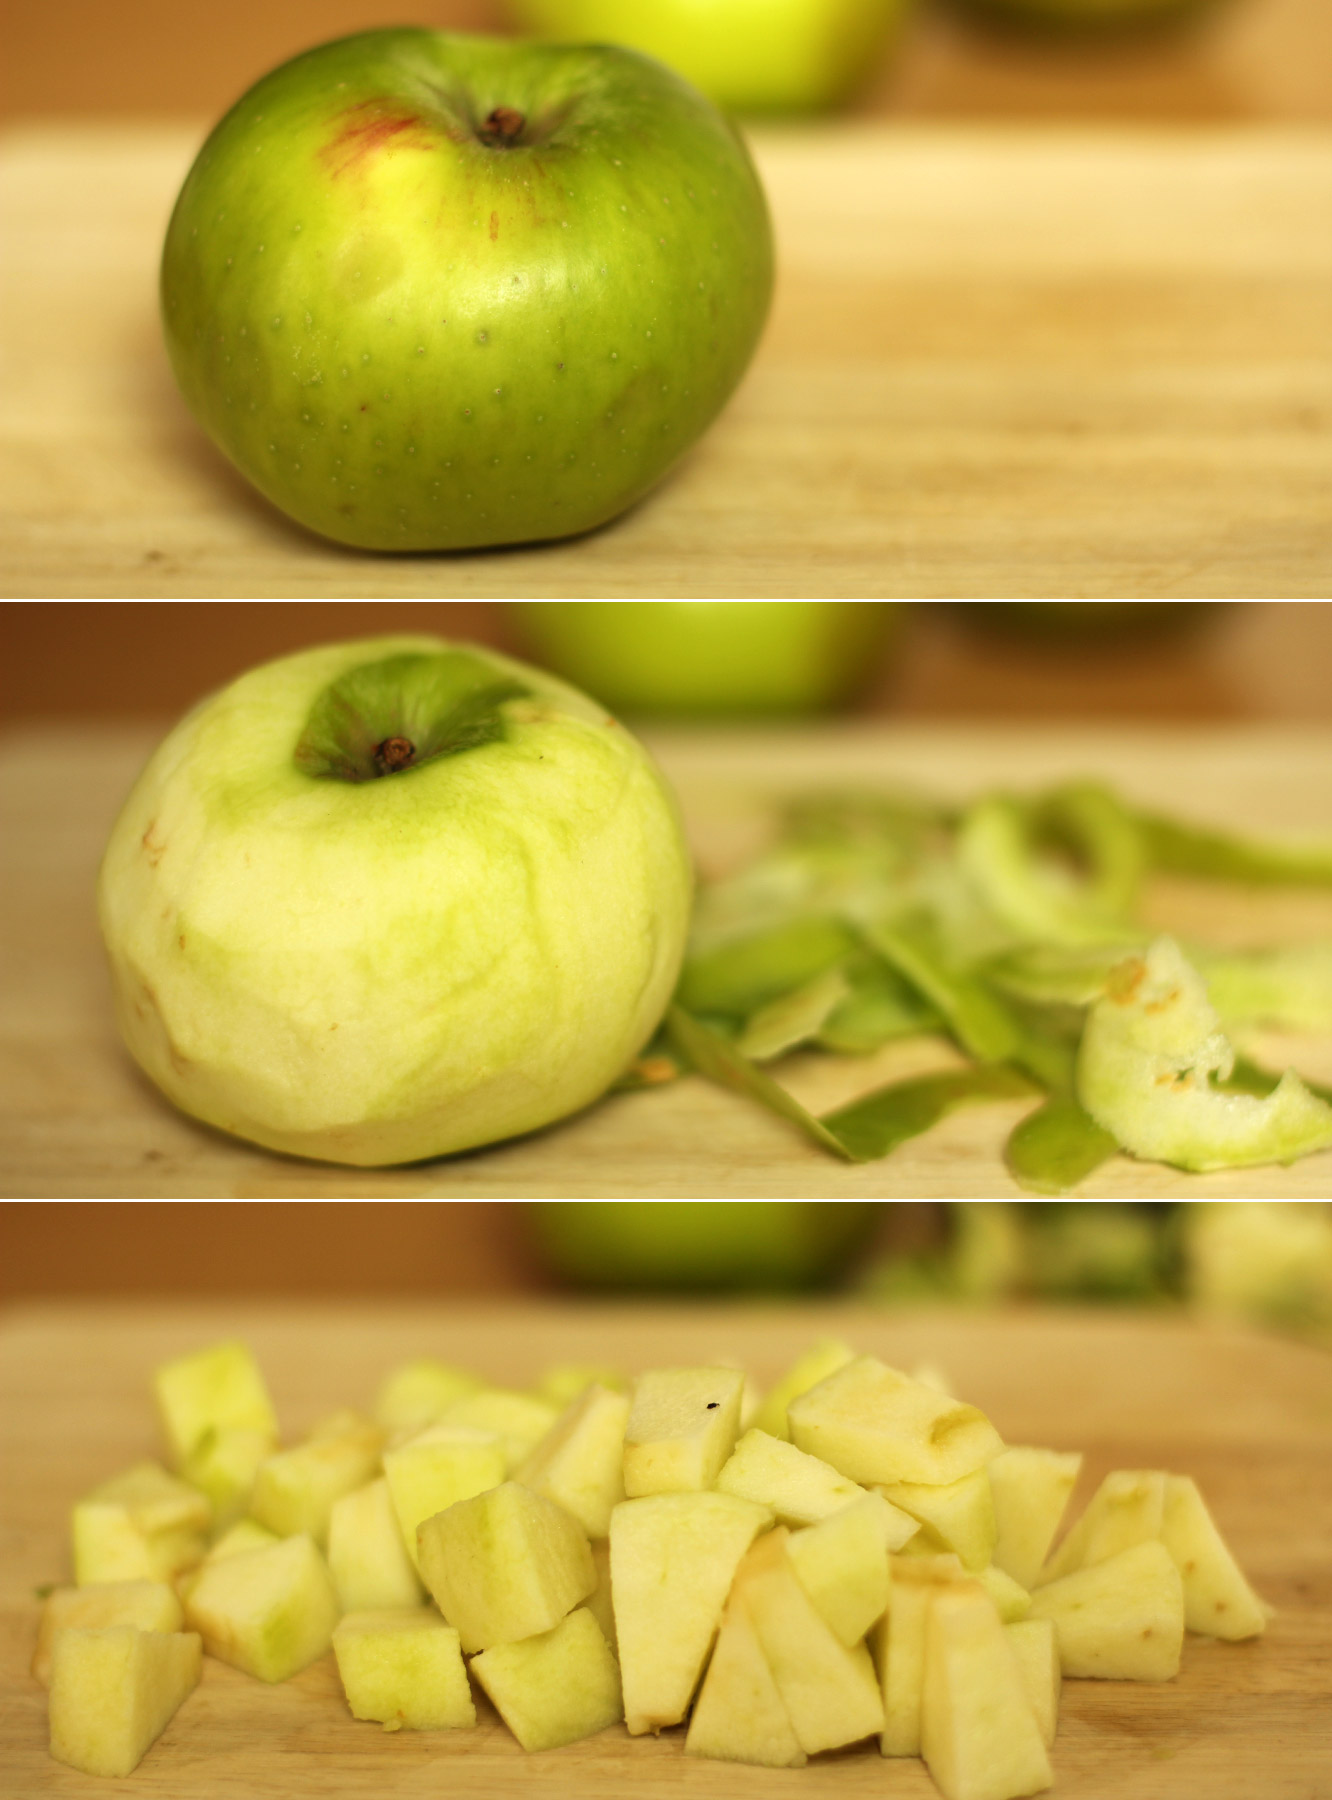
Prepare the stewed apple filling. Being by peeling and chopping the three bramley apples. If you have a bit of lemon juice handy a quick squeeze will keep the chopped ones pale while you see to the rest.

apple-frangipane-almond-tart-pie-8

Step seven

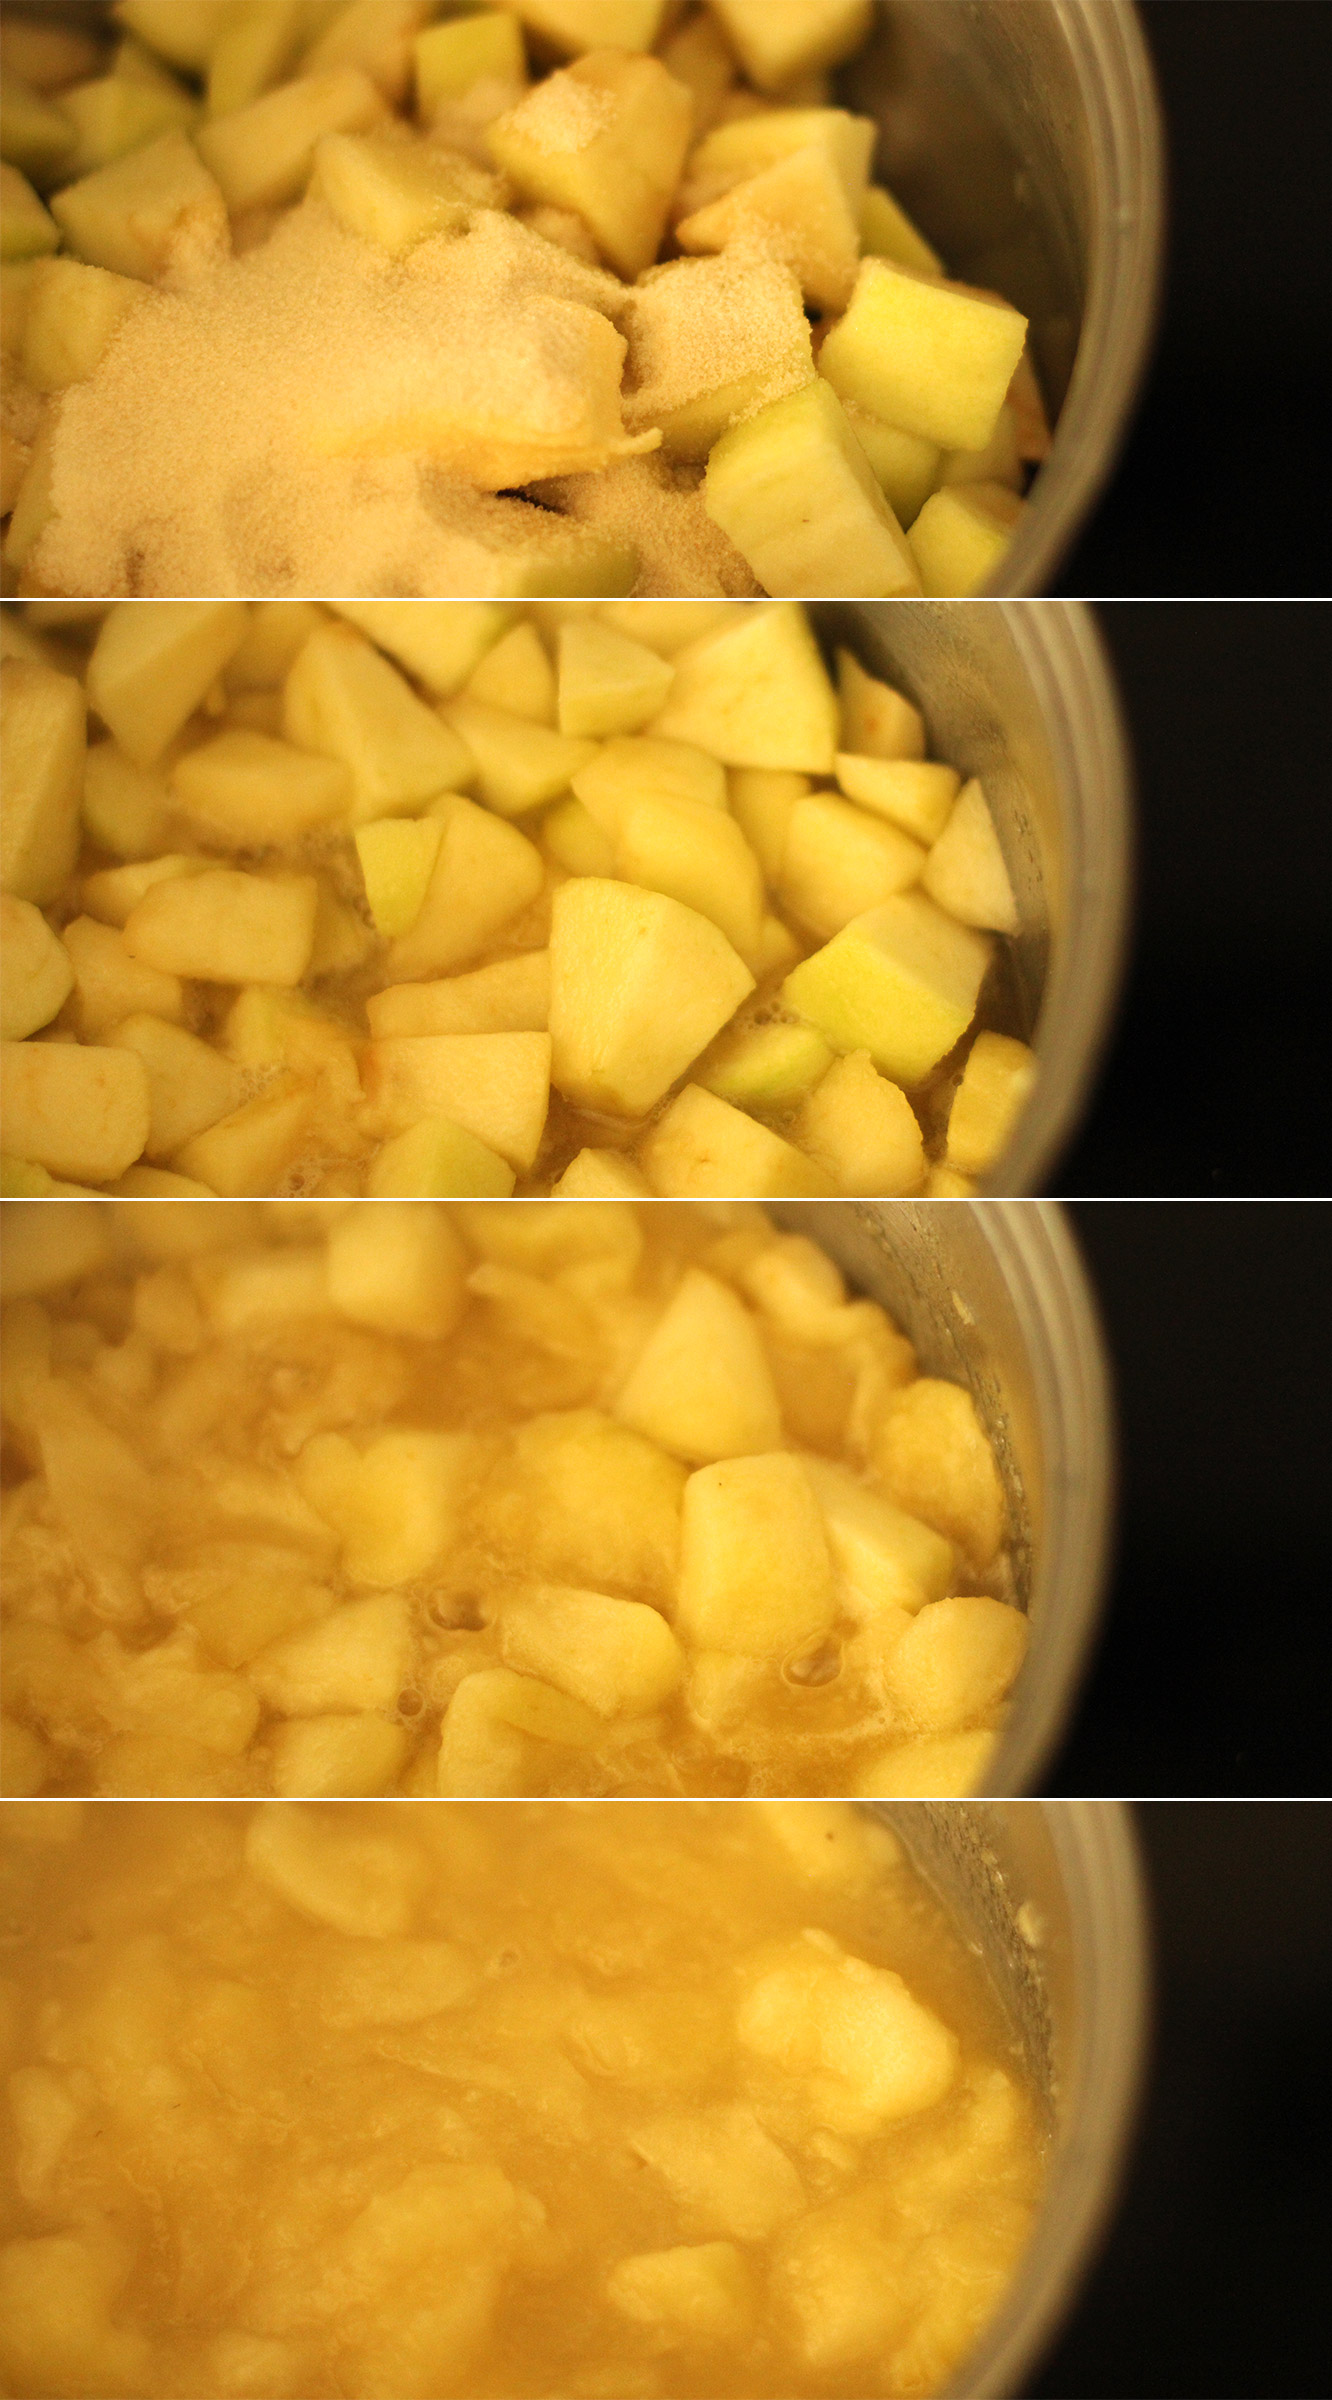
Put the chopped apples in a saucepan with the butter, honey, water and sugar. Bring to a medium-low heat and stir occasionally until the apples are mostly broken down. You want a pulp really (an appetising thought, I know).

apple-frangipane-almond-tart-pie-9

Step eight

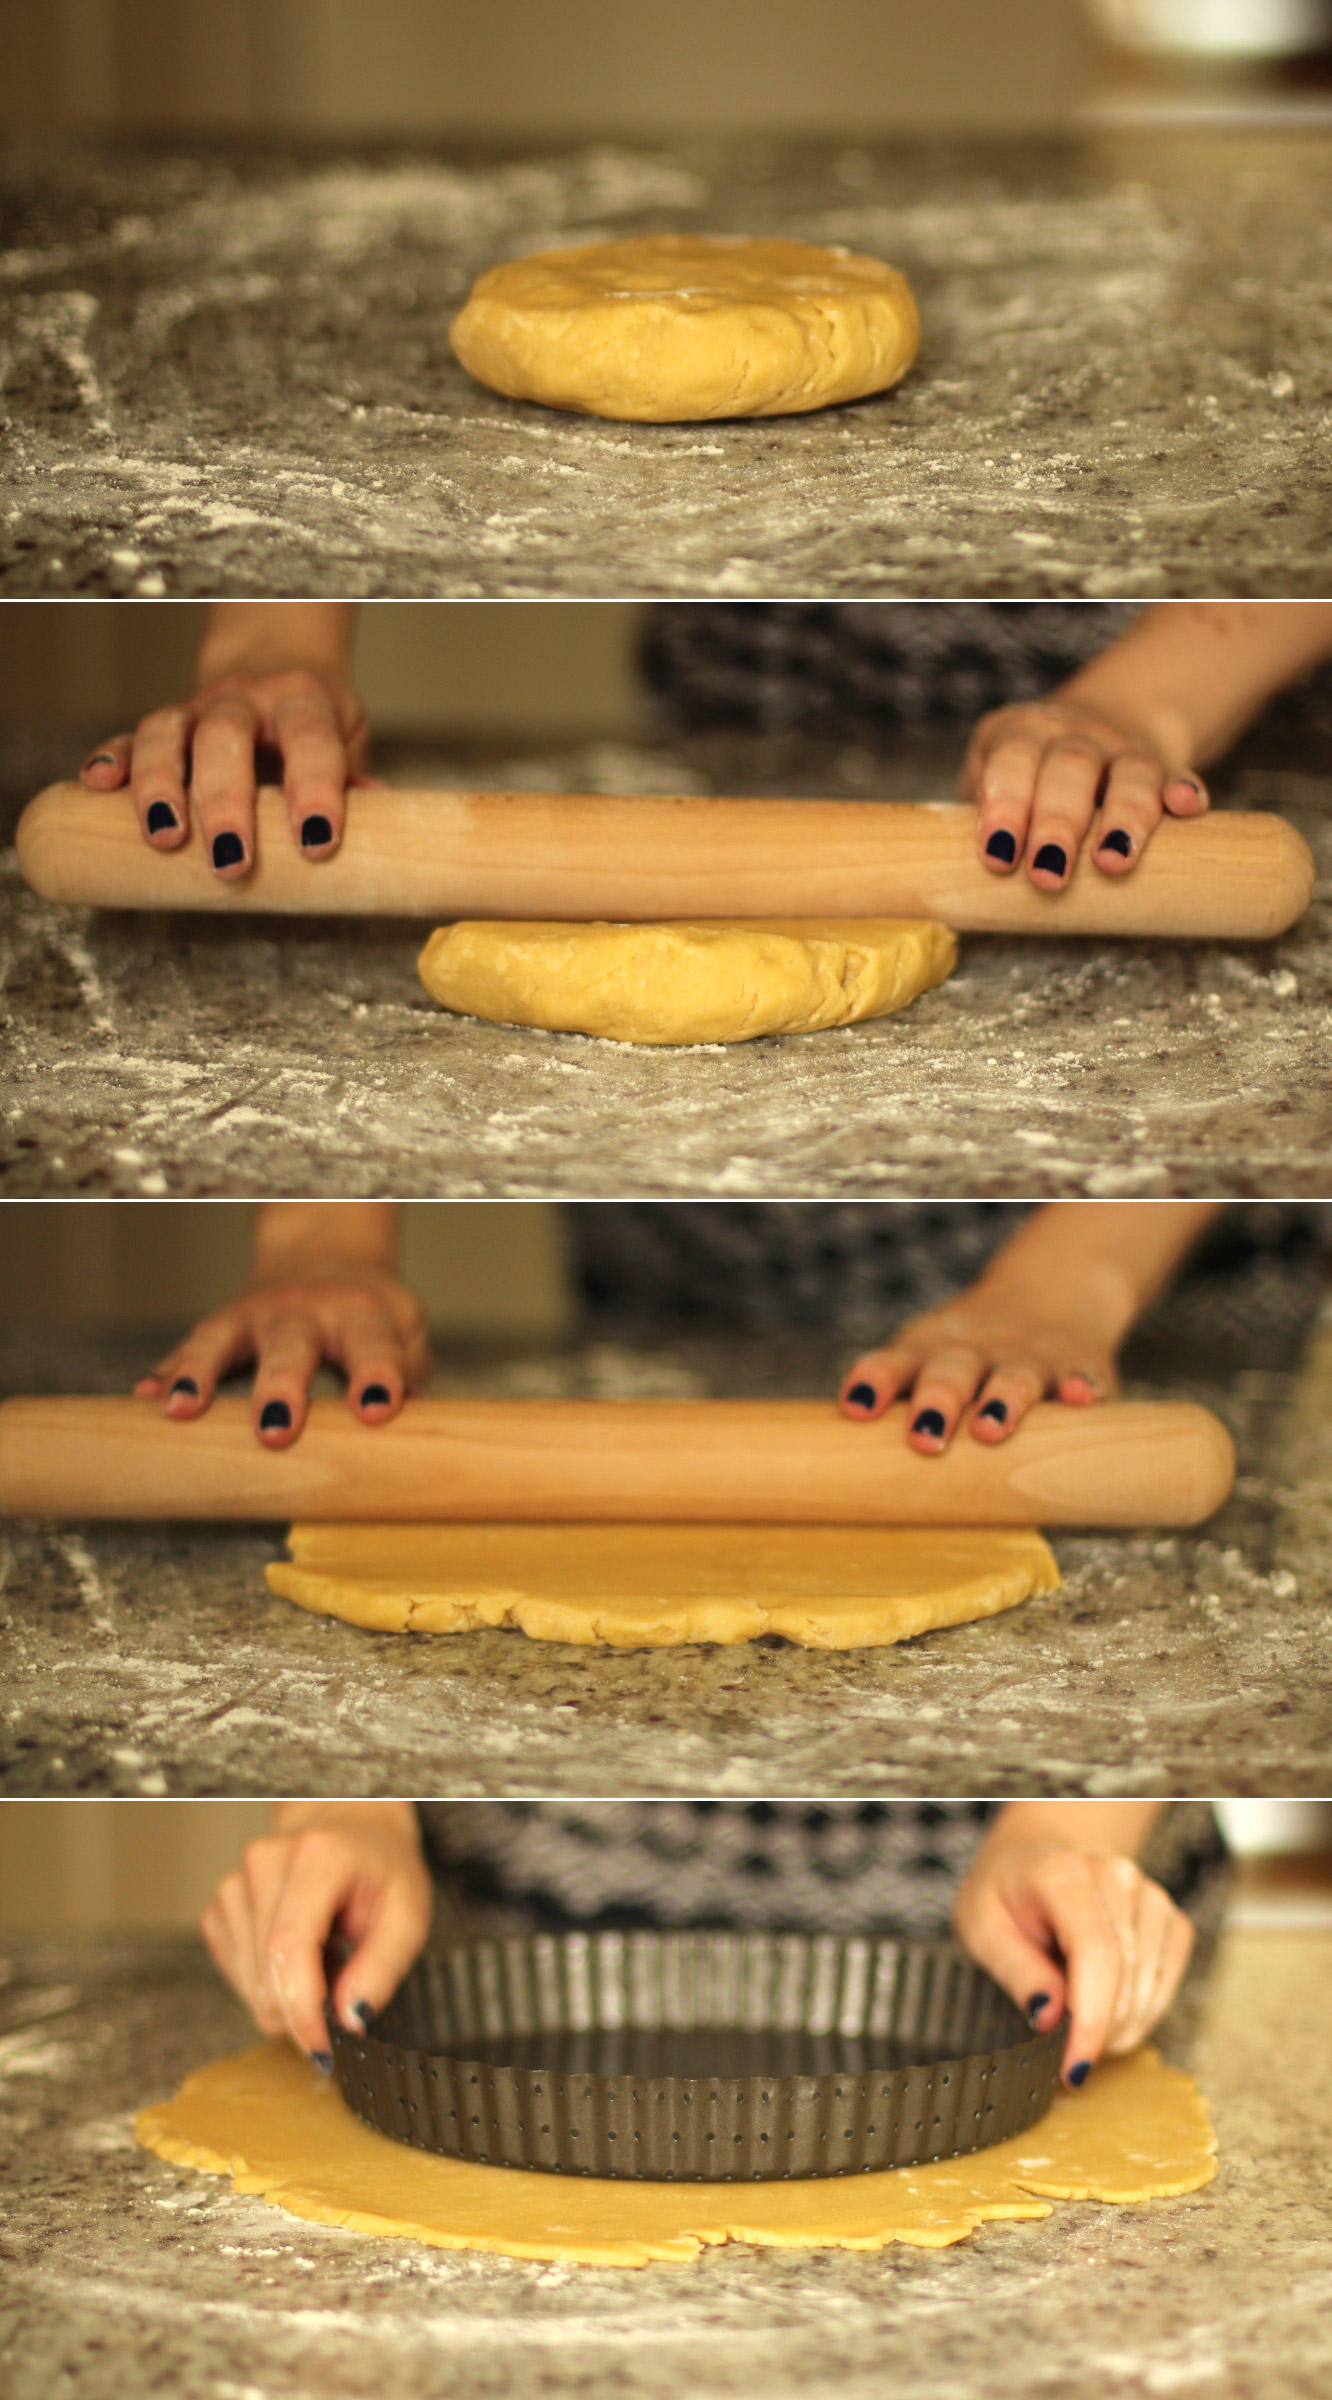
Remove the pastry from the fridge (providing an hour has passed). Place onto a lightly floured surface (you don’t want to add much more flour to the mix if you can help it).

Roll the pastry out as evenly as you can, until your chosen dish can sit in the middle with an inch or two on all sides. You don’t really want your pastry to be thicker than 5mm.

apple-frangipane-almond-tart-pie-10

Step nine

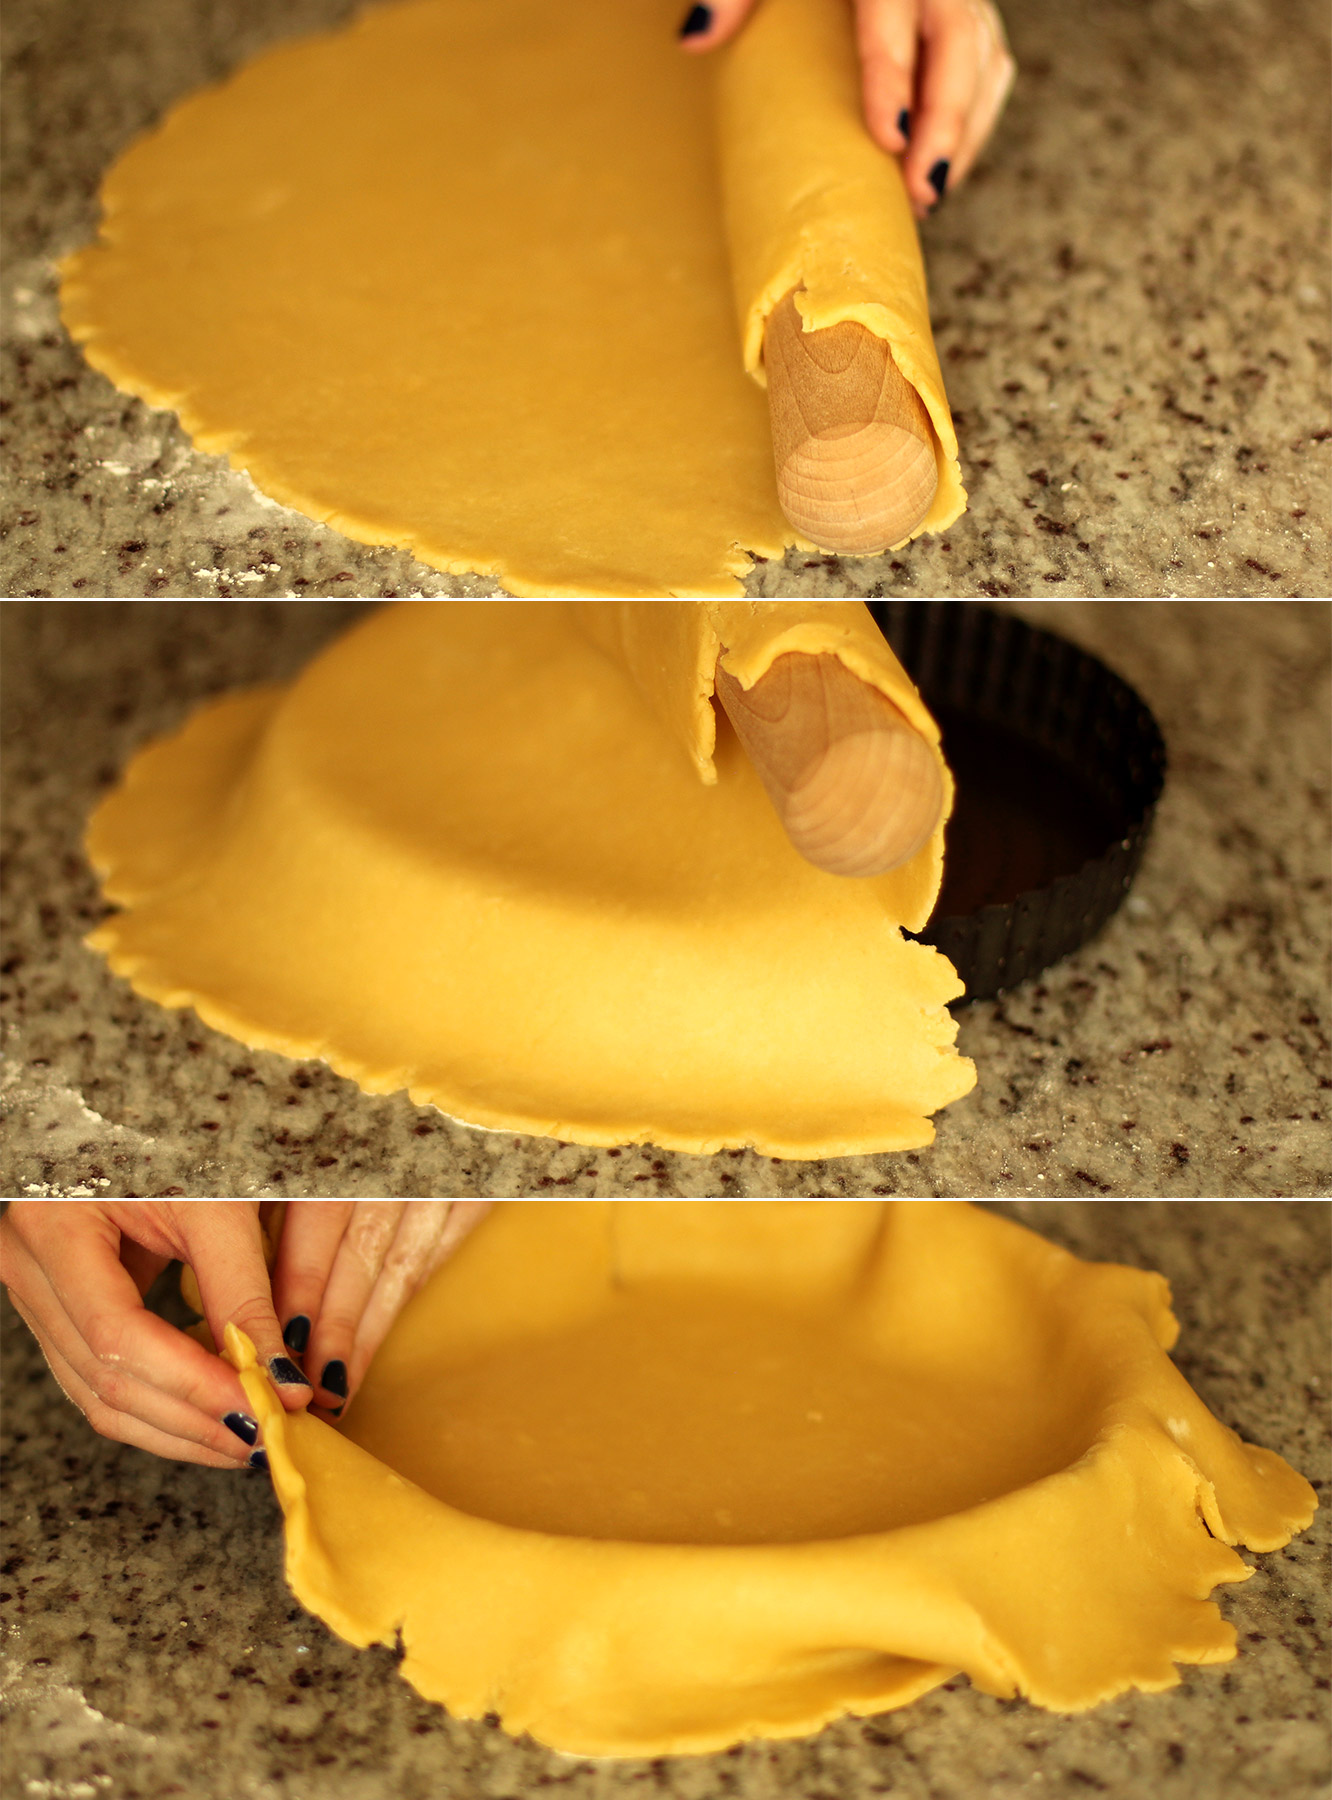
Transfer your pastry by rolling it at least half of it up onto your rolling pin and unrolling it over the top of your dish.

I then needed to lift the edges back up and place them back in to tease them better into the corners. Do this gently so as not to tear it. Having said that, I was a bit heavy handed and tears can be fixed quit easily by sticking a bit of excess pastry on top.

apple-frangipane-almond-tart-pie-11

Step ten

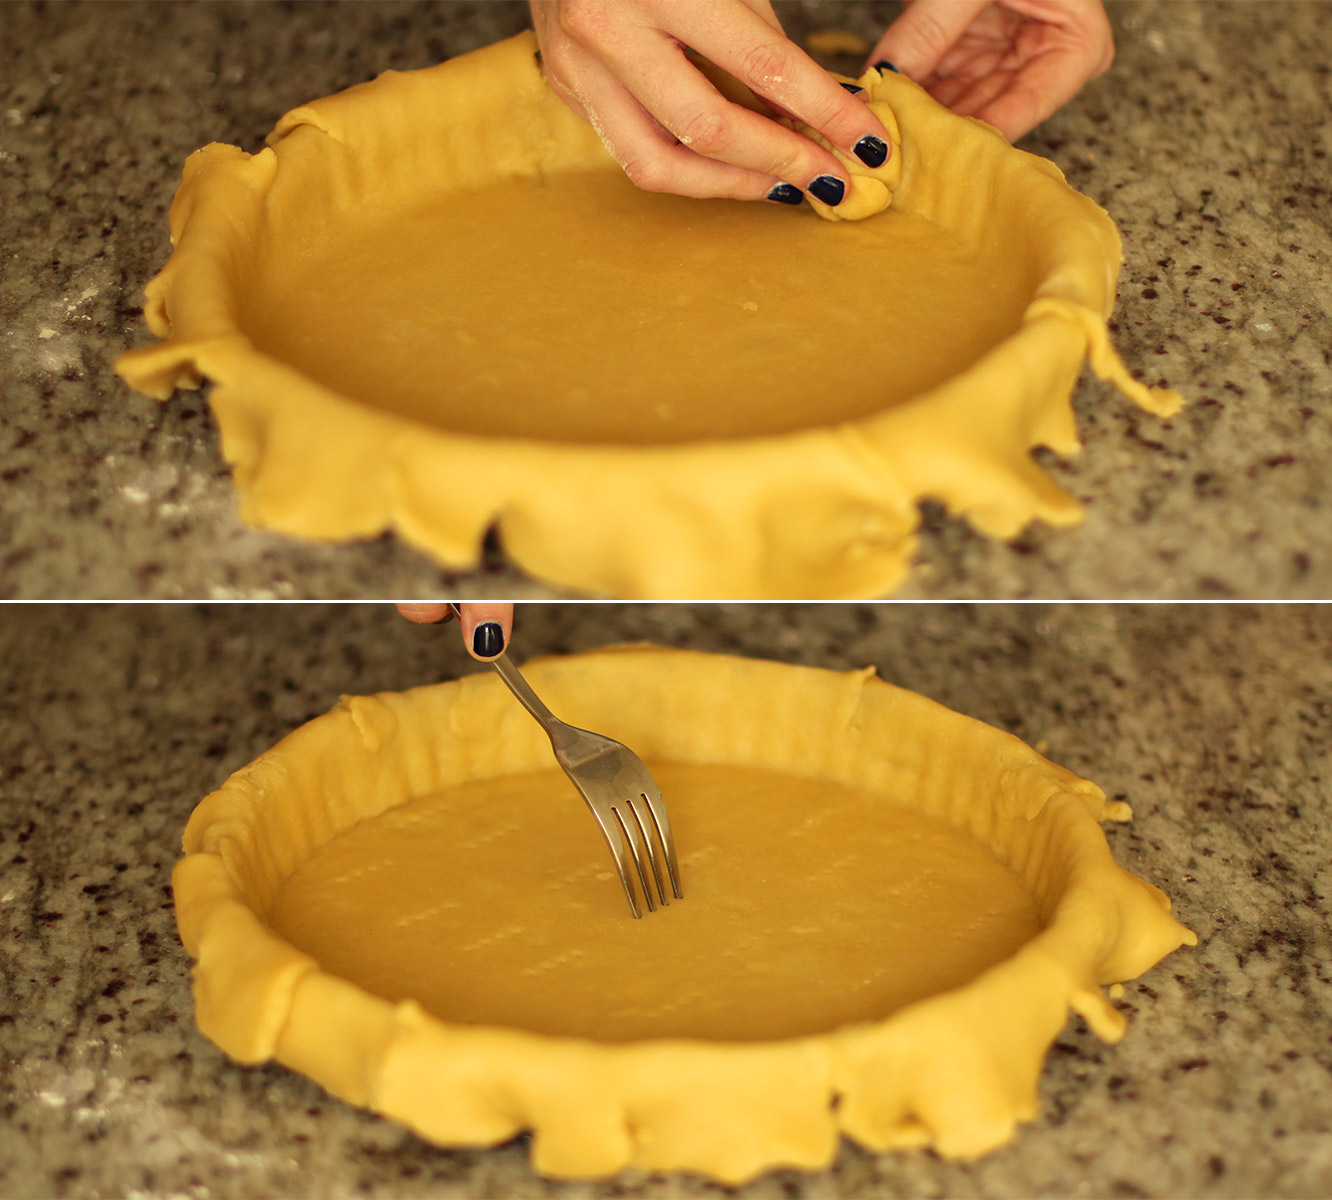
Rip a bit of pastry off the overlap and use it to press the crust further into the crevices.

Use a fork to pierce the base of the pie, this will help the pastry stay flat in the oven.

Pop him back in the fridge for another 20-30 minutes.

apple-frangipane-almond-tart-pie-12

Step eleven

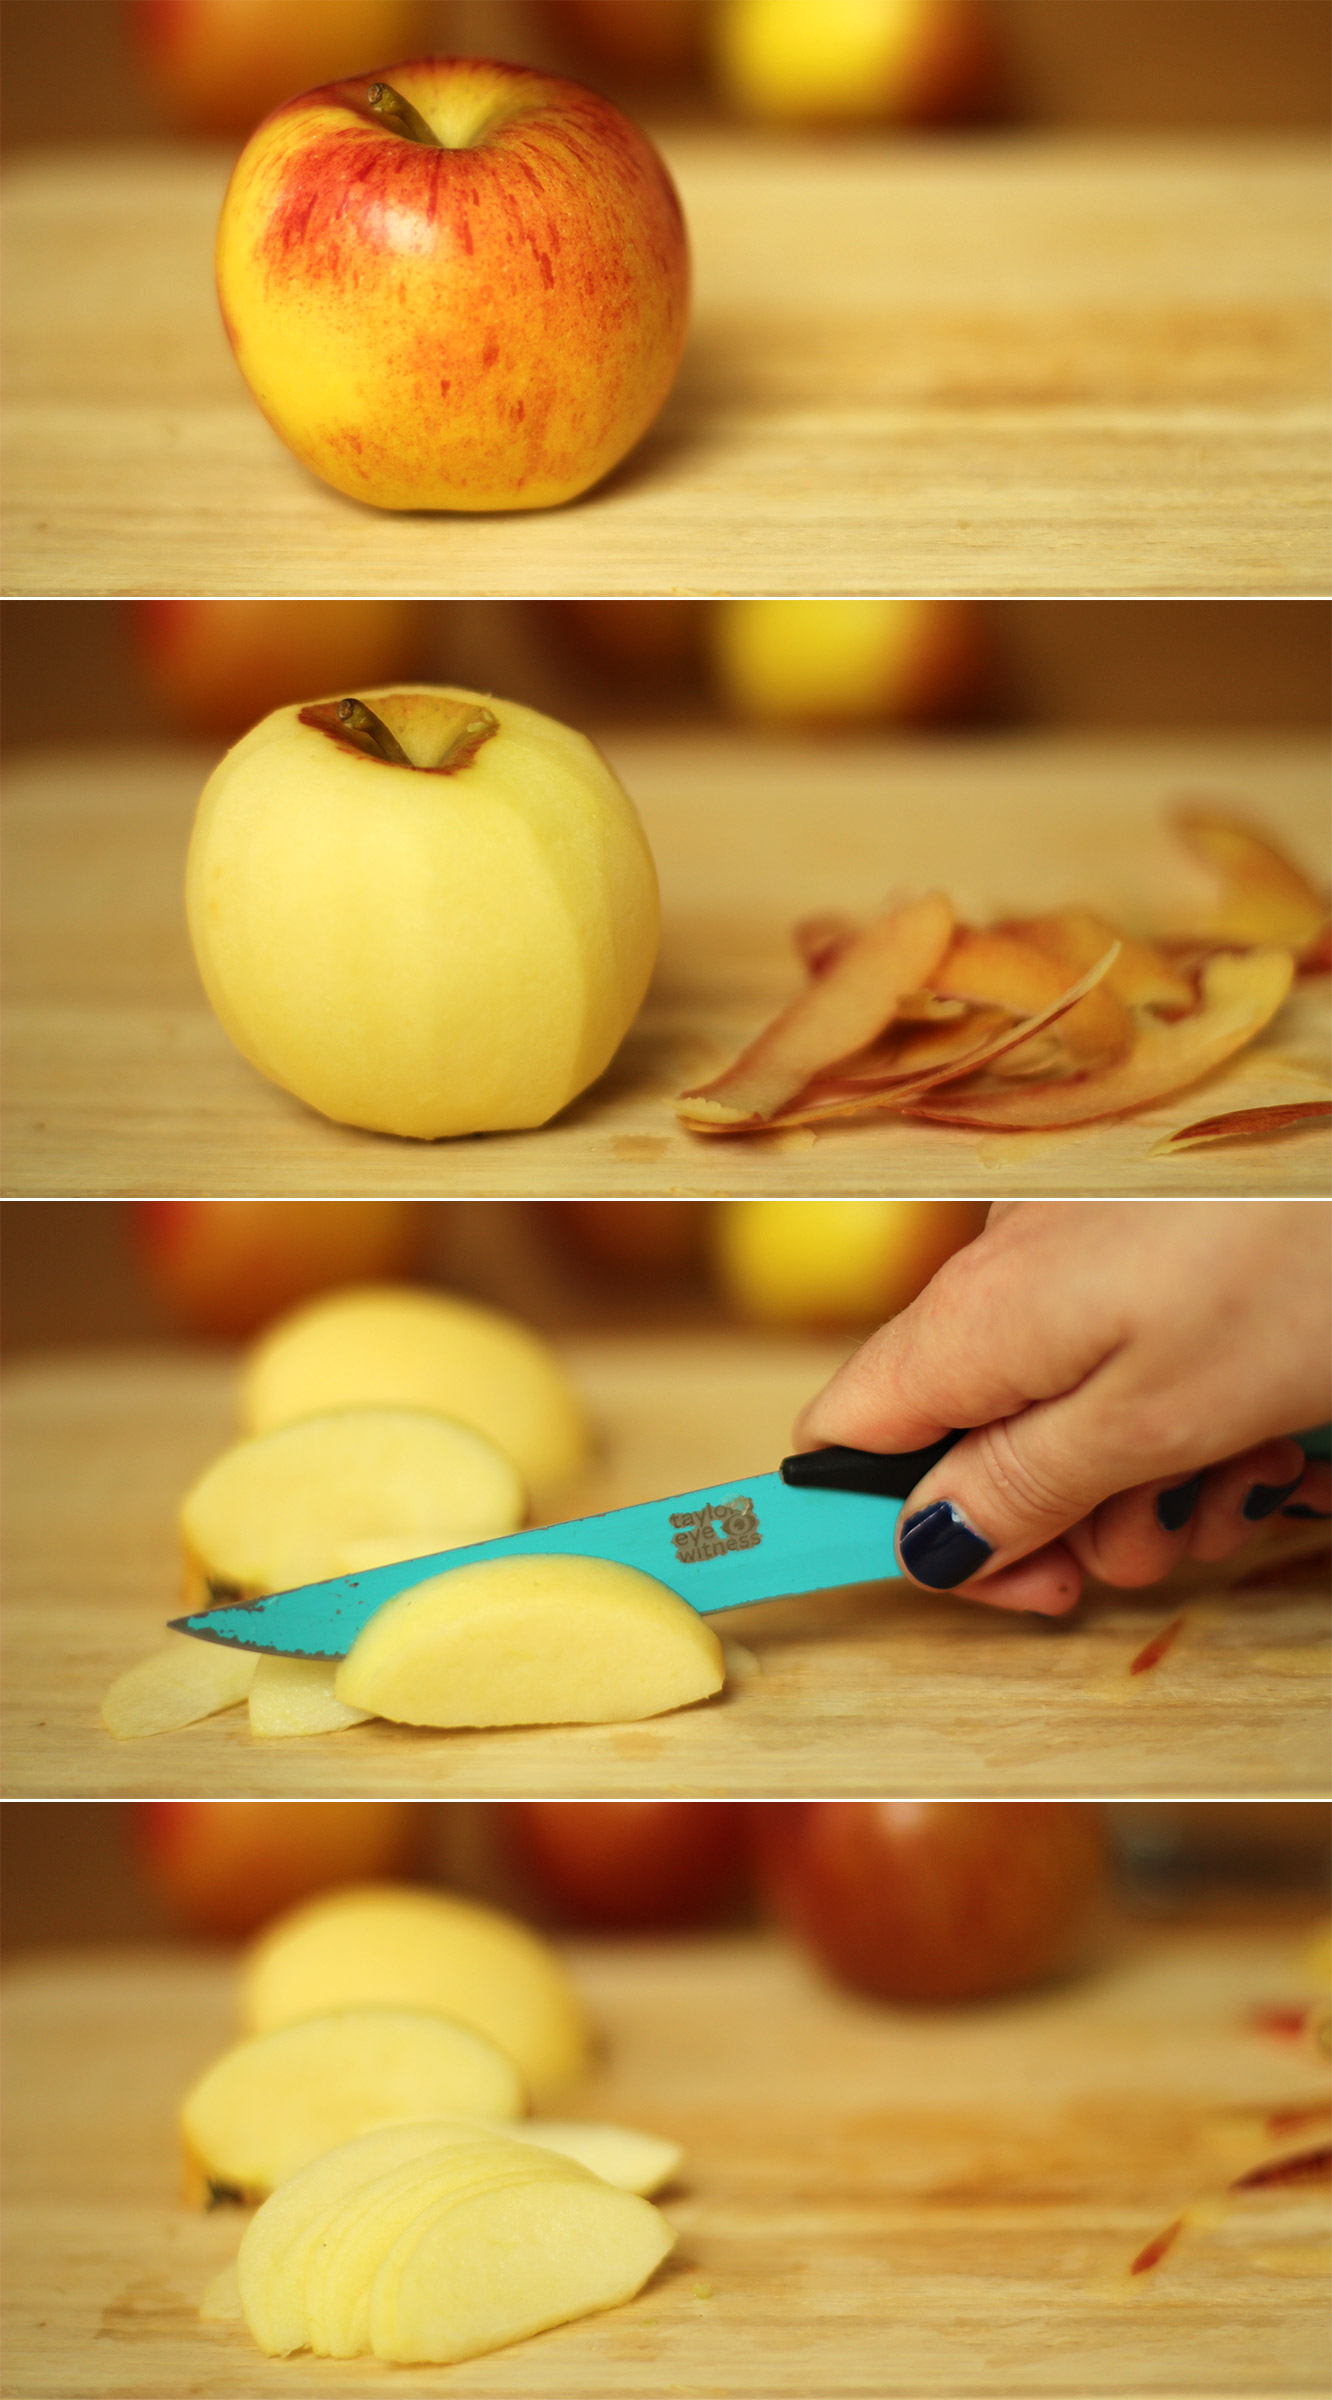
While the pastry is chilling again, peel and slice the braeburns/eating apples. You need to do this carefully as it will be the making or breaking of how your pie looks (no pressure). Try to peel nice and evenly and cut the apples as thinly as you can.

Have a large tupperware filled with cold water nearby to put your cut slices into, which will stop them from browning, again, if you have any lemon juice a few drops wouldn’t go amiss but not essential.

Pre-heat the oven to 180C/gas mark 4/350F

apple-frangipane-almond-tart-pie-13

Step eleven

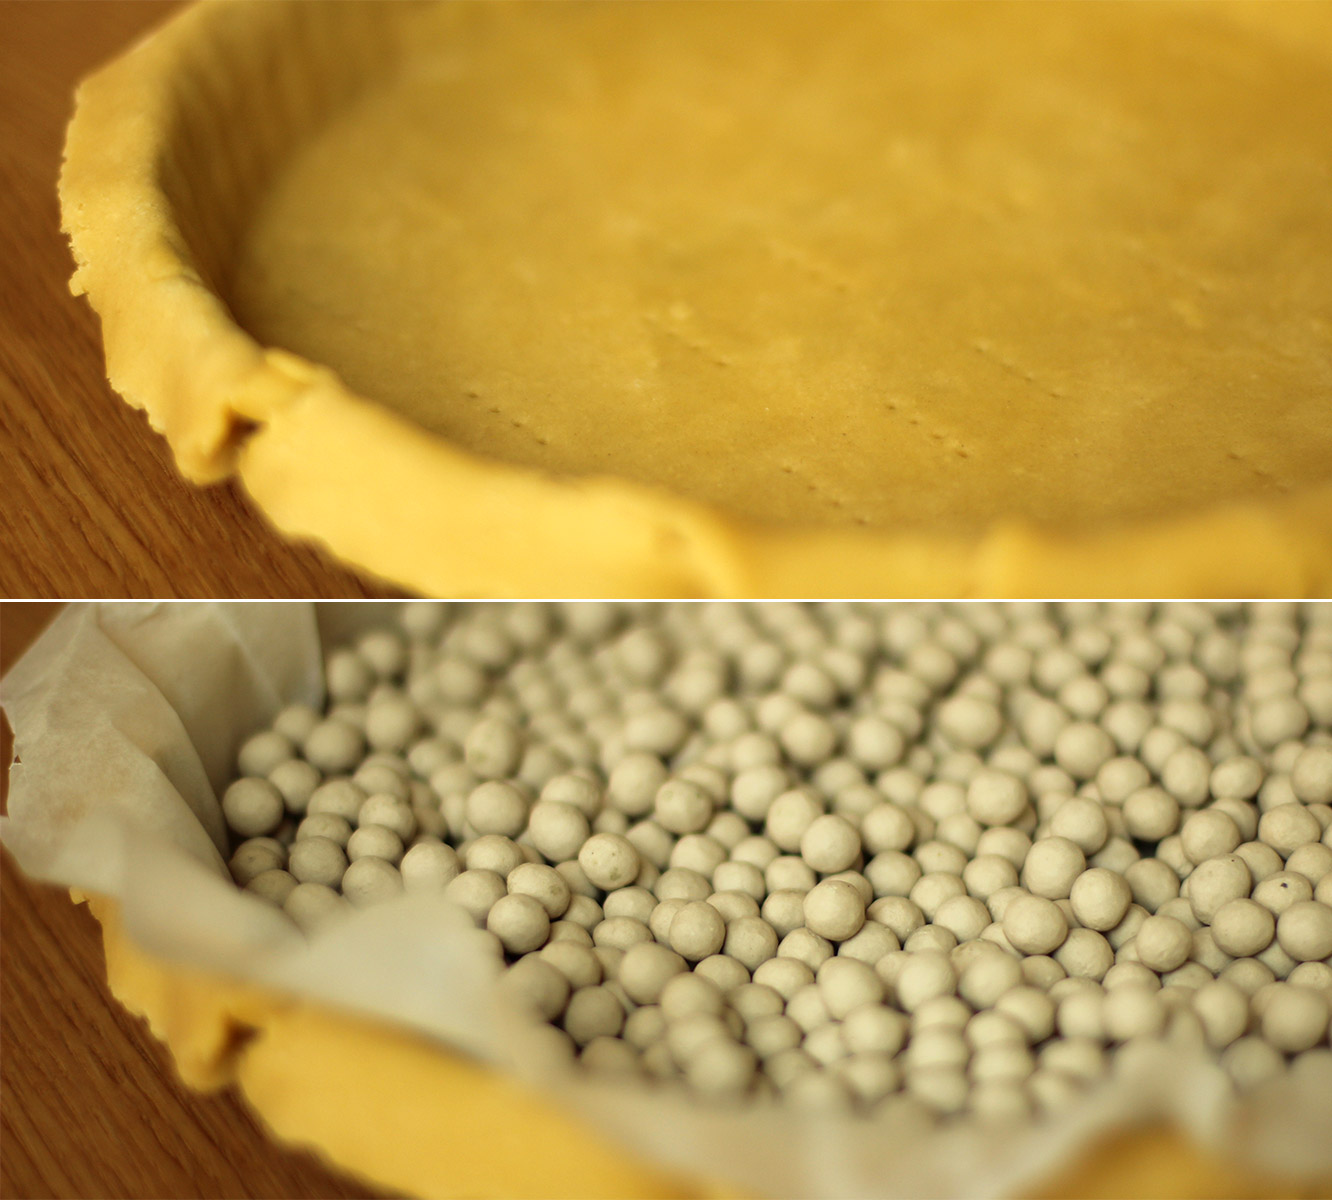
Remove the pie from the fridge and trim some of the excess pastry off the sides but still leave an overlap.

Place some baking paper in the pie and fill with baking beans. If you don’t have any then rice works too, and most dried lentils/pulses really.

Place on a baking tray and bake for 15 minutes.

apple-frangipane-almond-tart-pie-14

Step twelve

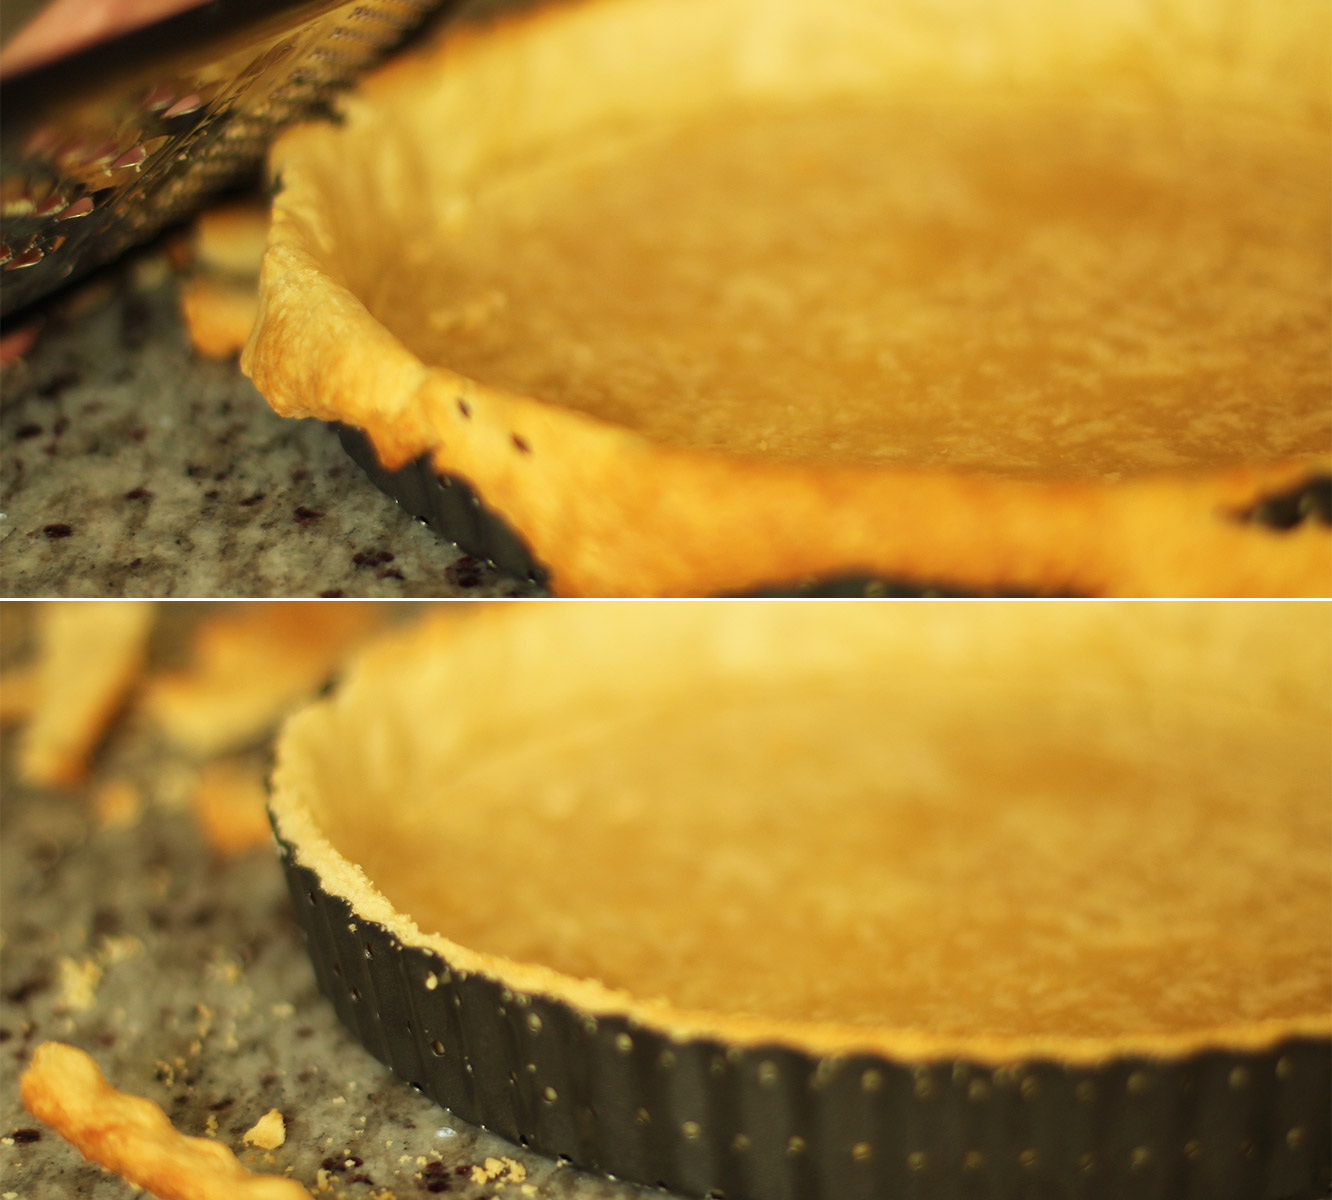
Using a grater remove the excess pastry at this stage. Doing it this way helps to avoid your pastry shrinking in the oven.

apple-frangipane-almond-tart-pie-gif

Step thirteen

FILL.

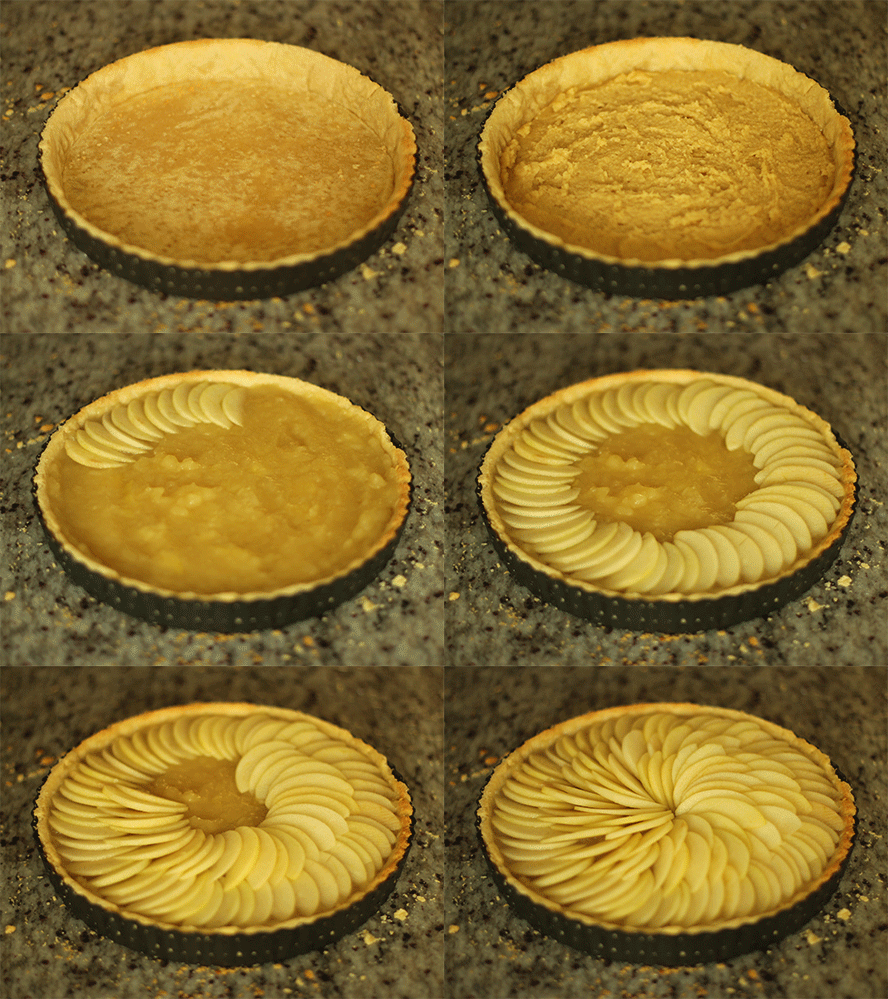
First spoon in the frangipane and spread out, followed by the stewed apple puree mixture.

Finally add your eating apples. Start with the outside and work inwards. Make sure your apples overlap each other quite a bit; the cooking process reduces the water so they will shrink and flatten out.

Bake for another hour on 180C/350F/gas mark 4. I advise checking in at regular intervals after 30 minutes as every oven is different.

apple-frangipane-almond-tart-pie-15

Step fourteen

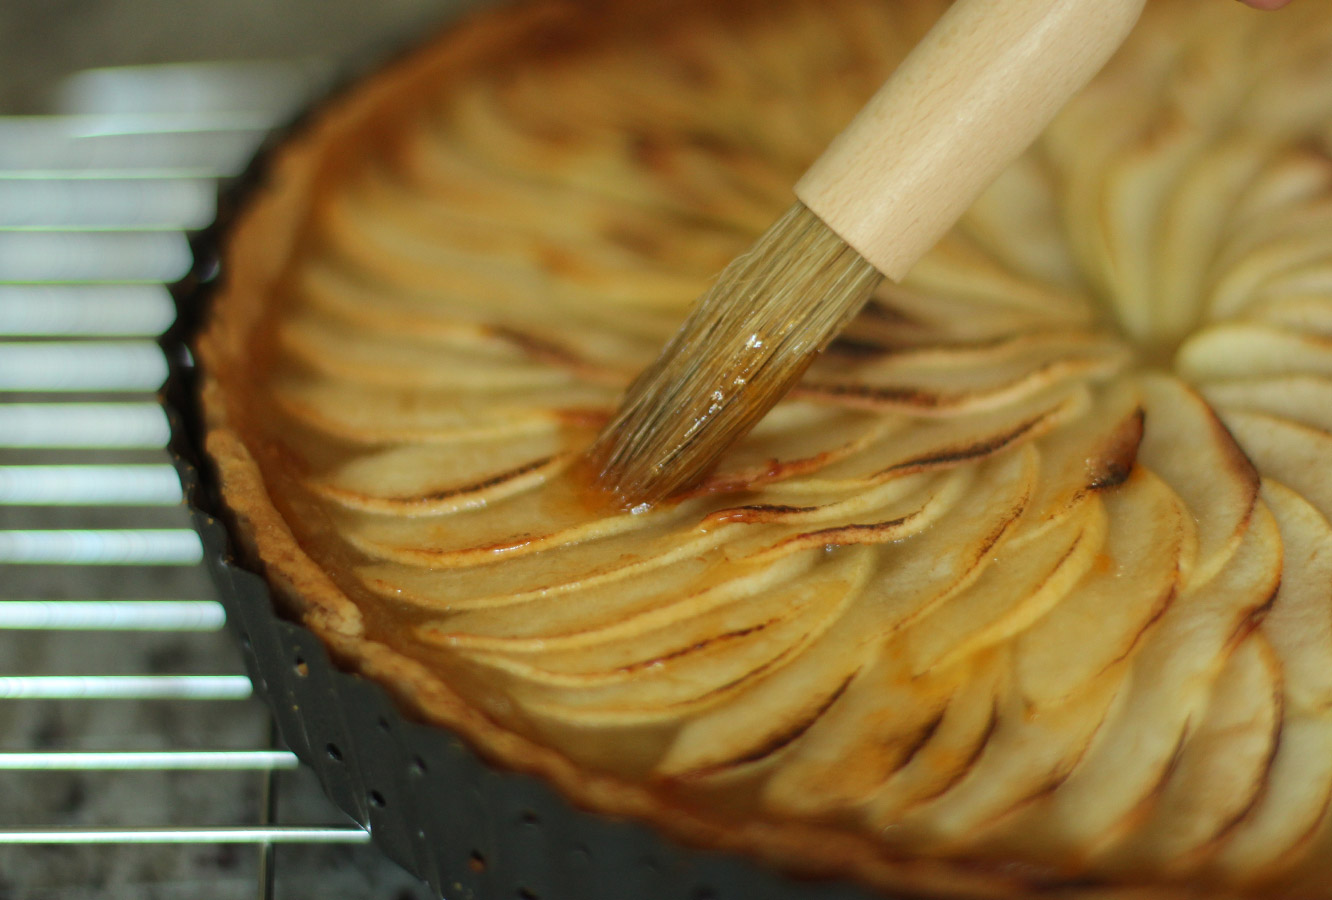
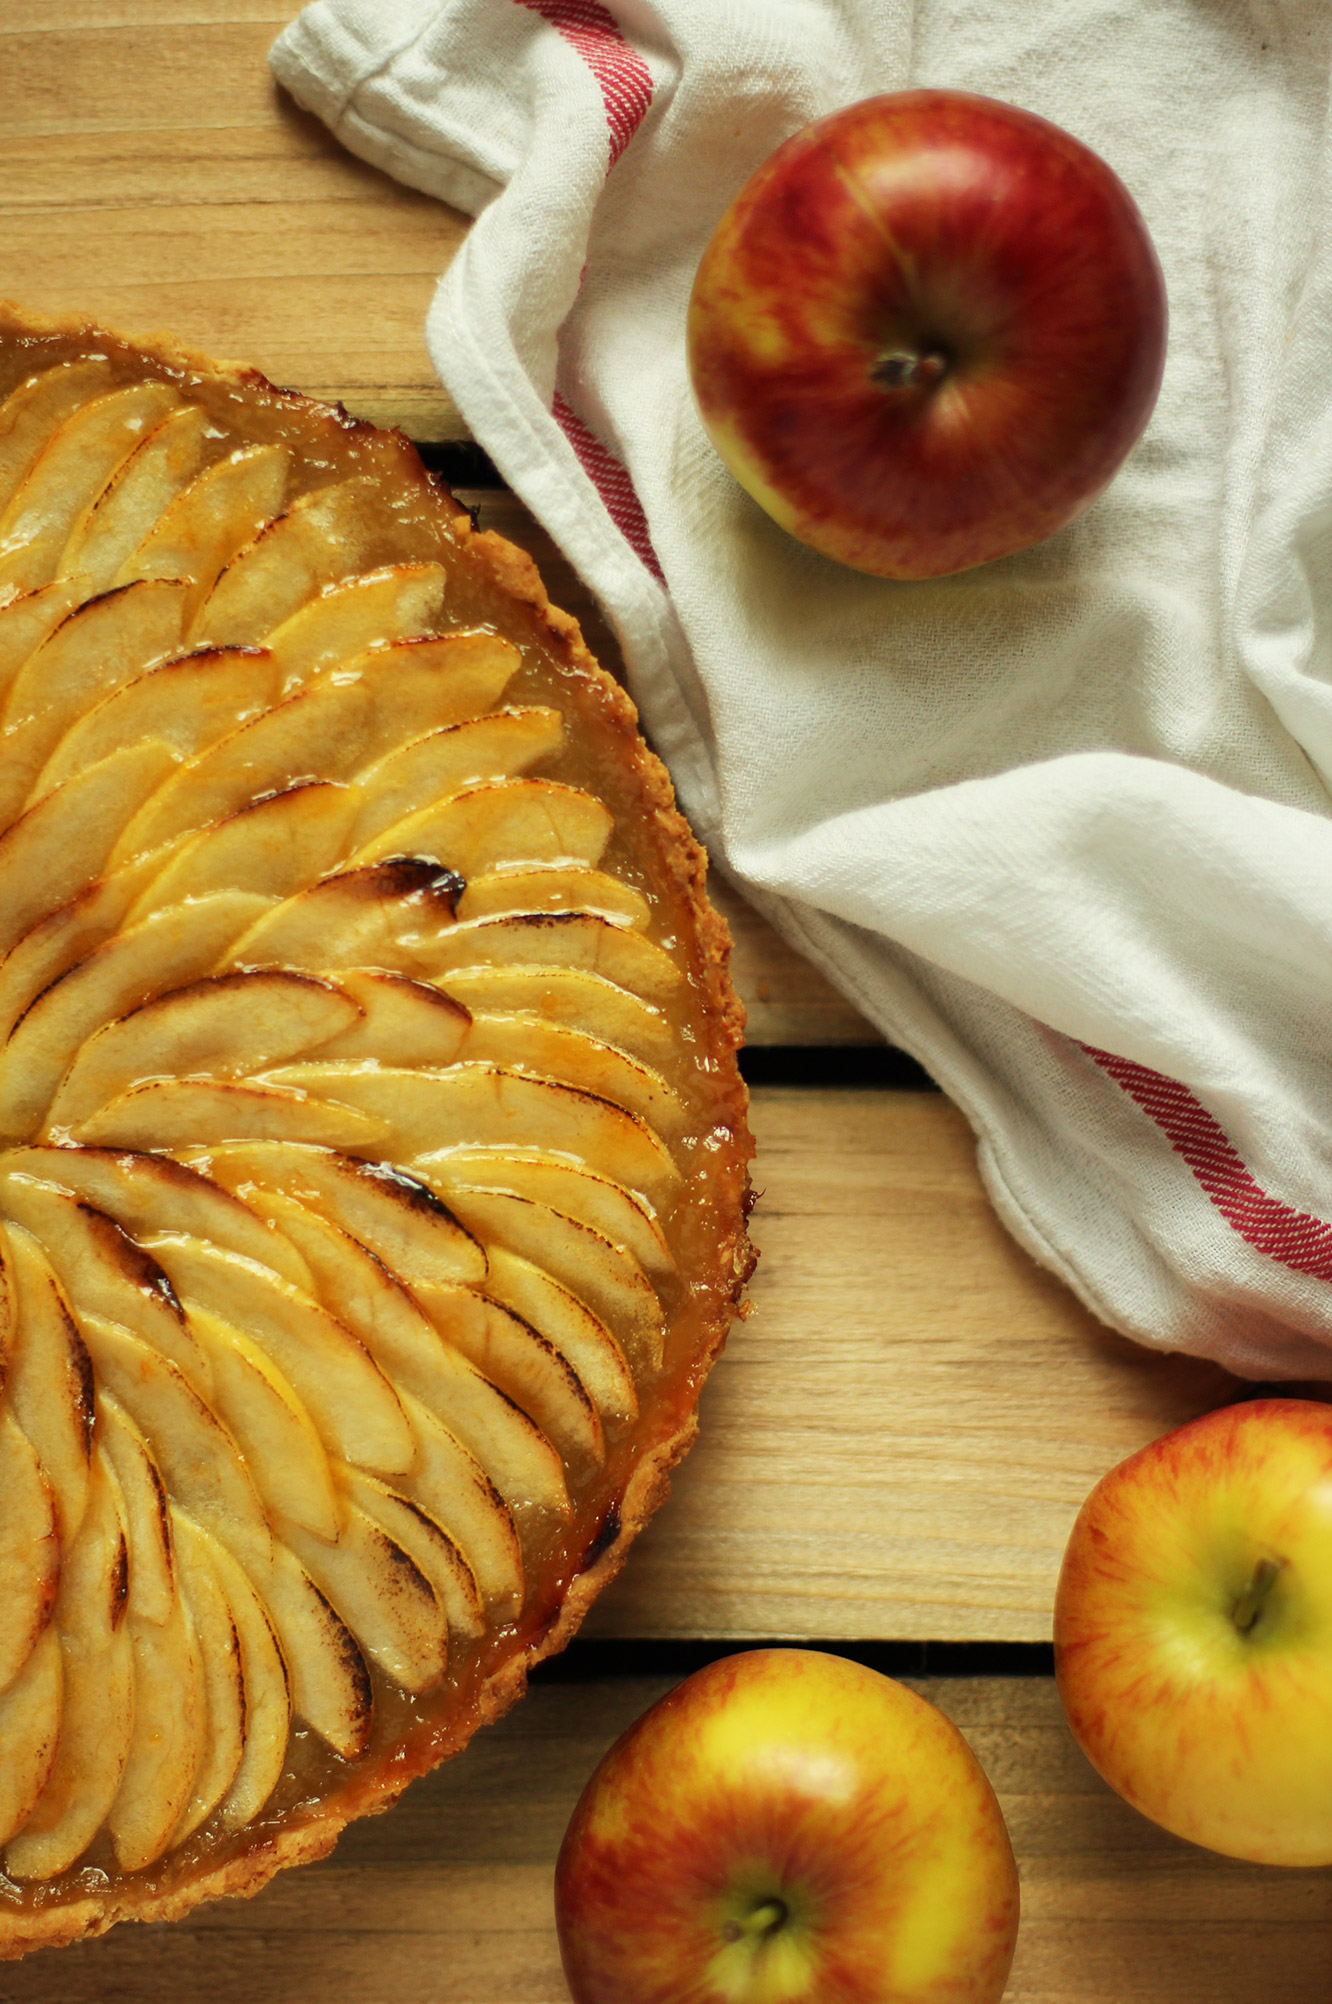
Pop a few tablespoons of apricot jam in the microwave for 10-20 seconds (keep your eye on it as it’s sugary and will heat up quickly). Brush over the surface of the tart, being careful not to move the apples around, spoiling your lovely design.

apple-frangipane-almond-tart-pie-17

apple-frangipane-almond-tart-pie-18

apple-frangipane-almond-tart-pie-16

Step fifteen

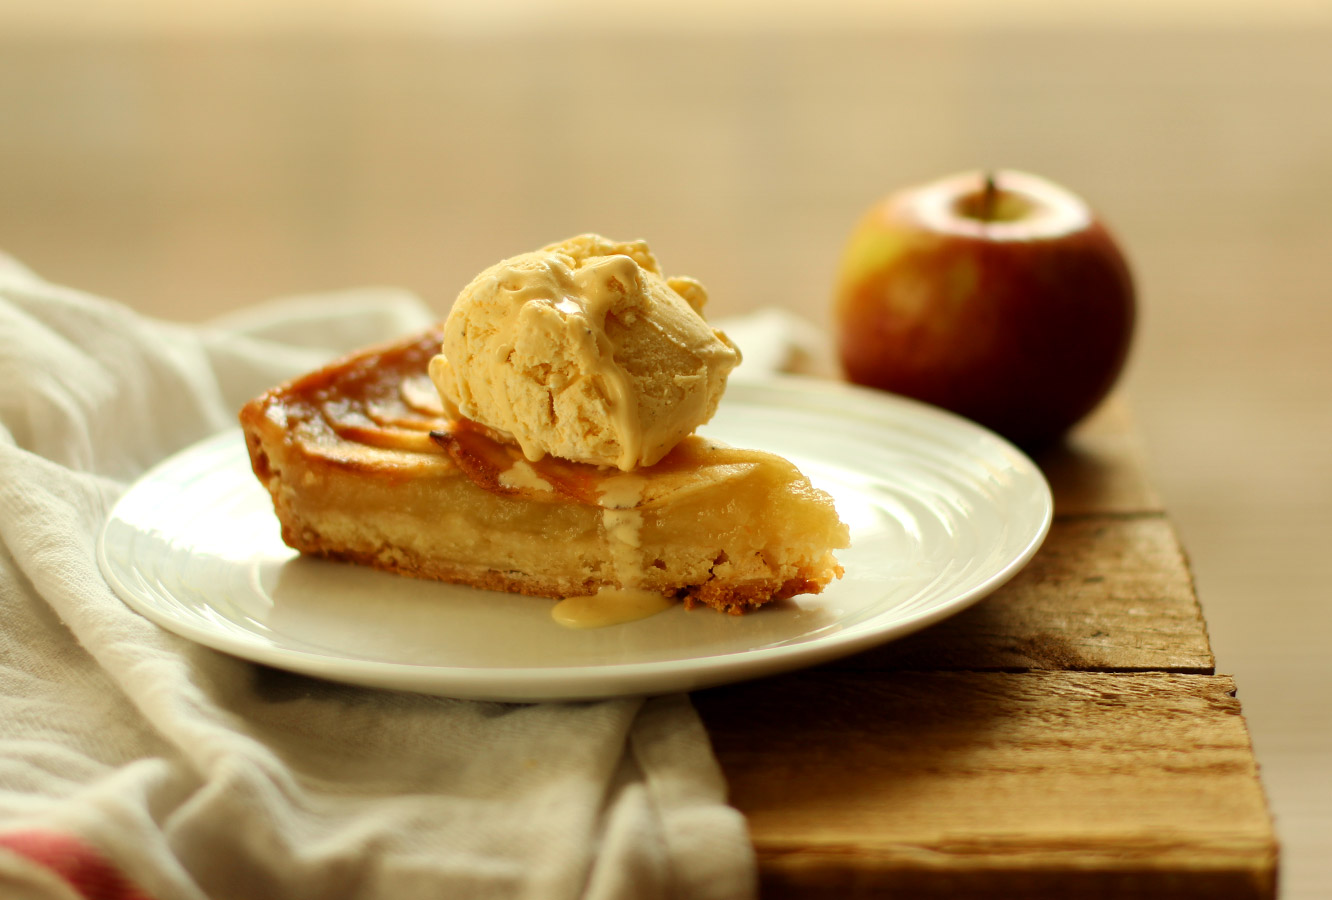
Get a scoop of vanilla ice-cream on that guy.

You can reheat your pie in the oven or individual slices in the microwave if you aren’t eating it straight away.

Until next time. x

Cluck cluck #3

It seems a bit strange to be writing this. Not least because the last few weeks were crazy and I got out of the habit of blogging, but mainly because the hen in question is now a WIFE.

What’s that? You wanna see? Oh ok then, here she is…

IMG_6228

As you can see from the size of that smile, we all had a ball. It was an amazing day.

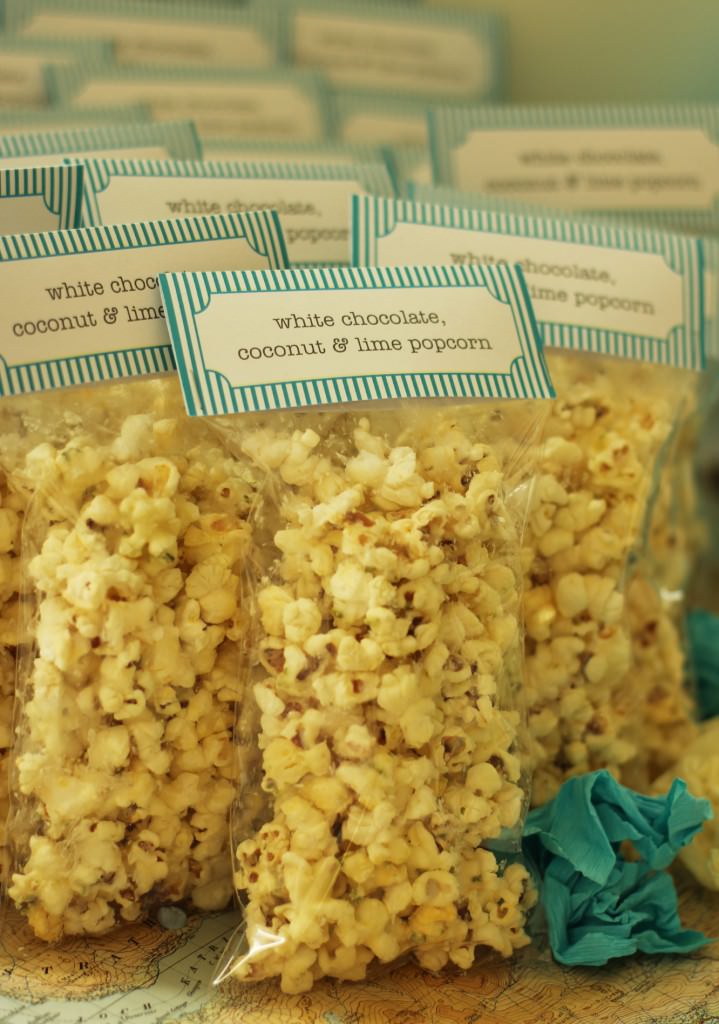
But let’s step back a month or three and finish off her favours. This was without a doubt the guests’ fave recipe so, ladies, all of you who asked me for it, sorry it took so long! Without further ado here is the recipe for white chocolate, lime and coconut popcorn.

Remember to downscale the below if you’re making for a smaller group/movie night.

hen-bachelorette-party-favours-01

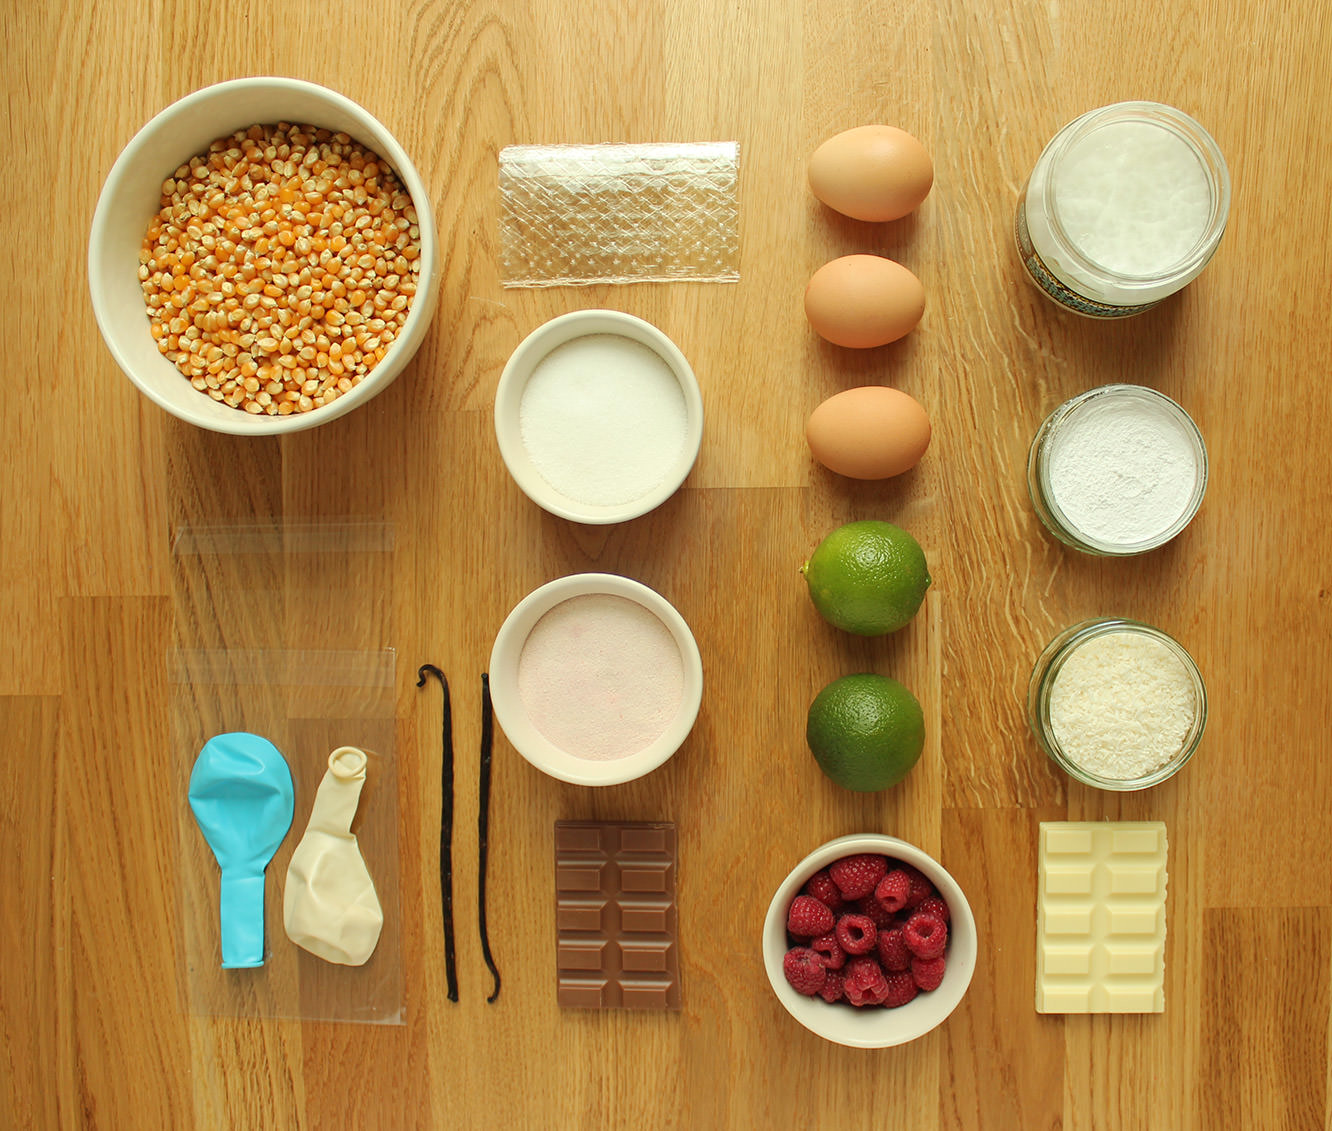
You will need

450g/1lb plain popcorn kernels

600g/1lb 5oz white chocolate

Coconut oil

2 limes (zest)

hen-bachelorette-party-favours-lime-white-chocolate-coconut-popcorn-recipe-01

Step one

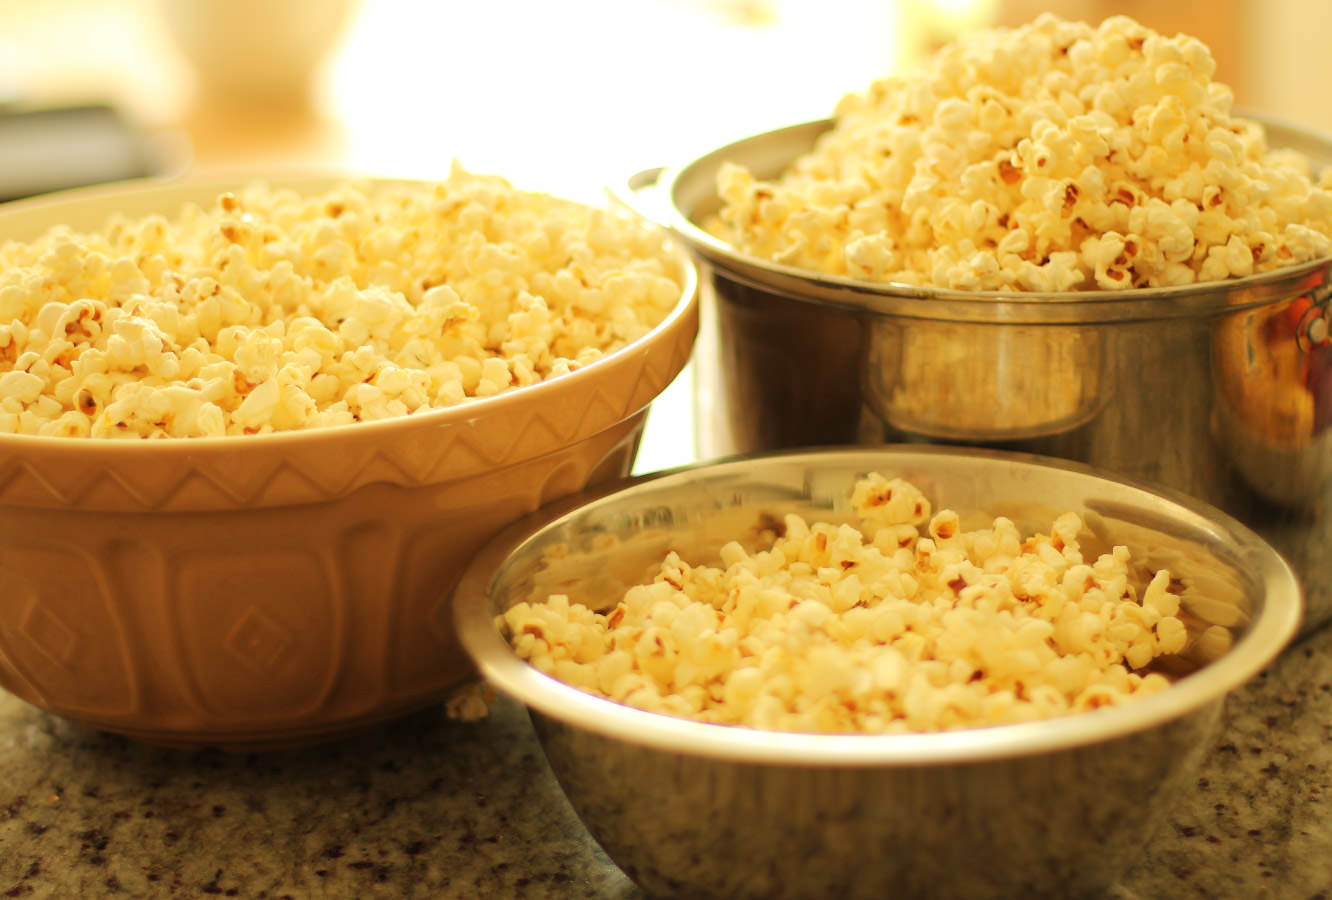
You’re going to want to get a biiiiiig pan (one with a lid unless you want to be finding popcorn in corners for years). You also need several bowls to decant the popcorn into and definitely don’t try to pop it all in one go, I think i did three or four batches.

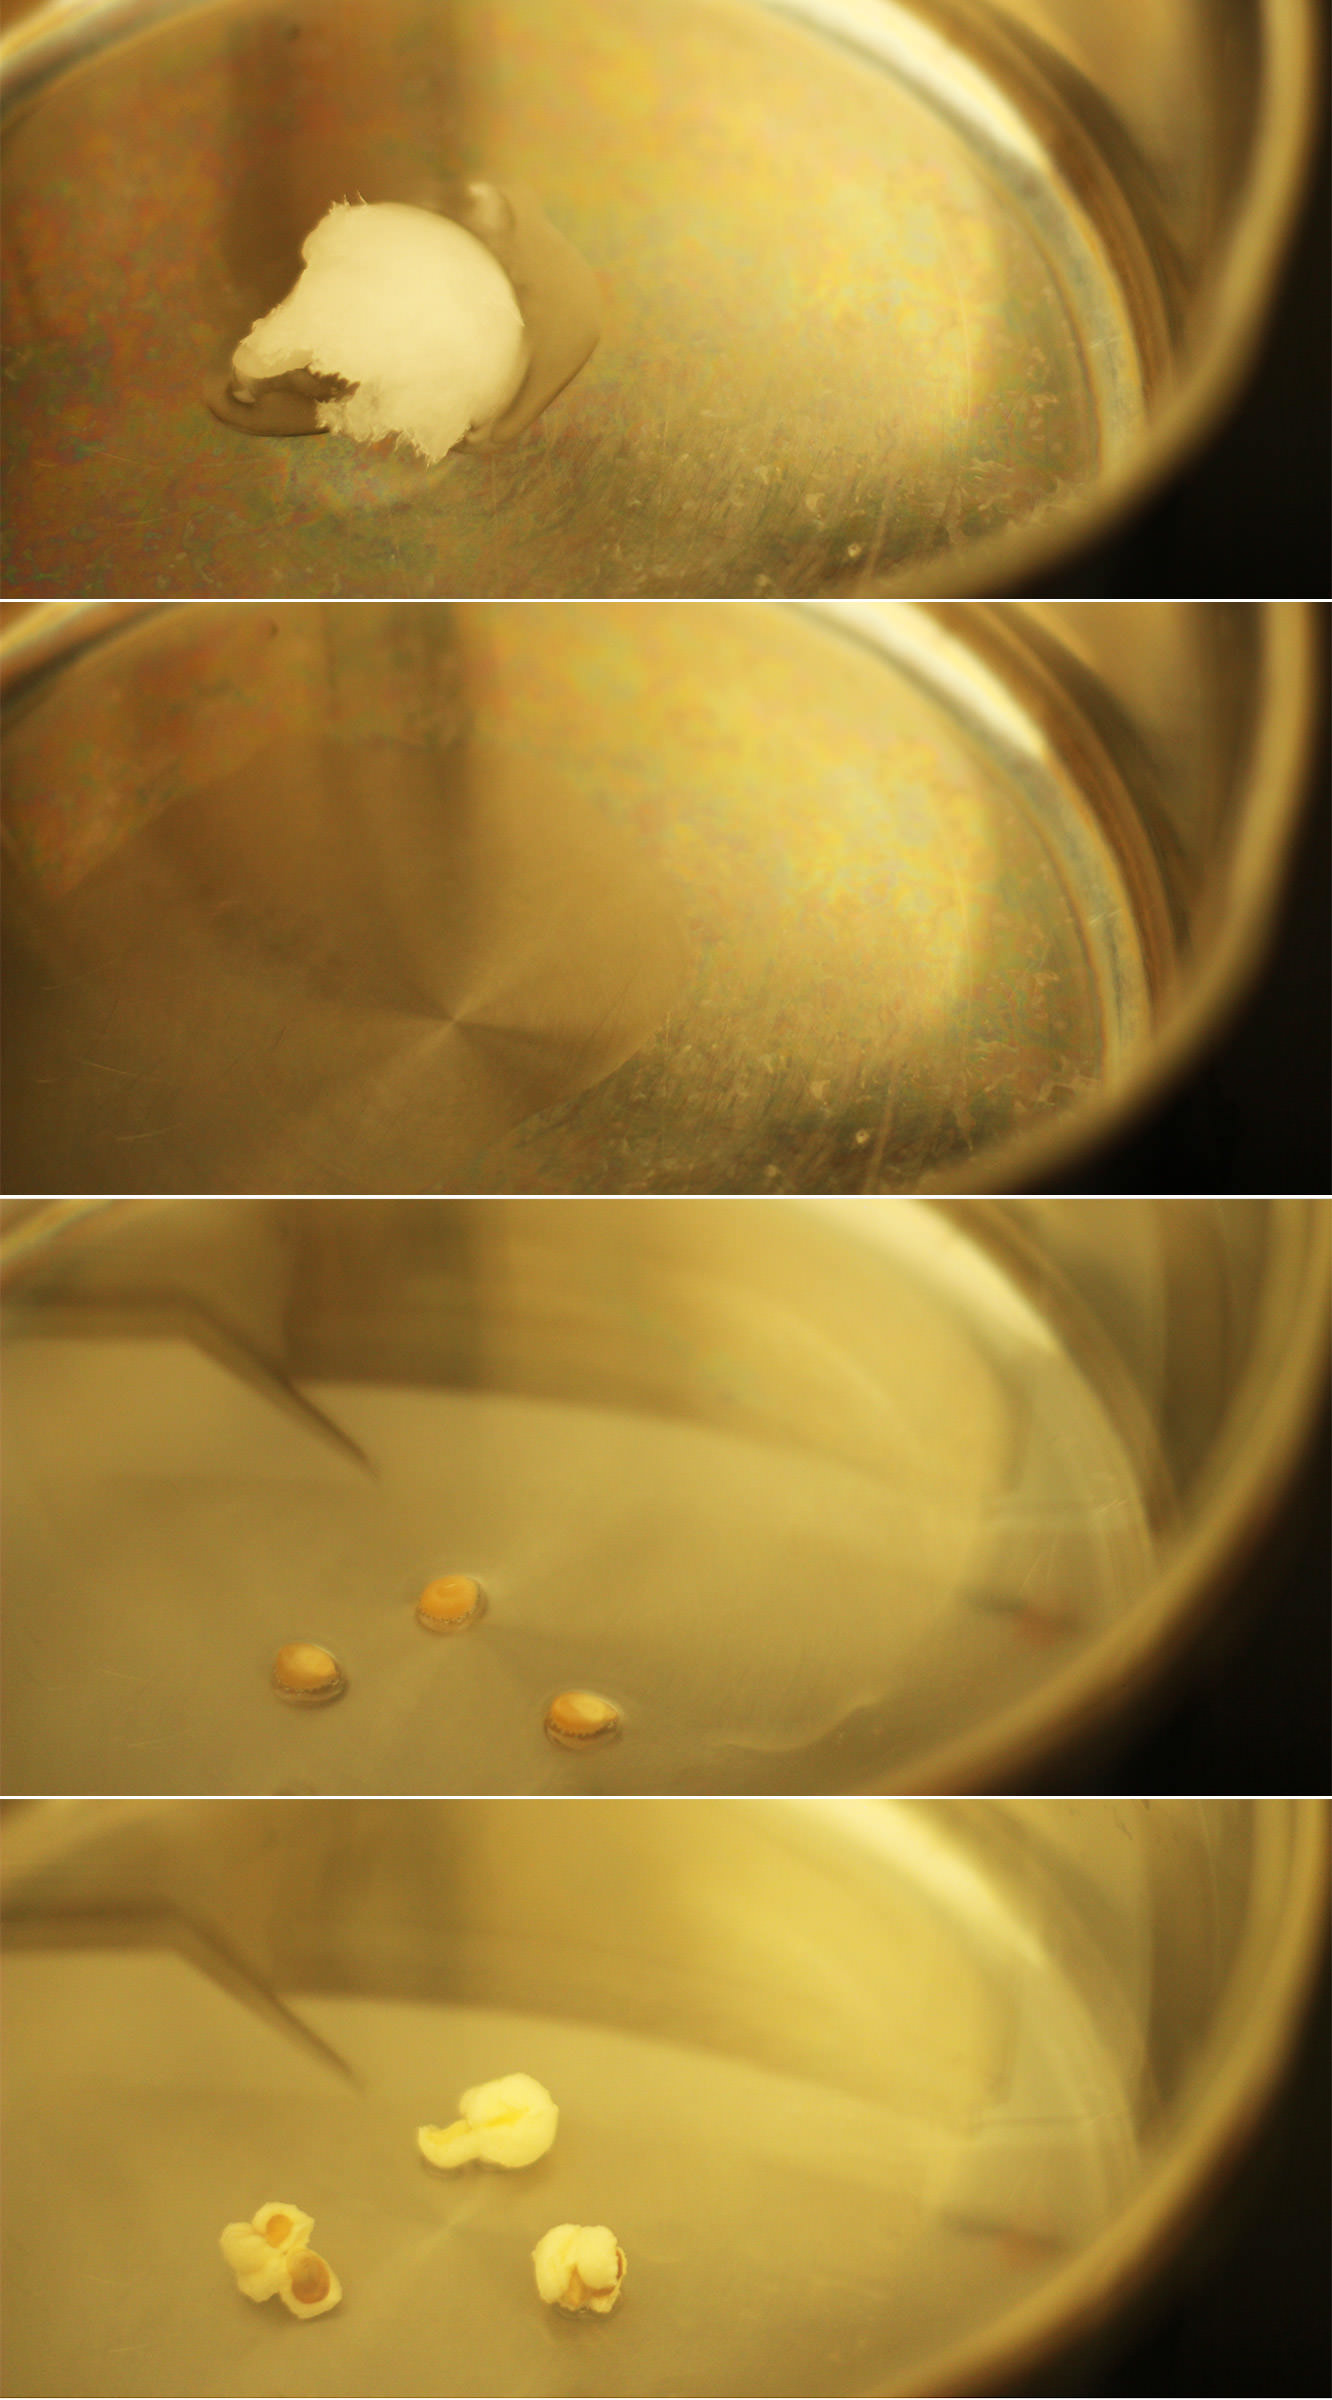
So. Pop the pan on a med-low heat, and drop a tablespoon of coconut oil in the pan. Add three kernels or so and wait patiently for them to pop.

Don’t put all the kernels in straight away otherwise you will burn some.

hen-bachelorette-party-favours-lime-white-chocolate-coconut-popcorn-recipe-02

Step two

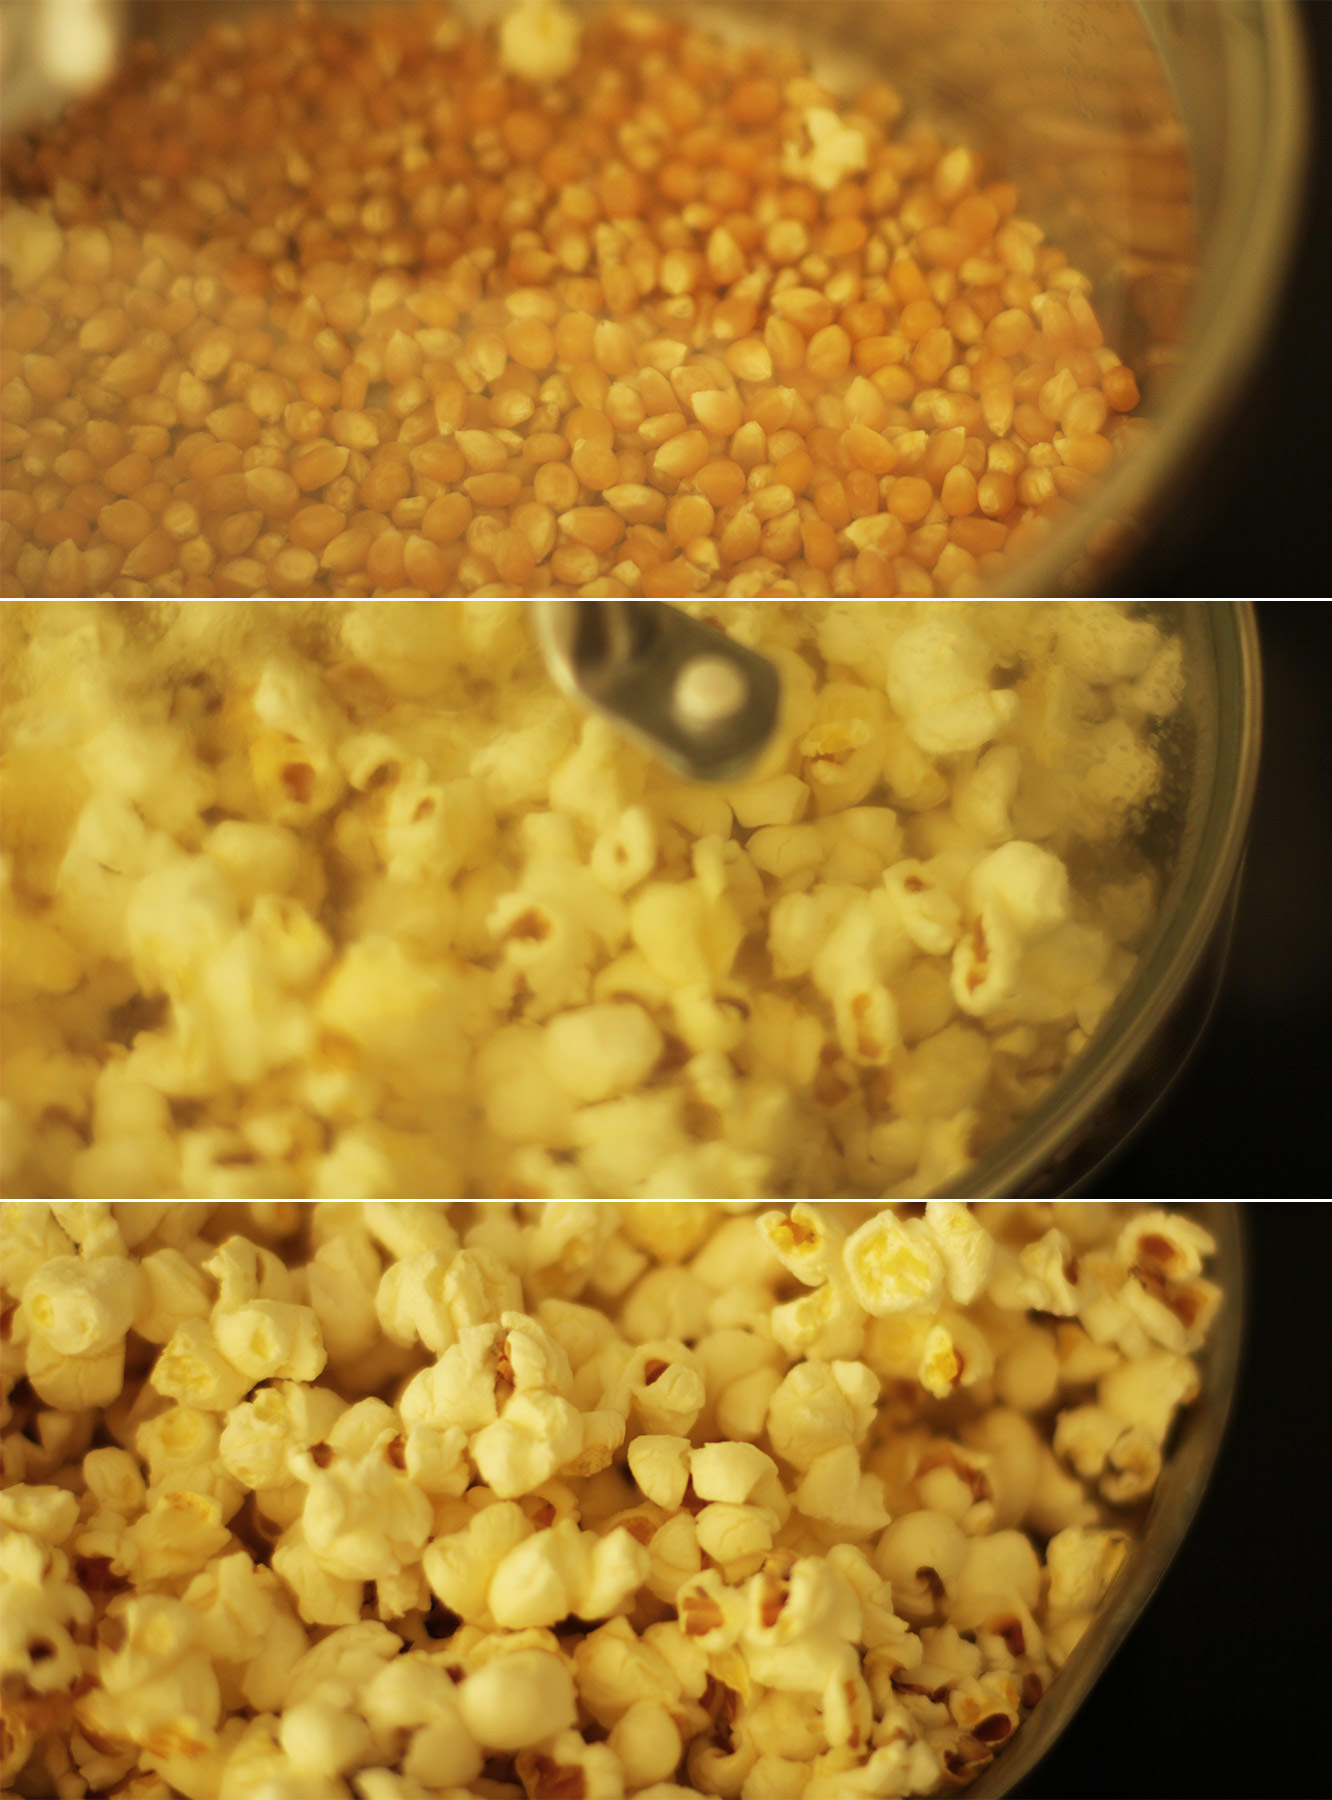
Once the three test kernels have popped pour a load more in to cover the bottom of the pan and replace the lid.

As the kernels start to pop I generally shake the pan a intermittently and hover it above the heat. If the popping slows down, place it fully back on the heat for a few seconds.

When the pan is filling up and there’s a couple of seconds between pops remove it from the heat and pour the popcorn into a bowl.

hen-bachelorette-party-favours-lime-white-chocolate-coconut-popcorn-recipe-03

Step three

Repeat repeat repeat until you’ve used alla that popping corn.

hen-bachelorette-party-favours-lime-white-chocolate-coconut-popcorn-recipe-04

Step four

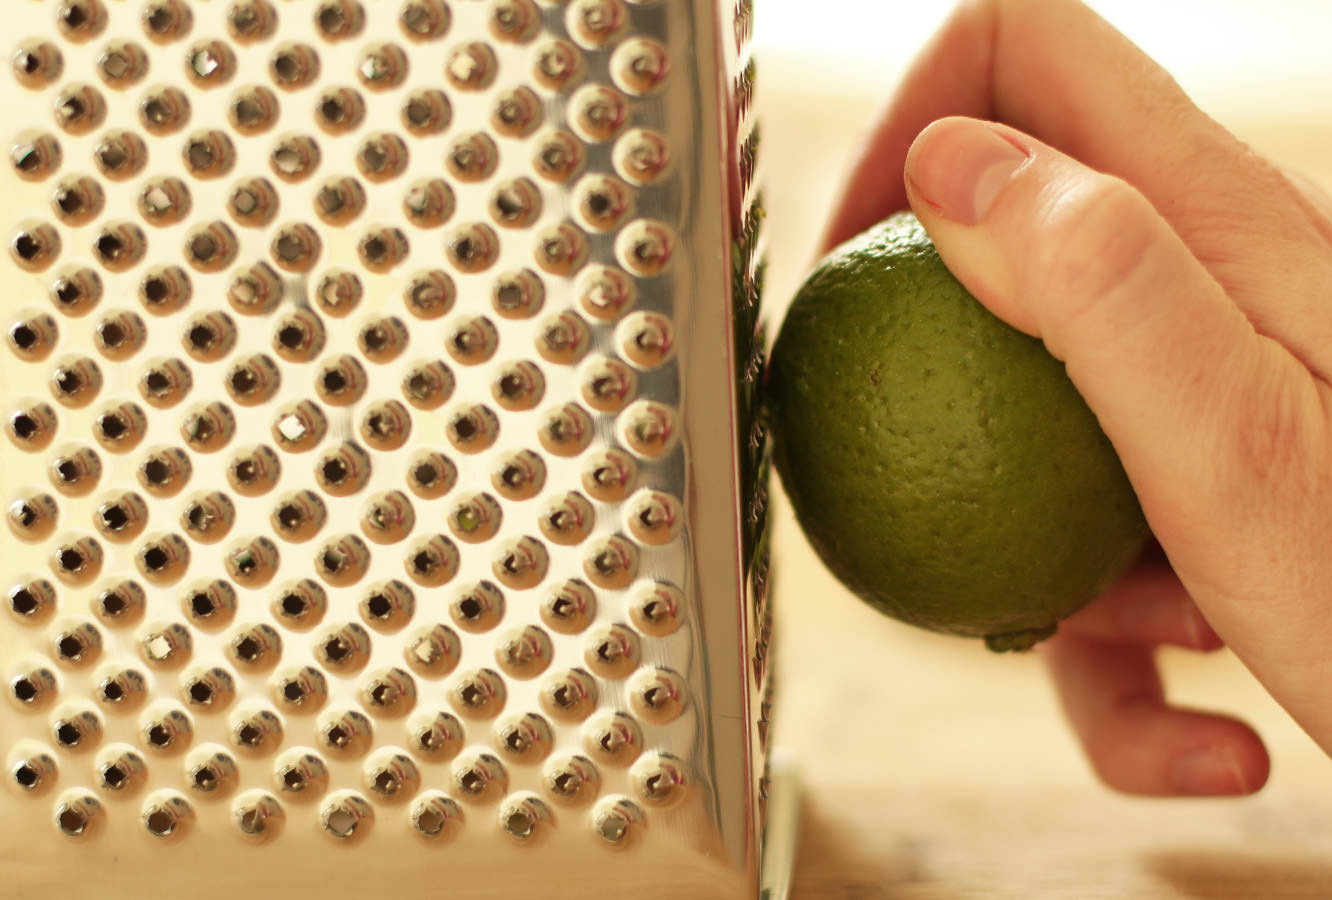
Zest the limes on the smallest ‘setting’ on your grater.

Step five

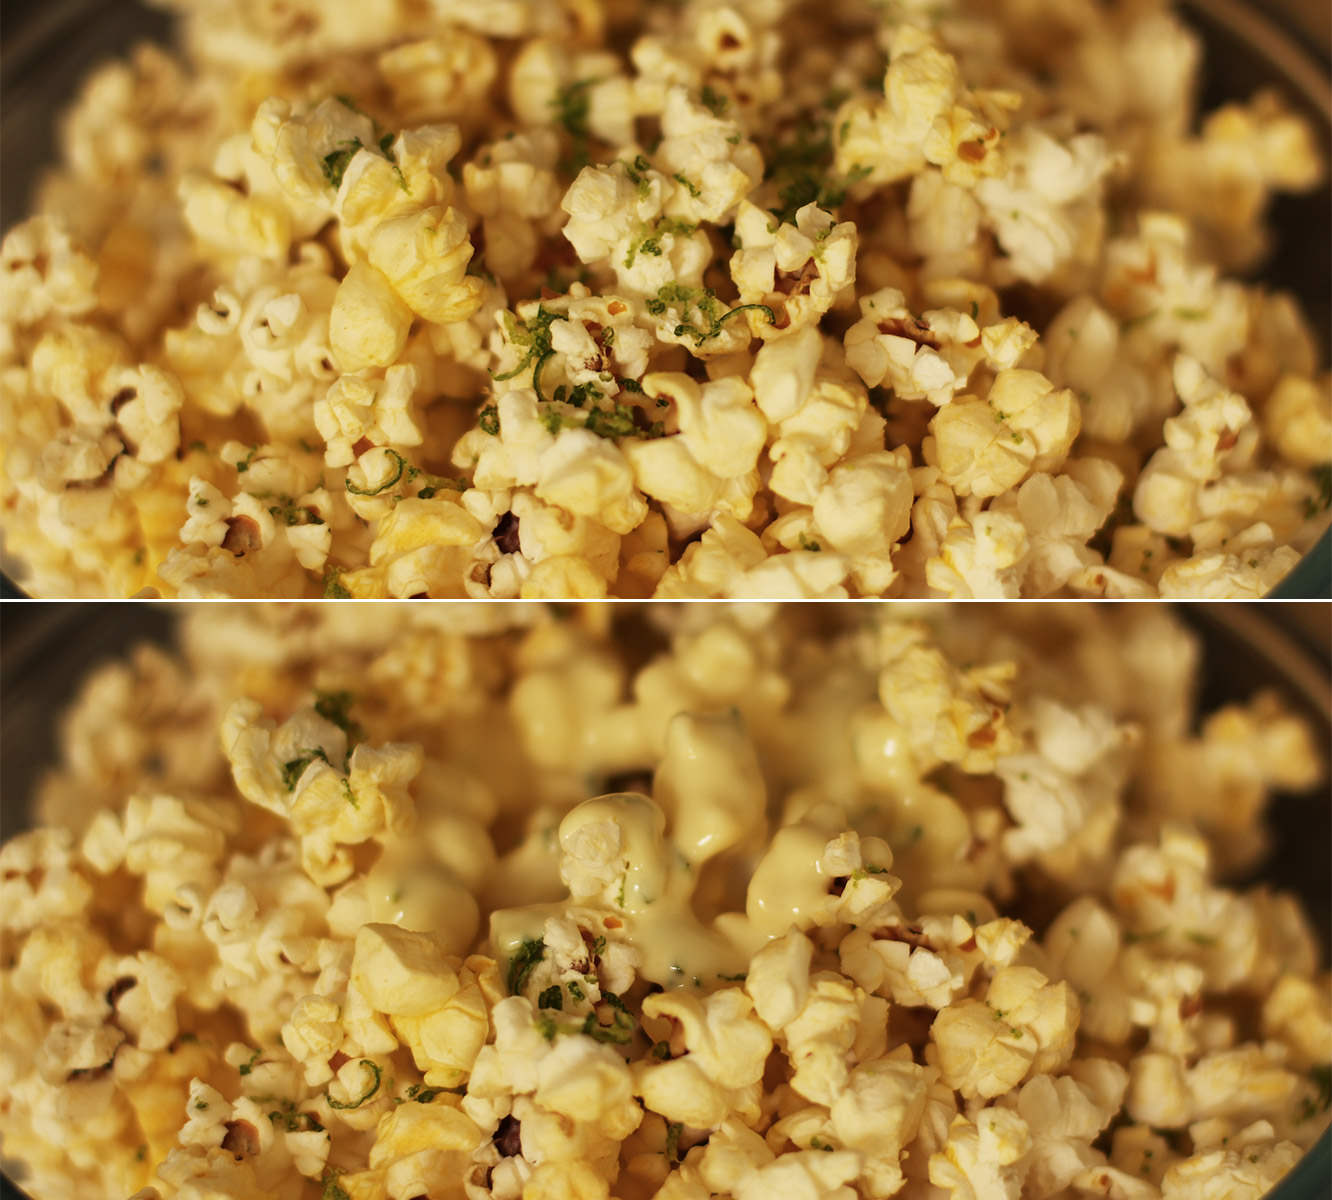
Melt the white chocolate in a heatproof bowl. As there’s quite a lot of it, it’s really probably better to do this over a pan of boiling water. Otherwise you risk leaving some foil in there, almost blowing up your microwave and burning 600g of chocolate. There might be a small rage blackout to follow.

While the chocolate is still warm stir in a heaped tablespoon of coconut oil.

hen-bachelorette-party-favours-lime-white-chocolate-coconut-popcorn-recipe-05

Step six

This is the tricky bit, you sort of need to distribute the chocolate and lime evenly amongst your batches of popcorn.

hen-bachelorette-party-favours-lime-white-chocolate-coconut-popcorn-recipe-06

Step seven

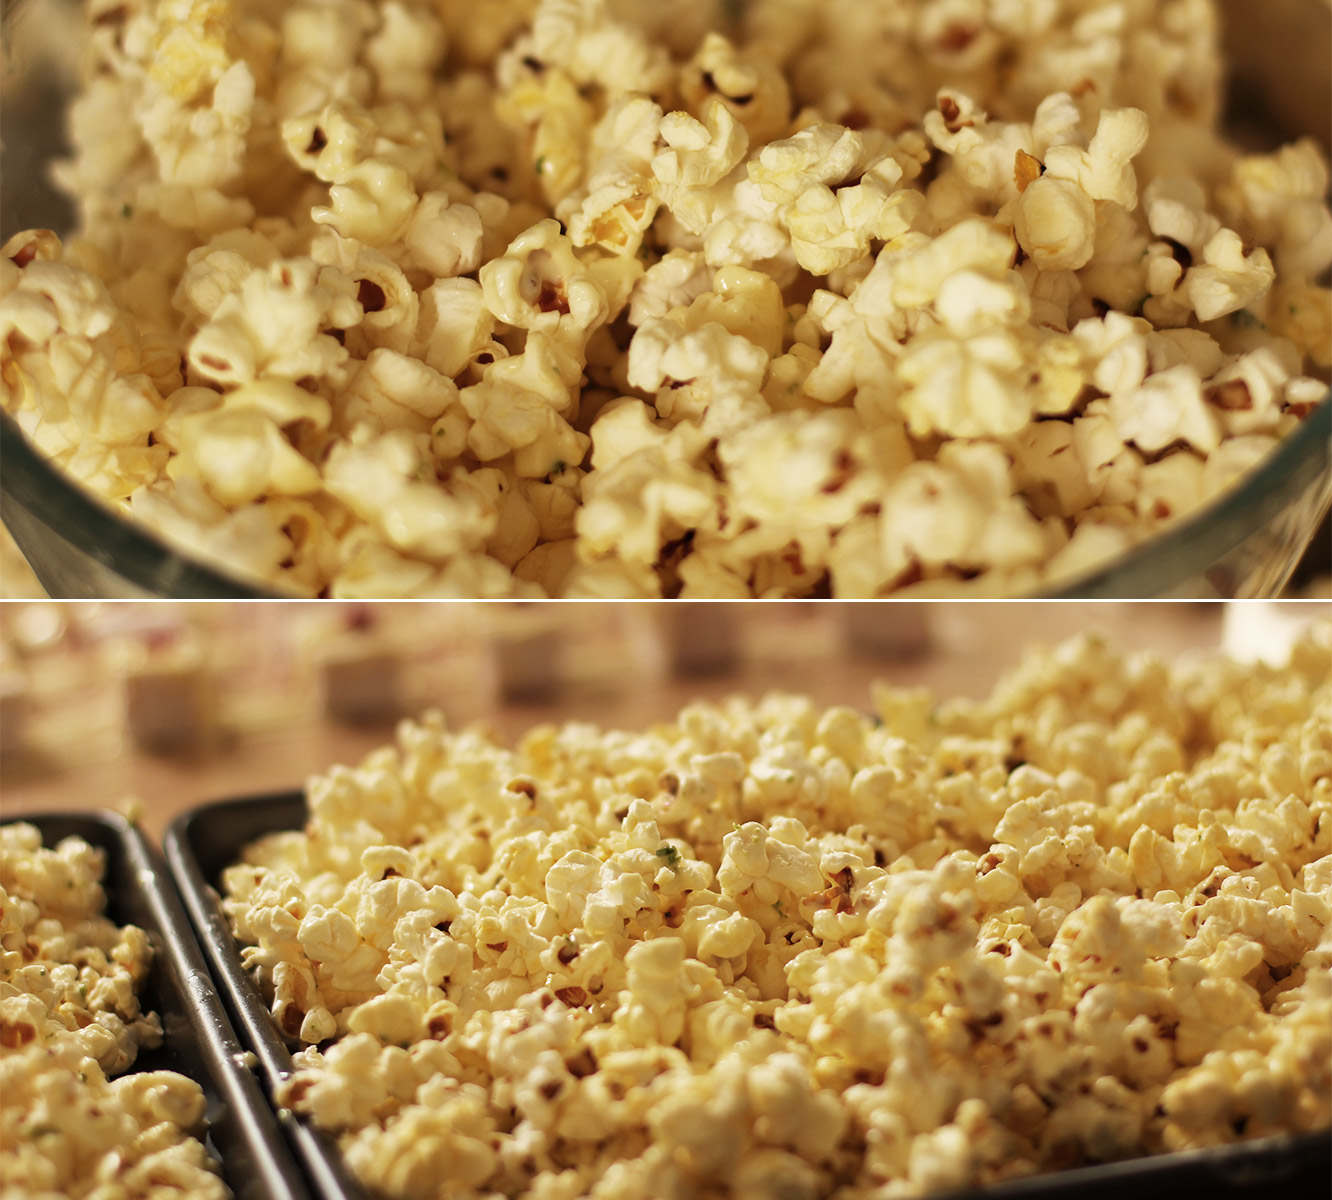
Stir in the chocolate as well as you can and spread out on baking trays to set. The chocolate won’t fully harden because of the oil but it’s nice that way, I promise.

hen-bachelorette-party-favours-lime-white-chocolate-coconut-popcorn-recipe-gif

That’s all folks.

Final instalment next week – the bringing of everything together.

Tunnock’s teacupcakes

Fanfare please! We have reached the final post of the British favourites series. This has been fun, and I hope you’ve enjoyed it, but I for one am looking forward to eating something other than cupcakes soon. Safe to say my family and friends have enjoyed themselves the past few weeks. I should probably do a detox series next.

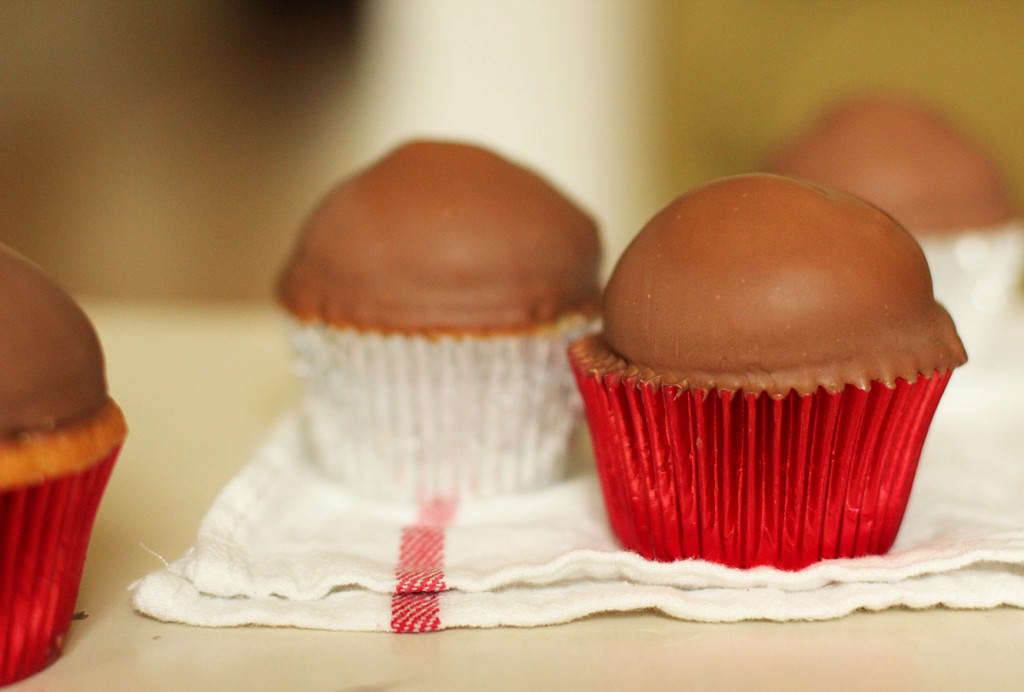
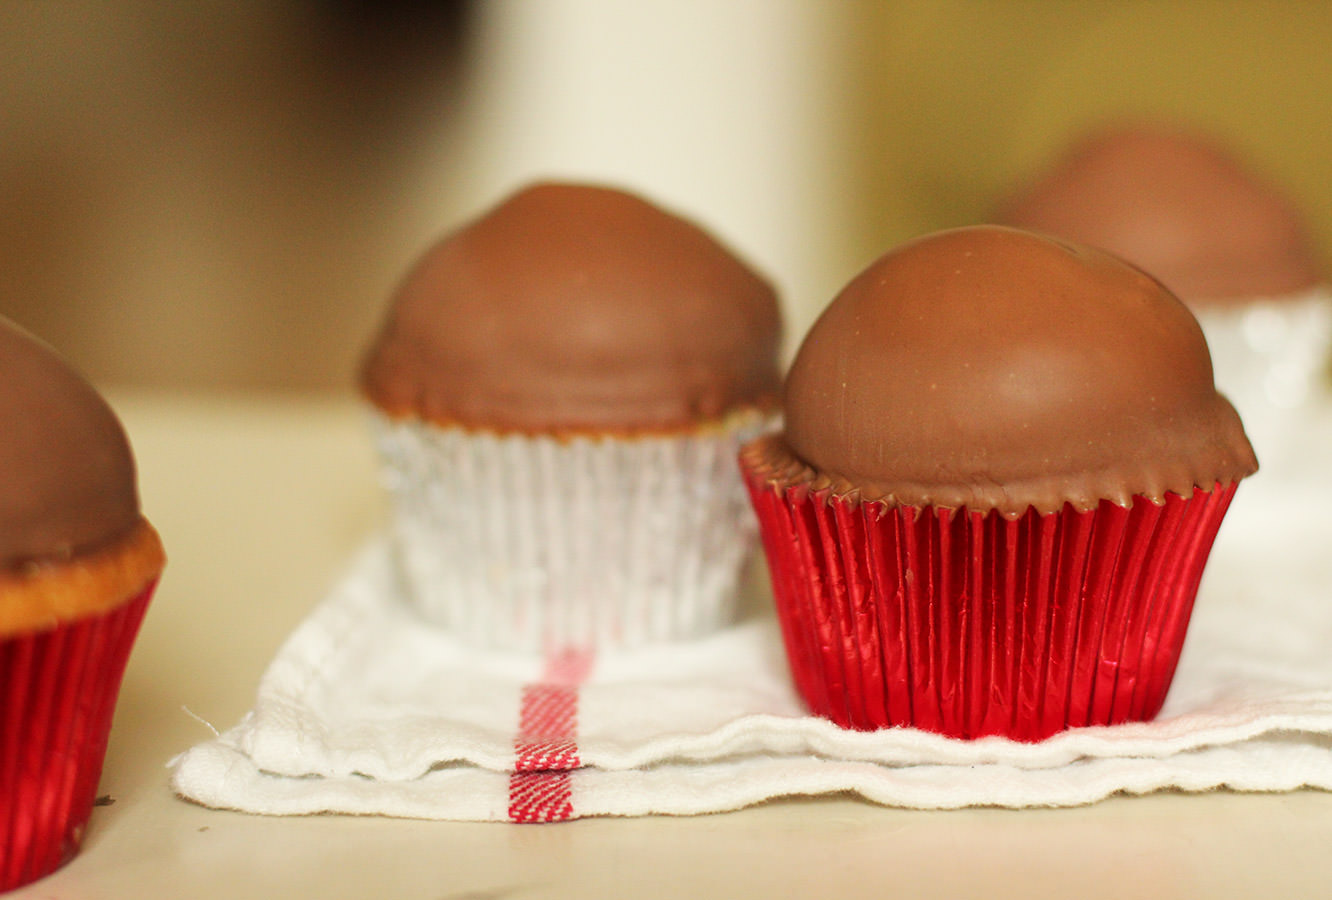
What better way to top this all off than with the Tunnock’s tea cake? The Tunnock’s bakery was founded in 1890, I’m not sure when the idea of the teacake popped into Mr Tunnock’s head but I’m  sure glad it did.

tunnocks-teacakes-cupcake-recipe-1

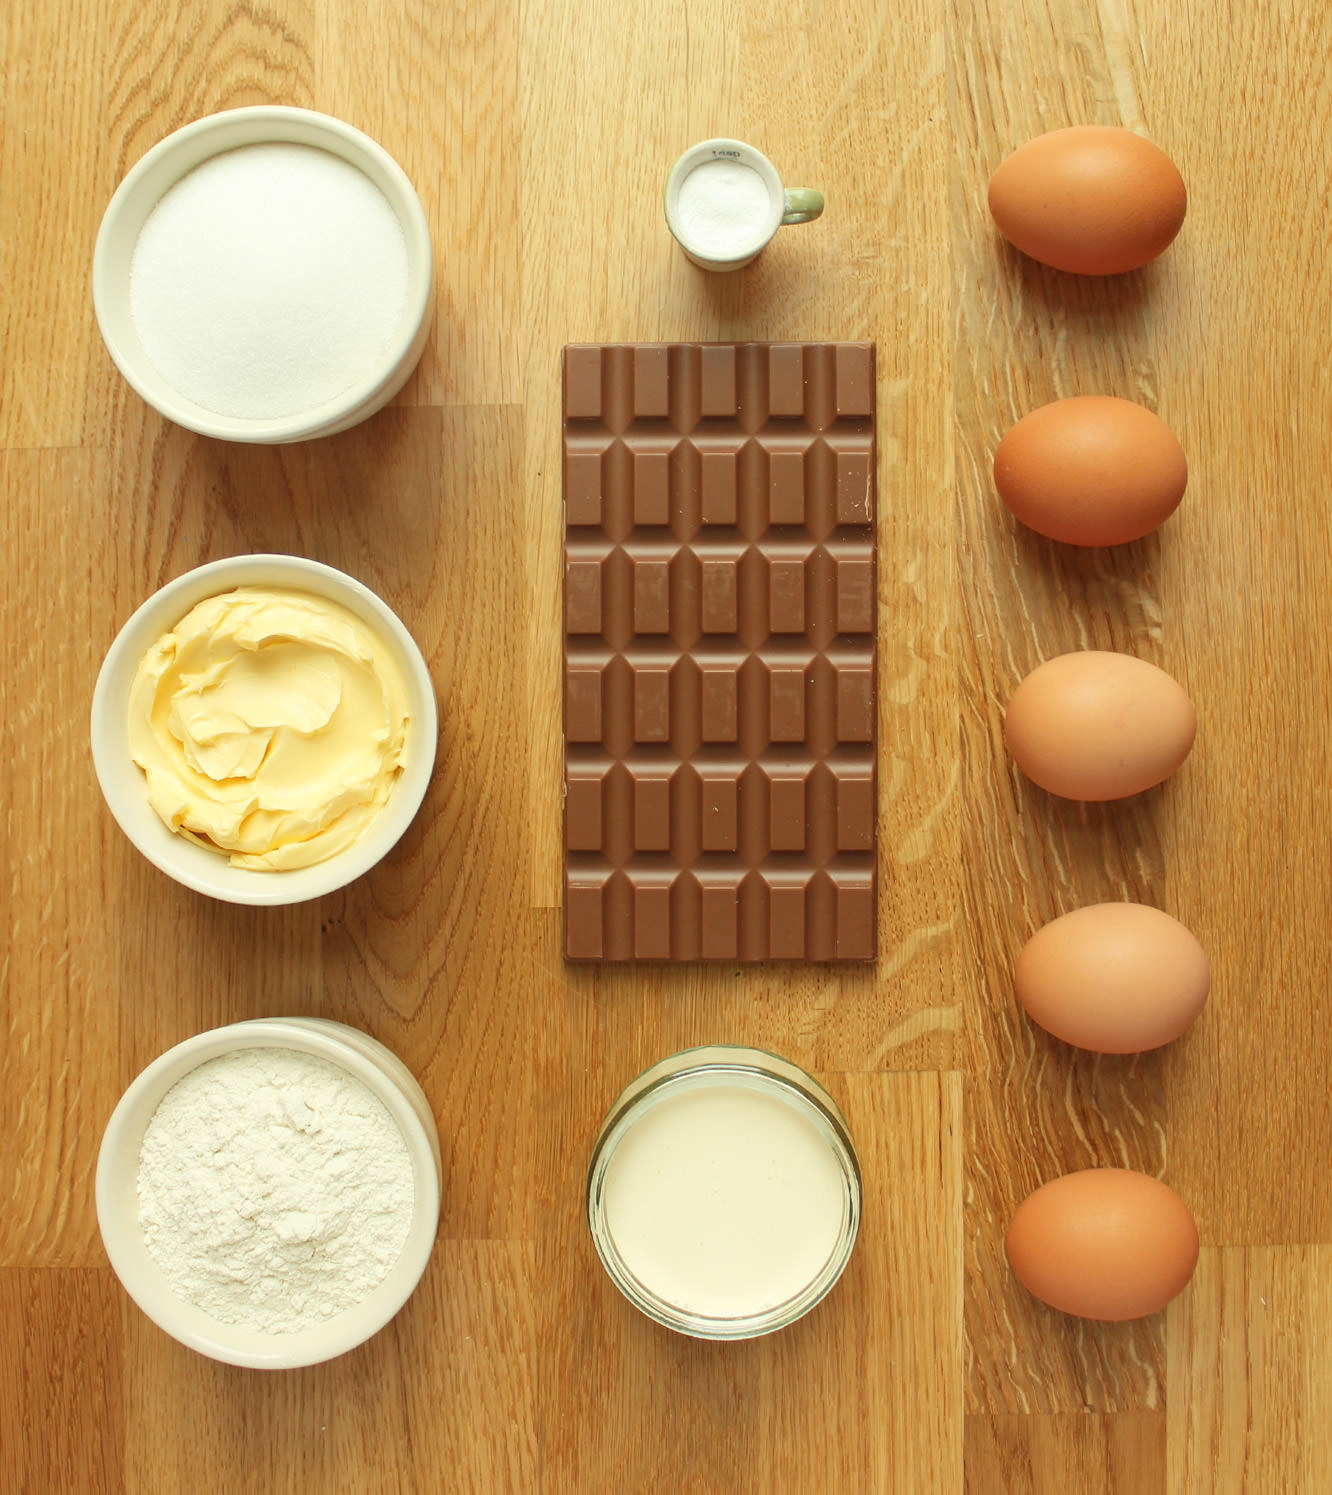
You will need

For the cake:

185g/6.5 oz self raising flour

185g/6.5 oz butter/margarine (I use Stork)

185g/6.5 oz caster sugar

3 eggs

1 tsp bicarbonate of soda

1 tsp vanilla extract/paste

For the filling:

200g/7 oz milk chocolate

150ml/5 fl oz double cream

For the frosting/icing:

2 egg whites

225g/8oz caster sugar

1/2 tsp cream of tartar

75ml/2.5 fl oz water

250g/9oz milk chocolate (for coating)

(makes 12)

tunnocks-teacakes-cupcake-recipe-2

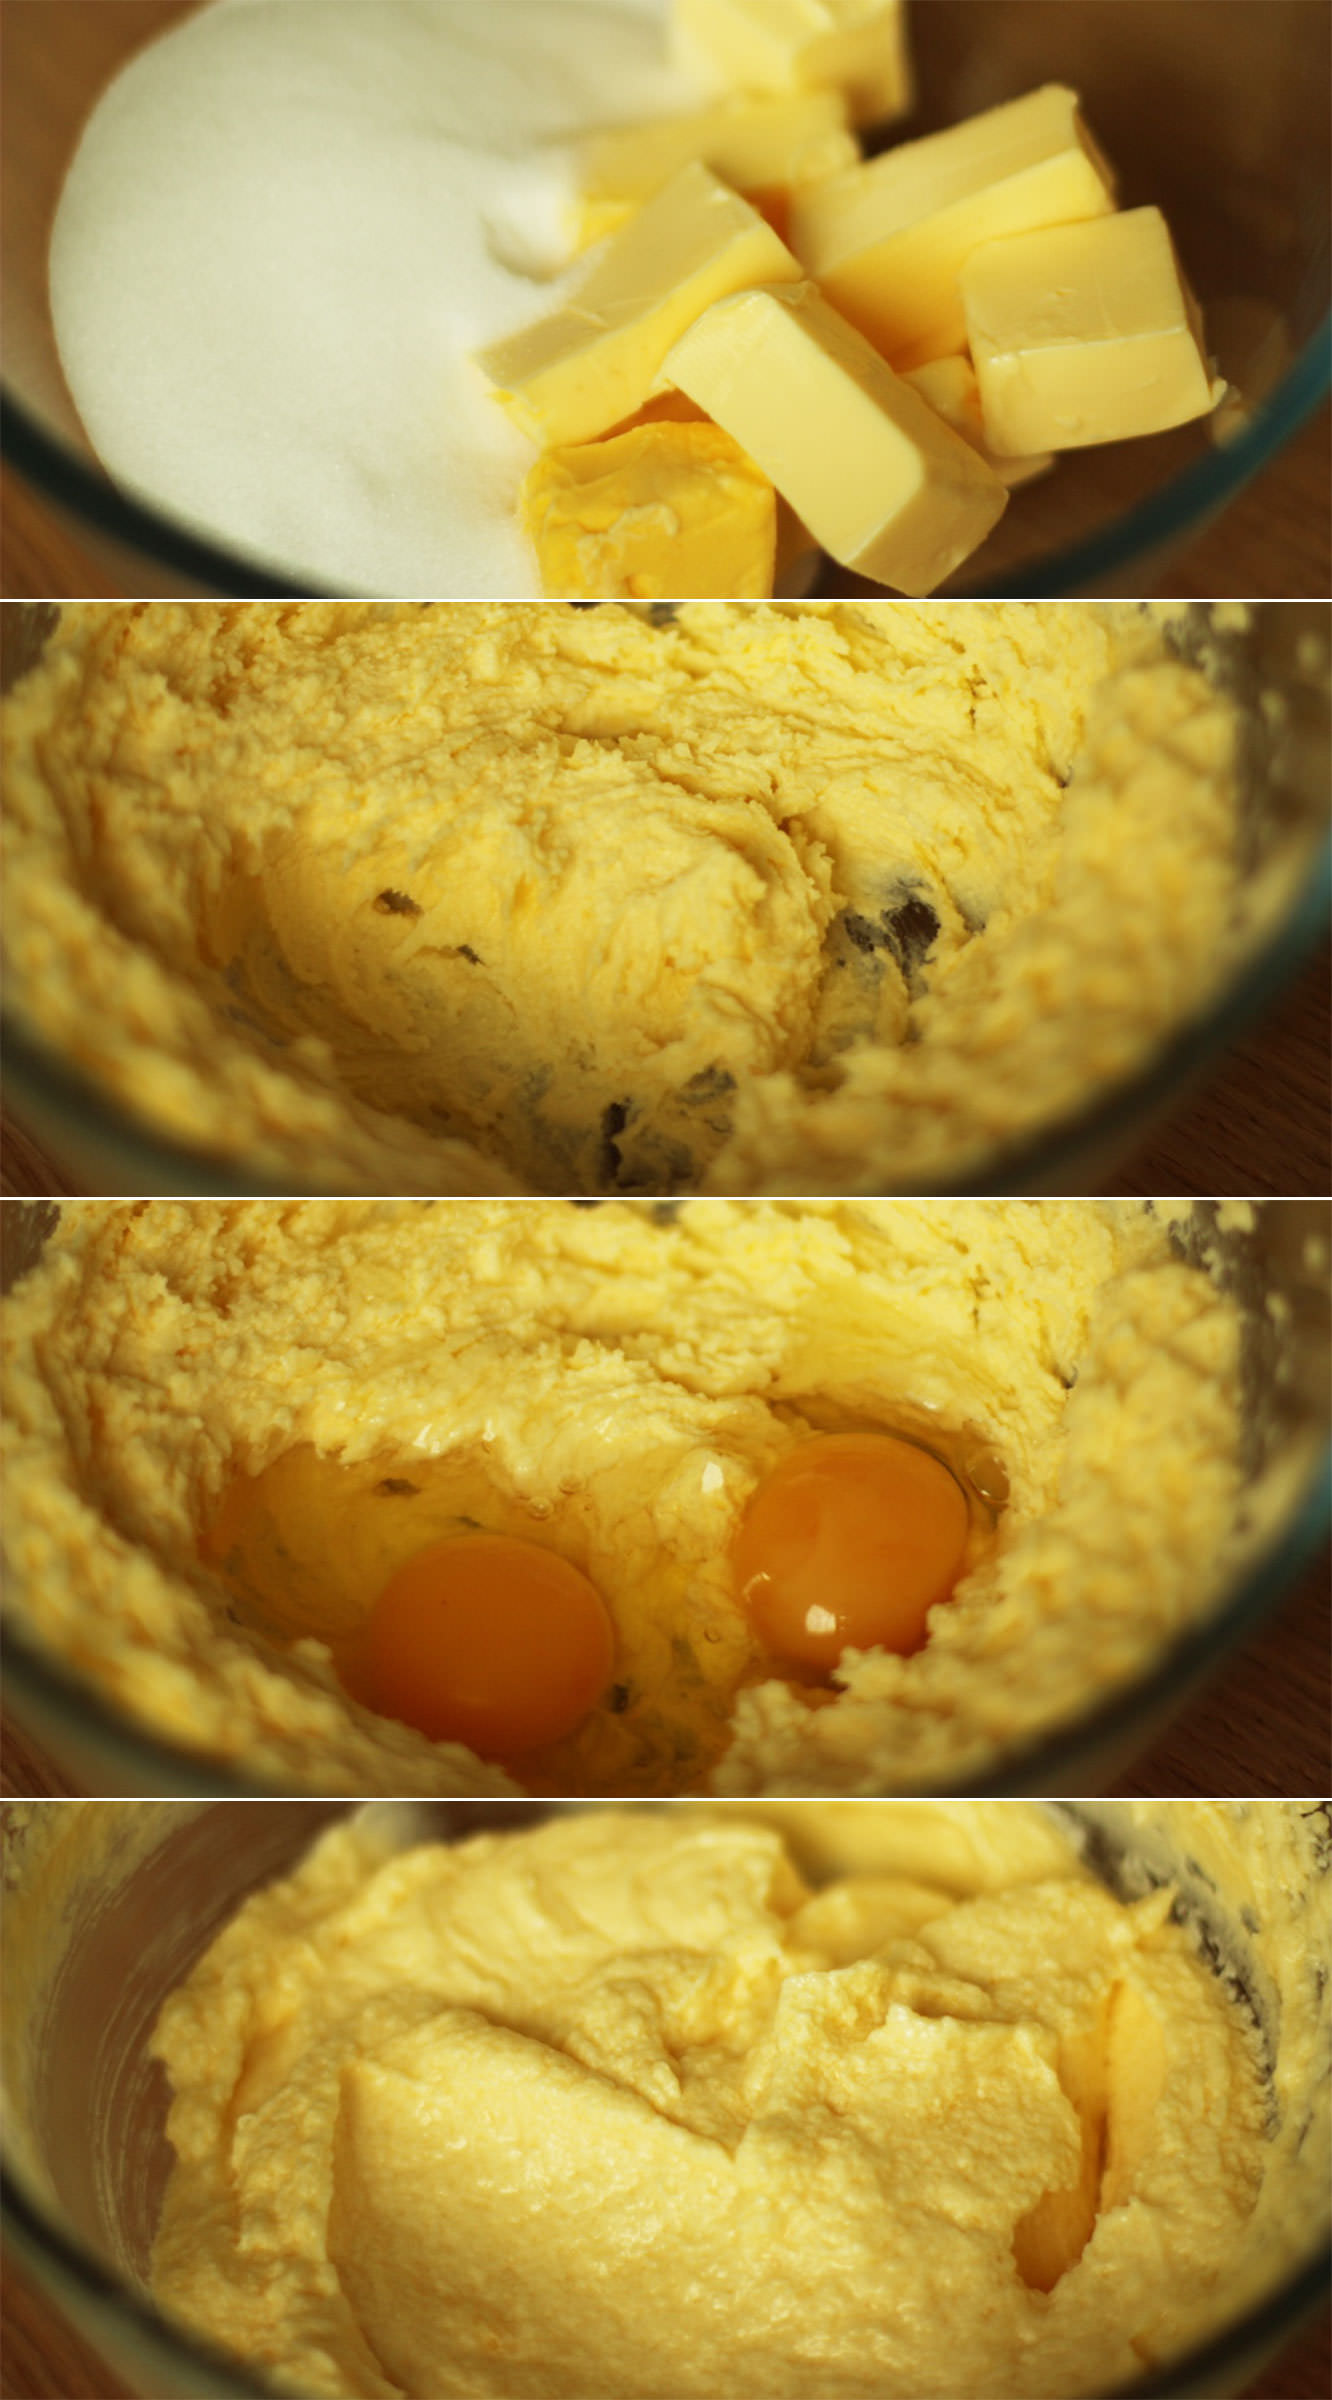
Step one

Beat together the butter and sugar until light and fluffy. If you have an electric whisk it’d be a good idea to use it.

Add the eggs and whisk again until combined.

tunnocks-teacakes-cupcake-recipe-3

Step two

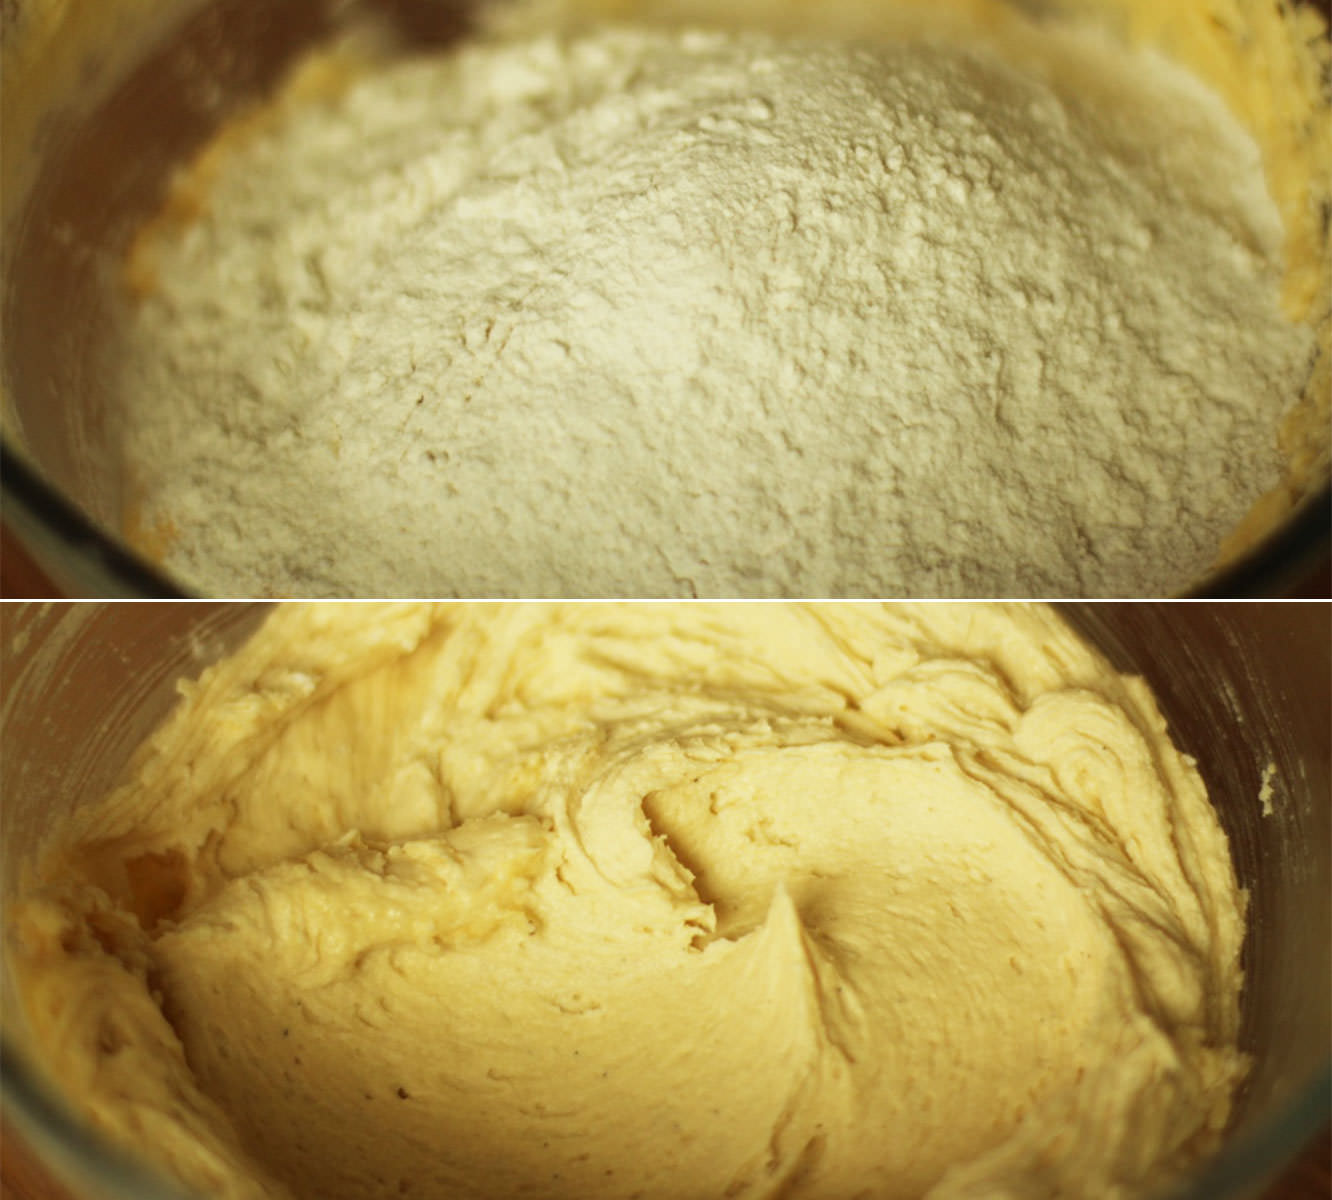
Pop in the vanilla extract, flour and bicarbonate of soda and whisk again. You might want to pre-stir a little before turning on the whisk to avoid flour going everywhere.

tunnocks-teacakes-cupcake-recipe-4

Step three

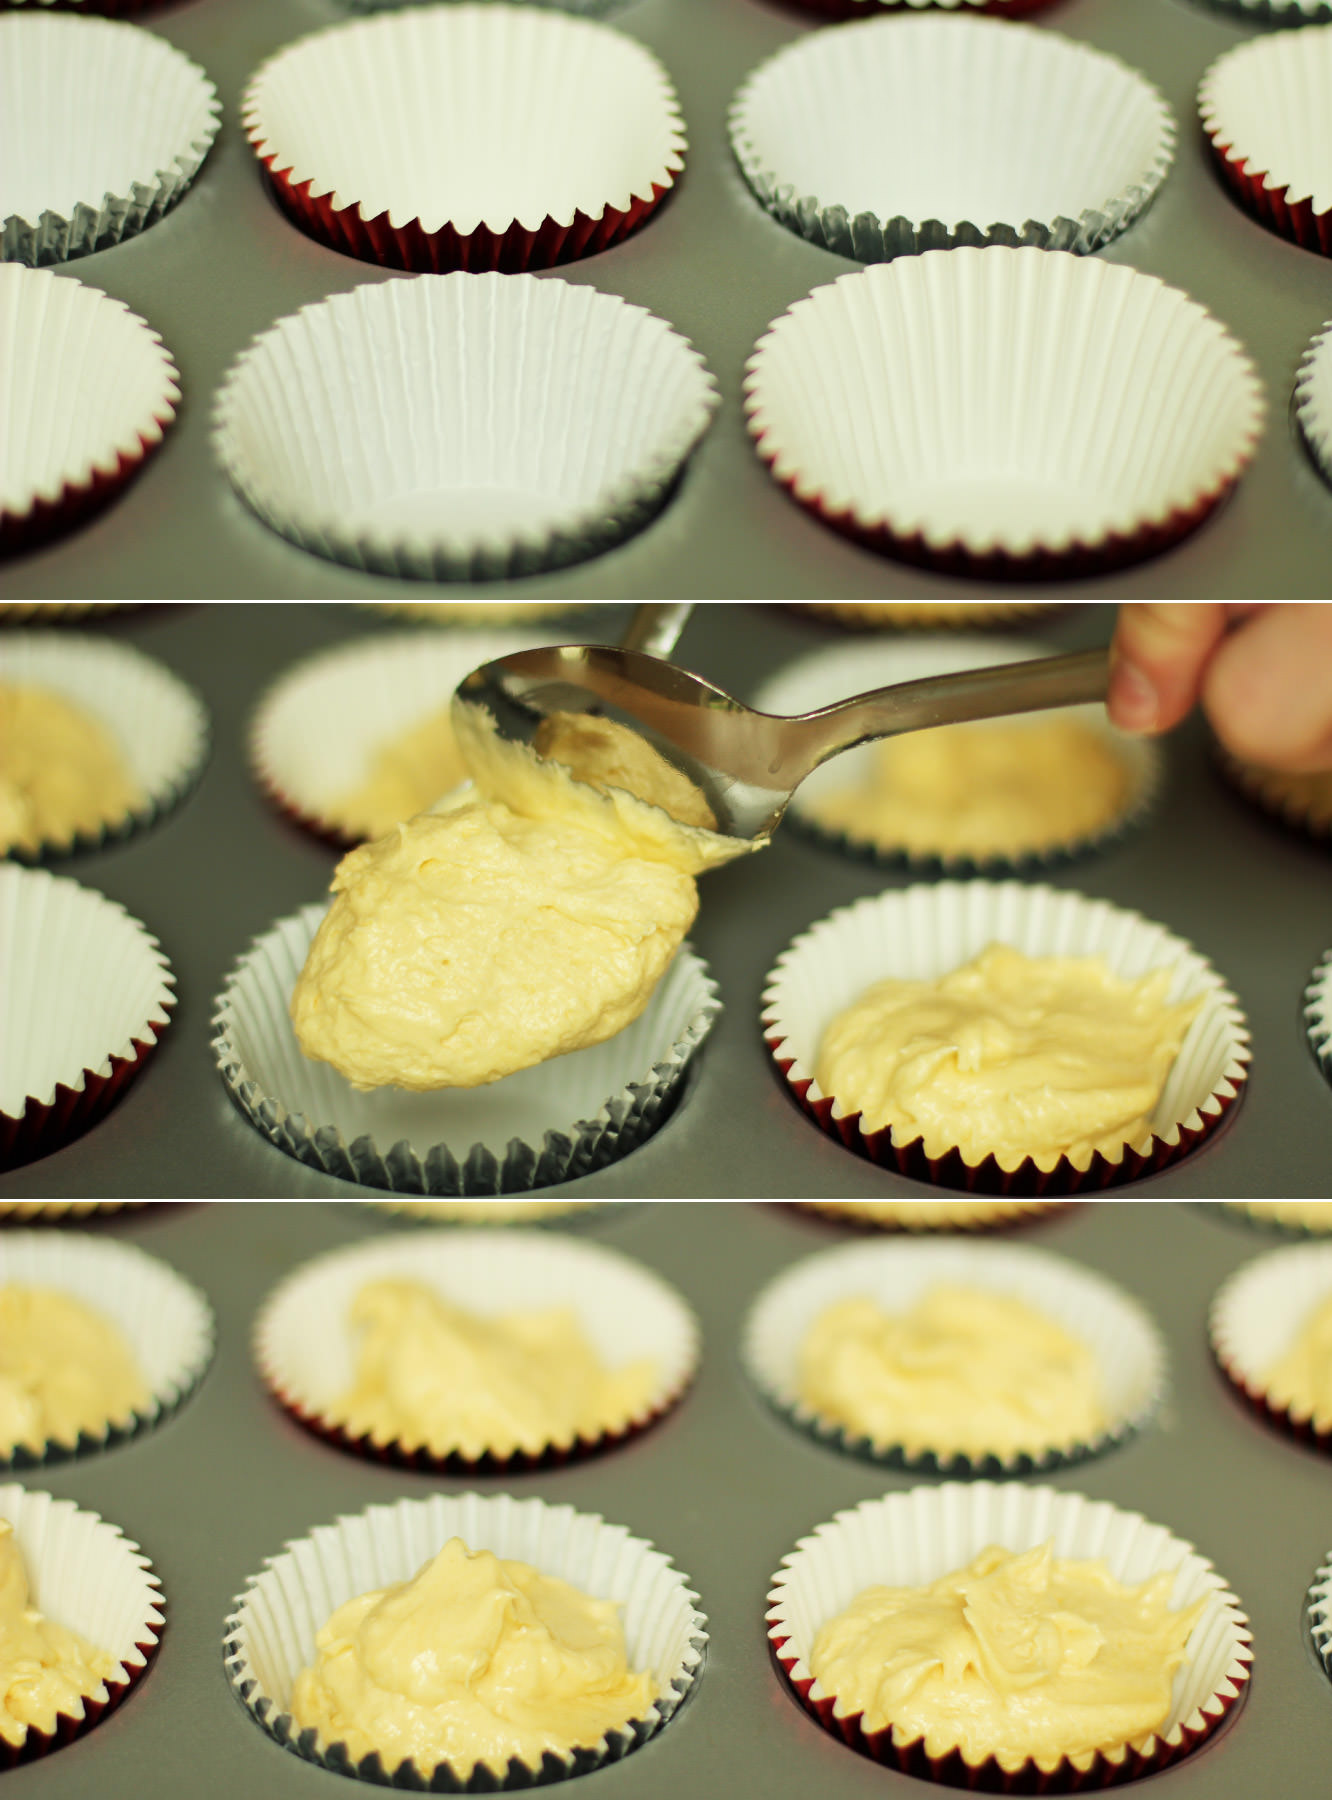
Spoon the mixture into cases (preferably silver and red foil ones to stay on brand) and bake in a preheated oven on gas mark 4/180C/350F for 20-25 minutes.

tunnocks-teacakes-cupcake-recipe-5

Step four

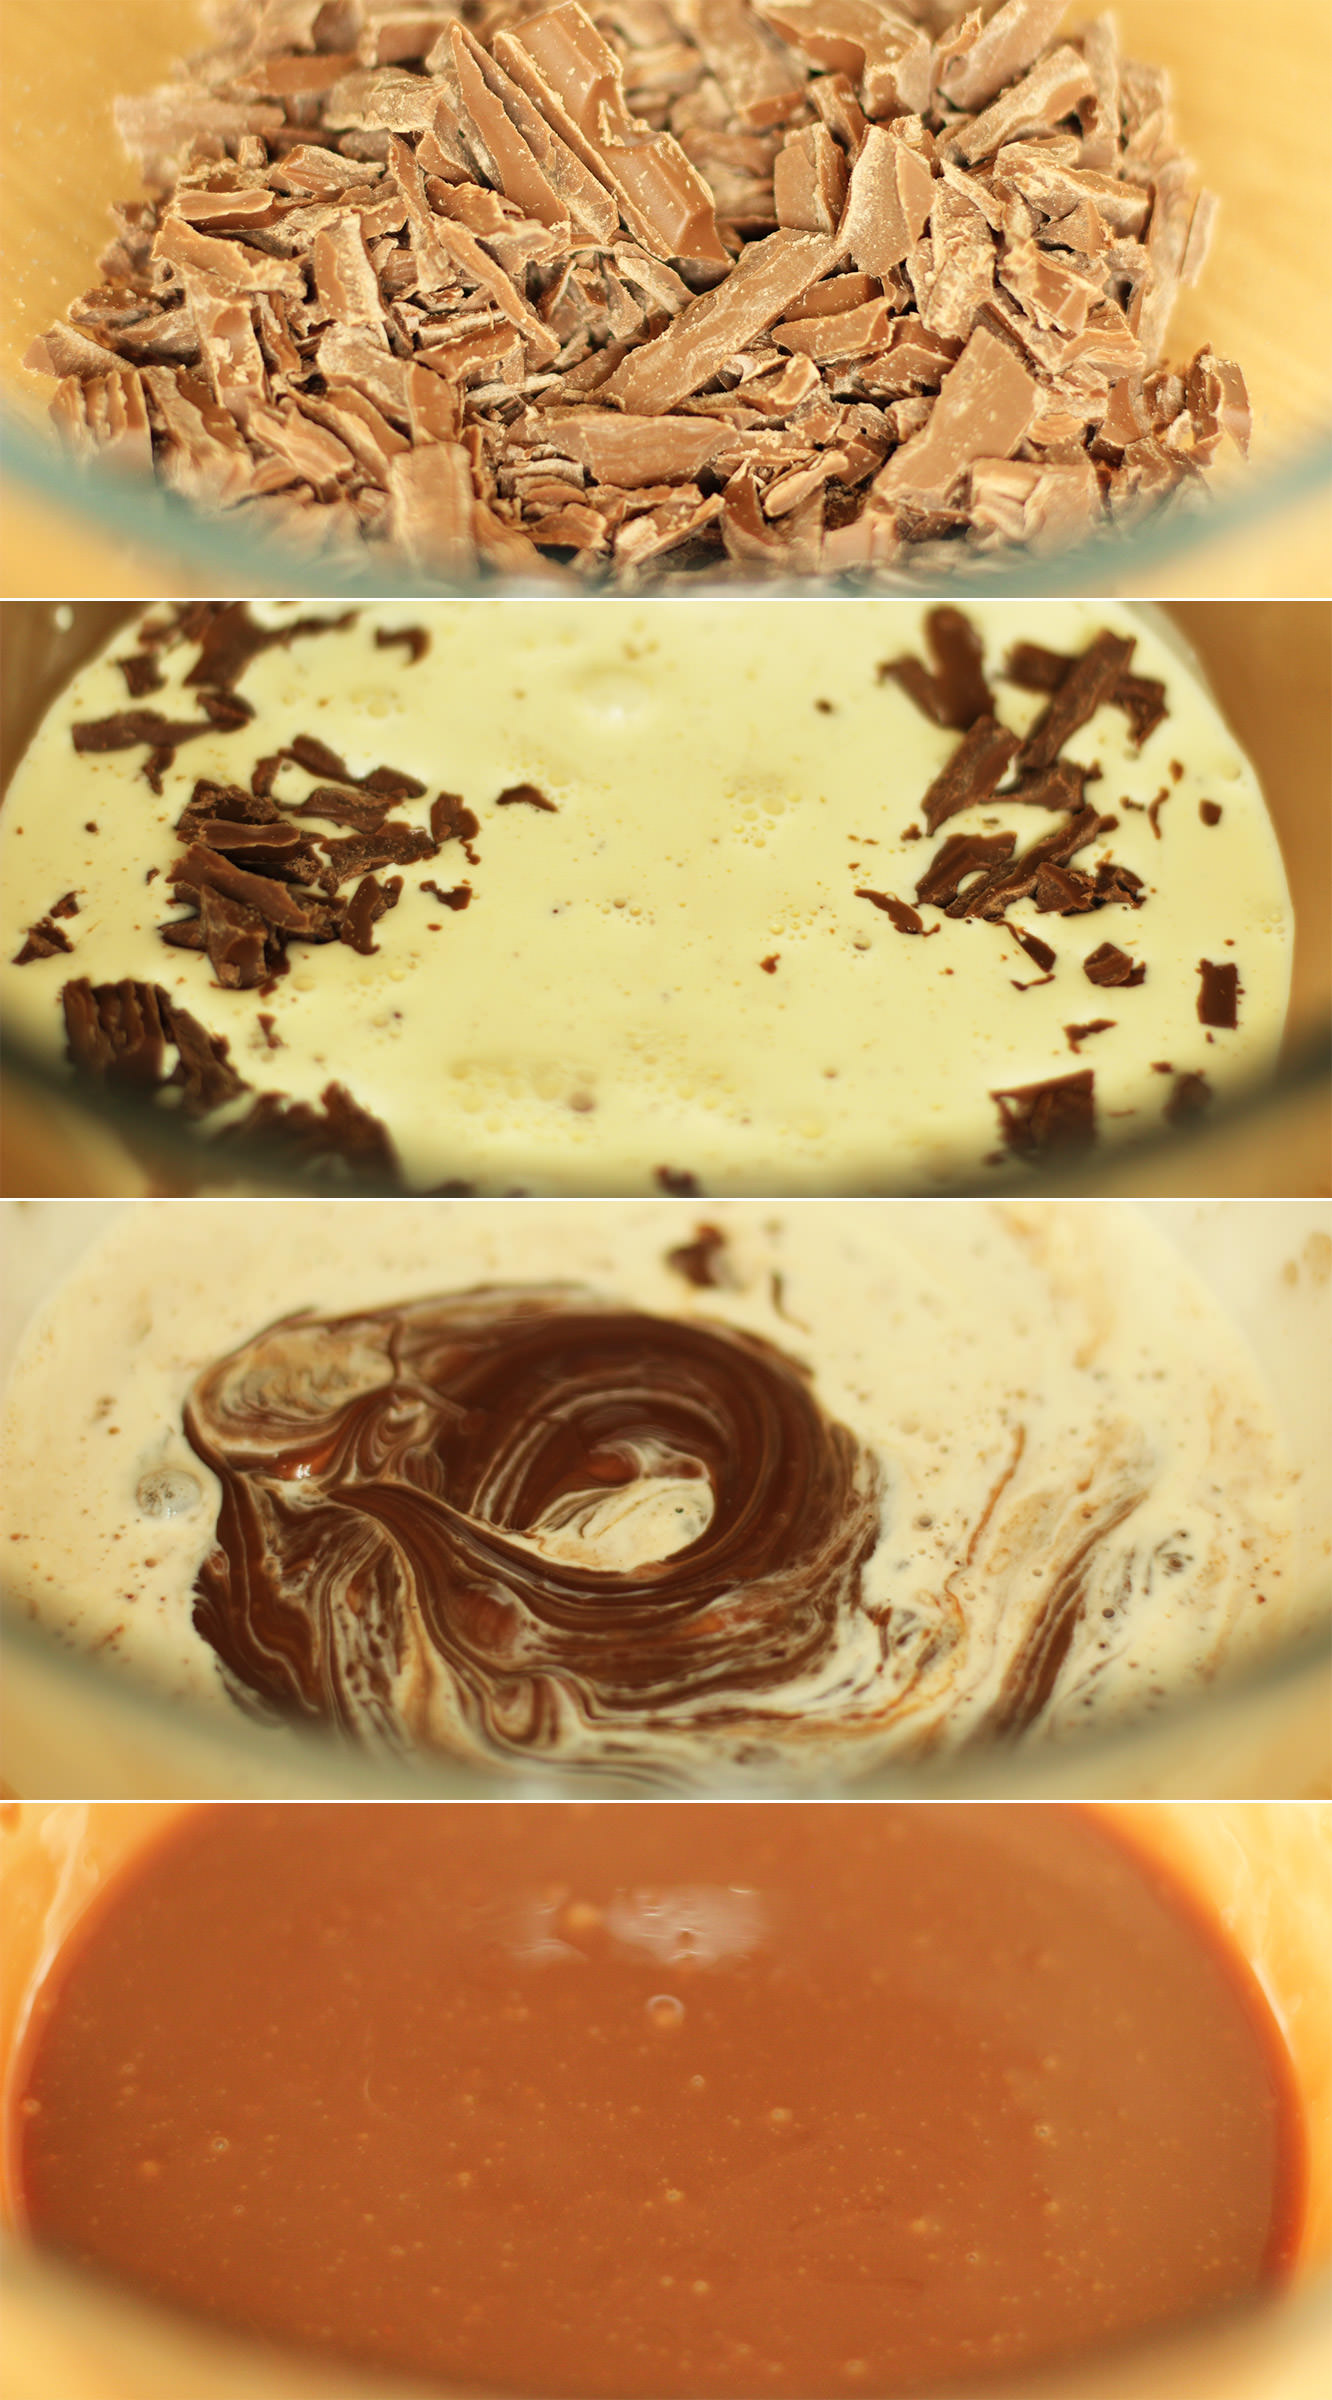
Make the ganache filling by chopping the chocolate finely and putting in a heatproof bowl. Gently heat the cream in a saucepan until you start to see little bubbles at the side and steam floating on the surface.

Pour the cream over the chocolate and use a hand whisk to melt the chocolate into the cream. Set aside to cool.

tunnocks-teacakes-cupcake-recipe-10

Step five

The third and final time we’re making seven minute frosting in this series, so you should be a dab hand by now. If you’ve not made this before then it’s quite straightforward, no need to be intimidated.

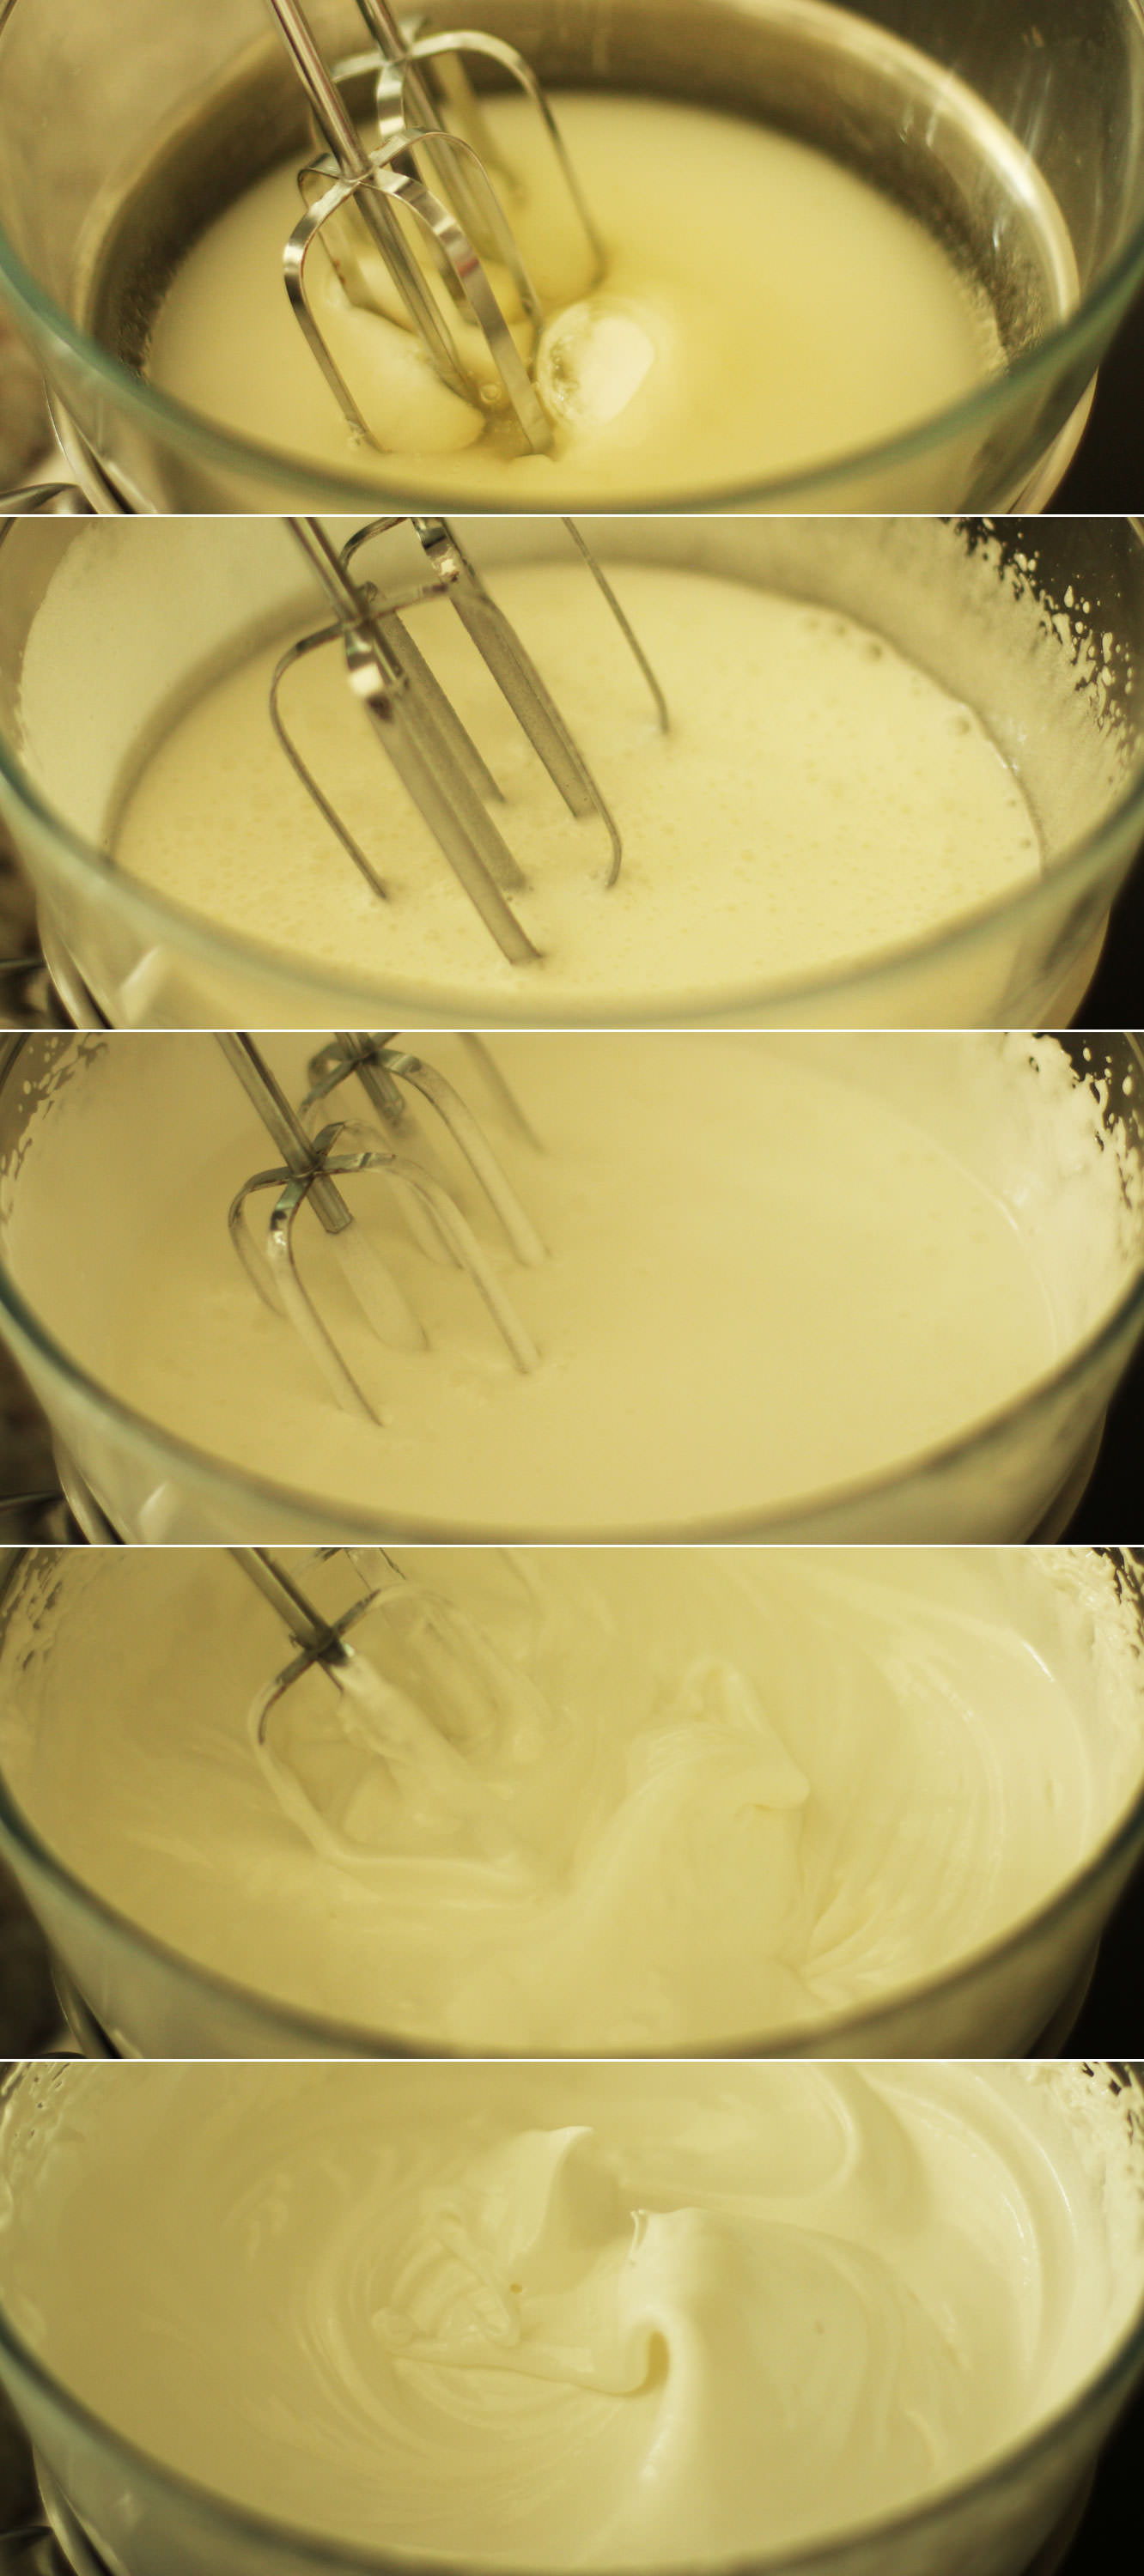
Pop a heatproof bowl over a pan of simmering water, making sure the water doesn’t touch the bottom of the bowl. Add the egg whites, sugar, water and cream of tartare and whisk for, well, seven minutes.

When you’re finished the mixture should be able to hold its shape, and not drop off a spoon when held upside down (stiff peaks).

tunnocks-teacakes-cupcake-recipe-gif

Step six

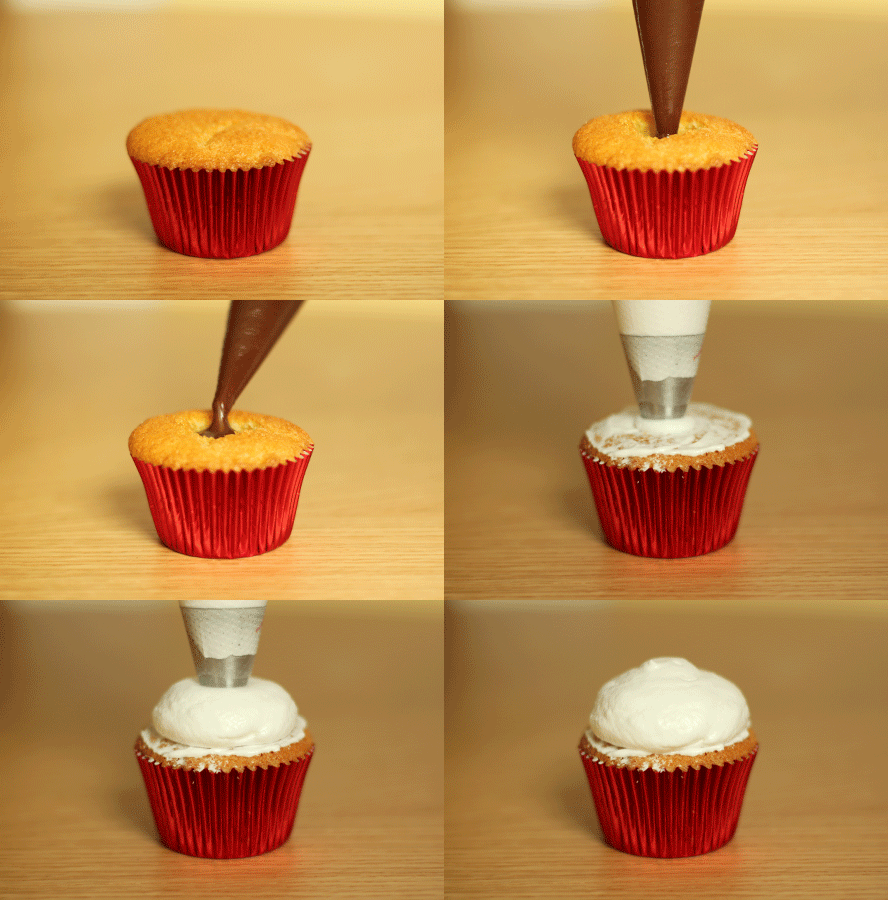
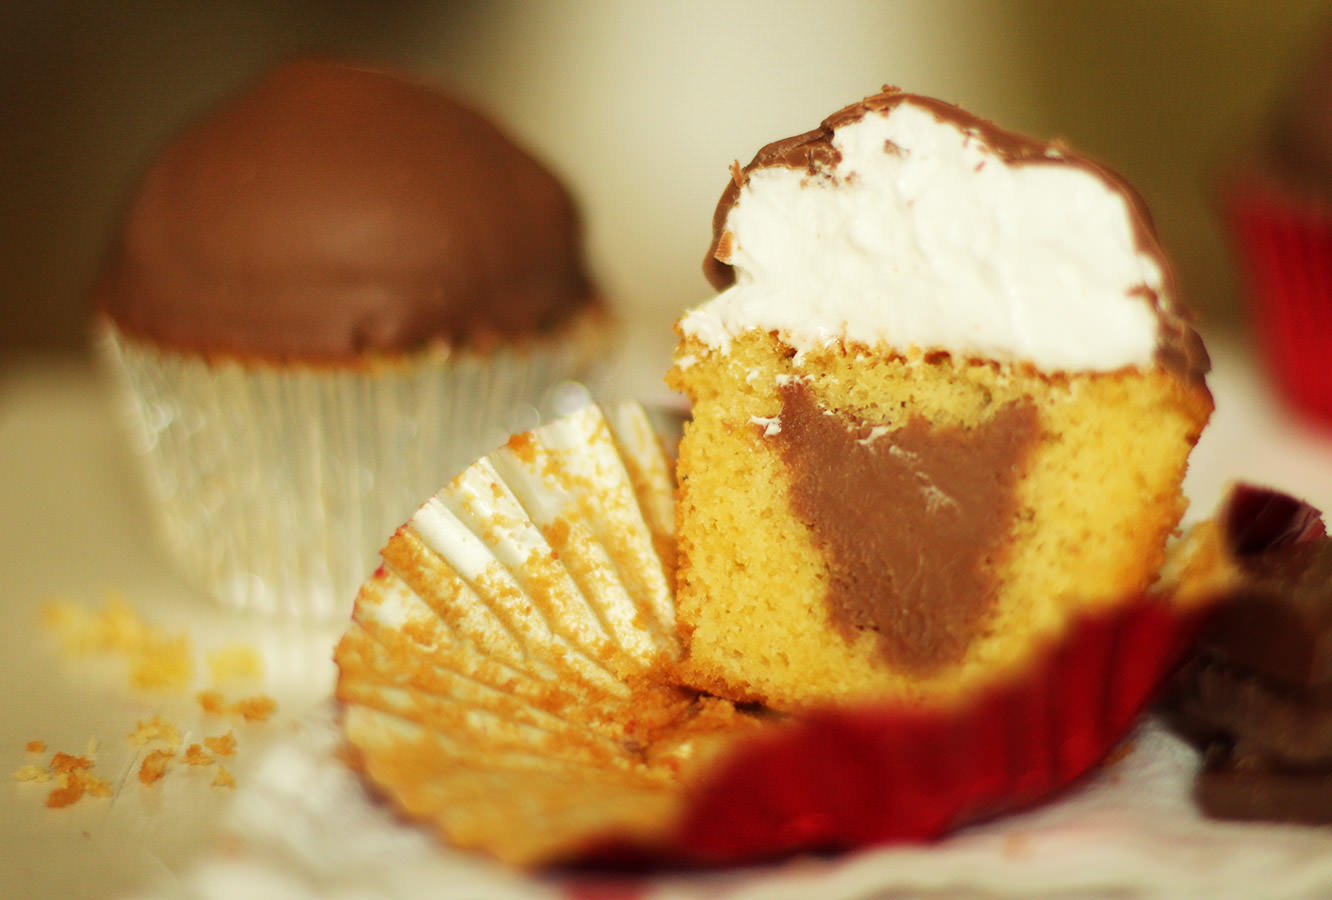
Make a hole in the cupcakes and remove the spongey bit from the cut out. Fill with ganache and pop the ‘lid’ back on. I then spread a little of the meringue frosting over the surface to even it out a little. Pipe the frosting onto the cake using a round nozzle and holding pointed directly down at the cake (perpendicular) and squeeze.

Put in the freezer for a few hours.

tunnocks-teacakes-cupcake-recipe-6

Step seven

Melt the chocolate either by putting in the microwave for 20 second bursts, or in a bowl over a pan of simmering water.

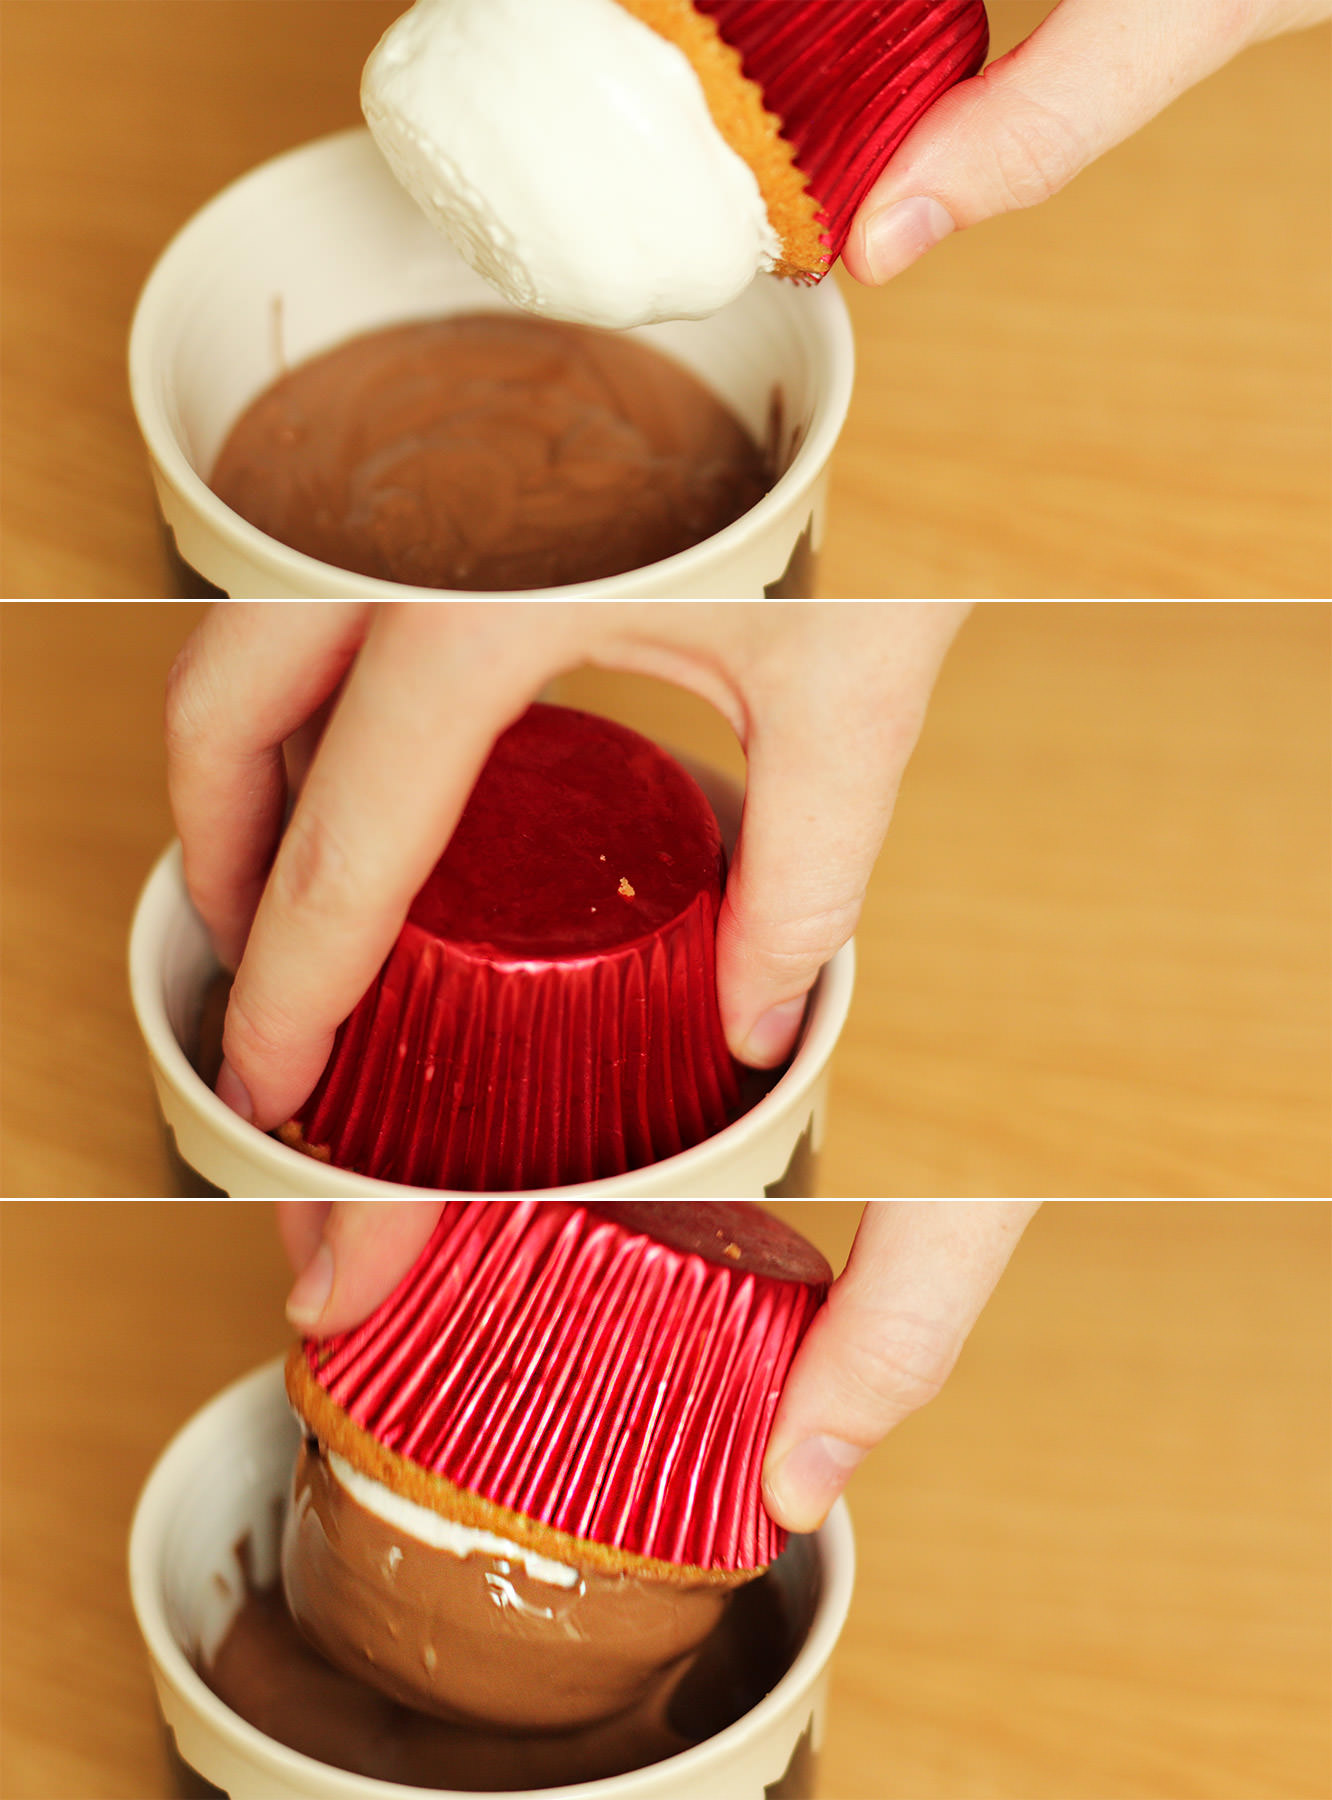
You need to find a shallow but wide pot/cup to use for dipping. It needs to be wide enough for the cupcake and your fingers.

Remove the cupcakes from the freezer and dip them in the chocolate.

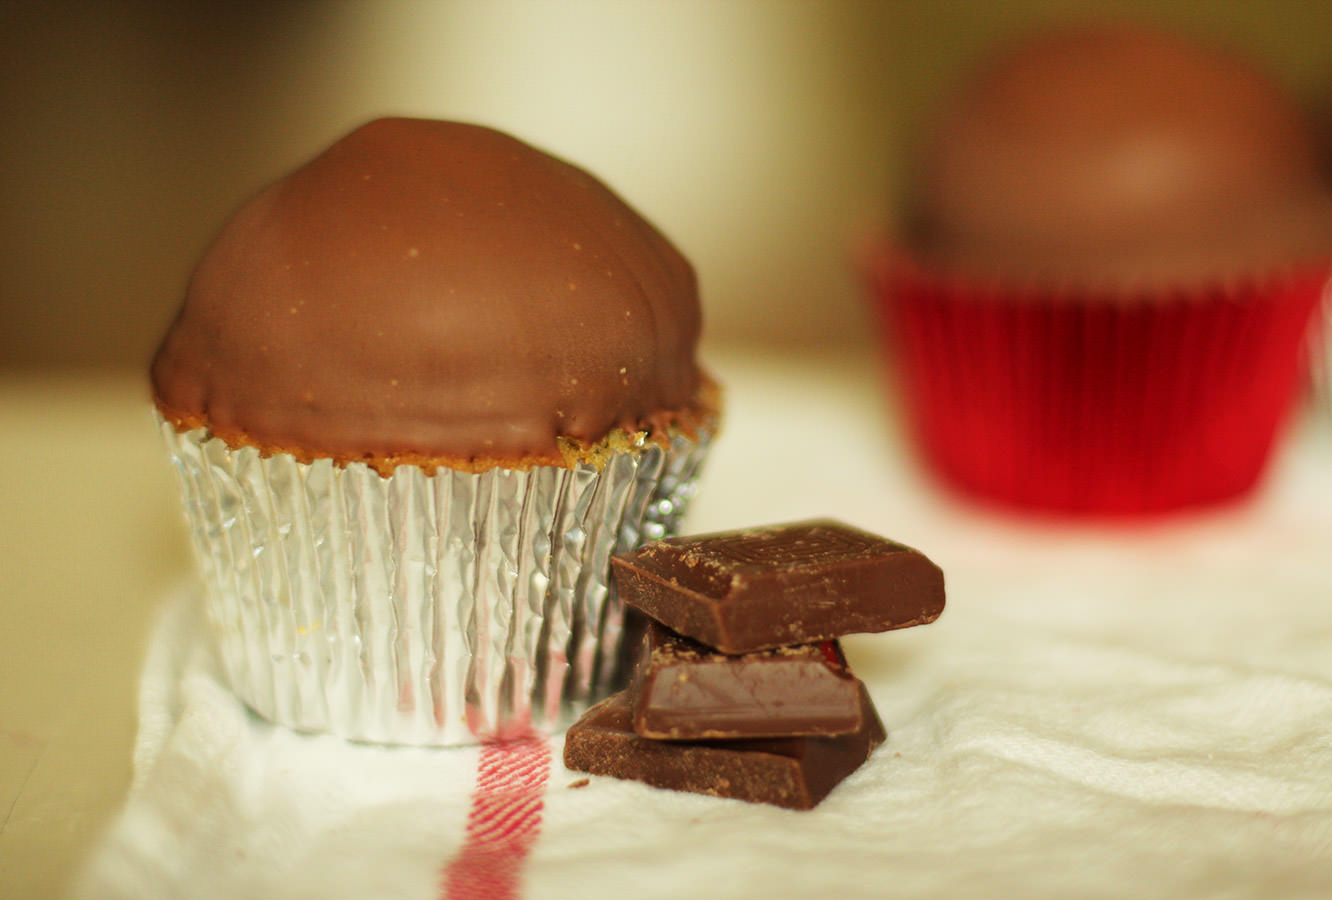
Leave to set.

tunnocks-teacakes-cupcake-recipe-7

tunnocks-teacakes-cupcake-recipe-9

tunnocks-teacakes-cupcake-recipe-8

Fin.

Stickeh toffeh

There’s no way I could sleep at night if I didn’t include this next dessert in my British Favourites series.

I mean, I could probably sleep at night, I sleep like a baby, but sticky toffee pudding is one of the best puds Britain has produced. It wouldn’t be right not to feature it here.

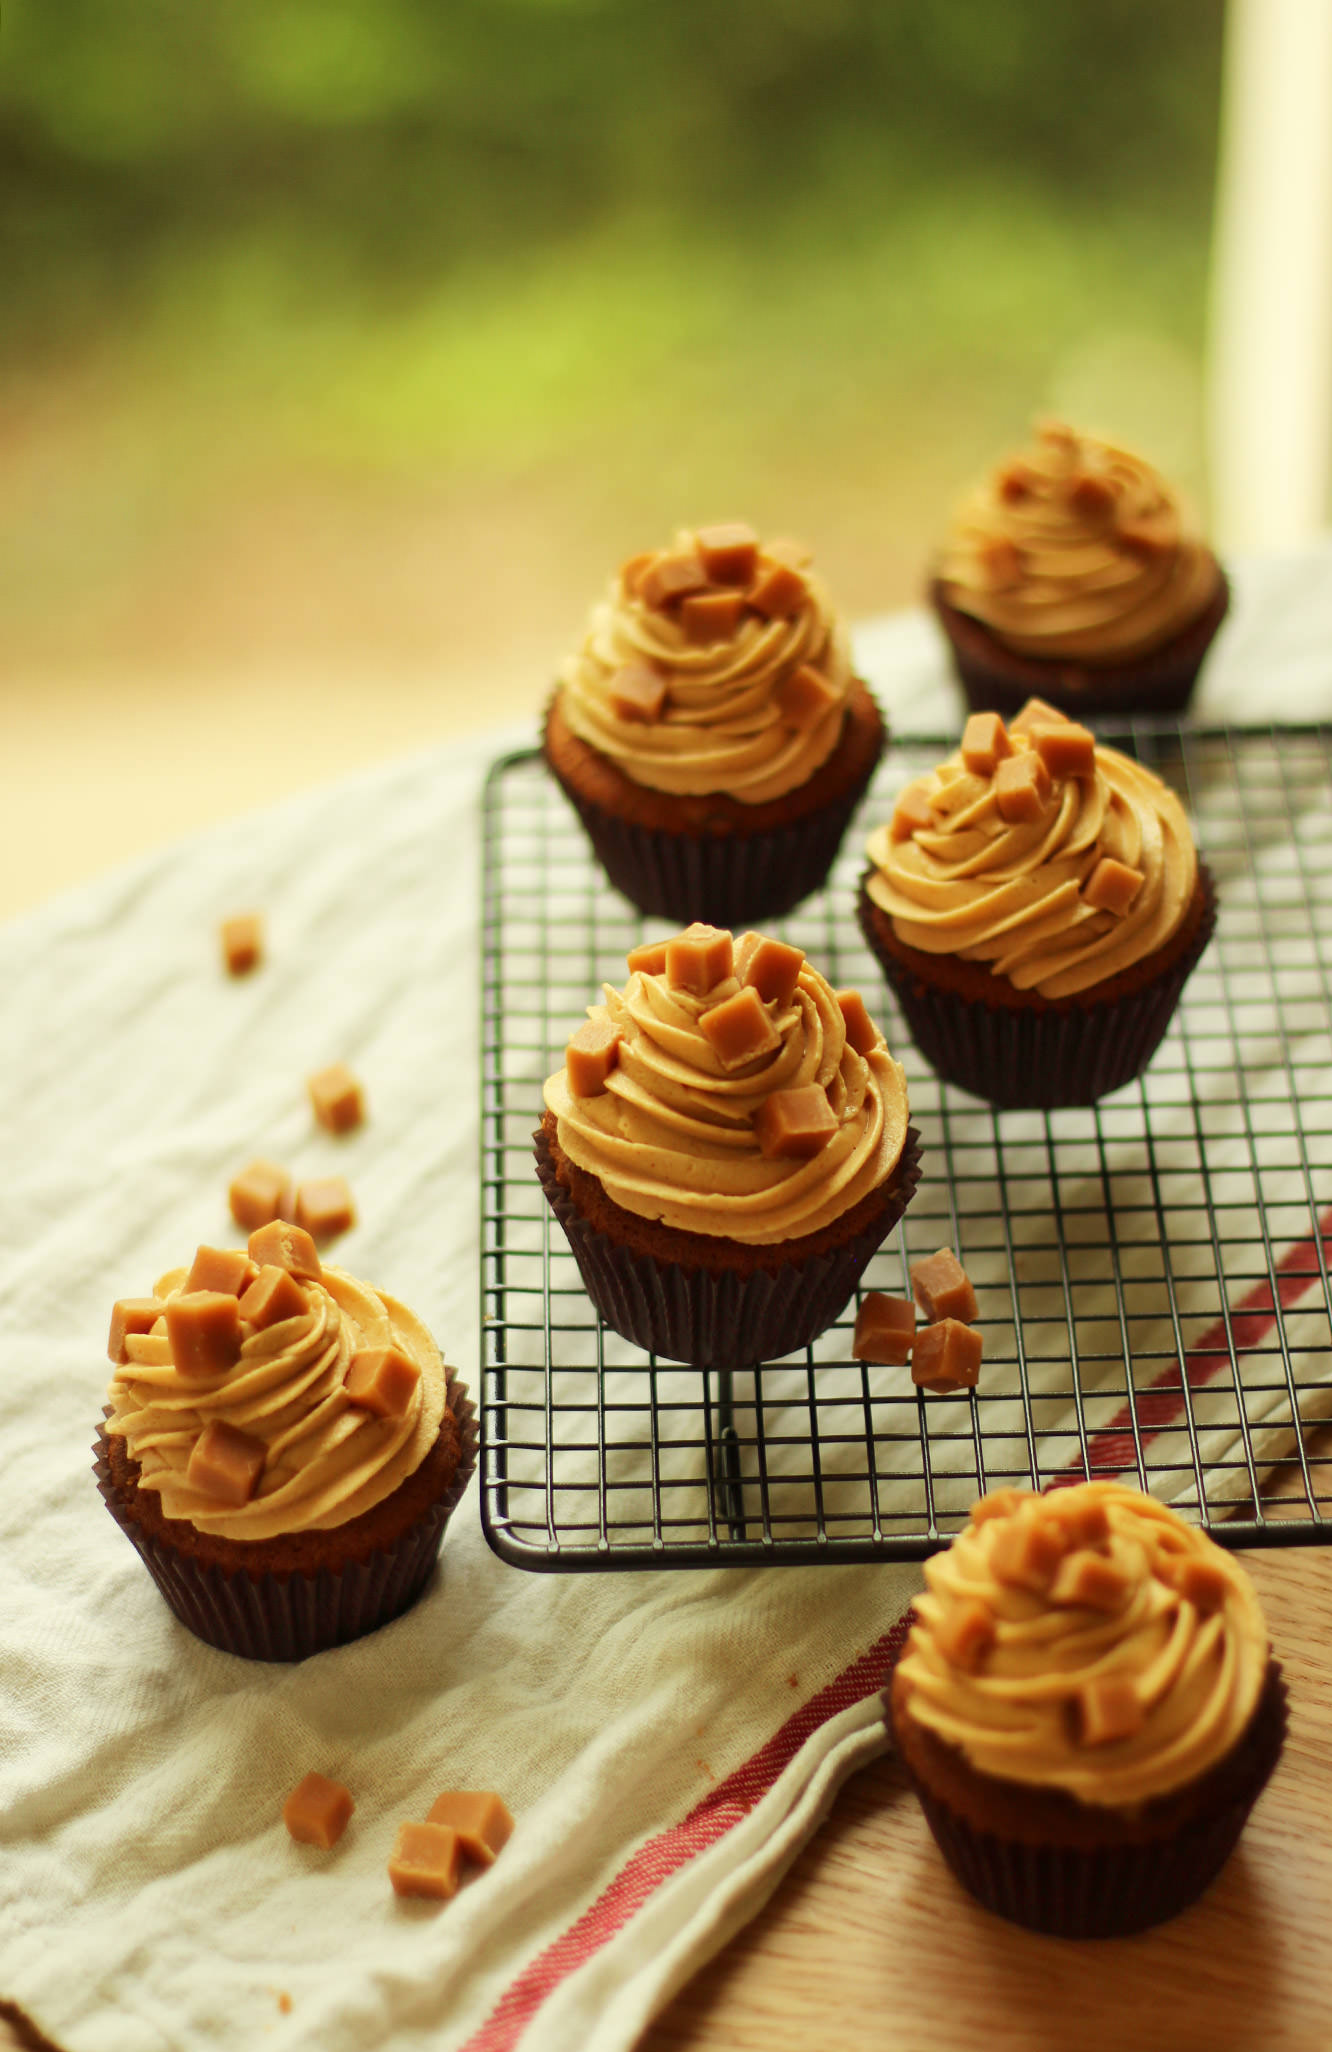
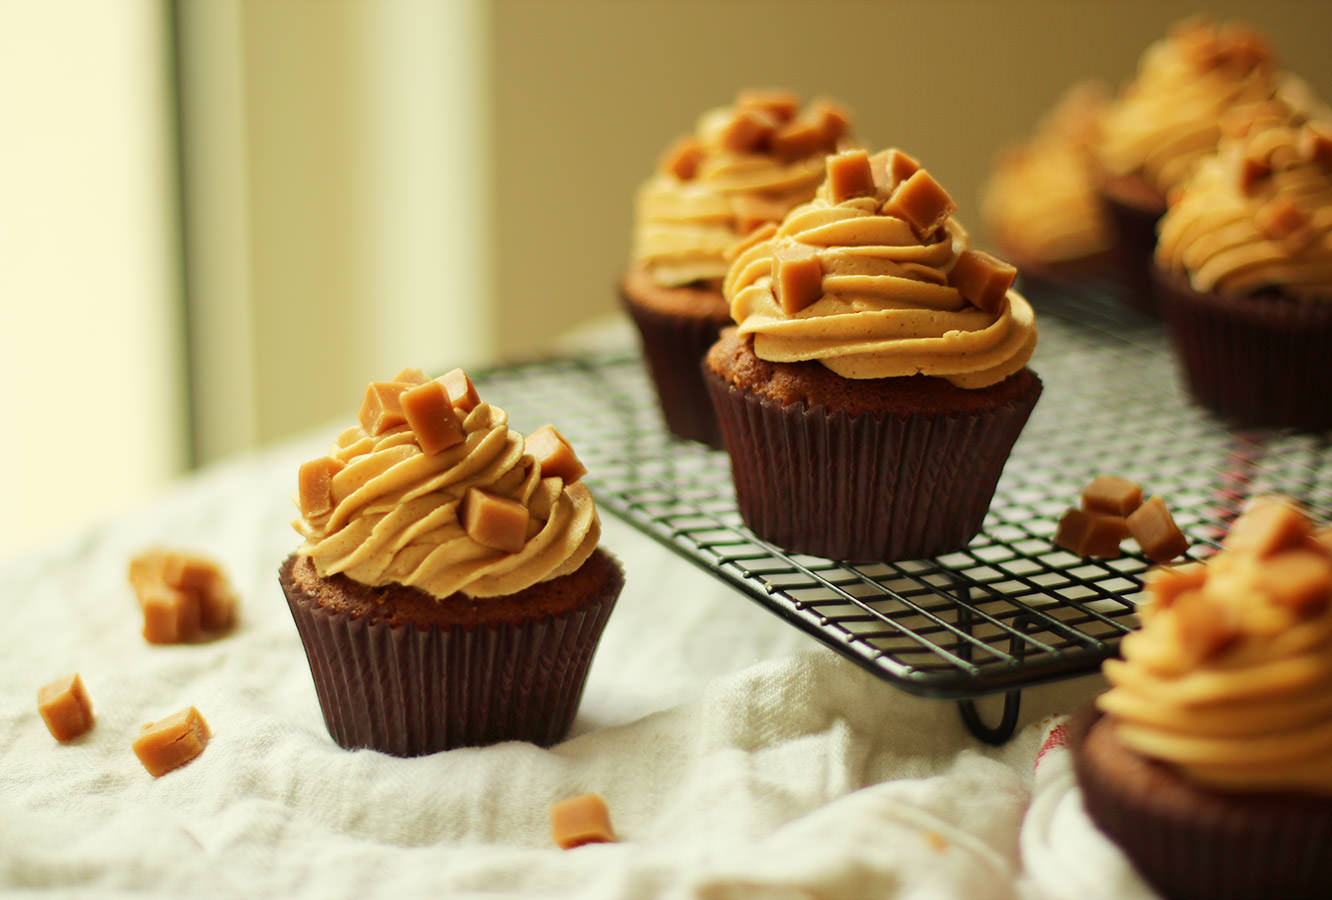
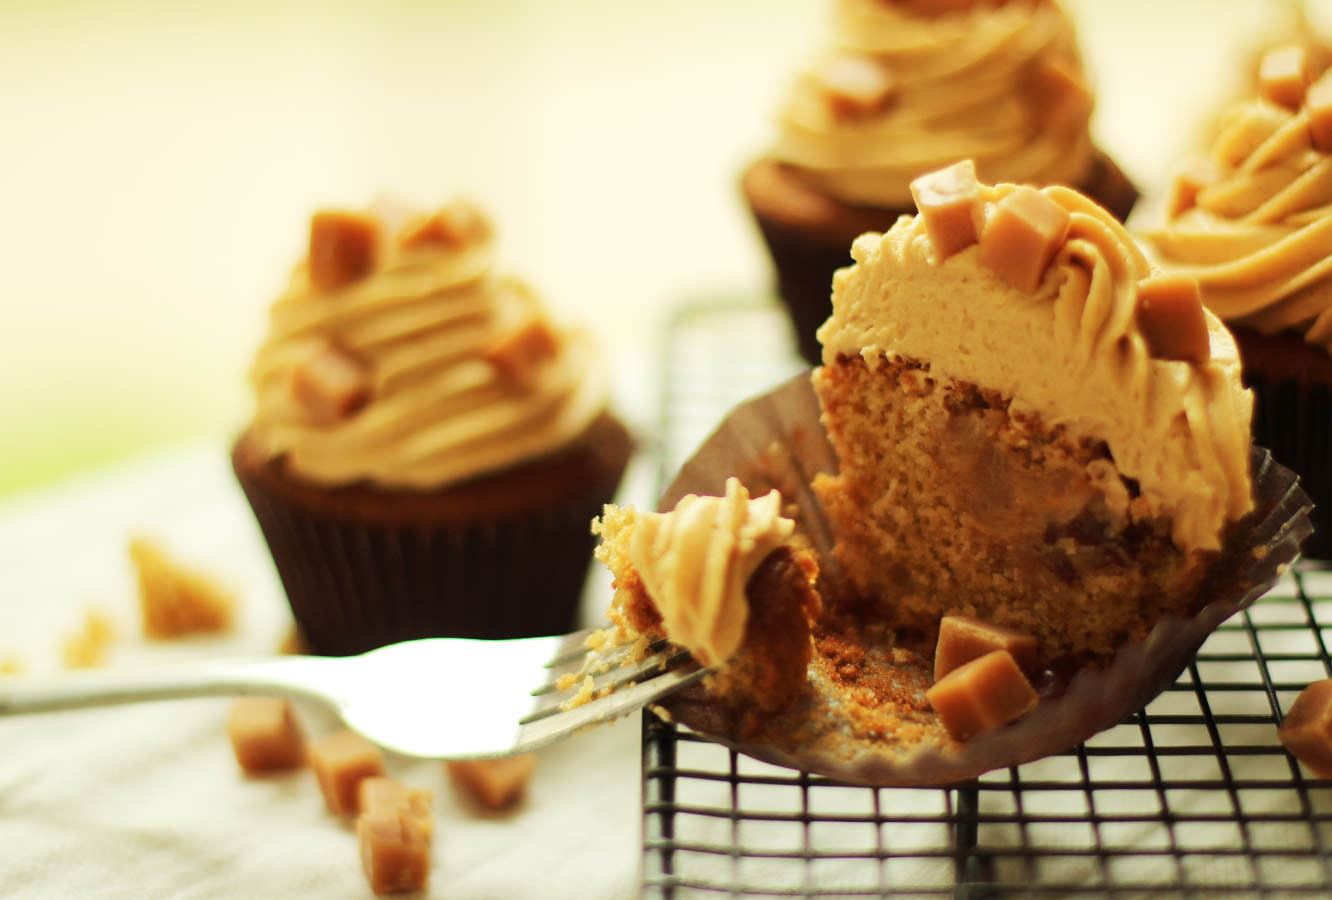
So without further ado, here’s the recipe for sticky toffee cupcakes, enjoy my friends.

sticky-toffee-pudding-cupcake-recipe-1

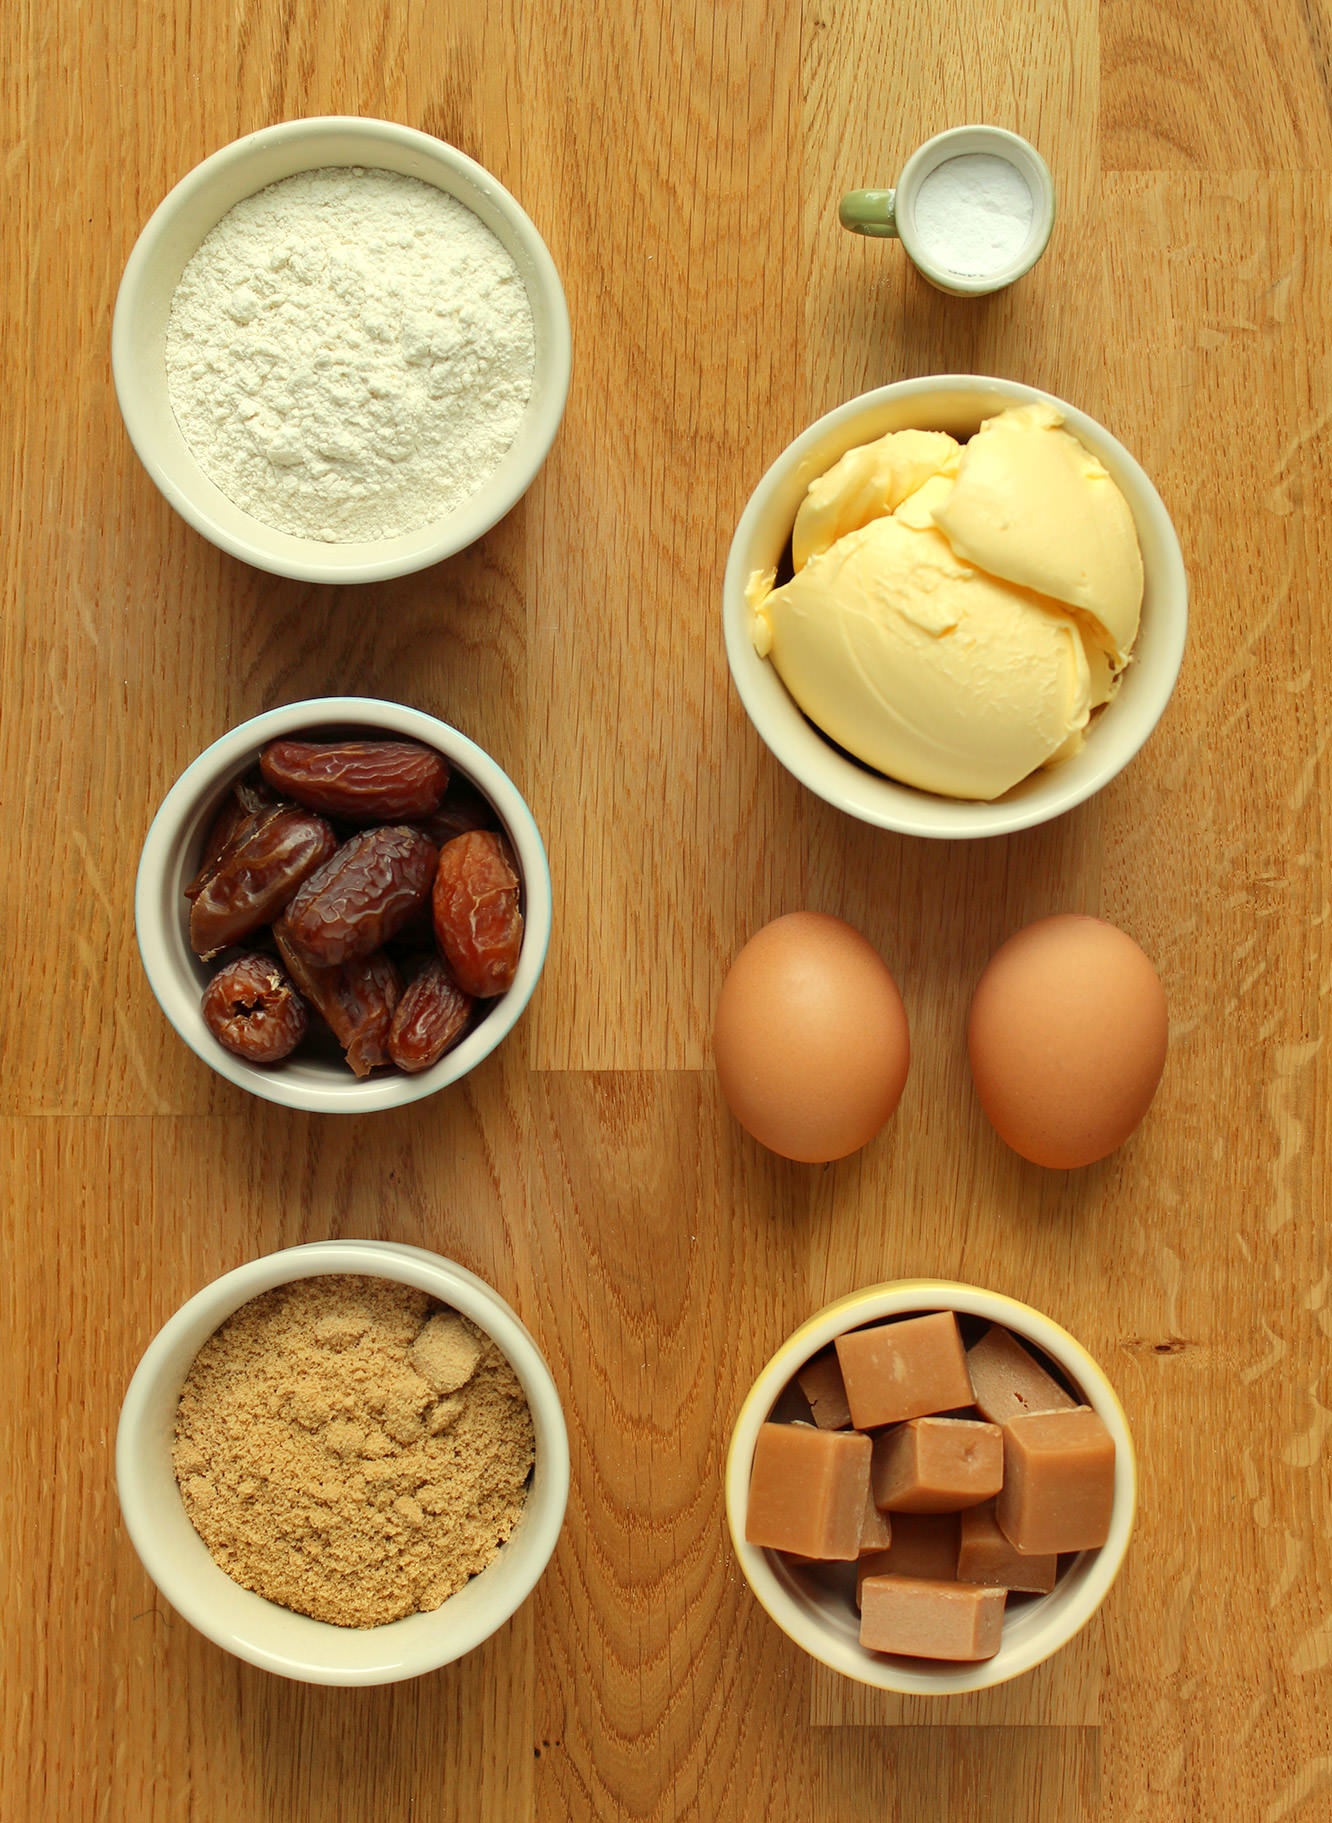
You will need

For the cakes:

200g/7 oz plain flour

160g/5.5 oz soft brown sugar

100g/3.5 oz unsalted butter/margarine (I use Stork for cakes)

150g/5 oz dates (medjool)

2 eggs

1 tsp bicarbonate of soda

For the toffee filling:

200g/7 oz sweetened condensed milk (half a tin)

100g/3.5 oz soft brown sugar

100g/3.5 oz unsalted butter (used salted if you prefer salted caramel to a more dulce de leche/toffee flavour)

50ml/1.75 fl oz double cream

For the toffee frosting/icing:

400g/14 oz of the toffee filling

100g/3.5 oz unsalted butter

100g/3.5 oz icing sugar

Dairy fudge pieces for decoration

(makes 12)

sticky-toffee-pudding-cupcake-recipe-2

Step one

Cakes first chaps.

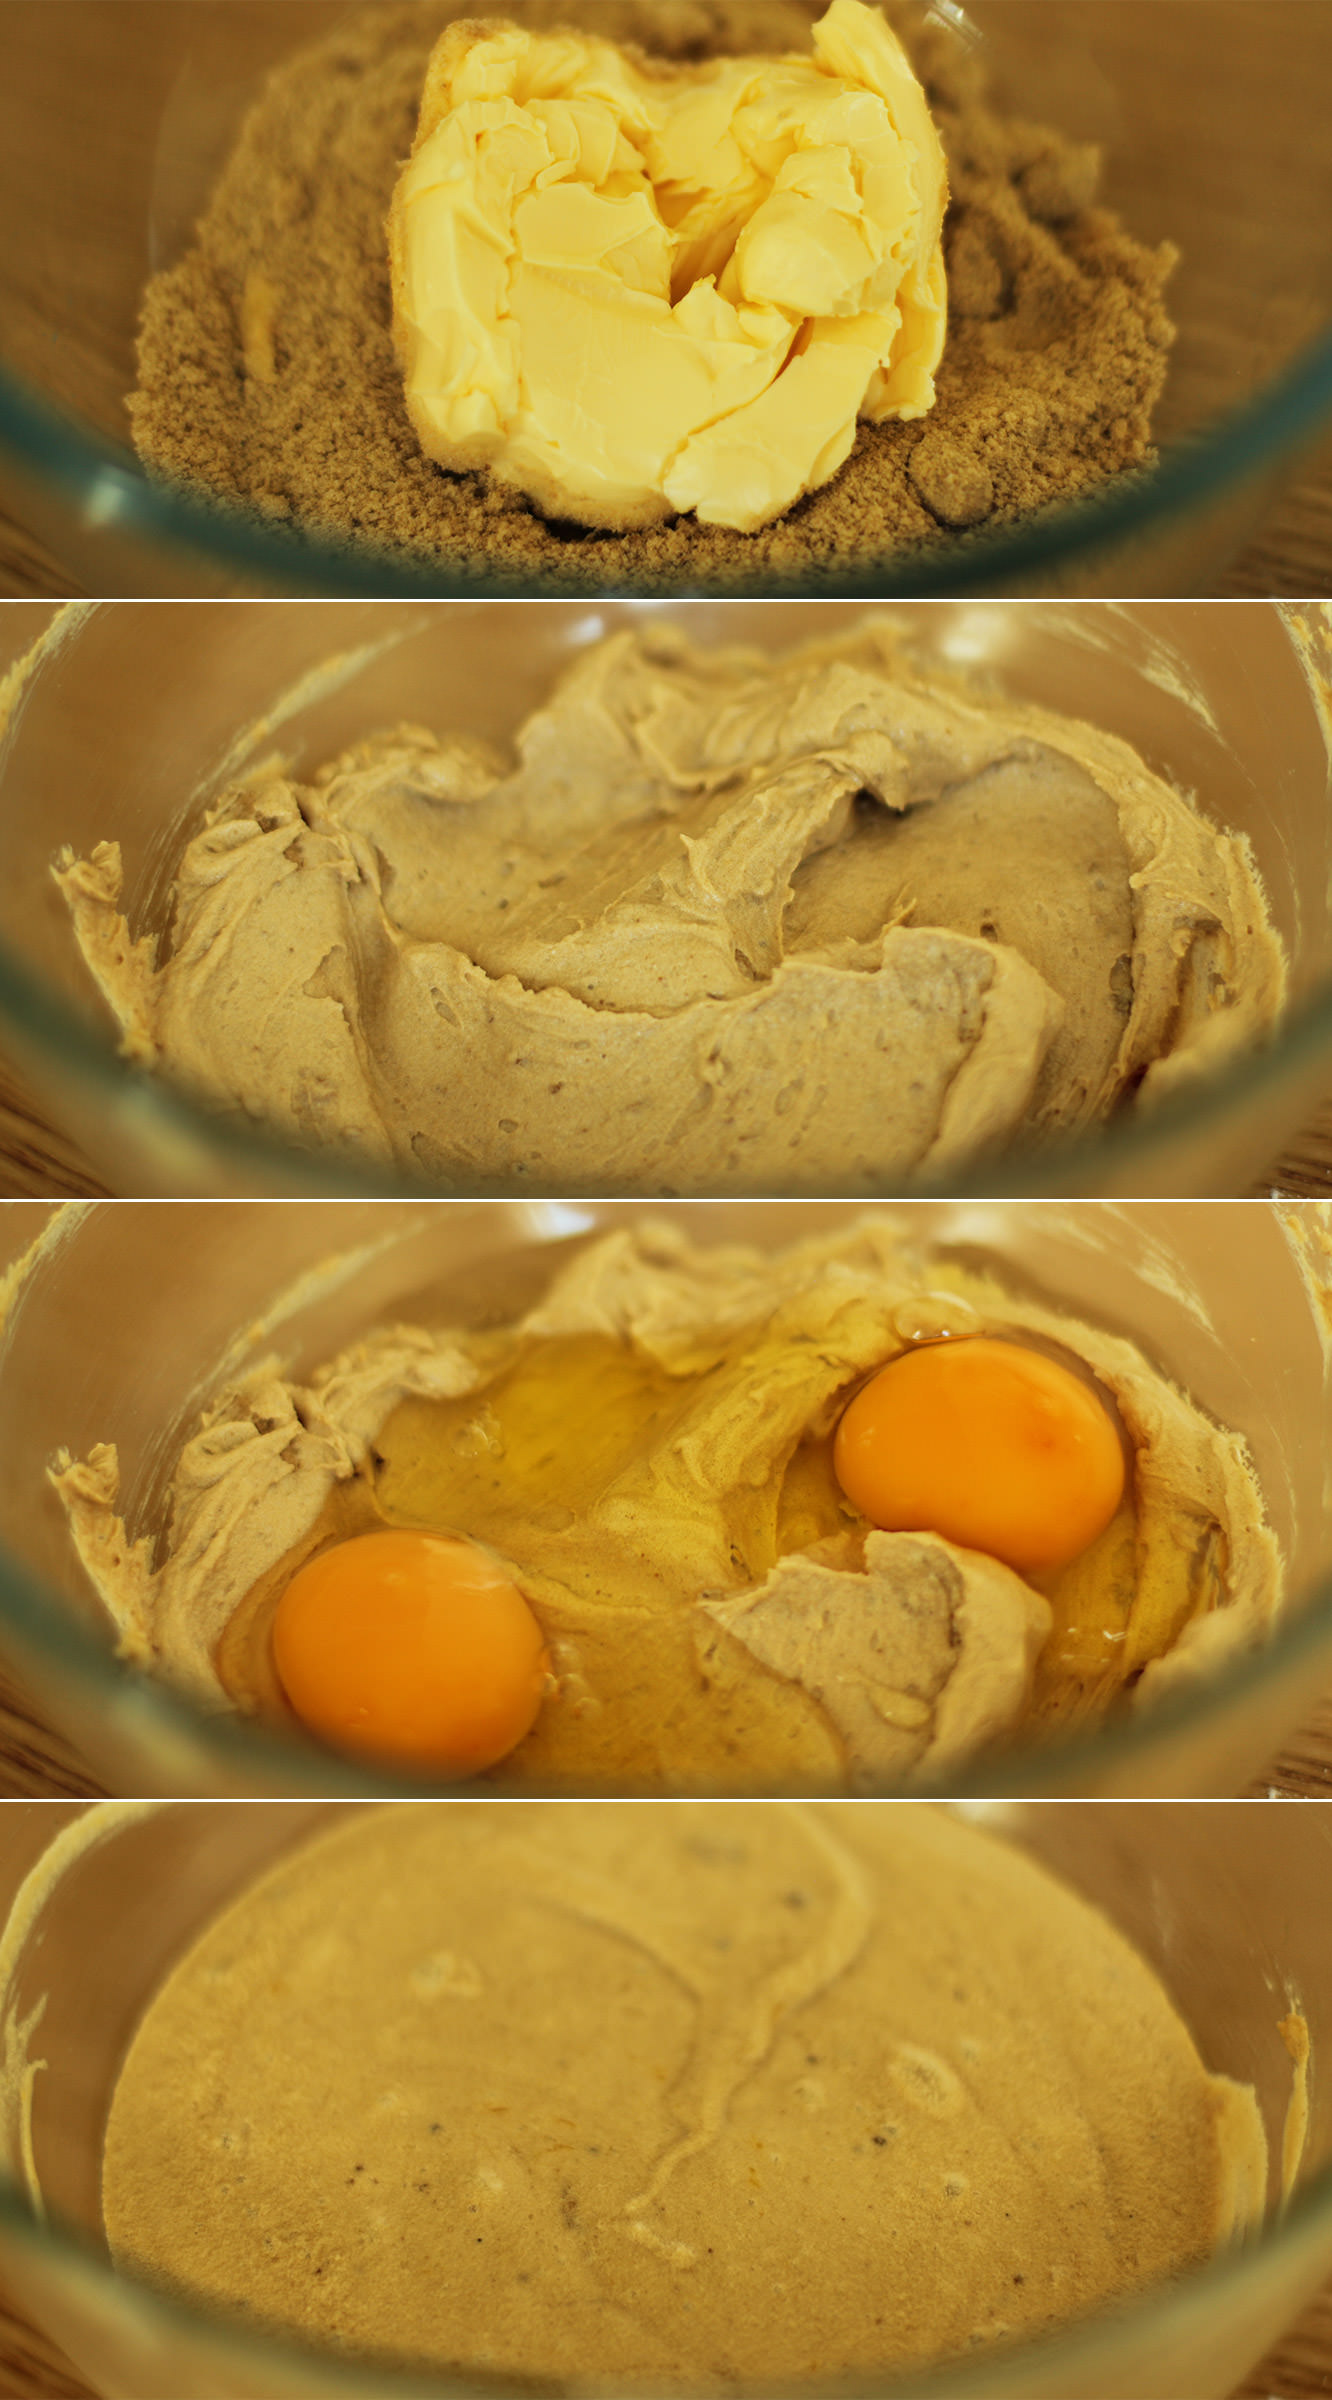
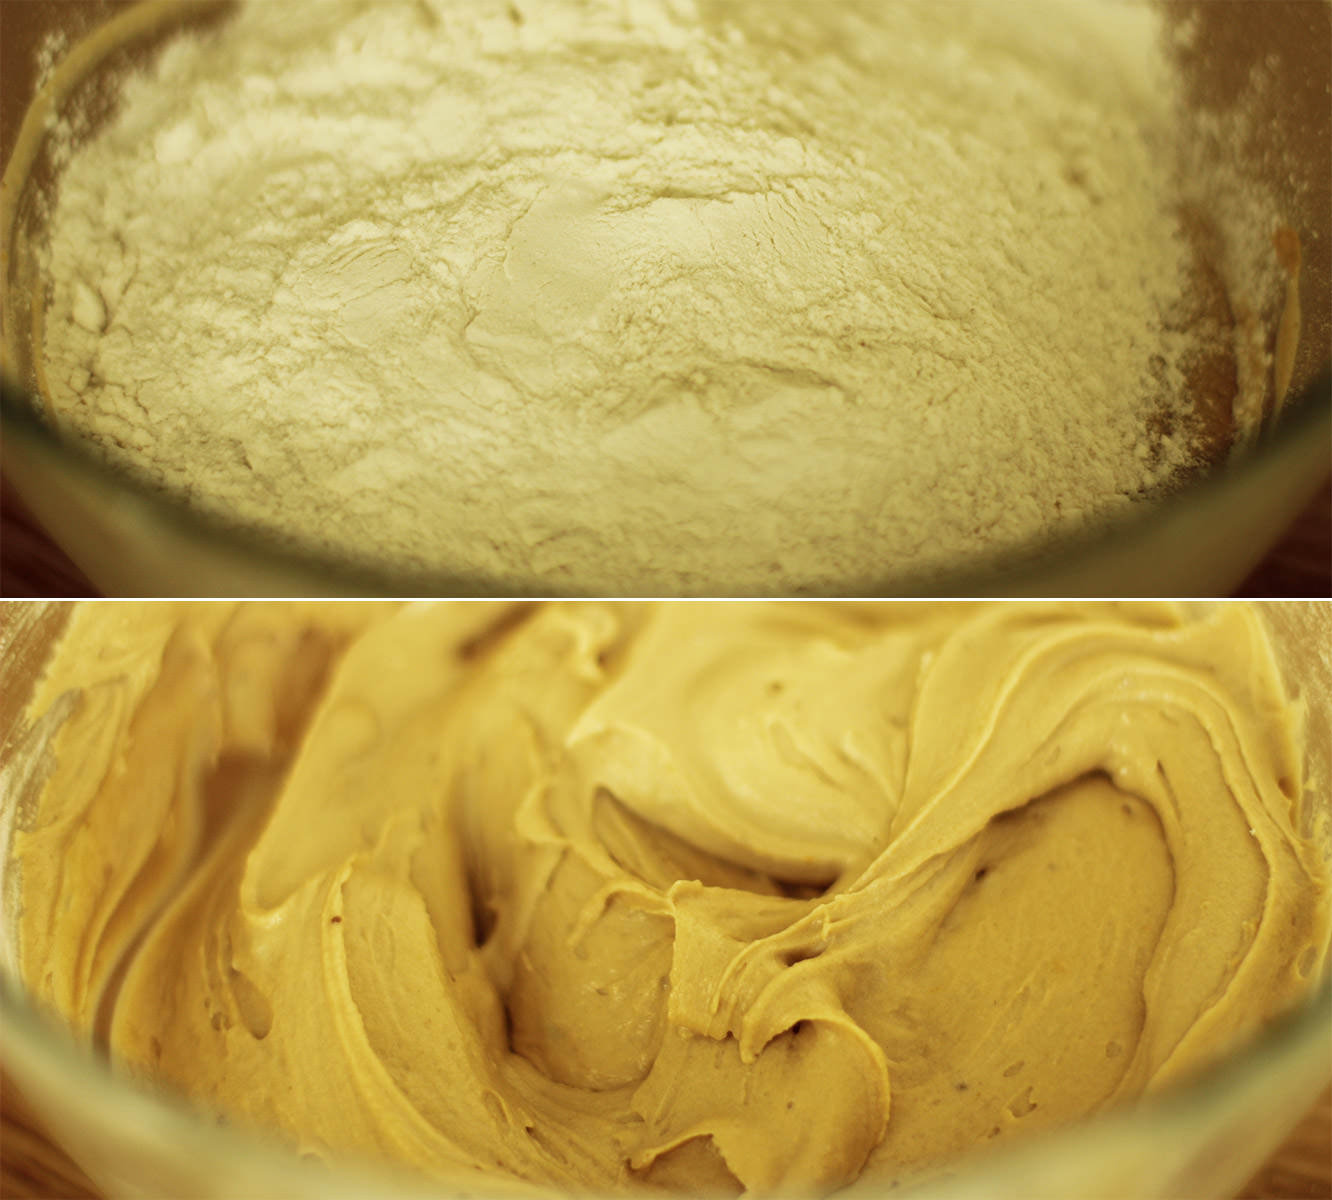
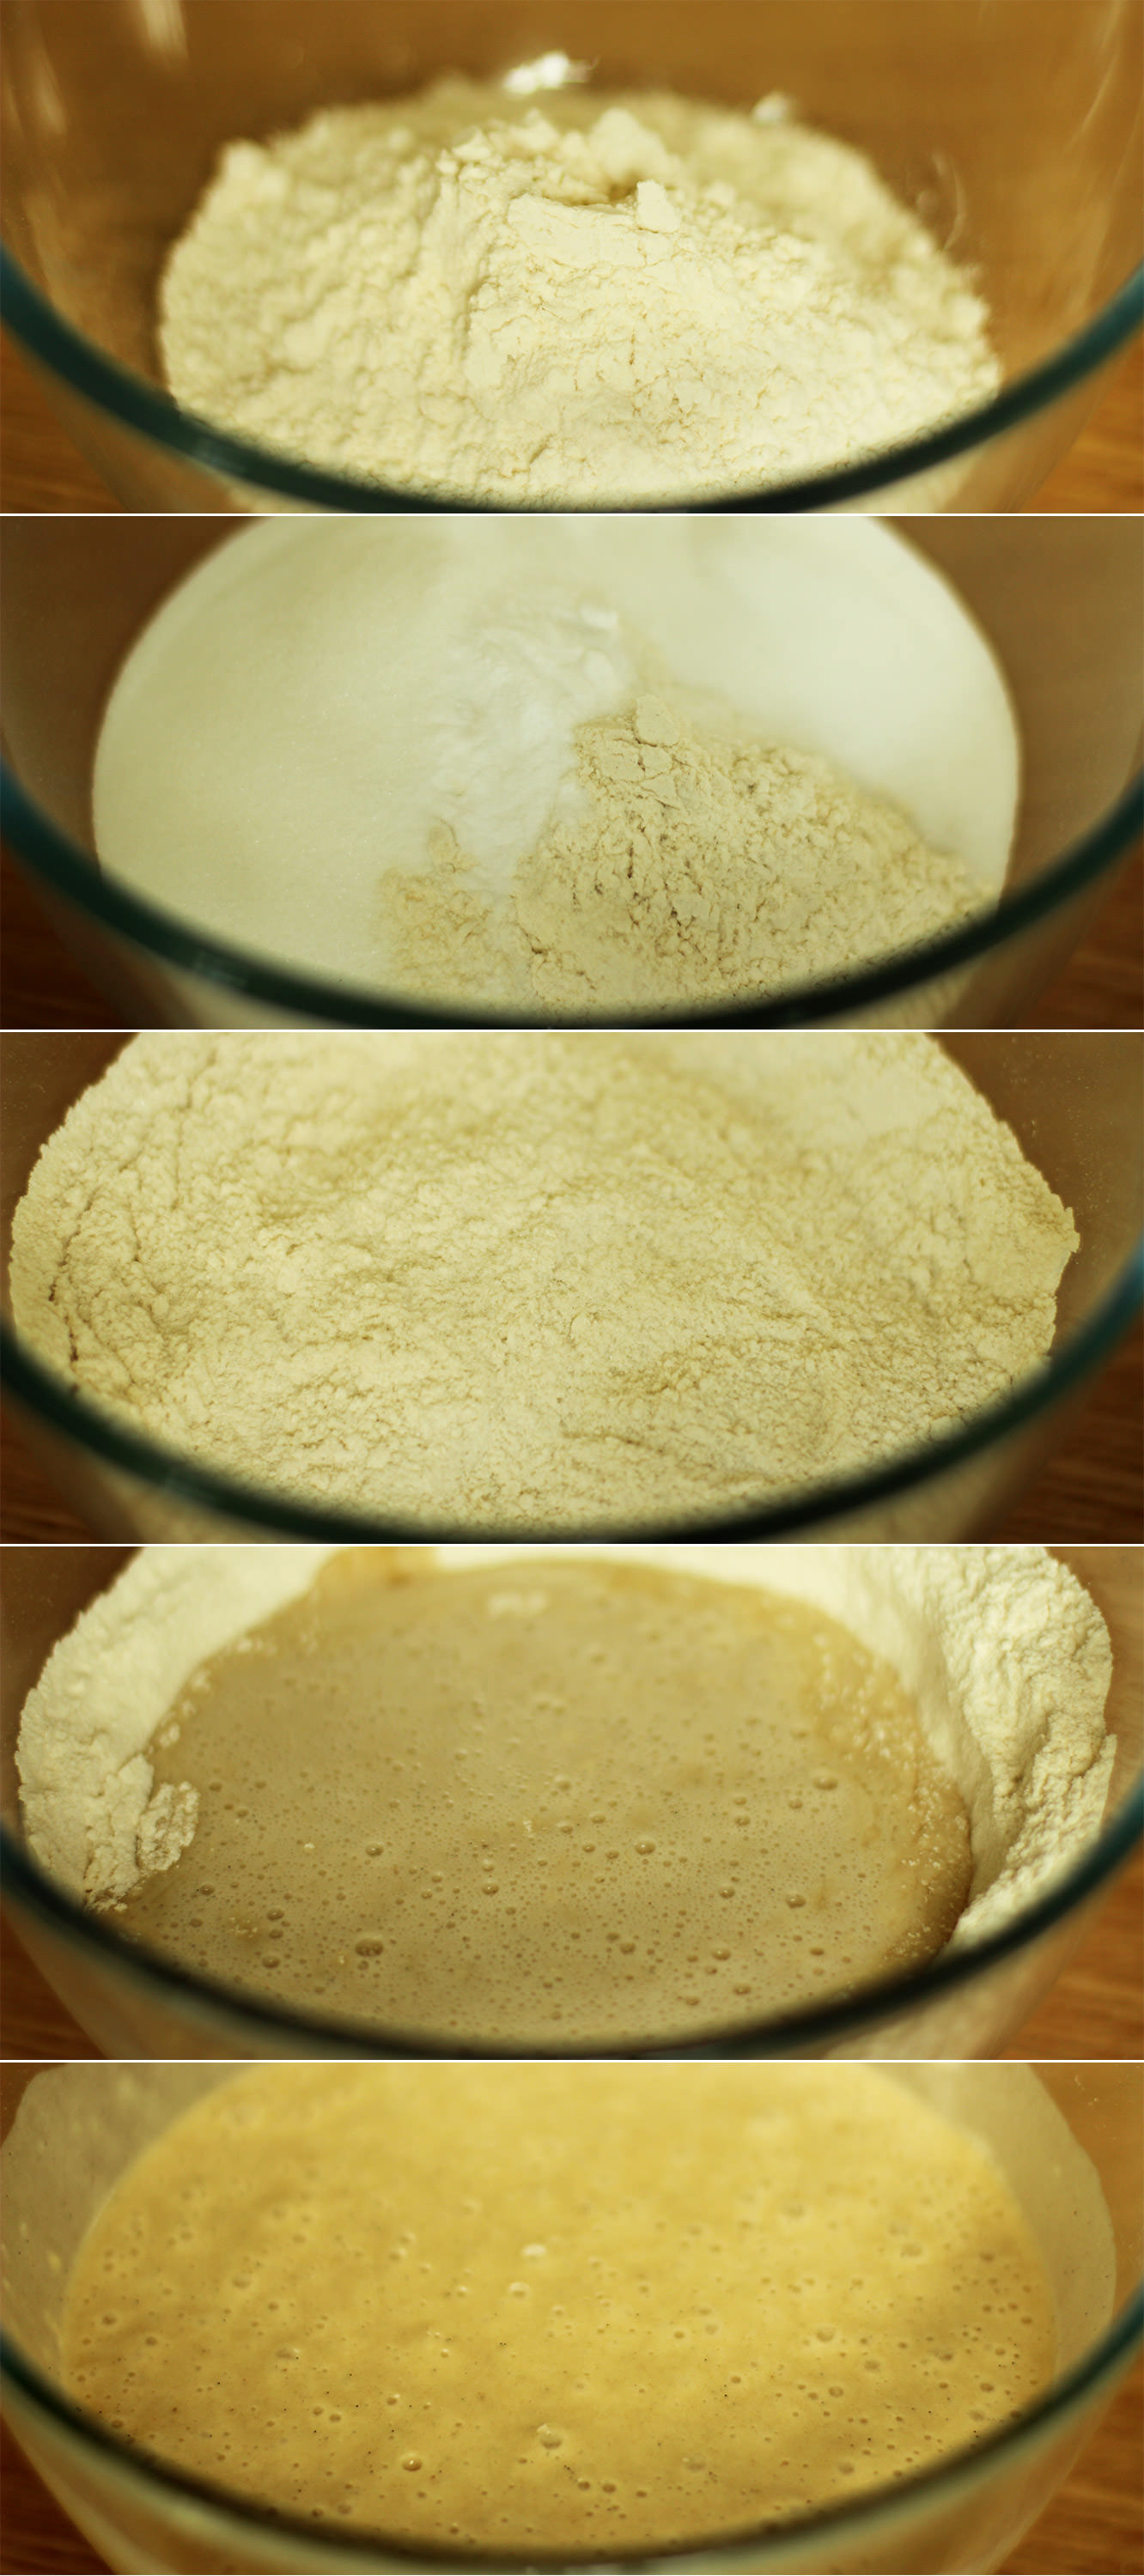
Whisk together the sugar and butter until smooth. Add the eggs and whisk again until the mix is fully combined.

sticky-toffee-pudding-cupcake-recipe-3

Step two

Add the flour and bicarbonate of soda and whisk again. The batter should be light and fluffy.

sticky-toffee-pudding-cupcake-recipe-4

Step three

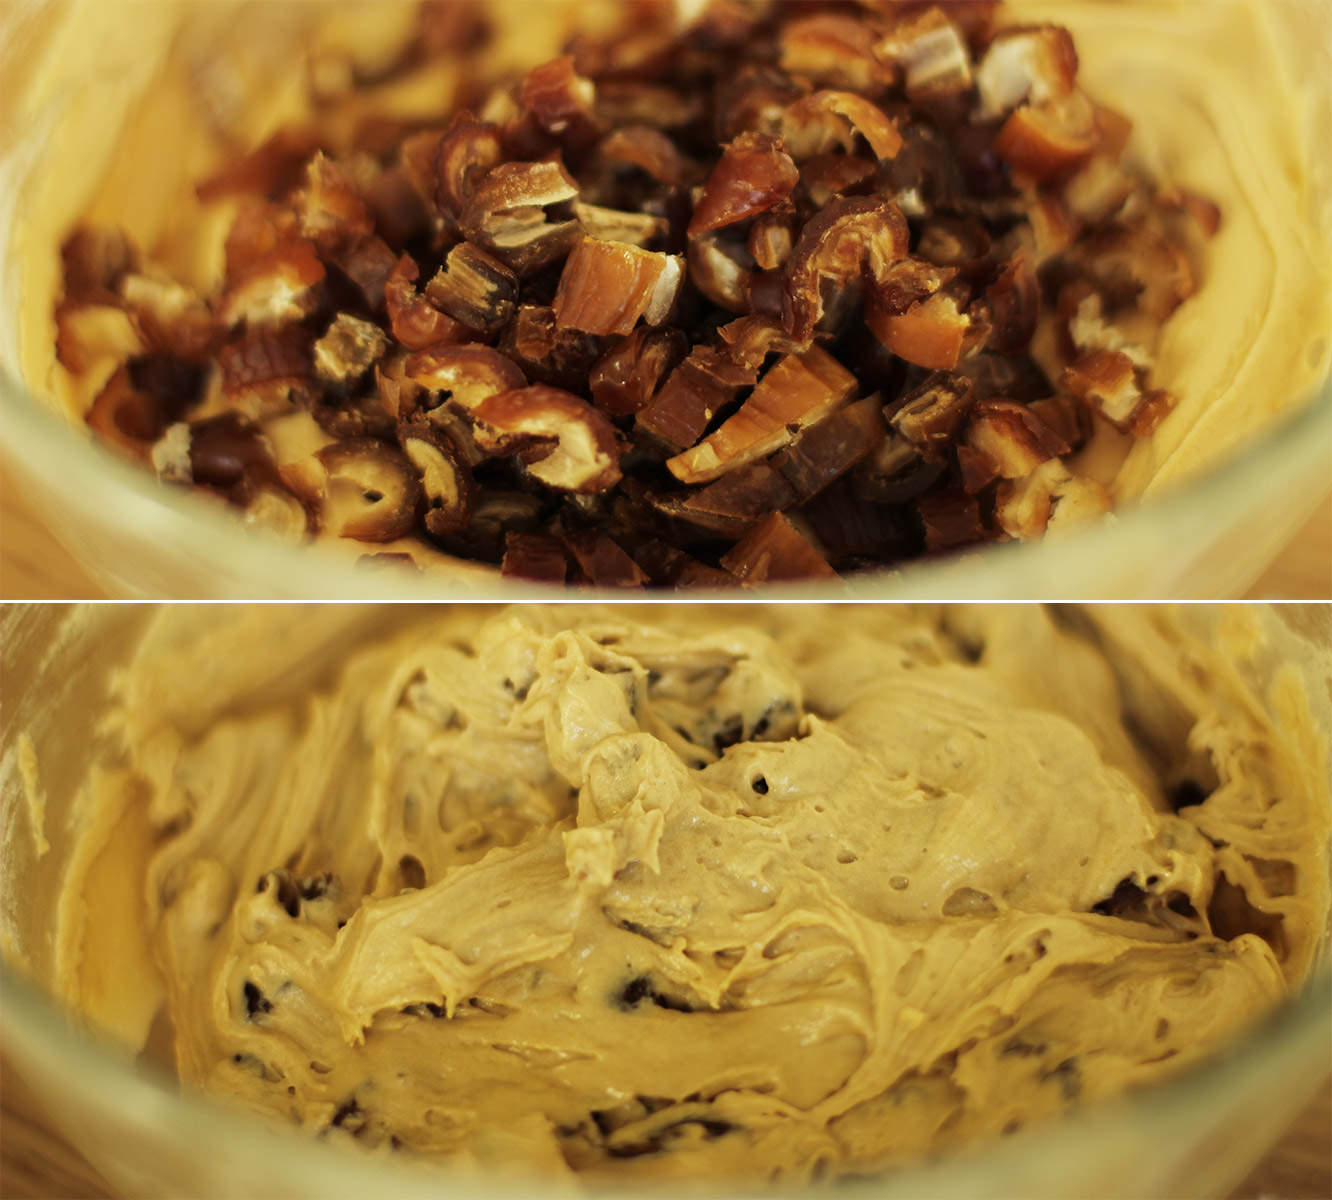
Chop the dates up into the mixture. I just used scissors for this.

Stir in so they are evenly distributed.

sticky-toffee-pudding-cupcake-recipe-7

Step four

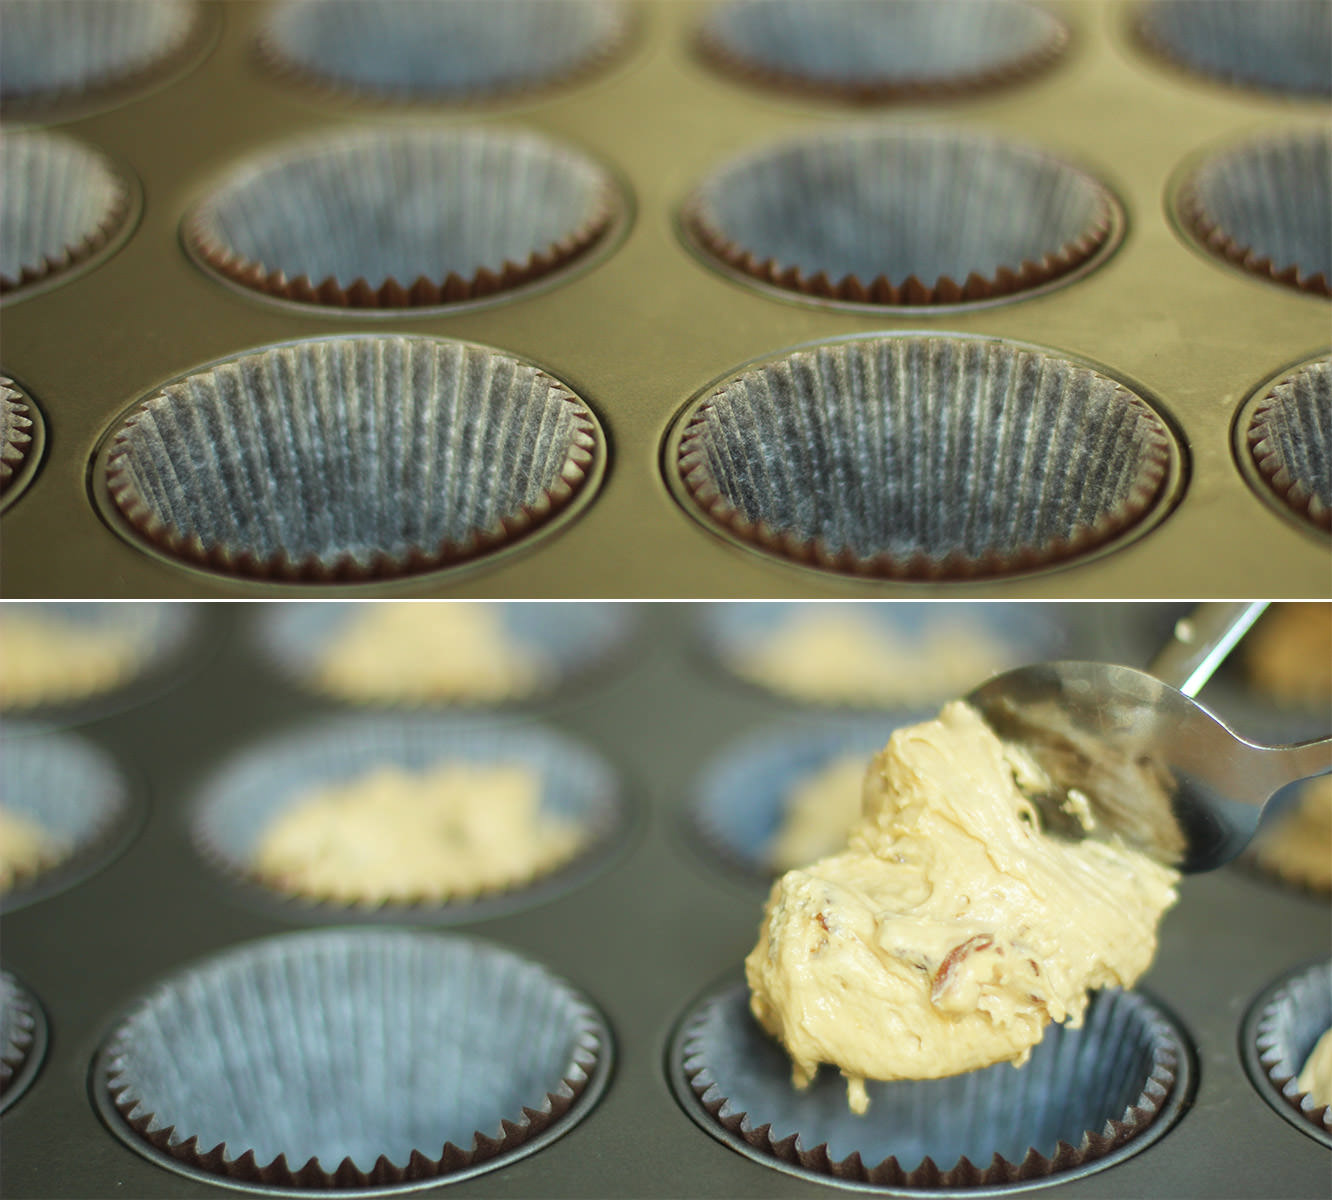
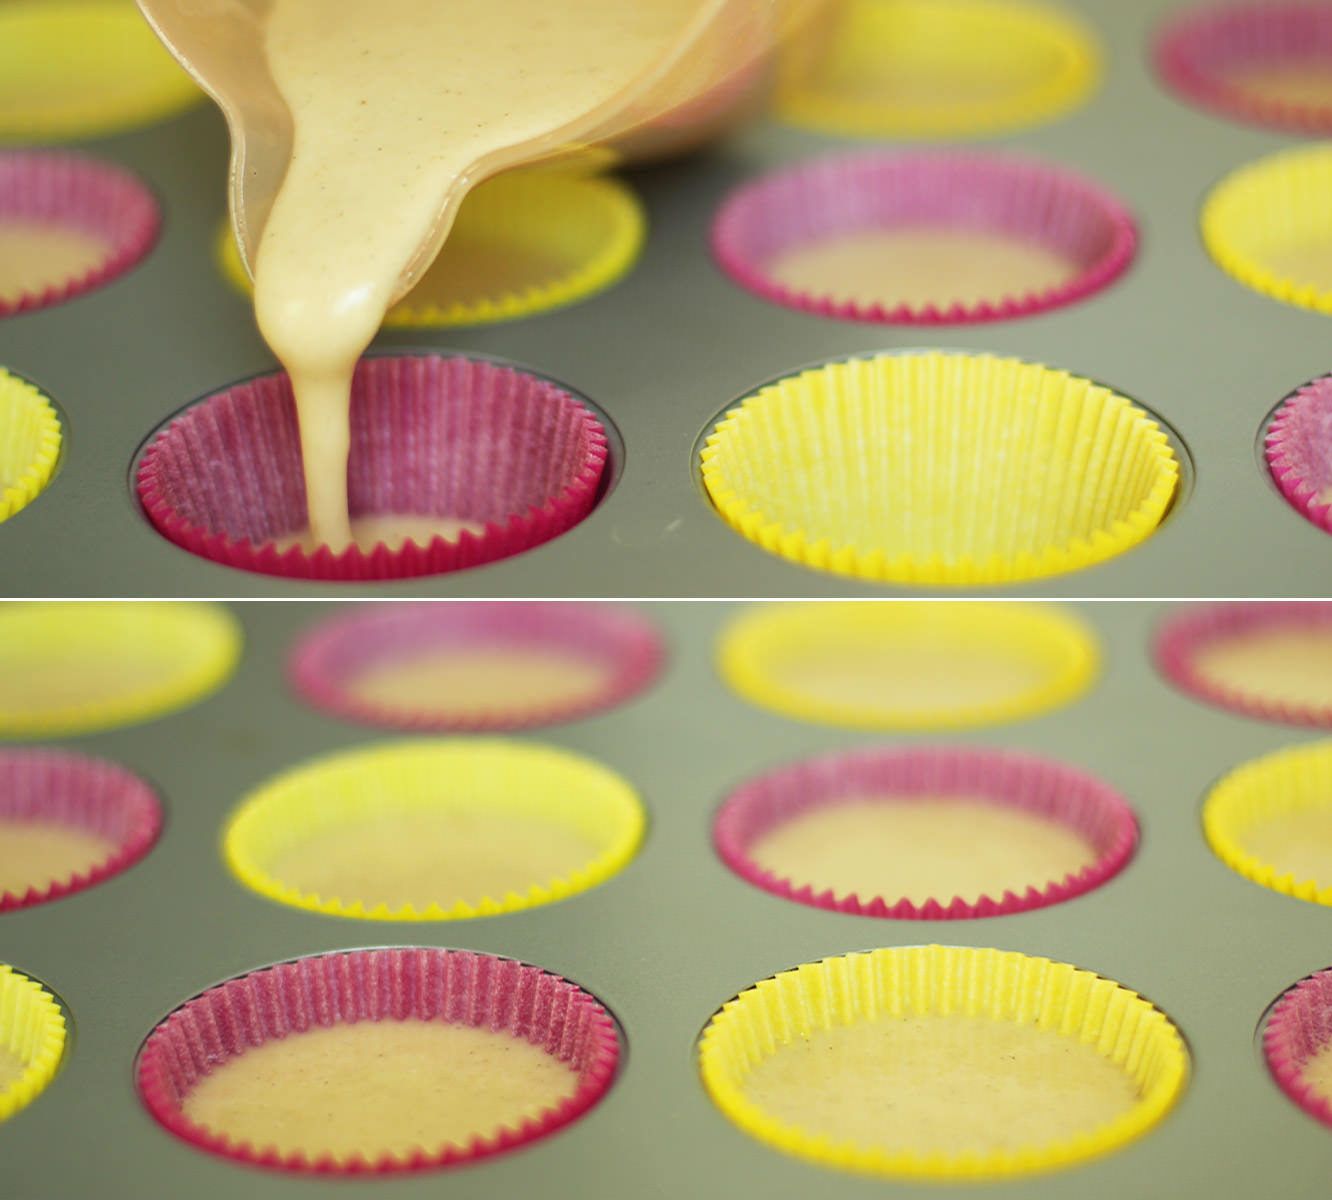
Spoon the mixture into cupcake cases. Two dessert spoons in each should do the trick.

Bake on gas mark 4/180C/350F for 20-25 minutes. I overdid mine a bit so perhaps closer to the 20 minute end is better.

sticky-toffee-pudding-cupcake-recipe-5

Step five

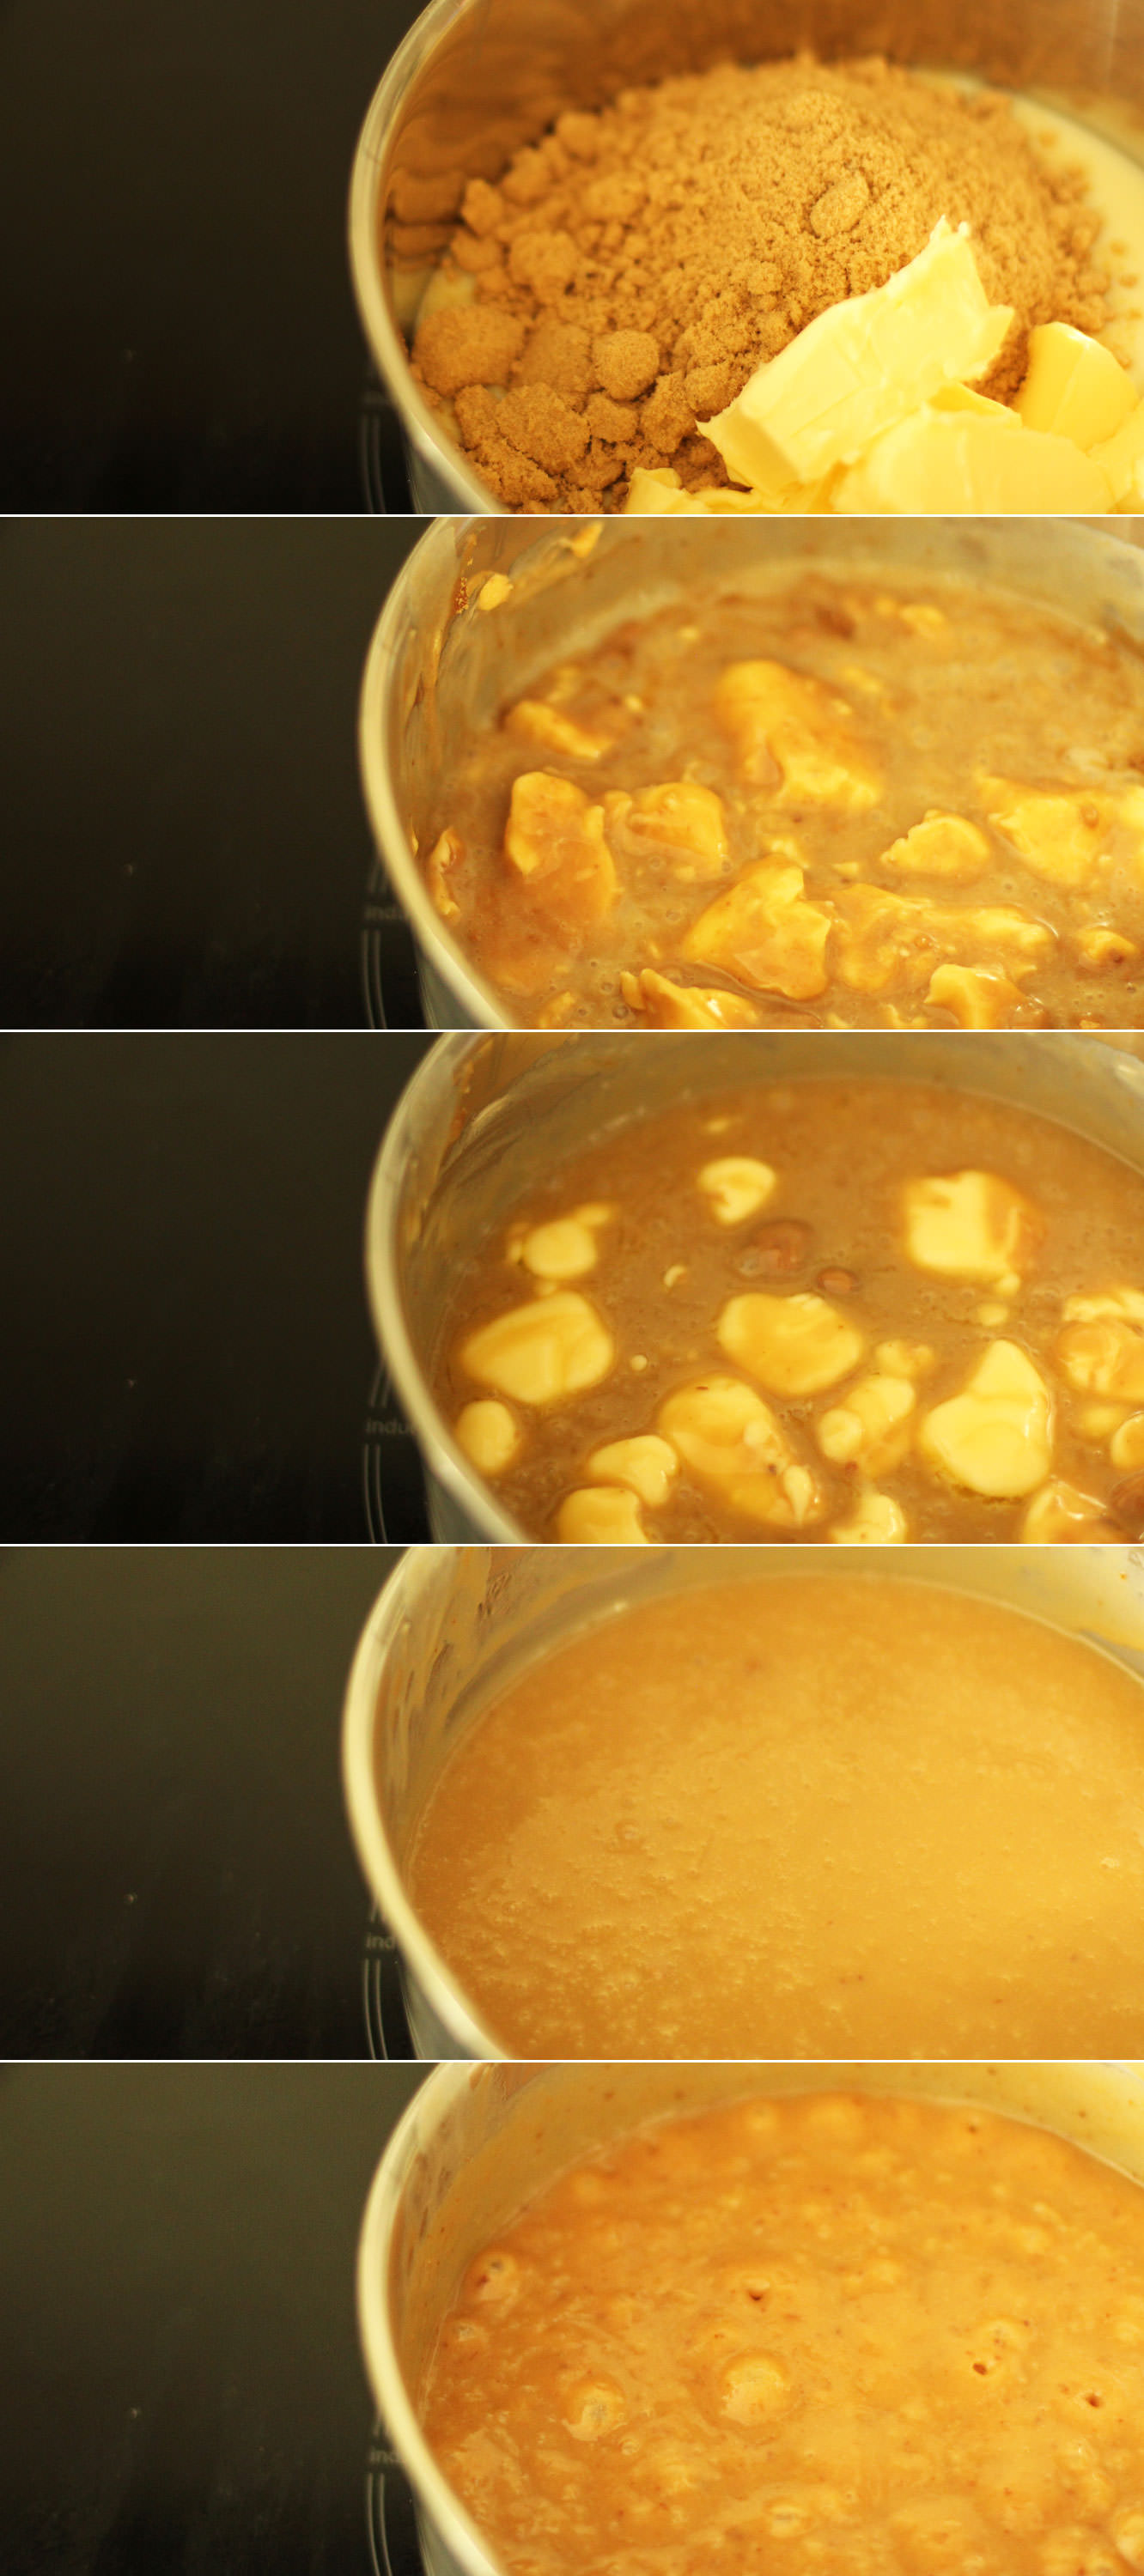
Place all of the filling ingredients into a saucepan and put on a low-medium heat until all are melted.

Turn the heat up until the mix reaches a gentle boil. Cook for 5-10 minutes, stirring constantly.

Remove from heat, pour into a heatproof bowl and leave to cool, you can pop in in the fridge after about half an hour to speed up the process.

sticky-toffee-pudding-cupcake-recipe-6

Step six

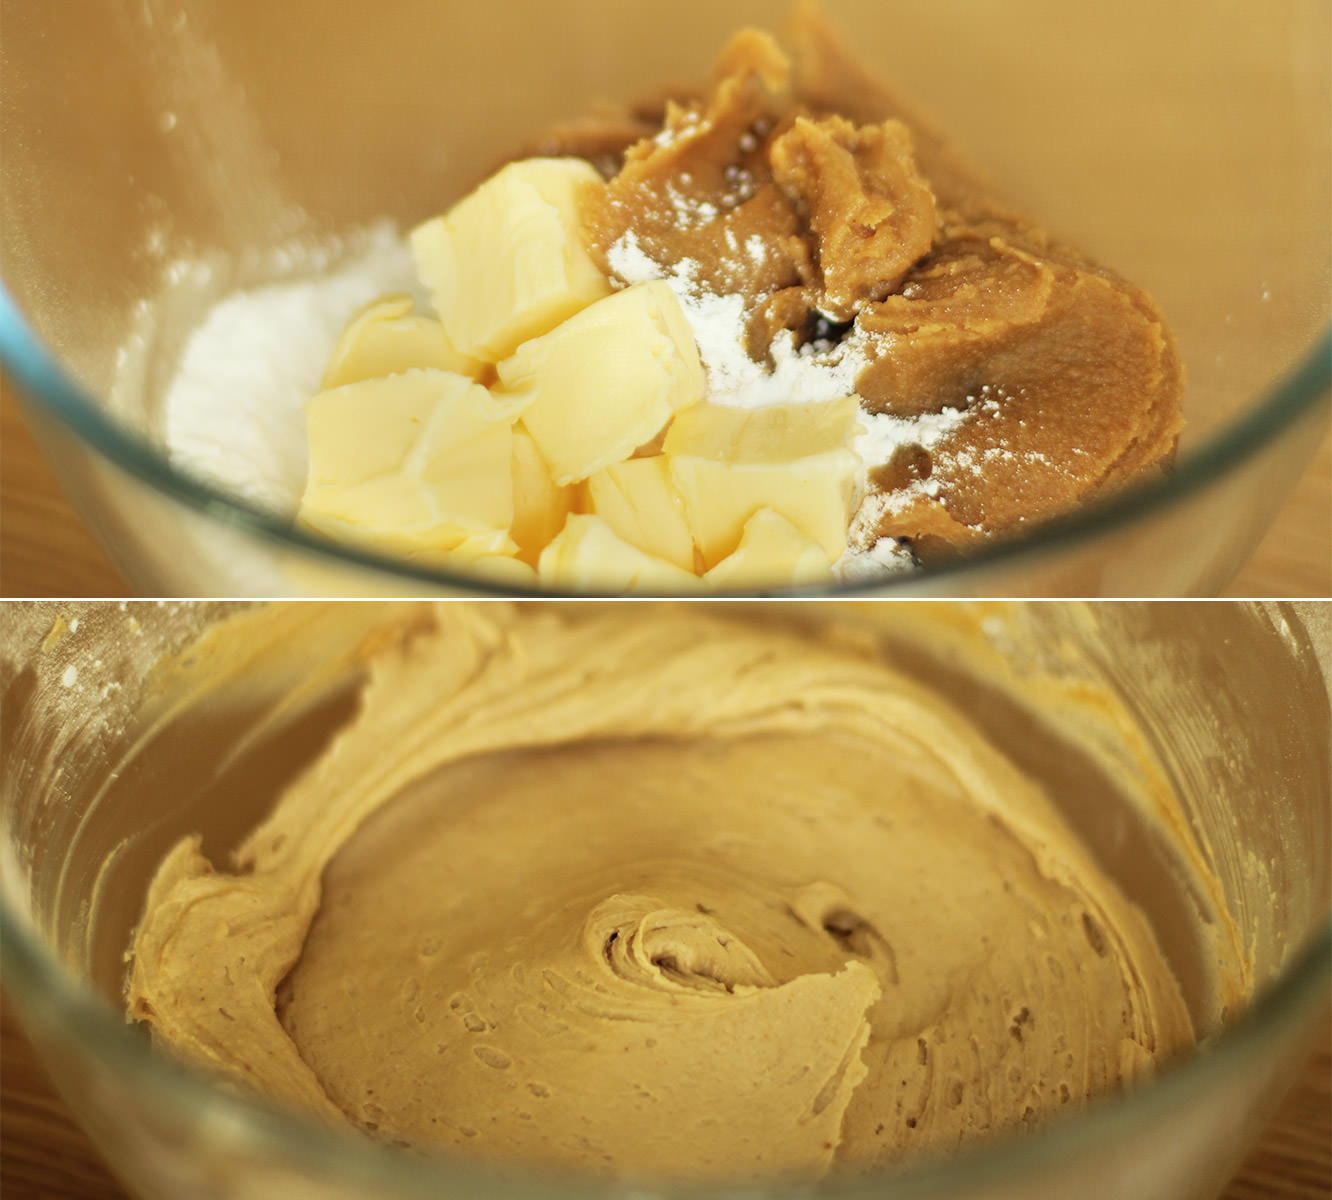
For the toffee frosting add 400g of the toffee mix to 100g of butter and 100g of icing sugar. The butter and toffee should be at room temperature.

sticky-toffee-pudding-cupcake-recipe-gif

Step seven

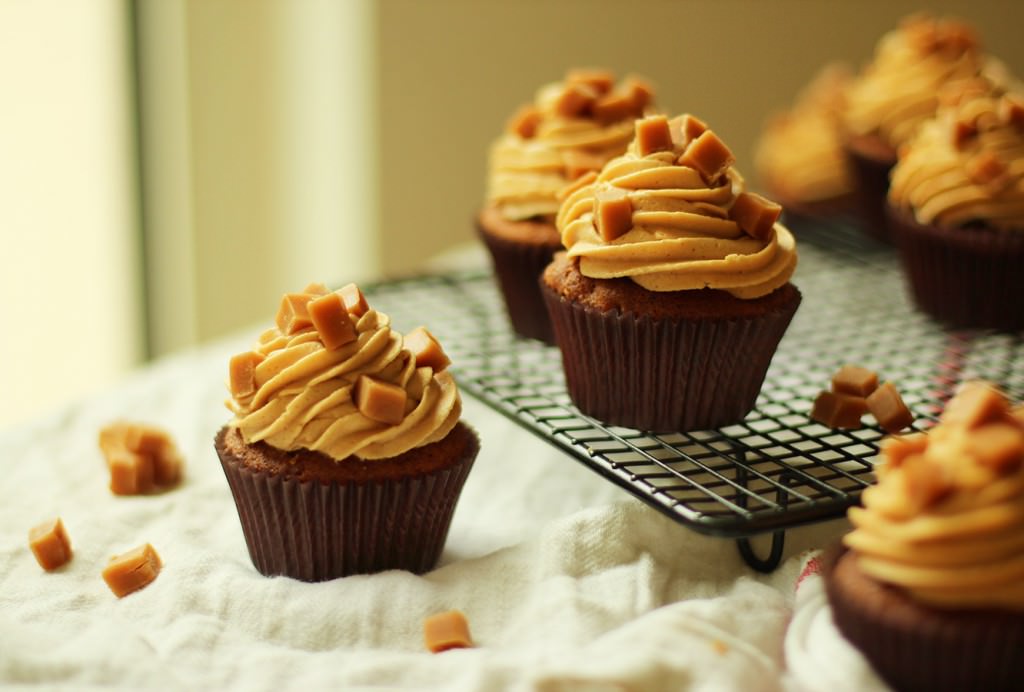
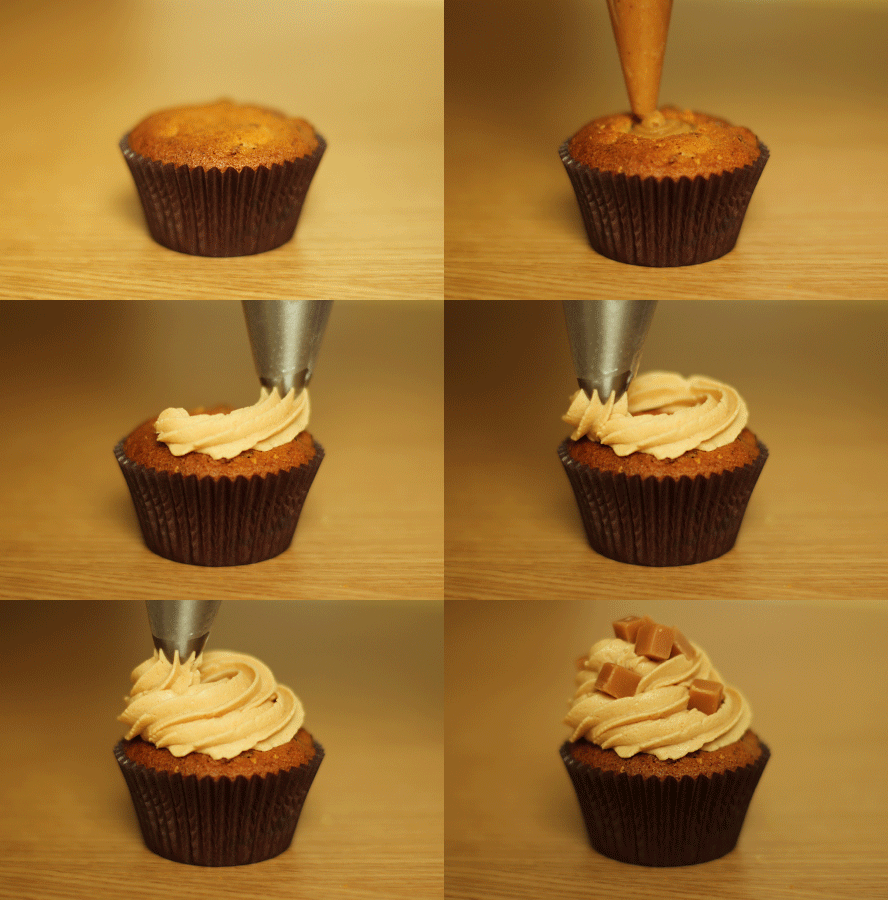
Cut a hole in the middle of the cupcakes and remove the sponge bit, keeping the top. Fill with the remaining toffee and replace the cake lid. Pipe on the frosting and sprinkle with dairy fudge pieces. You can buy these in the home baking section but I prefer to buy the big bags of individually wrapped ones and chop them into smaller pieces myself. You get WAY more for your money that way.

sticky-toffee-pudding-cupcake-recipe-10

sticky-toffee-pudding-cupcake-recipe-9

sticky-toffee-pudding-cupcake-recipe-8


Rhubarb and custard

If you’ve been following this blog for a while, you might remember my dear mother’s ventures into gardening. Last year I made a rhubarb and honey cake from one of her crops, and this year’s slotted in nicely into this cupcake series. For where would the British public be without rhubarb and custard?

Ok, let’s be honest. We’d probably be fine without rhubarb and custard. I’m not even sure people eat it that much nowadays. But it is pretty nice baked into a cupcake, they really are a great pair. Maybe we ought to resurrect it. Starting now.

Go forth and bake people of Britain (and the rest of the world too if you’re reading this).

rhubarb-and-custard-cupcake-recipe-1

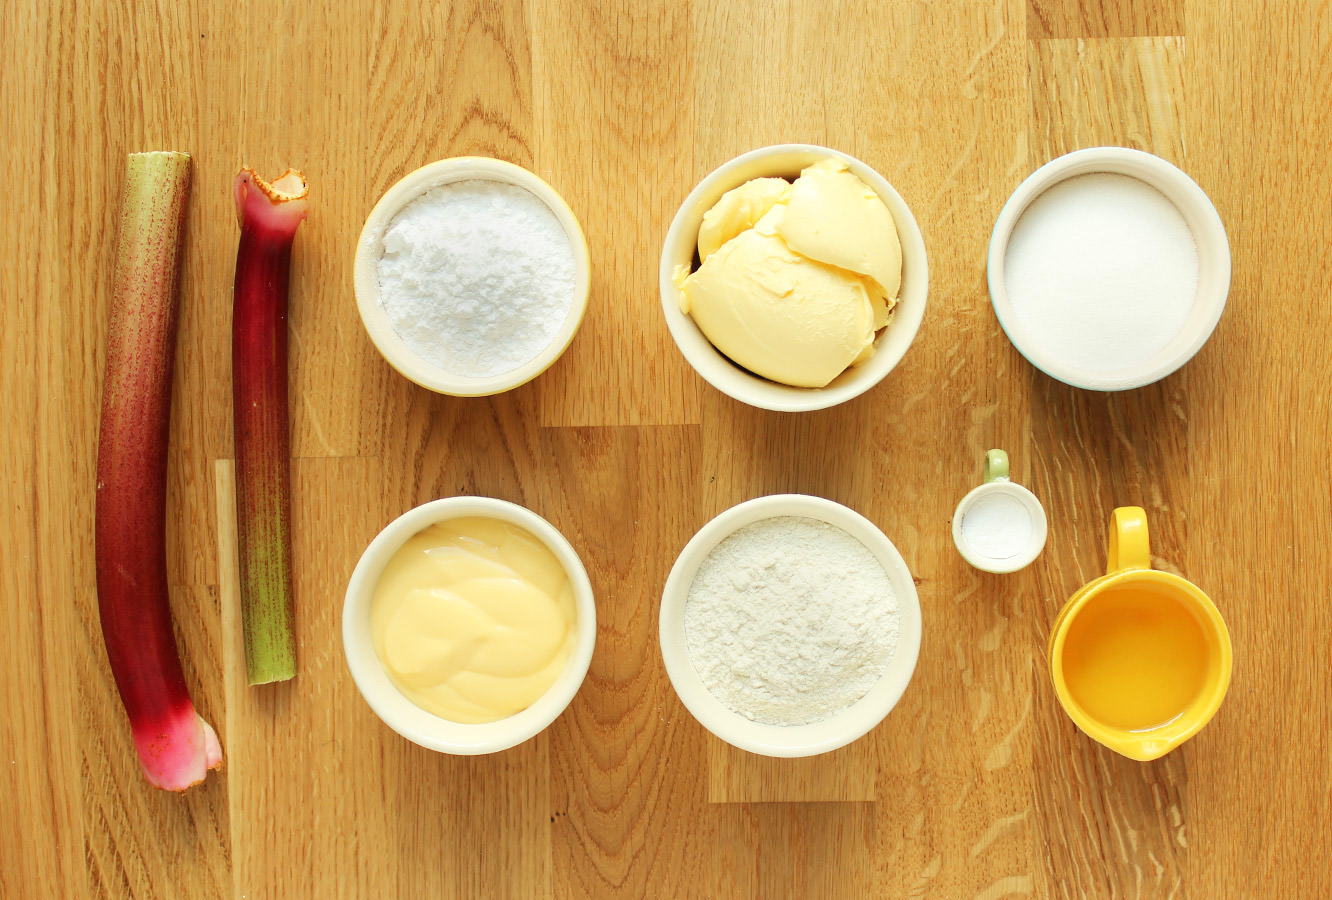
You will need

For the cakes:

250g/8.75 oz plain flour

250g/8.75 oz caster sugar

300ml/10 fl oz water

6 tbsp vegetable oil

1 tsp bicarbonate of soda

1 tsp cider vinegar

1 tsp vanilla extract

For the rhubarb filling:

200g/7 oz rhubarb

6 tbsp granulated sugar

3 tbsp water

For the custard frosting/icing:

250g/8.75 oz unsalted butter

225g/8 oz packet custard (yes, I used a carton of ambrosia, so sue me)

75g/2.5 oz icing sugar

Vanilla pod/paste (extract is fine, but I wanted the flecks)

(makes 12)

rhubarb-and-custard-cupcake-recipe-2

Step one

Start with the cupcakes. Combine the dry ingredients and make a well in the middle.

Pour the water, oil, extract and vinegar into the centre. Using a hand whisk, stir in small circles, gradually widening the circle until the dry ingredients are fully incorporated. Doing it gradually prevents lumps of flour in the batter.

rhubarb-and-custard-cupcake-recipe-3

Step two

Use a jug to pour the batter into the cases. Bake on gas mark 4/350F/180C for 20-25 minutes.

rhubarb-and-custard-cupcake-recipe-4

Step three

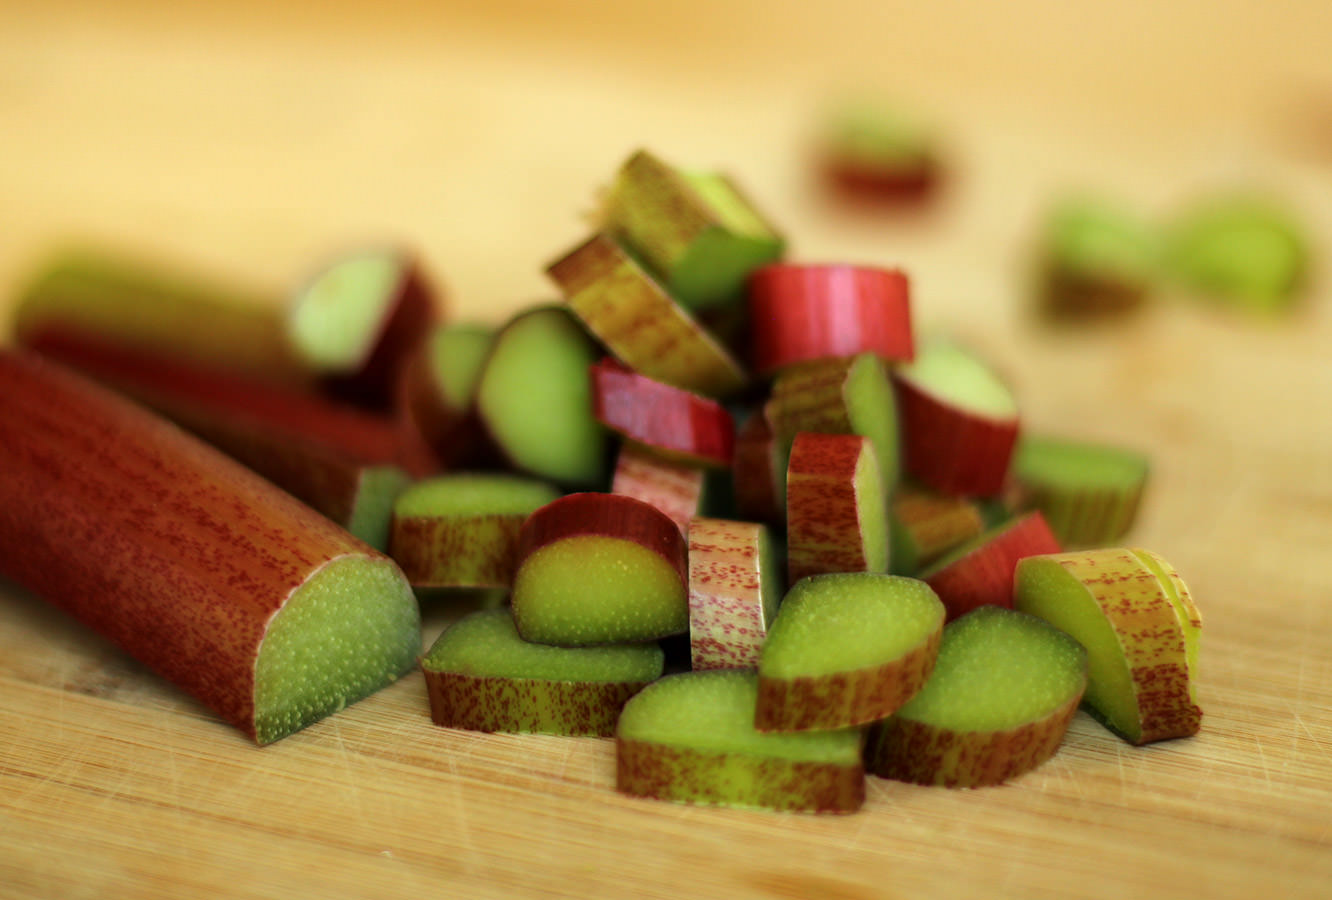
Chop the rhubarb into small slices.

rhubarb-and-custard-cupcake-recipe-5

Step four

Put the rhubarb, water and sugar into a frying pan and set to a low-medium temperature. Once the sugar has dissolved, turn the heat up and bring to a simmer.

The rhubarb will break down and the whole thing will start to resemble jam. Allow it to thicken a bit, about 10 minutes on the heat will do the trick.

If you want to you could sieve this into more of a rhubarb puree. I didn’t bother and they were still tasty. Just to reassure you, everything softens enough so there’s no weird stringy texture or anything.

Set aside to cool.

rhubarb-and-custard-cupcake-recipe-6

Step five

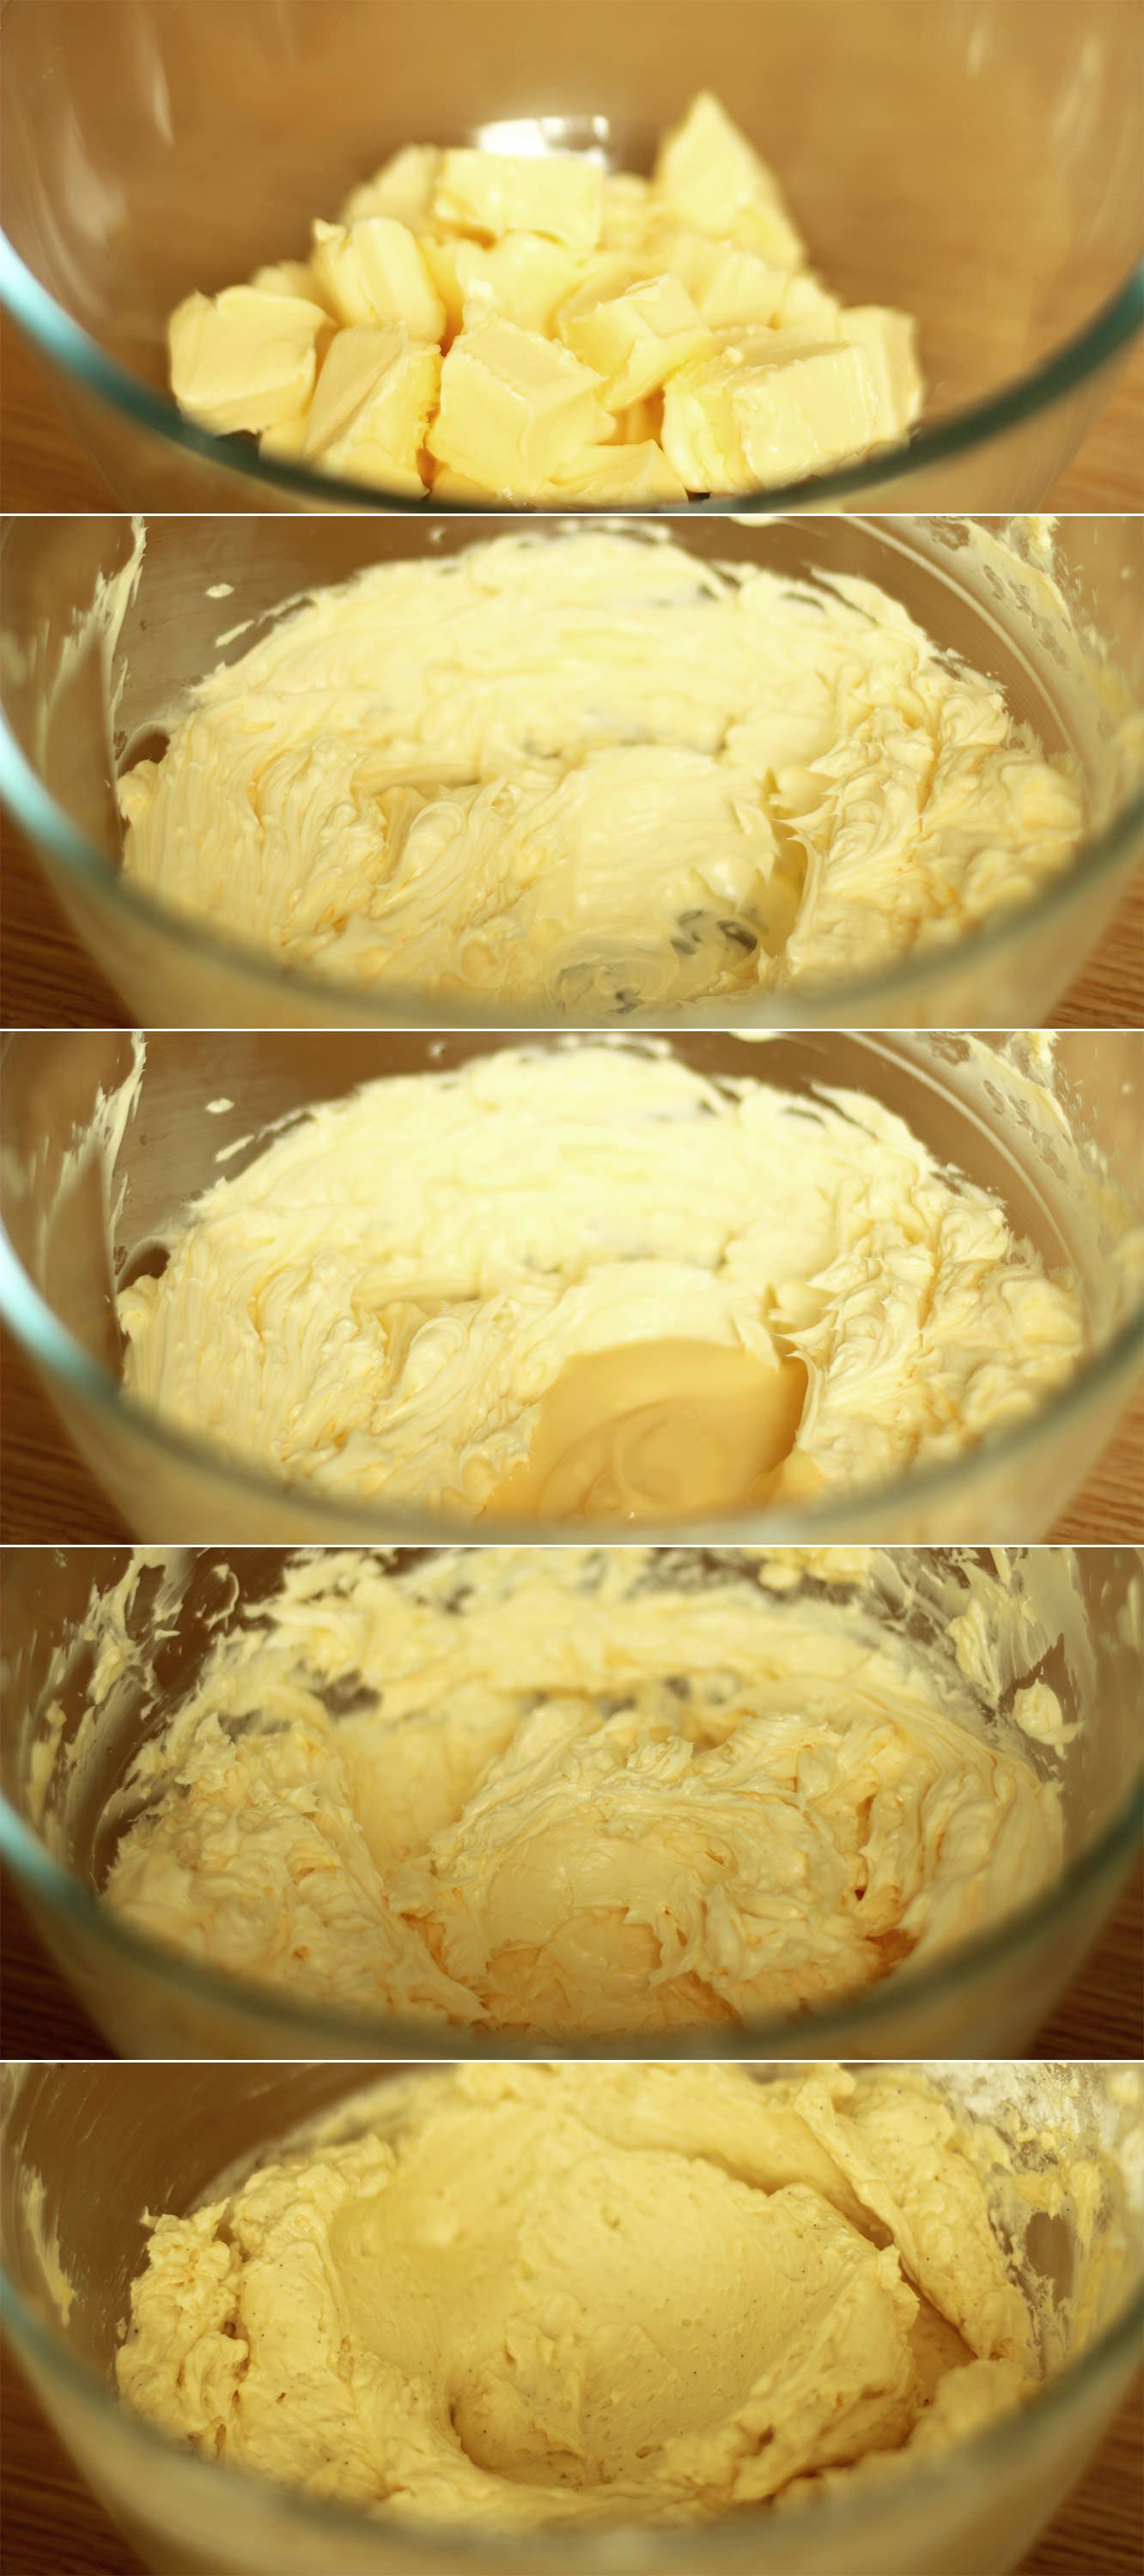
For the custard buttercream whisk the butter with an electric whisk until smooth, light and fluffy.

Add the custard a few tablespoons at a time, whisking in between. You can add the icing sugar and vanilla somewhere in the middle there.

This is a slight wandering from the German buttercream recipes that use custard and butter. I needed a little sweetener to take away a little from the butter flavour.

rhubarb-and-custard-cupcake-recipe-gif

Step six

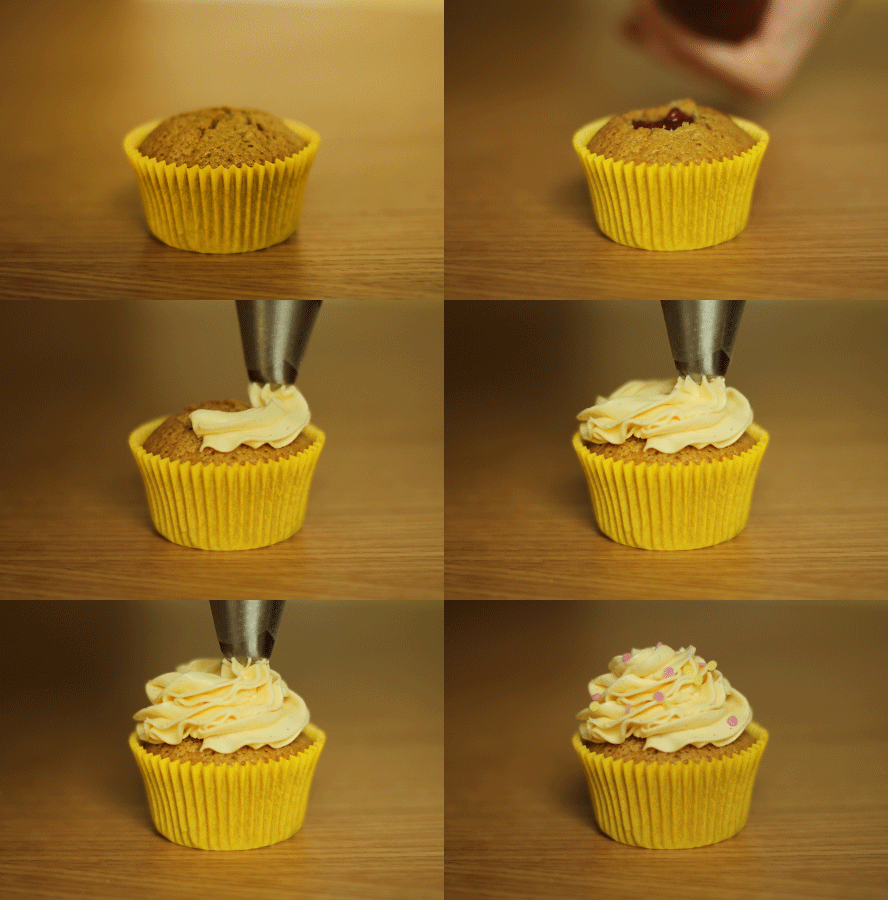
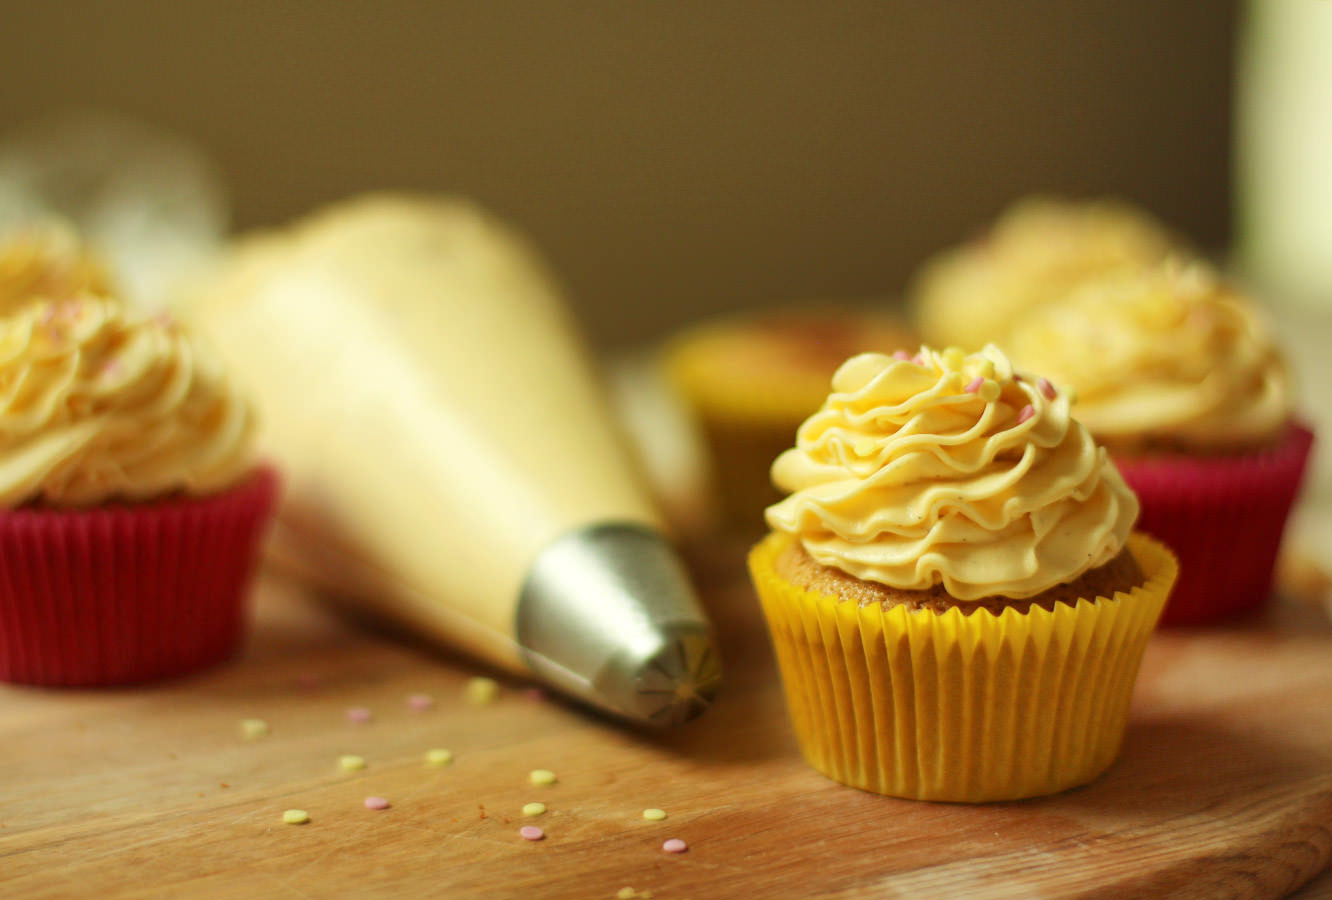
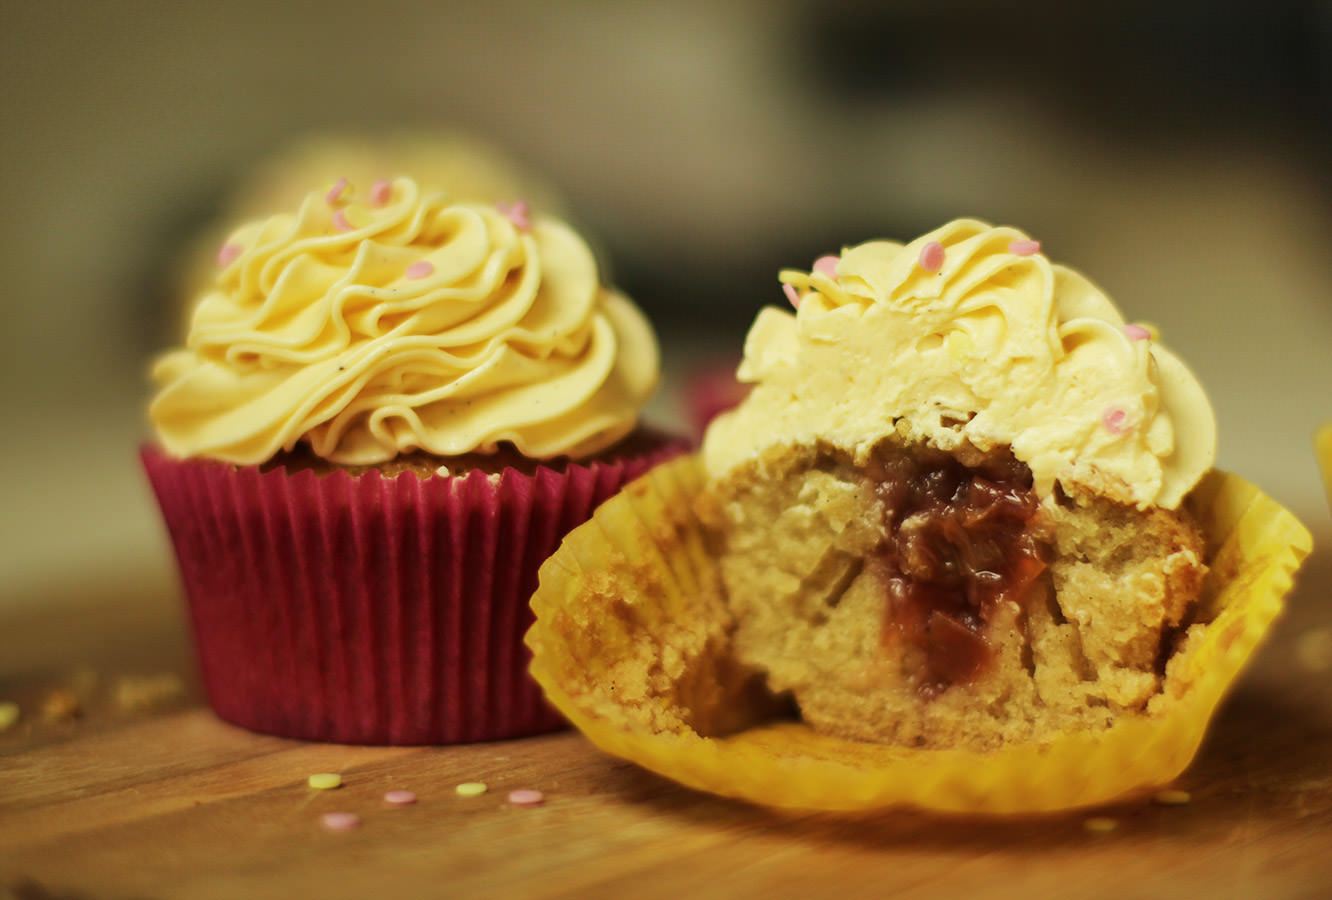
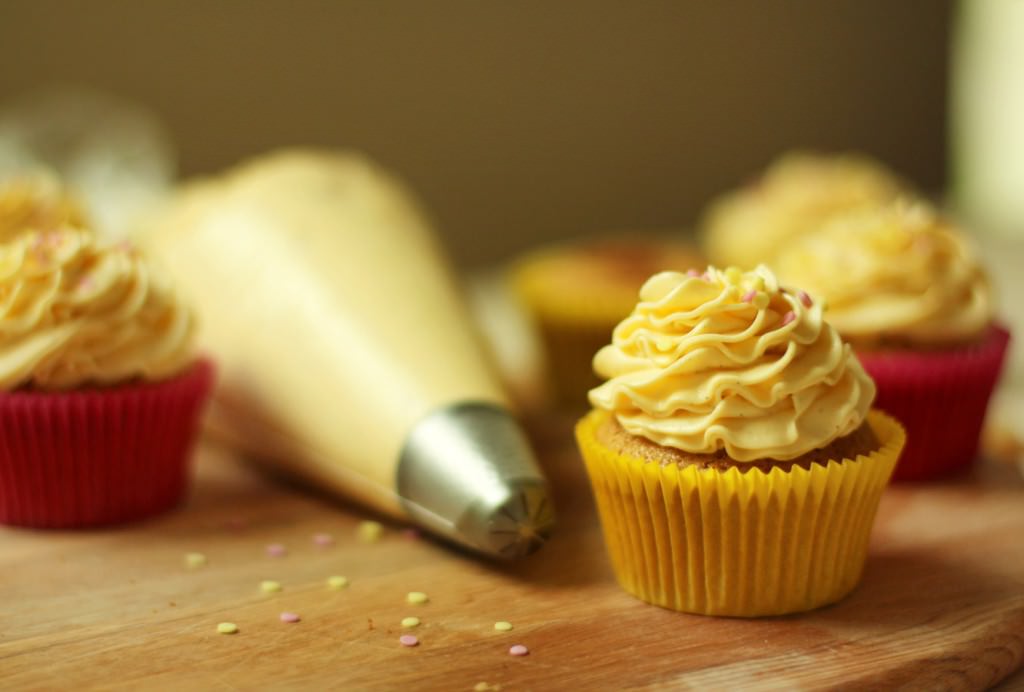
Cut a hole in the cupcake and remove the sponge bit, keeping just the top. Fill with rhubarb and replace the cake ‘lid’. Pipe on the buttercream and some sprinkles if you have them.

rhubarb-and-custard-cupcake-recipe-7

rhubarb-and-custard-cupcake-recipe-9

rhubarb-and-custard-cupcake-recipe-8

Take a big old bite of nostalgia.