Tag: raspberry

Cluck cluck #2

SO. I have been remiss. Friends, stalkers, I’m sorry. I didn’t mean to leave you sans blog for two whole weeks. Finishing off my graphic design portfolio kind of consumed my health, social life, eating habits and ability to hold a conversation.

But that’s done now, and I’m back. Picking up where I left off with Vicky’s hen do favours. This week it’s raspberry and white chocolate, and chocolate caramel marshmallows. Not exactly the first time I have made marshmallows on this blog. I really want you to make marshmallows guys.
hen-bachelorette-party-favours-01

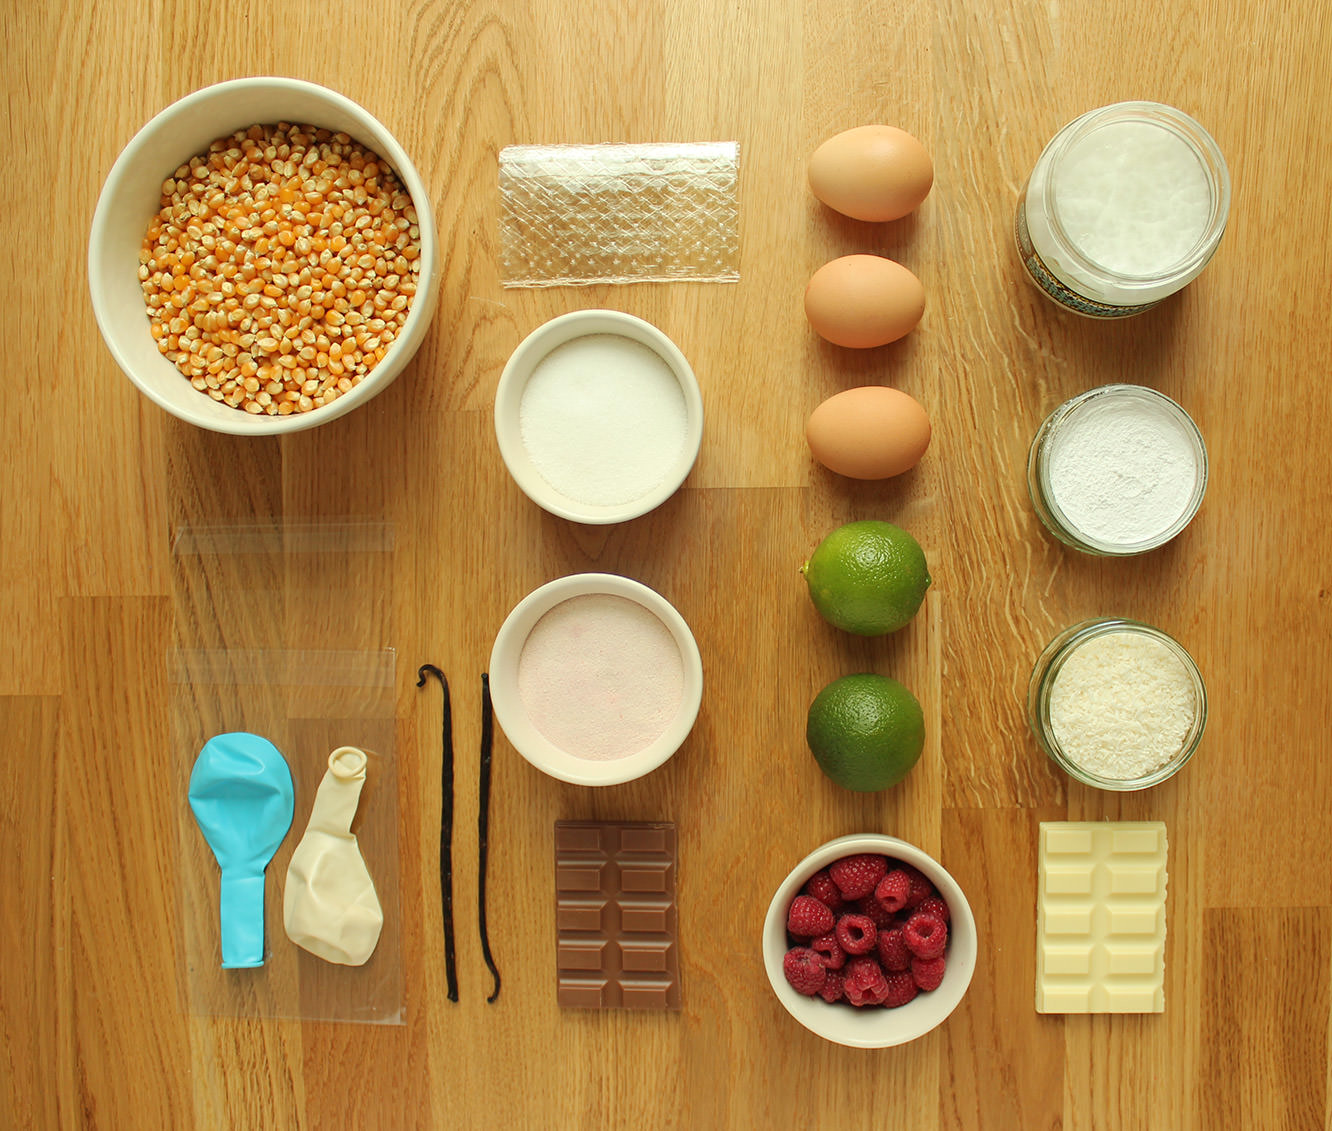
You will need

For the white chocolate and raspberry marshmallows:

9 gelatine sheets

350g/12 oz granulated sugar

2 egg whites

1 tbsp liquid glucose (you can find this in a squeezy toothpaste type tube in the baking section)


150g/5 oz raspberries

150g/5 oz white chocolate

Freeze dried raspberries (optional)

For the caramel and chocolate marshmallows:

9 gelatine sheets

300g/10.5 oz granulated sugar

2 egg whites

1 tbsp liquid glucose

2-3 tsp caramel extract (I got buttery caramel from natural professional flavours at Lakeland)

150g/5 oz milk chocolate

Cellophane card bags x 30

(makes enough for 30 favours, 150+ marshmallows)

I’ll go ahead and walk you through the process for the caramel ones then pop the changes for the raspberry below.
hen-bachelorette-party-favours-raspberry-caramel-marshmallow-recipe-02

Step one

In a cereal bowl, soak the gelatine in 150ml/5 fl oz cold water. Set aside.

Step two

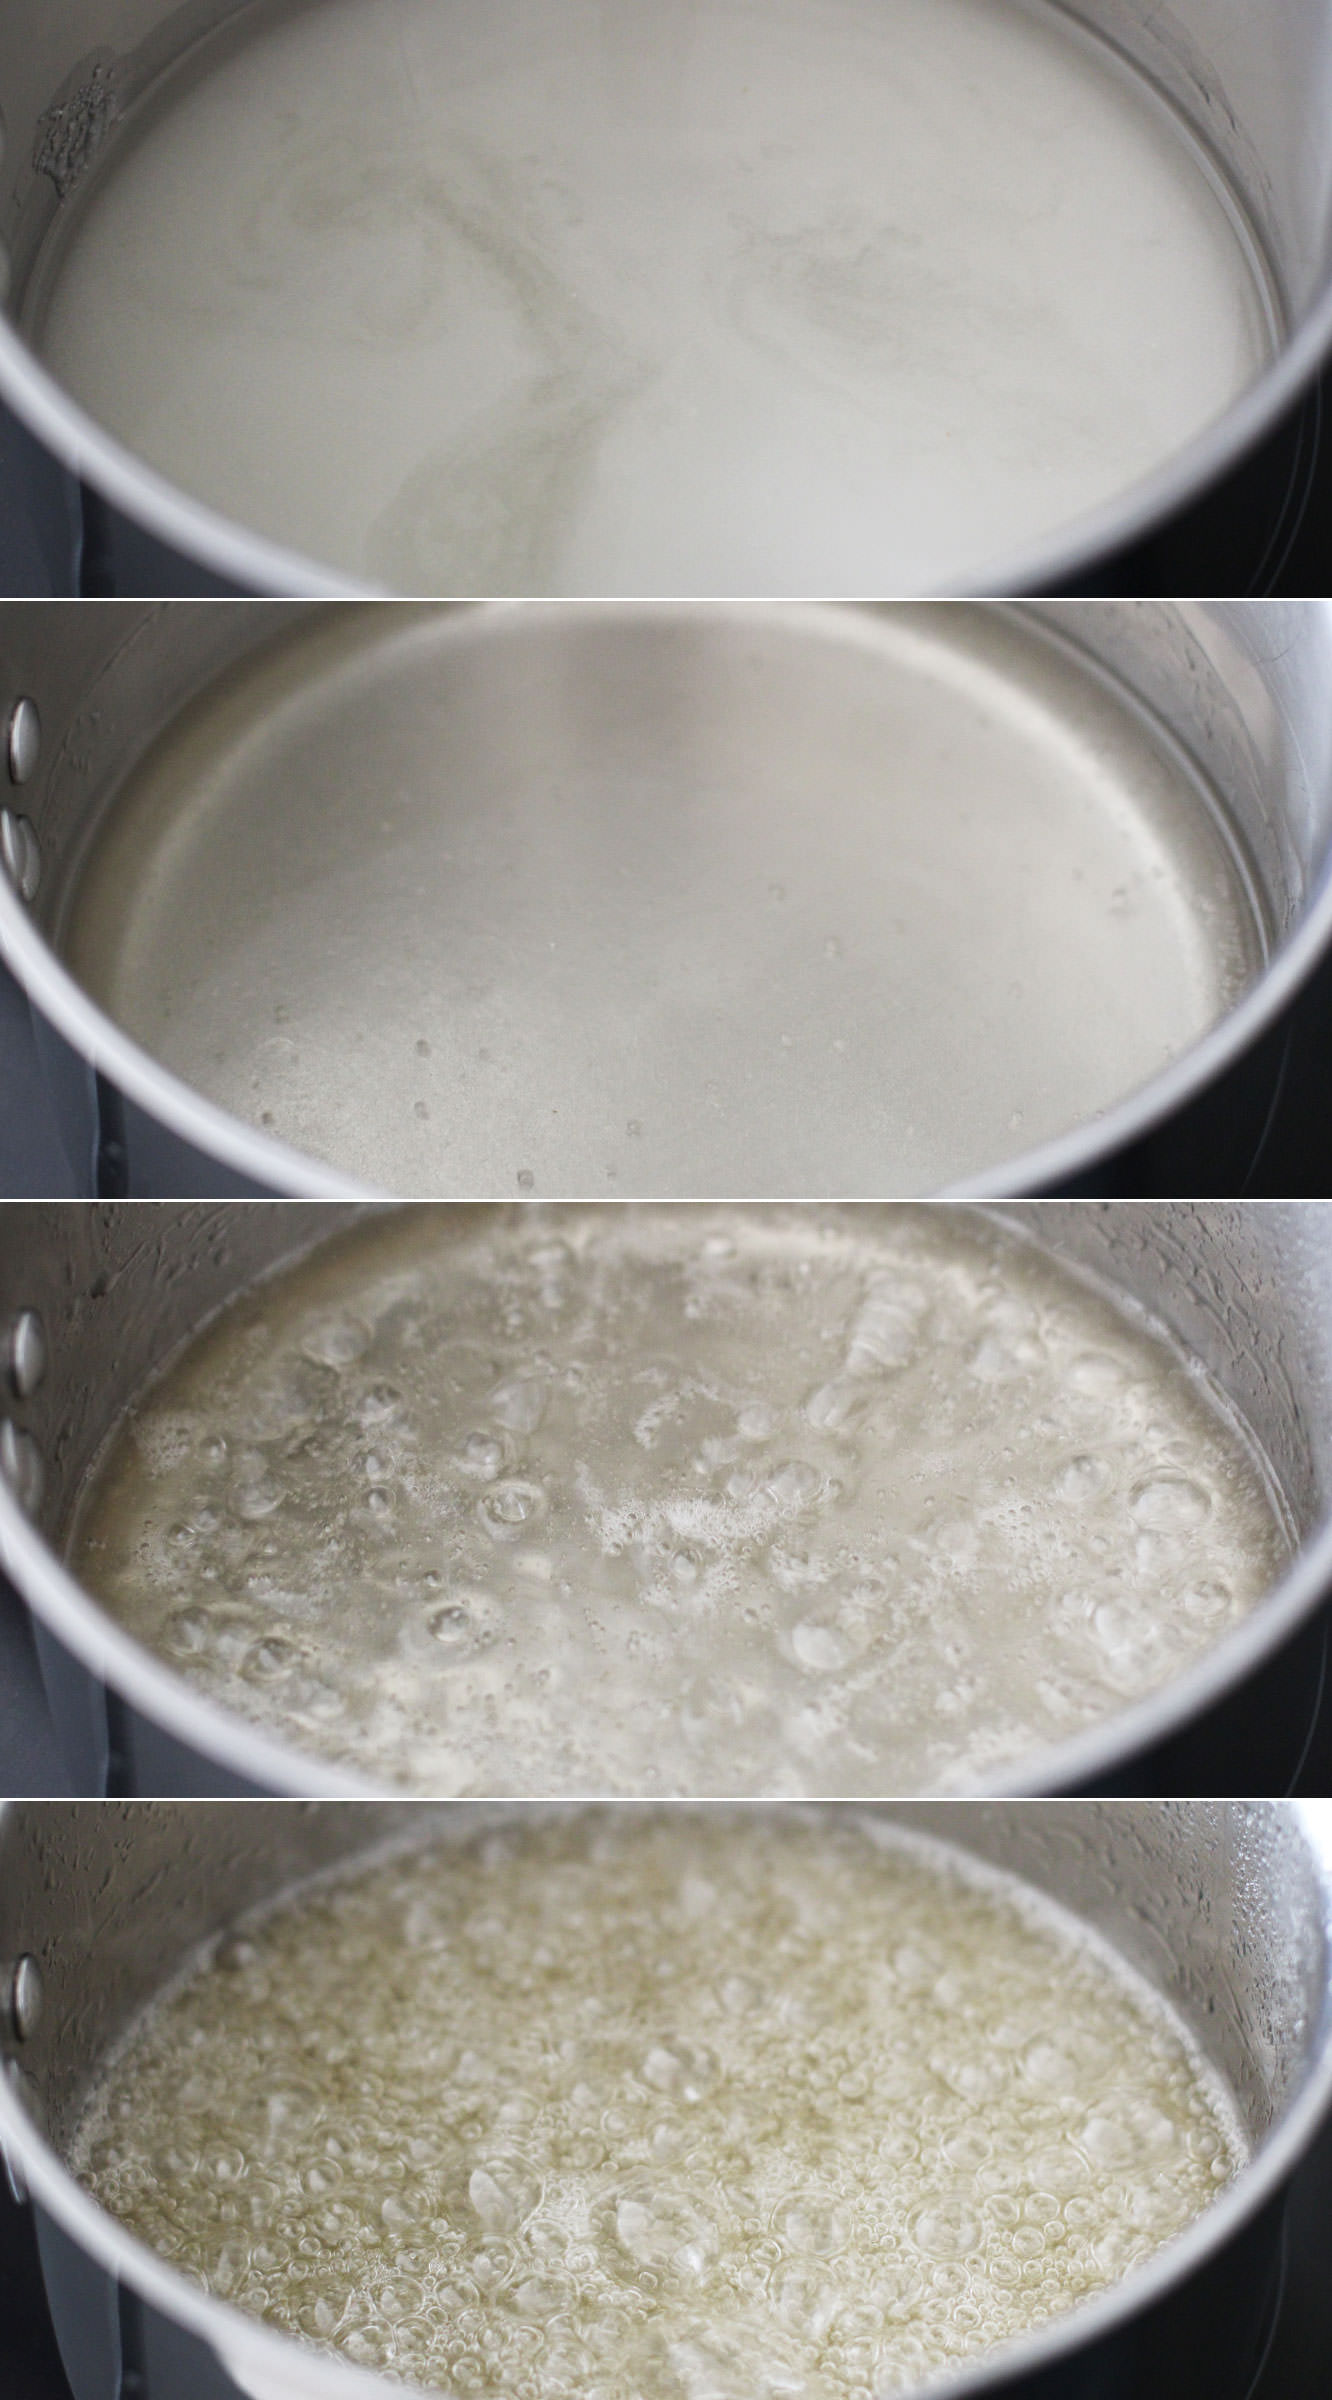
Combine the sugar, 150ml/5 fl oz water (different to the gelatine water) and the liquid glucose in a smallish saucepan.

Allow the sugar to dissolve on a low heat, and then turn it up to medium-high. Watch yourself buddy, you’re boiling sugar right now, don’t hurt it or yourself.

The temperature you want this to get to is 118 C. It will feel like it will never get there, but stay strong.
hen-bachelorette-party-favours-raspberry-caramel-marshmallow-recipe-06

Step three

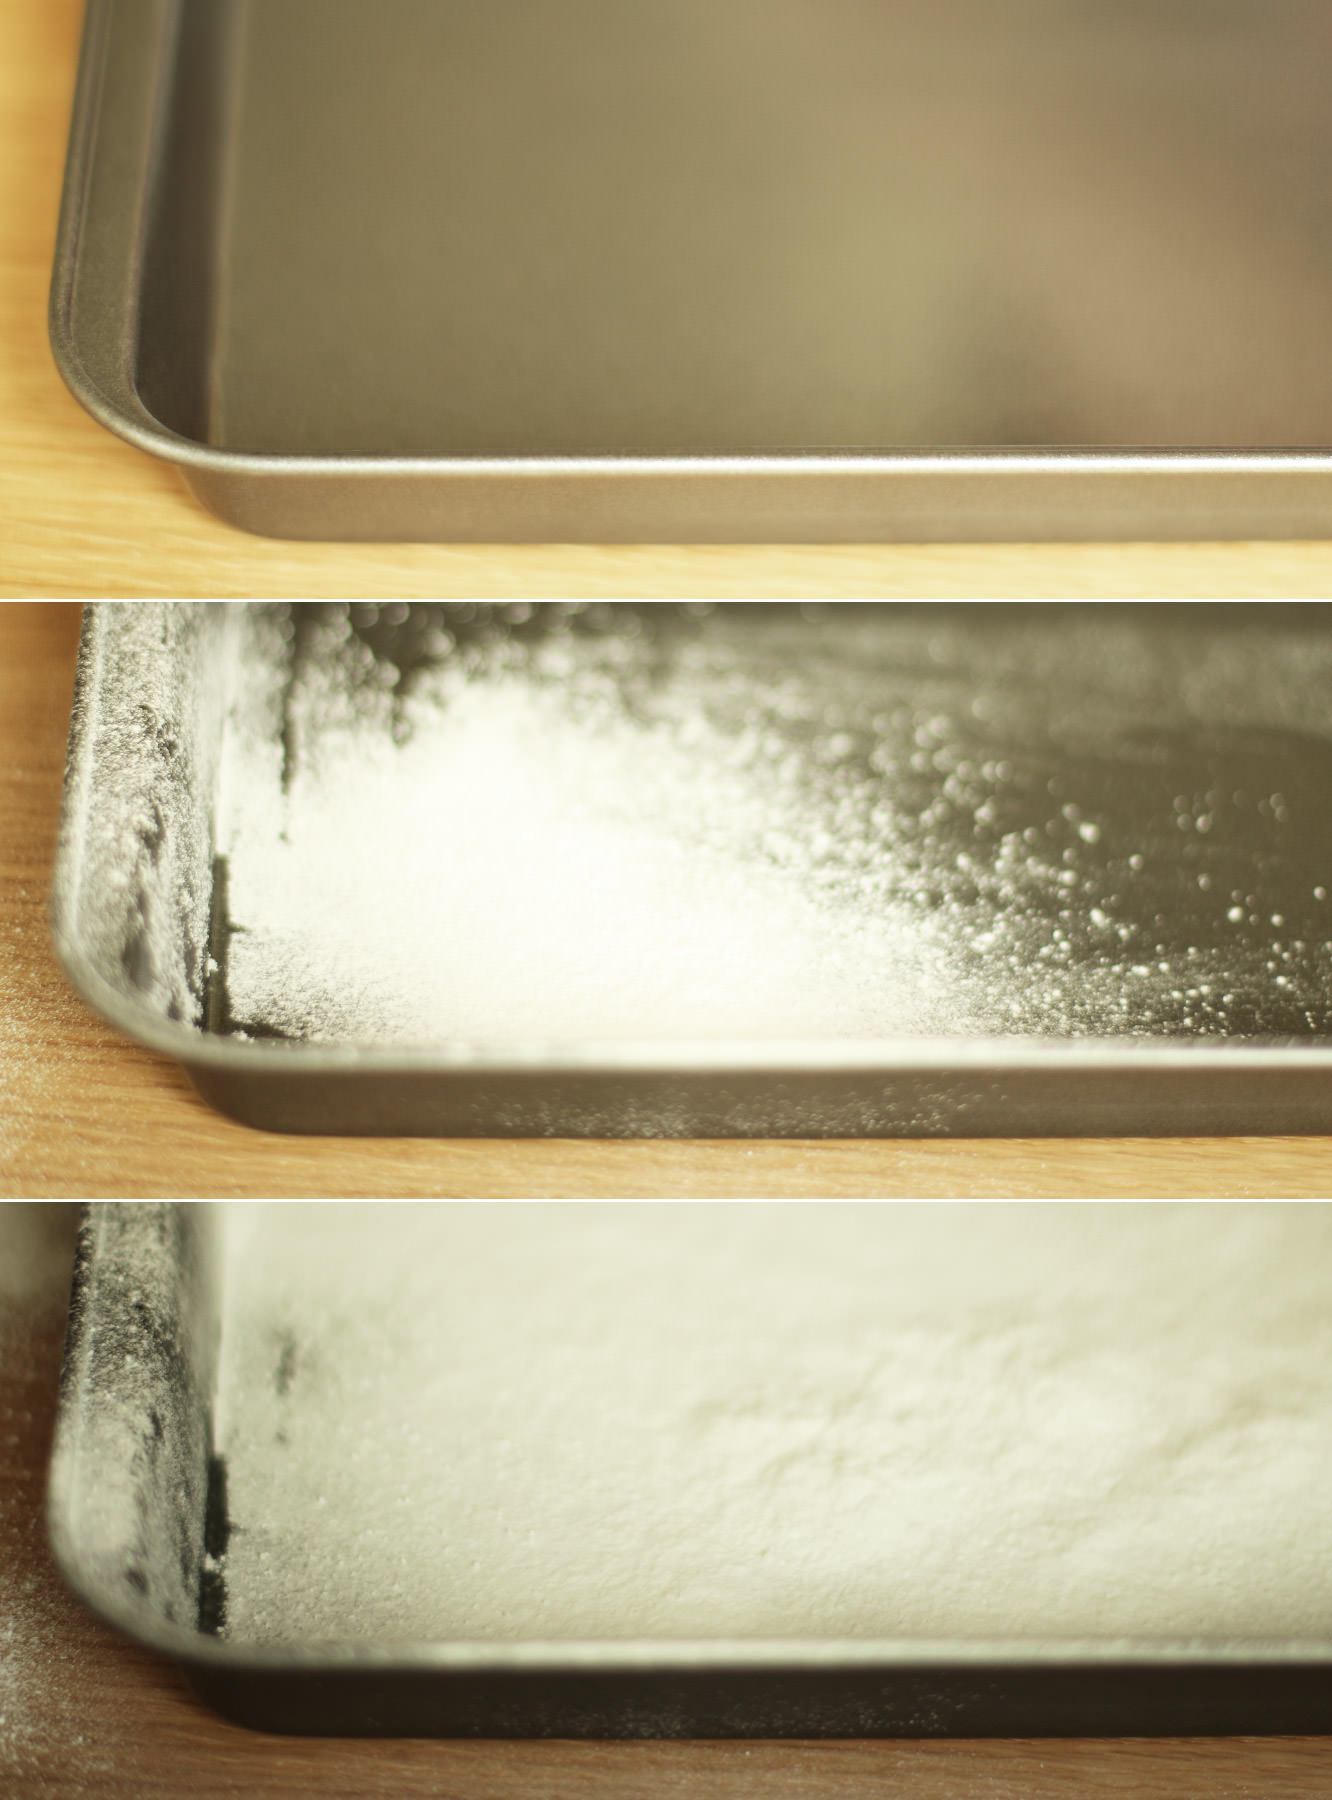
While the sugar is bubbling you can take a moment to dust your brownie tray with icing sugar. Add a small amount of olive oil first so it sticks.
hen-bachelorette-party-favours-raspberry-caramel-marshmallow-recipe-01

Step four

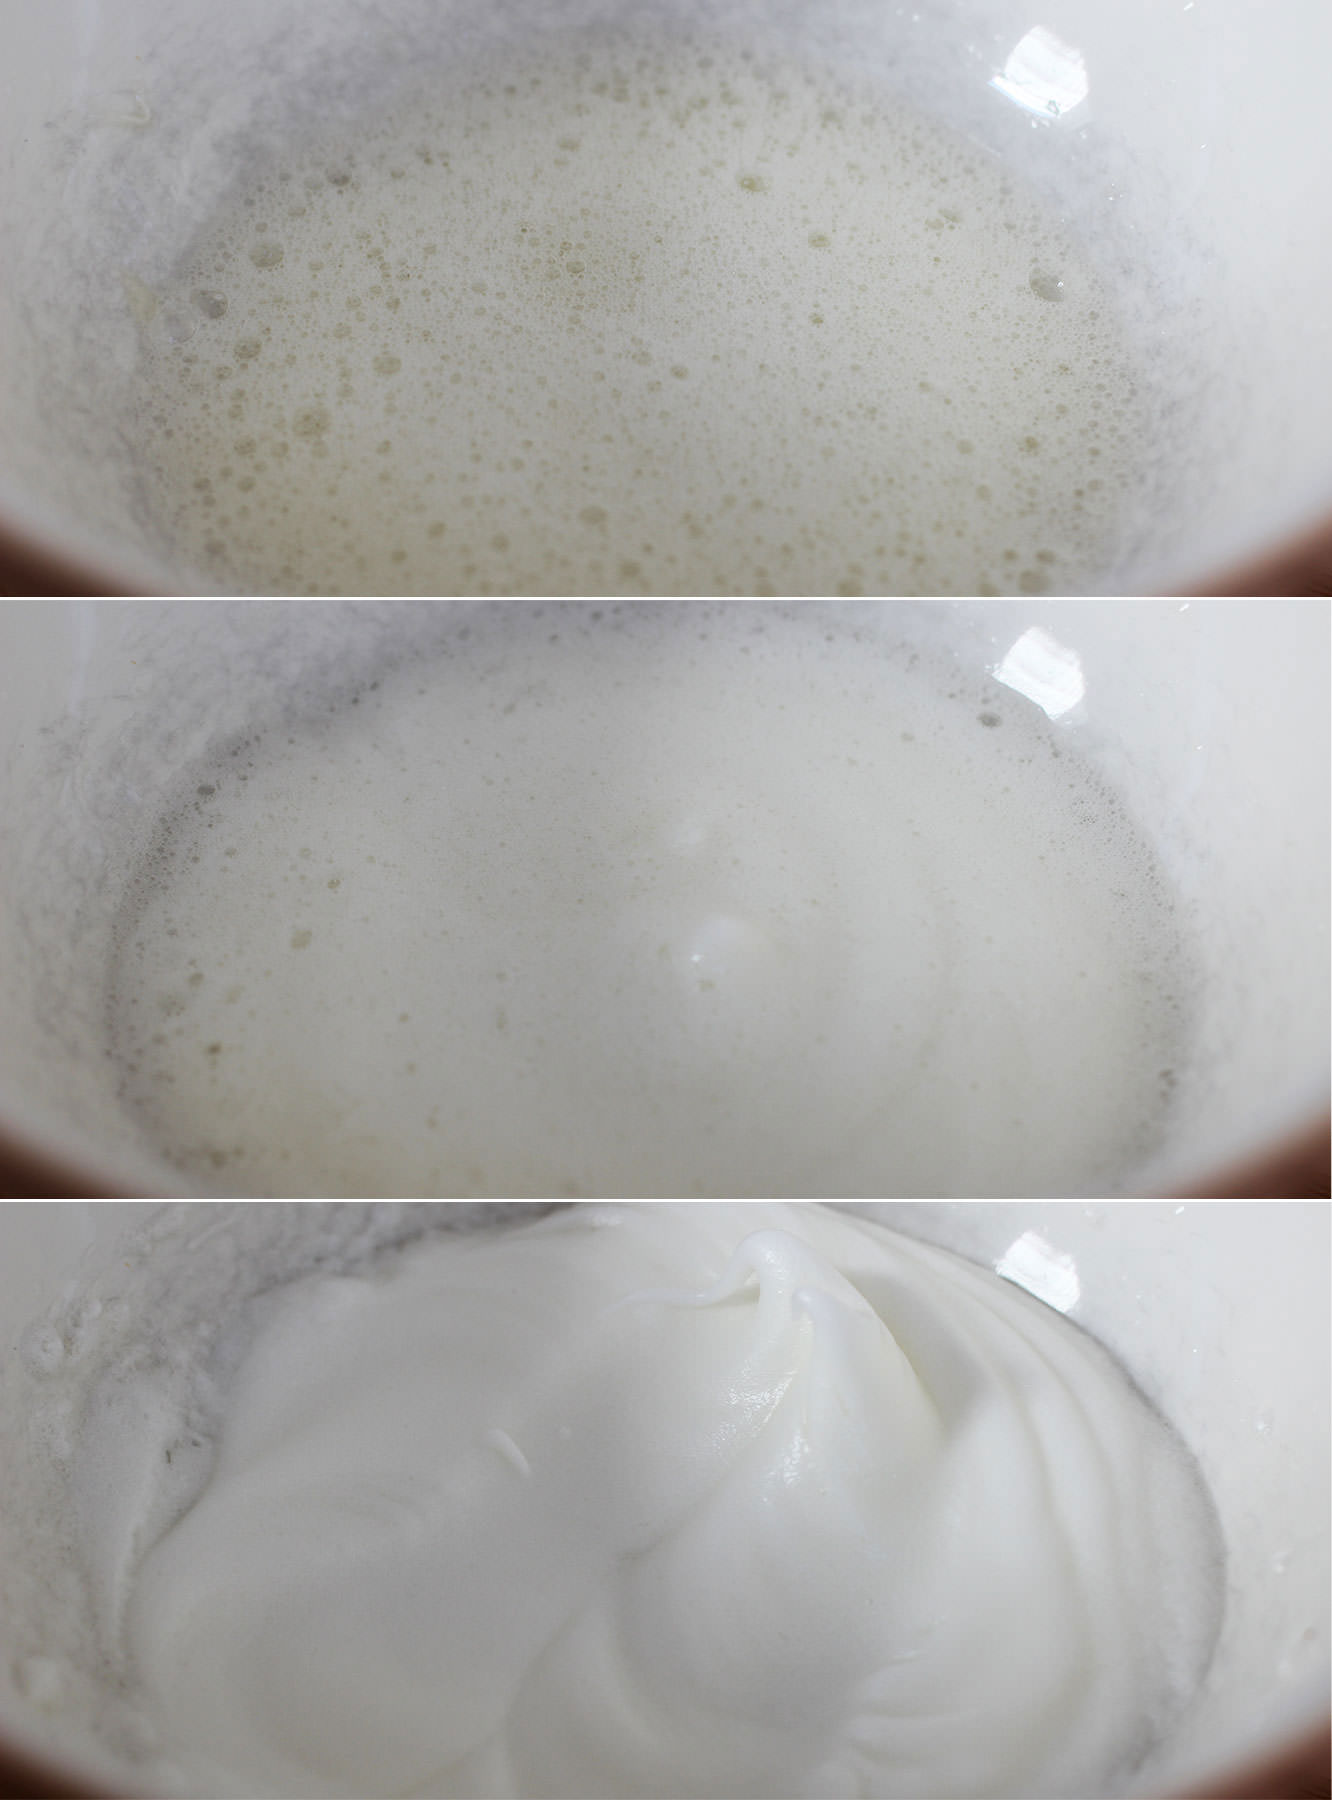
When the sugar gets to somewhere around 112-115C whisk the egg whites into stiff peaks. Take care not to use a ceramic bowl else you will get grey marks like I did. Glass or metal though and you’ll be golden.

Step five

When the sugar reaches 118C take it off the heat.

Squeeze the gelatine out a bit and add it to the sugar mix. It will bubble right up so don’t panic. It should settle pretty quickly.
hen-bachelorette-party-favours-raspberry-caramel-marshmallow-recipe-03

Step six

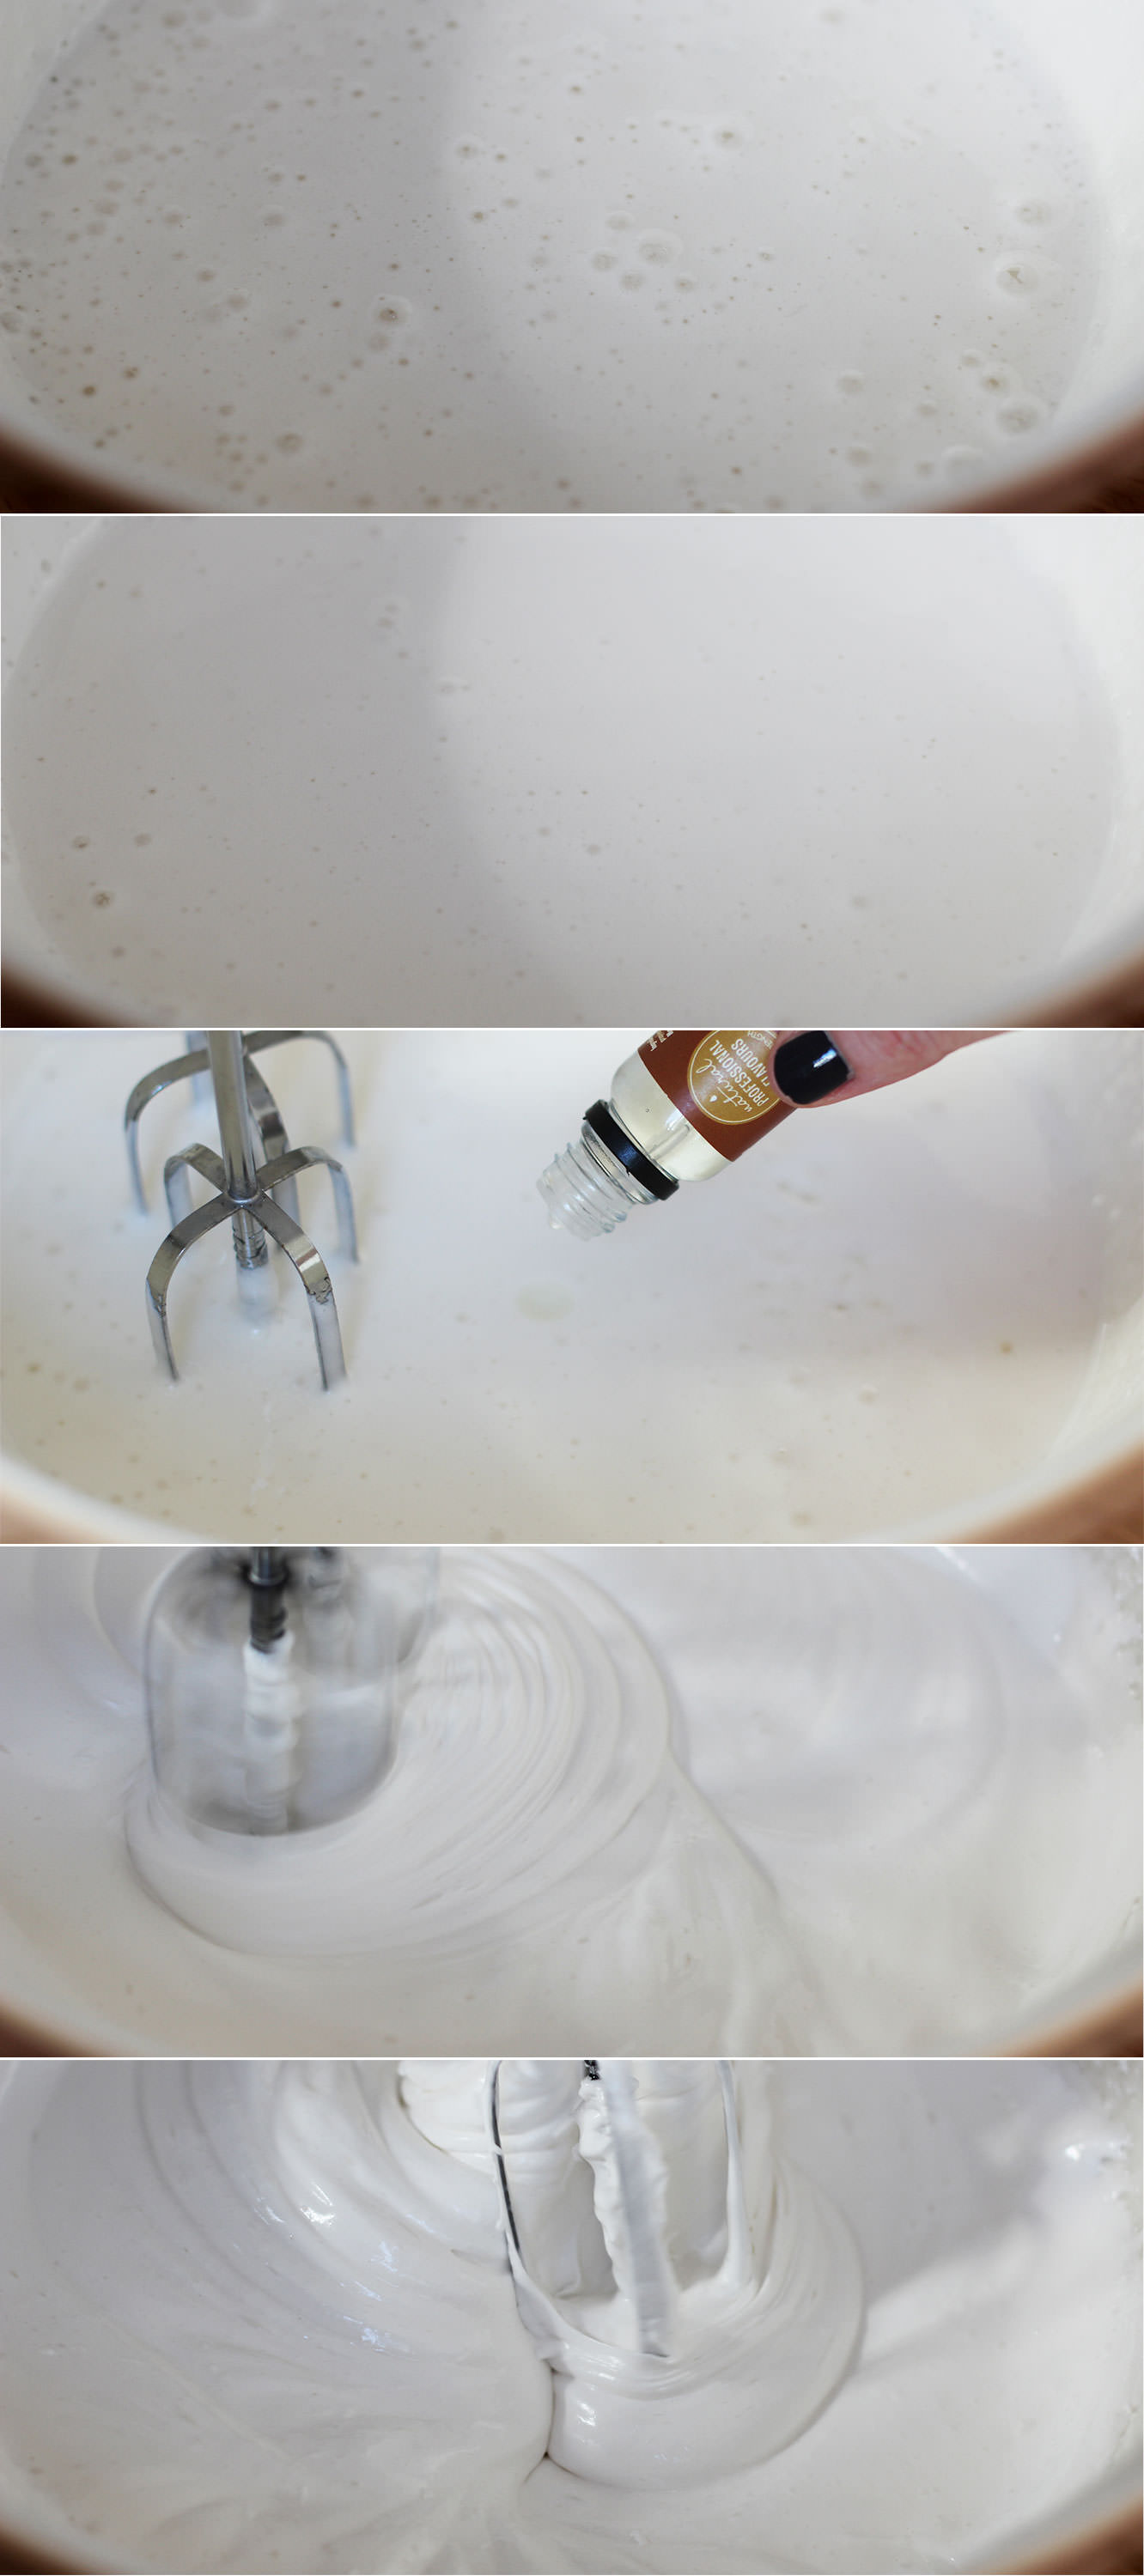
Pour the hot sugar into the eggs, but make sure you’re whisking continually to avoid a big lump of sugar at the bottom of the bowl.

Whisk until the mixture holds its shape well and is quite thick. This can take up to ten minutes.

Somewhere during the whisking (probably when you need to give your arm a rest) add the flavouring. I used buttery caramel (as mentioned in the ingredients) but they will take basically anything you fancy.
hen-bachelorette-party-favours-raspberry-caramel-marshmallow-recipe-04

Step seven

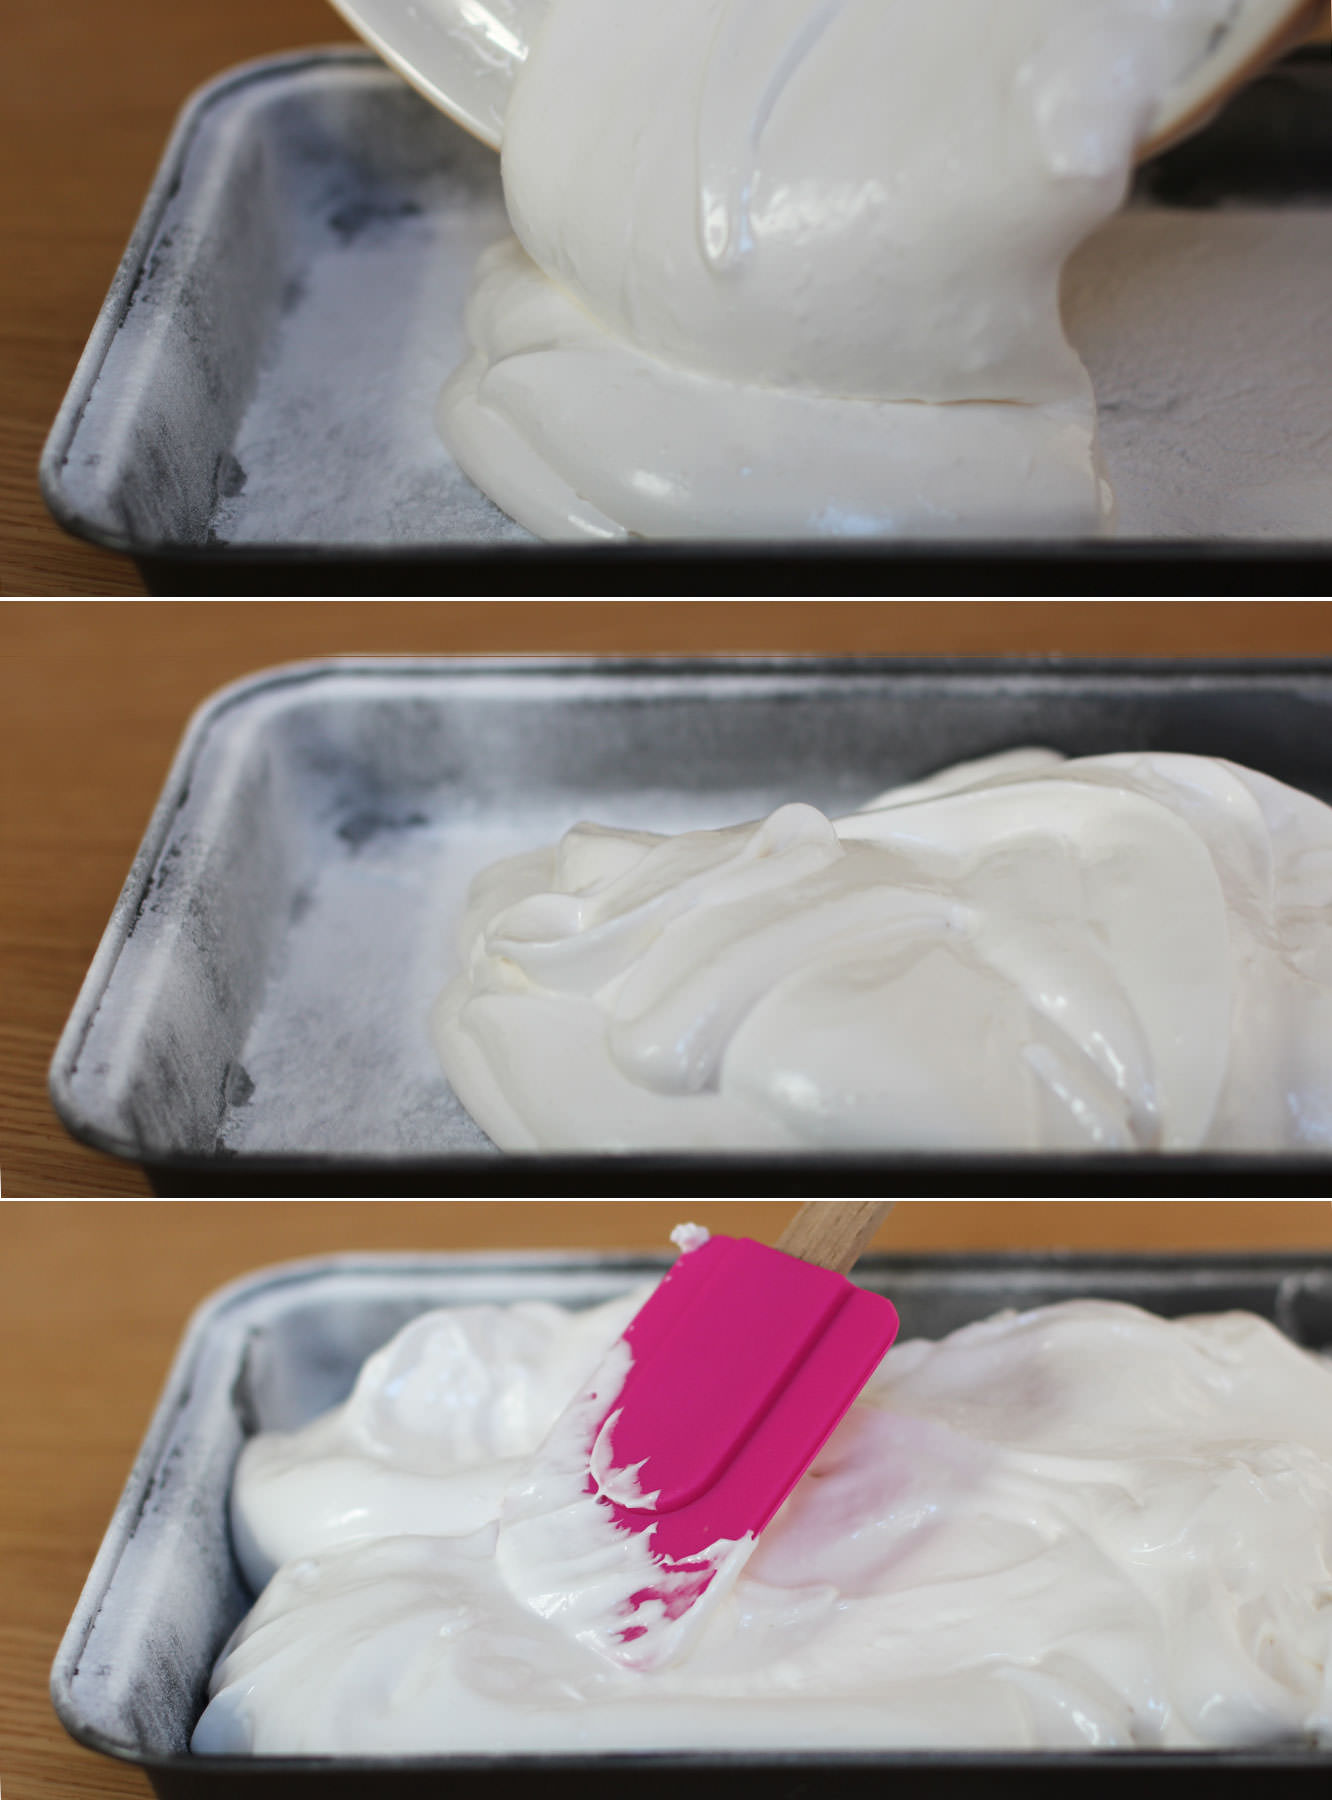
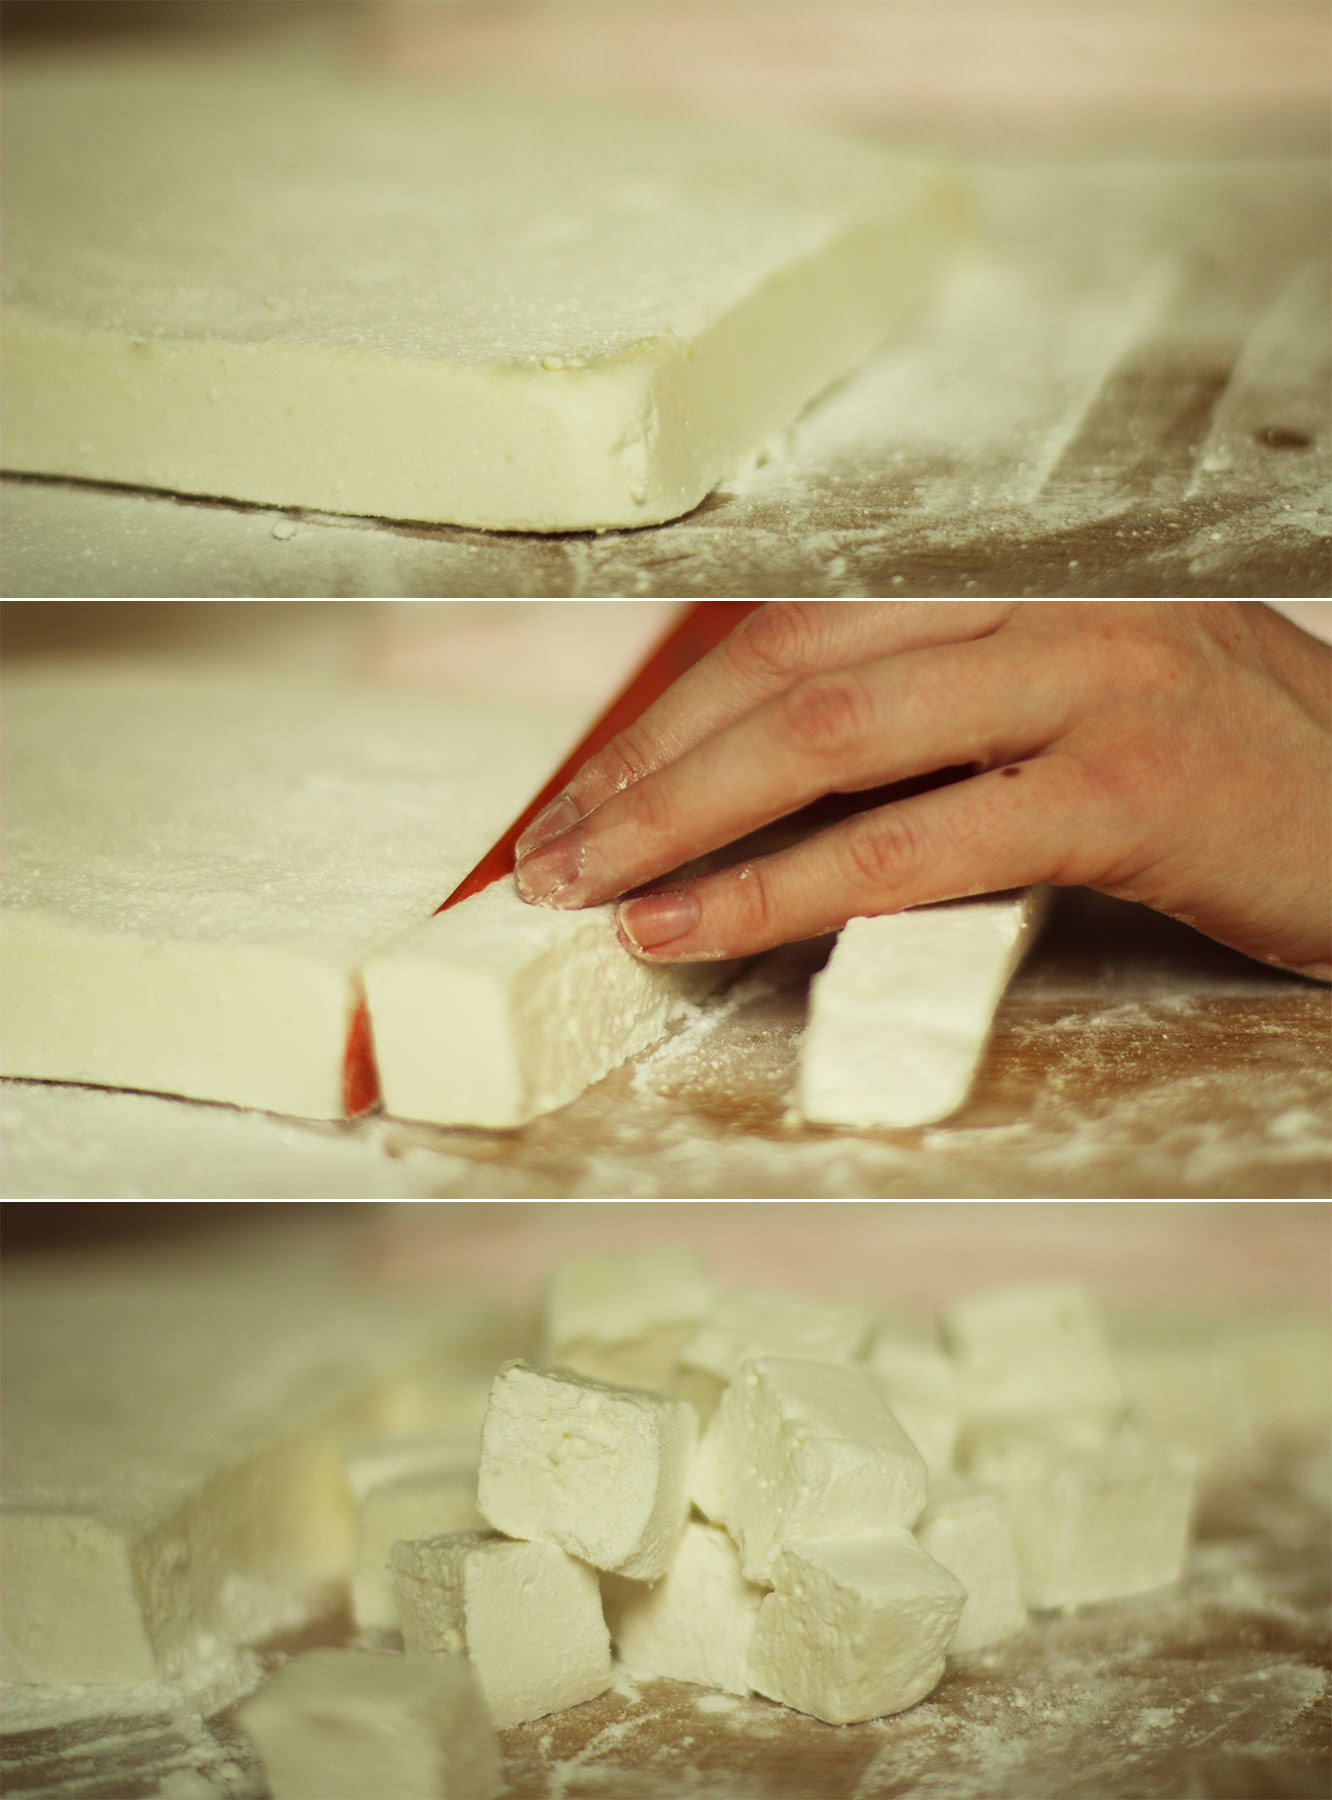
Pour the mixture into the prepared tin and smooth out as much as possible.

Dust with icing sugar and leave to set for about an hour.

For the raspberry and white chocolate marshmallows
hen-bachelorette-party-favours-raspberry-caramel-marshmallow-recipe-05

Step eight

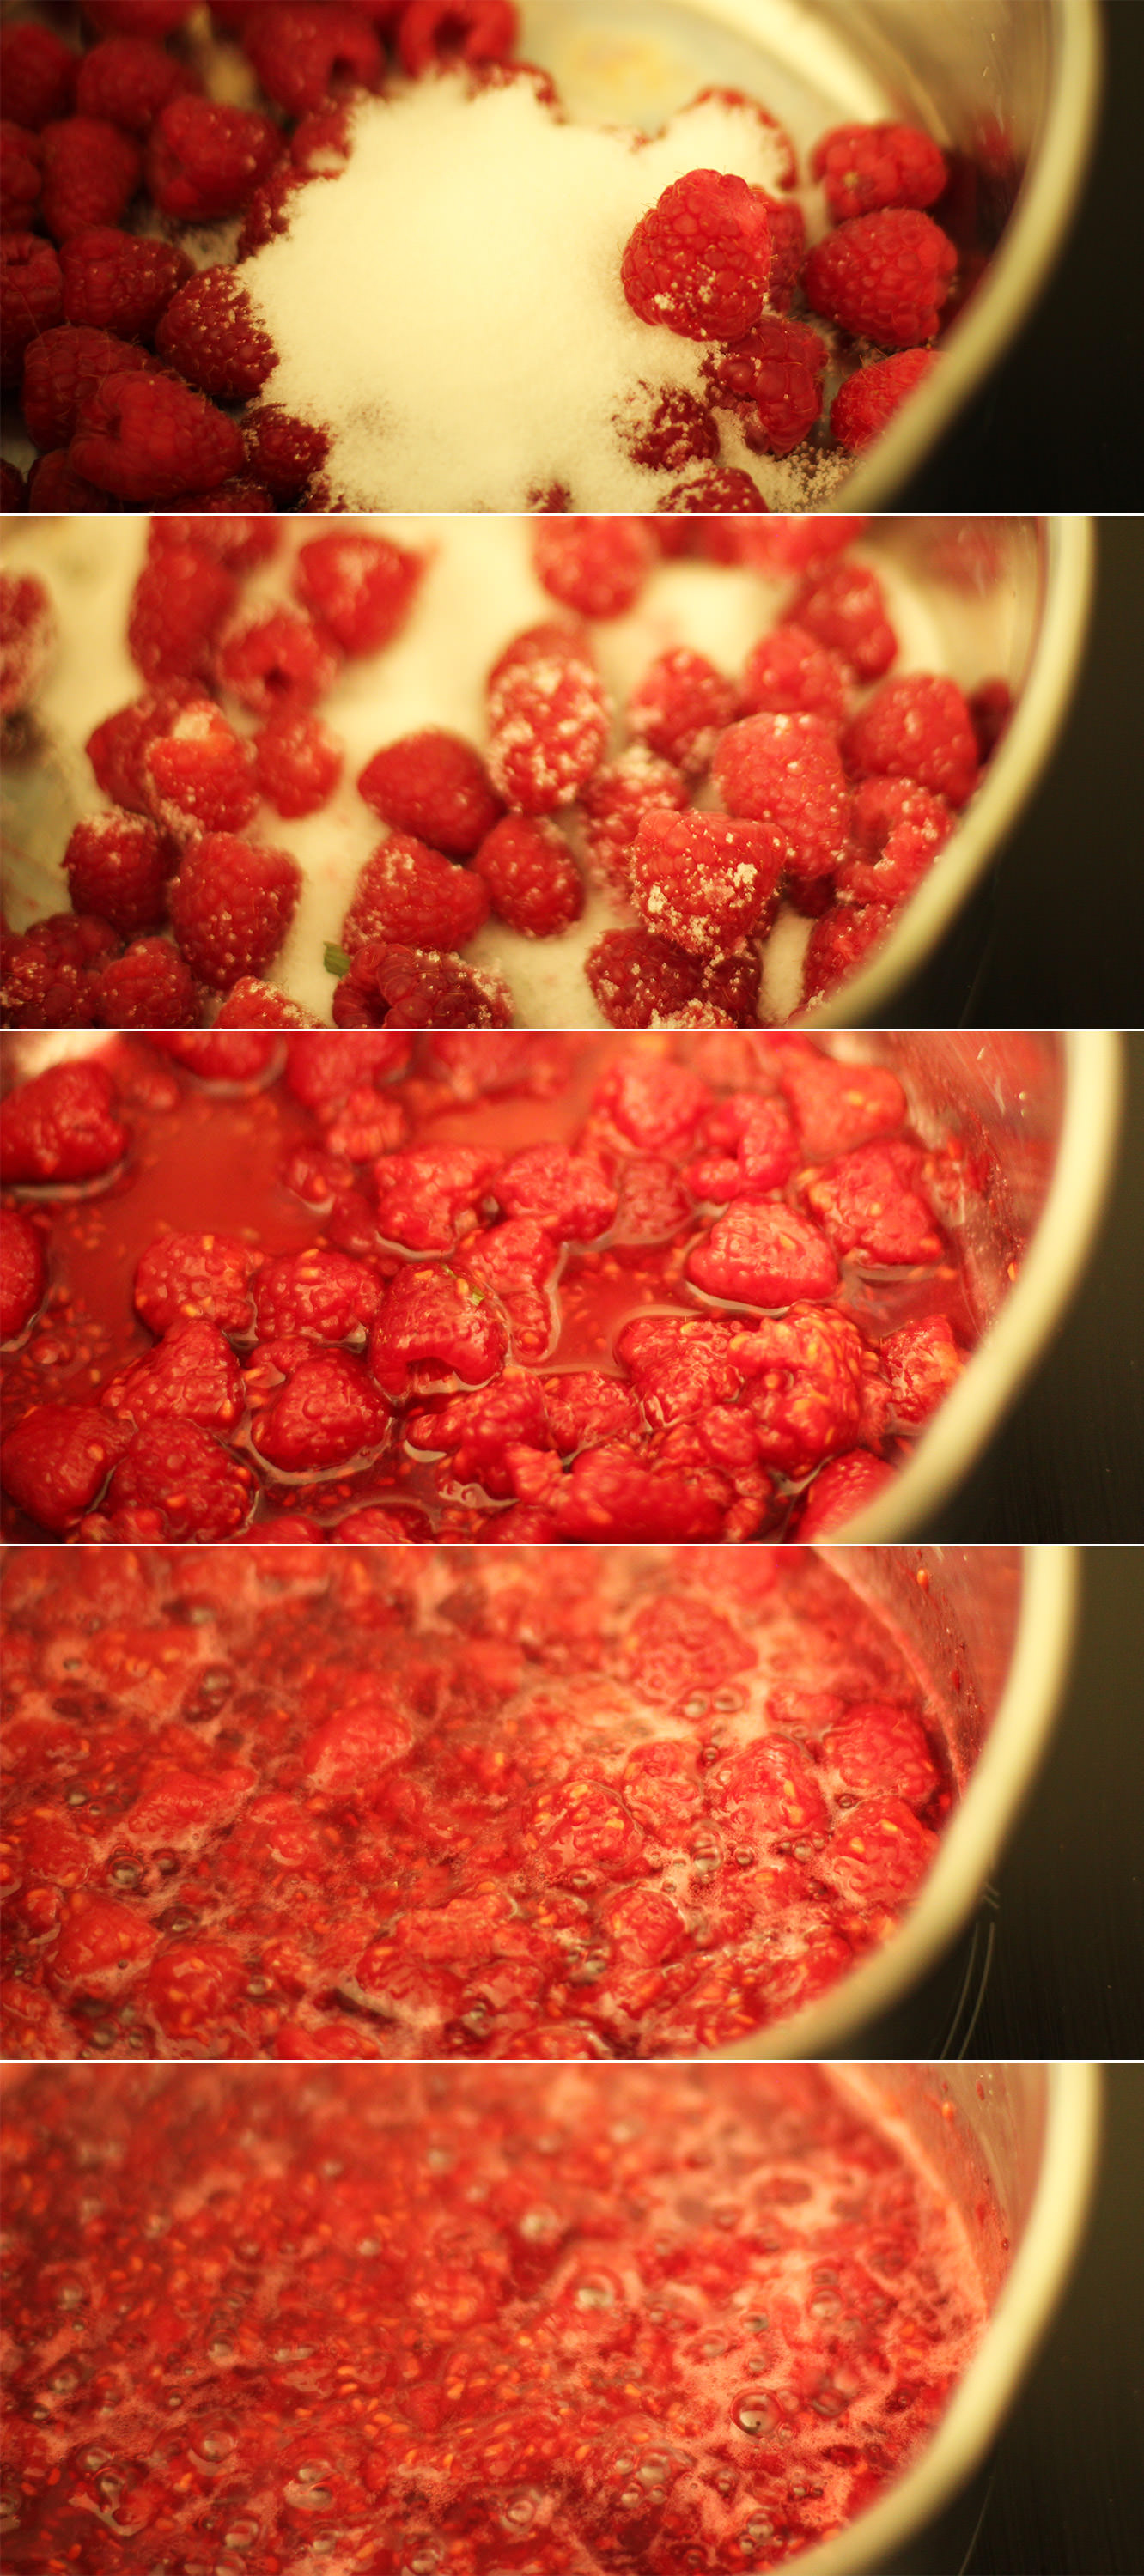
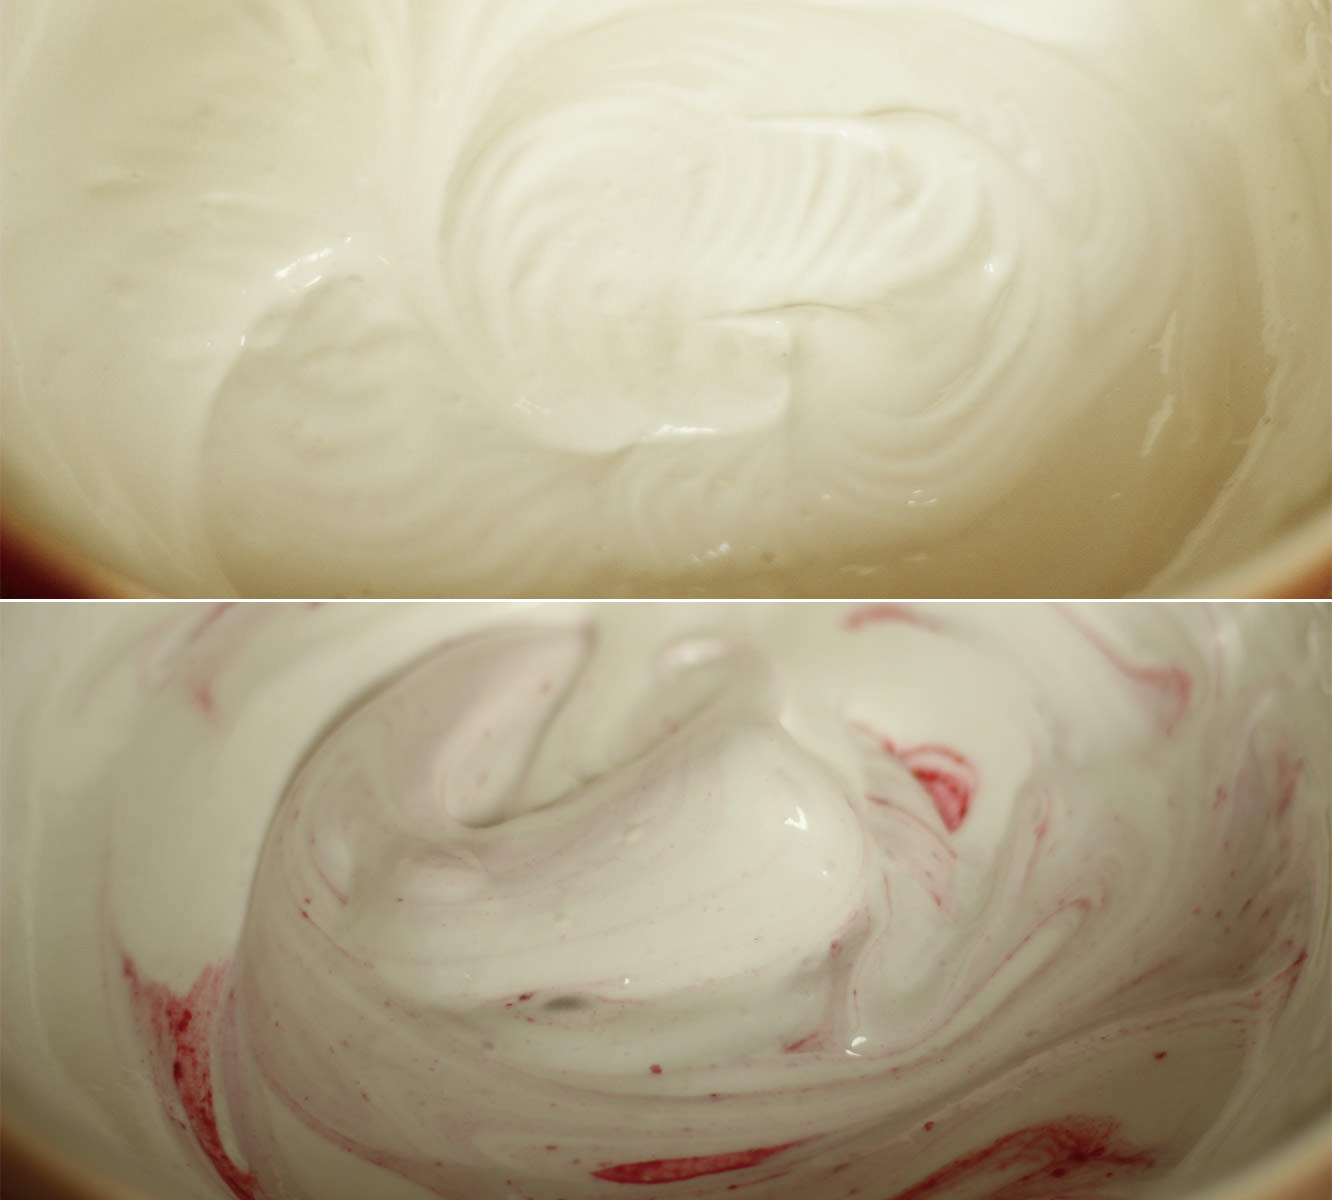
Before starting the marshmallow mix make a puree by adding the raspberries, 50g of the granulated sugar and half a tablespoon of water to a small saucepan.

Heat on a low heat until bubbling away happily. Stir while the mixture reduces (looses water) for about 5 minutes.
hen-bachelorette-party-favours-raspberry-caramel-marshmallow-recipe-07

Step nine

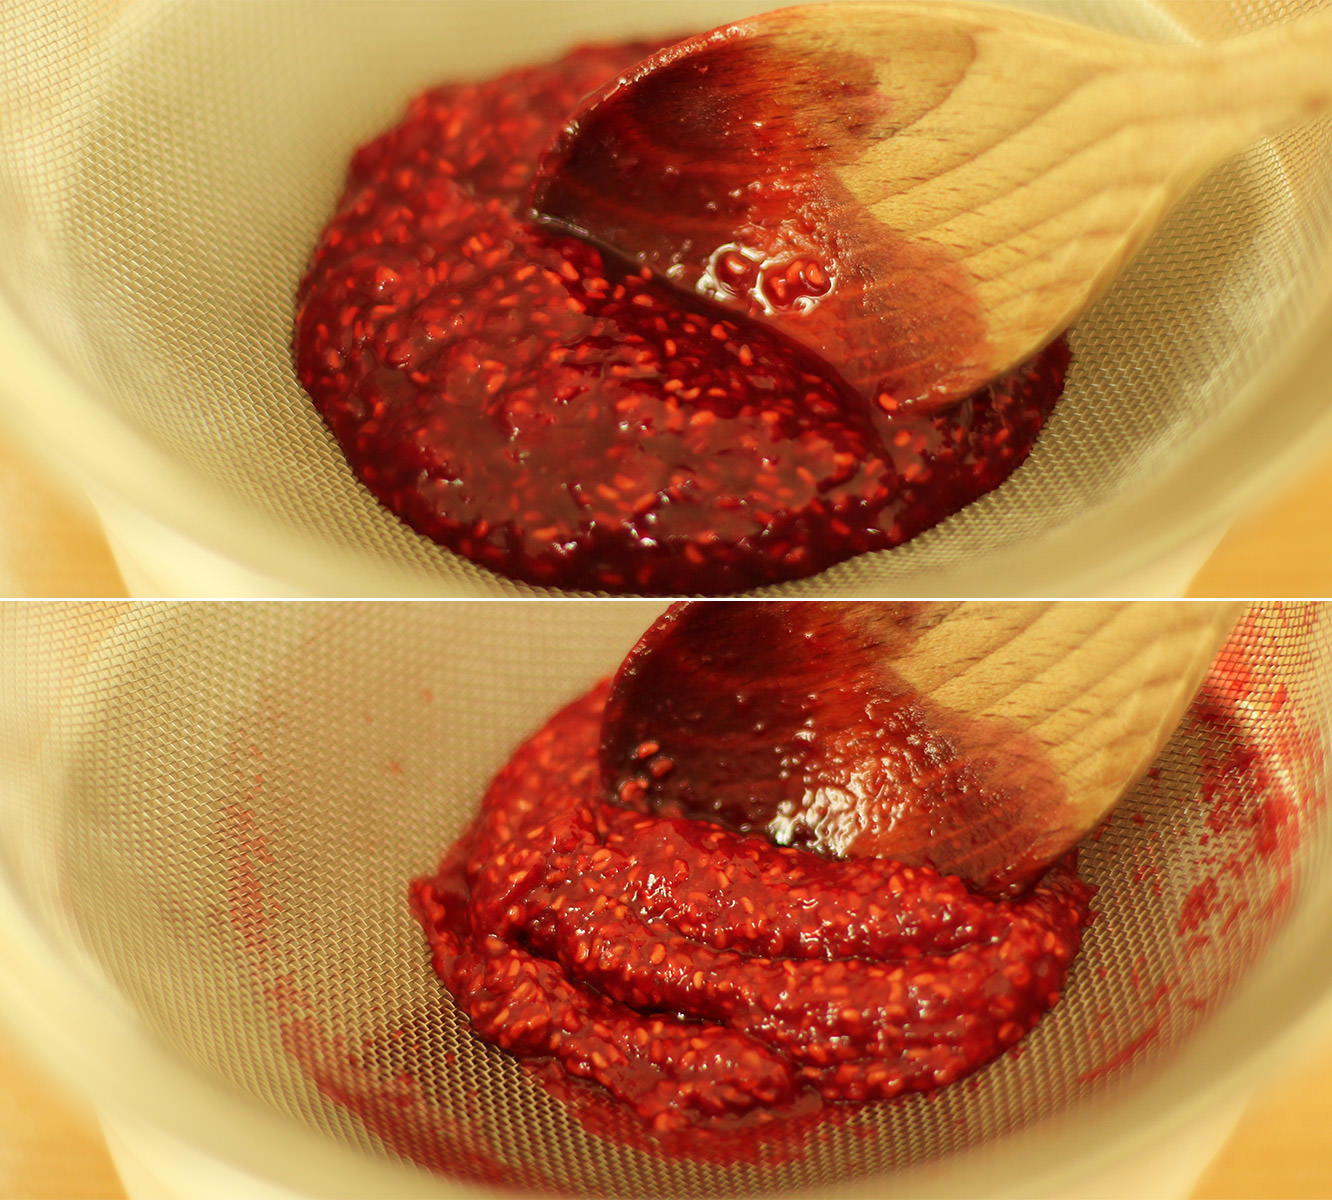
Strain though a sieve to remove the pips. It may need a little stirring for encouragement. Don’t forget to scrape the excess off from the underside of the sieve before throwing away the pips.
hen-bachelorette-party-favours-raspberry-caramel-marshmallow-recipe-08

Step ten

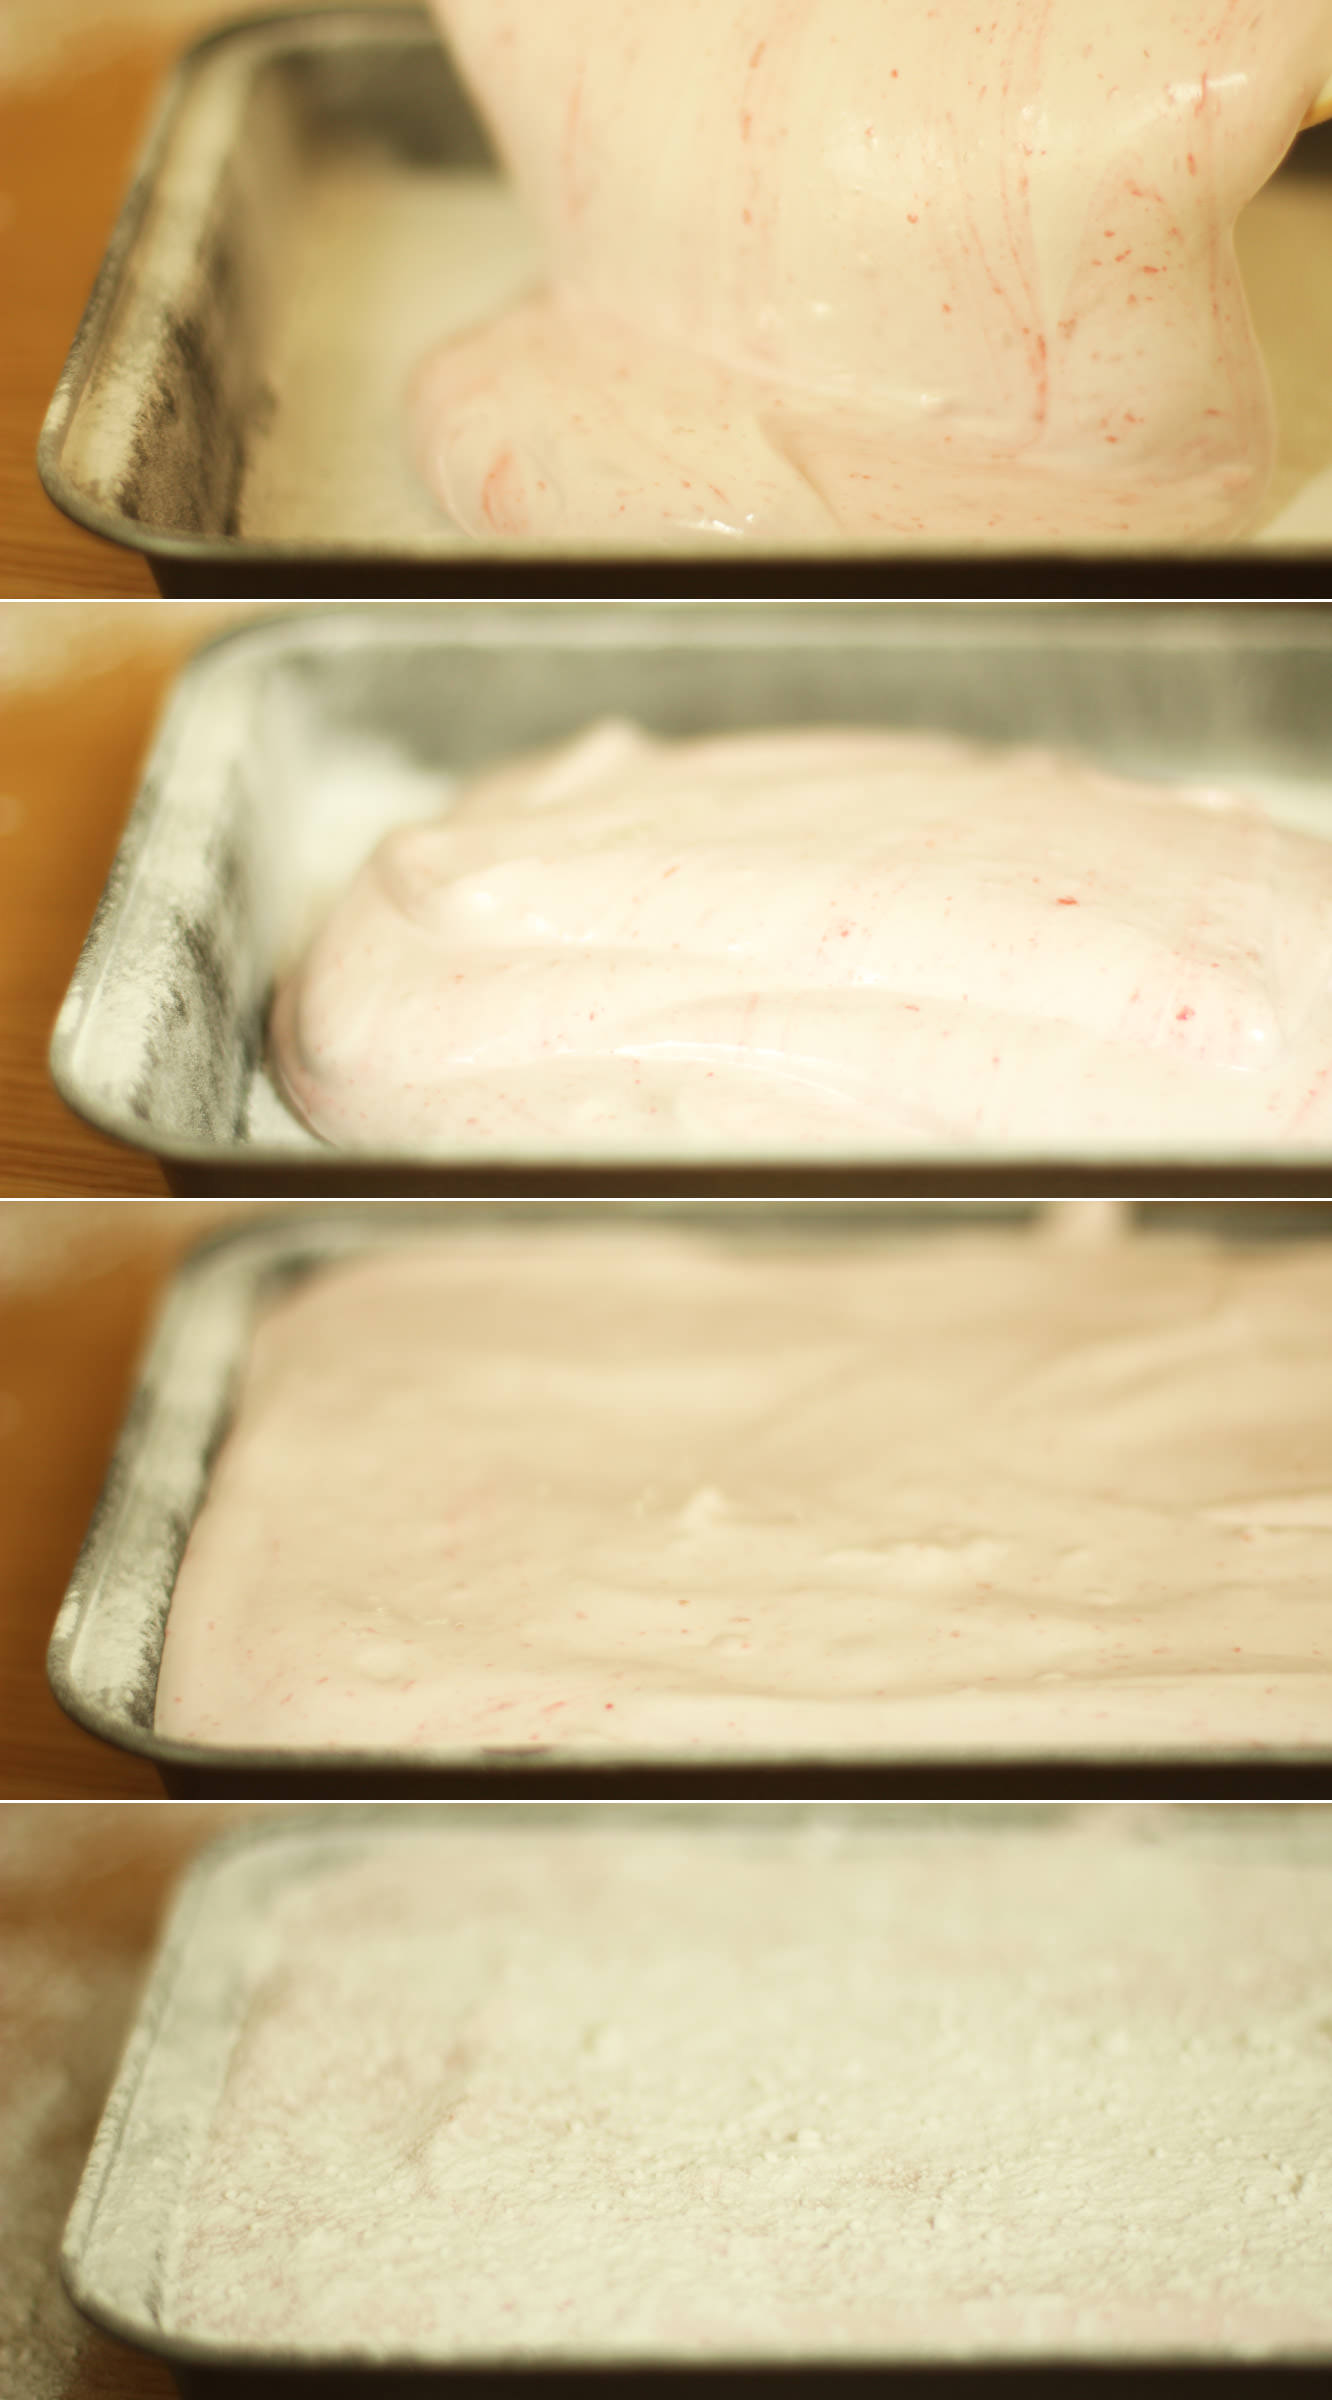
Follow the same steps at the caramel recipe, but instead of adding the extract, stir in the puree. I saved this to near the end to keep a bit of a ripple effect.
hen-bachelorette-party-favours-raspberry-caramel-marshmallow-recipe-09

Step eleven

Pour into a second dusted brownie tray and leave to set.
hen-bachelorette-party-favours-raspberry-caramel-marshmallow-recipe-10

Step twelve

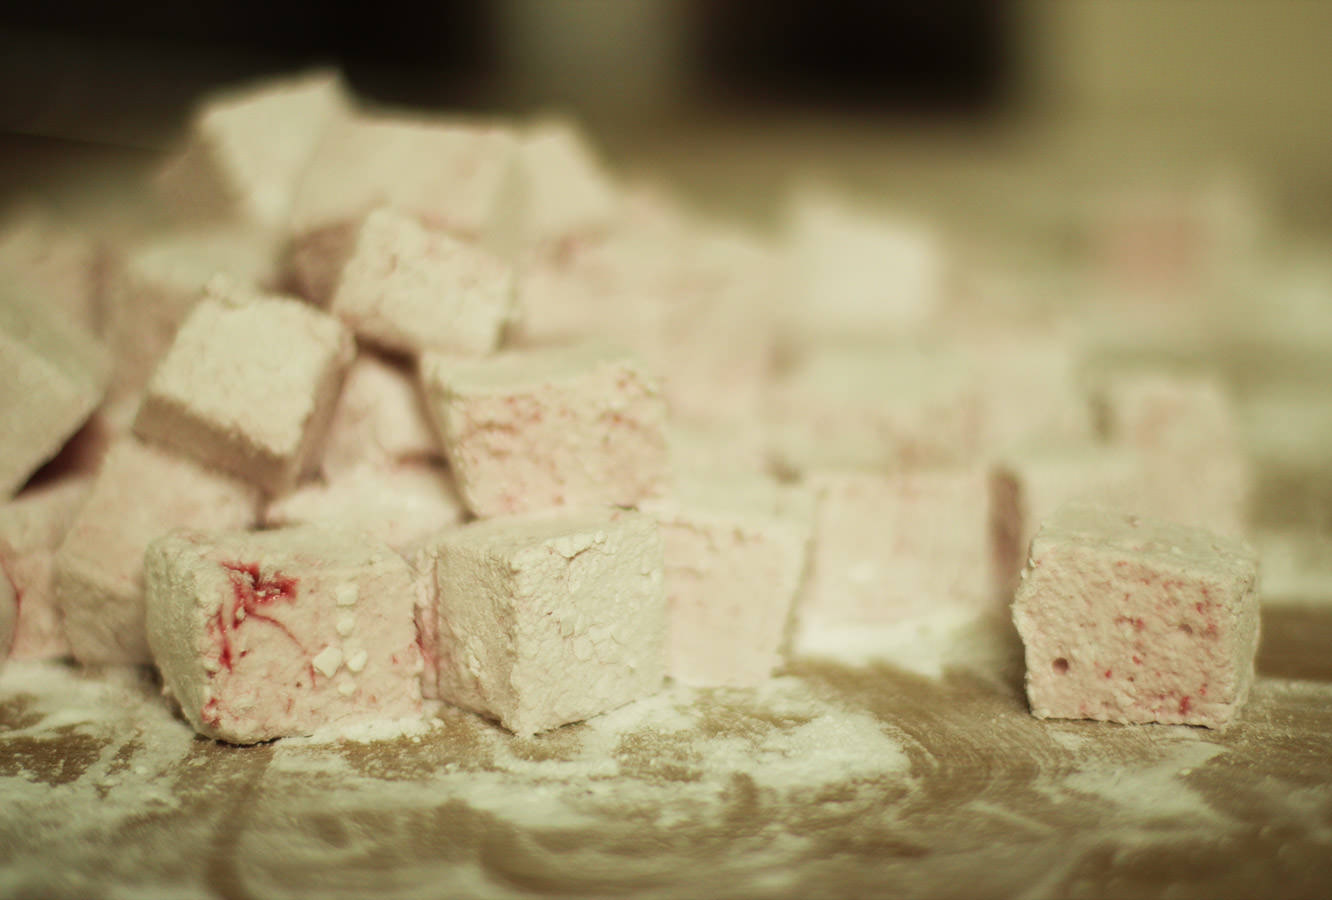
Once the marshmallows have set (at least an hour, preferably more) turn them out onto a surface dusted with icing sugar.

Cut them into cubes, and dust all the sides. Don’t worry if they are a little sticky, they will dry out a bit more.
hen-bachelorette-party-favours-raspberry-caramel-marshmallow-recipe-11

Try not to eat them all just yet.

hen-bachelorette-party-favours-raspberry-caramel-marshmallow-recipe-13

Step thirteen

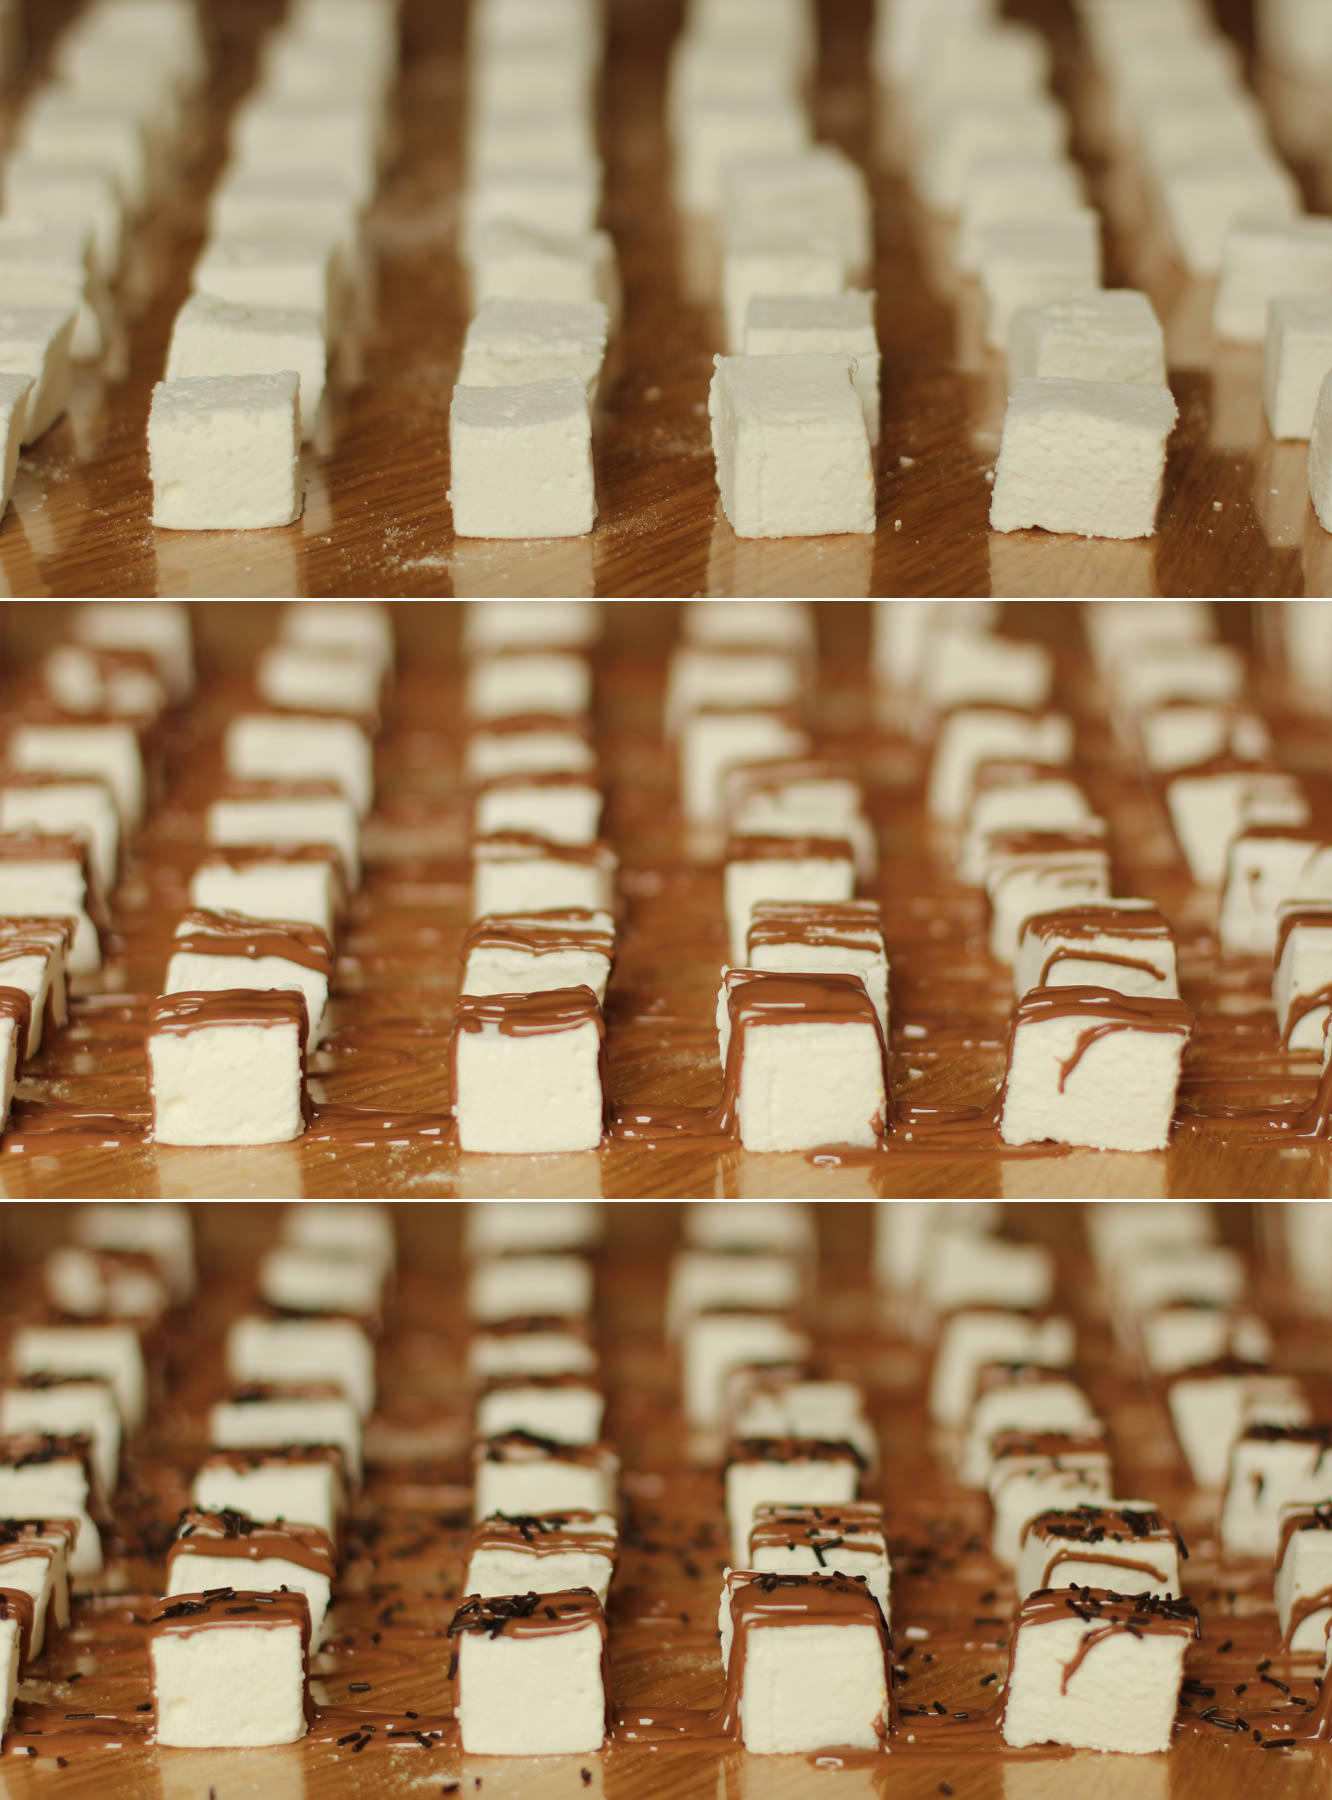
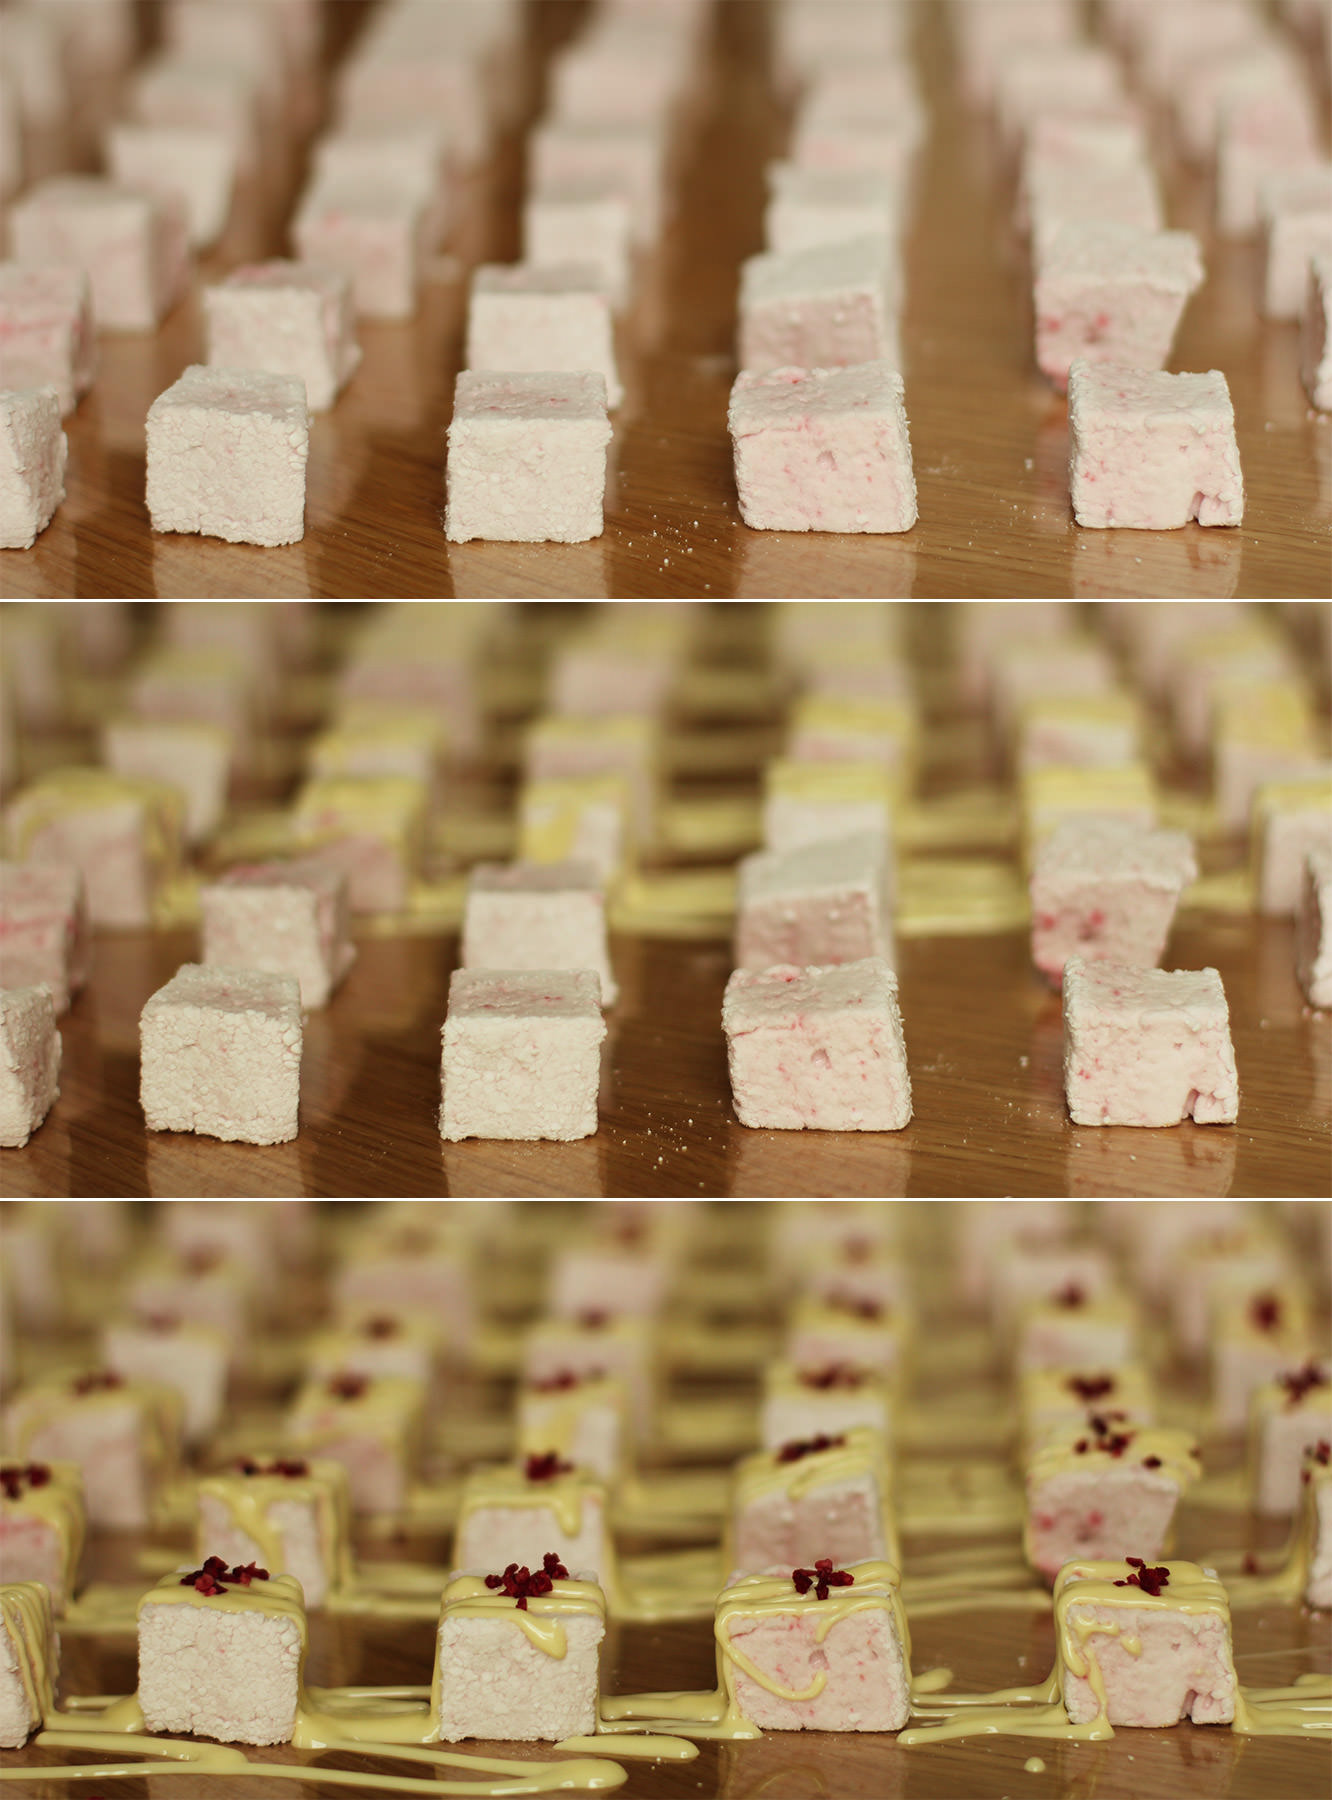
Lay the caramel marshmallows out in rows on greaseproof paper or cellophane and melt the milk chocolate. I used a piping bag to drizzle the chocolate over the marshmallows, you could use a sandwich bag and snip the corner.
hen-bachelorette-party-favours-raspberry-caramel-marshmallow-recipe-12

Step fourteen

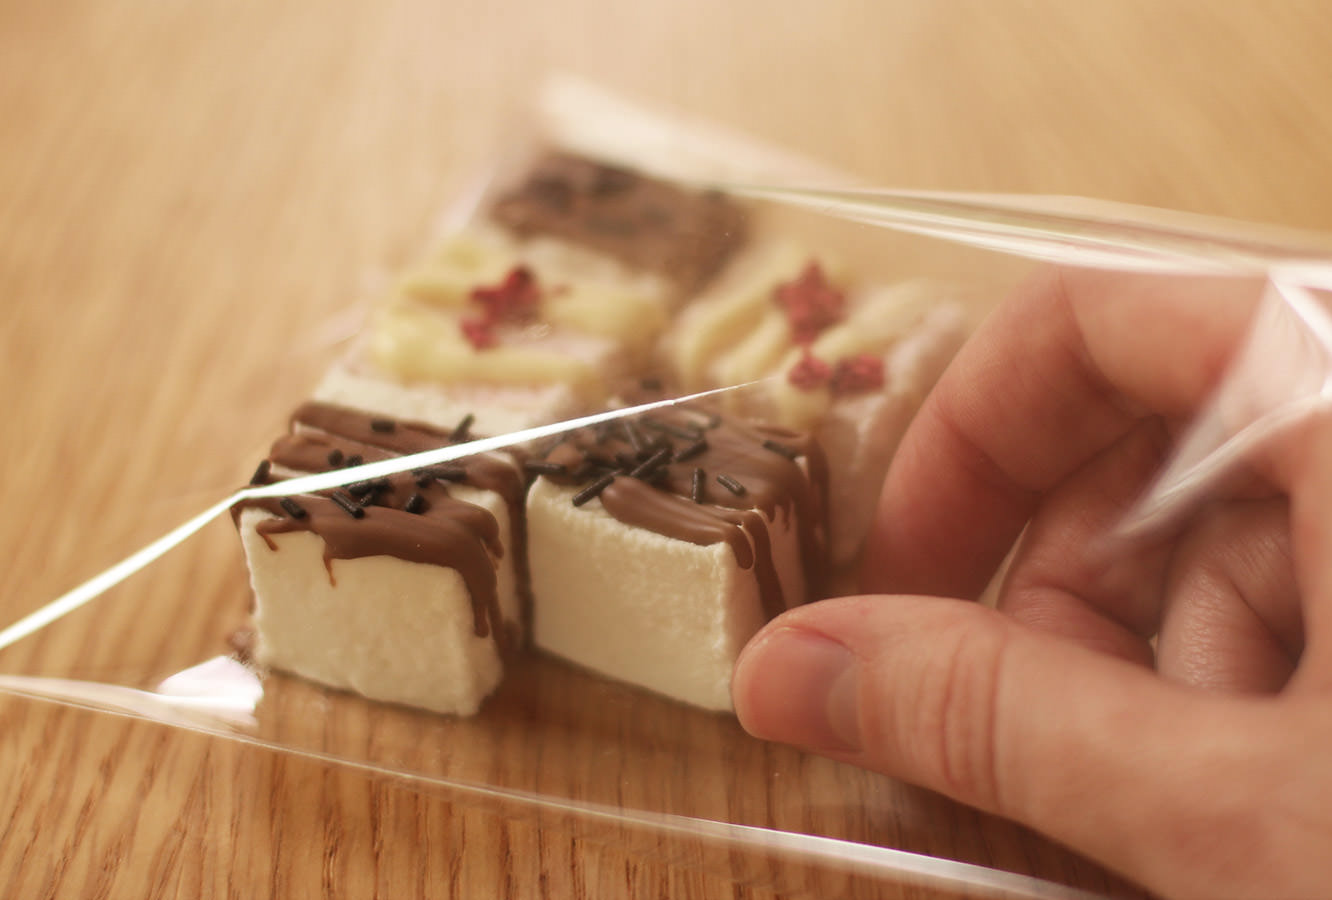
Repeat with the raspberry and white chocolate marshmallows.
hen-bachelorette-party-favours-raspberry-caramel-marshmallow-recipe-14

Step fifteen

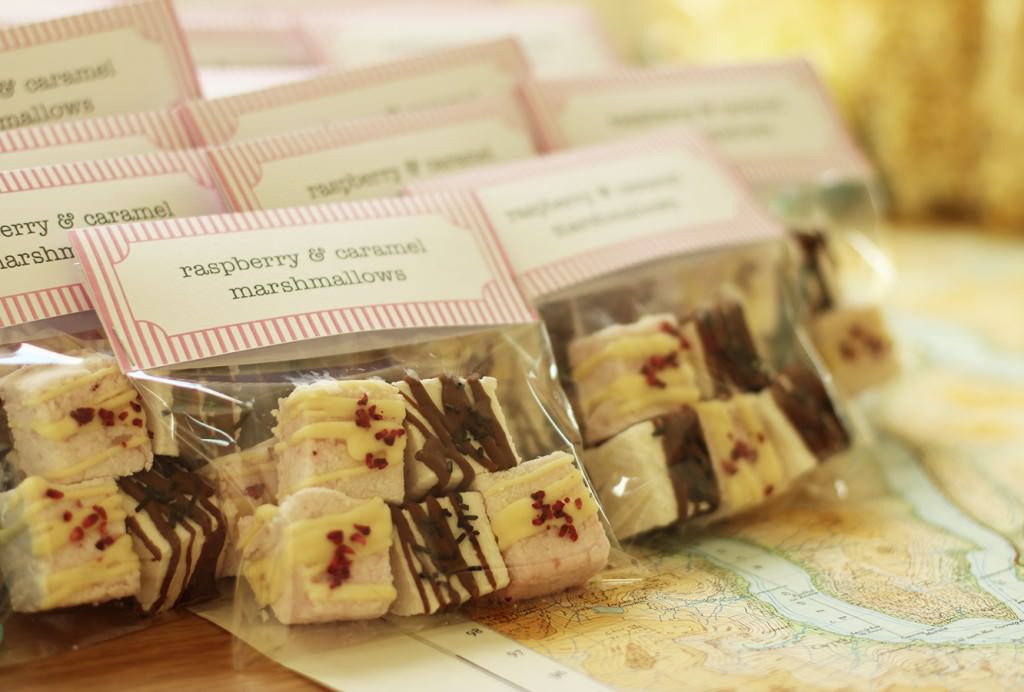
Once the chocolate has set place 5 in each bag, 2 of one flavour, 3 of the other, alternating as you go so you don’t run out of one.

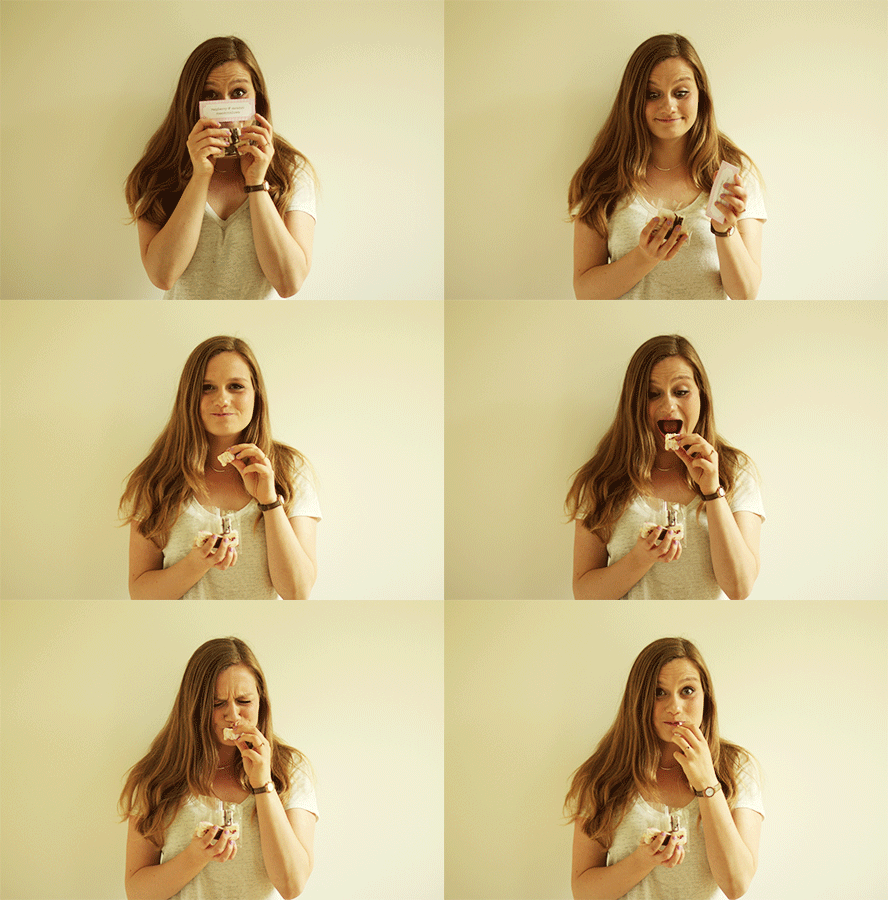
As I mentioned last post I’ll be doing a wrap up post with all the finishing touches, so stay tuned for that. For now, here’s our lovely hen chowing down:
hen-bachelorette-party-favours-raspberry-caramel-marshmallow-recipe-gif

Crabbie birthday to you

Another week another birthday. This time round it’s my lovely housemate who is bravely entering her mid-twenties; just another excuse for me to get in the kitchen.

Earlier in the week Vicky (the birthday girl in question), Matt (the fiance) and I, had sat down to watch The Princess Bride (a hilarious farce of a film), and we cracked open some Crabbie’s. It was such a lovely little evening, and I thought I would bake the experience into a cake to commemorate the little one’s birth.

Crabbie’s, for anyone who doesn’t know (more fool you), is alcoholic ginger beer. This particular batch was raspberry flavoured, and  nobody was more surprised than me to discover how nicely ginger and raspberry complement each other. Add to that a honey and vanilla icing and you’ve got a birthday cake fit for any 24 year old.

raspberry-ginger-honey-cake-recipe-1

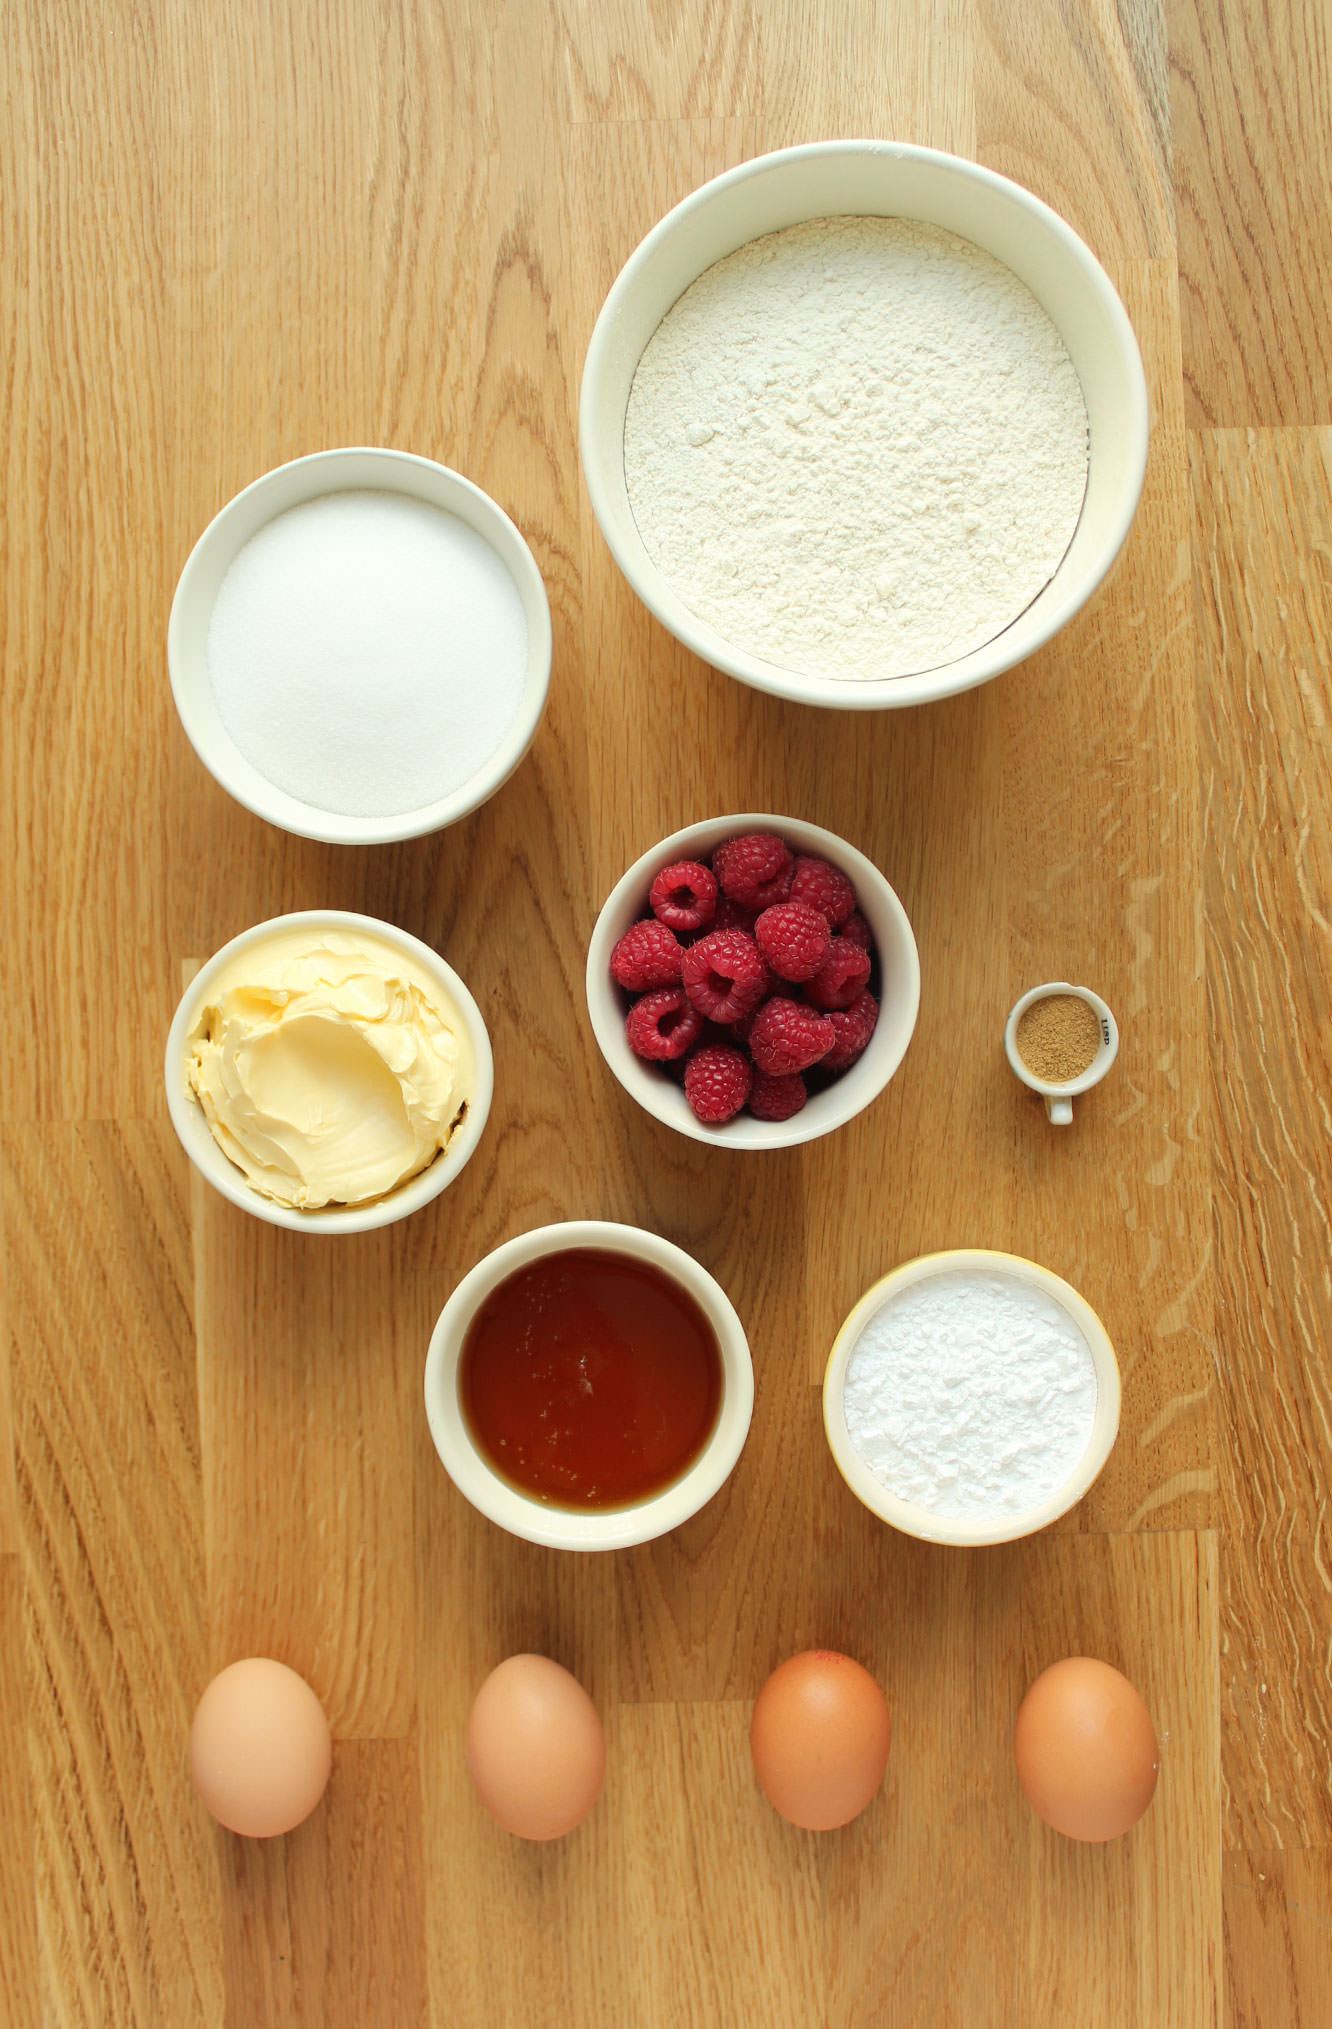
You will need

For the cake:

255g/9 oz self raising flour

255g/9 oz caster sugar

255g/9 oz margarine/butter (I use stork for cakes)

4 eggs

2 tsp ground ginger (add a bit more if you want a really strong ginger taste, 2 tsp is nice and subtle)

1 tsp vanilla extract/paste

1 tsp bicarbonate of soda

200g/7 oz raspberries

For the icing/decoration:
350g/12 oz icing sugar

150g/5 oz softened butter

170g/6 oz honey

1-2 tsp vanilla extract/paste (or even a pod if you have one so you get the lovely flecks)

100g/3.5 oz raspberries

raspberry-ginger-honey-cake-recipe-2

Step one

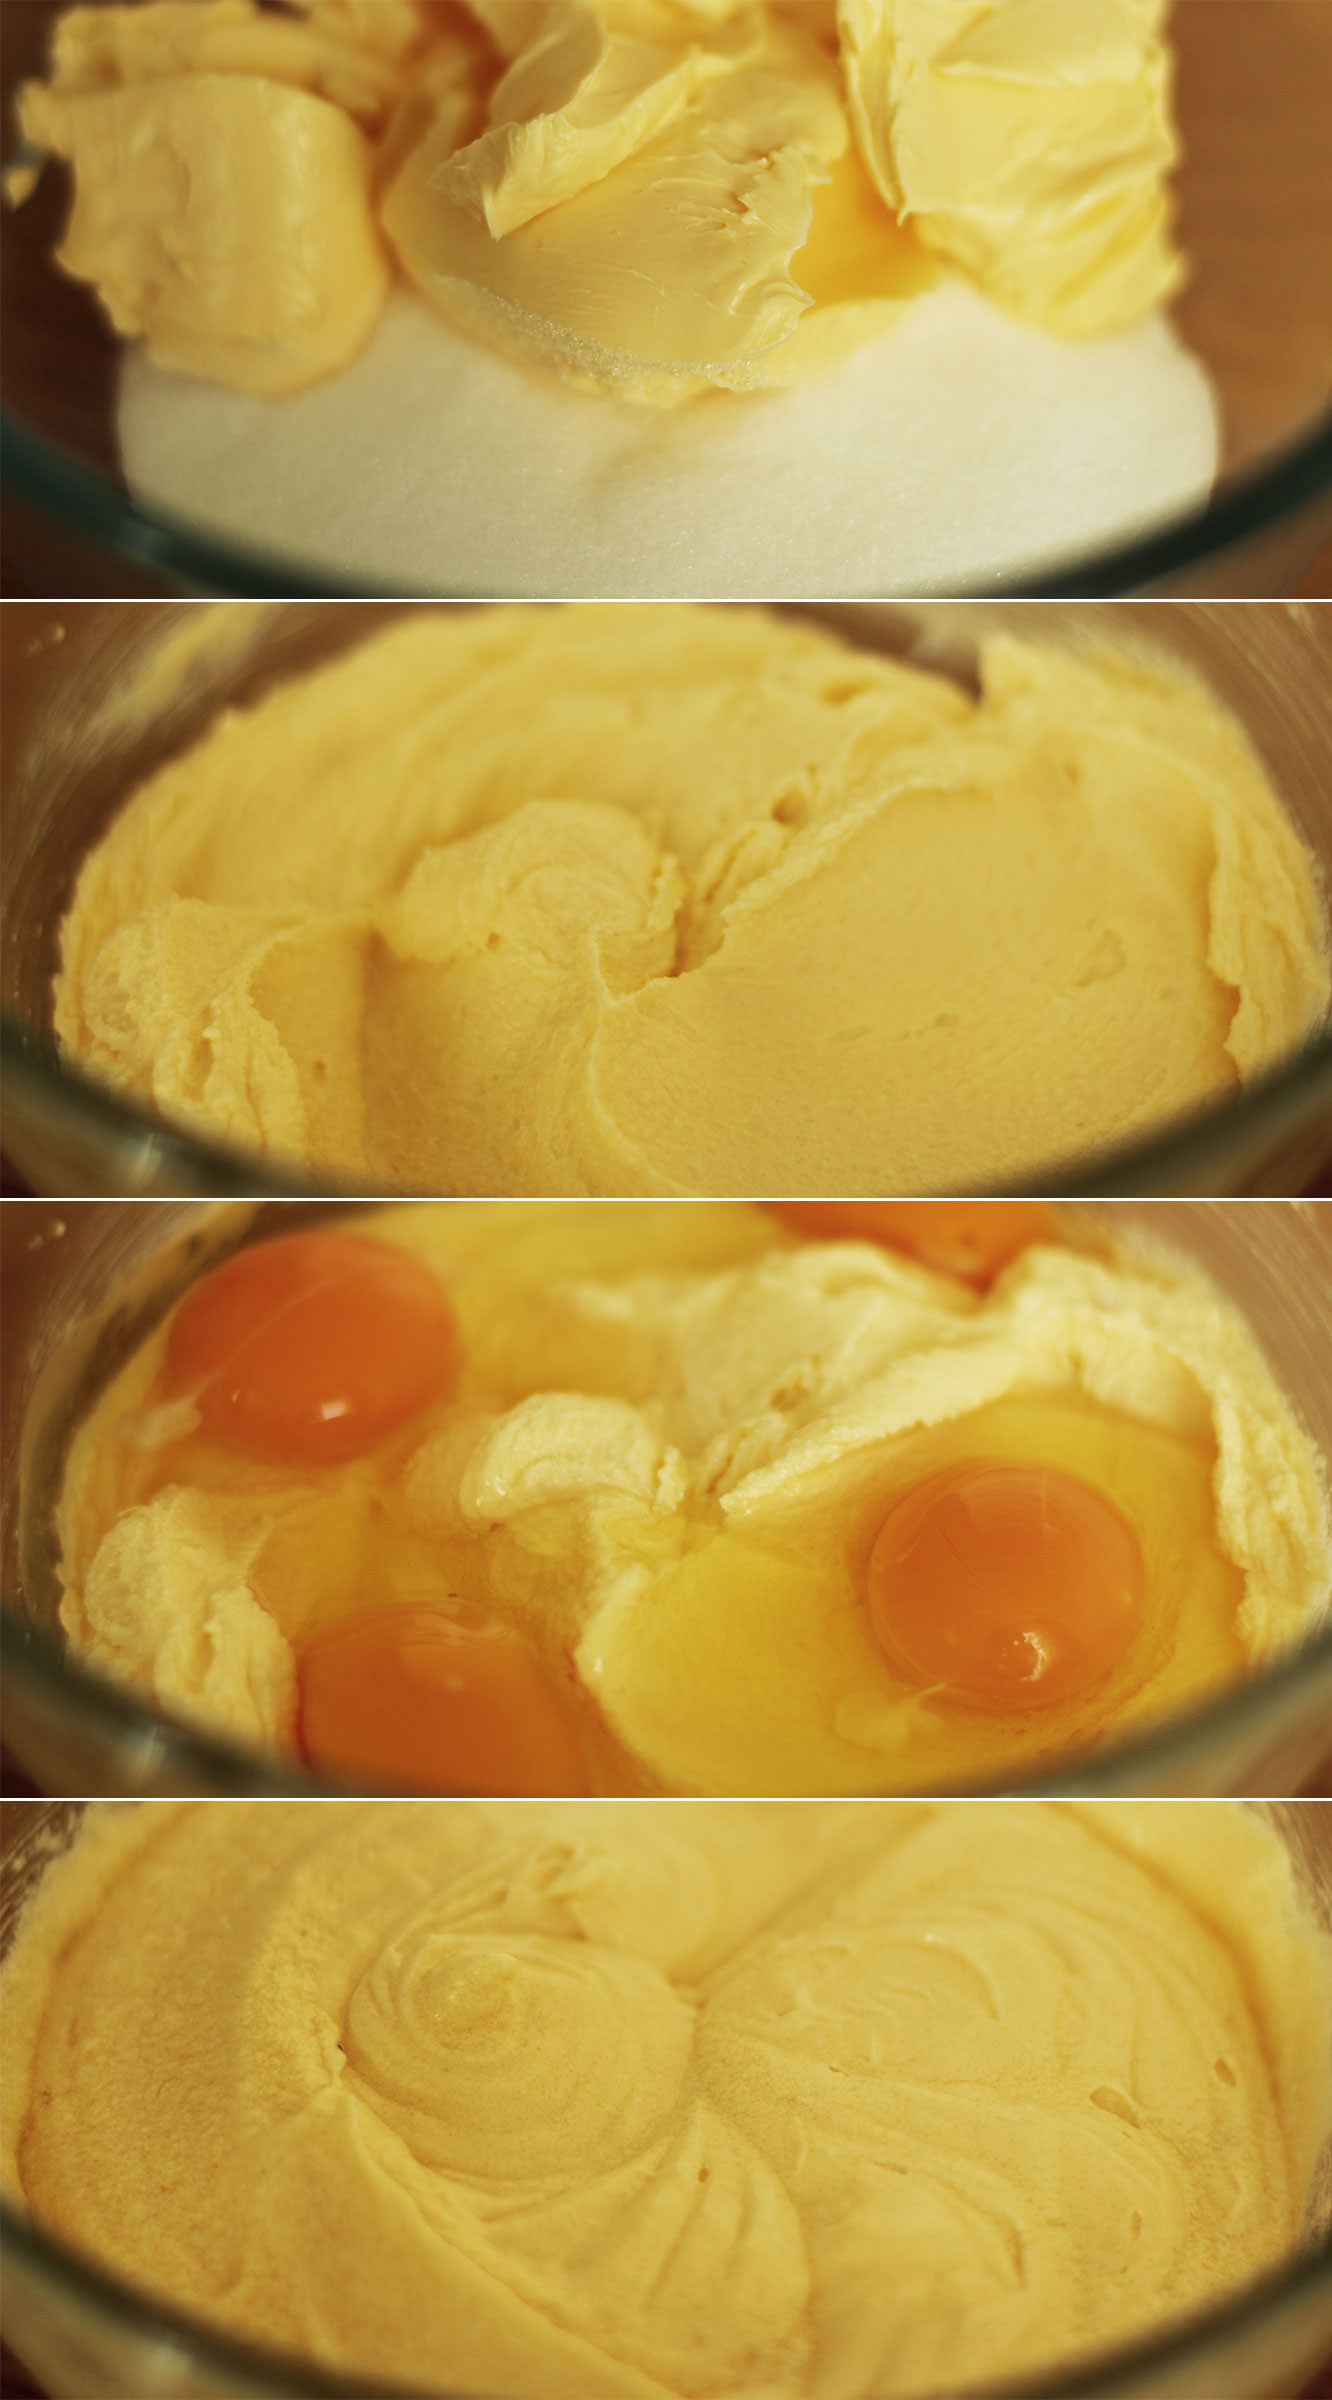
Using an electric whisk beat together the margarine and sugar until well blended and fluffy.

Step two

Add the eggs and beat again until combined. It looks a little split at this stage (see those little lumps at the sides) but you don’t need to worry, the flour never fails to sort that out.

raspberry-ginger-honey-cake-recipe-3

Step three

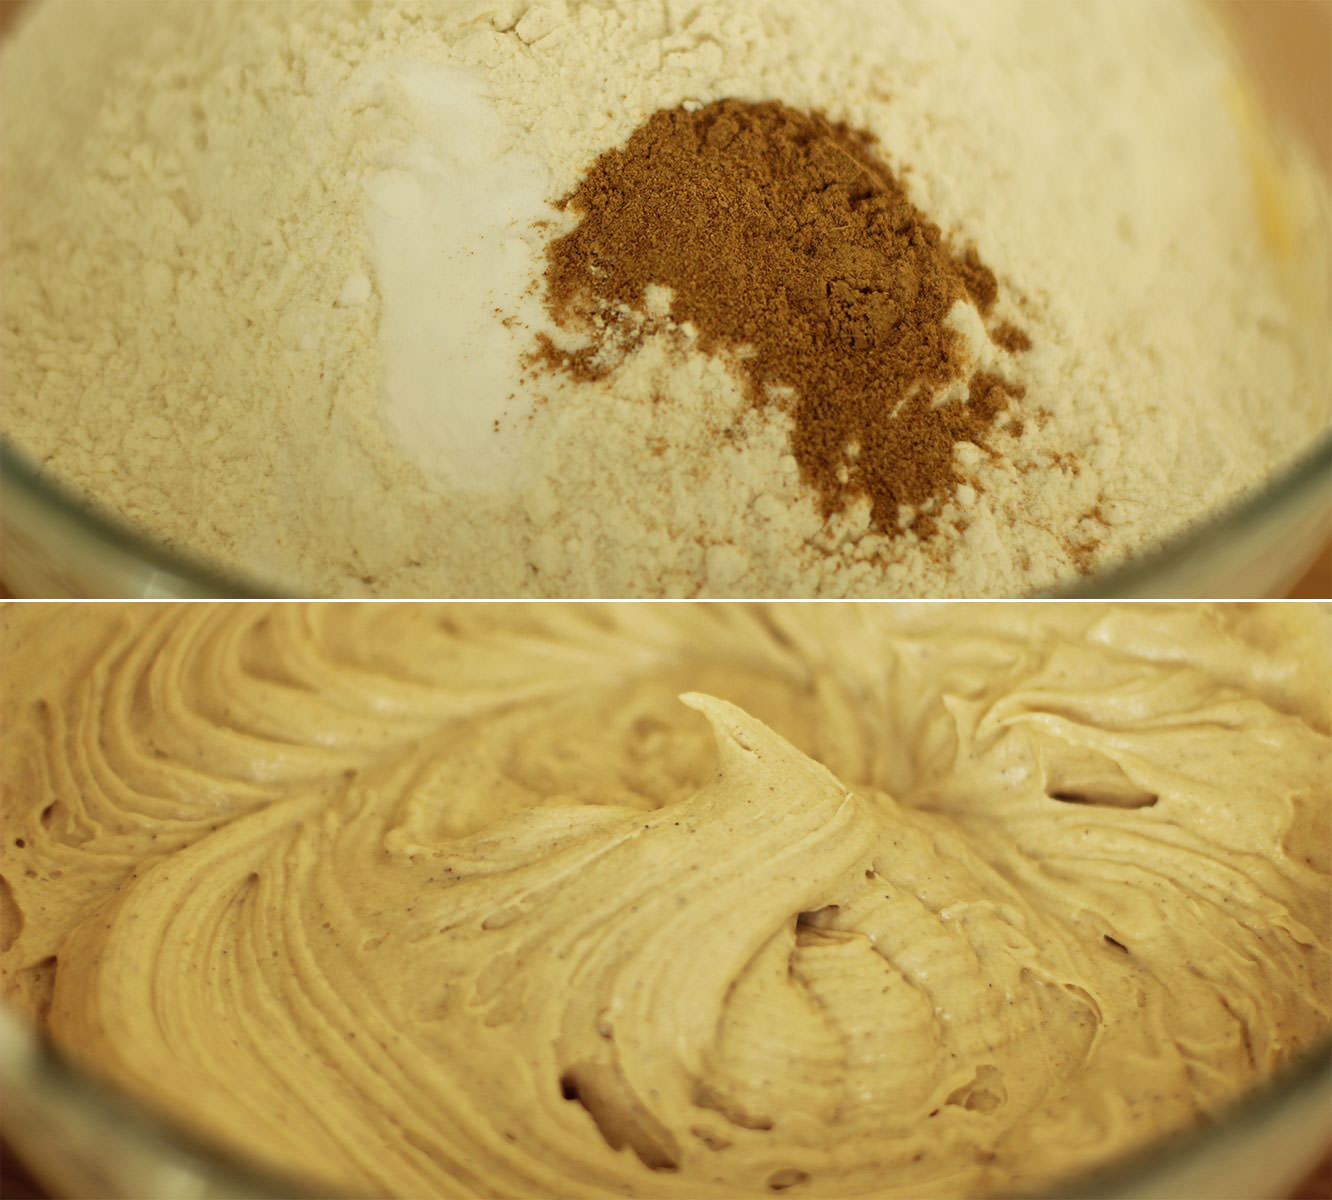
Add the flour, bicarbonate of soda and ginger and whisk again until smooth.

I also added the vanilla at this point which is in the form great paste my friend brought me back from Vanuatu, tastes delicious and has the beans in it. If you aren’t swinging by the South Pacific any time soon and don’t fancy the investment in a pod or some paste then extract will do the trick.

raspberry-ginger-honey-cake-recipe-4

Step four

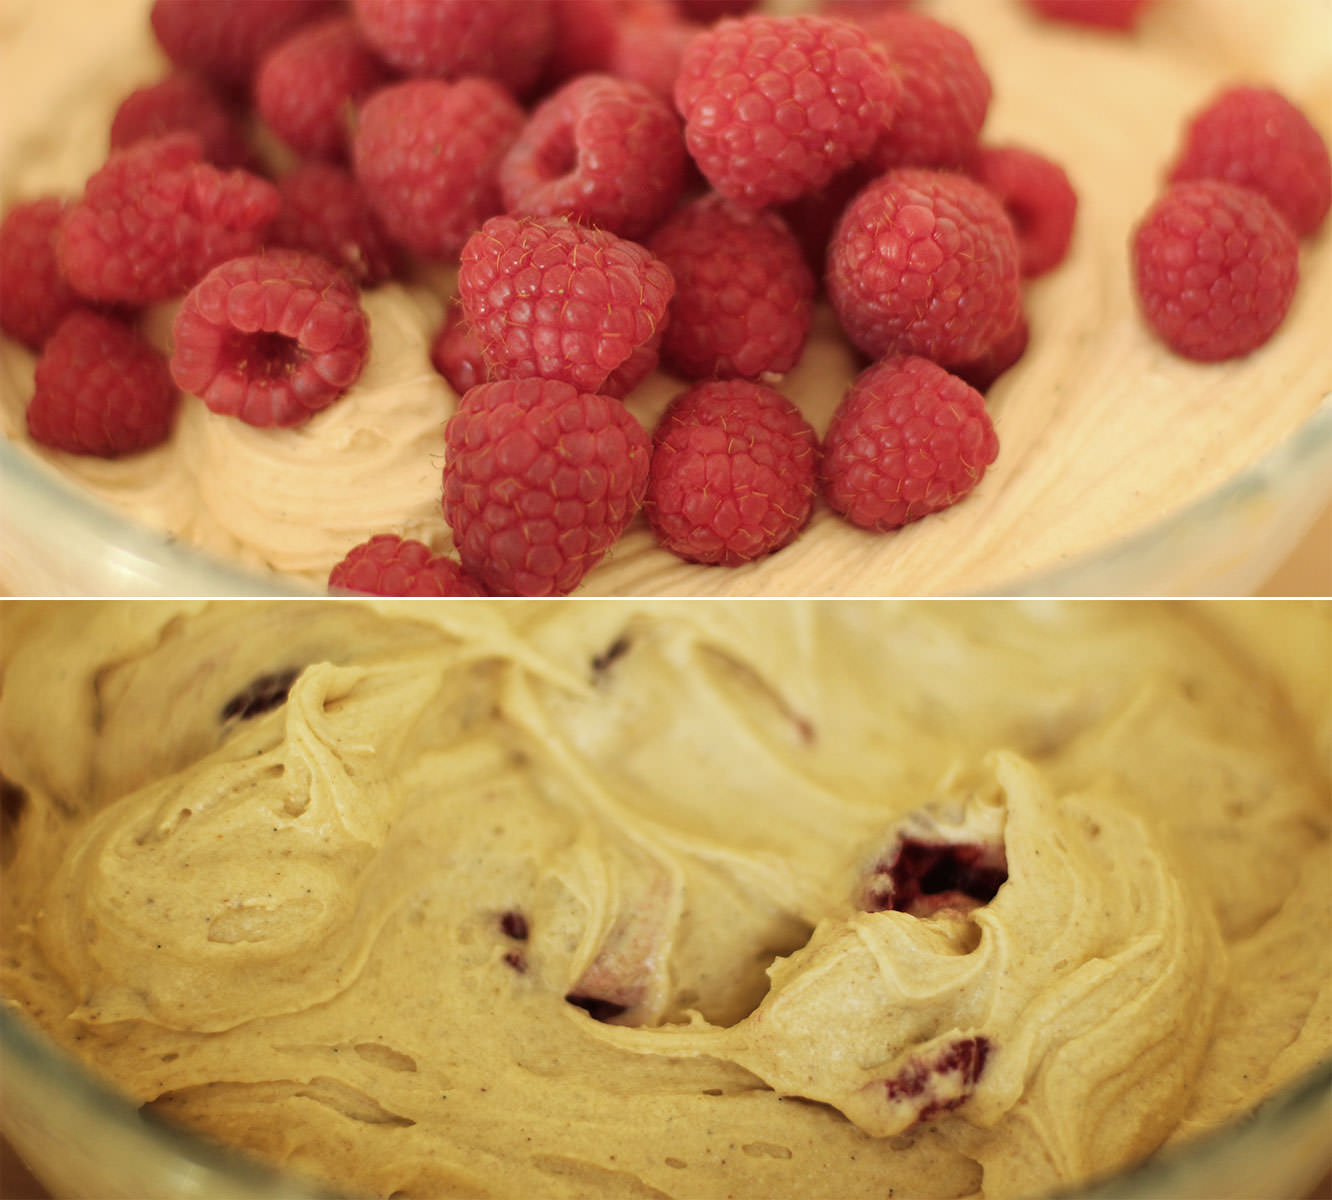
Add the raspberries and stir them in with a wooden spoon. I crushed some of them with the back of the spoon against the side of the bowl to help distribute them a little better.

raspberry-ginger-honey-cake-recipe-5

Step five

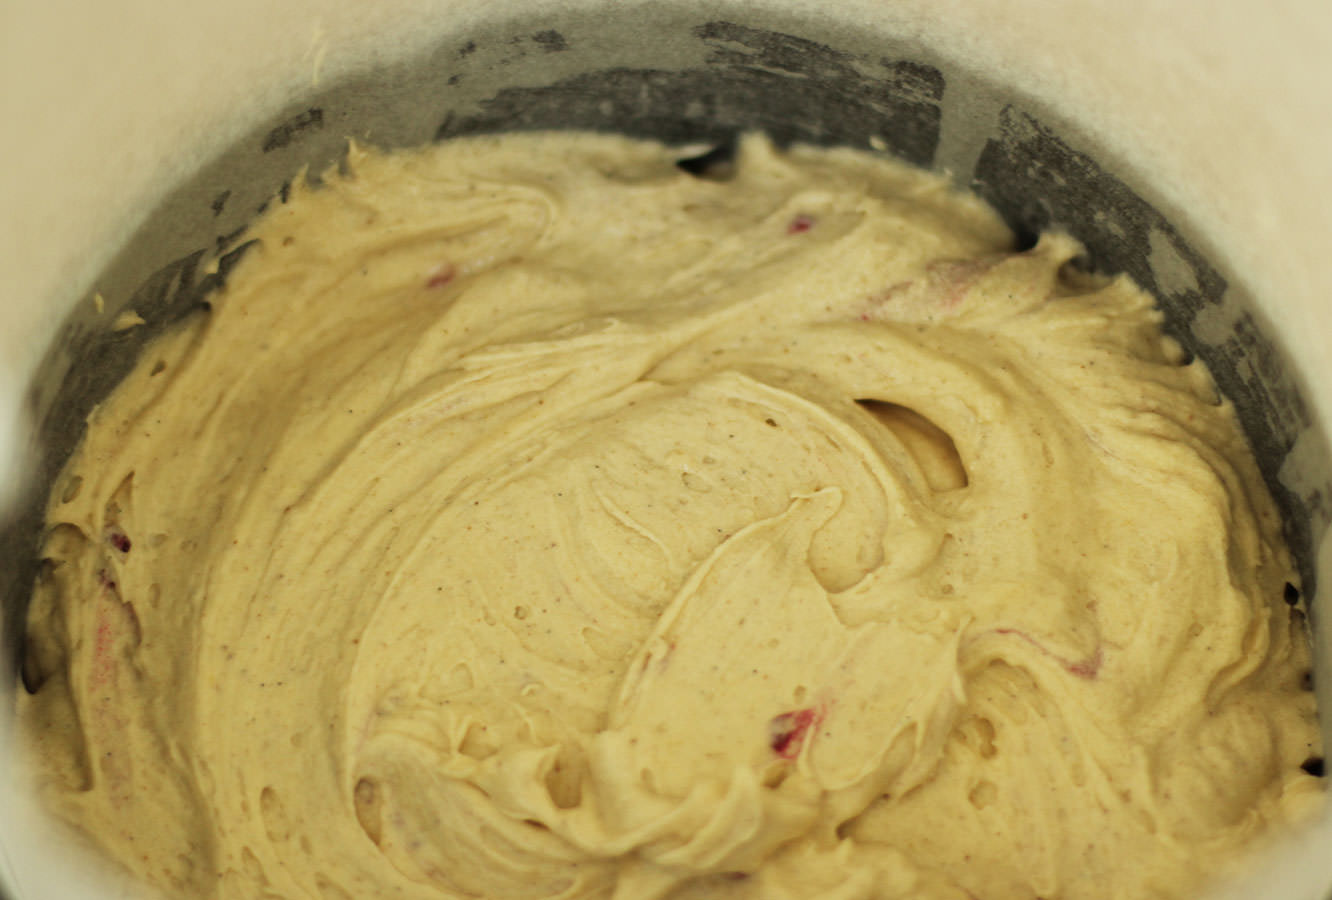
Spoon into a greased and lined tin, or two tins. Bake on 180C/350F/gas mark 4.

If you are just using a single tin you need about 45-55 minutes and make sure you line the sides so that the greaseproof protects the sides and top of the cake from burning. If you are using two separate tins 35-40 minutes should do the trick, and you only need to line the bottoms of the tins.

raspberry-ginger-honey-cake-recipe-6

Step six

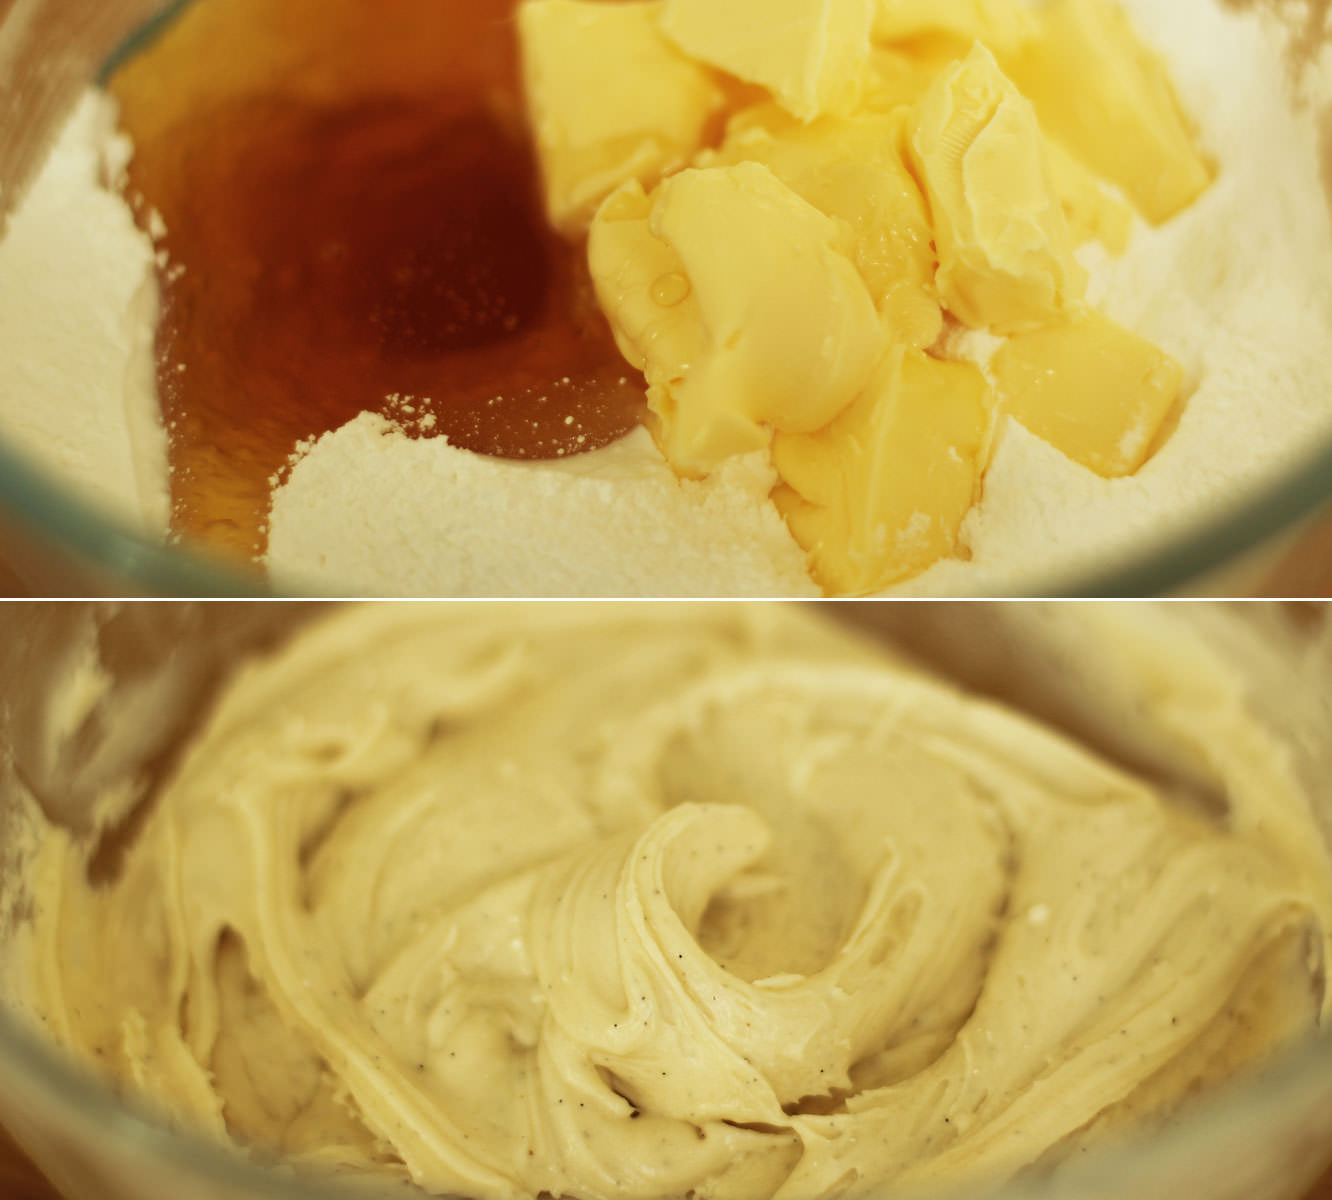
Whisk together the butter, icing sugar, vanilla and honey for the icing. Cover the bowl with a tea towel before turning on the whisk so you don’t get covered in icing sugar.

raspberry-ginger-honey-cake-recipe-gif

Step seven

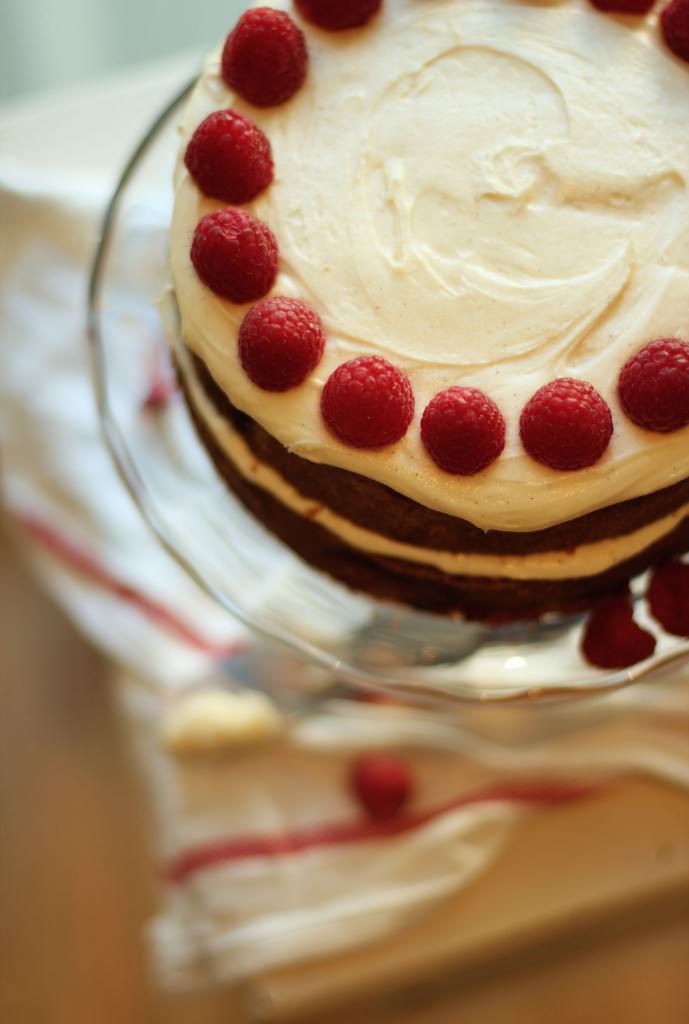
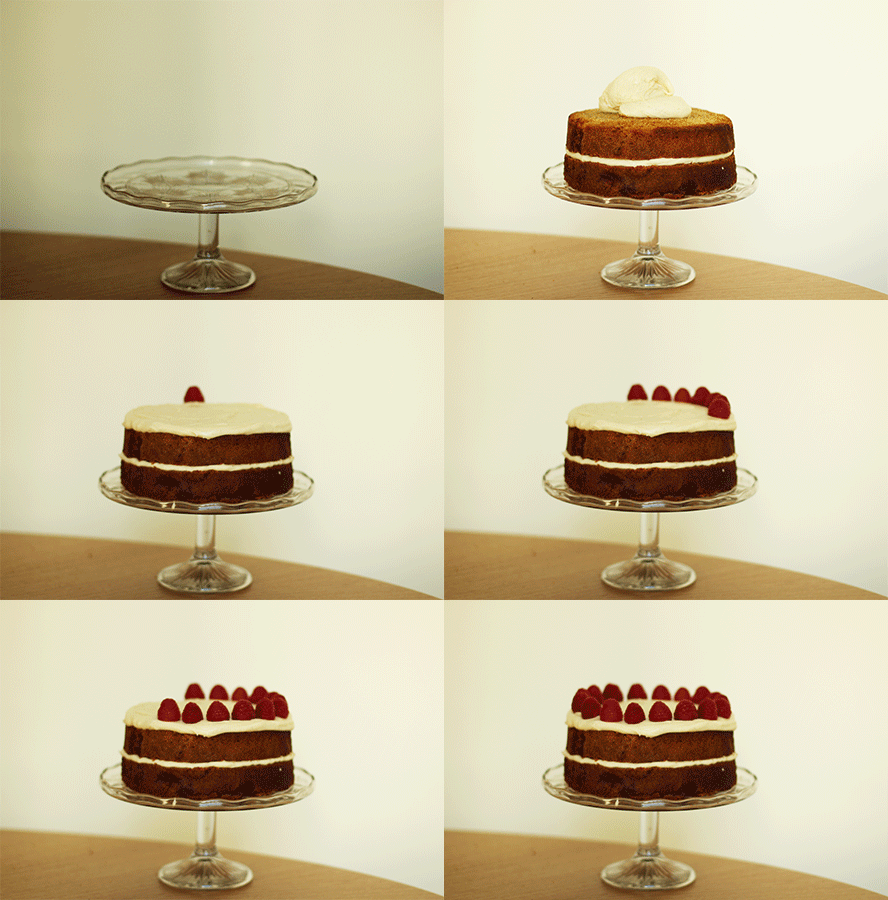
Once the cake has completely cooled assemble it. Use just under half the icing in the middle and the rest on top.

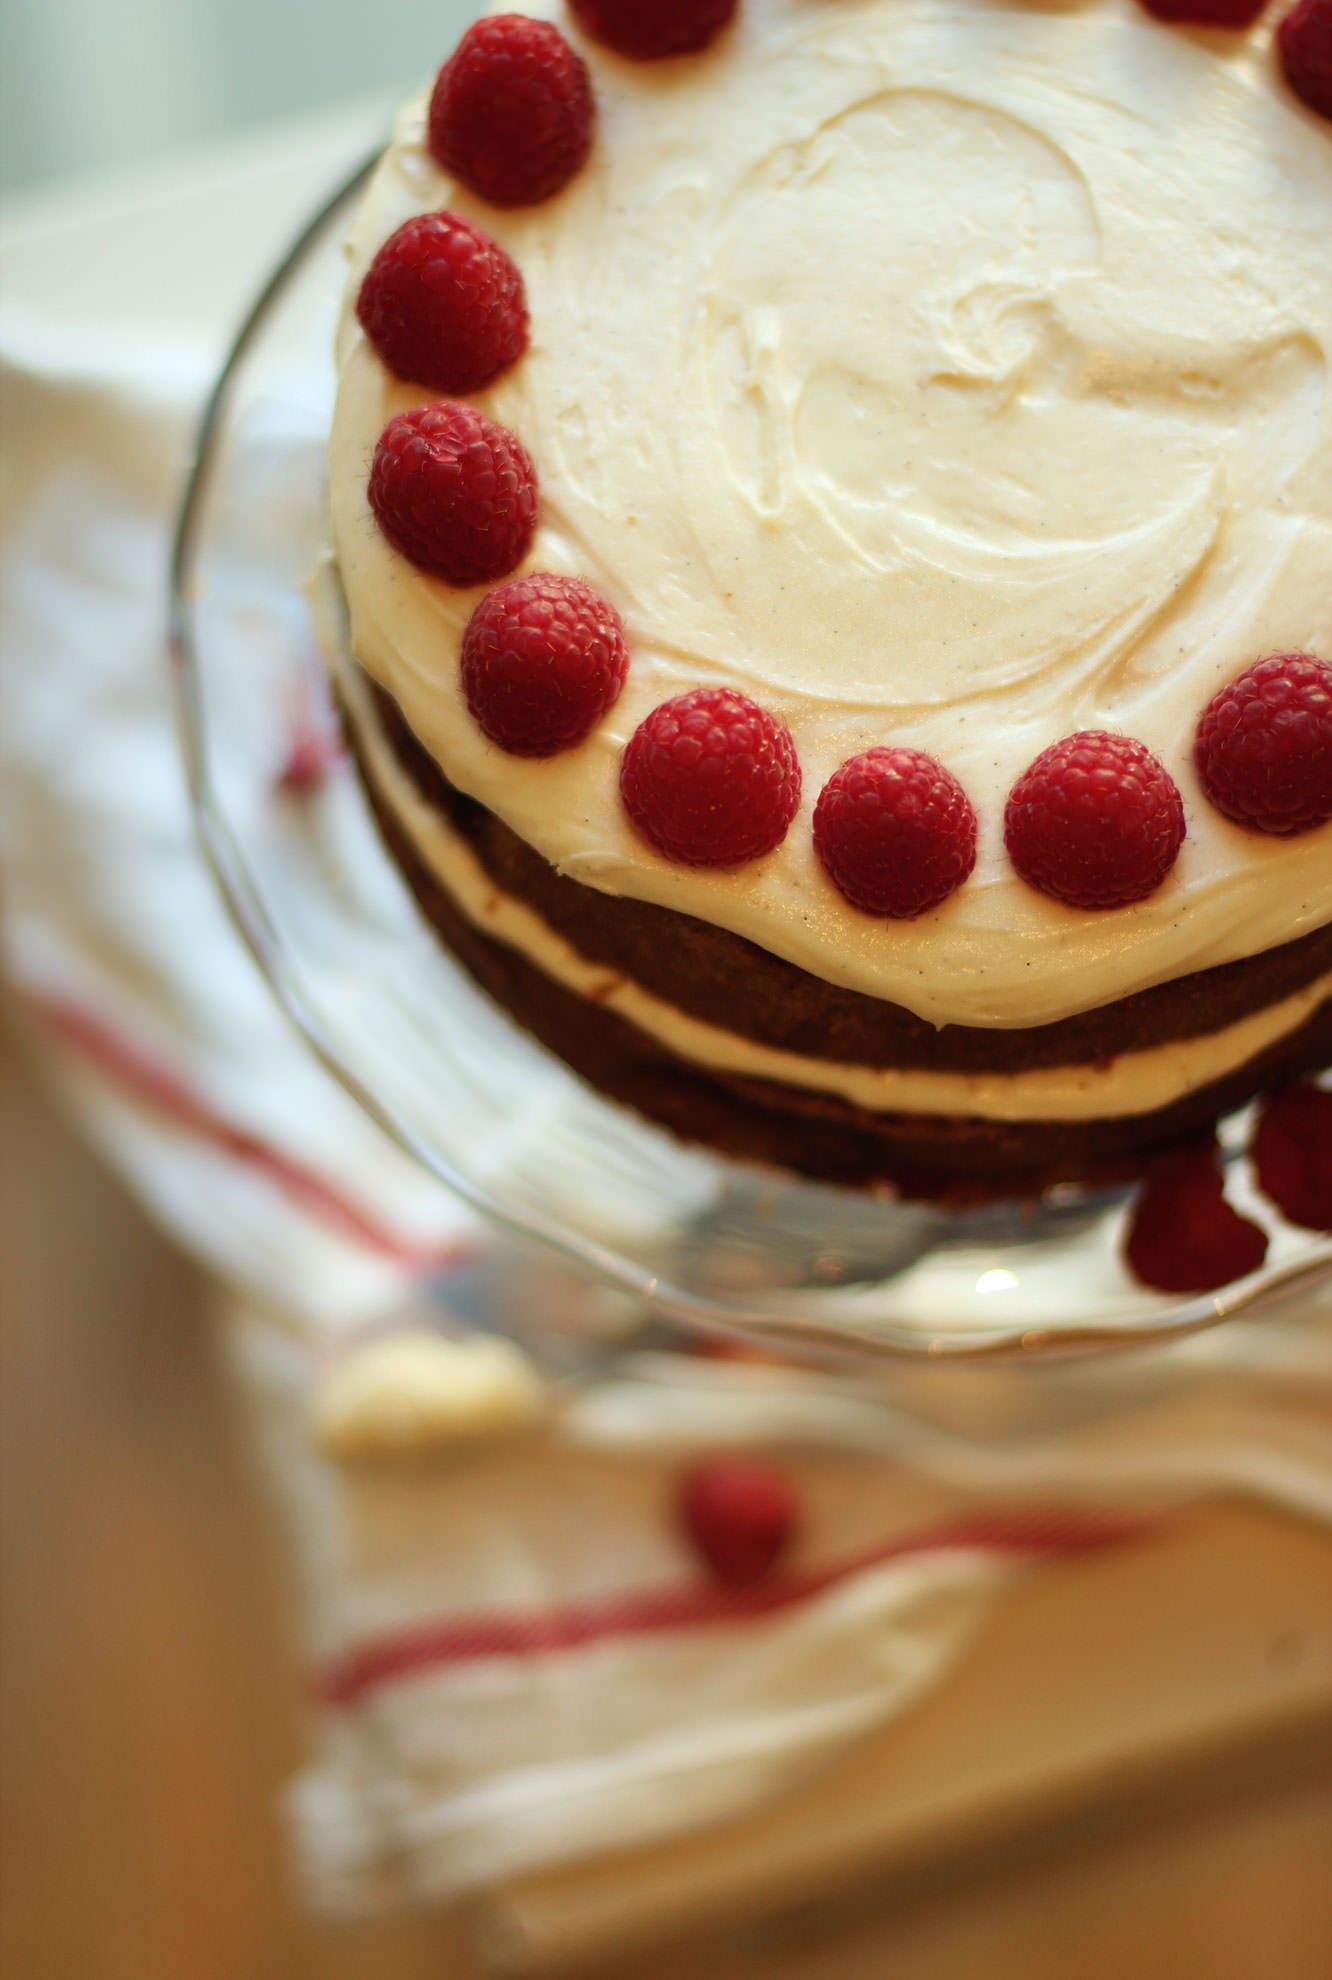
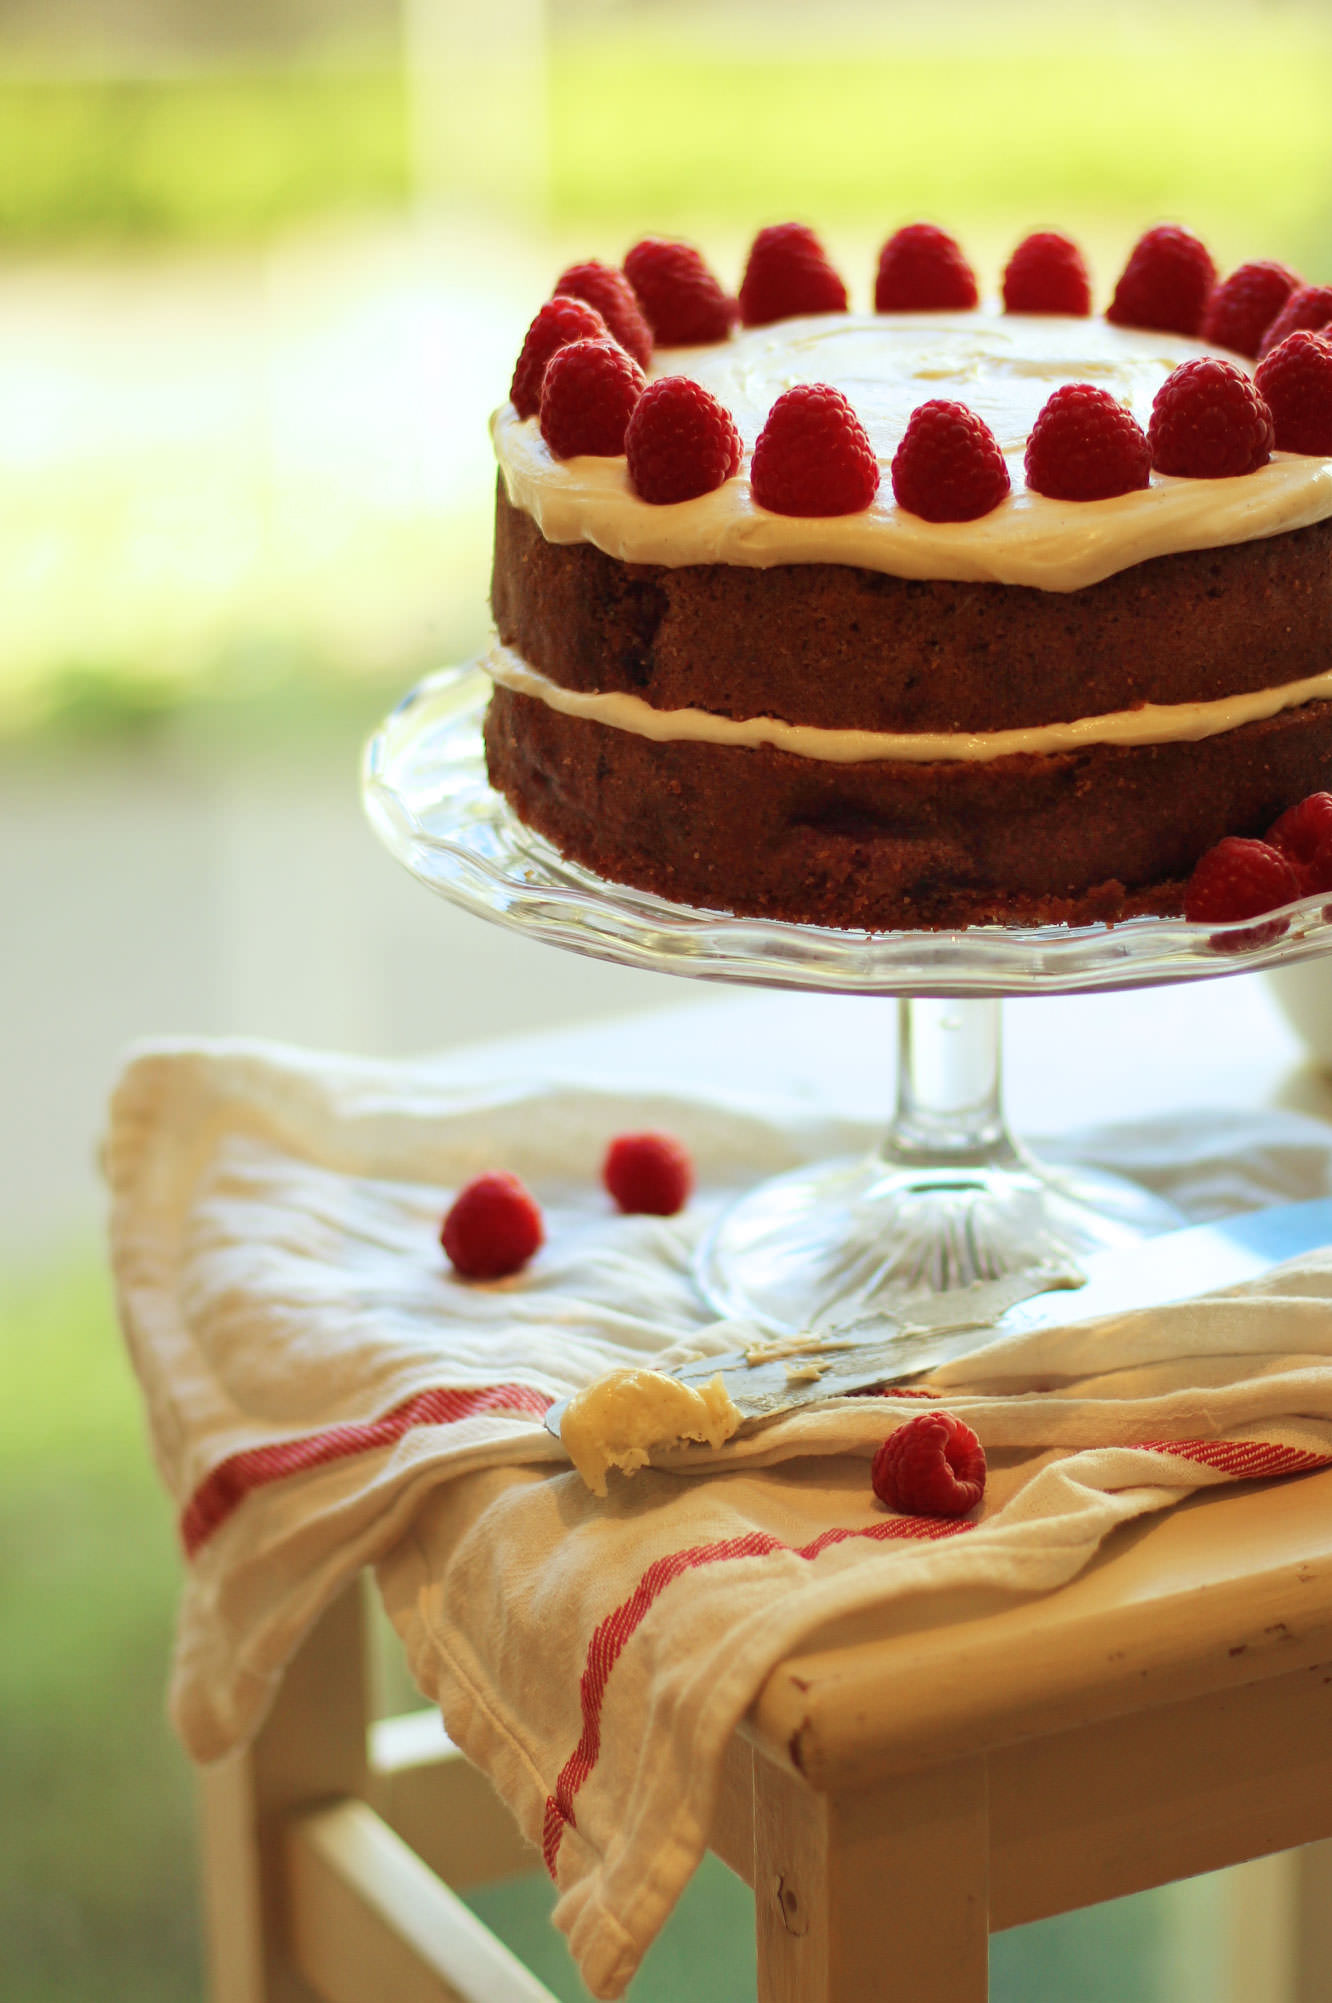
I then decorated with the remaining raspberries, but feel free to get creative!

raspberry-ginger-honey-cake-recipe-7

raspberry-ginger-honey-cake-recipe-8

Flat as a pancake

Sorry, what’s that? IT’S PANCAKE DAY TOMORROW? Or maybe if you read this on a Tuesday it’s pancake day today. Or maybe if you’re reading this in a few months time pancake day is nowhere nearby, and if that’s the case there’s nothing stopping you from making pancakes anyway. Especially when they taste THIS good.

I don’t think there can ever be enough pancakes, so I bring you not one, not two, but three recipes this week. And with three recipes comes three gifs. I know, I spoil you.

My fellow Europeans will have to excuse me for edging towards the North American style of pancake (you can add more flavours this way, but I assure you I’m still a die hard fan of our traditional flat friends). Those of you across the pond will also have to excuse me for not adding sugar and melted butter and all that nonsense to the mix.

These are a hybrid, somewhere half way between. Maybe this is what happens in Iceland or Greenland, who knows?

Enough ramble. LET’S. GET. FLIPPING.

Who am I kidding? I’m far too anxious to flip them.

ultimate-pancake-recipe2

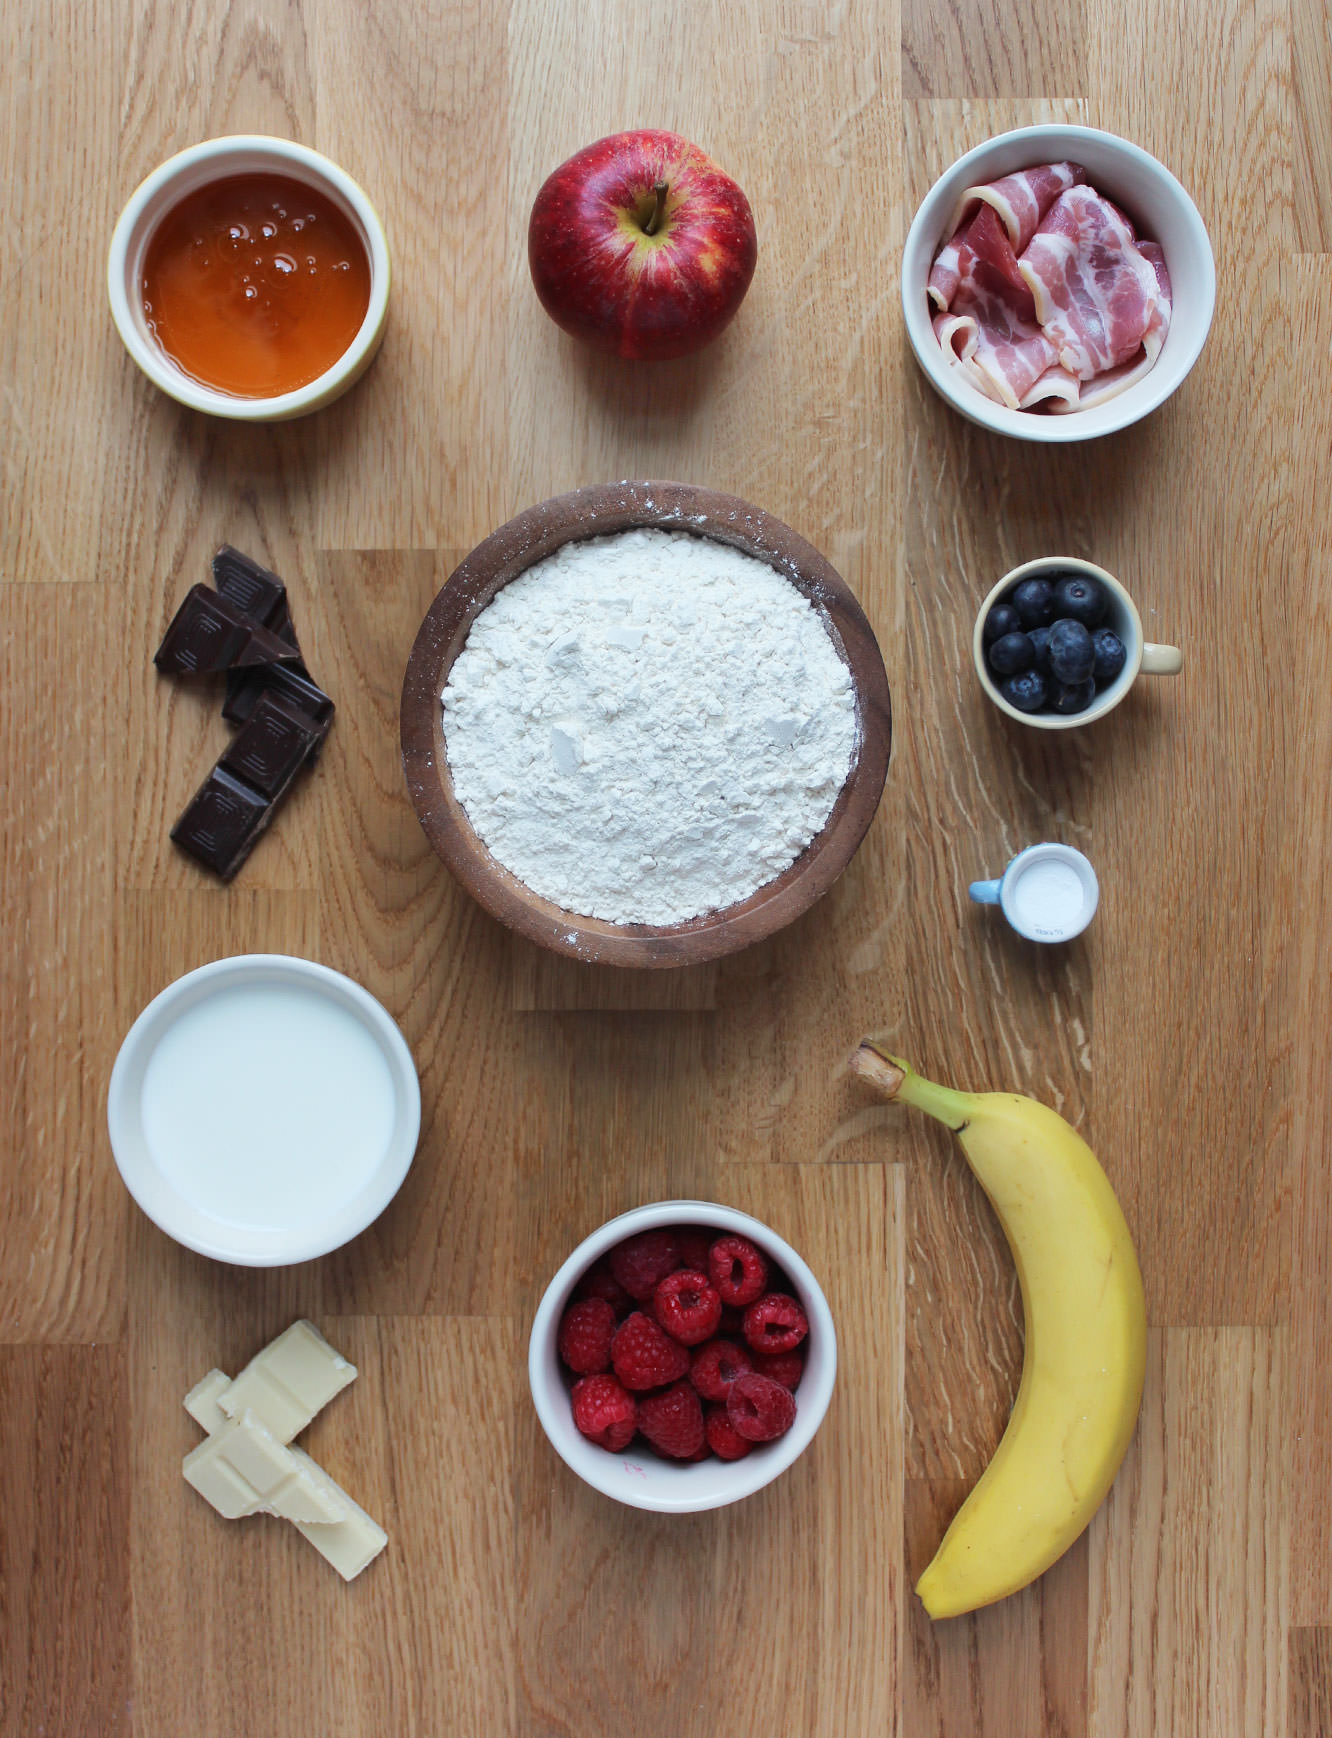
You will need

Apple, maple and bacon pancakes

1 cup Plain flour

1 cup Full fat milk

1 Apple

1 Egg

1 tsp Baking powder

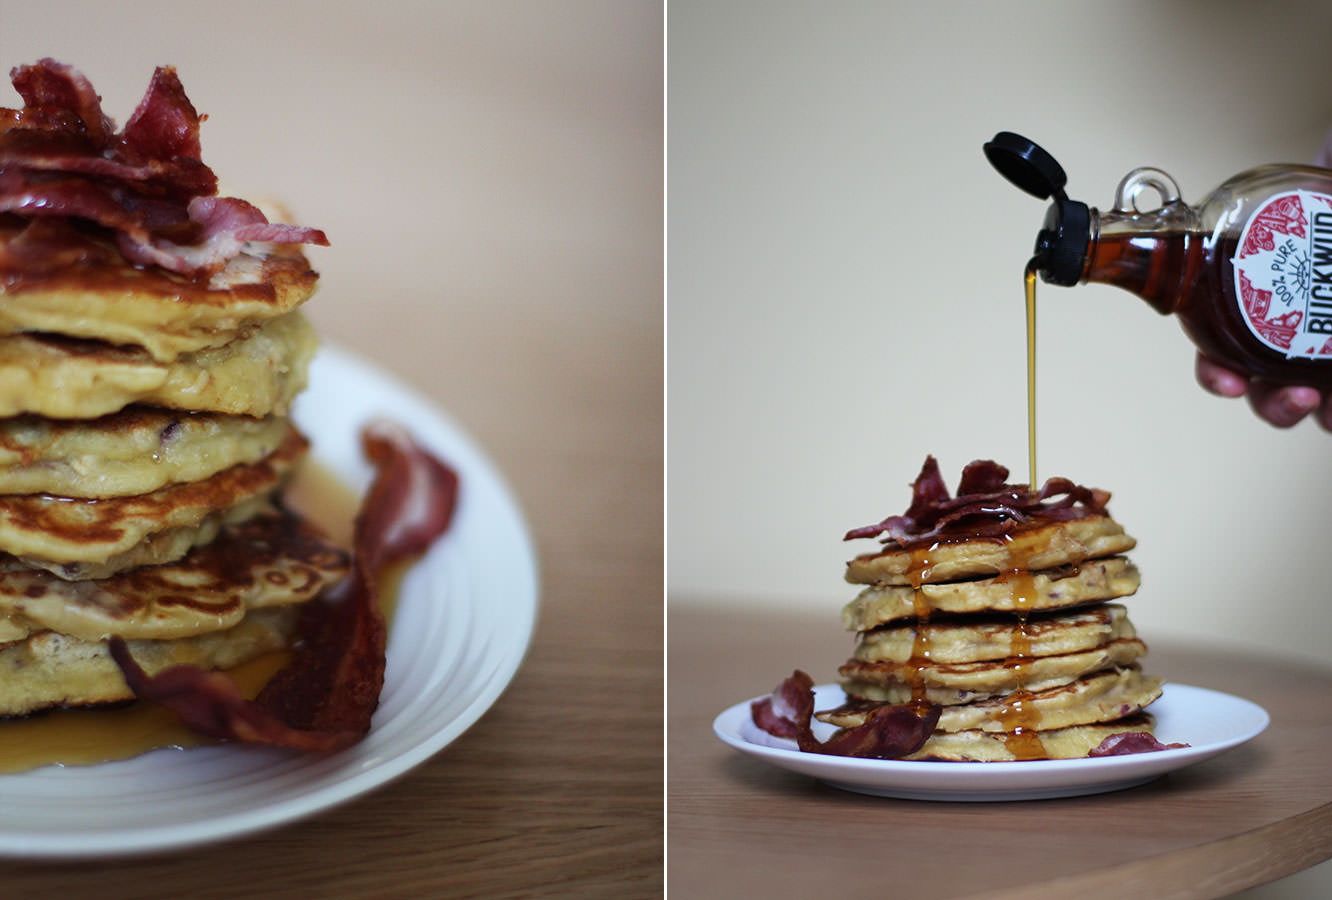
Bacon and maple syrup to serve (adjust to your own preference)

White chocolate and raspberry pancakes

1 cup Plain flour

1 cup Full fat milk

1 cup Raspberries

1 Egg

1 tsp Baking powder

100g/3.5 oz White chocolate

50g/1.5 oz Dark chocolate to serve

Banana and blueberry buttermilk almond pancakes

1 cup Plain flour

1 tub Buttermilk (284ml)

1 Egg

1 tsp Baking powder

1/2 tsp Almond extract

2 Bananas

1/2 cup Blueberries

More blueberries, some natural yoghurt and honey to serve

NB: The process is the same for all three recipes, however, the banana ones use buttermilk instead of regular milk. This makes a much thicker, goopier mixture.
All the recipes make 6-8 pancakes depending on their size.


Apple, maple and bacon pancakes

ultimate-pancake-recipe

Step one

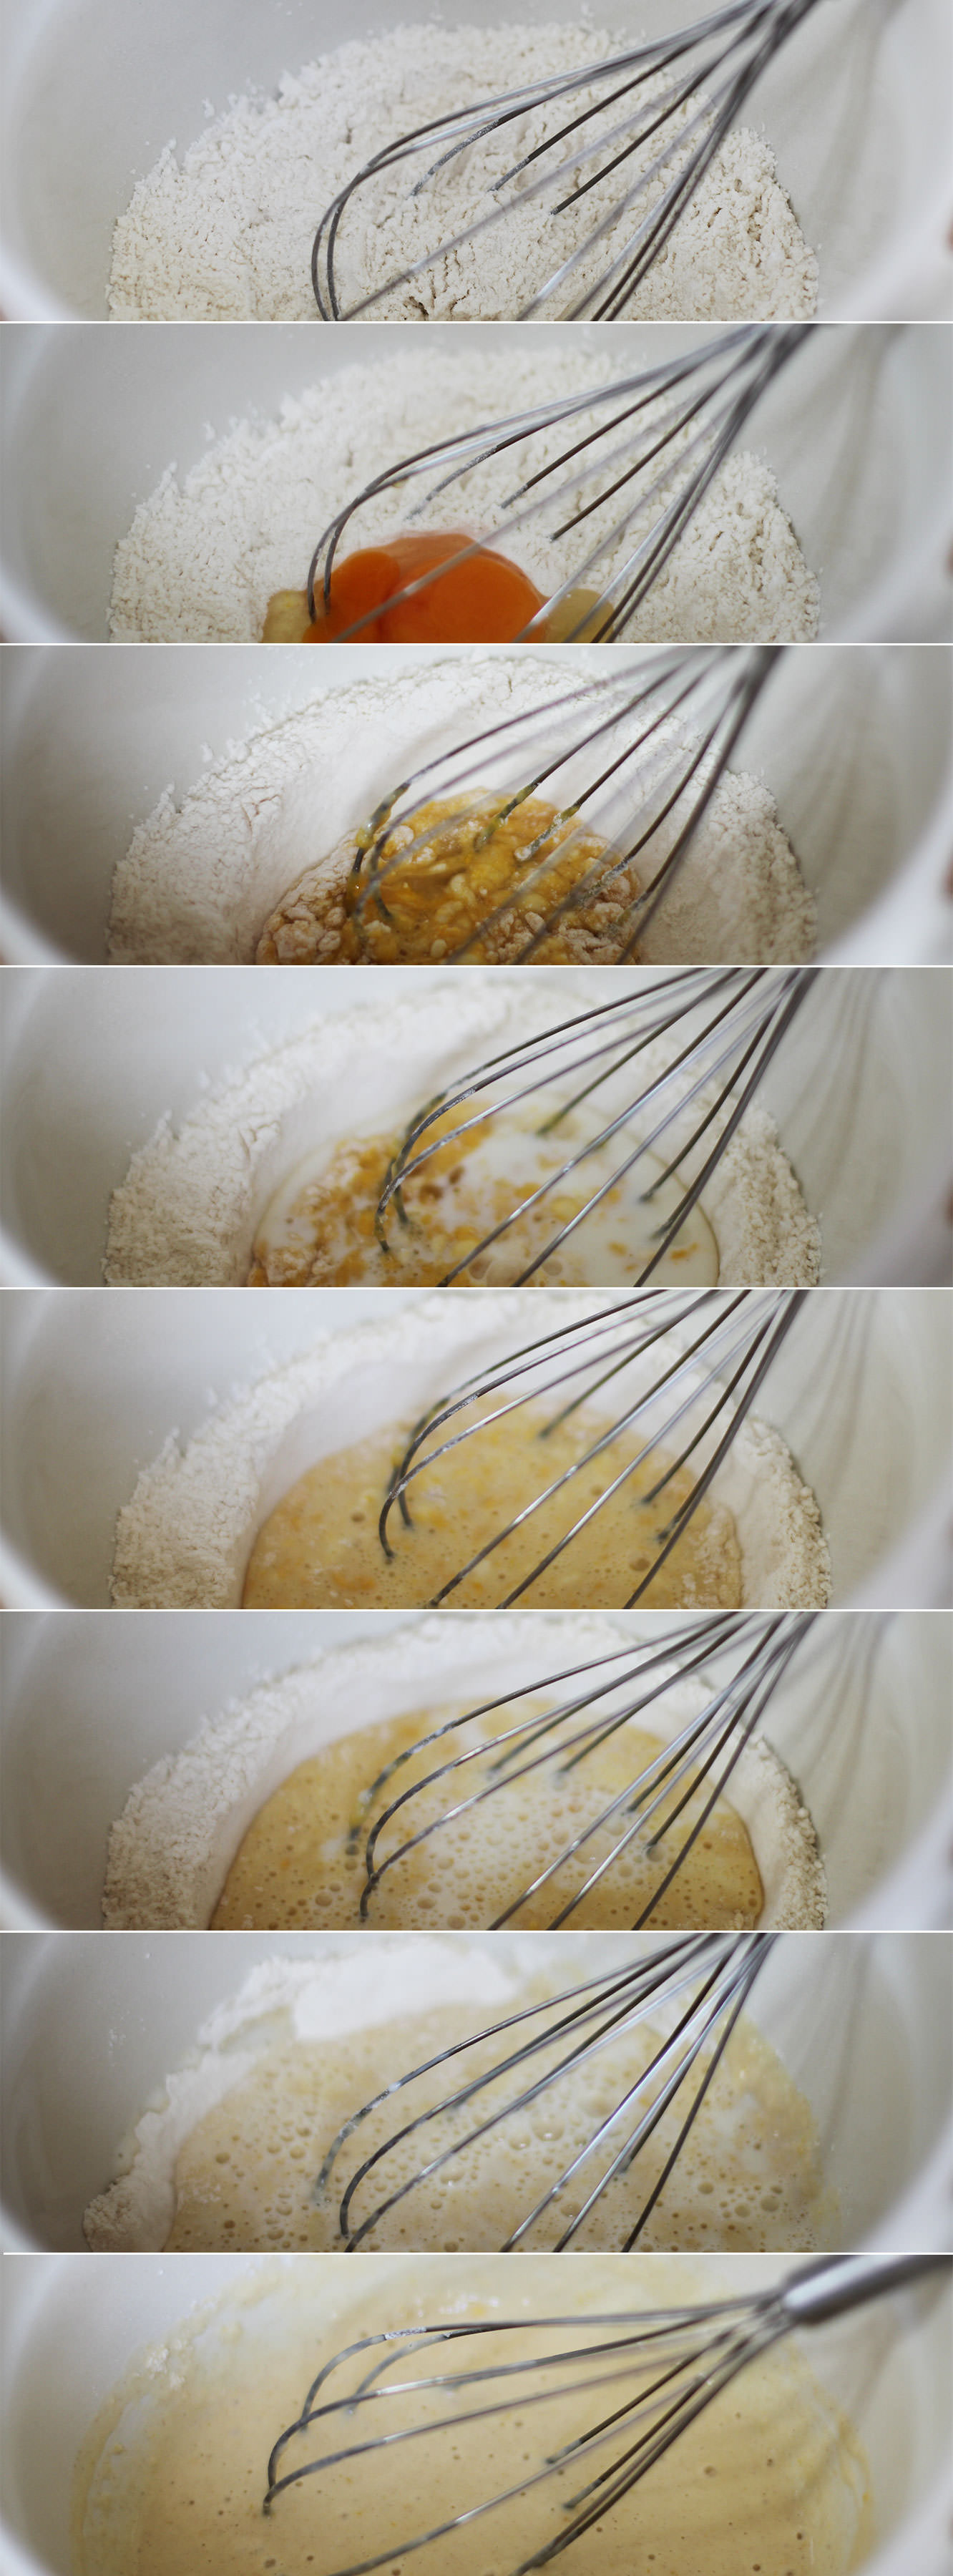
Whisk together the flour and baking powder and make a well in the middle for the egg.

The way to make smooth pancakes is to whisk little circles to gradually include the flour. Slowly add the milk a third at a time and continue making circles until all the flour is mixed in.

ultimate-pancake-recipe4

Step two

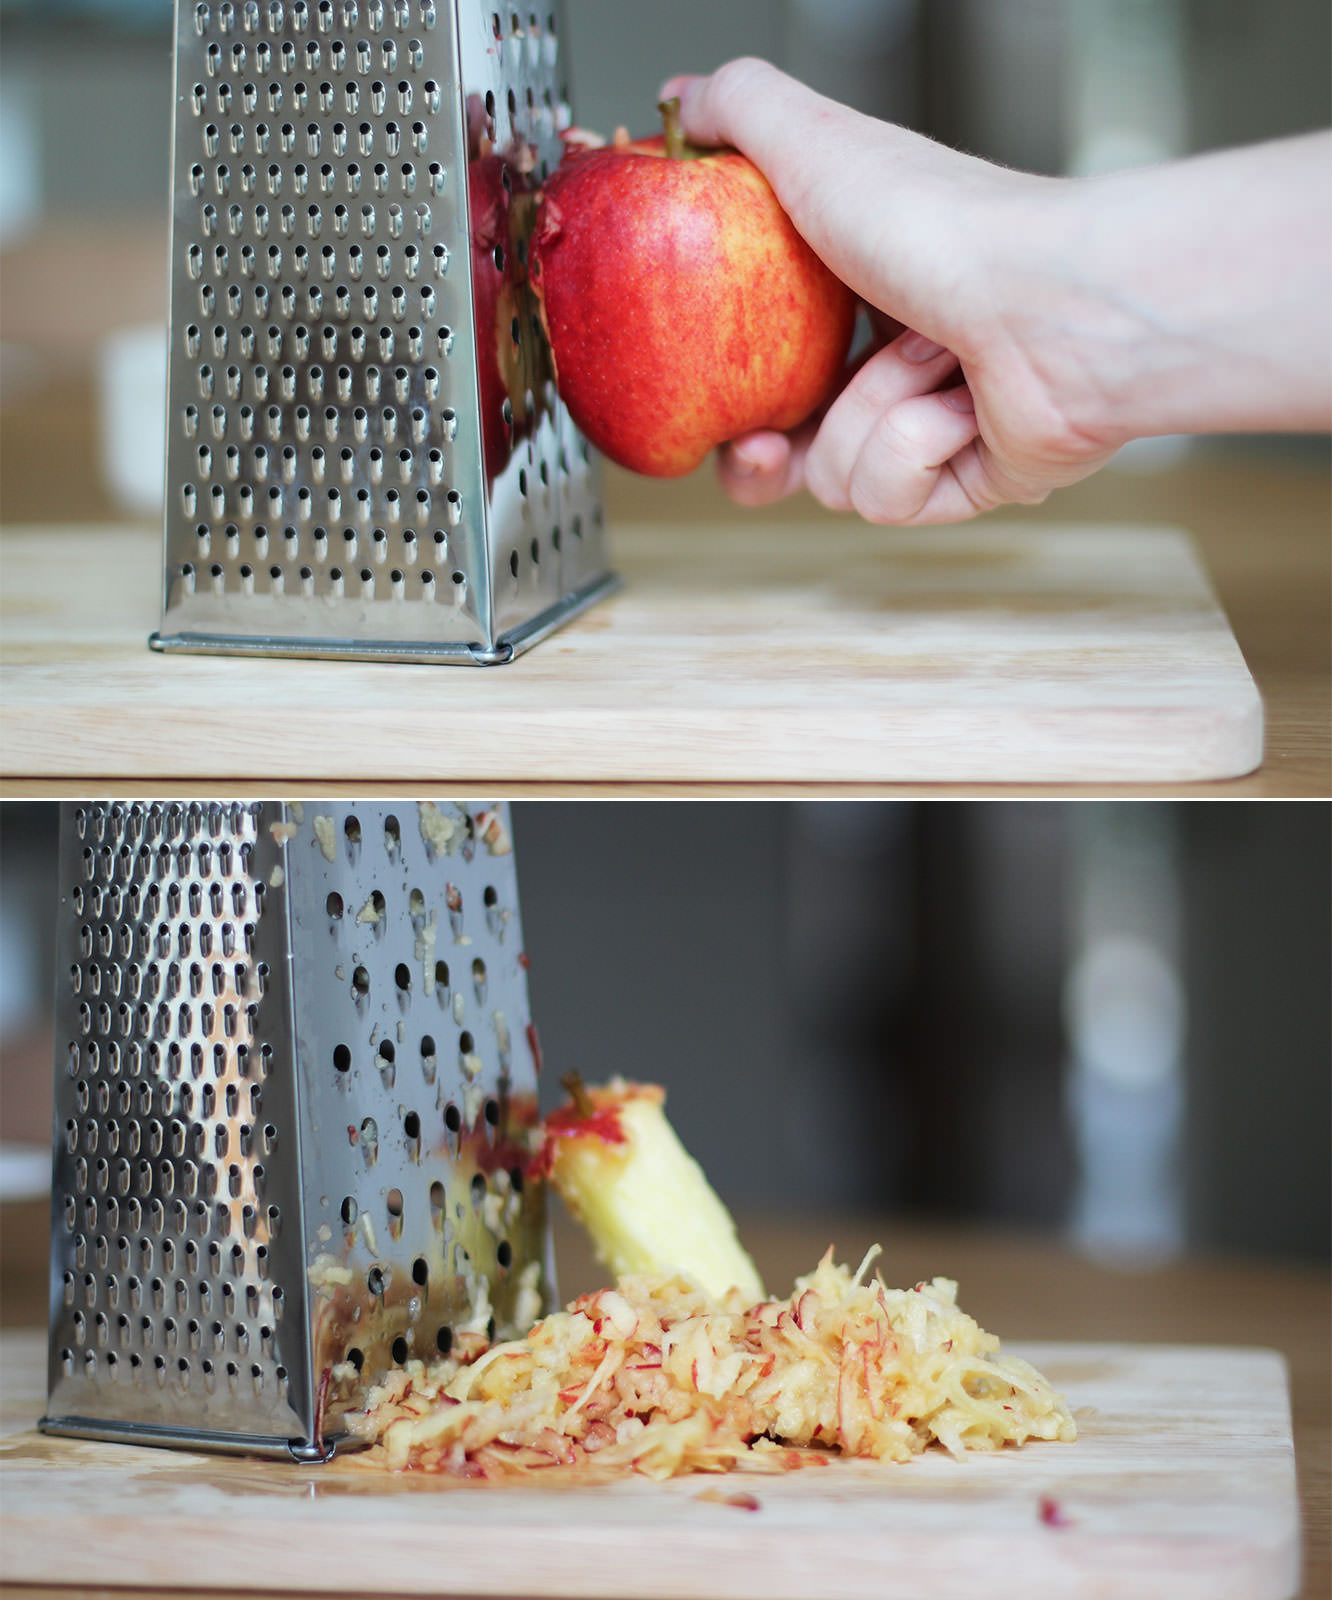
Grate the apple until you get to the core and add to the pancake batter.

ultimate-apple-pancake-recipe5

Step three

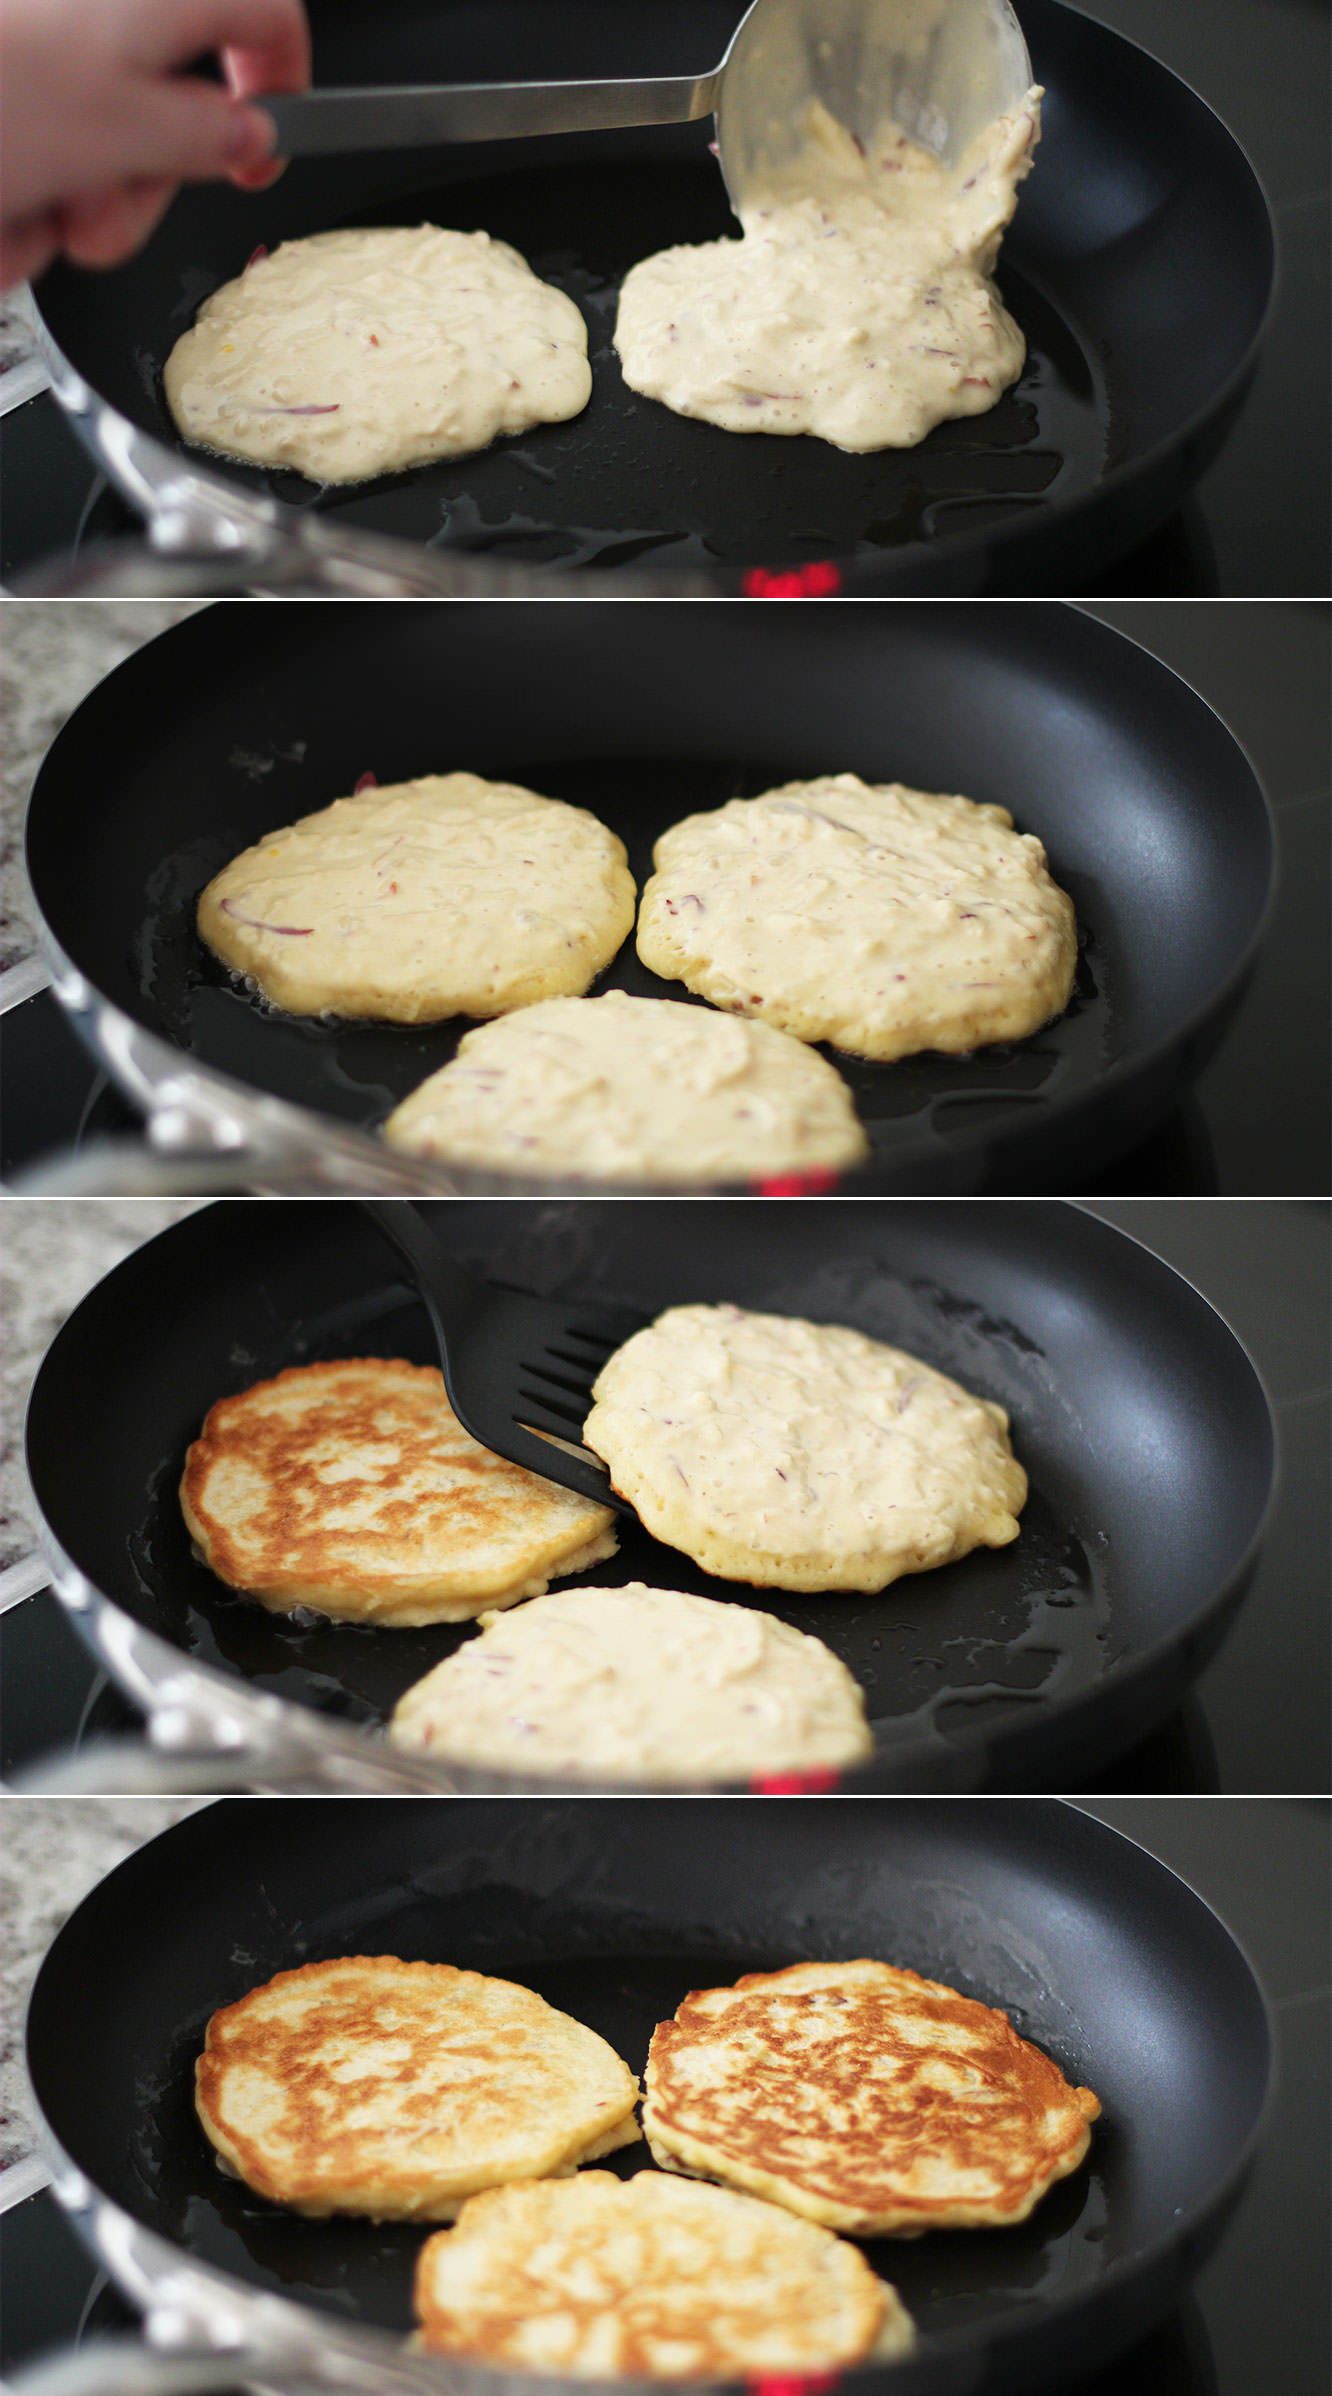
Using a tablespoon or so of vegetable oil, fry the pancakes until you start to see lots of little bubbles on the surface.

FLIP FLIP FLIP.

Step four

If you’re wanting bacon with this (and unless you’re a vegetarian, you are wanting bacon) then you’ll want to have that grilling or frying off at the same time.

ultimate-apple-pancake-recipe-gif

ultimate-apple-pancake-recipe6

Right. One down, two to go.


White chocolate and raspberry pancakes

ultimate-pancake-recipe

Step one

Refer to step one of apple, maple and bacon recipe.

ultimate-pancake-recipe3

Step two

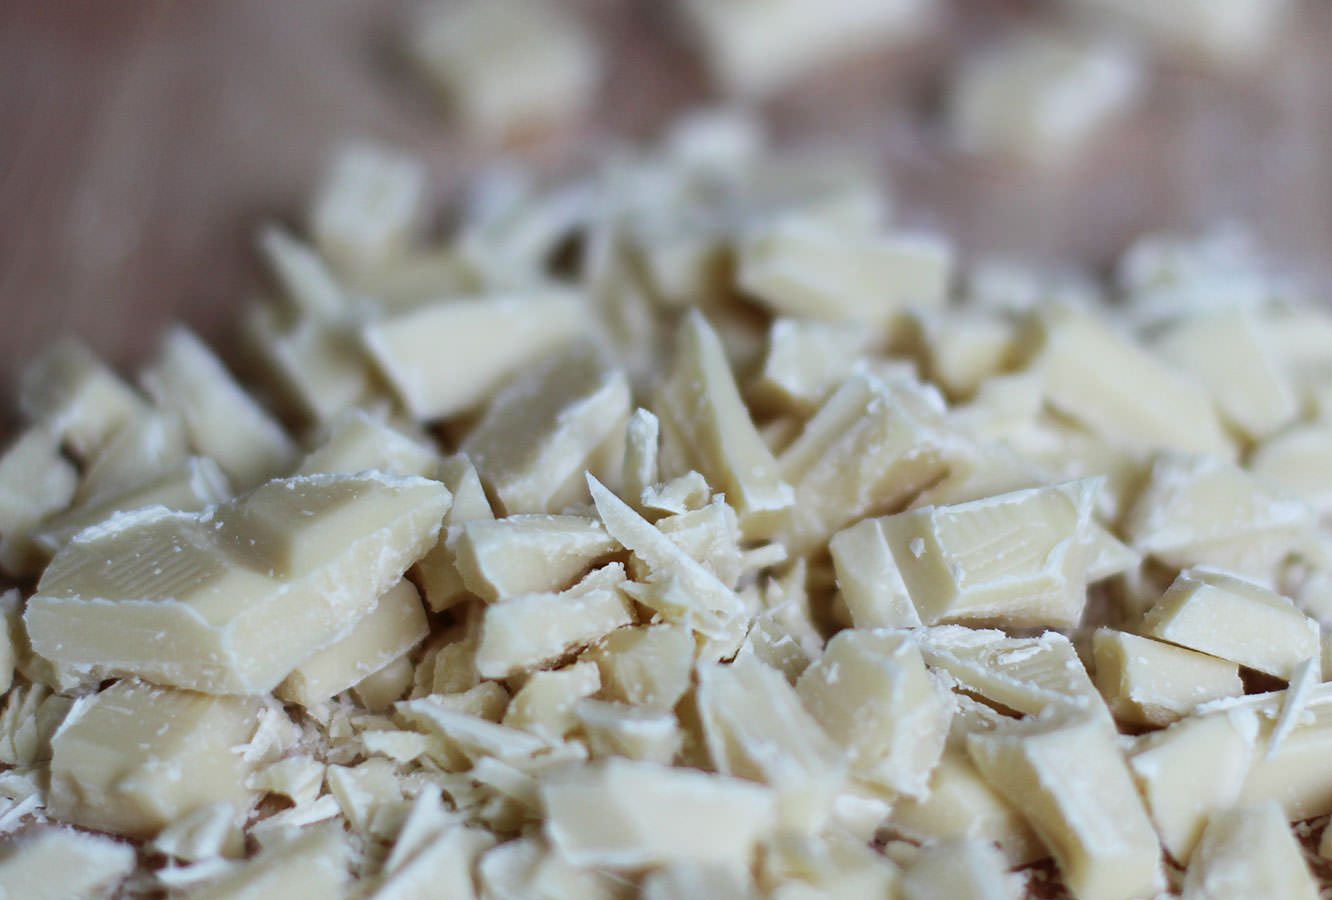
Chop the white chocolate into smallish chunks.

Step three

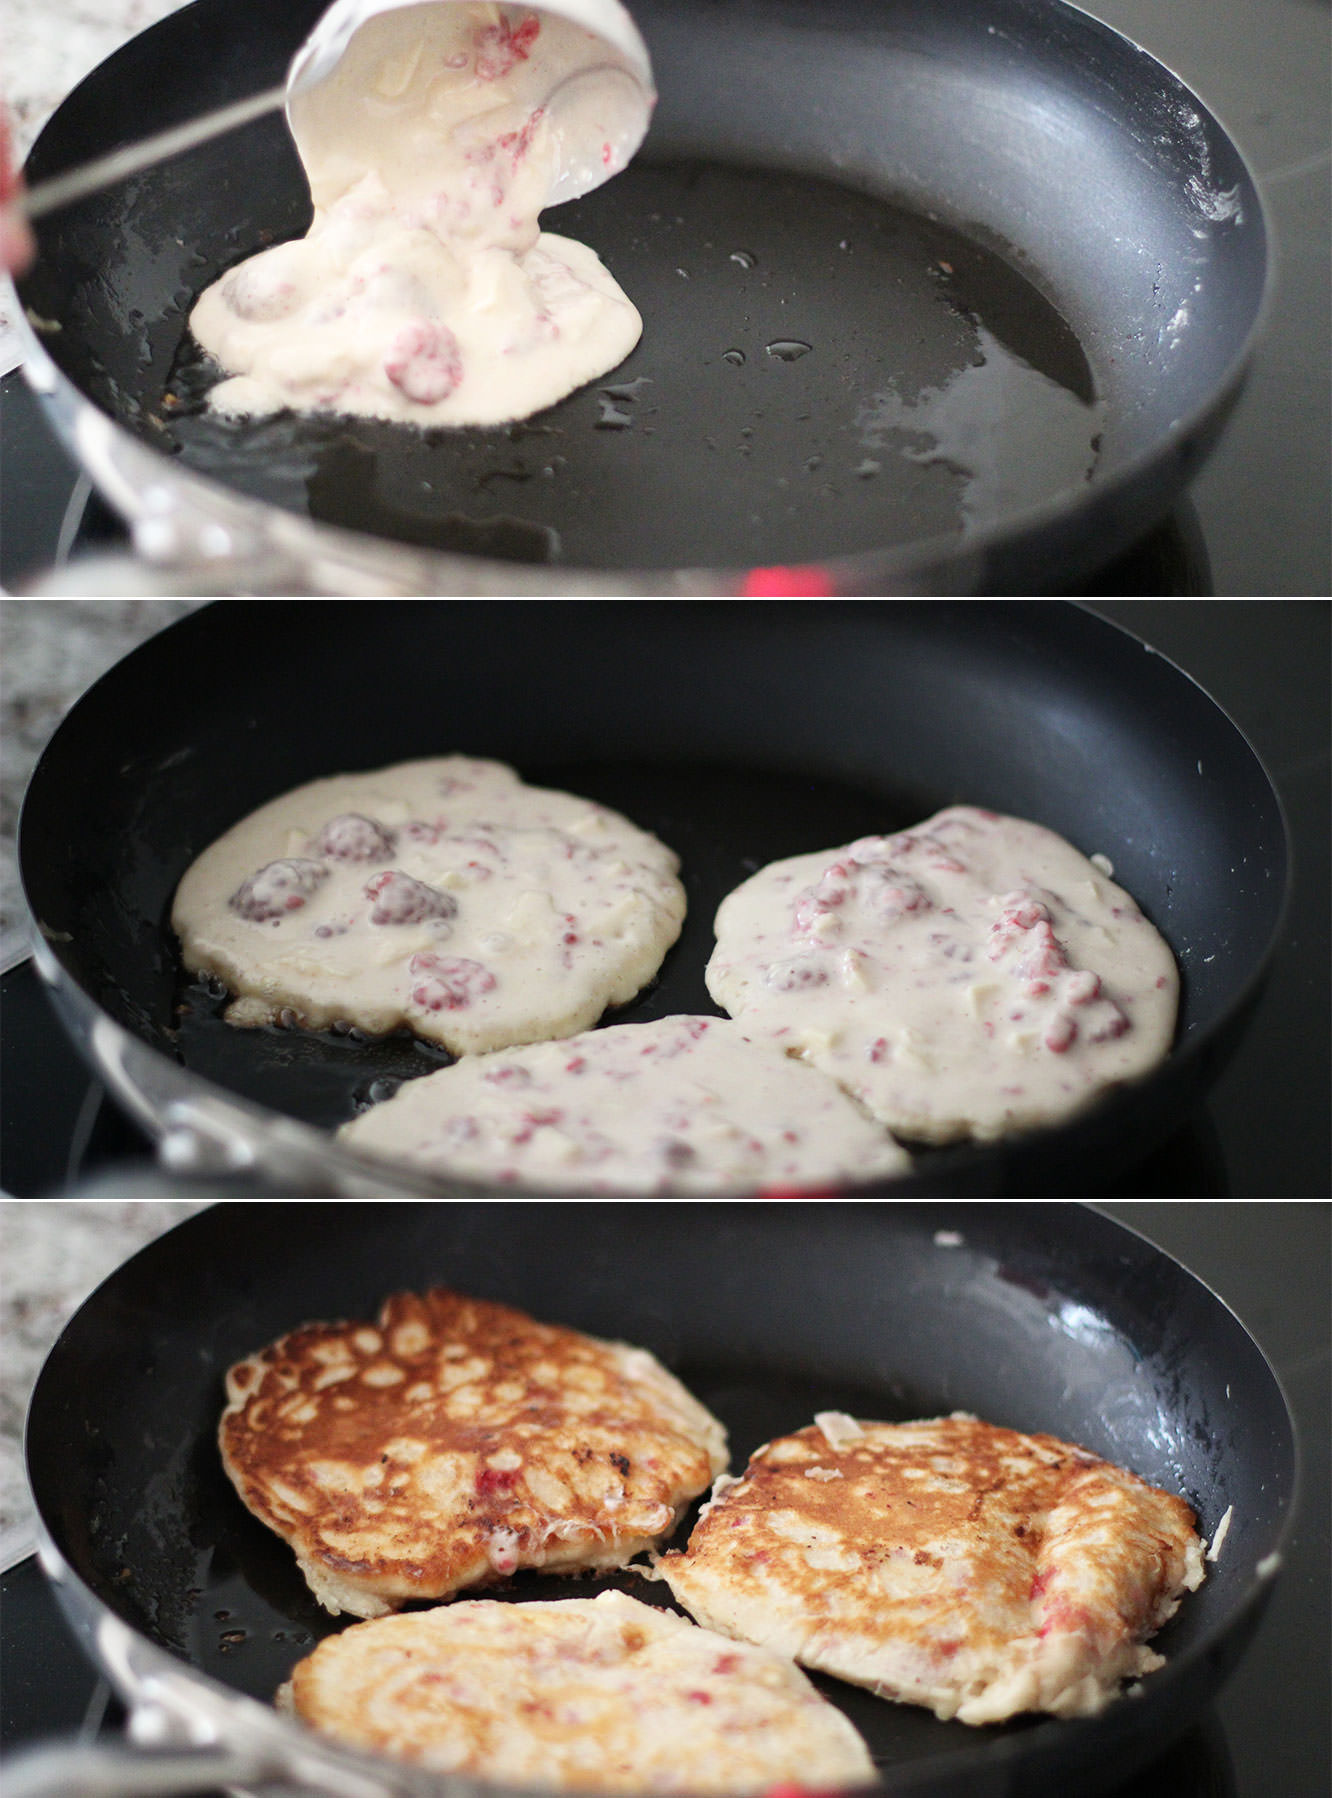
Stir the raspberries and chocolate into the batter. I squashed a few of them with the back of the spoon.

ultimate-raspberry-white-chocolate-pancake-recipe5

Step four

Cook em off.

You will find this mix a little runnier than the last one from a combo of the raspberry juice and the melting white chocolate.

Step five

Put the dark chocolate in a small bowl in the microwave and melt gradually, 20-30 seconds at a time.

ultimate-raspberry-white-chocolate-pancake-recipe-gif

ultimate-raspberry-white-chocolate-pancake-recipe6

Step six

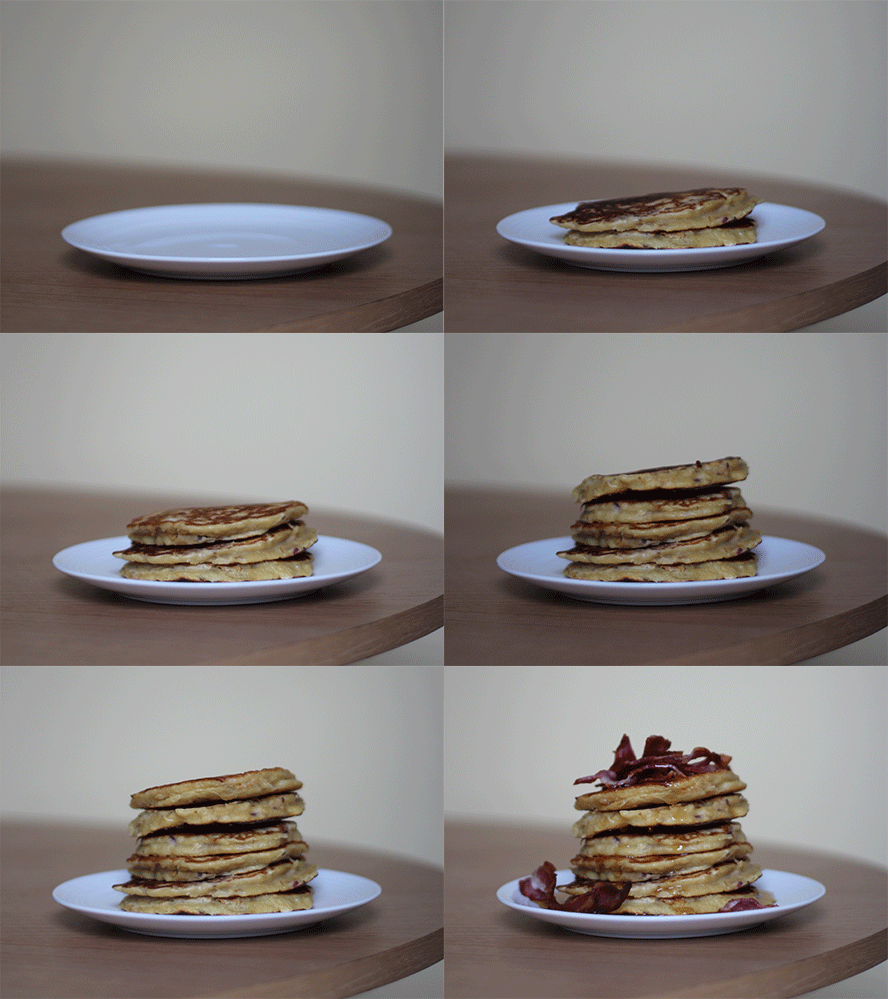
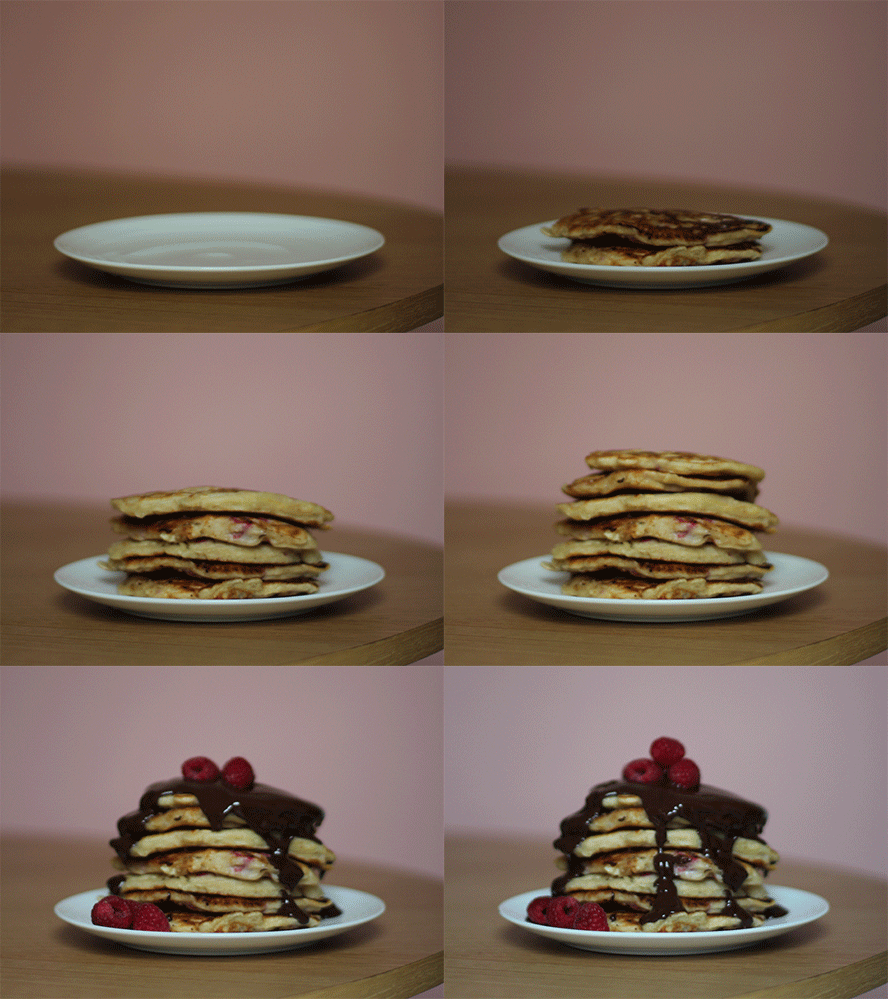
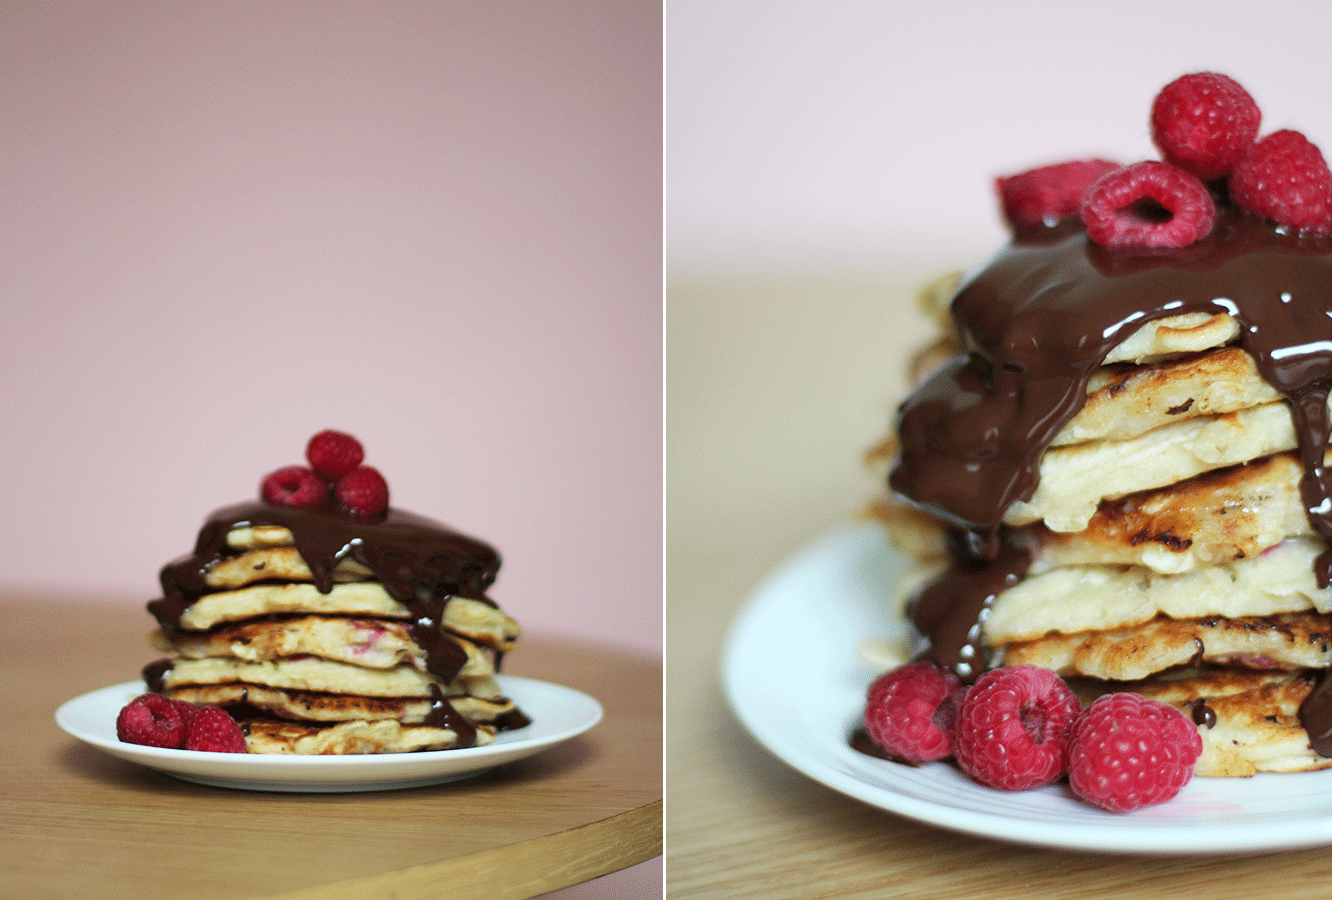
Stack them, cover in dark chocolate, enjoy.


Banana and blueberry buttermilk almond pancakes

Step one

Repeat the usual step one, you’re a pro by now. This time the buttermilk rather than the milk will make a thicker texture. Don’t forget to include the almond extract.

ultimate-banana-blueberry-almond-buttermilk-pancake-recipe5

Step two

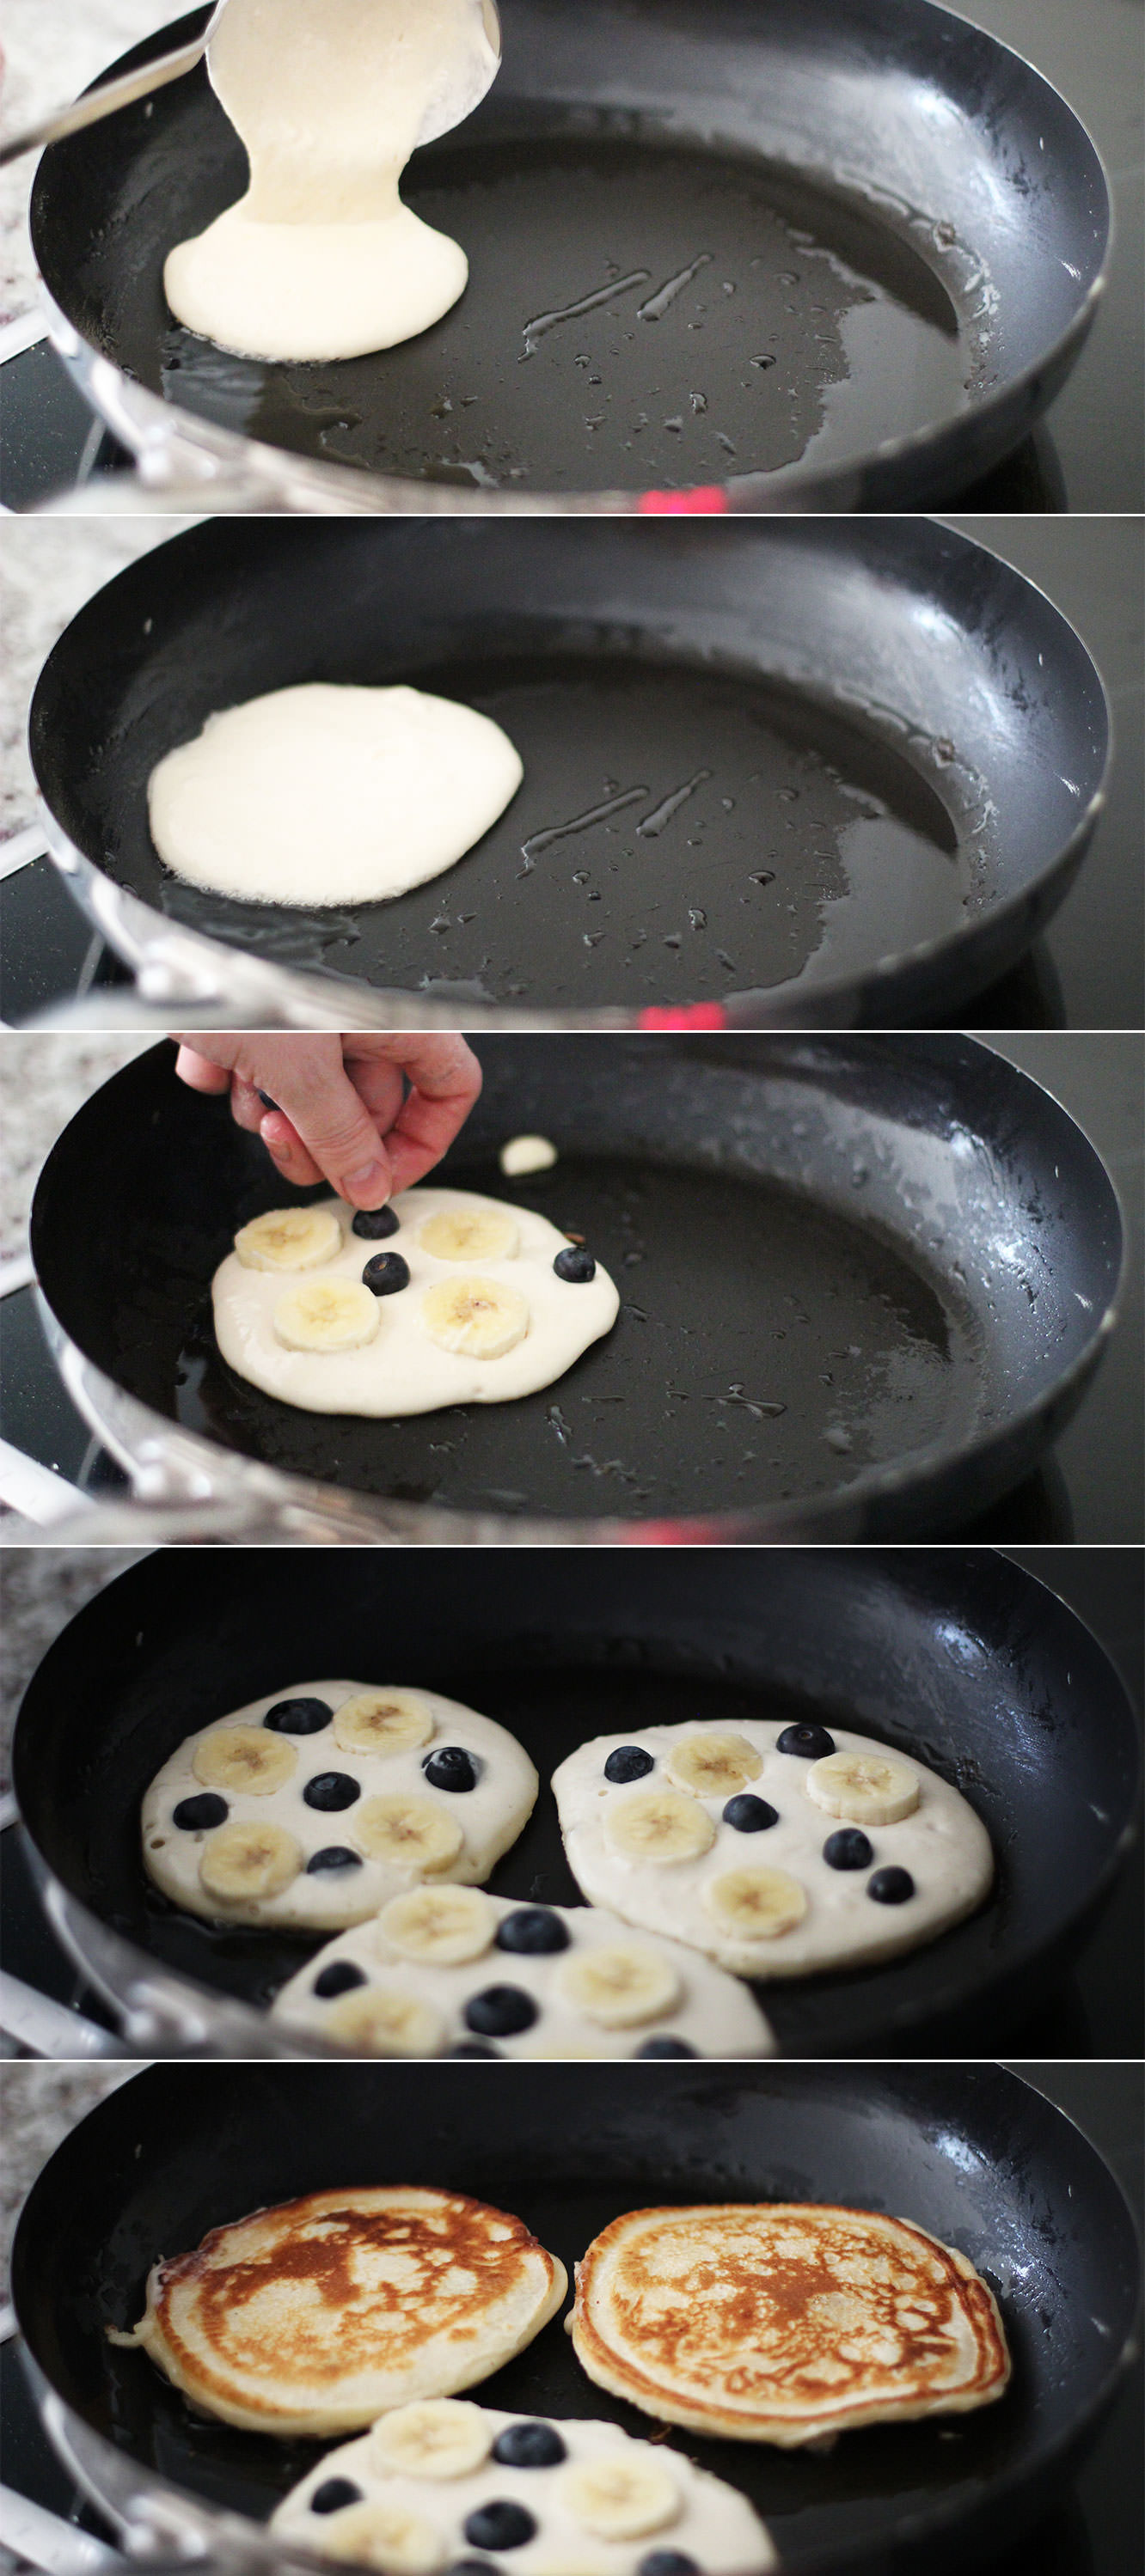
Spoon a pancake into the pan and place slices of banana and some blueberries onto the surface. Push them down a little so they don’t fall out when you flip them.

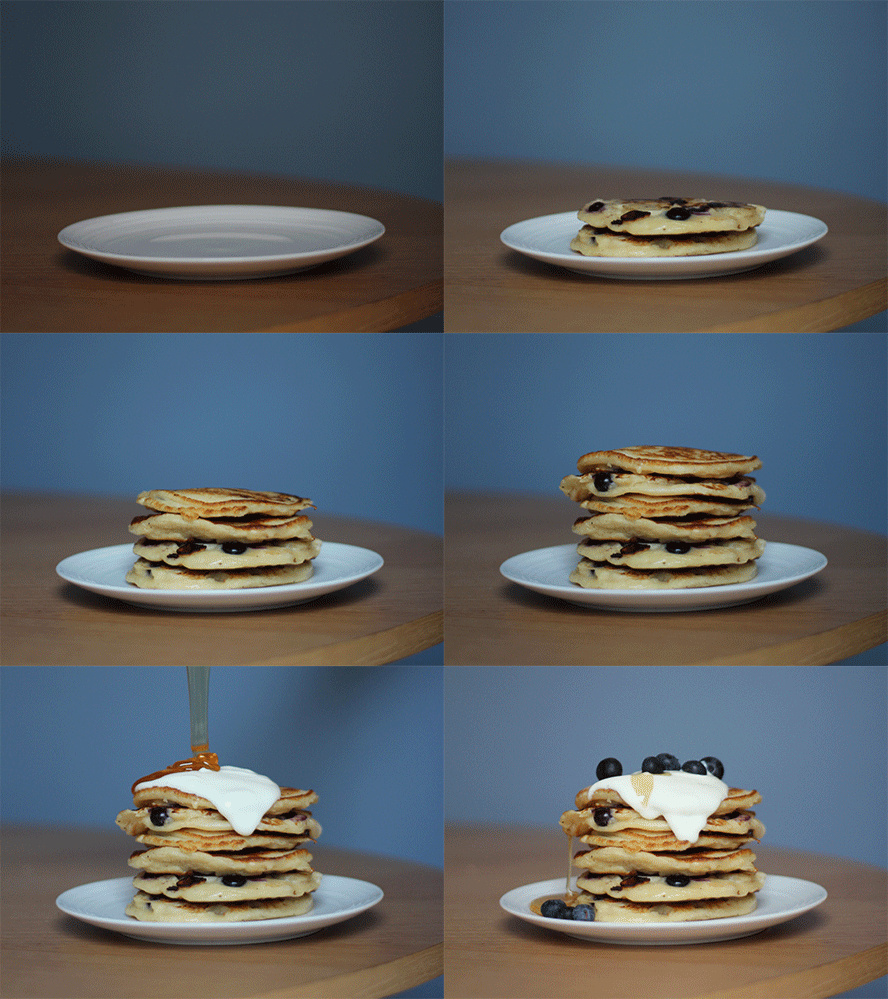
ultimate-banana-blueberry-almond-buttermilk-pancake-recipe-gif

ultimate-banana-blueberry-almond-buttermilk-pancake-recipe6

Step three

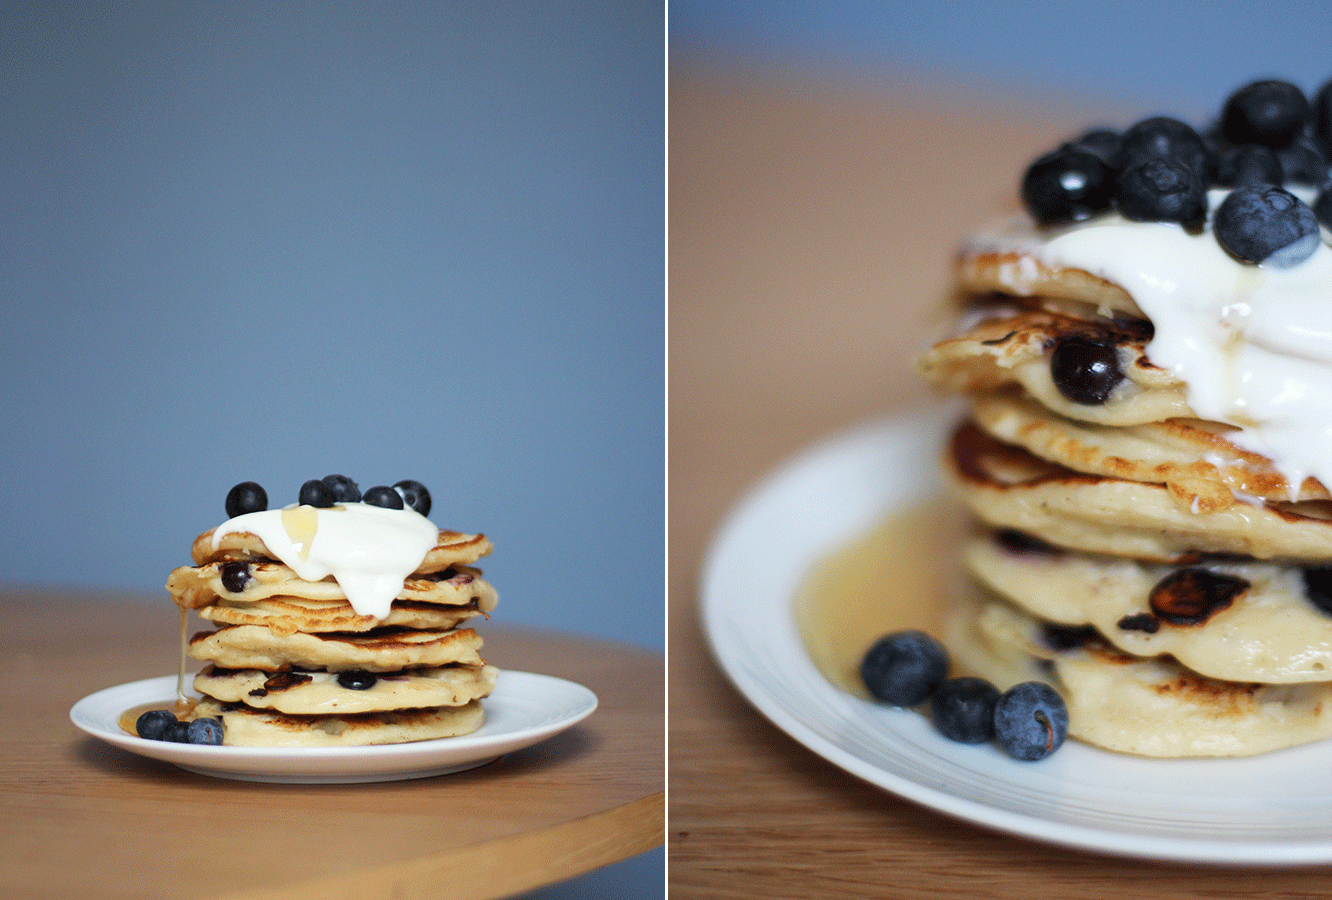
Pour some honey and natural yoghurt on top.

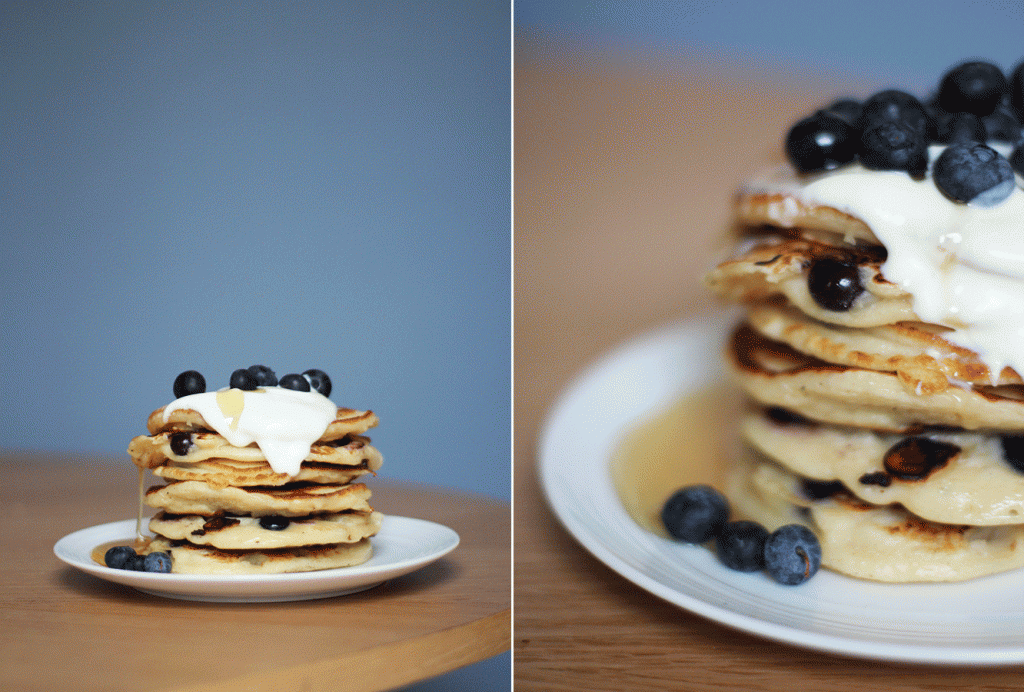
Eat until you can’t move.

Time for tea

I might have mentioned just a few times all the weddings I’m going to this summer? Just once or twice maybe? The resultant hen/bachelorette/bridal showers are a wonderful excuse to flex my culinary muscles on some afternoon tea sweet treats. So the next couple of weeks feature just that.

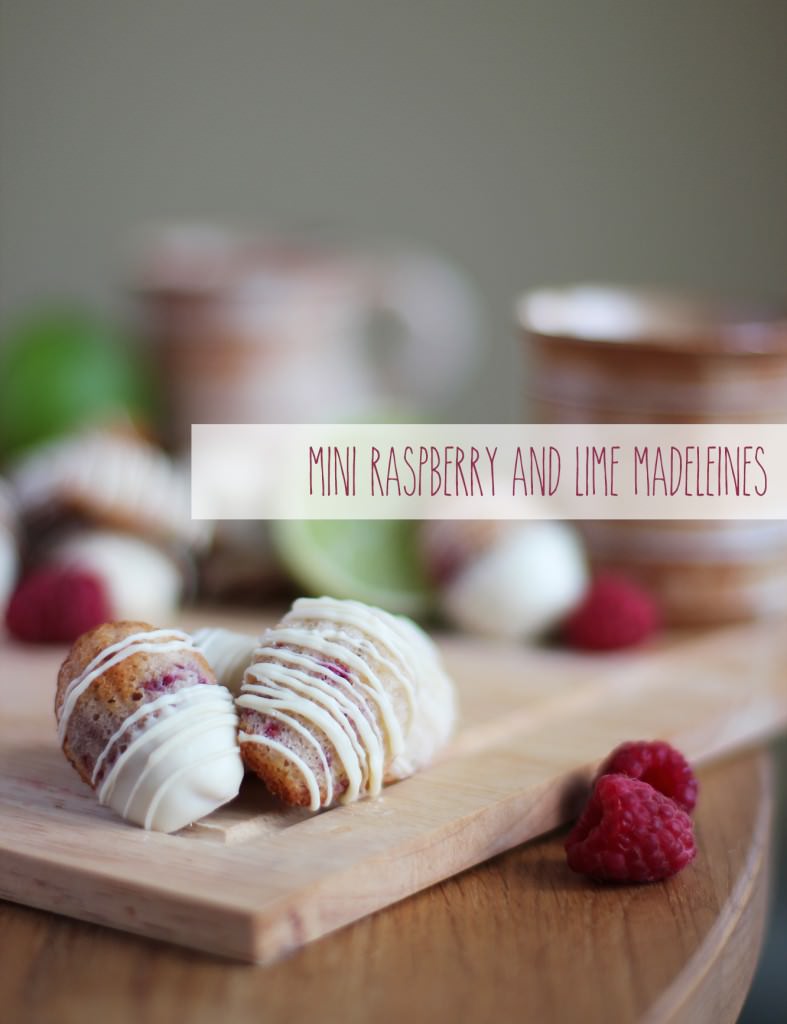
There’s one here already if you’re looking to get started, and this little post contains madeleines, a tiny French delight perfect for scoffing with tea. I decided to add some extra flavours to the classic lemon and vanilla, I’m not convinced the French would be too impressed, but you can thank me later.

Lime-and-raspberry-madeleines

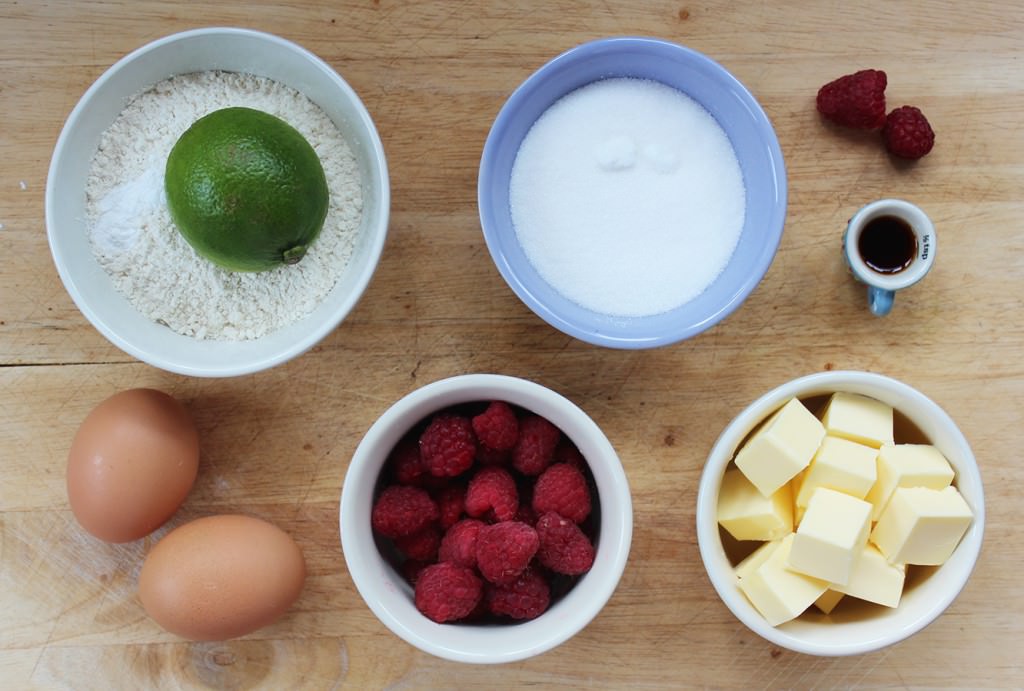
You will need:

75g/2.5 oz Caster sugar

75g/2.5 oz Plain flour

60g/2 oz Butter

2 eggs

1 tsp Vanilla extract

1 tsp Baking powder

60g/2 oz Raspberries

Zest of a lime

200g/7 oz White chocolate

Madeleine mould

Makes 10000000 (I’m sorry I forgot to count, but about 50 mini ones – maybe 25 normal size? Sufficient anyway)

Lime-and-raspberry-madeleines-2

Step one

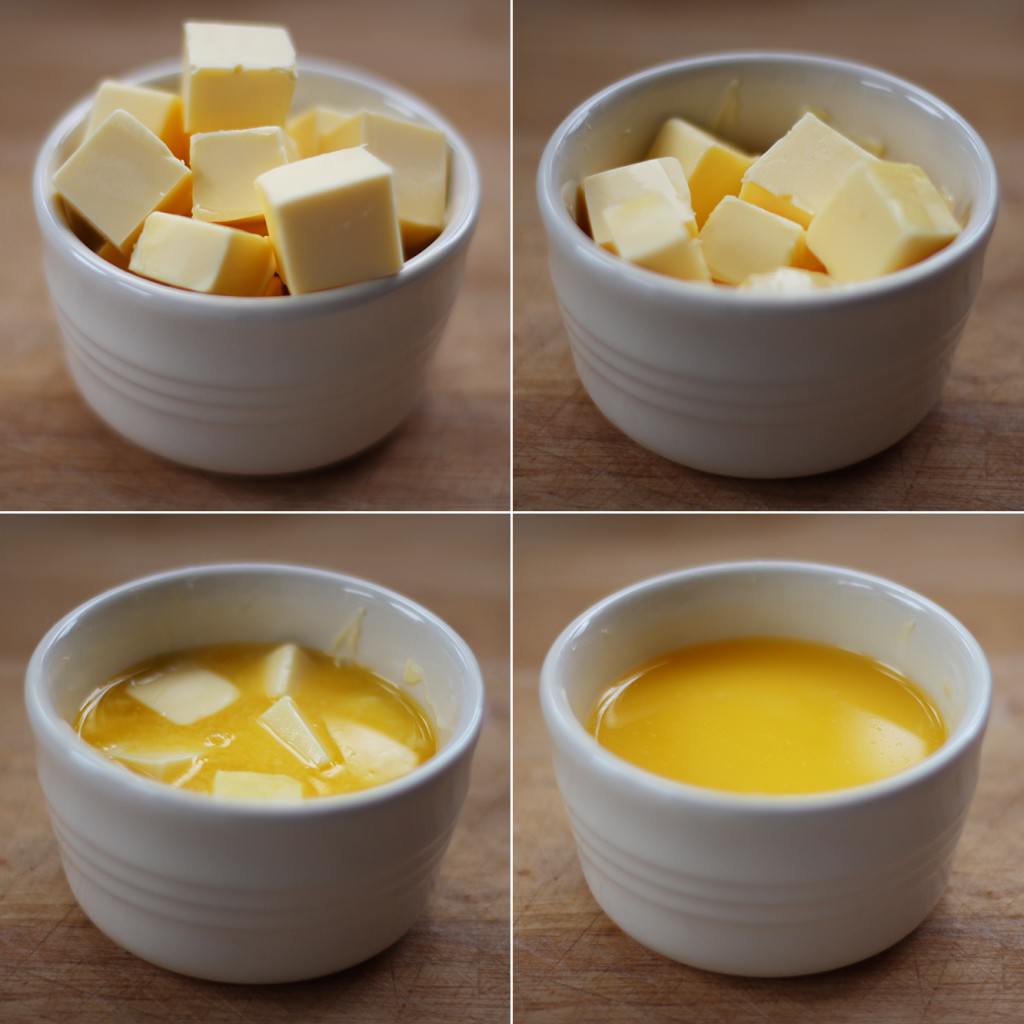
Melt all of the butter slowly in the microwave. Do this gradually until it’s just melted, none of this burning it until your house smells like popcorn nonsense please.

Lime-and-raspberry-madeleines-3

Step two

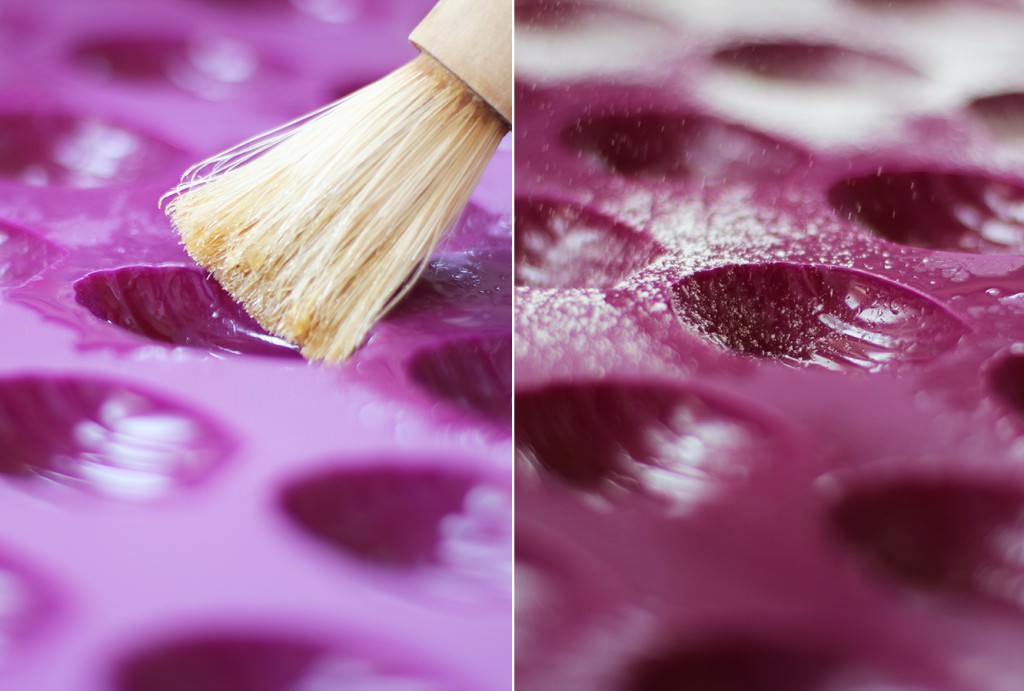
Use a splash of the butter and a pastry brush (or your (clean) fingers) to grease the mould, then dust with flour. To tell the truth if your mould is silicone I’m not entirely convinced this is necessary.

Lime-and-raspberry-madeleines-4

Step three

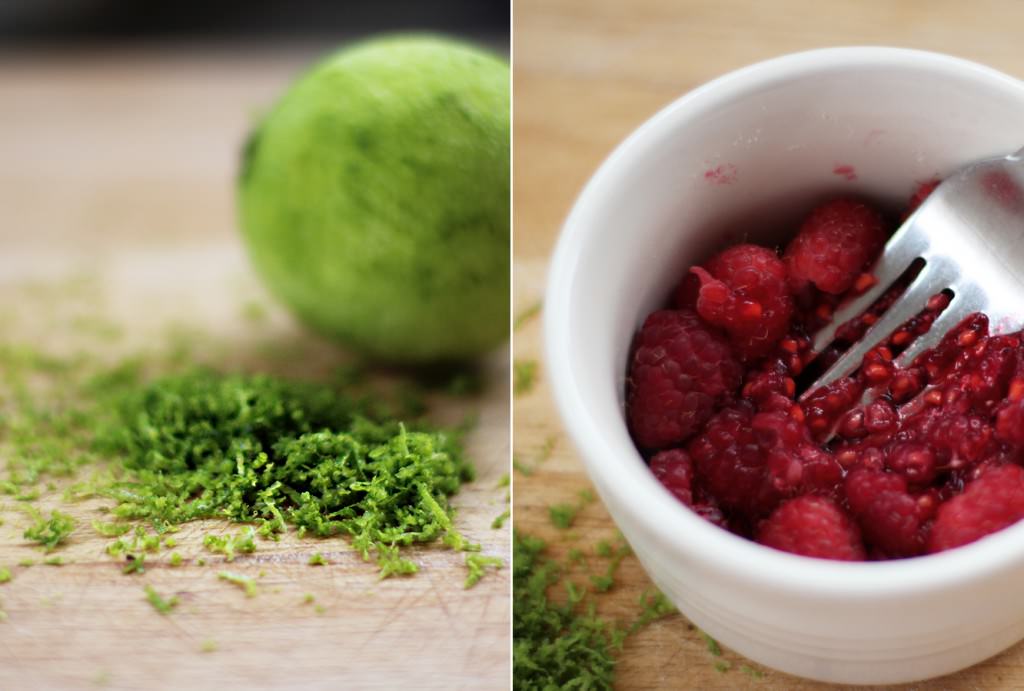
Grate a lime using the finest side of your grater and crush the raspberries with a fork. I was a little over zealous with the crushing, which made my mixture a bit greyish in the end, so don’t overdo it.

Lime-and-raspberry-madeleines-5

Step four

Finally time to make some cake!

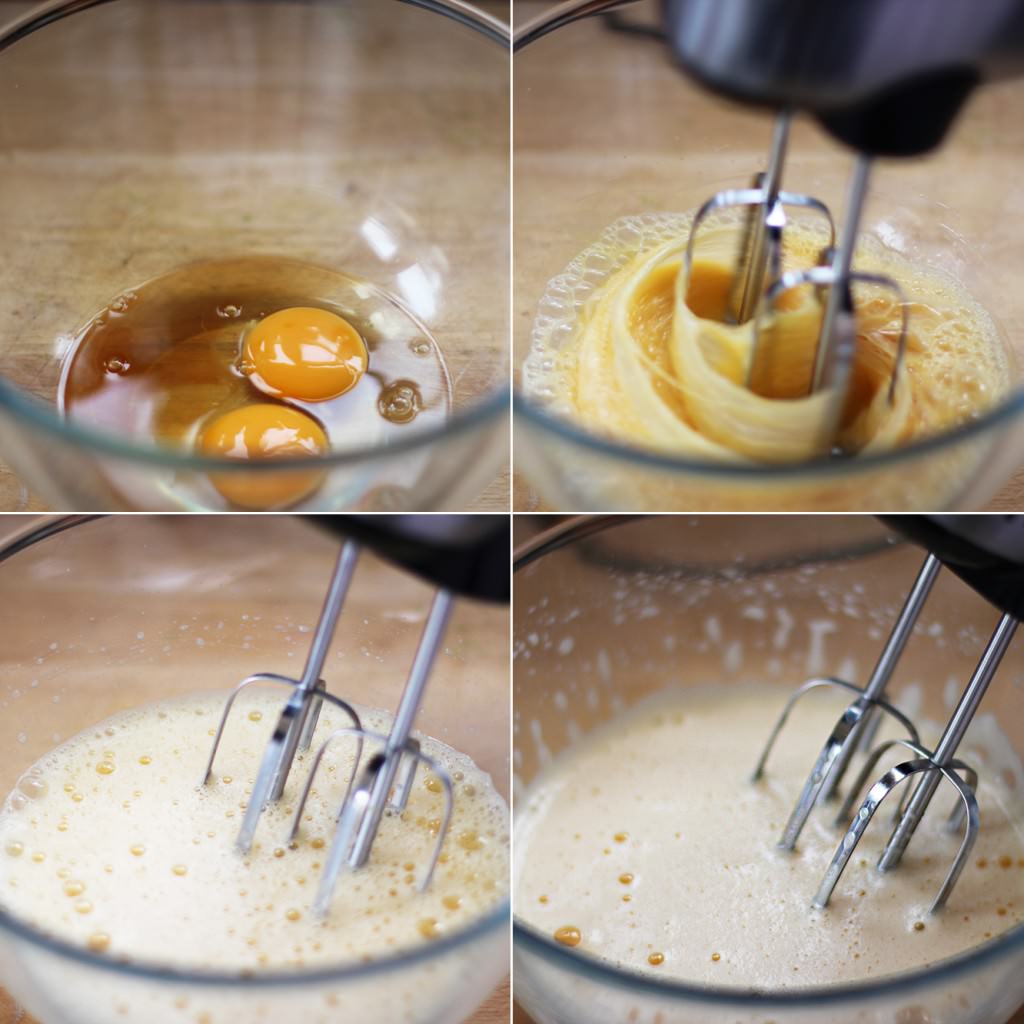
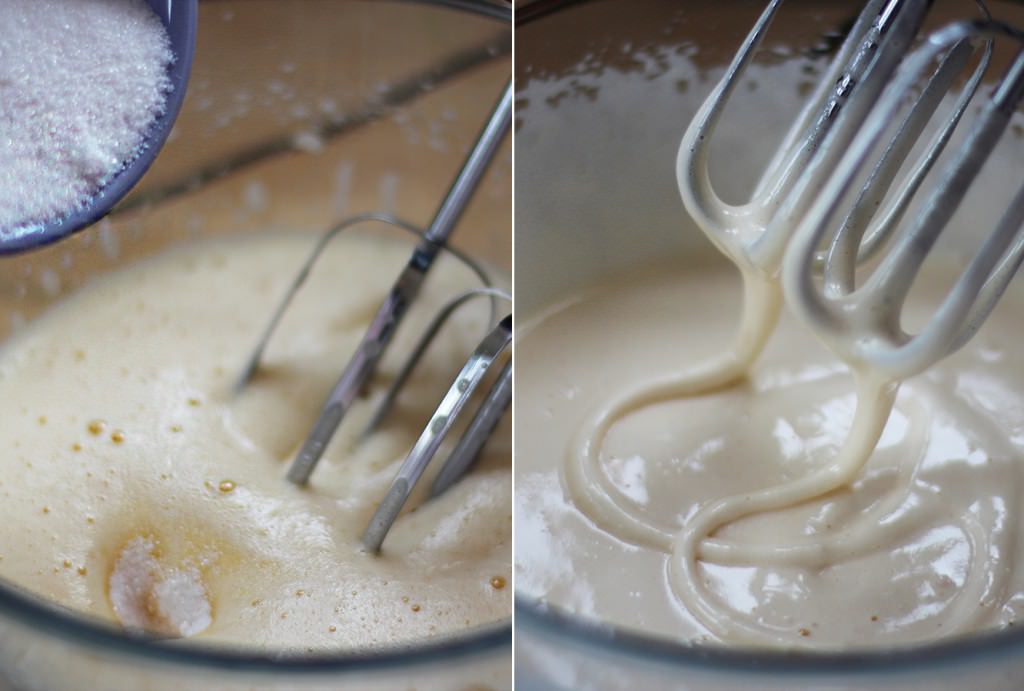
Whisk the eggs until they are light, fluffy and start to thicken. If you don’t know what that means, then whisk them until they look like the bottom right hand picture.

Lime-and-raspberry-madeleines-6

Step five

Carry on whisking gradually adding the sugar. The mixture will thicken and will look less bubbly. Keep going until lifting your whisk leaves ribbons of mixture in the bowl.

Lime-and-raspberry-madeleines-7

Step six, seven and eight

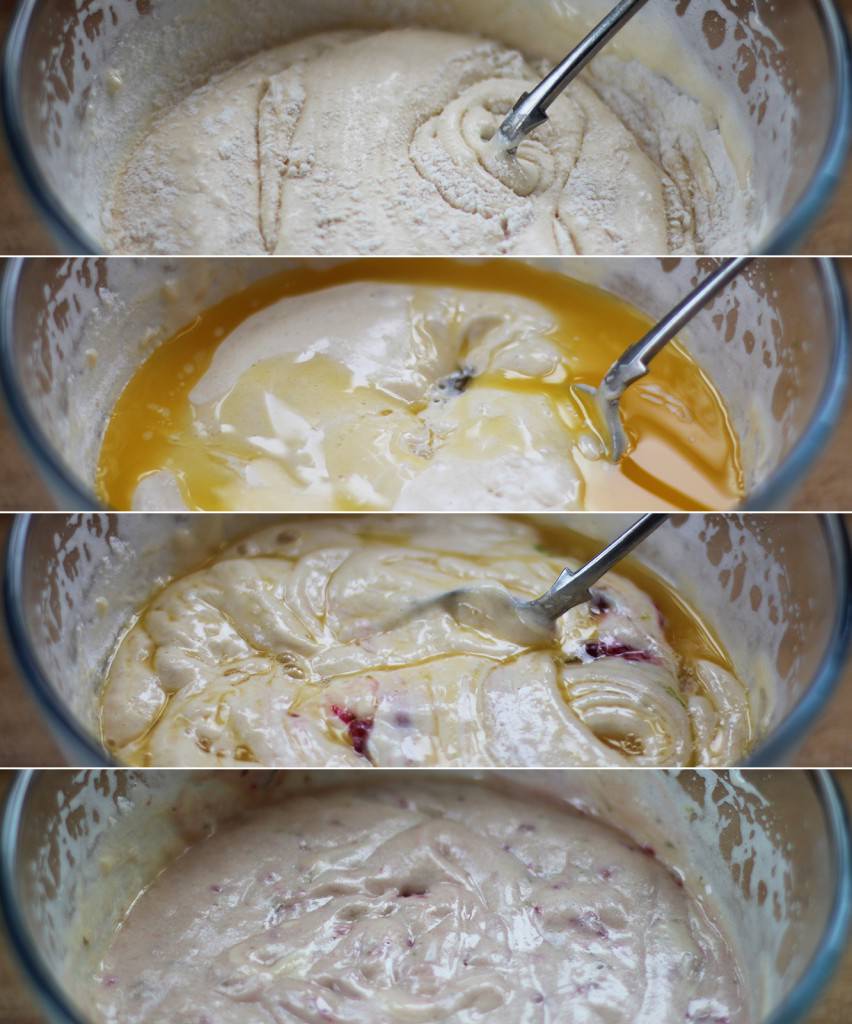
Gently fold in the flour and baking powder with a metal spoon until fully combined.

Add the melted butter. This is weird right? Thanks France…

Whilst folding in the butter add the crushed raspberries, lime zest and vanilla extract. Keep stirring until it’s completely combined. Remember though, softly softly…think about stirring a bowl of baby bunnies.

Lime-and-raspberry-madeleines-8

Step nine

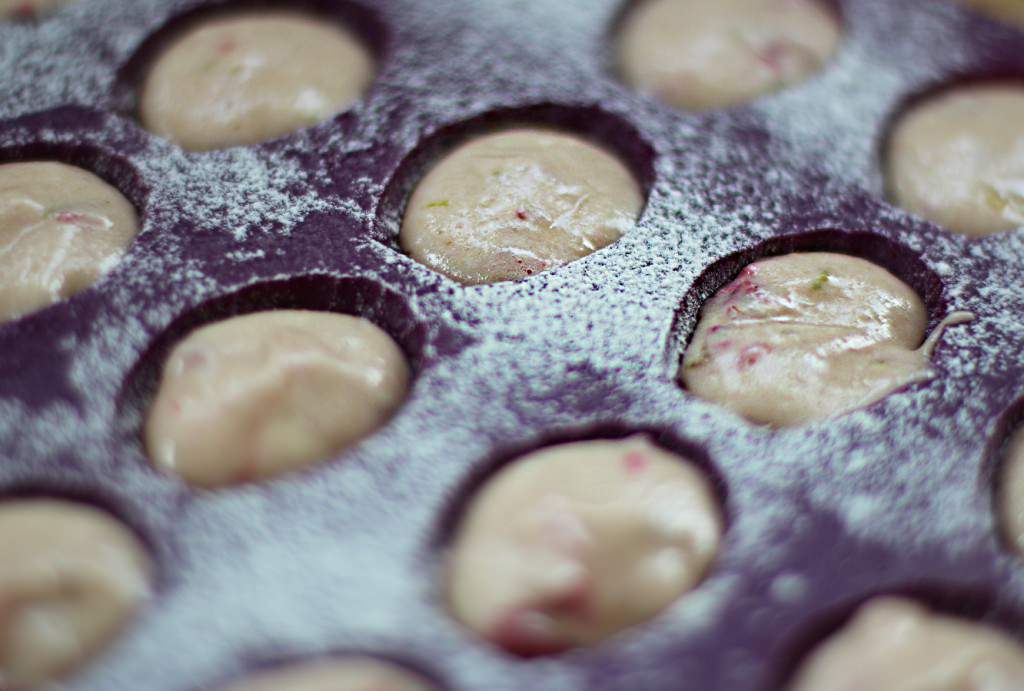
Spoon into mould and cook for 15 minutes on Gas mark 5/190 C/375 F. Leave to cool.

Lime-and-raspberry-madeleines-9

Step ten

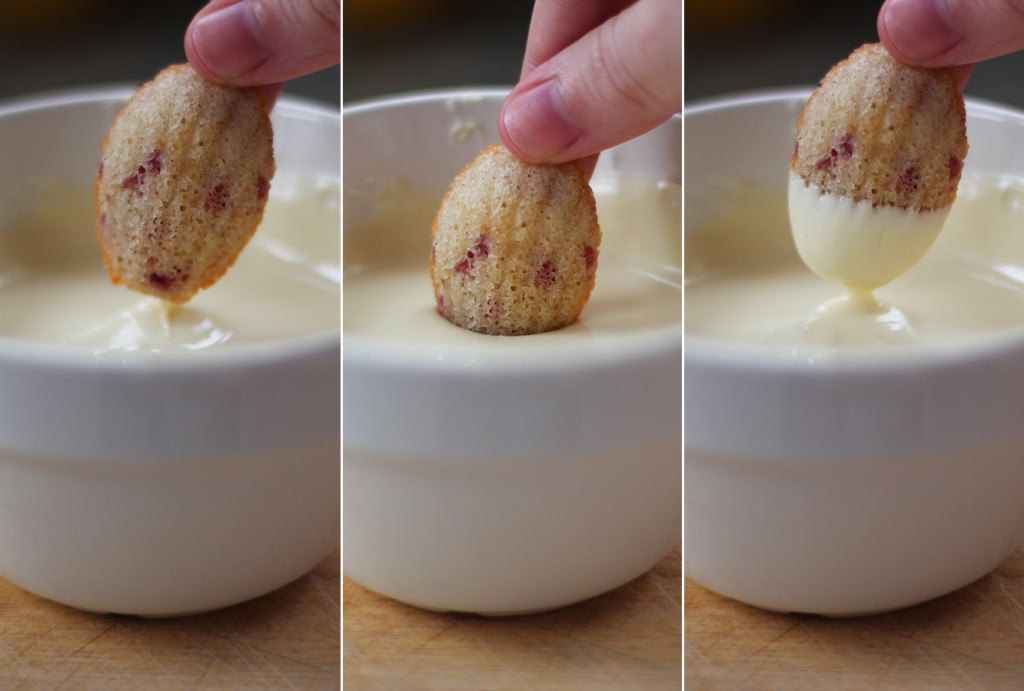
Once your madeleines have cooled melt some white chocolate in the microwave and give them a little dunk. I also used a piping bag and the remaining chocolate to drizzle over them when I was done dipping.

Lime-and-raspberry-madeleines-10

Step eleven

Legitimately use the word voila.


Lots of little kisses

Recently I have been partying down with some of the lovely hens (bachelorettes for those of you across the pond) in my life who are getting married this summer. My friends are definitely going wedding crazy at the moment, and with hen parties springing up every other weekend I thought I would put together a yummy recipe for any keen party planners, or any of you who fancied a new afternoon tea recipe.

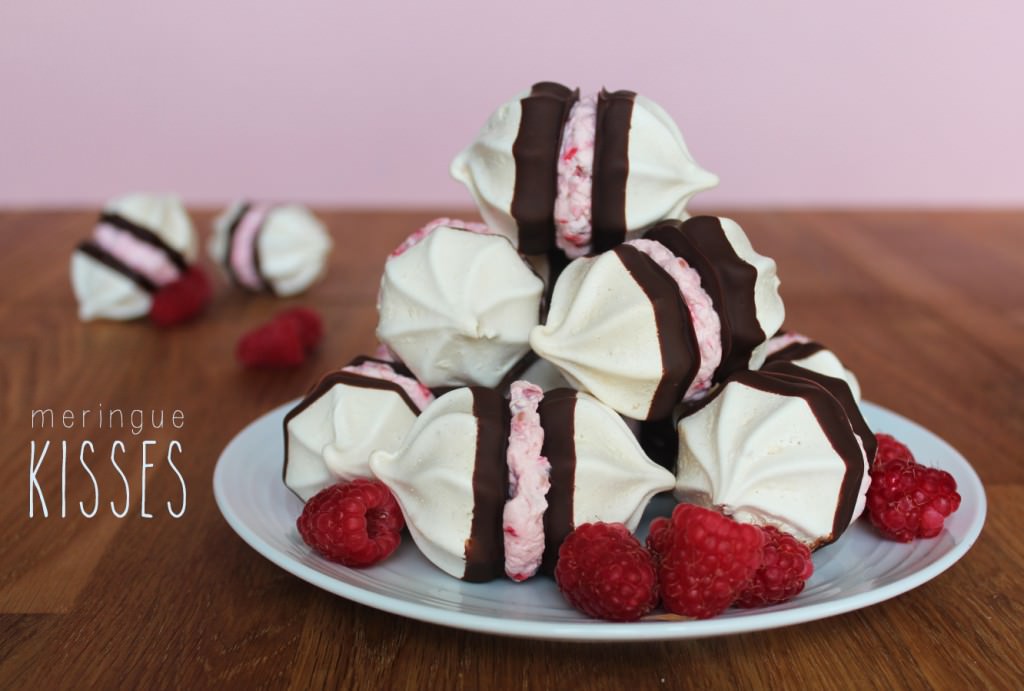
Introducing these lovely little meringue kisses. Although any of the wedding party who are on diets might want to look away now…

meringue-kisses-1

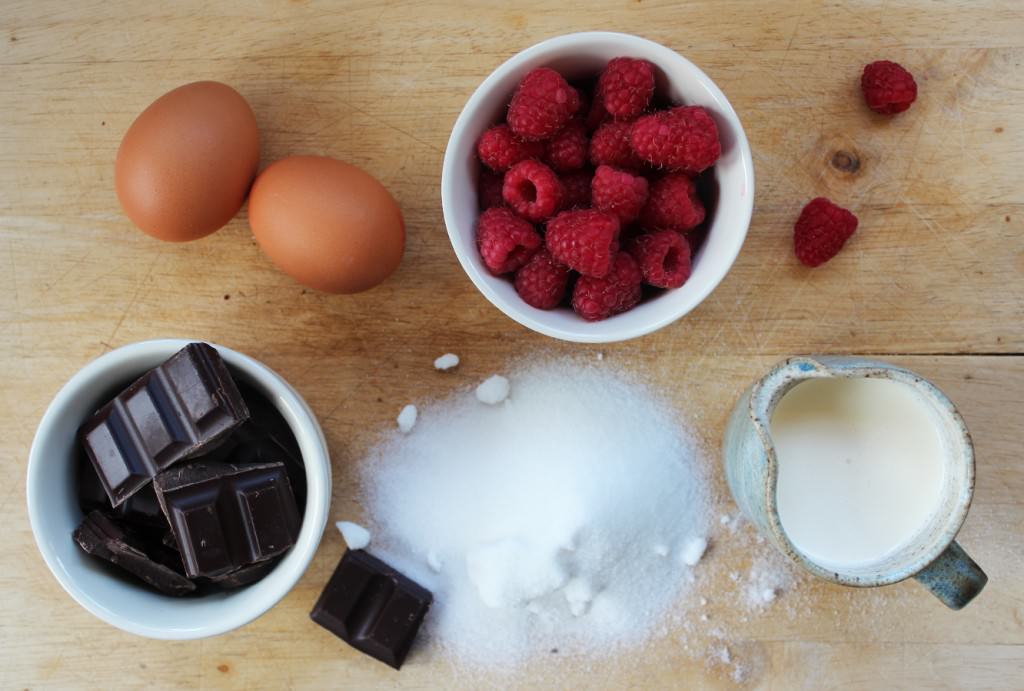
You will need

2 egg whites

110g/4 oz caster sugar

100g/3.5 oz dark chocolate

150ml double cream

75g/2.5 oz raspberries

Makes 20

meringue-kisses-2

Step one

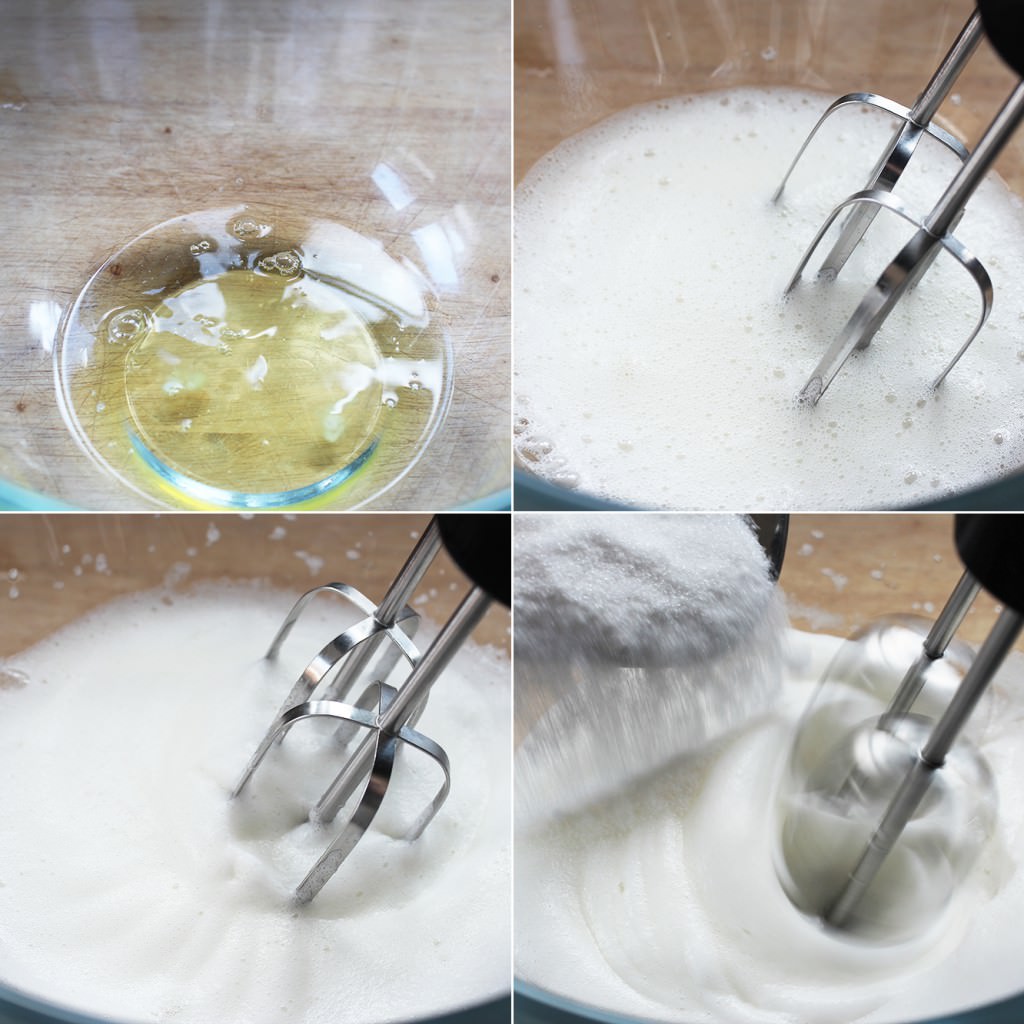
Separate eggs whites into a glass or metal mixing bowl (plastic tends to hold a bit of grease, gross I know, but this will stop your egg whites fluffing like they should).

Use an electronic whisk (or a really strong arm) to whip the whites until they double in size and start to stiffen up.

Once they look kind of like the third photo start adding in the sugar as you whisk.

meringue-kisses-3

Step one and a half

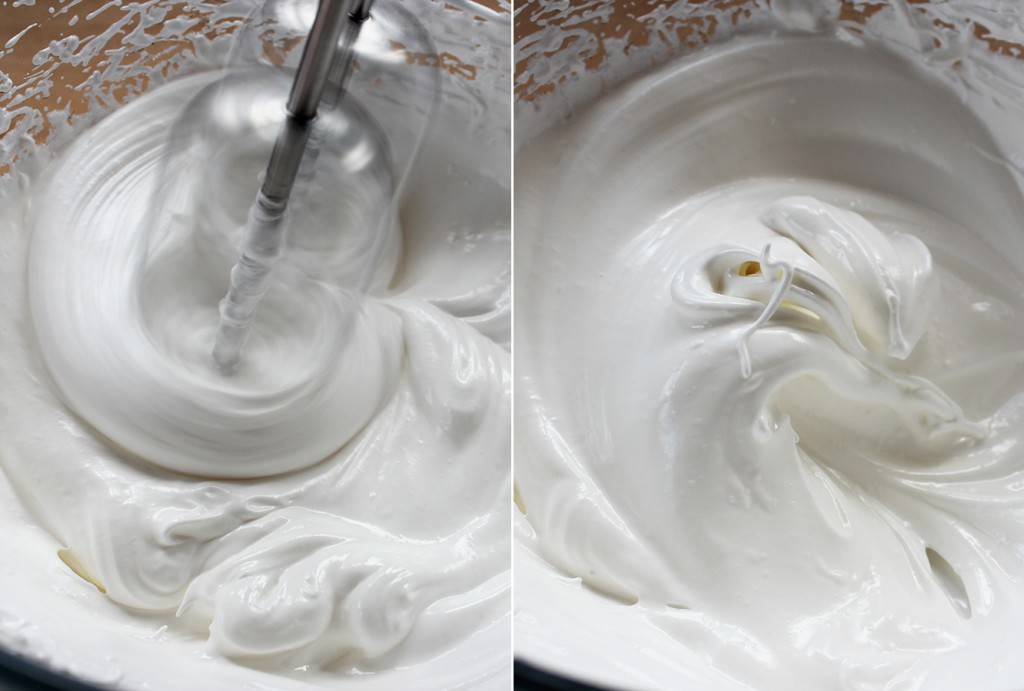
Keep whisking until you have what’s known in the biz as stiff peaks. If you’re a bit unsure, turn your bowl upside down, if your mix doesn’t fall out then you’re good to go, if it does then I’m sorry.

meringue-kisses-4

Step two

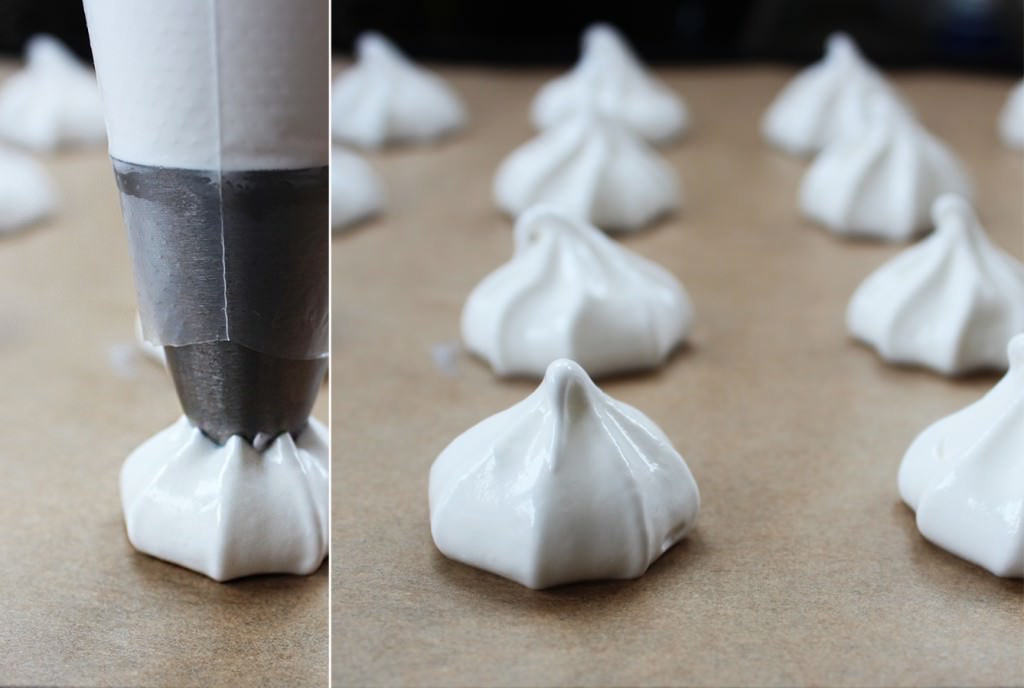
Cover two baking trays in greaseproof paper or baking parchment. Don’t whatever you do grease this, use a dab of meringue in each corner to secure it to the tray.

Fill a piping bag with the meringue mix and pipe lots of little blobs. Hold the piping bag about 2cm away from the tray at a 90 degree angle and squeeze down, once your meringue has reached the desired spread (say 4cm wide?) pull away quickly.

Remember to pipe in pairs, no odd numbers, and leave a little space for these to expand.

meringue-kisses-5

Step three

Bake.

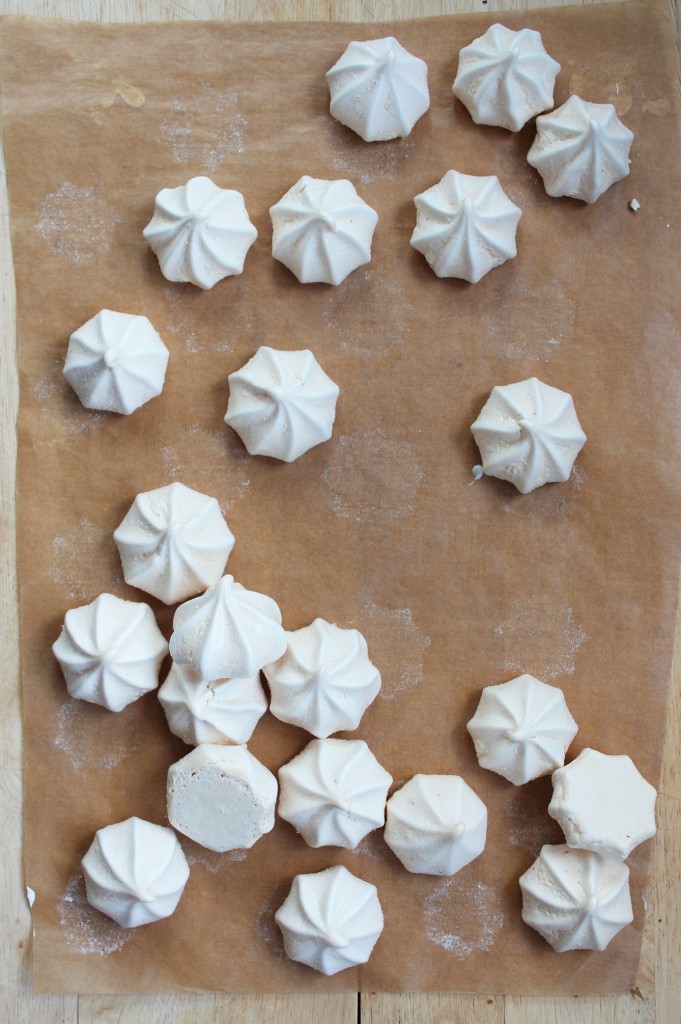
Gas Mark 1/2, 130 degrees C or 250 degree F for 40 minutes to an hour. I know, that’s really unhelpful, but I sort of went jogging, and my oven is a law unto itself.

Once you can see they’ve grown and have developed shells, turn the oven off and wait for it to cool before removing them. If you need to take a peek by opening the oven door, try not to throw it wide, or your meringues will crack.

meringue-kisses-6

Step four

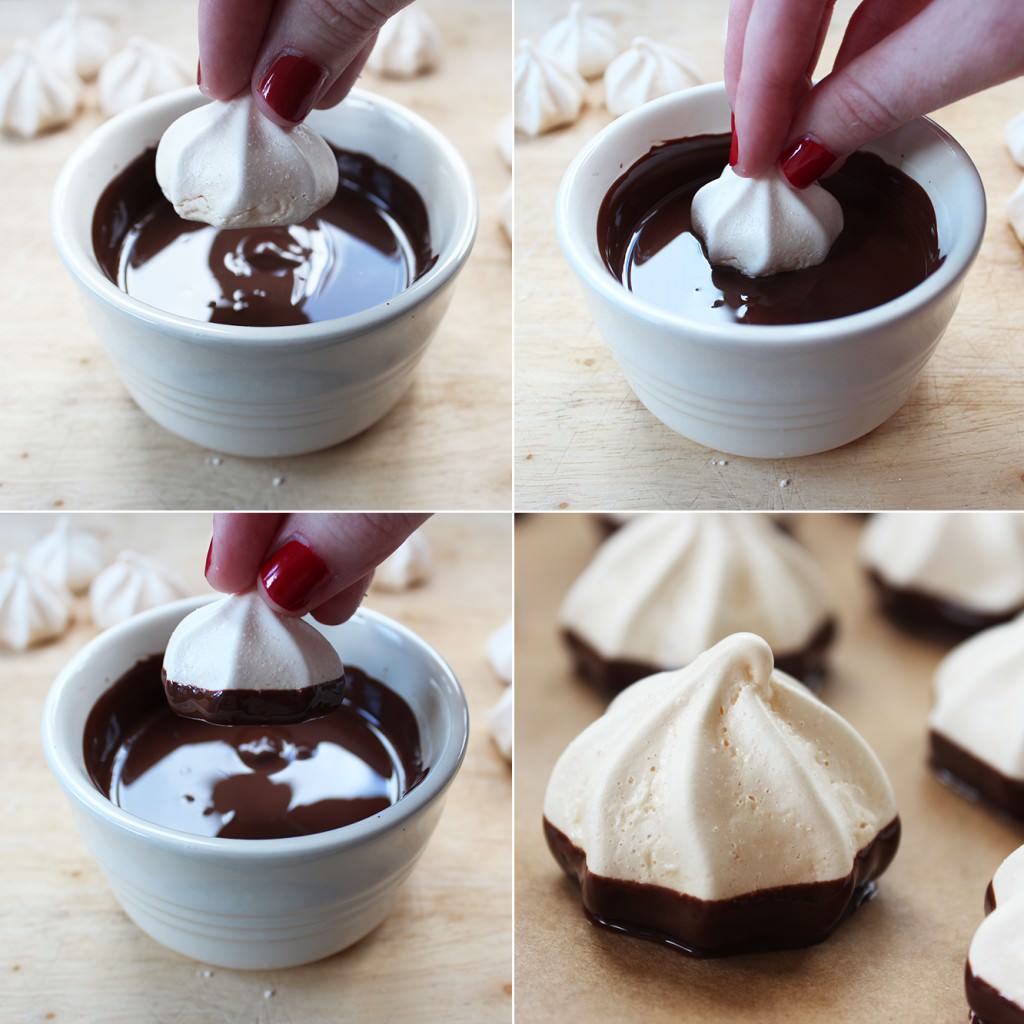
Melt the dark chocolate in a small bowl/ramekin. Do this gradually in the microwave so you don’t burn the chocolate.

Dip each meringue so that the bottom an a little bit of the side is covered. Sit on greaseproof paper and leave to set.

meringue-kisses-7

Step five

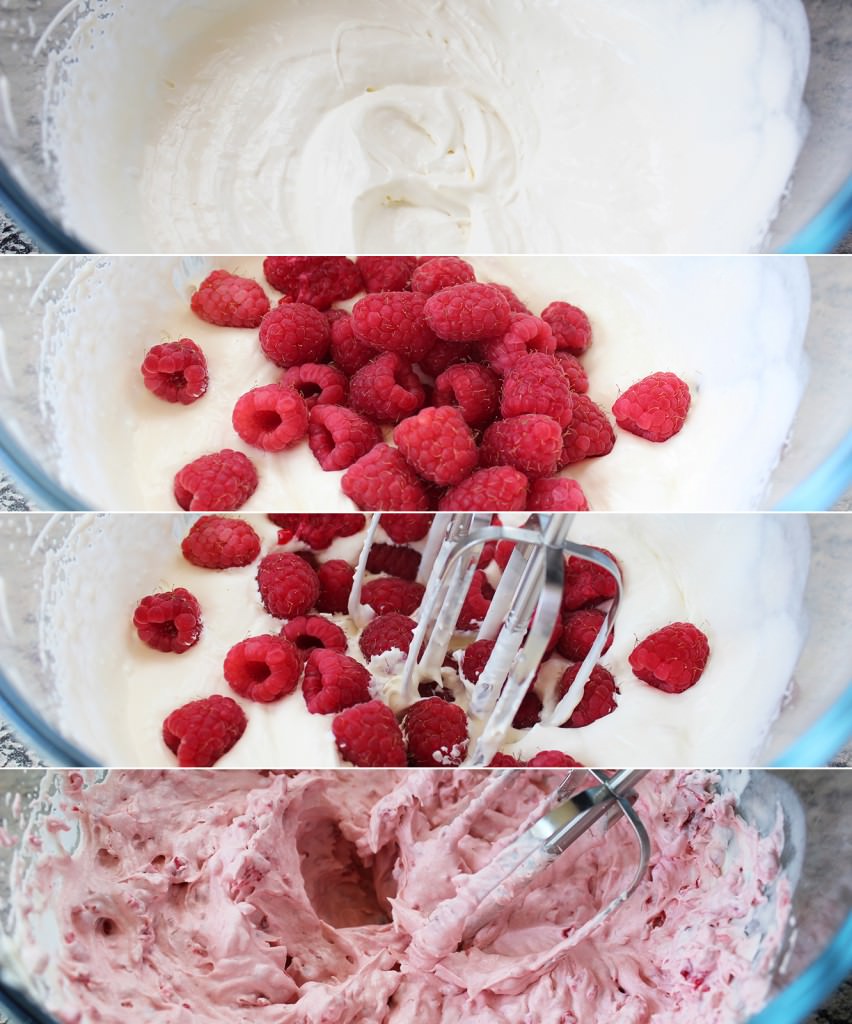
Whisk the double cream until it has doubled in size and is beginning to hod it’s shape.

Add the raspberries and whisk some more. This is pretty satisfying for some reason.

meringue-kisses-8

Step six

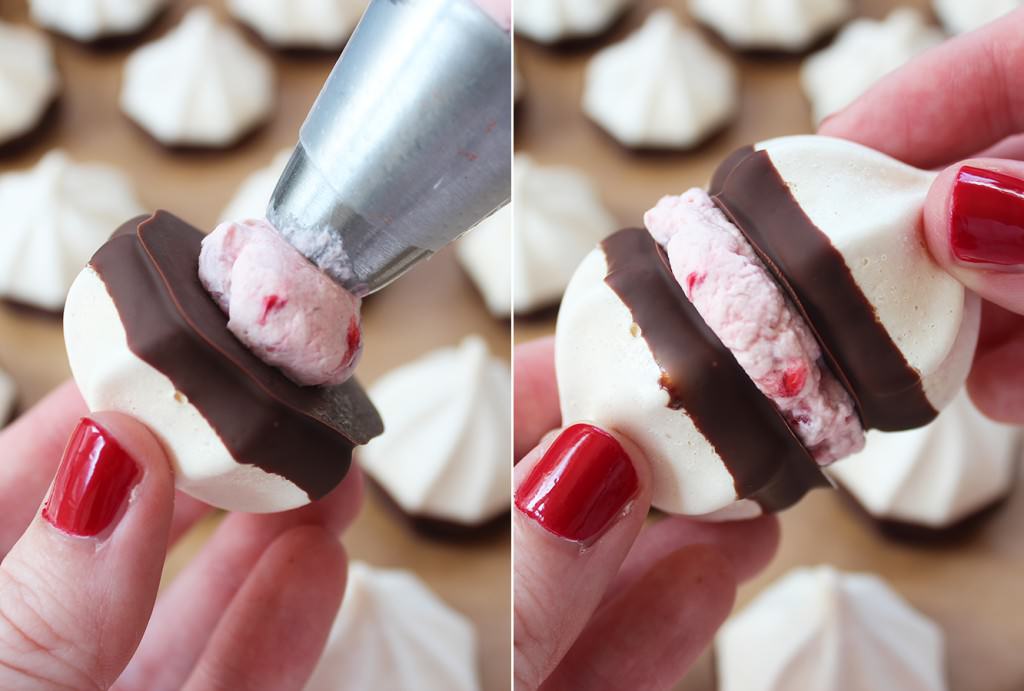
Pipe the raspberry cream onto a shell and squish another one on top. Repeat until finished.

meringue-kisses-9

meringue-kisses-10

Step seven

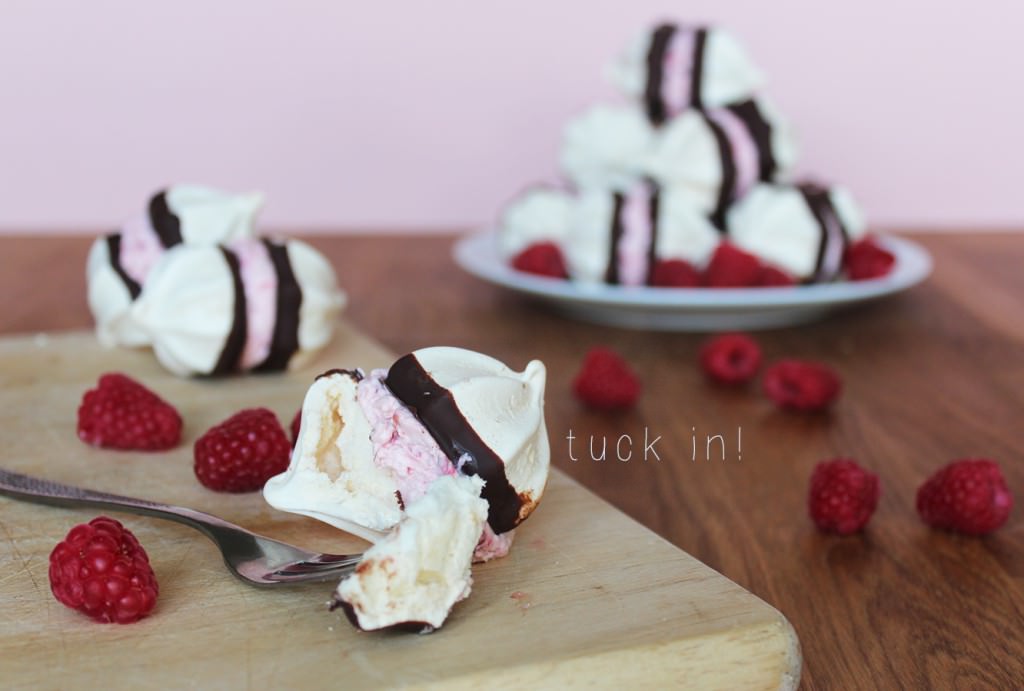
Enjoy!