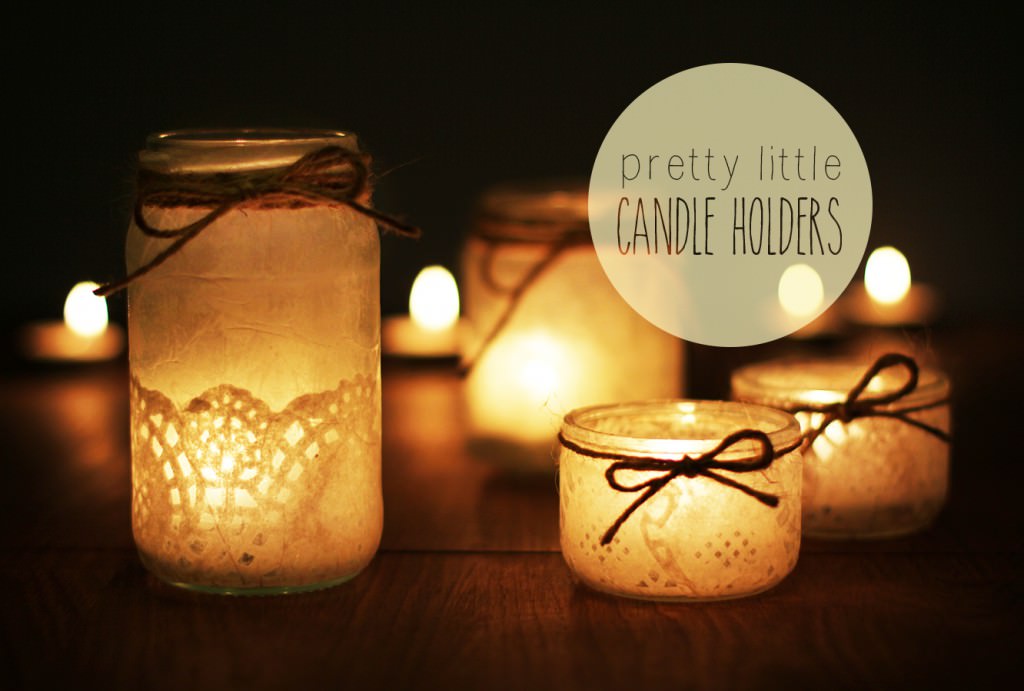
Winter is fast approaching and it’s time to get cosy. Cosy equals candles. At least it does this week, because I had left over spray paint from my mat making, and I really like spray painting things. Like really like it. In an unhealthy way.
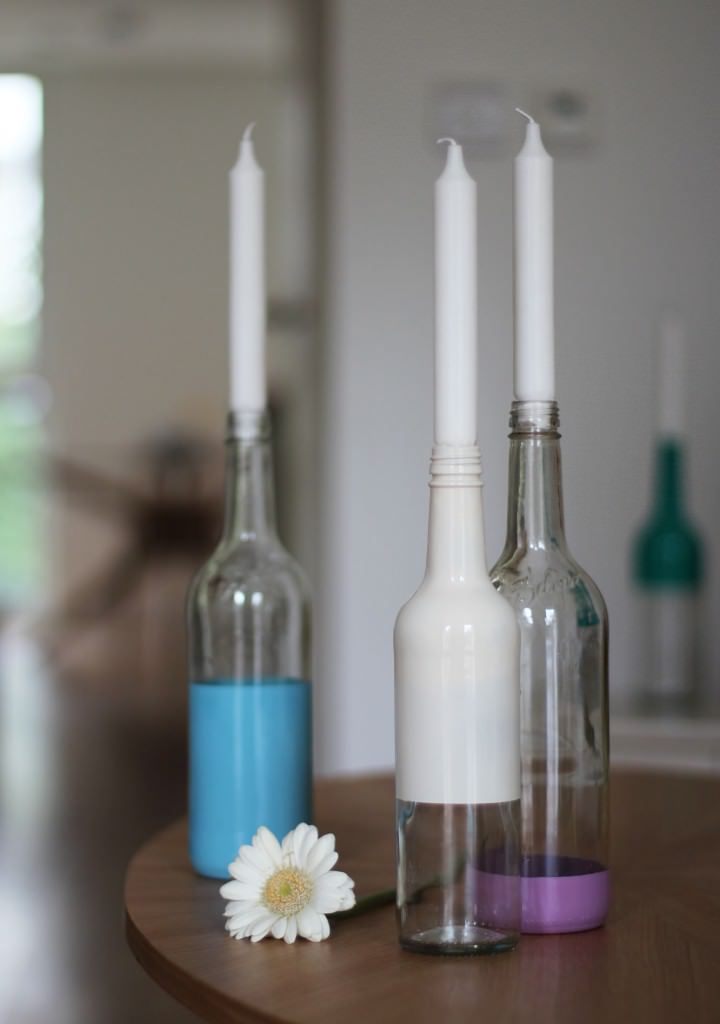
This is a pretty easy quick make, and is satisfyingly effective. I recommend it for adding a bit of pizazz at a dinner party or even for sticking a couple of flower stems in rather than candles.
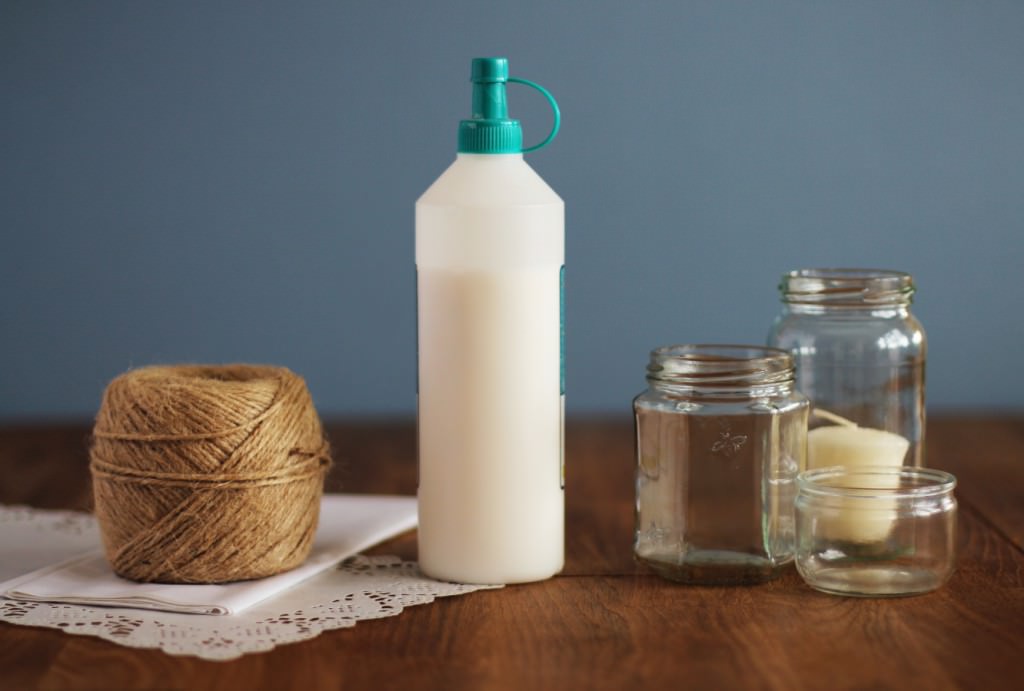
You will need
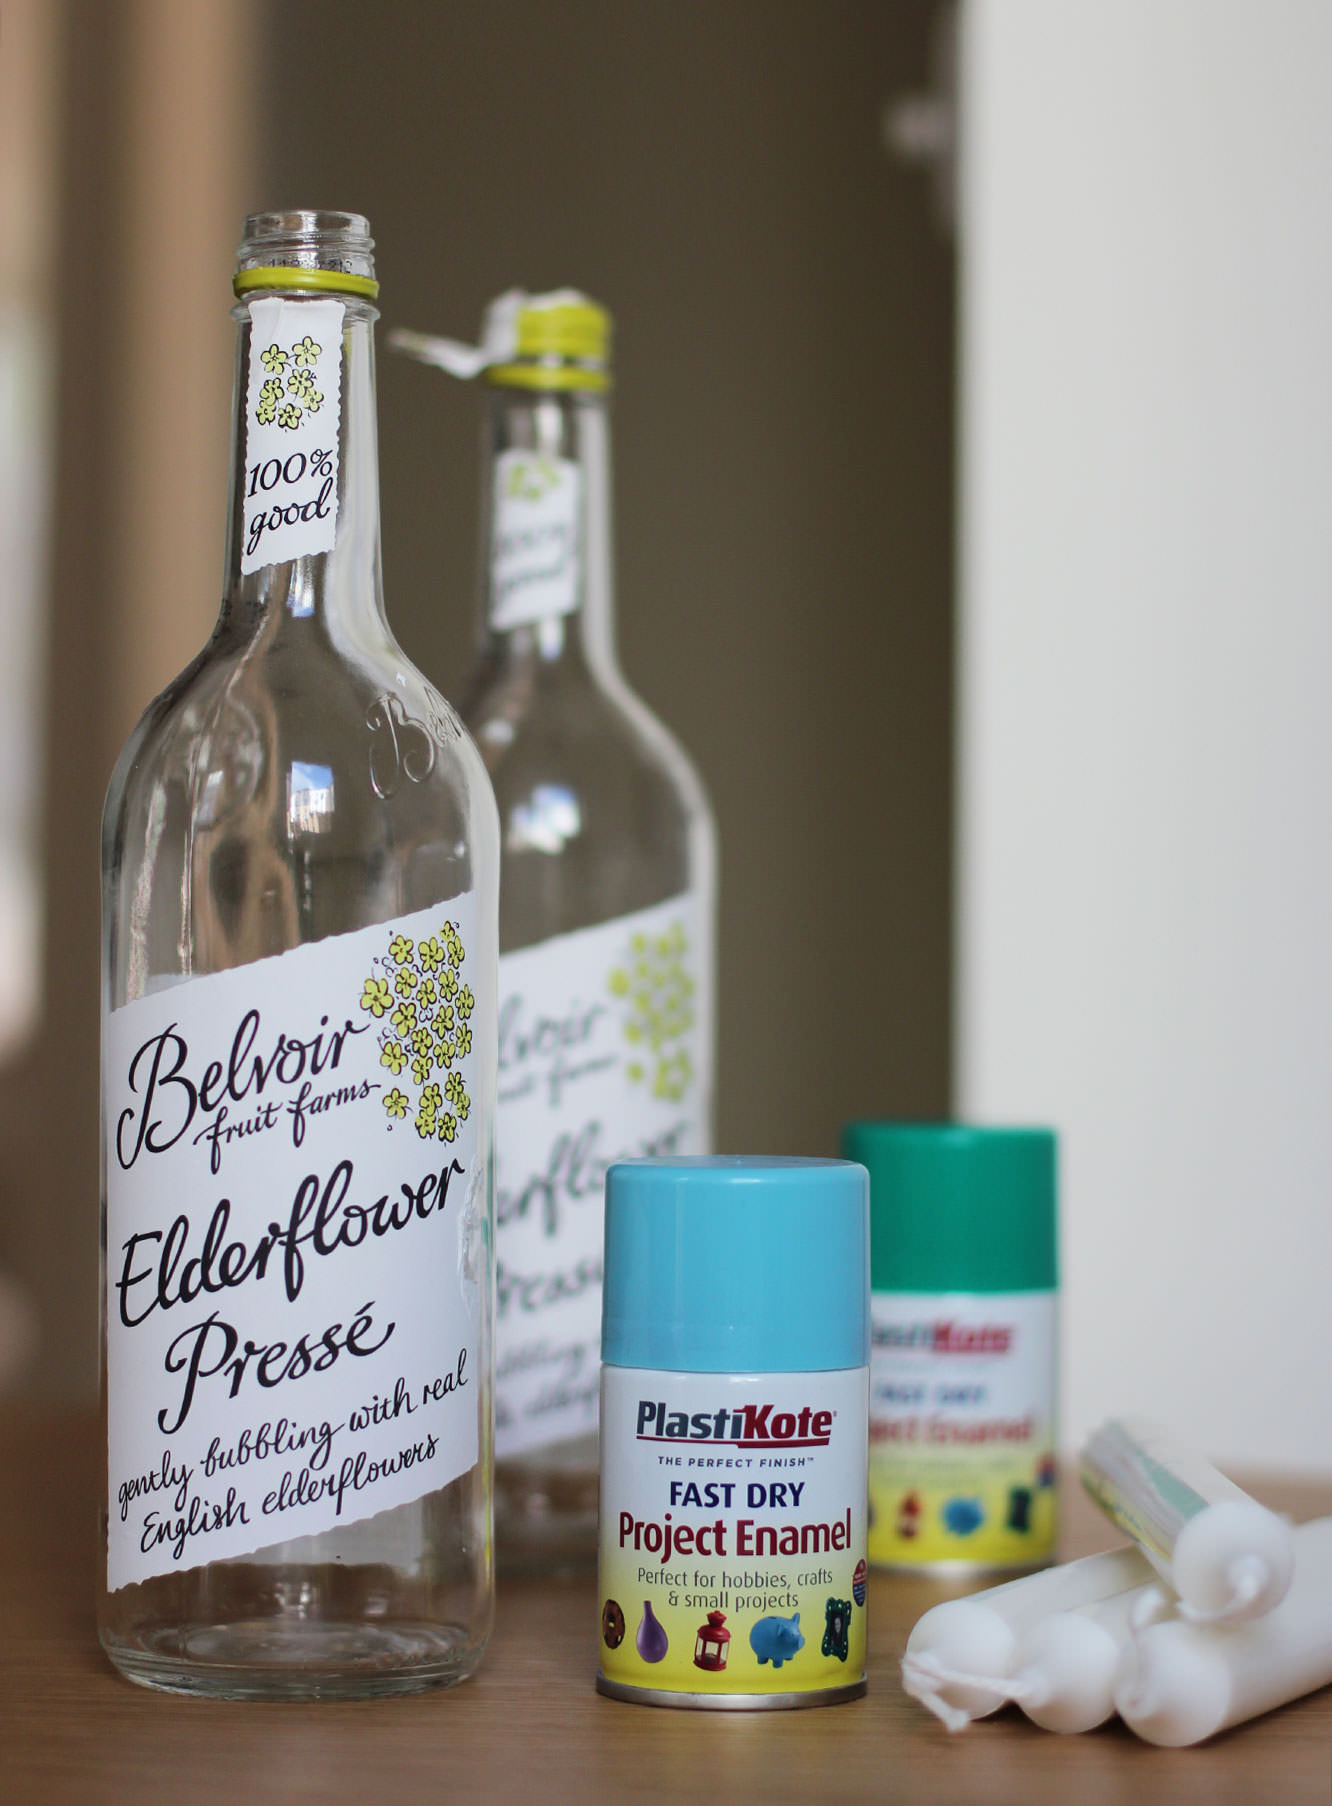
Clear glass bottles
White or cream dinner candles
Spray paint of your desired colour(s)
Newspaper and masking/washi tape
Step one
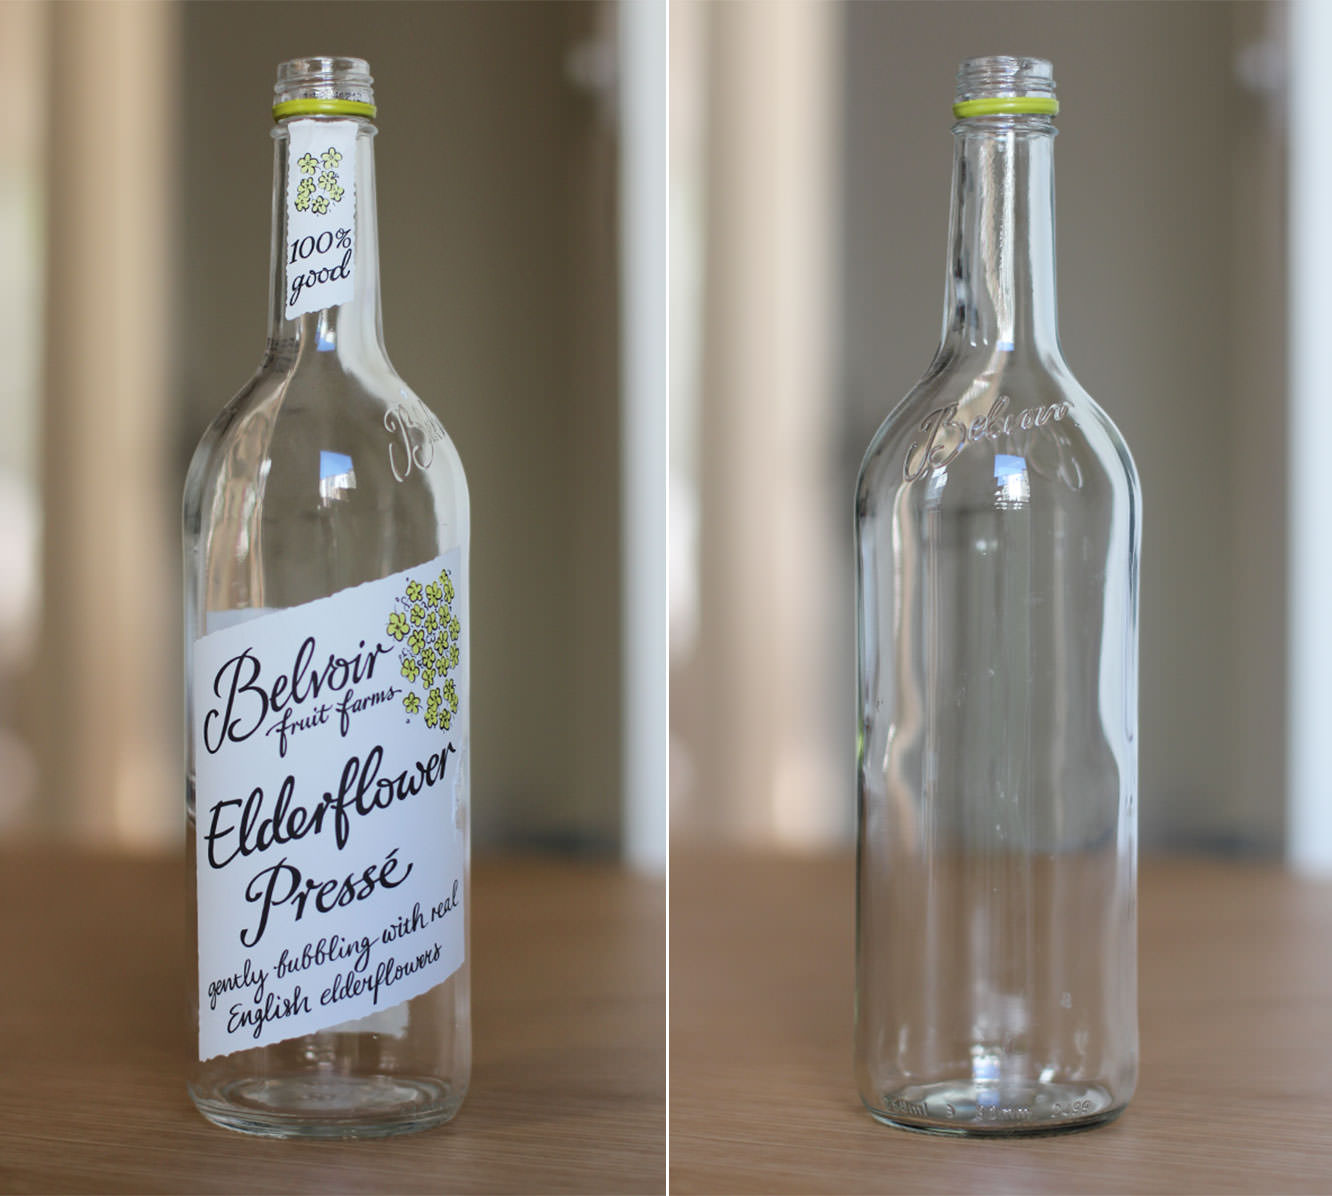
If your bottles have labels like mine did then you need to pour boiling water over them to soak alla that off.
They drink a lot of posh juice at work so I got these bad boys for free. You could also buy some from the home brew section of a Lakeland/Wilko’s; if that’s you, advance to step three and collect £200 as you pass Go.
 Step two
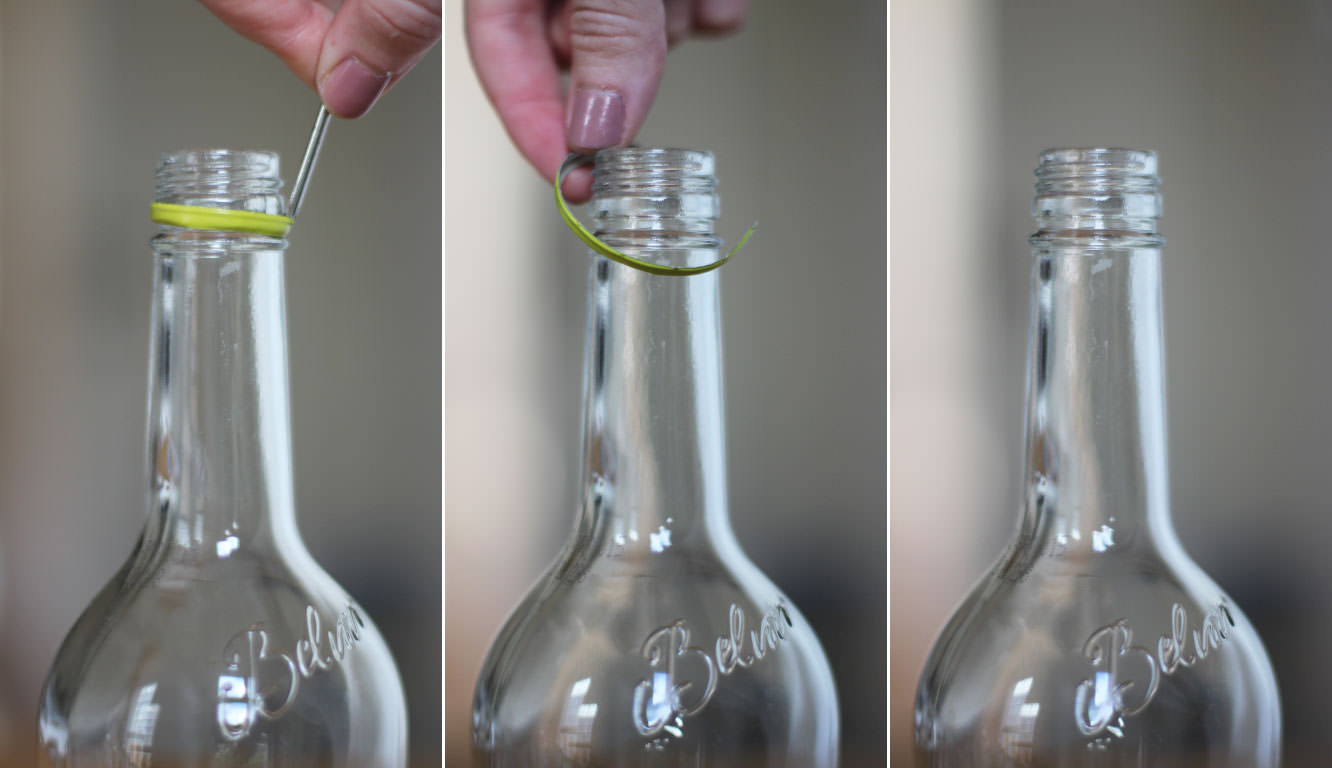
If you’re using recycled juice/wine bottles then stick a little screwdriver or a knife in the metal bit and prise it off. It’s worth not being lazy and skipping this step.
Step three
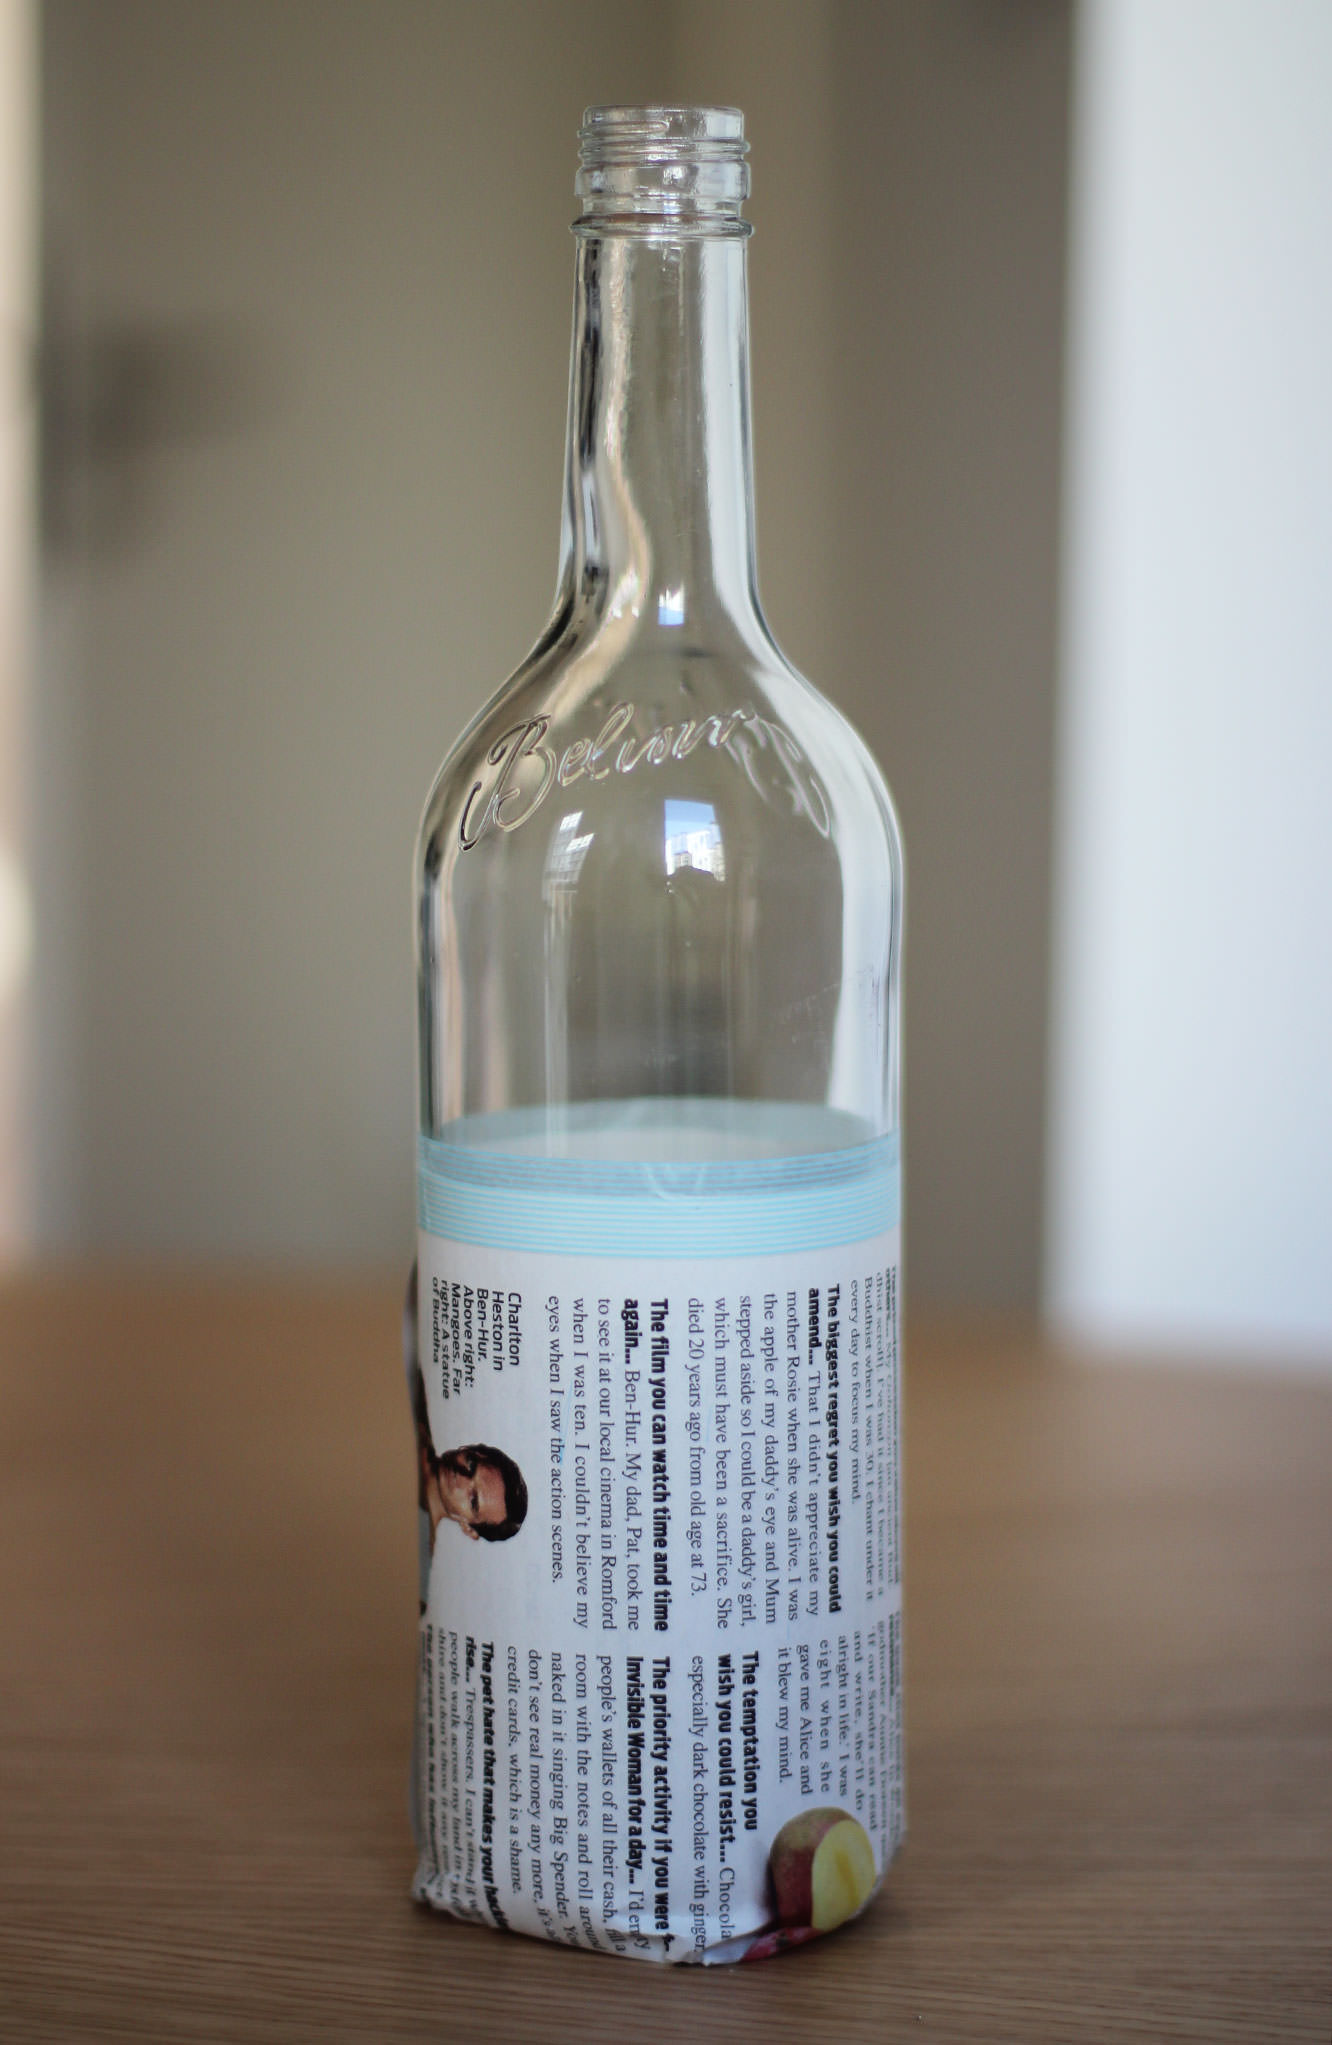
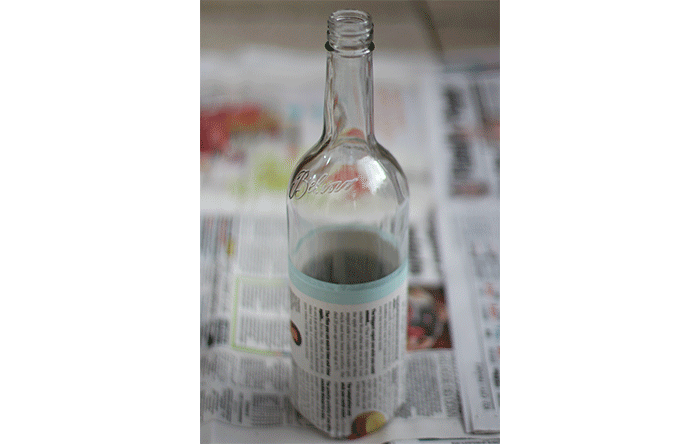
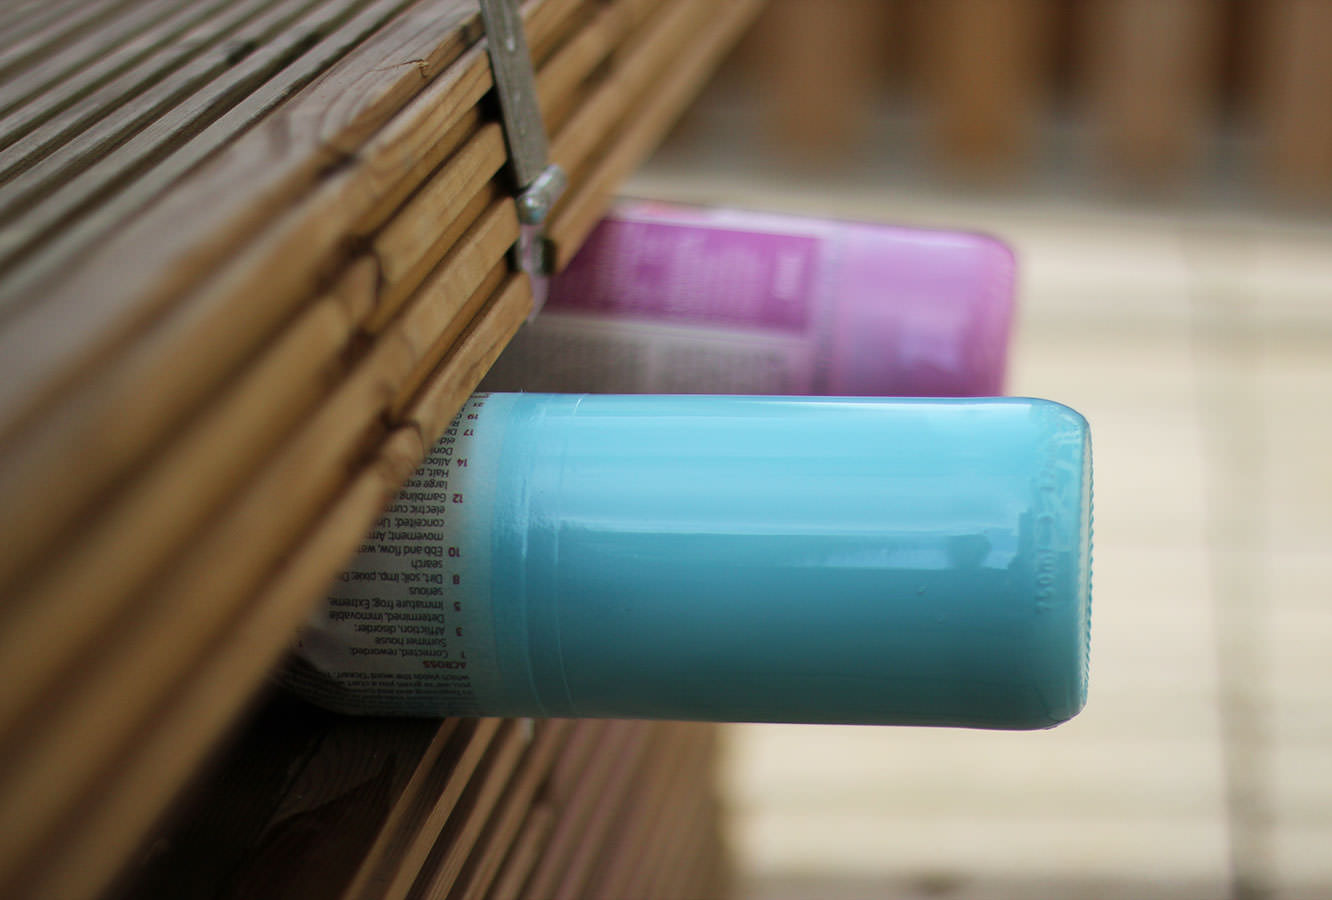
Wrap the tops or bottoms of your bottles in newspaper, securing it with wash tape or masking tape which would be a lot cheaper if you have it to hand. As you can see, I didn’t.
The more care you take over this the better as you want the lines to be as straight as possible. Otherwise your OCD friends won’t enjoy your company at your dinner party; they will be too distracted by your wonky candle holders. They will be totally justified in this.
Step four
Go outside and put down some newspaper. Obviously the best time to do this is on a dry day, but let’s just see how well the British weather co-operates with you…
Shake the can of spray paint and hold about 20cm/8 inches away. Spray thoroughly until the bottle has an even, opaque colour.
Leave to dry.
Step four – bonus tip
If you’ve wrapped the top of the bottle rather than the bottom, I found the easiest way was to hold the neck in my hand and spray while holding it.
In order to dry it you need to find something to wedge between so it’s sides/the bottom won’t touch anything else. You could just hold it as they don’t take long to dry at all, but I found this storage chest/bench in the garden was just the ticket.
Step five
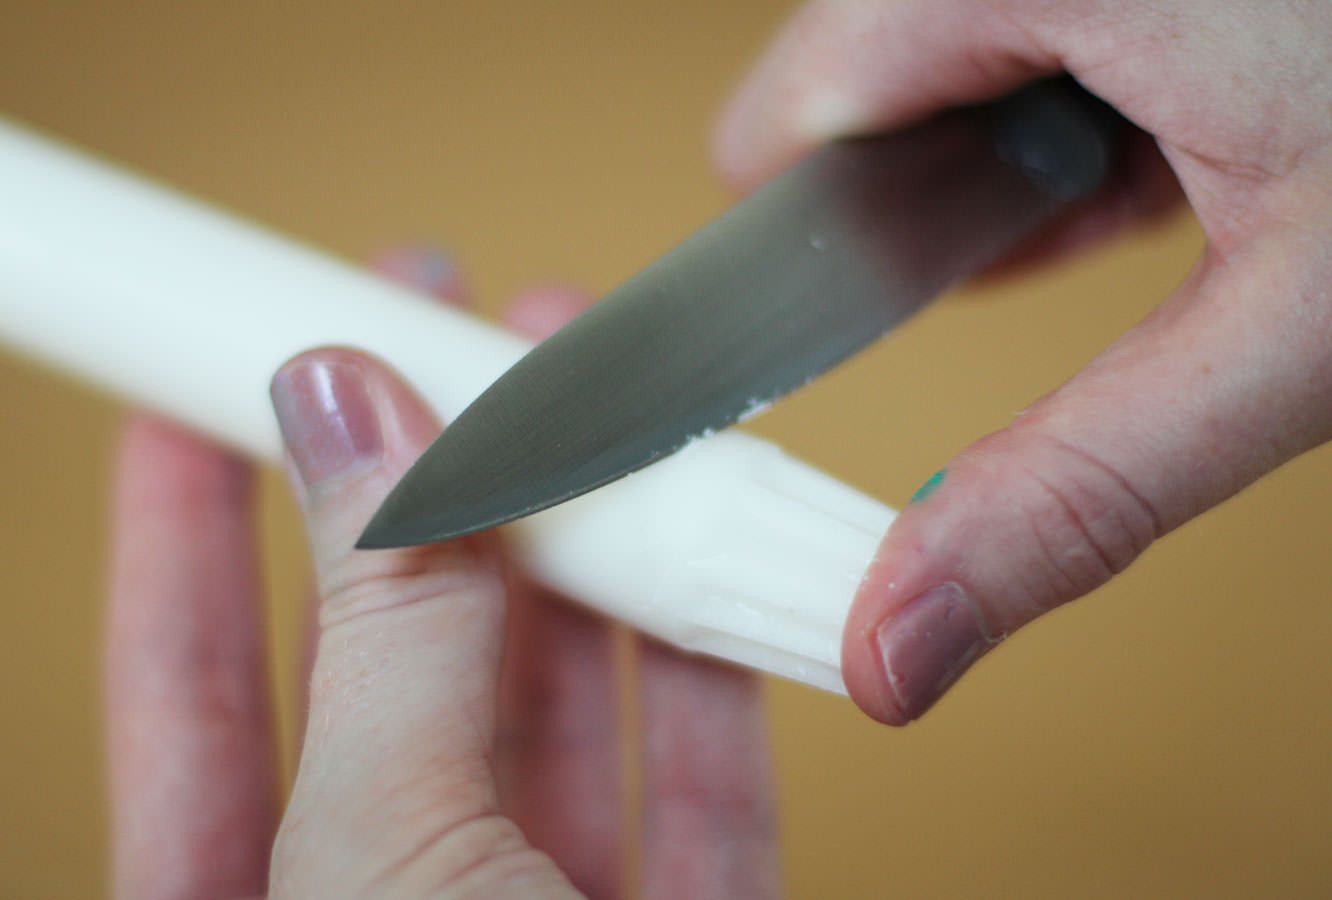
Whilst your bottles are drying you might need to do a little candle whittling. Mine had really handy grooves in them already but unfortunately were still a little on the large side, so I had to trim them down.
Just for the sake of everyone who knows how clumsy I am and would reel in horror at this picture, I still have all ten digits.
Step six
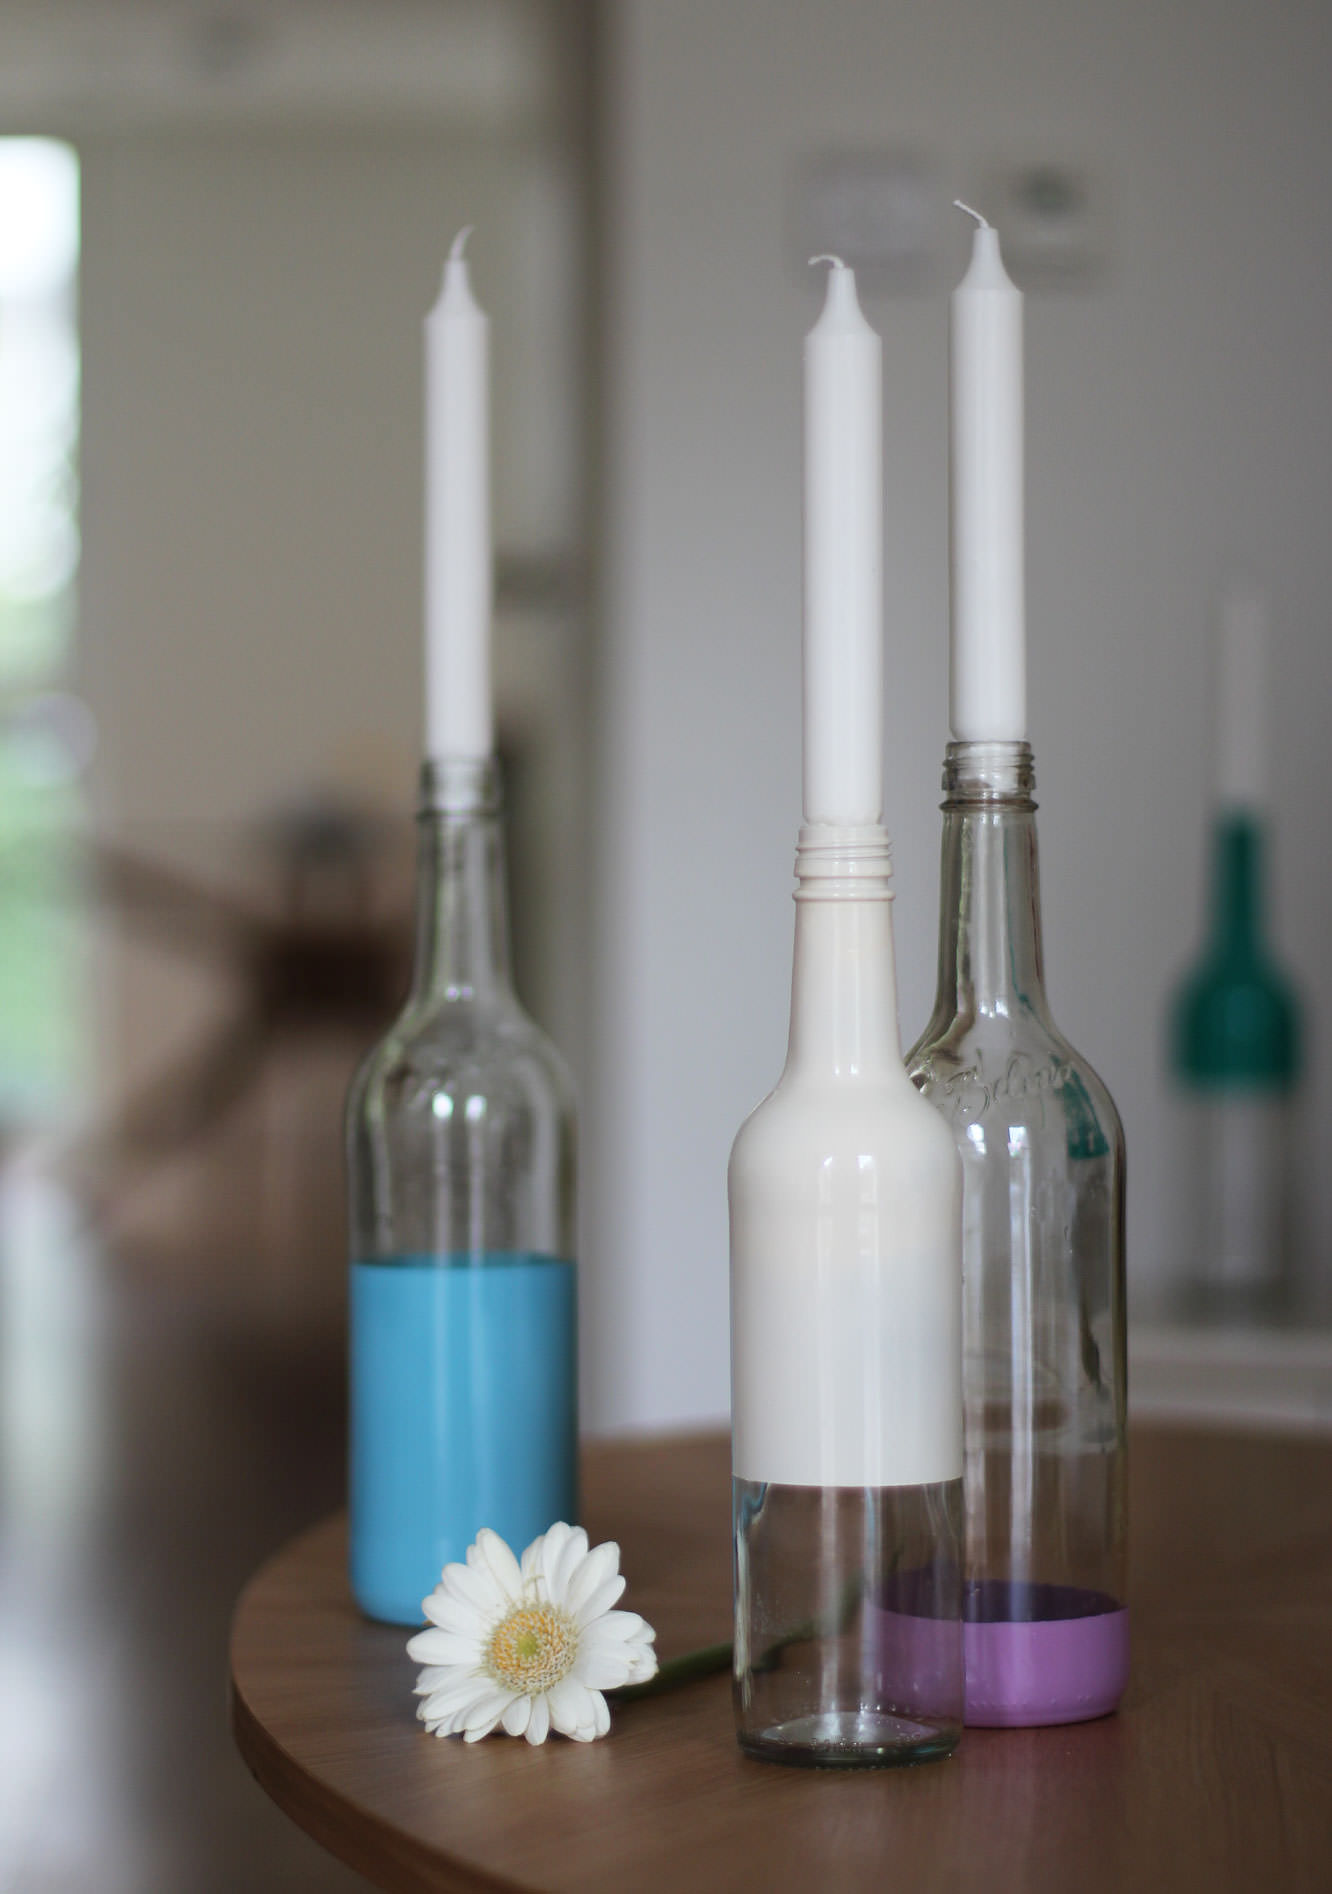
Push candles into the bottle necks and admire.