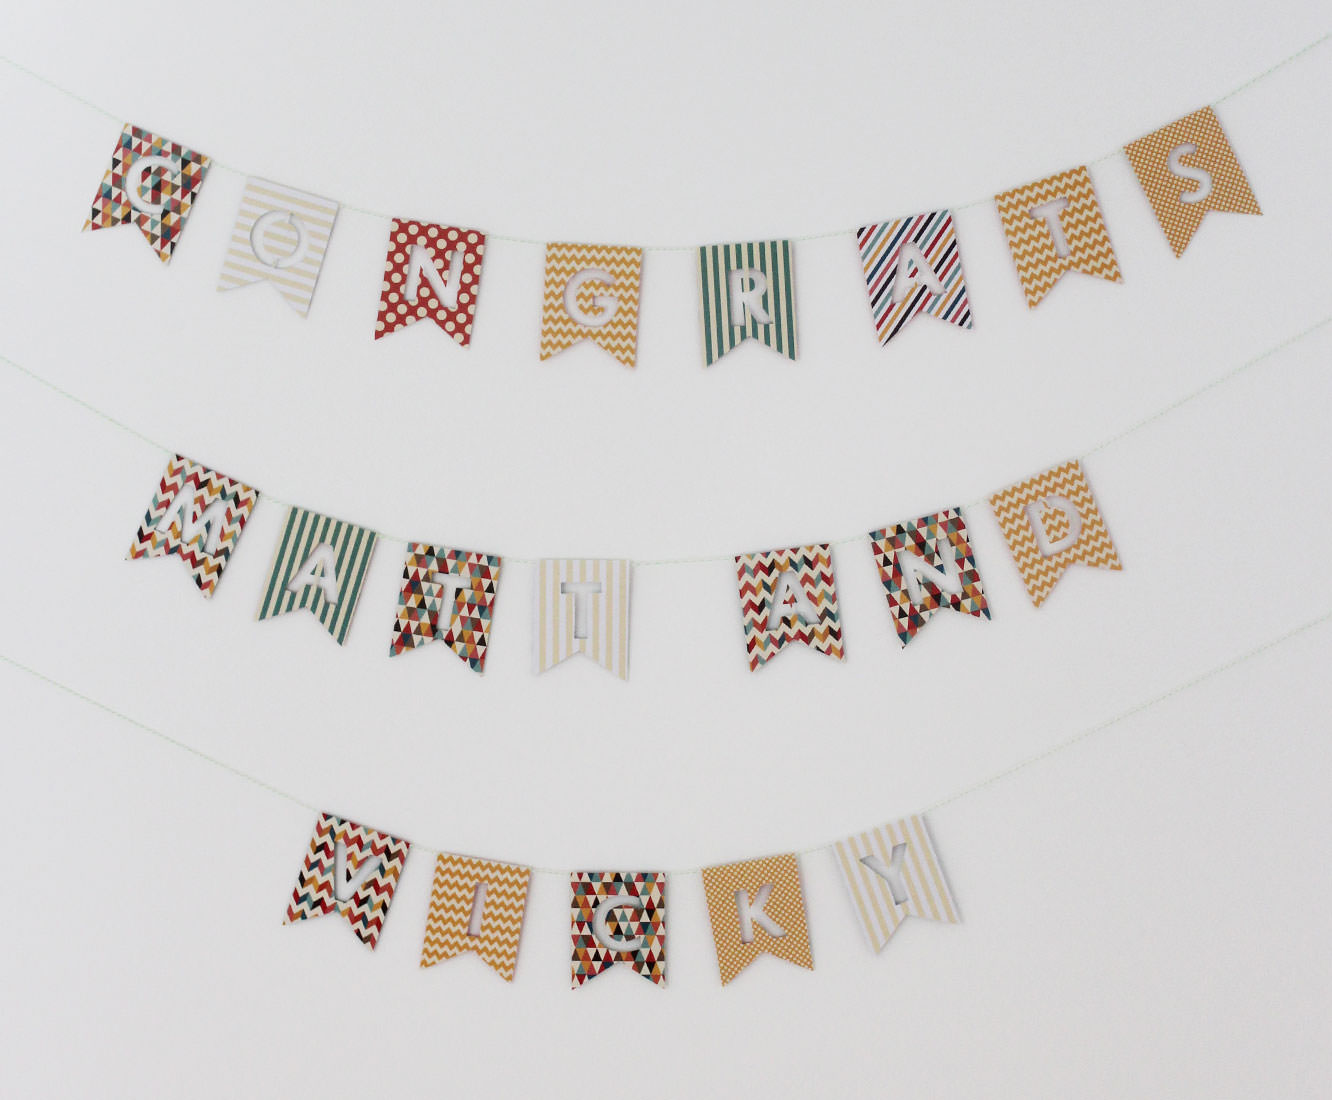
Tag: homemade

Santa Claus is coming to town

Two years of fabrefaction.co.uk friends. Yup. THAT HAPPENED. Thank you for the support and the loving, please keep sharing, commenting and messaging me; I love hearing from you and seeing what you’ve made.

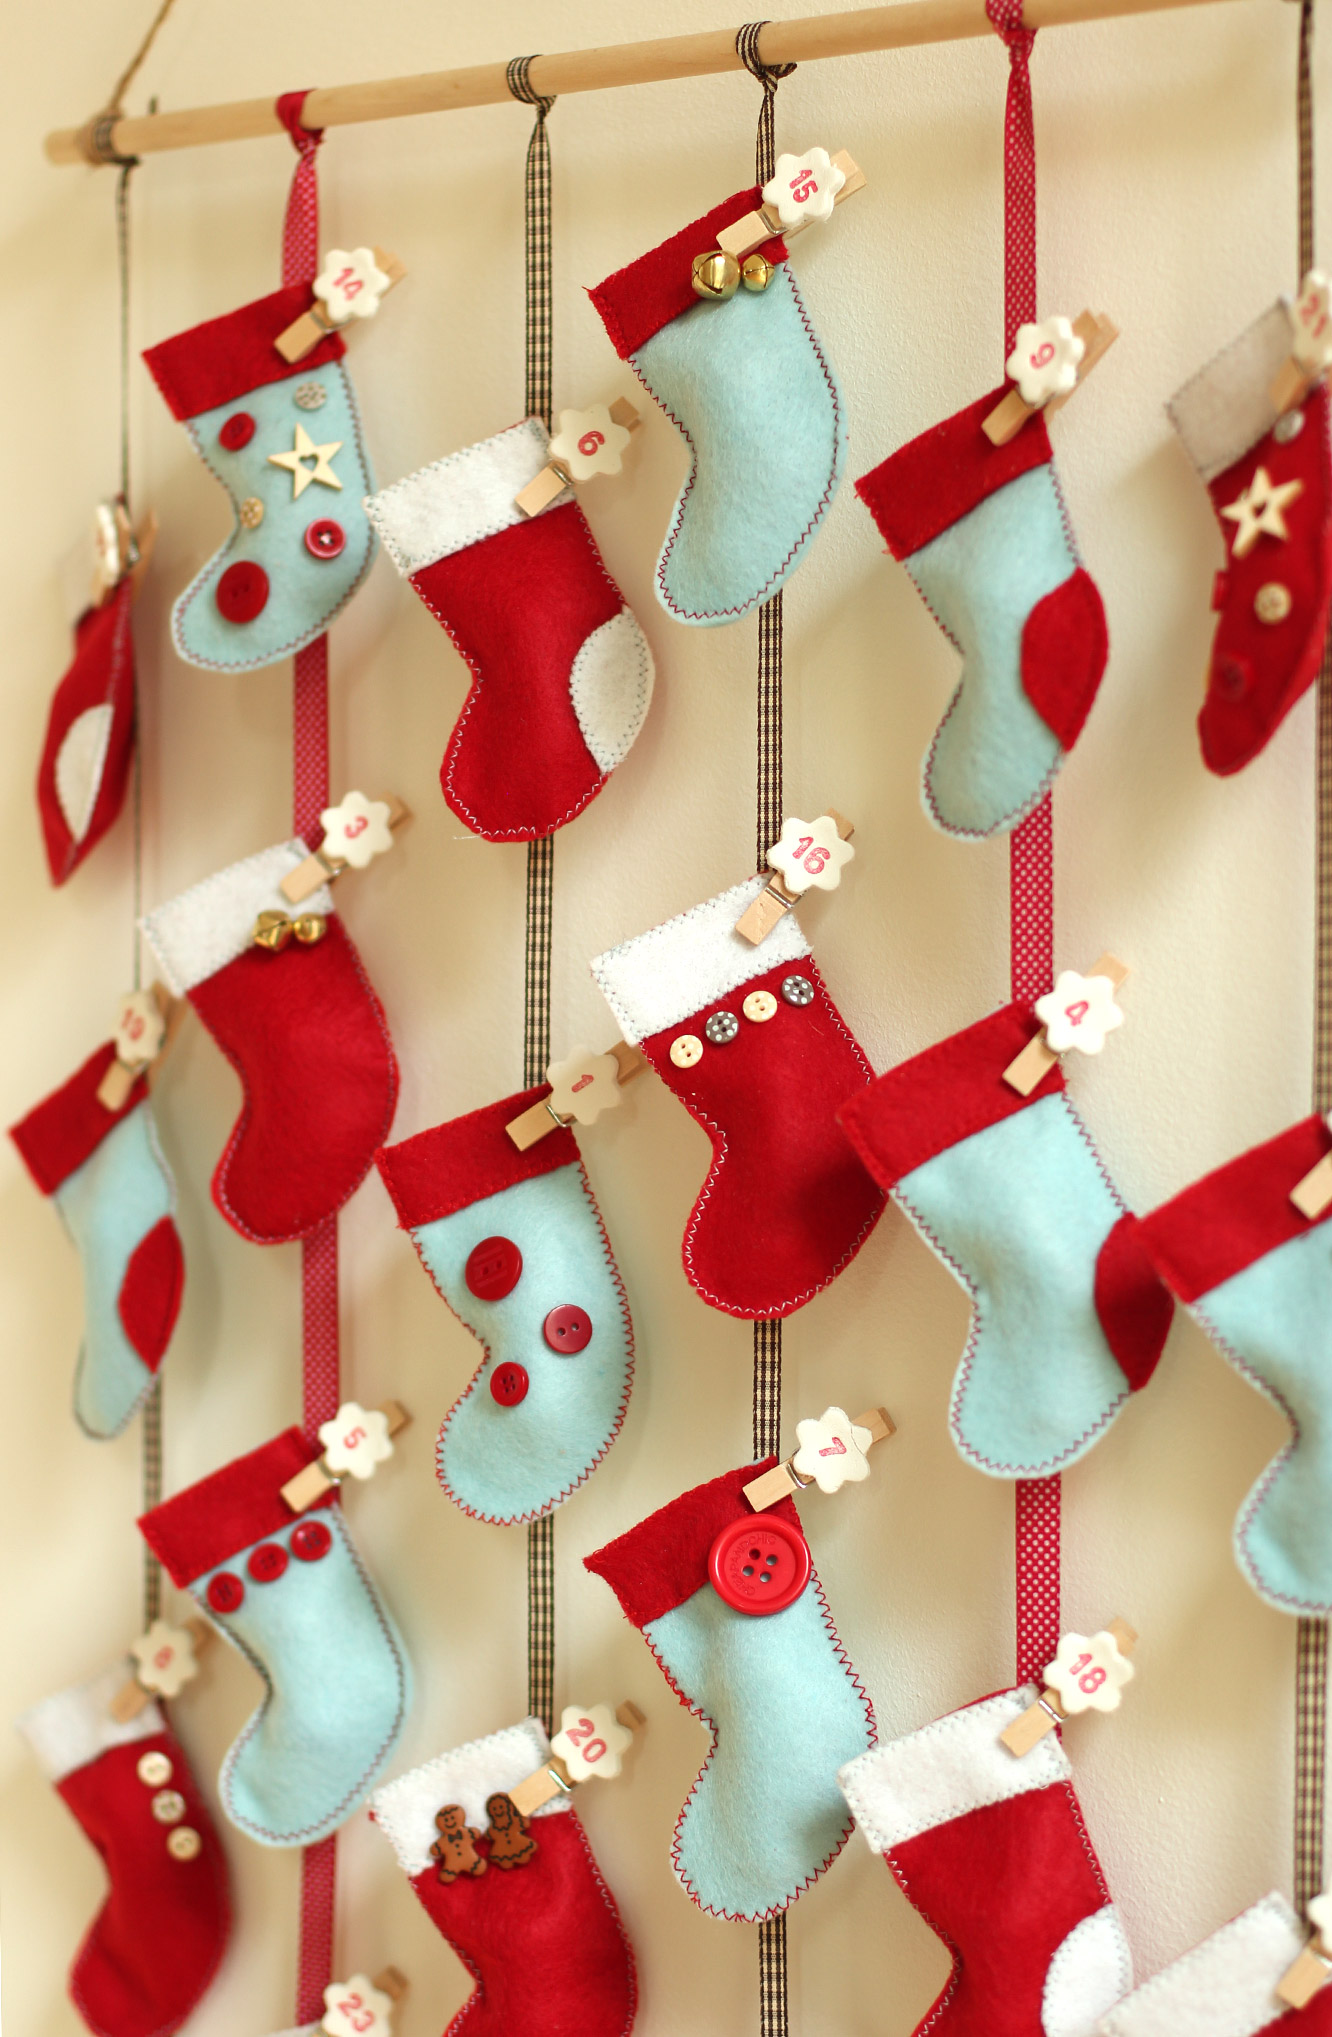
In keeping with my first post ever, and the one year anniversary post of this little blog, here’s another lovely advent calendar for you to make.

“Oh but advent starts next week, I don’t have time!” Yes, yes you do. I made this in a day. Less than really when you consider I went out for breakfast and dinner. You could even take the easy way out and glue instead of sew.

This particular calendar is a labour of love for my very hardworking and wonderful sister. Poor duck got jealous of mine once, and this year I thought it was about time she had something a little more permanent so she never forgets again. Thanks for your love and support sib.
homemade-advent-calendar-mini-stockings-01

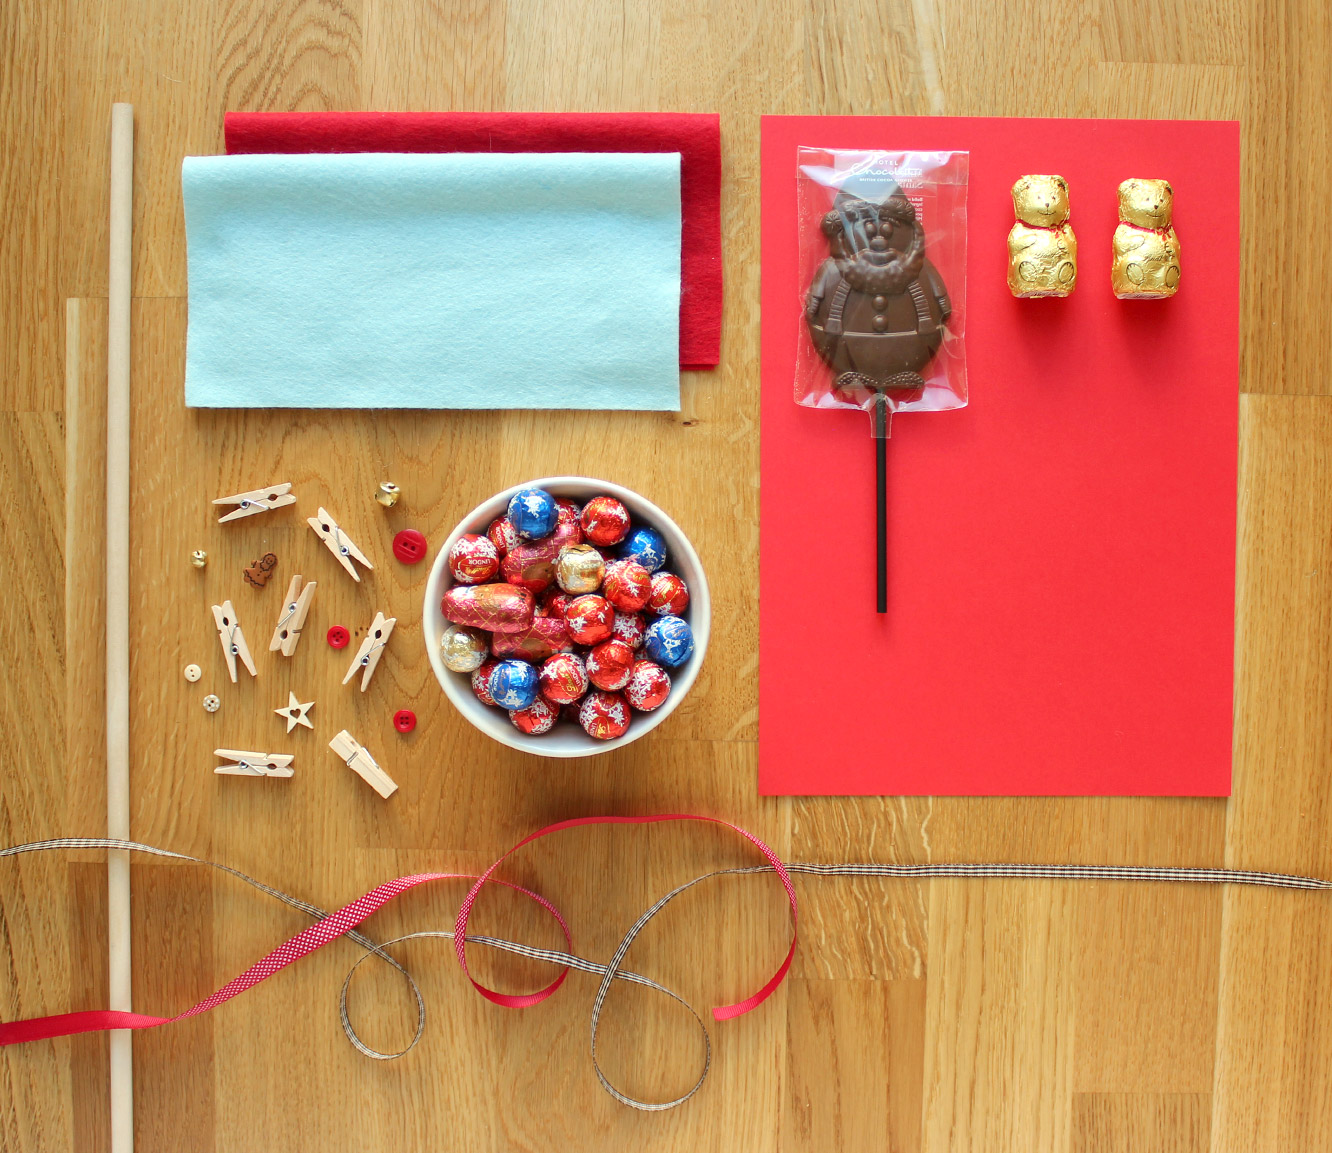
You will need

A dowel rod (40cm) (or a wire coat hanger)

Festive looking string or ribbon

Felt (I bought two packs of 5 felt squares from John Lewis, you’d probably need 6 or so A4 sheets)

24-48 chocolates (I used mini Lindor truffles (there are 22 in a bag) and some woodland friends from Waitrose)

Something a bit more special for Christmas eve

24 miniature pegs (I got these from Tiger)

Buttons etc to decorate

FIMO or air dry clay

A marker pen or ink and mini number stamps

This template for the stockings
homemade-advent-calendar-mini-stockings-02

Step one

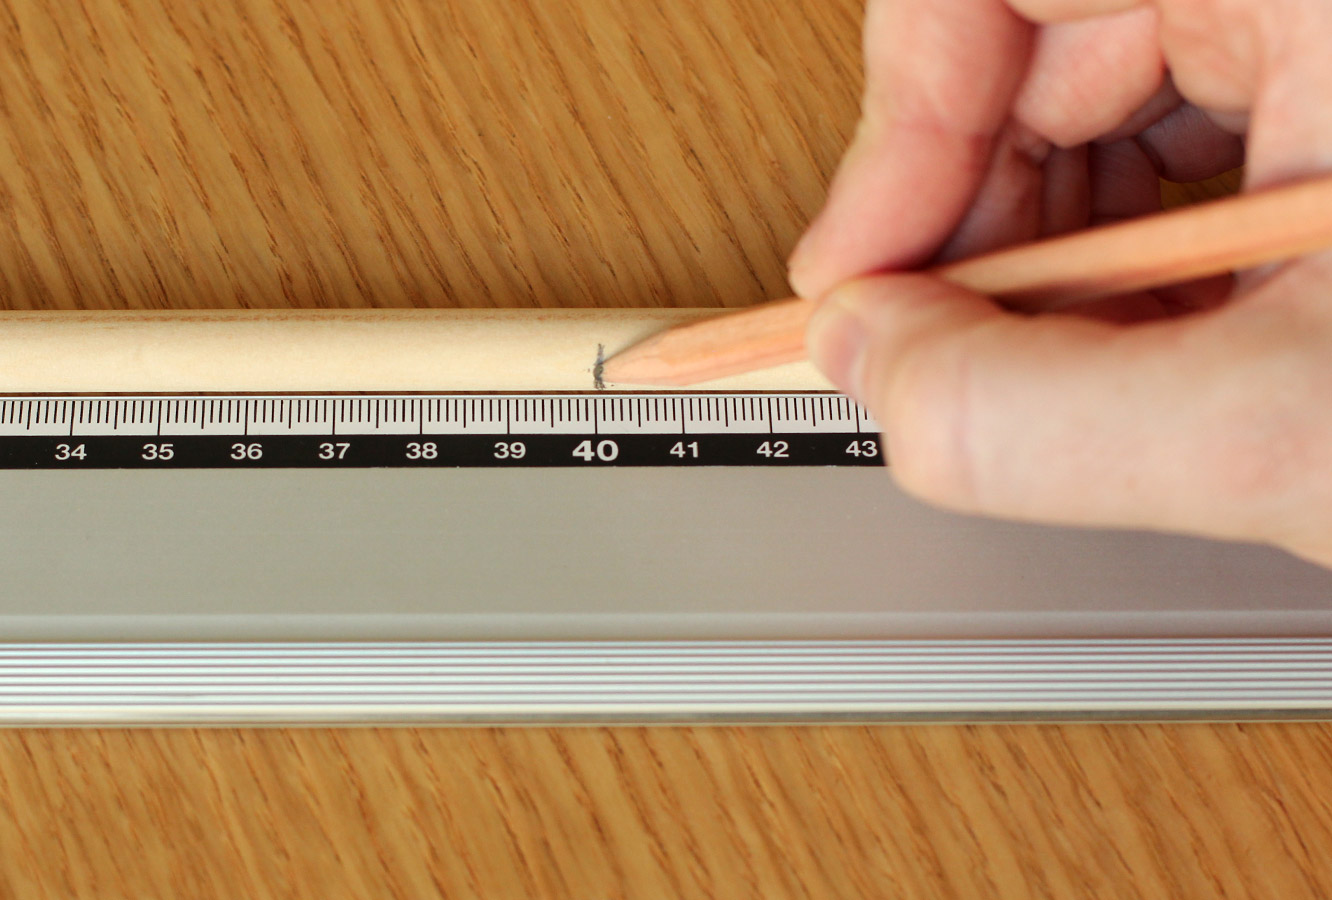
Depending on the length of your dowel you might need to cut it down. Mark the cut point at 40cm.
homemade-advent-calendar-mini-stockings-03

Step two

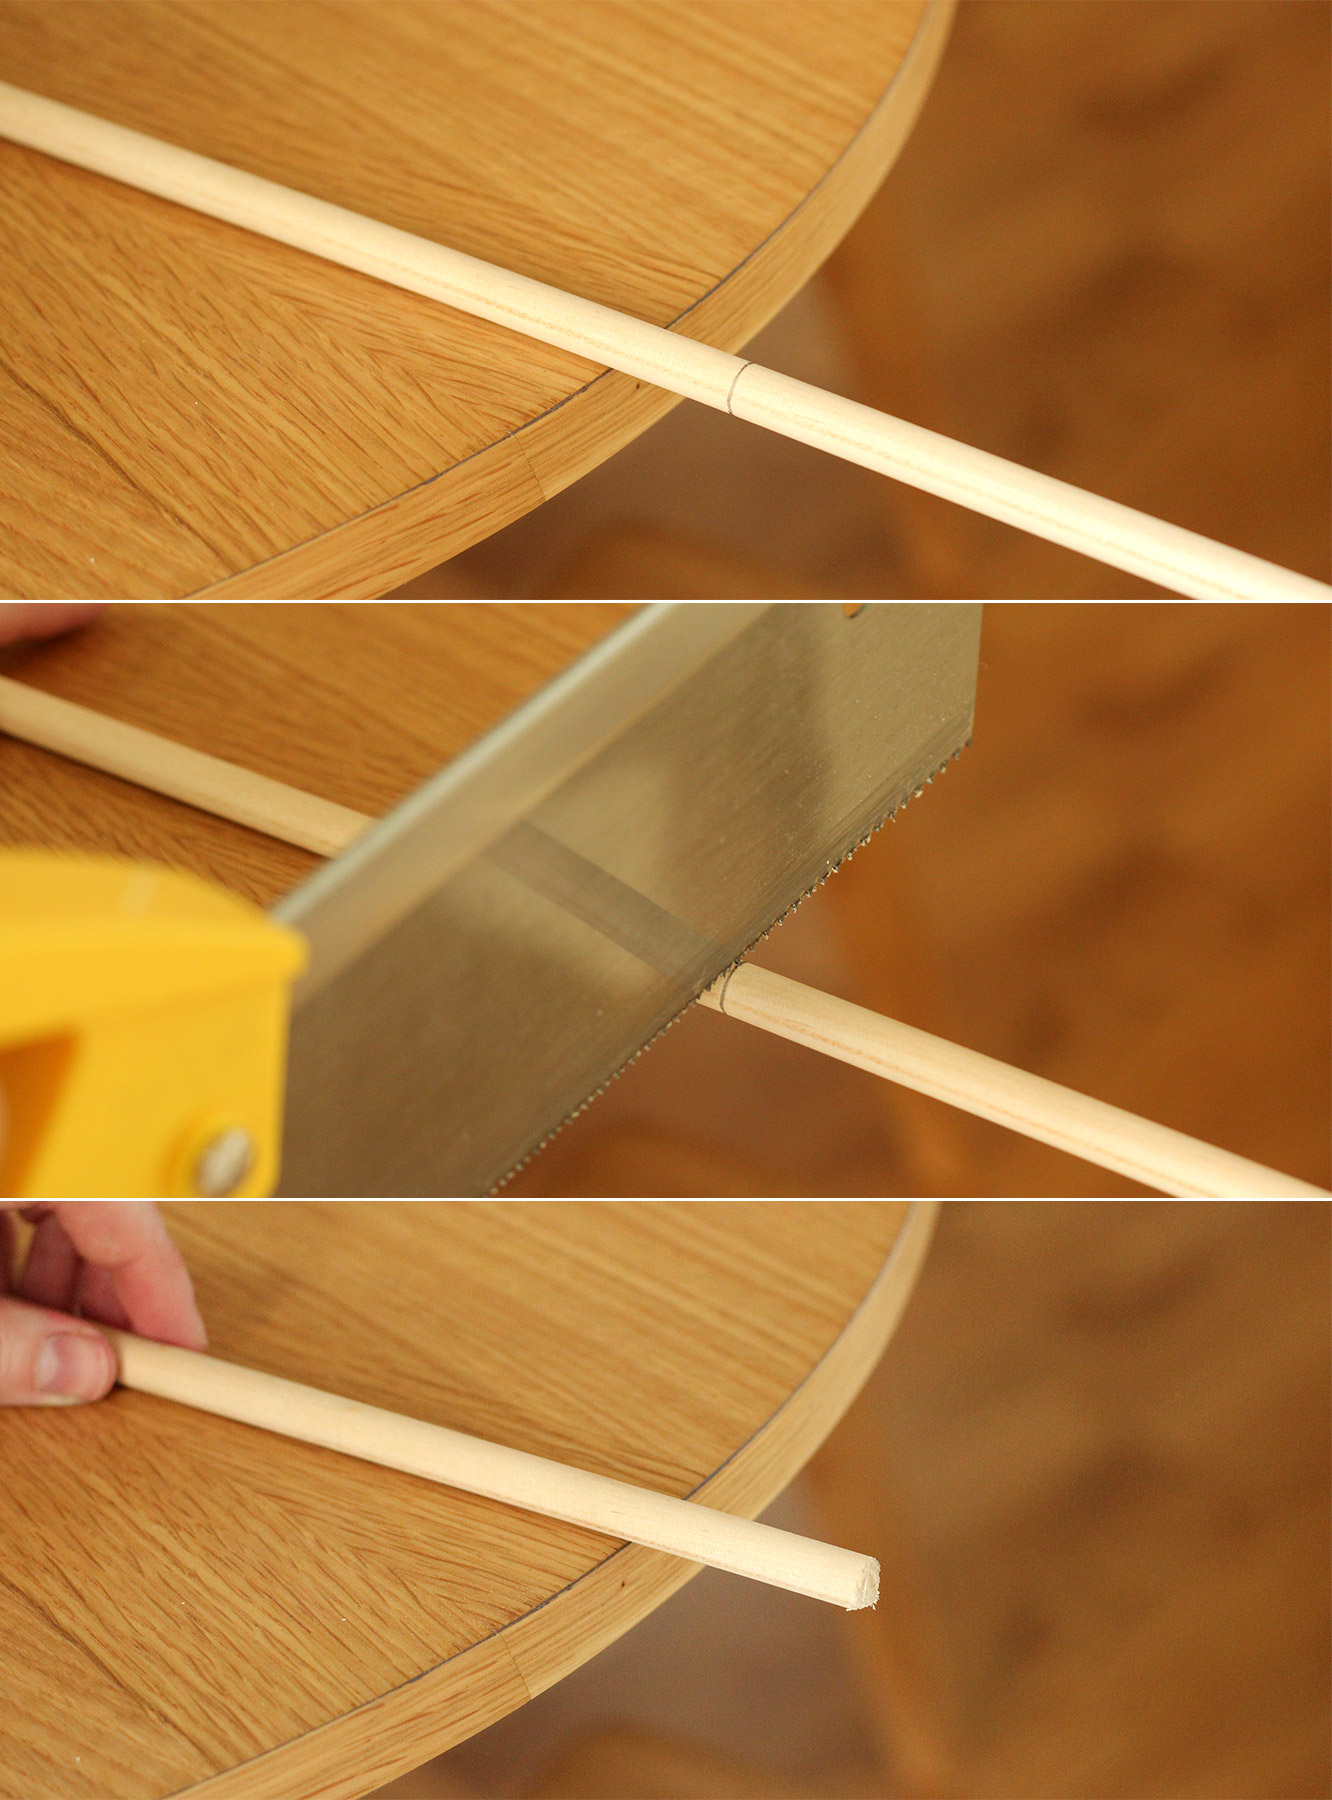
Cut the end of the dowel off. Those of you into wood work (of which I am sure there are plenty) don’t judge me for my saw, I’m relatively confident after using it that it wasn’t the right choice.
homemade-advent-calendar-mini-stockings-04

Step three

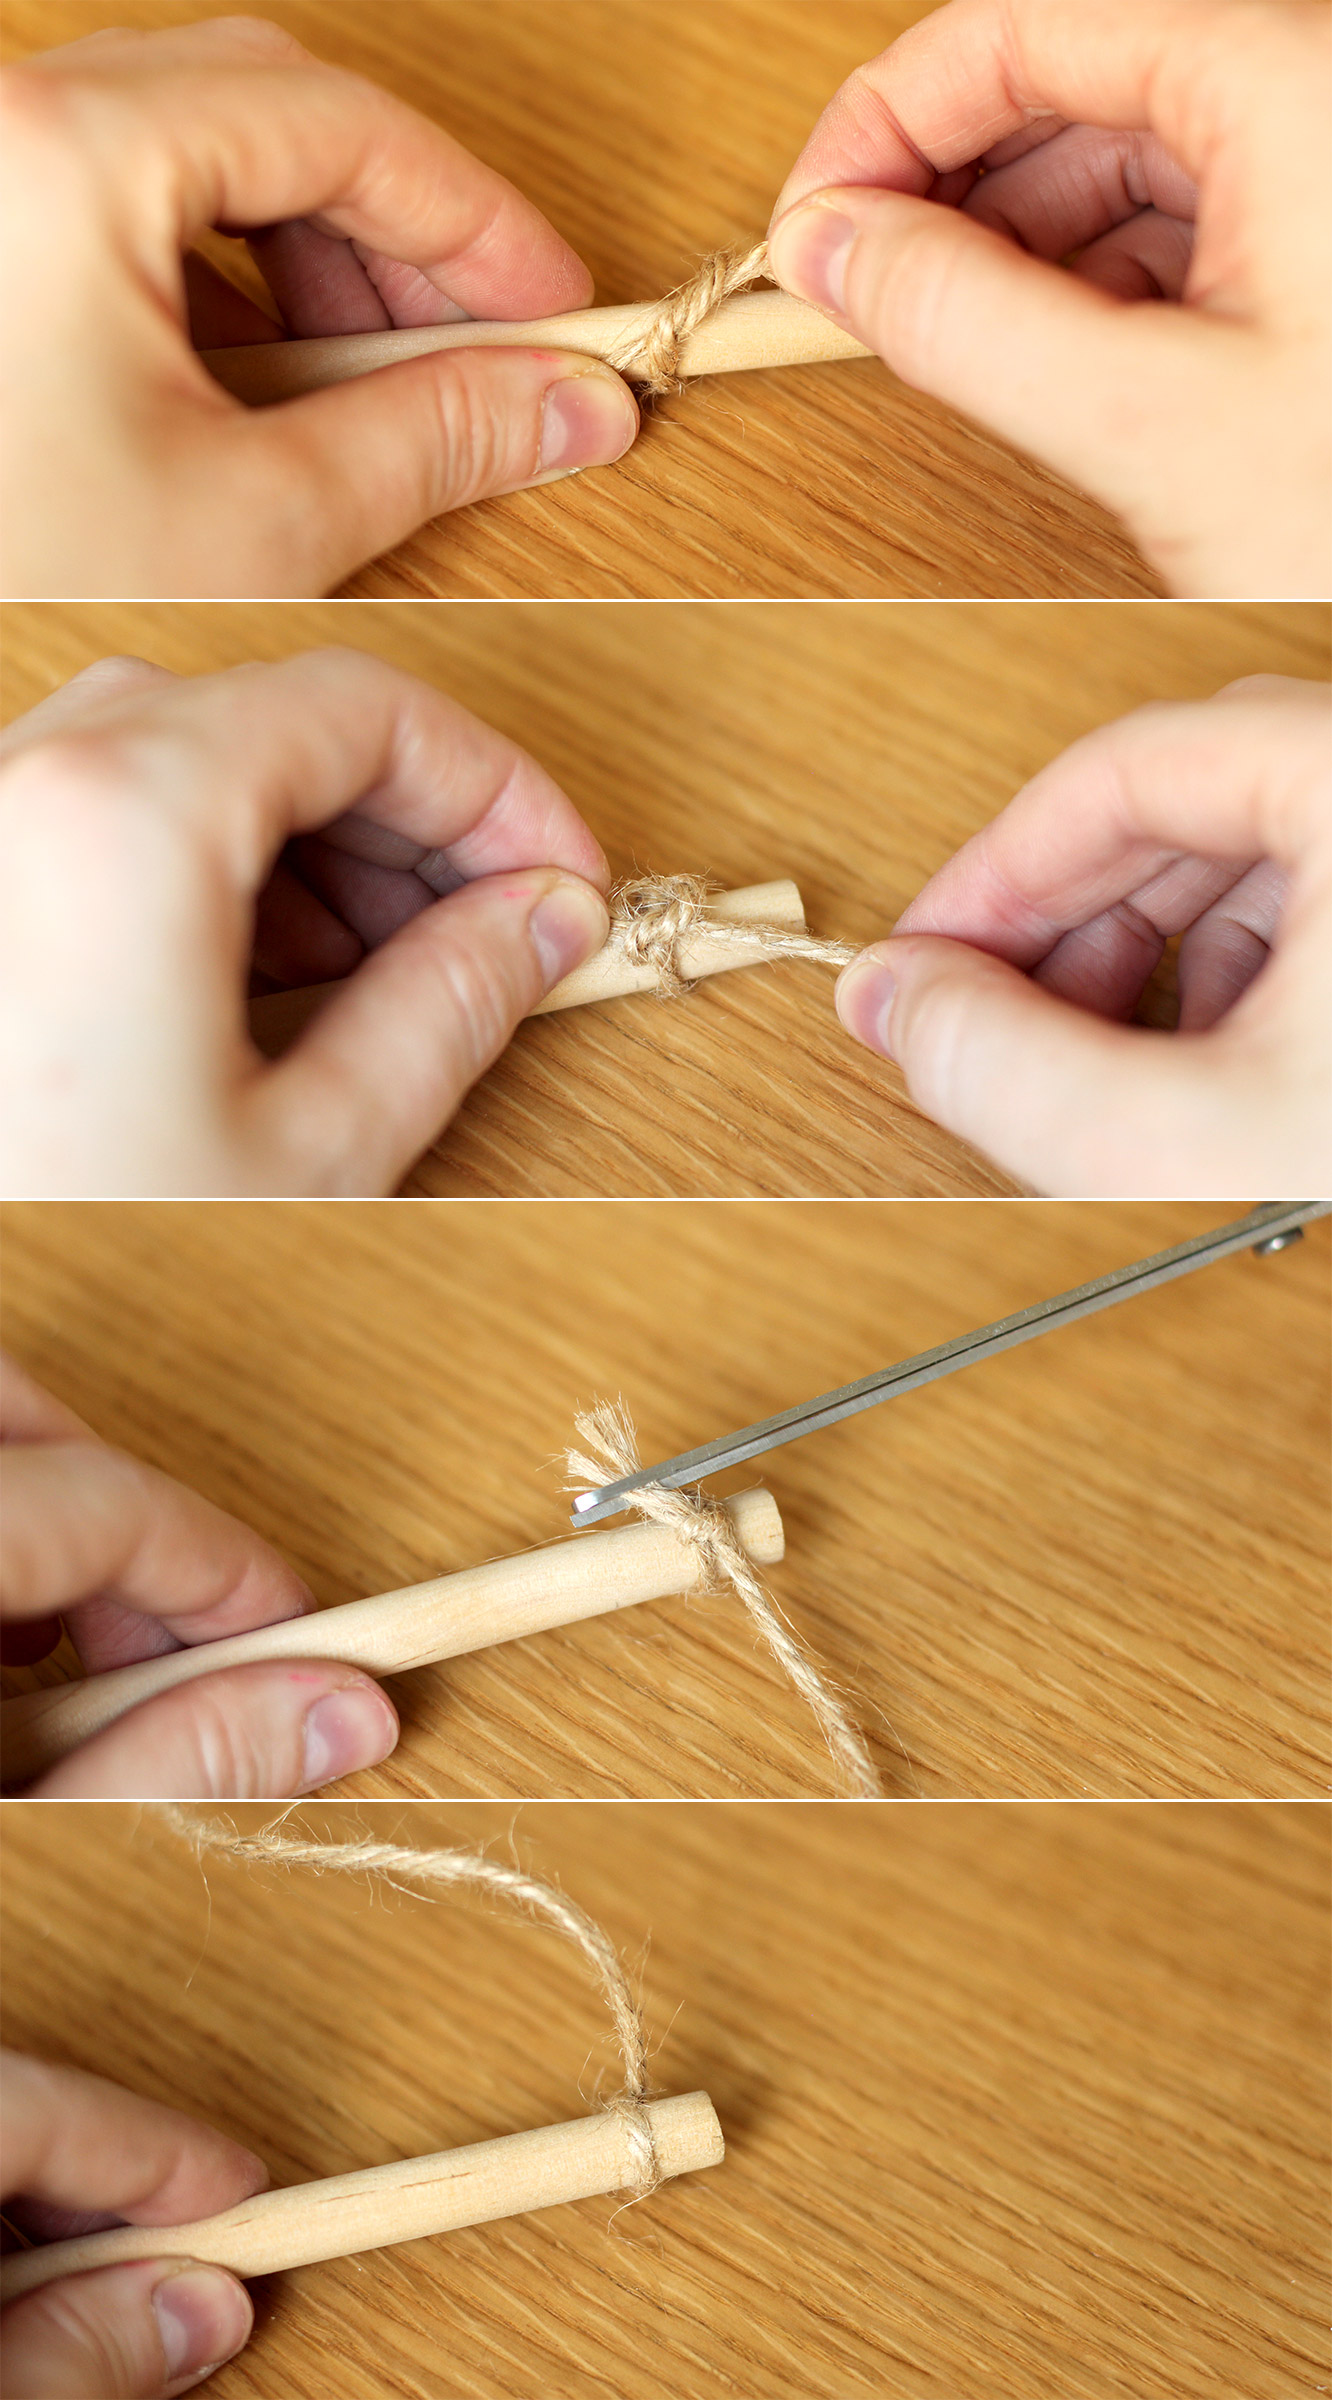
measure a length of twine/string/ribbon about twice the length of the wood and double knot tie it onto either end. You might want to add a little glue to secure it. Make sure to turn it so the knot is at the back.
homemade-advent-calendar-mini-stockings-05

Step four

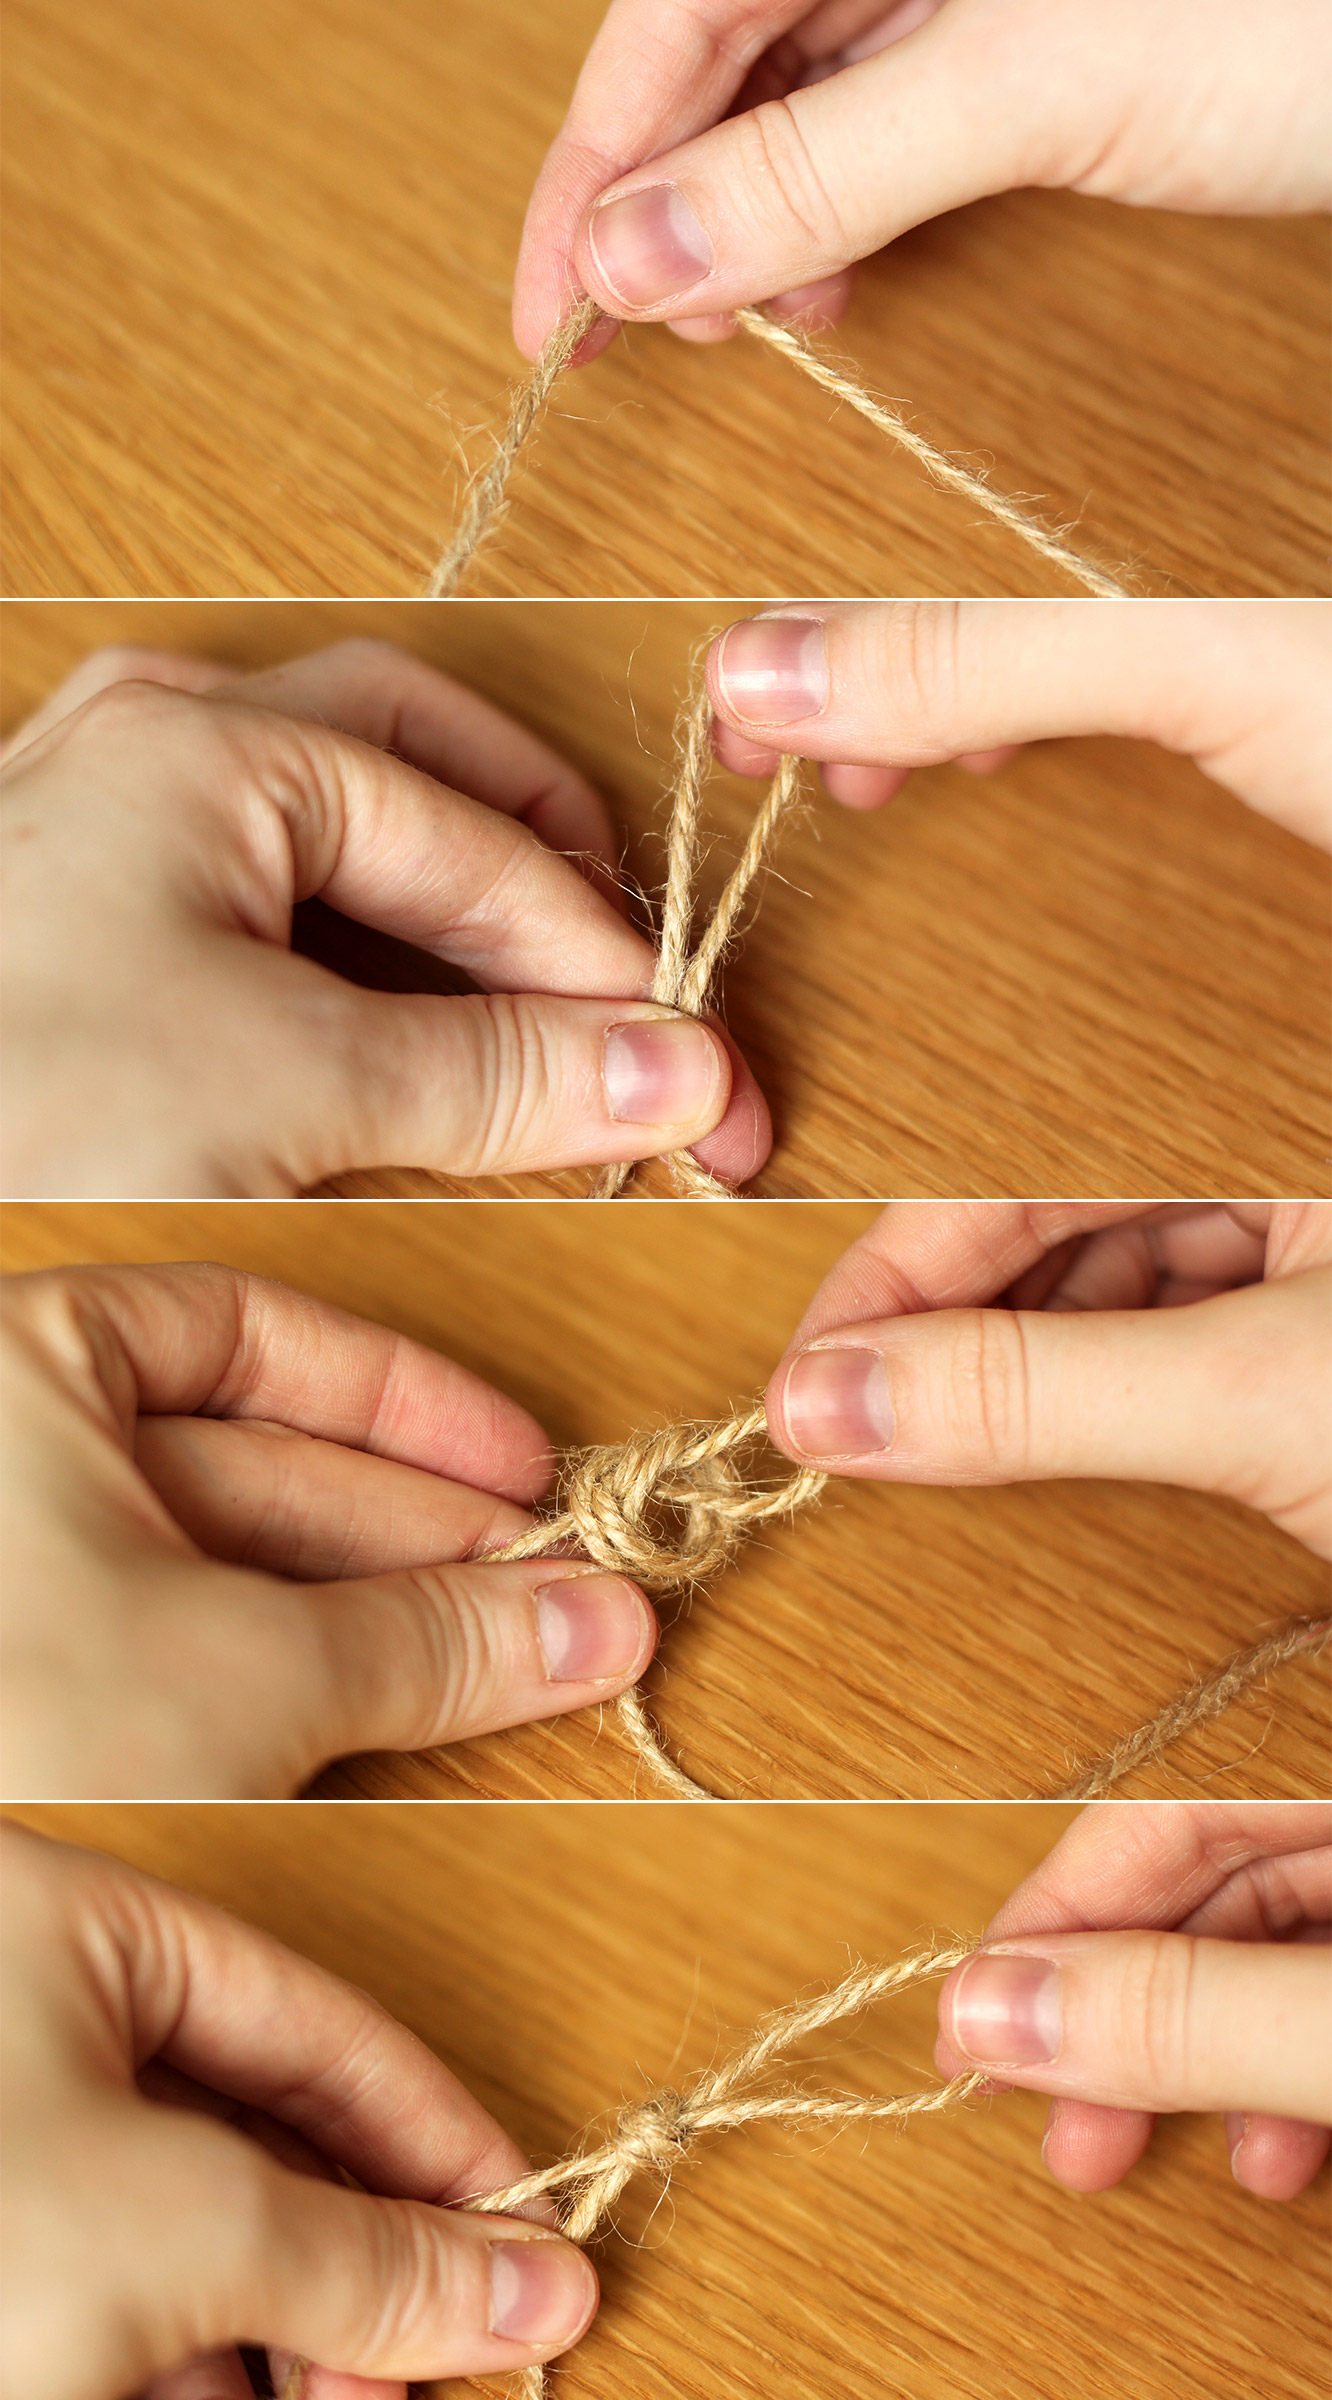
Hold the centre point of the twine and allow the rod to hang off the side of the table. Make sure it’s level and tie a knot in the middle so that you have a loop to use for hanging.
homemade-advent-calendar-mini-stockings-06

Step five

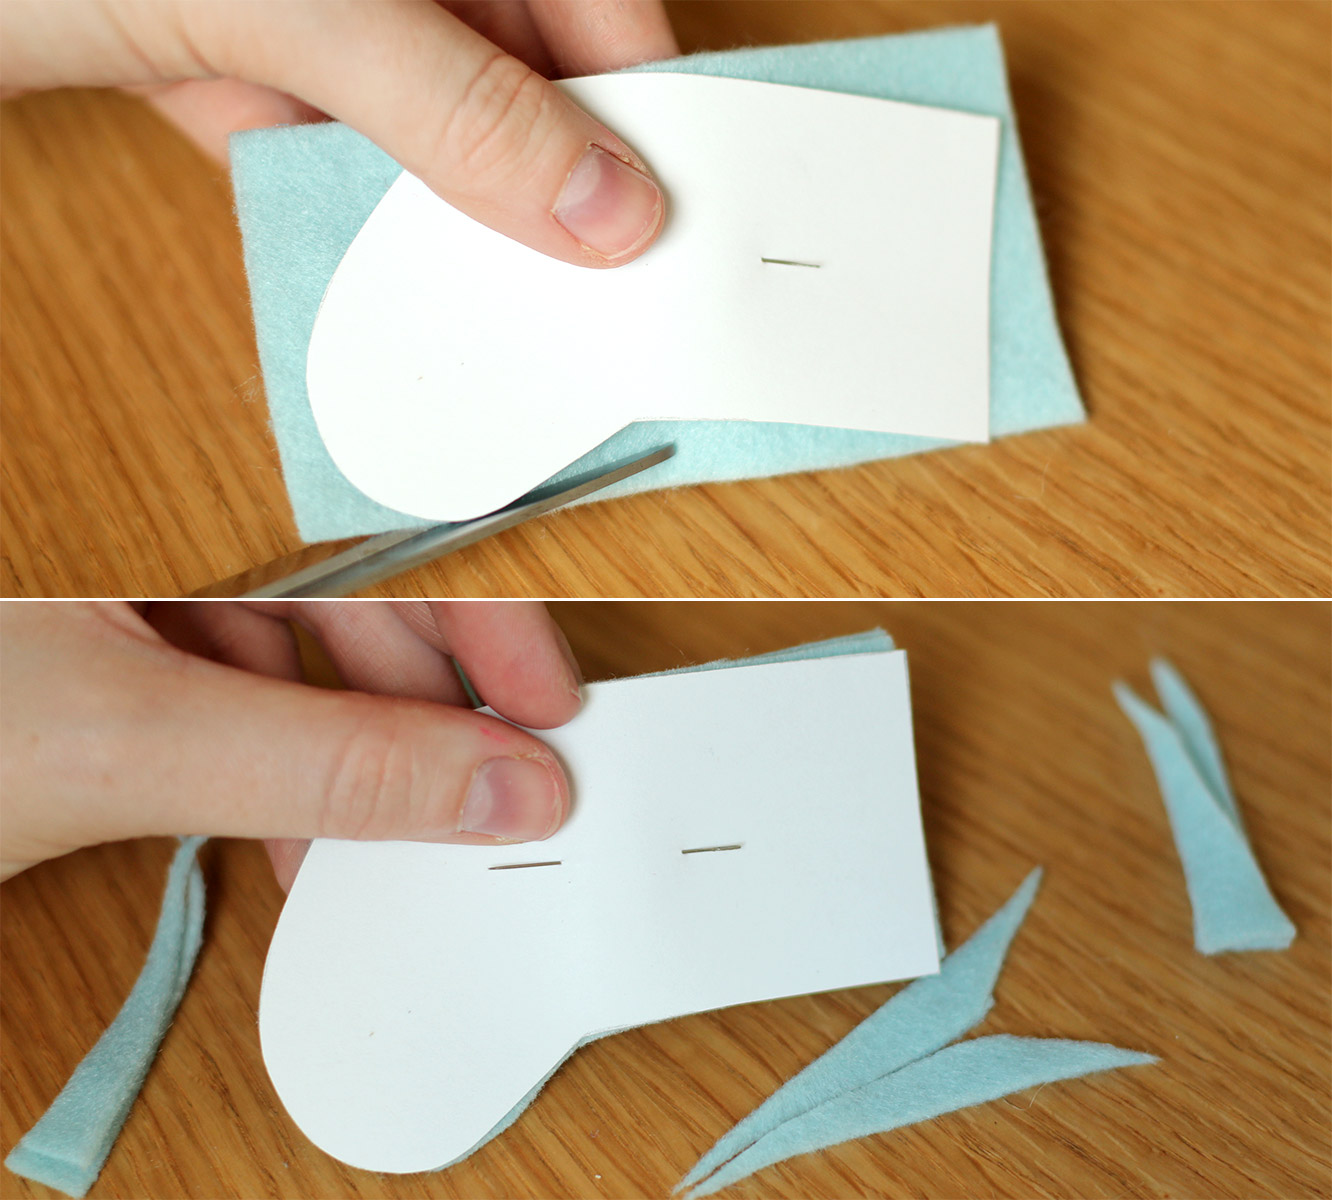
Using the template cut out 23 mini stockings (2 pieces of felt for each). I cut through two layers at a time, and squeezed 8 cut outs from each square of felt. If you bought A4 sheets I imagine you’ll get 10-12.
homemade-advent-calendar-mini-stockings-07

Step six

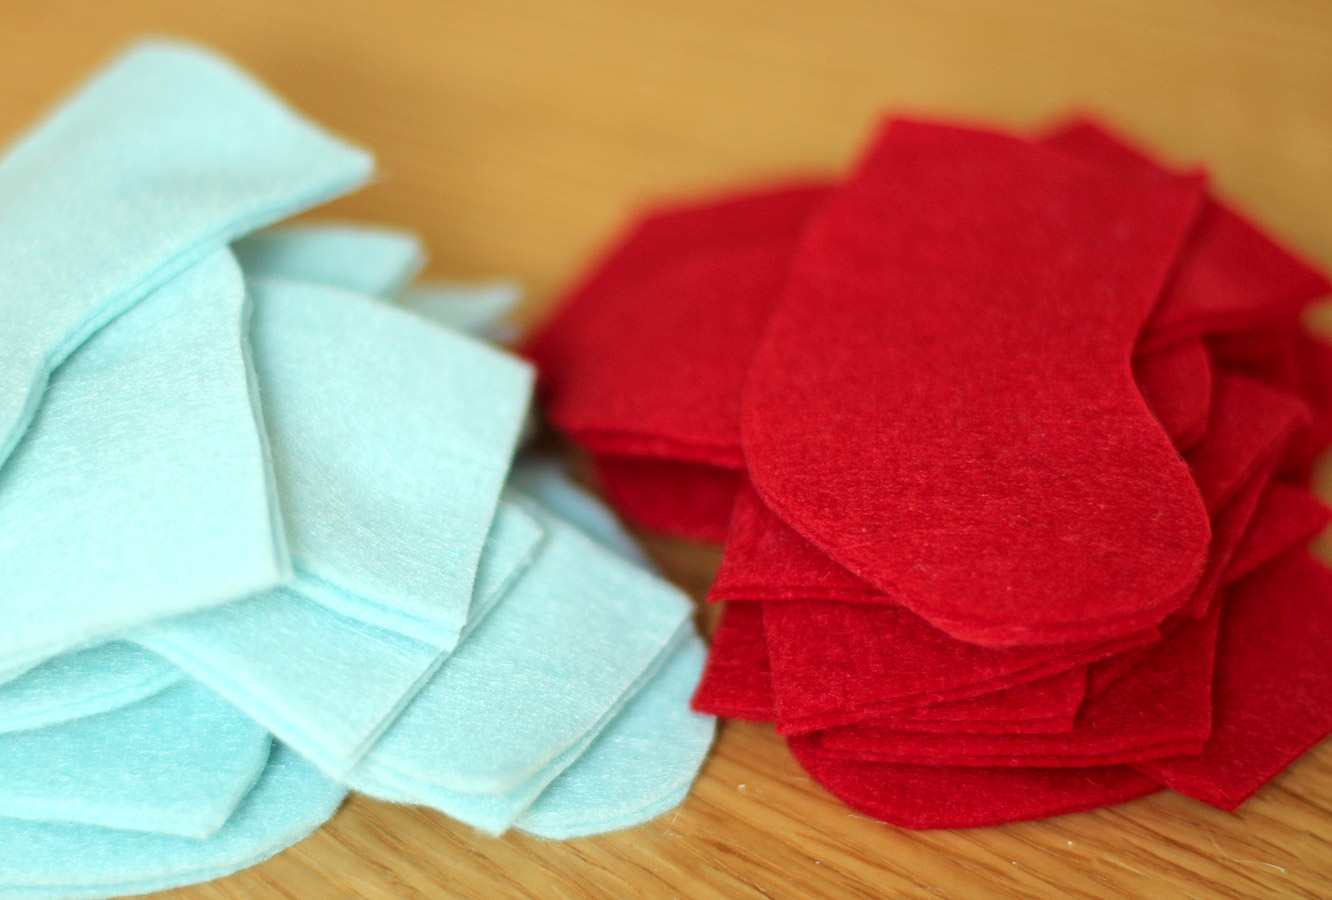
Keep cutting.

homemade-advent-calendar-mini-stockings-08

Step seven

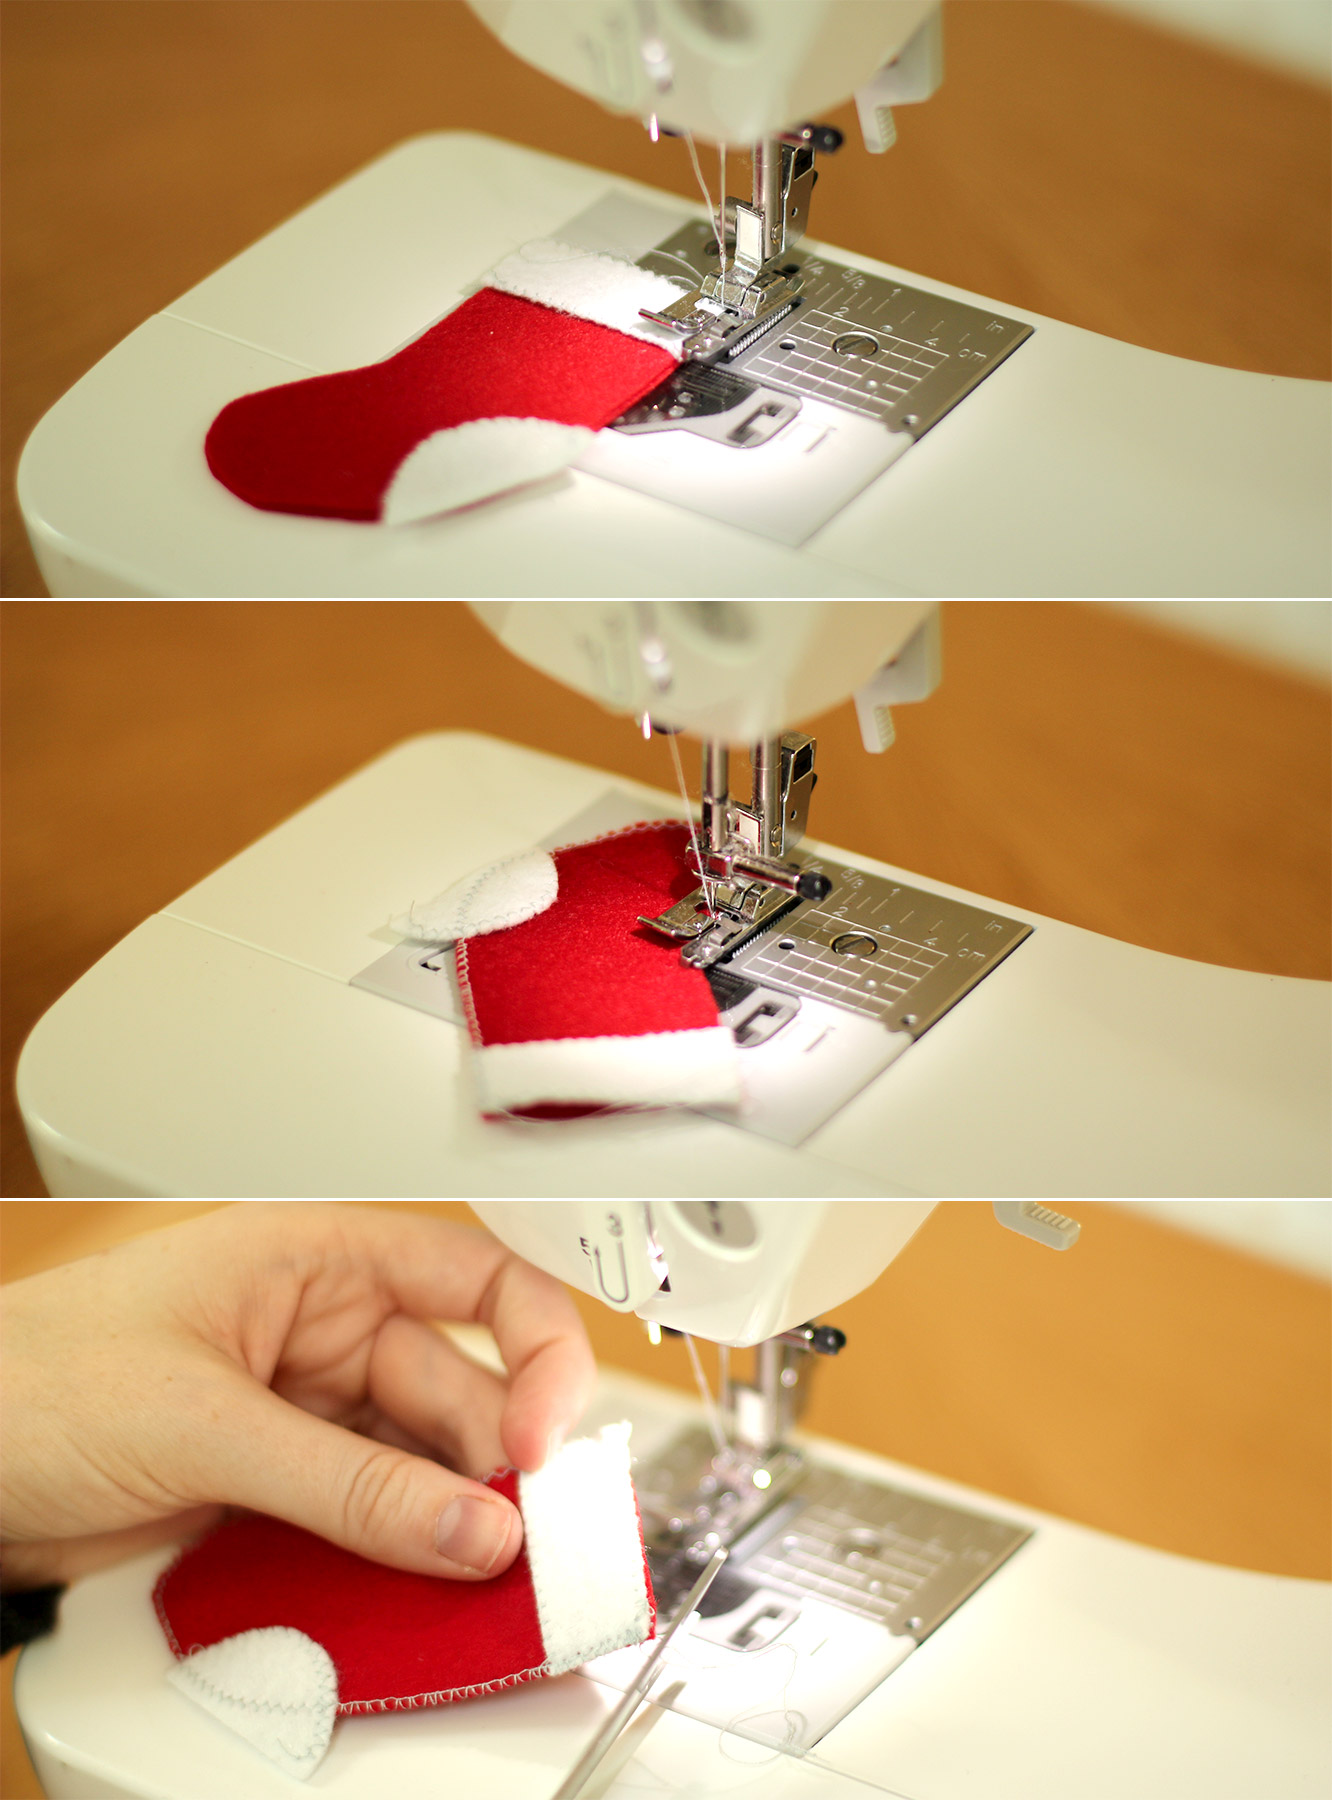
Sew the stockings together using an overlocking or zig zag stitch. I edged the white bits separately before attaching them and left the heel hanging over the edge.

If you are making this for next Christmas, feel free to hand sew. I cover how to blanket stitch here. If you want this ready in time for this advent I recommend borrowing a sewing machine or using glue.
homemade-advent-calendar-mini-stockings-09

Step eight

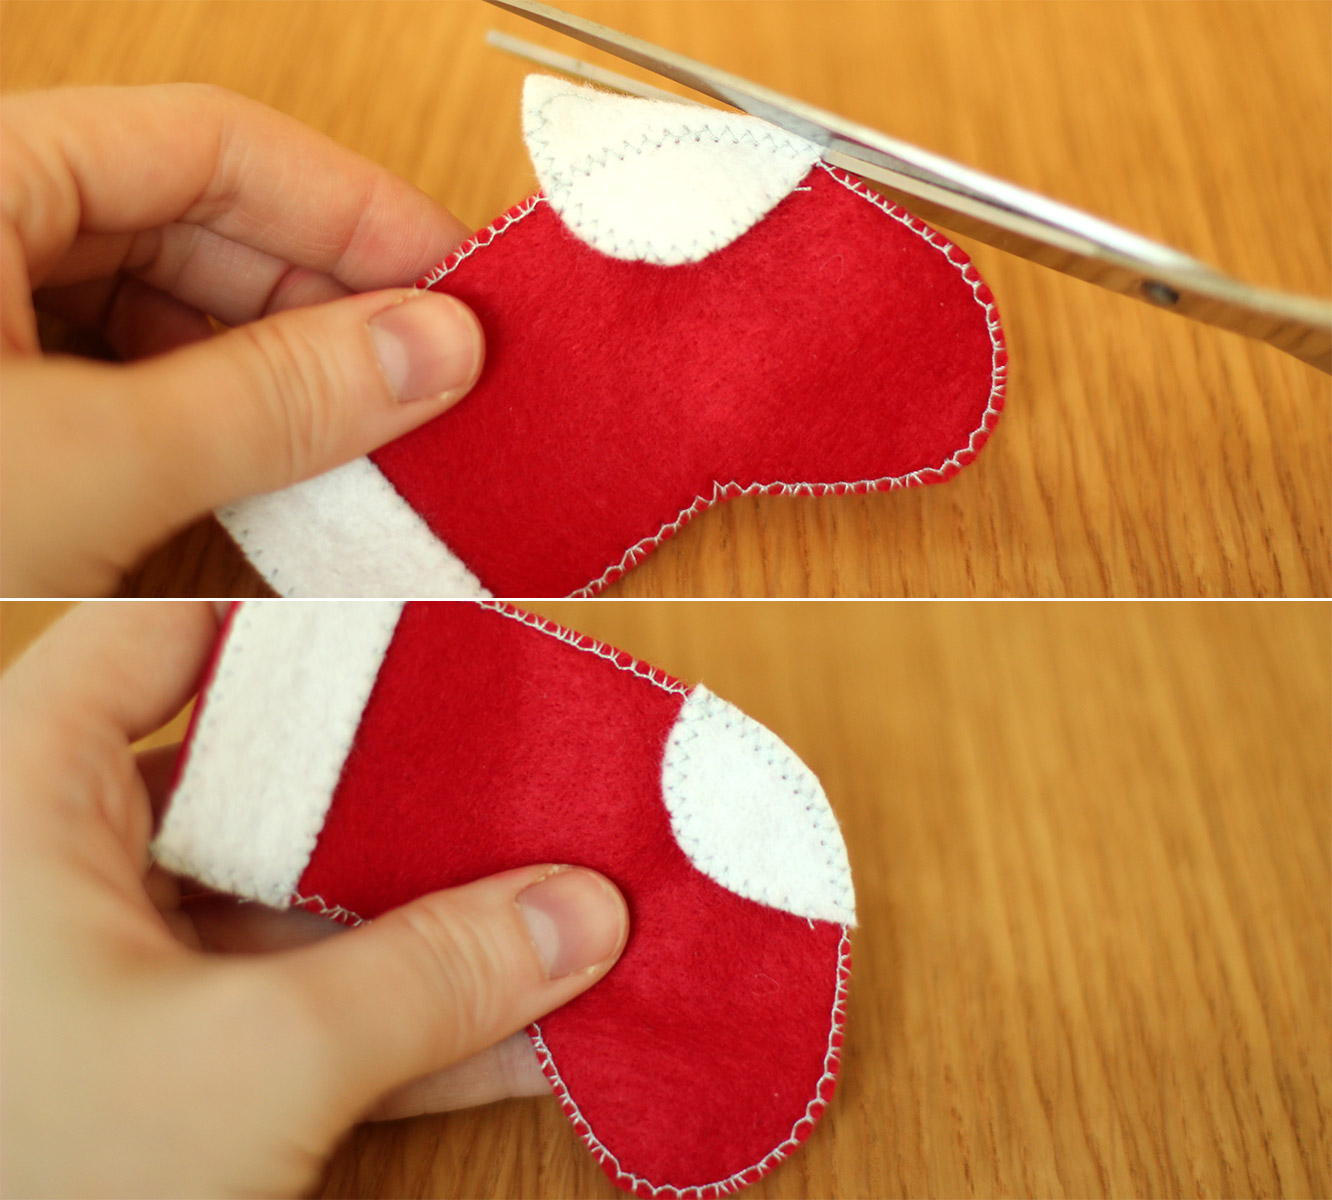
Cut the excess off the heel of the stocking and any loose threads.
homemade-advent-calendar-mini-stockings-10

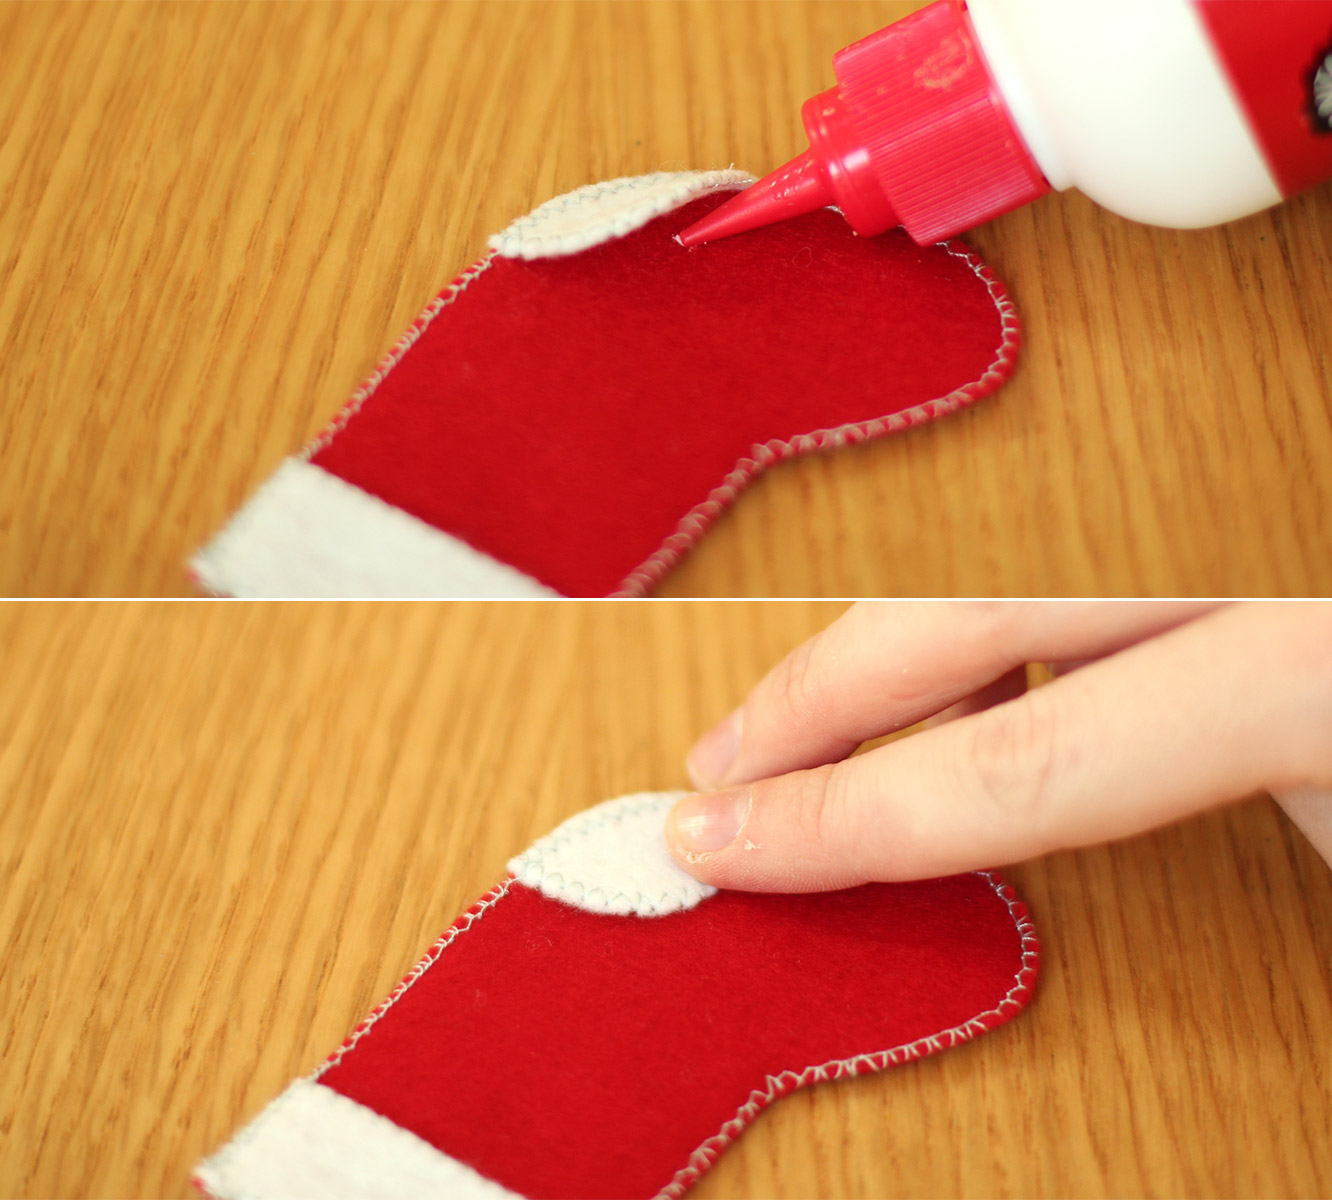
Step eight and a half

(Totally missed this step on the original post)

Secure the heel with a little dab of glue, but make sure it doesn’t soak through and stick the stocking together.
homemade-advent-calendar-mini-stockings-11

Step nine

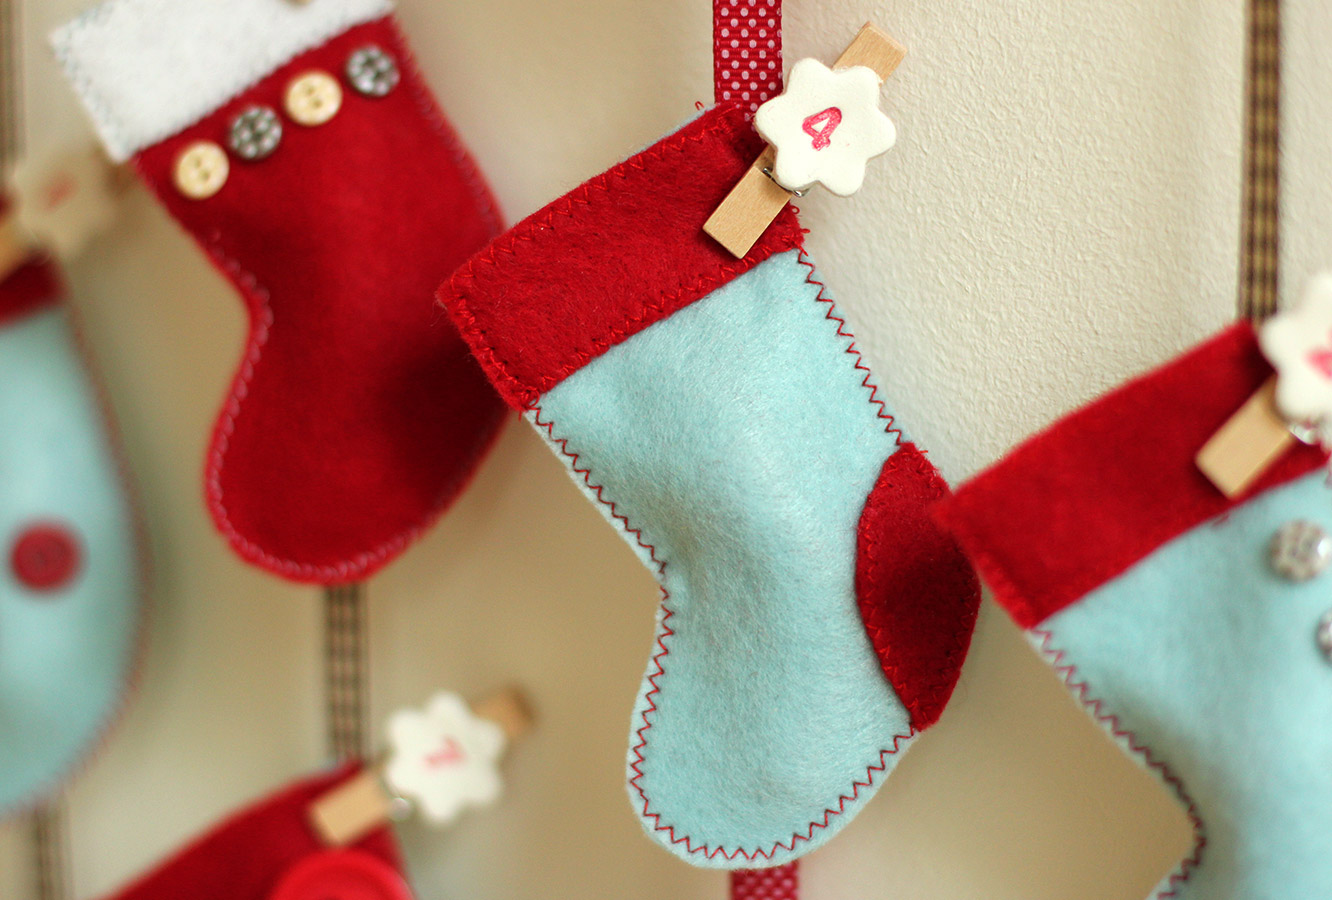
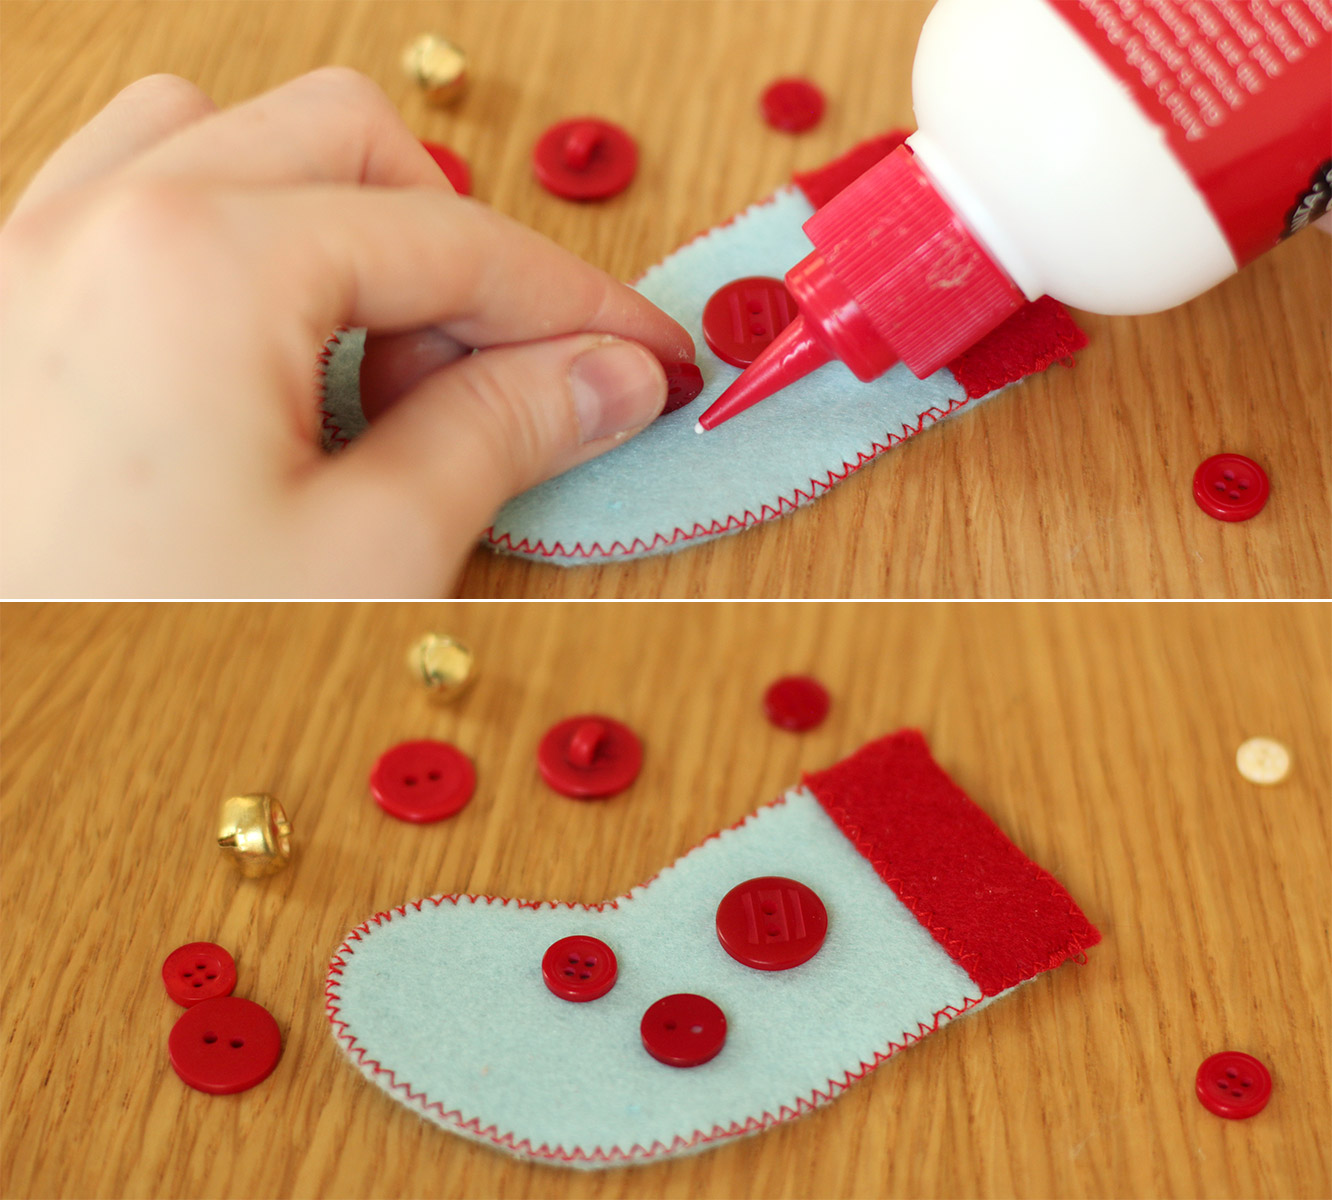
I decided not to sew heels on all of them as I wanted a bit of variation. So I used some of the embellishments from last year’s advent calendar to decorate. Glue is acceptable here I reckon, otherwise you really need to sew them on before sewing them together.

Repeat until you have 23 little stockings and one big one.
homemade-advent-calendar-mini-stockings-15

Step ten

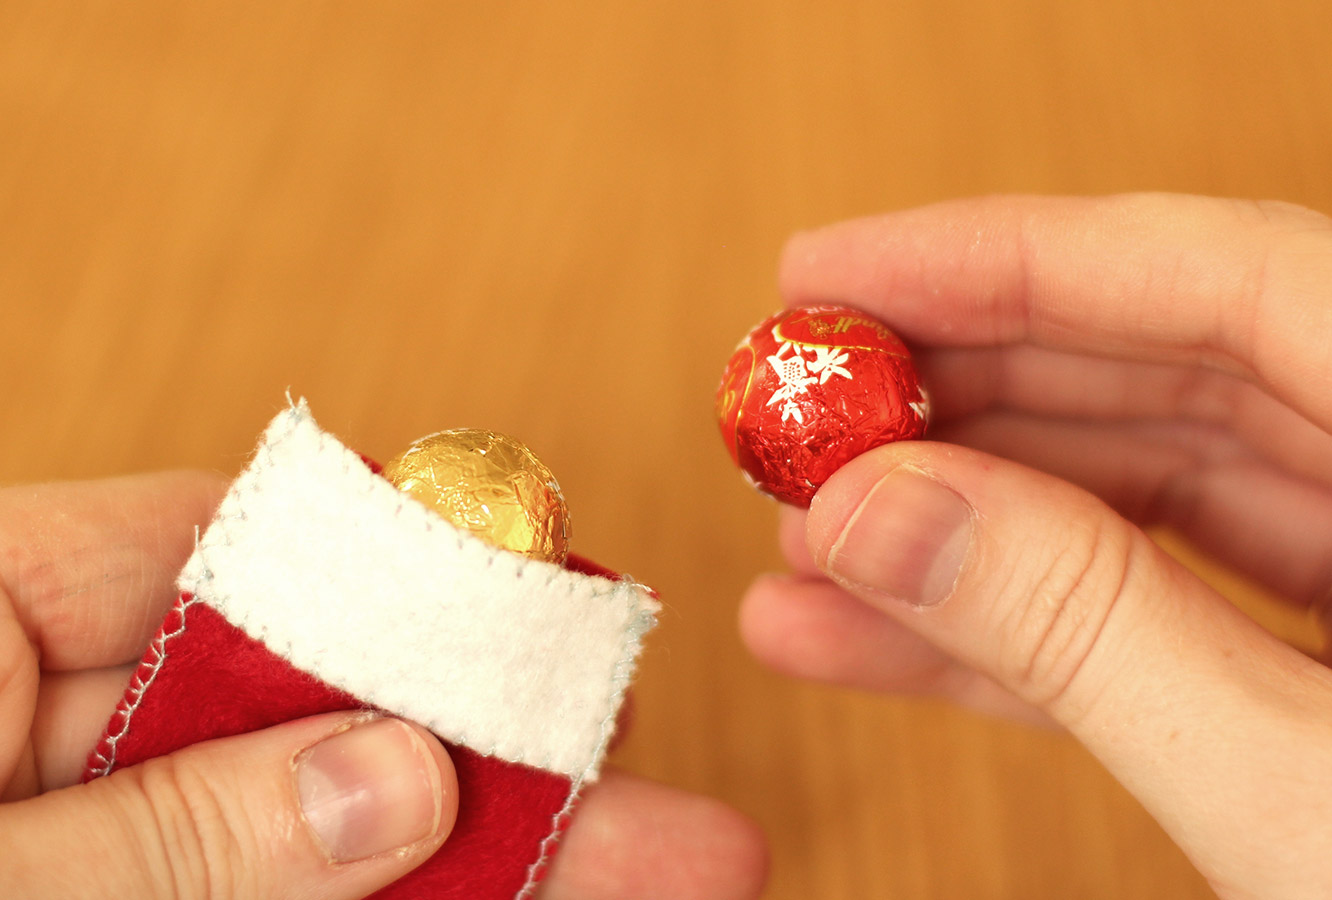
Fill your little stockings as you go, they look very cute as they stack up.
homemade-advent-calendar-mini-stockings-12

Step eleven

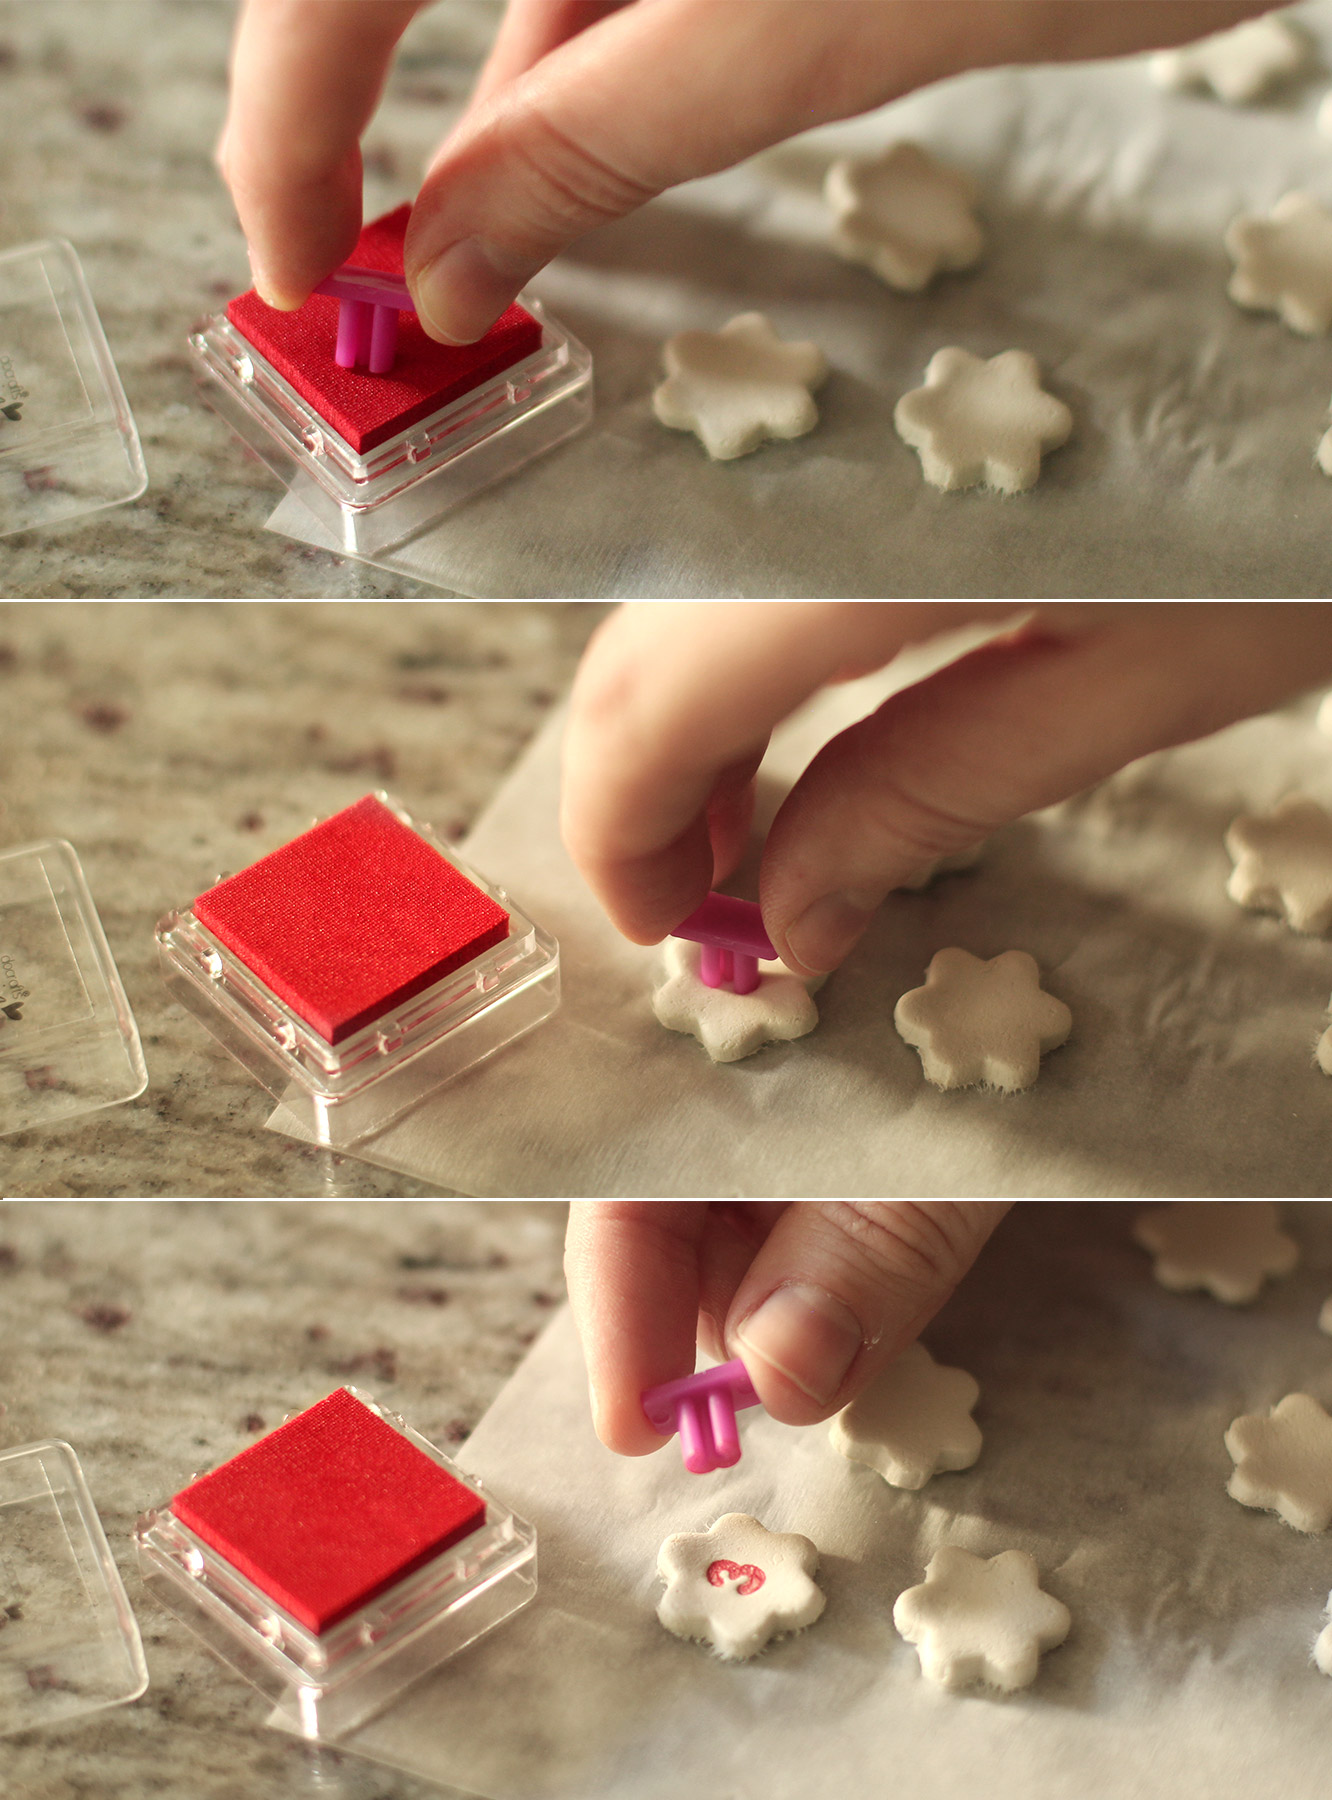
After a few learning lessons from last week, I made the number markers with air dry clay. I found it easier to work with than FIMO. It also worked really well to ink the stamps before pressing them into the shapes.

This is entirely optional, you could write the numbers on the pegs, stamp them, make circles of card instead etc etc.
homemade-advent-calendar-mini-stockings-13

Step twelve

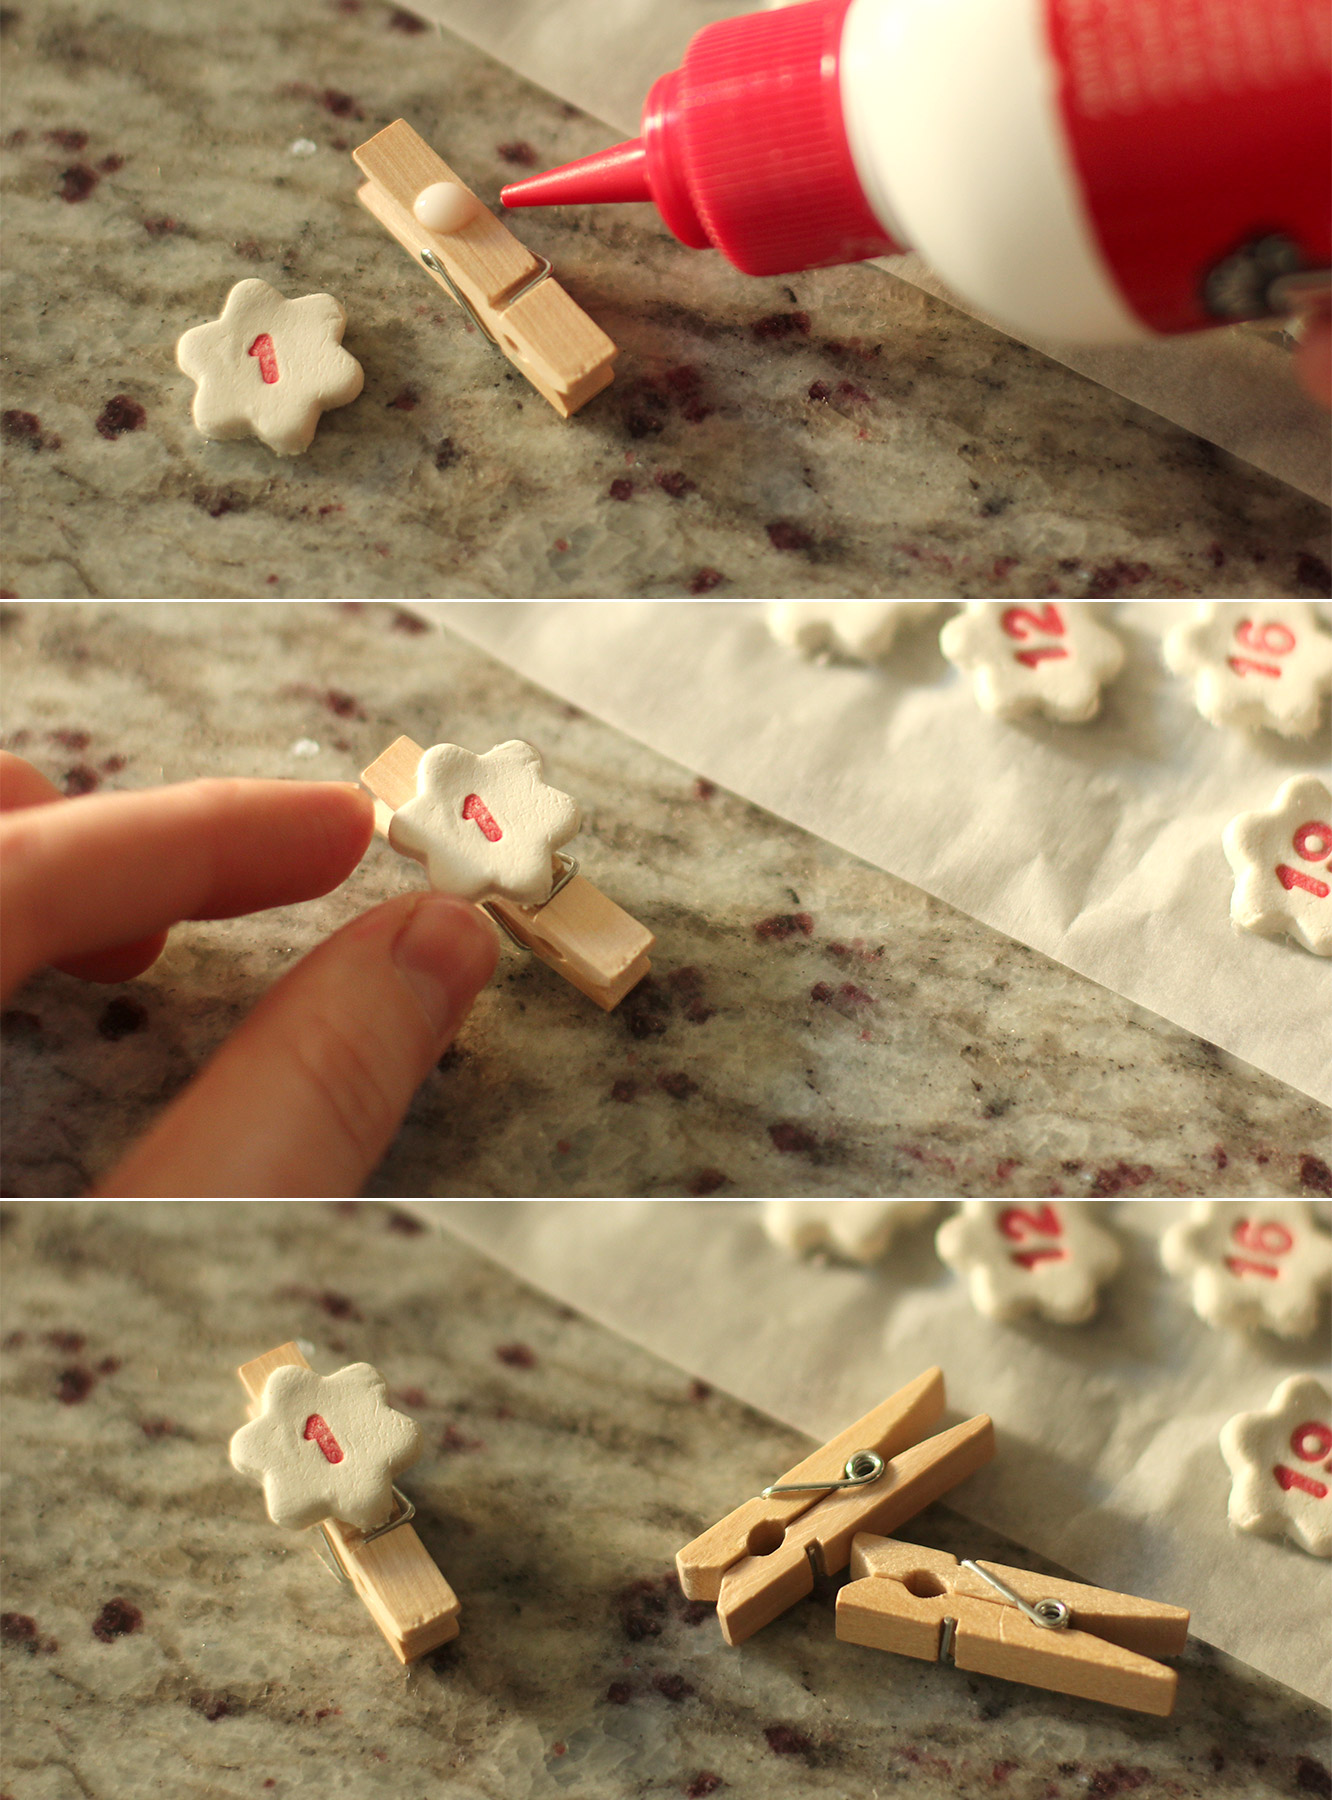
Once the shapes have dried out (no cooking required with this clay), stick them to the pegs with enough space at the top to open and shut the peg without squashing them.
homemade-advent-calendar-mini-stockings-14

Step thirteen

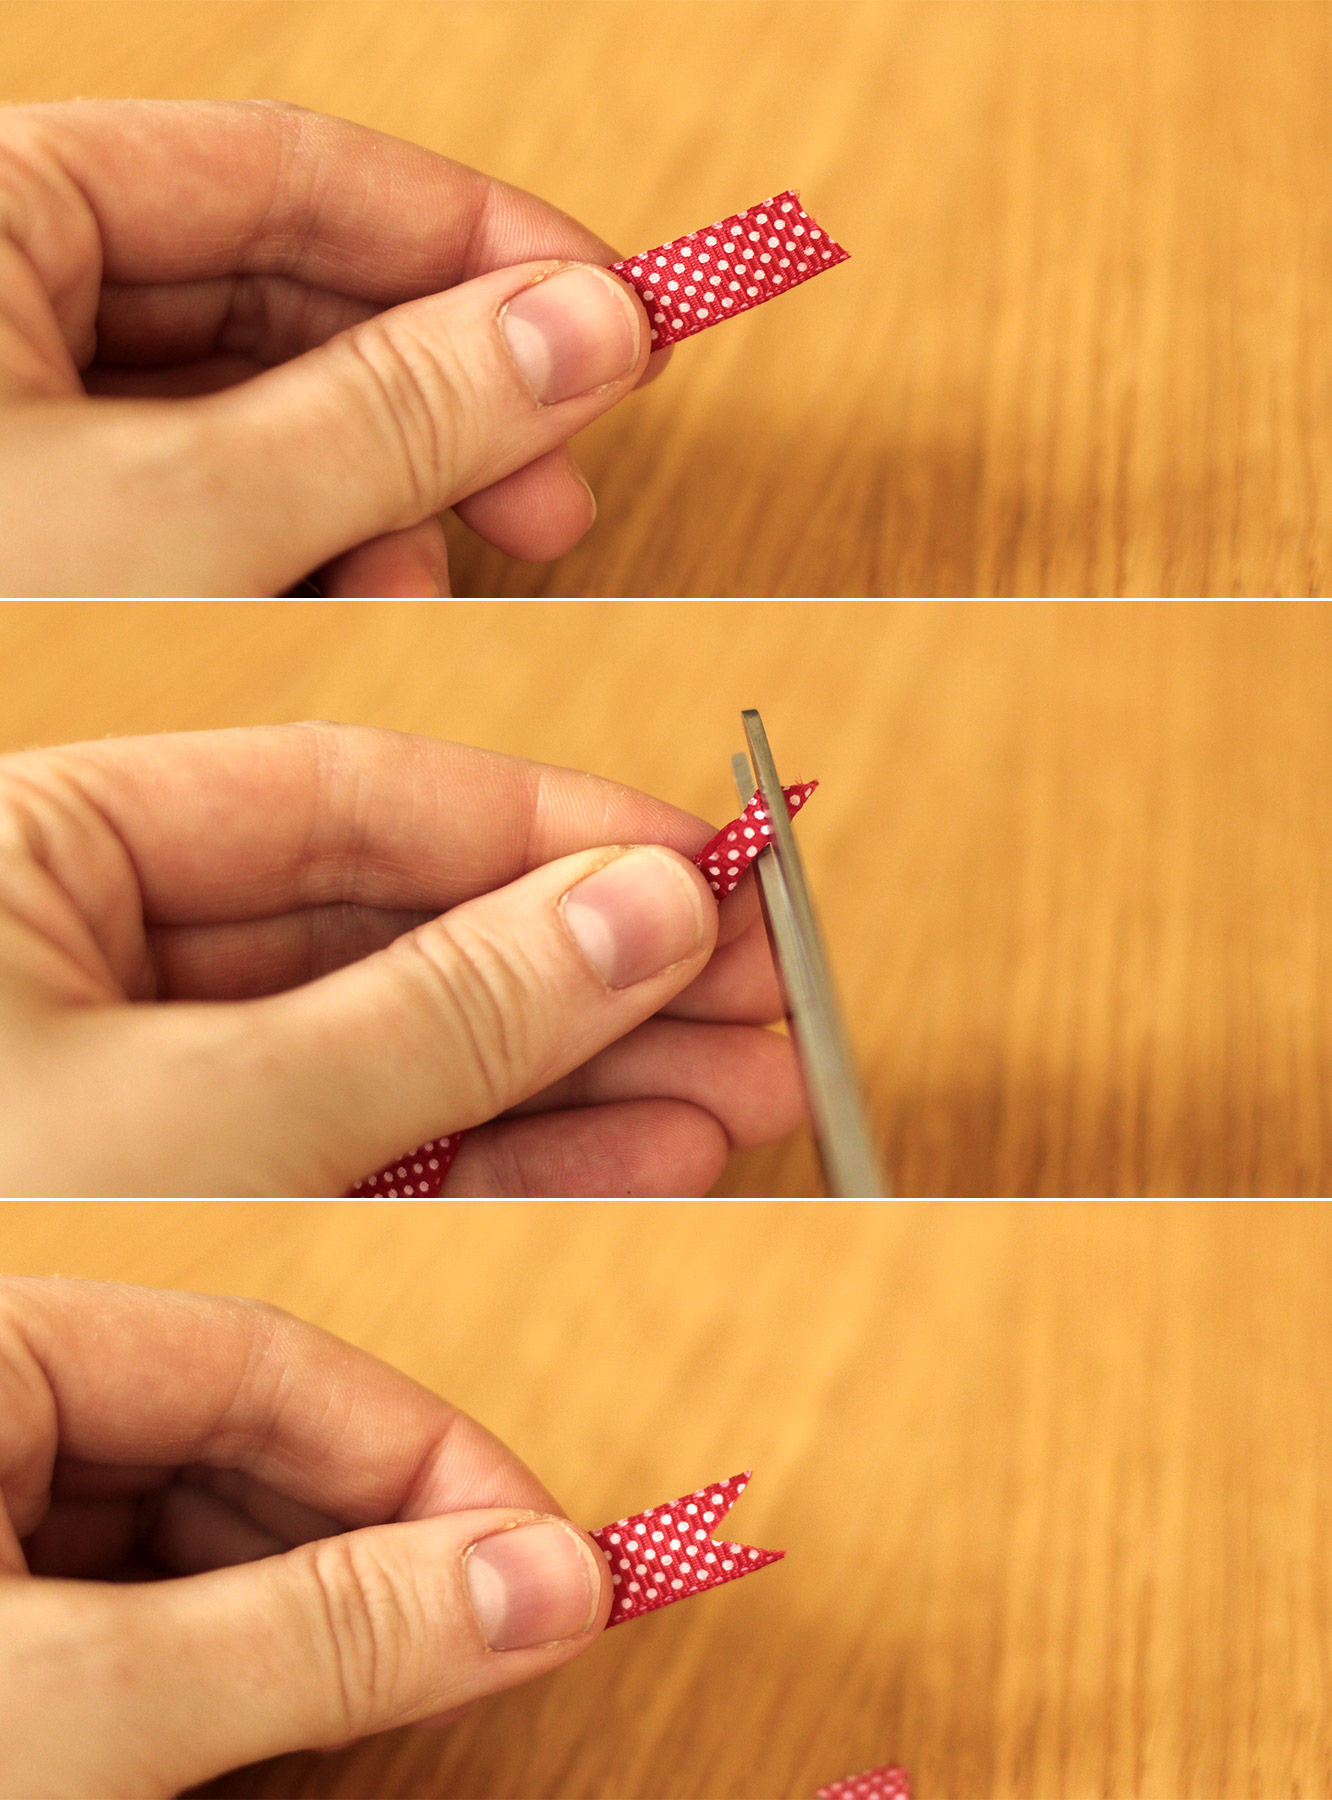
Cut 6 lengths of ribbon. I decided to taper mine at different lengths, as you can see in the final photos. To shape the ends nicely, fold the ribbon in half and cut diagonally on the fold to create a v-shaped cut.

homemade-advent-calendar-mini-stockings-gif

Step fourteen

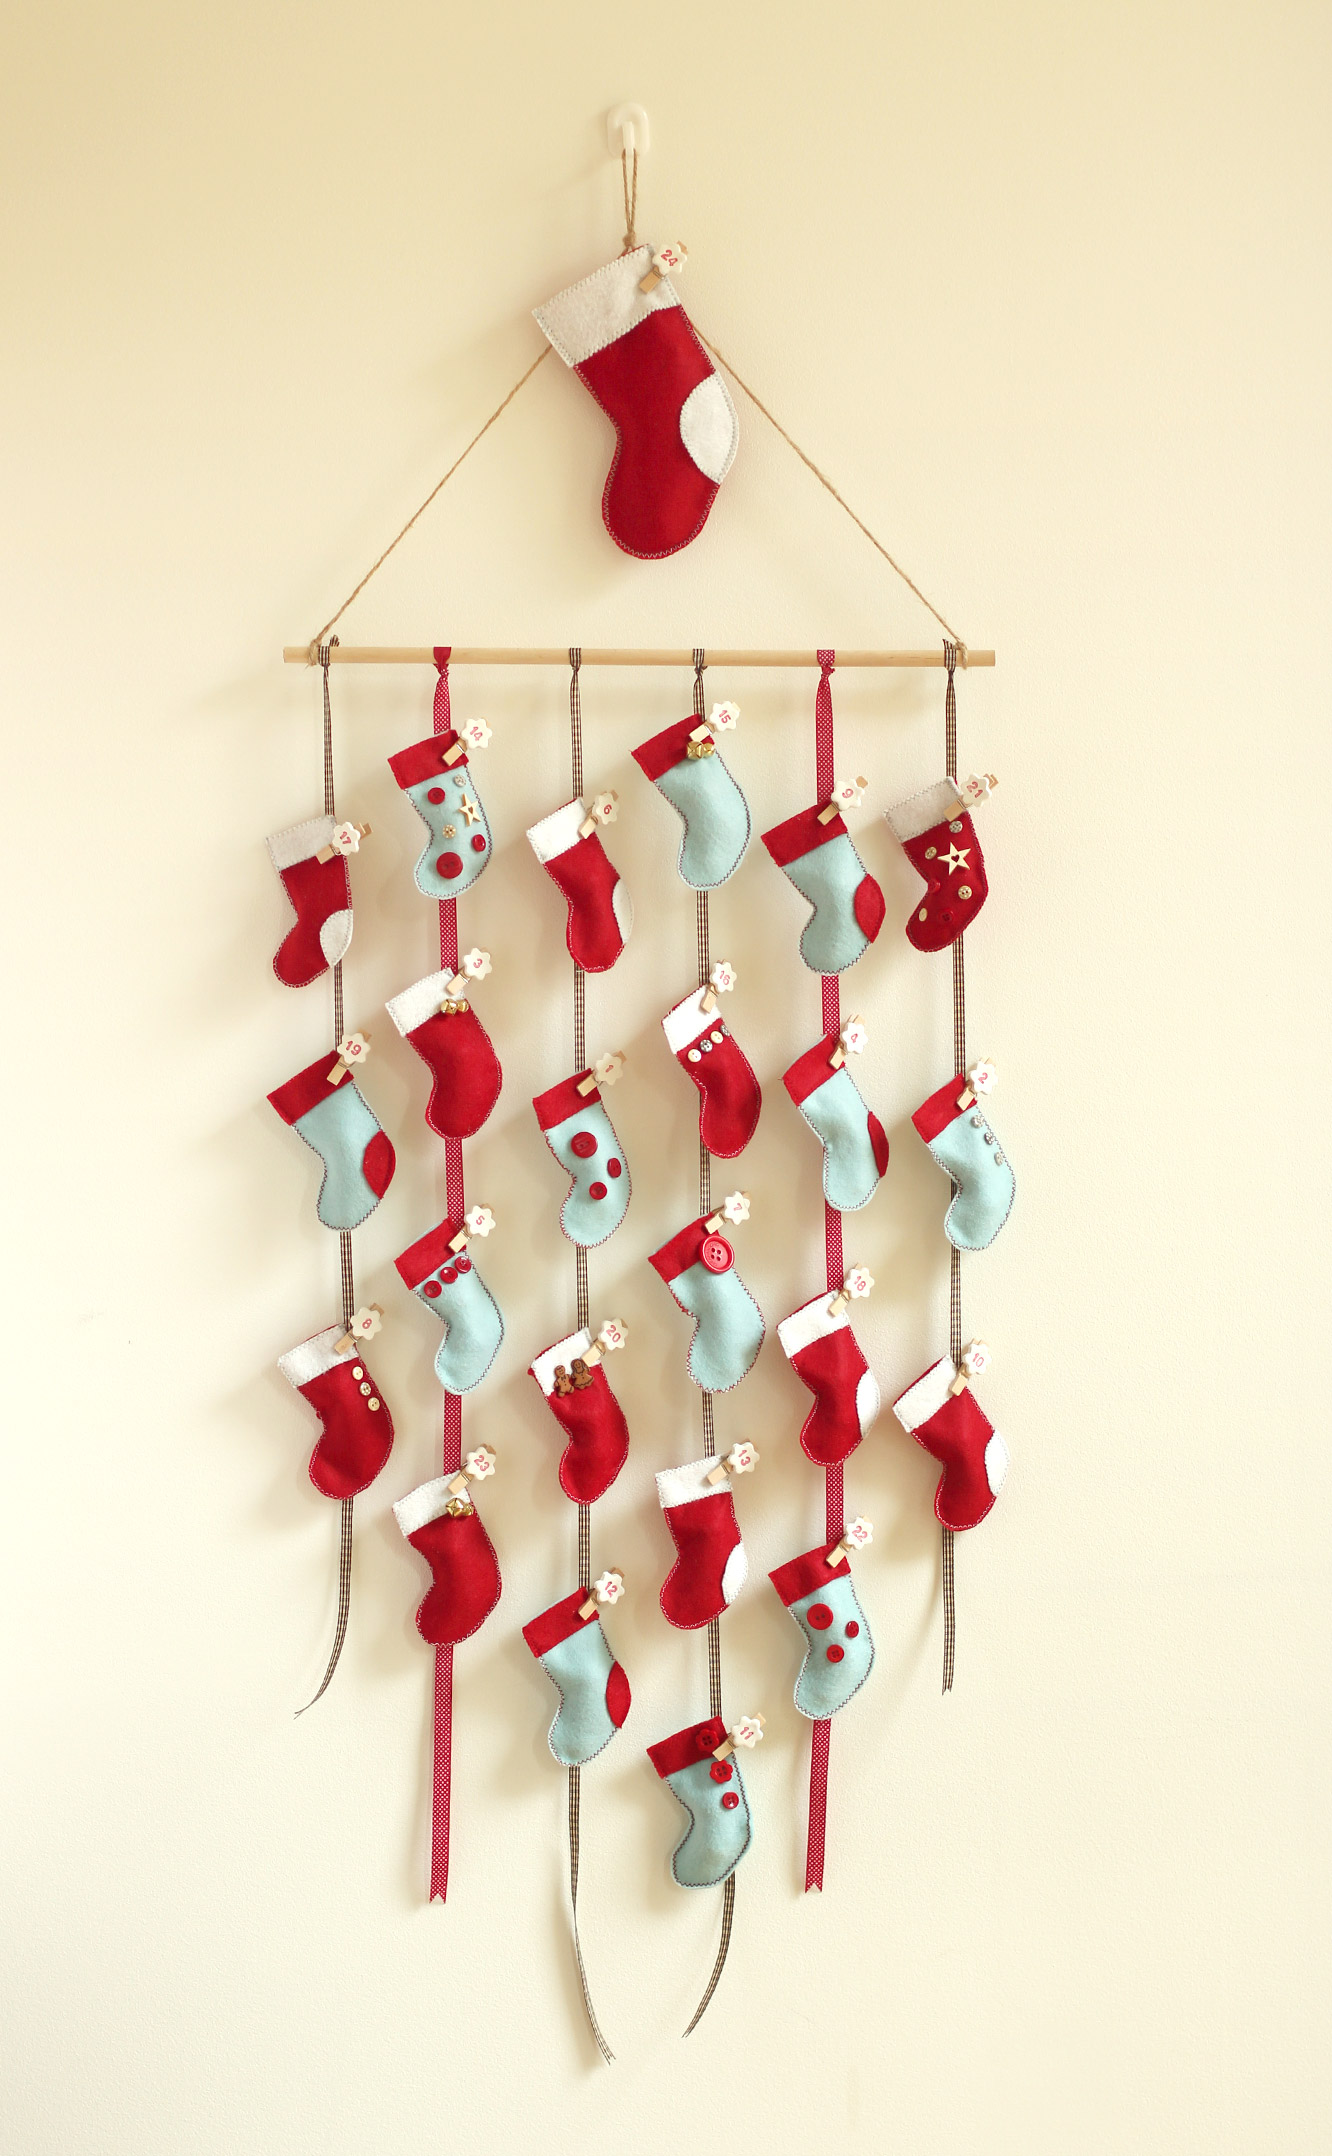
Tie the ribbons onto the rod and peg the stockings on.
homemade-advent-calendar-mini-stockings-18

homemade-advent-calendar-mini-stockings-17

homemade-advent-calendar-mini-stockings-16

Happy Christmas FiFi xx
Stick it, hang it, tag it

A classic case of things not turning out quite how they were meant to this week. I’m not sure exactly what I was expecting, but my housemates managed to cajole me into embracing the rustic charm of these makes nonetheless. By the end I managed to accept them as ‘not too bad after all’ and the lack of precision means that they would be a great little craft for kiddies as the winter creeps in.

With Christmas decorating just around the corner these guys are a great finishing touch as tree decorations, tags on presents and for card making. They are cheap to make and are cute little token gifts for the people you love, or at least those you like enough to want to give them something, but not enough to actually apply yourself to Christmas shopping.

homemade-fimo-christmas-decoration-tag-01

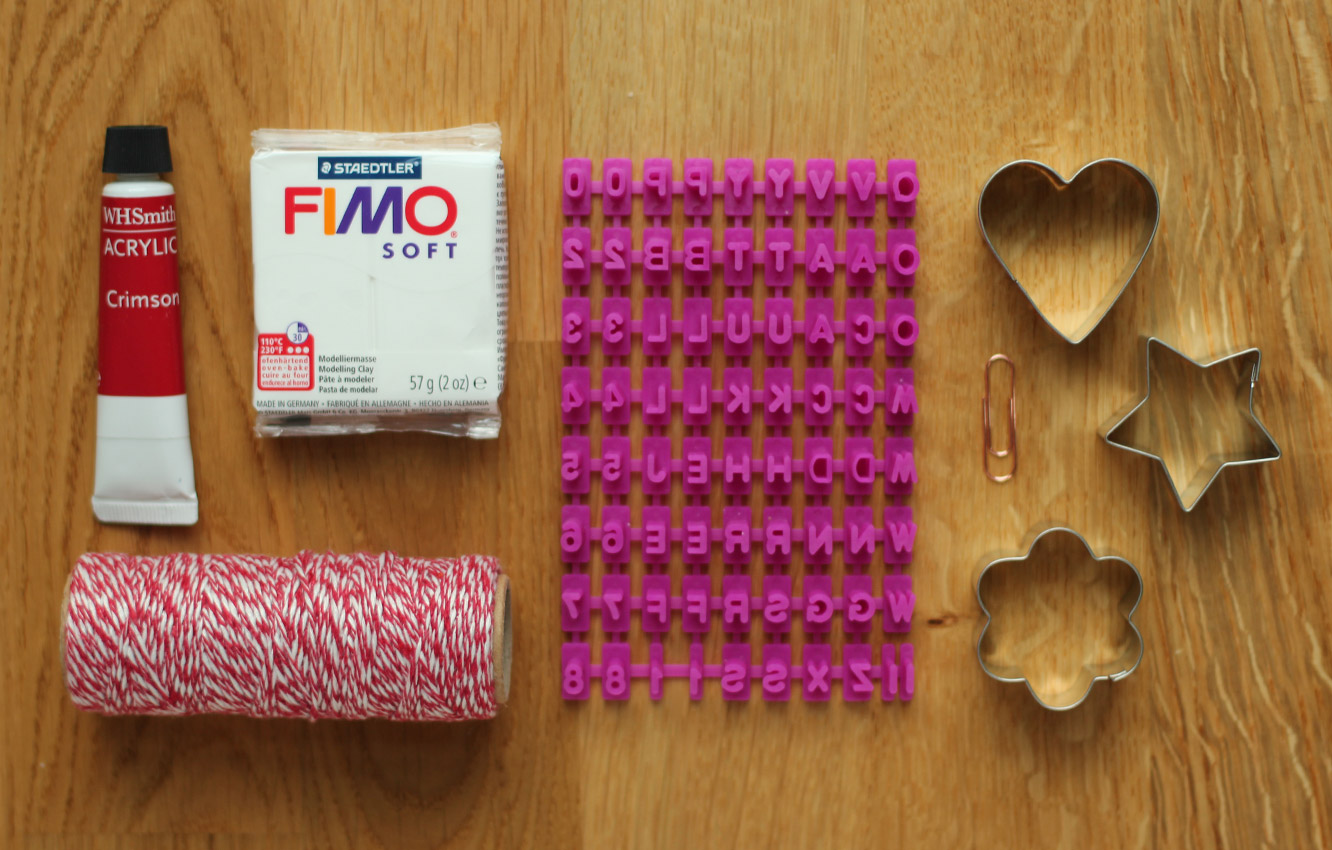
You will need

A block of FIMO modelling clay

Shape cutters

Festive string or ribbon

Acrylic paint and a small paint brush

Alphabet cookie stamp, I go this from Tiger recently (or regular stamps might work)

A paperclip

homemade-fimo-christmas-decoration-tag-02

Step one

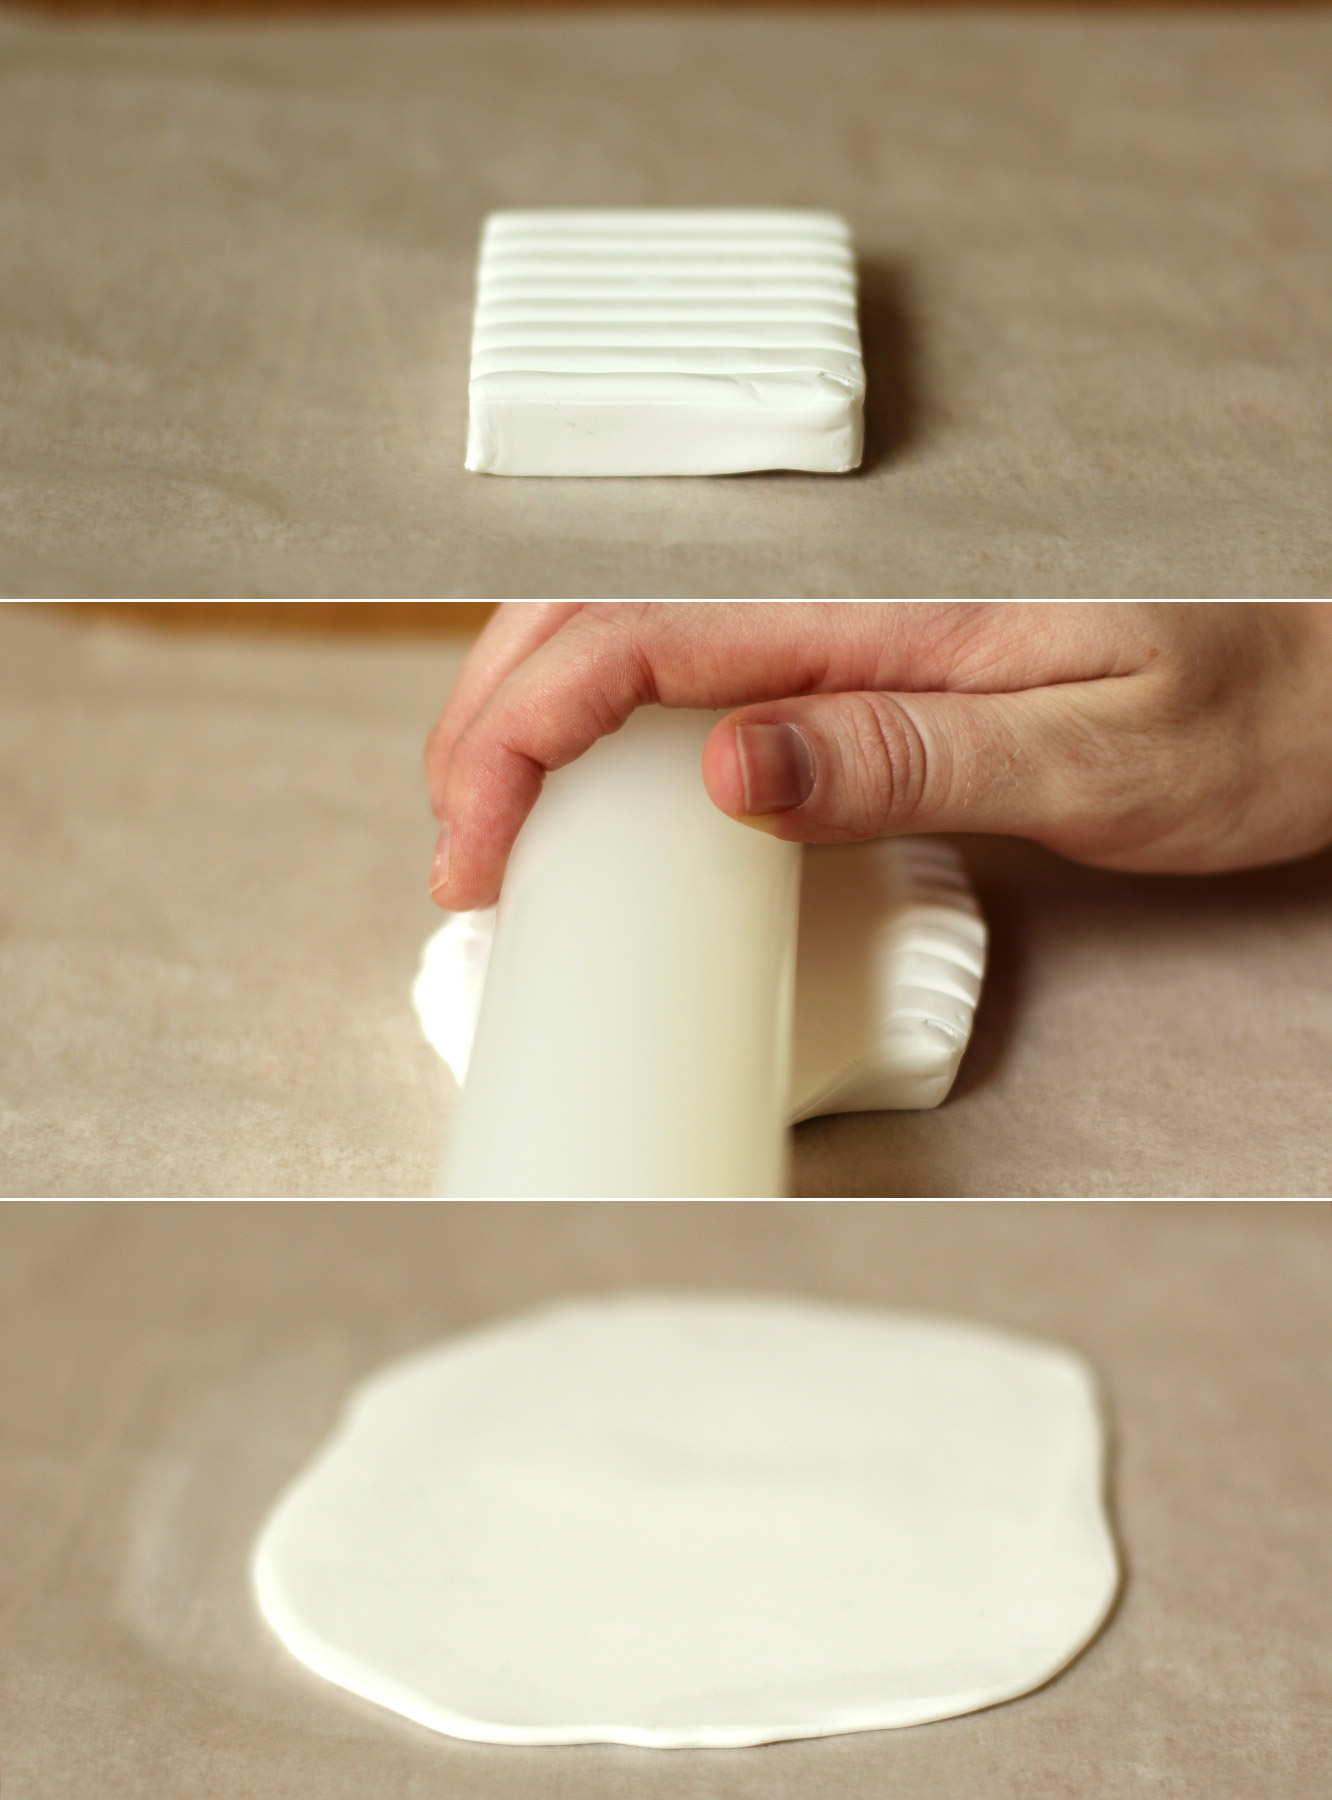
Roll the FIMO out into a thin sheet, about 2-3mm thick.

I learned a few things here. Greaseproof paper is not the easiest thing to roll this out onto, a clean surface would be better. Roll the FIMO into a ball with your hands first to warm it up a bit as it will be easier than just rolling straight onto the block. Dust will get into the FIMO so easily, it picks up EVERYTHING, so make sure you wipe your rolling pin and surface carefully.

homemade-fimo-christmas-decoration-tag-03

Step two

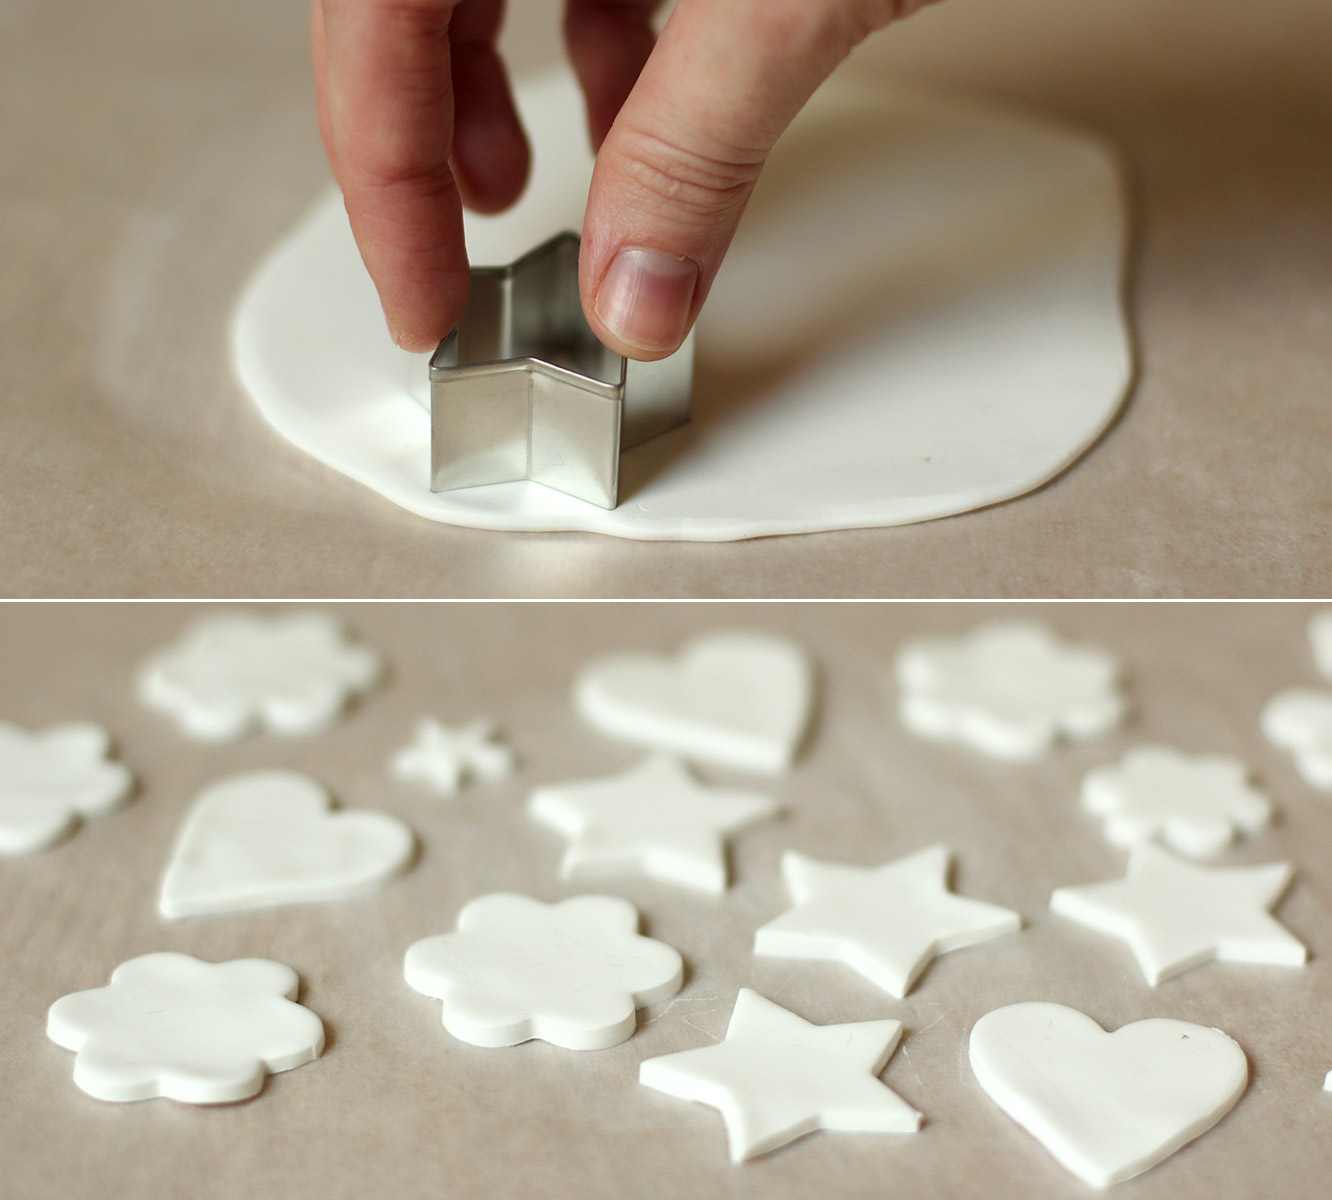
Cut out a variety of shapes. Re-roll and keep cutting until you have used all the FIMO. It’s surprising how many you get in the end out of such a small block.

homemade-fimo-christmas-decoration-tag-04

Step three

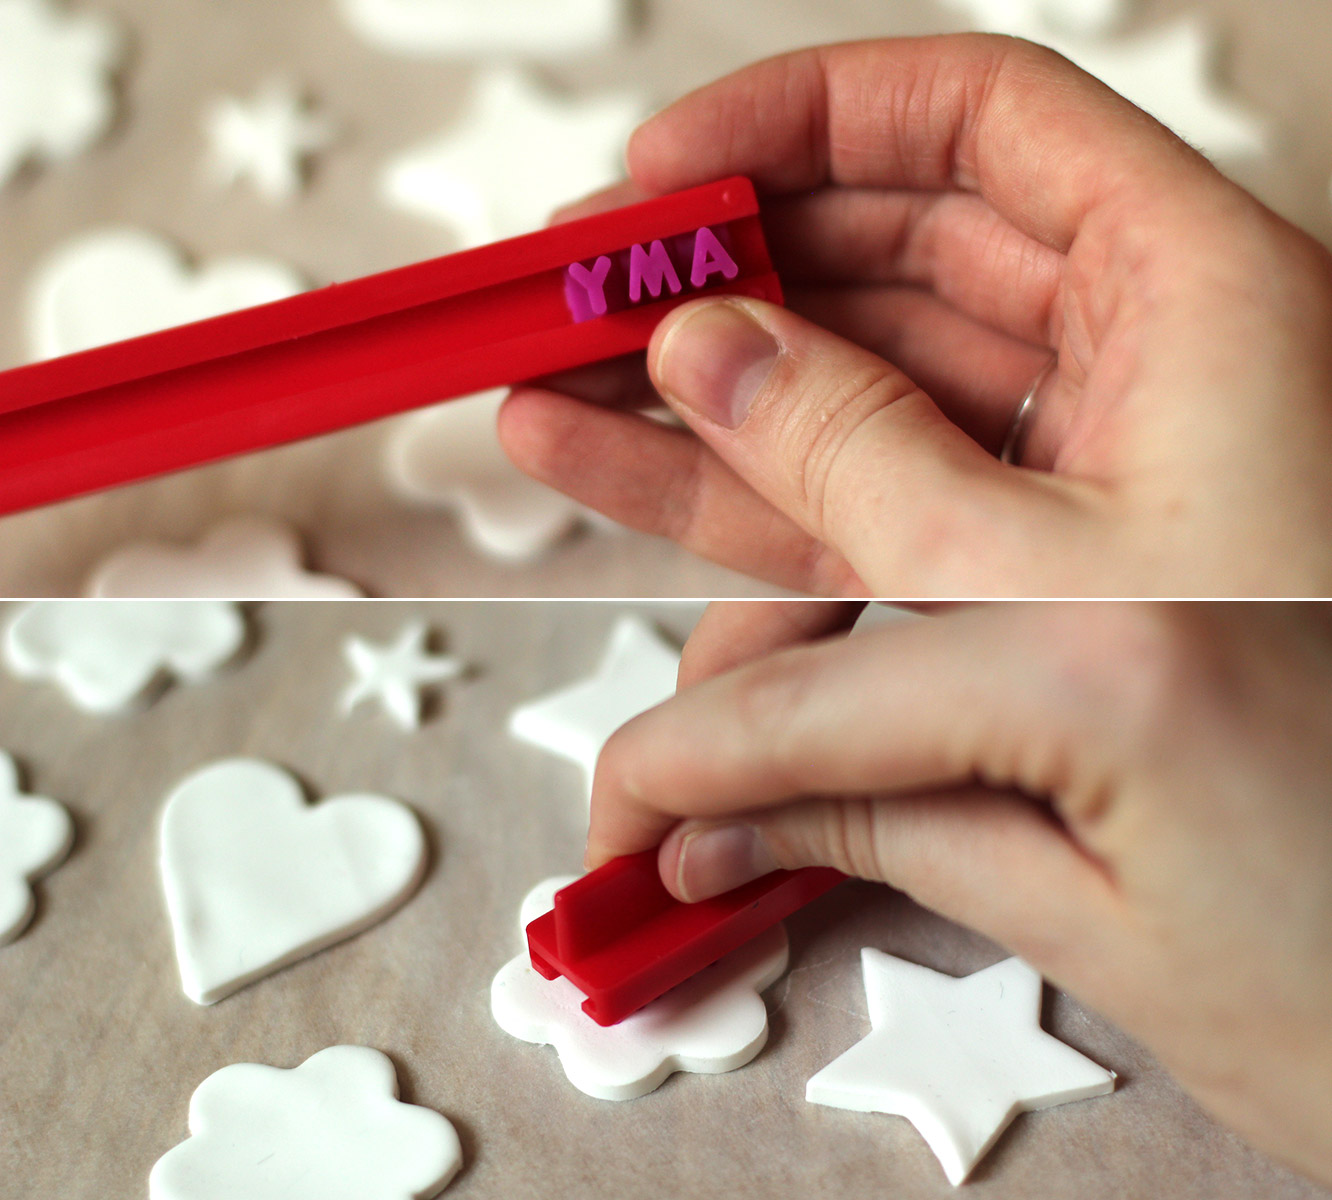
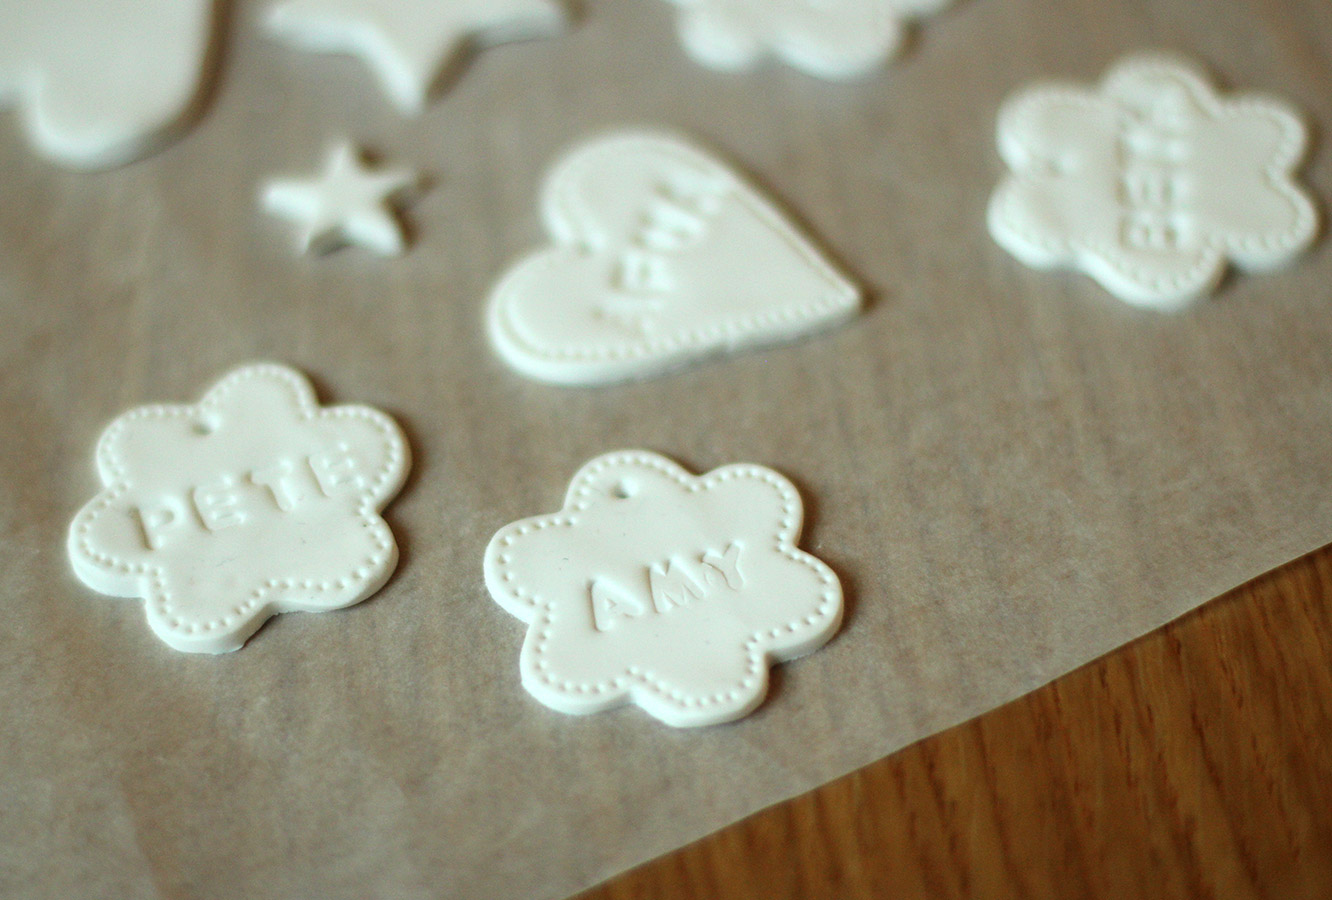
Stamp the names of your nearest and dearest into the shapes. I found that words longer than four letters were problematic. I employed some creative shortenings, although my housie Marianne was not impressed with Matz as her new nickname. It will depend on the sizes of your cutters, but you might want to do initials or words like ‘love’, ‘joy’ and ‘noel’ if there’re some long names knocking about.

homemade-fimo-christmas-decoration-tag-05

Step four

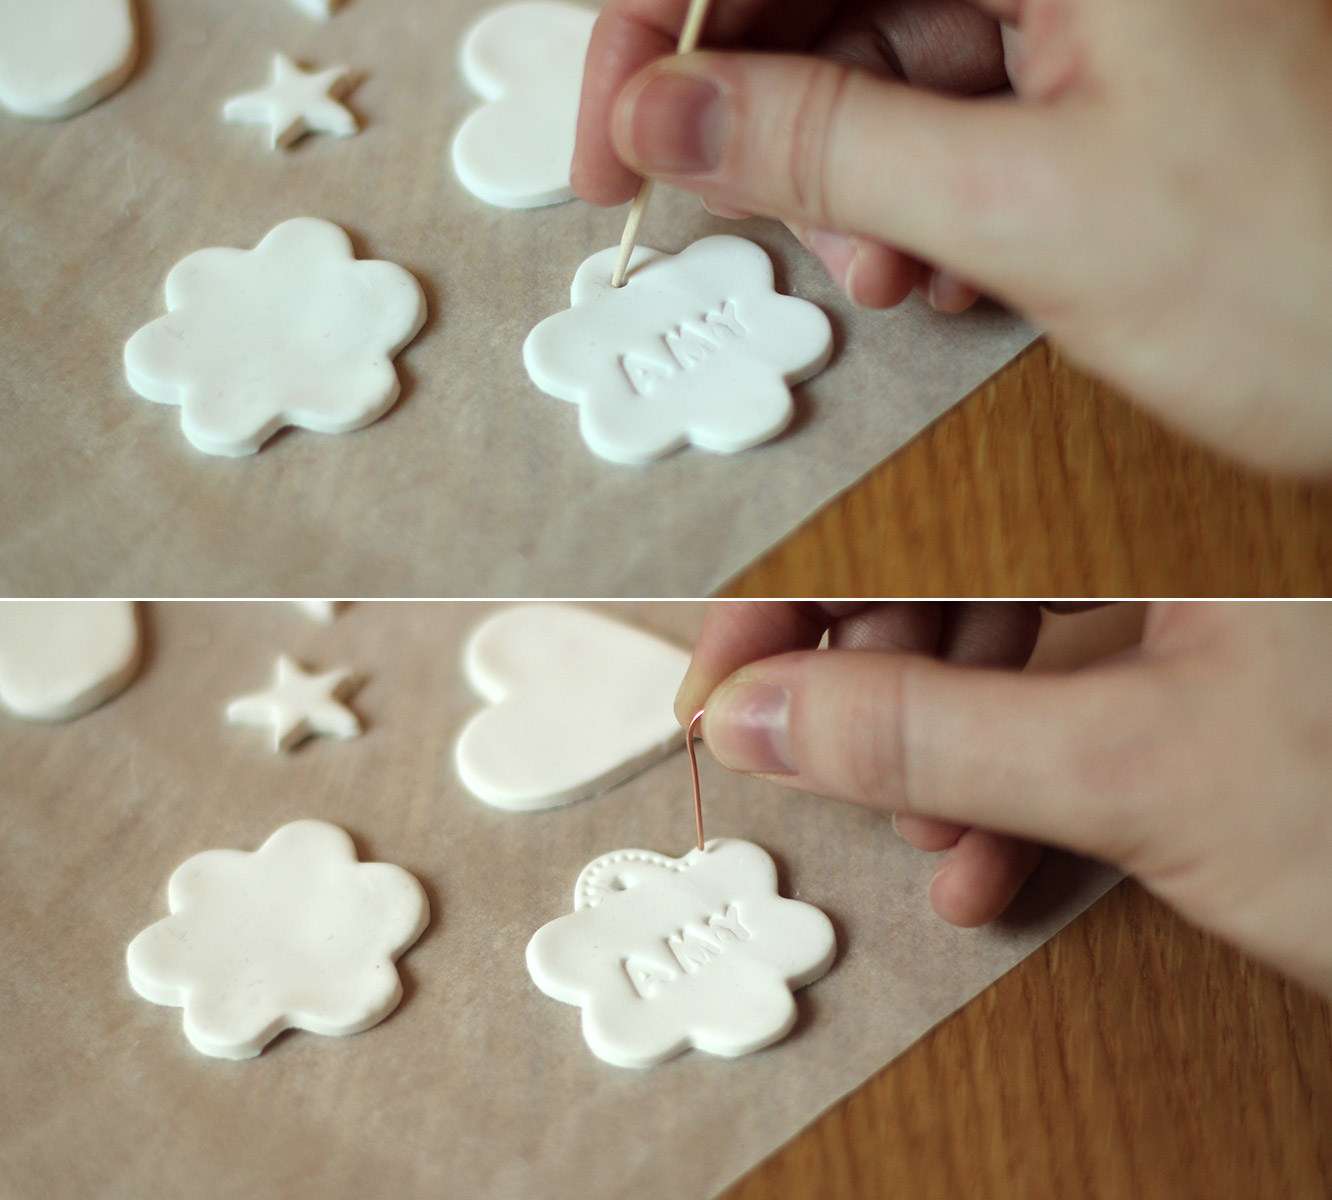
Using a cocktail stick or bent out paperclip make a hole at the top for the hanging. Wiggle the stick about in a circular motion to make sure the opening is big enough for your string or ribbon.

I then made dots all around as an edging with a paperclip.

homemade-fimo-christmas-decoration-tag-06

Step five

Place on greaseproof paper and onto a tray. Bake in the oven on 100C/200F/gas mark 1 for about 30 minutes. I guessed because the packet provides zero instructions, other than to not heat it above 130C. You can tell by picking them up as they start to feel less soft and a bit lighter as they cook.

homemade-fimo-christmas-decoration-tag-07

Step six

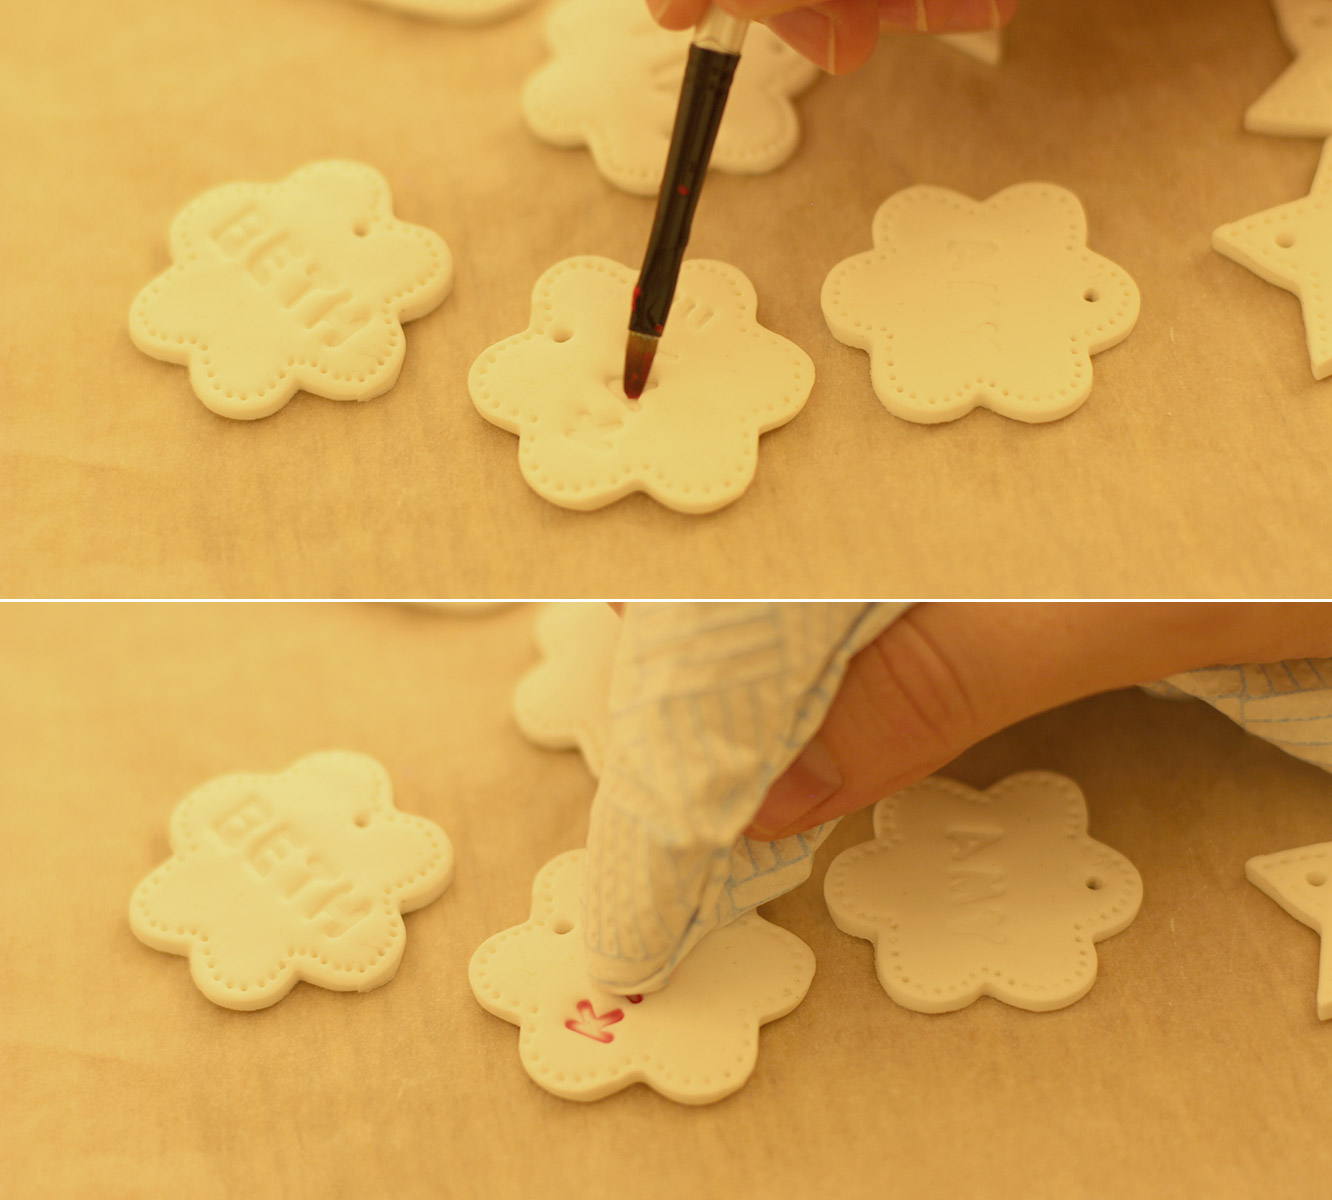
Using very watery acrylic paint, brush over the letters and the edging. Quickly dab away the excess with some clingfilm to create a rustic look.

homemade-fimo-christmas-decoration-tag-09

homemade-fimo-christmas-decoration-tag-10

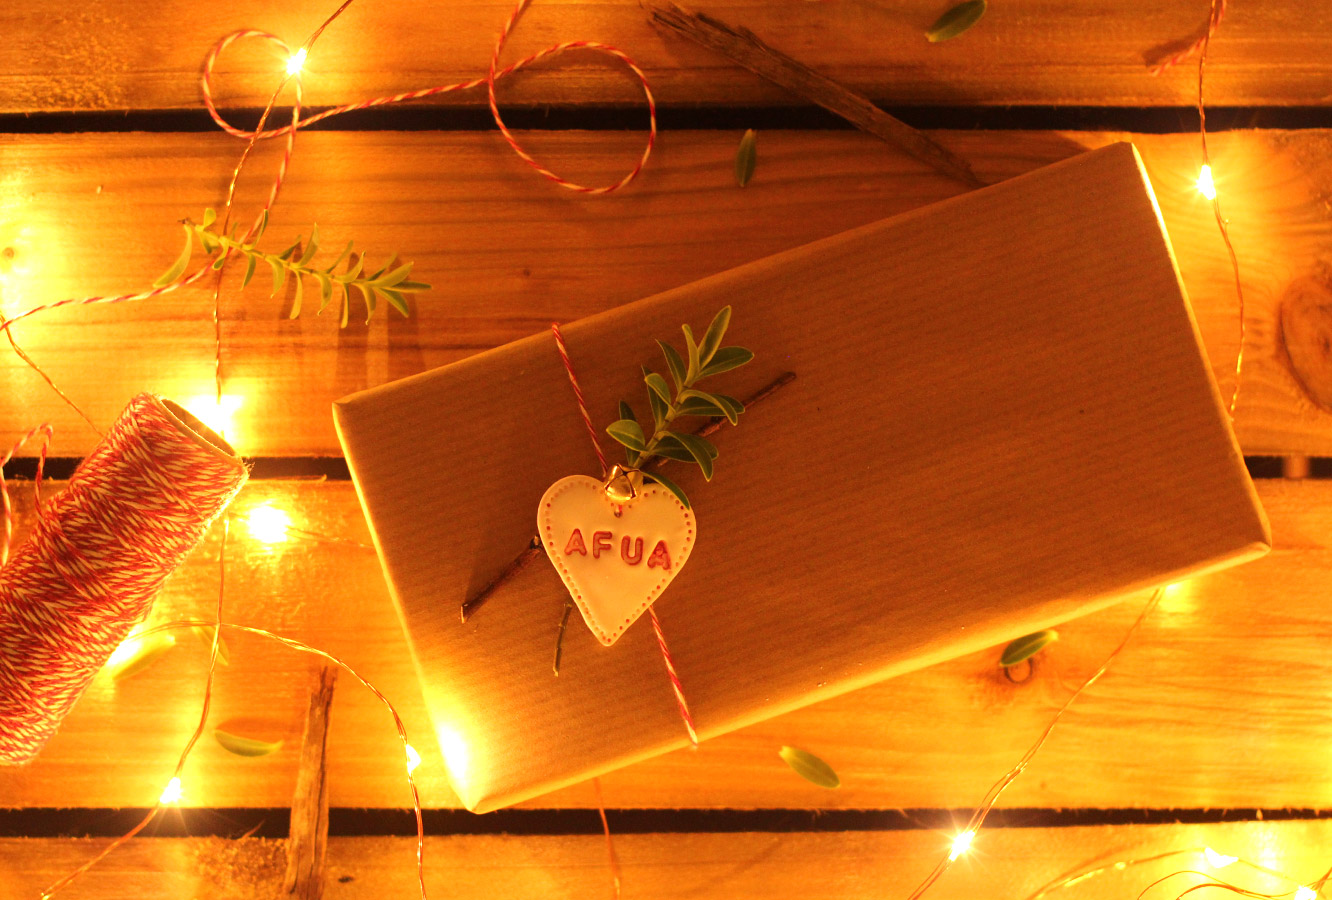
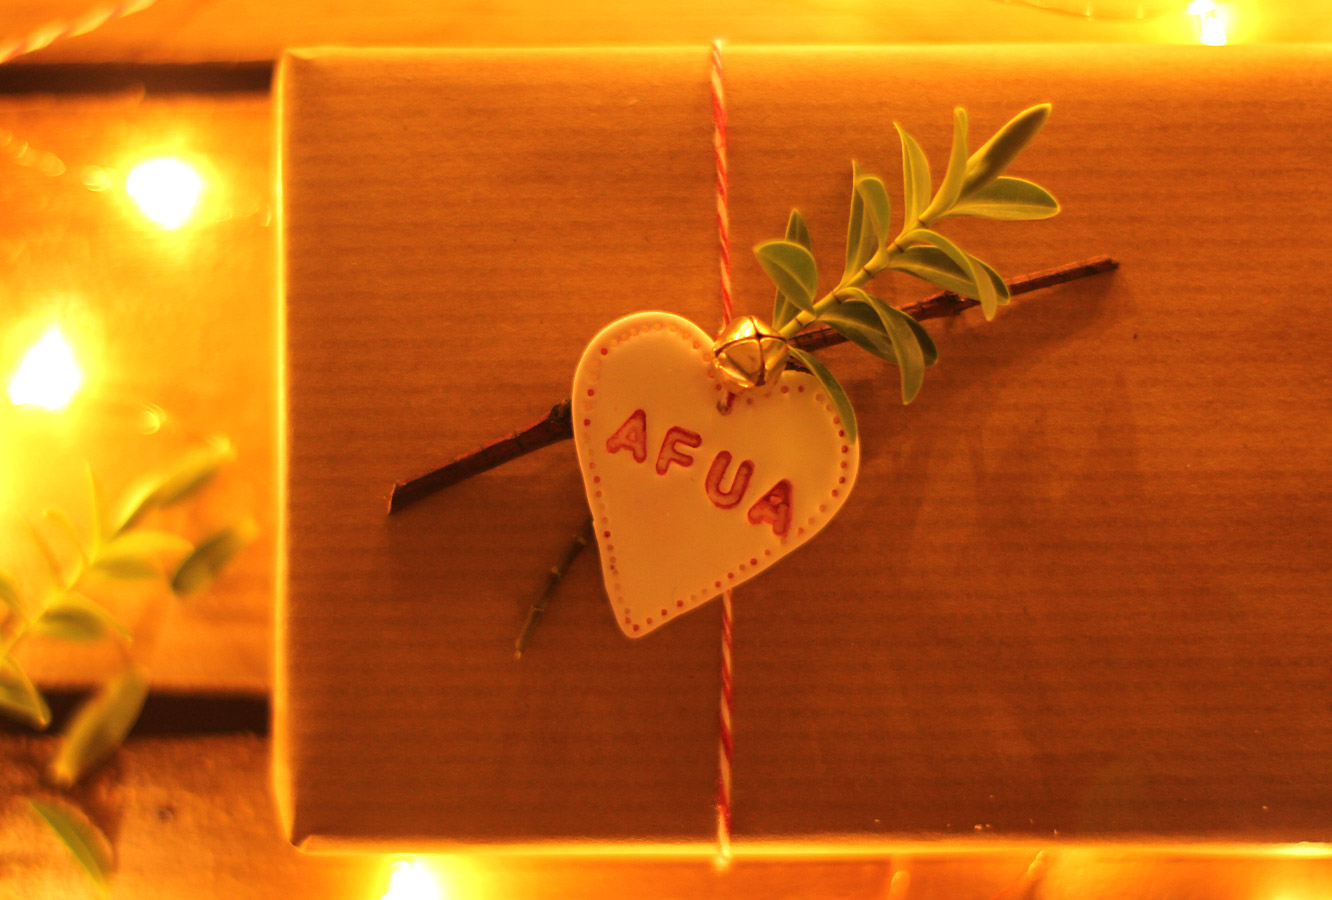
Use one: Tie up with a couple of trimmings from the garden, maybe a button/pom pom/little bell like mine. Tie with the string around a gift wrapped in brown paper.

homemade-fimo-christmas-decoration-tag-11

Use two: String up and hang from a jug of twigs or your Chrimbo tree.

homemade-fimo-christmas-decoration-tag-08

Use three: Make mini ones with initials and create a simple Christmas card with a piece of wash tape and brown card.


Smelling of roses

Friends, I am sorry. I have definitely become a little lax on the blogging front. Too busy having fun recovering from the craziness of the last few weeks and, of course, the joys of job hunting.
So back to business as usual on fabrefaction this week, no more cupcakes for a while, and as far as I know, no more hen parties. I’m sure I will find something else to do a little series on soon though.

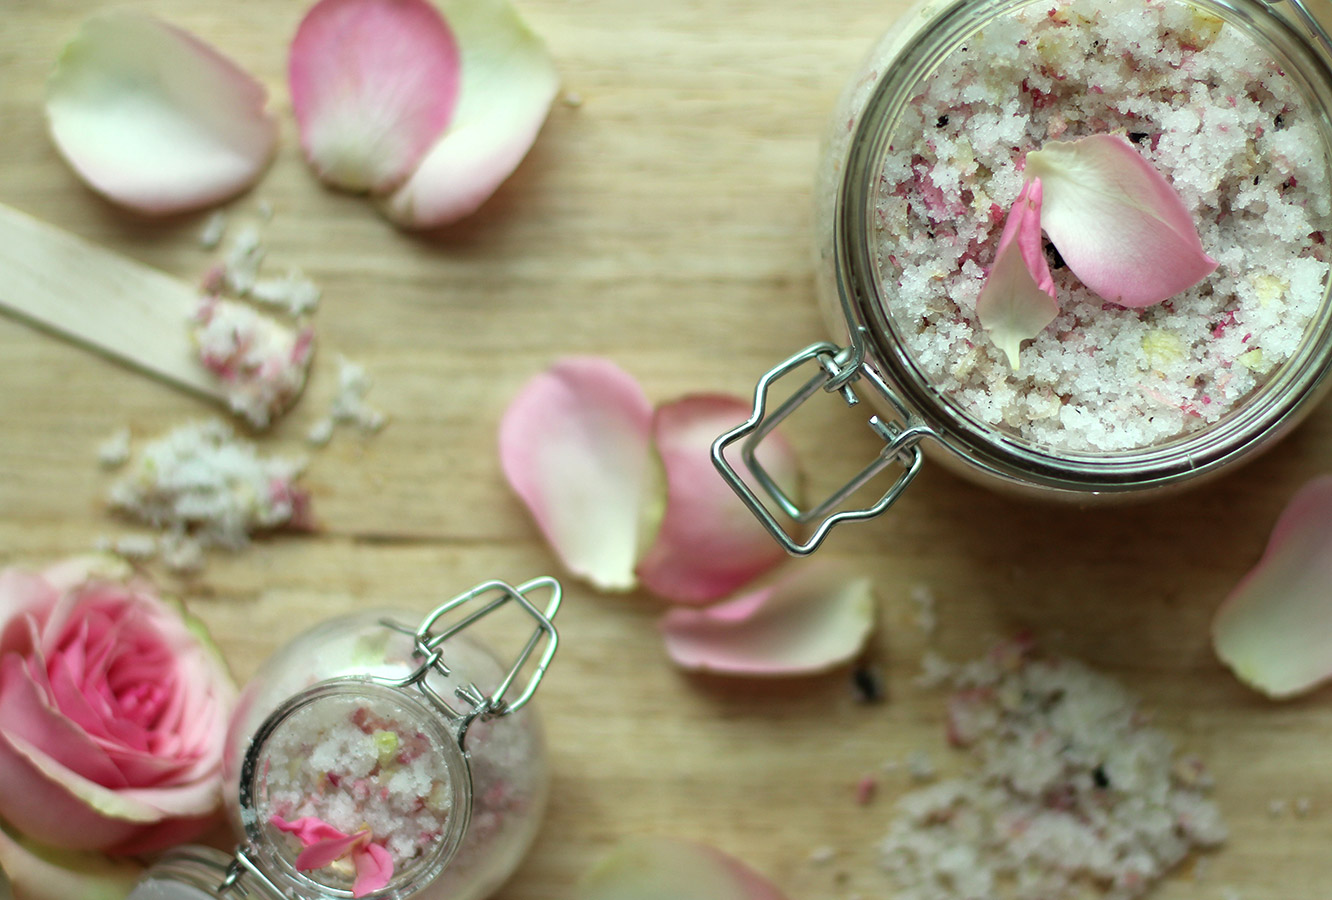
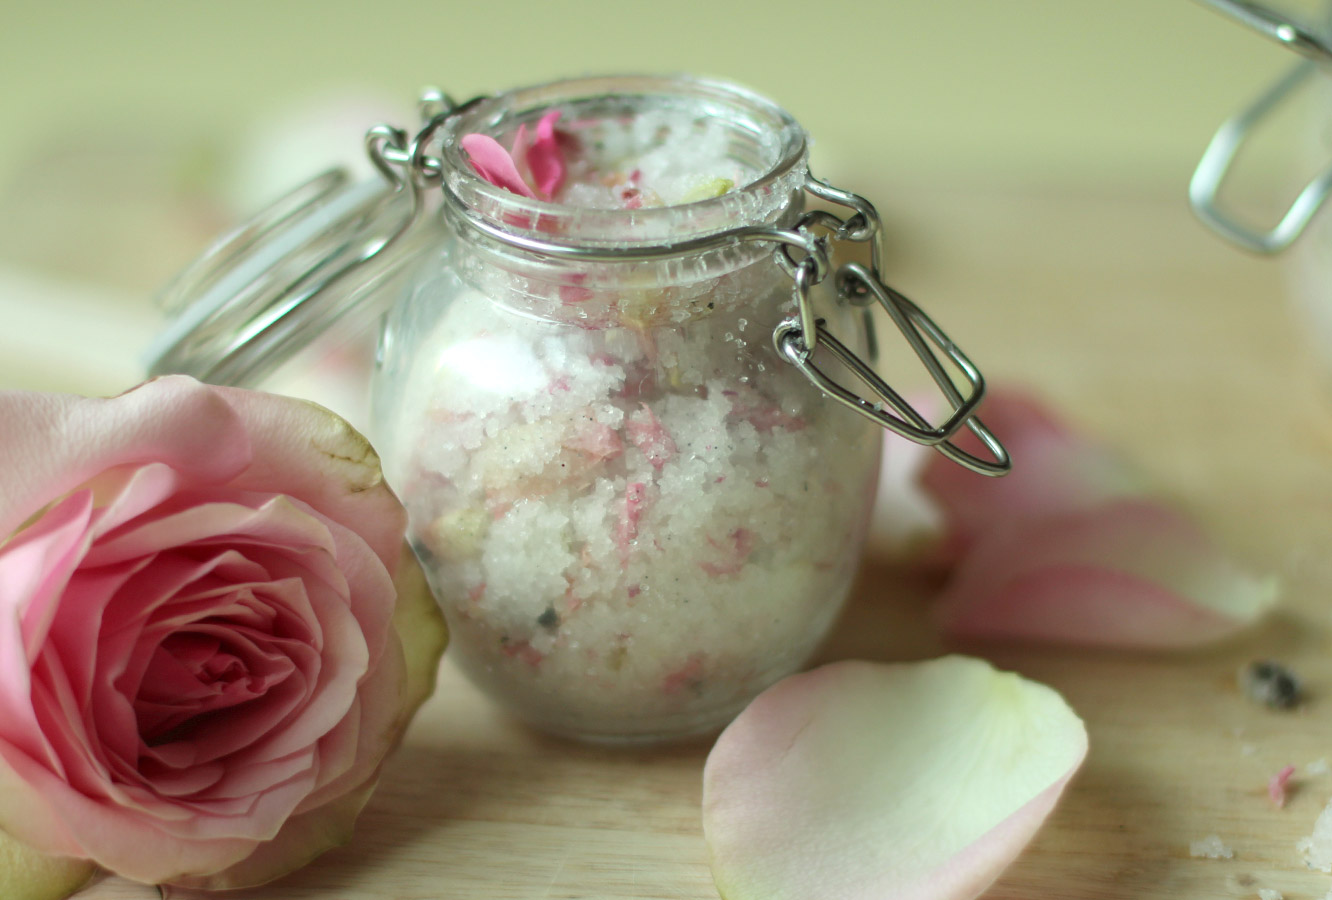
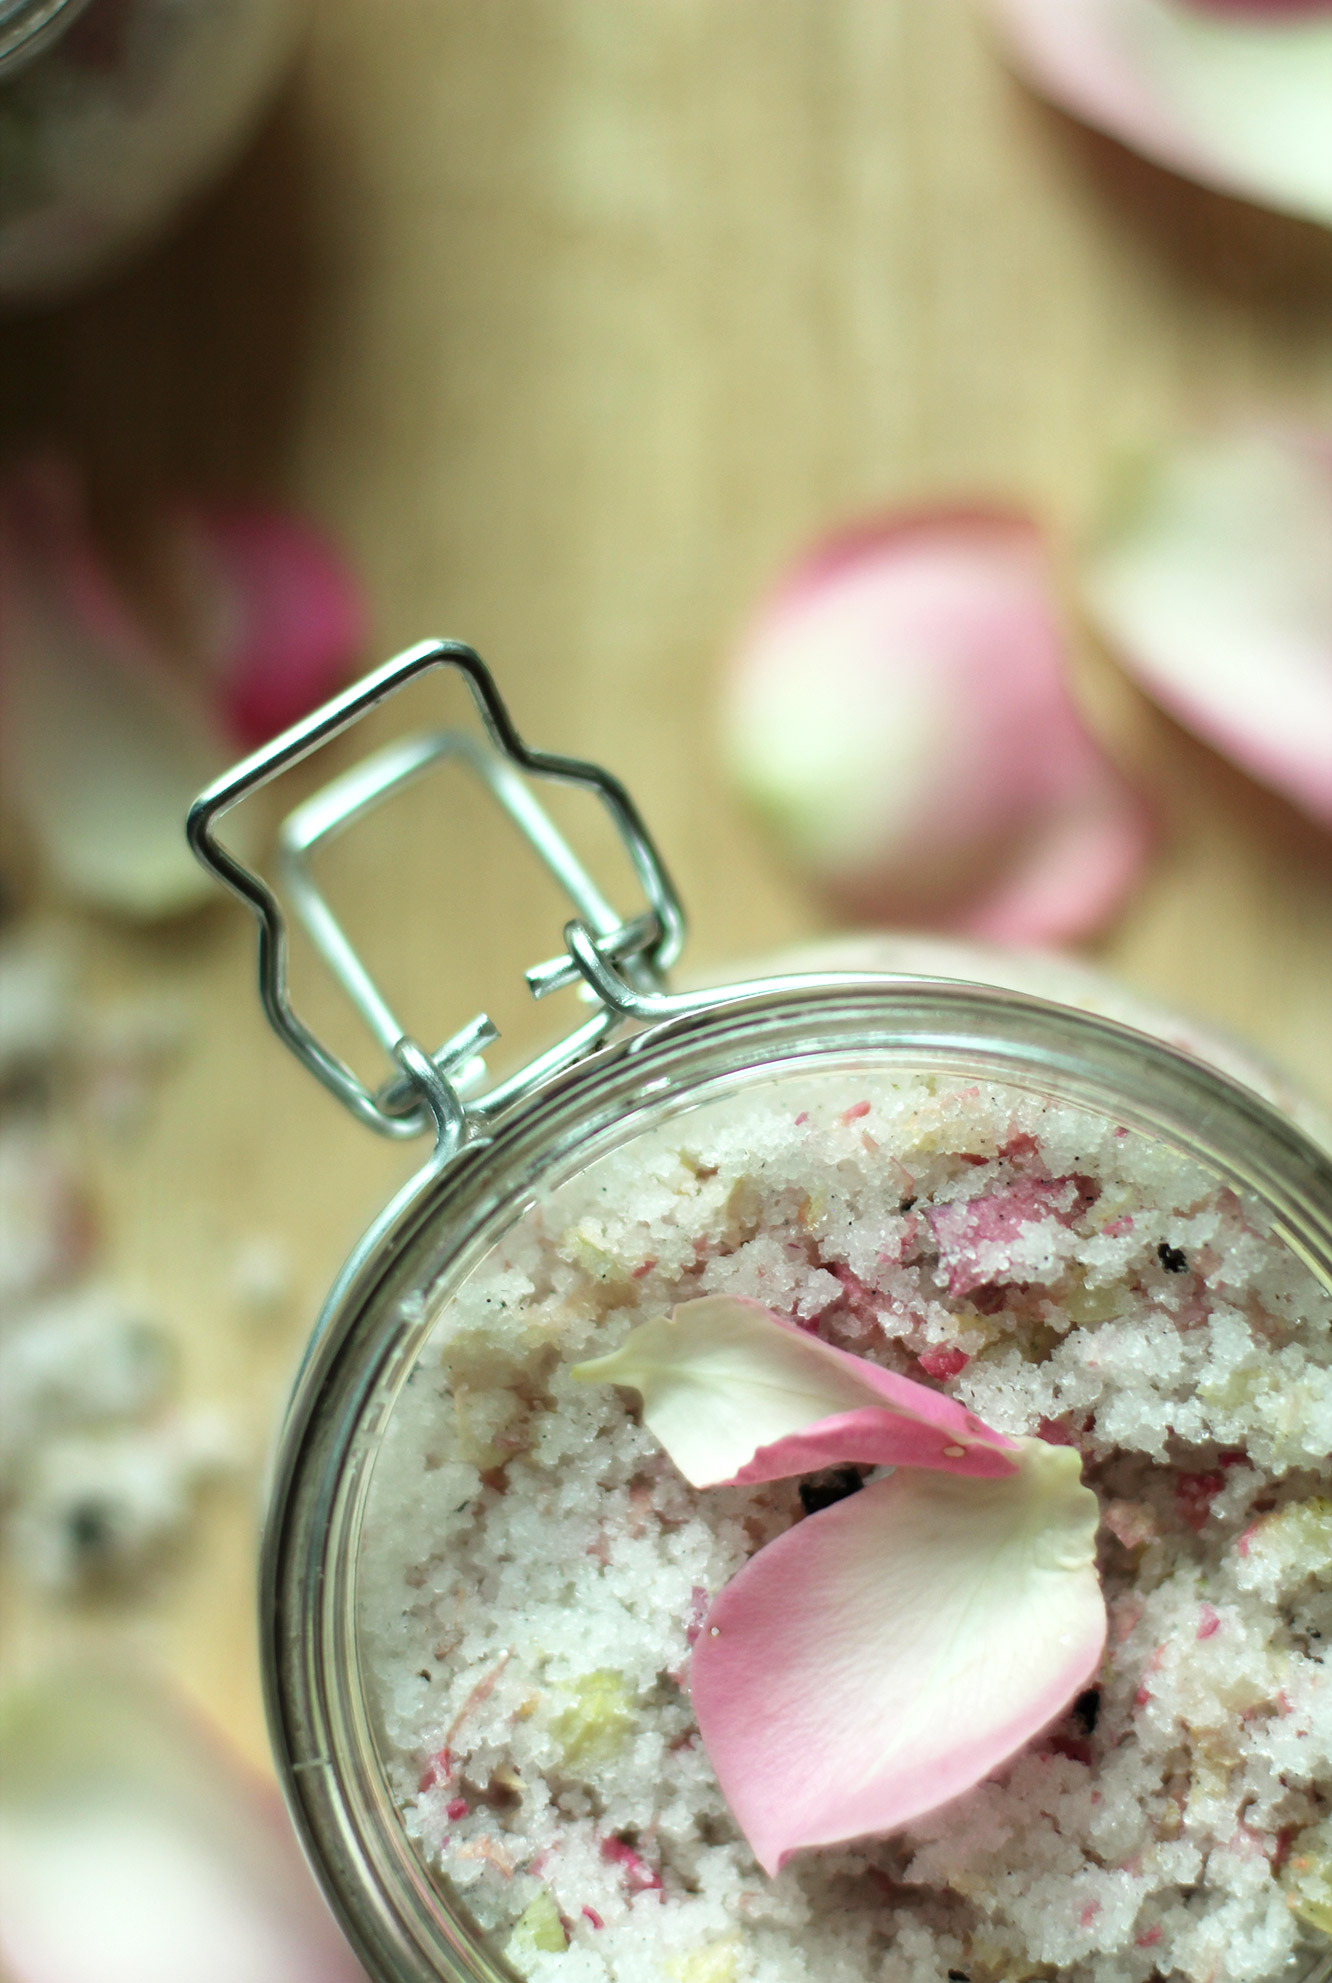
I actually did make this rose and vanilla sugar scrub from the left over flowers from Vicky’s hen party, so it’s not entirely true that we are leaving it behind. My advice is not to make this too far in advance if you’re gifting it as the petals did discolour a little.

homemade-rose-and-vanilla-body-scrub-01

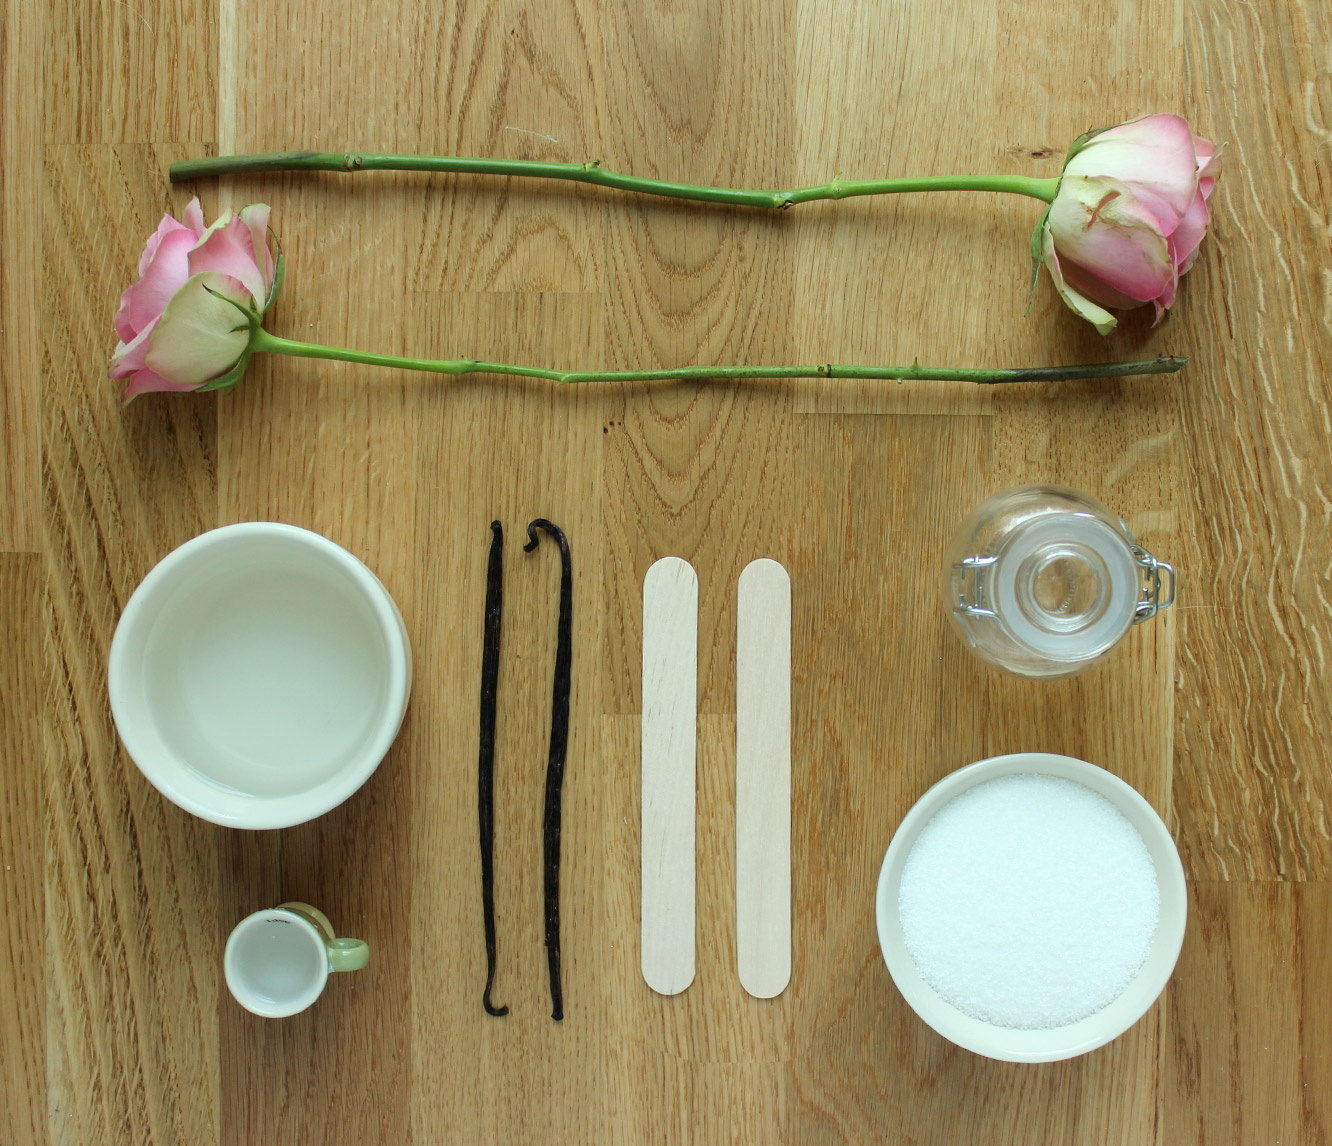
You will need

500g/1lb 2 oz granulated sugar (3 cups)

120ml/4 fl oz baby oil (1/2 cup)

4 roses

1-2 vanilla pods

1tsp rose extract

homemade-rose-and-vanilla-body-scrub-gif

homemade-rose-and-vanilla-body-scrub-02

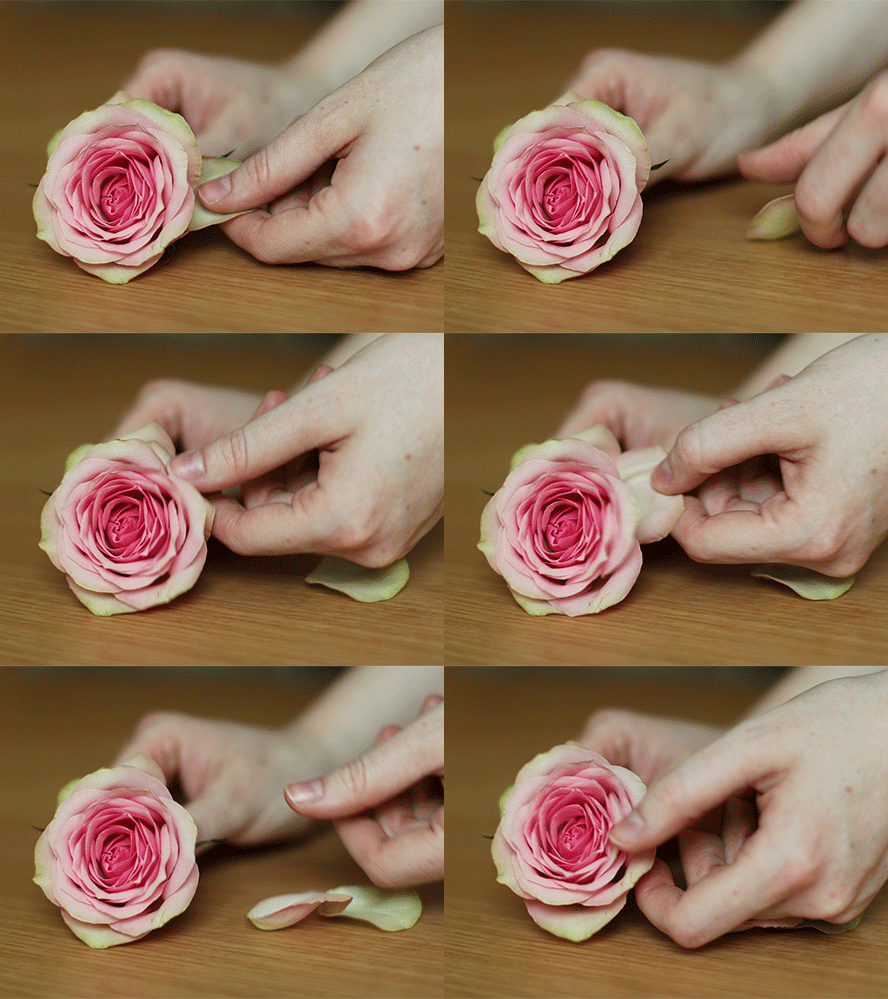
Step one

Remove the petals from the roses and spread them out over a surface you won’t need to use for a couple of days, maybe a tray or something so you can move them about with ease.

homemade-rose-and-vanilla-body-scrub-03

Step two

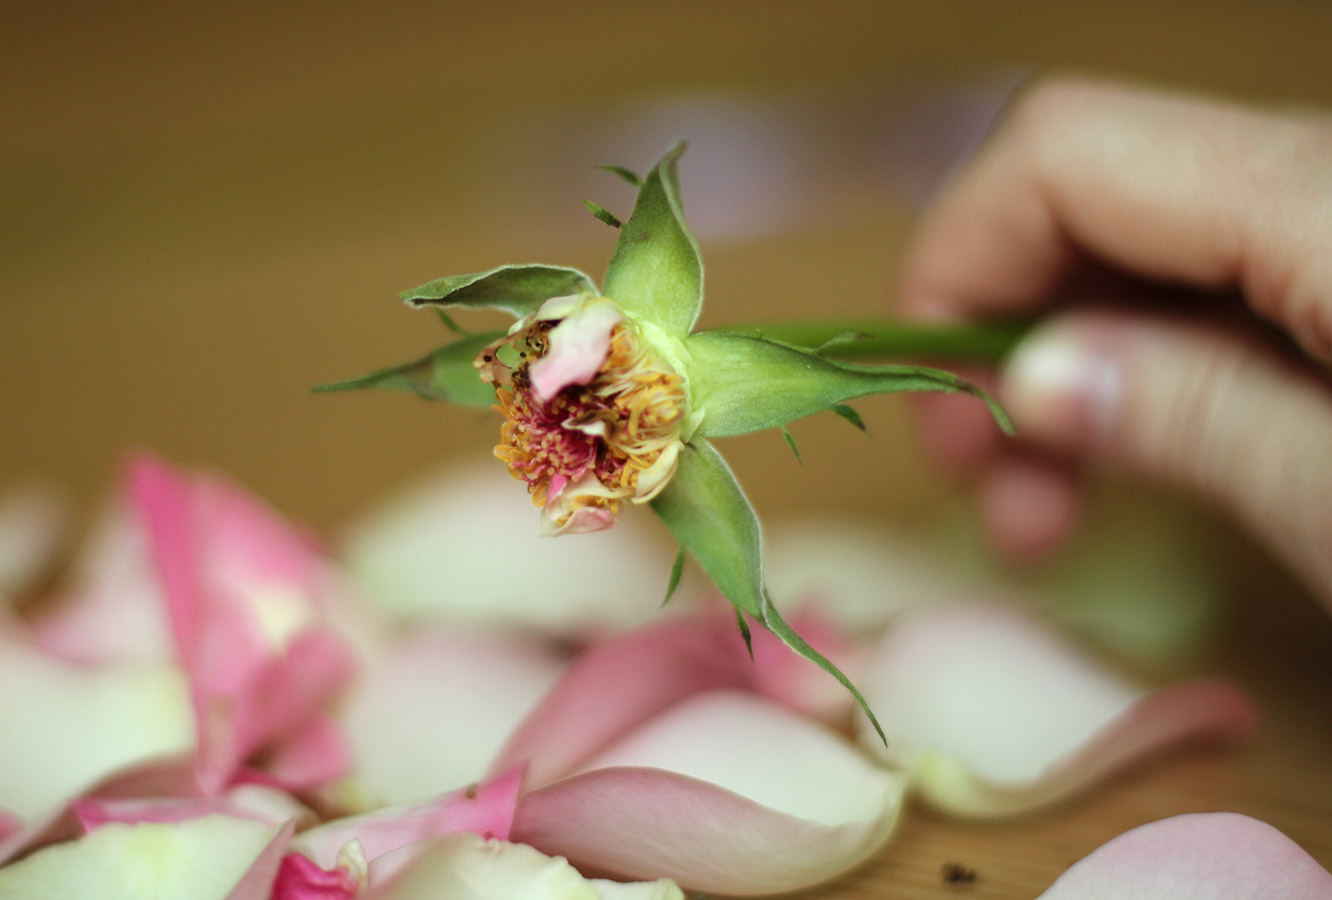
Allow the petals to dry for at least two days until the moisture has gone.

homemade-rose-and-vanilla-body-scrub-04

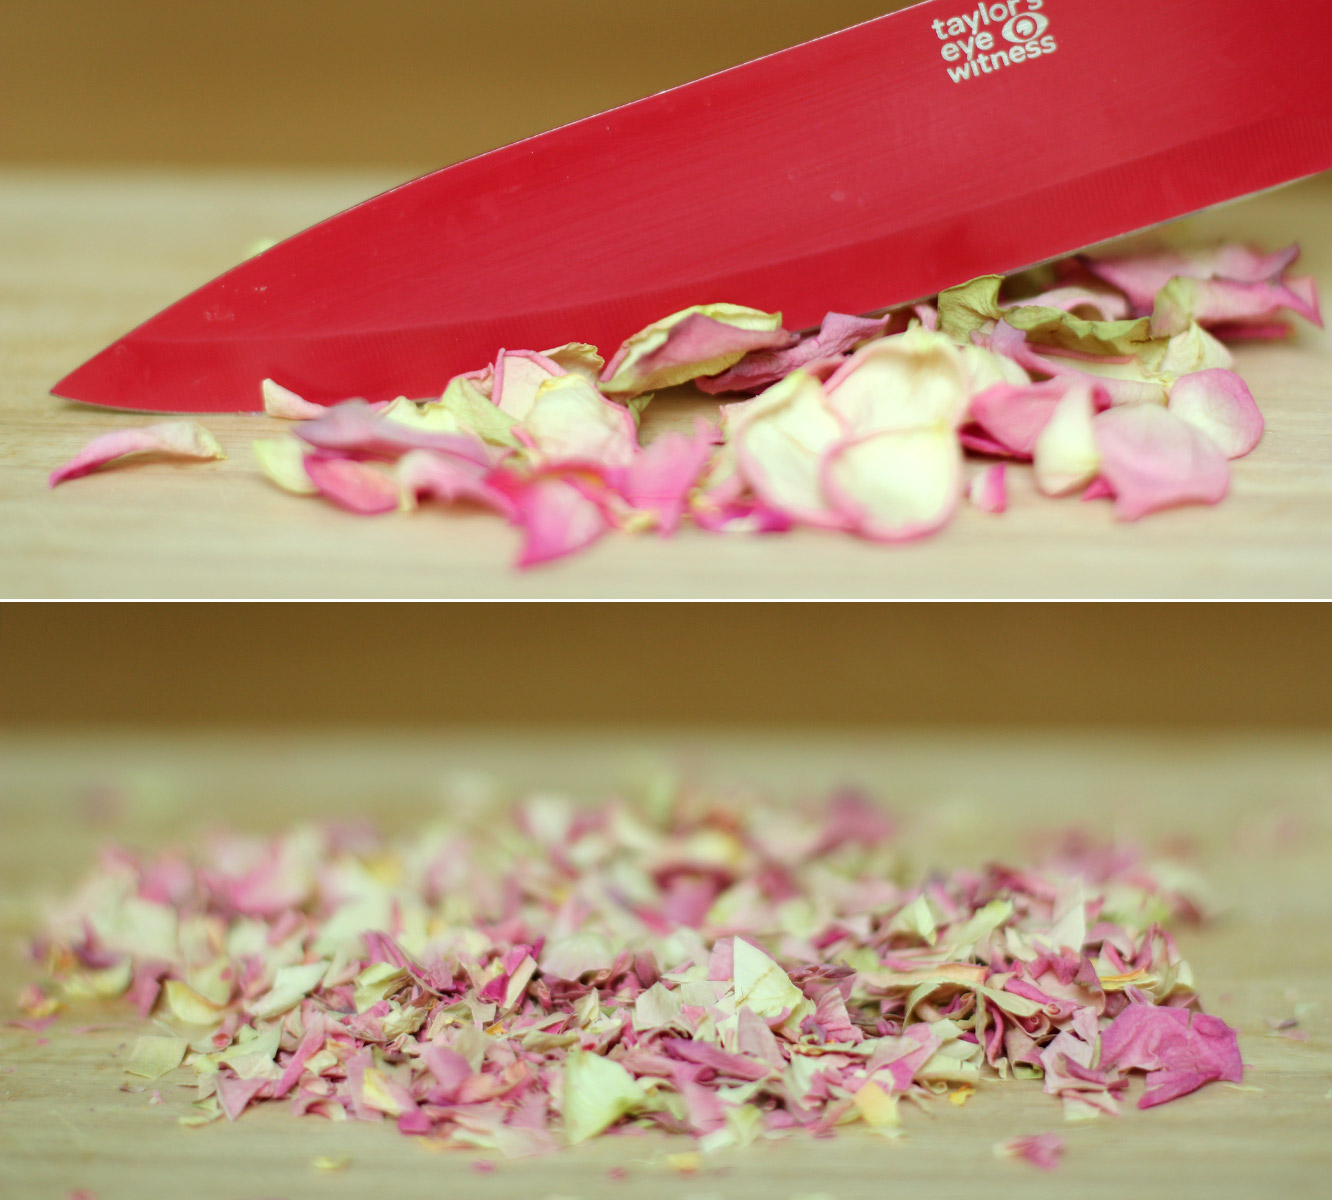
Step three

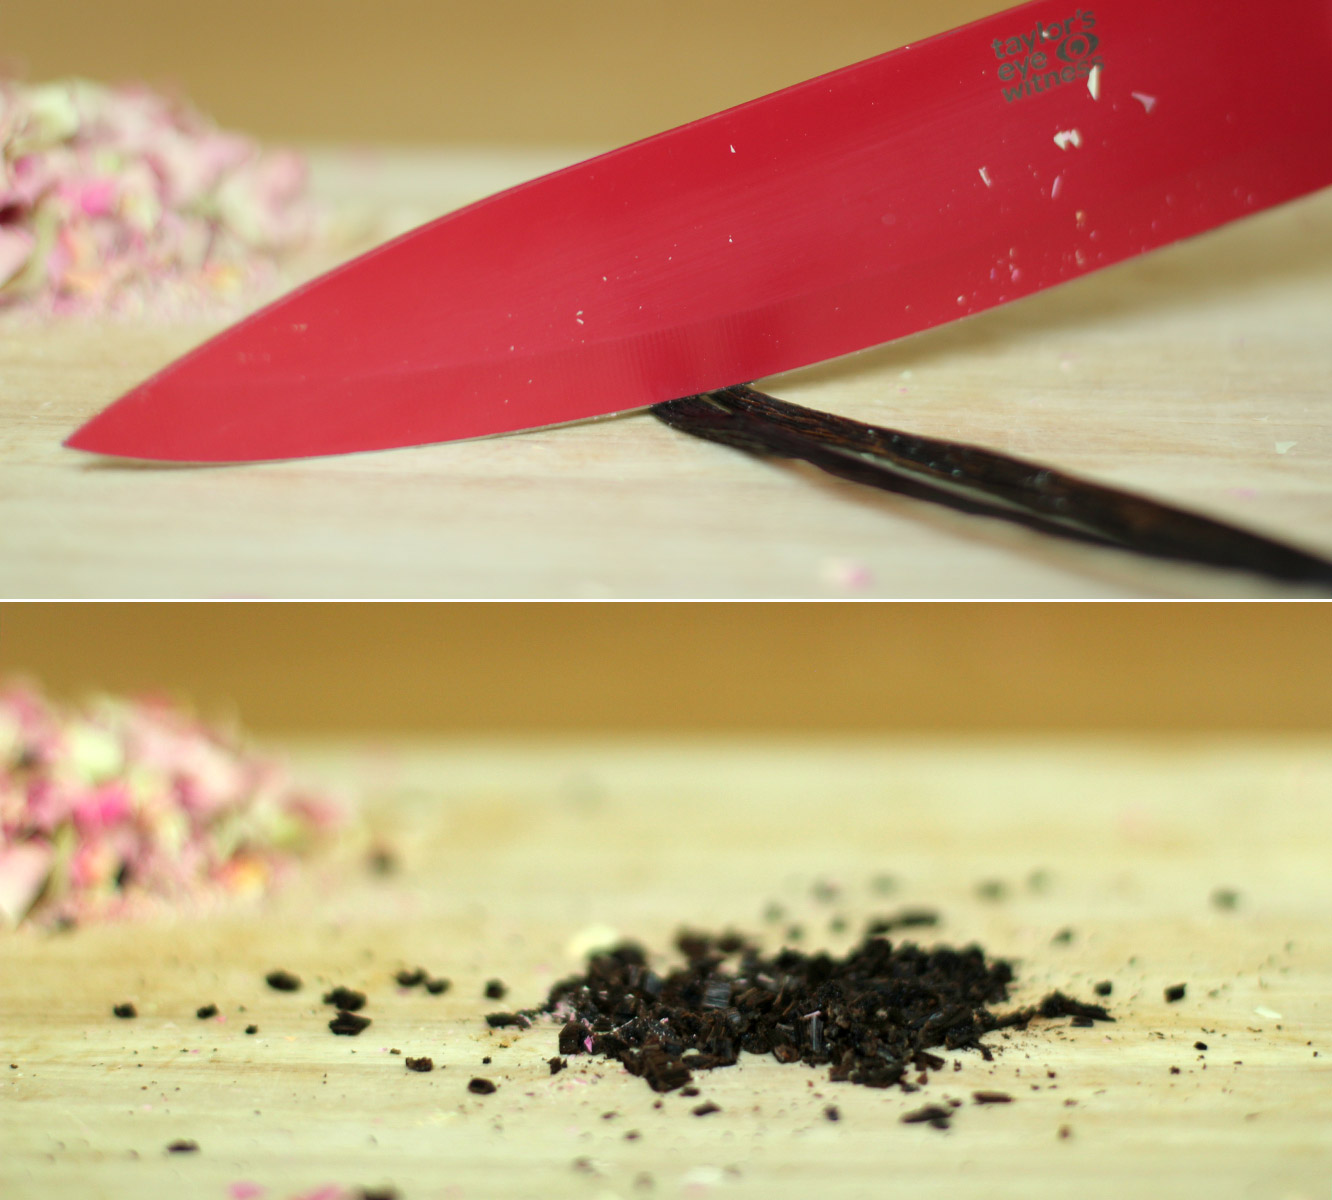
Using a sharp knife, chop the petals into small pieces.

homemade-rose-and-vanilla-body-scrub-05

Step four

Chop the vanilla pods up. Mine had hardened as they were fairly old so I just did it this way to add to the exfoliating feel and make it easier for myself. If yours are still soft you could slice them down the middle and scrape the beans out instead.

homemade-rose-and-vanilla-body-scrub-06

Step five

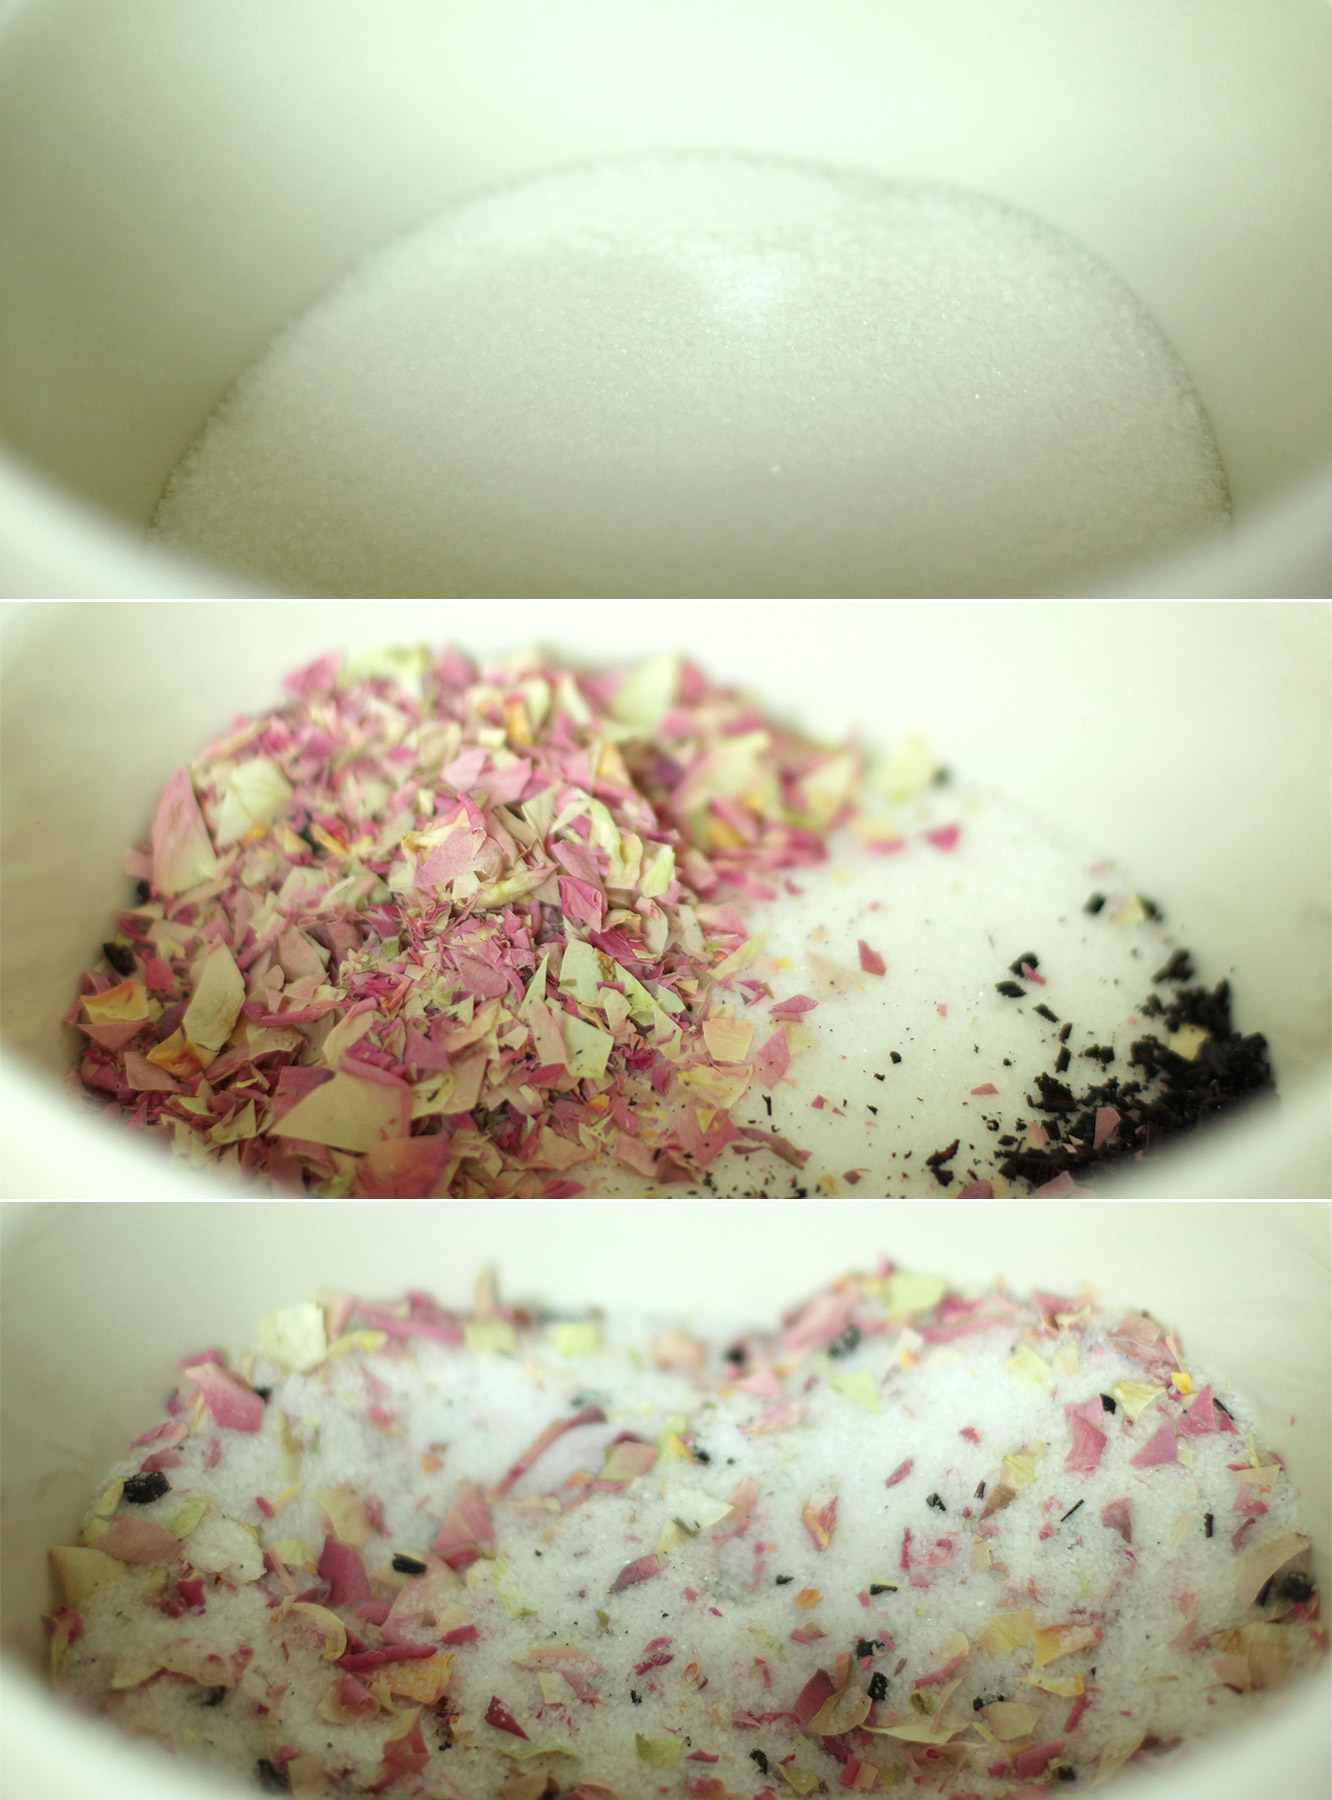
Stir together the sugar, petals and vanilla.

homemade-rose-and-vanilla-body-scrub-07

Step six

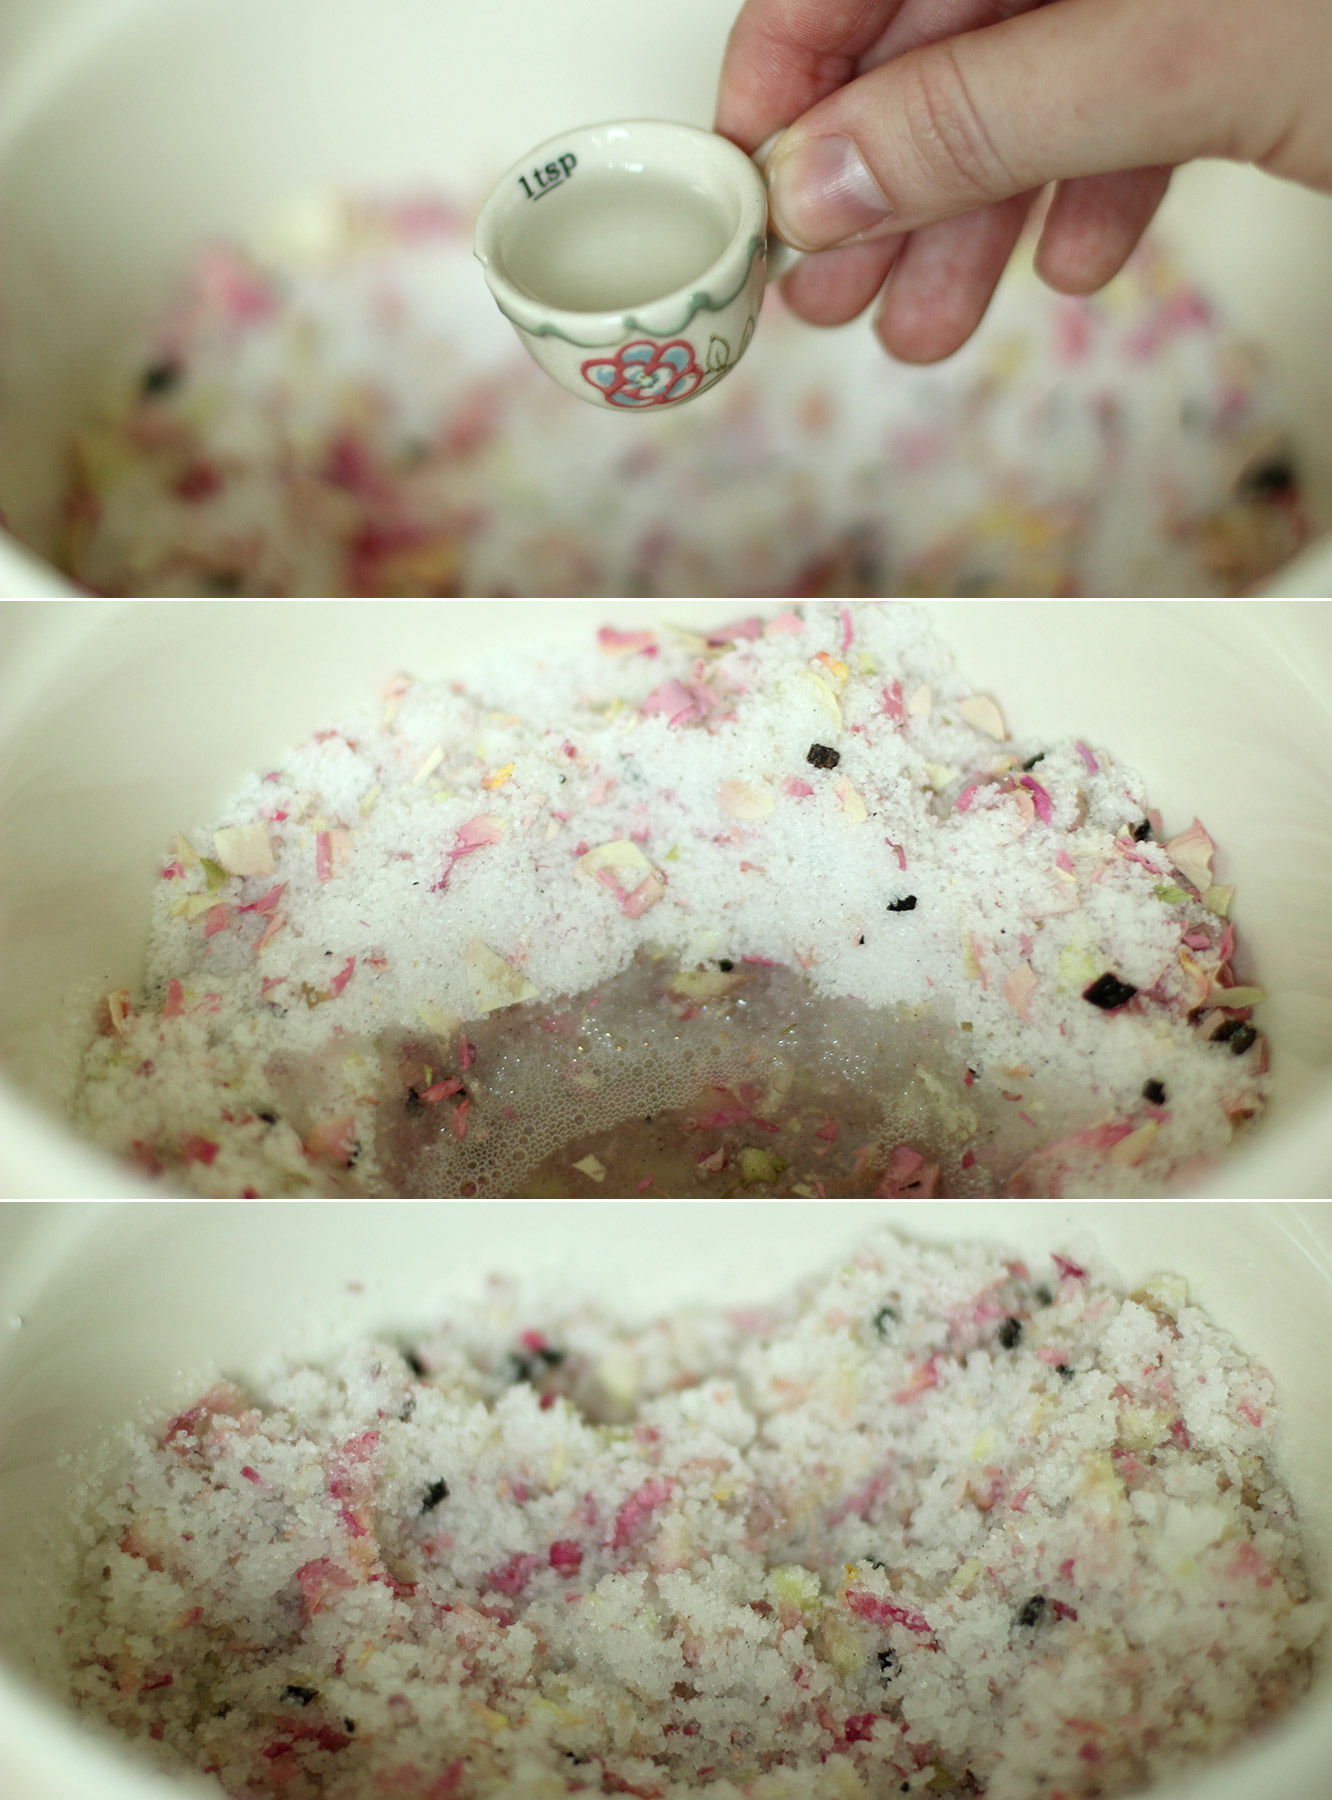
Add the rose extract/essence and the baby oil. Stir together until fully combined.

homemade-rose-and-vanilla-body-scrub-08

Step seven

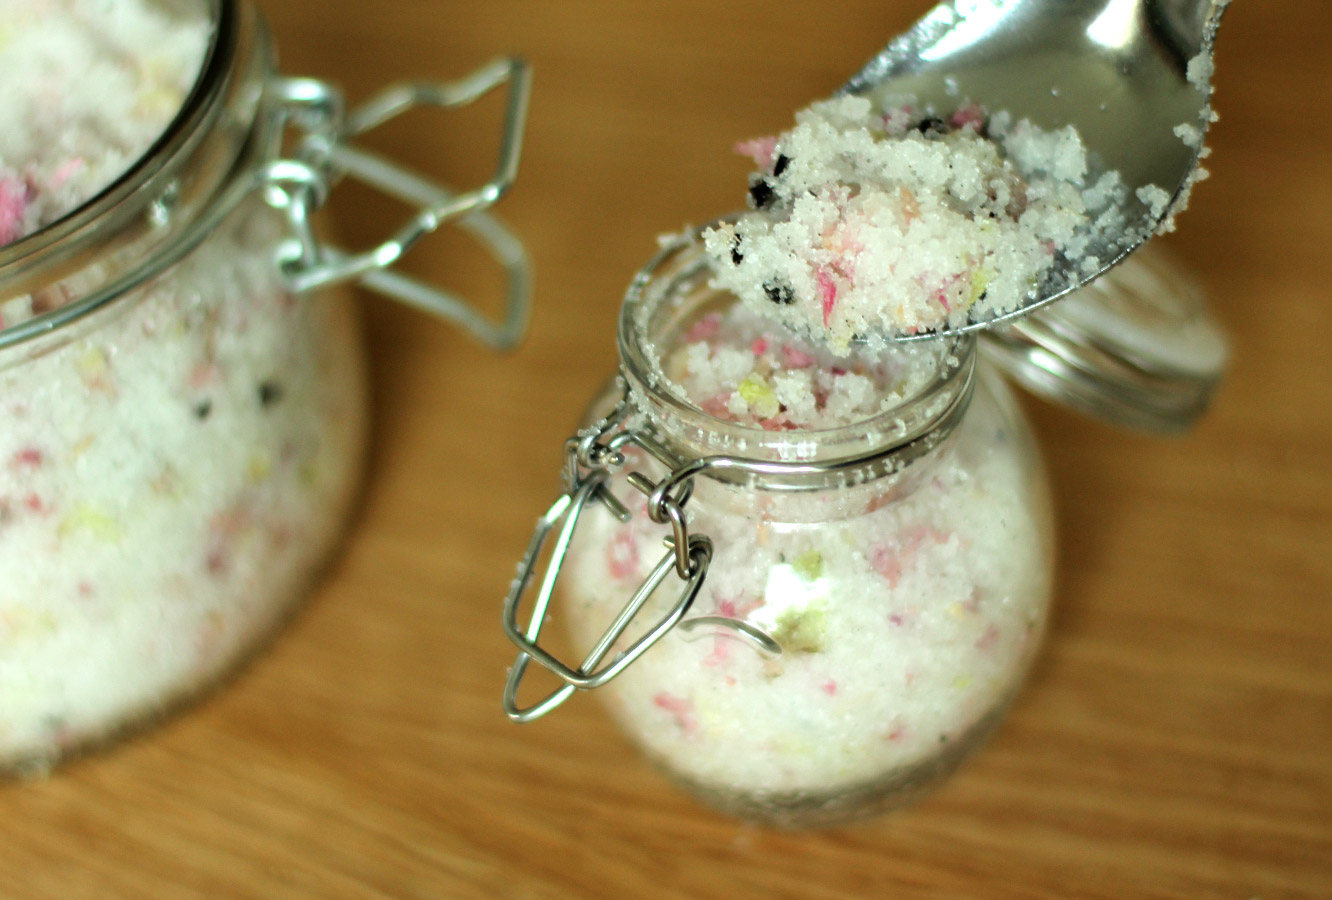
Fill whatever pot you’re using and you’re ready to go!

homemade-rose-and-vanilla-body-scrub-09

homemade-rose-and-vanilla-body-scrub-10

homemade-rose-and-vanilla-body-scrub-11

Cluck cluck #4

Allo again.

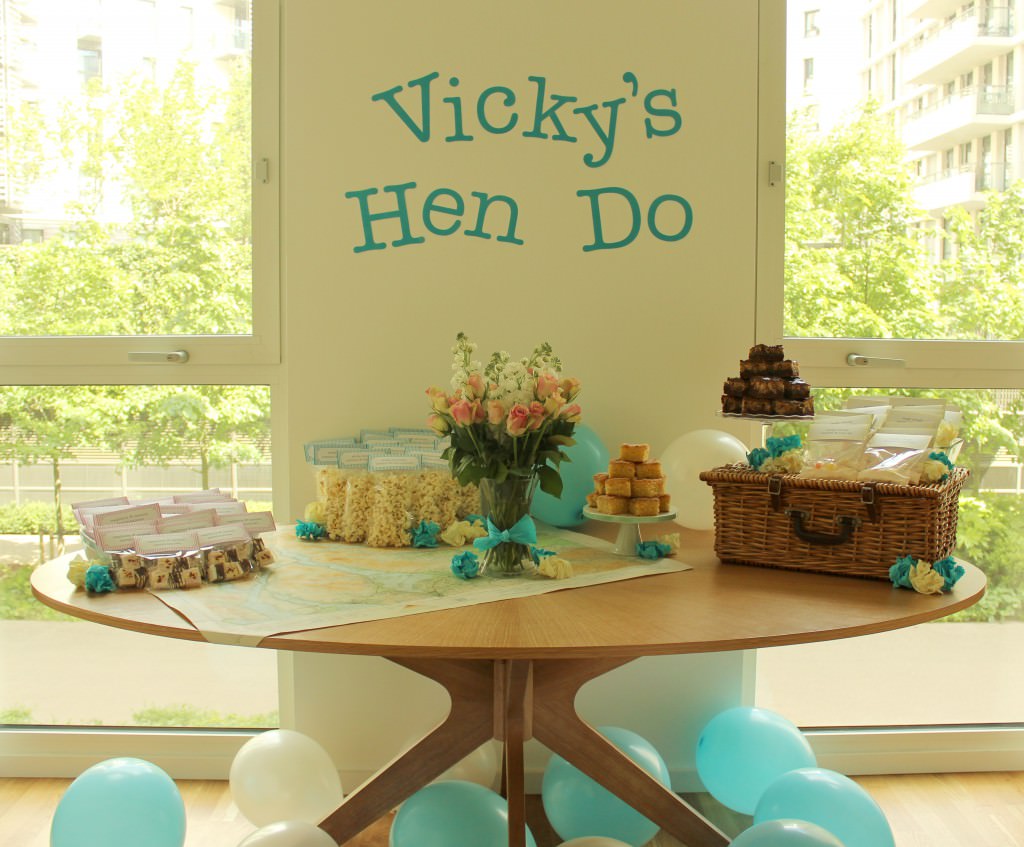
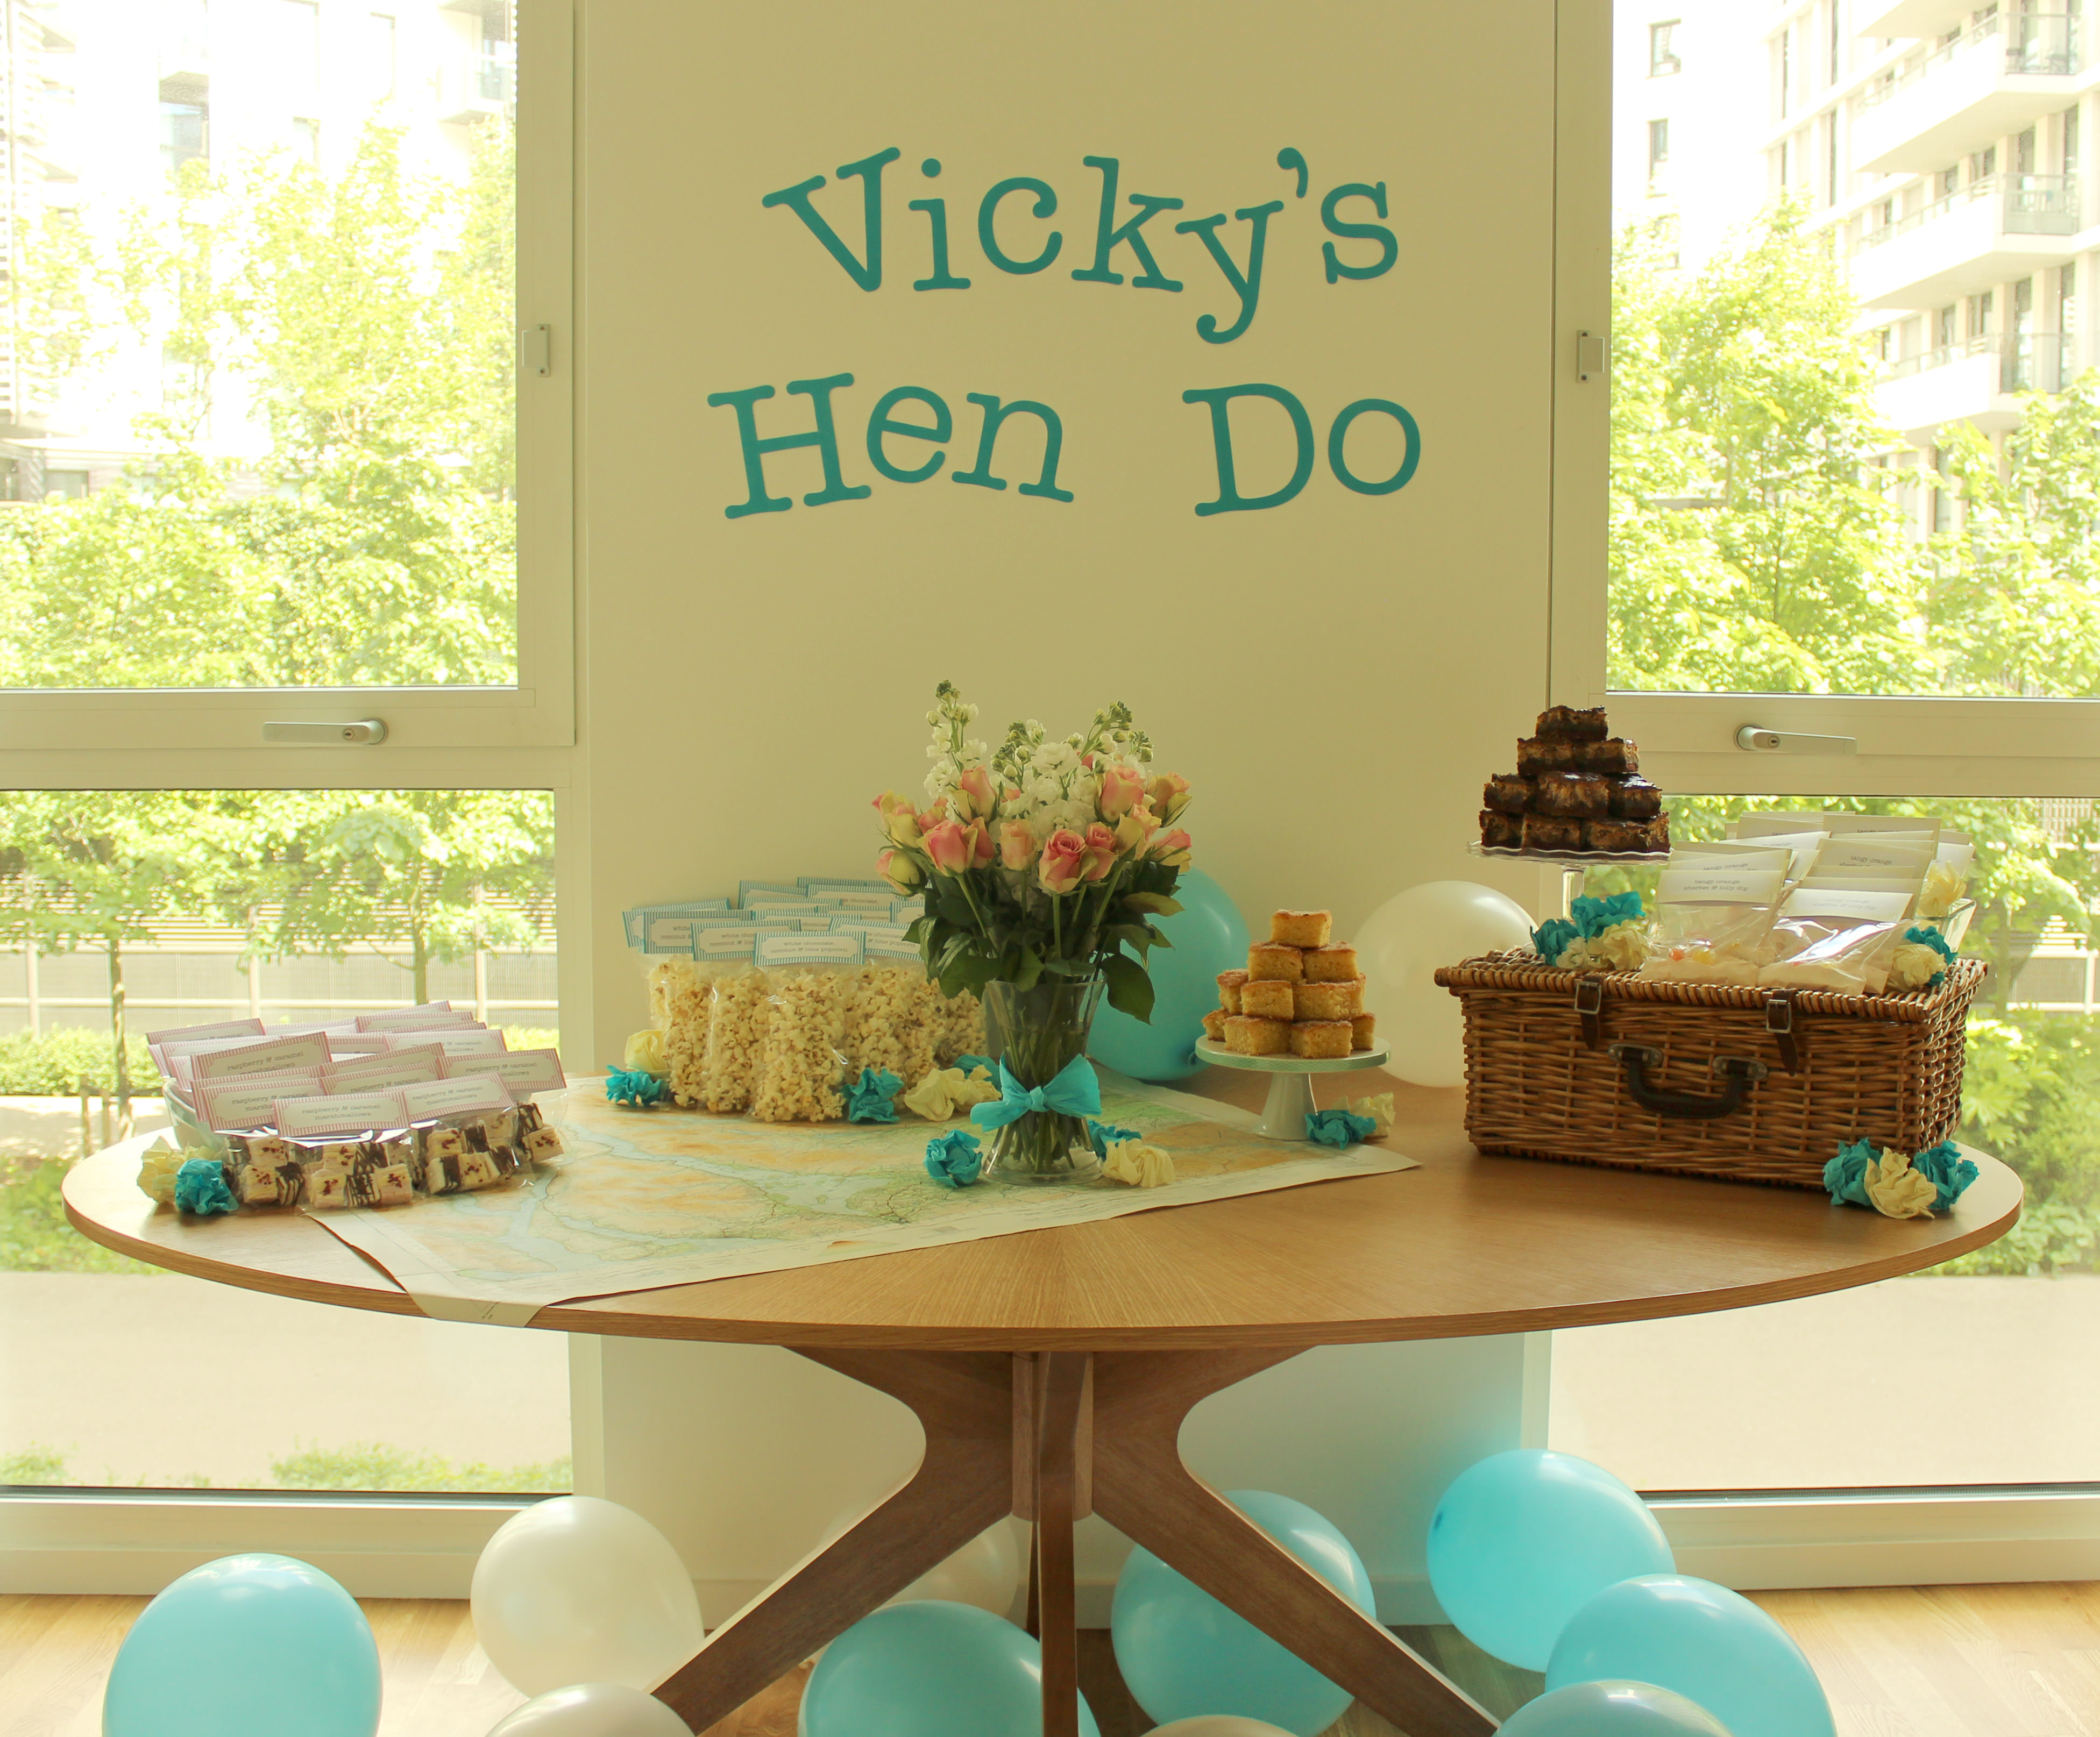
Wrapping up Vicky’s Hen Do this week with the finishing touches. You will have to excuse the fact I just scrunched up crepe paper. The plan was to make flowers, but, you know, it was 2am by the time I got to them.

In case you need a recap of the recipes in this series:

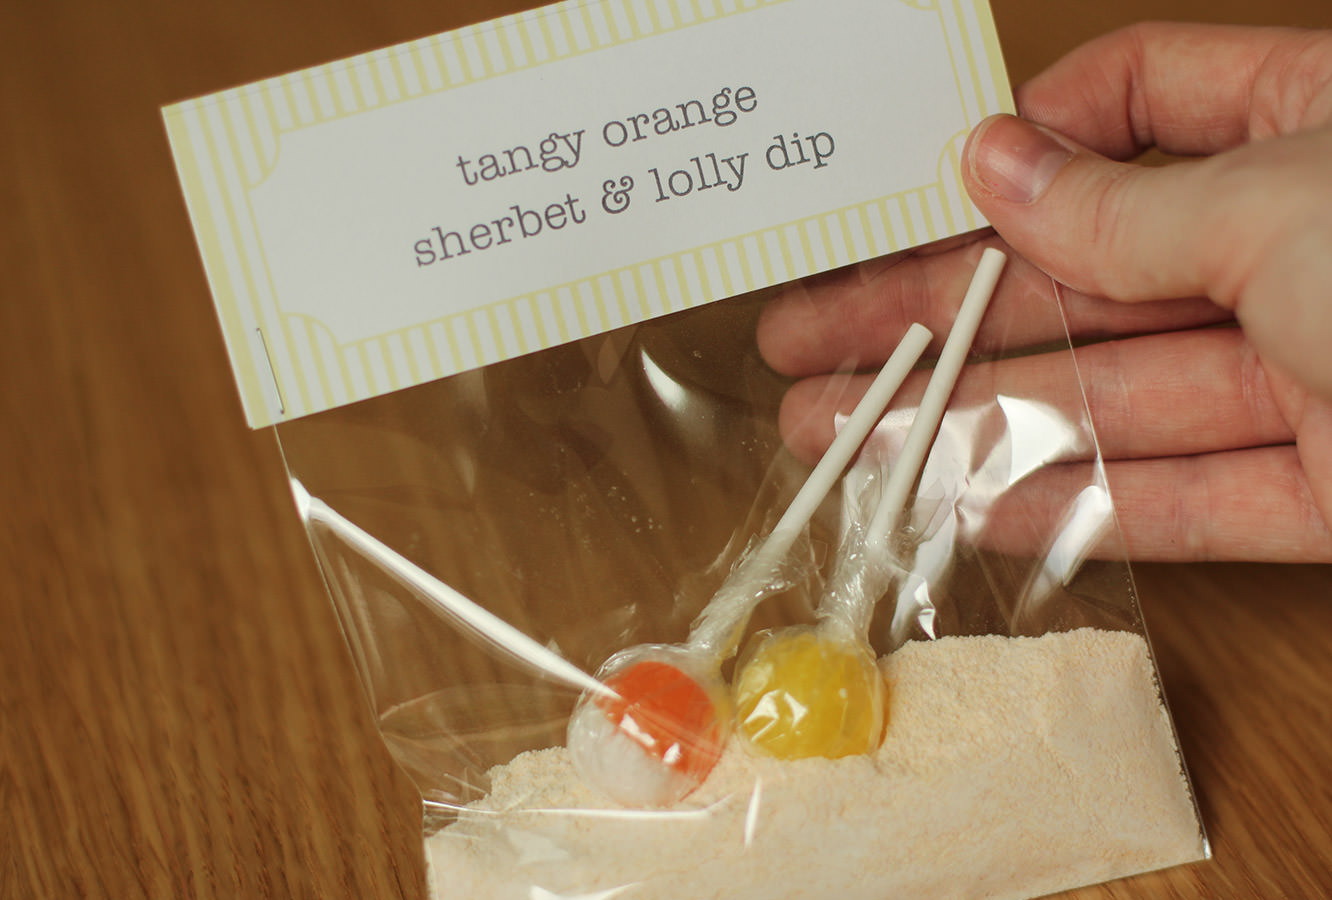
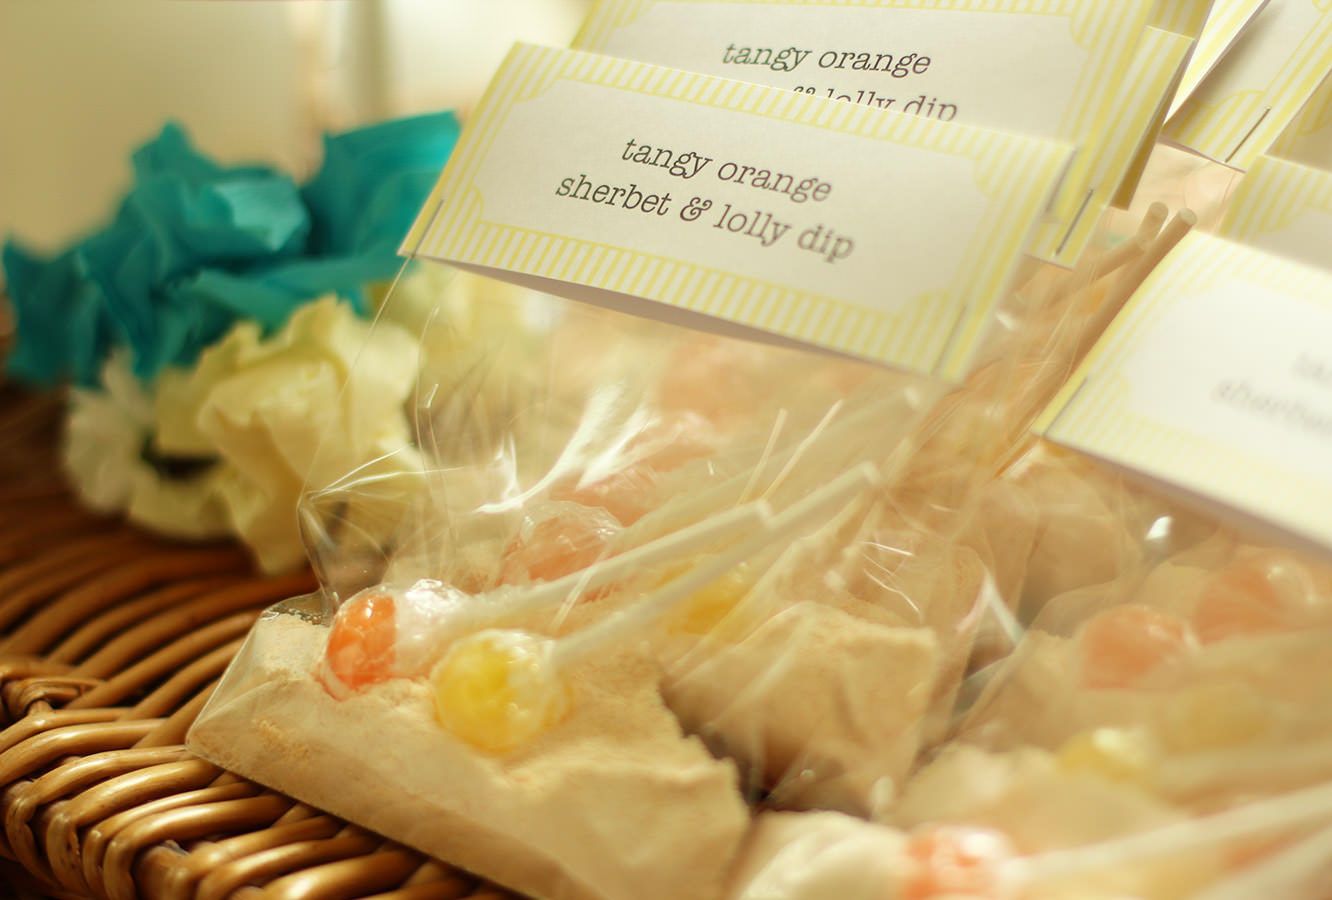
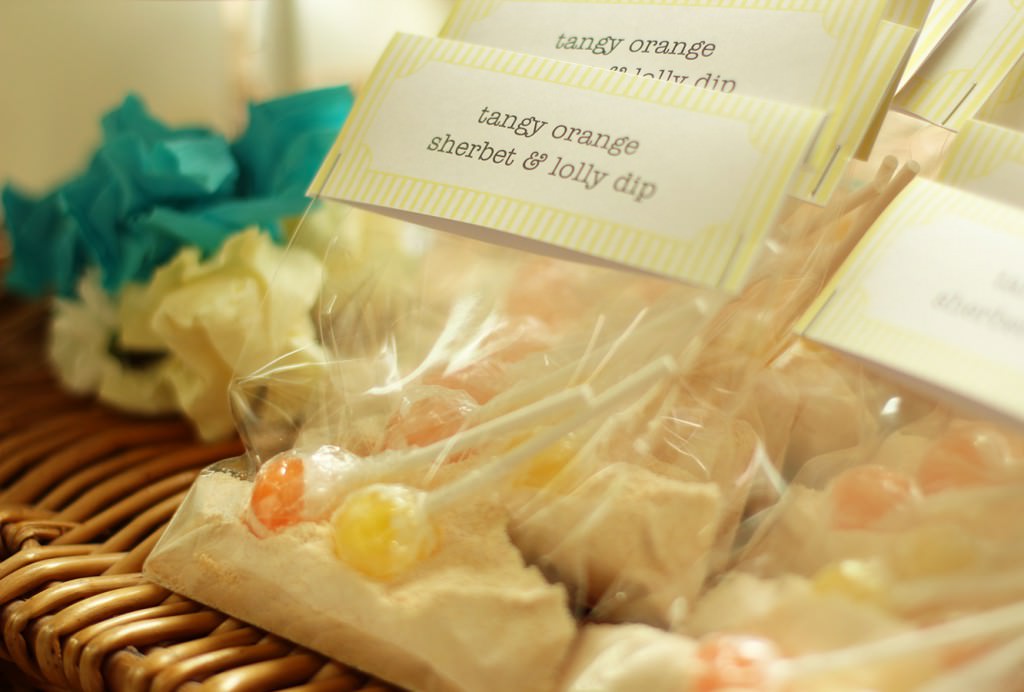
Tangy orange sherbet and lolly dip

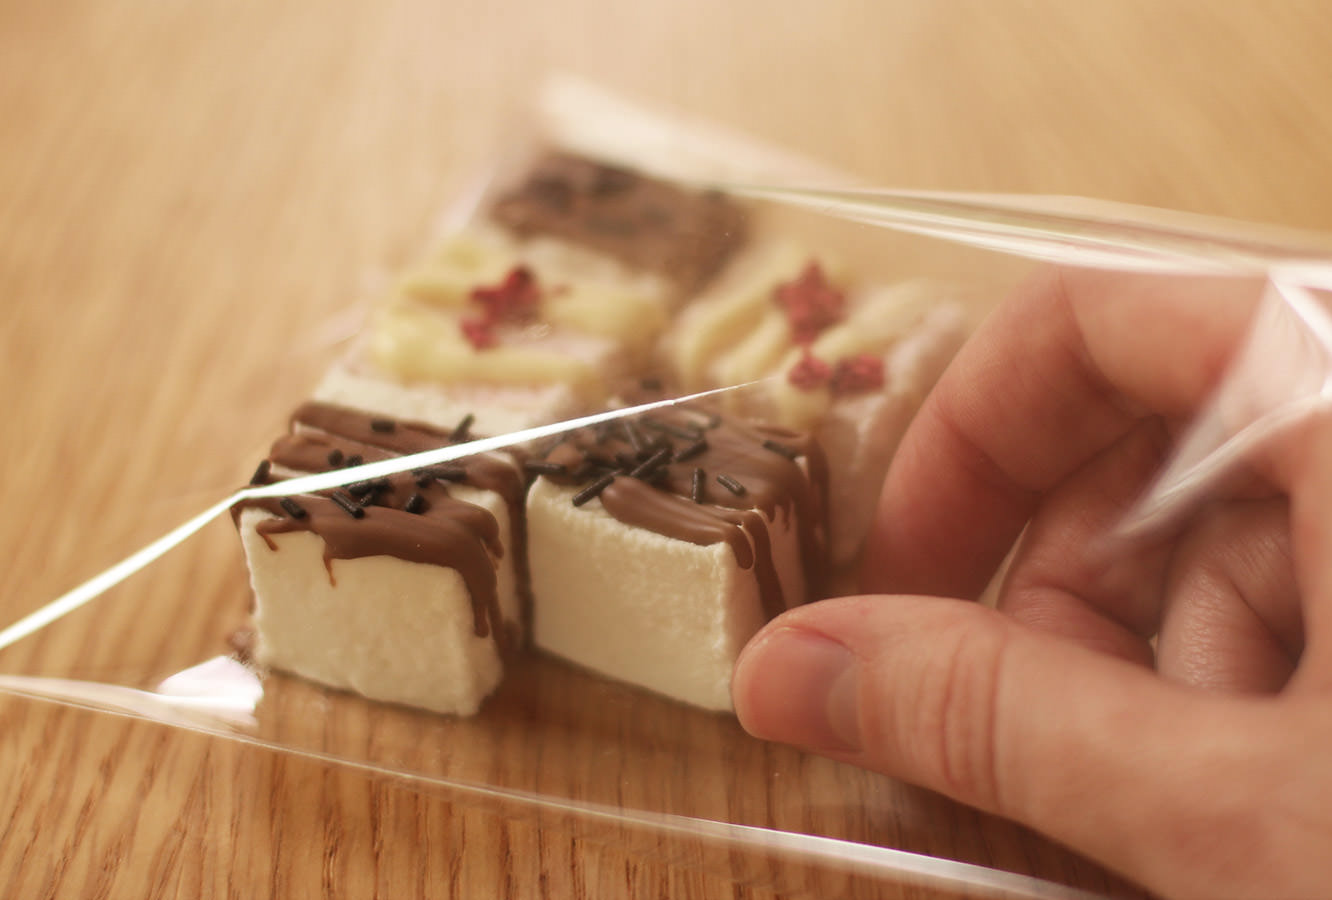
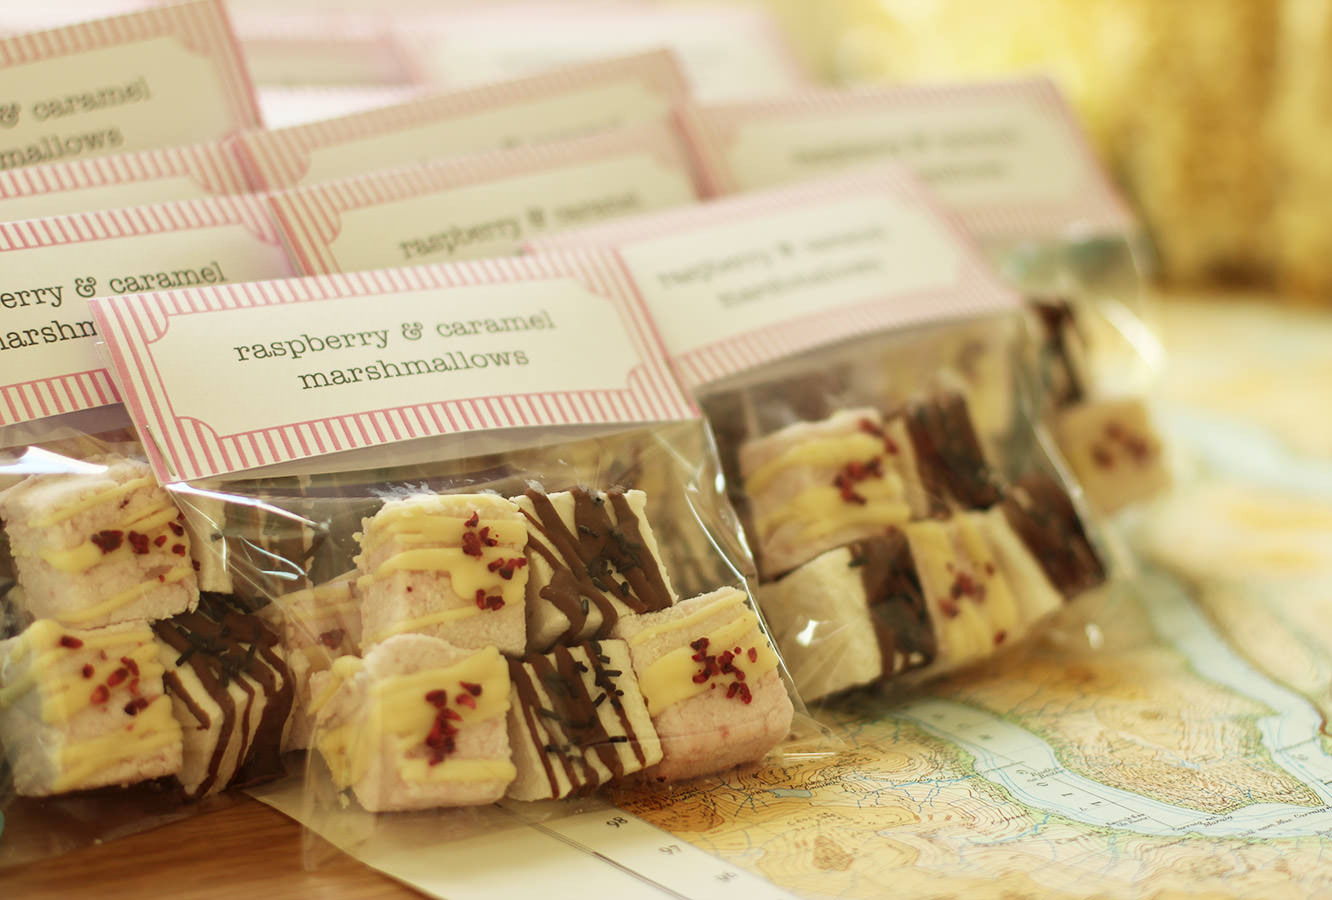
Raspberry and caramel marshmallows

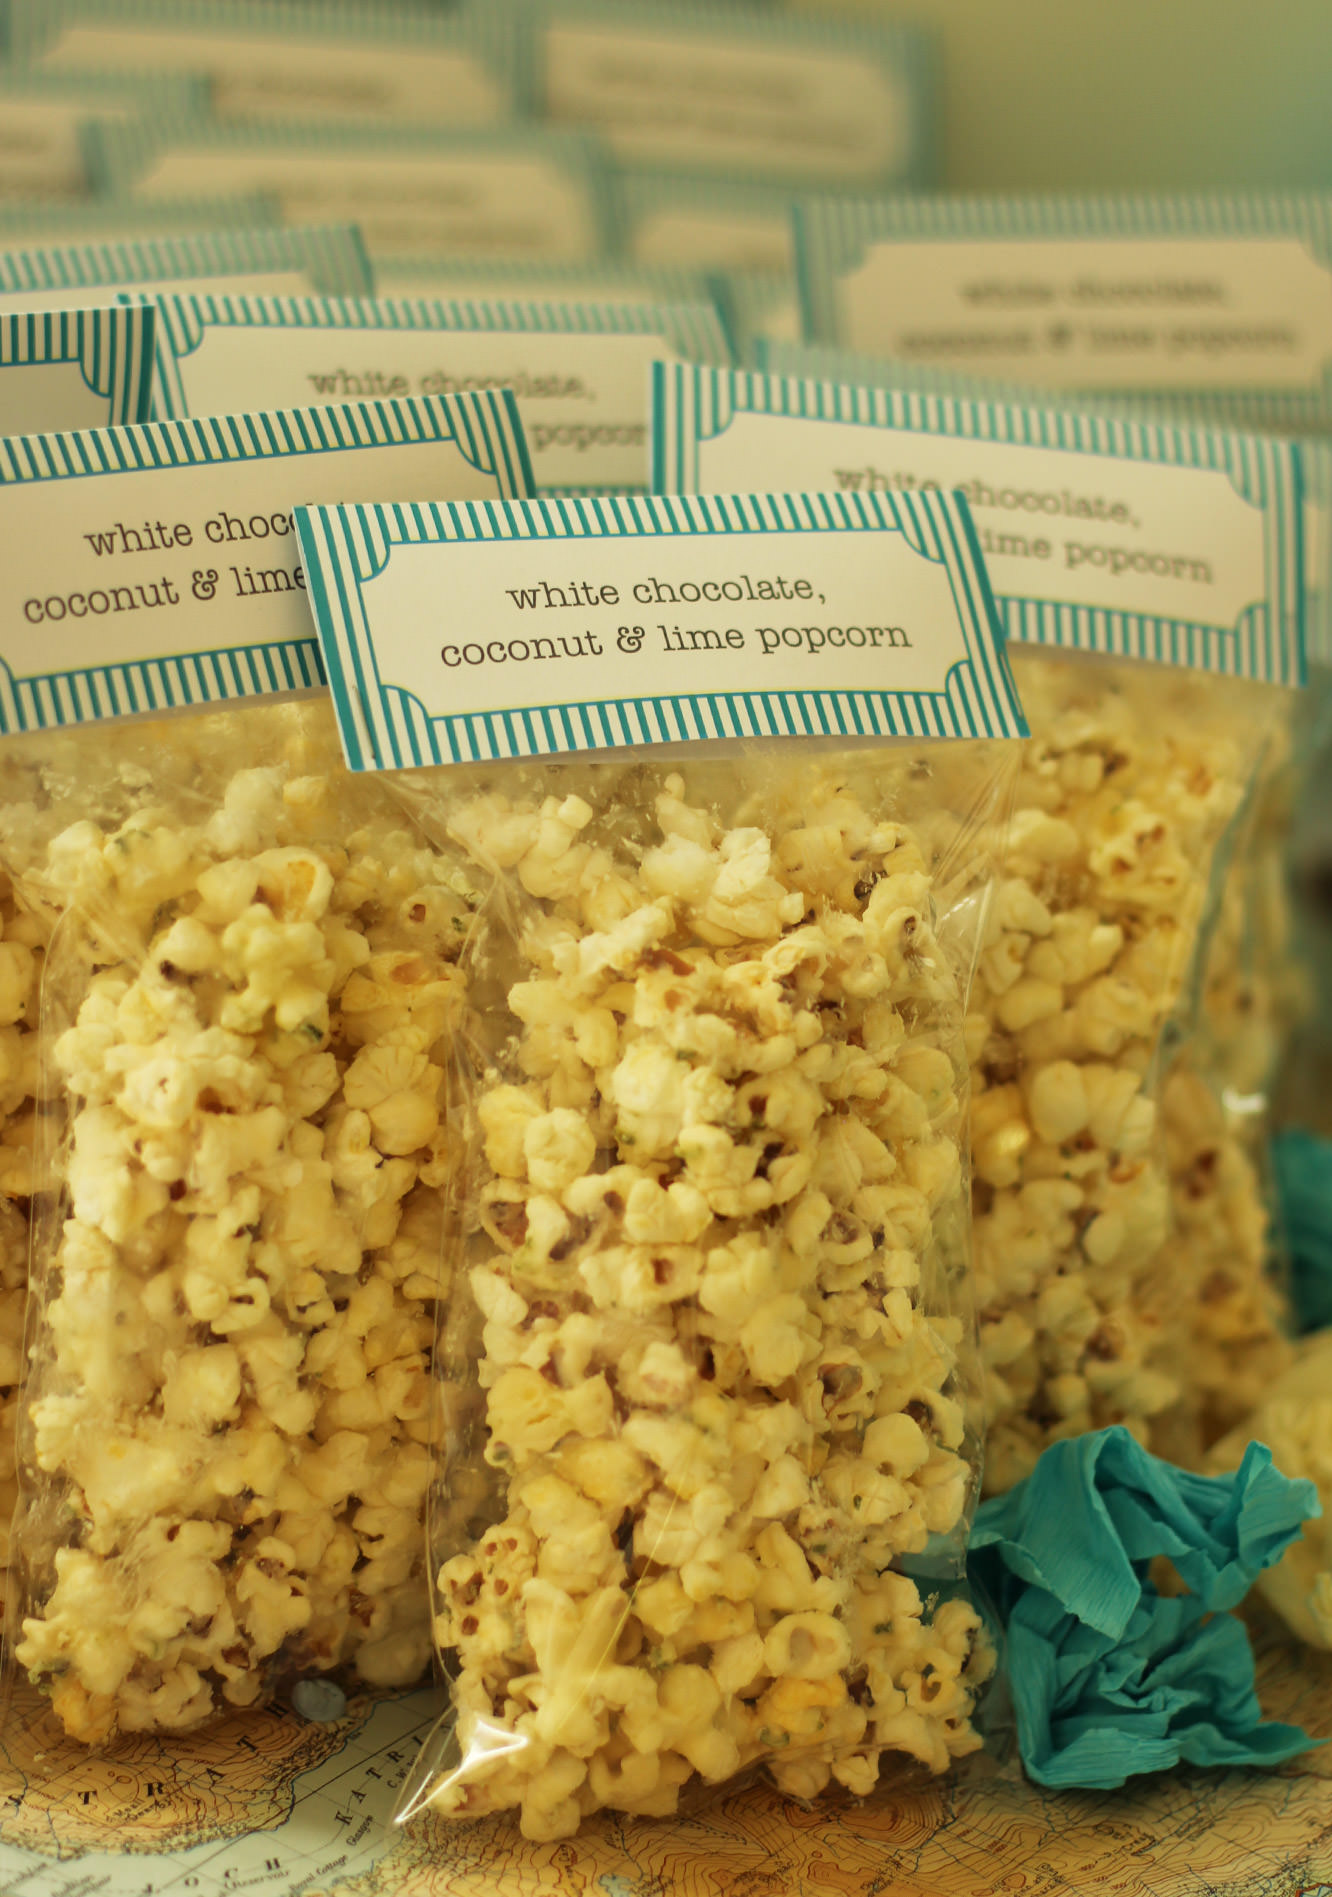
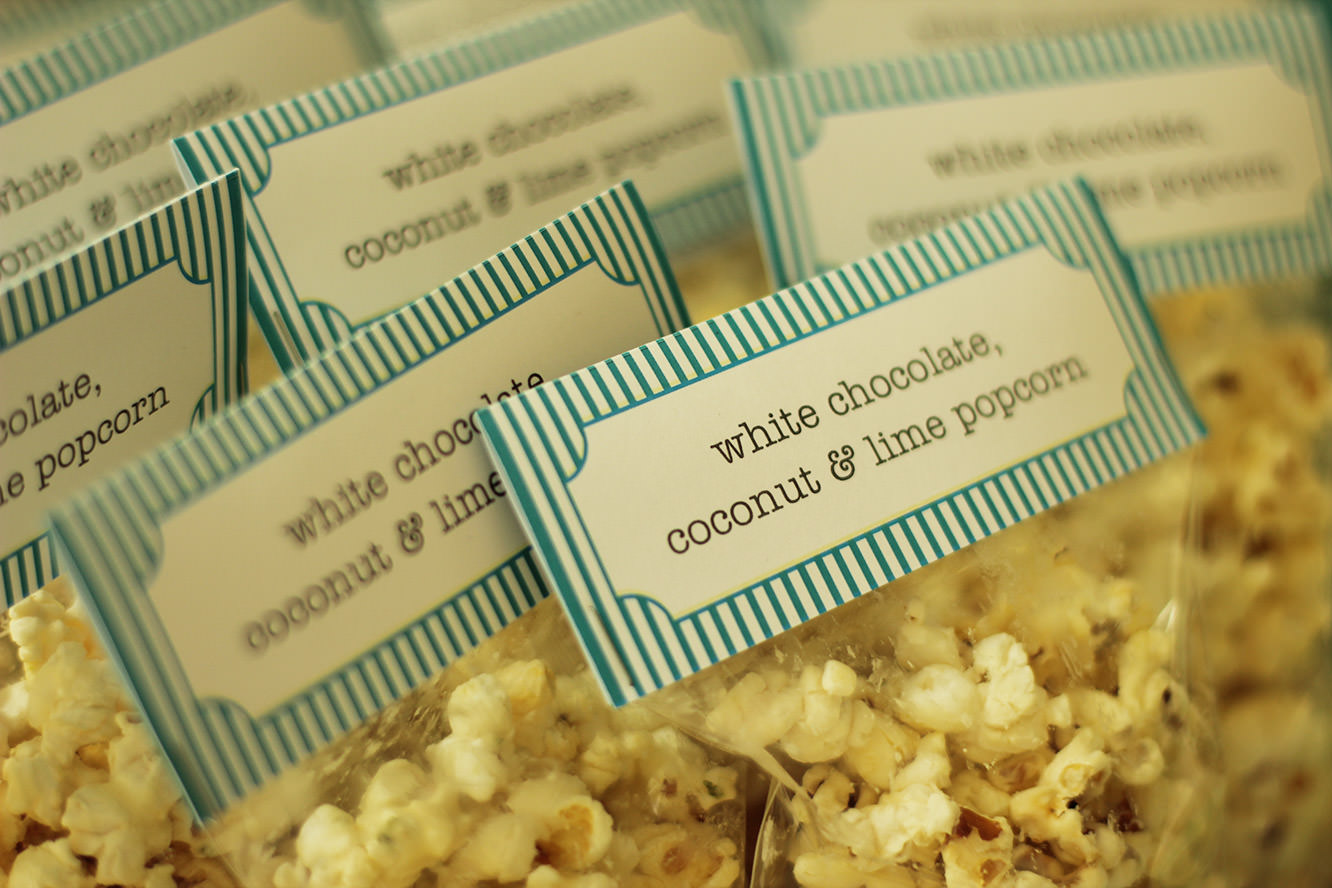
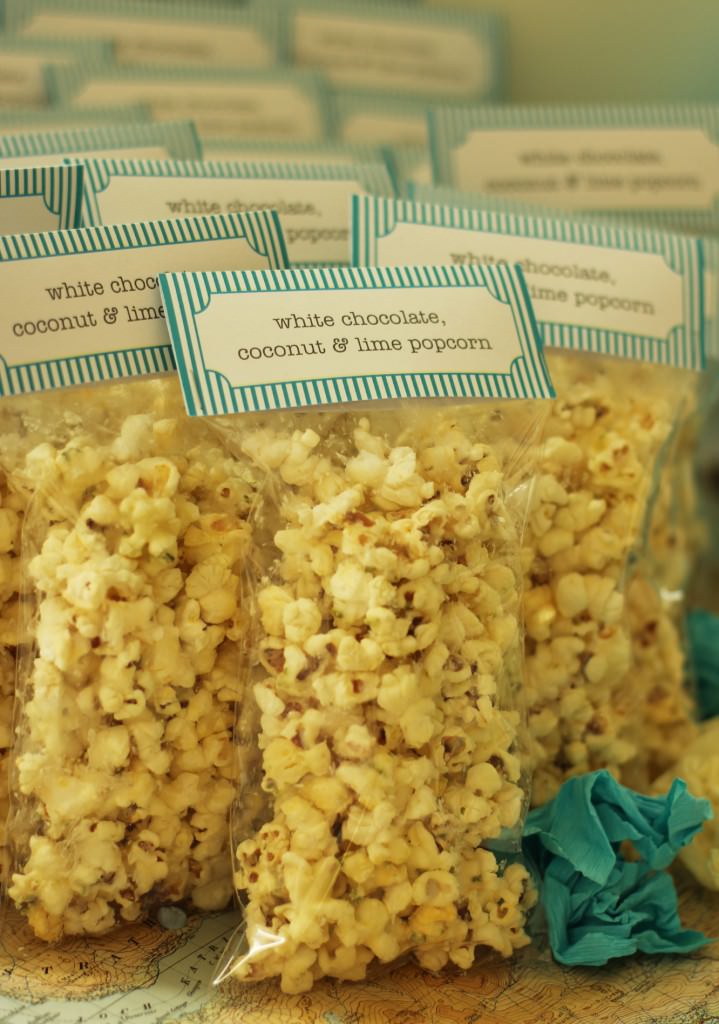
White chocolate, coconut and lime popcorn

hen-bachelorette-party-favours-01

You will need

Cellophane card bags

Balloons

These labels (it’s quite possible your bride’s name isn’t Vicky. I used American Typewriter for the font for the sign)

hen-bachelorette-party-favours-raspberry-caramel-marshmallow-recipe-14

hen-bachelorette-party-favours-orange-sherbet-recipe-04

Step one

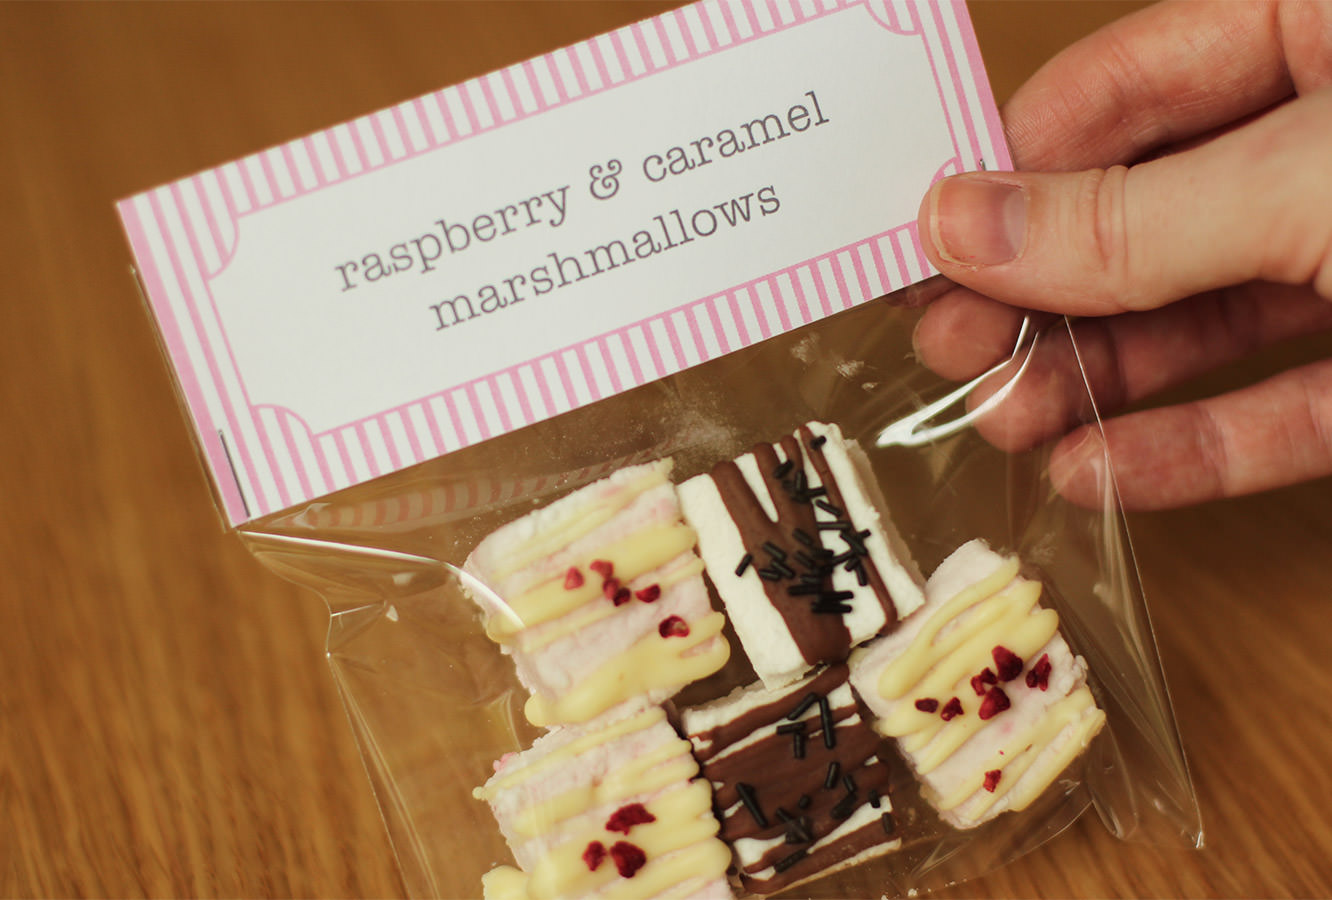
Fill the card bags with your favours.

hen-bachelorette-party-favours-03

Step two

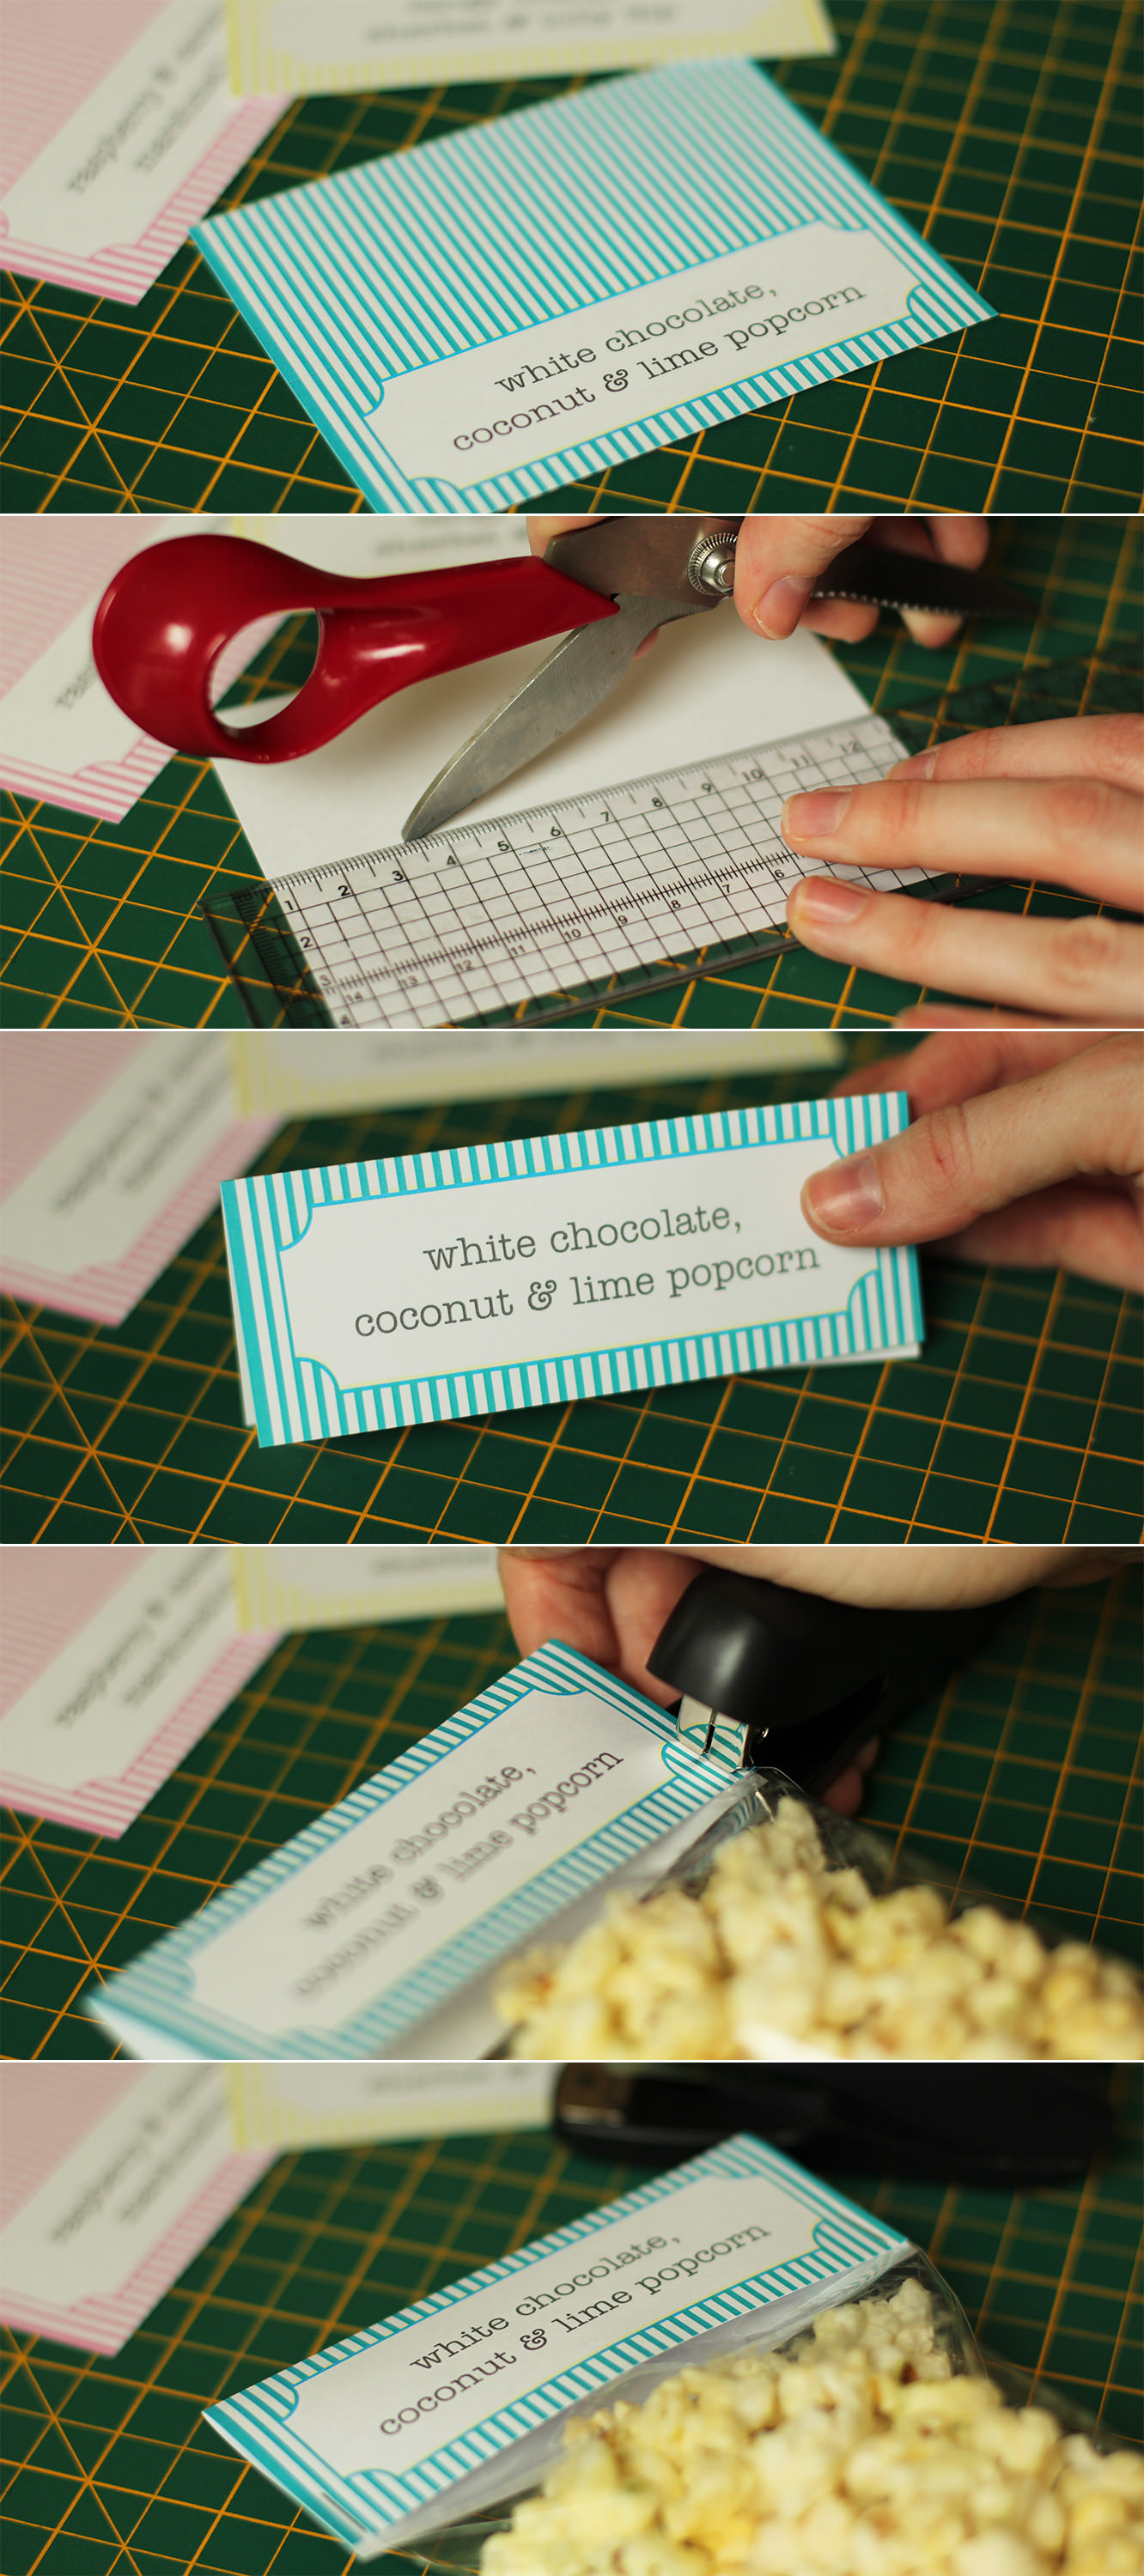
Print enough of the labels for the number of favours you have. These templates will fit a DL card bag.

Cut them out and score on the back down the centre. Fold in half.

Fold the top of the bag down and staple the label over the top, ensuring the staple secures the bag shut. This is especially important with the sherbet.

hen-bachelorette-party-favours-06

hen-bachelorette-party-favours-07

hen-bachelorette-party-favours-04

Step three

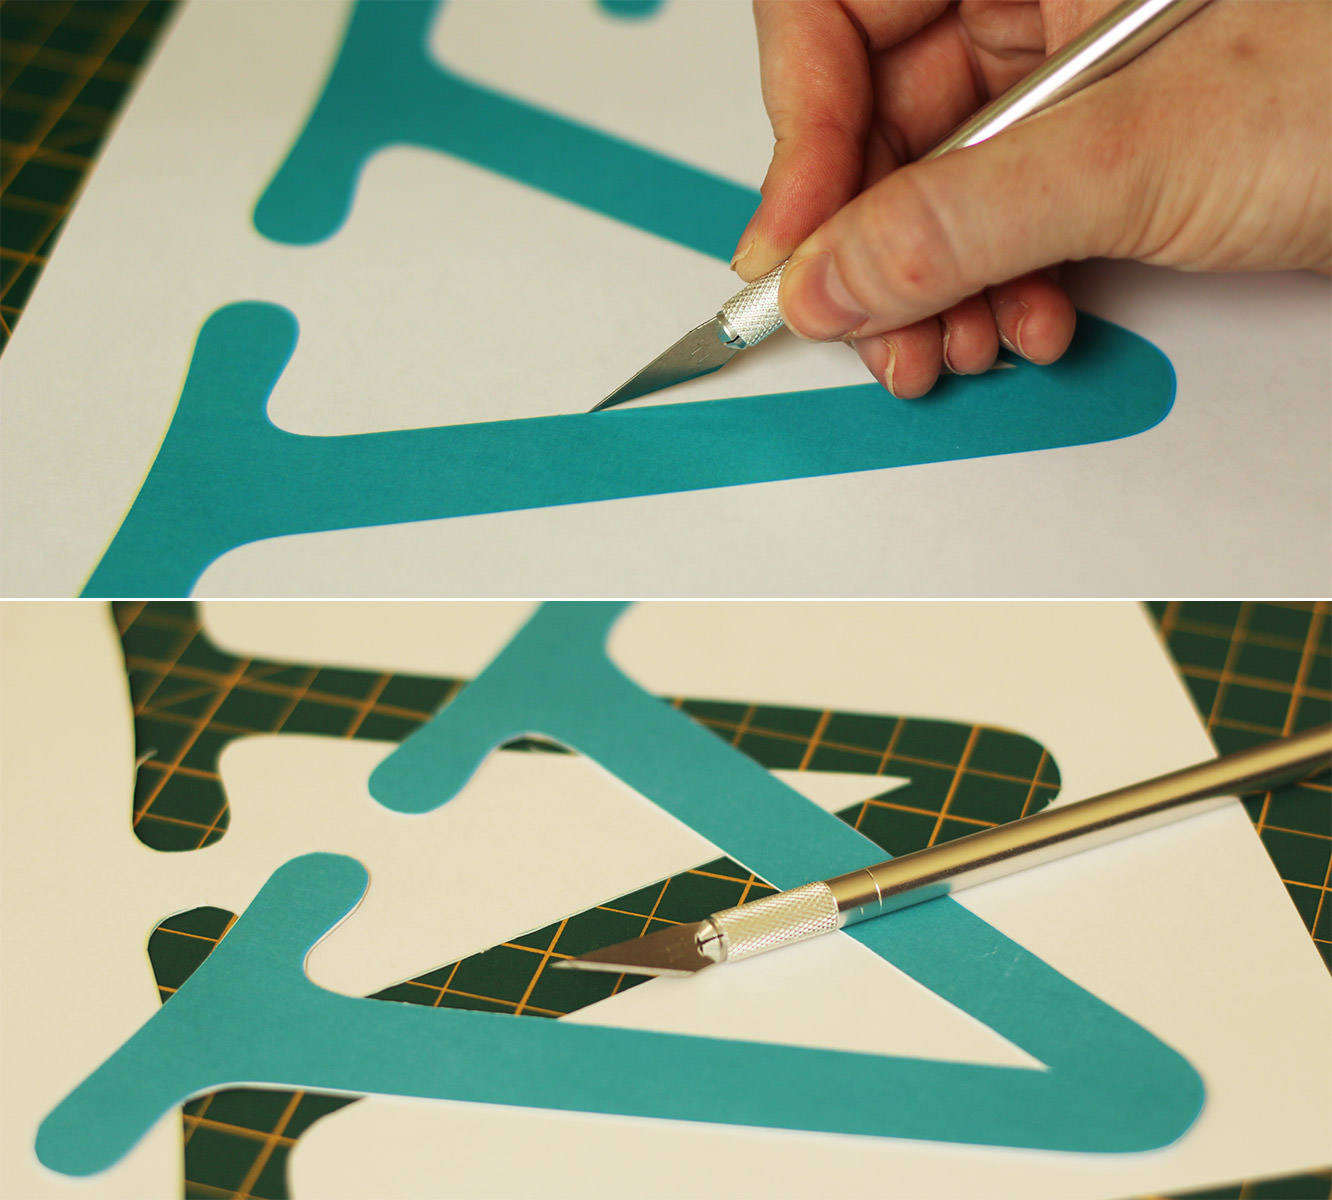
Cut the letters out of for the sign.

hen-bachelorette-party-favours-15

Step four

Using blu-tac stick the letters to the wall.

Step five

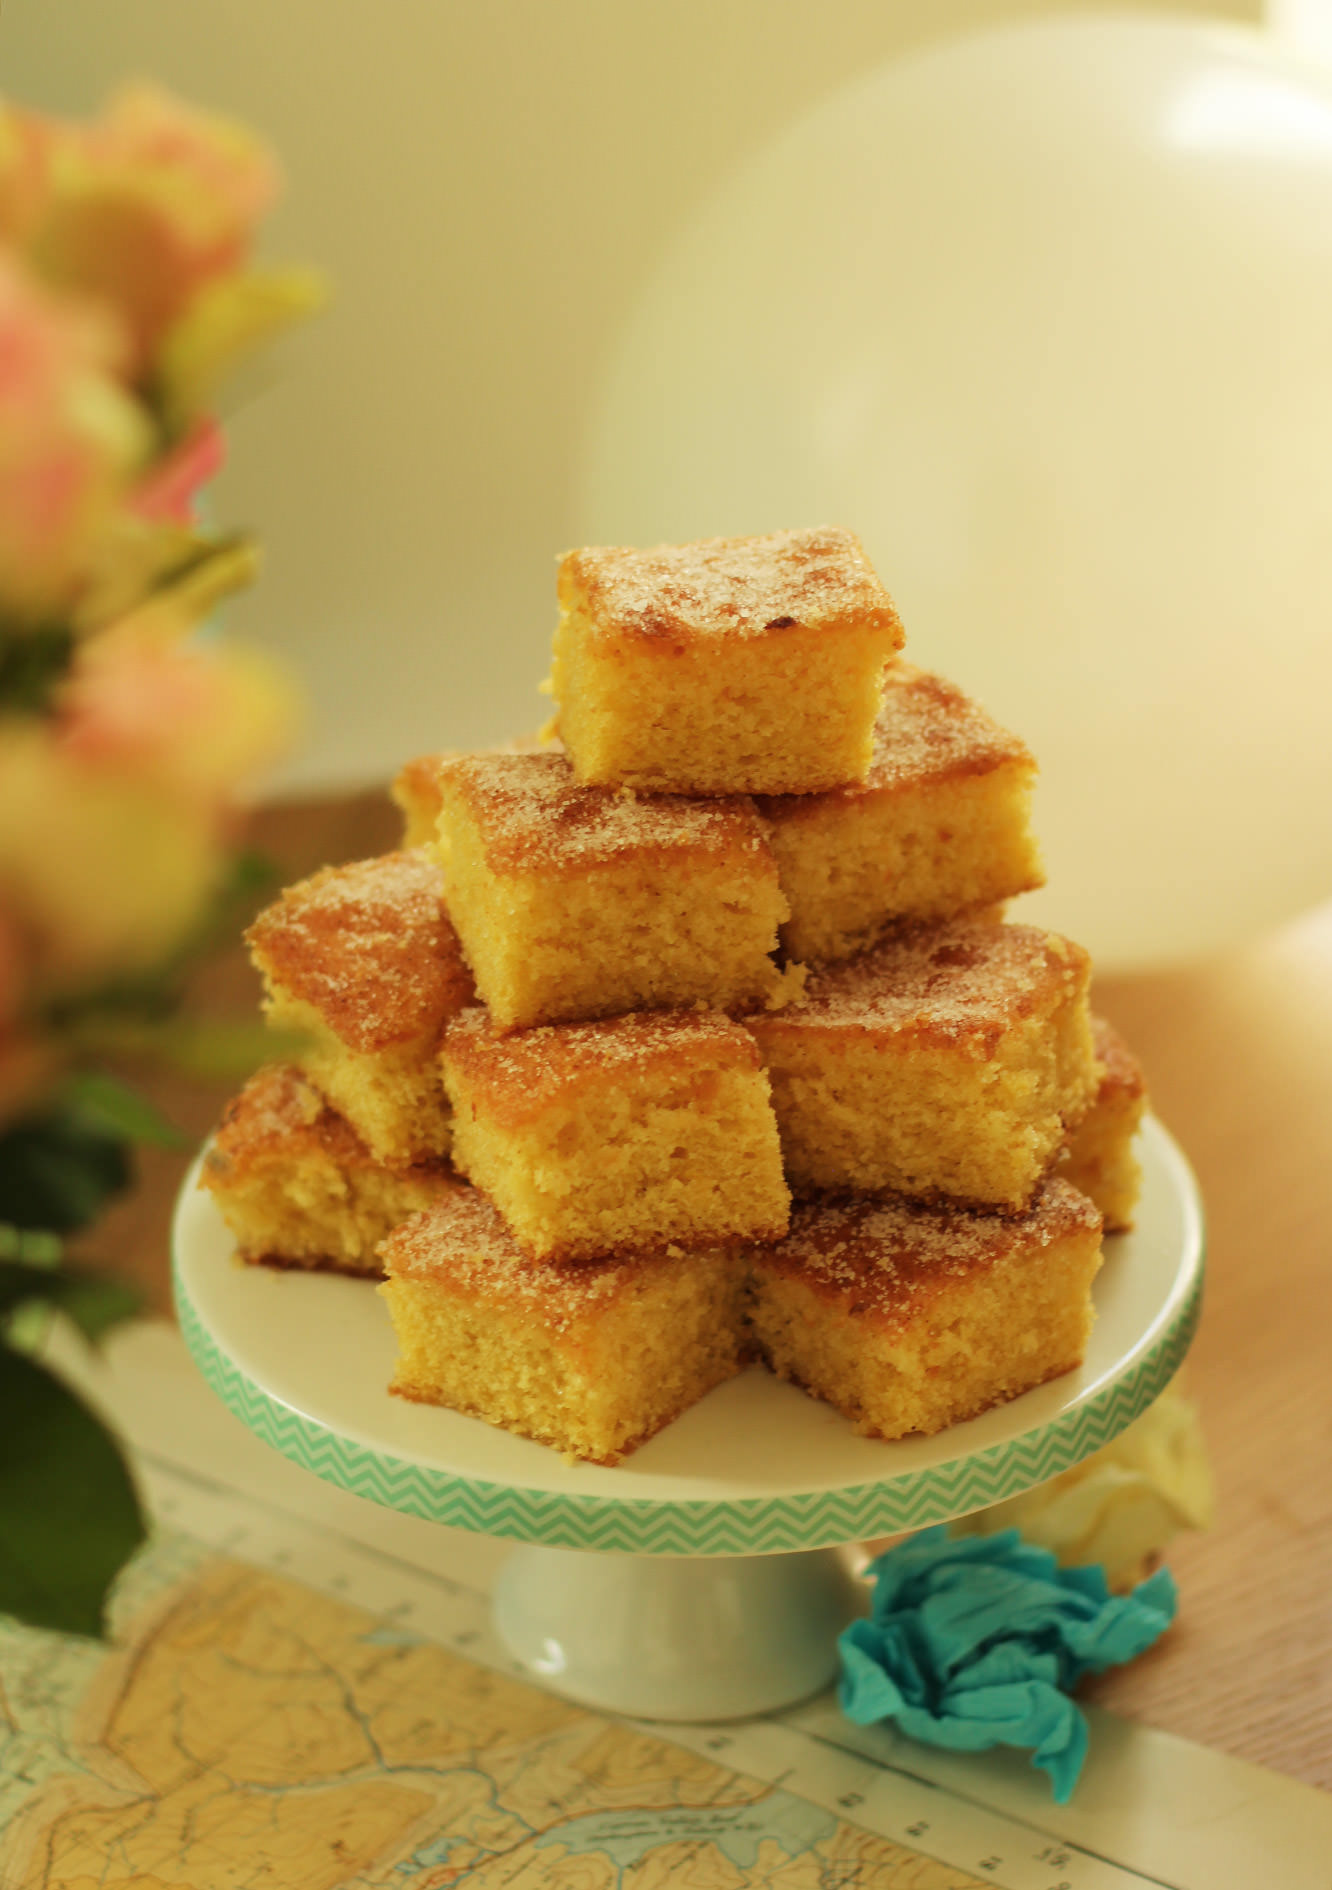
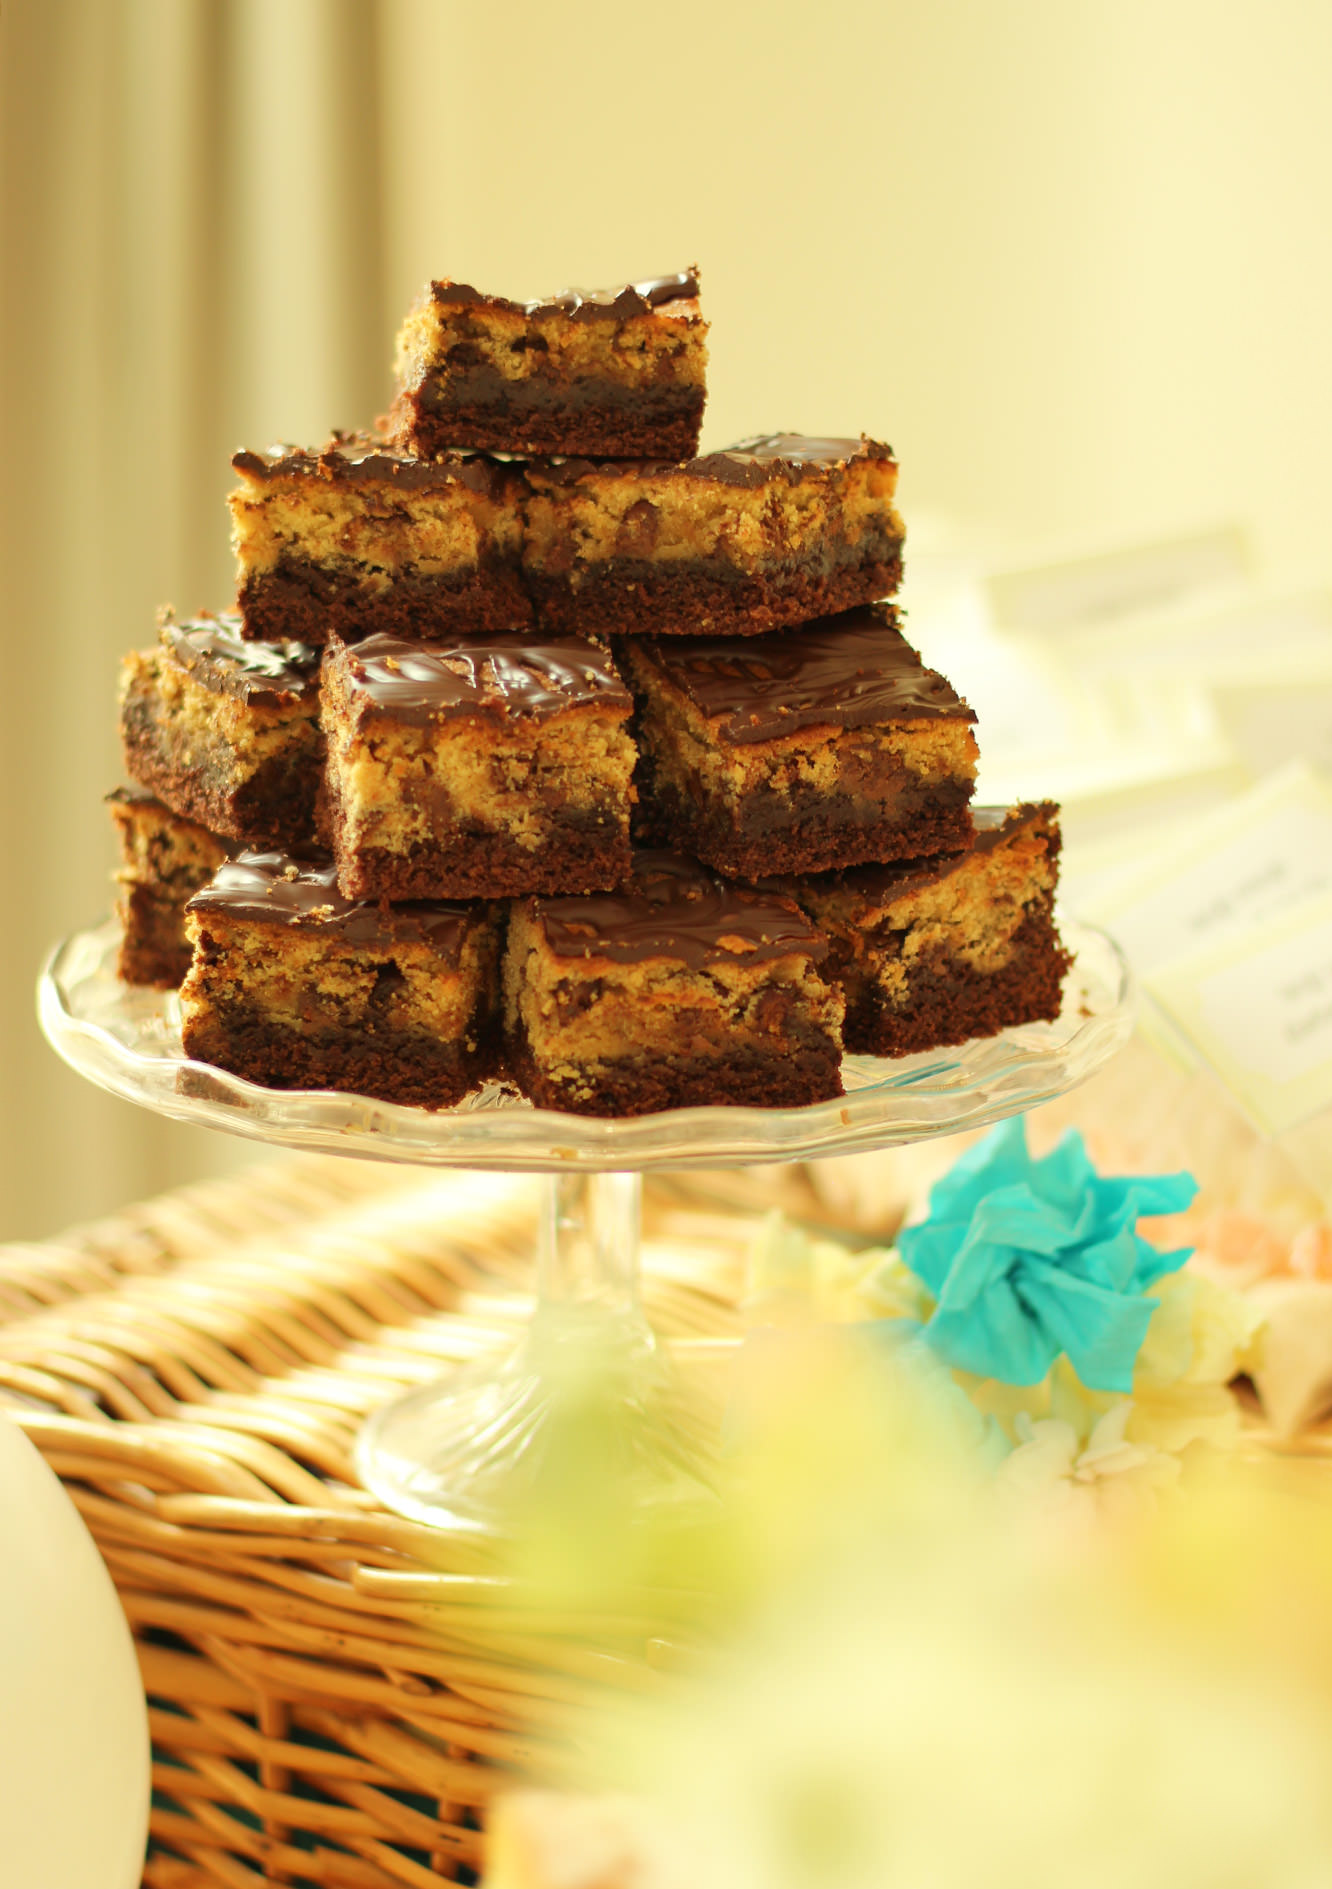
Assemble. You’ll notice I baked a few treats and got some flowers too. The cookie dough brownie recipe has appeared on the blog before, and I’ll get to the lemon drizzle soon.

hen-bachelorette-party-favours-19

hen-bachelorette-party-favours-09

hen-bachelorette-party-favours-11

hen-bachelorette-party-favours-10

hen-bachelorette-party-favours-13

hen-bachelorette-party-favours-12

hen-bachelorette-party-favours-16

hen-bachelorette-party-favours-18

hen-bachelorette-party-favours-17

hen-bachelorette-party-favours-08

There you go. All set to throw a lovely hen party/bridal shower of your own.

hen-bachelorette-party-favours-02


Cluck cluck #3

It seems a bit strange to be writing this. Not least because the last few weeks were crazy and I got out of the habit of blogging, but mainly because the hen in question is now a WIFE.

What’s that? You wanna see? Oh ok then, here she is…

IMG_6228

As you can see from the size of that smile, we all had a ball. It was an amazing day.

But let’s step back a month or three and finish off her favours. This was without a doubt the guests’ fave recipe so, ladies, all of you who asked me for it, sorry it took so long! Without further ado here is the recipe for white chocolate, lime and coconut popcorn.

Remember to downscale the below if you’re making for a smaller group/movie night.

hen-bachelorette-party-favours-01

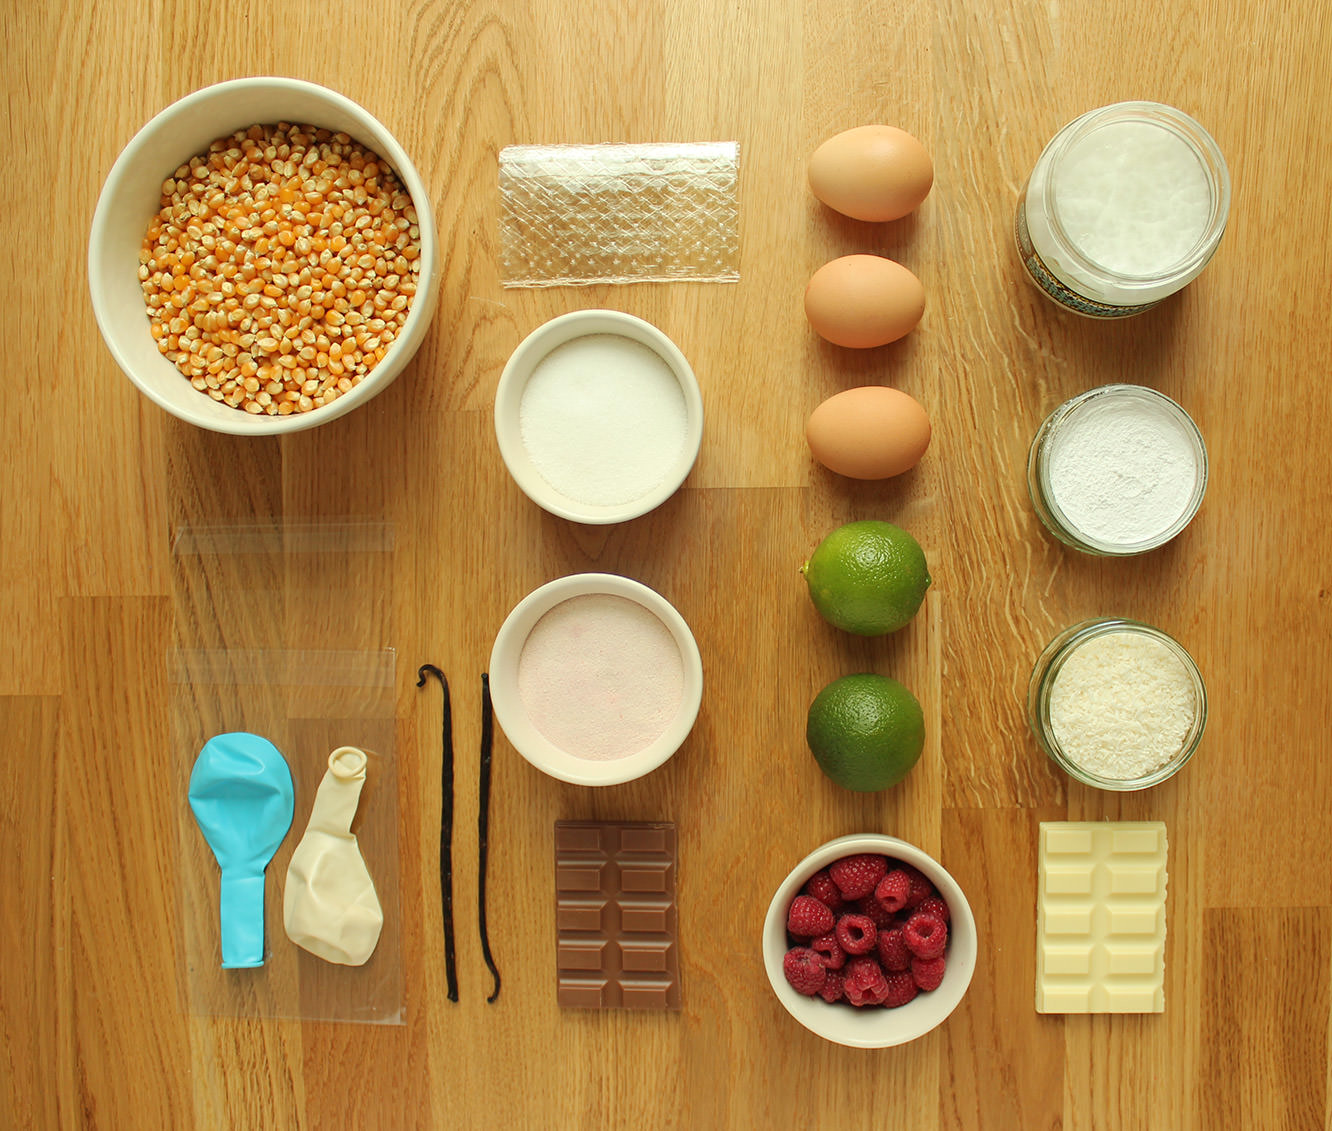
You will need

450g/1lb plain popcorn kernels

600g/1lb 5oz white chocolate

Coconut oil

2 limes (zest)

hen-bachelorette-party-favours-lime-white-chocolate-coconut-popcorn-recipe-01

Step one

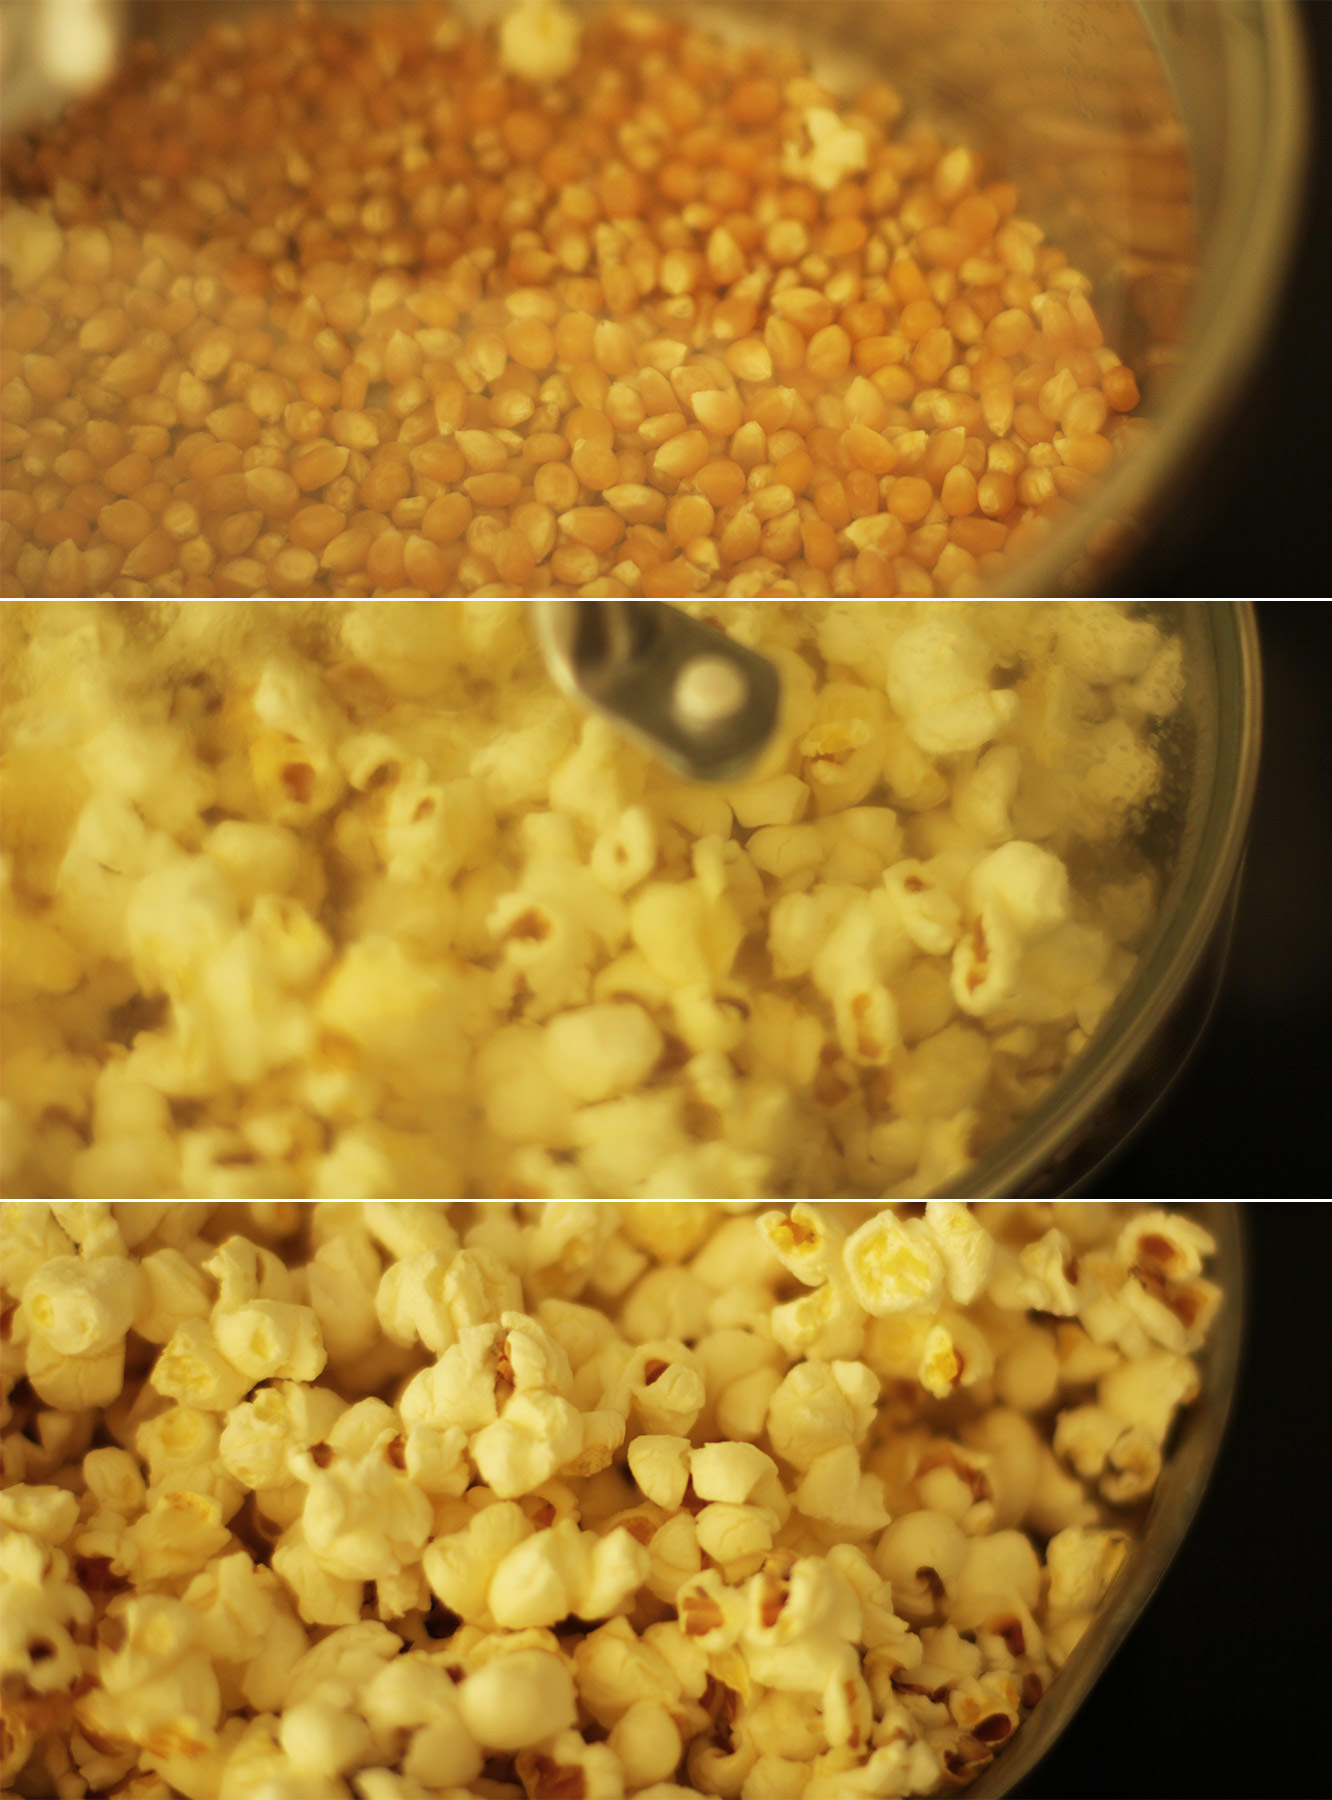
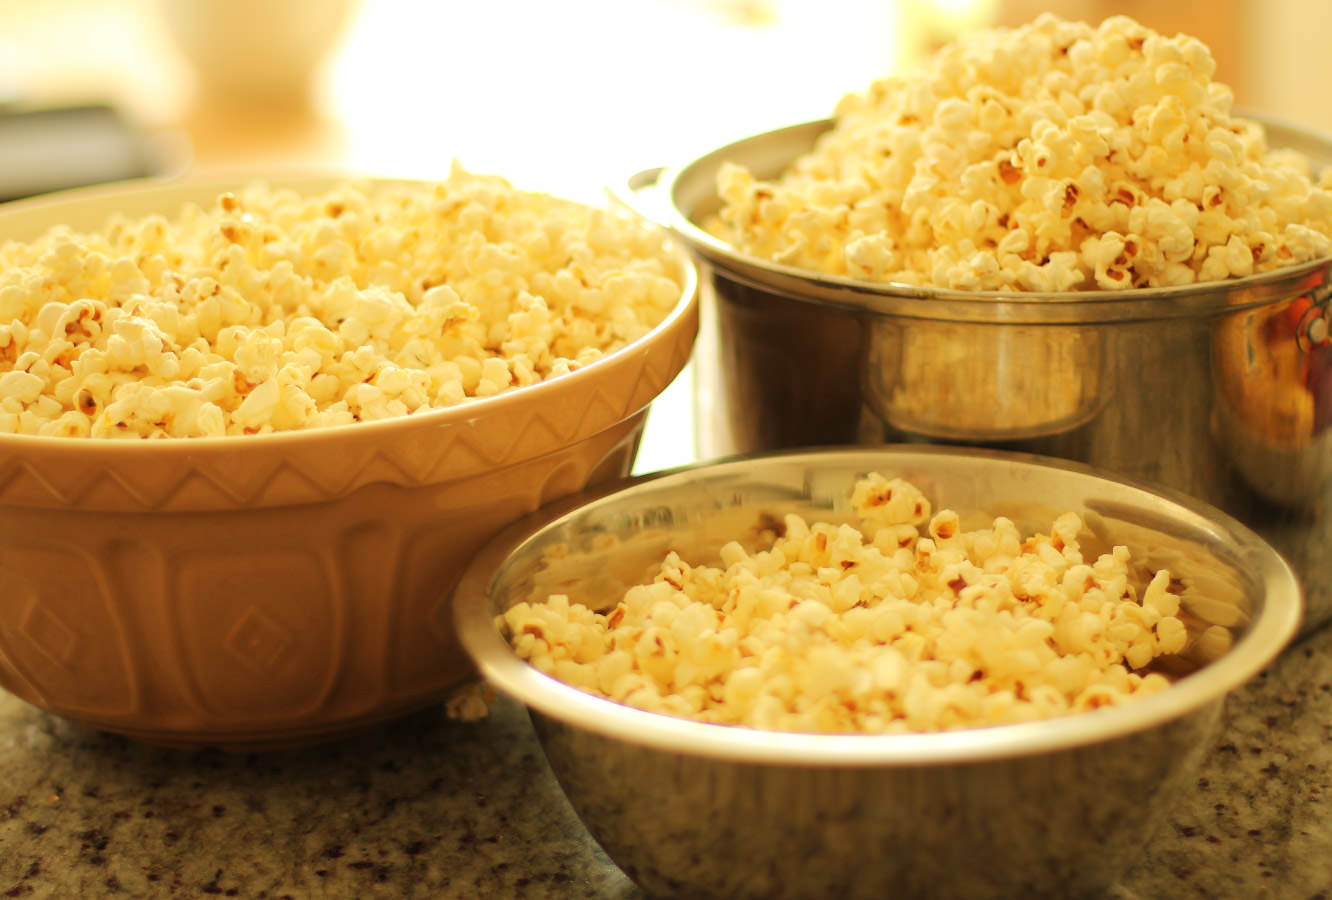
You’re going to want to get a biiiiiig pan (one with a lid unless you want to be finding popcorn in corners for years). You also need several bowls to decant the popcorn into and definitely don’t try to pop it all in one go, I think i did three or four batches.

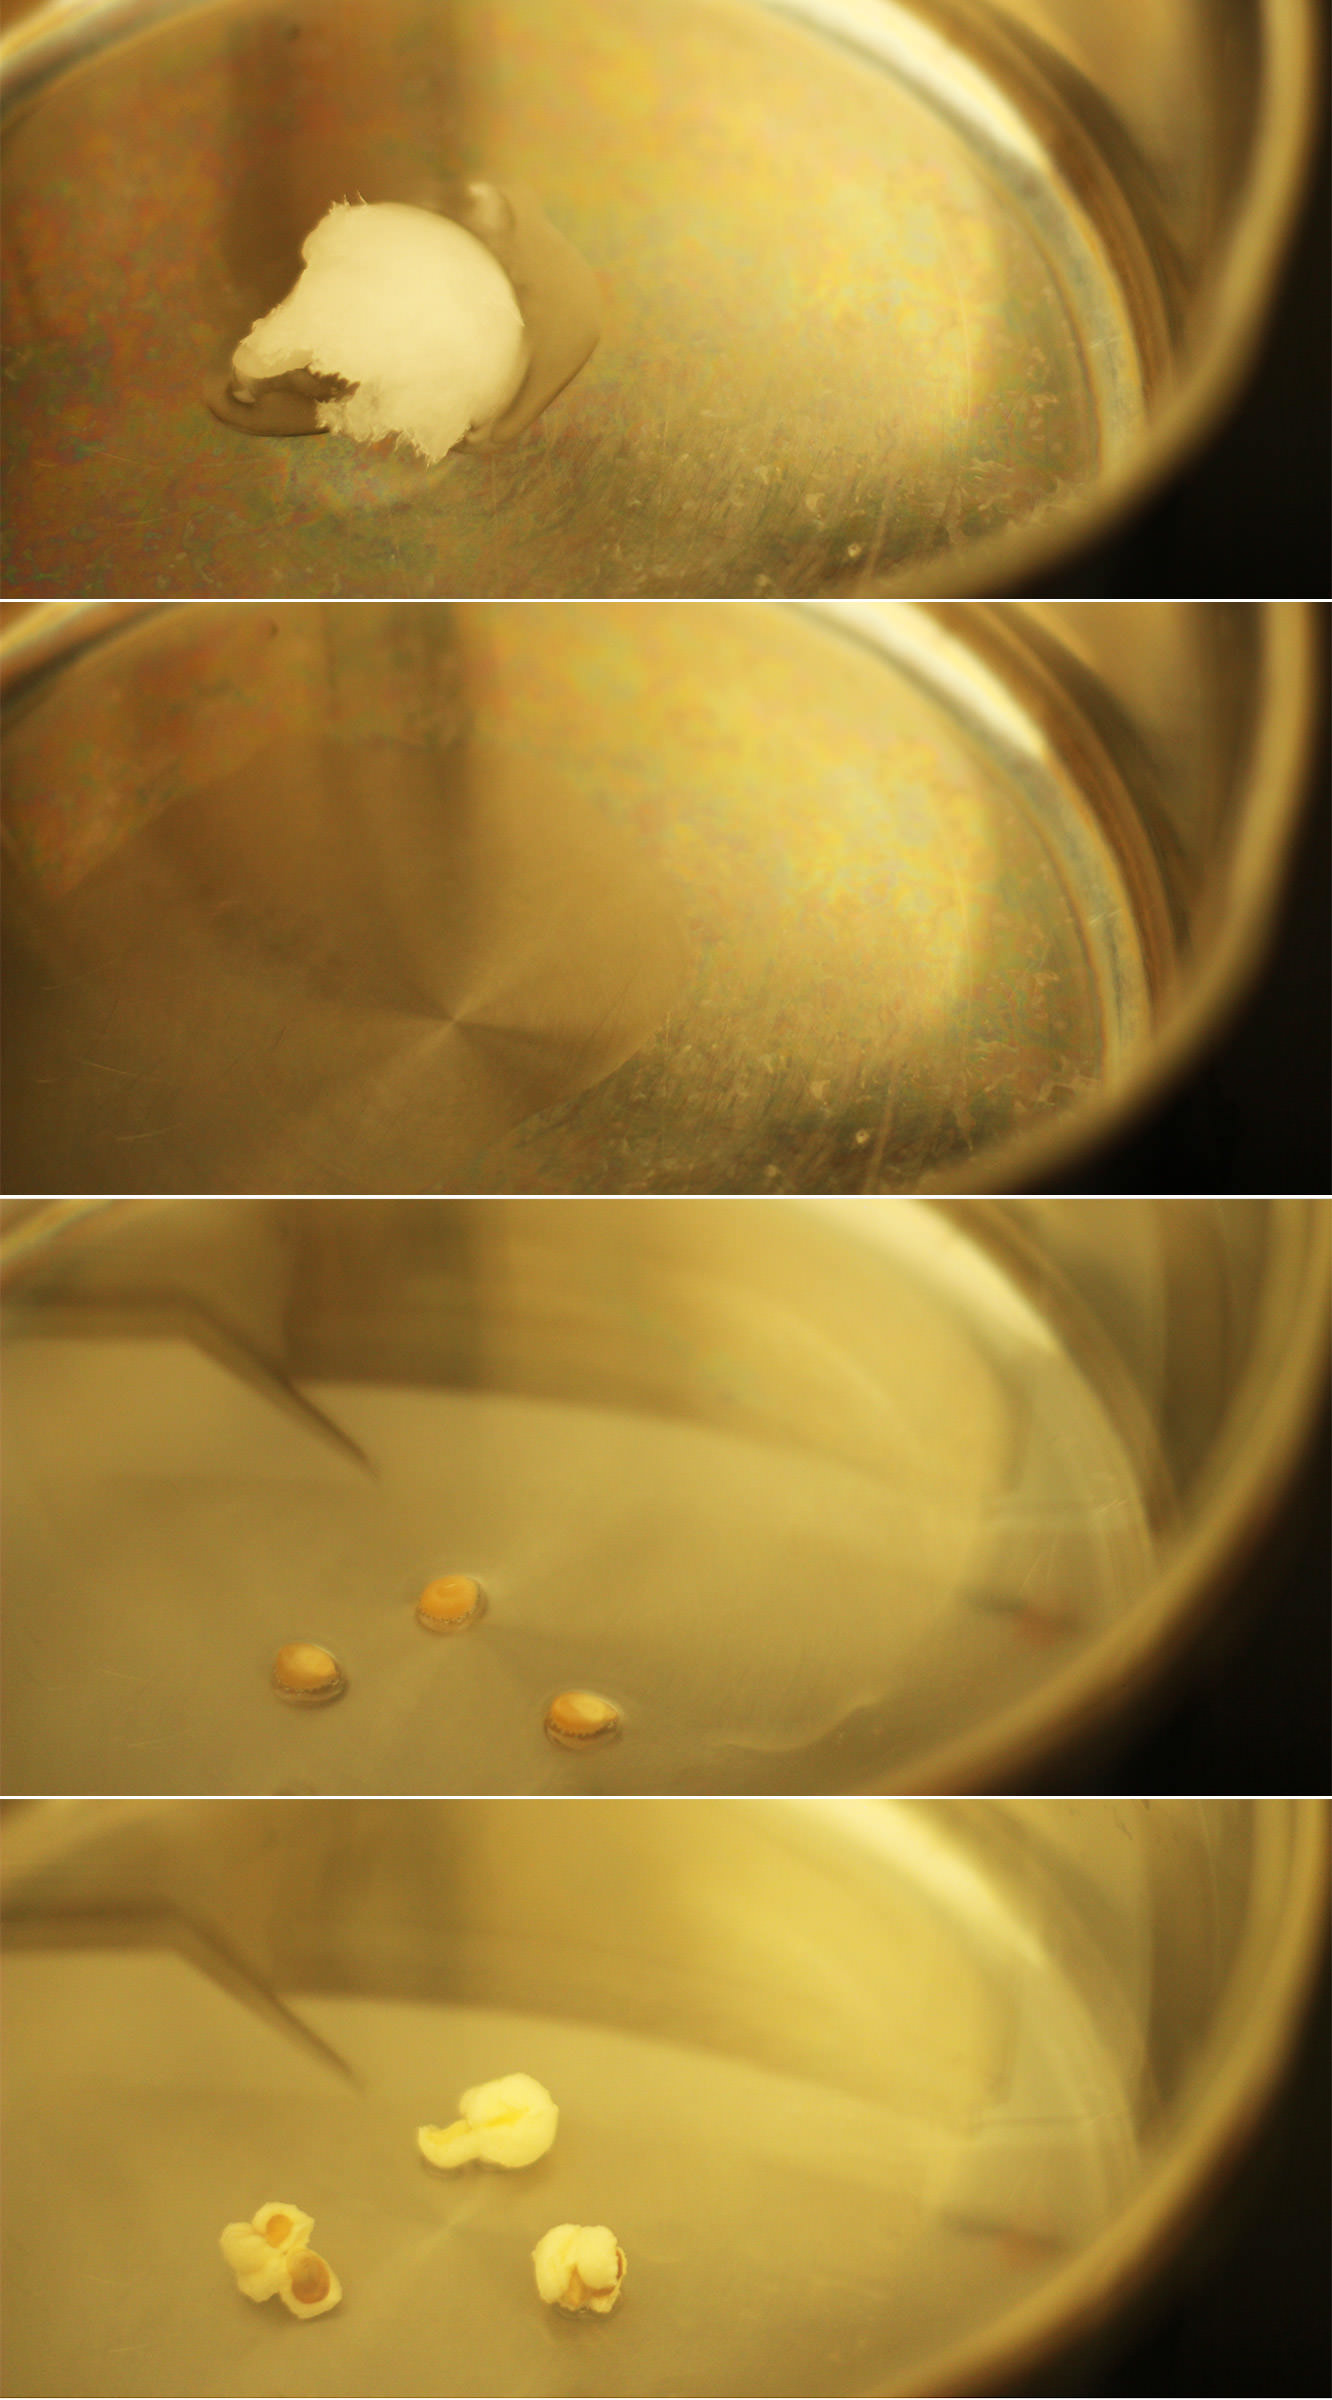
So. Pop the pan on a med-low heat, and drop a tablespoon of coconut oil in the pan. Add three kernels or so and wait patiently for them to pop.

Don’t put all the kernels in straight away otherwise you will burn some.

hen-bachelorette-party-favours-lime-white-chocolate-coconut-popcorn-recipe-02

Step two

Once the three test kernels have popped pour a load more in to cover the bottom of the pan and replace the lid.

As the kernels start to pop I generally shake the pan a intermittently and hover it above the heat. If the popping slows down, place it fully back on the heat for a few seconds.

When the pan is filling up and there’s a couple of seconds between pops remove it from the heat and pour the popcorn into a bowl.

hen-bachelorette-party-favours-lime-white-chocolate-coconut-popcorn-recipe-03

Step three

Repeat repeat repeat until you’ve used alla that popping corn.

hen-bachelorette-party-favours-lime-white-chocolate-coconut-popcorn-recipe-04

Step four

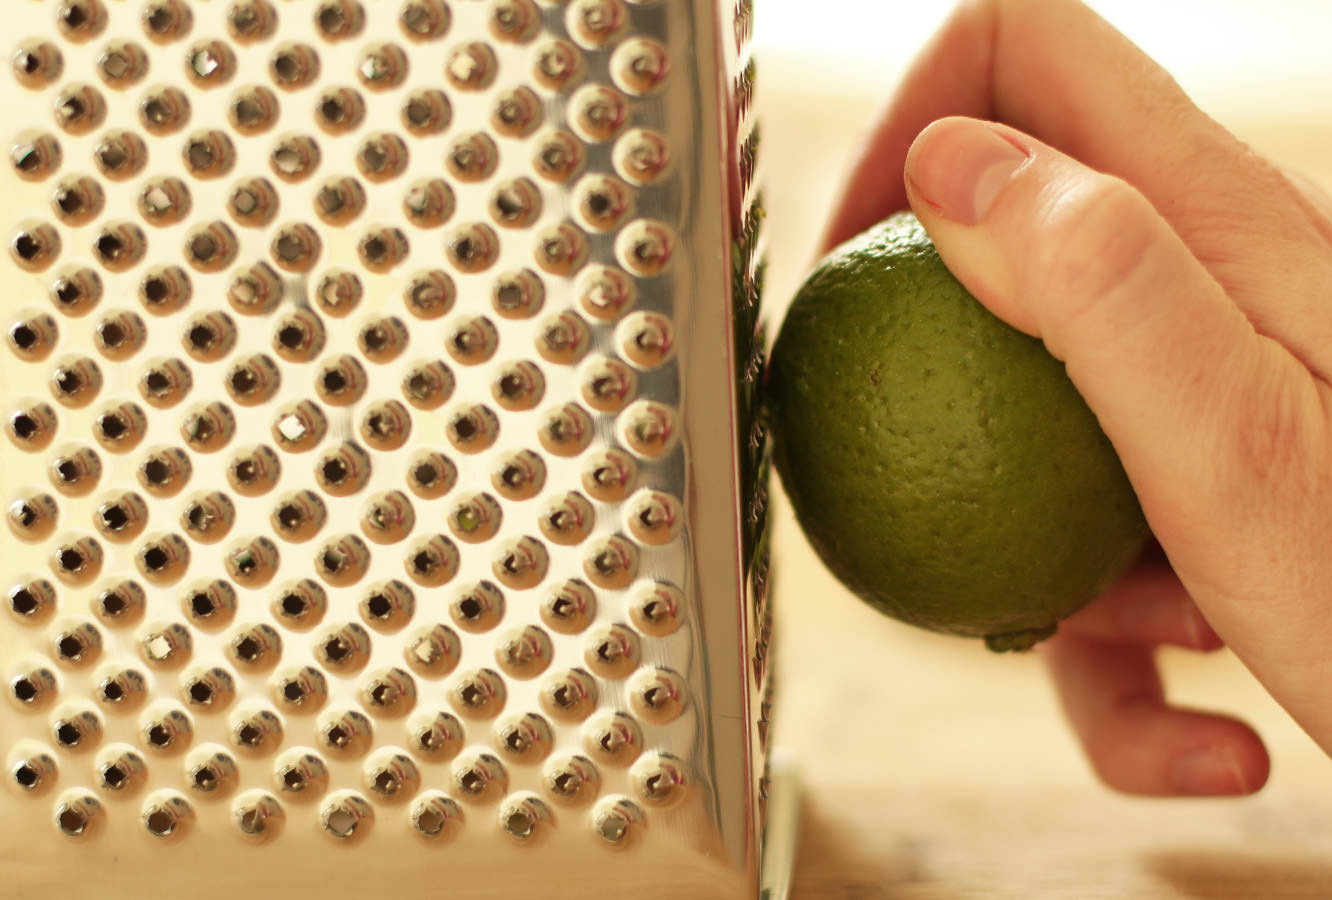
Zest the limes on the smallest ‘setting’ on your grater.

Step five

Melt the white chocolate in a heatproof bowl. As there’s quite a lot of it, it’s really probably better to do this over a pan of boiling water. Otherwise you risk leaving some foil in there, almost blowing up your microwave and burning 600g of chocolate. There might be a small rage blackout to follow.

While the chocolate is still warm stir in a heaped tablespoon of coconut oil.

hen-bachelorette-party-favours-lime-white-chocolate-coconut-popcorn-recipe-05

Step six

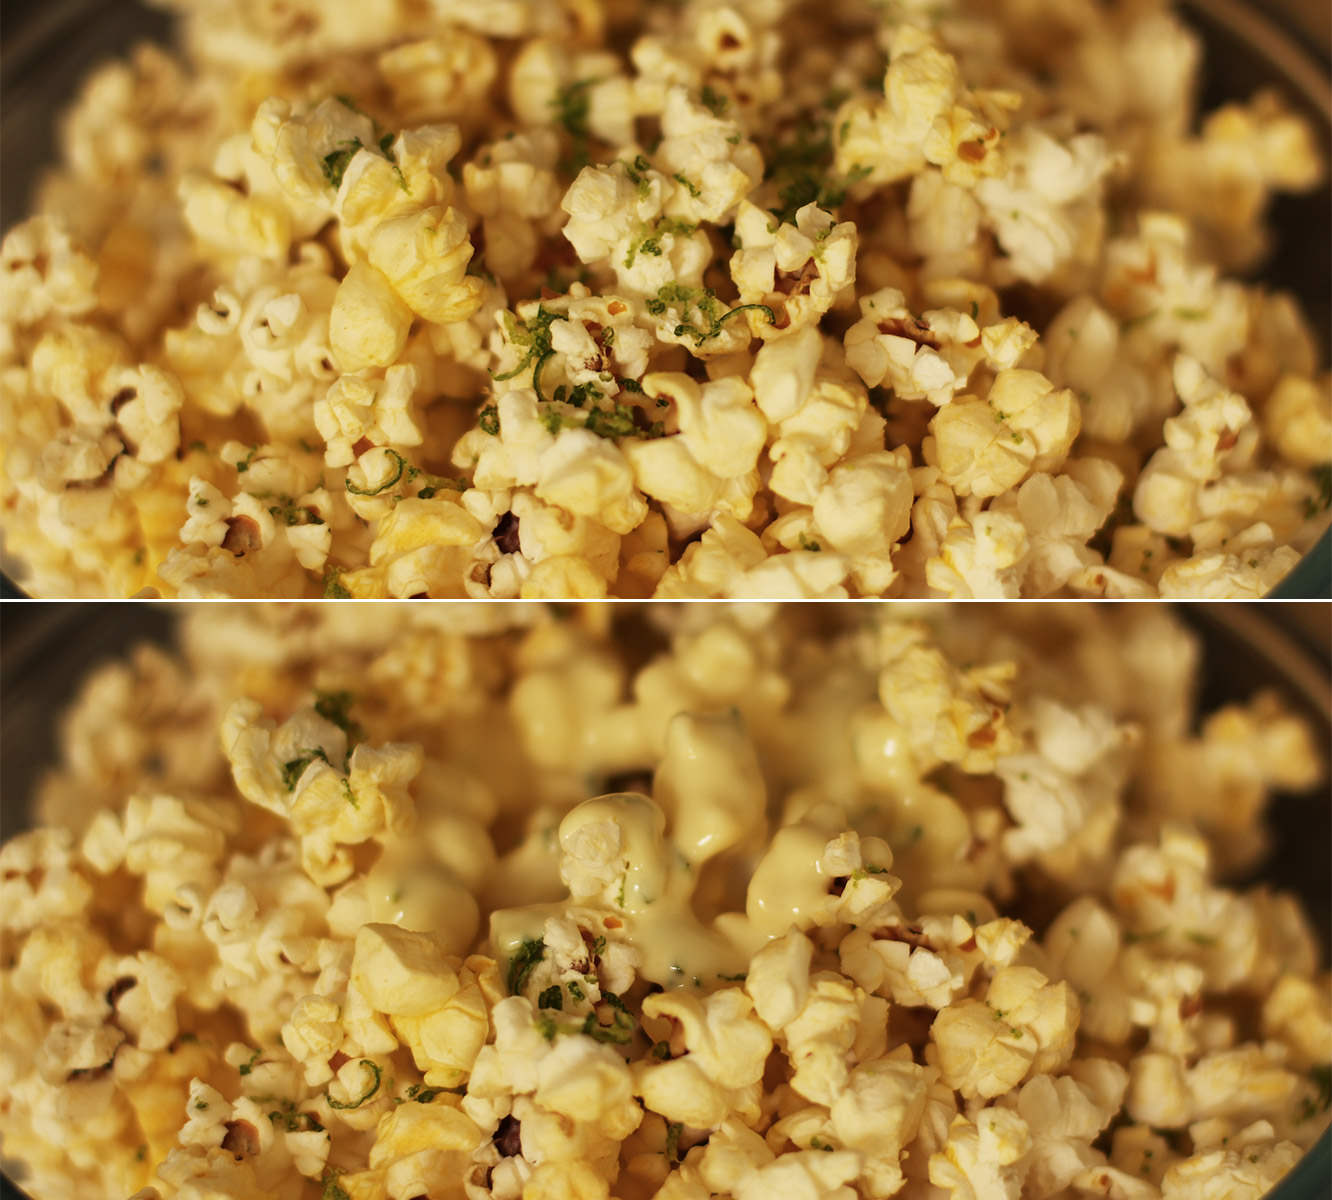
This is the tricky bit, you sort of need to distribute the chocolate and lime evenly amongst your batches of popcorn.

hen-bachelorette-party-favours-lime-white-chocolate-coconut-popcorn-recipe-06

Step seven

Stir in the chocolate as well as you can and spread out on baking trays to set. The chocolate won’t fully harden because of the oil but it’s nice that way, I promise.

hen-bachelorette-party-favours-lime-white-chocolate-coconut-popcorn-recipe-gif

That’s all folks.

Final instalment next week – the bringing of everything together.

Cluck cluck #1

Hi there. First off, apologies are in order. I missed my Monday night slot this week. I am deeply entrenched in finishing my portfolio and got really, really, involved in designing a book cover, more on that another time.

ANYWAY. My lovely housemate Vicky had her Hen Party a few weekends ago. Sadly I had something I had booked up a year in advance to go to so I couldn’t make it. Sad face. Instead I thought I would leave Vicky a little surprise on the dining table so she’d know I was thinking of her while she partied on down with her hens.

This is a little four part series, showing you how to make three different little hen/bachelorette party favours at home; the final post will detail all the finishing touches. You might prefer to use them as wedding favours or for childrens’ parties instead.

Heads up: I made 30 of each recipe, so if you’re looking to make a sweet treat for an evening in, divide, divide, divide the quantities of the recipe, don’t send me the bill for your fillings.

We’re kicking off this week with a recipe for orange sherbet. I just need to clarify for the sake of my US (and possibly Canadian?) readership, we mean something different when we say sherbet. You mean sorbet. We mean sherbet.

hen-bachelorette-party-favours-01

You will need

300g/10.5 oz Icing sugar

300g/10.5 oz Granulated sugar

175g/6 oz Caster sugar

125g/4.5 oz Orange jelly powder (again, America, you mean jelly when you say jello)

1-2 tsp Yellow food colouring

1 tsp Orange extract

60 small, or 30 regular sized lollipops

Cellophane DL card bags

(makes 30)

hen-bachelorette-party-favours-orange-sherbet-recipe-01

Step one

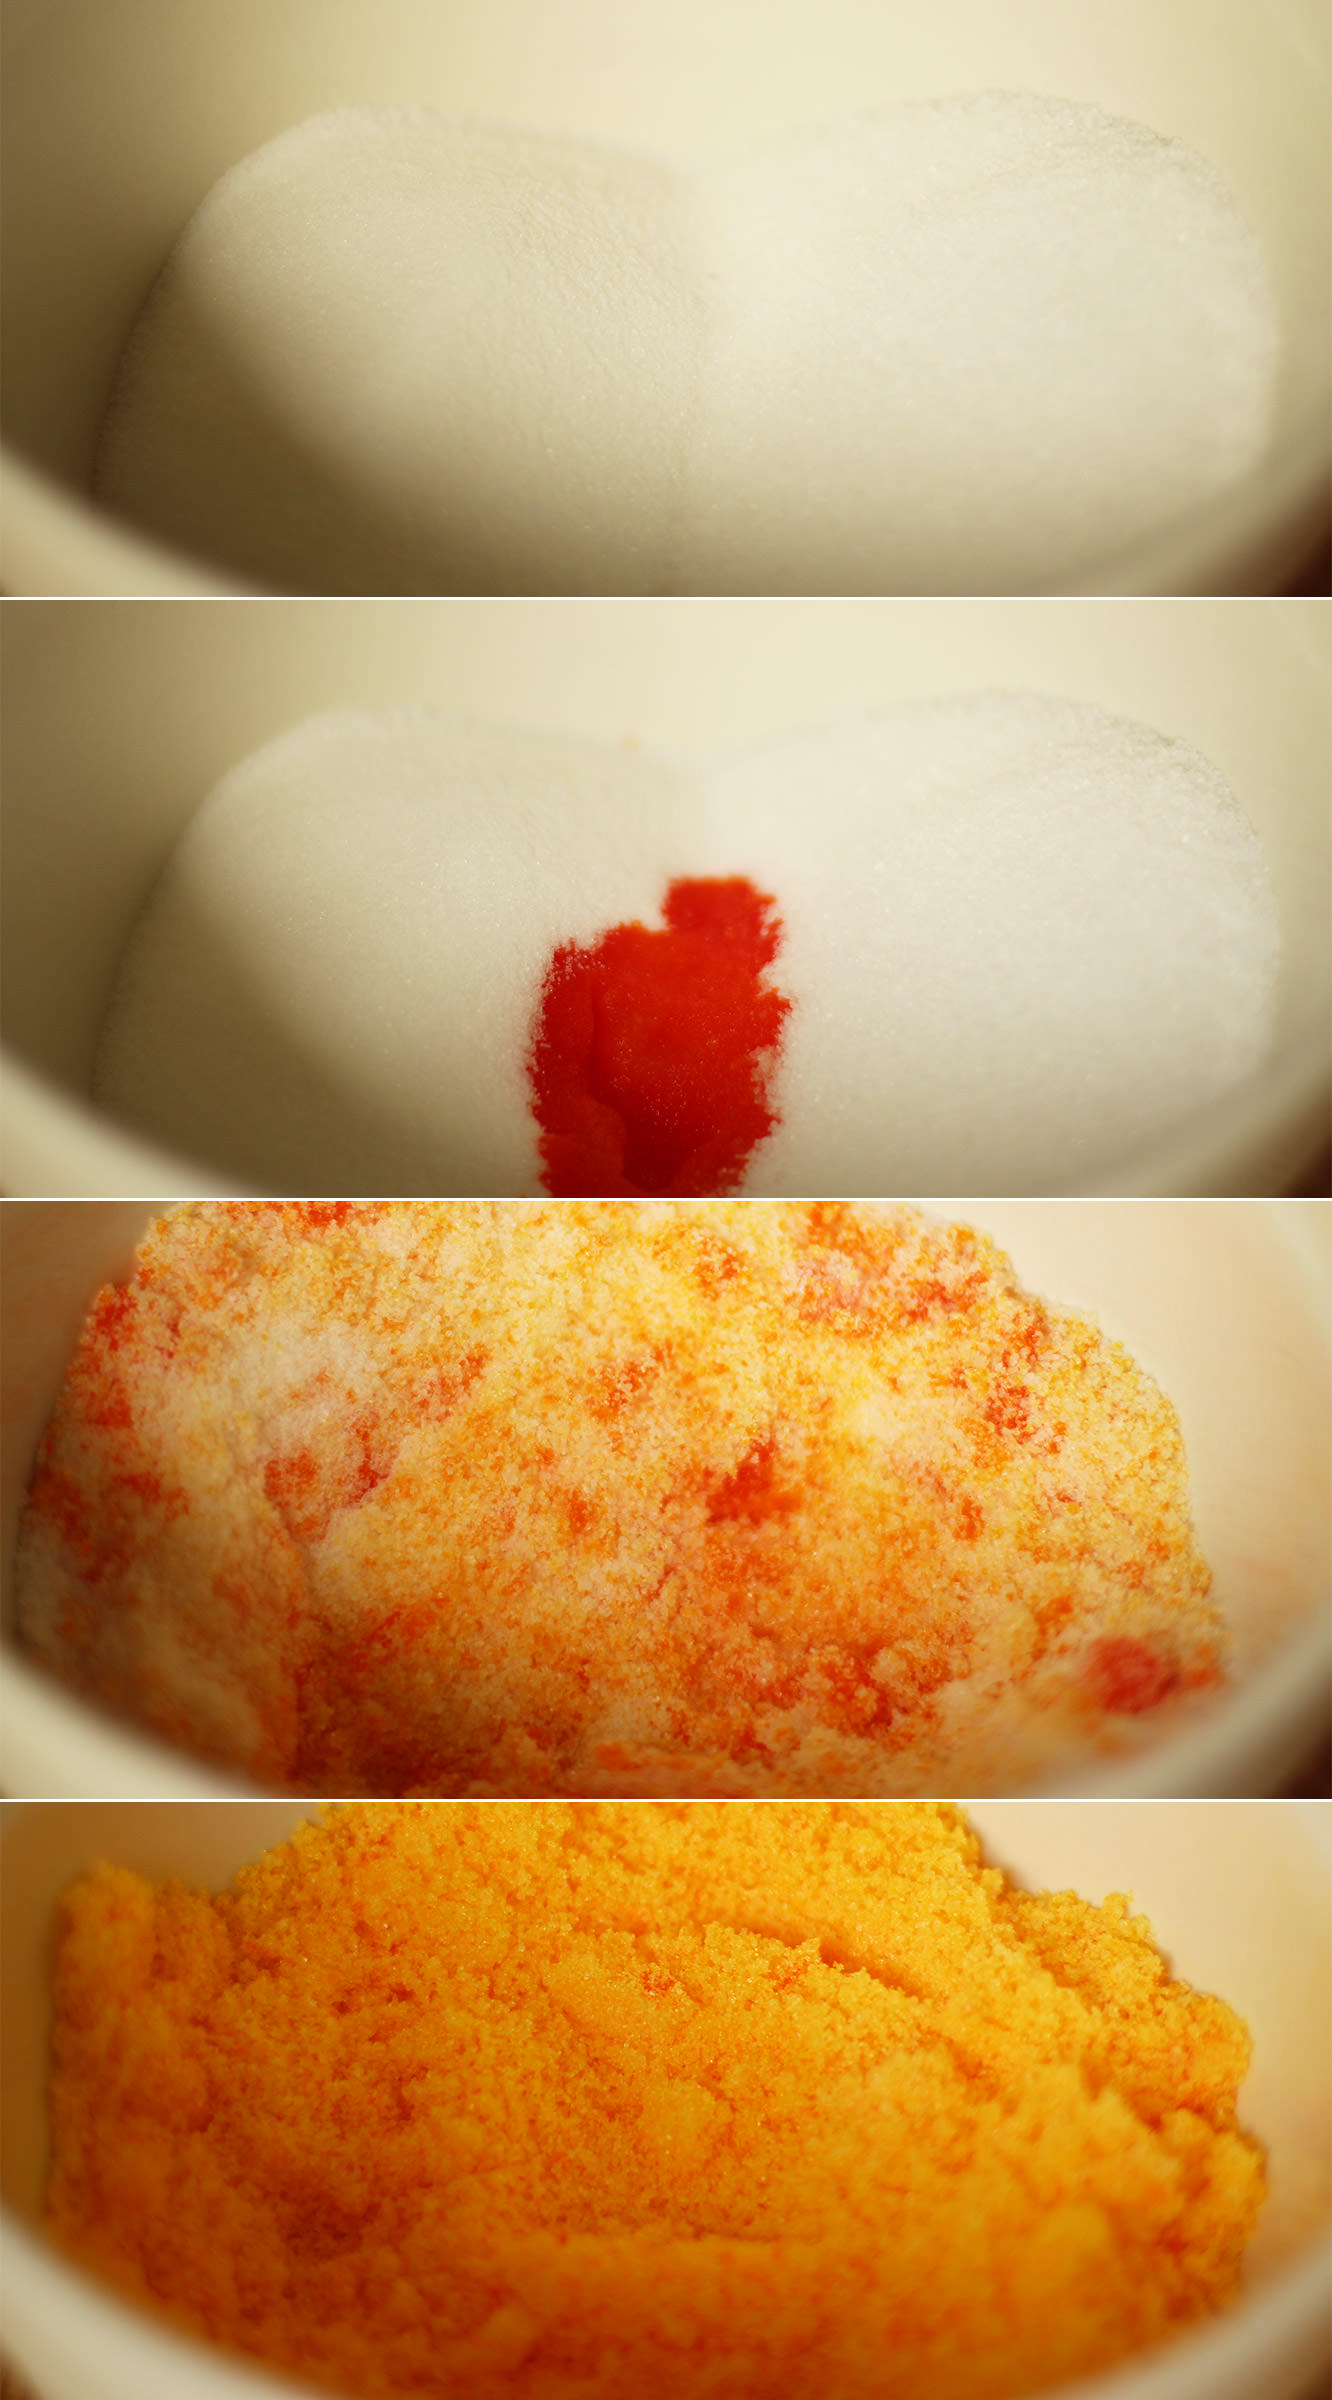
Mix together the granulated and caster sugars with the orange extract and colouring. If you want it to be a really bright colour, go for 2 tsp, I wanted a more subtle yellowy-orange so went for one.

Just in case you think I’ve lost it…the colour dilutes when you add the other ingredients.

hen-bachelorette-party-favours-orange-sherbet-recipe-02

Step two

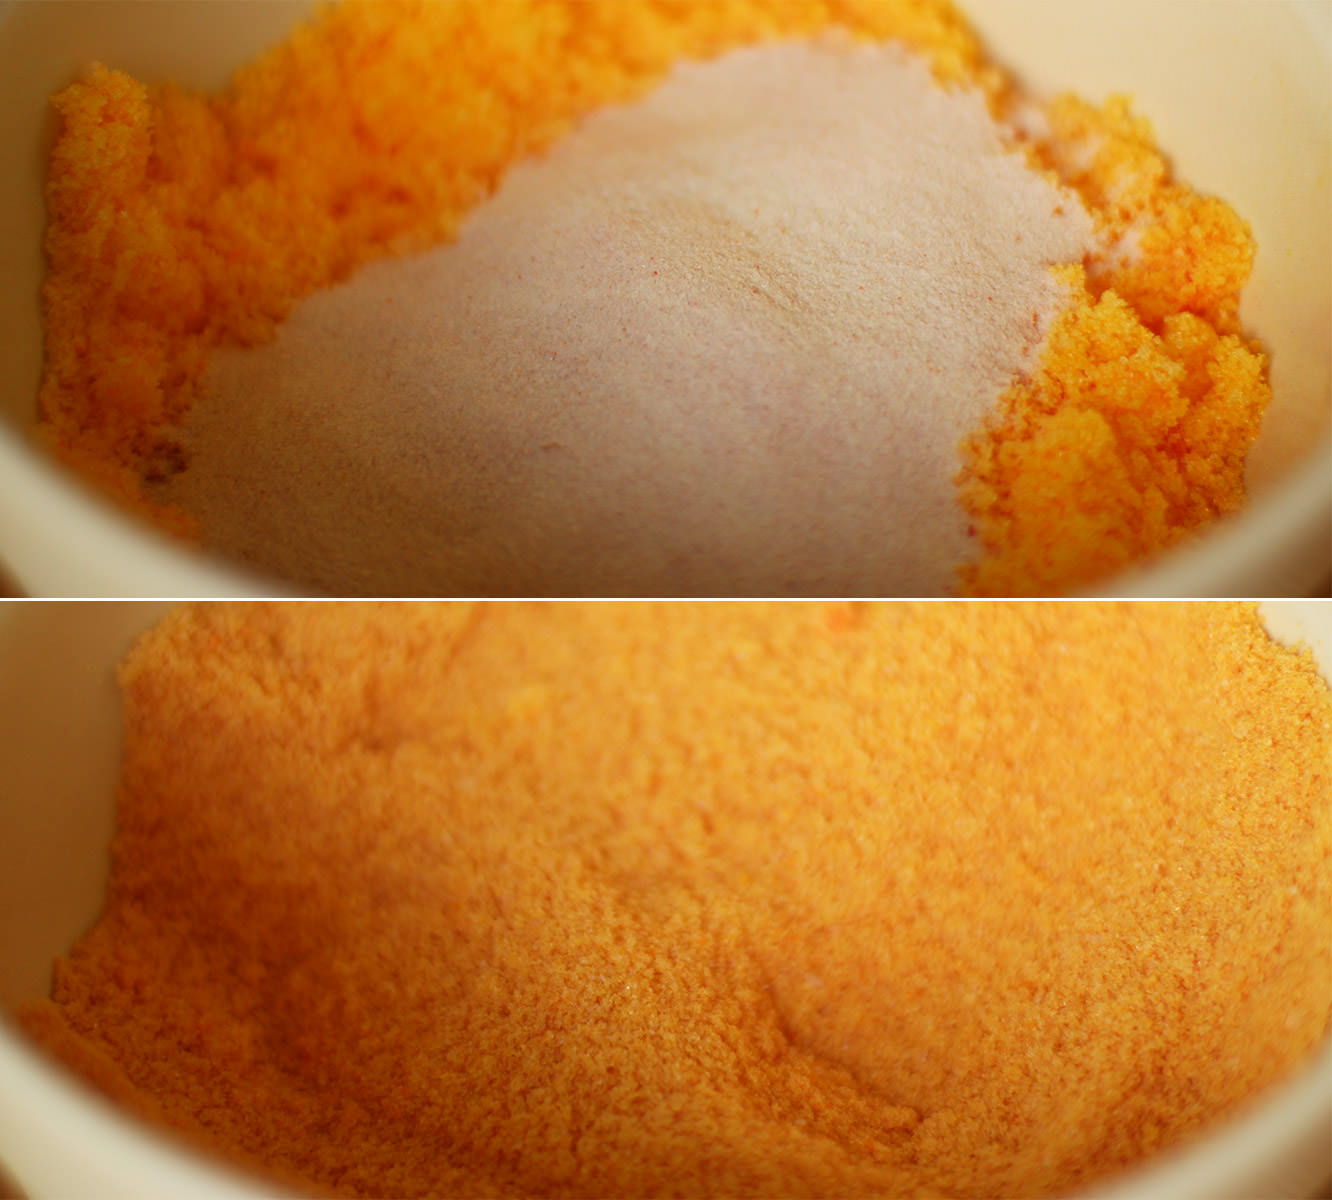
Add the jelly powder and stir again until fully combined. Give it a little taste at this point. For a stronger flavour add more jelly or more flavouring, but for the record, I think you’ll be set.

hen-bachelorette-party-favours-orange-sherbet-recipe-03

Step three

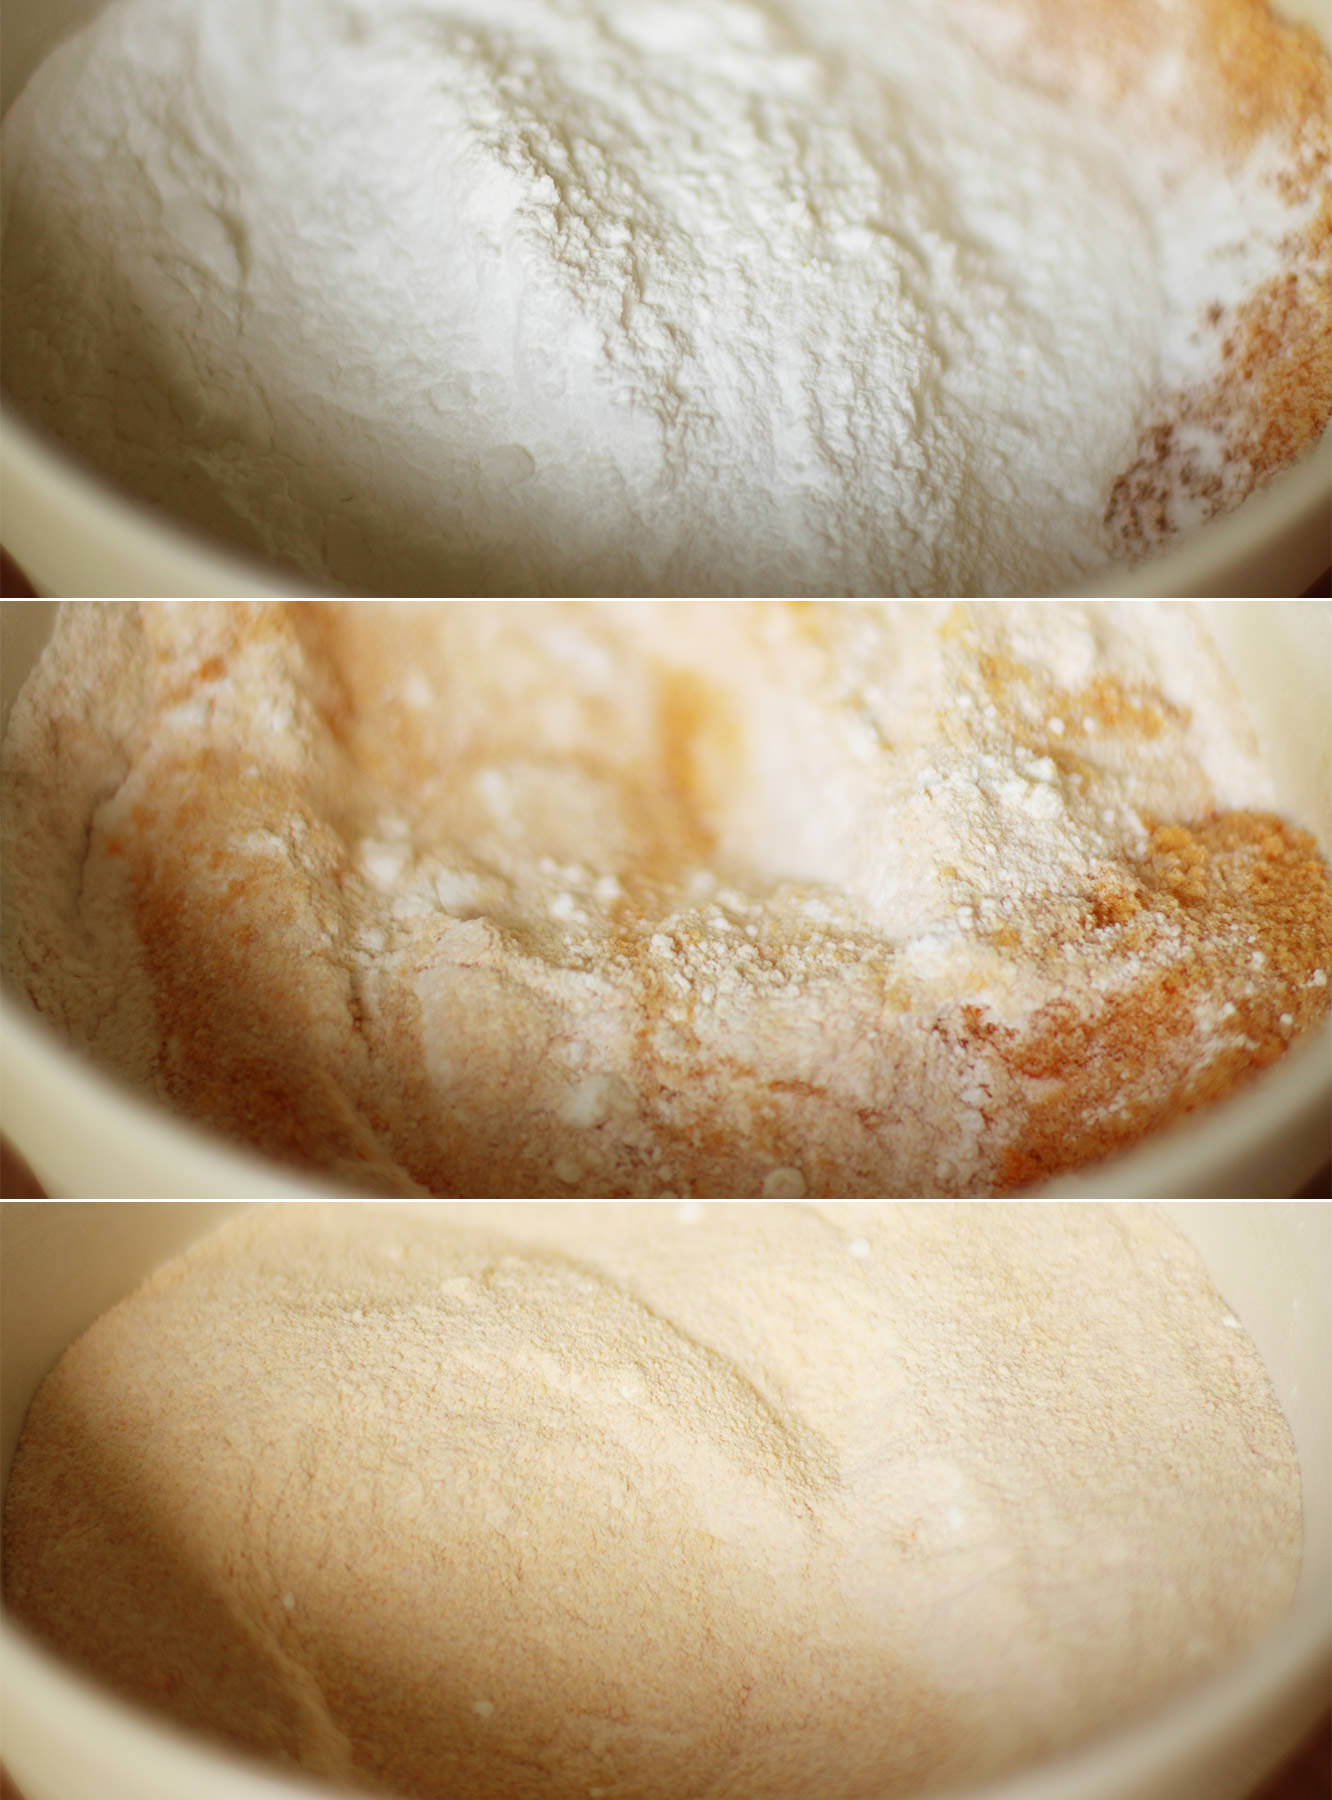
Add the icing sugar and mix again thoroughly. See, now you you know what I mean about the colour? Nice and subtle isn’t it?

hen-bachelorette-party-favours-orange-sherbet-recipe-04

Step four

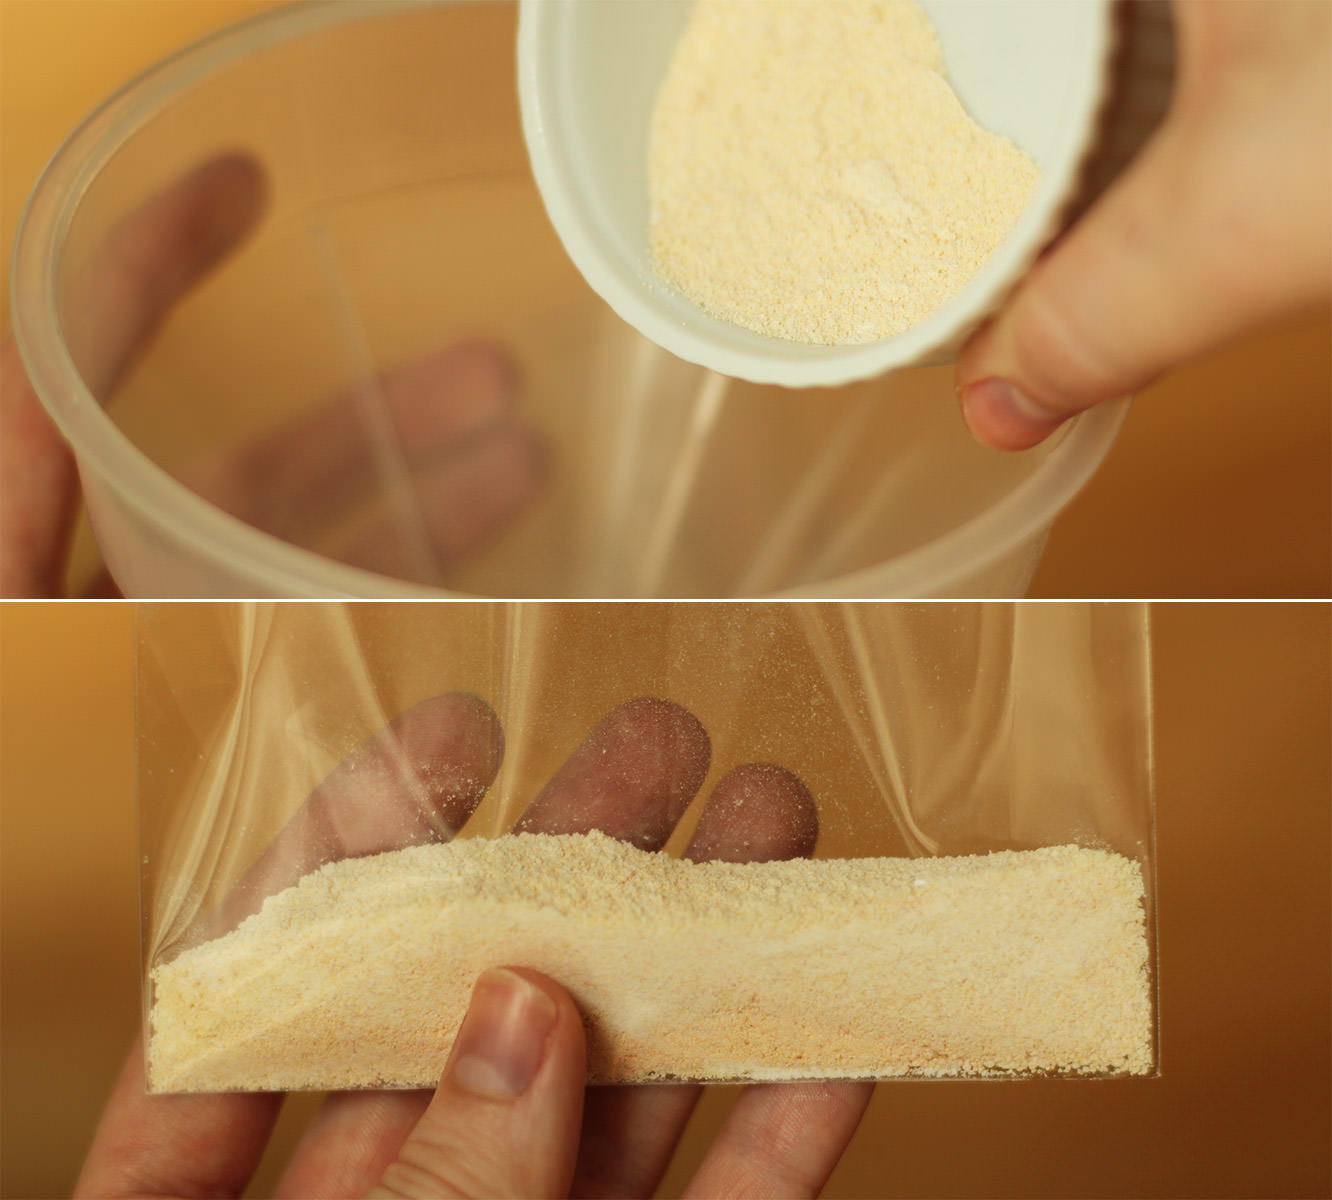
Weigh 30g portions and pour into the card bags.

That’s where I’m leaving you for today I’m afraid folks, the finishing off will be in my round up post in a few weeks. The suspense is killing you I know.

In the meantime, just when you thought you weren’t even getting a gif this week. Here’s a tinker in her dungarees:

hen-bachelorette-party-favours-orange-sherbet-recipe-gif

Have a fabulous day whatever you’re up to!

Ta, Ma.

Apparently when I think Mother’s Day blogging I think fudge. It’s a good thing my mum likes fudge. What’s that? You didn’t realise Mother’s day was so soon? I know, right? Me neither. It’s this Sunday for those of you in GB, the rest of you should check your calendars, this is the sneakiest holiday of the year.

This is a super super easy way to make a treat for your Ma. It’s not like the last fudge recipe I posted, which while being totally delicious I’d wager none of you actually made. Well there’s no boiling sugar or a thermometer required for this one, and barely any cooking at all.

You might need to cut this recipe by half or even more, it makes quite a large batch for just one mummy to eat. It can be frozen.

white-chocolate-fudge-mothers-day-recipe-1

You will need

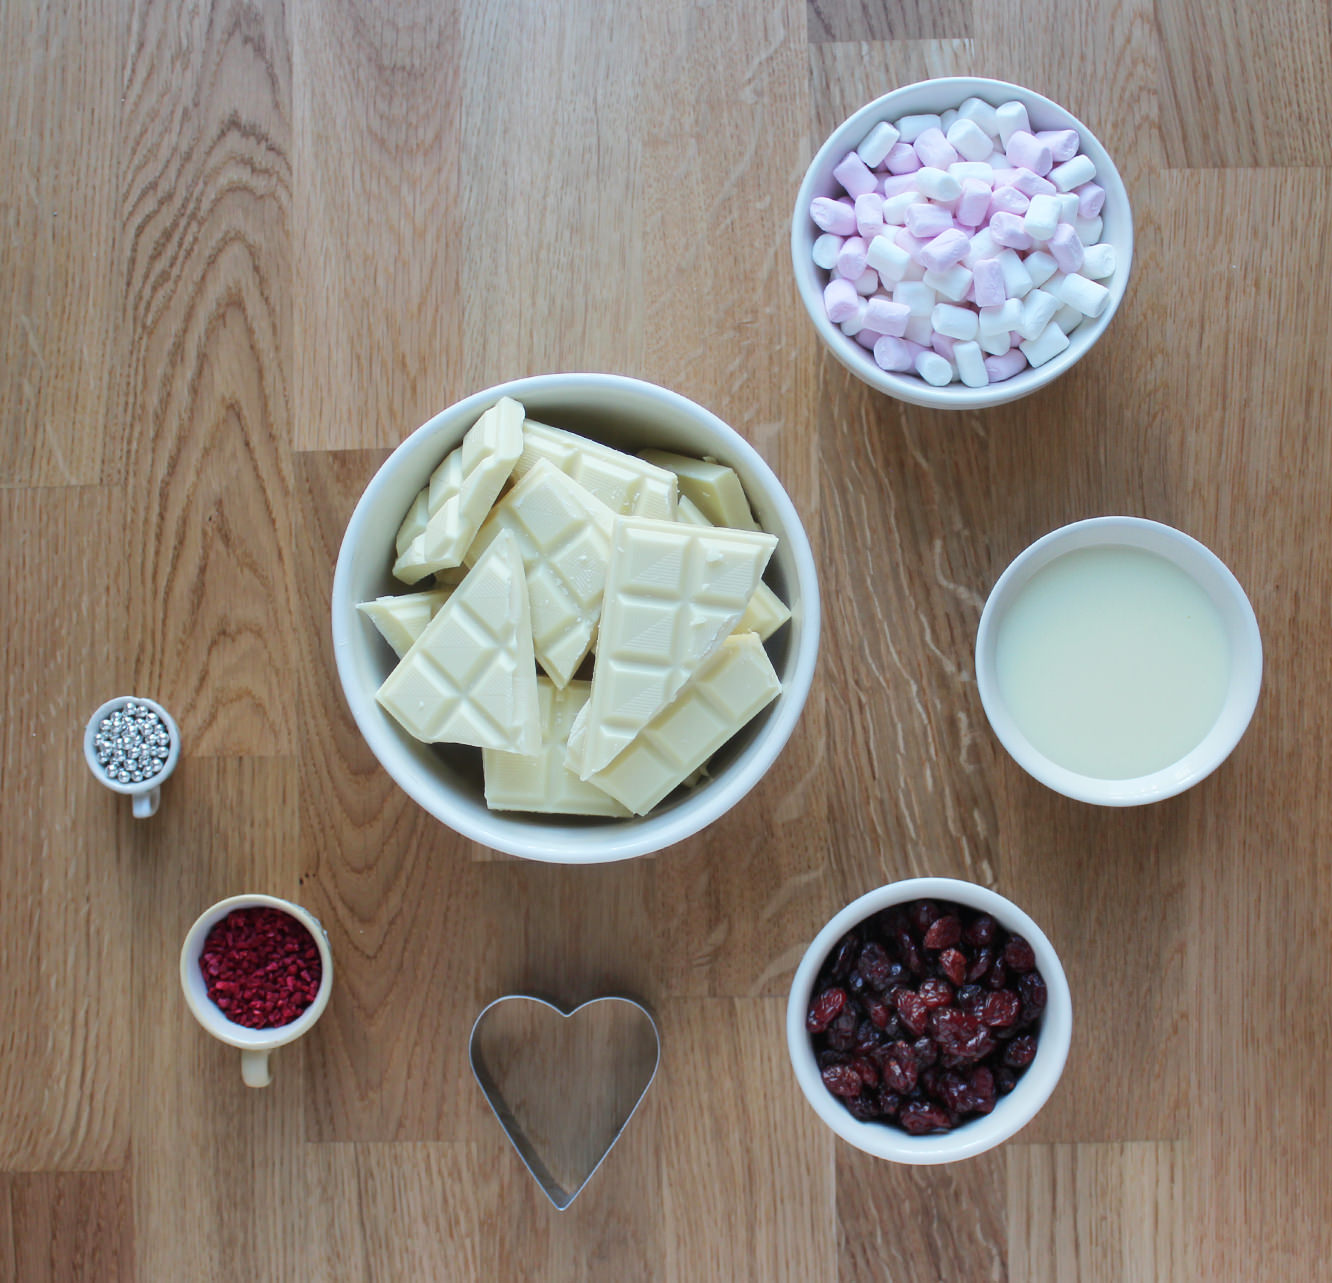
600g/1 lb 3 oz White chocolate (yeah, this is serious stuff)

397g Condensed milk (1 can basically)

125g/4.5 oz Cranberries

85g/3 oz Mini marshmallows

25g/1 oz Dark chocolate

Other decorations (I used silver balls and freeze dried raspberries because that’s what I had, but any manner of nuts and dried fruits would be acceptable, even as a substitute for the marshmallows and cranberries)

white-chocolate-fudge-mothers-day-recipe-2

Step one

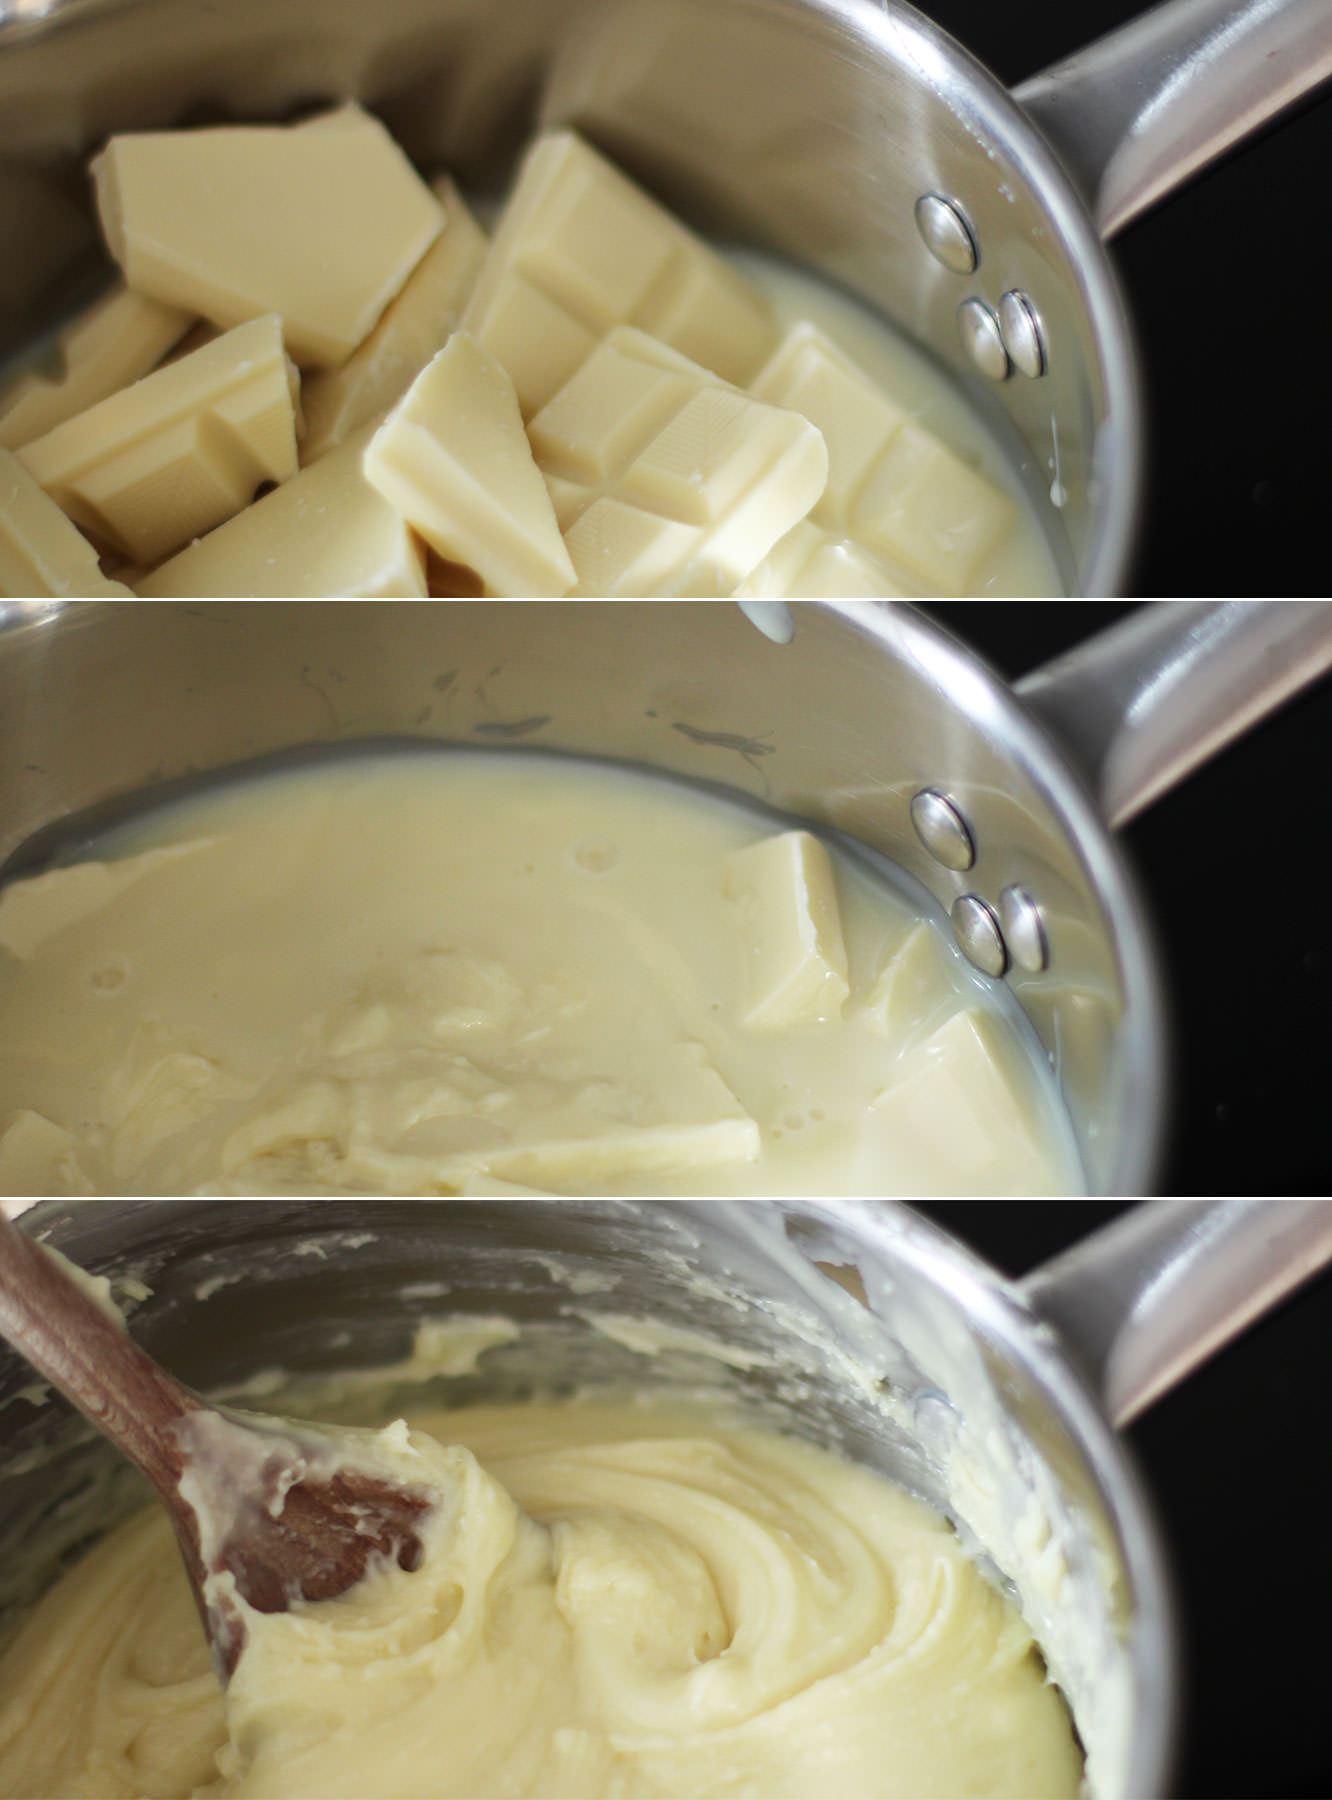
Break the white chocolate into chunks and place in a pan with the tin of condensed milk.

Melt together on a low heat. Once you have a smooth fudge-like mixture, remove from the hob.

white-chocolate-fudge-mothers-day-recipe-7

Step two

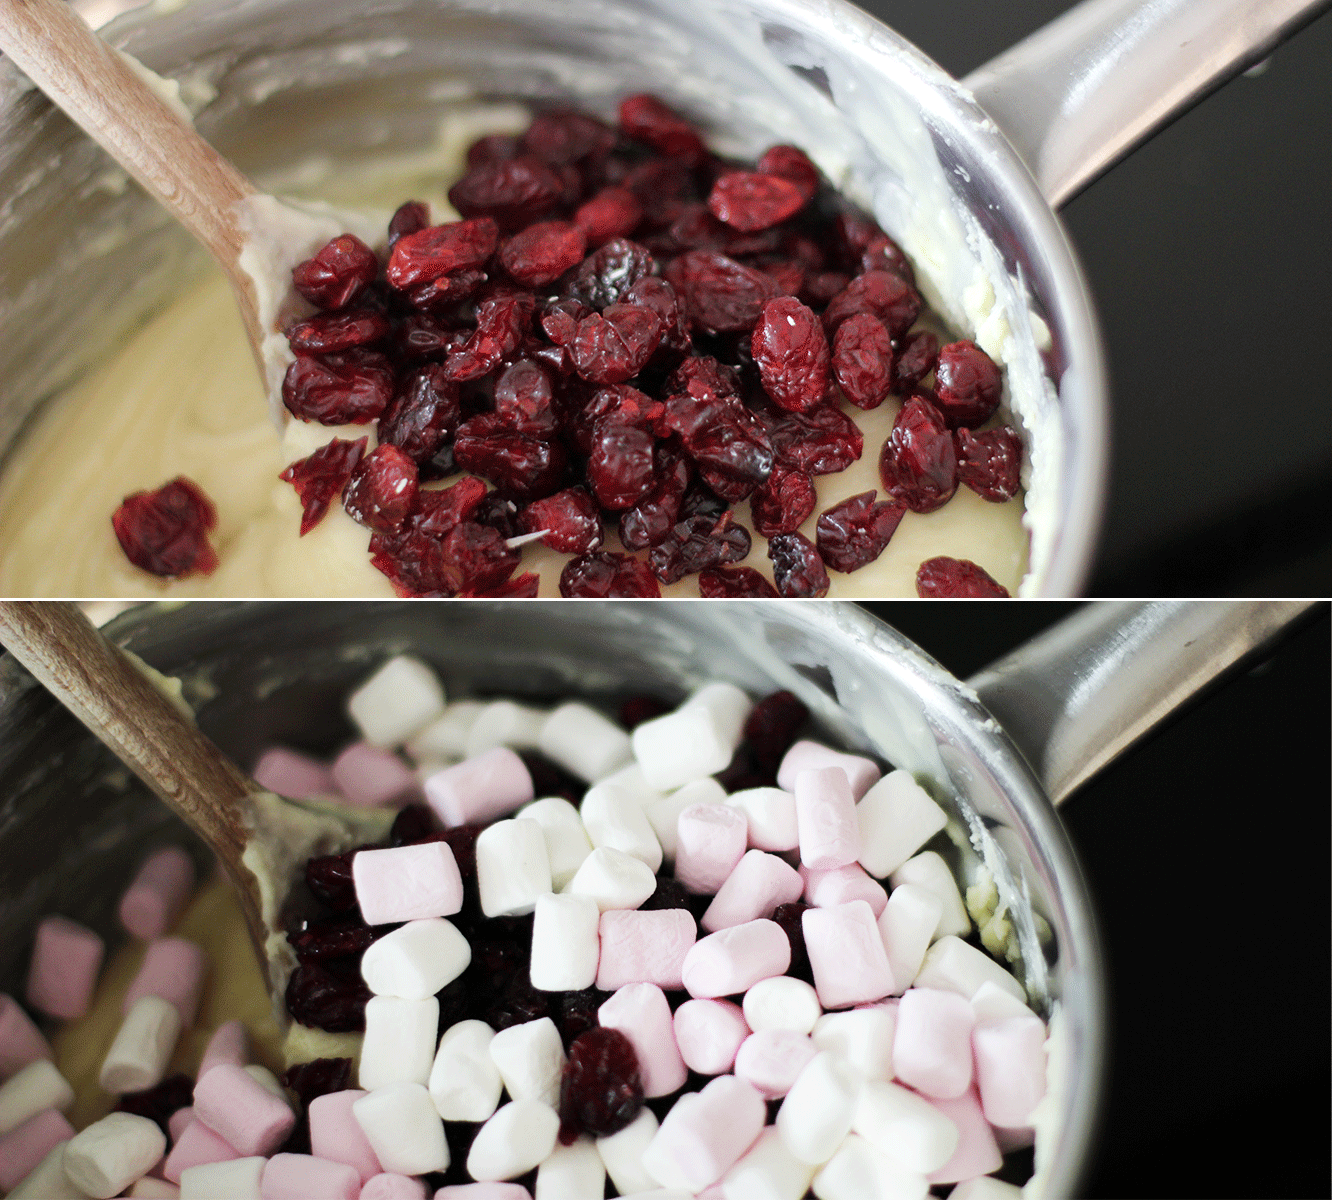
Add two thirds of the cranberries and marshmallows, stir to combine.

white-chocolate-fudge-mothers-day-recipe-3

Step three

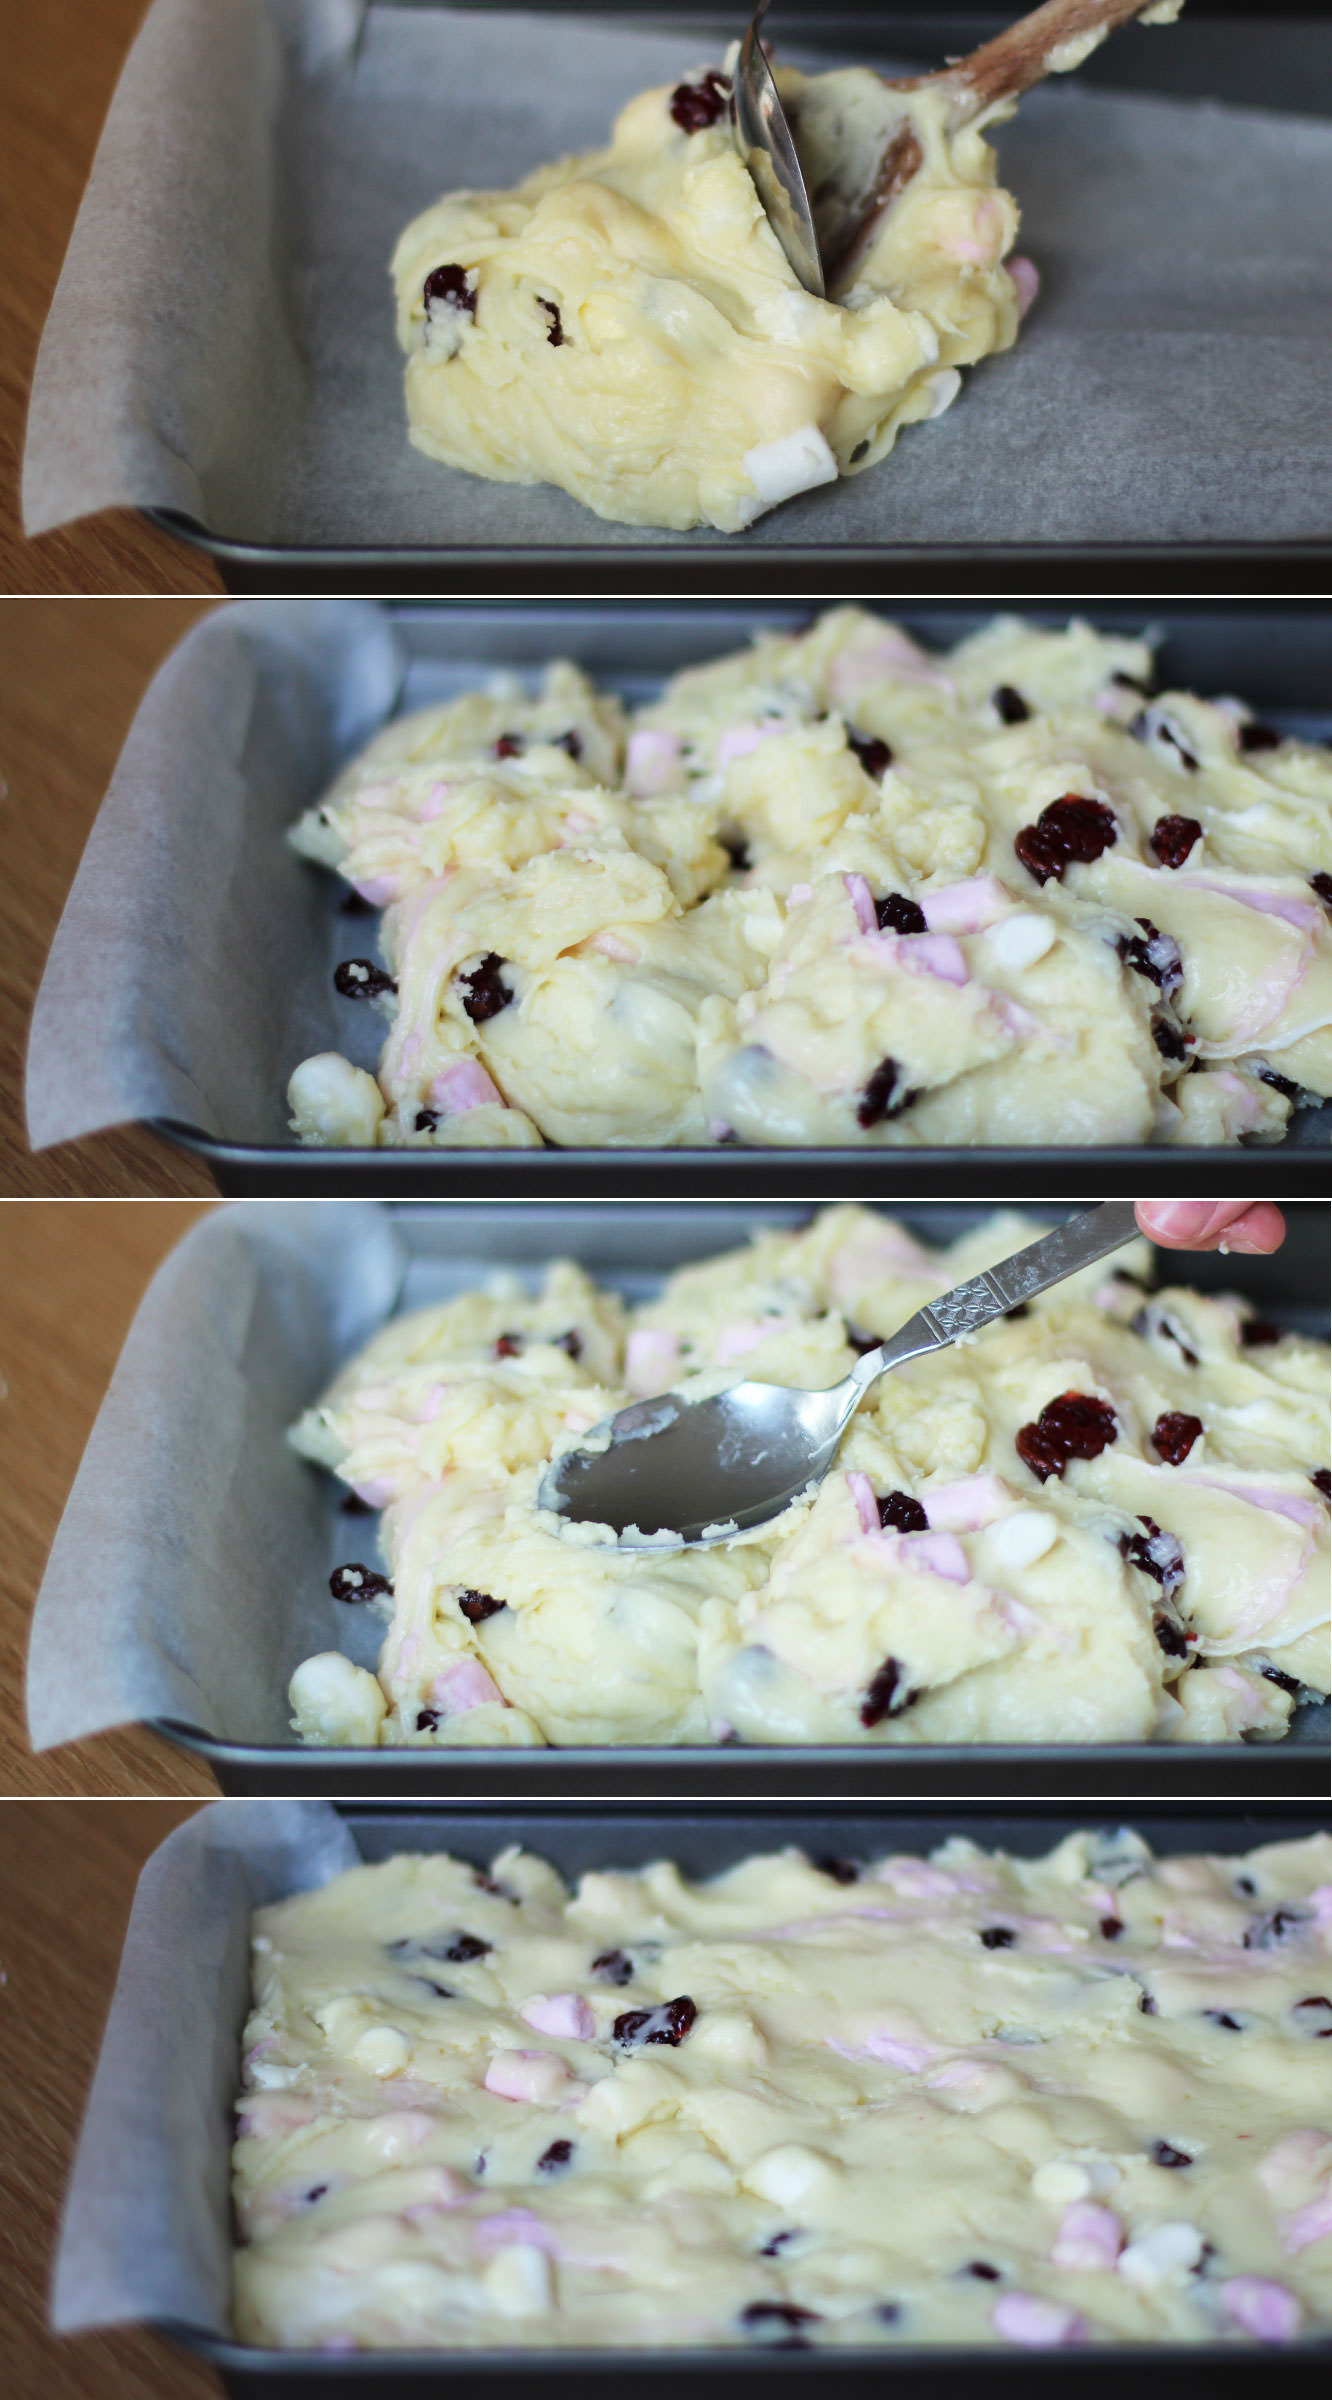
Drop the mixture into a brownie tin lined with greaseproof paper. Push into the corners with the back of a spoon and even the top out a bit.

white-chocolate-fudge-mothers-day-recipe-6

Step four

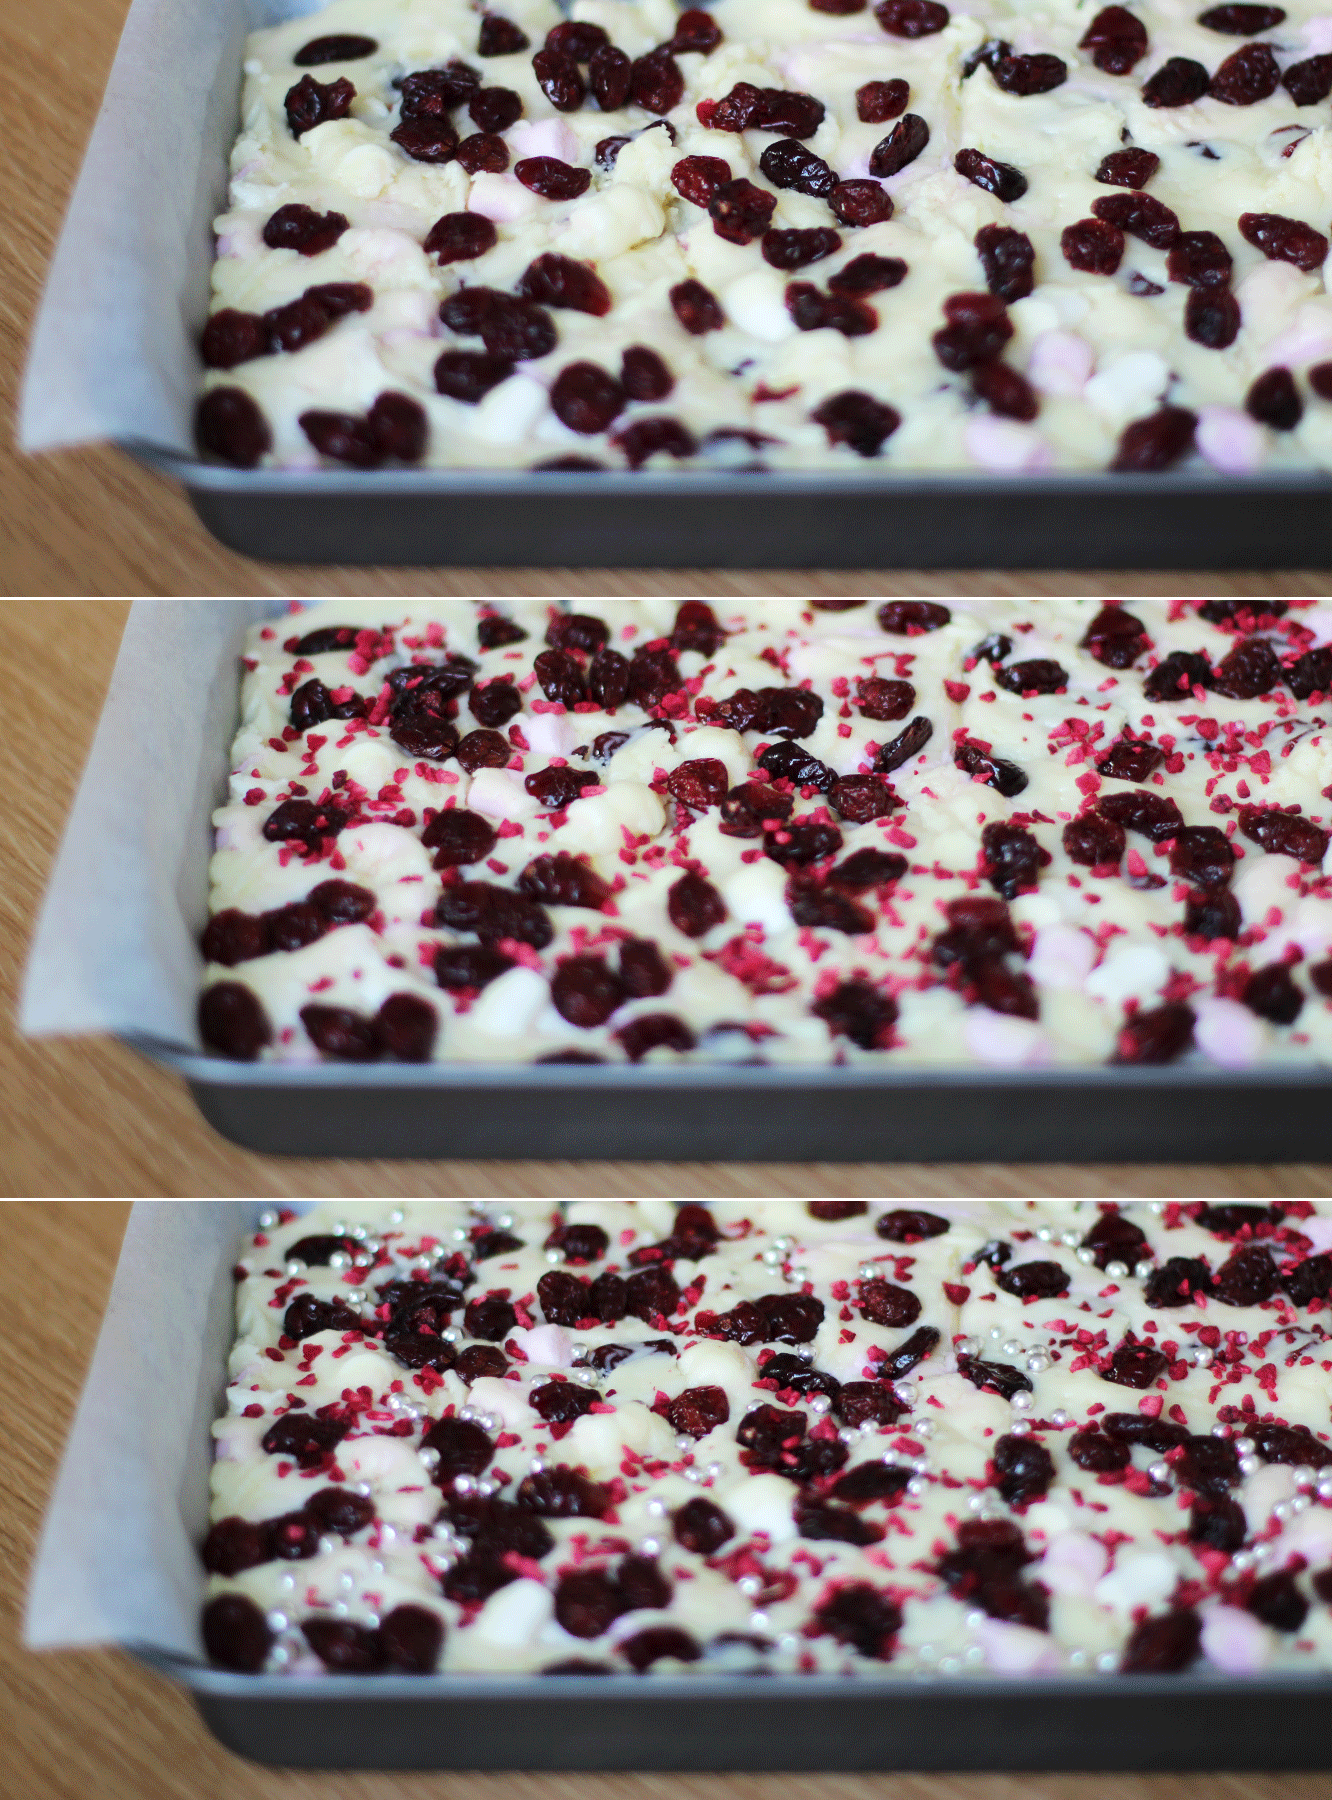
Sprinkle the remaining cranberries, the silver balls and freeze-dried raspberries on top and push down slightly so they stick.

The alternative would be to swap this step with the next one so they stick to the chocolate (this would probably also look nicer because you would actually be able to see them rather than hiding them with a load of dark chocolate…). I make the mistakes so you don’t have to.

white-chocolate-fudge-mothers-day-recipe-gif

Step five

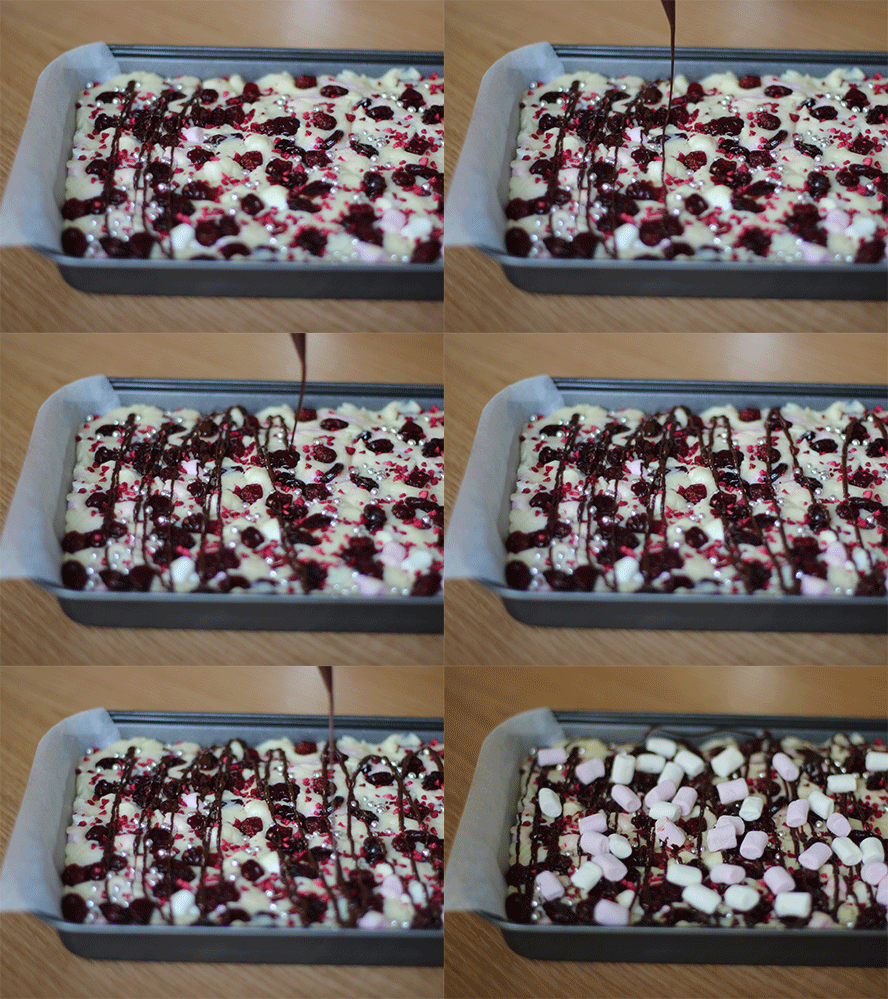
Melt the dark chocolate in the microwave and drizzle over the fudge. Sprinkle the remaining marshmallows on top. I had a bit of dark chocolate left so did another layer on top of the marshmallows.

Place in the fridge to allow the whole thing to set.

white-chocolate-fudge-mothers-day-recipe-4

Step six

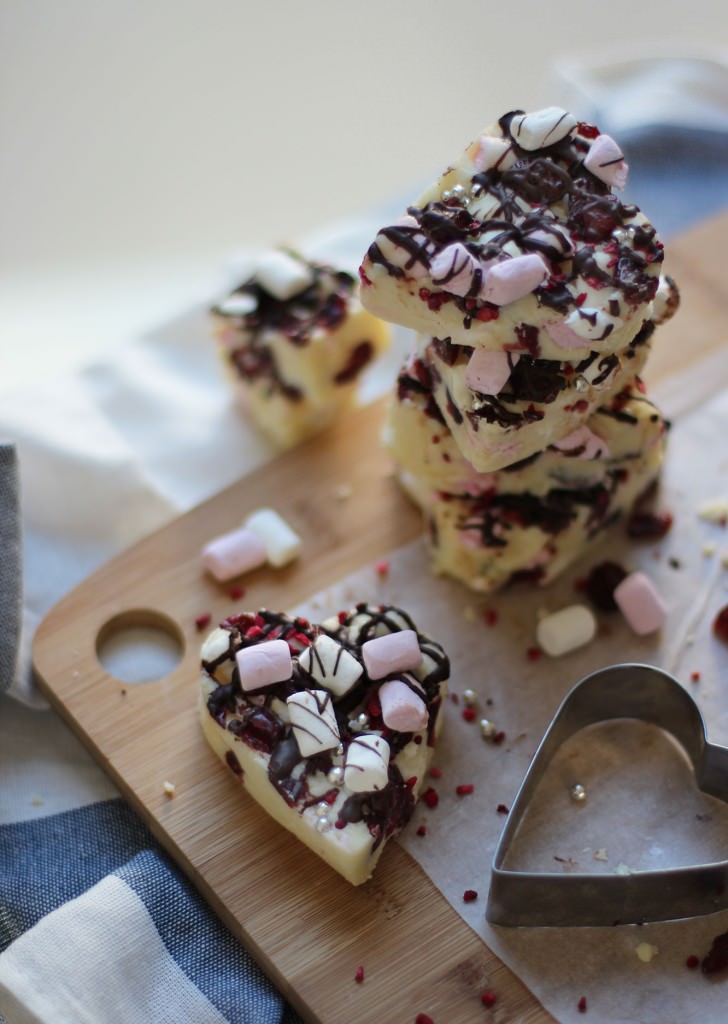
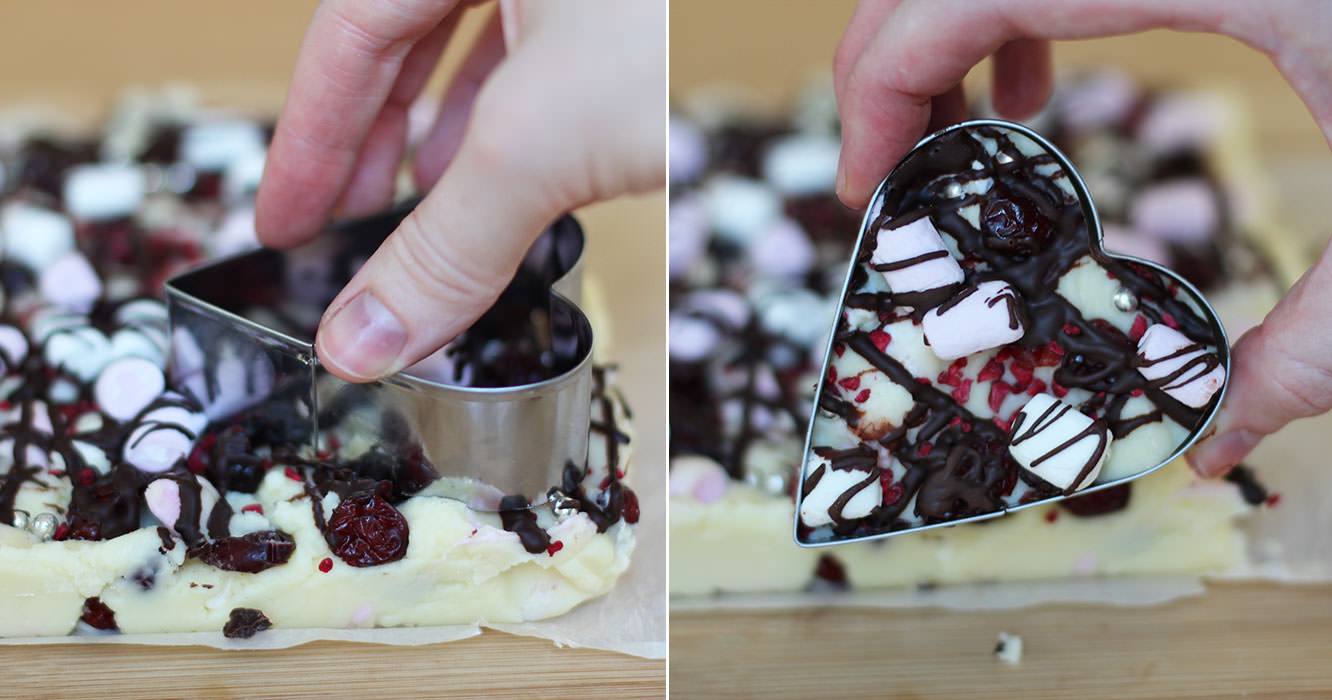
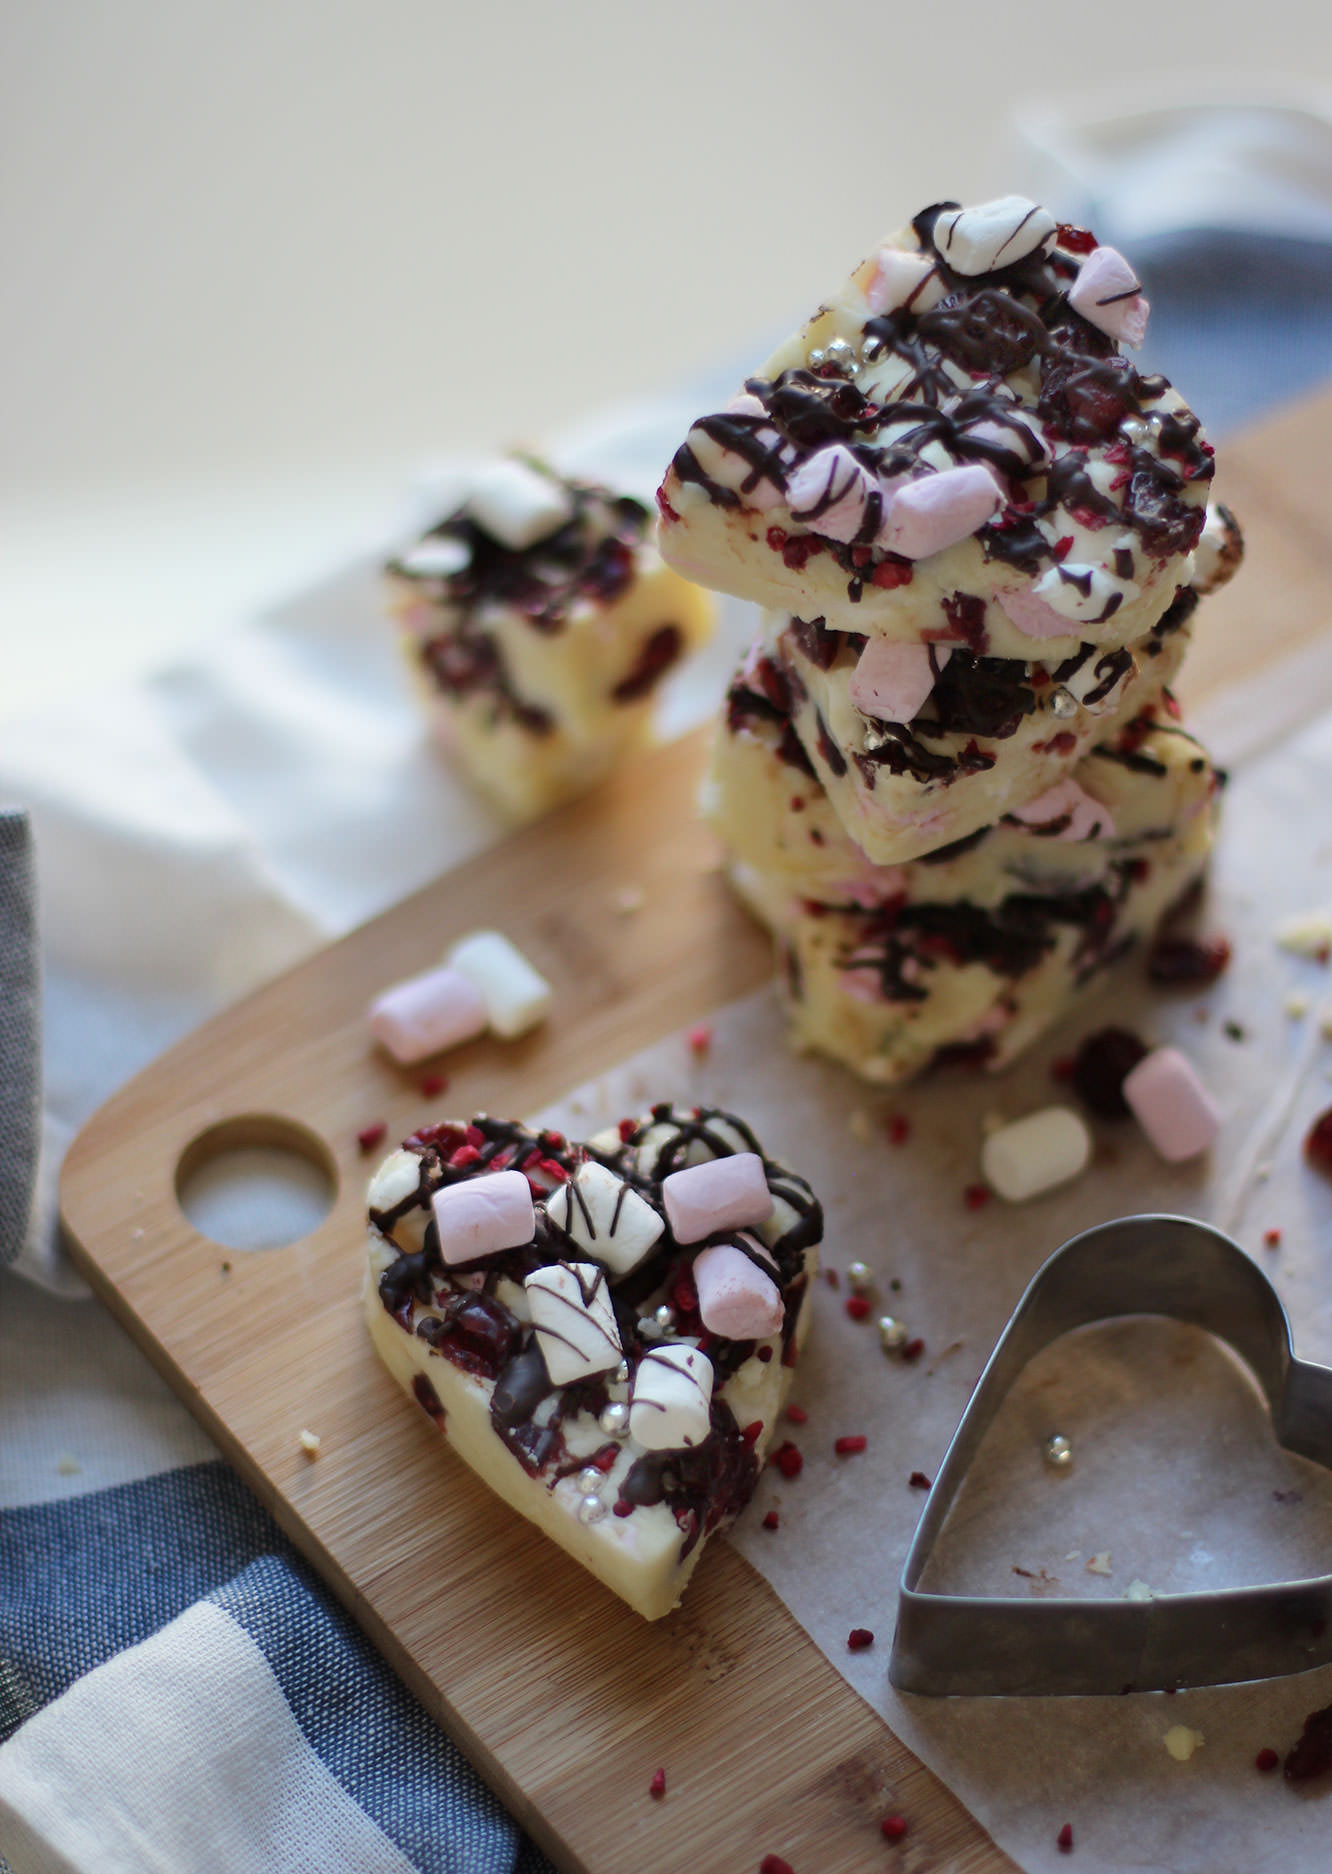
Using a cutter of your choice (this heart-shaped one was from Lakeland), cut the fudge into pieces. If you don’t have a cutter, then bars or chunks would look nice too.

white-chocolate-fudge-mothers-day-recipe-5

Look out for Mr Stork

February. For me, the pits of the calendar. Nobody really needs February. It just extends winter for too long, and personally, by the time we’re a week into it I’m ready to bid farewell to the chilly winds and rains and usher in March and April.

This time round however, Spring came early to a very special household. My wonderful friends Hannah and David had a BEAUTIFUL baby boy earlier this month, shaking off the winter blues. I’m head over heels for the little bundle already and can’t wait to see him grow.

As if I needed an excuse to craft eh?

This is a great little project if you already have kiddies and are expecting another, as the older siblings can definitely lend a hand.

For the impatient ones, yes, there is a picture of bubba at the bottom.

how-to-make-baby-mobile

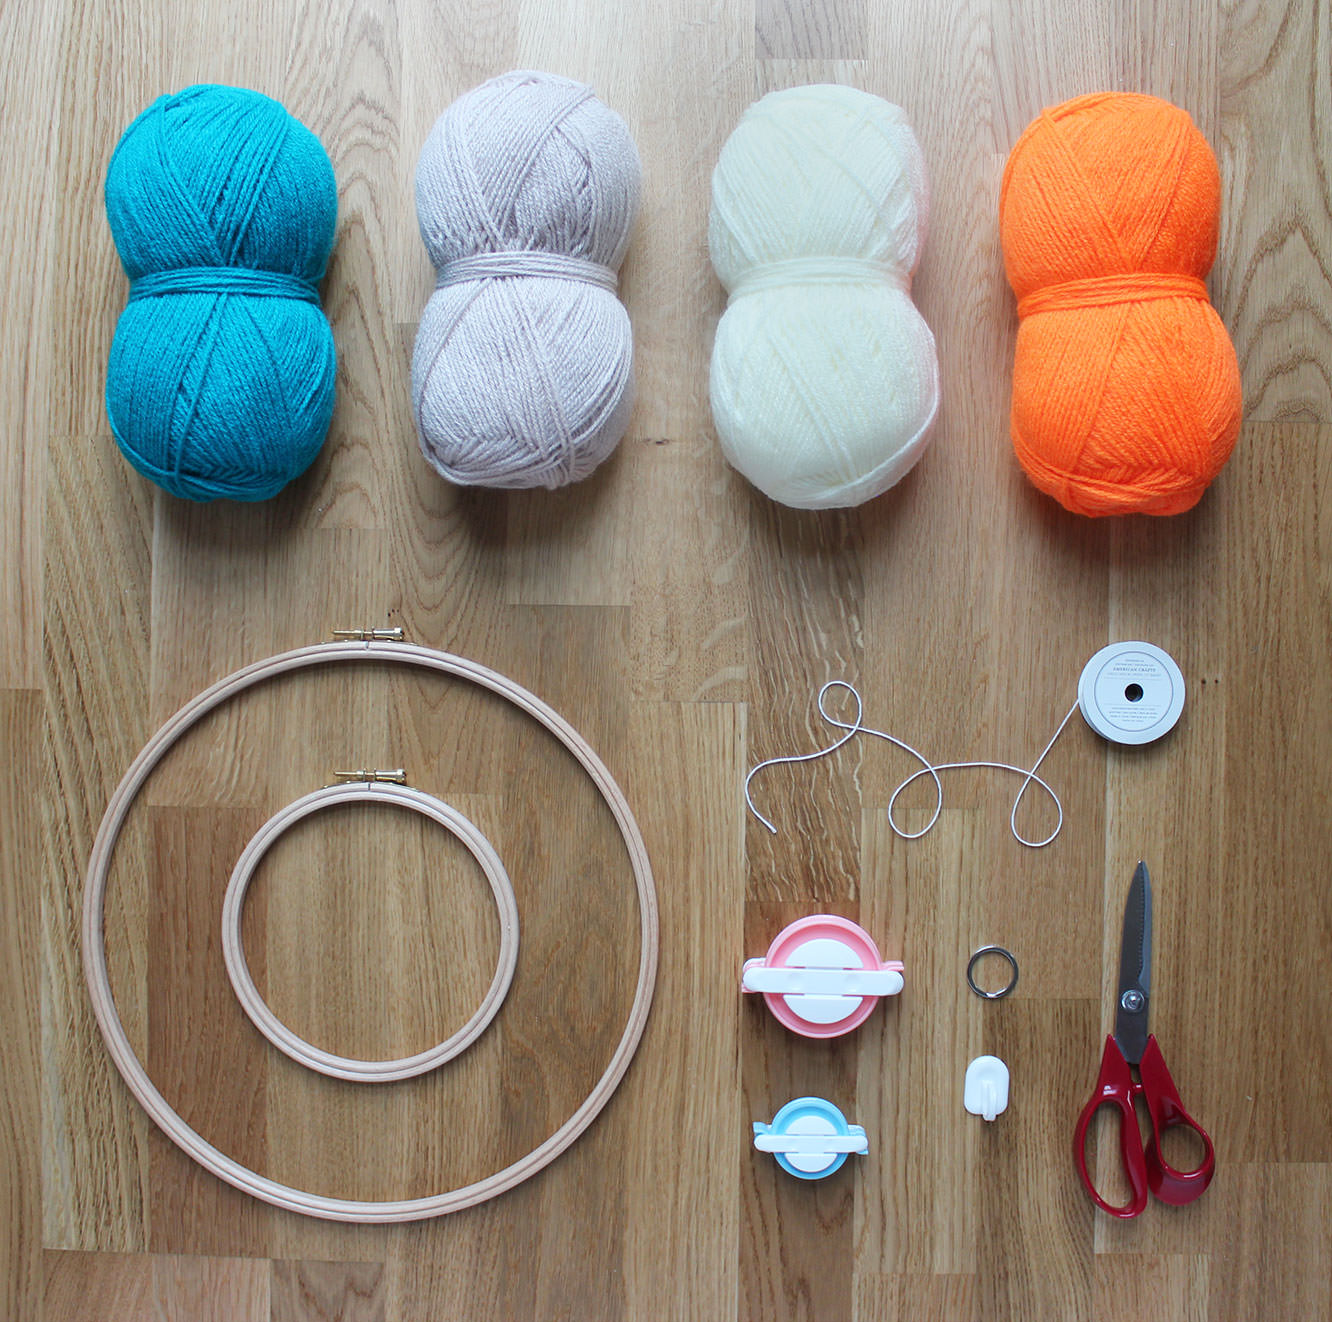
Things you need

12″ Embroidery hoop

9″ Embroidery hoop

Wool in a variety of colours (perfect for using up offcuts)

Pom pom makers in a variety of sizes (or cardboard, see below)

Double sided tape

Needle and thread

A sticky hook

A keyring

2-3m String

how-to-make-baby-mobile-1

Step one

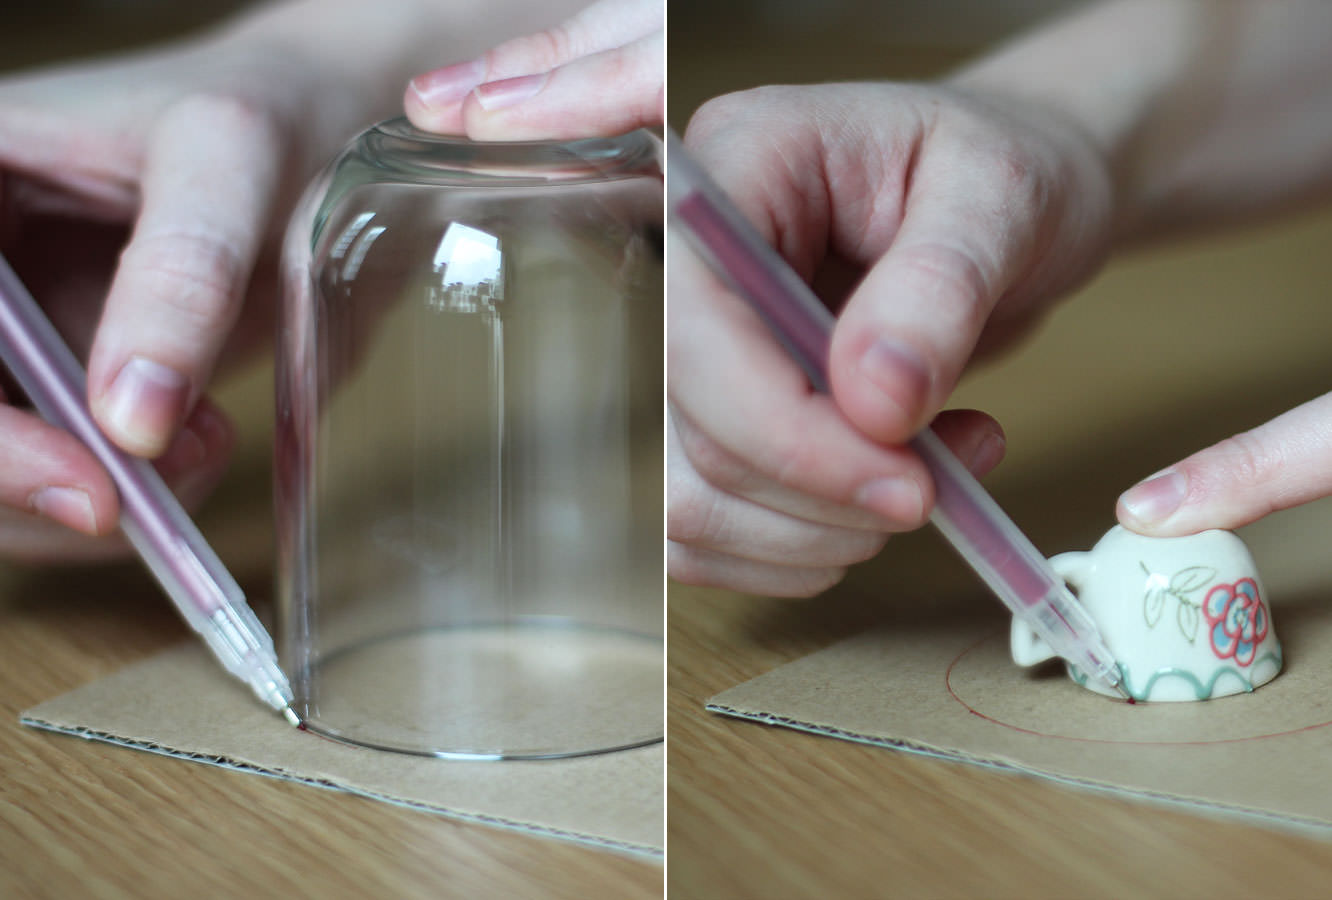
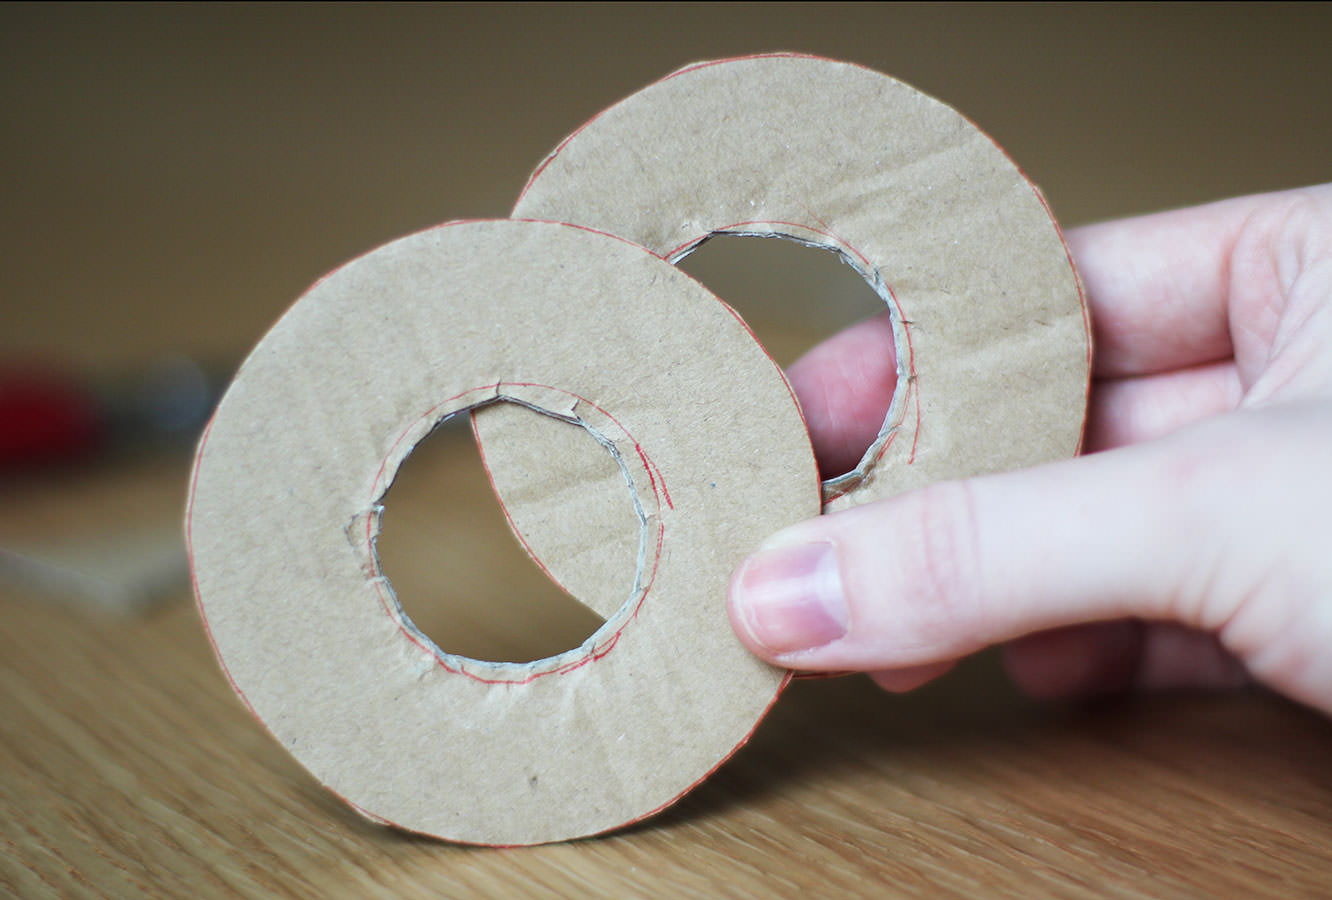
For those of you without pom pom makers (for goodness sake buy some) draw round a variety of circular objects to make differently sized cardboard hoops for your pom poms. You will need to make two hoops per size.

If you have pom pom makers, none of this is for you, skip to step 8 and relish in the fact you loved yourself enough to shell out £4 to save your sanity. All you guys need to do is follow the, in all likelihood hilariously translated, instructions on the back of your packet of pom pom makers. I bought mine on eBay from China, I strongly suggest you do the same.

how-to-make-baby-mobile-2

Step two

Cut out the hoops so that you have a hole in the centre. Don’t worry if they’re messy, it won’t impact your poms.

how-to-make-baby-mobile-3

Step three

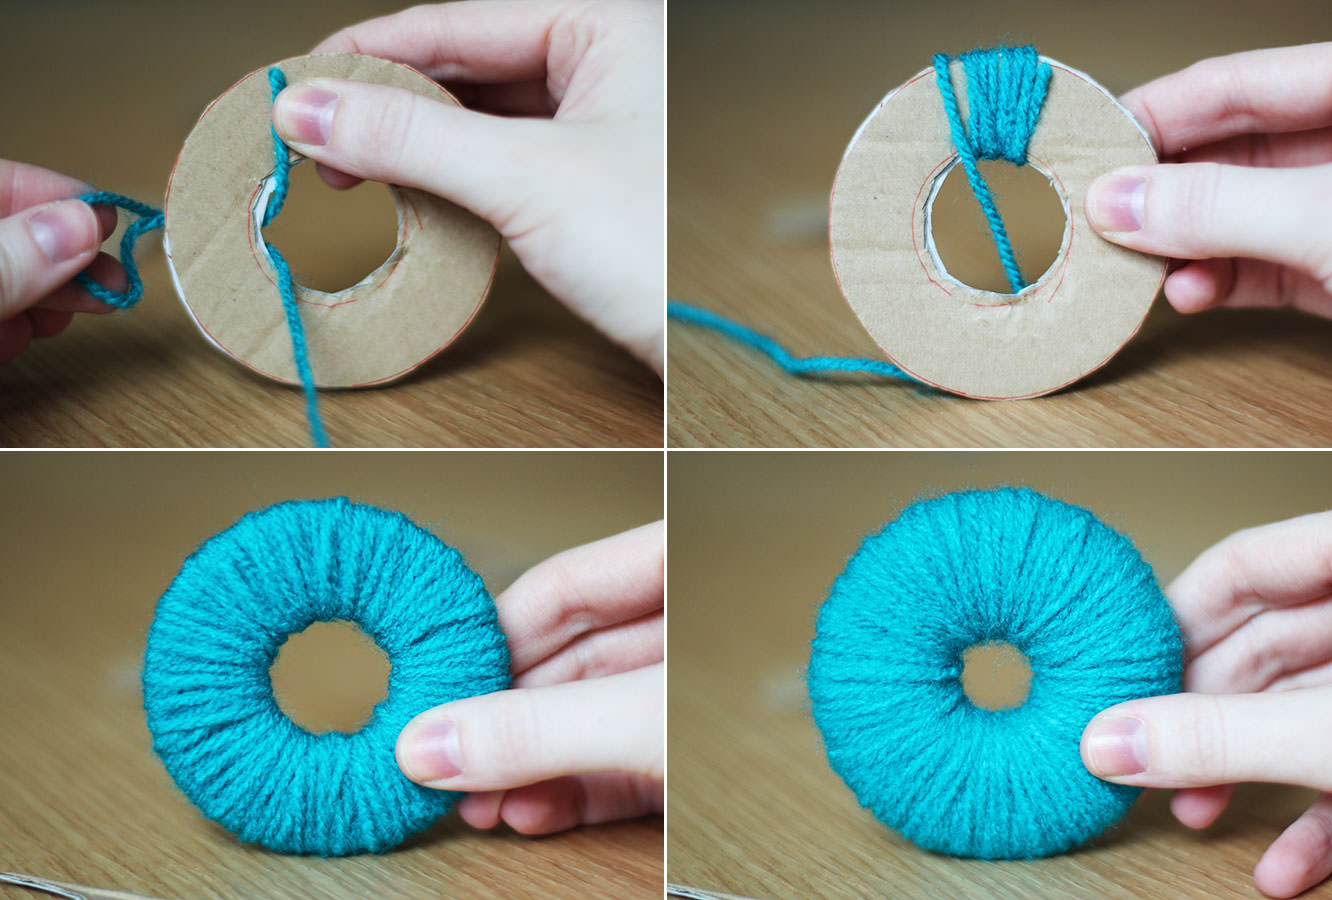
Sandwich the two pieces of cardboard together and wrap lengths of wool around and around.

You do this by pulling the end of the wool through the centre of the disk and back over the edge.

Keep going as long as you can, but essentially the fuller the hole in the middle the plusher your pom pom will be.

how-to-make-baby-mobile-4

Step four

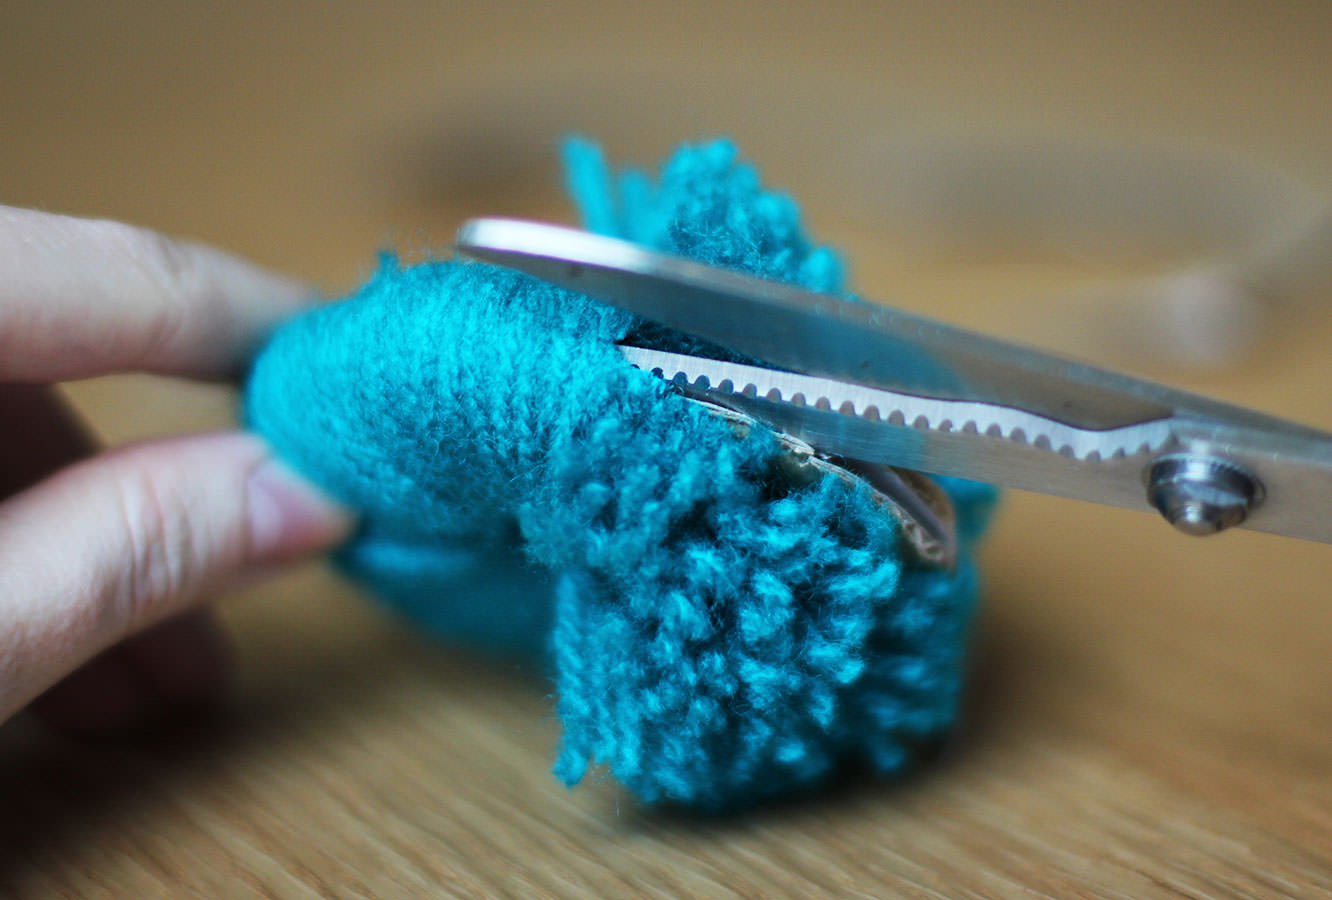
Using scissors cut round the circumference of the ring.

Once you’ve made a few snips you should be able to get the scissors between the two layers of card which then makes this very quick.

how-to-make-baby-mobile-5

Step five

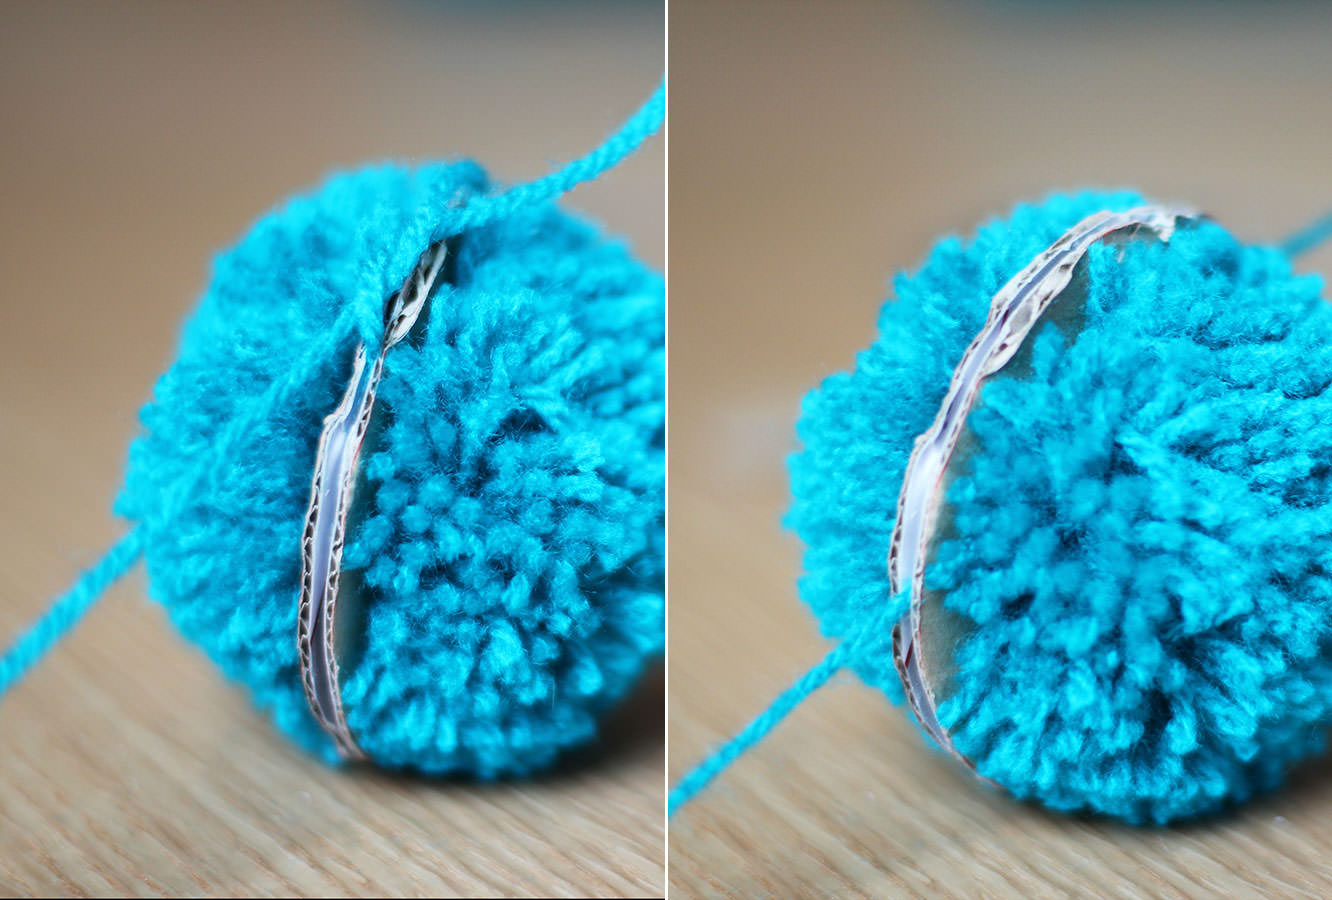
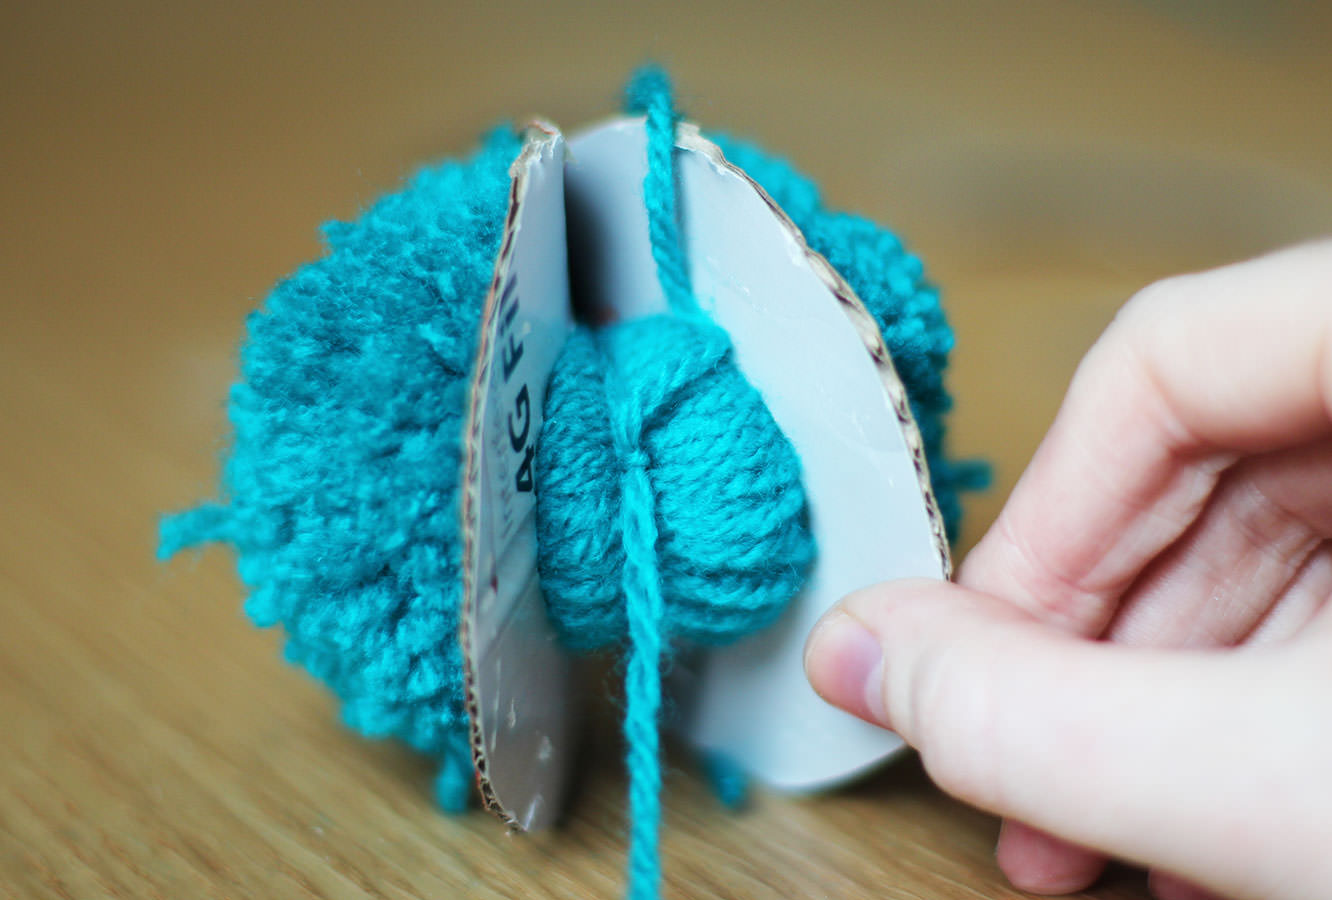
Wrap a length of wool around the edge and tie a knot in between the cardboard layers. I always do a few for good measure.

how-to-make-baby-mobile-6

Step six

Pull the cardboard rings off to release your pom pom.

how-to-make-baby-mobile-7

Step seven

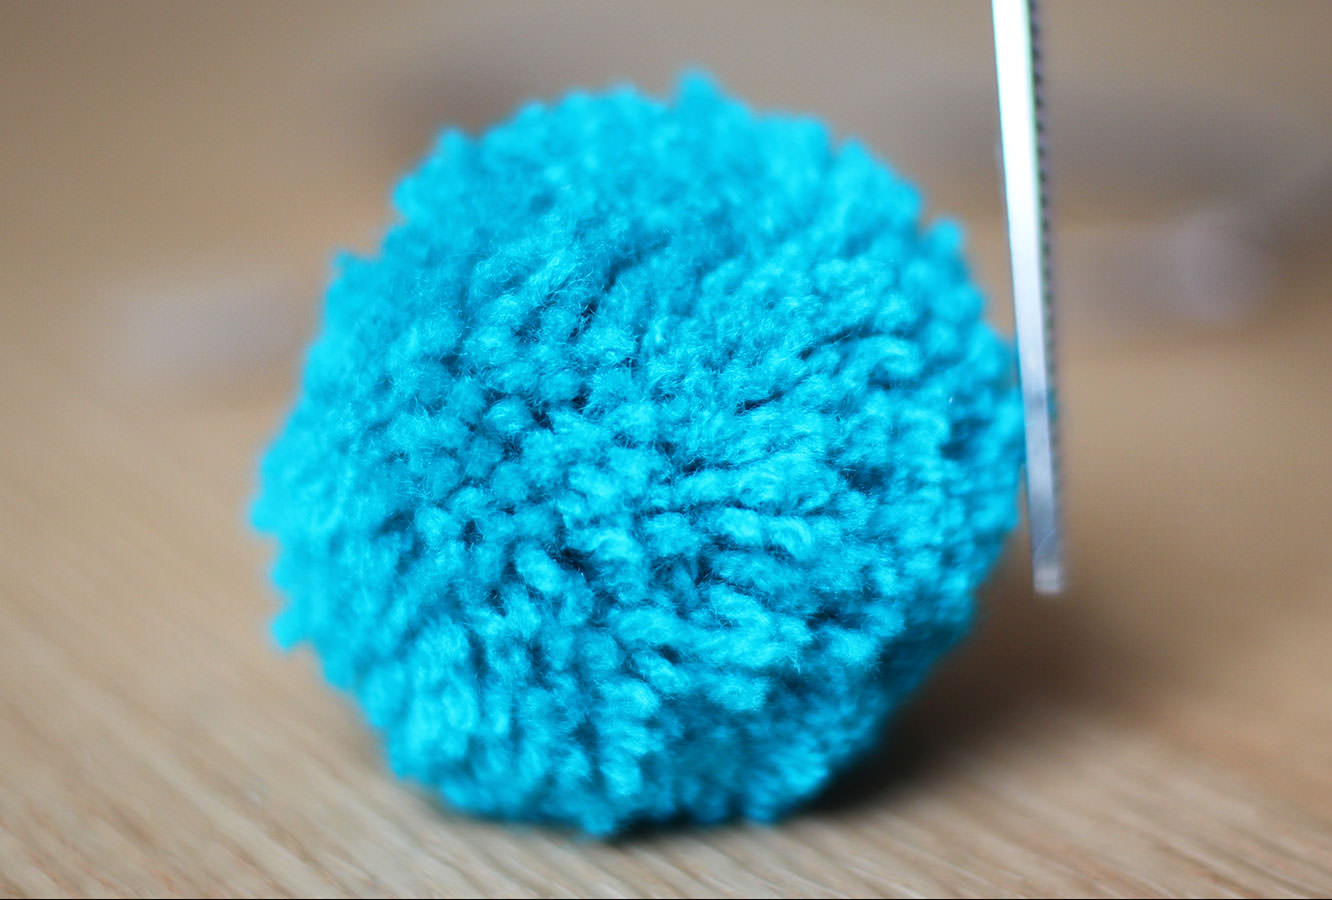
Trim any straggly bits to neaten it all up.

how-to-make-baby-mobile-gif

Step eight

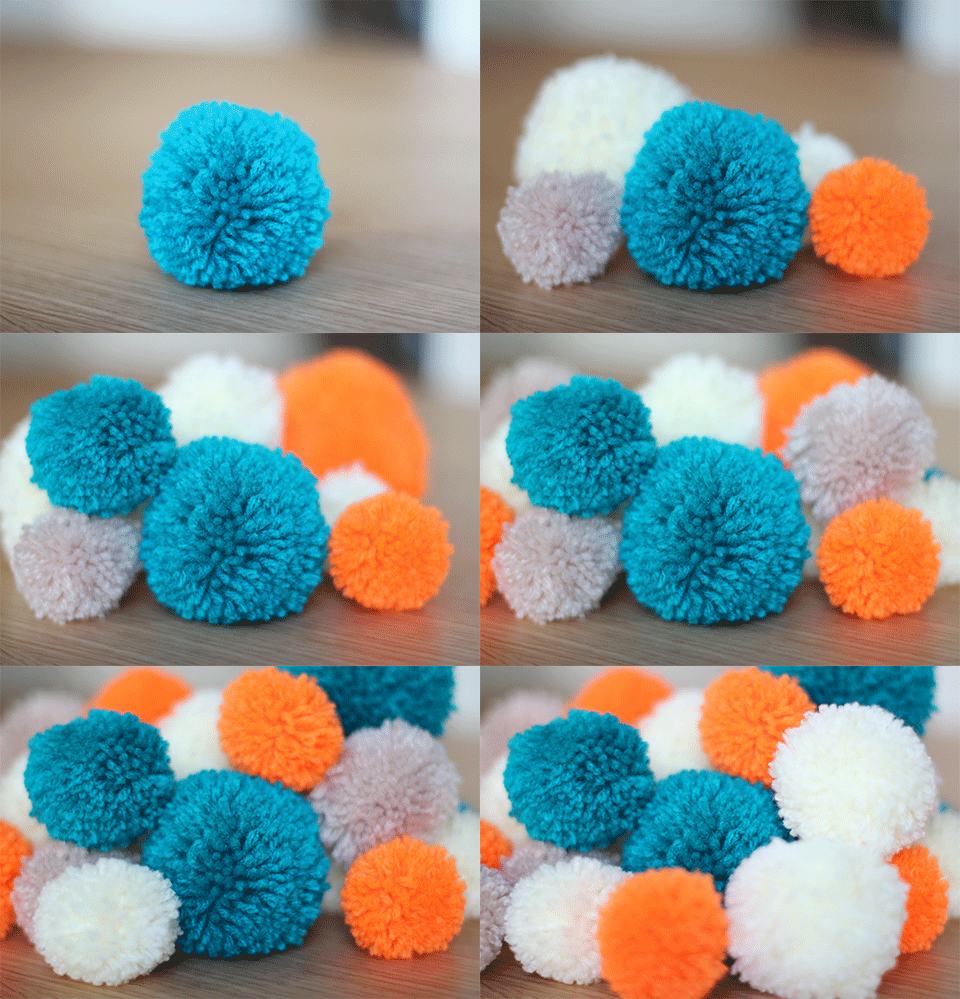
Repeat until you have at least 24 pom poms of different sizes and colours.

how-to-make-baby-mobile-10

Step nine

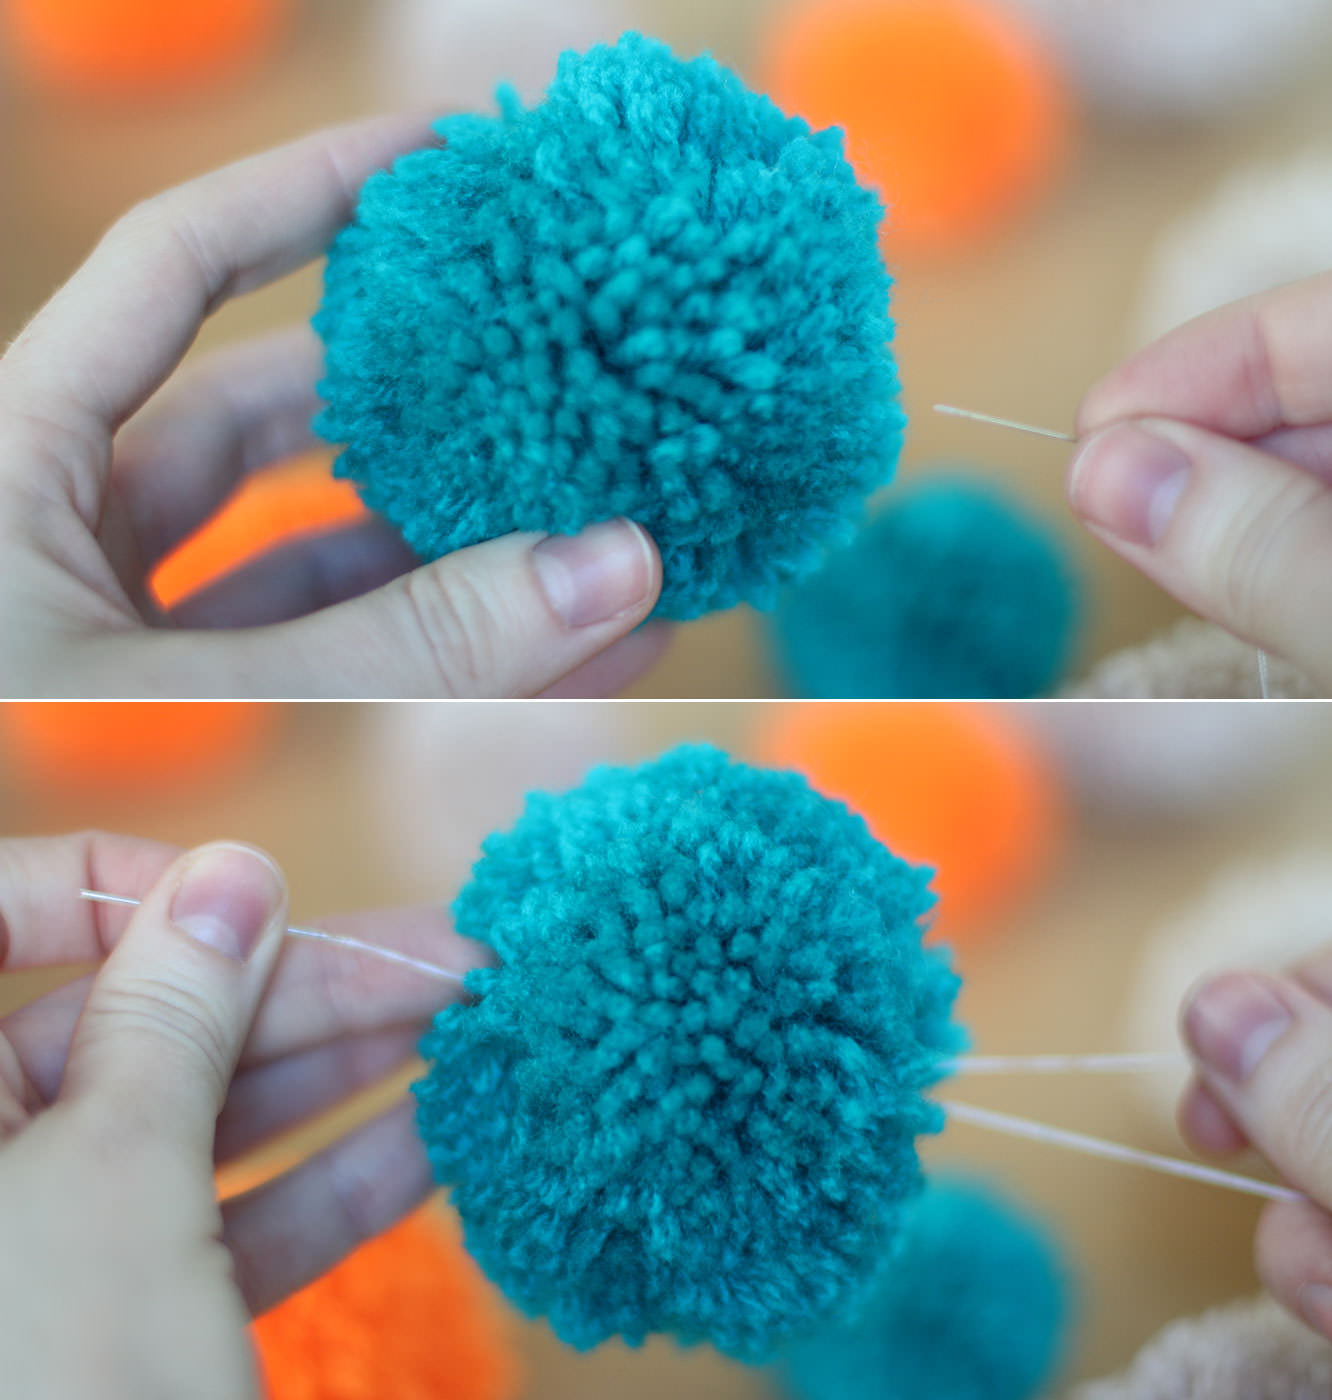
Sew the pom poms to varying lengths of cotton thread in twos (or if you’ve made more, then keep adding them!)

I went back and forth through each pom pom a few times so they didn’t slip down/fall off the end.

I recommend doing this randomly, or you’ll drive yourself crazy! Plus it looks better for baby if they are dotted about as the different levels of perspective means you can see more.

how-to-make-baby-mobile-8

Step ten

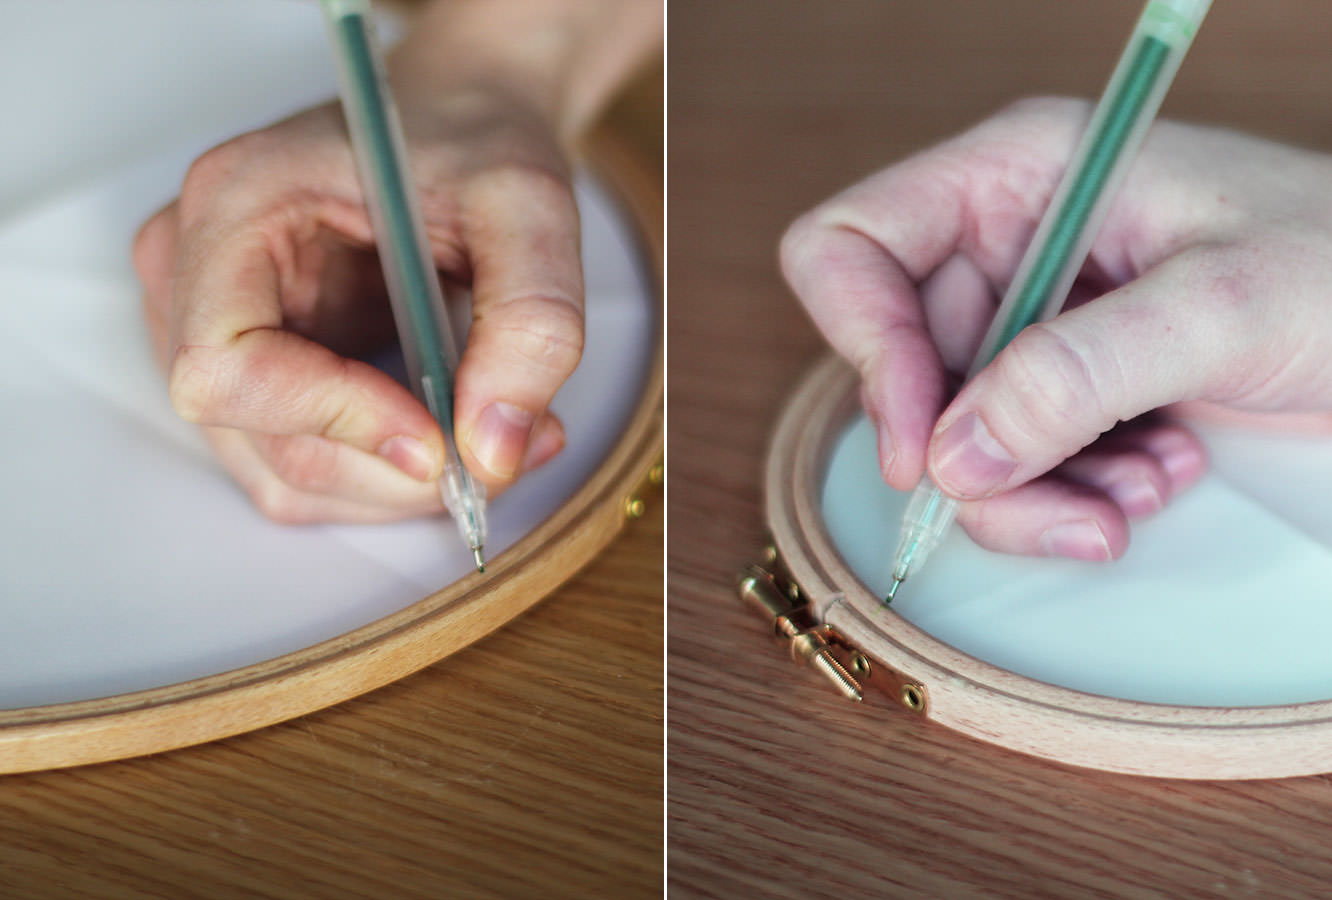
Cut a paper/newspaper circle that fits inside the embroidery hoops. Fold each in half three times so you get 8 equal segments.

Placing the paper circles into the hoops mark out the eighths.

how-to-make-baby-mobile-9

Step eleven

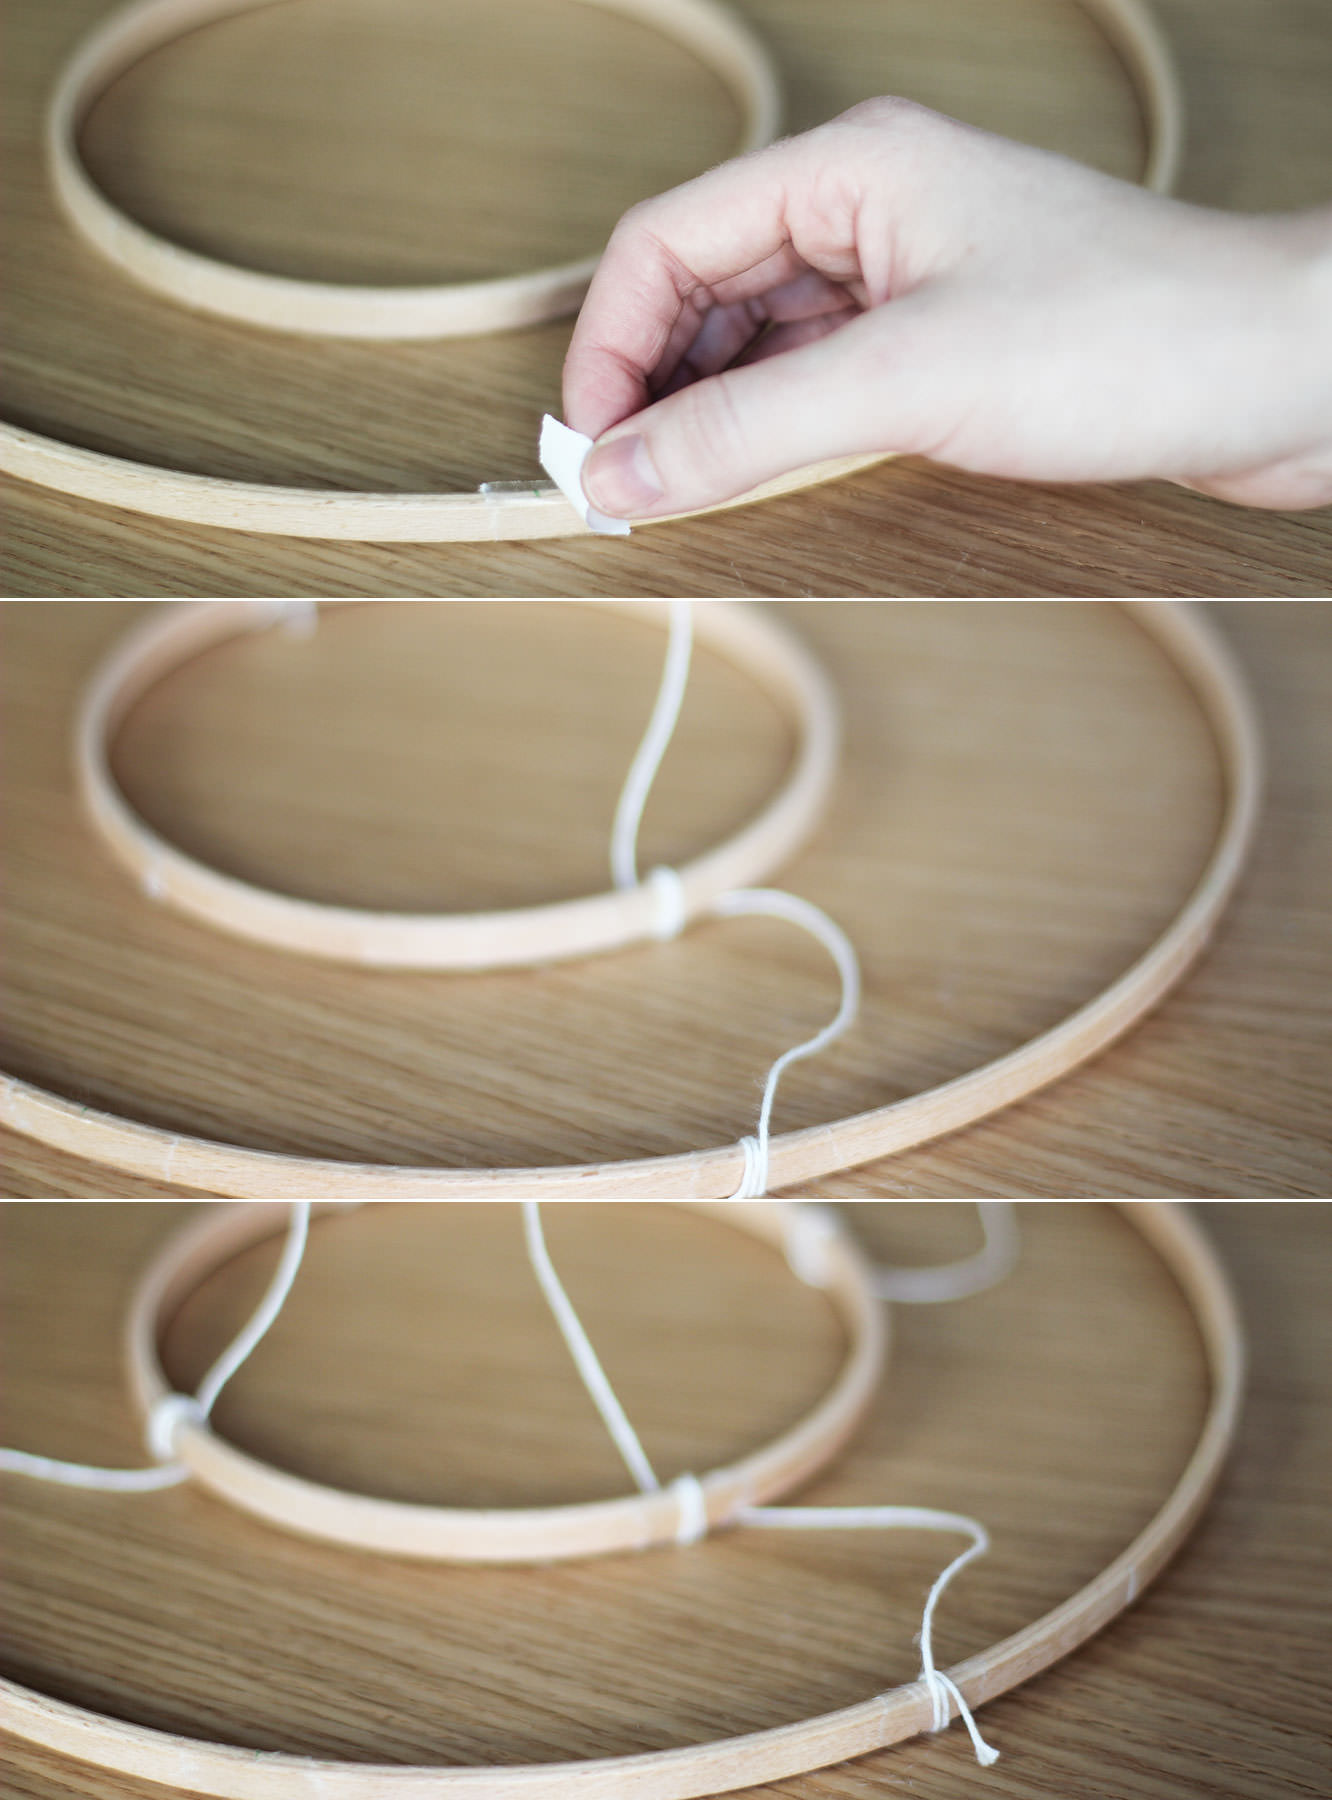
Remove the outer hoops and stick a small strip of double sided tape by each marker.

Step twelve

Attach two pieces of string to hang the mobile by. They need to wrap around both the outer and inner hoops and be as even as possible.

Try to make it so that the string comes out from under the hoop at all points. Otherwise you’ll do what I did and put the outer hoop on top, one will be over and the whole thing will hang a bit wonky. Distressed isn’t the word.

how-to-make-baby-mobile-12

Step thirteen

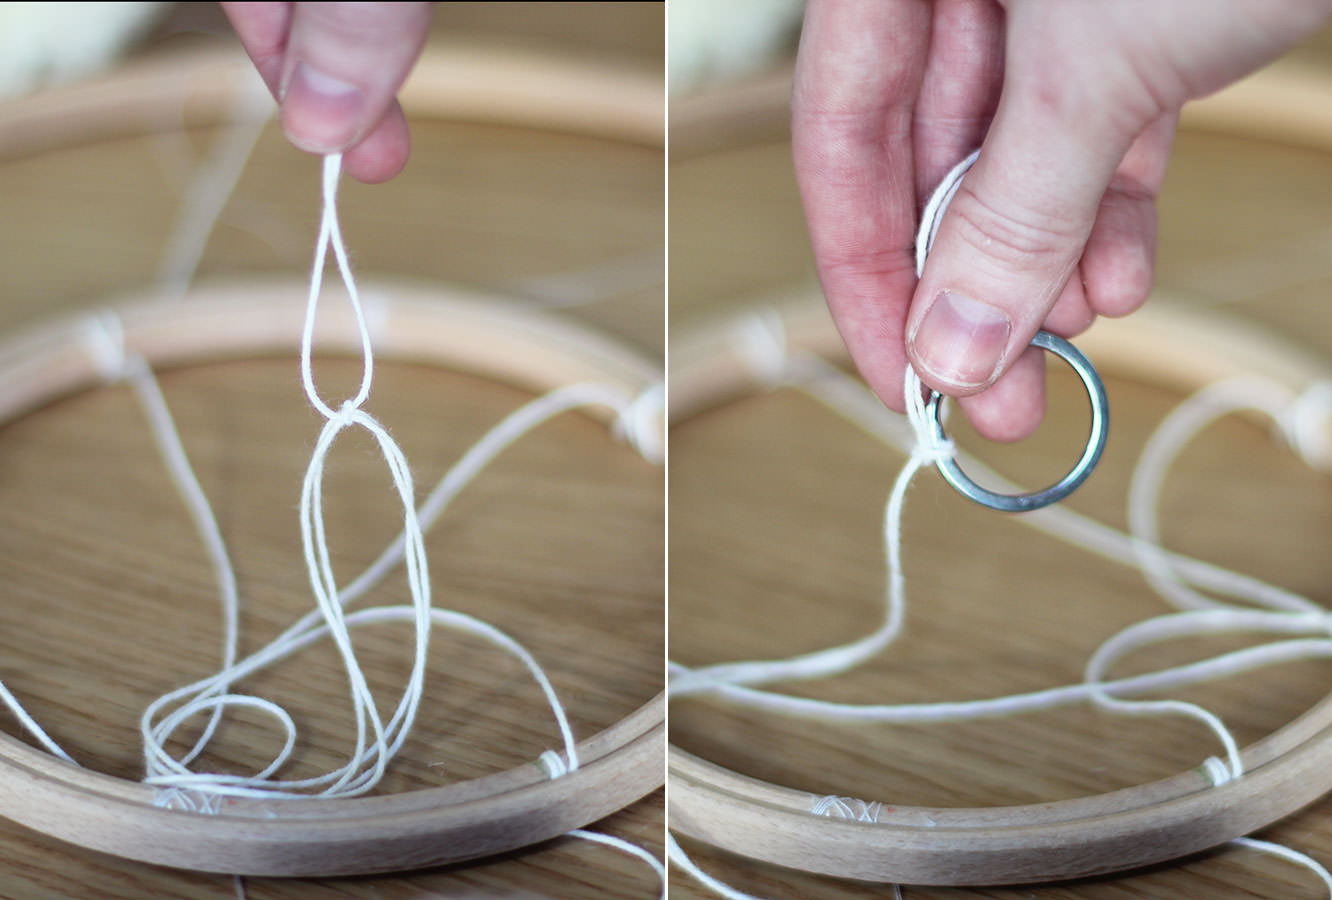
Tie a longish piece of string (this will totally depend on your ceiling to cot distance) to connect the crossed over pieces you just attached to the hoops. Still with me?!

At the other end of that length of string tie a keyring. This is the bit that will enable your mobile to spin round.

Step fourteen

Attach your pom pom lengths, 8 around the outside, 4 around the inside by wrapping the thread round the hoop a few times. The tape should hold them in place quite well.

how-to-make-baby-mobile-11

Step fifteen

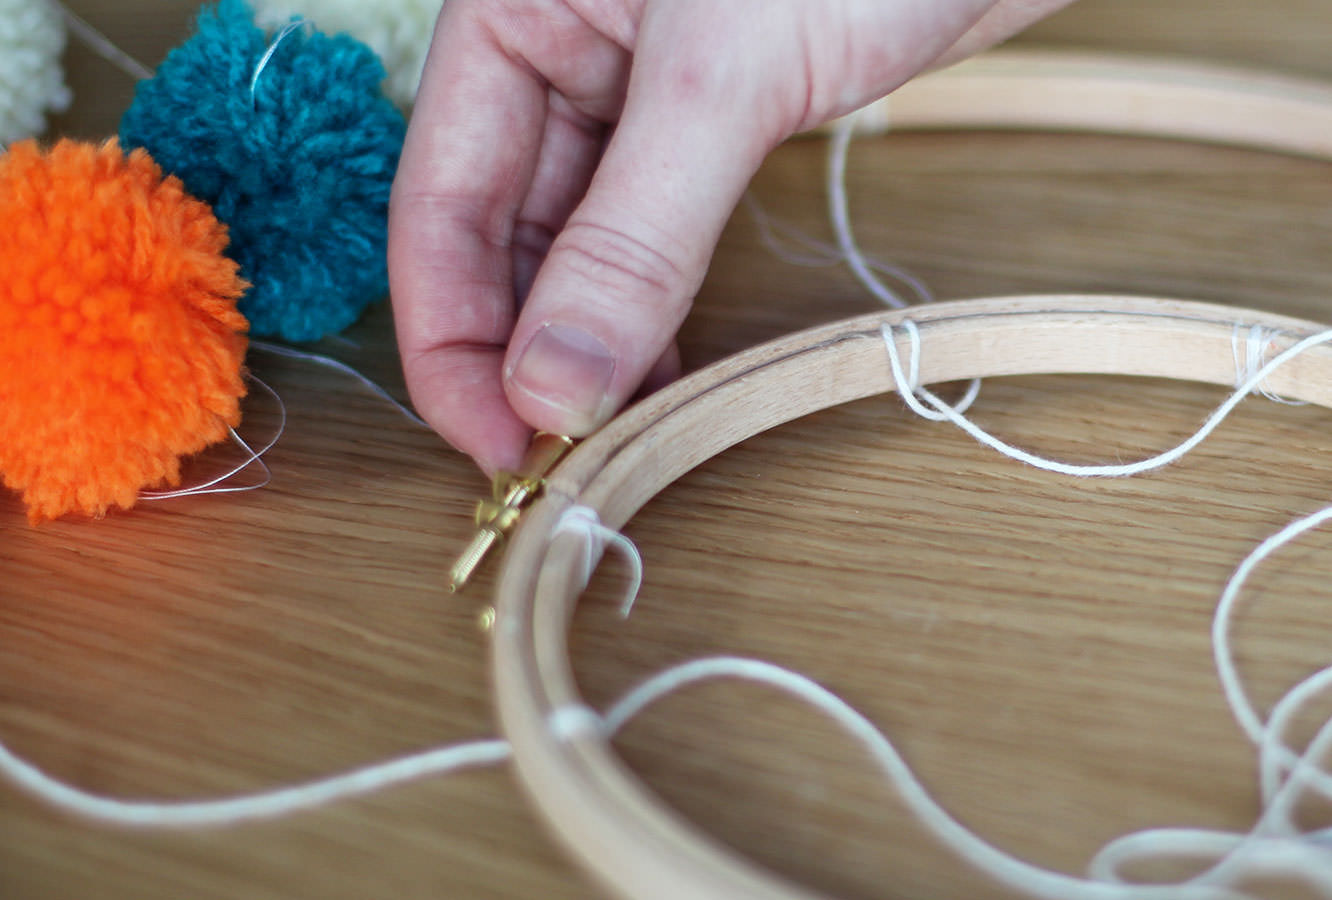
Reattach the outer hoops and tighten.

how-to-make-baby-mobile-13

Step sixteen

Using the sticky hook hang from the ceiling.

how-to-make-baby-mobile-14

Step seventeen

Lie under it for a little while. It’s relaxing being a baby.

Wait, that’s not all.

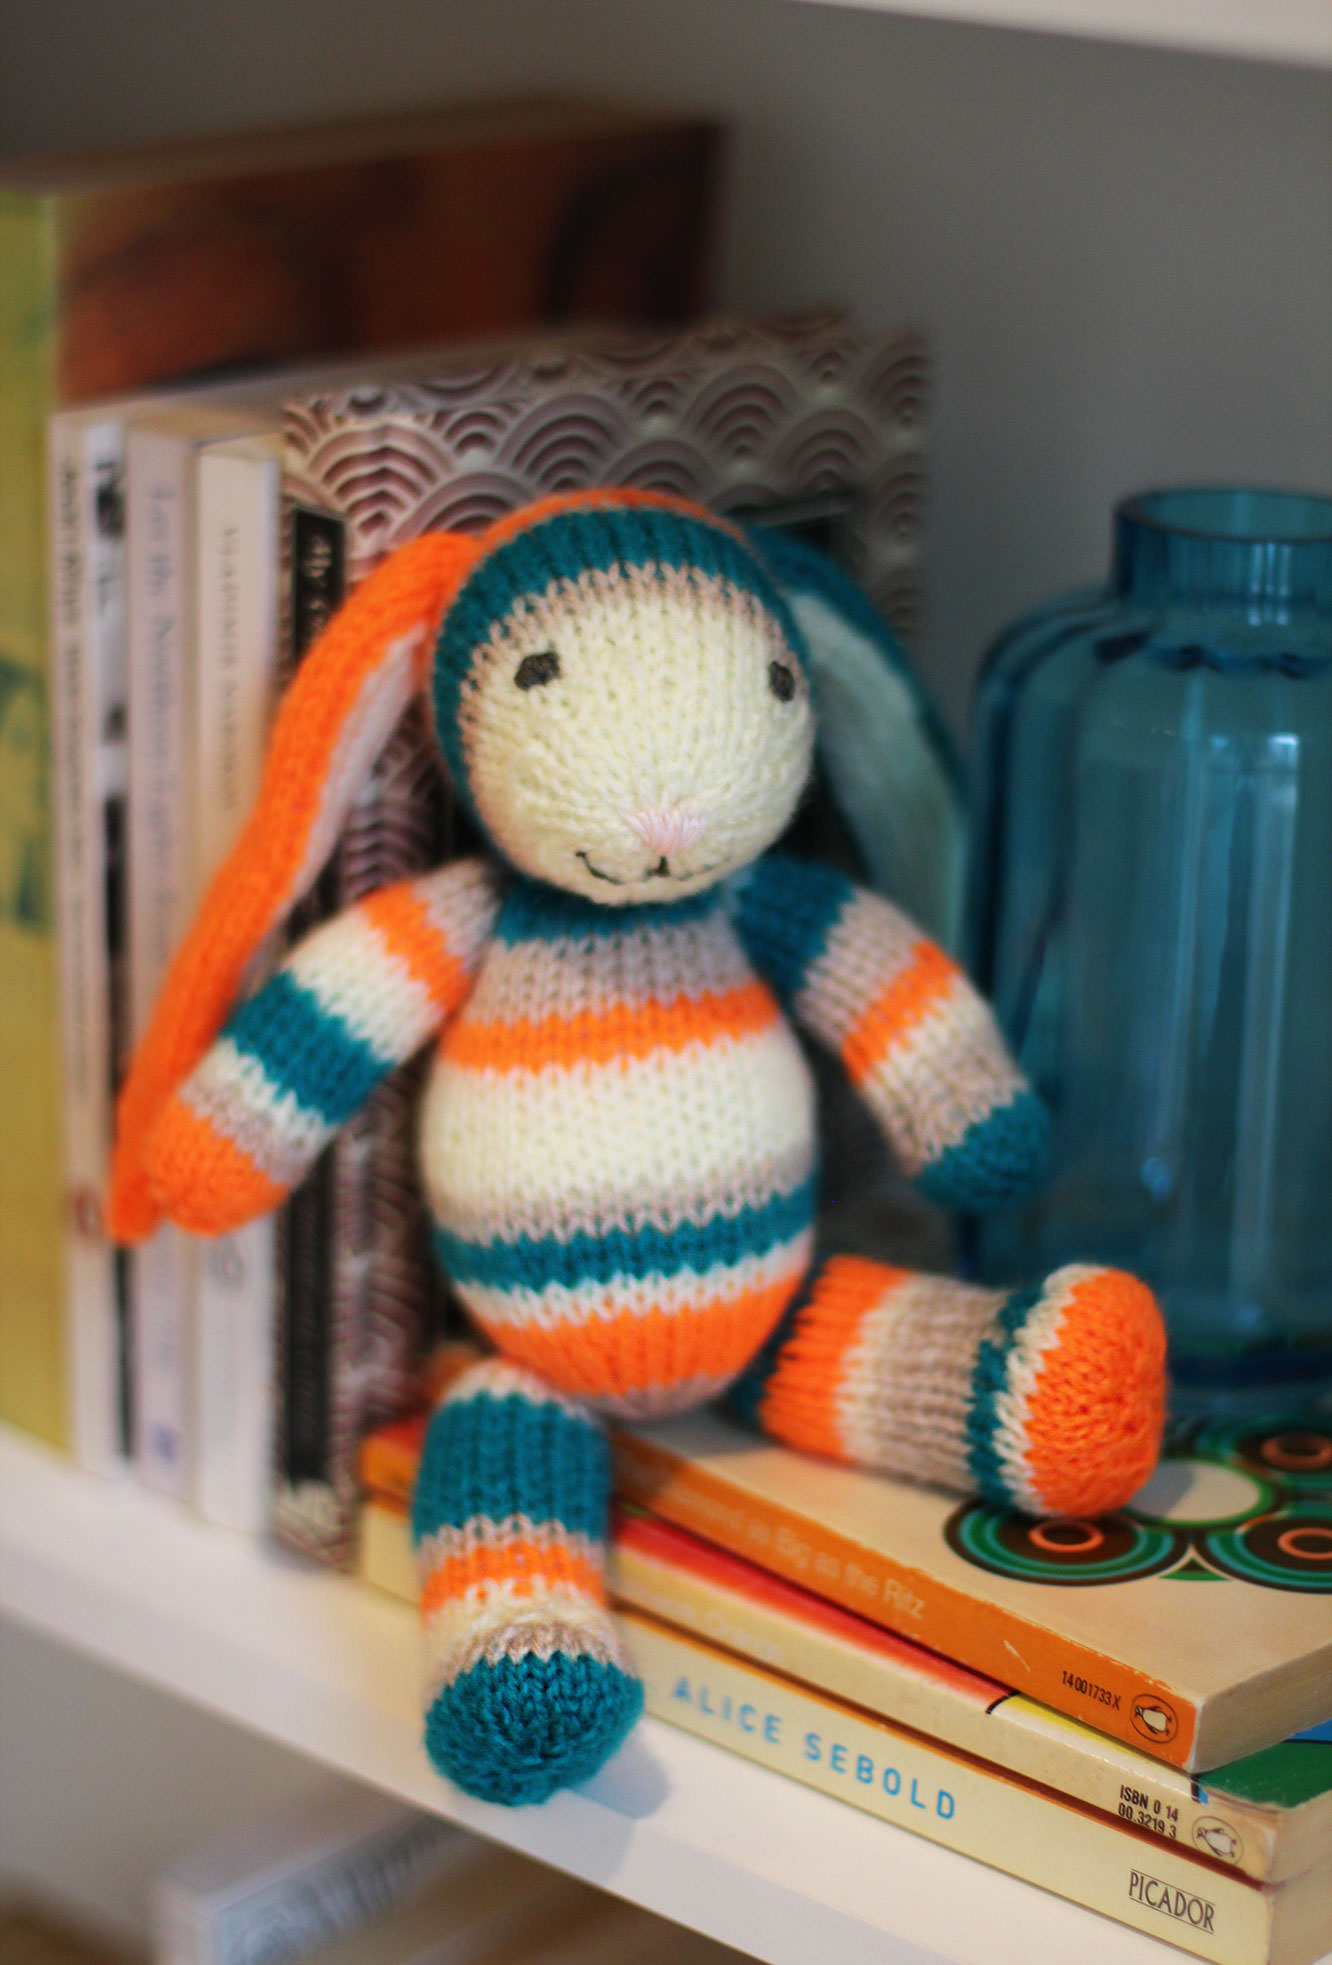
I also couldn’t resist making baby a little friend to match his mobile. Introducing Bernard the bunny.

how-to-make-baby-mobile-15

I haven’t included a step-by-step for Bernard because he’s not my pattern. In fact, this was the first time I’ve ever knitted a ‘creature’ before. He’s not quite the masterpiece I envisaged when I started but full of character and a great beginner knit.

Bernard was knitted from the free fuzzy lamb pattern by Barbara Prime (I just added longer ears). I urge you to visit fuzzymitten.com where you can buy all kinds of super cheap cute and quirky patterns including a bikini clad alpaca and a sloth in a poncho. Barbara’s patterns are adorable and easy to follow.

how-to-make-baby-mobile-17

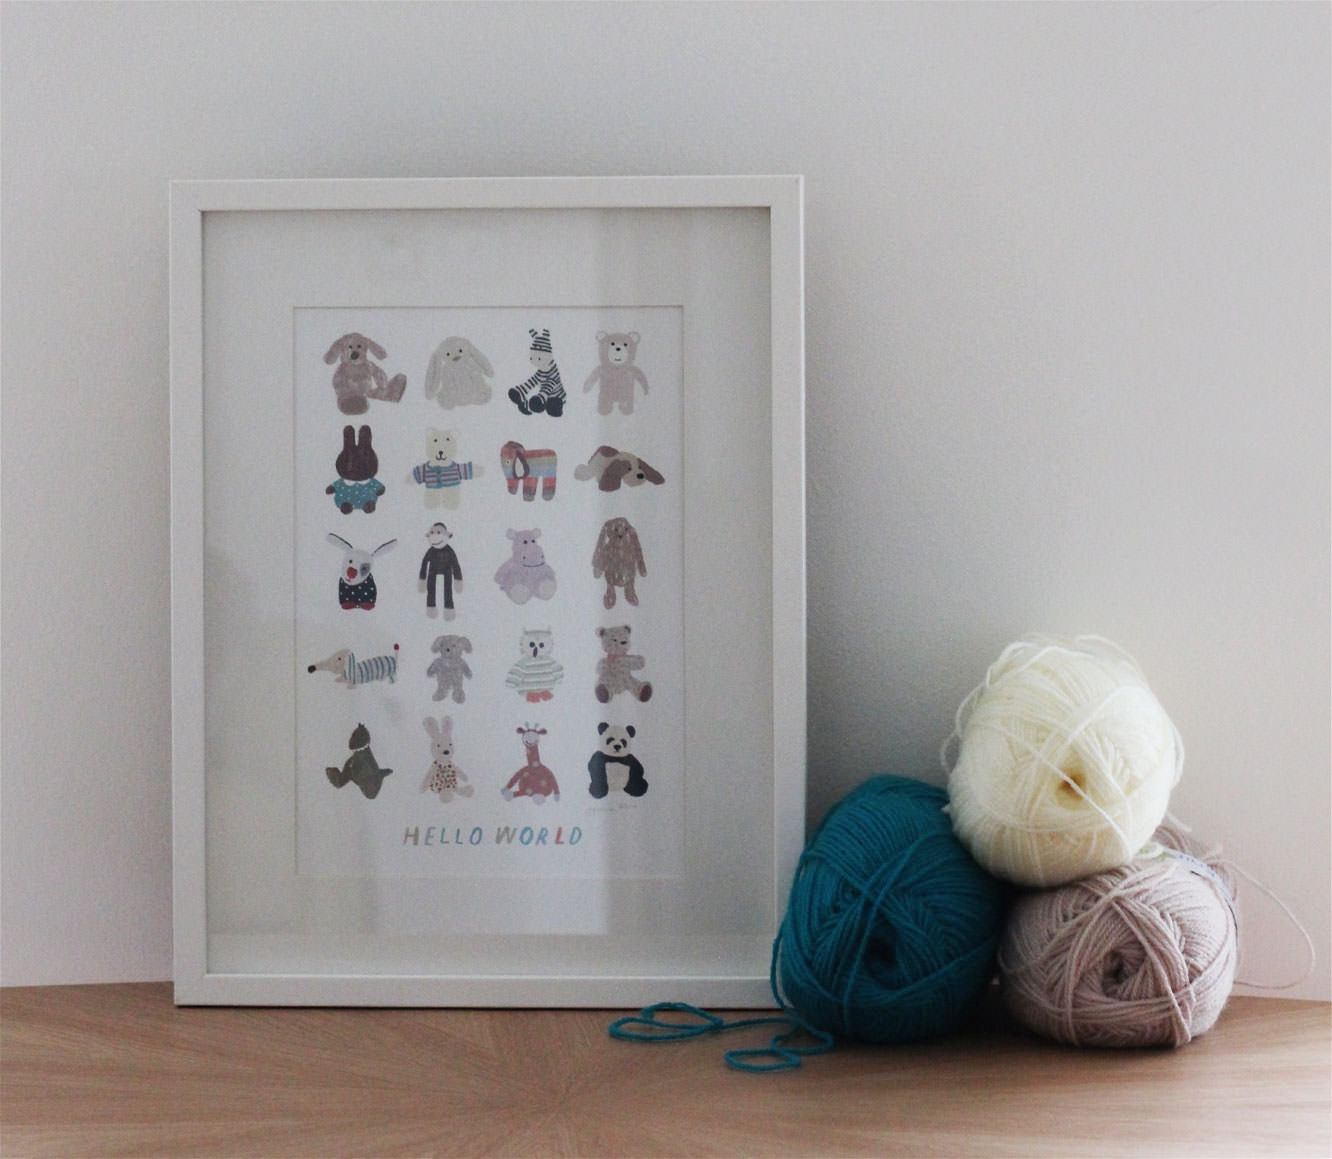
Another plug goes out to Hannah Melin whose ‘Hello World’ print I couldn’t resist at a craft fair just before Christmas. I think it would look lovely on the wall of any nursery.

I should probably make it clear that I’m not being sponsored for either of the above, I just think it’s good to support one’s fellow craftspeople from time to time.

Without further ado, here’s the man of the hour LOOKHOWCUTE.

how-to-make-baby-mobile-16

Scrub-a-dub-dub

Welcome back chaps, I hope you had a lovely weekend and are now stuffed full of last week’s roulade.

This week’s post is a little more January friendly – it doesn’t involve eating and will help save a few pennies too. Since the Christmas drinks specials season came to an end I’ve been missing a certain honey and almond hot chocolate and planning to concoct something with those flavours for fabrefaction. I didn’t expect it to not be for consumption but there you go.

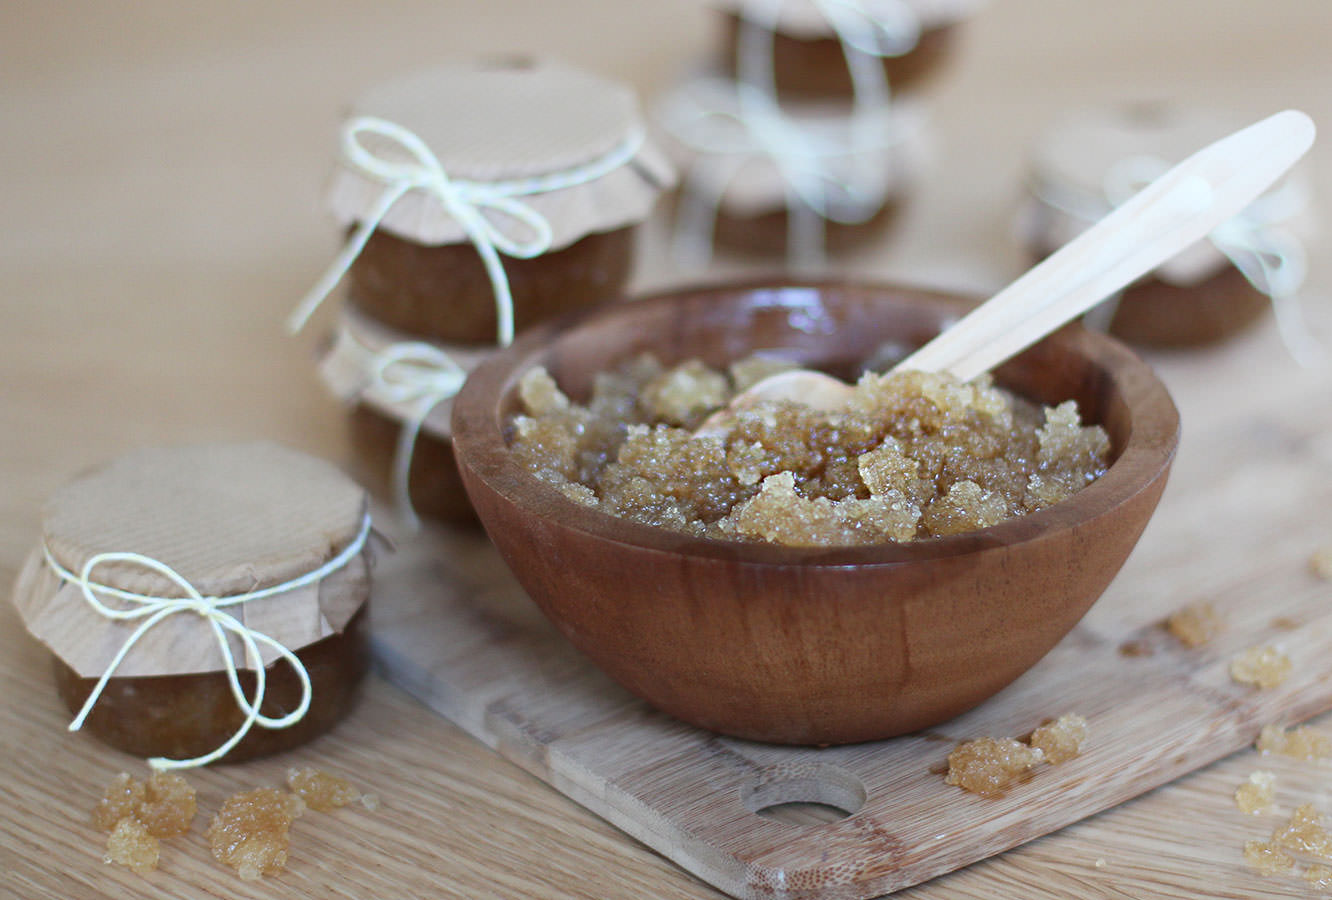
I thought it would be fun to give some favours the ladies who came to our little sleepover last week. This scrub is a great little gift on the cheap and would work well for favours for a hen party/bridal shower or similar.

honey-and-almond-homemade-sugar-scrub-1
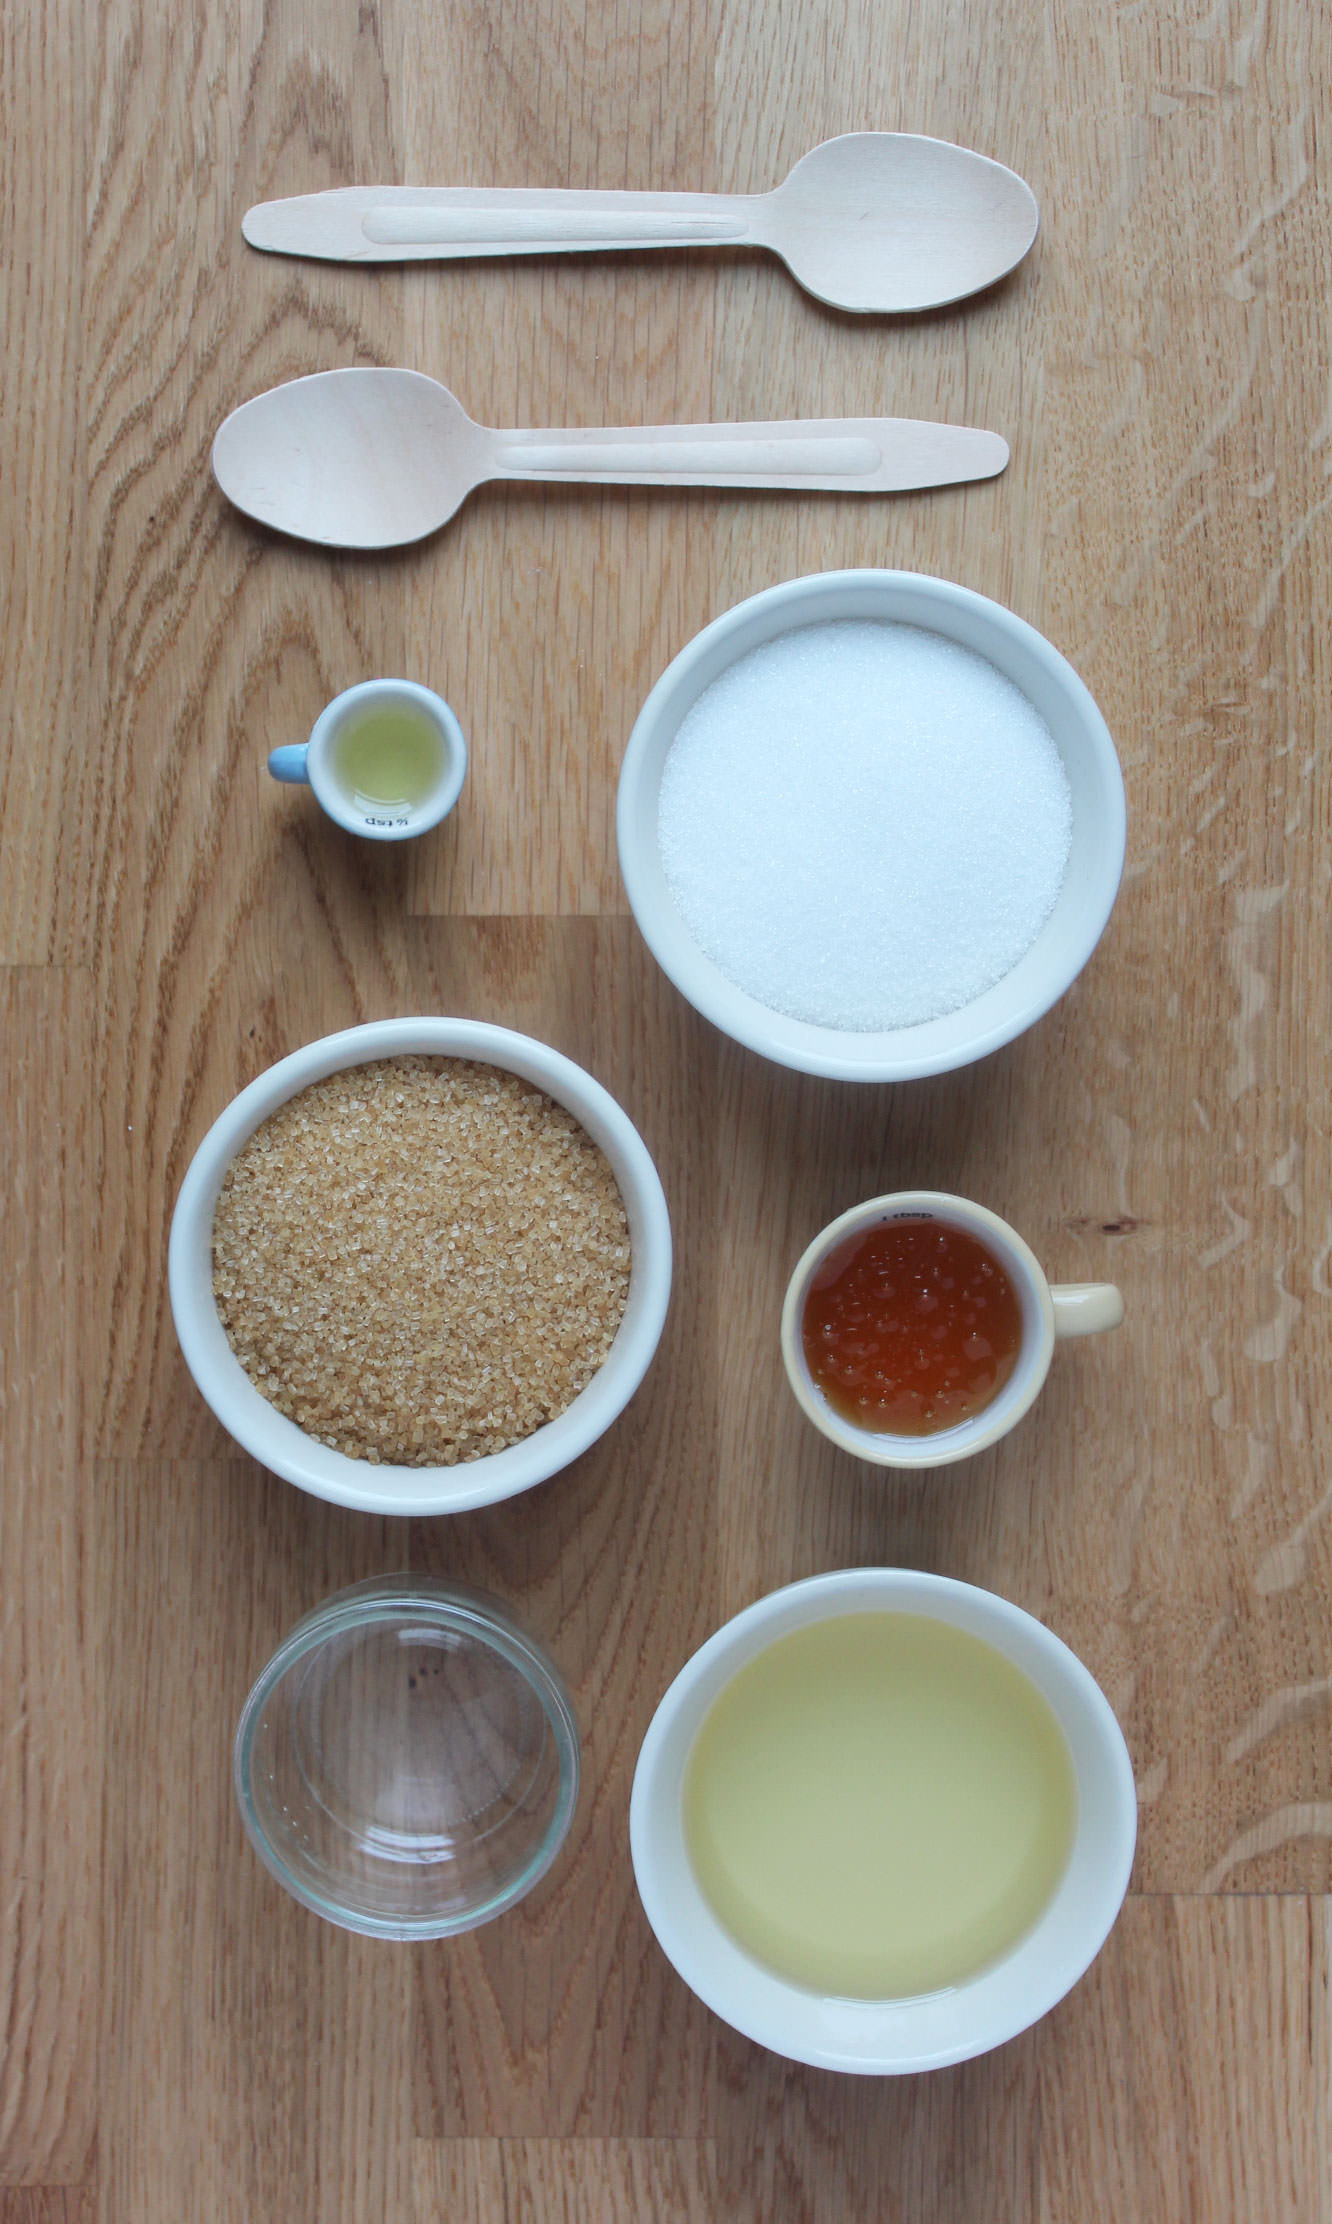
You will need

2 cups Demerara sugar

1 cup Granulated sugar

1/4 cup Walnut oil

1/2 cup Sunflower/vegetable oil

1/2 cup Clear honey

2 tsp Almond extract

(Makes six small jars)

honey-and-almond-homemade-sugar-scrub-2

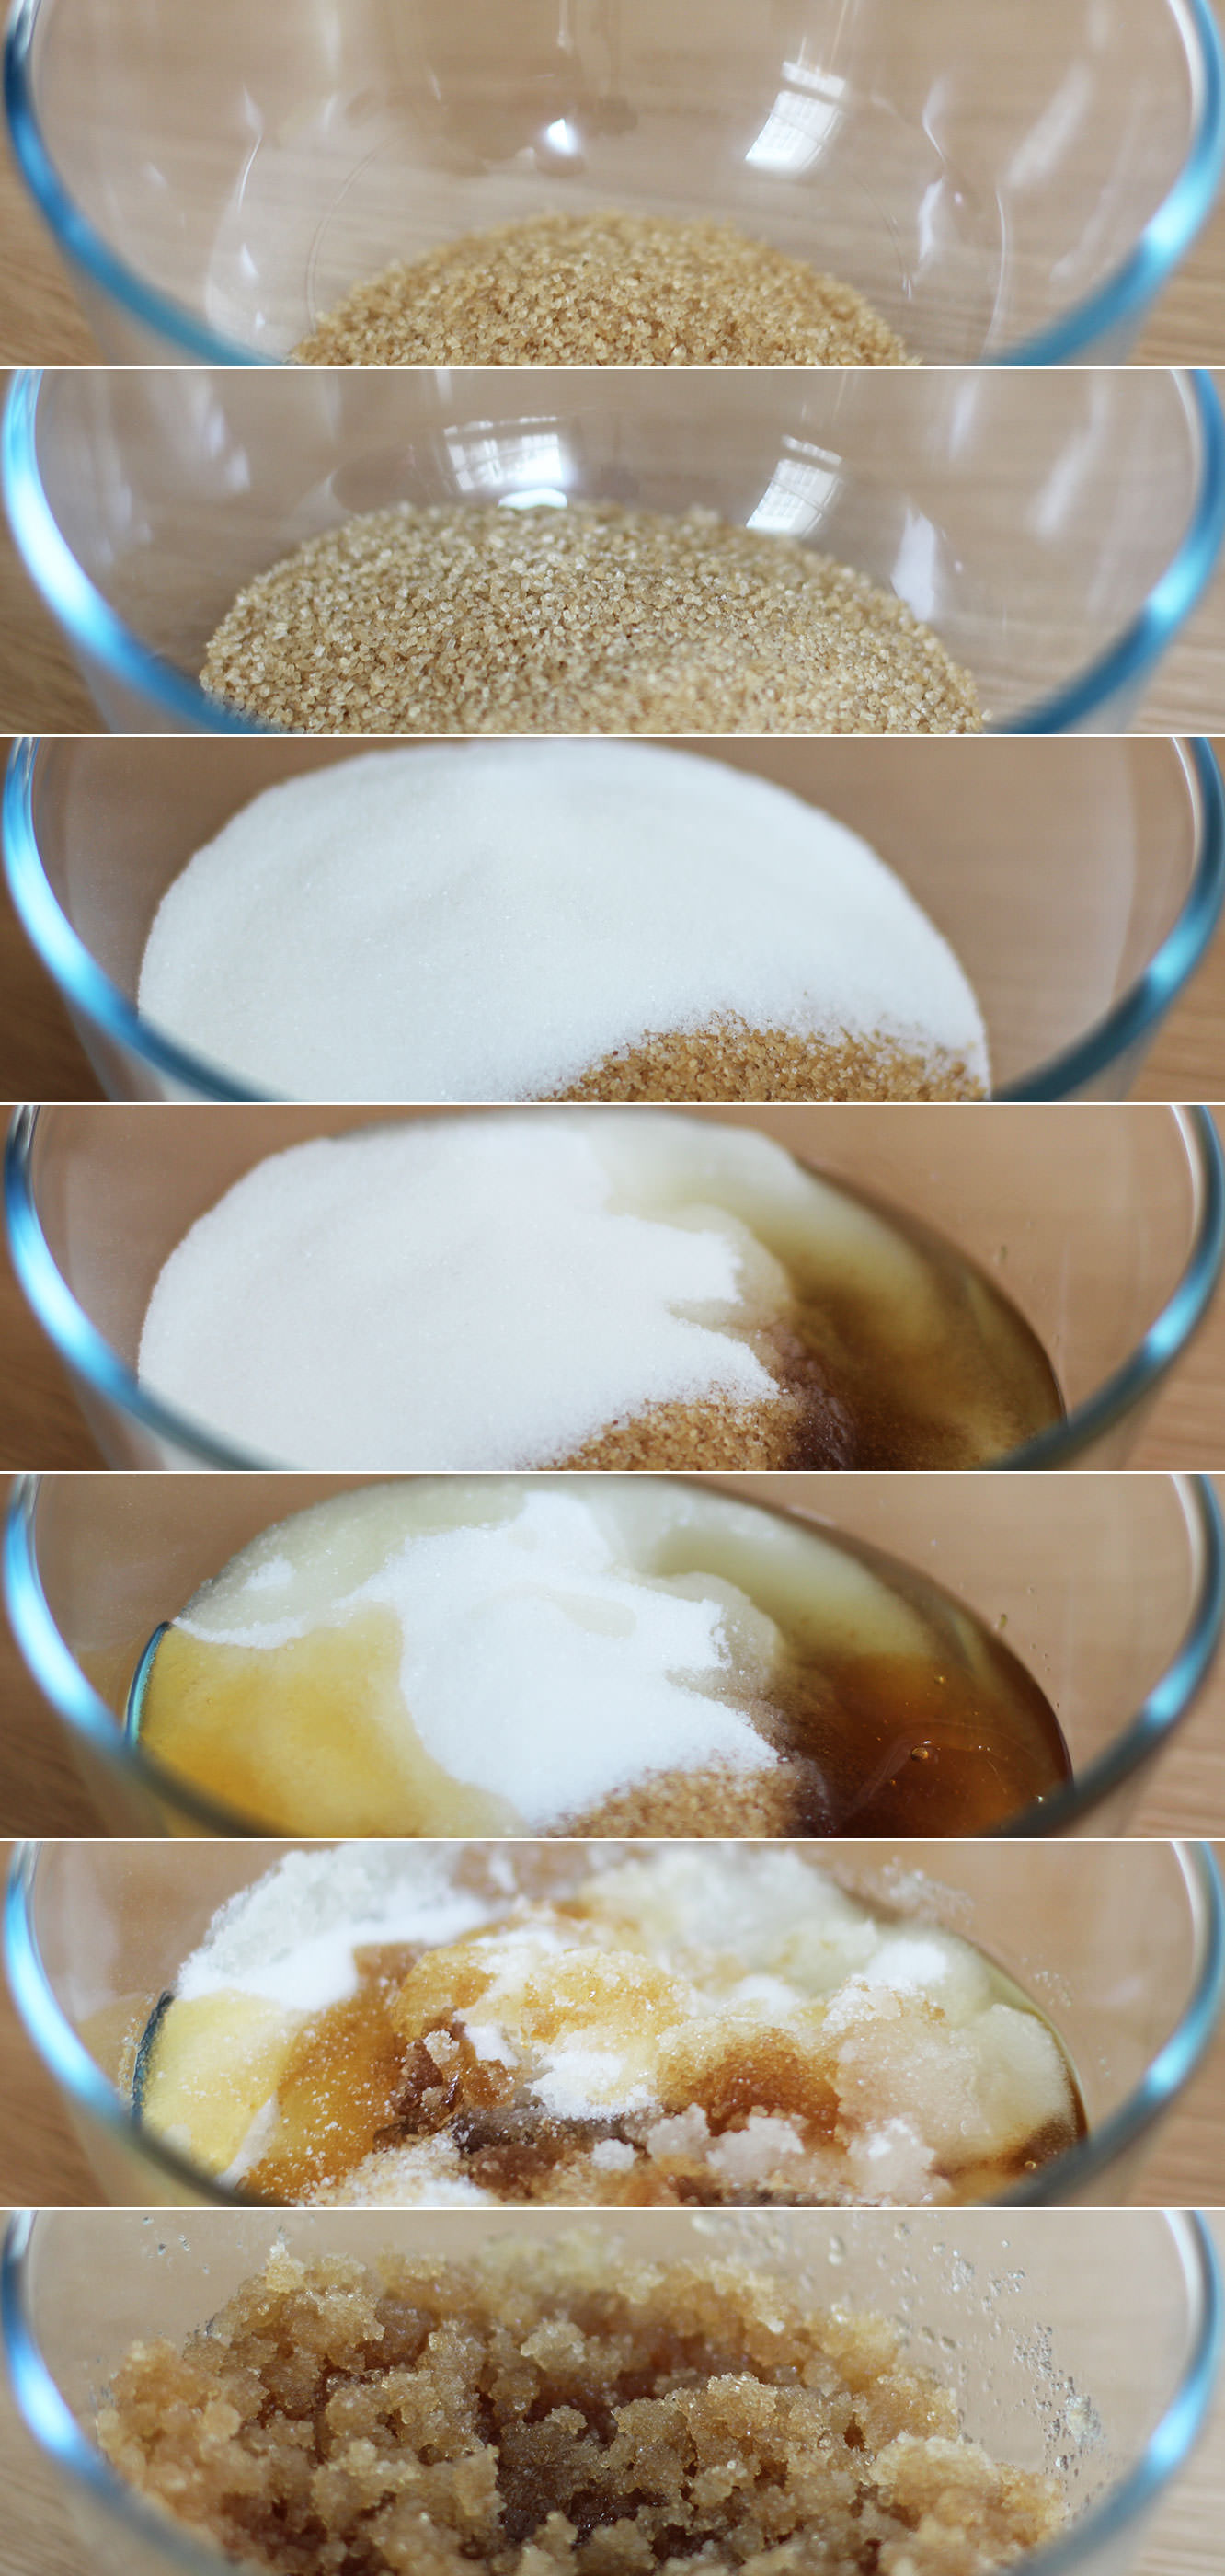
Step one

There really only is one step. I couldn’t even think of a gif this week.

Take all the ingredients and mix them together.

honey-and-almond-homemade-sugar-scrub-3

Step two

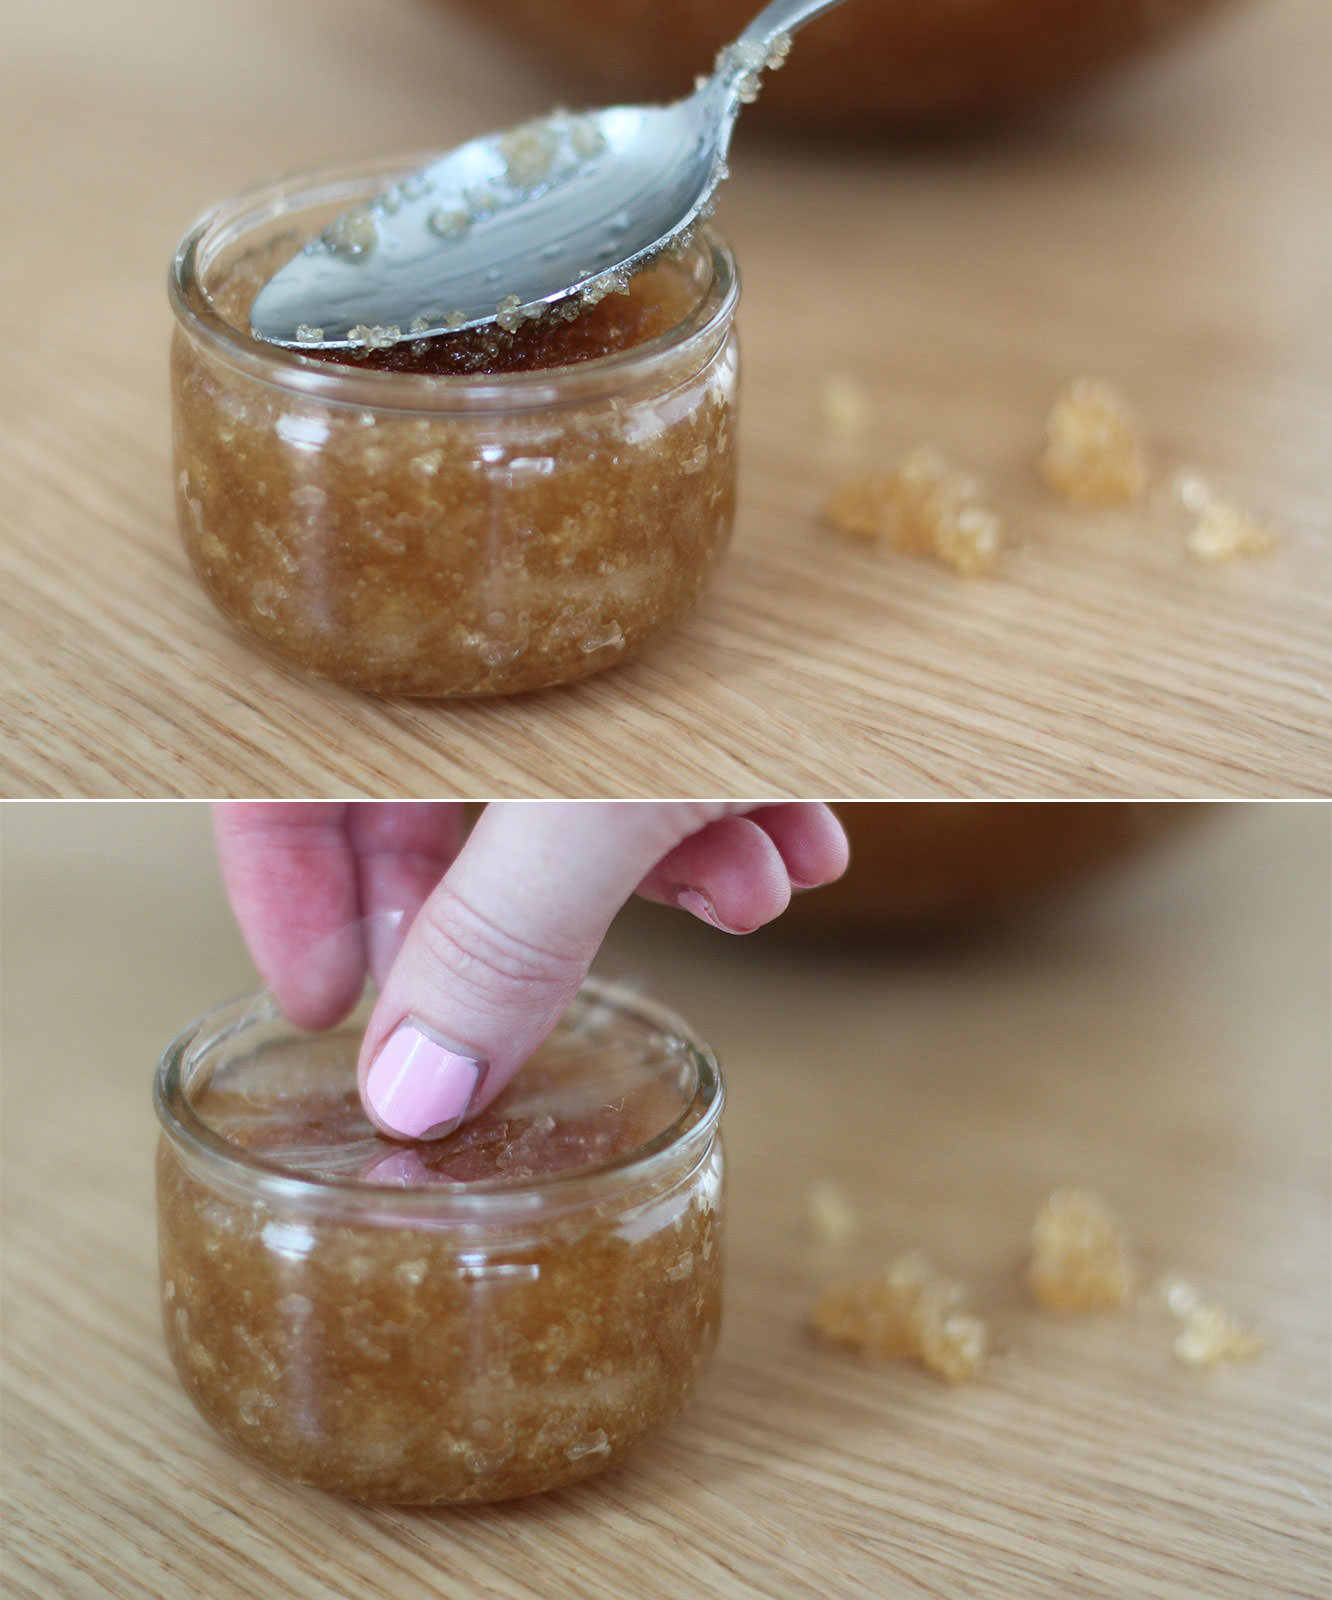
If you’re gifting these then you might want to use little ramekins or jars. I recommend something with a lid to be honest, I used cellophane to seal the scrub in. I’ll be honest, this was with mixed success – just keep them upright if you go for this option to stop the oil leaking.

honey-and-almond-homemade-sugar-scrub-4

Step three

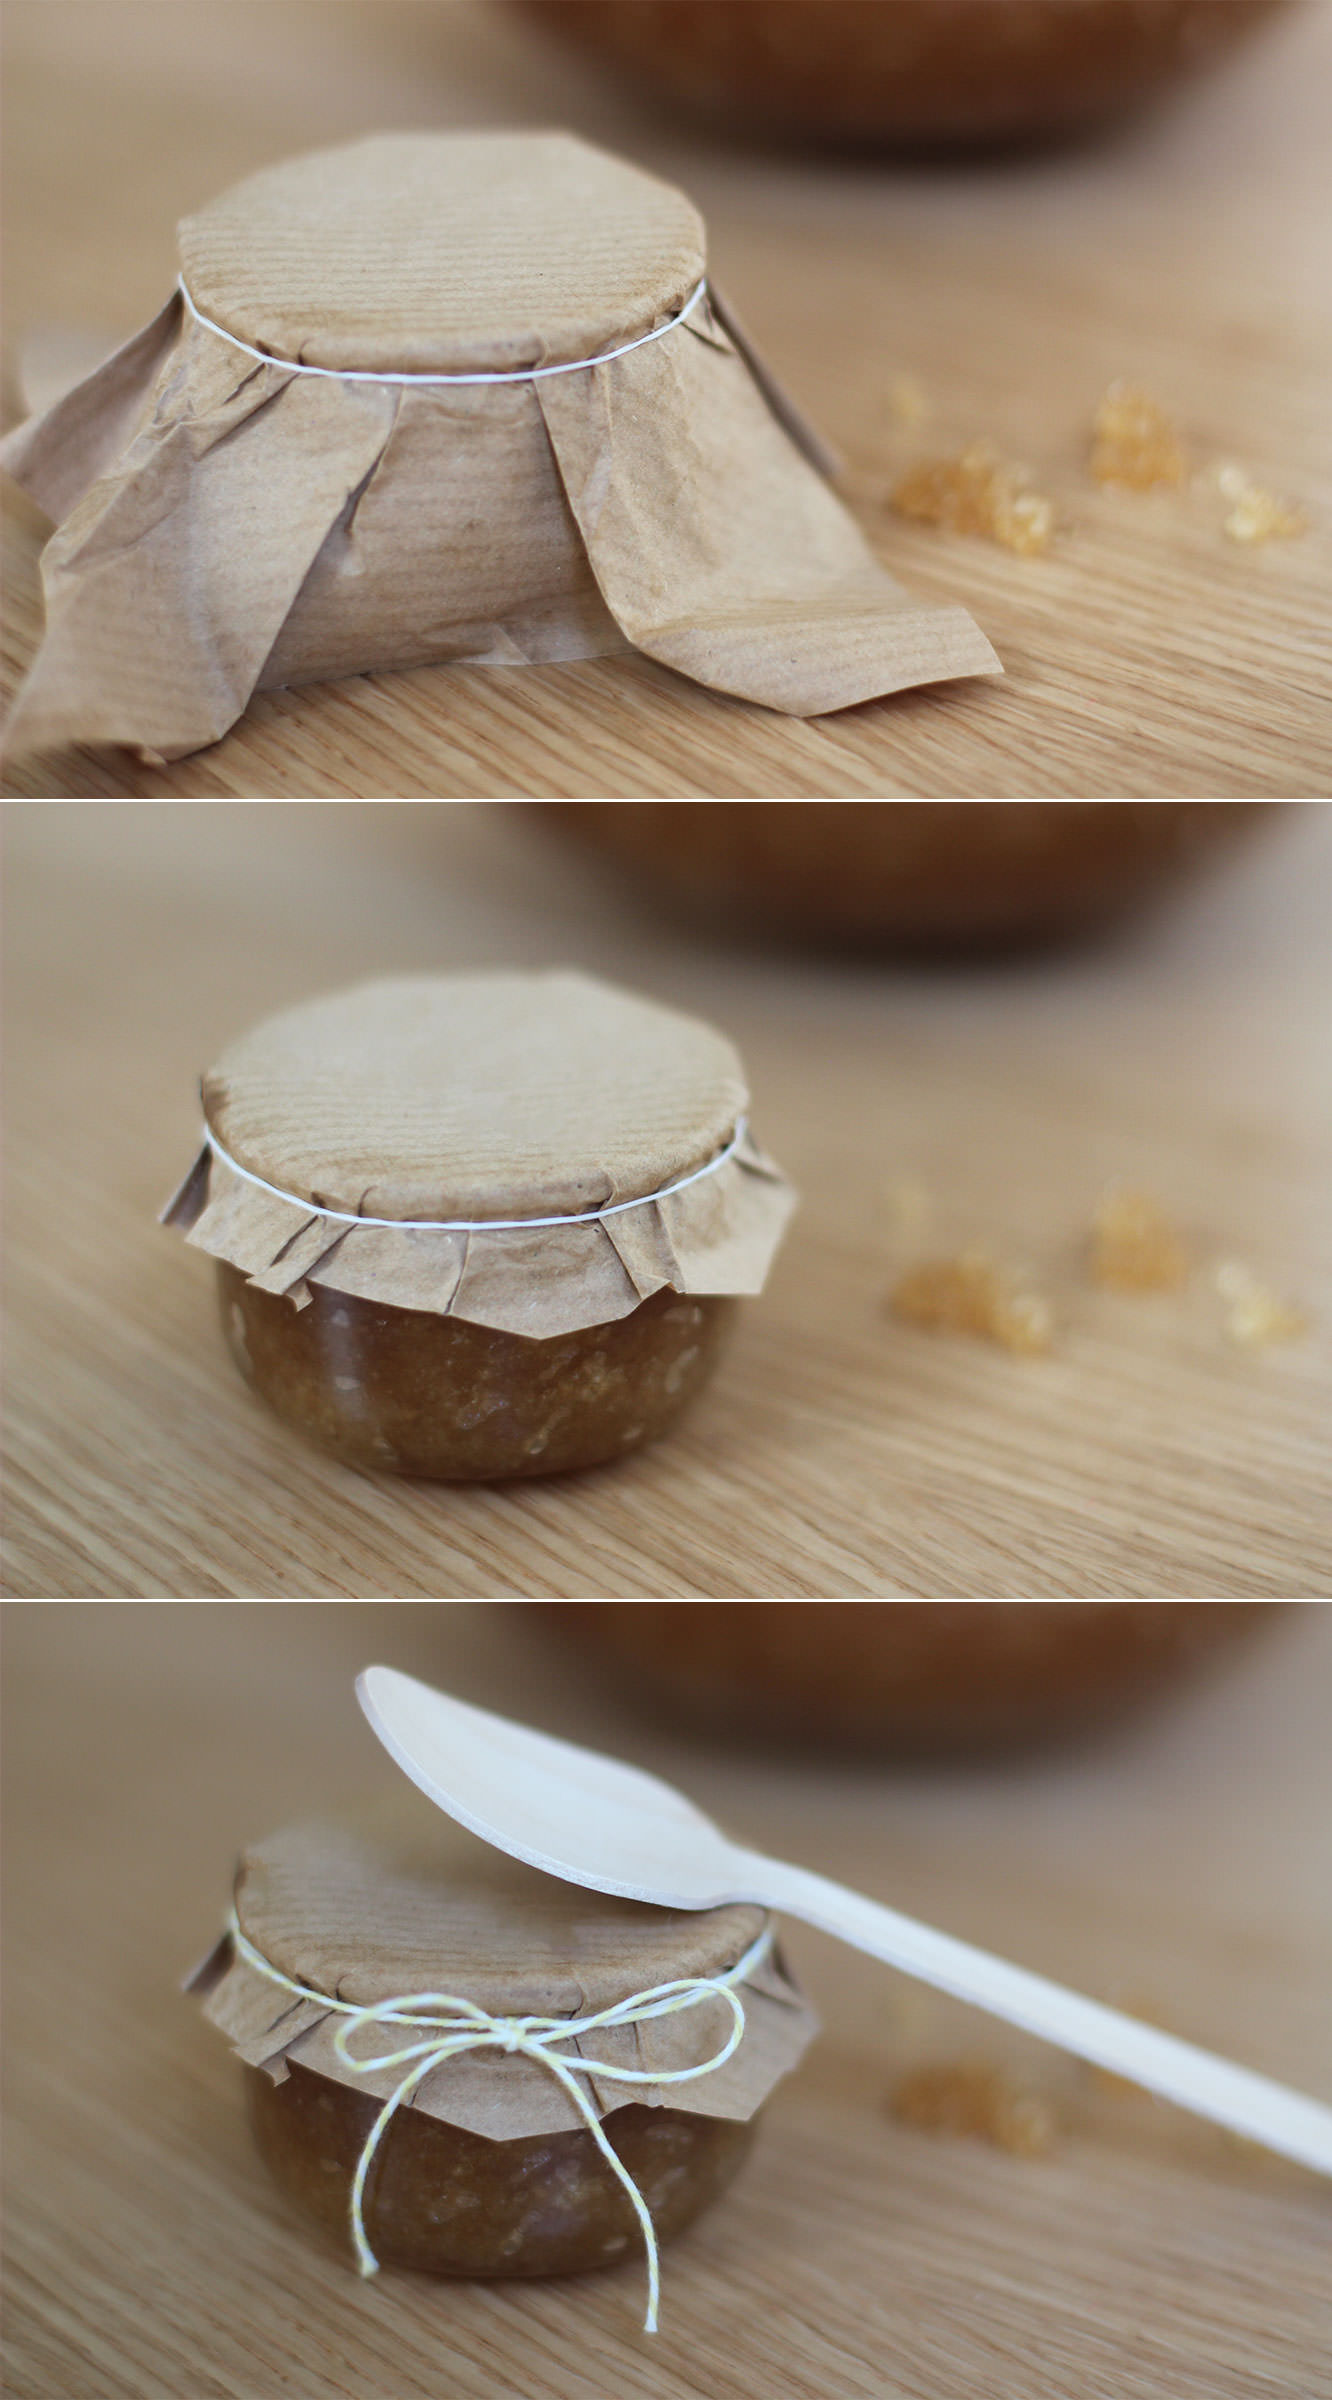
Using paper or fabric (I thought brown paper added nicely to the natural look and feel) cover the pots.

Make sure it;s a larger piece than required. Fasten with a loom band (find a small child who’s become bored of them and pinch a few).

Step four

Trim the edges of the paper or fabric. If using fabric I recommend pinking shears for the job to stop it fraying.

Step five

Tie a nice piece of string/twine/ribbon around the rim to cover the loom band. Depending on the size of the jar you might want to tie a small wooden spoon to it at this point (the scrub settles and needs a little stir before use).

I left the spoons loose because they looked novelty big in comparison to the jar. If you’re in the UK I got these from Tiger.

honey-and-almond-homemade-sugar-scrub-5

Happy scrubbing!

Banner-tastic

I’m finally going to wrap up my little series of posts from Matt and Vicky’s engagement party this week. I know, you didn’t think there could possibly be more right? Well, no party is complete without a banner.

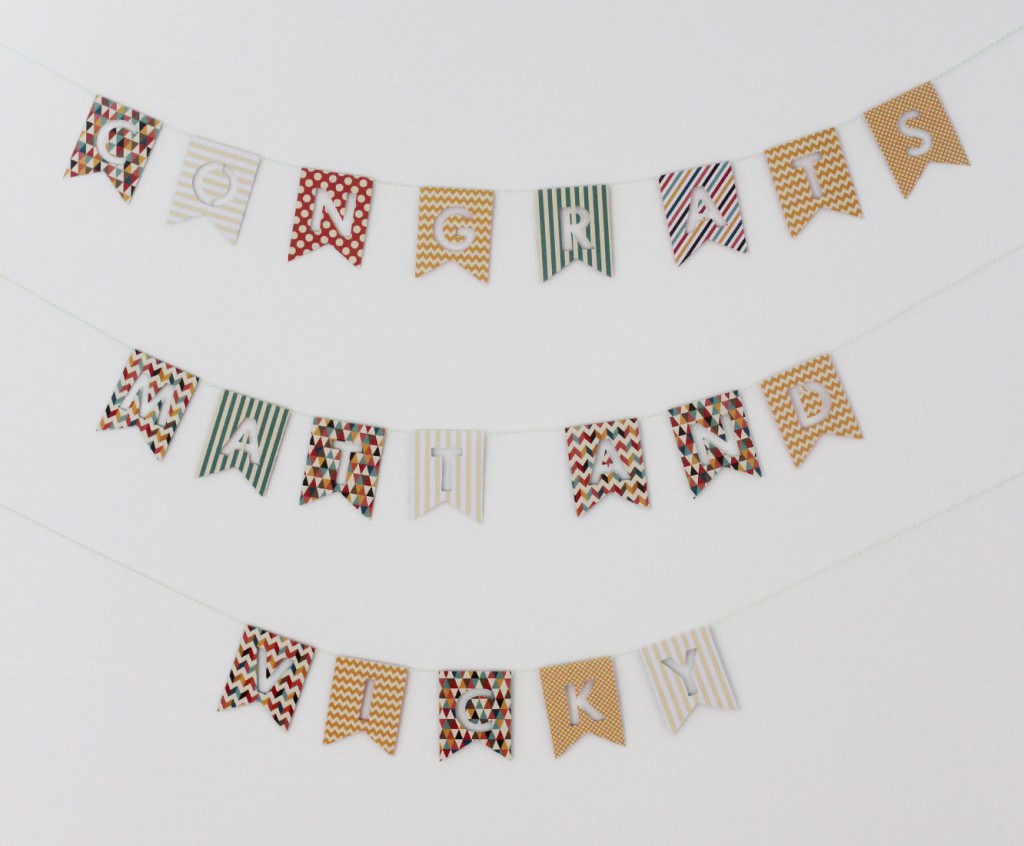
Just in case their guests forgot, I made a little congratulations banner. A congrats banner, let’s be honest, congratulations is a long word.

home-made-party-congratulations-banner

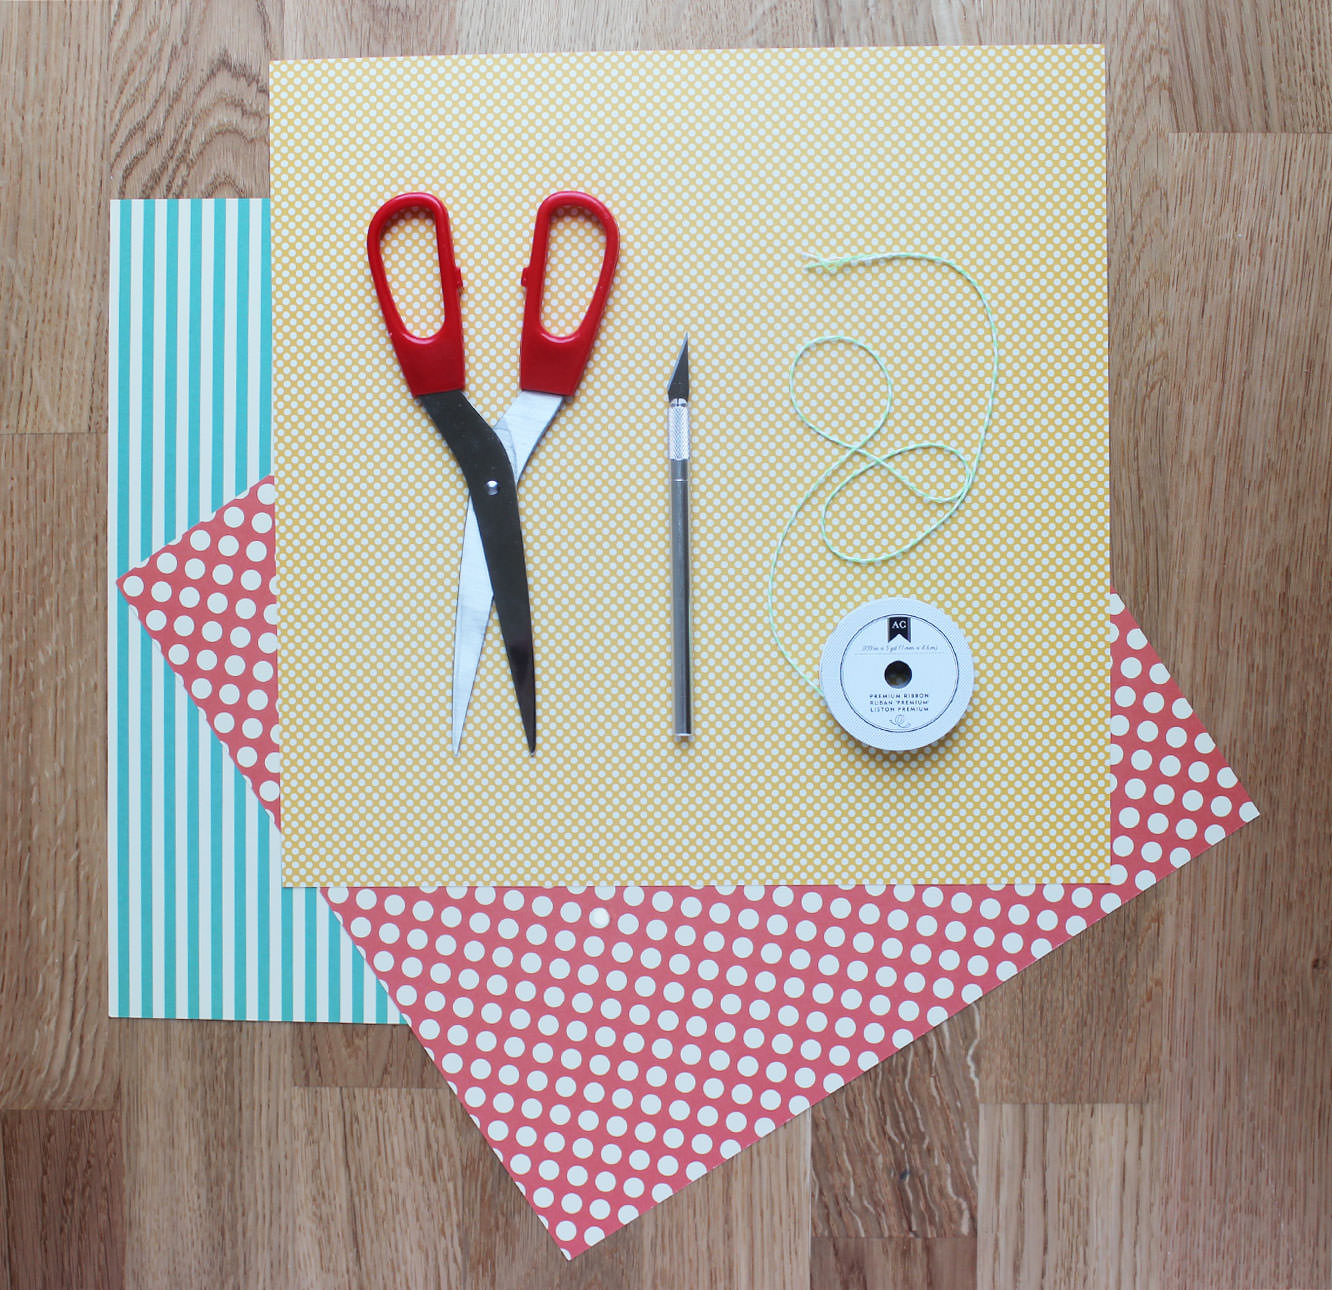
You will need

Some pretty paper or card

A craft knife and a cutting mat (or chopping board)

Double-sided tape

String

home-made-party-congratulations-banner-2

Step one

Using a chunky font, type out the message for your banner. I think this was Futura in case you want to copy exactly (but then you would also need to find a Matt and a Vicky to congratulate).

home-made-party-congratulations-banner-3

Step two

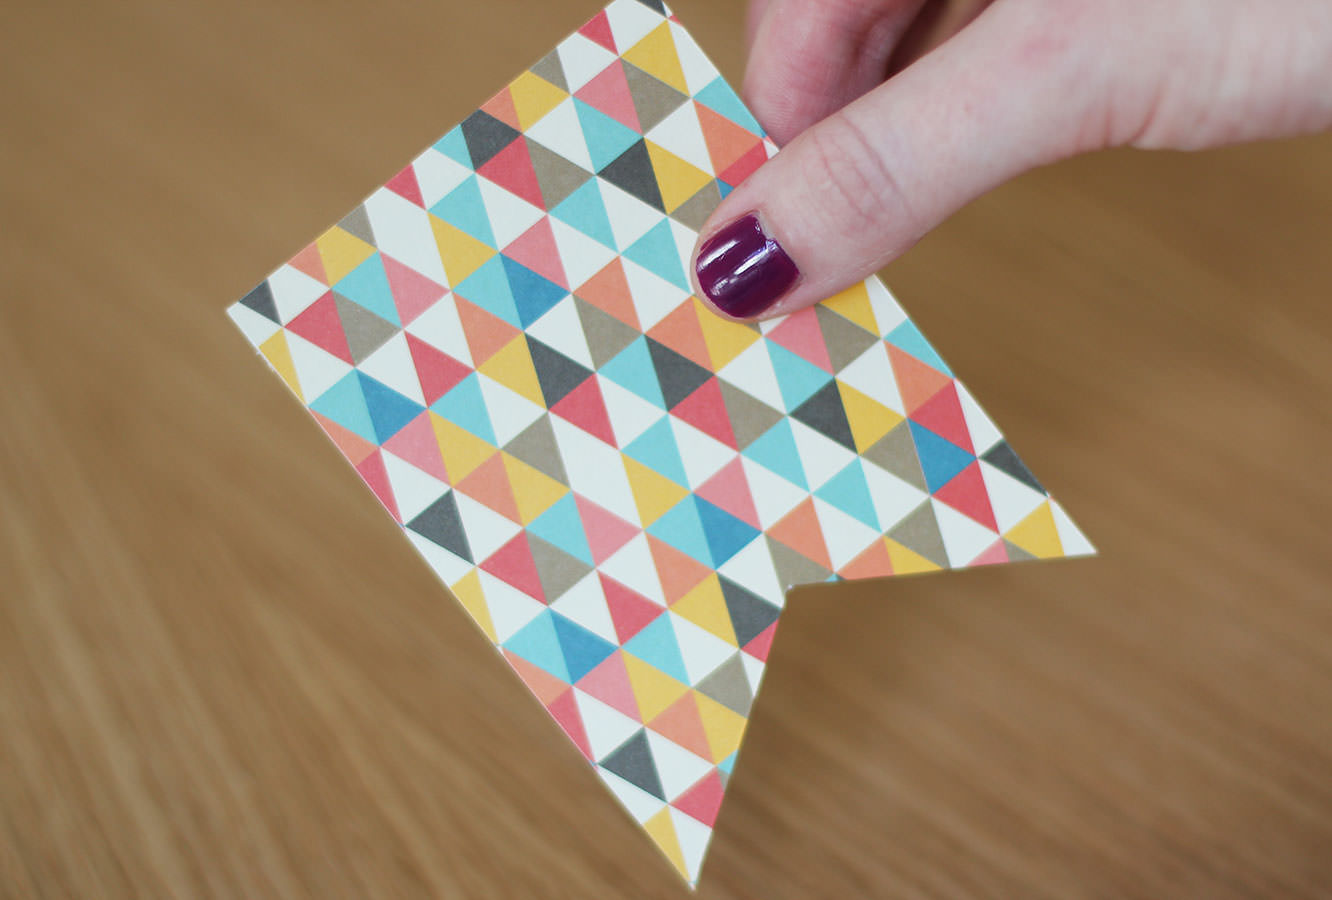
Cut out little flag shapes big enough to house your letters, remember to leave at least half a centimetre at the top to fold over.

These are super simple to get even, just draw a rectangle with a line down the centre and then draw two diagonals from the corner to the same point on the central line. Use the first one as a template.

home-made-party-congratulations-banner-4

Step three

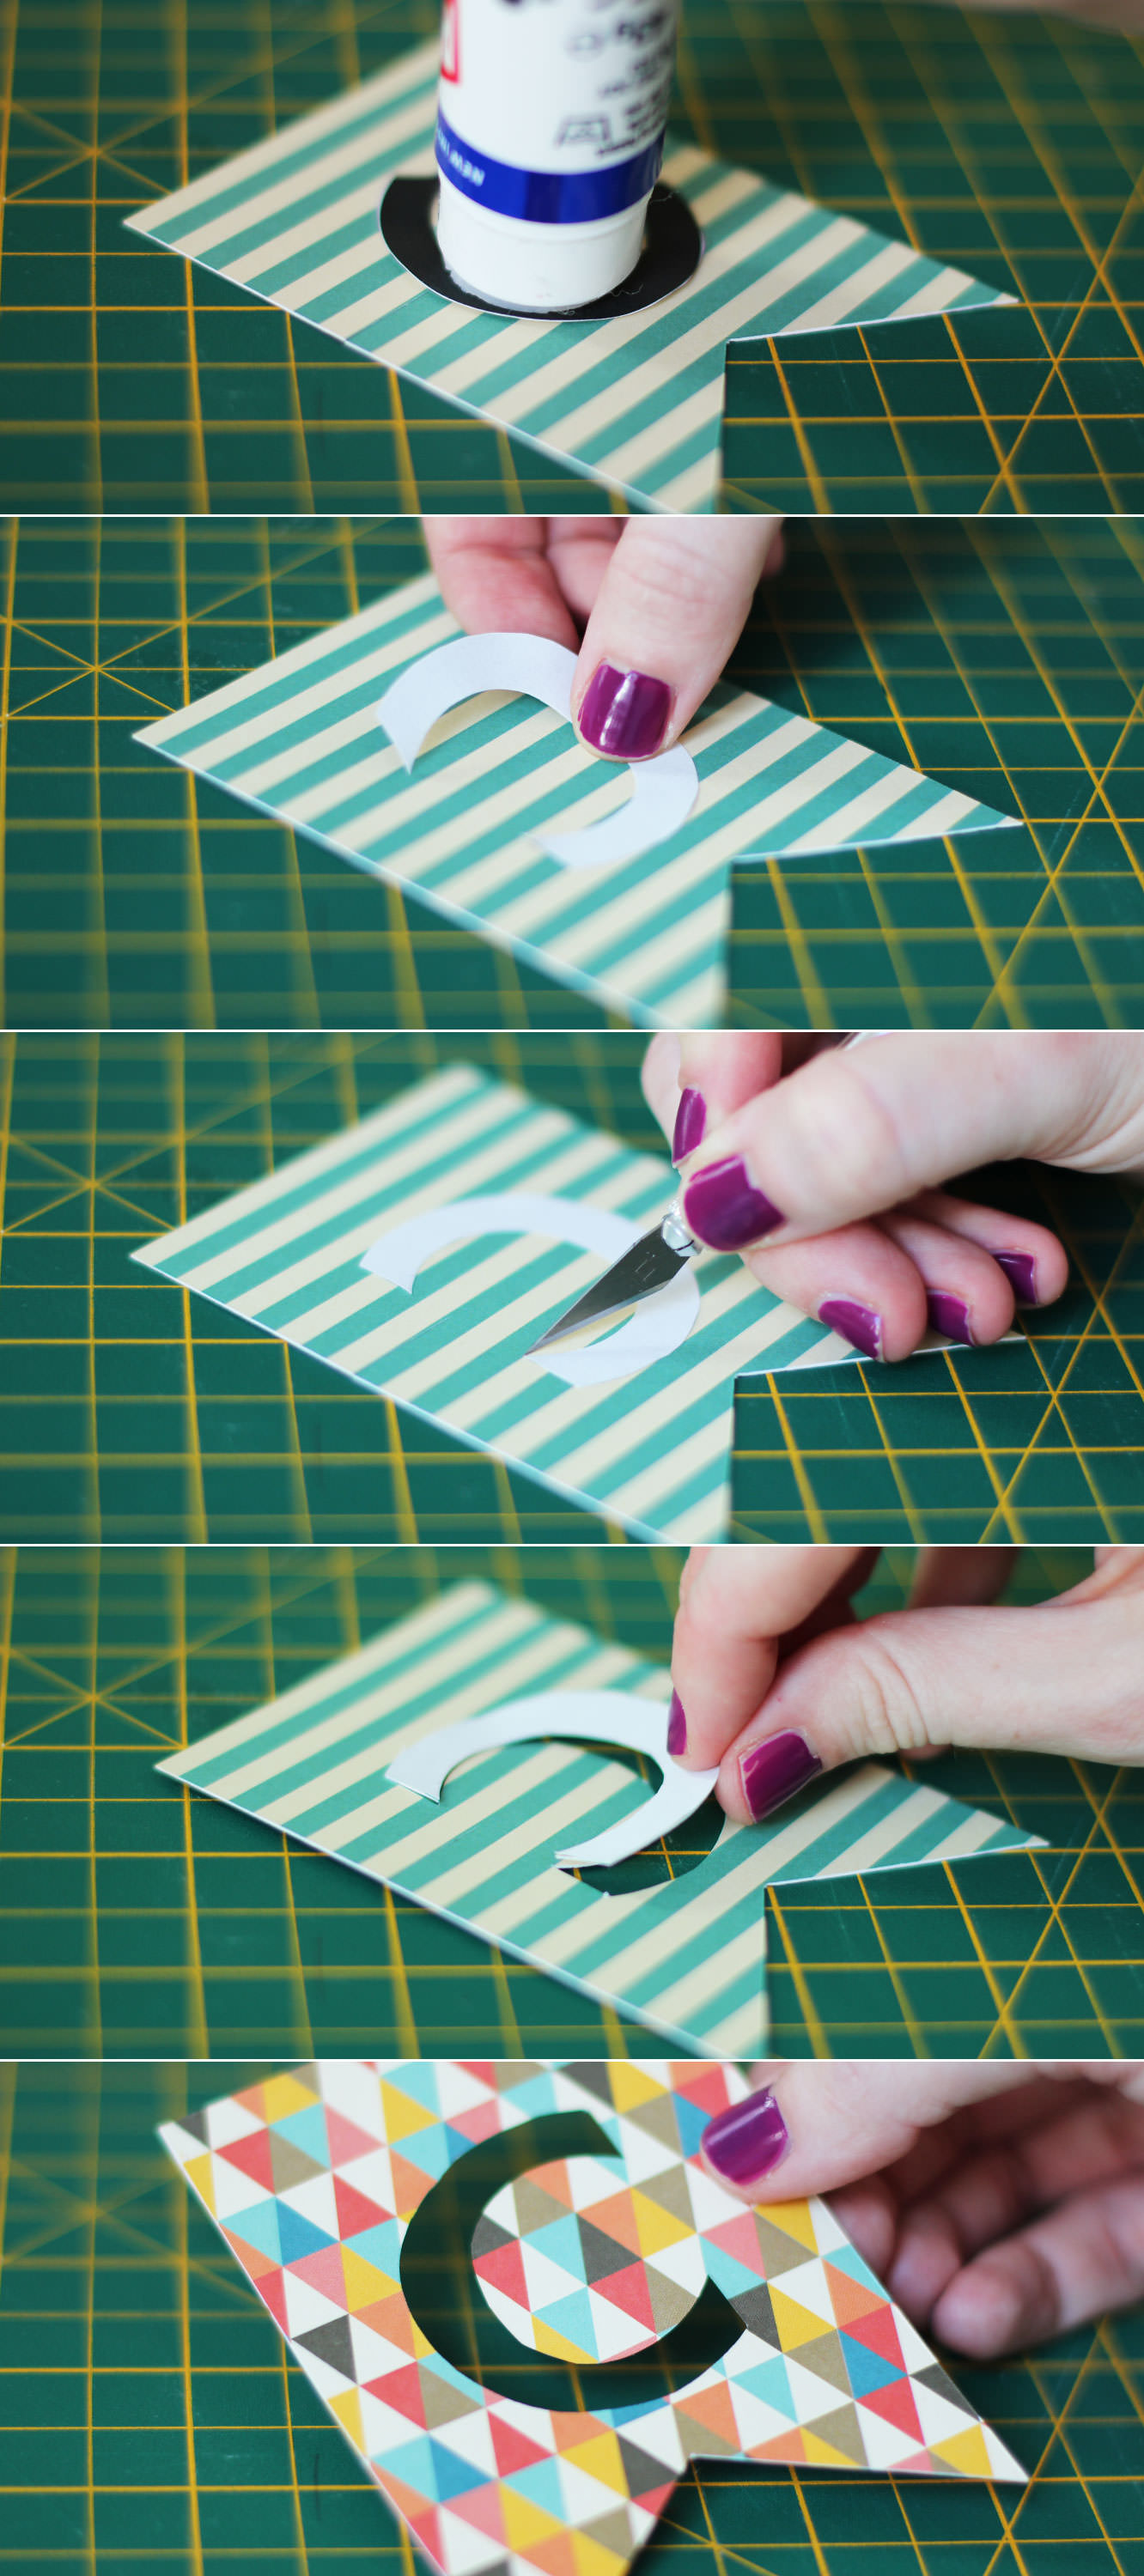
Glue the front of the letters and stick them face down on the back of each flag.

Use a craft knife to cut around the edge of the letter. The child in me was bizarrely satisfied by punching these out.

When cutting out letters like A and O which have a counter in them remember to keep a small stem so you don’t totally hollow them out.

home-made-party-congratulations-banner-5

Step four

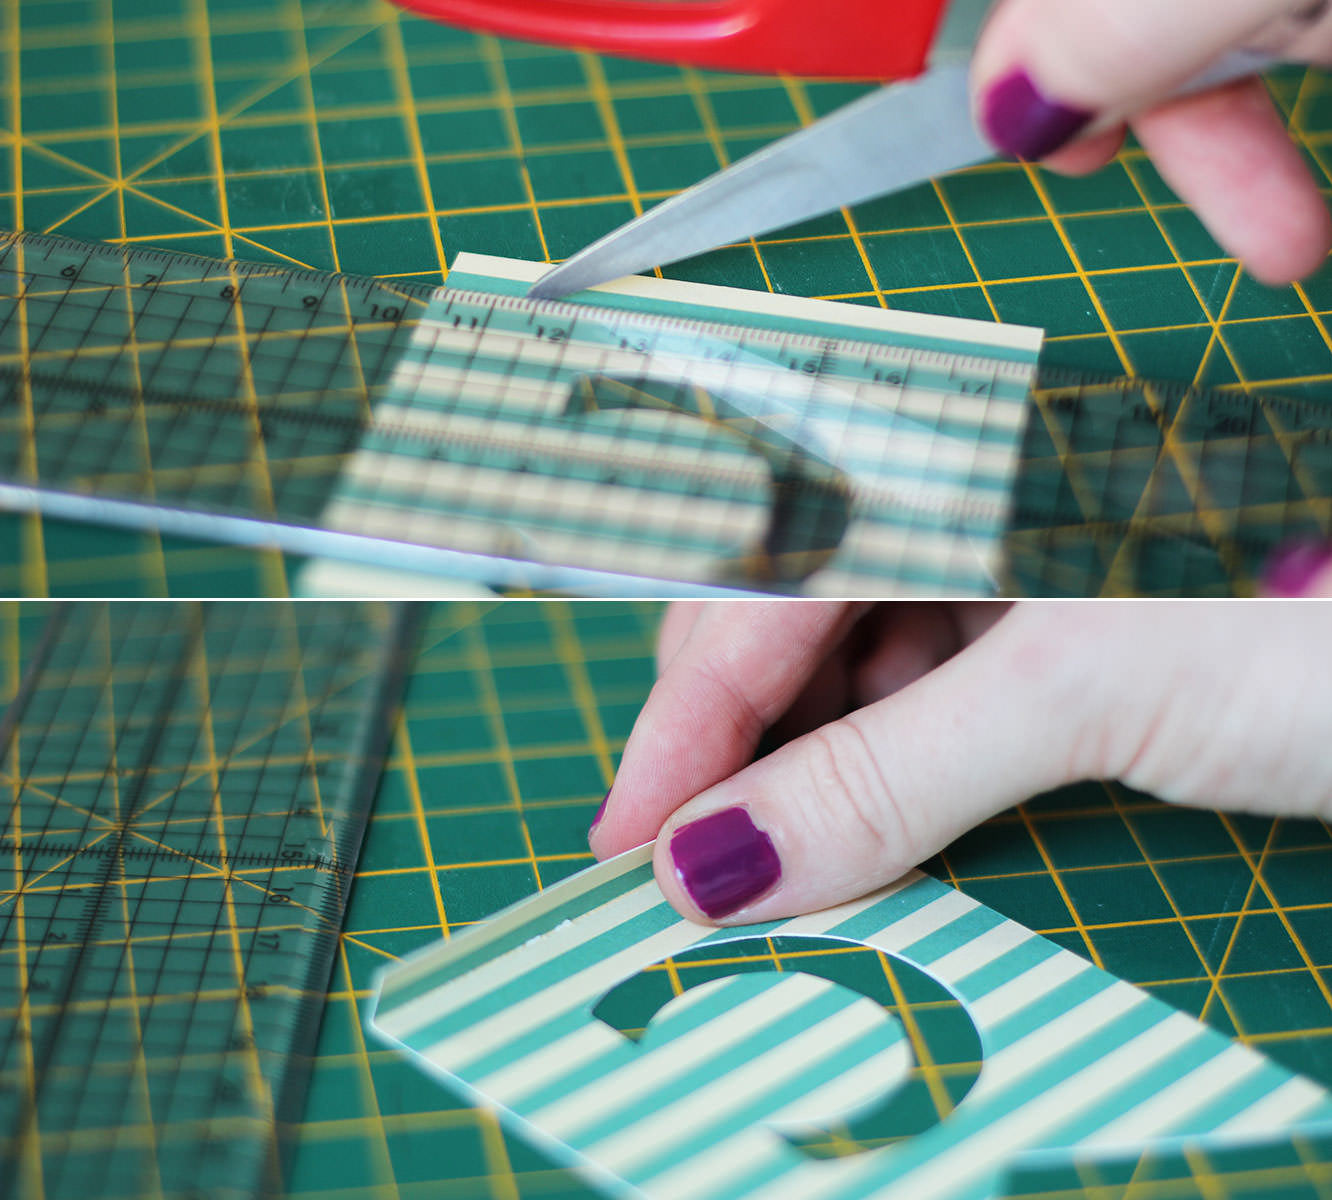
Using open scissors score the top of the flag (on the back) to create a fold.

home-made-party-congratulations-banner-6

Step five

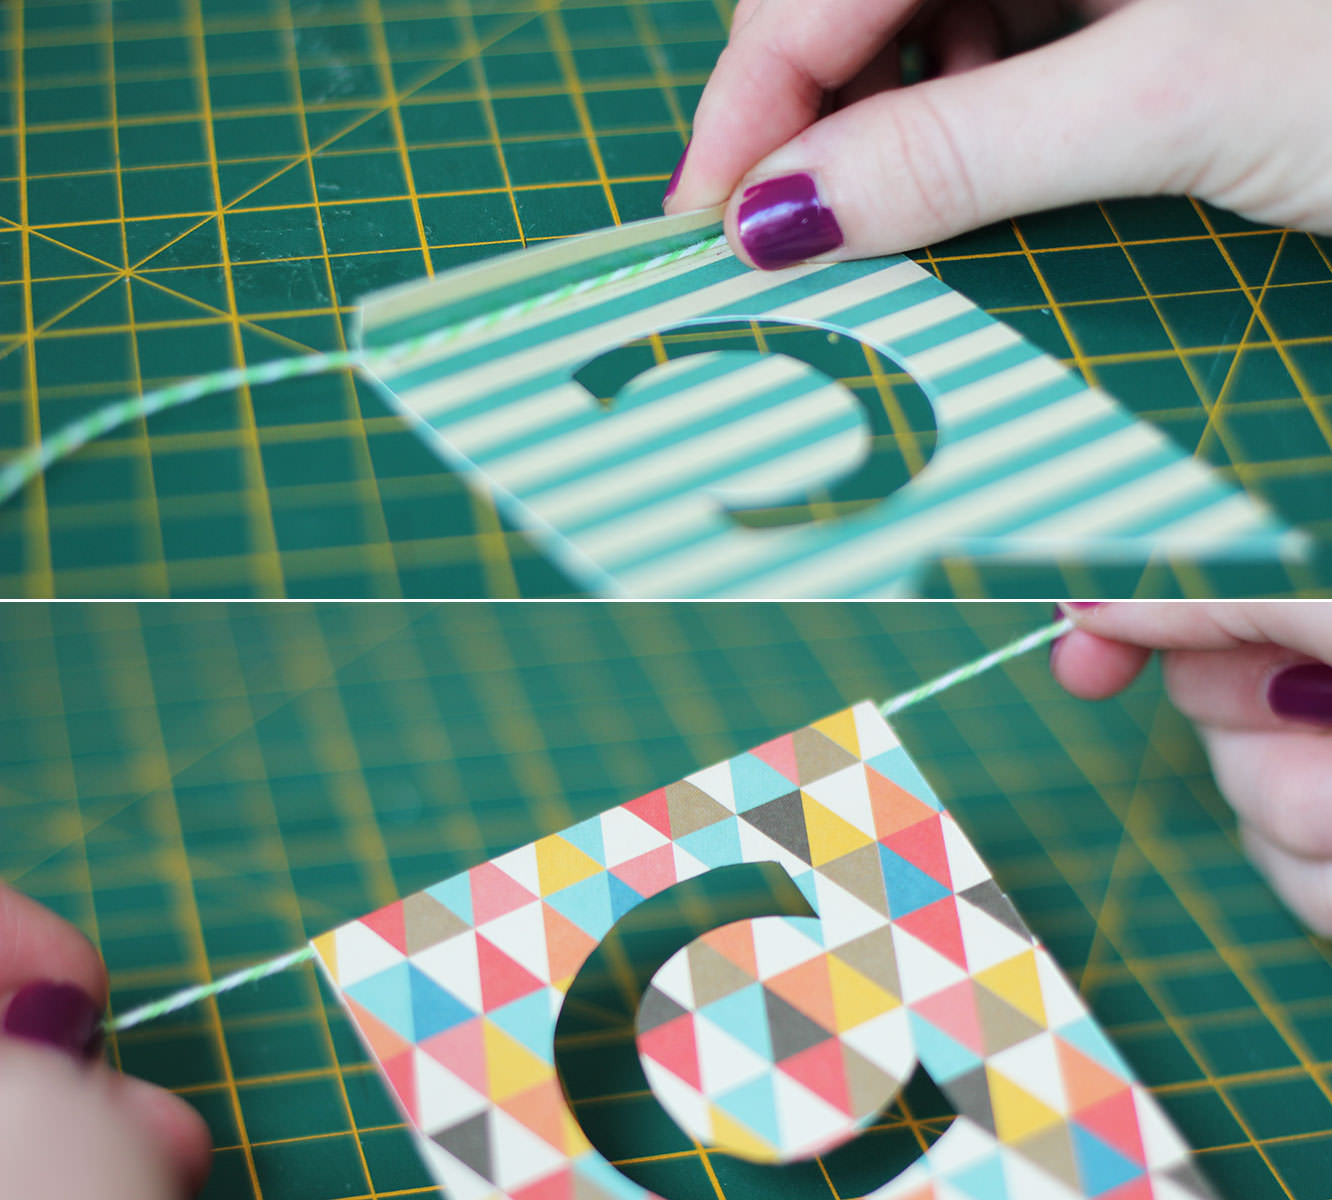
Stick double sided tape inside the fold, making sure it’s right to the top edge. Place the string in the fold and stick down.

Step six

Repeat until you have a full sentiment.

home-made-party-congratulations-banner-7

Ta da!