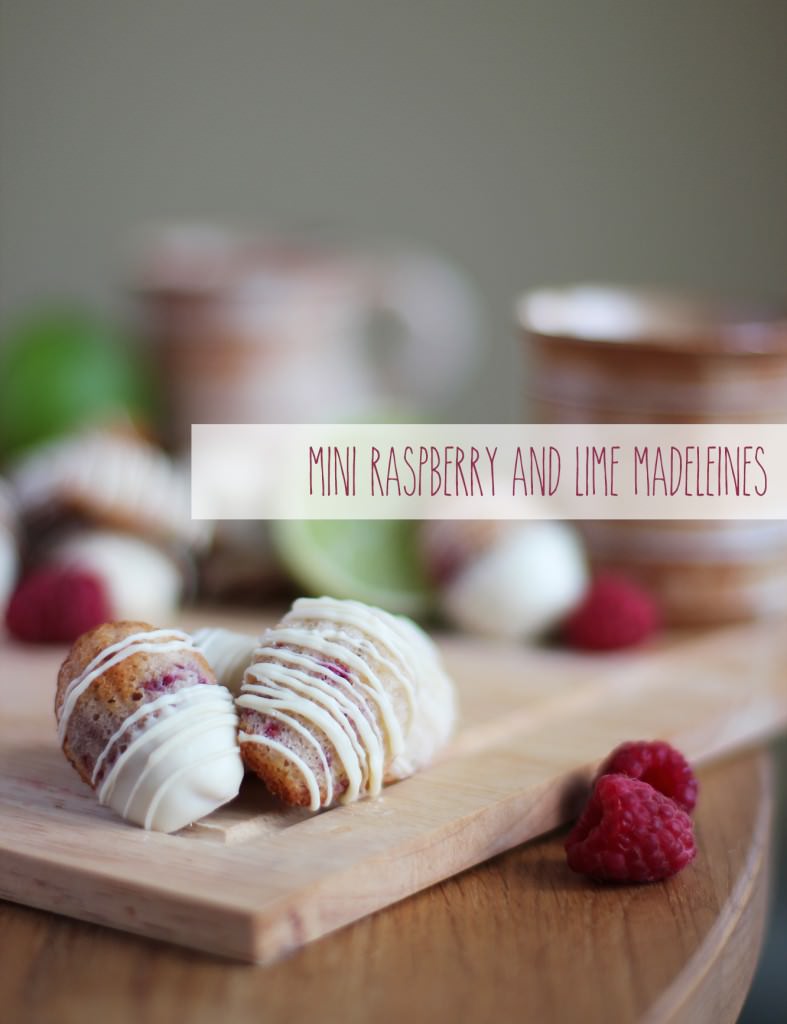
A couple of months ago my lovely housemate got engaged. A couple of weeks ago we celebrated that fact.
I decided I wanted to make some party food. Given that we’re fast approaching Christmas (I mean, it’s the 17th November already, what?) this little series of posts should furnish your party season with delightful nibbles and may double as last minute Christmas present/hostess gifts.
This one falls into the second category, so get online and buy yourself some cellophane bags and a roll of ribbon, your colleagues and your milk man will never have been happier. Well, I hope their lives are better than that, but either way, there won’t be any disappointment, and that’s all anyone’s looking for at Christmas.
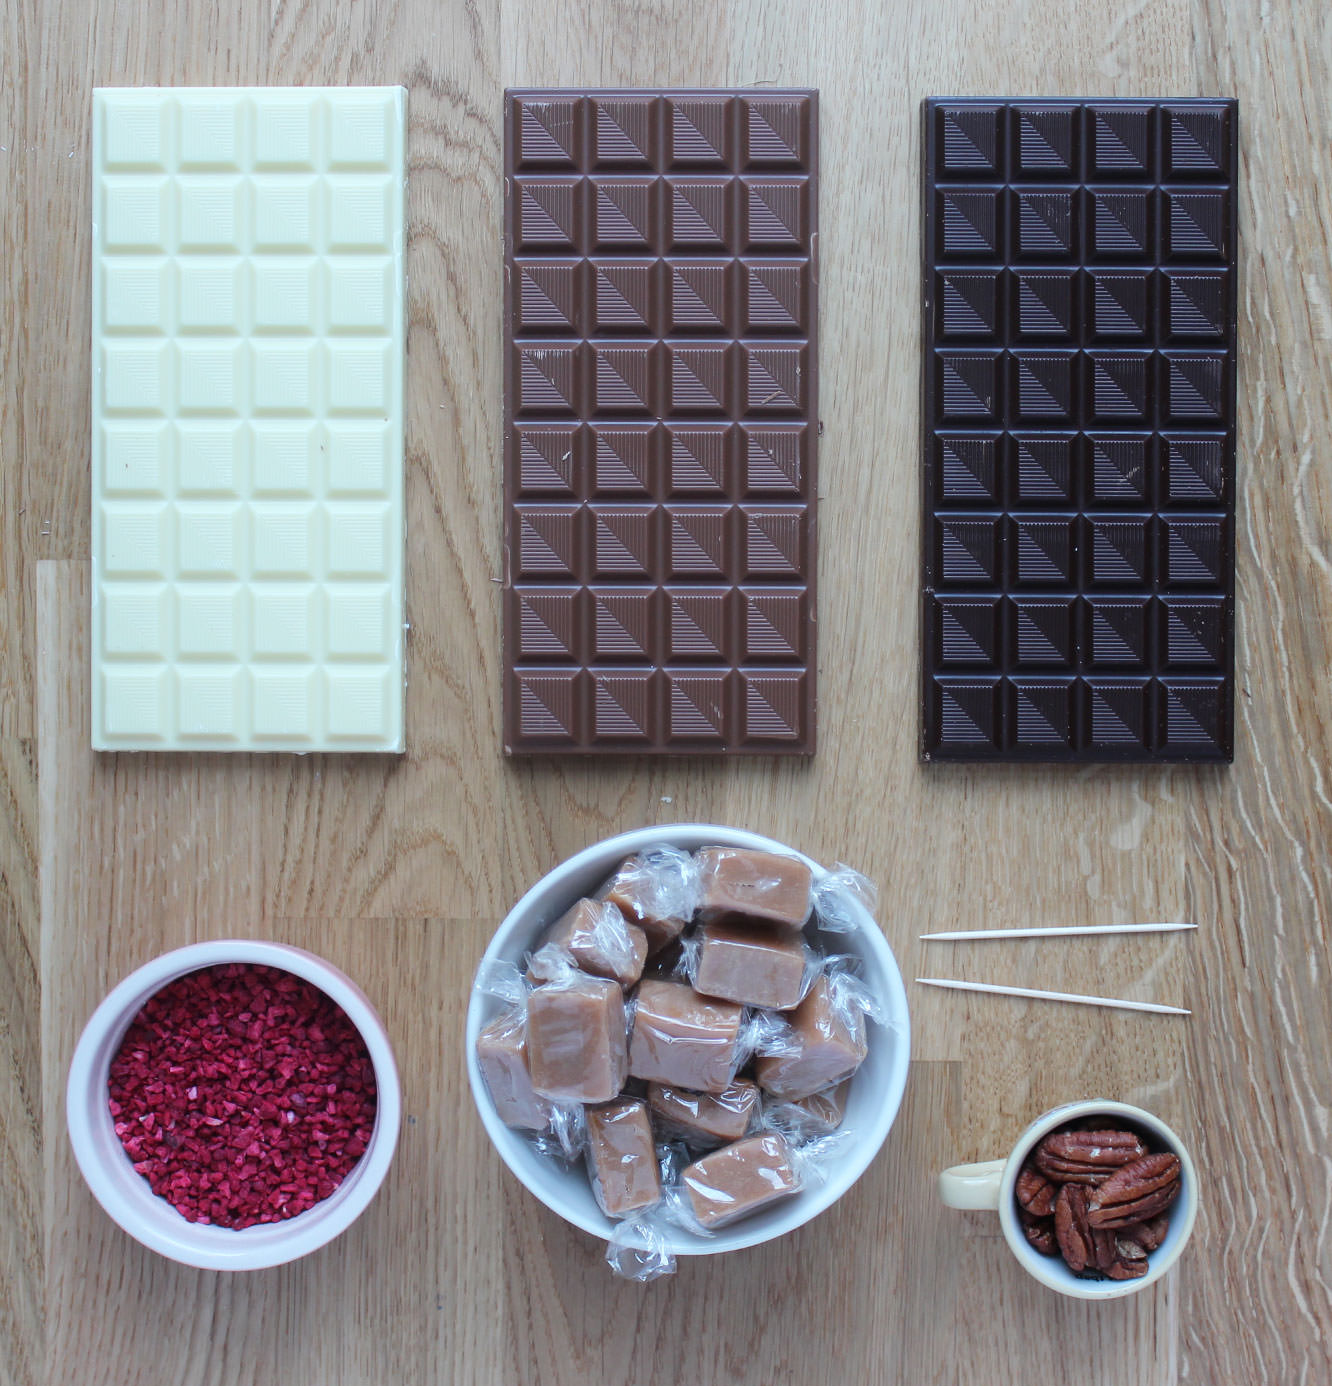
Things you need
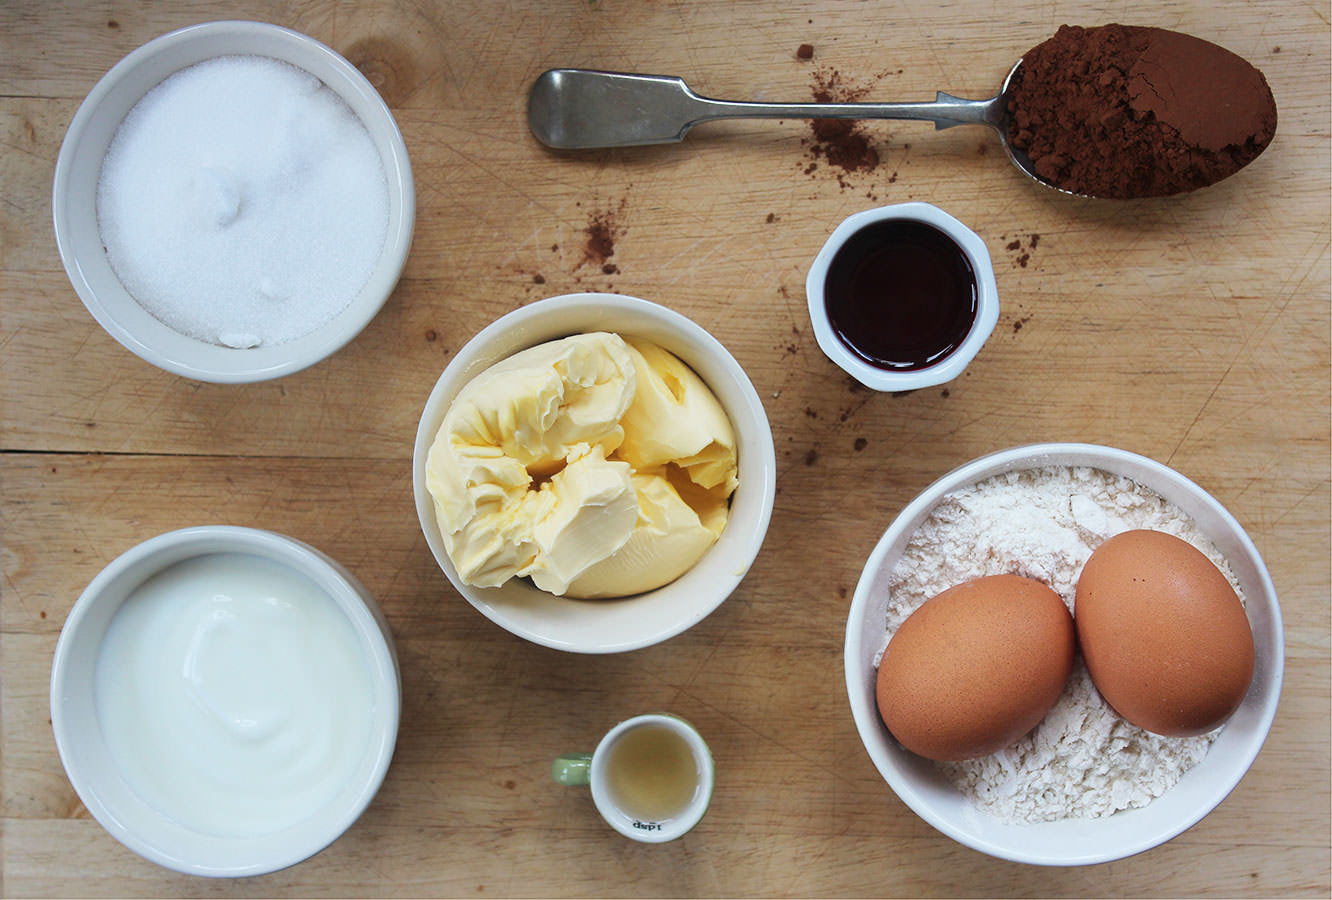
200g/7 oz White chocolate
200g/7 oz Milk chocolate
200g/7 oz Dark chocolate
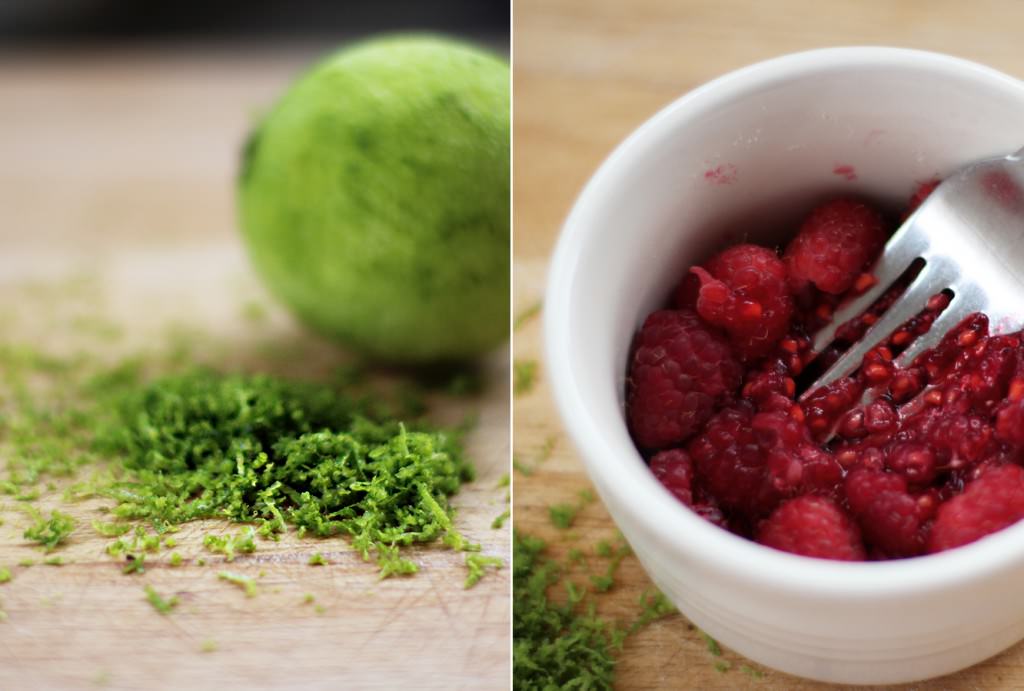
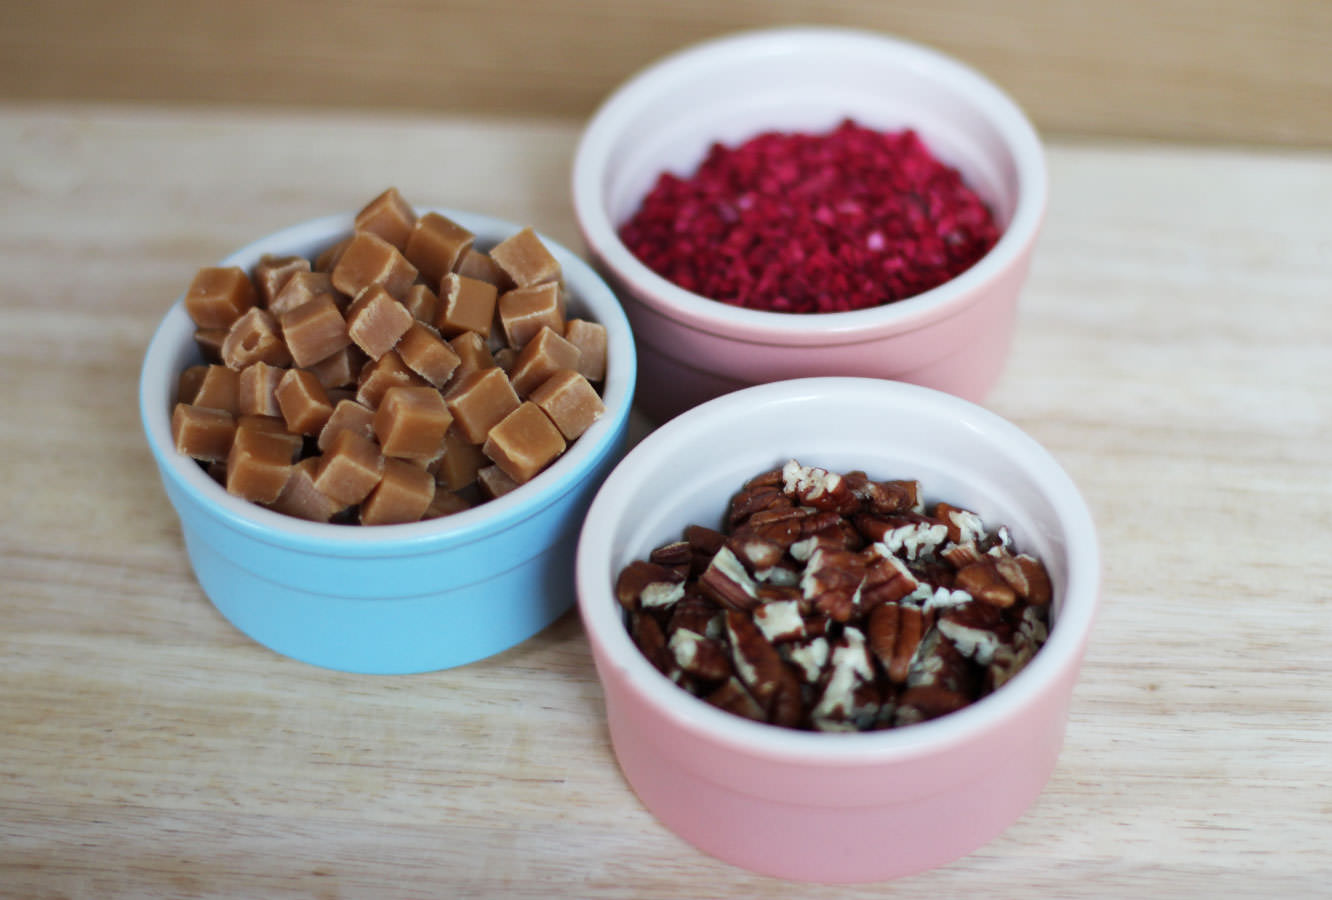
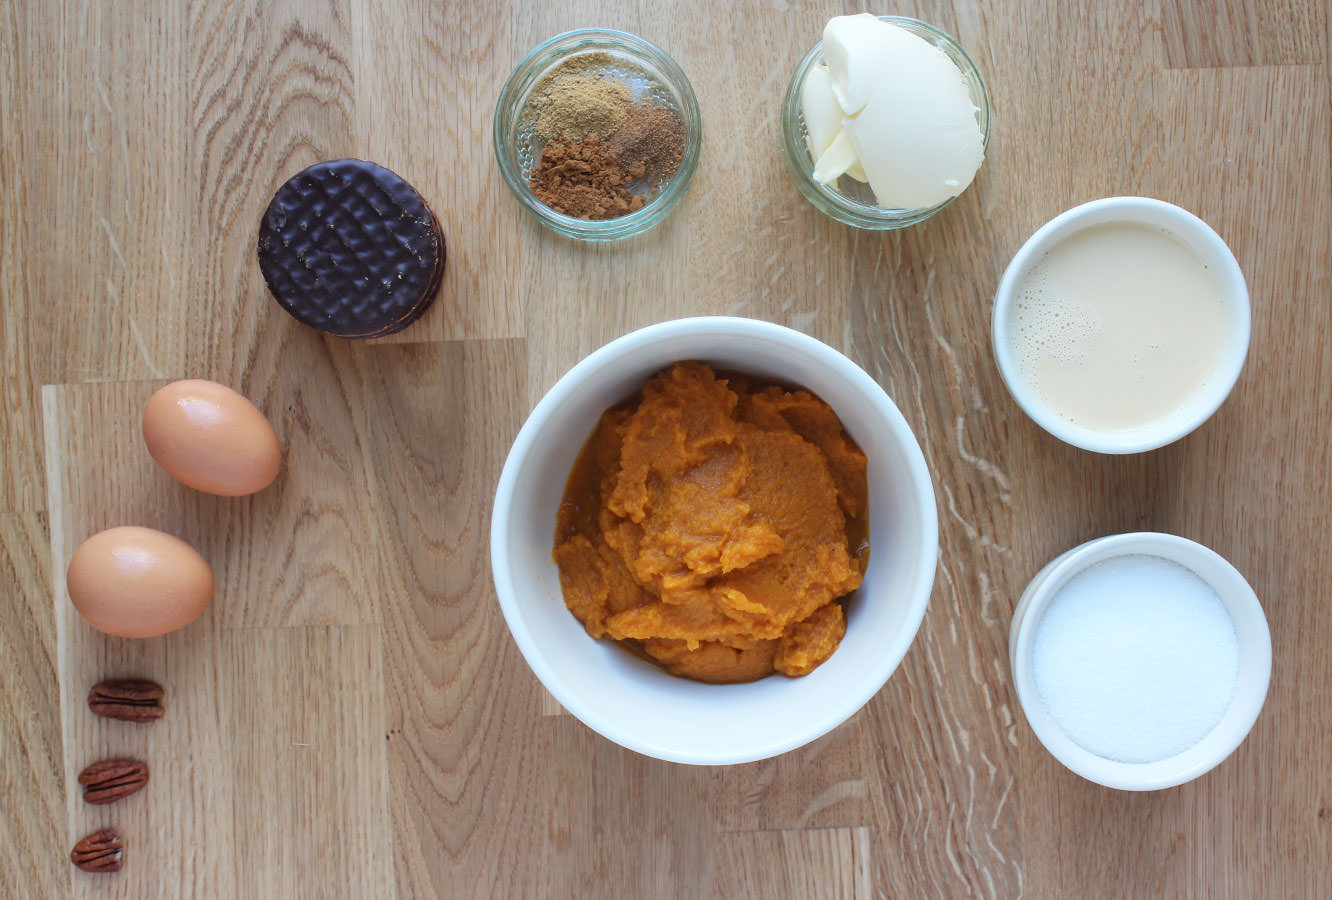
Decorations (I used freeze dried raspberries, fudge pieces and pecans)
Cocktail sticks
Piping bags or strong sandwich bags.
Cellophane (from a florist or a craft shop, or you can use greaseproof but the bottoms won’t be shiny)
Food thermometer (ideally)
Step 0.5
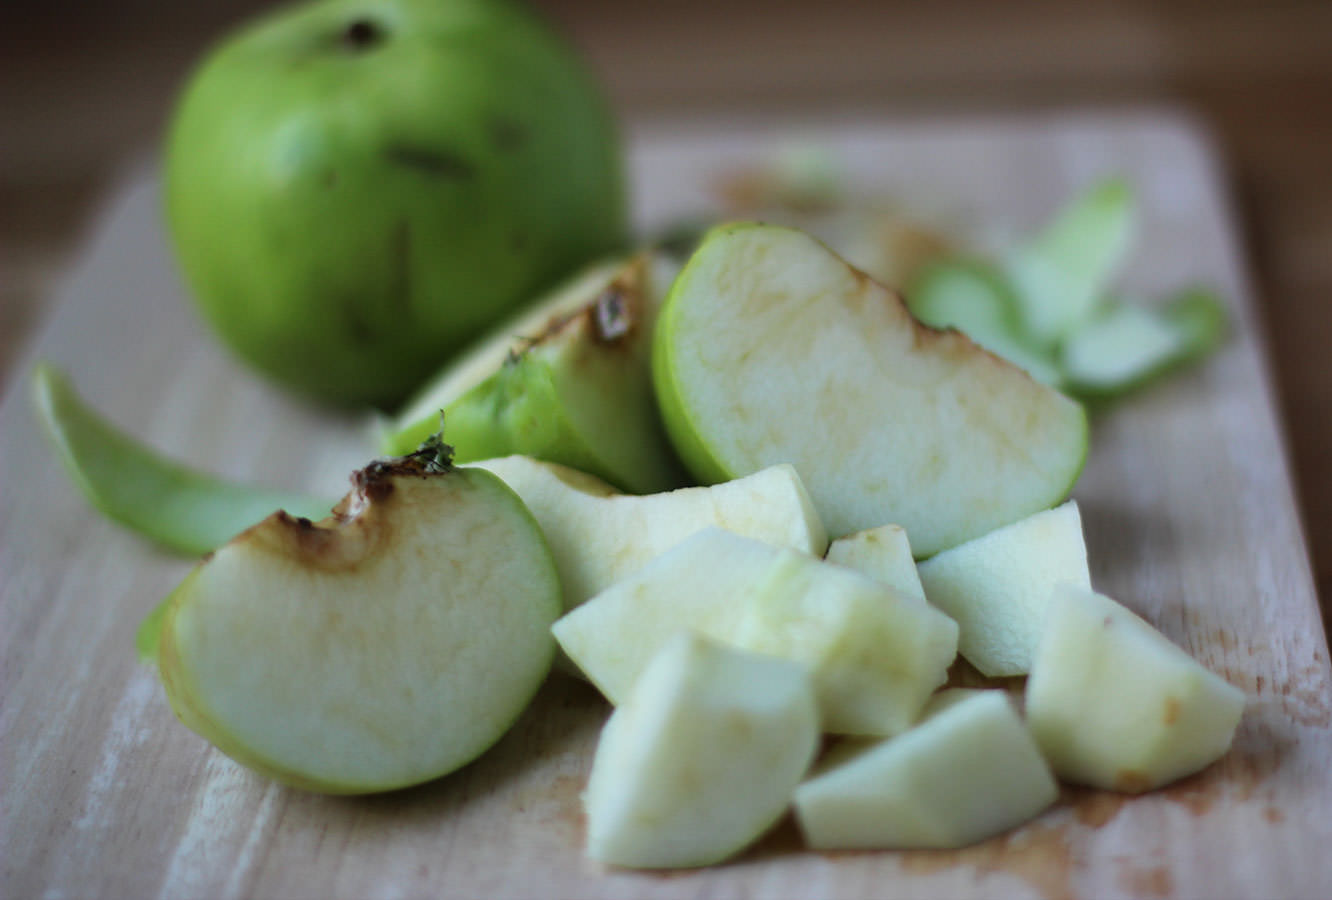
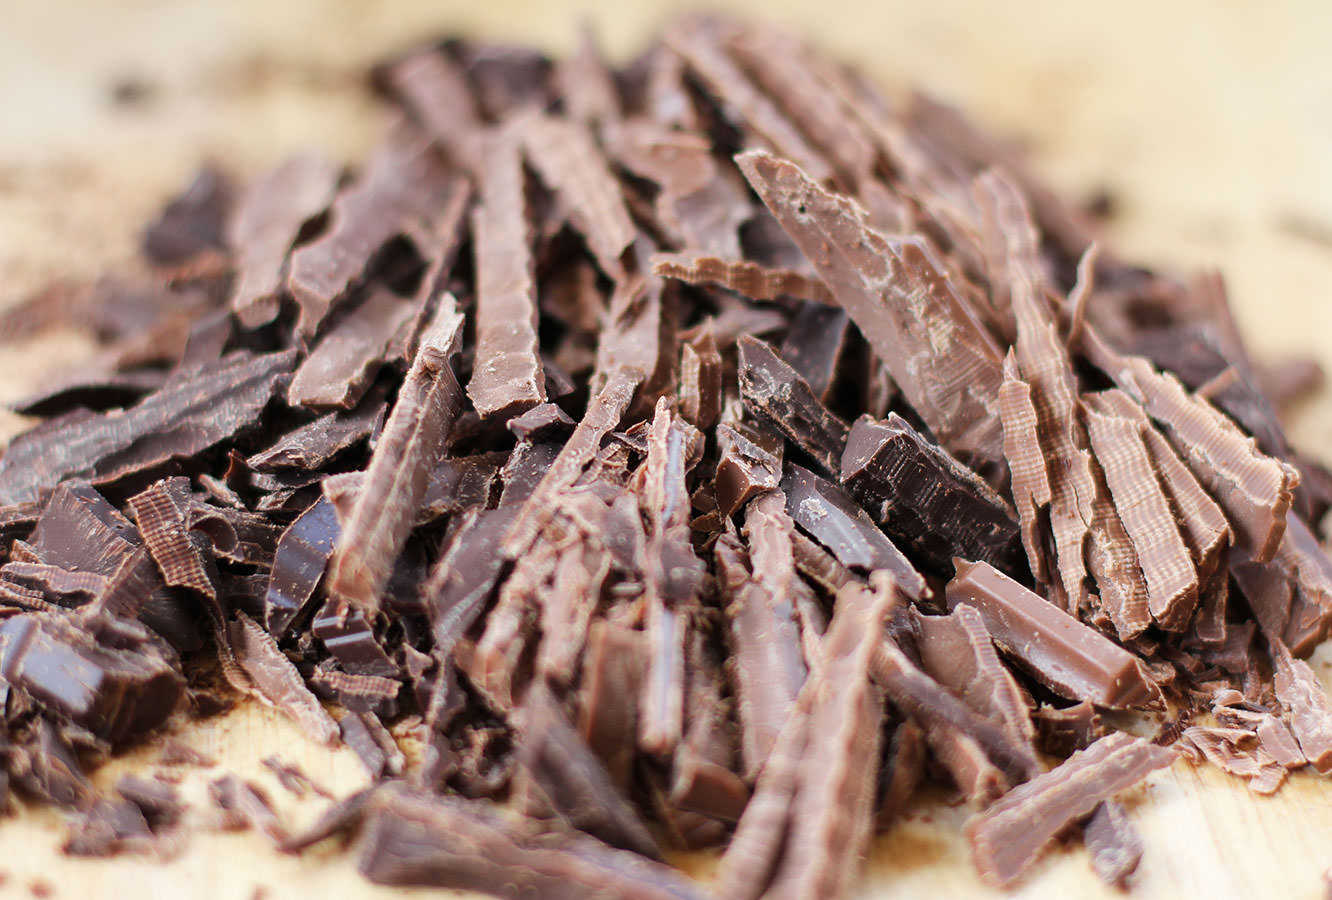
Prepare your toppings if they need preparing. I wanted my drops to be quite small so I chopped up my fudge and pecans.
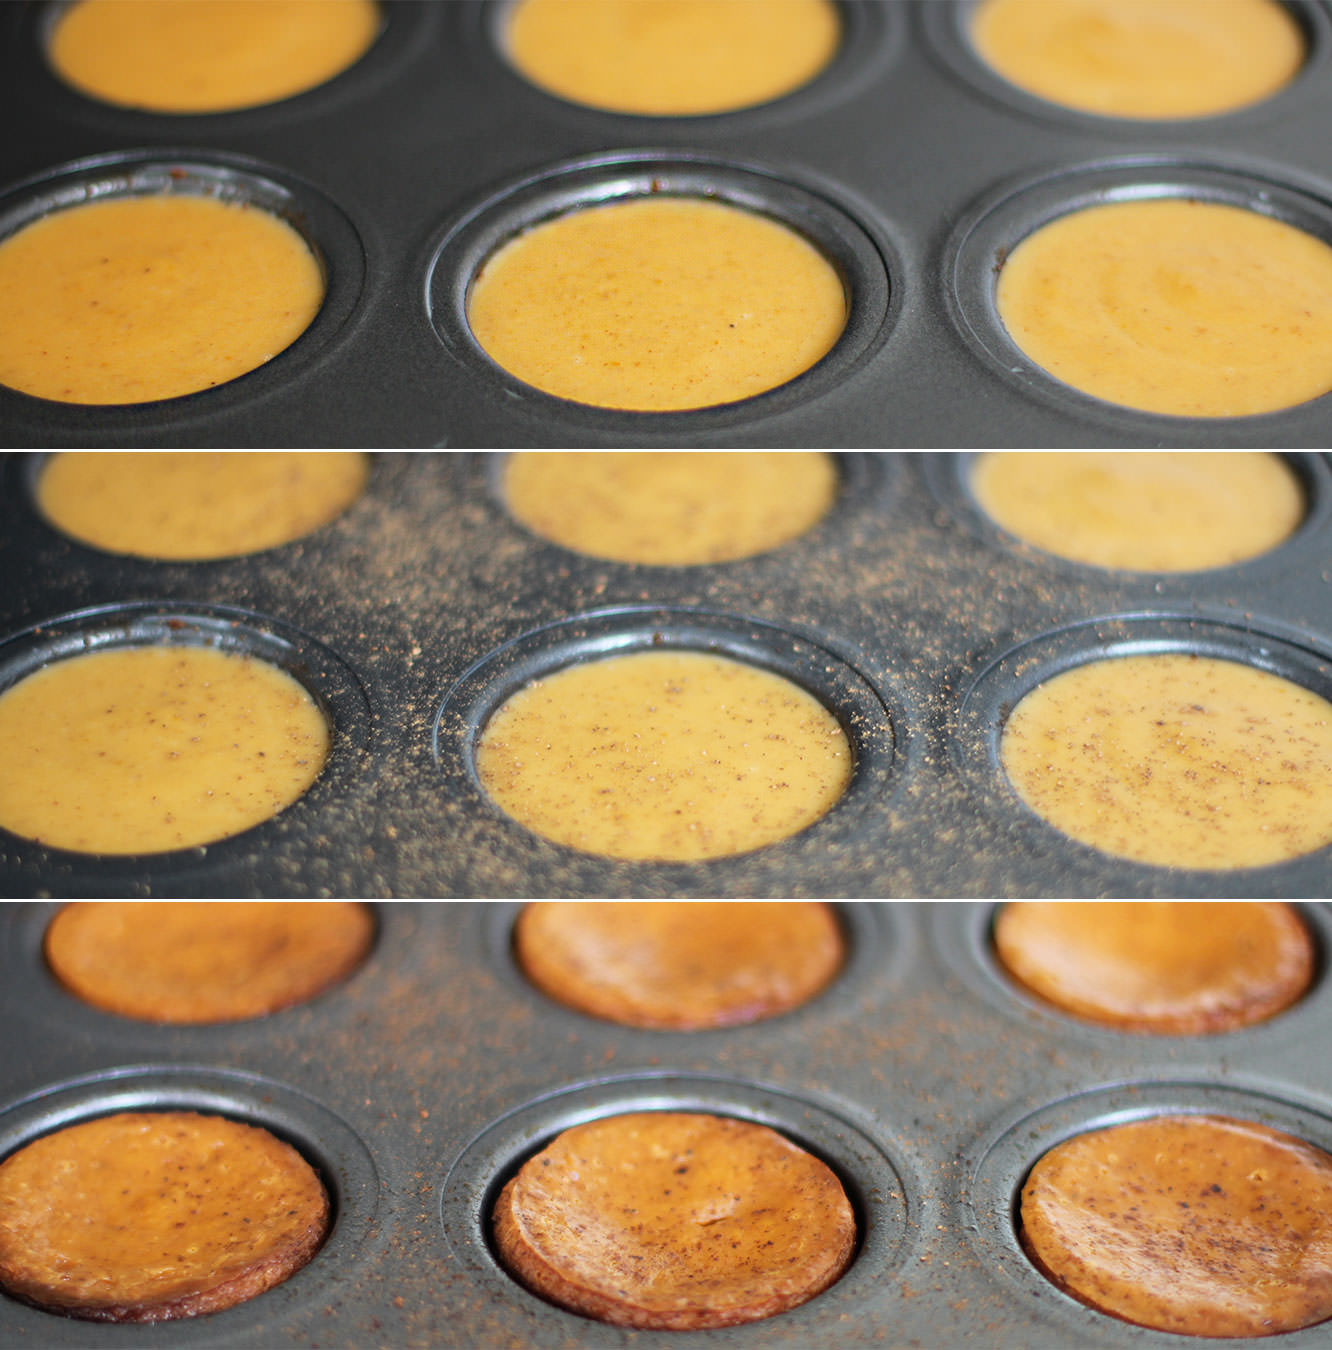
Step one
Now. This is the first time I have actually tempered chocolate. It was easier than I expected and well worth it for the shiny finish. I encourage it. I also encourage the purchase of a thermospatula. I’m not being paid to say that, it’s changed my life (in a small but significant way).
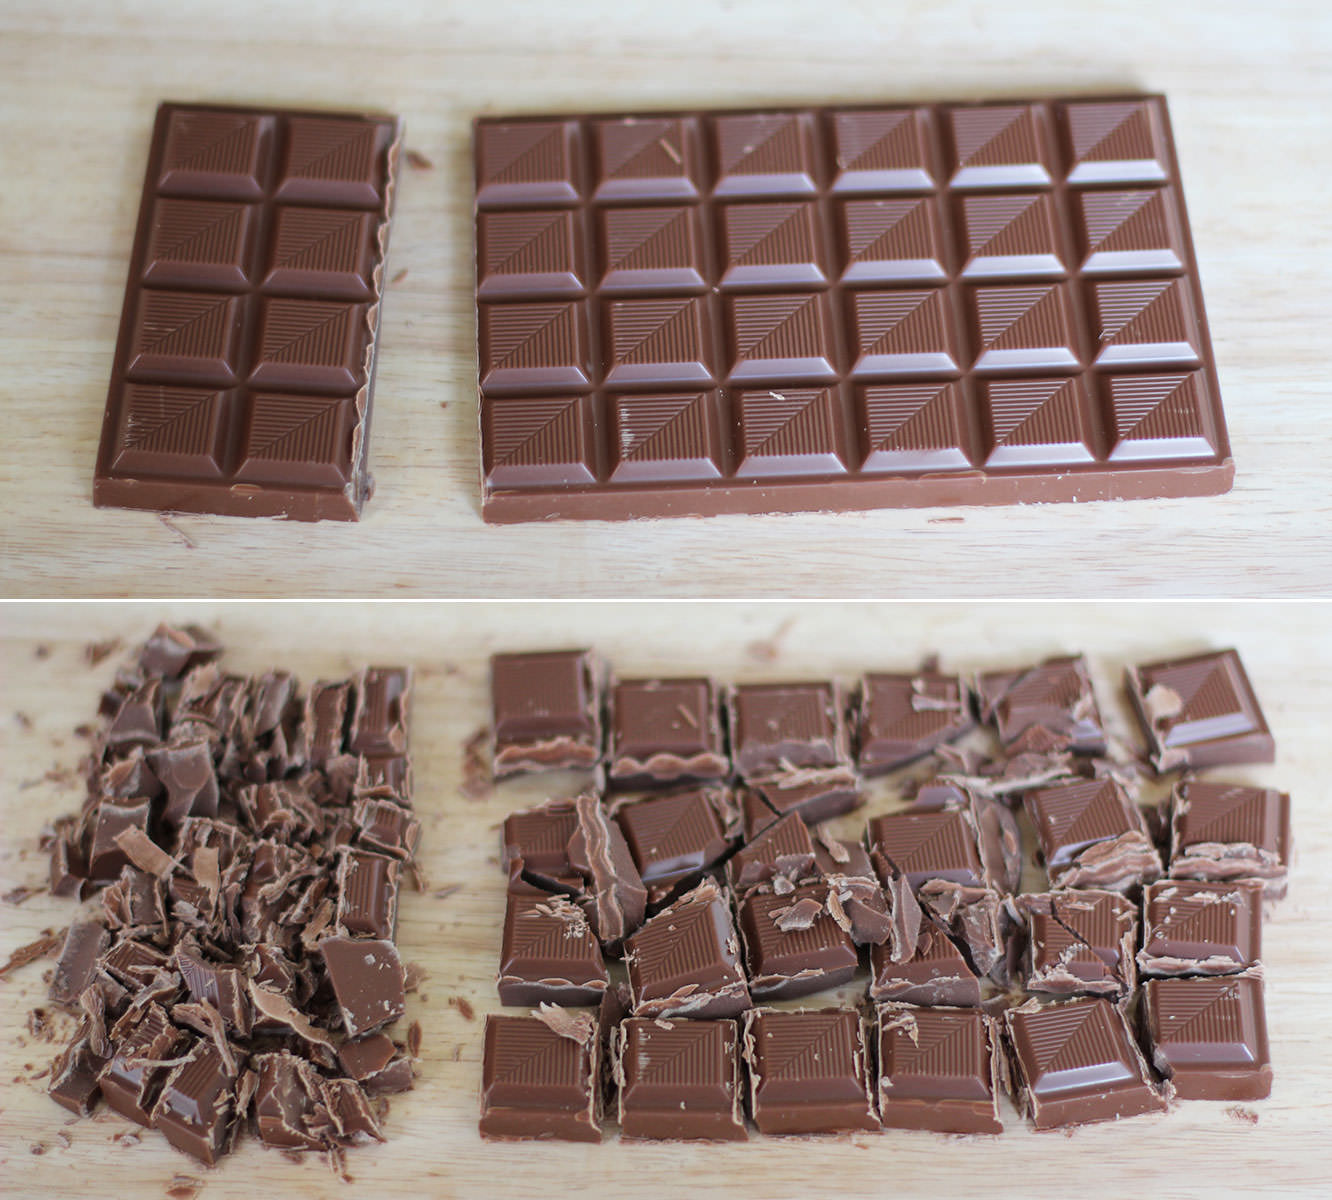
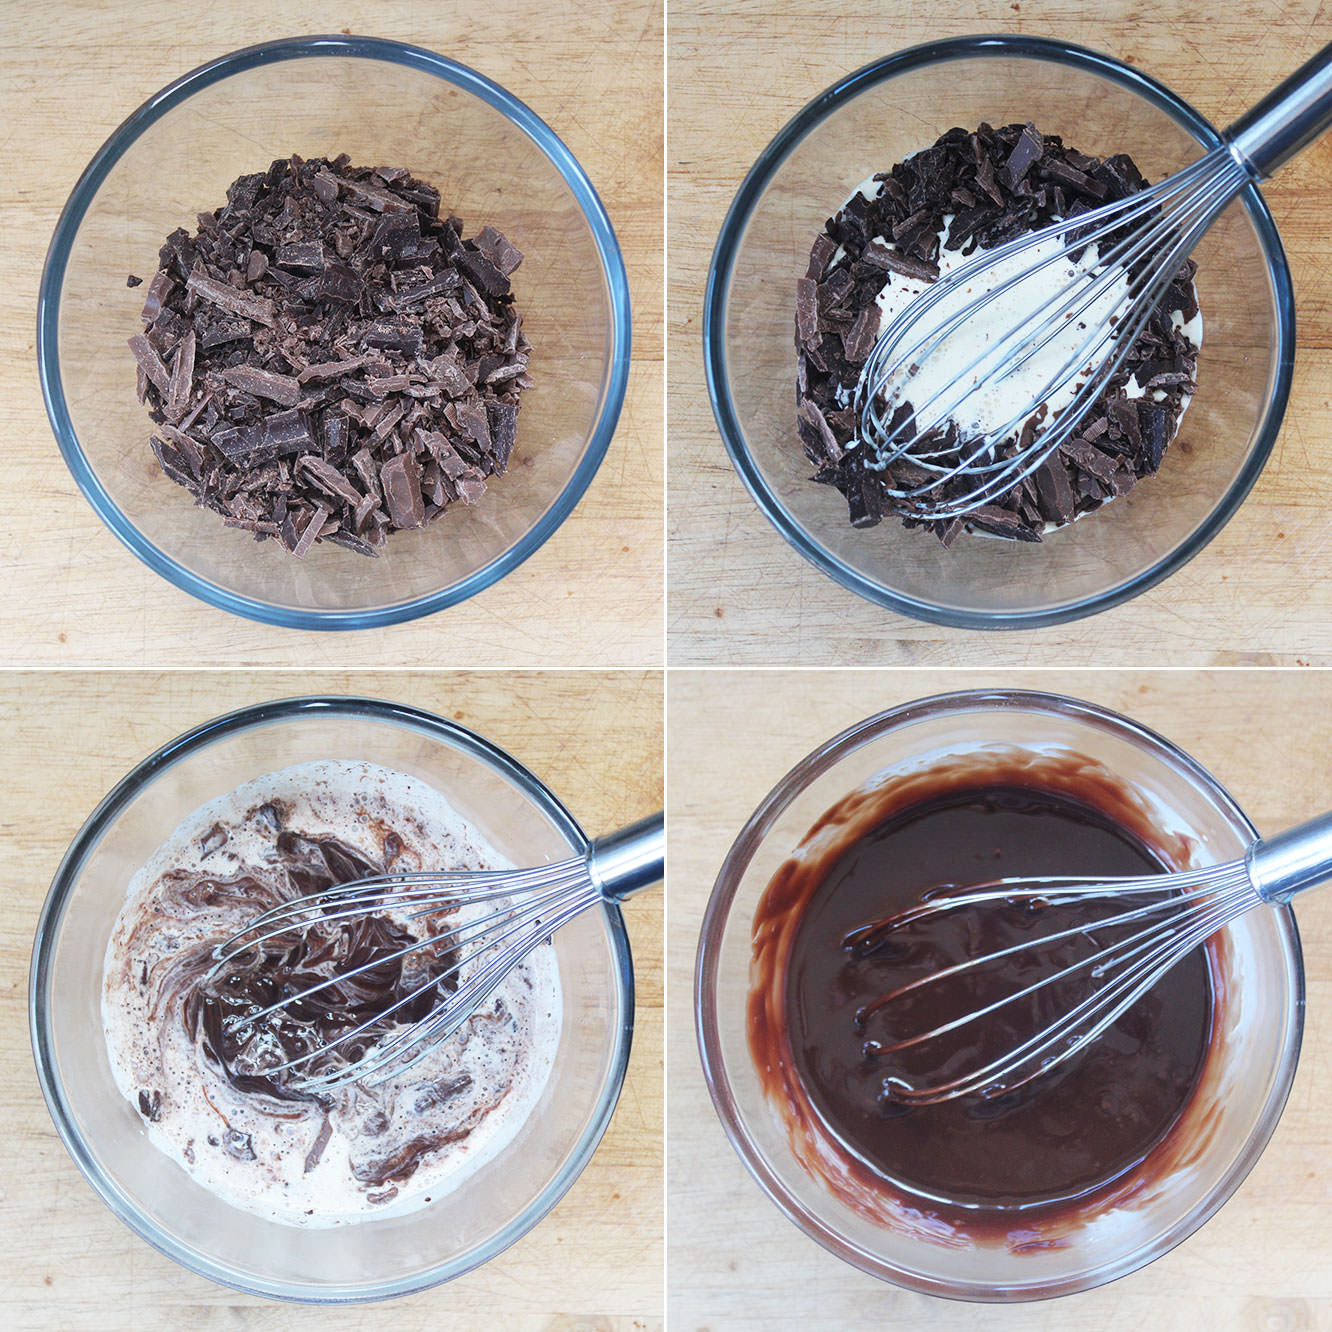
If you’re joining me on the tempering train you need to split the chocolate into a third/two thirds split. Ignore the photo above and just chop it all into big chunks. I learned as I went with this one.
Step two
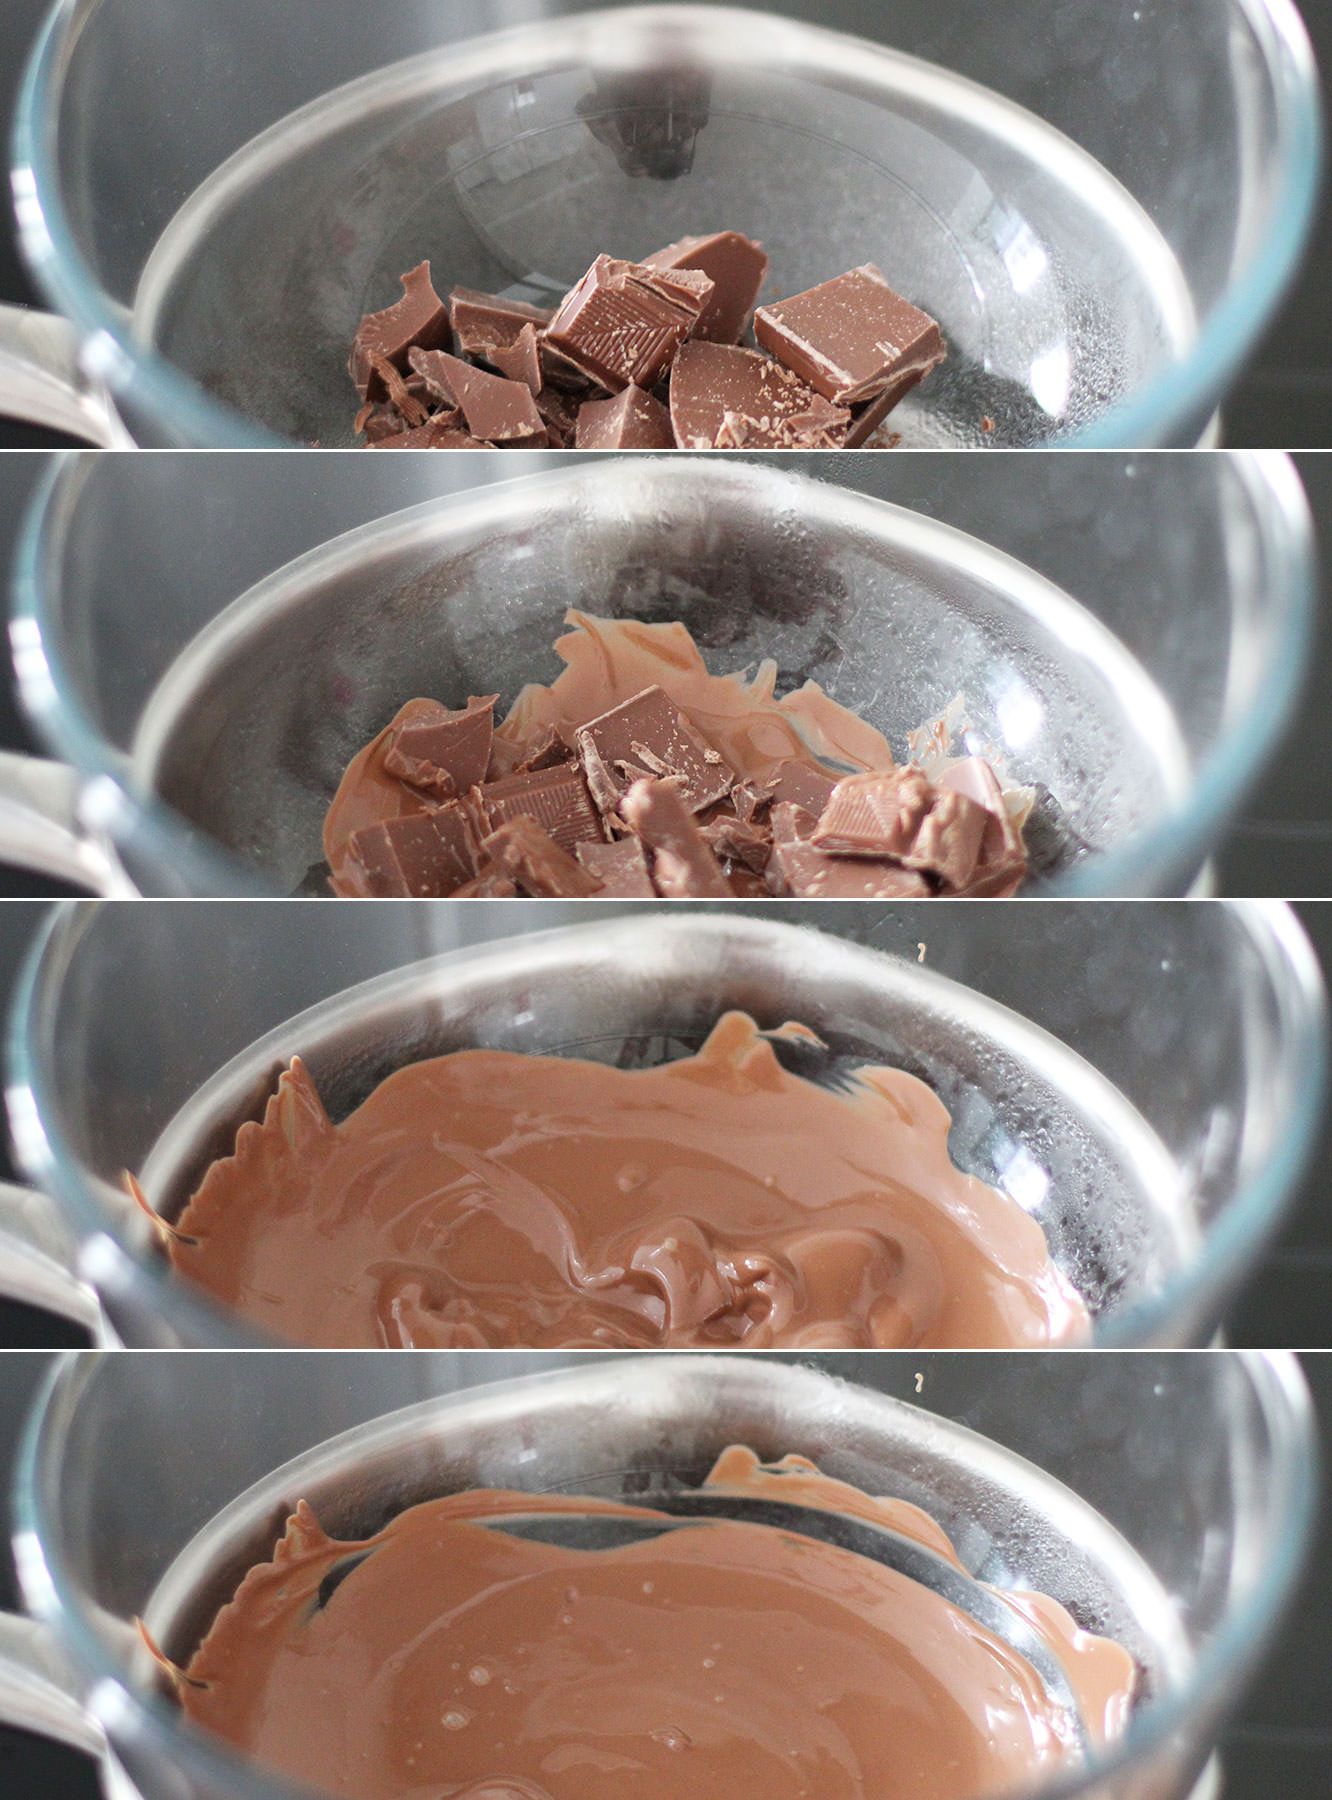
Place a heatproof bowl over a pan of simmering water; make sure the water isn’t touching the pan.
Add two thirds of the chocolate and allow to melt slowly. Stir occasionally. Mainly so you can feel like you’re doing something productive.
Bring to 45 degrees C and remove from the heat.
Step three
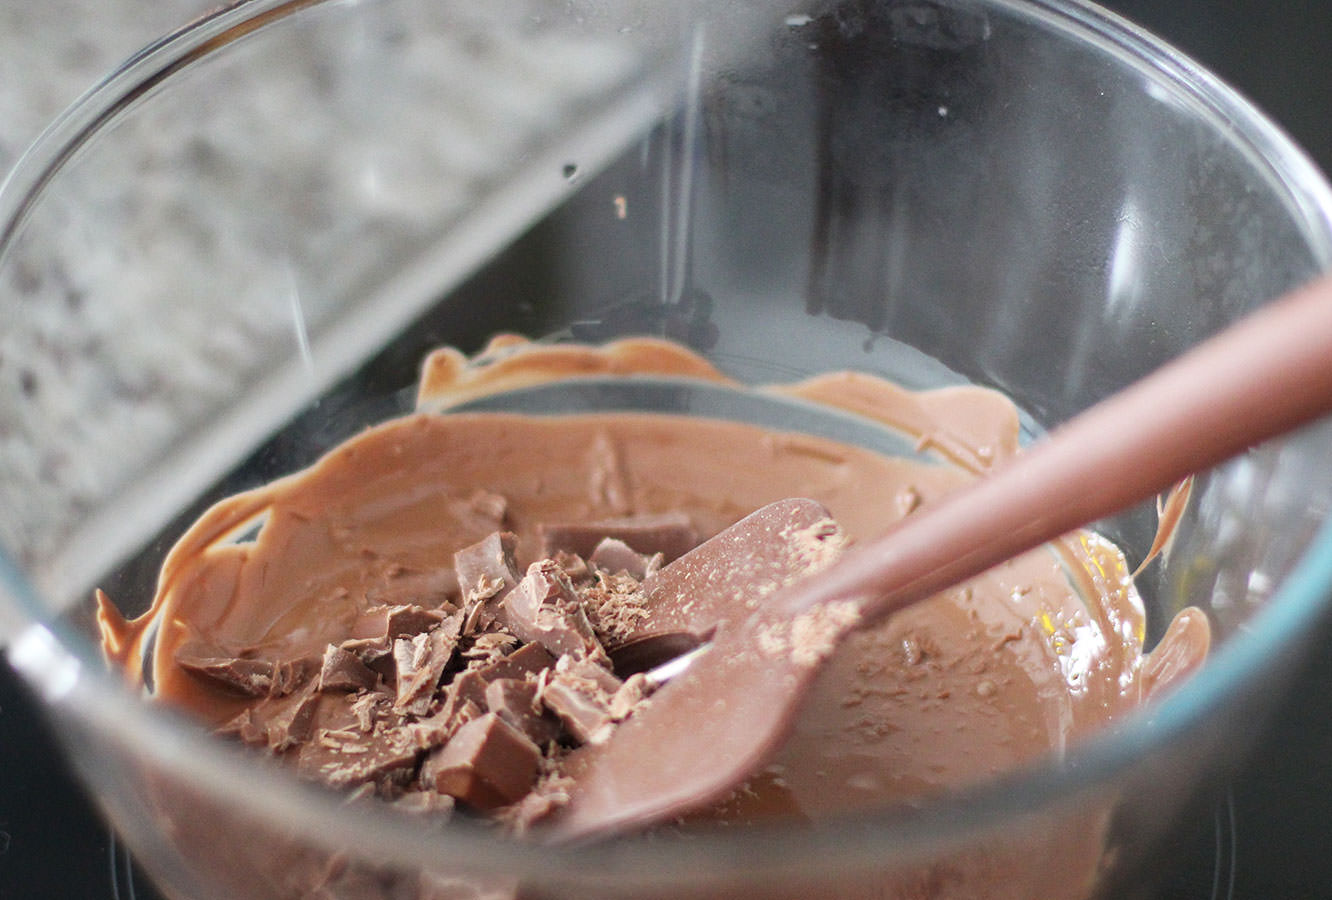
Add the rest of the chocolate and stir until its melted in. Keep stirring until the whole lot has cooled to 28 degrees C.
Step four
Place back on the heat and bring to 32 degree C.
Step five
Take back off the heat and dry the bottom of the bowl with a tea towel. Trust me, you don’t want water in your chocolate.
Step six
Pour into a piping bag.
Don’t trim the end yet. In fact, once you have twisted the opening to close it you should push any chocolate in the tip end back towards the rest, otherwise it will cool and solidify there while you’re tempering the rest.
Step seven
Repeat with the rest of the chocolate.

Step eight
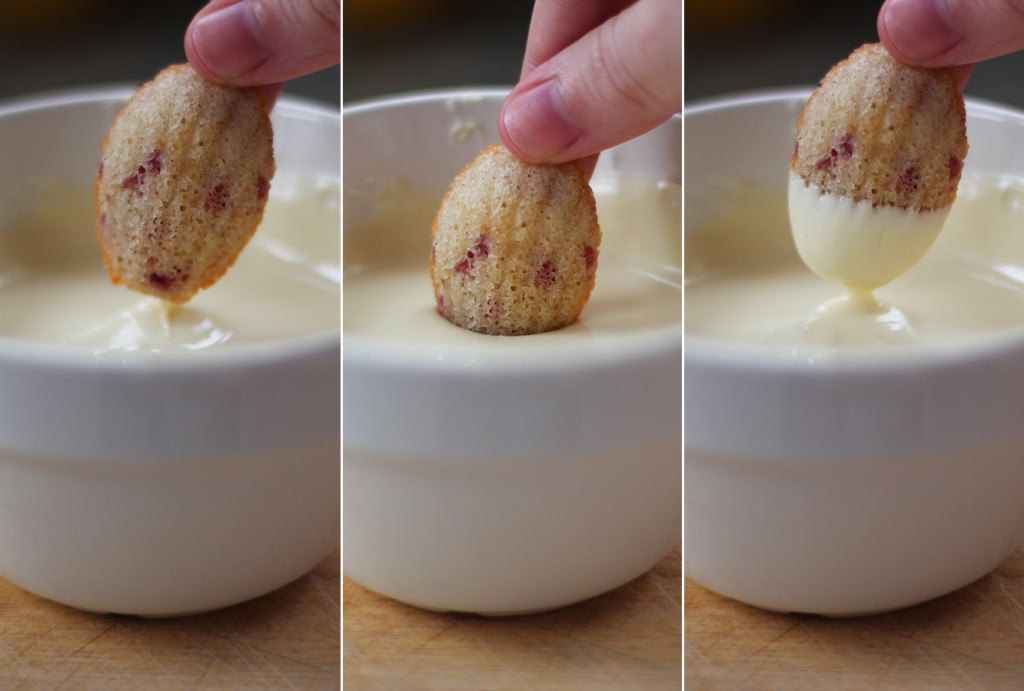
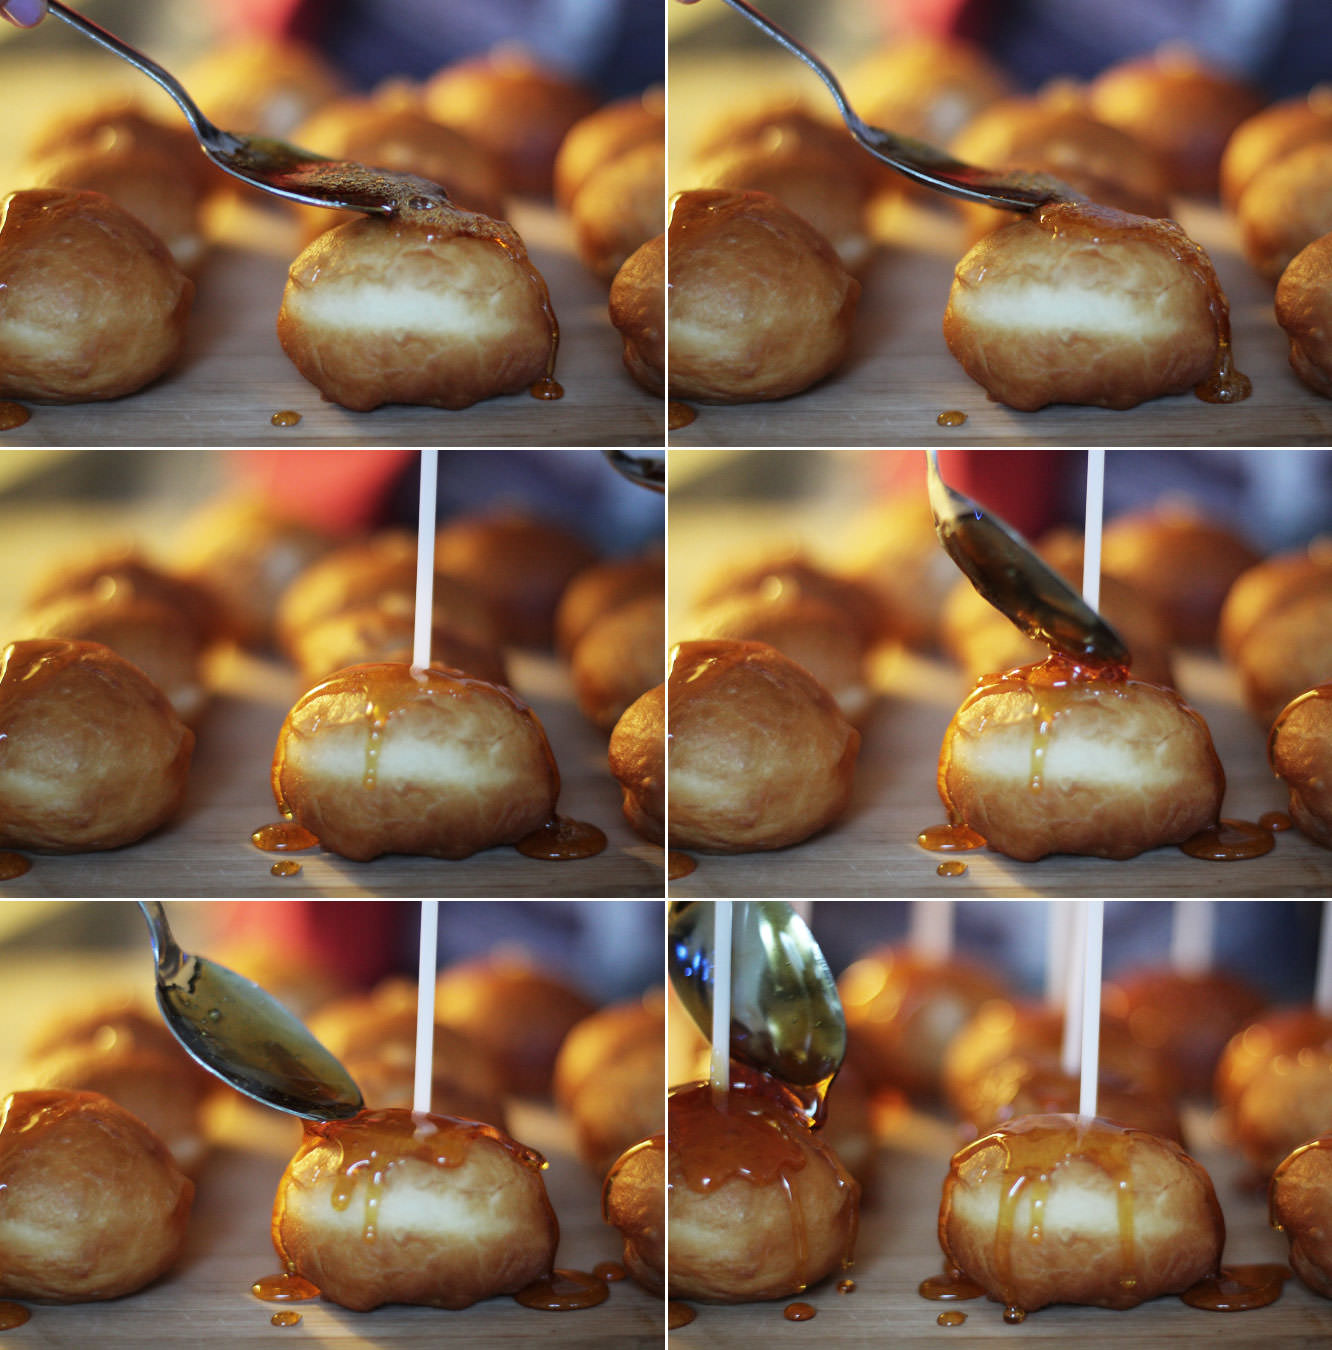
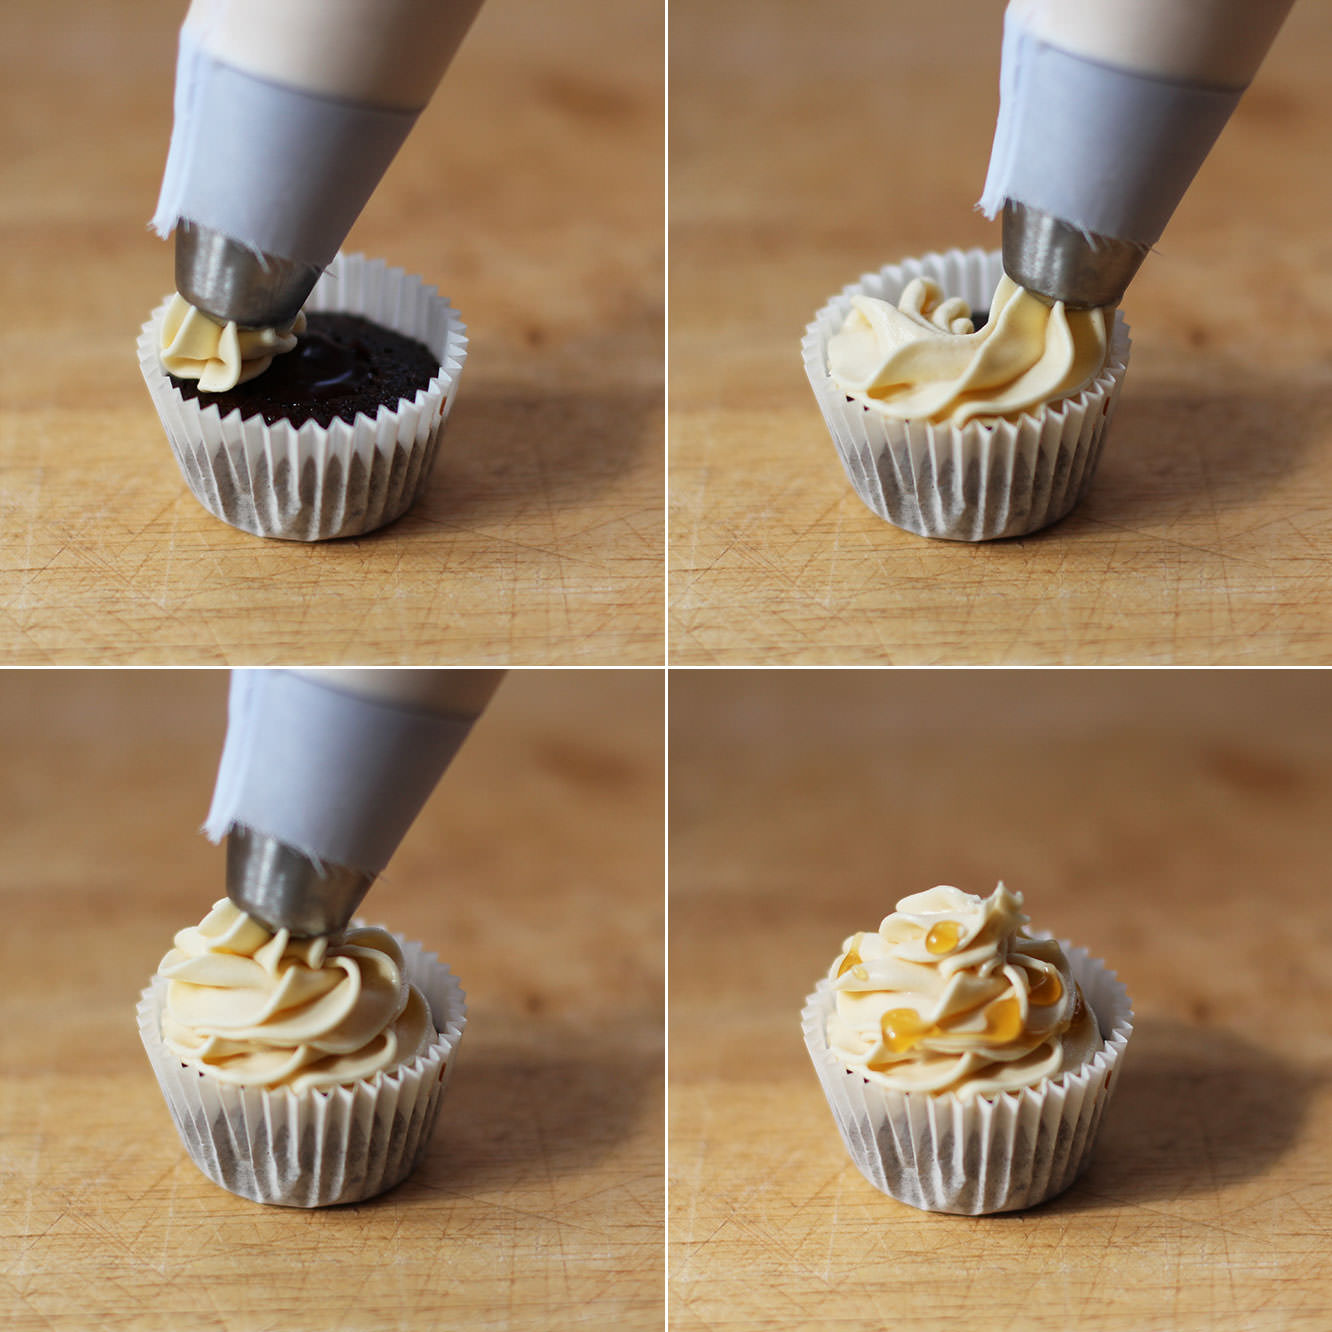
Lay down the cellophane and start piping.
You want to hold the piping bag at a 90 degree angle to the table and squeeze. The chocolate will flood into a lovely little pool.
Add a small blob of another colour on top and swirl about with a cocktail stick to create a marbled effect.
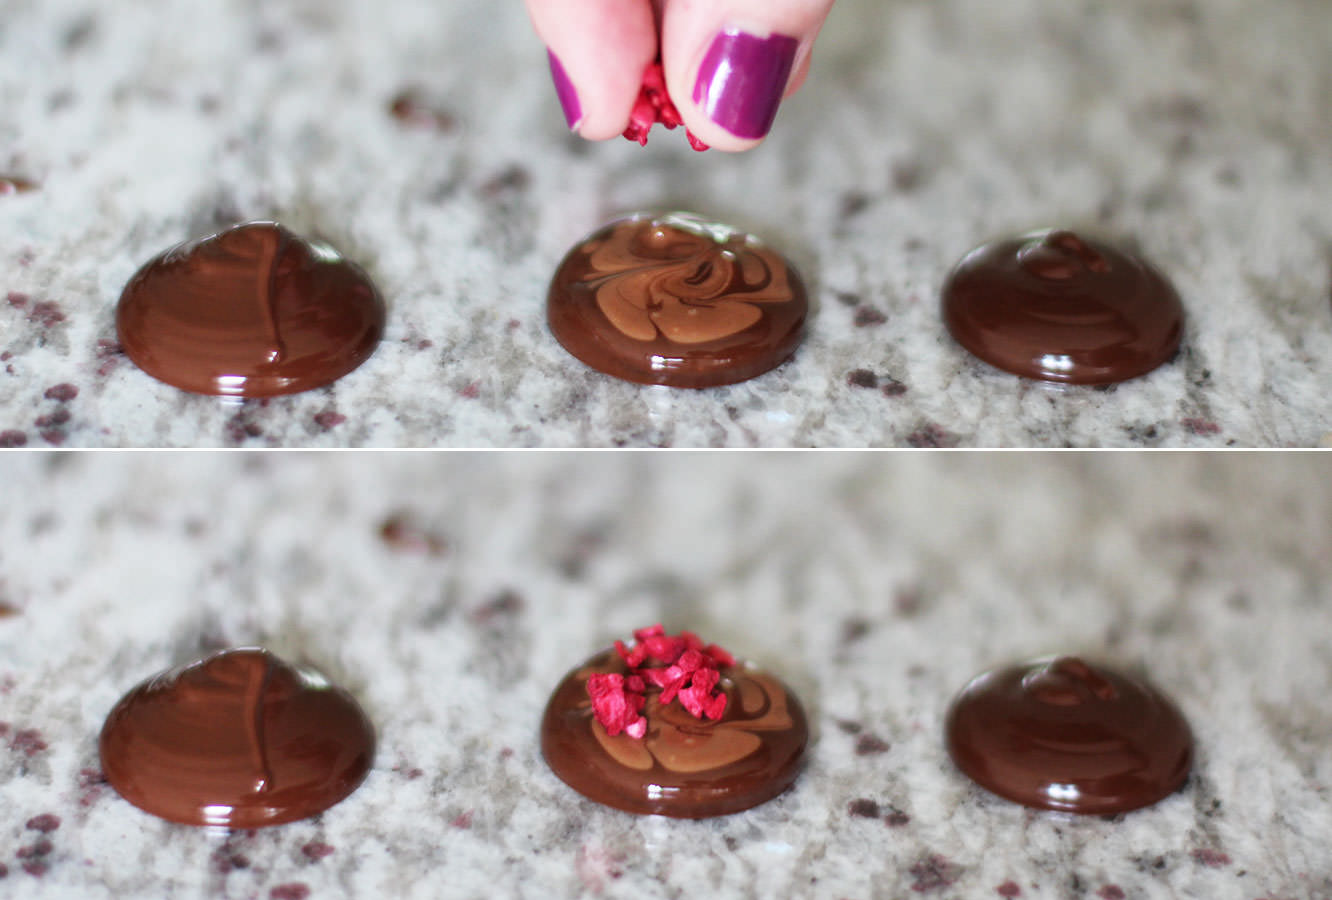
Step nine
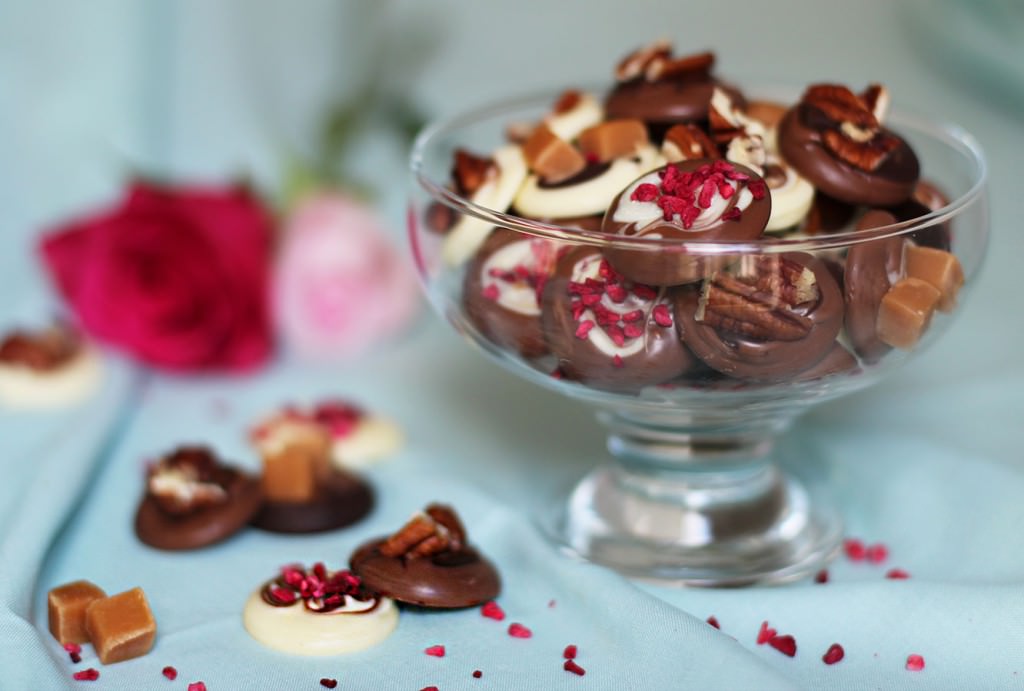
Sprinkle your decorations on top.
Some cranberries would go down well for christmas drops, but I was explicitly instructed not to buy any. These freeze dried raspberries looked rather pretty and tasted good too. See children? Compromise isn’t always bad.
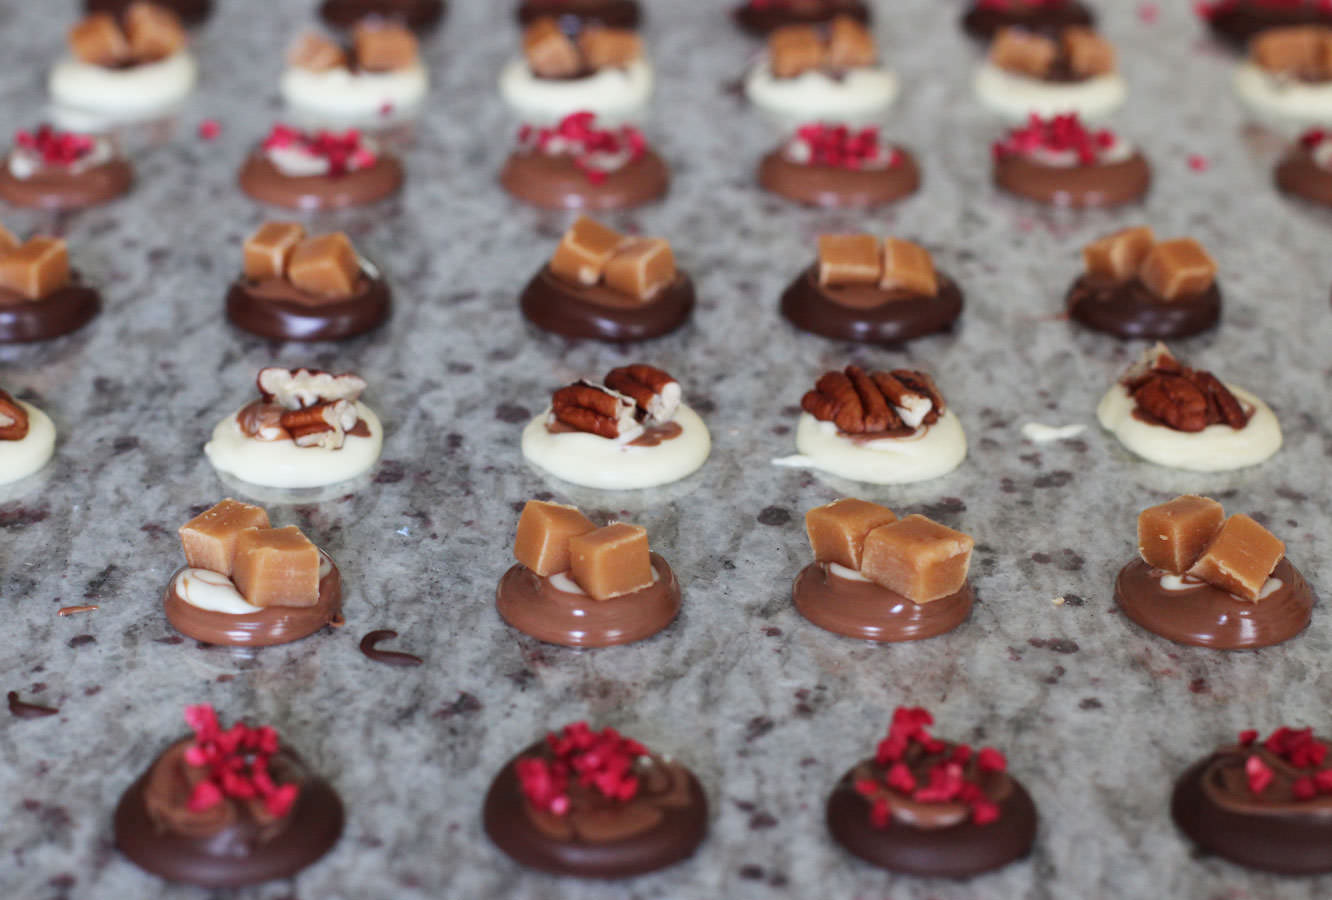
Step ten
Keep going until you run out of chocolate/the will to live. But look…so shiny. You did well to temper it, it was worth it after all.

Step eleven
Go forth and make someone’s day.

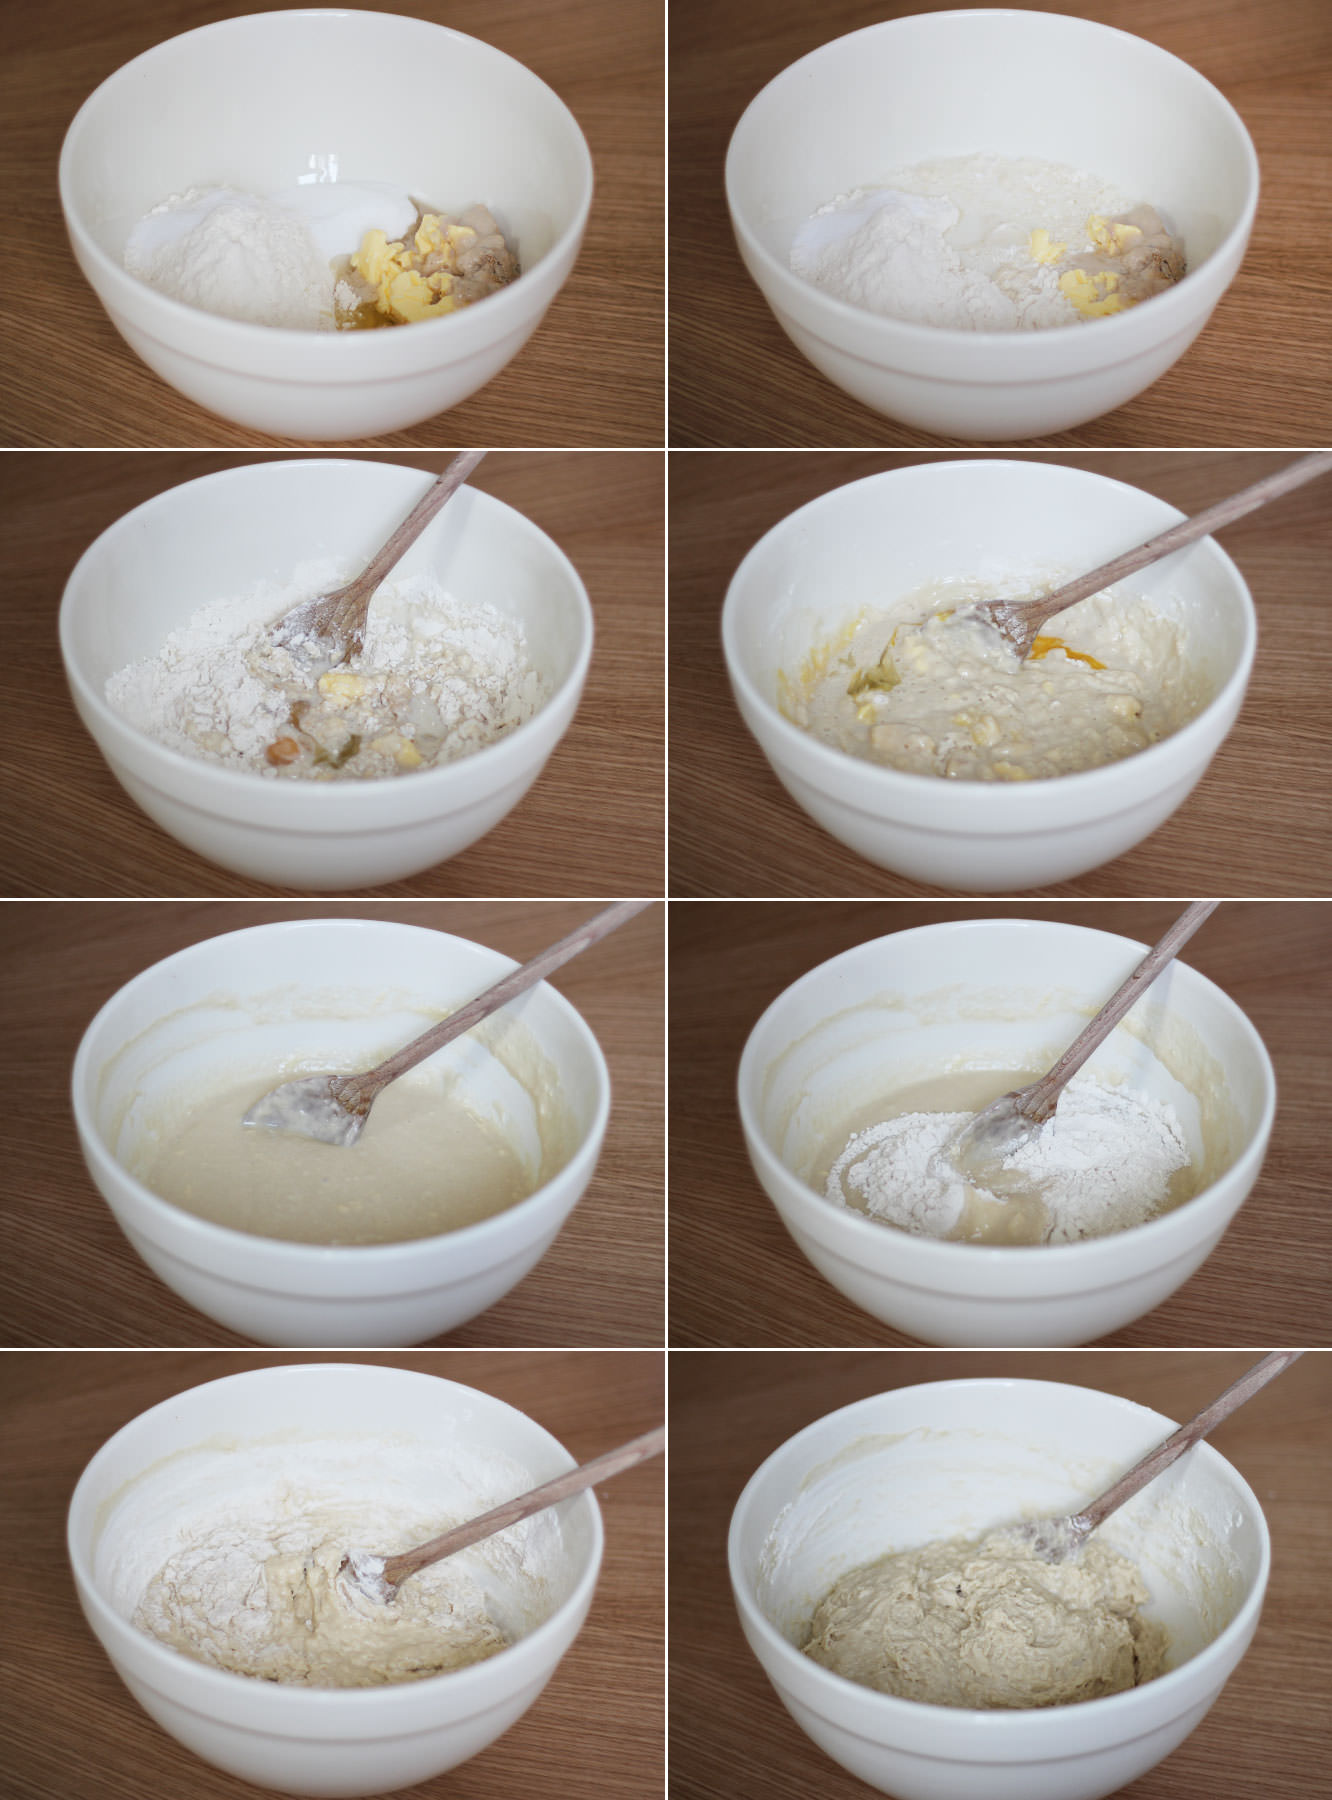
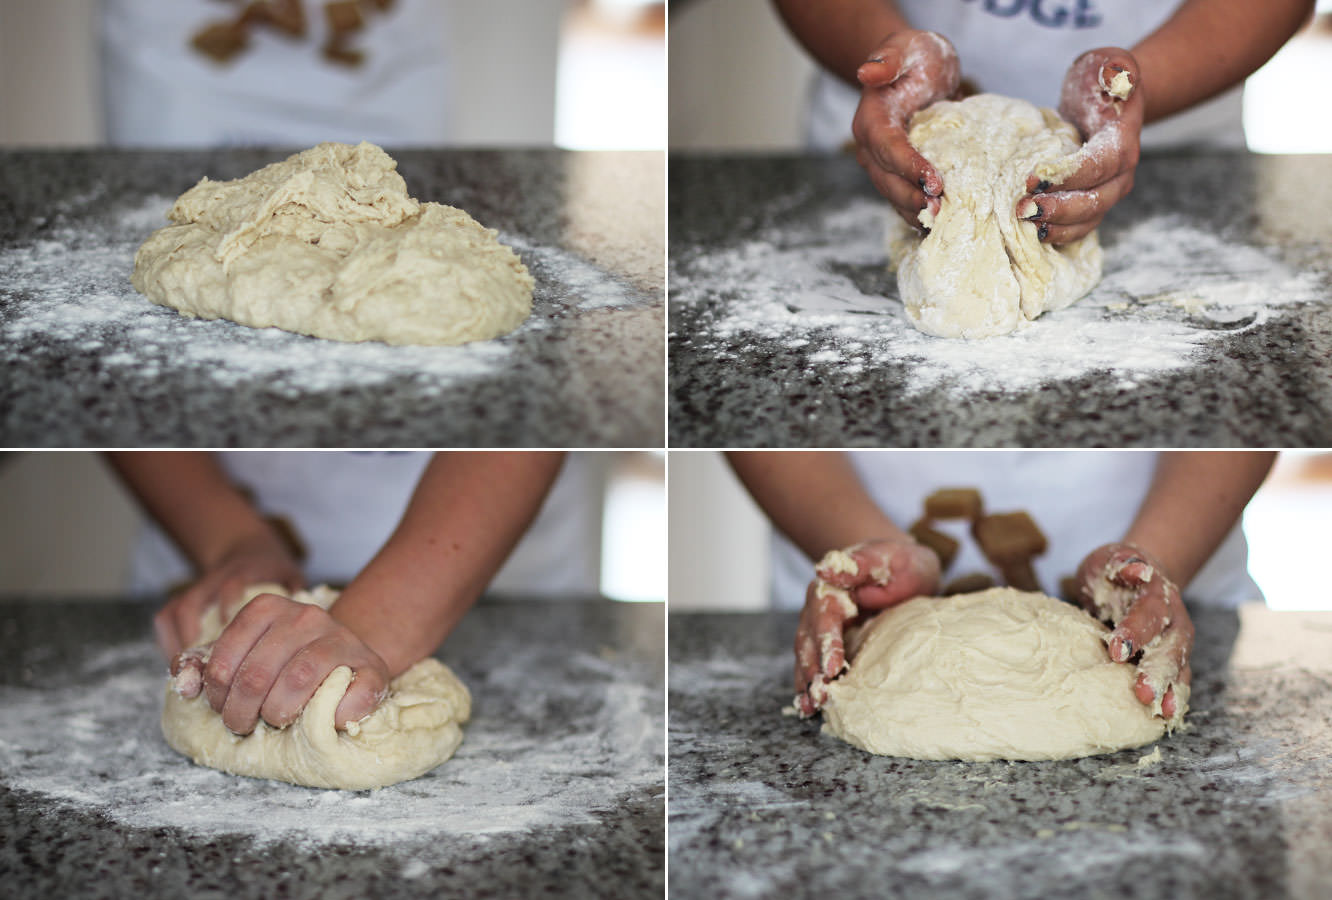


 Step one
 Step two
 Step two
 Step three
 Step four
 Step five
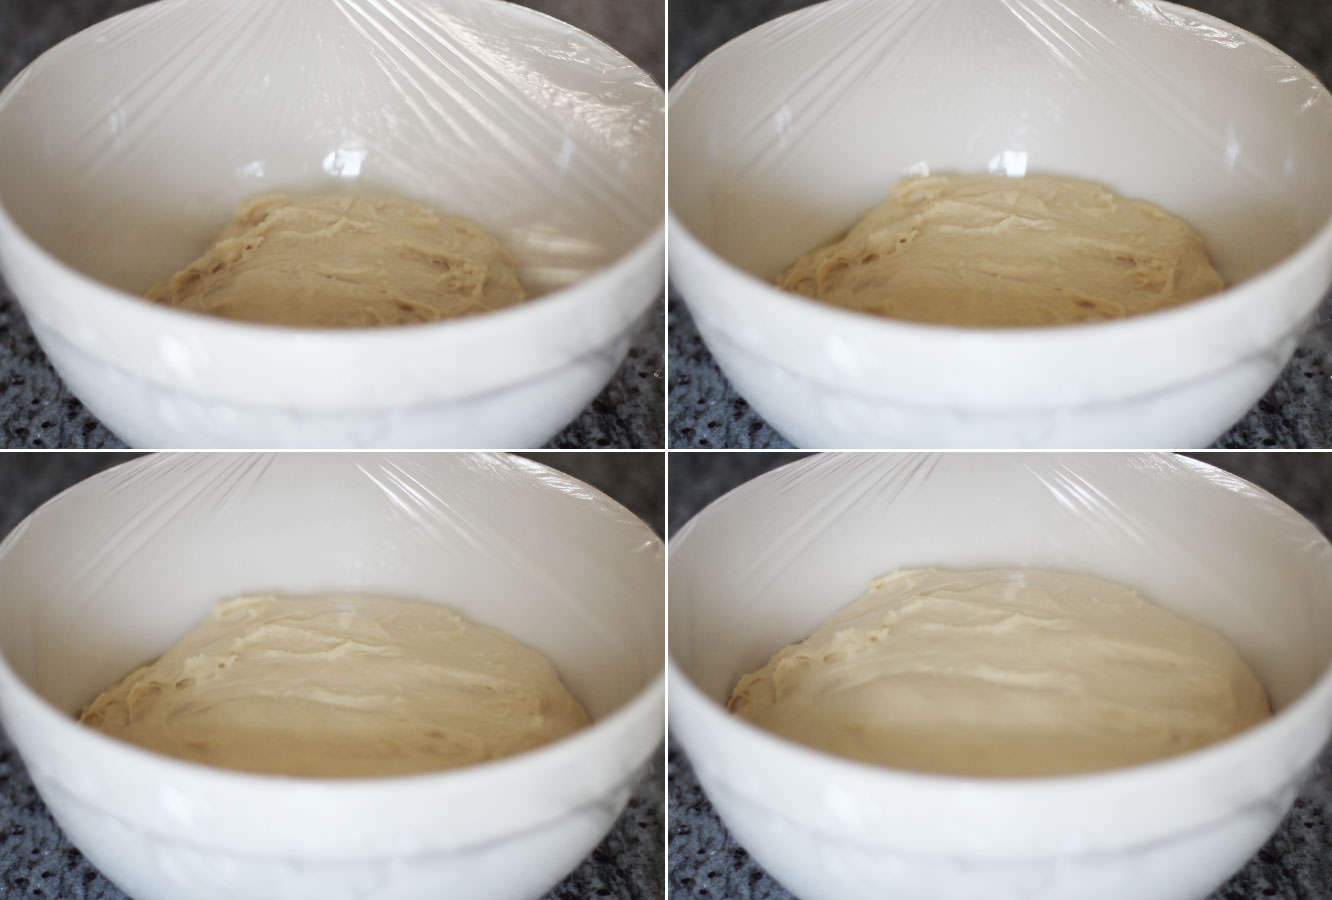
 Step six
 Step six
 Step seven
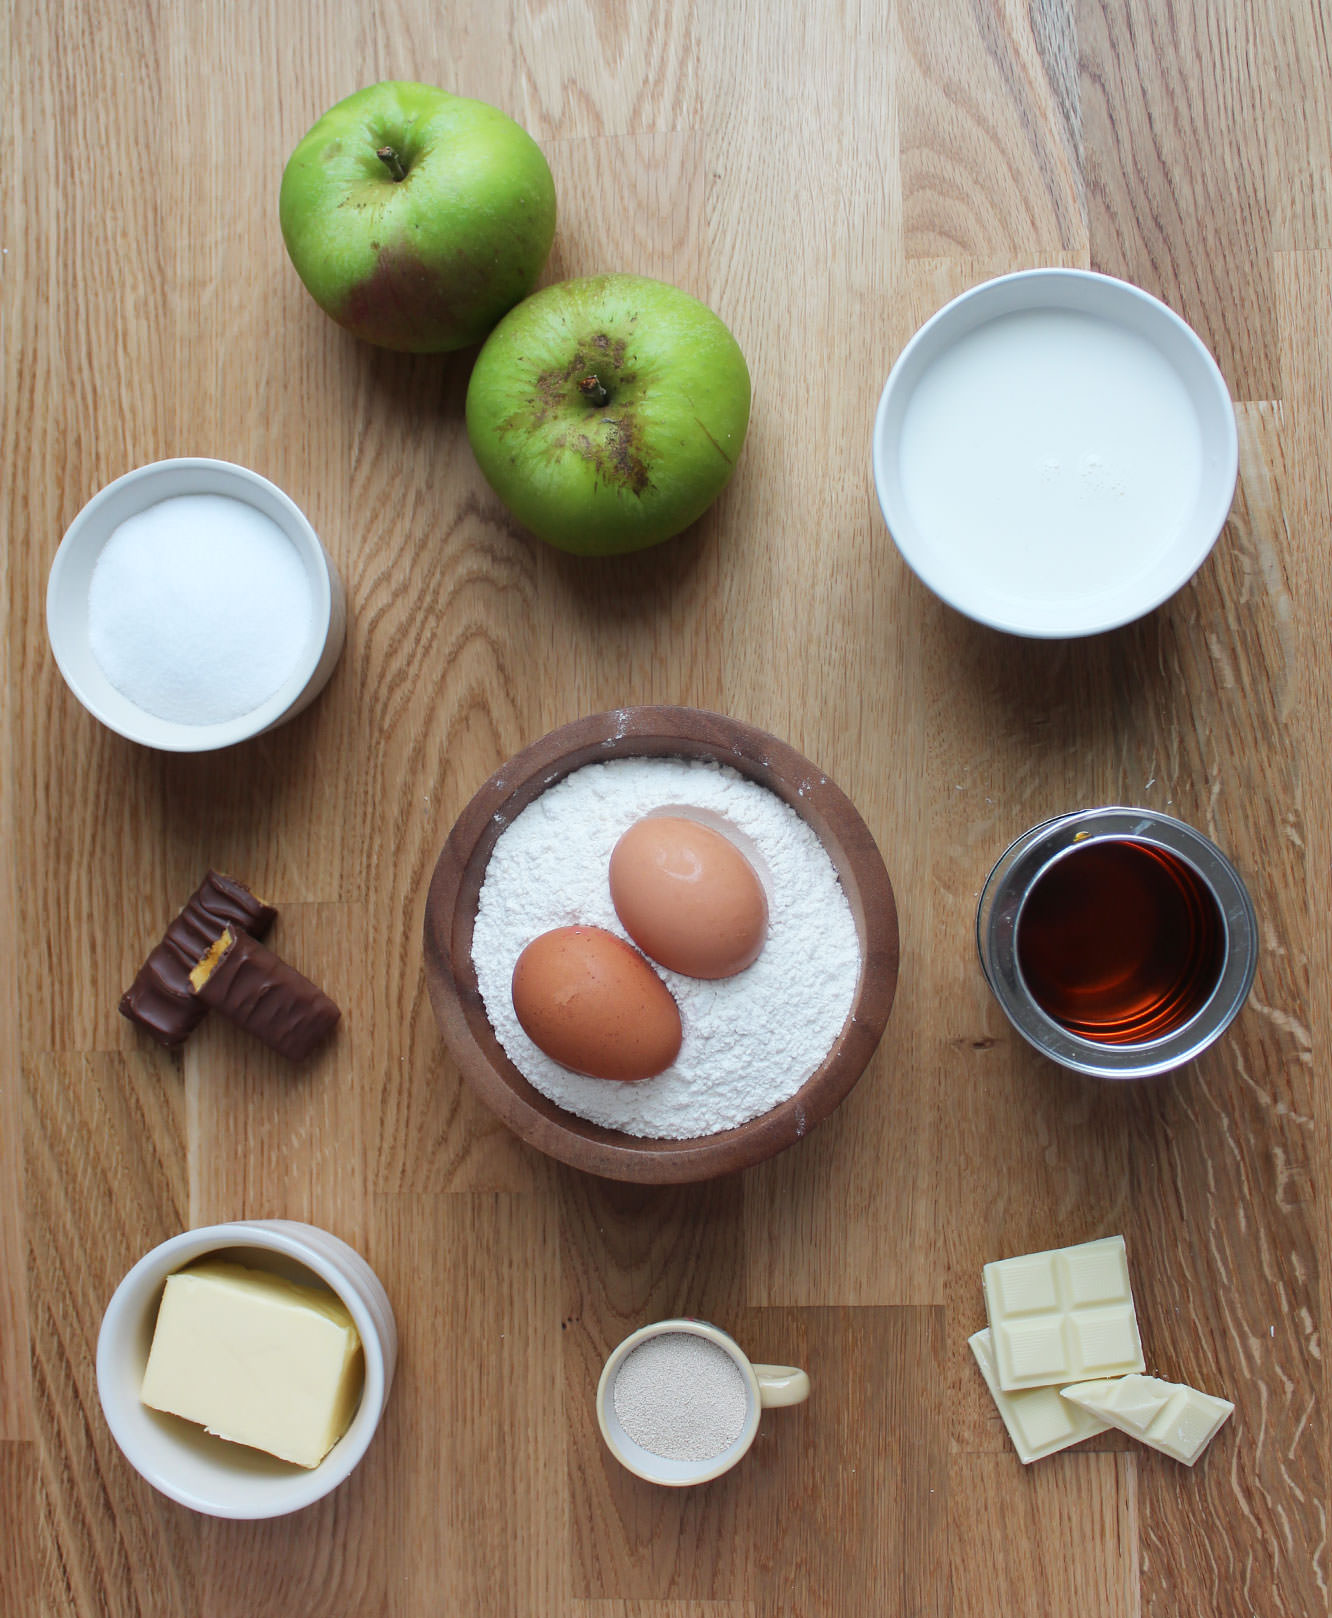
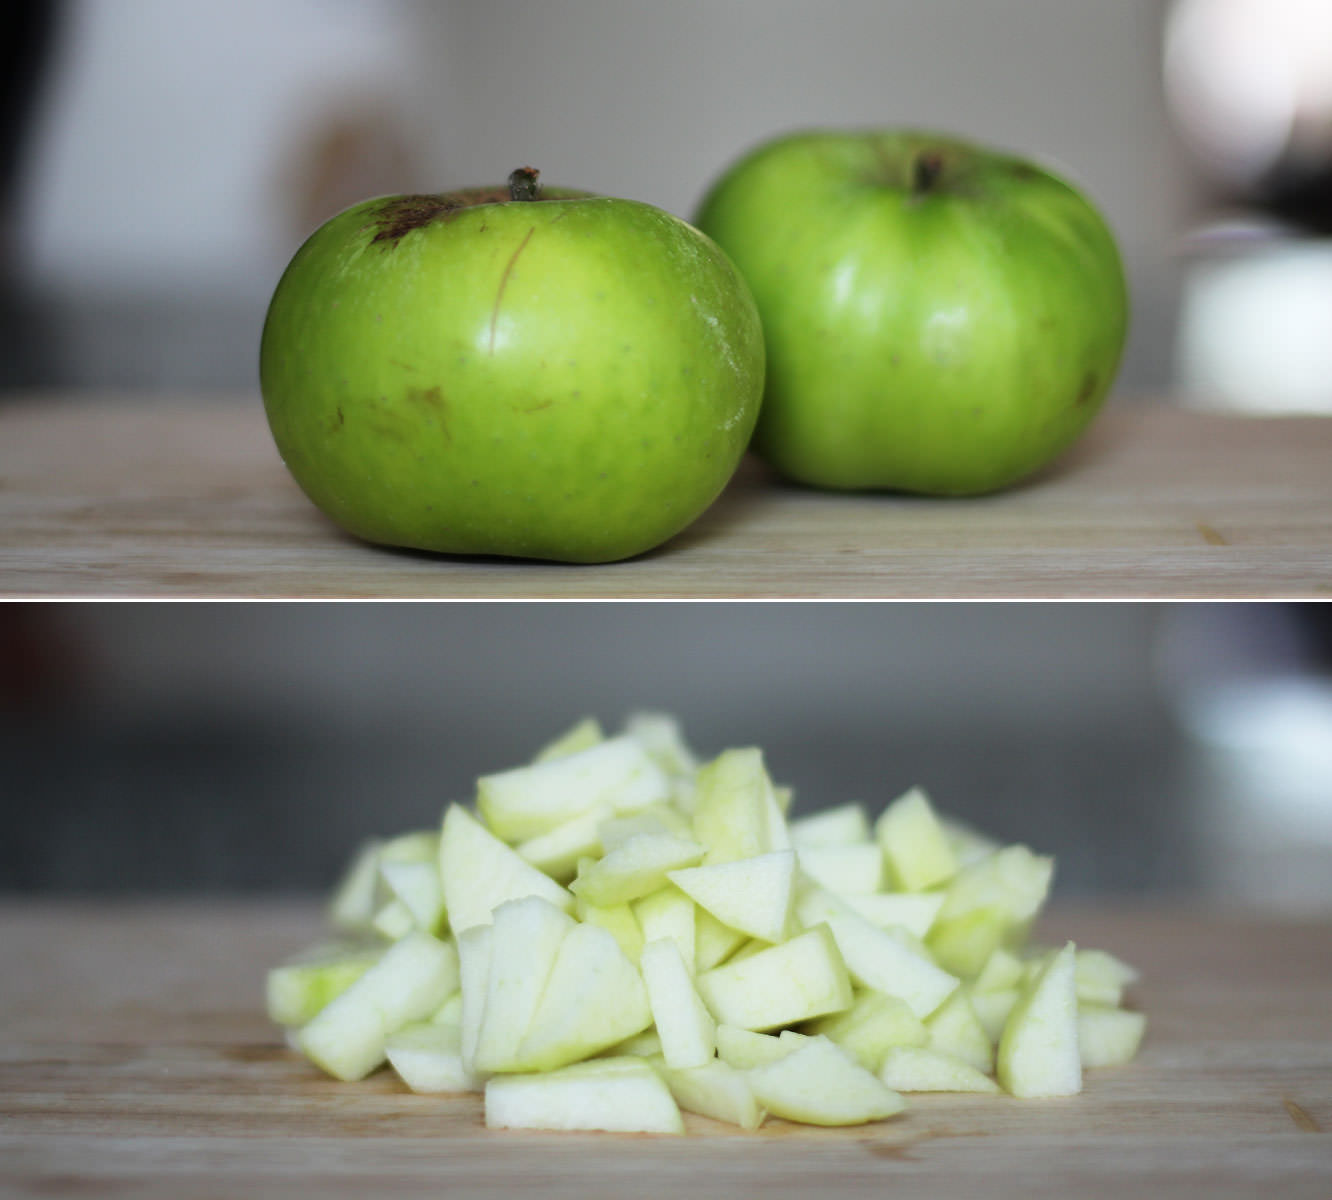
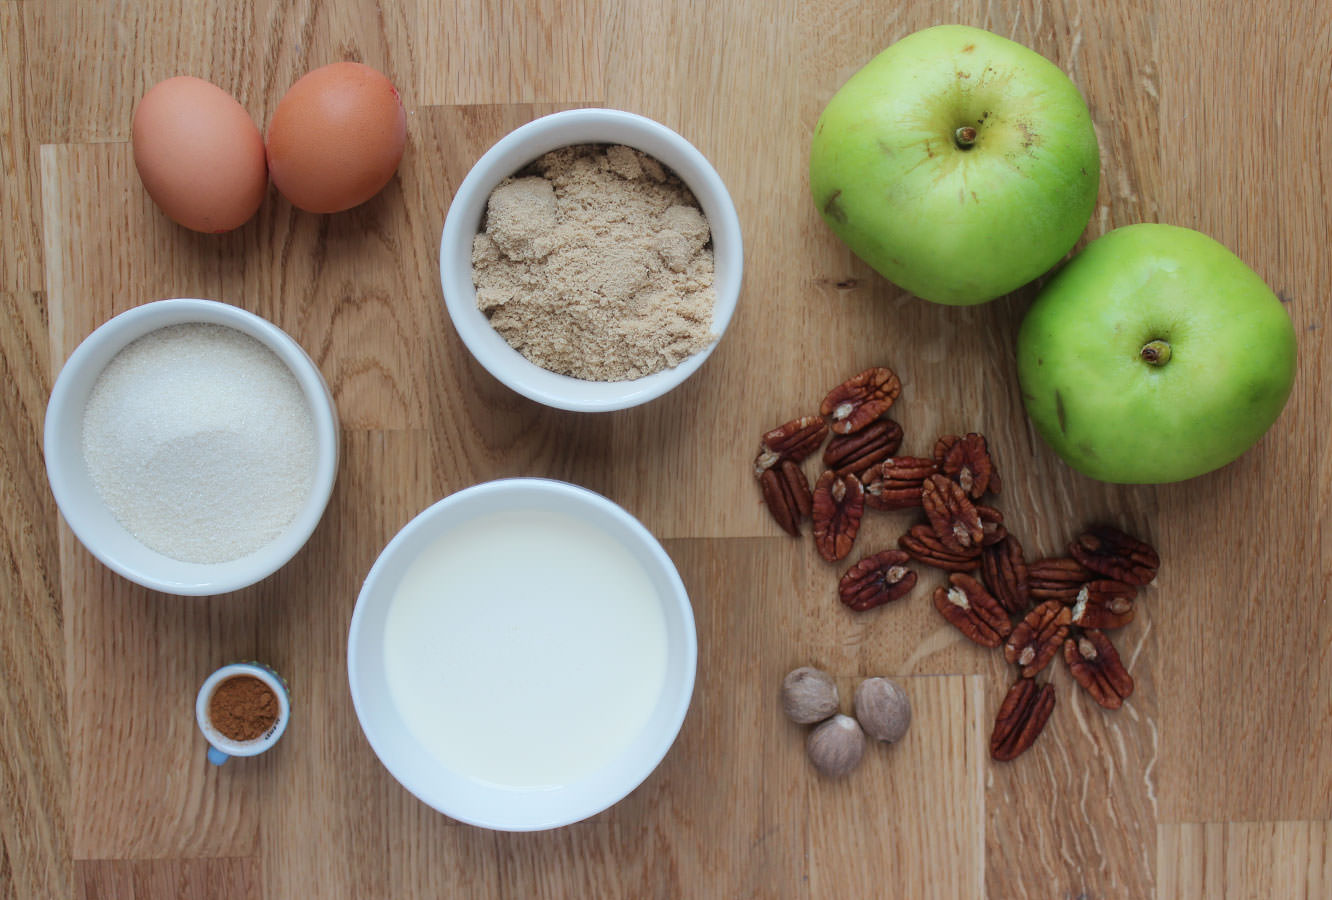
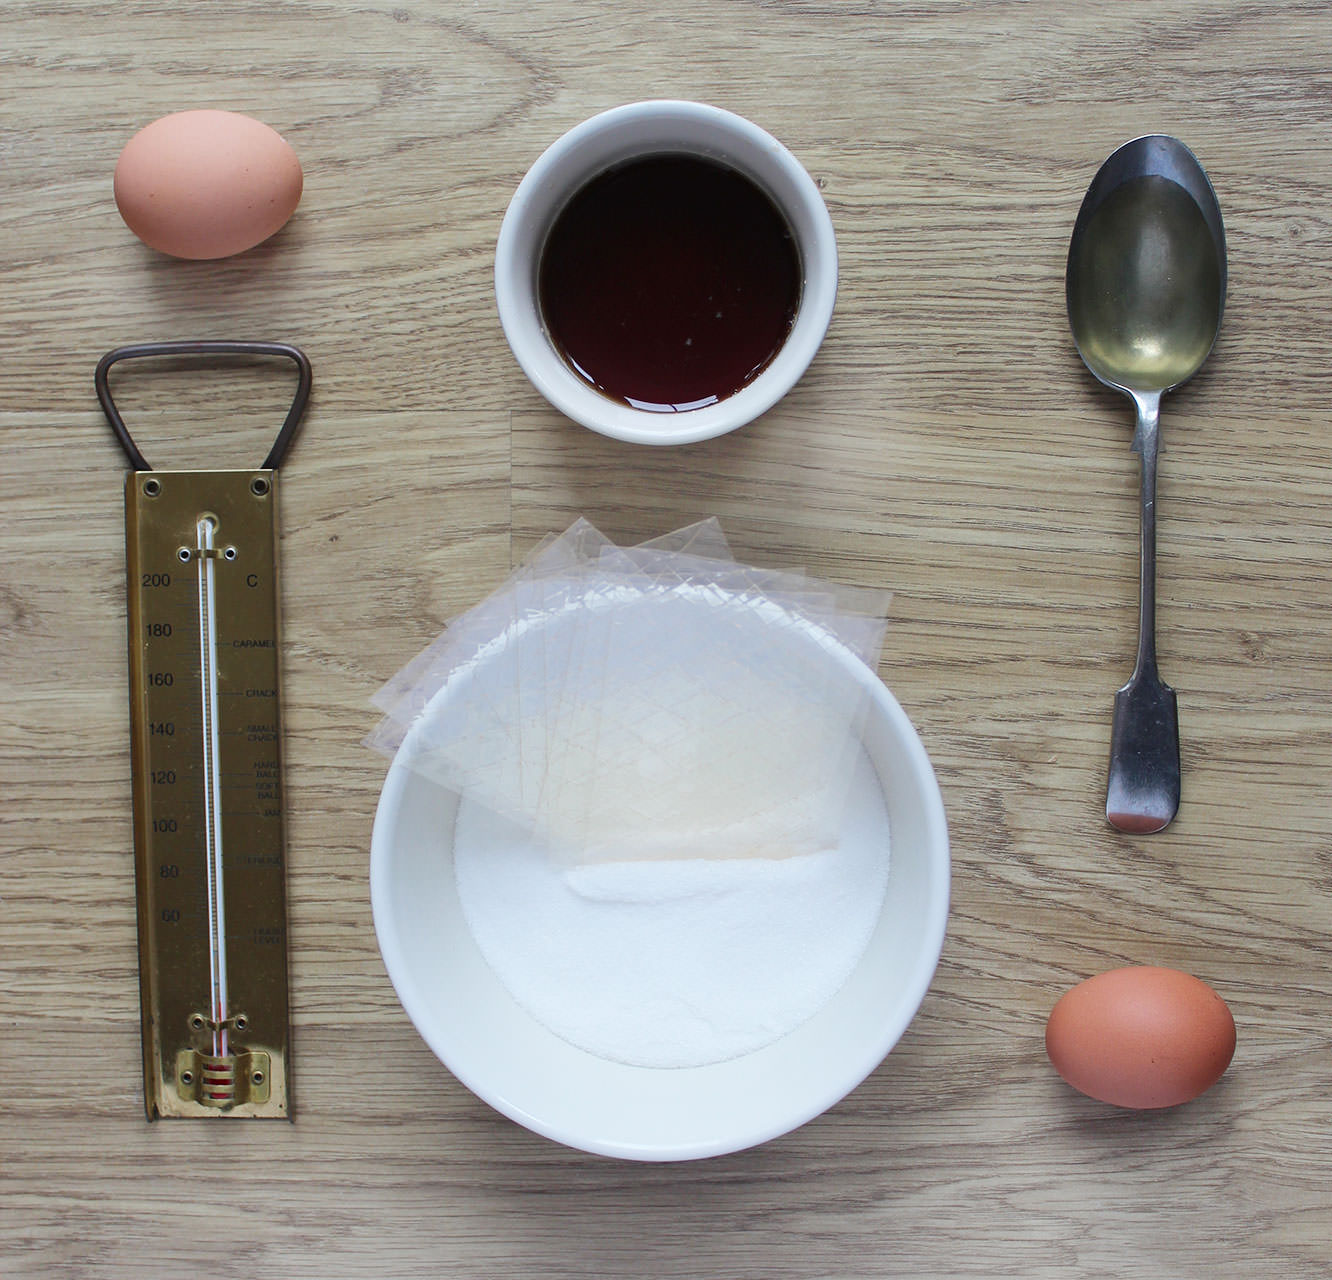 You will need
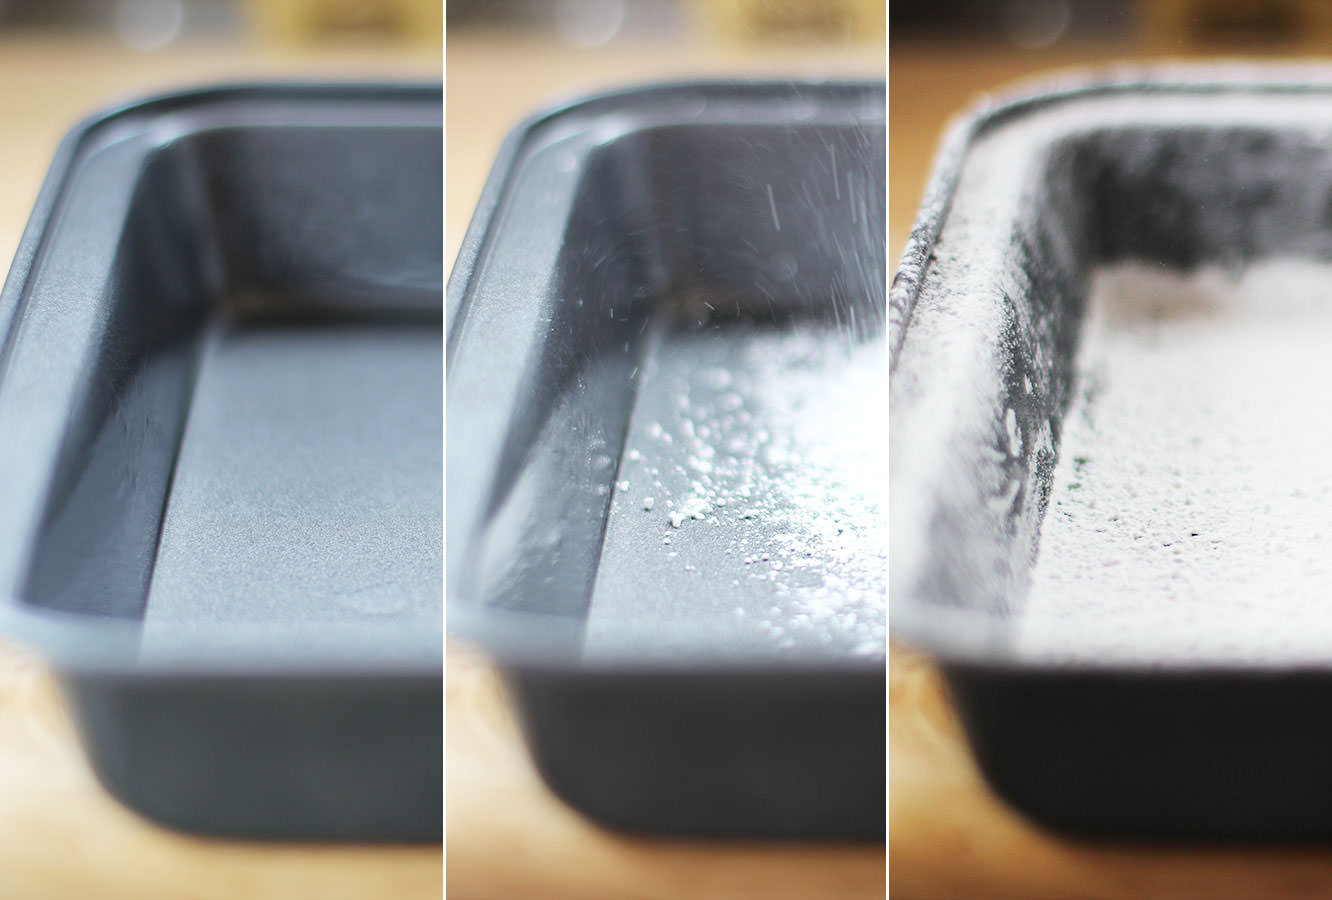 Step one
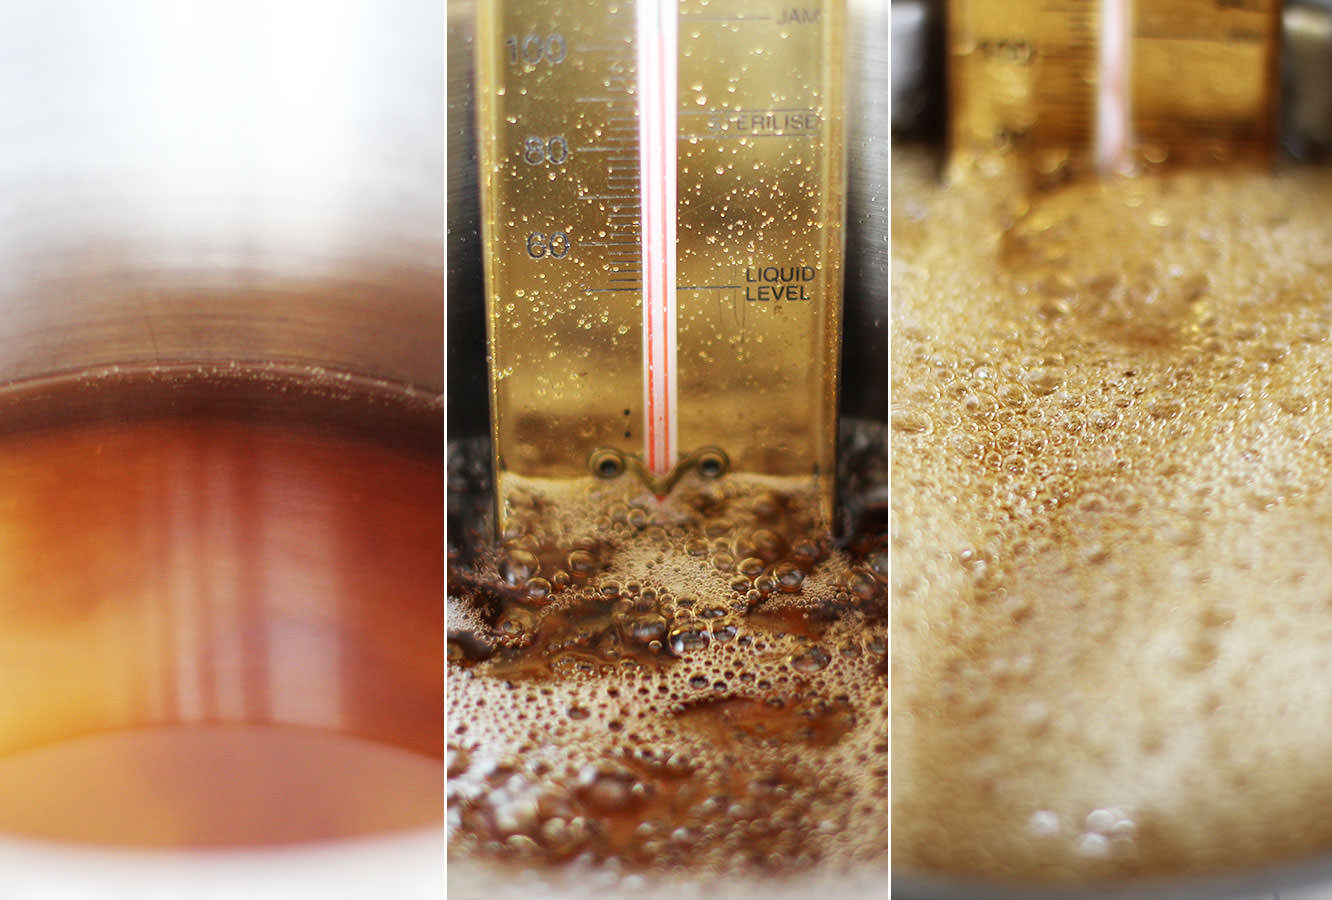 Step three
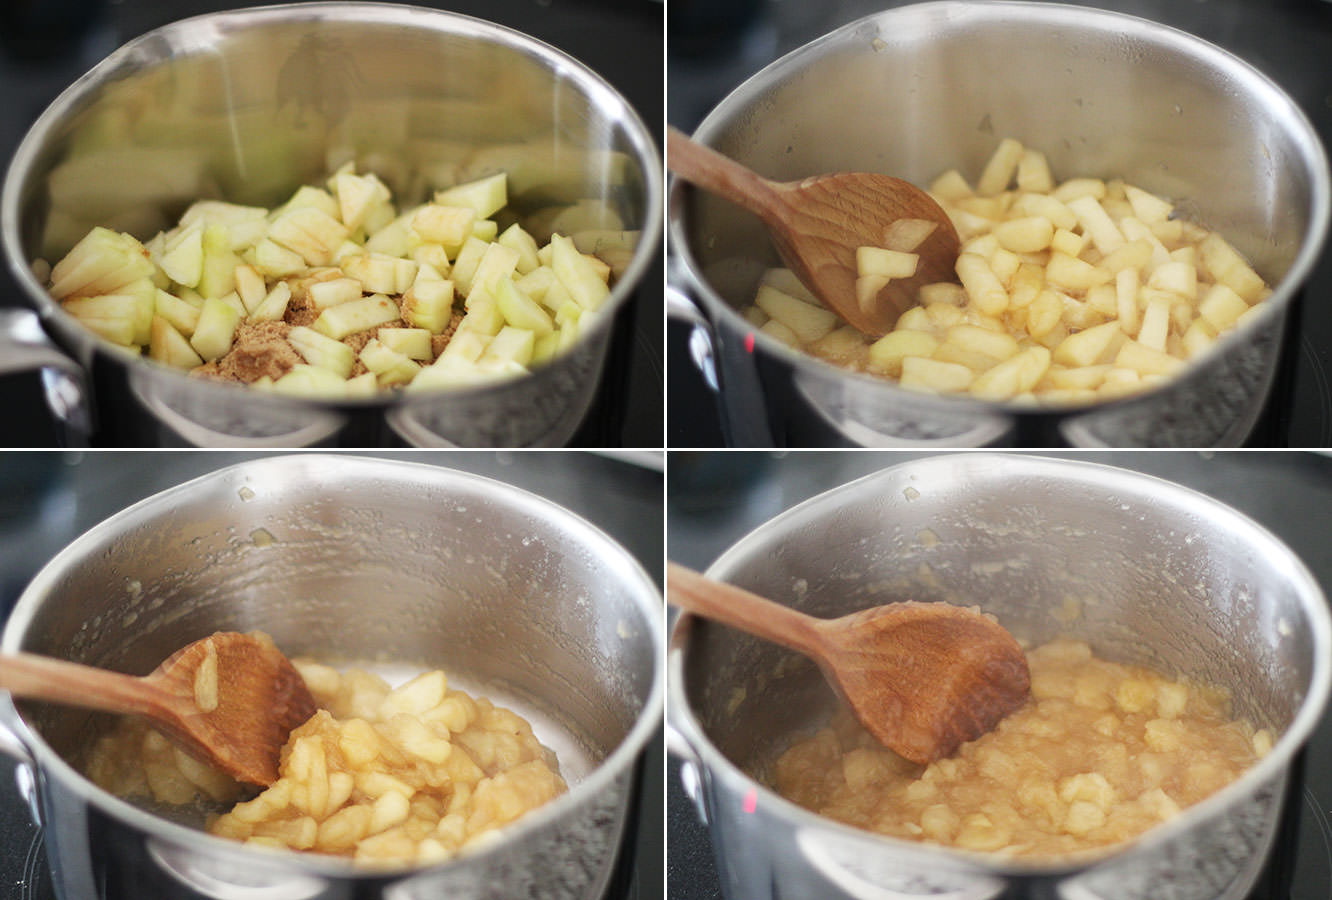
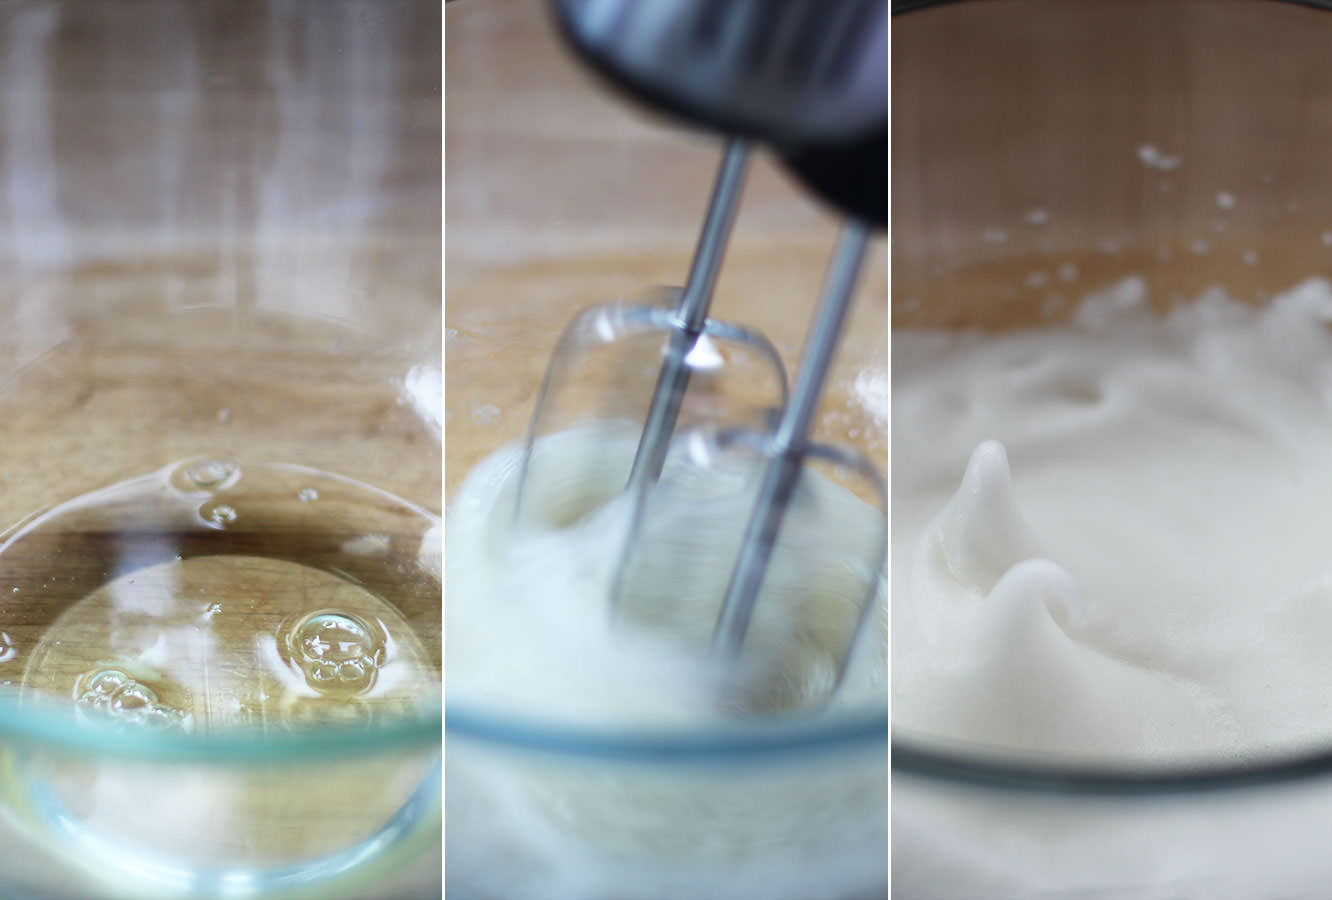 Step four
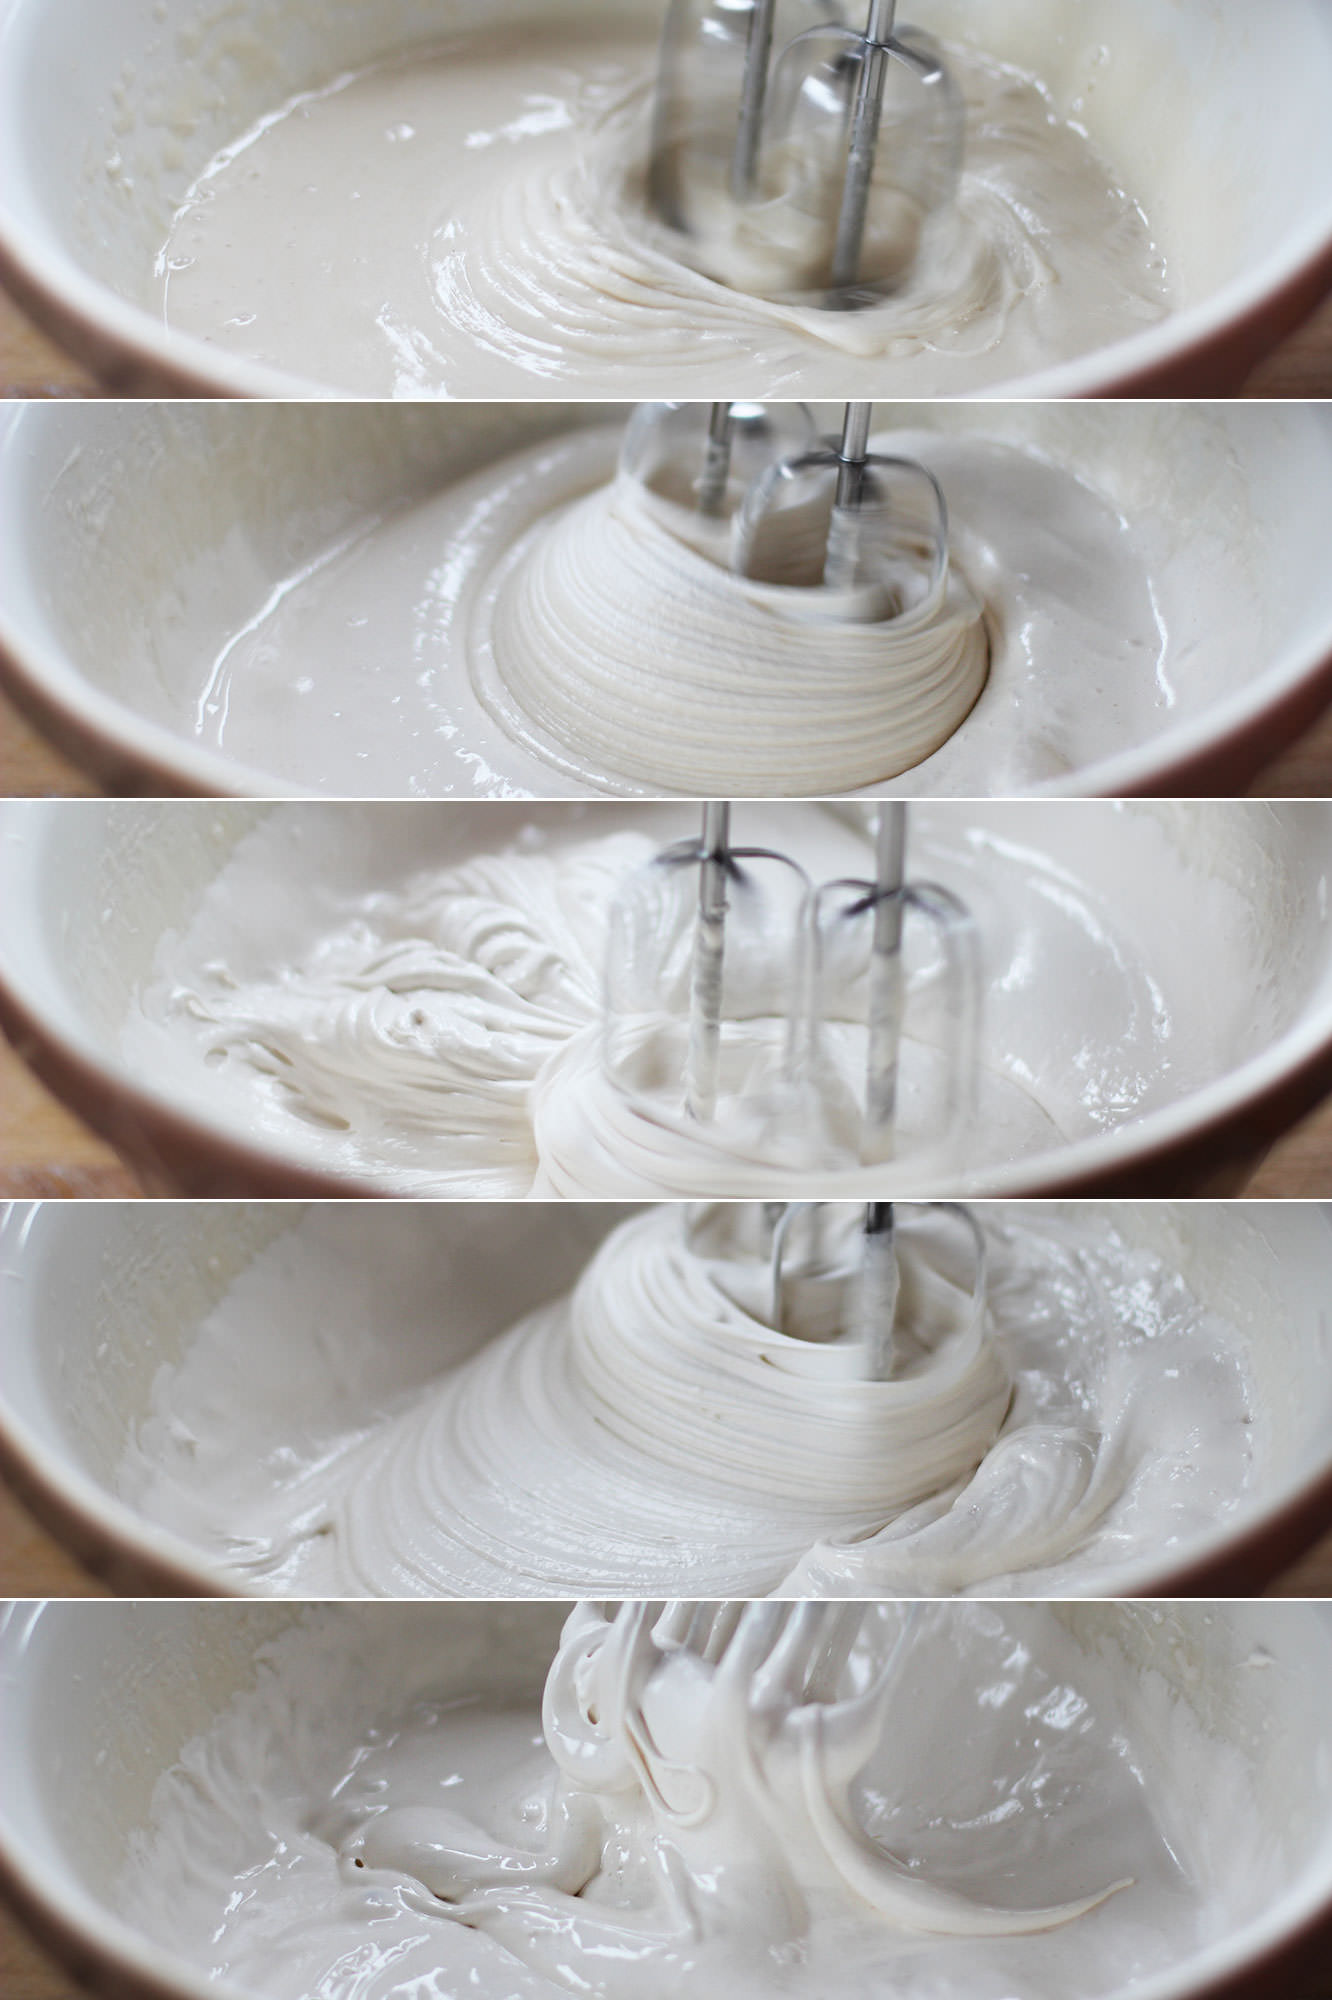 Step seven
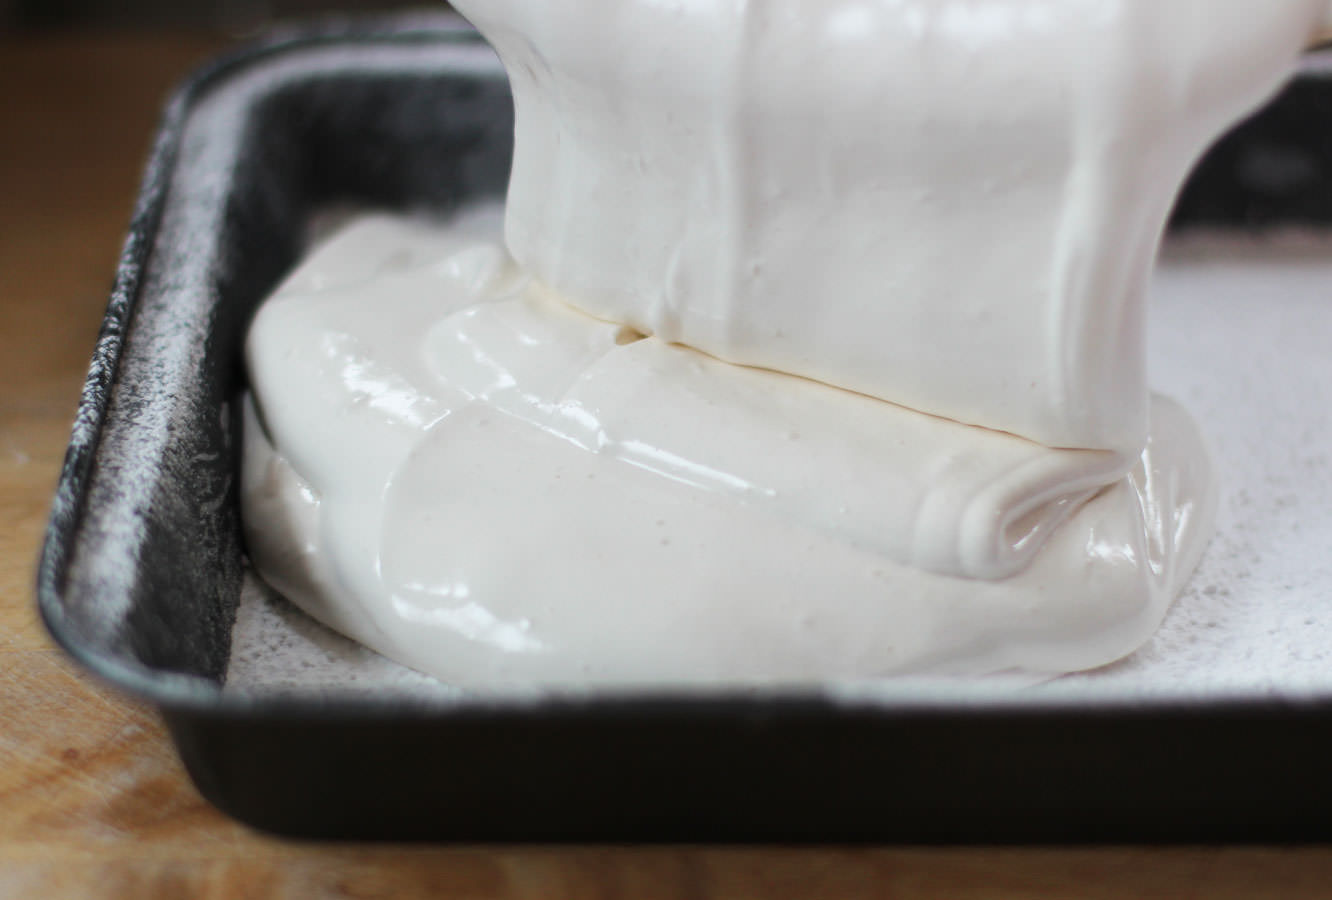 Step eleven
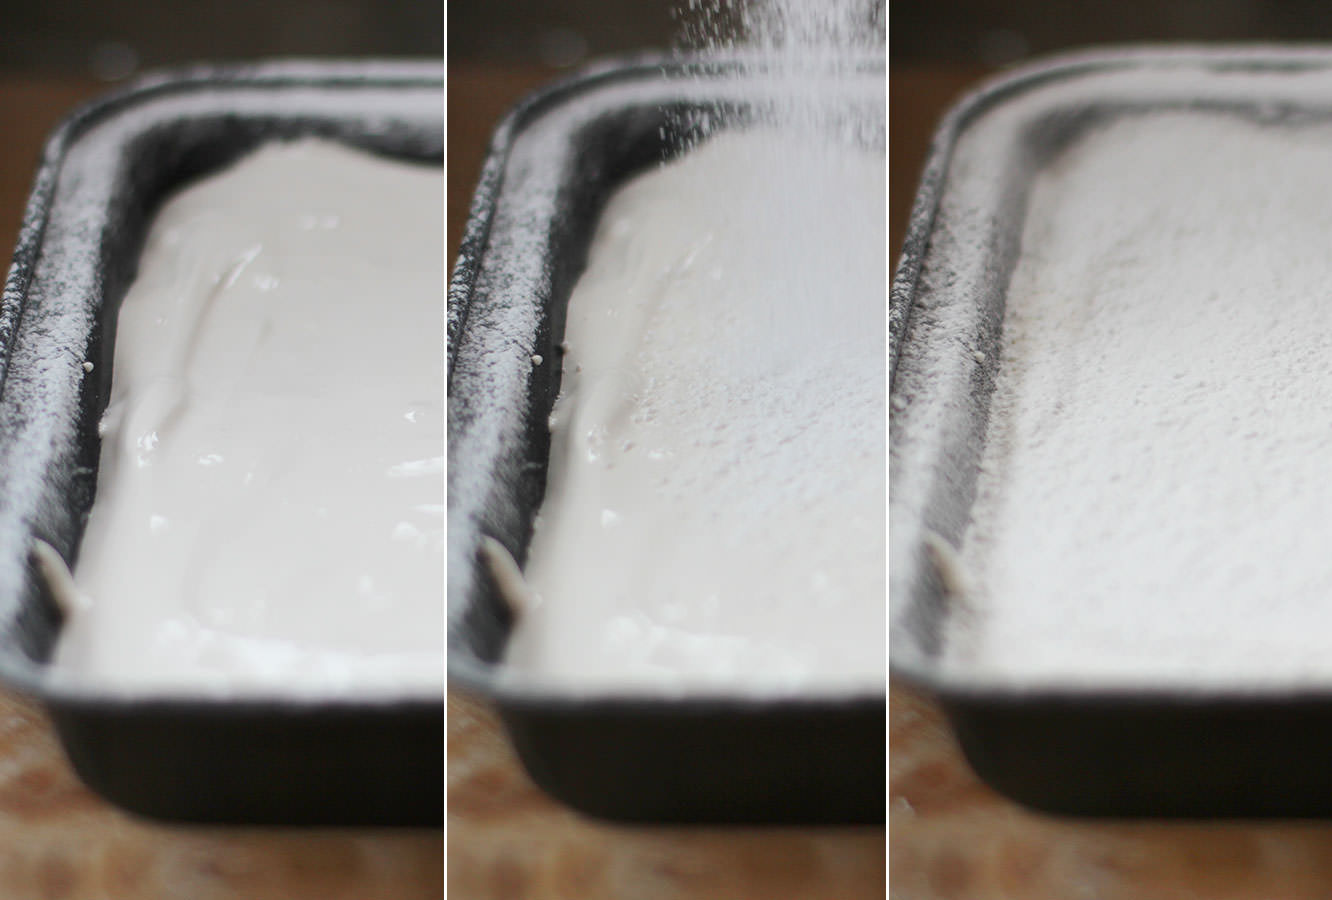 Step twelve
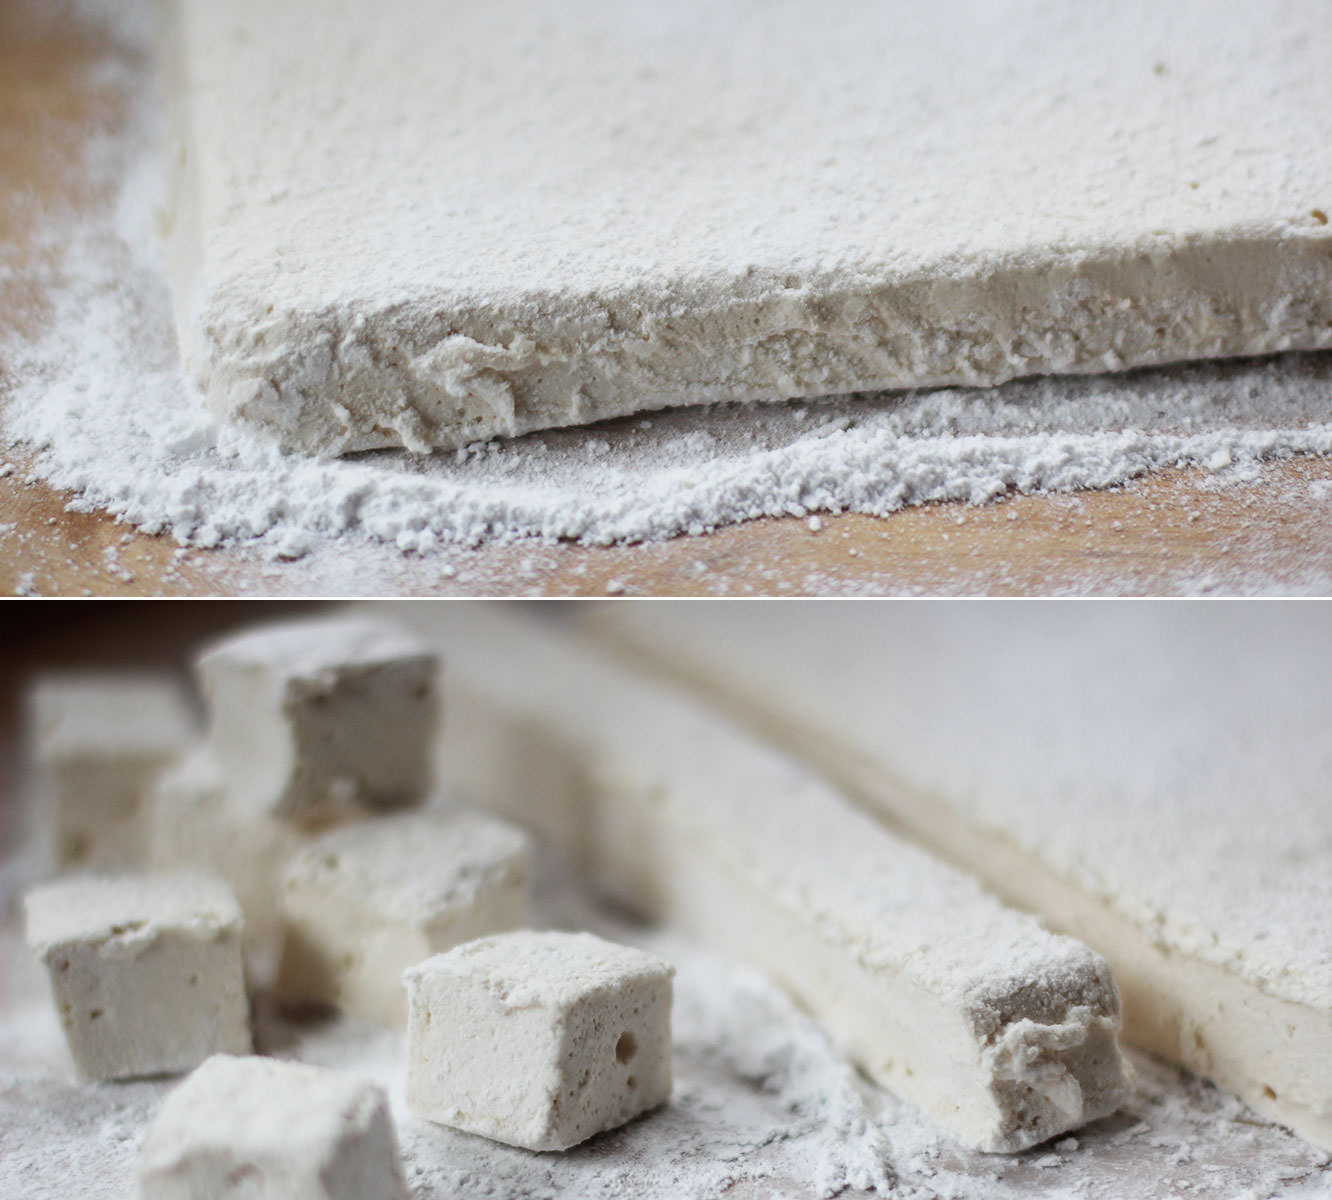 Step thirteen
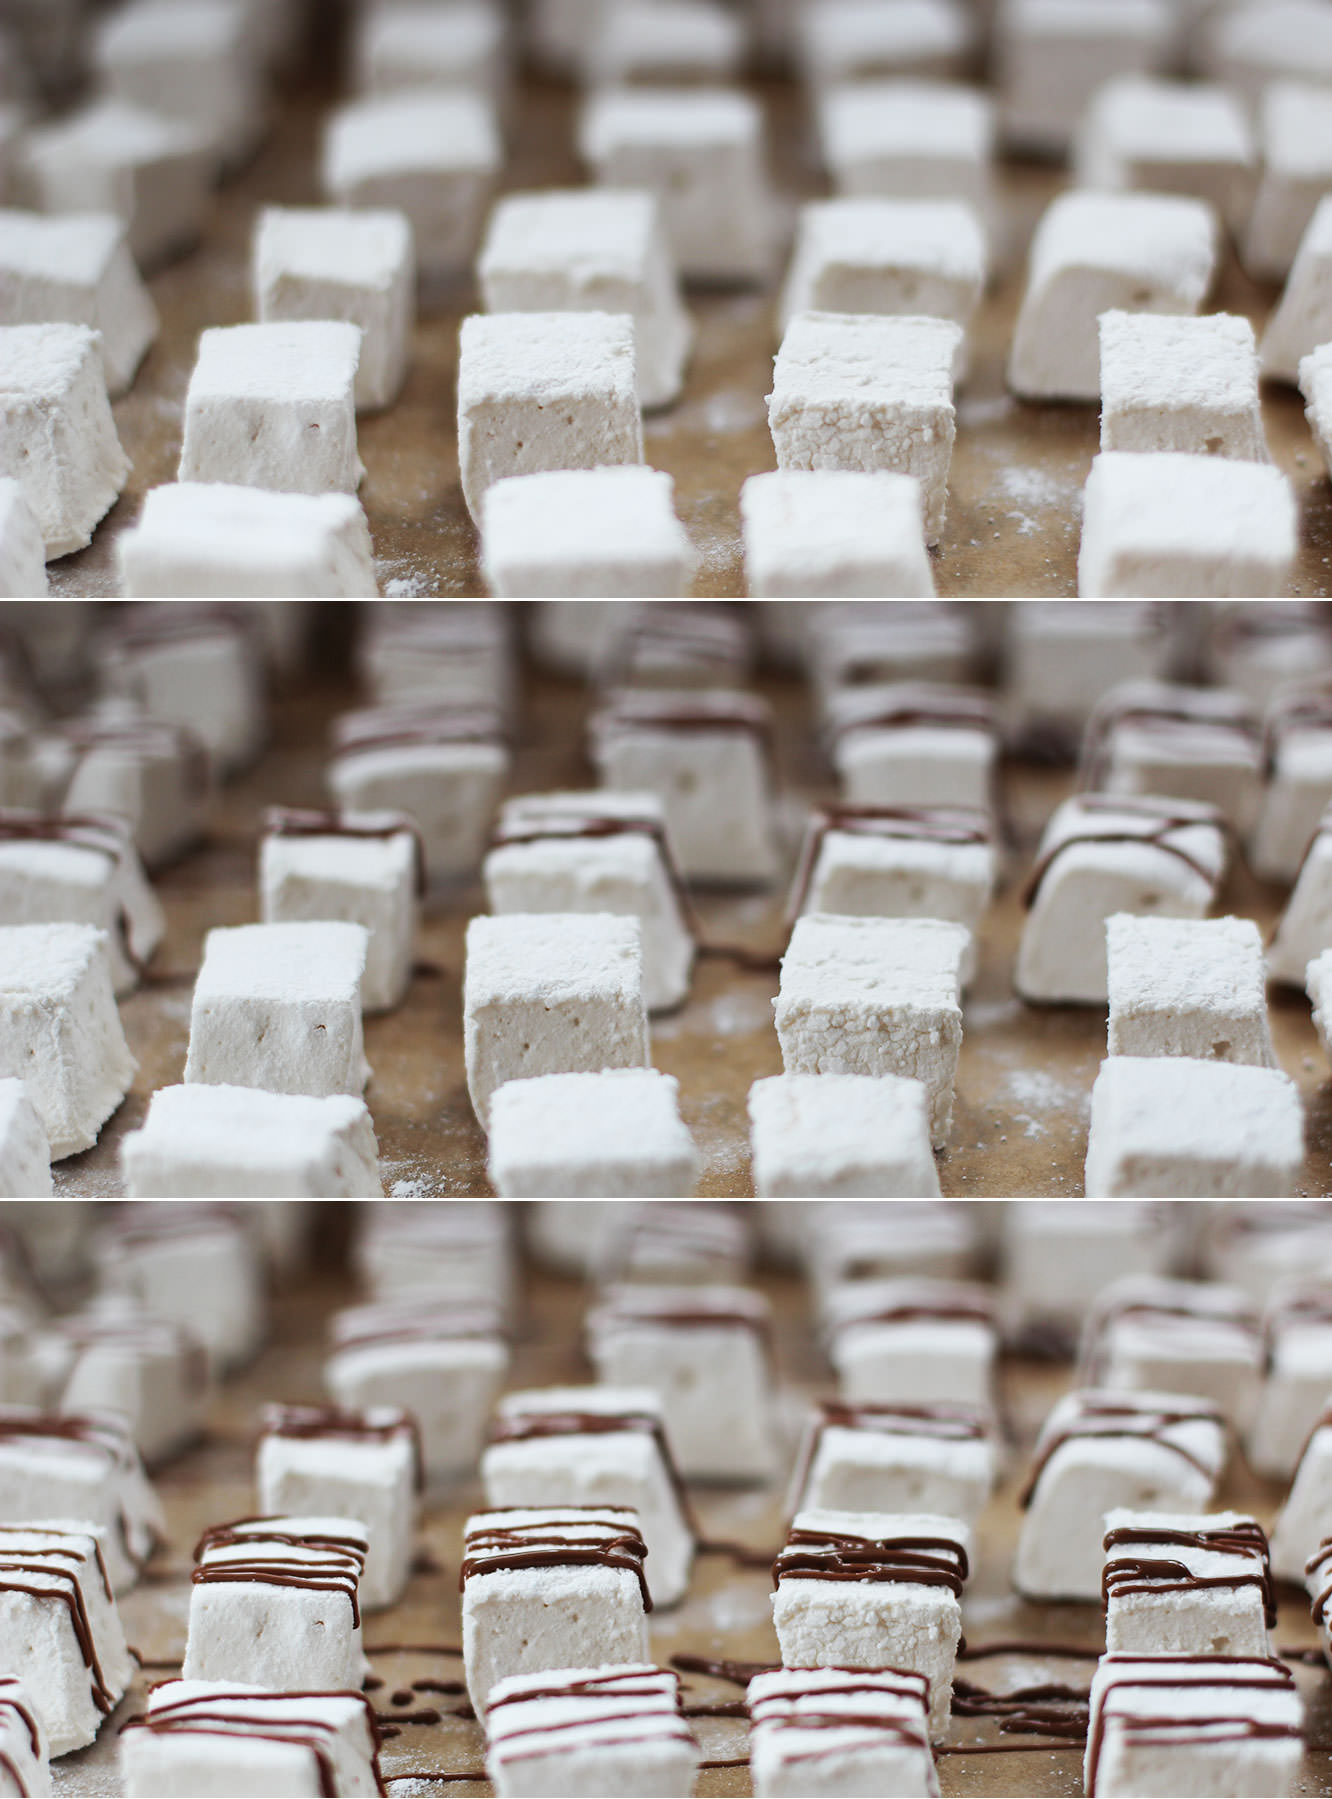 Step fourteen
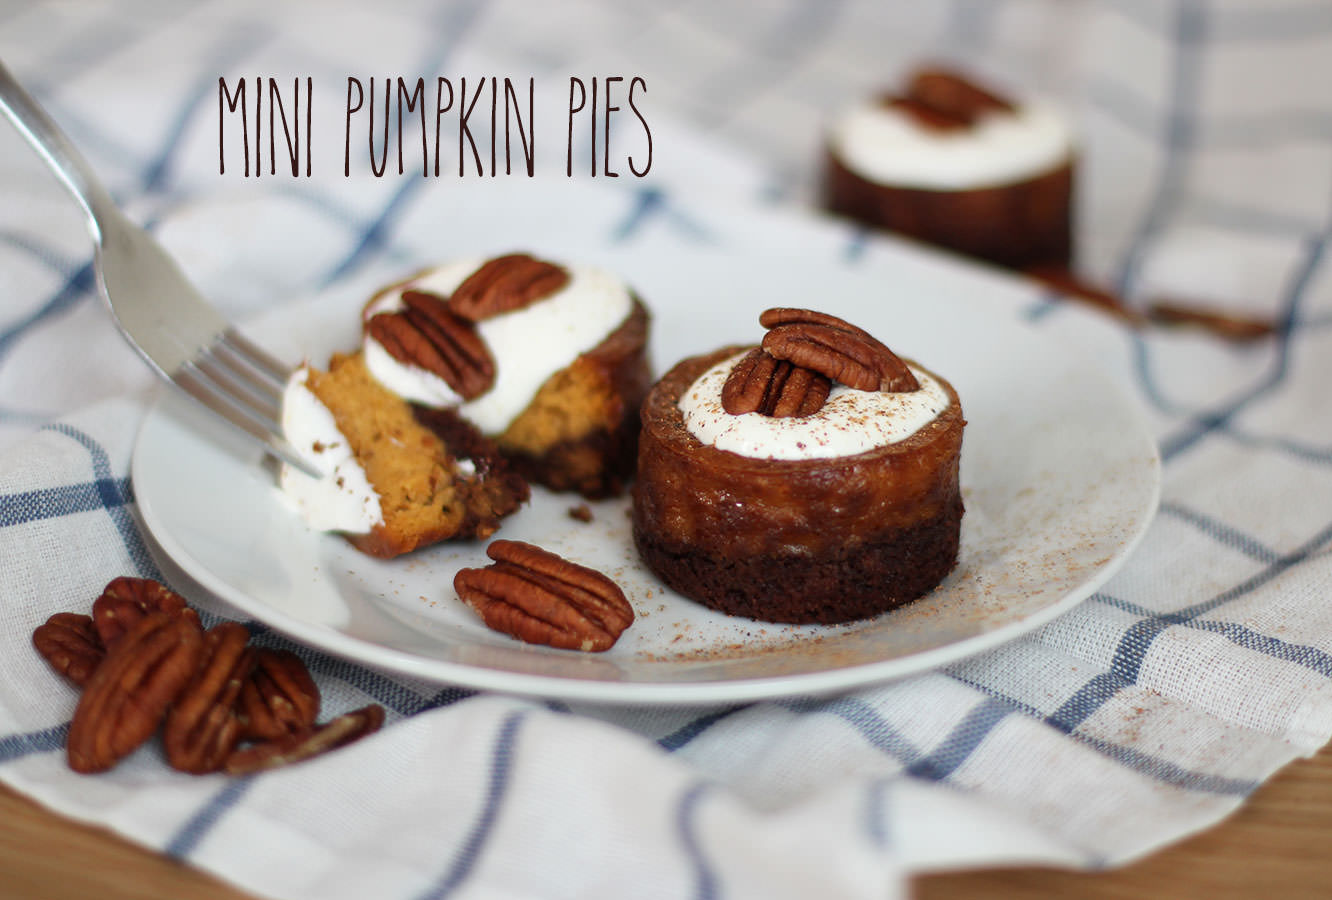
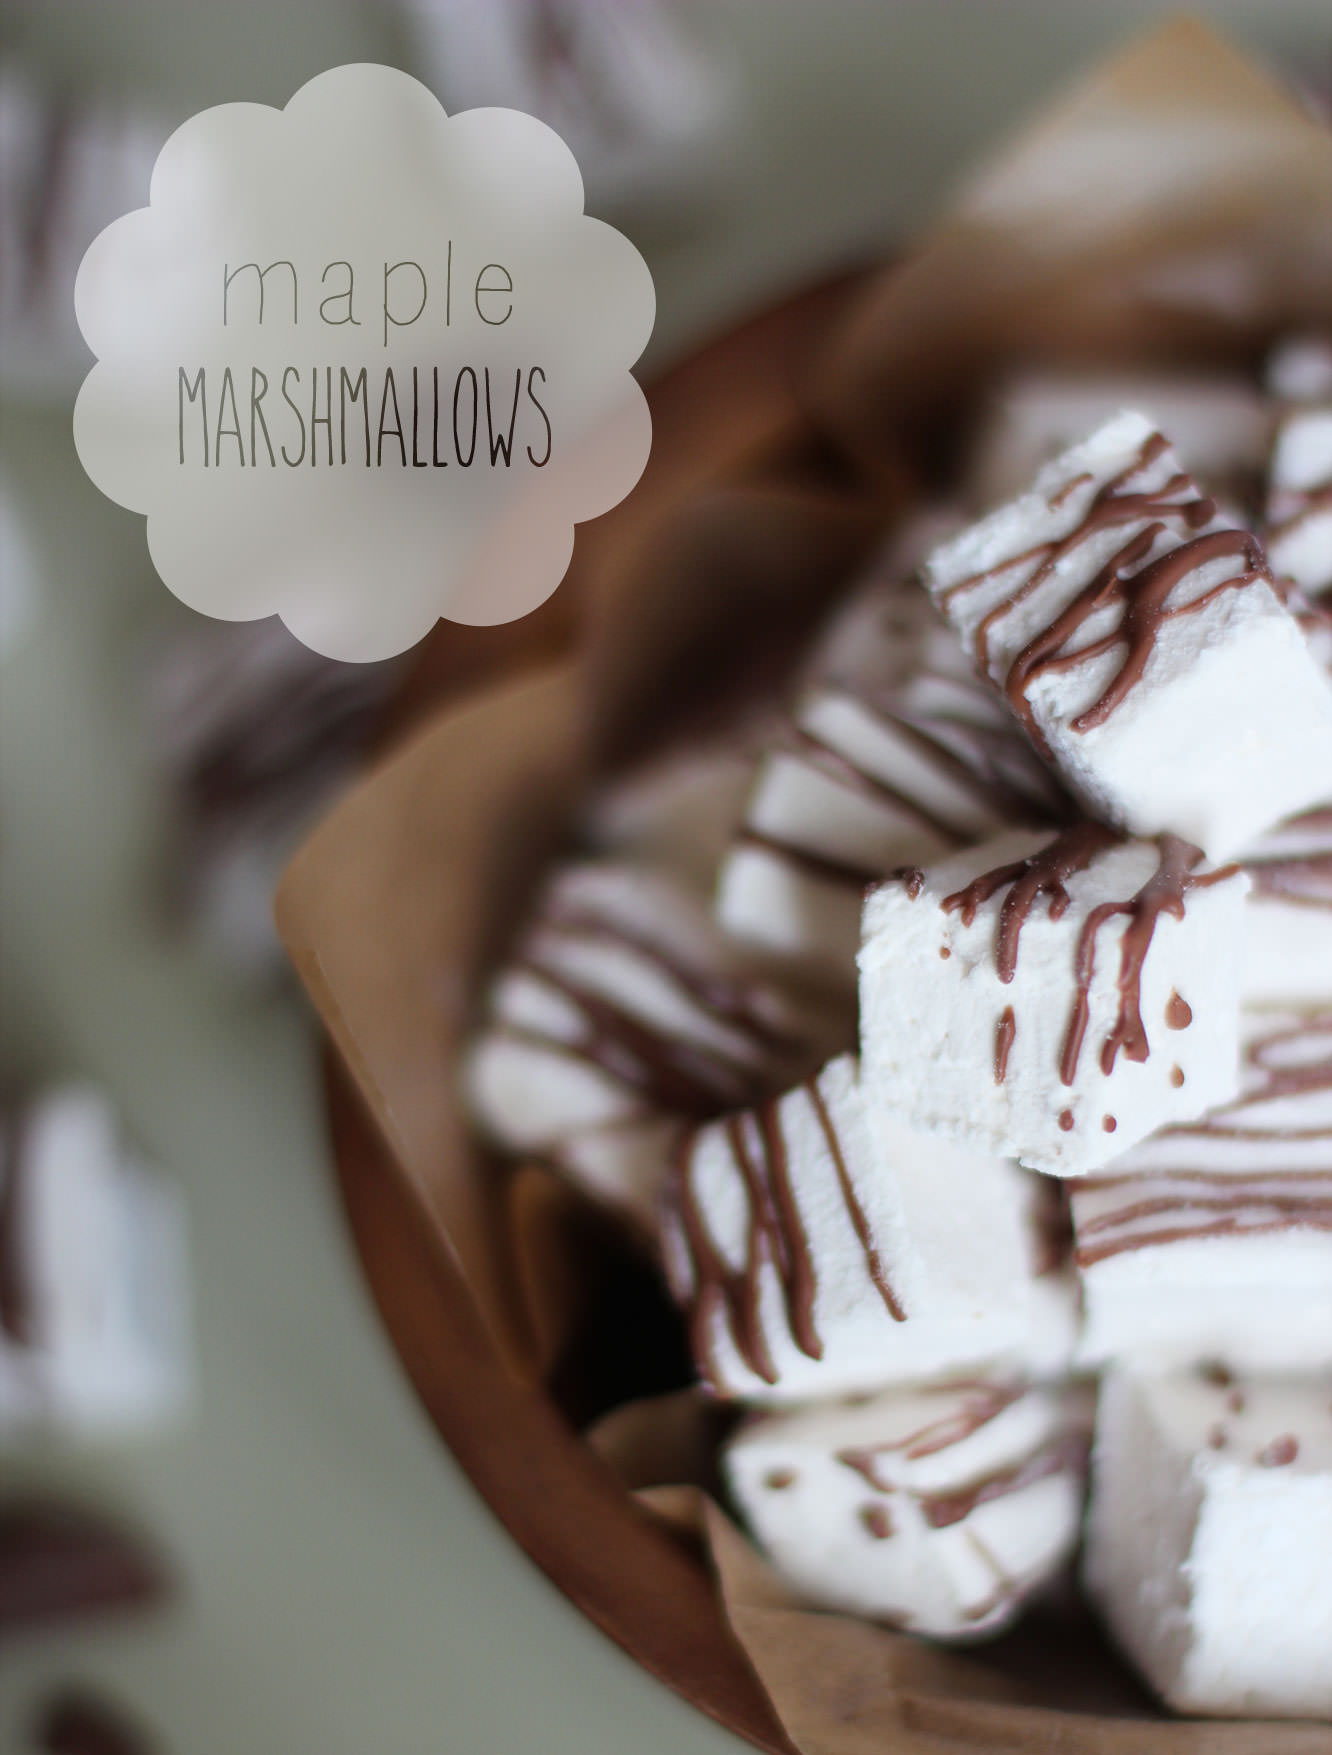 There we have it. Maple marshmallows. Nowhere near as difficult to make as I made them sound, I promise.
 You will need
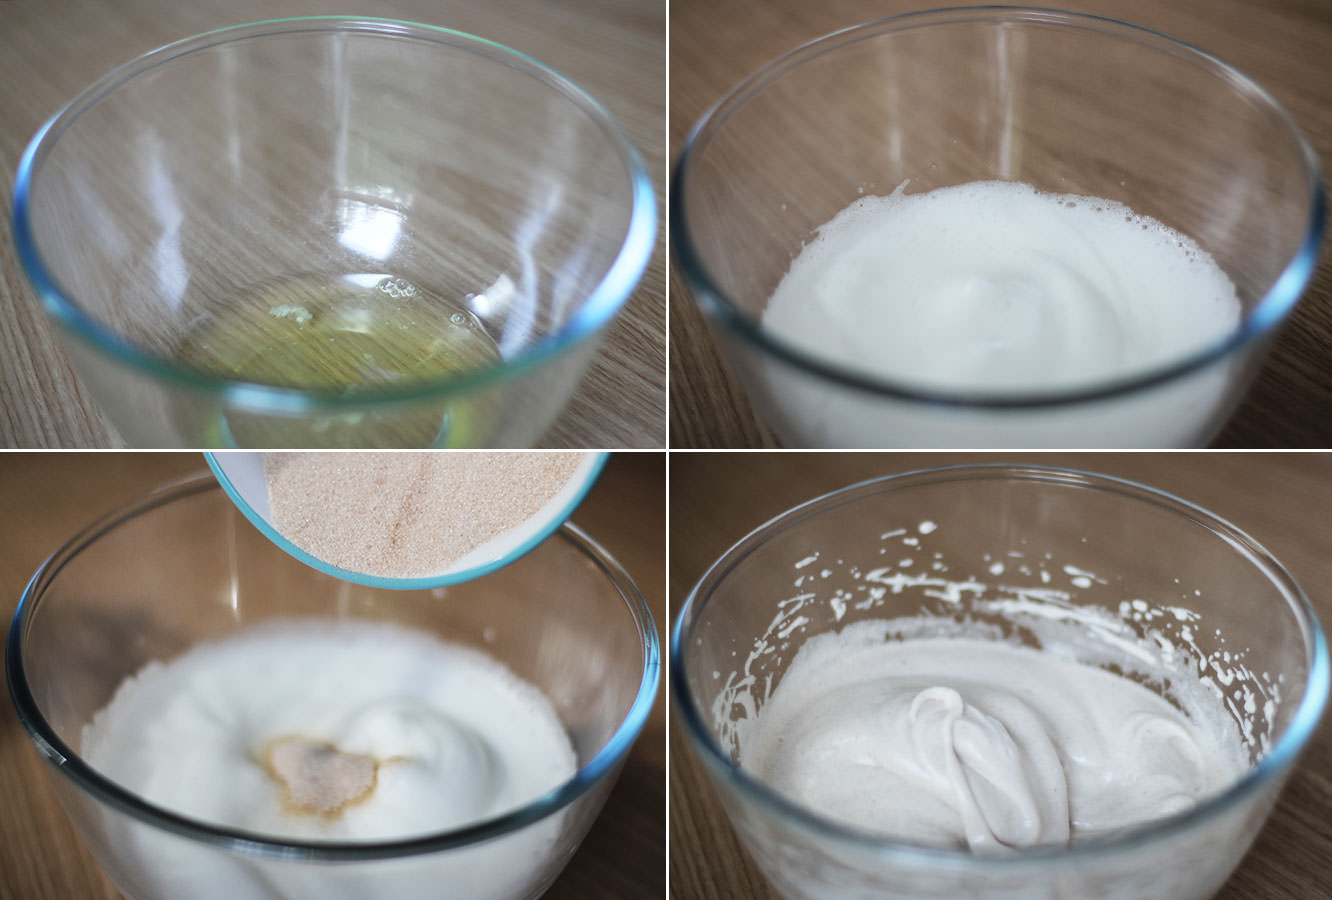
 Step one
 Step two
 Step three
 Step four
 Step five
 Step six
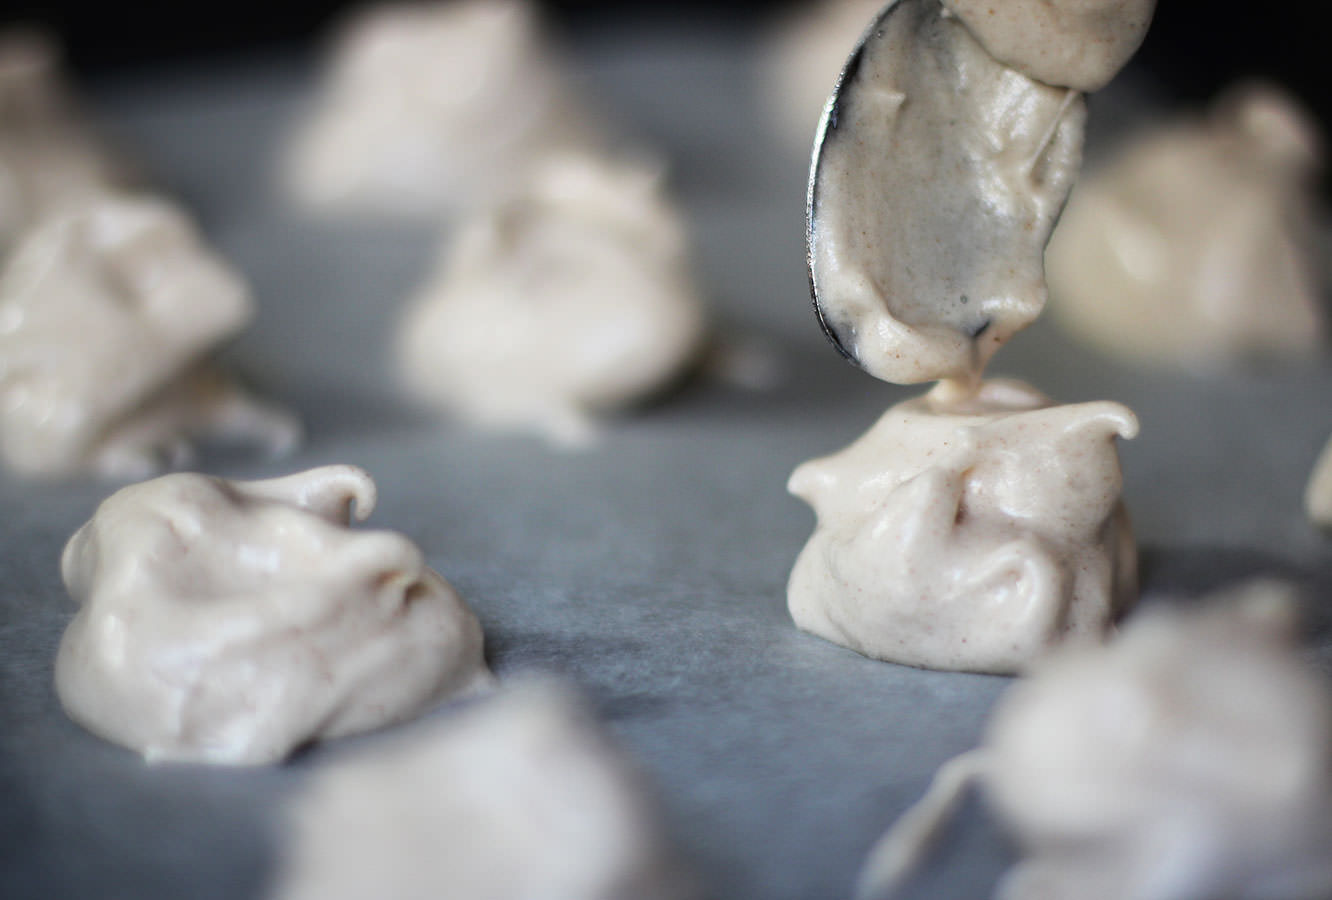
 Step seven
 Step eight
 Step ten