Tag: White chocolate

Schultüten

Guten Tag friends! This week’s blog post is inspired by a lovely German tradition that warmed my little heart when I was told about it.

A few weeks ago I was sent these photos of a very beloved little boy; you might remember way back when we helped him make birthday party invites? Well, about 18 months later and it was the first day of school for our young sir.

Schultüten

What is that thing he’s holding I hear you cry? My exact response, and I didn’t have the benefit of seeing the contents like you guys at first. Well, I’m reliably informed that in Germany children get a Schultüten on their first day of school, a cone full of lovely treats. The best part is that sometimes adults get a mini version for their first day at a new job. Cute or what?!

I considered making myself one for my new job a few weeks ago, but that is mildly tragic. Thankfully, to rescue me from celebrating myself in that slightly embarrassing way, my friend Matt (who also happens to be Vicky’s husband) managed to land himself one starting this week, yay Matt. Enter Katie and her Schultüten.

By the way, I did take some of these truffles into work myself, and to brag not to brag, but one of my new colleagues described them as “chocolates worthy of a transcontinental move”. I may have asked her to workshop her review a little until we got to that point, and in return I will probably end up making some for her to give her boyfriend to encourage such a move.

Moving on. From THE LONGEST introduction to any blog post ever, I really shouldn’t write these tired.
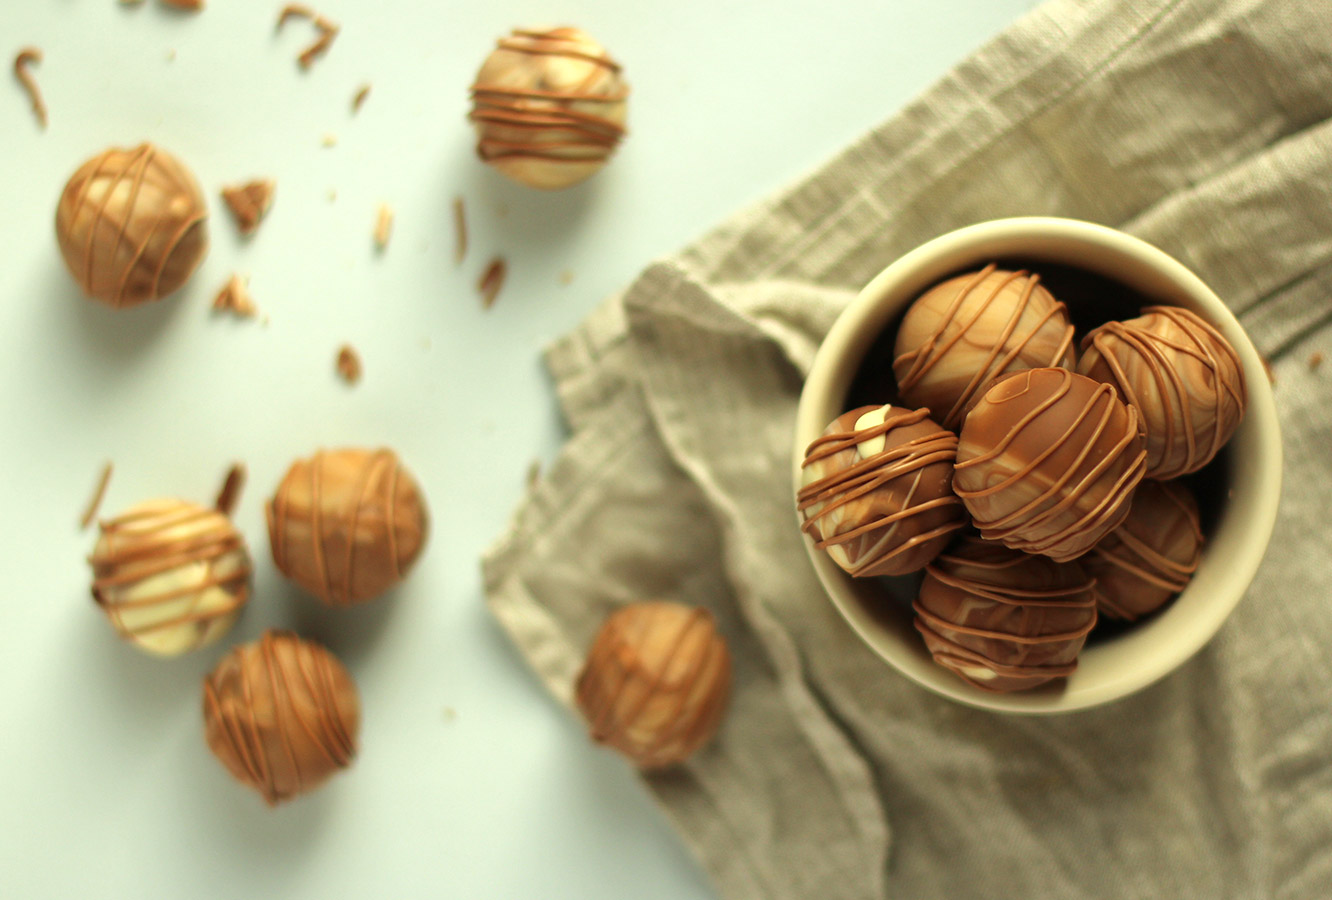
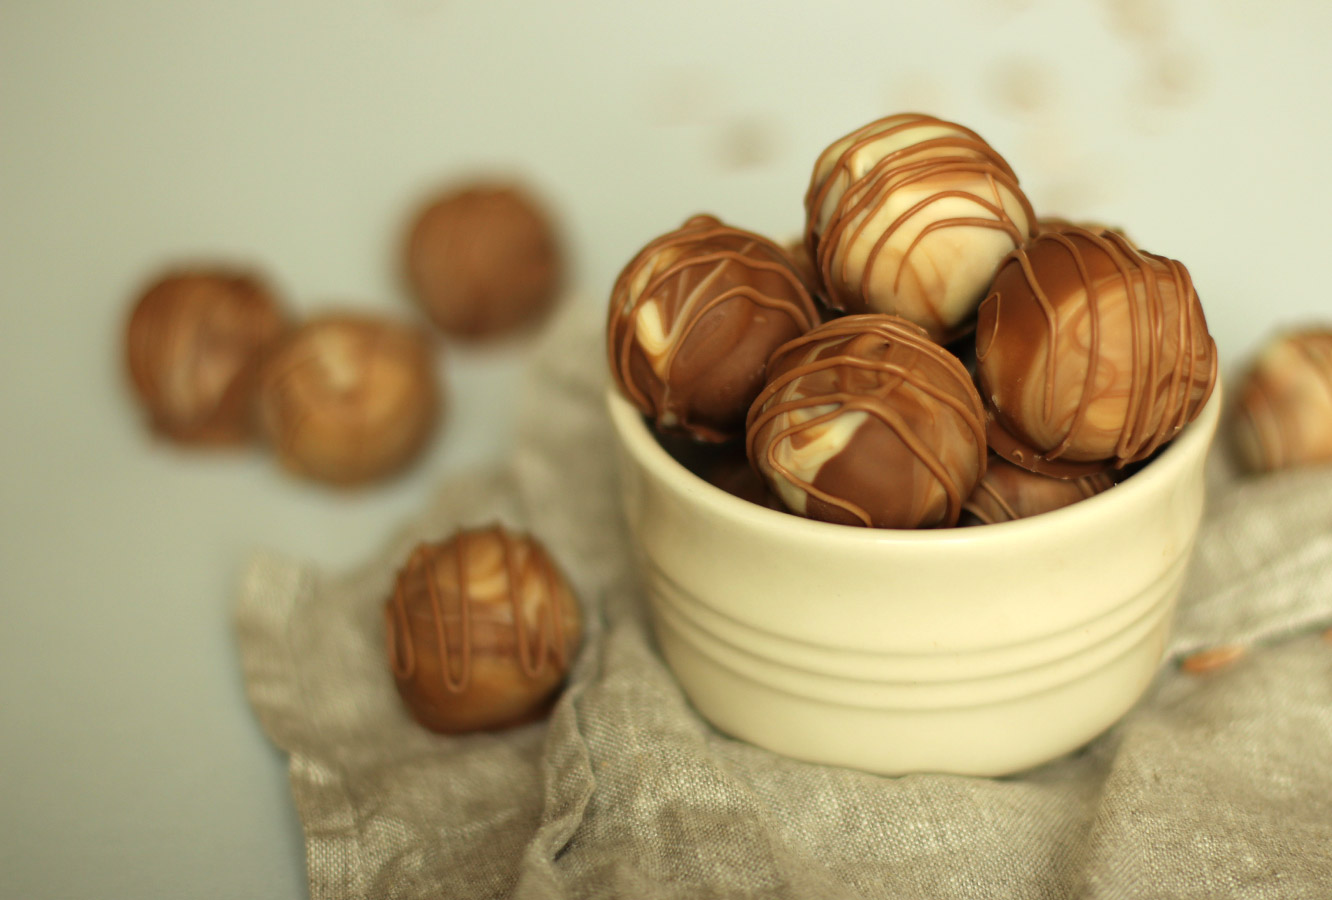
marbled-caramel-truffle-recipe

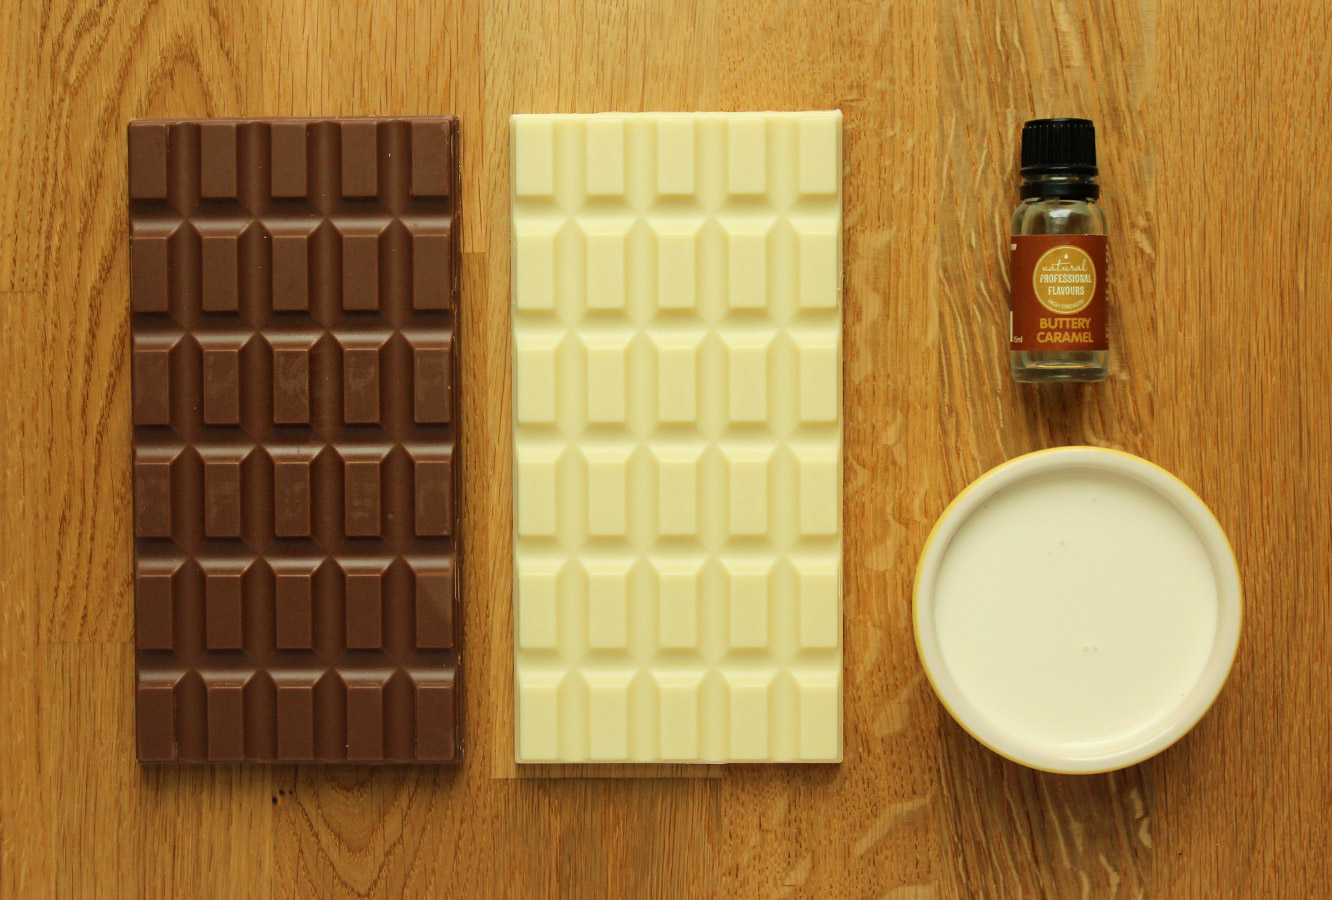
You will need

For the truffles:

400g/14 oz milk chocolate

400g/14 oz white chocolate

180ml/6 fl oz double cream

Caramel flavouring (I swear by Natural Professional Flavours – buttery caramel)

(makes up to 40 truffles)

For the cone:

Nice quality wrapping paper (I got mine from Foyles if you’re in the UK)

Tissue paper (preferably a colour that doesn’t clash with your choice of paper)

Ribbon

Double sided tape
marbled-caramel-truffle-recipe-2

Step one

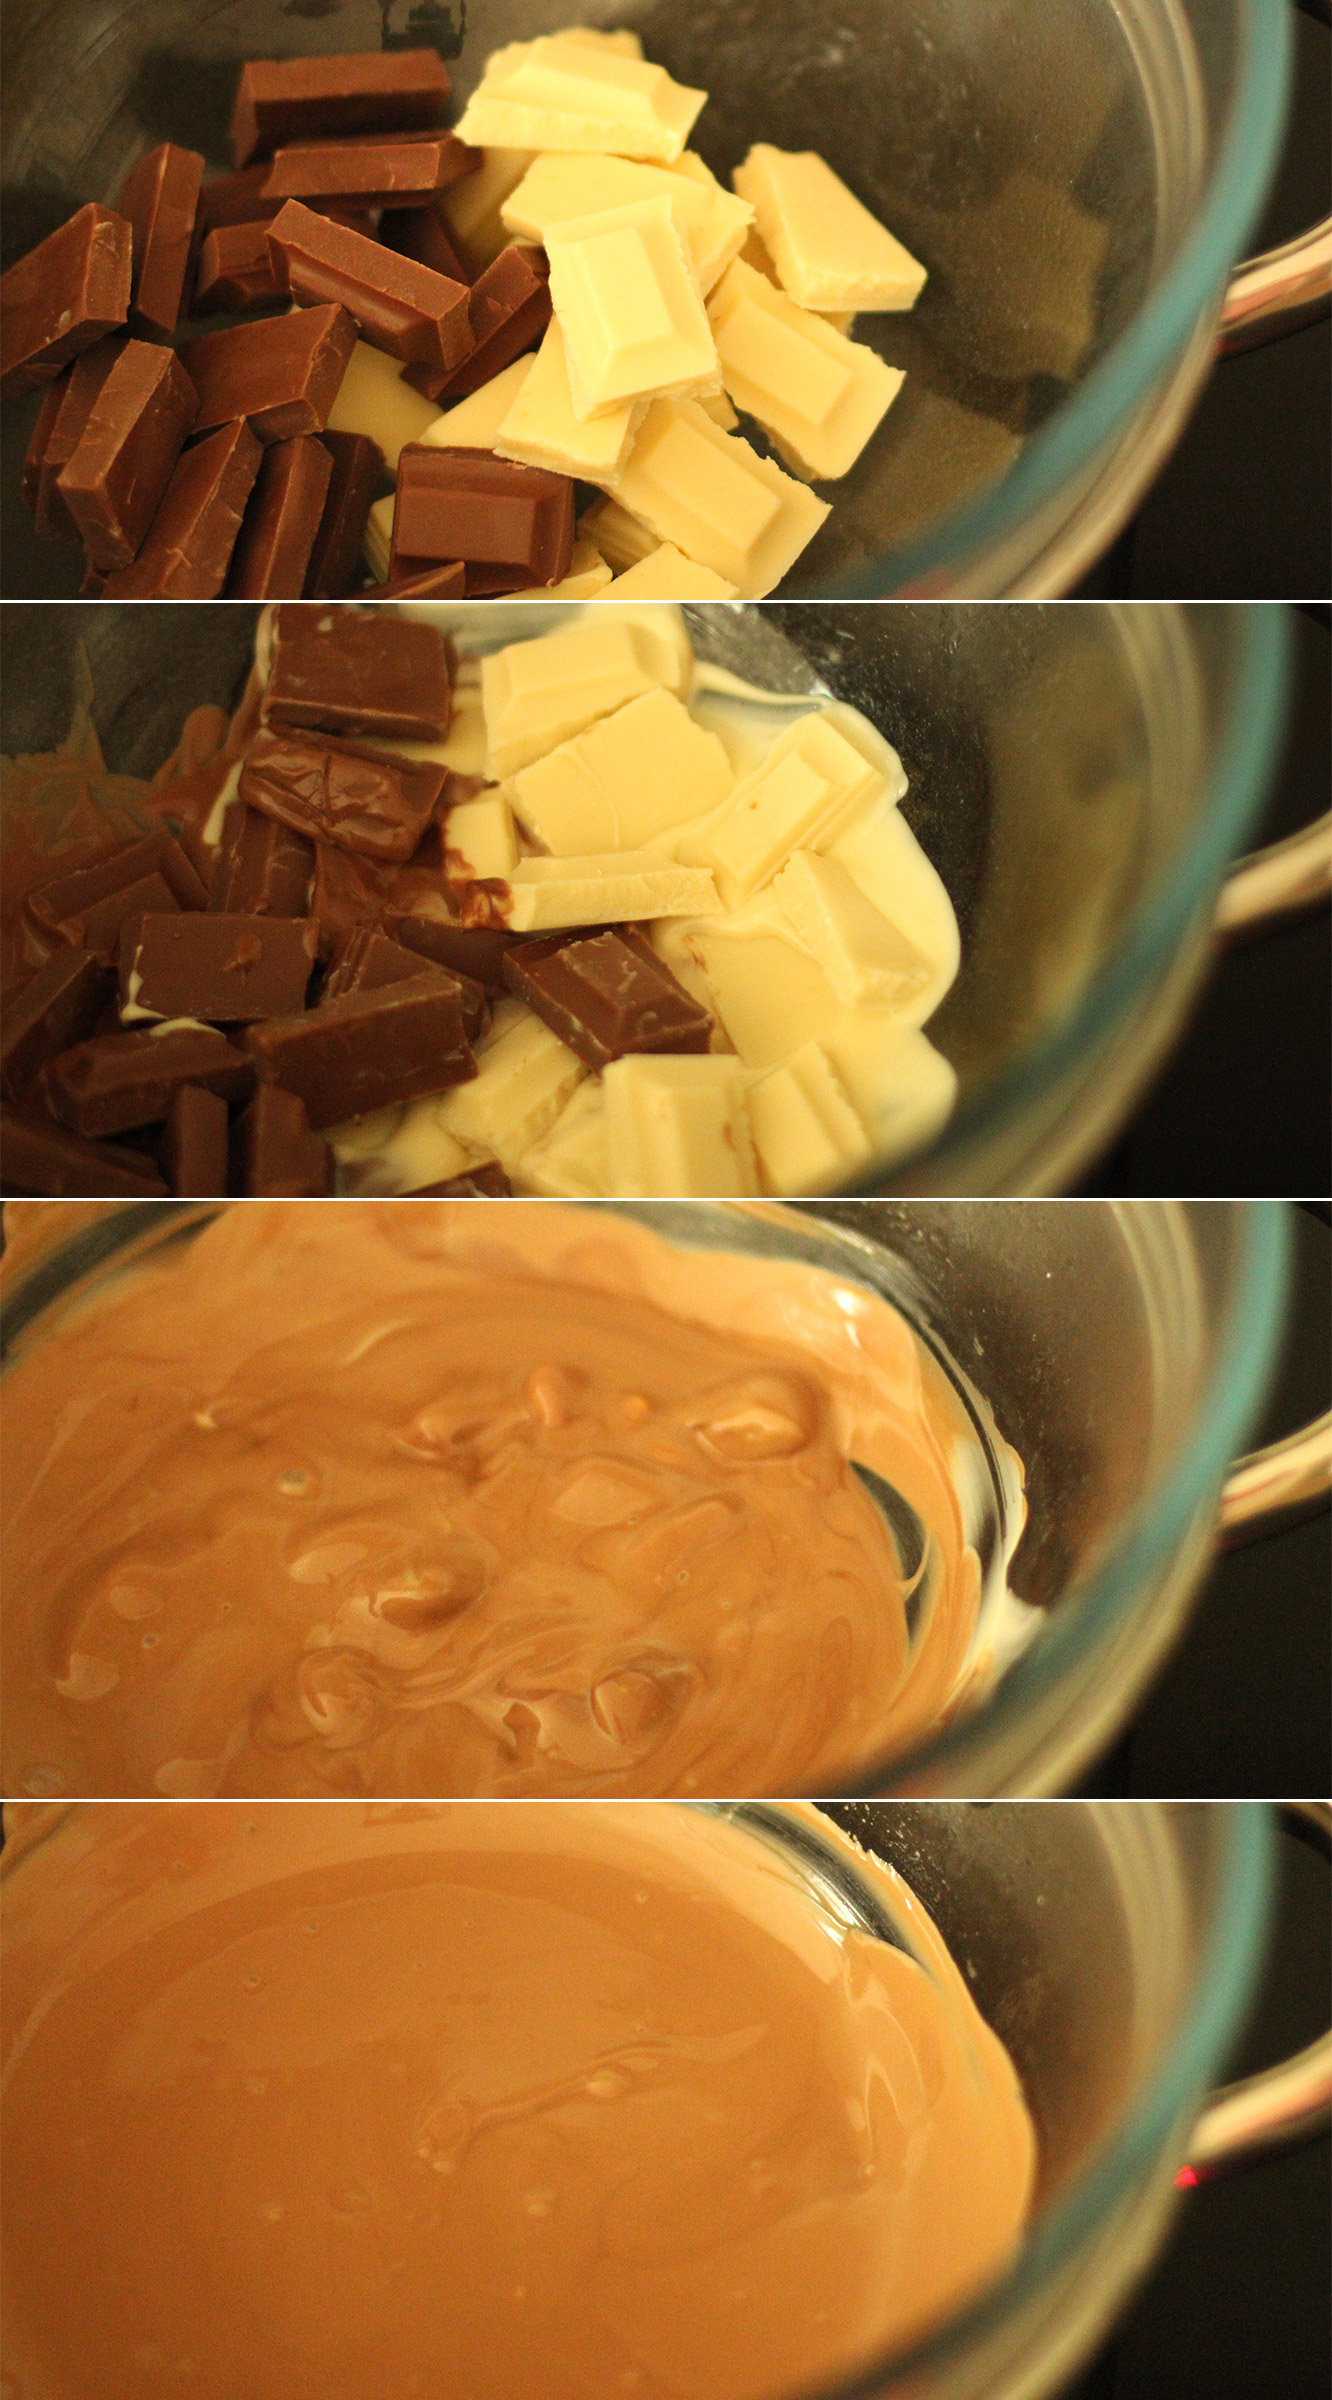
Melt 200g of each chocolate in a heatproof bowl over a pan of simmering water.
marbled-caramel-truffle-recipe-3

Step two

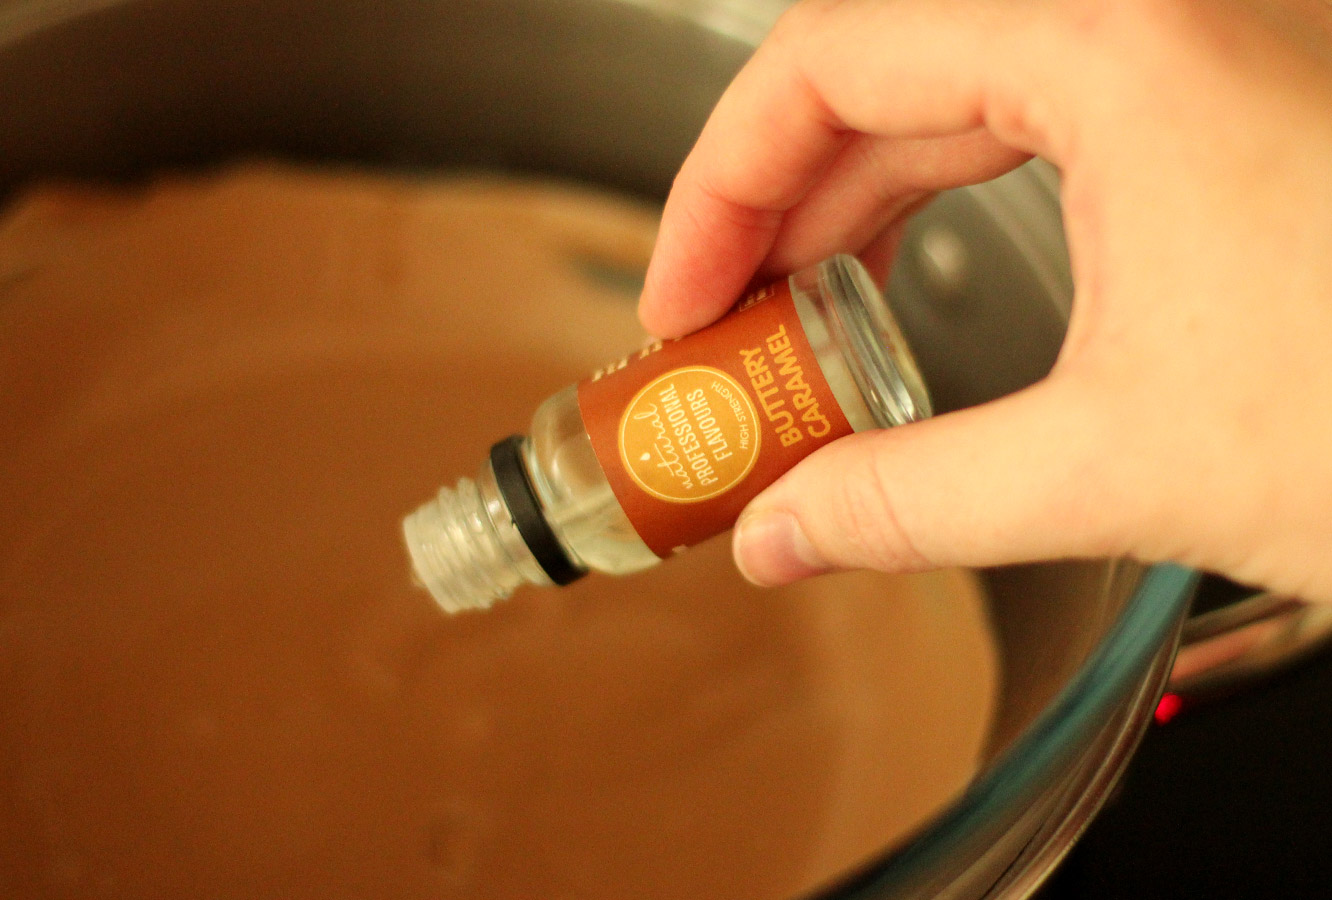
Add 1 tsp or so of the caramel flavouring (you can use other brands of flavouring by the way, a lot of supermarkets offer a caramel flavour now).

This is really just a great excuse to taste test the melted chocolate until you’re happy with it. It’s ok if this takes a few spoonfuls, being a perfectionist is a good thing.
marbled-caramel-truffle-recipe-4

Step three

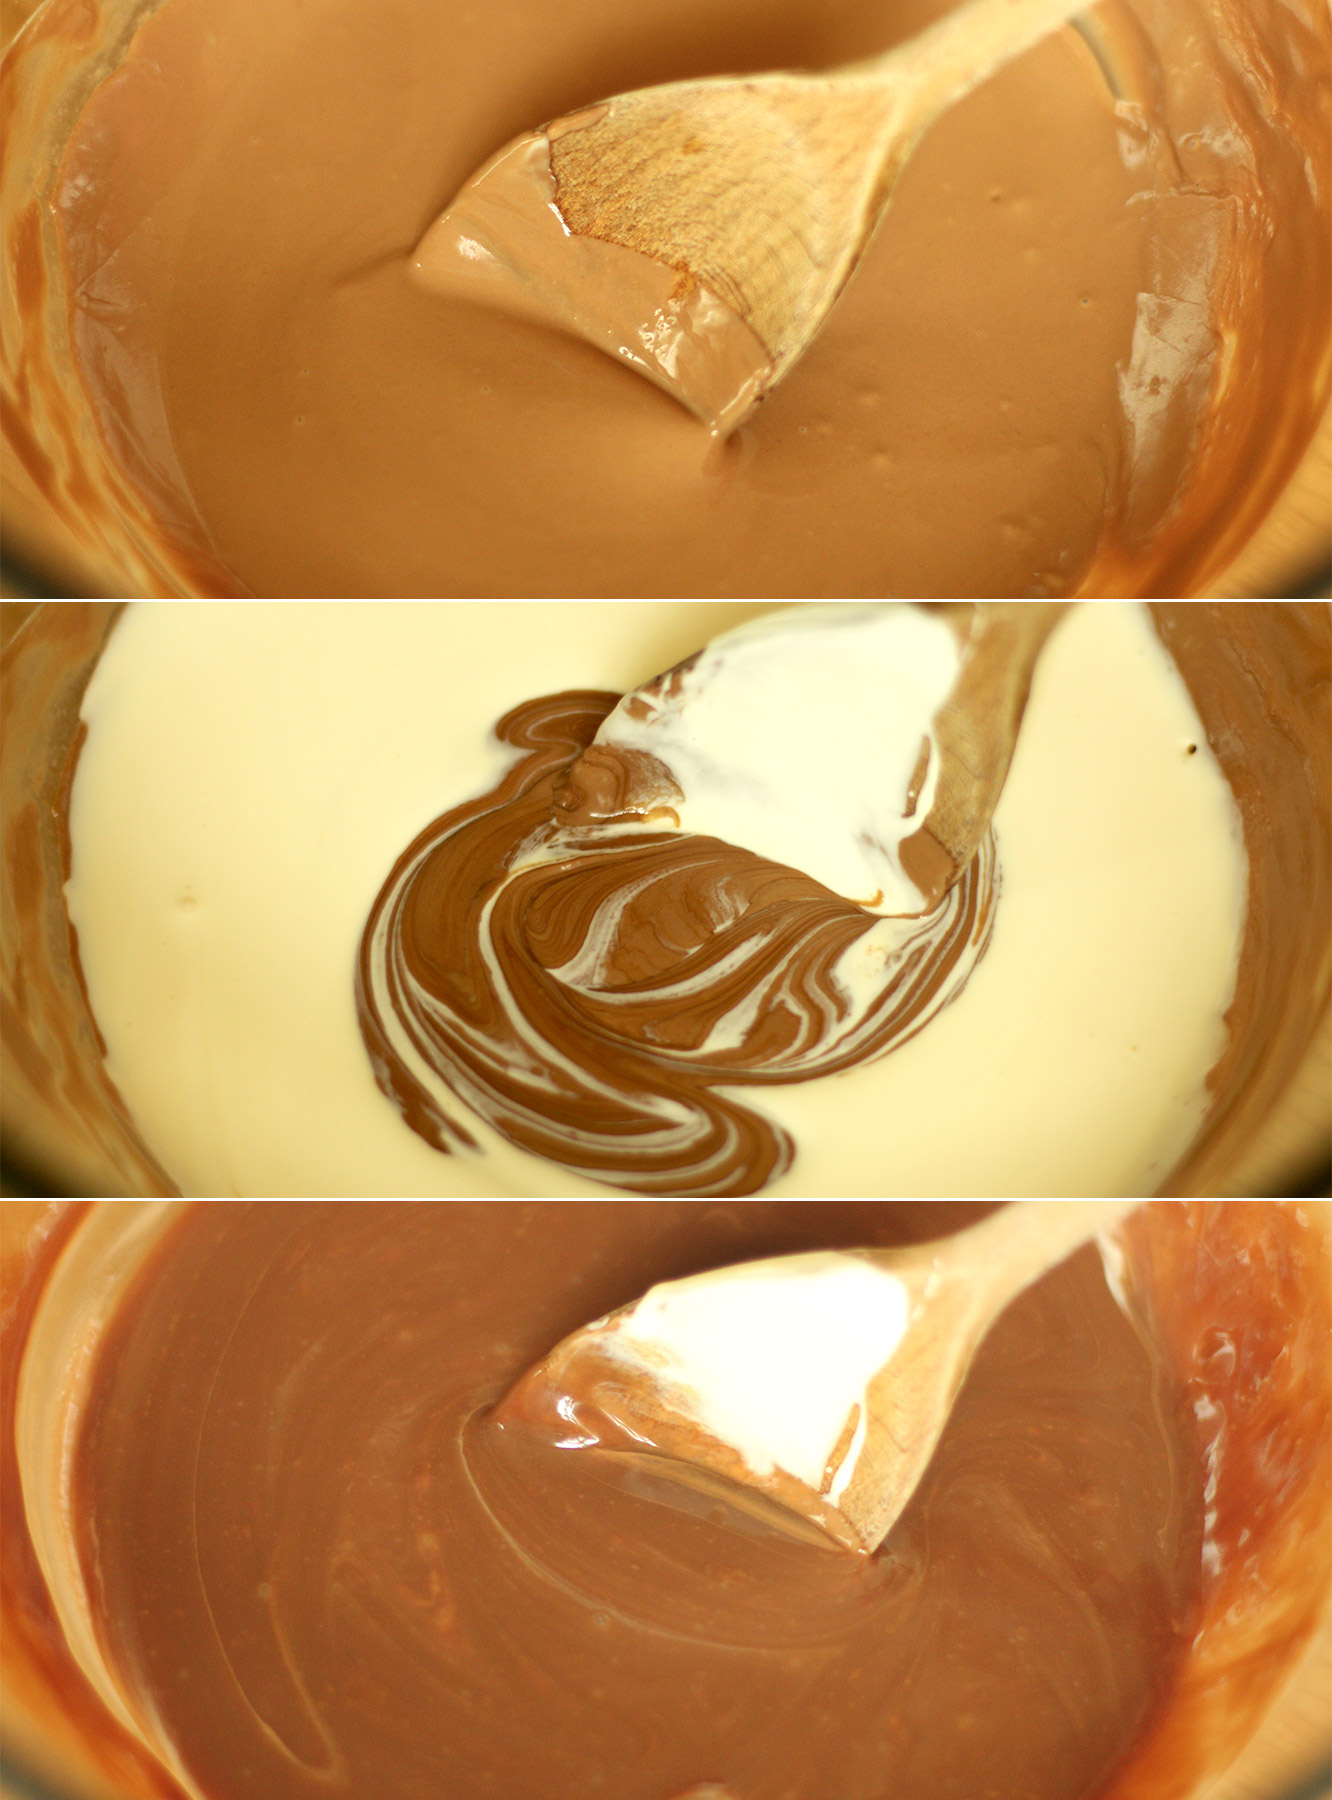
Remove the chocolate from the heat and stir in the cream until fully combined. You will probably need to leave this to set for a while.

Leave it on the side if you have time, the fridge if you’re slightly hurried, or even the freezer if you’re desperate to take photos for your blog in the fading natural light (thanks winter).
marbled-caramel-truffle-recipe-gif-1

Step four

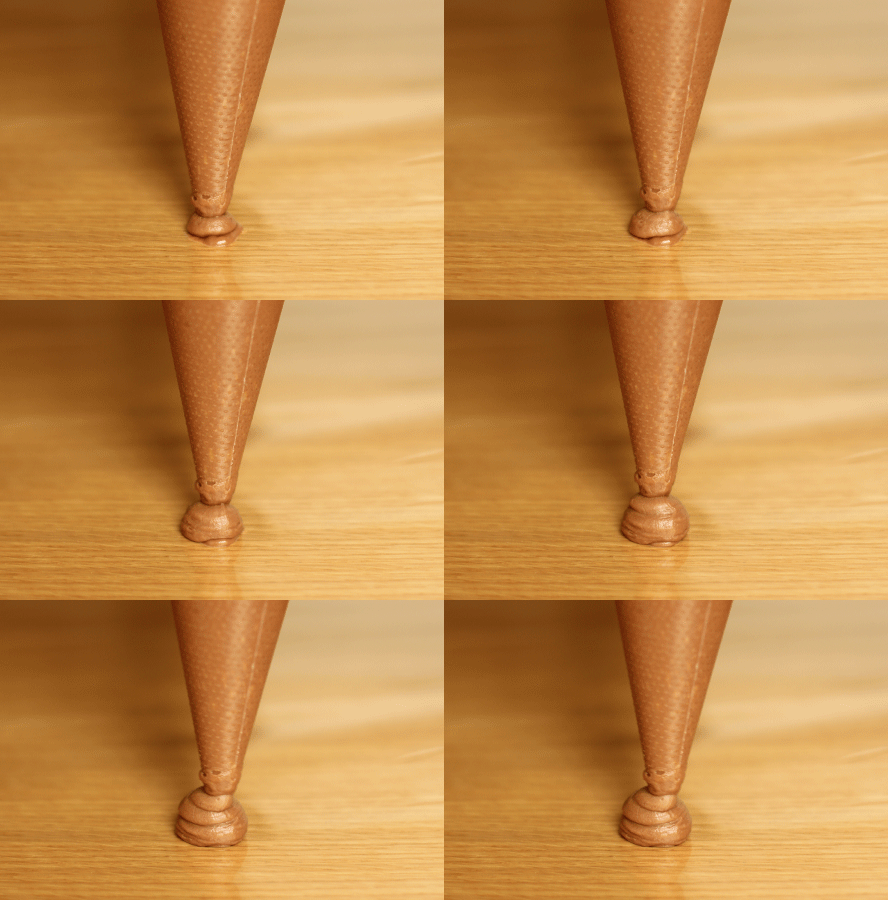
Once the mixture is pipe-able, lay out a sheet of cellophane or greaseproof paper and pipe out evenly sized blobs (yes, that’s the technical term). They need to be about, well, truffle sized, whatever that means to you pal.
marbled-caramel-truffle-recipe-5

Step five

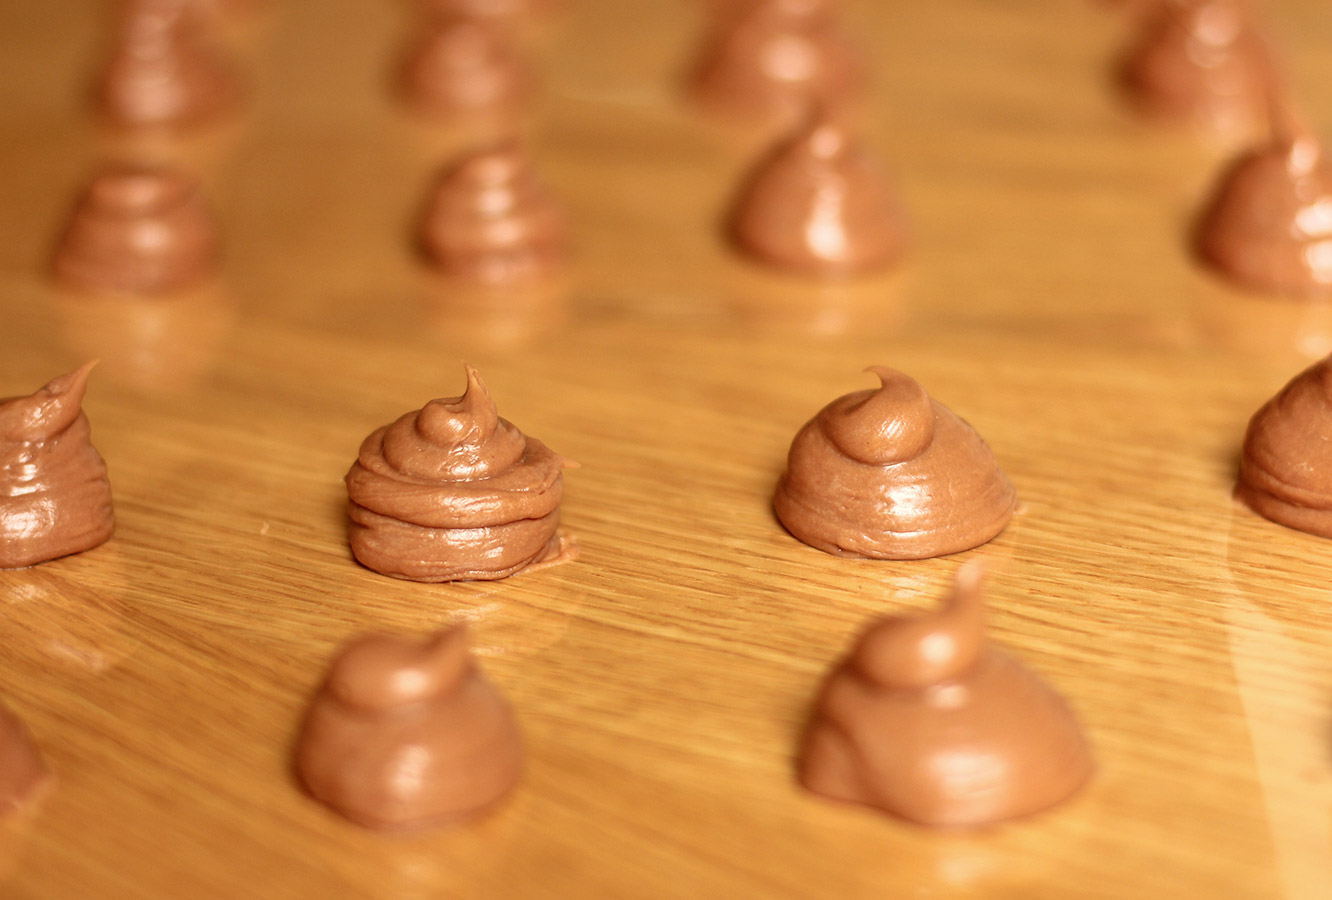
Leave to set, you can put them in the fridge if you want to.

They look appetising, don’t they?
marbled-caramel-truffle-recipe-6

Step six

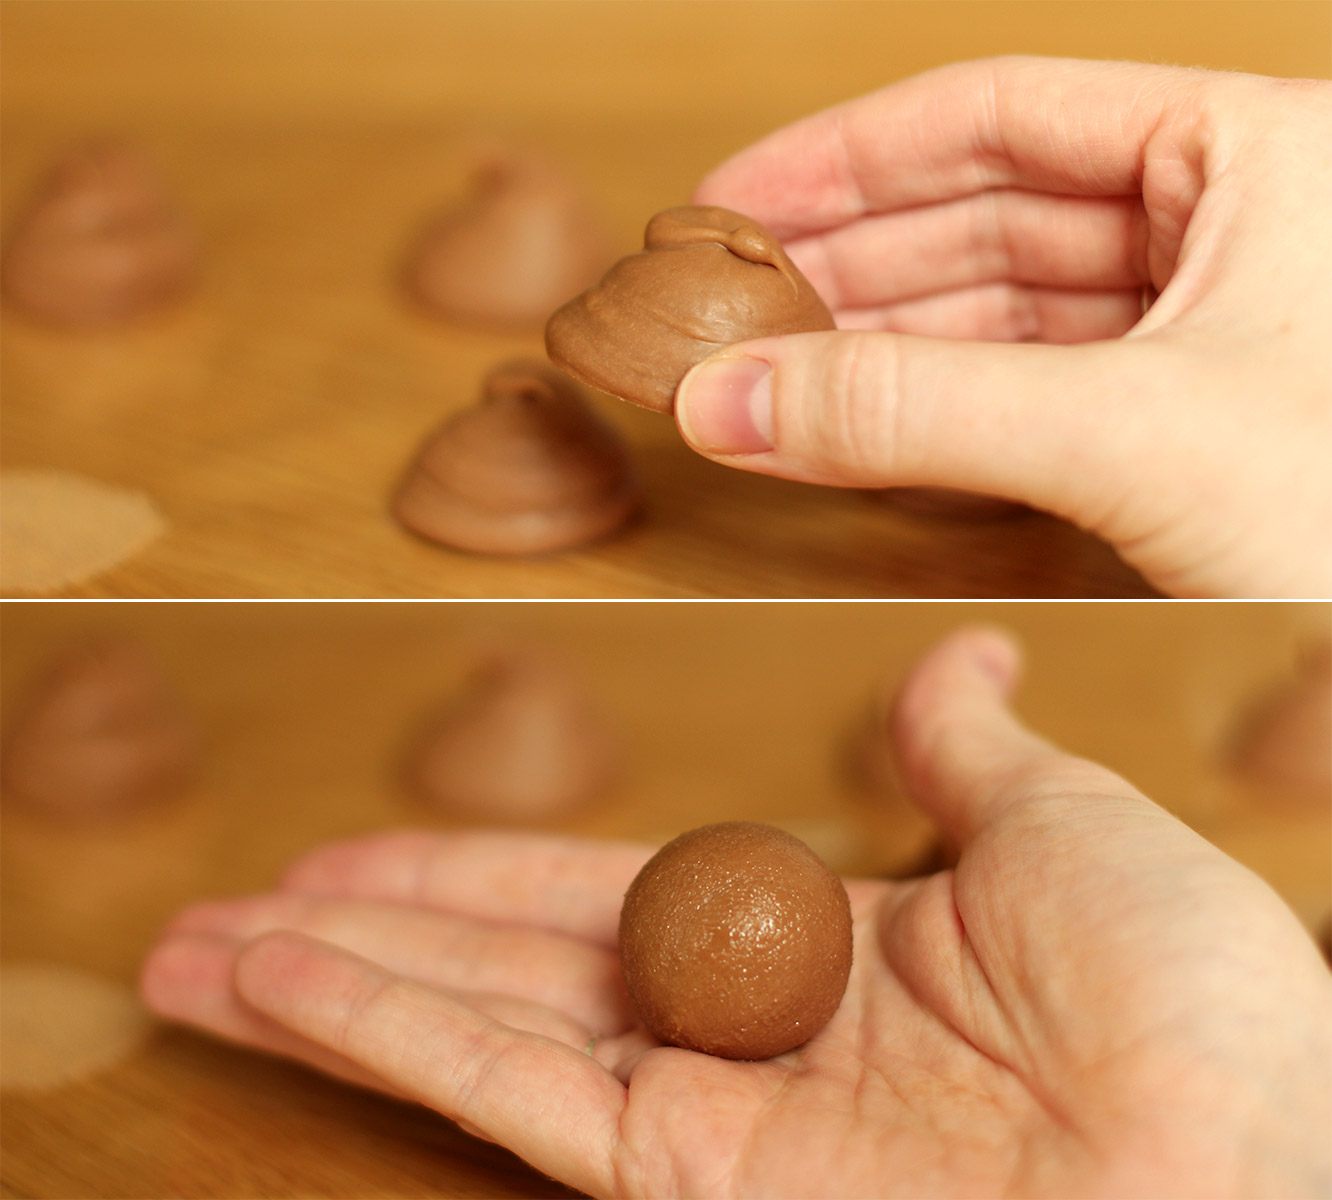
With clean and cold hands (clue: wash them under the cold tap). Squash the piped shapes a little with your fingers and roll into a ball between your palms.

You will probably need to wash your hands a few times as you go as they will start to melt as your hands warm up.

I then put mine back in the fridge while I melted the chocolate for coating.
marbled-caramel-truffle-recipe-gif-2

Step seven

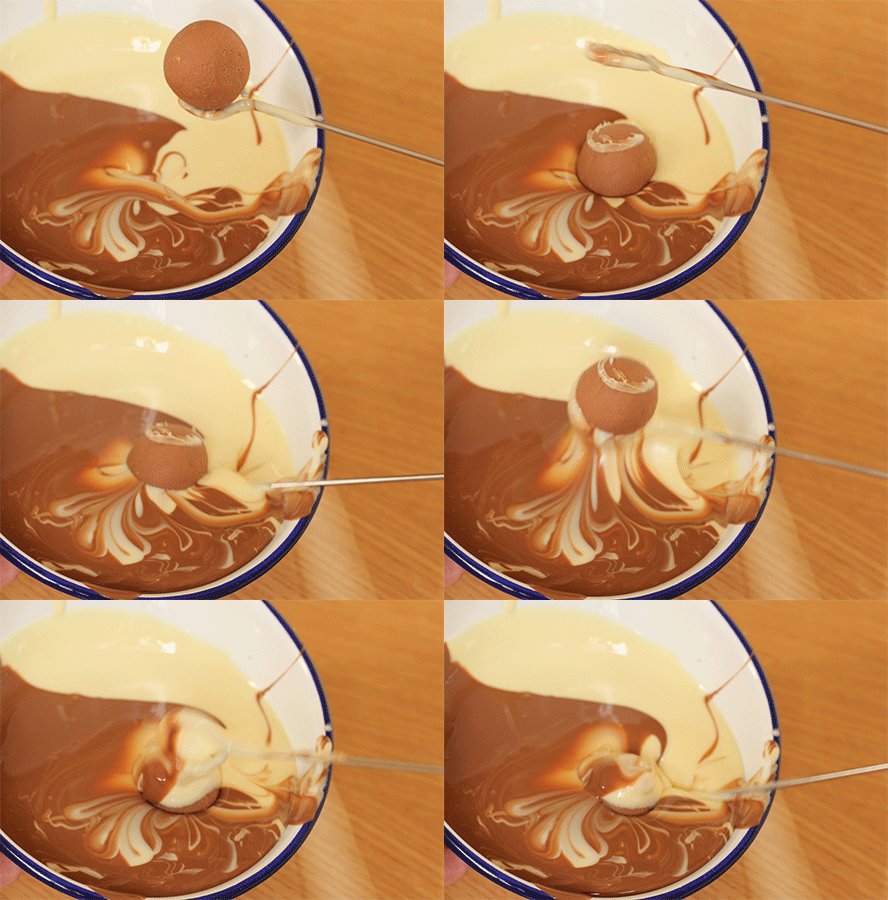
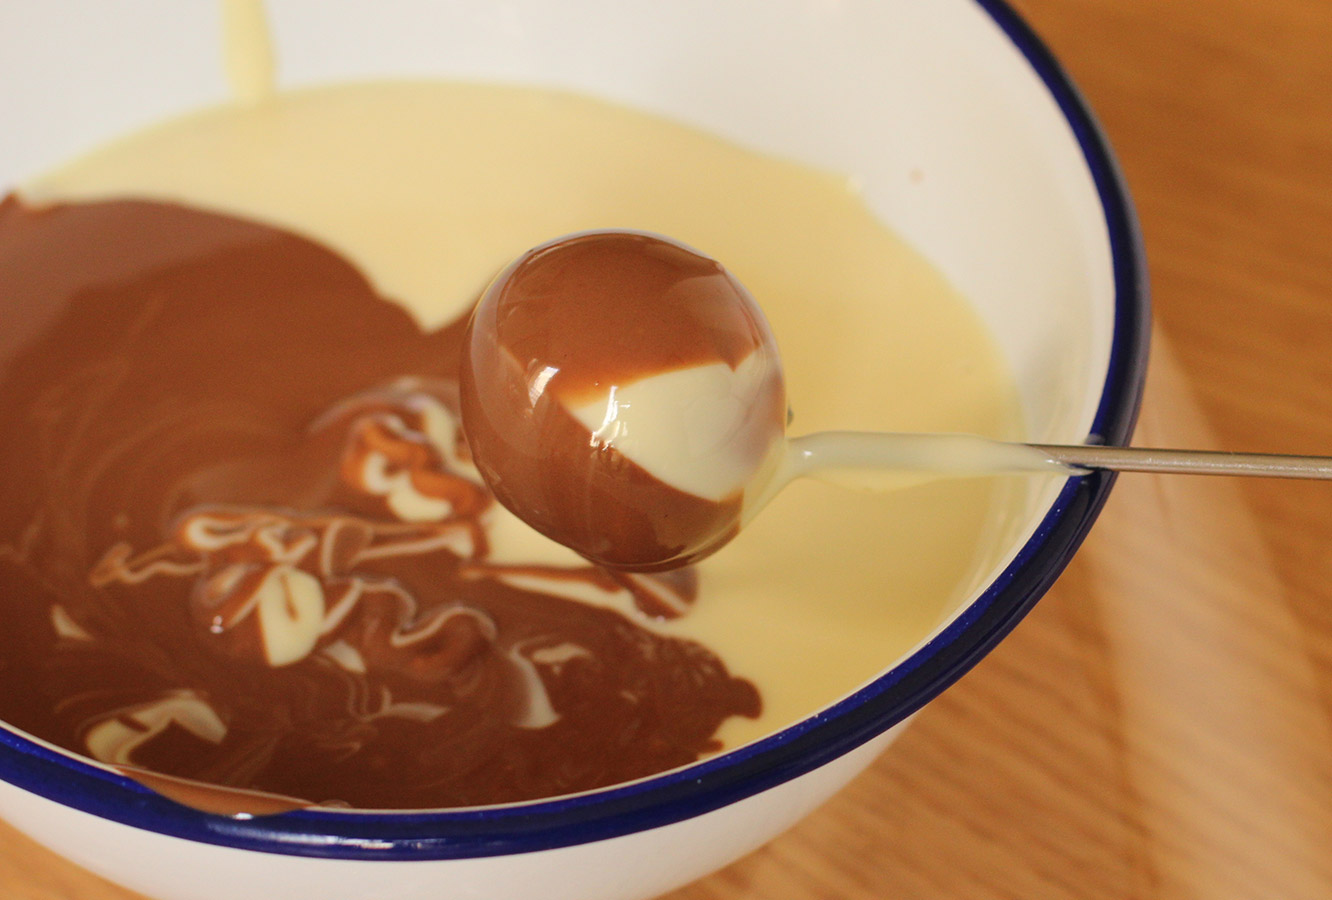
Melt the remaining white and milk chocolate separately and pour simultaneously into a small, deepish container or bowl. This is to get a marbled effect on the outside, but you could always stir them together if you don’t fancy the look of that.

Using either a plastic fork with the middle prongs taken out, or the end of a metal kebab skewer, dip the truffle centres in the chocolate.
marbled-caramel-truffle-recipe-7

Step eight

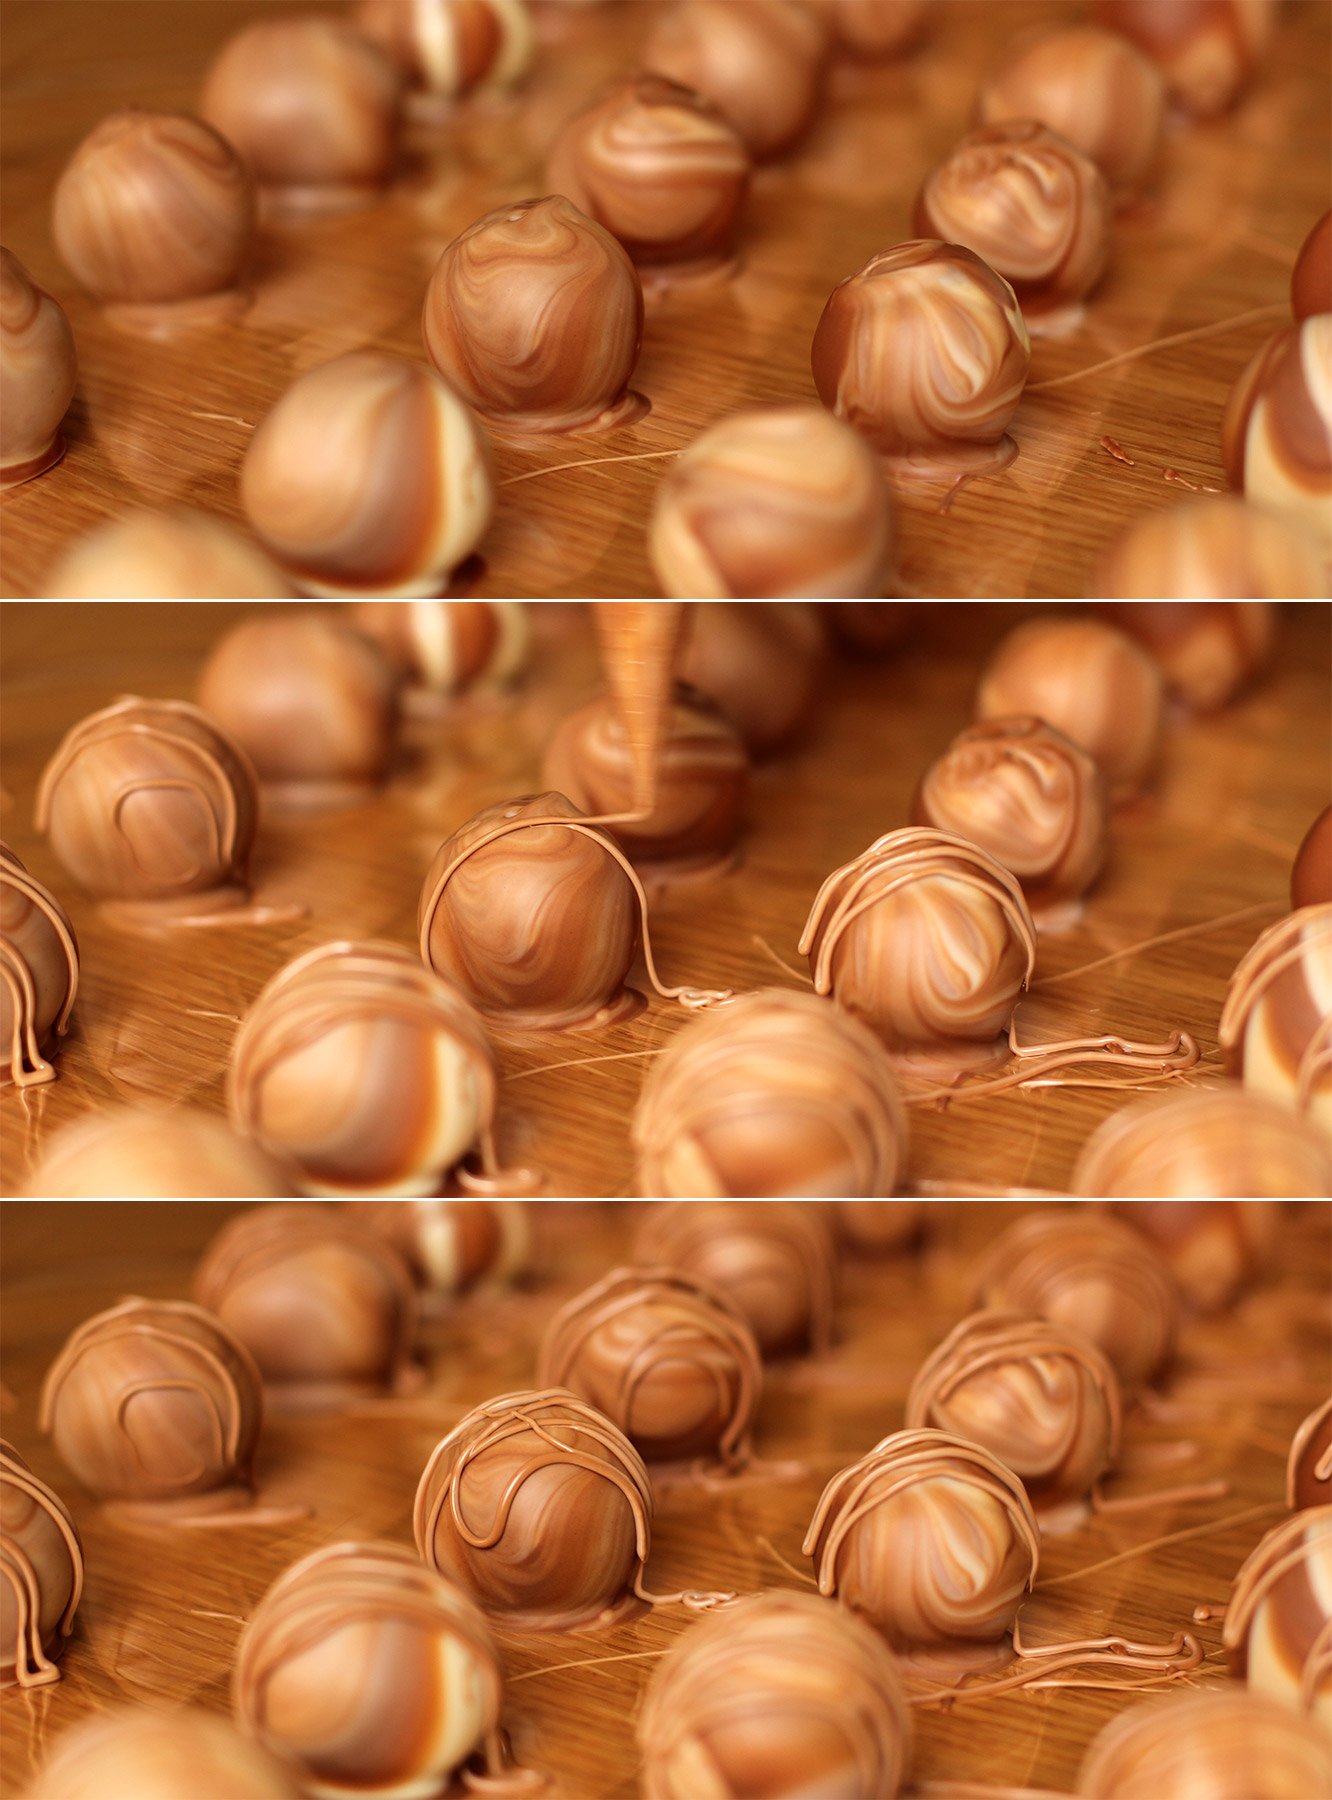
Repeat until you’re out of truffles. Leave to set. This time, don’t shortcut with the fridge, you want them to set at room temperature so that they don’t melt at room temperature.
marbled-caramel-truffle-recipe-8

Step nine

Put the leftover dipping chocolate in a piping bag and drizzle over the truffles.

Put the remaining melted chocolate in your mouth with a spoon. Or just pipe it straight in there.
marbled-caramel-truffle-recipe-10

Step ten

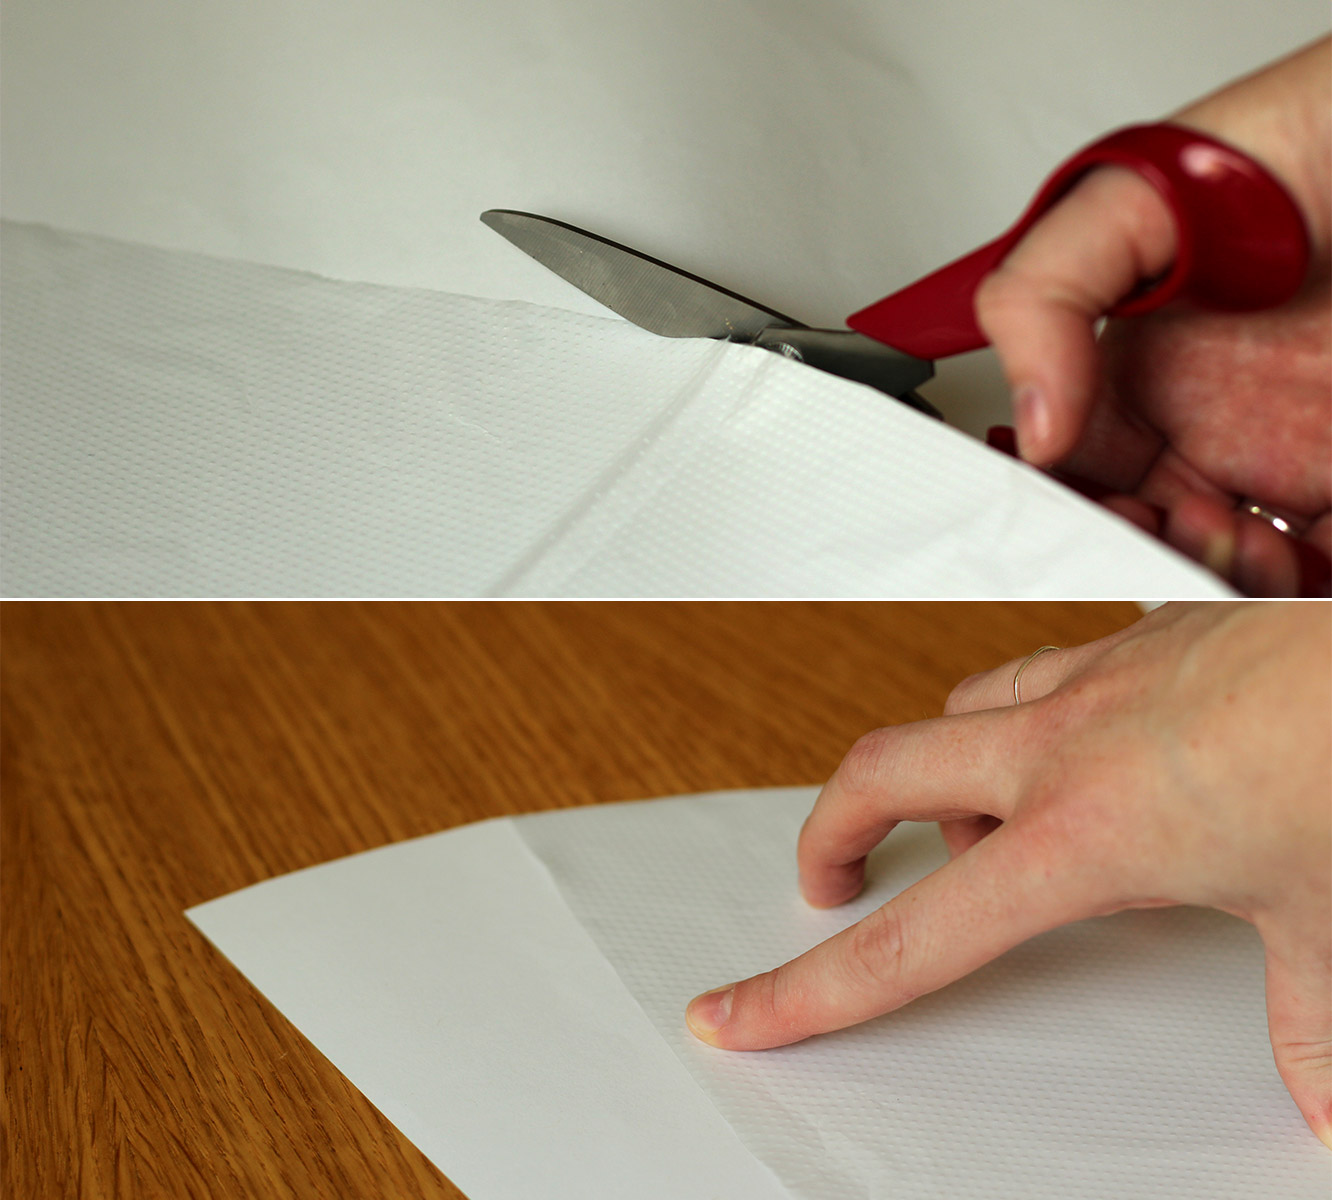
Cut open a piping bag so that it lies flat and use it as a template to cut round. Add a little extra on one side for overlap, and snip the pointy end off the bottom so it’s flat.
marbled-caramel-truffle-recipe-9

Step eleven

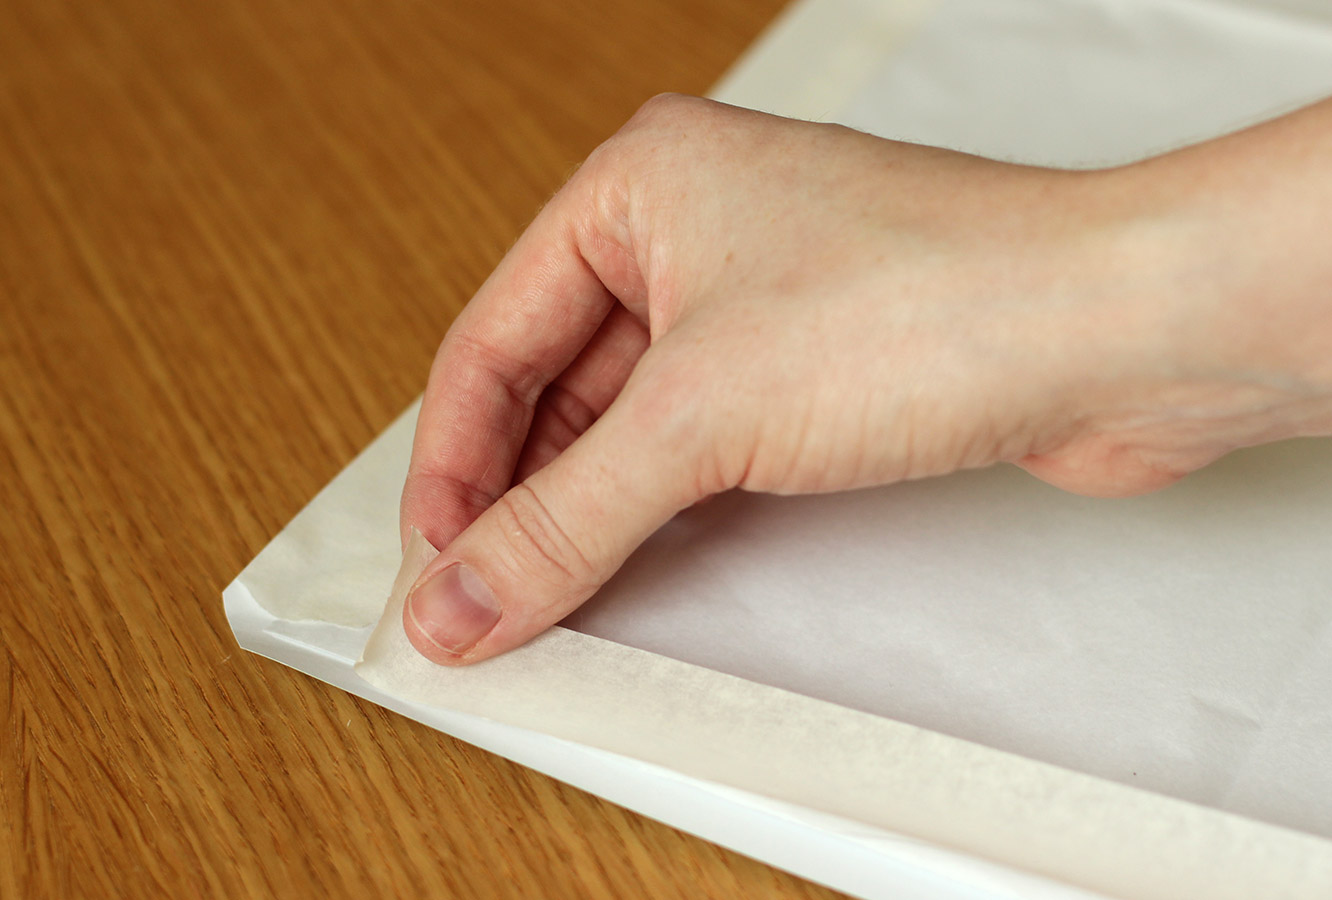
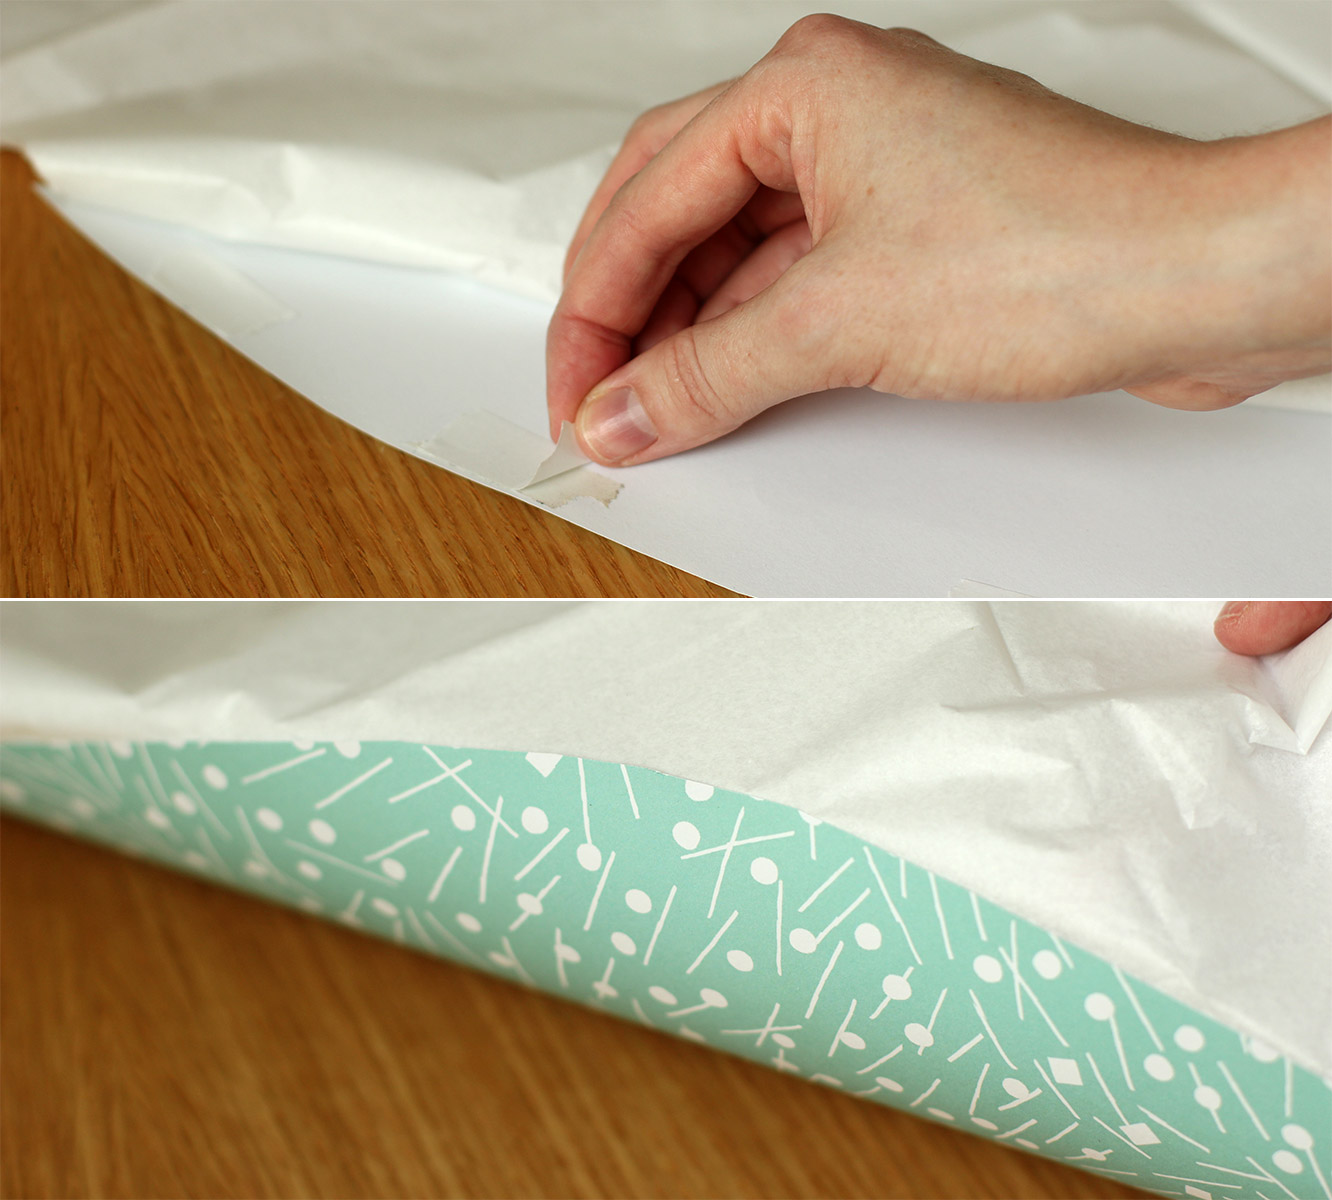
Cut three or four sheets of tissue paper to the same shape, but add another 10 cm to the top.

Tape the straight edges of the tissue to the wrong side of the wrapping paper.
marbled-caramel-truffle-recipe-12

Step twelve

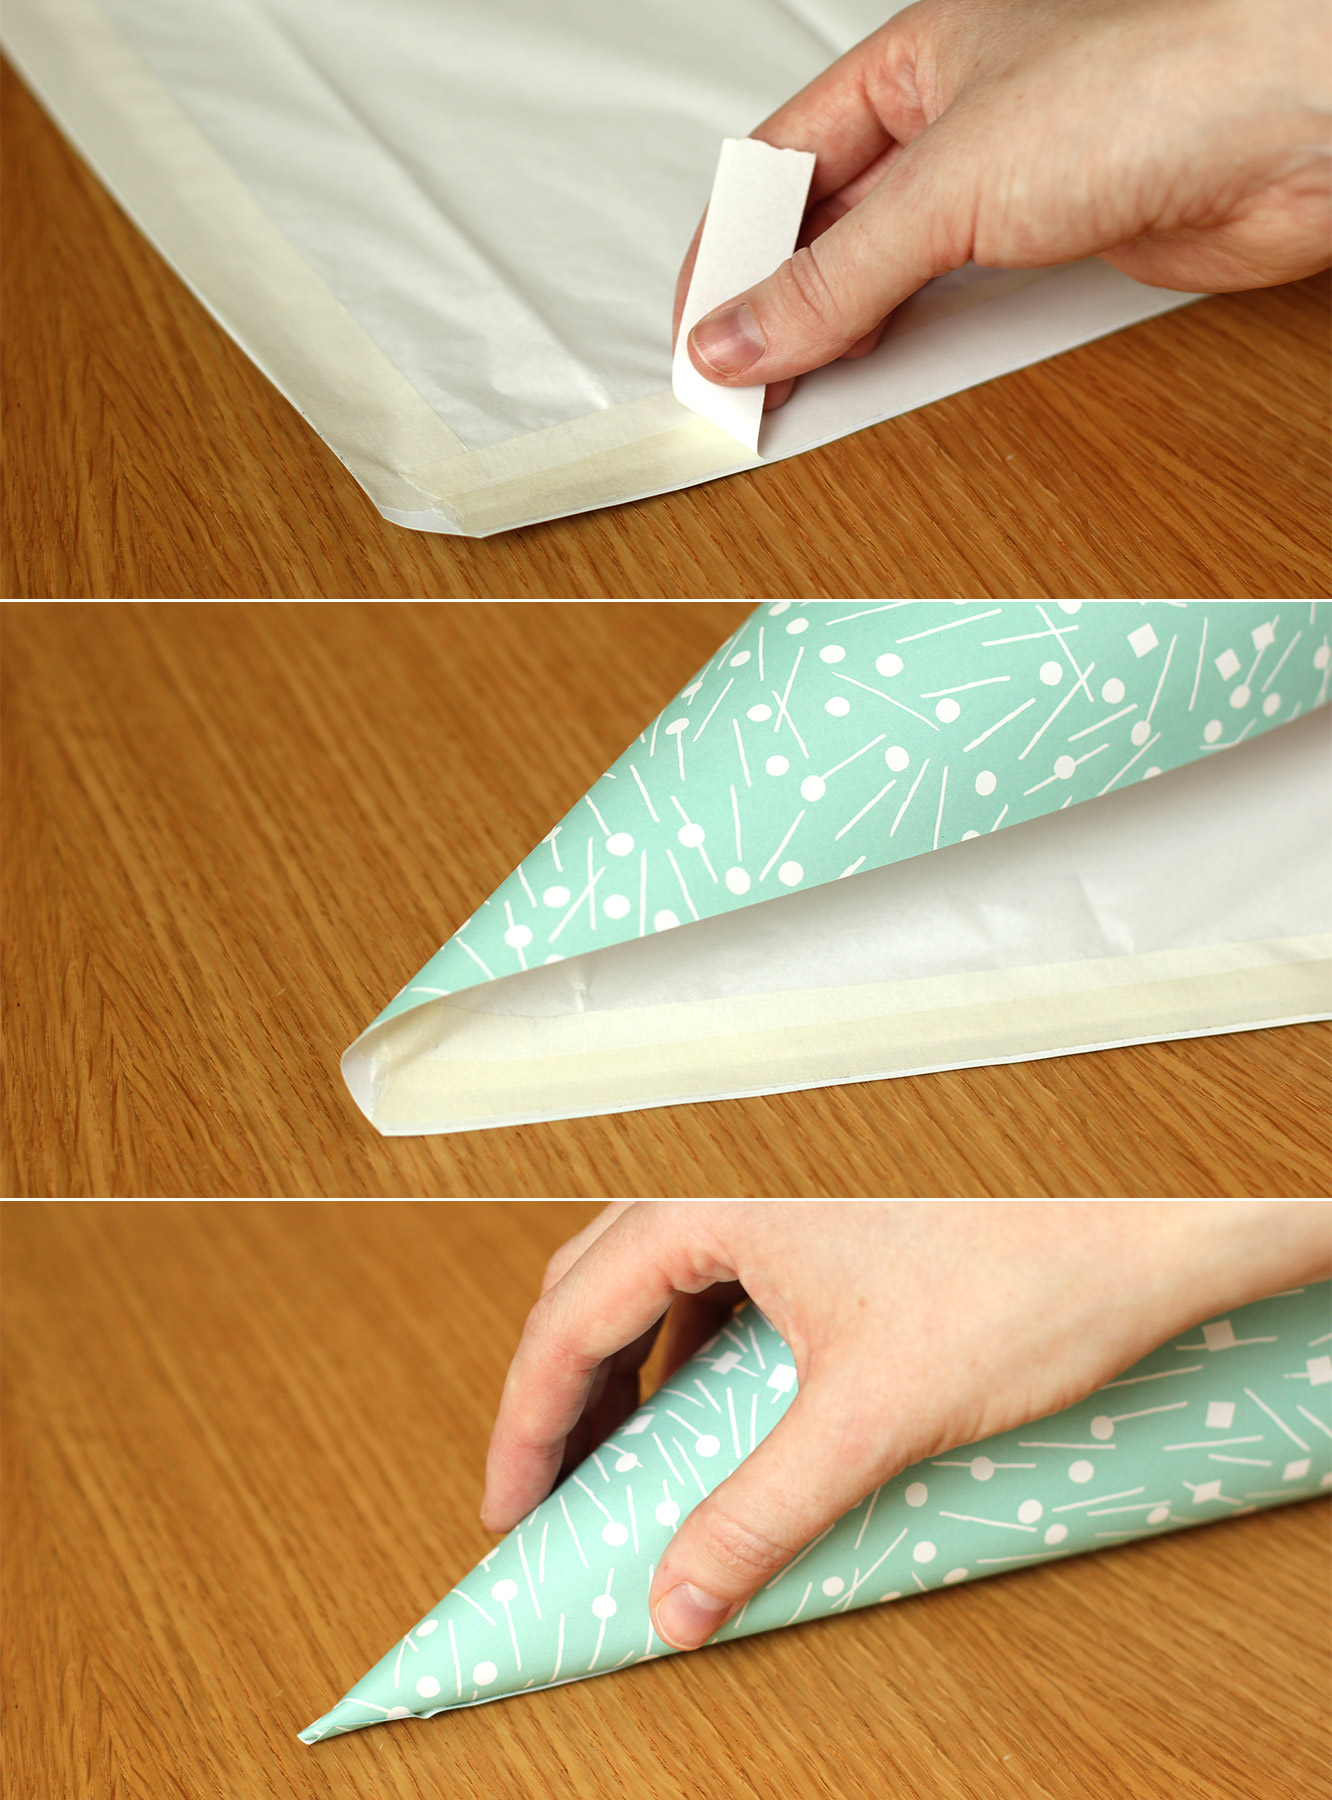
Fold back the top of the tissue paper on the large curved edge. Place double-sided tape around the edge and fold the tissue back over so that it is stuck the whole way round the top.
marbled-caramel-truffle-recipe-13

Step thirteen

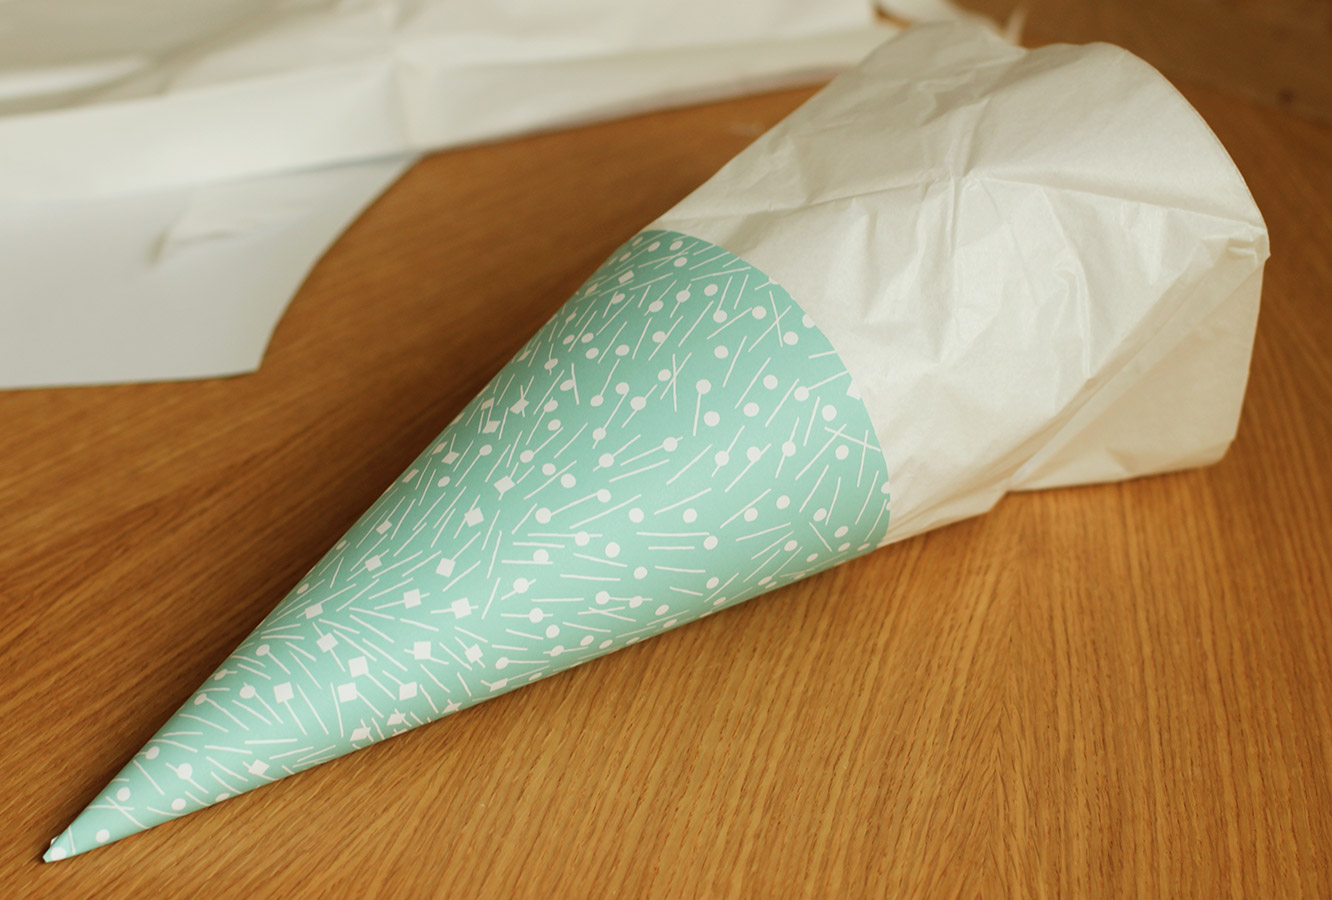
Use another strip of double-sided tape down the straight edge to roll the paper into a conical shape. You should have something like the below.
marbled-caramel-truffle-recipe-14

Step fourteen

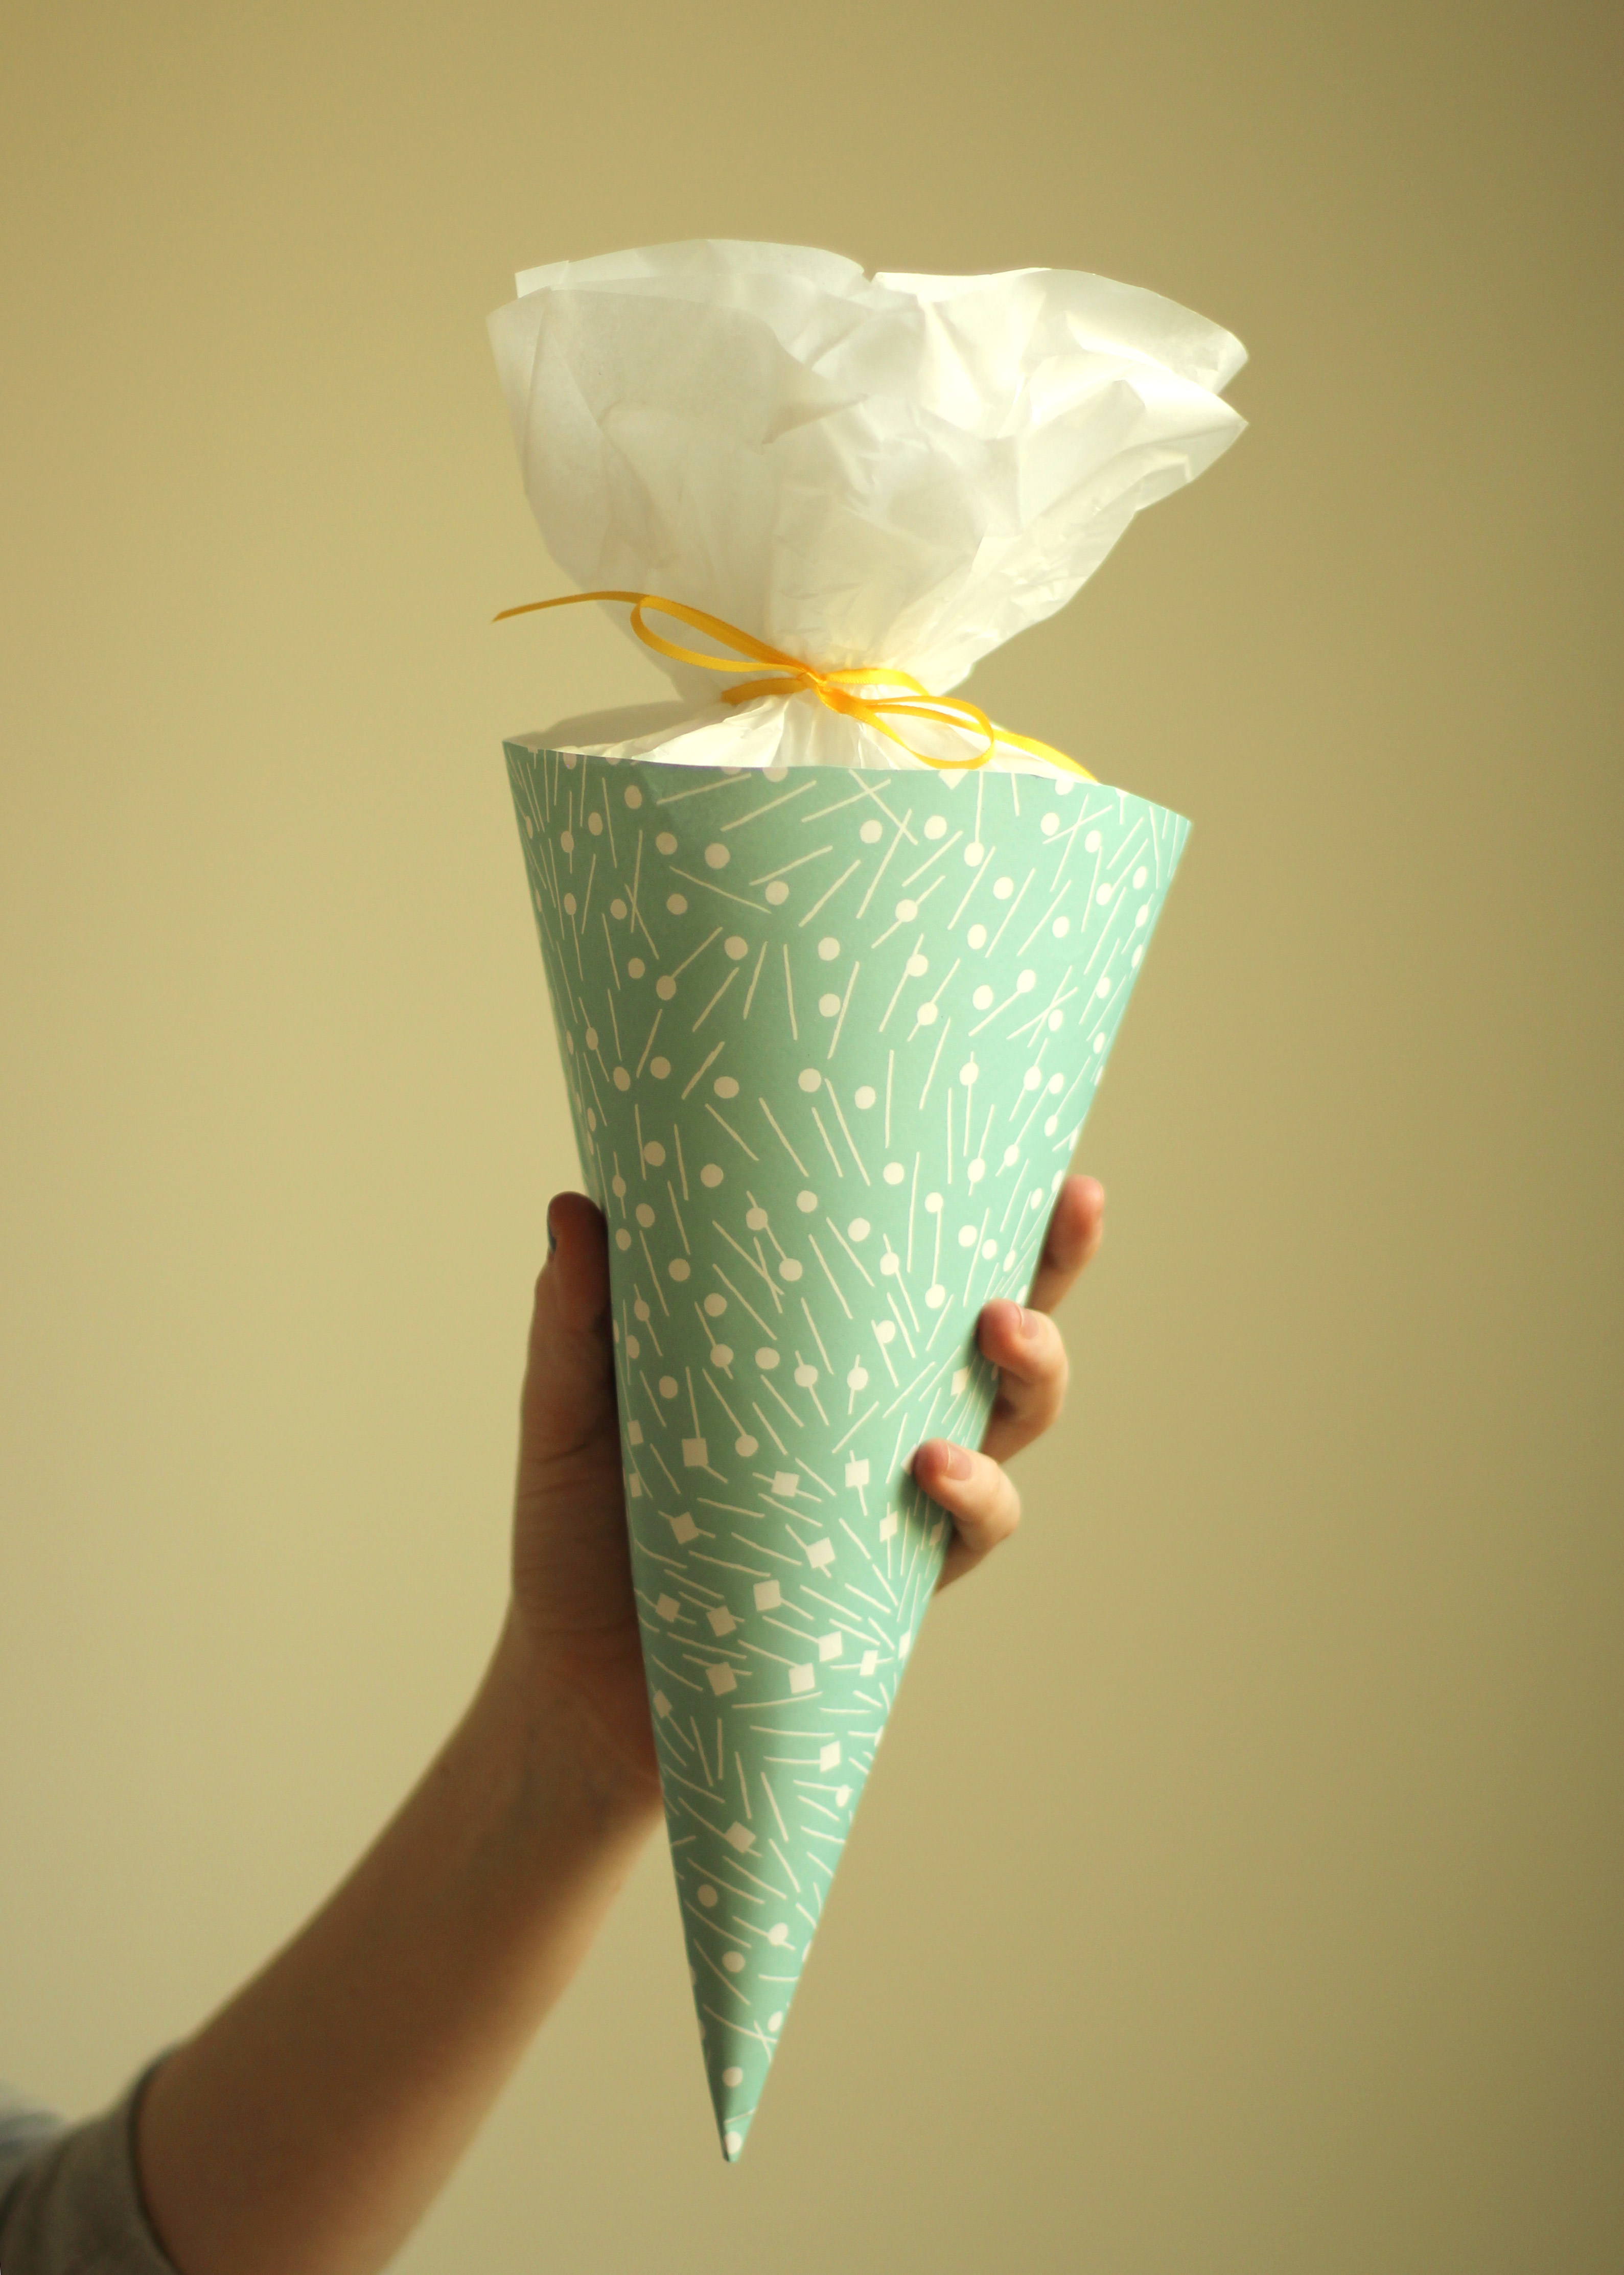
Fill another piping bag with truffles and place in the cone, or Schultüten, and tie up the top with a piece of ribbon.
marbled-caramel-truffle-recipe-17

Voila!
marbled-caramel-truffle-recipe-15

marbled-caramel-truffle-recipe-16

Cluck cluck #3

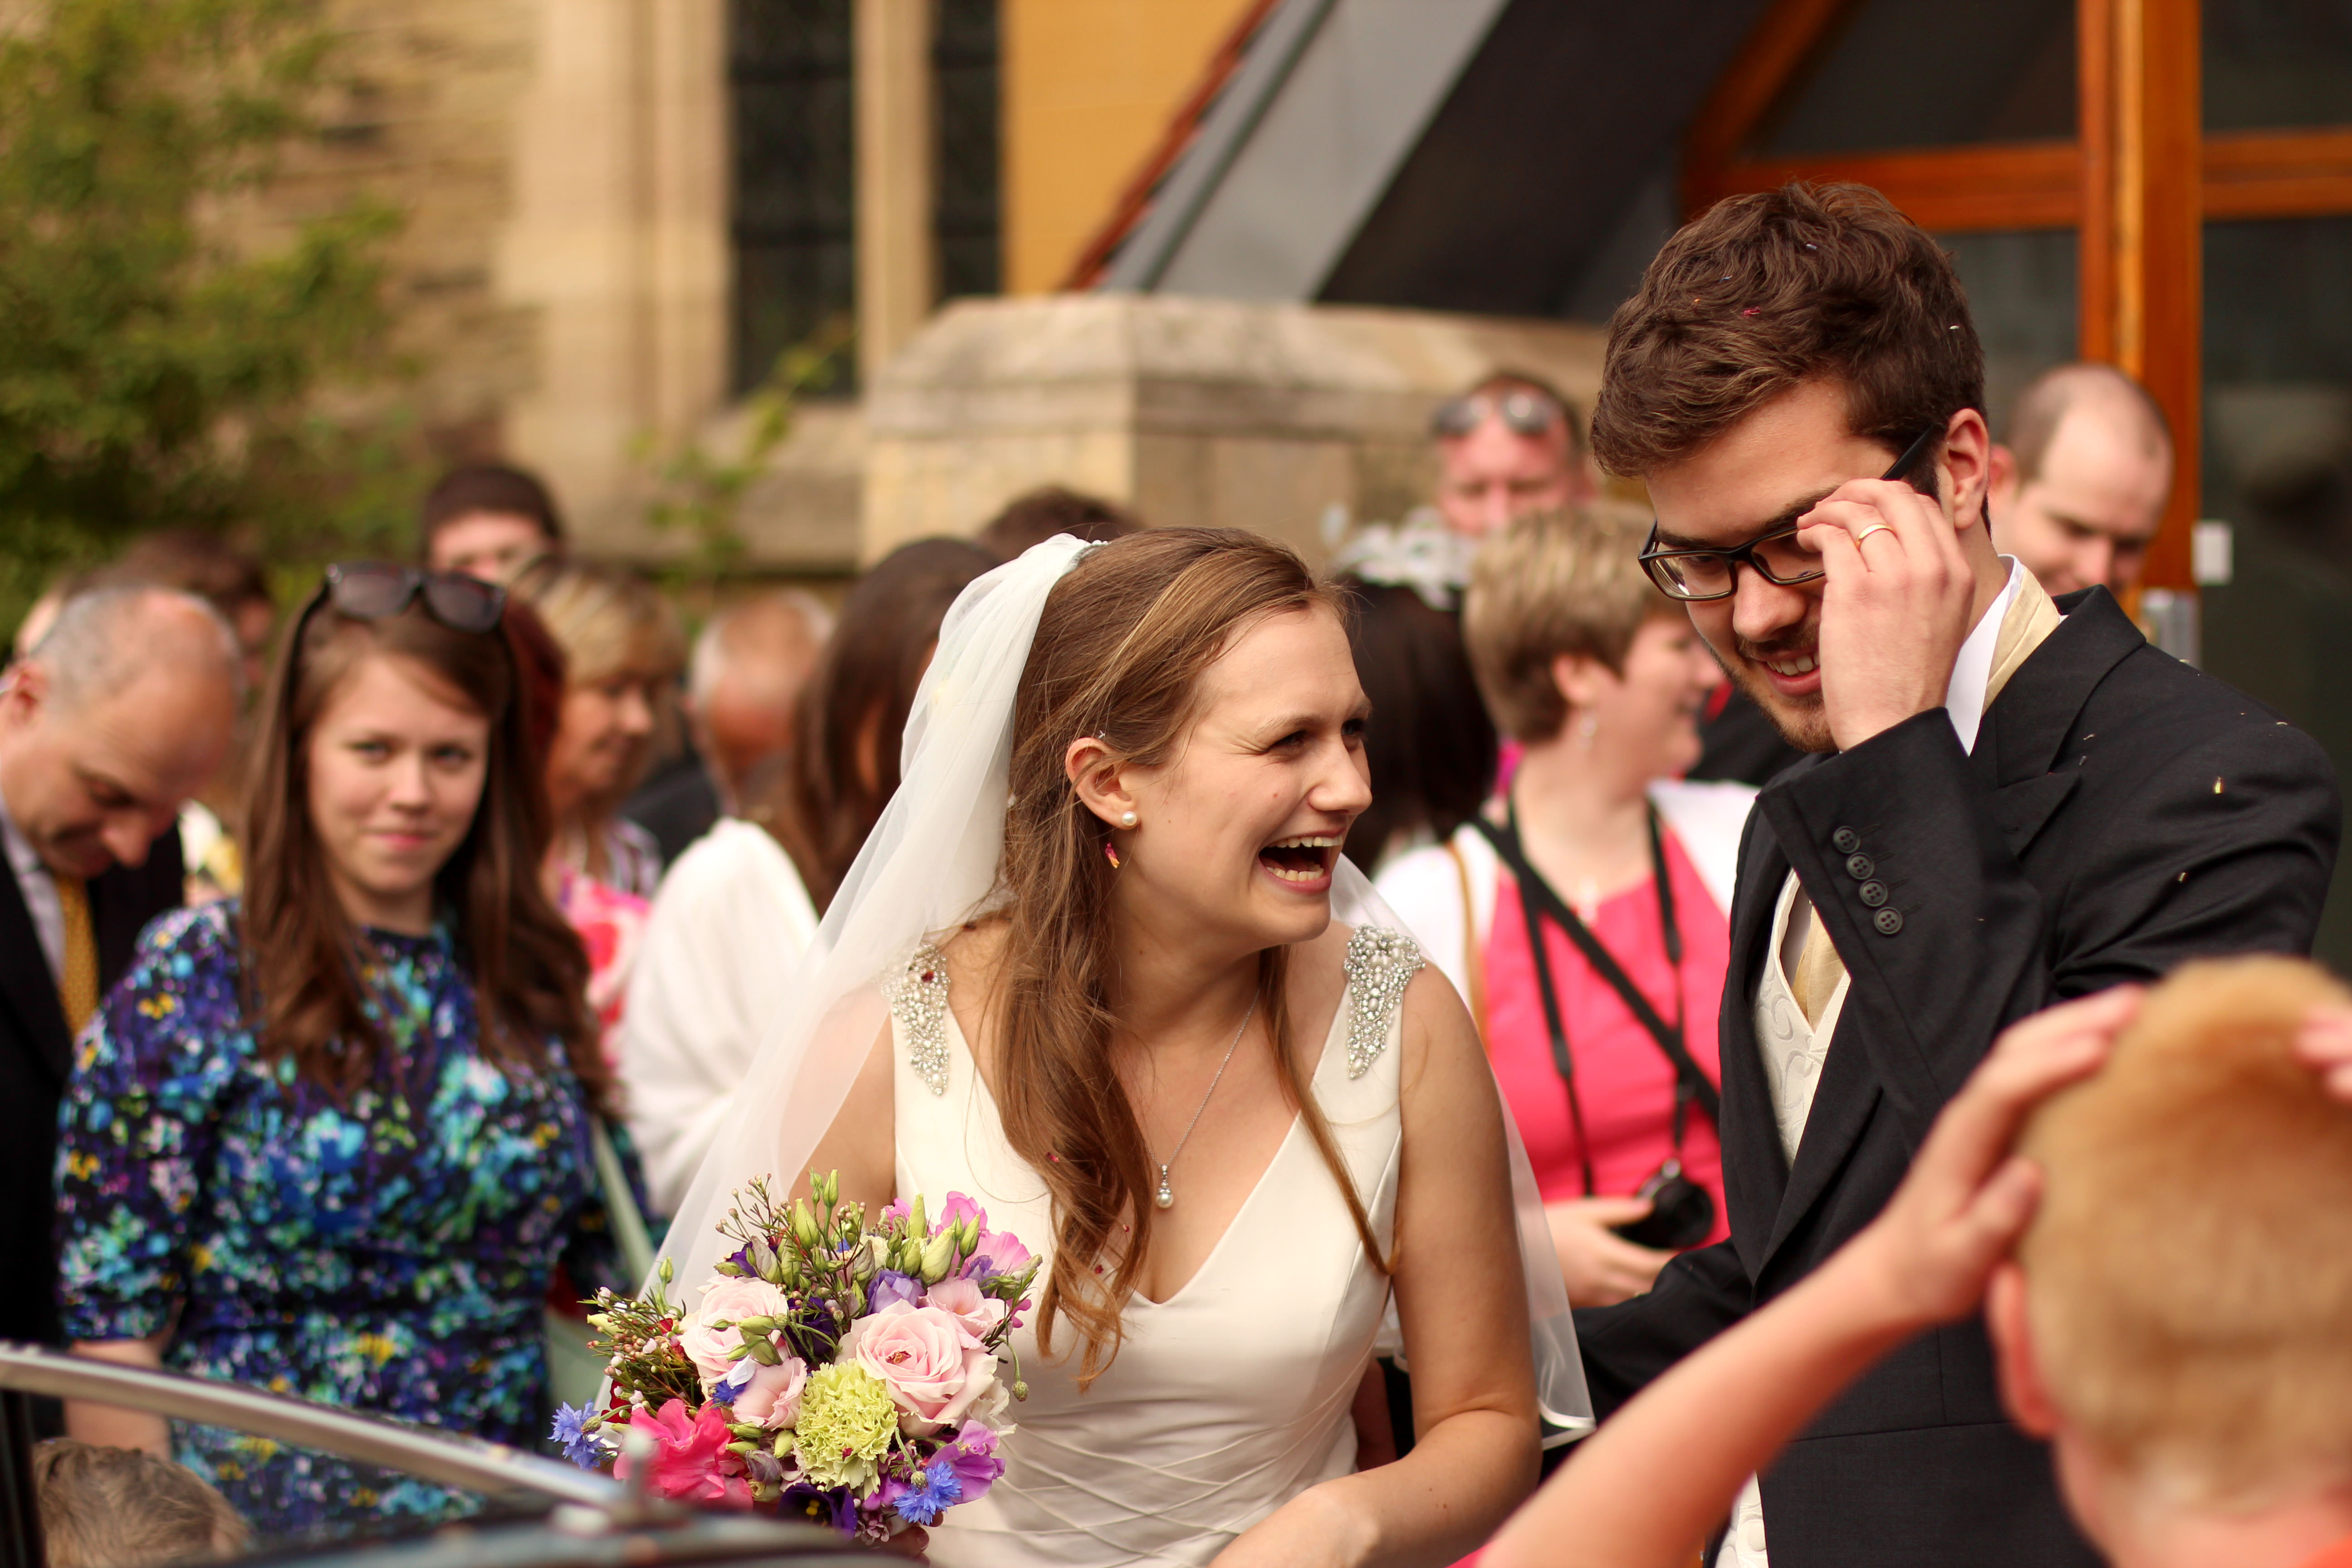
It seems a bit strange to be writing this. Not least because the last few weeks were crazy and I got out of the habit of blogging, but mainly because the hen in question is now a WIFE.

What’s that? You wanna see? Oh ok then, here she is…

IMG_6228

As you can see from the size of that smile, we all had a ball. It was an amazing day.

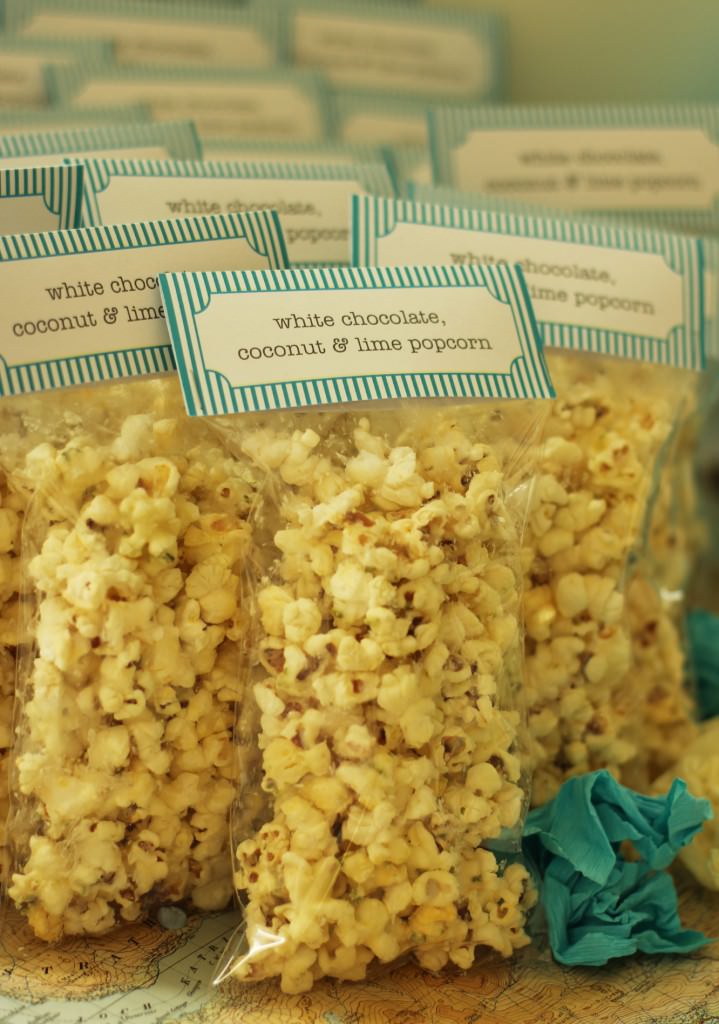
But let’s step back a month or three and finish off her favours. This was without a doubt the guests’ fave recipe so, ladies, all of you who asked me for it, sorry it took so long! Without further ado here is the recipe for white chocolate, lime and coconut popcorn.
Remember to downscale the below if you’re making for a smaller group/movie night.

hen-bachelorette-party-favours-01

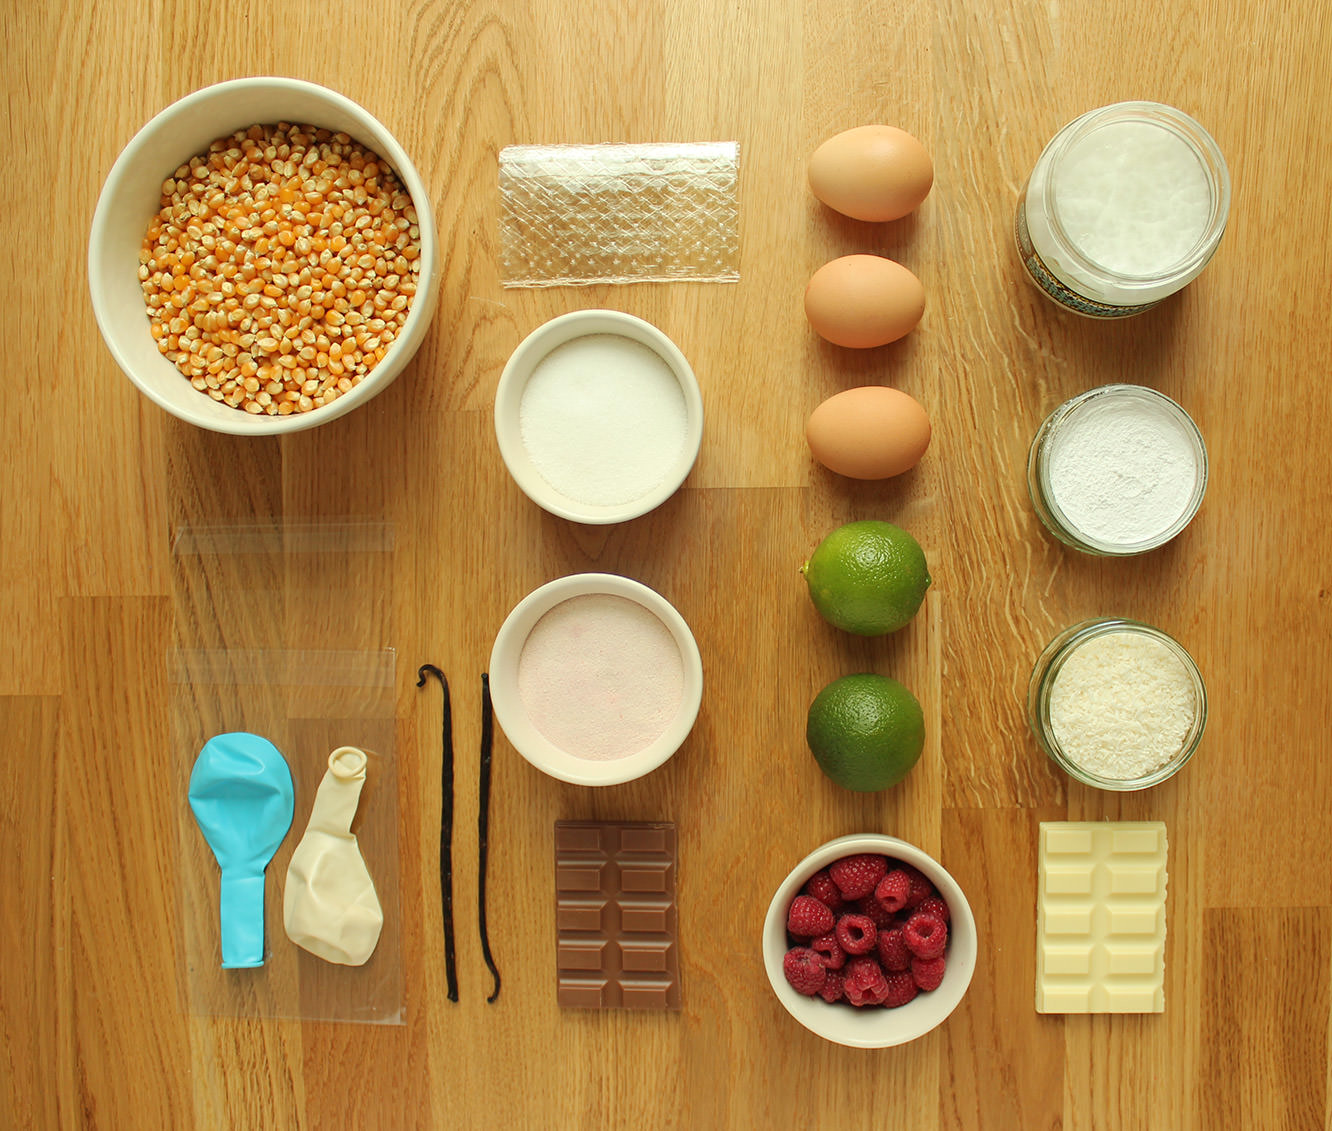
You will need

450g/1lb plain popcorn kernels

600g/1lb 5oz white chocolate

Coconut oil

2 limes (zest)

hen-bachelorette-party-favours-lime-white-chocolate-coconut-popcorn-recipe-01

Step one

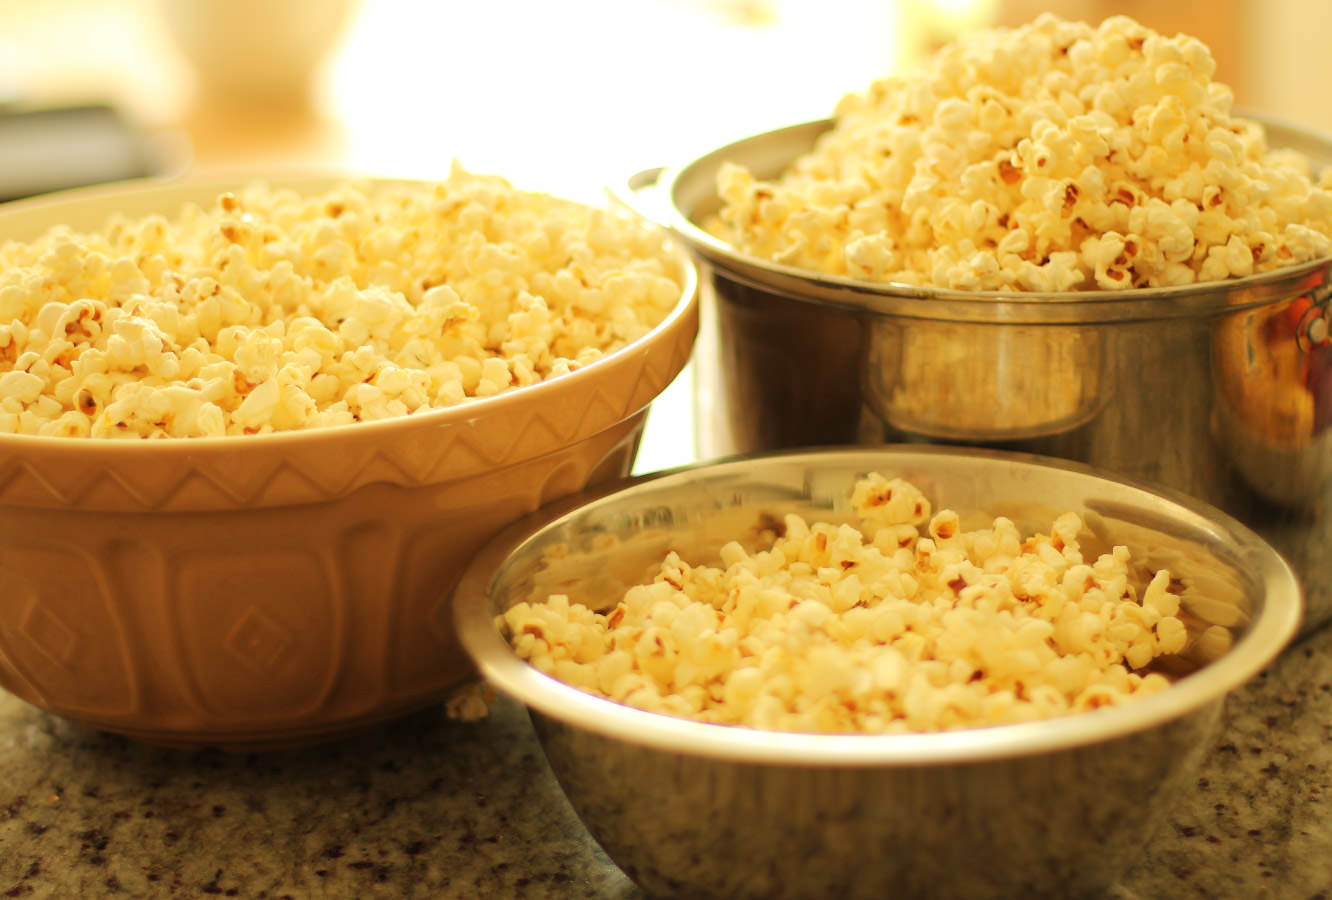
You’re going to want to get a biiiiiig pan (one with a lid unless you want to be finding popcorn in corners for years). You also need several bowls to decant the popcorn into and definitely don’t try to pop it all in one go, I think i did three or four batches.

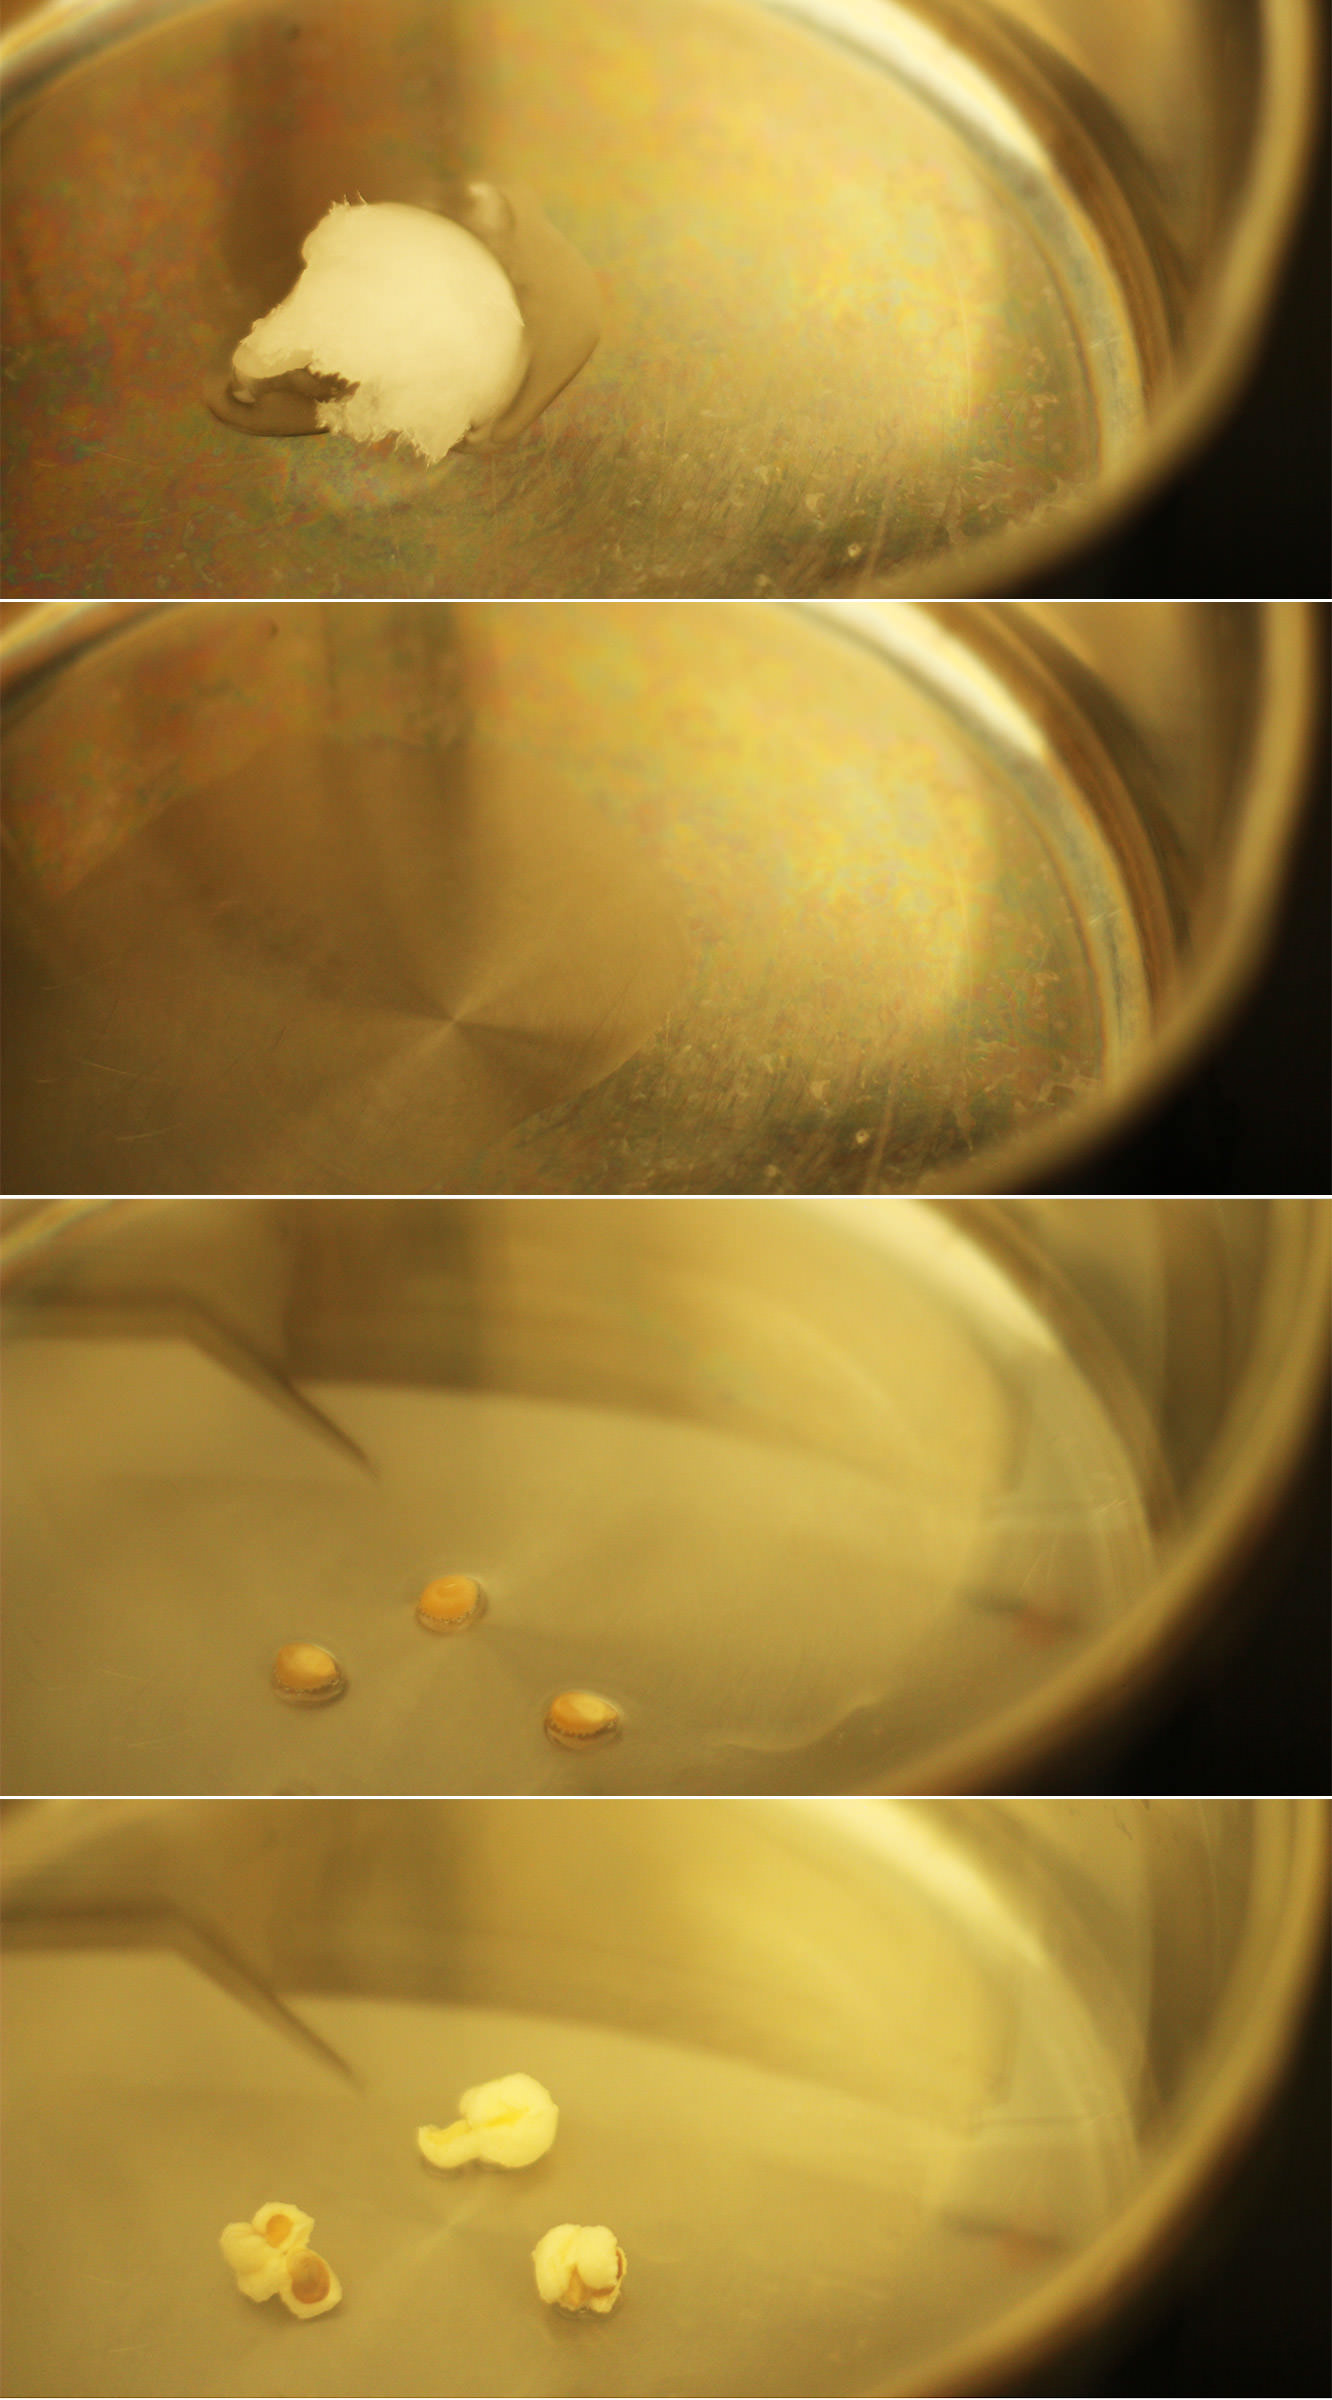
So. Pop the pan on a med-low heat, and drop a tablespoon of coconut oil in the pan. Add three kernels or so and wait patiently for them to pop.

Don’t put all the kernels in straight away otherwise you will burn some.

hen-bachelorette-party-favours-lime-white-chocolate-coconut-popcorn-recipe-02

Step two

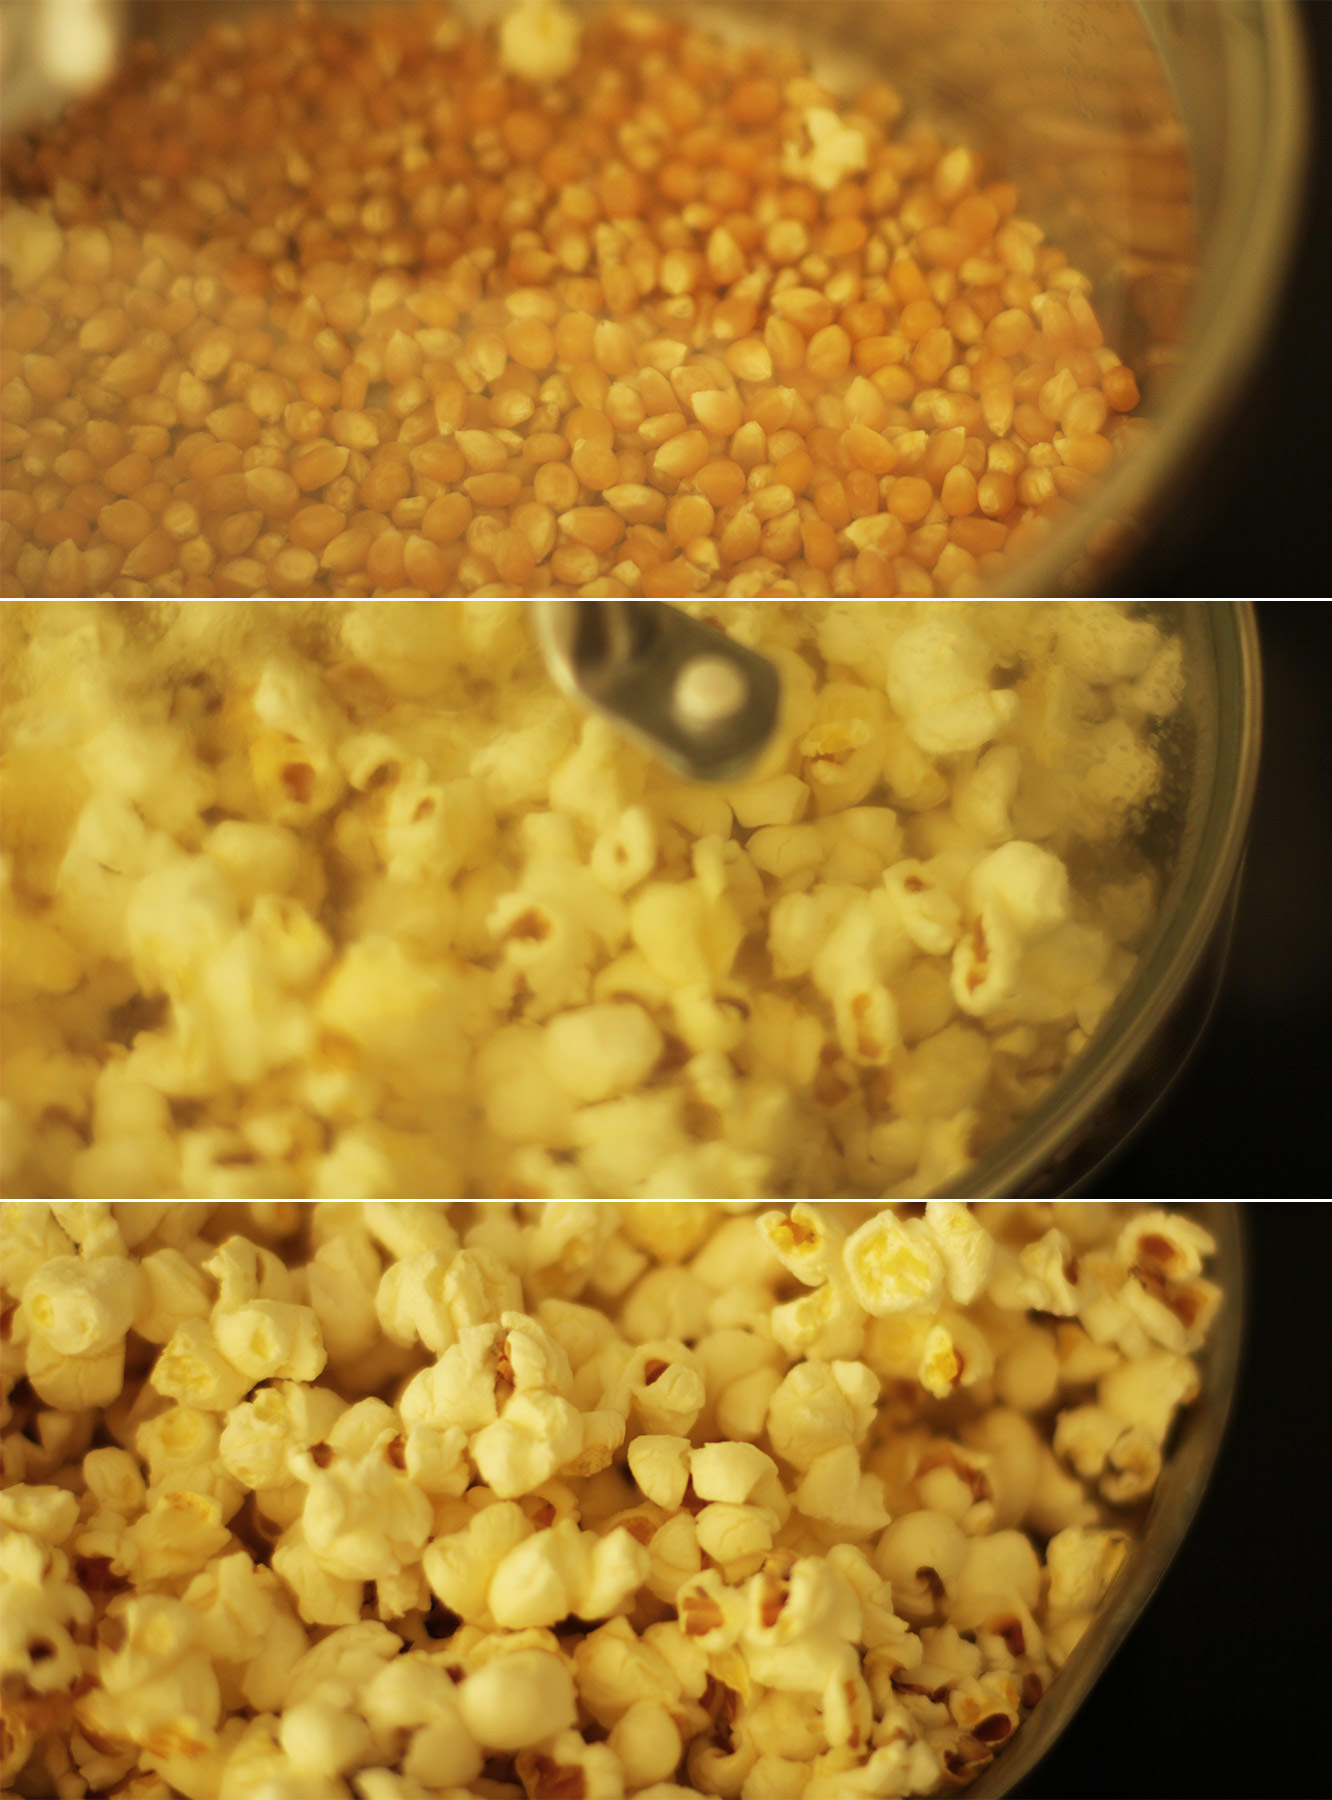
Once the three test kernels have popped pour a load more in to cover the bottom of the pan and replace the lid.

As the kernels start to pop I generally shake the pan a intermittently and hover it above the heat. If the popping slows down, place it fully back on the heat for a few seconds.

When the pan is filling up and there’s a couple of seconds between pops remove it from the heat and pour the popcorn into a bowl.

hen-bachelorette-party-favours-lime-white-chocolate-coconut-popcorn-recipe-03

Step three

Repeat repeat repeat until you’ve used alla that popping corn.

hen-bachelorette-party-favours-lime-white-chocolate-coconut-popcorn-recipe-04

Step four

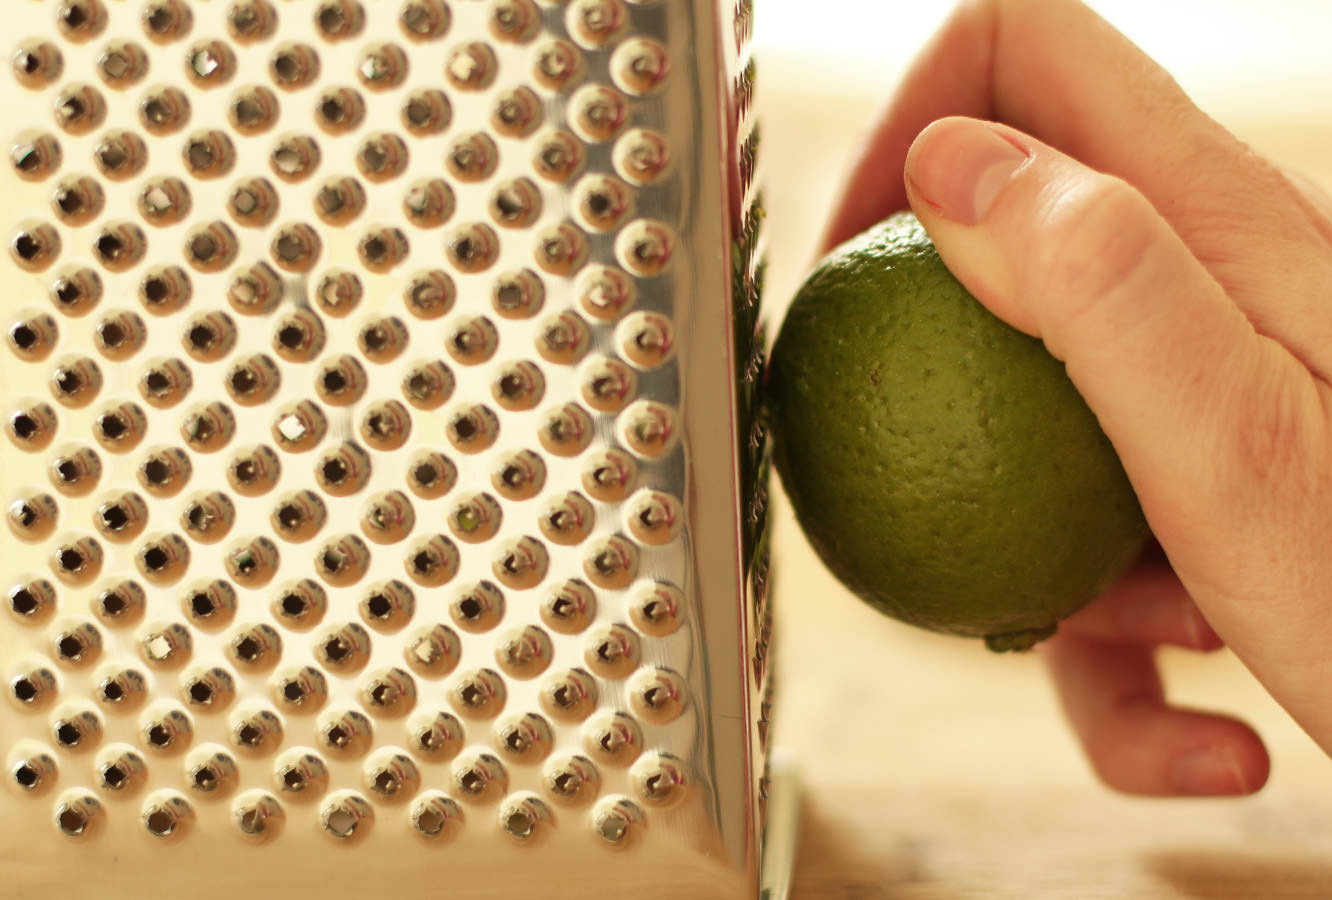
Zest the limes on the smallest ‘setting’ on your grater.

Step five

Melt the white chocolate in a heatproof bowl. As there’s quite a lot of it, it’s really probably better to do this over a pan of boiling water. Otherwise you risk leaving some foil in there, almost blowing up your microwave and burning 600g of chocolate. There might be a small rage blackout to follow.

While the chocolate is still warm stir in a heaped tablespoon of coconut oil.

hen-bachelorette-party-favours-lime-white-chocolate-coconut-popcorn-recipe-05

Step six

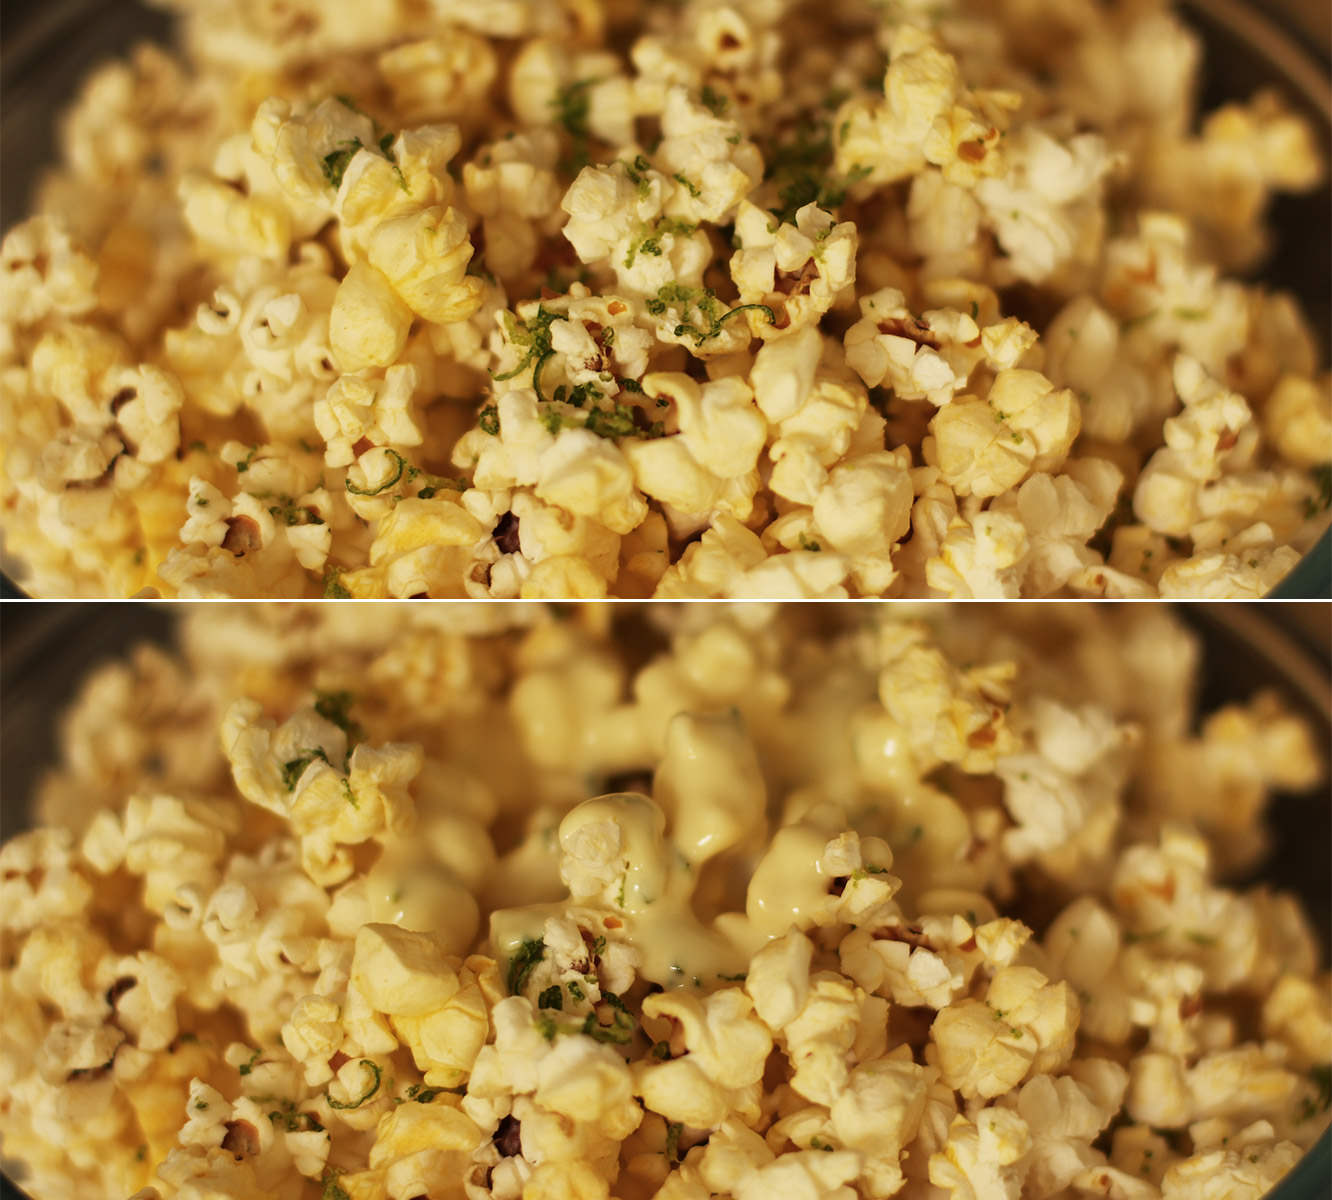
This is the tricky bit, you sort of need to distribute the chocolate and lime evenly amongst your batches of popcorn.

hen-bachelorette-party-favours-lime-white-chocolate-coconut-popcorn-recipe-06

Step seven

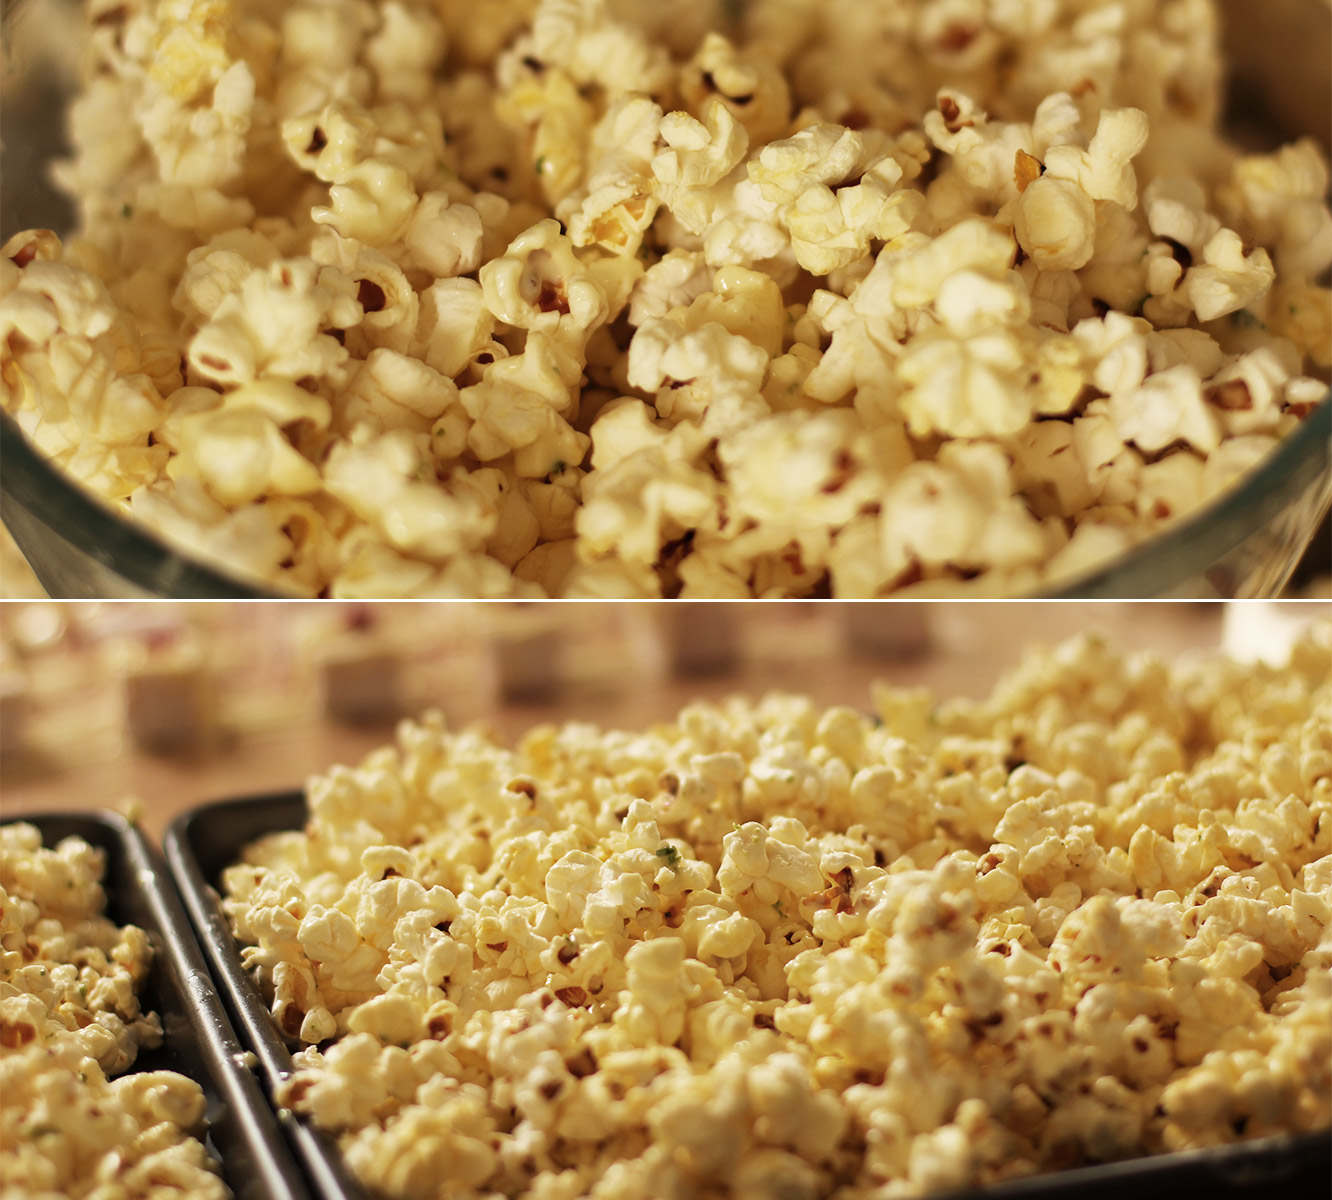
Stir in the chocolate as well as you can and spread out on baking trays to set. The chocolate won’t fully harden because of the oil but it’s nice that way, I promise.

hen-bachelorette-party-favours-lime-white-chocolate-coconut-popcorn-recipe-gif

That’s all folks.

Final instalment next week – the bringing of everything together.

Cluck cluck #2

SO. I have been remiss. Friends, stalkers, I’m sorry. I didn’t mean to leave you sans blog for two whole weeks. Finishing off my graphic design portfolio kind of consumed my health, social life, eating habits and ability to hold a conversation.

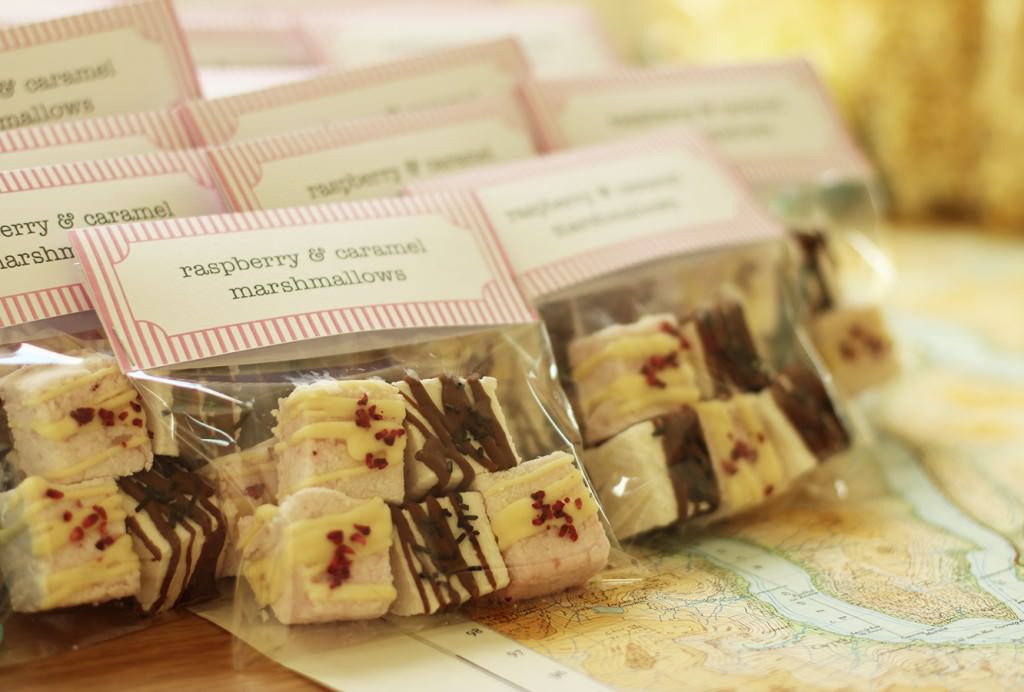
But that’s done now, and I’m back. Picking up where I left off with Vicky’s hen do favours. This week it’s raspberry and white chocolate, and chocolate caramel marshmallows. Not exactly the first time I have made marshmallows on this blog. I really want you to make marshmallows guys.

hen-bachelorette-party-favours-01

You will need

For the white chocolate and raspberry marshmallows:

9 gelatine sheets

350g/12 oz granulated sugar

2 egg whites

1 tbsp liquid glucose (you can find this in a squeezy toothpaste type tube in the baking section)


150g/5 oz raspberries

150g/5 oz white chocolate

Freeze dried raspberries (optional)

For the caramel and chocolate marshmallows:

9 gelatine sheets

300g/10.5 oz granulated sugar

2 egg whites

1 tbsp liquid glucose

2-3 tsp caramel extract (I got buttery caramel from natural professional flavours at Lakeland)

150g/5 oz milk chocolate

Cellophane card bags x 30

(makes enough for 30 favours, 150+ marshmallows)

I’ll go ahead and walk you through the process for the caramel ones then pop the changes for the raspberry below.

hen-bachelorette-party-favours-raspberry-caramel-marshmallow-recipe-02

Step one

In a cereal bowl, soak the gelatine in 150ml/5 fl oz cold water. Set aside.

Step two

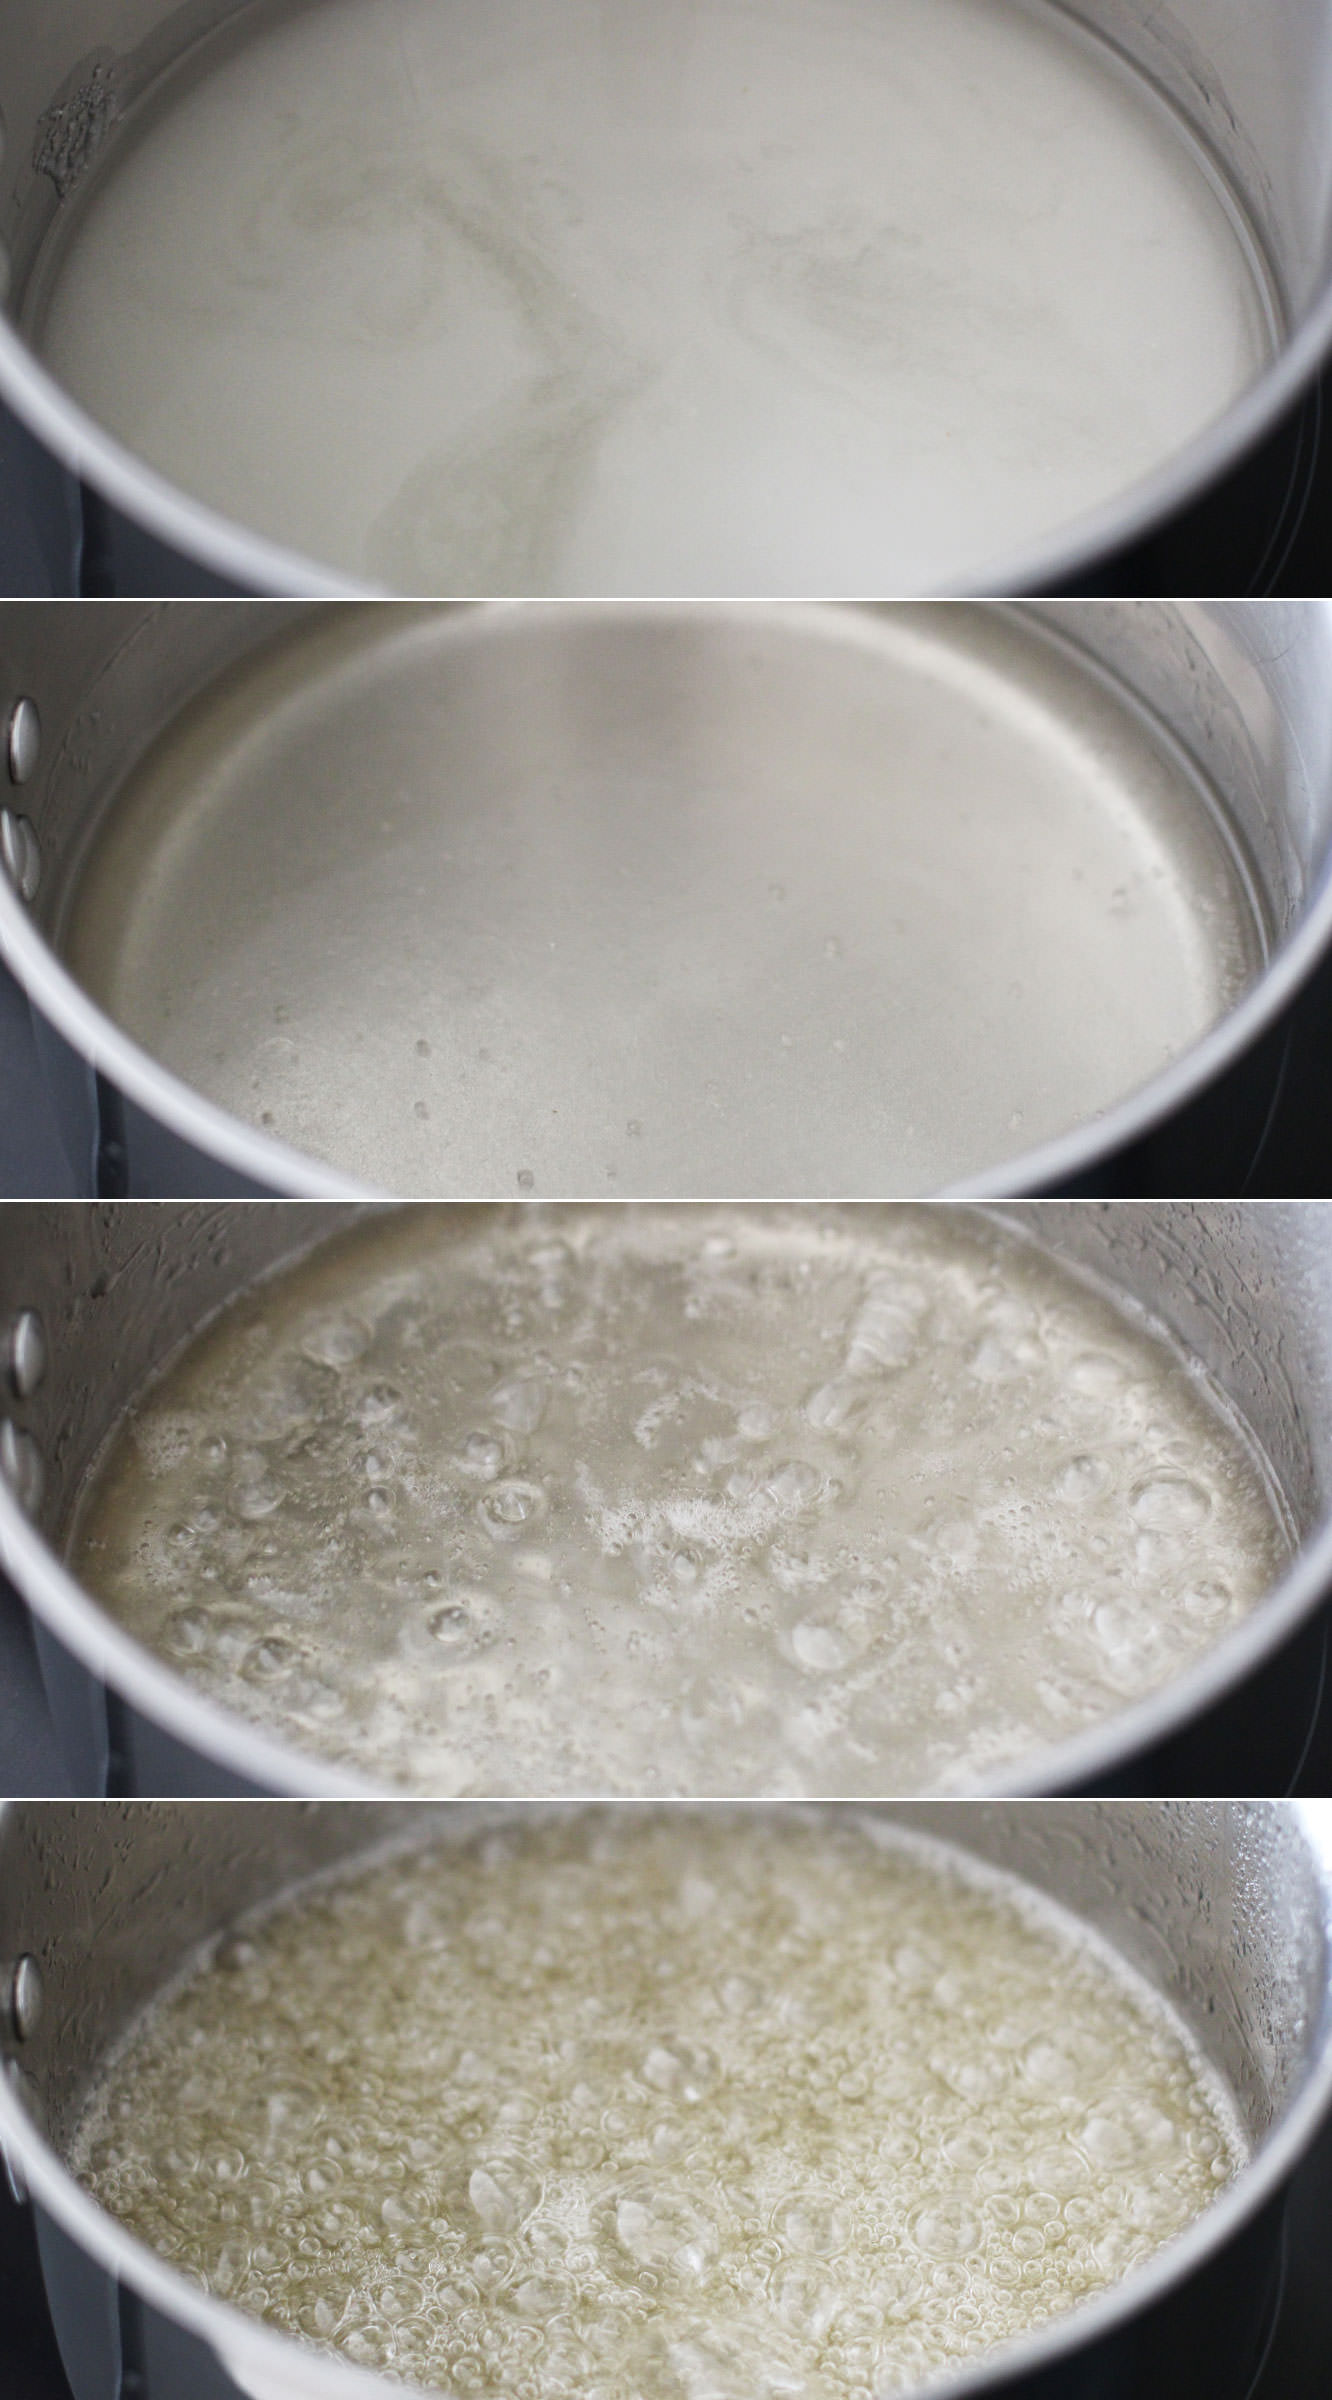
Combine the sugar, 150ml/5 fl oz water (different to the gelatine water) and the liquid glucose in a smallish saucepan.

Allow the sugar to dissolve on a low heat, and then turn it up to medium-high. Watch yourself buddy, you’re boiling sugar right now, don’t hurt it or yourself.

The temperature you want this to get to is 118 C. It will feel like it will never get there, but stay strong.

hen-bachelorette-party-favours-raspberry-caramel-marshmallow-recipe-06

Step three

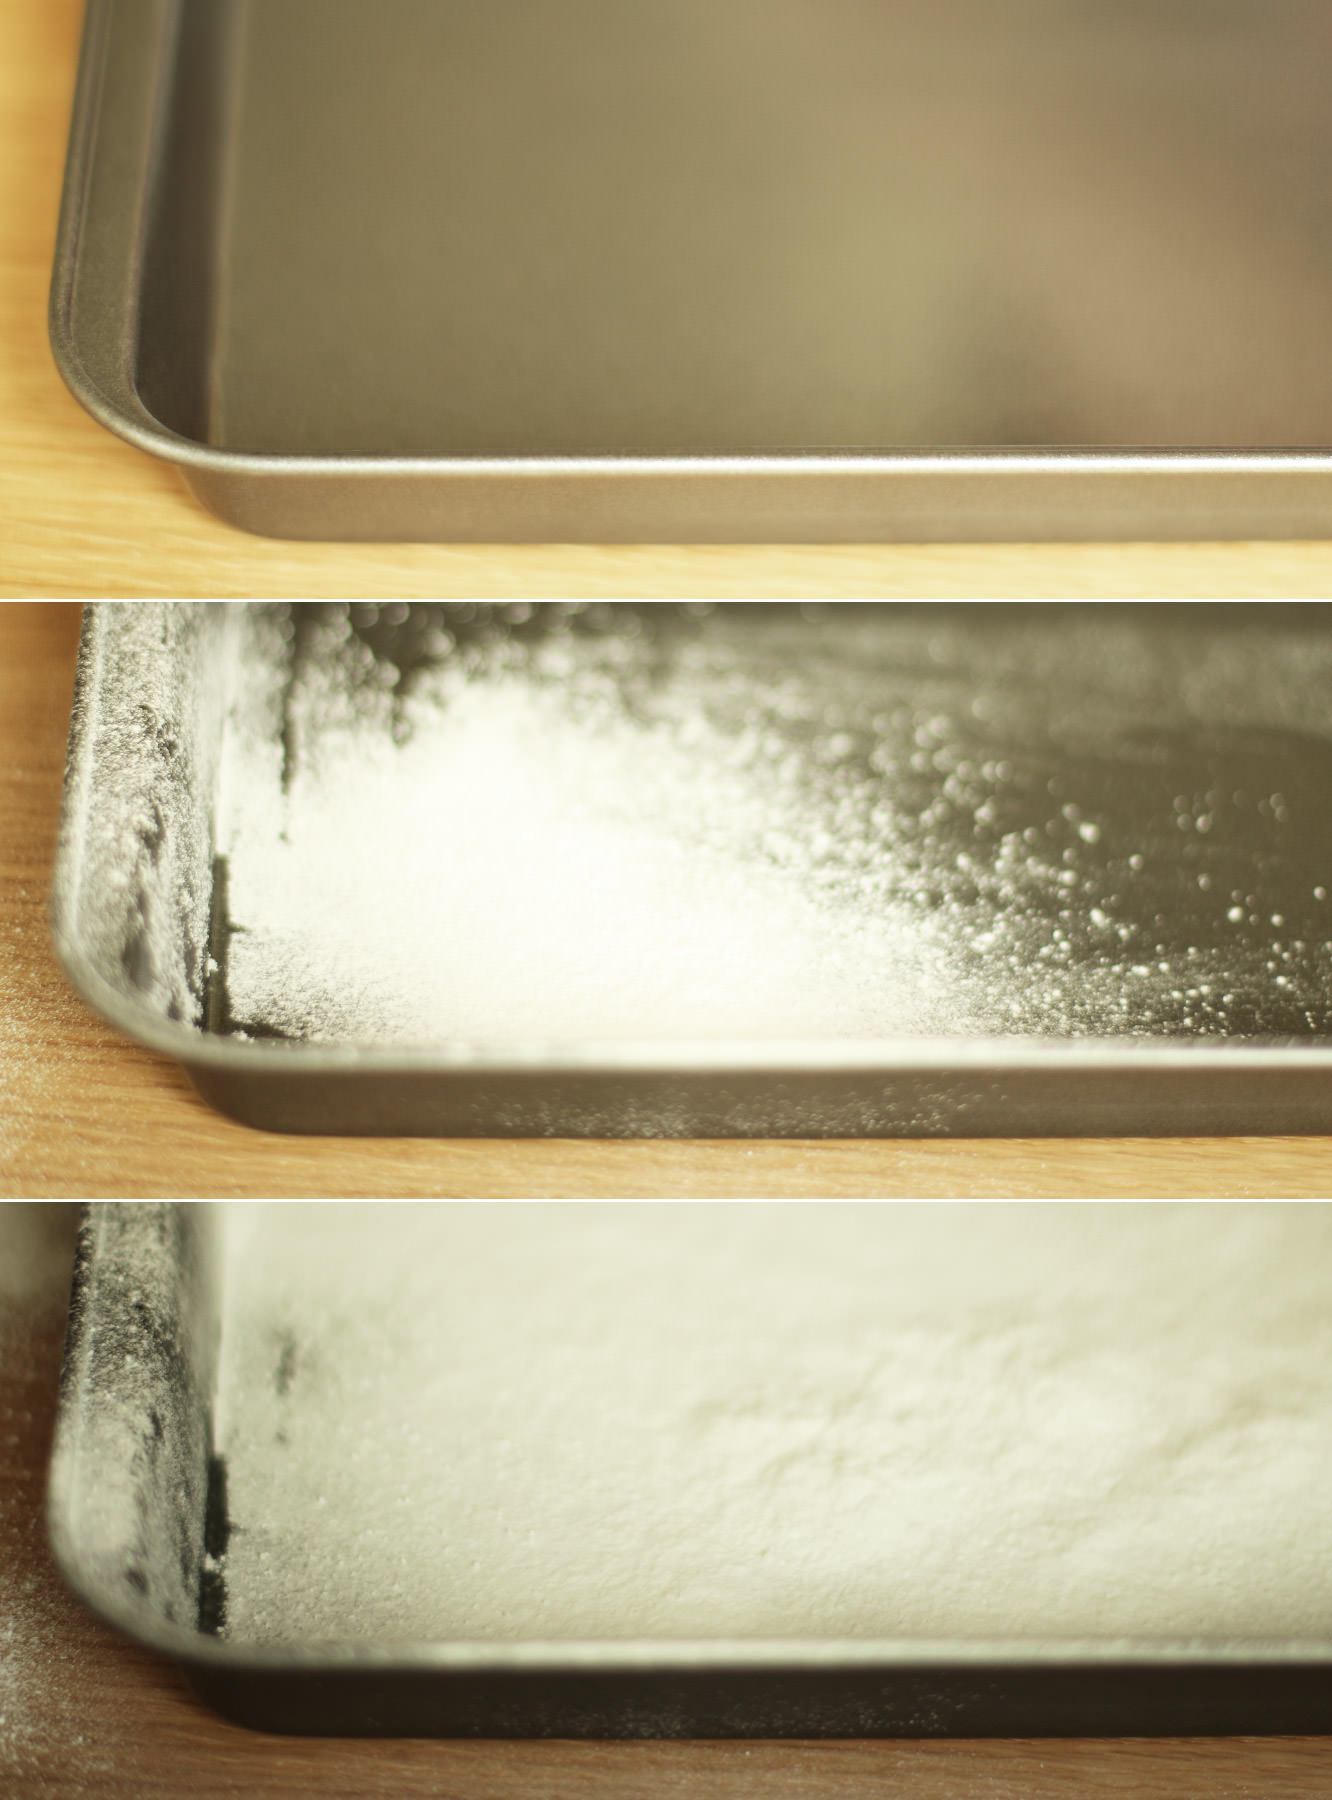
While the sugar is bubbling you can take a moment to dust your brownie tray with icing sugar. Add a small amount of olive oil first so it sticks.

hen-bachelorette-party-favours-raspberry-caramel-marshmallow-recipe-01

Step four

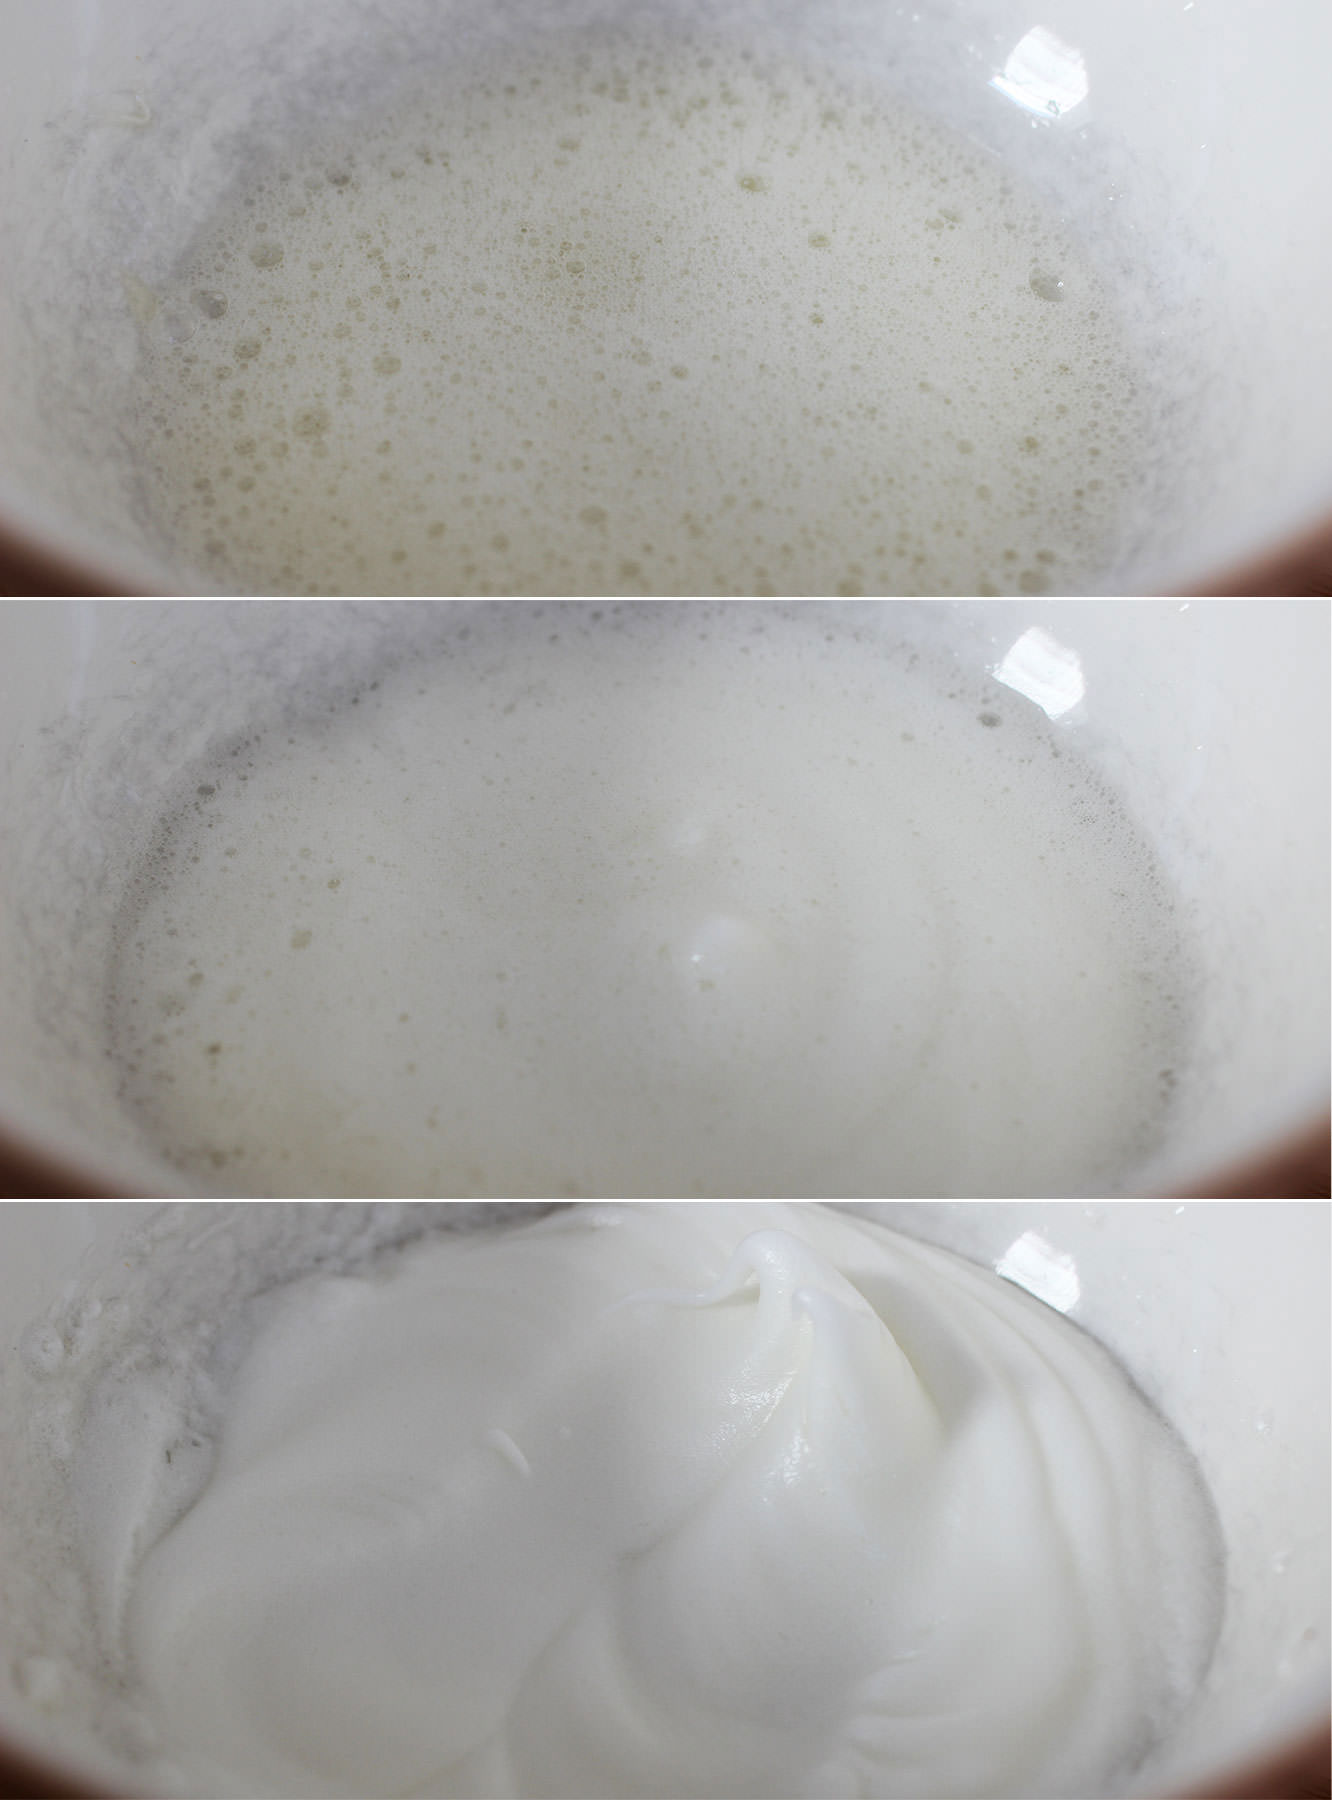
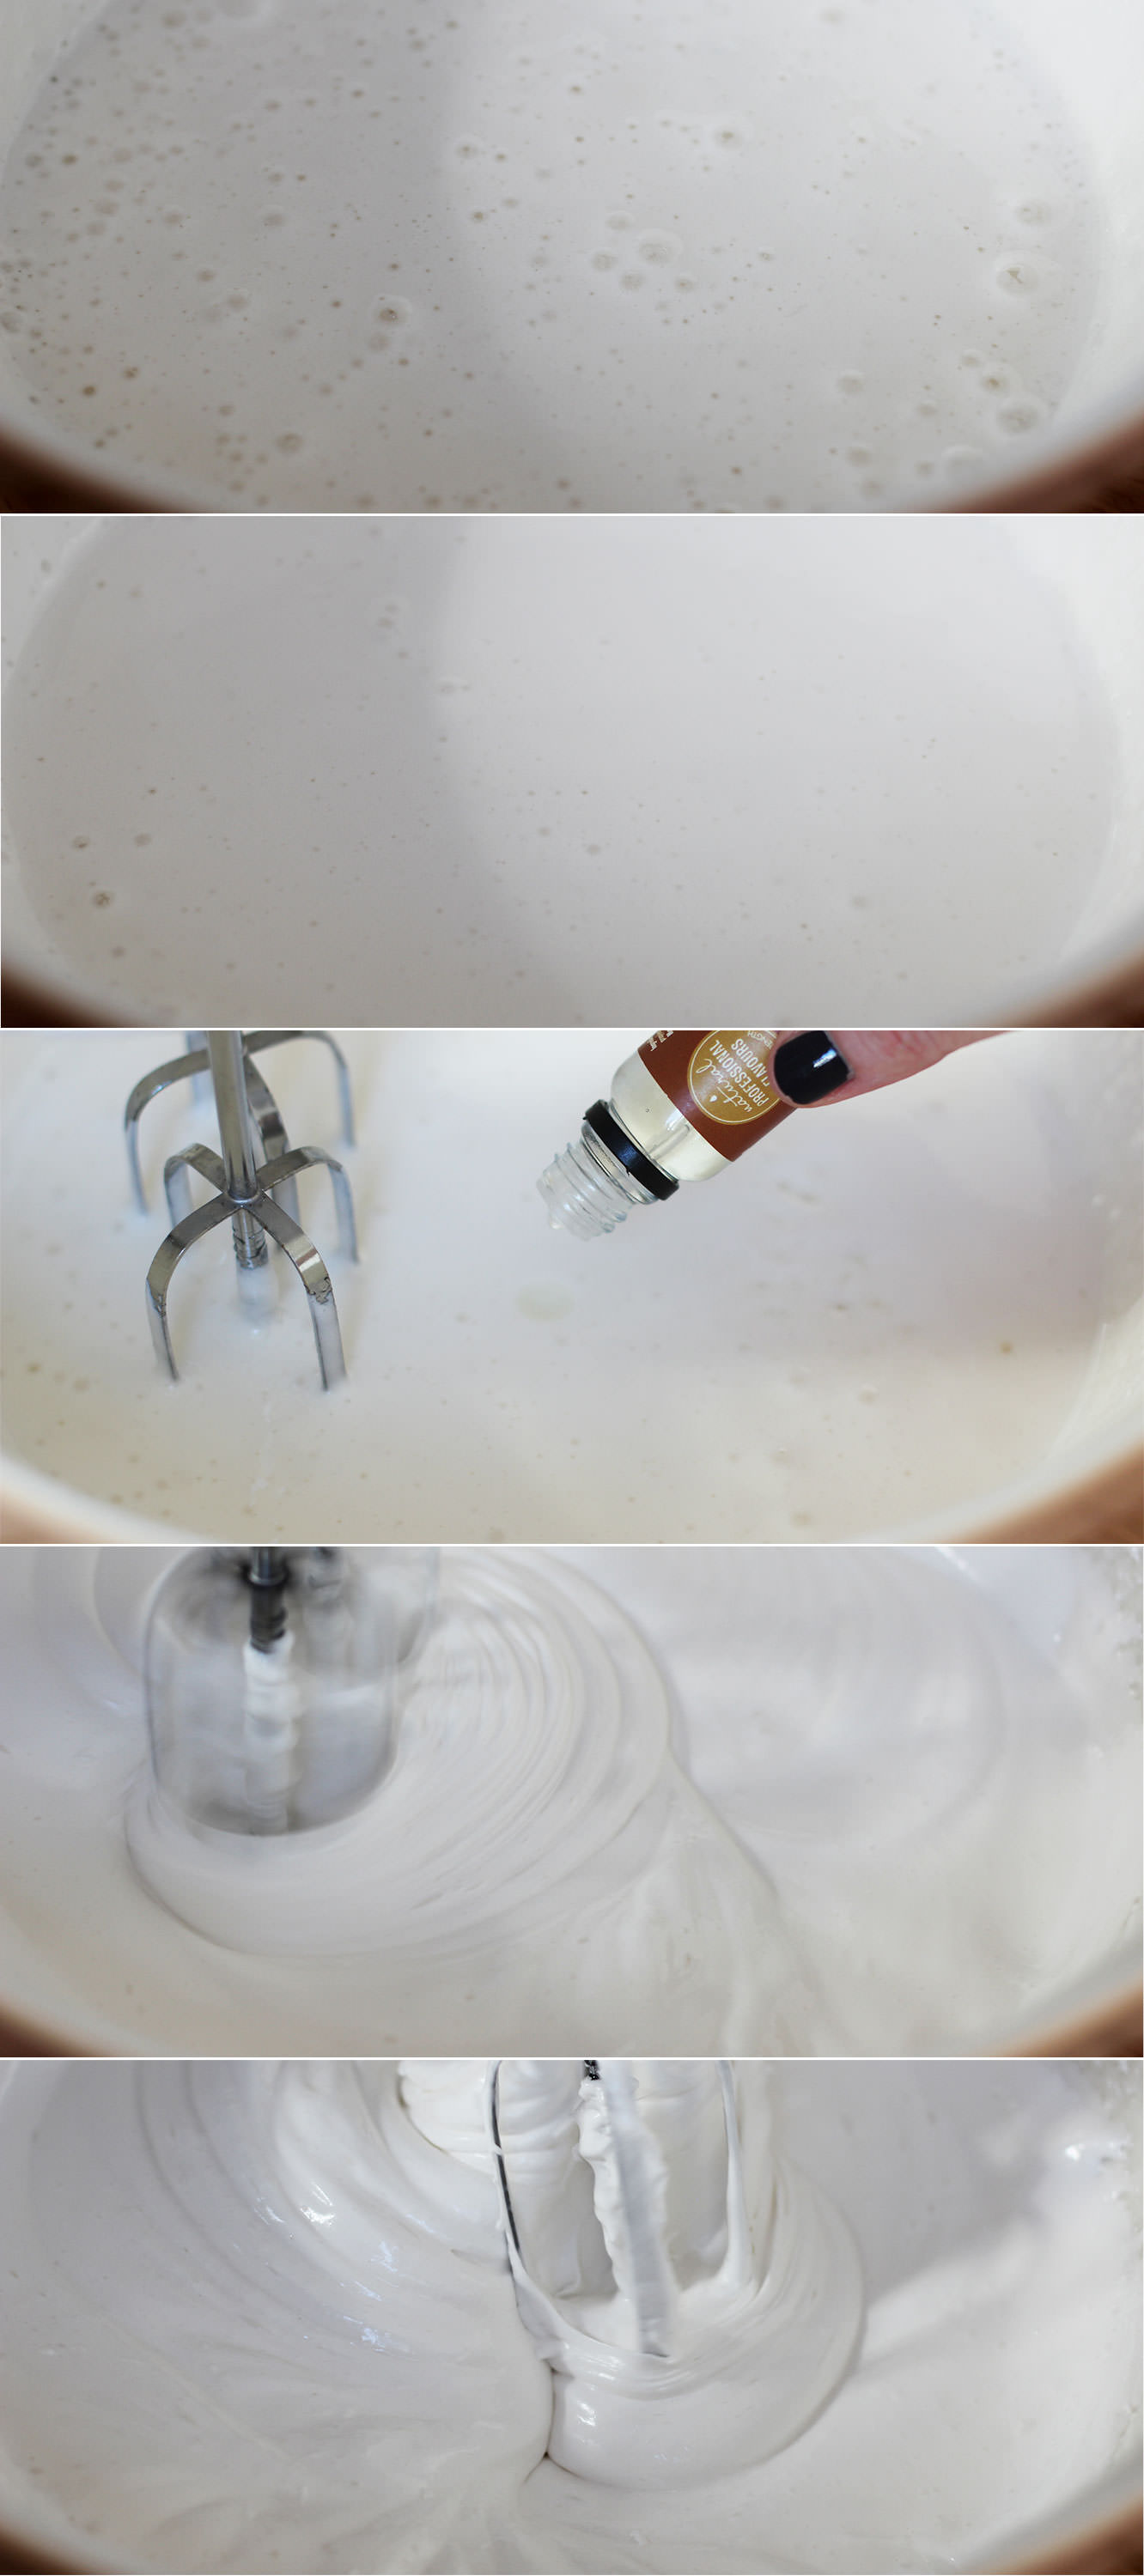
When the sugar gets to somewhere around 112-115C whisk the egg whites into stiff peaks. Take care not to use a ceramic bowl else you will get grey marks like I did. Glass or metal though and you’ll be golden.

Step five

When the sugar reaches 118C take it off the heat.

Squeeze the gelatine out a bit and add it to the sugar mix. It will bubble right up so don’t panic. It should settle pretty quickly.

hen-bachelorette-party-favours-raspberry-caramel-marshmallow-recipe-03

Step six

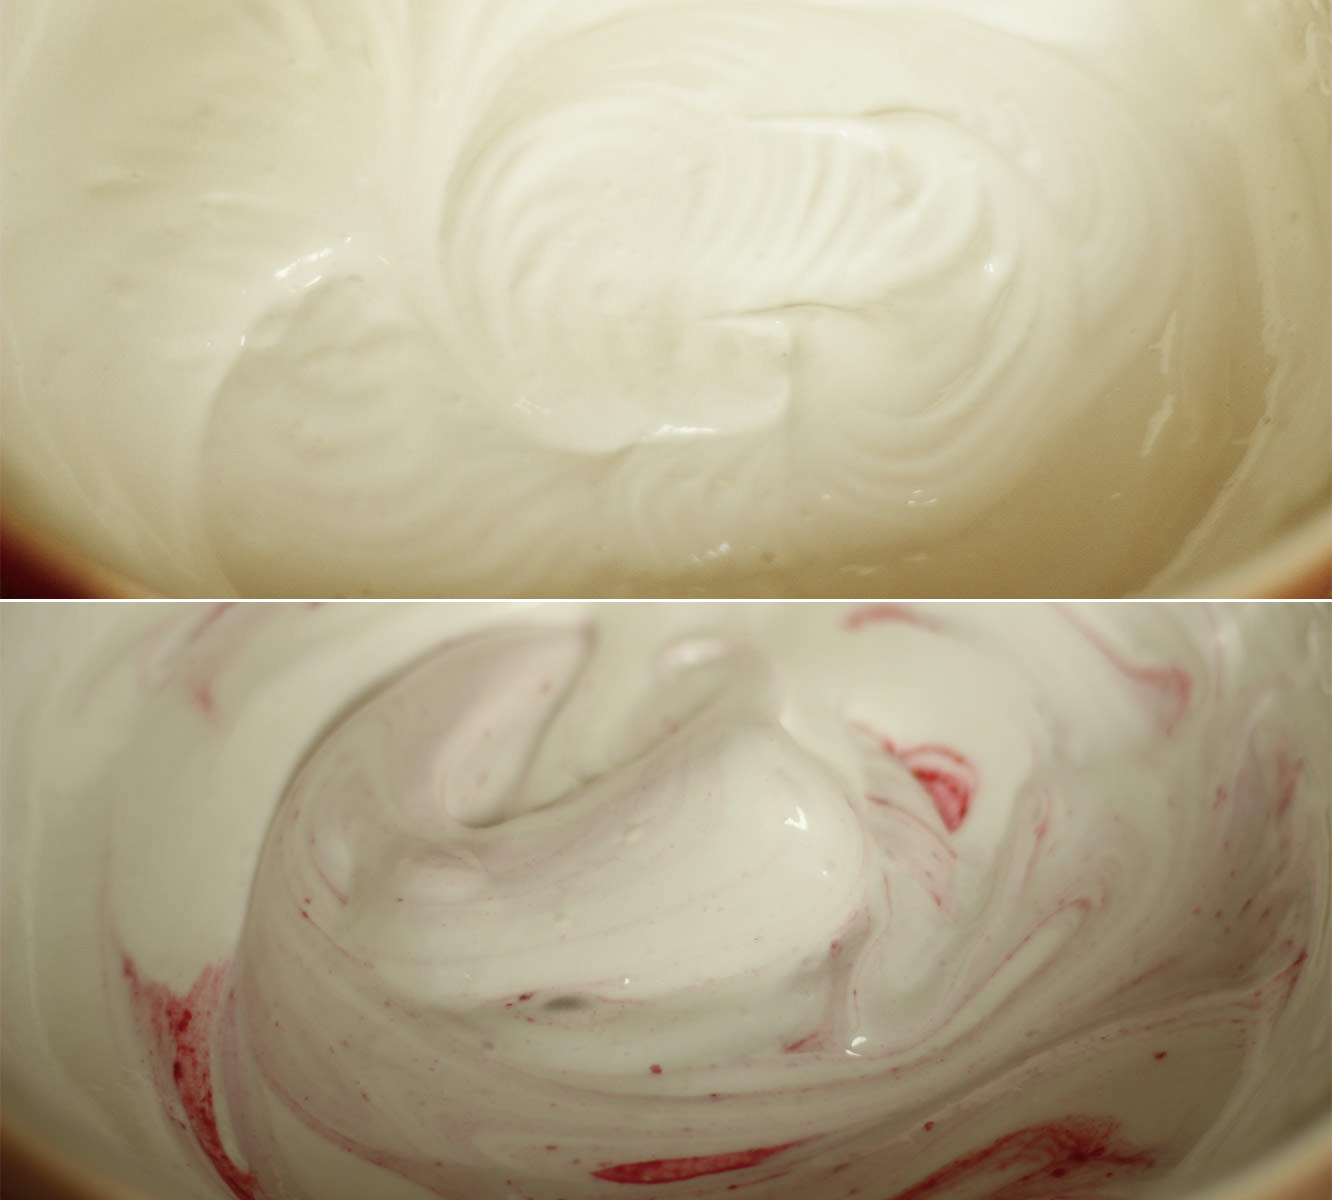
Pour the hot sugar into the eggs, but make sure you’re whisking continually to avoid a big lump of sugar at the bottom of the bowl.

Whisk until the mixture holds its shape well and is quite thick. This can take up to ten minutes.

Somewhere during the whisking (probably when you need to give your arm a rest) add the flavouring. I used buttery caramel (as mentioned in the ingredients) but they will take basically anything you fancy.

hen-bachelorette-party-favours-raspberry-caramel-marshmallow-recipe-04

Step seven

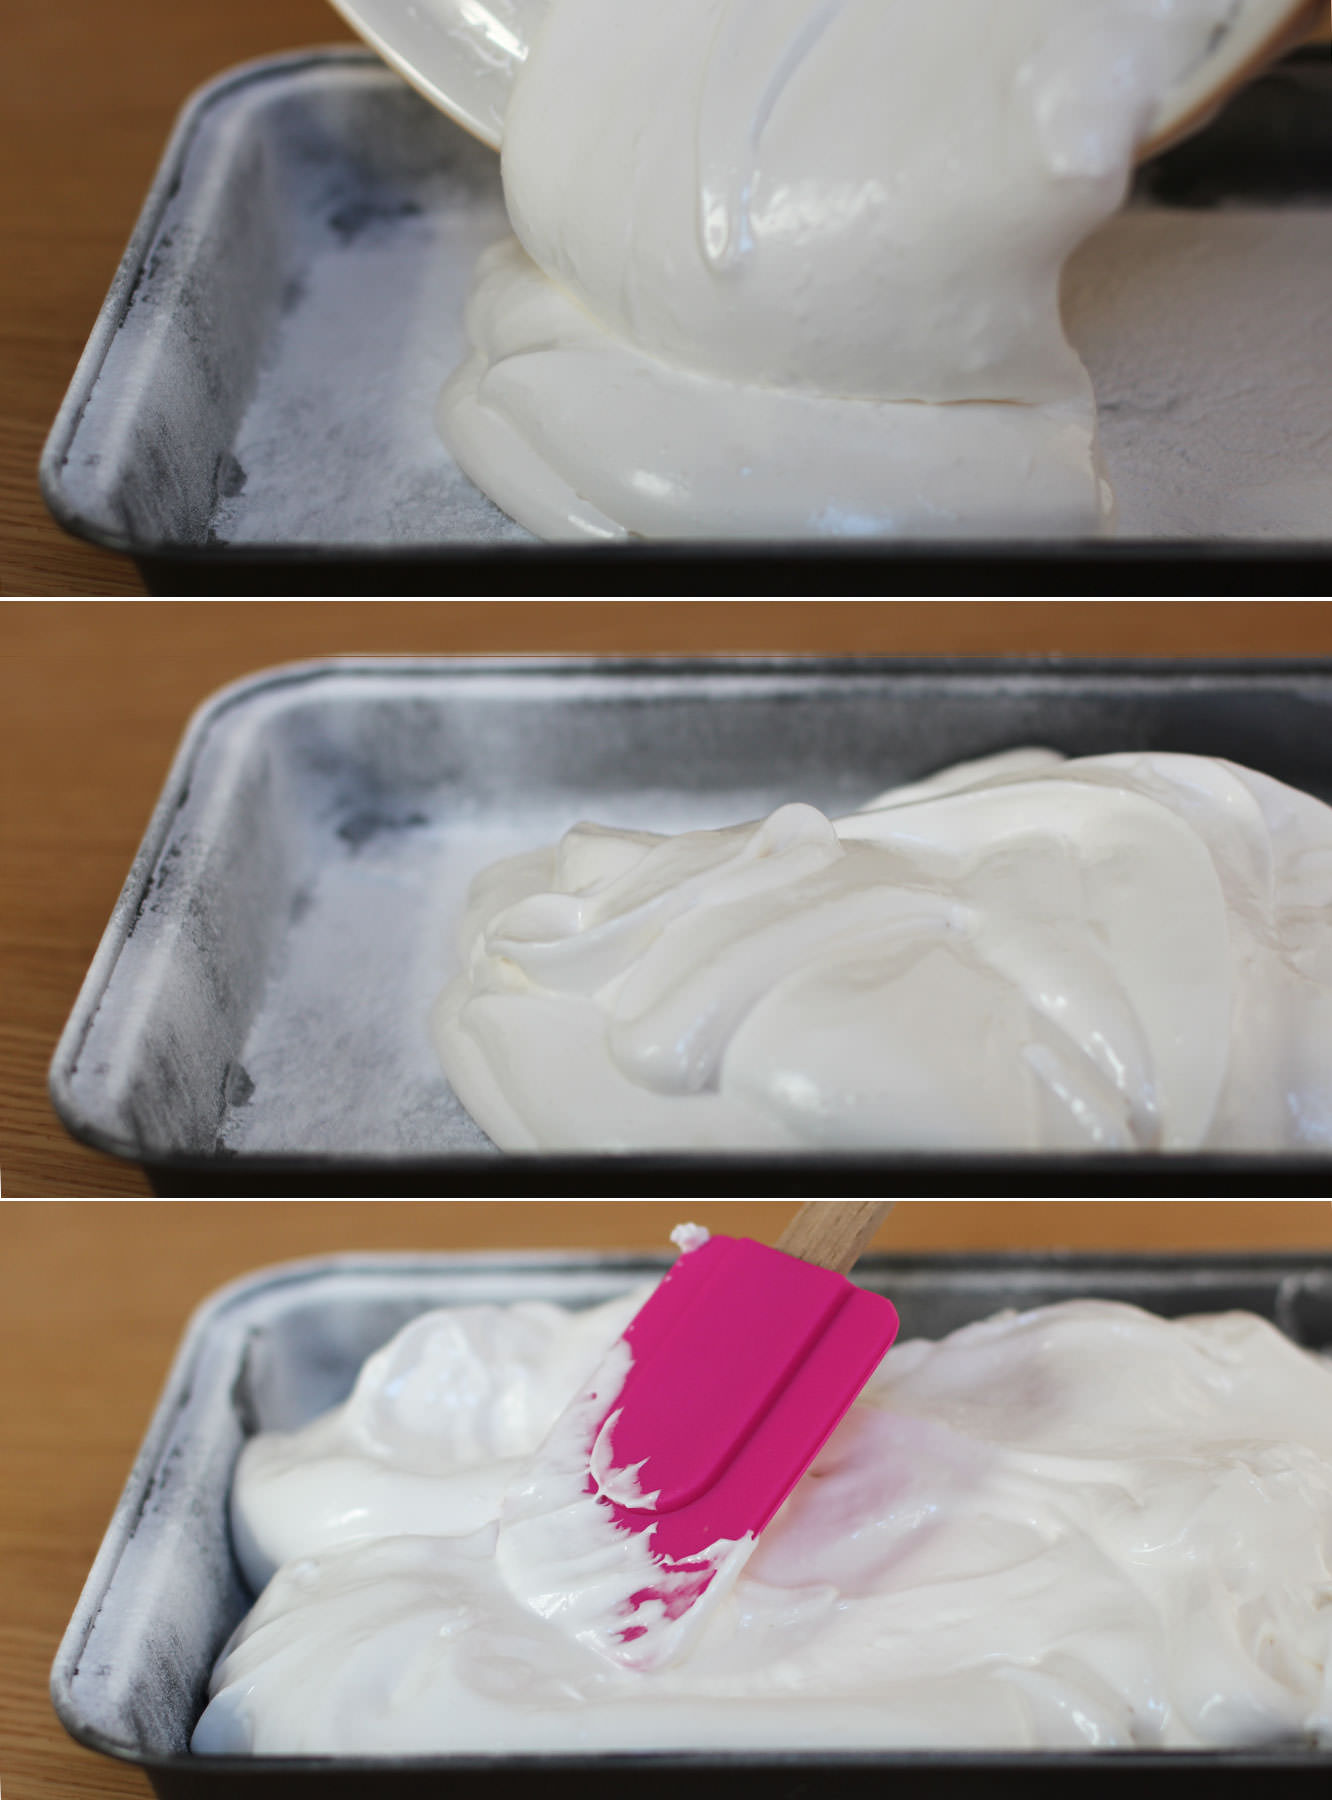
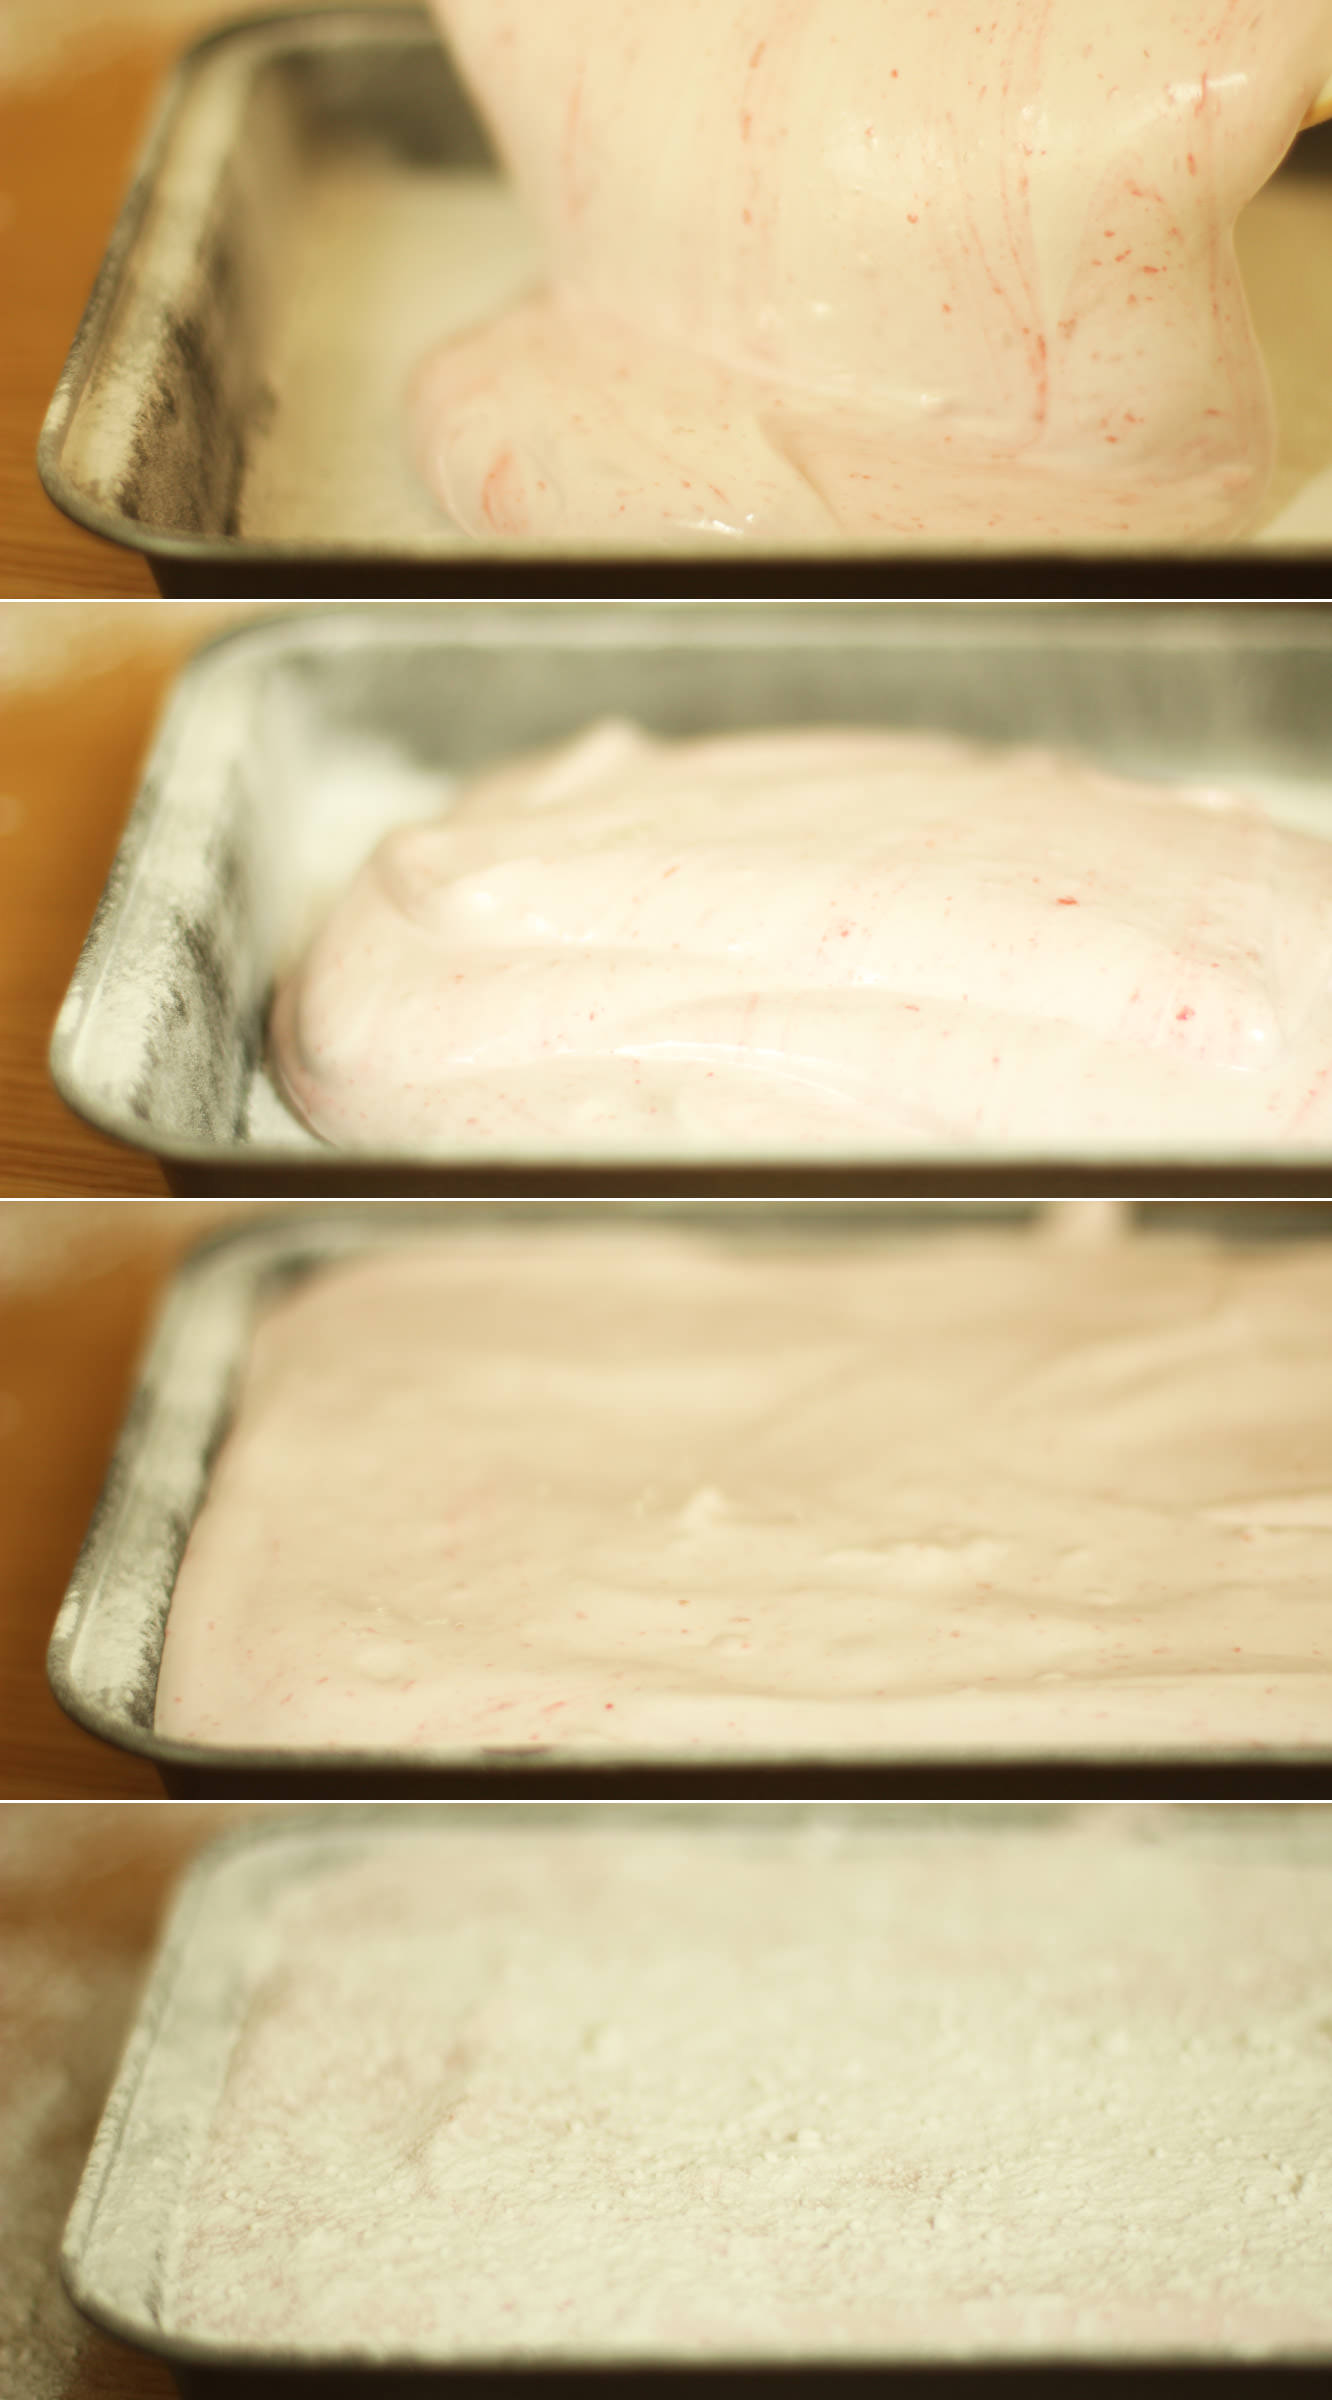
Pour the mixture into the prepared tin and smooth out as much as possible.

Dust with icing sugar and leave to set for about an hour.

For the raspberry and white chocolate marshmallows

hen-bachelorette-party-favours-raspberry-caramel-marshmallow-recipe-05

Step eight

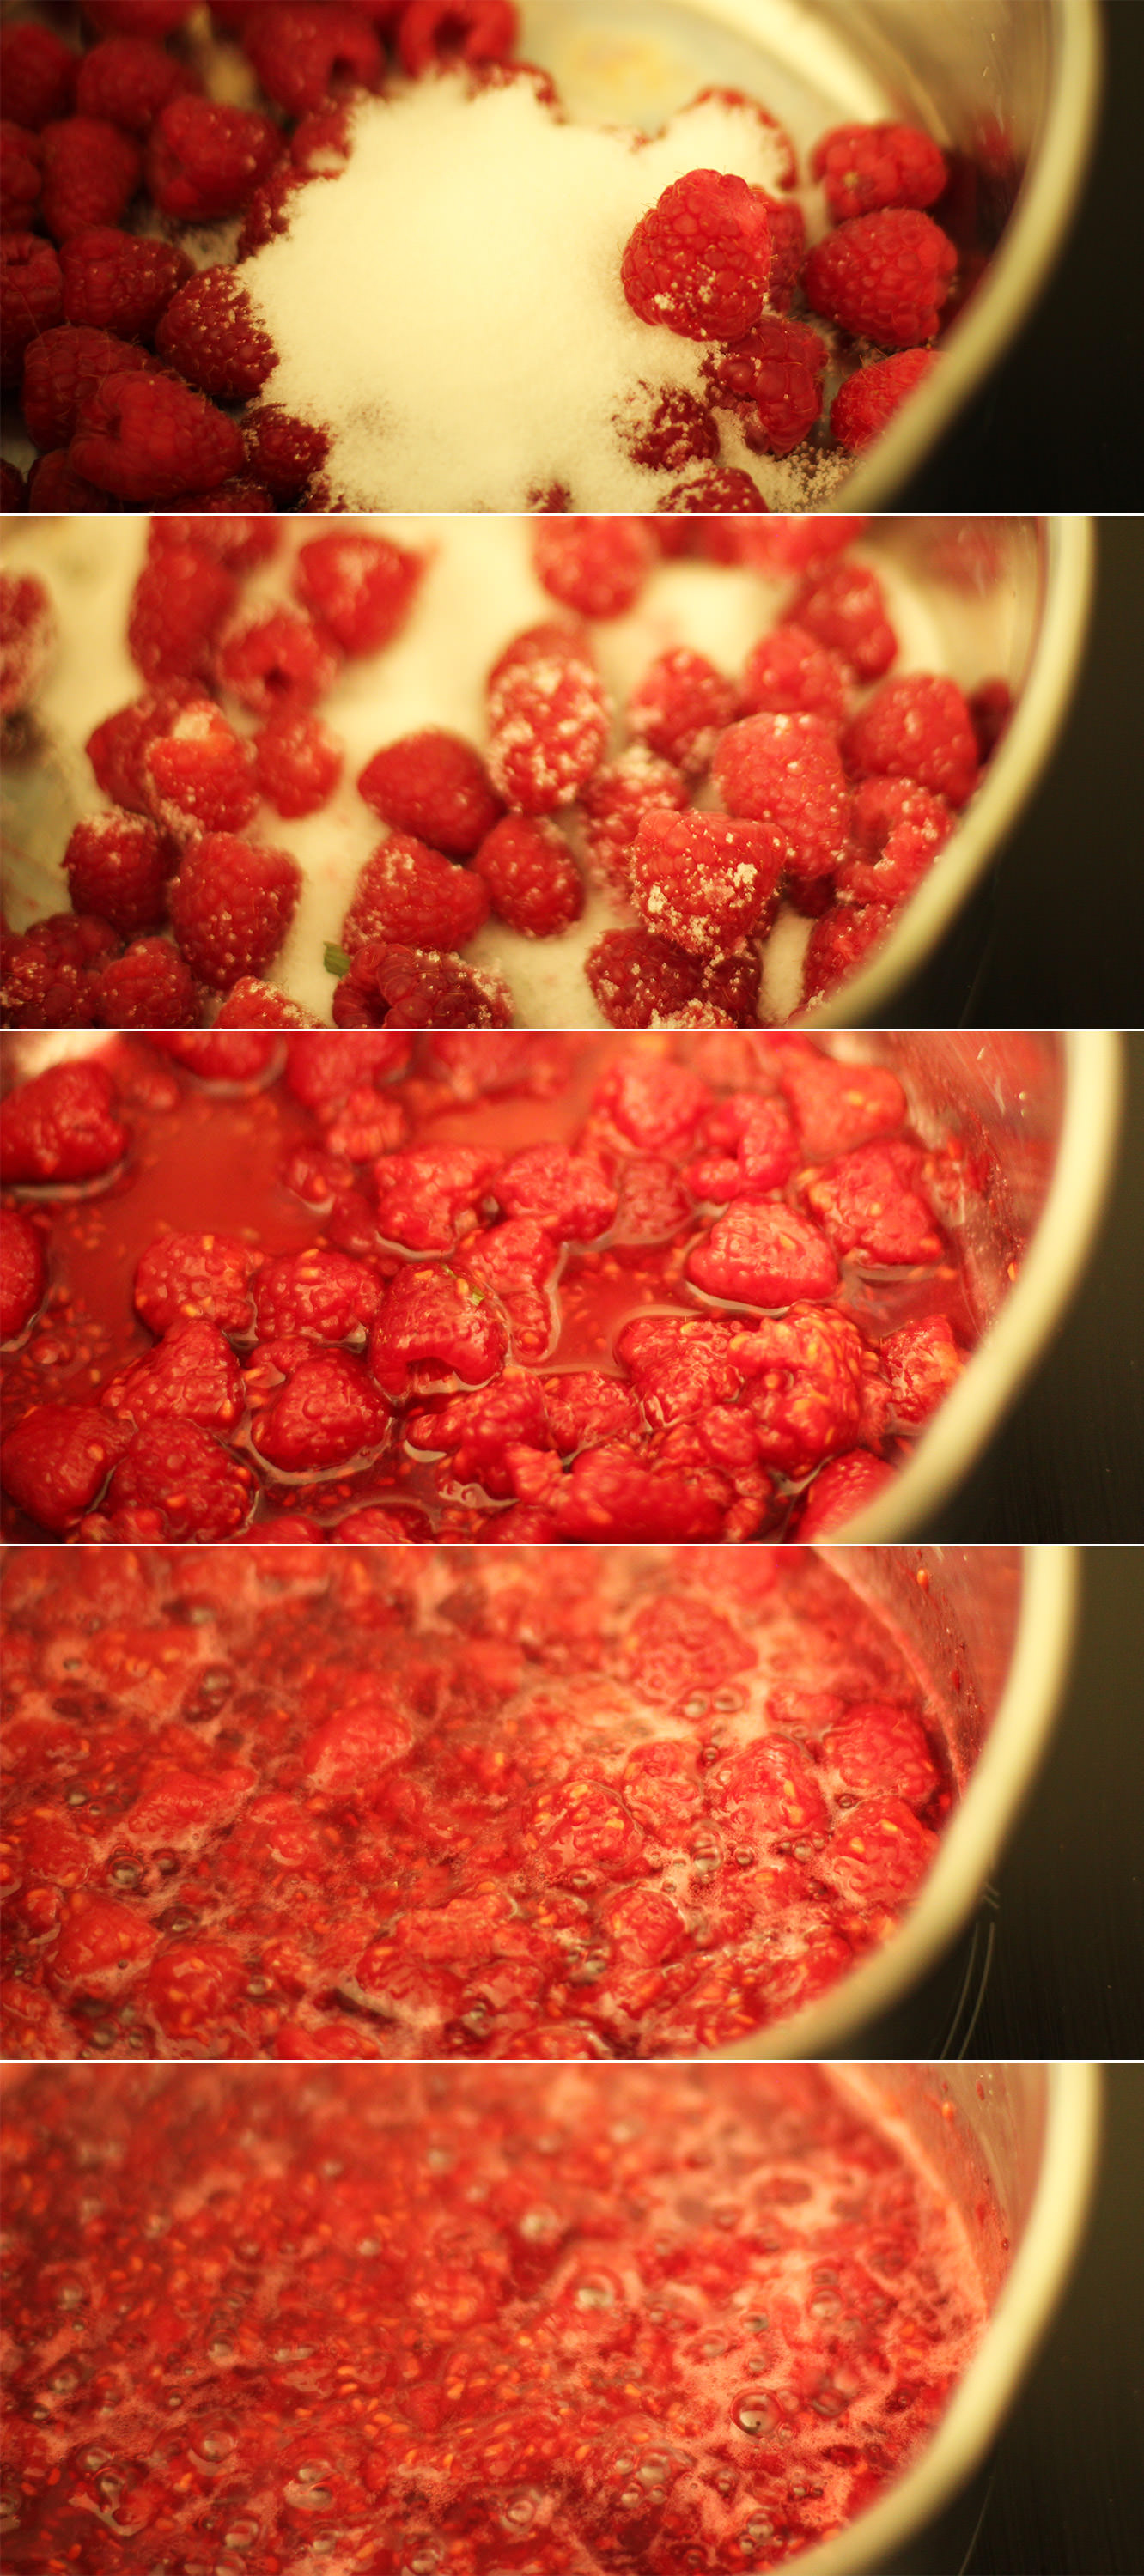
Before starting the marshmallow mix make a puree by adding the raspberries, 50g of the granulated sugar and half a tablespoon of water to a small saucepan.

Heat on a low heat until bubbling away happily. Stir while the mixture reduces (looses water) for about 5 minutes.

hen-bachelorette-party-favours-raspberry-caramel-marshmallow-recipe-07

Step nine

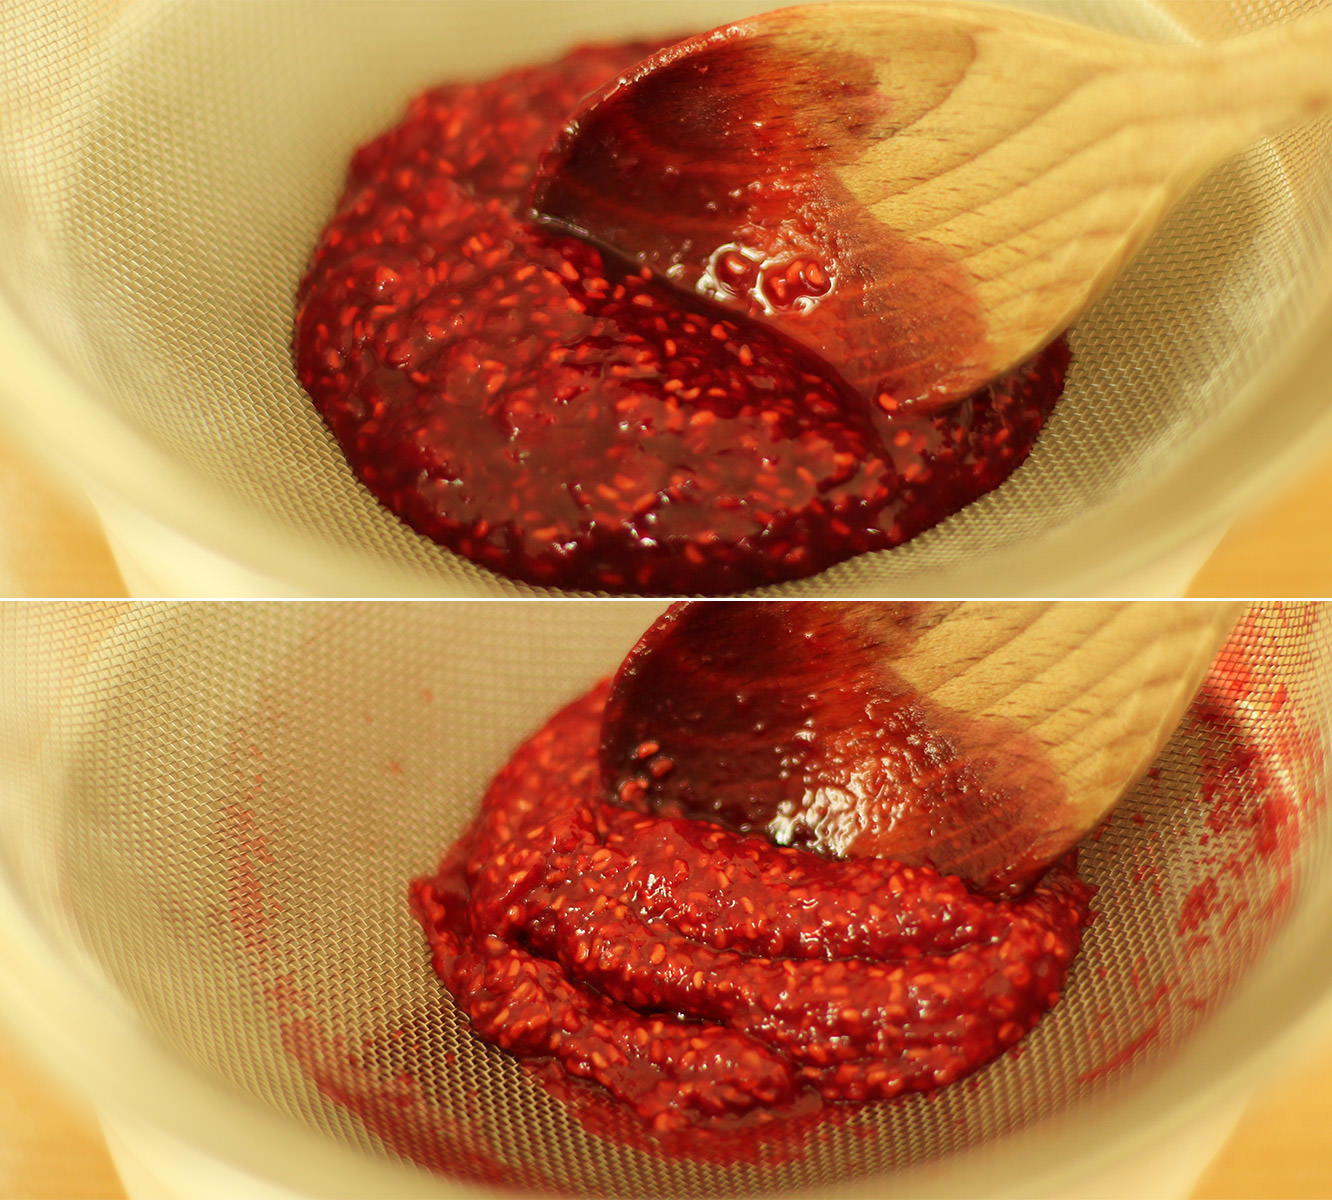
Strain though a sieve to remove the pips. It may need a little stirring for encouragement. Don’t forget to scrape the excess off from the underside of the sieve before throwing away the pips.

hen-bachelorette-party-favours-raspberry-caramel-marshmallow-recipe-08

Step ten

Follow the same steps at the caramel recipe, but instead of adding the extract, stir in the puree. I saved this to near the end to keep a bit of a ripple effect.

hen-bachelorette-party-favours-raspberry-caramel-marshmallow-recipe-09

Step eleven

Pour into a second dusted brownie tray and leave to set.

hen-bachelorette-party-favours-raspberry-caramel-marshmallow-recipe-10

Step twelve

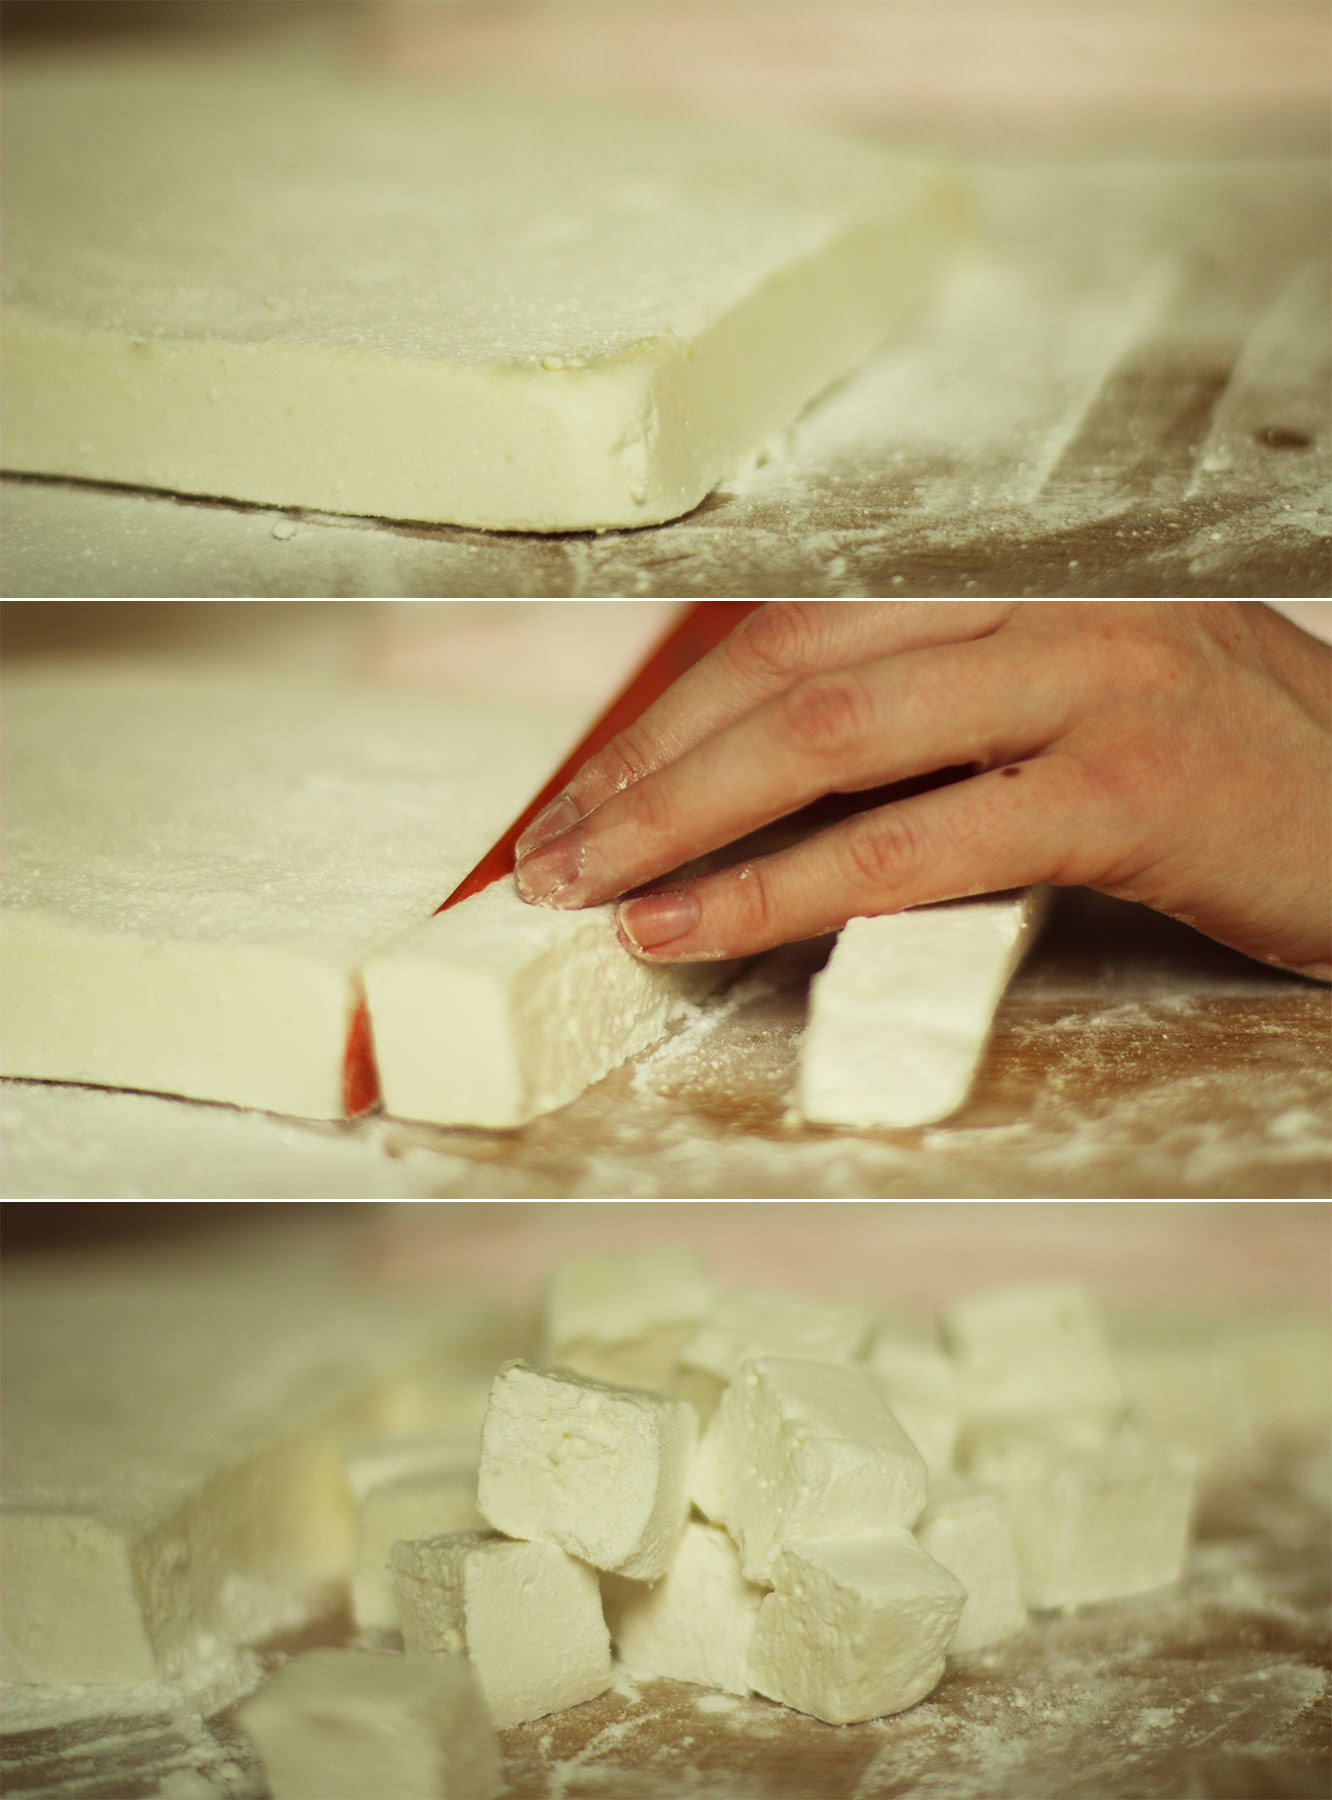
Once the marshmallows have set (at least an hour, preferably more) turn them out onto a surface dusted with icing sugar.

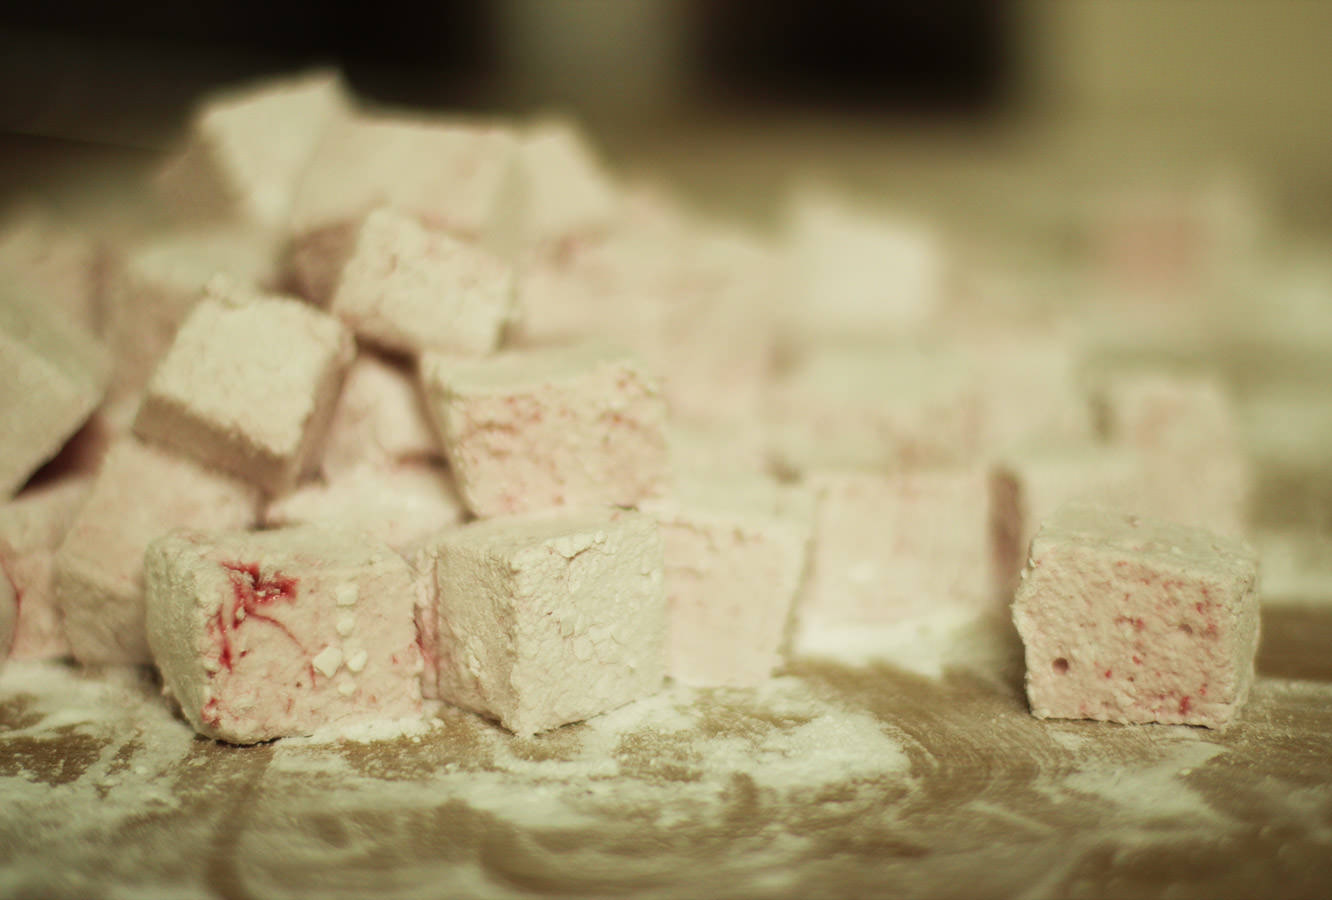
Cut them into cubes, and dust all the sides. Don’t worry if they are a little sticky, they will dry out a bit more.

hen-bachelorette-party-favours-raspberry-caramel-marshmallow-recipe-11

Try not to eat them all just yet.

hen-bachelorette-party-favours-raspberry-caramel-marshmallow-recipe-13

Step thirteen

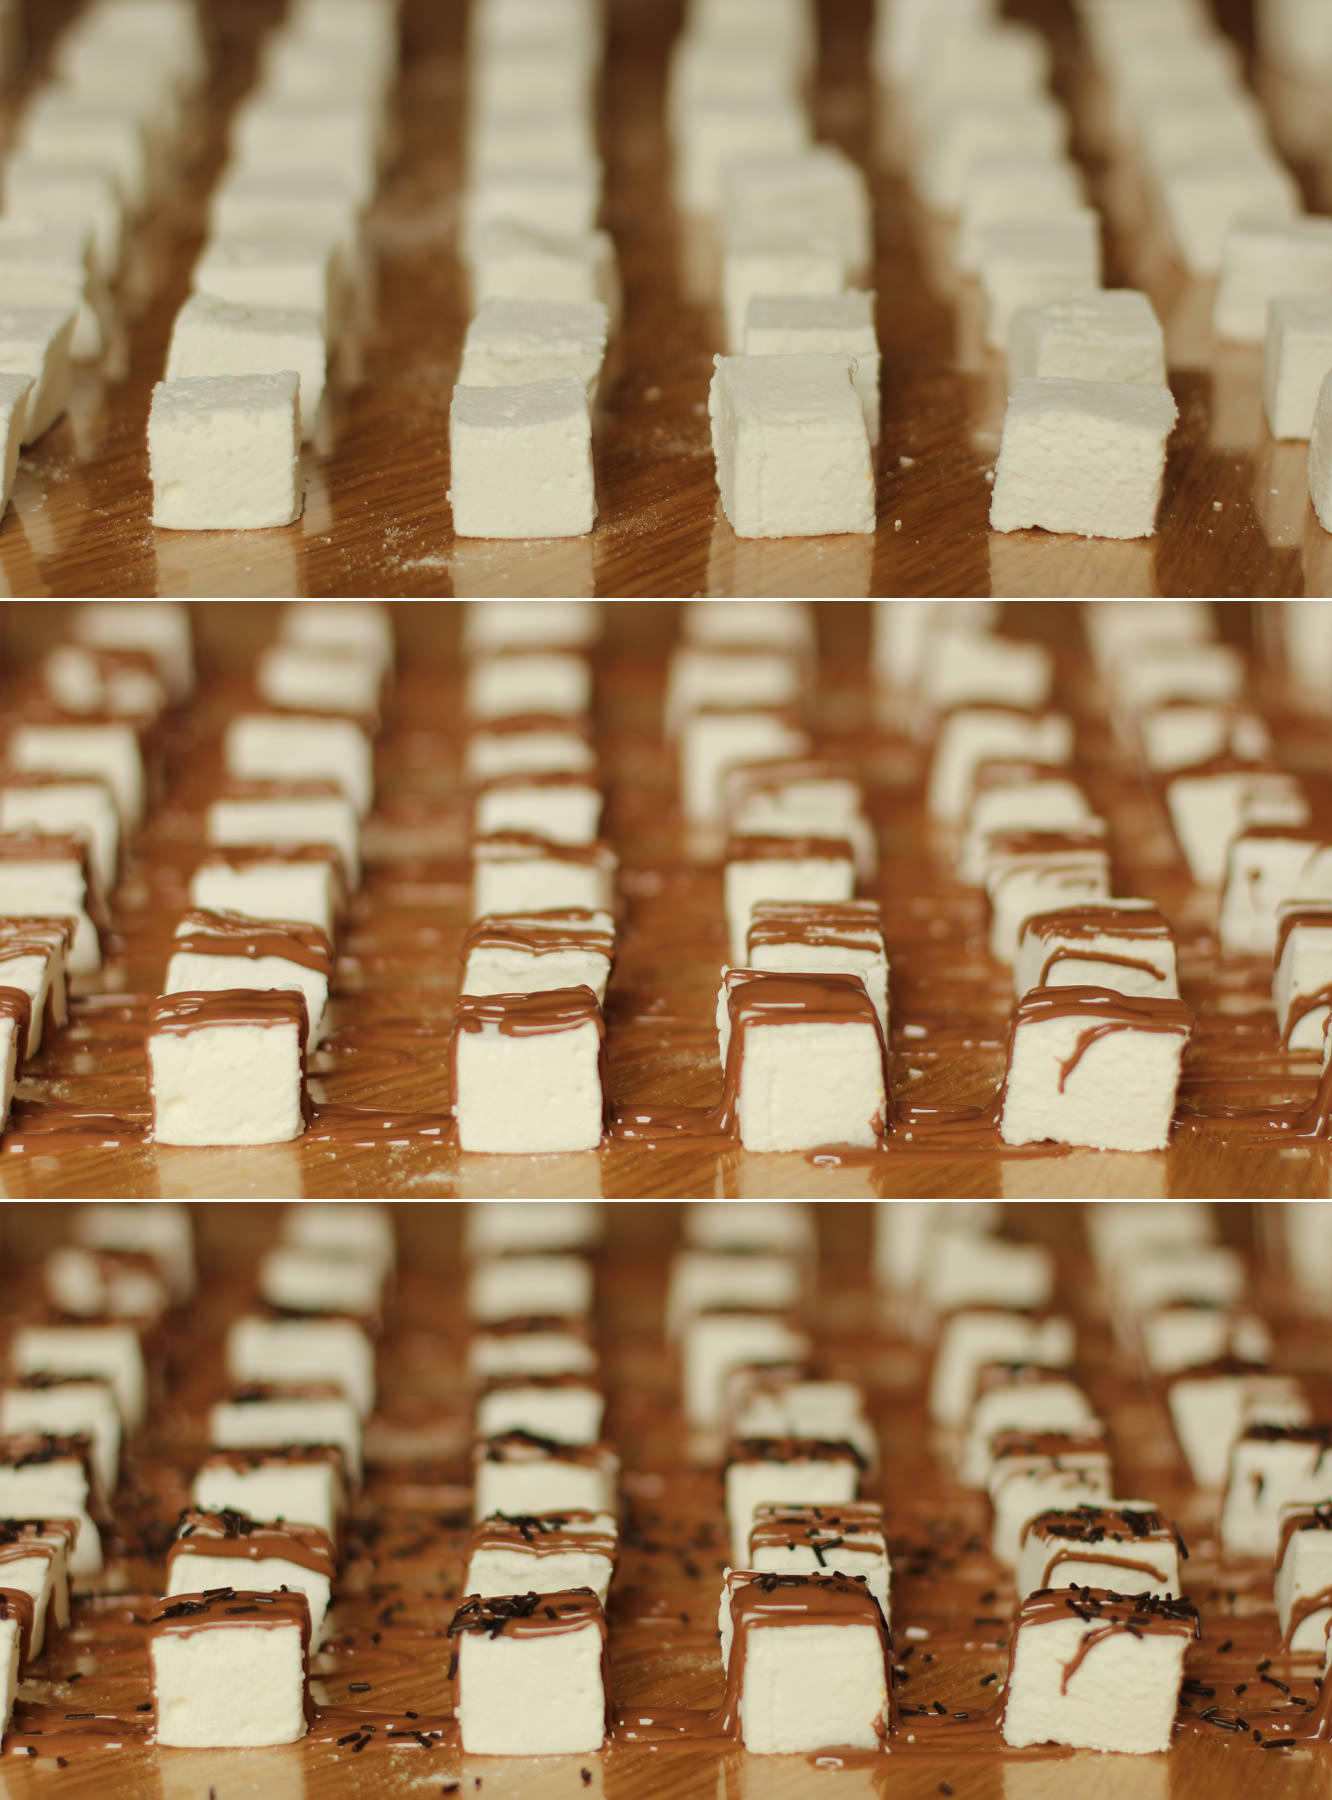
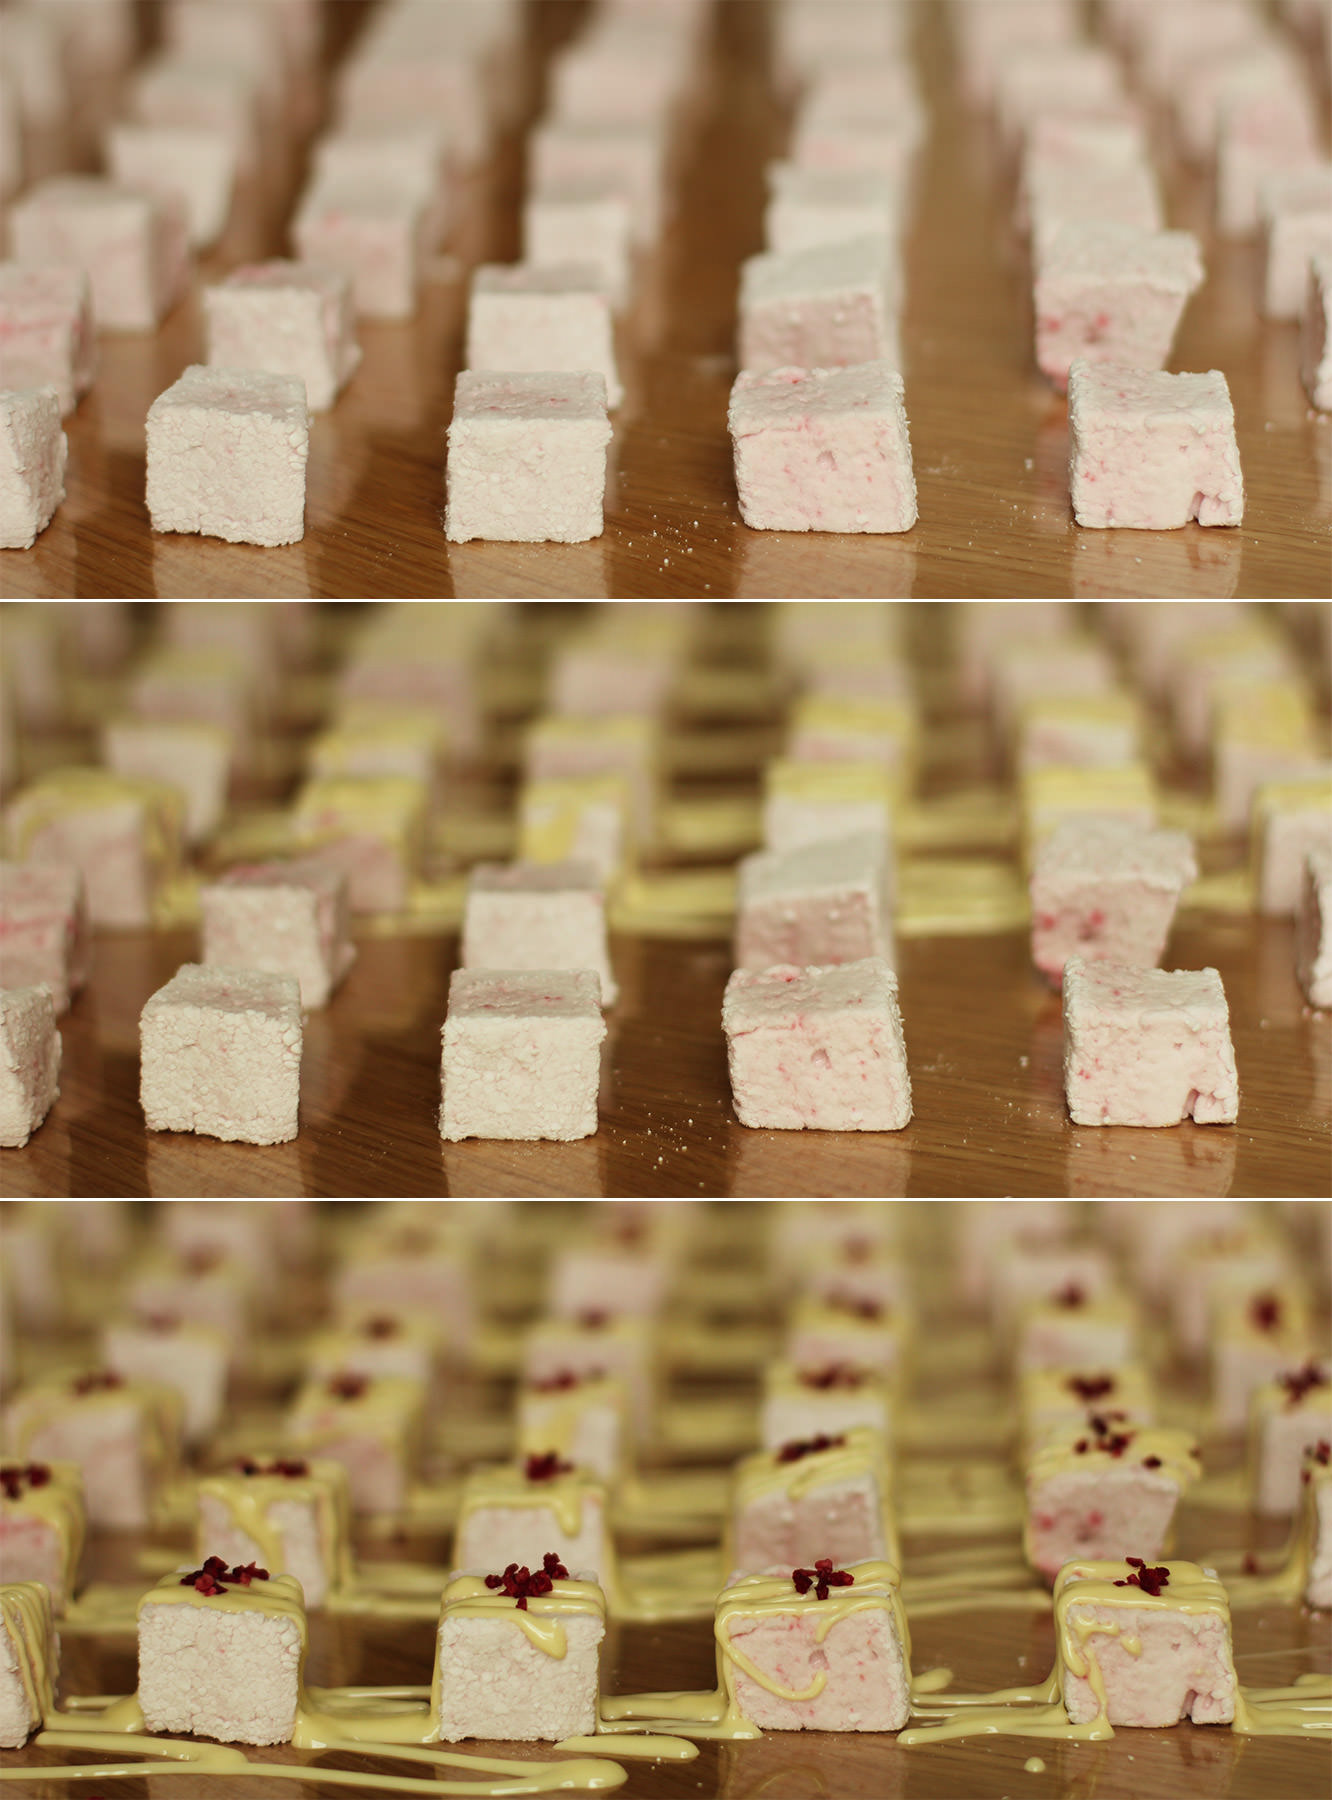
Lay the caramel marshmallows out in rows on greaseproof paper or cellophane and melt the milk chocolate. I used a piping bag to drizzle the chocolate over the marshmallows, you could use a sandwich bag and snip the corner.

hen-bachelorette-party-favours-raspberry-caramel-marshmallow-recipe-12

Step fourteen

Repeat with the raspberry and white chocolate marshmallows.

hen-bachelorette-party-favours-raspberry-caramel-marshmallow-recipe-14

Step fifteen

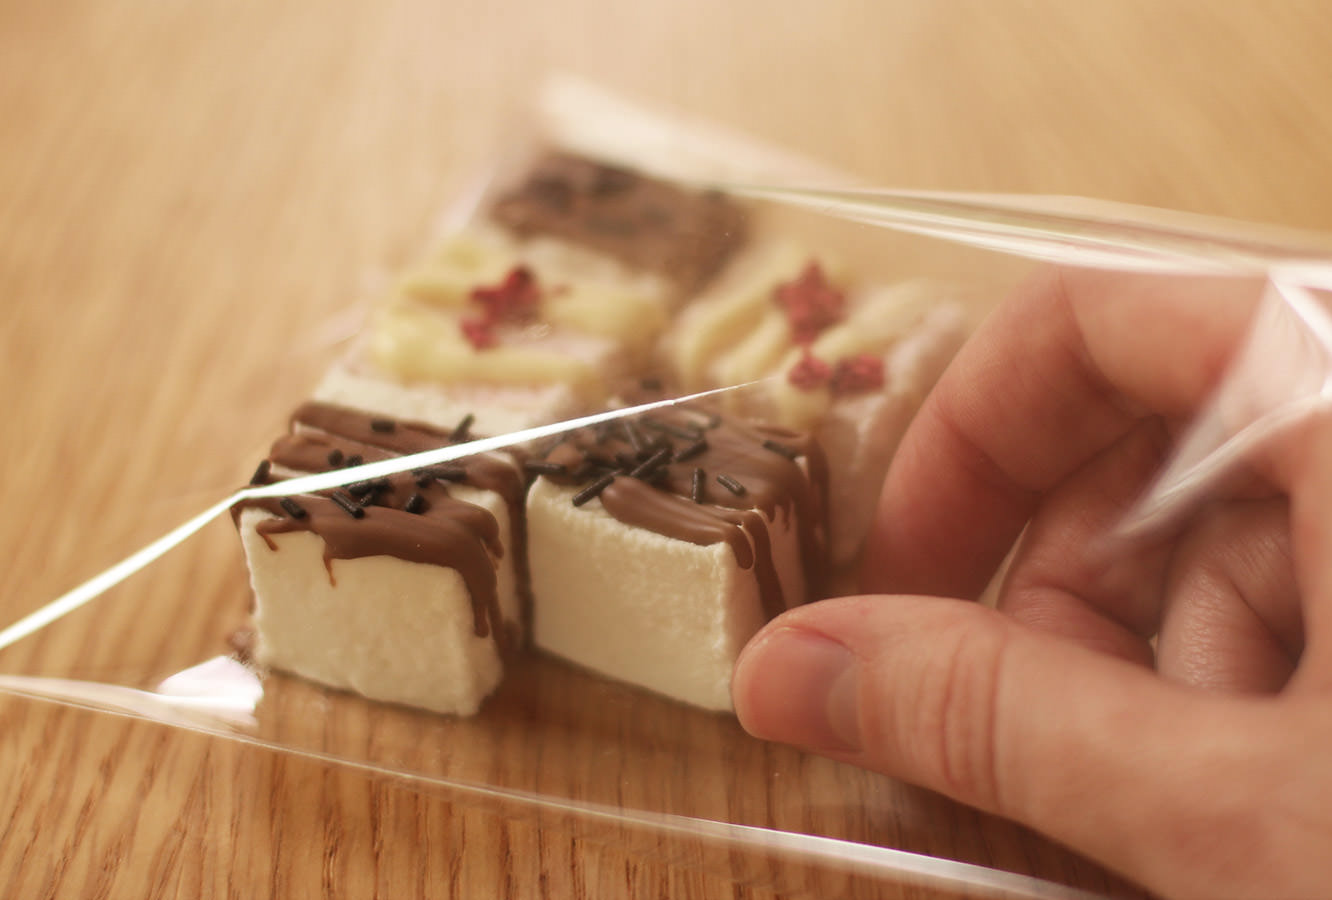
Once the chocolate has set place 5 in each bag, 2 of one flavour, 3 of the other, alternating as you go so you don’t run out of one.

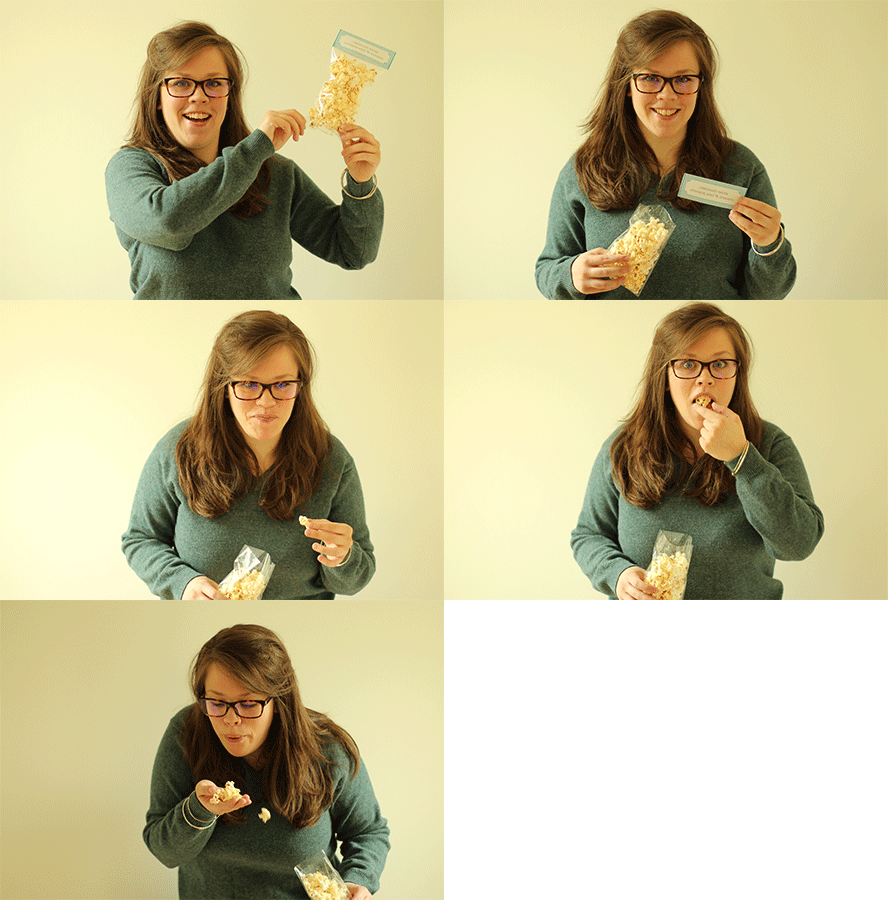
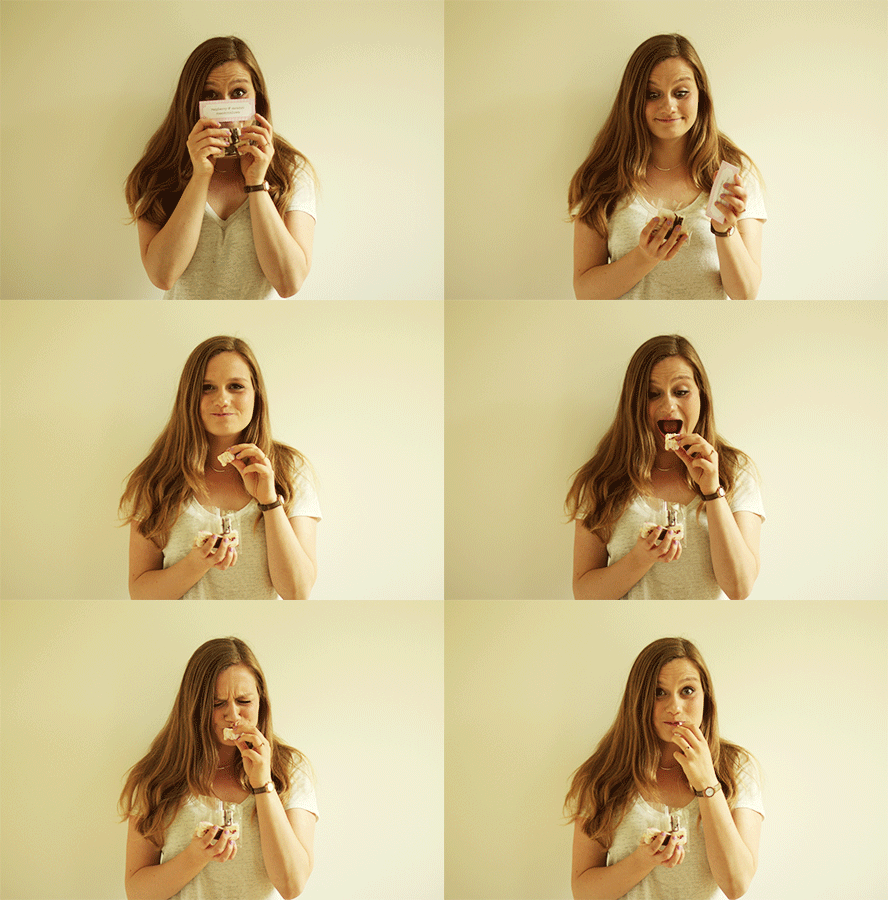
As I mentioned last post I’ll be doing a wrap up post with all the finishing touches, so stay tuned for that. For now, here’s our lovely hen chowing down:

hen-bachelorette-party-favours-raspberry-caramel-marshmallow-recipe-gif

Ta, Ma.

Apparently when I think Mother’s Day blogging I think fudge. It’s a good thing my mum likes fudge. What’s that? You didn’t realise Mother’s day was so soon? I know, right? Me neither. It’s this Sunday for those of you in GB, the rest of you should check your calendars, this is the sneakiest holiday of the year.

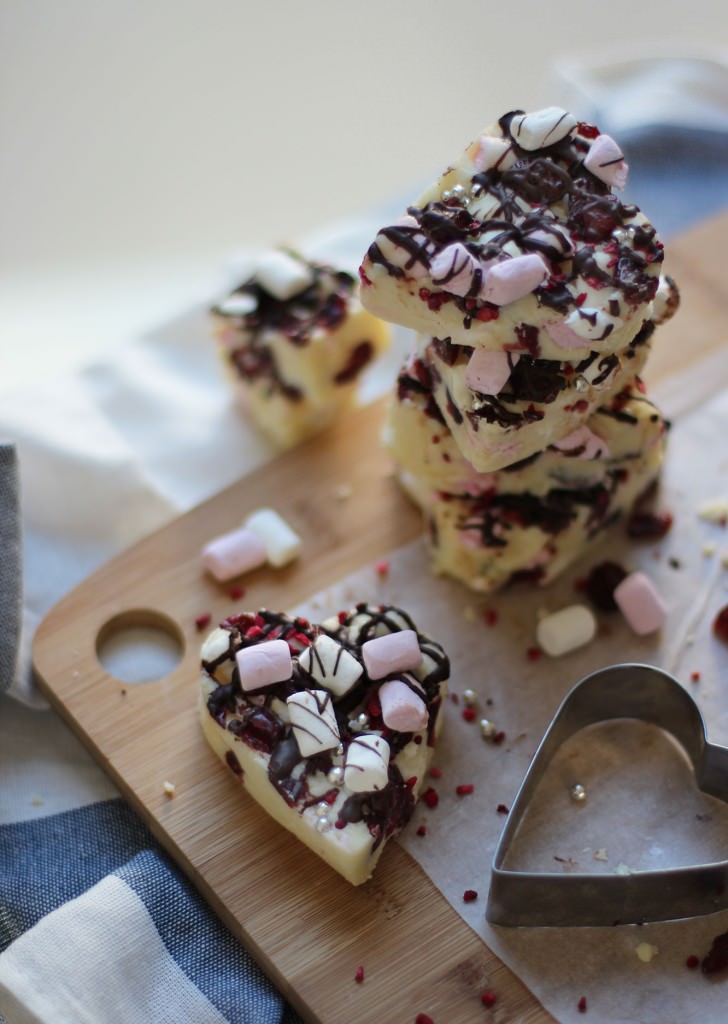
This is a super super easy way to make a treat for your Ma. It’s not like the last fudge recipe I posted, which while being totally delicious I’d wager none of you actually made. Well there’s no boiling sugar or a thermometer required for this one, and barely any cooking at all.

You might need to cut this recipe by half or even more, it makes quite a large batch for just one mummy to eat. It can be frozen.

white-chocolate-fudge-mothers-day-recipe-1

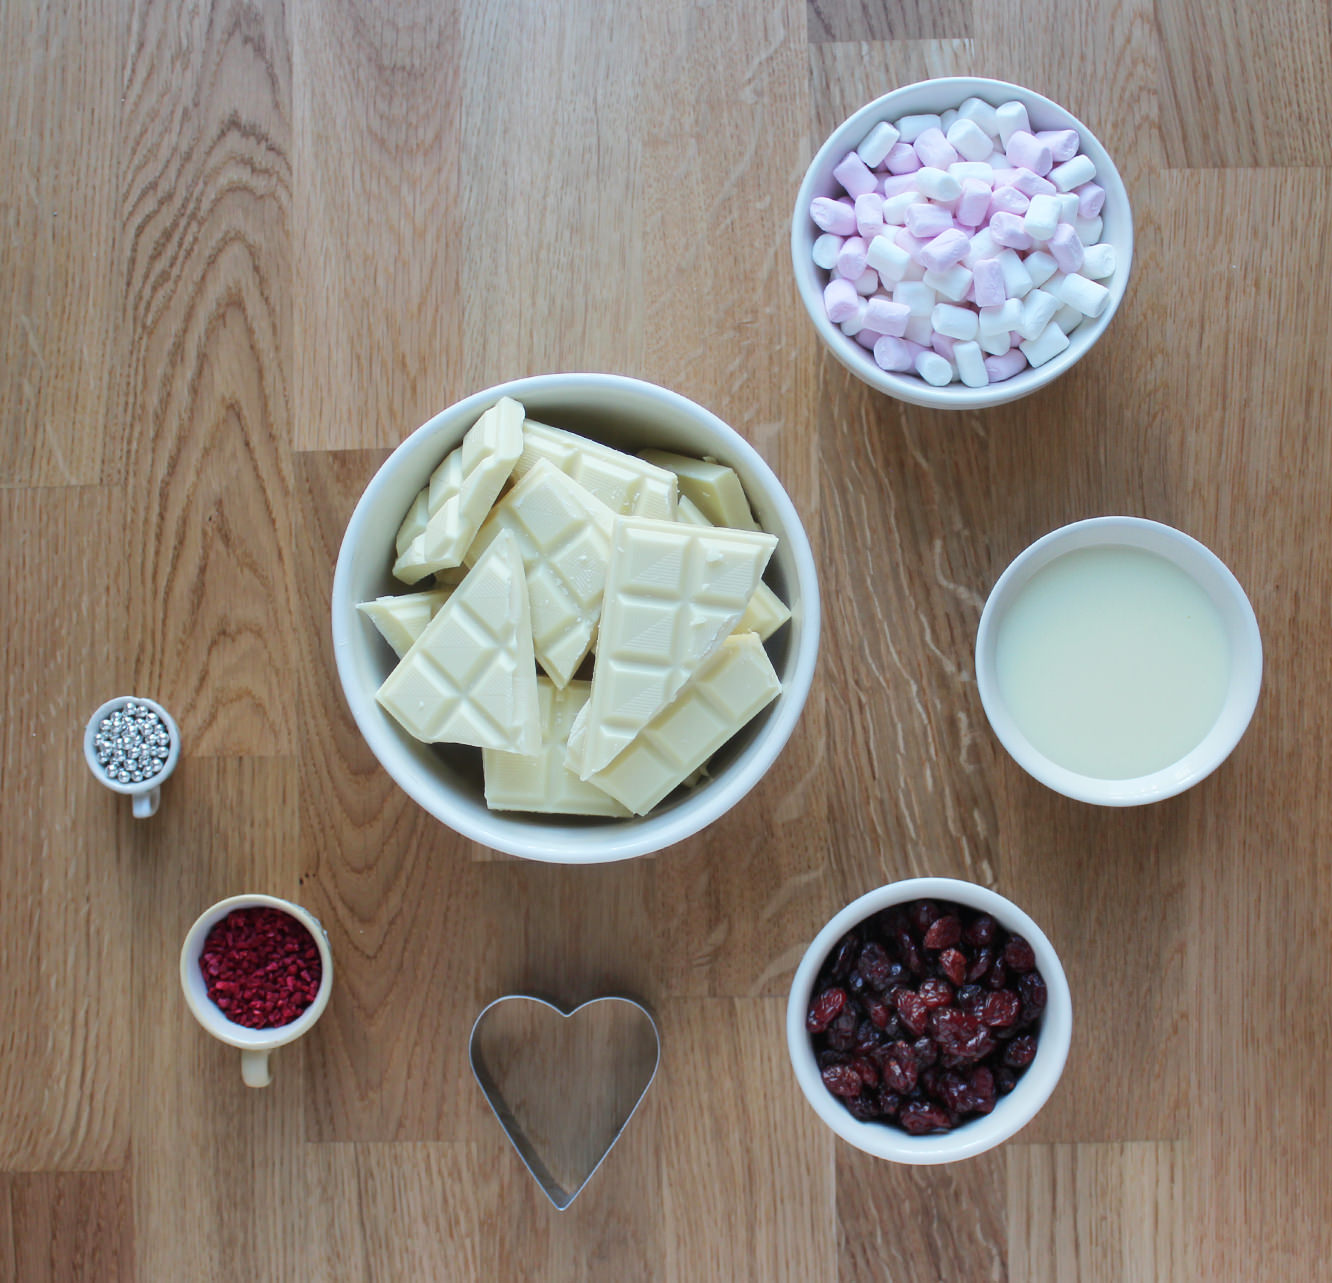
You will need

600g/1 lb 3 oz White chocolate (yeah, this is serious stuff)

397g Condensed milk (1 can basically)

125g/4.5 oz Cranberries

85g/3 oz Mini marshmallows

25g/1 oz Dark chocolate

Other decorations (I used silver balls and freeze dried raspberries because that’s what I had, but any manner of nuts and dried fruits would be acceptable, even as a substitute for the marshmallows and cranberries)

white-chocolate-fudge-mothers-day-recipe-2

Step one

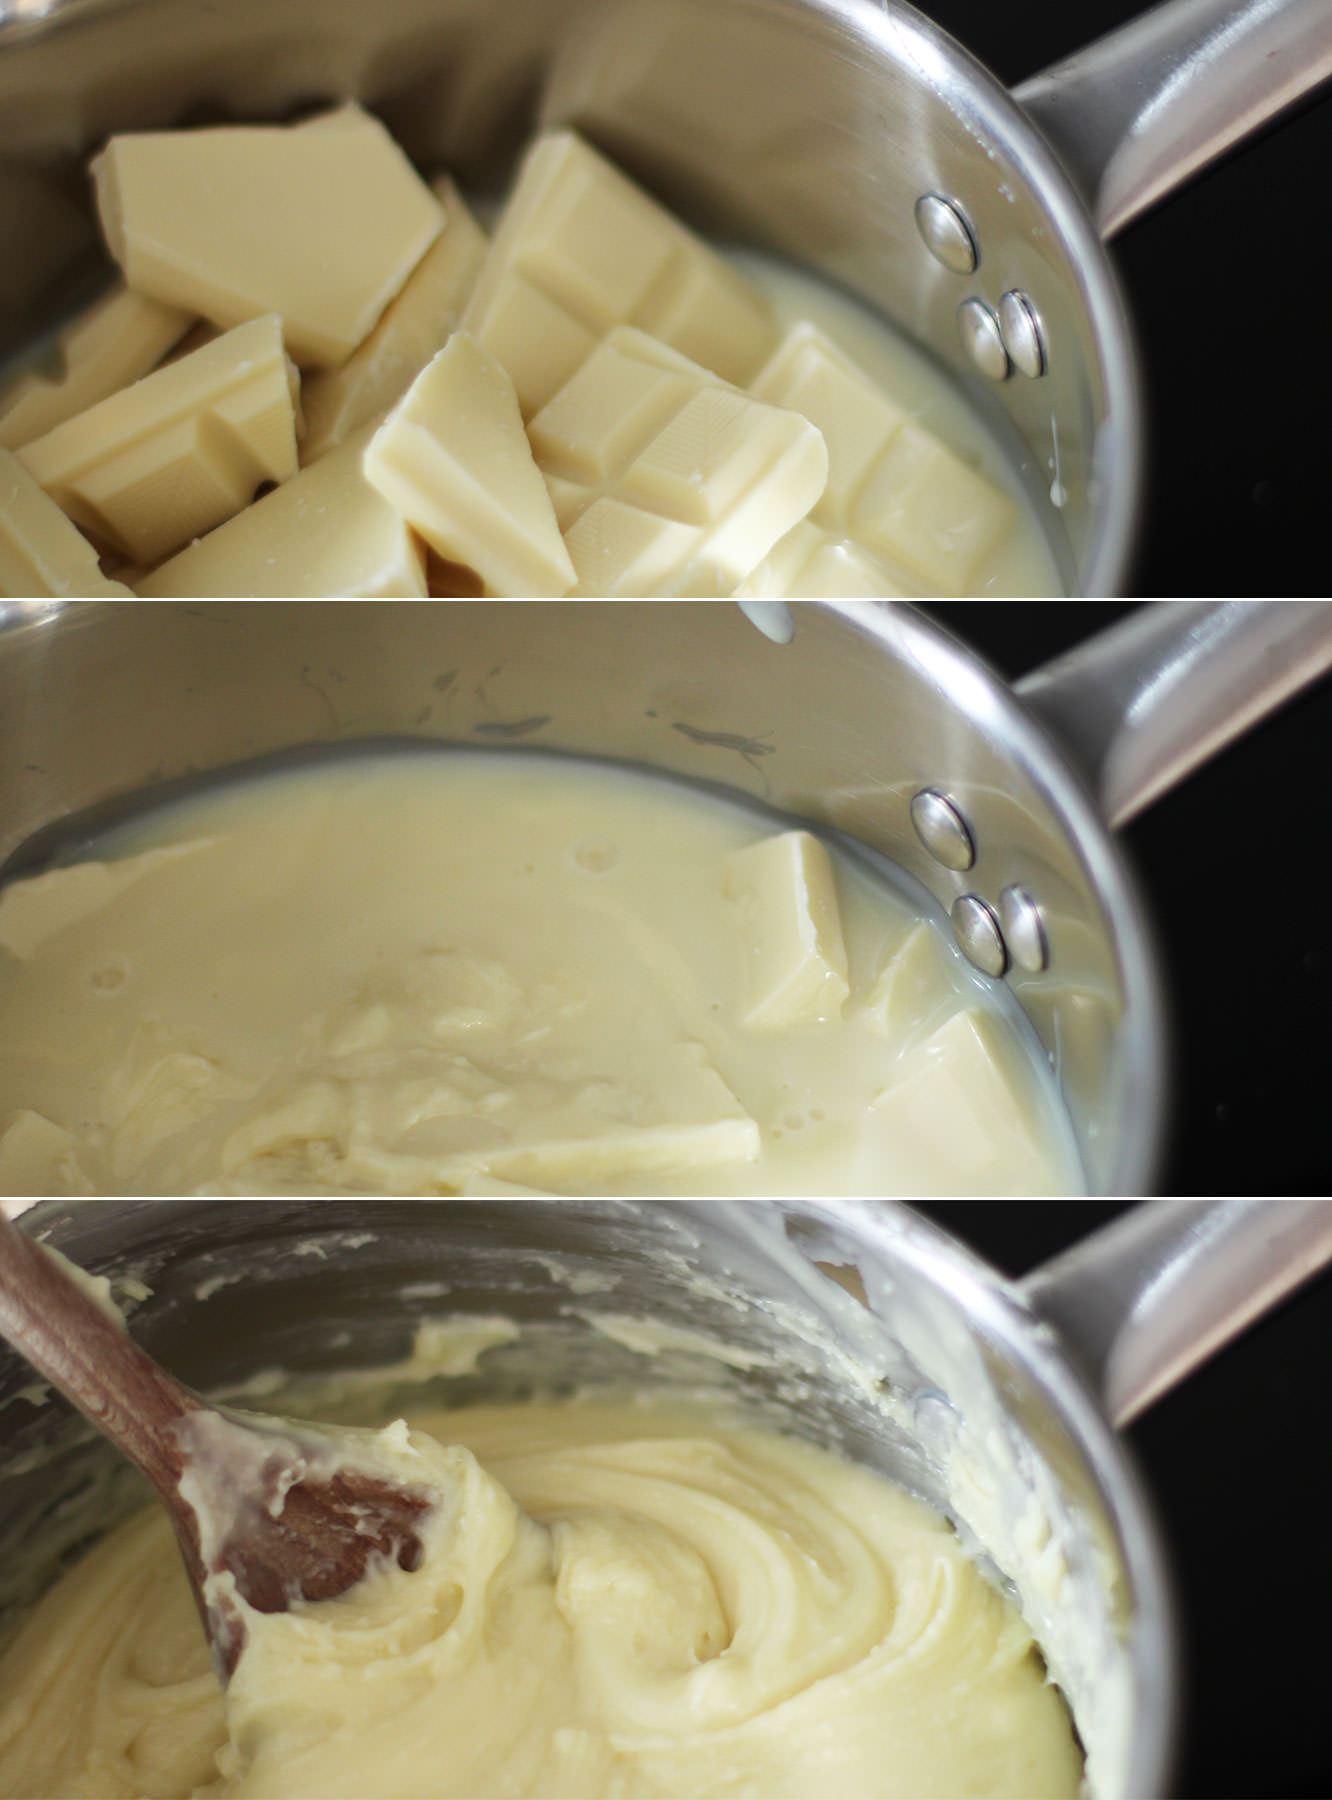
Break the white chocolate into chunks and place in a pan with the tin of condensed milk.

Melt together on a low heat. Once you have a smooth fudge-like mixture, remove from the hob.

white-chocolate-fudge-mothers-day-recipe-7

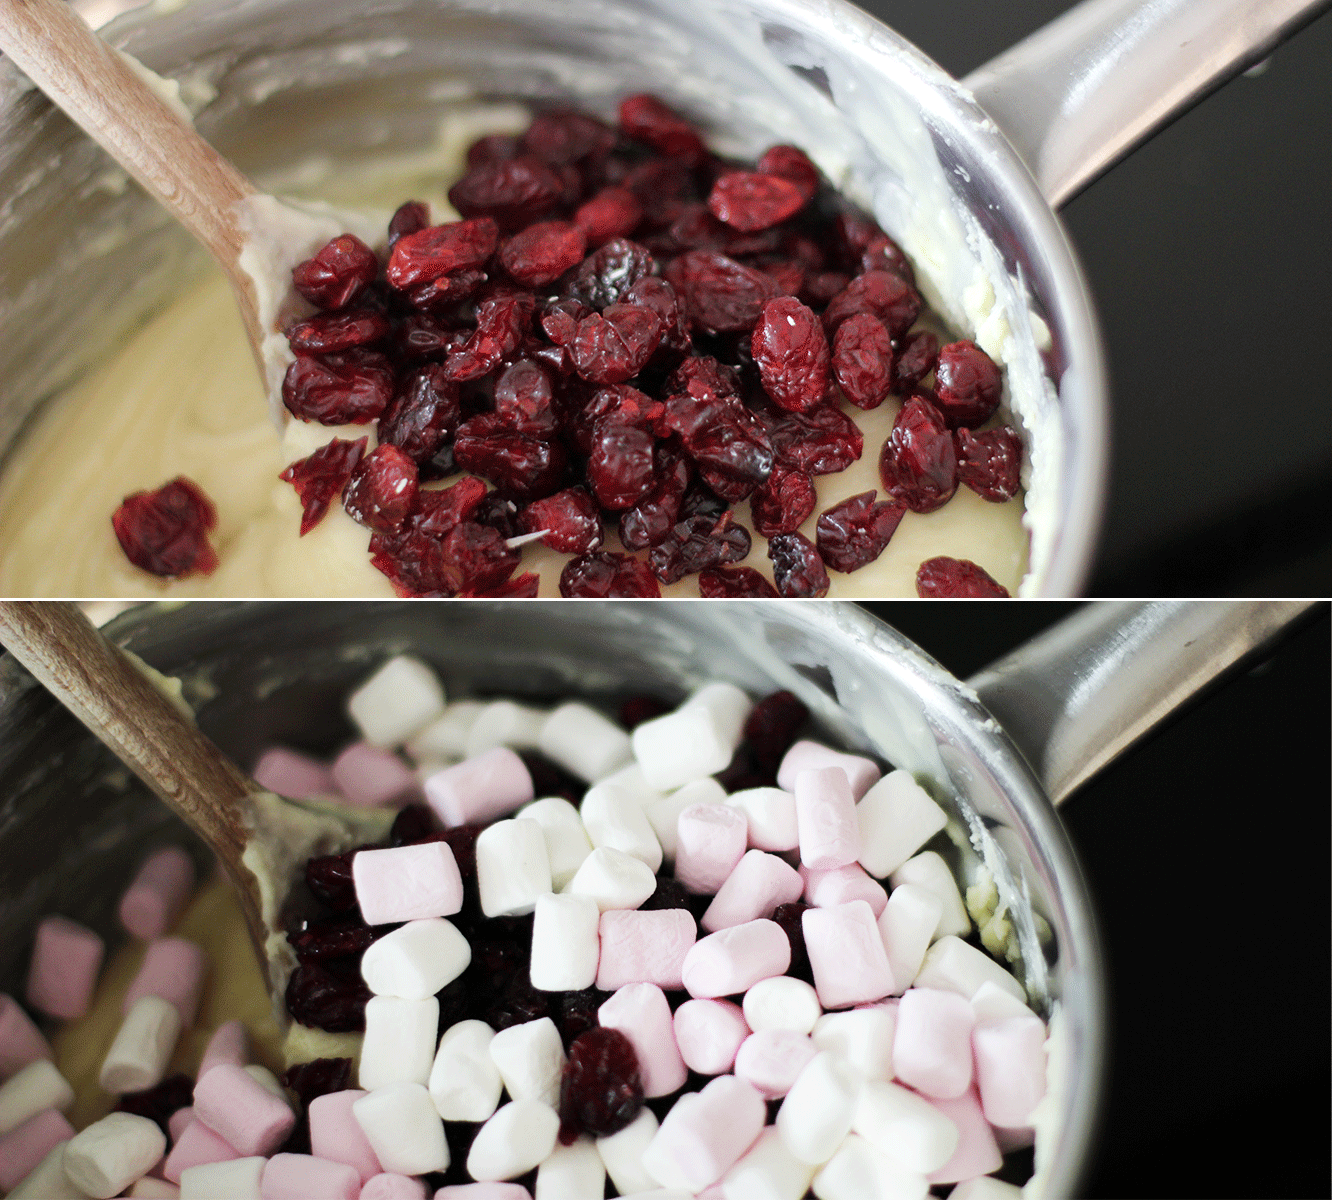
Step two

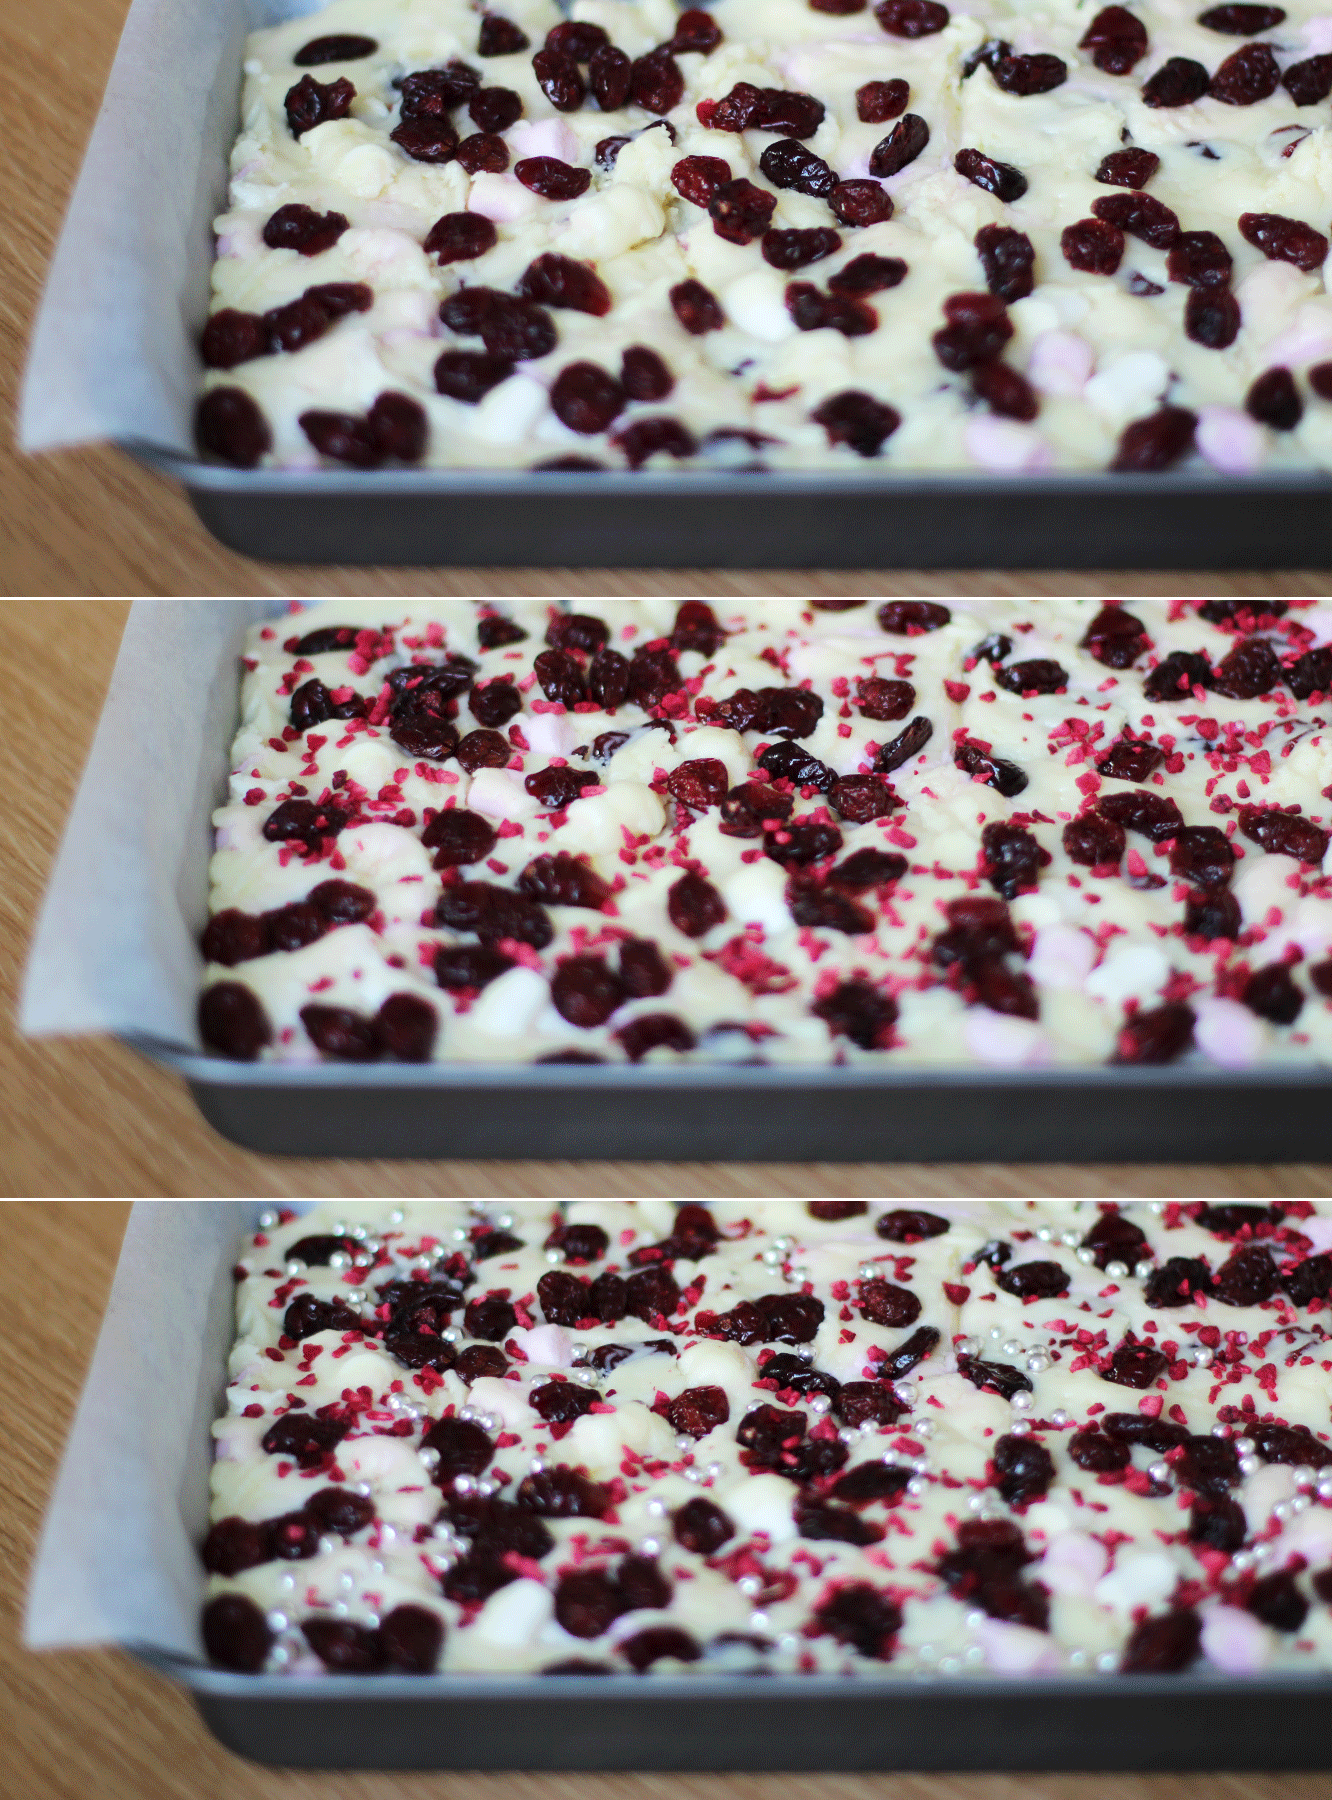
Add two thirds of the cranberries and marshmallows, stir to combine.

white-chocolate-fudge-mothers-day-recipe-3

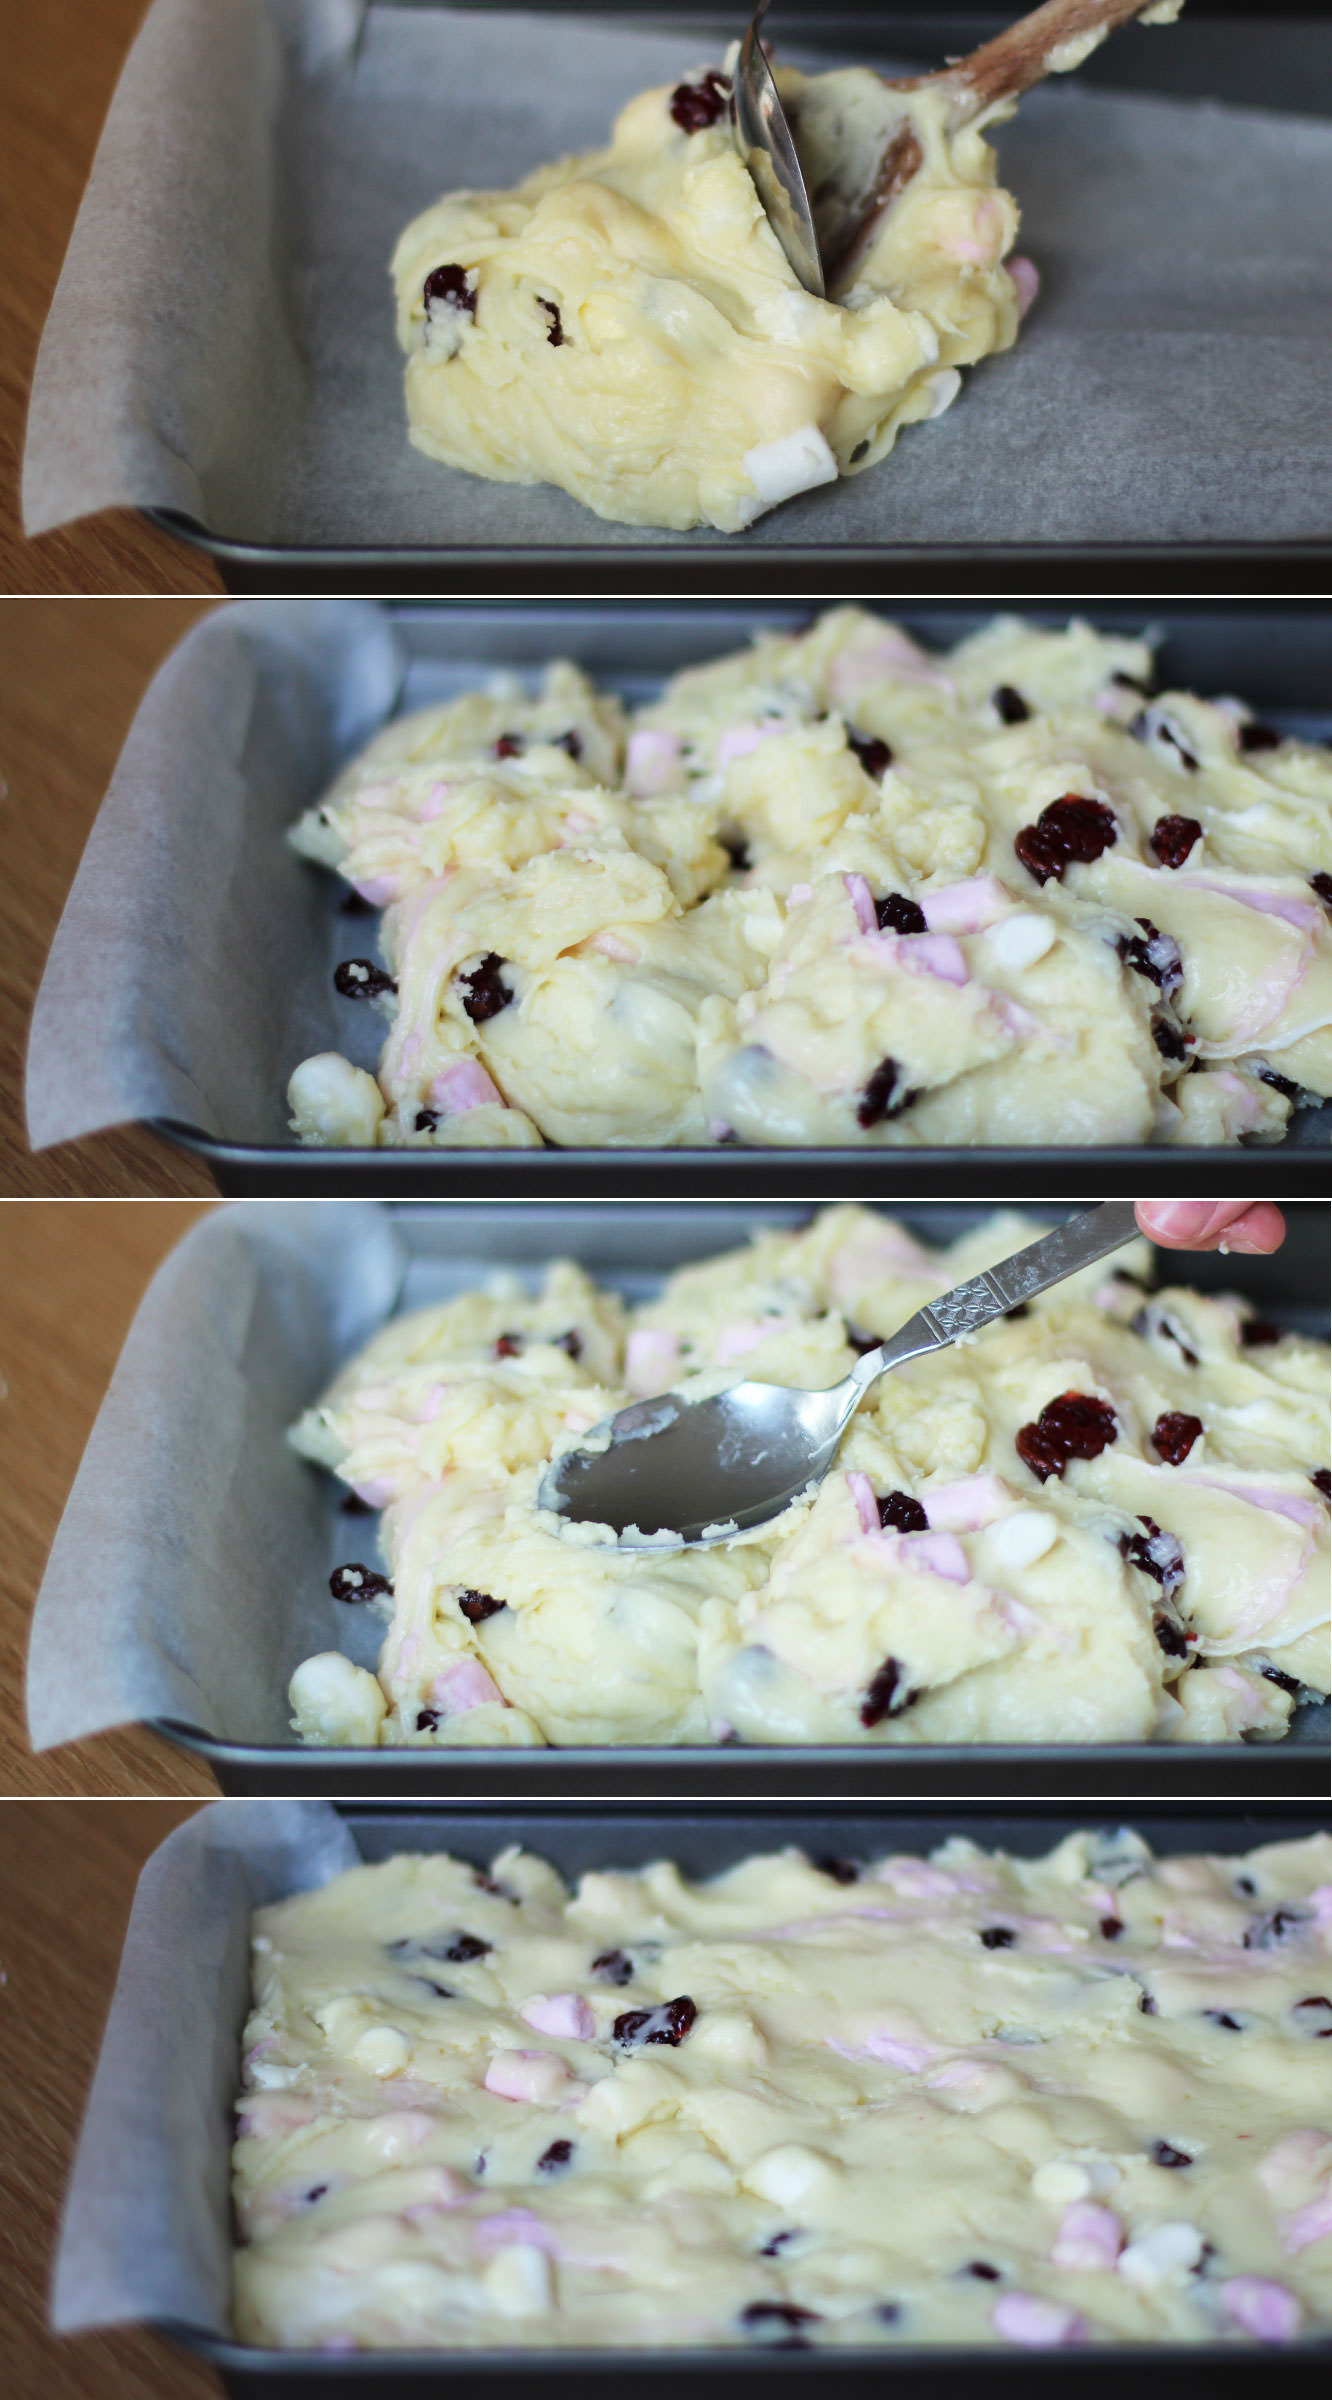
Step three

Drop the mixture into a brownie tin lined with greaseproof paper. Push into the corners with the back of a spoon and even the top out a bit.

white-chocolate-fudge-mothers-day-recipe-6

Step four

Sprinkle the remaining cranberries, the silver balls and freeze-dried raspberries on top and push down slightly so they stick.

The alternative would be to swap this step with the next one so they stick to the chocolate (this would probably also look nicer because you would actually be able to see them rather than hiding them with a load of dark chocolate…). I make the mistakes so you don’t have to.

white-chocolate-fudge-mothers-day-recipe-gif

Step five

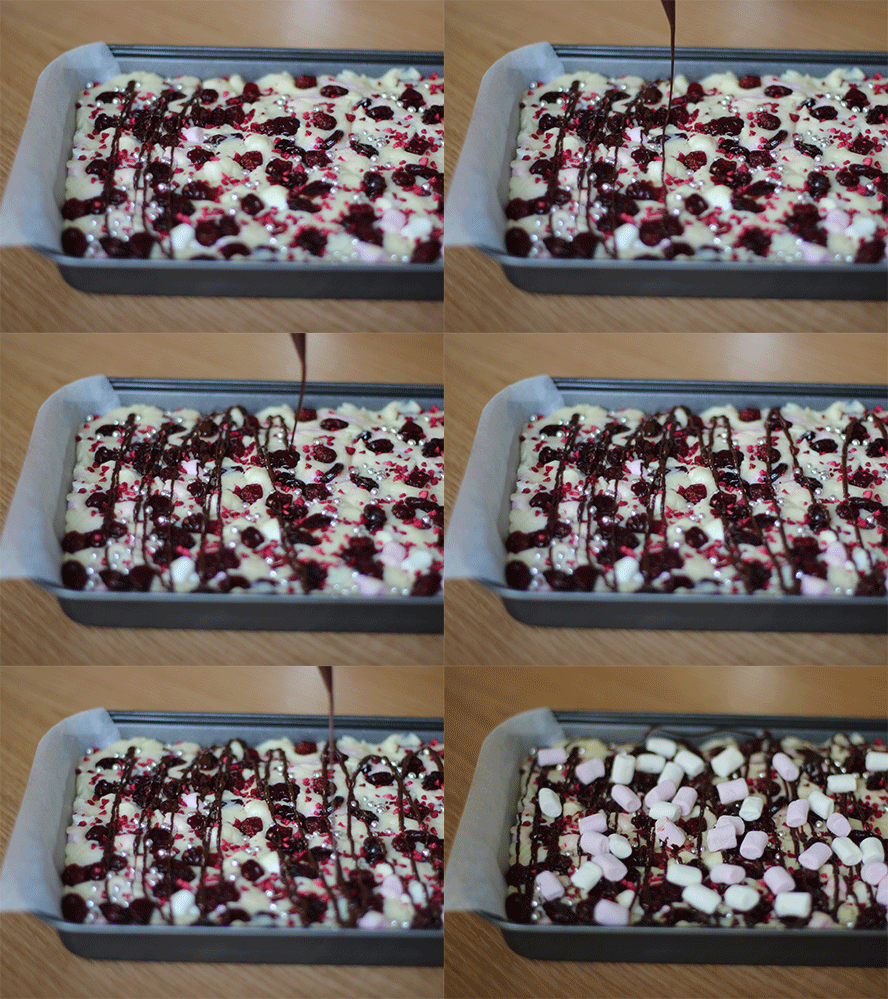
Melt the dark chocolate in the microwave and drizzle over the fudge. Sprinkle the remaining marshmallows on top. I had a bit of dark chocolate left so did another layer on top of the marshmallows.

Place in the fridge to allow the whole thing to set.

white-chocolate-fudge-mothers-day-recipe-4

Step six

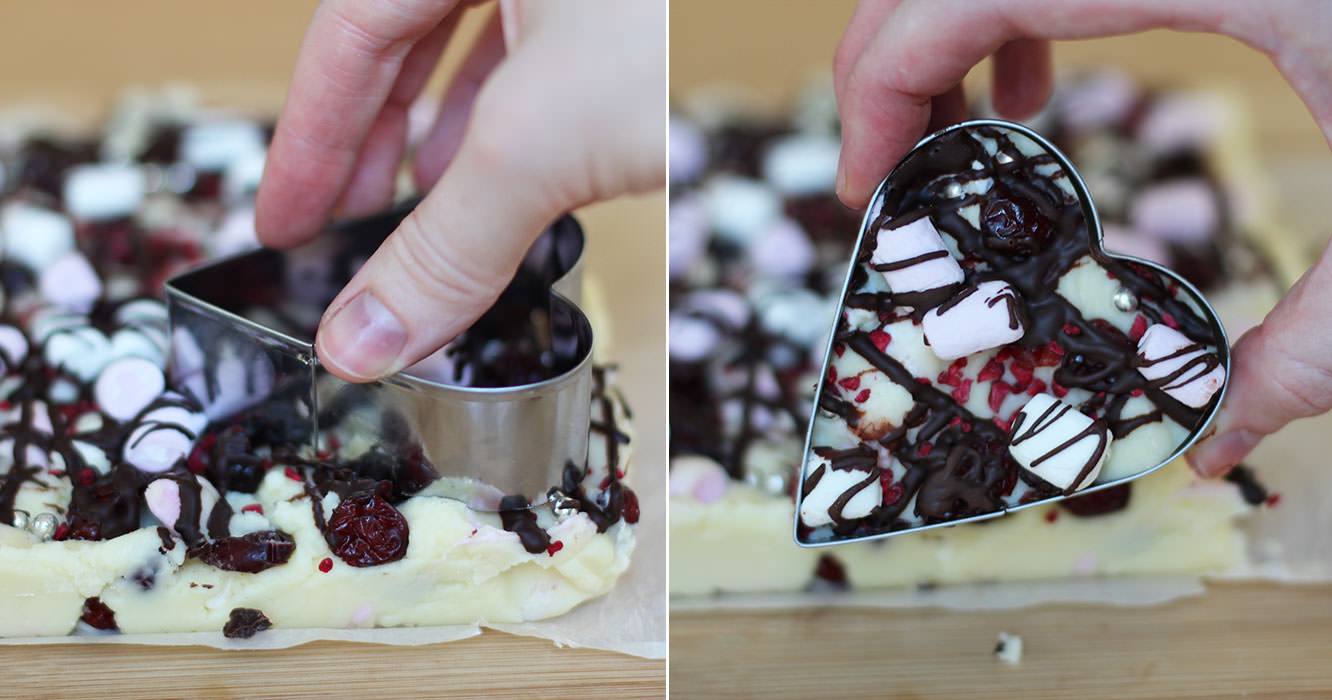
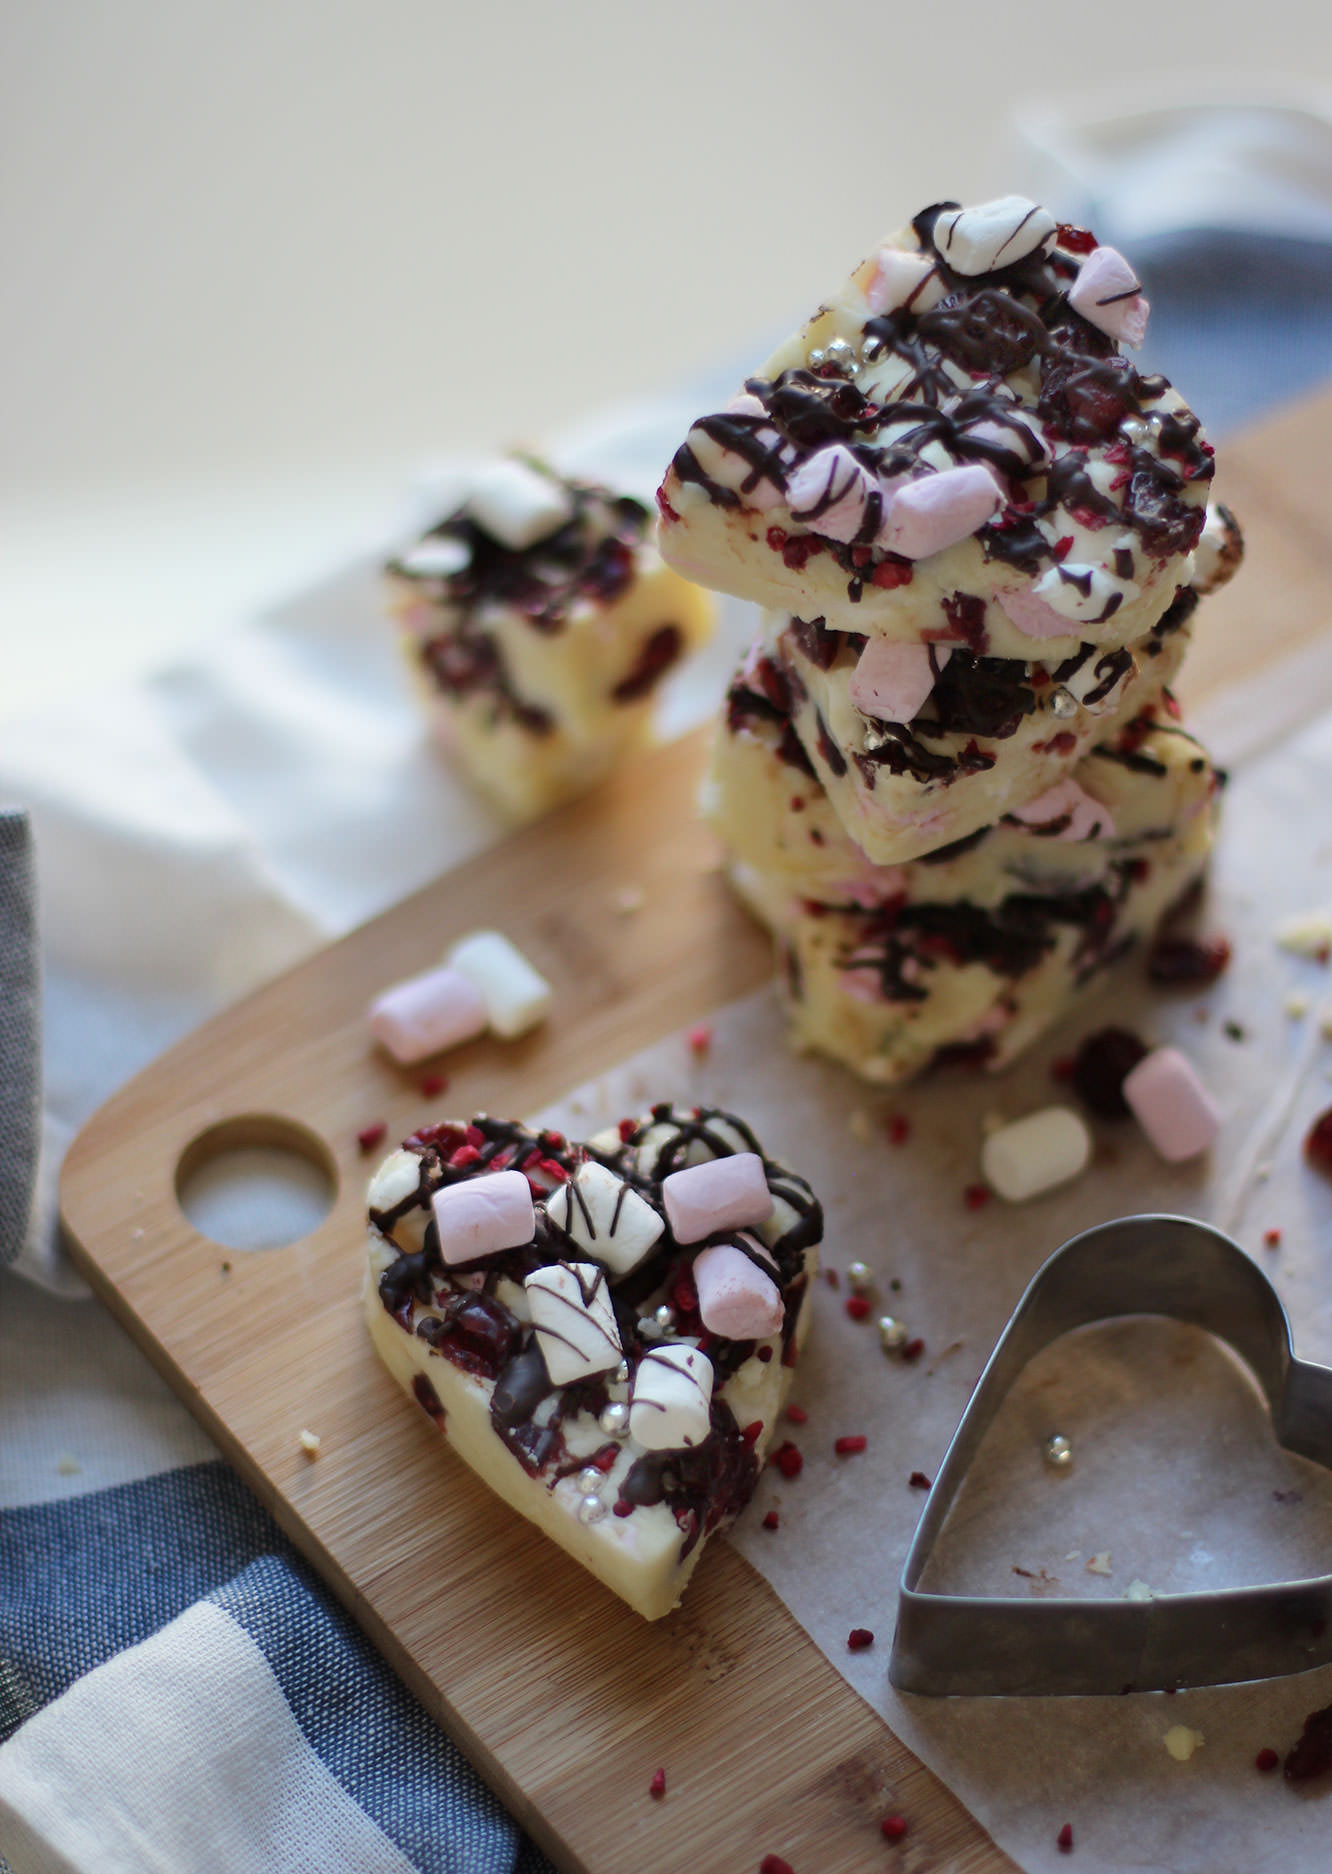
Using a cutter of your choice (this heart-shaped one was from Lakeland), cut the fudge into pieces. If you don’t have a cutter, then bars or chunks would look nice too.

white-chocolate-fudge-mothers-day-recipe-5

Flat as a pancake

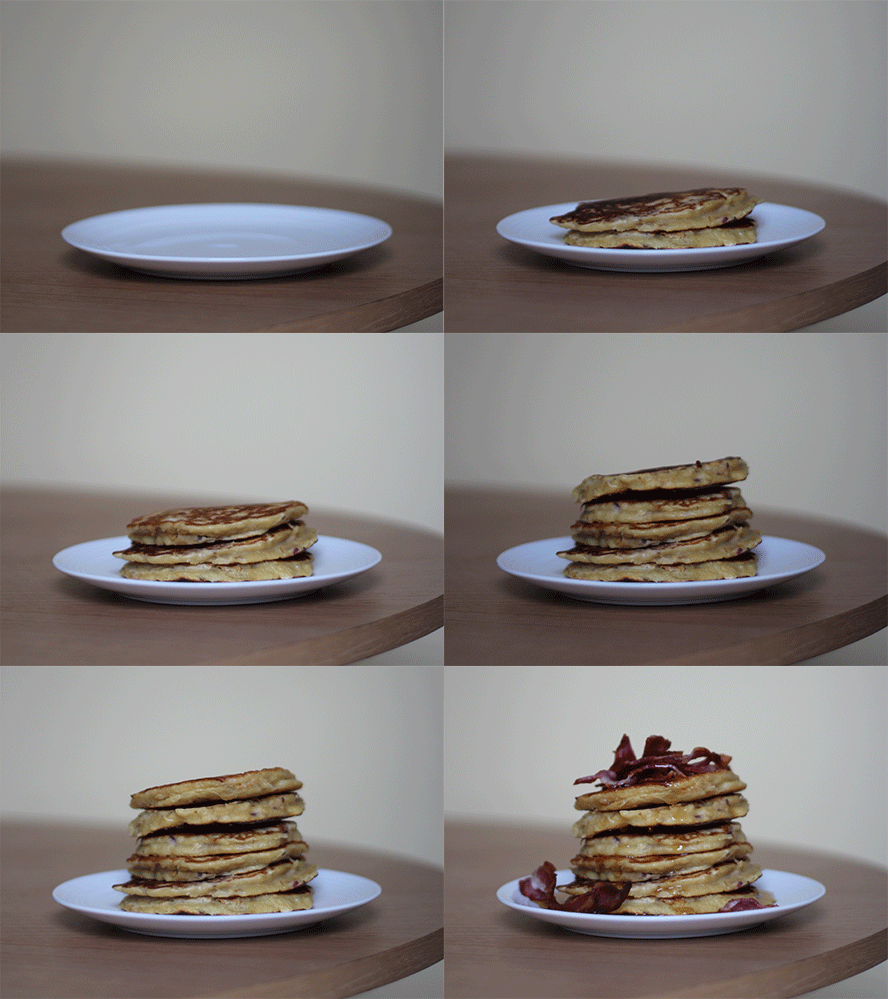
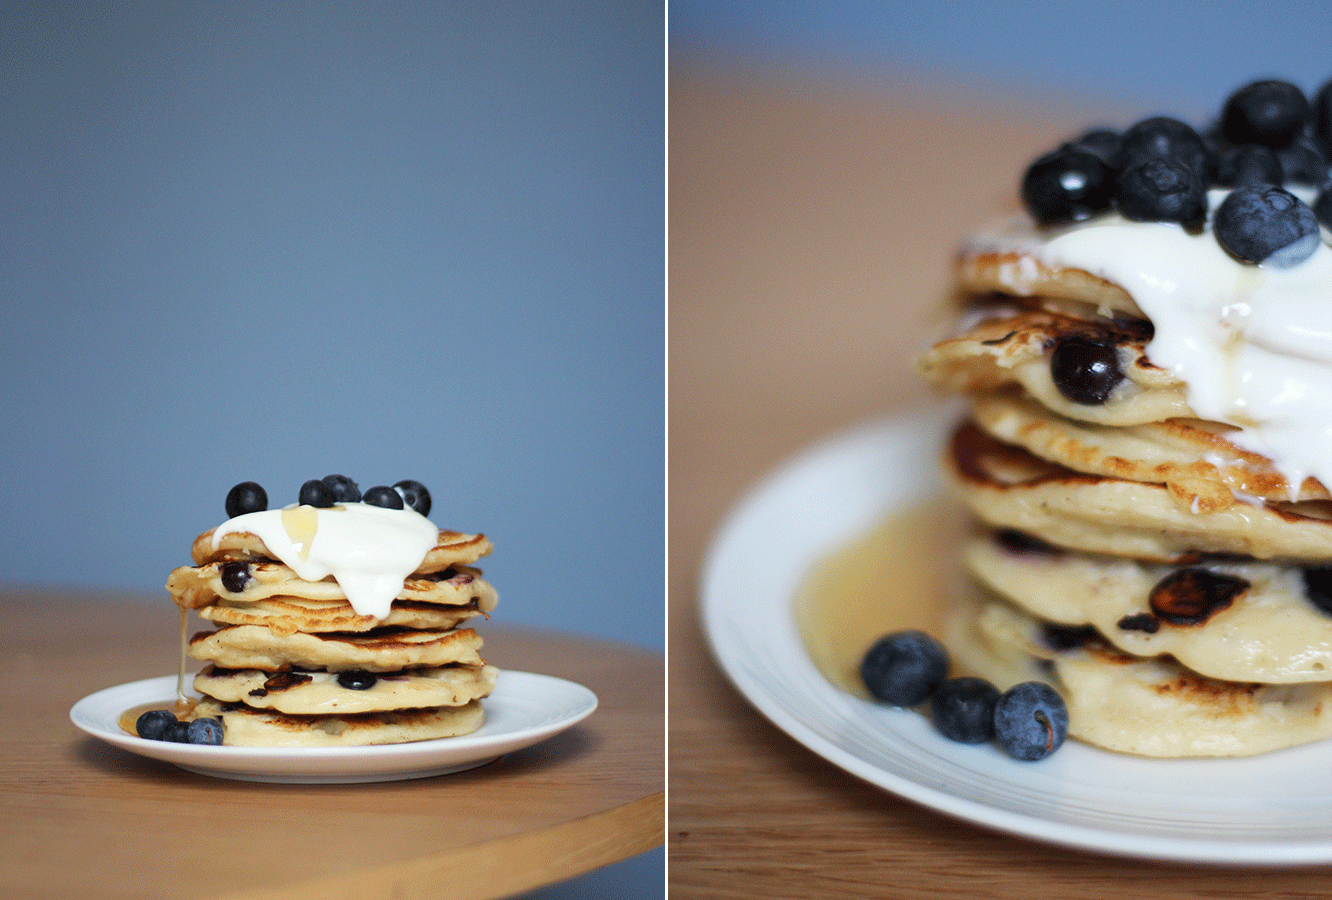
Sorry, what’s that? IT’S PANCAKE DAY TOMORROW? Or maybe if you read this on a Tuesday it’s pancake day today. Or maybe if you’re reading this in a few months time pancake day is nowhere nearby, and if that’s the case there’s nothing stopping you from making pancakes anyway. Especially when they taste THIS good.

I don’t think there can ever be enough pancakes, so I bring you not one, not two, but three recipes this week. And with three recipes comes three gifs. I know, I spoil you.

My fellow Europeans will have to excuse me for edging towards the North American style of pancake (you can add more flavours this way, but I assure you I’m still a die hard fan of our traditional flat friends). Those of you across the pond will also have to excuse me for not adding sugar and melted butter and all that nonsense to the mix.

These are a hybrid, somewhere half way between. Maybe this is what happens in Iceland or Greenland, who knows?

Enough ramble. LET’S. GET. FLIPPING.

Who am I kidding? I’m far too anxious to flip them.

ultimate-pancake-recipe2

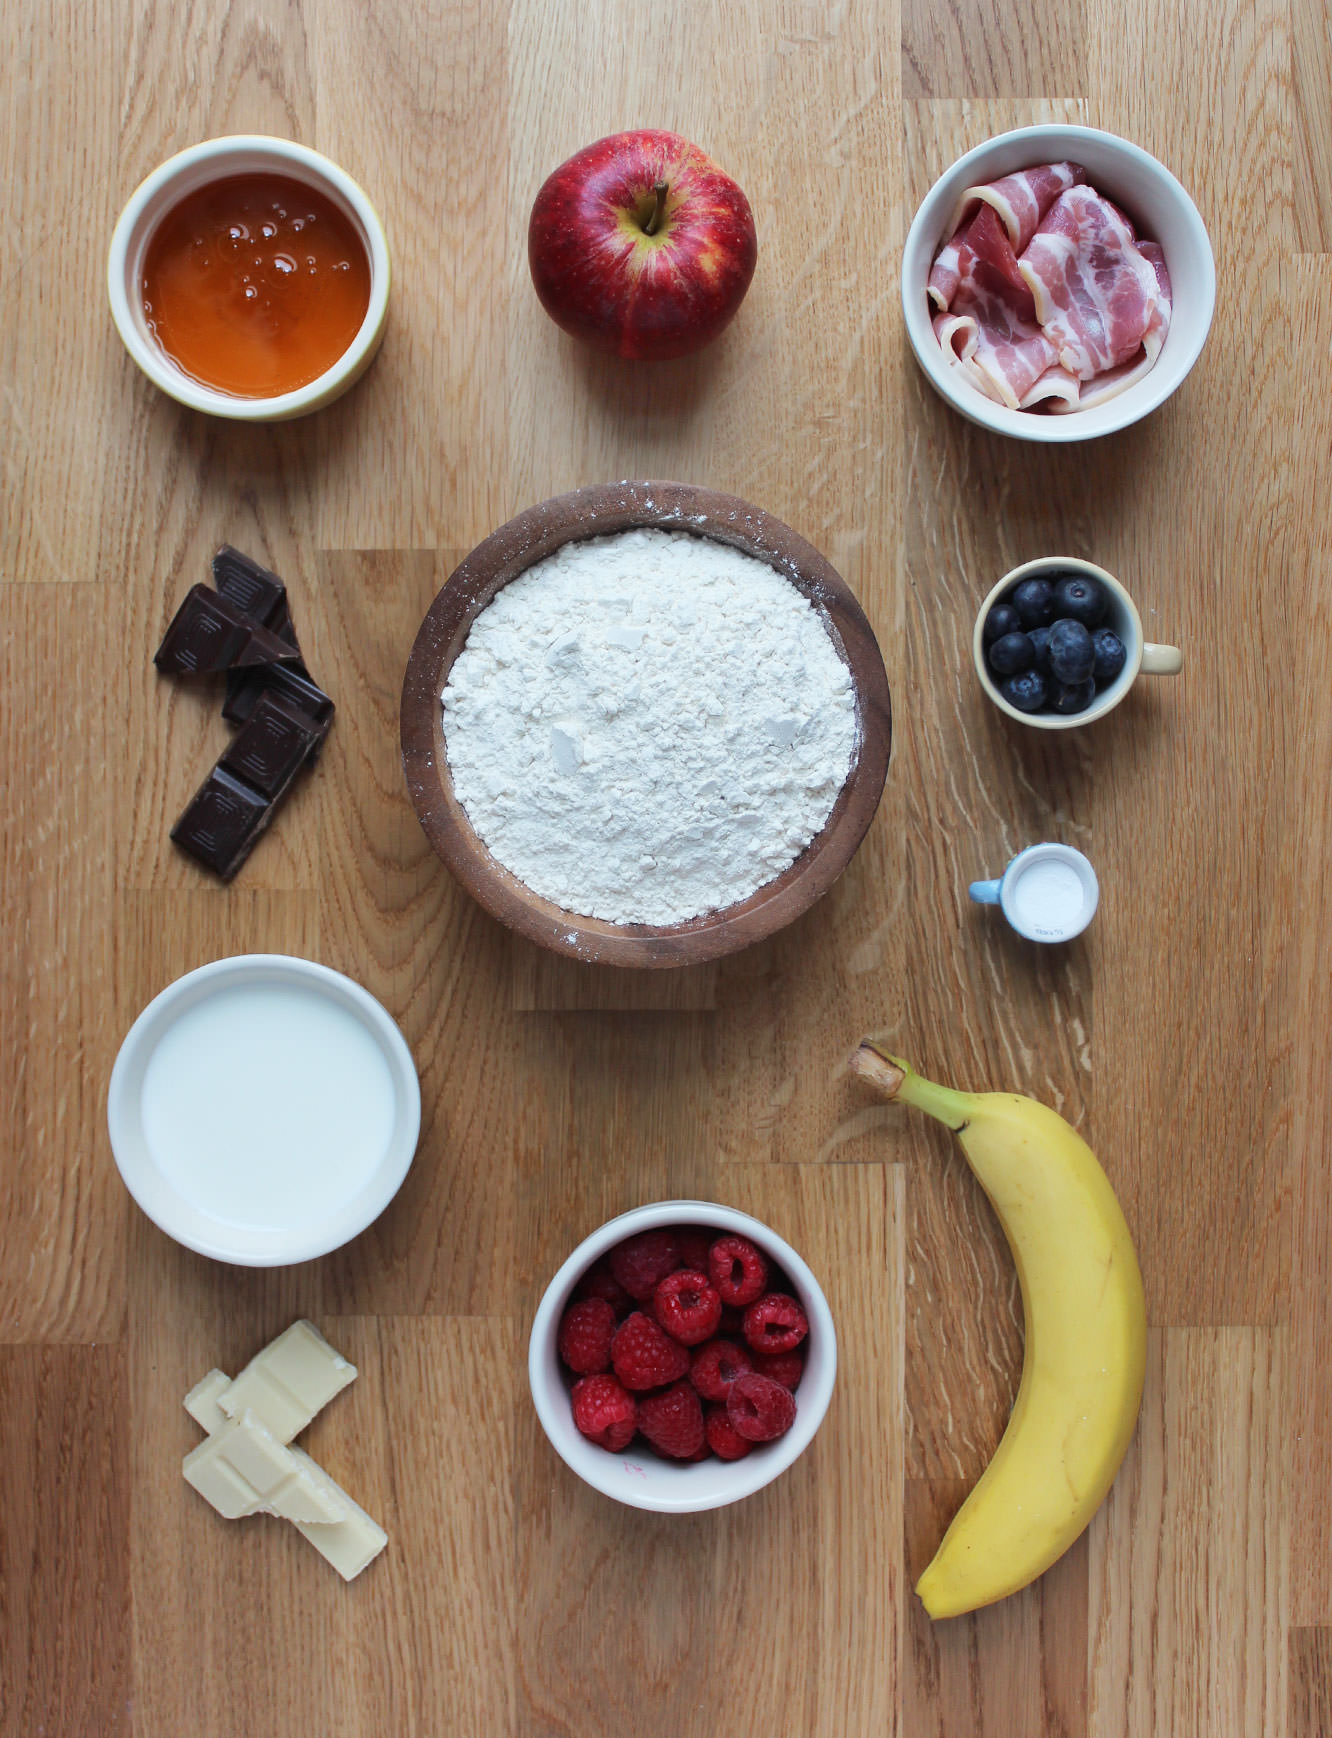
You will need

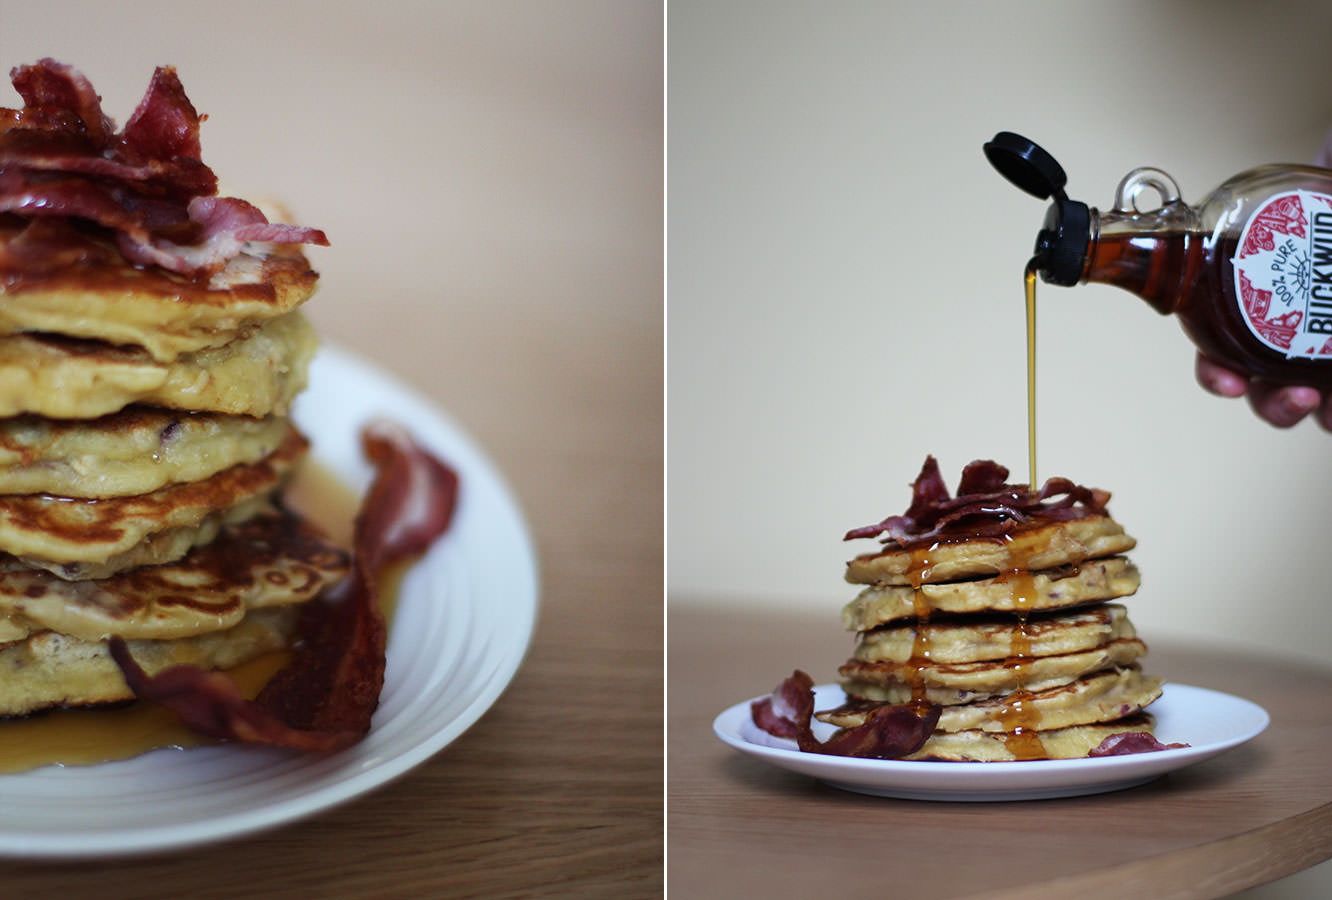
Apple, maple and bacon pancakes

1 cup Plain flour

1 cup Full fat milk

1 Apple

1 Egg

1 tsp Baking powder

Bacon and maple syrup to serve (adjust to your own preference)

White chocolate and raspberry pancakes

1 cup Plain flour

1 cup Full fat milk

1 cup Raspberries

1 Egg

1 tsp Baking powder

100g/3.5 oz White chocolate

50g/1.5 oz Dark chocolate to serve

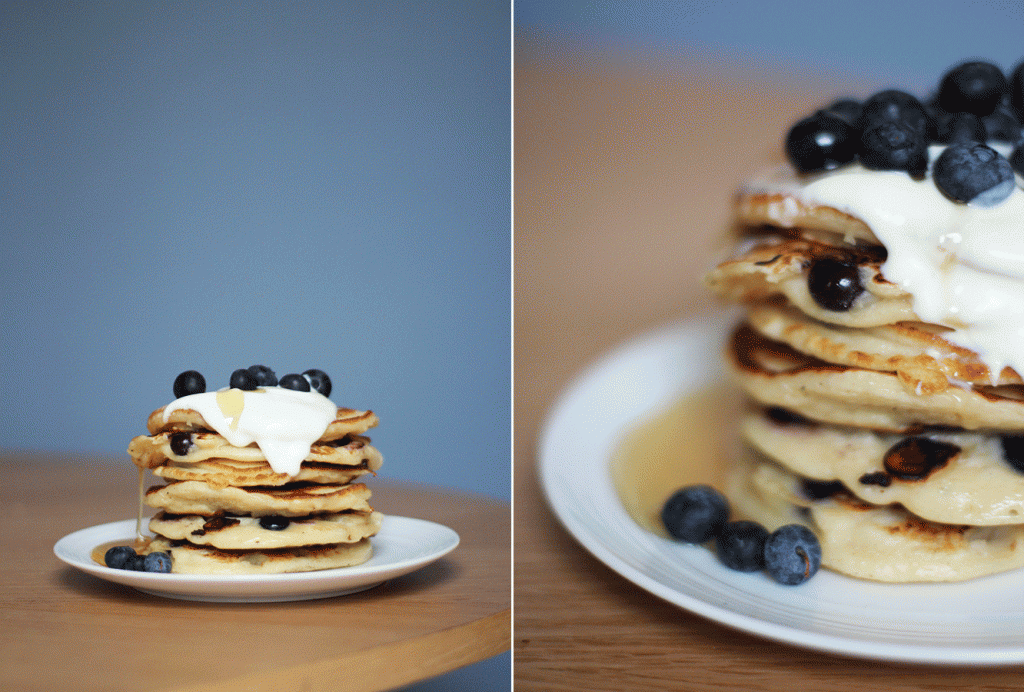
Banana and blueberry buttermilk almond pancakes

1 cup Plain flour

1 tub Buttermilk (284ml)

1 Egg

1 tsp Baking powder

1/2 tsp Almond extract

2 Bananas

1/2 cup Blueberries

More blueberries, some natural yoghurt and honey to serve

NB: The process is the same for all three recipes, however, the banana ones use buttermilk instead of regular milk. This makes a much thicker, goopier mixture.

All the recipes make 6-8 pancakes depending on their size.


Apple, maple and bacon pancakes

ultimate-pancake-recipe

Step one

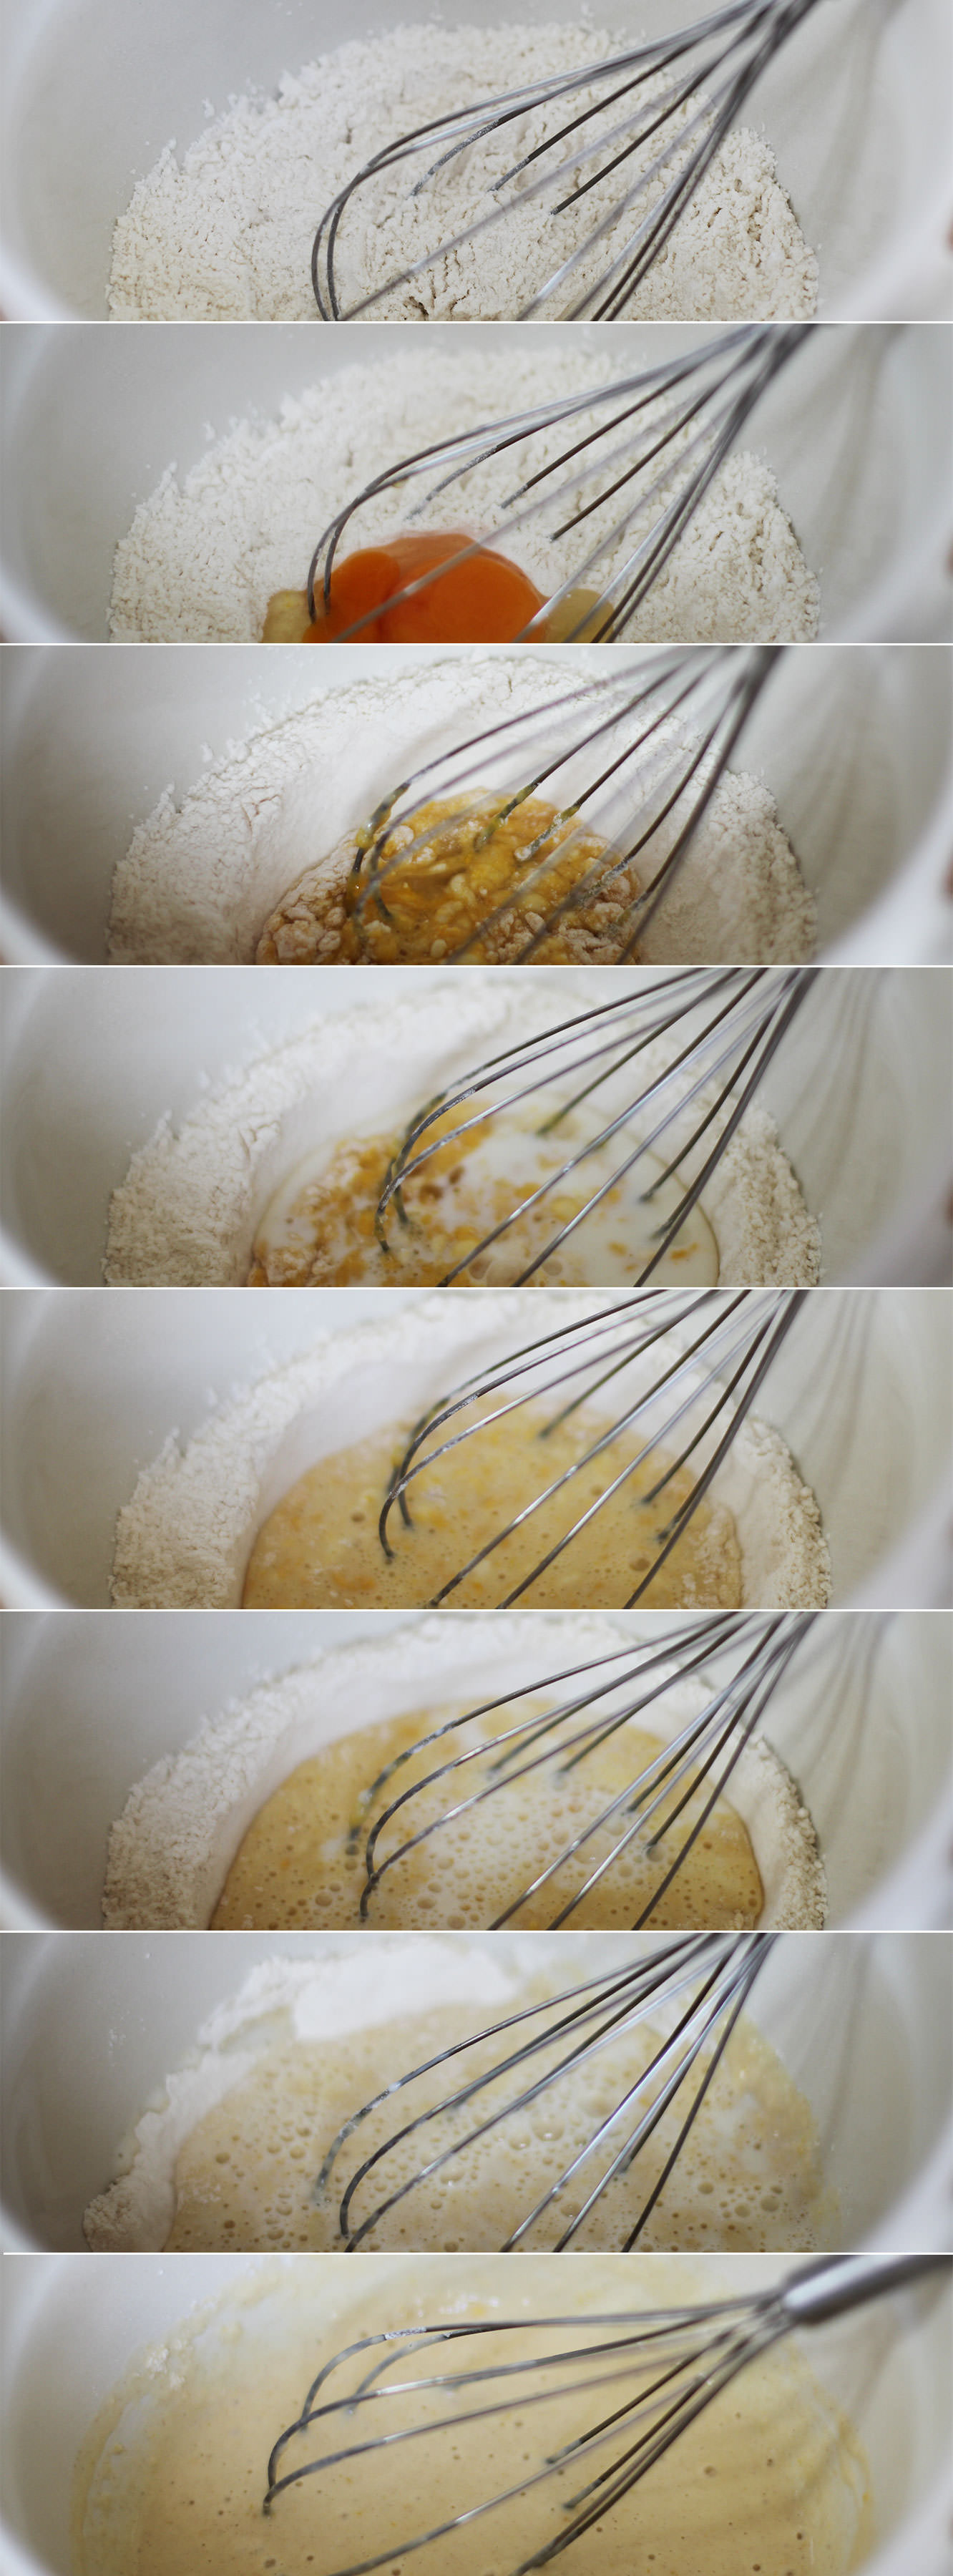
Whisk together the flour and baking powder and make a well in the middle for the egg.

The way to make smooth pancakes is to whisk little circles to gradually include the flour. Slowly add the milk a third at a time and continue making circles until all the flour is mixed in.

ultimate-pancake-recipe4

Step two

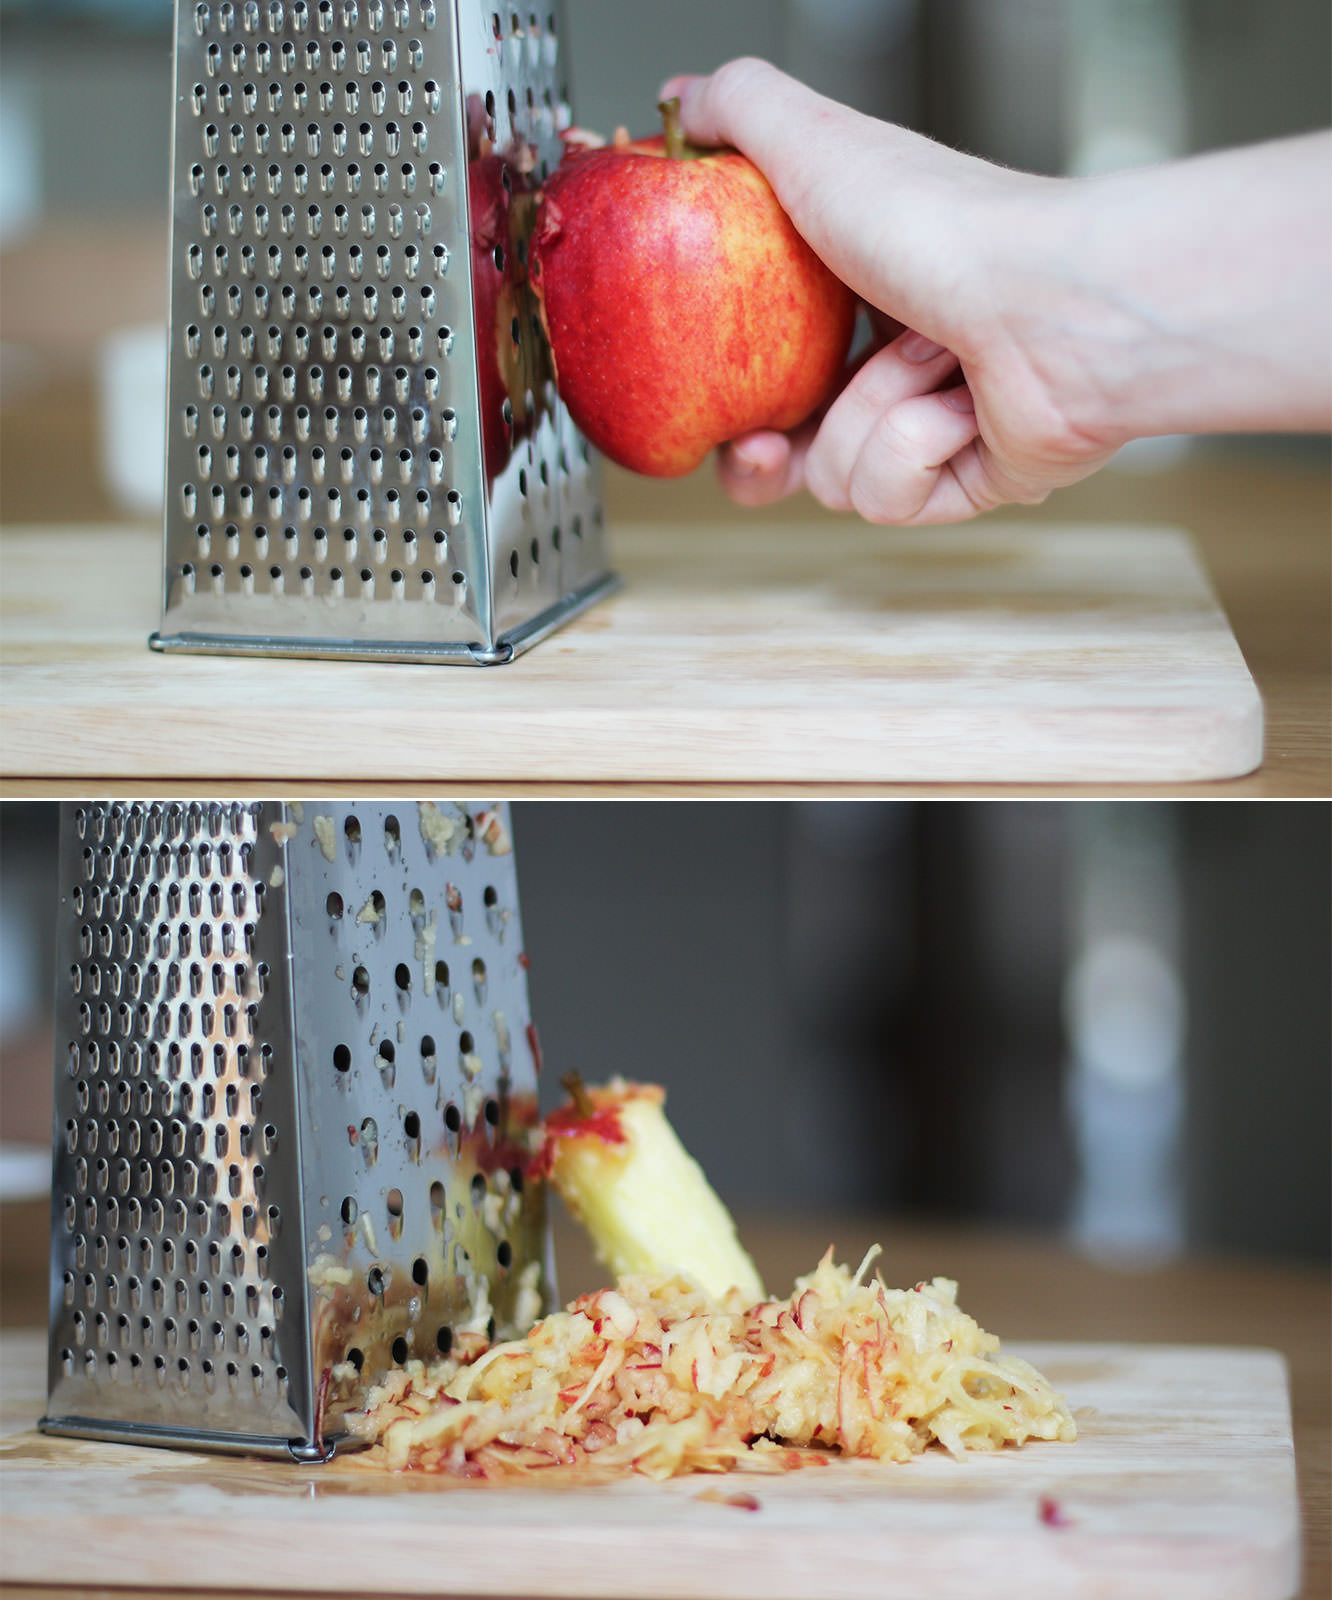
Grate the apple until you get to the core and add to the pancake batter.

ultimate-apple-pancake-recipe5

Step three

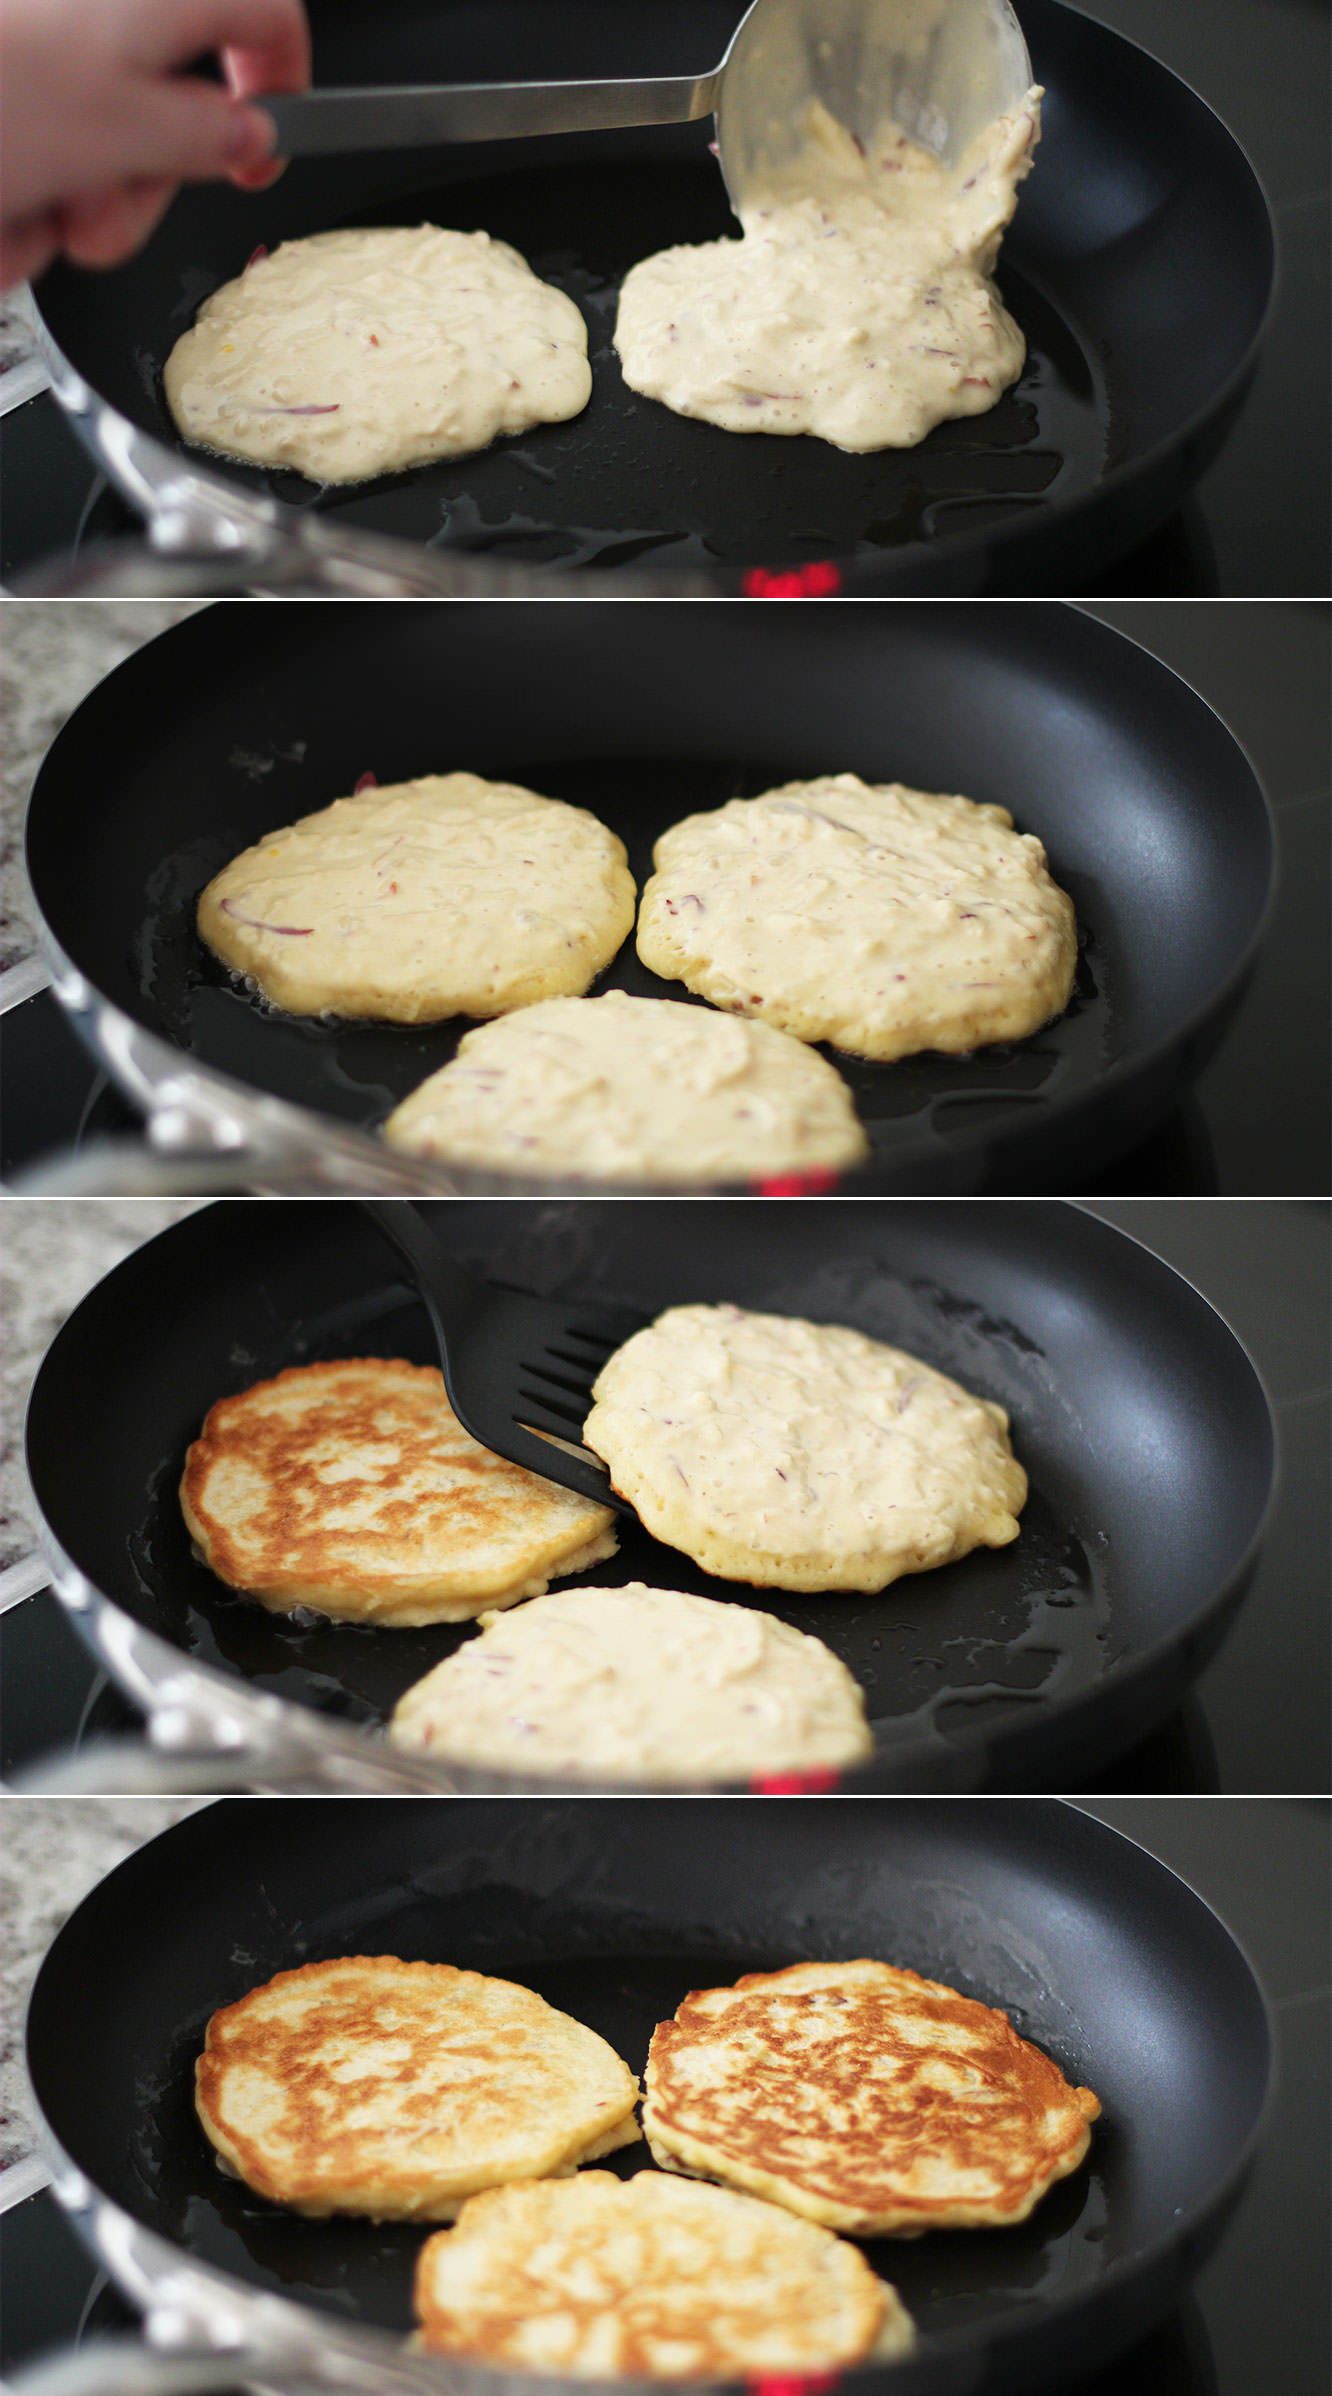
Using a tablespoon or so of vegetable oil, fry the pancakes until you start to see lots of little bubbles on the surface.

FLIP FLIP FLIP.

Step four

If you’re wanting bacon with this (and unless you’re a vegetarian, you are wanting bacon) then you’ll want to have that grilling or frying off at the same time.

ultimate-apple-pancake-recipe-gif

ultimate-apple-pancake-recipe6

Right. One down, two to go.


White chocolate and raspberry pancakes

ultimate-pancake-recipe

Step one

Refer to step one of apple, maple and bacon recipe.

ultimate-pancake-recipe3

Step two

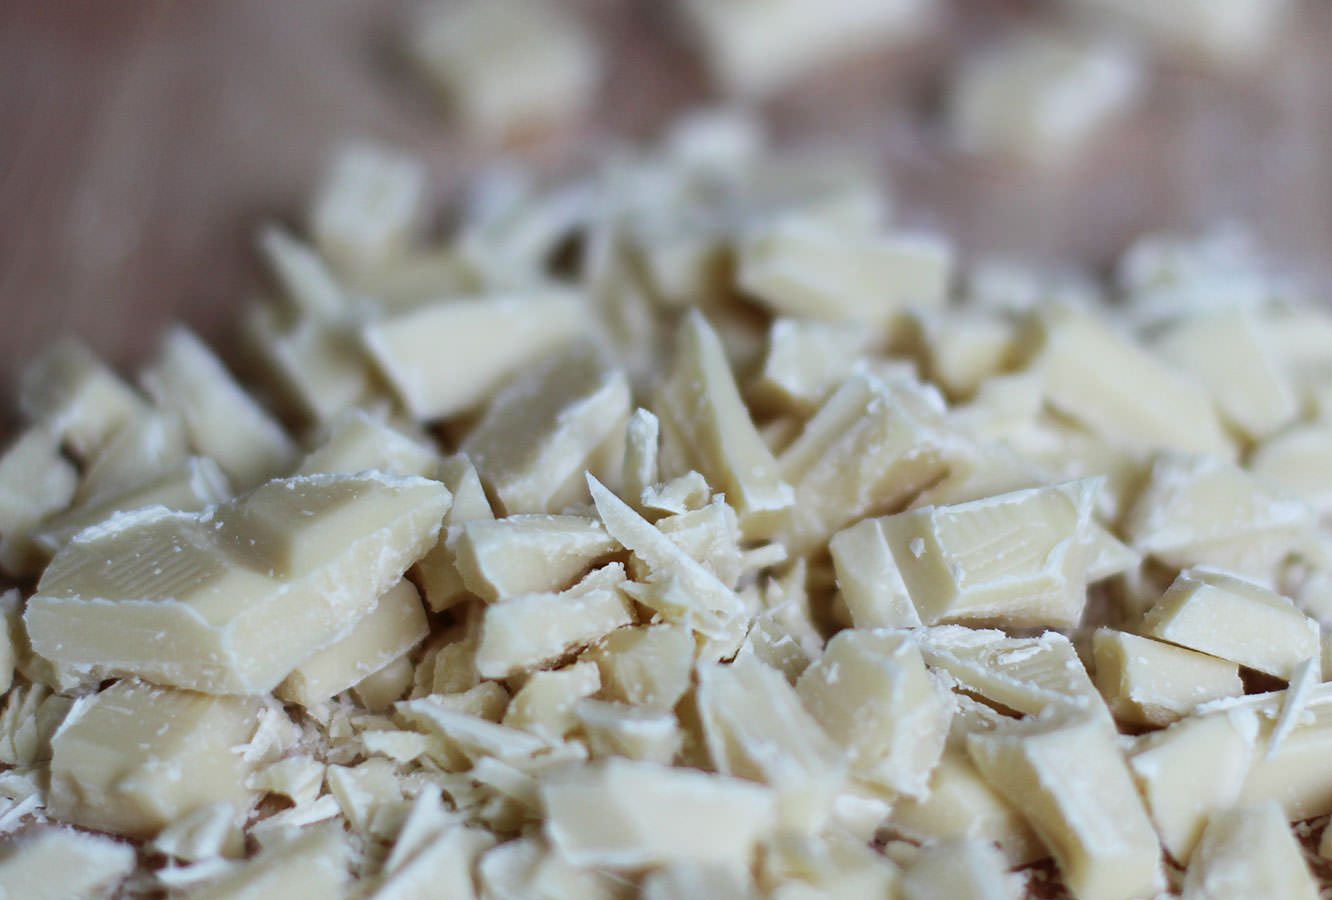
Chop the white chocolate into smallish chunks.

Step three

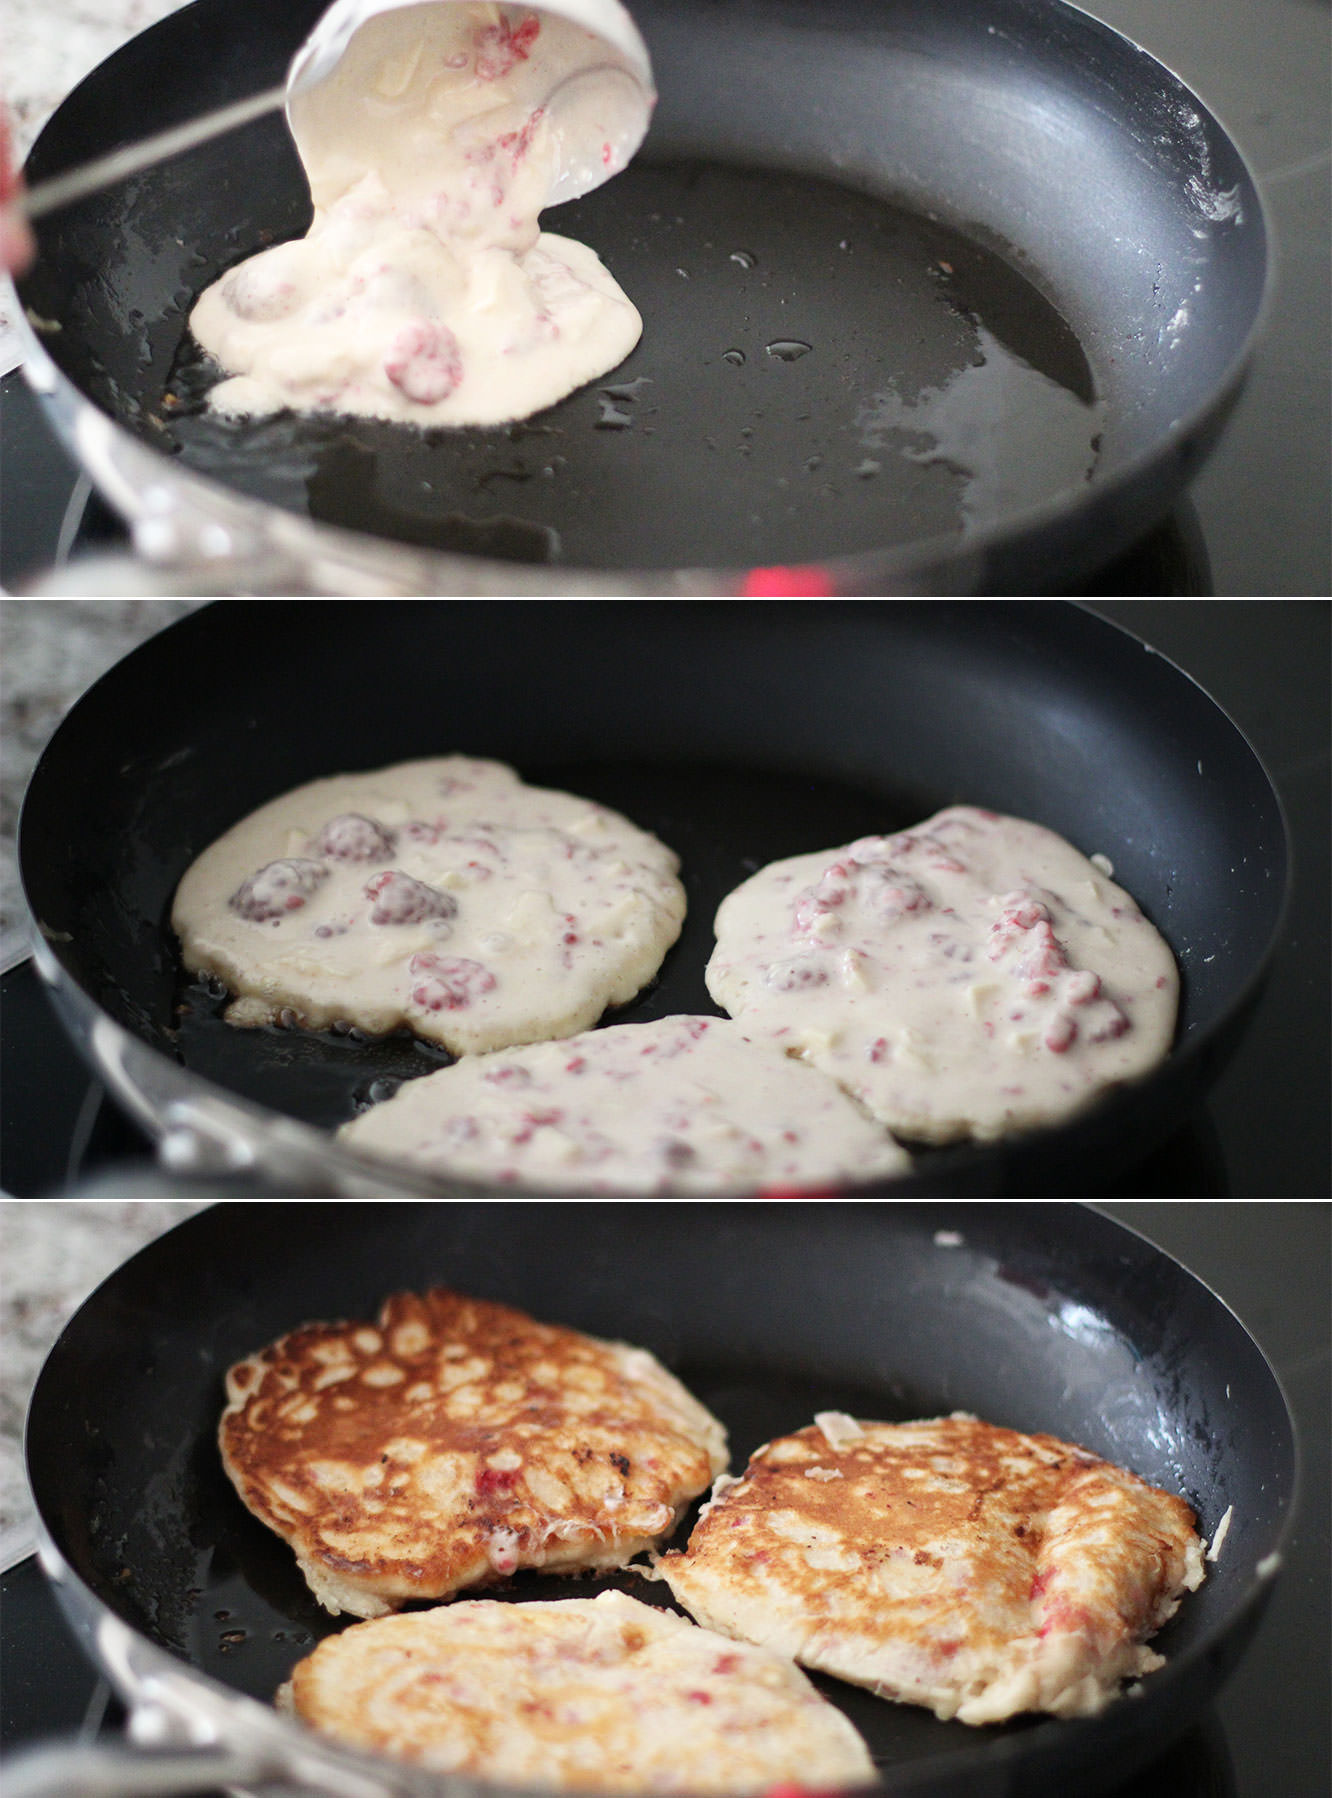
Stir the raspberries and chocolate into the batter. I squashed a few of them with the back of the spoon.

ultimate-raspberry-white-chocolate-pancake-recipe5

Step four

Cook em off.

You will find this mix a little runnier than the last one from a combo of the raspberry juice and the melting white chocolate.

Step five

Put the dark chocolate in a small bowl in the microwave and melt gradually, 20-30 seconds at a time.

ultimate-raspberry-white-chocolate-pancake-recipe-gif

ultimate-raspberry-white-chocolate-pancake-recipe6

Step six

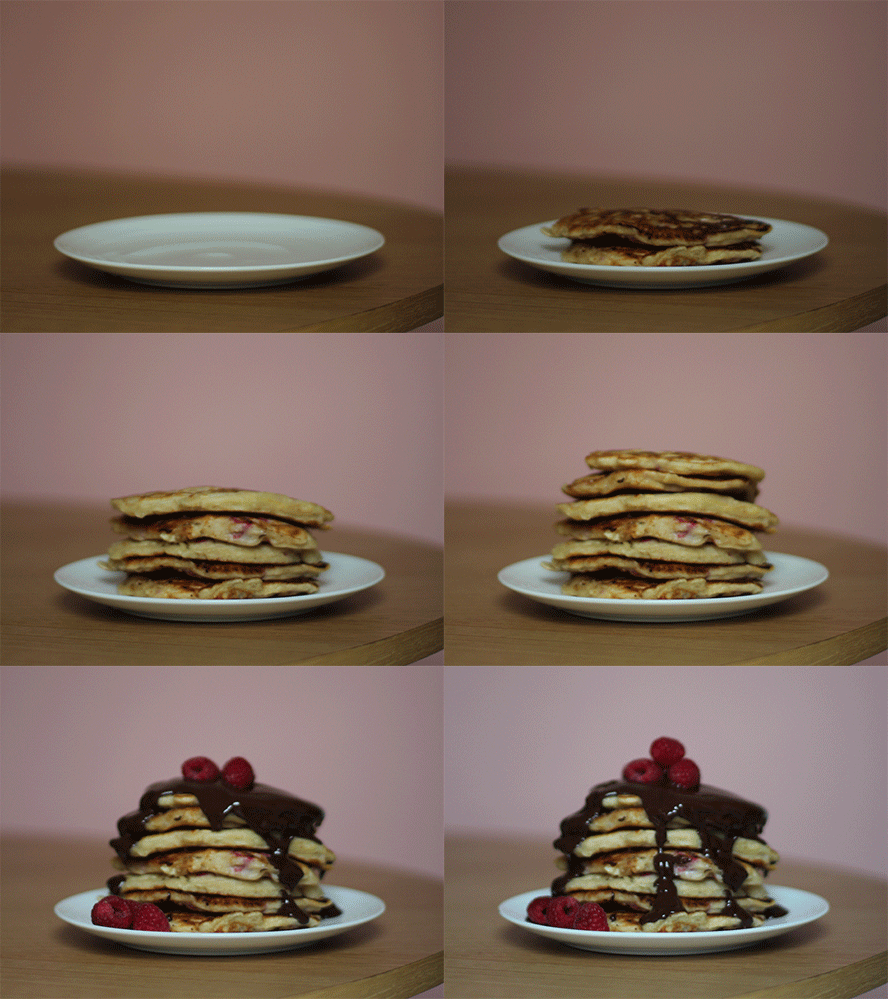
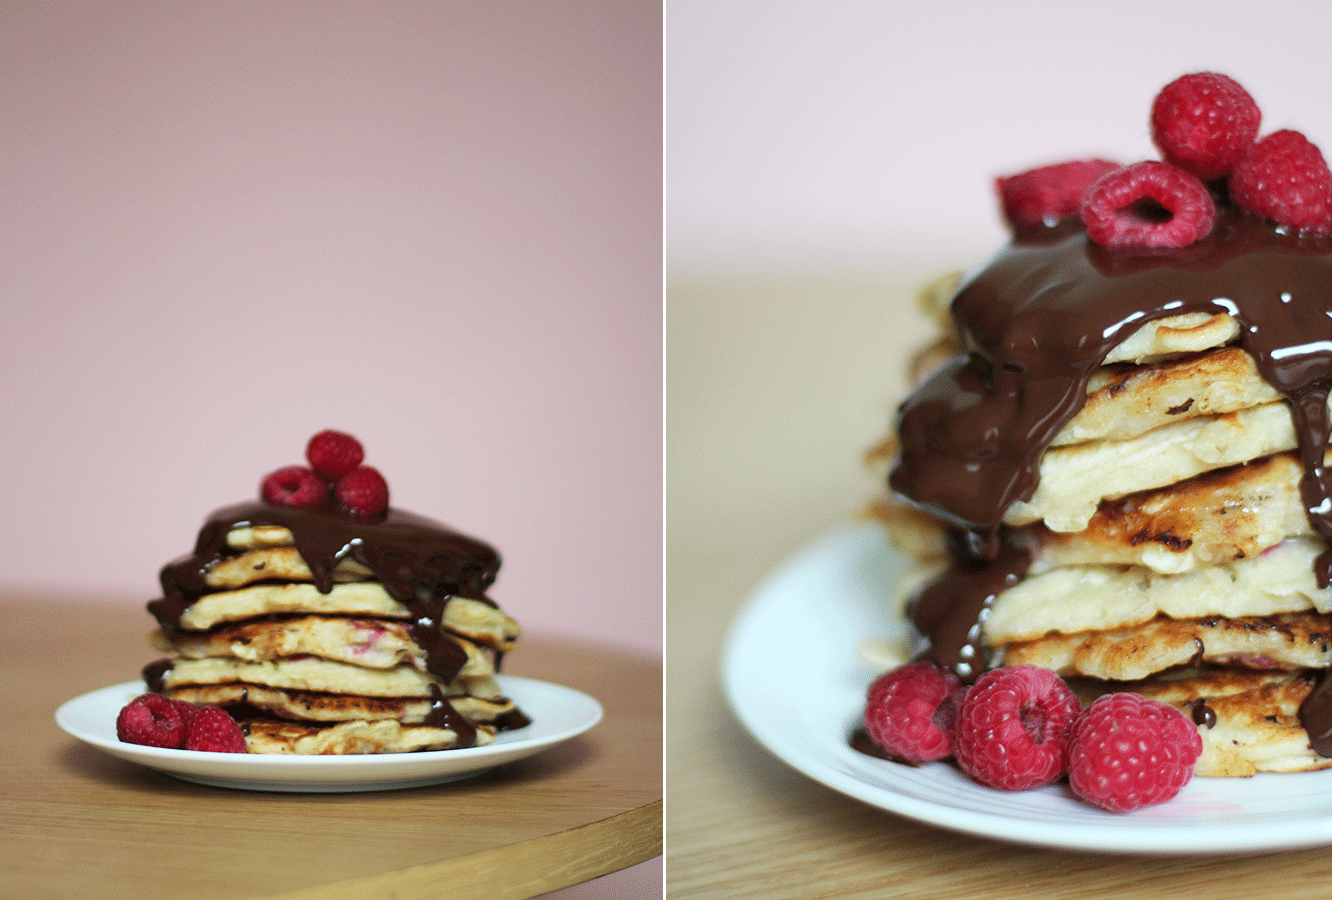
Stack them, cover in dark chocolate, enjoy.


Banana and blueberry buttermilk almond pancakes

Step one

Repeat the usual step one, you’re a pro by now. This time the buttermilk rather than the milk will make a thicker texture. Don’t forget to include the almond extract.

ultimate-banana-blueberry-almond-buttermilk-pancake-recipe5

Step two

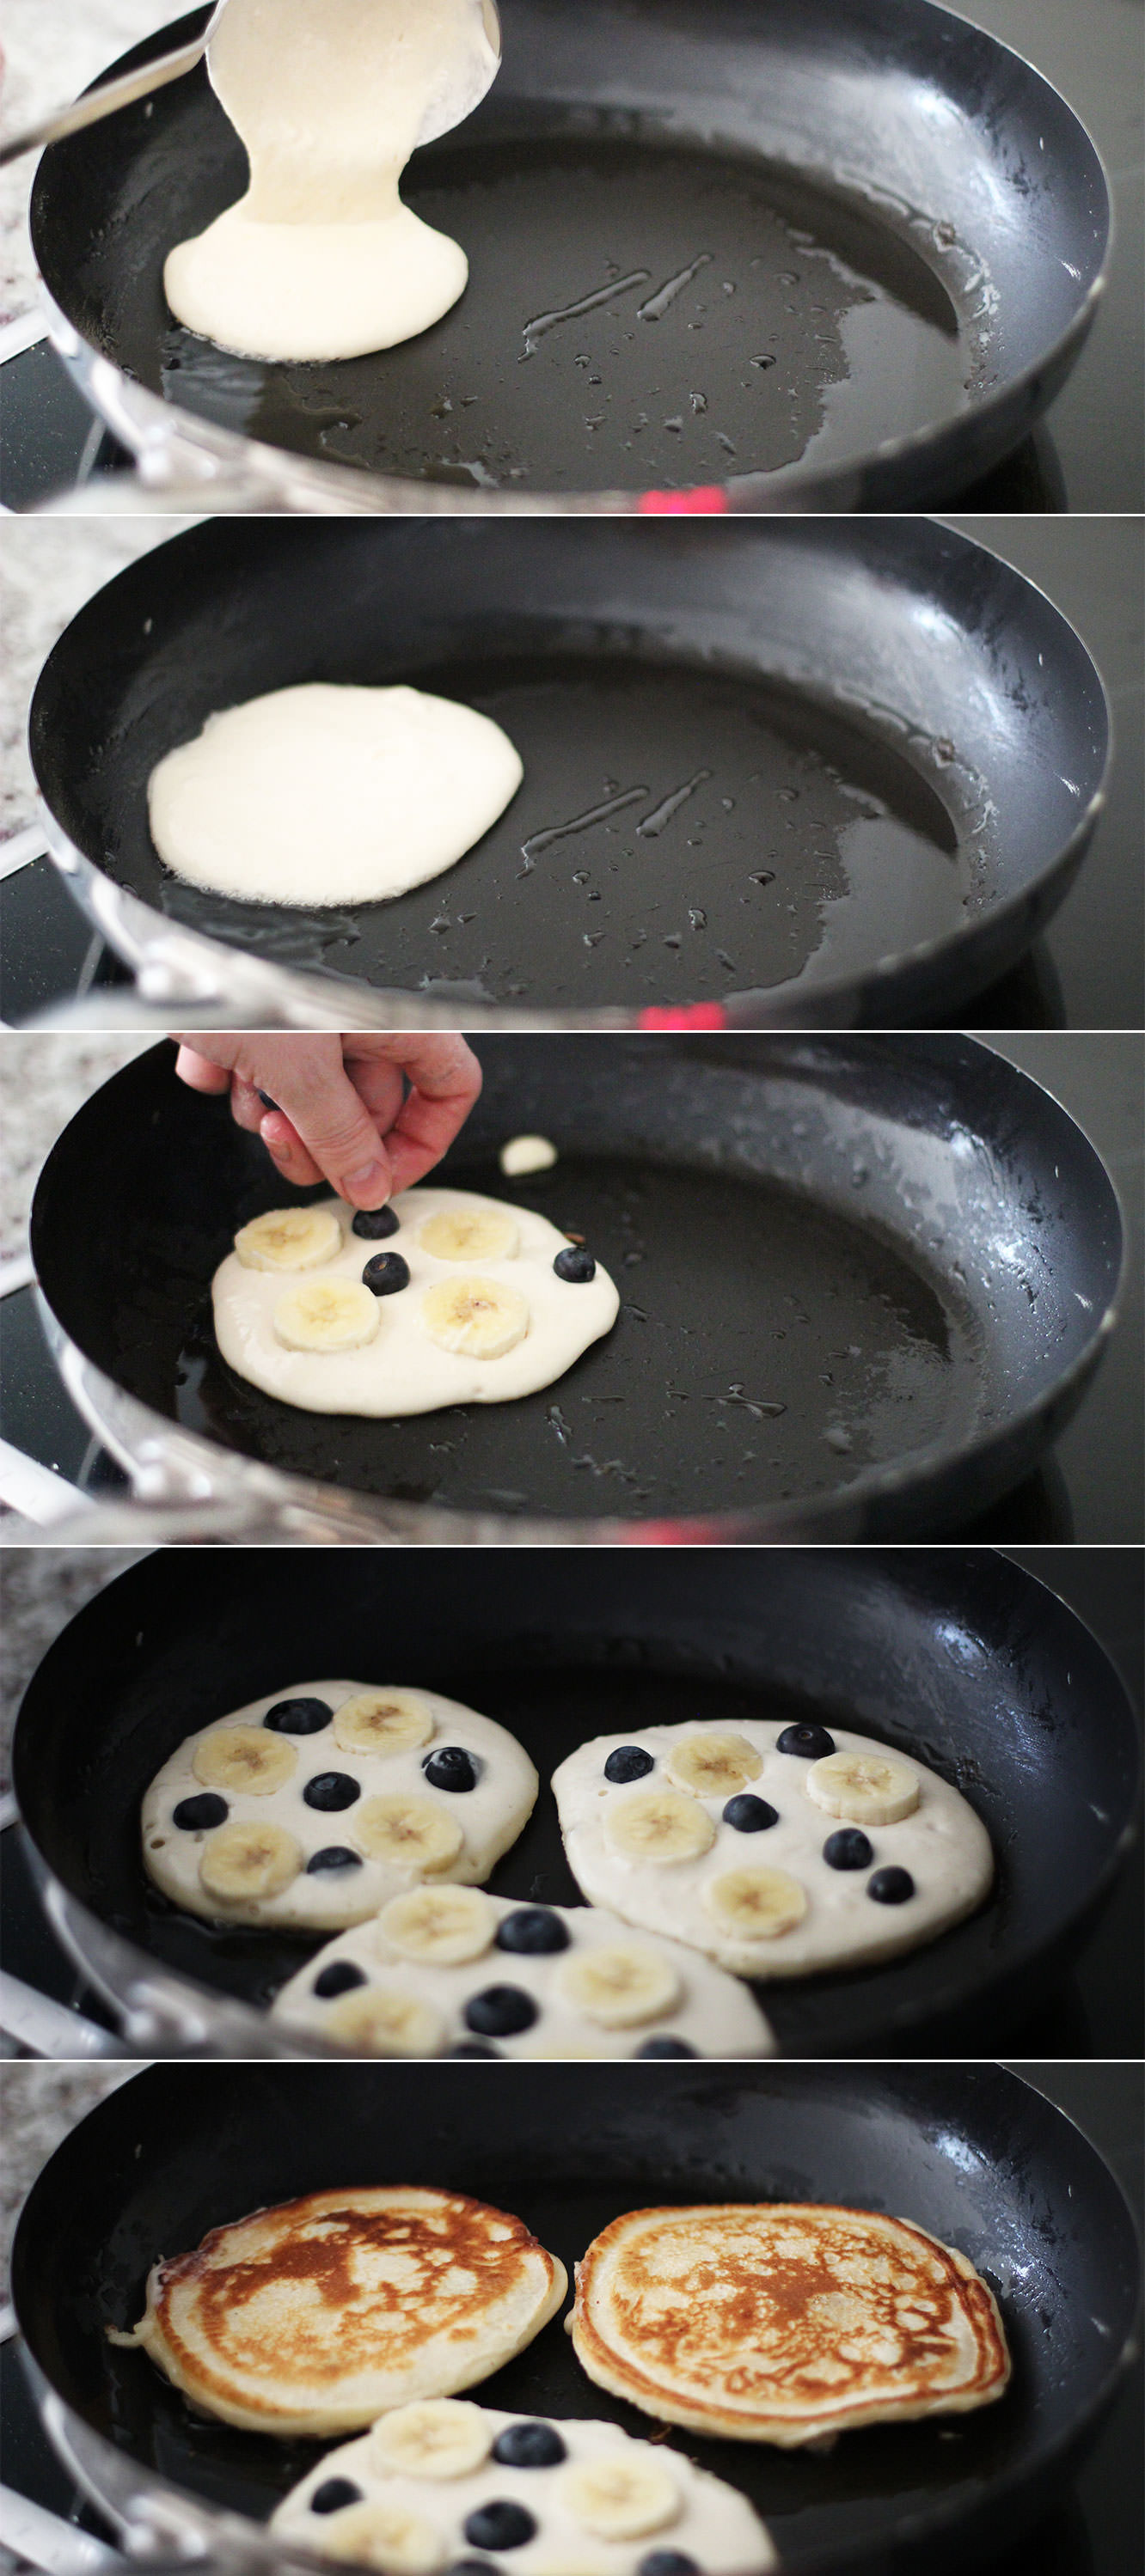
Spoon a pancake into the pan and place slices of banana and some blueberries onto the surface. Push them down a little so they don’t fall out when you flip them.

ultimate-banana-blueberry-almond-buttermilk-pancake-recipe-gif

ultimate-banana-blueberry-almond-buttermilk-pancake-recipe6

Step three

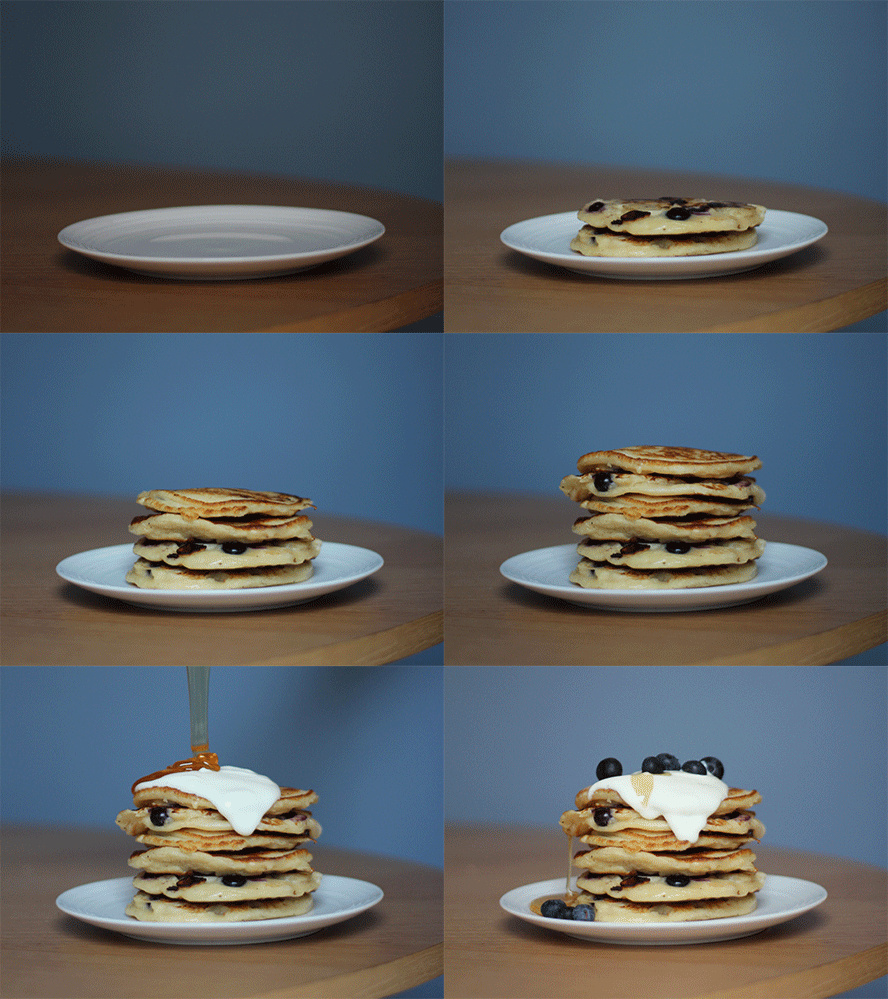
Pour some honey and natural yoghurt on top.

Eat until you can’t move.

Time for tea

I might have mentioned just a few times all the weddings I’m going to this summer? Just once or twice maybe? The resultant hen/bachelorette/bridal showers are a wonderful excuse to flex my culinary muscles on some afternoon tea sweet treats. So the next couple of weeks feature just that.

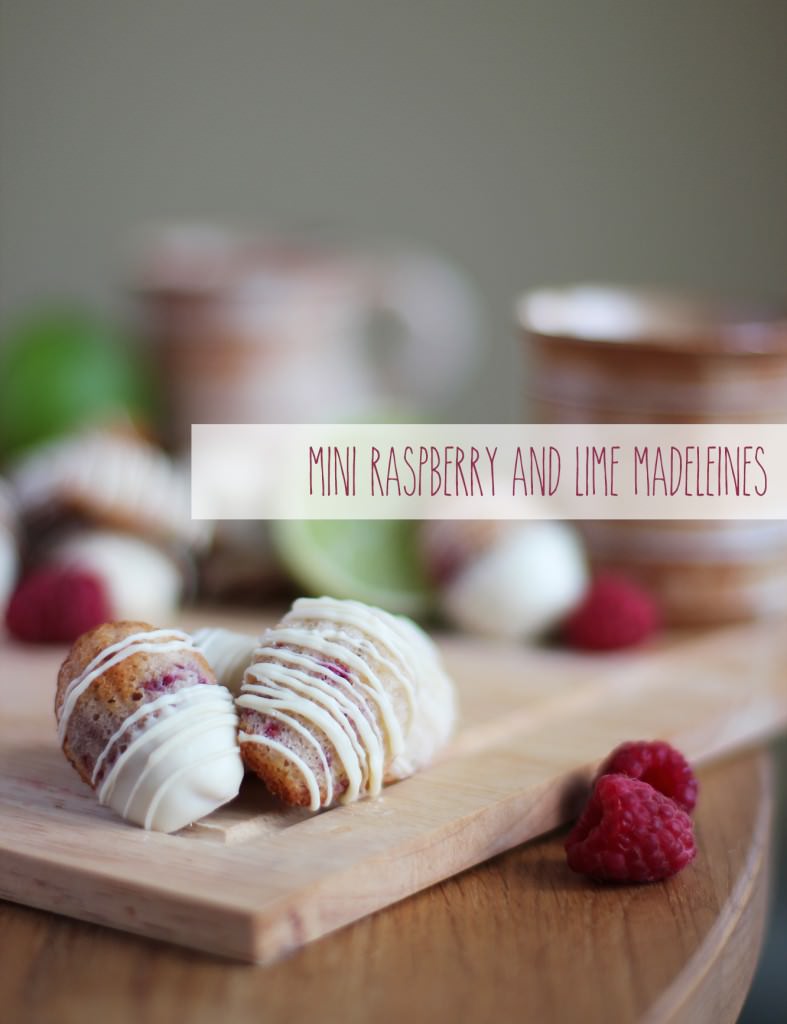
There’s one here already if you’re looking to get started, and this little post contains madeleines, a tiny French delight perfect for scoffing with tea. I decided to add some extra flavours to the classic lemon and vanilla, I’m not convinced the French would be too impressed, but you can thank me later.

Lime-and-raspberry-madeleines

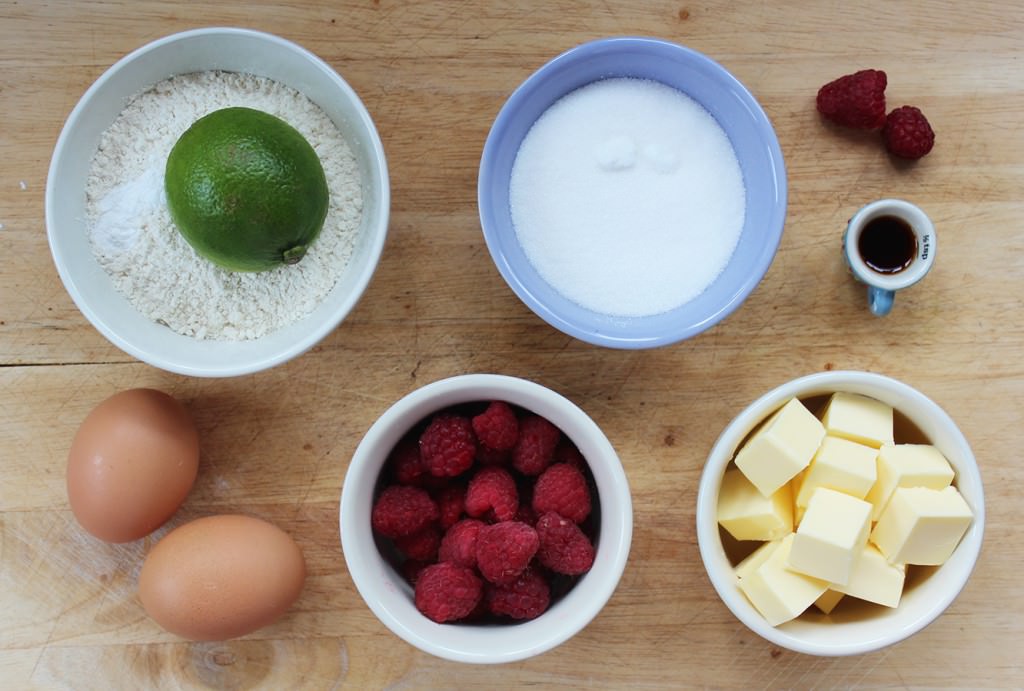
You will need:

75g/2.5 oz Caster sugar

75g/2.5 oz Plain flour

60g/2 oz Butter

2 eggs

1 tsp Vanilla extract

1 tsp Baking powder

60g/2 oz Raspberries

Zest of a lime

200g/7 oz White chocolate

Madeleine mould

Makes 10000000 (I’m sorry I forgot to count, but about 50 mini ones – maybe 25 normal size? Sufficient anyway)

Lime-and-raspberry-madeleines-2

Step one

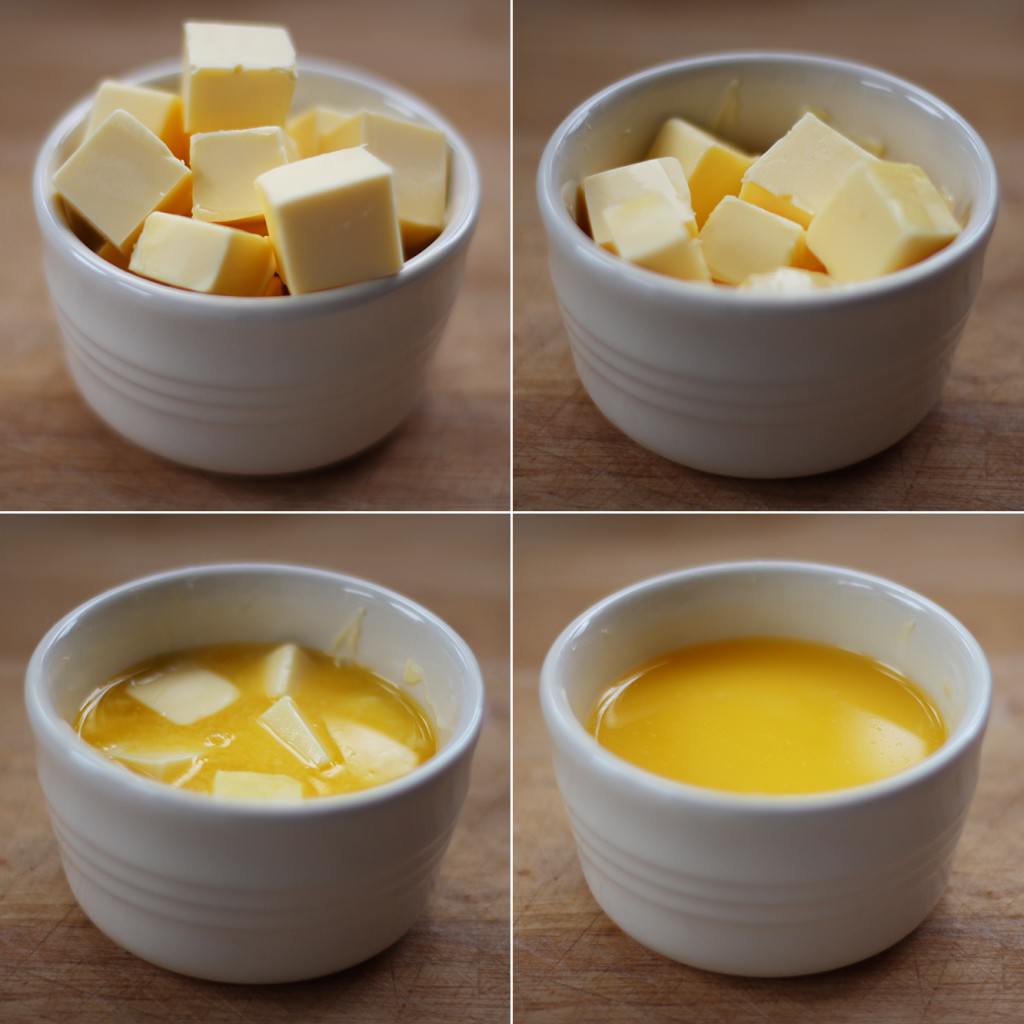
Melt all of the butter slowly in the microwave. Do this gradually until it’s just melted, none of this burning it until your house smells like popcorn nonsense please.

Lime-and-raspberry-madeleines-3

Step two

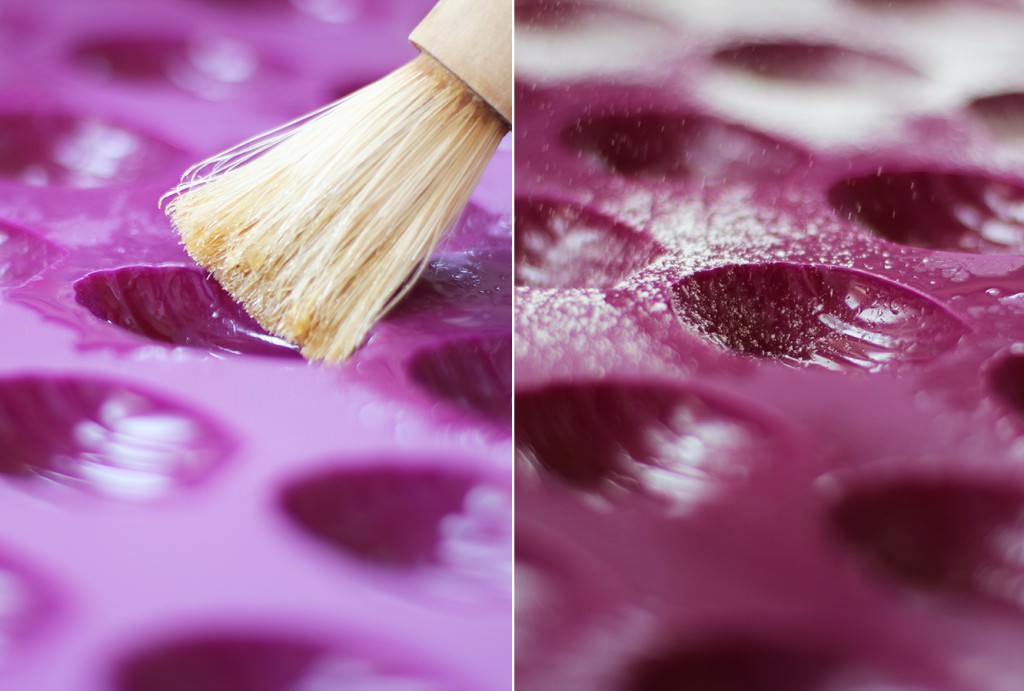
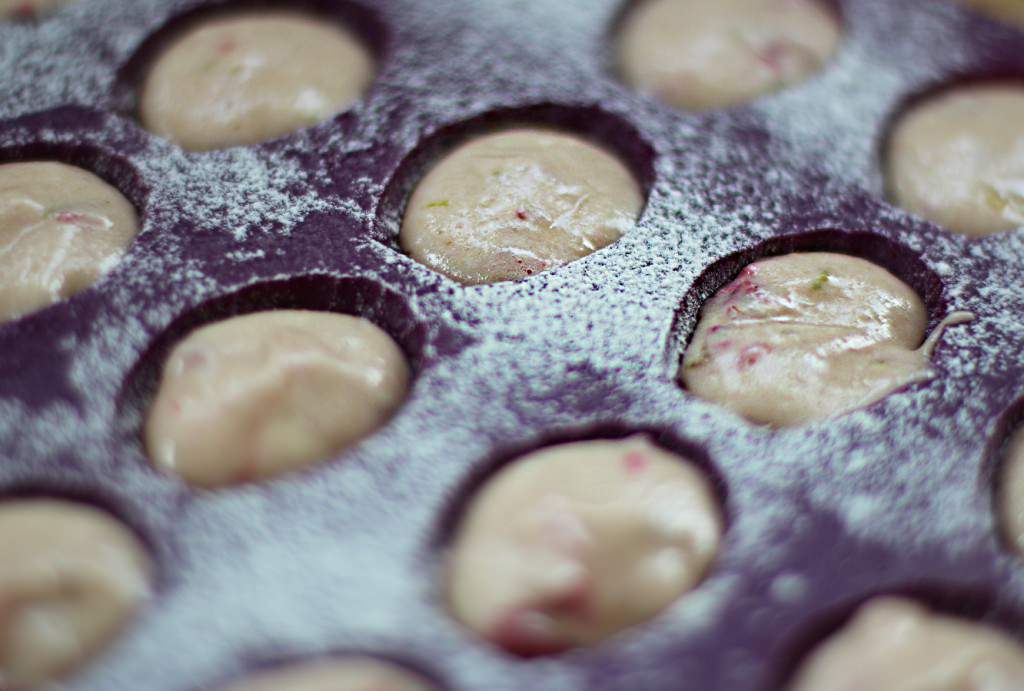
Use a splash of the butter and a pastry brush (or your (clean) fingers) to grease the mould, then dust with flour. To tell the truth if your mould is silicone I’m not entirely convinced this is necessary.

Lime-and-raspberry-madeleines-4

Step three

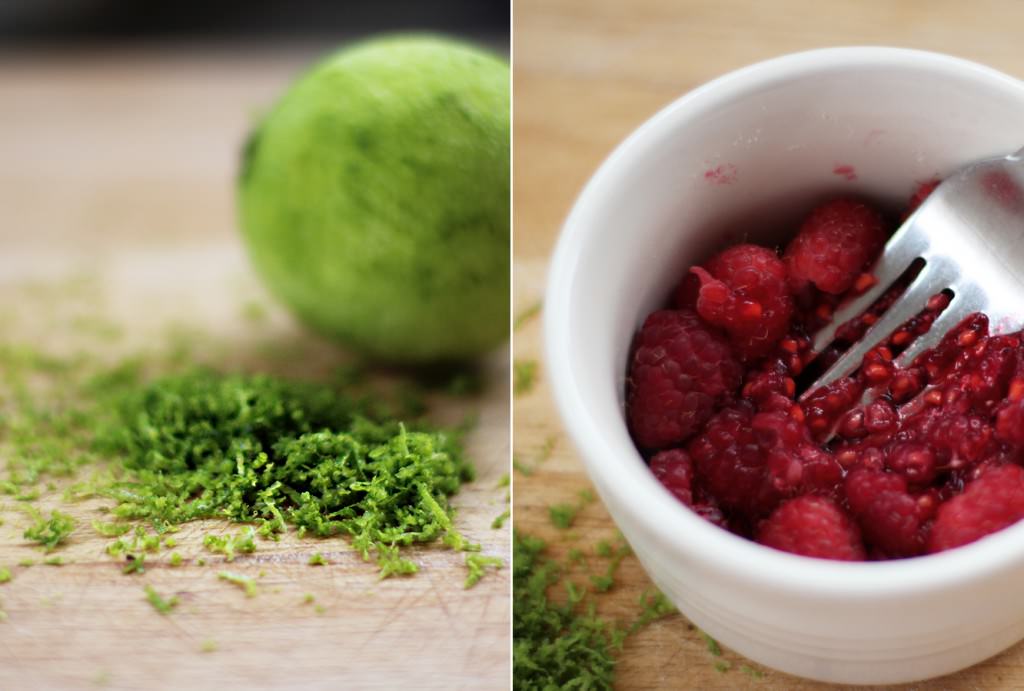
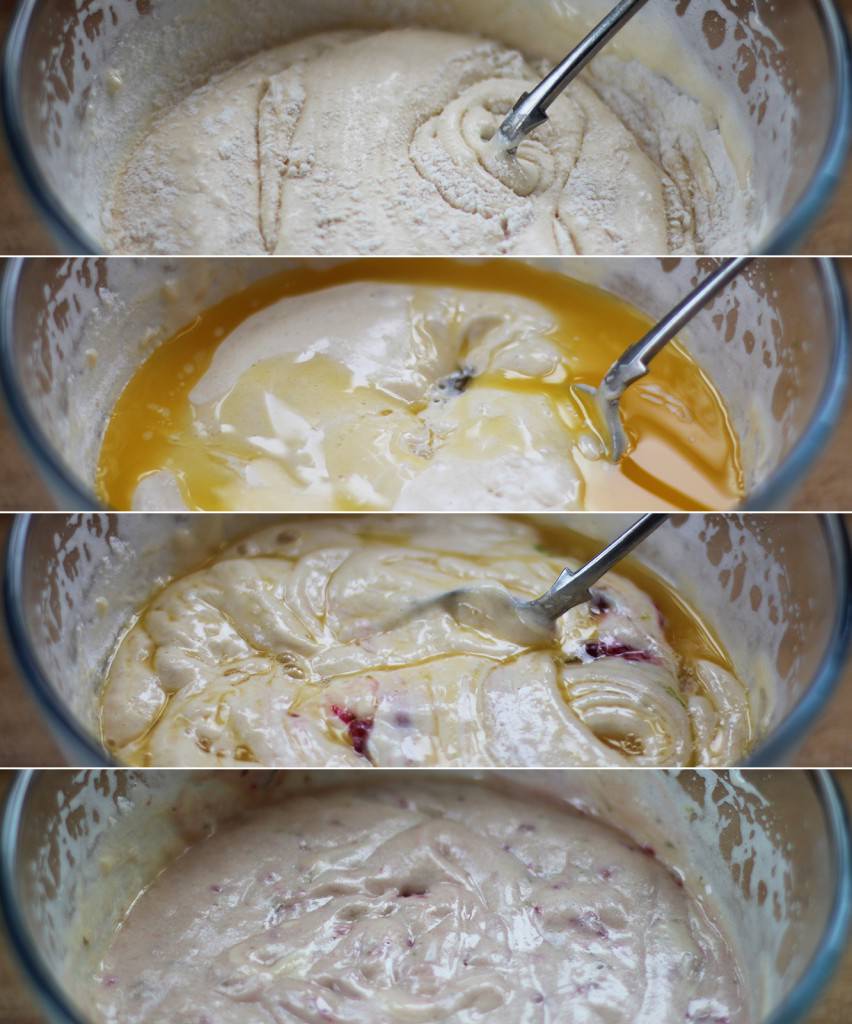
Grate a lime using the finest side of your grater and crush the raspberries with a fork. I was a little over zealous with the crushing, which made my mixture a bit greyish in the end, so don’t overdo it.

Lime-and-raspberry-madeleines-5

Step four

Finally time to make some cake!

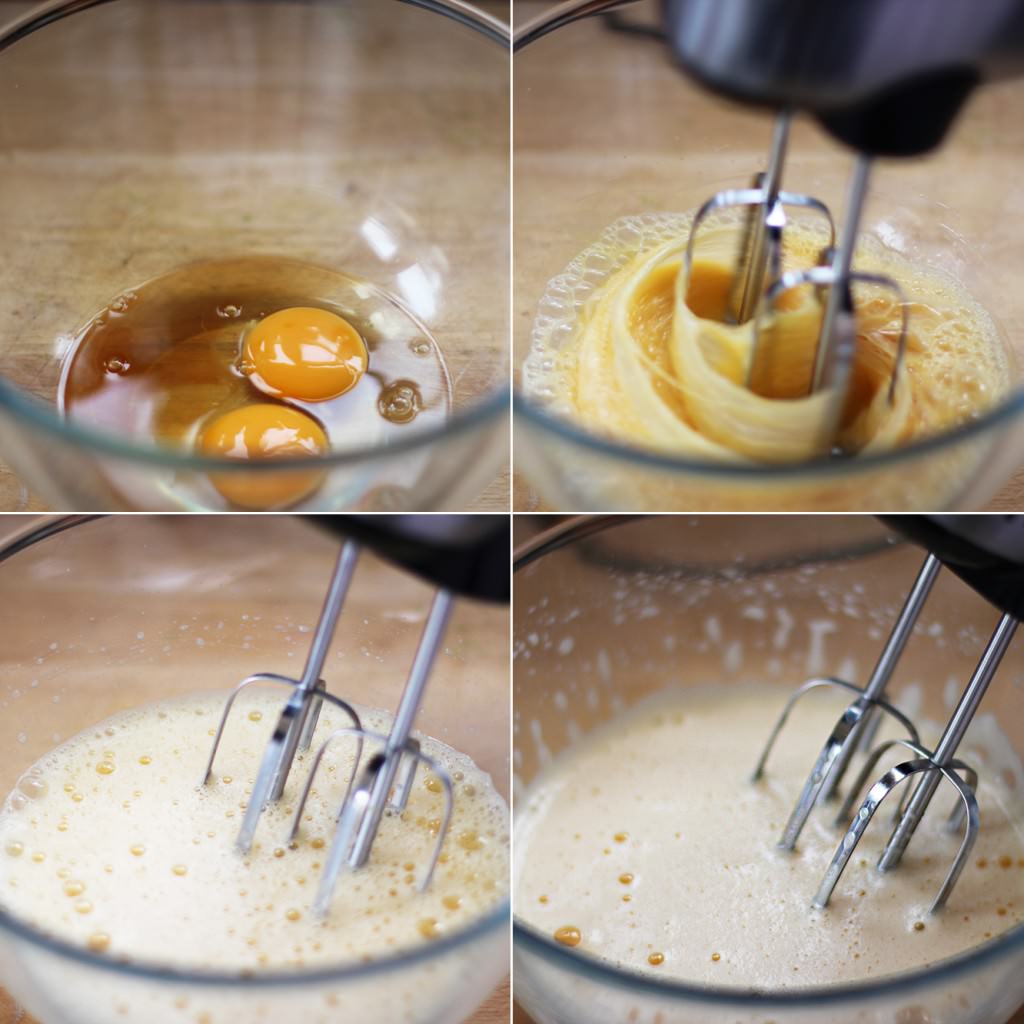
Whisk the eggs until they are light, fluffy and start to thicken. If you don’t know what that means, then whisk them until they look like the bottom right hand picture.

Lime-and-raspberry-madeleines-6

Step five

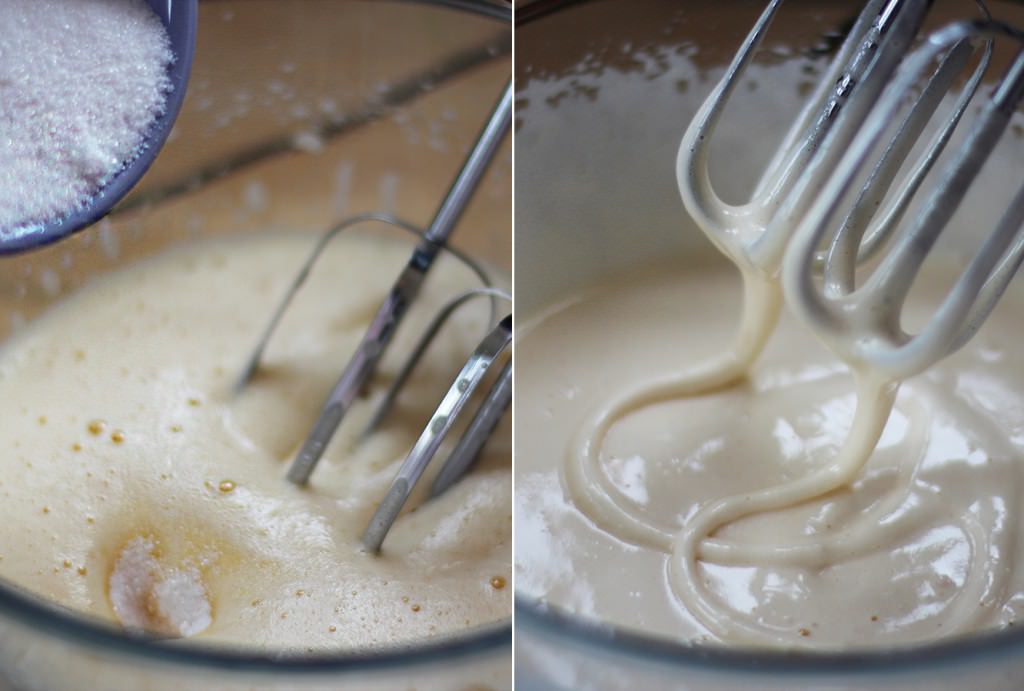
Carry on whisking gradually adding the sugar. The mixture will thicken and will look less bubbly. Keep going until lifting your whisk leaves ribbons of mixture in the bowl.

Lime-and-raspberry-madeleines-7

Step six, seven and eight

Gently fold in the flour and baking powder with a metal spoon until fully combined.

Add the melted butter. This is weird right? Thanks France…

Whilst folding in the butter add the crushed raspberries, lime zest and vanilla extract. Keep stirring until it’s completely combined. Remember though, softly softly…think about stirring a bowl of baby bunnies.

Lime-and-raspberry-madeleines-8

Step nine

Spoon into mould and cook for 15 minutes on Gas mark 5/190 C/375 F. Leave to cool.

Lime-and-raspberry-madeleines-9

Step ten

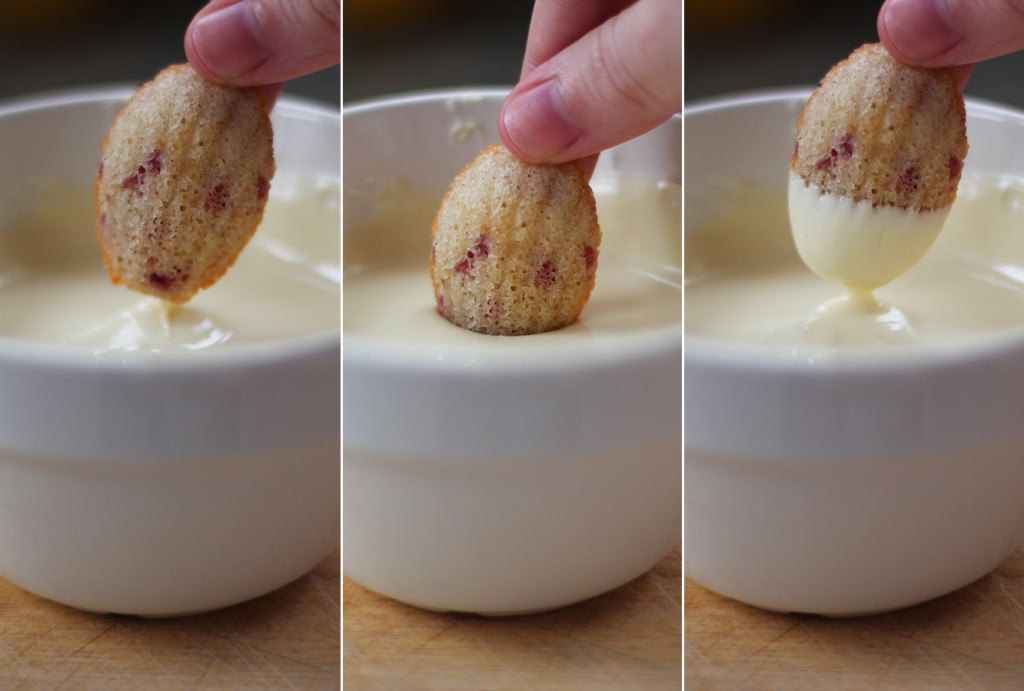
Once your madeleines have cooled melt some white chocolate in the microwave and give them a little dunk. I also used a piping bag and the remaining chocolate to drizzle over them when I was done dipping.

Lime-and-raspberry-madeleines-10

Step eleven

Legitimately use the word voila.


White chocolate and lime moussabub

Hello friends!

Riding on the success of a chocolate orange mousse I made for Ma’s birthday I thought this weekend would be a perfect time to flex my culinary muscles and invent a new recipe of my very own. It didn’t quite have as many bubbles as the other one I made (you know, from a recipe book by a French pastry chef…) but it was much lighter and fluffier than any syllabub I’ve ever seen. Hence the White Chocolate and Lime Moussabub was born. 

A word of caution – make the day before your soiree, or early morning, as it needs a good few hours to set. Also, if you’re thinking to invite the kind of people who choose a cheeseboard rather than dessert then, a) you probably want to save this one for the sweet tooths instead, and b) de-friend them – there are better people in the world.

ChocolateLimeMousse

You will need:

200g White chocolate

110ml Double cream

40ml Full fat milk

3 eggs (or 2 if on the large side)

55g/2 oz Caster sugar

A lime

(Serves 4-6 depending on the size of your pots and tummies)

ChocolateLimeMousse3

Step one

Chop chocolate finely. You will hear this time and again if you decide to follow this blog but it really is easiest to use a bread knife/one with a serrated edge for this. The smaller you can chop the better, as you will be using the cream mix to melt it. Place in a large bowl.

ChocolateLimeMousse2

Step two

Place milk, cream and lime zest in a small saucepan and heat gently on a low heat. If you want to use a strip of the zest for decoration then put to one side now rather than covering in cream… nobody wants that on their pudding.

Once the mixture has started to boil, pour it through a sieve over the white chocolate and stir until fully melted. If the mix cools down before it fully melts the chocolate then you can place the bowl over a pan of boiling water to melt any stubborn bits.

Taste.

I added some lime juice at this stage – just under half the lime. It depends how much of a citrus taste you want, but I found that to be just right. Stir through thoroughly (and now say that out loud ten times as quickly as you can).

ChocolateLimeMousse4

Step three

Separate the egg whites into another bowl. Glass or ceramic is best for this, as plastic bowls can tend to retain some grease, and that will scupper your efforts to whip up your whites.

I tend to crack the egg on the side of the bowl and pass the yolk from shell to shell until all the white has drained away, but whatever works for you.

Keep yolks to one side.

ChocolateLimeMousse5

Step four

Whisk! If you don’t have a hand held whisk or a fancy stand mixer then hopefully the Lord blessed you with strong arms.

When the eggs start to fluff up, add the sugar and keep whisking until they are stiff and glossy. People are a bit precious about egg whites but generally I don’t think there’s anything to freak out about, just slow down a bit when they start to stiffen up – the sugar will help stabilise them and it’s unlikely you’ll go over if you’re looking at what you’re doing.

ChocolateLimeMousse6

Step five

Whisk the egg yolks in. Your mixture should yellow a bit, and will loose a little of its structure – don’t panic!

ChocolateLimeMousse7

Step six

Put a scoop  of your eggs (up to a third) into the chocolate mix and fold in to loosen it up (middle photo). This will help you to not knock out all the air from your moussabub, if you do it all at once you’ll lose your bubbles.

Add the rest of the eggs and gently fold the mixture together. Turn the bowl as you do so it to help you get everything together without flattening it. Patience is a must here.

Step seven

Spoon into serving dishes and put in the fridge (allow at least 4 hours I’d say). Try not to disturb them too much, and no poking, those bubbles are precious!

ChocolateLimeMousse9

Step eight

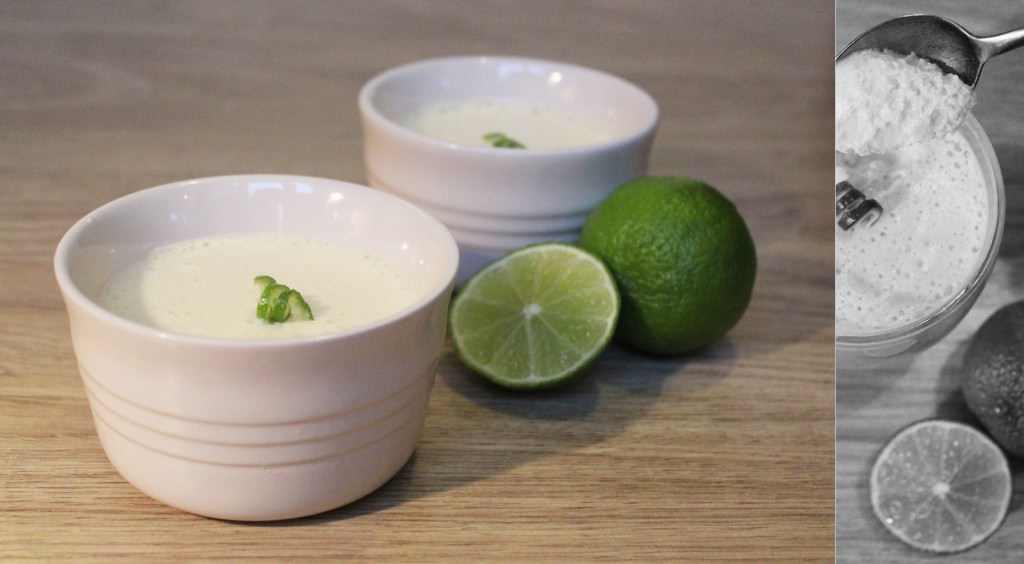
Remember that bit of lime peel you put aside? Well, it makes lovely whirly bits for the tops. If you have one of those fancy zester tools then you won’t need my hillbilly method, but this is the best thing I could think of!! If you know how the professionals do it then answers on a postcard please.

At least 20 mins before serving make thin strips from your piece of peel. Curl them up and put them in the handle of a peg as shown above. Leave them to sit until you are ready to rock and roll. Place on top of each dessert.

NB: If you make your mousse the night before then either keep your peel in a bit of water and take out to dry an hour before serving, or wrap in tinfoil and put in the fridge. Don’t cut up and coil until just before you want to use it as they will dry out and shrink.

You might also try breaking up a biscuit (ginger would work well) or grating some chocolate on top for a bit of a different texture.

ChocolateLimeMousse8

Step nine

Indulge.